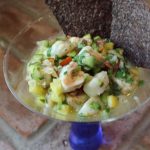
Shrimp & Scallop Ceviche
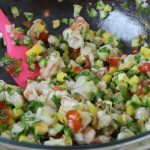 Making shrimp & scallop ceviche really can’t get an easier then this! Ceviche is a South American dish that’s usually served as an appetizer. The fish cures/cooks in citrus juice for an hour or two while you get all your salsa ingredients in order. The citrus curing juices are drained from the fish, leaving a tender shrimp & scallops to be tossed with salsa and voilà. The base of the shrimp and scallop ceviche here is my mango salsa recipe.
When I thought of making ceviche this week, sombrero popped into my head! I went to several store’s, costume store’s included which don’t exist anymore, and was out of luck. I then called my dear friend Maria who to my surprise had an authentic sombrero for me to borrow that her parents had picked up on a cruise to Cozumel, Mexico. I have to say it is a very cool hat, not to mention really beautiful. Although it has some weight to it so your neck gets a bit of a work out and you have to be careful not to knock into the walls because depth perception can be deceiving.
When I make this shrimp & scallop ceviche. or any ceviche for that matter, I like to cure my fish in lime juice and then drain that juice before adding the fish to my salsa ingredients. In my opinion, the flavors stay fresher that way. By draining the fish juice that’s released from the shrimp and scallops in the curing process it keep’s a better balance between fish and salsa. There are some recipe’s that have you toss everything into one bowl but I feel it taste’s better when you drain the curing fish juices prior to adding the fish into the salsa.
Since the texture’s of shrimp & scallops are a little different I have you cut the shrimp in 1/2 horizontally, and then dice, so the needed curing/cooking time between the two is closer. You could always change up the fish in this recipe to and go with all scallops or another favorite flaky fish. It’s all about being creative and using what’s freshest at the market!
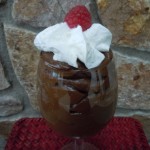
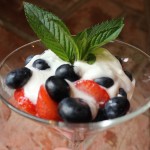
Remember, always when preparing a fish dish, you will want to serve it the same day you make it and odds are there won’t be any leftovers! You may want to make it a party theme of appetizer’s to go along with this shrimp & scallop ceviche, and serve something like buffalo chicken dip, salmon BLT slider’s, fresh pesto, mozzarella and roasted tomato on a crostini, or shrimp & mango in wonton’s and end it with a dessert that will have everyone talking...fresh berries in a dreamy cream topping made from melted cream cheese and fluff that’s an incredible taste SENSATION!


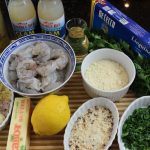
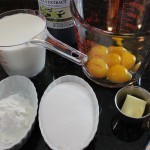
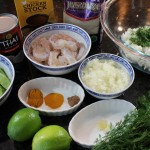
Ingredients:
- 1/2 lb. lg shrimp, peeled and deveined, 1/3″ diced
- 1/4 lb of sea scallops, 1/3″ diced
- 1/2 cup diced sweet mango
- 1/2 cup sweet onion – Vidalia onion -finely chopped
- 1/2 cup mini cucumber diced 1/3 cup cherry tomatoes finely chopped
- 1/2 cup cilantro chopped (1/2 cup after it’s chopped)
- 1/3 cup finely diced cherry tomato
- 1/3 cup finely diced avocado
- 1 jalapeno finely chopped without the seeds
- juice from 1 lime – for the final ceviche
- 1 tbsp fresh lemon juice – for the final ceviche
- 2 tbsp extra virgin olive oil
- 2 tbsp rice wine vinegar – (“seasoned”)
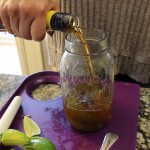
- juice from 4 limes for the shrimp/scallop for the curing marinade
- salt and pepper to taste
- dash of Tabasco
- Bag of blue corn chips (optional)
Directions:
- Wash and devein the shrimp
- Wash the sea scallops and remove little fibrous side muscle that’s attached to the scallop
- Pat the shrimp and scallops dry on paper towels
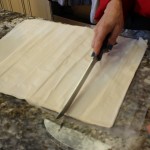
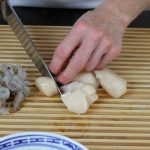
- Cut up the shrimp in 1/2 horizontally and then into 1/4″ pieces
- Slice up the scallops in 1/2 horzintally and then into 1/2″ pieces
- Put them into the same bowl… a non-reactive bowl like a glass bowl
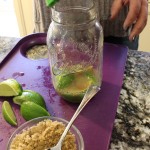
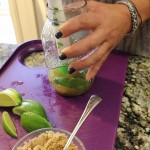
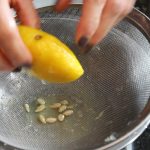
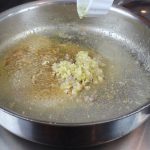
- Roll the limes to soften them up
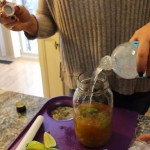
- Squeeze the lime juice over the shrimp and scallops
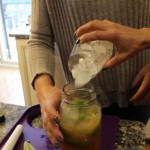
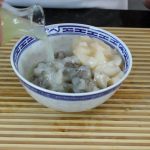
- Make sure there is enough juice so all the shrimp and scallop pieces are submersed in the lime juice and place into the frig until they are opaque…and place into the frig for 1- 2 hours
- NOTE: you should check the fish at 30 minutes intervals to see how it’s curing/cooking …depending on the coldness of the fish, kind and size it wil be ready at different time’s but it’s EASY – if it’s opaque then it’s done!
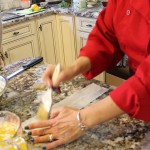
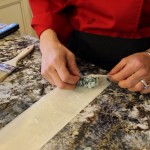
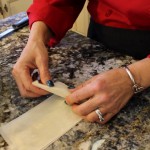
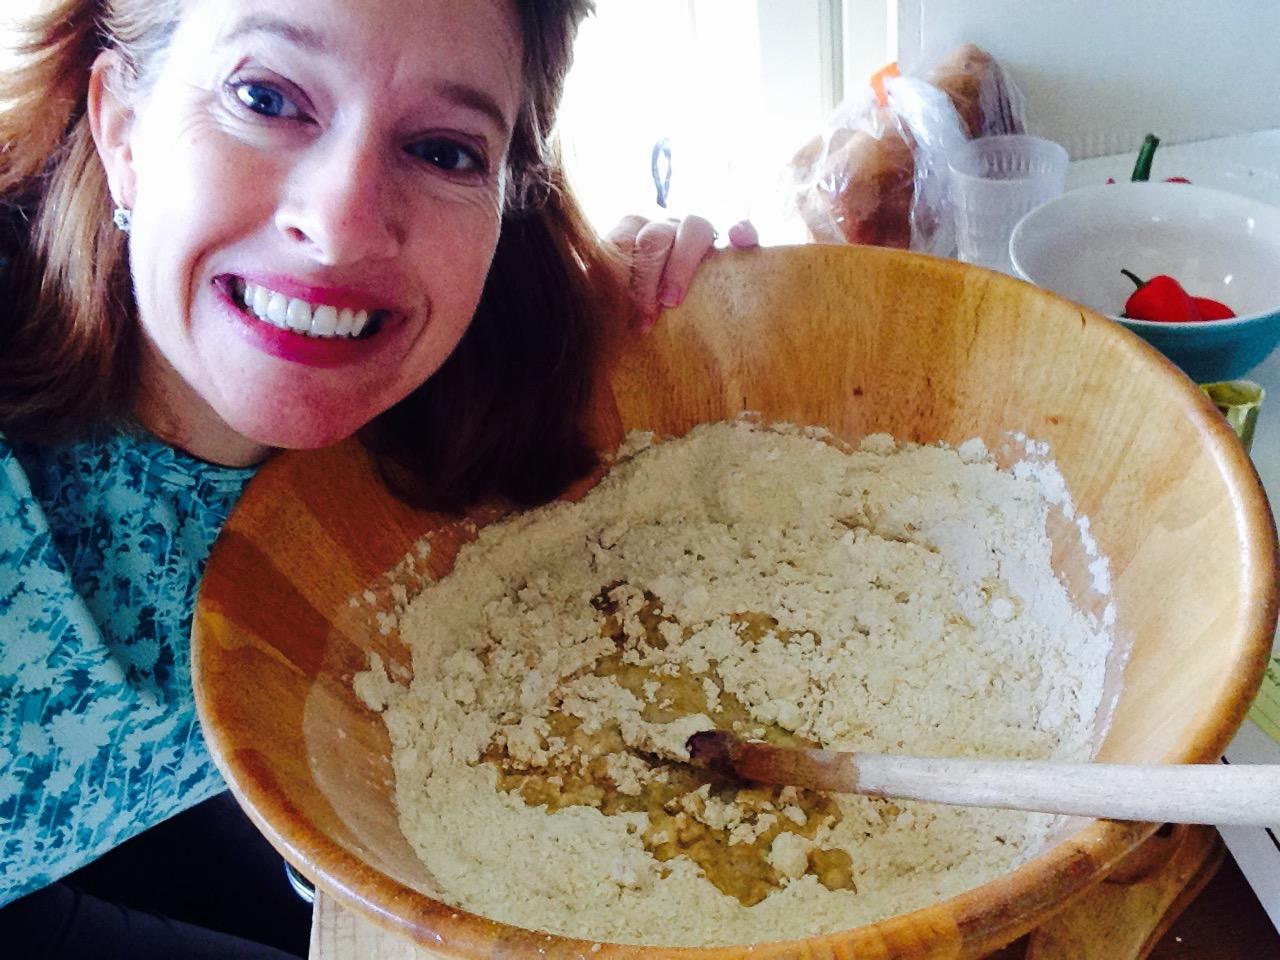
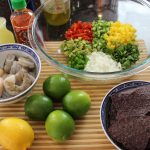
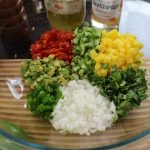
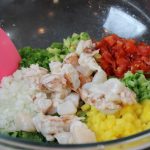
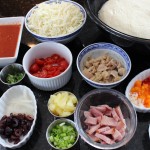
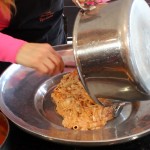
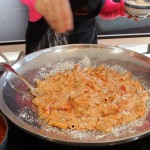
- Finely chop the tomatoes, jalapeno, sweet onion, cucumbers, mango and cilantro and set aside in a large bowl
- Drain all the liquid out from the shrimp and scallops and discard
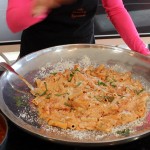
- Add the shrimp and scallops to the large bowl with the salsa, add in juice of 1 tbsp lemon juice, juice from 1 lime, 2 Tbsp olive oil, 2 Tbsp rice wine vinegar, dash of Siracha, salt and pepper to taste
- Put back into the fridge for 15 minutes for flavors to marry
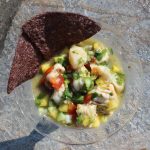
- Serve in martini glasses with blue chips…YUM!
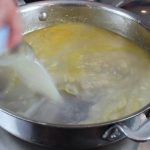
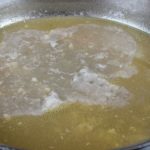
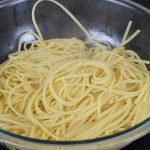
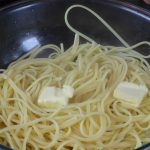
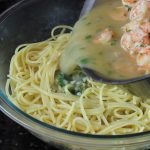
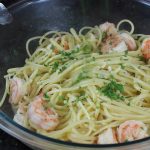
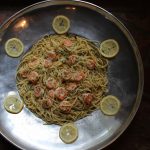
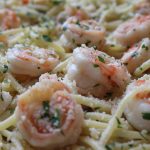
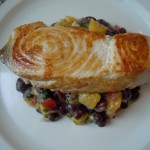
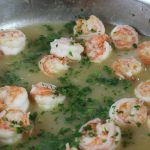 Shrimp scampi is one of those delicious dishes that’s sure to bring a smile to everyone’s face just on aroma’s alone! Shrimp sautéed in olive oil and butter with lots of garlic, shallots, clam broth, and white wine topped with fresh lemon juice, parsley and Parmesan make’s for a grand party atop a pile of linguine!


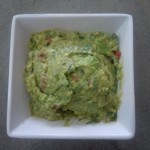


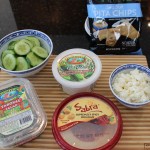
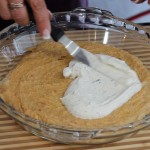
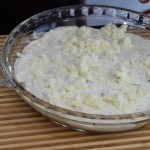
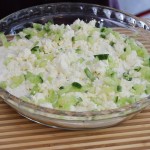
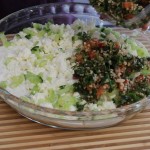
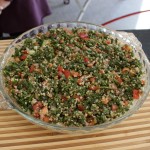
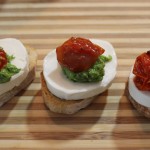
 This Mediterranean dip starts off with a layer of hummus, and continue’s on with layer’s of Tzatziki, crumbled sheep’s milk feta, chopped up European cucumber’s, and finally a layer of Tabouleh. Scoop up this delicious dip with cucumber slice’s, and, or pita chip’s. Granted, if you have a little extra time on your hands you could make one or two of the layers that go into the dip
 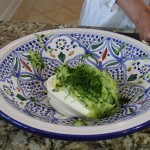 homemade like my