The Traveling Epicurean

Zuppa di Pesce on CT Style with Ryan, Teresa & Bella!

Zuppa di Pesce on CT Style with Ryan, Teresa & Bella!

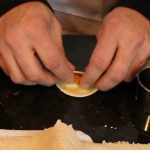
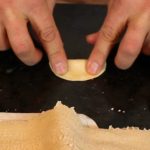
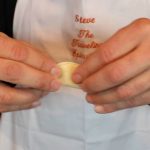
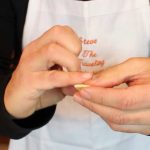
What an exciting day at the WTNH studio with Ryan, Teresa and my daughter Bella! Bella and her TV Studio class came in as guests to watch my cooking segment. Ryan, himself, gave them a tour making their experience extra special! It was a busy day in the studio so Bella’s class got to see a lot of action. Ryan and Teresa then invited them on camera for the finally of my segment! It was so nice to share what I do with my daughter and have her there first hand.

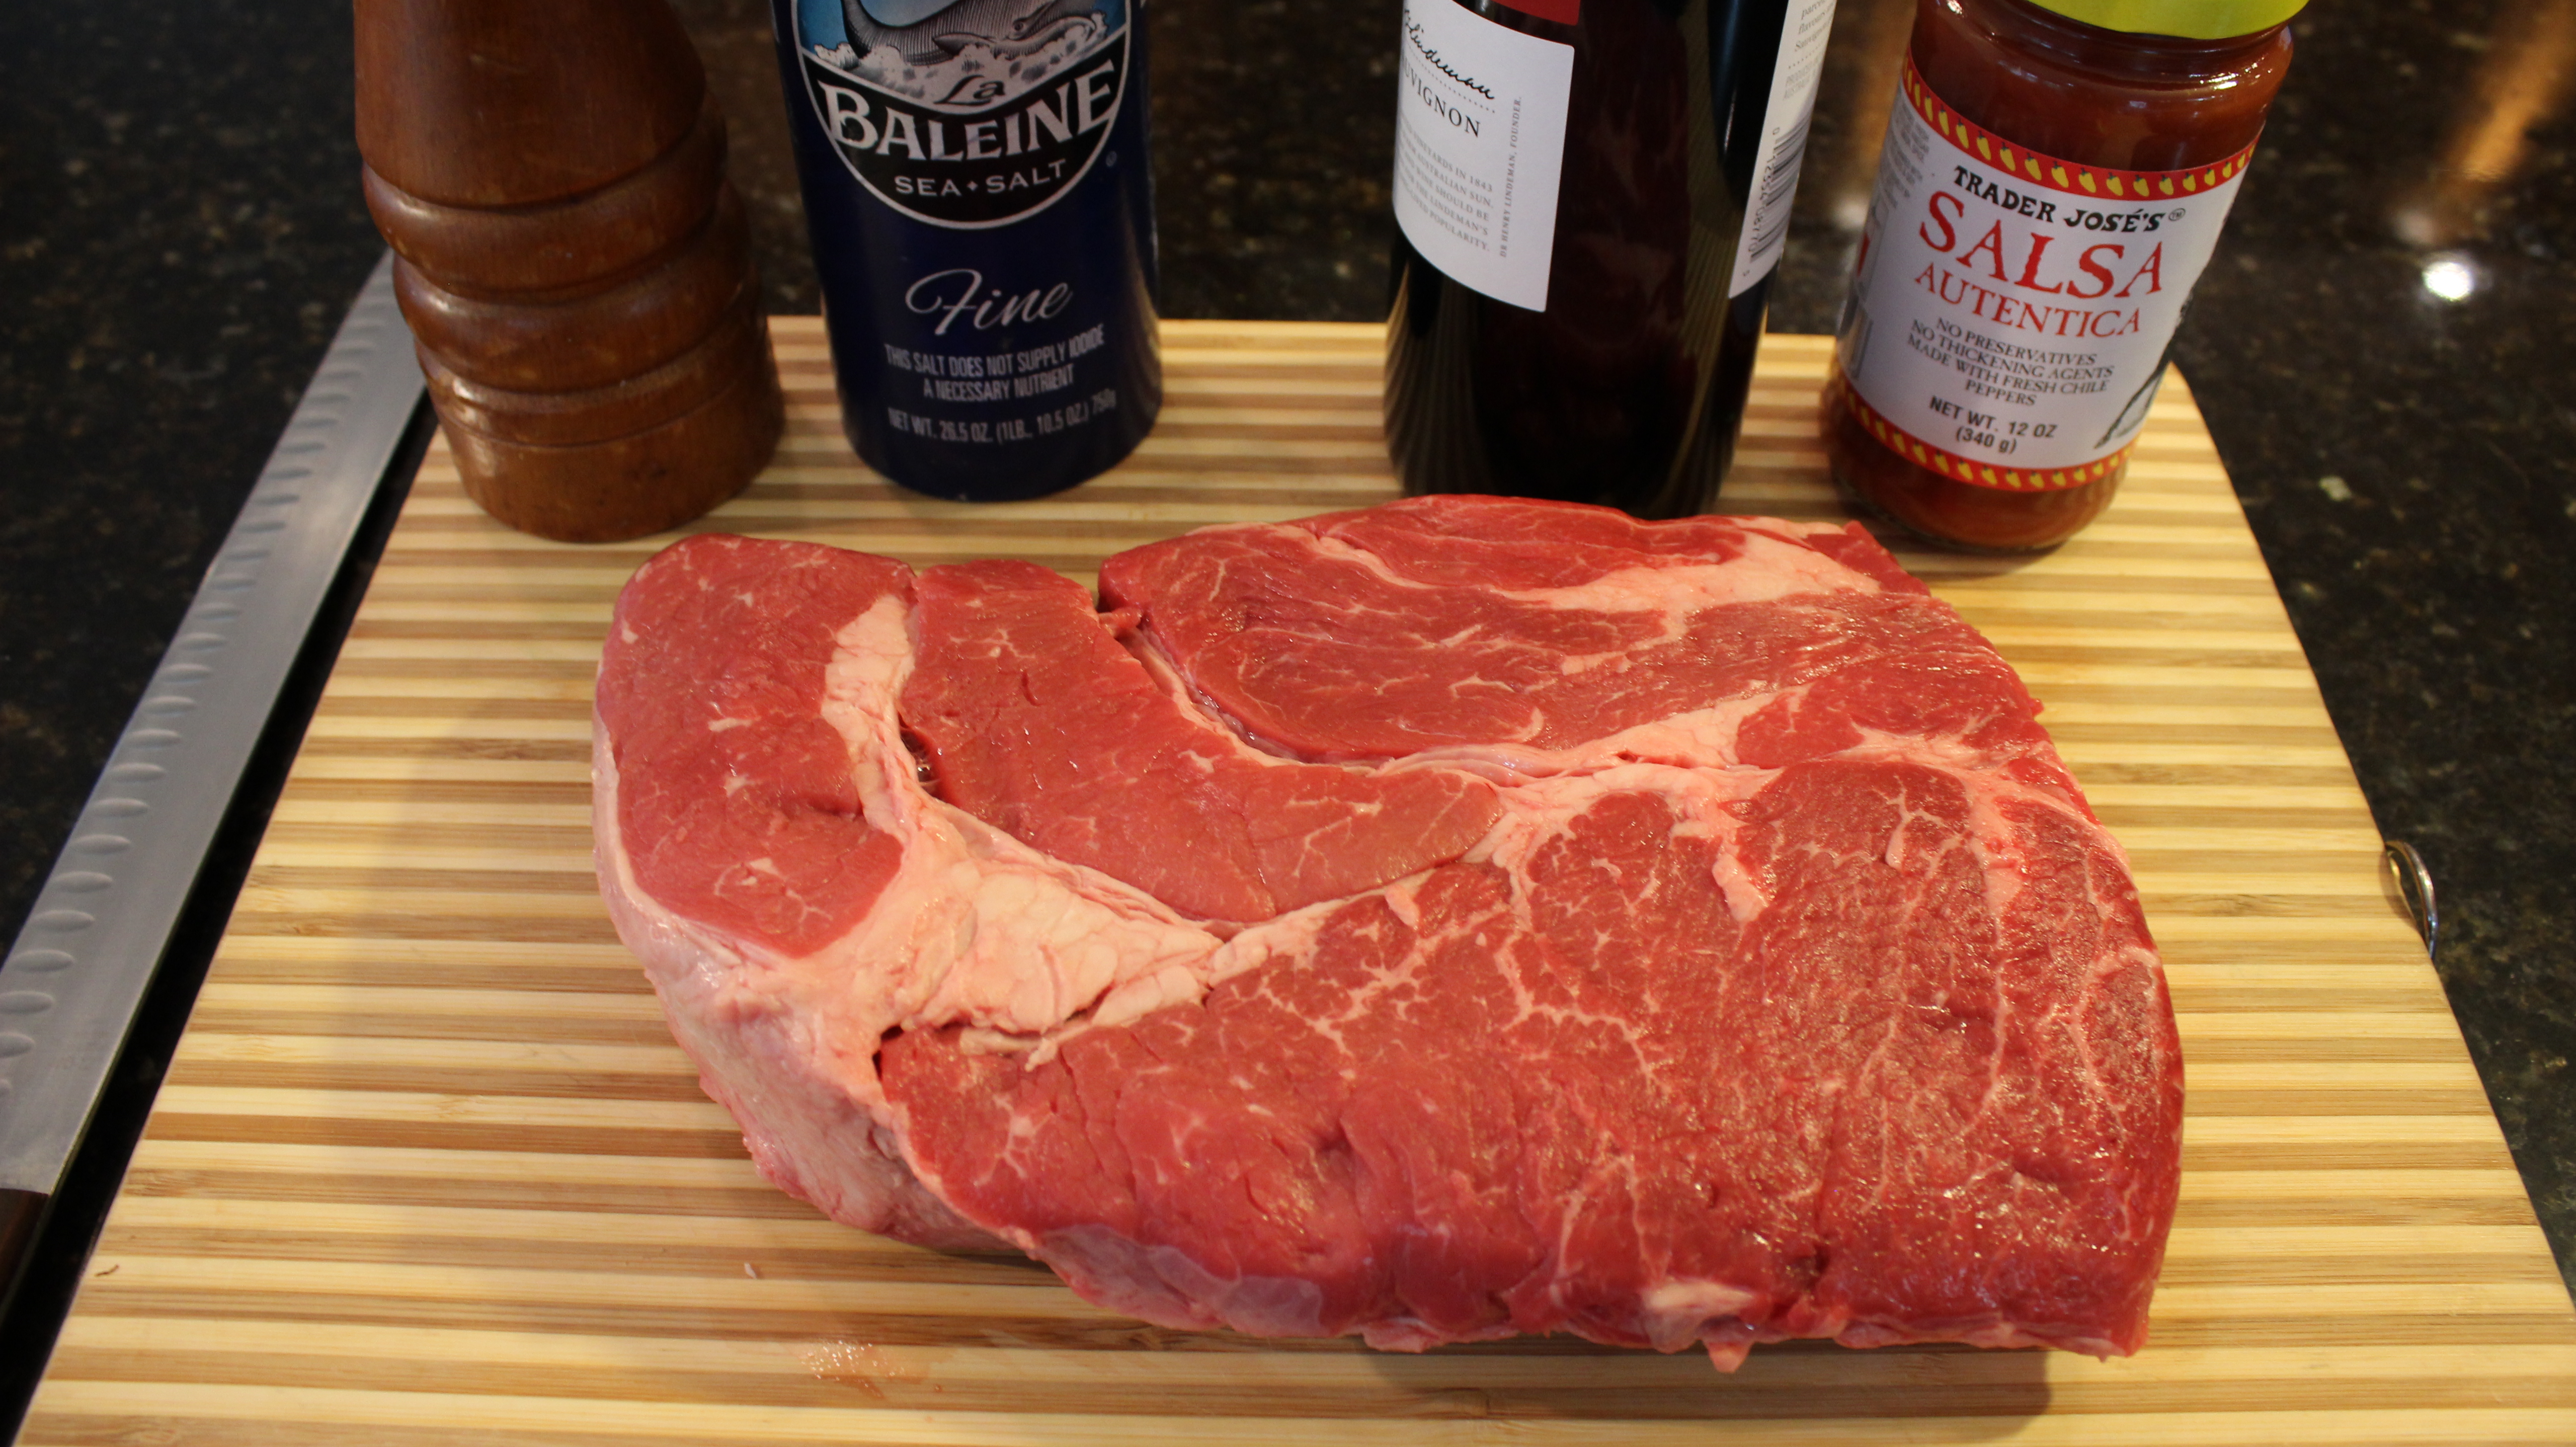
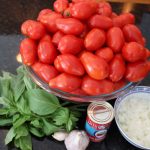
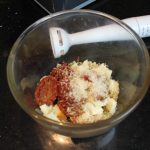
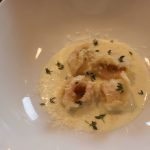
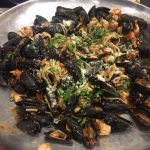
Zuppa di Pesce or The Feast of 7 Fishes was the theme of this cooking segment. I know we are already planning for the next holidays so wanted to share this really delicious Italian Christmas Eve tradition with you. Many families cook up a variety of fish and some have a specfic number to which there is a significant religious meaning. For example, the number 7 is the most frequently used number in the Bible, Earth was created is 7 days, there are 7 deadly sins, 7 sacraments or it could represent the 7 hills that surround Rome. Some families have 10 fishes for the 10 stations of the cross, and some have 13 fishes to represent the 12 Apostles and Jesus. What ever the number of fish you have it is supposed to serve as a lighter fare the night before the feast on Christmas day.

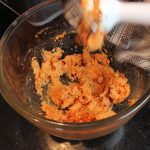
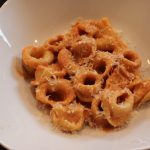
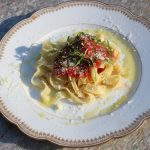
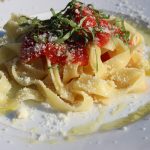
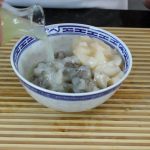
Serving this Zuppa di Pesce over linguine is my favorite way to eat it. It is also scrumptious served with garlic bread or sour dough toasts. Don’t get this dish confused with Cioppino. The tomato/wine 
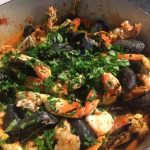
sauce base is the same between the two dishes but the fish are different. Cioppino has Dungeness crab and Zuppa di Pesce has the lobster. Basically, you use what ever fish is native to your area.

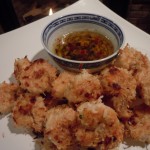
You may want to try a nice light and lemony dessert like Lemon Mousse with Ginger Cookie crumble or Berries in a Dreamy Cream, Death by Chocolate Meringue Pie, Thin Mint Chocolate Mousse Pie or Saltine Christmas Bark! Enjoy & Happy Holidays!


Zuppa di Pesce or The Feast of 7 Fishes

Evitic Ingredients: Serves 6 -8 people

  • 2-3 lbs. mussels (or small clams)
  • 1 lb. shrimp, peeled & deveined
  • 1 lb. scallops
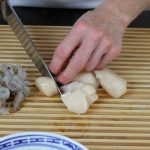
  • ½- ¾  lb. halibut, cod, snapper, salmon or similar cut into 2 “ cubes
  • 1/4 lb. calamari rings
  • 1 1/4 lb. pre-cooked lobster, shelled and sliced up into 1” pieces- NOTE: this is the only fish that is pre-cooked
  • 1 can chopped Snows Canned Clams
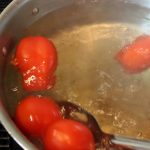
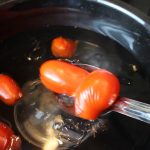
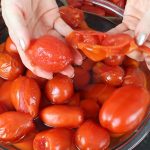
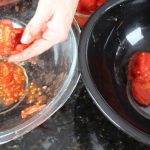
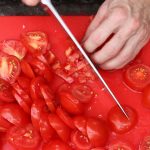
  • 1 -28 oz. can peeled whole tomatoes
  • 2 tbsp. tomato paste
  • 1 c. white wine
  • 1 c. red wine
  • 2- 8 oz. bottles clam juice
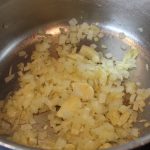
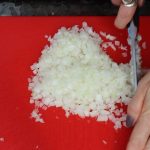
  • ½ c. finely diced Vidalia onion- 1 small onion
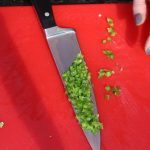
  • ¼ c. finely diced celery (1 stalk)
  • ¼ c. grated carrot (1 carrot)
  • 4 lg garlic cloves, smashed to sauté
  • ¼  cup olive oil
  • 1 tbsp. butter
  • 1/2 tsp salt and 1/4 tsp pepper for flavoring flour, plus ½ tsp salt to taste
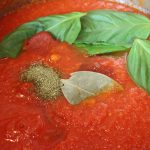
  • 1 bay leaf
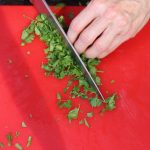
  • ½ c. freshly chopped parsley
  • ¼ c. chopped basil
  • ½ tsp ground, dried Italian seasonings
  • 2 tbsp. sugar
  • 1 tsp red pepper flakes or to taste
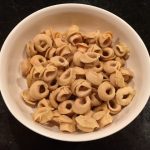
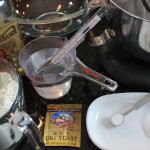
  • 1 lb. linguine pasta cooked to al-dente

Directions: Approx. 45-60 minutes to prep and cook

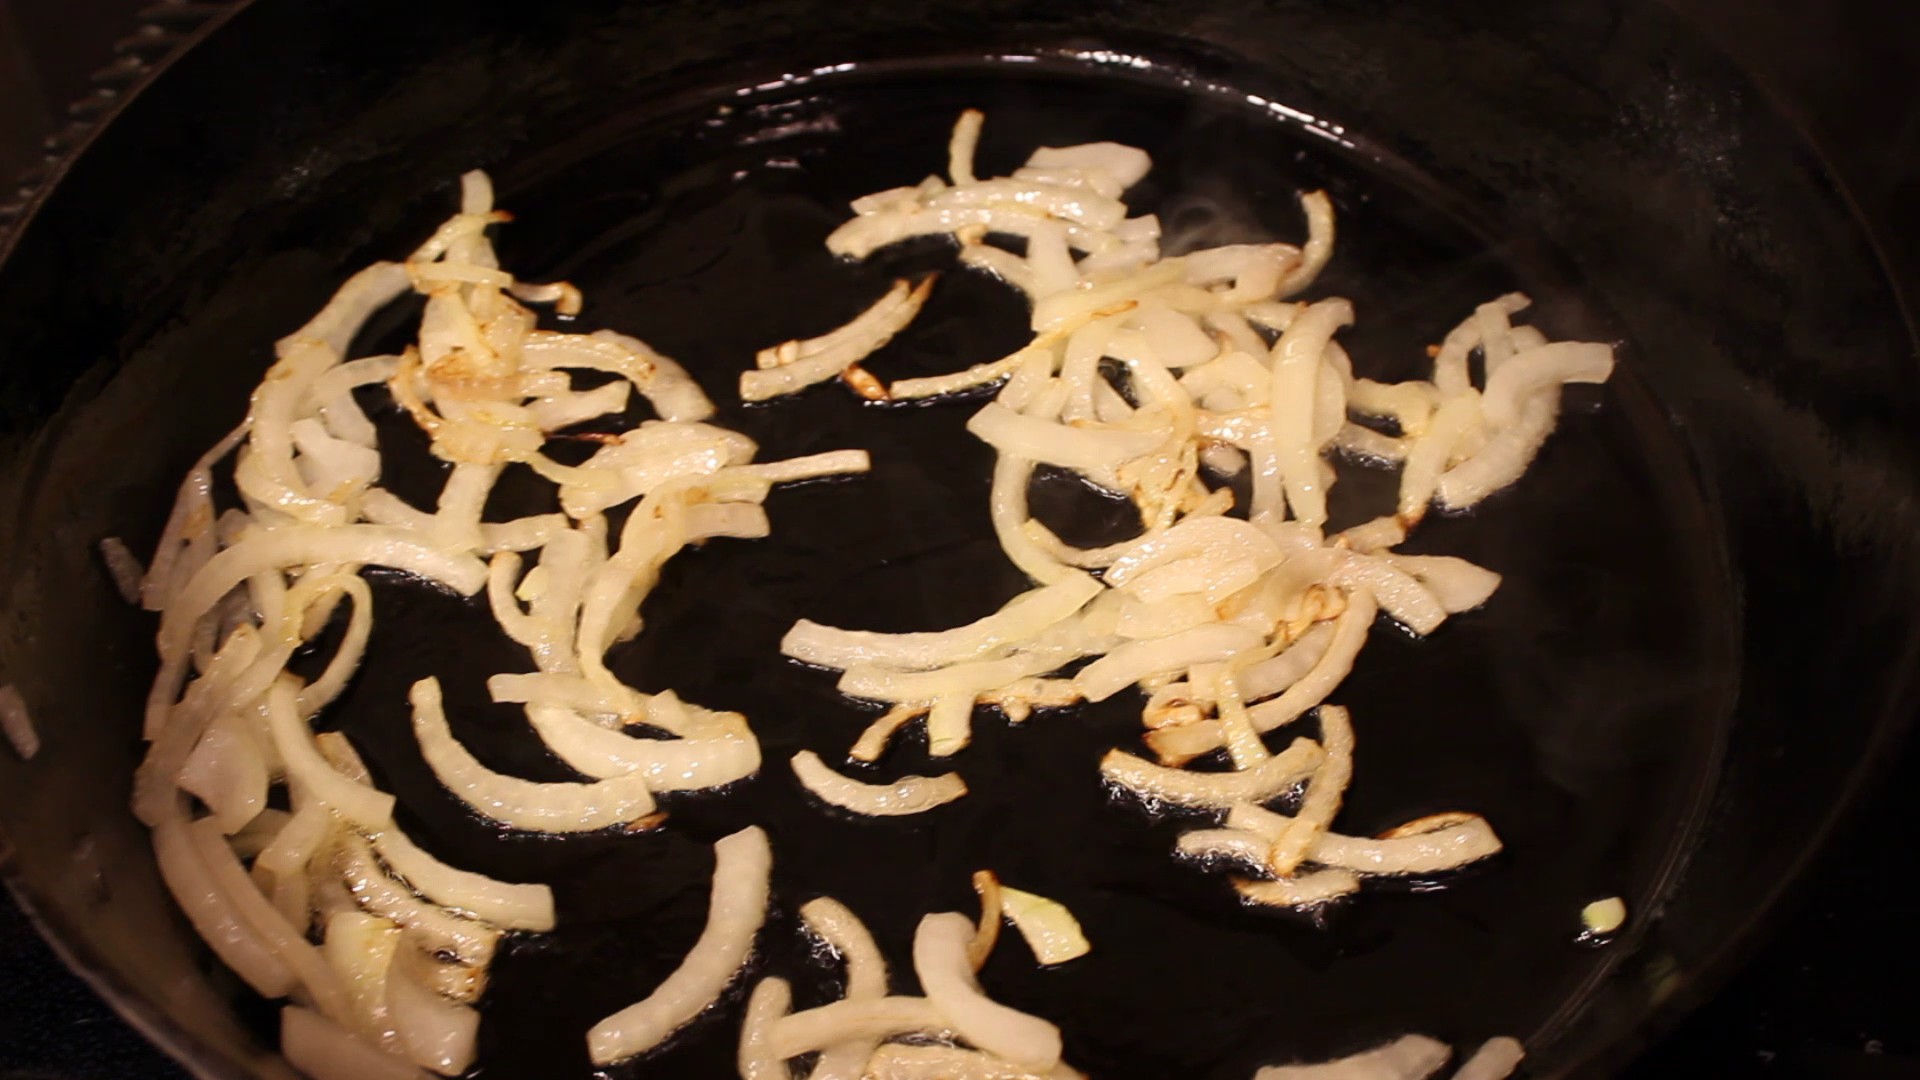
  1. Add 2-3 tbsp. olive oil and 1 tbsp. butter to large pot and begin to sauté crushed garlic cloves for 3 minutes
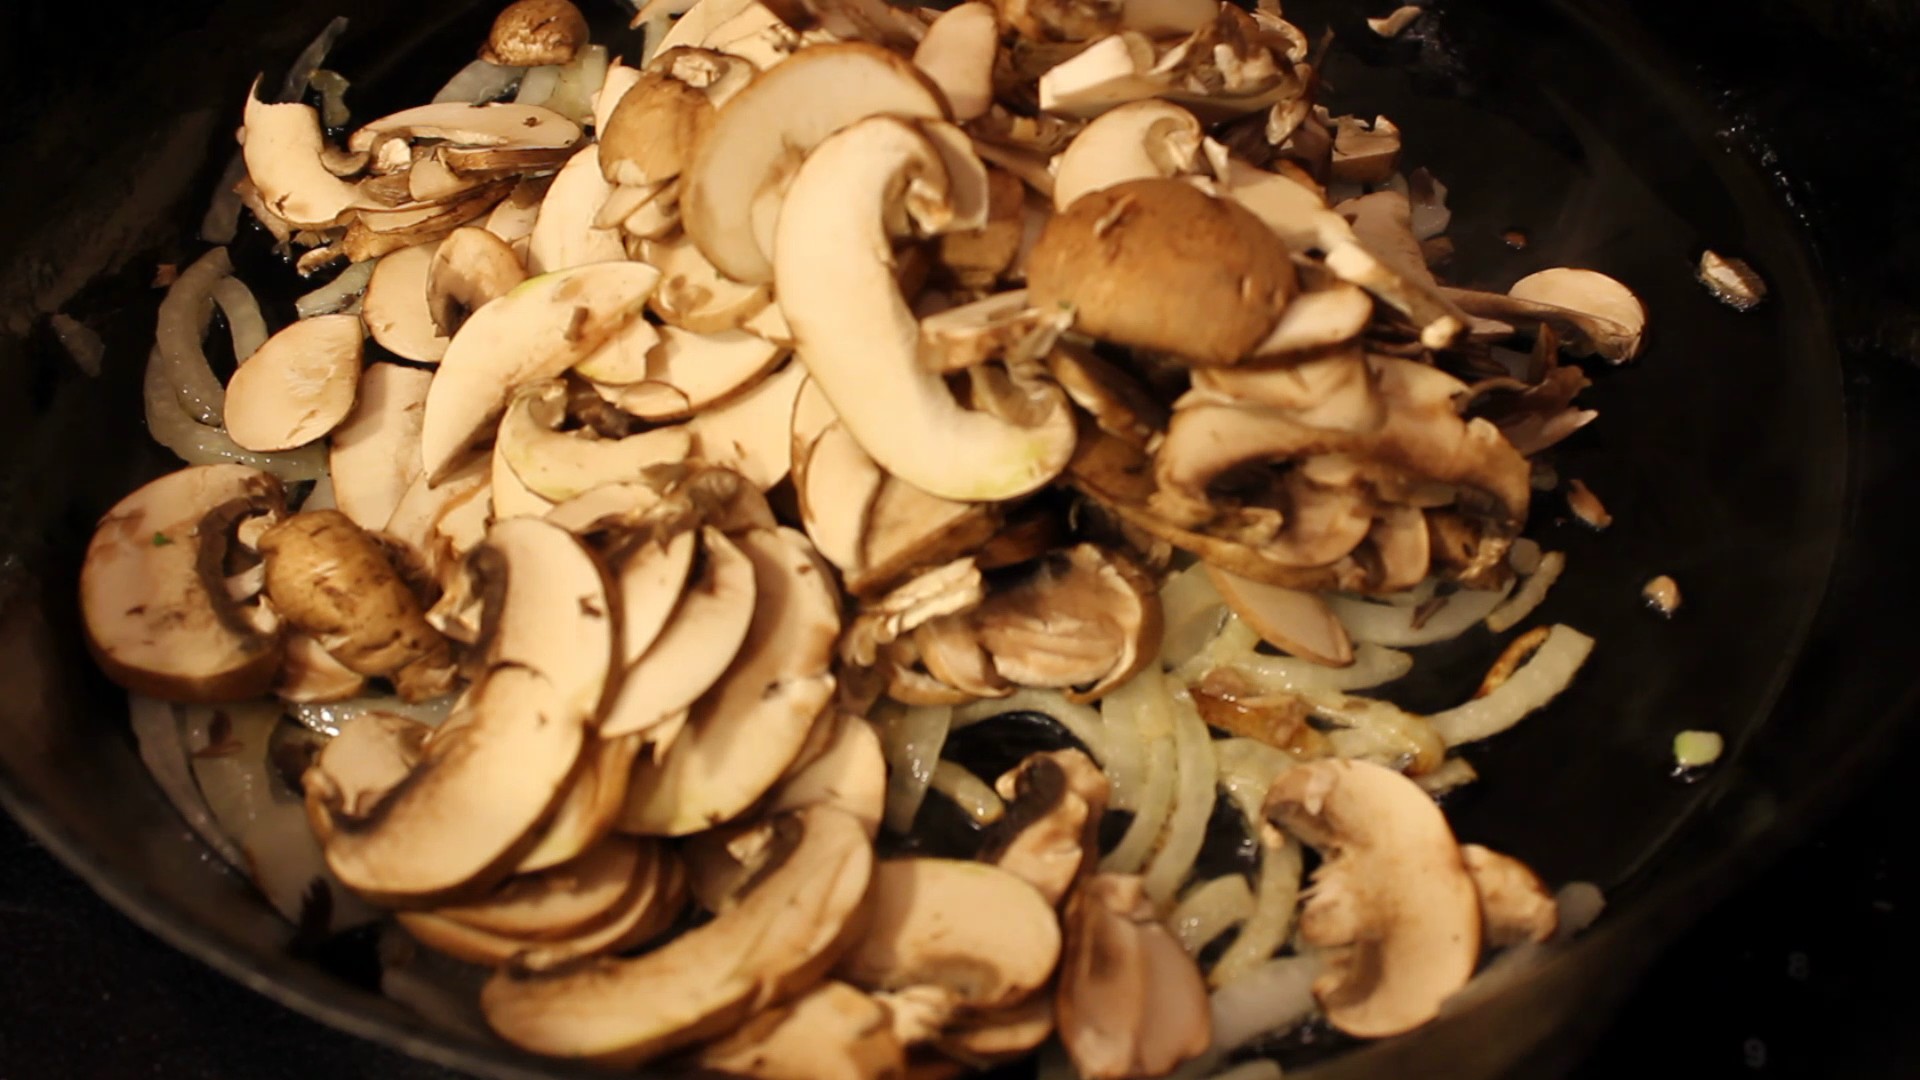
  2. Add in onion, celery and carrots and sauté until translucent approx. 7 minutes on medium heat
  3. De-glaze with 1/3 c. red wine and let reduce 1 minute
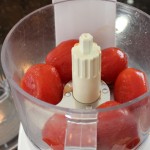
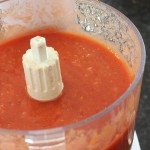
  4. Put these sautéed veggies into food processor with the whole peeled tomatoes and puree
  5. Add back to large pan with 2 tbsp. tomato paste, Italian seasonings, sugar and red pepper flakes, mix to combine
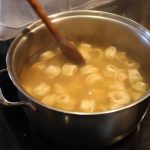
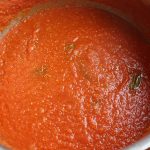
  6. Add in white wine, red wine and clam broth and bring to a simmer for 25-60 minutes on low bubbling simmer, the longer you simmer the more the developed flavor
  7. Begin to add fish to the simmering tomatoes …first the cod, simmer 2 minutes
  8. Then add in the raw shrimp, scallops, calamari and top with mussels
  9. Stir to combine before the fish begins to cook thru then…DO NOT STIR as the white flaky fish will fall apart
  10. COVER to help the steam cook all the fish
  11. Bring back to a low simmer for 3-8 minutes until all the mussels open
  12. Then add in the pre-cooked sliced lobster just to warm thru
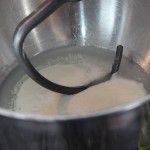
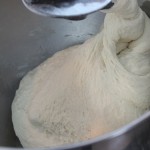
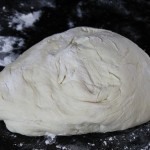
  13. Garnish with parsley and basil and a drizzle of olive oil and serve with linguine or serve in a shallow bowl with garlic bread or slices of toasted sour dough…mmmm!

CT Style in The Bender Kitchen with Summertime Recipes!

CT Style in The Bender Kitchen with Summertime Recipes!

Back on CT Style in The Bender Kitchen with Ryan Kristafer and Teresa Dufour this past Thursday morning!  I feel so fortunate to be working with such a wonderful group of people at WTNH Channel 8 who make it so fun to share The Traveling Epicurean recipes with all of you.

My goal for this segment was to show you a couple of creative and really delicious ideas for all your summertime produce. Panzanella and Berries in Dreamy Cream came to mind.

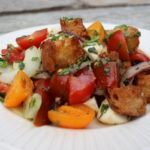
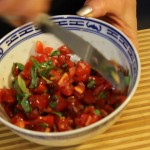
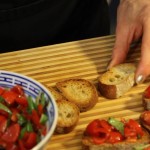
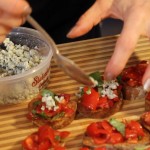
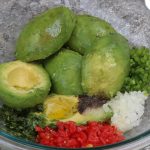
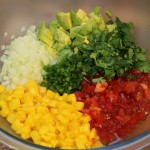
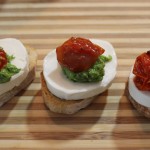
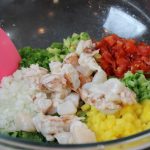
One of the wonderful things about making these dishes is the abundance and variety you have to choose from at the farmers markets in the summer. The incredible flavors in this Panzanella recipe go without saying. All the aroma’s from the fresh herbs, basil, parsley, thyme & oregano to the fresh vegetables like the heirloom tomatoes, garlic, cucumbers, red onions really get you salavating. The creaminess from the fresh mozzarella and the crunchy from the homemade croutons balance it all out.

As for the Berries in Dreamy Cream, you can whip this one up in a matter of minutes as well. I’ve been making this sauce for over 20 years and always get the same delightful response from guests after their first bite. You would never think that melting Fluff and cream cheese together could make such a delectable sauce on fresh berries. It’s a sensation you have to treat your self to and then you’ll know what I’m talking about.

For other scrumptious, easy go to summertime dishes you’ve got to check out my Salsa 101, Best Guacamole Ever, Zucchini Spaghetti,  Fresh Grarden Tomato Sauce or Roasted Garlic & Cannelini Bean Dip ! ENJOY!

Tortellini at The Gulla’s

Tortellini at The Gulla’s

You know this labor of love is so worth the effort when you taste how tender and flavorful these homemade tortellini are! The delicate, circular shaped pasta are stuffed with a purée of sundried tomato, mozzarella, and Reggiano Parmesan and served in one of my all time favorites, a tomato-cream sauce.  I introduced Steve to another easy and scrumptious sauce, Gorganzola Dolce-Cream Sauce that’s garnished with fresh thyme and a drizzle of truffle oil! 

This past weekend I was at The Gulla’s house with Steve and his son Maximo making their homemade tortellini. Steve dedicates a few hours every Christmas Eve making these little gourmet bites for his family’s Christmas dinner. Making these tortellini is definitely a labor of love because you are creating each little amazing folded bundle of pasta by hand.

Having a Smart pasta machine like Steve’s really cuts down on the labor of making tortellini as the pasta comes out of the machine in long ready-made sheets in mere minutes. It’s a very cool process putting out smooth sheets of pasta in 3 minutes flat but you can also learn to make Steve’s tortellini using homemade pasta too if you don’t own an Smart pasta machine. I have a homemade pasta recipe below for all of us without a pasta machine who don’t want to miss out on learning how to make these incredible tortellini.

As Italian legend goes on how the shape of the tortellini came about dates back to the days when Venus, the Goddess of Love, was traveling to a small town in Italy between Modena and Bologna. She was staying at a tavern where the Innkeeper was so taken by her beauty he peeked thru the key to her room one night and got a glimse of her navel. He rushed to the kitchen and created a pasta in the likeness of her belly button. And that’s how the shape of the tortellini came about, the belly button pasta! Who Knew?

While you are working hard forming these wonderful tortellini you may need a little sip of something to get you through like a Metaxa Mojito! And for easy nibbles you can pick on some Mango Salsa, Sweet Potato Fries and Green Goddess Dip II,  Best Guacamole Ever or some delicious Mediterranean Layered Dip!

INGRDIENTS for making PASTA in The Smart Pasta Machine:

  • 3 parts flour
  • 1 part semolina
  • 180 ml OR 3/4 cup of water for 2 lbs flour in pasta machine
  • 1 egg and 1 tsp water whisked in a small bowl – set aside until ready to form tortellini

INGREDIENTS for Sun-dried Tomato FILLING:                                                                                         NOTE: THIS FILLING IS UNBELIEVEABLY DELICIOUS!…try it on crostini OR on crusty bread!

  • 1/2 cup sun dried tomatoes
  • 1/2 cup mozzarella – whole milk or part skim
  • 1/4 cup grated Reggiano Parmesan
  • 2-3 tbsp olive oil

Purée these ingredients with an immersion blender or add to food processor and pulse. Start with 2 tbsp of olive oil and add a little extra if needed to purée til smooth texture

DIRECTIONS FOR FORMING THE TORTELLINI WITH SHEETS OF PASTA MADE FROM THE PASTA MACHINE:

  1. Begin to cut 2″ circles with your cookie cutter out of the machine made sheets of pasta
  2. Brush top 1/2 of the circle edge with a whisked egg
  3. Place 1/4 tsp of sun dried tomato filling in the middle of the circle pasta
  4. Fold the circle in 1/2
  5. Press to SEAL the 1/2 circle of pasta…VERY IMPORTANT to SEAL this edge!
  6. Take 1/2 circle and wrap around your pinky having each end meet
  7. Press these two ends together to seal and form one continous circular shape
  8. Fold down top of circular pasta to form tortellini
  9. Place in a bowl as you finish each one until you gone thru all the pasta sheets
  10. Bring large pan of salted water to a boil and add fresh pasta
  11. Cook pasta for 8 minutes, test pieces of pasta for proper doneness
  12. Serve with tomato-cream sauce or Gorganzola Dolce-cream sauce, garnish with thyme and truffle oil … mmm!

INGREDIENTS FOR TOMATO-CREAM SAUCE:

  • 2 cloves finely chopped garlic
  • 1/2 tsp salt
  • 1/4 tsp dried oregano
  • 3 1/4 cup POMI “strained tomaotes” – 1 med box – 26 oz.
  • 2 cups heavy cream
  • 2 tbsp olive oil

Sauté finely chopped garlic in 2 tbsp olive oil for 3 minutes, add in POMI strained tomatoes, salt & oregano and simmer for 15 minutes. Add in 2 cups of heavy cream to tomato sauce. Bring to a simmer for 15 miutes more. Serve with cooked tortellini, garnish with fresh thyme (and truffle oil.

INGREDIENTS FOR GORGANZOLA DOLCE-CREAM SAUCE:

  • 2 cups heavy cream
  • 1/4 cup Gorganzola Dolce cheese
  • 1/4 cup dry vermouth
  • fresh thyme leaves
  • truffle oil

Add heavy cream, Gorganzola, and vermouth to a small sauce pan and bring to a simmer. When it comes to a simmer whisk the melted cheese into the cream and simmer 10 minutes. Serve with tortellini, garnish with a sprinkle of fresh thyme leaves and a drizzle of truffle oil.

INGREDIENTS for Easy Homemade-Handmade Pasta- (Recipe from “Pasta at Vin’s“)

  • 2 1/2 cups all purpose flour
  • 1/4 cup olive oil
  • 4 1/2  – 5 lg eggs
  • 1/4 tsp salt

DIRECTIONS:

  1. Put the kneading attachment on your food processor and add the flour
  2. Add the salt and olive oil
  3. Turn on the food processor to slow
  4. Add in 1 tbsp of water
  5. Begin adding in 1 egg at a time with the processor still on slow
  6. Add in the rest of the eggs
  7. Keep the food processor going on medium speed to begin kneading the dough
  8. Let knead for about 8 minutes until the texture turns into a smooth consistency
  9. Remove the pasta dough and place onto the counter
  10. Knead briefly with your hands and let sit for 1/2 hr.
  11. NOTE: Vin does not cover his pasta dough while it sits for the 1/2 so it can begin to dry out  a little bit
  12. Sprinkle some flour onto the counter or work surface and cut pasta dough into 8 pieces
  13. Begin to roll out each piece of dough to your desired thickness, into long lasagna-like sheets
  14. Sprinkle more flour on top of each thinly rolled out pasta piece and begin to cut out 2″ circles with your cookie cutter
  15. Brush top 1/2 of the circle edge with a whisked egg
  16. Place 1/4 tsp of sun dried tomato filling in the middle of the circle pasta
  17. Fold the circle in 1/2
  18. Press to SEAL the 1/2 circle of pasta…VERY IMPORTANT to SEAL this edge!
  19. Take 1/2 circle and wrap around your pinky having each end meet
  20. Press these two ends together to seal and form one continous circular shape
  21. Fold down top of circular pasta to form tortellini
  22. Place in a bowl as you finish each one until you gone thru all the pasta sheets
  23. Bring large pan of salted water to a boil and add fresh pasta
  24. Cook pasta for 8 minutes, test pieces of pasta for proper doneness
  25. Serve with tomato-cream sauce or Gorganzola Dolce-cream sauce, garnish with thyme and truffle oil … mmm!


Fresh Garden Tomato Sauce

Fresh Garden Tomato Sauce

When the aroma from your fresh garden tomato sauce smells exactly like a tomato plucked right out of your garden on a sultry summer day you know you have the right recipe! With all the beautiful weather we have had this summer everyone has an abundance of produce coming out of their garden’s. What a better way to dive right in and try your hand at making your very own tomato sauce. And when you taste how delicious the puréed tomatoes are as a raw sauce you may just stop right there. After that first taste of the raw tomato sauce there might not be any left over to go to the next simmering step!

I was very excited when some friend’s of mine, Becky and Mike, offered up a large bag of their fresh garden plum tomatoes. I knew I wanted to make fresh garden tomato sauce with them right off the bat. This is a bit nastalgic for me because it reminds me of when my mother used to make fresh garden tomato sauce for us when I was young.

It’s really an easy process of peeling, seeding and then puréeing the tomatoes with some sautéed onions and garlic. The more tomatoes you have the longer it well take but it’s so worth it. The fact that you can freeze the sauce for a later date makes it all worth while! What I love about making this fresh garden tomato sauce, other then the fact that it smells utterly amazing, is it’s just as delicious eating it raw as cooked. In fact, when I make this I can’t decide which I like better so I continue on to make both cause it’s so darn simple to do that once you are in the process.

Once you see how easy to make your own sauce it may become a new family staple for you. You just might get inspired to make it a family affair having everyone join in to make homemade gnocchi or zucchini pasta too. Don’t forget the gourmet Caesar salad and then of course there’s an amazing ricotta pie or go for the death by chocolate meringue pie!

IMG_7868

zucspaghetti

DSCN4572-300x225

IMG_7641

IMG_8098


img_8165 fresh-core freshboil

freshice freshskin freshseeds

img_8215 freshpuree img_8249

img_8258 img_8240 img_8241

Ingredients:

  • 91 fresh garden tomatoes OR as many as you have
  • 1 tbsp sea salt, LESS if you have a smaller amount of plum tomatoes
  • 1/4 tsp finely ground pepper
  • 5 lg fresh basil leaves
  • 1 lg dried bay leaf
  • 1 tbsp sugar
  • 1/3 cup red wine – for the simmered sauce
  • 1 tsp finely ground Italian seasoning
  • 1 small Vadalia onion finely chopped
  • 4 extra lg OR 6 medium size garlic cloves
  • 1 tbsp tomato paste
  • 1/4 cup white wine to de-glaze the sautéed onions and garlic

Directions:

  1. Bring a large pot of water to a boil adding in 1 tbsp of salt
  2. Core the stem side of all your tomatoes
  3. Get a large bowl of ice water ready to put the tomatoes in after you blanch them
  4. Add plum tomatoes to boiling water, 25-30 at a time and blanch for 30-45 seconds, it’s totally fine if it goes past 45 seconds cause it’s going to take you a minute or two to scoop the tomatoes out
  5. Remove the tomatoes from the boiling water and submerse into the ice water
  6. Repeat until you have gone thru all your tomatoes
  7. Begin to remove the loosened skins from the tomatoes then placing into another bowl as you go
  8. Cut or tear tomatoes in half with your hands and remove most of the seeds putting pulp in one bowl and tomato flesh in another
  9. Spoon off any excess water that rises to the top of the bowl with all the tomato flesh
  10. Sauté chopped onion and garlic cloves til tranlucent
  11. De-glaze onions and garlic with 1/4 cup white wine
  12. Let the alcohol burn off and reduce slightly
  13. Begin to purée tomatoes and sauteed onions in the food processor in batches
  14. Add the puréed tomatoes/onions back into the large pan that you blanched the tomatoes in as you go along
  15. When done puréeing add salt and pepper to taste and voilà there is your raw sauce
  16. FOR RAW SAUCE: top pasta with raw sauce and sprinkle some fresh julienned basil, Parmesan and a drizzle of extra virgin olive oil
  17. FOR COOKED SAUCE: Put the pot of puréed tomatoes/onion back on the stove and add in the 5 extra lg fresh basil leaves, bay leaf, sugar, Italian spices, red wine and simmer for 1-2 hours…mangia mangia!!

Salsa 101


Salsa 101

When you learn to make my basic salsa 101 there will be no stopping you! It’s packed with flavor from the juicy summer tomatoes, sweet Georgia Vidalia onions, add in some fresh squeezed limes, chopped cilantro and jalapeño and you have yourself a fiesta!

When you know how to make a basic salsa the world your oyster! No food pun intended here, but seriously! From this salsa 101 recipe you can totally make it yours by adding in 1/2 cup of avocado, mango, pineapple or even cucumbers. Don’t be afraid to try adding your favorite’s to the basic recipe because that is how you learn to create, to taste different flavors. You can even try adding 1 cup of black beans to the salsa! YUM! Have fun and enjoy:)

Adding in the extra virgin olive oil and “seasoned” rice wine vinegar with the fresh squeezed limes keeps my salsa delicately balanced where one flavor isn’t over powering another. I love using the Georgia Vidalia onions because they are so sweet! If you are not a big onion fan these will surprise you for sure. You could also cut back on the amount of chopped onions even though I believe it’s a perfect amount in my salsa 101 when “finely” chopped. The beautiful thing about the salsa 101 recipe is you can use what ever tomatoes you want from heirlooms, to grape, to cherry, tiger tomatoes …what ever your little heart fancies!

You should try  Pulled Beef Taco’s to go with my salsa 101, or Zucchini Spaghetti, Roasted Garlic Bean Dip, or even Homemade BBQ Sauce on chicken wings and then end it with Drunk Blondies & a Bourbon Caramel Sauce and you will be The Belle of the Ball at your party!

IMG_3234 zucspaghetti dipshrimp IMG_7091 IMG_6622

IMG_7440 salsaonion salsatom

salsajala salsacilan IMG_7458

IMG_7475 IMG_7479

Ingredients:

  • 2 heaping cups – (12 Compari tomatoes-these are a med/small size, can use Heirloom tomatoes, cherry, grape …your favorite tomato!  finely chopped
  • 1 packed cup – 1/2 of extra large Vidalia onion finely chopped
  • 2 tbsp – 1/2 lg jalapeño extra finely chopped
  • 1 cup cilantro coarsely chopped
  • 2 tbsp extra virgin olive oil
  • 1 tbsp “seasoned” rice wine vinegar
  • 2 tbsp fresh squeezed lime juice – 1 lime
  • 1/2 tsp sea salt
  • 1/4 tsp pepper
  • OPTIONAL: dash of Siracha Hot Sauce or Franks or Tabasco

Directions:

  1. Finely chop tomatoes, Vidalia onion, jalapeño and cilantro
  2. Add to a large bowl
  3. Roll lime to get the juices flowing and squeeze over chopped veggie’s
  4. Add s & p, olive oil and seasoned rice wine vinegar
  5. Toss and serve with chips, chicken, fish, beef or pork!
  6. NOTE: Now that you have an incredible tasting basic salsa be creative and add 1/2 cup of chopped avocado, mango, pineapple, black beans, or cucumbers…Mangia Mangia!

Shrimp & Scallop Ceviche


Shrimp & Scallop Ceviche

mixedceviche
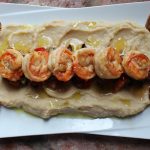
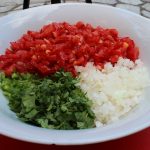
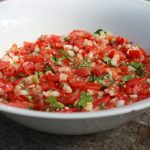
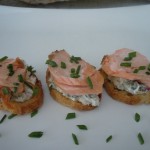
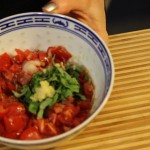
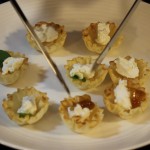
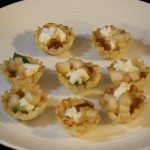
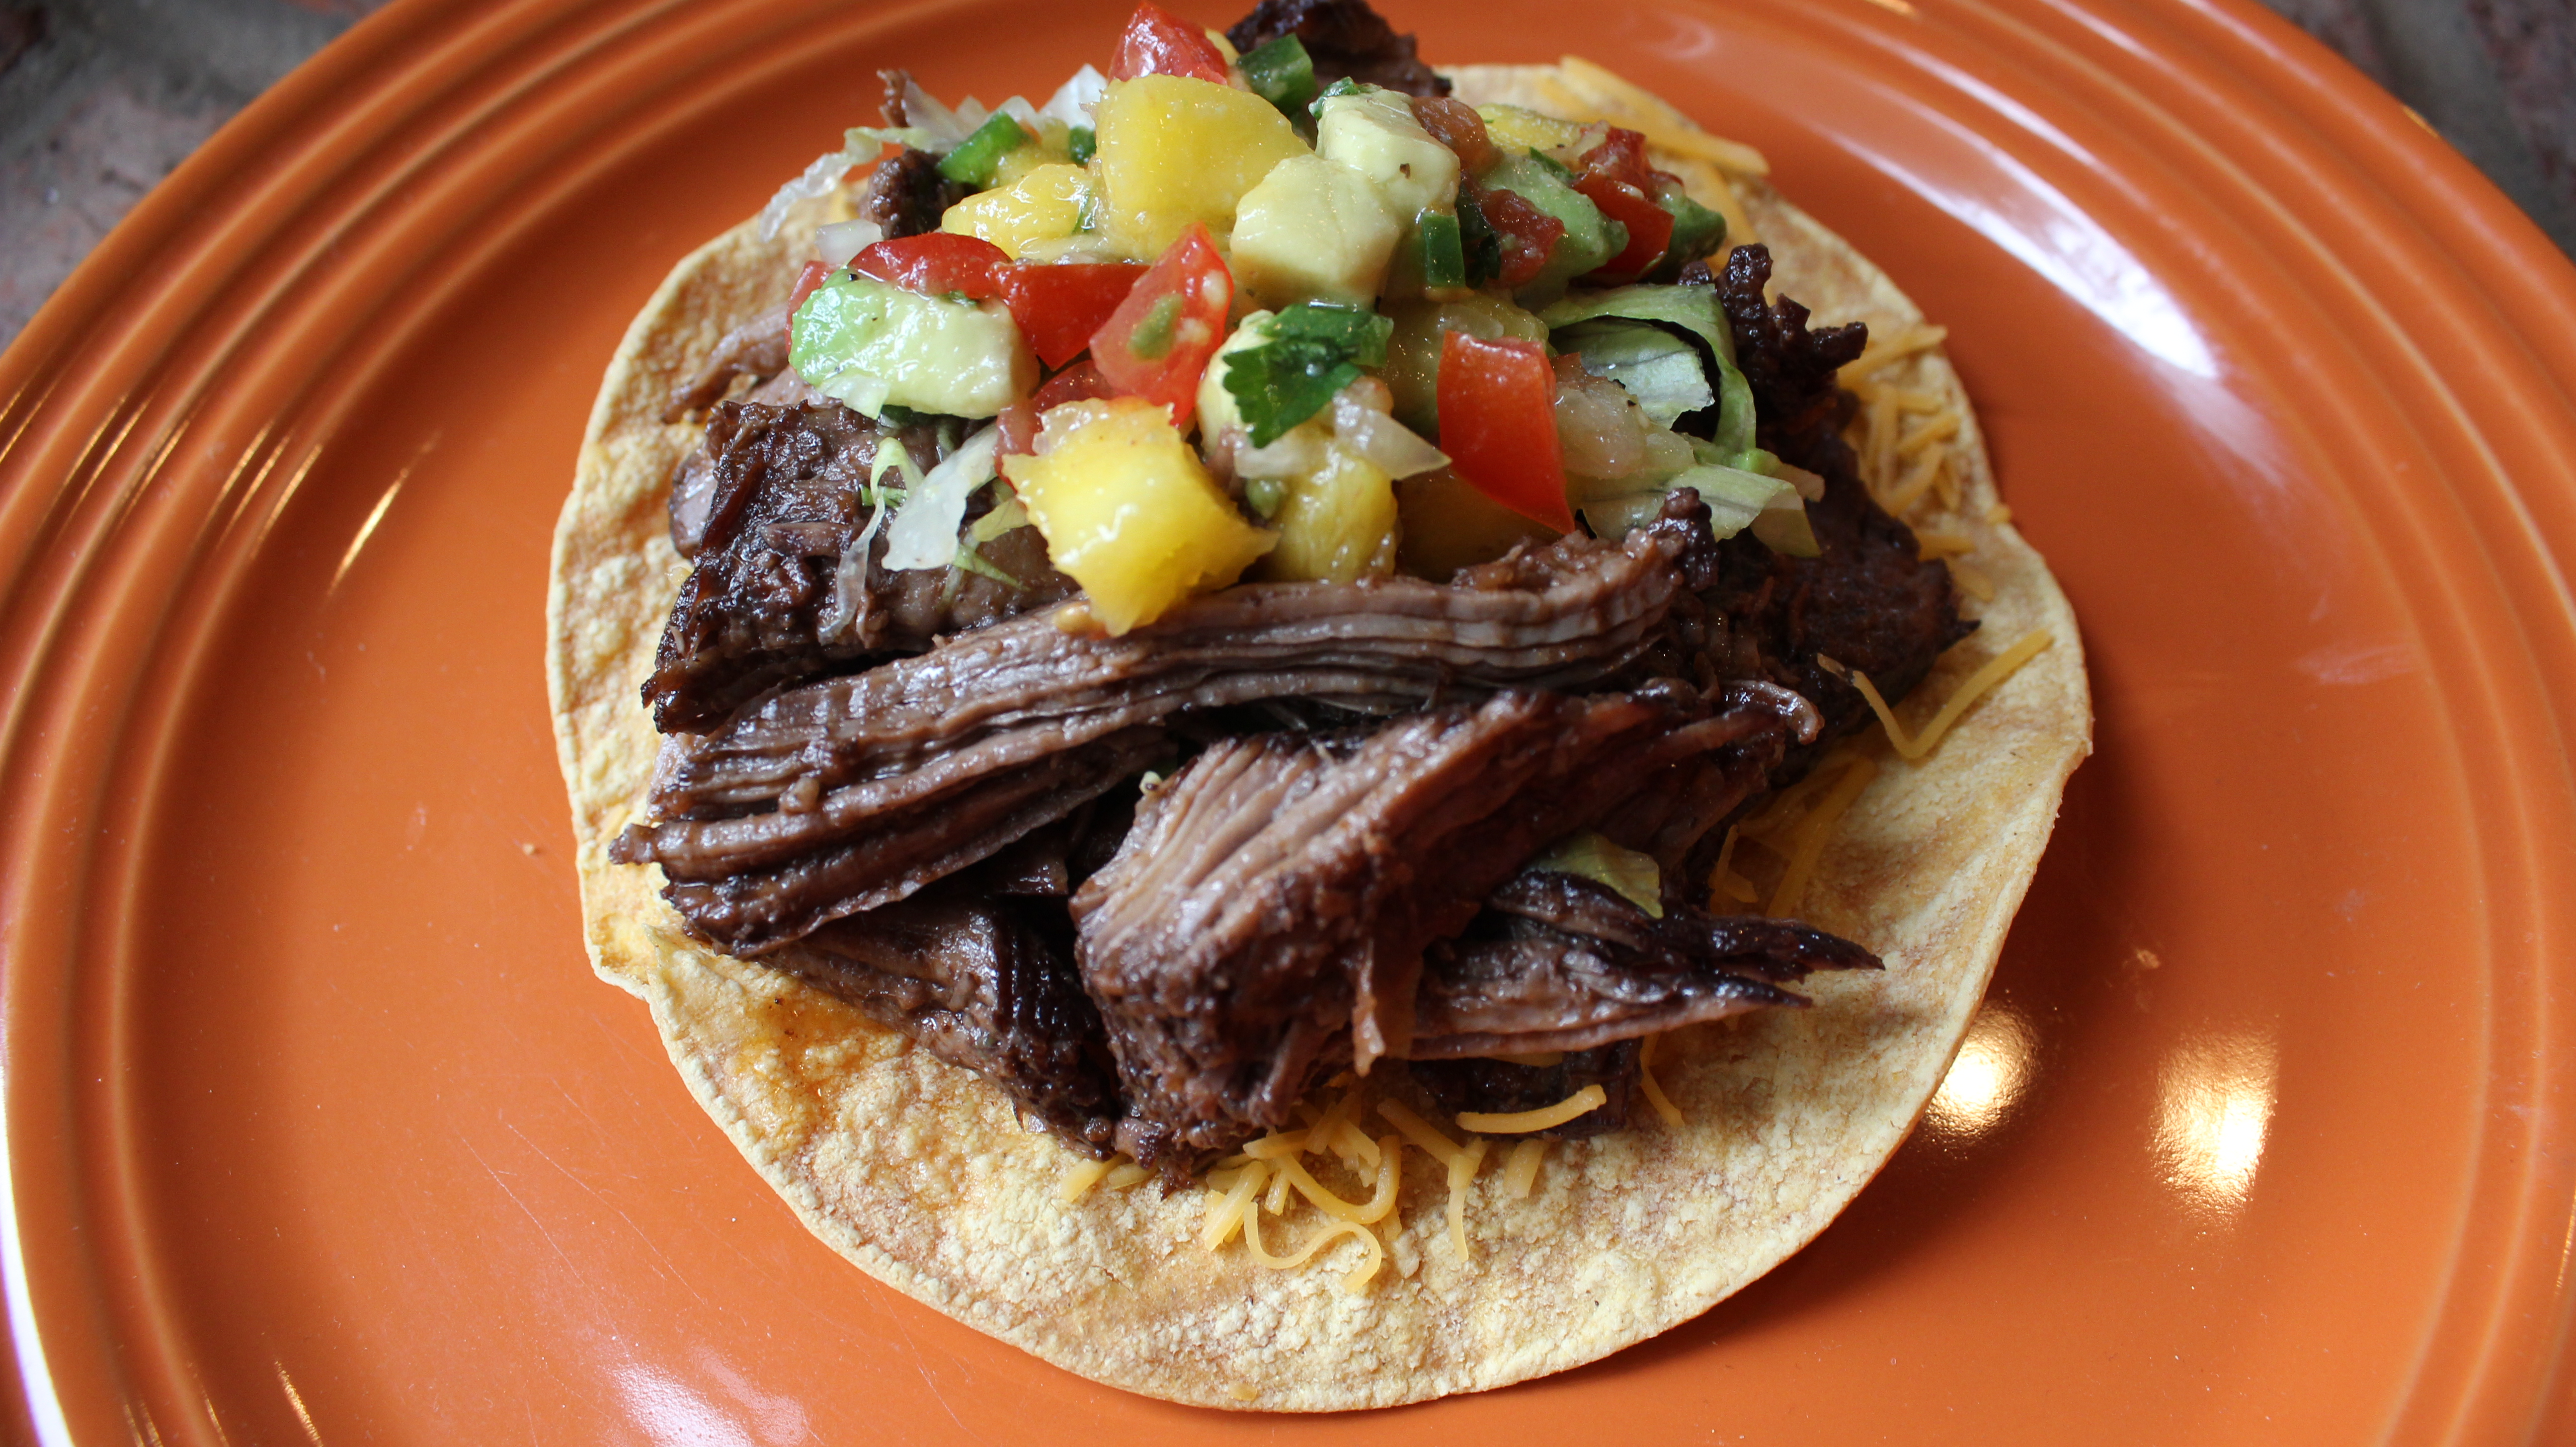
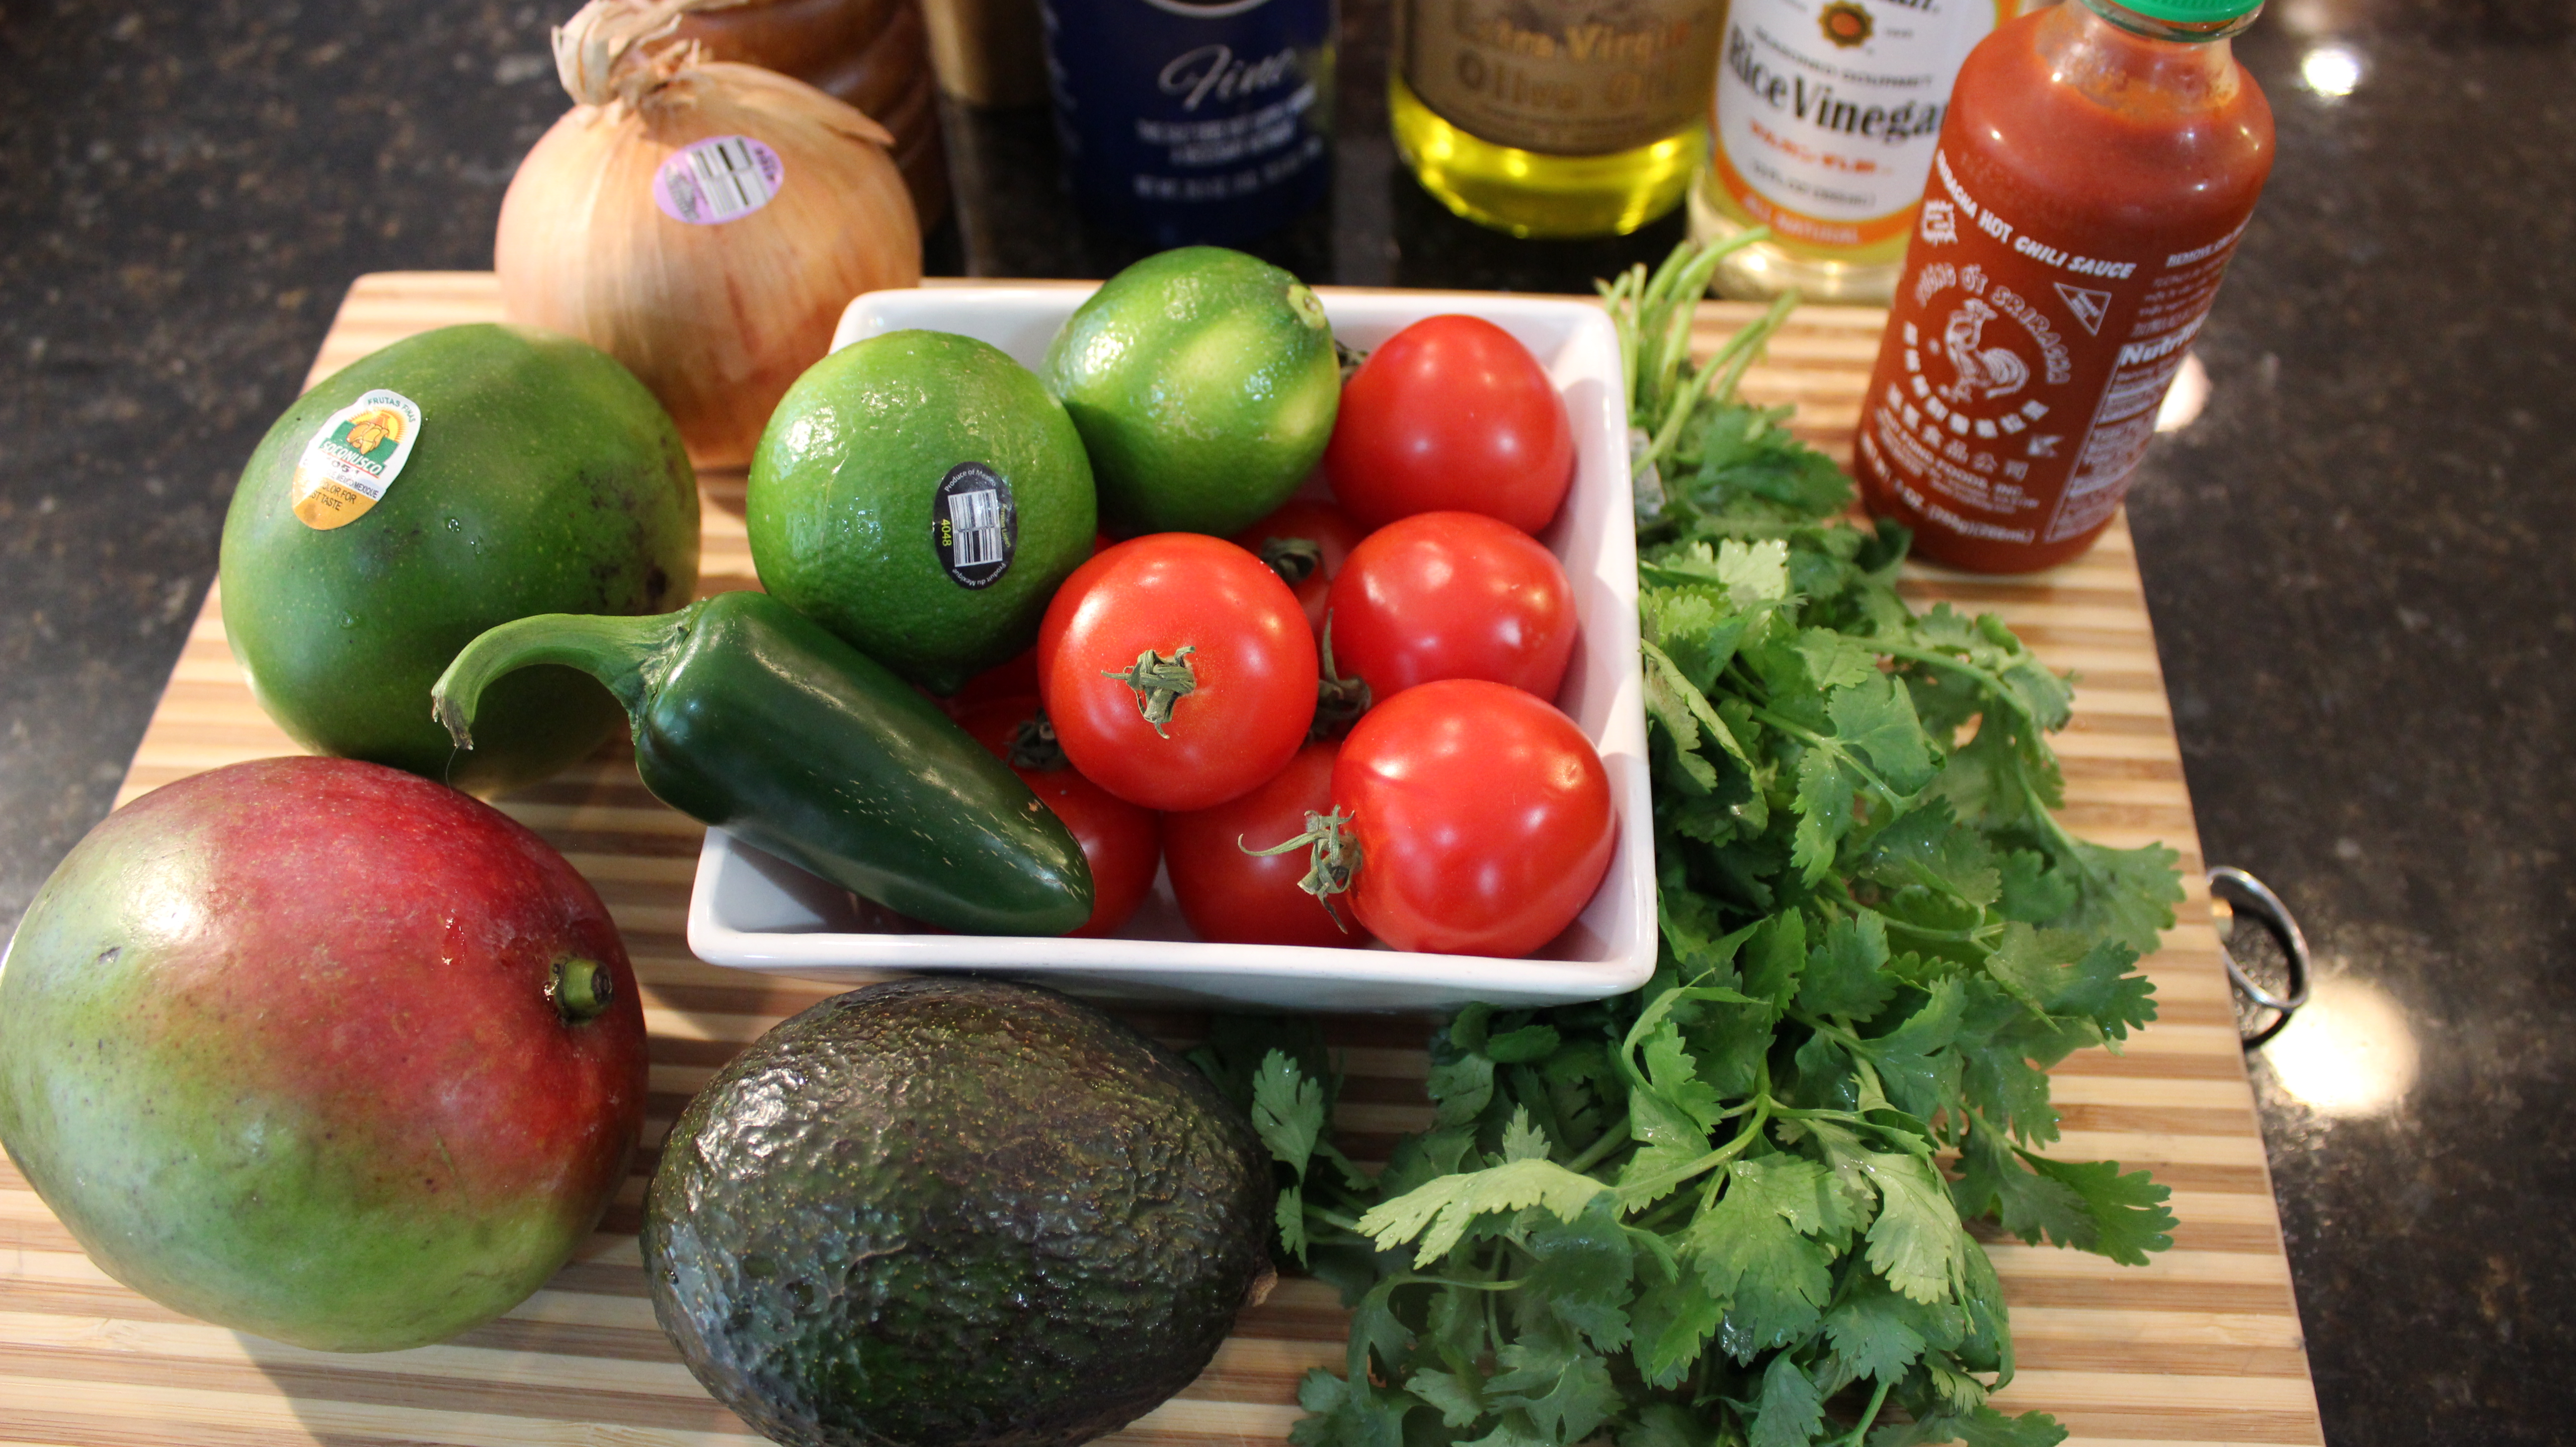
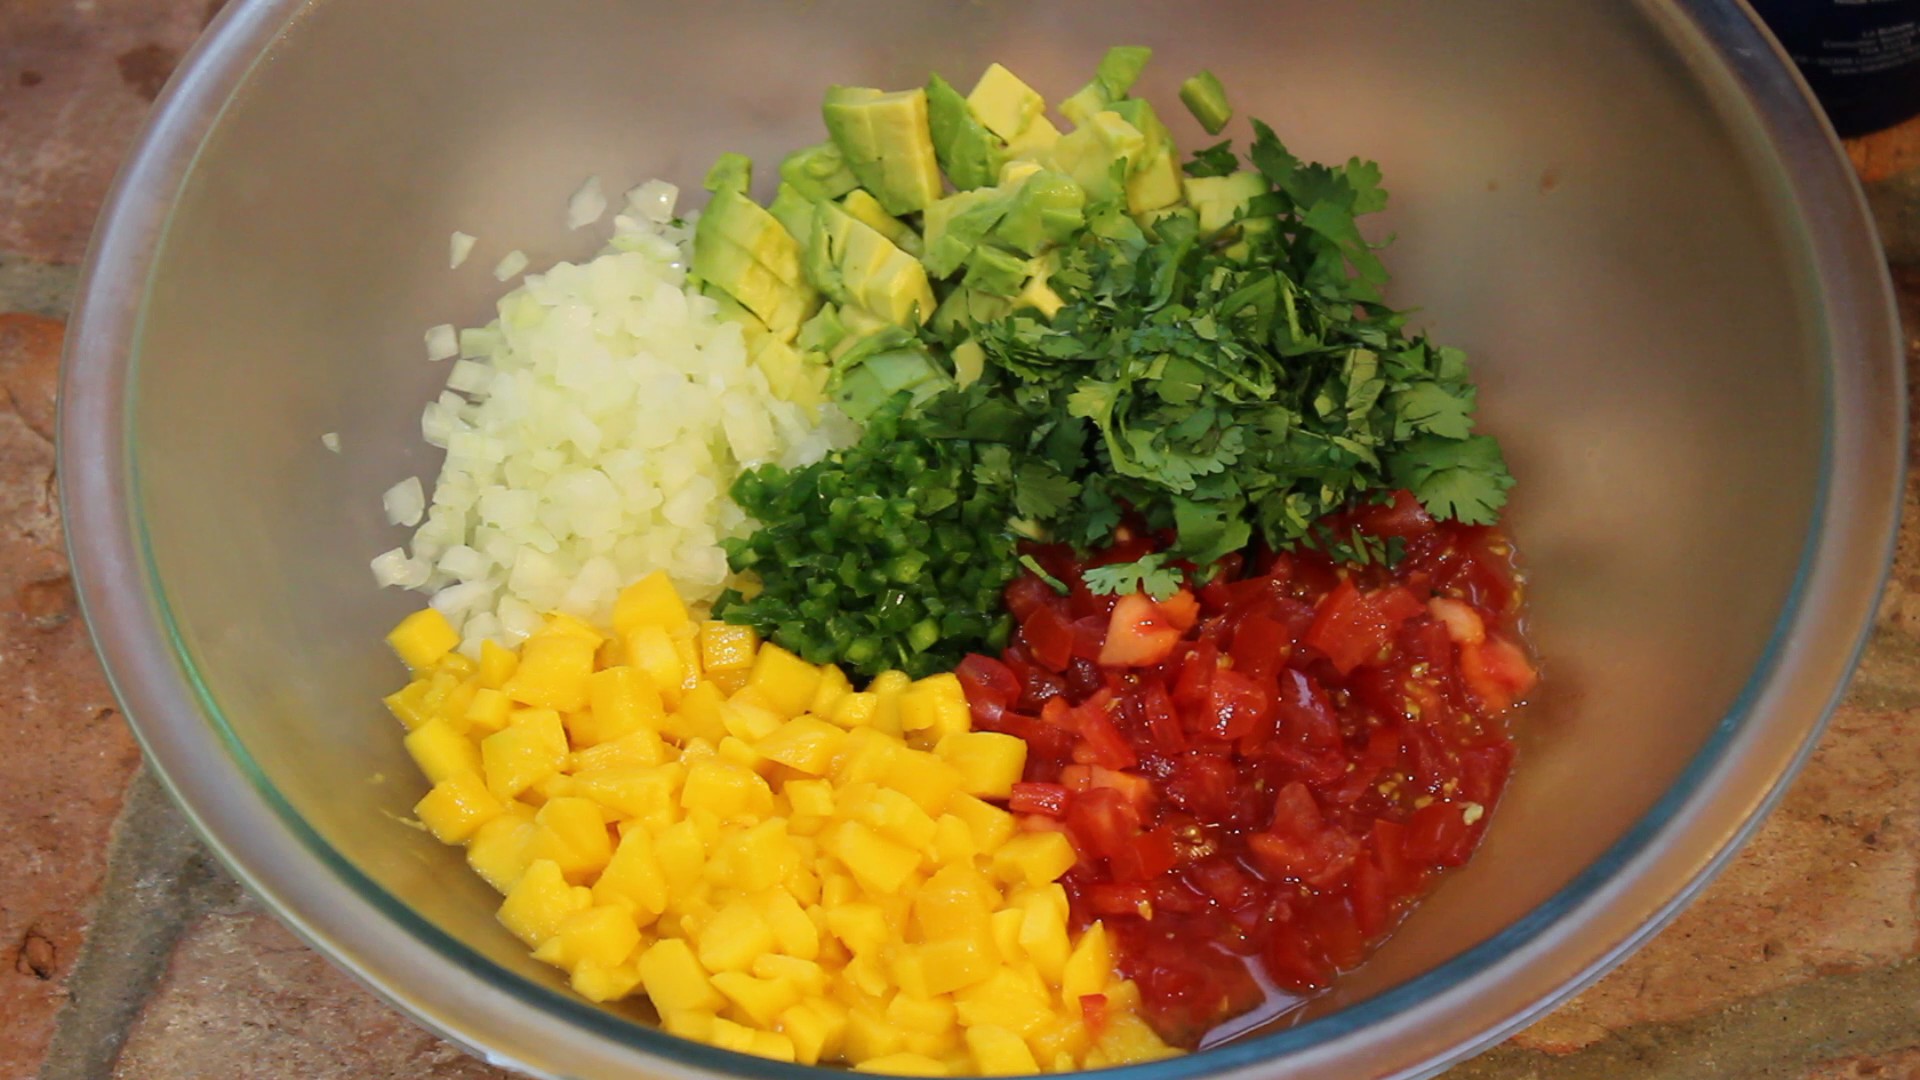
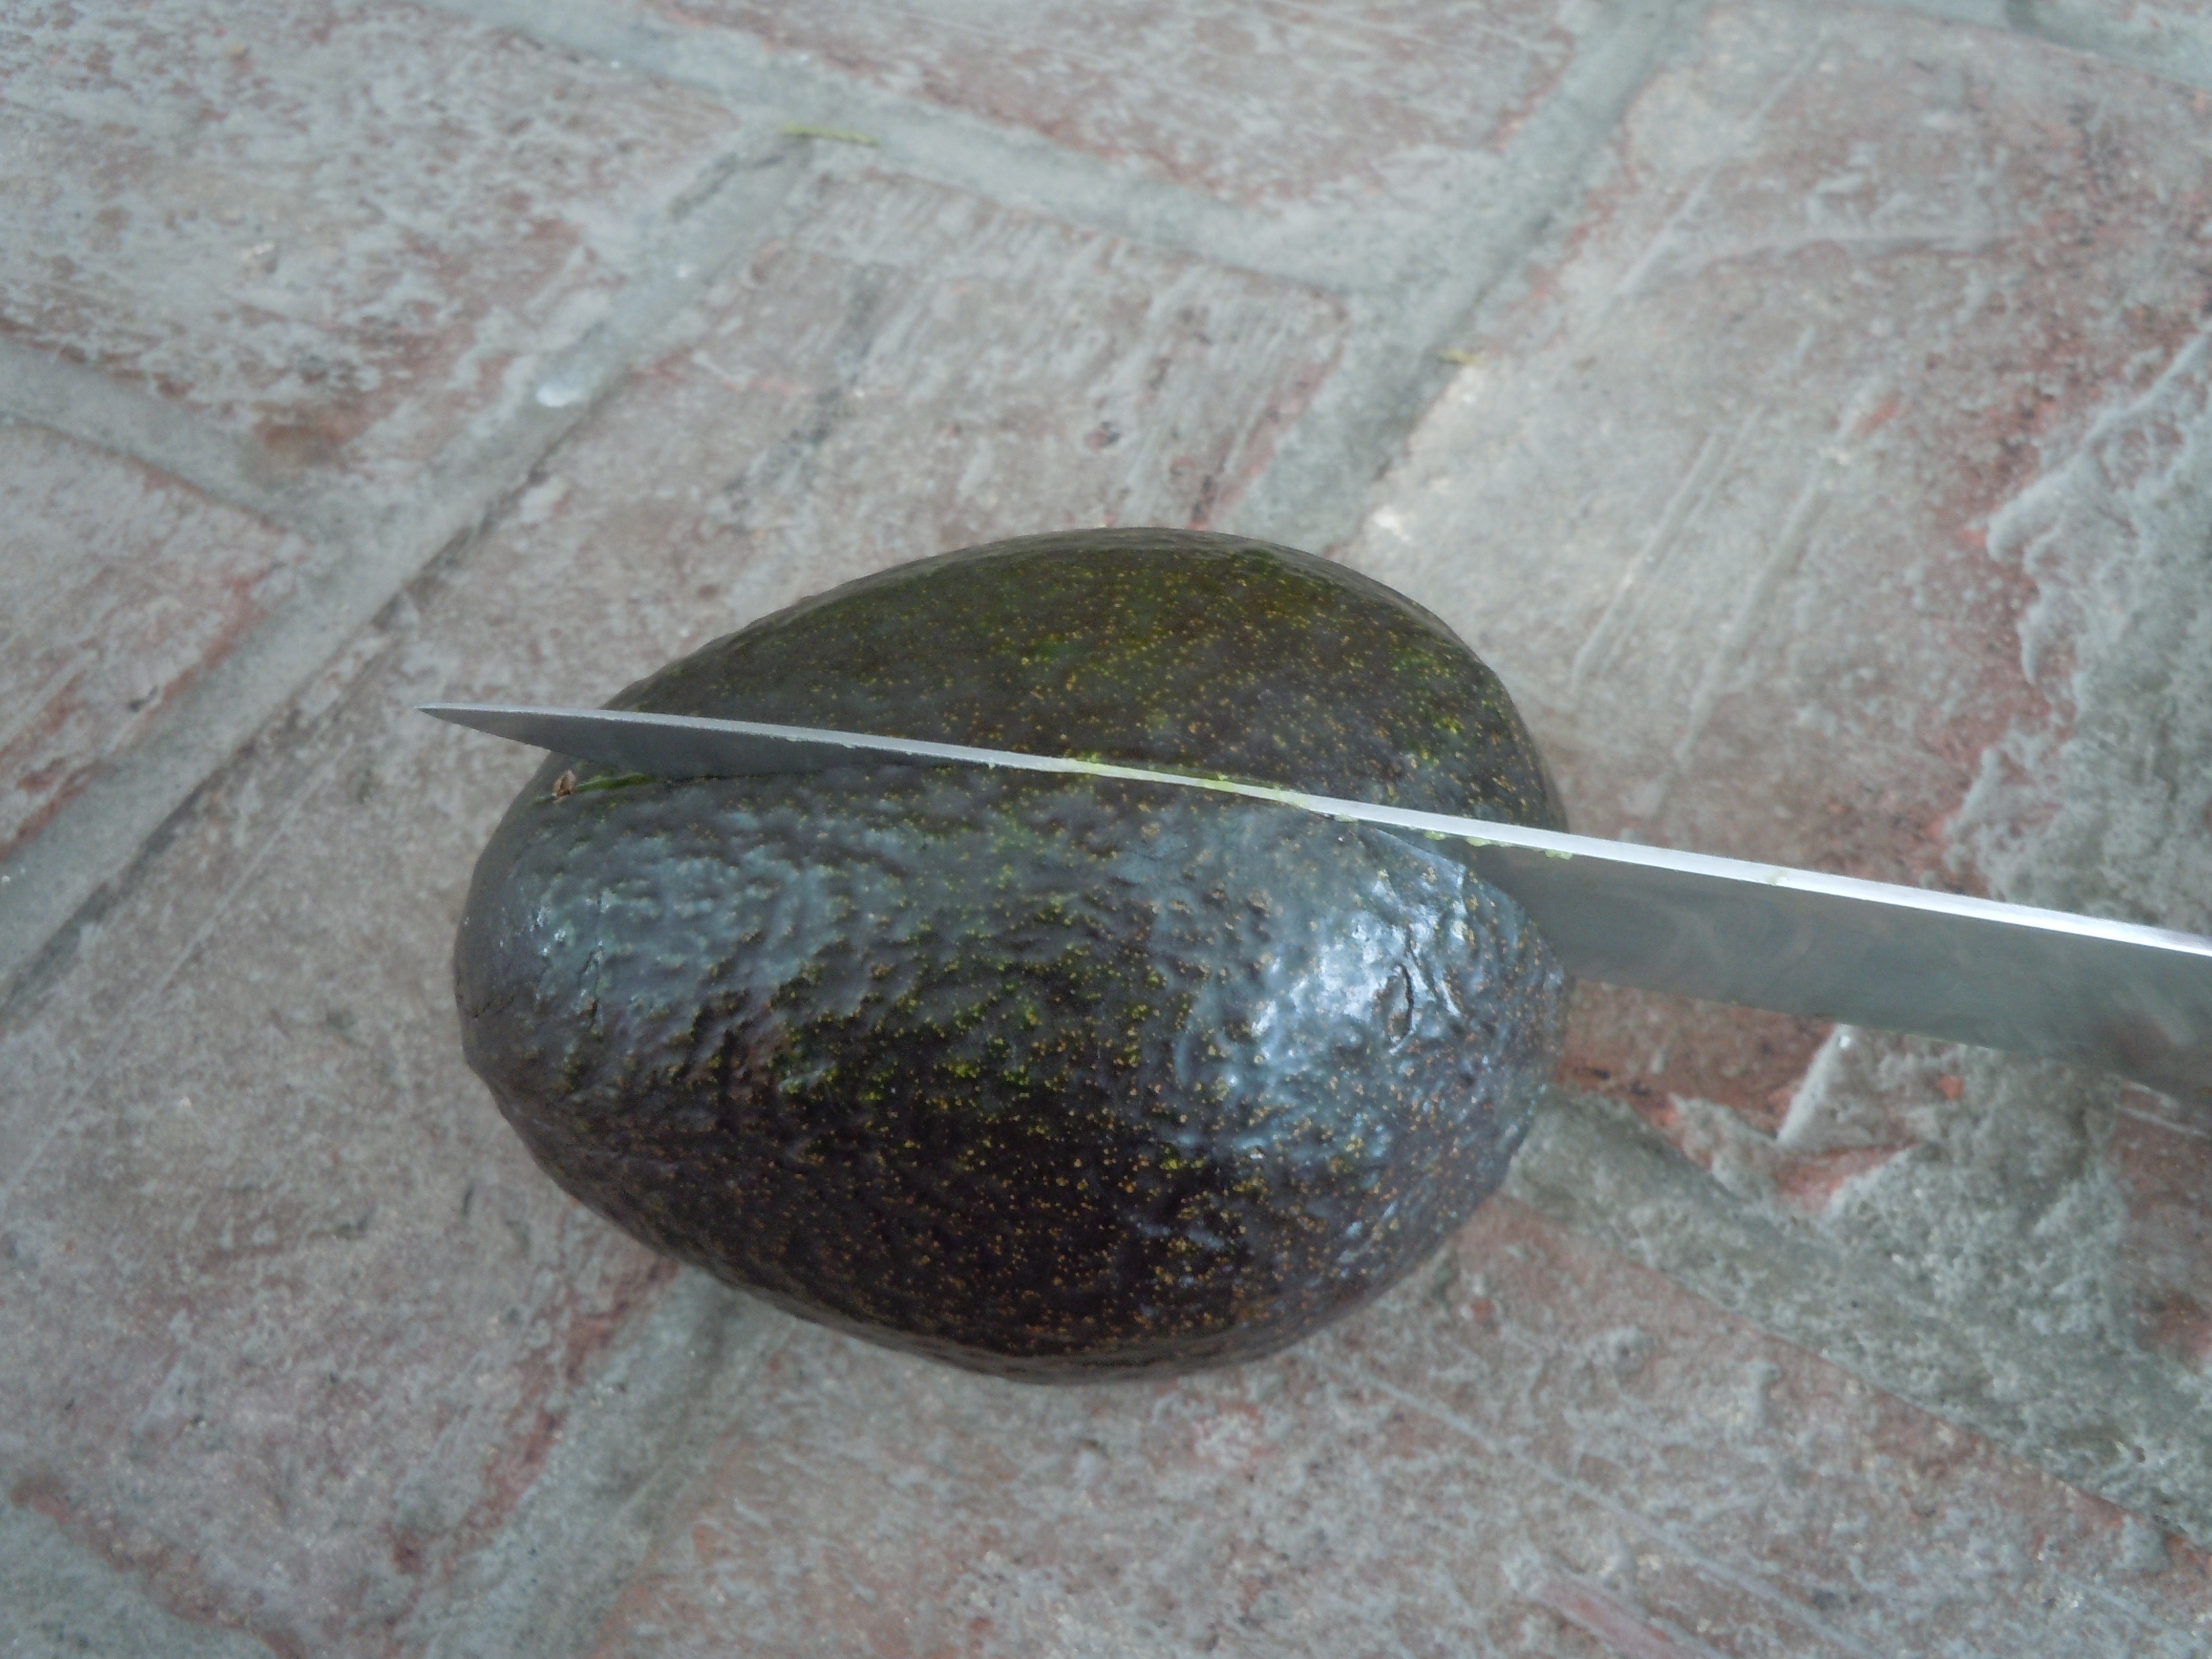
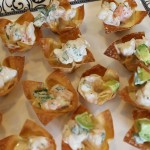
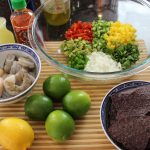
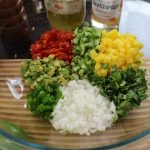
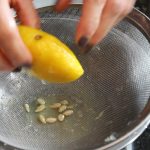
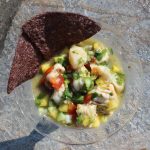
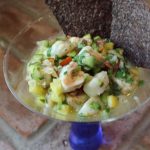
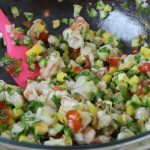
Making shrimp & scallop ceviche really can’t get an easier then this! Ceviche is a South American dish that’s usually served as an appetizer. The fish cures/cooks in citrus juice for an hour or two while you get all your salsa ingredients in order. The citrus curing juices are drained from the fish, leaving a tender shrimp & scallops to be tossed with salsa and voilà. The base of the shrimp and scallop ceviche here is my mango salsa recipe.

When I thought of making ceviche this week, sombrero popped into my head! I went to several store’s, costume store’s included which don’t exist anymore, and was out of luck. I then called my dear friend Maria who to my surprise had an authentic sombrero for me to borrow that her parents had picked up on a cruise to Cozumel, Mexico. I have to say it is a very cool hat, not to mention really beautiful. Although it has some weight to it so your neck gets a bit of a work out and you have to be careful not to knock into the walls because depth perception can be deceiving.

When I make this shrimp & scallop ceviche. or any ceviche for that matter, I like to cure my fish in lime juice and then drain that juice before adding the fish to my salsa ingredients. In my opinion, the flavors stay fresher that way. By draining the fish juice that’s released from the shrimp and scallops in the curing process it keep’s a better balance between fish and salsa. There are some recipe’s that have you toss everything into one bowl but I feel it taste’s better when you drain the curing fish juices prior to adding the fish into the salsa.

Since the texture’s of shrimp & scallops are a little different I have you cut the shrimp in 1/2 horizontally, and then dice, so the needed curing/cooking time between the two is closer. You could always change up the fish in this recipe to and go with all scallops or another favorite flaky fish. It’s all about being creative and using what’s freshest at the market!

Remember, always when preparing a fish dish, you will want to serve it the same day you make it and odds are there won’t be any leftovers! You may want to make it a party theme of appetizer’s to go along with this shrimp & scallop ceviche, and serve something like buffalo chicken dip, salmon BLT slider’s, fresh pesto, mozzarella and roasted tomato on a crostini, or shrimp & mango in wonton’s and end it with a dessert that will have everyone talking...fresh berries in a dreamy cream topping made from melted cream cheese and fluff that’s an incredible taste SENSATION!

buffdip IMG_2617 IMG_2026 wonyonshrimp_1606 IMG_2201

IMG_6855 IMG_6859 shrimp

lime IMG_6878 shrimplemon

mixedceviche IMG_6905 IMG_6900

Ingredients:

  • 1/2 lb. lg shrimp, peeled and deveined, 1/3″ diced
  • 1/4 lb of sea scallops, 1/3″ diced
  • 1/2 cup diced sweet mango
  • 1/2 cup sweet onion – Vidalia onion -finely chopped
  • 1/2 cup mini cucumber diced 1/3 cup cherry tomatoes finely chopped
  • 1/2 cup cilantro chopped (1/2 cup after it’s chopped)
  • 1/3 cup finely diced cherry tomato
  • 1/3 cup finely diced avocado
  • 1 jalapeno finely chopped without the seeds
  • juice from 1 lime – for the final ceviche
  • 1 tbsp fresh lemon juice – for the final ceviche
  • 2 tbsp extra virgin olive oil
  • 2 tbsp rice wine vinegar – (“seasoned”)
  • juice from 4 limes for the shrimp/scallop for the curing marinade
  • salt and pepper to taste
  • dash of Tabasco
  • Bag of blue corn chips (optional)

Directions:

  1. Wash and devein the shrimp
  2. Wash the sea scallops and remove little fibrous side muscle that’s attached to the scallop
  3. Pat the shrimp and scallops dry on paper towels
  4. Cut up the shrimp in 1/2 horizontally and then into 1/4″ pieces
  5. Slice up the scallops in 1/2 horzintally and then into 1/2″ pieces
  6. Put them into the same bowl… a non-reactive bowl like a glass bowl
  7. Roll the limes to soften them up
  8. Squeeze the lime juice over the shrimp and scallops
  9. Make sure there is enough juice so all the shrimp and scallop pieces are submersed in the lime juice and place into the frig until they are opaque…and place into the frig for 1- 2  hours
  10. NOTE: you should check the fish at 30 minutes intervals to see how it’s curing/cooking …depending on the coldness of the fish, kind and size it wil be ready at different time’s but it’s EASY – if it’s opaque then it’s done!
  11. Finely chop the tomatoes, jalapeno, sweet onion, cucumbers, mango and cilantro and set aside in a large bowl
  12. Drain all the liquid out from the shrimp and scallops and discard
  13. Add the shrimp and scallops to the large bowl with the salsa, add in juice of 1 tbsp lemon juice, juice from 1 lime, 2 Tbsp olive oil, 2 Tbsp rice wine vinegar, dash of Siracha, salt and pepper to taste
  14. Put back into the fridge for 15 minutes for flavors to marry
  15. Serve in martini glasses with blue chips…YUM!

Homemade Pan Pizza

Homemade Pan Pizza

Homemade pan pizza made with different themed toppings from clams casino, to Hawaiian and Greek make for perfect party hors d’ oeuvres! Everyone seems to find their favorite flavors. When the sizzling pan pizza comes out of the oven heads turn especially when the aromas from the garlic, clams, bacon, onions and peppers fill the air!

The wonderful thing about all the different themed toppings for your pan pizza is you don’t need much in terms of quantity. The dough you make the day before, but if you forgot or didn’t have time it will still work if you make it the same day. If you make the dough the same day you don’t put it into the frig but let it proof for an hour and a half in a warm spot to develop some of that texture and flavor. The whole idea behind the “proofing in the refrigerator” is it let’s you do other things while the dough slowly rises developing a killer texture and flavor like in my delicious “Icebox Dinner Rolls”. So take advantage of this refrigerator method, you will be happy you did. 

As for my pizza sauce, it couldn’t get any easier because it’s puréed only, not cooked. If you go into a pizza place and inquire about their sauce the majority will tell you the tomato sauce is raw. I know because I have done just this, but they don’t always like to give away their pizza secrets so easily. To the raw, whole peeled tomatoes I add a garlic clove that I put thru the press, salt, pepper and some Italian seasonings and then it’s puréed. Keeping the tomatoes raw really compliments all those other strong flavors from the toppings yet not seeping into the background still being a pertinent player in the pizza game!

Have some fun with these pizza’s and customize those toppings on your homemade pan pizza! My favorite is the clams casino pizza because you have the best of both world’s, flavor’s and crispy, chewy edges. You can’t beat the garlic, clams, bacon and pepper combo. Drizzling on the extra clam juice not only makes it taste that much better but it let’s the crust get a little crispy while keeping the toppings moist enough so not to burn. With that in mind make sure to pour on any of the extra juices from what ever you are cutting up as when you are slicing up the cherry tomatoes. Another very important tip is to keep all the toppings, including the sauce and mozzarella, in the cold refrigerator until the last minute. This helps the toppings to cook properly giving the crust time to crisp up.

Enjoy the show and definitely think about some appetizer’s to go with these sizzling homemade pan pizza’s like my Caesar Salad, Crab Cakes, Baked Asparagus wrapped in Proscuitto, Spanakopita or my Roasted Chic Peas. All will bring a smile to your face I promise! 🙂

DSCN4572-300x225 DSCN45211-300x225 iphone-pictures-572-300x225 cookedspan iphone pictures 989

IMG_6226 IMG_6105 IMG_6123

IMG_6127 IMG_6170 rolldough

oilpan dougpan sran

IMG_6133 IMG_6145 piz

moz feta clams

IMG_6257 IMG_6258 IMG_6204

Ingredients for 1 Sheet Pan Pizza Dough – 12.5″ x 17.5″ x 1″ tray:

  • 4 cups all purpose flour
  • 1 1/2 cup warm water 105º-110º
  • 1/2 tsp sugar
  • 1 packet yeast or 2 1/4 tsp – not rapid rise
  • 1 tbsp salt
  • 3 tbsp extra virgin olive oil for the pizza dough
  • 1/3 extra virgin olive oil for the sheet pan
  • Plus more olive oil to drizzle on top of the pizza’s before baking

My Pizza Sauce – Enough for 2 Sheet Pan Pizza’s:

  • 1 can of whole peeled tomatoes (drained if the pulp is watery) pureed with 1 tsp salt, 1/2 finely ground Italian seasonings, 1/4 tsp pepper and 1 lg garlic clove put thru garlic press

Ingredients For The Toppings From The Show for 2 Trays of Pizza:

  • Clams Casino Pizza – (for 1/2 the pizza) 1-2 cans 1 cup of Snows canned clams drained except 3 tbsp of clam juice per can to drizzle over pizza,  1/4 cup of chopped peppers, 3/4 cup sliced thick cut bacon, 1 garlic clove thru press, 1 tsp chopped sweet onions
  • Greek Pizza – 3/4 cup sliced cheery tomatoes, 3/4 cup sheep’s milk feta, 1/4 cup sliced sweet onion, 1/2 cup sliced kalmata or canned black olives, 1/3 cup chiffonade basil
  • Bacon Pizza – 1 cup thick sliced bacon (for 1/2 of the pizza)
  • Hawaiian Pizza – 1 cup sliced ham, 1/2 cup chopped pineapple, 1/2 cup sliced green onions with whites too

Directions – (Pre-heat the oven to 450º right before the pizza dough has it’s final proof and make sure the rack is in the lowest possible position):

  1. Warm the stainless steel mixing bowl with warm water for 5 minutes
  2. Empty out warm water and add packet of yeast to mixing bowl
  3. Add in 1 1/2 cups of water at 105º-110º to the yeast
  4. Add in 1/2 tsp sugar and let the yeast proof for 10 nminutes
  5. Tour on knead hook and begin to add in 3 tbsp olive oil, flour and salt
  6. Keep mixing and knead with hook after it forms a dough ball for 10 minutes
  7. Take dough off of hook and onto a floured counter
  8. Knead by hand for 2 minutes and place into a large oiled bowl
  9. Cover with saran wrap and refrigerate for 18-24 hrs.
  10. When you are ready to make the pizza make sure to take out of the frig and let the cold dough sit for approx. 2 hrs. – this will make it easier to work with
  11. When the dough has sat for 2 hrs. turn out onto floured surface and begin to roll out and stretch to the size of the cookie tray
  12. Pour 1/3 cup of olive oil onto cookie tray and place the rolled out pizza dough onto olive oil
  13. Cover with plastic wrap and let sit 30 minutes
  14. Remove plastic wrap and stretch the dough if needed to the edges of the pan and using your thumb press the egde of the dough into the edges of the cookie tray to form a crust – this will become a crispy and chewy egde that you will love! 
  15. Spoon pureed tomatoes onto the dough and sprinkle mozzarella
  16. Add you desired topping and give a drizzle of olive oil across the top of the pizza and put into a 450º oven for 16-20 minutes.
  17. Definitely check at the 15 minute mark as all oven are different
  18. You want  the edges dark golden and the middle is sizzling
  19. Take out and let sit for 5 minutes
  20. Using a large spatula remove the pizza in one piece to a large cutting board and slice, or slice in the cookie tray

Holiday Appetizer’s

Holiday Appetizer’s

iphone pictures 572
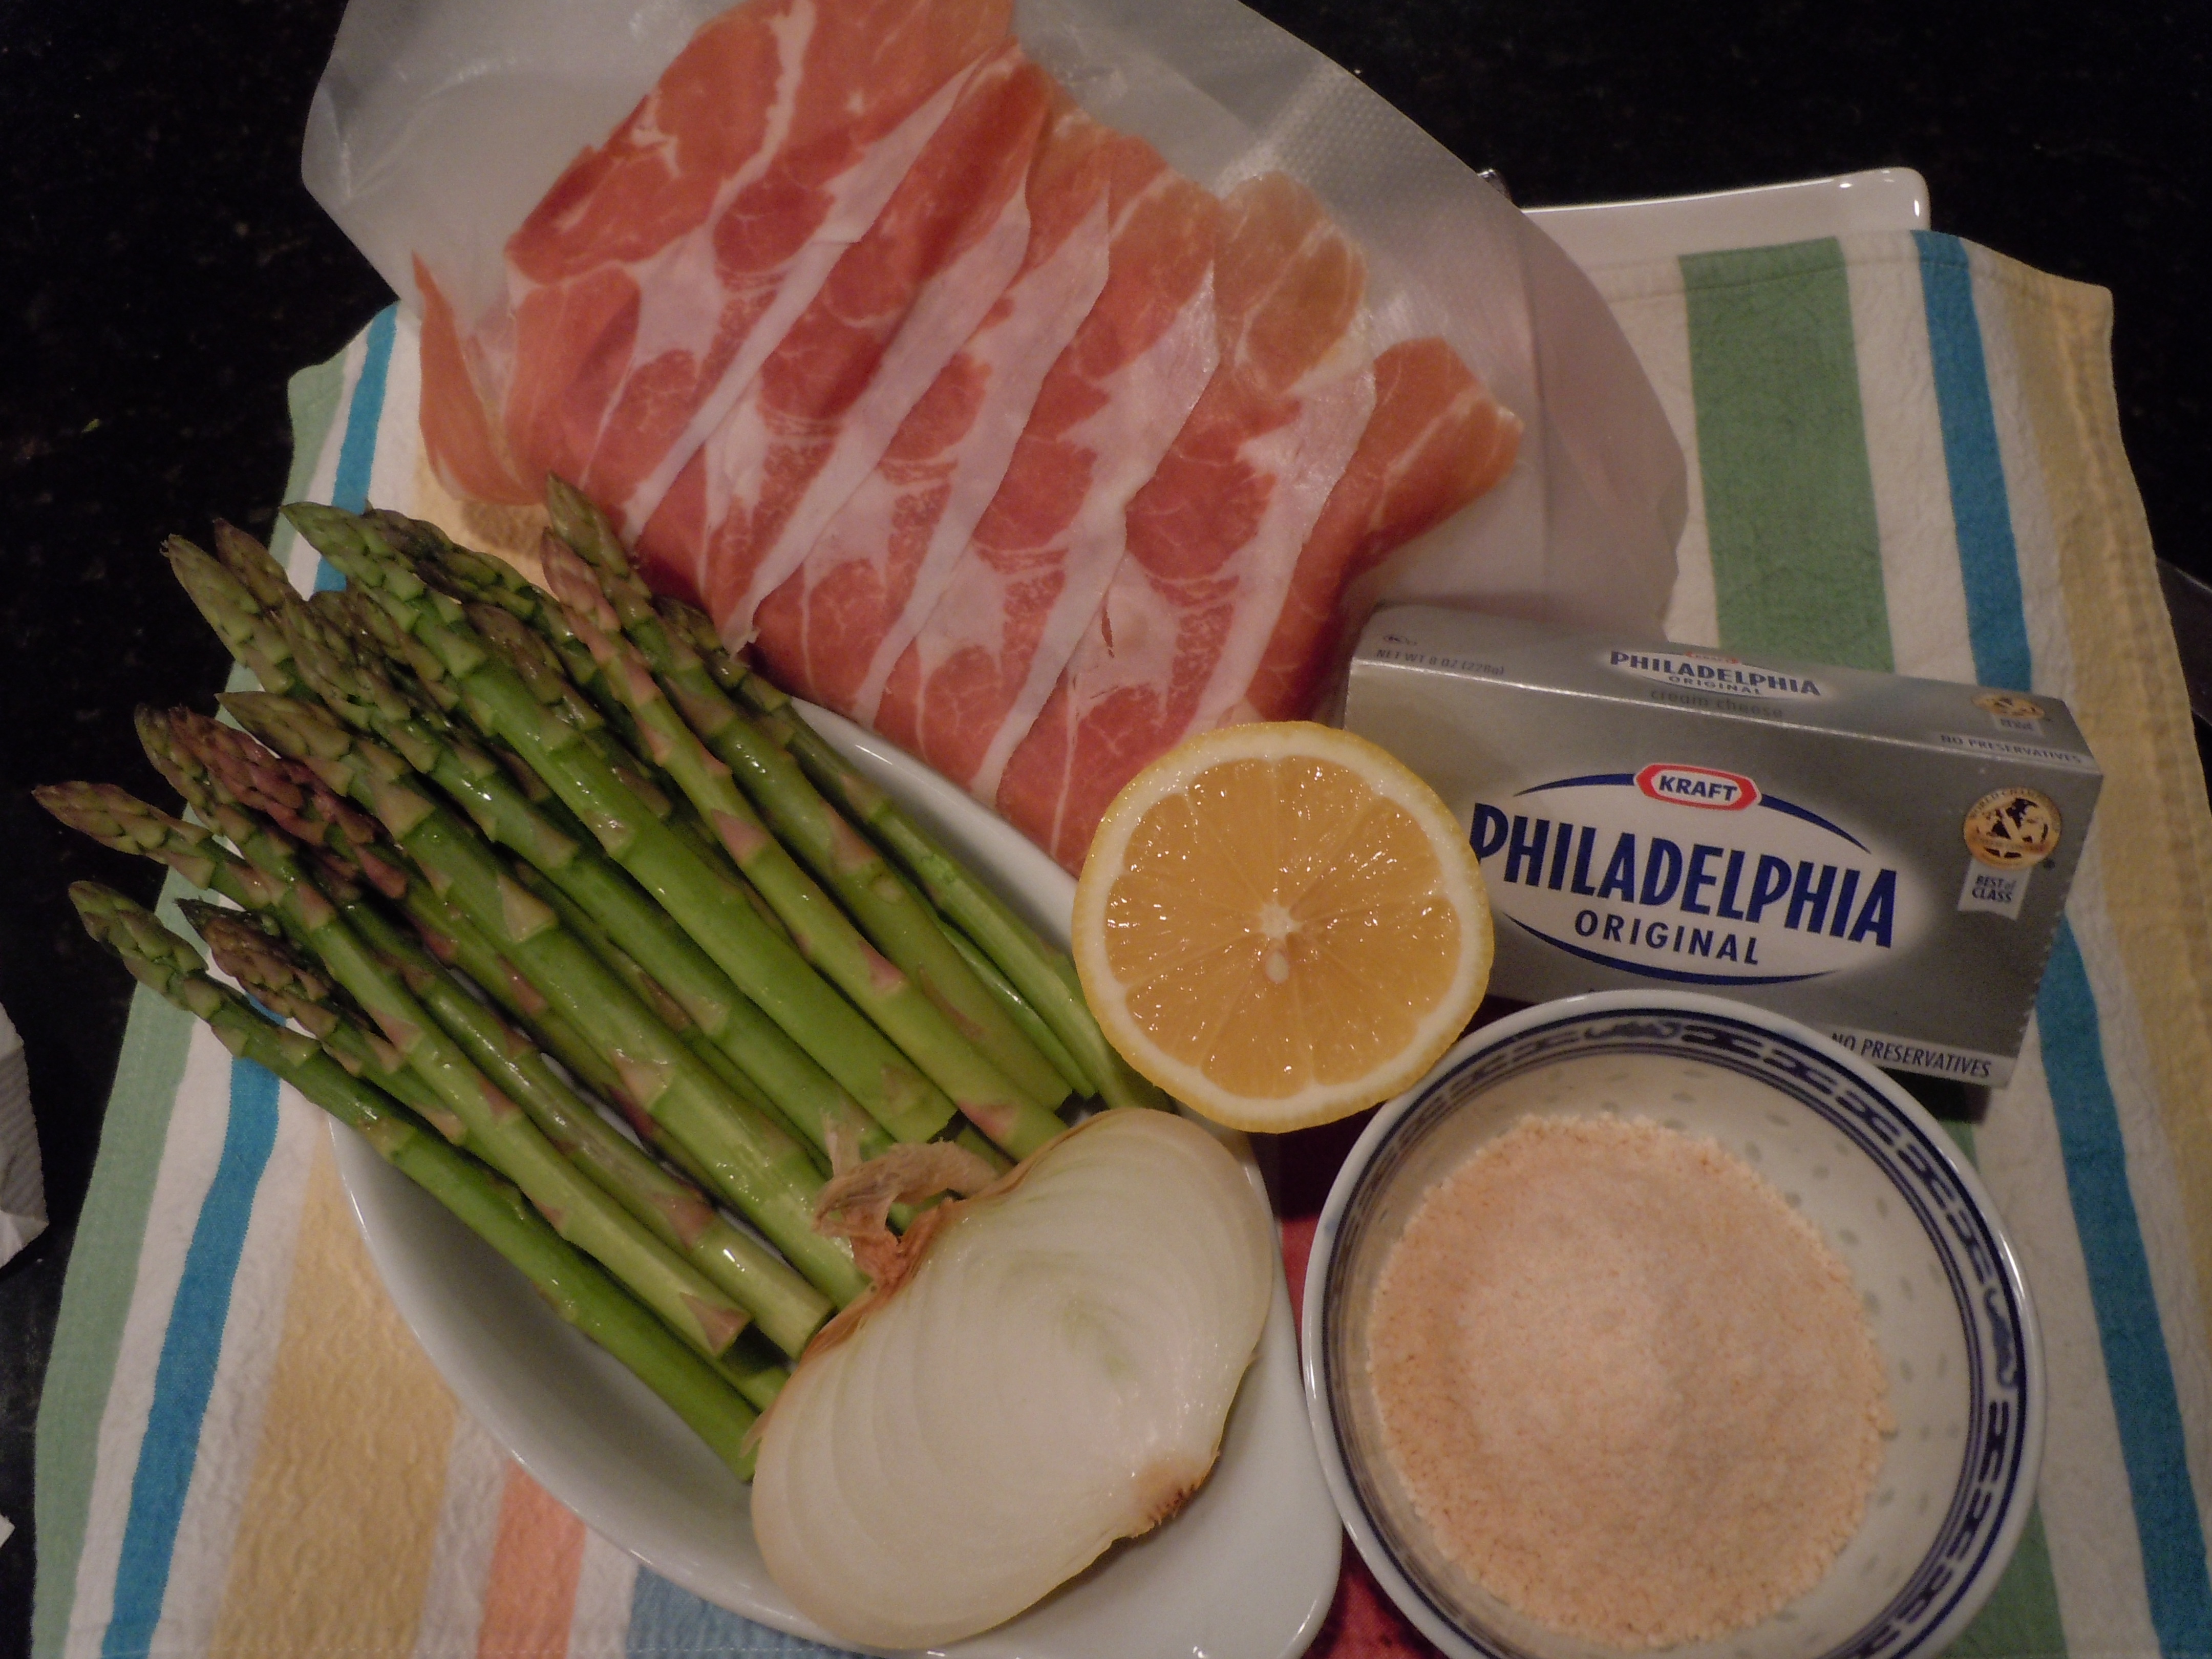
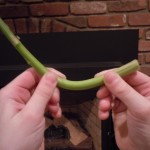
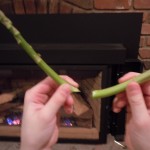
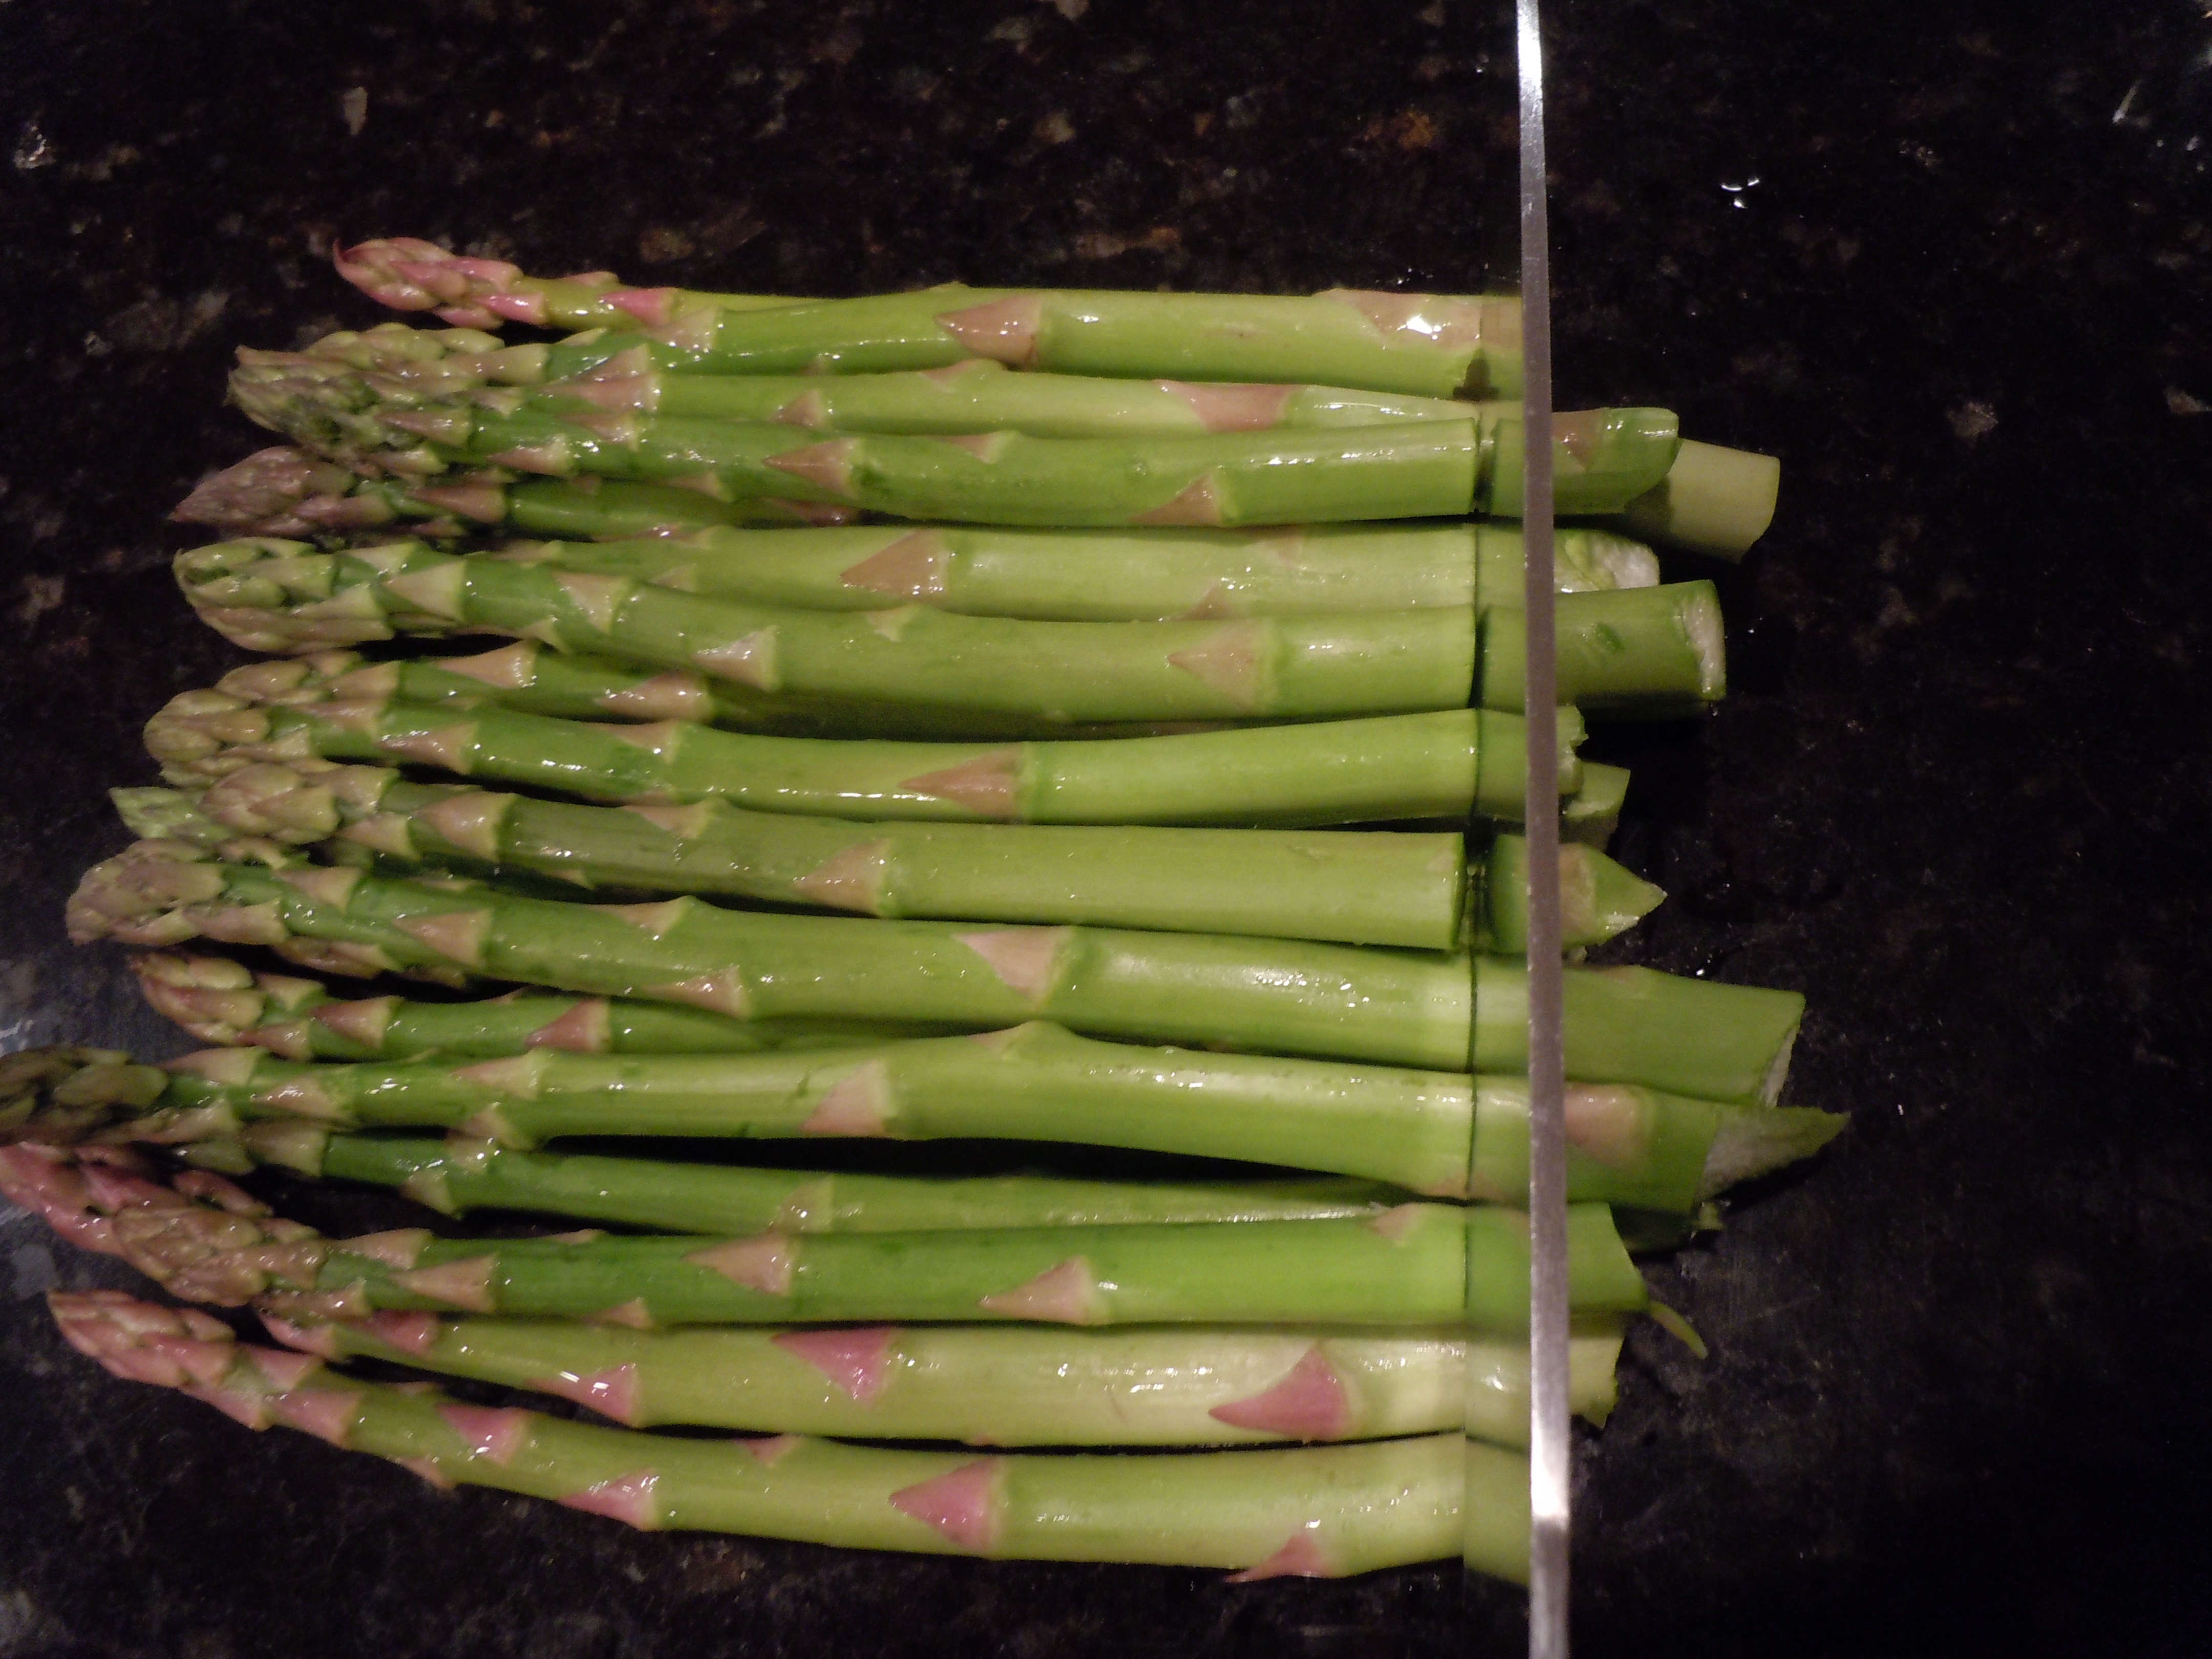
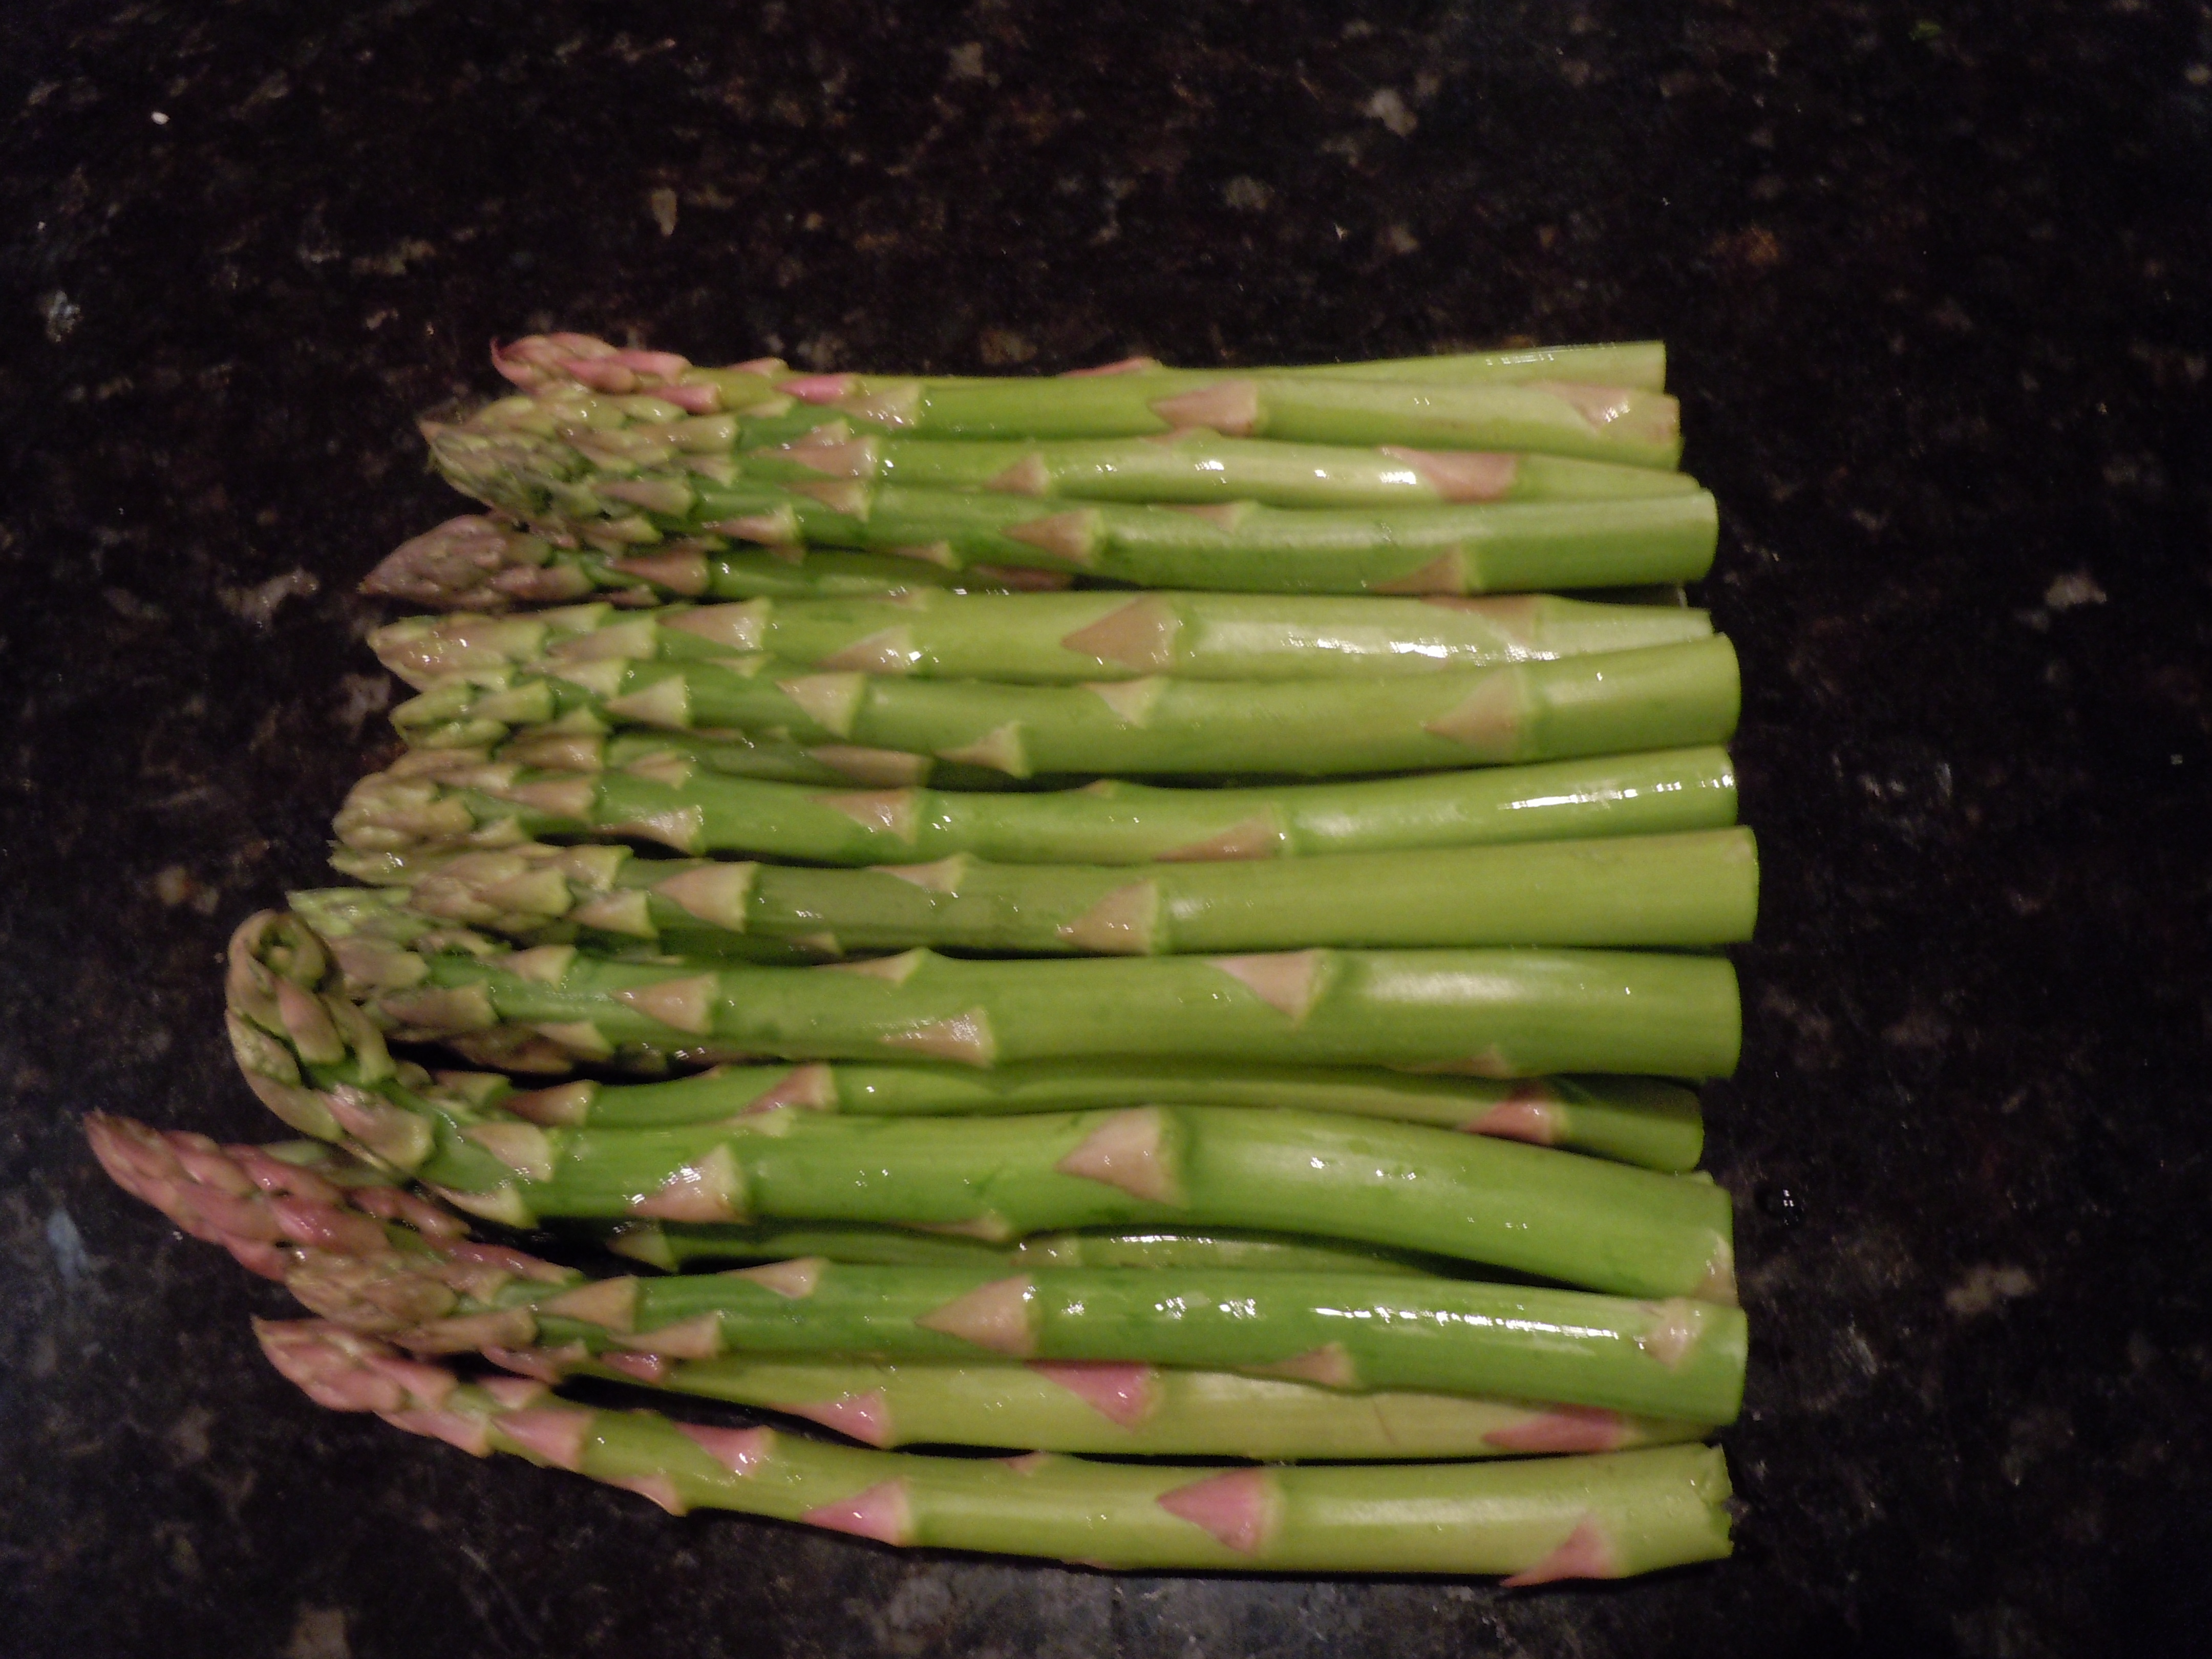
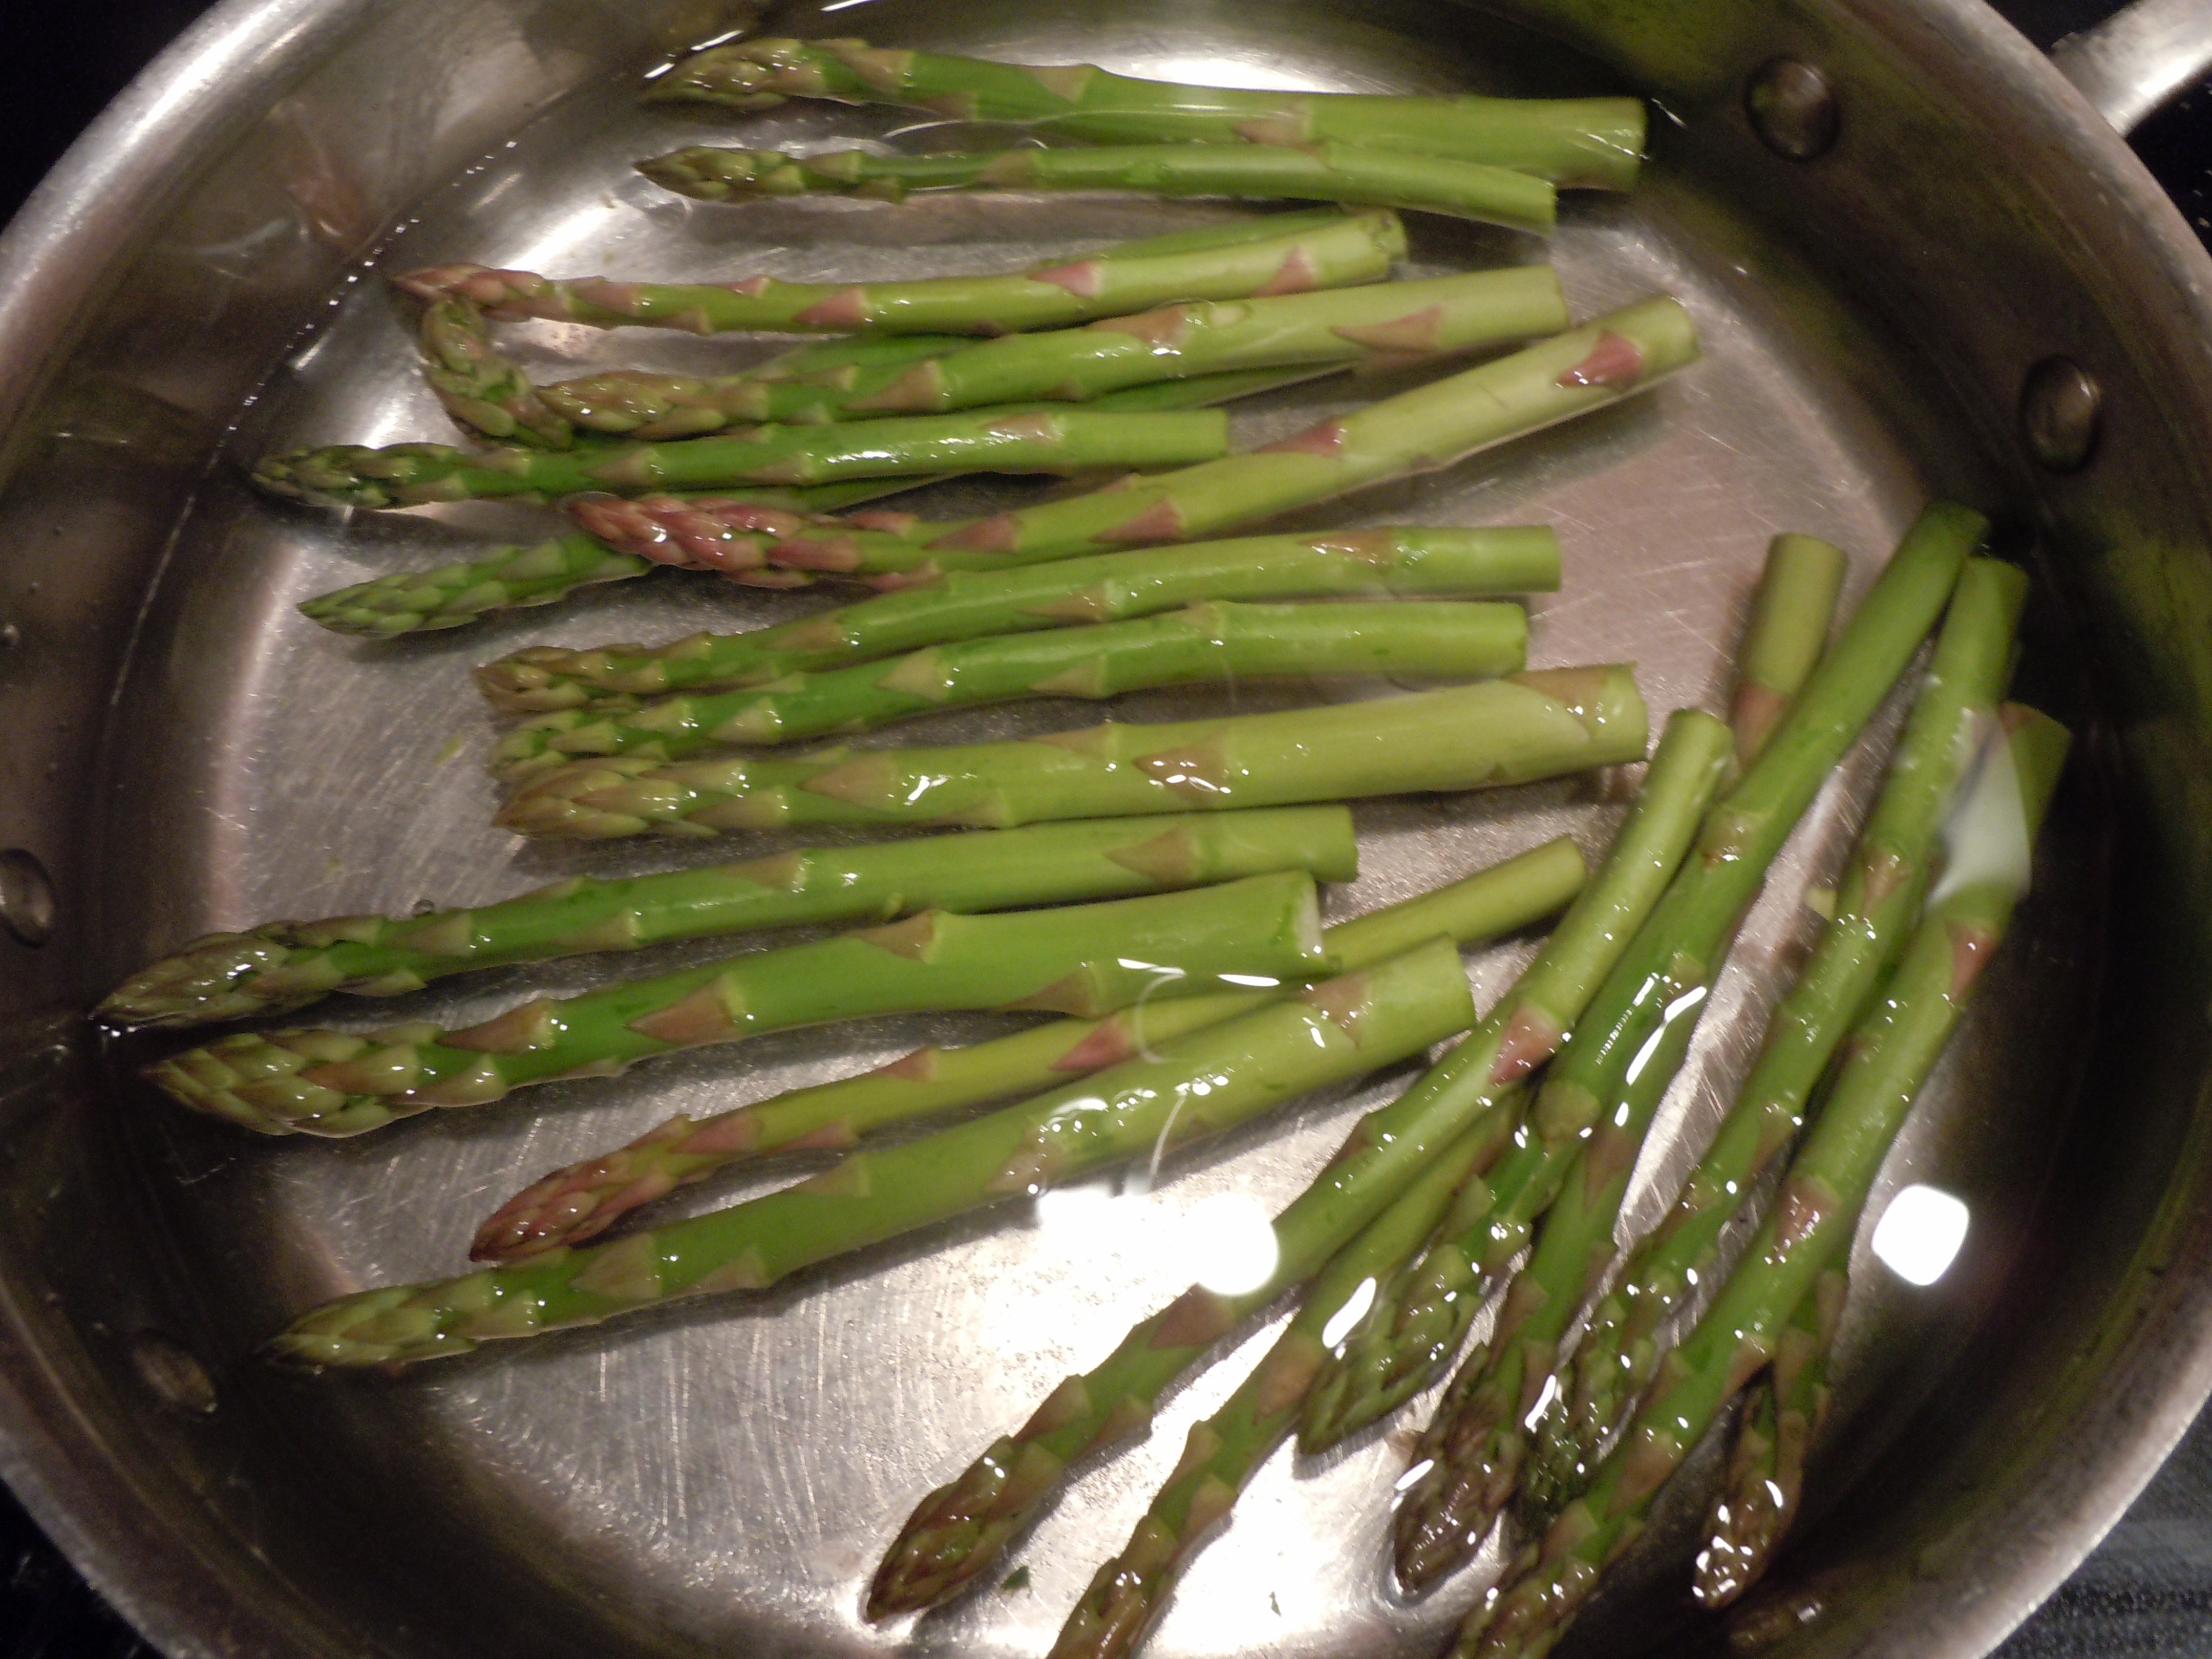
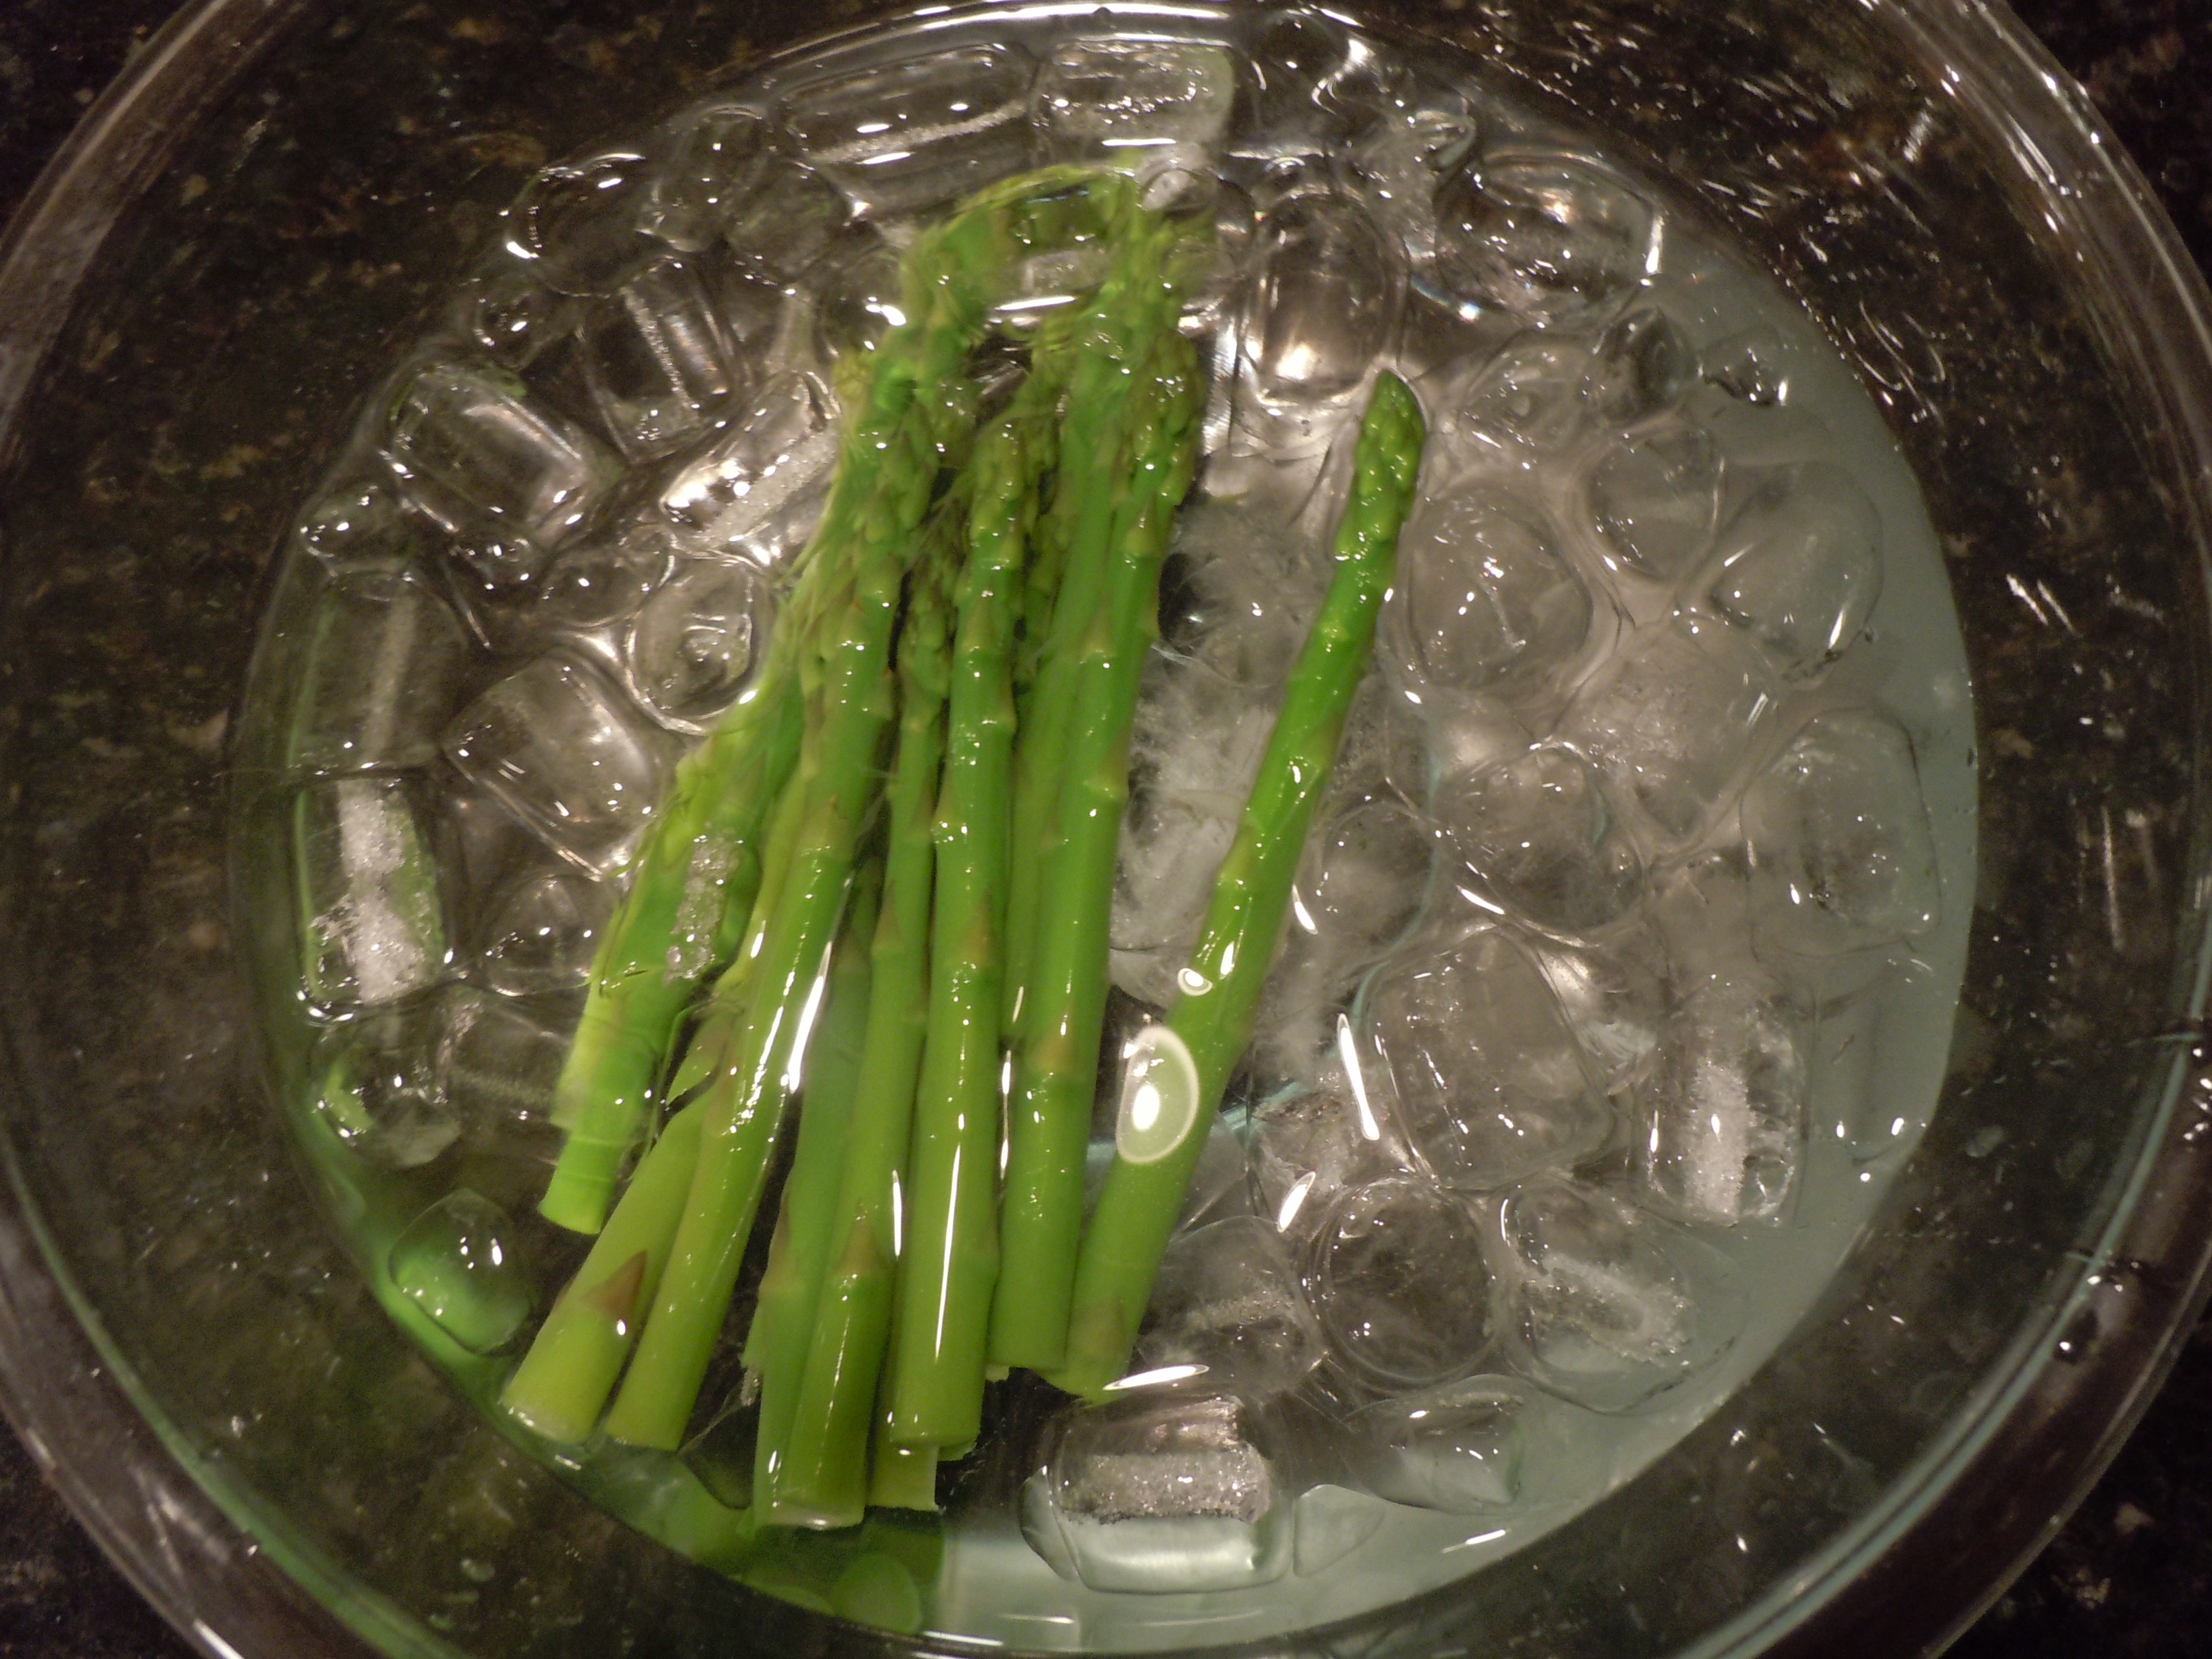
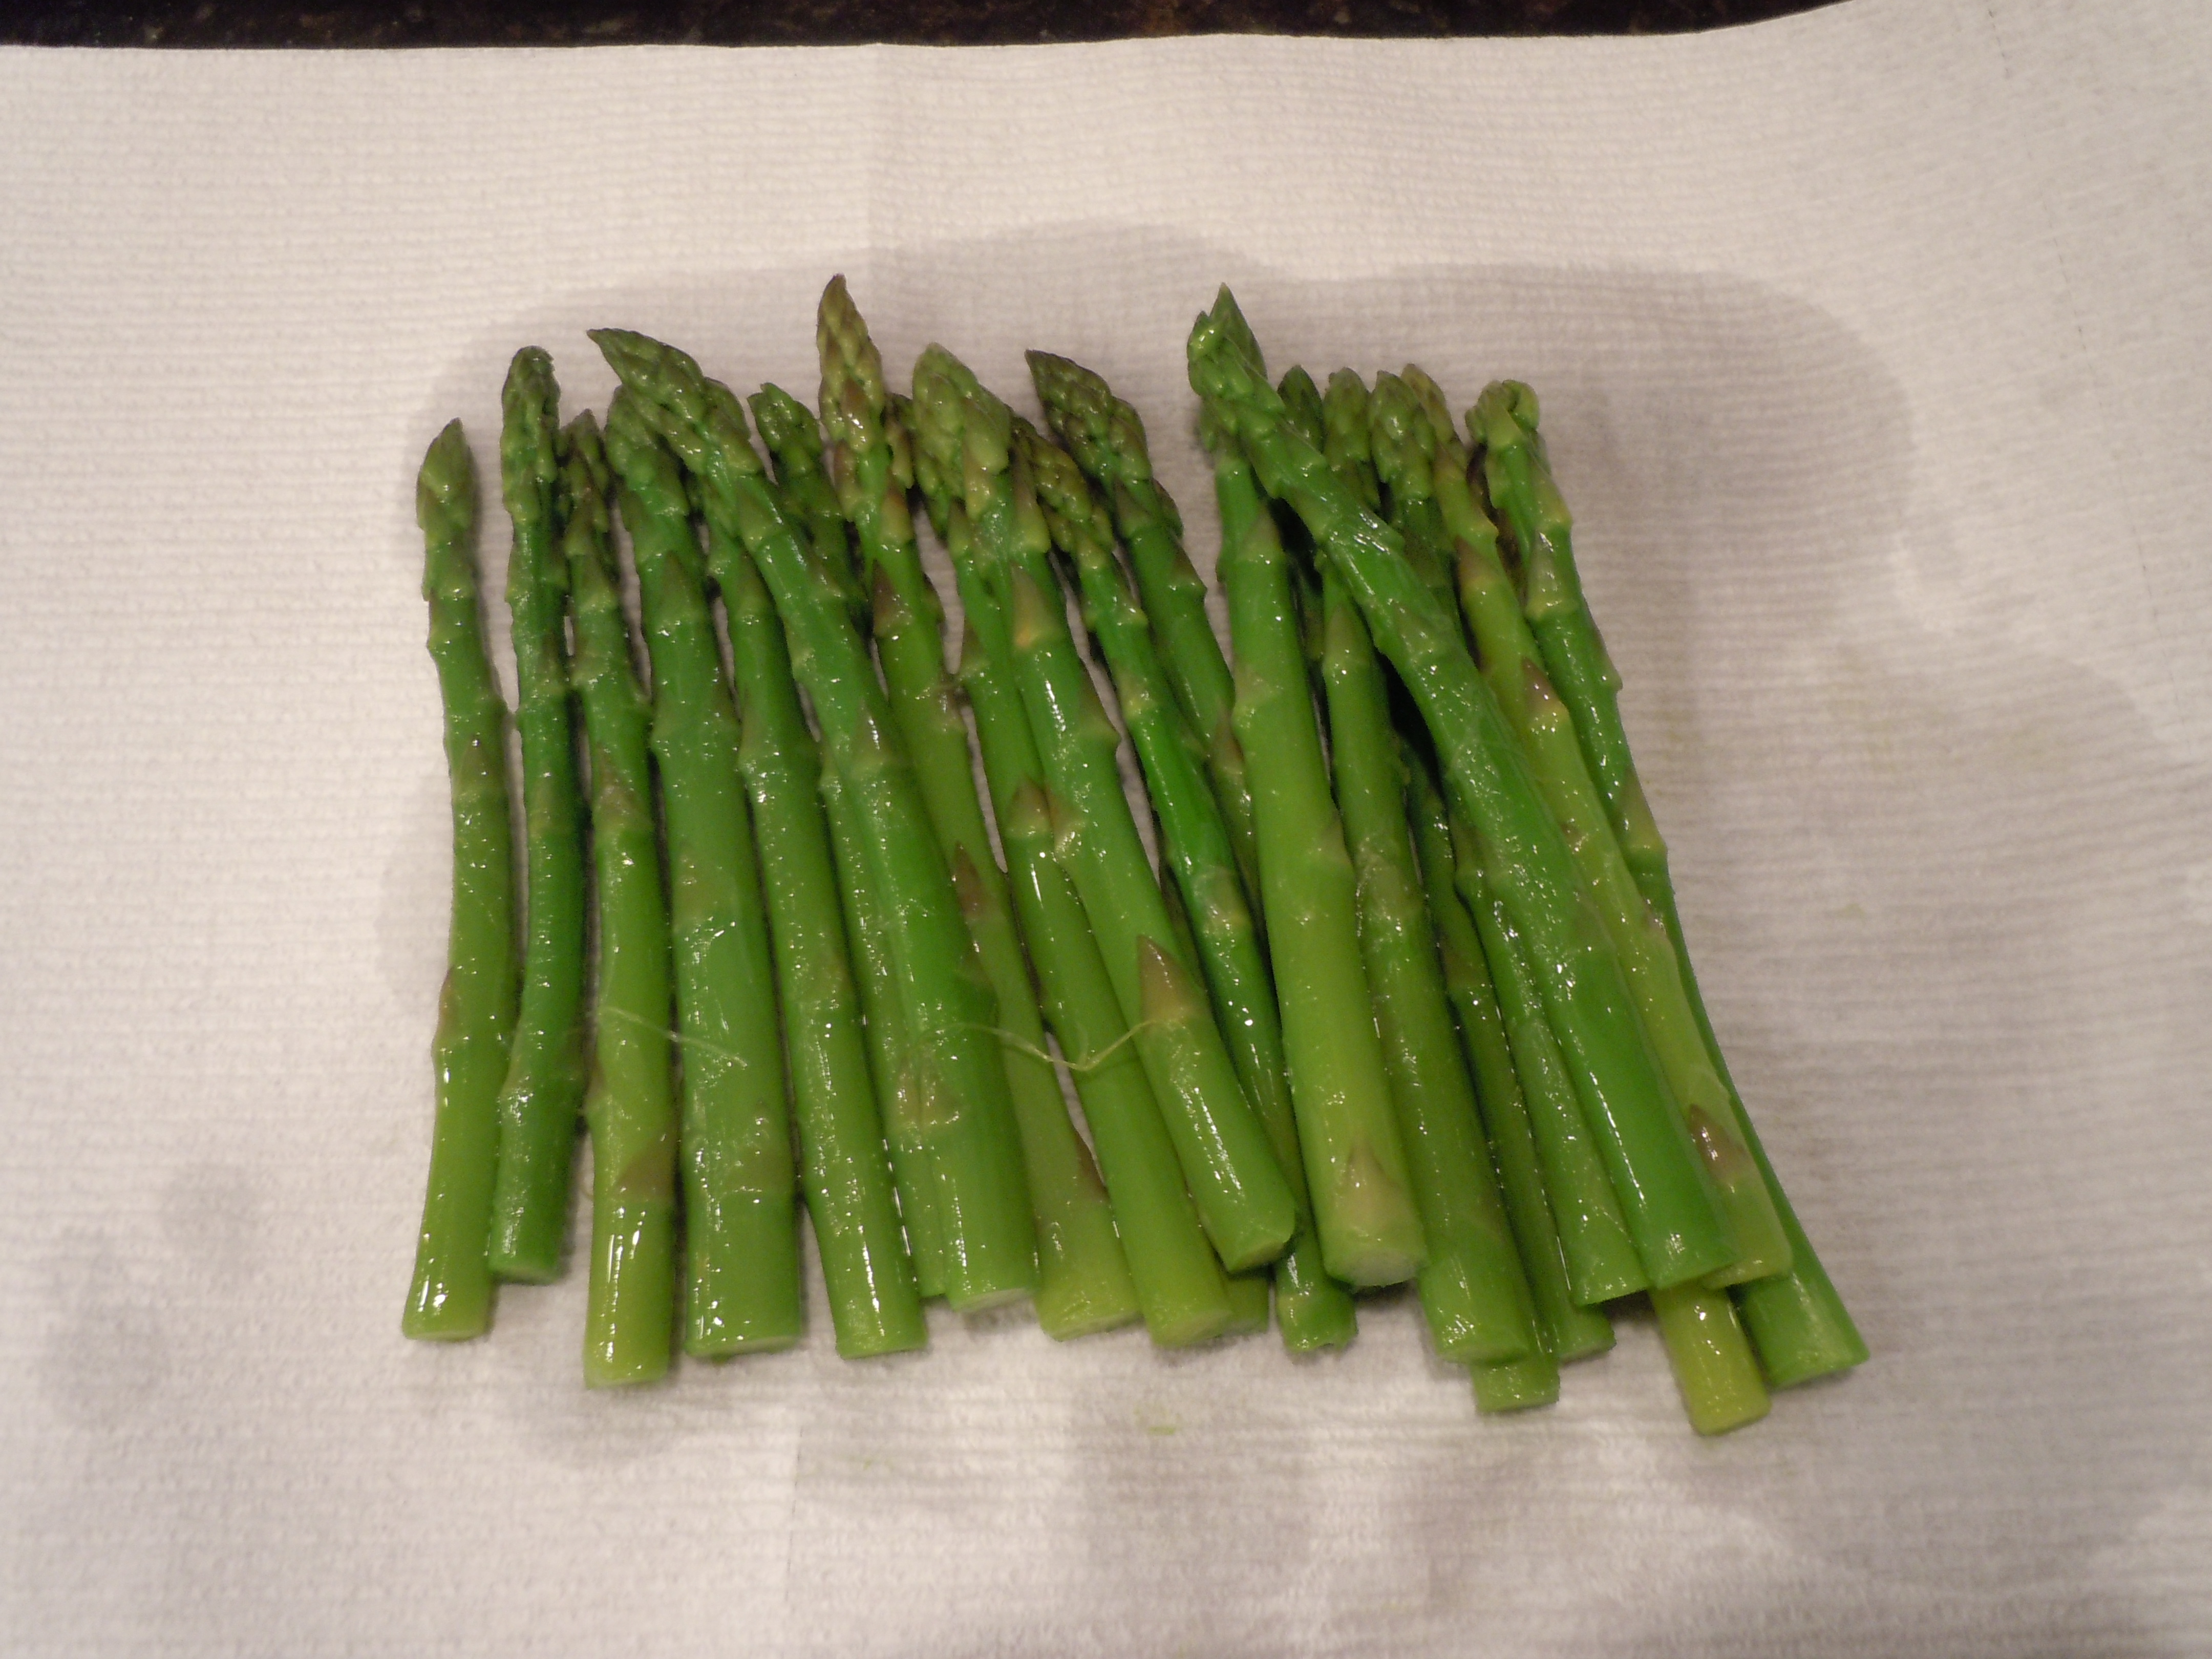
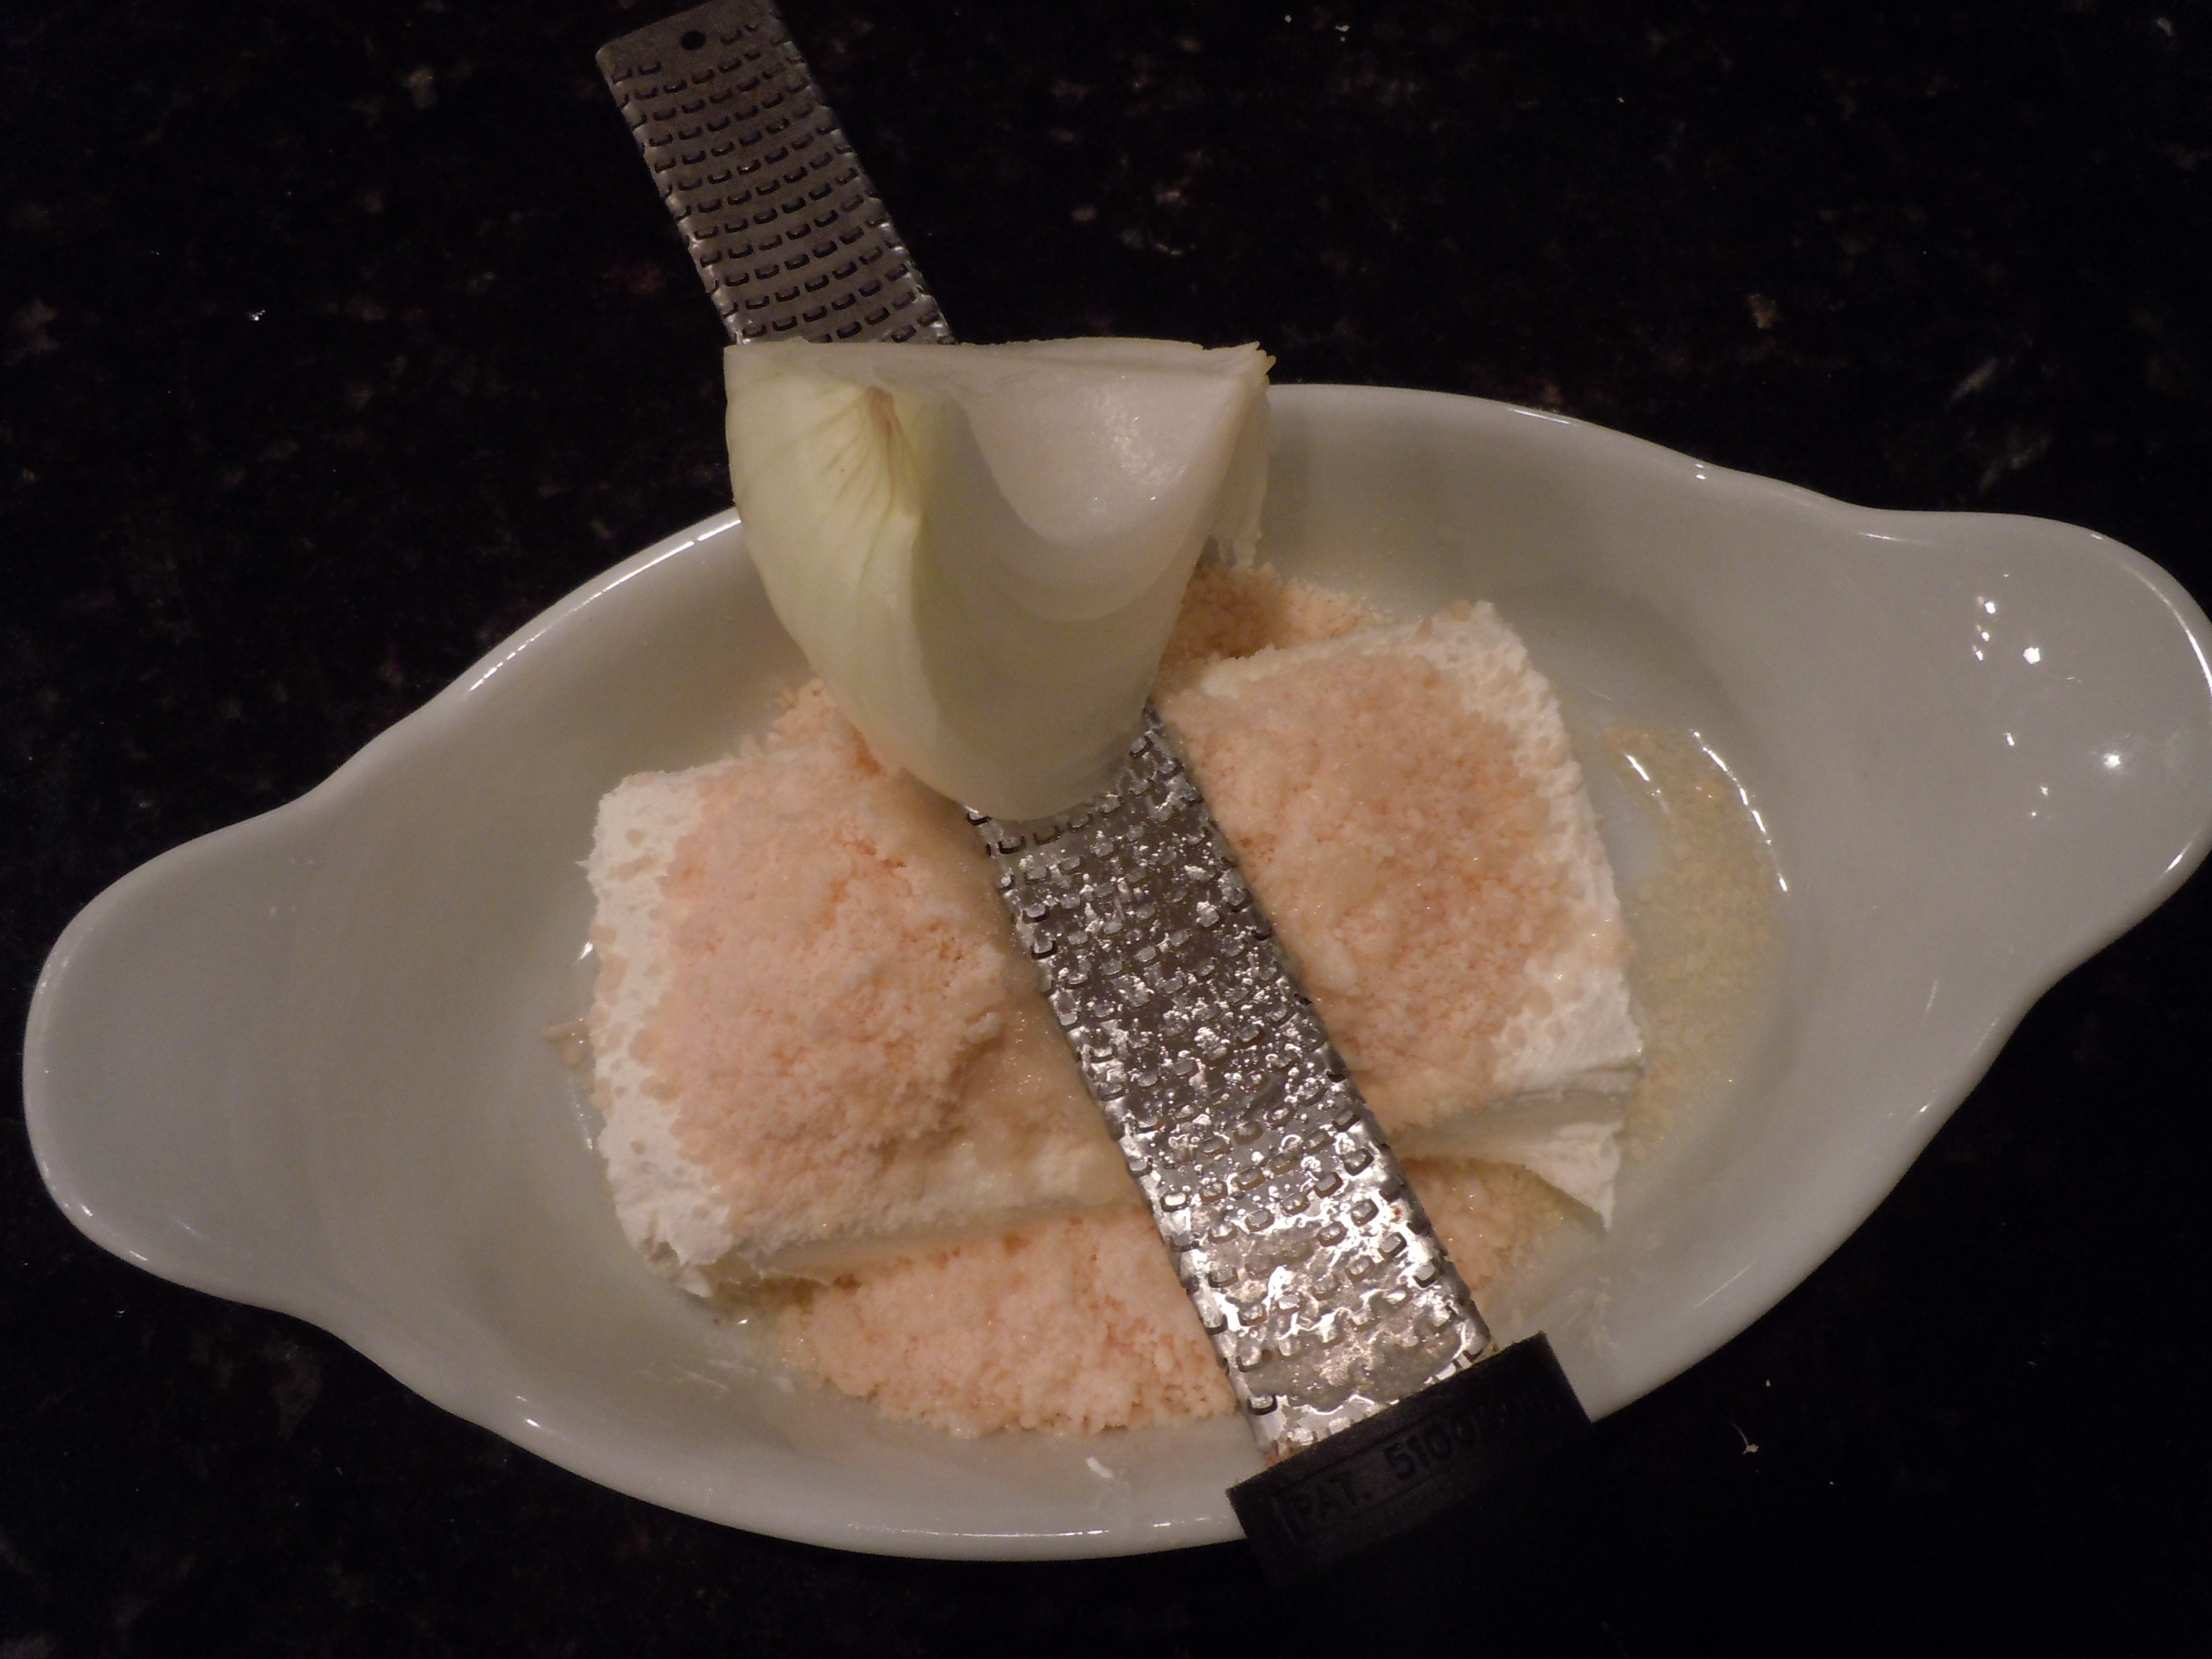
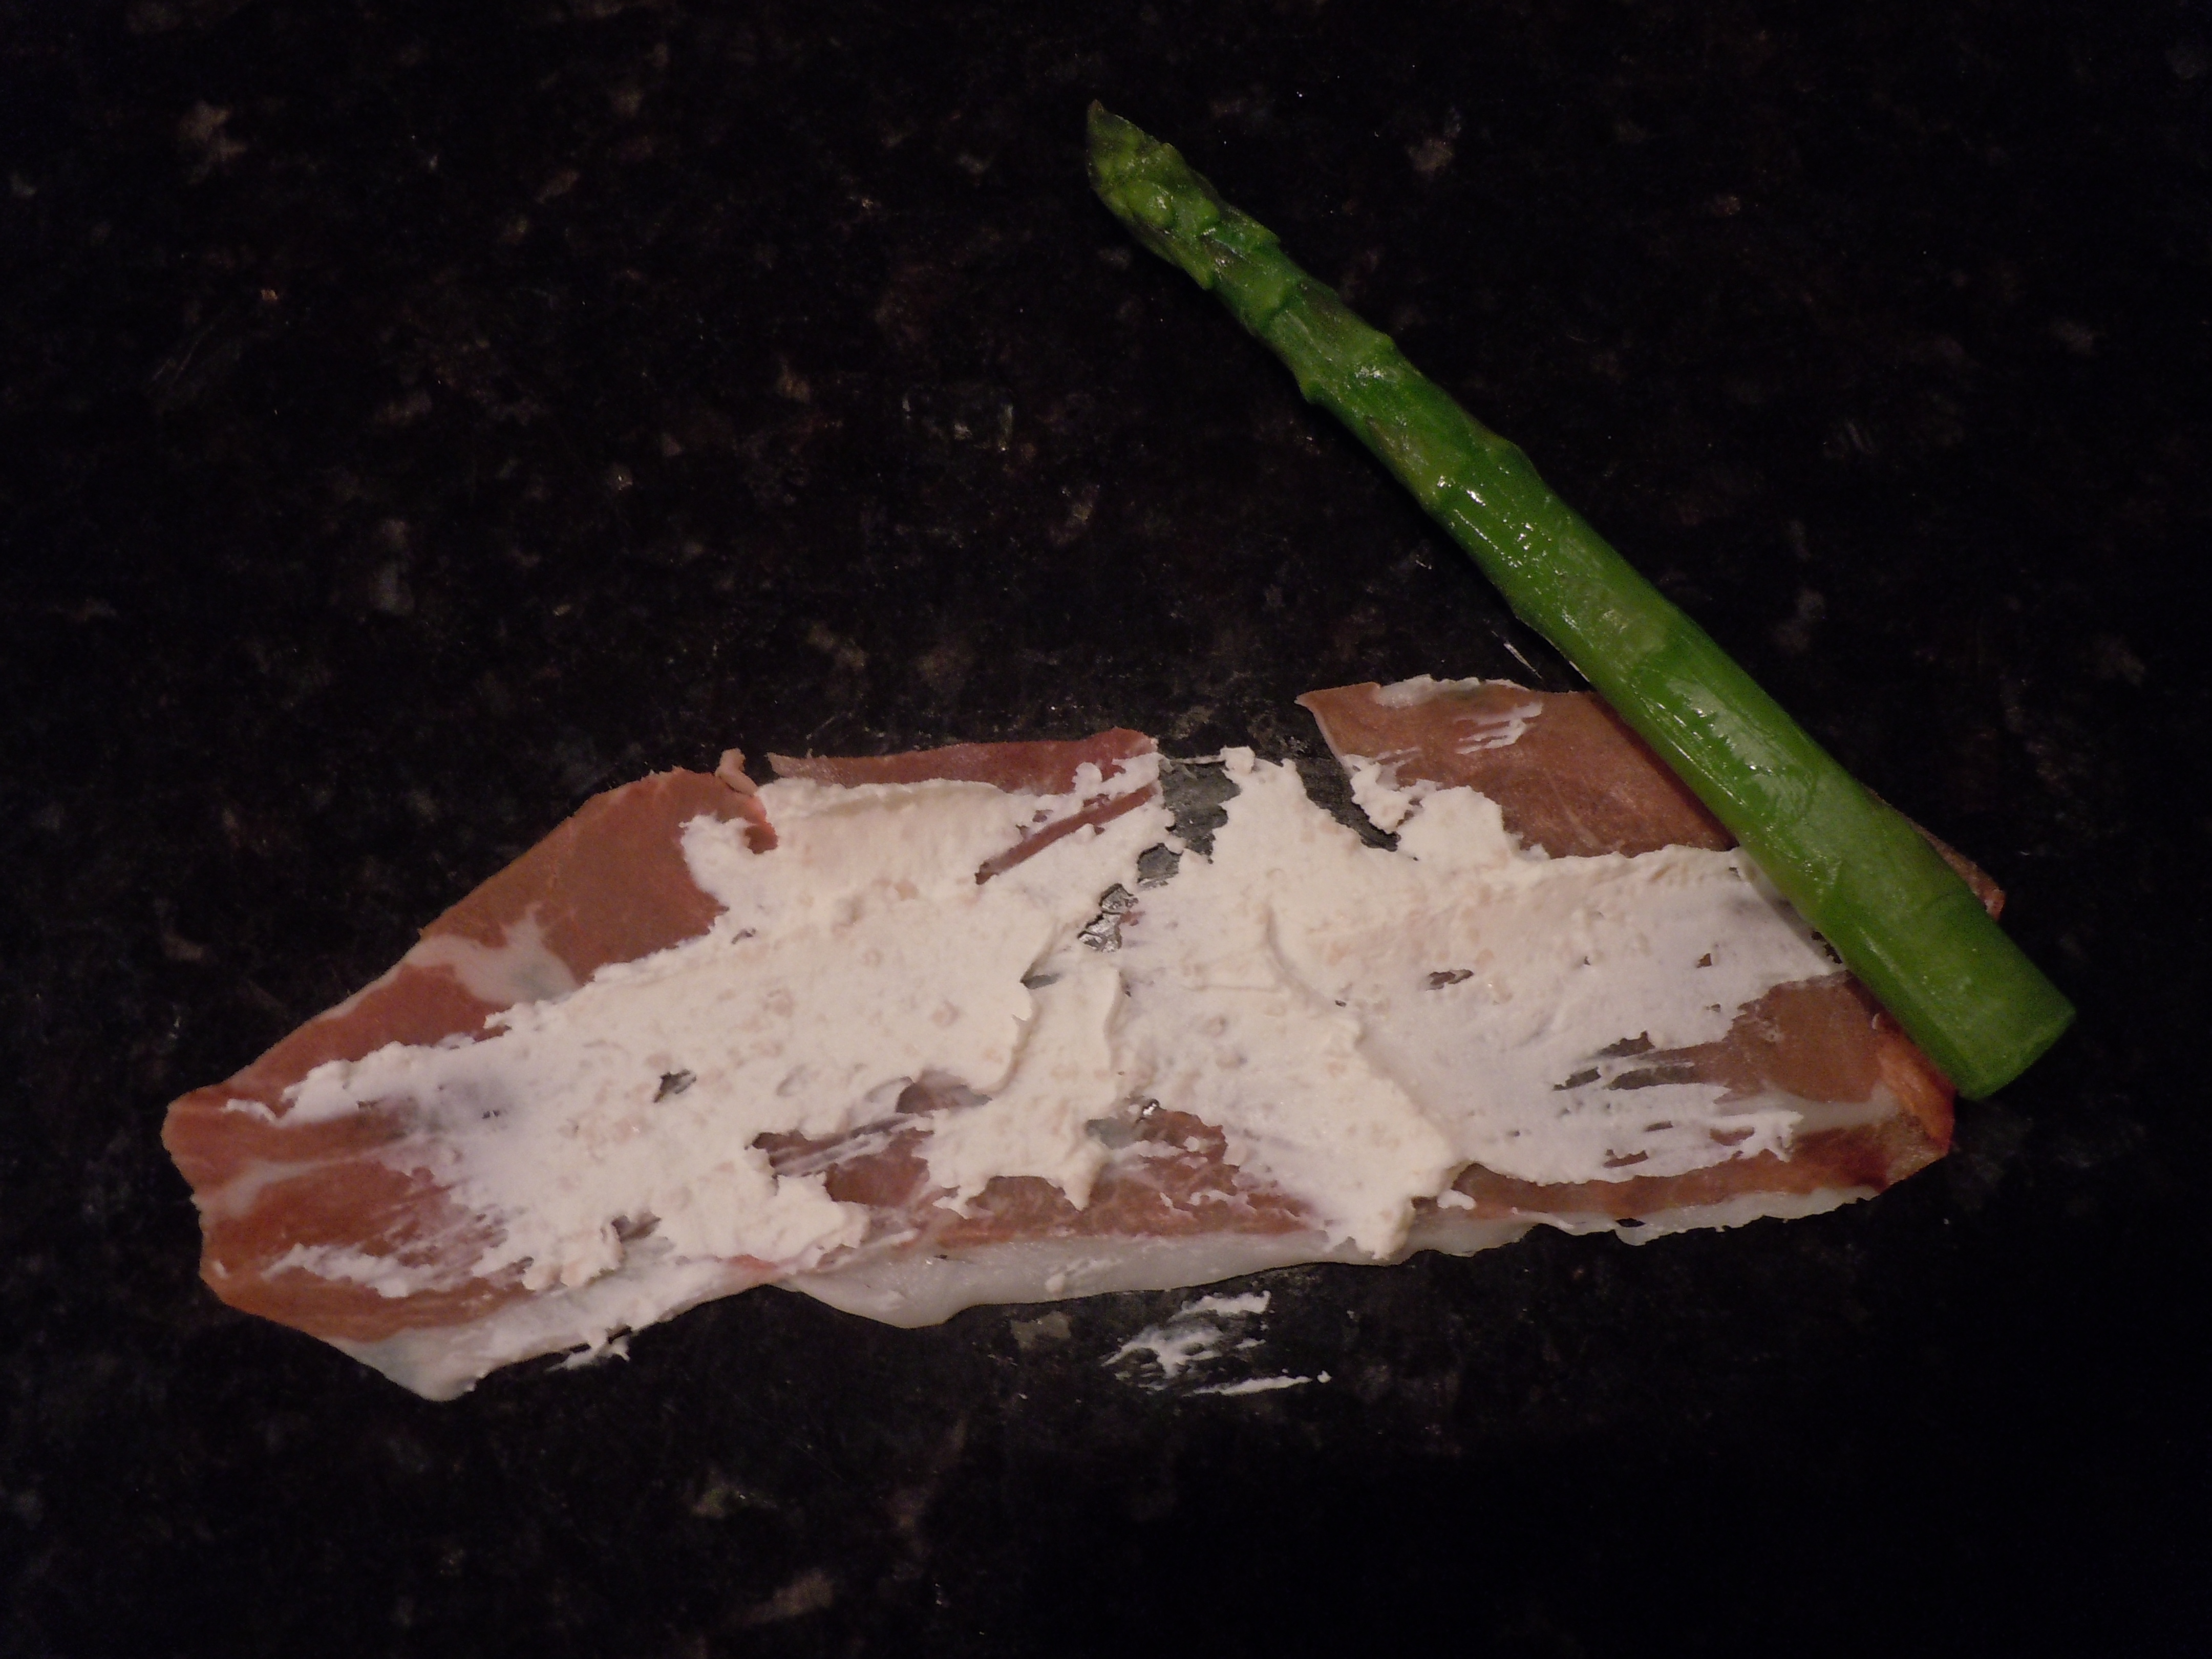
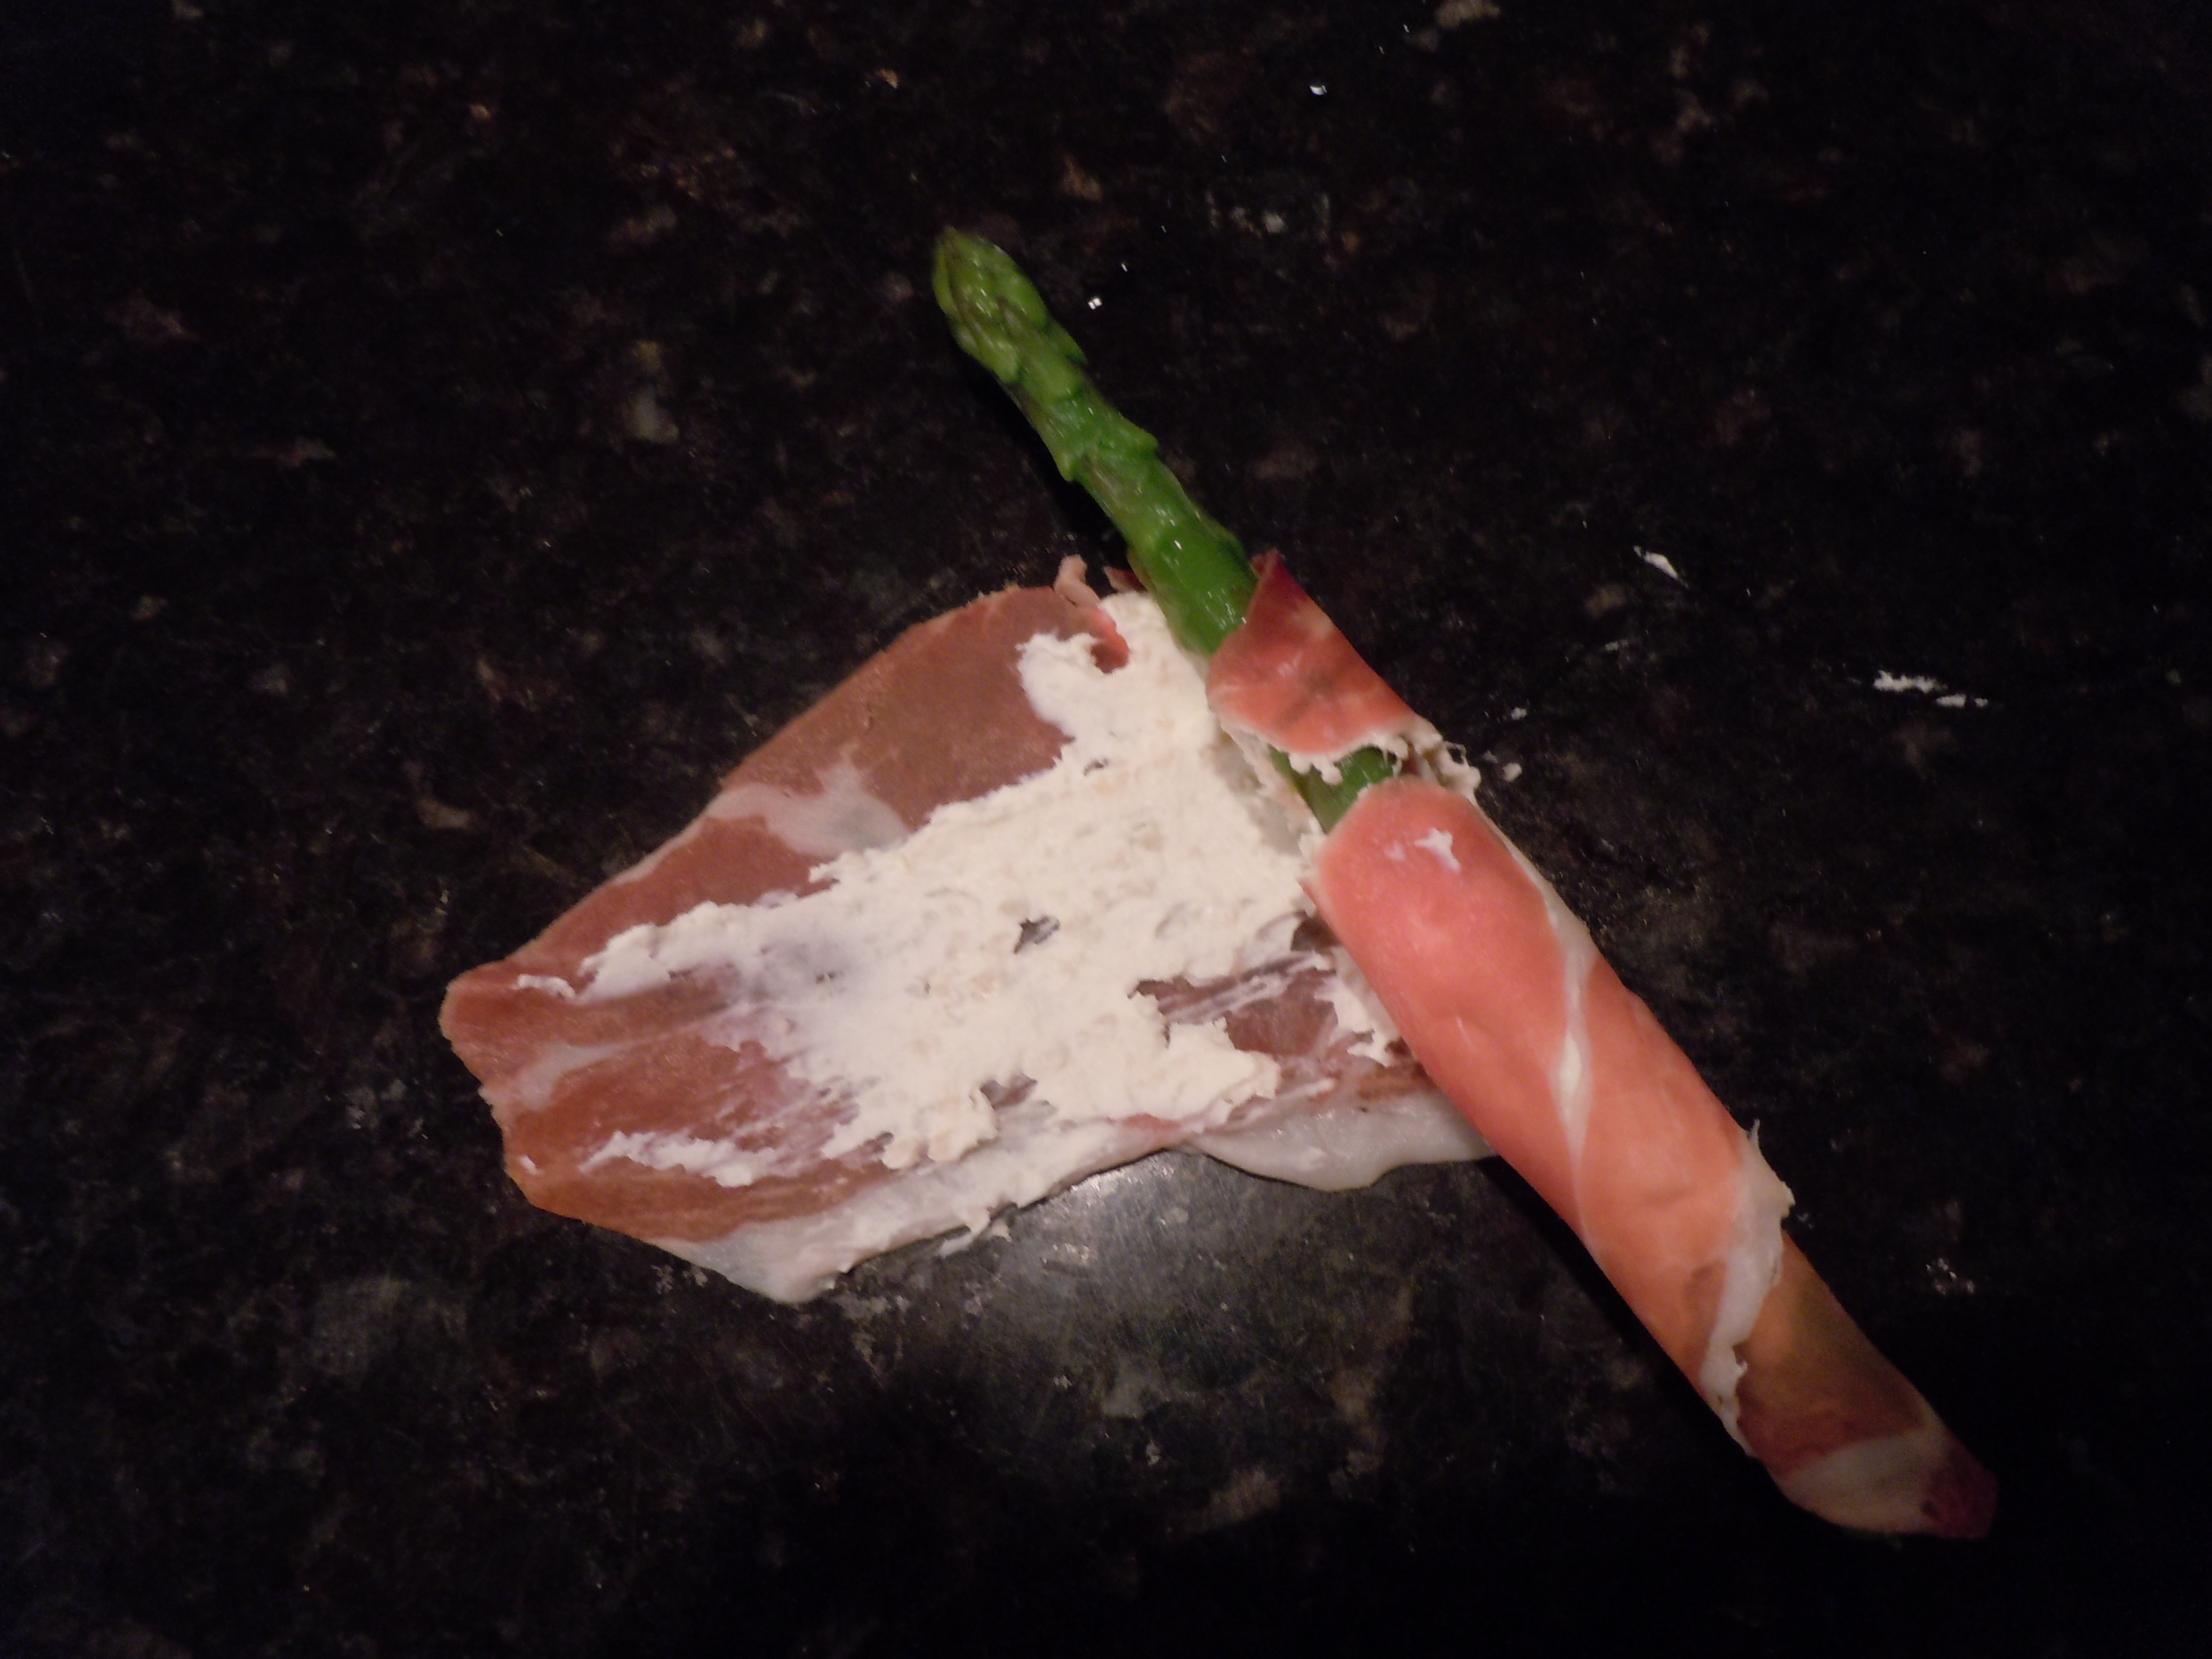
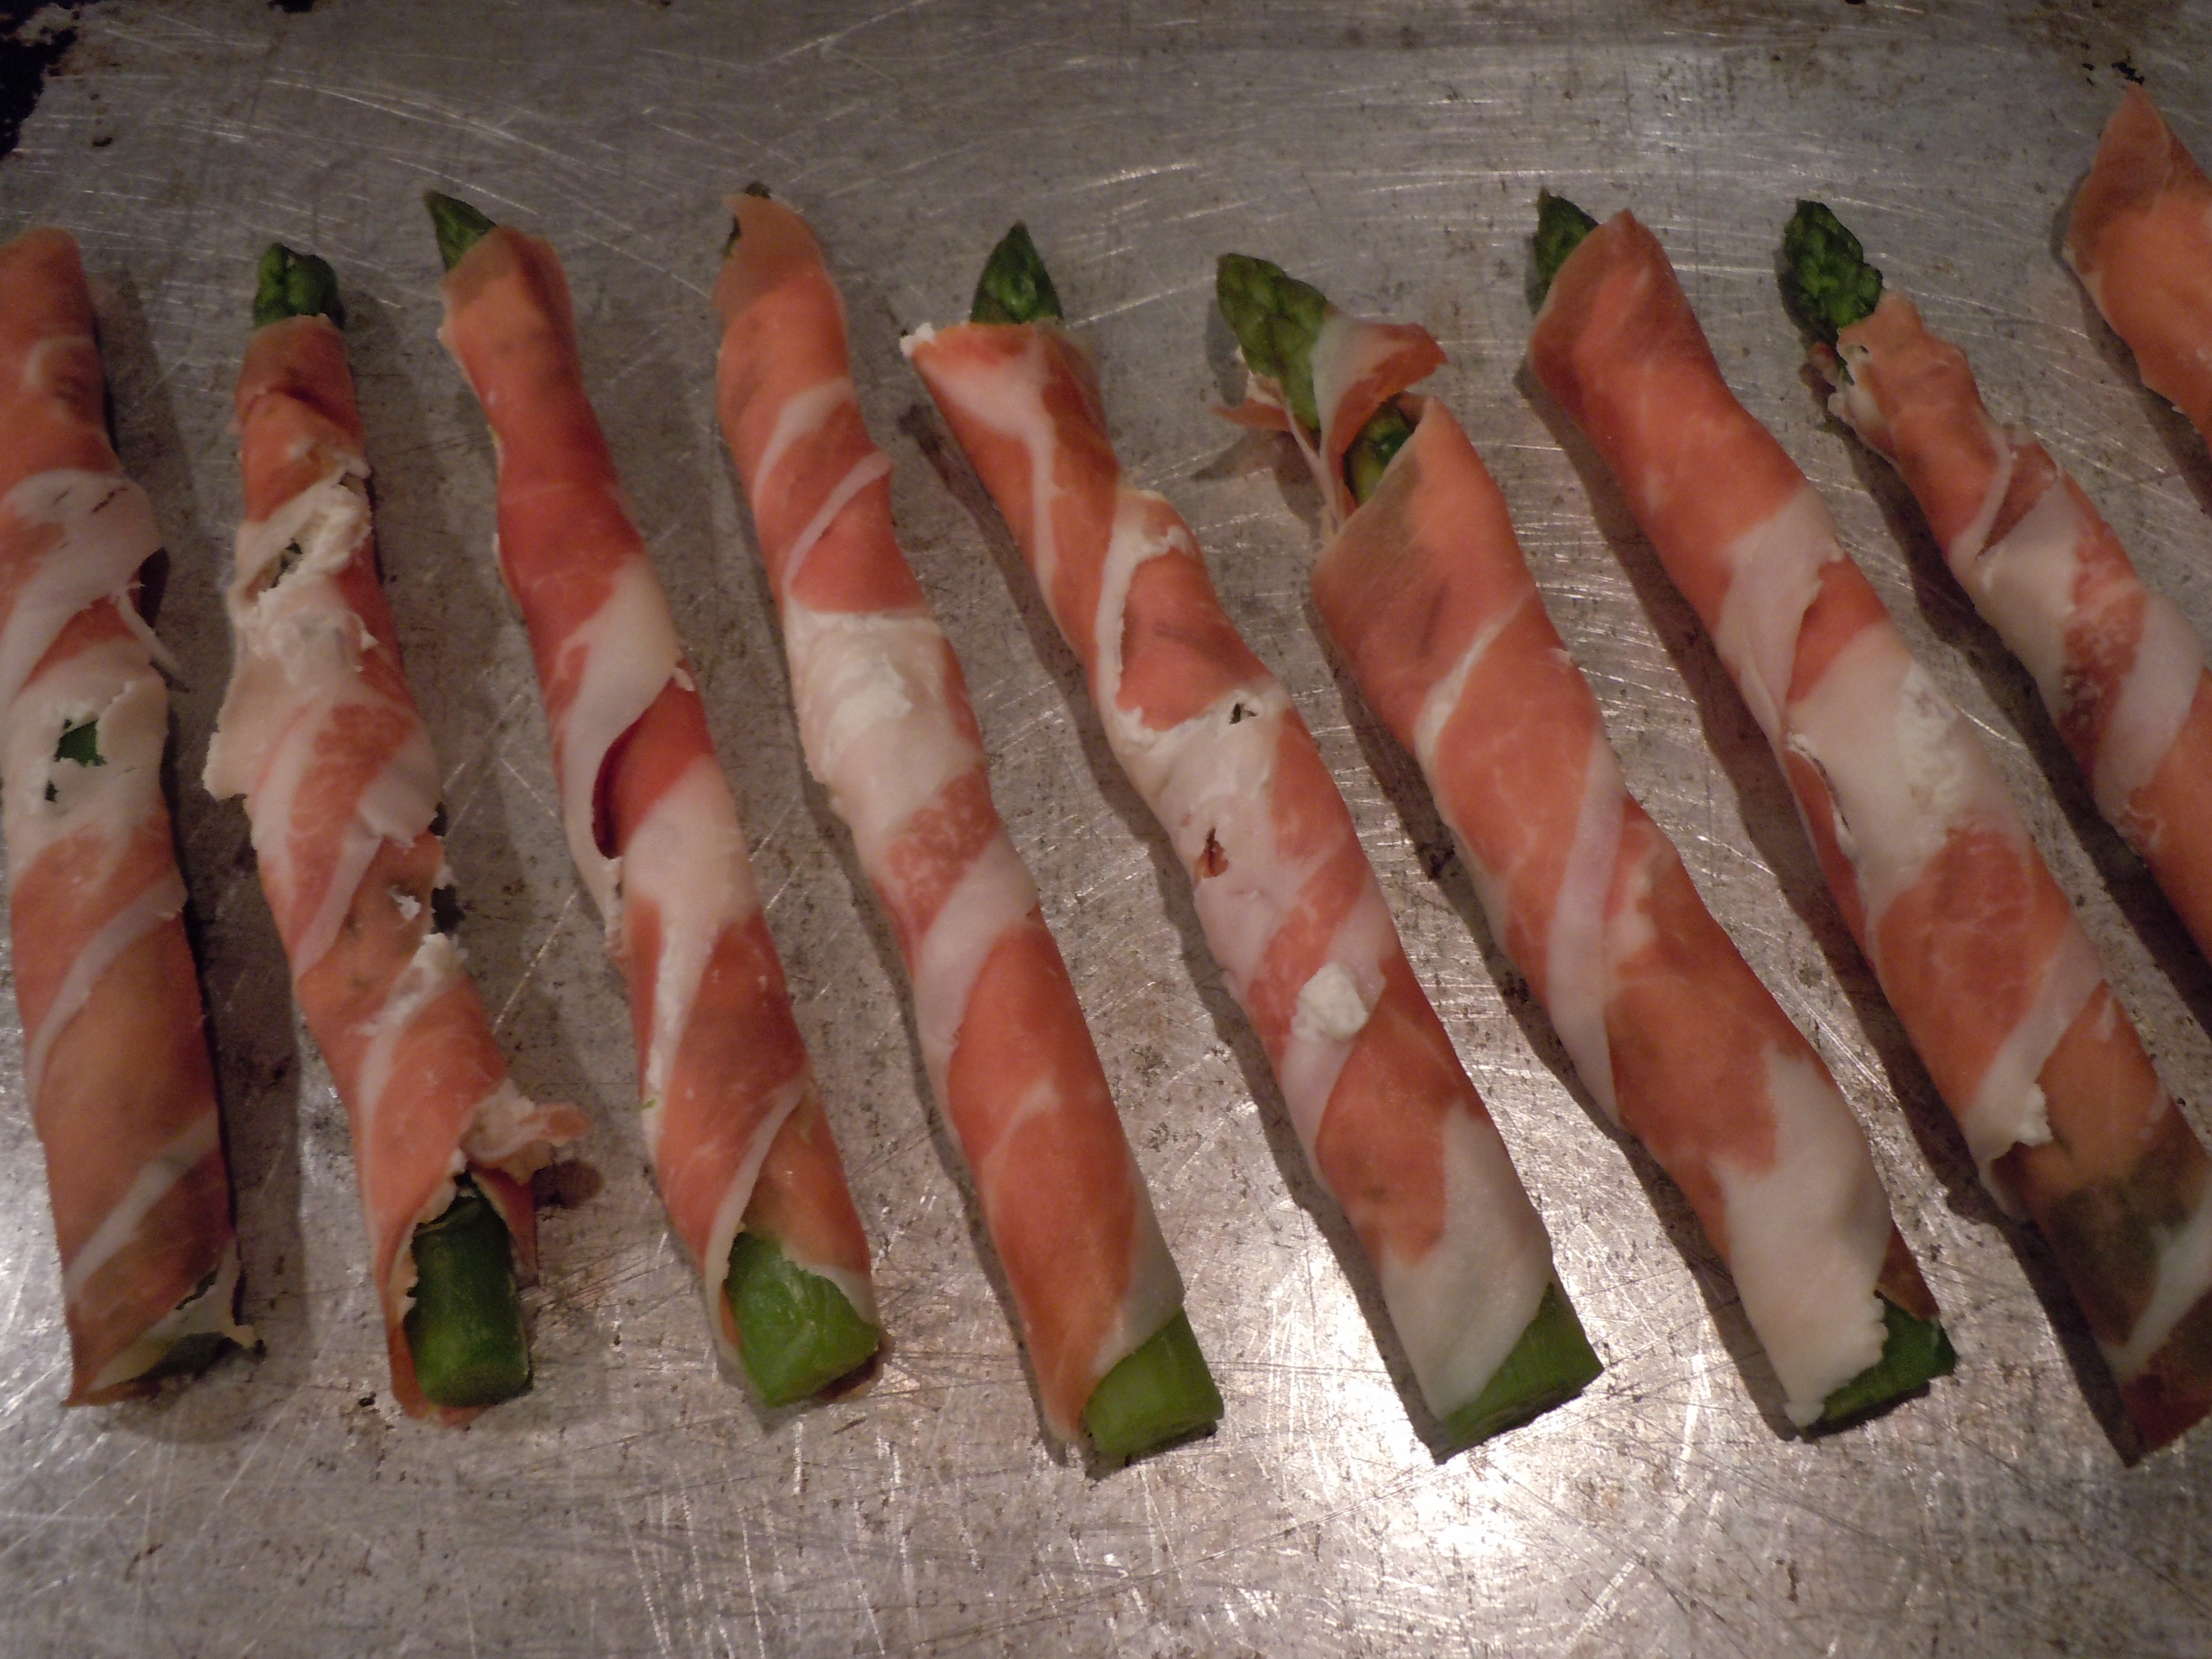
The first holiday appetizer I have for you is my baked asparagus wrapped in Prosciutto that has a smear of a cream cheese, sweet onion and Parmesan spread on the Prosciutto. These Proscuitto wrapped Asparagus are one of my favorite appetizers and can be a topping to a salad or a pretty side vegetable to lunch or dinner. I first had these delicious little bundles at my sister-in-law’s, Anita’s house, twenty years ago.  She is an amazing chef who’s always cooking up a storm. They can totally be made a day ahead, placed on a cookie tray and stored in the frig until you need them. The asparagus is blanched and shocked in an ice bath to stop the cooking and to keep that vibrant green color before they are wrapped with Proscuitto. You want to make sure you buy “Proscuitto di Parma” for this holiday appetizer because it’s the best and most delicate in flavor.  There are other tasty Prosciutto’s out there but they won’t be as tender as the Parma and may get too salty or waxy after baking.

The second quick and easy, gourmet tidbit i have for you are my holiday crostinis with Gorgonzola, fresh chopped tomato, basil and garlic that bakes for seven minutes. These take the same amount of time as the asparagus-Prosciutto appetizer’s. How convenient is that? You can buy already crumbled Gorgonzola at the market in small plastic containers. A little chopping of cherry or grape tomatoes and basil and voilà! The crostinis are beyond simple to make and you can check out that recipe by the hyper-link.

The last wicked easy and delicious holiday appetizer I have for you is something a little sweet. It’s a dollop of goat cheese, fig jam, fresh chopped pear and a mint leave all in a pre-baked fillo shell. Yes, I said pre-baked!!! Can you believe that one? This one you serve at room temperature so all you need to do is thaw the pre-baked shells which takes all of two minutes. It just can’t get any easier than that.

You can totally be flexible with these perfect little holiday appetizer’s too. If you don’t like Gorgonzola switch it out with some cubed up fresh mozzarella to top the crostinis and tomato-basil mixture. As for the pre-baked phylo cups, you can always swap out the goat cheese for a slice of brie if that’s more your taste.

I hope these last minute holiday appetizer’s help you out for your party! I wish you all a joyous New Year! You can certainly swap out or add in other hors d’ oeurves if you are feeling ambitious like baked coconut shrimp, zucchini torta, roasted chick peas, or smoked salmon on crostinis with cream cheese-caper spread. Enjoy 😉

iphone pictures 448

iphone pictures 1063

iphone pictures 970

iphone pictures 777


Baked Asparagus Wrapped in Prosciutto

iphone pictures 538 iphone pictures 601 iphone pictures 529

iphone pictures 532 iphone pictures 534 iphone pictures 540

iphone pictures 544 iphone pictures 546 iphone pictures 545

iphone pictures 552 iphone pictures 554 iphone pictures 560

Ingredients:

  • 20 large asparagus (the bigger the better)
  • 1/4 lb Prosciutto di Parma sliced thinly
  • 4 oz cream cheese room temp (Philadelphia)
  • 1 Tbsp grated vidalia onion (yellow or white is fine too)
  • 1/2 cup grated Parmesan cheese
  • 1 Tsp fresh lemon juice

Directions:

  1. Pre-heat the oven to 400º.
  2. Hold the asparagus with your fingers in the middle and on the end and bend.
  3. The asparagus will break where it’s supposed to.
  4. Line them up and cut evenly across the bottom so they are all at a consistent length.
  5. Bring salted water to a boil and add in asparagus …Blanch 2 minutes
  6. Drain and put into a ice bath.
  7. Dry the asparagus with paper towels.
  8. At this point you can pop them into a zip lock and into the frig until you are ready for them.
  9. Mix together in a small bowl the room temperature cream cheese, grated onion, Parmesan and lemon juice just til combined
  10. Take a piece of Prosciutto and smear 1 Tbsp of the cream cheese mixture down the length of it.
  11. Place the asparagus on a bit of a diagonal (see photo) and roll up.
  12. Place onto an ungreased cookie sheet and bake for 7 minutes – you are heating thru only
  13. Use a spatula to remove from pan and be sure to flip them over when you plate them to see the lovely caramelization on the under side.
  14. Optional: Drizzle a little olive oil, a fresh squeeze of lemon and some shaves of Parmesan on top for a little extra!

iphone pictures 545

 TIP:  Using a micro-plane grater or rasp to grate the onion is a wonderful culinary tool which actually started out back in the day as a wood planer for woodworkers!


Baked Crostinis with Gorgonzola, Fresh Tomato, Basil & Garlic

gorgon mixgorgan crostitoma

withgorg gorgtray IMG_4768

Ingredients:

  • 1 french baguette sliced into 20 – 1/4″ pieces
  • Crostini Recipe
  • 1 cup chopped cherry or grape tomatoes
  • 2 tbsp fresh julienne basil
  • 1 garlic clove put thru garlic press
  • dash salt and pepper
  • 1 small container crumbled Gorgonzola cheese 4 oz. OR diced up fresh Mozzarella

Directions:

  1. Pre-heat oven to 400º
  2. Top crostini with tomato-basil mixture and a tsp of crumbled Gorgonzola OR Mozzarella
  3. Bake for 7 minutes

Goat Cheese, Fig Jam, Fresh Pear and Mint in Pre-Baked Fillo Cups

fillocup withjam endgoat

Ingredients:

  • 1-2 pkg of pre-baked fillo cups (if you can’t find these just buy pre-formed pastry cups that you can quickly bake)
  • 2 oz. goat cheese OR wedge of your favorite dbl cream brie…Saint Albray for example
  • fig jam
  • 1/2 cup fresh chopped pear
  • Wedge of fresh lemon
  • fresh peppermint leaves

Directions:

  1. Chopped the pear and give a squeeze of a wedge of lemon
  2. Thaw the pre-baked fillo cups
  3. Place fresh mint leaf into cups
  4. Place a dollop of goat cheese or slice of brie into the cup
  5. Top with 1/2 tsp of fig jam
  6. Then top with diced fresh pear
  7. Serve room temperature


Pulled Beef Taco’s & Mango Salsa


Pulled Beef Taco’s & Mango Salsa

Just wait until you taste the flavors in this pulled beef taco dish that ONLY uses three ingredients! Yes, that’s right we only use three ingredients… red wine, Trader Joe’s Autentica Salsa and a chuck roast that braises in the oven for two and a half hours with the cover off. I almost feel like we are cheating here by only using these three items because it seems as though something this amazing in taste, similar to Boeuf Bourguignon, should involve way more effort and ingredients. I think it’s important here to use the oven instead of a crock pot because the dry heat helps to caramelize the beef really building on all those layers of flavors.

This is the perfect dish for having groups of friends over because it’s a total make ahead dish. You can even make my mango salsa the day before. If you are really in a pinch for time you could always buy fresh made salsa at the store. I personally like to make this homemade pulled beef the morning of the party so that the house fills with all the aromas of the braising chuck roast, red wine and tomatoes. Really gets the juices flowing!

You can use your favorite hard taco shells to serve up the homemade pulled beef, corn and flour tortilla’s or even serve it on a bed of lettuce with shredded cheddar cheese and my mango salsa! I would also offer sour cream and Siracha in the side fixin’s and just let people go to town making their own creations. How fun is that?
You may just want to make my decadent Hershey’s Perfectly Chocolate Chocolate Cake for dessert! You won’t believe how EASY it is to make! You could also try my Chocolate Crackle Cookies that melt in your mouth. Then there always Fresh Berry Granita or Berries in a Dreamy Cream for dessert too. You’ll be able to actually relax and have lots of fun with your family and friends.

IMG_2793 IMG_3663 IMG_2375 IMG_2201

IMG_3110  IMG_3140  IMG_3127

IMG_3132  IMG_3135  IMG_3173

IMG_3223  IMG_3234  IMG_3144

mangosalsa

Ingredients for the Pulled Beef Taco’s:

  • 3 1/2 lb. beef chuck roast (look for some good marbling)
  • 1 bottle of red wine – Cabernet Sauvignon
  • 1 bottle Trader Joe’s Salsa – Autentica
  • 3 tbsn olive oil

Directions:

  1. Pre-heat the oven to 350º
  2. Slice  the chuck roast into 6 pieces
  3. Salt and pepper the pieces
  4. Add 3 tbsn of olive oil to a large pan on med/high heat and begin to add the beef pieces
  5. Turn up the heat to high and quickly sear all sides til browned – this takes 10 minutes
  6. Add in 3/4 of the bottle of red wine (be careful of steam here) and the whole jar of salsa
  7. Bring to a simmer and pop into the oven for 2 1/2 hrs.
  8. Every hour turn the beef pieces over so the other sides can caramelize
  9. At 2 1/2 hours take the braising meat out of the oven and begin to remove the beef to a dish wear you can start to pull apart the beef pieces
  10. Tilt the braising pan to the side so that you can skim off the fat that rendered out of the meat
  11. Pour the left over juice onto the pulled beef and serve with taco shells and my mango salsa…enjoy!

Ingredients for the Mango Salsa:

  • 2 lg mangoes chopped 1/4″ cubed – (about 1 1/2 cups)
  • 1 avocado chopped 1/4″ cubed (1 cup)
  • 2 med/lg size tomato’s or 5 small tomato’s chopped 1/4″ cubed (1 cup)
  • 1/2 Vidalia onion (or yellow) FINELY chopped (1/2 cup)
  • 1 FINELY chopped jalapeno (2-3 tbsn)
  • juice from 1 lime
  • 2 Tbsp olive oil
  • 1 Tbsp rice wine vinegar
  • 1/2 cup coarsely chopped cilantro
  • a dash of Siracha (optional)
  • S & P

Directions:

  1. Add all of the ingredients to a large bowl and mix thoroughly.
  2. We really love to eats this salsa with blue chips too
  3. I have also served this salsa up on the tips of endive leaves, and or with a cooked shrimp on top of that ….yum!
  4. I must warn you this salsa is highly addictive……consume at your own risk! LOL

iphone pictures 718  iphone pictures 732  iphone pictures 721

iphone pictures 722  iphone pictures 724  iphone pictures 738

iphone pictures 739  iphone pictures 740

TIP:  There is an easy way to get the pit out of a avocado which I have displayed in the pictures above.  After running the knife around the flesh of the avocado against the edges of the inside pit… put the knife down and twist the avocado halves and pull apart. Then stick the knife into the pit and do the same thing holding on to the knife with one hand and carefully twist the avocado pit and it will pop right out.  Then knock the pit off onto the board away from your hands.  This can be a little tricky the first time so I would advise that this would be for an adult to try.   Finally, Insert a large spoon and scoop the avocado along the edge of the avocado skin to remove avocado flesh.

Gourmet Frittata

Gourmet Frittata

The Frittata first came about as practical dish in theory for using up those leftovers in our frig but when adding in some lovely melting cheeses and a pinch of dairy it turns into something much more then that. Not to mention this Italian egg dish is just as delicious served room temperature as it is warm.

Making a gourmet frittata is as easy as can be leaving you with lots of room to be creative. The measurements do not have to be exact at all to get wonderful results. You can use 10-12 eggs, and mix in heavy cream, half and half, sour cream, or even creme fresh. You can also change out the cheeses to one that you prefer. Use feta or goat cheese, cheddar, Monterey Jack, Pepper jack, Colby-jack, Swiss or Gruyère, Parmesan and so on. It’s nice to mix it up too using a combination of these cheeses. I really love using up the leftover veggies in the fridge and don’t mind sautéing up one or two more to enhance the leftovers.

By no means does this homemade frittata have to remain a vegetarian either! Pack in the meat using chunks or slices of ham, cooked sausages, bacon, steak and well that list goes on too. I think the trick here is not to fuss too much, be sure to add a little dairy and be sure not to over cook the frittata thinking that it’s not done enough because you see a little movement in the center when taking it out of the oven. Remember it will keep cooking after you take it out of the oven and it will also congeal a bit with the cooling process. Enjoy the show and making this yummy gourmet frittata! You may want to try some grilled Asian Salmon or Caesar Salad with this frittata too.

IMG_2490  onions  mushrooms

kale  cookedkale  eggwithvg

IMG_2533  IMG_2536  slice

Ingredients:

  • 12 extra-lg eggs
  • 1/2 cup half & half, heavy cream or creme fresh
  • 1 1/2 cup gruyere cheese ( 1/2 cup is for the topping) OR 1/2 cup cheddar, 1/2 gruyere with addtional 1/2 cup mix of each for the topping
  • 1/3 cup grated Reggiano Parmesan
  • 8 oz. pkg baby bella mushrooms sliced
  • 1 1/2 cup chopped or sliced onions
  • 6 small tomatoes sliced 1/8″ thick to decorate top of frittata before you bake it
  • 1 tsp salt (1/2 tsp into eggs & 1/4 tsp each for onion/mush. and 1/4 tsp when you add kale)
  • 1/4 tsp ground pepper
  • 1 tsp Siracha (or more…to taste)

Directions :

  1. Pre-heat oven to 350º
  2. Wash and dry kale leaves
  3. Remove kale leaves from the ribbing (stalk) as shown in show
  4. Slice mushrooms, onions, kale and tomatoes – set aside
  5. Whisk 12 eggs, then whisk in 1/2 tsp salt. 1/4 tsp finely ground pepper and half and half
  6. Add 3 tbsp olive oil to 10″ cast iron pan or oven proof pan on med/high heat
  7. Add onions and sauté for 5 minutes
  8. Add mushrooms to onions and 1/4 tsp salt, then sauté another 5 minutes on med/high
  9. Add in kale when juices begin to release from the mushrooms along with another 1/4 tsp salt and sprinkle of pepper, and a few shots of Siracha
  10. Sauté kale mixture for 5 minutes while stirring just to wilt slightly
  11. Add 1 cup of gruyere and 1/2 cup of parm to egg mixture and give it a quick stir
  12. Turn off heat on cast iron pan and add in egg mixture
  13. Give it a stir to the veggies and egg mixture
  14. Then top with 1/2 cup more gruyere cheese and decorate with sliced tomatoes
  15. Put into the oven and bake for approx. 23 minutes
  16. Take a peak at the 20 minute mark to make sure that the top hasn’t gotten golden
  17. You only want slight golden on outer edge
  18. Take out frittata and let sit for 20-30 minutes
  19. NOTE: the frittata will keep cooking after you remove it from the oven
  20. Slice and serve with a sprinkle of grated Reggiano Parmesan on top