The Traveling Epicurean

Sweet Potato Fries & Green Goddess Dip lll

Sweet Potato Fries & Green Goddess Dip lll

IMG_3827
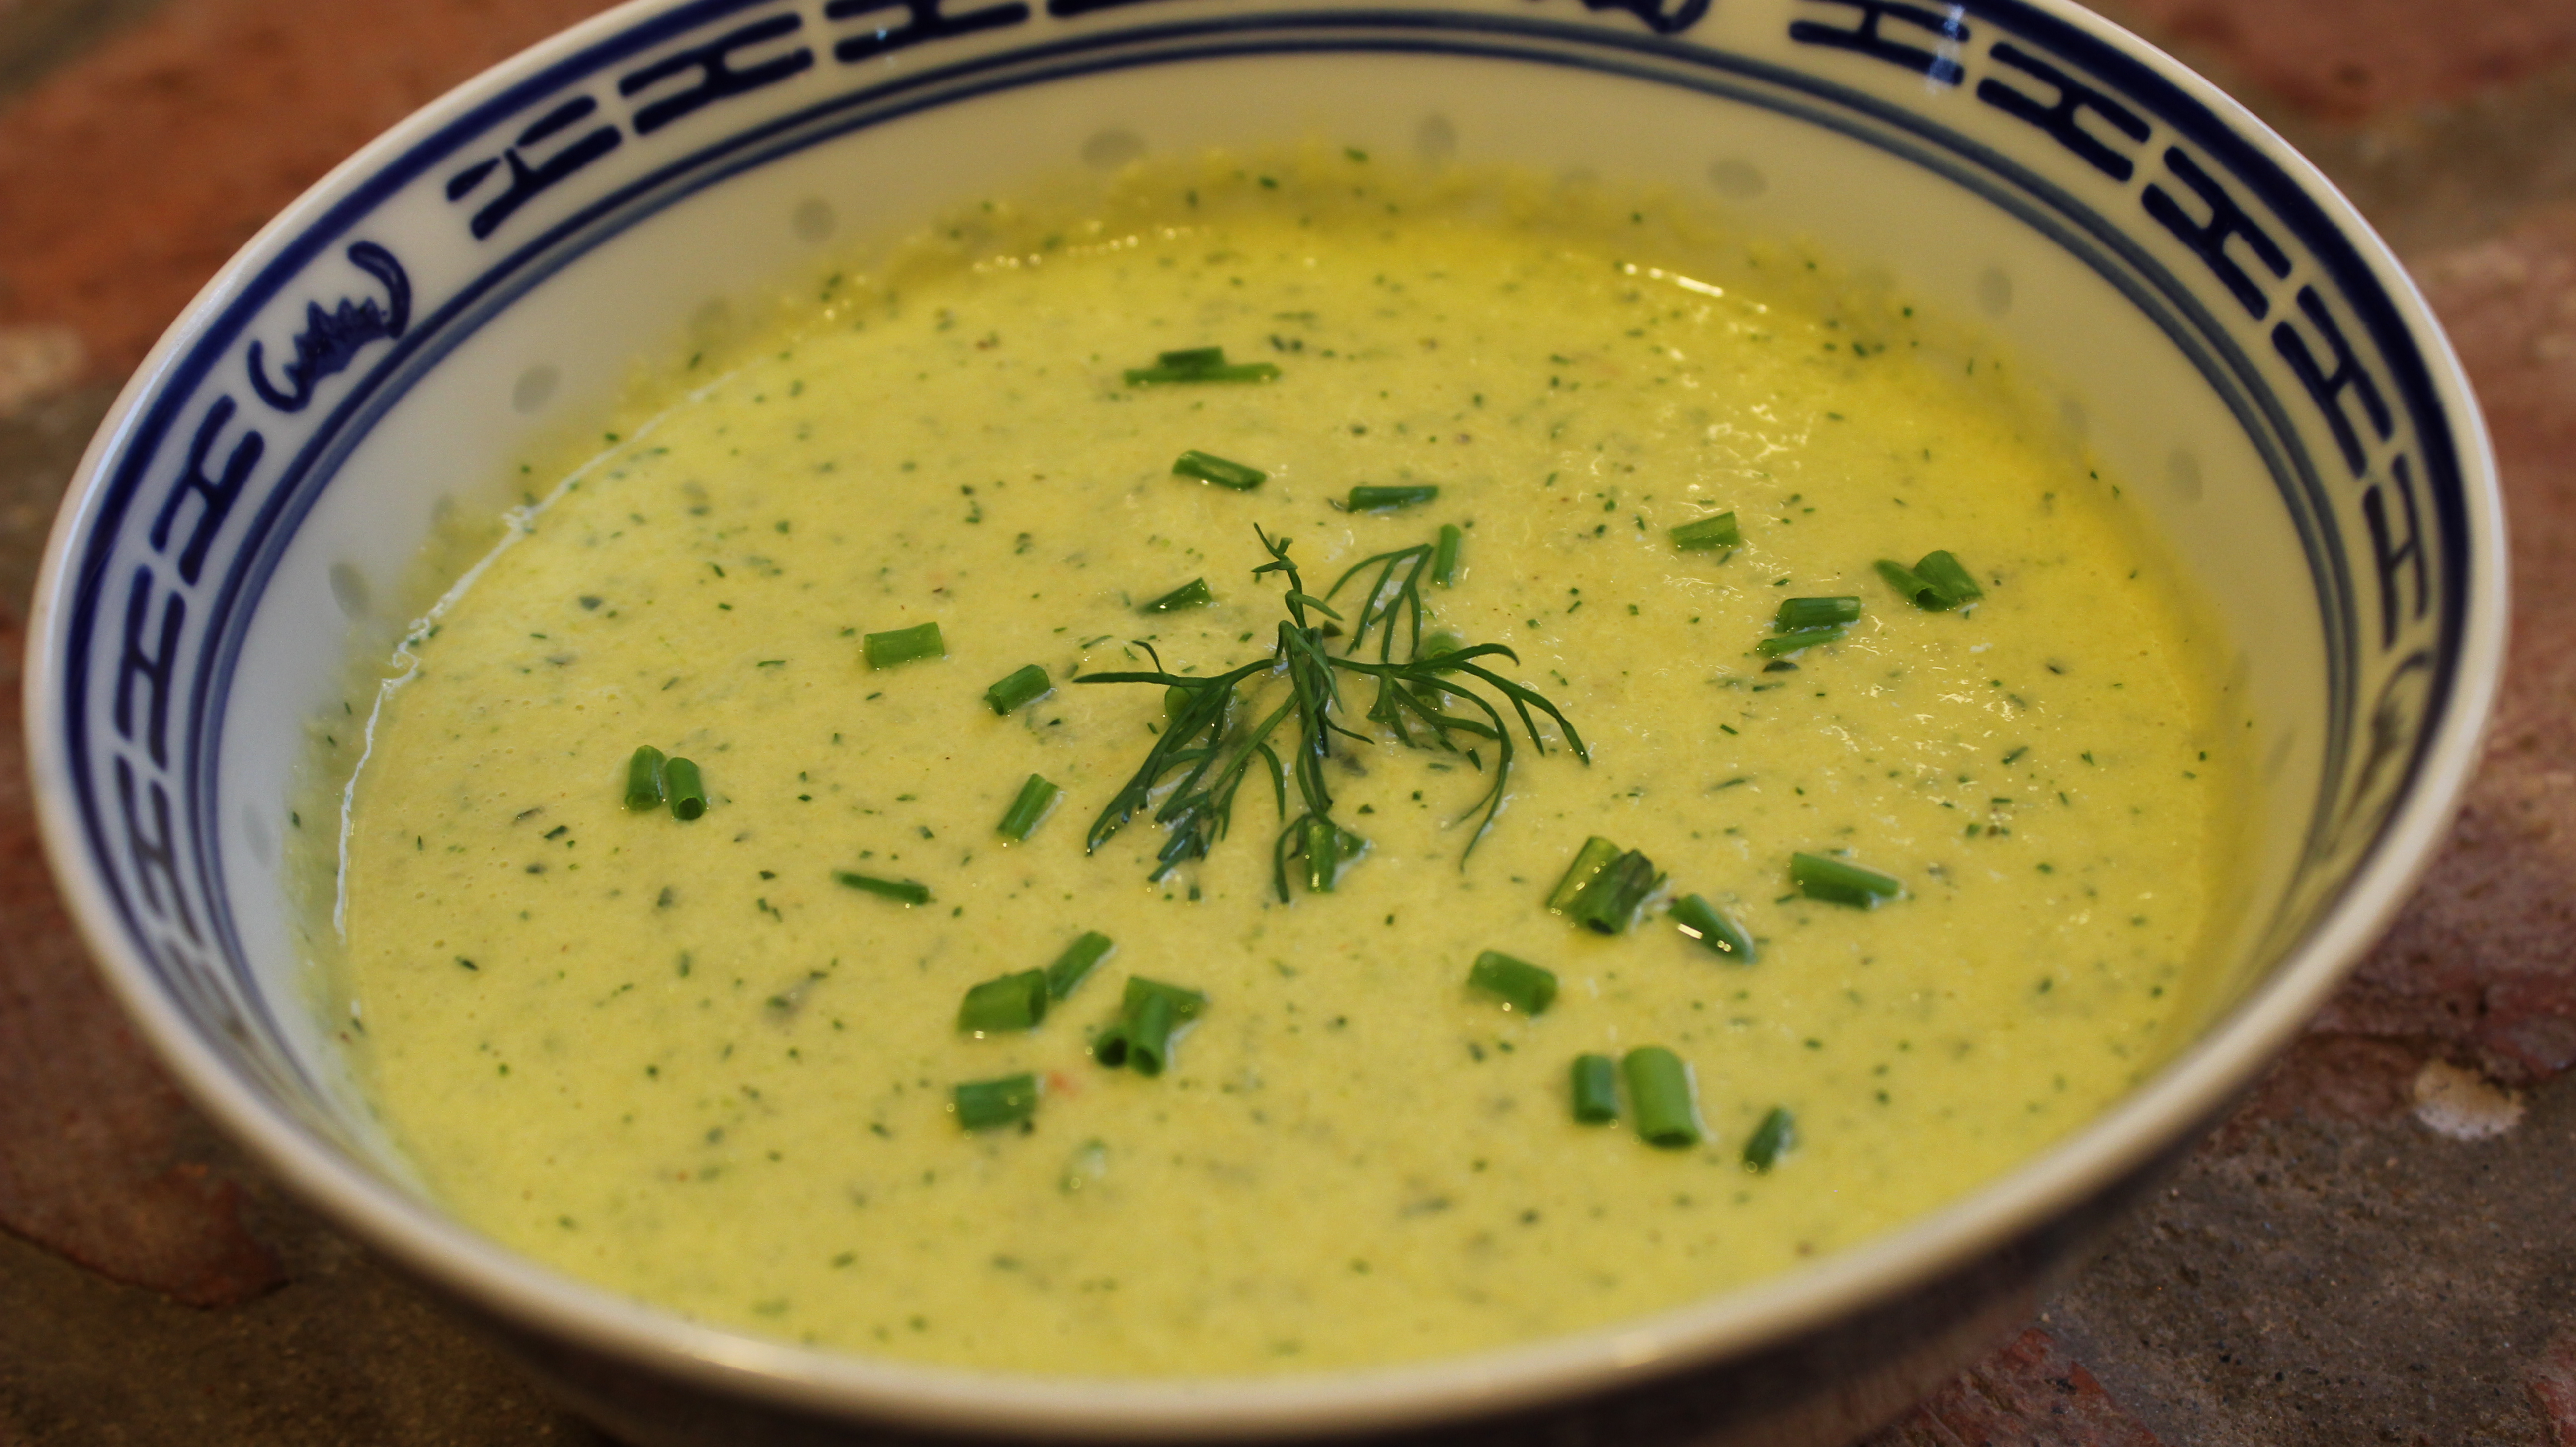
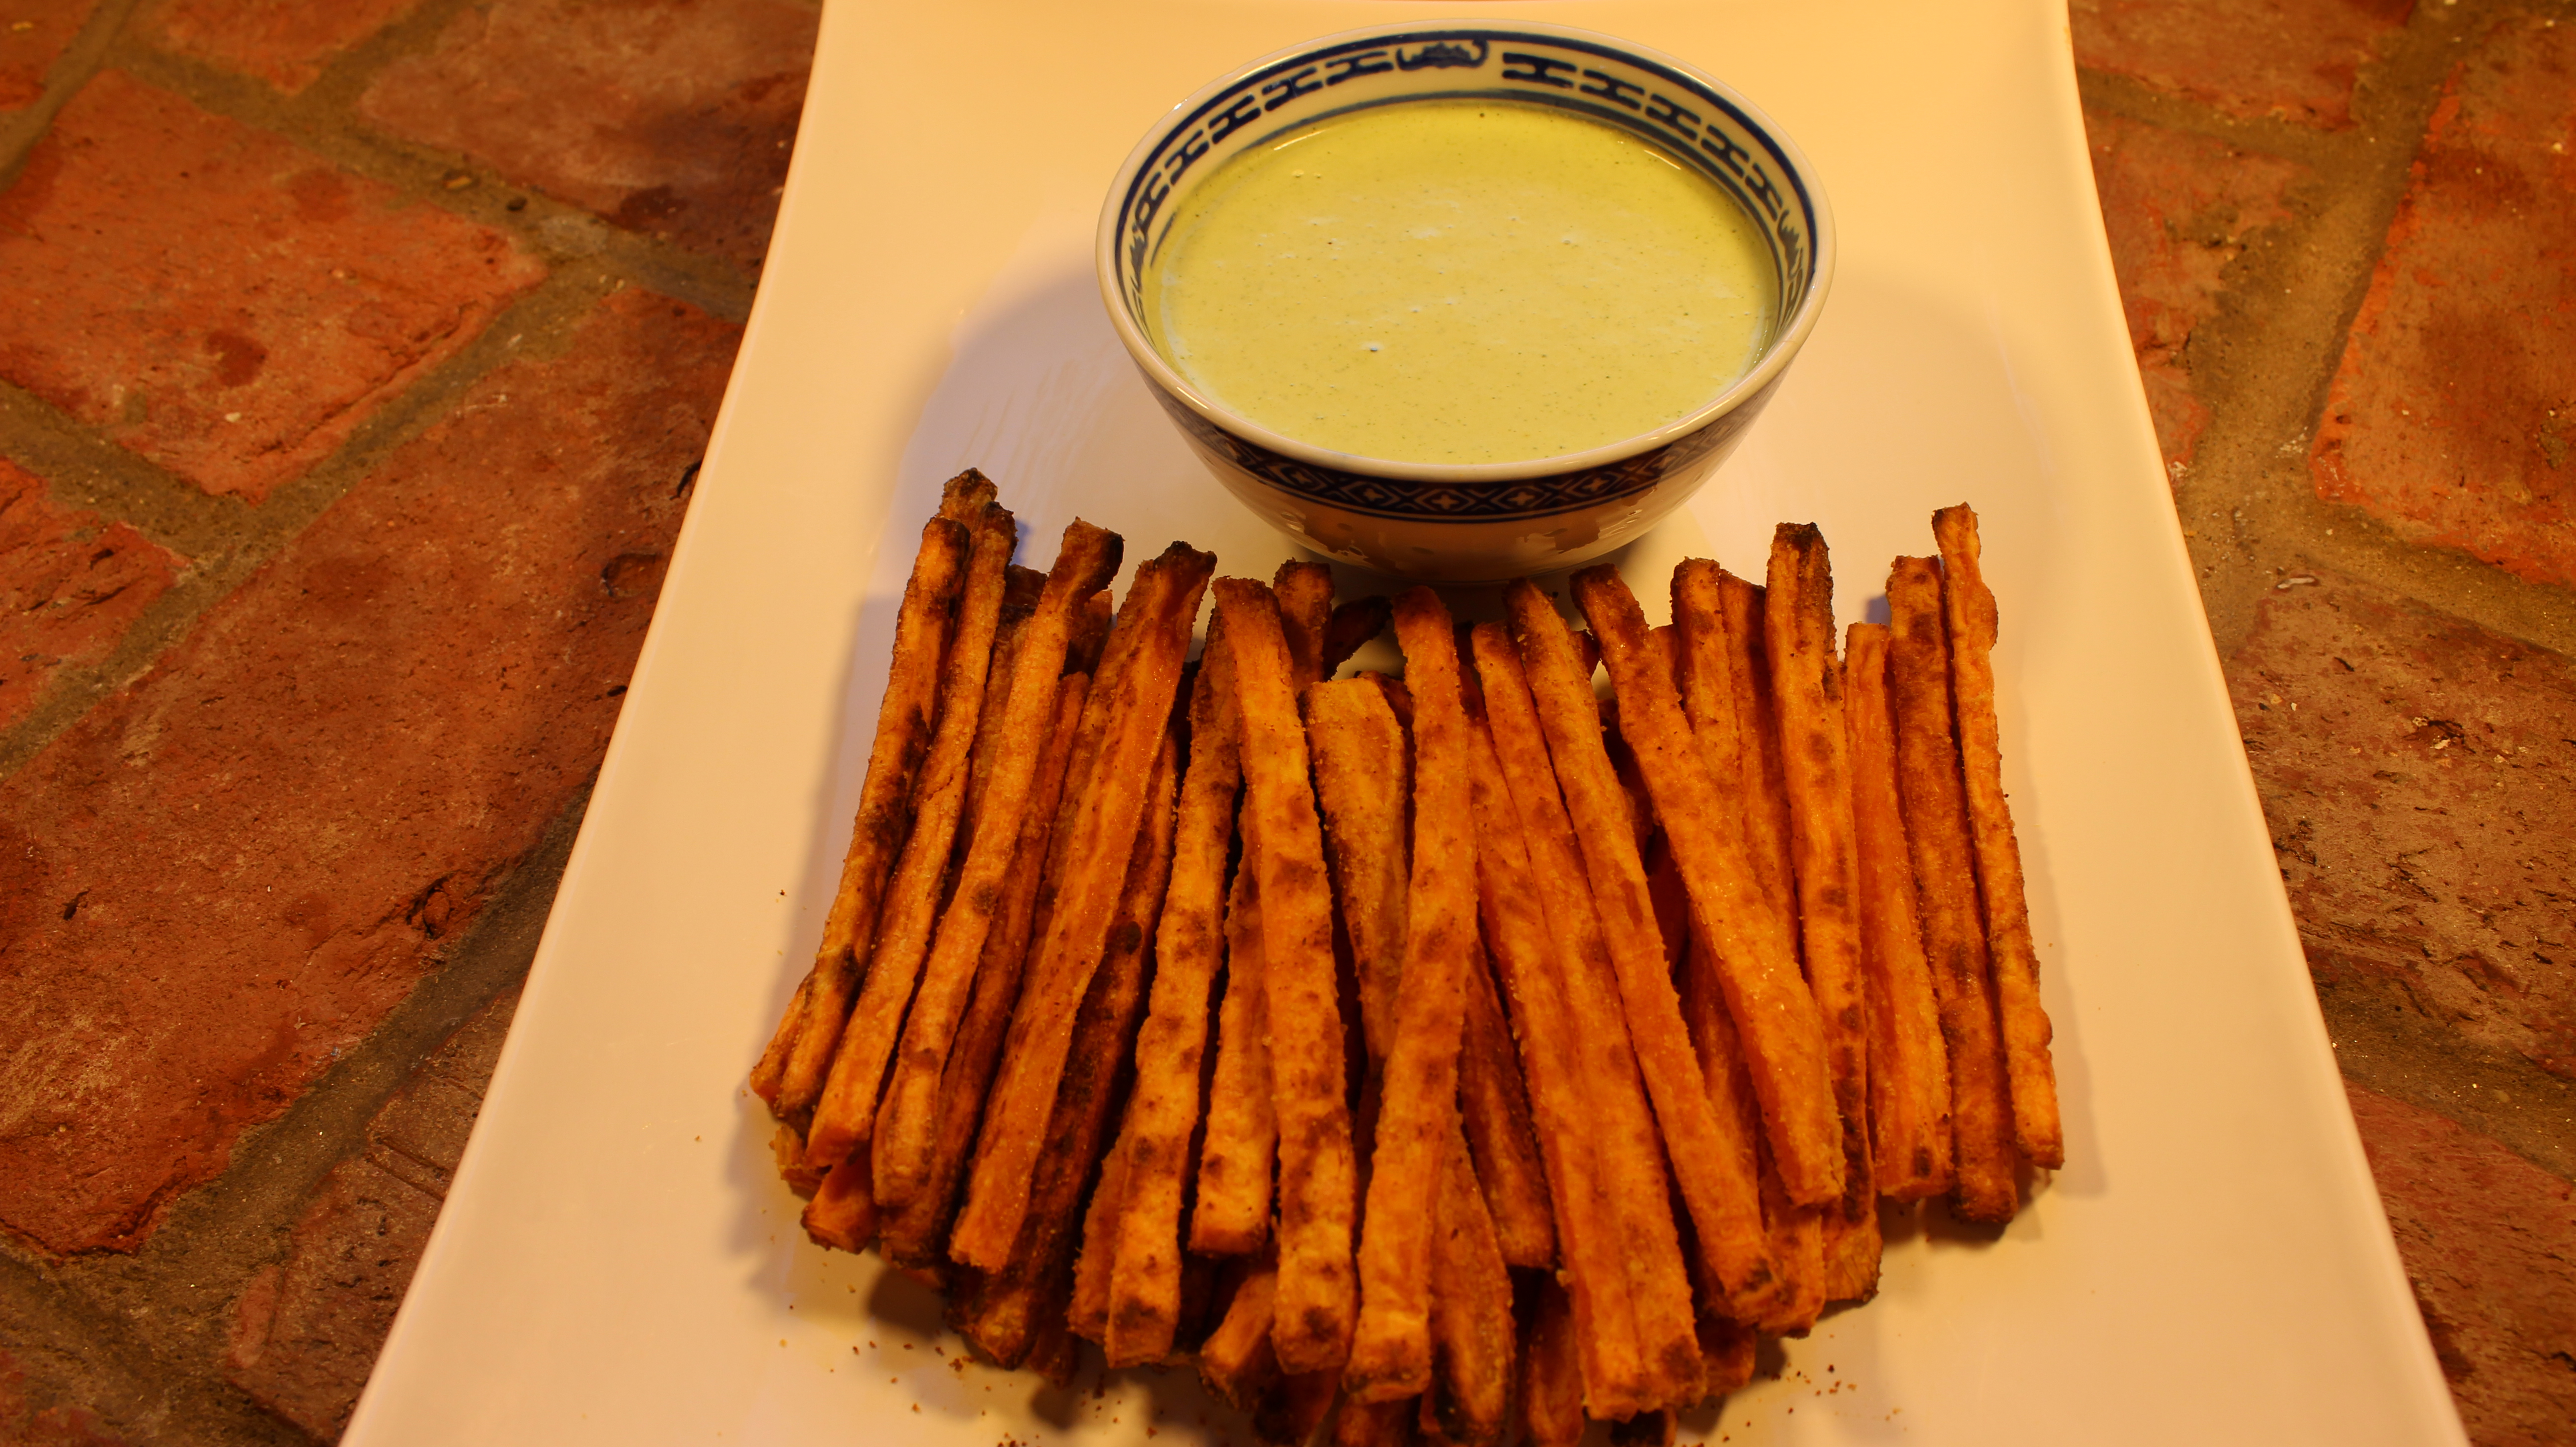
The colors orange and green were stuck in my head for this Halloween episode and that’s why I decided to share my sweet potato fries & green goddess dip recipes with you! These baked sweet potato fries are so delicious all on their own but wait until you dip them into the green goddess sauce you’ll want to put green goddess dip on EVERYTHING! I make this dipping sauce when I cook up swordfish, shrimp, tuna, chicken and steaks also. Being able to make a homemade gourmet sauce like this in 5 minutes, in a blender is basically a no-brainer for me. I can’t wait until you taste this sauce. And here I go again, making my dipping sauce with Greek yogurt to balance out the mayo giving it yet another layer of flavor and tangy richness.  I do this also with my pink remoulade sauce too.

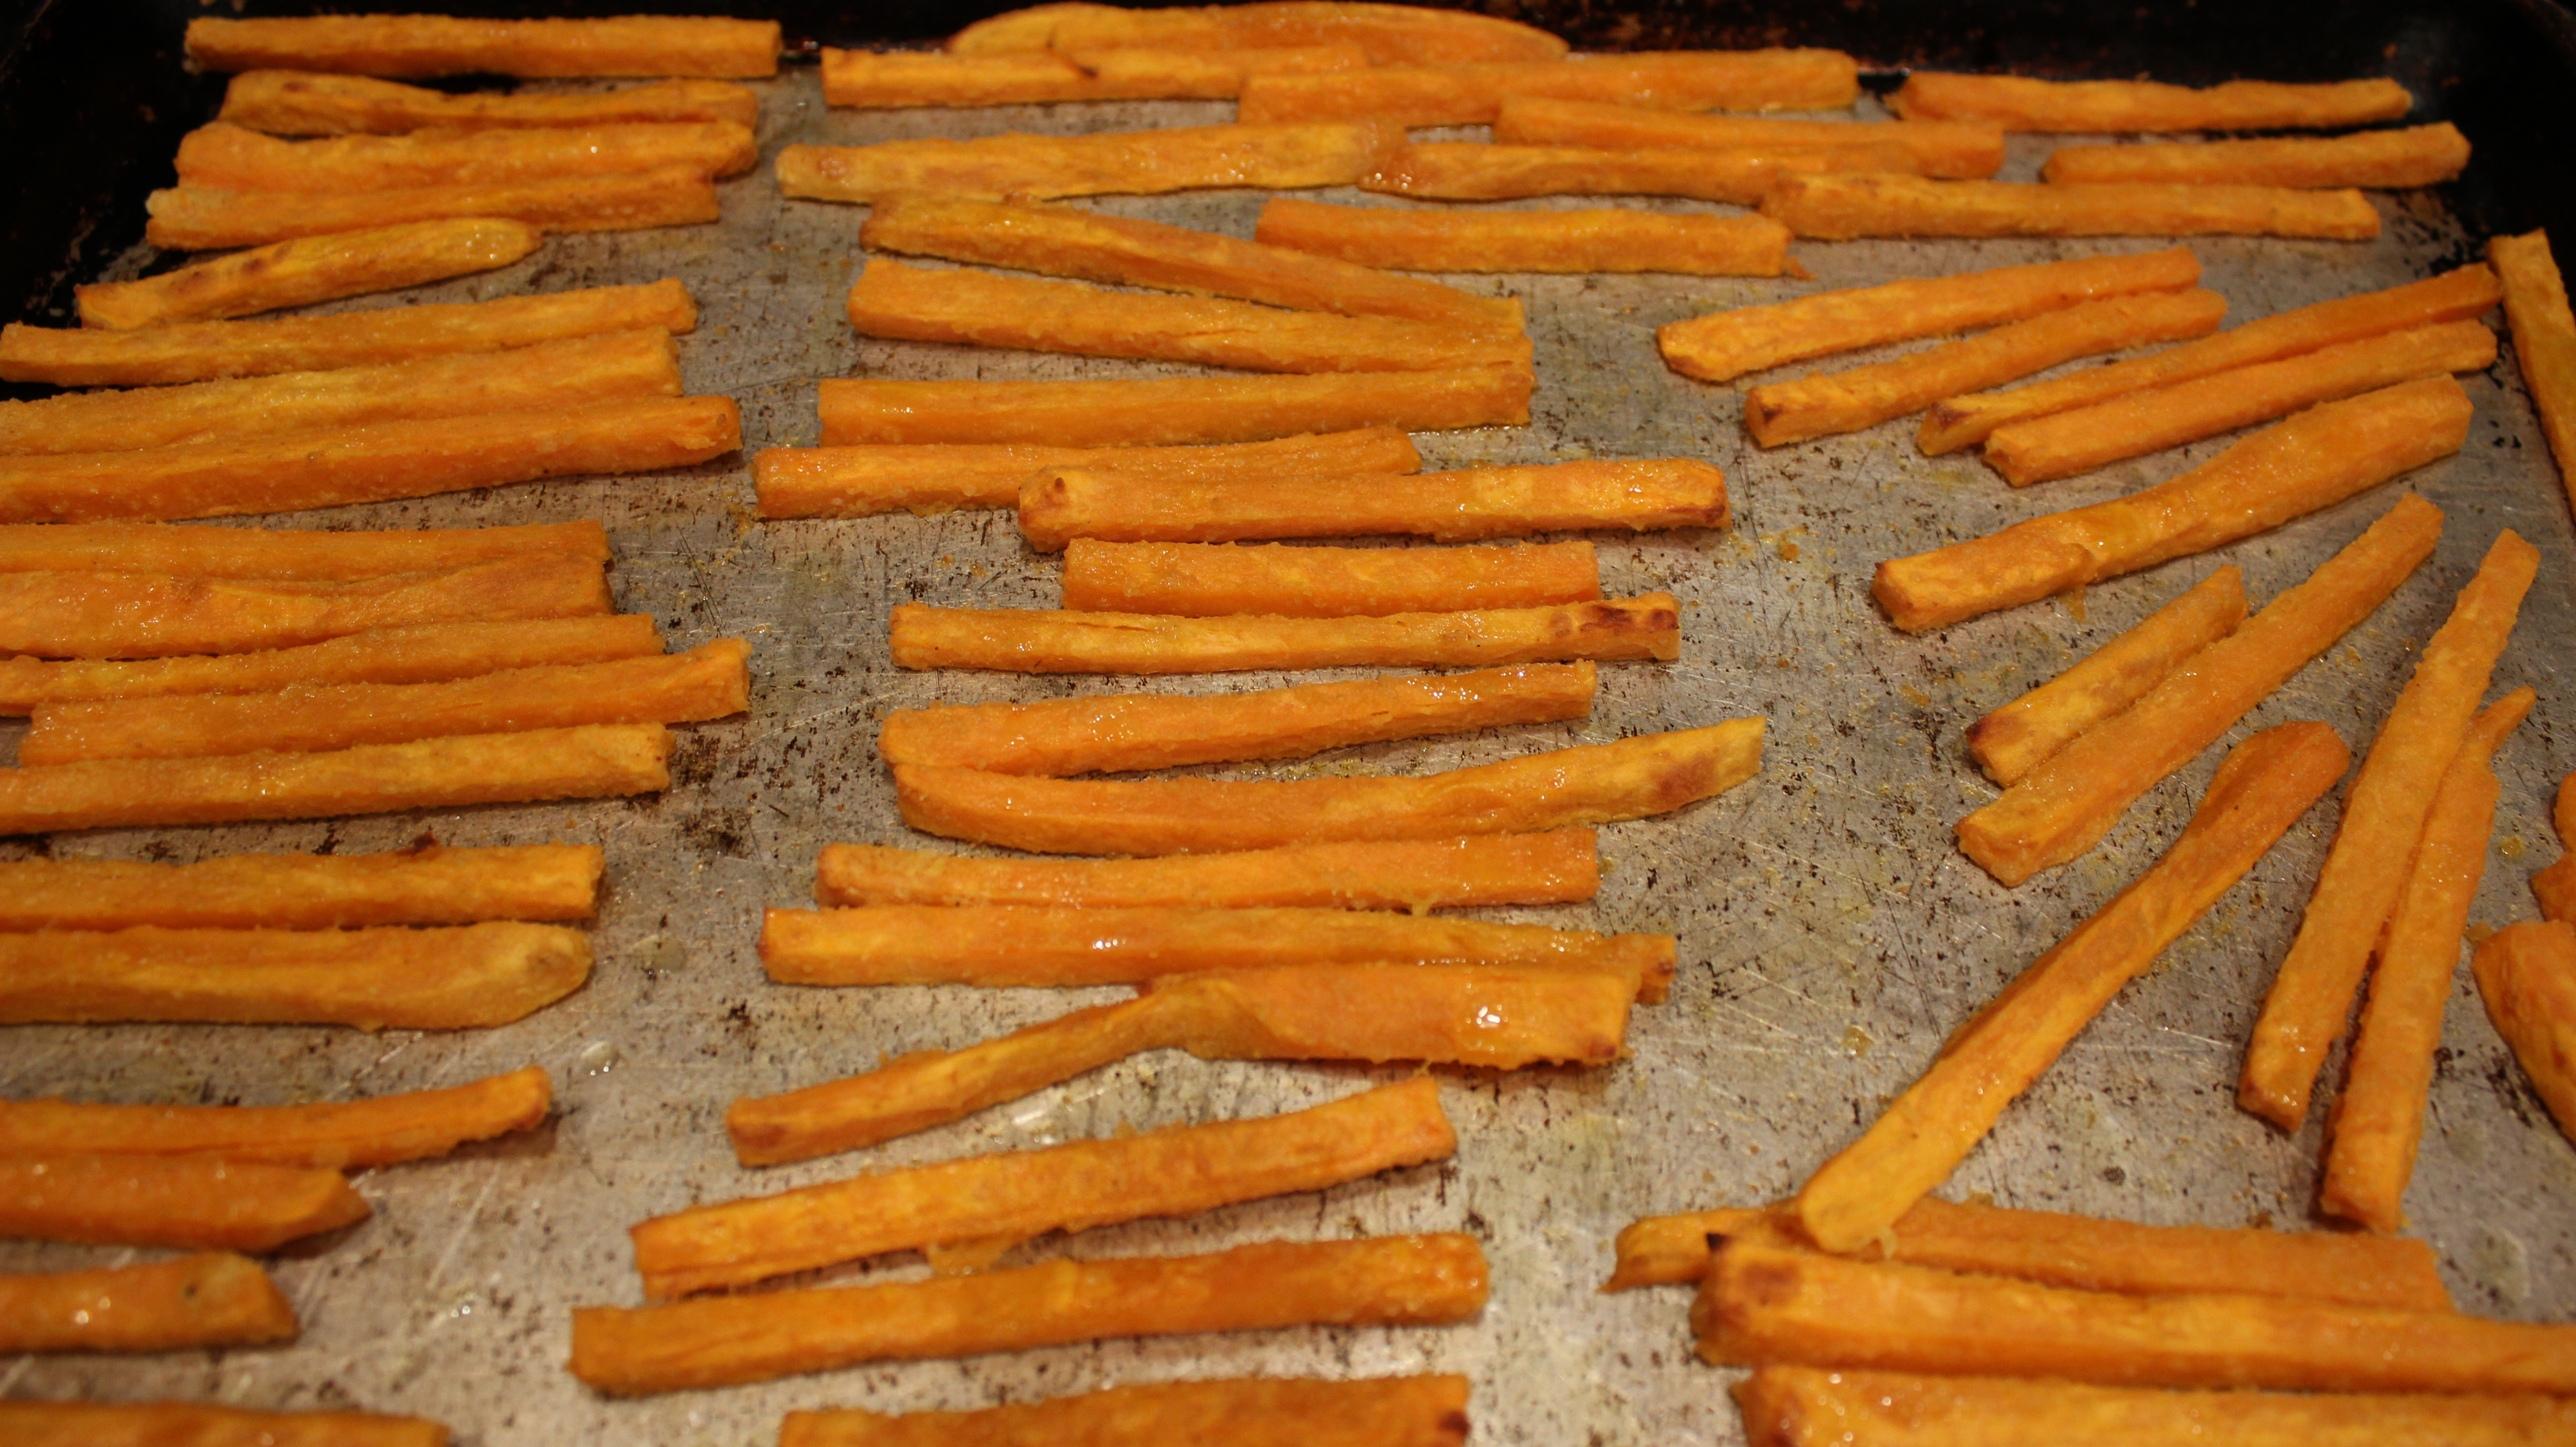
Baking the sweet potato fries is definitely healthier then frying and a lot less work!  Now if you don’t have cornstarch in the cabinets don’t let it keep you from making these fries because they will still be delicious. Dusting the raw sweet potatoes fries with a couple of tablespoons of cornstarch helps with the moisture content and gives them a little extra crunch.

I hope you enjoy making the sweet potato fries and green goddess dipping sauce and that they will become part of your go to appetizer list. You may want to venture off and some other appetizer’s like my Feta-Basil Pesto Dip,  Crab CakesSpanakopita Triangle’s, or some yummy Homemade Hummus! You can end with my Chewy ChocolateChip Cookies!

img_8565 cookedspan IMG_5076 IMG_6064 DSCN4521

IMG_3880 IMG_3943  IMG_3885

IMG_3895  IMG_3966  IMG_3862

iphone pictures 1167  iphone pictures 1156  iphone pictures 1169

IMG_3806  IMG_3808  IMG_3827

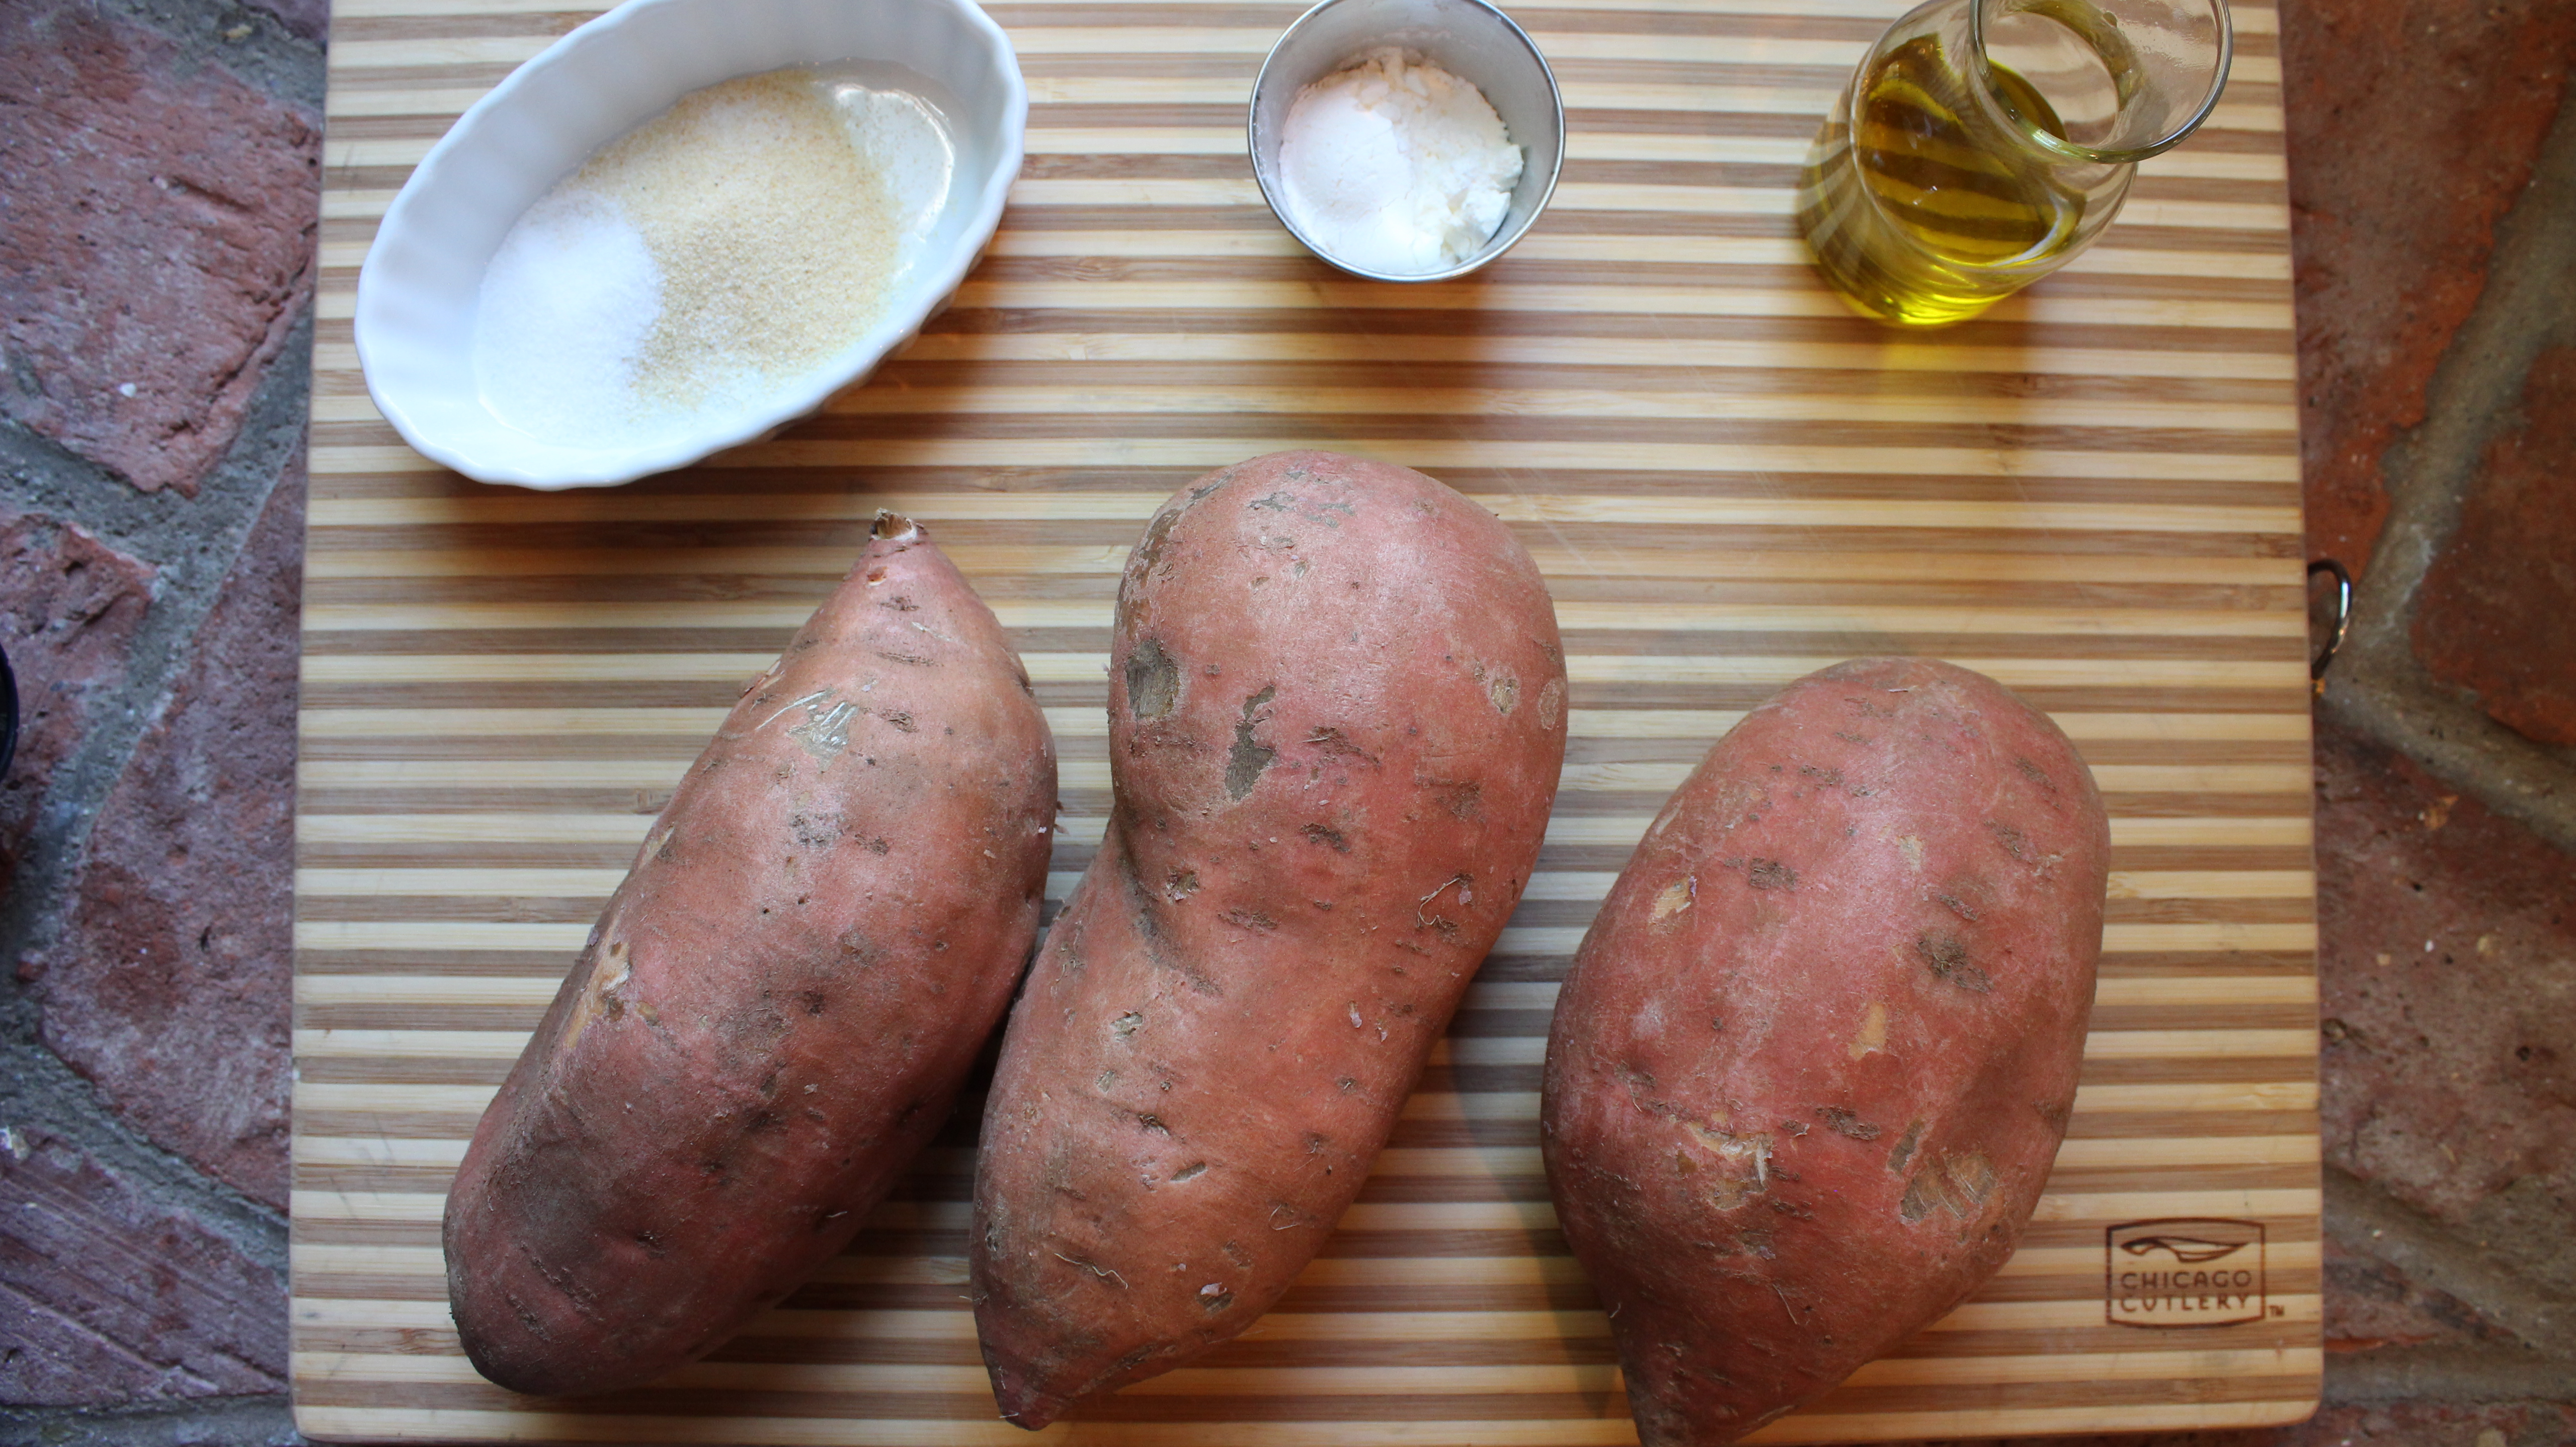
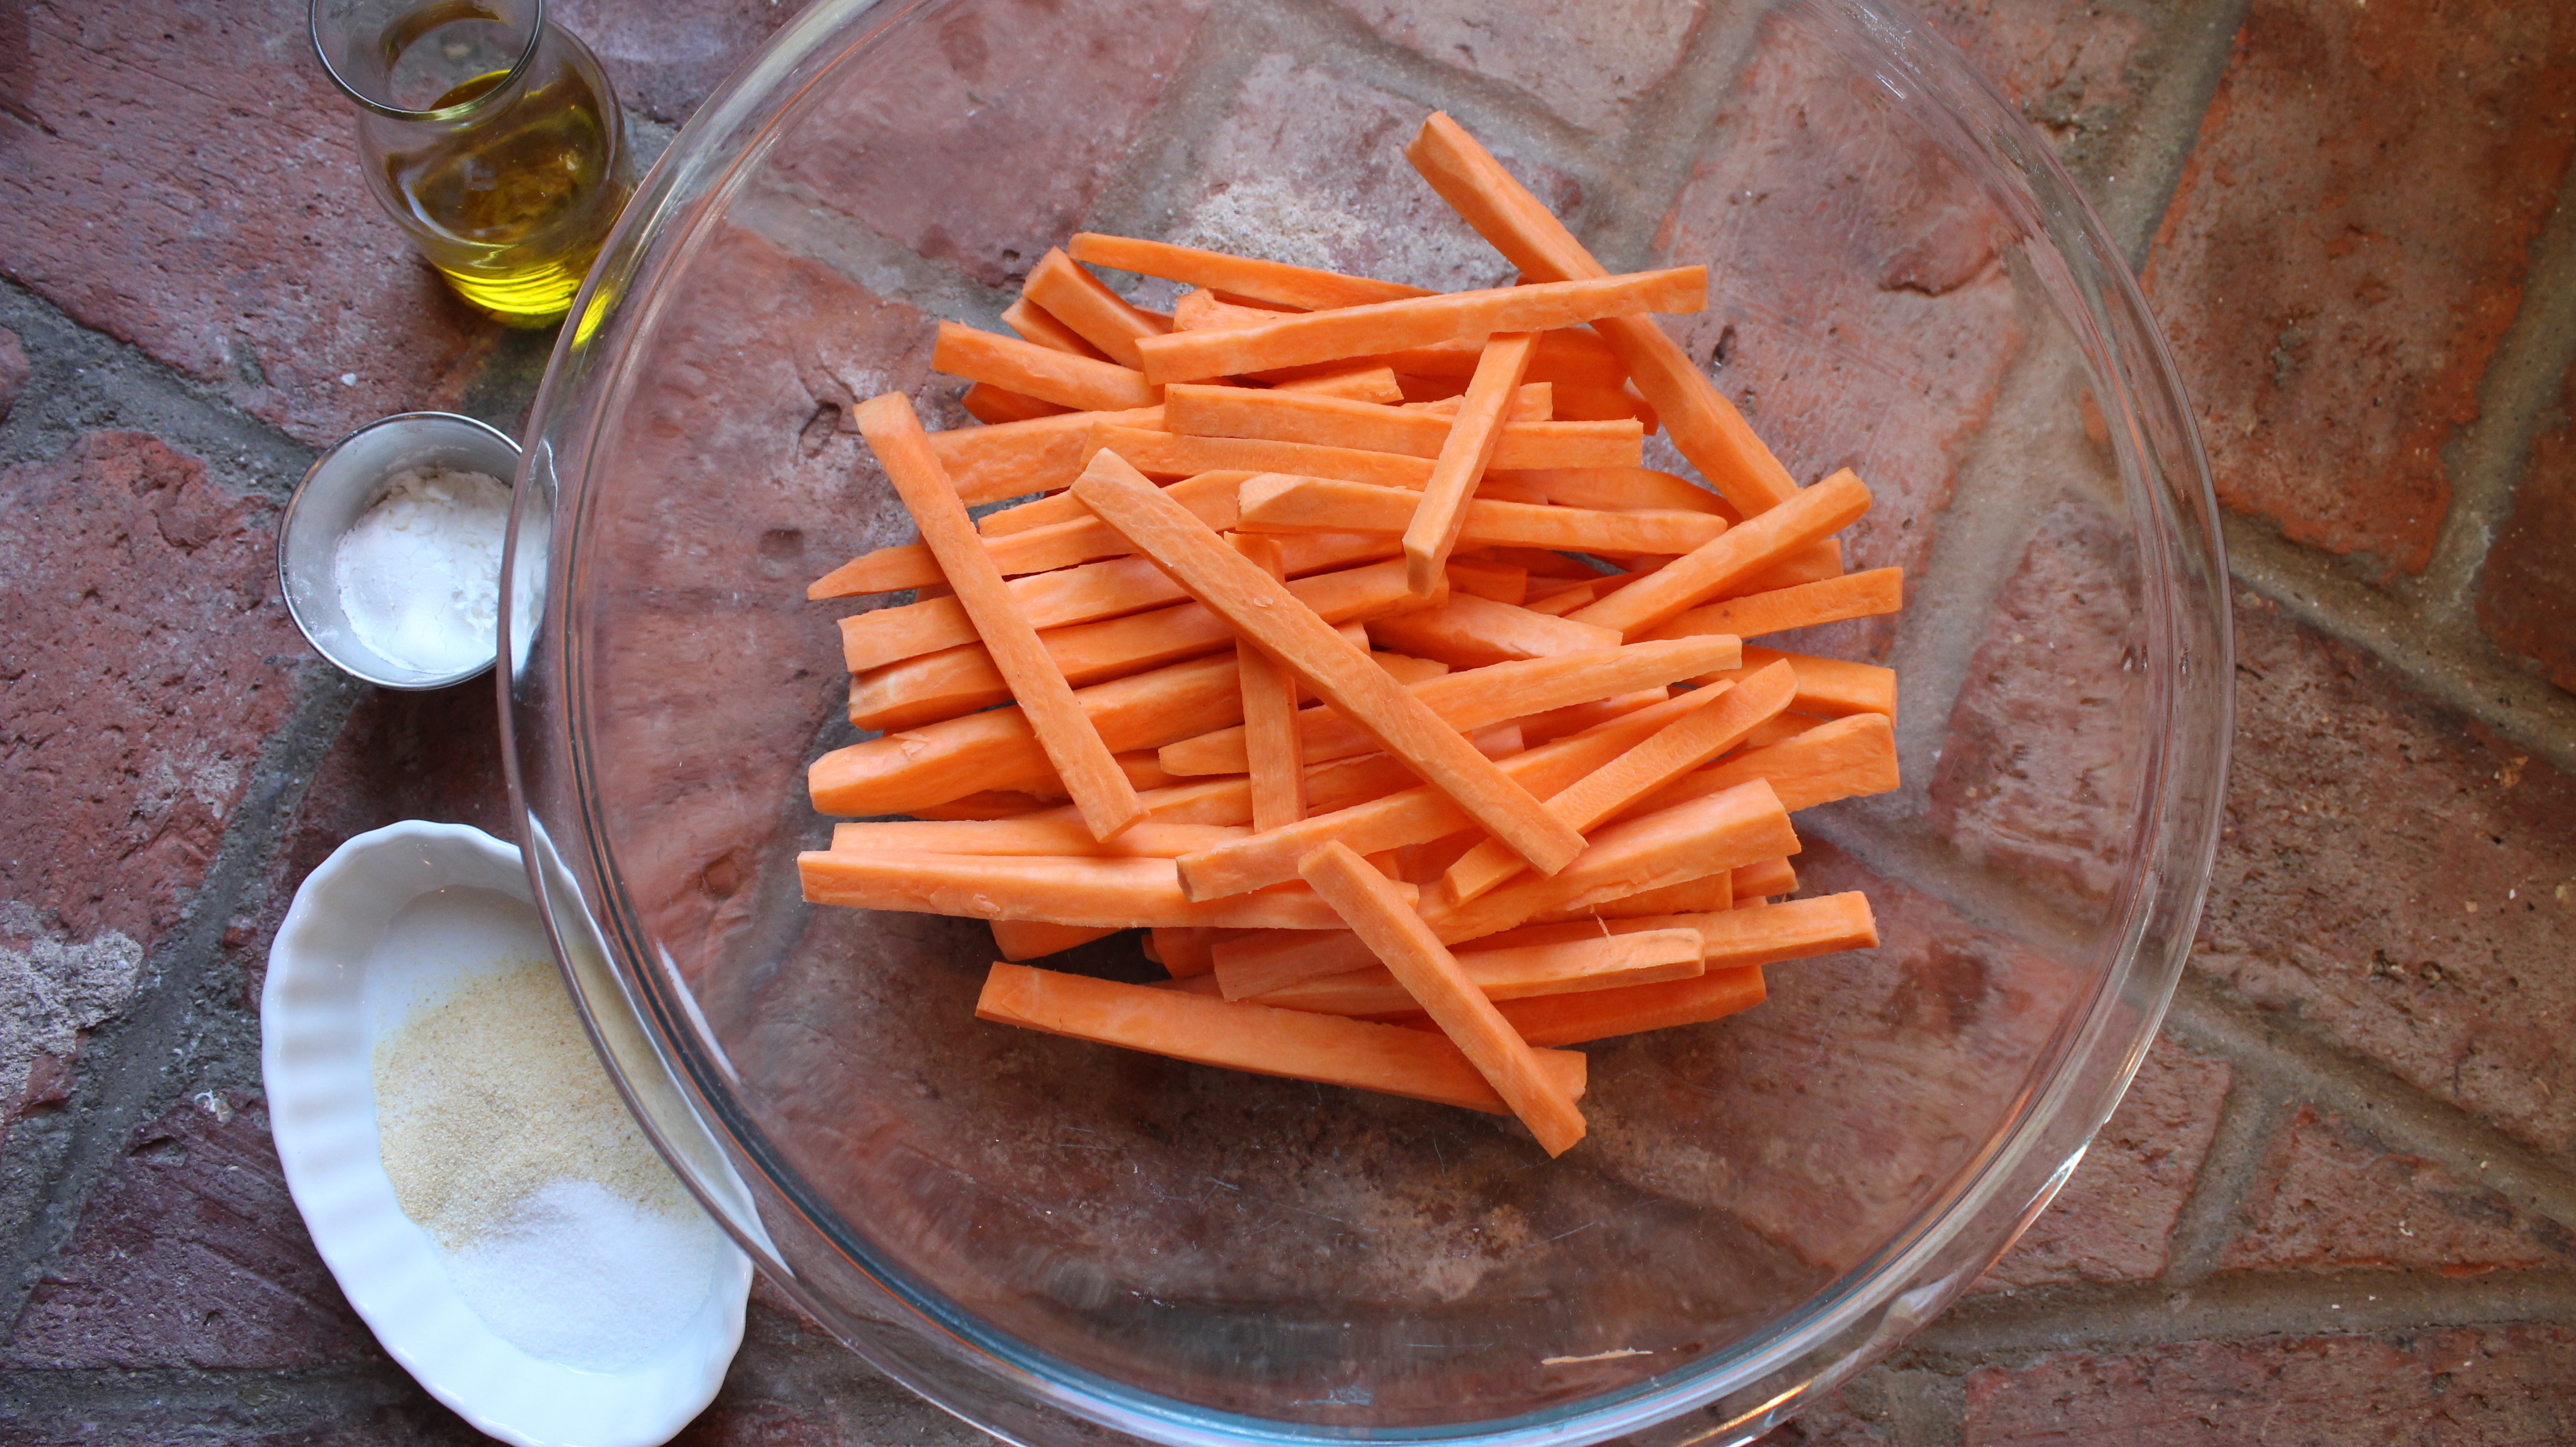
Ingredients and Directions for Sweet Potato Fries:

  • 3 extra lg sweet potatoes ONLY need 2 but I like to have an extra just in case
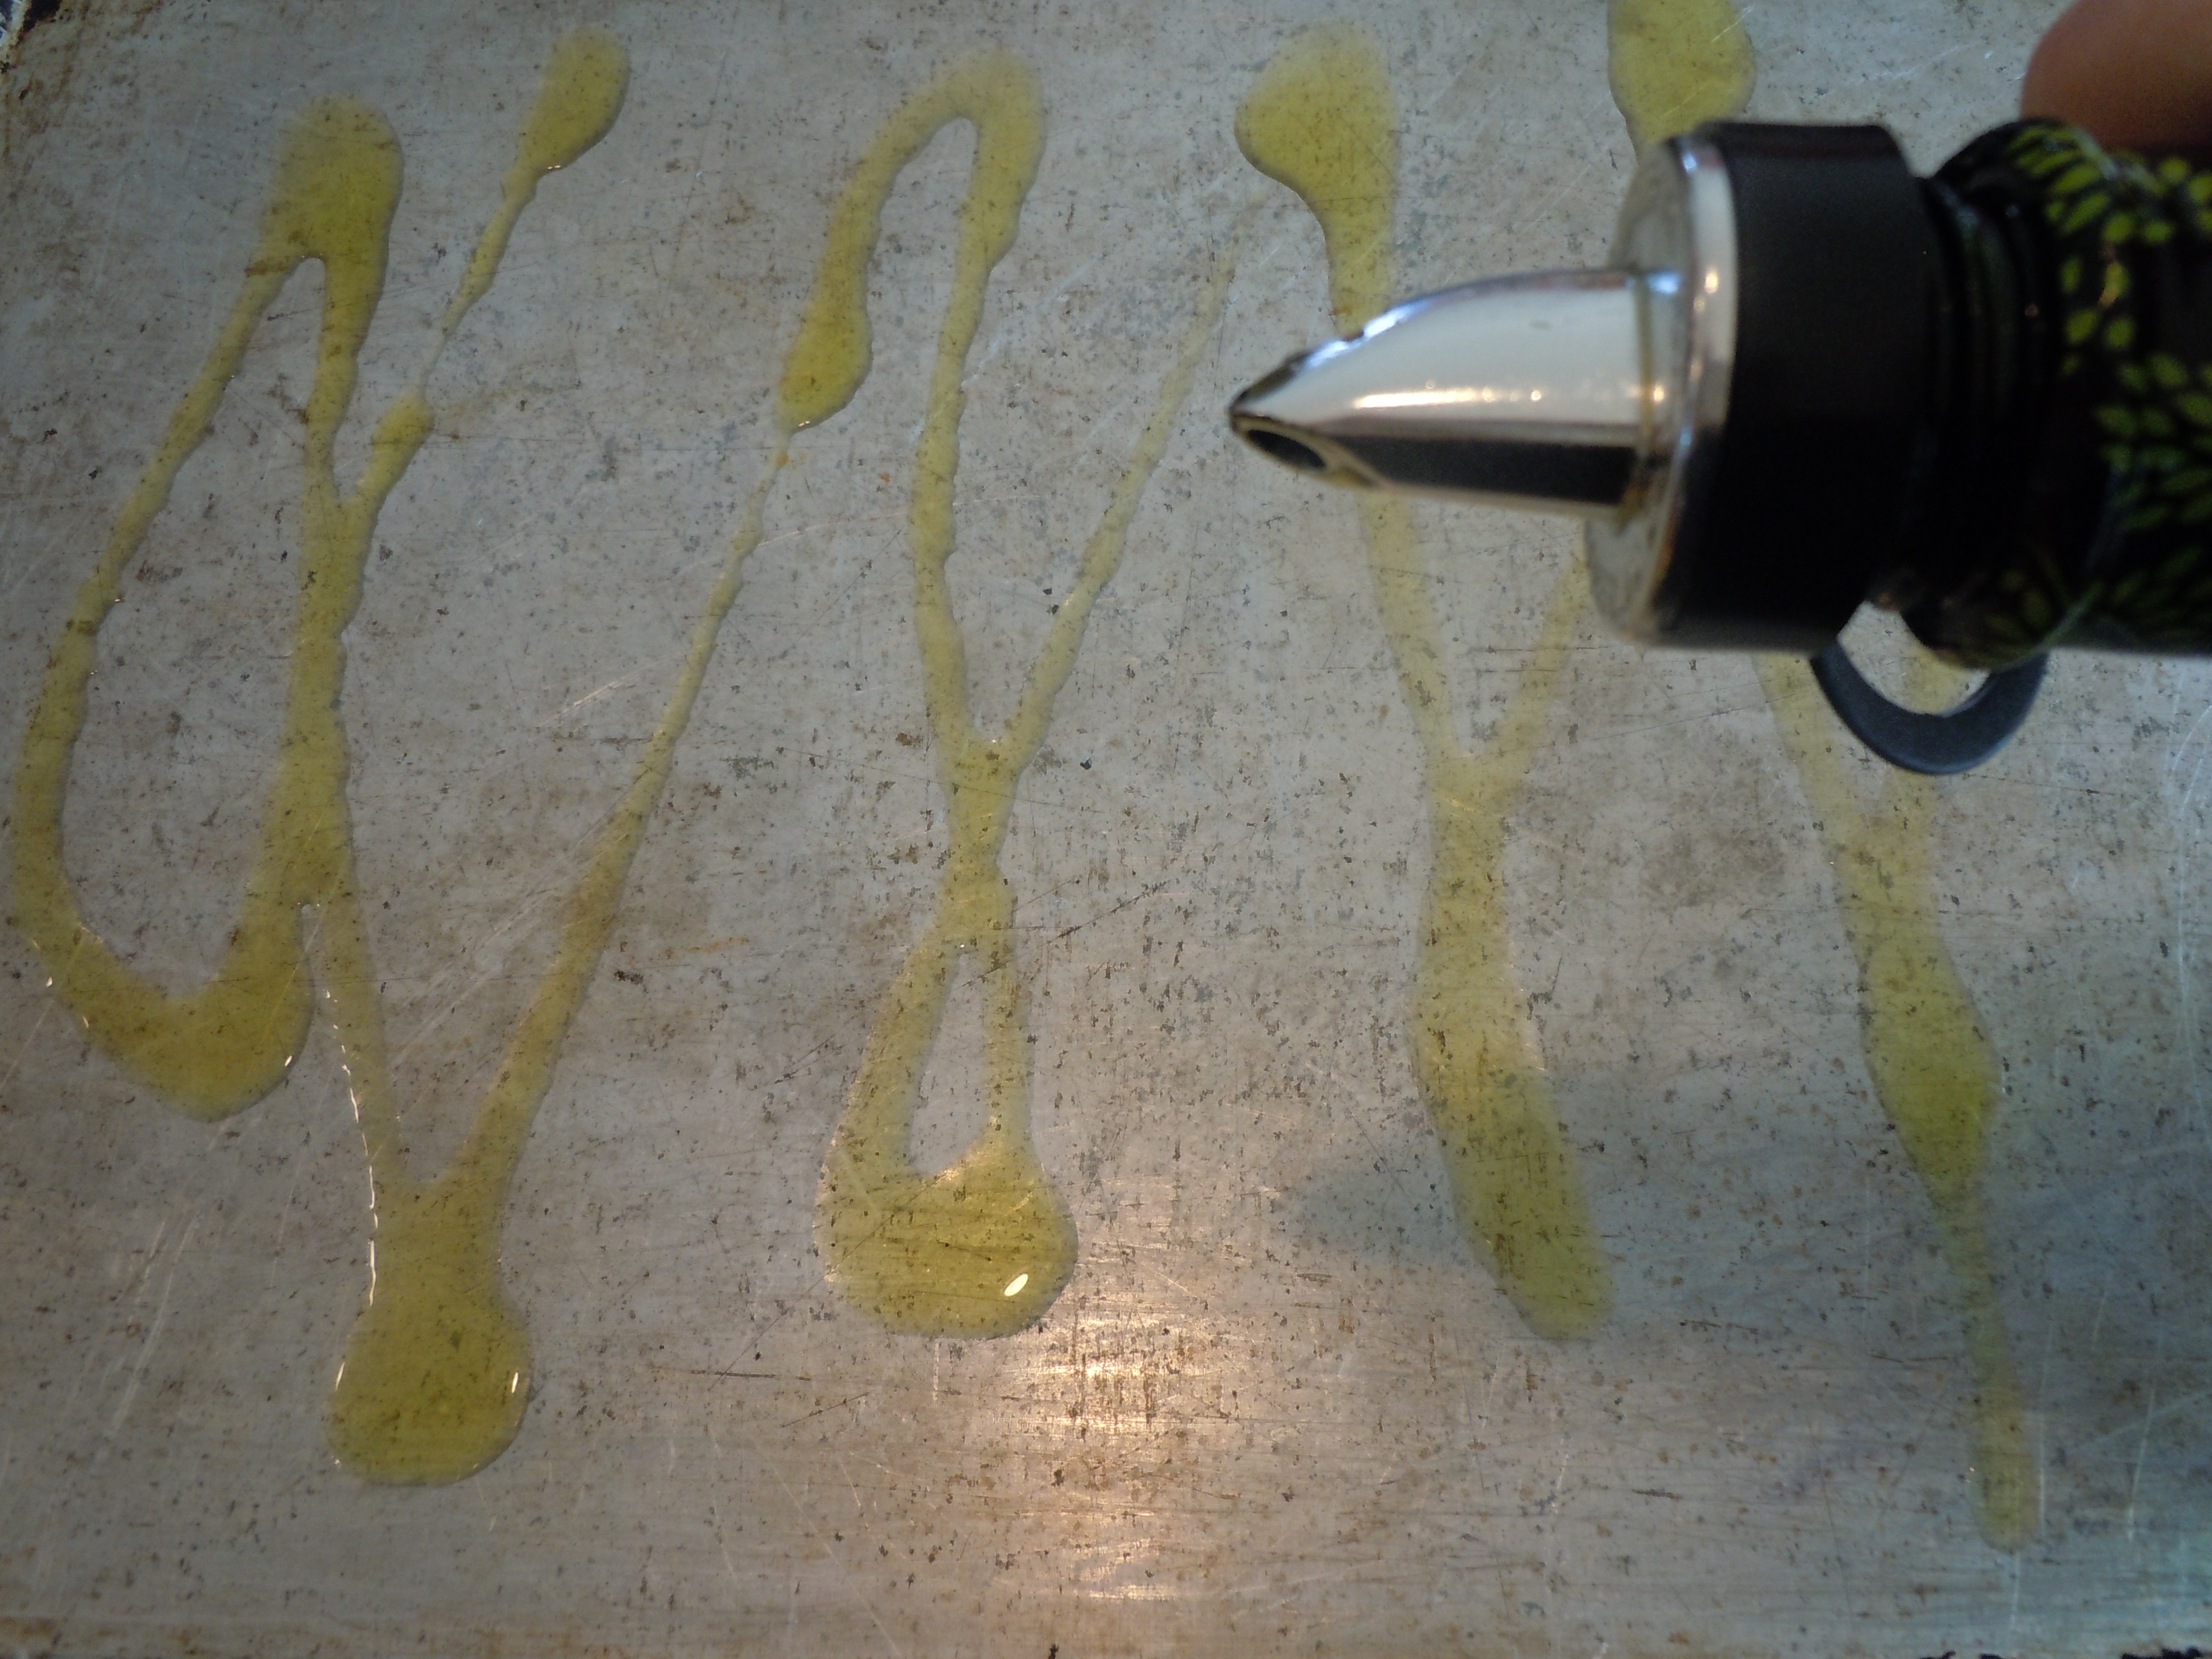
  • 1/4 cup extra virgin olive oil
  • 1/2 tsp salt
  • 2 tbsp corn starch
  • 1 tsp garlic granules
  • 1 tsp onion granules
  1. Pre-heat the oven to 425º.
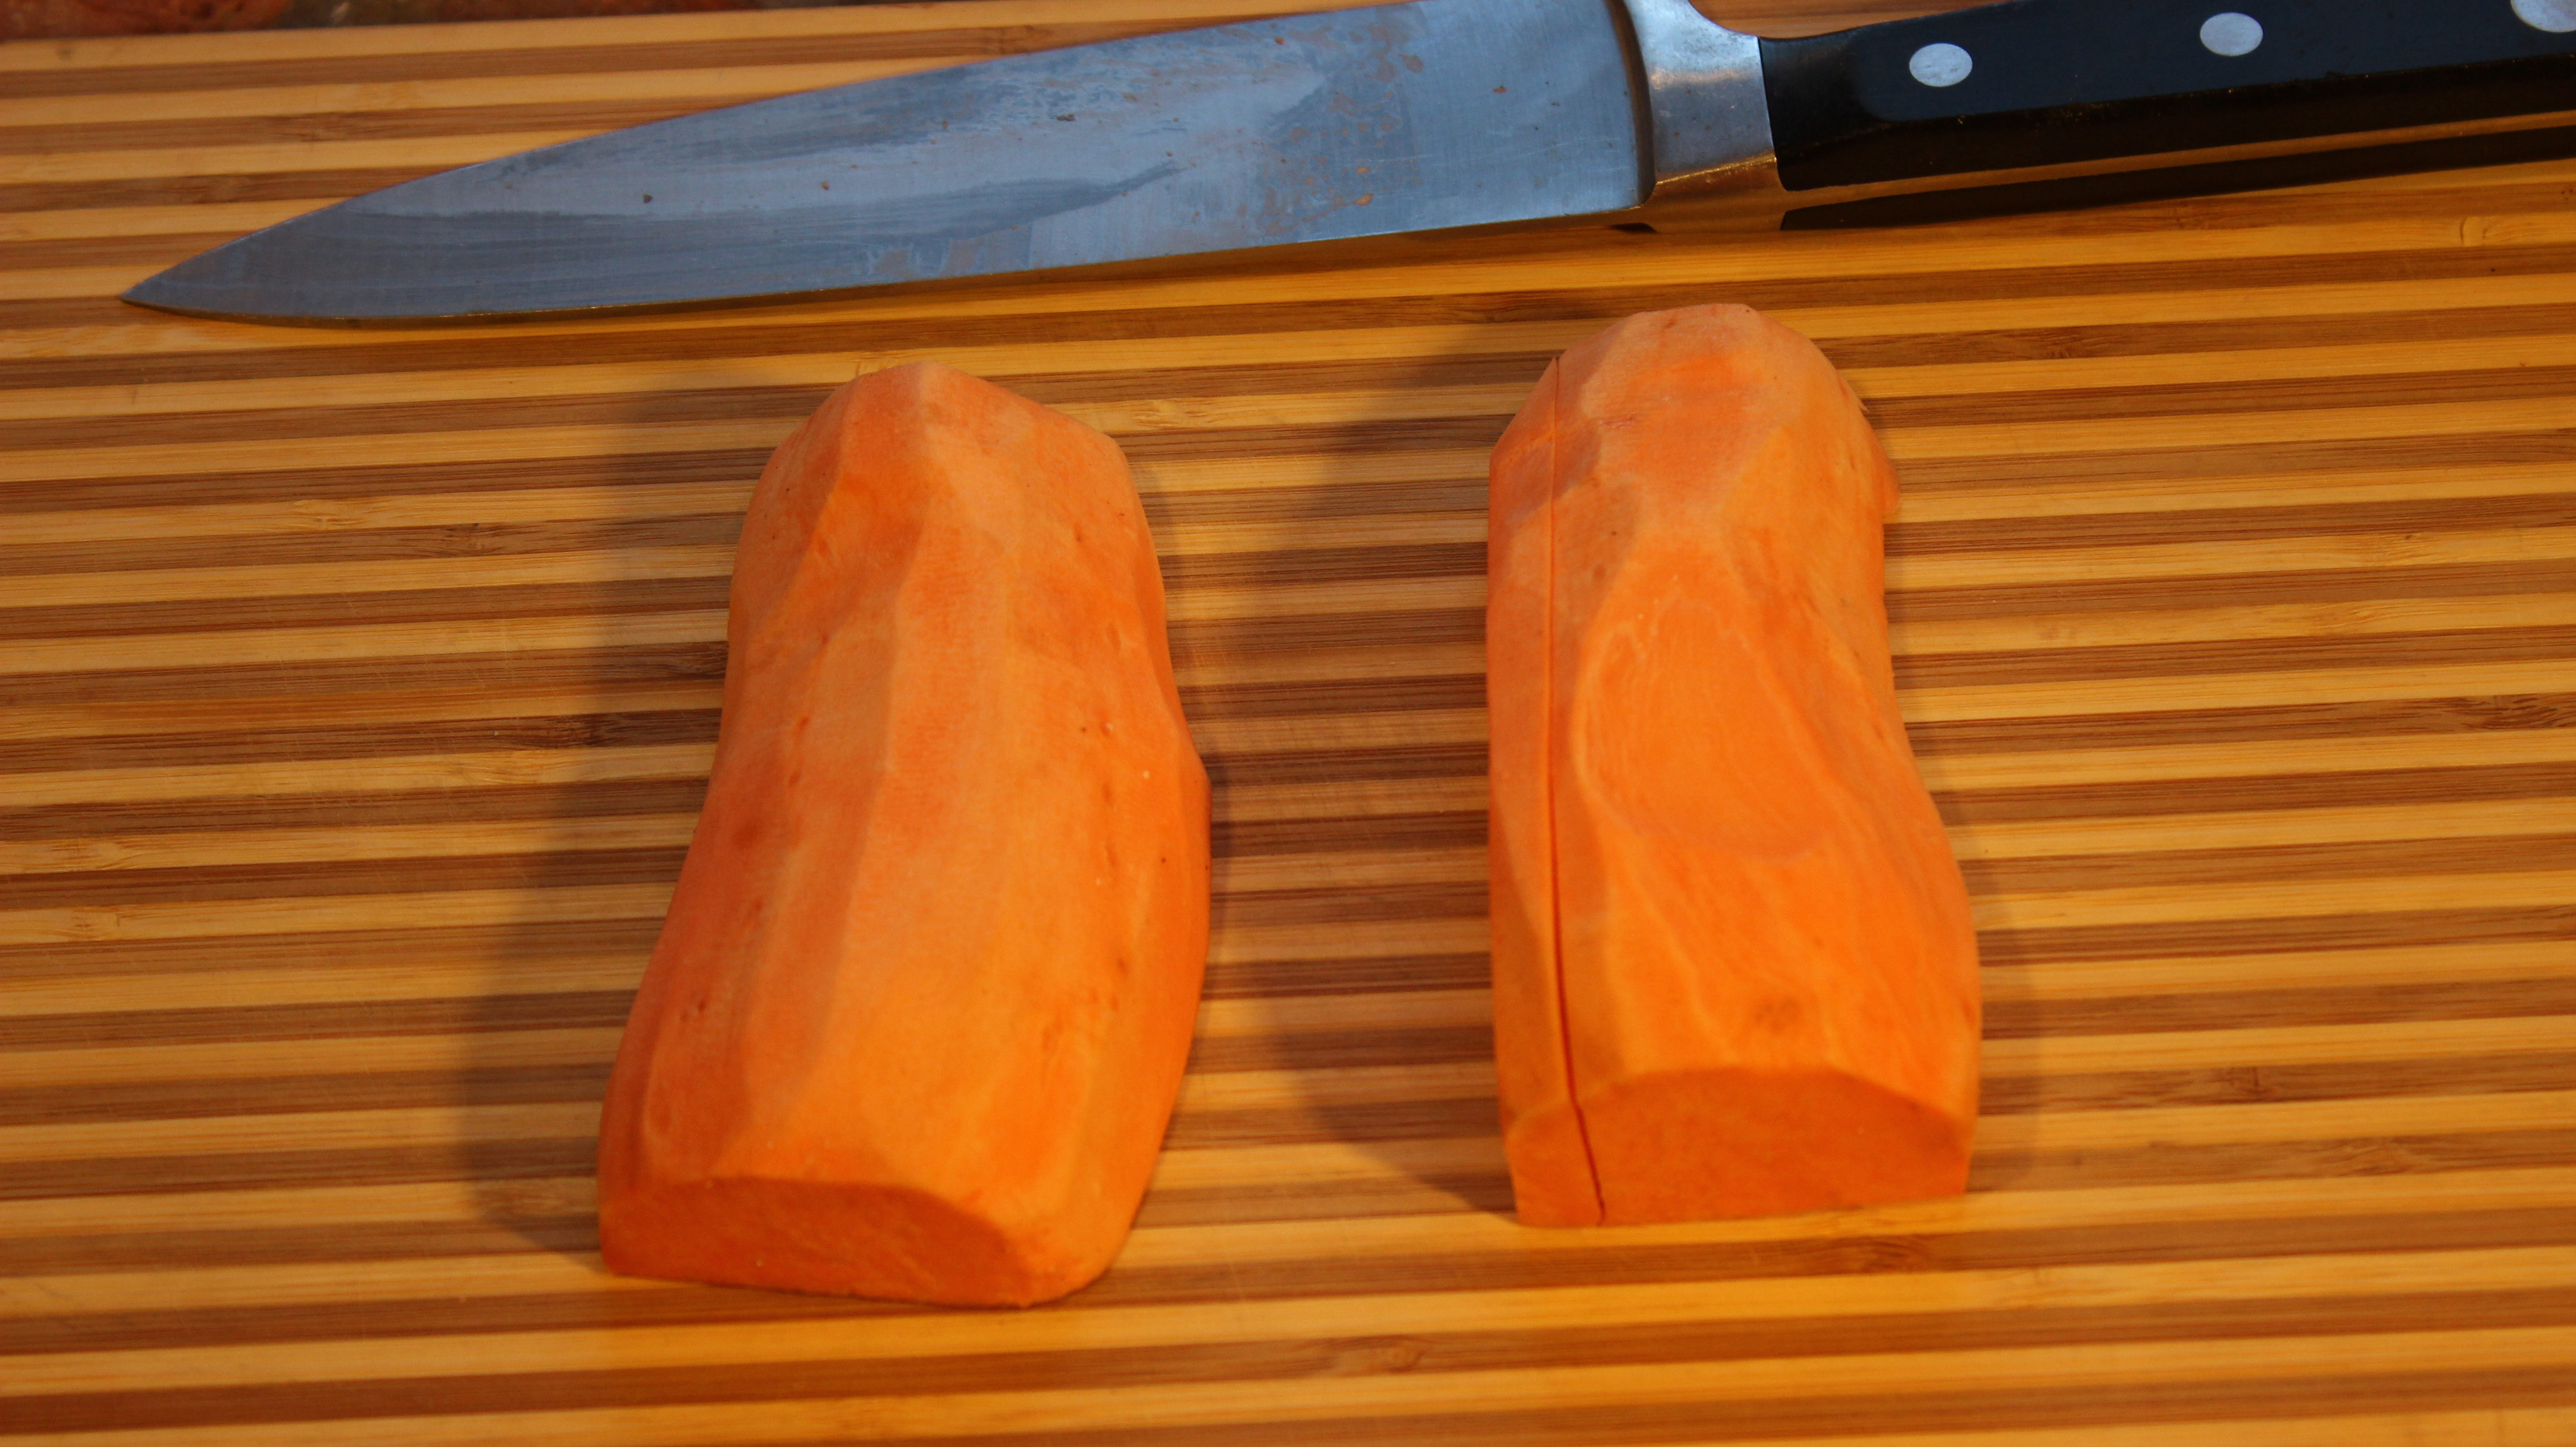
  2. Peel and Slice sweet potatoes in 1/4″ sticks -CUT ENDS FLAT so they don’t burn
  3. Dab with paper towels to dry excess sweet potato moisture
  4. Drizzle with 1/4 cup olive oil and sprinkle with 1 tsp garlic granules,  1 tsp onion granules  and 1/2 tsp salt
  5. Mixed with hands and then spread out into even layer on cookie sheet
  6. Bake for 15 minutes then flip and back into the oven for 8-10 more minutes
  7. BE SURE TO keep an eye on them at this point so they don’t BURN 🙂

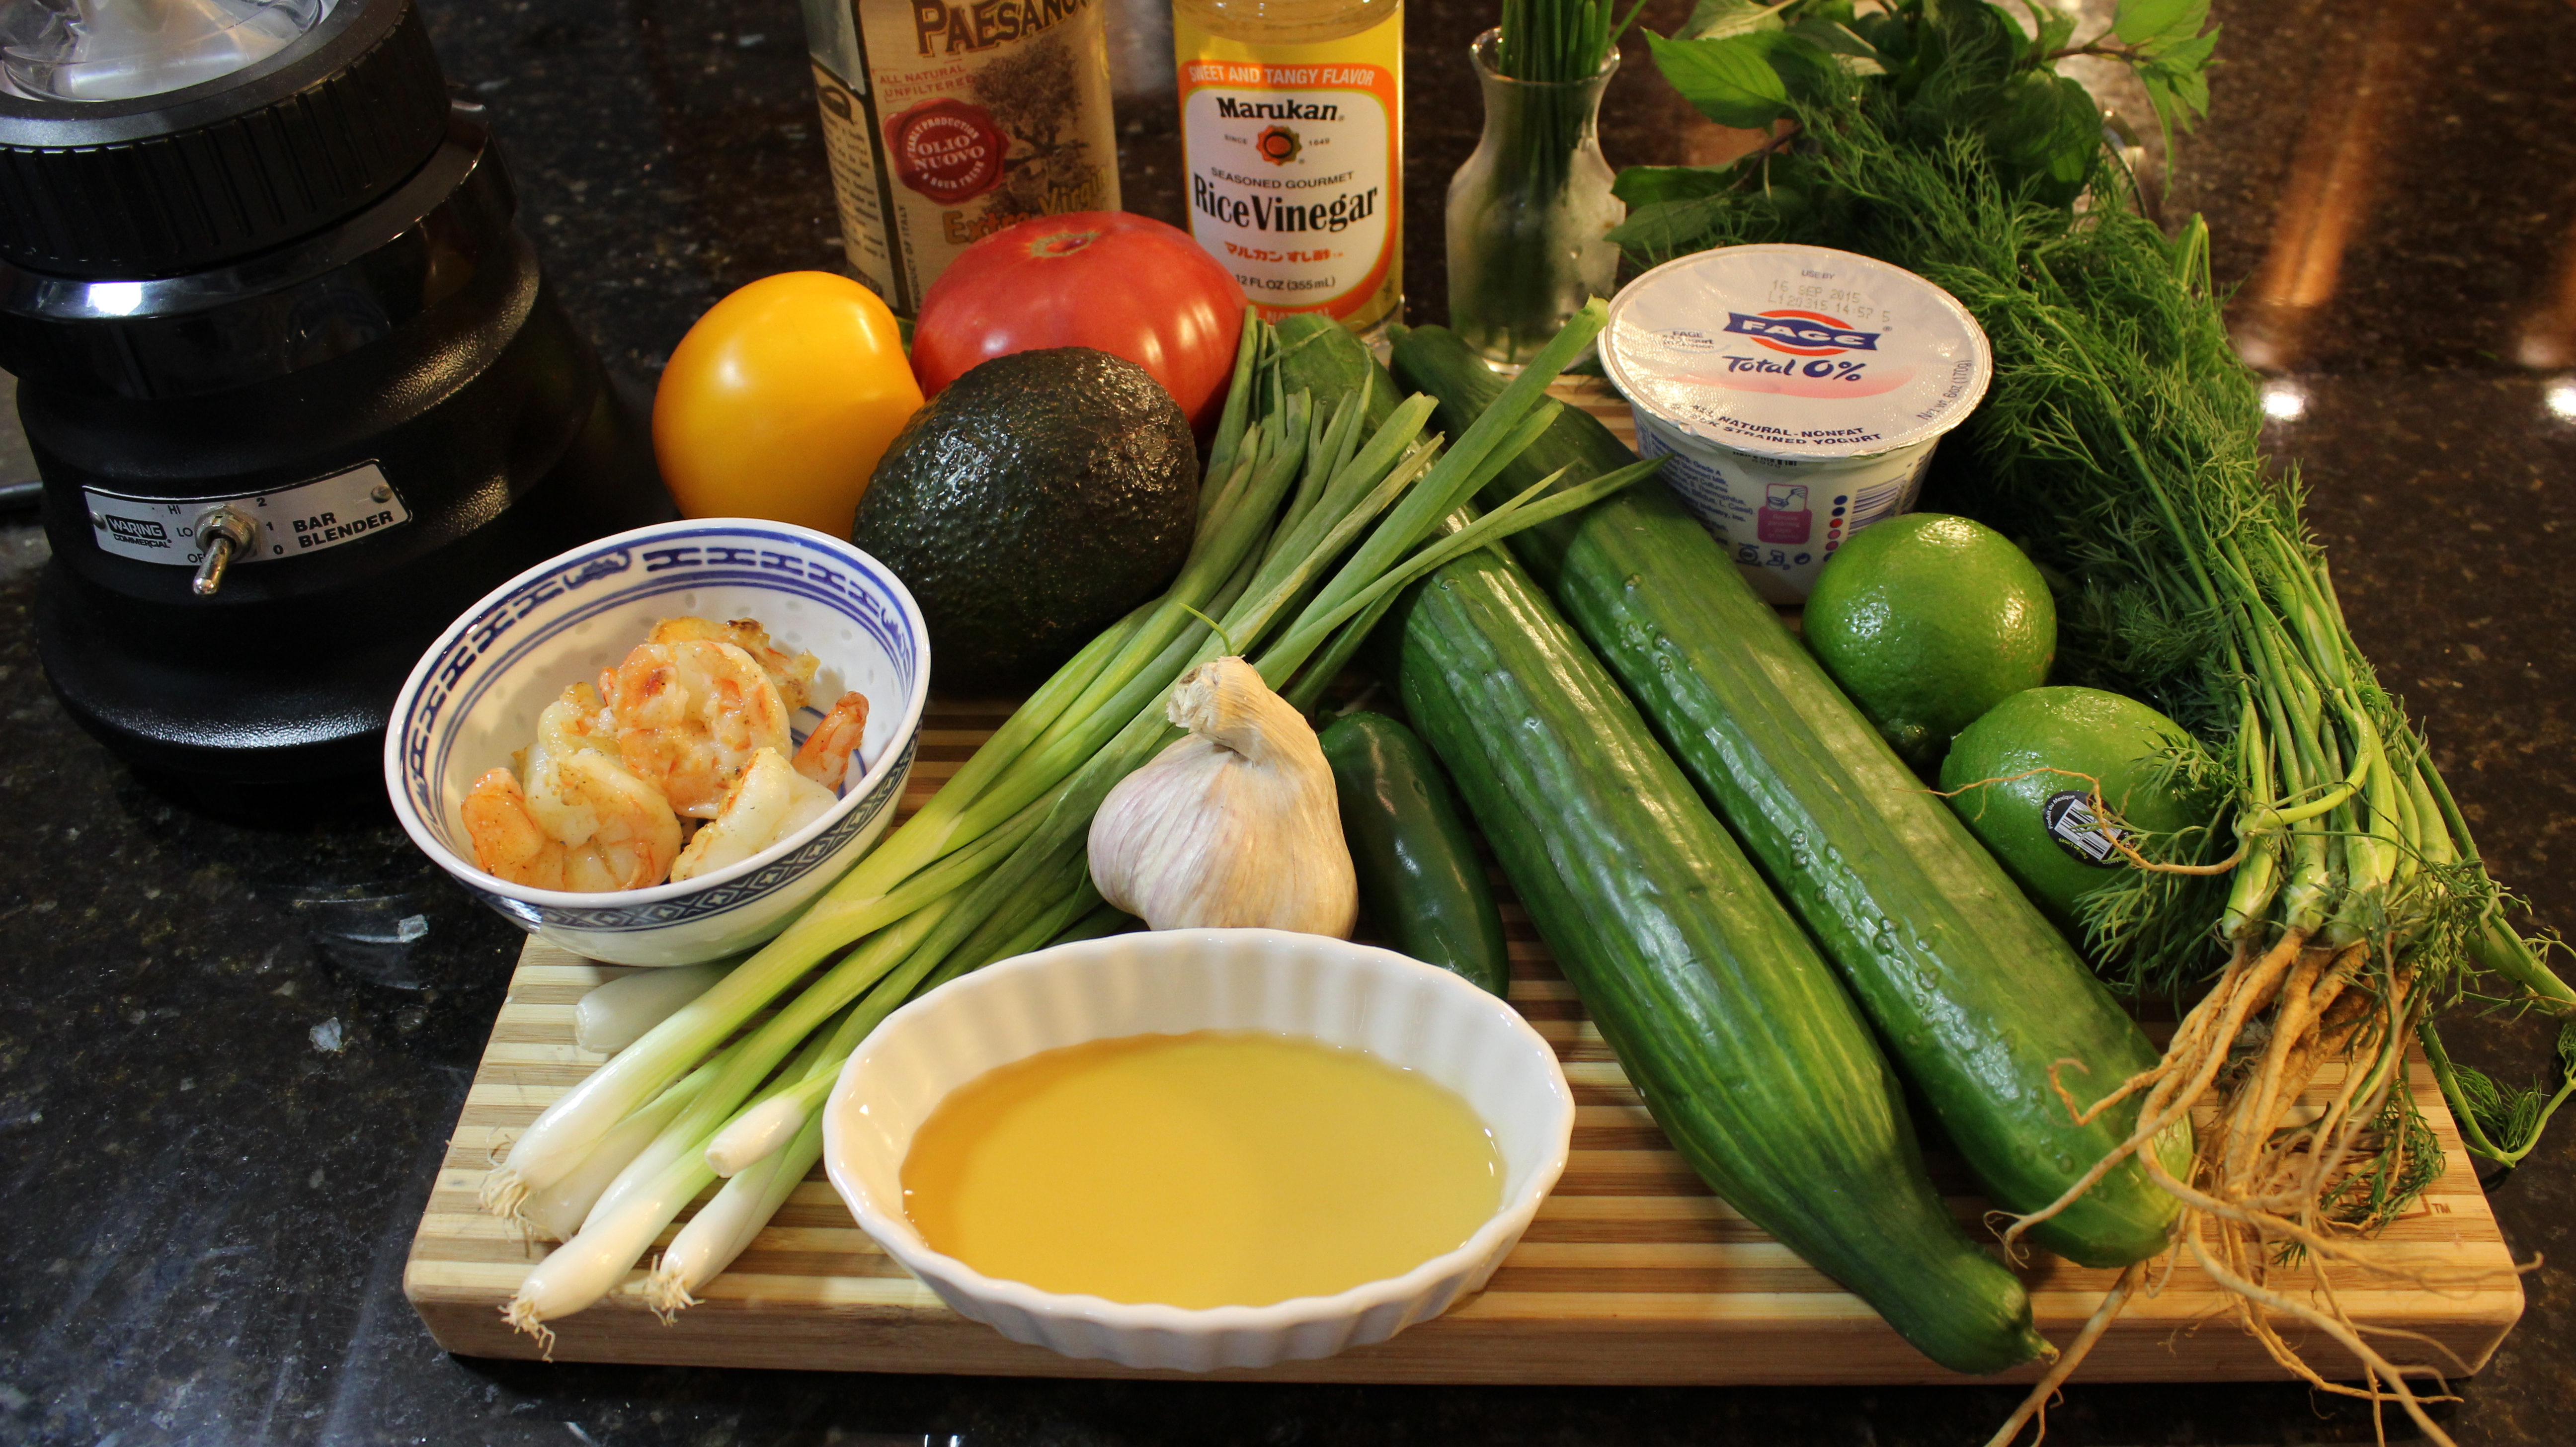
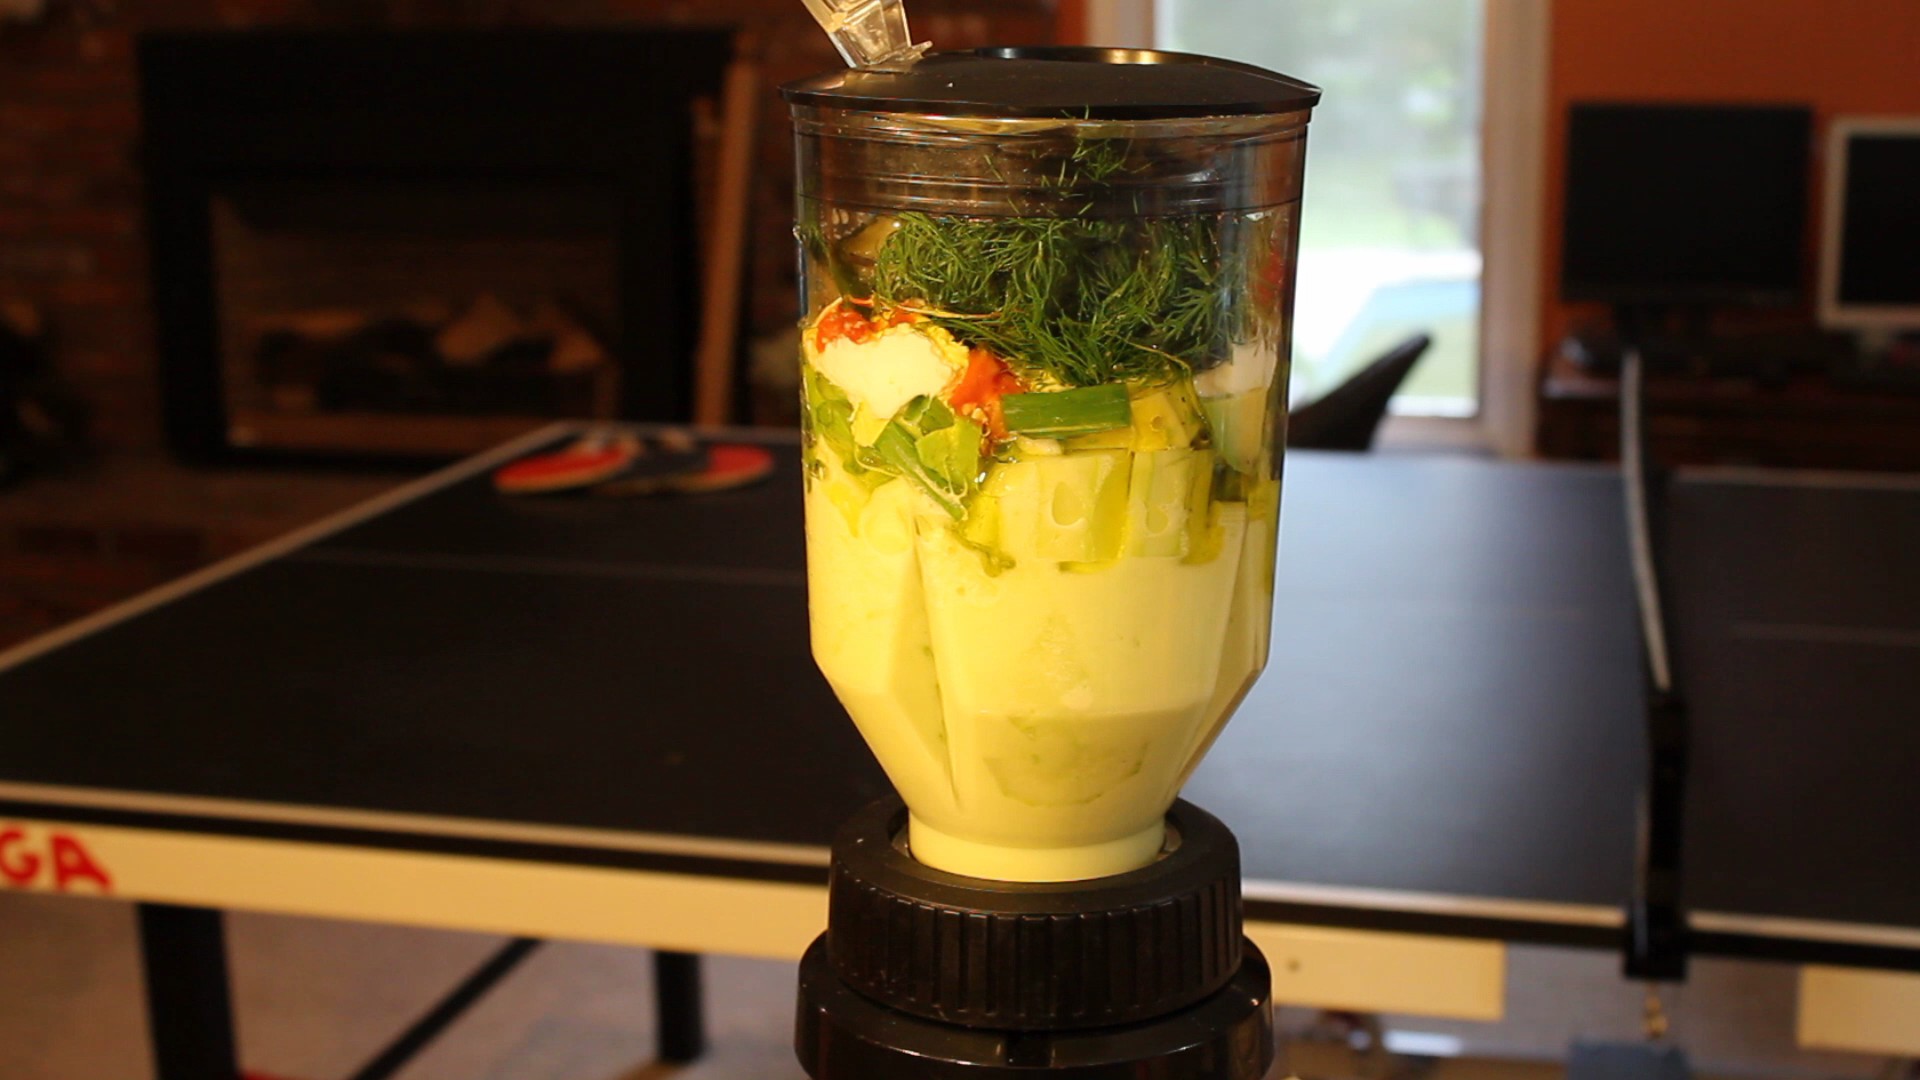
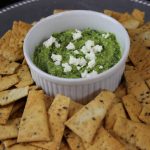
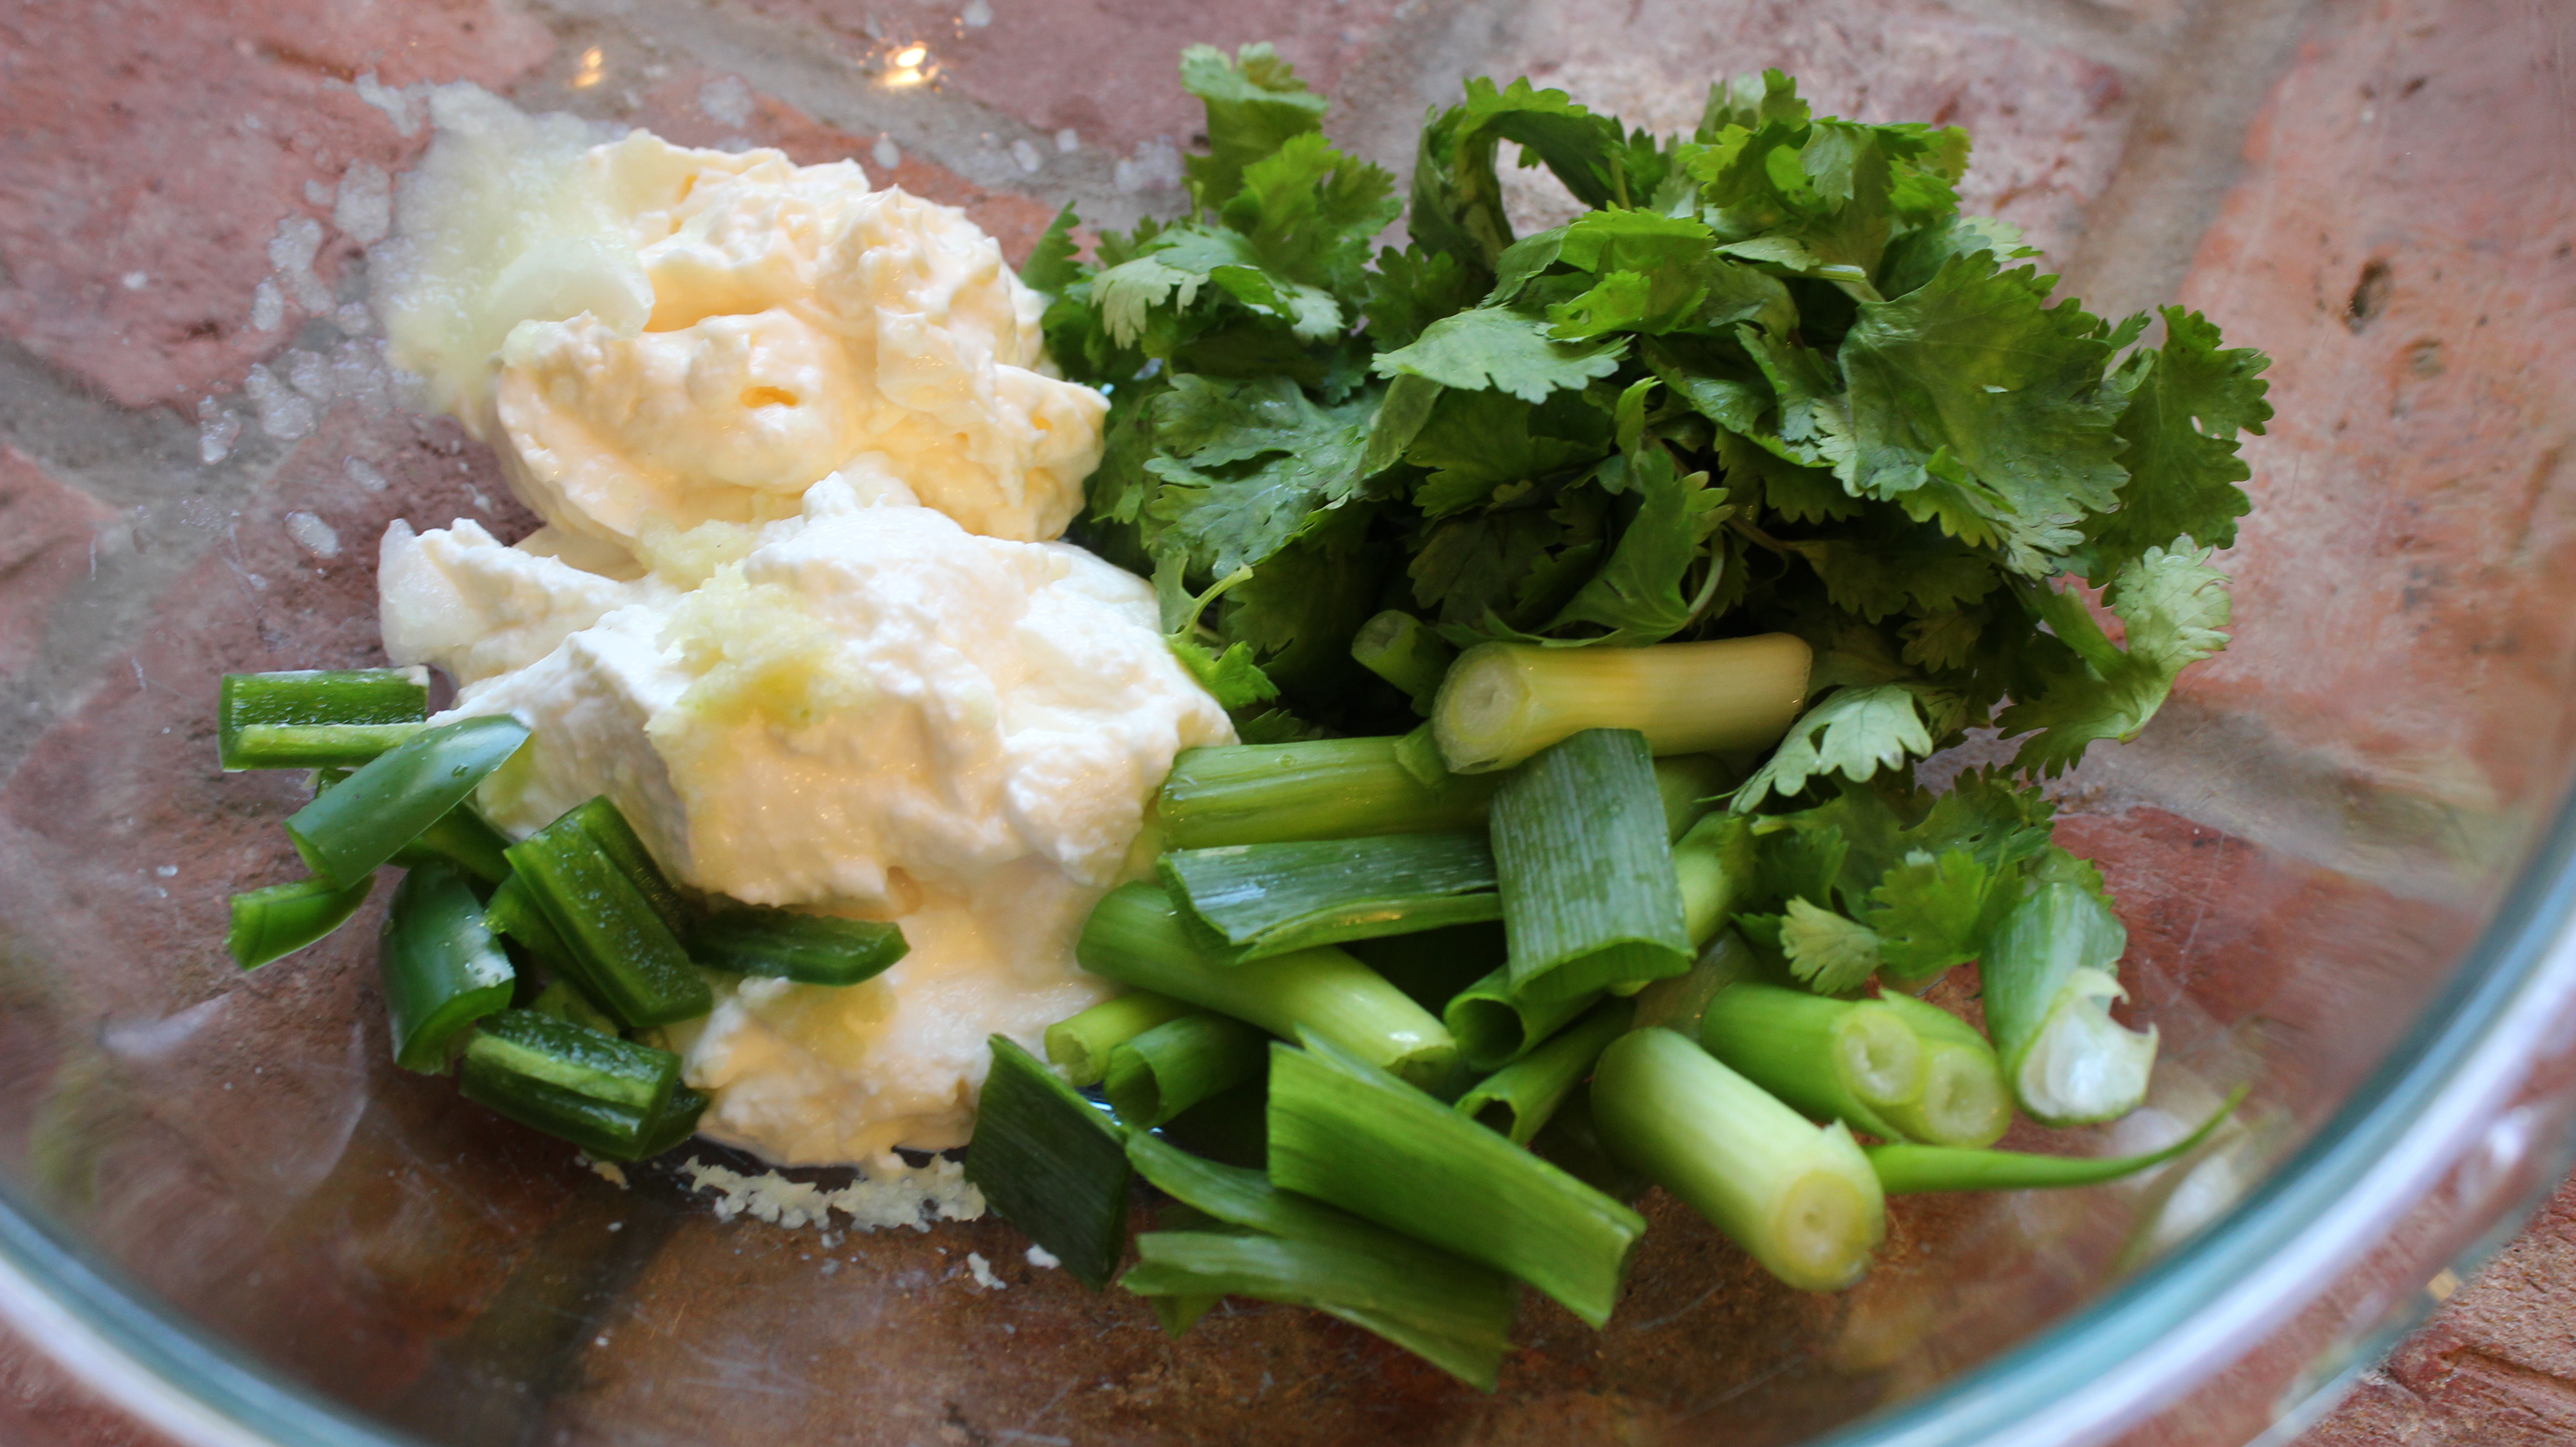
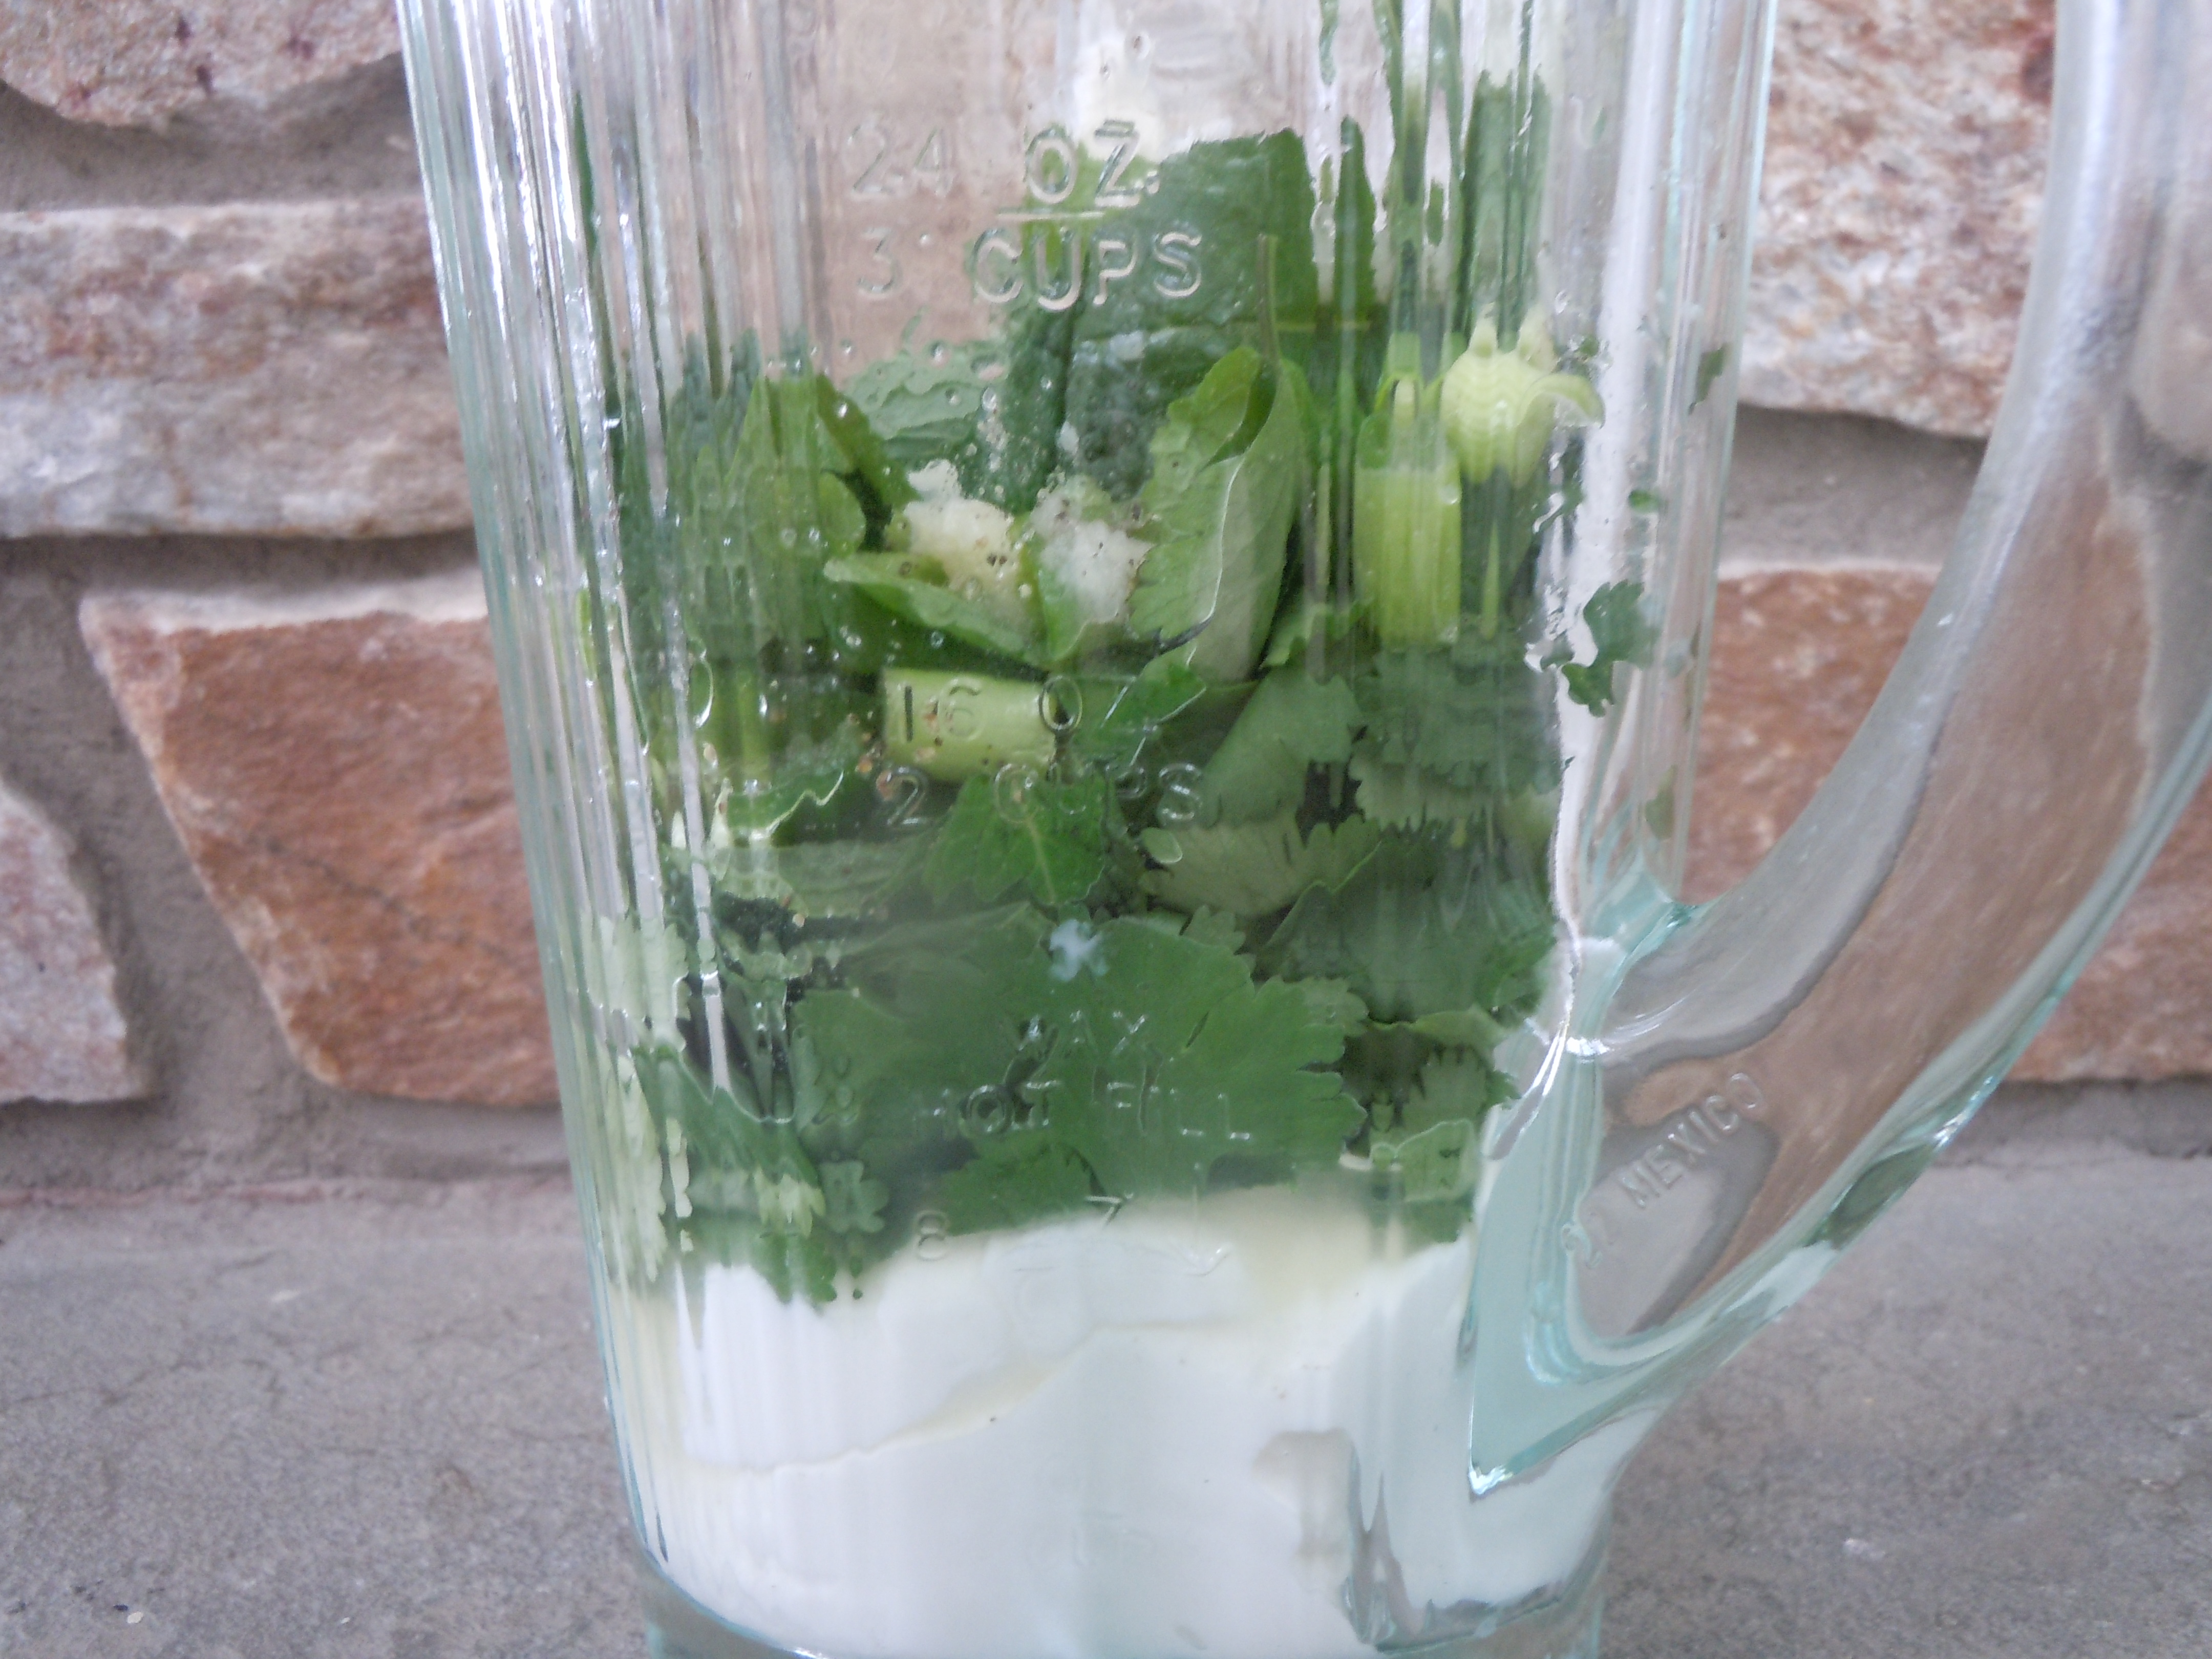
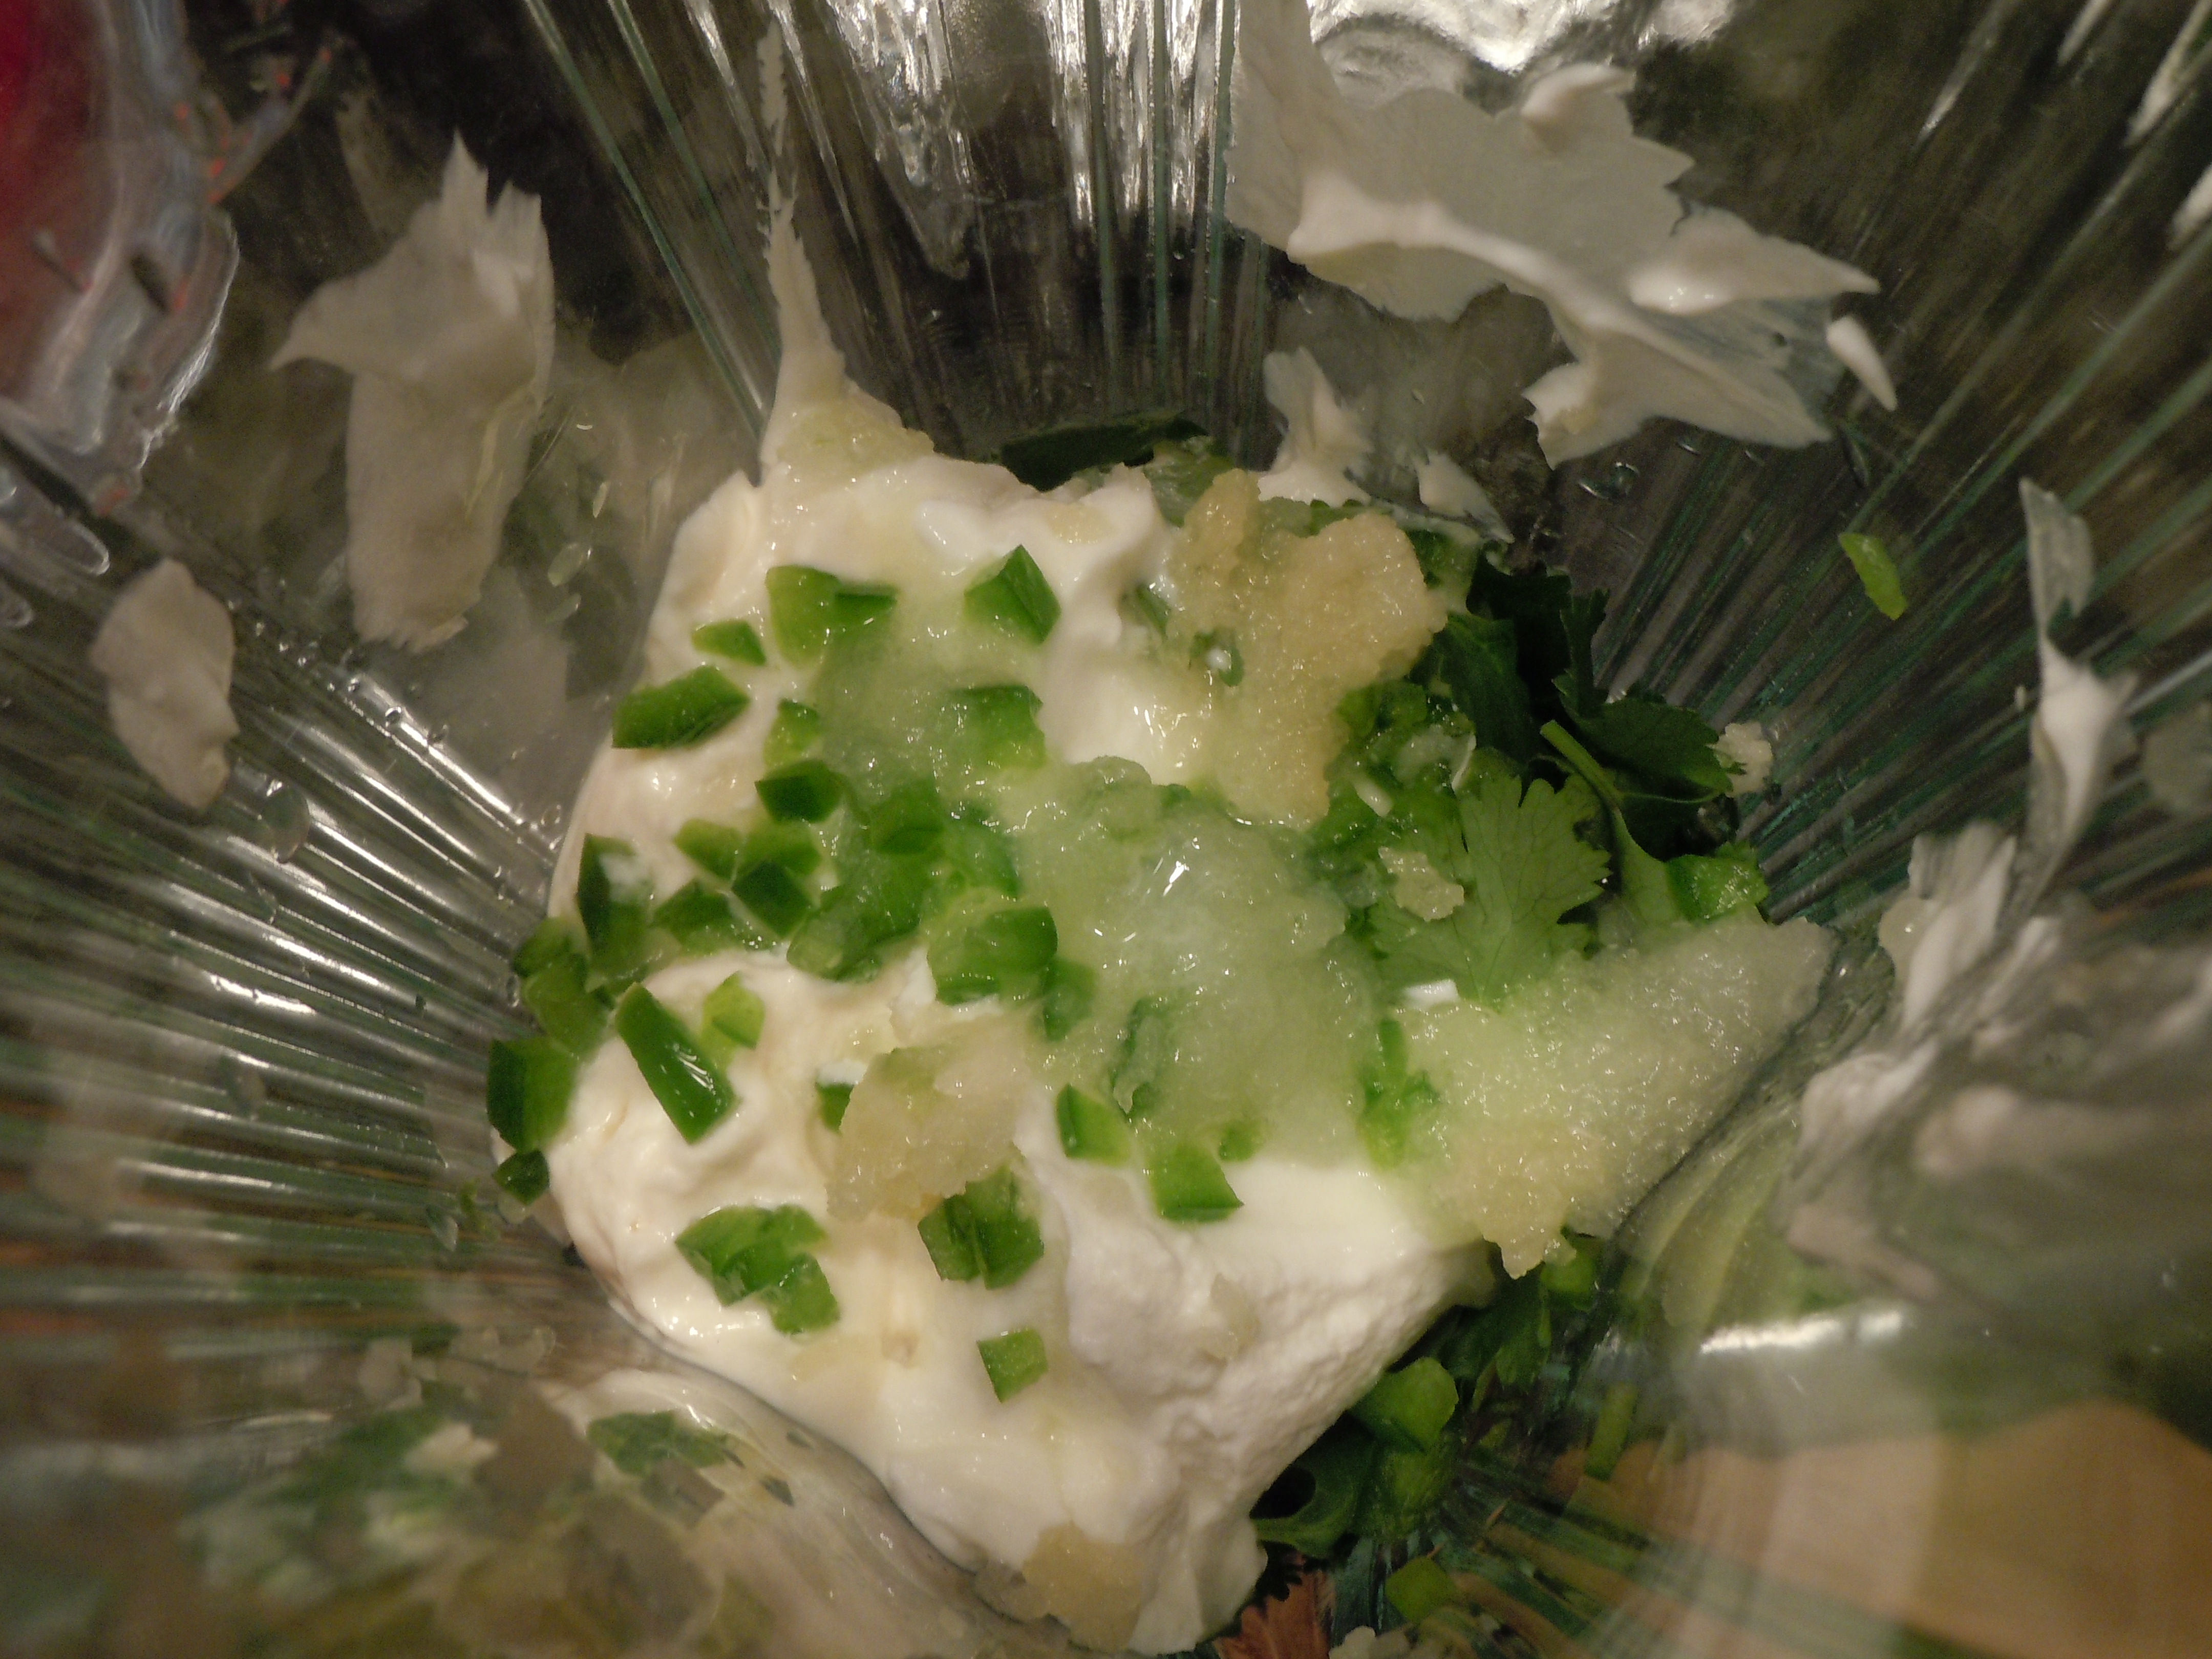
Ingredients and Directions for Green Goddess Dip lll:

  • 3/4 cup Greek yogurt
  • 1/3 cup mayo (I use Hellmans)
  • 1 cup fresh cilantro
  • 1 garlic clove put thru press
  • 1/2 jalapeño diced
  • 4 green onion stalks
  • 1 tsp. grated vadalia onion ( or yellow onion)
  • 1 tbsp ( 1/2) fresh lime juice
  • 1 tbsp “seasoned” rice wine vinegar ( “oops” – I accidentally said red wine vinegar in the show but it’s rice wine vinegar)
  • s & p
  • Optional: dash of Siracha (Siracha is a hot chili sauce sold next to Tabasco at the store)
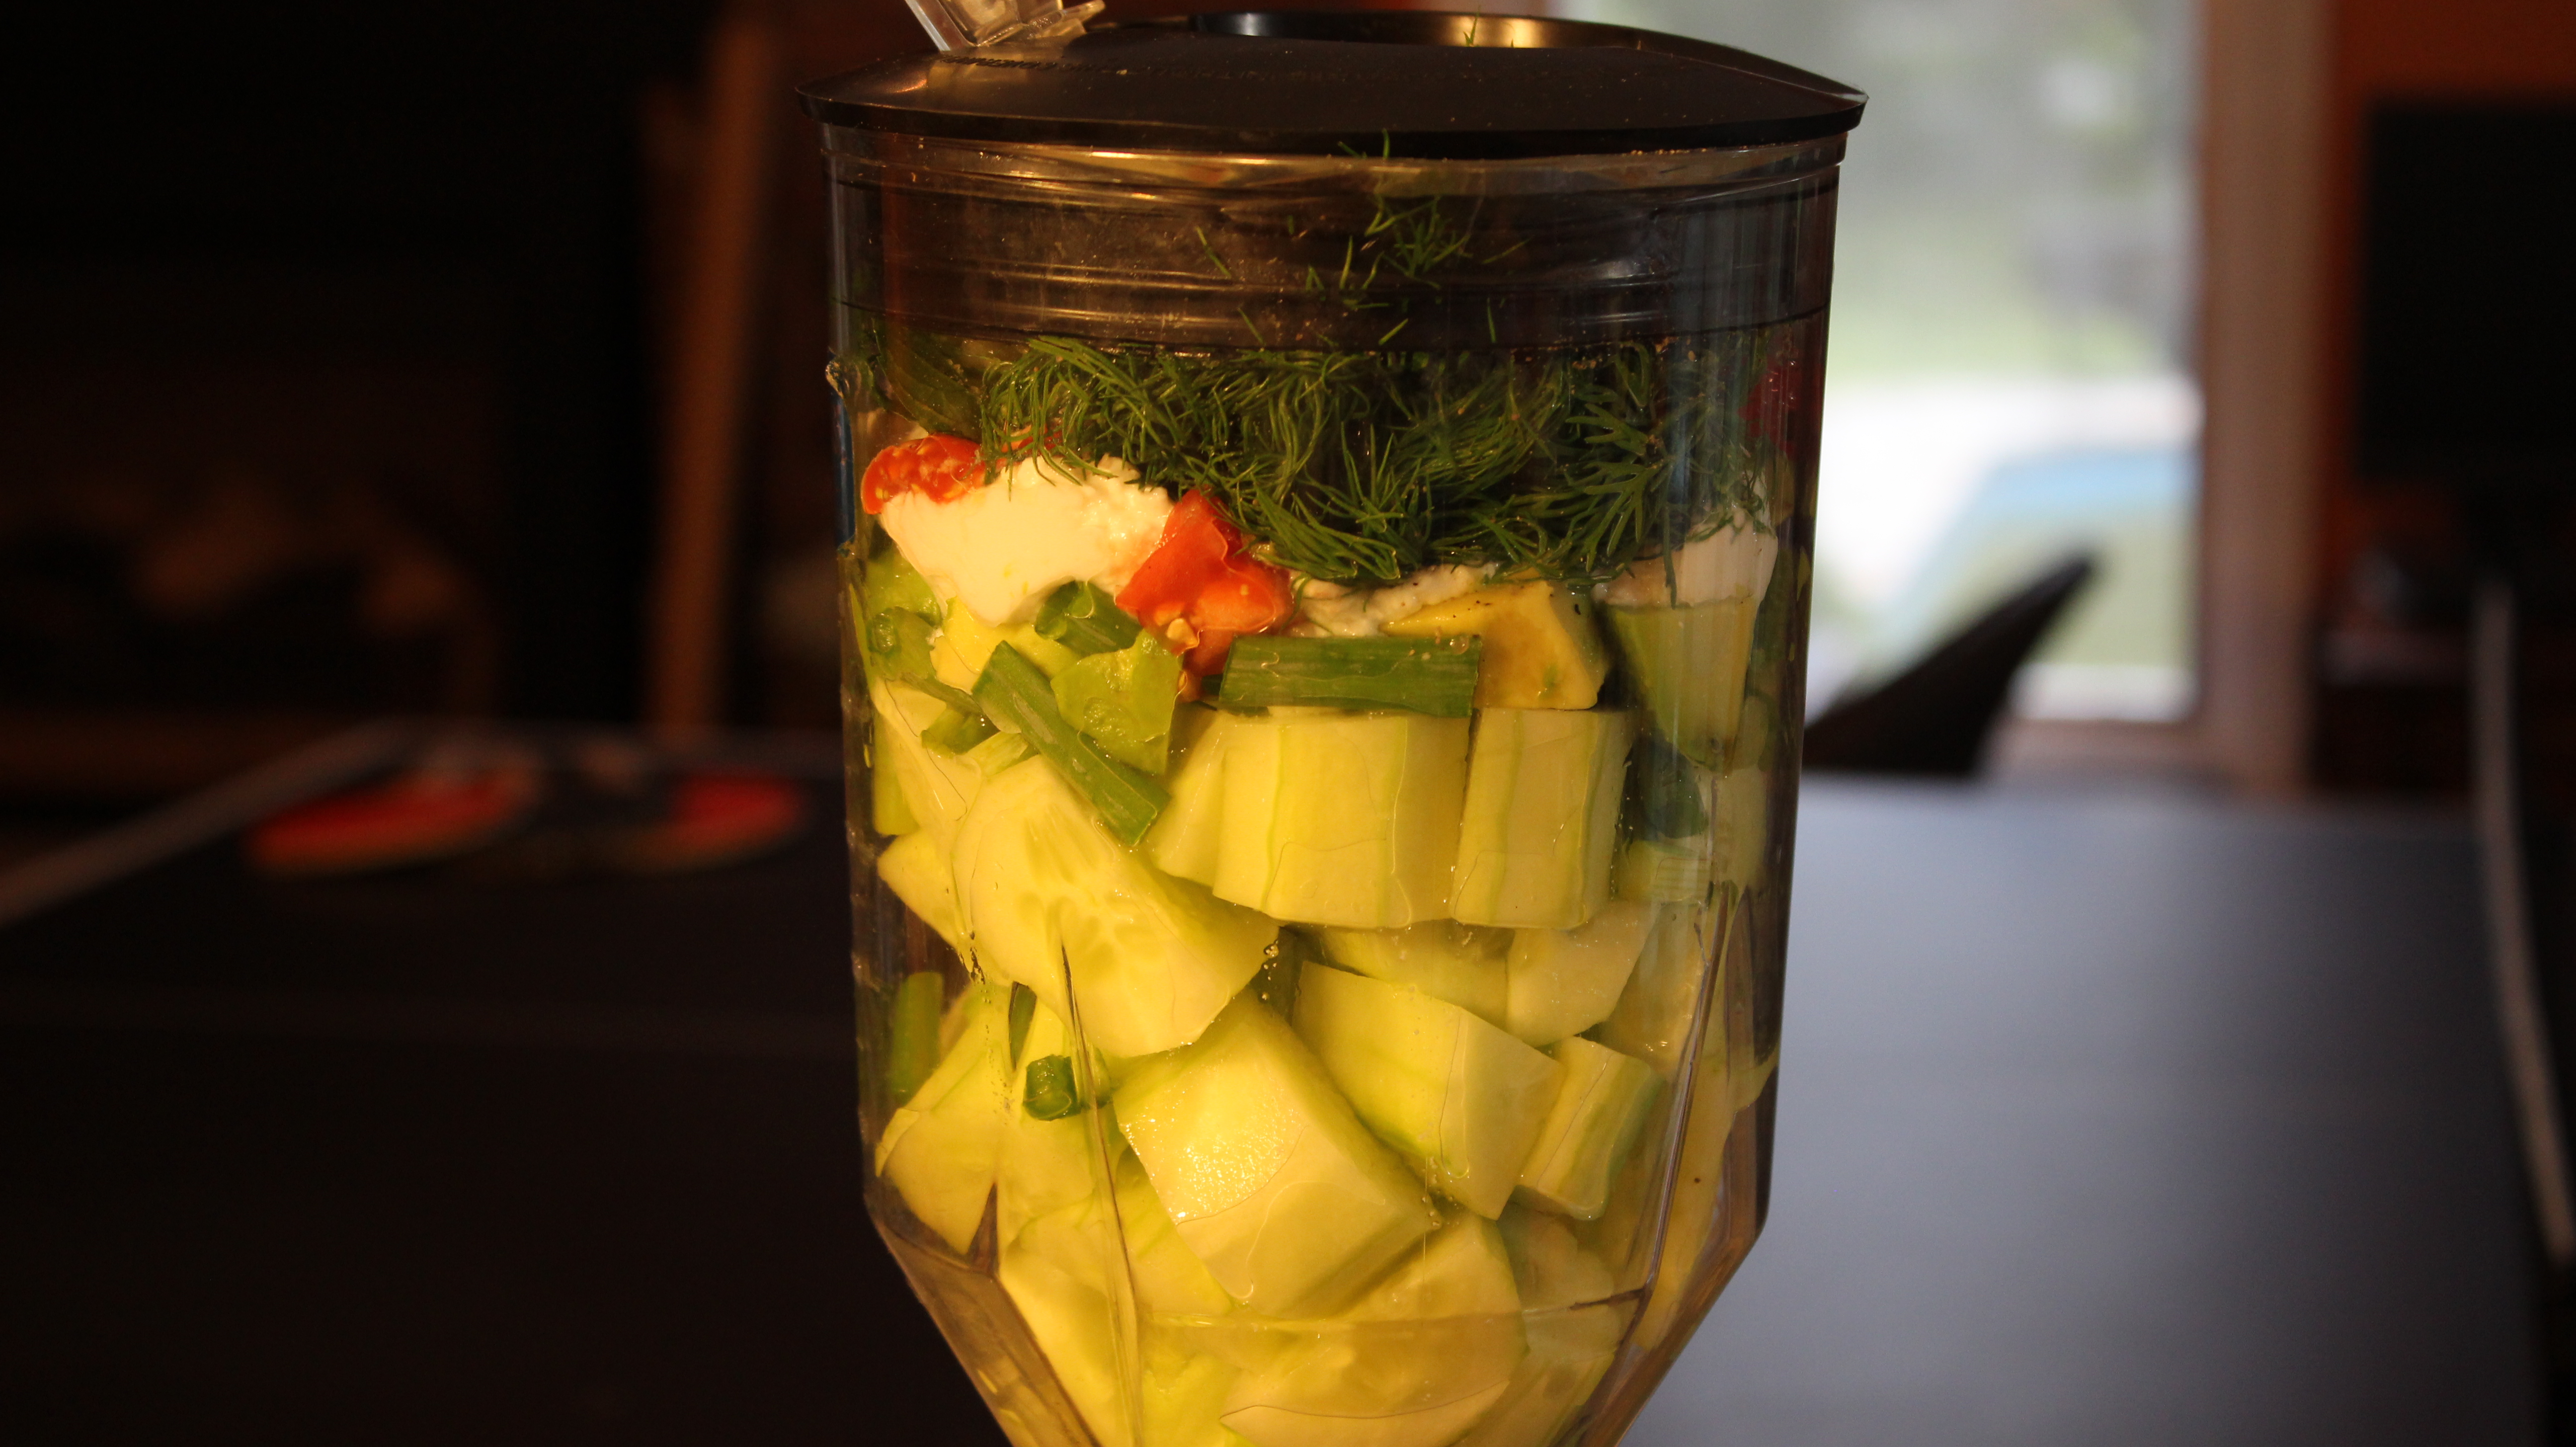
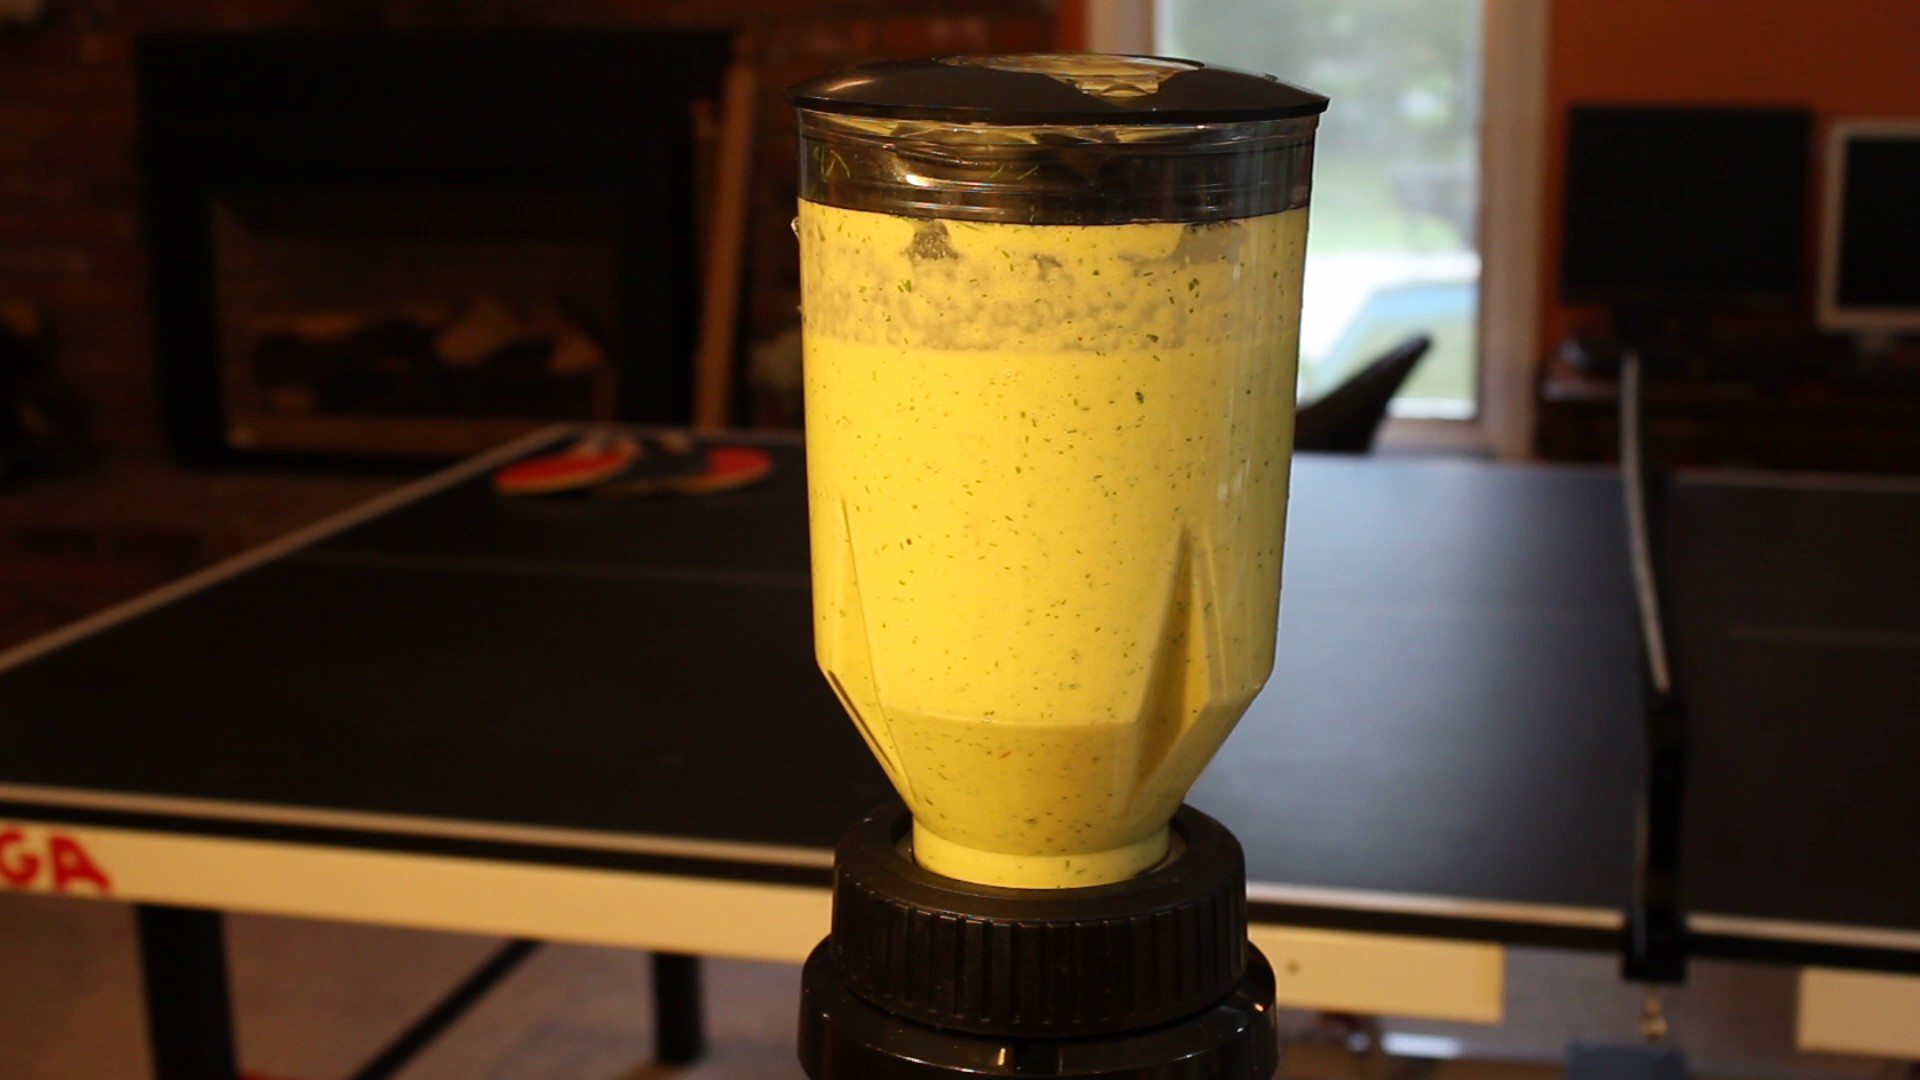
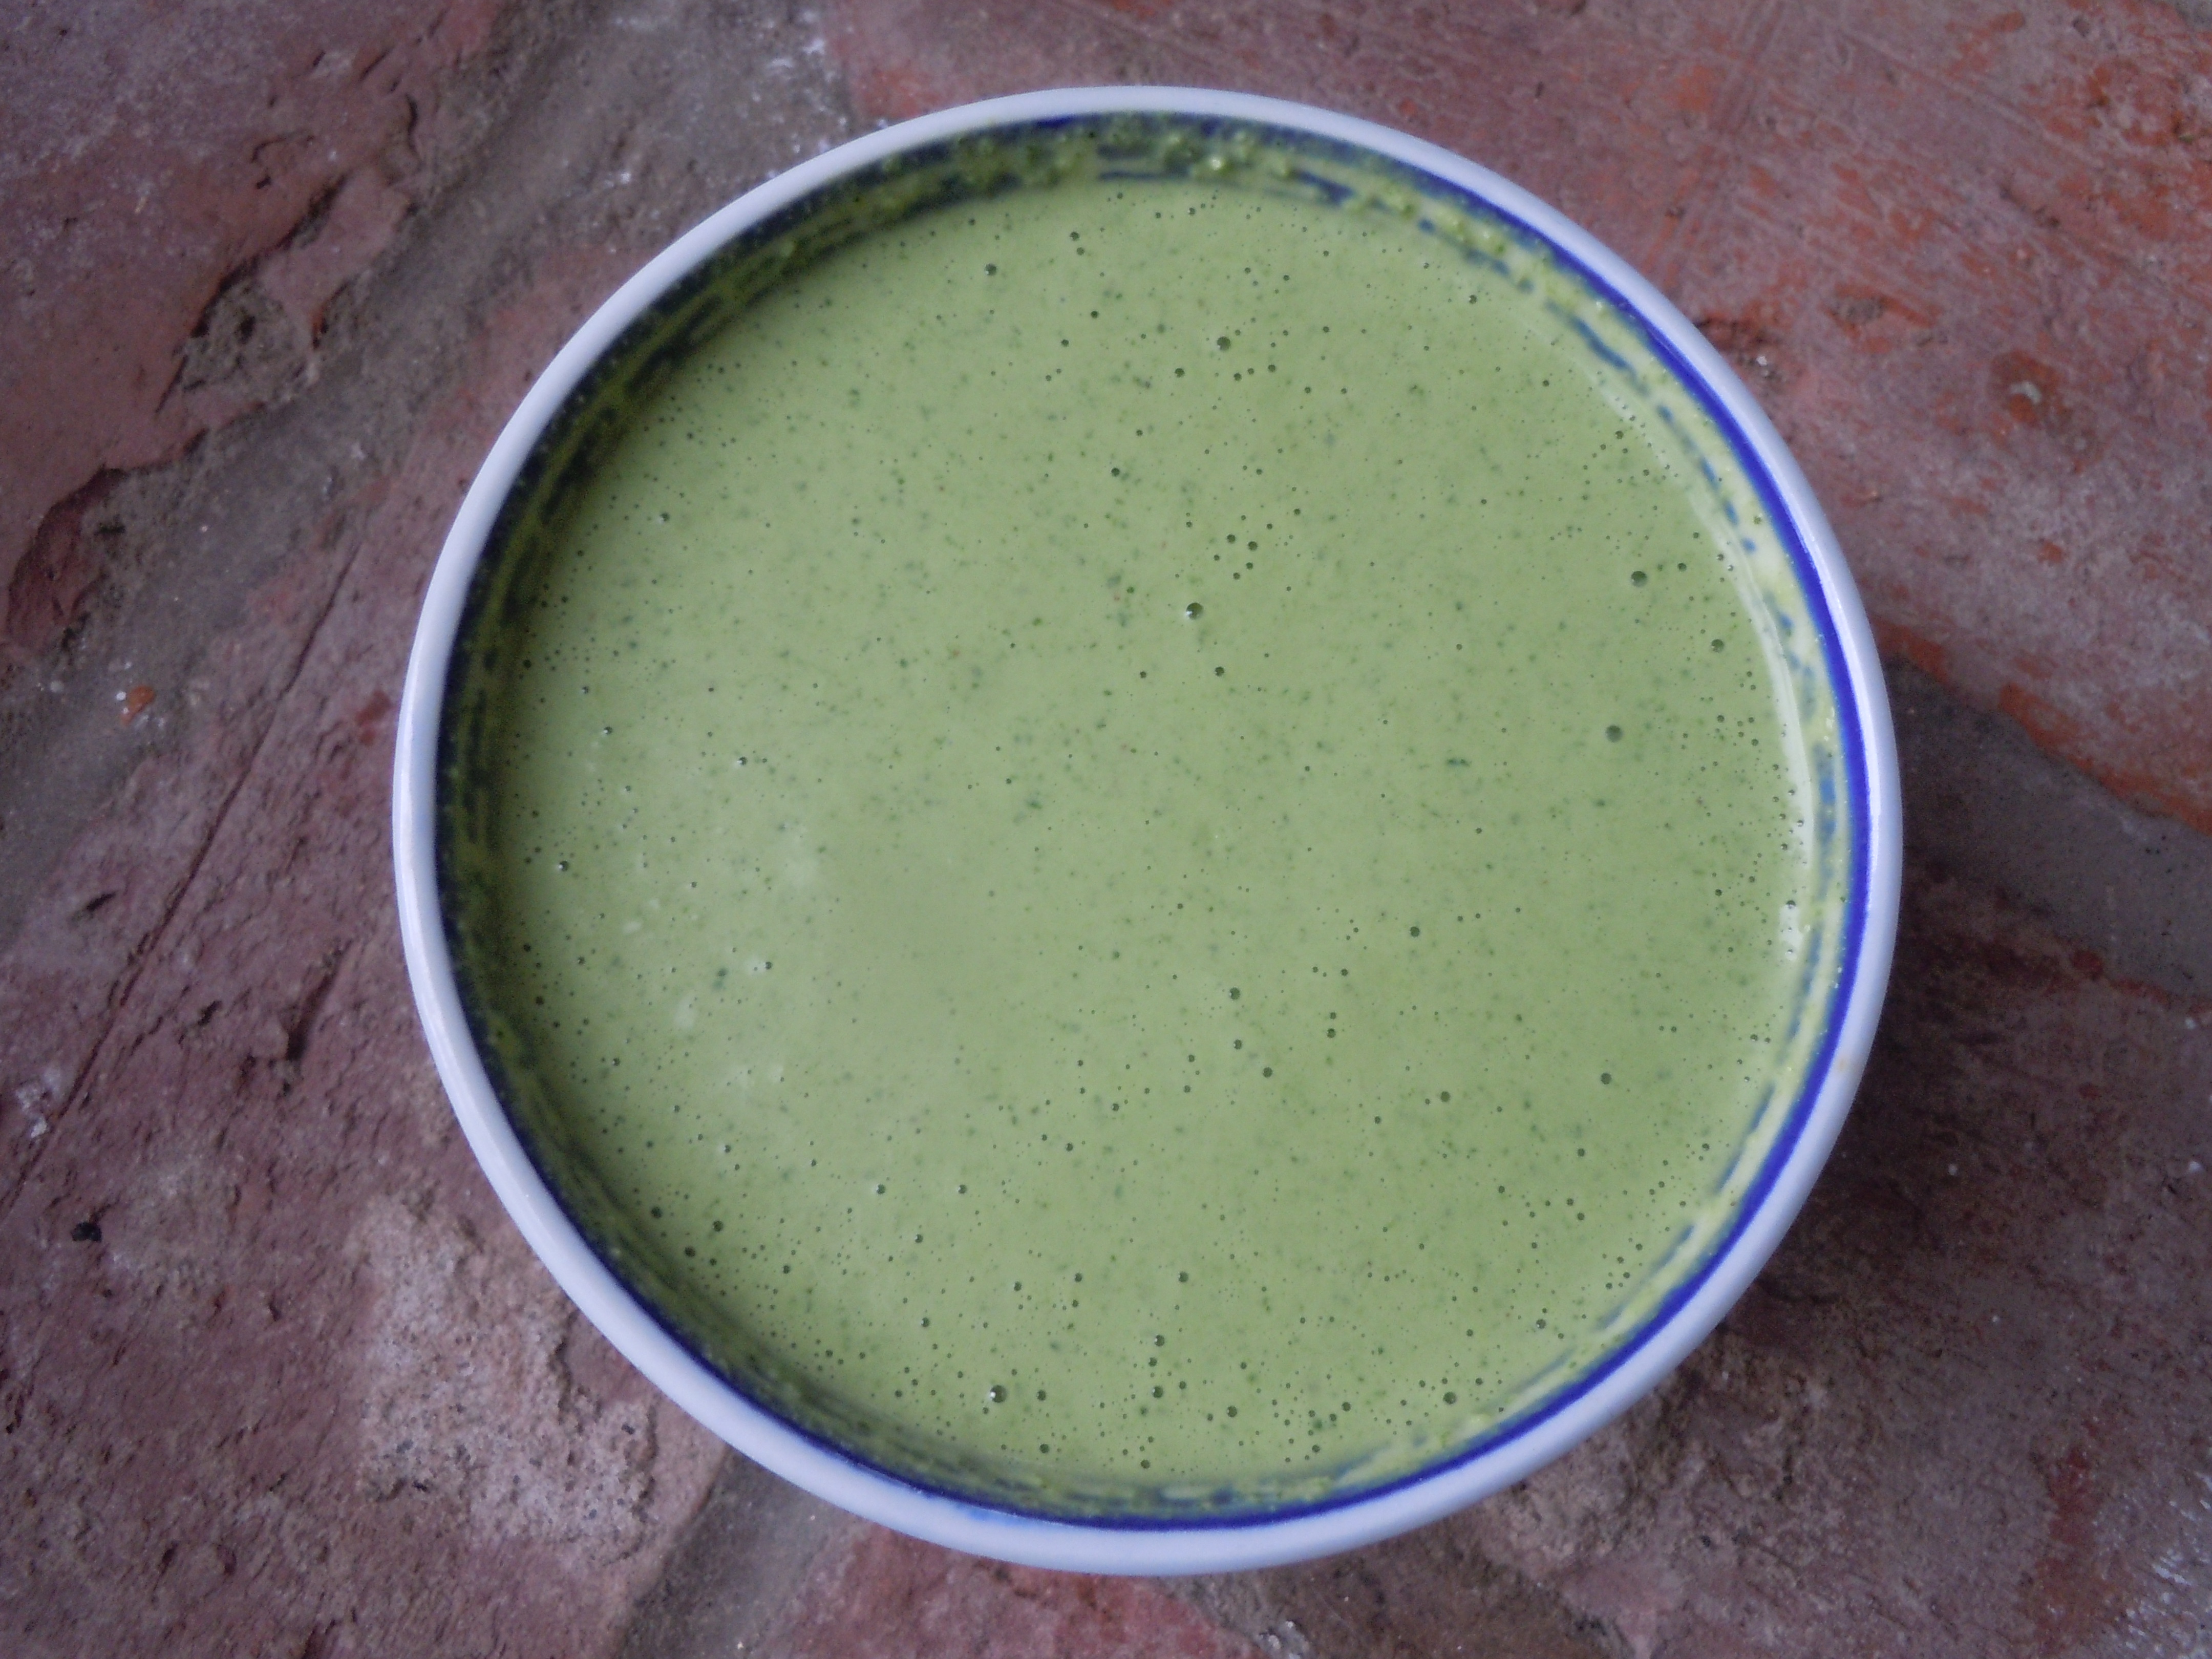
  1. Place all of the ingredients into a blender an purée and you will probably need to stop and stir everything a couple of times to get it going but do not add any more liquid (you will see that once it gets going it will be just right).
  2. You can make this ahead of time and keep sauce in a plastic container and refrigerate.  It  gets thicker as it sits in the fridge chilling and stays nice for a few days…  Yum!

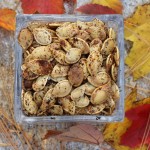
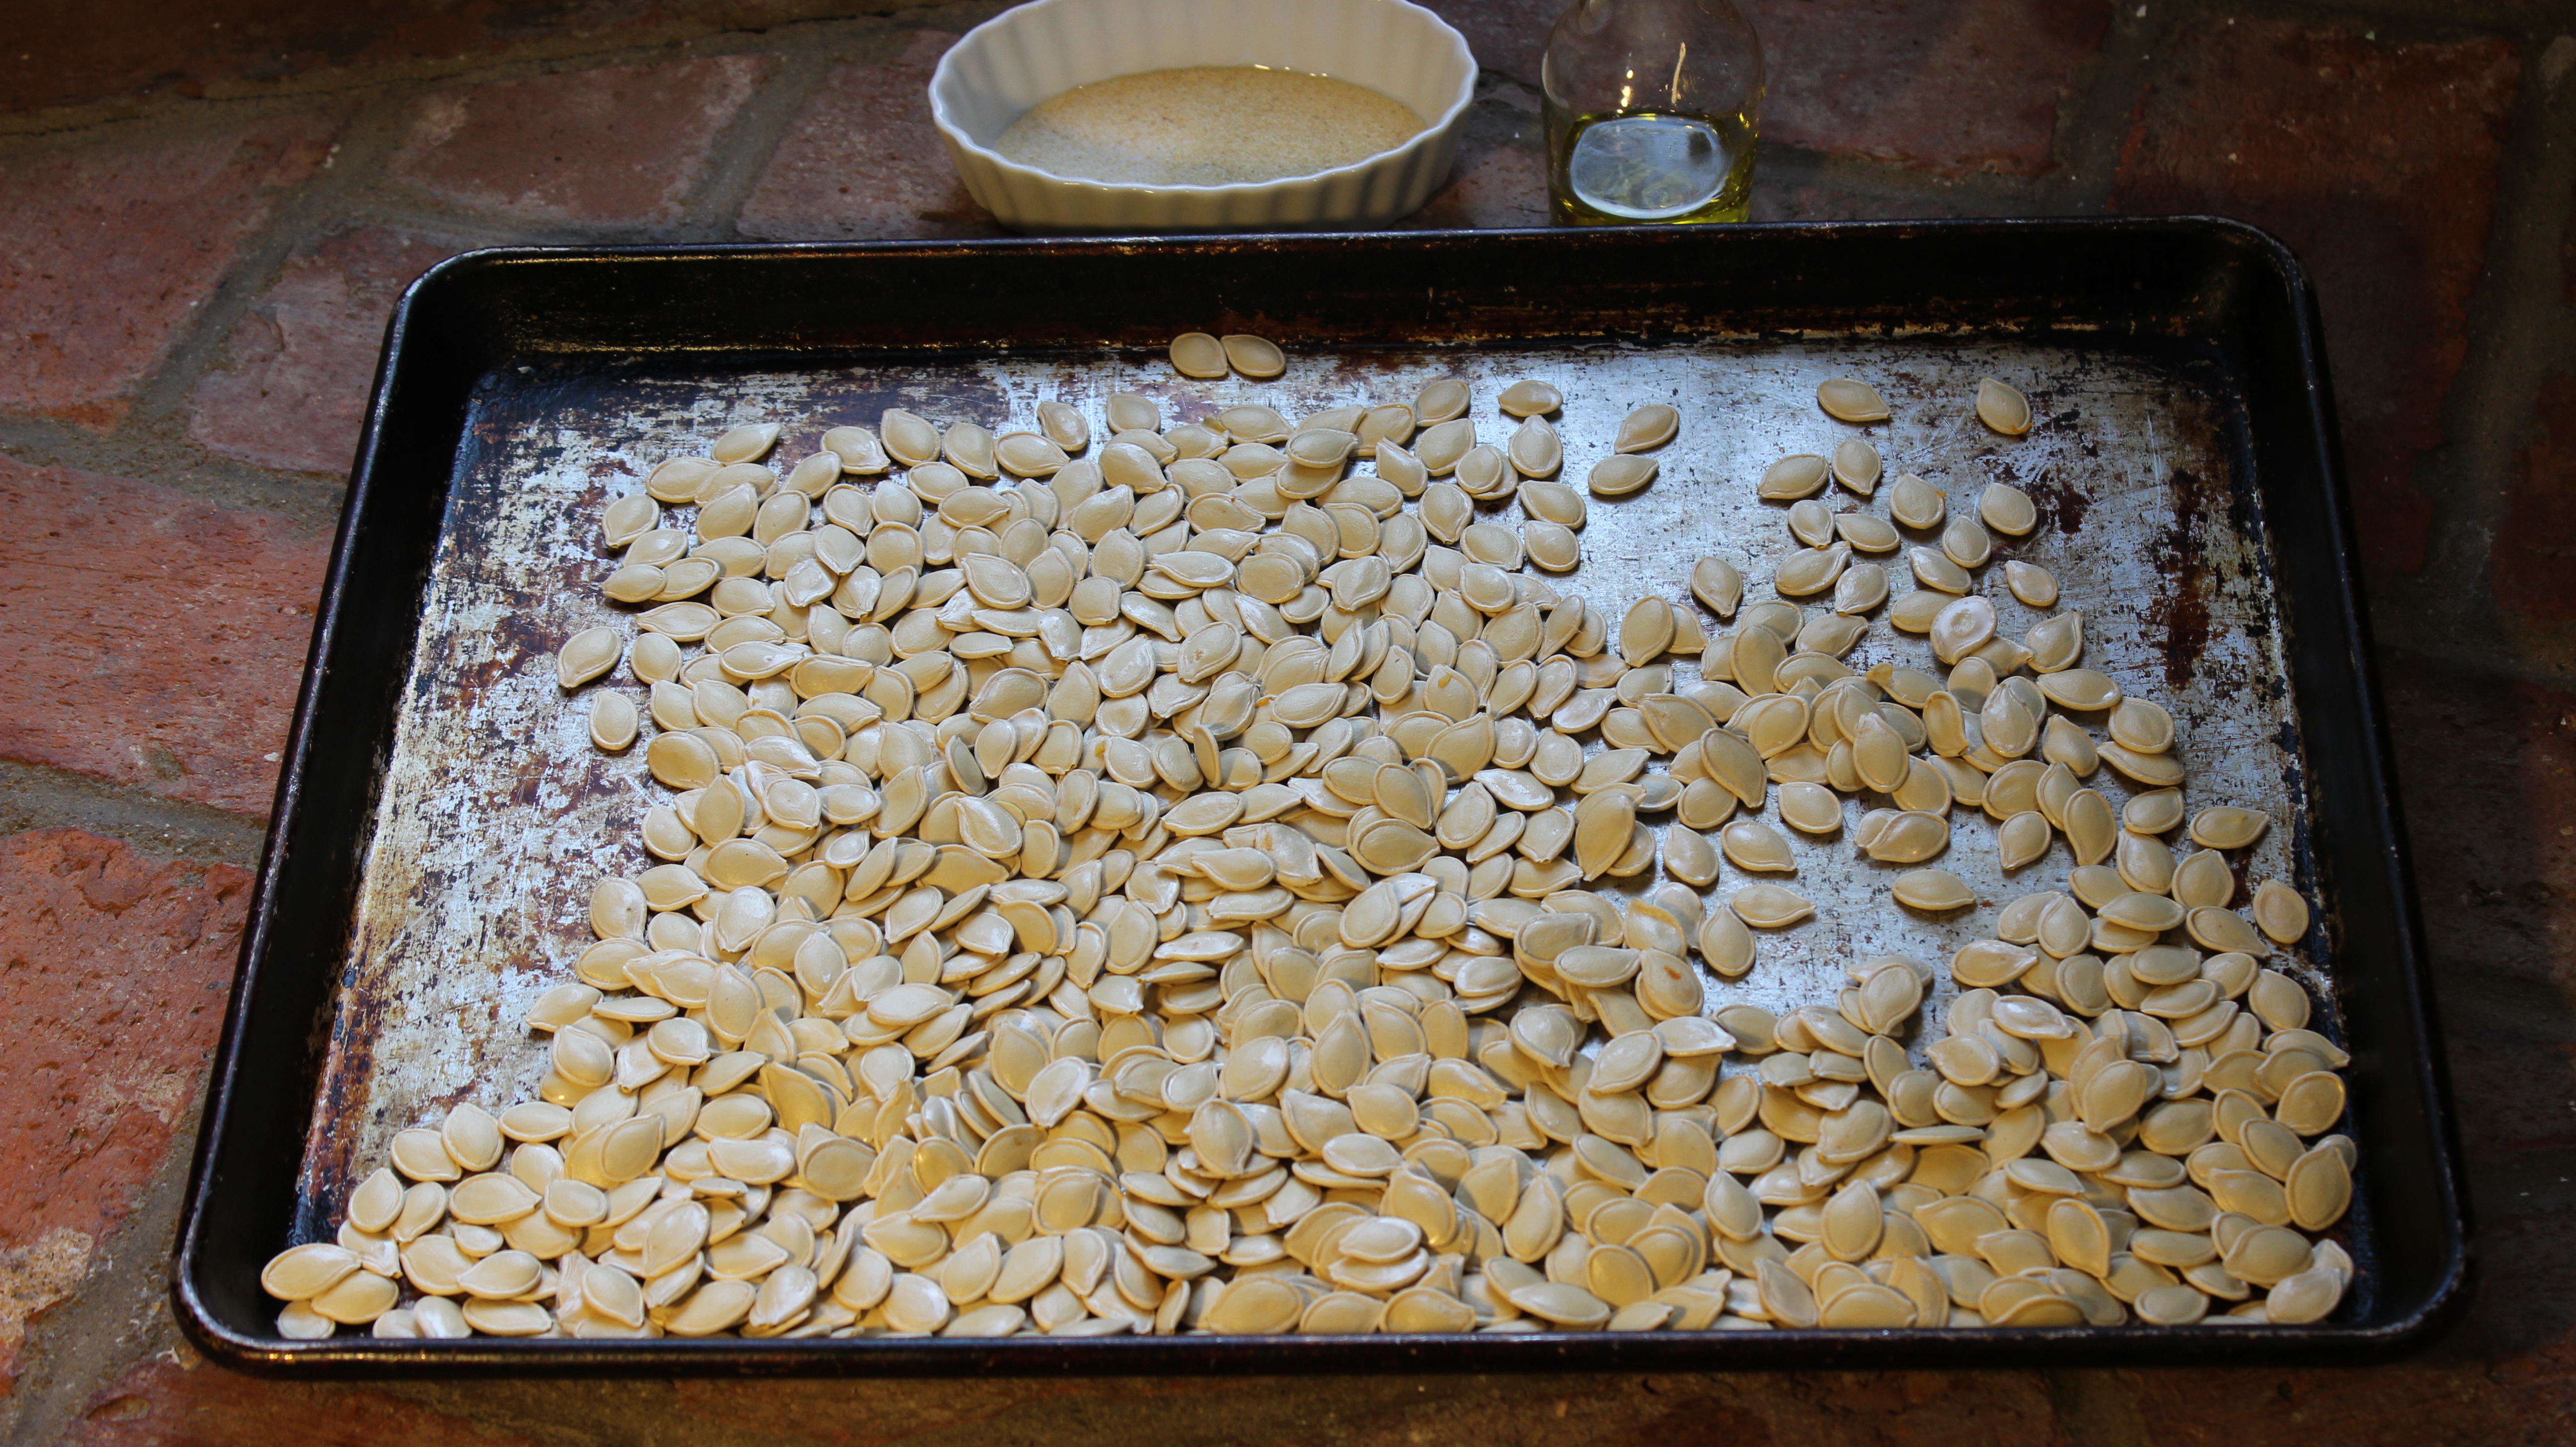
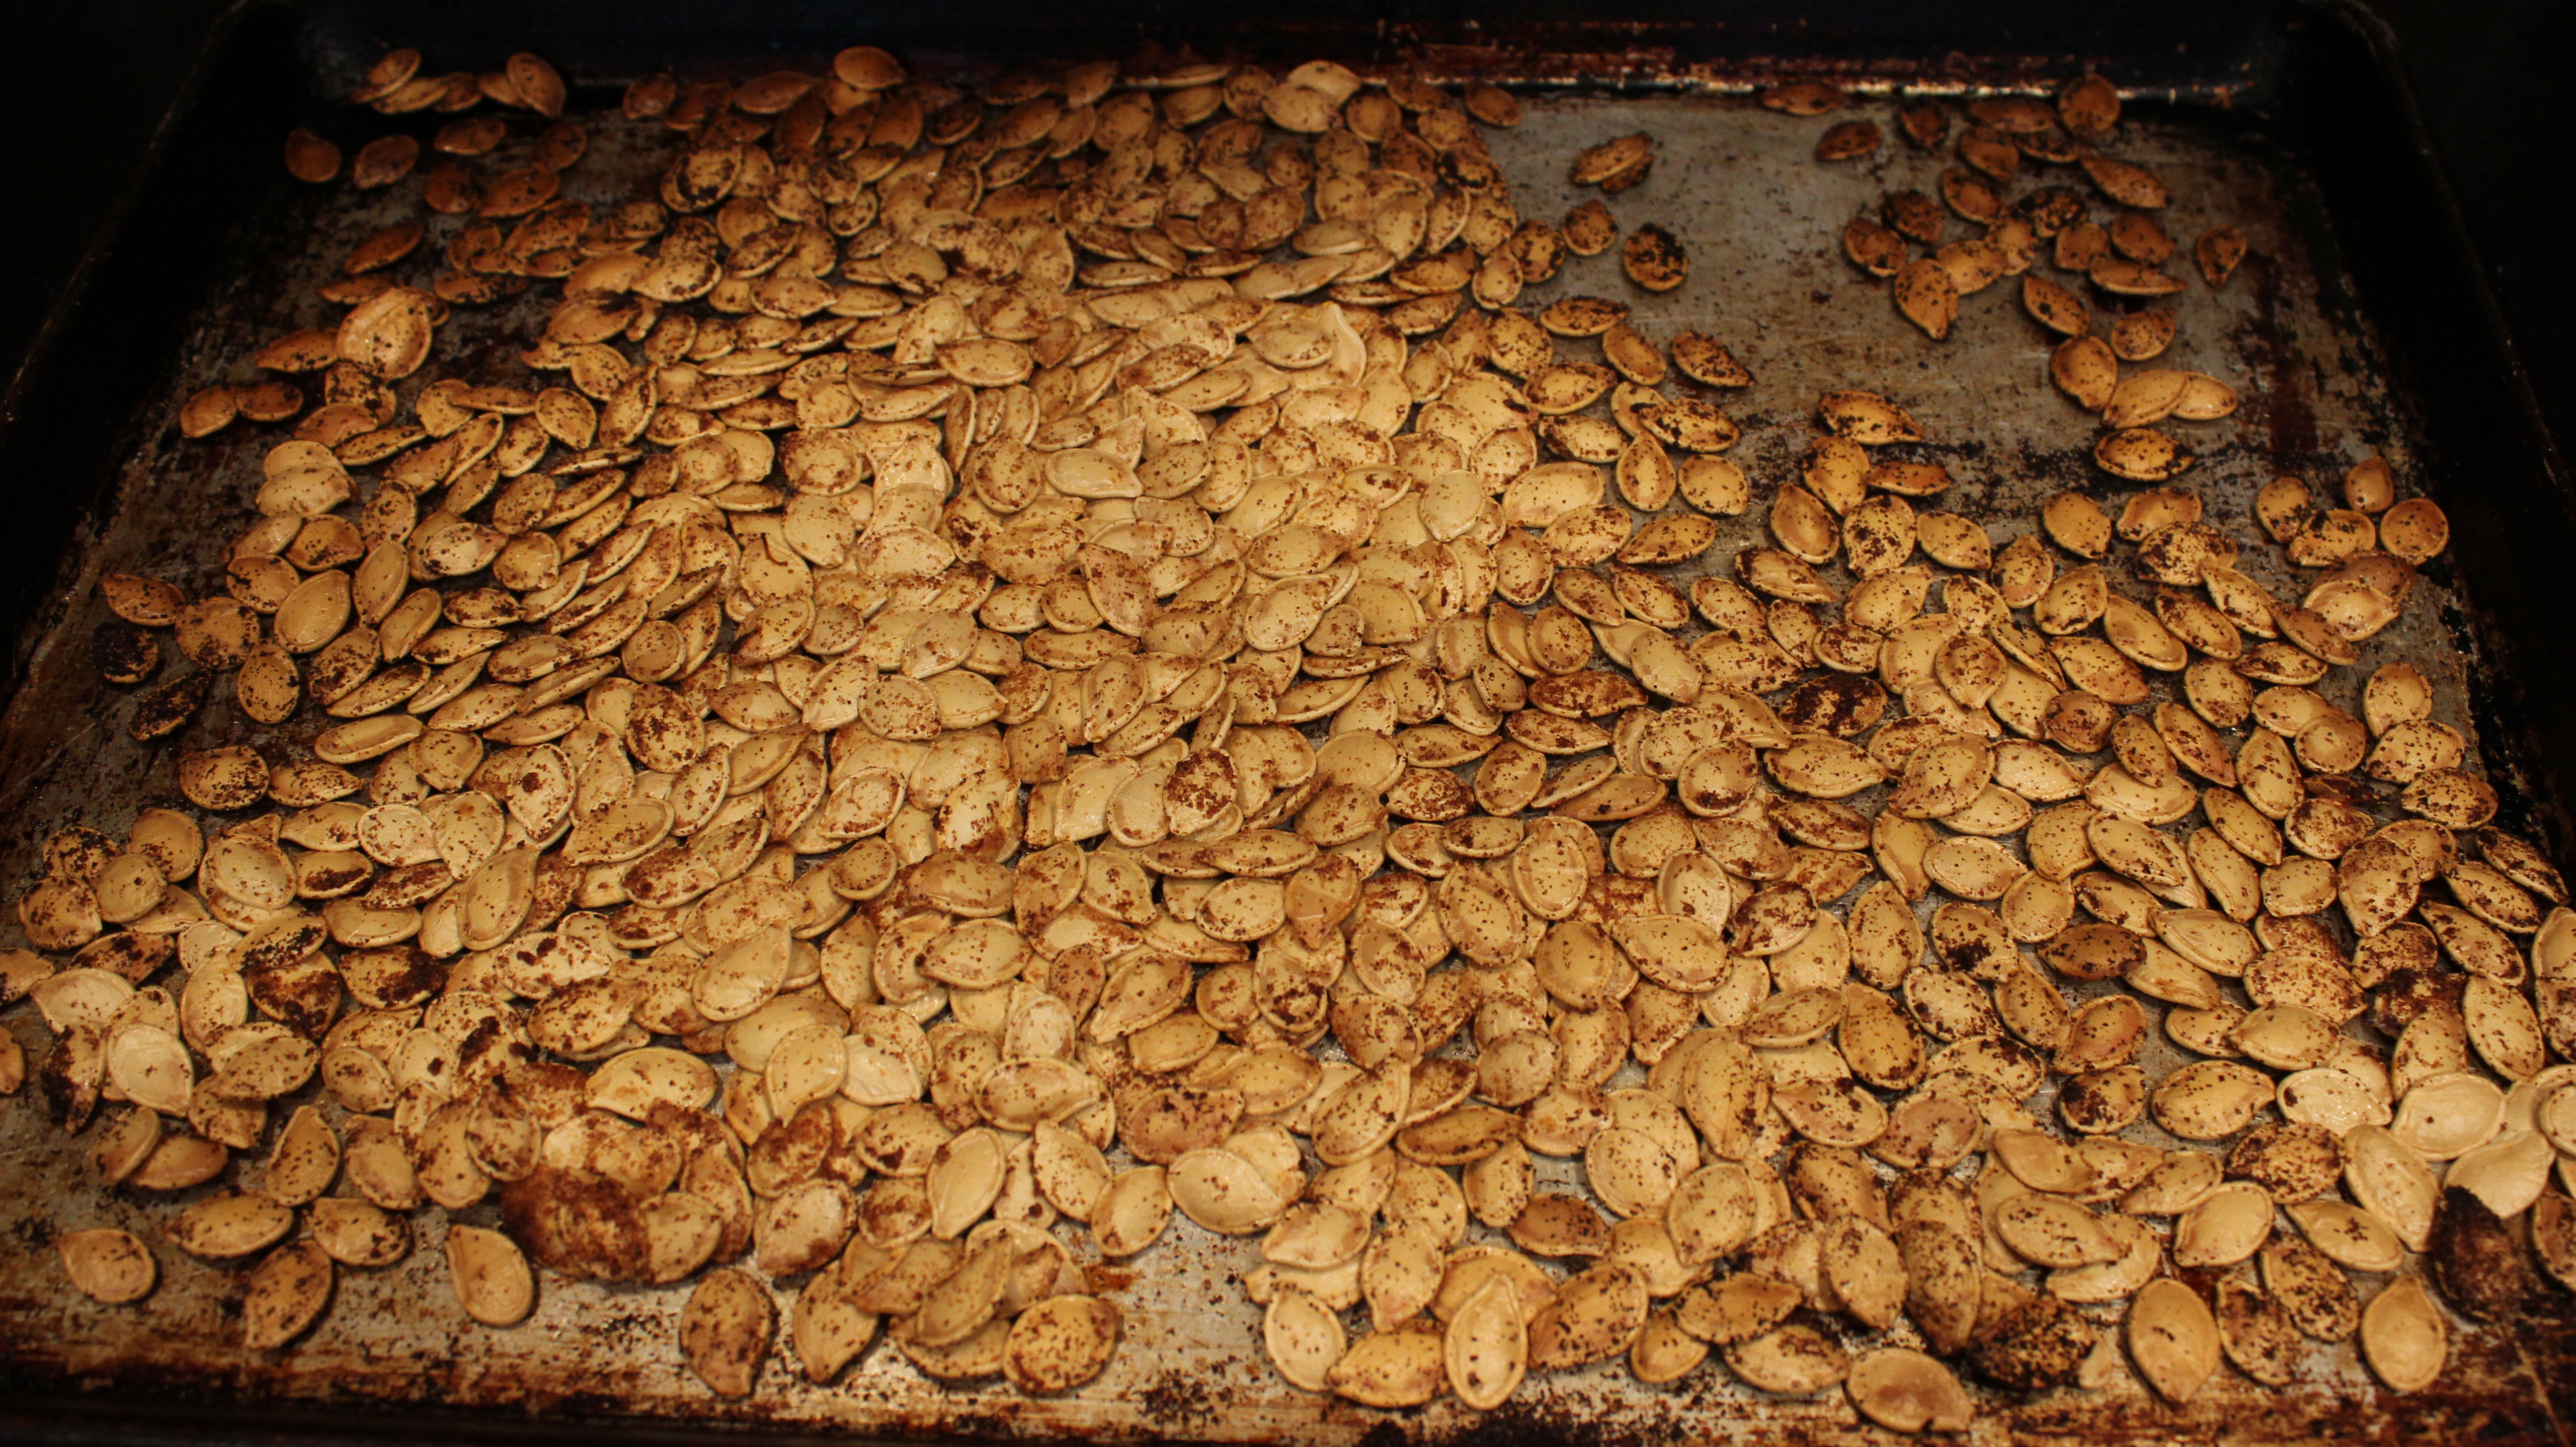
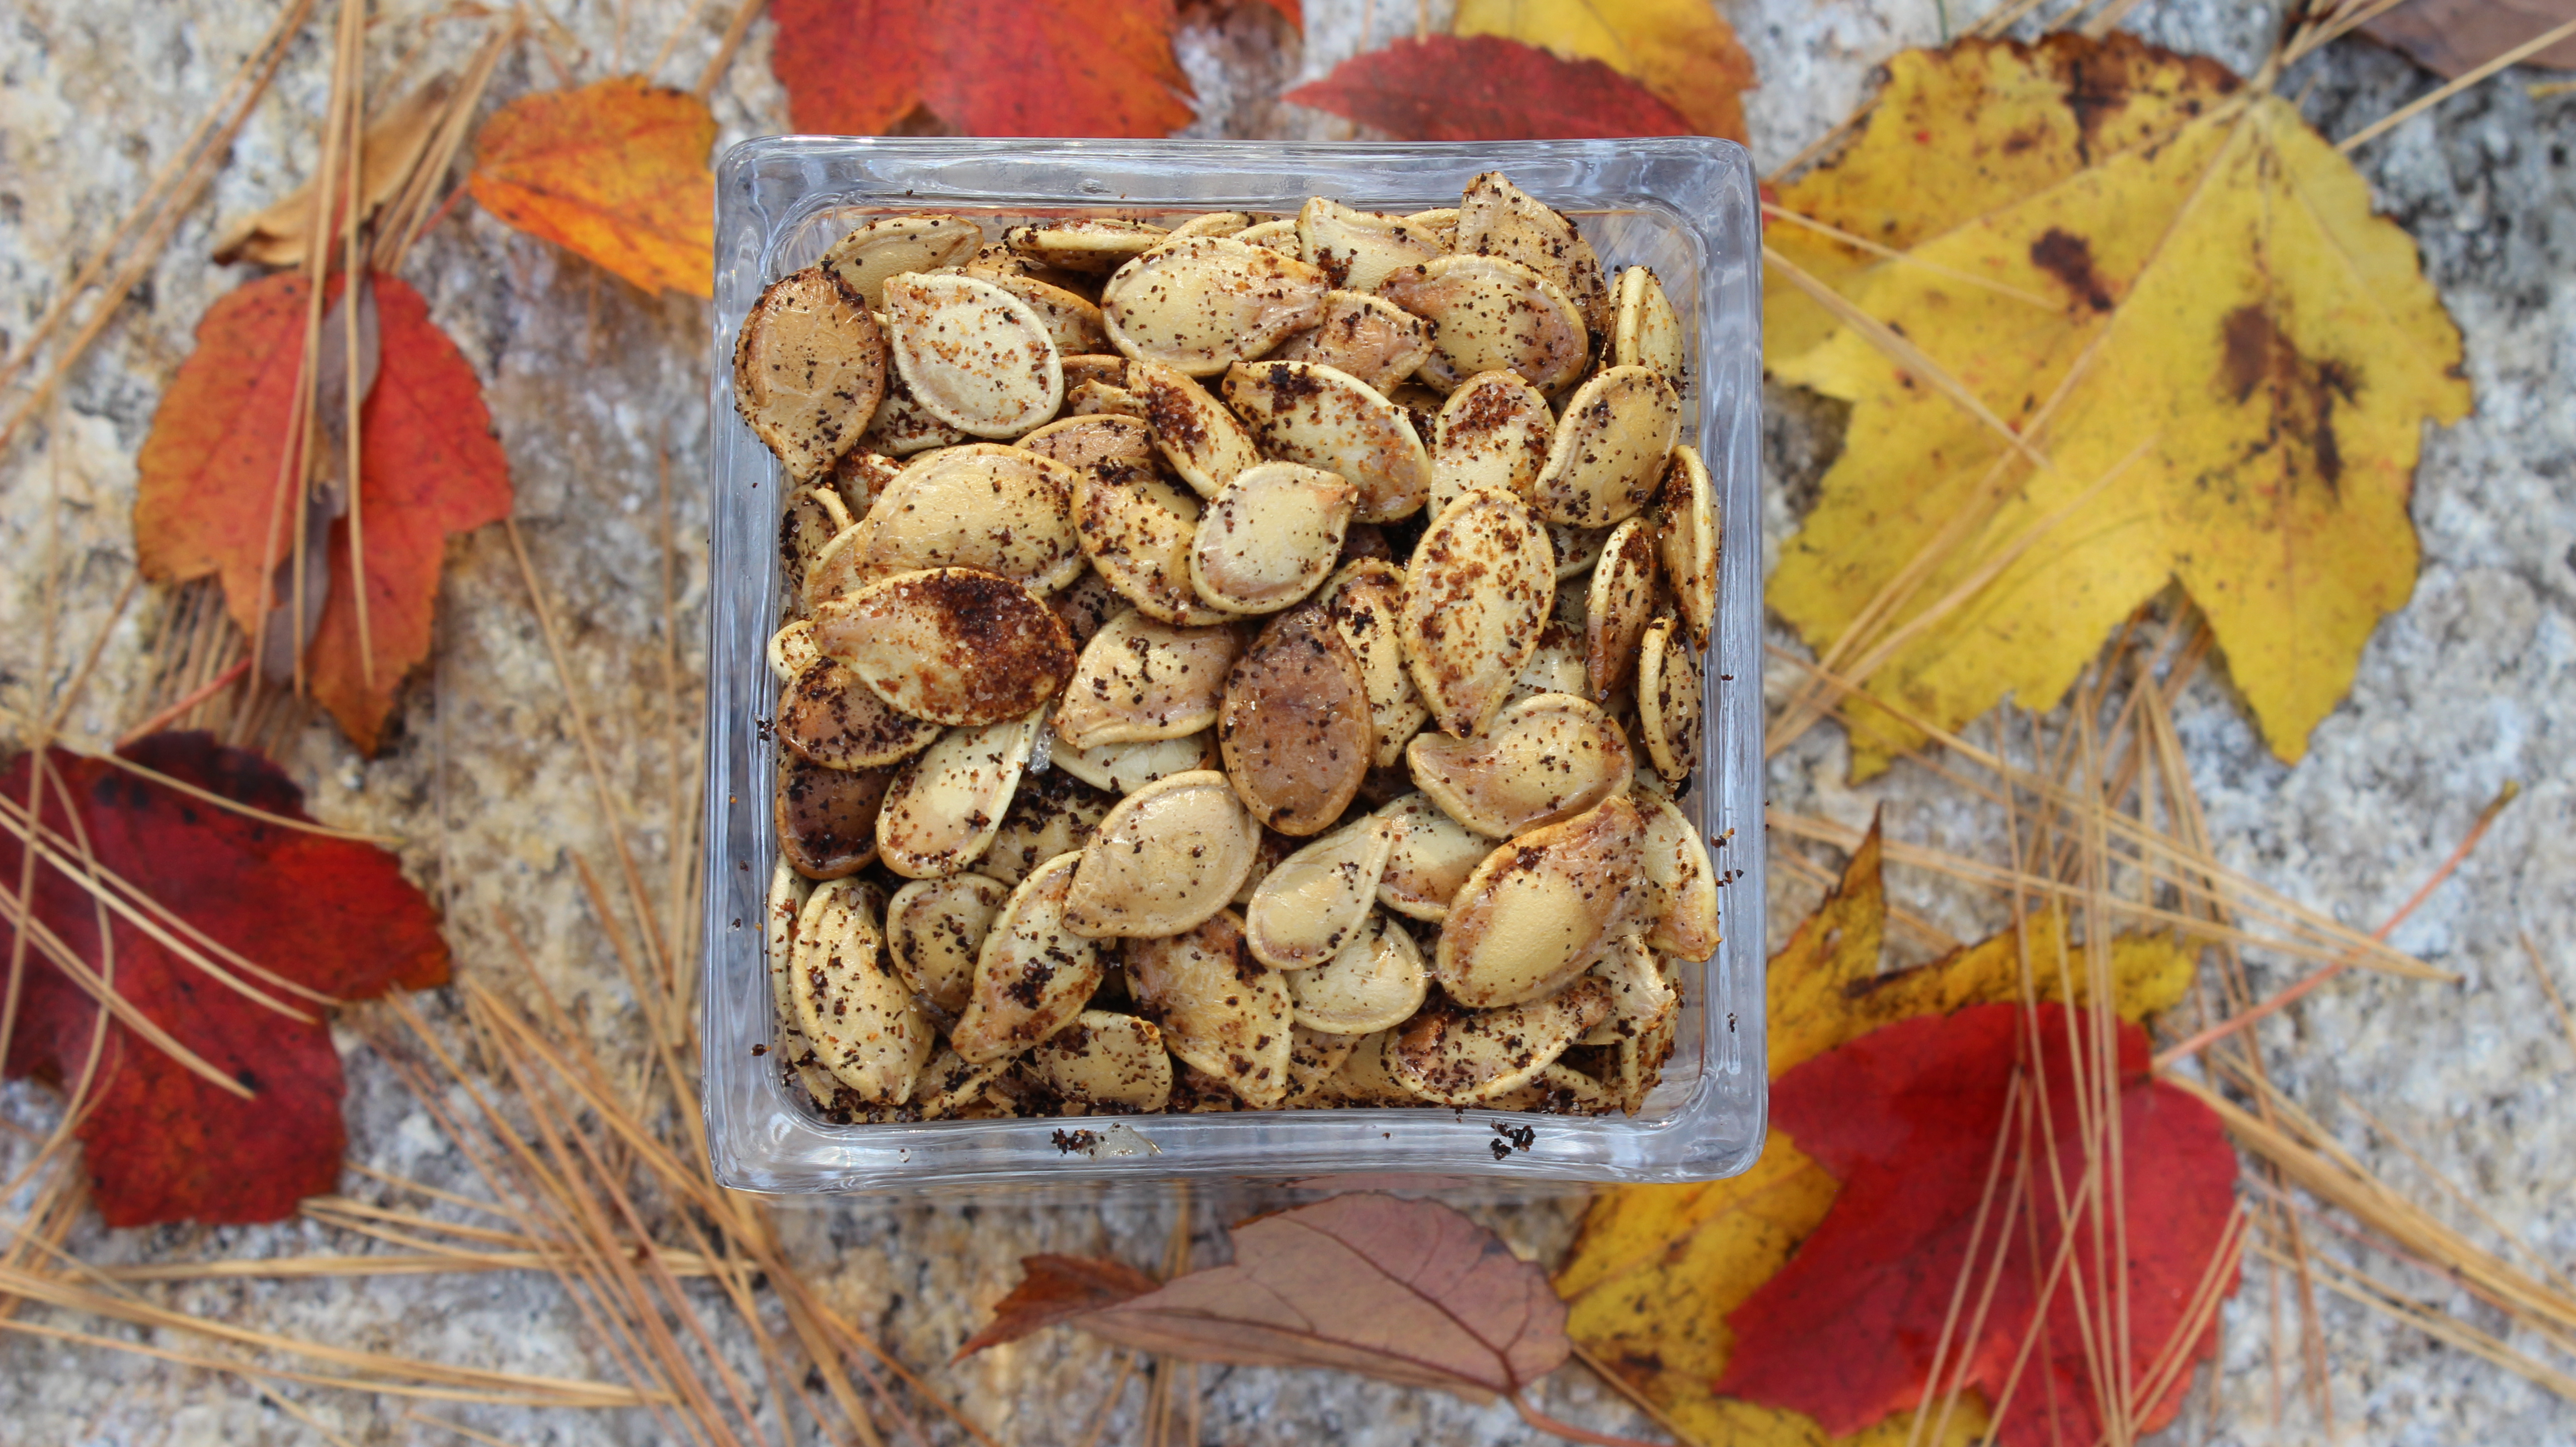
Ingredients and Directions for Roasted Pumpkin Seeds:

  • Pumpkin Seeds for 2 pumkins
  • 1 tsp garlic granules
  • 1 tsp onion granules
  • 1/2 sea salt (plus a sprinkle at the end for a pinch more seasoning)
  • 2 tbsp olive oil
  1. Pre-heat oven at 425º.
  2. Wash pumpkins seeds to remove pulp.
  3. Dry between paper towels and leave on cookie tray to dry further over night (can roast right away if you don’t have time – just by sure to completely dry seeds)
  4. Drizzle olive oil over seeds and sprinkle all of seasonings and toss to evenly mix
  5. NOTE: you can add in cumin, cayenne, chili powder … add your favorite seasonings
  6. Roast for 10 minutes, take out and stir seeds, put back in oven for approx. 4 more minutes – Keep an eye on them at this point so they don’t burn


Pulled Beef Taco’s & Mango Salsa


Pulled Beef Taco’s & Mango Salsa

Just wait until you taste the flavors in this pulled beef taco dish that ONLY uses three ingredients! Yes, that’s right we only use three ingredients… red wine, Trader Joe’s Autentica Salsa and a chuck roast that braises in the oven for two and a half hours with the cover off. I almost feel like we are cheating here by only using these three items because it seems as though something this amazing in taste, similar to Boeuf Bourguignon, should involve way more effort and ingredients. I think it’s important here to use the oven instead of a crock pot because the dry heat helps to caramelize the beef really building on all those layers of flavors.

This is the perfect dish for having groups of friends over because it’s a total make ahead dish. You can even make my mango salsa the day before. If you are really in a pinch for time you could always buy fresh made salsa at the store. I personally like to make this homemade pulled beef the morning of the party so that the house fills with all the aromas of the braising chuck roast, red wine and tomatoes. Really gets the juices flowing!

You can use your favorite hard taco shells to serve up the homemade pulled beef, corn and flour tortilla’s or even serve it on a bed of lettuce with shredded cheddar cheese and my mango salsa! I would also offer sour cream and Siracha in the side fixin’s and just let people go to town making their own creations. How fun is that?
You may just want to make my decadent Hershey’s Perfectly Chocolate Chocolate Cake for dessert! You won’t believe how EASY it is to make! You could also try my Chocolate Crackle Cookies that melt in your mouth. Then there always Fresh Berry Granita or Berries in a Dreamy Cream for dessert too. You’ll be able to actually relax and have lots of fun with your family and friends.

IMG_2793 IMG_3663 IMG_2375 IMG_2201

IMG_3110  IMG_3140  IMG_3127

IMG_3132  IMG_3135  IMG_3173

IMG_3223  IMG_3234  IMG_3144

mangosalsa

Ingredients for the Pulled Beef Taco’s:

  • 3 1/2 lb. beef chuck roast (look for some good marbling)
  • 1 bottle of red wine – Cabernet Sauvignon
  • 1 bottle Trader Joe’s Salsa – Autentica
  • 3 tbsn olive oil

Directions:

  1. Pre-heat the oven to 350º
  2. Slice  the chuck roast into 6 pieces
  3. Salt and pepper the pieces
  4. Add 3 tbsn of olive oil to a large pan on med/high heat and begin to add the beef pieces
  5. Turn up the heat to high and quickly sear all sides til browned – this takes 10 minutes
  6. Add in 3/4 of the bottle of red wine (be careful of steam here) and the whole jar of salsa
  7. Bring to a simmer and pop into the oven for 2 1/2 hrs.
  8. Every hour turn the beef pieces over so the other sides can caramelize
  9. At 2 1/2 hours take the braising meat out of the oven and begin to remove the beef to a dish wear you can start to pull apart the beef pieces
  10. Tilt the braising pan to the side so that you can skim off the fat that rendered out of the meat
  11. Pour the left over juice onto the pulled beef and serve with taco shells and my mango salsa…enjoy!

Ingredients for the Mango Salsa:

  • 2 lg mangoes chopped 1/4″ cubed – (about 1 1/2 cups)
  • 1 avocado chopped 1/4″ cubed (1 cup)
  • 2 med/lg size tomato’s or 5 small tomato’s chopped 1/4″ cubed (1 cup)
  • 1/2 Vidalia onion (or yellow) FINELY chopped (1/2 cup)
  • 1 FINELY chopped jalapeno (2-3 tbsn)
  • juice from 1 lime
  • 2 Tbsp olive oil
  • 1 Tbsp rice wine vinegar
  • 1/2 cup coarsely chopped cilantro
  • a dash of Siracha (optional)
  • S & P

Directions:

  1. Add all of the ingredients to a large bowl and mix thoroughly.
  2. We really love to eats this salsa with blue chips too
  3. I have also served this salsa up on the tips of endive leaves, and or with a cooked shrimp on top of that ….yum!
  4. I must warn you this salsa is highly addictive……consume at your own risk! LOL

iphone pictures 718  iphone pictures 732  iphone pictures 721

iphone pictures 722  iphone pictures 724  iphone pictures 738

iphone pictures 739  iphone pictures 740

TIP:  There is an easy way to get the pit out of a avocado which I have displayed in the pictures above.  After running the knife around the flesh of the avocado against the edges of the inside pit… put the knife down and twist the avocado halves and pull apart. Then stick the knife into the pit and do the same thing holding on to the knife with one hand and carefully twist the avocado pit and it will pop right out.  Then knock the pit off onto the board away from your hands.  This can be a little tricky the first time so I would advise that this would be for an adult to try.   Finally, Insert a large spoon and scoop the avocado along the edge of the avocado skin to remove avocado flesh.

Michigan Sauce at Kathleen’s

Michigan Sauce at Kathleen’s

We make this incredible Michigan sauce in the show with ground turkey, but many who make this savory sauce make it with ground beef! Michigan sauce is made from simmering ground turkey, warm water, French’s Yellow Mustard, Franks Hot Sauce, Hunts Tomato Sauce, chili powder, ground cumin all awhile mashing the ground meat with a potato masher to achieve a tender, fine sauce.

Now you may think that adding a whole 5 oz. bottle of Frank’s Hot Sauce to this homemade Michigan sauce would make it really spicy but it doesn’t at all. The amounts of all the flavorful ingredients are pretty perfect here giving you this nicely balanced combination. You get hints of citrus and floral from the ground cumin, a bit of a kick from the cayenne in the Frank’s Hot Sauce and a little tang from the French’s Yellow Mustard. Lets not forget the chili powder that gives it the right amount of earthiness to complete the circle. Now you know how important it is to me that you always season a dish as you go along but here there is no need for salt or pepper because all of the ingredients added into this recipe take care of that.

These Michigan Sauce recipes go back for generations and are very special to an Upstate New Yorker such as Kathleen and her family. I feel honored that they were willing to share their family recipe that they hold so dear to them so that I might be able to share it with all of you.

clarecarlsOver the years there have been legends and tales going around of how this delicious Michigan Sauce recipe began. One says that the Coney Island hot dog met a sauce made from a woman in Nashville who married a man from Detroit and they moved to Plattsburgh, NY. They started selling hot dogs with this sauce and called them “Michigans”. The other says it was a couple from Detroit that moved to Plattsburgh, NY.  But if you ask some of the locals they will insist that “Michigans” have nothing to do with Detroit! Back in the 1920’s is when the the first “Michigan” stand opened up but Clare and Carl’s is the one very well known to people which opened in the 1940’s along Lake Champlain. To this day, Clare & Carl’s keeps the car hop service that made it popular a half century ago.

A typical “Michigan” is garnished with chopped onion and a line of French’s Yellow Mustard on the top. If you to go into Clare and Carl’s they would ask you if you want your Michigans “with” or “without”, referring to the chopped onions of course. You might reply, I would like two Michigans “with-buried”. This would mean you want onions and they are to be under the sauce. Now you know how to properly order your Michigans when you are in Upstate New York.

Even though this special meat sauce is an Upstate New York summer tradition I think this is the perfect dish for football season! Not to mention it’s a total make ahead dish so you won’t miss any of the game tending to that darn stove. This Michigan sauce also freezes really well so make sure to take advantage of that and make an extra large batch like Kathleen’s mom, Shirley, does for future meals and get together’s. Thank you again Shirley and Kathleen for enlightening us with your lovely Michigan sauce recipe.

IMG_2283

Hope you enjoy the show! You may want to try and make some refreshing Pavlova for dessert to go with this savory Michigan sauce!


IMG_3020  IMG_3031  IMG_3041

IMG_3044  IMG_3072  IMG_3054  

clarecarls  clarecarl  clares

Ingredients:

  • 1 lb. Ground turkey
  • 1 cup warm water – Add 1/2 cup in the beginning and add 1/2 cup after adding the Hunts Tomato Sauce
  • 1 heaping tbsp French’s yellow mustard
  • 1- 5 oz. bottle Franks Hot sauce (whole bottle)
  • 8 oz. can of hunts-plain tomato sauce plain or garlic
  • 3 tsp ground cumin
  • 3 tsp chili powder
  • 1 small chopped Vadalia sweet onion – chopped for garnish or a Michigan “with-buried” (if you don’t get this you need to watch the show) 🙂
  • 1 pkg Deutschmacher Frankfurters (mild and delicious) OR Red Hots
  • Hot dog rolls

Directions:

  1. Add 1/2  cup water to 1 lb. ground turkey (beef) in a large sauté pan on medium/low
  2. Continue to mash these two for 10 minutes while simmering with a potato masher
  3. Change to a fork to further mash ground turkey to a finer mash for 5 minutes
  4. Stir in 1 heaping tbsp French’s Yellow Mustard until it disappears into turkey mixture
  5. Stir in 1 whole 5 oz. bottle of Frank’s Hot Sauce until it disappears into turkey mixture
  6. Stir in 1- 8 oz. can of Hunt’s tomato sauce
  7. Add in another 1/2 cup of warm water
  8. And then stir in 3 tsp chili powder and 3 tsp ground cumin
  9. Let this simmer on low for 1/2 hour
  10. Then mash a little more with the potato mash to make sure you have a fine texture.
  11. You can let simmer for another 1/2 – 1 hour til a thick consistency
  12. The more you let it simmer the more the flavors develop
  13. This sauce freezes really well for future meals
  14. Serve in a bowl with a drizzle of French’s Yellow Mustard and some chopped onions on top OR on top of a steamed hot dog in a bun with a drizzle of French’s Yellow Mustard and some chopped onions on top …YUM!

Gourmet Sausage Stuffed Mushrooms

Gourmet Sausage Stuffed Mushrooms

These gourmet sausage stuffed mushrooms are literally the easiest appetizer ever. Wipe the mushrooms off with a damp paper towel or mushroom brush, add your favorite sausage and bake for 15-20 minutes! There is no need for chopping or sauteing. You remove the sausage meat out of the casing it comes in, fill the mushroom caps and viola! In this recipe I used two pork sausages Italian garlic herb, and a chorizo sausage made with spices like chili and paprika. I also used two chicken sausages one made with jalapeño, fennel and cilantro and the other with feta and spinach that I bought at Whole Foods Markets.

There are so many specialty sausages to choose from out there that you can’t go wrong stuffing these baby bells! All the work is done for you so take advantage of these gourmet sausage products and stuff these mushrooms for an incredibly scrumptious appetizer that will continue to get raves from your guests.

Mushrooms are probably one of my favorite vegetables to eat. Give me Chanterelle mushrooms in a brandy cream sauce and I am in complete heaven. But here all you need is a simple button shaped mushroom with some room under the cap for filling.You can use a white button mushroom for these gourmet sausage stuffed mushrooms but what I prefer are Baby Bells because they are packed with flavor.

Another great specialty meat product called D’Artagnan offers many different sausages. One in particular is a mix of pork, duck, duck liver and egg white and is out of this world! This type of sausage is called Boudin and is very popular in New Orleans. It has distinct flavors that you might just start to crave after you have tried it. I really like D’Artagnan and I have found that Bishops Orchards Market in Guilford, CT carries a wide variety of their products. This brand offers a lot of duck products which Bishops also carries. Anything with duck or goose whether it be breast or liver is a no brainer in my book…YUM!

You can have these stuffed mushrooms for hors’ d oeurves before serving stuffed roulades of chicken on a garlic-bean puréeAsian shrimp & rice noodle saladturkey stuffed peppers or Chilean sea bass with green goddess sauce II for dinner.

iphone pictures 1418  iphone pictures 940  iphone pictures 941

iphone pictures 1420  iphone pictures 1421  iphone pictures 1422

iphone pictures 1423  iphone pictures 1419  iphone pictures 1424

iphone pictures 1427  iphone pictures 1426  iphone pictures 1425

iphone pictures 1428  iphone pictures 1430  iphone pictures 1441

Ingredients – Makes 20-24 Stuffed Mushrooms:

  • 2 pkgs of baby bella mushrooms (2- 8 oz. pkgs. will get you 20 and 2-10 oz. will get you 24)
  • 1 lb. – a variety of your favorite flavored sausages
  • Sprinkle of salt and pepper- (for after the mushrooms come out of the oven)
  • Fresh shaved Reggiano Parmesano
  • Fresh chopped chives for garnish

Directions:

  1. Pre-heat oven to 400º
  2. Clean your baby Bella mushrooms off with either a damp paper towel or a mushroom brush … you should NEVER wash your mushrooms or submerse them in water because mushrooms are porous.
  3. Pop out the mushroom stems
  4. Drizzle 2-3 Tbsp olive oil across a cookie sheet and rub it with your hands or use a brush to smear all of the olive oil across the baking sheet
  5. Place all of the baby bella mushroom caps on the olive oil and roll them around lightly coating mushrooms then make sure they are all open side up on cookie tray
  6. Slice open the sausage casings to get the sausage meat out and place on a small dish
  7. Begin to gently fill mushroom caps with approximately 1 1/2 Tbsp of sausage per mushroom (some may be smaller and only need 1 Tbsp)
  8. Do not pack in sausage just lightly stuff mushroom caps
  9. Bake for 15-20 minutes til slightly crispy on the edges
  10. DO NOT SALT the mushrooms before you bake them because all the water will release from the mushrooms and they will steam instead of baking
  11. When you take the mushrooms out of the oven THEN you can sprinkle a little salt
  12. The mushrooms will be juicy when you take them out of the oven so before you place them on a serving dish tilt them a little over the cookie tray that way some of the juice can drain out onto the tray and not on the serving platter
  13. Shave a little Parmesan and chives on the mushrooms and serve

Cold Cucumber Soup

Cold Cucumber Soup

This homemade cold cucumber soup is out of this world! It has texture and flavors that won’t stop! Not one of the flavors in this soup over powers another, it’s the perfect balance. You actually find yourself trying to distinguish between them only because you are aware of all the fresh vegetables and herbs that went into this amazing cold soup.

Being a born and raised East Coaster I have to say I have never been a big “cold soup” kind of person. With our unbearably cold winters we have here I really appreciate a very hot bowl of soup to warm the bones. So when ever I’m making this cold cucumber soup I’m slightly biased going in, not willing to give merit where it is due, until I take my first spoonful and it all changes!

My cold cucumber soup completely stands on it’s own and is very satisfying not to mention the medicinal qualities that cucumbers offer. Cucumber’s can reduce puffiness, help to eliminate toxins in your body and we all know that slice’s of cucumber over your eyes can help to reduce dark circles! Some of the vitamin’s cucumber’s offer are A, C and folic acid and minerals of potassium and magnesium.  All and all this homemade cold cucumber soup is a win win situation.

This homemade cold cucumber soup would be great for lunch with a side sandwich or grill up some shrimp like I did in the show. One of my favorite accents to this soup are seared scallops cut in half and placed right in the center on the soup. You can check out in my “Seared Scallop Show” to see exactly how to make the scallops.

King crab meat is also a lovely topping to this cold cucumber soup and was a big hit when I presented this soup this way to the tasting judges at my second MasterChef open casting call in NYC this past March (2016)! All of the MasterChef casting call judges didn’t have any critique for my soup during the tasting phase…they just said “they really, really loved it!” When I made my cucumber soup for the MasterChef casting call I added fresh fennel to the recipe to change it up and give it that je ne sais qua…that extra special something!

This cold cucumber soup is an amazing way to start your dinner party or even have for a luncheon. If you are thinking of other course’s to add to your soup you should check out my stuffed mushrooms, yogurt chicken kabobs, bolognese sauce with homemade pasta and end with my perfect chocolate cake that will rock your world! Enjoy 🙂

mushrooms IMG_1897 025 IMG_4327 IMG_2793

IMG_2859  IMG_2880  blendsoup

pureed  IMG_2902  IMG_7236

IMG_7242 IMG_7223

Ingredients:

  • 2 European cucumbers peeled and cubed – 4 1/2 cups – you do not need to remove seeds with the European cucumbers
  • If you are using regular cucumbers, peel and slice down the middle and remove the seeds scooping them out with a small spoon and cut into chunks
  • 3 ex-lg green onions or 5 small sliced in 1″ pieces from green tips to whitish green stems
  • 1/4 cup of diced cherry tomatoes OR diced heirloom tomatoes
  • ½ an avocado cut in chunks
  • 1 jalapeño chopped (take out seeds)
  • 1 lg garlic clove put through garlic press
  • 1 cup plus 2 tbsp Greek Yogurt – whole milk
  • 1/3 cup fresh dill
  • 1/4 cup fresh mint leaves
  • 1 Tbsp of honey
  • 1/4 cup of seasoned rice vinegar
  • juice from 1 lime
  • 1/4 cup olive oil
  • 1/2 tsp salt – to taste  – (NOTE: I said 1 tsp in the show but I meant to say 1/2 tsp!)
  • 1/4 tsp finely ground pepper

         -FOR COLD CUCUMBER & FENNEL SOUP …ADD:

  • 1 cup cut up fresh FENNEL  …for a change up try this with the FENNEL – YUM!
  • chopped fresh chives for garnish
  • seared scallops , cooked Lobster, Shrimp, or Crab to top the soup in the center

Directions:

  1. Add all the ingredients in the list above to your blender except olive oil
  2. Begin to puree while slowly pouring in olive oil through the opening at the top
  3. Continue to puree for 20-30 seconds
  4. Be patient, all the vegetables in the cucumber soup will begin to slowly puree
  5. Stop and scrape down any herbs or vegetables stuck on the side’s and pulse for 10 more seconds
  6. Chill in the refrigerator for 1 hour
  7. Serve with a sprinkle of dill, finely chopped tomato, cucumber and avocado
  8. Top the center of the soup with seared scallops – room temperature cooked lobster, king crab meat, or shrimp AND then a drizzle of extra virgin olive oil

Salmon B.L.T. Sliders at Marco’s

Salmon B.L.T. Sliders at Marco’s

lathropmanorThese gourmet salmon B.L.T. sliders are like no other you have ever had before. It’s a genius sandwich offering up a sweetness with the tenderly seared Sockeye salmon fillets to the salty in the roasted pancetta and lets not forget the scrumptious homemade aioli with lemon zest and garlic. Then there is the peppery baby arugula and juicy tomato slices all captured on a soft potato bun. WOW! This sandwich slider just melts in your mouth giving you a variety of flavors that compliment each other so well you try to remember each one as it passes over you tongue. Chef Marco, from the charming B & B in Norwich, Connecticut Historic District called Lathrop Manor has these salmon B.L.T. sliders down to perfection so well that it seems everyone in the neighborhood has had one! Make sure to take notice of the homemade lemon aioli recipe which is really lovely and goes with so many foods as shown below on grilled vegetables.

Marco and his wife Sheryl bought this 5500 sq. ft. B & B back in 2005 coming from a 700 sq. ft. apartment in Manhattan. Talk about a culture shock. They then put their heart and soul into the Lathrop Manor making it what it is today and filling the empty building with beautiful period pieces bringing it all together. You couldn’t ask for more gracious hosts then Marco and Sheryl with their warmth and compassion making your visit here a very special place to be.

Lathrop Manor as been written up in Yankee Magazine as well by a Kim Beckius who has written several books about New England B & B’s. You shouldn’t miss the opportunity to stay here and meet Marco and Sheryl, and experience their gourmet fare. Chef Marco can cook up a IMG_2283storm like nobody’s business which is evident their in B & B’s five course breakfast! Hope you enjoy the show and don’t forget to let me know how much you love these gourmet salmon B.L.T. sliders!  You might just get inspired and make Pavlova for dessert!


IMG_2592  IMG_2593  IMG_2587

IMG_2580  IMG_2577  IMG_2655

IMG_2658  IMG_2662  IMG_2617

IMG_2663  Poached

Ingredients for Marco’s Salmon B.L.T. Sliders – makes approx. 20 sliders:

  • 1 1/2 -2 lb. fresh Sockeye Salmon, have fishmonger fillet (remove skin) and de-bone
  • 1/2 lb sliced Pancetta (you’ll need as many slices as sliders that you are making)
  • Arugula
  • olive oil
  • fresh lemons
  • lemon aioli
  • Potato buns
  • Compari tomatoes sliced
  • s & p
  • Marco’s homemade lemon aioli

Directions For Marco’s Salmon B.L.T. Sliders :

  1. Make homemade lemon aioli recipe below
  2. Pre-heat the oven to 400º
  3. Place piece of parchment onto cookie sheet and place pancetta slices onto parchment
  4. Bake pancetta slices for approx. 12 minutes (you can leave slices on the tray when done cooking until you make the sandwich sliders)
  5. Slice salmon fillets in approx. 2 1/2 ” pieces
  6. Season salon with s & p on both sides
  7. Heat lg fry pan on med/high heat
  8. Add 3 tbsp to pan and begin to add salmon squares 4-6 at a time
  9. Sear on first side approx 1 1/2 minutes and flip (it will release when it ready)
  10. Sear 2nd side 30 seconds and remove to platter
  11. Dress arugula with 1 tbsp olive oil and 1 tbsp lemon juice and a sprinkle of s & p and toss (light dressing)
  12. On a large platter line up top and bottoms of potato rolls
  13. Smear a tsp of aioli on each side of the bun halves
  14. Begin to build gourmet salmon B.L.T. sliders
  15. Layer potato bun, aioli, pancetta, salmon, tomato slice, small mound of arugula and top with bun that has a smear of aioli
  16. Buon Appetito!

Ingredients for Marco’s Homemade Lemon Aioli:

  • 1 egg yolk
  • 1 tbsp fresh lemon Juice
  • Zest from 1 lemon
  • 1 heaping tbsp finely chopped shallots
  • 1 tsp fresh garlic finely chopped or through garlic press
  • 1/4 tsp salt
  • sprinkle fresh pepper
  • 1 heaping tbsp Dijon mustard
  • 1/3 cup olive oil
  • 2-3 tbsp grape seed oil (or Olive oil)

Directions for Homemade Lemon Aioli:

  1. Add egg yolk to large glass bowl
  2. Add in Dijon, lemon zest, lemon juice, shallots, garlic
    • Whisk to mix
    • Begin to drizzle in olive oil, then switch to grape seed oil all awhile whisking constantly to emulsify ingredients into thick texture
  3. Add s & p to taste and set aside

Zucchini Spaghetti at Jaynee’s

Zucchini Spaghetti at Jaynee’s

Wow! Zucchini spaghetti…who would have ever thought? A gluten free dish full of nutrients that taste’s amazing and looks as gorgeous as does is the perfect path to healthy eating! Bringing you this zucchini spaghetti simmering with tomato, basil and red wine at Jaynee’s has inspired me to put together future recipes and shows like this one.

Jaynee and I cook the zucchini spaghetti in this recipe so that it’s al dente. For those of you who might not know what Al dente means it’s an Italian term meaning to have some tooth or bite to it where the texture isn’t too soft. This is kind of ironic because that’s exactly how I like to cook my wheat pasta. I can’t think of anything worse than pasta that is fully cooked to a soft texture.

It is really exciting all the different things you can do with these creative veggie noodles! From Thai themes where raw zucchini noodles are dressed with a citrus dressing made from puréed mangoes, cilantro, fresh lime juice, and avocado’s to tahini sauce puréed with green onions, coconut meat, ginger and fresh lemons. Not only are these dressings packed with anti-oxidants and exotic flavors but the citrus partially cooks the zucchini getting results similar to ceviche. The citrus actually softens the texture of the vegetable giving you a softer mouth feel crunch rather than a harsh raw bite.

It couldn’t get any easier to make these spiral veggie noodles with the new-fangled devices available out there. I purchased my Spiralizer at William Sonoma Outlet in Westbrook on a 30% off sale with an additional 20% off if I gave them my email. Can’t go wrong there. Here is the Spiralizer Amazon link offering a great deal too! Can’t wait for you to venture off into veggie noodle land. You will be amazed how fun and delicious it is to make this recipe. Hope you enjoy the show and keep a look out for future veggie noodle recipes 🙂

IMG_2403  intro  IMG_2416

IMG_2418  IMG_2422  IMG_2430

zucspaghetti  IMG_2442  IMG_2446

Ingredients: Need “Spiralizer” or similar to make zucchini spaghetti

  • 4 med/lg zucchini
  • 1 small vadalia (sweet) onion chopped
  • OPTIONAL: 2 finely chopped garlic cloves – If you love garlic as I do
  • 1 14 oz. can of diced tomatoes flavored with onion, garlic, celery and or green peppers OR your favorite can of peeled tomatoes in your cabinet (just need to add in 1/4 cup chopped peppers in addition to the onion/garlic above – chop up the whole peeled tomatoes as well to add in after you sauté veggies)
  • NOTE: If you use “whole peeled” tomatoes DO NOT use the juice too, tomatoes only, because the zucchini renders out a lot of water all on its own.
  • 1/4 cup red wine
  • 3 tbsn olive oil
  • 1 bunch fresh basil
  • 1/2 tsp salt
  • S & P to taste
  • OPTIONAL: 1 small container of fresh ricotta to garnish at the end with the Parmesan

Directions:

  1. Spiralize all 4 zucchini and place in a lg bowl
  2. Add chopped onion to 3 tbsp olive oil in a large fry pan on medium heat
  3. Sauté for 5 minutes til soft
  4. Add in Spiralized zucchini with 1/2 tsp salt and sauté 5 minutes on med/high heat- Make sure to stir a couple of times to help it from not sticking.  Sautéing on med/high will help to evaporate some of that liquid rendering out of the zucchini while sautéing– (If you saute on low it will just simmer in all the water, you will then have to drain a little of the water out of the pan)
  5. Add in tomatoes, red wine, s & p to taste and simmer 5 more minutes
  6. Plate up and top with your favorite grated Parmesan cheese
  7. OPTIONAL: Top with dollops of fresh ricotta and grated Parmesan

Homemade Salmon Gravlax

Homemade Salmon Gravlax

What a treat it is to have homemade salmon gravlax. It’s an even bigger delight to be able to make it yourself at home and have left overs the next day that are just as incredible as the first day they finished curing. Not to mention the money you will save from the astronomical price tag usually attached to those salmon gravlax or Nova lox if you were to buy them at a specialty shop!

You won’t believe how easy it is until you make these gourmet salmon gravlax for yourself. It is very important that when you do decide to make my homemade salmon gravlax to buy wild salmon and NOT farm raised. The wild salmon is definitely going to be pricier then the farm raised but you will still be saving a ton from having a specialty shop cure and sell them to you.

Now there is a little difference between salmon gravlax and Nova lox. Nova lox come from Nova Scotia and are cold smoked after the curing or brining process using some kind of brandy, gin or lemon vodka. Gravlax is the Scandinavian preparation of lox with just the curing or brining using dill and other spices like juniper berries, pepper corns as well as a liquid like an aquavit or vodka. Gravlax actually originated a lot like how sushi evolved in Asia where they buried the fish in rice to preserve and ferment.  Gravlax was made by fishmen who salted and fermented it by burying it in the sand …hence the Scandinavian word “grava” meaning to dig.

This homemade salmon gravlax recipe of mine came from a good friend, Jim, who is a saucier himself and always has an endless assortment of great recipes up his sleeve. His wife Jen and him are also big foodies and a lot of fun has been had with them in our own “kitchen cook-offs”! Needless to say I have been making these homemade salmon gravlax for over fifteen years and the results are always amazing. They are for sure “easy gourmet”.

With all the graduations and summer parties around the corner I think you better get busy and invest in some Coho wild salmon or do a little fishing yourself. I actually bought my Coho wild salmon that’s in the cooking show at Whole Foods Market. Their Coho wild caught salmon is packaged and flash frozen by the fisherman to a certain degree required by FDA law to kill any parasites and is ready for distribution. You may never buy store bought salmon gravlax or Nova lox at specialty shops again after eating this incredible delicacy! I hope you Enjoy the “Homemade Salmon Gravlax” show!

IMG_0872  IMG_0876  IMG_0947

IMG_0949  IMG_0966  IMG_0964

INGREDIENTS for Salmon GRAVLAX:

  • 1 1/2 -2 lbs. fresh Wild Coho Salmon (flash frozen or right out of the ocean!)
  • 3-4 tbsp sea salt ( USE 2 tbsp PER POUND of salmon)
  • 3-4 tbsp sugar (USE 2 tbsp PER POUND of salmon)
  • 2 tbsp vodka or aquavit
  • 1 lg bunch of fresh dill
  • 2 tbsp pepper corns -OPTIONAL -for a little spice (Use pepper corns not ground pepper)

DIRECTIONS for Salmon GRAVLAX:

  1. Cut 2 lb salmon filet in 1/2 so we can sandwich the halves together with salmon flesh facing the inside
  2. Whisk dry ingredients together salt, sugar and peppercorns
  3. Sprinkle about 1 tsp of vodka on the flesh sides of each of the salmon halves
  4. Rub all of the dry mixture onto the flesh sides and skin sides of the salmon halves…most of the rub should be on the flesh side though
  5. Lay fresh dill bunch onto one the the salmon fillets, on the flesh side
  6. Sandwich the other salmon fillet on top so that the flesh sides are facing each other
  7. Place into a Ziploc baggie and place in a glass baking dish
  8. Top the salmon fillets with cast iron pans and large cans – YOU NEED TO WEIGHT THE SALMON DOWN (tomato or vegetable cans work great)
  9. Place into the frig and cure for 3 days (2-3 days preferably 3)
  10. Flip the curing salmon every 24 hours making sure to out the weights back on
  11. On day 3 remove the salmon from the baggie and pick off all of the toppings (dill, pepper corns) and give a QUICK rinse or rub off toppings with a damp paper towel (you don’t want to run water over your cured salmon … it’s a QIUCK rinse)
  12. Pat completely dry and sliced salmon on a bias as shown in the show
  13. Serve with mustard sauce or cream cheese-caper mixture and bagels or rye bread rounds and a sprig of fresh dill on top
  14. Mangia mangia

INGREDIENTS for CREAM CHEESE SPREAD:

  • 6 oz. Philadelphia cream cheese
  • 2 tbsp finely chopped red onion
  • 2 tbsp small capers
  • 1/2 fresh squeezed lemon
  • 2 tbsp chopped fresh dil

Bring cream cheese to room temperature, add remaining ingredients and mix to combine

INGREDIENTS for MUSTARD SAUCE:

  • 2 tbsp Dijon
  • 1 tbsp sugar
  • 1 tbsp finely chopped red onion
  • 2 tbsp finely chopped dill
  • 3 tbsp “seasoned” rice wine vinegar
  • 3 tbsp good olive oil

Put first 4 ingredients in a medium size bowl, add in vinegar and begin to whisk in olive oil


Homemade Pasta Fagioli

Homemade Pasta Fagioli

This homemade pasta fagioli dish is a traditional Italian soup where the recipe differs from family to family and region to region. Every single version is different which makes it nice because it’s very personal that way. It’s what ever you were used to having in your own home or at your relatives growing up. Originally, pasta fagioli was made without meat, then there were versions that started the dish off by sauteing pancetta and now there are so many different recipes floating around. It’s what ever floats your boat really! It’s supposed to be easy gourmet…what ever you have in the pantry and refrigerator will work.

Pasta fagioli is a savory comfort food that I just love. It consist of several universal ingredients like ditalini pasta,  cannellini beans, some kind of tomato base and a liquid of either chicken, or vegetable and I have even seen water used. It’s been considered a soup which is perfect for dunking that crusty bread but there are versions that make it more like a thick saucy “pasta” dish. The liquids do evaporate quickly after the pasta is added to the pot and cooked through so you have to be careful at this point to keep an eye on that if you want it to have a looser soup-like consistency.

The pronunciation of the word has evolved to “pasta fazool”. Then again, there are many variations of that as well 🙂 So enjoy this Italian soup…I know you will love it. If you need an appetizer to go with this gourmet homemade pasta fagioli you may want to check out my sea scallops wrapped in bacon, scallop cerviche, or even a refreshing fennel and citrus salad with tangerine dressingAnd how about some Pavlova with fresh pineapple and berries for dessert!

iphone pictures 2152iphone pictures 1830iphone pictures 1790

des


INGREDIENTS For Pasta Fagioli (makes enough for many…10-15 side dishes):

  • 2 cans cannellini beans
  • 1/2 -3/4 cup ditalini pasta ( 1/2 if you want it looser soup-like consistencey …remember it just keeps getting thicker even after you take it off the stove as the liquid evaporates)
  • 1 qt. (4 cups) chicken stock
  • 1 cup white wine-pinot grigio or what ever you are drinking -(1/2 to deglaze pancetta and veggies and 1/2 when you add stock
  • 1/3 cup each diced carrots, celery and onion
  • 3 tbsp finely chopped garlic
  • 2 cups whole peeled tomatoes with some juice, broken up with your hands – NOTE: USE 3 cups if you are not using a cup of “leftover pork & sauce”
  • 1 cup pork in tomato sauce OR 1 lb. sausage taken out of the casing ready to sauté OR omit all together
  • 2 1/4″ sliced of pancetta diced up or bacon
  • 2 sprigs of fresh rosemary and 2 of fresh thyme tied in up with string
  • Fresh basil -julienne to add at the end
  • grated Reggiano Parmigiano and some to shave for decoration
  • good olive oil to drizzle at the end
  • 1/2 tsp salt -add 1/4 tsp at the addition of sauteing veggies and 1/4 tsp when you add beans and broth
  • 1/4 tsp pepper
  • 1/4 tsp crushed red pepper flakes if you like a pinch of HEAT

DIRECTIONS:

  1. Add diced pancetta to a large pan and begin to sauté for 8 minutes on med heat
  2. Add in broken up sausage to brown with the pancetta If you do not have “pork in sauce”
  3. On med/low heat add diced carrots, onion, celery and garlic with 1/4 tsp salt (along with 1/4 tsp crushed red pepper flakes if you want a little heat) to the same pot with 1 tbsp olive oil extra – sauté til veggies are tender 10 minutes
  4. De-glaze with 1/2 cup white wine and simmer 5 minutes
  5. Add in beans, pork-sauce, whole peeled tomatoes, herb bouquet, chicken stock, 1/4 salt, 1/4 pepper and simmer for 30 minutes
  6. Remove herb bouquet from soup
  7. Take 4-5 ladles of beans out of the soup to puree for a little creamier then adding back in
  8. Simmer 5 minutes and add in 1/2 cup ditalini pasta
  9. Cook til pasta is cooked – approx 7 minutes
  10. Plate up and drizzle olive oil, sprinkle parmigiano cheese and fresh basil and mangia mangia!


Maurice’s Piggy Park BBQ

Maurice’s Piggy Park BBQ

Maurice’s Piggy Park BBQ is real fine homemade gourmet BBQ with a mustard base sauce that makes you pucker, all awhile biting into a succulent piece of pork rib that just melts in your mouth. The savory hickory smoked flavor of their ribs is something you will definitely be back for with out a whole lot of time lapsing in between visits. The mustard-vinegar based sauce just grows on you and you can’t really put your finger on it so you just keep dipping into this sauce for another lick. I recently had the opportunity to eat here when my son Reilly and I met up with his tennis team in South Carolina for his National Team competition.

Well, I tell you, when I travel I want to visit places to eat where their heart and soul is served up to you on a plate.  To taste different foods from other regions is one of the most wonderful opportunities we get when we travel. If you are not into this kind of thing you ought to open your self up and try to appreciate new tastes and ways to prepare foods that have become traditions for people in that region. That’s what makes the world such a diverse place with so many different flavors to soak up.

I decided that during our stay in South Carolina I wanted to accomplish a few of things before heading back. First off, was having Southern BBQ, of course! The second was to get my son, Reilly, to Carowinds Amusement Park in North Carolina which would be an easy task since we were flying in and out of Charlotte and the third was to get in a couple rounds of golf! My friend Luanne, one of the other tennis mom’s, had the same point of view as me on the whole Southern BBQ thing and tasting new foods from where ever you happen to be traveling especially if you are miles away from where you live. On one of the afternoons at tennis practice much of our group was ready to hit up Chic-fil-A AGAIN! I am happy to say that didn’t even enter my mind nor did I go there during our stay in South Carolina. I looked at my friend Luanne , we began to laugh and said lets go, lets do REAL BBQ. She had already looked it up on her phone and it wasn’t far from The Cayce Tennis Facility so off we went in my rental car.

It was the tastiest meal I had on this trip to South Carolina and it totally lived up to my BBQ standards. I ordered the pork ribs, collard greens, and coleslaw and needless to say I wore much of it that mustard based BBQ sauce all over the front of my white with navy blue pinstripe cotton dress I had on. Too funny but it was definitely worth it…should have gotten a picture of that 🙂 The ribs  were moist and falling of the bone tender slathered in their mustard-vinegar sauce and I can’t help but love that hickory smoked flavor. The collard greens were delicious, earthy but not too bitter and the chopped style coleslaw was a refreshing balance with the mustard sauce from the ribs. Each item complemented one another very well! I did buy a bottle of Maurice’s Piggy Park BBQ sauce to take home with me. They have quite the assortment of sauces to choose from (shown below) but I bought the one I had that day. To my surprise I was able to get the yellow mustard stain completely out of my dress before it dried.

On the last day Reilly and I headed to Carowinds Amusement Park and he had the time of his life bravely riding on several loop coasters over and over again! We actually found another gourmet BBQ eatery in downtown Charlotte which was a bonus. I was also able to get in two rounds of golf during our stay so it was a wonderful trip all around. Don’t you forget to treat yourself to Maurice’s Piggy Park BBQ when you are in Cayce, South Carolina …you won’t regret it!

piggieparkdoor Display sauce  wingssign

mauricepiggy frontmauricepiggy reillyAlex

reillyandfriend roller yellow coaster