Korean Beef Bulgogi on CT Style with Teresa Dufour!
This week I was excited to show you how to make an easy and delicious dish on CT Style for the new year! The marinade for this Korean Beef Bulgogi recipe is so versatile you’ll find yourself going back to it over and over for these luscious flavors.
Cooking with Teresa Dufour on CT Style couldn’t be more fun! She is such a professional in her field, all awhile being her natural down to earth self! When we are going live for the camera’s it feels as though we are just hanging out in one anothers kitchen, laughing and cooking it up.
The marinade for this Beef Bulgogi is delicious on any meat, scrumptious chicken and pork. Really easy to bring these wonderful flavors of the soy, toasted sesame oil, garlic and green onion to whole pieces of chicken breasts and thighs, beef london broil and ribeye, and pork tenderloin with out all the prep of slicing.
Let’s not forget the sugar in this marinade, a key player working hard as a natural tenderizer! In Korean cooking, sometime’s you’ll find grated asian pear in the ingredient list. An enzyeme in the asian pear called calpain naturally tenderizes the meat while giving it a hint of sweetness.
This marinade alone will make a great addition to your cooking repertoire! Below are a few of my high viewing recipe shows on my YouTube channel that you should check out. Some are even into the 100,000’s viewing range. Remember to SUBSCRIBE to my YouTube Channel too. Enjoy and lets make this 2020 the best year ever!
Mini Beef Wellington’s for the Oscars on CT Style!
Making Mini Beef Wellington’s for the Oscar’s on CT Style yesterday was a blast! What’s more fun then cooking in the kitchen with friends and family? Well, that’s how it is with Ryan Kristafer and Teresa Dufour! I feel like I’m with my siblings, me being the elder of the trio, as we joke and banter back and forth. I can’t describe to good feeling I get when I leave the WTNH studio at Channel 8. Every single one of them are such great people.
This Mini Beef Wellington recipe is very easy to make and tastes like a bite of heaven! A piece of filet mignon topped with a mushroom reduction, called Duxelles, Truffle Mousse Paté, pastry dough, brushed with egg yolk and baked until golden…mmm! I make Beef Wellington, a bit more work, but the mini’s are like taking a short-cut to the same perfection! I have had these mini’s served at gala events years ago in San Francisco and forgot how amazing they are until my friend Chef Marco made them for New Years Eve. When he and his wife, Sheryl, served these Mini Beef Wellington’s at their New Years Eve party I new right away that I needed to show everyone how to make them on CT Style!
Heat large sauté pan on med/high and season filet with s&p
Add olive oil to the pan and sear whole filet pieces on all sides for 1 minute total
Remove and set aside to completely cool, then cut into 1” approx. cubes
To make Duxelles add mushrooms and shallots to food processor, pulse until very fine mash
Add butter, mushroom mixture, thyme & sherry to the same lg. sauté pan & sauté for 50-60 minutes on med/low to remove moisture until you get more of a crumbly texture
Set aside mushroom mixture to cool completely (you can do this the day before)
Simmer ¼ cup Italian Blue Cheese with 2/3 cup heavy cream in a small sauce pan
Whisk to get to a smooth consistency as the cheese melt then keep on a low simmer to thicken slightly
When duxelles is cooled, add ½ at a time to a small bowl, then mix in 2 tbsp. pate
NOTE: you can freeze this wonderful Mushroom Duxelles mixture without the paté for future use so only mix ½ at a time
Put 1 tbsp. flour down and roll out to thin pastry dough a little, then cut 2 1/2 “ squares with a knife
Put 1 tsp. Duxelle/pate mixture in the middle of each square, then place a cube of filet on top
Begin to pull up the sides wrapping the filet cube like a present
Put seem side down on cookie tray and brush the tops with egg yolk mixture
Then bake on Convection 425˚ for 10 minutes until golden
Pour the warmed blue cheese sauce onto a platter and then place golden Mini Beef Wellington nuggets on top and serve…yummmm!
CT Style in The Bender Kitchen with Summertime Recipes!
Back on CT Style in The Bender Kitchen with Ryan Kristafer and Teresa Dufour this past Thursday morning! I feel so fortunate to be working with such a wonderful group of people at WTNH Channel 8 who make it so fun to share The Traveling Epicurean recipes with all of you.
My goal for this segment was to show you a couple of creative and really delicious ideas for all your summertime produce. Panzanella and Berries in Dreamy Cream came to mind.
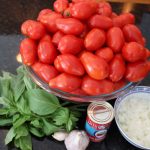
One of the wonderful things about making these dishes is the abundance and variety you have to choose from at the farmers markets in the summer. The incredible flavors in this Panzanella recipe go without saying. All the aroma’s from the fresh herbs, basil, parsley, thyme & oregano to the fresh vegetables like the heirloom tomatoes, garlic, cucumbers, red onions really get you salavating. The creaminess from the fresh mozzarella and the crunchy from the homemade croutons balance it all out.
As for the Berries in Dreamy Cream, you can whip this one up in a matter of minutes as well. I’ve been making this sauce for over 20 years and always get the same delightful response from guests after their first bite. You would never think that melting Fluff and cream cheese together could make such a delectable sauce on fresh berries. It’s a sensation you have to treat your self to and then you’ll know what I’m talking about.
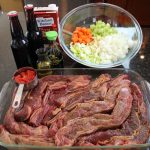
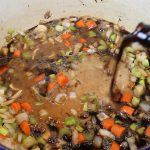
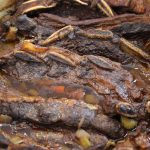
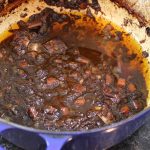
The magic of braising, turning a tough cut of meat into fork tender, is a no brainer for me. Braising these beef short ribs in a combination of stout beer, red wine, beef stock, soy sauce, whole peeled tomatoes, a mirepoix, and creative assortment of spices make for a luscious dish. Then piling the stout braised beef short ribs on top of yukon mashes potatoes made with half & half, heavy cream, butter, paper thin red onions and a healthy drizzle of truffle oil puts it right over the top!
These stout braised beef short ribs came from Firefly Farms in North Stonington, CT. Firefly is one of two farm’s in Connecticut Certified Humane! When you are buying from a farm like Firefly, who’s practices are above and beyond, you know you are getting a product of a different caliber. The beef I used in this stout braised short ribs recipe was moist, tender, and packed full of flavorful.
We all have some idea of the instense amount of work that goes into farming but their practices at Firefly Farm take it way beyond that. Analyzing agricultural charts dating back to World War II to understand and perfect feeds for each of their endandered breeds they raise on their farm is a grand example of that. Getting the animals diets just right to yeild a most natural and high quality product.
The lard that Firefly offers makes the perfect pie crust, as shown in “Death by Chocolate Meringue Pie”. It is unsaturated because of the attention to detail of the mulefoot hogs diet, one without corn or soy. And oh boy, you should try their bacon!
The special stout I got to braise the beef short ribs was creamy and smooth bringing deep luscious flavors to the dish. The stout came from some friends who have made home craft brewing a hobby, and they call themselves The Bilco Boys Brewery. It’s like night and day to taste a fresh homemade-crafted brew. I find the beer much smoother and the flavors really fresh from citrus to notes of chocolate with a creamy mouth finish. Make sure to keep an eye out for another up and coming craft brewing show next week with The Bilco Boys!
I know you will enjoy the ease of these stout braised beef short ribs whether Flanken or English cut. The end product is the easy sell here. You should try my Homemade Caesar Salad to go along with the ribs, or how about Spanakopitafor an appetizer. If you have a little time on your hands one weekend definitely try this amazingPickled Eggplant recipe, perfect for holiday gifts! You will need dessert too so be sure to take a look at the beautiful and delicious Pavlovaor my special Homemade Chocolate Chip Cookies!
Ingredients for Beef Short Ribs:
5-6 lbs Beef short ribs (Firefly Farms if possible) Flanken Cut if you want to remove the meat as I did in show OR English Cut – 1″ X 3″ pieces
OPTIONAL: Truffle oil – finishing oil to drizzle over stout braised short ribs, yukon mashed potatoes and gravy
Directions for Beef Short Ribs:
Pre-heat oven to 350º
Rub spice mixture all over ribs anf marinate for 4-12 hours or over night
Pat dry ribs without removing all the spices
Heat 2 tbsp olive oil in a large dutch oven or pan
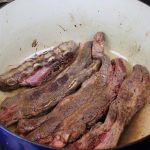
Begin to sear beef short ribs in pan with olive oil, you will have to probably do this in two batches so you don’t crowd the pan
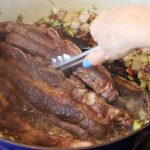
Sear the ribs 3-4 minutes on each side until browned
Remove 1st batch of ribs, set aside in a lg bowl and brown 2nd batch of beef short ribs
Remove 2nd batch of ribs to bowl
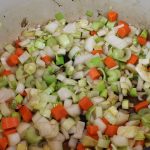
Then add in mirepoix with 1/2 tsp salt and 1/4 tsp pepper to dutch oven
Sauté for 5-8 minutes until softened
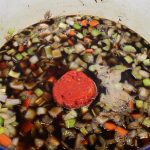
Add in 2 bottles stout, 1 cup cabernet, 2 cups beef stock, 2 tbsp soy sauce, 1/2 cup whole peeled tomatoes and 1 bay leaf to dutch oven
Add all of the beef short ribs back into the dutch oven making sure the liquid is 3/4 up the side of the meat
Bring to a simmer on the stove for 15 minutes
Cover Dutch oven and place into a pre-heated 350º oven for 3 hours
Every 50-60 minutes check on the ribs to fiip over and make sure you don’t need to add more liquid – it shouldn’t be dry (if it is you can add a splash of water, red wine, or more beef broth…all will work great)
While the beef short ribs are braising in the oven whisk together the glaze
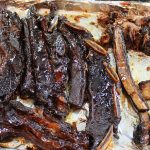
At the 3 hour mark remove beef and place the ribs onto a cookie tray
Put the oven on Broil
Brush a coat of glaze on one side of the ribs and place under the broiler of 2 minutes (only 1 side)
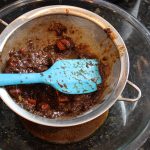
Tilt Dutch oven pan to the side to skim oil off the top of braised veggies
Push all the braised veggies thru a strainer set over a bowl to catch all the juices
Make sure to scrape juices on bottom of the strainer into the bowl too
Add the strained gravy juices to a sauce pan and bring to a simmer on low
Whisk in 1 tsp of Wondra flour into the gravy and simmer for 15 minutes to thicken slightly (if it gets too thick you can add in a splash of red wine or beef broth)
If you have Flanken Cut Short ribs remove meat for bones and place in heat proof pan until you are ready to place on top of pile of mashed potatoes with a drizzle of gravy and truffle oil, and a sprinkle of chives
If you have English Cut short ribs place 2 ribs per person onto a pile of Yukon Mashed Potatoes with a drizzle of thickened gravy, truffle oil and a sprinkle of chopped chives, then serve… mangia, mangia!
NOTE: For a finishing oil drizzle Truffle oil all over dish for an extra wow!
NOTE: If you are not eating ribs right away, and want to re-heat add to a heat proof dish, add 1/4-1/2 cup of red wine and beef stock and re-heat on a 350º oven for 30-40 minutes
Spice Rub Ingredients:
2 tbsp light brown sugar
1 tsp garlic granuales
1 tsp onion granuales
1/2 tsp cumin
1/4 tsp five spice
2 tsp sea salt
1/2 tsp blk pepper
Glaze:
1/4 cup honey
2 tbsp kethcup
1 tbsp soy
1 tsp “seasoned” rice wine vinegar
a few dashes of favorite hot sauce (Siracha)
Whisk in a medium bowl until combined and brush on ribs
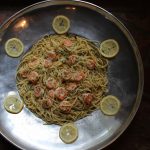
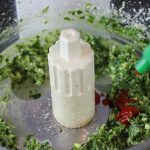
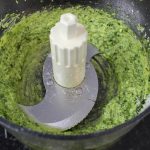
No doubt about it once you try this feta-basil pesto you will be hook! The creamy, French sheep’s milk feta pushes this pesto into a whole new arena! Combined with the fresh, floral basil leaves, Italian Reggiano Parmeggiano, extra-virgin olive oil and garlic are a creation that’s just born to go together! Done in mere minutes in a food processor there’s no excuse not to make this delectable sauce bursting with flavor every chance you get!
Making fresh feta-basil pesto can’t be any easier then the convenience of your food processor! There’s no need whatsoever lugging out the ole mortar and pestle making a huge project out of something that literally take’s 2 minutes to make. No cooking, no baking, no washing, NO FUSS, just load up the food processor and pulse. Voilà, you have a gourmet sauce that turns around any dish you add it to into gourmet.
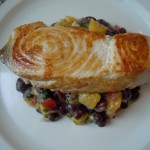
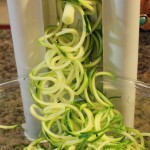
One of the appetizer’s I like to make with feta-basil pesto are Crostini with Fresh Mozzarella and Roasted tomatoes. Let’s not forget to try the feta-basil pesto on seared Scallops, Swordfishor even Sweet Potato Fries! And then there’s the obvious, top EASY PEASY pasta or Zucchini spaghettiwith the feta-basil pesto and you feel like a king. Any way you look at it this feta-basil pesto is a no brainer, a win-win situation! So get on it! lol … xoxo
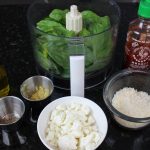
Ingredients:
1/2 sheep’s milk feta cheese – from local cheese shop if you can! It’s the star of the show!
2 packed cups – fresh basil leaves
1/4 packed Reggiano Parmasan – freshly grated if you can
1 extra lg OR 2 medium garlic cloves put thru garlic press
1/4 cup PLUS 1 tbsp extra-virgin olive oil
salt and pepper to taste
a few dashes of your fav hot sauce
Directions:
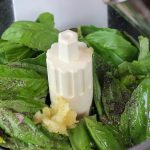
Place 2 packed cups of basil, 2 tbsp of olive oil, garlic thru garlic press, a sprinkle of s & p in food processor and pulse 6x
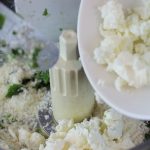
Scrape down sides and add in Reggiano Parmesan and sheep’s milk feta and pulse 4x more
Scrape down sides and add in a few dashes of hot sauce
Drizzle in thru top opening of food processor 3 more tbsp of extra-virgin olive oil and pulse 3x more …voila you have feta-basil pesto! It’s as easy as that! 🙂
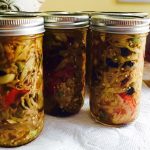
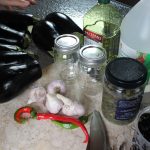
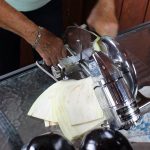
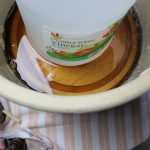
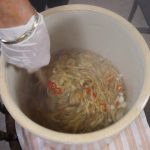
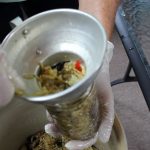
There’s nothing like homemade Pickled Eggplant with thinly sliced strands of eggplant delicately flavored by vinegar, garlic, red hot chili pepper’s, oil-cured black olives and capers all nestled in an olive oil bath. The oil-cured, black olives, add a burst of rich, meaty, sweetness and then there’s a little pucker from the capers. Similar to the oil-cured olives, the eggplant become’s sweet in the beginning of the pickling process when the salt pulls out all the moisture and bitterness.
When Nancy first gave me a jar of her delectable pickled eggplant I knew I would have to get the recipe. Not only is her pickled eggplant to die for but everything she cooks is of the same standard, absolutely delicious! Along with inspiring me in the kitchen, Nancy had the same effect on me on the golf course when I first started playing 8 years ago. She has such tenacity and determination when playing I call her the fiesty golfer! Considering how difficult the game of golf can be, she’s the perfect person to learn the game with.
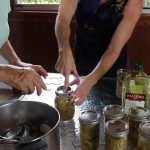
I had so much fun at Nancy’s house last week making her pickled eggplant. It’s so worth the effort you put into making your own, a most rewarding process when you taste the final product. All of these incredible flavors come together to make an amazing eggplant appetizer like you’ve never had before! You just can’t buy this in the stores!
10 cups distilled white vinegar – 3/4 of gallon jug
10 cups water
4 cups olive oil
approx 1/2 container of Mortons salt… use 1/3 cup per eggplant
2 cups Italian black oil cured olives – seedless
1 long hot red pepper
2 tbsp capers
8 lg garlic cloves coarsely chopped
1 tbsp dried oregano OR 2 tbsp fresh oregano dried in the microwave
1 large pickling crock
2 clean white cotton pillow cases
1 extra large bowl to tranfer wet eggplant in pillow cases back and forth from washing machine
a case of canning jars
Directions:
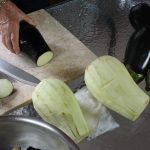
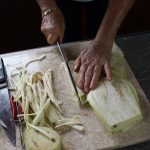
Peel and slice all 9 eggplants into 1/8″ thick pieces
Stack slices and cut into 1/8″ strips
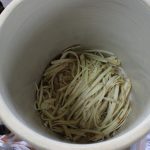
Place cut up strips into large pickling crock
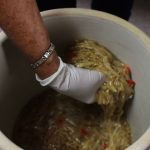
After the addition of each cut up eggpant sprinkle in about 1/3 cup salt and mix strips around with salt by hand
Go thru all 9 eggplant making sure to spinkle 1/3 cup salt after addition
Place a small dish on top of all the sliced eggplant so that the dish fits into the crock
Place the gallon jug of vinegar onto dish and let sit 2-3 hours
Remove vinegar bottle weight and plate from crock – at this point there will be a lot of dark brown juice extracted from the eggplant
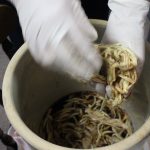
Transfer eggplant to a clean pillow case a handful at a time leaving behind the brown juice
Divide all the eggplant into 2 pillow cases and tie off the ends into knots so as the eggplant doesn’t come out when you “spin” it in the washer
Rinse out the pickling crock
Take the two pillow cases full of eggplant to the washer and put on “spin” cycle only – NO WATER
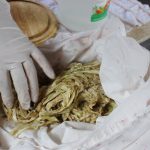
After spin stops, remove eggplant from pillow cases & place back into crock (save pillow cases in a large bowl ready to use one more time before cleaning)
Add in chopped garlic cloves and sliced hot pepper
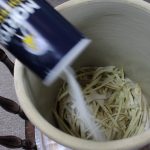
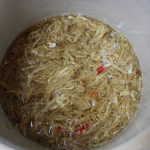
Bring 10 cups vinegar/10 cups water to a rapid boil
Pour vinegar/water mix over eggplant strands in crock
Stir breifly to mix and cover
Let ferment until cooled approx. for 3 hours giving the eggplant a stir at 1 1/2 hour mark
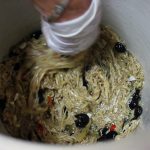
When the eggplant is cooled remove from crock back into pillow caeses
Divide up the eggplant and place back into the same two pillow cases you used on first spin
At this point run all the jars thru dishwasher – time it so they are hot ready to jar the pickled eggplant after 2nd spin (give it about 1/2 hour-depending on timing of your own dishwasher)
Put all the tops to the canning jars in a pan of water, bring to a boil to sterilze as well
Place the eggplant strands back in the washer on “spin” cylce only again – NO WATER
Rinse crock
Microwave fresh oregano in a microwave for 1 minute, crumble the oregano leaves off the stem and set aside
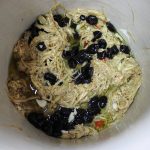
Add spun pickled eggplant back into the clean crock, add in 4 cups olive oil, 2 cups oil-cured black olives, 2 tbsps of caper and 2 tbsp of fresh microwaved oregano
Take hot jars out of the dishwasher and begin to fill with eggplant
Top off the pickled eggplant in the jars with a drizzle of olive oil keeping 1/2″ from the top
Wipe the top of the jars clean with a clean paper towel and seal with the hot tops you boiled on the stove – Be Careful Not To Burn yourself here
Approx 5 hours after putting the tops on the jars, gently push down on the middle circle to hear a small pop and complete the “seal” – NOTE: they may pop down completing that last seal all on their own
The pickled eggplant is done and will keep for months at room temp
I keep an opened jar in the fridge and bring to room temperature when ever I serve it…YUM!
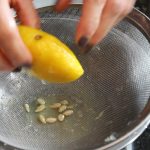
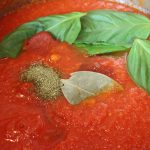
When the aroma from your fresh garden tomato sauce smells exactly like a tomato plucked right out of your garden on a sultry summer day you know you have the right recipe! With all the beautiful weather we have had this summer everyone has an abundance of produce coming out of their garden’s. What a better way to dive right in and try your hand at making your very own tomato sauce. And when you taste how delicious the puréed tomatoes are as a raw sauce you may just stop right there. After that first taste of the raw tomato sauce there might not be any left over to go to the next simmering step!
I was very excited when some friend’s of mine, Becky and Mike, offered up a large bag of their fresh garden plum tomatoes. I knew I wanted to make fresh garden tomato sauce with them right off the bat. This is a bit nastalgic for me because it reminds me of when my mother used to make fresh garden tomato sauce for us when I was young.
It’s really an easy process of peeling, seeding and then puréeing the tomatoes with some sautéed onions and garlic. The more tomatoes you have the longer it well take but it’s so worth it. The fact that you can freeze the sauce for a later date makes it all worth while! What I love about making this fresh garden tomato sauce, other then the fact that it smells utterly amazing, is it’s just as delicious eating it raw as cooked. In fact, when I make this I can’t decide which I like better so I continue on to make both cause it’s so darn simple to do that once you are in the process.
1 tbsp sea salt, LESS if you have a smaller amount of plum tomatoes
1/4 tsp finely ground pepper
5 lg fresh basil leaves
1 lg dried bay leaf
1 tbsp sugar
1/3 cup red wine – for the simmered sauce
1 tsp finely ground Italian seasoning
1 small Vadalia onion finely chopped
4 extra lg OR 6 medium size garlic cloves
1 tbsp tomato paste
1/4 cup white wine to de-glaze the sautéed onions and garlic
Directions:
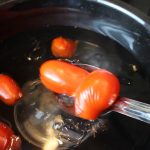
Bring a large pot of water to a boil adding in 1 tbsp of salt
Core the stem side of all your tomatoes
Get a large bowl of ice water ready to put the tomatoes in after you blanch them
Add plum tomatoes to boiling water, 25-30 at a time and blanch for 30-45 seconds, it’s totally fine if it goes past 45 seconds cause it’s going to take you a minute or two to scoop the tomatoes out
Remove the tomatoes from the boiling water and submerse into the ice water
Repeat until you have gone thru all your tomatoes
Begin to remove the loosened skins from the tomatoes then placing into another bowl as you go
Cut or tear tomatoes in half with your hands and remove most of the seeds putting pulp in one bowl and tomato flesh in another
Spoon off any excess water that rises to the top of the bowl with all the tomato flesh
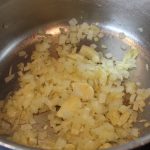
Sauté chopped onion and garlic cloves til tranlucent
De-glaze onions and garlic with 1/4 cup white wine
Let the alcohol burn off and reduce slightly
Begin to purée tomatoes and sauteed onions in the food processor in batches
Add the puréed tomatoes/onions back into the large pan that you blanched the tomatoes in as you go along
When done puréeing add salt and pepper to taste and voilà there is your raw sauce
FOR RAW SAUCE: top pasta with raw sauce and sprinkle some fresh julienned basil, Parmesan and a drizzle of extra virgin olive oil
FOR COOKED SAUCE: Put the pot of puréed tomatoes/onion back on the stove and add in the 5 extra lg fresh basil leaves, bay leaf, sugar, Italian spices, red wine and simmer for 1-2 hours…mangia mangia!!
Secret Meatball Recipe at Glenn’s New Haven Apizza
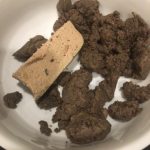
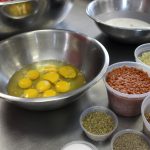
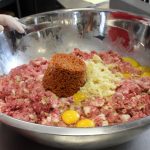
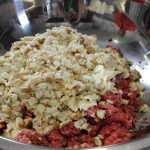
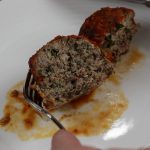
One of the most delicious meatballs you’ll ever have and the mammoth size will knock you for a loop! Glenn Proto, at New Haven Apizza & Bakery, right here in our very own Madison, CT, shared his mother, Annette’s, secret meatball recipe with me this week. The ingredients he use’s in his meatballs couldn’t get any fresher because he even grind’s his own meats for these meatballs. Freshly ground brisket, short ribs, 80/20 beef and Longhini sweet sausage are the main ingredients in his meatballs. Oh, but let’s not forget what he calls his “secret” to the meatballs, his addition of finely chopped pepperoni! Glenn says this is what give’s these authentic Italian meatball’s that extra special something!
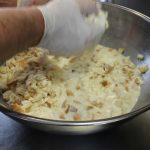
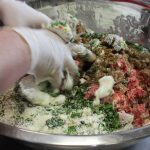
Once we get past all the freshly ground meat that goes into Glenn’s meatballs the love doesn’t stop there, he then caramelizes red onions, adds in Ricotta fina (a special and costly ricotta from the very best Liuzzi Cheese in North Haven,CT, eggs, grated Romano cheese, Italian cubed up bread soaked in heavy cream, and fresh garlic and herbs! Wow, he doesn’t hold back on quality that’s for sure. What an incredible ingredient list for these most flavorful and succulent morsels. Maybe I shouldn’t use the word “morsels” either because the size of these meatball’s are cray cray! It was a blast rolling the meat mixture into bigger then baseball size meatballs with Glenn and his son Dylan. Isn’t it wonderful how the tradition carries on as Dylan and his siblings grew up making these incredible meatballs just as Glenn did. And now, we can add some of this lovely tradition into our kitchen’s since Glenn was so kind as to share his family’s recipe with all of us. He believe’s traditions and recipe’s are meant to be shared so everyone can enjoy them!
Hope you enjoy this secret meatball recipe show and remember he serve’s up 3 of these colossal meatballs in one “spaghetti and meatball” order from his restaurant! You might want to start with a few appetizer’s like my crab cakes, buffalo chicken dip, Mediterranean layered dip, spanakopita or my hummus!
Glenn’s Mammoth Size Meatballs – makes approx 10-12 Colossal Size…Can make them smaller to yield more meatballs!
2 1/2 lbs. of ground beef (.75 lbs ea. of ground brisket, short ribs and 80/20 ground beef)
1 1/4 lbs. Longhini sweet sausage
1/2 cup finely chopped pepperoni
2 cups Italian bread after soaked in heavy cream and squeezed slightly (1 lb. about 1 loaf of Italian bread, cubed and soaked in heavy cream)
2-3 cups heavy cream – to soak cubed up Italian bread
3 lg eggs
1 cup grated Romano cheese
3/4 cup ricotta (ricotta fina if you can get it)
3/4 cup fresh chopped parsley
1/2 cup fresh chopped basil
1/3 heaping cup finely chopped fresh garlic
1/2 cup caramelized red onions (finely chop 2 med. size red onions and sauté on medium/high with 1 tbsp olive oil and 1 tbsp butter for 5 minutes and then twenty minutes on low with adding 1 tbsp sugar and 1/4 tsp salt)
1 tbsp plus 1 tsp sea salt
1 tbsp plus 1 tsp finely ground pepper
1 tbsp plus 1 tsp dried oregano
Directions:
Pre-heat oven to 400º
Cube up the Italian loaf of bread to 3/4″ pieces
Add cubed up bread to 2 – 3 cups heavy cream – should be enough to have all the pieces get saturated and soak for approx 15 minutes
Add beef and sausage to a large bowl and combine with your hands
Add in the pepperoni and the rest of the ingredients in the list and combine with your hands – Don’t over mixed meat …just until combined
Begin to roll meat mixture into desired size meatballs dipping your hands in the left over the heavy cream to help smooth the edges of the meat while shaping them
Place the meatballs onto a cookie tray..they can be right next to each other
Note: the larger they are the longer you will bake them
Bake for 45-60 until the tops are crispy and brown …mangia, mangia!
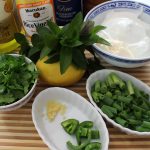
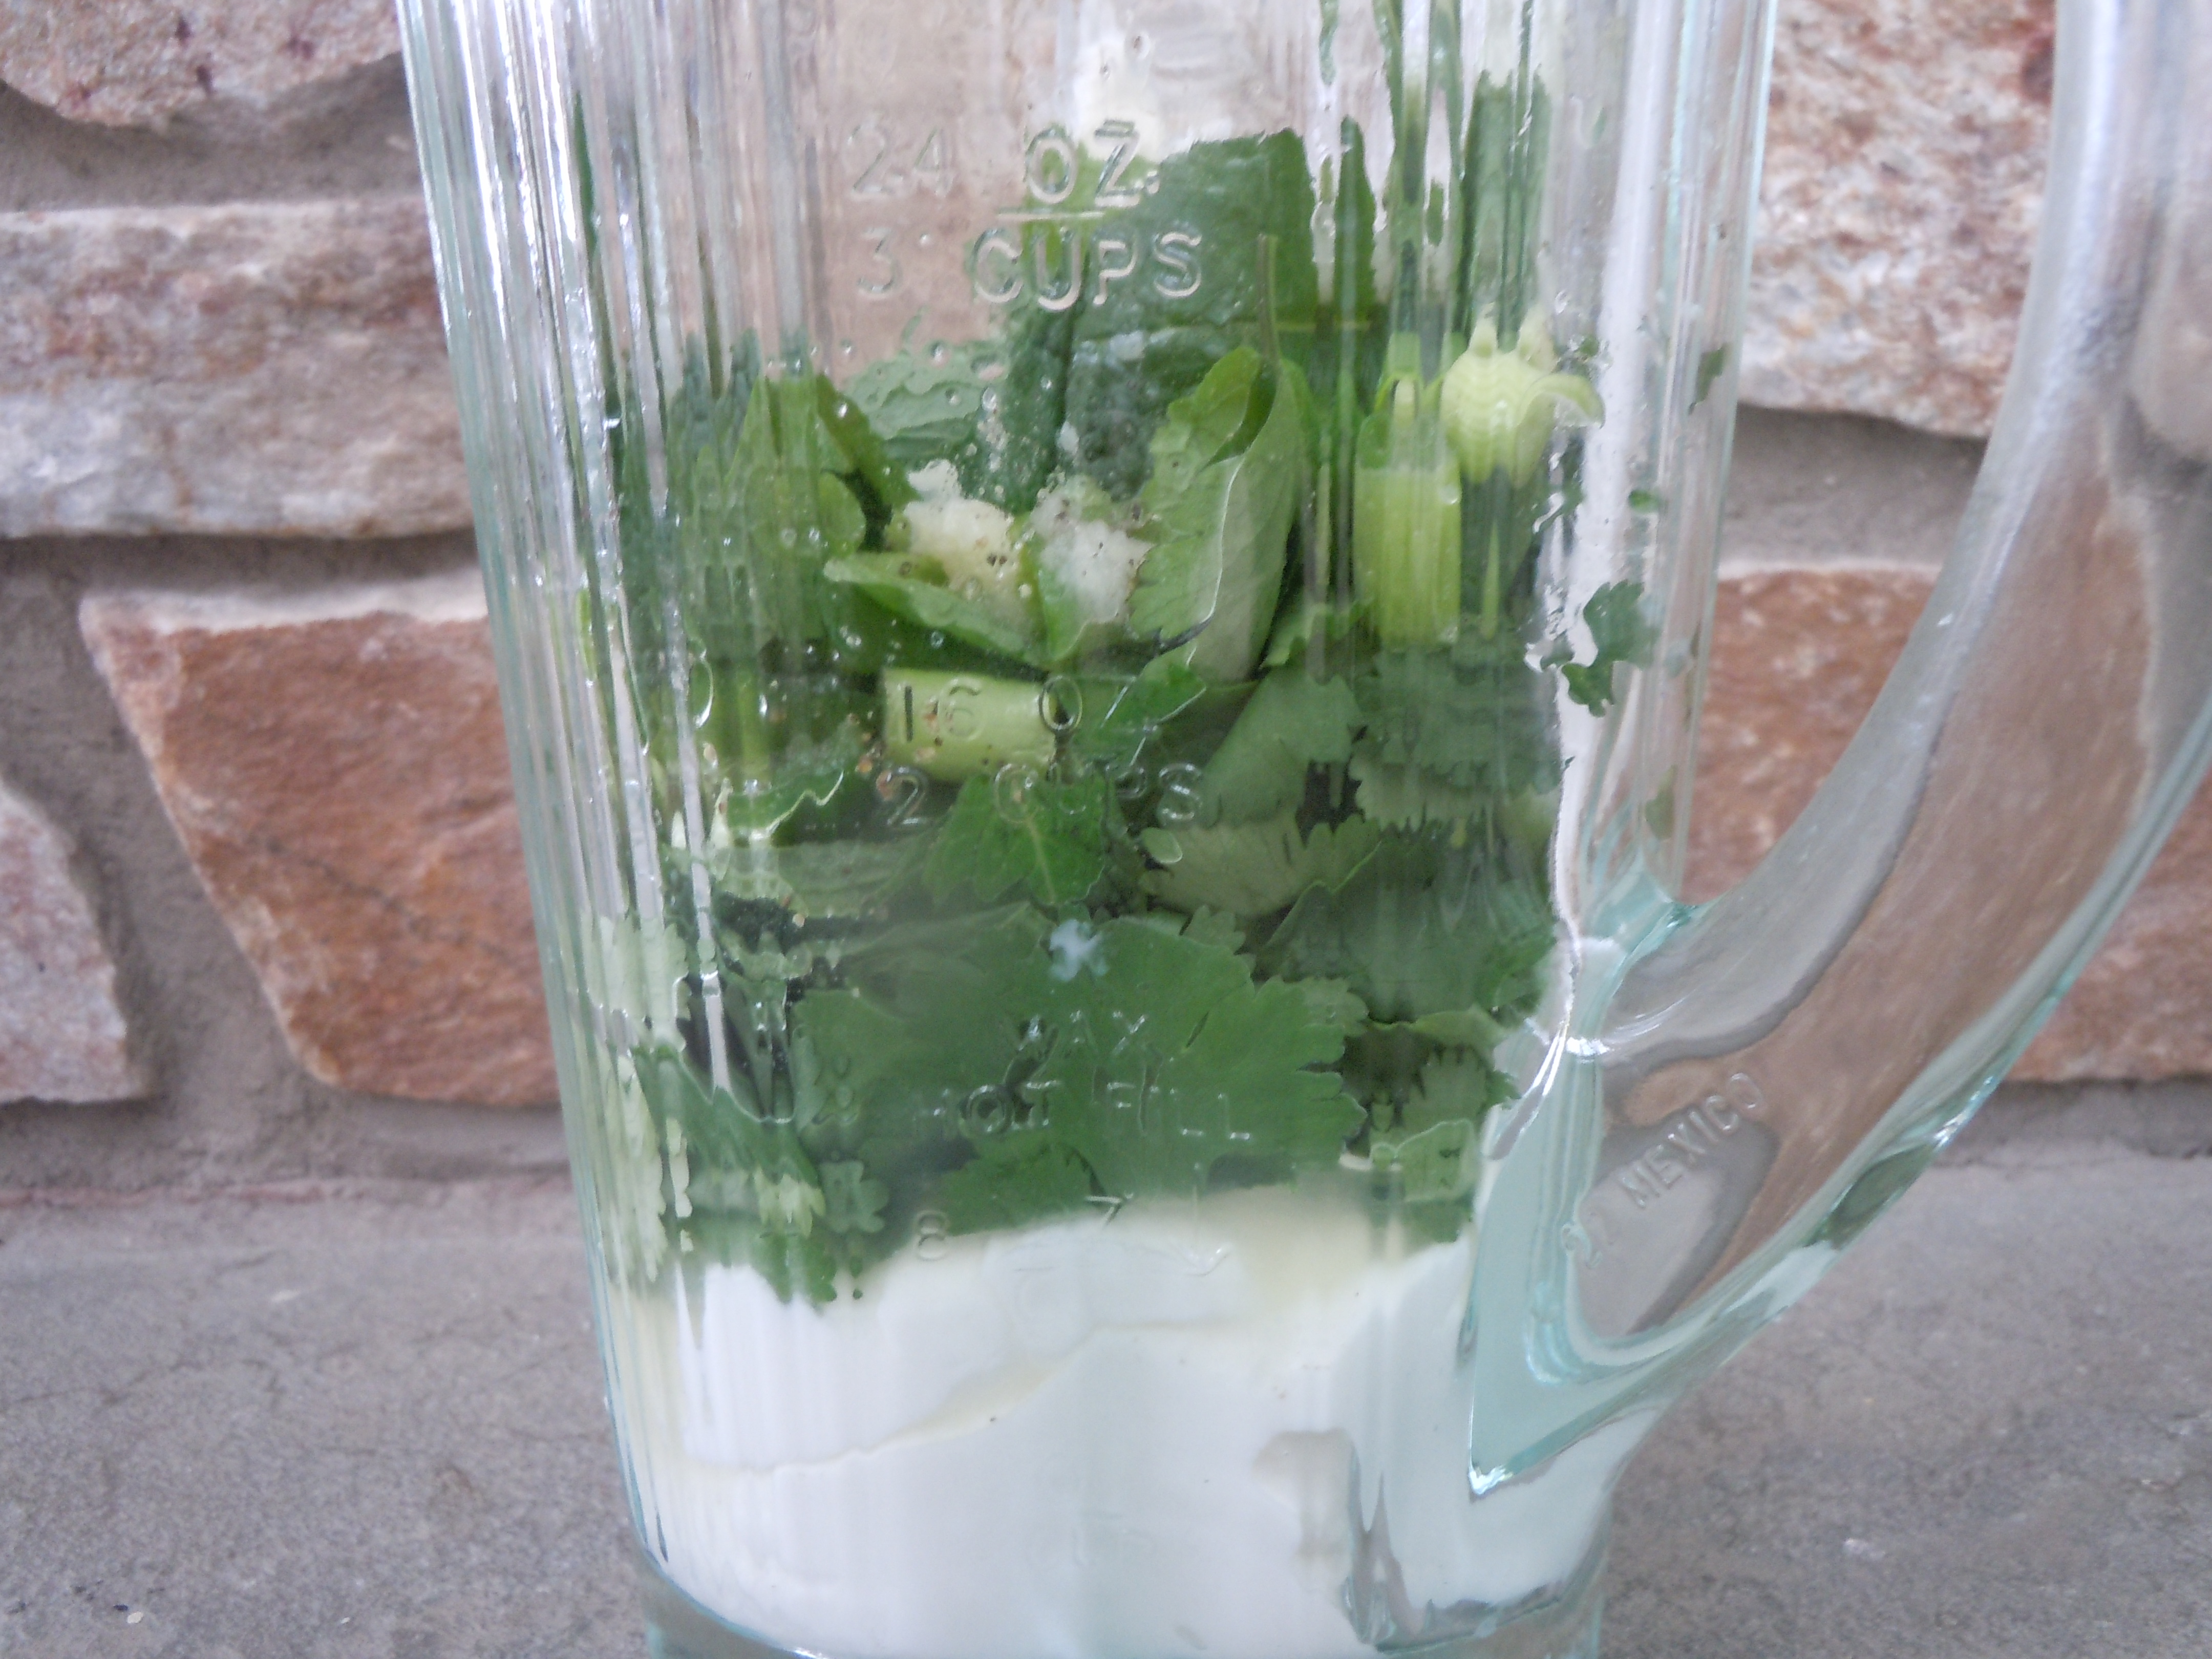
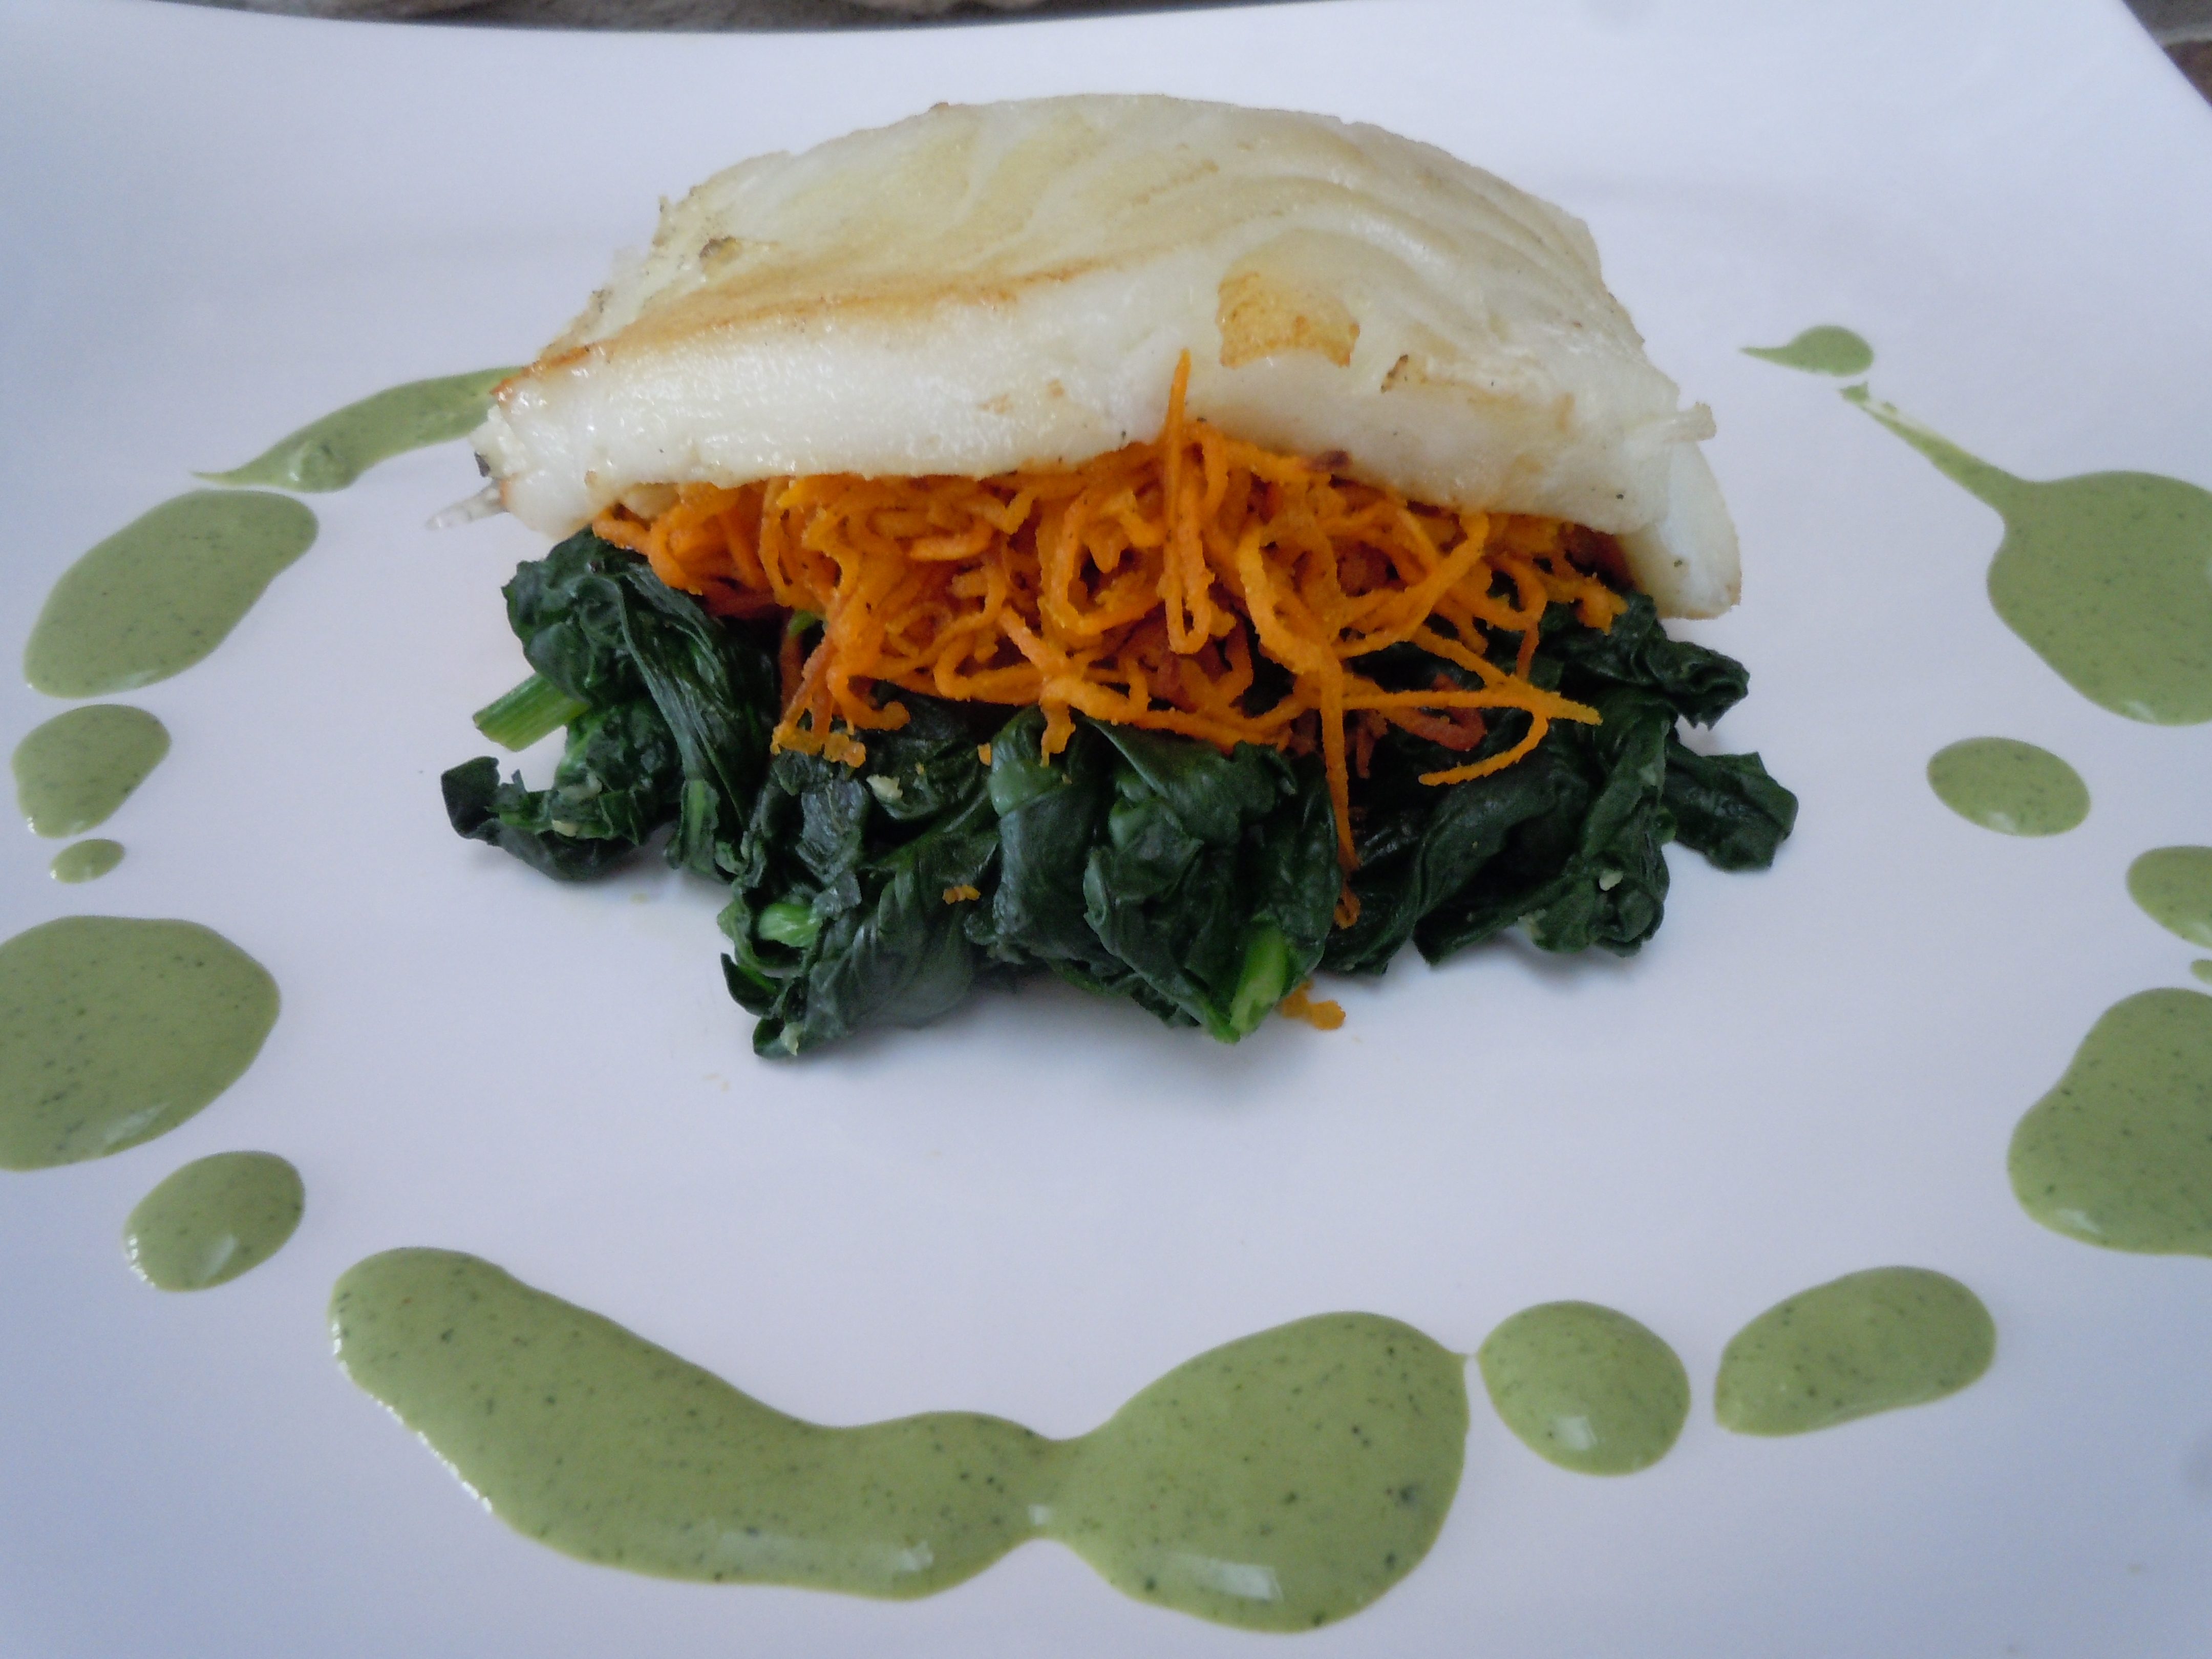
Having my green goddess sauce ll at your next party will be sure to turn heads. It’s kind of like wearing a new party dress! This green goddess sauce is made in mere minutes in a blender. It’s a blend of Greek yogurt, mayo, fresh mint leaves and cilantro, garlic, green onion, lemon juice, olive oil and rice wine vinegar. You don’t even have to waste time chopping finely because it all get puréed anyways!
Decorating your party plates with my green goddess sauce will make for a lovely presentation, a more formal one, but having a bowl or pouring cup of the sauce on the table will do the trick quite nicely! In fact, the latter might be better since there’s a good possibility your guest’s will be going back for seconds.
4 lg stalks, 6 small of green onion chopped coarsely
1 tbsp fresh lemon juice
1 tbsp extra virgin olive oil
1 Tbsp “seasoned” rice wine vinegar
1 tsp sugar – (NOTE: I forgot to add this in the show, but it really needs this for balance 🙂
s & p
If it’s not hot enough with the jalapeno add a dash of Siracha
Directions:
Place all of the ingredients into a blender an purée for 10 seconds…be patient – you may need to stop and stir everything to get it going but do NOT add any more liquid
Stop blender and scrap down sides to get the larger leaf pieces and blend for 5 more seconds and violà!
Taste here and add salt and pepper
Add a dash of Siracha – you need to taste the sauce first, sometimes a jalapeño can be super hot and other times it can be a mellow hot
This sauce gets even better if you can pop it into the fridge for an hour and let the flavors mingle, the sauce will thicken up a little too!
Make this ahead of time and keep sauce in a plastic container and refrigerate. It stays nicely for days in frig.
This green sauce is absolutely delicious on so many things…be creative.
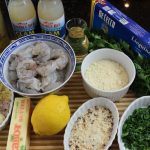
Shrimp scampi is one of those delicious dishes that’s sure to bring a smile to everyone’s face just on aroma’s alone! Shrimp sautéed in olive oil and butter with lots of garlic, shallots, clam broth, and white wine topped with fresh lemon juice, parsley and Parmesan make’s for a grand party atop a pile of linguine!
This quickie gourmet sauce I have created for you in this shrimp scampi dish is a light sauce, yet packed with flavor. The way we do this is by concentrating the juice’s released from those sautéed shrimp along with a couple of bottles of clam stock simmering for a brief seven minutes. The traditional and time consuming way to create this lovely stock would be to simmer the shrimp shells in white wine for a while like you would for a lobster bisque stock. The objective here was to take a short cut to accommodate our busy every day lives without foregoing taste by using bottled clam stock. Voilà, you have an amazing flavor base for our shrimp scampi with linguine in seven minutes.
One of my favorite way’s to serve the shrimp scampi with linguine is by offering up a Parmesan with red pepper flake’s mixed right into it. It’s nice to offer two small dishes of Parmesan, one with the pepper flakes and one without. By adding the red pepper flakes to the grated cheese guests are less likely to accidentally sprinkle on too much because it’s dispersed throughout the cheese.
Ingredients for Shrimp Scampi with Linguine – 6-10 People:
1 – 1 1/2 lbs of peeled & deveined large shrimp (ask for a certain number of shrimp …2-5 per person depending on what other side dishes you are serving)
2 bottle of Snows clam broth
1/2 cup white wine – pinot grigio
4 lg garlic clove finely chopped
1 tbsp finely chopped shallot
2 lg garlic clove smashed
1/4 cup finely chopped FRESH FLAT LEAF Italian parsley
5 Tbsp salted butter
3 Tbsp olive oil
1 lb pasta – linguine or linguine fini
2 lemons
Reggiano Parmesano
Red pepper flakes -OPTIONAL
salt and pepper to taste
Directions:
Peel and devein shrimp
Bring large pan of salted water to a boil
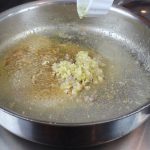
Add 2 tbsp olive oil, 1 tbsp butter and 2 lg crushed garlic cloves to large sauté pan over med/high heat
When the pan is hot add in the shrimp
Saute for 2 1/2 minutes per side
Remove shrimp and garlic – set aside
Add in 1 tbsp olive oil, finely chopped garlic and shallots into the same pan and saute til soft (lightly golden) for about 2-3 minutes
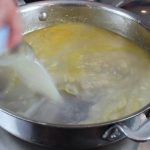
Then pour in both cans of clam juice with the garlic and shallots
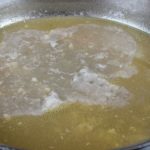
Bring to a boil over high heat, turn down to a low simmer for 7 minutes
Add pasta to boiling salted water and cook until aldente (don’t over cook!)
Let pan with the clam broth/garlic simmer and reduce by 1/3
Add shrimp back into reduced clam broth/garlic
Add in juice from 1 whole lemon and 3 tbsp of chopped parsley to shrimp scampi
Add in salt and pepper here to taste
Simmer on LOW for 2 more minutes
Drain pasta and pour out pasta into a large serving platter or bowl
Add in 4 tbsp of butter to pasta and toss, add in salt and pepper to taste …taste the pasta and make sure the pasta is PROPERLY seasoned at this point
Pour the shrimp scampi mixture over the pasta
Sprinkle with more fresh chopped parsley and grated cheese and serve…YUM!
NOTE: Make sure that each person gets some of that tasty broth in their dish

 This week I was excited to show you how to make an easy and delicious dish on CT Style for the new year! The marinade for this Korean Beef Bulgogi recipe is so versatile you’ll find yourself going back to it over and over for these luscious flavors.
 The marinade for this Beef Bulgogi is delicious on any meat, scrumptious chicken and pork. Really easy to bring these wonderful flavors of the soy, toasted sesame oil, garlic and green onion to whole pieces of chicken breasts and thighs, beef london broil and ribeye, and pork tenderloin with out all the prep of slicing.
 sweetness.


 Making Mini Beef Wellington’s for the Oscar’s on CT Style yesterday was a blast! What’s more fun then cooking in the kitchen with friends and family? Well, that’s how it is with Ryan Kristafer and Teresa Dufour! I feel like I’m with my siblings, me being the elder of the trio, as we joke and banter back and forth. I can’t describe to good feeling I get when I leave the WTNH studio at Channel 8. Every single one of them are such great people.
 This Mini Beef Wellington recipe is very easy to make and tastes like a bite of heaven! A piece of filet mignon topped with a mushroom reduction, called Duxelles


 One of the wonderful things about making these dishes is the abundance and variety you have to choose from at the farmers markets in the summer. The incredible flavors in this Panzanella recipe go without saying. All the aroma’s from the fresh herbs, basil, parsley, thyme & oregano to the fresh vegetables like the heirloom tomatoes, garlic, cucumbers, red onions really get you salavating. The creaminess from the fresh mozzarella and the crunchy from the homemade croutons balance it all out.


 Shrimp scampi is one of those delicious dishes that’s sure to bring a smile to everyone’s face just on aroma’s alone! Shrimp sautéed in olive oil and butter with lots of garlic, shallots, clam broth, and white wine topped with fresh lemon juice, parsley and Parmesan make’s for a grand party atop a pile of linguine!