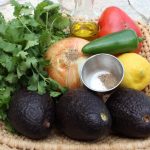
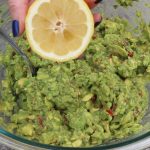
This best guacamole ever recipe will definitely change the way you look at that mixture they call guacamole at the market. I find most of the brands out there both watery and mysterious. Why chance quality. The simple fact is, when my best guacamole recipe is so simple to make why settle for second rate! Even the amounts of finely chopped sweet onion, tomato, jalapeño and cilantro in this recipe are minimal so there’s not a whole lot of prep going on either. These amounts are just enough to add hints of lovely flavors and not take away from the sweet creamy California avocado’s.
Avocado’s are on sale just about every other week at the market so take advantage of this and load up. You can never buy too many and they don’t all have to be perfectly ripened right at that moment. They will ripen on your counter in a matter of days.
If I am not serving this best guacamole ever right away I put one of the avocado pits back into the middle of the guacamole, cover it with saran wrap and put it into the refrigerator until I’m ready. The saran wrap should go directly onto the surface of the guacamole so as not to let the dip oxidize and turn brown. If part of it does oxidize just skim that part off with a spoon and there will be a fresh green surface underneath. And, when making guacamole it’s best when it’s eaten the same day, or definitely by the next.
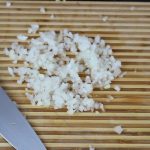
1/4 cup finely chopped Sweet or Vidalia onion (Georgia onion)
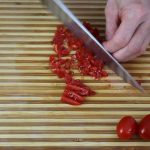
1/4 finely chopped sweet tomatoes any color (cherry tomatoes, heirloom tomatoes…your fav)
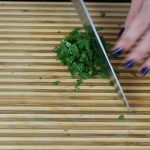
1/4 cup chopped cilantro (fill 1/4 cup first with whole leaves then chop that)
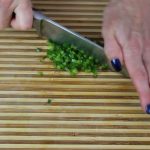
1/2 of a lg jalapeno, finely chopped with seeds removed, approx. 2 tbsp
2 tbsp extra-virgin olive oil
1 tbsp rice wine vinegar “seasoned” – (rice wine vinegar and olive oil are my secret ingredients that give the guac that little someting extra!)
1 tsp fresh squeezed lemon juice
1/4 Tsp salt
1/4 Tsp Pepper
2 dashes of your favorite hot sauce …I use Siracha (which is sold right next to the Tabasco)
Directions:
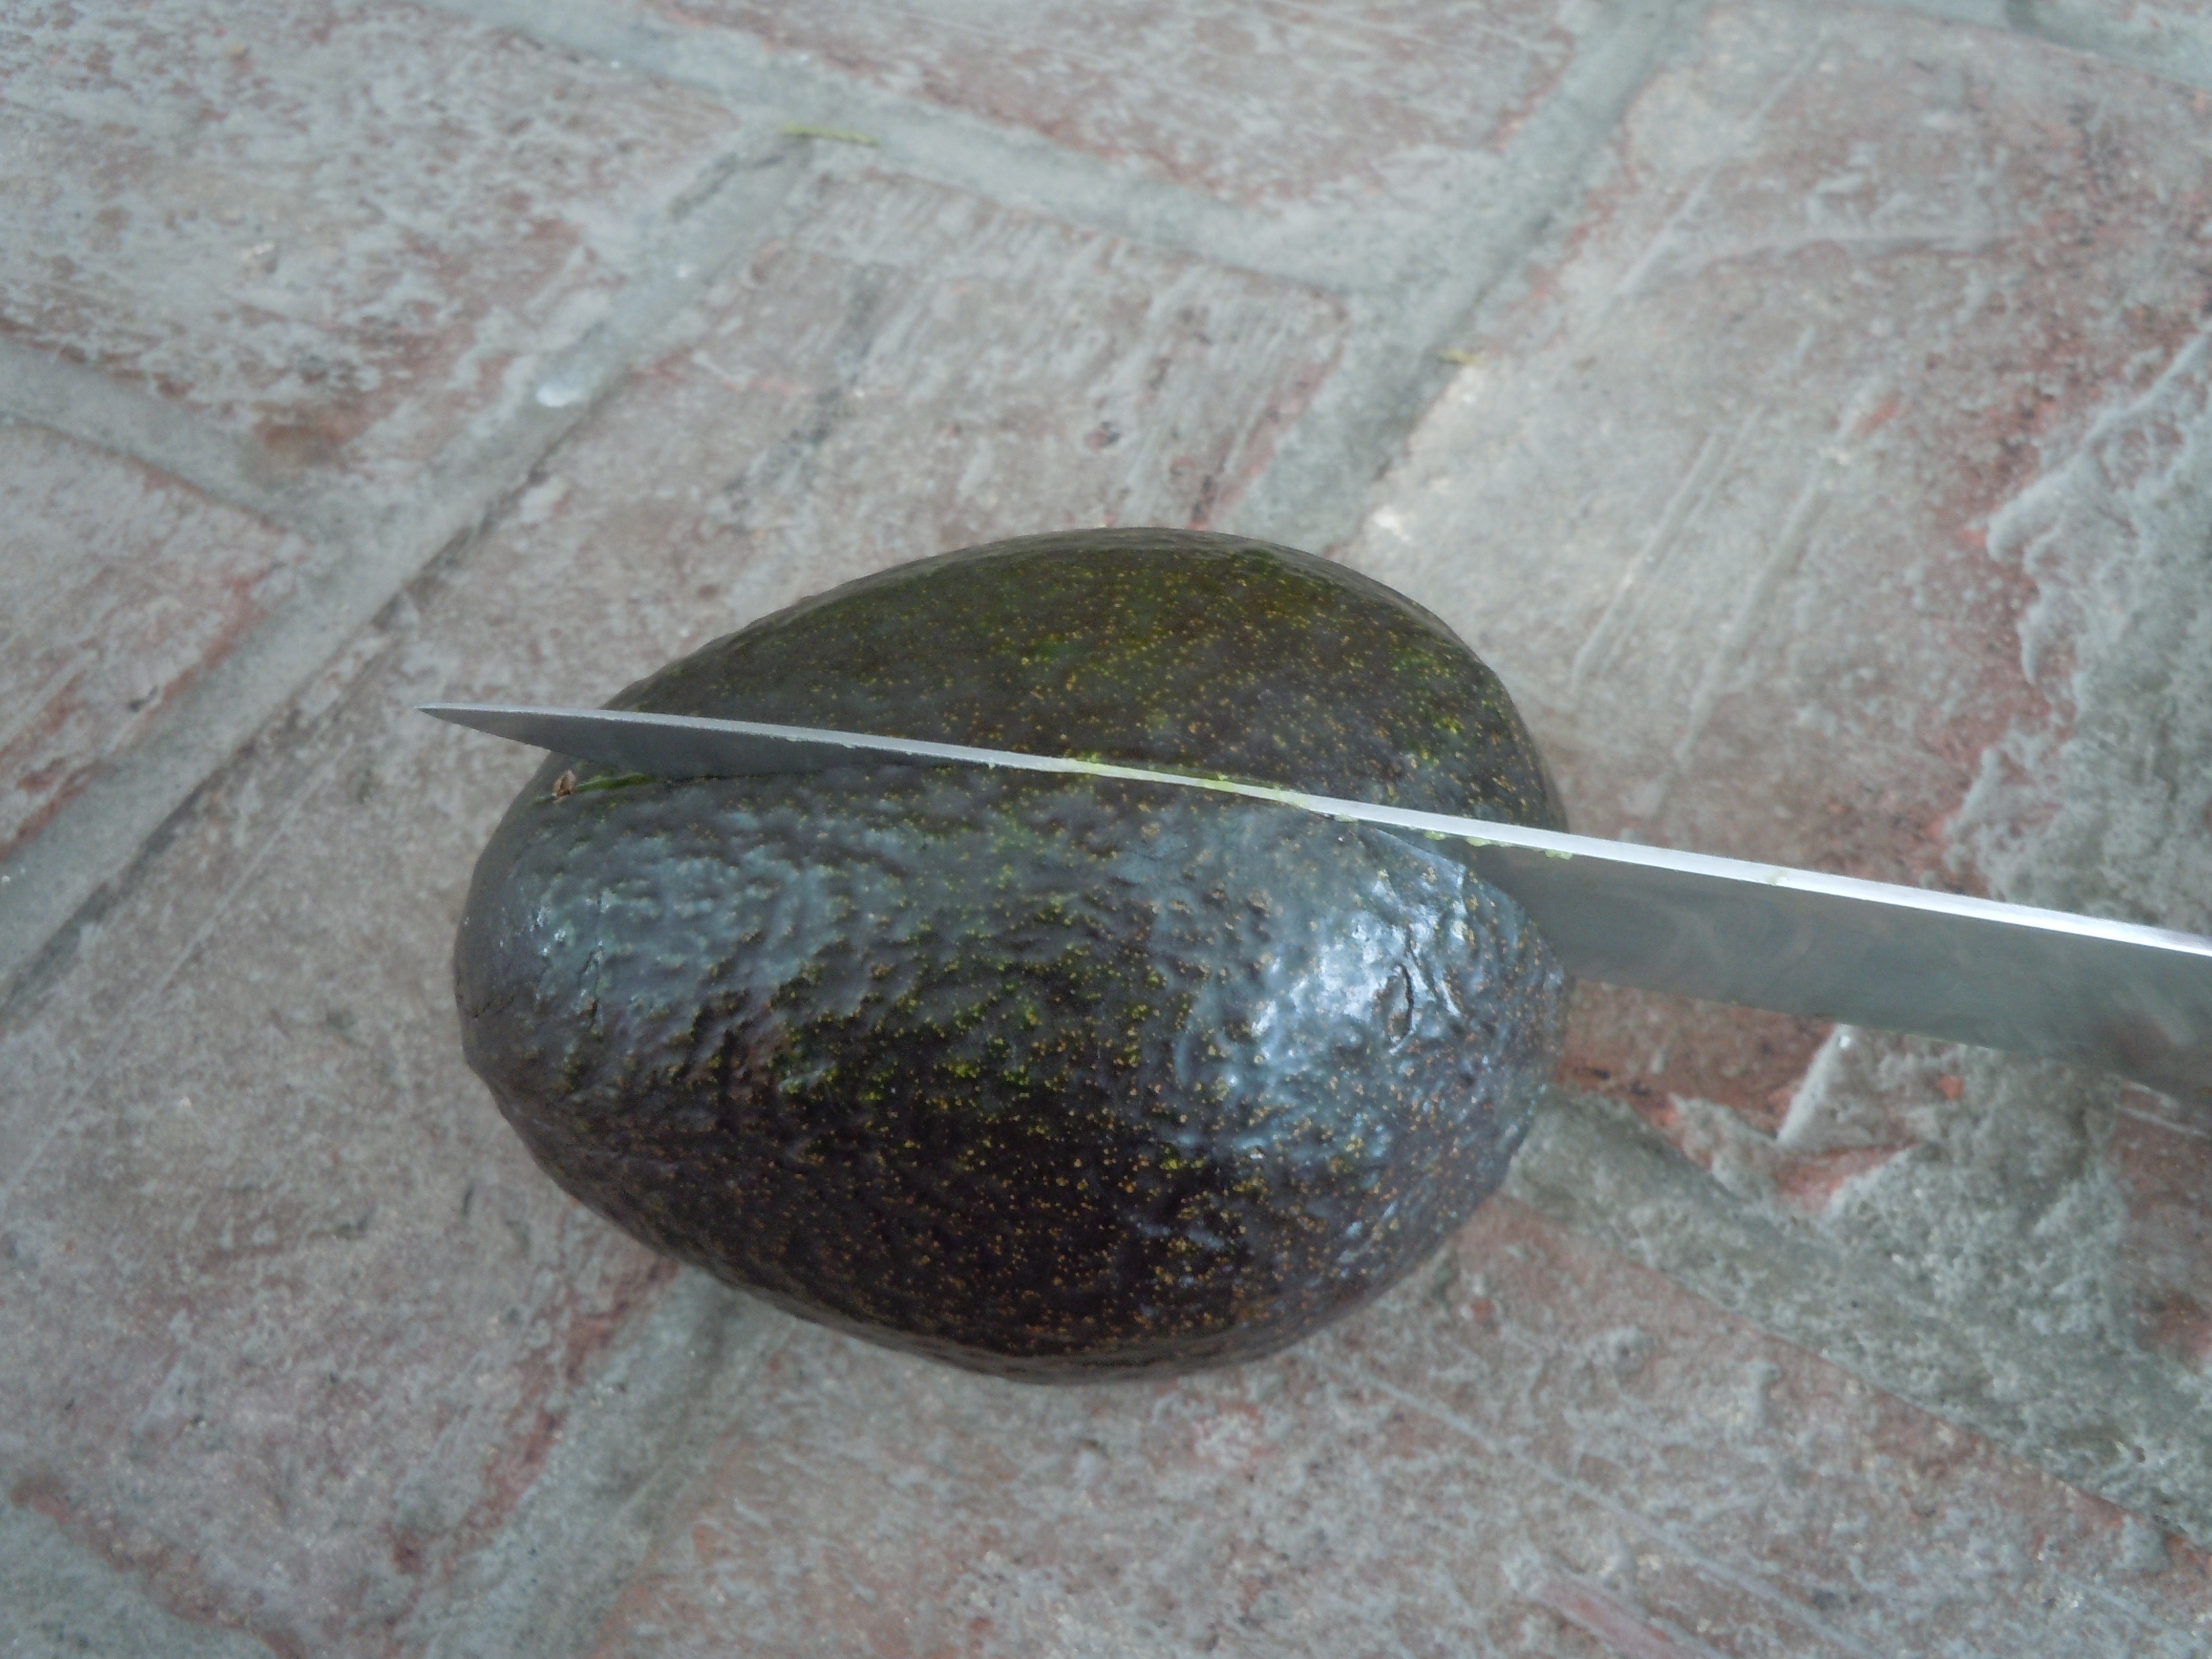
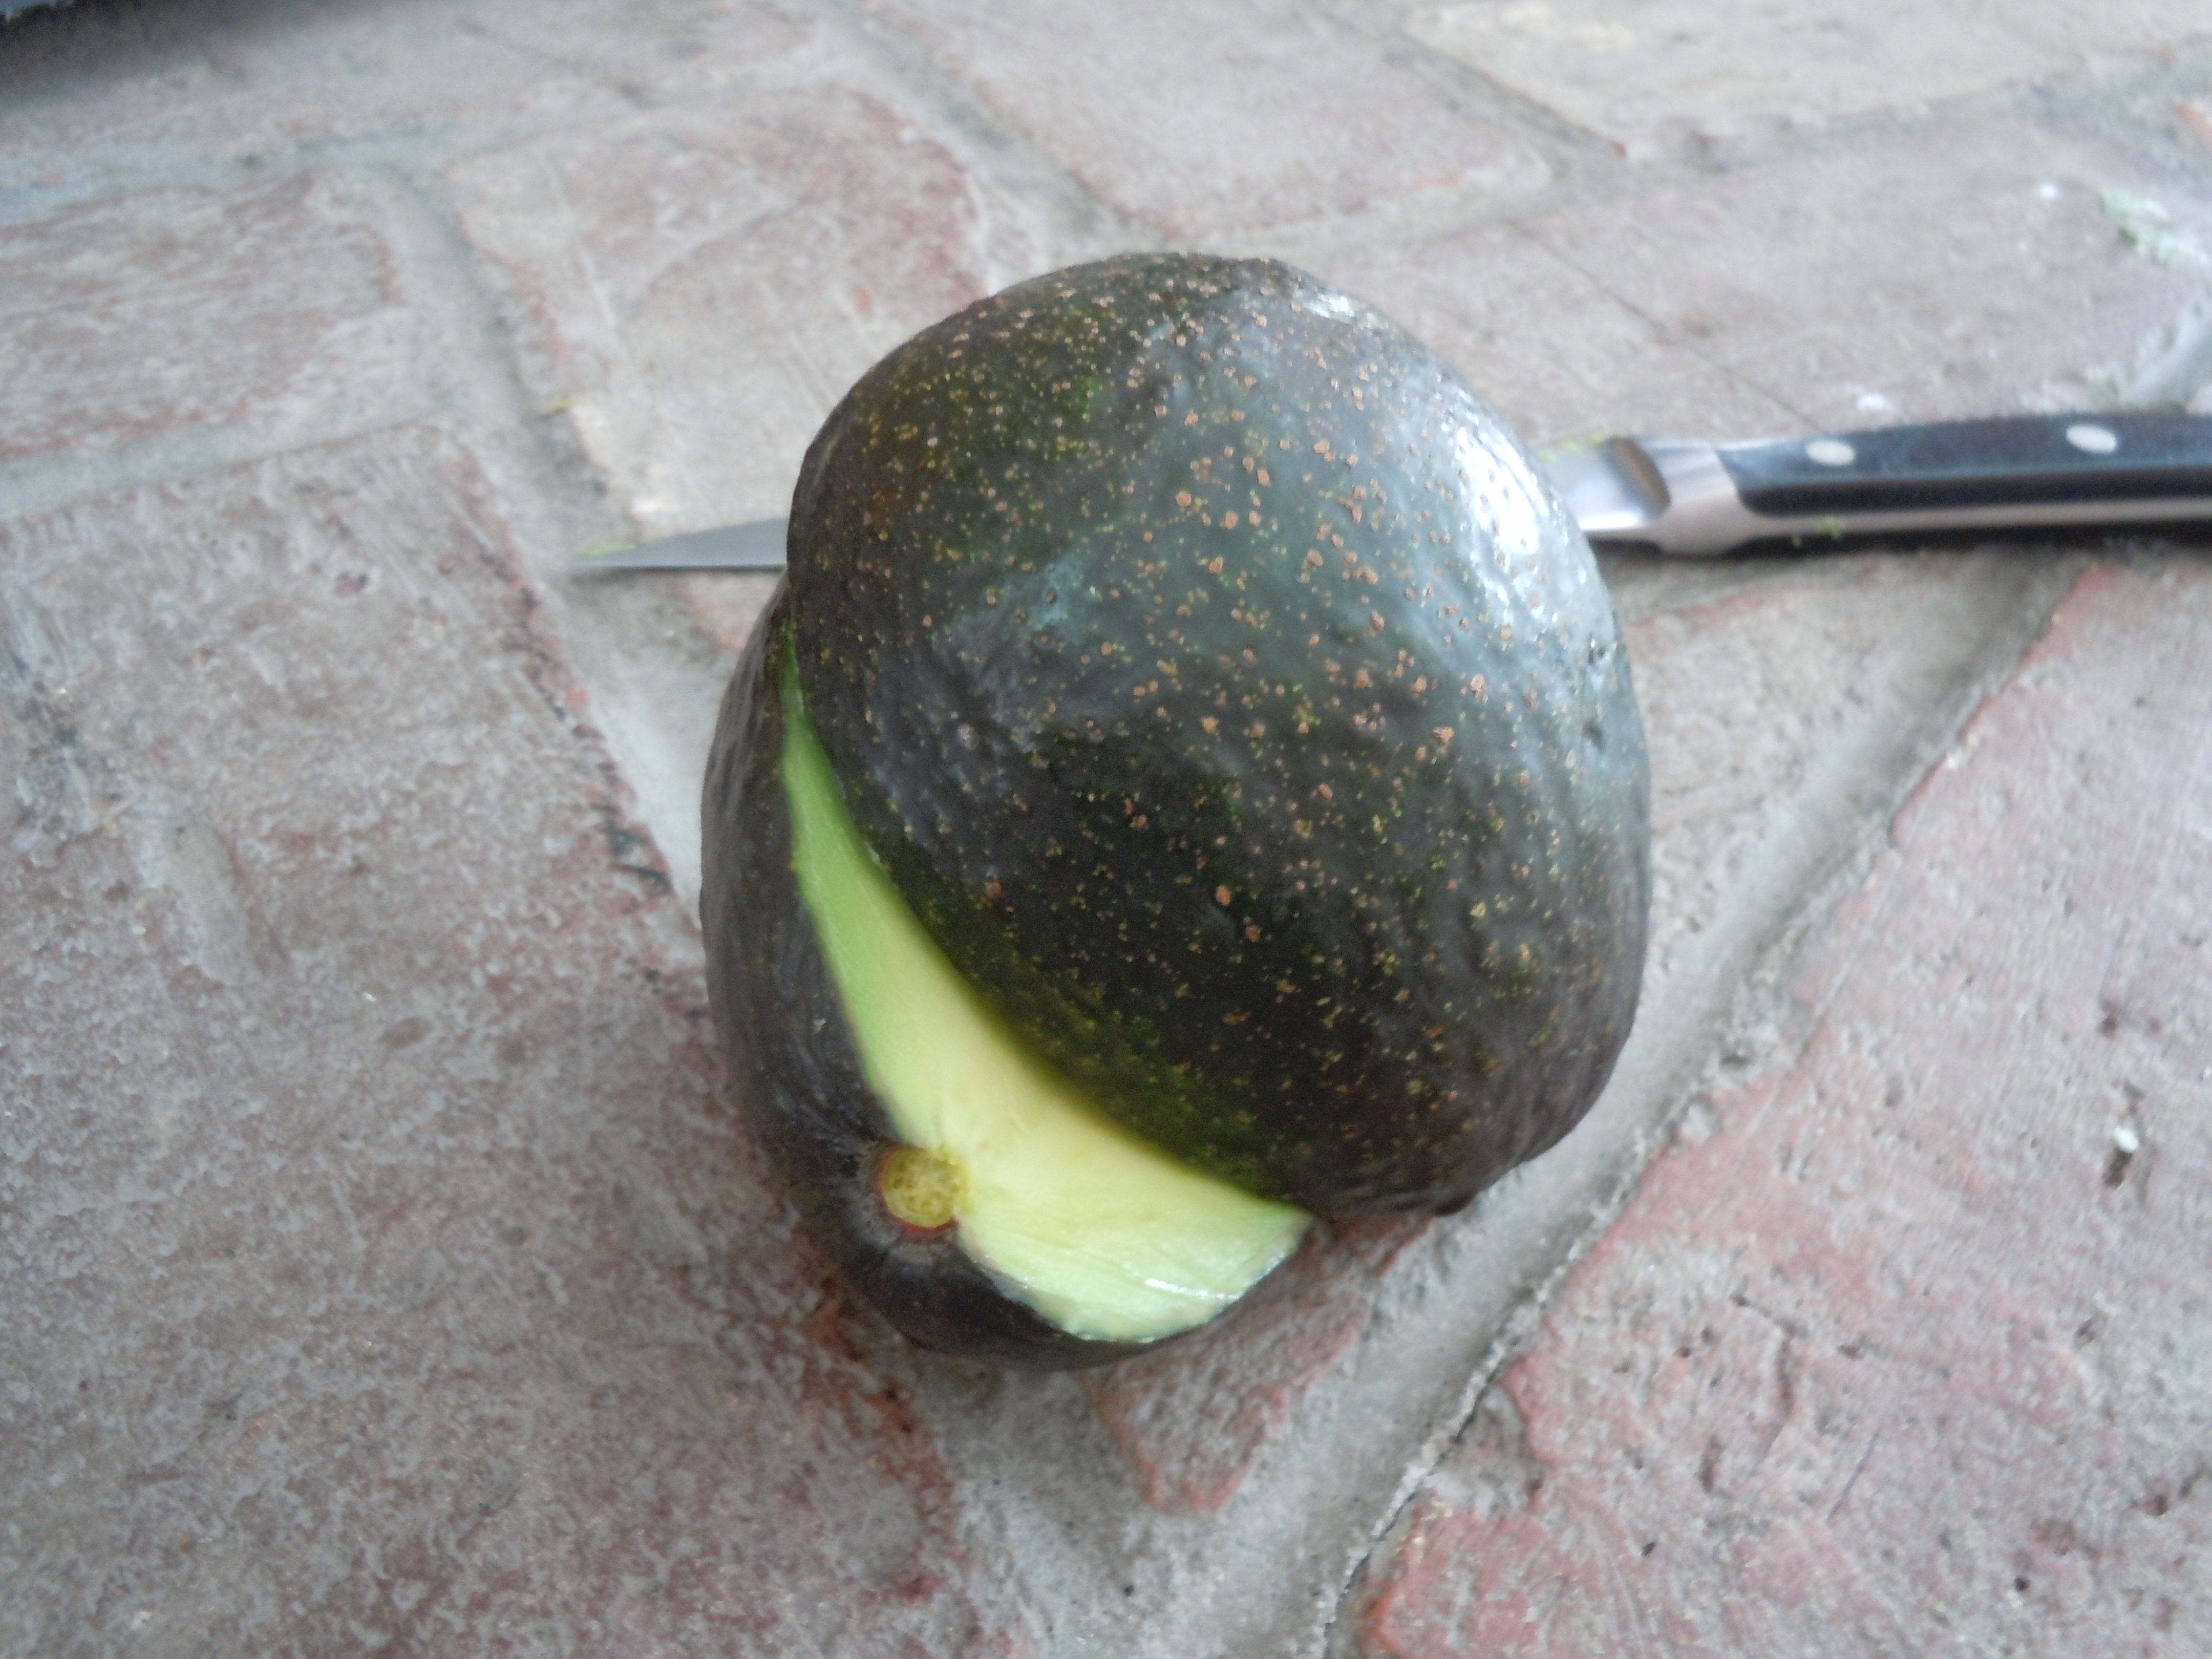
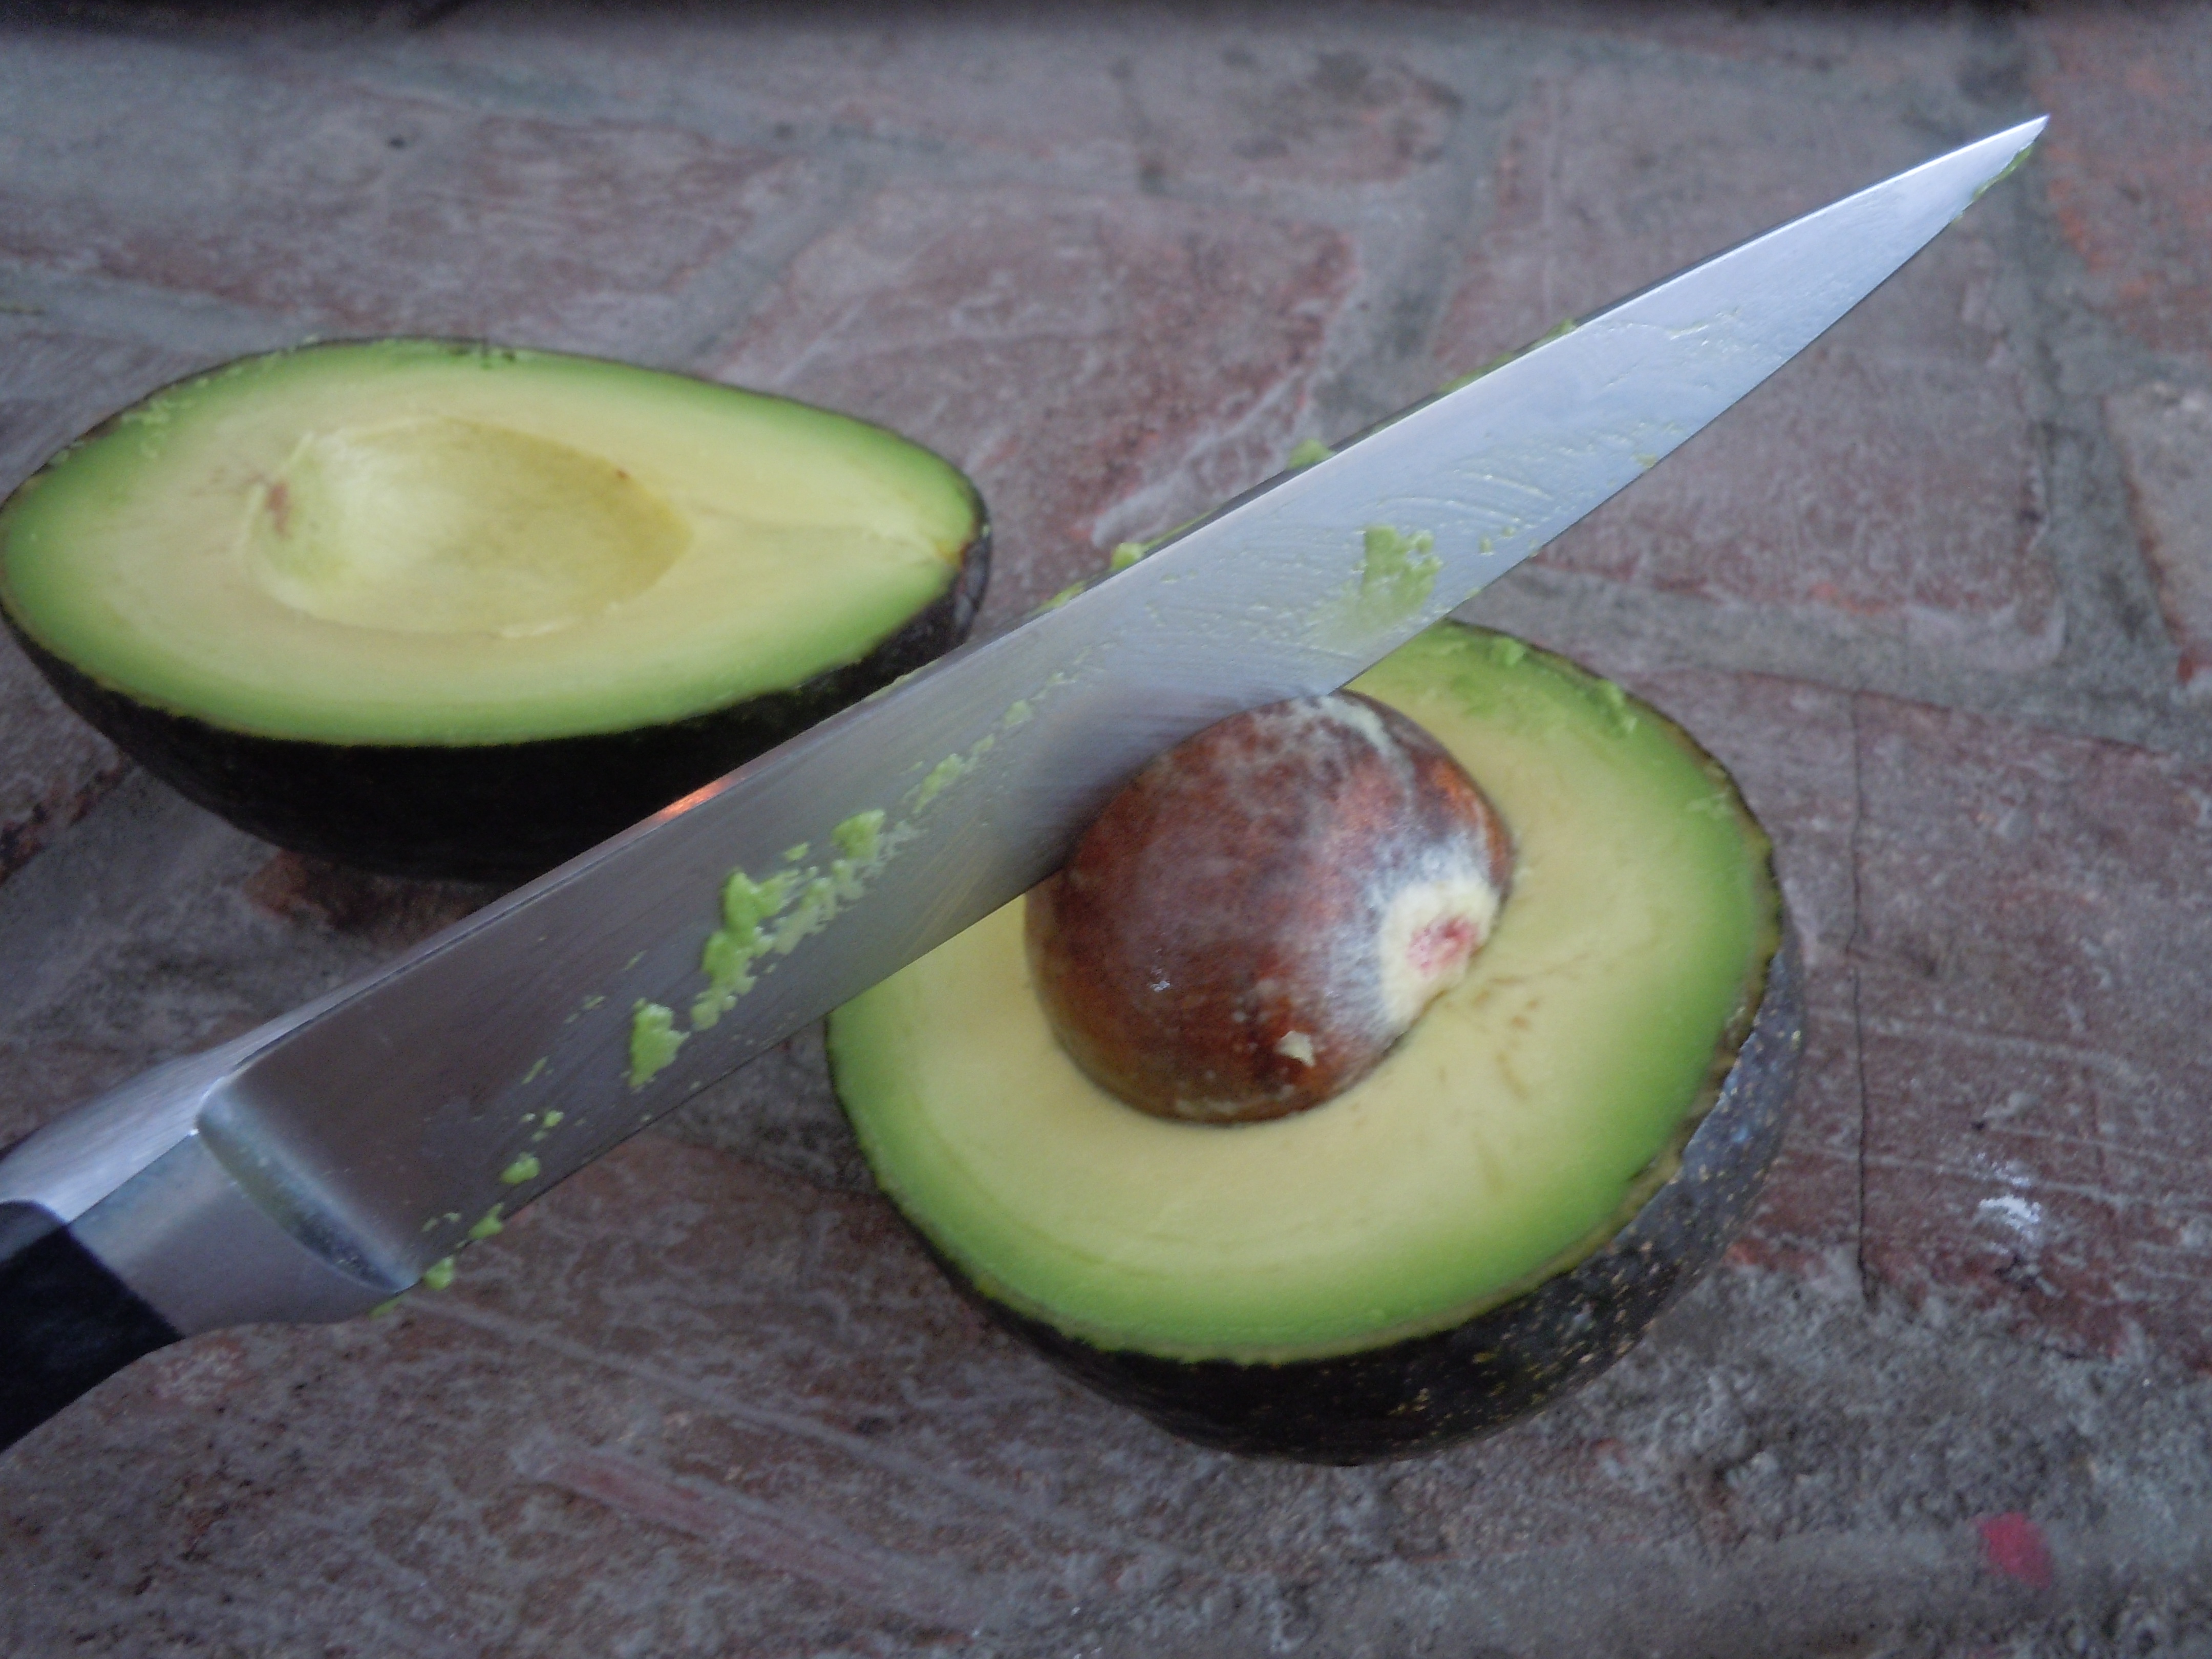
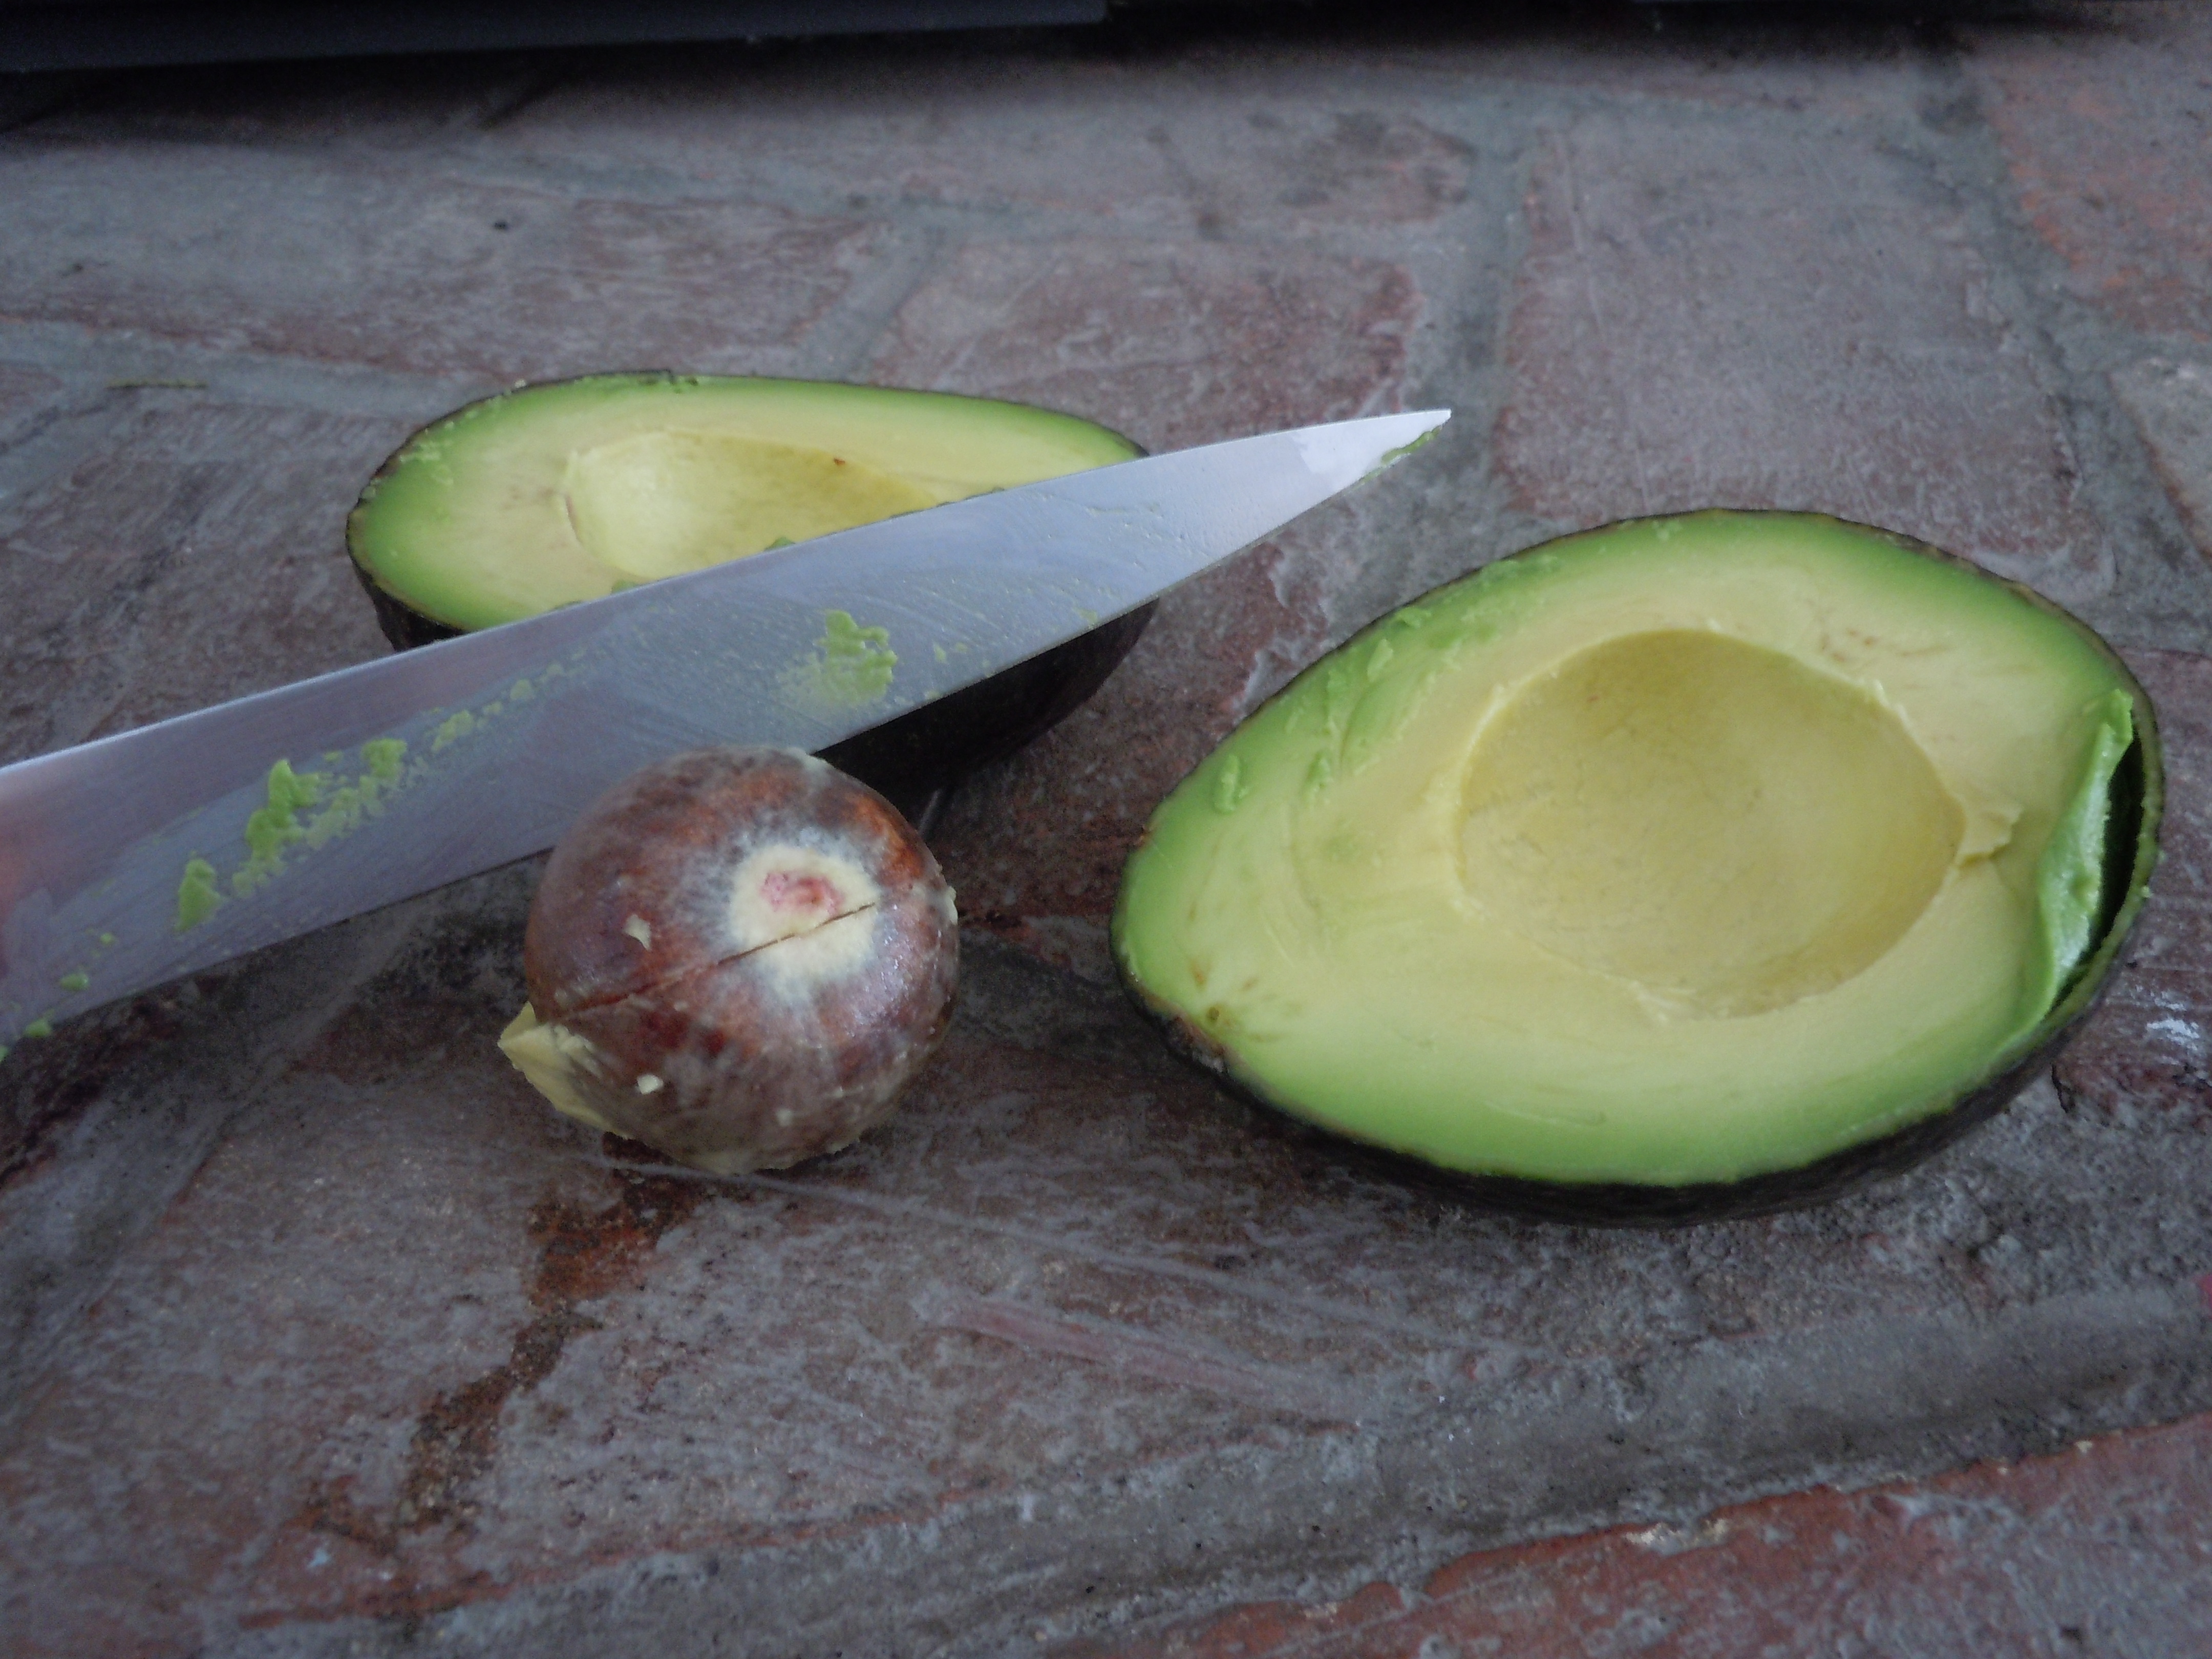
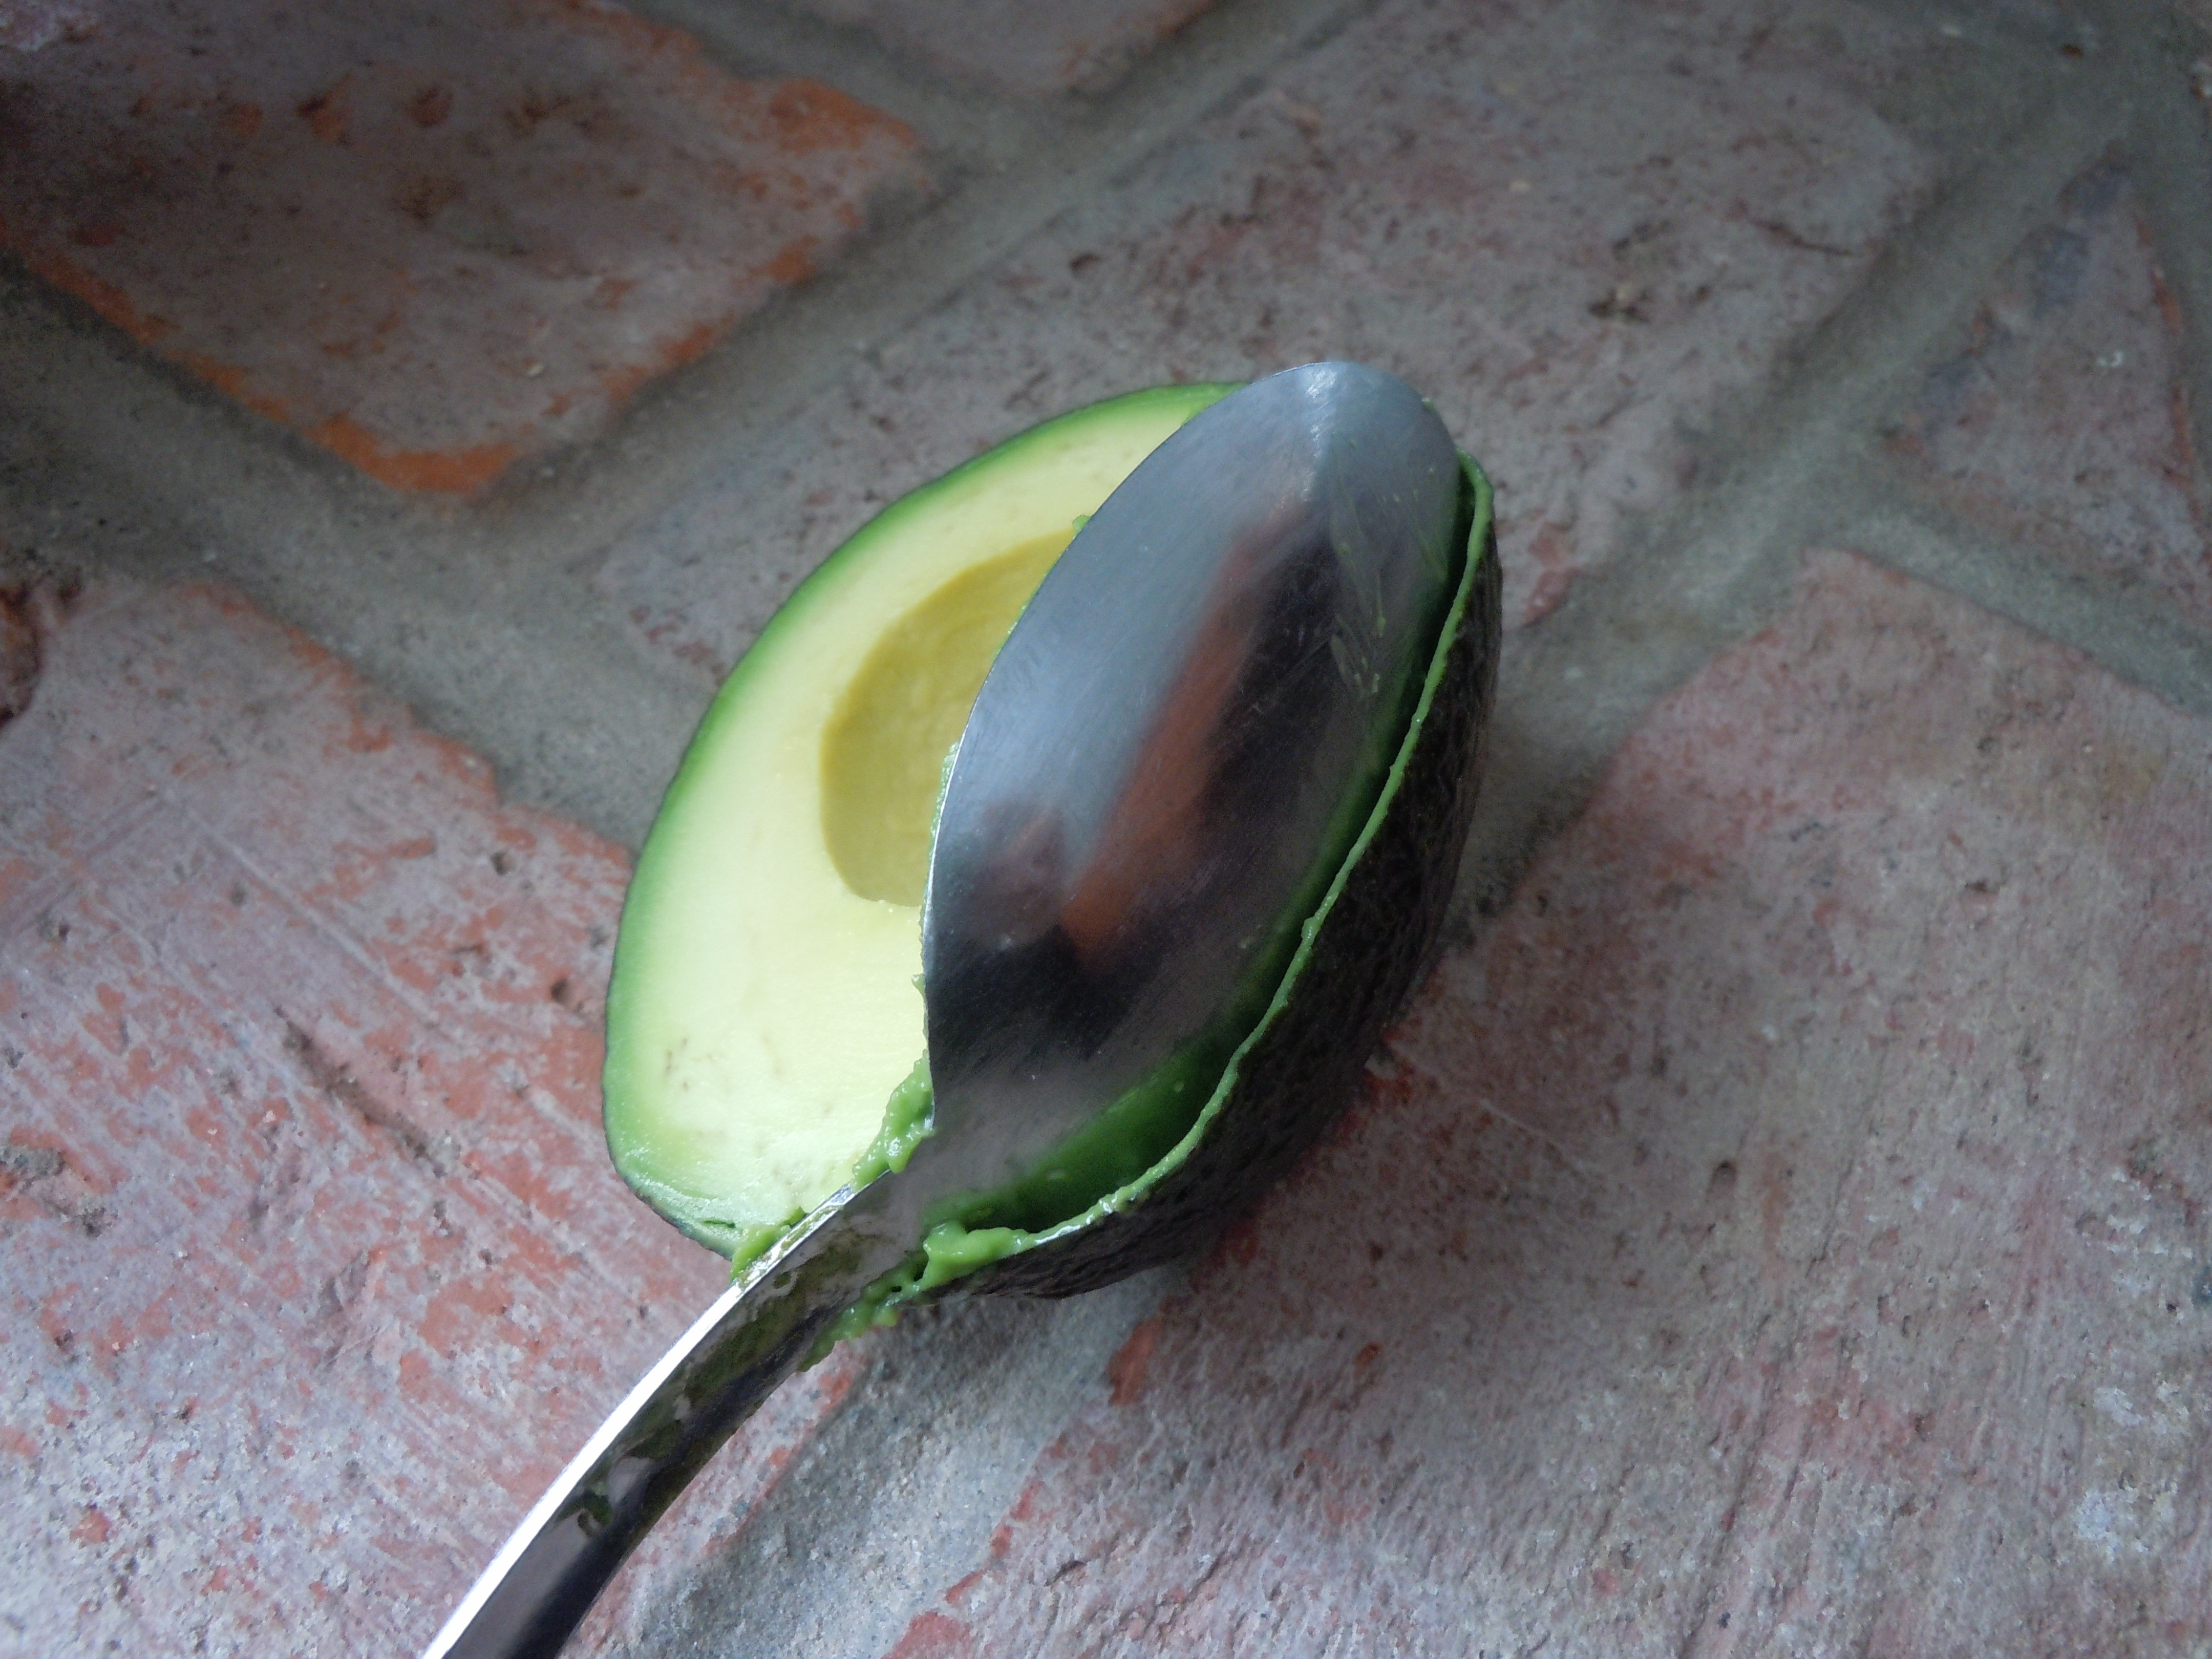
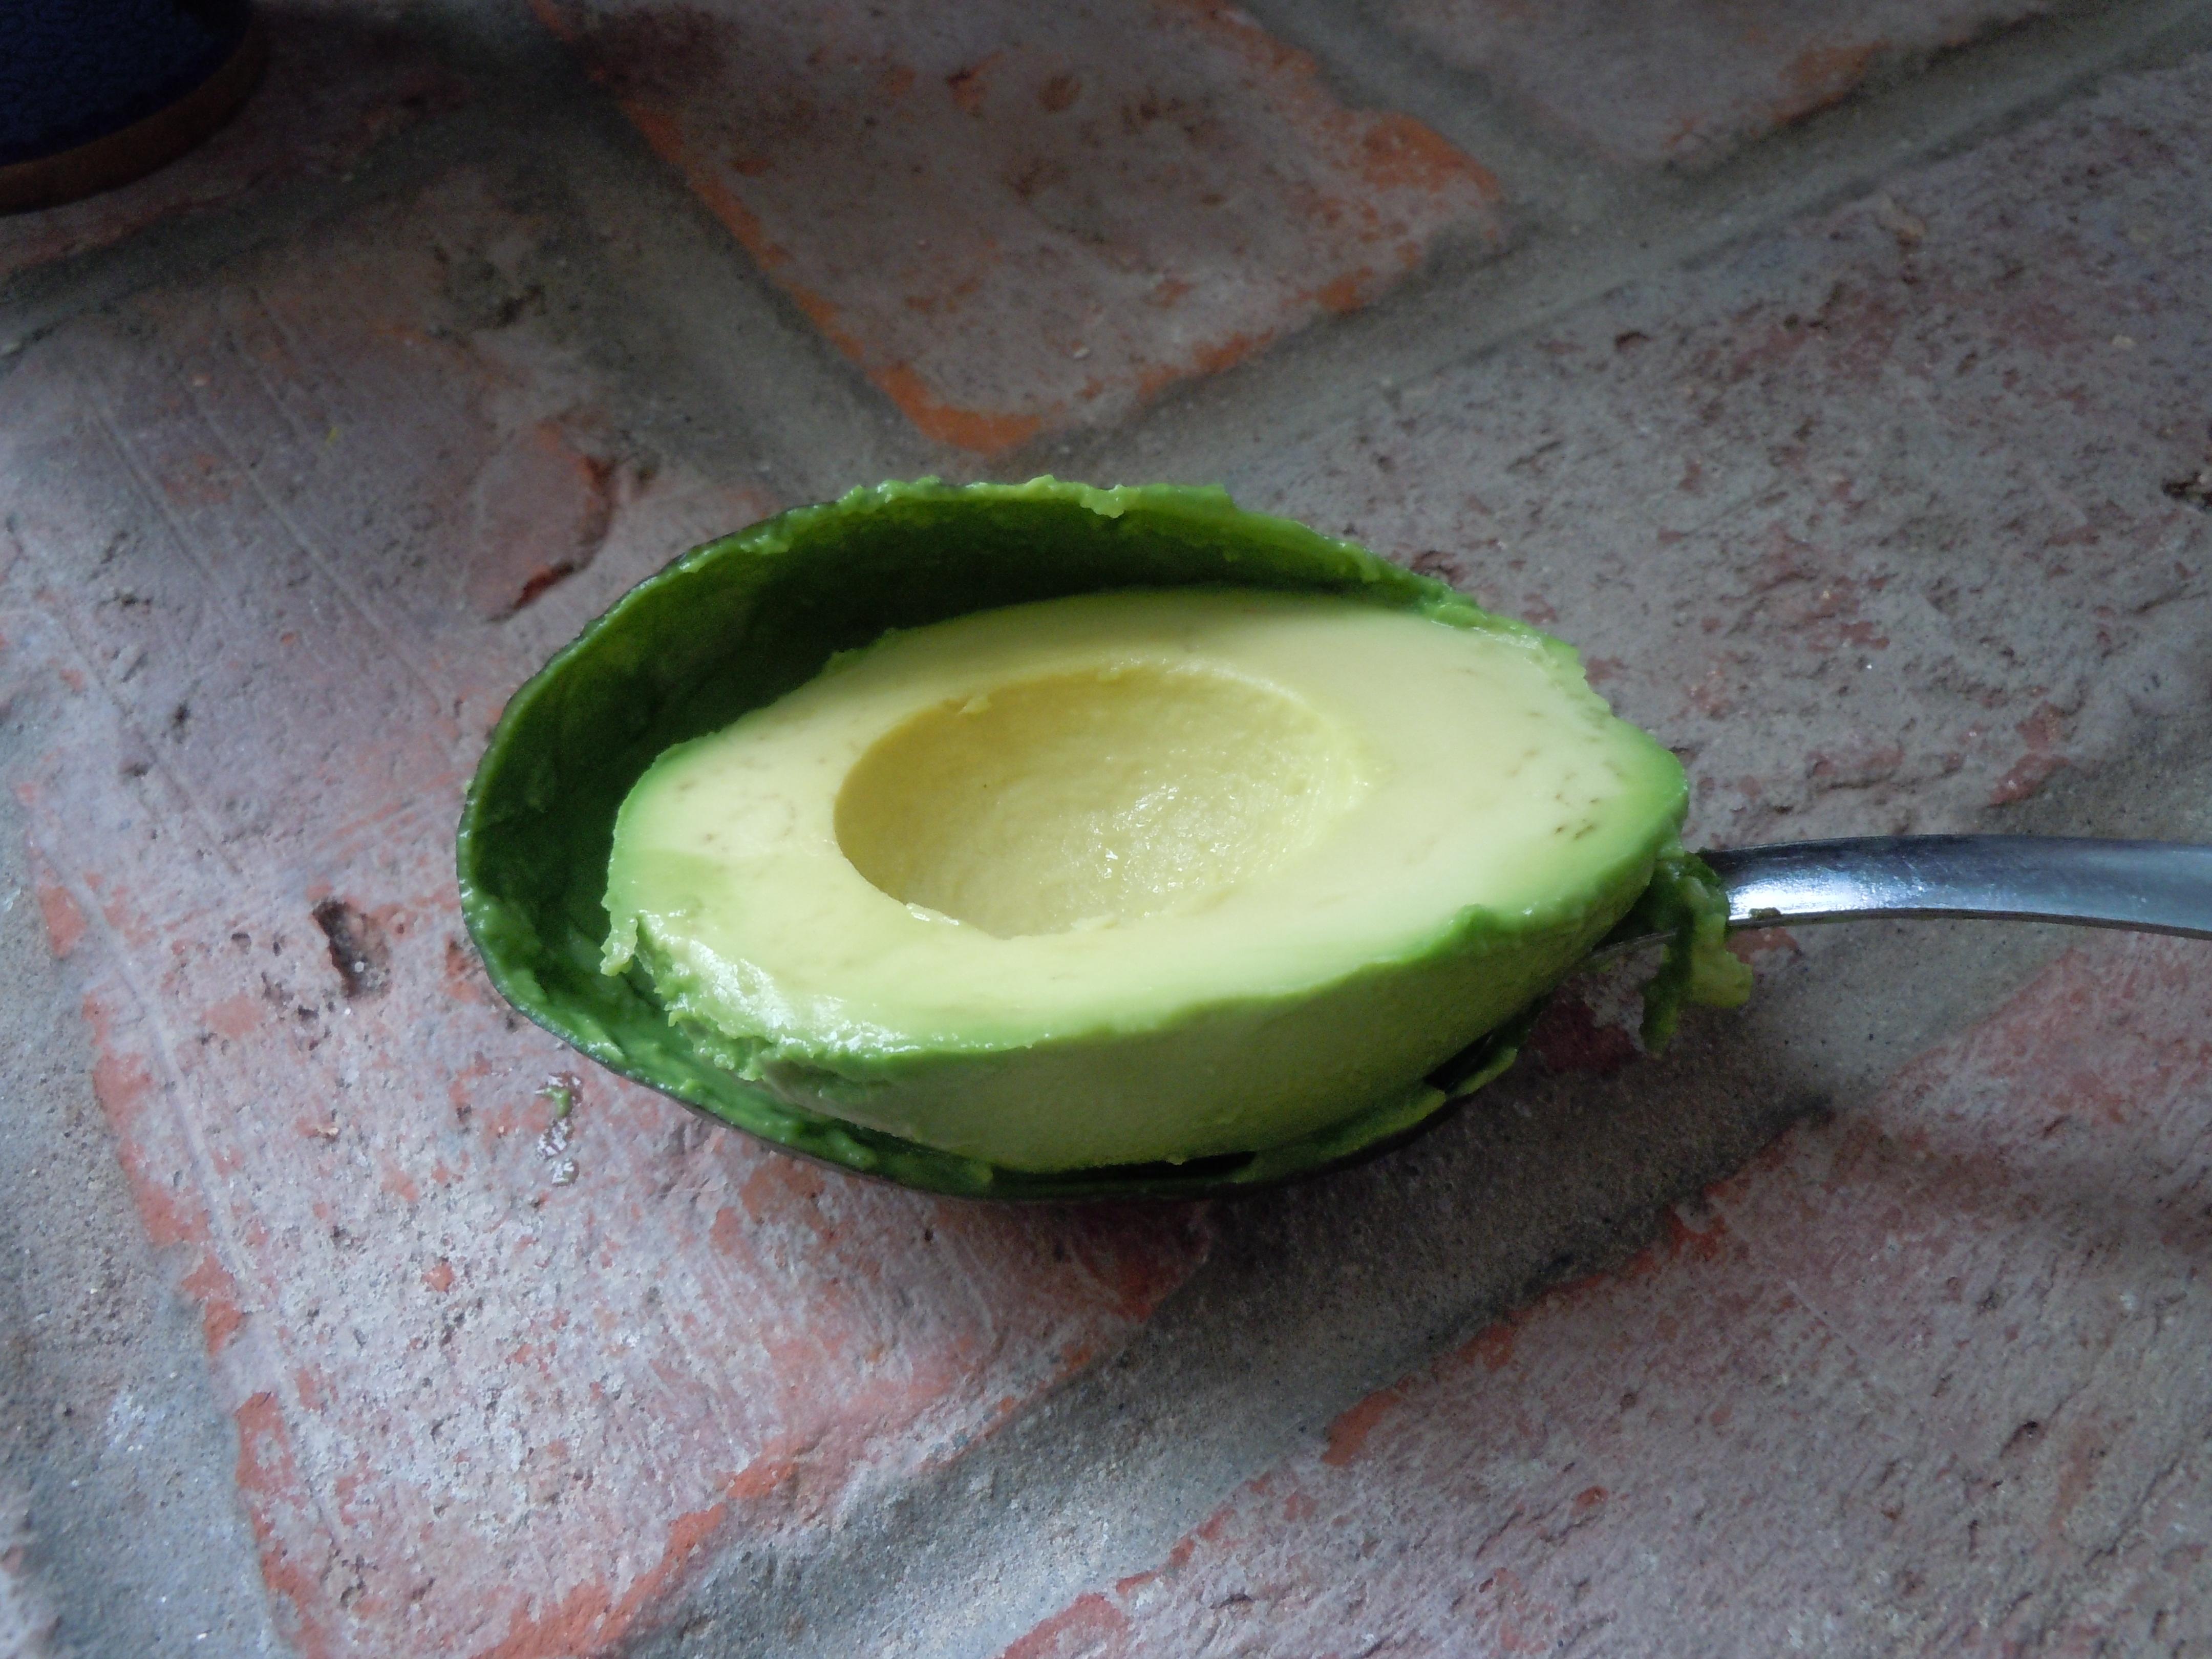
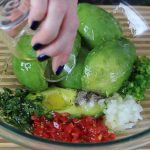
Slice and remove avocado flesh from the skins as shown in the photo above and place in a large bowl, save one of the avocado pits to add to dip at the end
Slice off any black or dark spots on the avocado’s and discard
Finely chop sweet onion, tomatoes, jalapeno and cilantro and add to bowl with avacado’s
Add in s&p and olive oil and rice wine vinegar
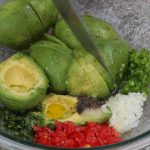
Begin to slice halved avocado’s with a knife to help break them up
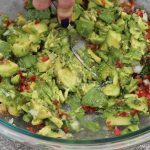
Then begin to mash with a fork and stir around all of the ingredients
Lastly add Siracha (hot sauce) and 1 tsp of lemon juice
Mix gently to combine and add pit to the middle of the guacamole
The pit helps to preserve guacamole until it get’s all eaten up 🙂
Serve with chips, turkey or beef burgers, salsa …be creative!
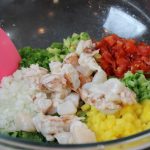
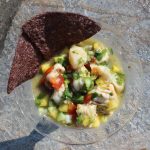
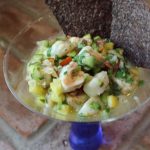
Making shrimp & scallop ceviche really can’t get an easier then this! Ceviche is a South American dish that’s usually served as an appetizer. The fish cures/cooks in citrus juice for an hour or two while you get all your salsa ingredients in order. The citrus curing juices are drained from the fish, leaving a tender shrimp & scallops to be tossed with salsa and voilà. The base of the shrimp and scallop ceviche here is my mango salsa recipe.
When I thought of making ceviche this week, sombrero popped into my head! I went to several store’s, costume store’s included which don’t exist anymore, and was out of luck. I then called my dear friend Maria who to my surprise had an authentic sombrero for me to borrow that her parents had picked up on a cruise to Cozumel, Mexico. I have to say it is a very cool hat, not to mention really beautiful. Although it has some weight to it so your neck gets a bit of a work out and you have to be careful not to knock into the walls because depth perception can be deceiving.
When I make this shrimp & scallop ceviche. or any ceviche for that matter, I like to cure my fish in lime juice and then drain that juice before adding the fish to my salsa ingredients. In my opinion, the flavors stay fresher that way. By draining the fish juice that’s released from the shrimp and scallops in the curing process it keep’s a better balance between fish and salsa. There are some recipe’s that have you toss everything into one bowl but I feel it taste’s better when you drain the curing fish juices prior to adding the fish into the salsa.
Since the texture’s of shrimp & scallops are a little different I have you cut the shrimp in 1/2 horizontally, and then dice, so the needed curing/cooking time between the two is closer. You could always change up the fish in this recipe to and go with all scallops or another favorite flaky fish. It’s all about being creative and using what’s freshest at the market!
1/2 lb. lg shrimp, peeled and deveined, 1/3″ diced
1/4 lb of sea scallops, 1/3″ diced
1/2 cup diced sweet mango
1/2 cup sweet onion – Vidalia onion -finely chopped
1/2 cup mini cucumber diced 1/3 cup cherry tomatoes finely chopped
1/2 cup cilantro chopped (1/2 cup after it’s chopped)
1/3 cup finely diced cherry tomato
1/3 cup finely diced avocado
1 jalapeno finely chopped without the seeds
juice from 1 lime – for the final ceviche
1 tbsp fresh lemon juice – for the final ceviche
2 tbsp extra virgin olive oil
2 tbsp rice wine vinegar – (“seasoned”)
juice from 4 limes for the shrimp/scallop for the curing marinade
salt and pepper to taste
dash of Tabasco
Bag of blue corn chips (optional)
Directions:
Wash and devein the shrimp
Wash the sea scallops and remove little fibrous side muscle that’s attached to the scallop
Pat the shrimp and scallops dry on paper towels
Cut up the shrimp in 1/2 horizontally and then into 1/4″ pieces
Slice up the scallops in 1/2 horzintally and then into 1/2″ pieces
Put them into the same bowl… a non-reactive bowl like a glass bowl
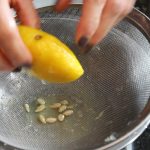
Roll the limes to soften them up
Squeeze the lime juice over the shrimp and scallops
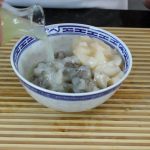
Make sure there is enough juice so all the shrimp and scallop pieces are submersed in the lime juice and place into the frig until they are opaque…and place into the frig for 1- 2 hours
NOTE: you should check the fish at 30 minutes intervals to see how it’s curing/cooking …depending on the coldness of the fish, kind and size it wil be ready at different time’s but it’s EASY – if it’s opaque then it’s done!
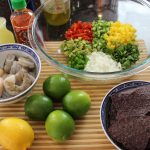
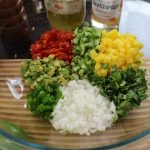
Finely chop the tomatoes, jalapeno, sweet onion, cucumbers, mango and cilantro and set aside in a large bowl
Drain all the liquid out from the shrimp and scallops and discard
Add the shrimp and scallops to the large bowl with the salsa, add in juice of 1 tbsp lemon juice, juice from 1 lime, 2 Tbsp olive oil, 2 Tbsp rice wine vinegar, dash of Siracha, salt and pepper to taste
Put back into the fridge for 15 minutes for flavors to marry
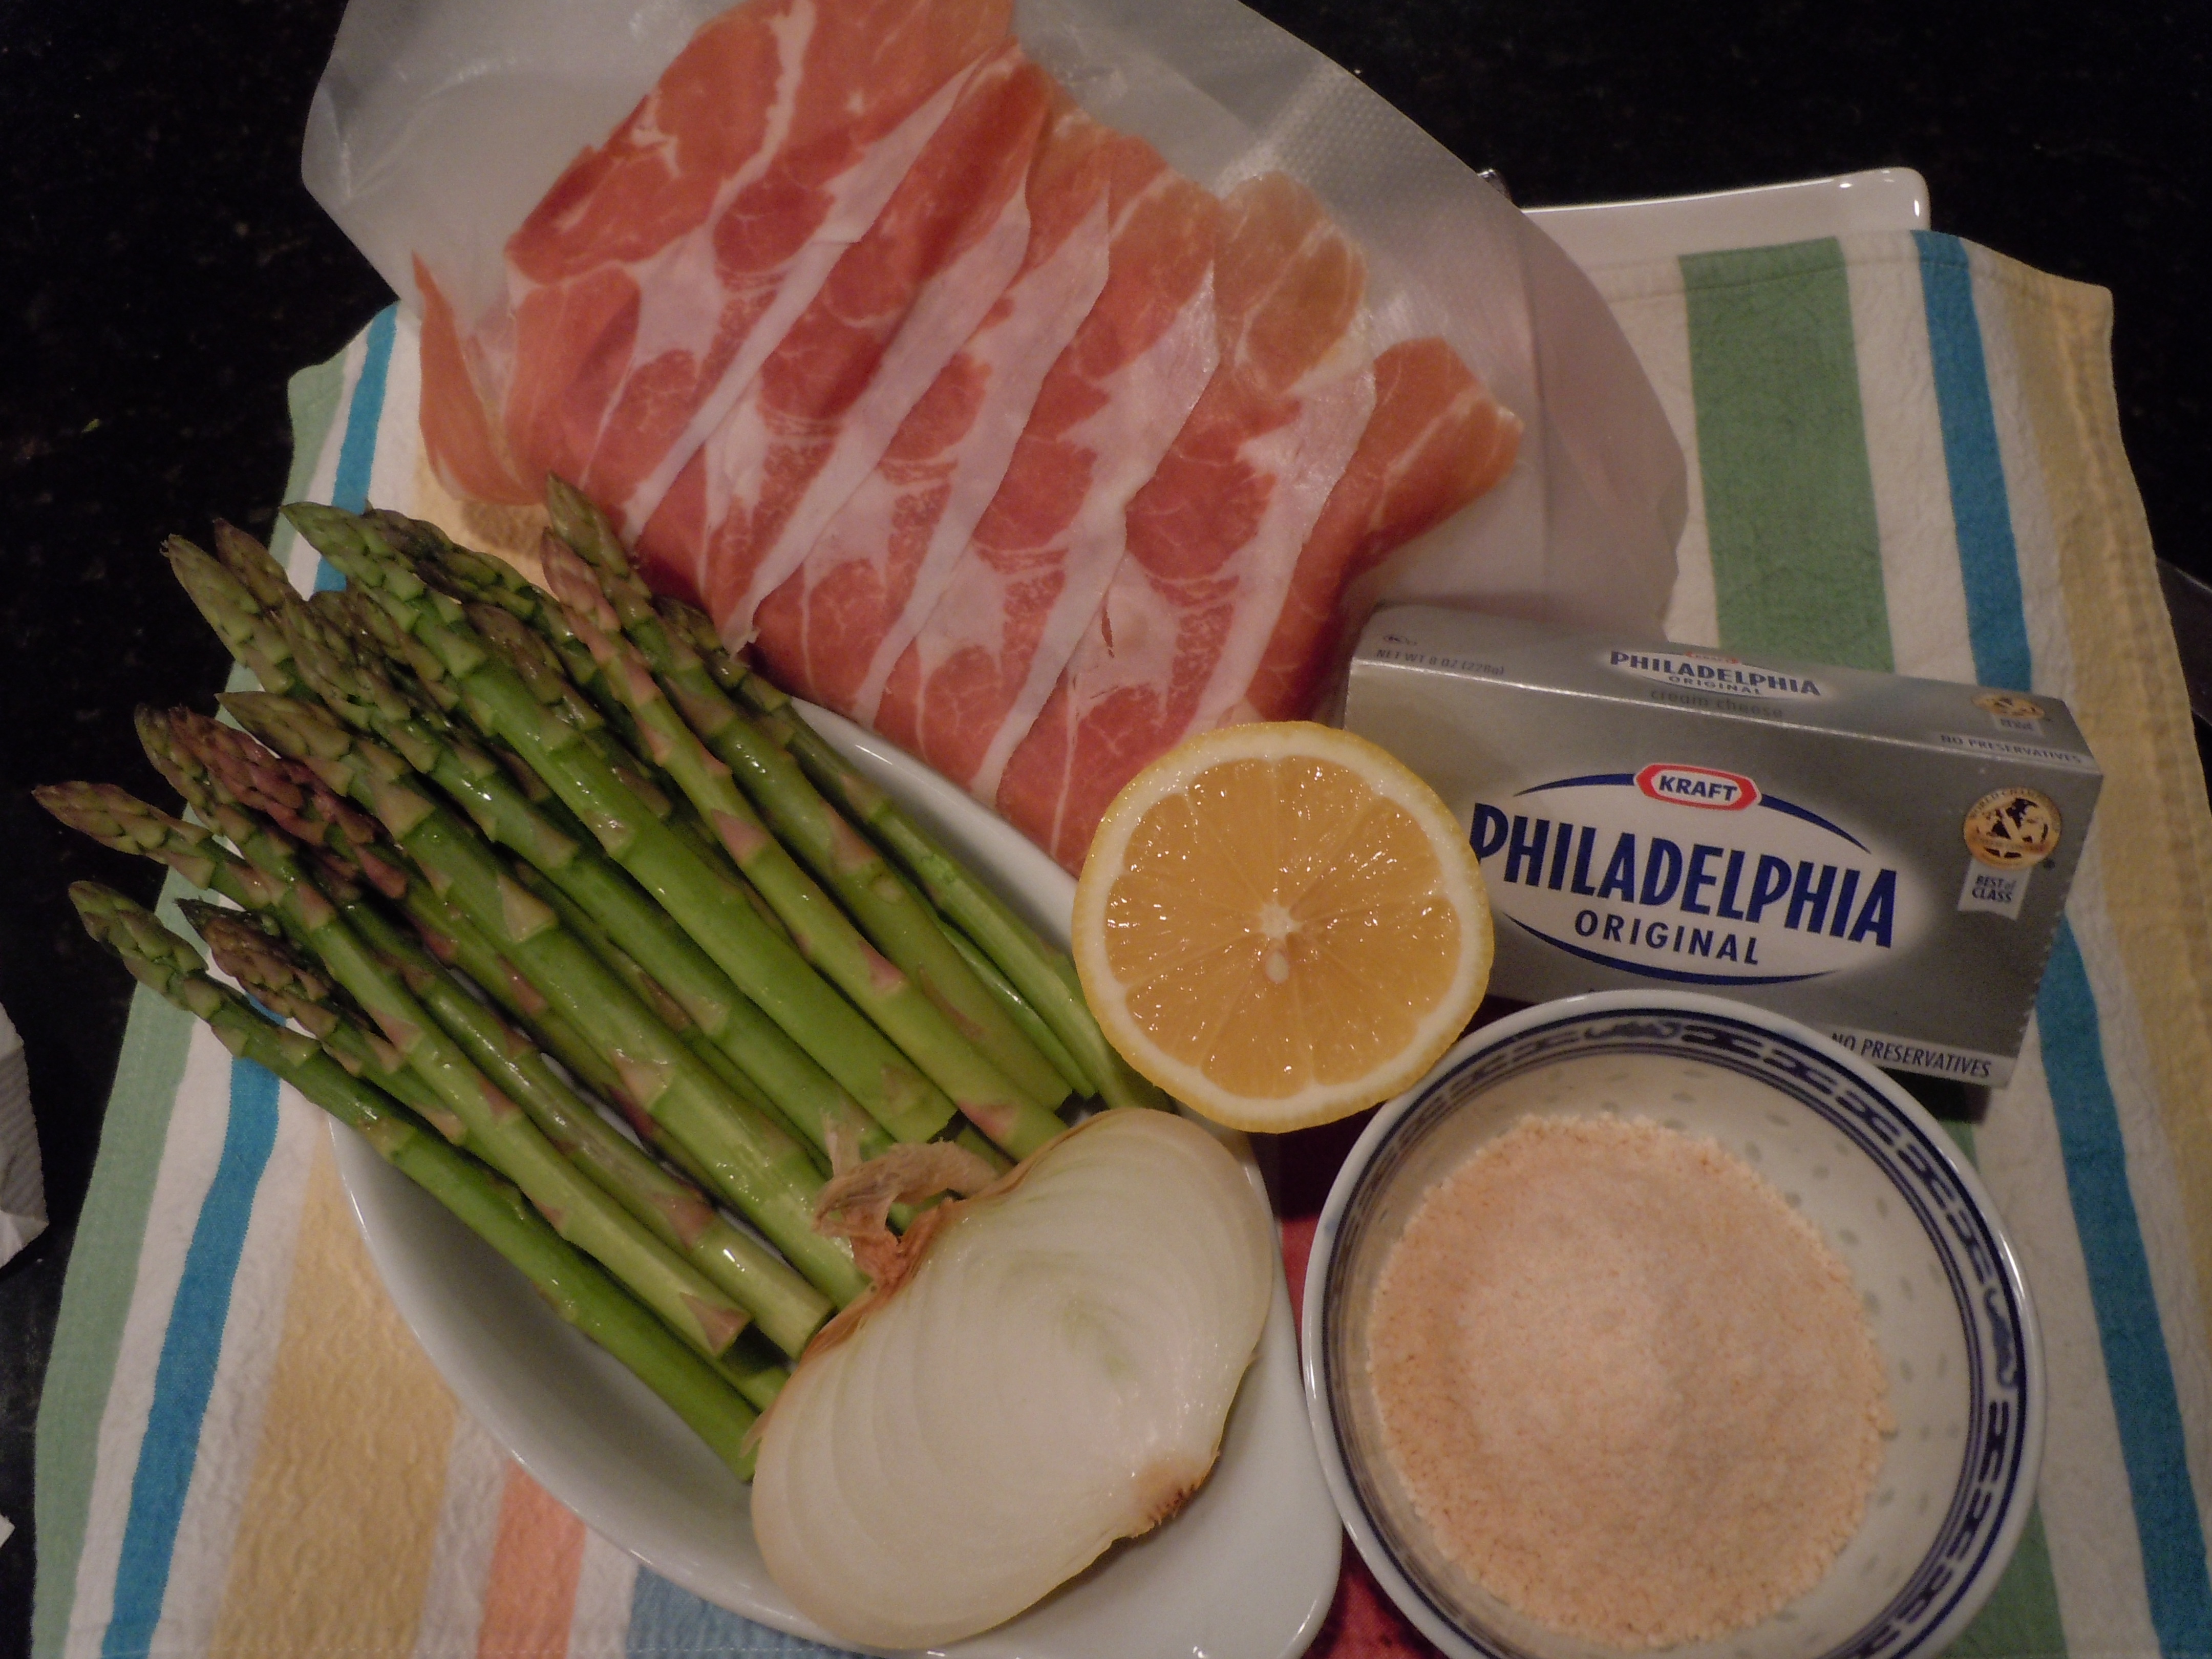
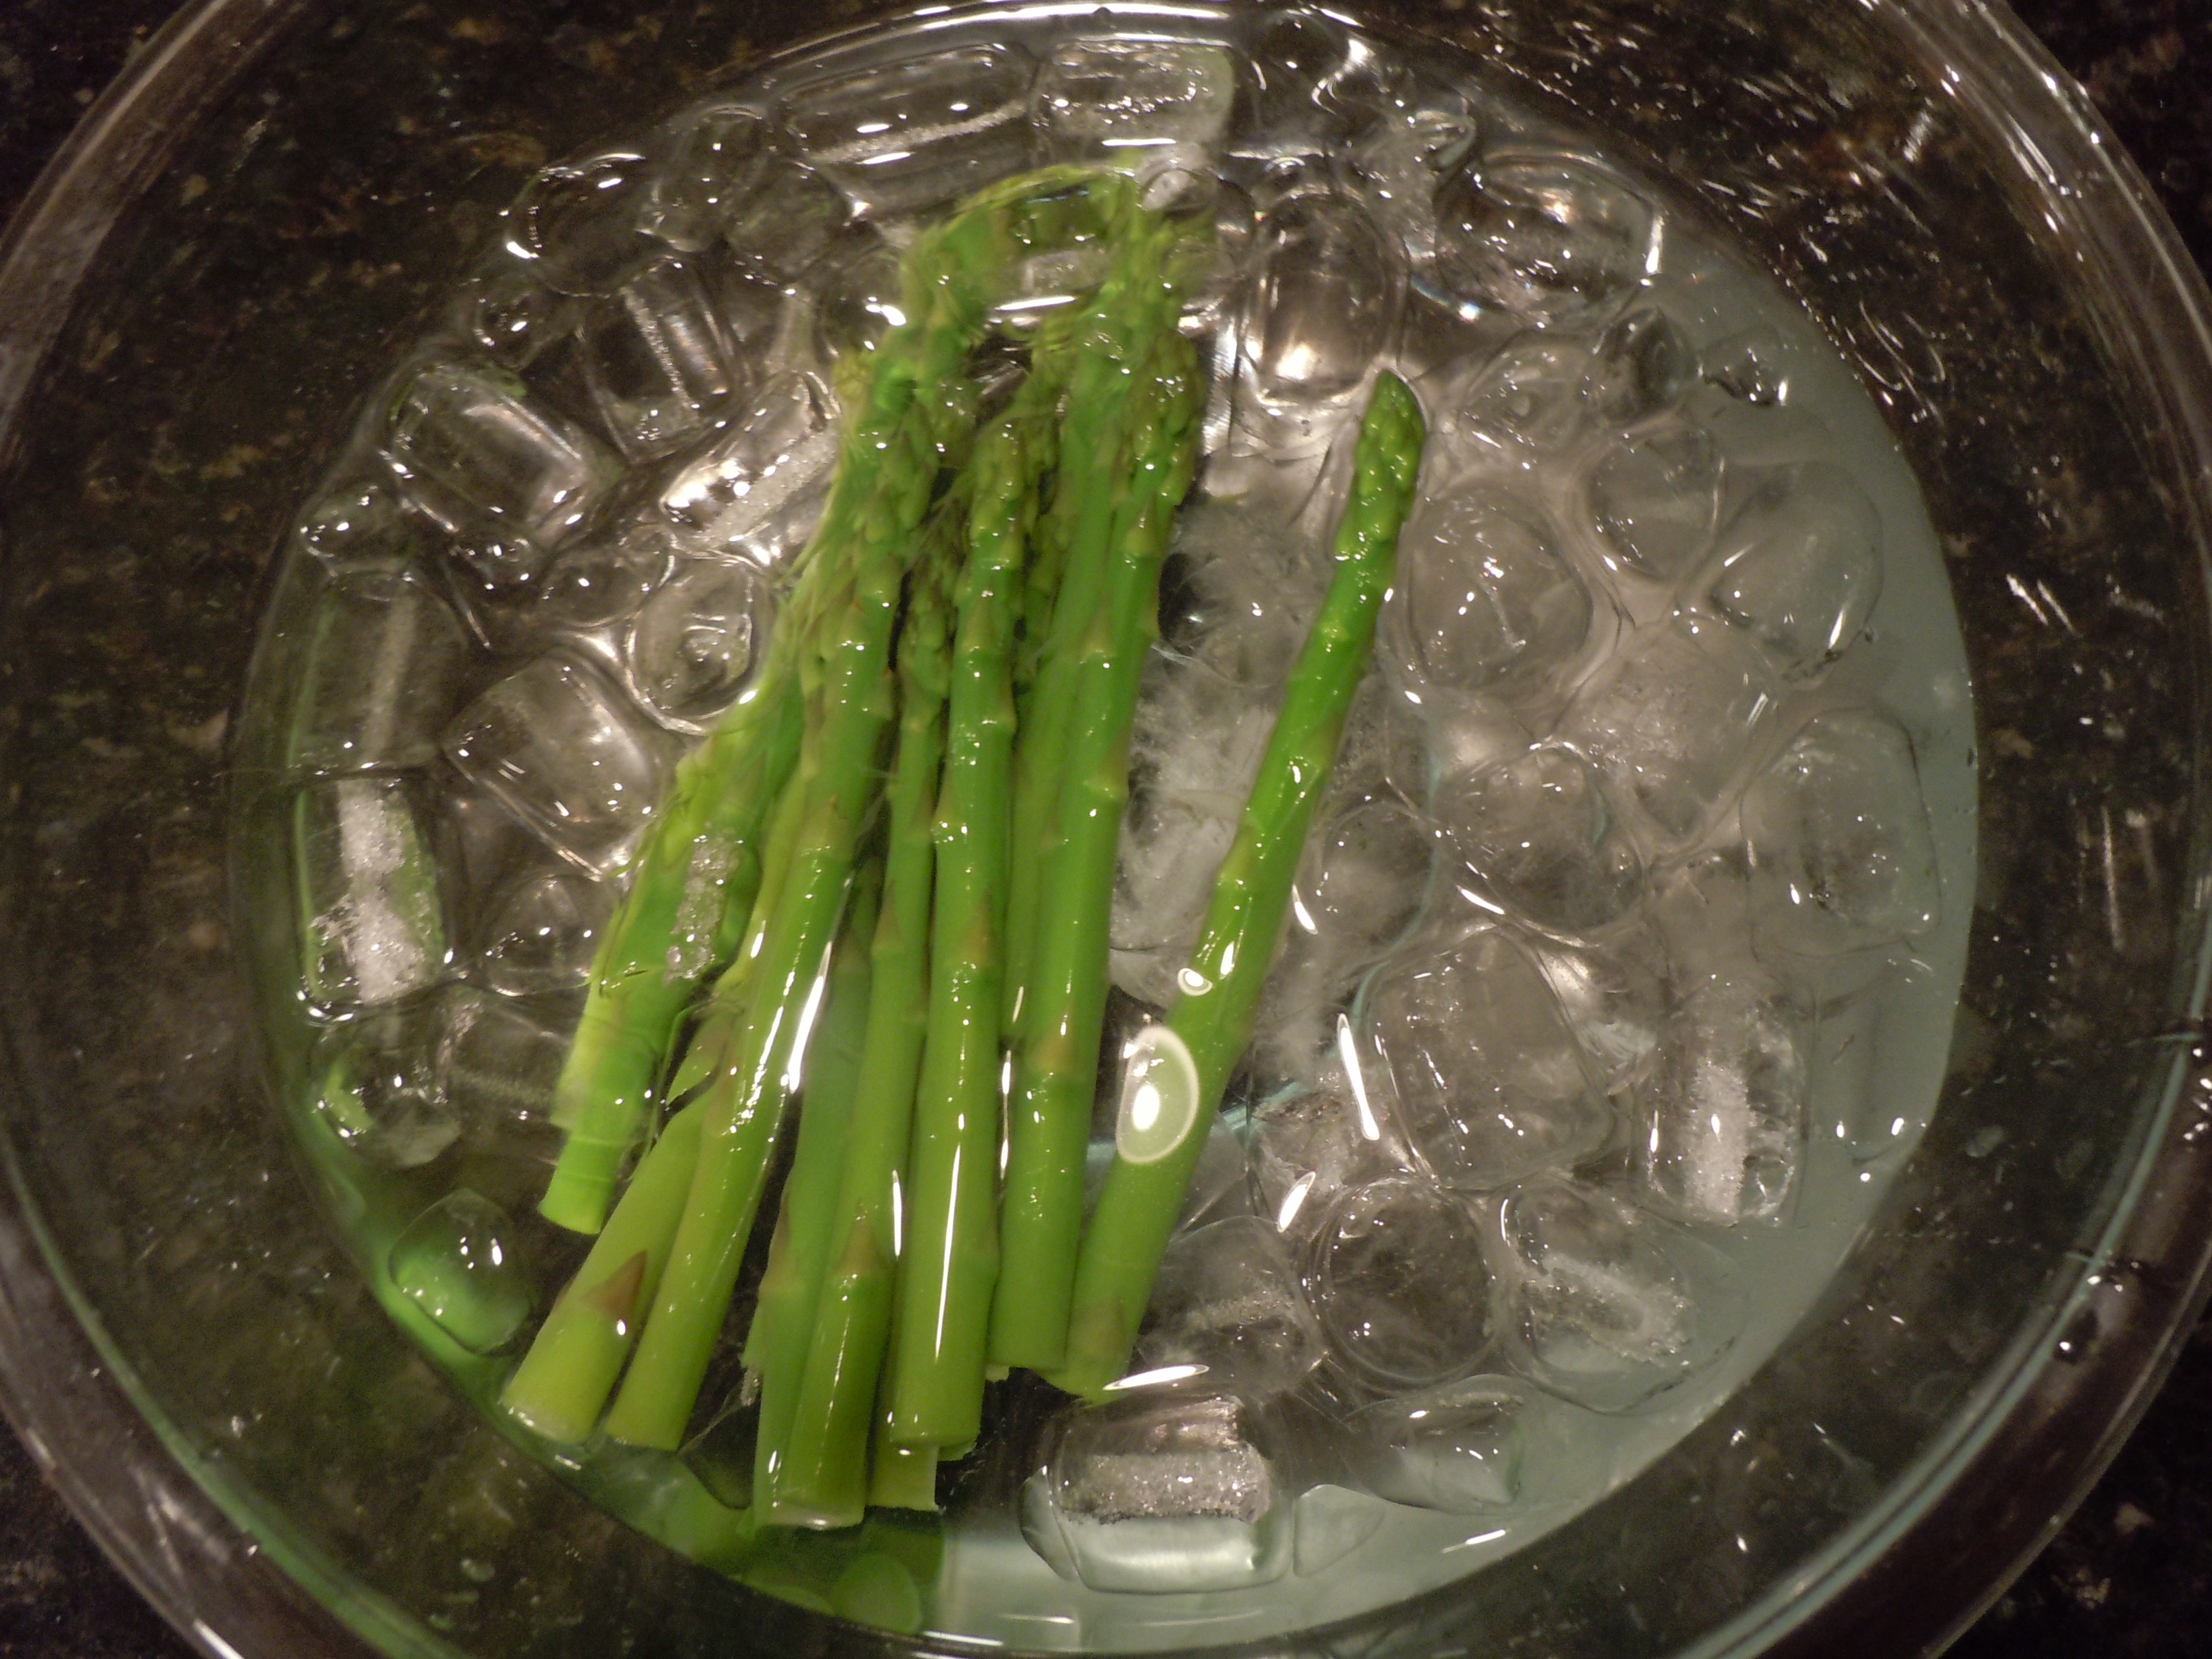
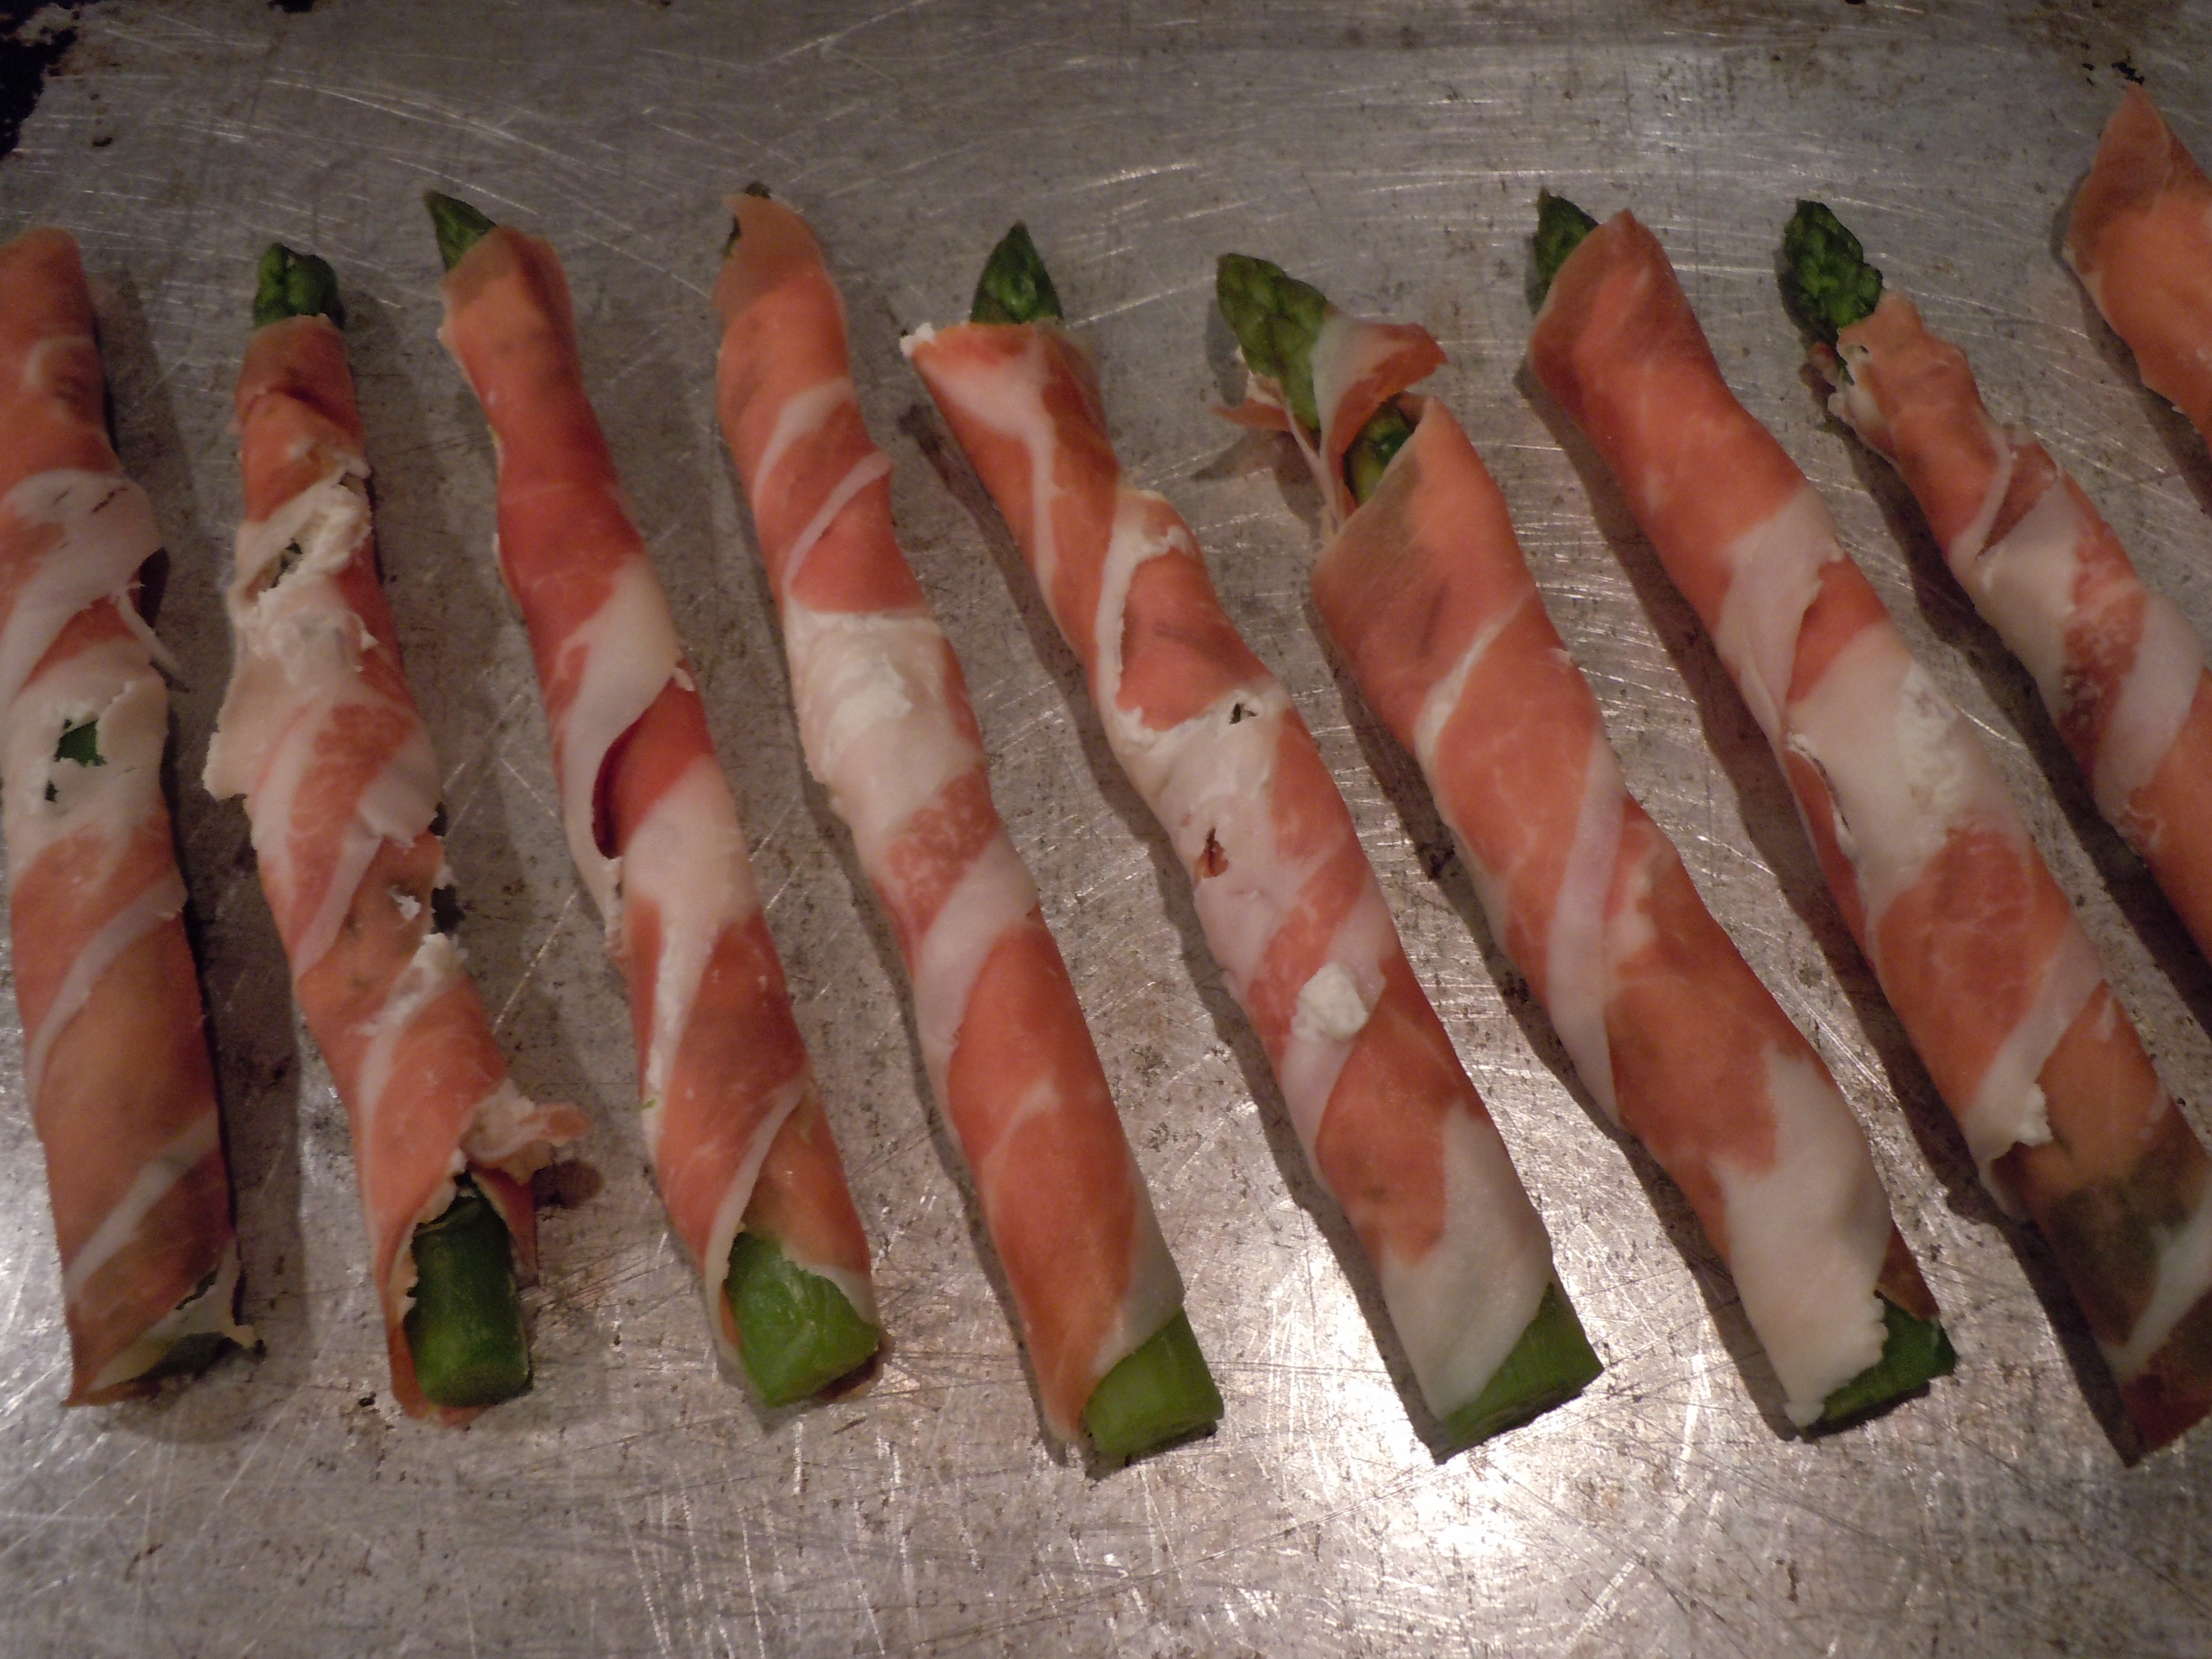
The first holiday appetizer I have for you is my baked asparagus wrapped in Prosciutto that has a smear of a cream cheese, sweet onion and Parmesan spread on the Prosciutto. These Proscuitto wrapped Asparagus are one of my favorite appetizers and can be a topping to a salad or a pretty side vegetable to lunch or dinner. I first had these delicious little bundles at my sister-in-law’s, Anita’s house, twenty years ago. She is an amazing chef who’s always cooking up a storm. They can totally be made a day ahead, placed on a cookie tray and stored in the frig until you need them. The asparagus is blanched and shocked in an ice bath to stop the cooking and to keep that vibrant green color before they are wrapped with Proscuitto. You want to make sure you buy “Proscuitto di Parma” for this holiday appetizer because it’s the best and most delicate in flavor. There are other tasty Prosciutto’s out there but they won’t be as tender as the Parma and may get too salty or waxy after baking.
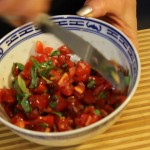
The second quick and easy, gourmet tidbit i have for you are my holiday crostinis with Gorgonzola, fresh chopped tomato, basil and garlic that bakes for seven minutes. These take the same amount of time as the asparagus-Prosciutto appetizer’s. How convenient is that? You can buy already crumbled Gorgonzola at the market in small plastic containers. A little chopping of cherry or grape tomatoes and basil and voilà! The crostinis are beyond simple to make and you can check out that recipe by the hyper-link.
The last wicked easy and delicious holiday appetizer I have for you is something a little sweet. It’s a dollop of goat cheese, fig jam, fresh chopped pear and a mint leave all in a pre-baked fillo shell. Yes, I said pre-baked!!! Can you believe that one? This one you serve at room temperature so all you need to do is thaw the pre-baked shells which takes all of two minutes. It just can’t get any easier than that.
You can totally be flexible with these perfect little holiday appetizer’s too. If you don’t like Gorgonzola switch it out with some cubed up fresh mozzarella to top the crostinis and tomato-basil mixture. As for the pre-baked phylo cups, you can always swap out the goat cheese for a slice of brie if that’s more your taste.
1 Tbsp grated vidalia onion (yellow or white is fine too)
1/2 cup grated Parmesan cheese
1 Tsp fresh lemon juice
Directions:
Pre-heat the oven to 400º.
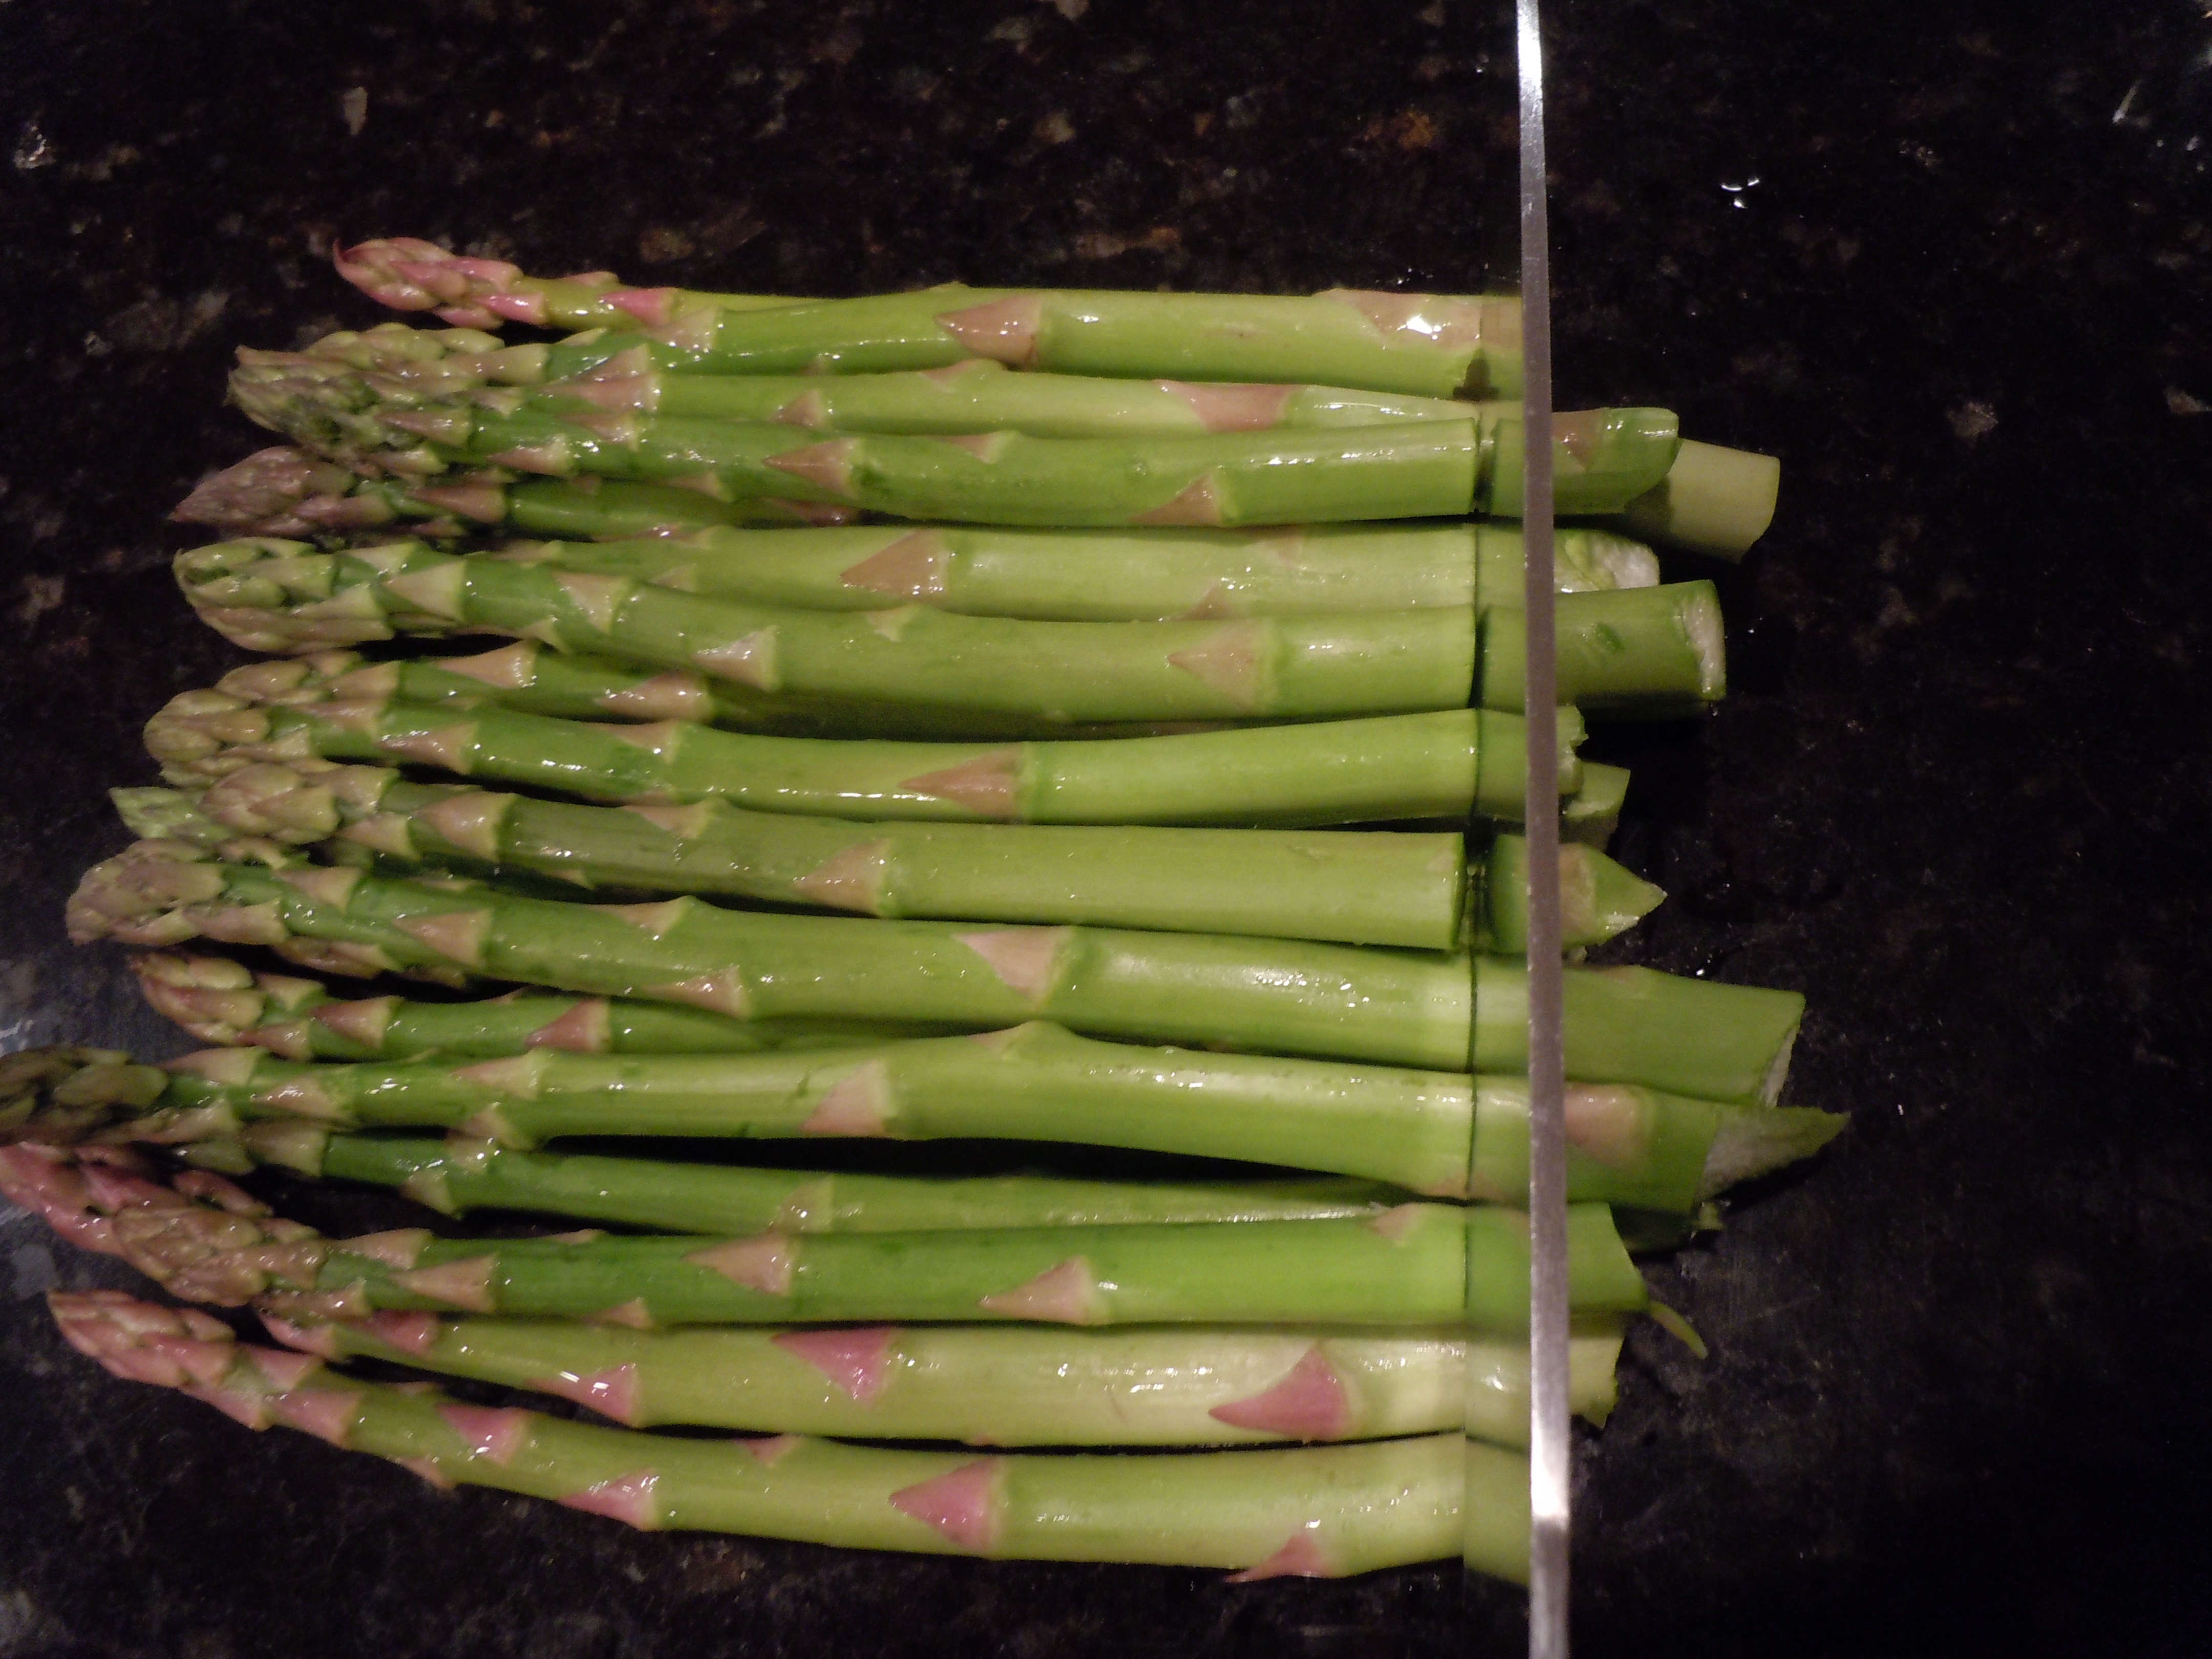
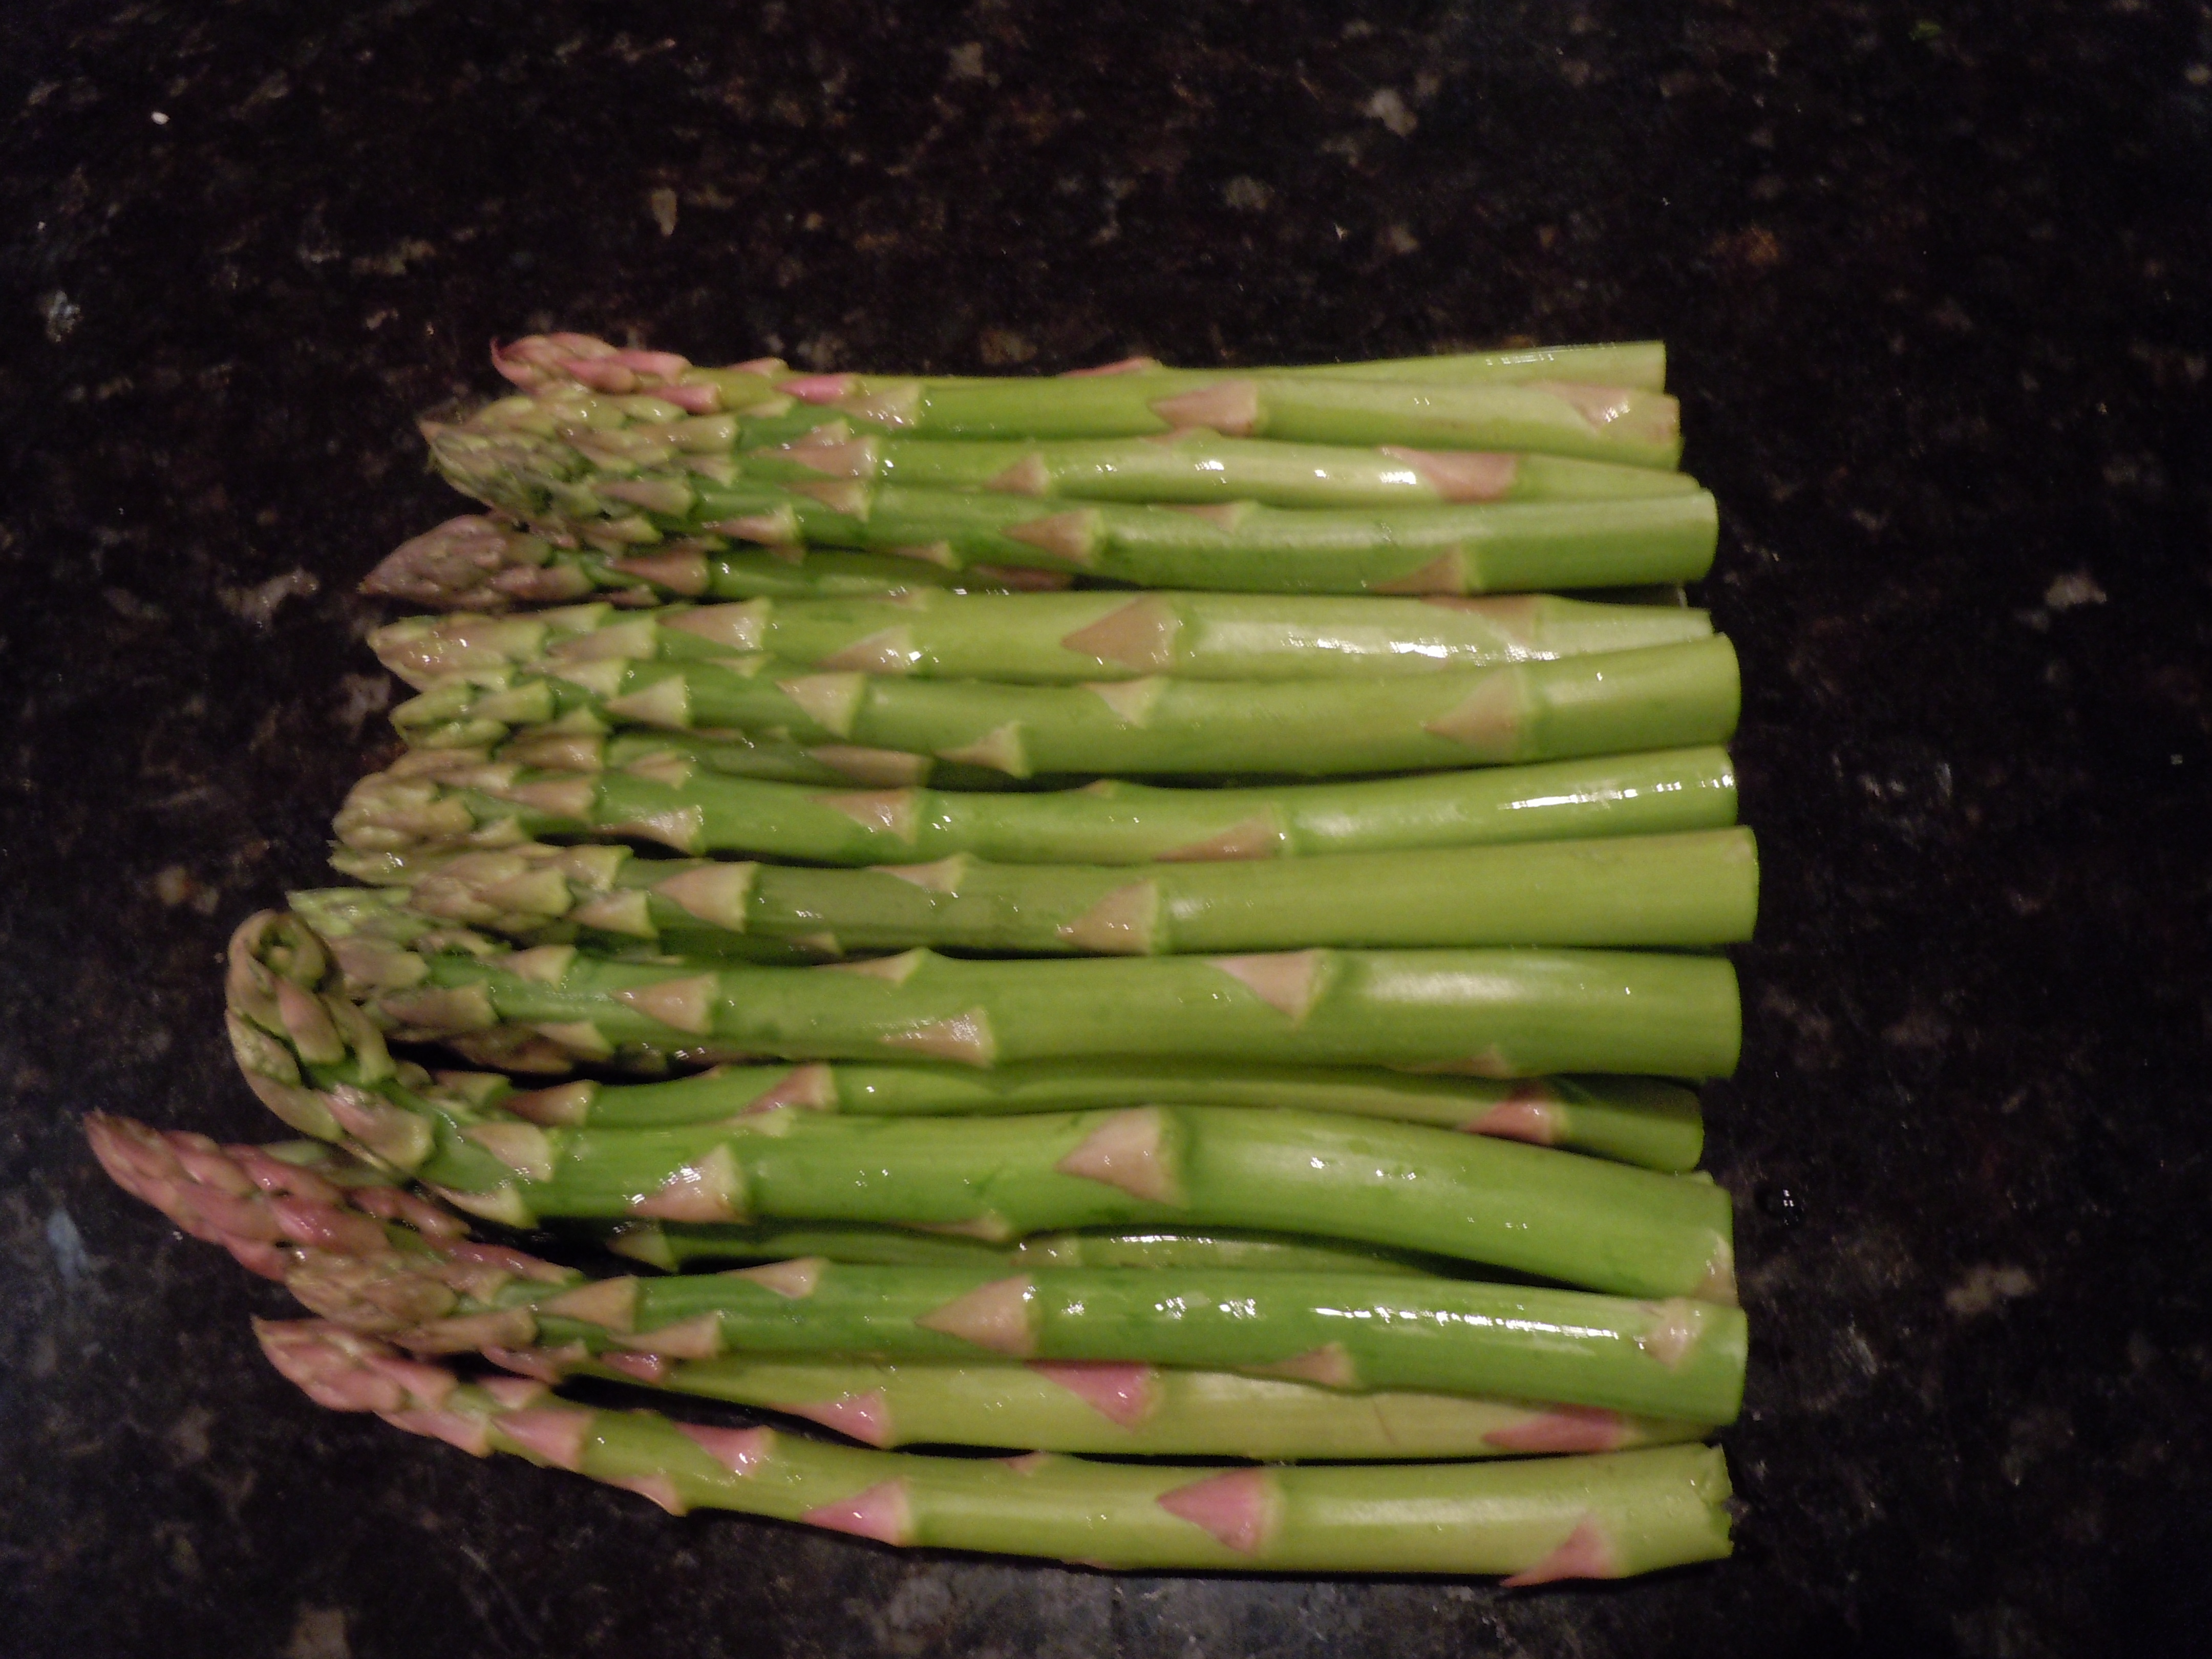
Hold the asparagus with your fingers in the middle and on the end and bend.
The asparagus will break where it’s supposed to.
Line them up and cut evenly across the bottom so they are all at a consistent length.
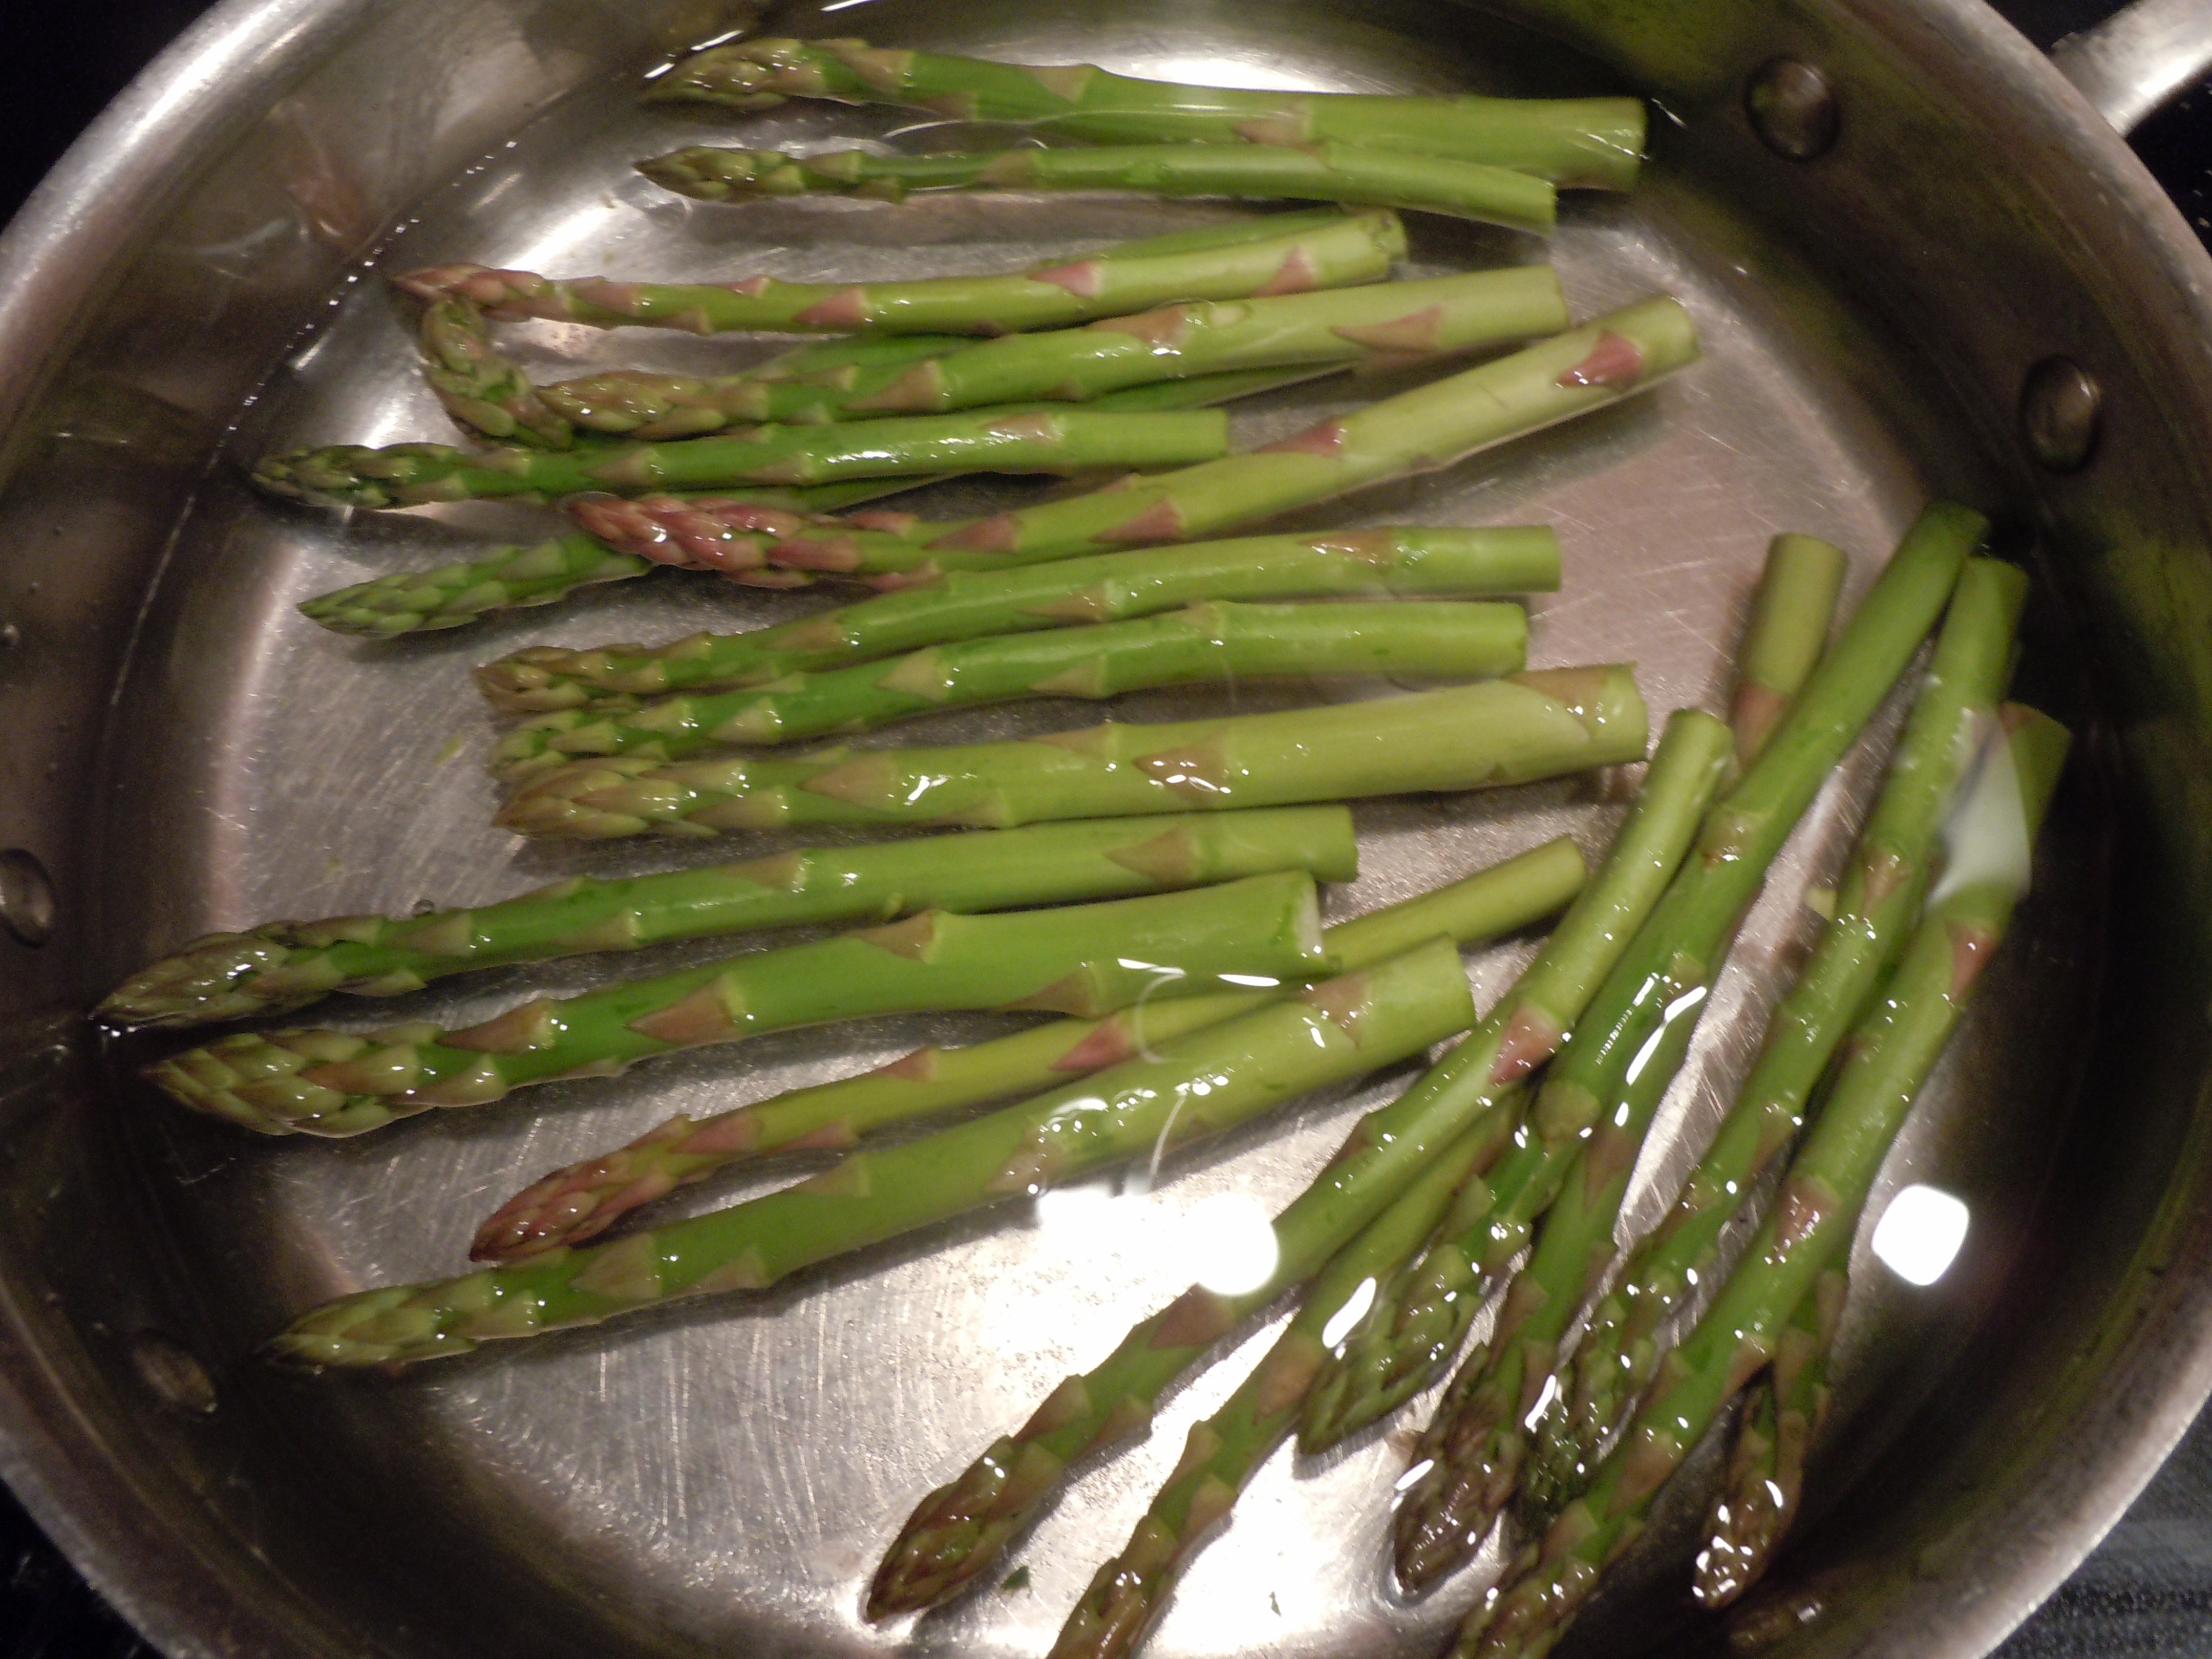
Bring salted water to a boil and add in asparagus …Blanch 2 minutes
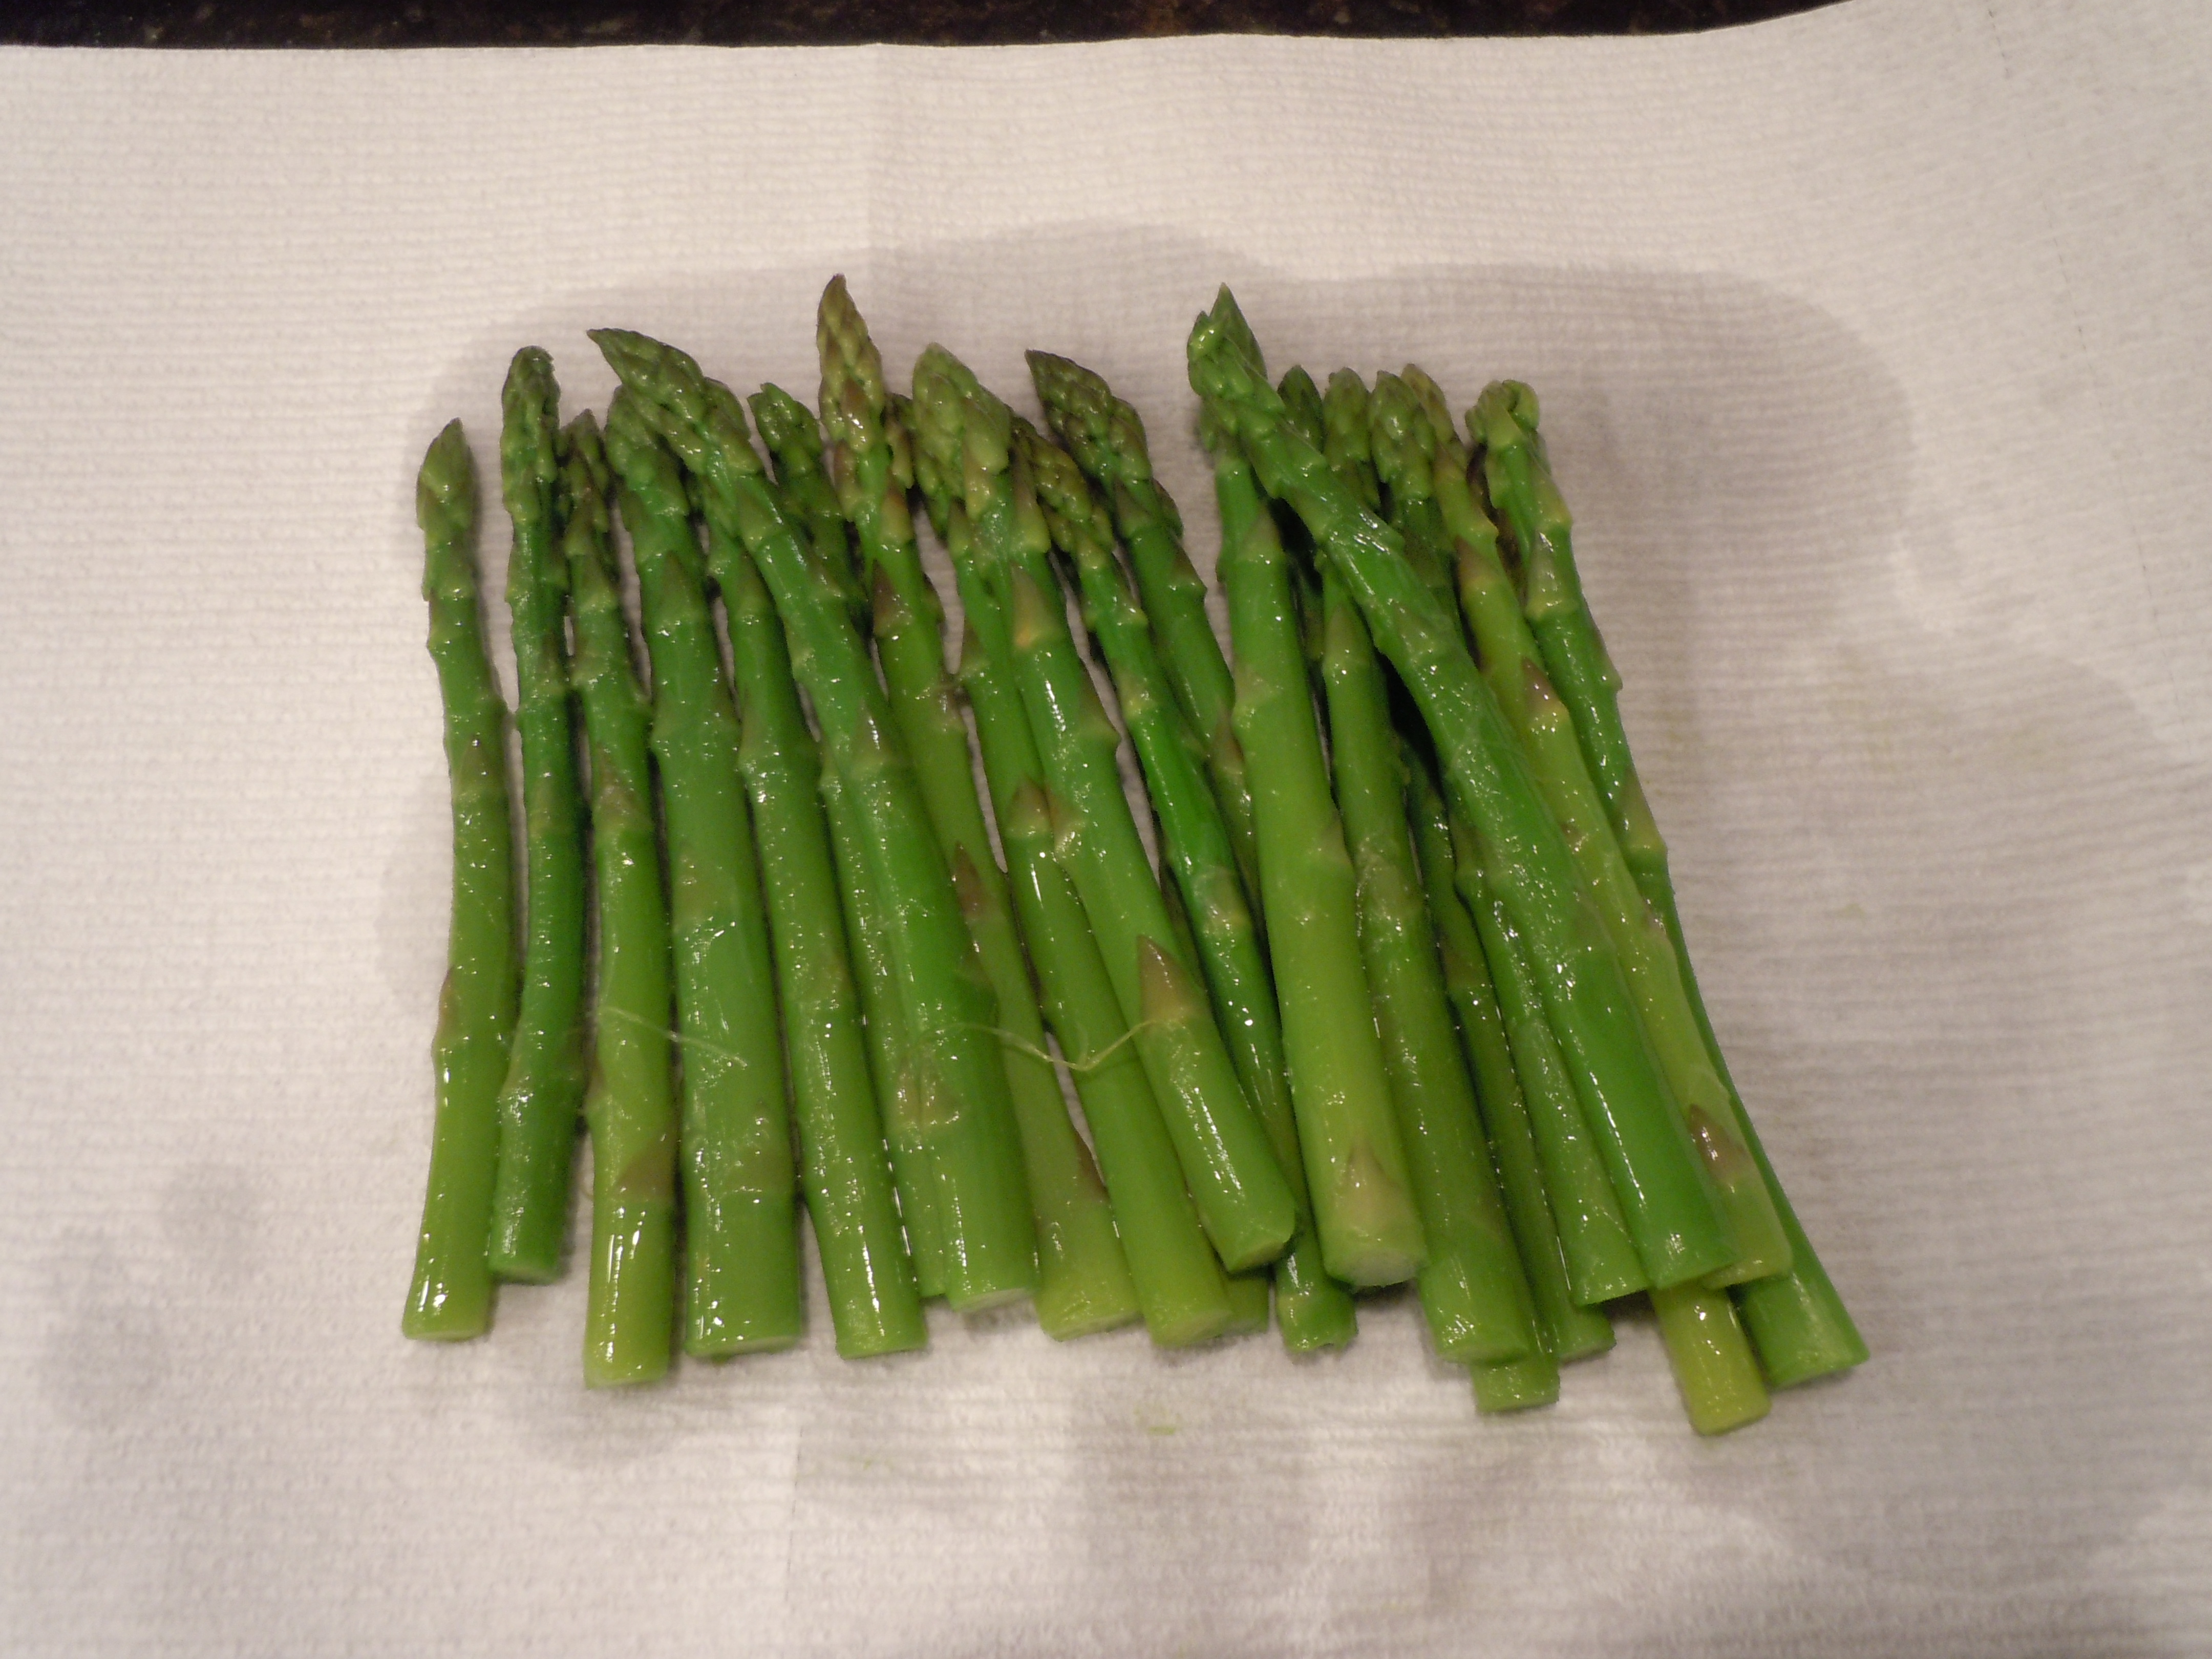
Drain and put into a ice bath.
Dry the asparagus with paper towels.
At this point you can pop them into a zip lock and into the frig until you are ready for them.
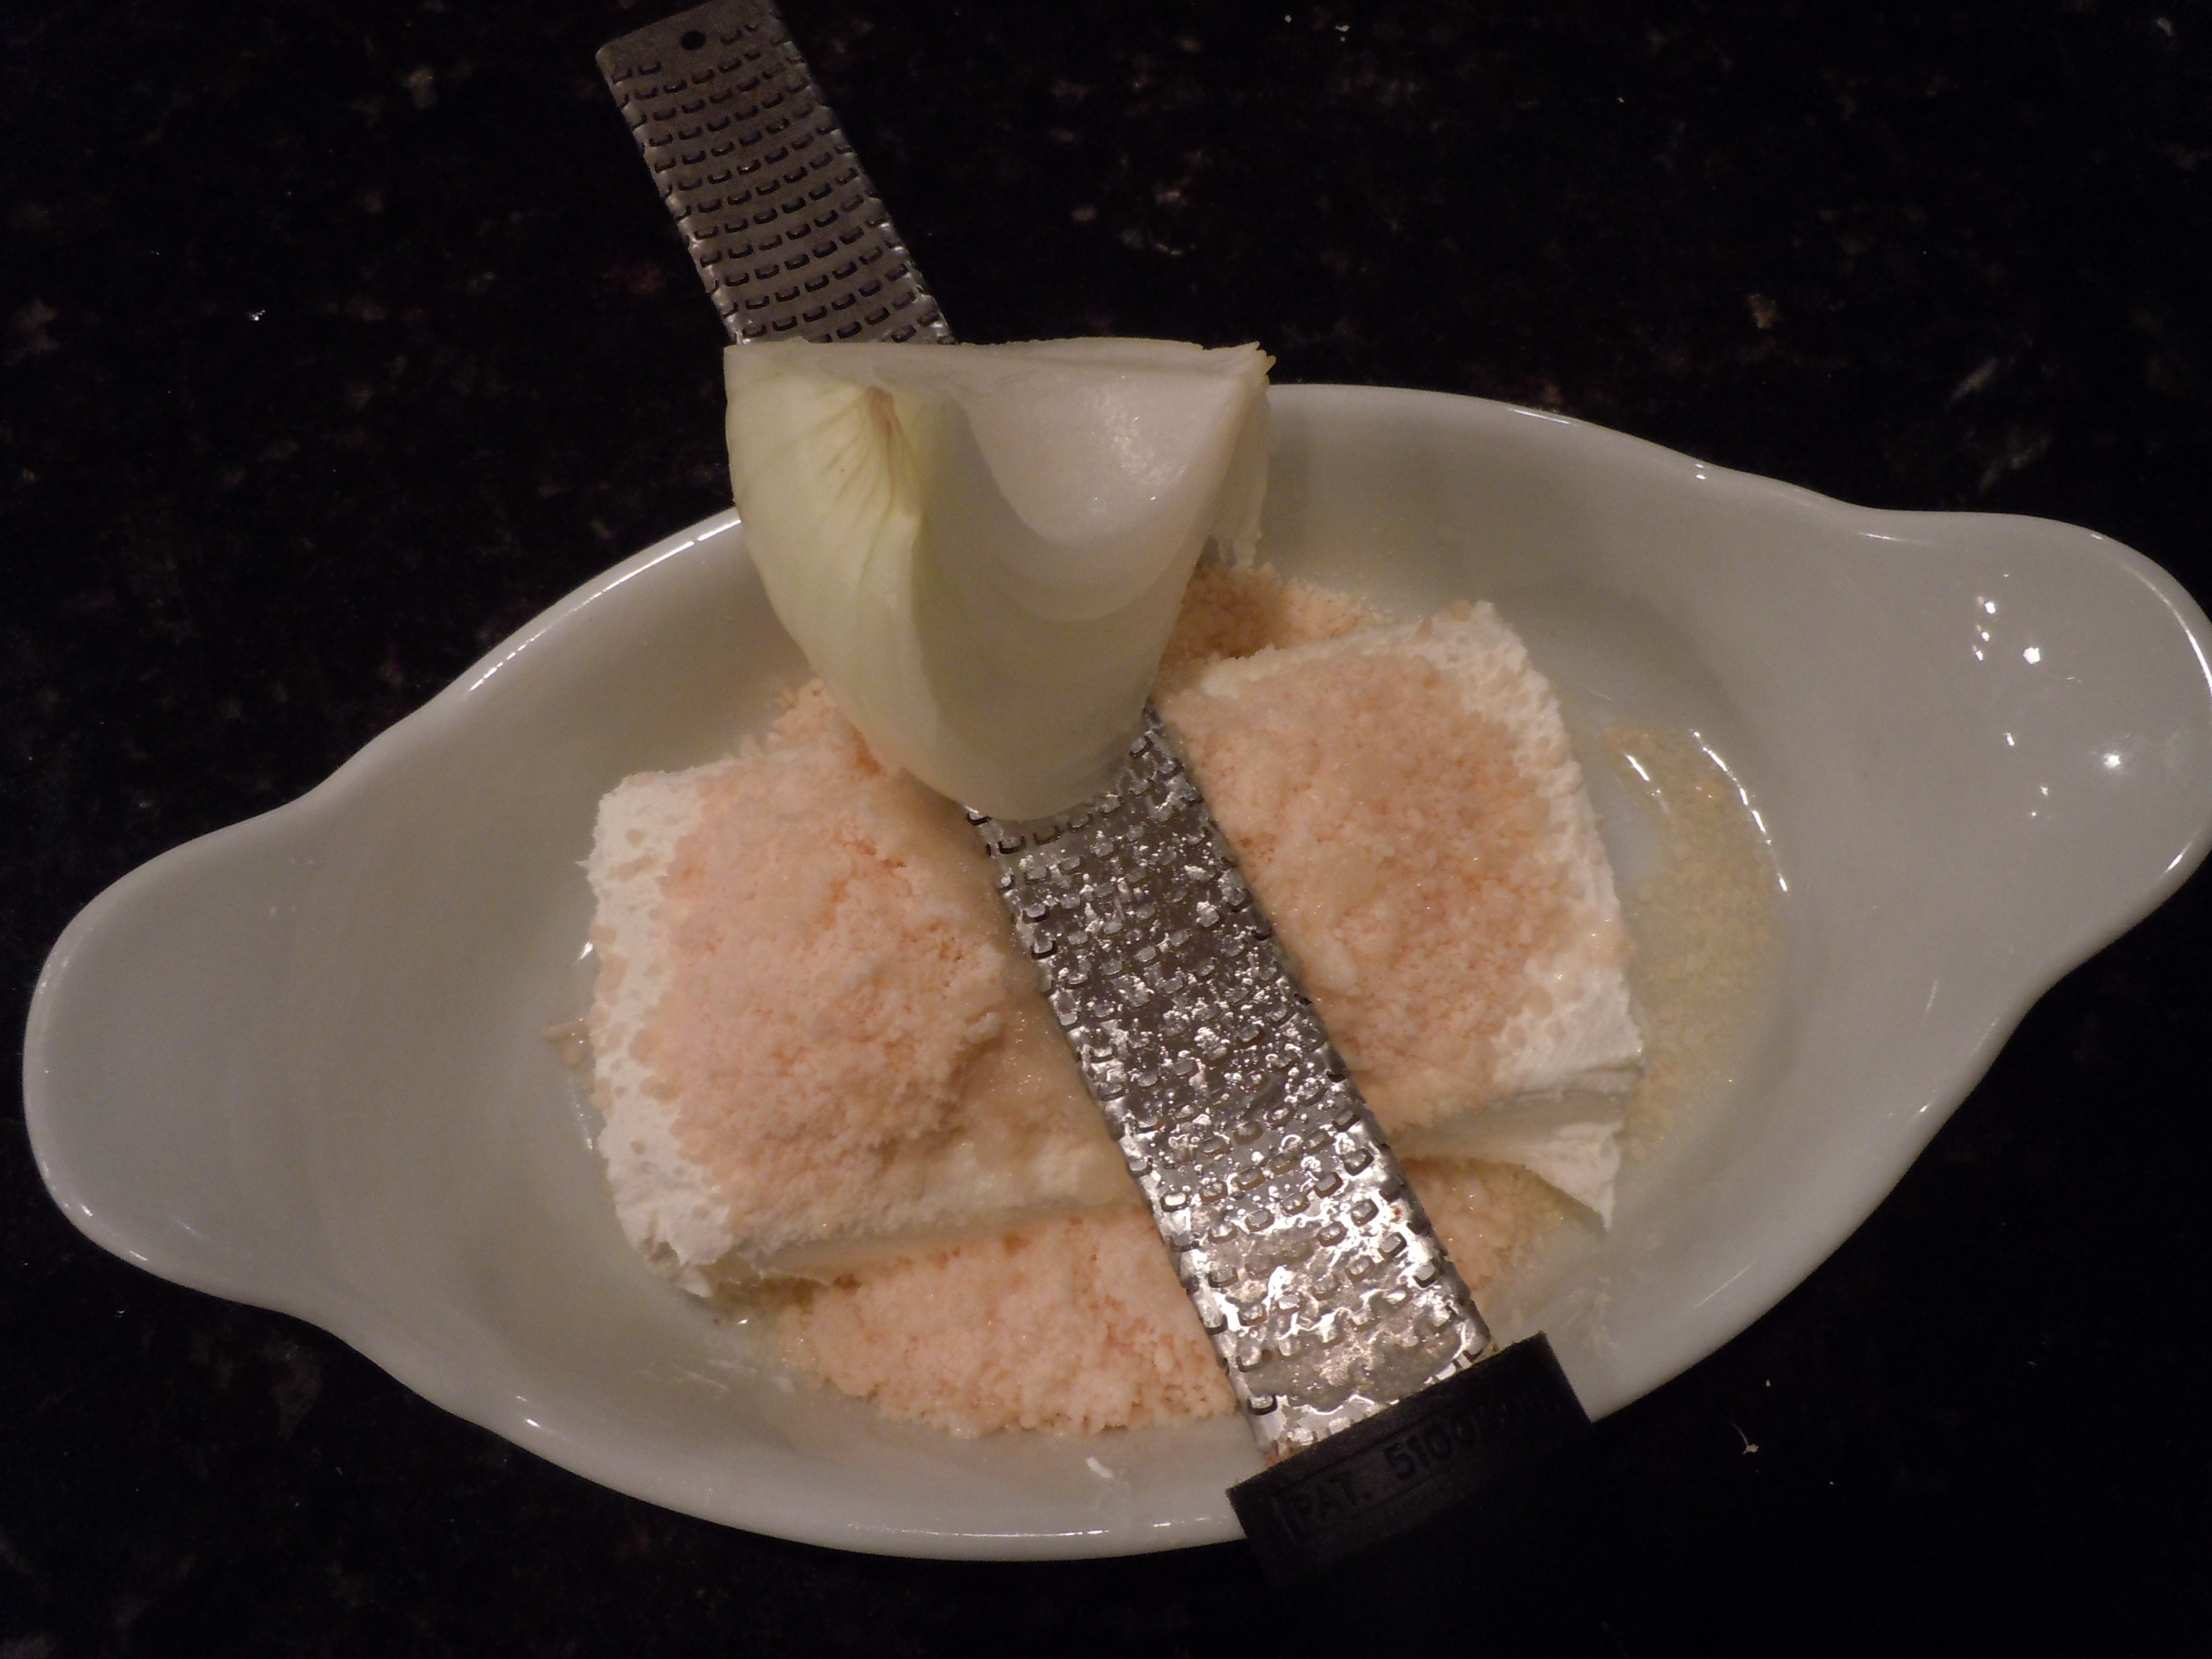
Mix together in a small bowl the room temperature cream cheese, grated onion, Parmesan and lemon juice just til combined
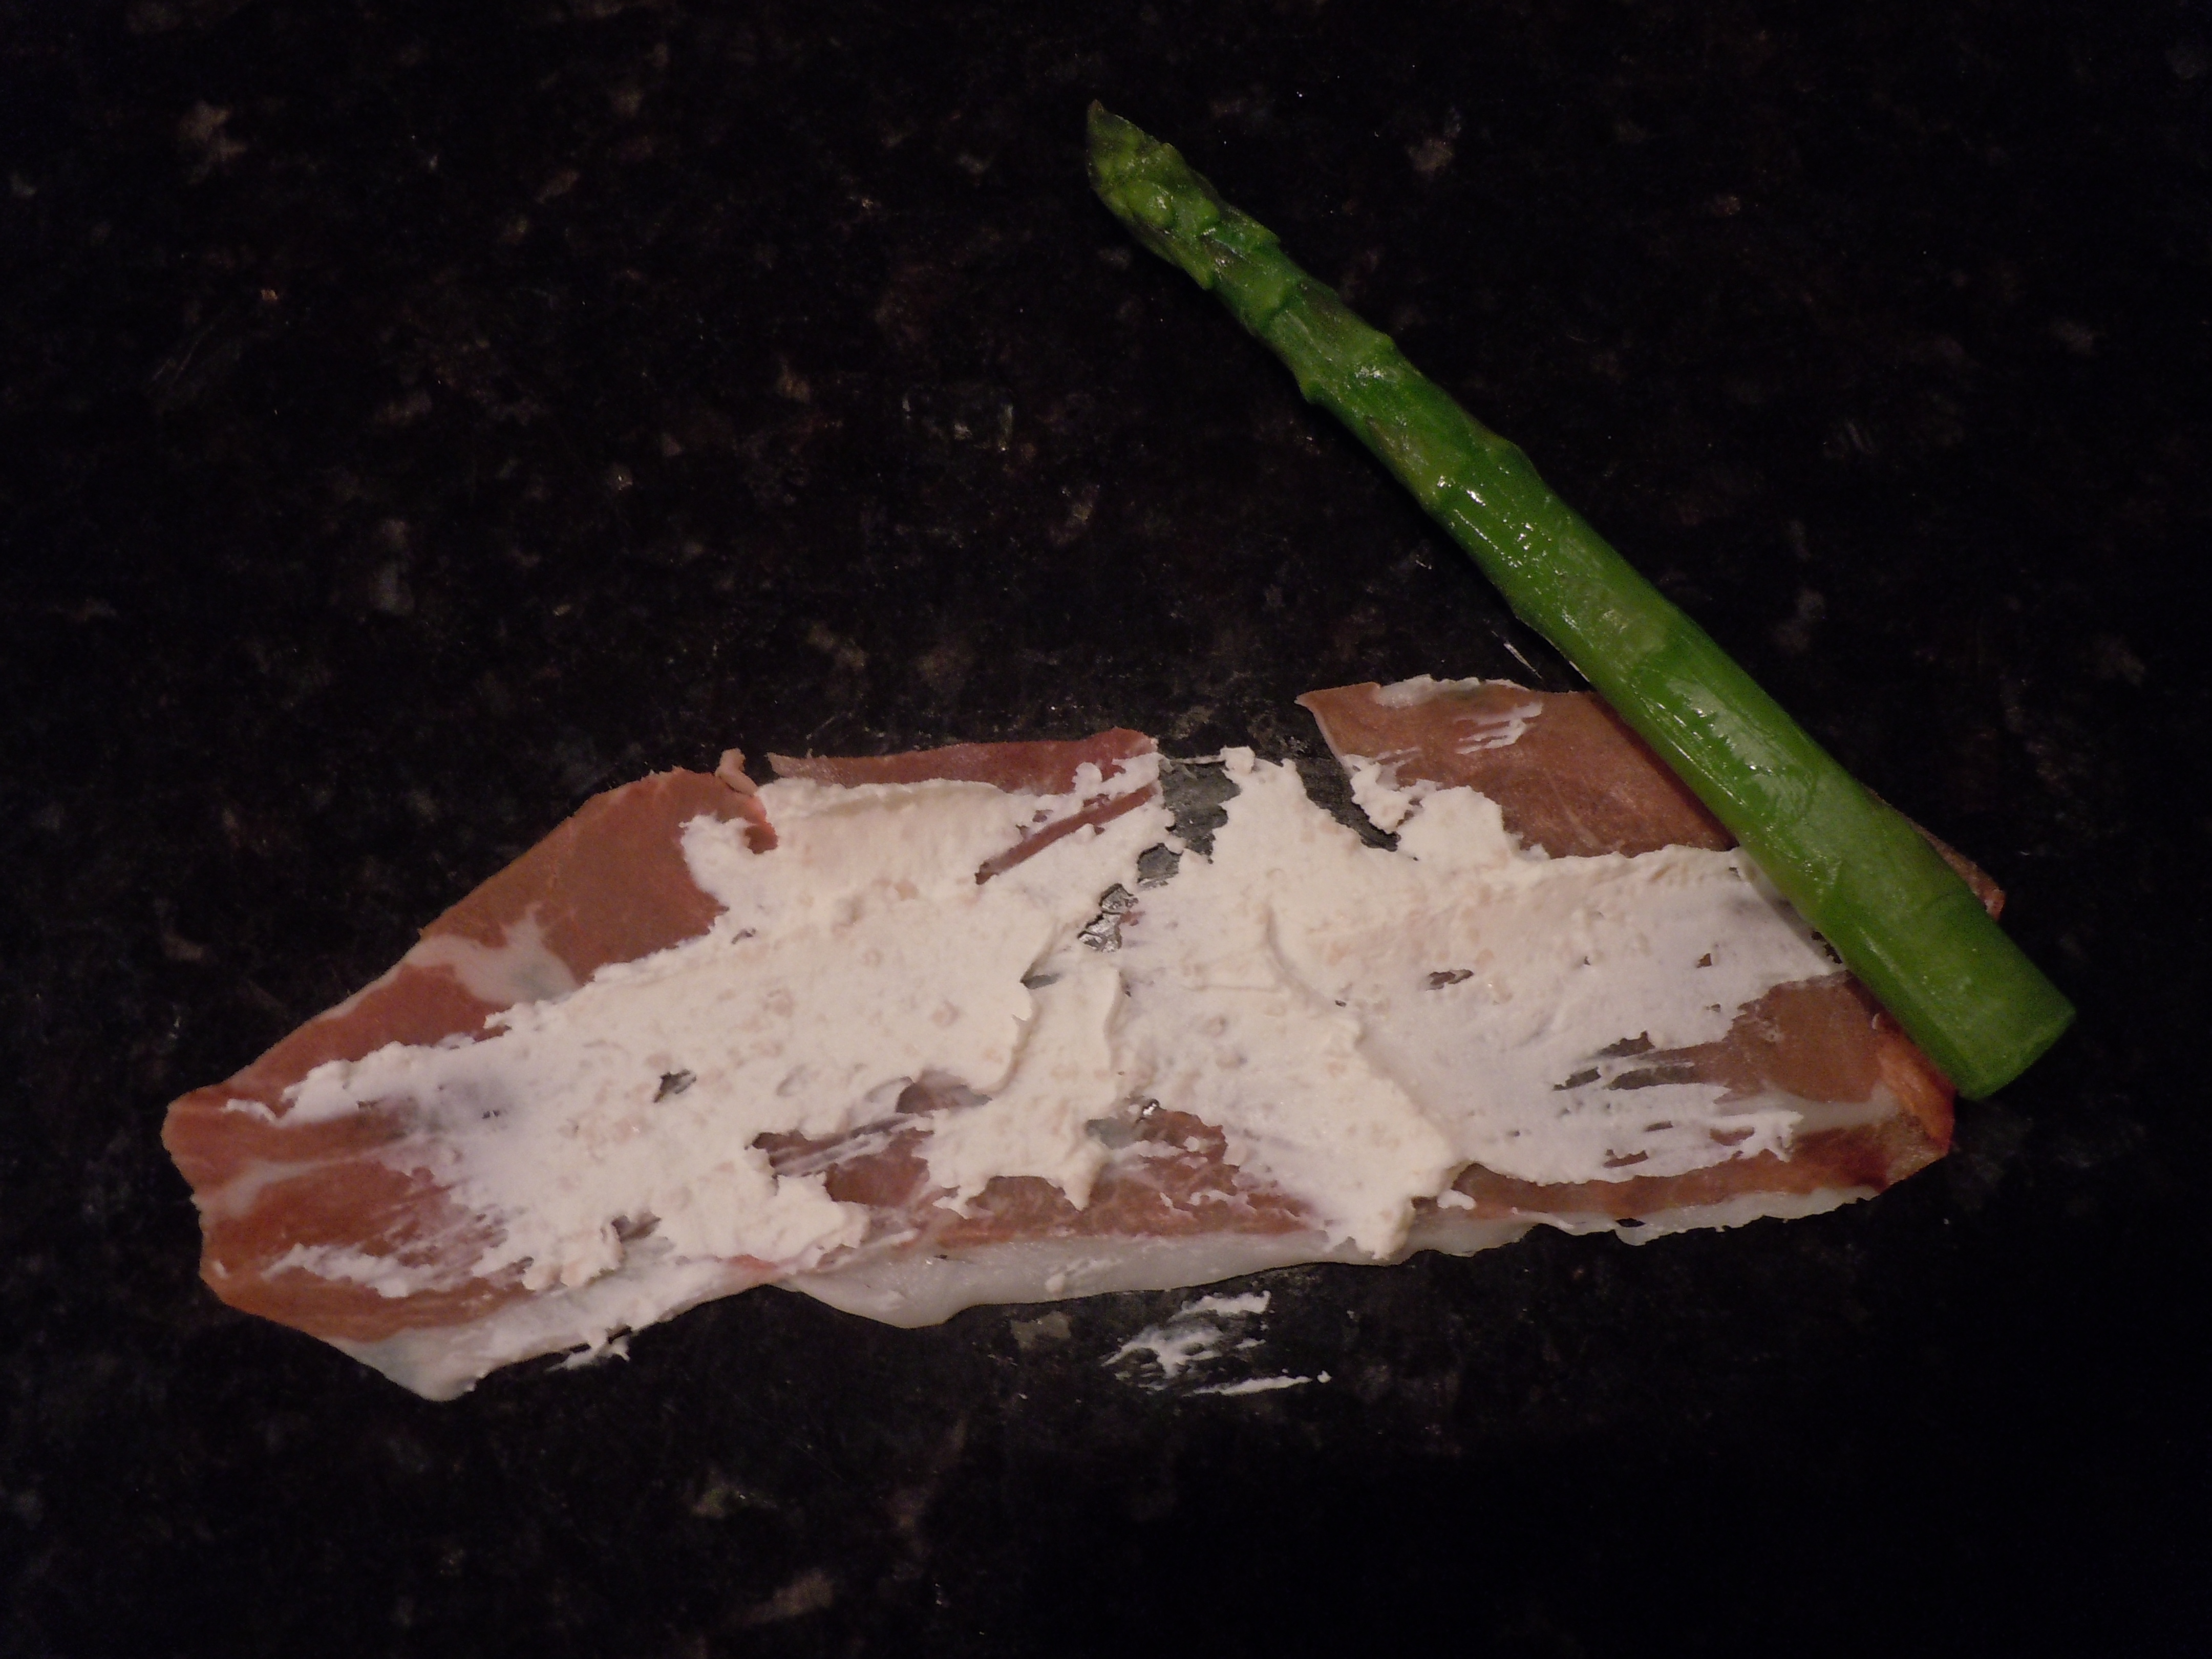
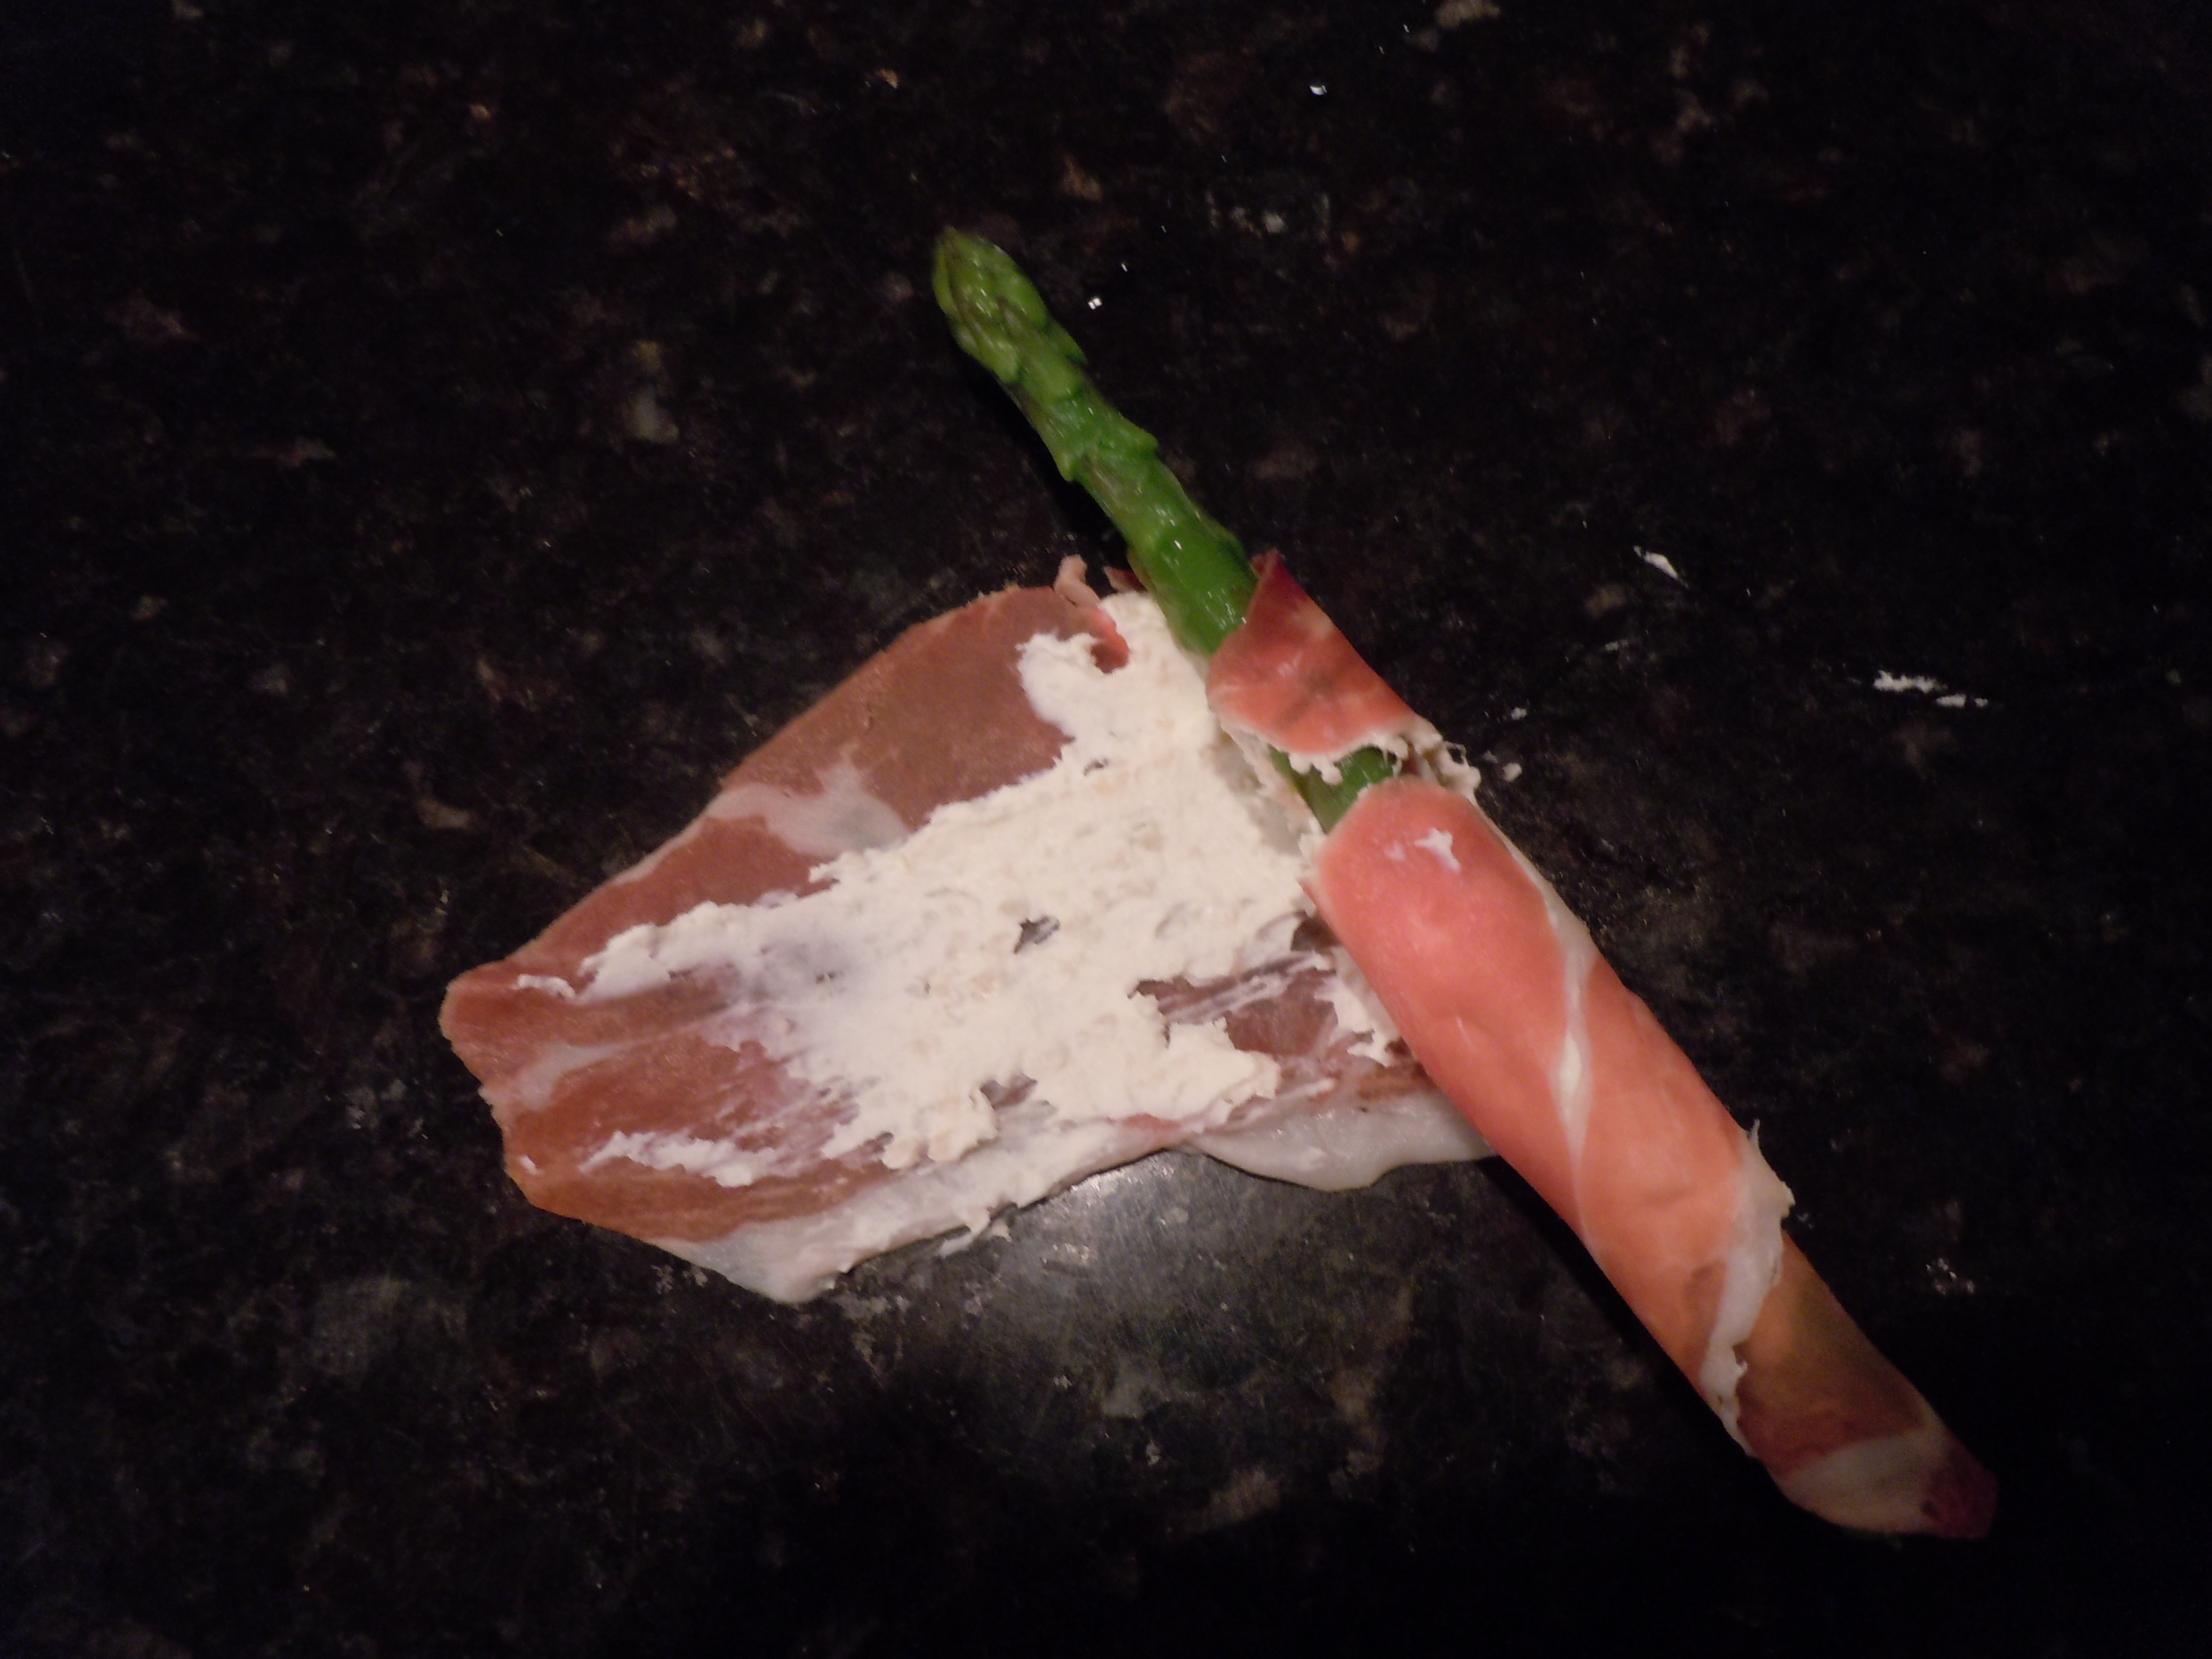
Take a piece of Prosciutto and smear 1 Tbsp of the cream cheese mixture down the length of it.
Place the asparagus on a bit of a diagonal (see photo) and roll up.
Place onto an ungreased cookie sheet and bake for 7 minutes – you are heating thru only
Use a spatula to remove from pan and be sure to flip them over when you plate them to see the lovely caramelization on the under side.
Optional: Drizzle a little olive oil, a fresh squeeze of lemon and some shaves of Parmesan on top for a little extra!
TIP:Using a micro-plane grater or rasp to grate the onion is a wonderful culinary tool which actually started out back in the day as a wood planer for woodworkers!
Baked Crostinis with Gorgonzola, Fresh Tomato, Basil & Garlic
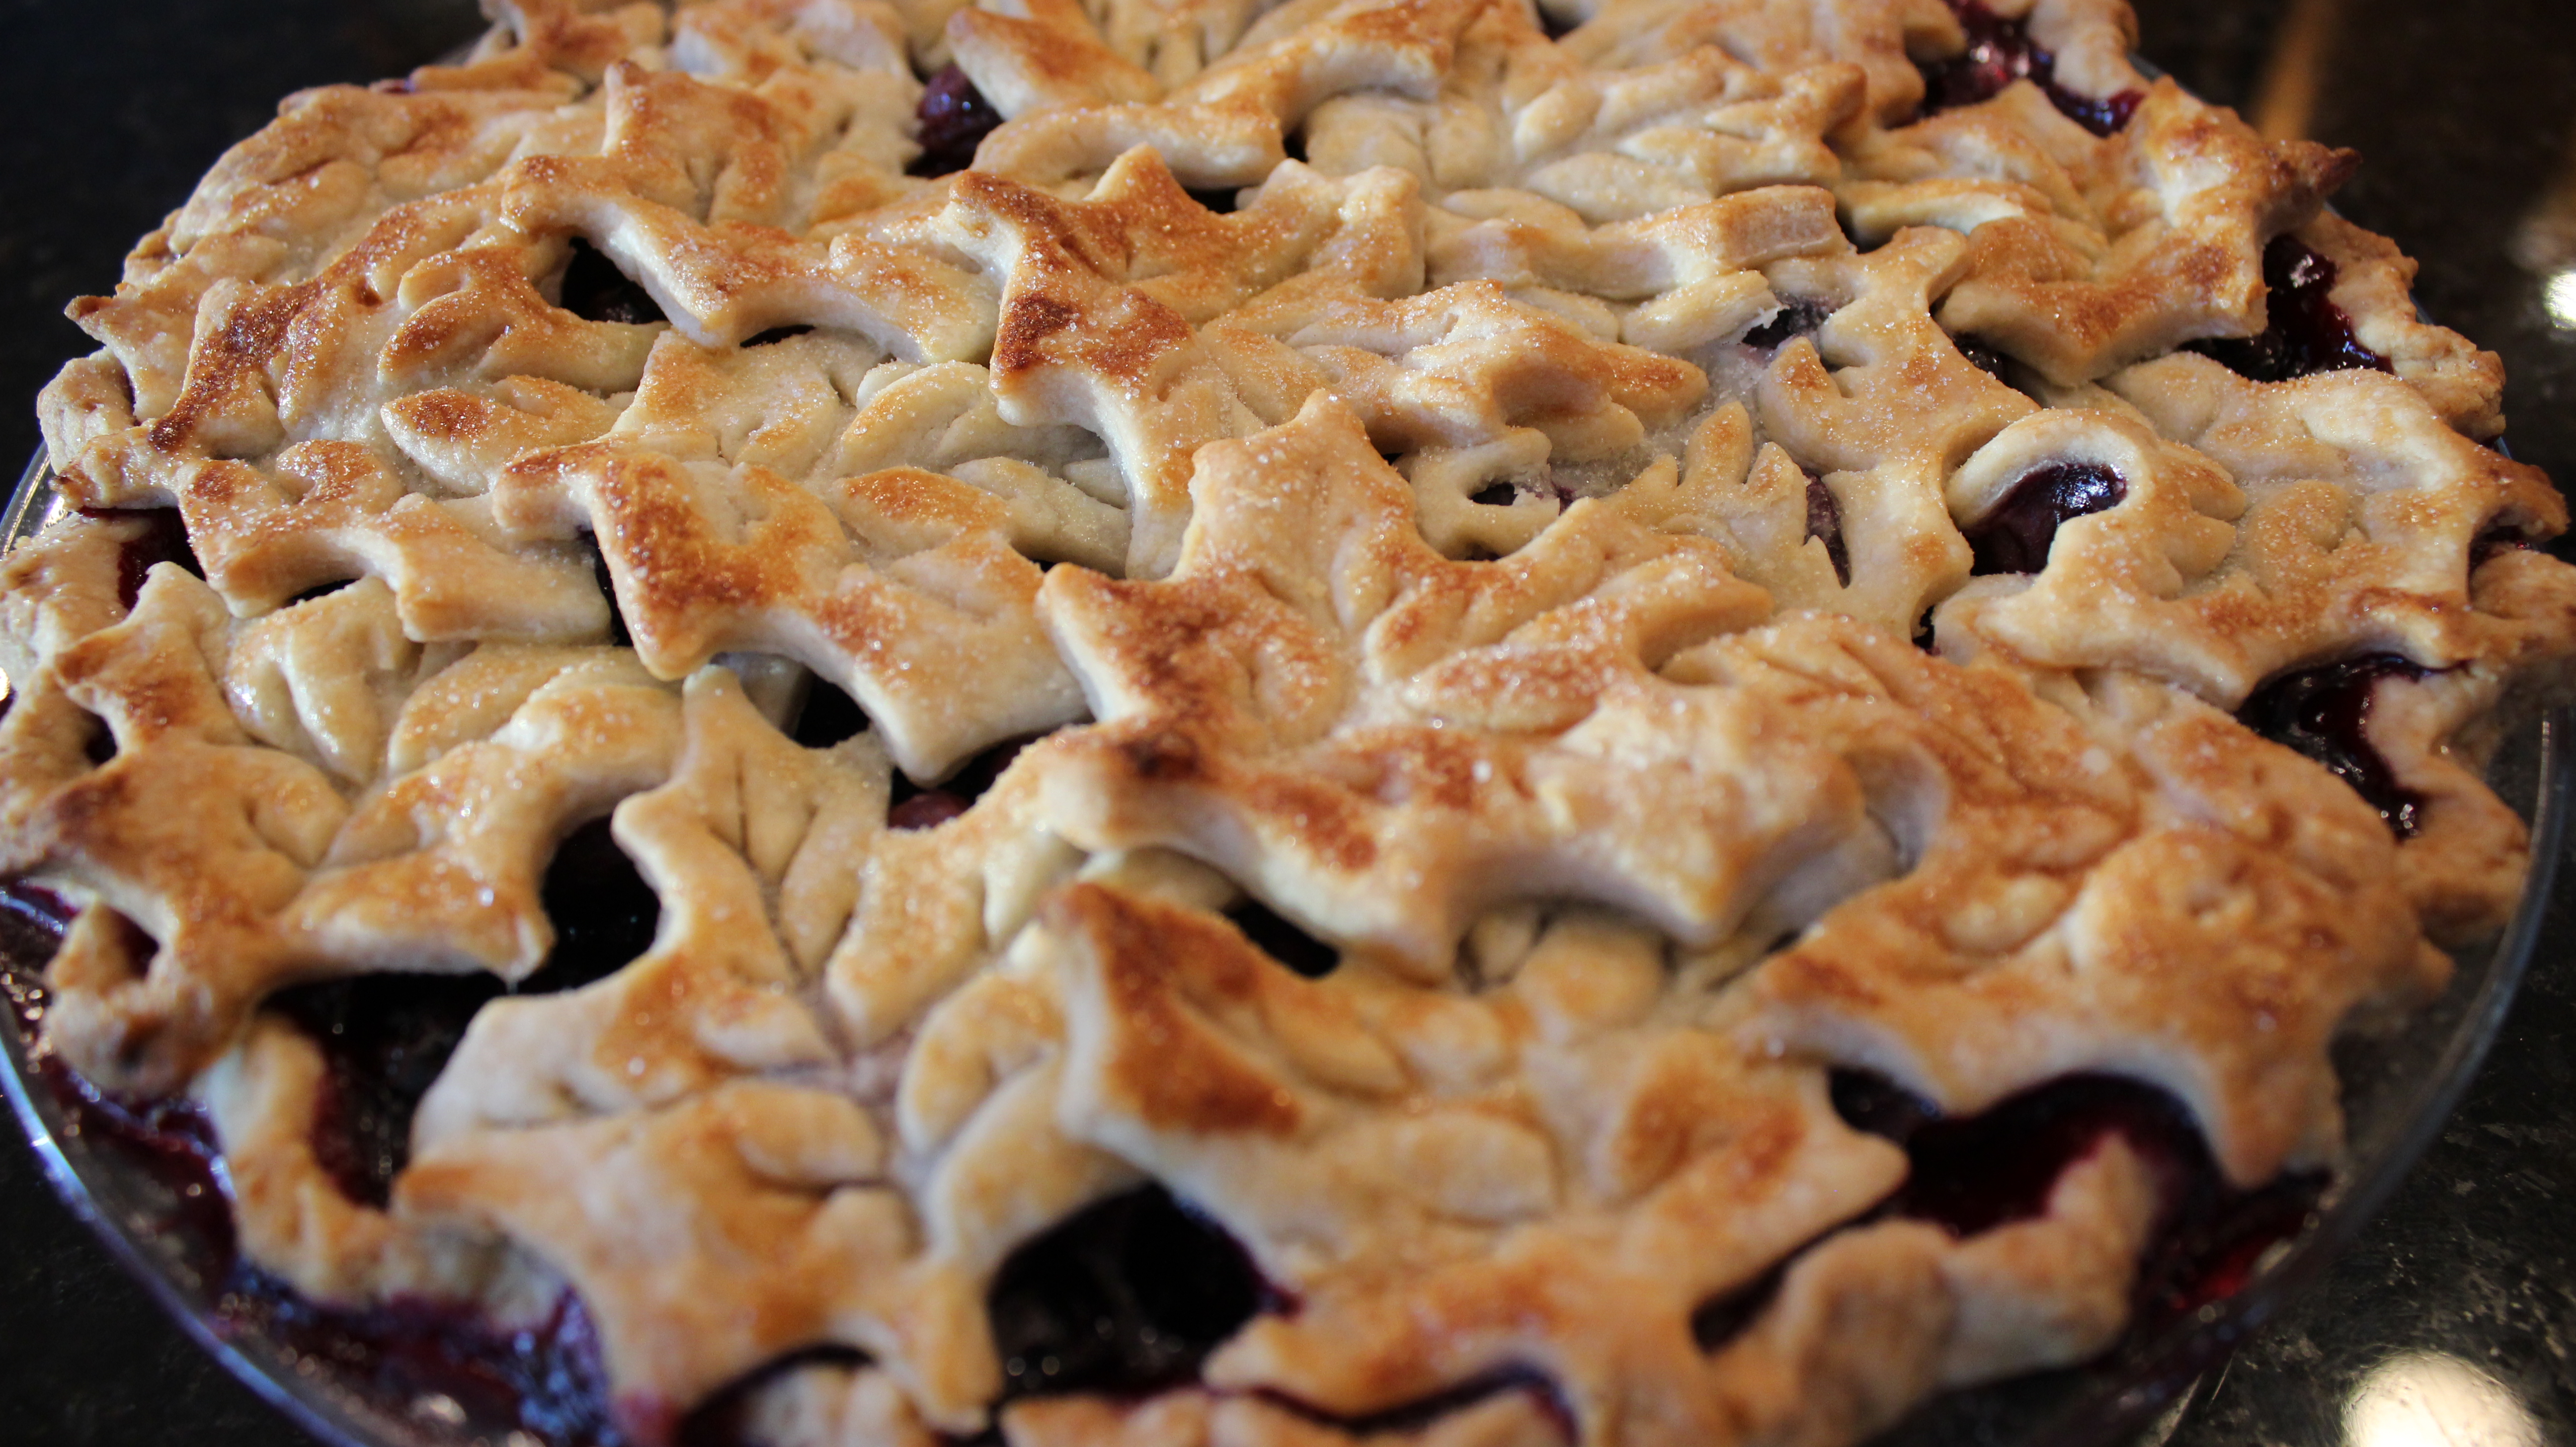
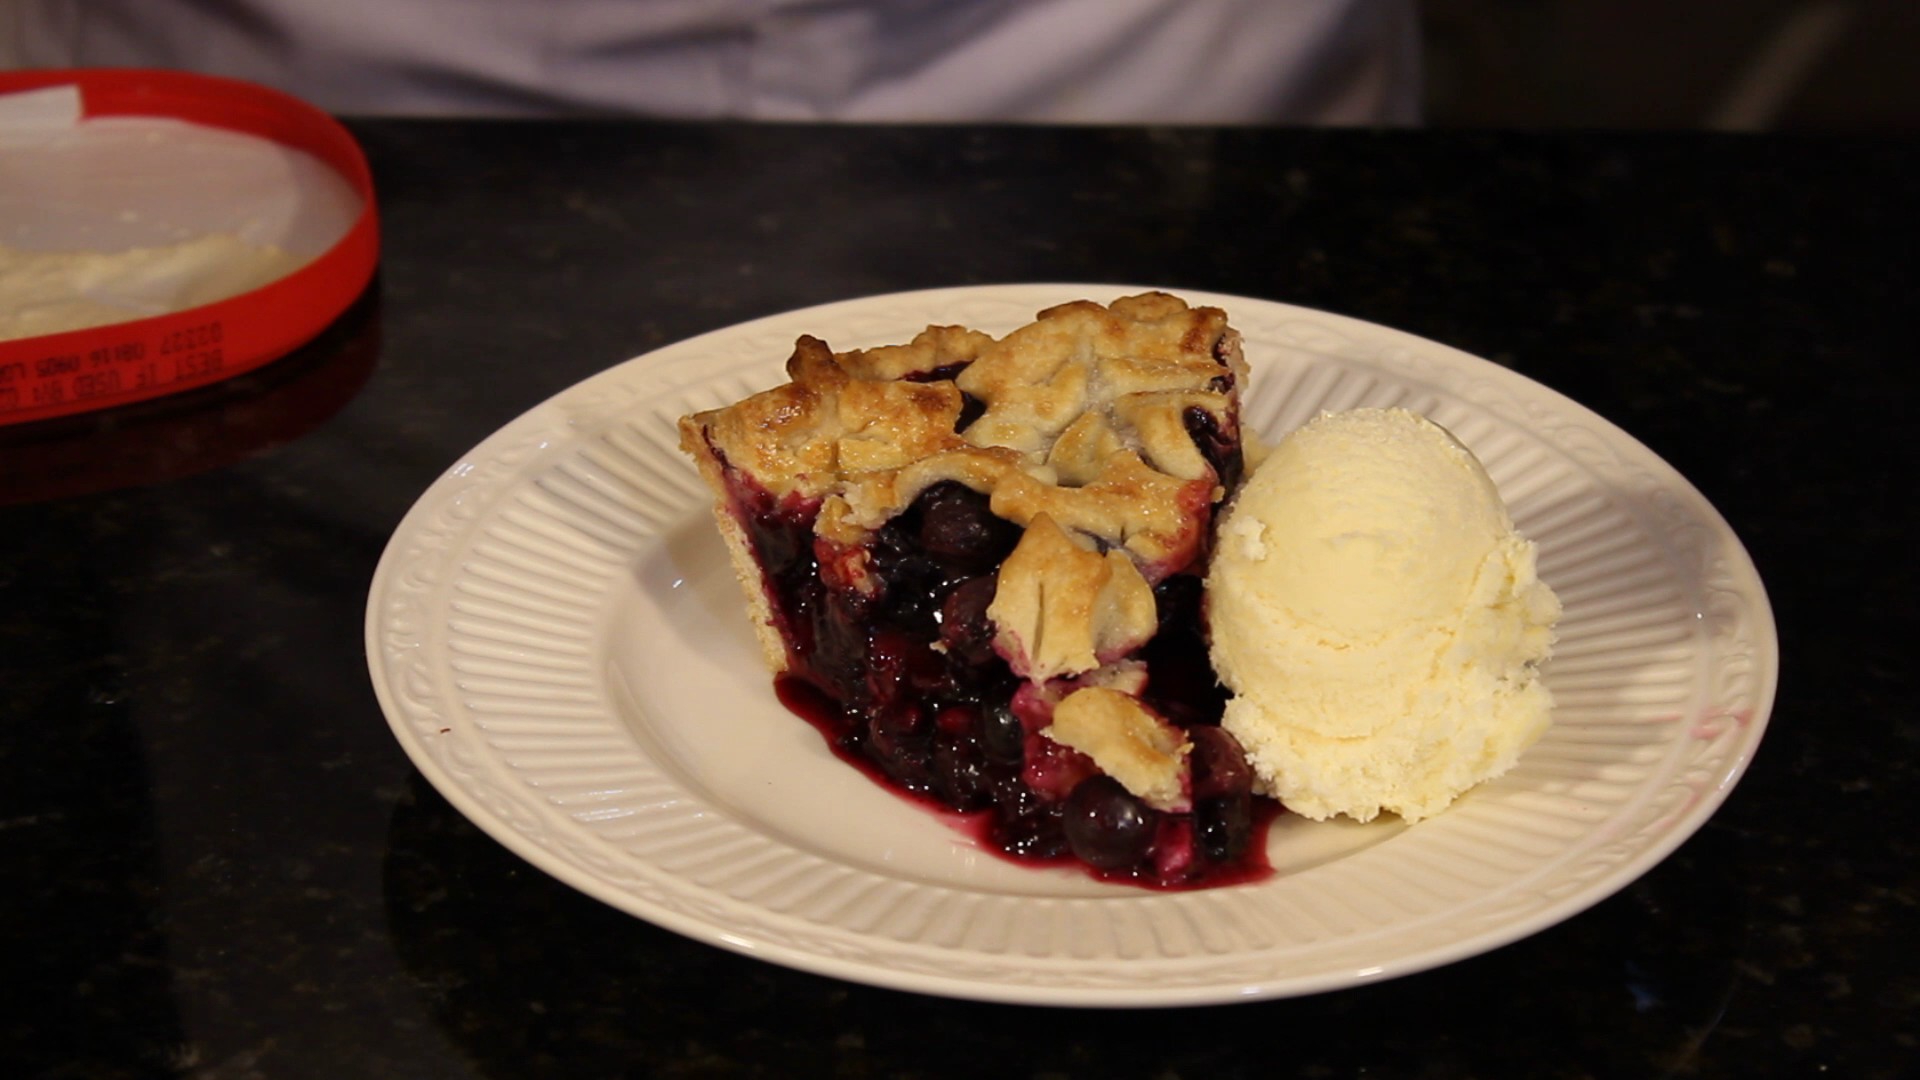
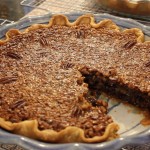
There’s nothing like fresh blueberries simmering in a buttery, flaky pie crust with aromatic fruit juices getting bubbly and syrupy. It’s tough to let this mouth watering concoction cool for three hours when all you really want to do is scoop some vanilla ice cream over a slice letting the cream melt onto the crispy crust and gooey berries submerging oneself into pie heaven! This might just be the perfect dessert bite!
There are recipes out there that have you use flour as a thickener in some fruit pies but with this best blueberry pie recipe I think it’s important to use cornstarch. Blueberries release so much juice the best one for the job is cornstarch. You can add orange zest or lemon zest to brighten up the flavors and then there’s always cinnamon or nutmeg. Blueberries happen to be one of my favorite fruits and I feel that they are already flavorful enough so I only add one tablespoon of fresh lemon juice to balance everything out. Blueberries are also considered to be one of the healthiest fruits out there offering up one of the highest levels of antioxidants of all fruits and vegetables so I think it’s a win-win here!
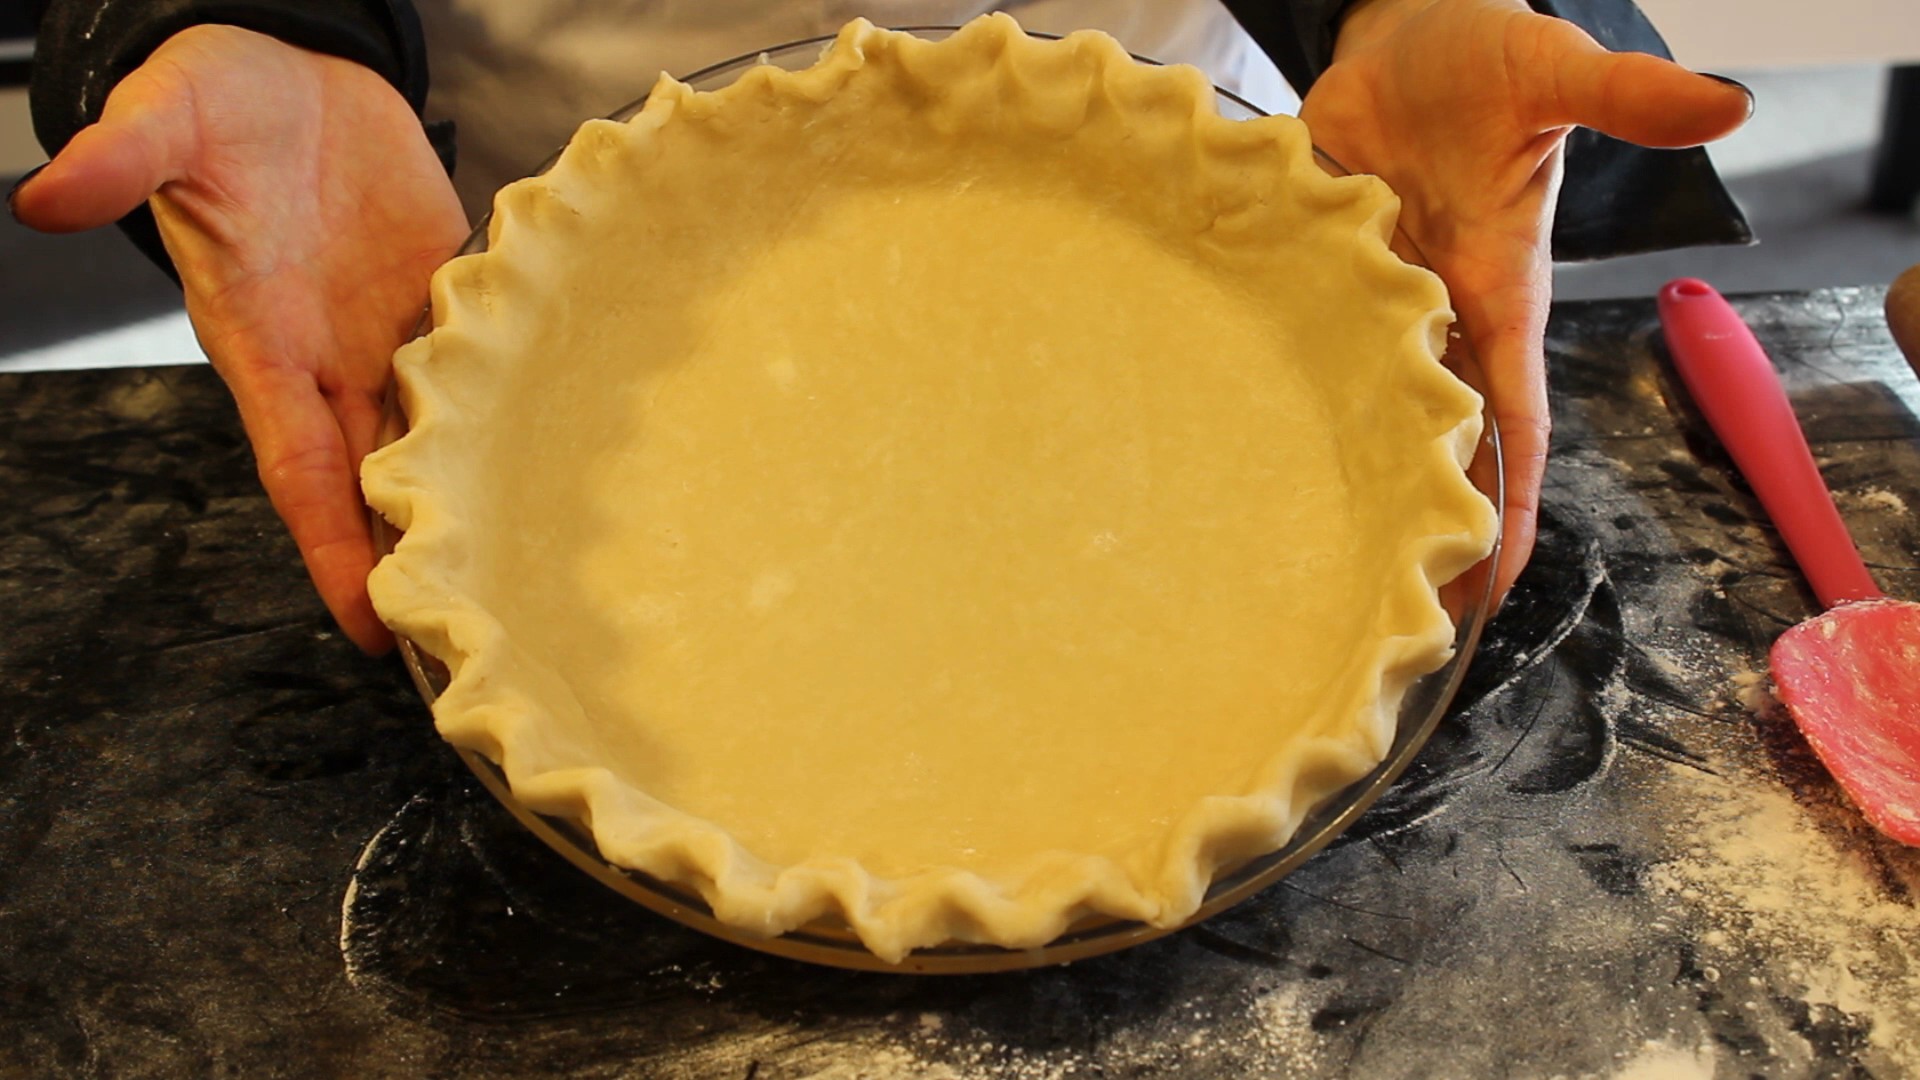
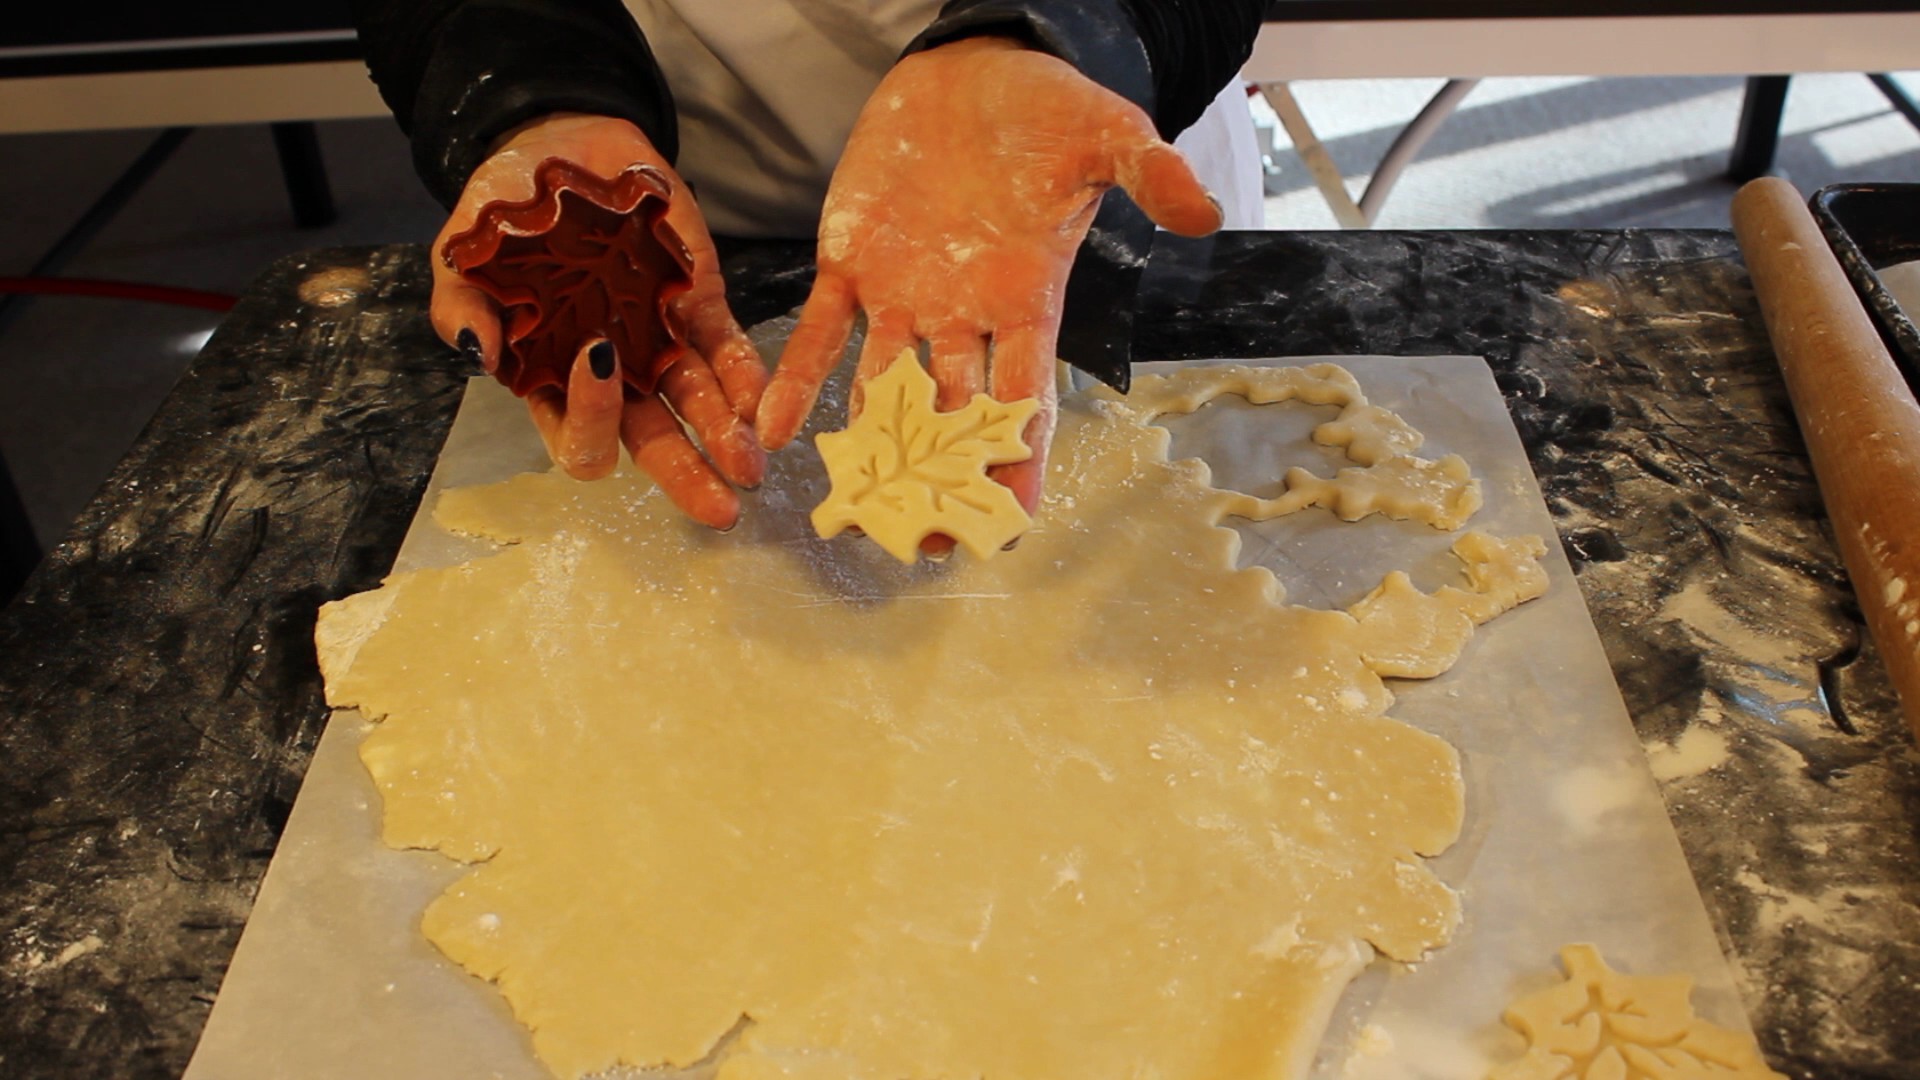
Cutting out decorative leaf shapes (or what ever shape you like) from the top sheet of pie crust is a no brainer for me because it’s so gosh darn easy to do, it looks like you spent all day on it and it’s very forgiving. When it bakes in the oven getting golden, crispy and slightly shiny from brushing on the egg wash it’s going to look and taste amazing no matter what!
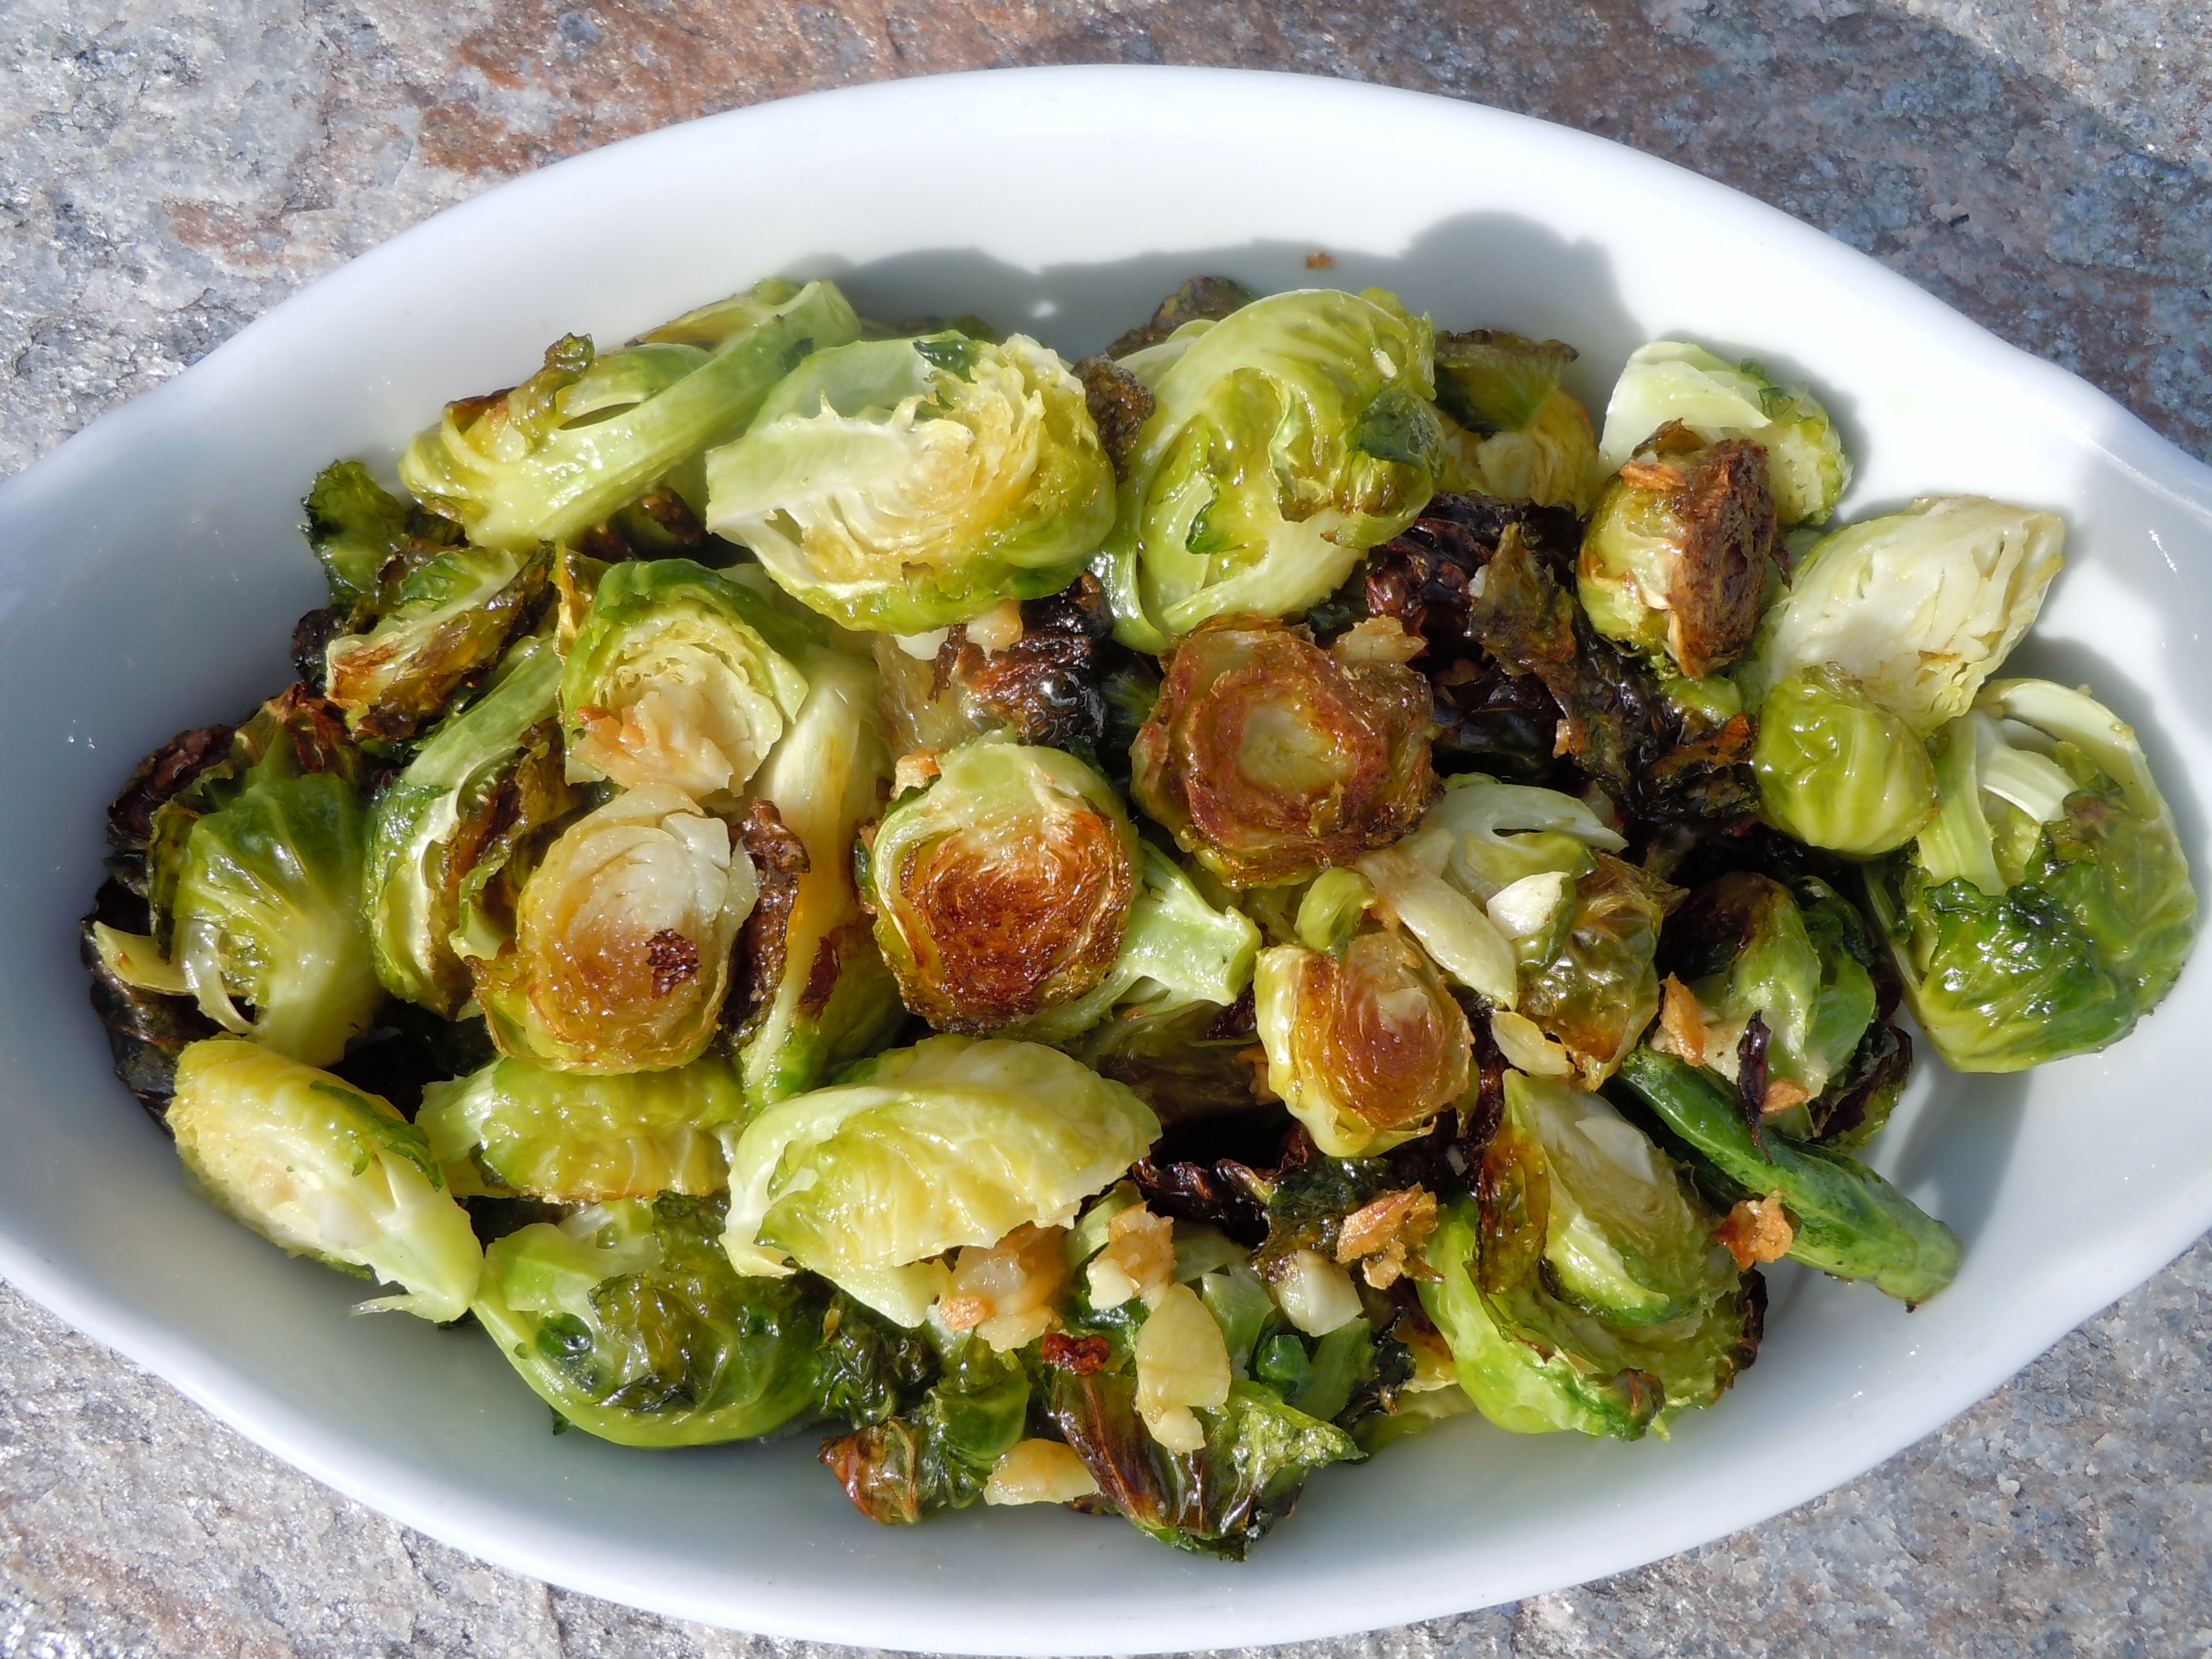
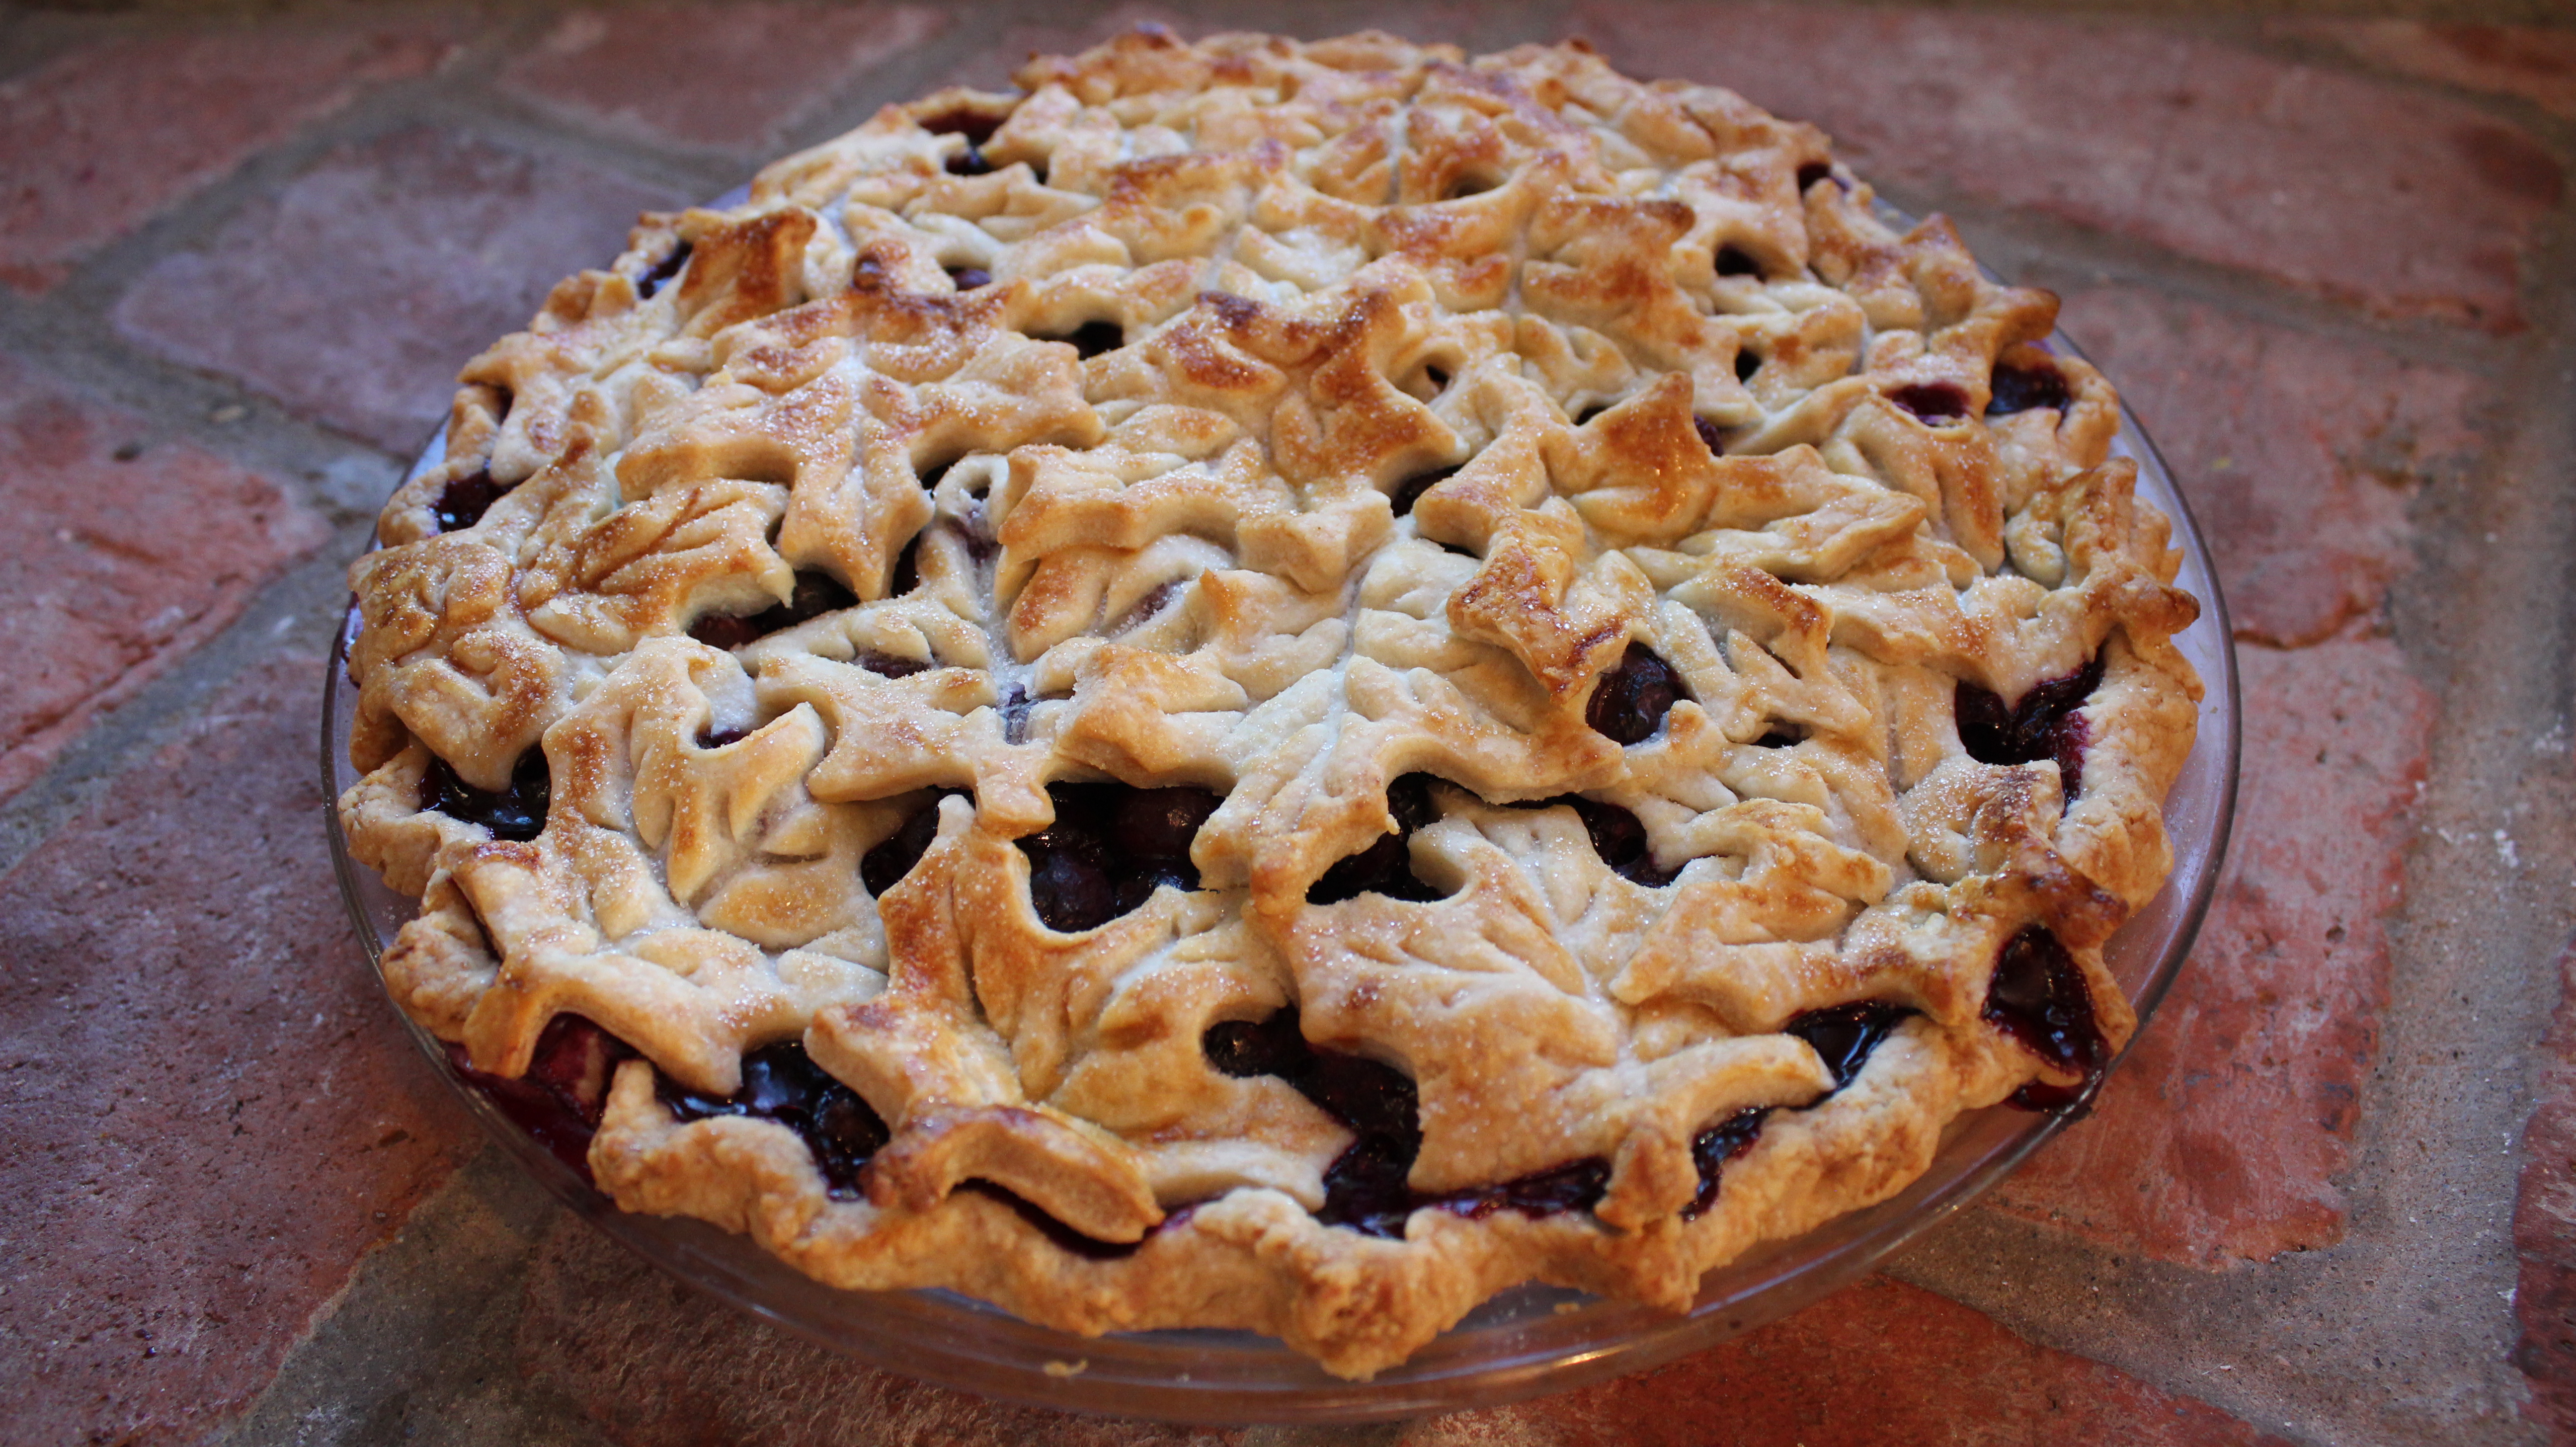
This best blueberry pie recipe might just become your decadent dessert ritual for your holiday dinners! Making the “perfect pie crust in 5 minutes”a week or two ahead of time and popping it into the freezer until you need it is a great way to cut down on some of the work that’s involved in throwing a Thanksgiving dinner or any holiday feast for that matter. If you get ambitious you can always add a chocolate pecan pieinto the mix. To help save some time with the side dishes you might try these roasted brussel spouts. They are so delicious roasted like this you’ll never eat them any other way. Have fun and enjoy 🙂
INGREDIENTS:
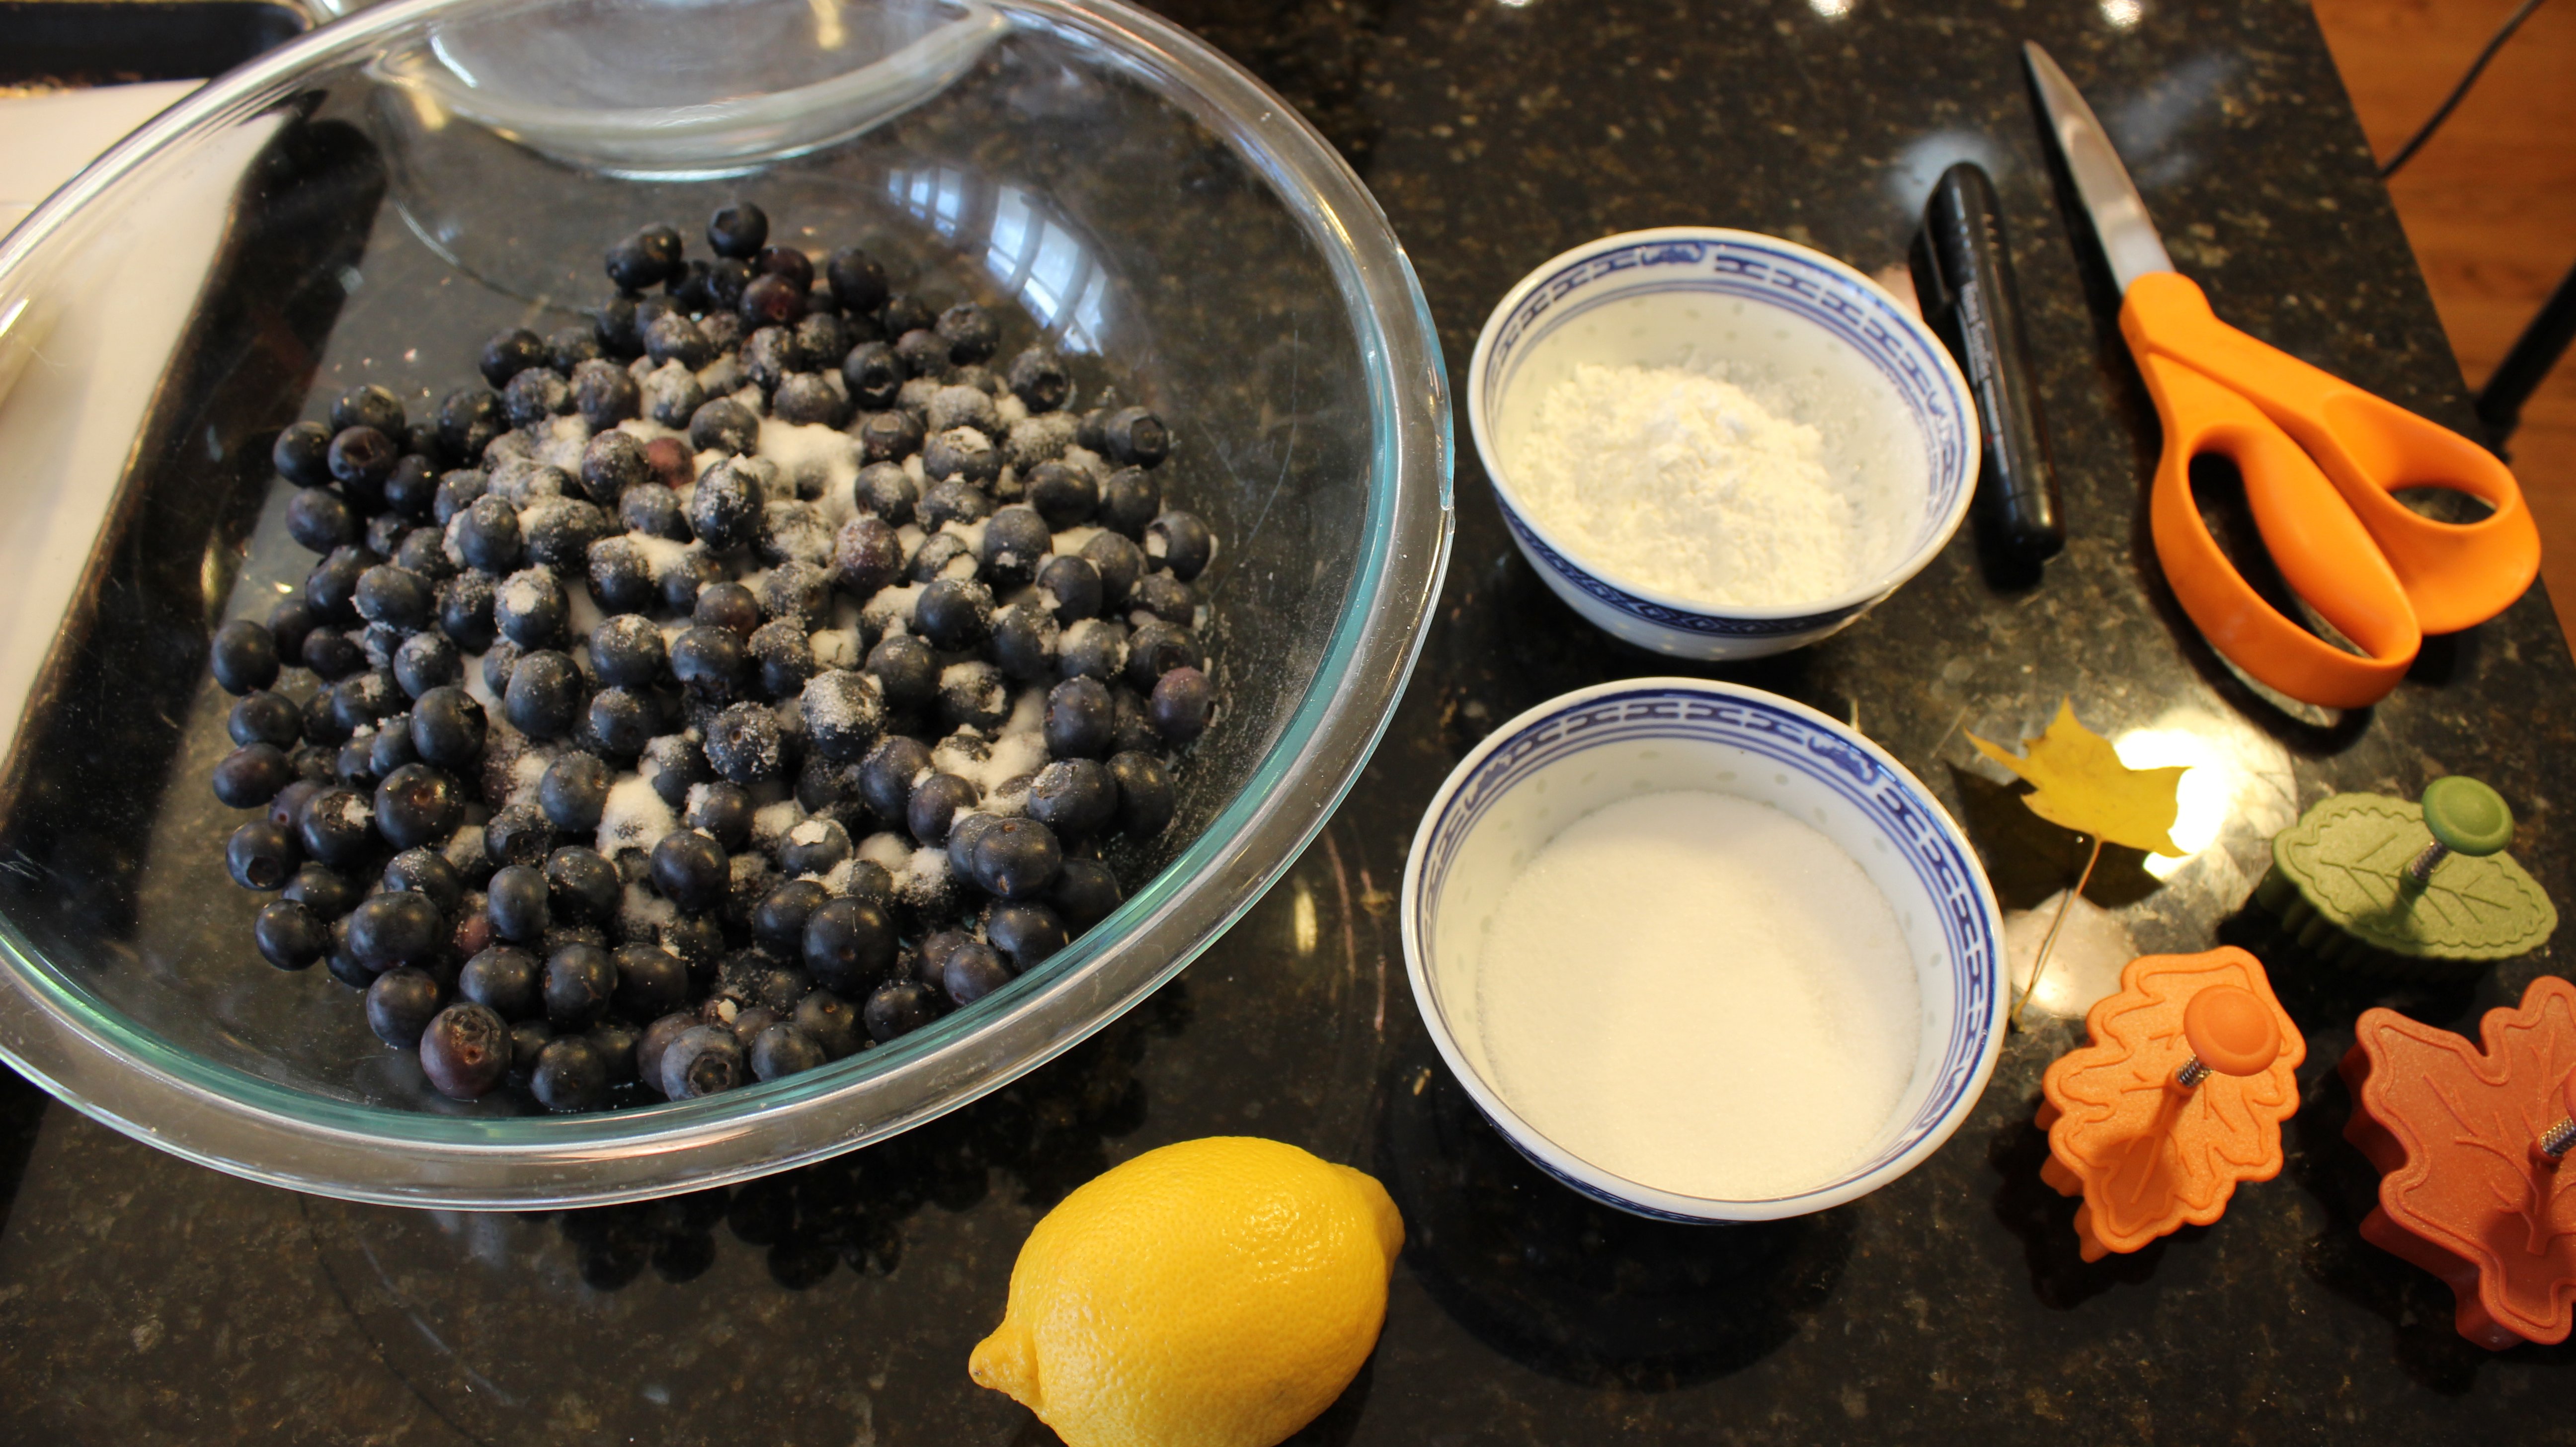
4 1/2 cups blueberries (that’s after you have sorted thru bad berries…start with 5 cups to have enough)
1 1/2 ” – 2″ pie leaf cut outs or what ever shape cookie cutter you want to dress the top of the pie with instead of using a whole sheet of pie crust dough
DIRECTIONS:
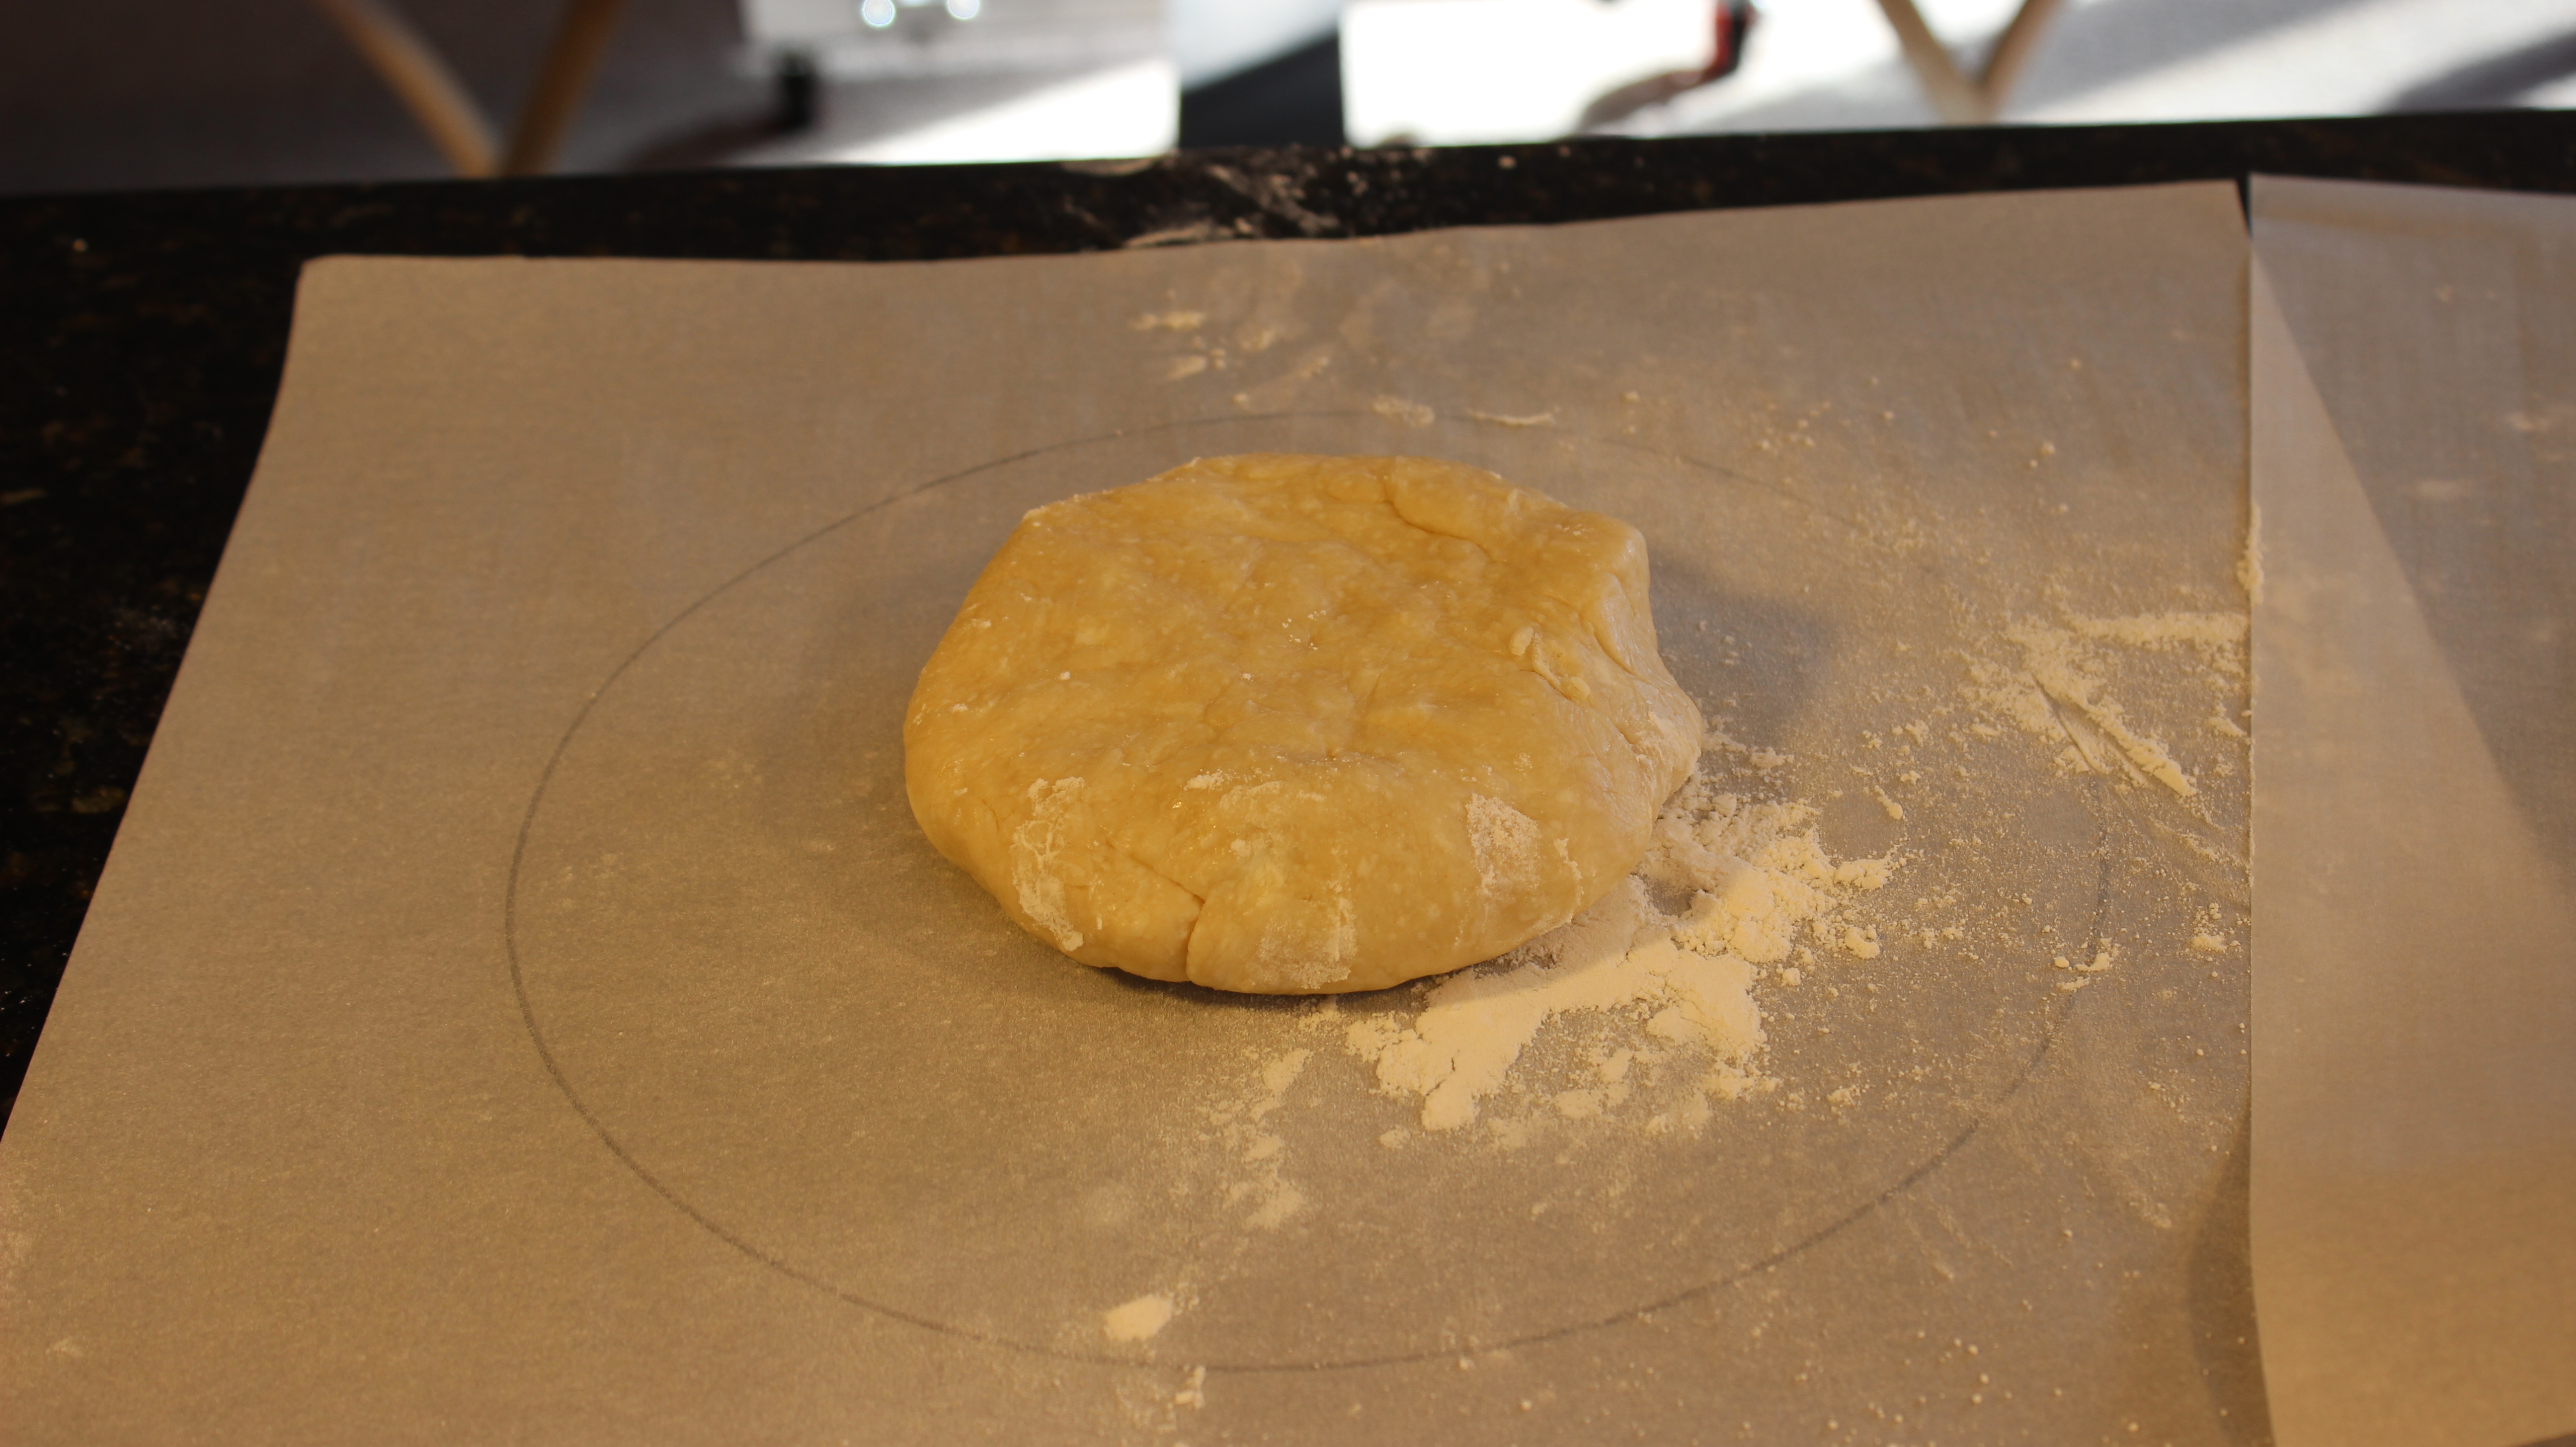
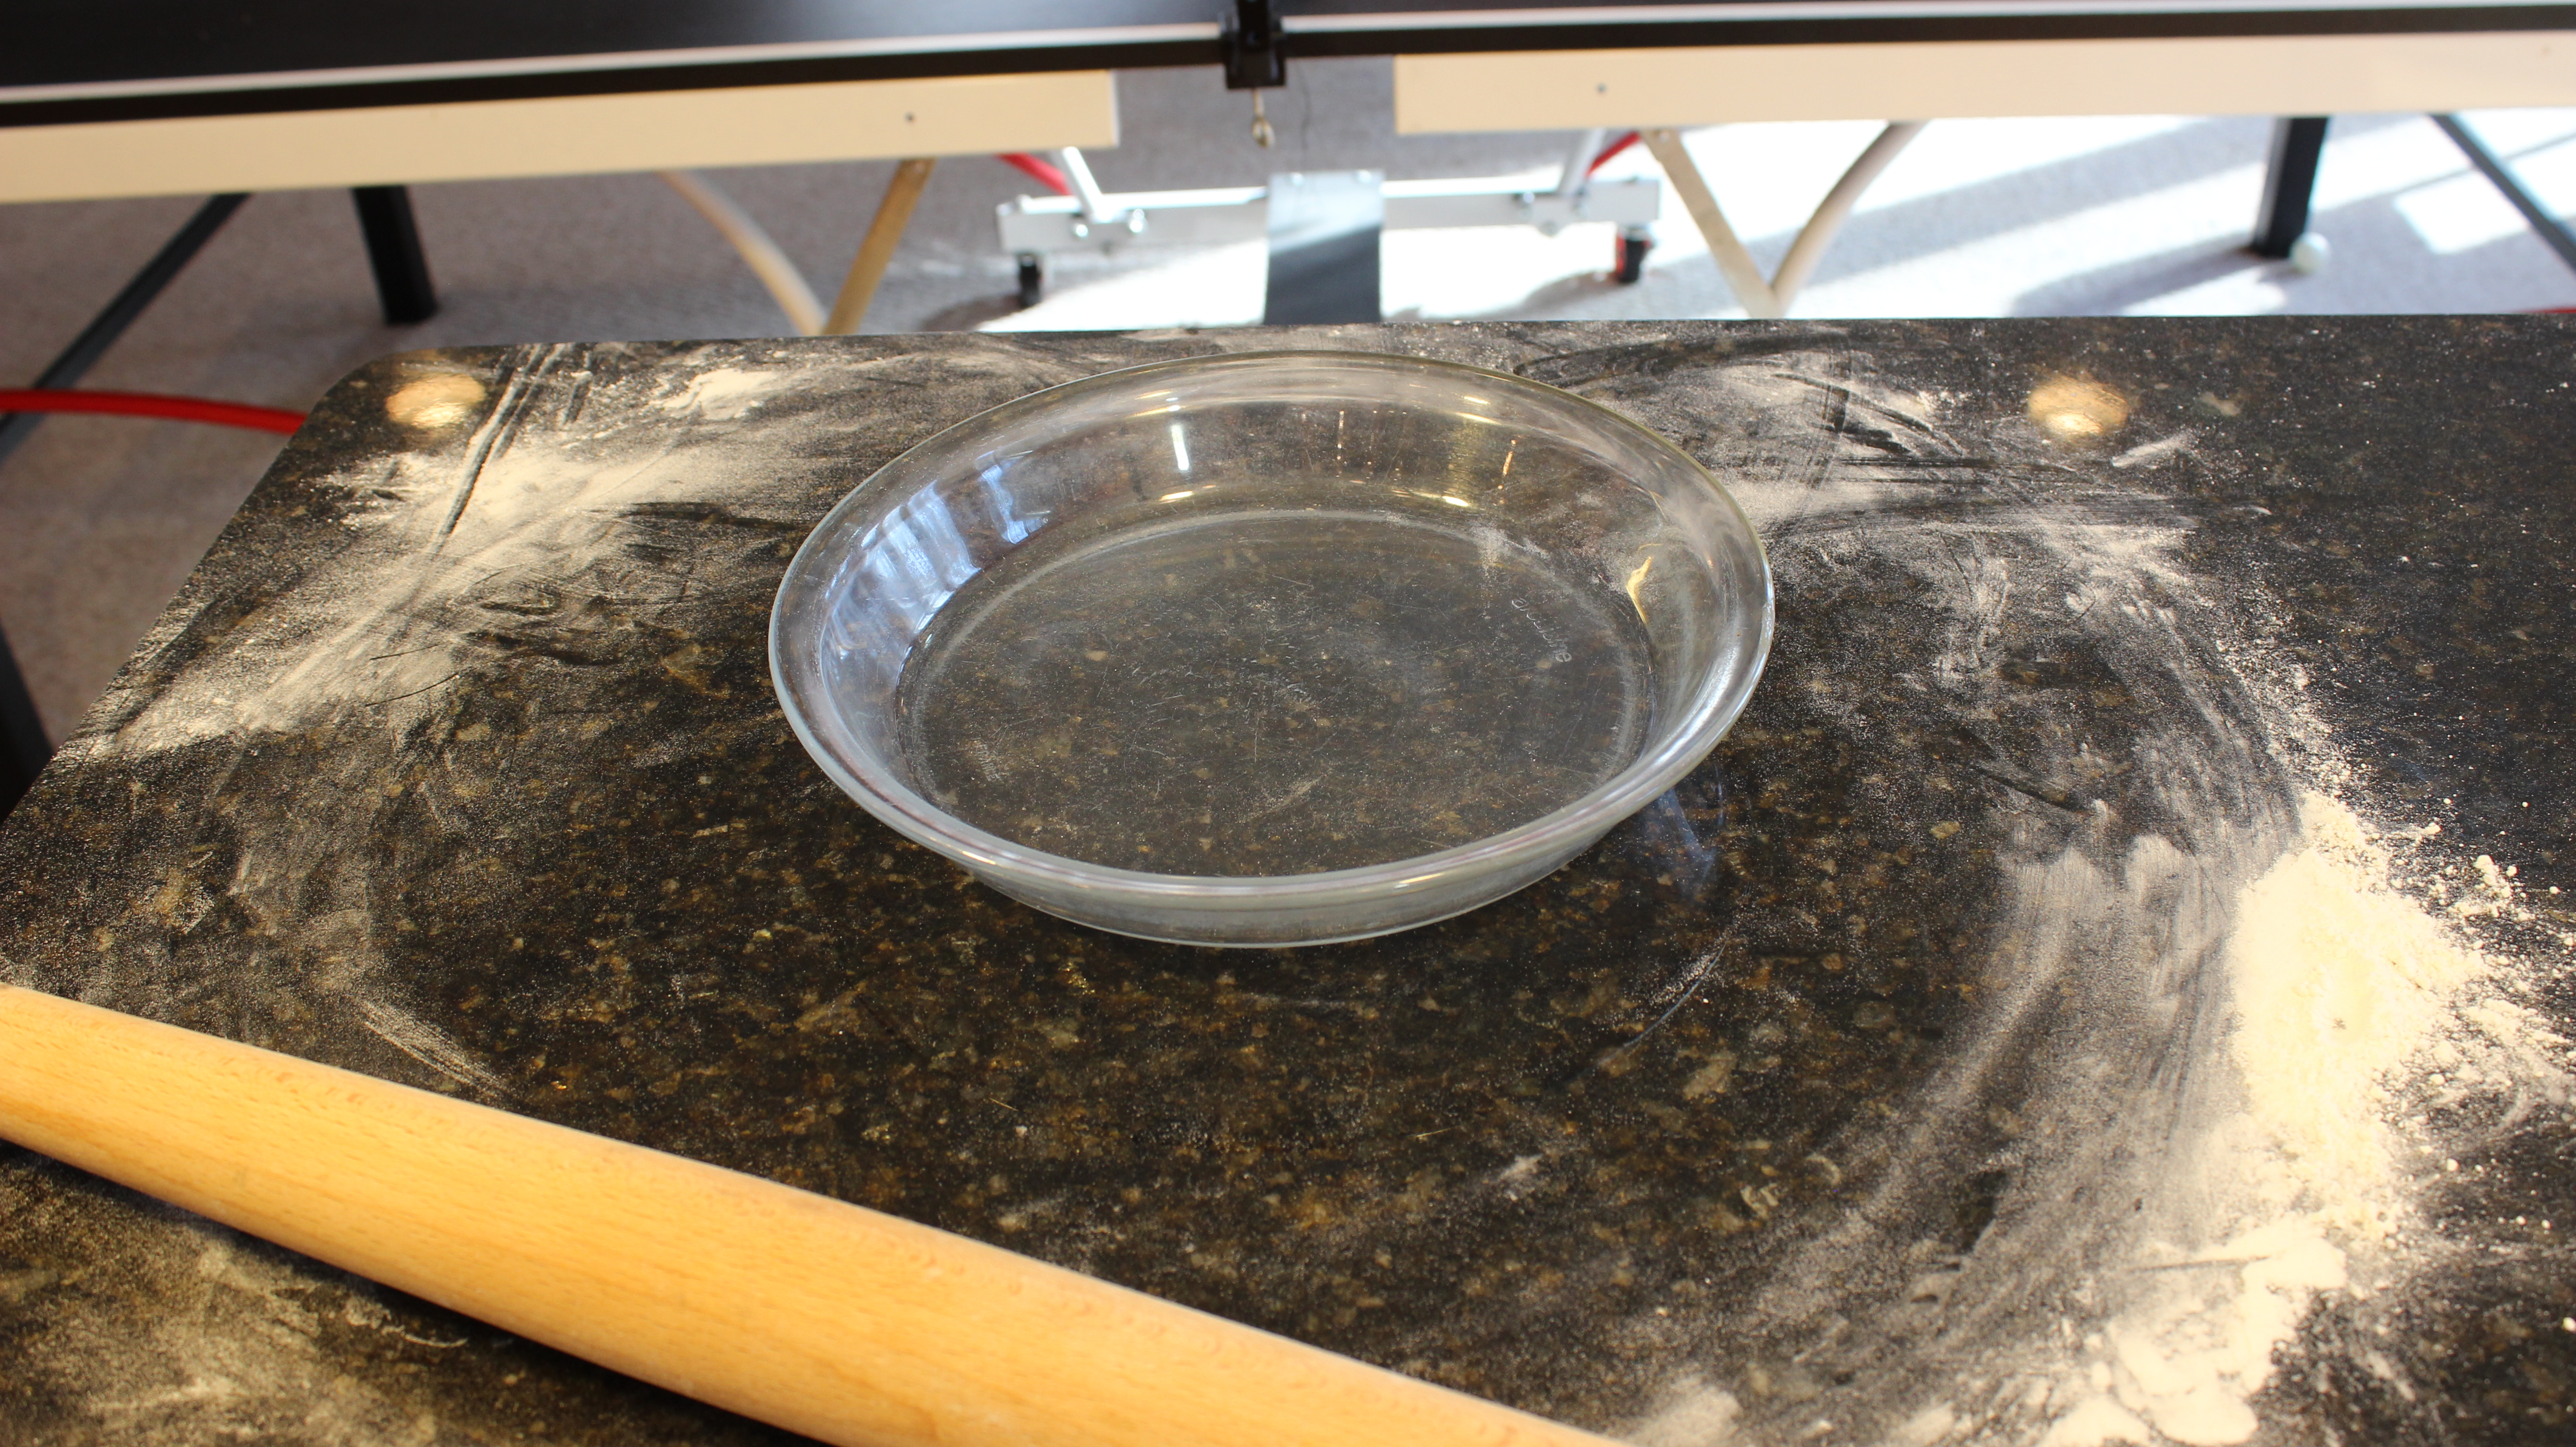
Trace the edge of the pie plate onto both pieces of parchment paper
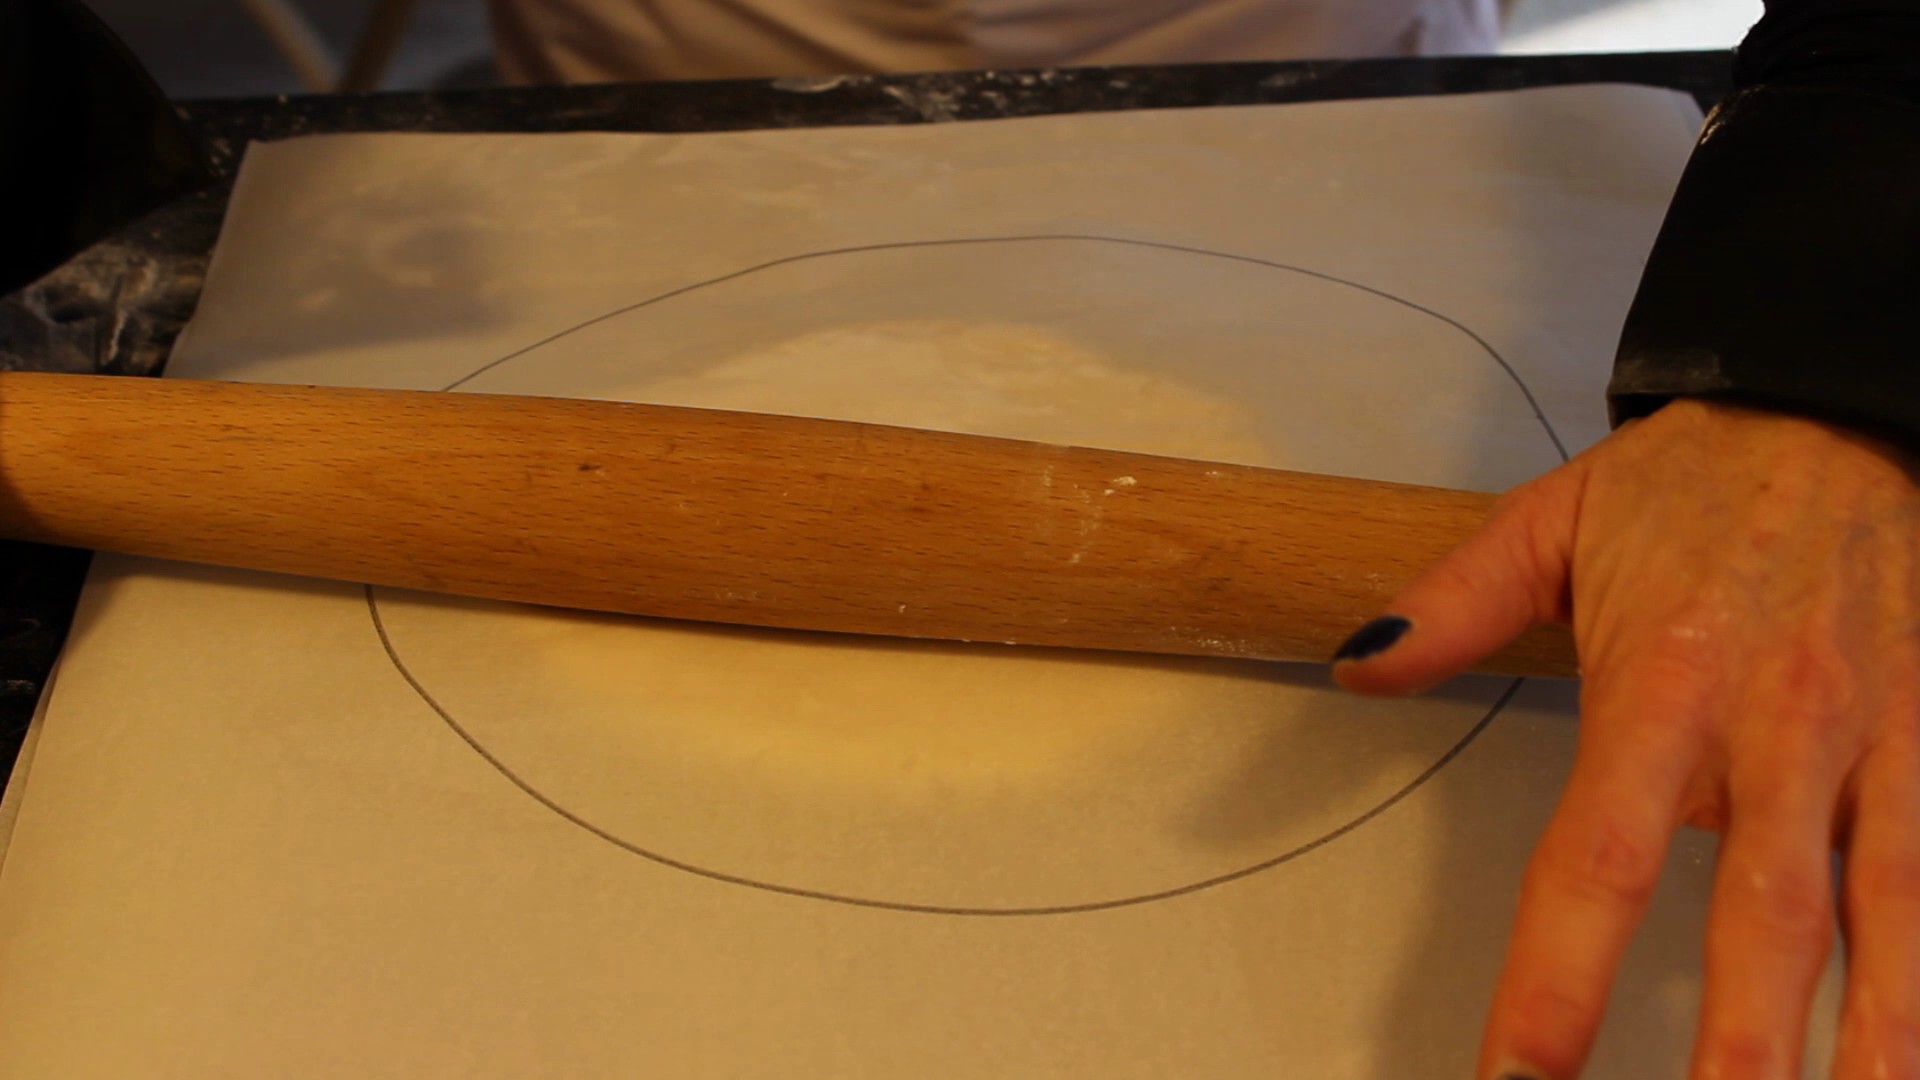
Roll out 1/2 of the pie crust at a time in between two pieces of parchment with circle drawing on the outside
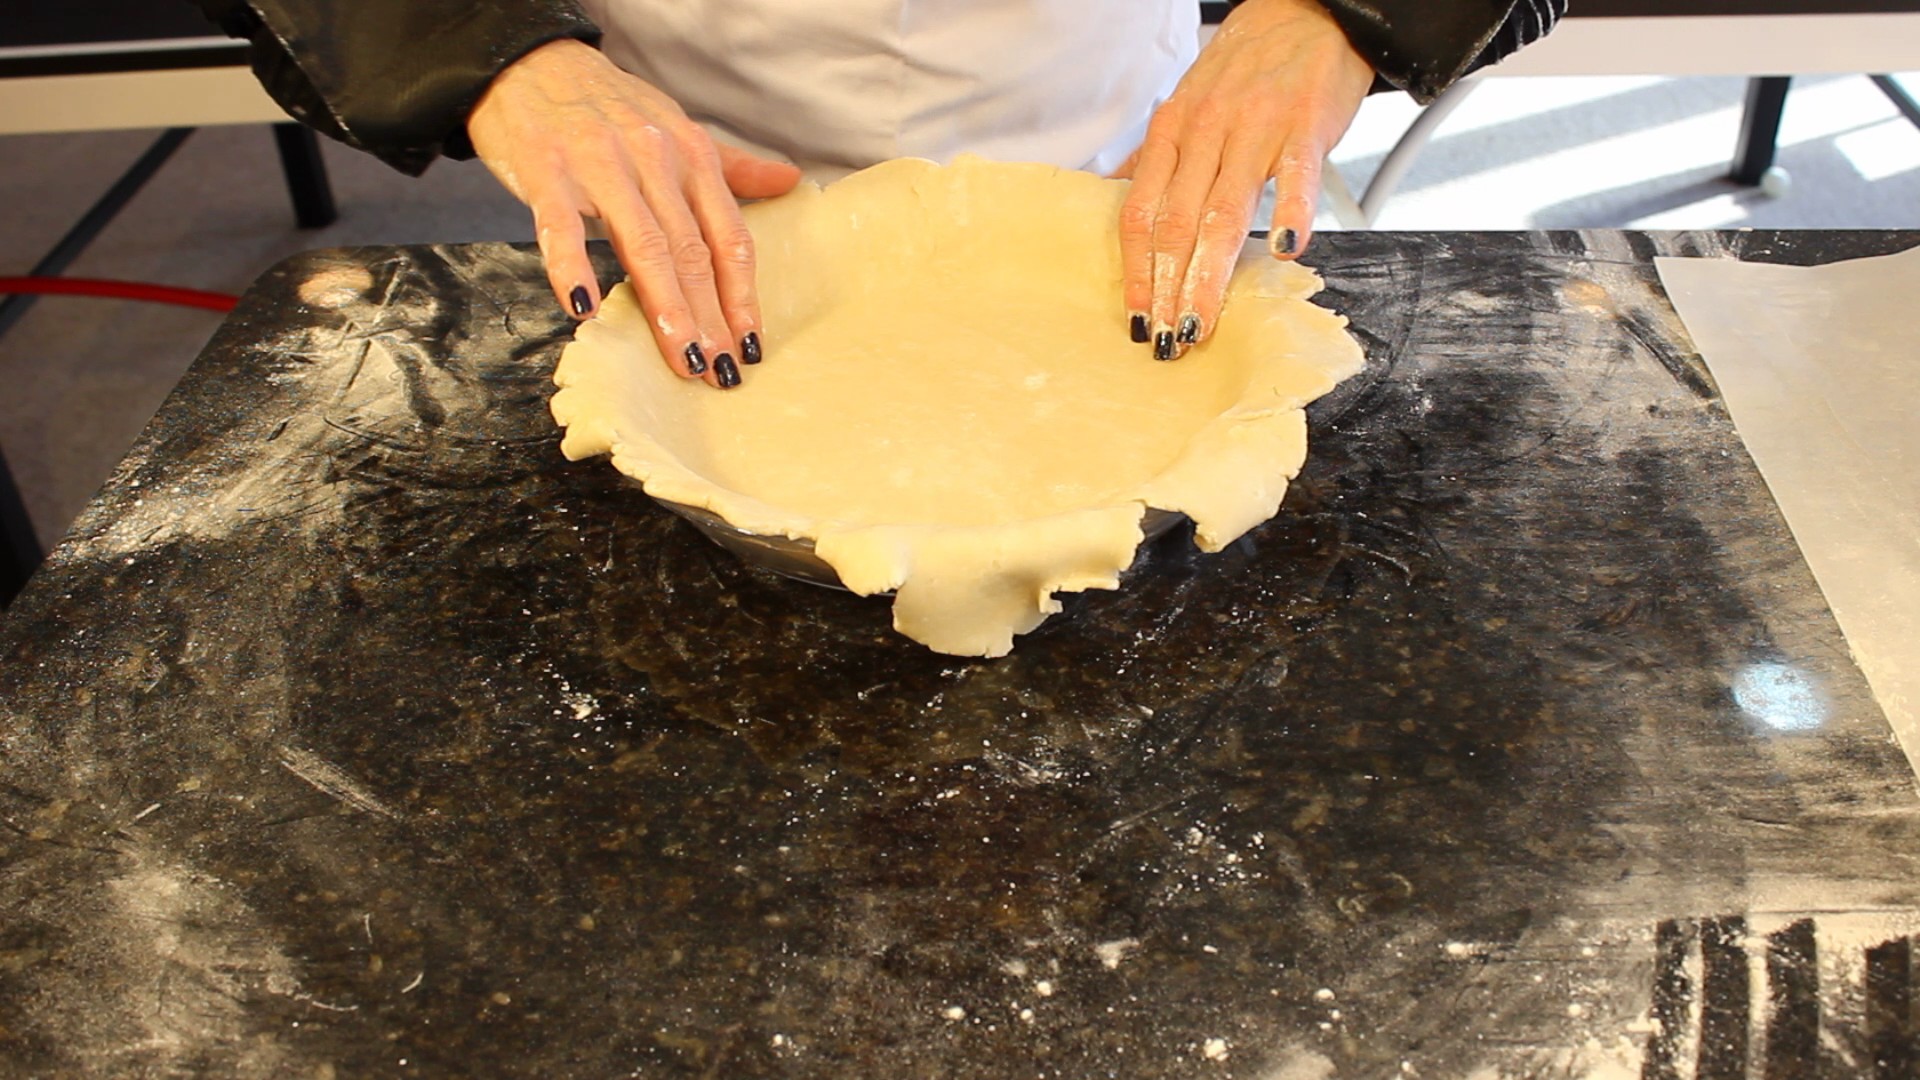
When the dough is rolled out to approx 1/8″ thick and the proper circle size flip pie dough over with parchment paper into pie plate
Gently fit pie dough into dish without pushing down hard and place into the fridge
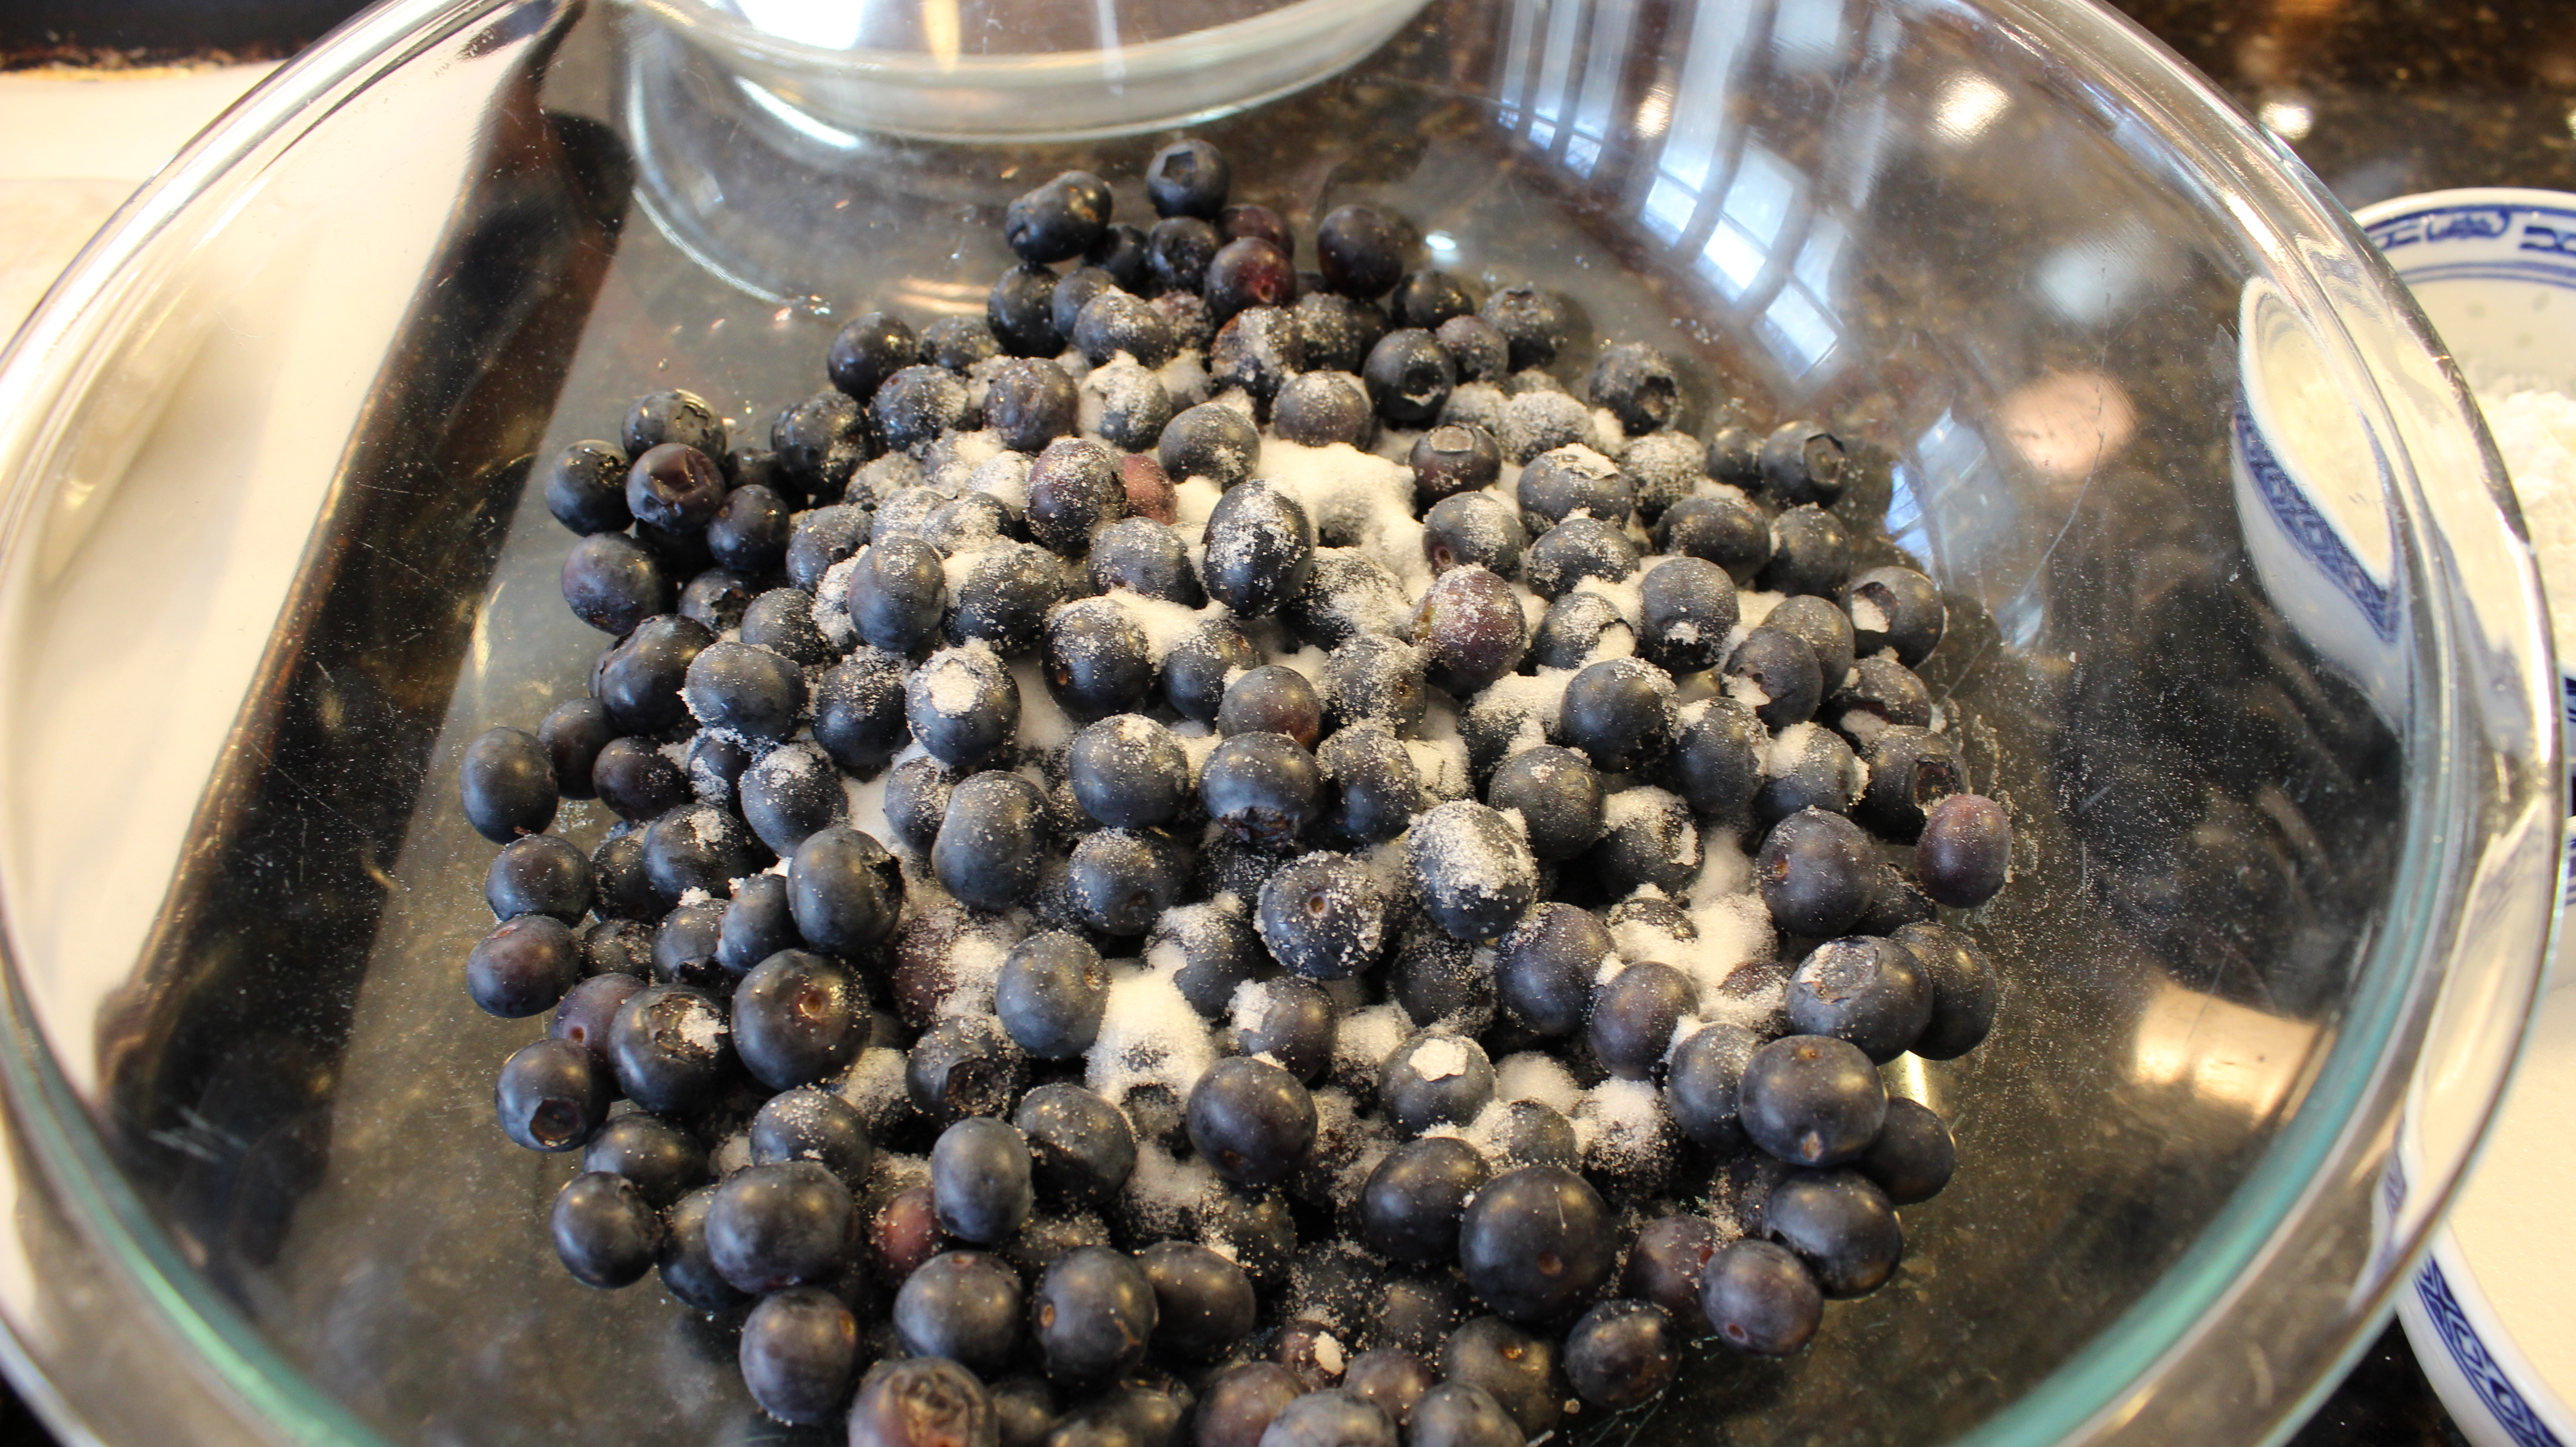
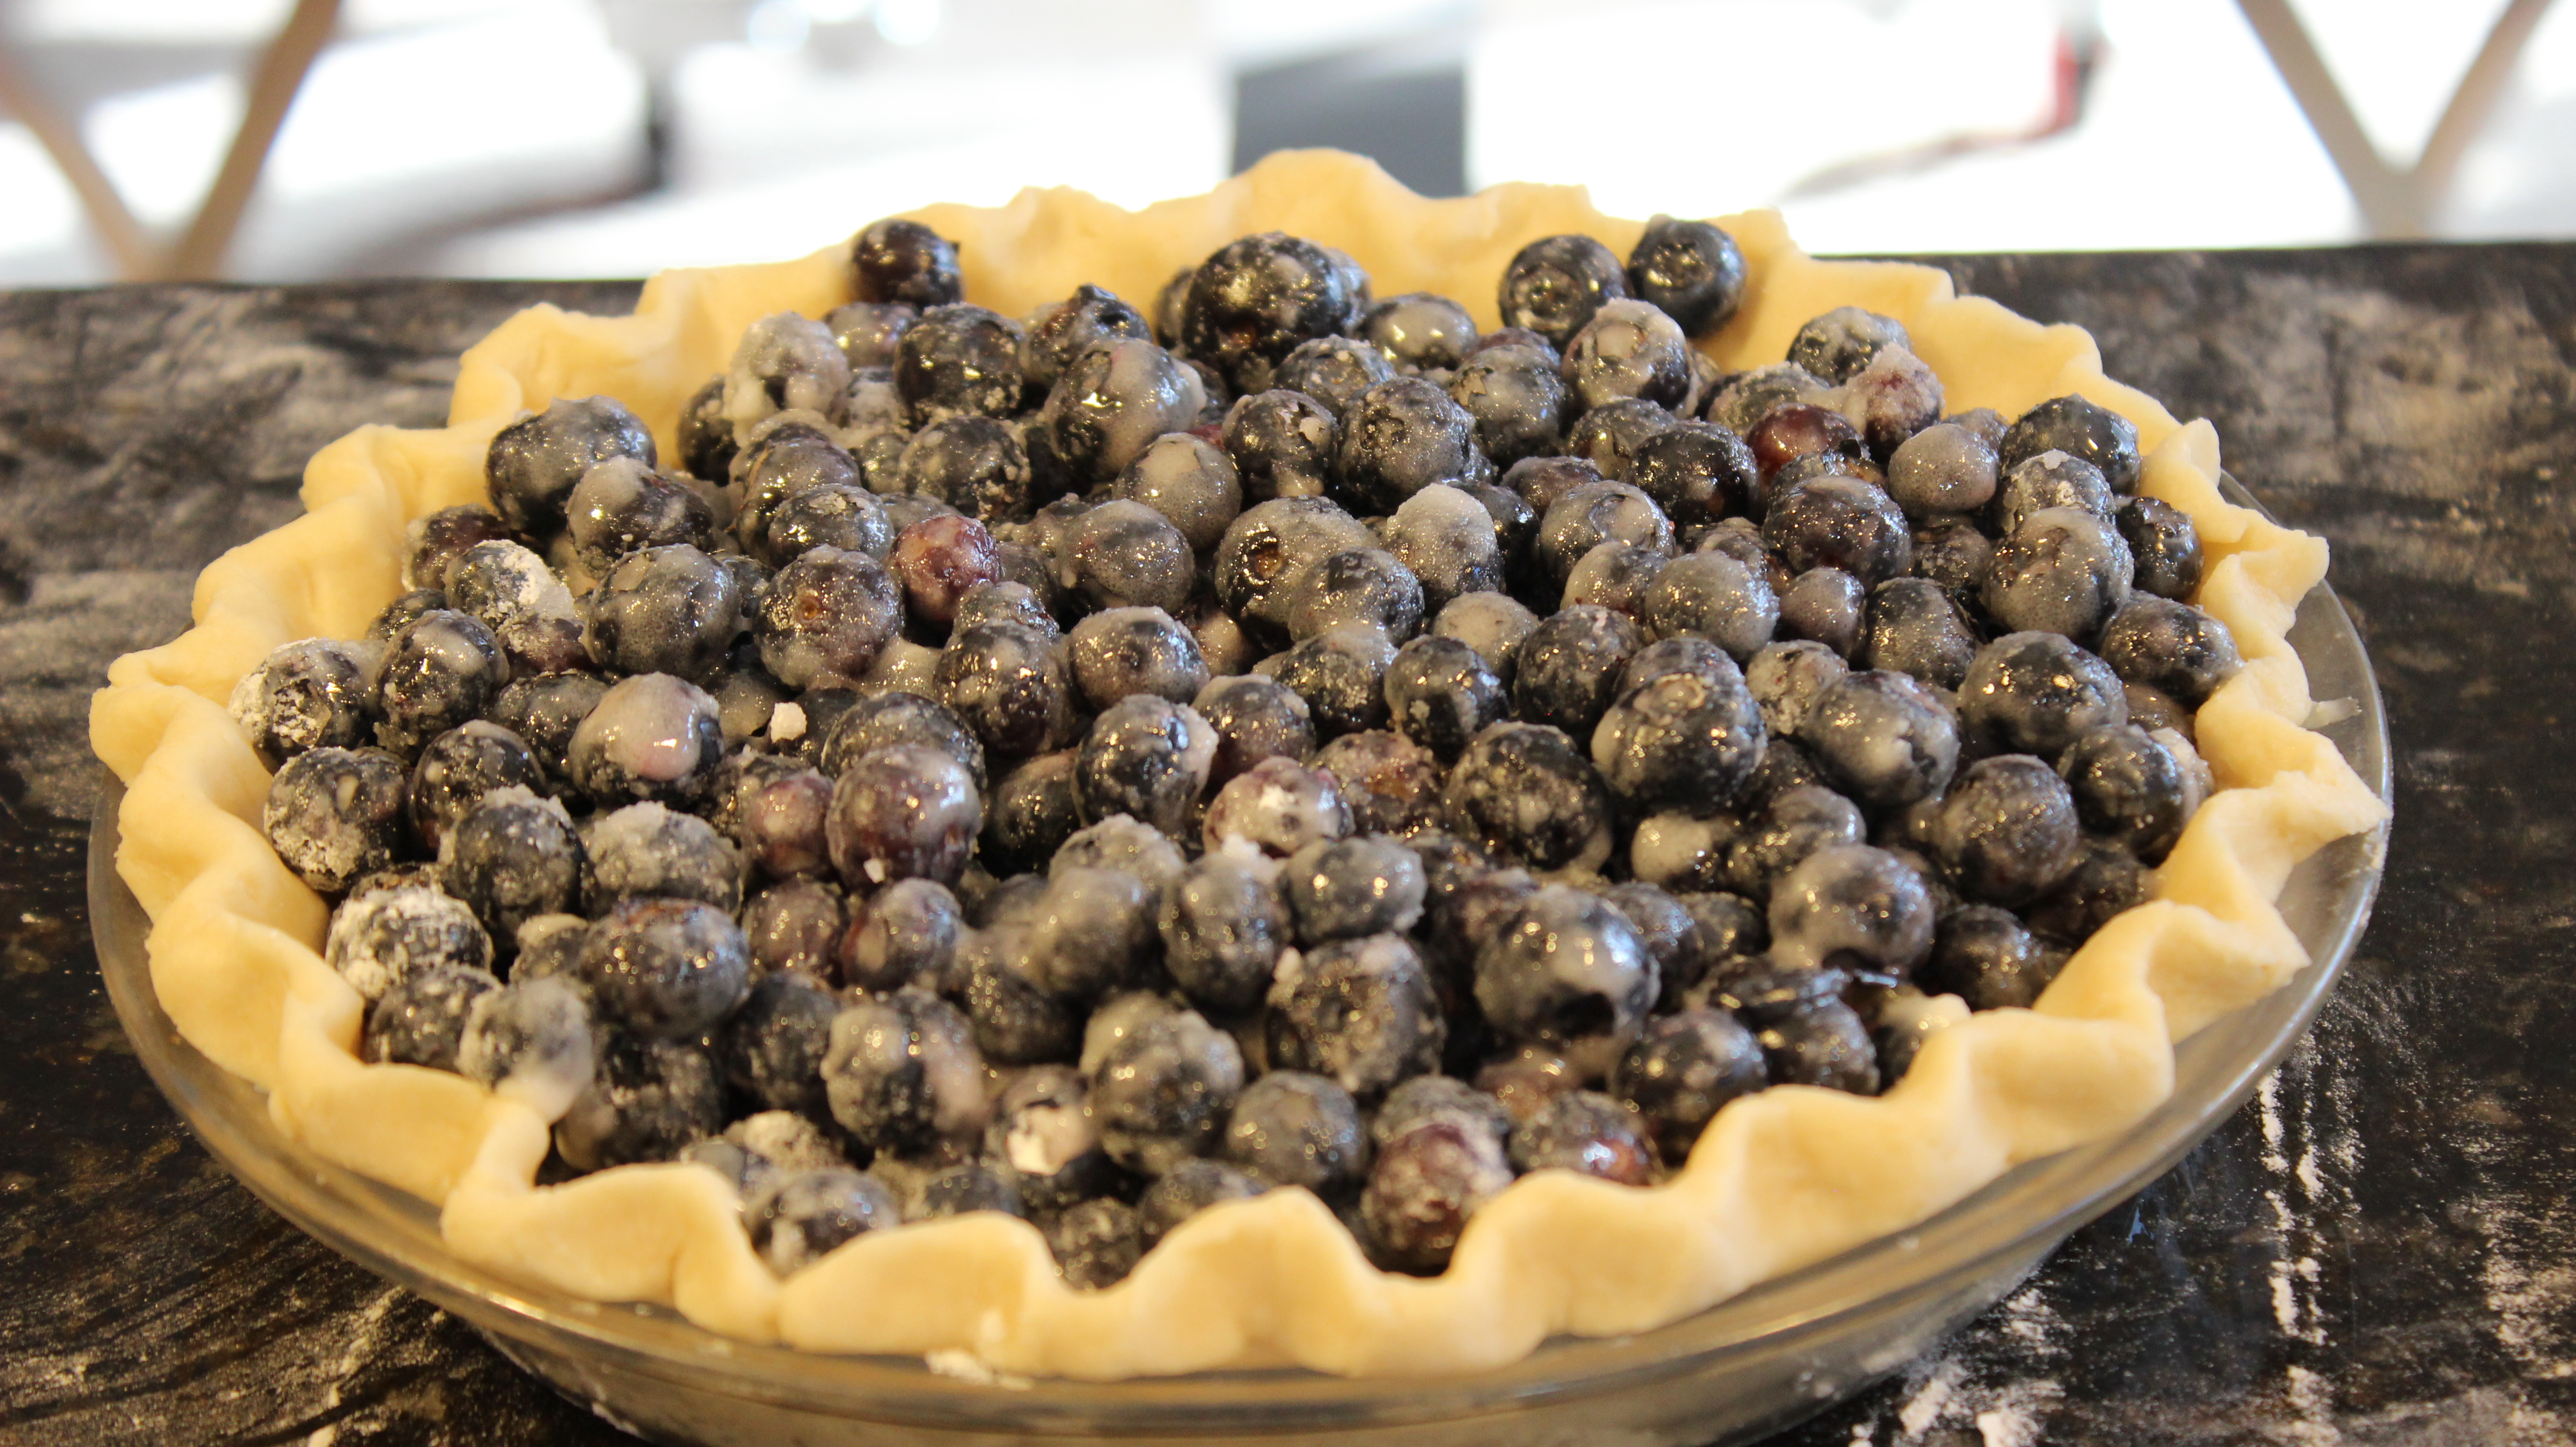
Wash and dry blueberries, picking through them to remove any under and over ripe berries and stems
Place berries in a large bowl and add 1/4 cup corn starch, 1/2 cup sugar, 1/8 tsp salt and juice from 1/2 lemon and toss until coated
Put the bowl of blueberries into the fridge
Roll out the other pie dough disc and cut out leaf shapes or what ever shape you want to be the top layer of the pie
Lay down a piece of parchment on a cookie sheet with a sprinkle of flour and place leaf cut outs onto the cookie sheet
Put leaf cut outs into the fridge
Take out pie dish with pie dough from fridge and crimp edges
Pour the blueberries into the pie dish and back into the fridge
Whisk 1 egg with 1 tbsp of heavy cream
Take the leaf cut-outs on the cookie sheet from the fridge and brush with the egg wash
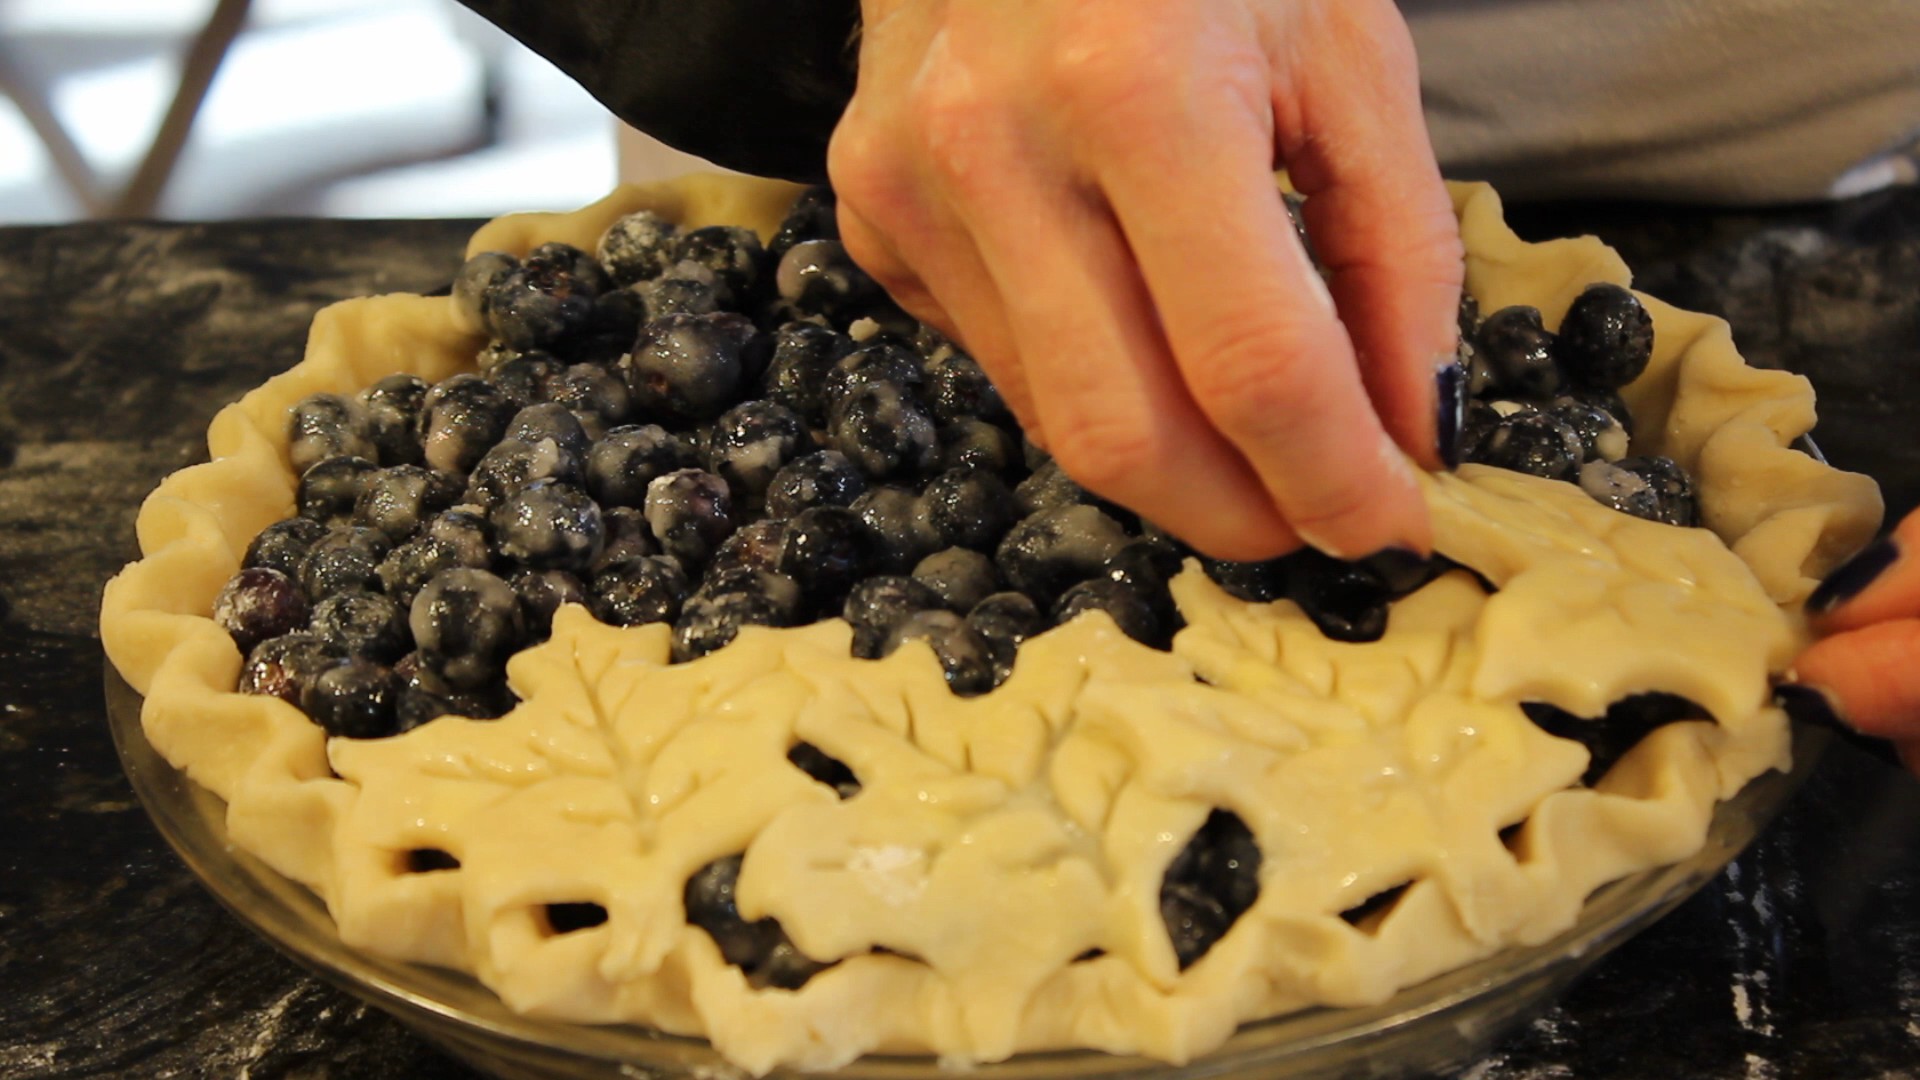
Take the blueberries in the pie dish out of the fridge and dot the pie with 1 1/2 tbsp of cut up cold butter
Begin to place leaf cut-outs on top of the blueberries. Go along the edge of pie all around and then work your way in (you only need to gently push a couple of the edges of the leaf to crimped edges of the pie and to each leaf
Put the pie back into the fridge for 15 minutes while you pre-heat oven to 400º
Place blueberry pie on the cookie sheet that has a piece of parchment covering the bottom in case of spillage and pop into the oven for 30 minutes
Turn the oven down to 350º and bake for another 40 minutes until a golden crust and juices are bubbly
You must let cool 3 hours so the blueberry juicy can thicken properly
Serve with your best vanilla ice cream and you will be one happy camper! 🙂
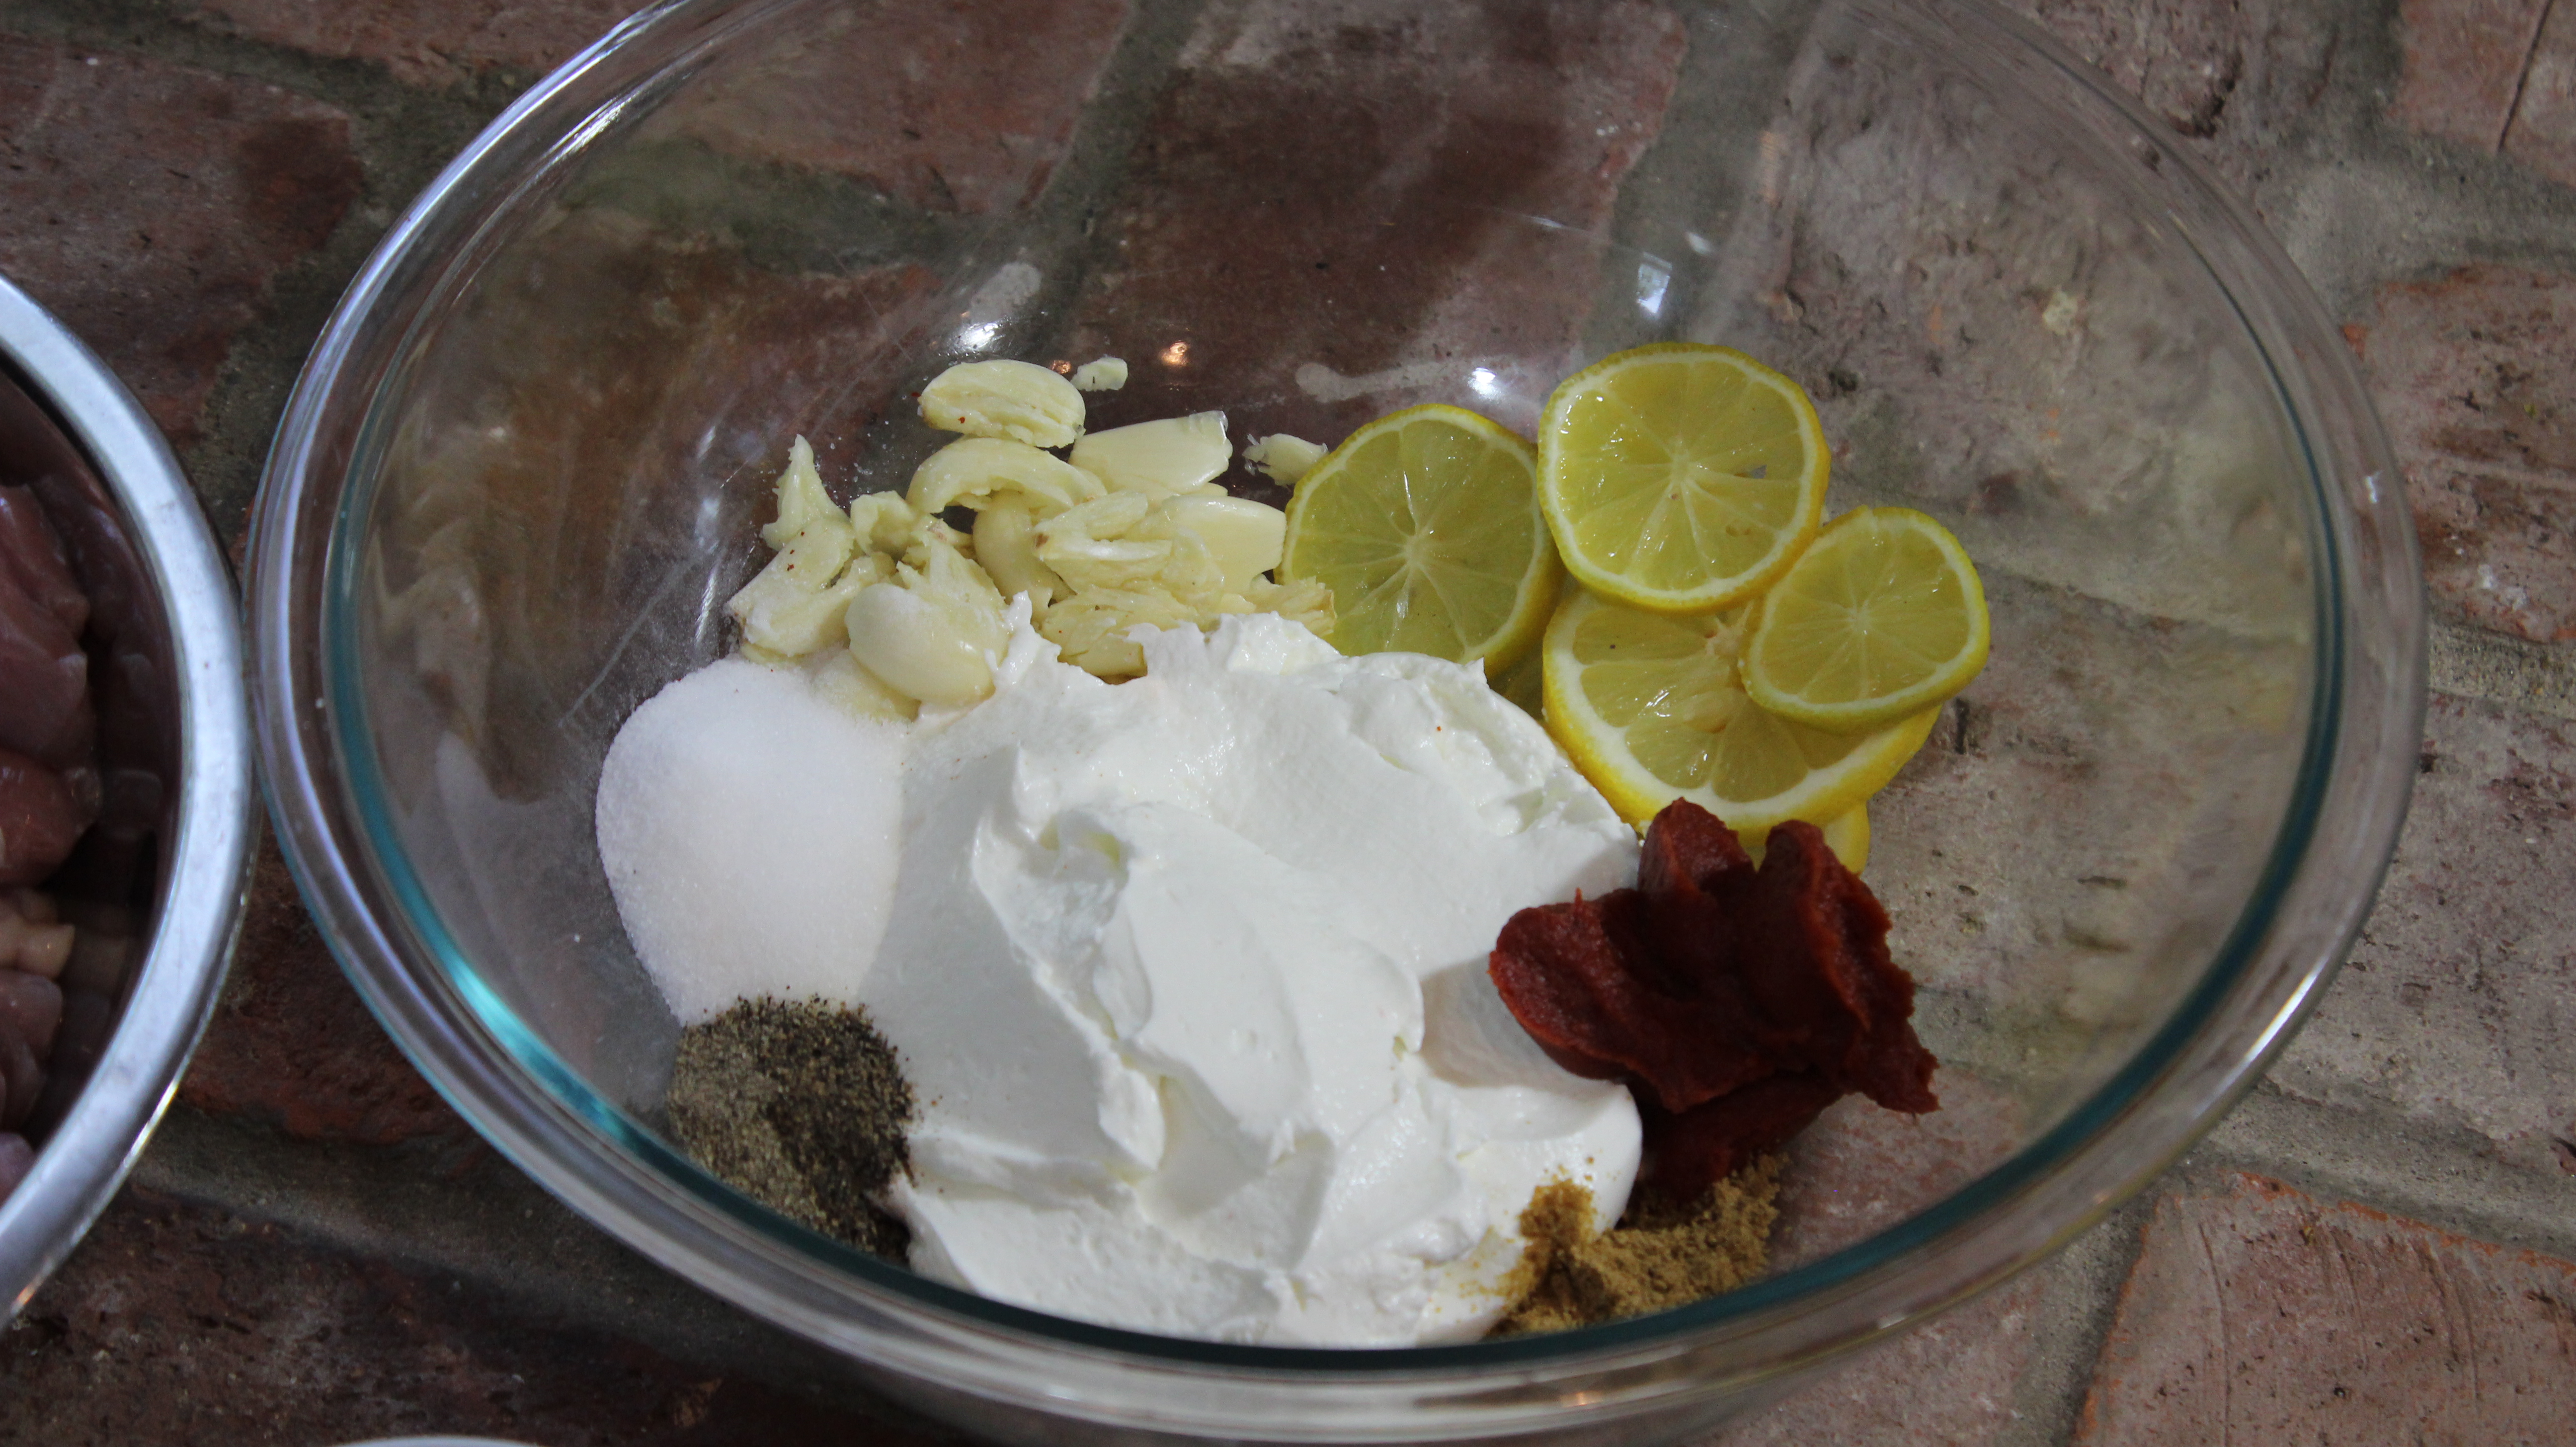
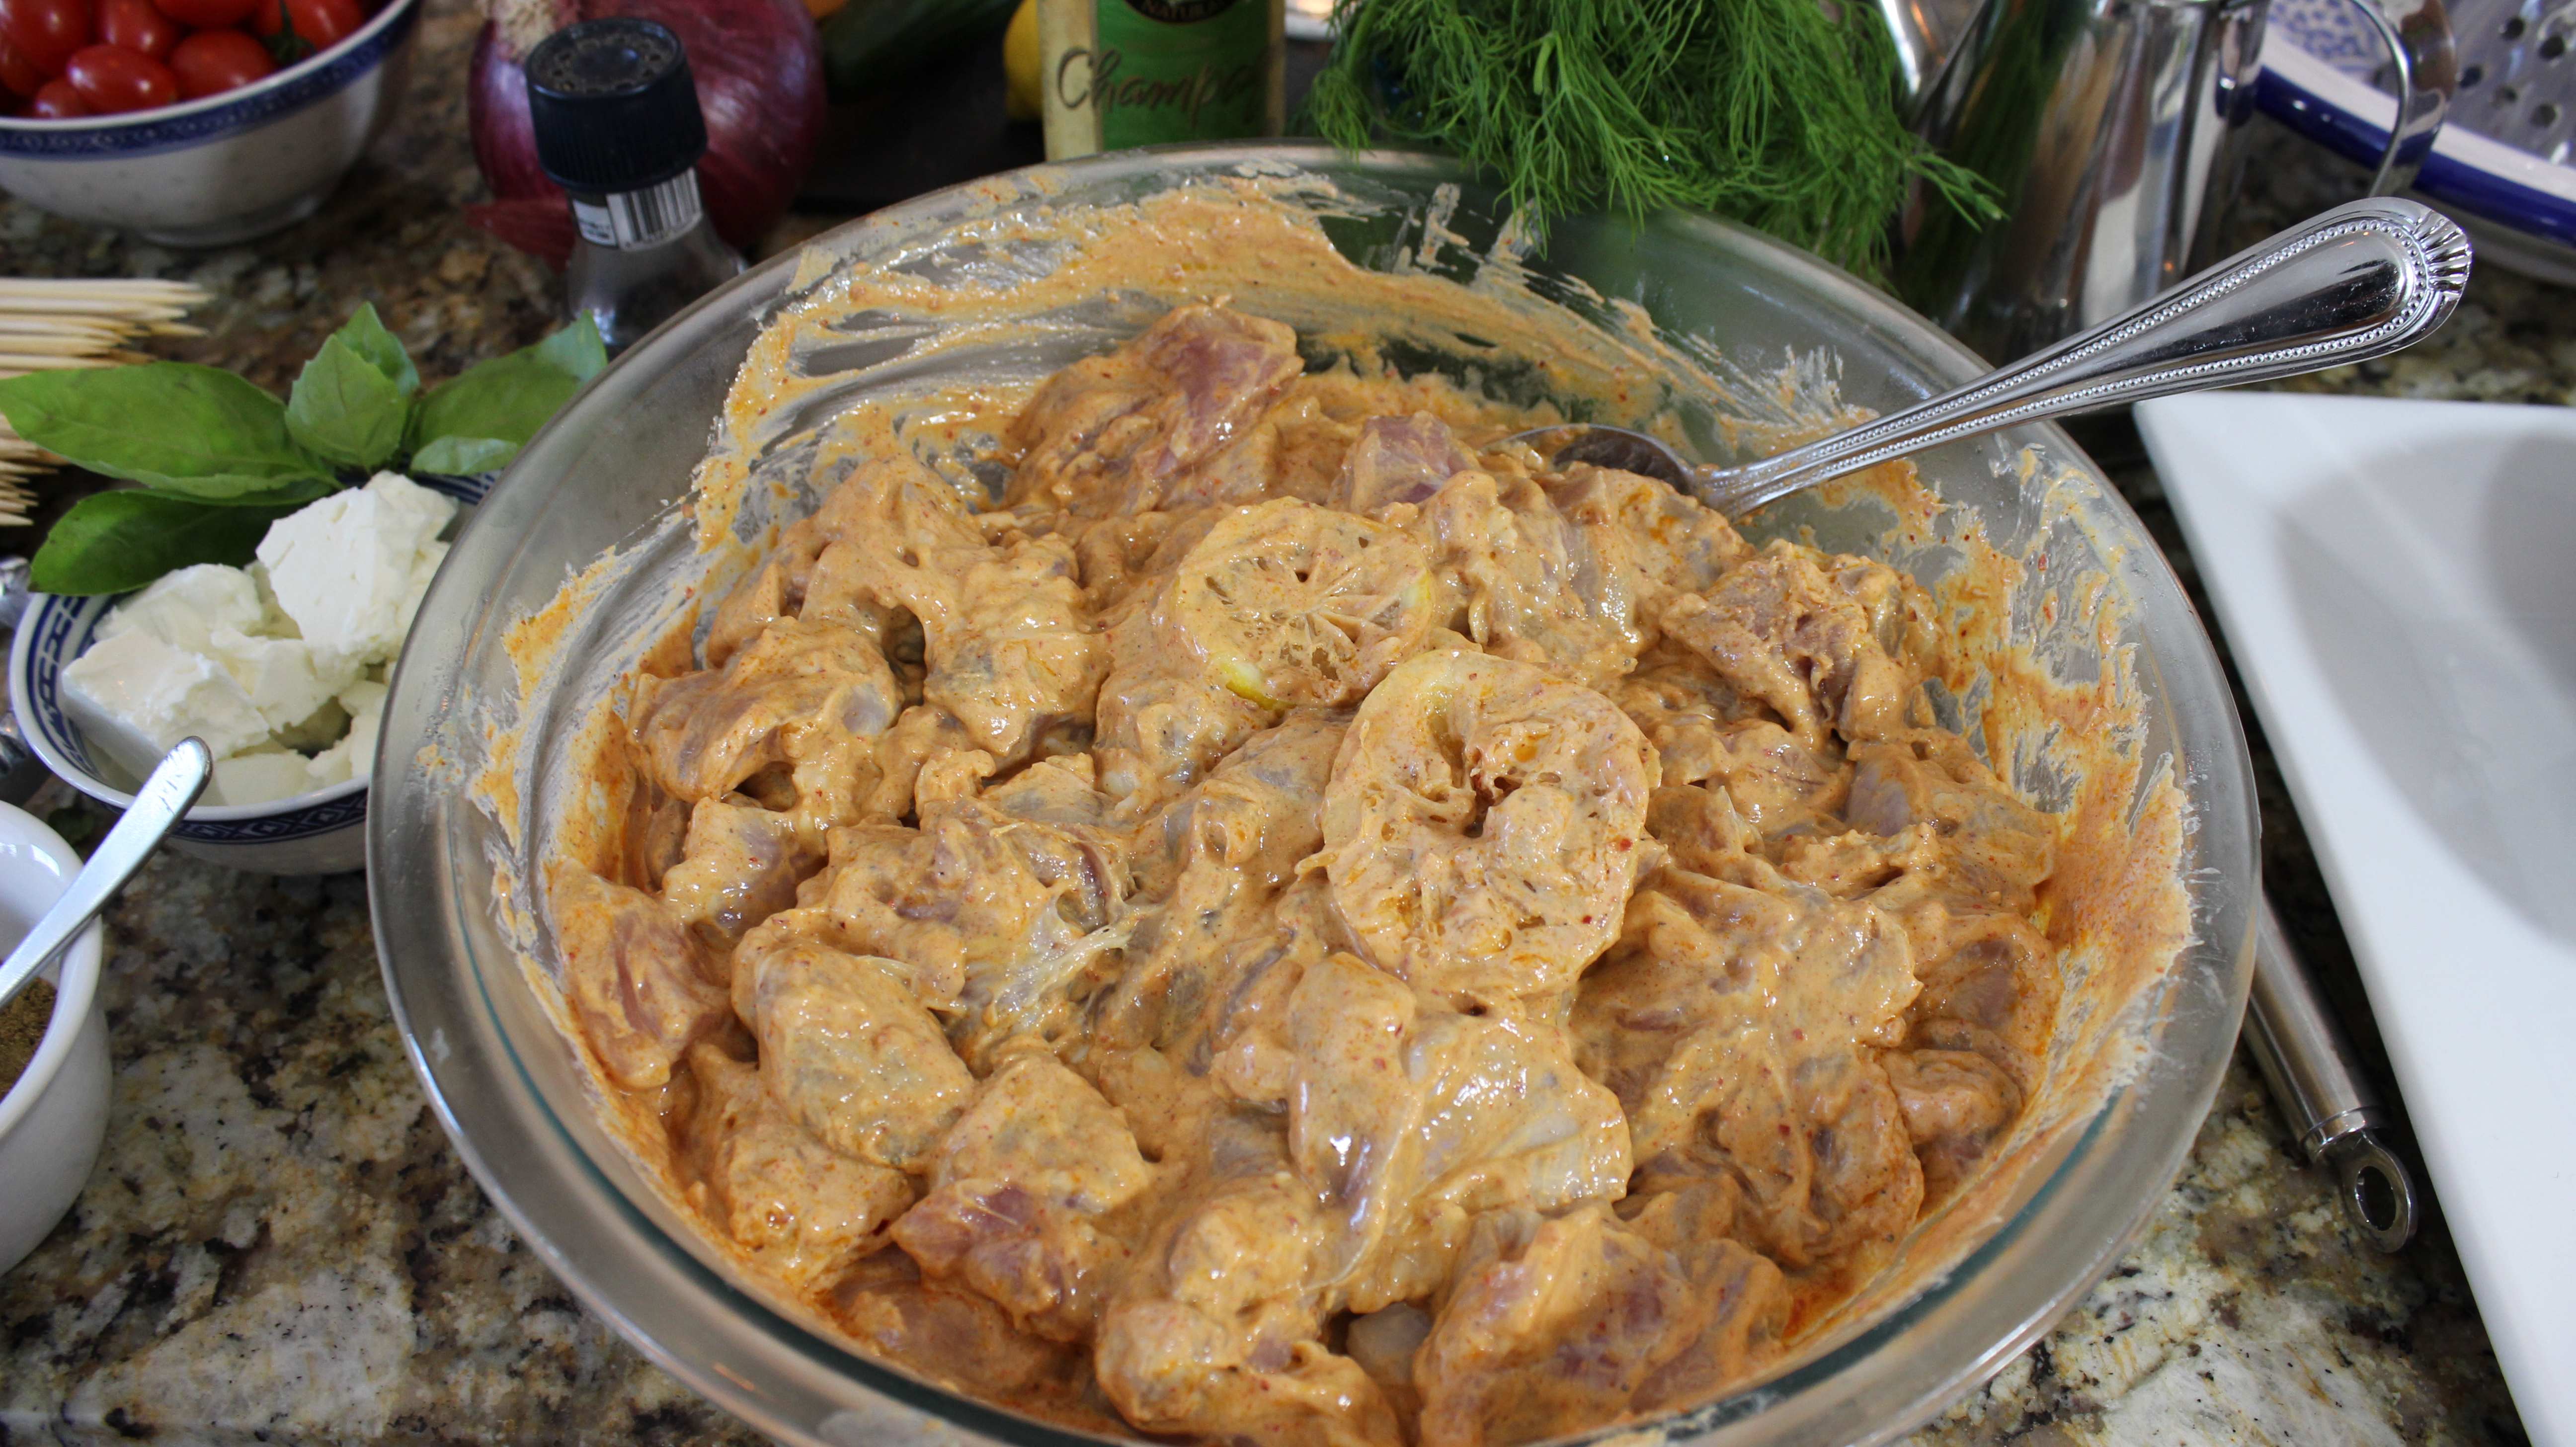
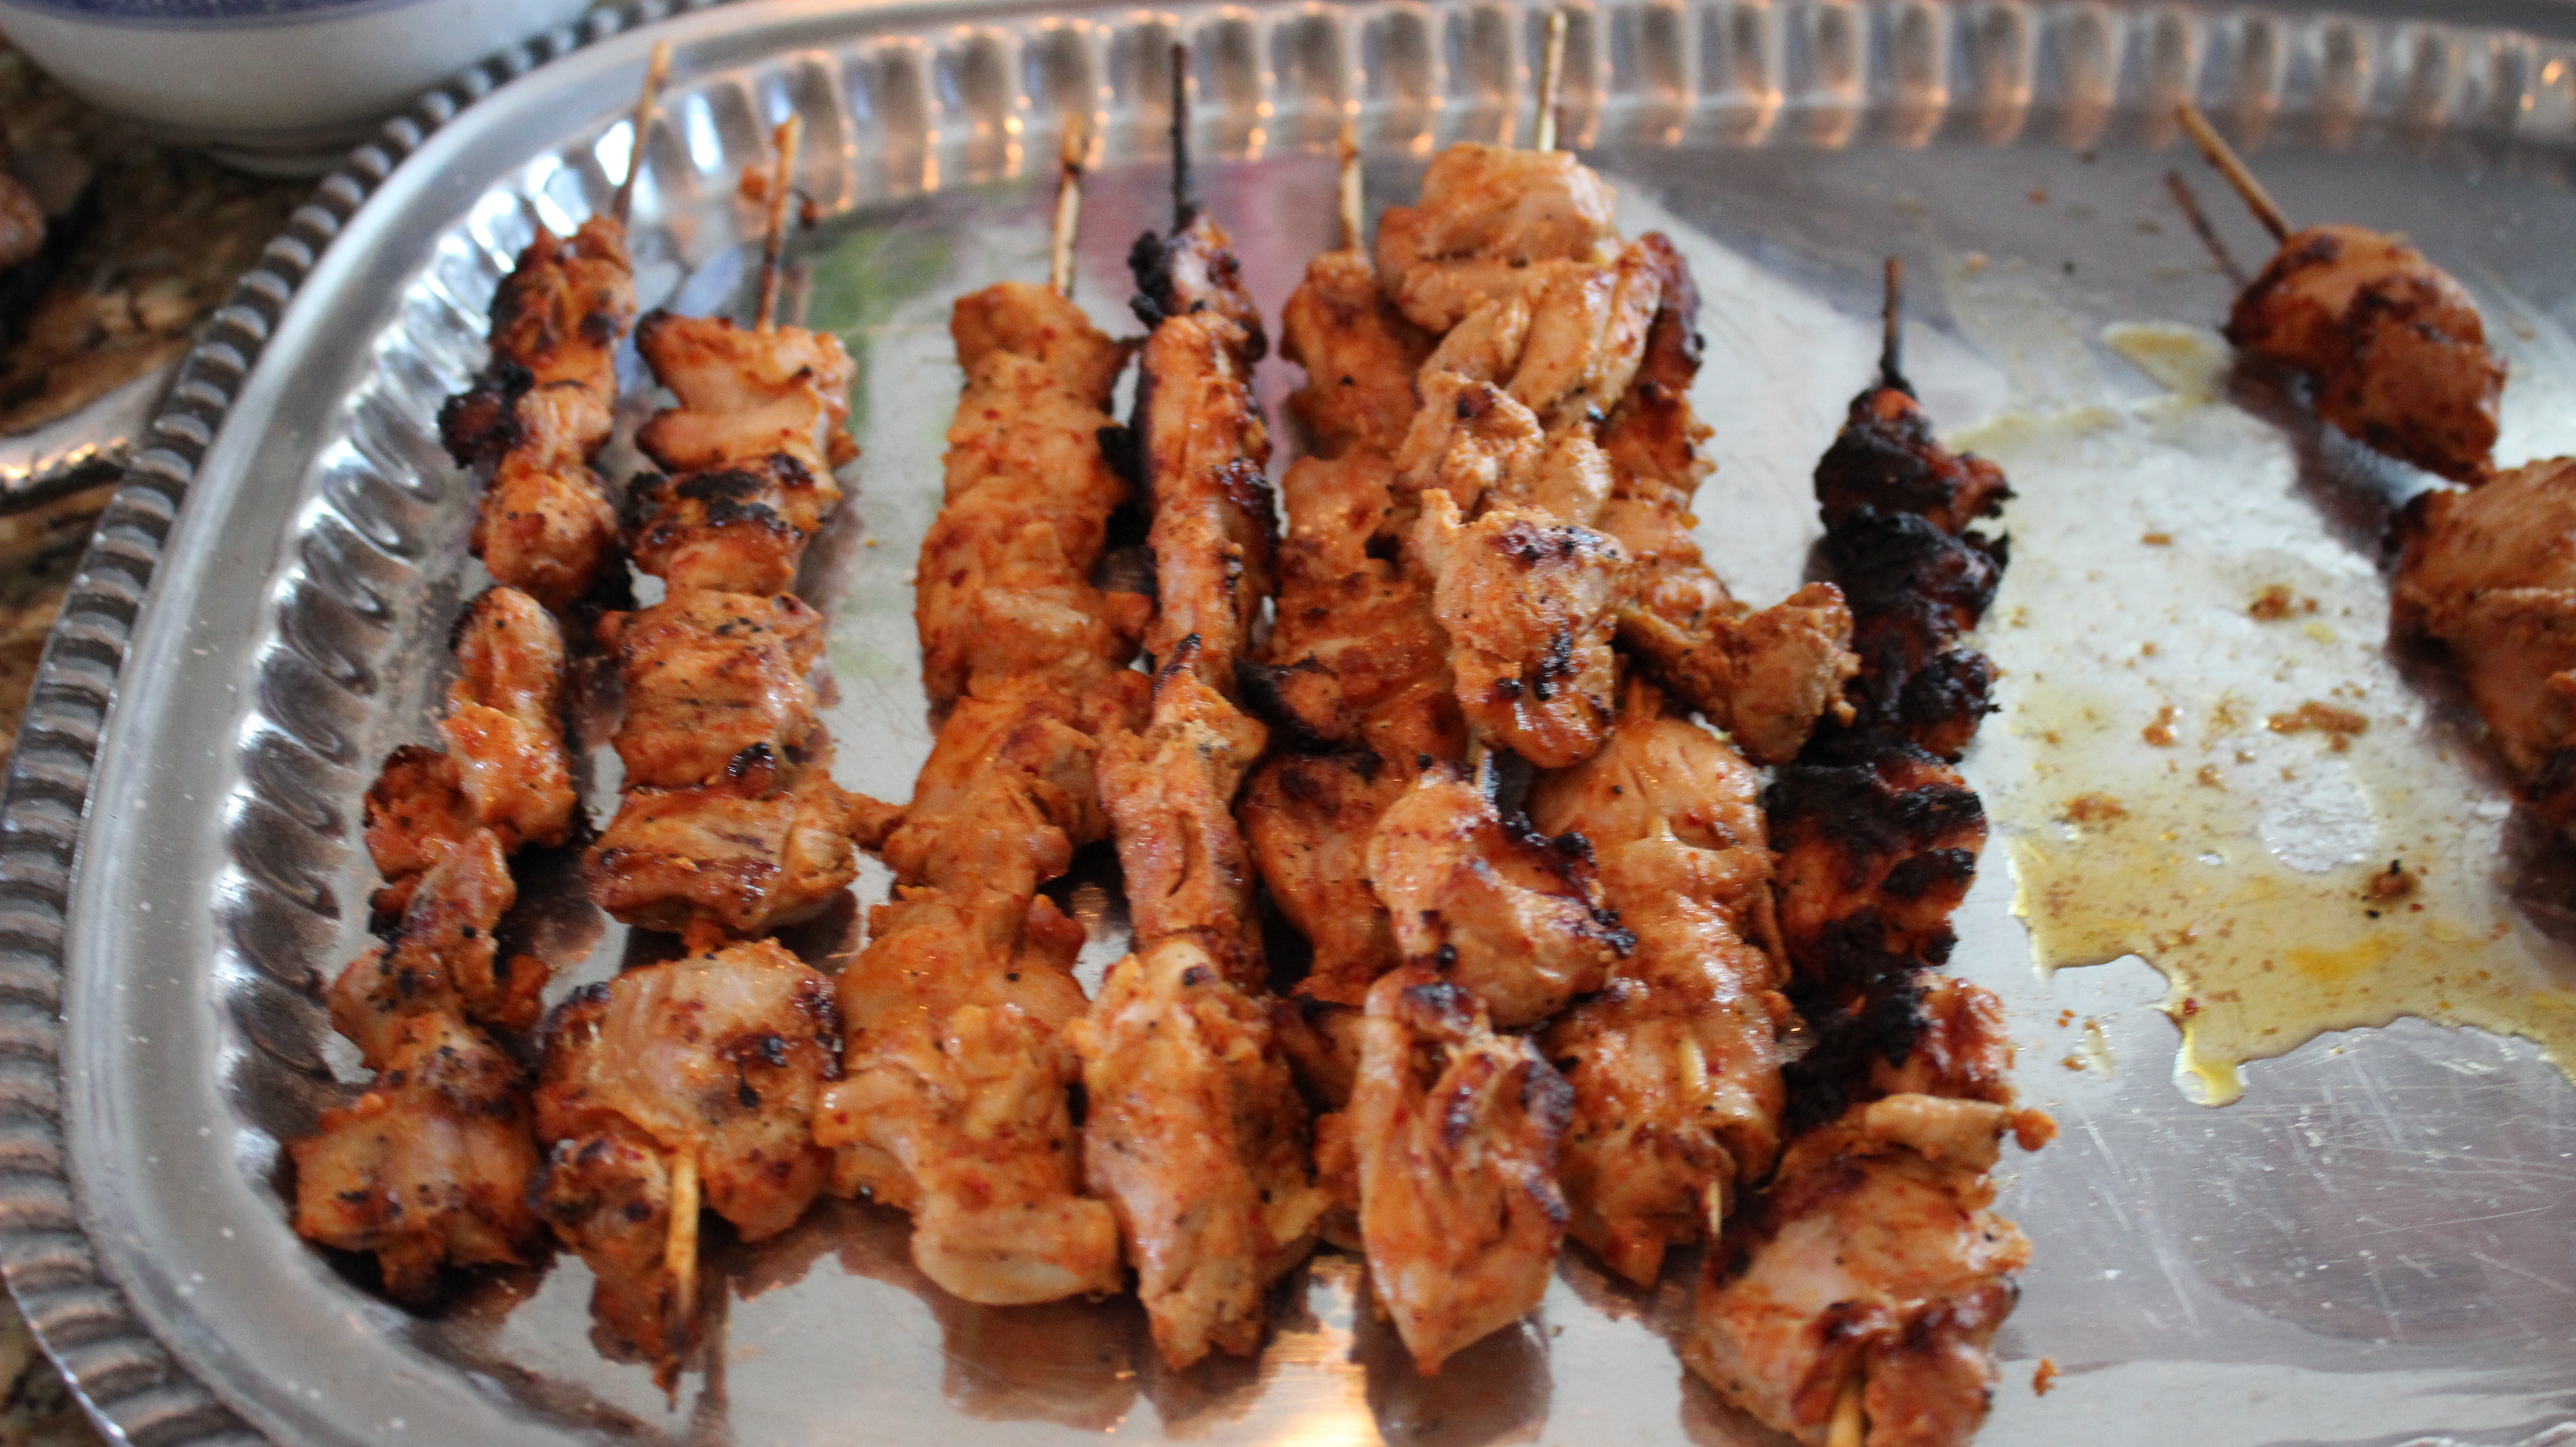
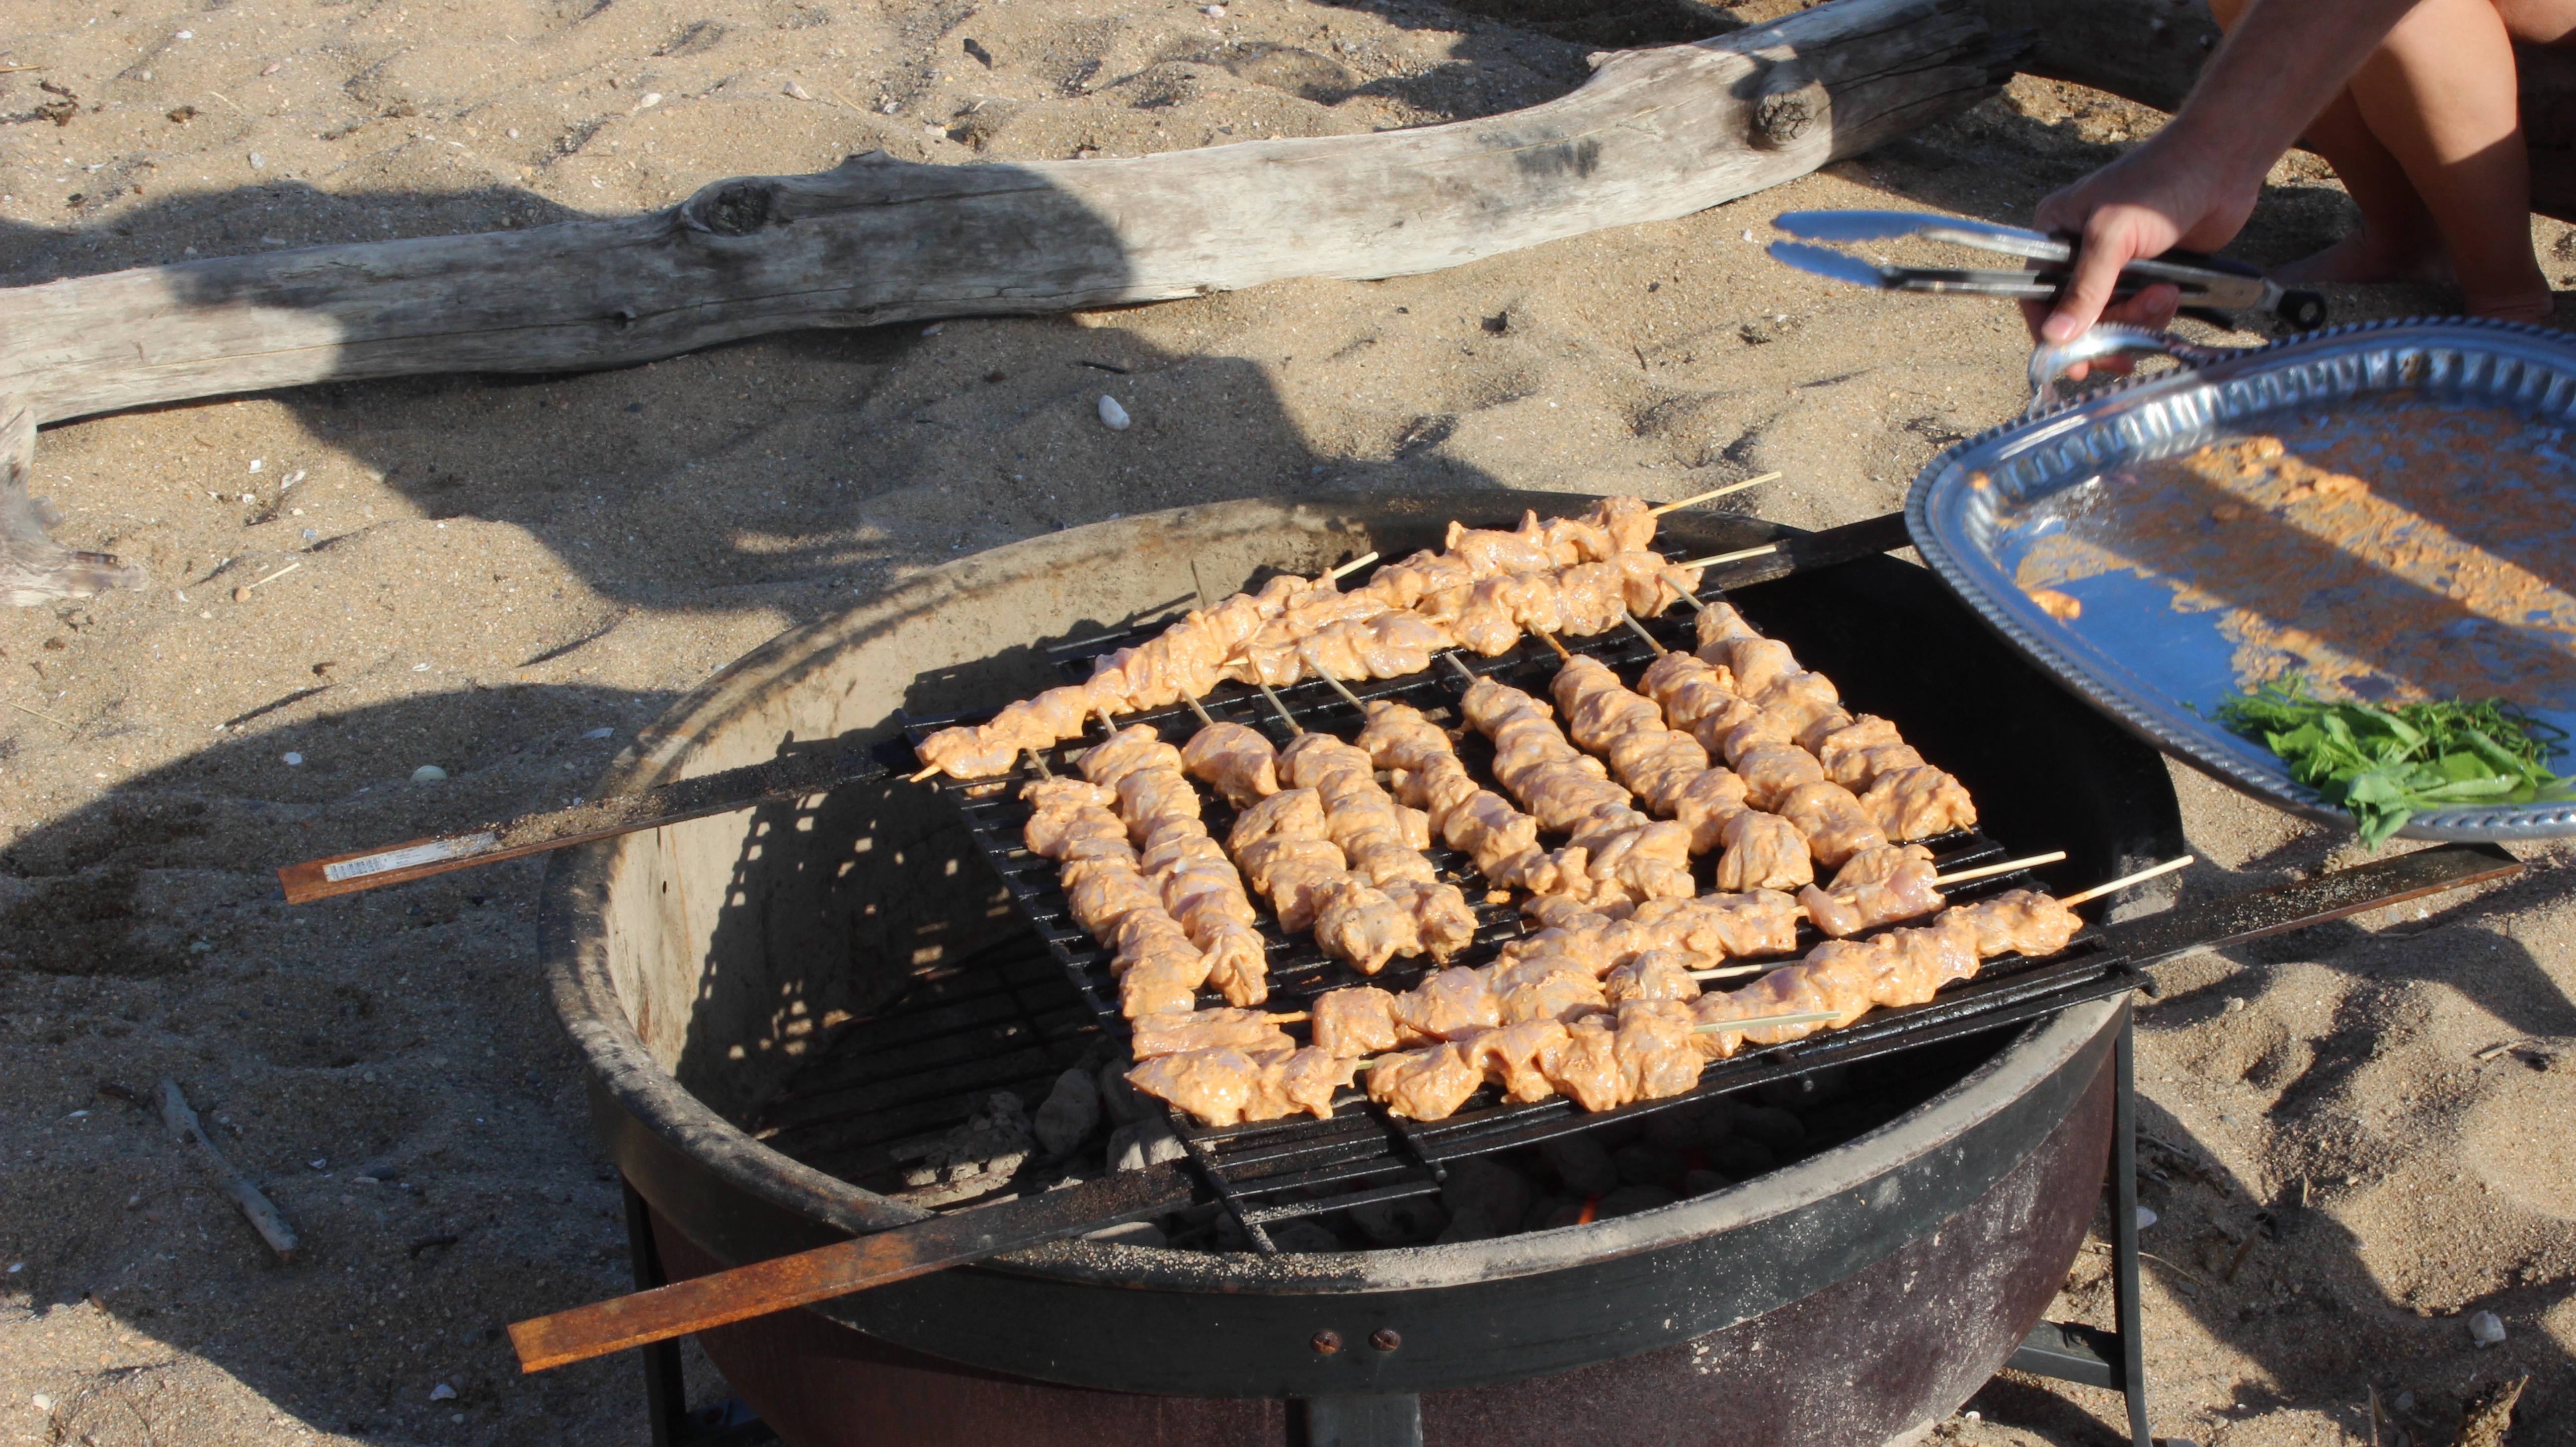
Wow, this gourmet yogurt marinated chicken kabob recipe is the most scrumptious marinade I have ever had on chicken. It will be my new favorite marinade for summer grilling! There is really nothing to putting together this marinade and the results are outstanding. The grilling goes really quickly here too because you cube up the chicken into small pieces so it only takes about 7-8 minutes for each side on high heat. I know I will be baking my chicken with this marinade over the winter months. Maria got this yogurt-marinated chicken kabob recipe from epicurious.com and of course making a couple of adjustments as I go through my own test kitchen adding in the fresh ground coriander and the “smoked” Spanish paprika giving it that hint of something extra that I was looking for.
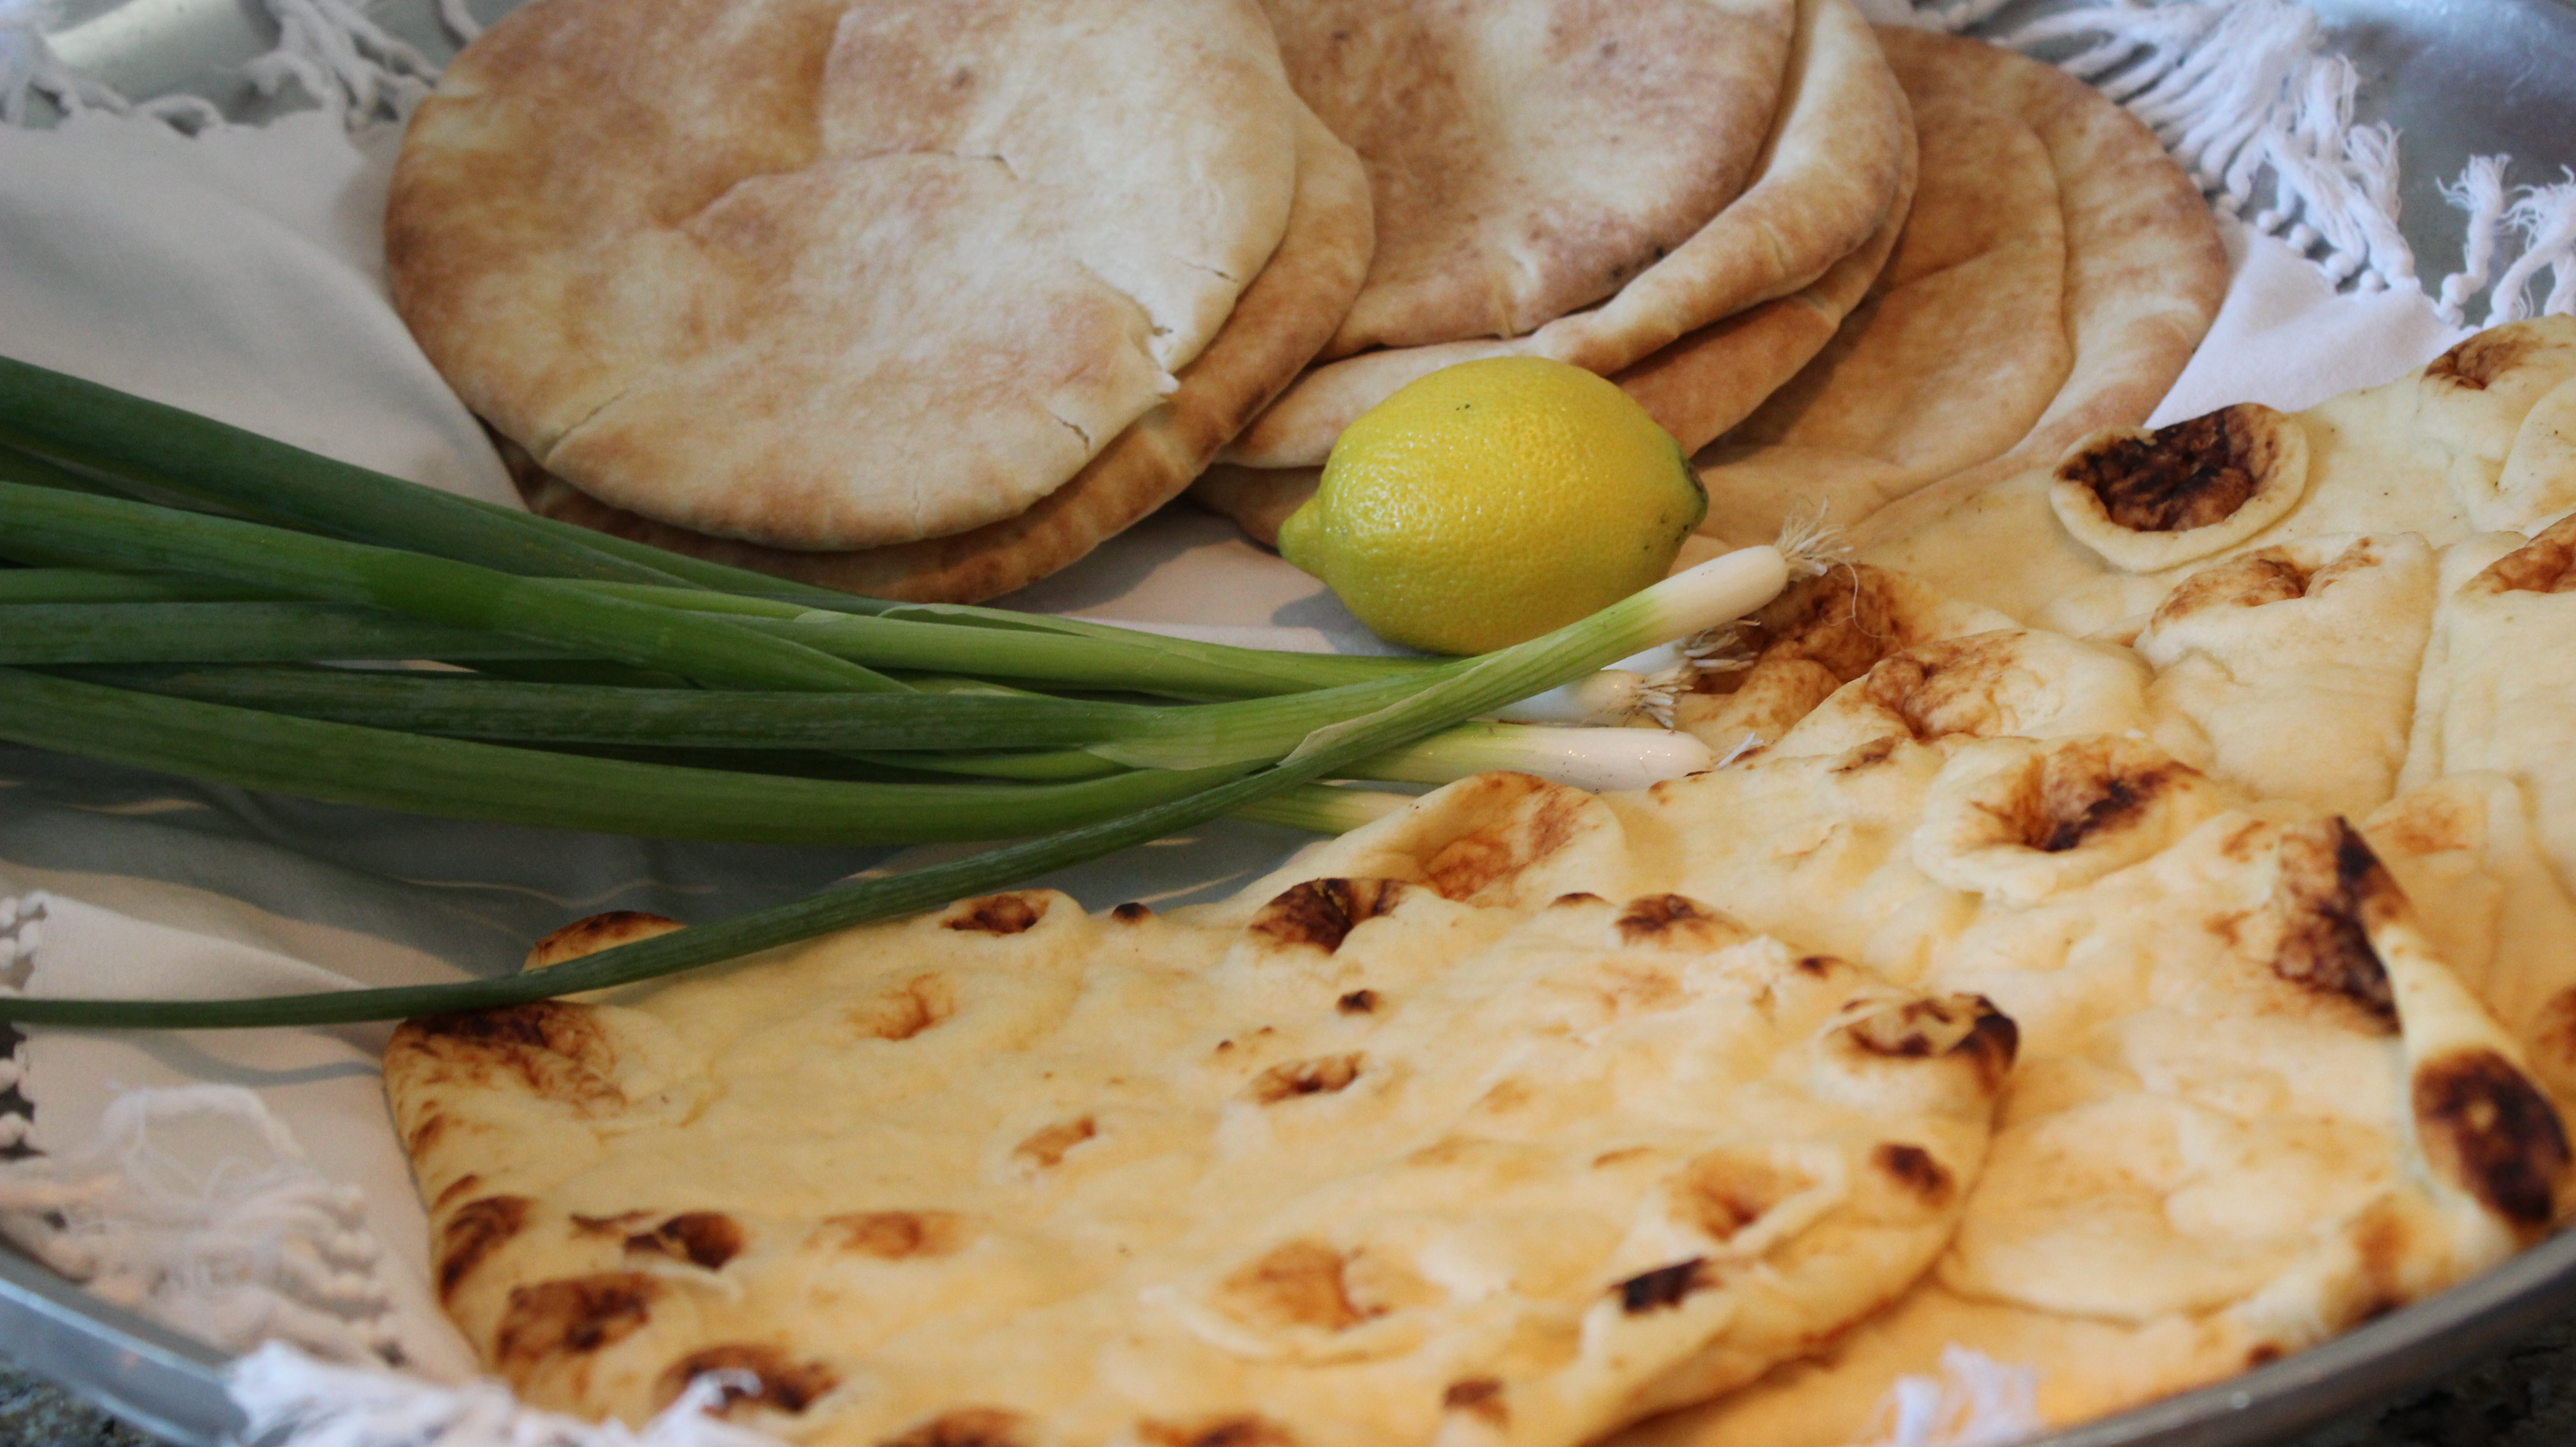
The combination of these three gourmet recipes together are packed full of flavor! My favorite is actually having this dynamic combo on some warmed or toasted naan adding in a chewy soft texture to this heavenly dish. Using the toum, the garlic Lebanese sauce as a baster for the breads and vegetables when you are grilling in a no brainer.
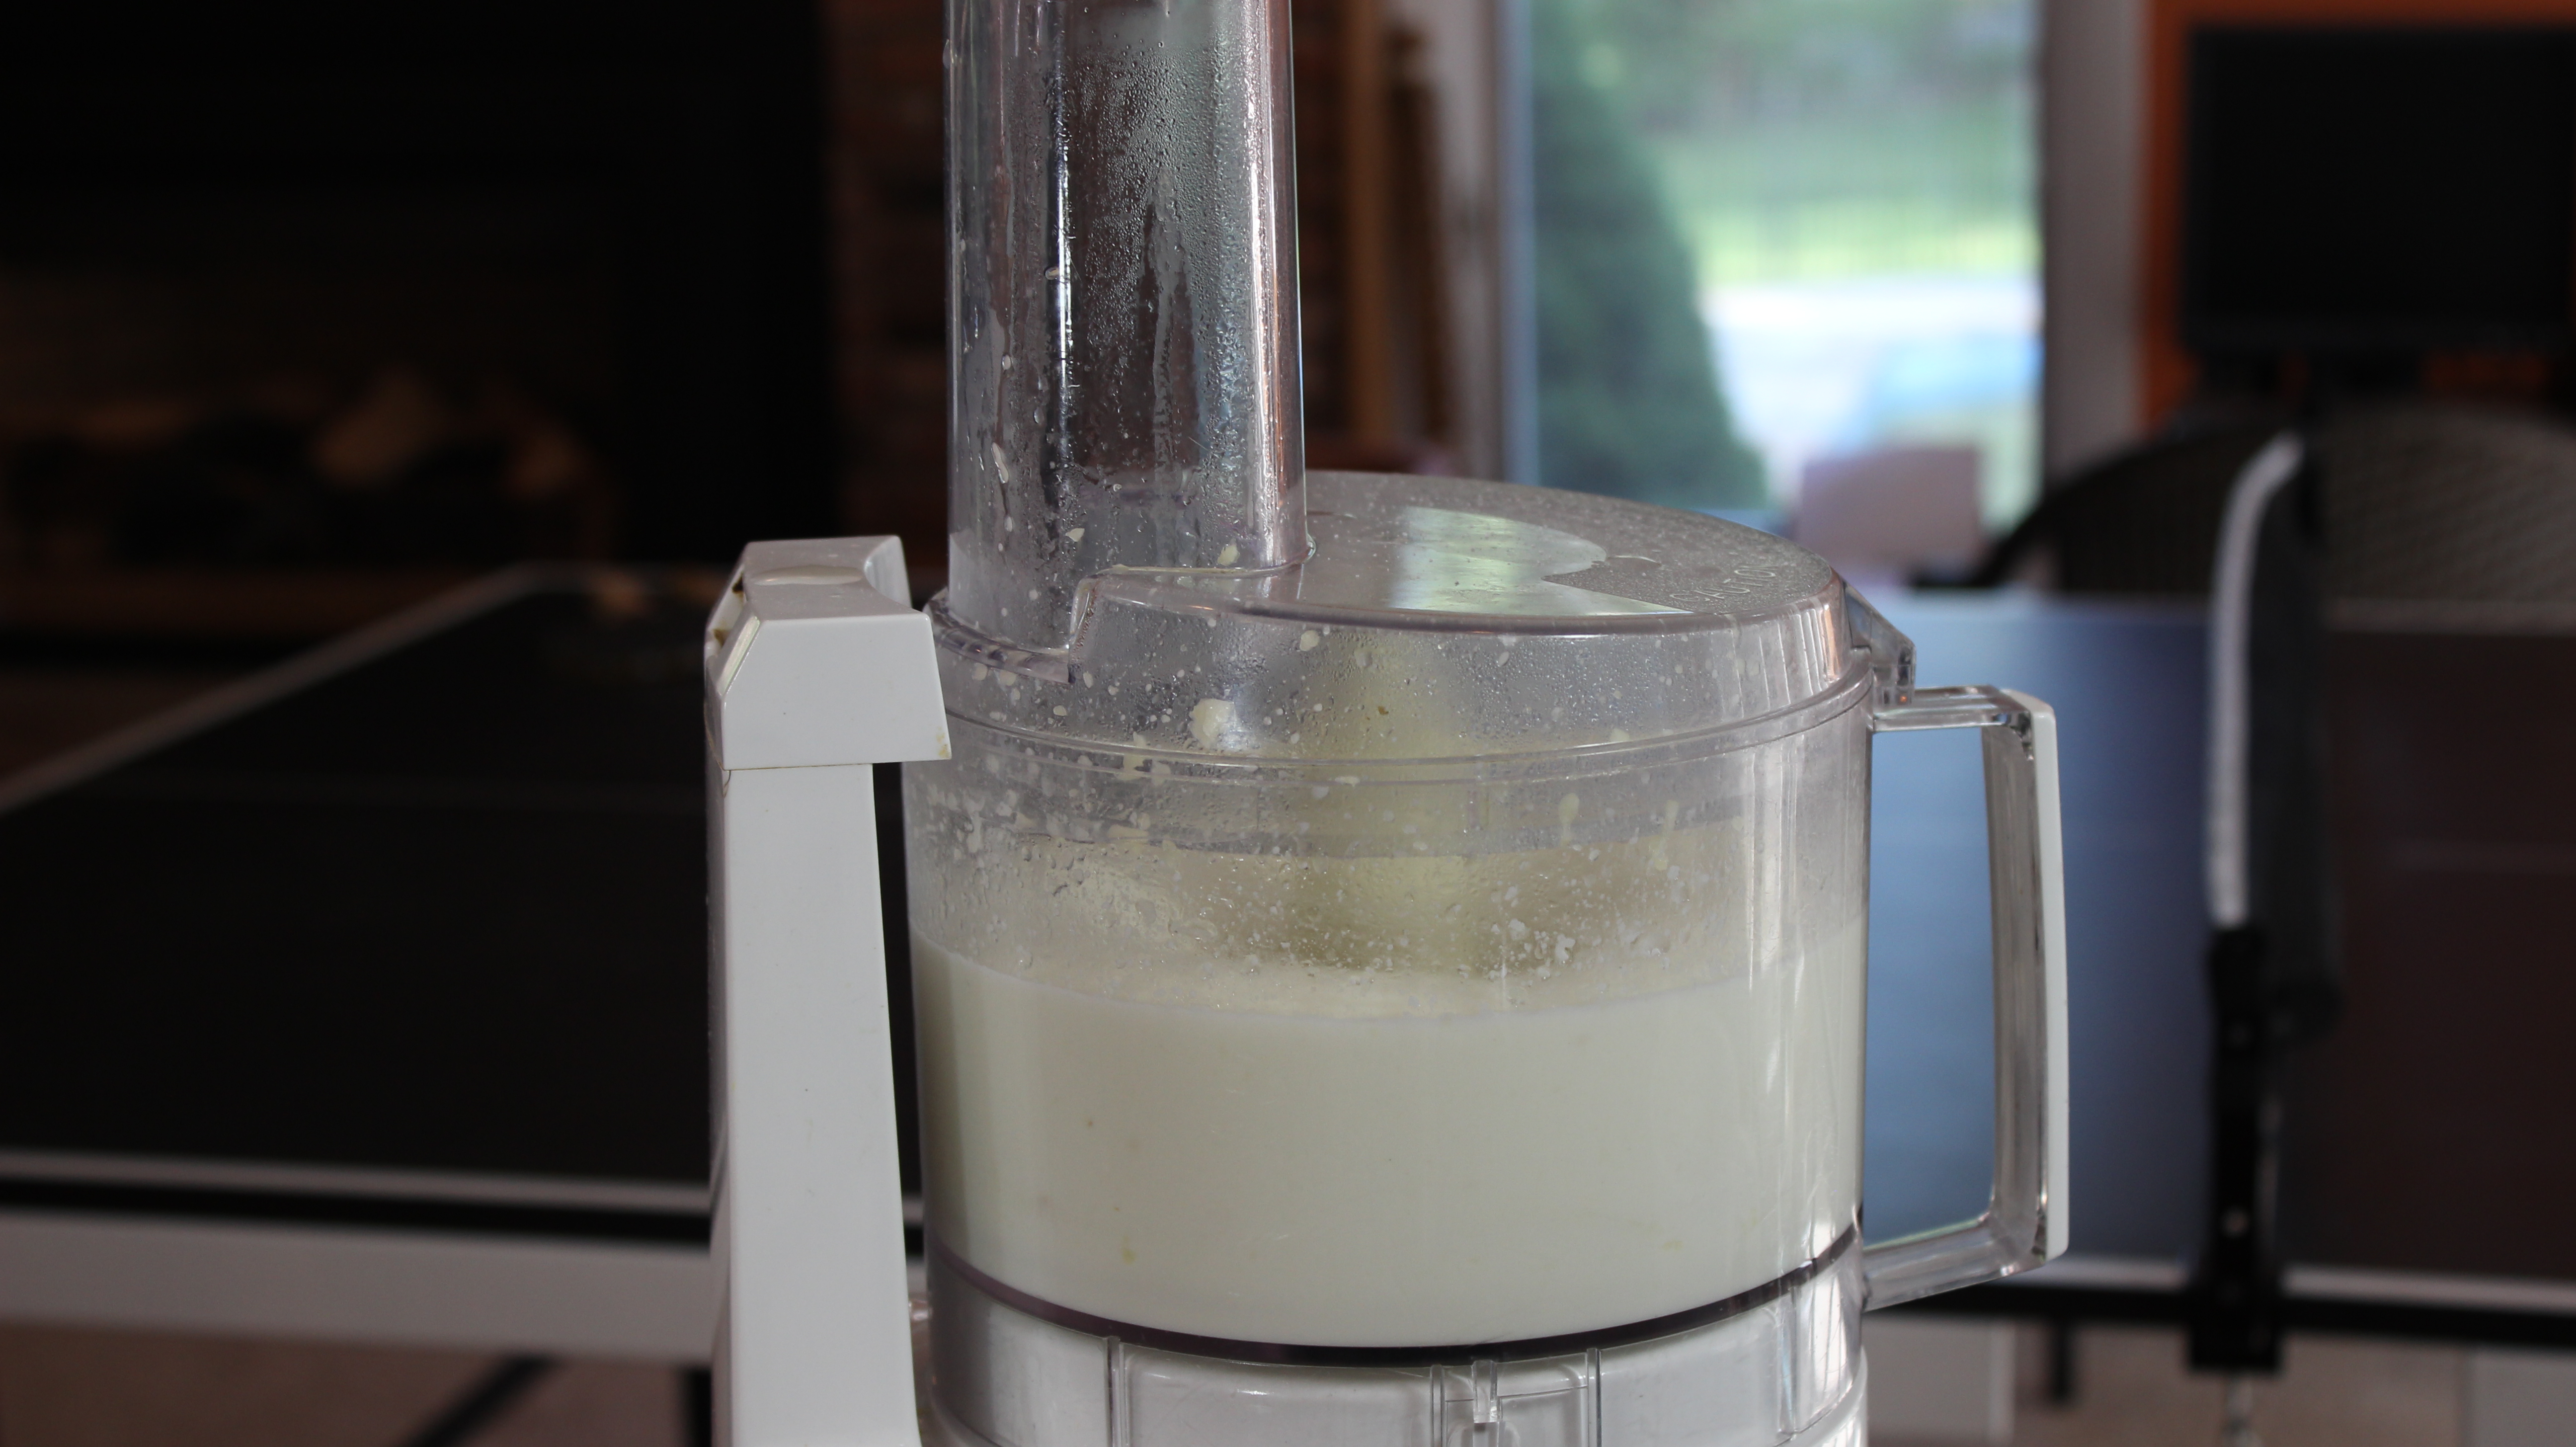
This homemade gourmet sauce called toum is such an unusual sauce because it’s hard to initially imagine how such a thick and creamy texture can come about from peeled garlic cloves and vegetable oil! You must be patient with this recipe as the slow drizzling of the vegetable oil is crucial in the emulsification of this garlic-oil combo but the efforts are well worth it. Watching the show to see how I get the sauce thick and foamy I hope will help clarify the “how to’s” of it. This toum sauce will last up to 2-3 weeks in your frig and who’s better than you with this little hidden gem just waiting to put a flavor punch of silky garlic on your sauteed veggies, garlic breads, meats, fish, chicken… the options are really endless.
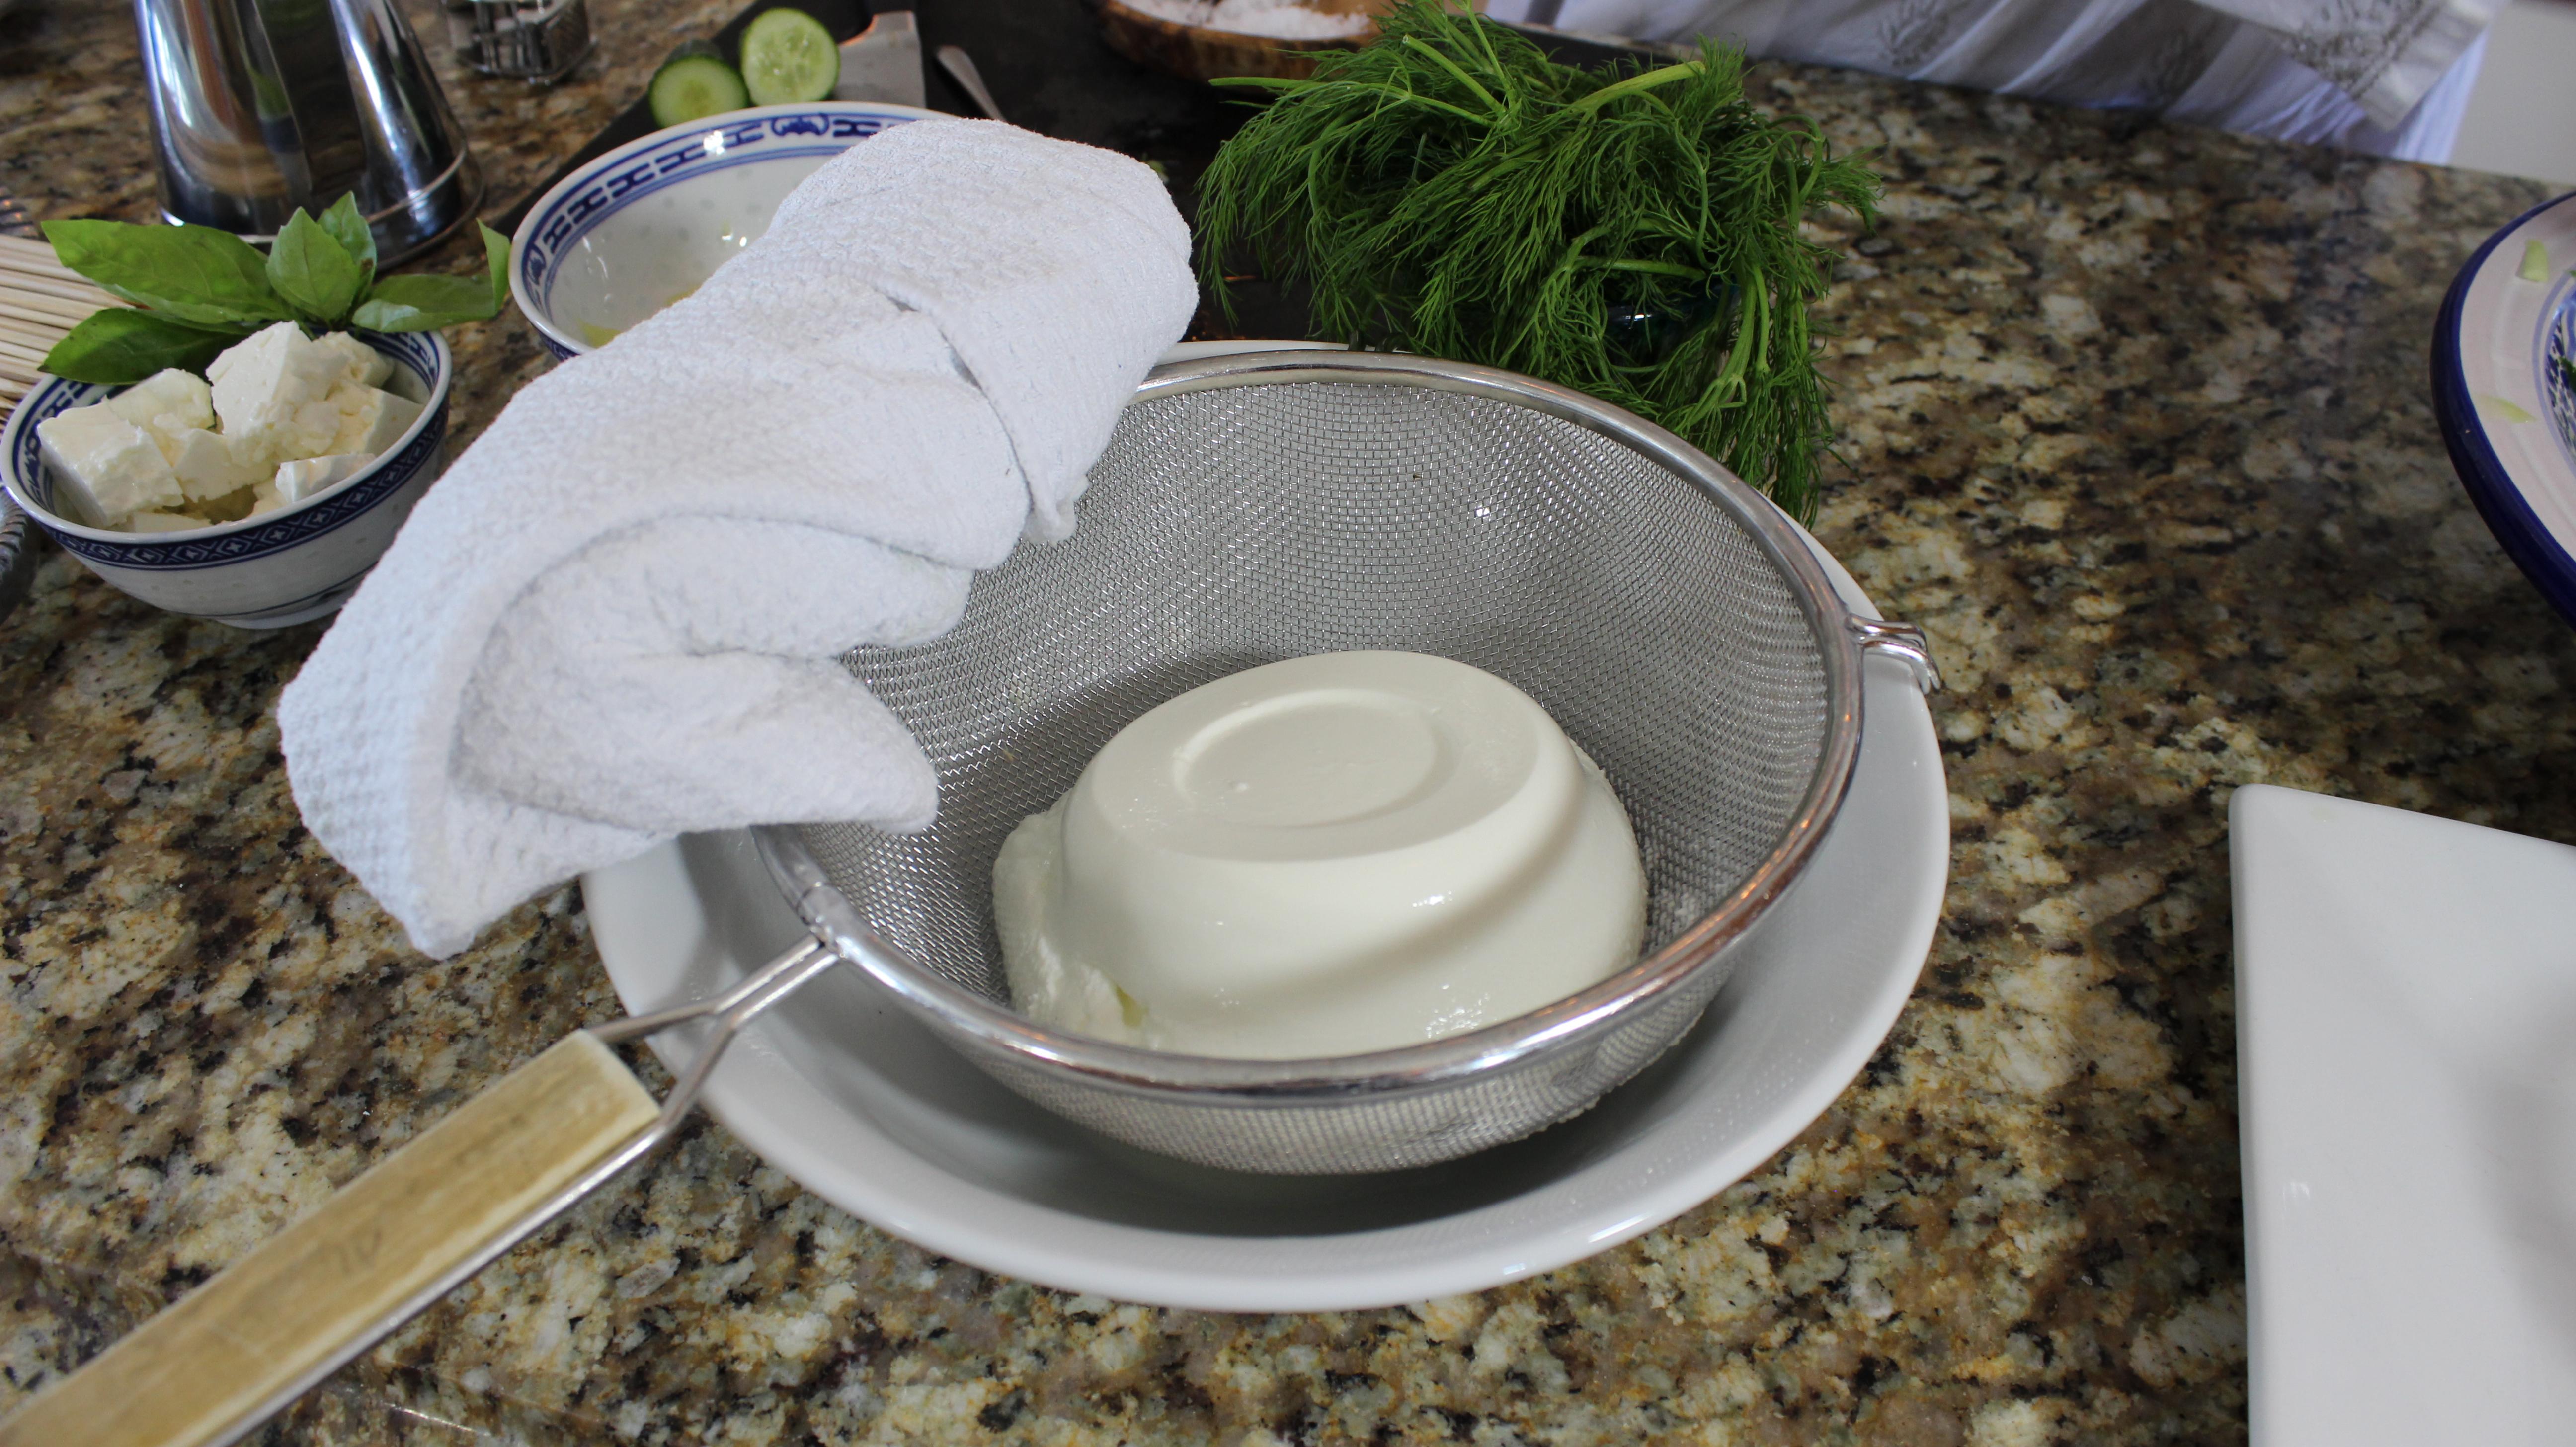
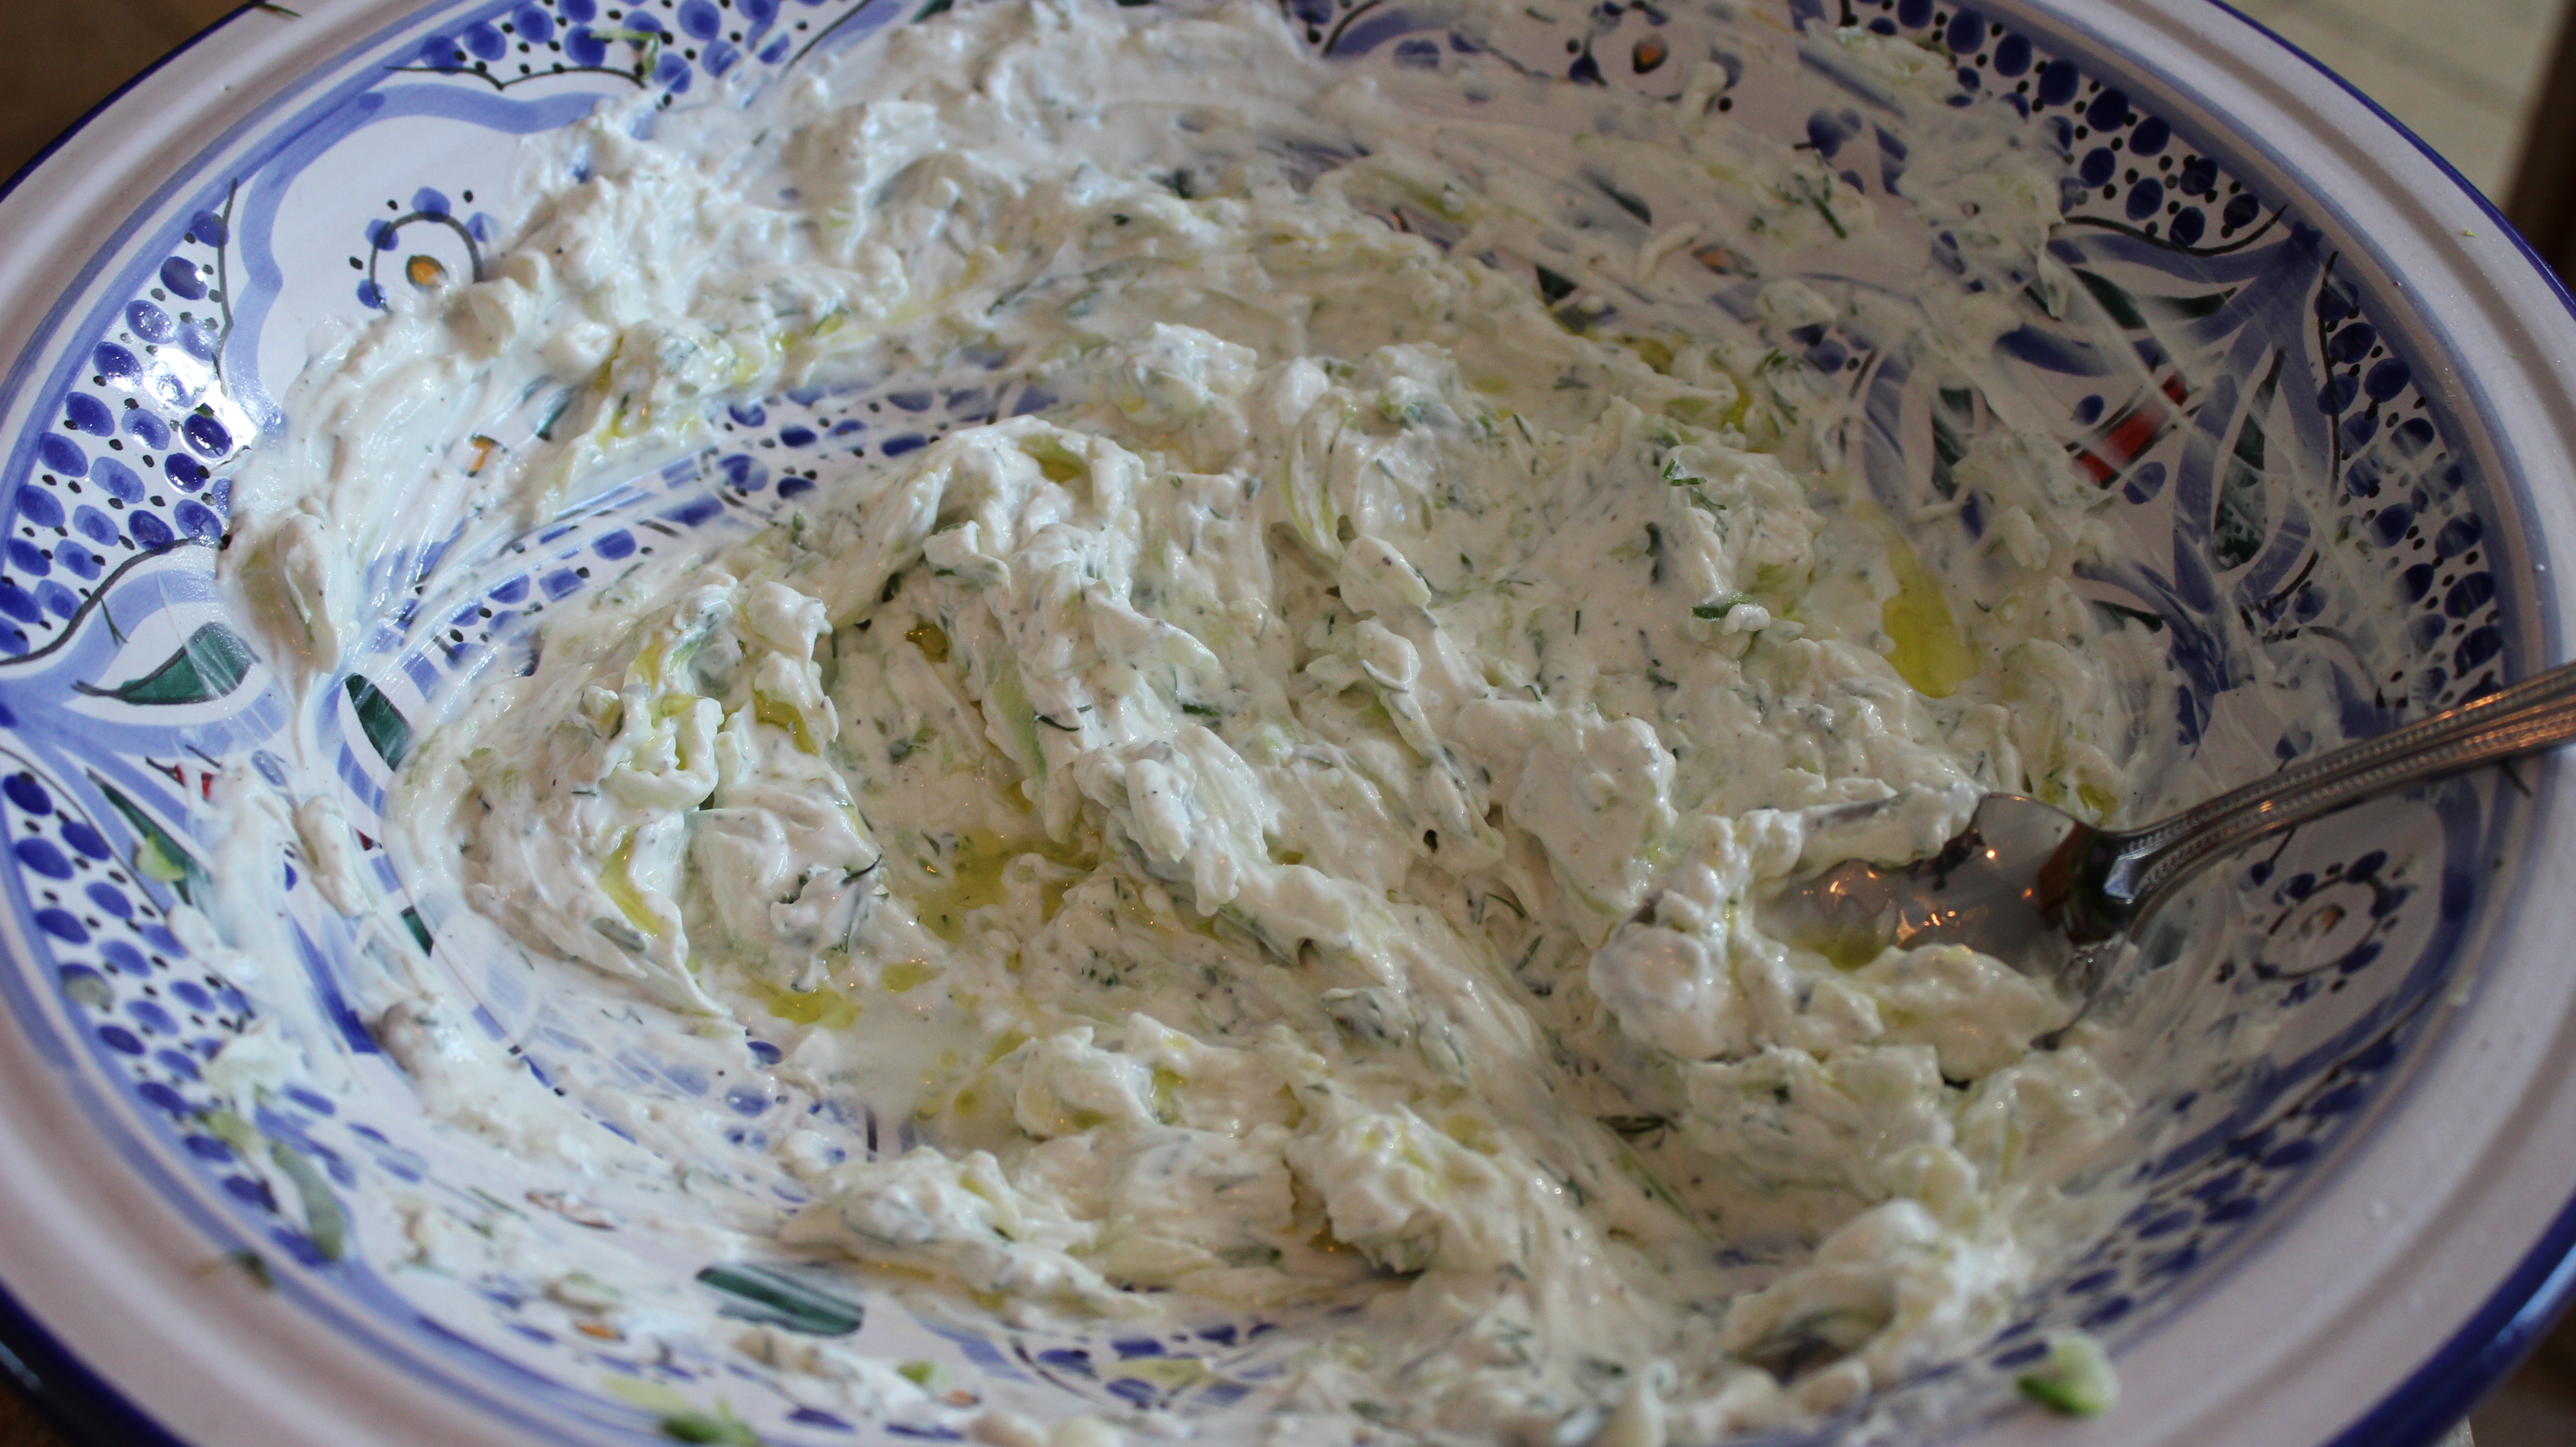
Maria’s homemade tzatziki sauce is a recipe I’m sure you will love and want to add to your go to recipes for summer. The way she has you drain the whole fat Greek Yogurt makes this sauce even creamier and gives your mouth a smooth silky texture yet refreshing at the same time with the grated cucumber, and vinegars and fresh lemon juice. This sauce can easily be used as an amazing dip with pita chips. It’s similar to my cucumber & Vadalia onion saladbut definitely different. So nice to have a couple different styles to choose from.
This Mediterranean night of exotic spices and flavorful recipes will not be easily forgotten. You just may start to crave these homemade dishes sooner than you think. I hope you enjoy the show and the gourmet yogurt marinated chicken kaobs, tzatziki and toum recipes.
INGREDIENTS for Yogurt Chicken Kabobs:
1 tsp ground red pepper flakes
1 tsp (Spanish) smoked paprika
1 tsp (Hungarian) sweet paprika
2 tsp coarse kosher salt
1 tsp fine ground black pepper
2 tbsp tomato paste
6 garlic cloves peeled and smashed
2 whole lemons thinly sliced
2 tbsp red wine vinegar
3 tbsp olive oil
1 cup whole milk Greek Yogurt
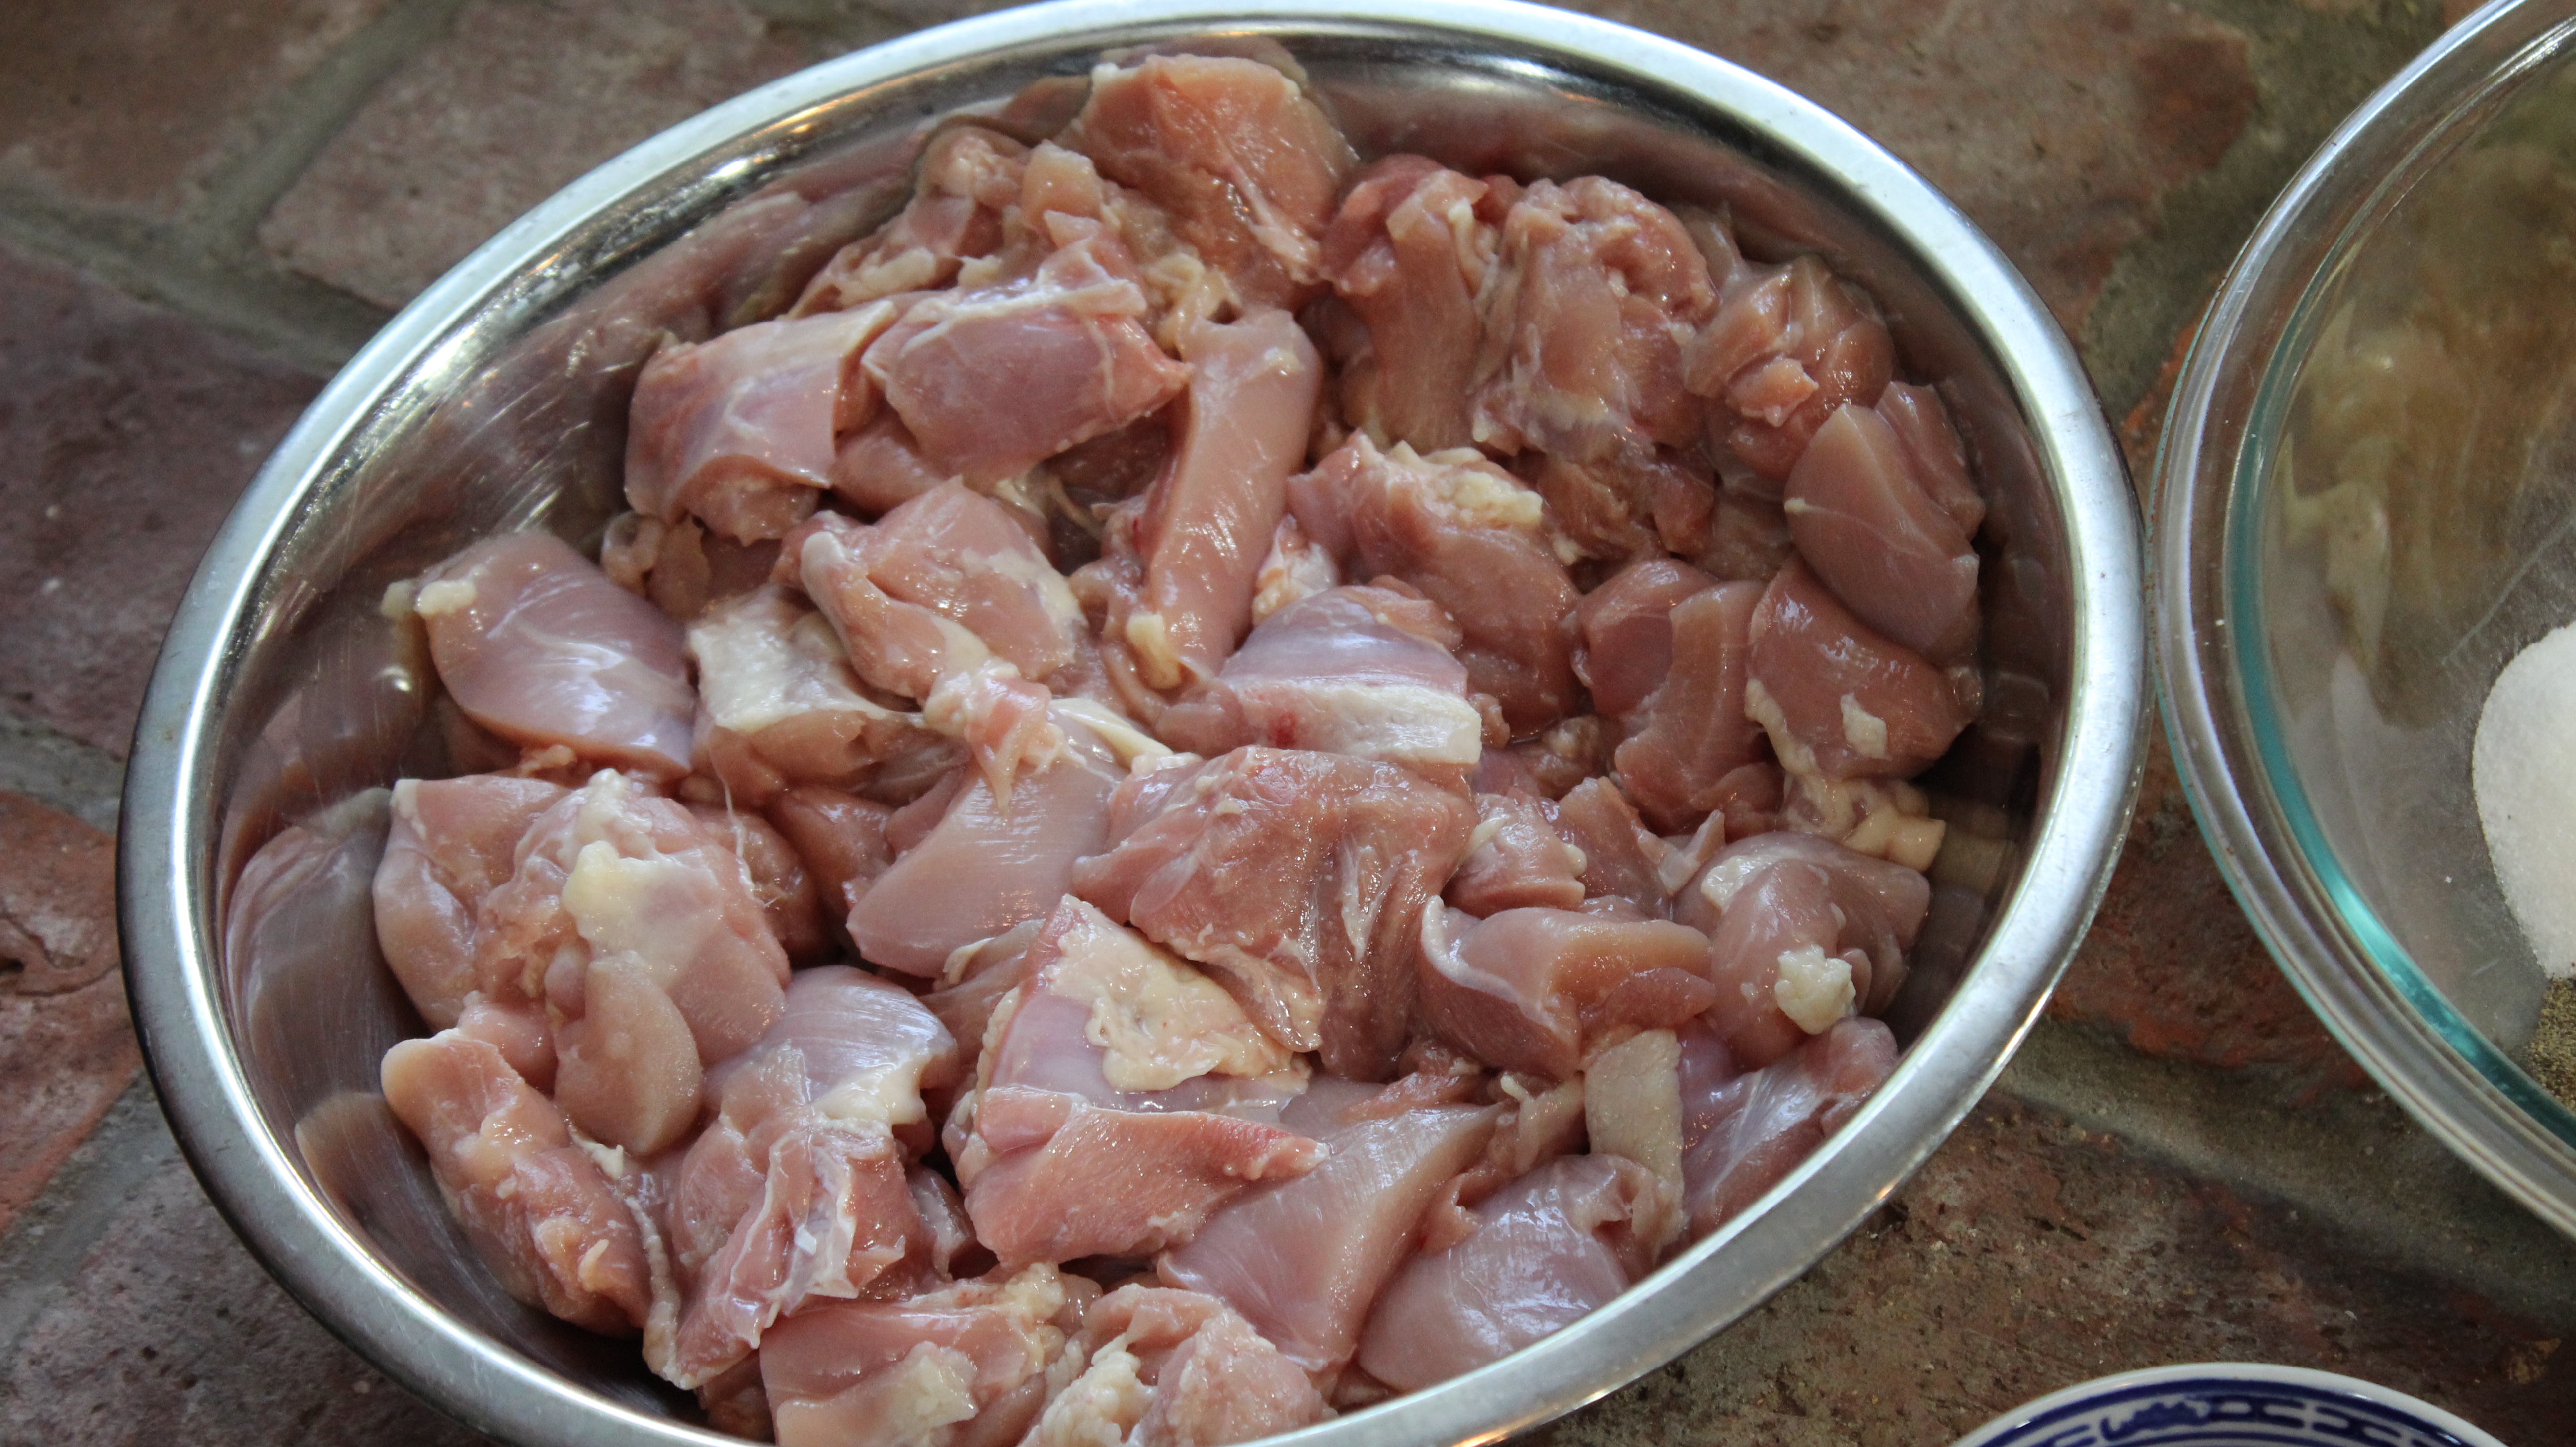
2 1/2 lbs. chicken thighs
1 package extra-long wooden skewers
1 package cherry or grape tomatoes
1 or Vadalia sweet onion sliced into 1″ pieces
Mediterranean Yogurt Chicken Kabobs DIRECTIONS:
Take first 11 ingredients in above list and add to large mixing bowl
Mix everything with a spatula then add in chicken pieces and toss to coat
Cover with saran and pop into the frig for 24 hours
Cover 2 cookie tray with foil and begin to place pieces of marinated chicken
Place chicken thigh pieces on BROIL for 10 nminutes, then flip & broil 10 minutes more
Be sure to keep an eye on them so as not to burn
Remove tray and let cool to touch while broiling other tray of chicken thigh pieces
When all chicken can be handled place 3 cooked pieces onto each wooden skewer
OR you can grill…
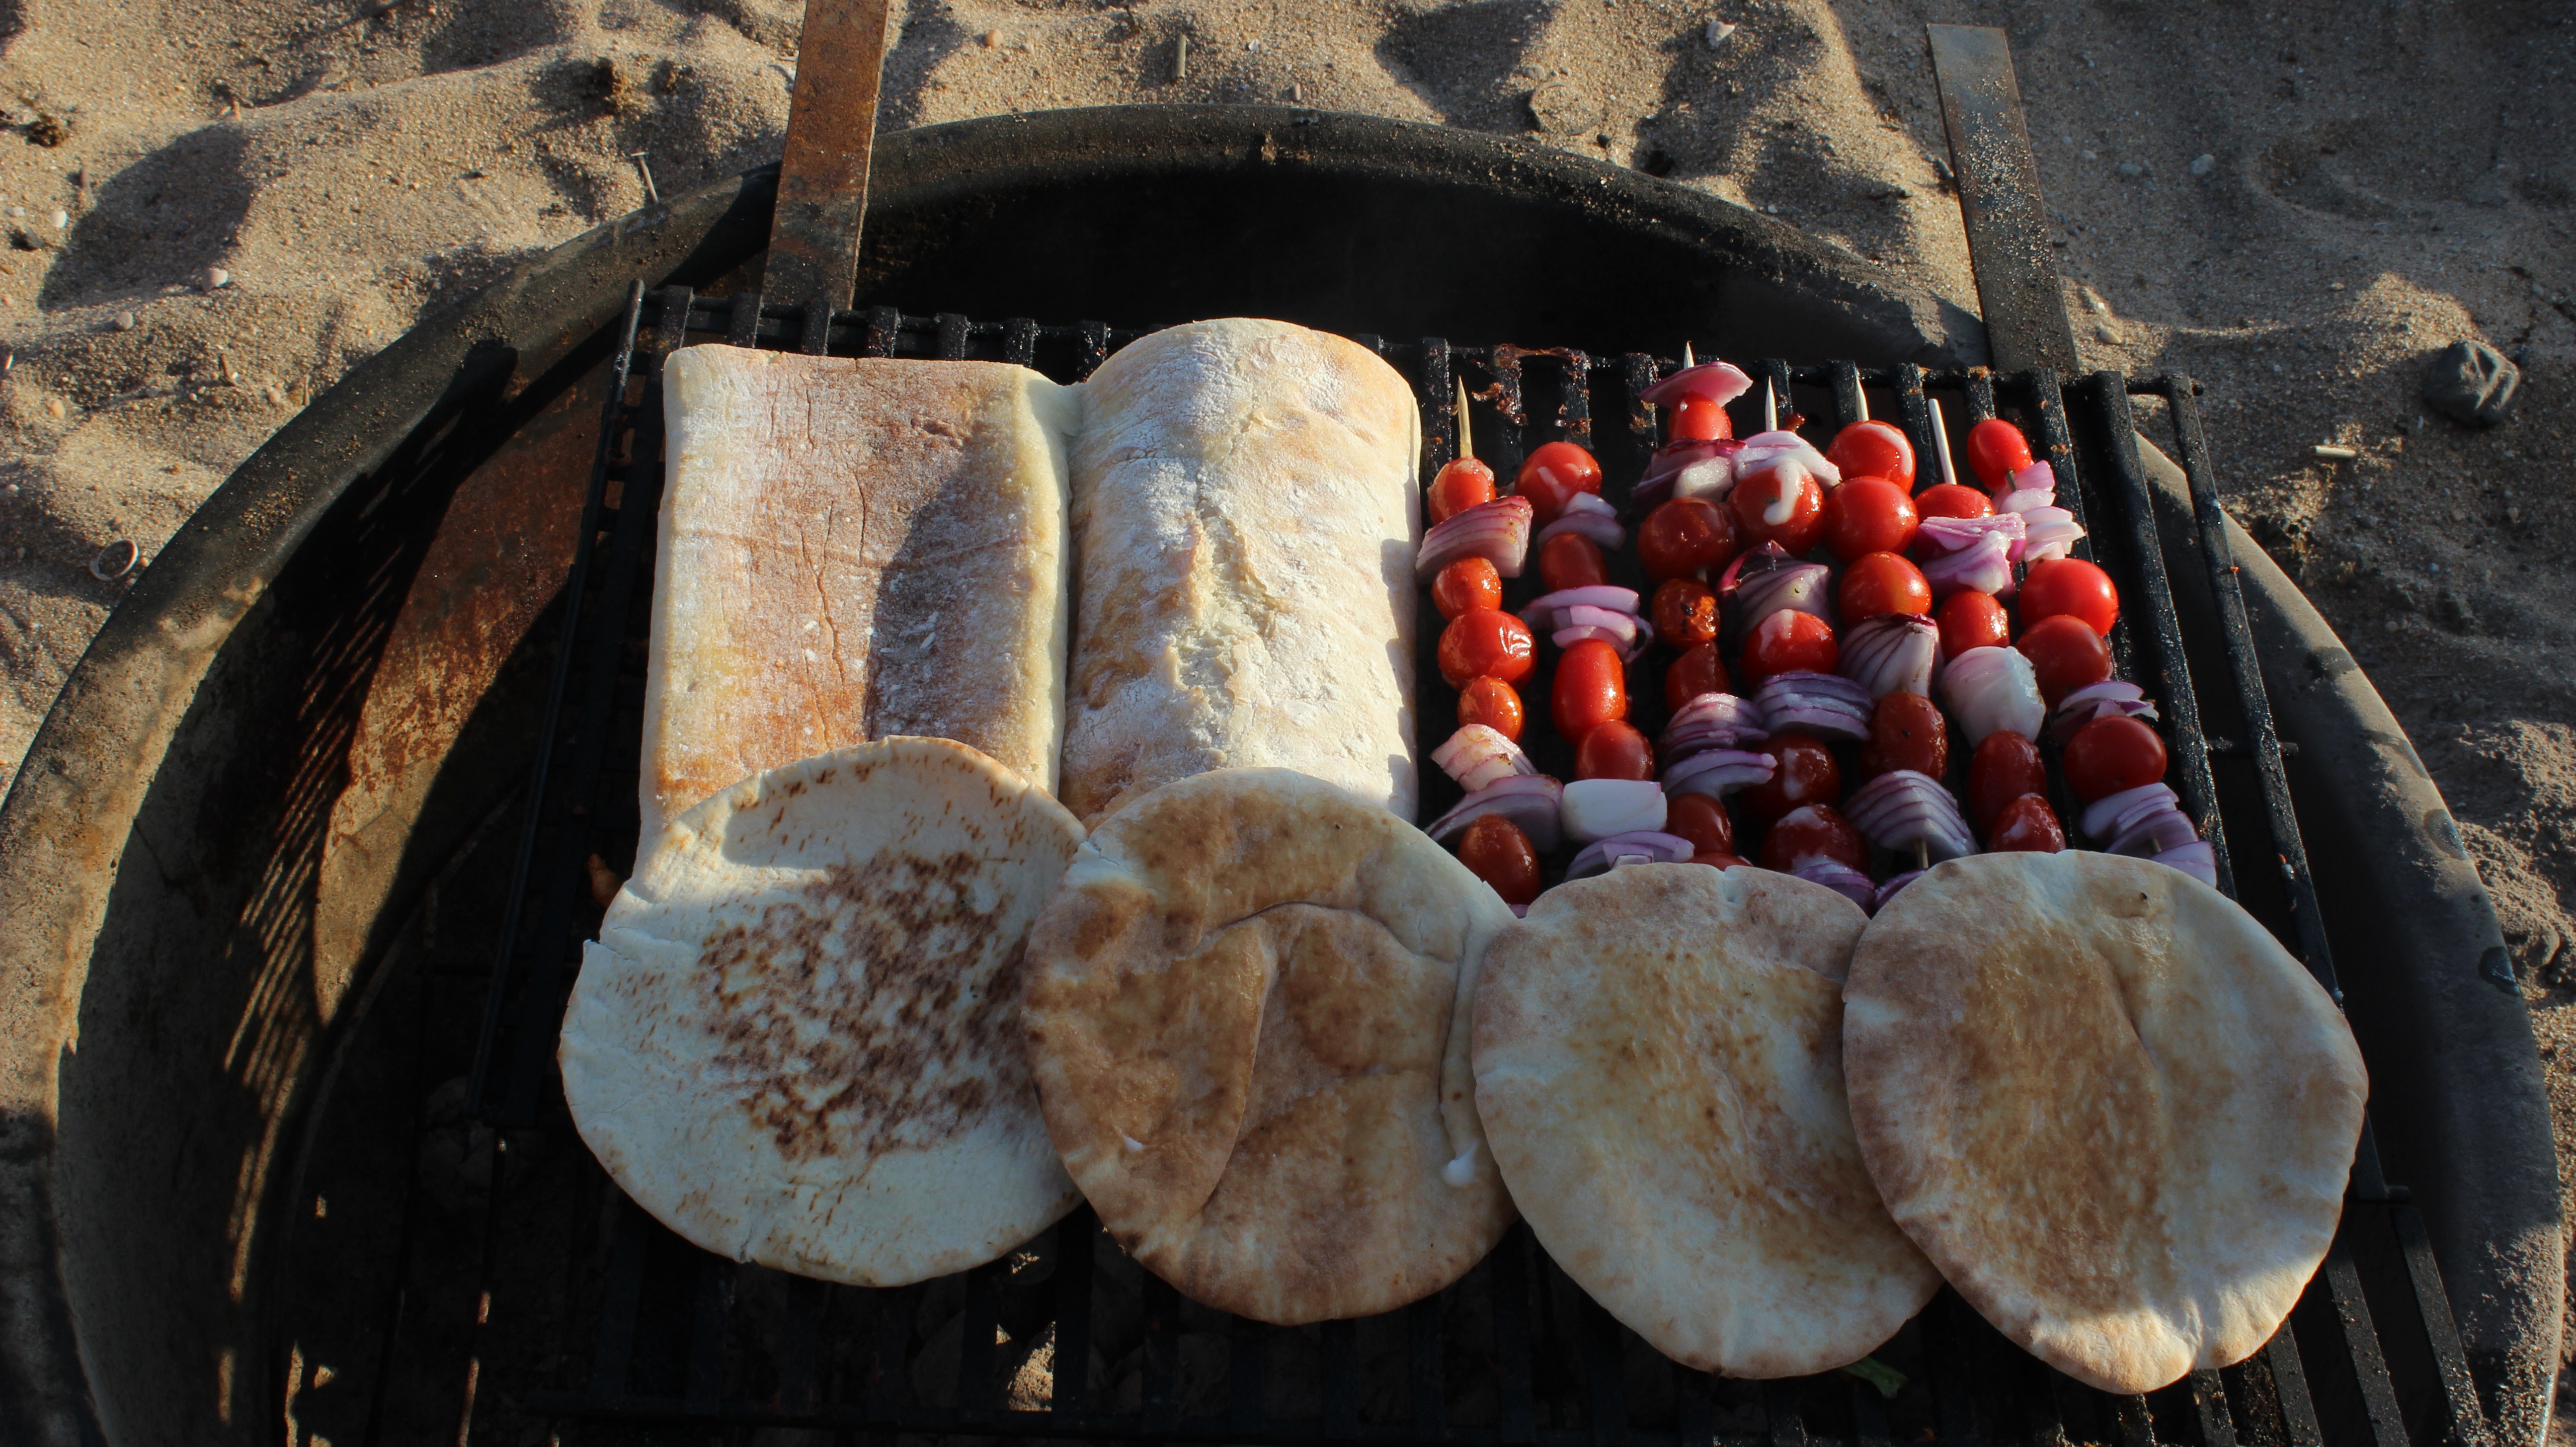
OPTIONAL: Skewer cherry tomatoes and onion alternating pieces
You can also alternate chicken, tomato, onion, chicken and repeat
Grill on high for 7-8 minutes on each side (even with veggies in the mix)
Serve grilled chicken and tomato/onion on naan or pita bread with tzatziki, and hummus or rice ….YUM!
INGREDIENTS for Tzatziki Sauce:
1 16 oz. container of whole fat Greek yogurt
1 English cucumber
1 garlic clove put thru garlic press
1/2 cup chopped fresh dill
2 tbsp rice wine vinegar
1 tbsp red wine vinegar
1 tsp salt
1/4 tsp pepper
1/2 tsp cumin
juice from 1/2 fresh lemon
2 tbsp good extra virgin olive oil in sauce and some to drizzle on top at the end
DIRECTIONS for Tzatziki:
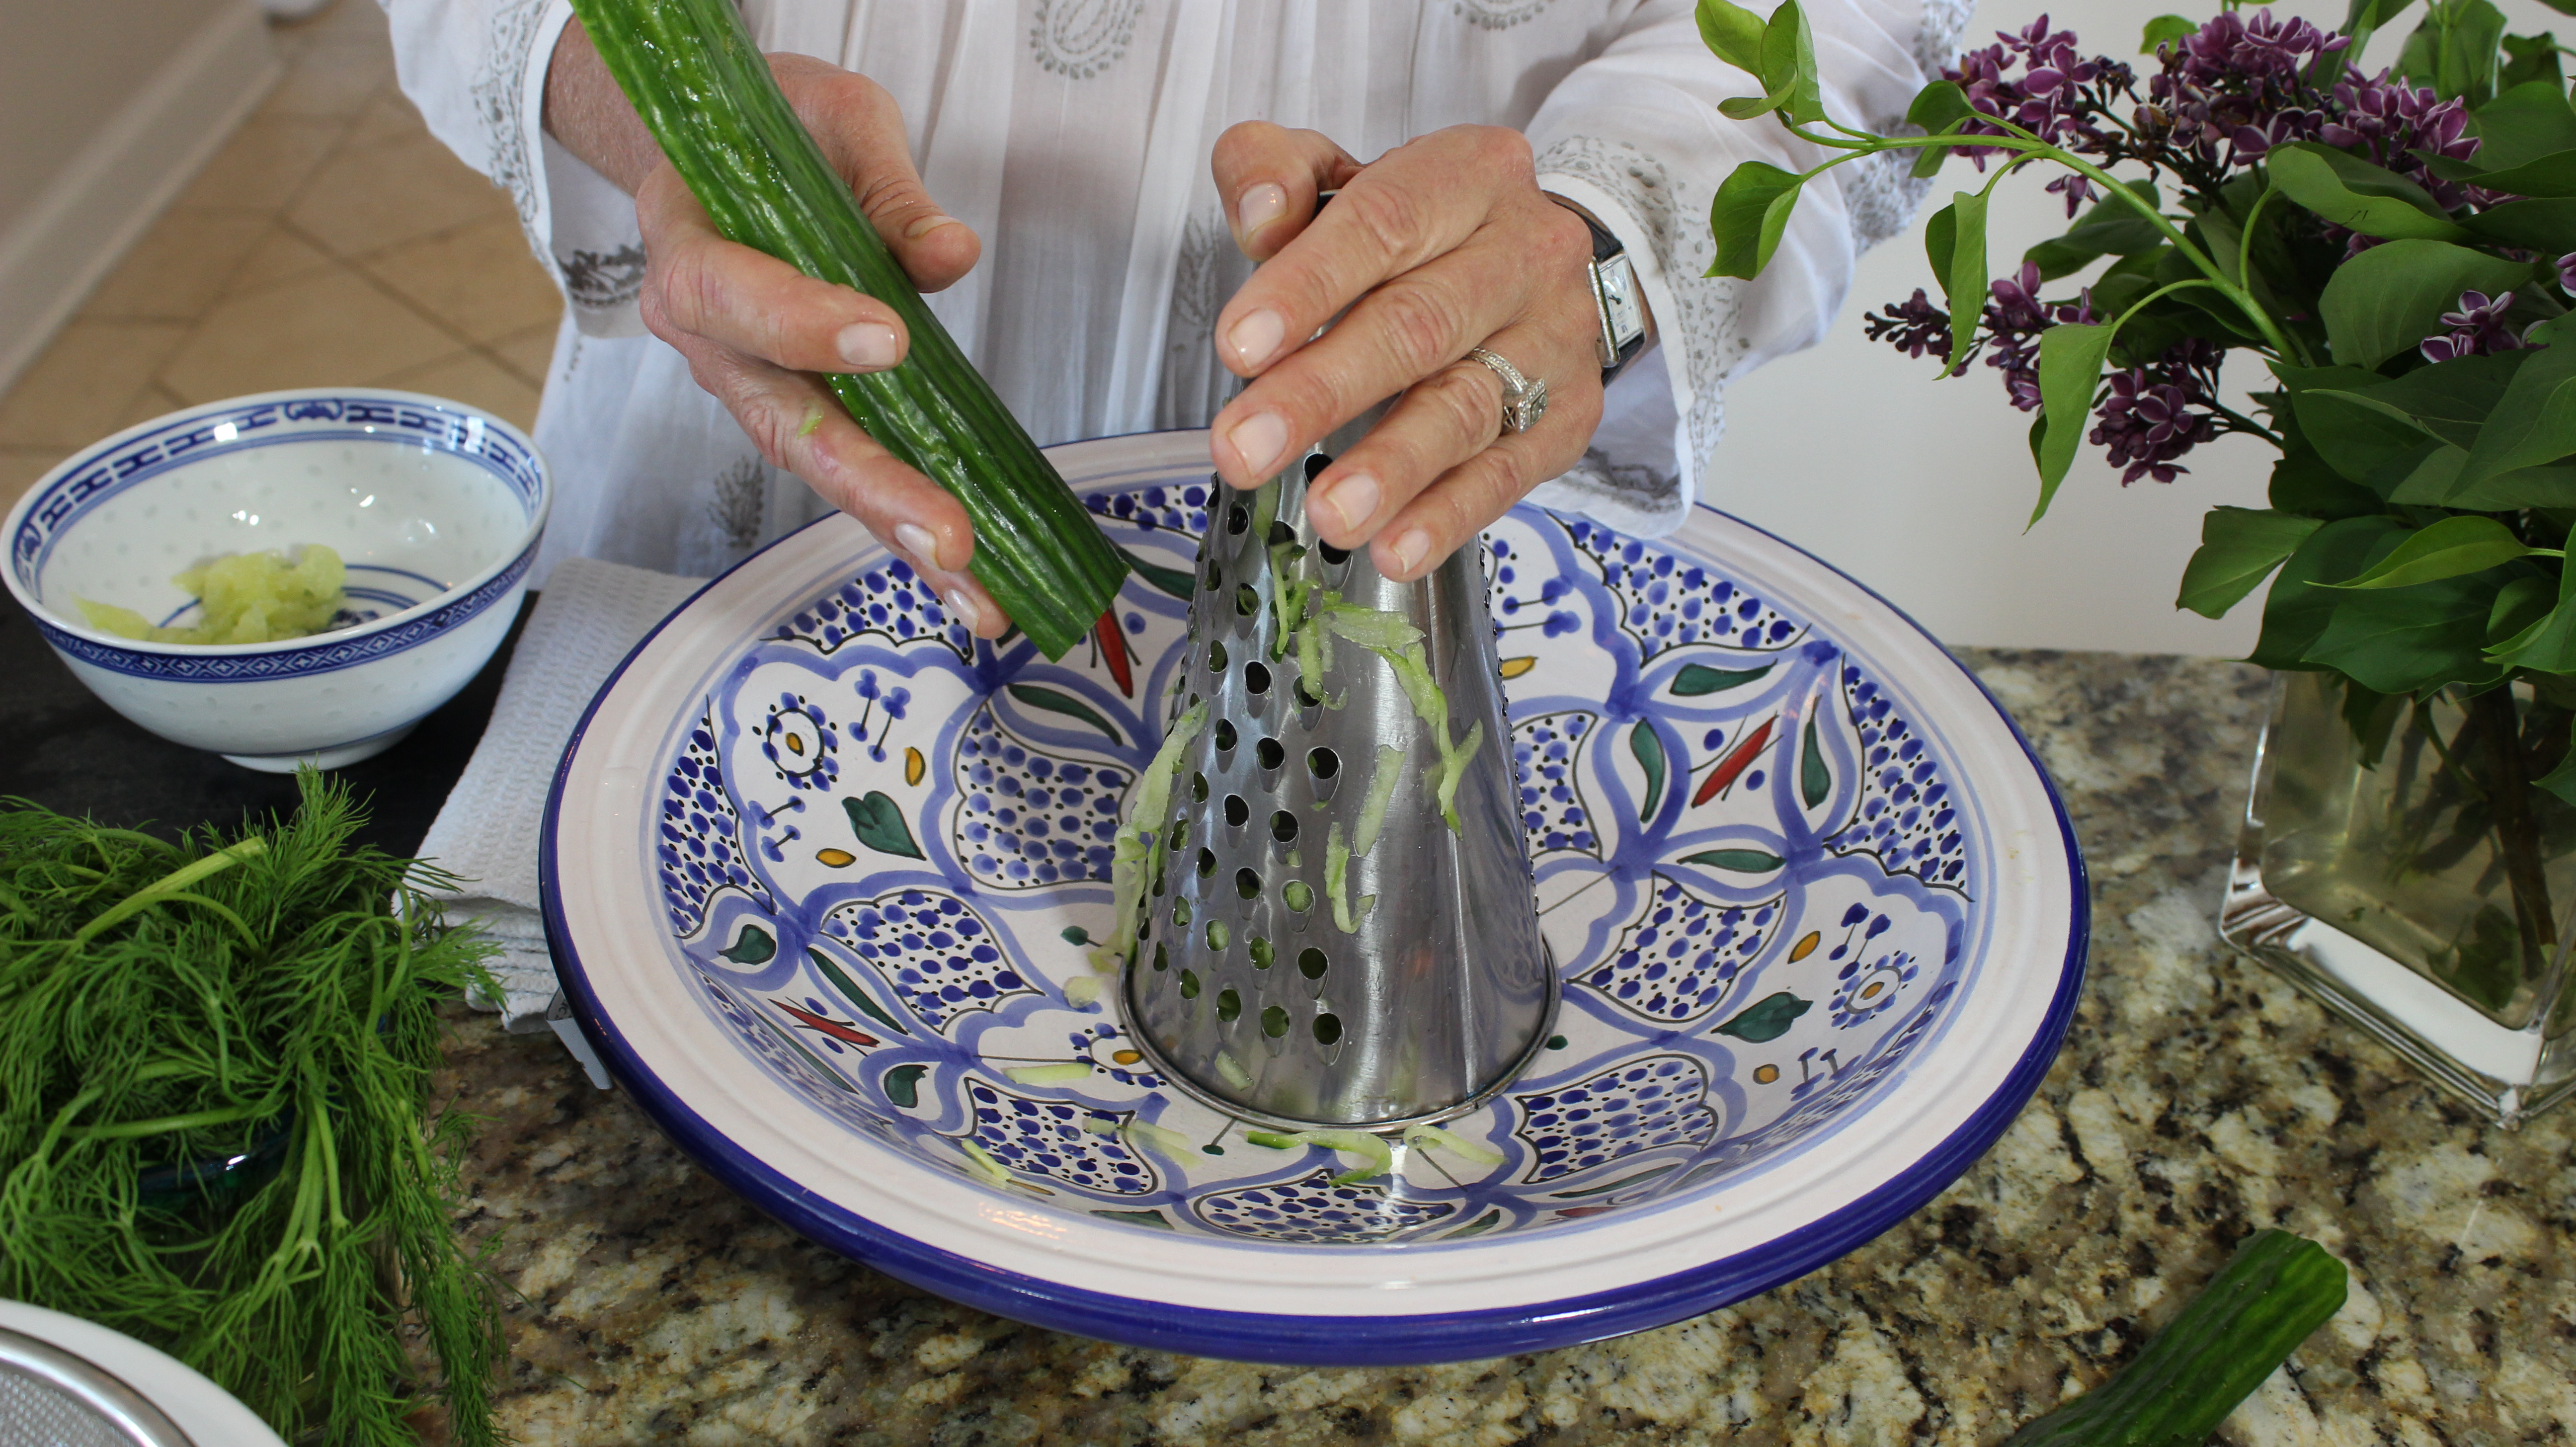
Slice cucumber in half-length wise, then in half crosswise
Scoop out middle seeds and discard
Grate cucumber halves into a large bowl
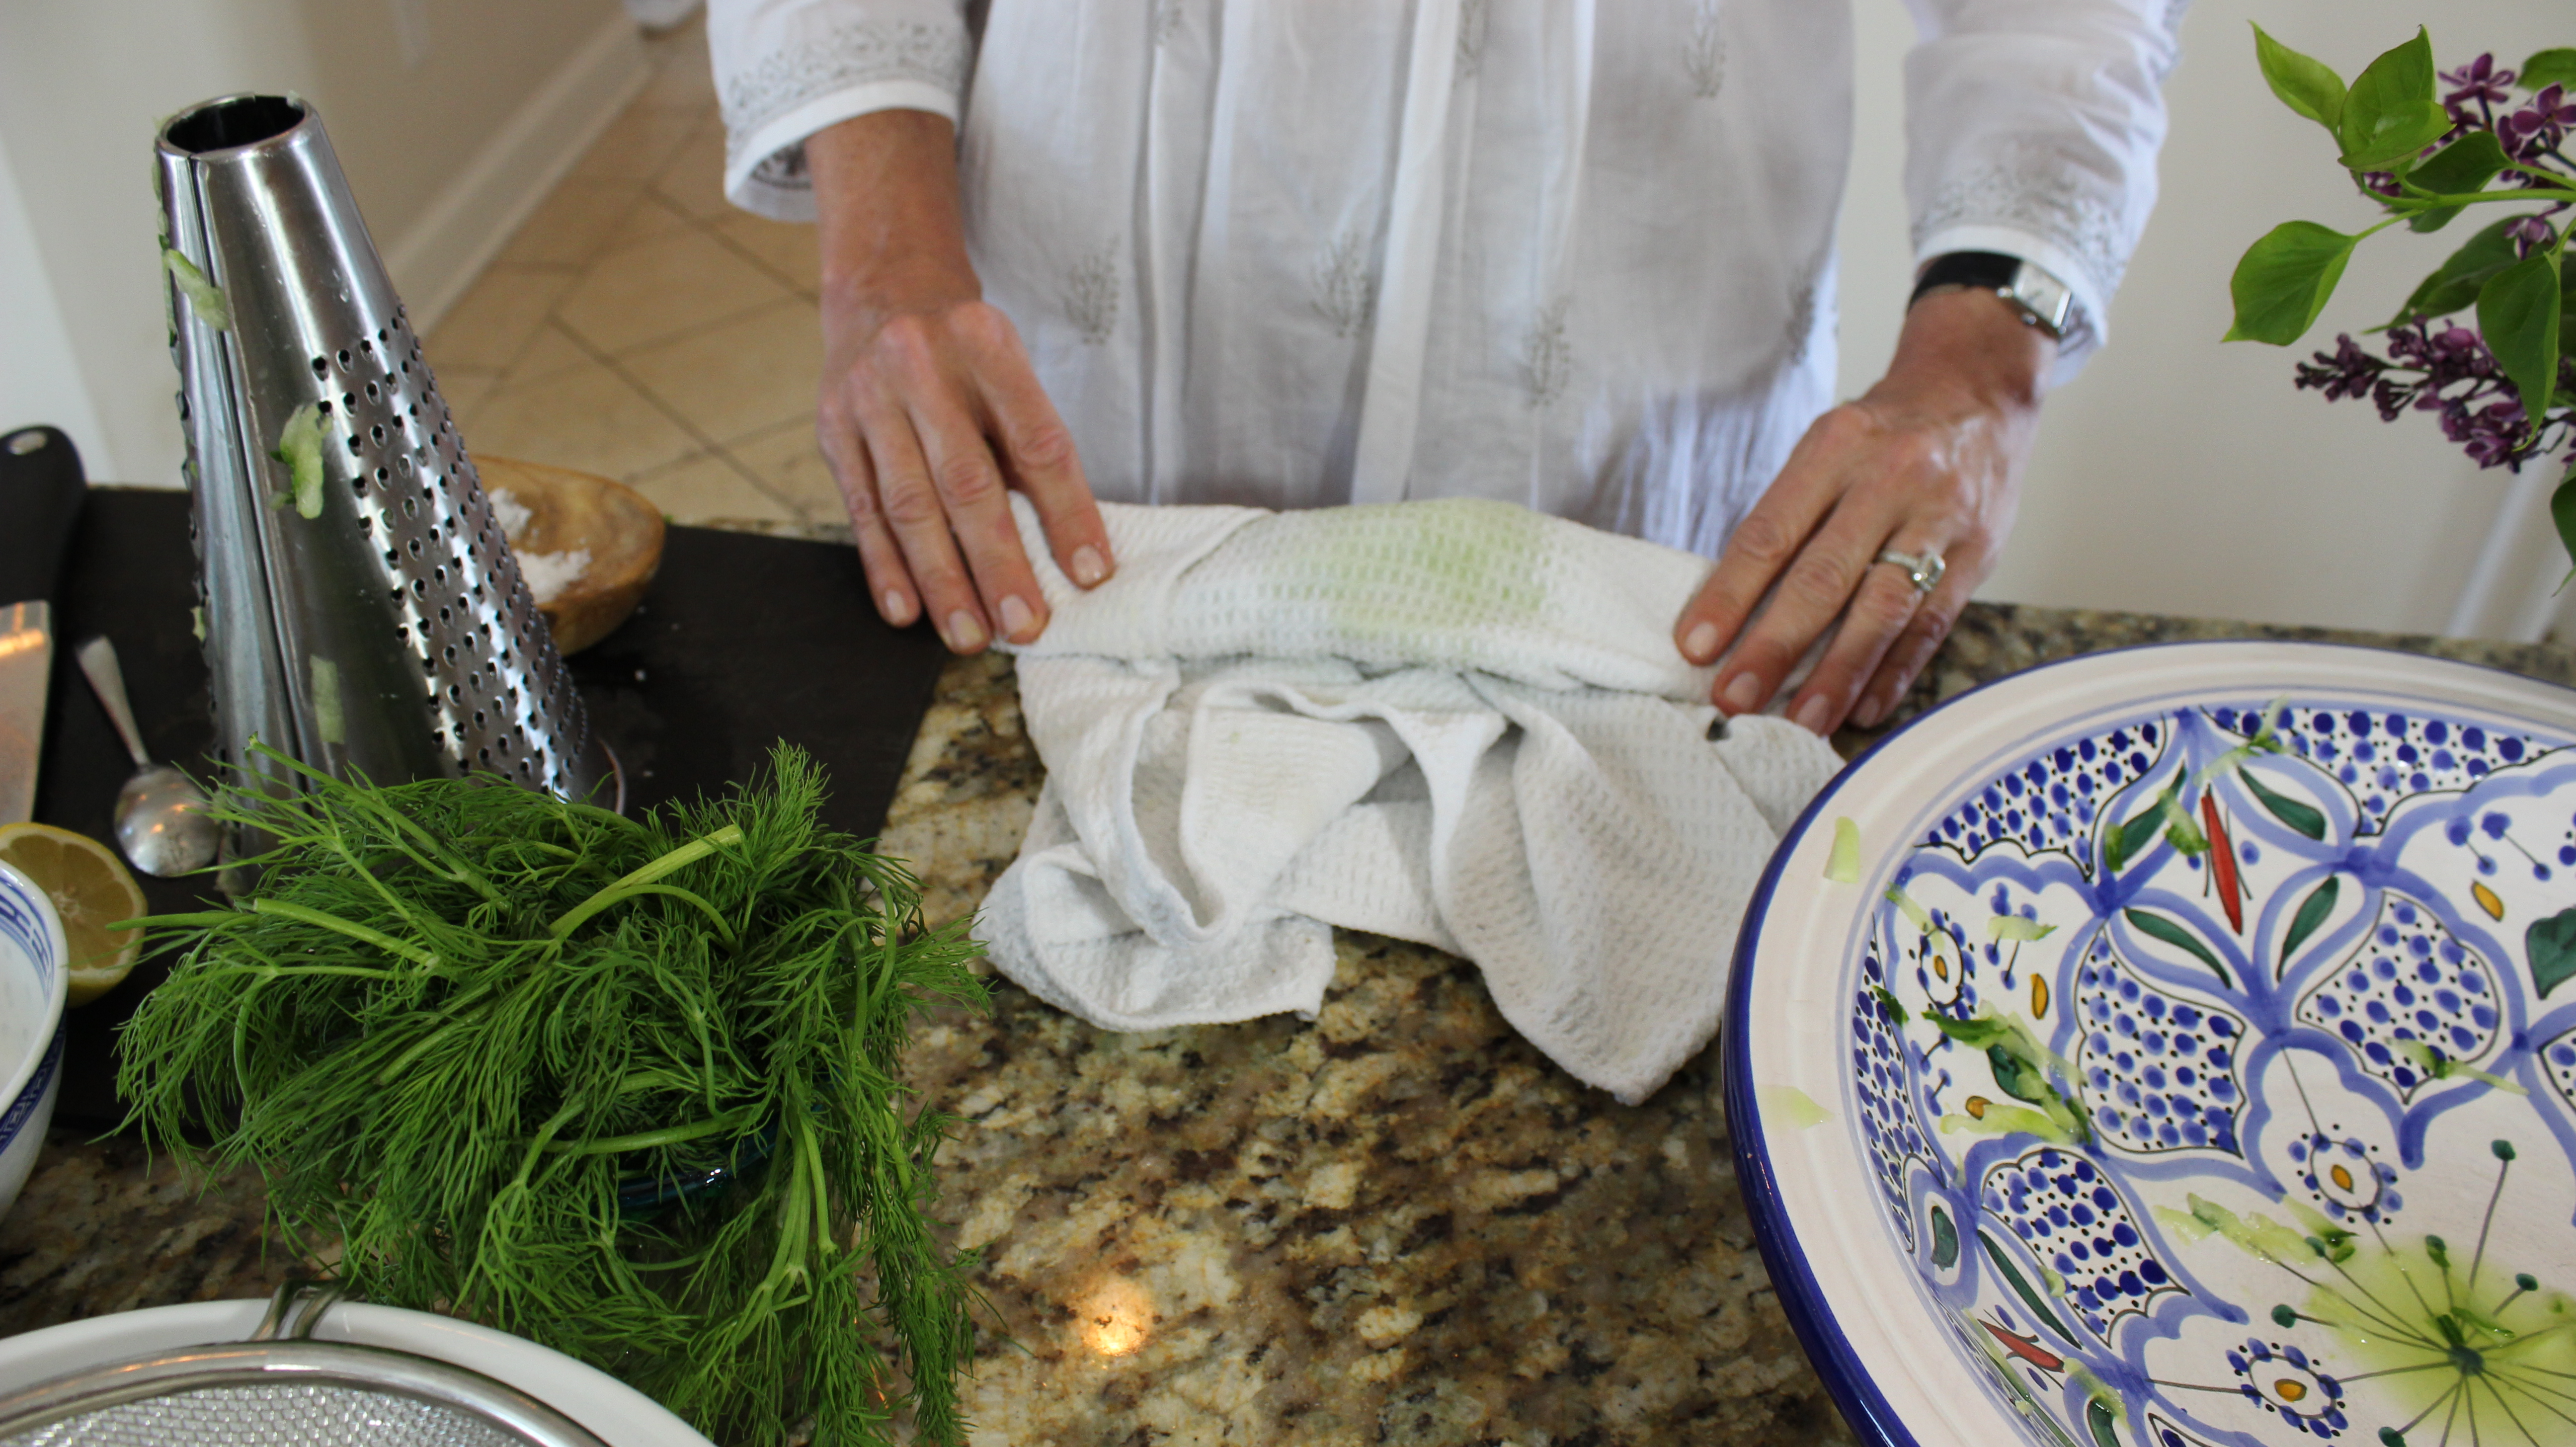
Put cucumber gratings into a Ziploc baggie and add 1/2 tsp salt, let sit for 1 hour or over night
Unseal a small corner of the Ziploc & drain water from baggie squeezing the grated cucumber
Add grated cucumber to a medium bowl, and pat dry with paper towels to remove any excess water
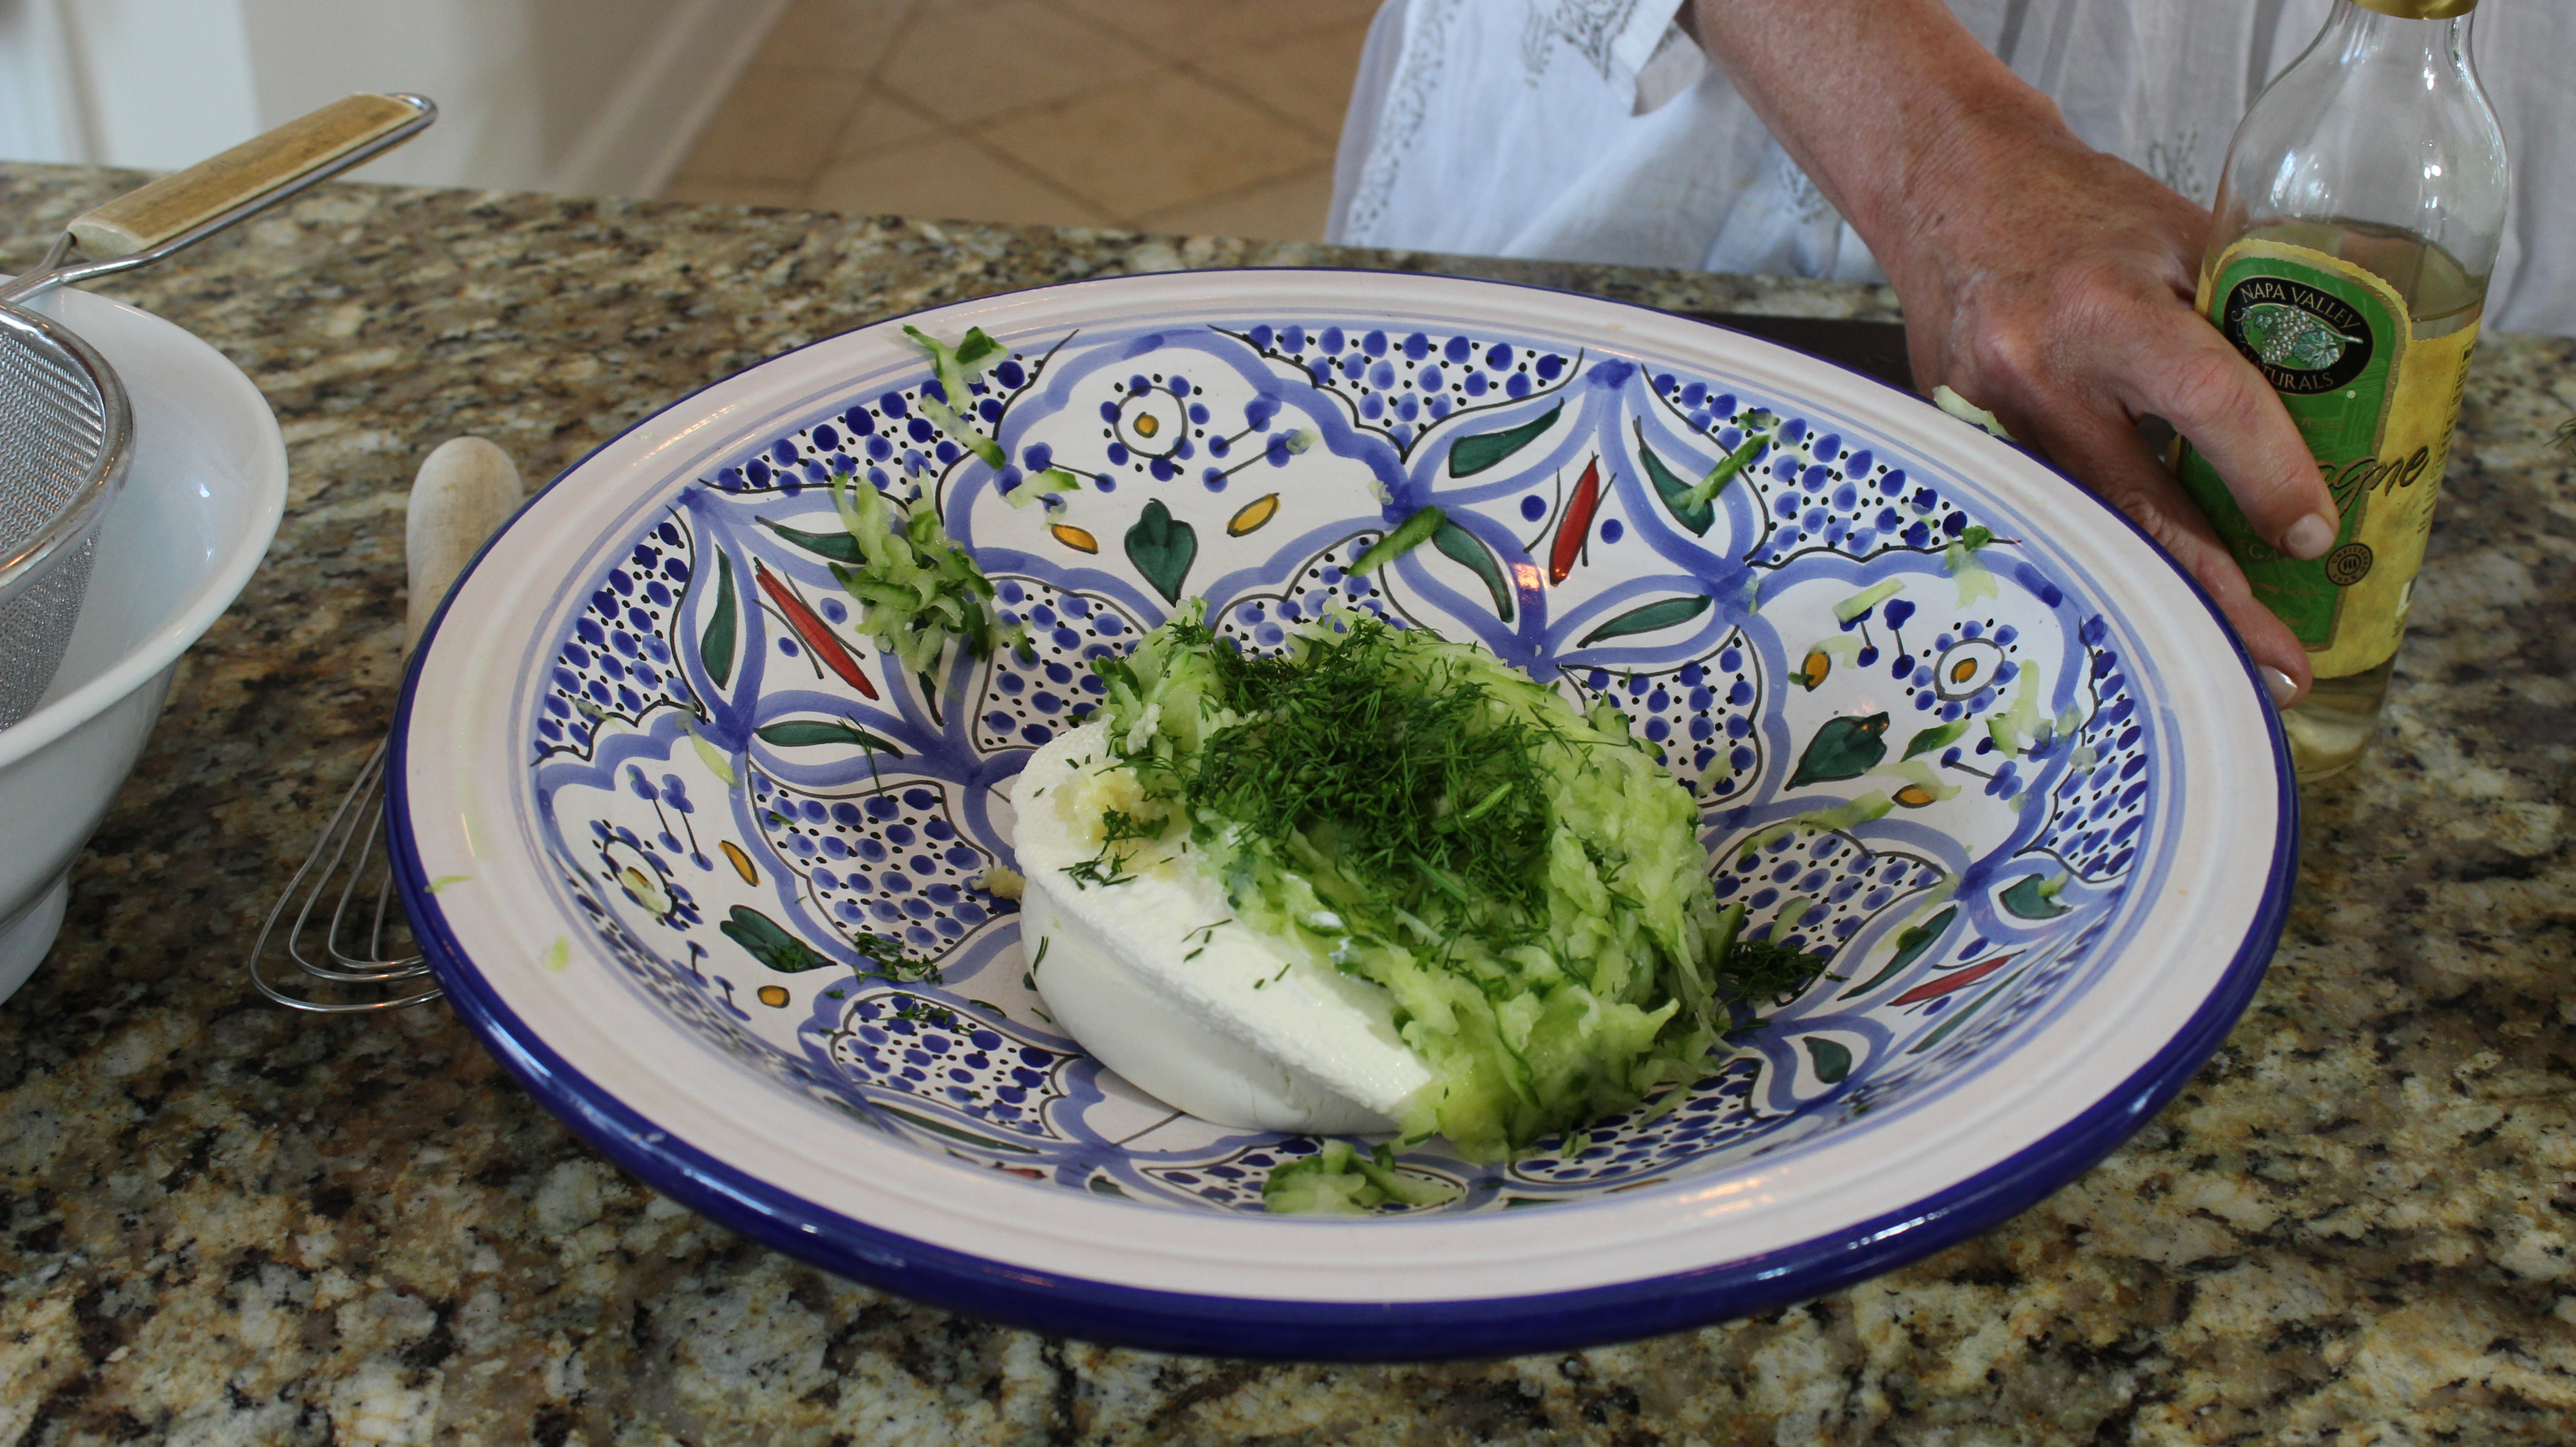
Add fresh dill, garlic, s&p, cumin, lemon juice and Greek yogurt to grated cucumber, mix til creamy texture
Drizzle 2 tbsp good extra virgin olive oil on top and voilà you have tzatziki
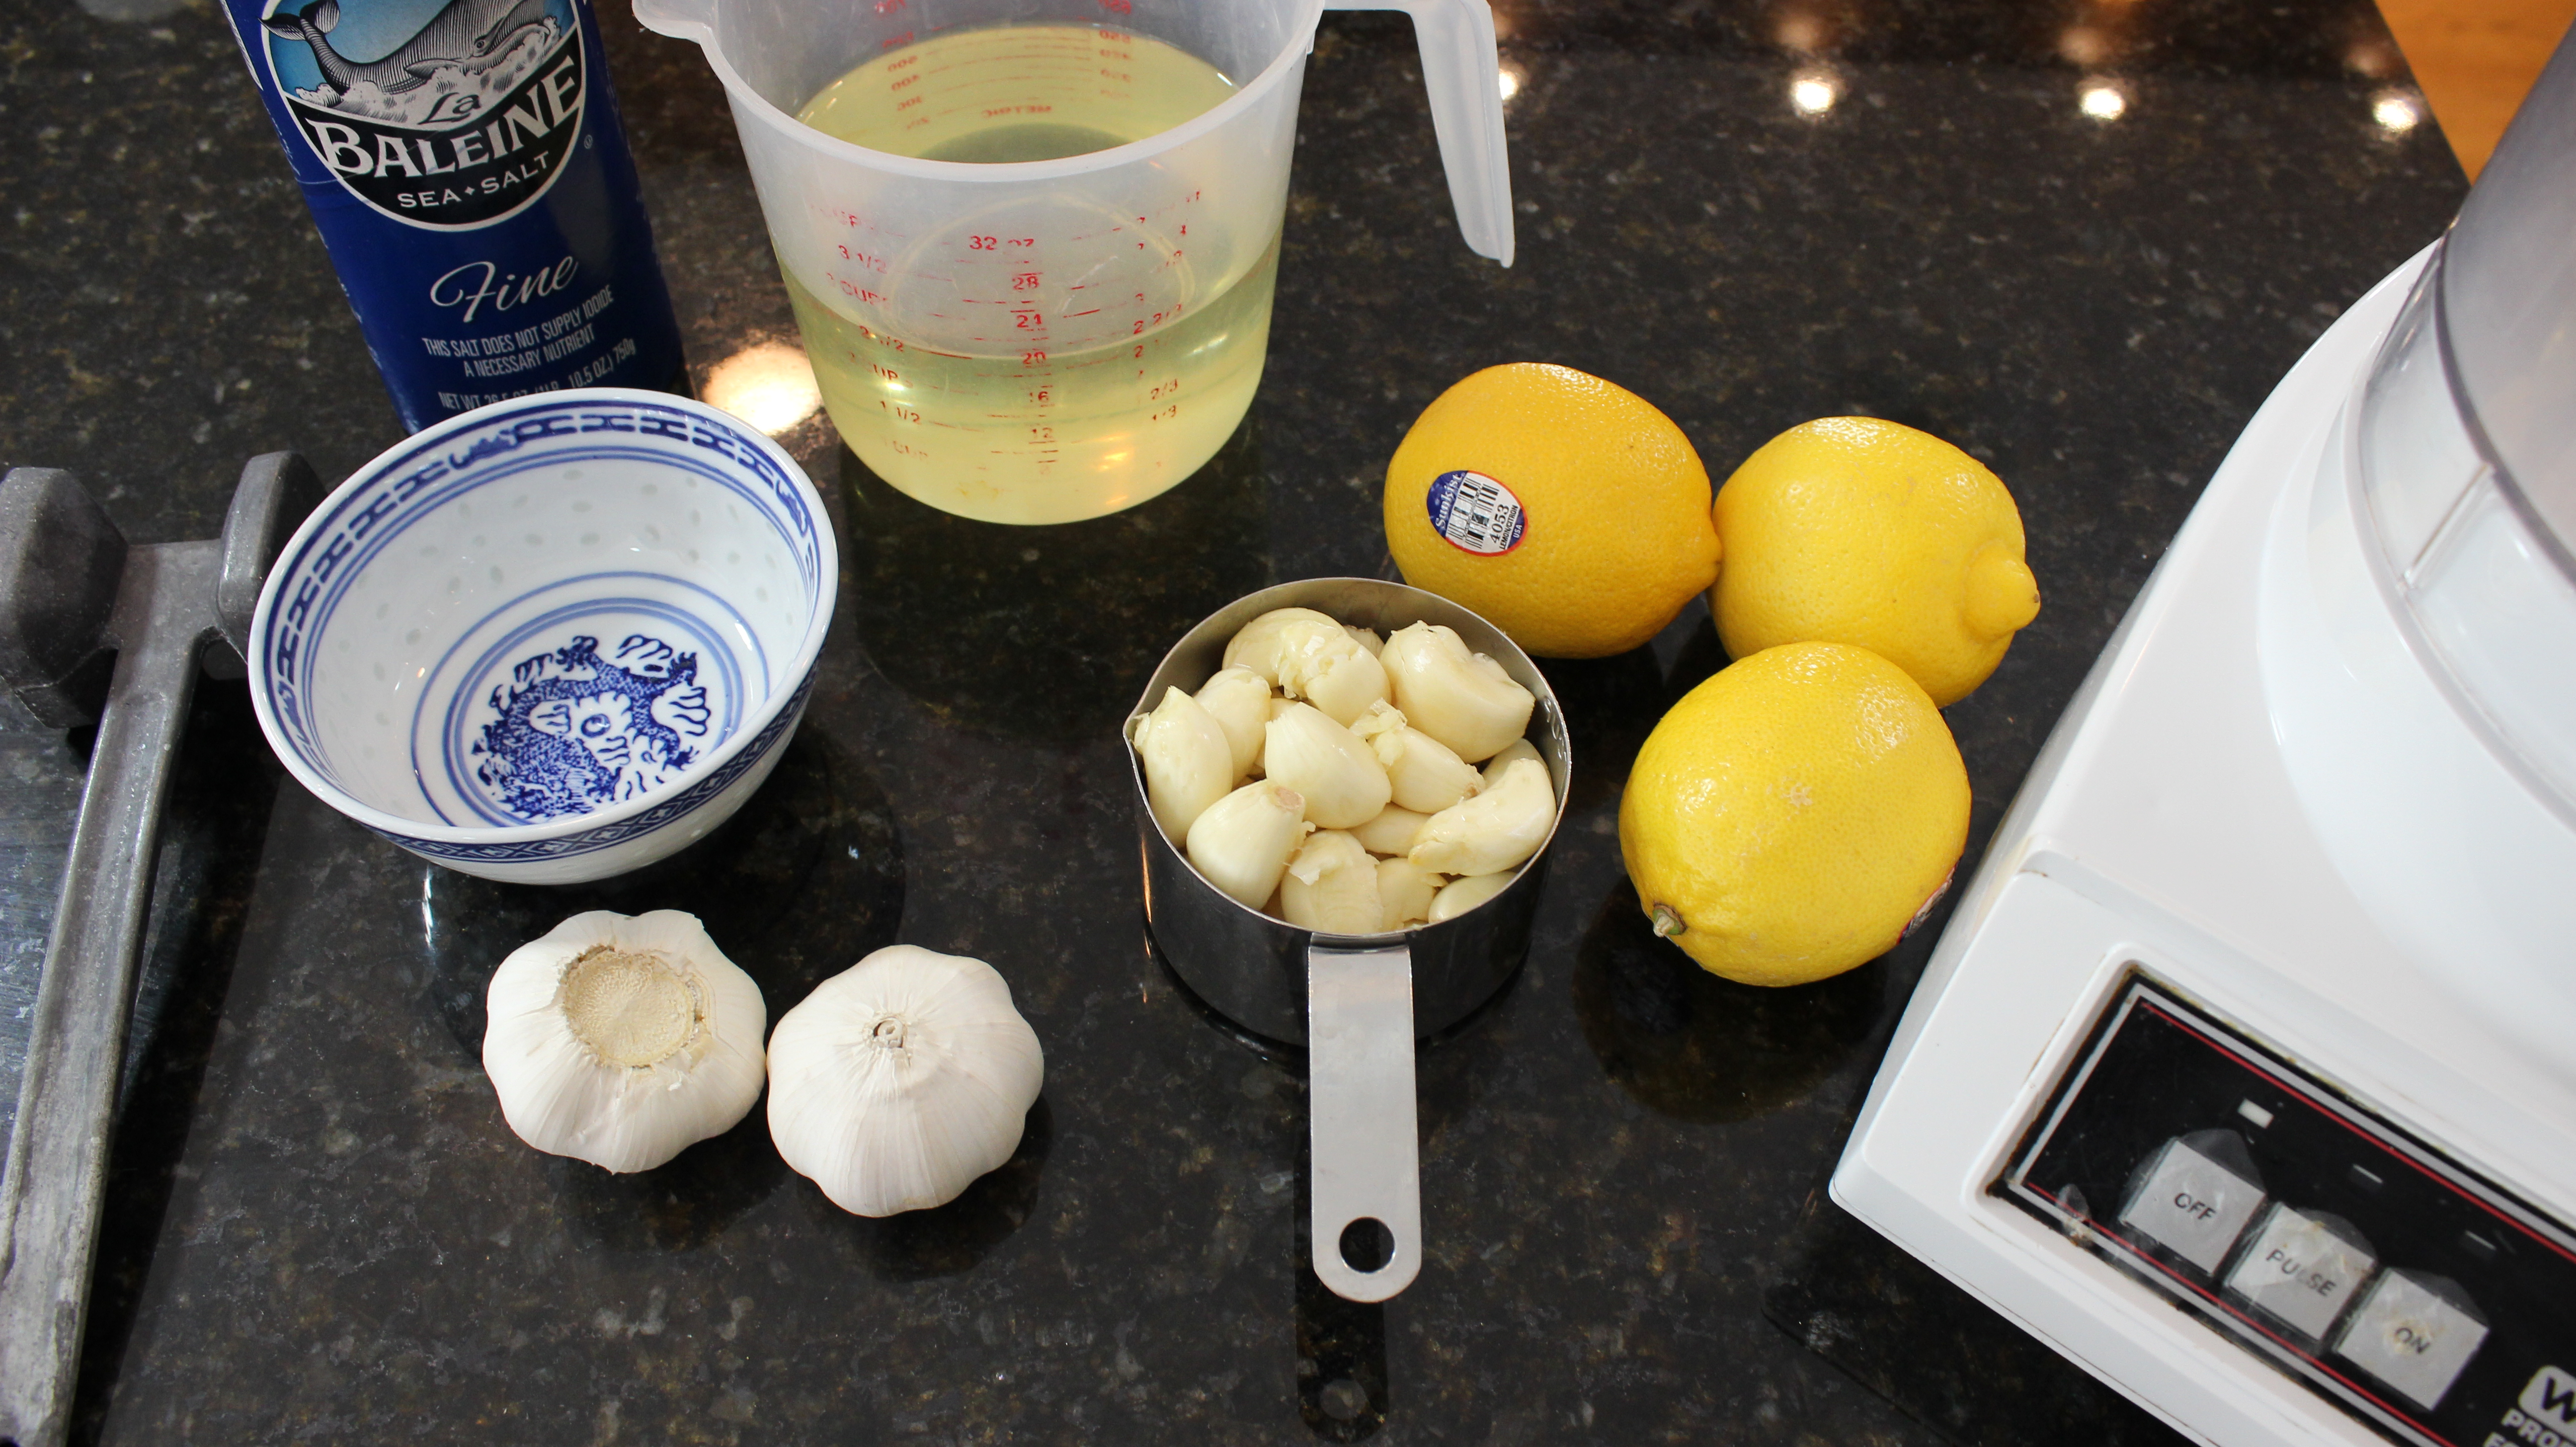
INGREDIENTS for TOUM – Lebanese Garlic Sauce:
1 cup peeled white garlic
2 1/2 cups vegetable oil
1/4 tsp salt
1/2 cup fresh lemon juice
DIRECTIONS for Toum: Approx Time 12 minutes
Add 1 cup peeled garlic and salt to food processor and pulse 3 times
Scrape down sides
Begin the garlic-vegetable oil emulsion by SLOWLY beginning to drizzle in the oil – This will take about 12 minutes to slowly drizzle in all of the oil
When you have reached adding in 1/2 cup of oil you will need to stop and scrap sides one last time then start up processor again and resume adding in oil, at about 1 cup of oil mark begin to add 2 tsp of lemon juice – KEEP food processor going the WHOLE TIME
Go back and forth from oil to lemon juice until it’s finished (I begin to add 3 tbsp of lemon juice at a time after about 1 1/2 cup of oil mark)
You should see the volume doubling then quadrupling
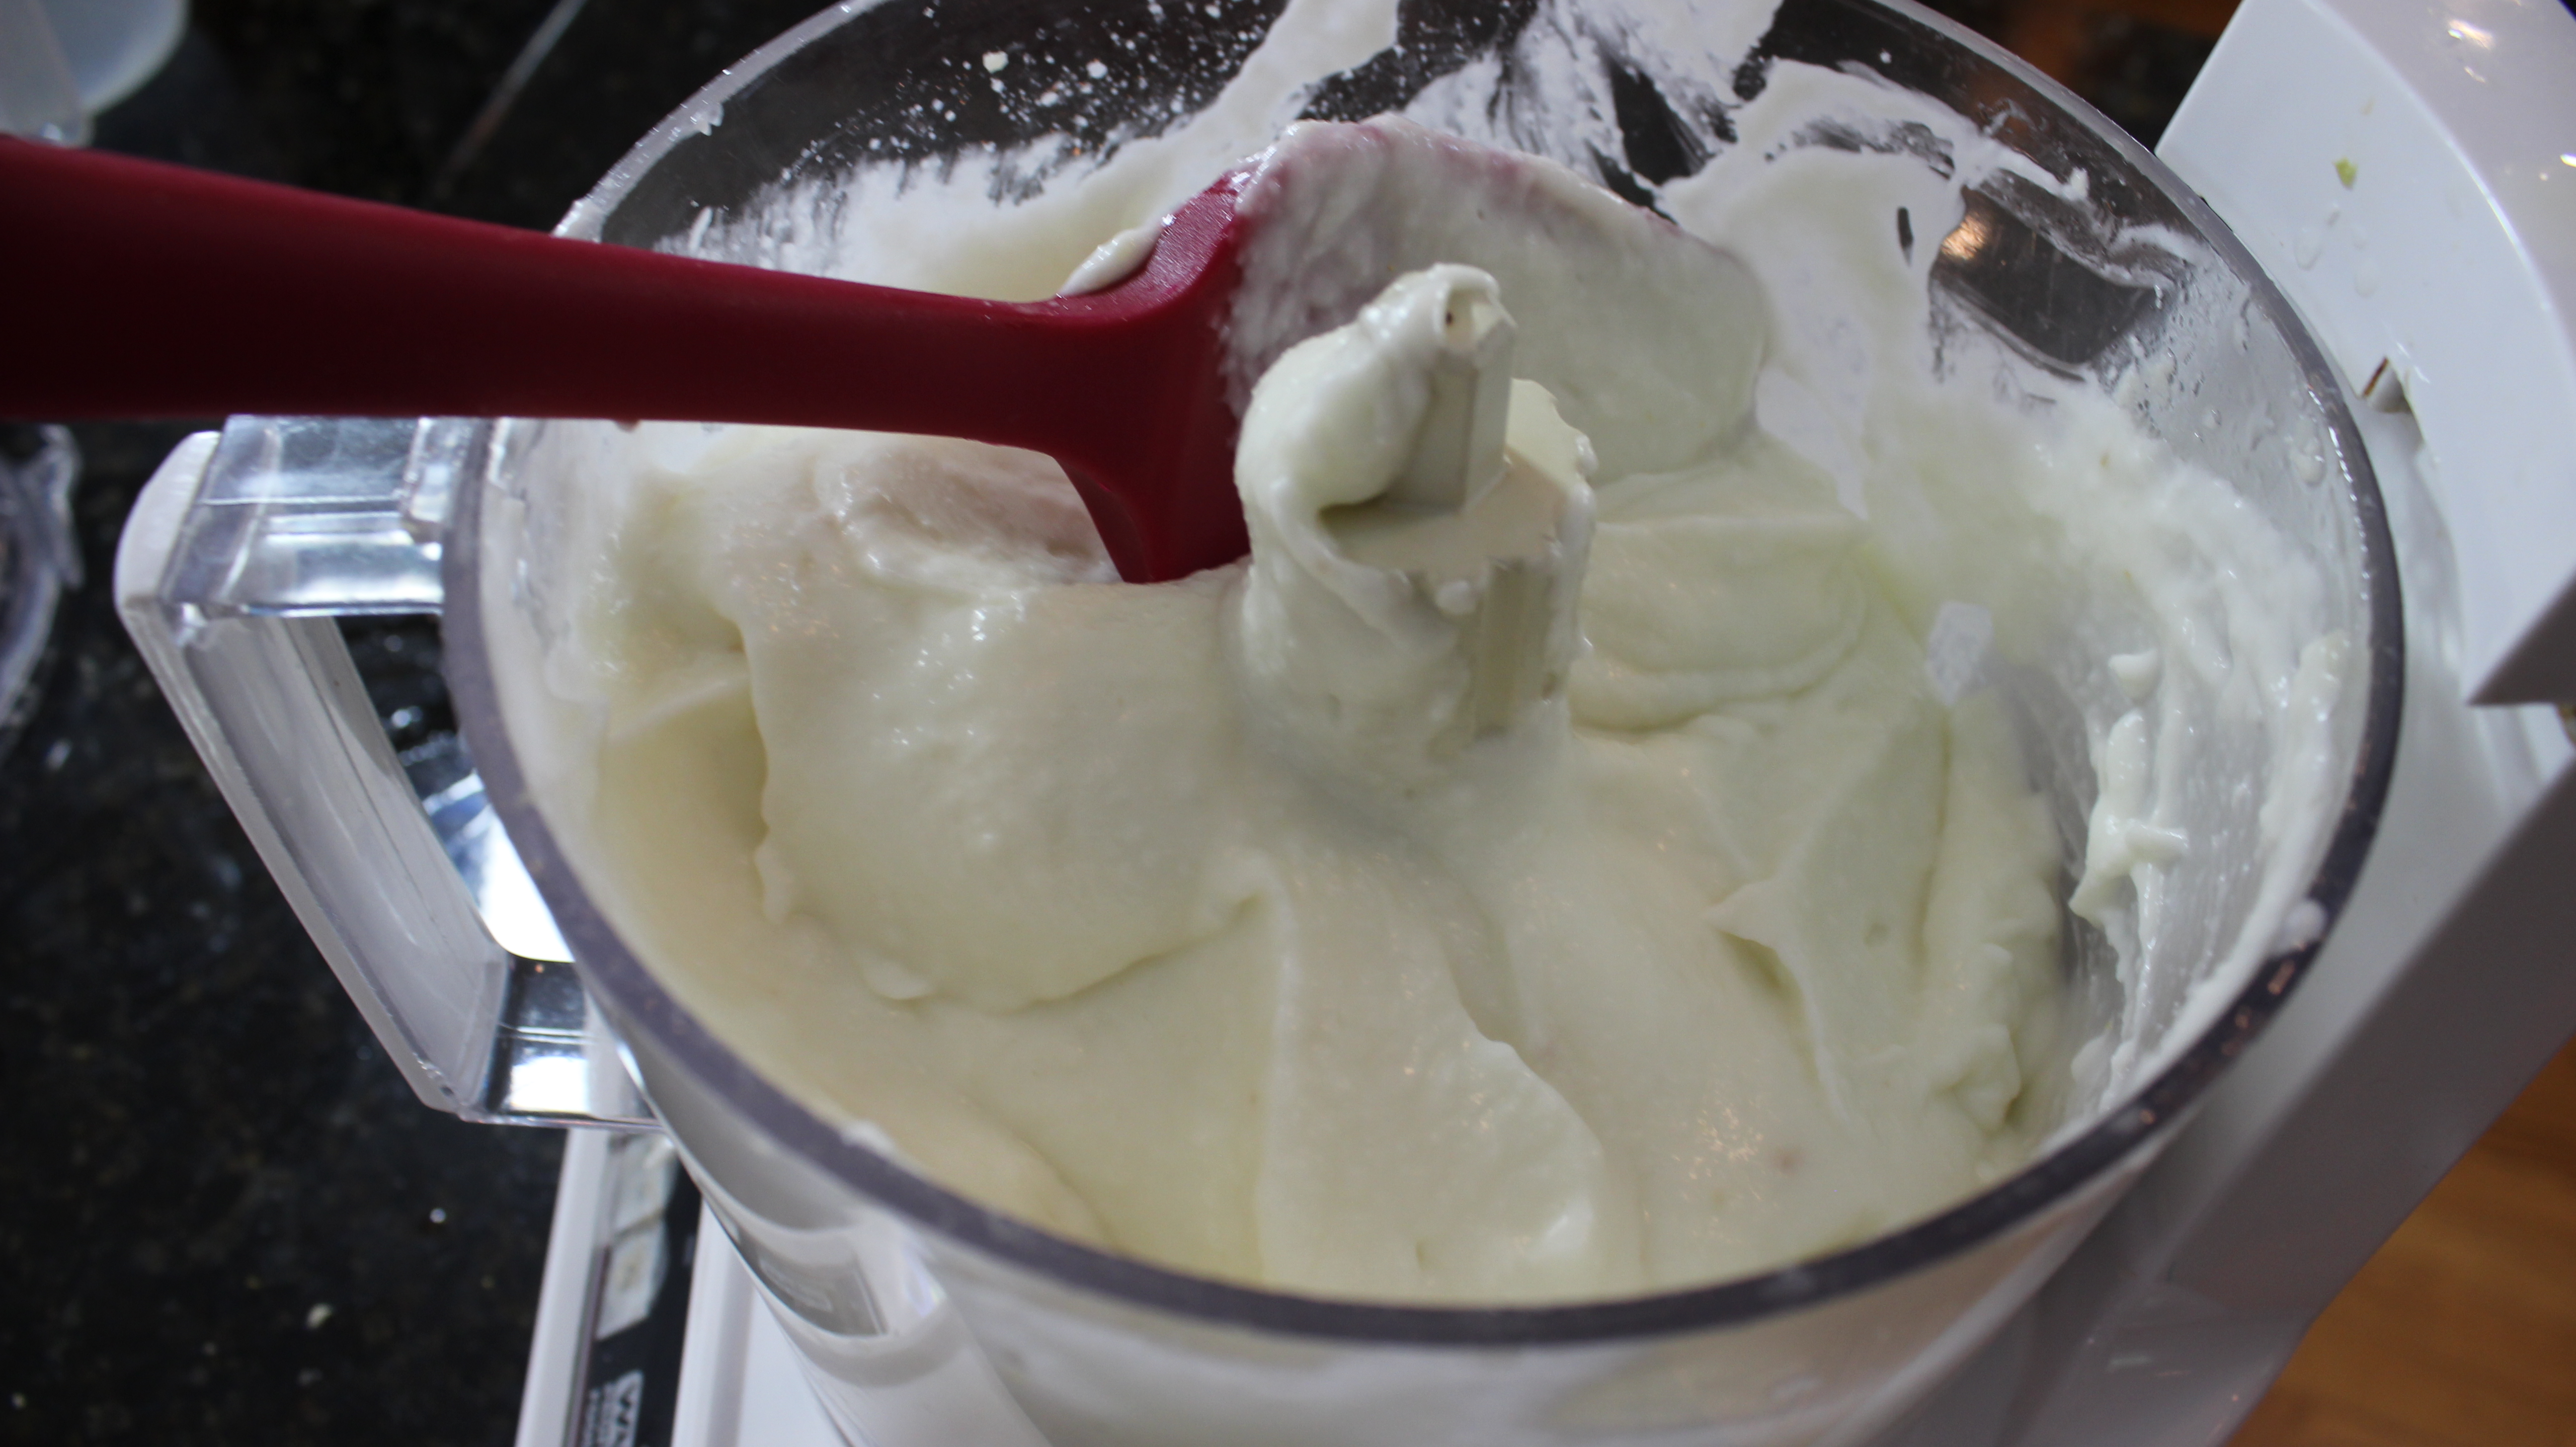
At this point the toum will be thick and foamy
Since the food processor has been running for a while now you will need to let it COOL and put into a container but DO NOT seal at this point because any condensation will ruin the texture of the toum and all your hard work
Just loosely cover with a paper towel til COMPLETELY COOLED
At this point you can seal with a top
It will last in the frig for a couple of weeks
Serve with the yogurt marinated chicken kabobs, sauté vegetables, brush on grill items, naan, pita bread, ciabatta for garlic bread … the options are endless ENJOY 🙂
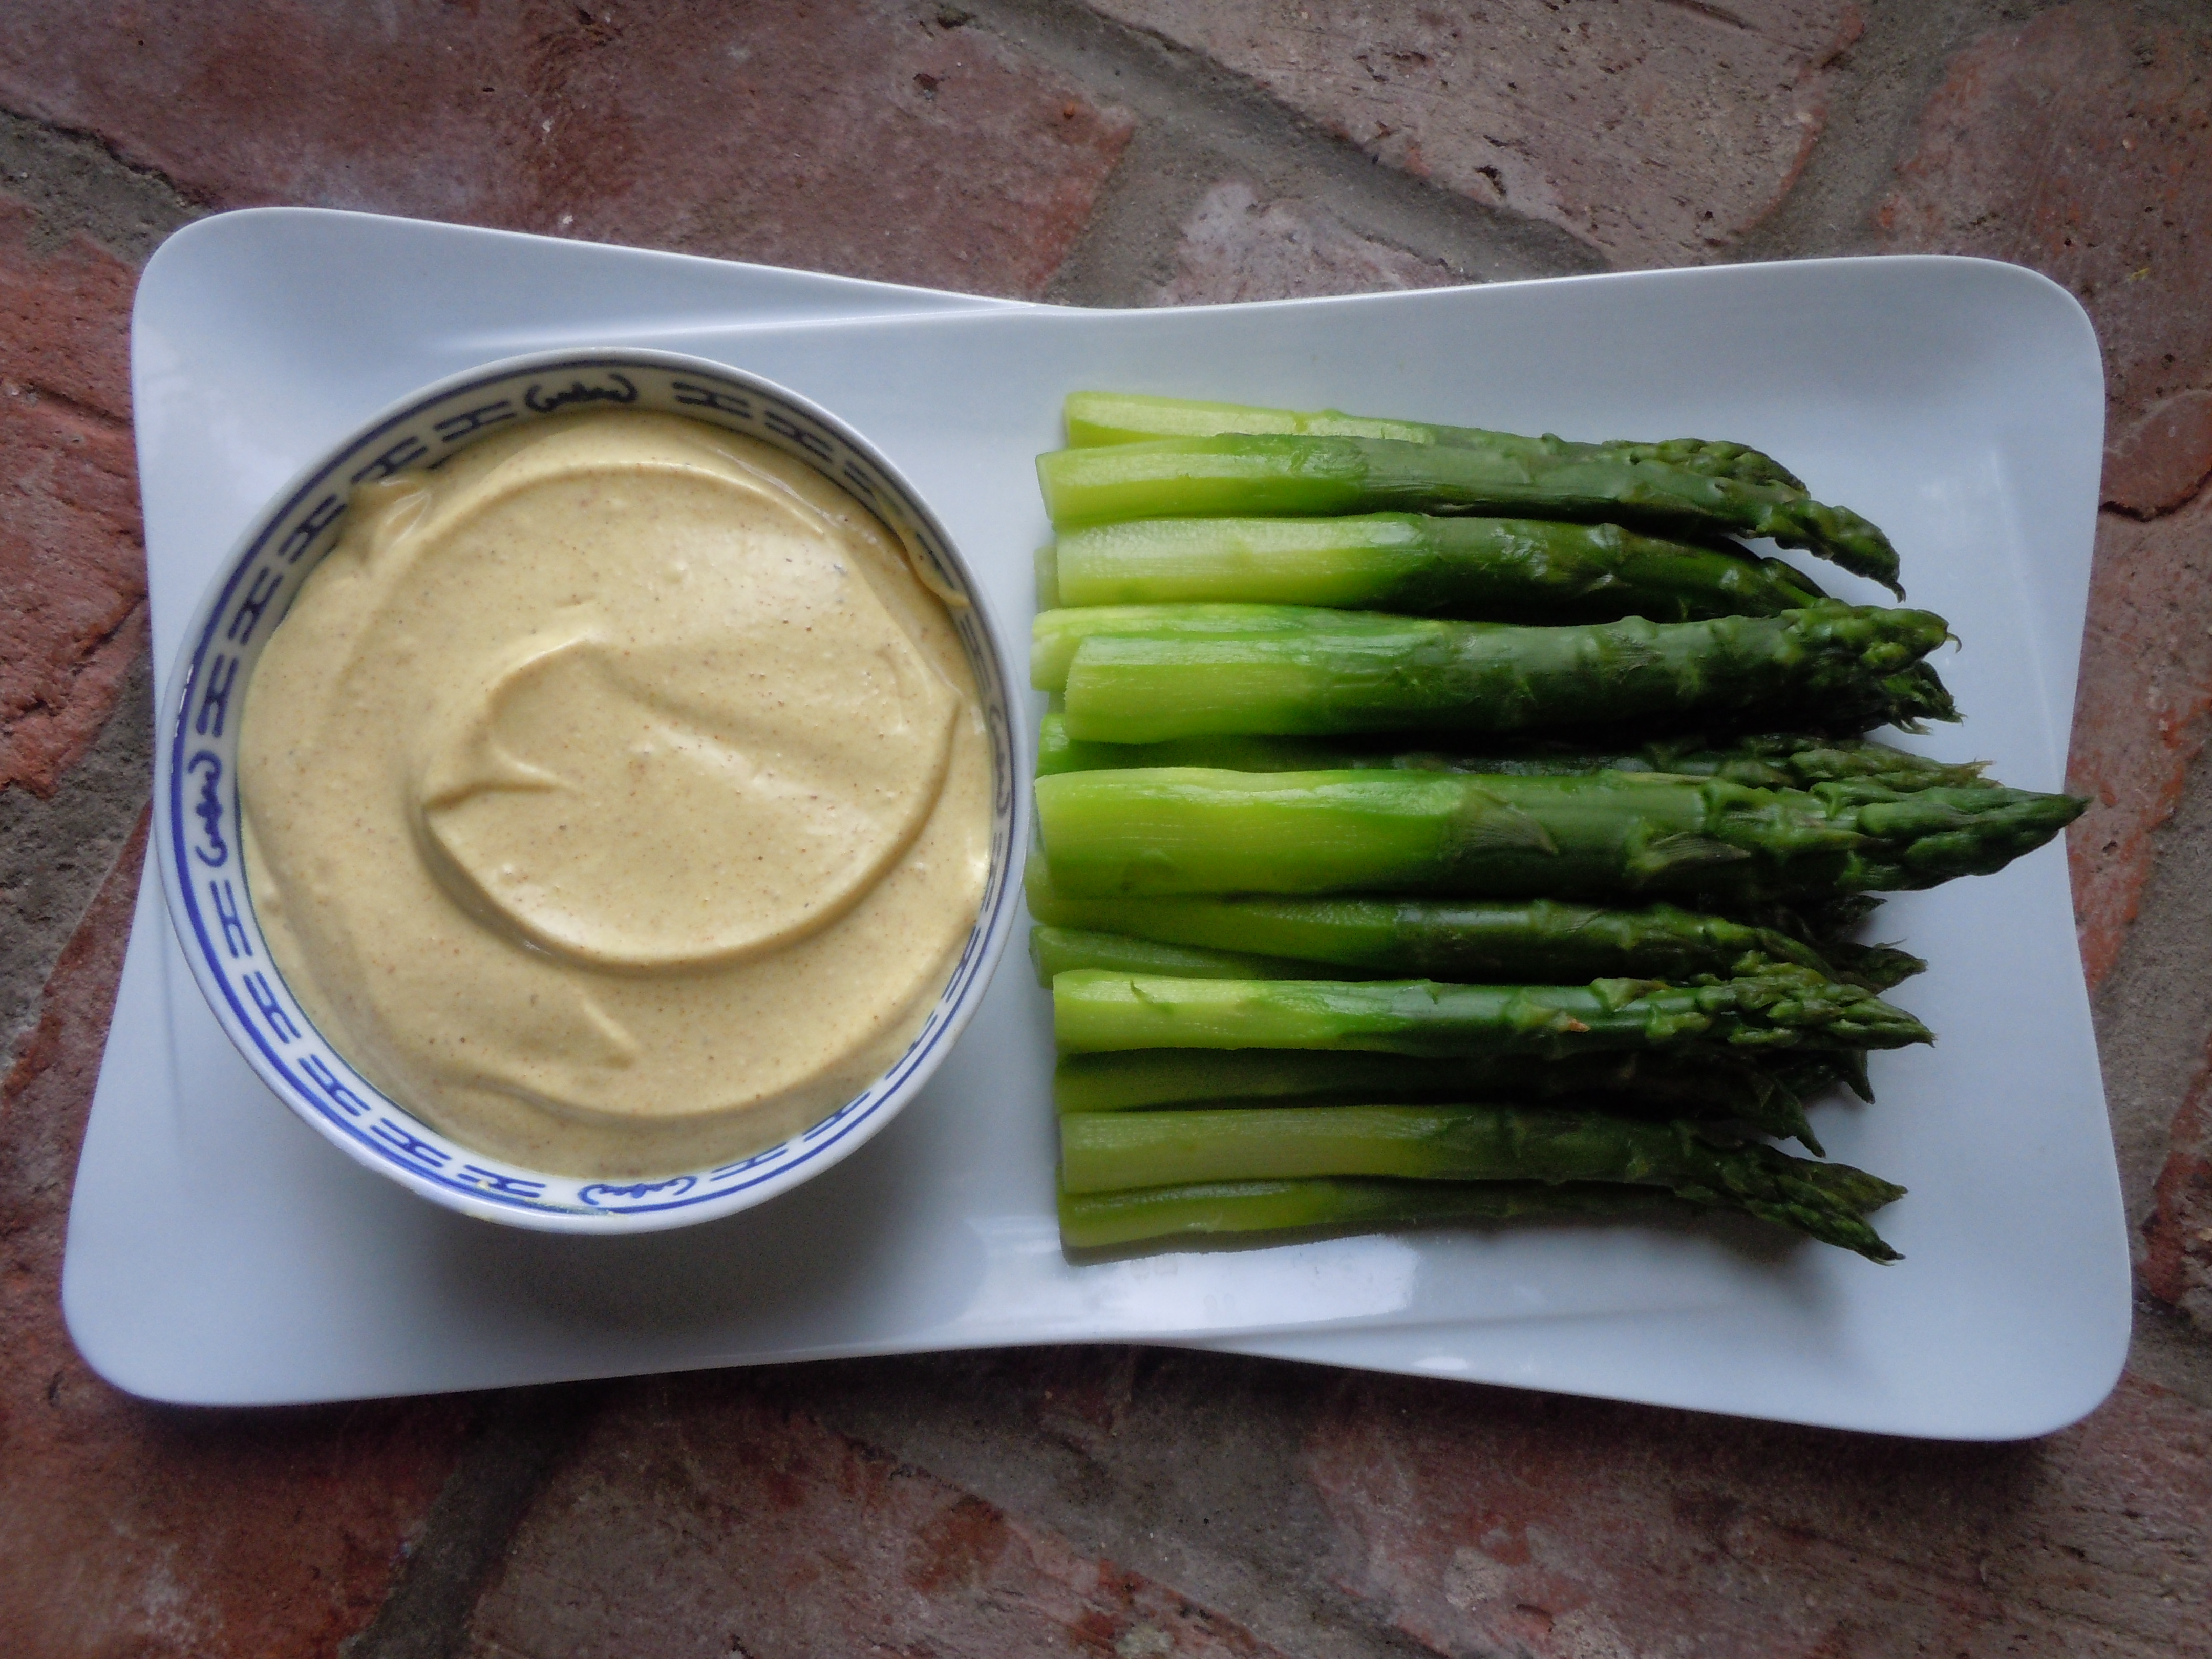
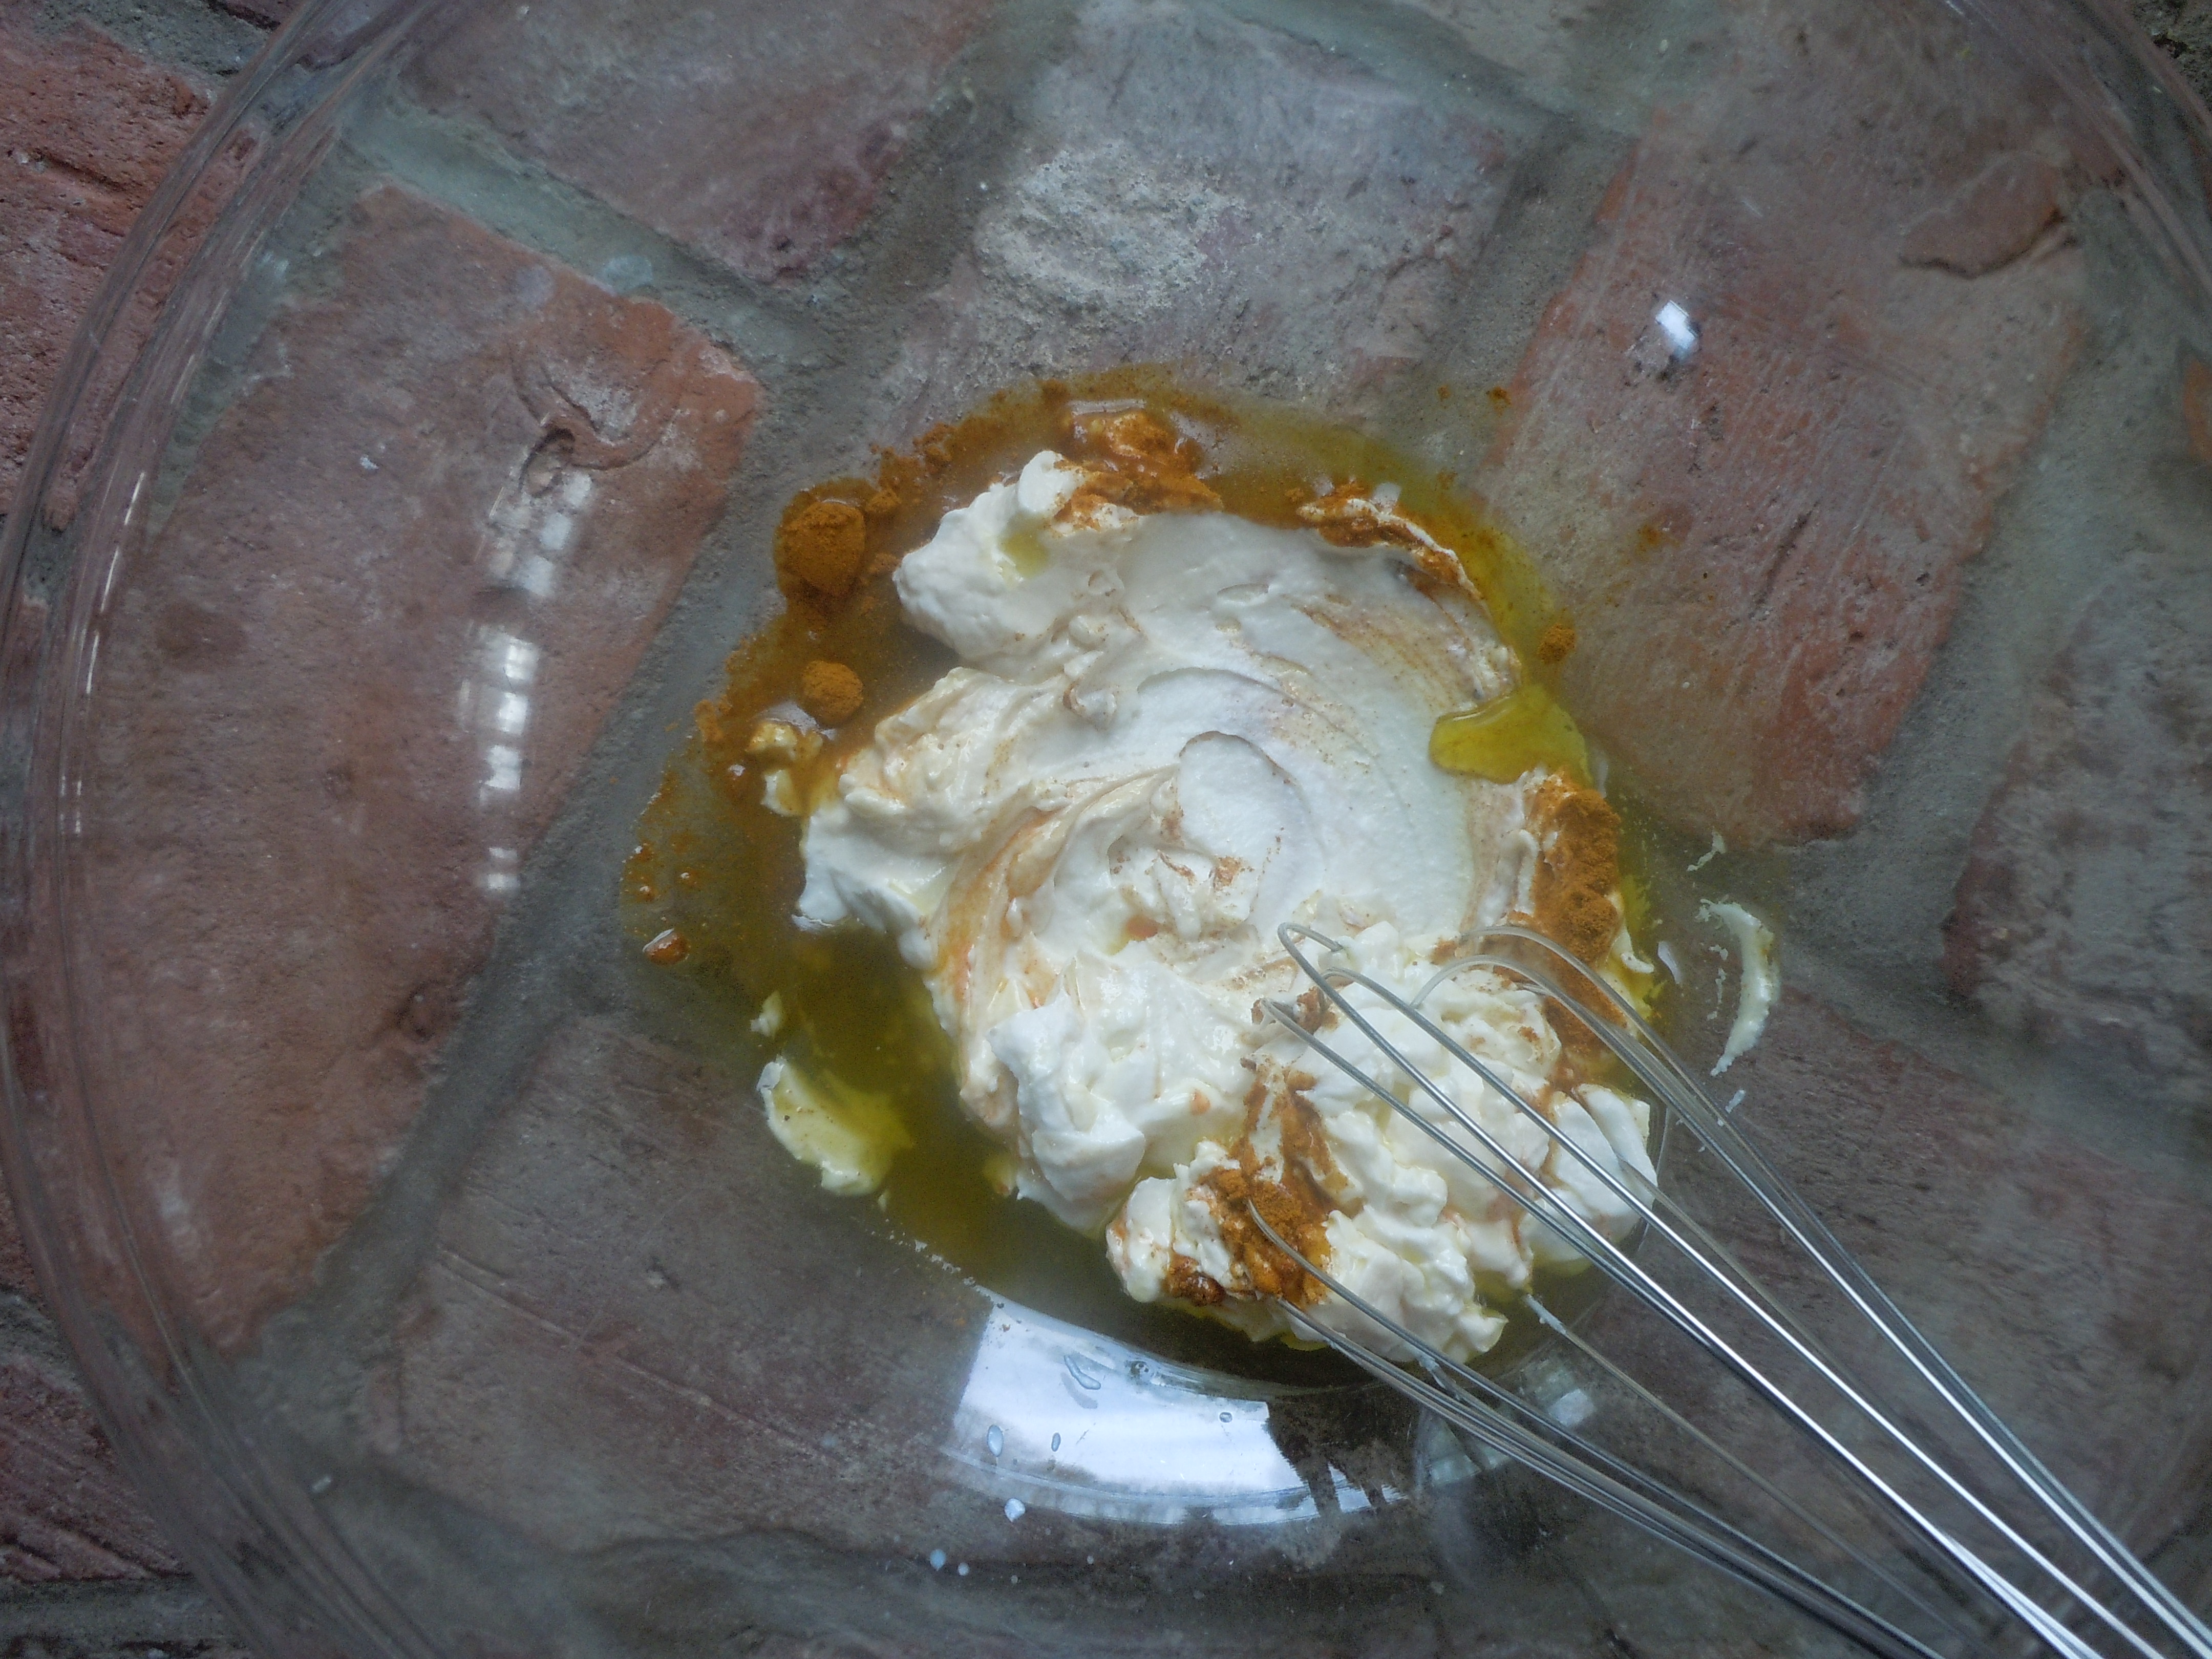
This curry-yogurt dip is an elegant and refreshing way to have serve your vegetables. I really like this combination of the earthy asparagus and the lemony curry-yogurt dip. This dip was originally made with mayo only but mixing the two, half mayo and half yogurt gives you the best of both worlds. The creaminess from the mayo an the tang from the yogurt makes for a refreshing dip. The stalks on the asparagus are peeled with a potato peelers before you blanch them. This gives a vibrant green color and a nice feel when you bite into the asparagus not to mention putting in that little extra effort makes for a lovely presentation.
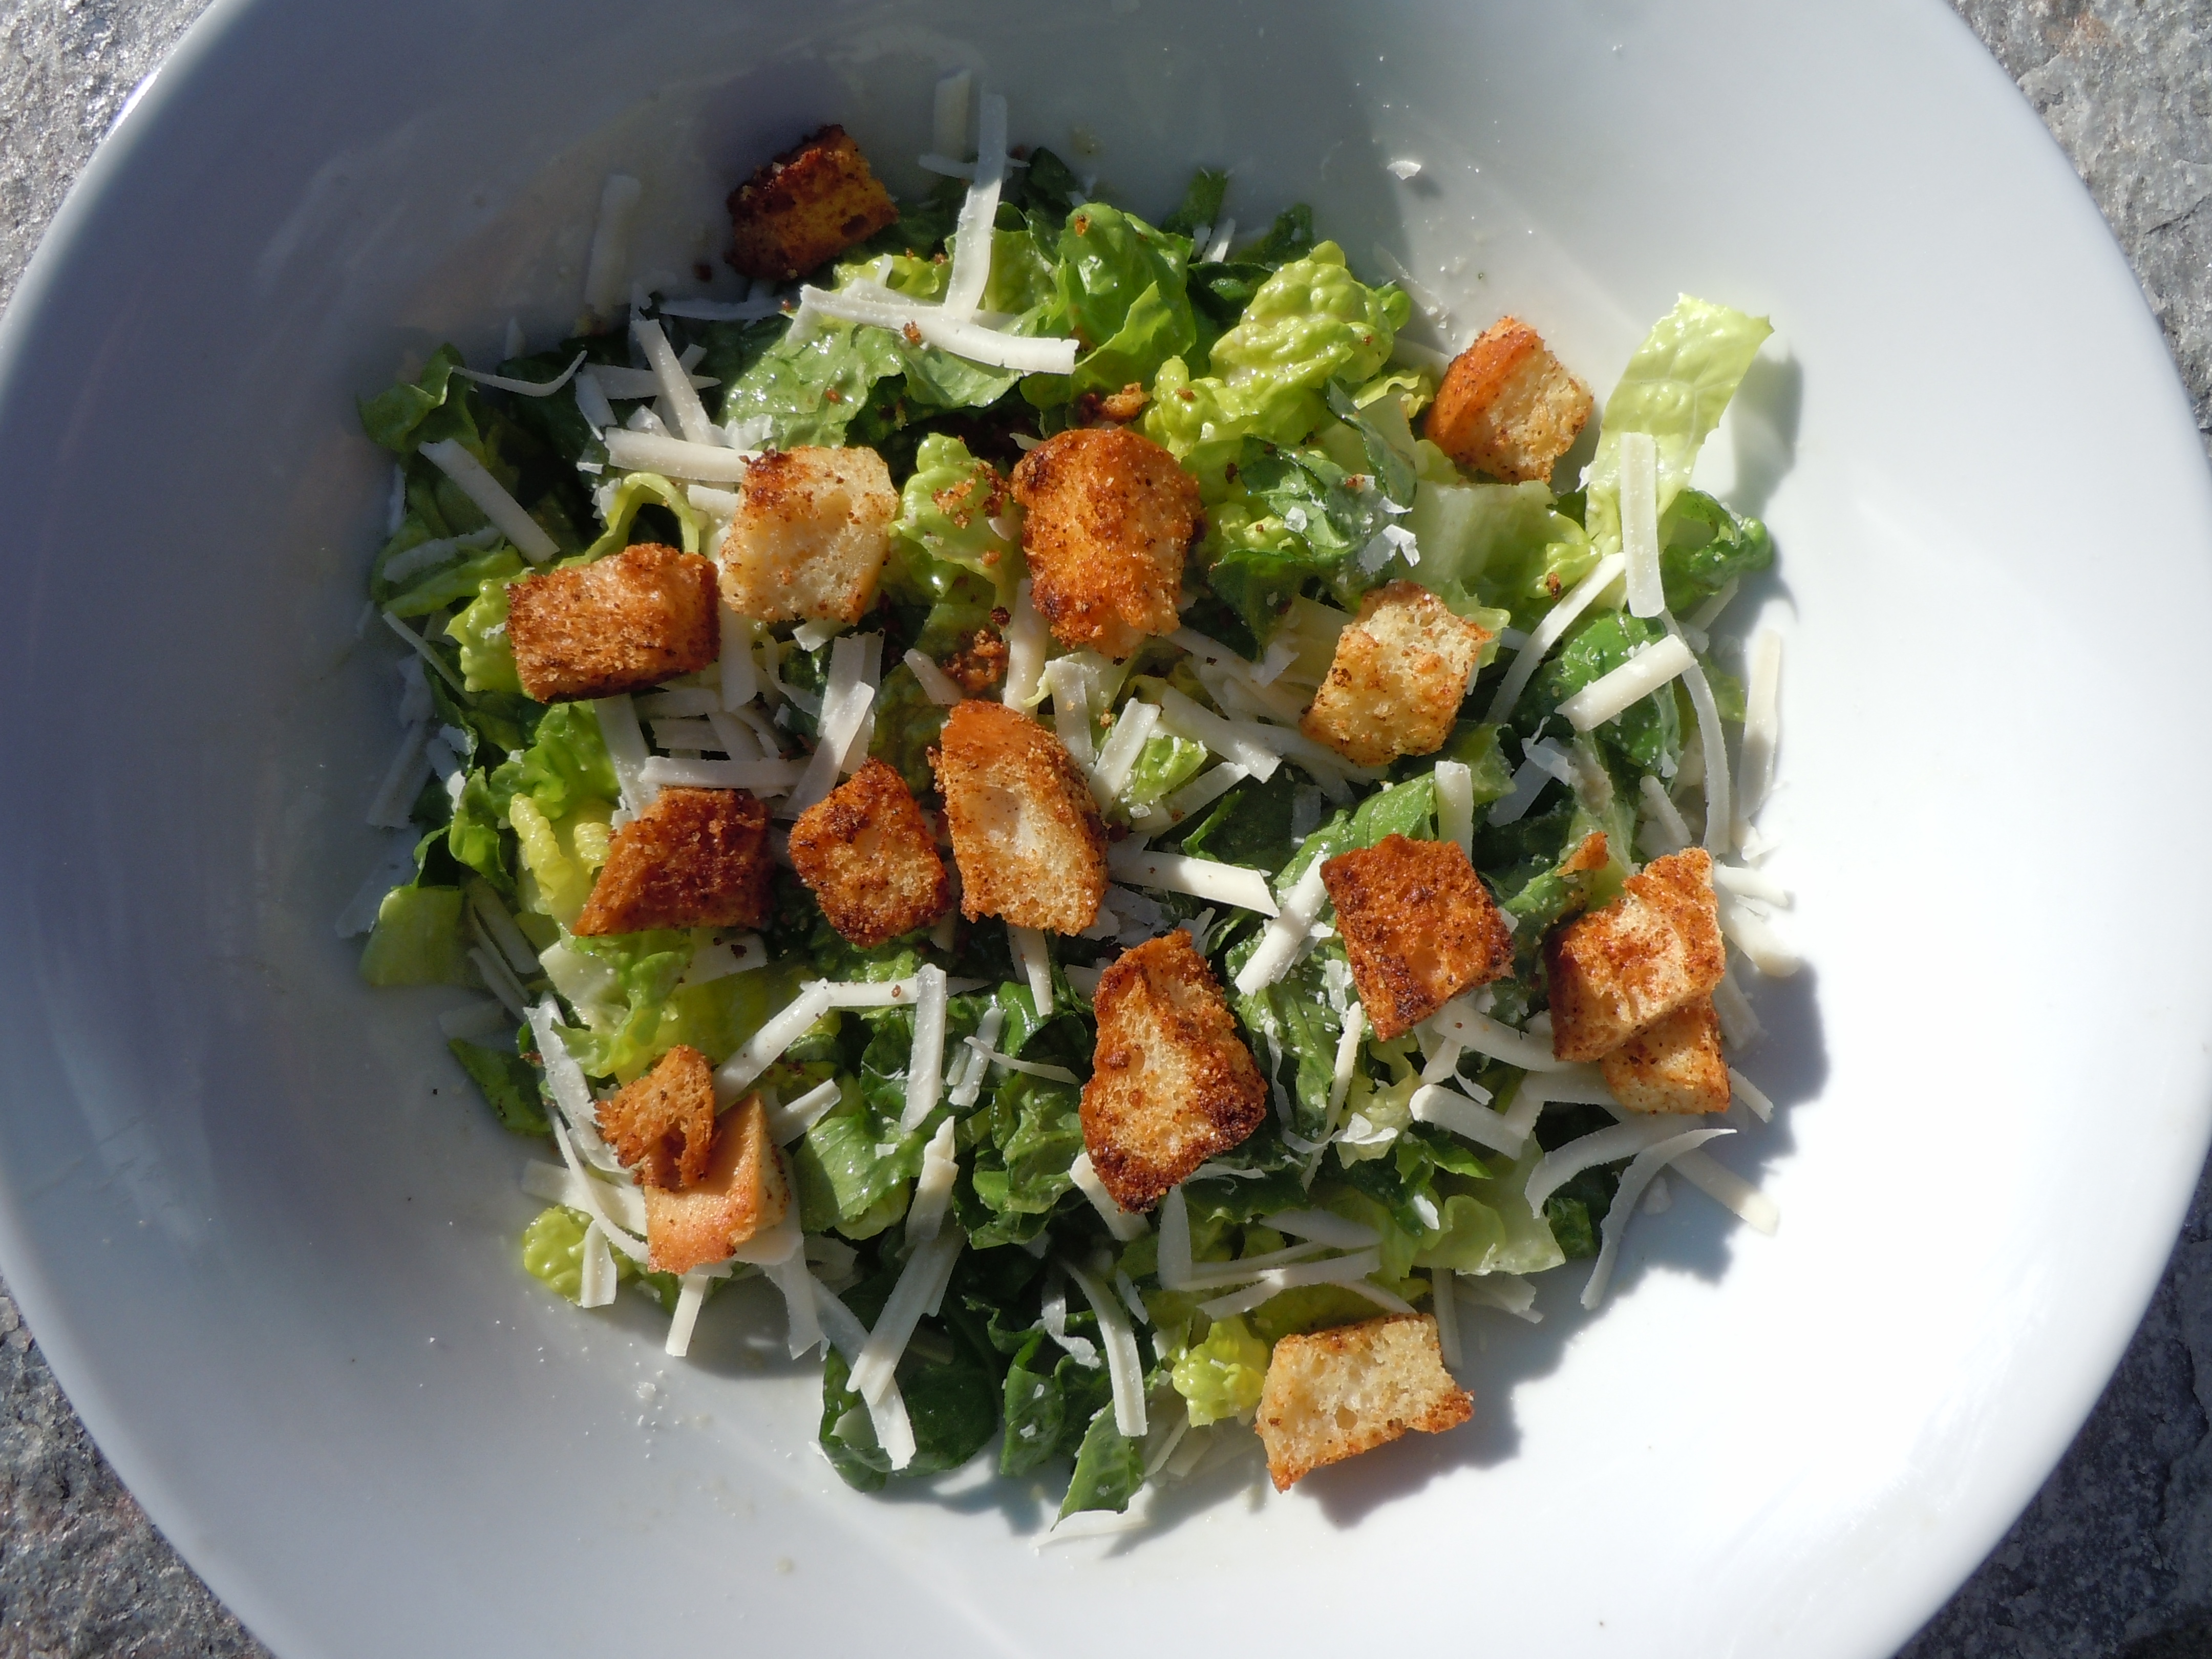
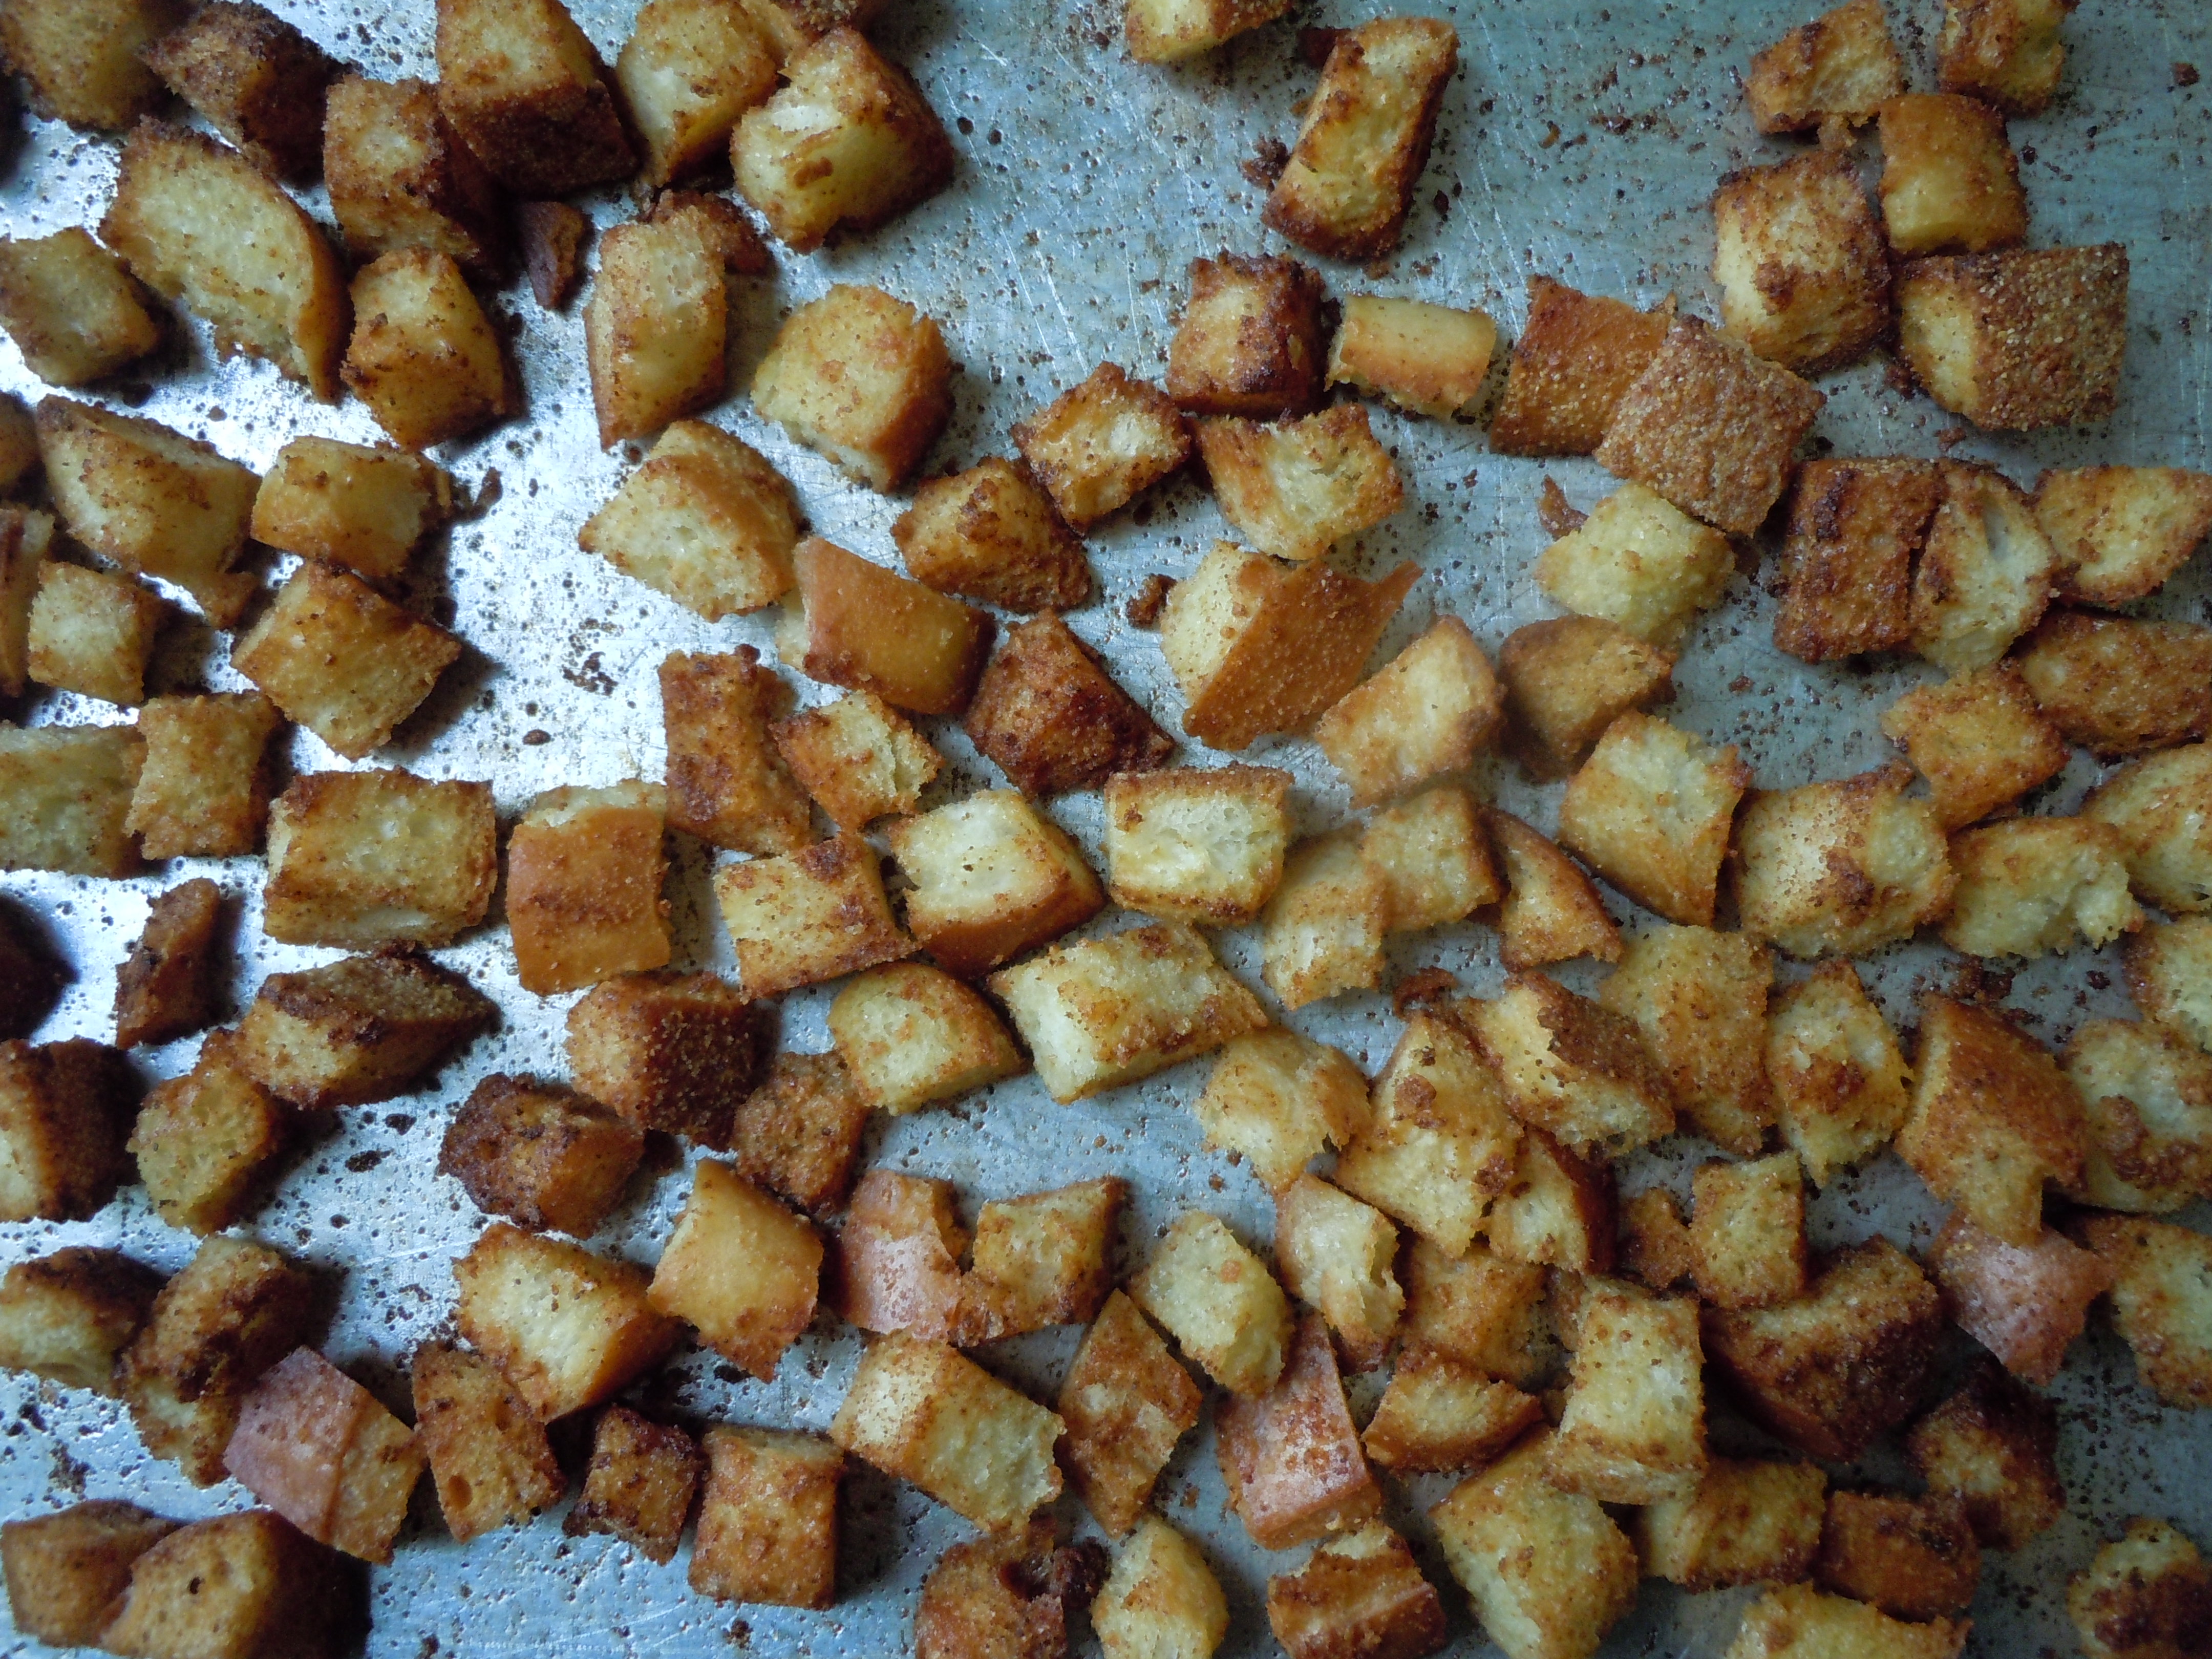
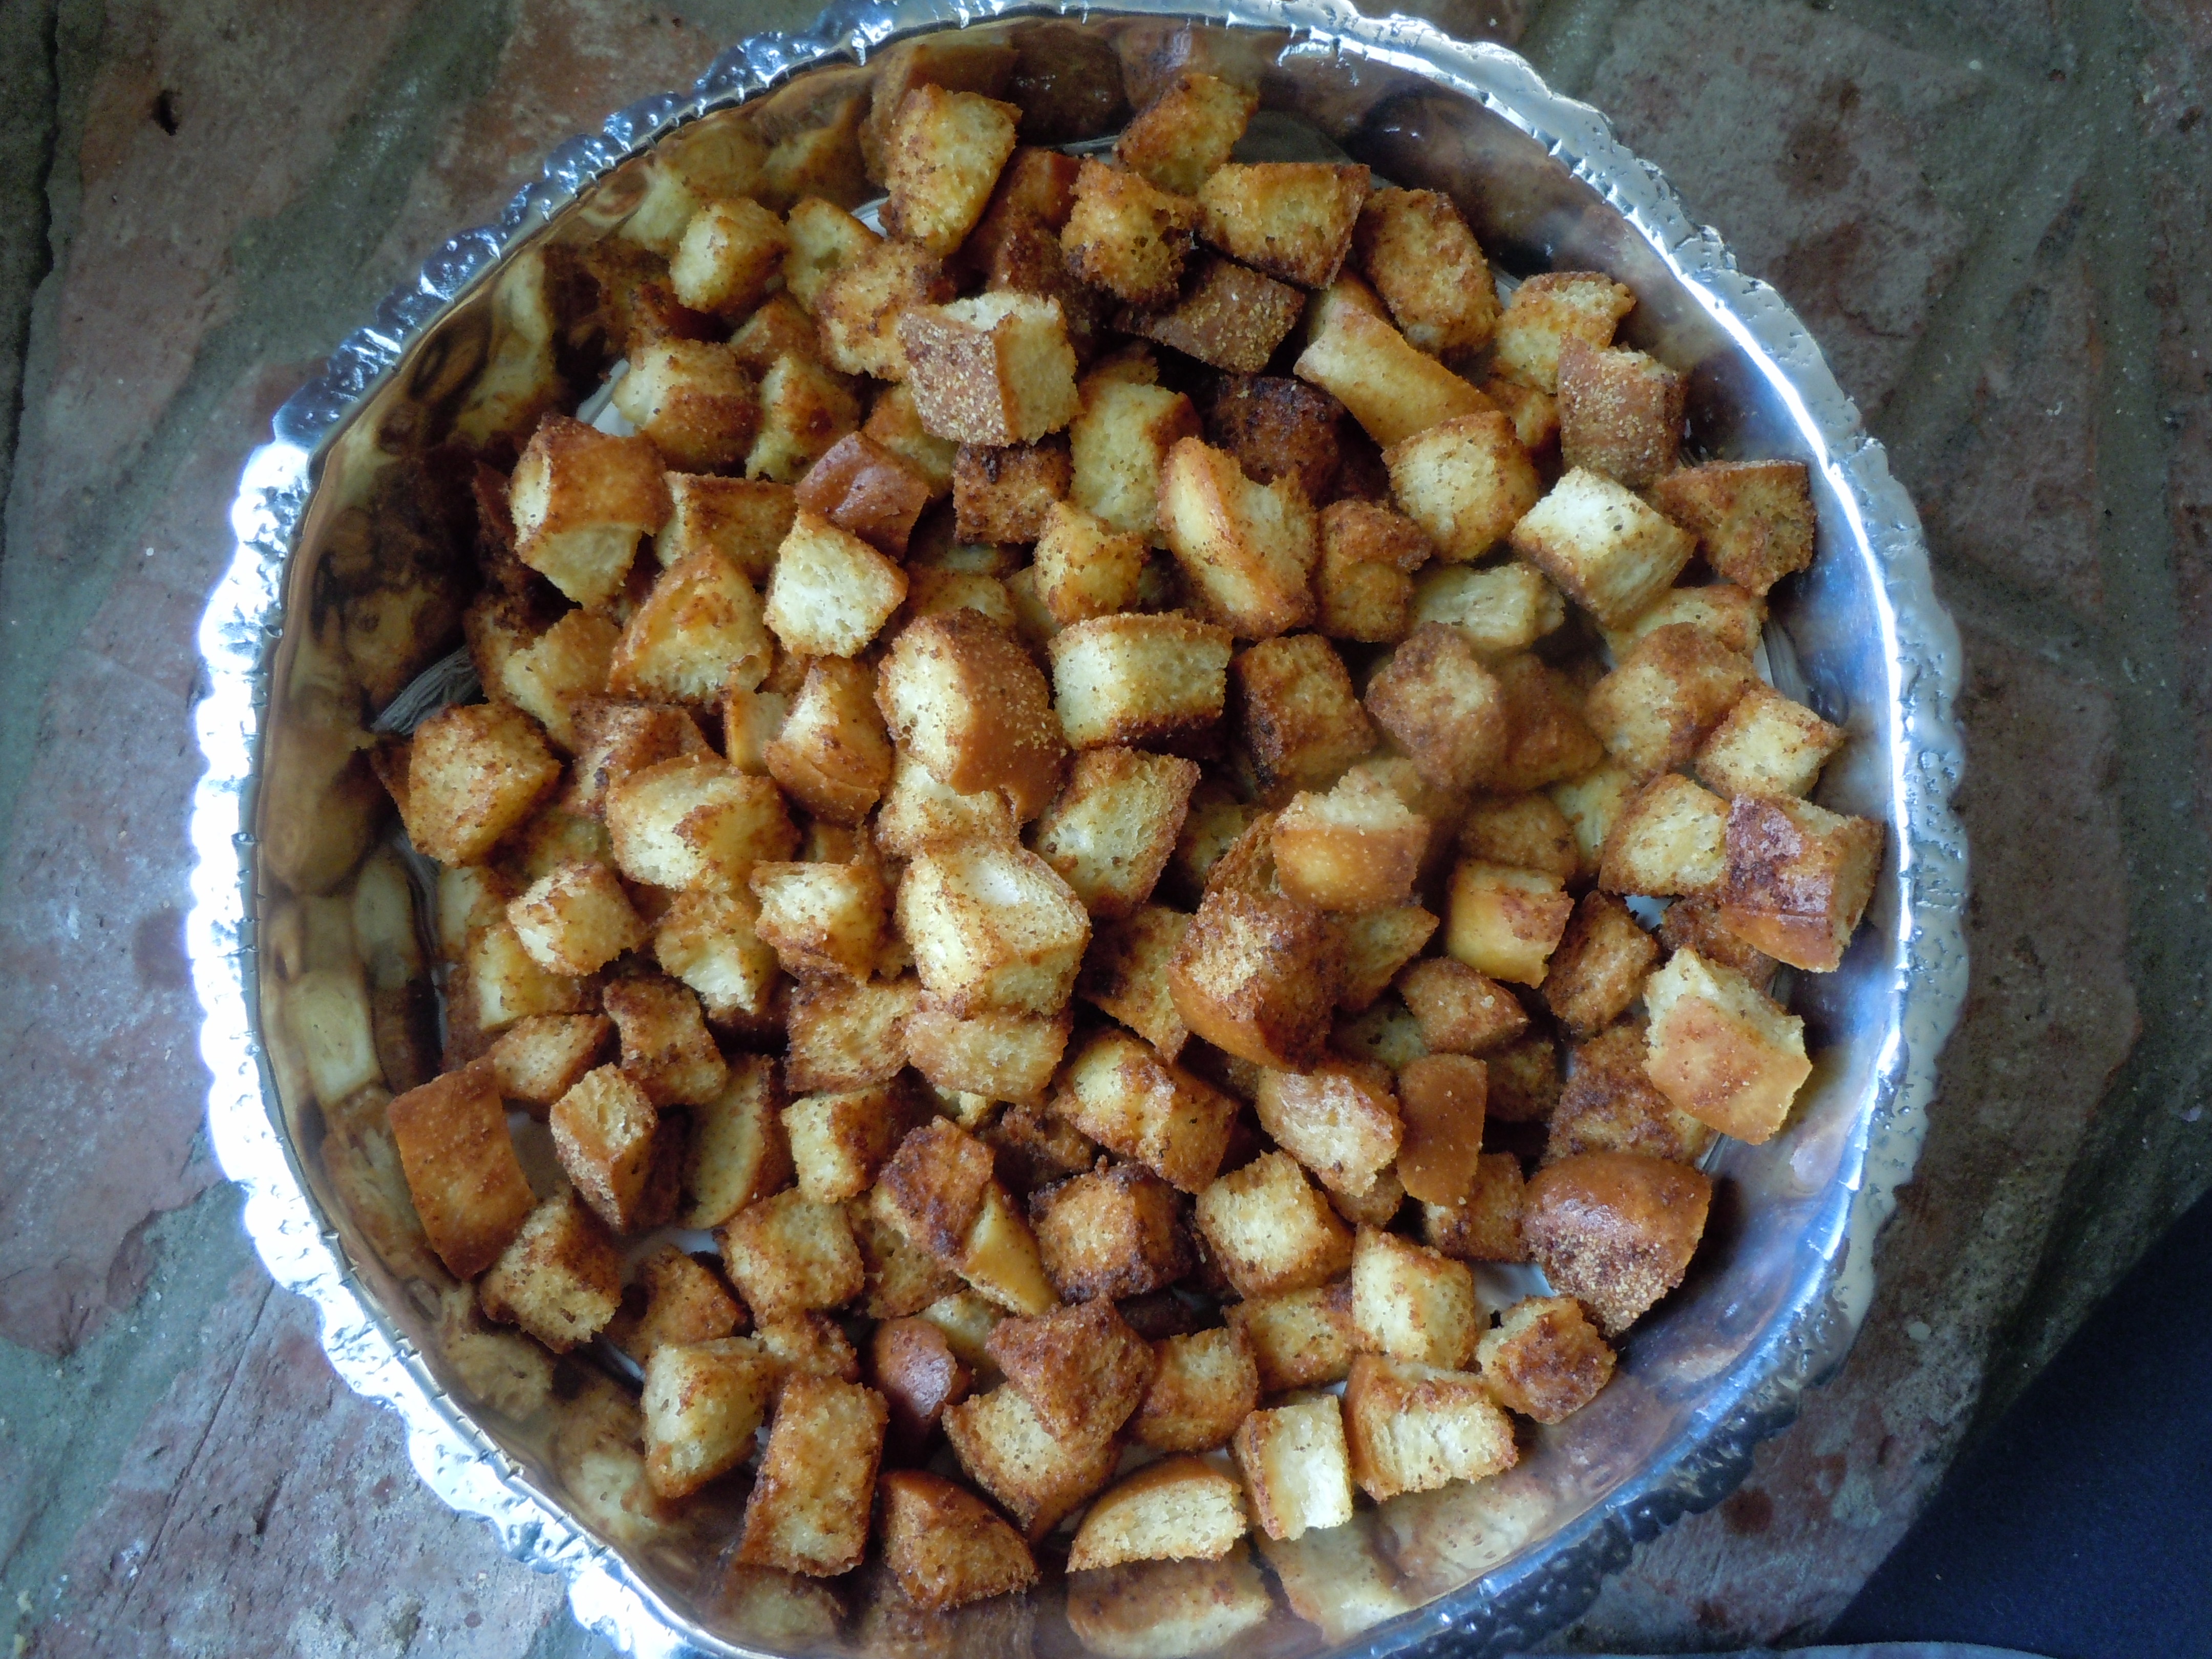
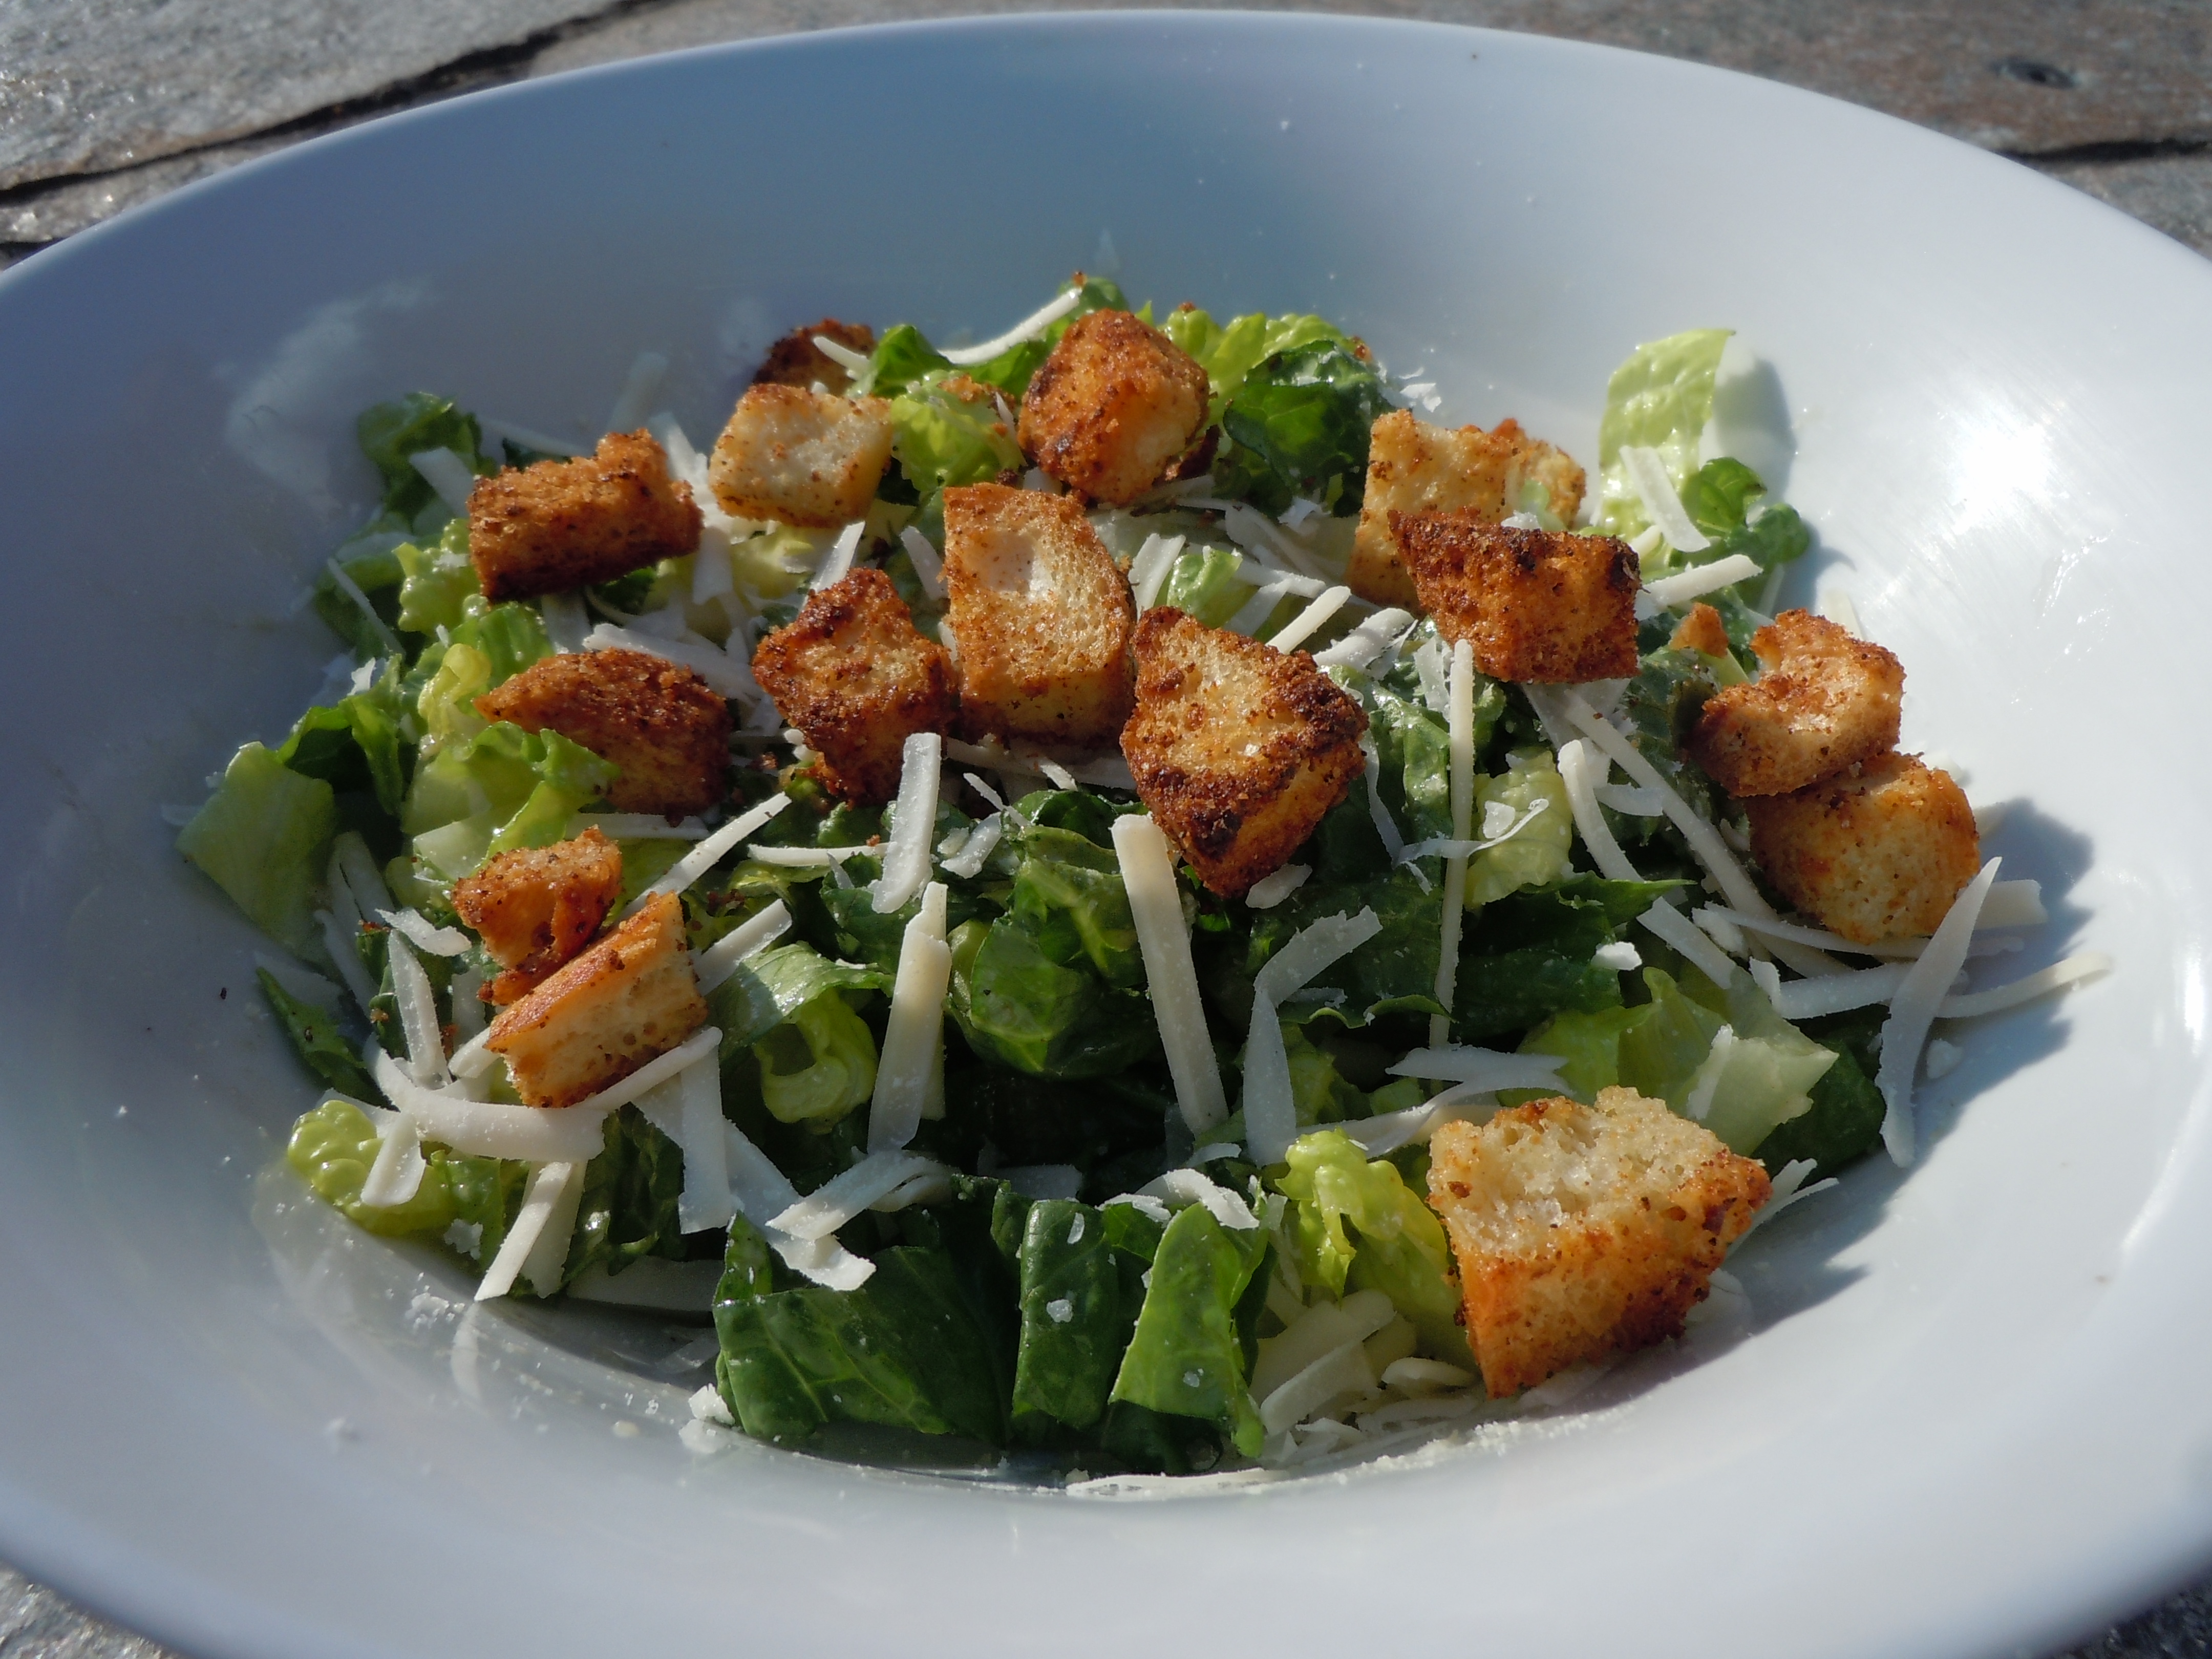
Caesar salads are probably my favorite of all time. So many wonderful flavors and textures in this combination from crunchy and garlicky with the Italian garlic croutons, to a sharpness from the shaved Reggiano Parmesano sprinkled on the top of the romaine and a creaminess with the grated Parmesan in the actual dressing itself. Then there is a tang from the lemon and Dijon, and an extra savory flavor in the undertones that you just can’t put your finger on but tastes delicious from the anchovie paste and Worcestershire sauce!
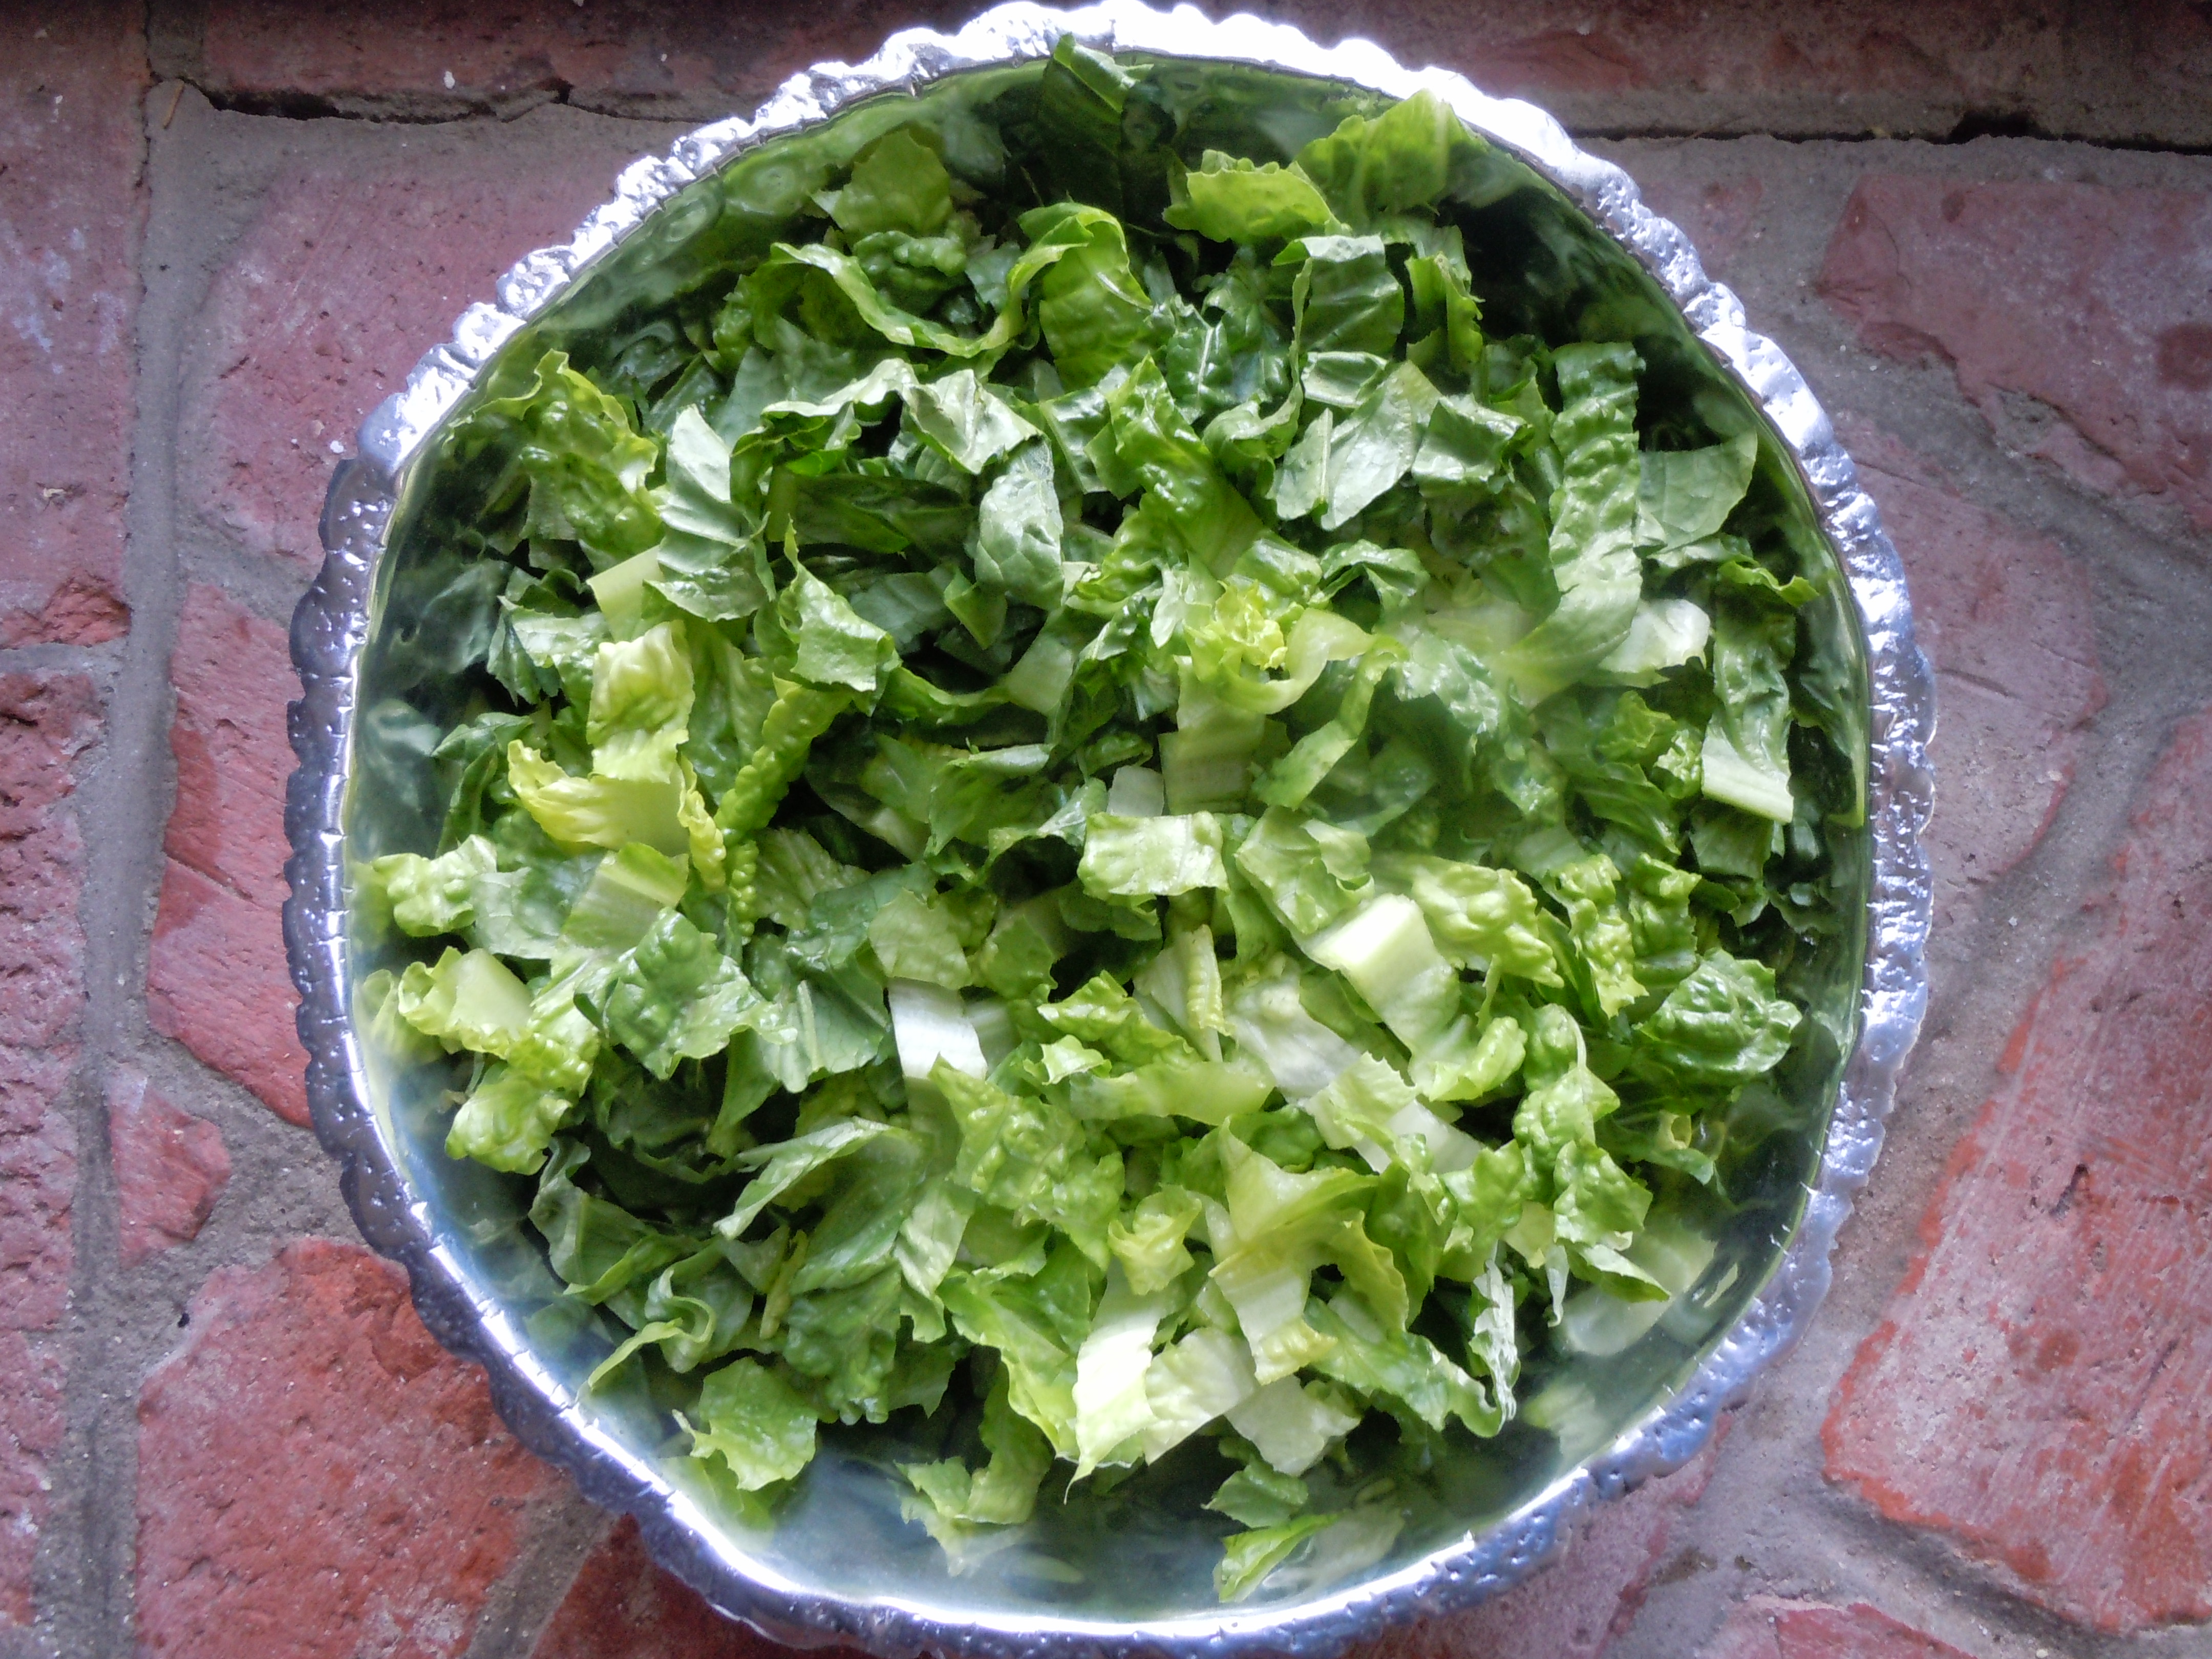
Wow, you will really like the simplicity of this recipe and you can make the croutons a day or more ahead of time and make the dressing the morning of your lunch or dinner. It makes for such a nice presentation if you can use a large shallow dish like the one in the photos. When I have friends over for dinner I often serve the Caesar salad in that large shallow bowl and then add slices of grilled or sautéed chicken breasts, or grilled salmon pieces going all around the outer edges and everyone loves it. Have fun with this and enjoy!
CAESAR SALAD DRESSING RECIPE:
1 large/2 medium cloves of garlic put thru garlic press
1 egg yolk farm fresh or organic brown eggs ONLY – EGG YOLK OPTIONAL
1 Tbsp Dijon – Grey Poupon or Maille
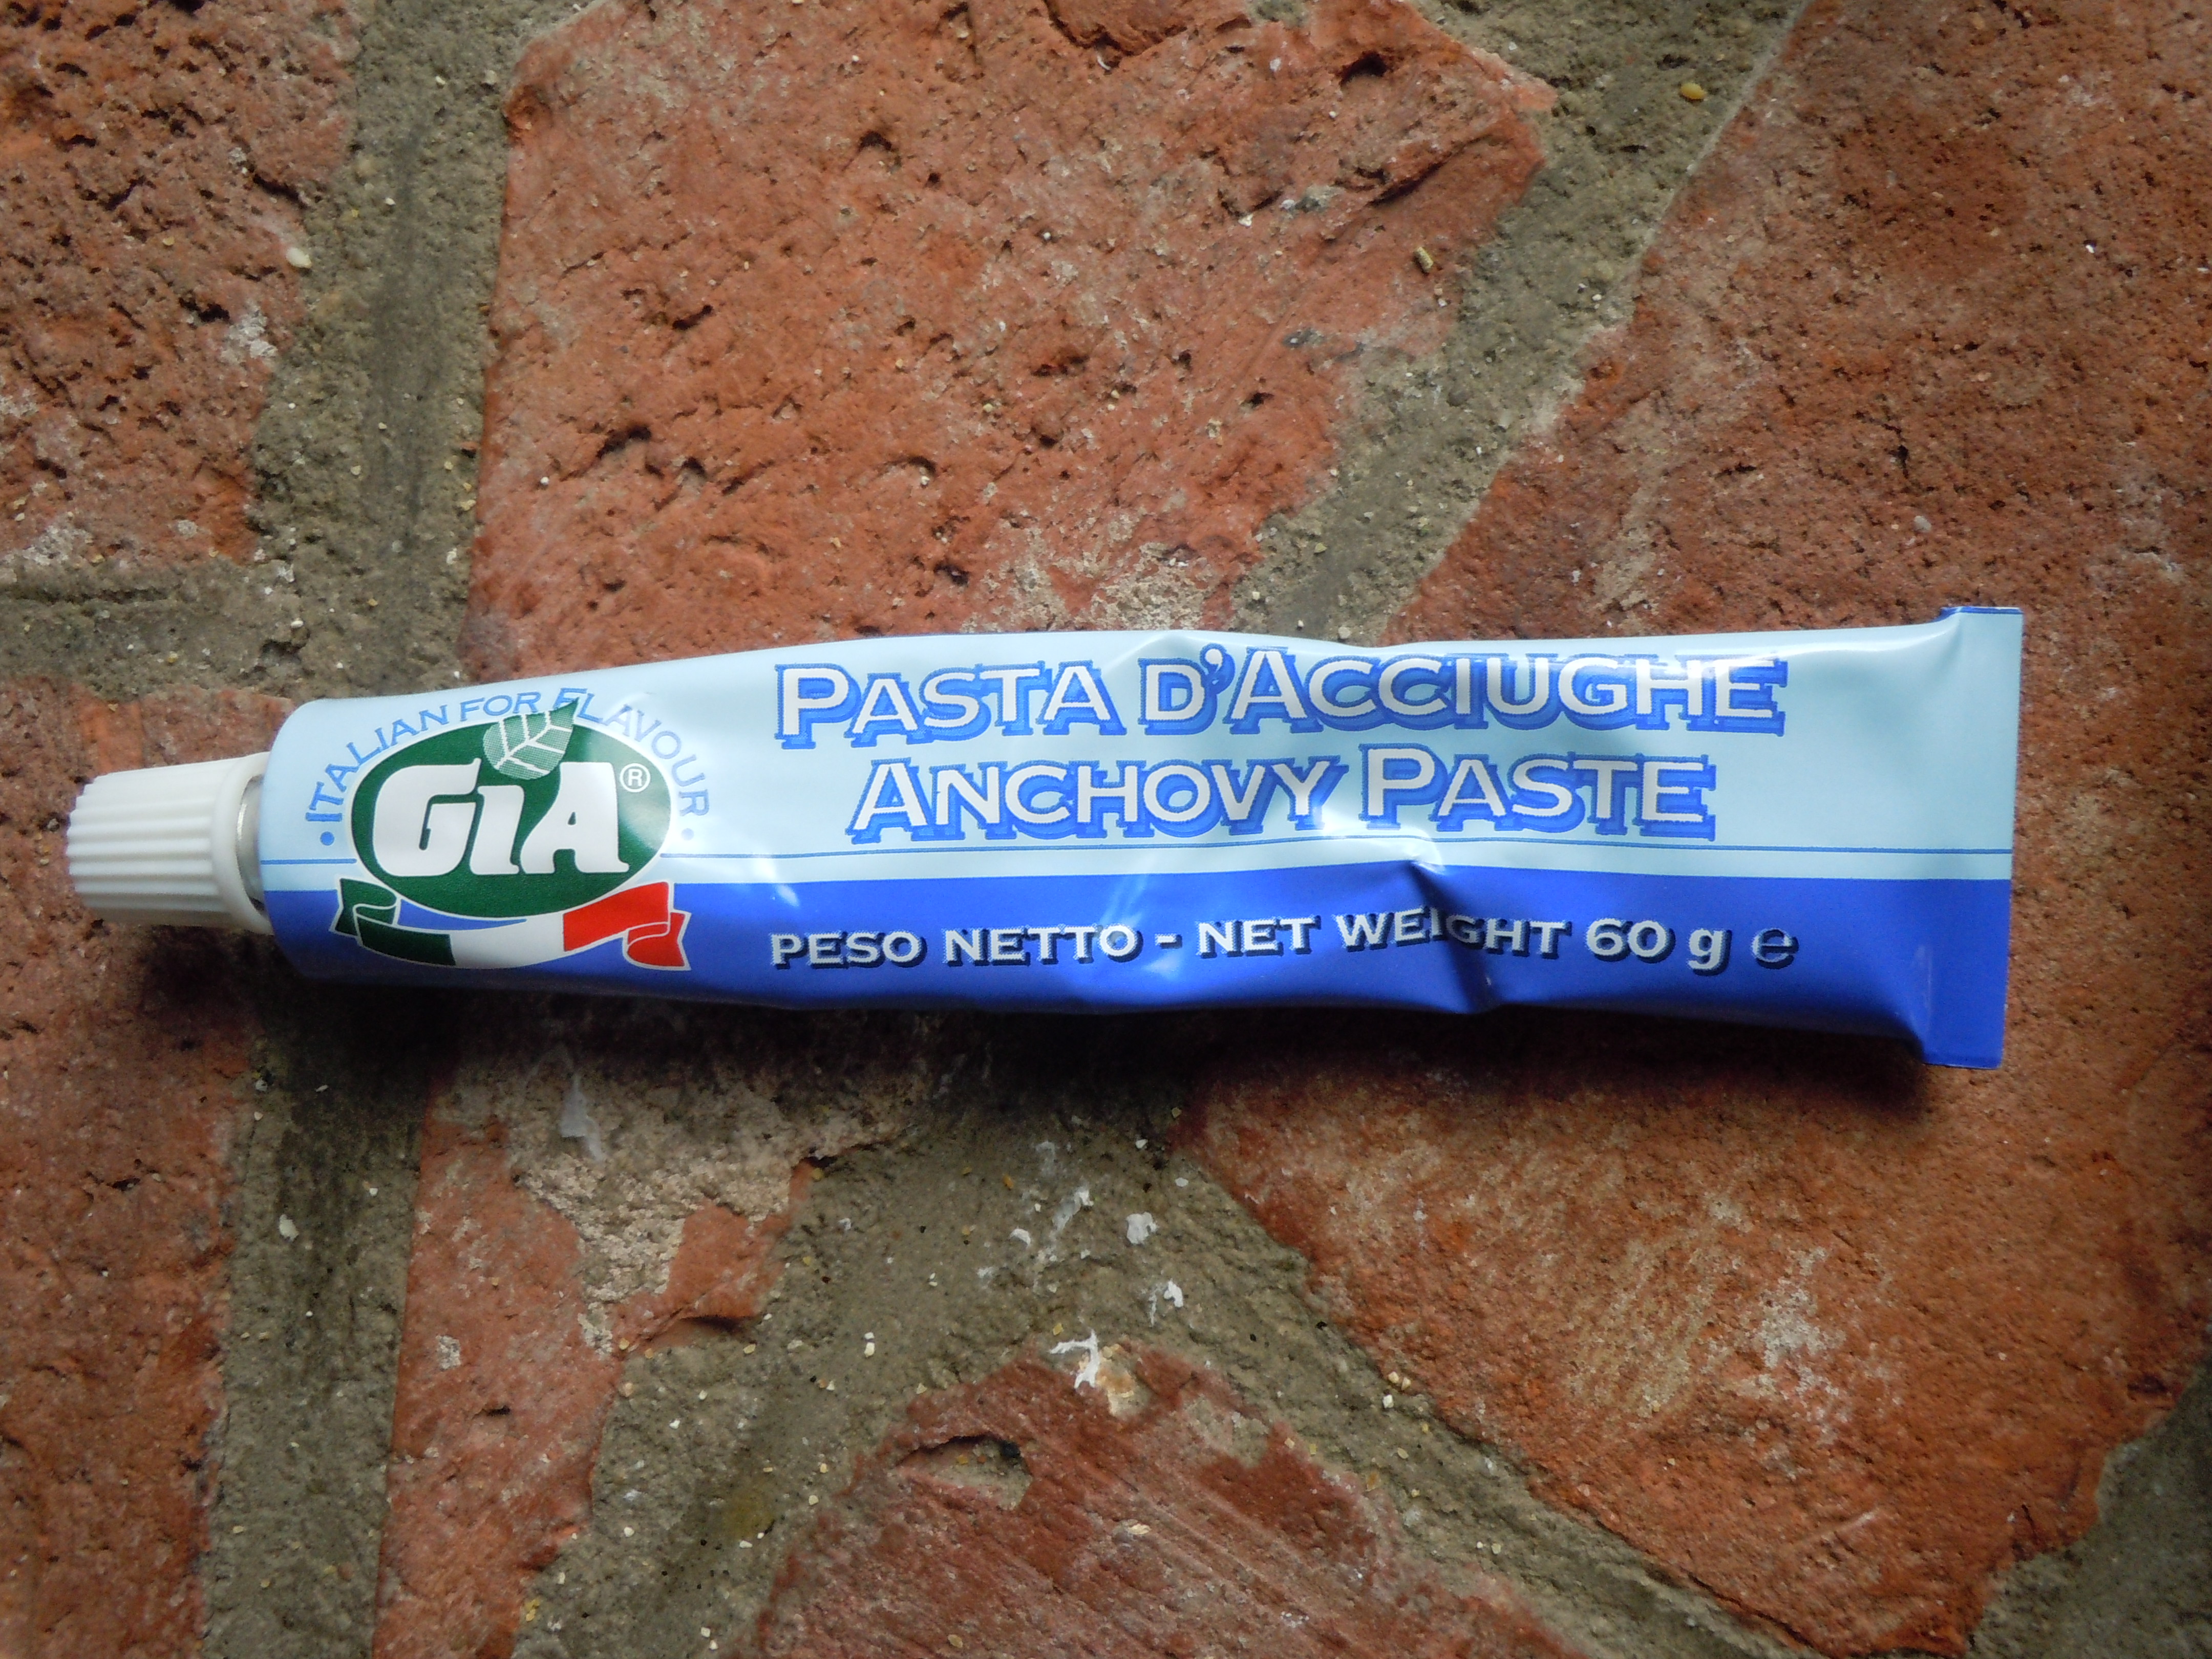
1 Tsp anchovie paste
3/4 tsp salt
1/4 tsp fine blk pepper
2 dashes of Worcestershire sauce
1 Tbsp fresh lemon juice
2 Tbsp rice wine vinegar “seasoned” (this comes original or seasoned …I prefer seasoned)
between 1/3 – 1/2 cup good olive oil
1/4-1/3 cup grated Reggiano Parmesan
2 good dashes of your favorite hot sauce (I use Siracha in this recipe)
DIRECTIONS for the CAESAR DRESSING:
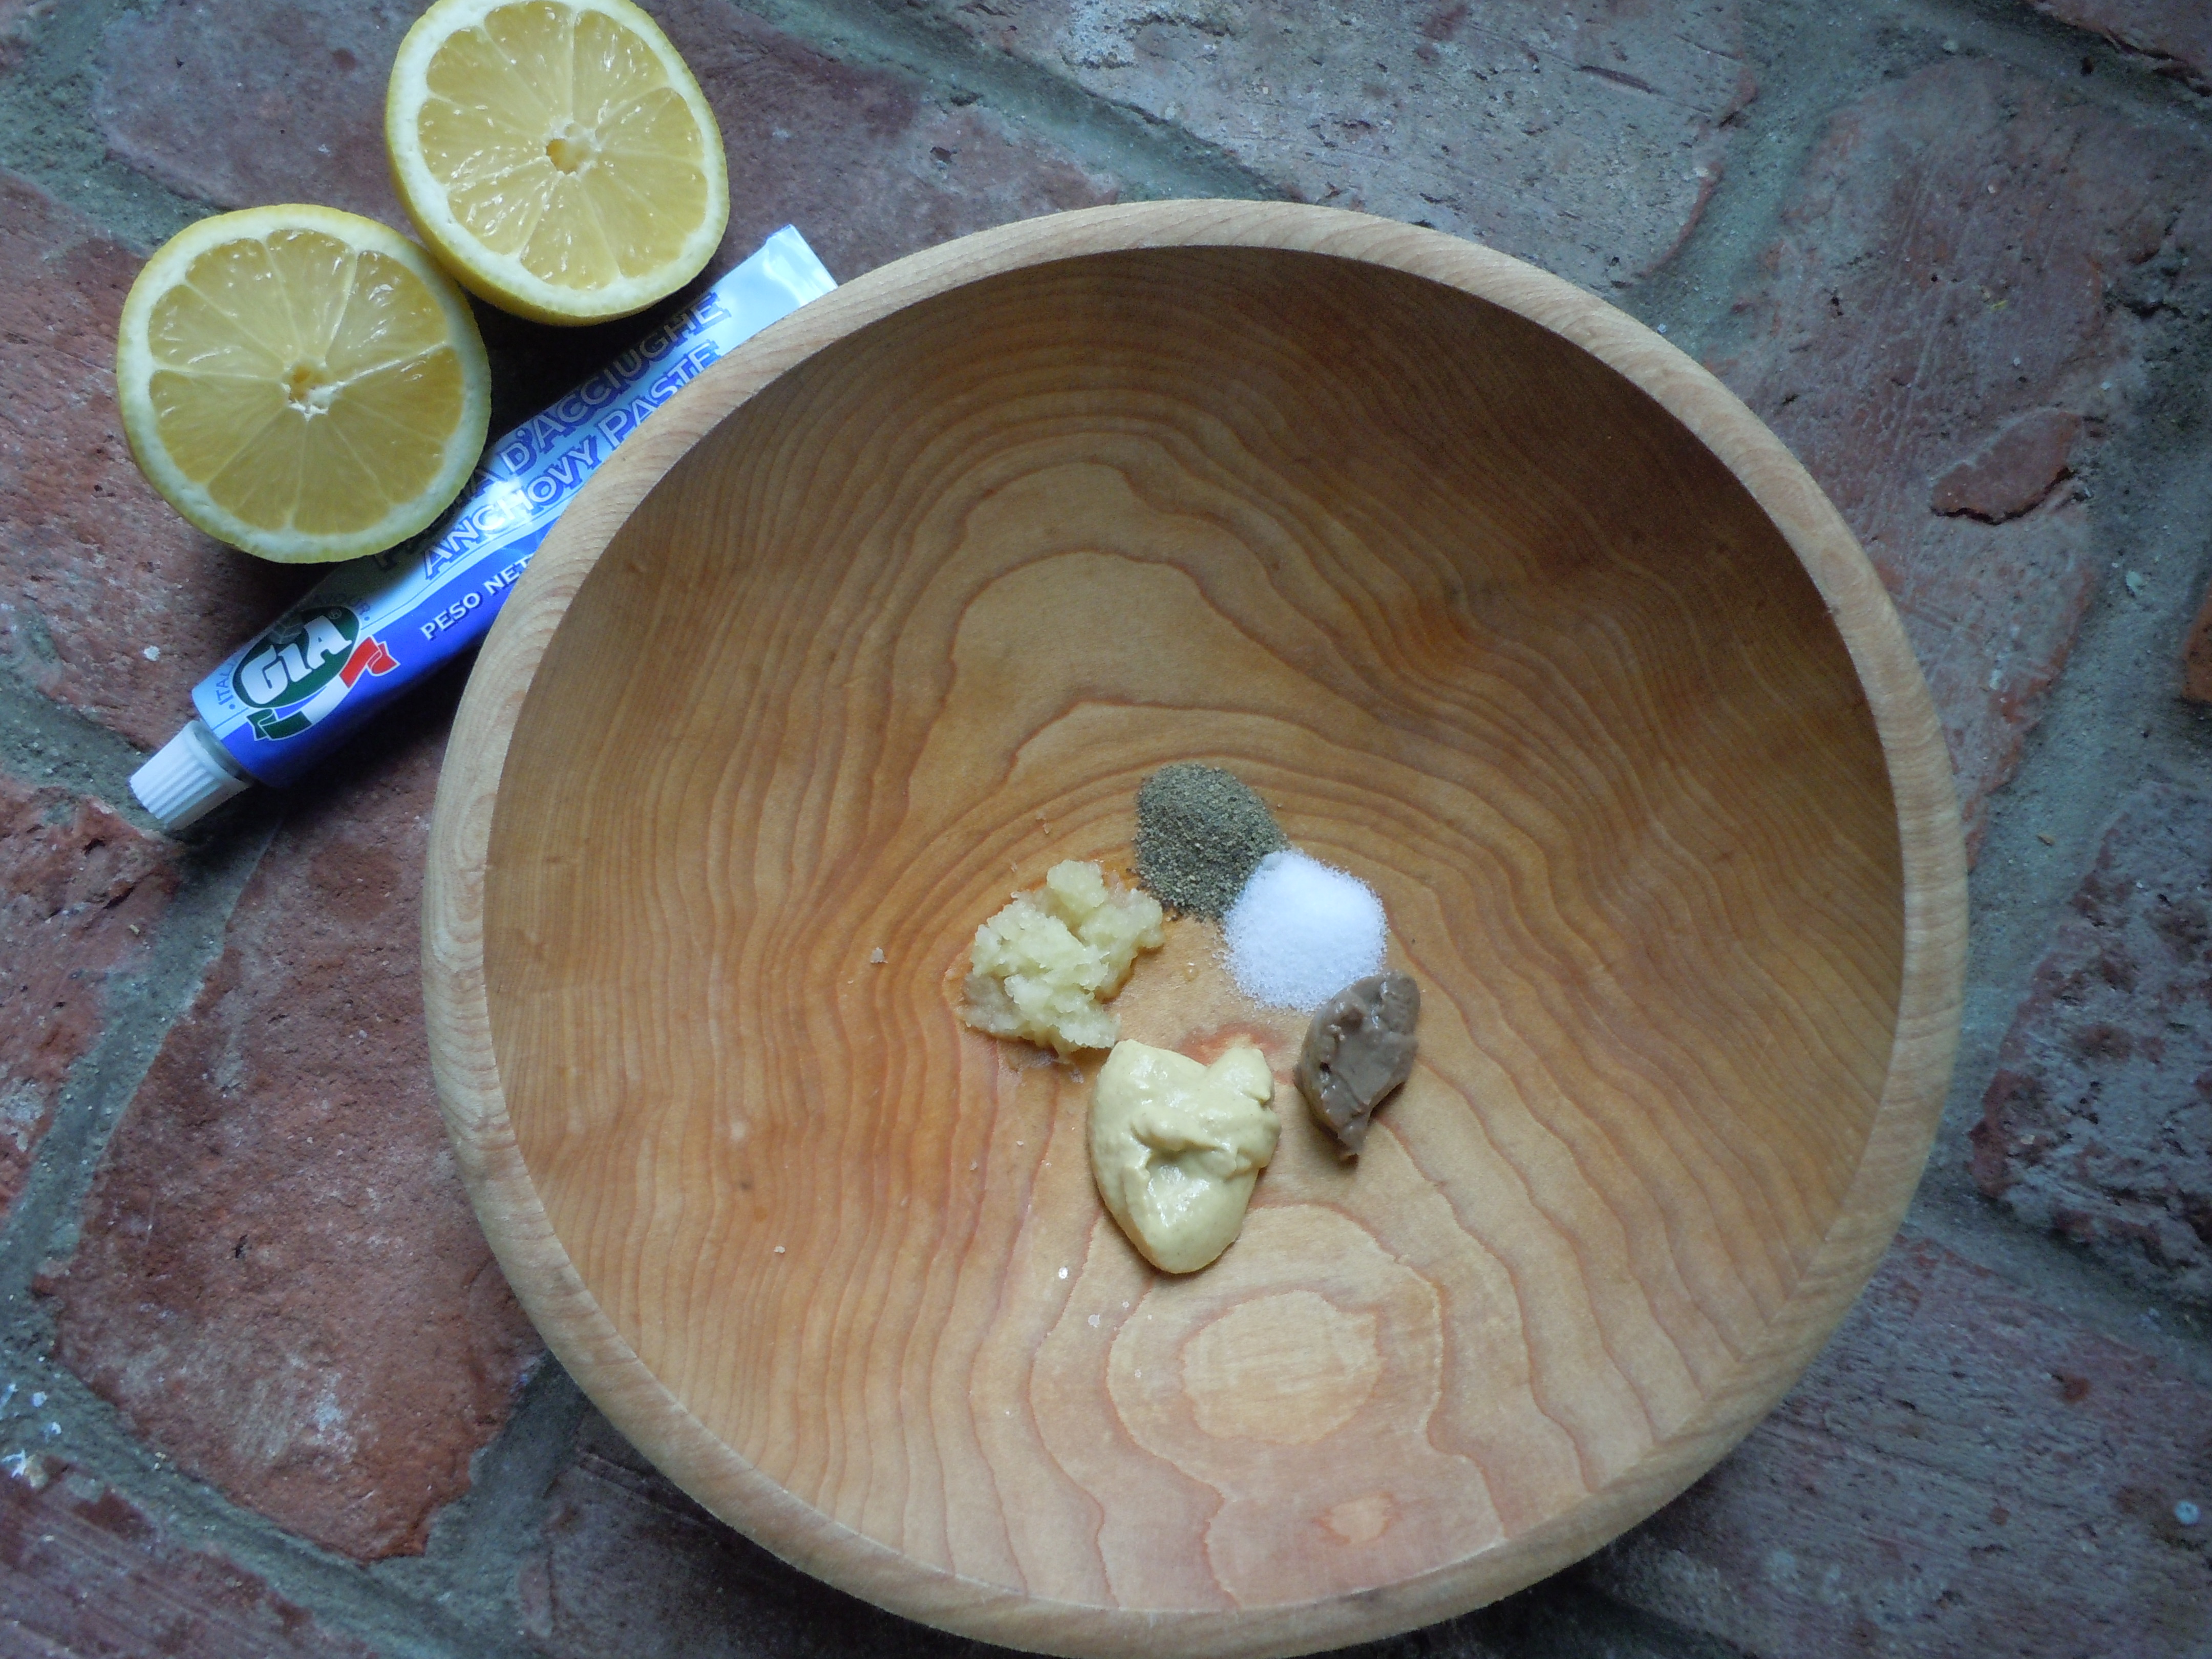
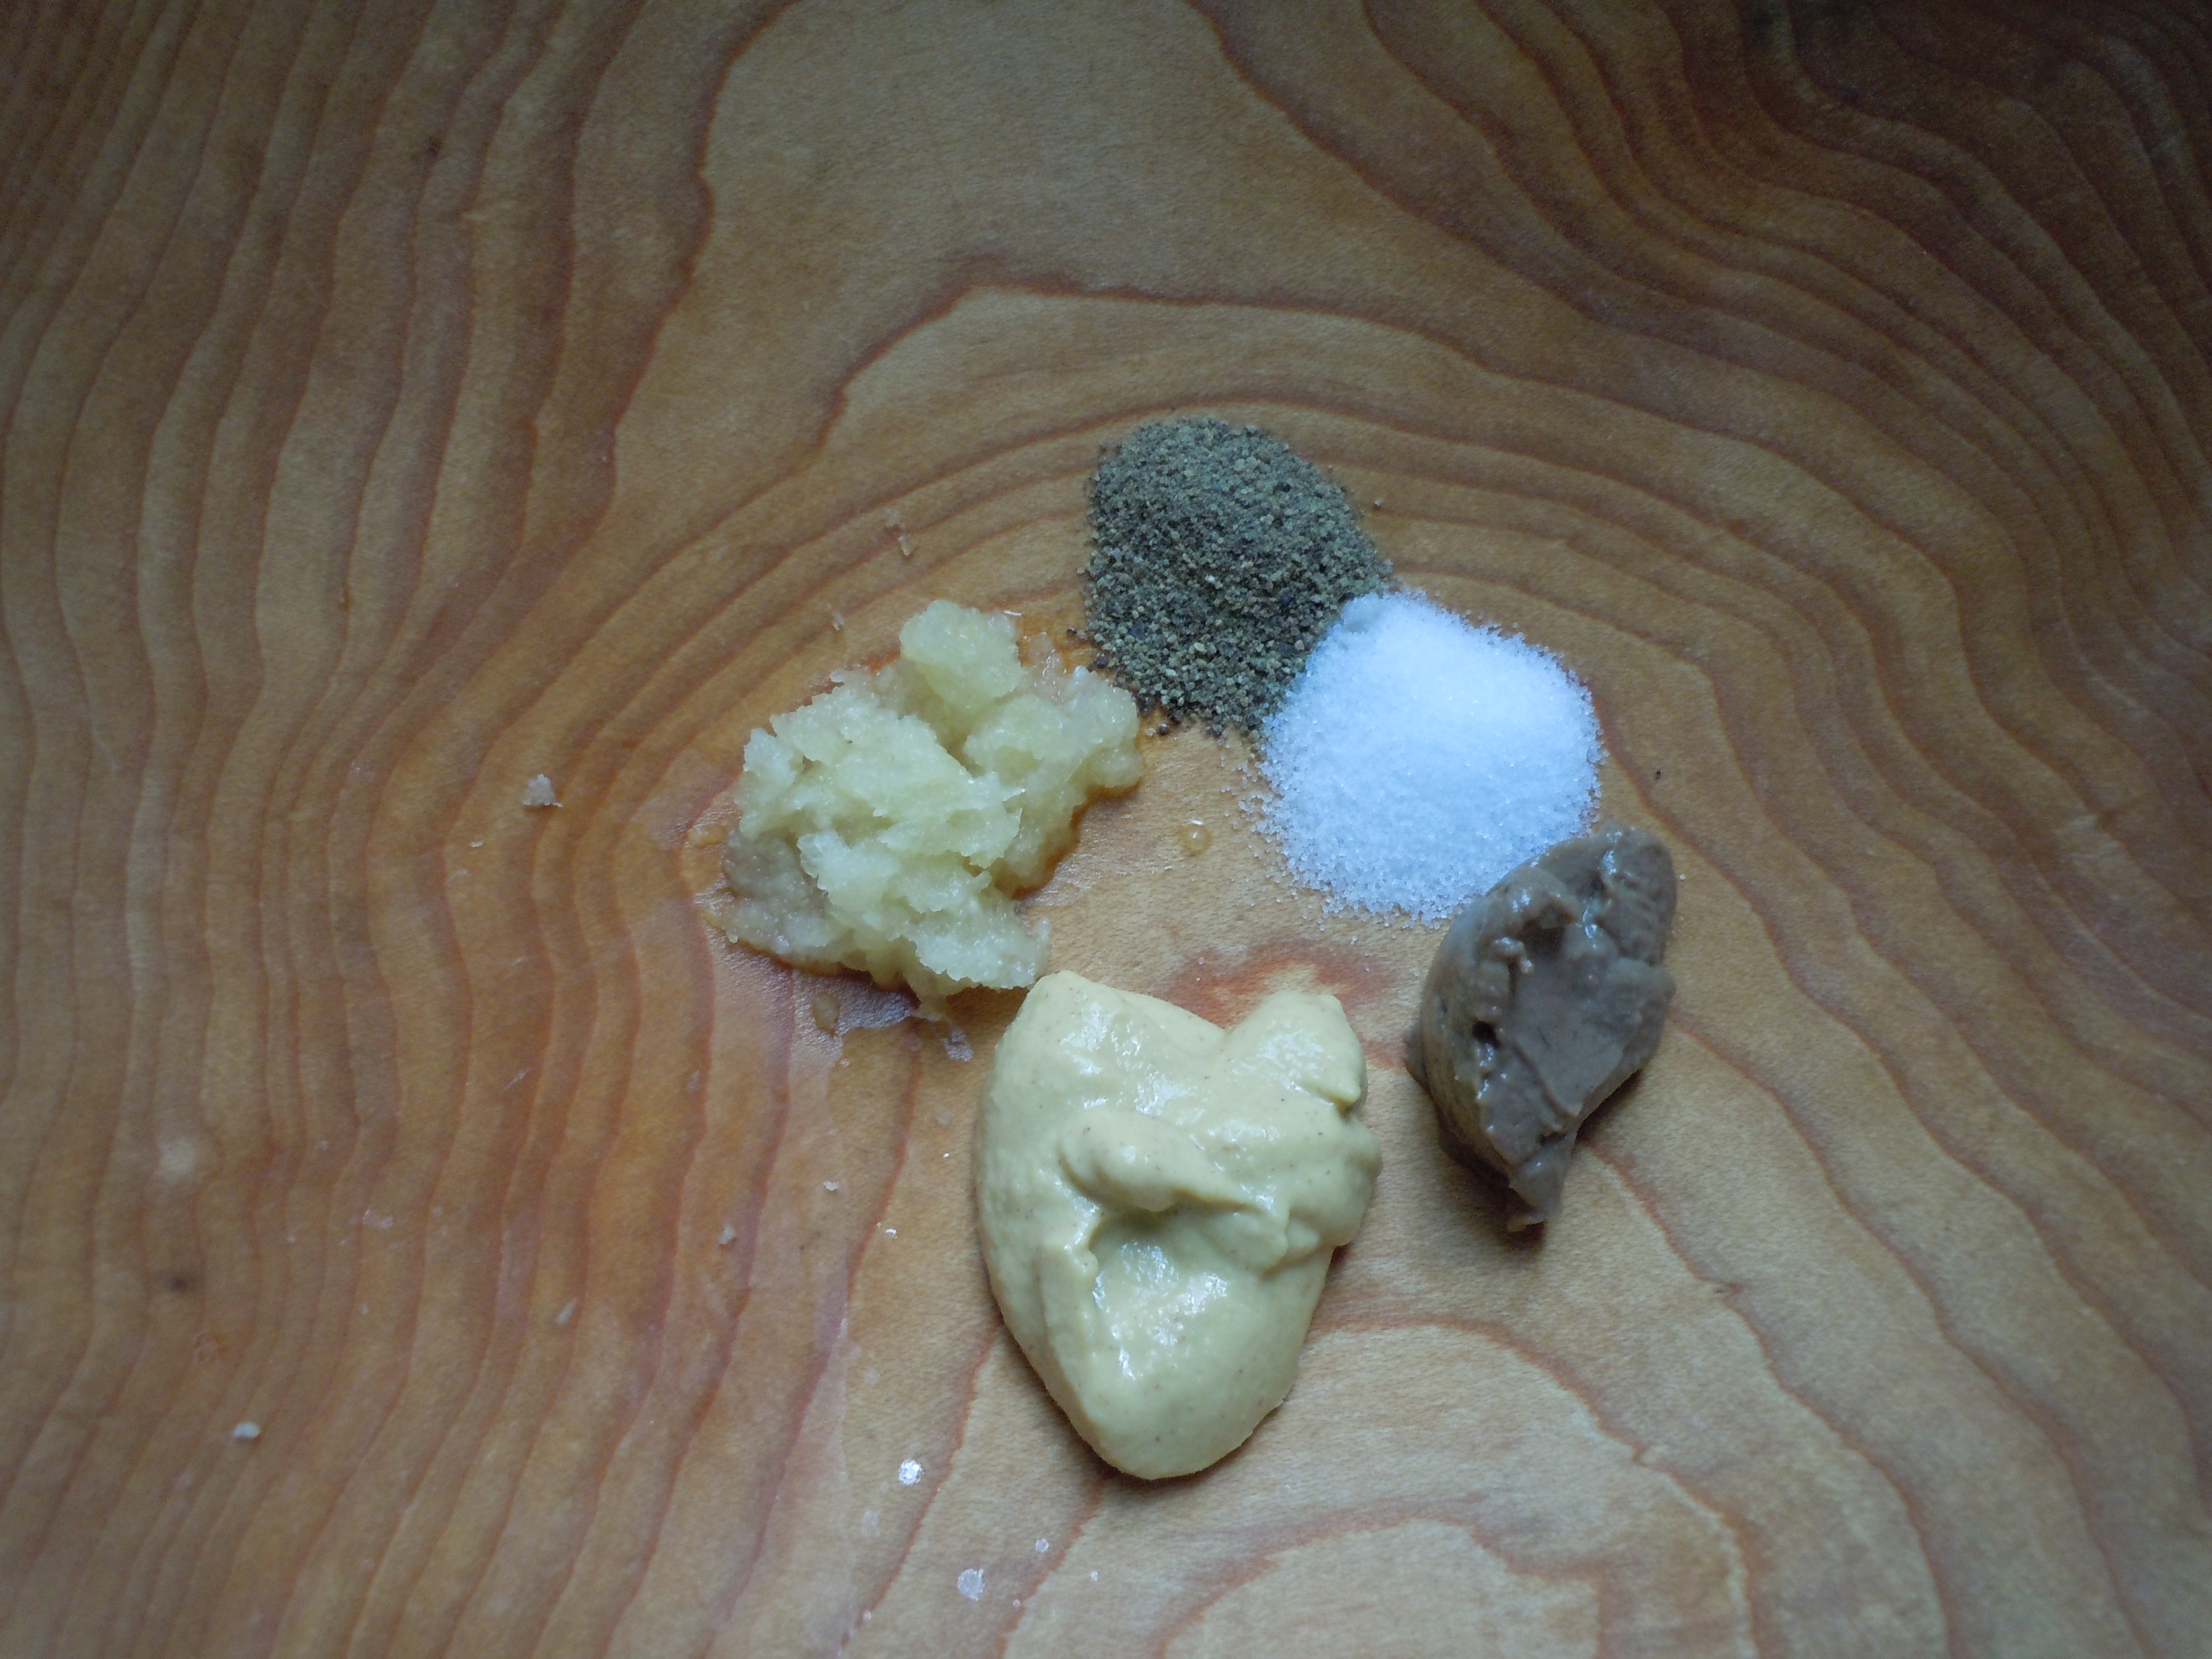
In a medium bowl add garlic thru press, anchovie paste, salt, pepper and Dijon
Mash these items together with the back of a spoon to combine and form a paste in a wooden bowl
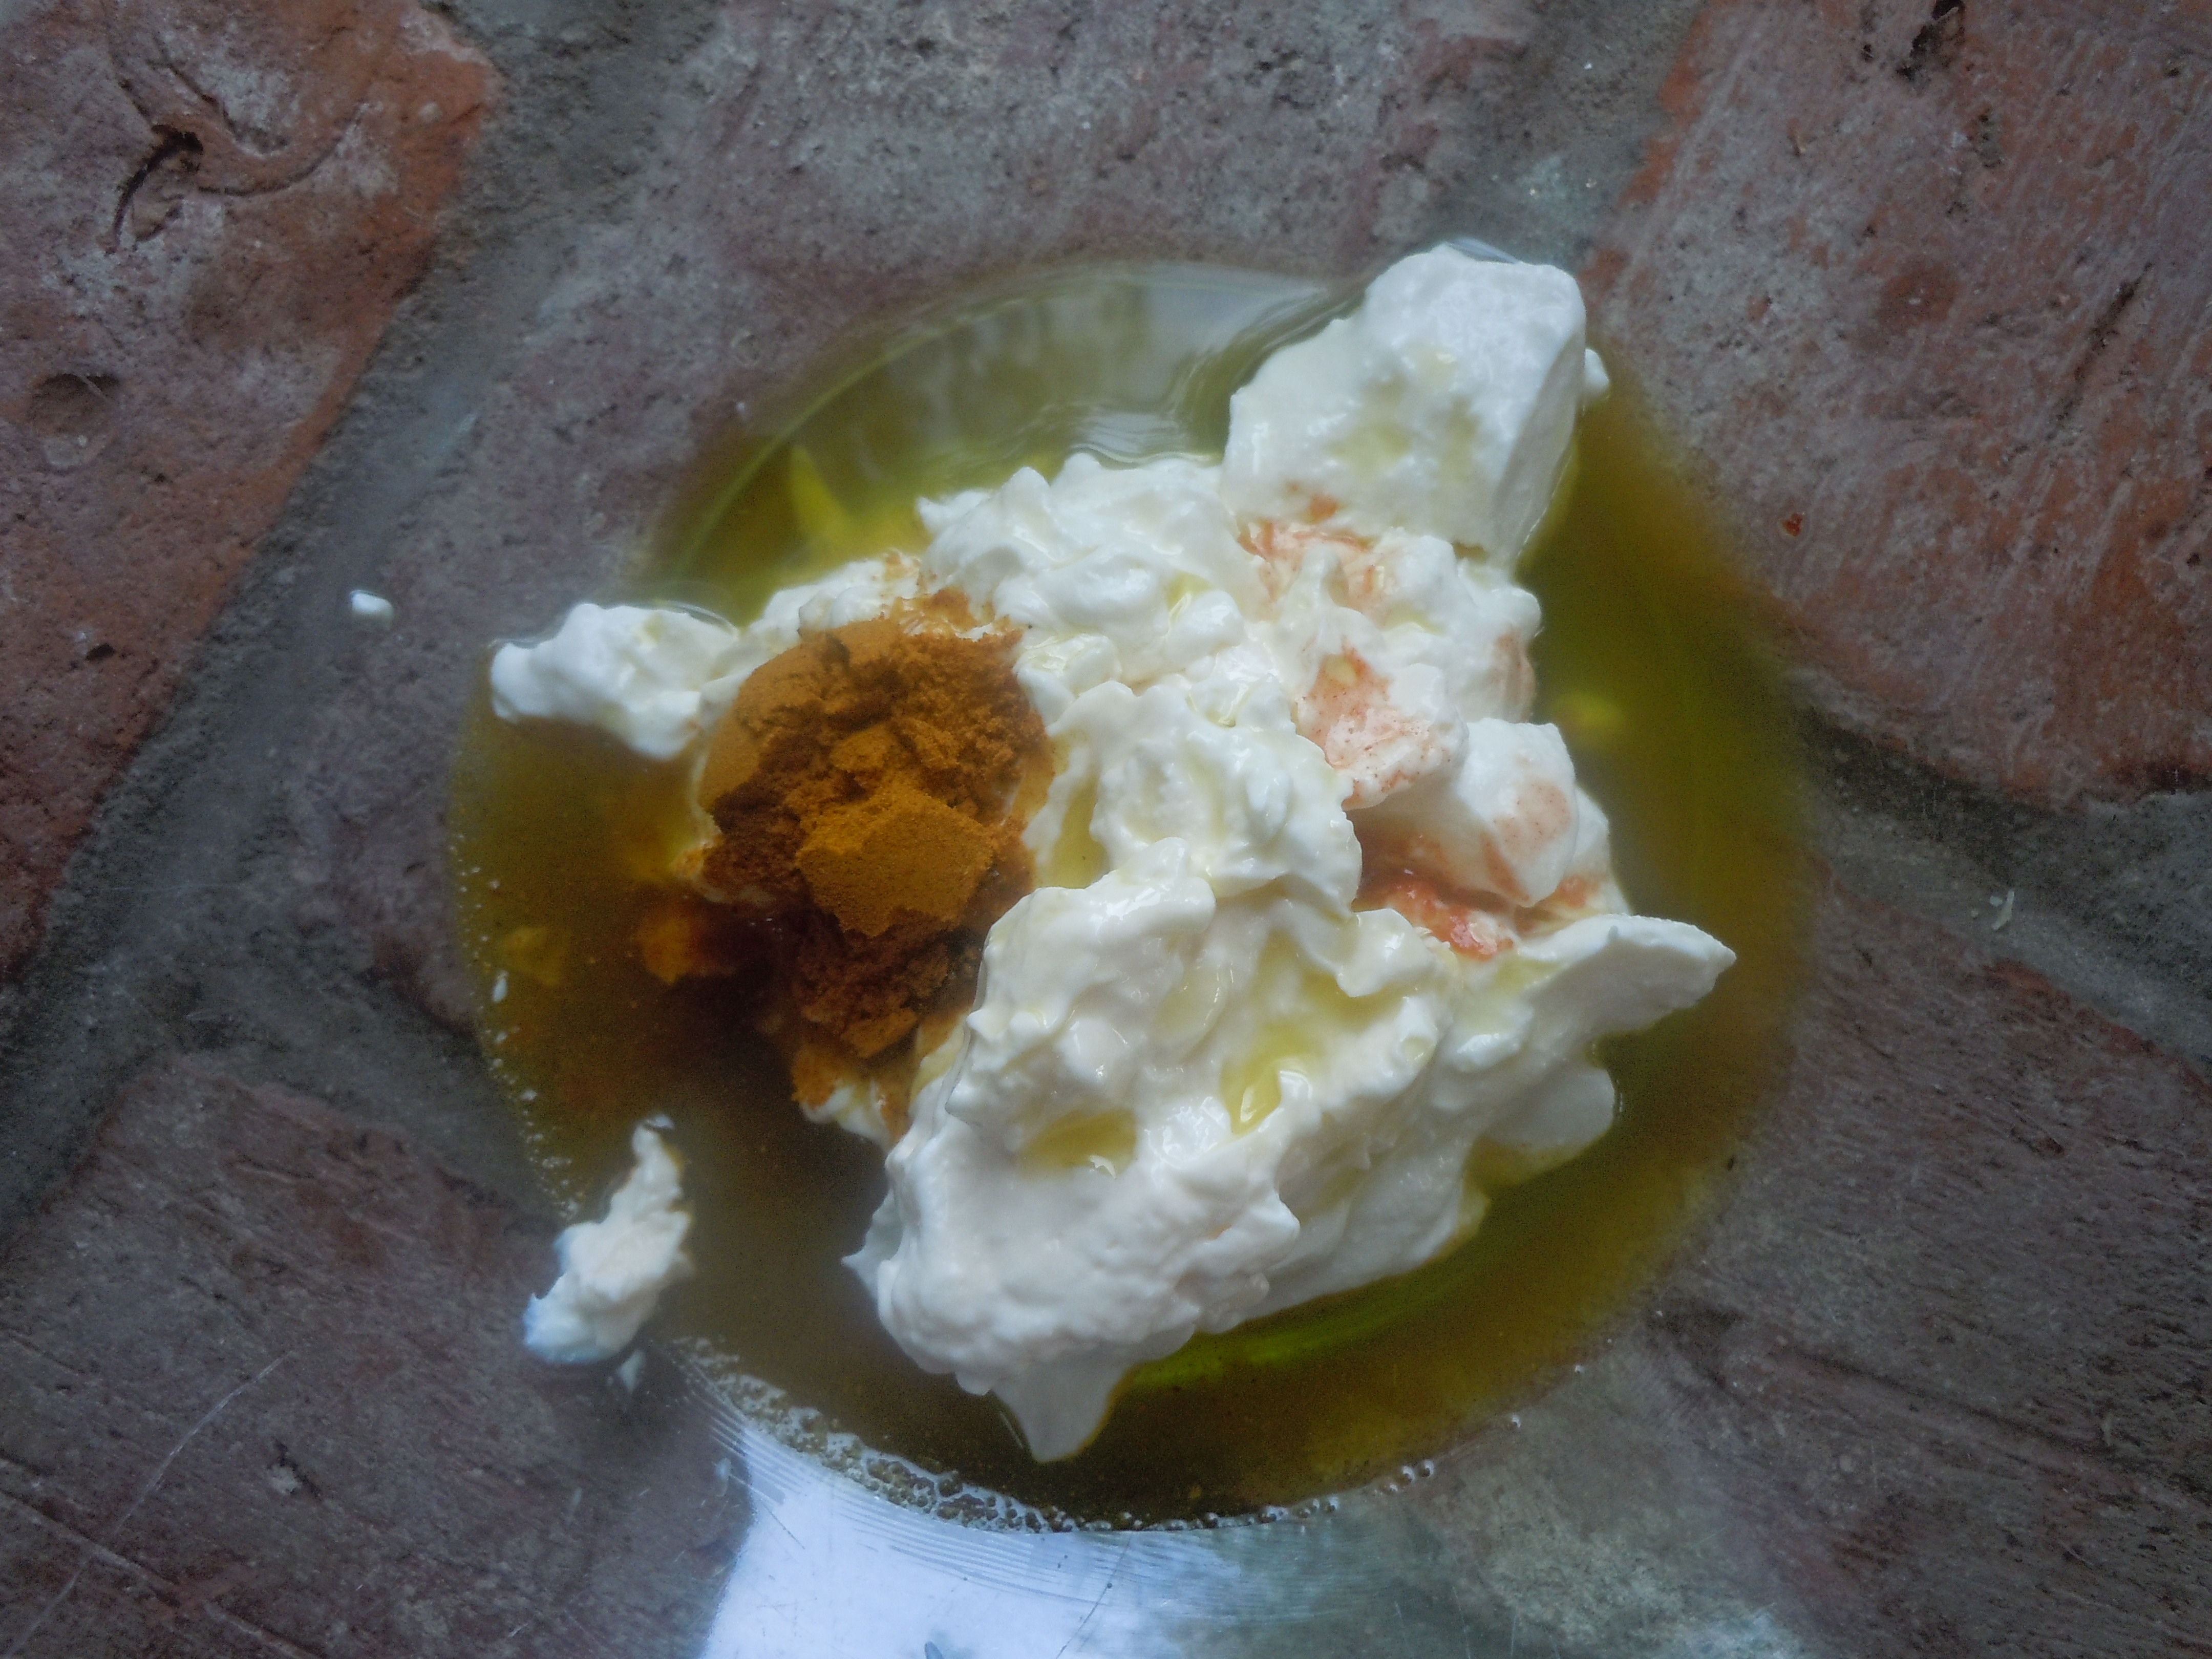
Transfer paste to a large glass bowl
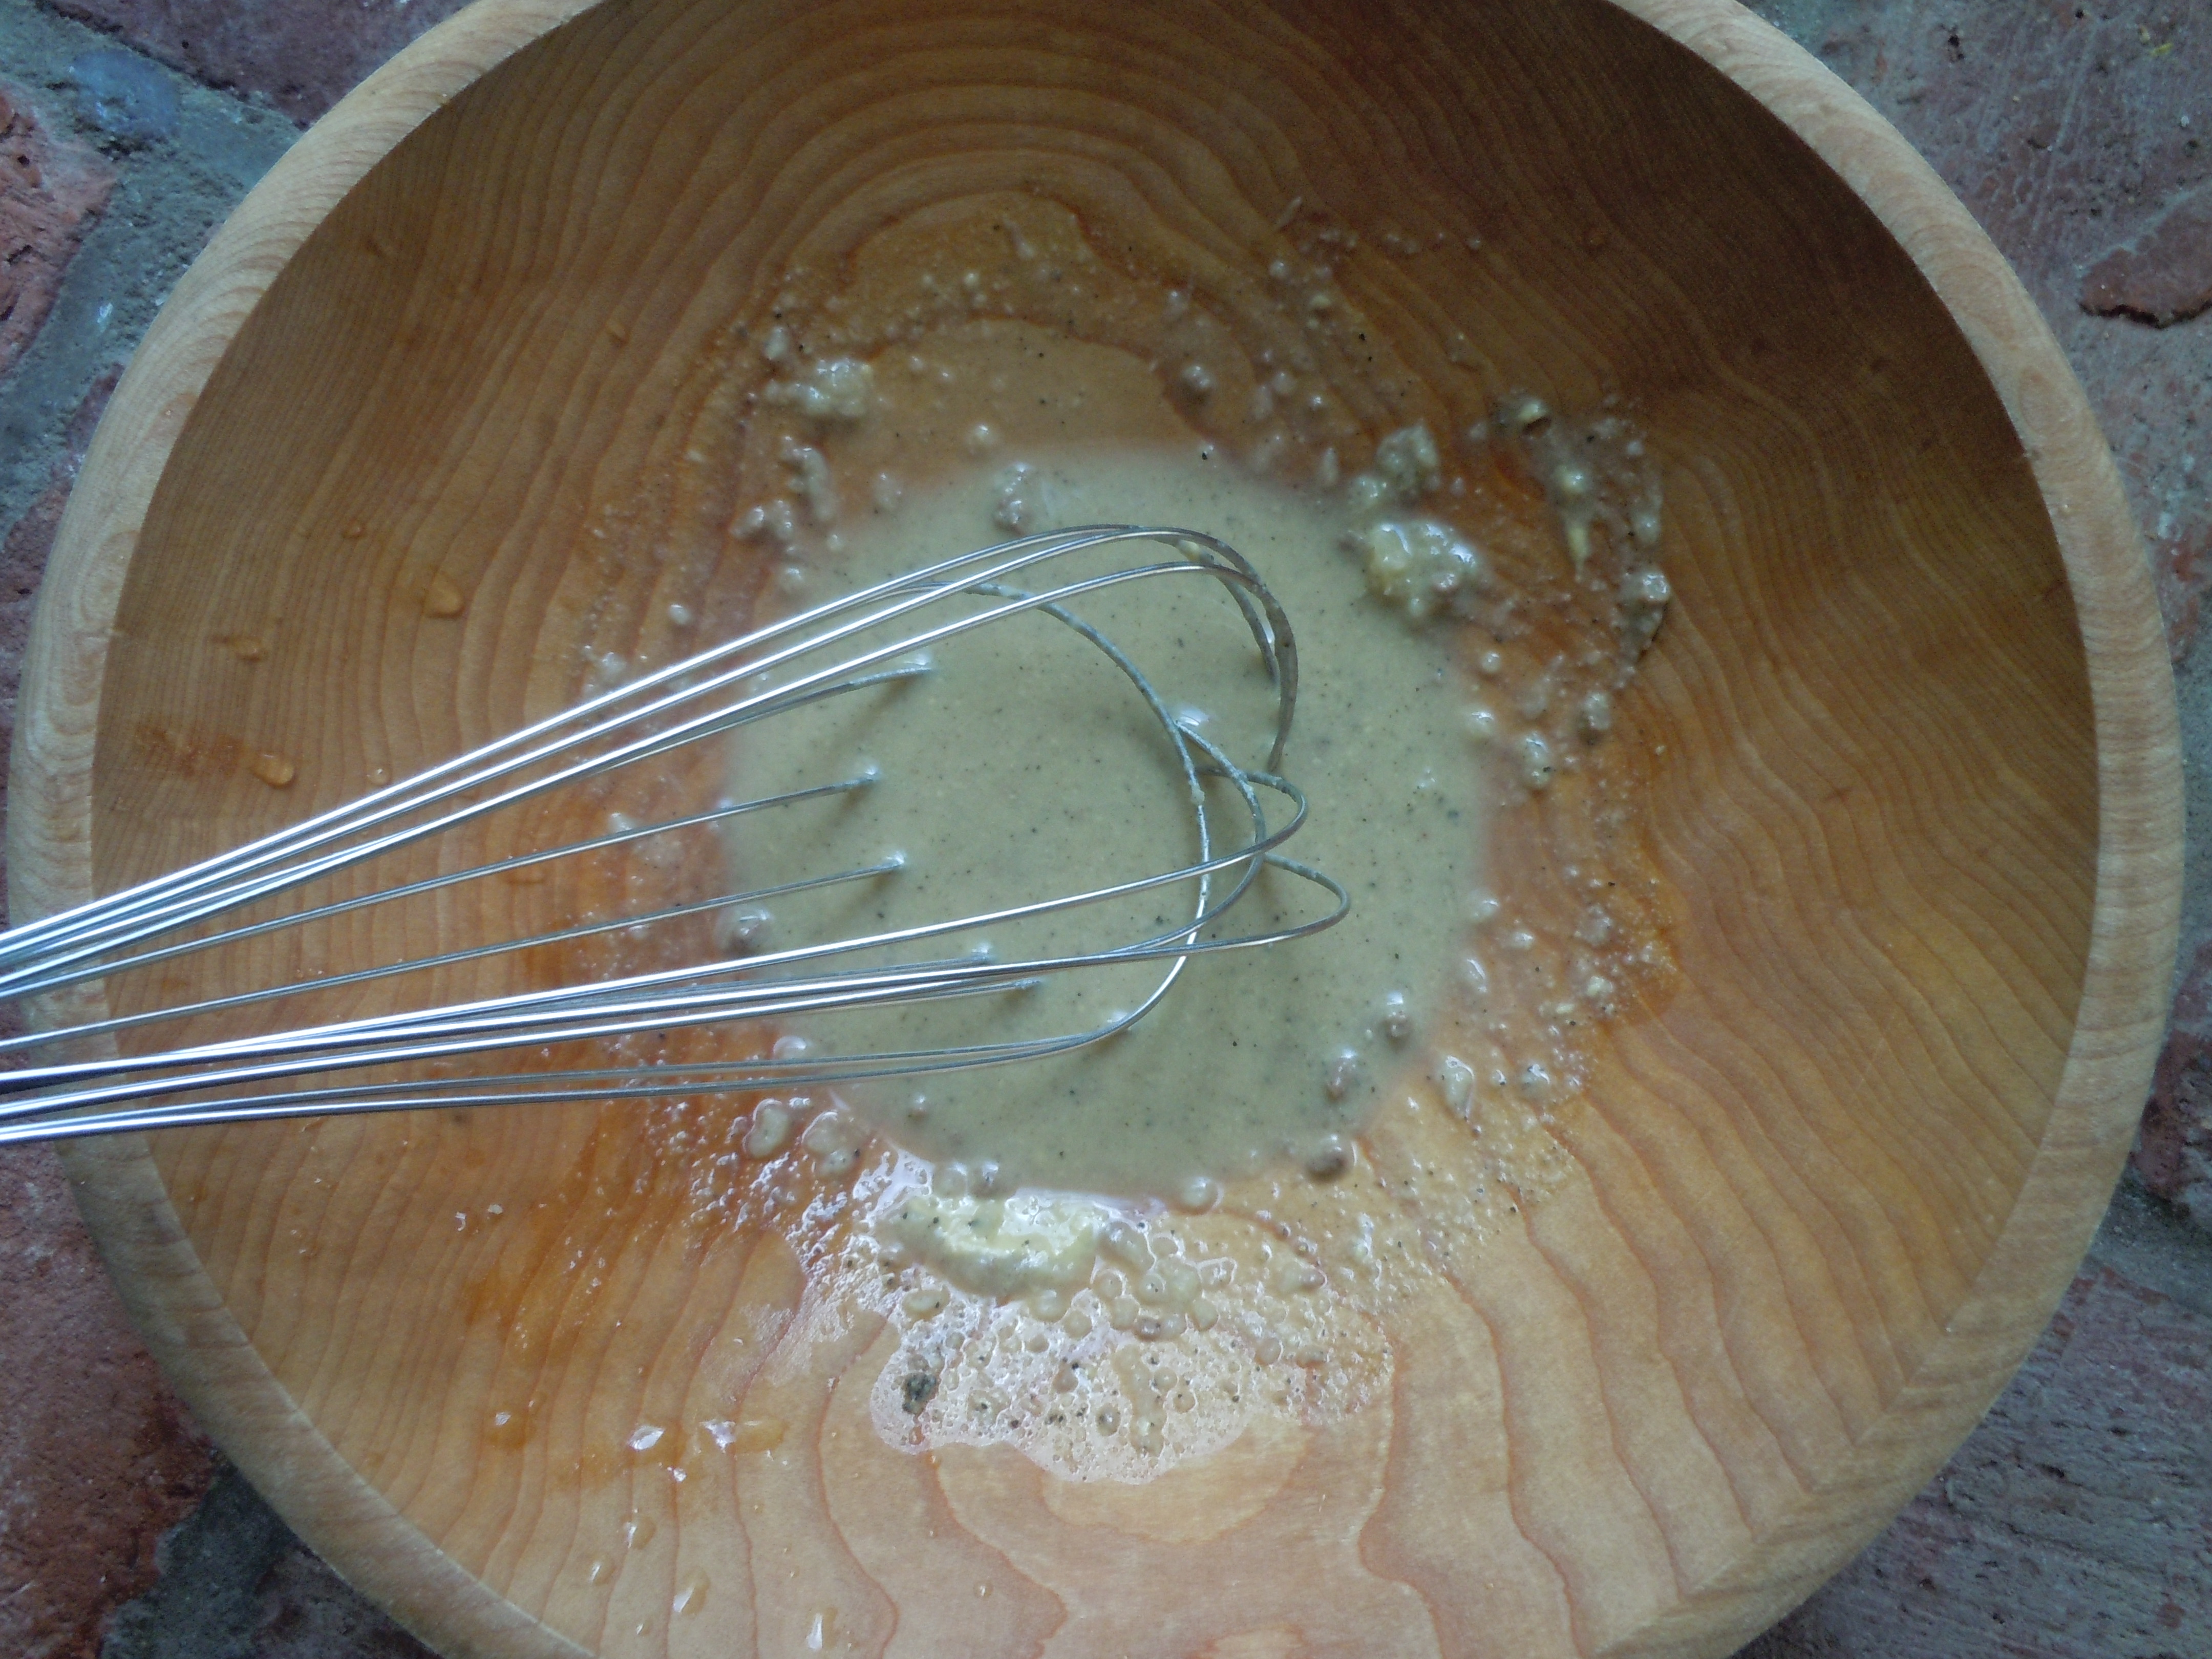
Add in 2 dashes of Worcestershire sauce, dash of Siracha and rice wine vinegar/ lemon juice mixture
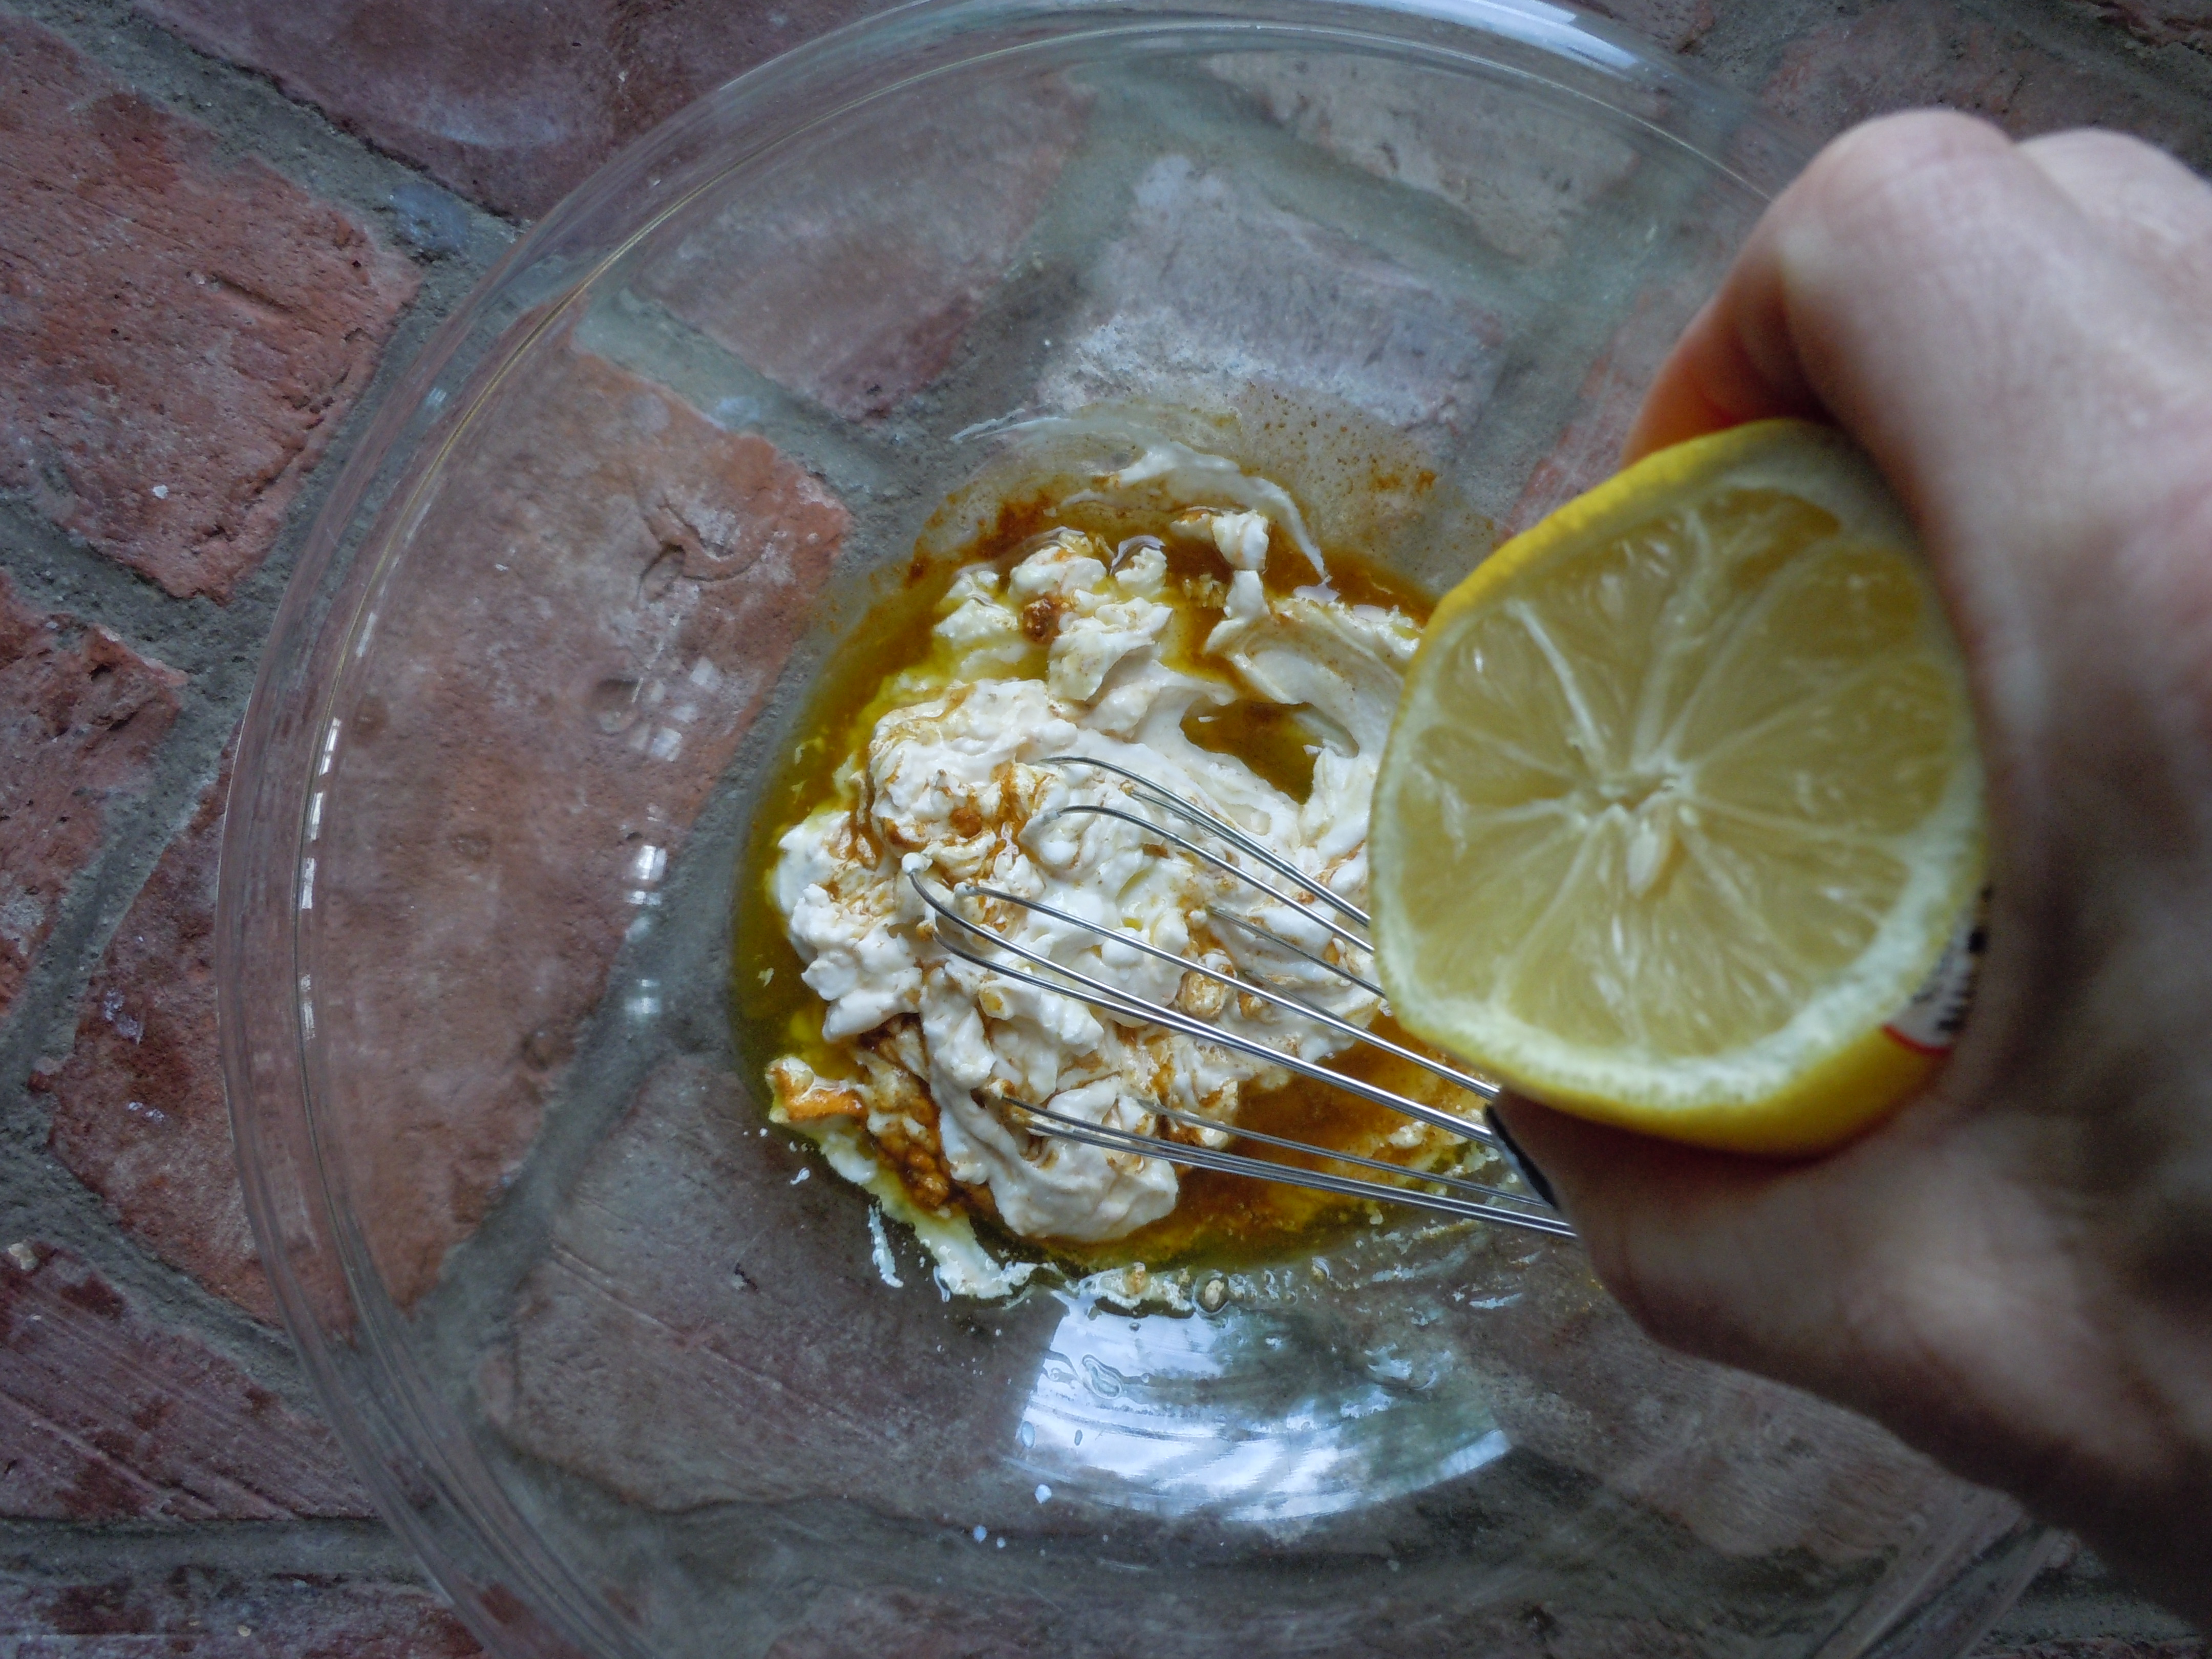
Separate egg yolk from white and add to glass bowl and whisk immediately
Then very slowly whisk in olive oil so it emulsifies JUST DRIZZLE IN DROPS AT A TIME or IT WILL NOT EMULSIFY and you will have to start over
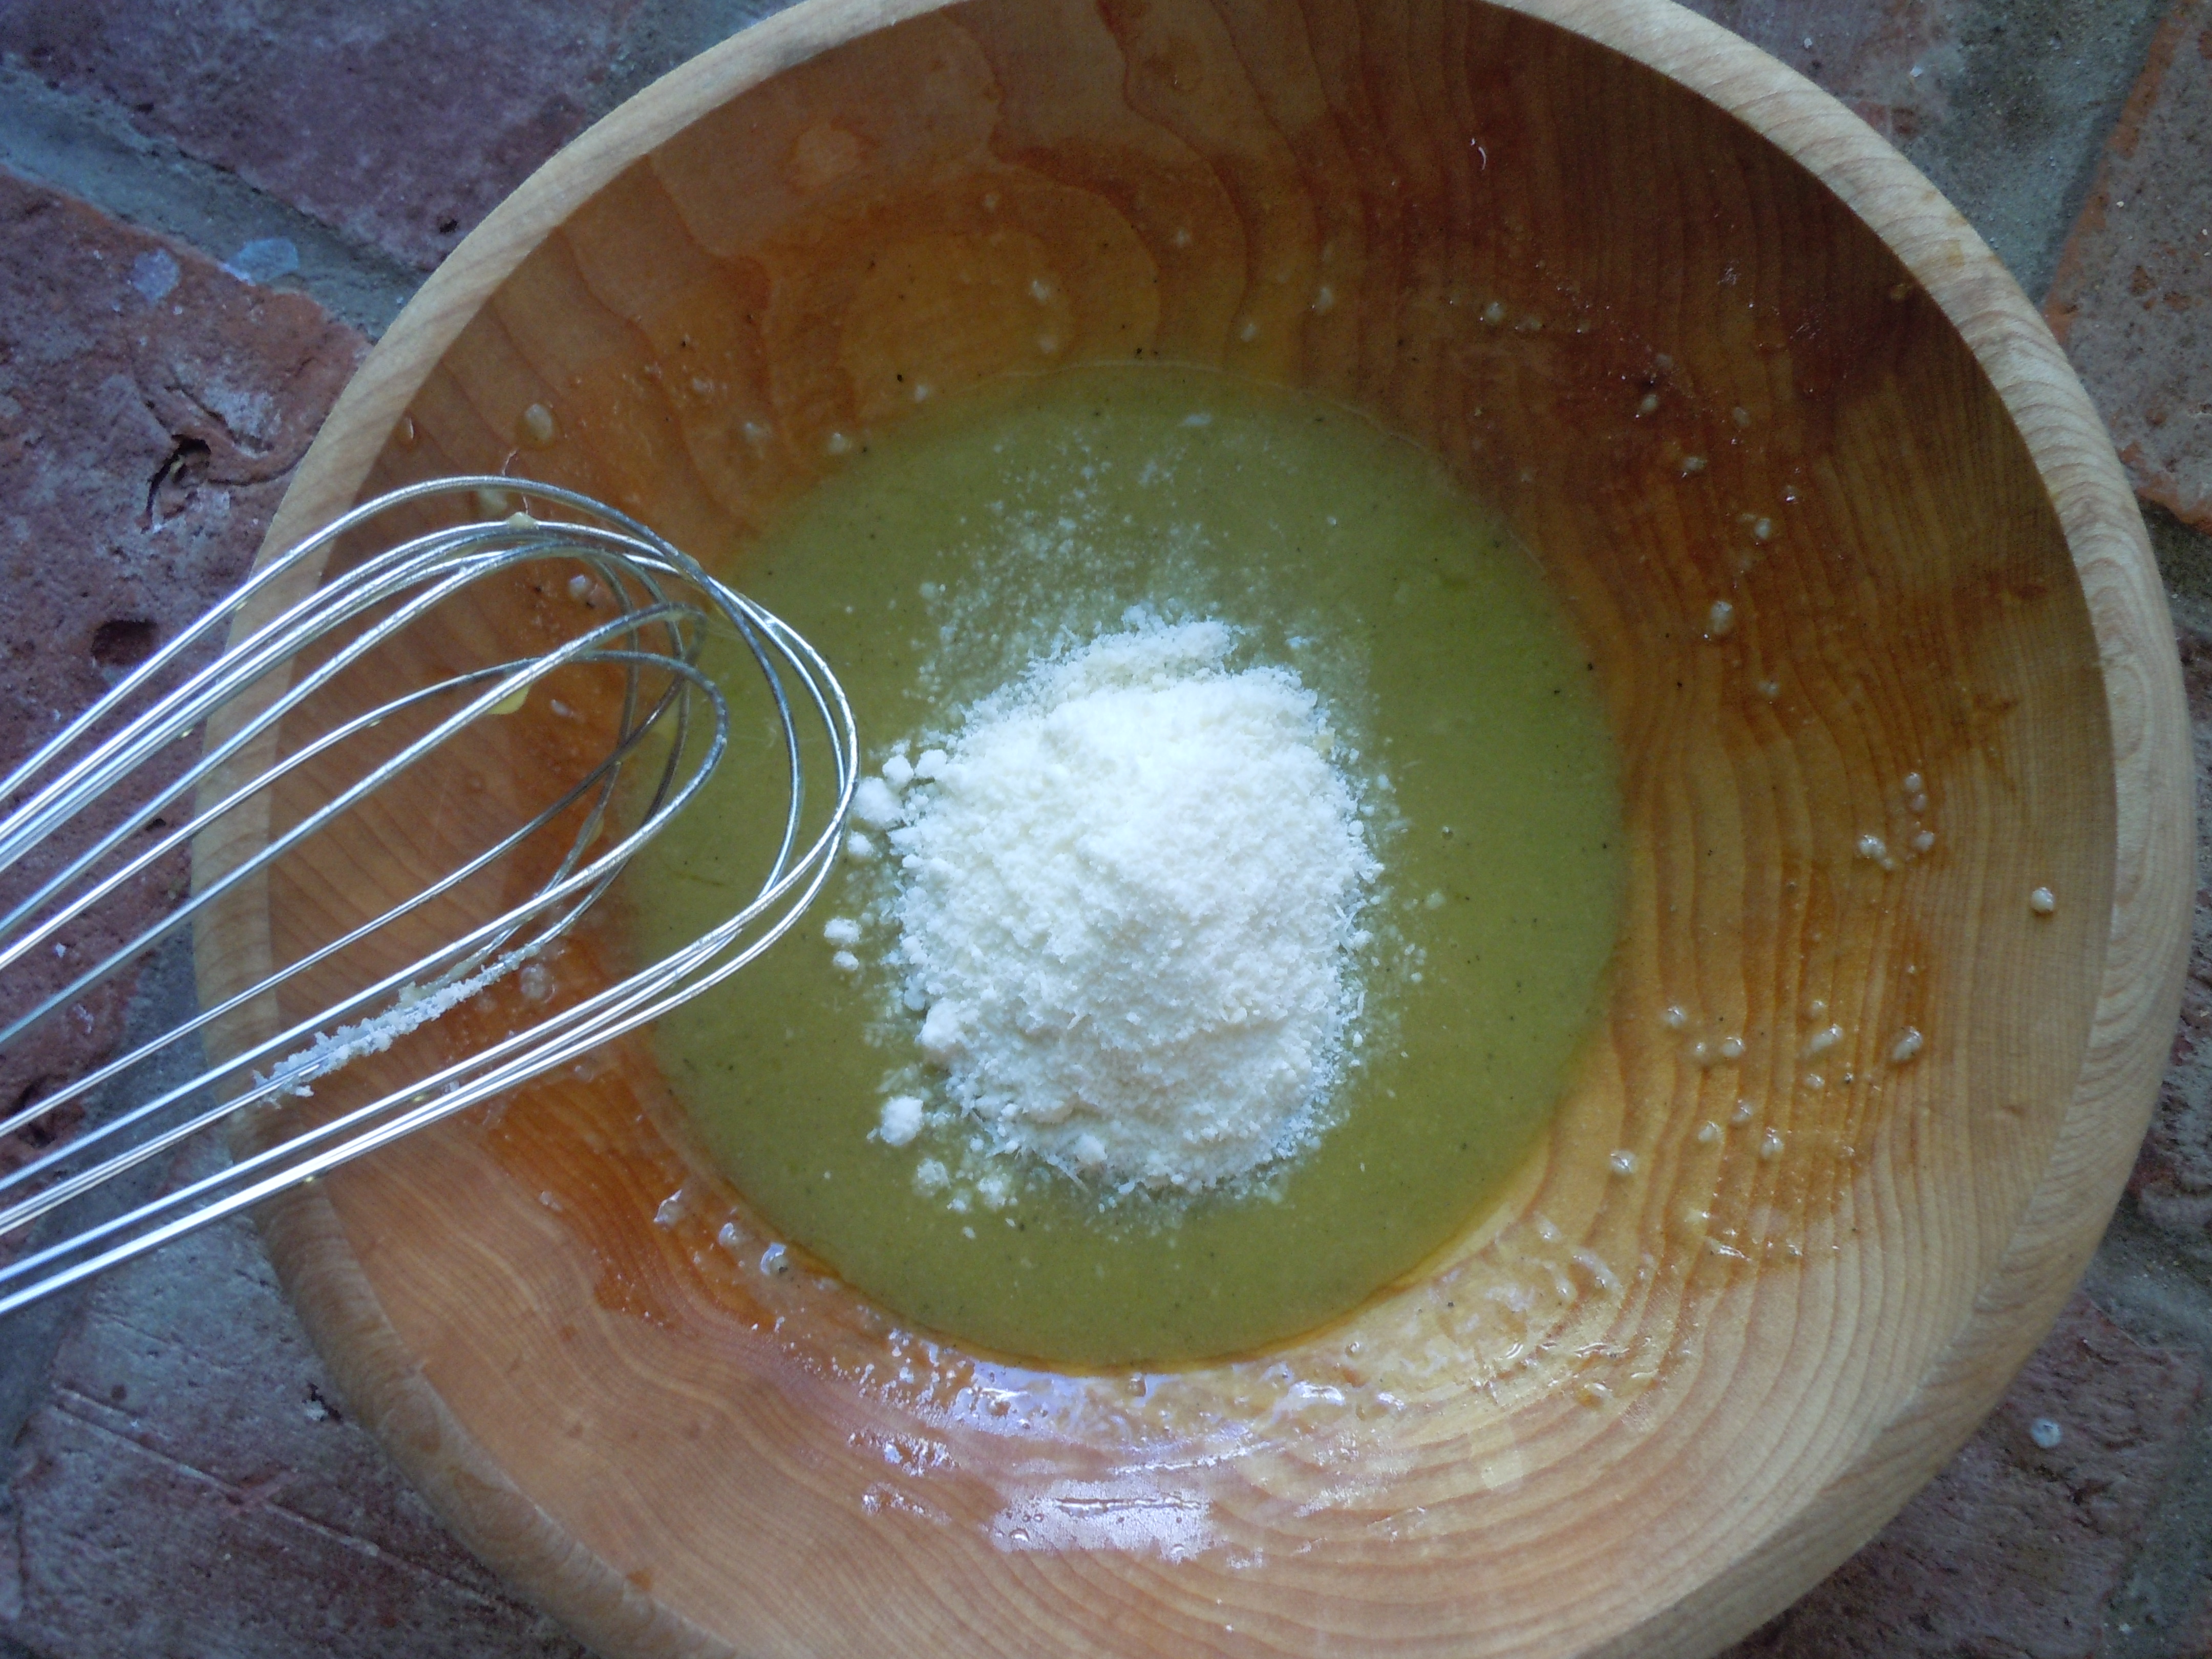
Lastly, whisk in 1/3 grated Reggiano Parmesan
Put the dressing into a canning jar for ease and pop it into the frig til you are ready to use
Be sure to take out 30 minutes before you use the dressing so it can come to room temperature
Will be good for a few days in the frig
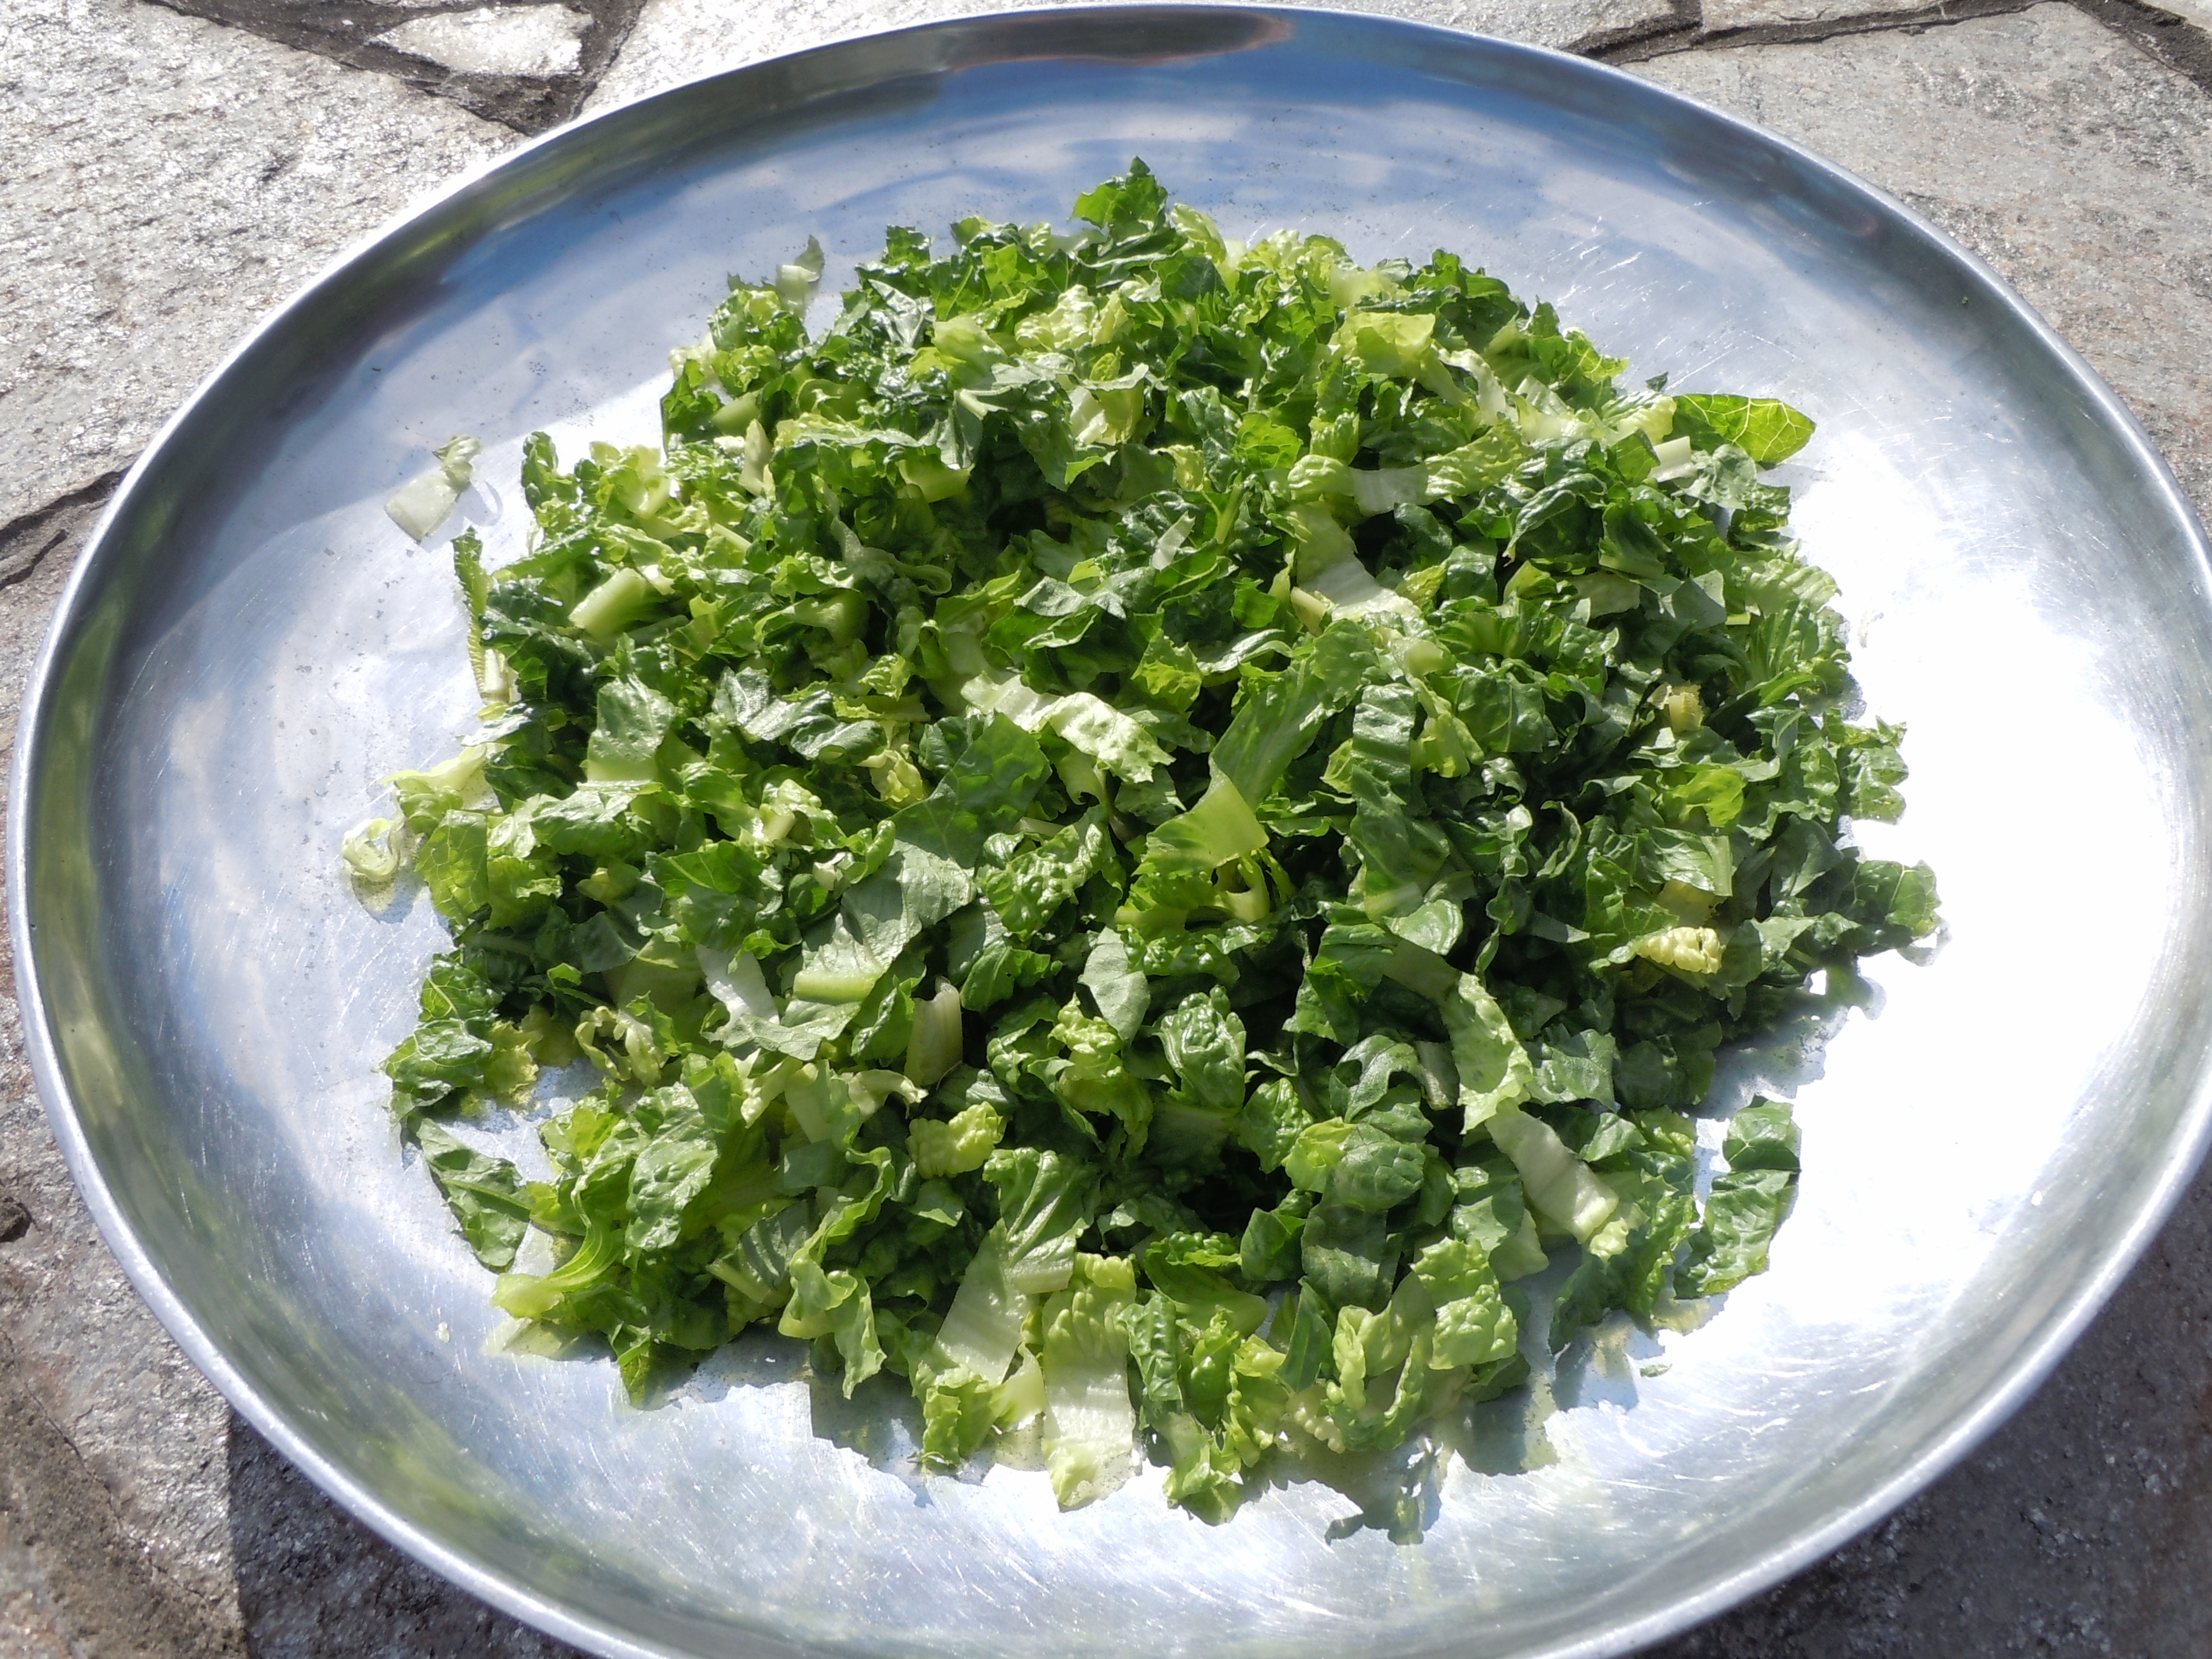
Directions for Caesar Salad:
Cut ends off of romaine hearts then cut them in half length wise
Wash and spin leaves
Lay the leaves down on paper towels to catch any additional moisture
Put 3 or 4 pieces at a time layered on top of one another and slice into 1/2″ strips
Here you can put the cut romaine pieces into large freezer Ziploc baggies and into the frig til you are ready to assemble the Caesar salad OR
Put into a large shallow bowl, add dressing, and toss


 Making shrimp & scallop ceviche really can’t get an easier then this! Ceviche is a South American dish that’s usually served as an appetizer. The fish cures/cooks in citrus juice for an hour or two while you get all your salsa ingredients in order. The citrus curing juices are drained from the fish, leaving a tender shrimp & scallops to be tossed with salsa and voilà. The base of the shrimp and scallop ceviche here is my


 The first holiday appetizer I have for you is my baked asparagus wrapped in Prosciutto that has a smear of a cream cheese, sweet onion and Parmesan spread on the Prosciutto. These Proscuitto wrapped Asparagus are one of my favorite appetizers and can be a topping to a salad or a pretty side vegetable to lunch or dinner. I first had these delicious little bundles at my sister-in-law’s, Anita’s house, twenty years ago. She is an amazing chef who’s always cooking up a storm. They can totally be made a day ahead, placed on a cookie tray and stored in the frig until you need them. The asparagus is blanched and shocked in an ice bath to stop the cooking and to keep that vibrant green color before they are wrapped with Proscuitto. You want to make sure you buy “Proscuitto di Parma” for this holiday appetizer because it’s the best and most delicate in flavor. There are other tasty Prosciutto’s out there but they won’t be as tender as the Parma and may get too salty or waxy after baking.