
Homemade Pavlova at Jacqui’s
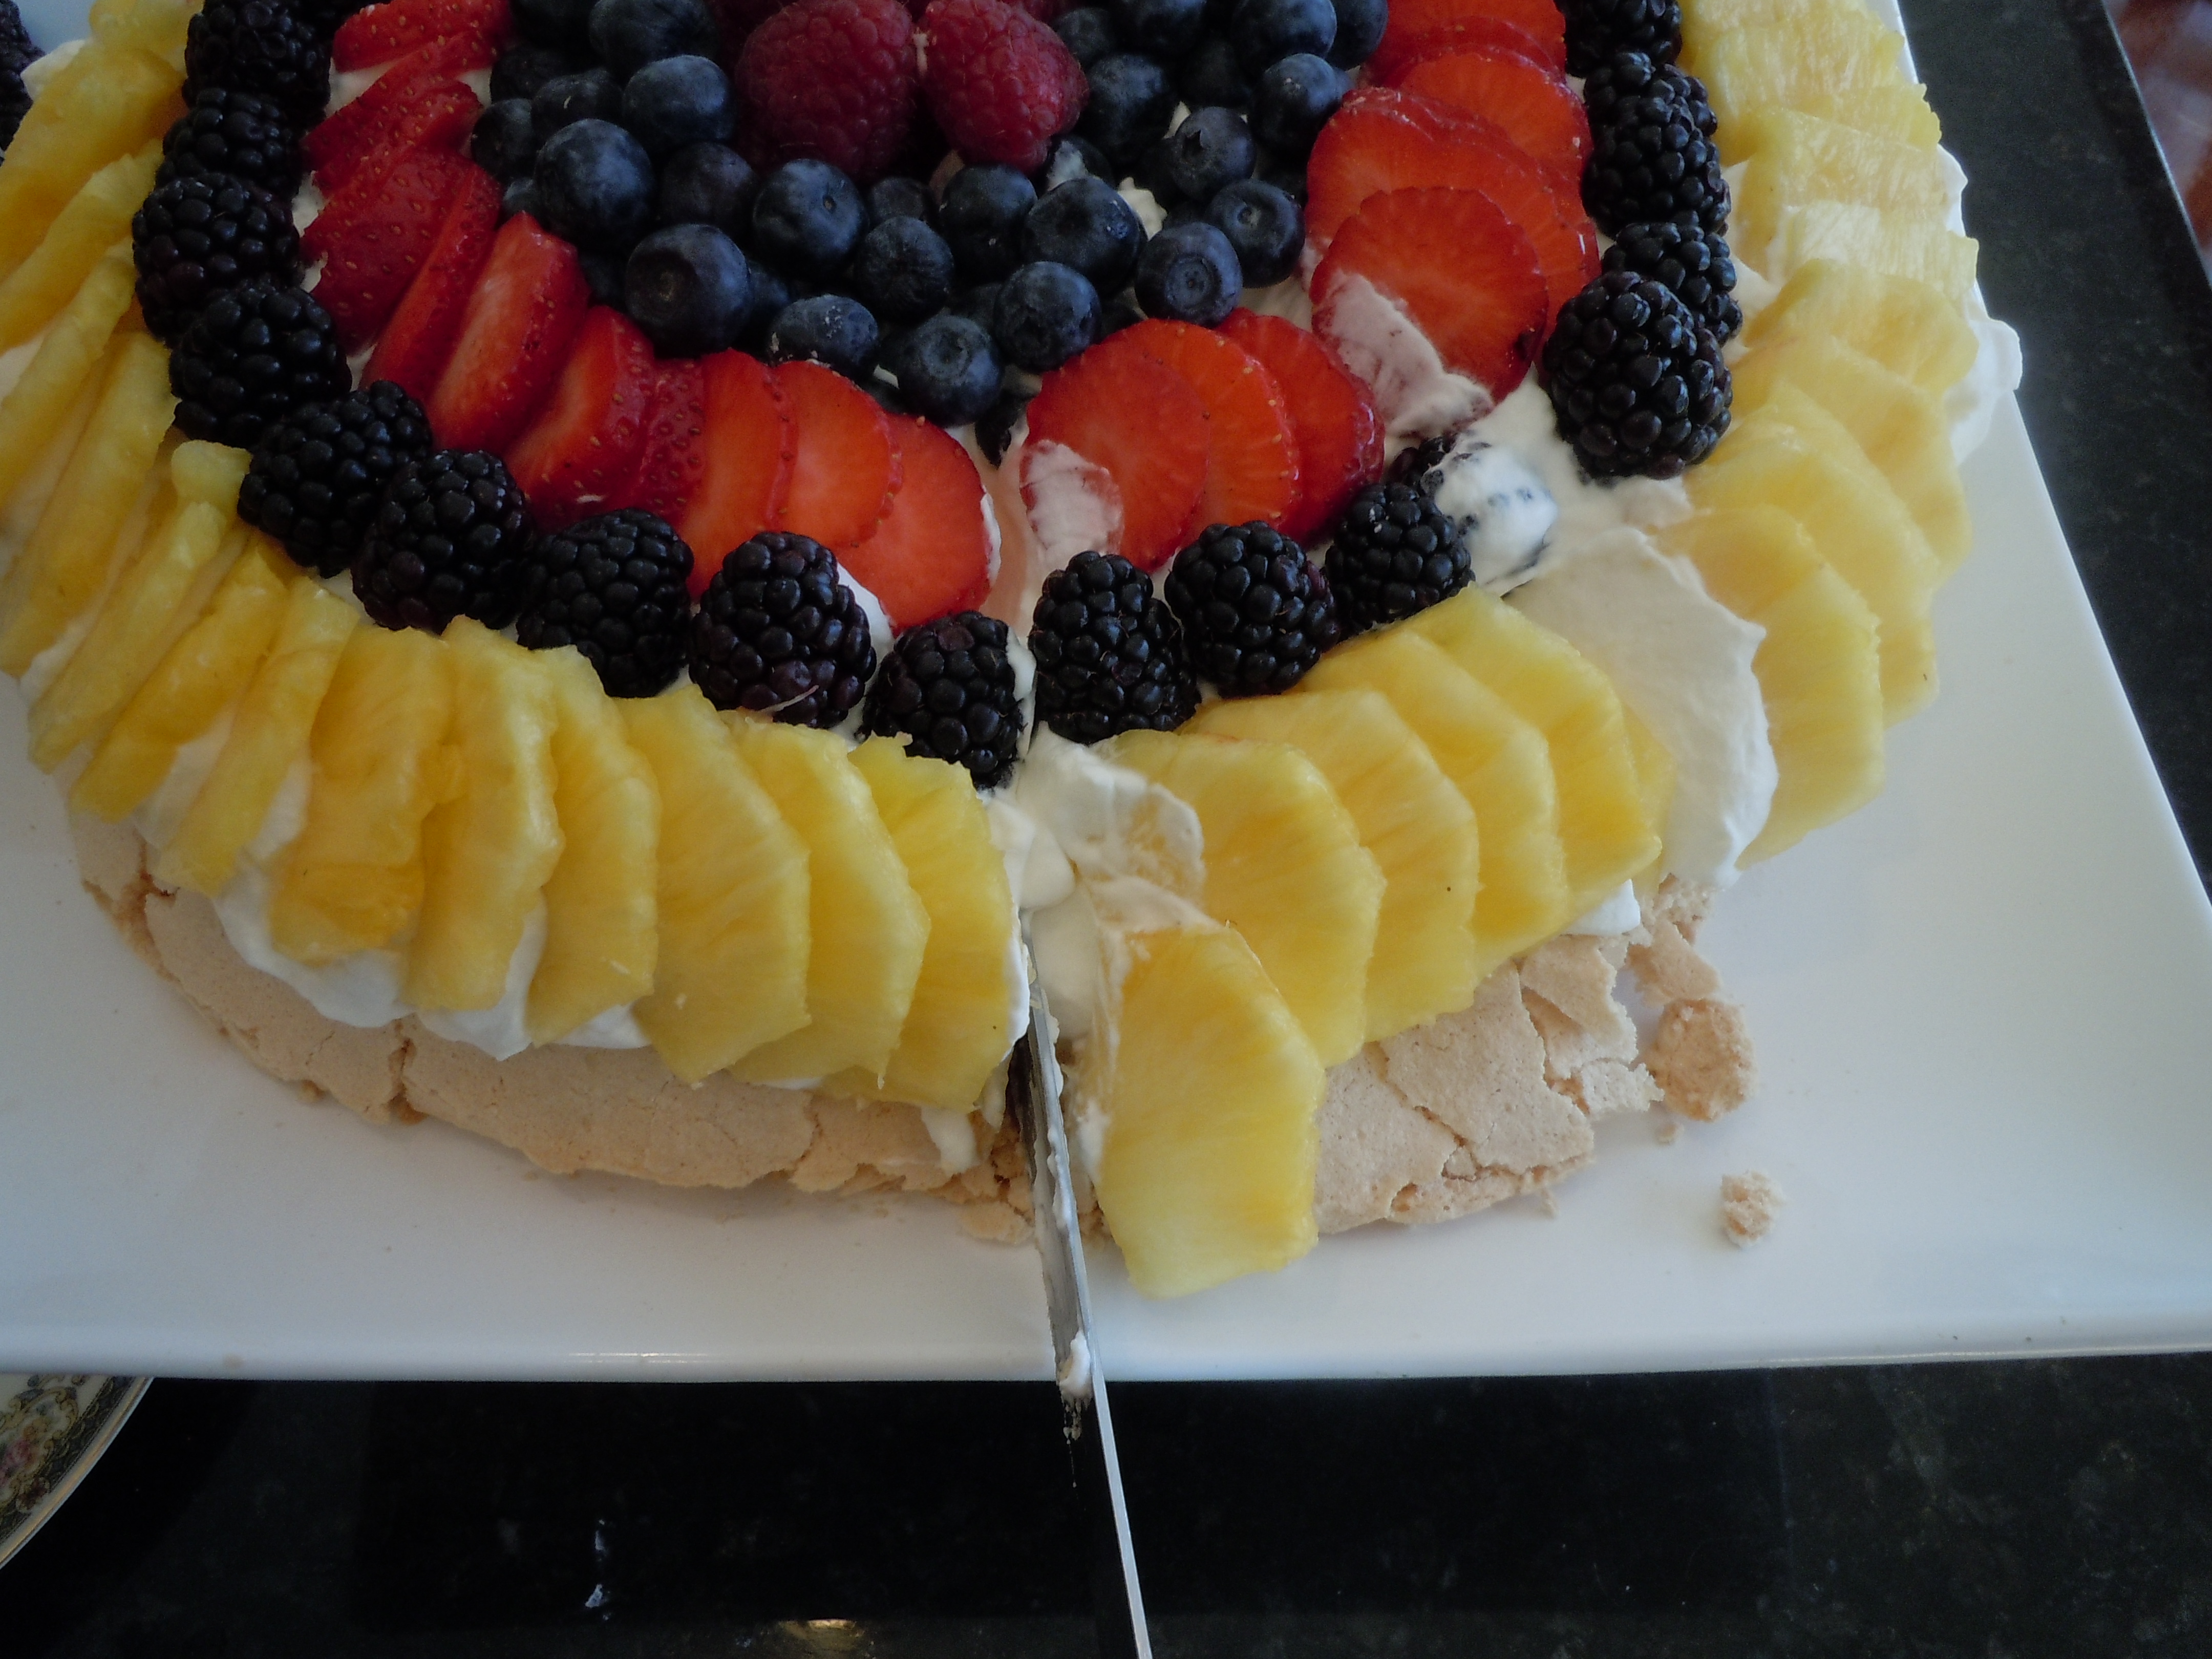
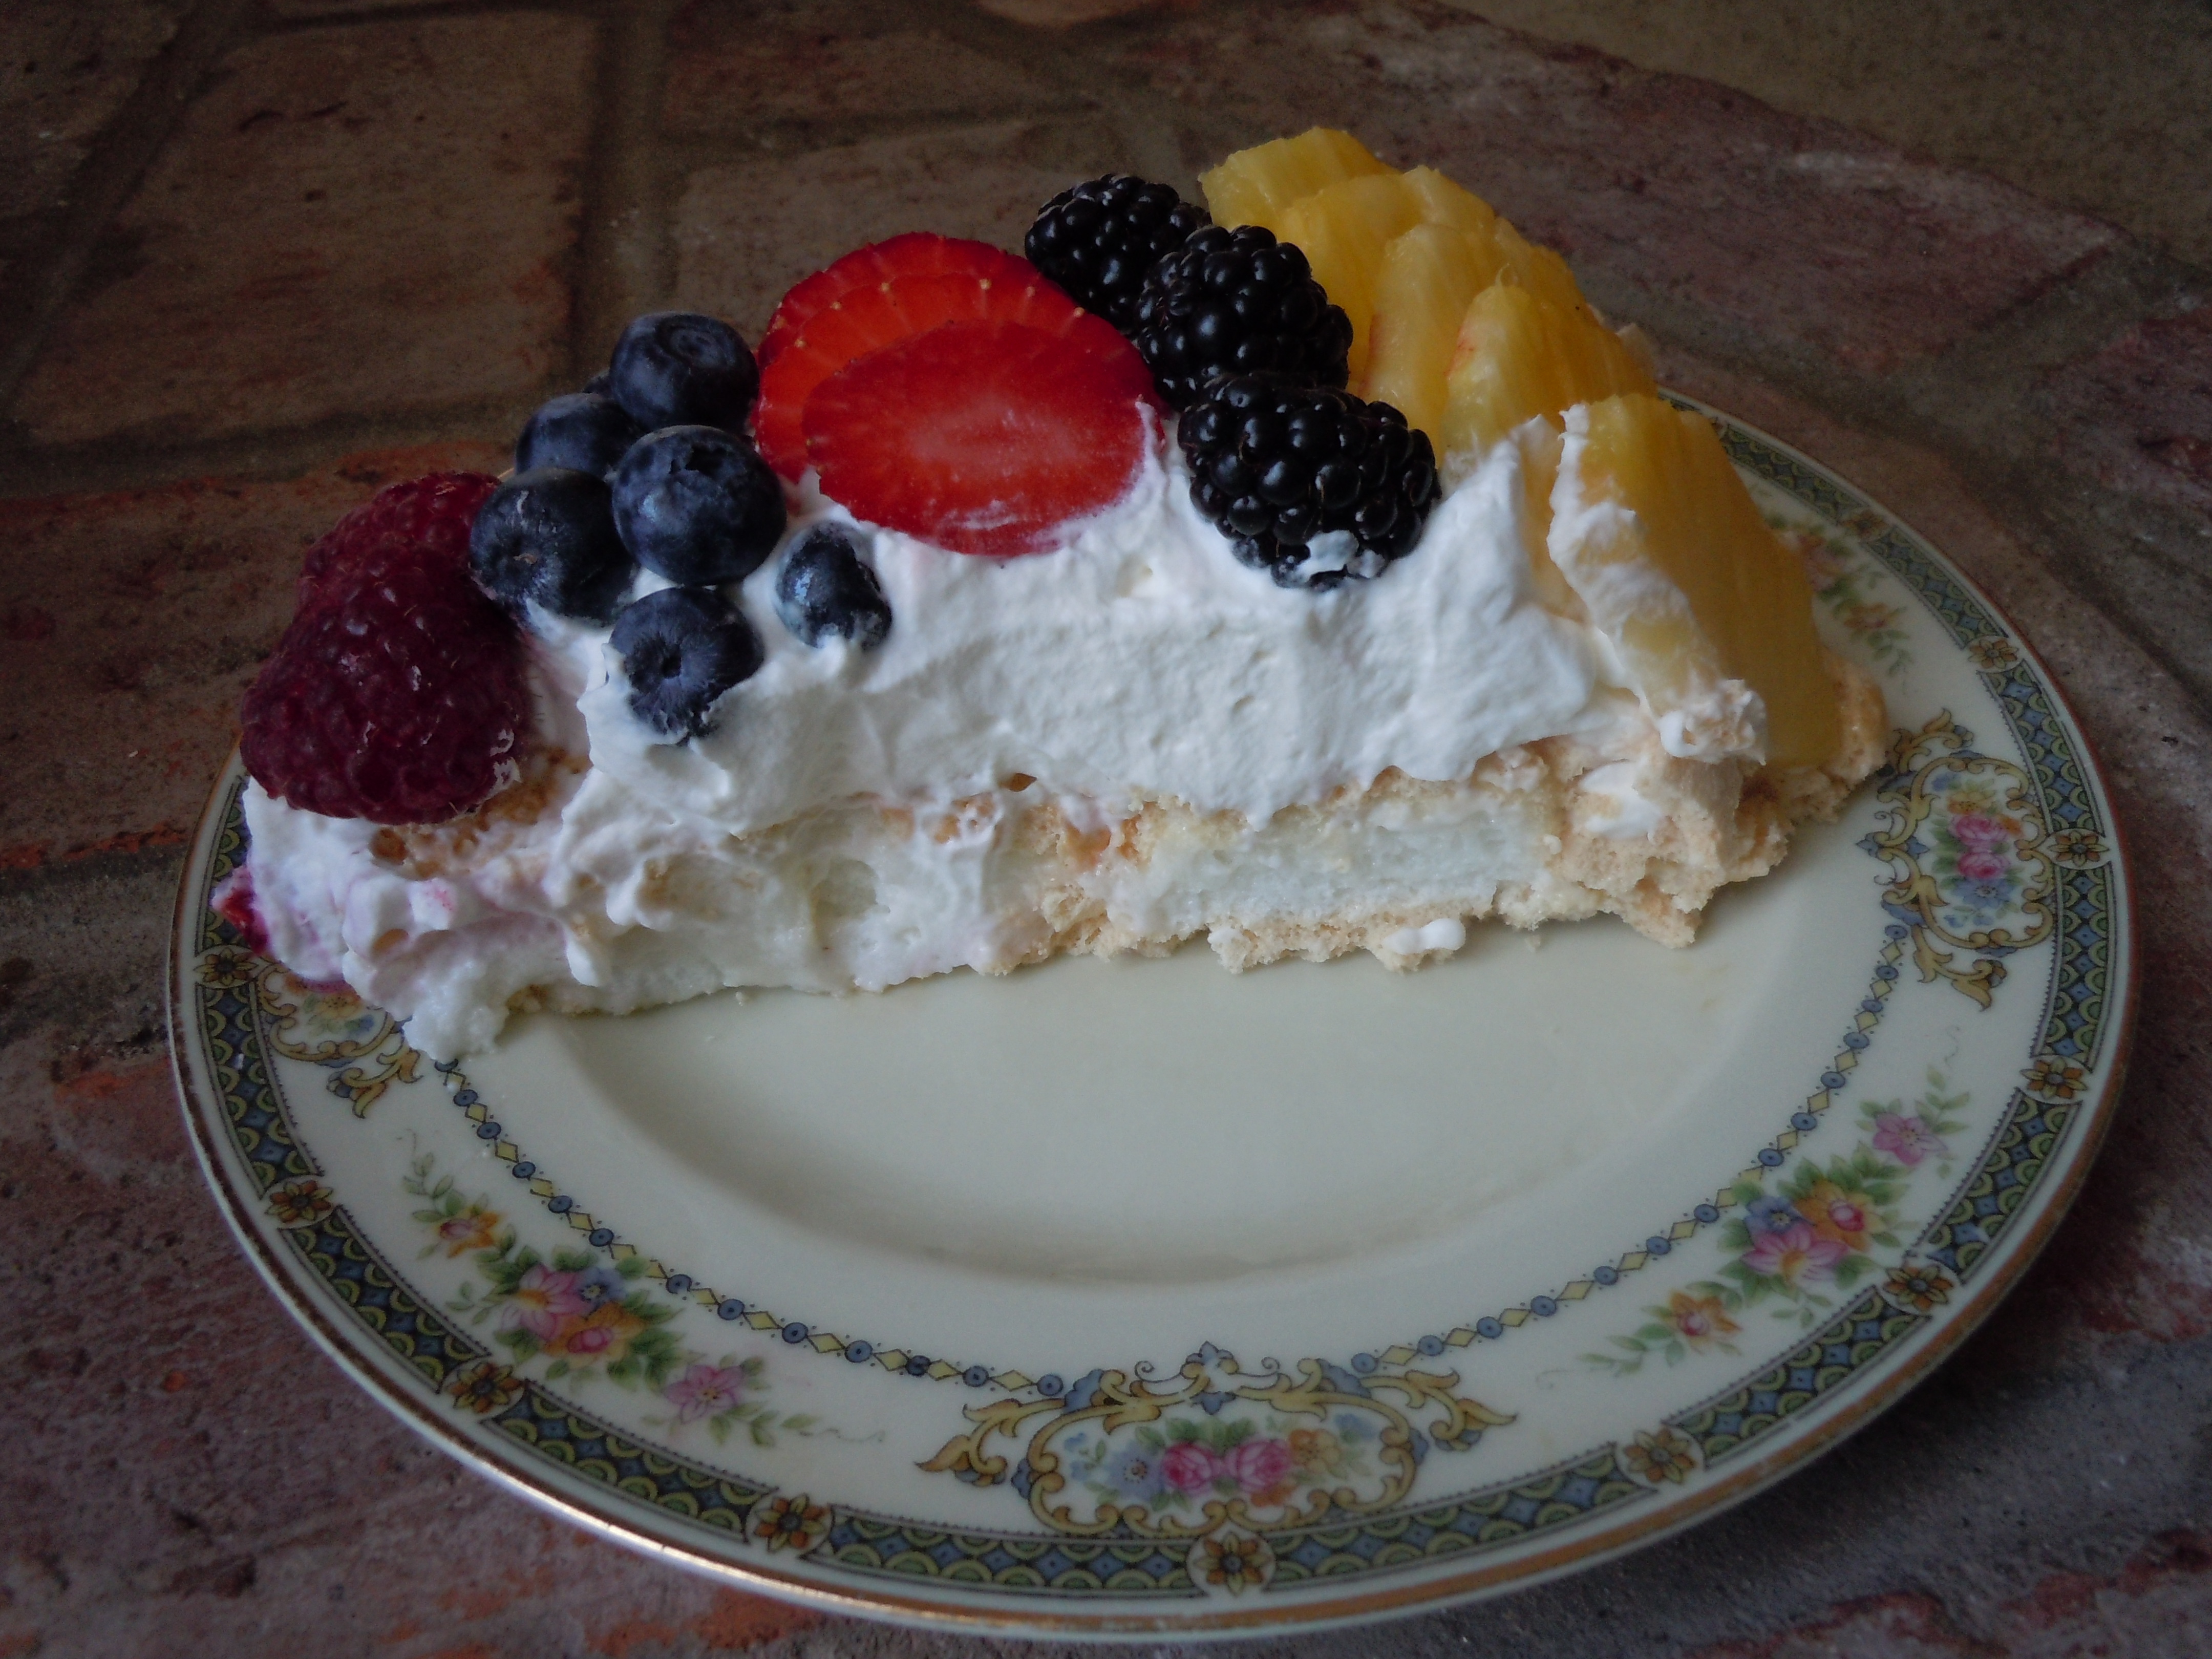
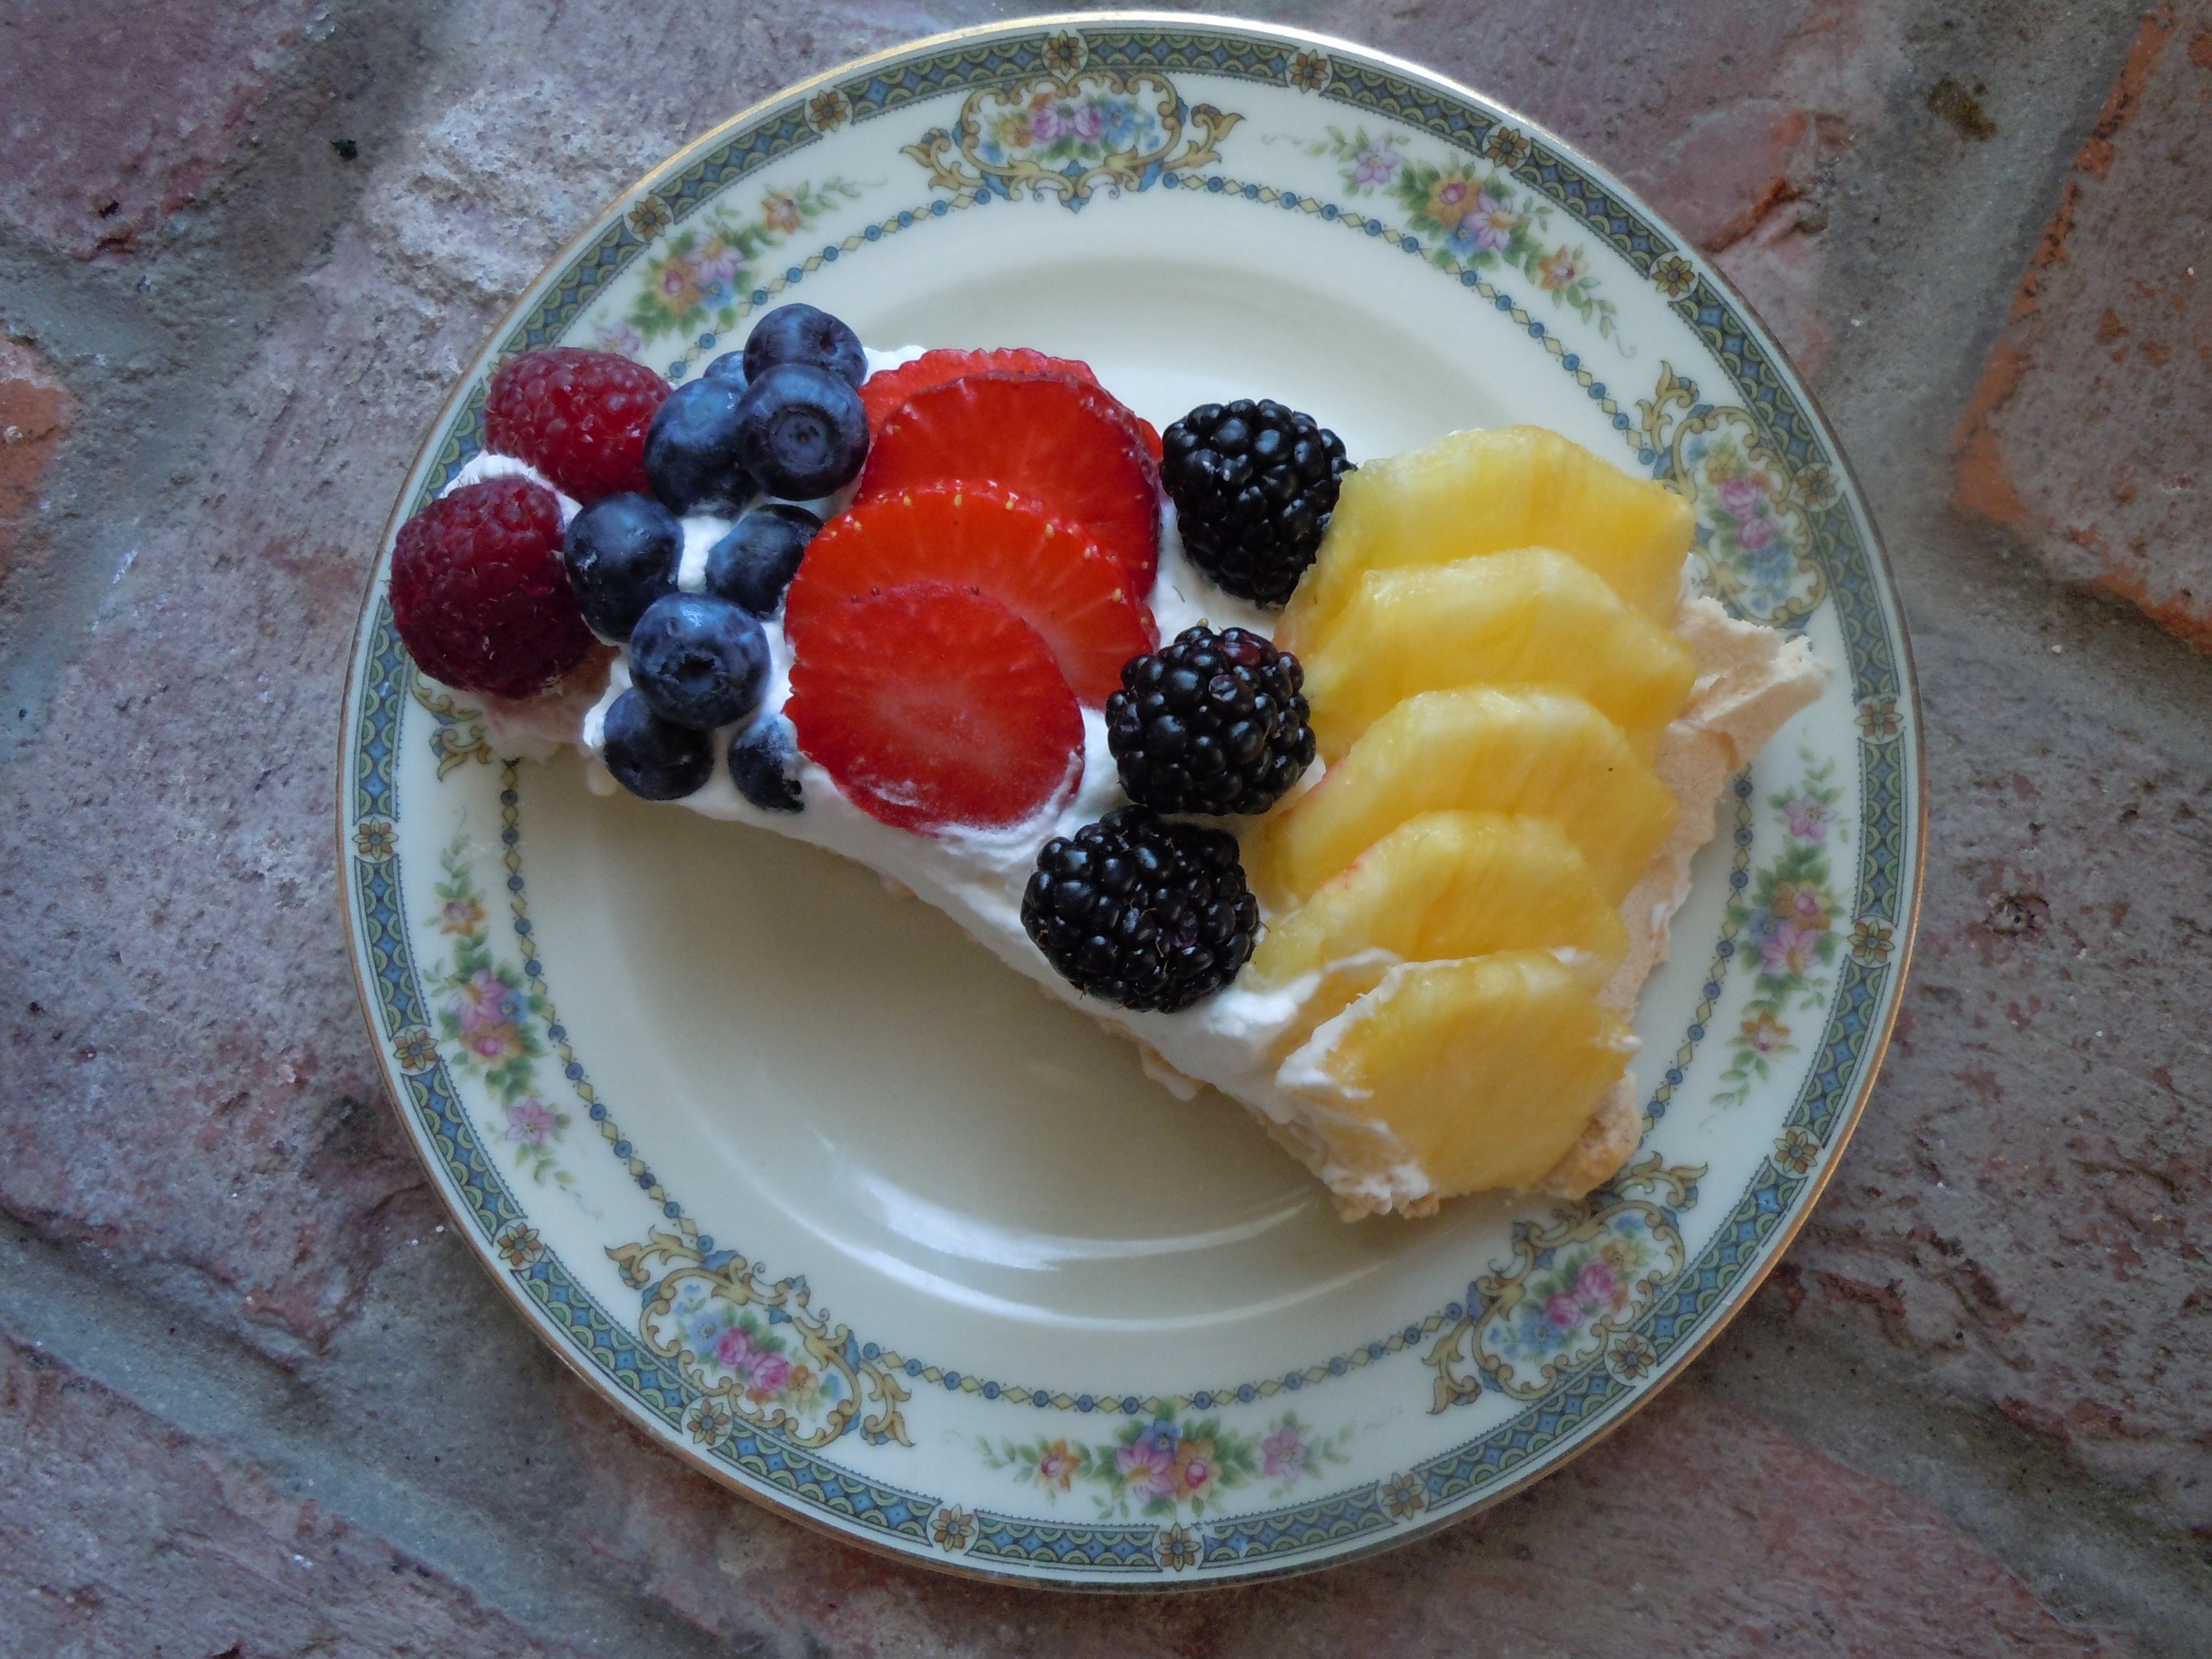
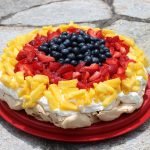
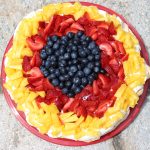
Maybe it’s the bright vivid colors of all the fresh fruits or the fruit that’s layered on a pillow of whipped cream, then set up on a bed of crispy meringue with a marshmallow center that makes this Pavlova the talk of the town when the party is over! This inspired recipe originates from my dear friend Jacqui who has been making this amazing Pavlova creation since she was 11 years old. She first started making this Pavlova with her friend’s mother back in her home land of Ireland.
There were definite ooh’s and aah’s in the room upon first setting eye’s on Jacqui’s pavlova at her St. Patricks Day party three years ago when she made her grand unveiling. That praise continued on after everyone finished eating their slice of heaven. I knew that this amazing Pavlova was next on my list of culinary endeavors.
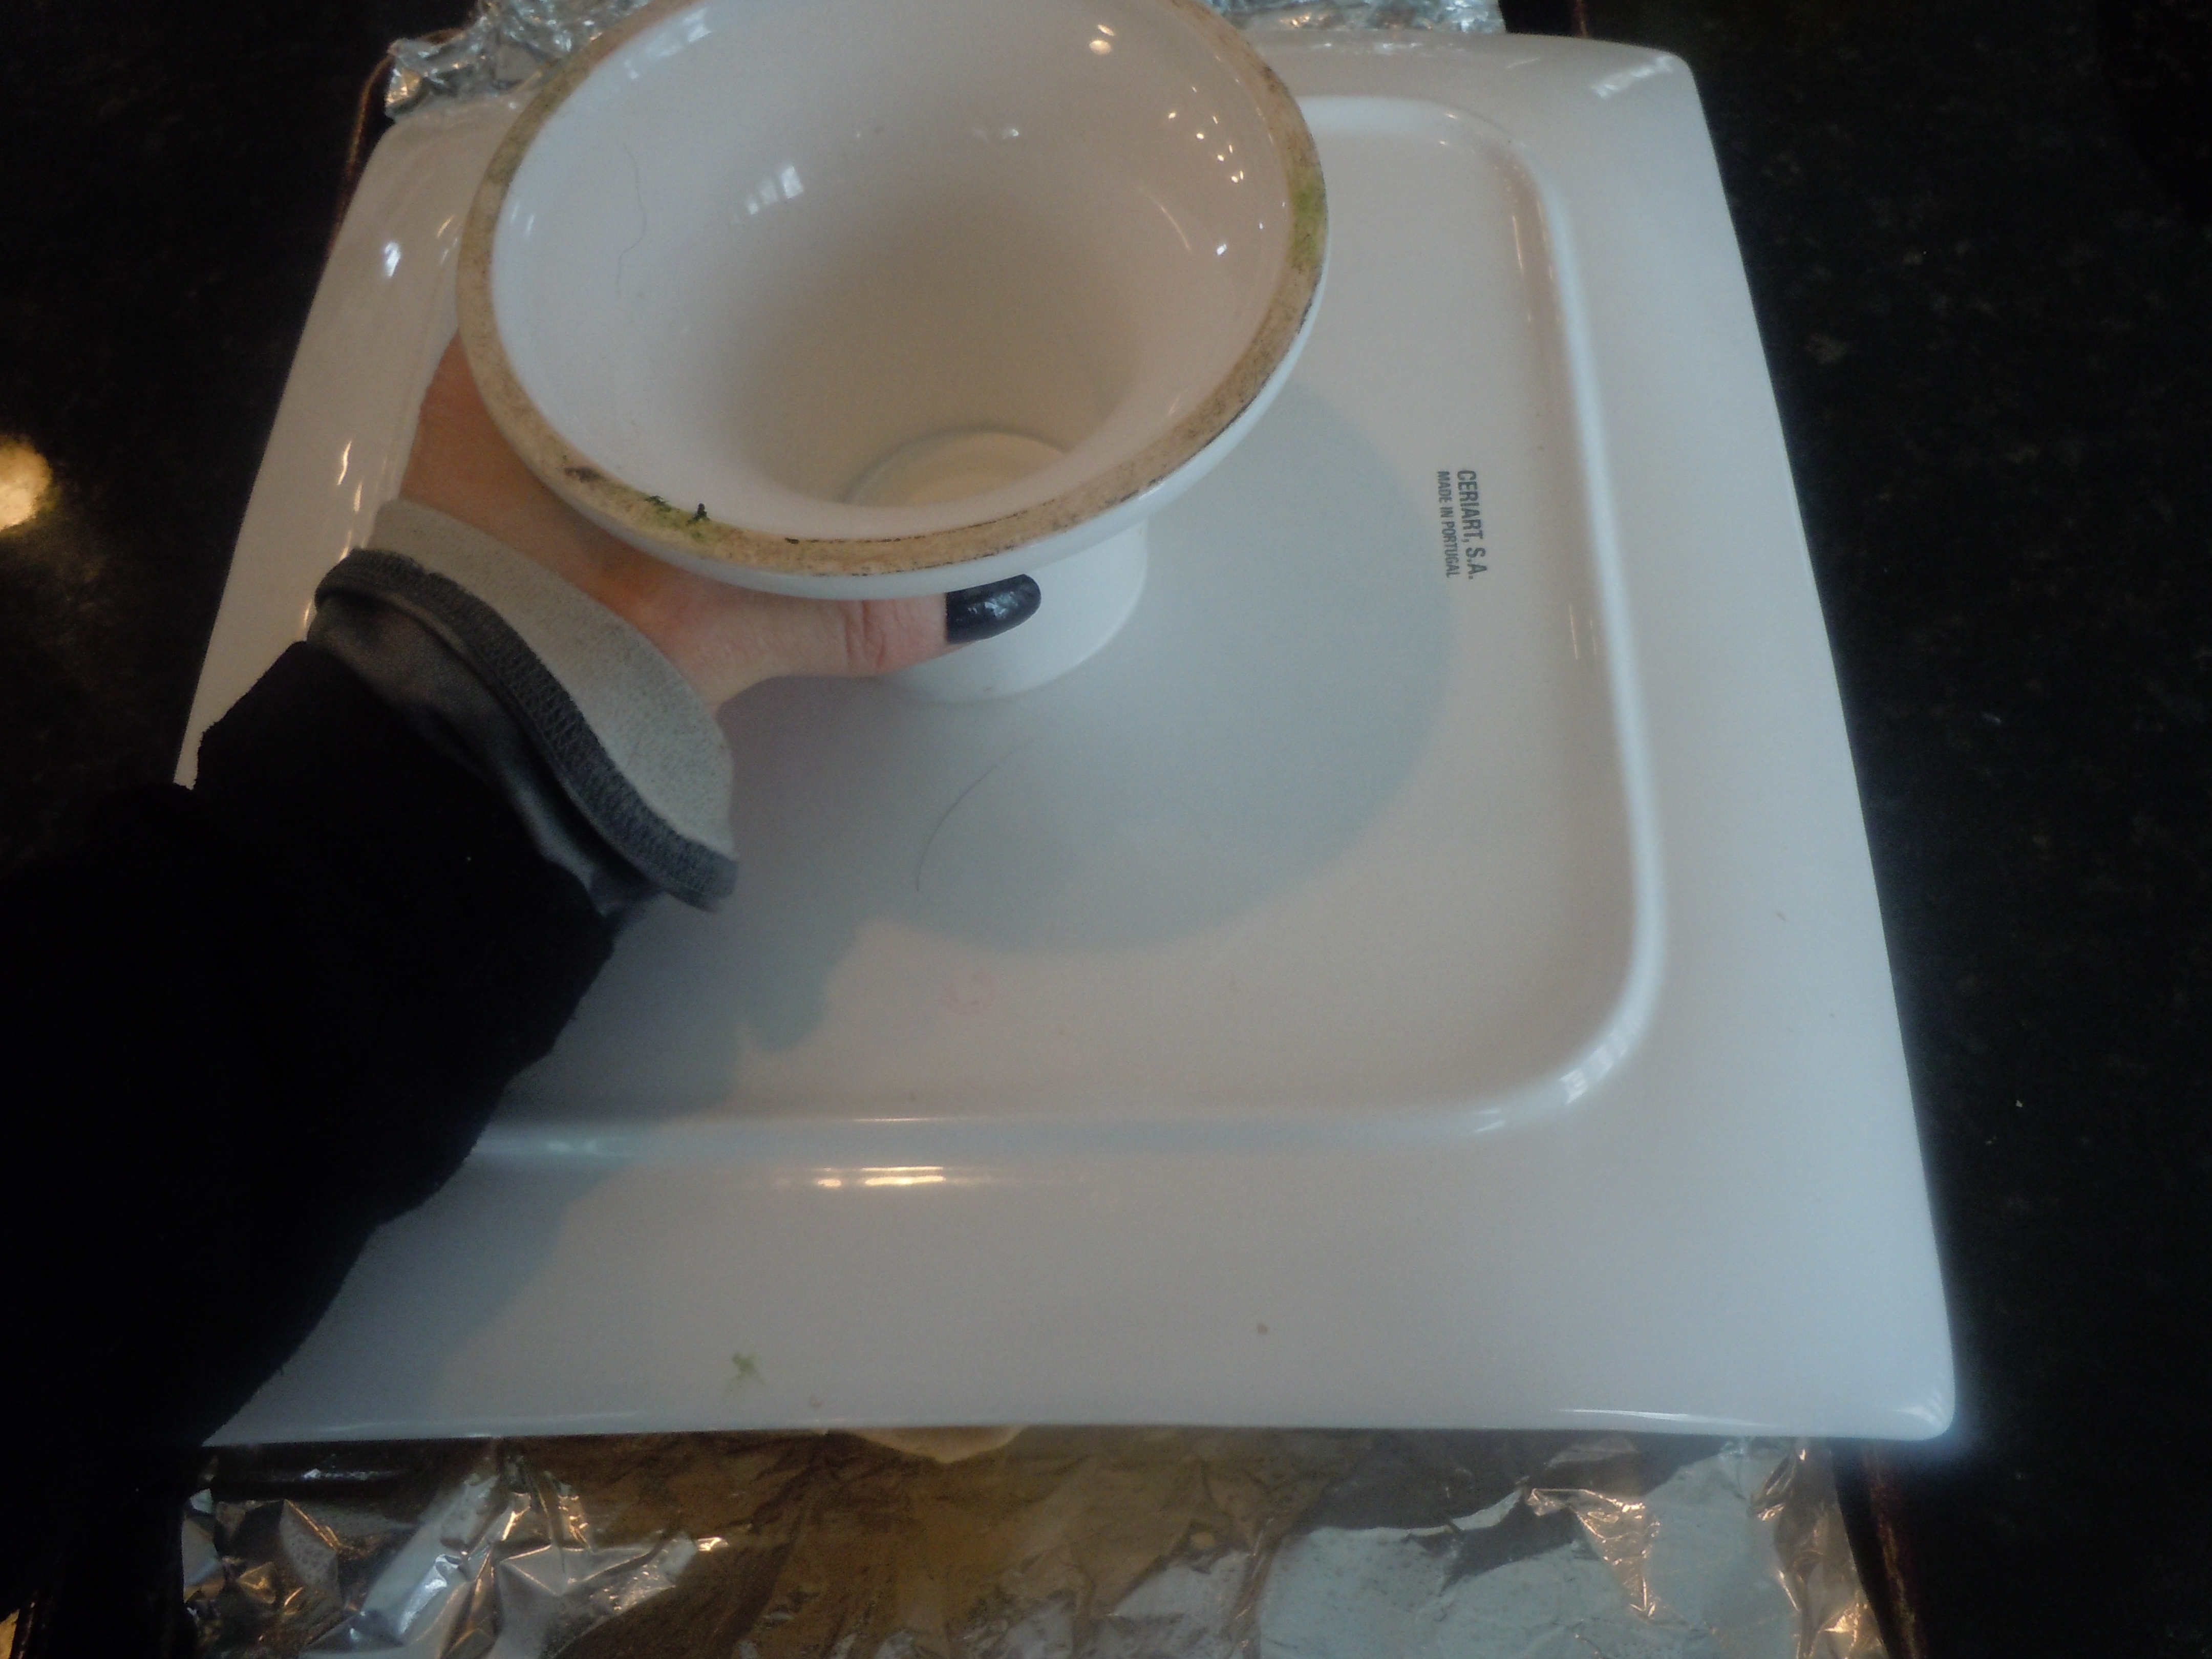
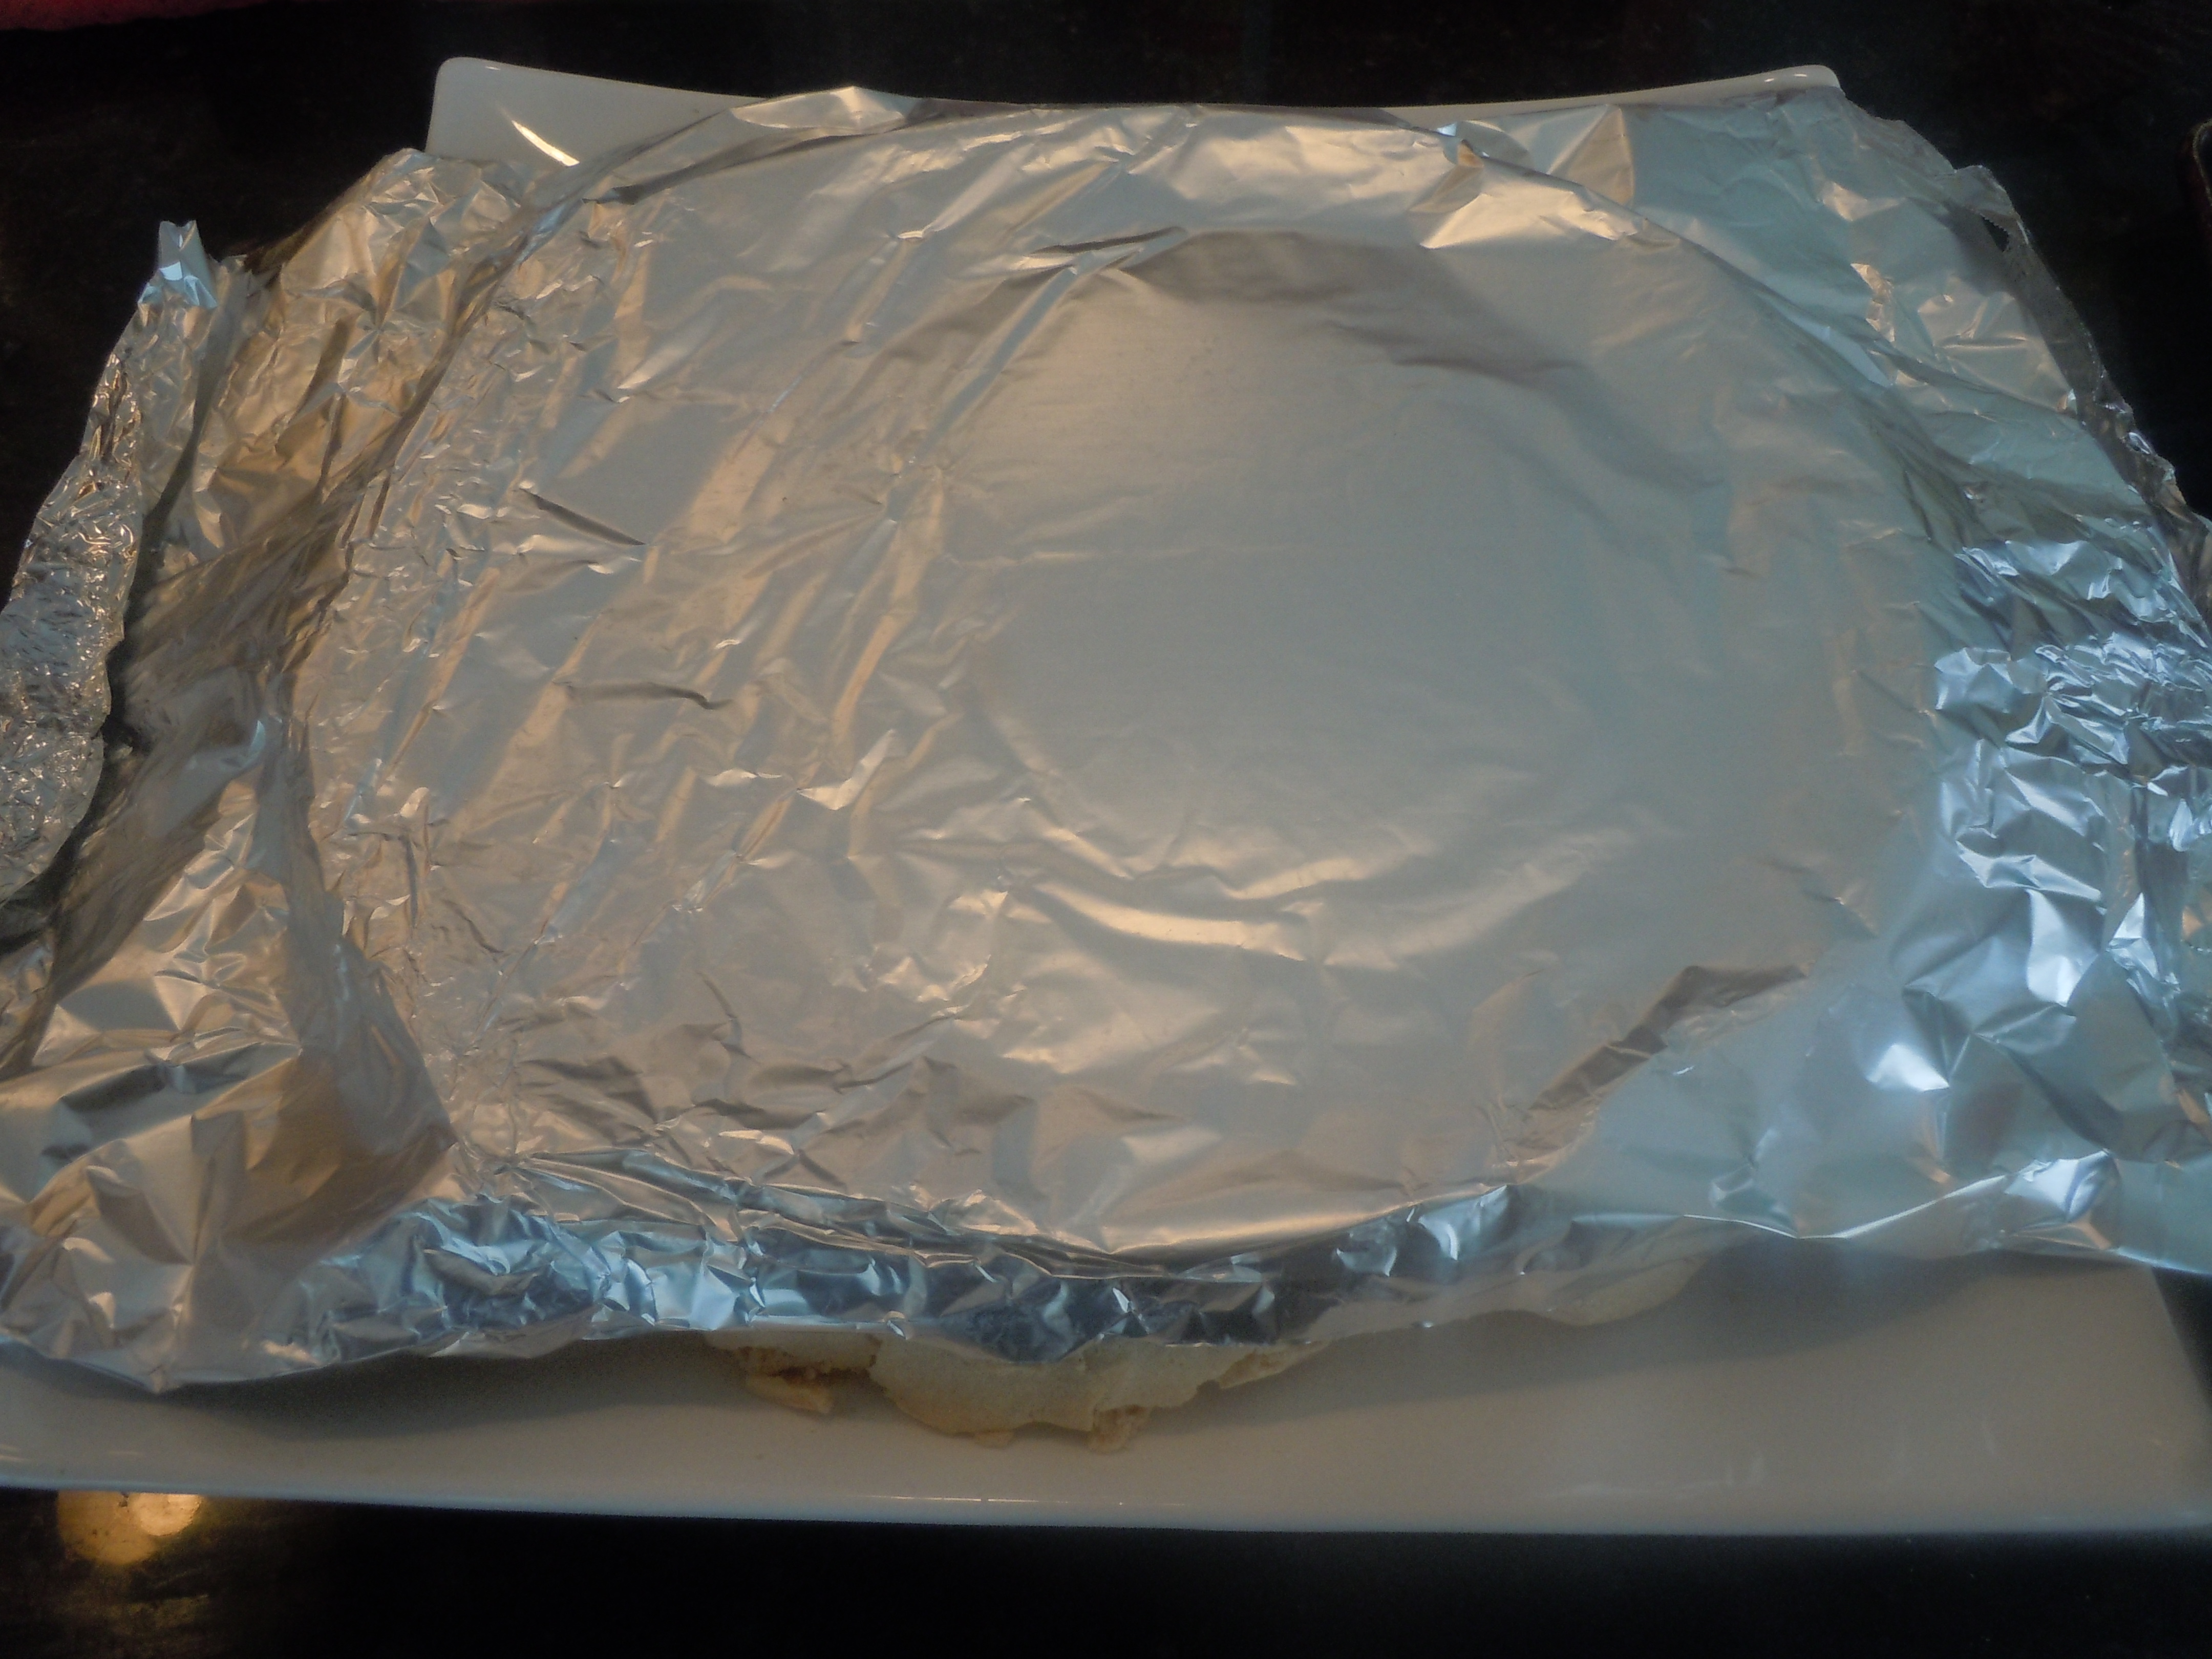
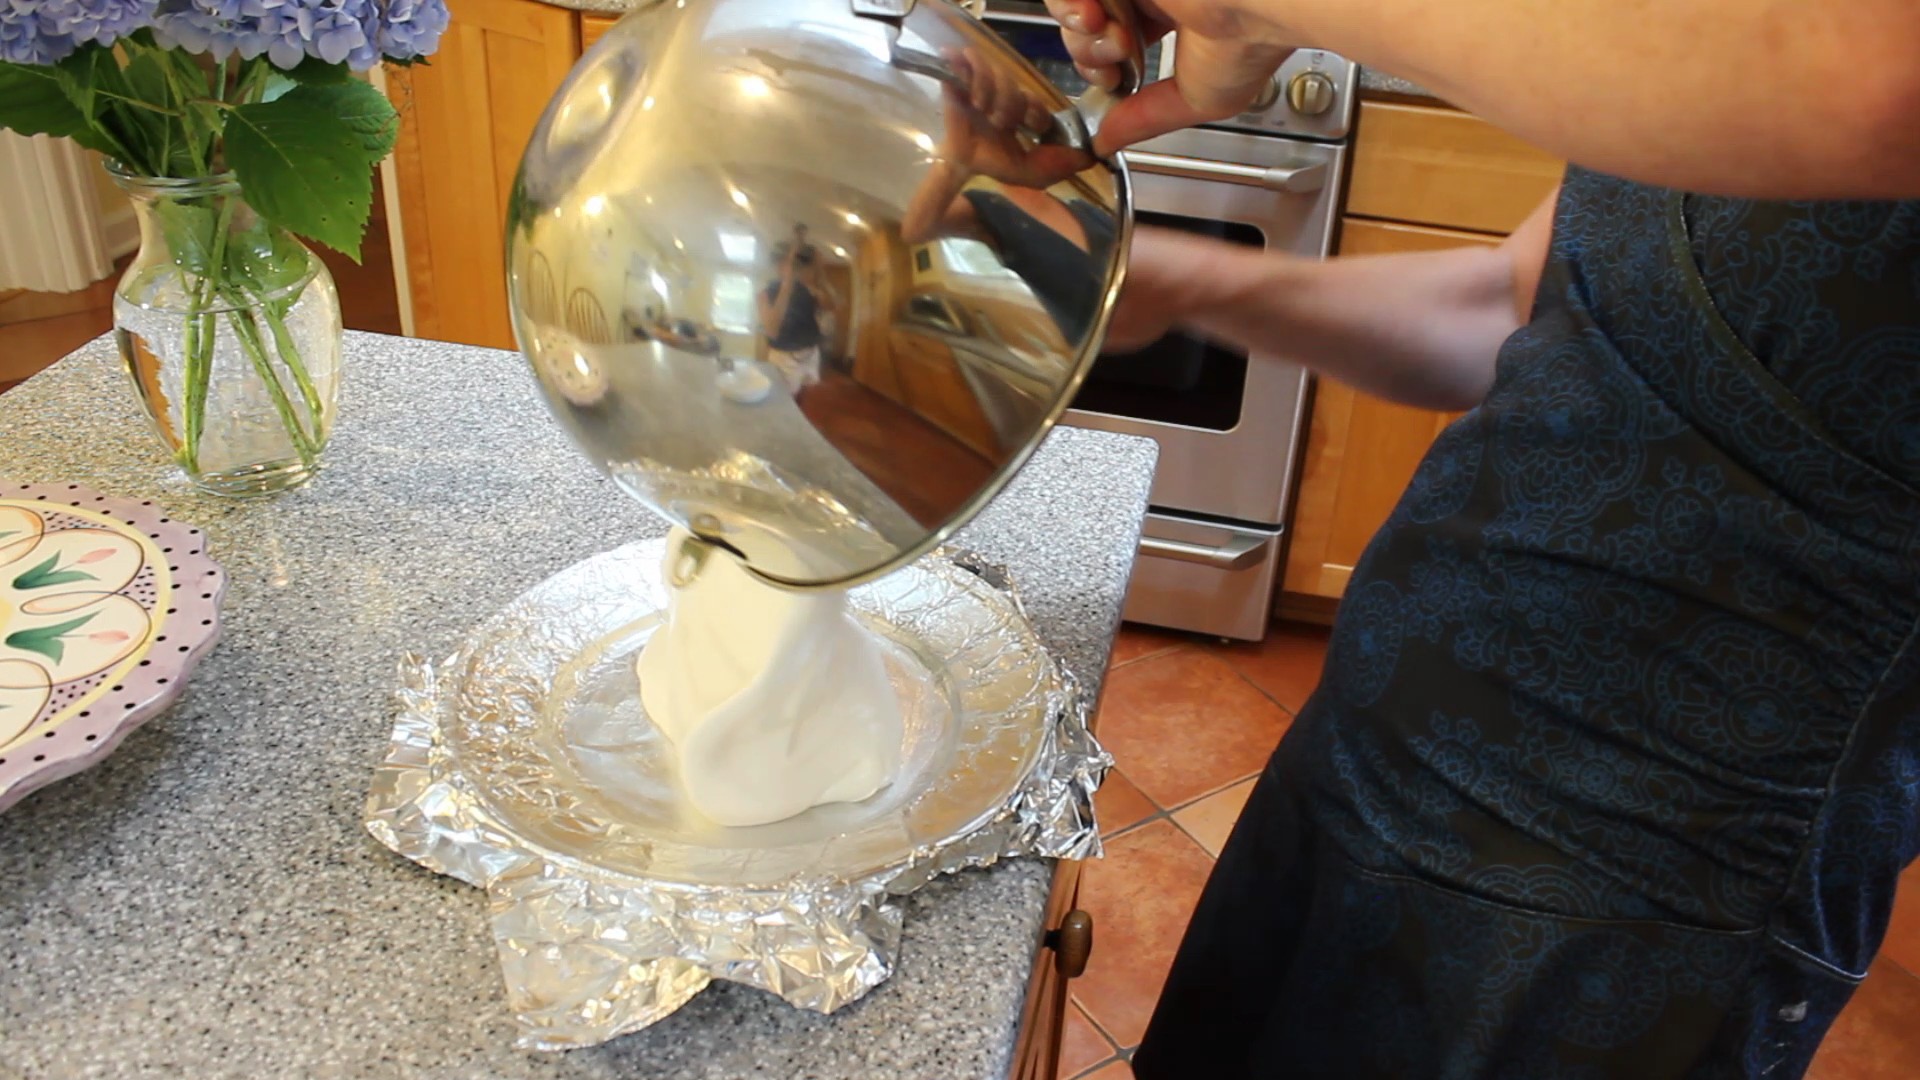
The wonderful thing about Jacqui’s recipe is that she keeps it simple. I have gone through many recipes for this Pavlova and there are too many unnecessary steps being taken. I have made these other recipes with the stabilizers using cream of tartar and vinegar and corn starch but you just don’t need to waste your energy going through all this. The reason behind using all these stabilizers is because a meringue is usually set on top of a custard like base as in a lemon meringue pie where condensation is a very likely occurrence and the meringue weeps beads of moisture if it isn’t perfectly cooked through. In a Pavlova dessert you needn’t worry about any condensation forming because it’s base is a cake or serving platter. Jacqui bakes her Pavlova on a piece of tin foil that’s coated with butter and placed over an oven proof plate…how simple is that? If you are uncomfortable with that or don’t have a oven proof plate as such you can easily use a cookie sheet and parchment as shown below going about her same recipe.
I like that there isn’t any sugar in the whipped cream because the meringue is sweet enough. Planning ahead is a great idea and will make things easier if you can get the meringue done the night before. In Jacqui’s recipe there is also no need for a low and slow bake or a long slow cool off with the oven turned off and the oven door slightly open while the meringue stays in there until completely cooled. I have put in all the extra steps and that extra time with meringue’s before…it is unnecessary here! I say the proof is in the pudding…or should I say the Pavlova! You will love making this recipe as much as I do.
“Meringue with Fruit Filling” is what this dessert was originally called. Both New Zealand and Australia claim to have invented Pavlova and both claim it as their national dish. What it really comes down to is two countries being inspired by a Russian prima ballerina named Anna Pavlova. She was on tour in their countries from 1926-1929. A chef in New Zealand said he had invented the dessert for her and another chef in Australia had commented “It is as light as Pavlova”, comparing the dessert to the ballerina, and that’s how the name came about. Now you see how light this dessert truly is …just wait til you try it. You too will become a fan of Pavlova! I hope you enjoy the show and become as inspired by Jacqui and her Pavlova as I am.


Ingredients for Pavlova – Serves approx 16-20 slices:
- 6 extra large egg whites
- 1 cup plus 2 tbsp sugar
- 1 pint heavy cream (2 cups) NO SUGAR IN WHIPPED CREAM
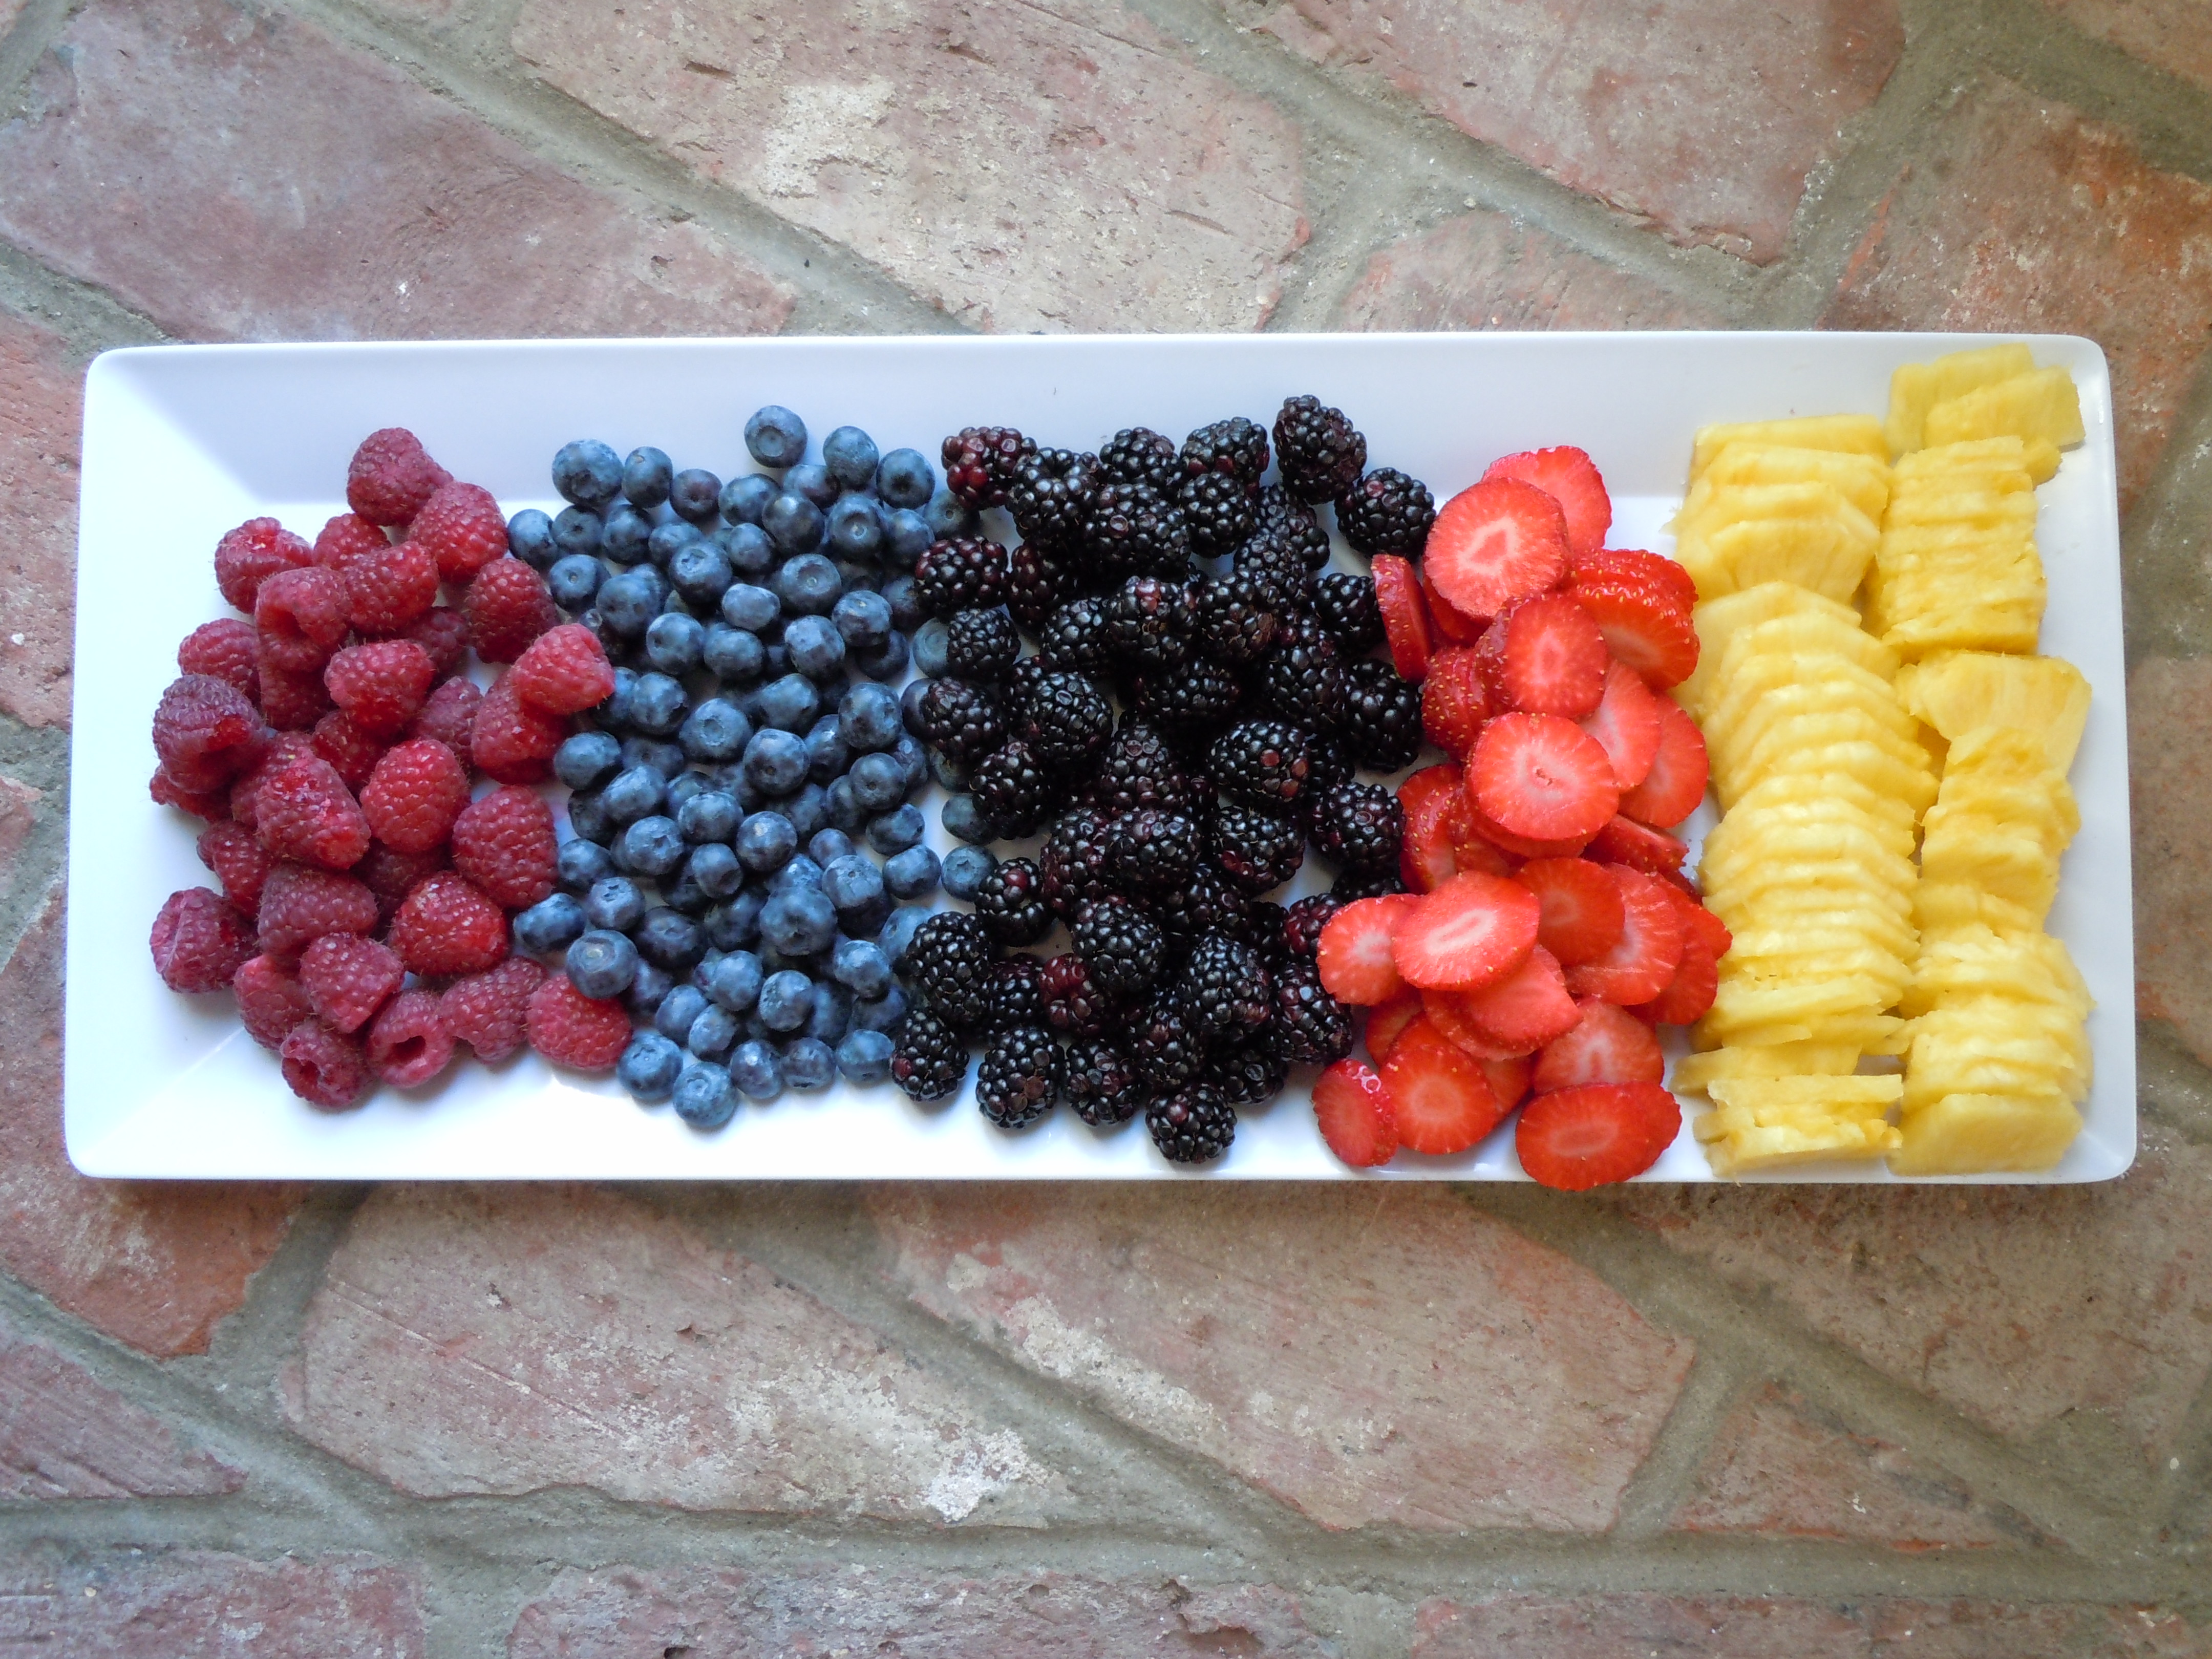
- small containers of strawberries, blueberries, & black berries
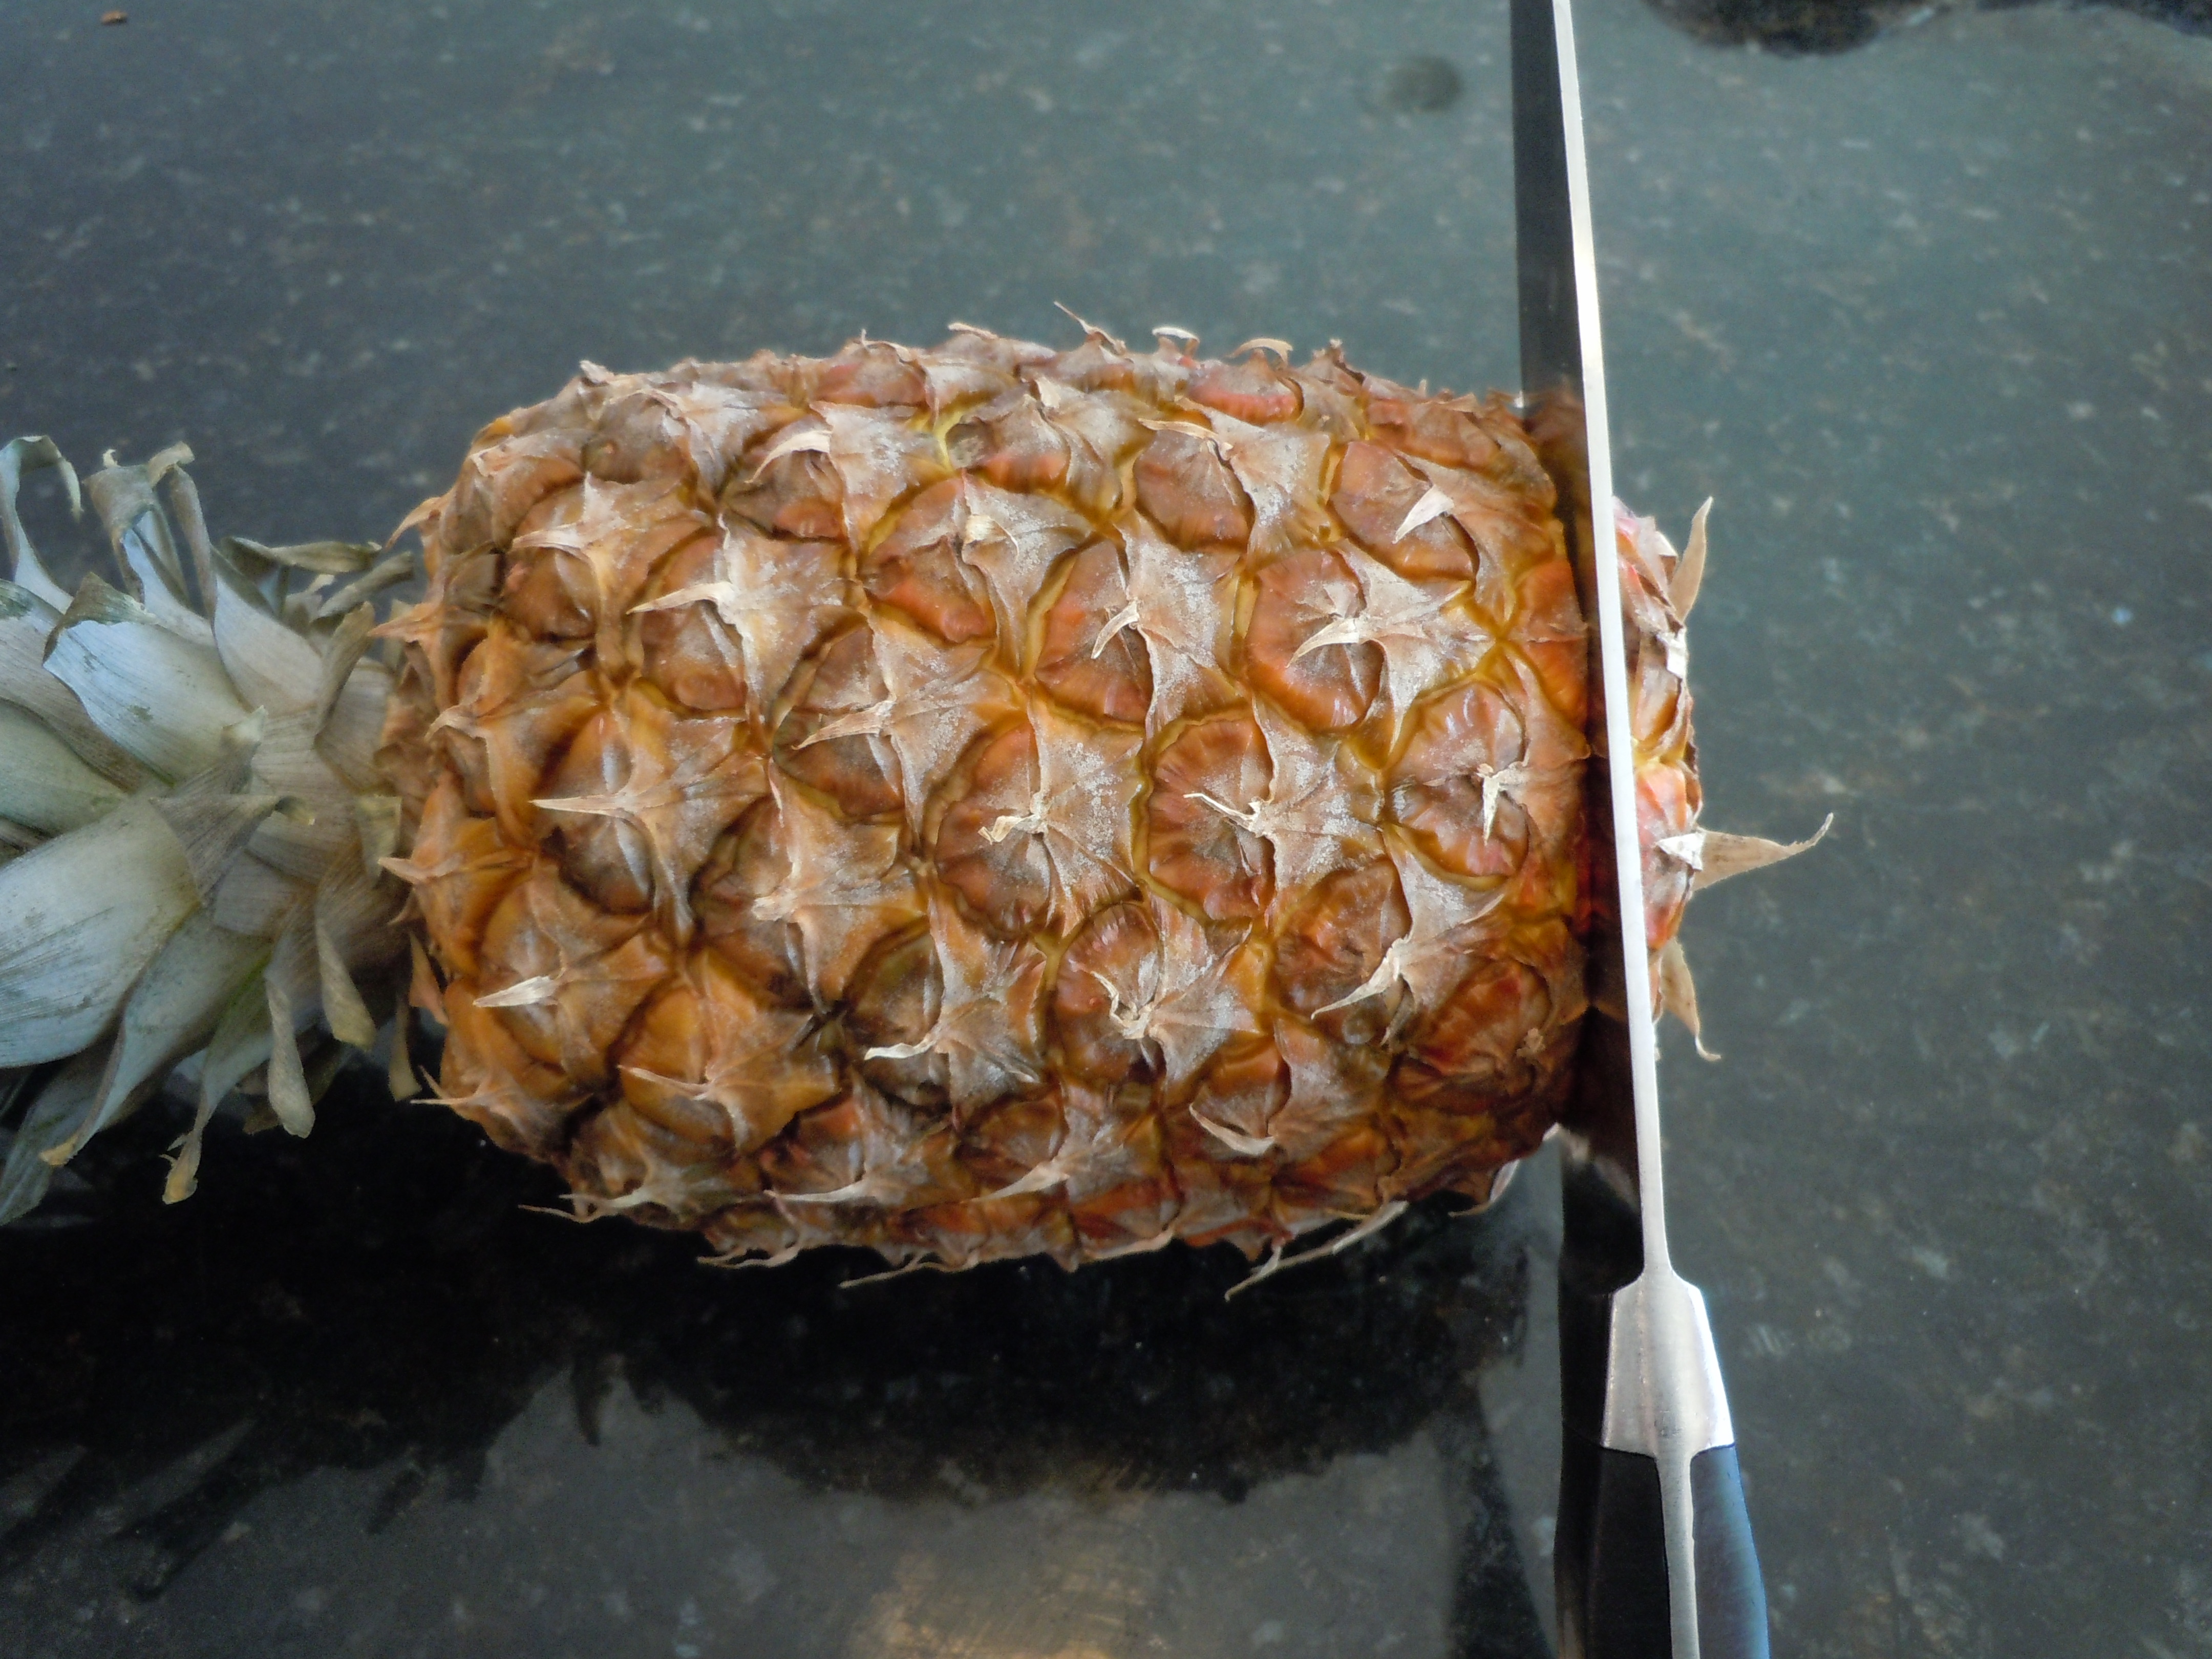
- 1 whole pineapple (buy ahead of time and leave on your counter for 2-3 days to get maximum sweetness)
- Pam canola oil spray
- parchment paper
- pencil
Directions for Meringue: (Good idea to make this the night before and leave on the counter covered with foil:
- Pre-heat and put on Convection if you have it to 325º When I have tested cooking the meringue on a regular oven setting the bottom burns on the cookie tray. The convection setting distributes the heat for a more even cooking and beautiful bottom
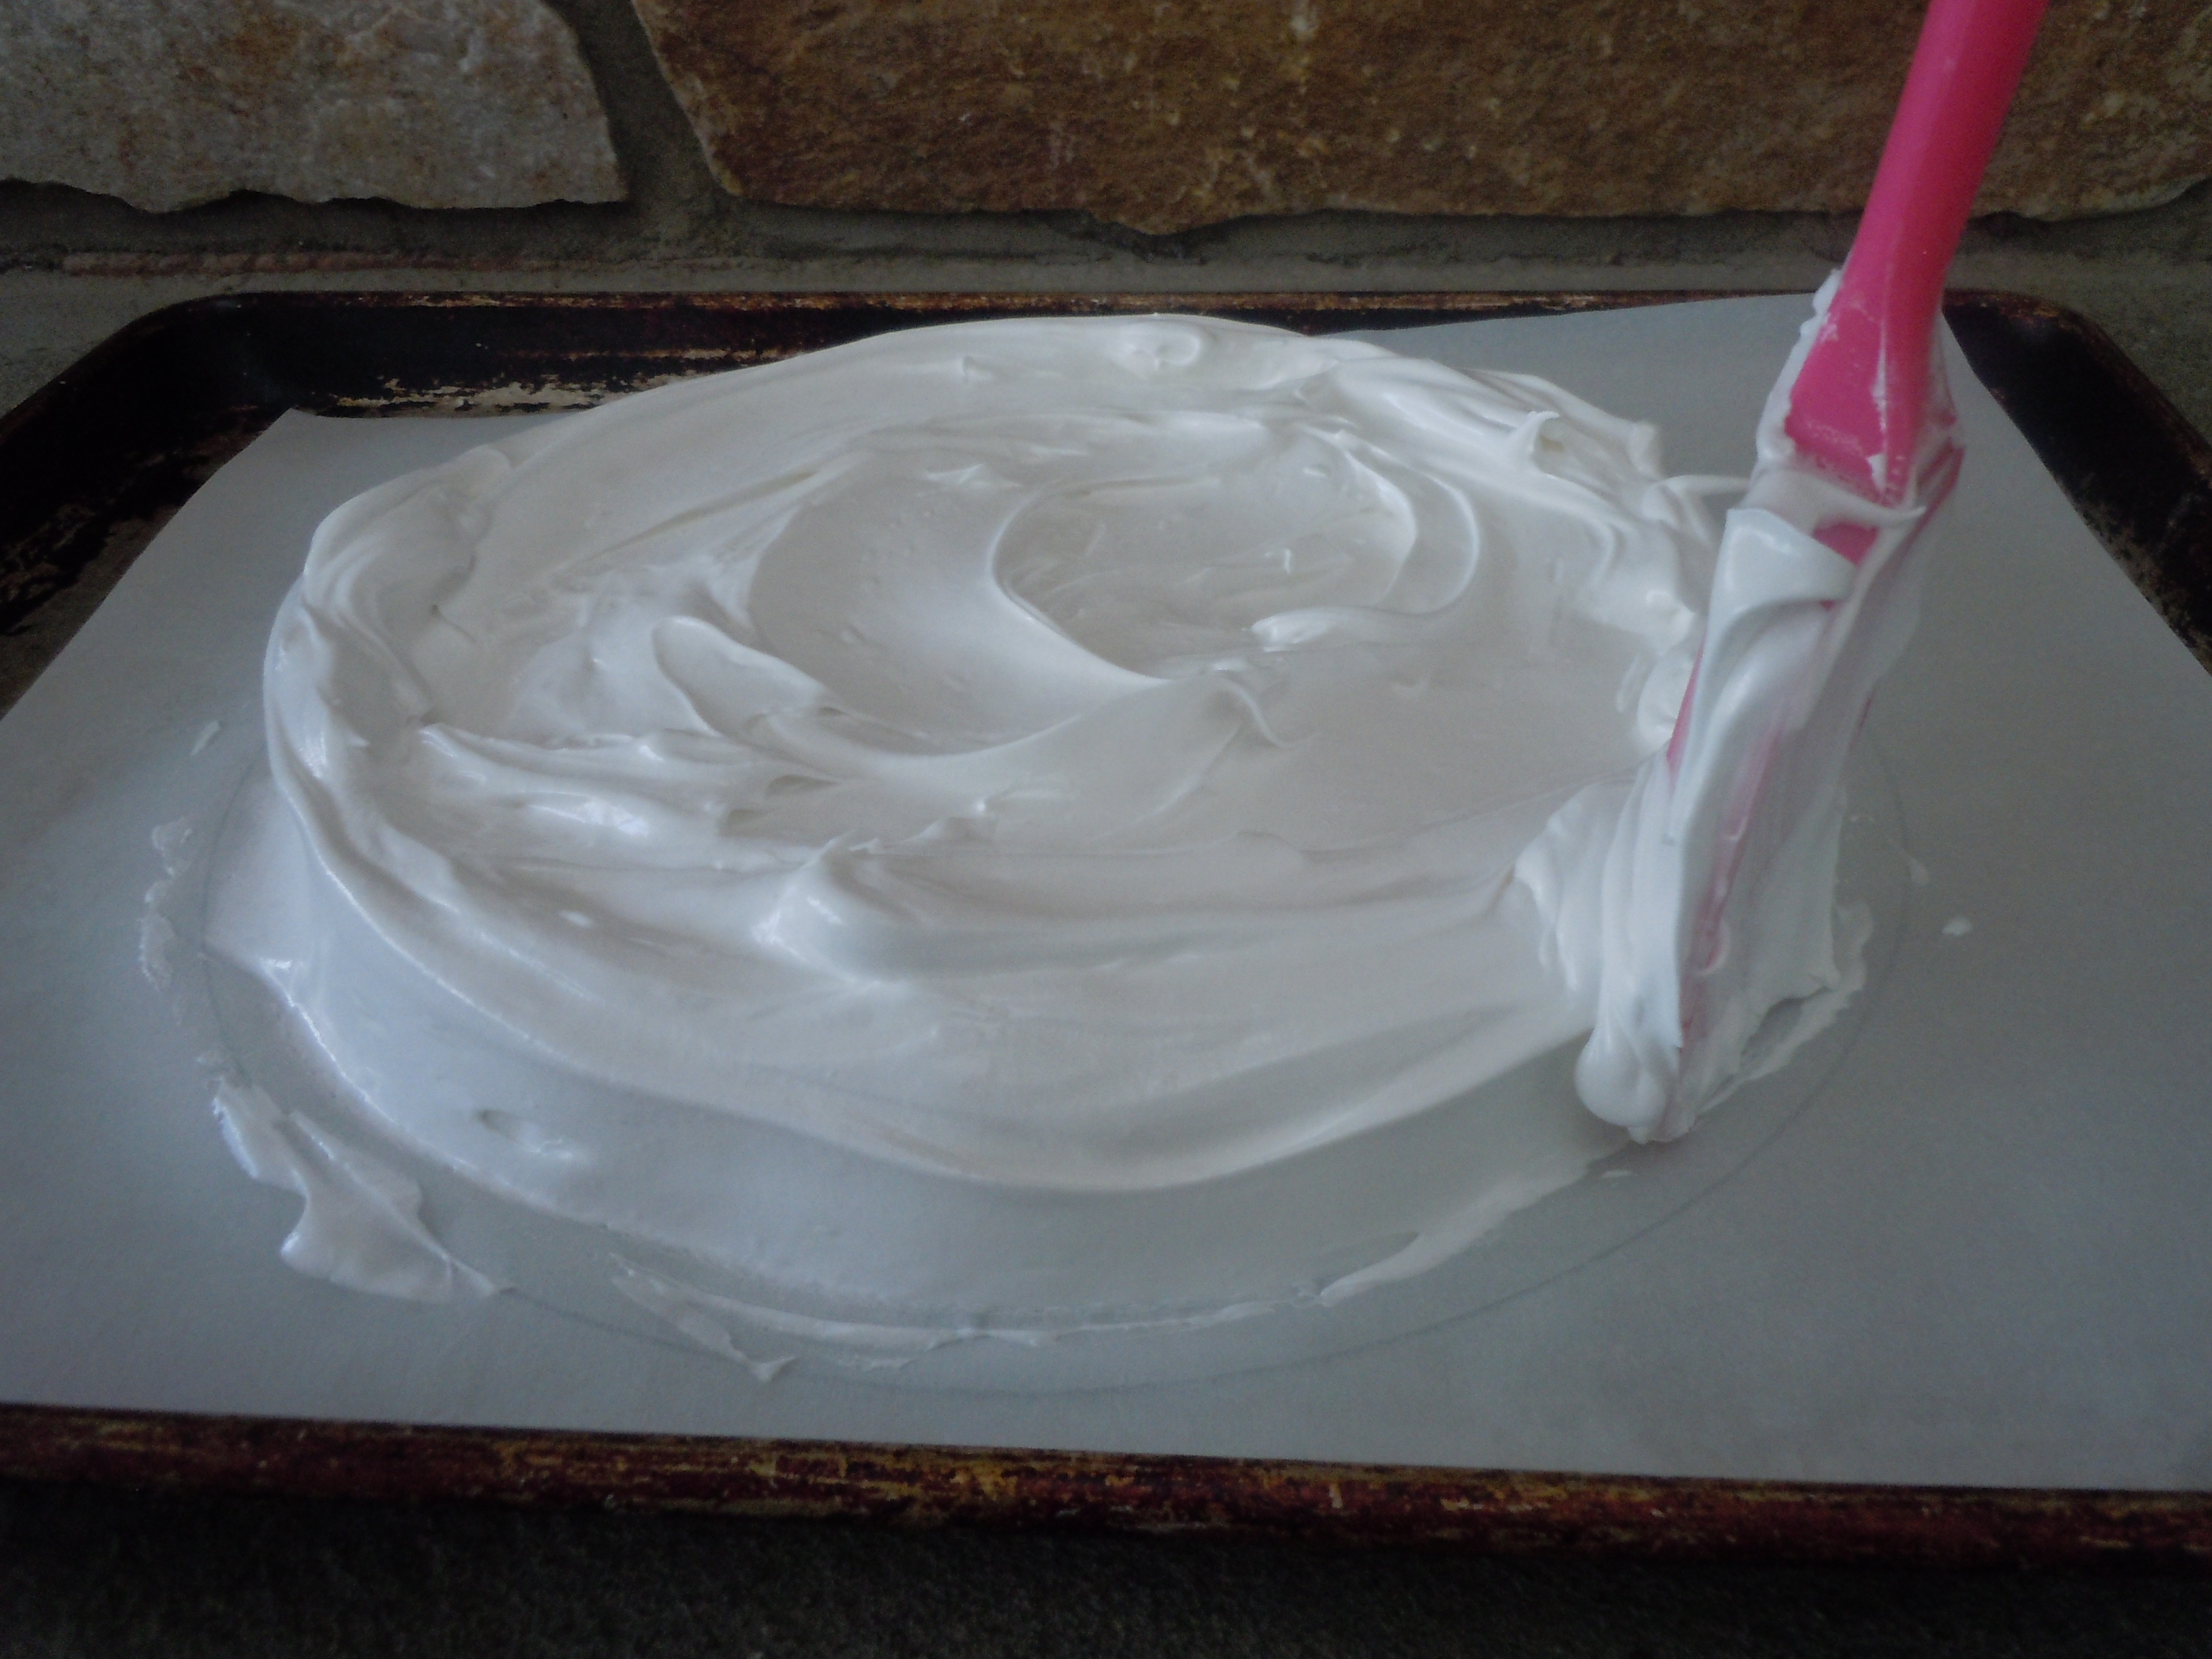
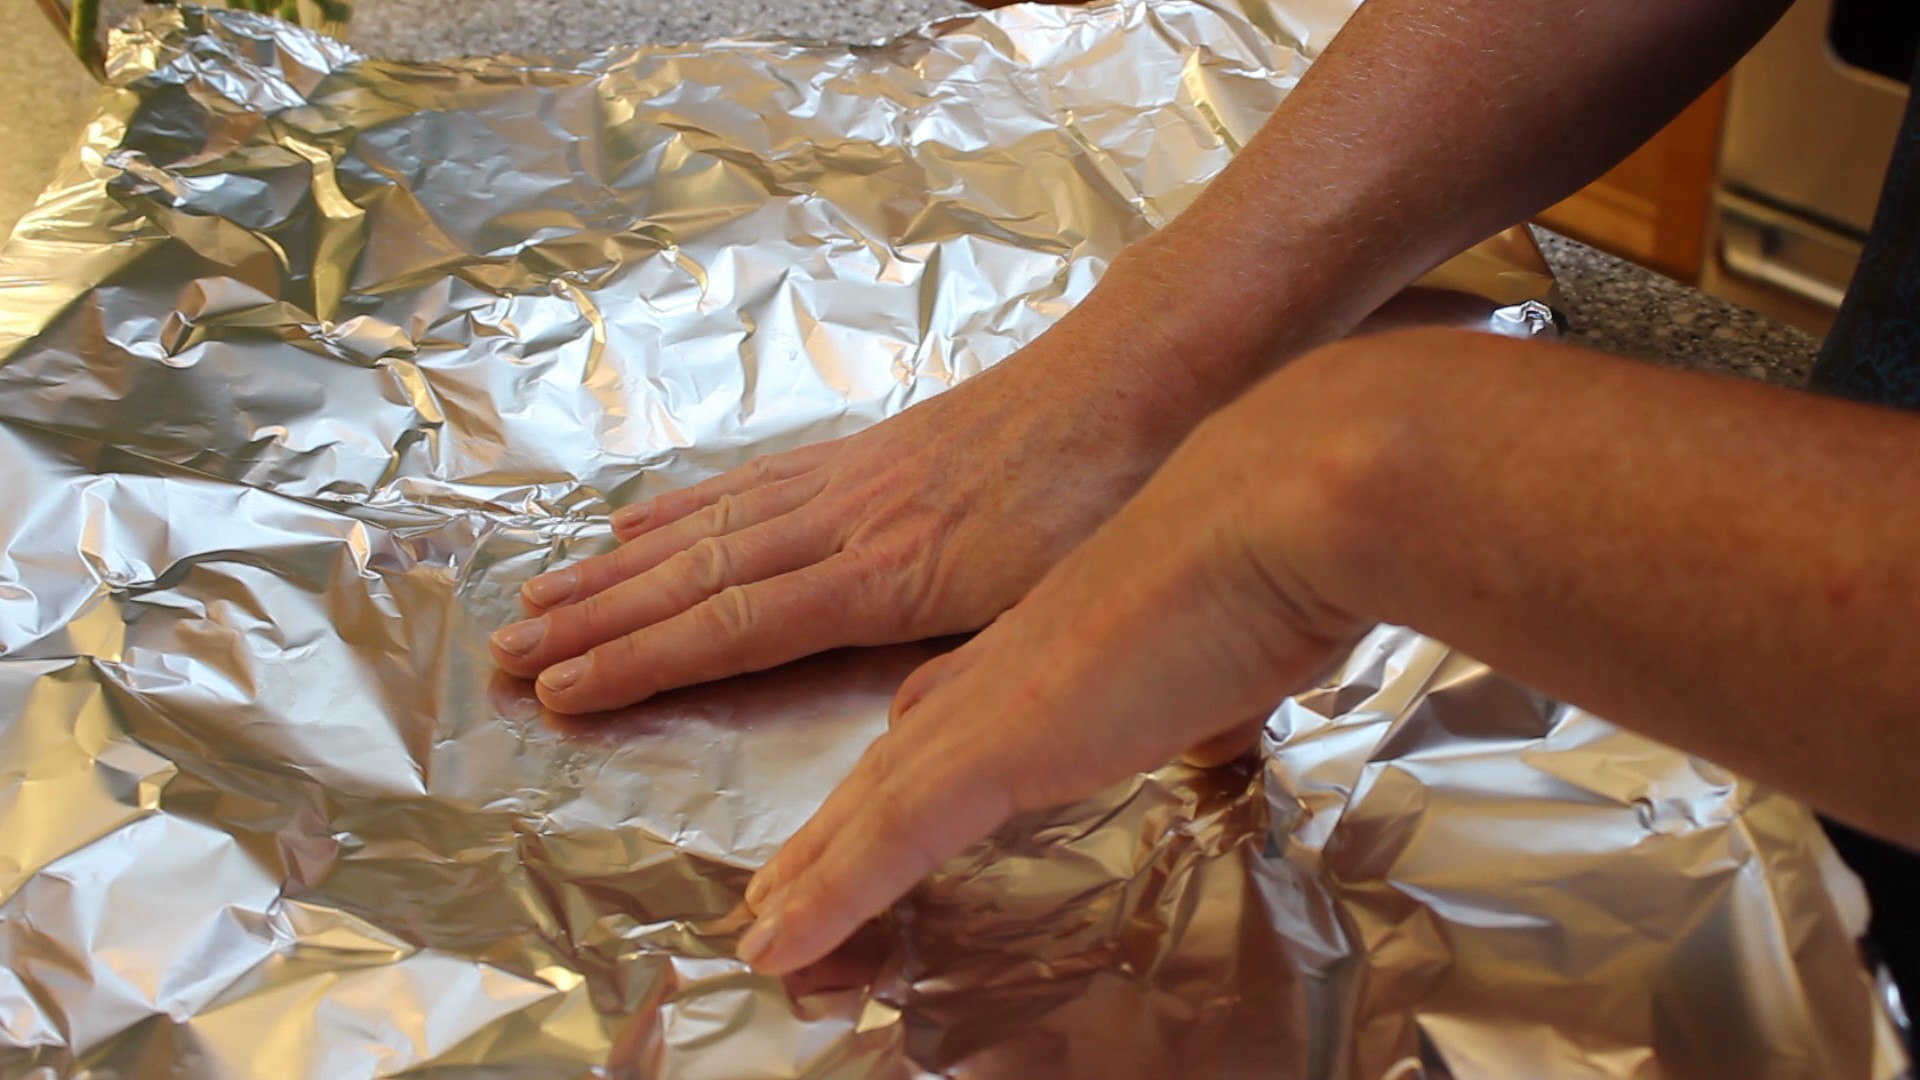
- Lightly spray cookie sheet with Pam-canola oil to help keep parchment in place while you are shaping the meringue into a circle
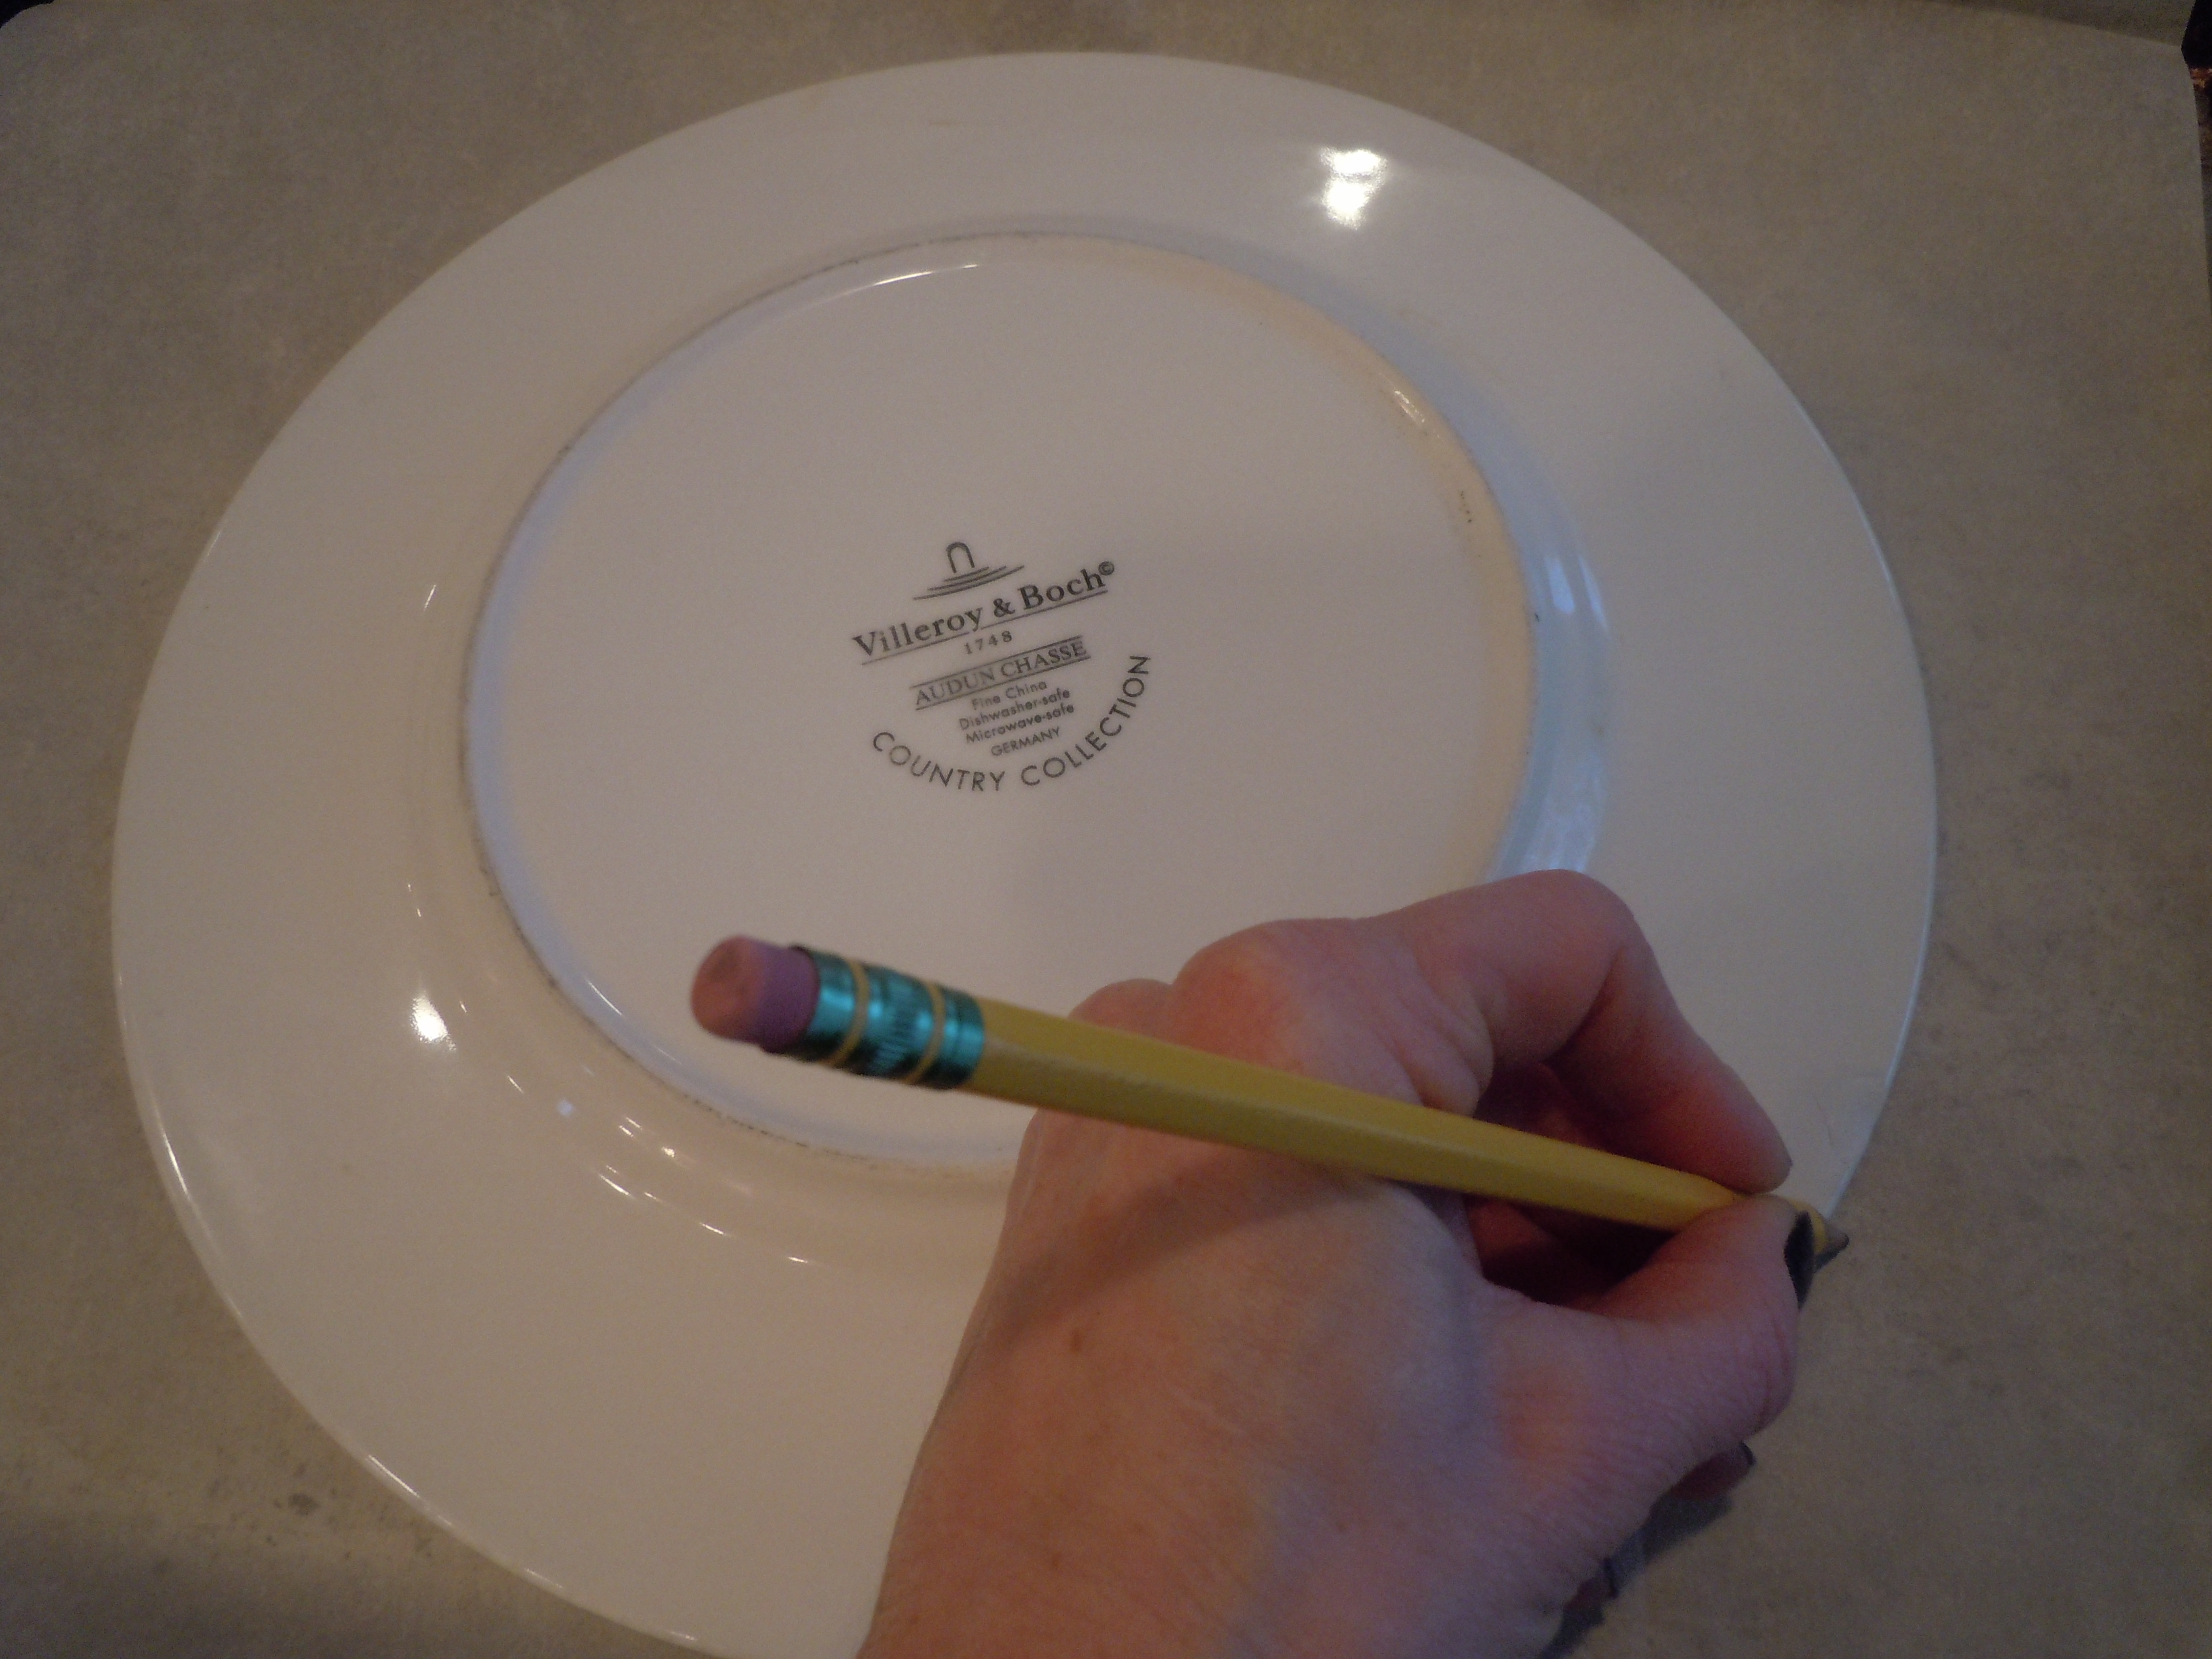
- You can use tin foil that is coated with butter on both sides and placed over a oven proof dish OR trace the outside of a 9″ dinner plate on a piece of parchment and flip it over so the drawing is facing down and place onto sprayed cookie sheet (top of parchment is clean and dry)
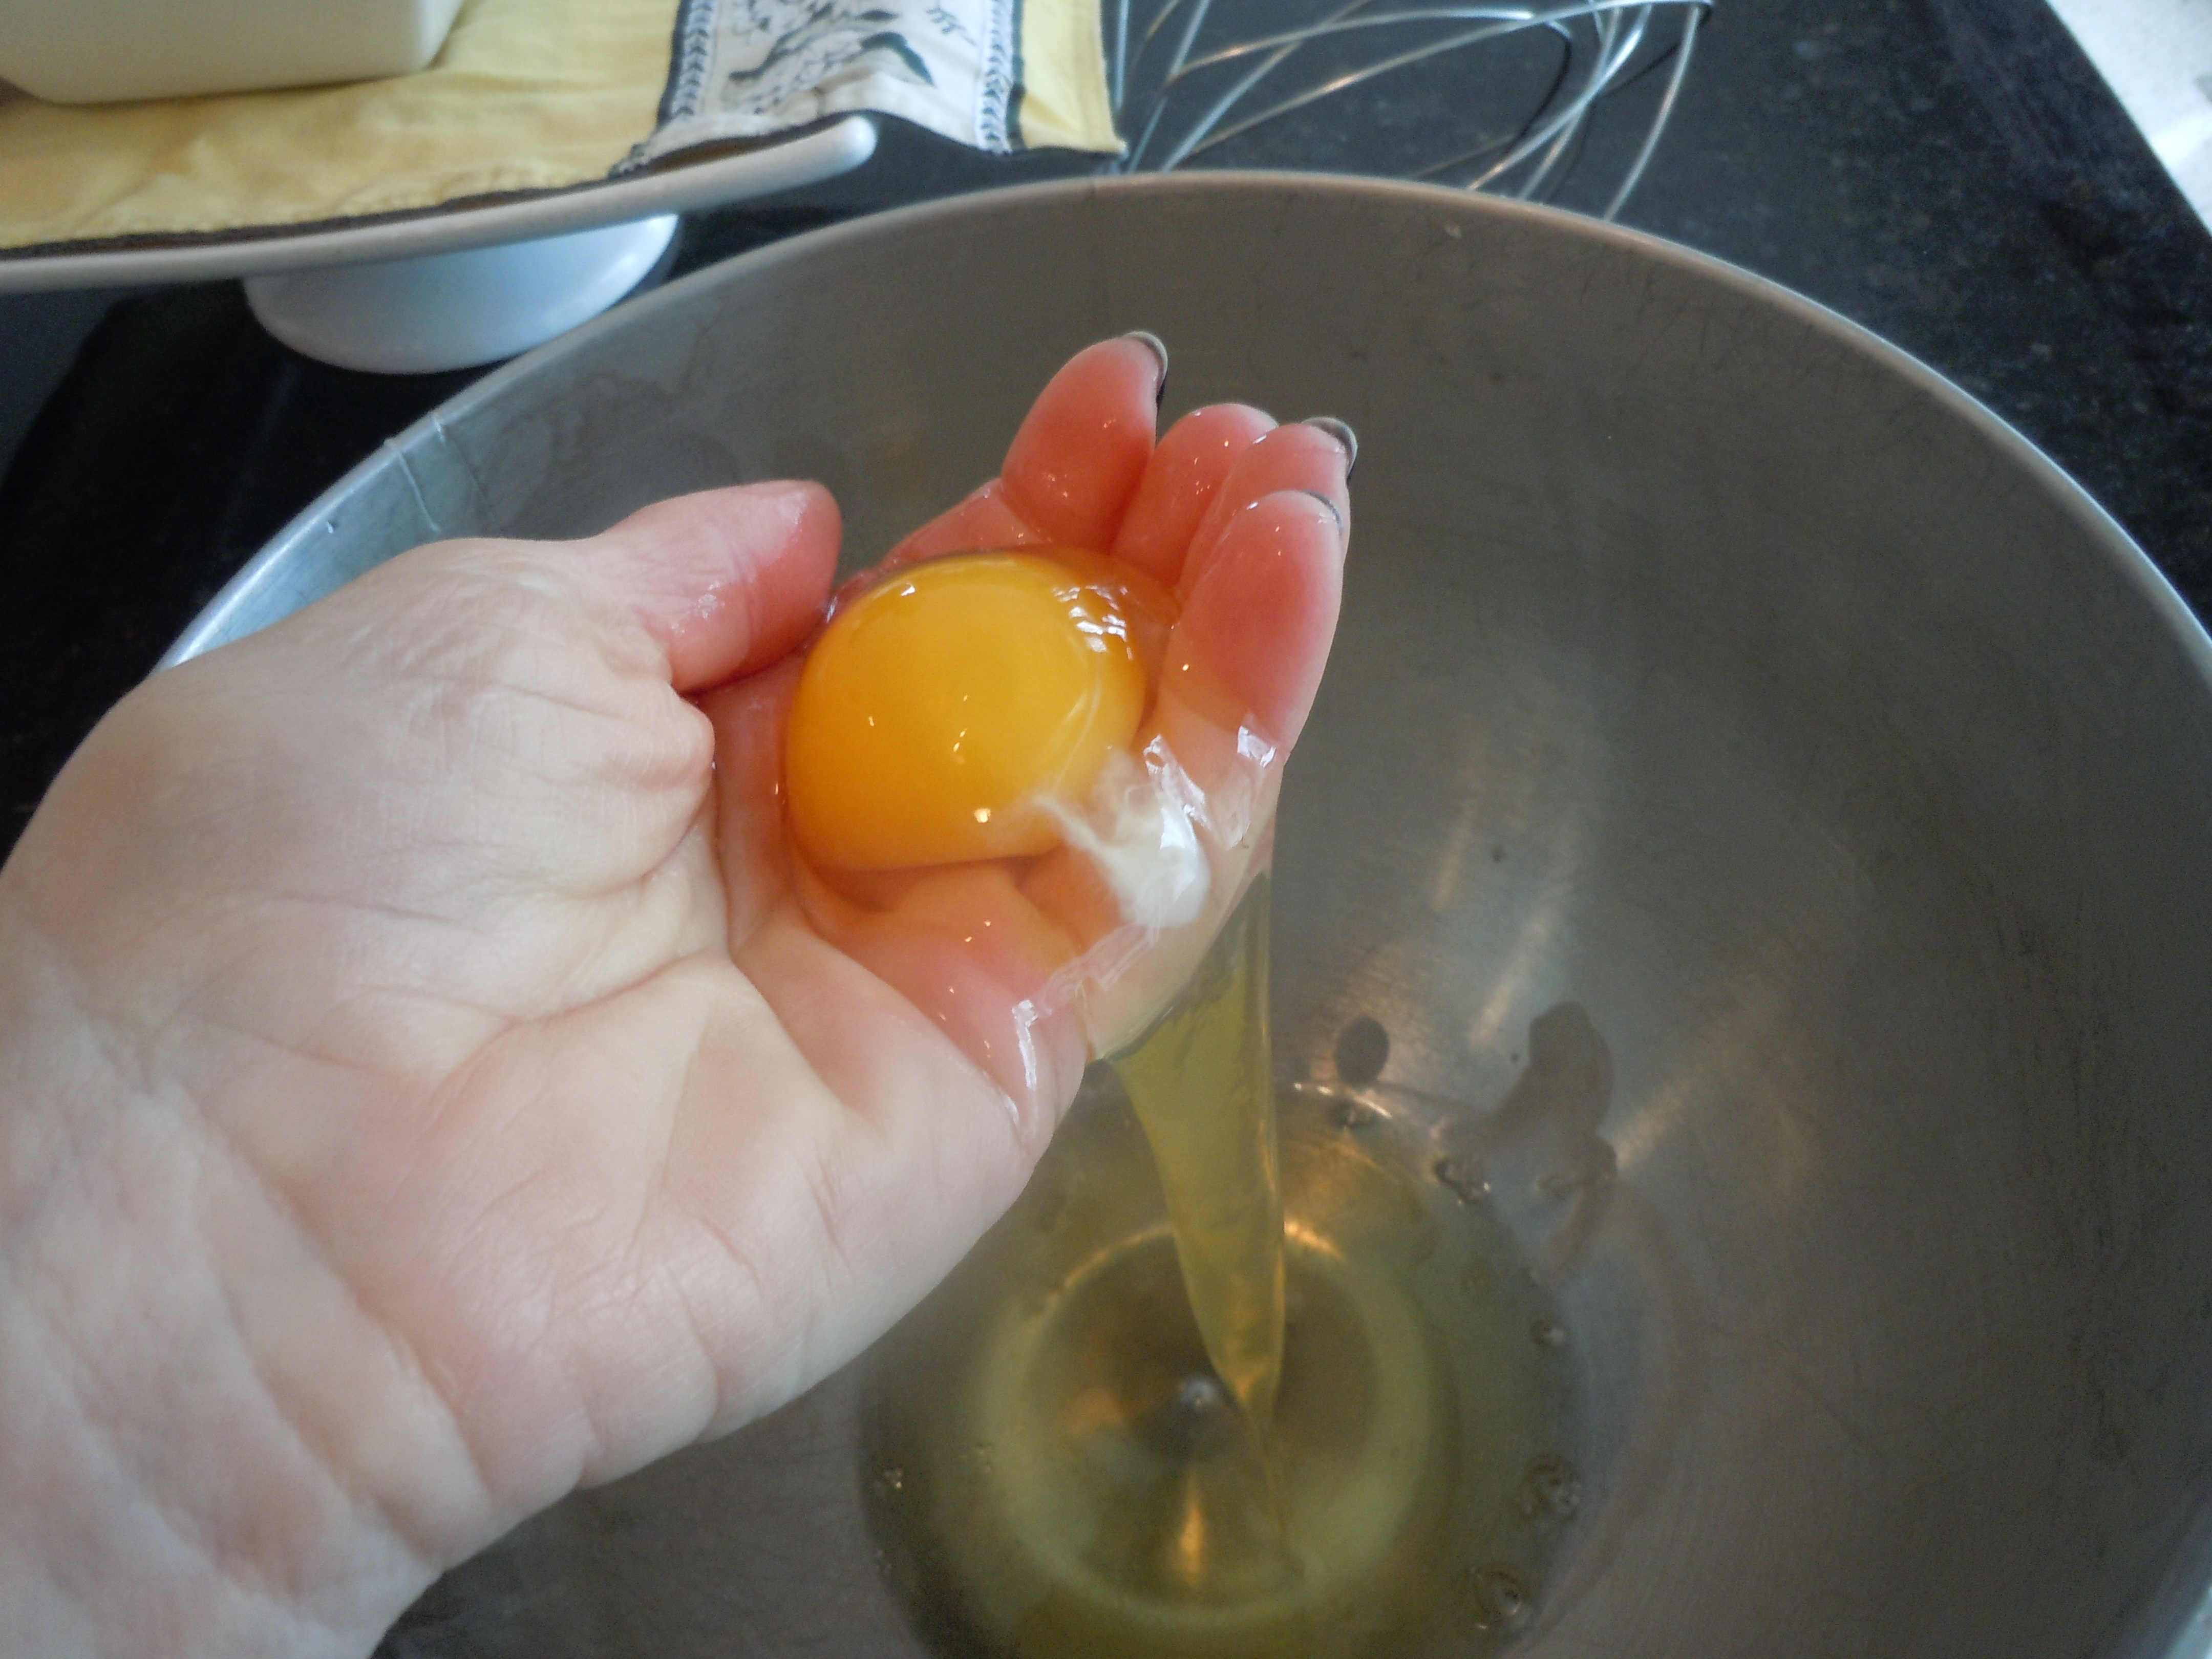
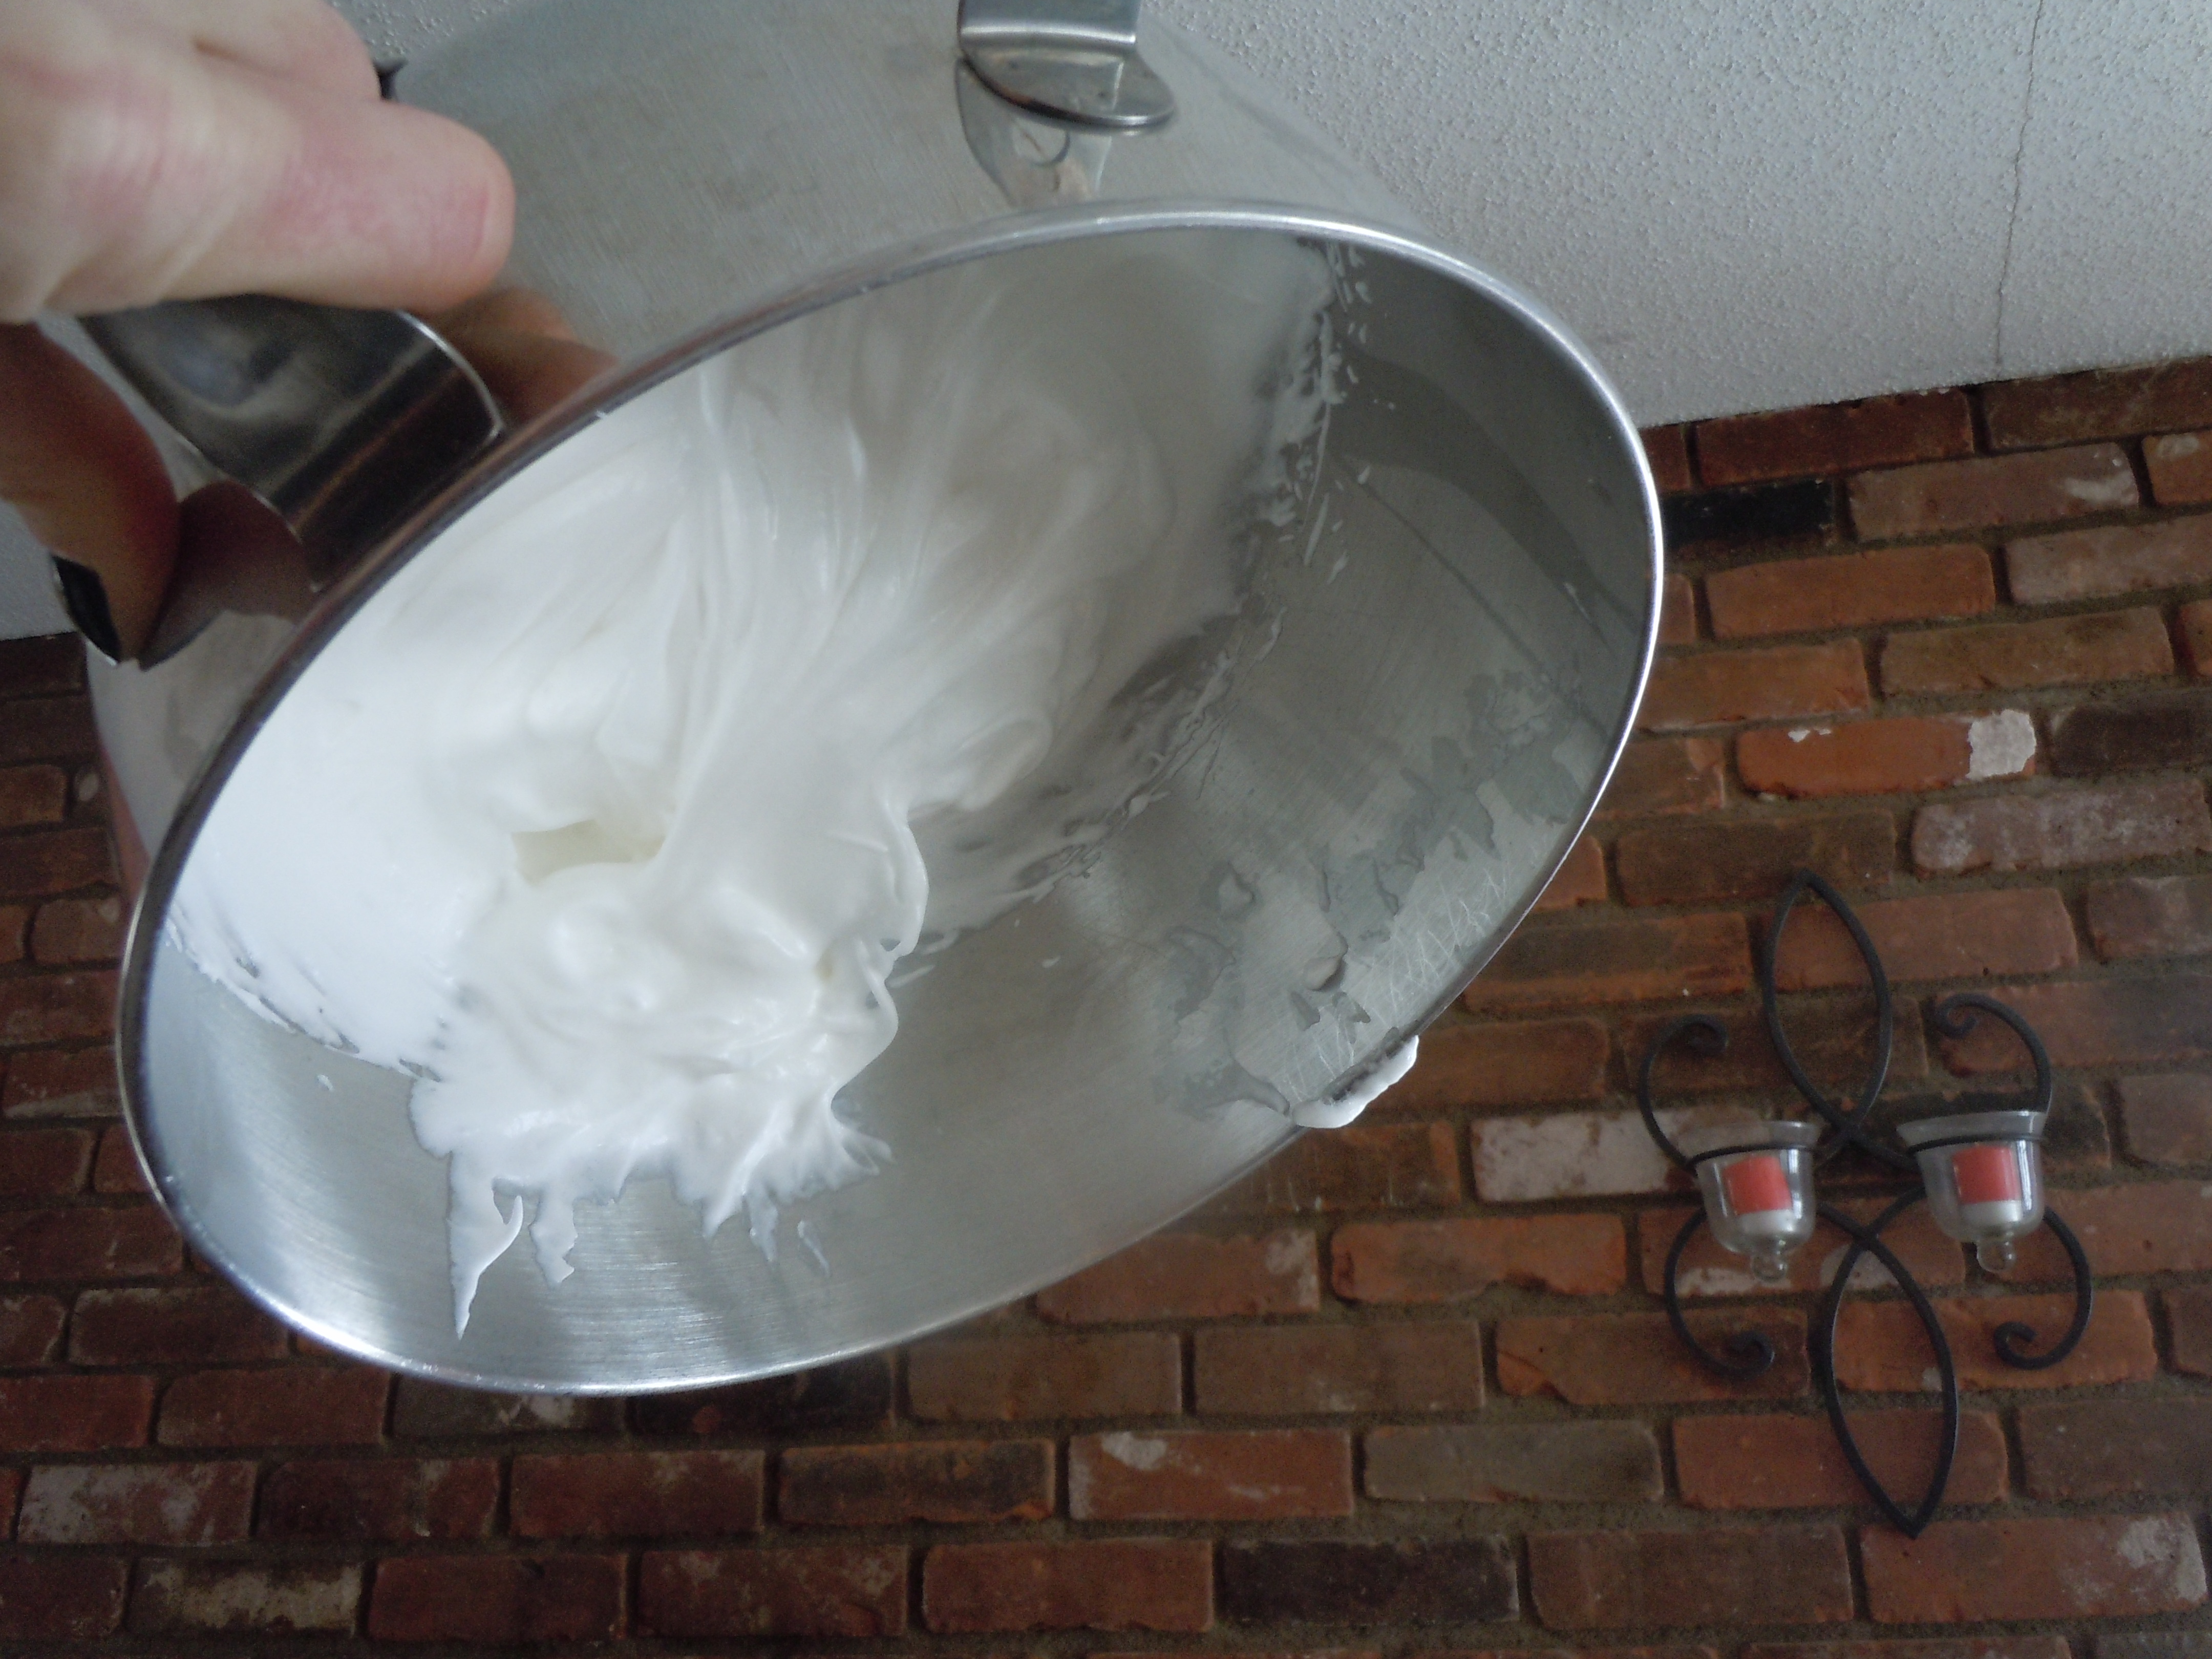
- Separate egg whites from the yolks using your hands – it’s the best way to ensure you won’t break the yolk & having the eggs at room temperature helps you get more volume when you whisk
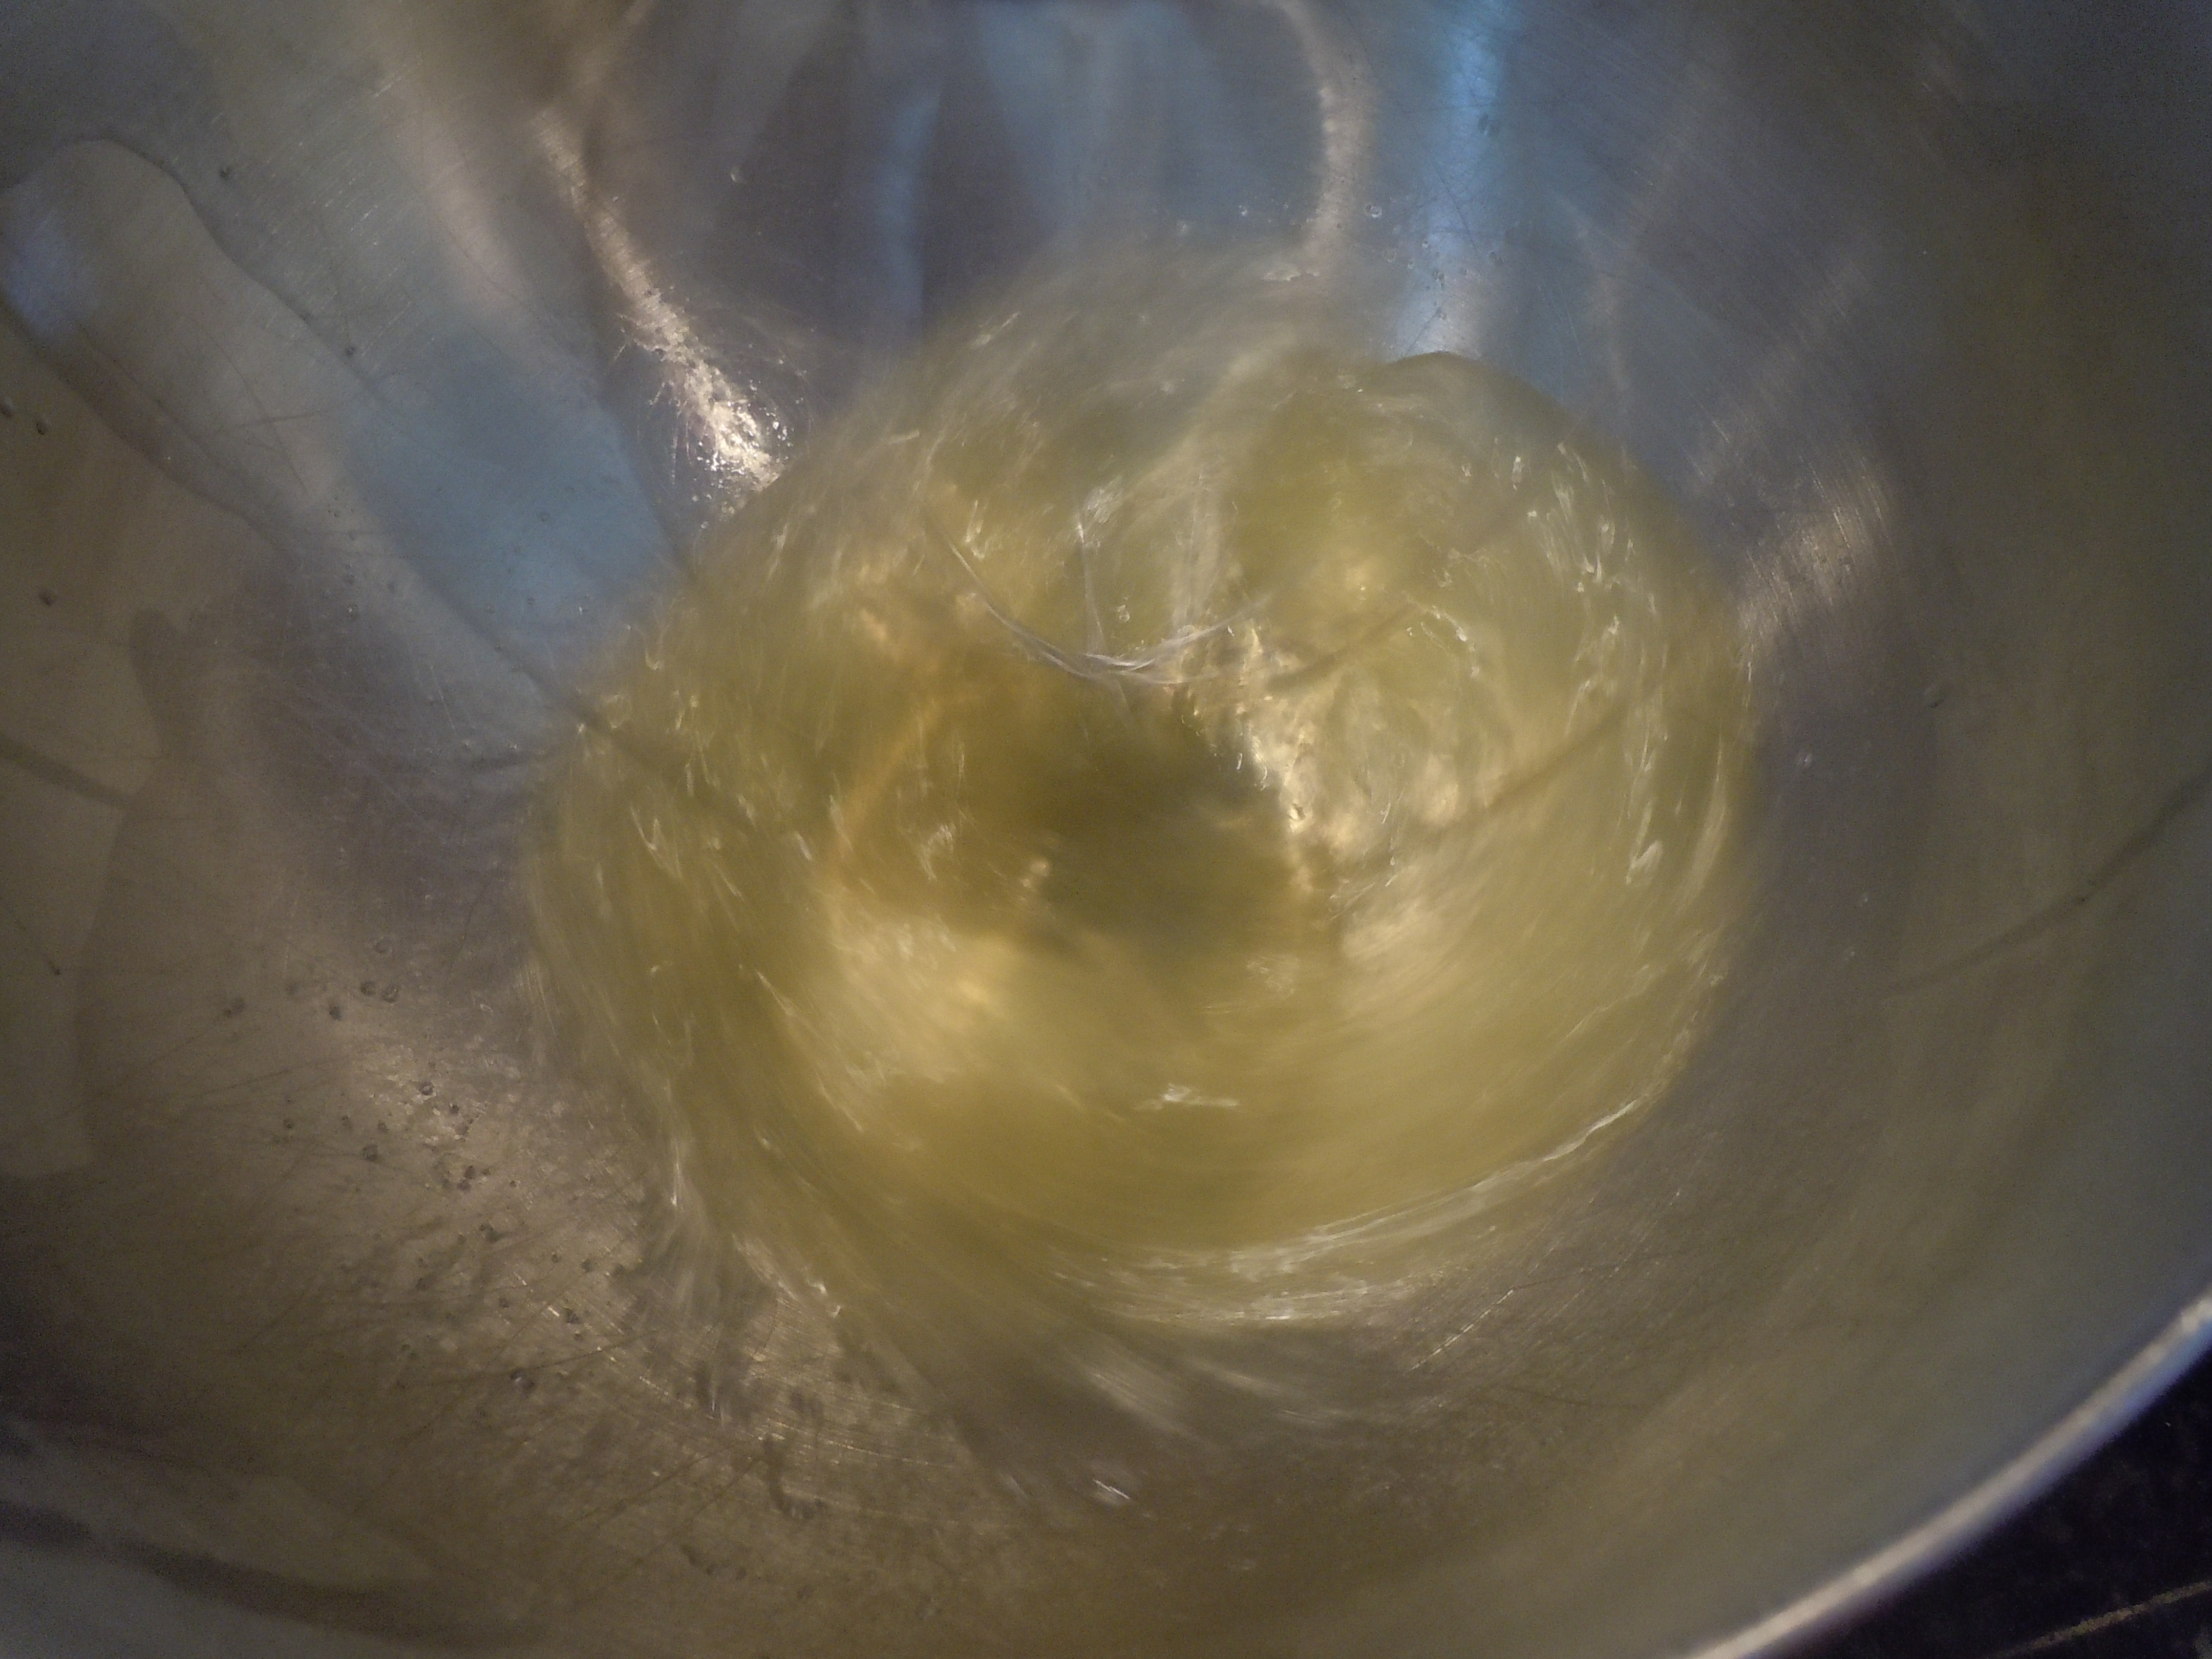
- Put the egg whites into kitchen aid mixing bowl with whisk attachment (or electric mixer and large mixing bowl)
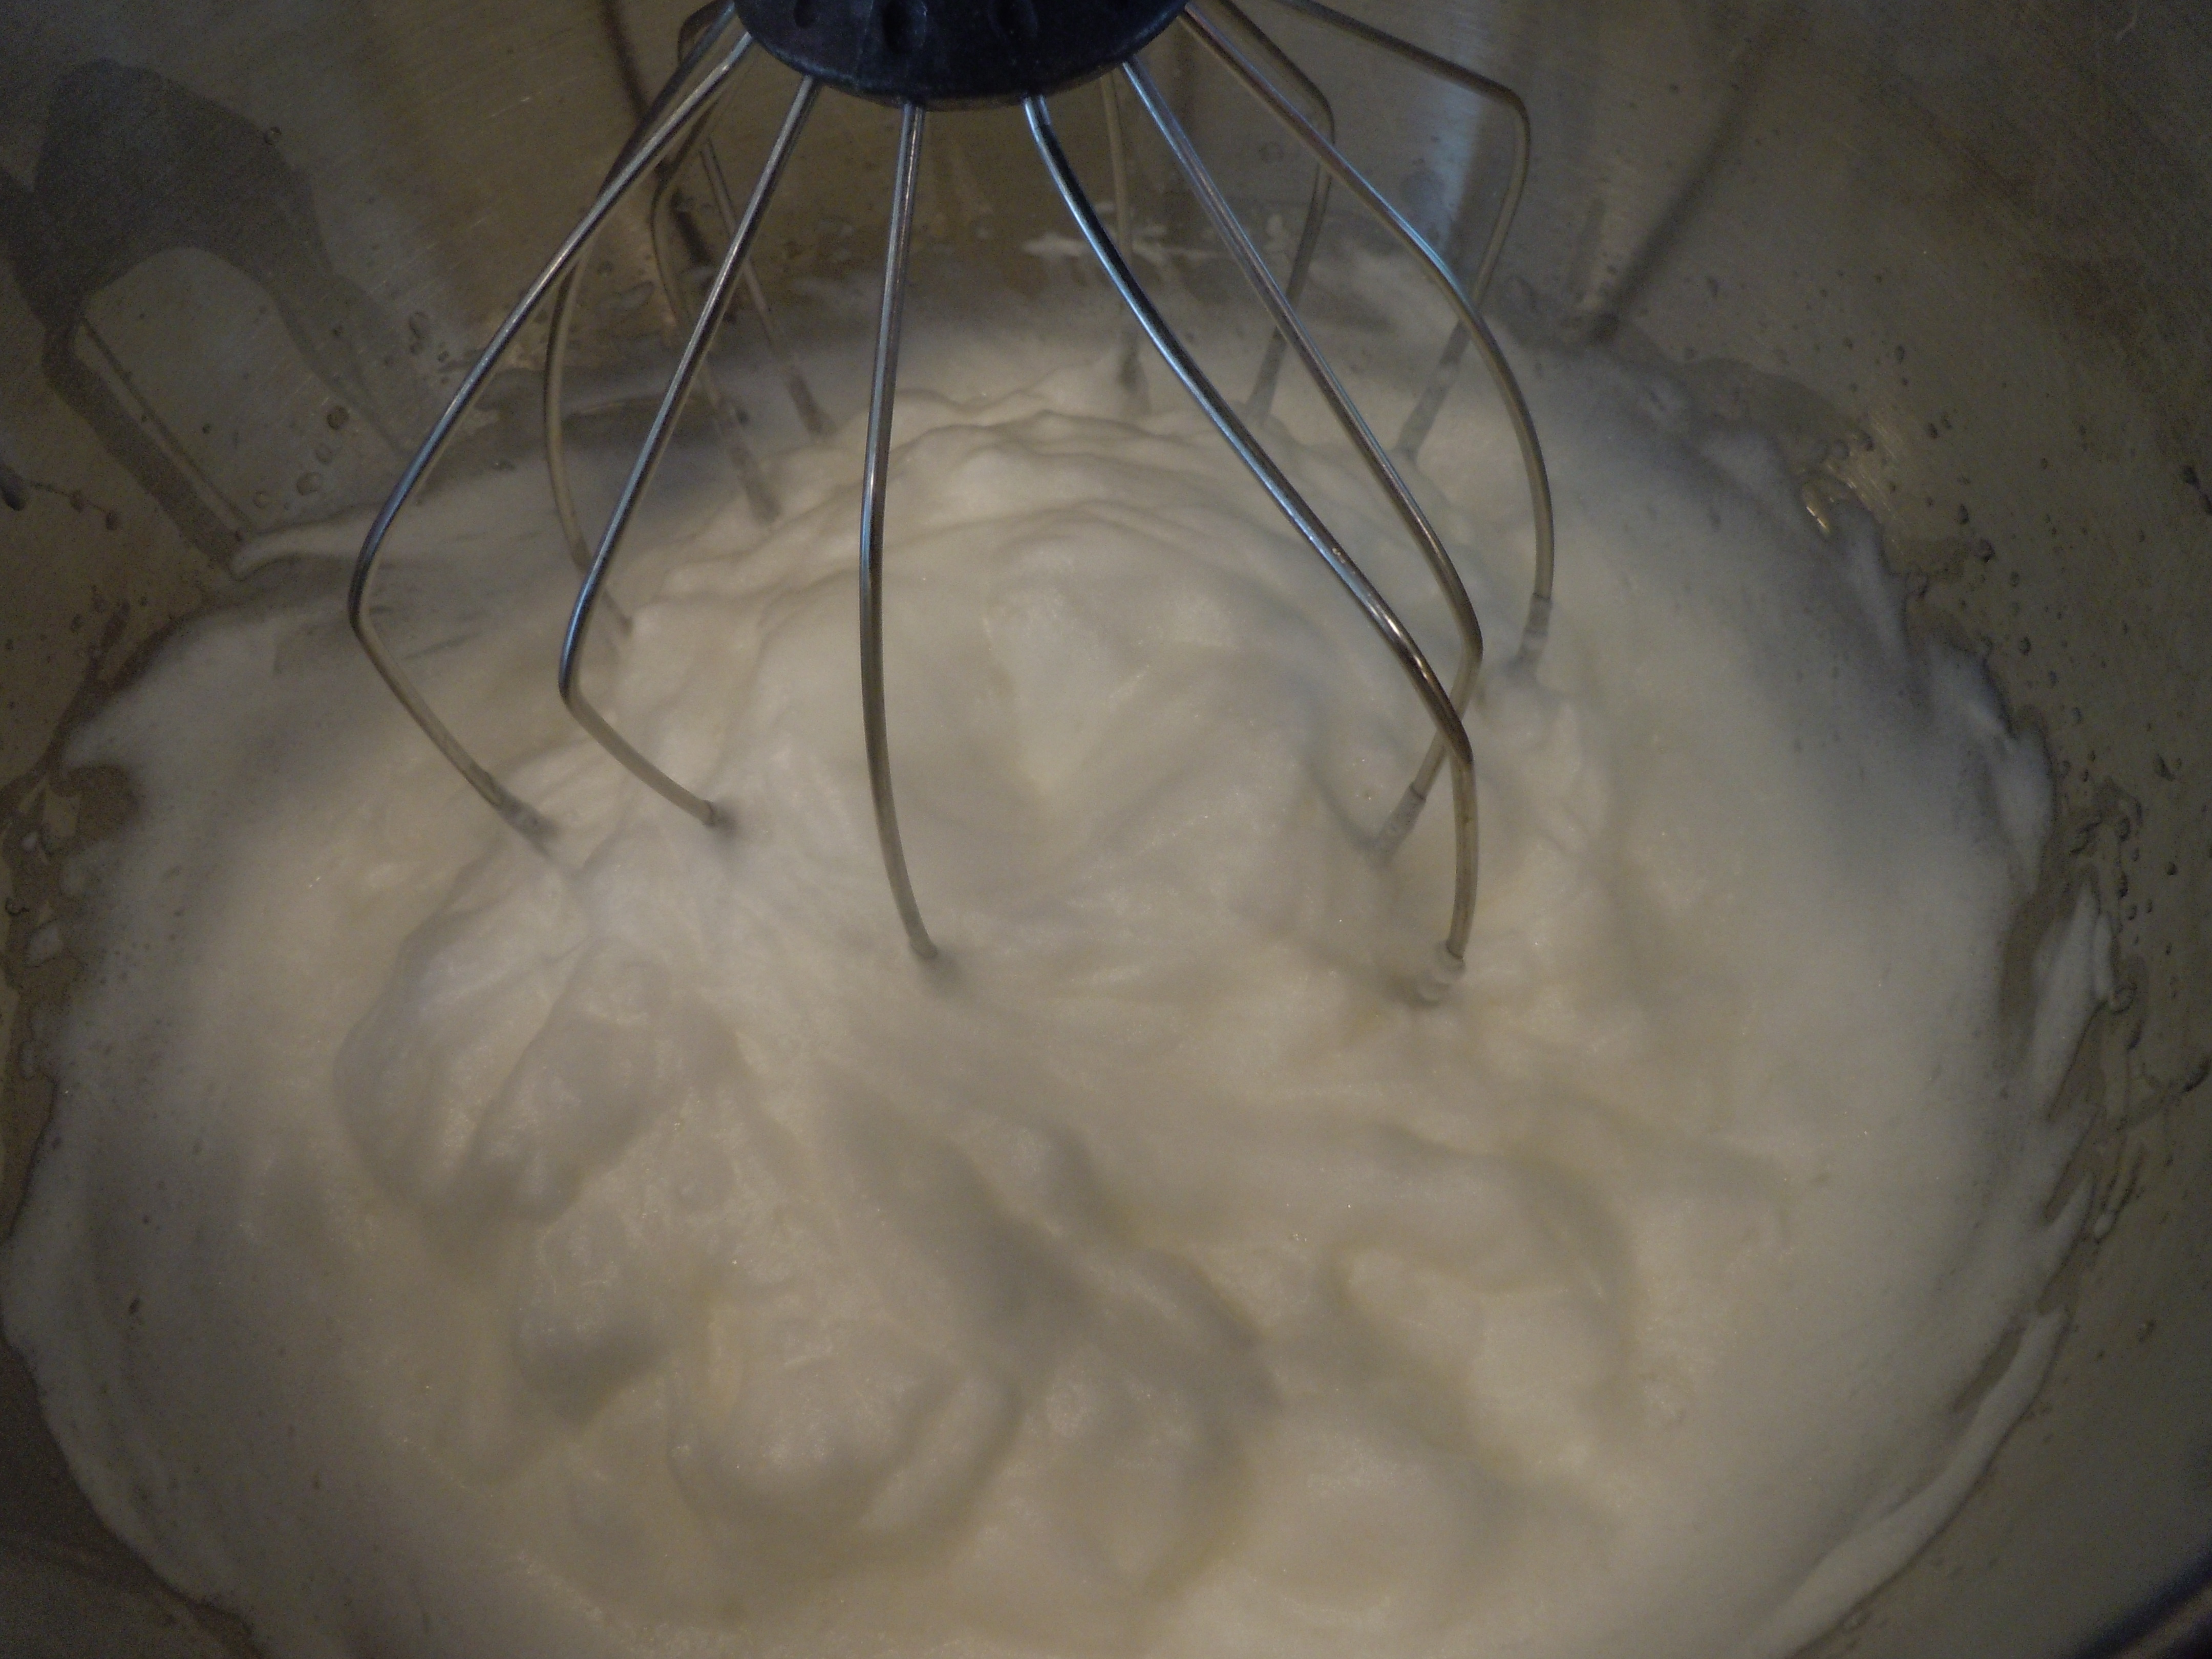
- Beat egg whites on medium/high speed (#8) til it begins to looks white, and firm and you see volume form – 4 minutes here)
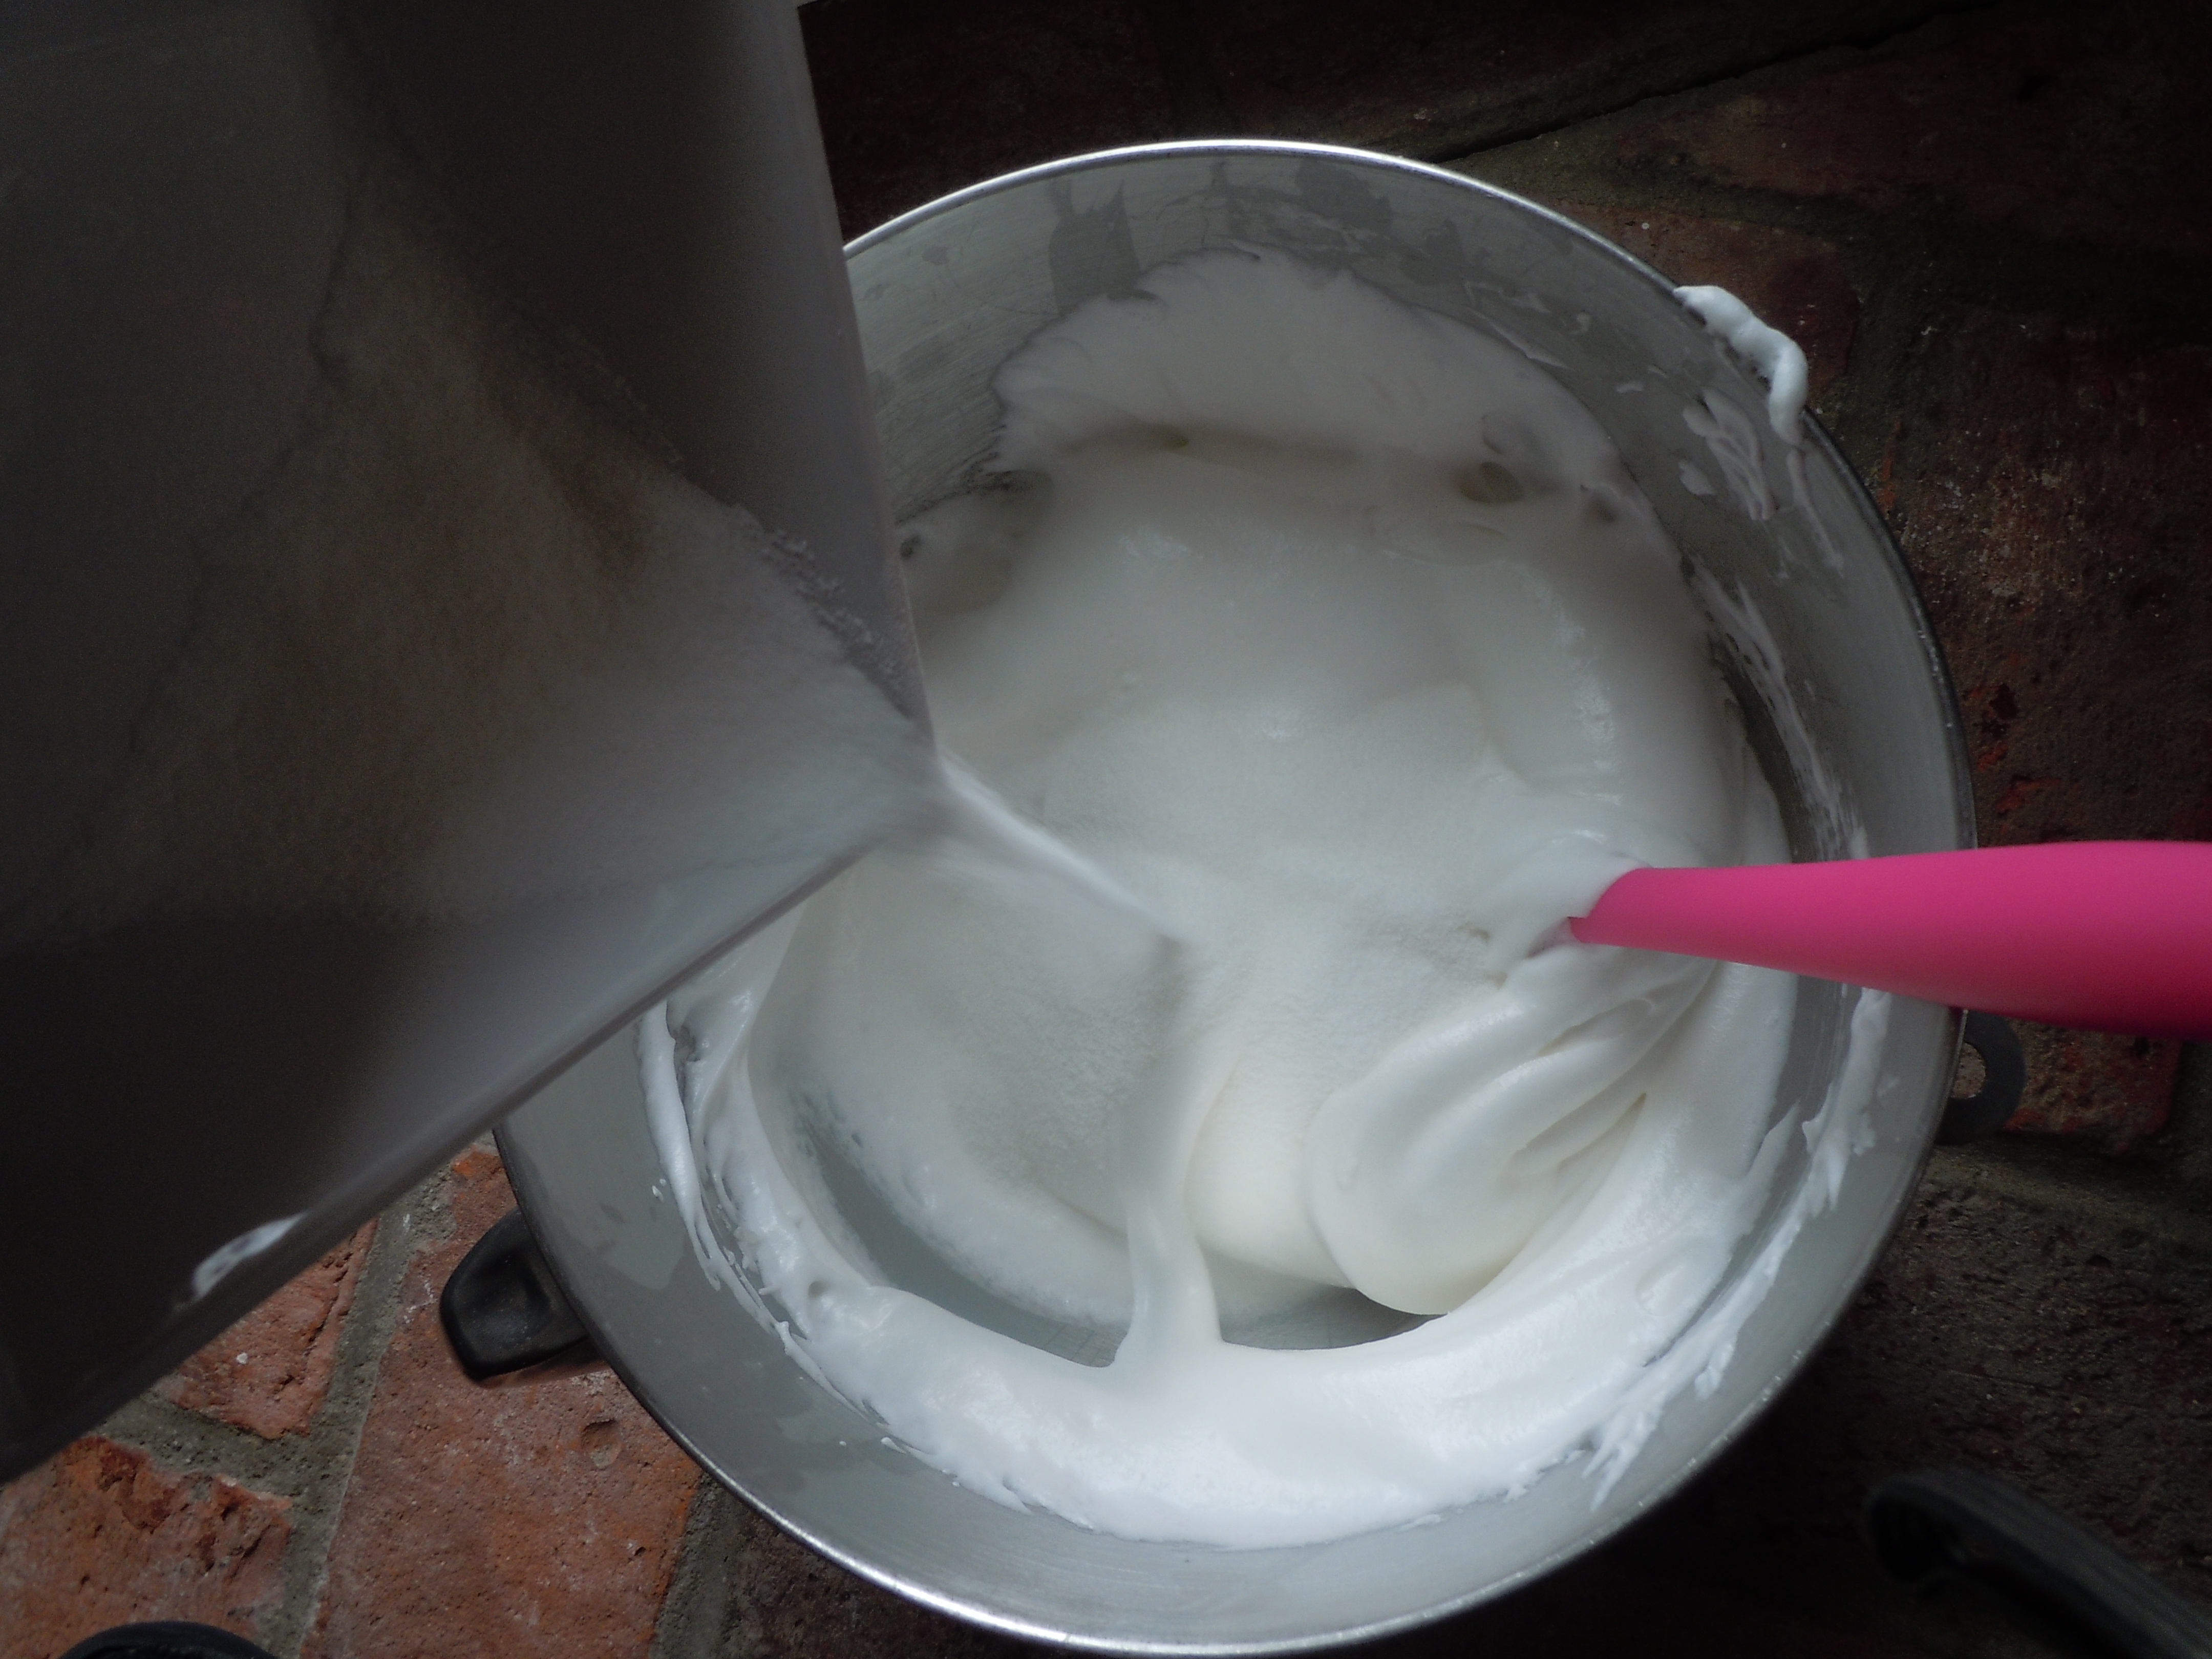
- Begin to add 1/2 cup of sugar, and whisk- you will see the whites becoming shiny
- Add 2 Tbsp at a time every 15 seconds on medium (#6) speed – the meringue holding stiff peaks and looking shiny – this will take 3 minutes while adding sugar and 1 more minute after sugar addition is done
- GRAND TOTAL WHISKING 8 MINUTES
- Gently fold in the rest of the 2 tbsp of sugar
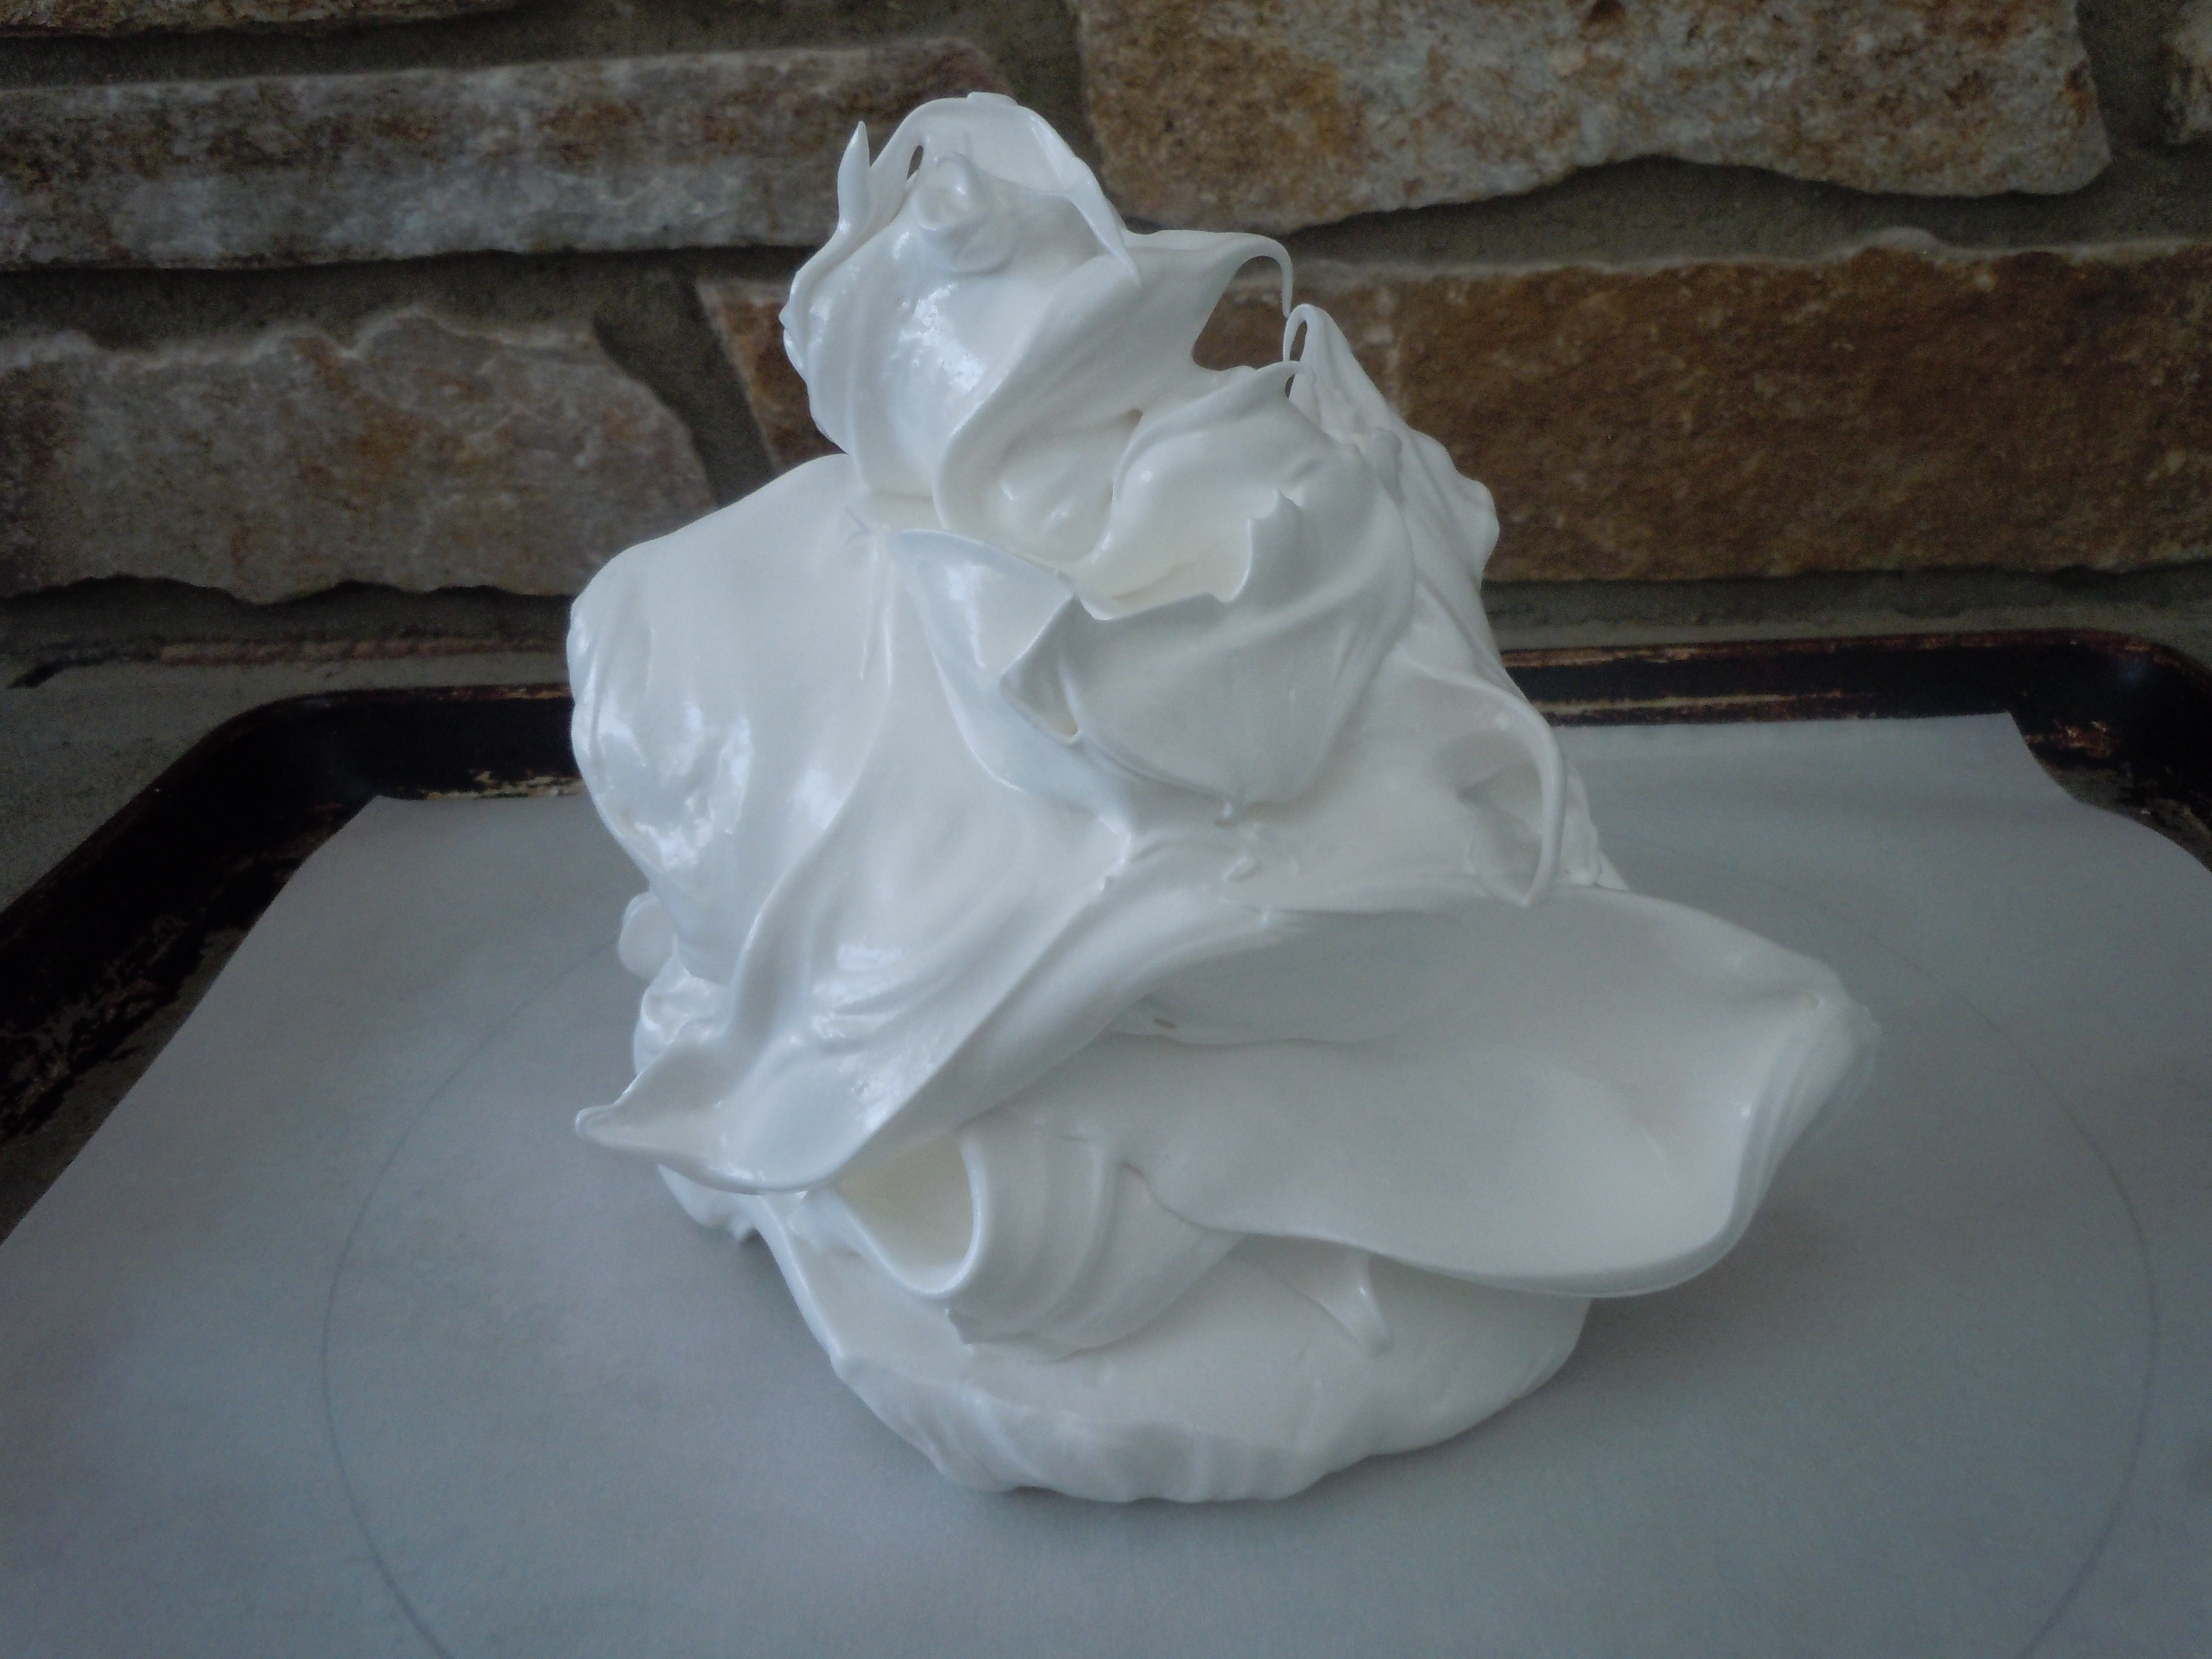
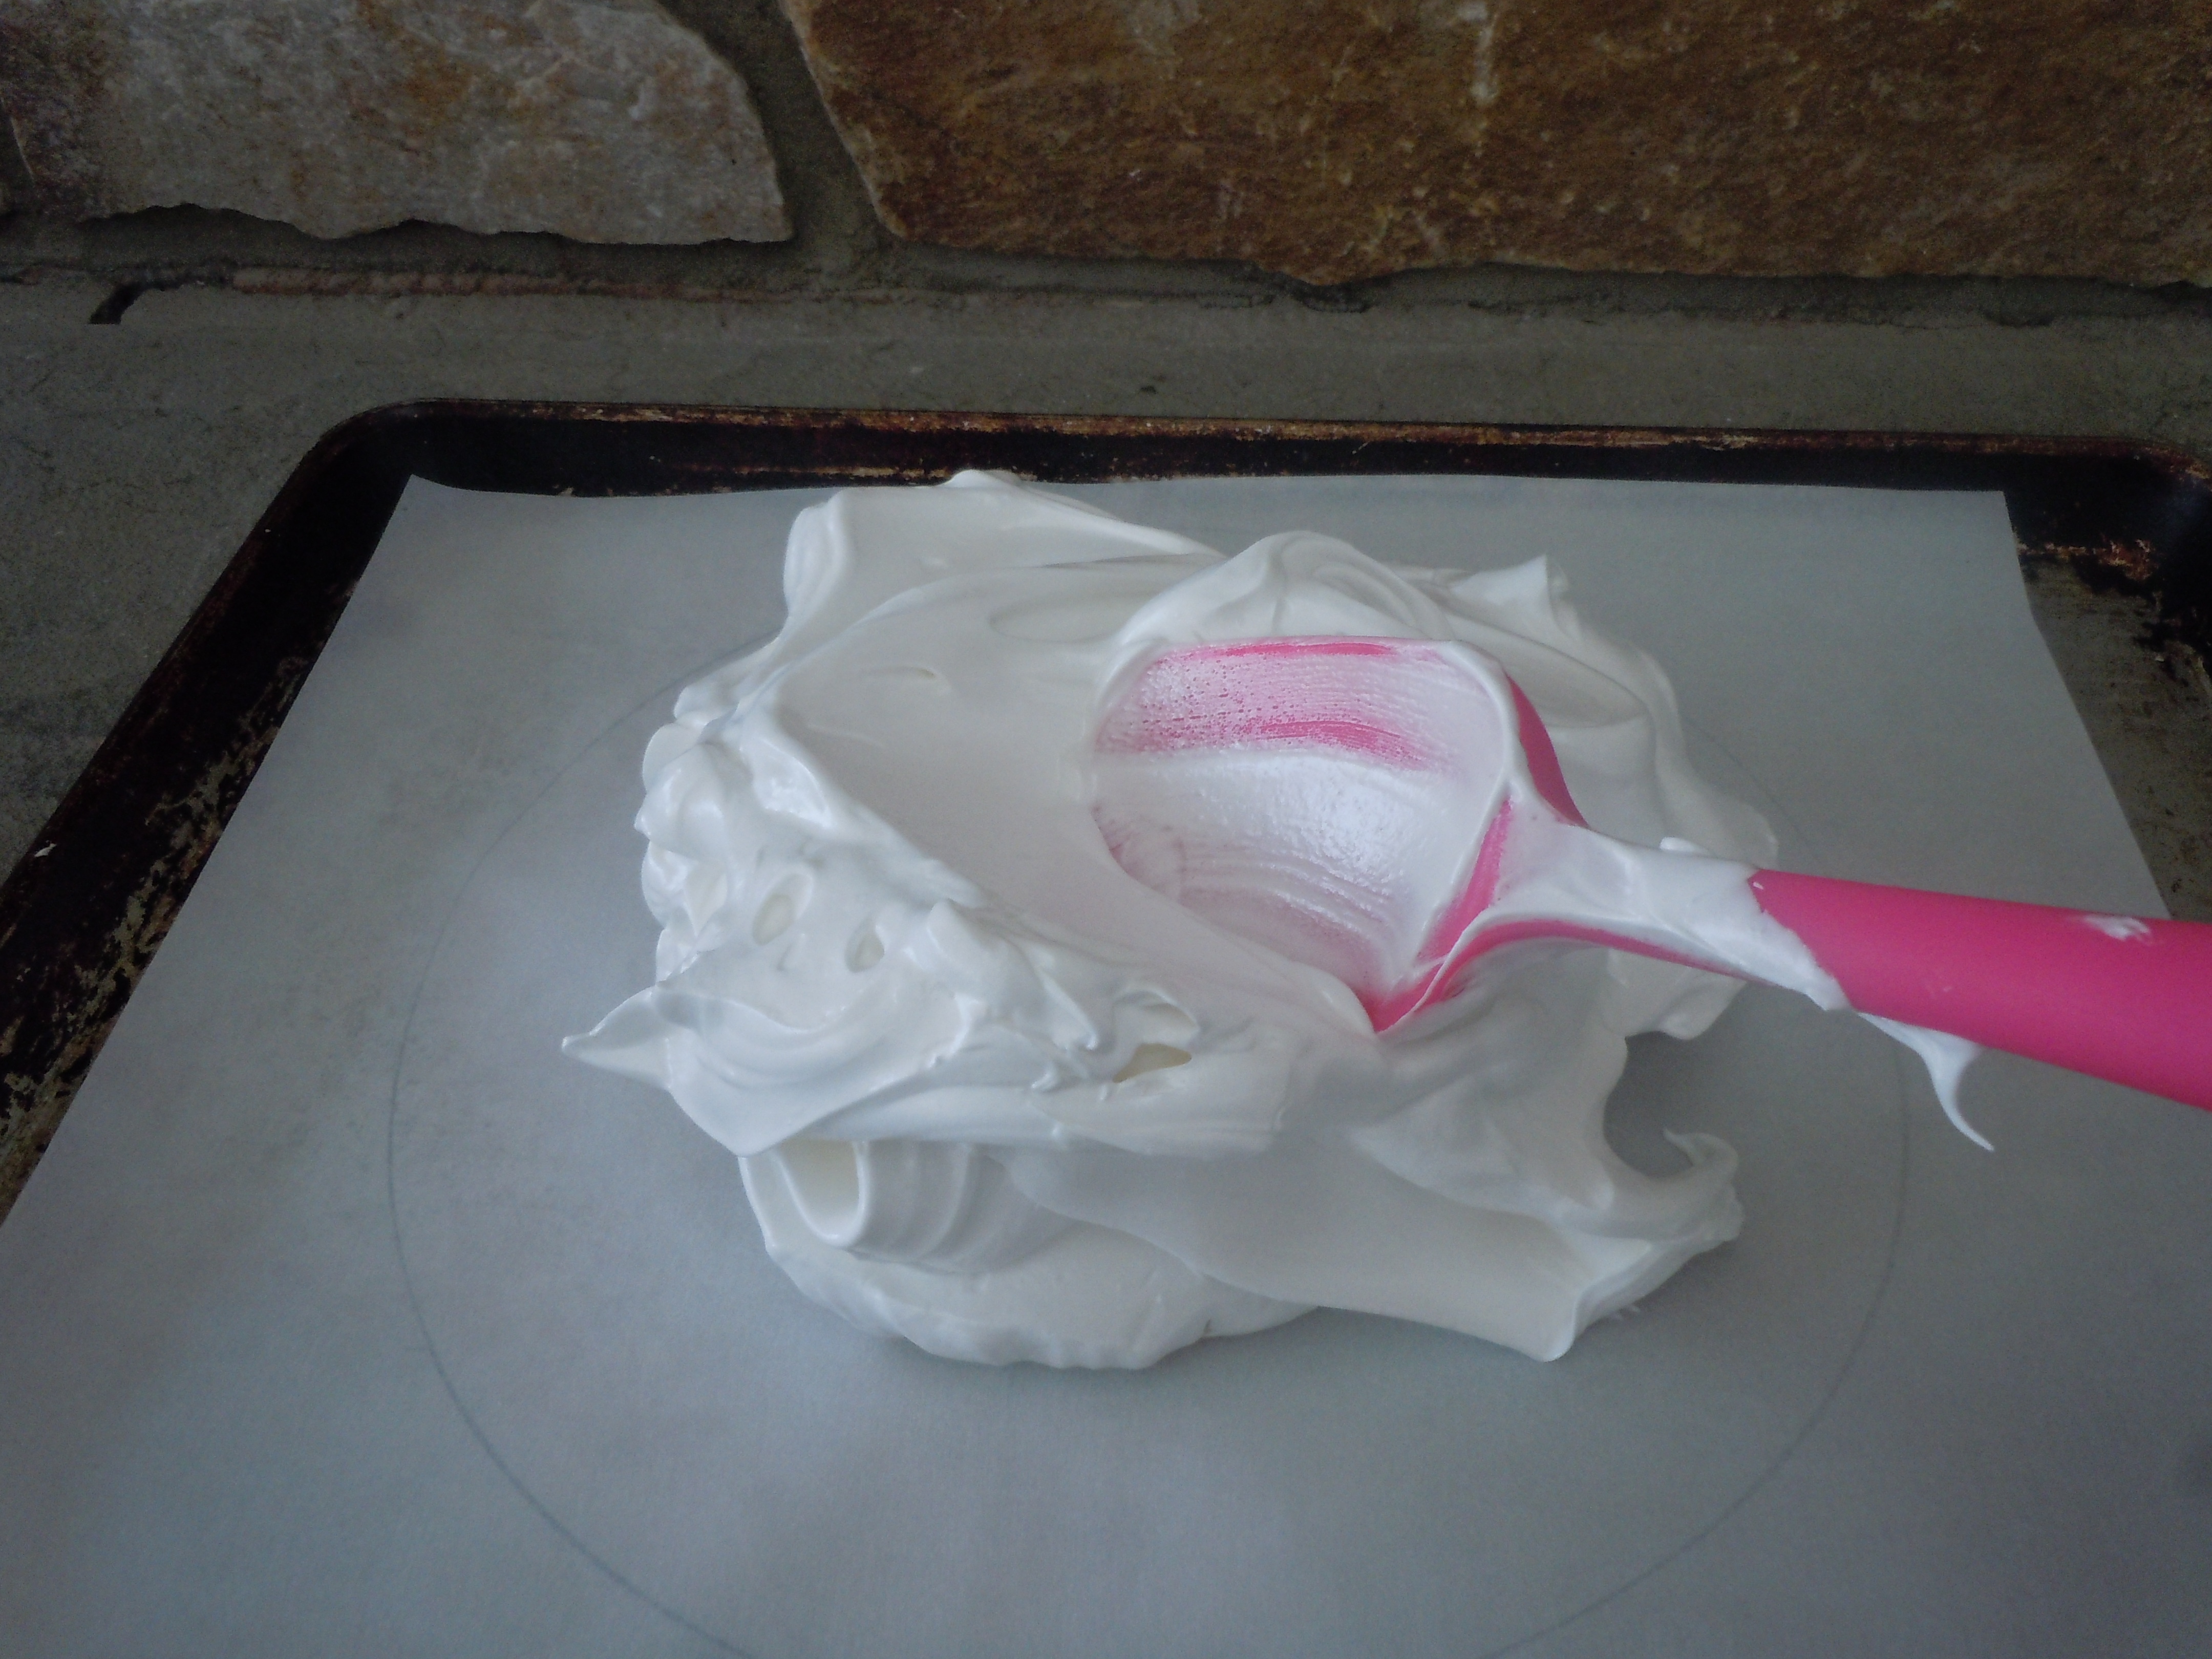
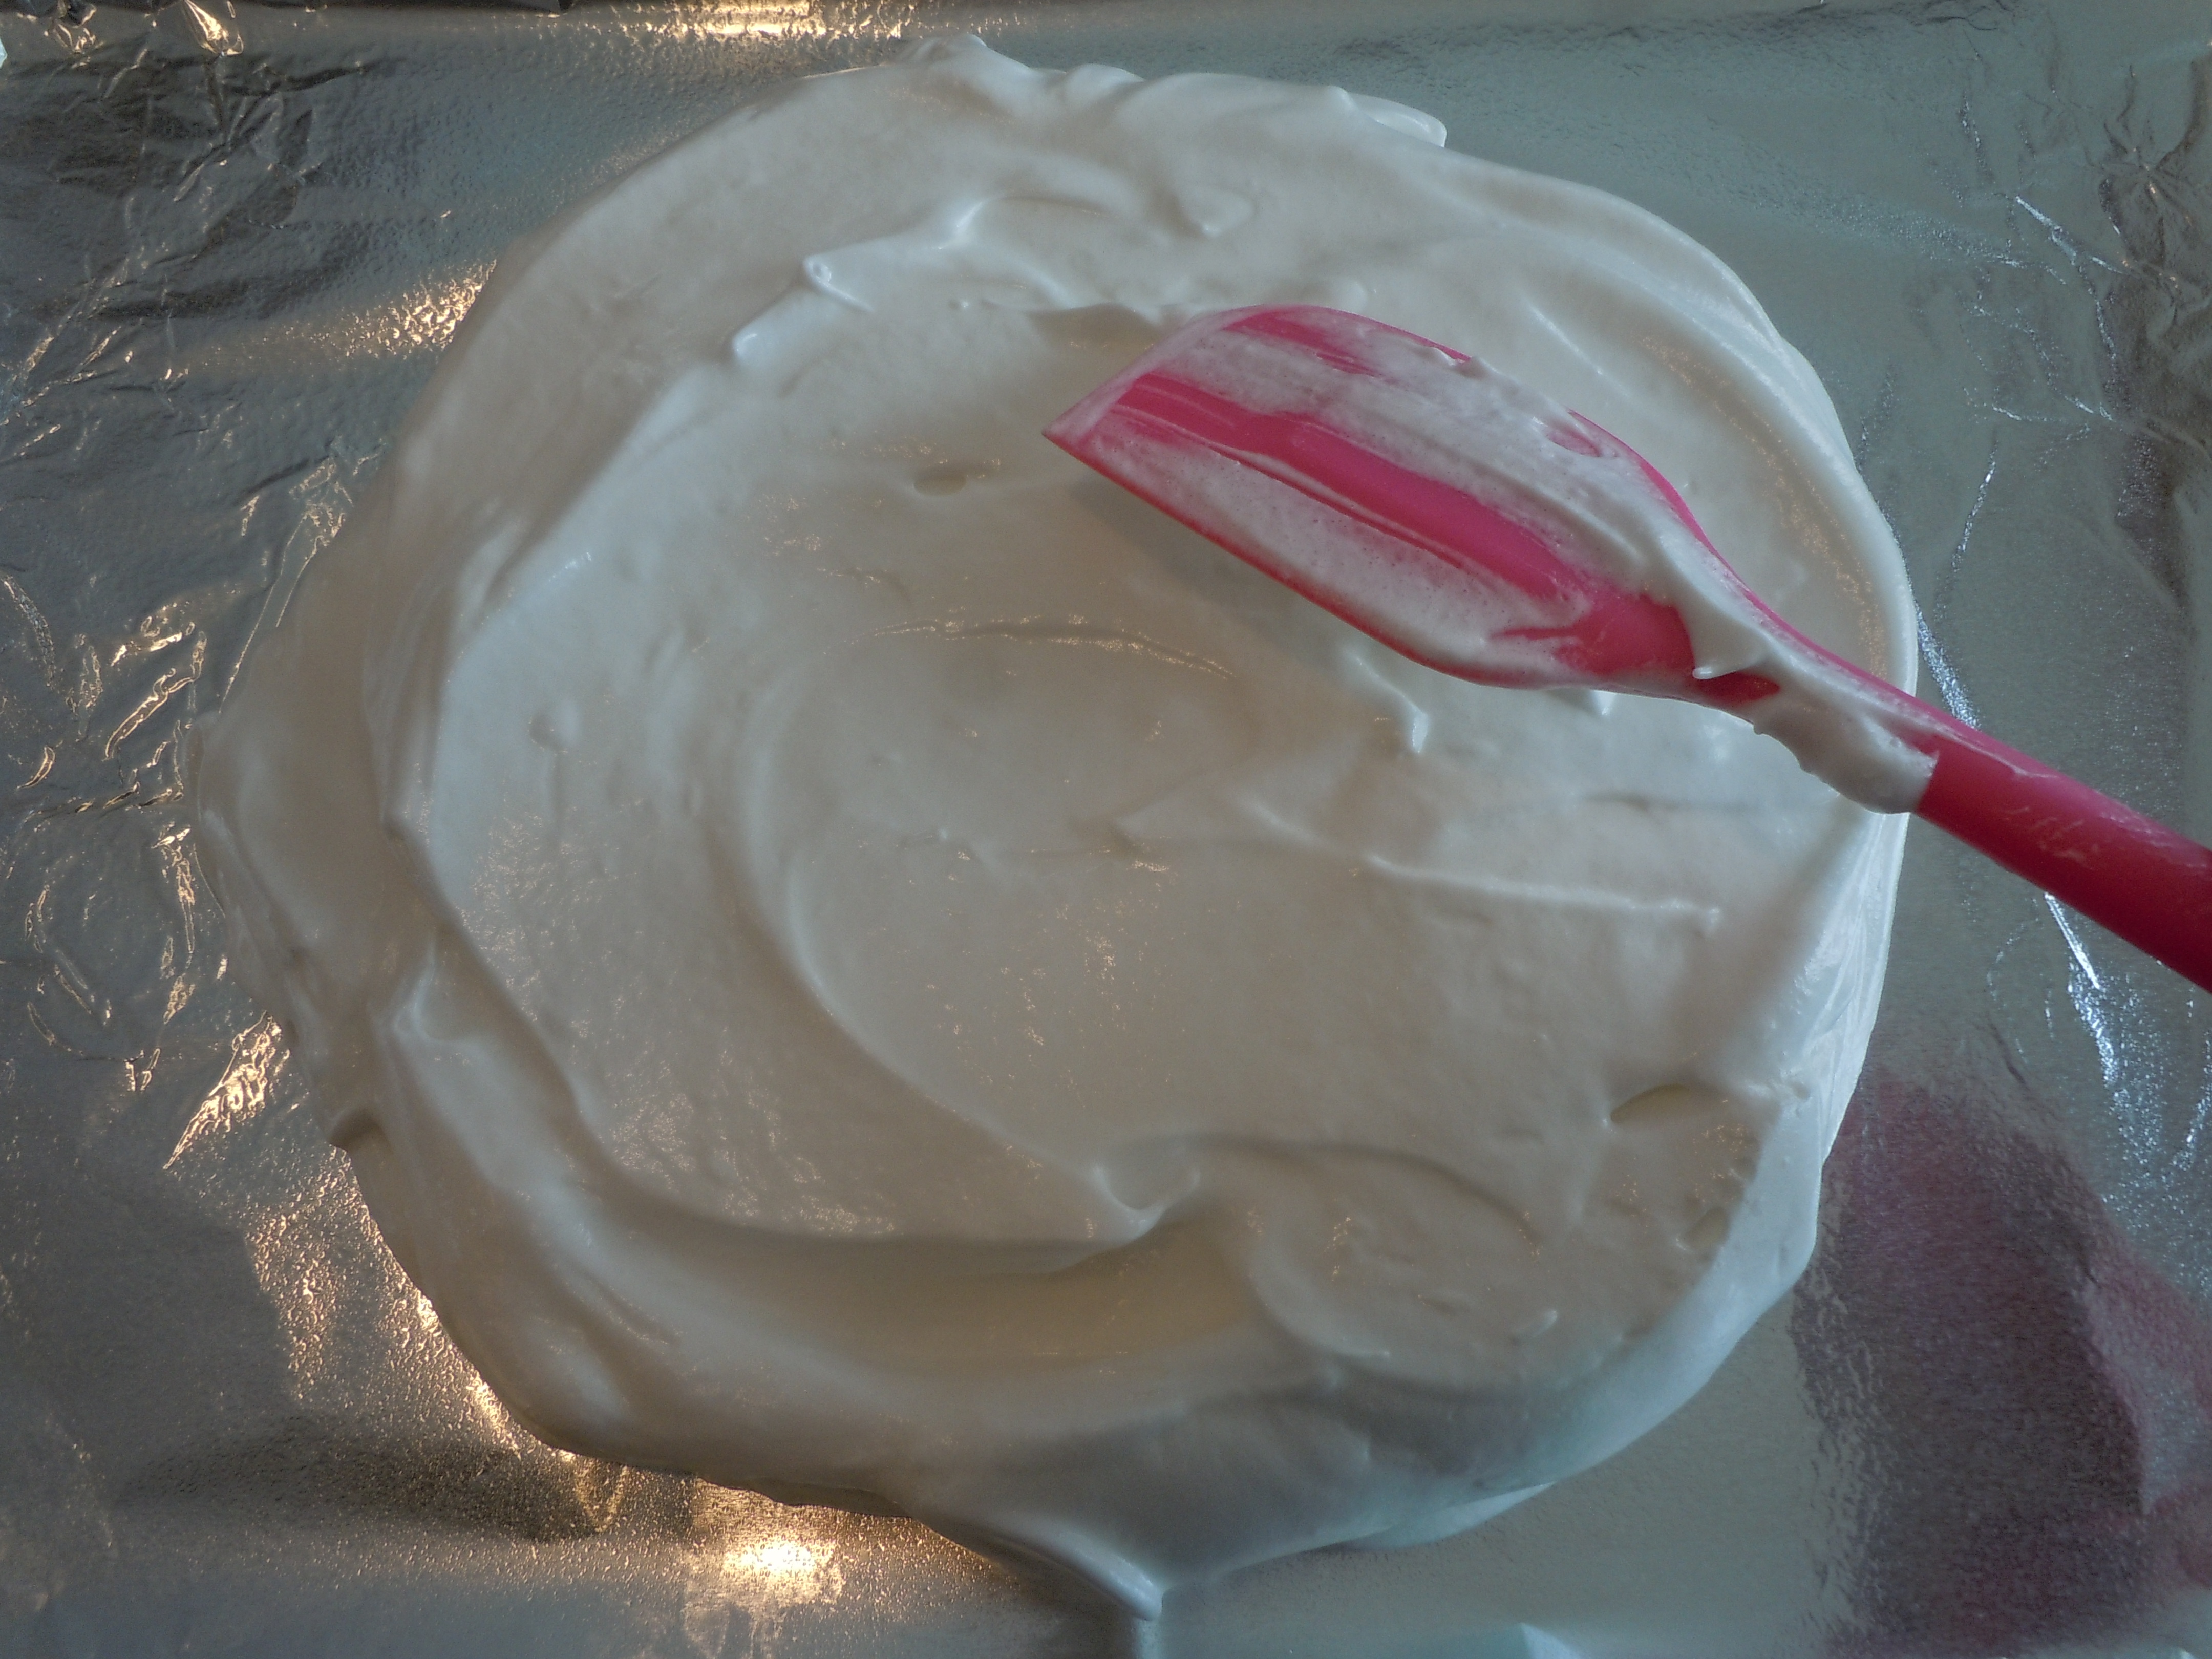
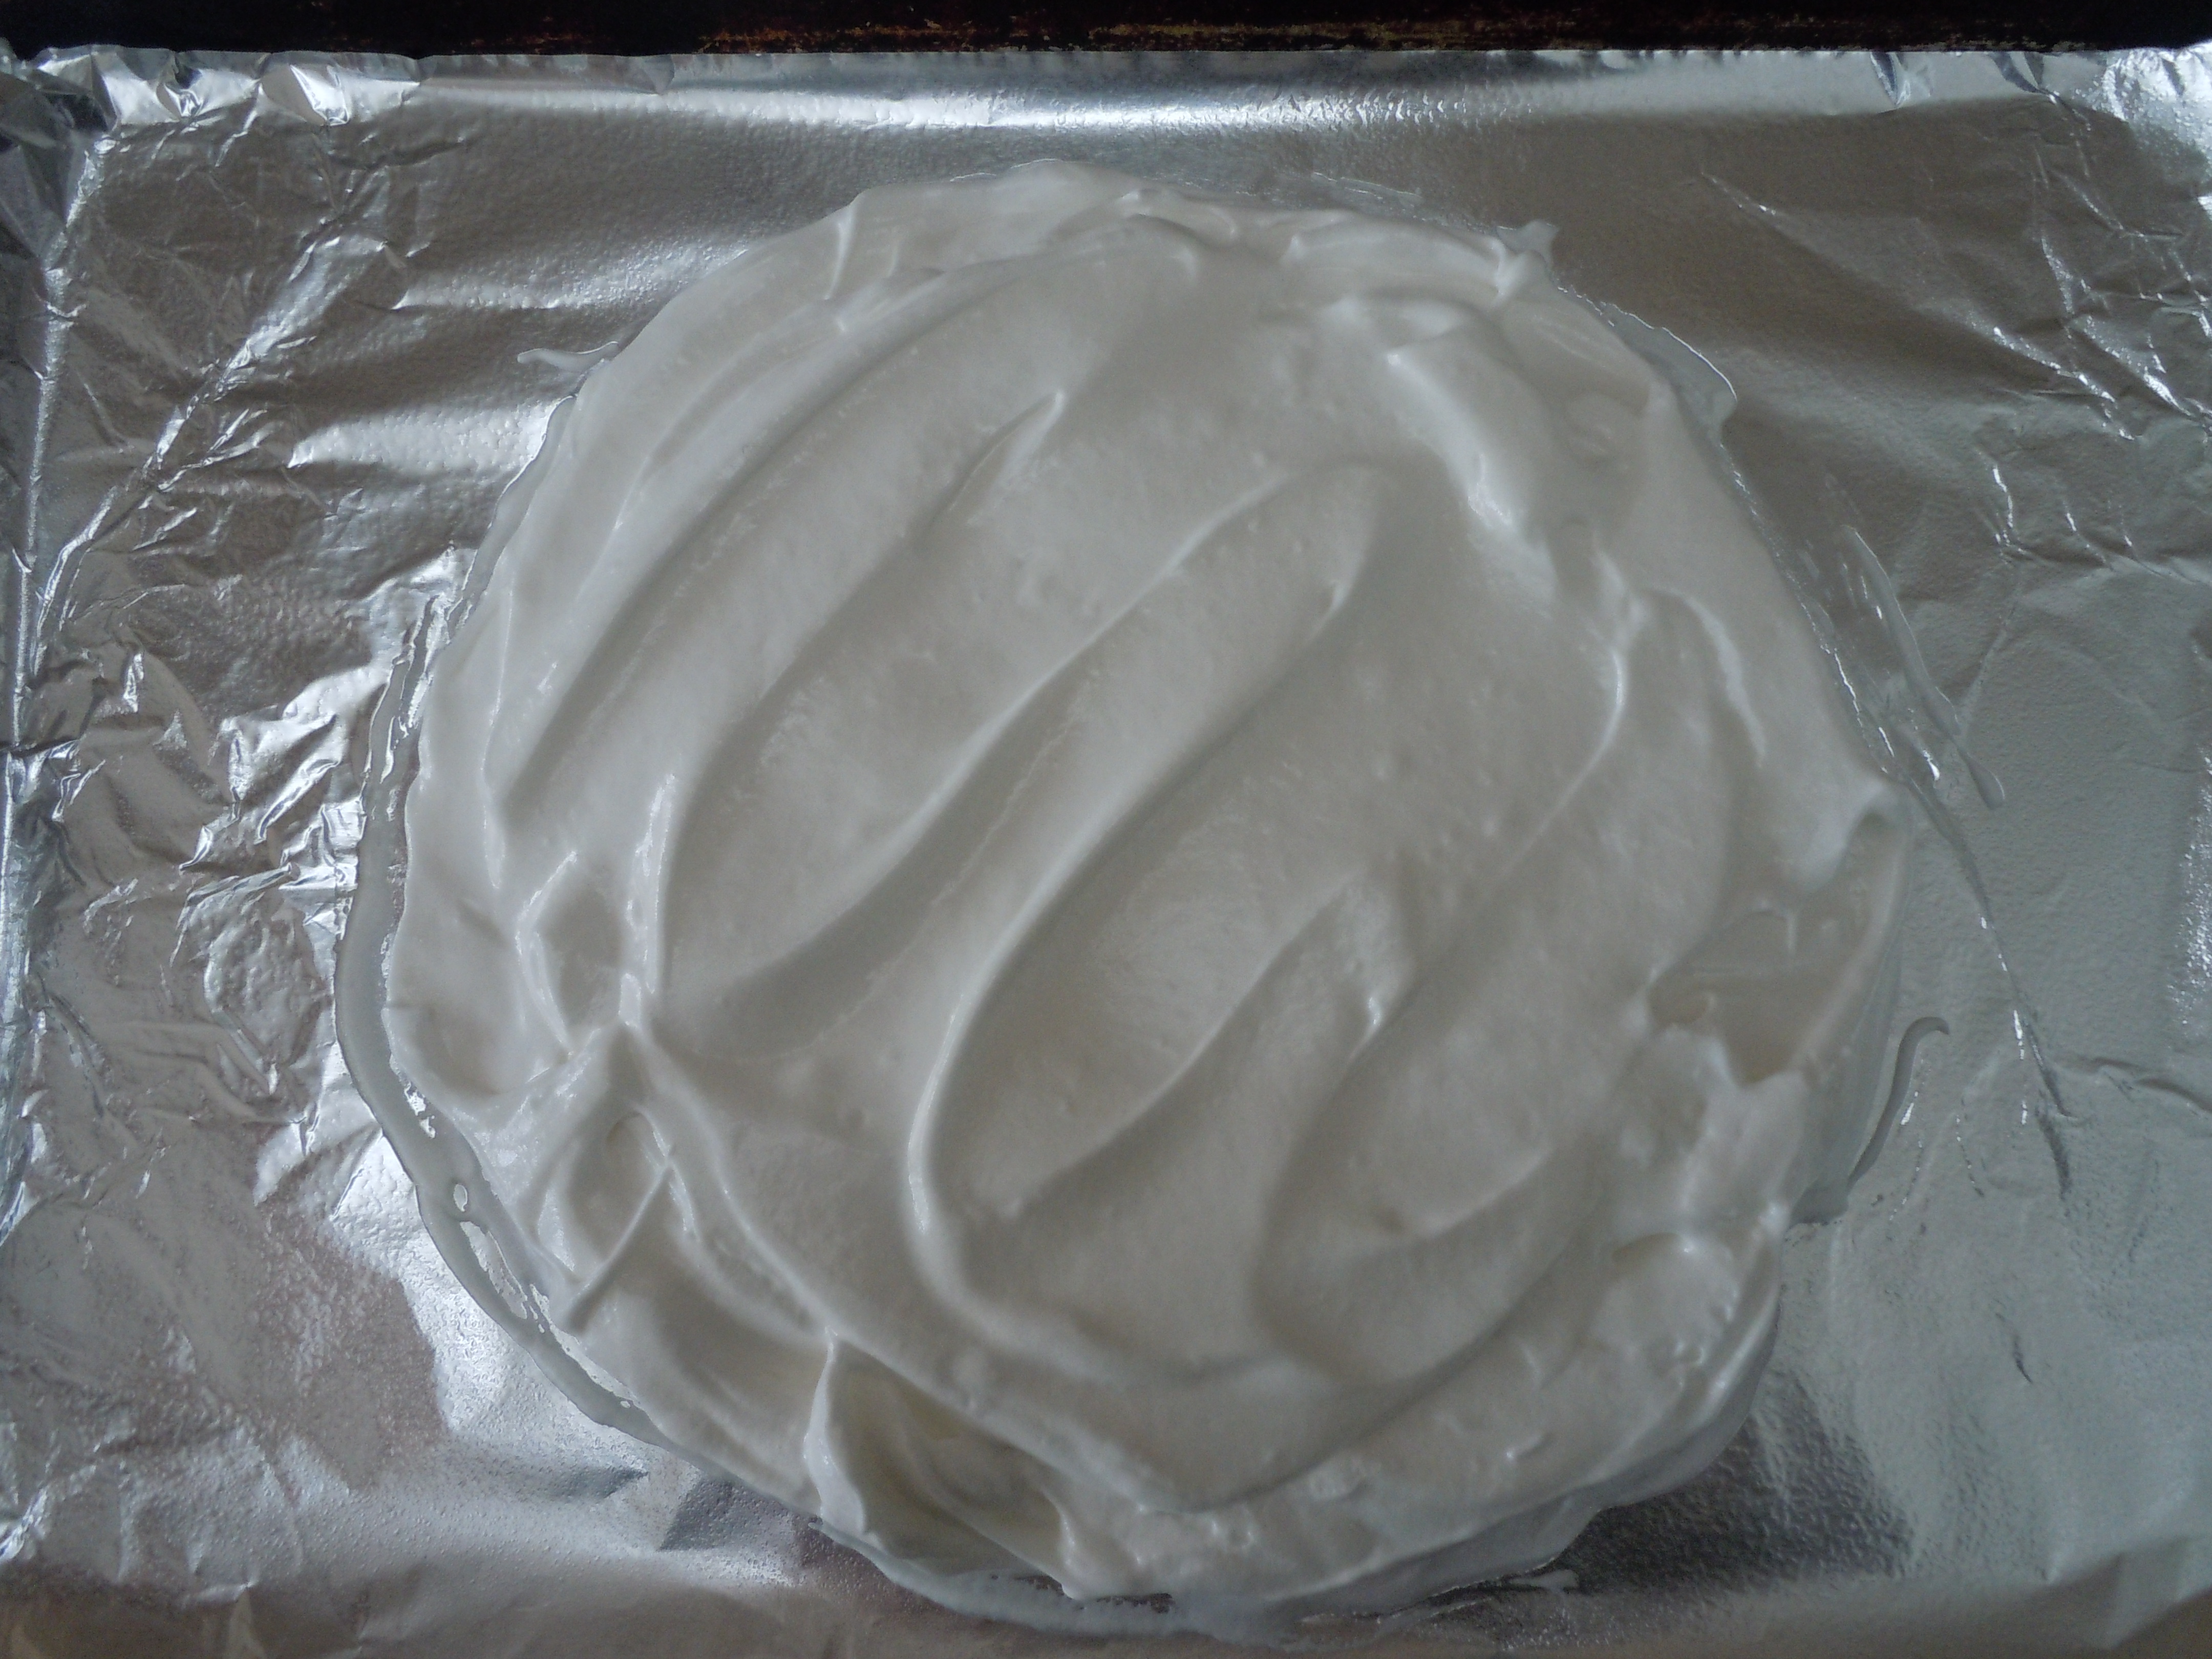
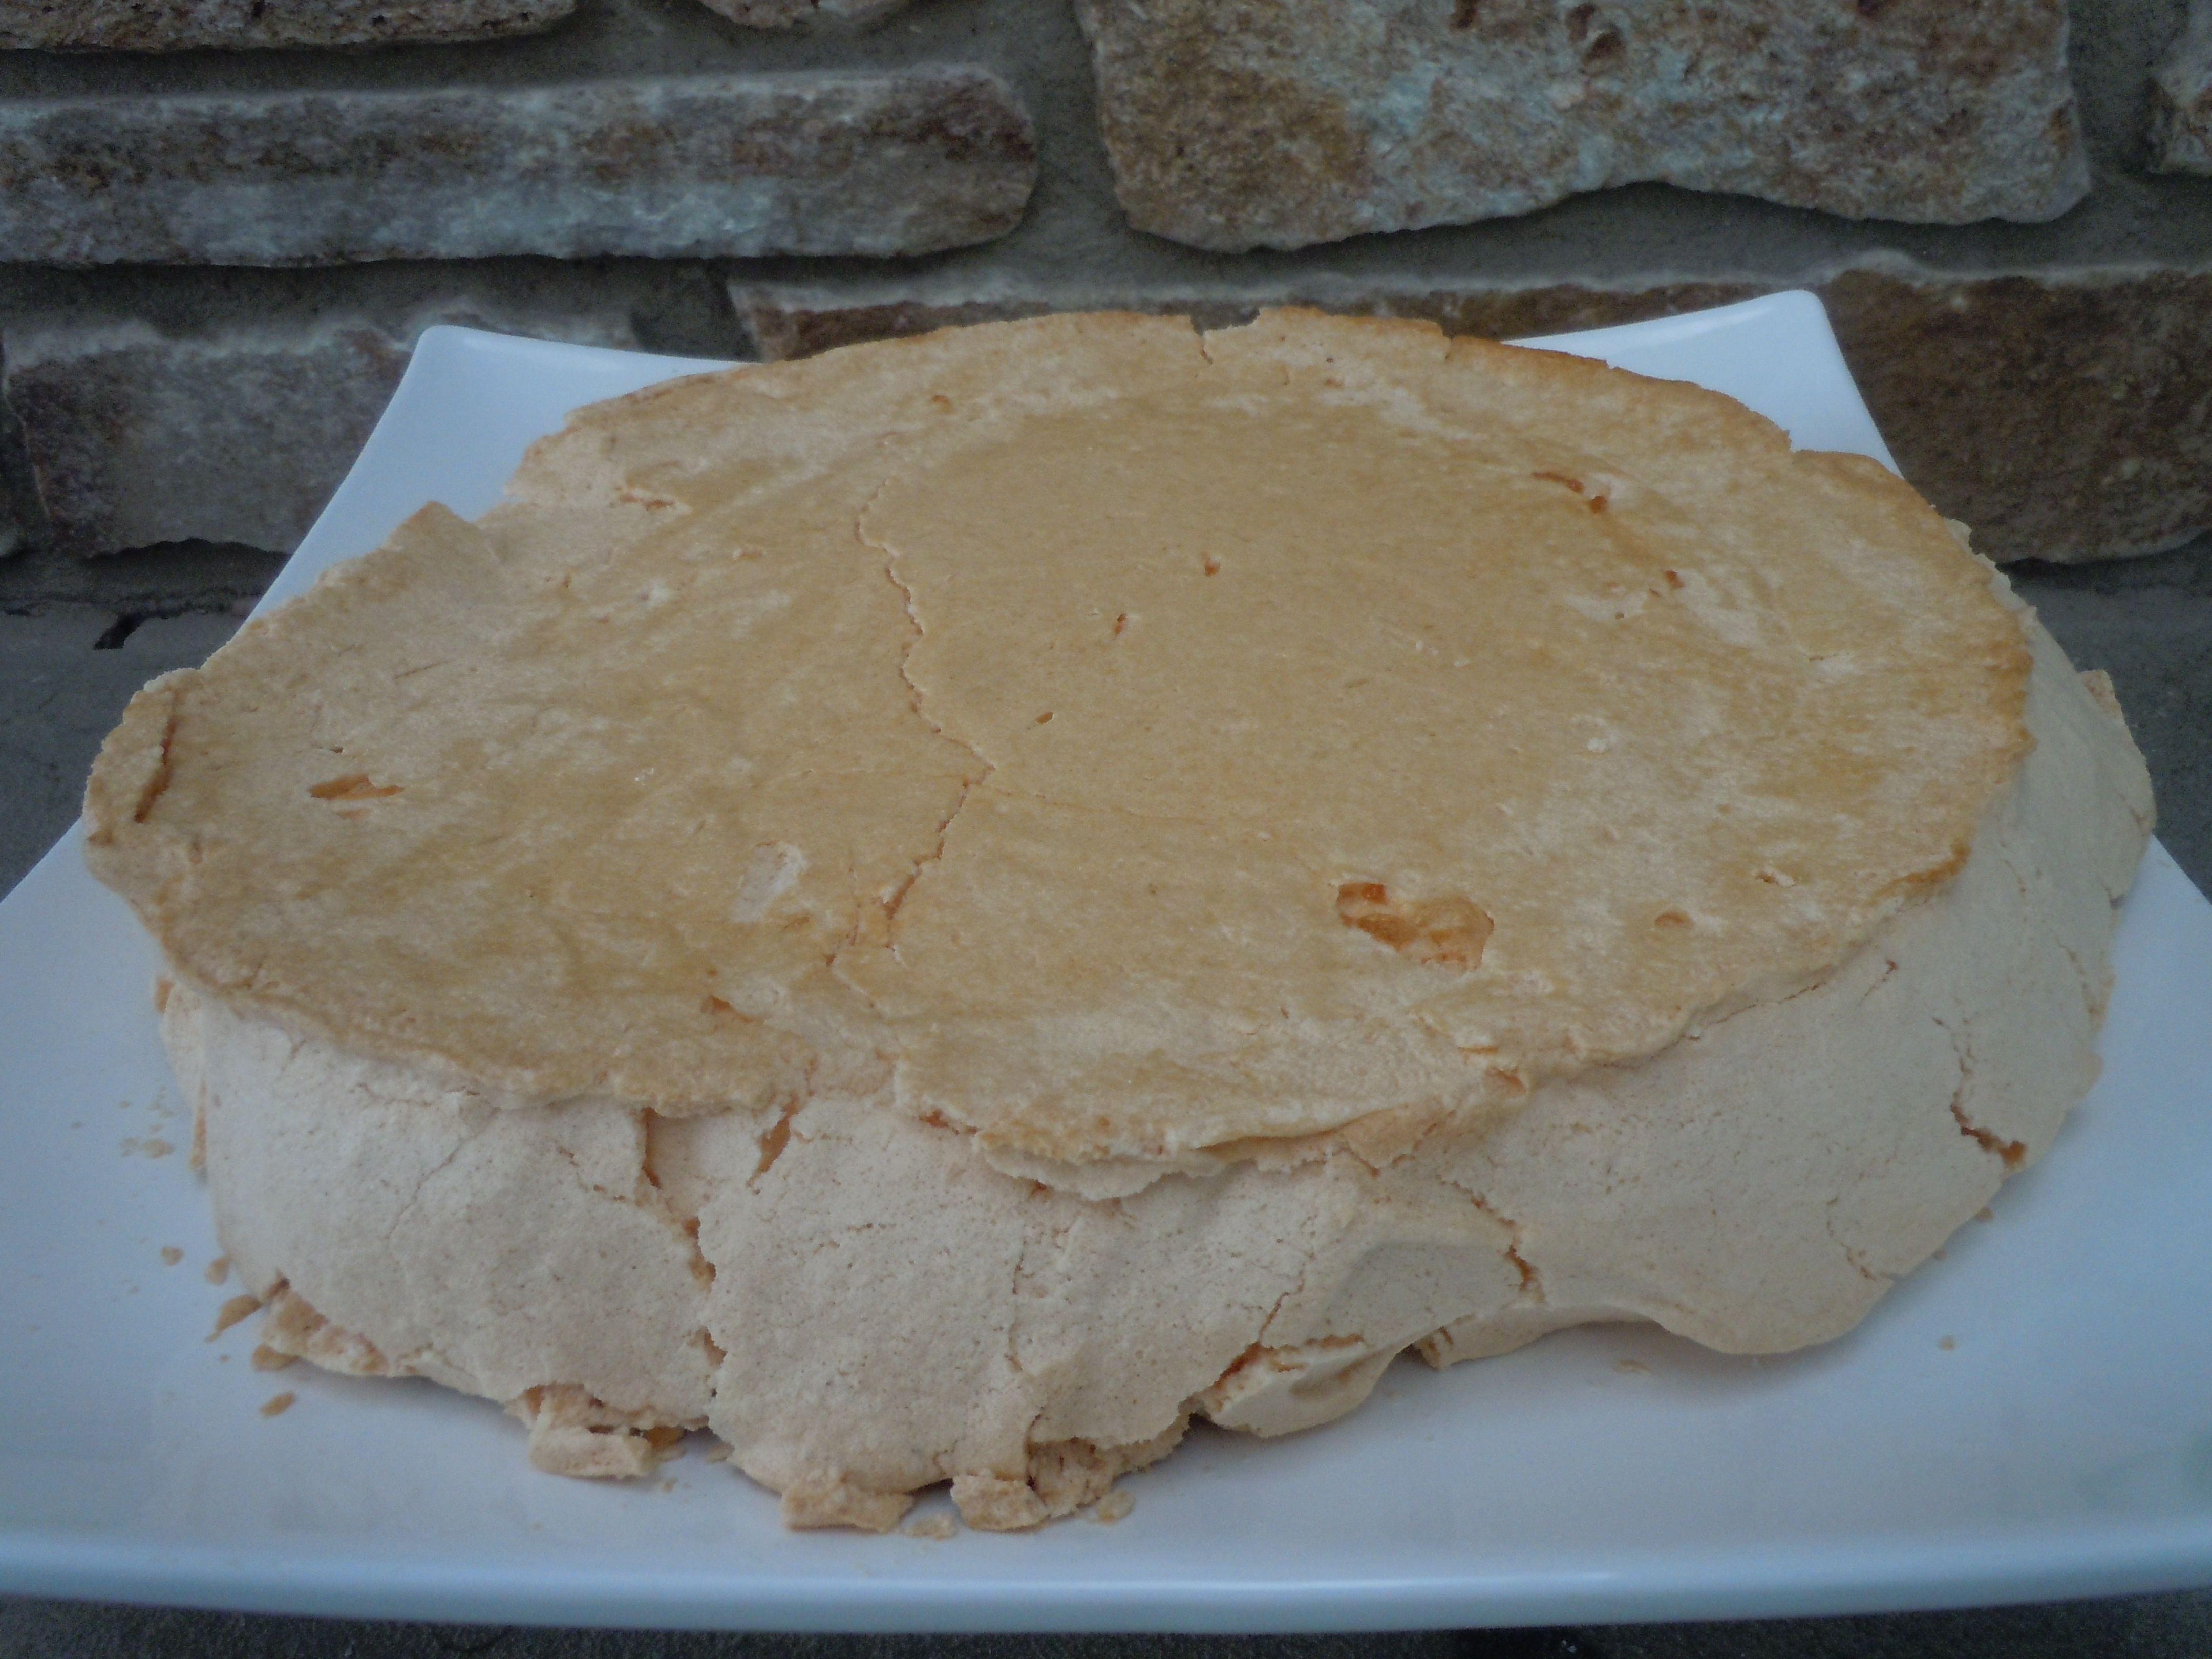
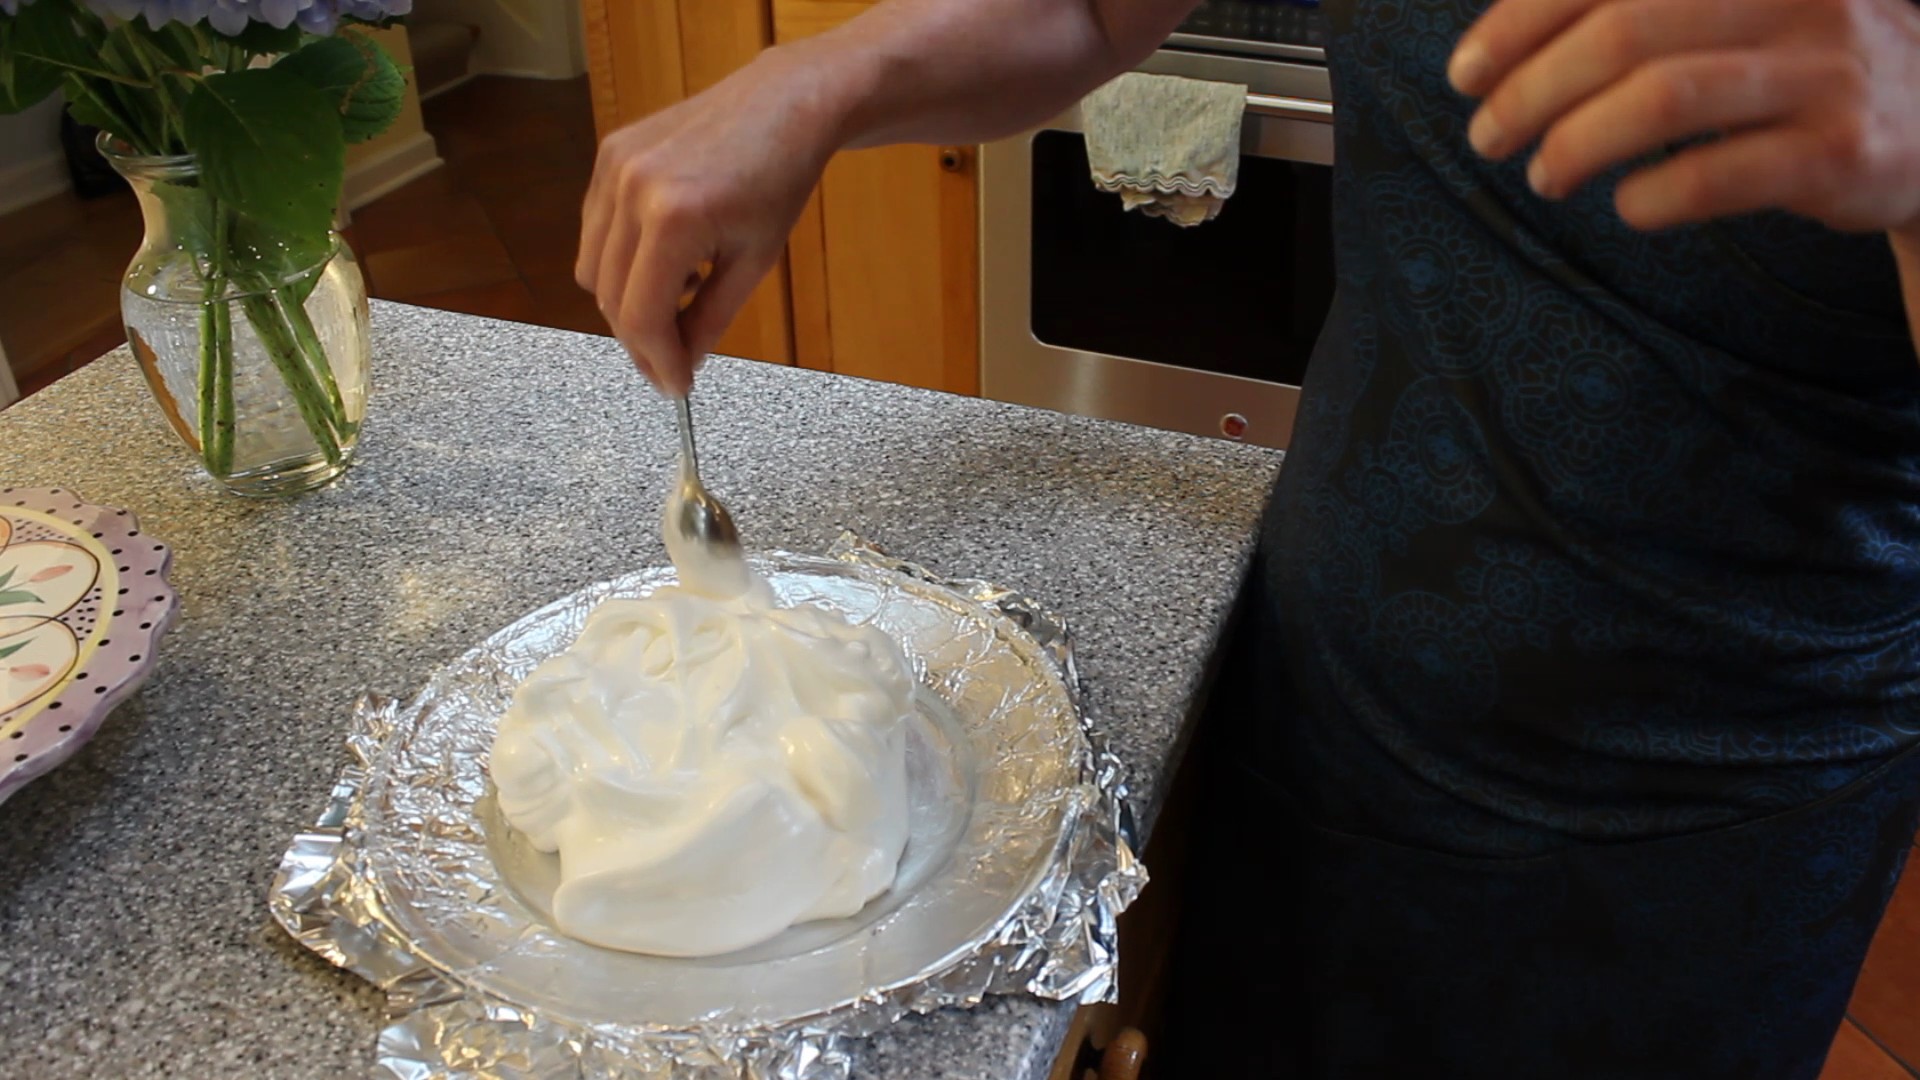
- Scoop whipped meringue onto parchment paper and spread with spatula into the circle shape – keep thickness at 2.5″-3.0 because you will loose a little volume when it cools
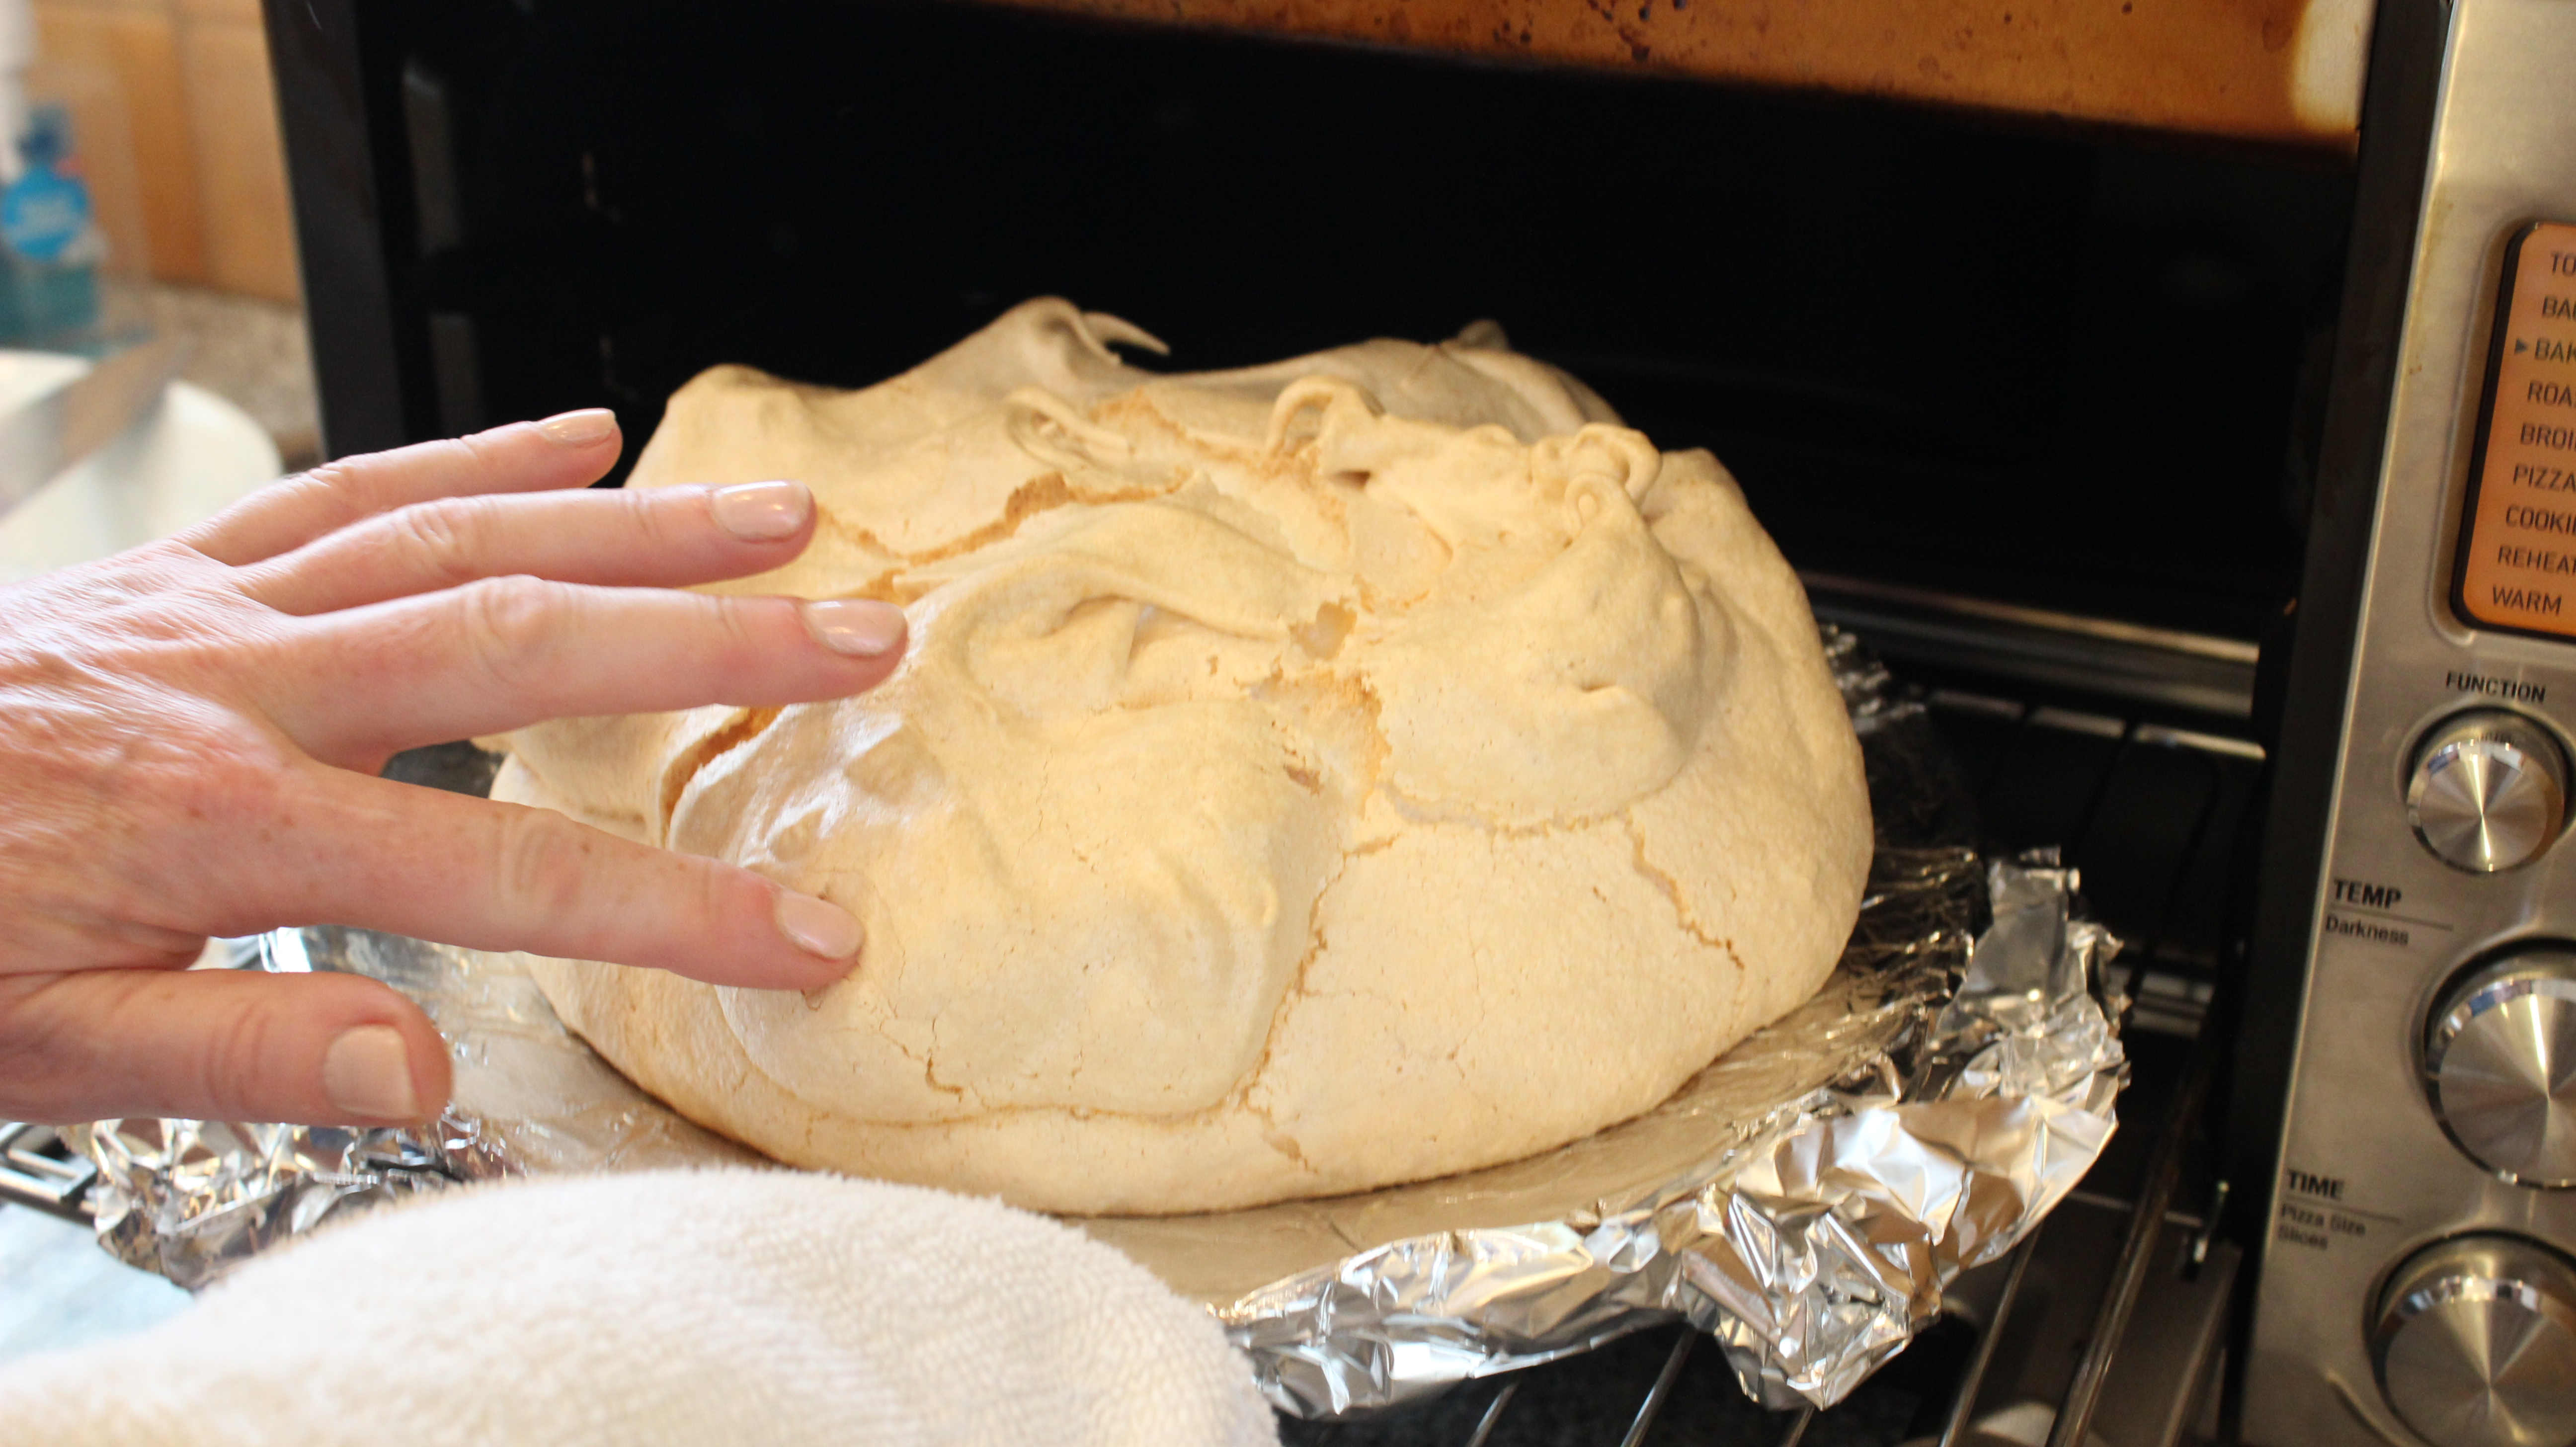
- Put into the oven for 45 minutes… DO NOT OPEN OVEN DOOR (especially in the first 30 minutes!)
- Clean and chill your kitchen-aid mixing bowl and whisk or mixing bowl by placing it in the freezer (at least in the frig. if no room in freezer)
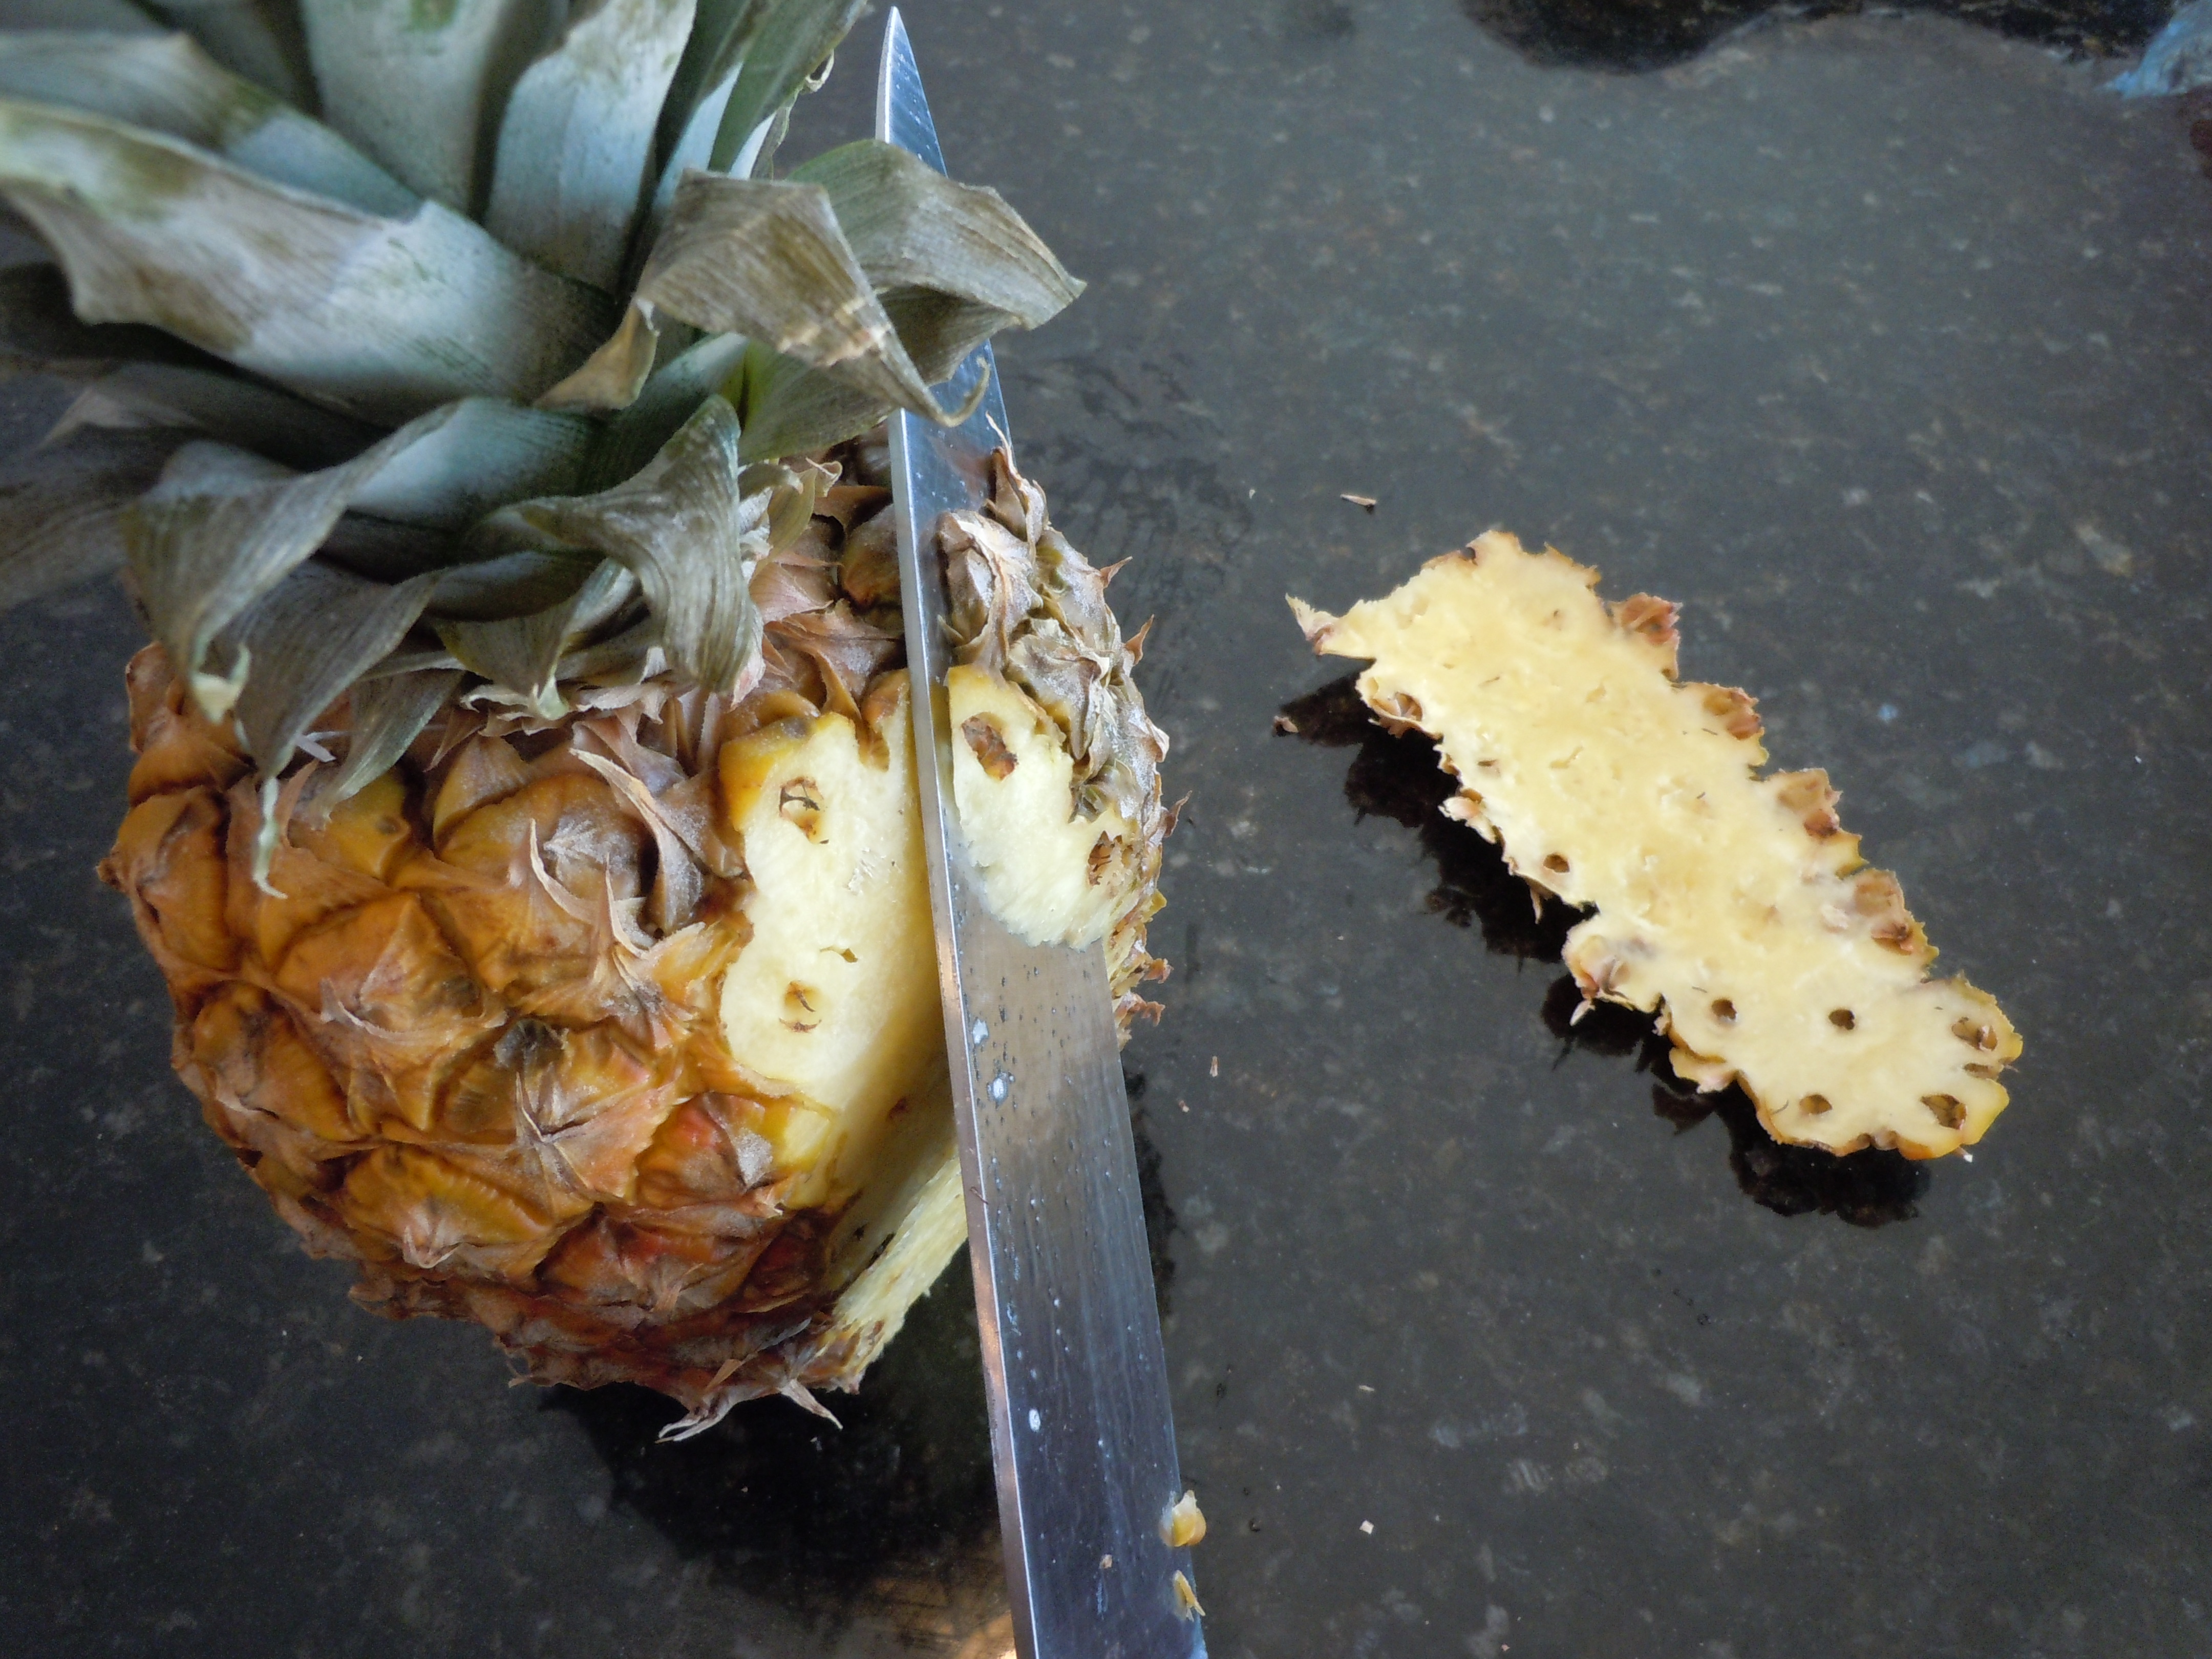
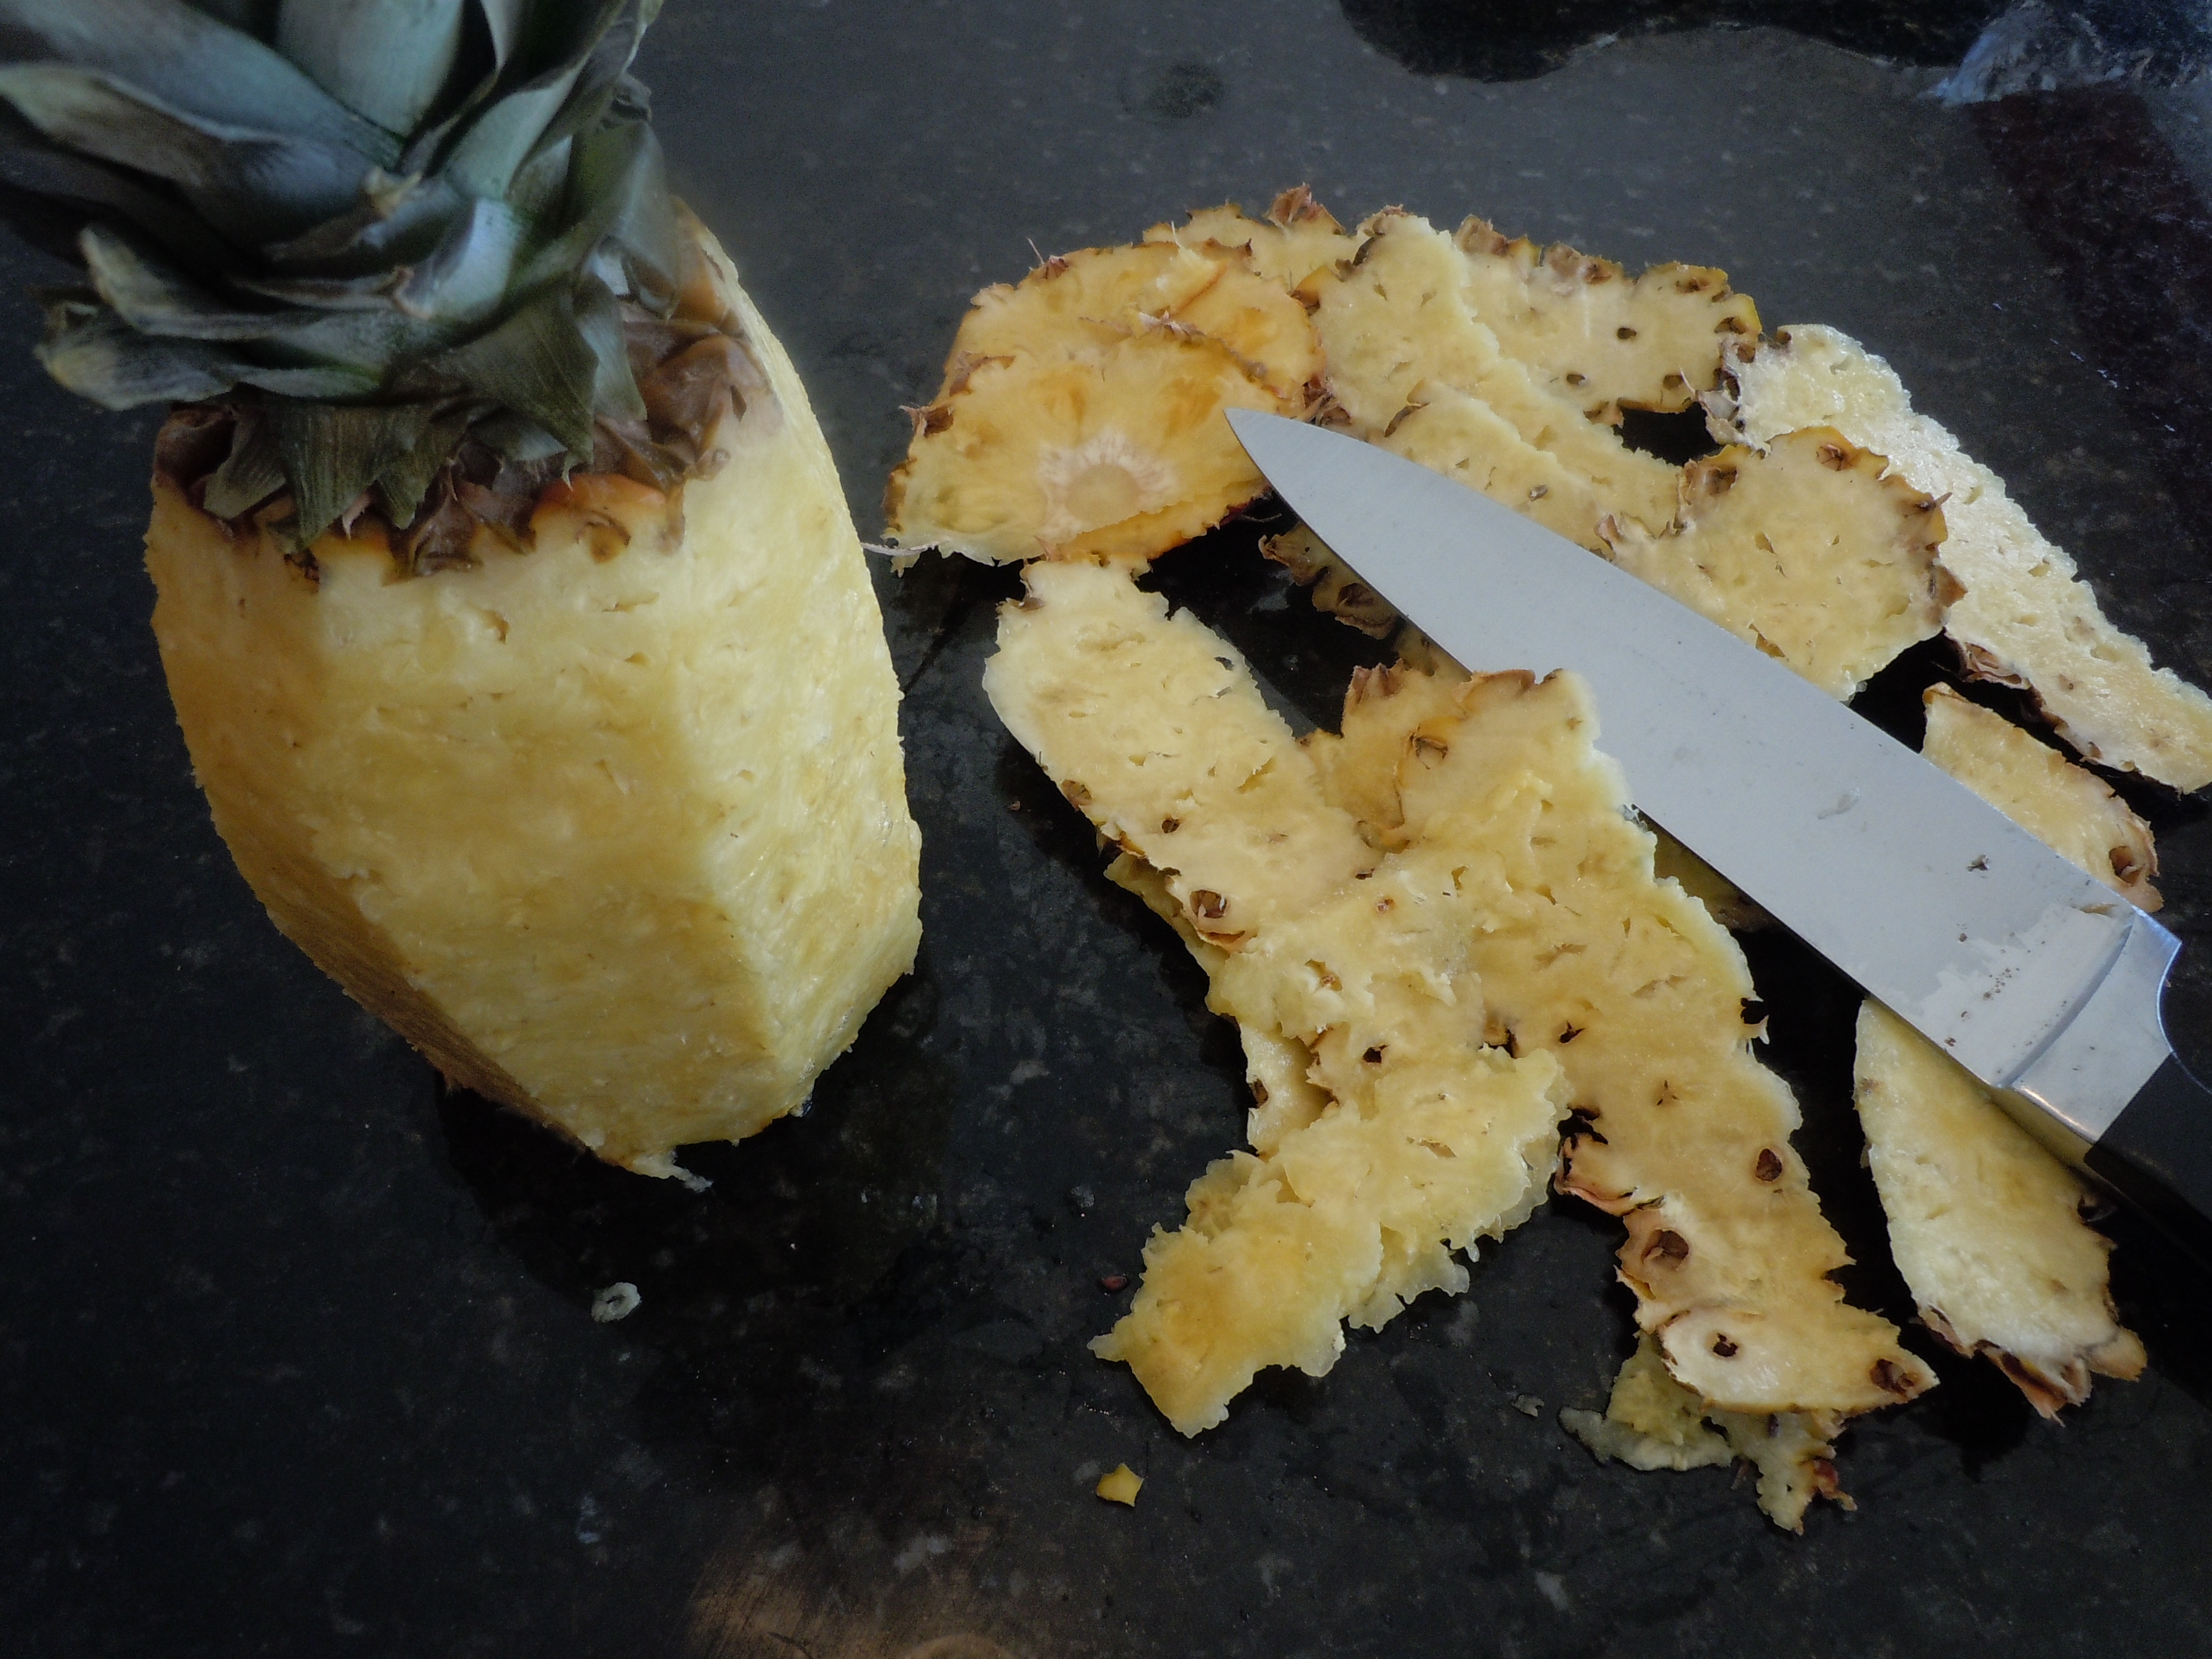
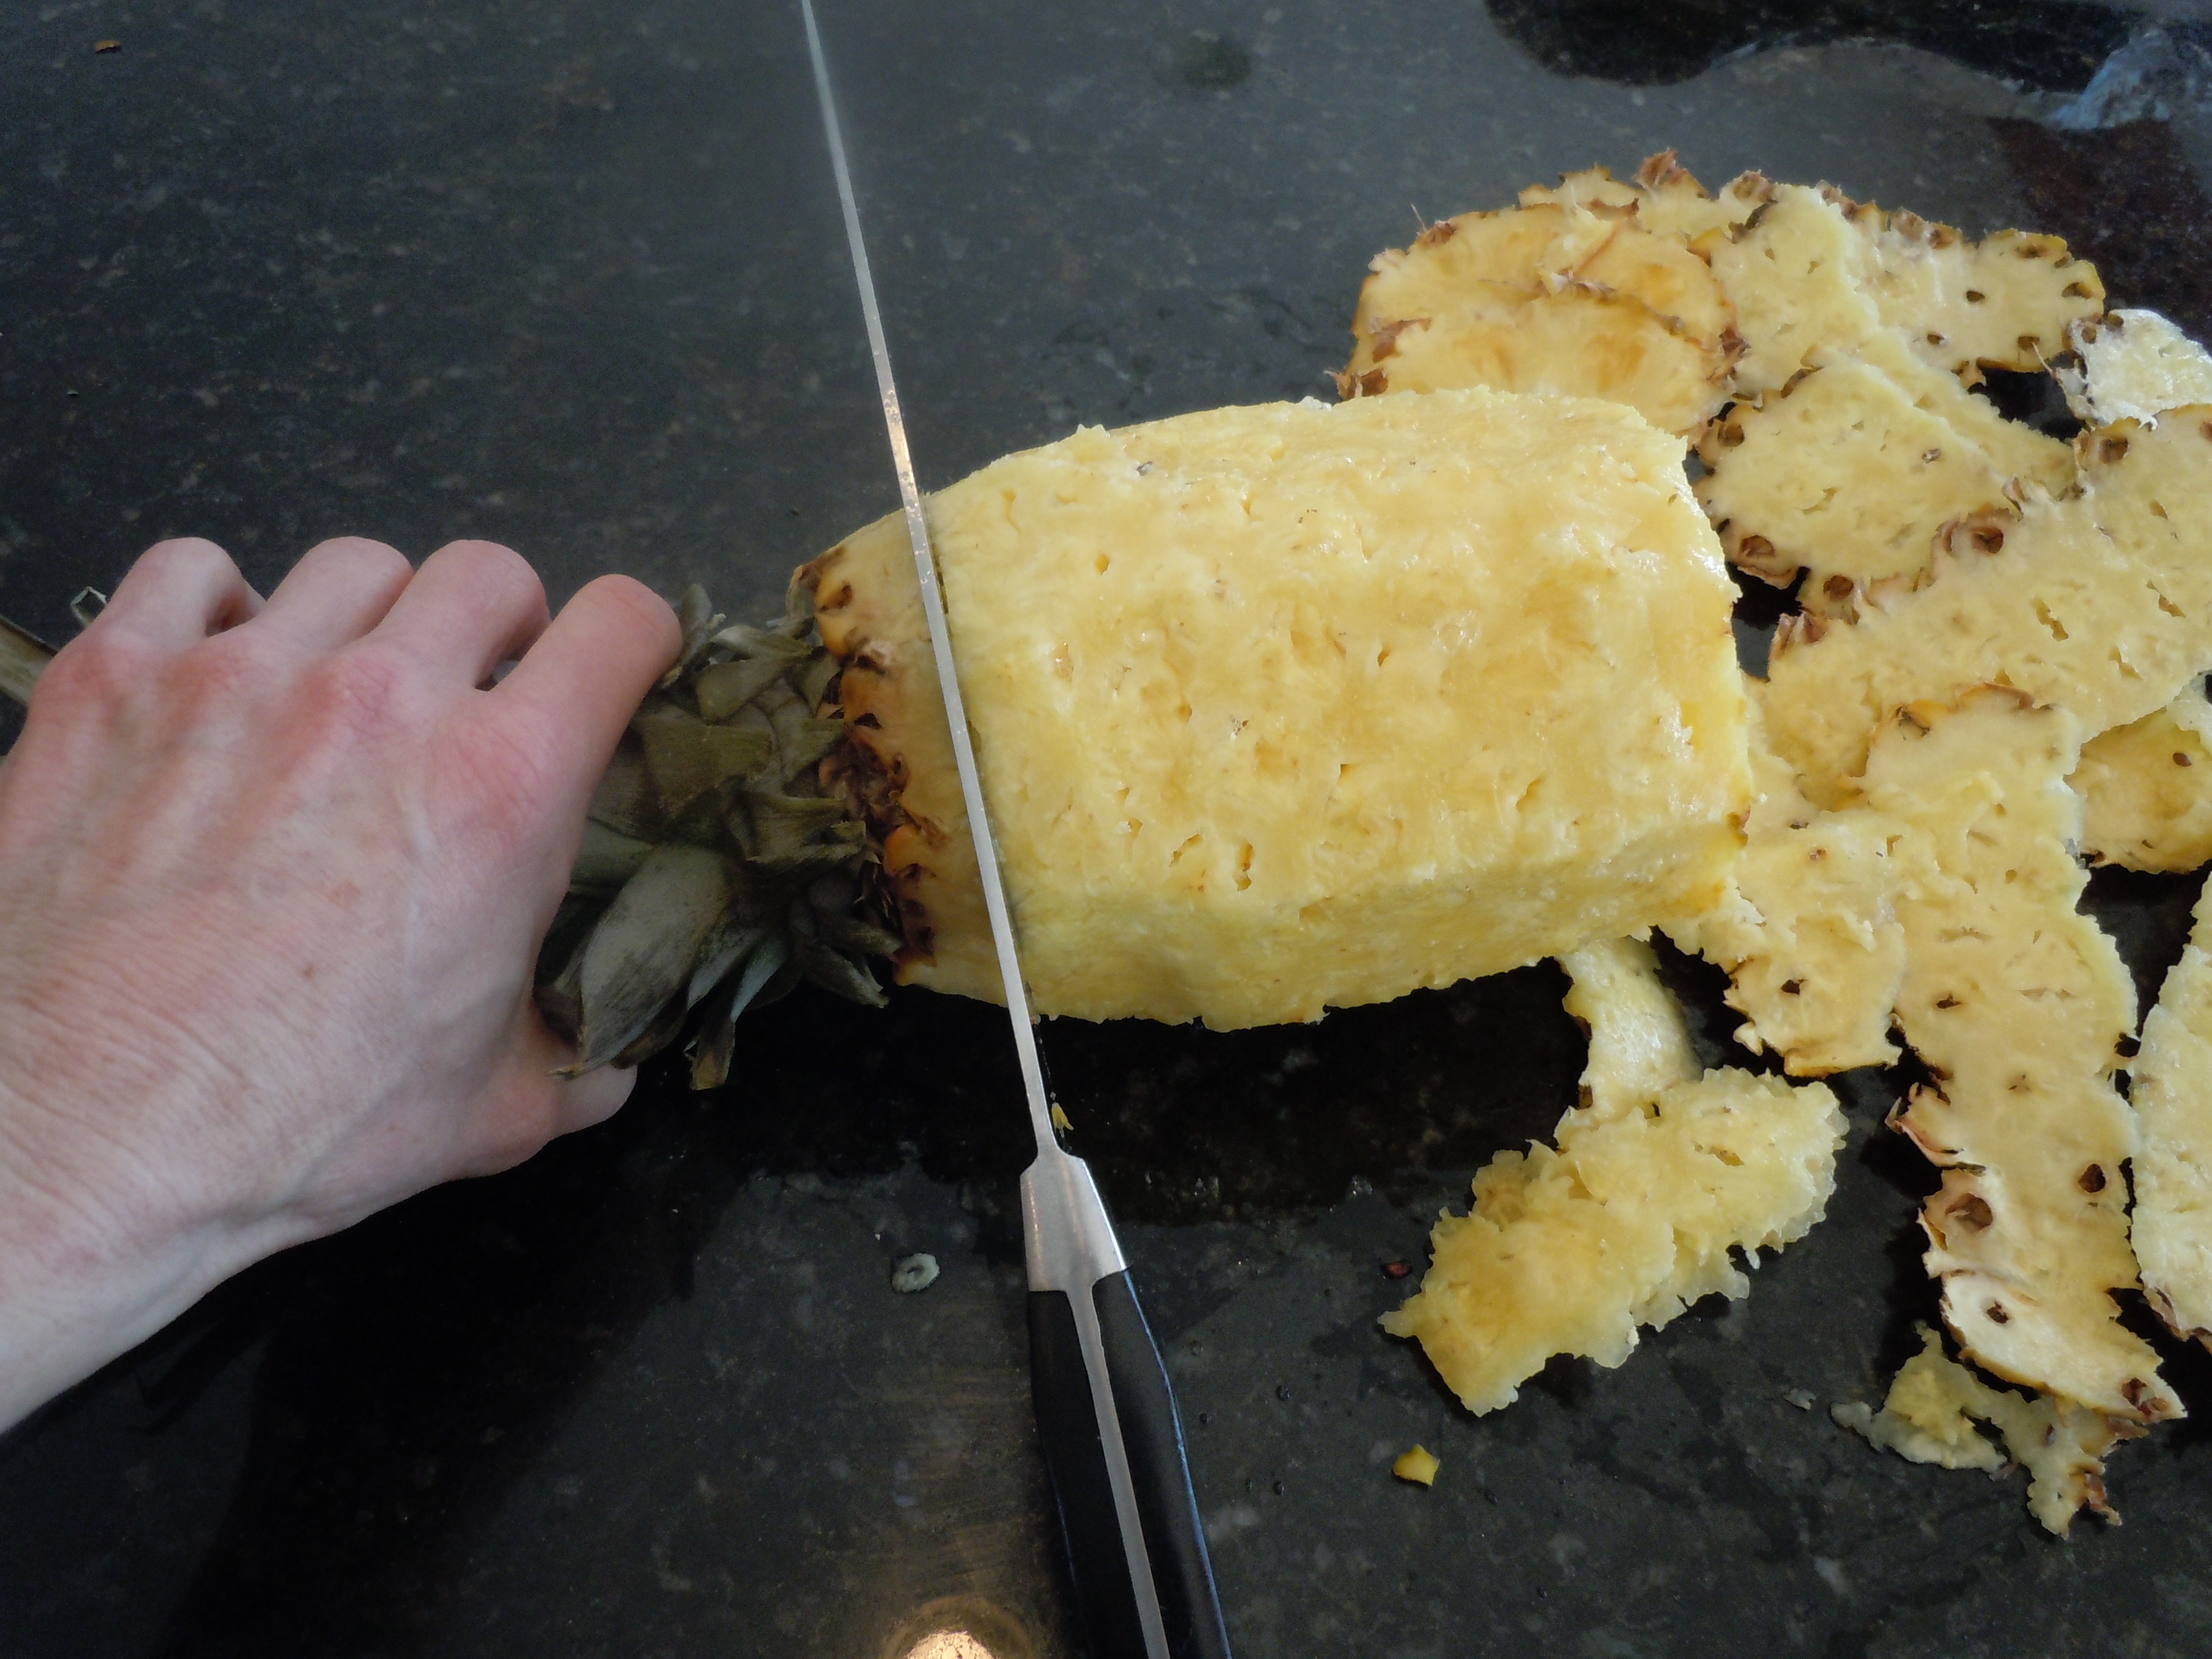
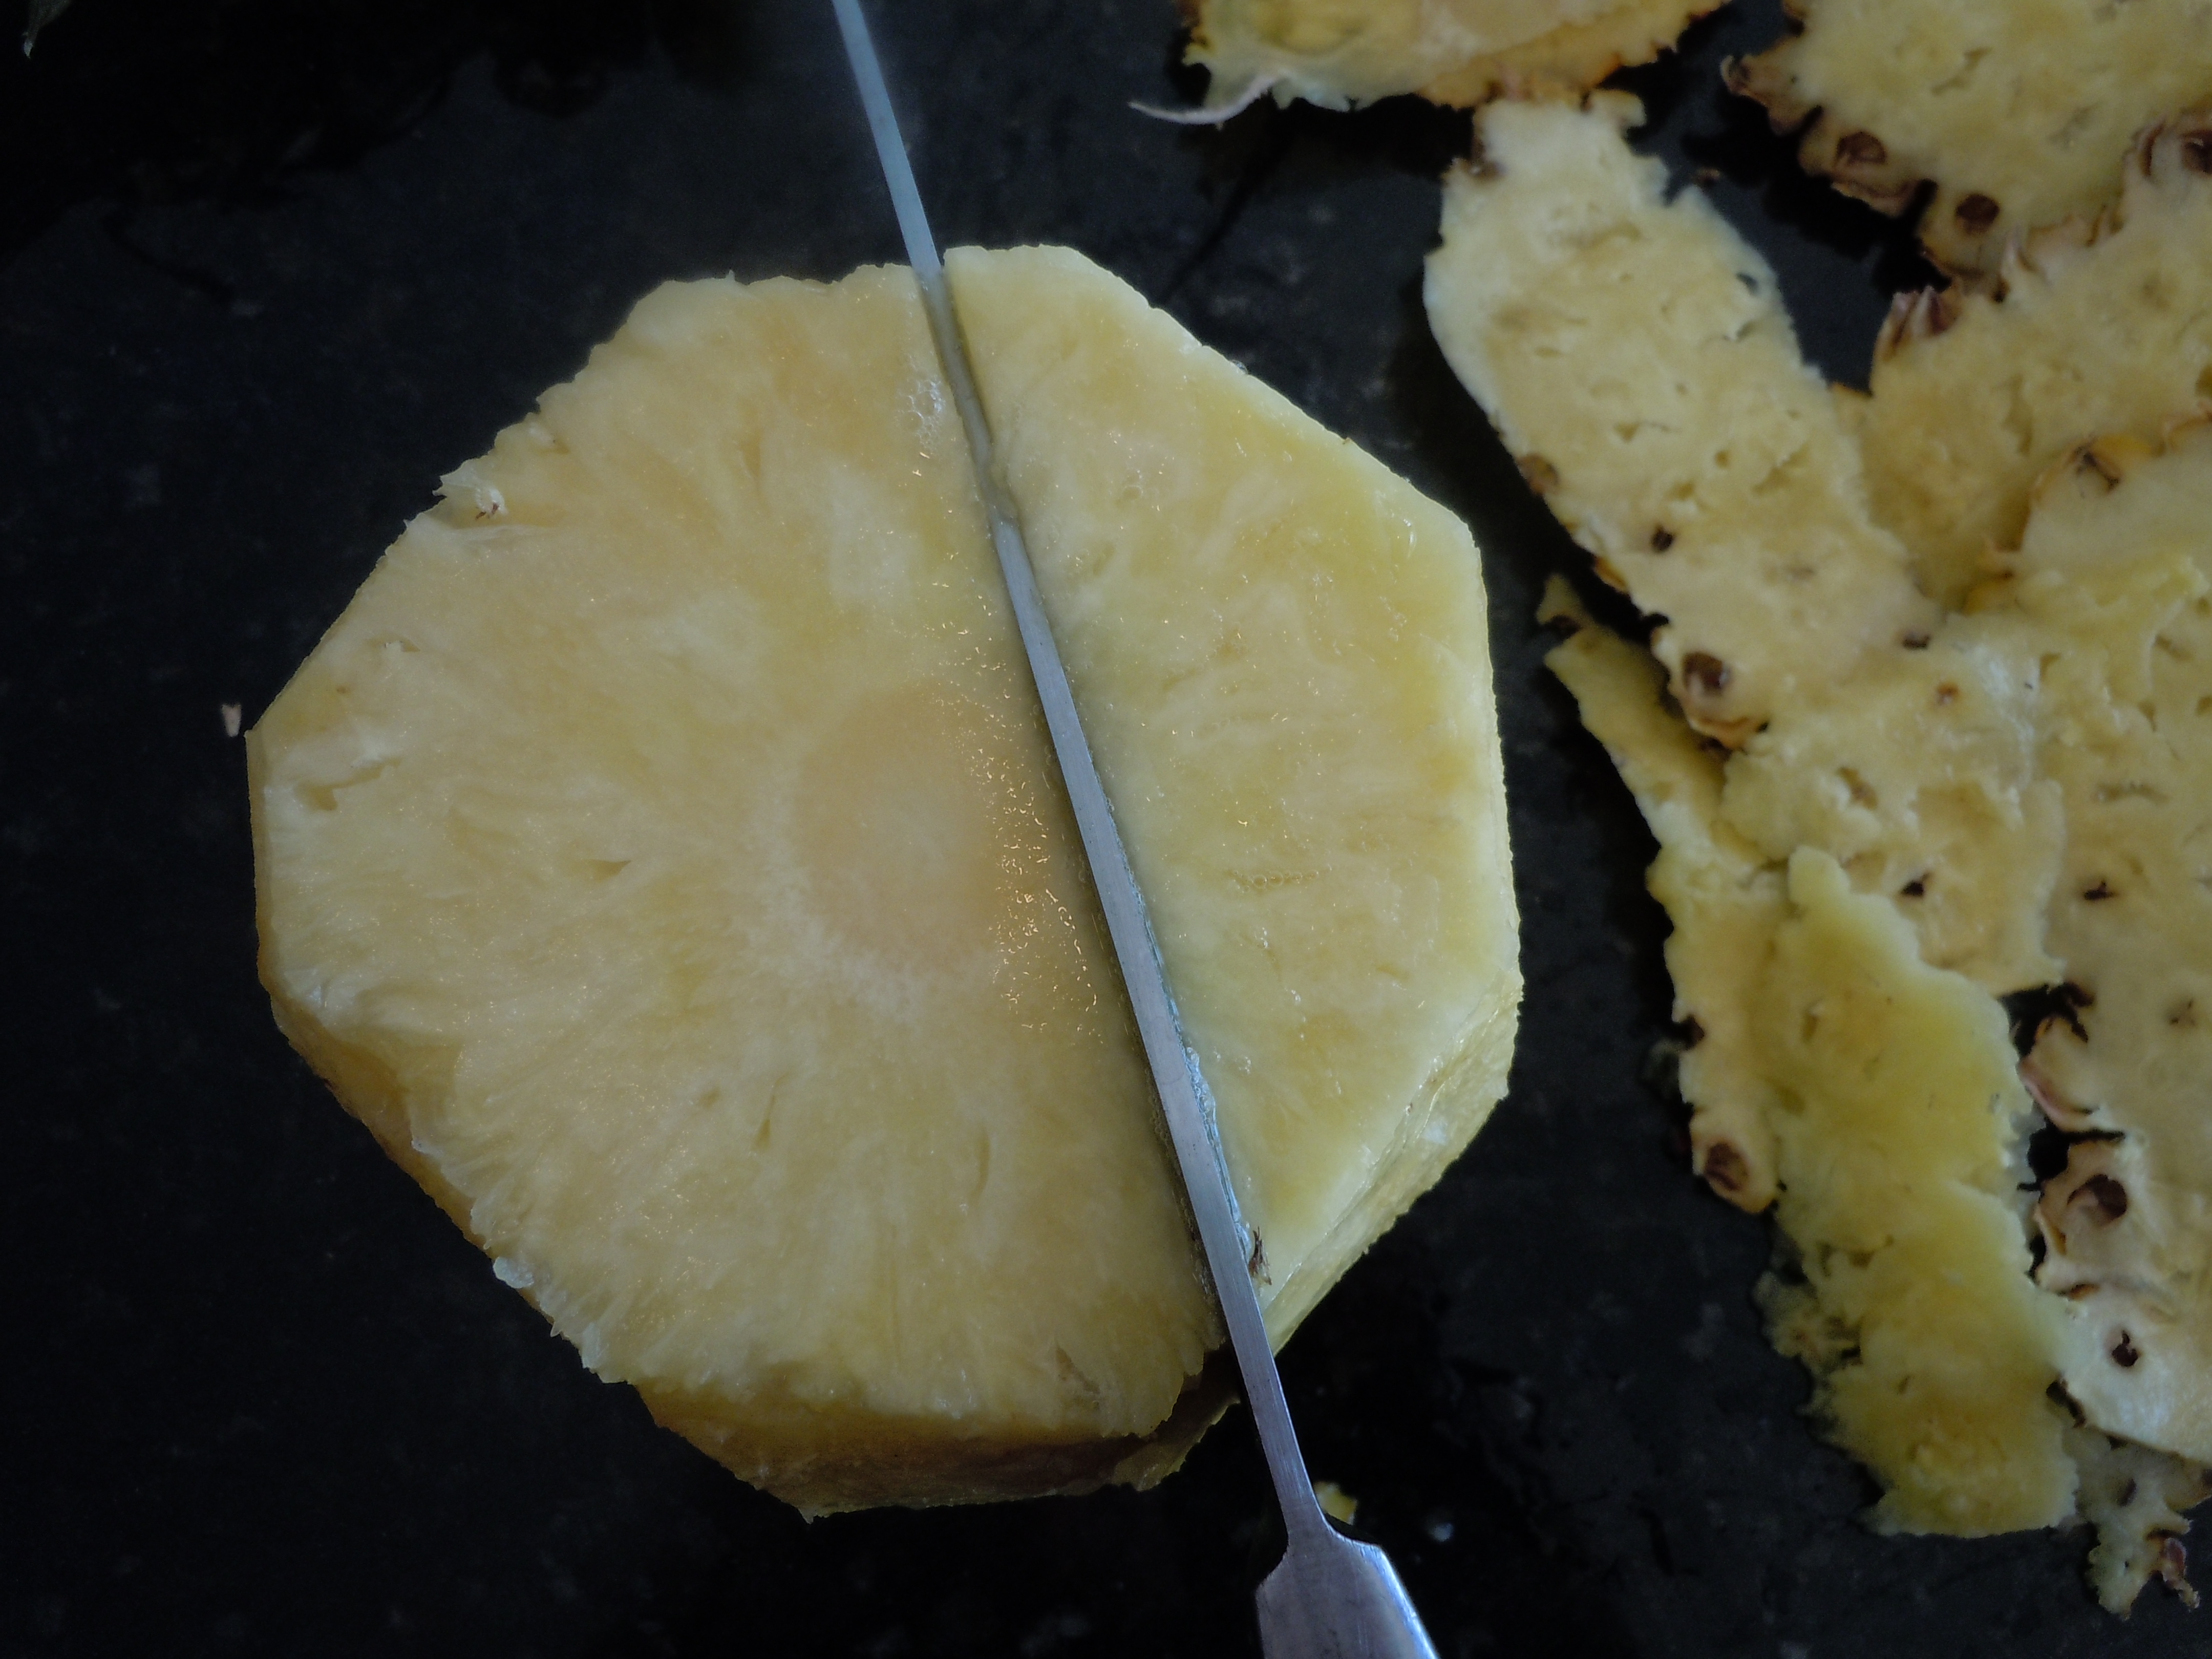
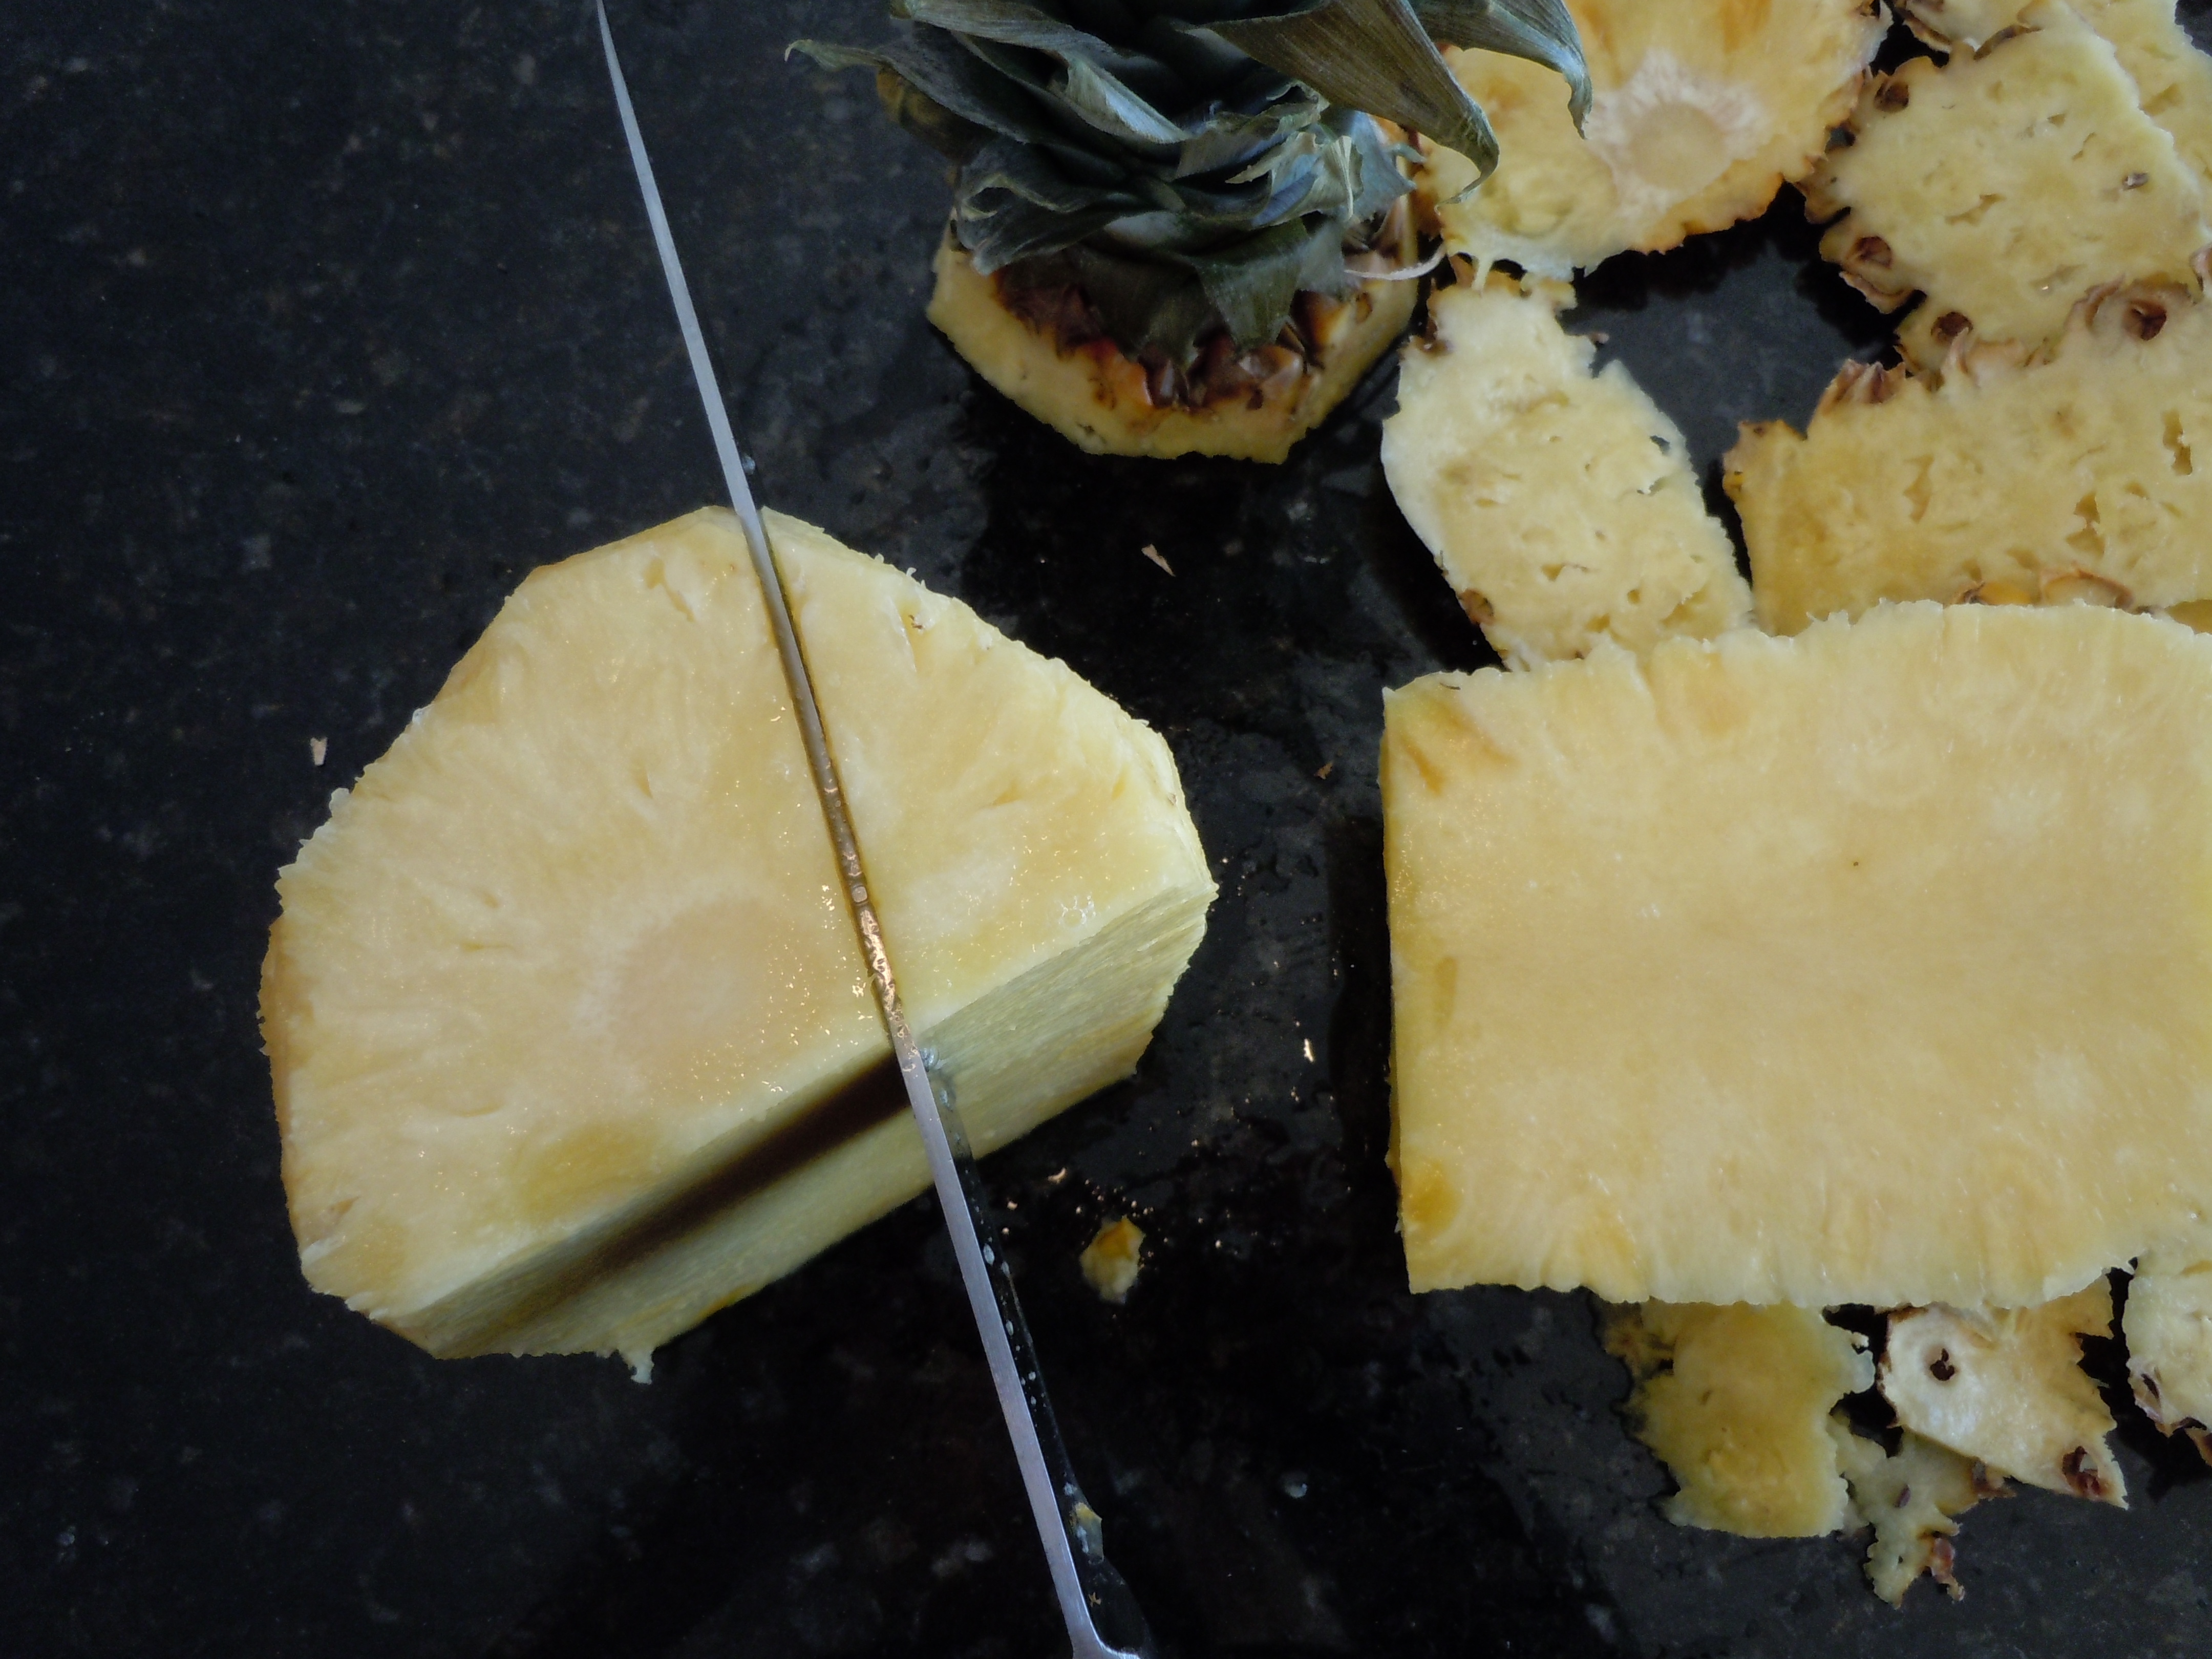
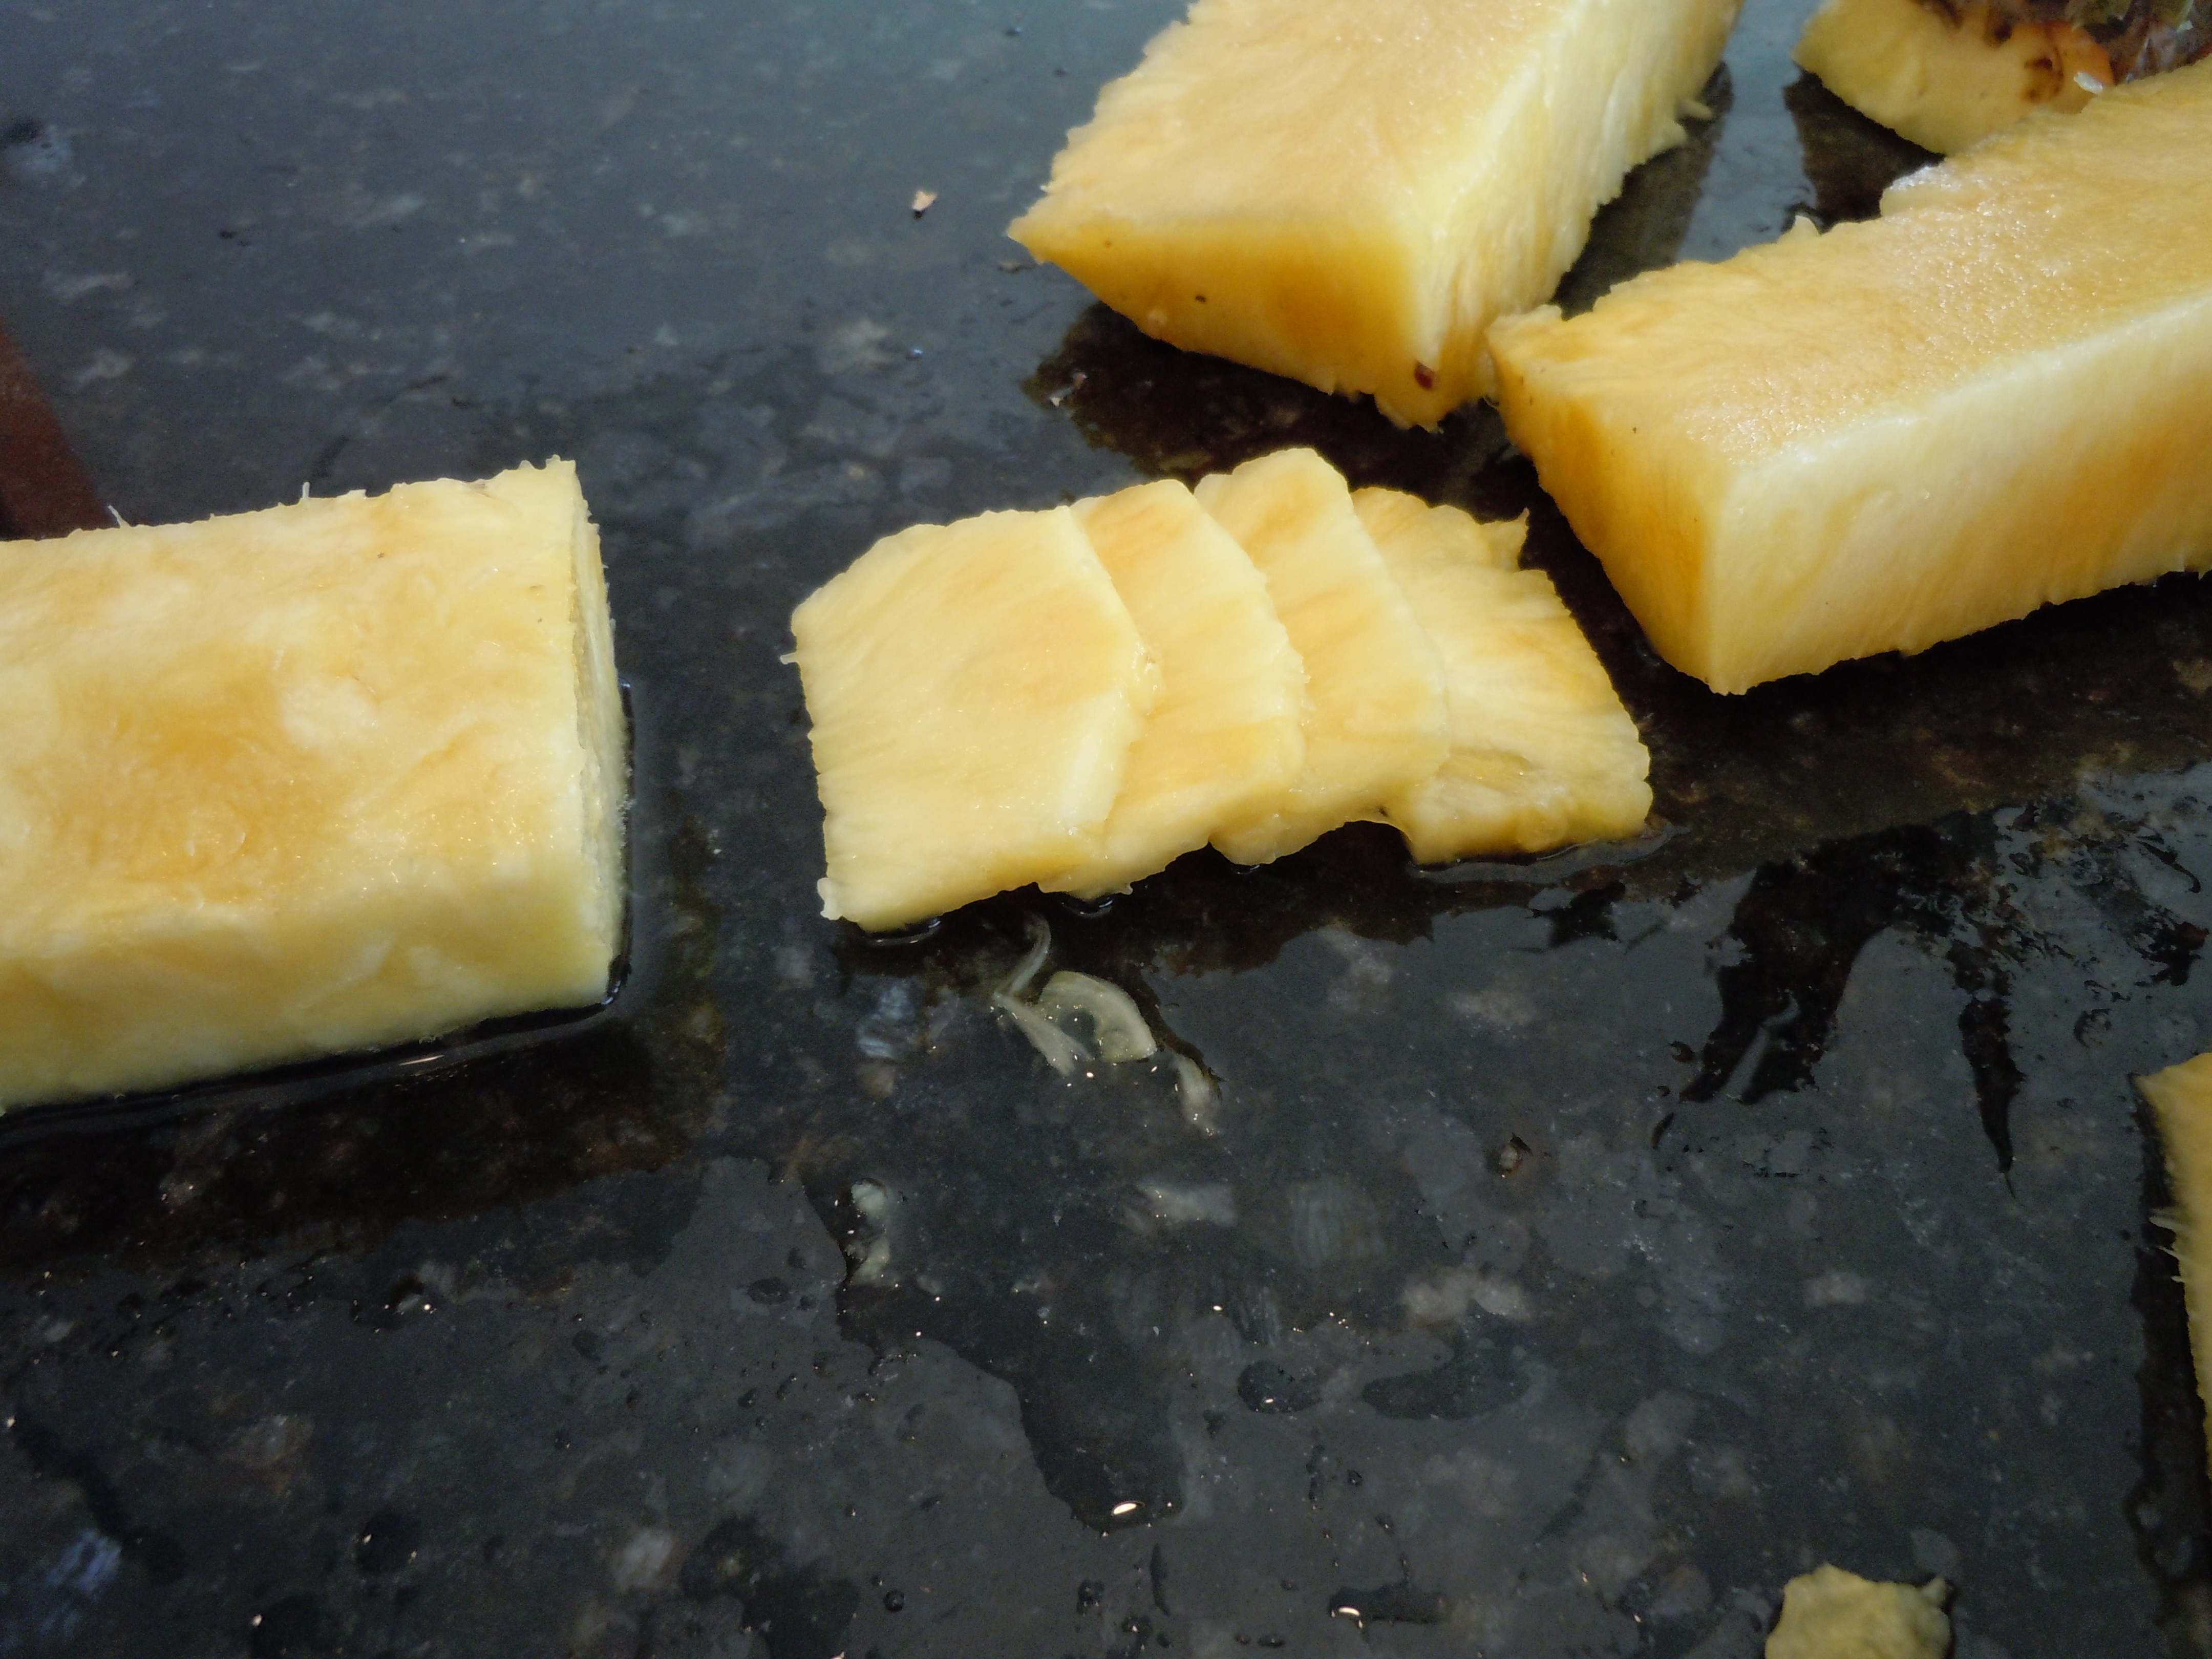
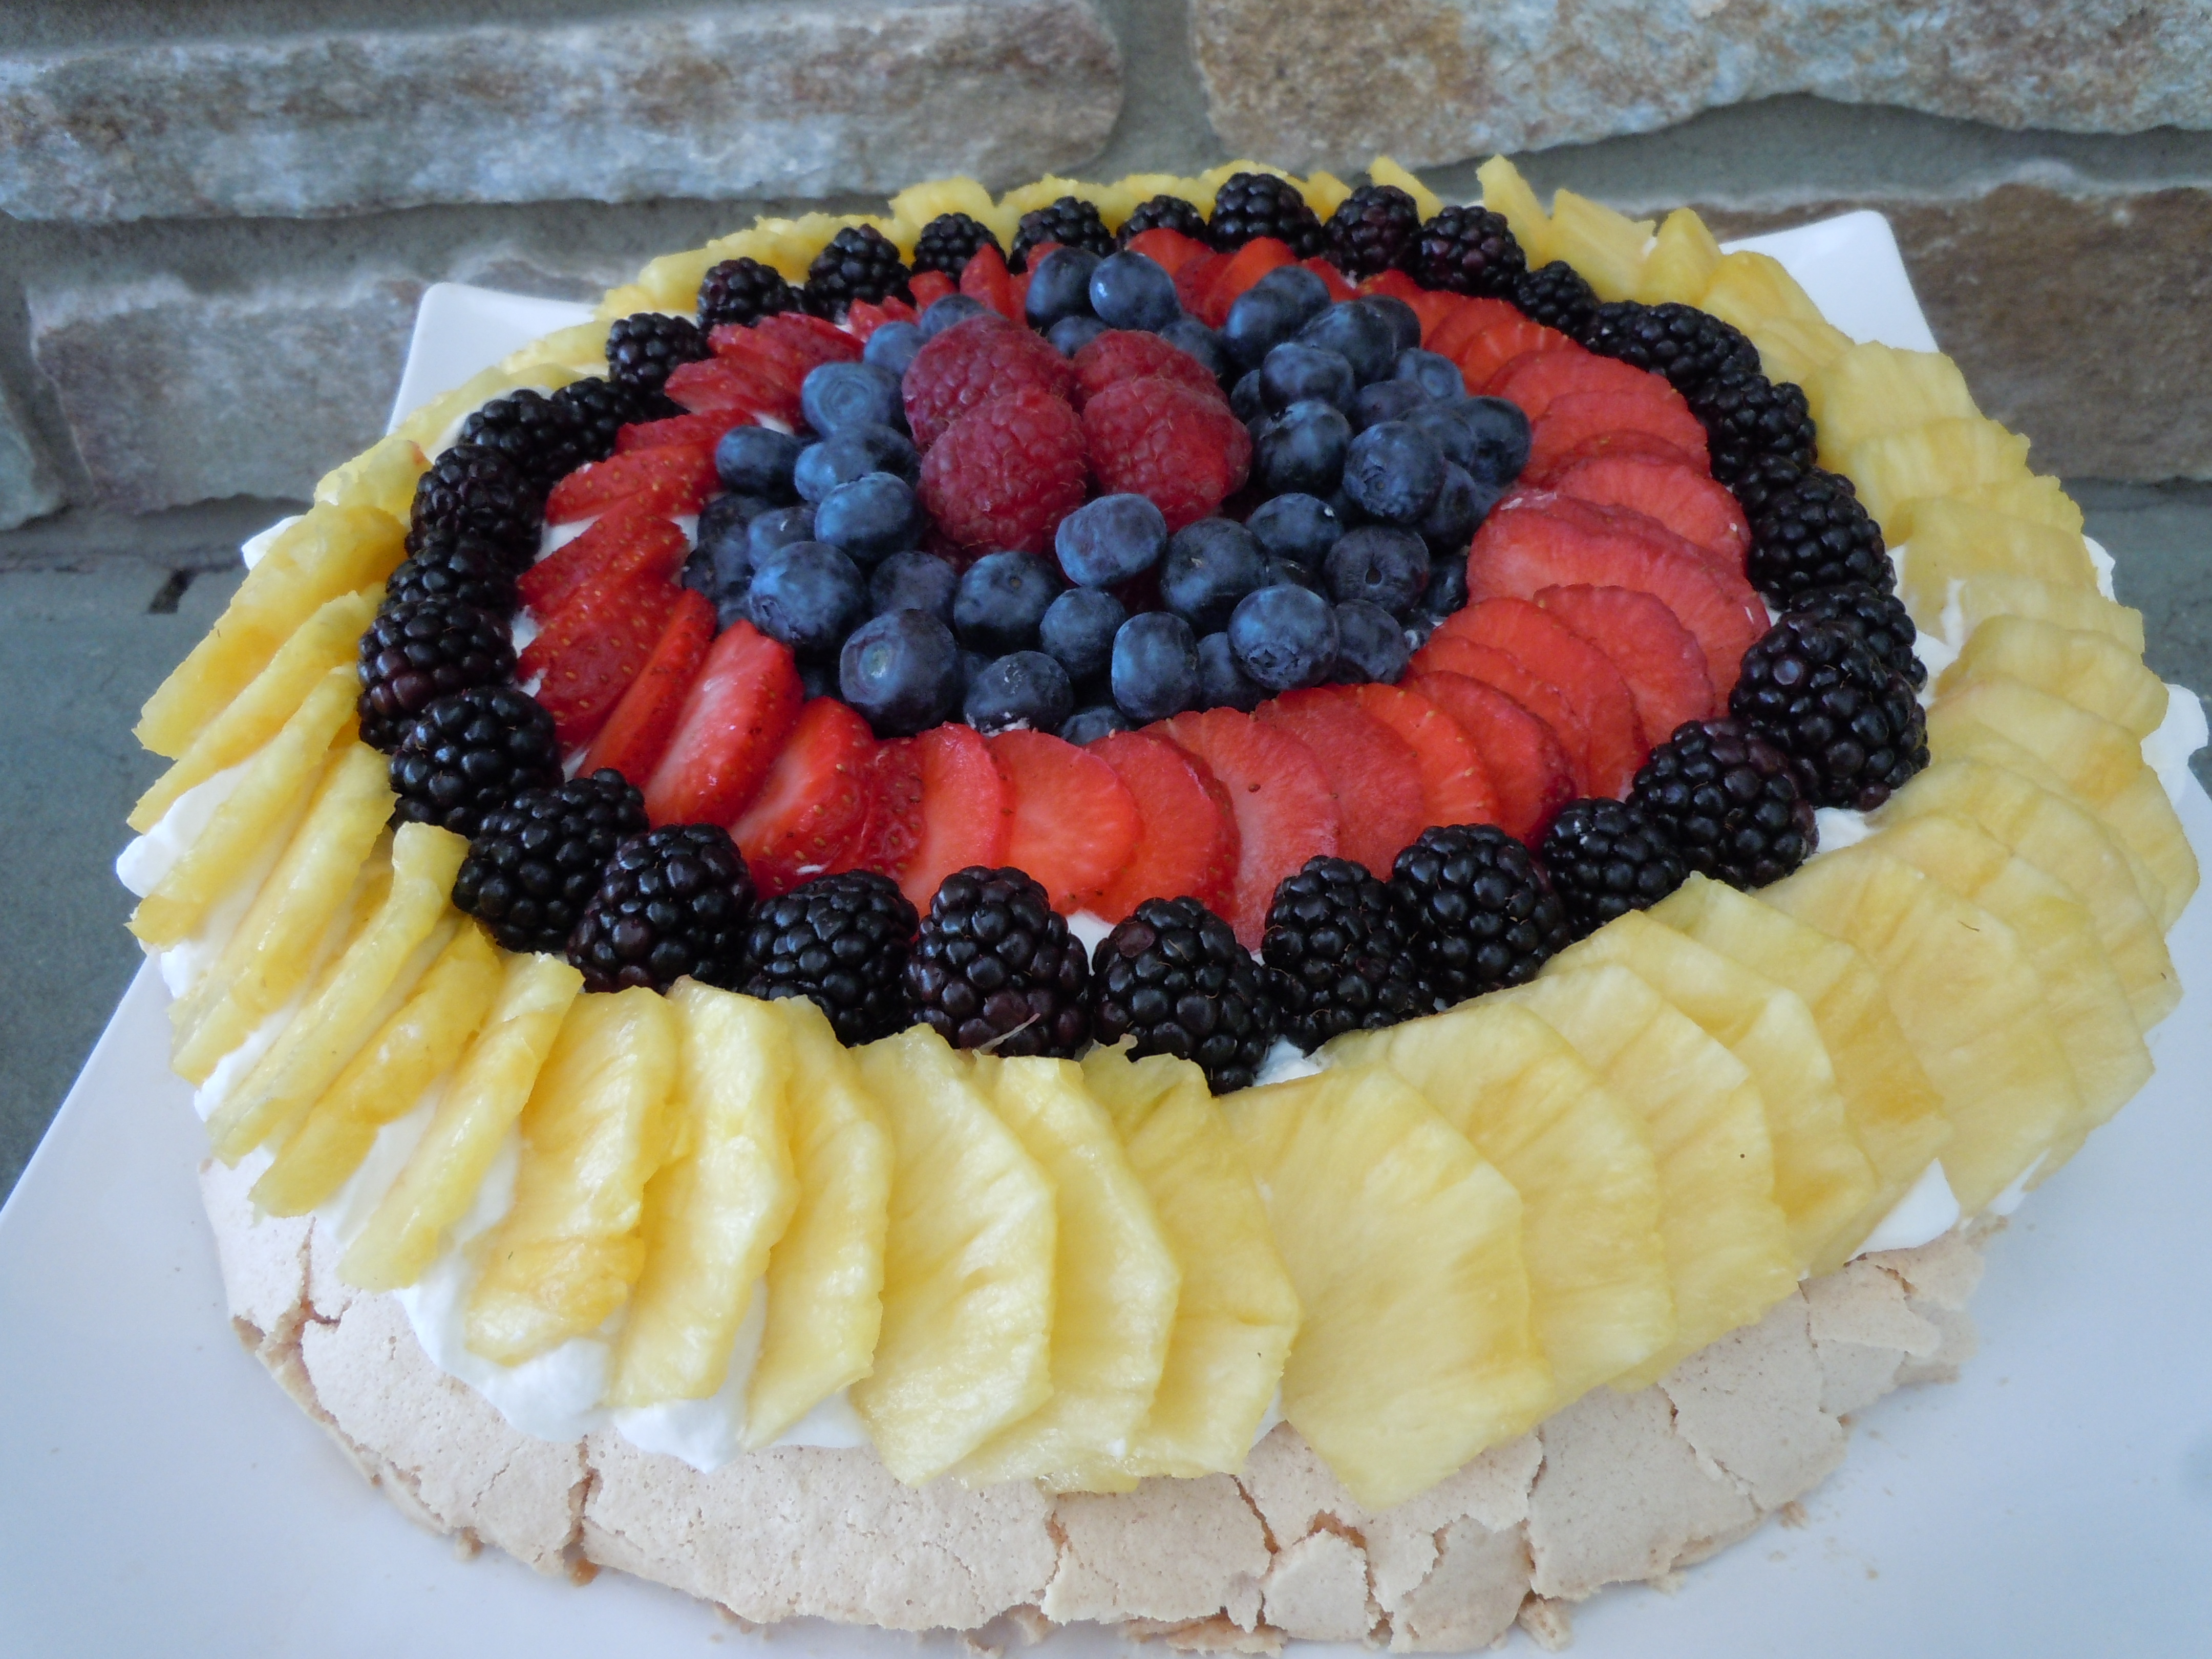
- Slice up your fresh pineapple as shown in the photos
- Slice up your strawberries and put all your fruit on a plate to make laying it out on the whipped cream an easier process
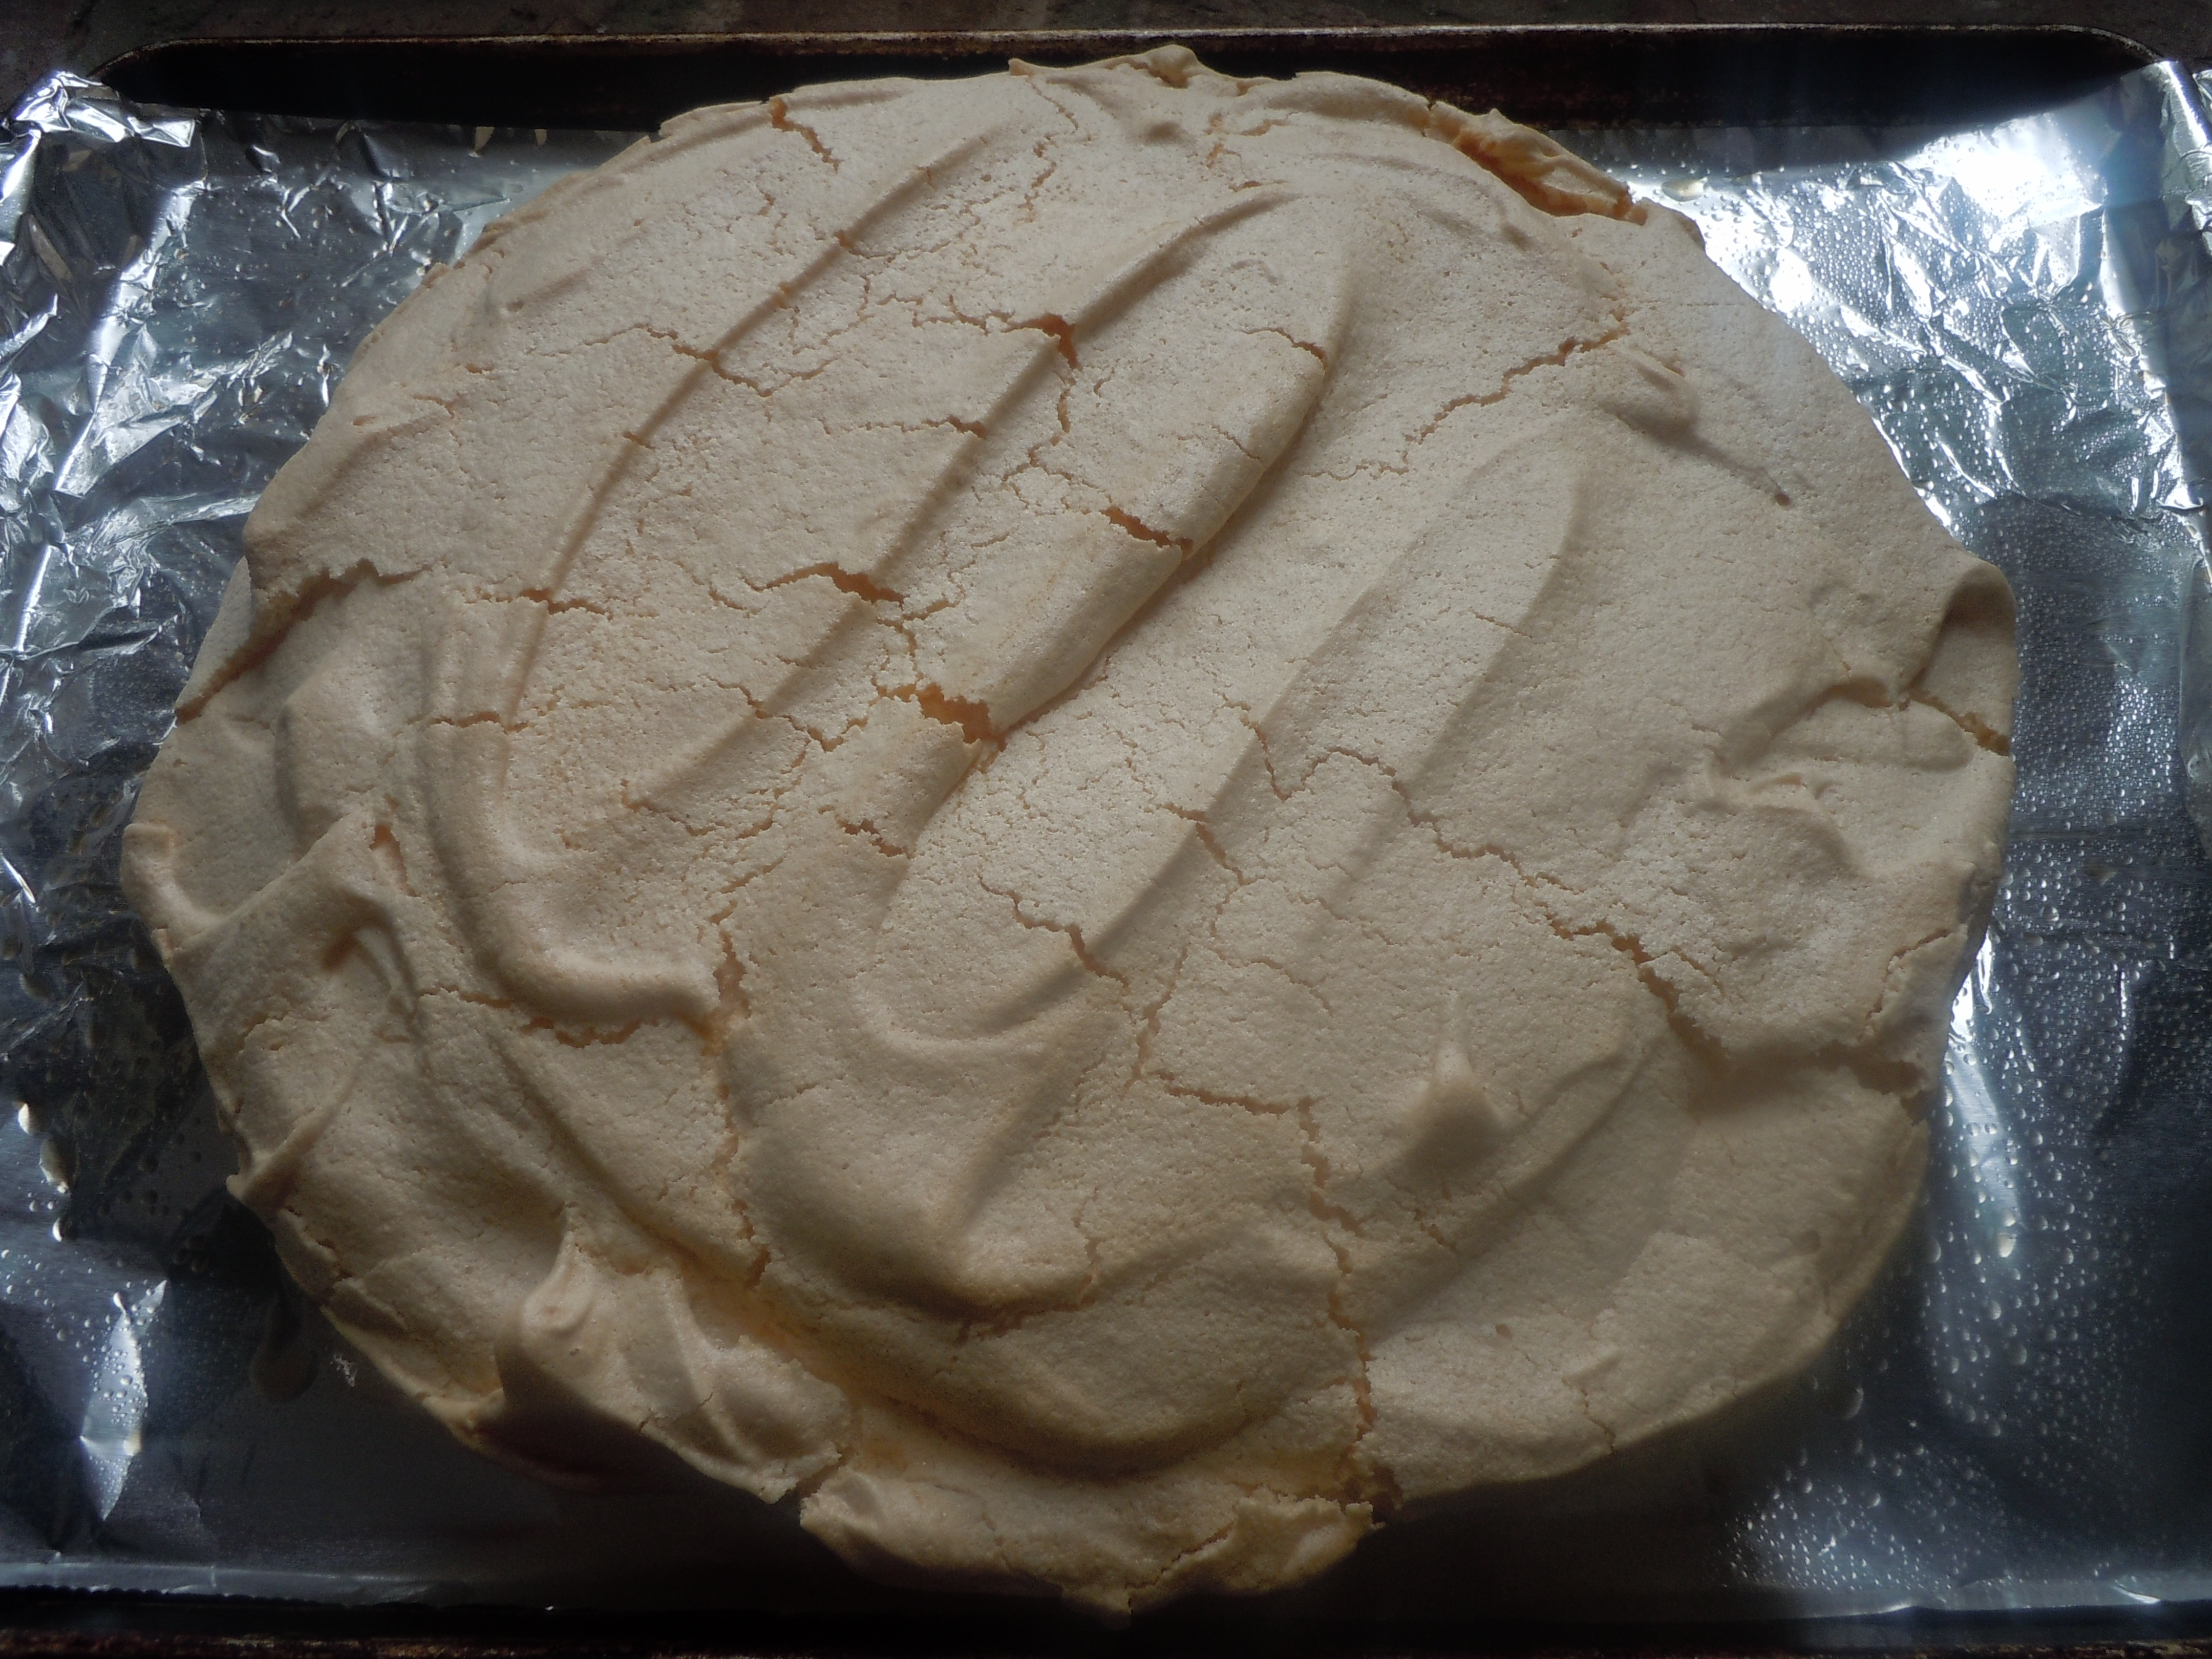
- Take the meringue out of the oven and let it cool 5 minutes just so you can handle the hot pan better (I actually even slide the meringue off of the cookie tray onto the counter – you can actually pull the parchment paper so the meringue slides with it and let it completely cool)
- Then flip it over onto your serving platter – get your hands underneath it to help flip it over onto serving dish
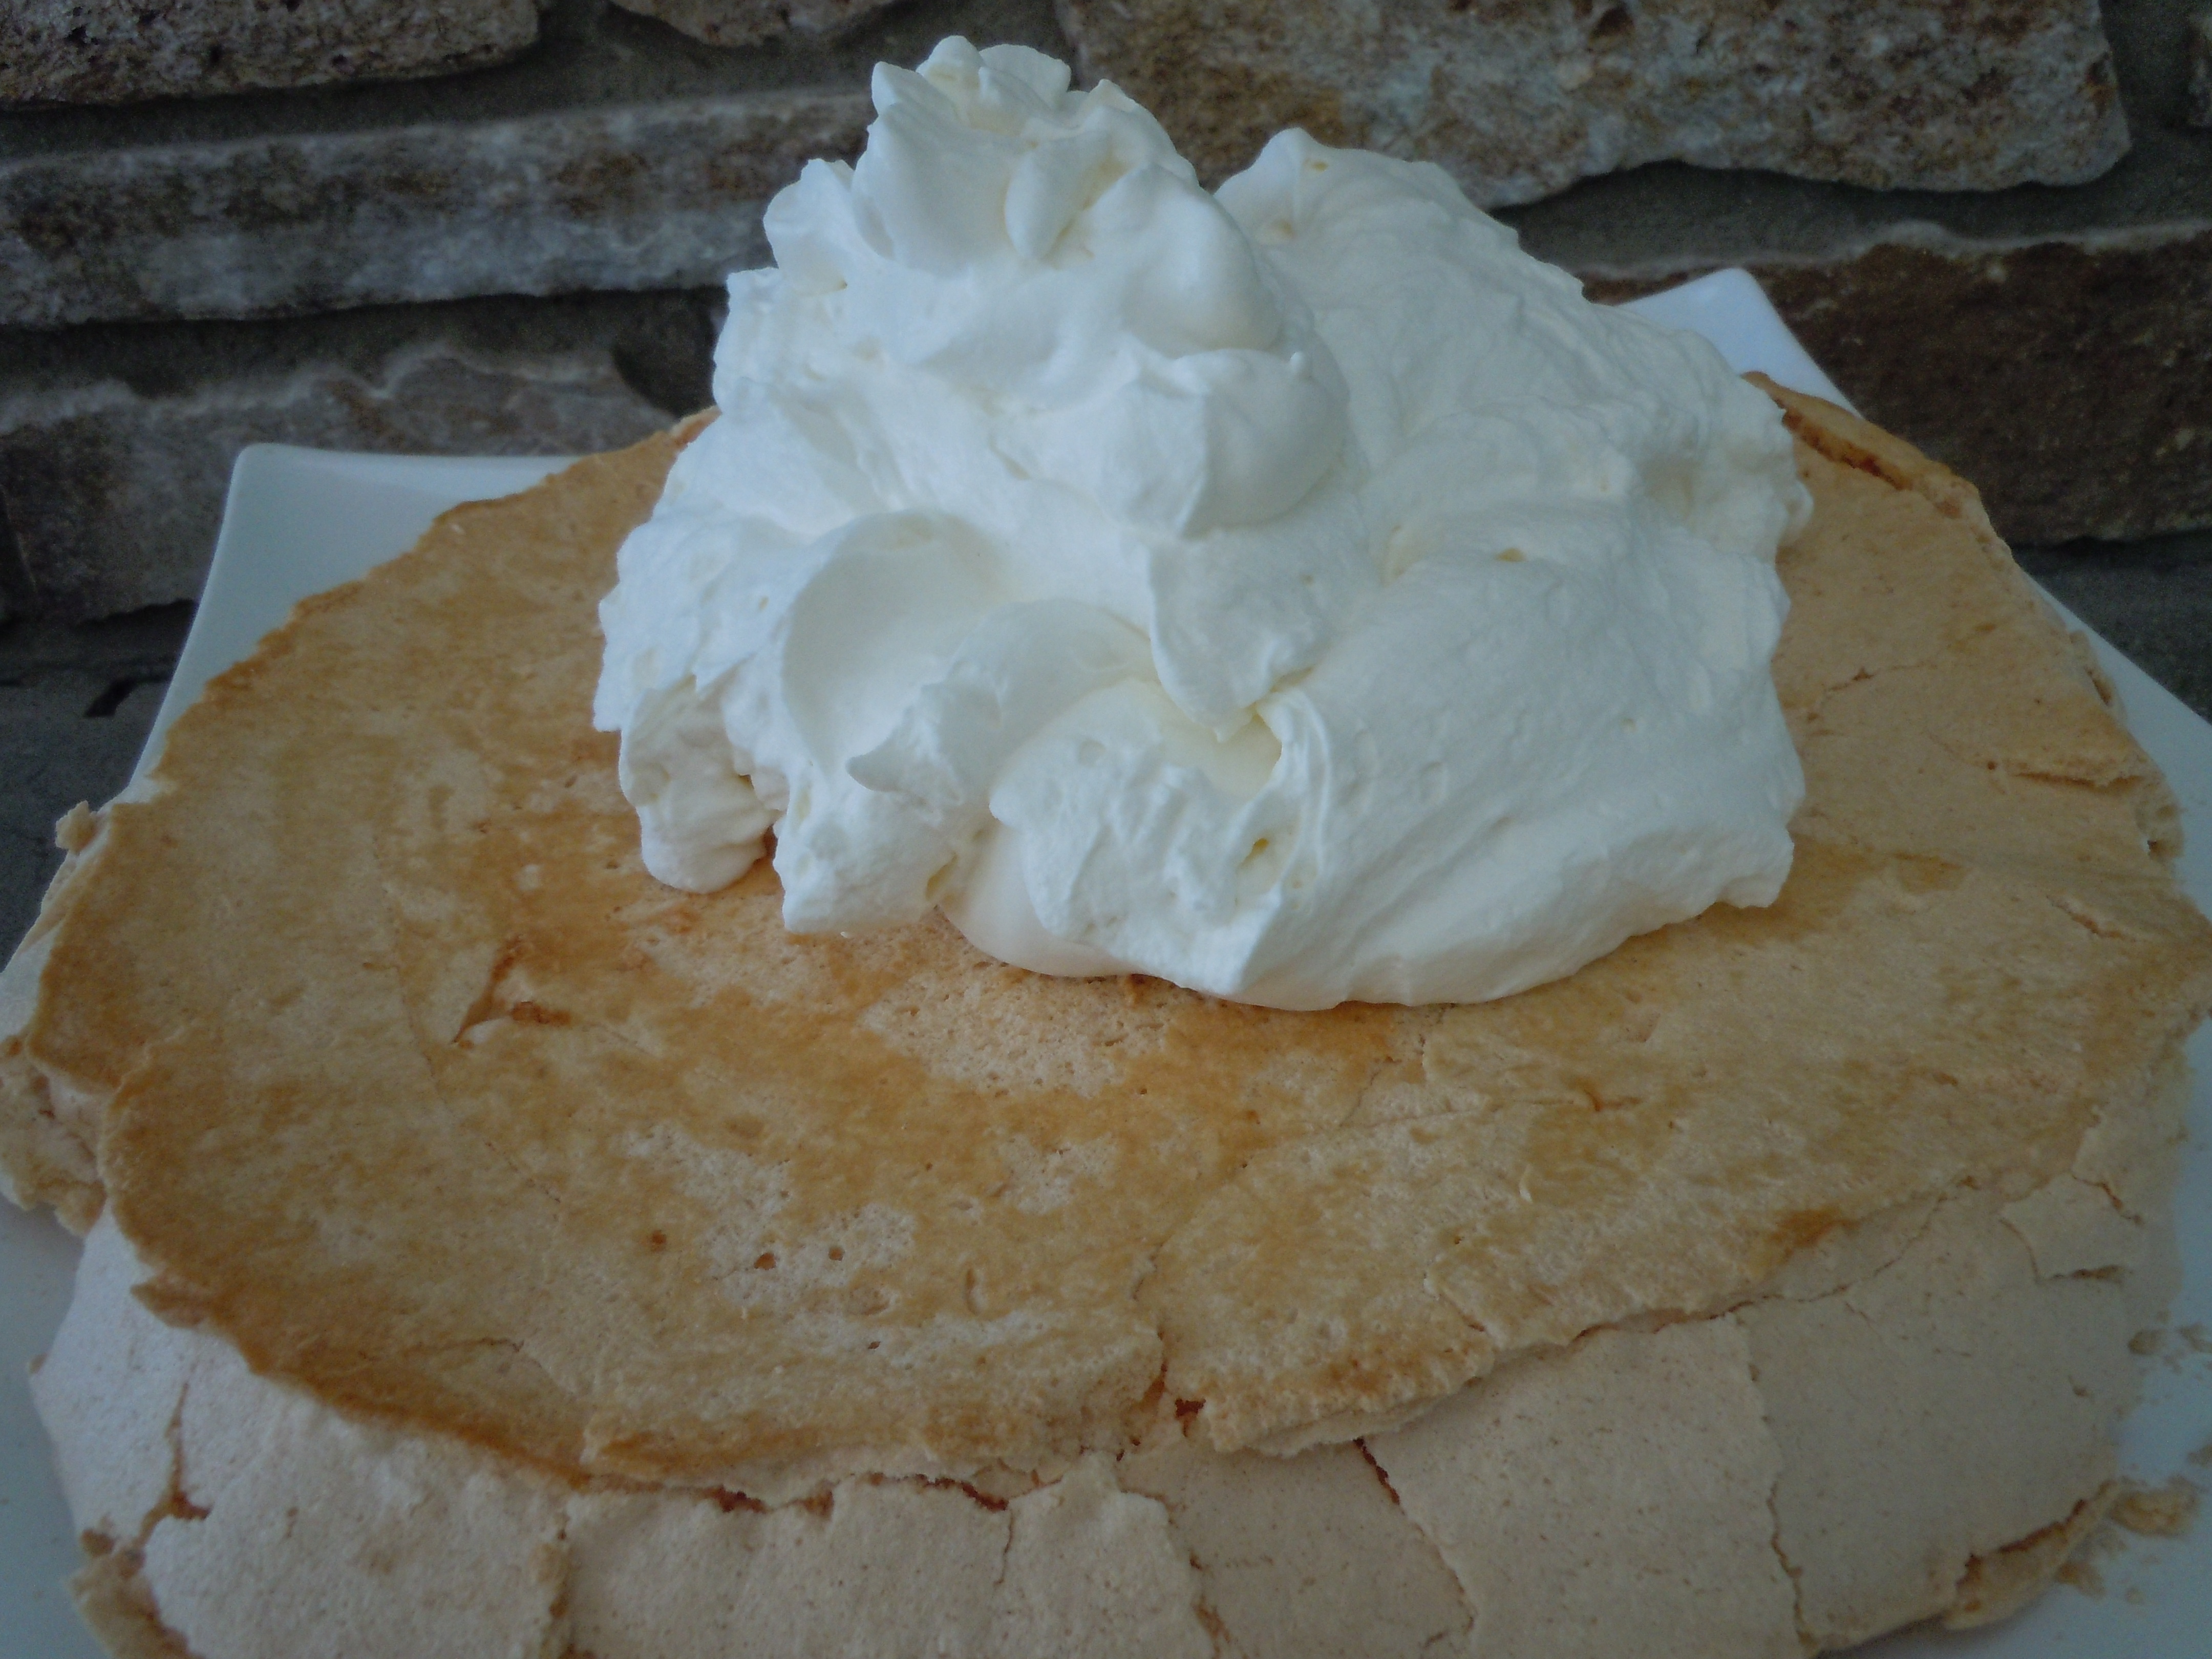
- Let meringue cool completely if you haven’t already (if you put the whipped cream on when it’s not fully cooled and the whipped cream will melt)
- DON’T WORRY about any cracks or imperfections, that’s the nature of the meringue when cooked for a Pavlova and you are topping it with whipped cream and fruit : )
- Peel off the parchment paper
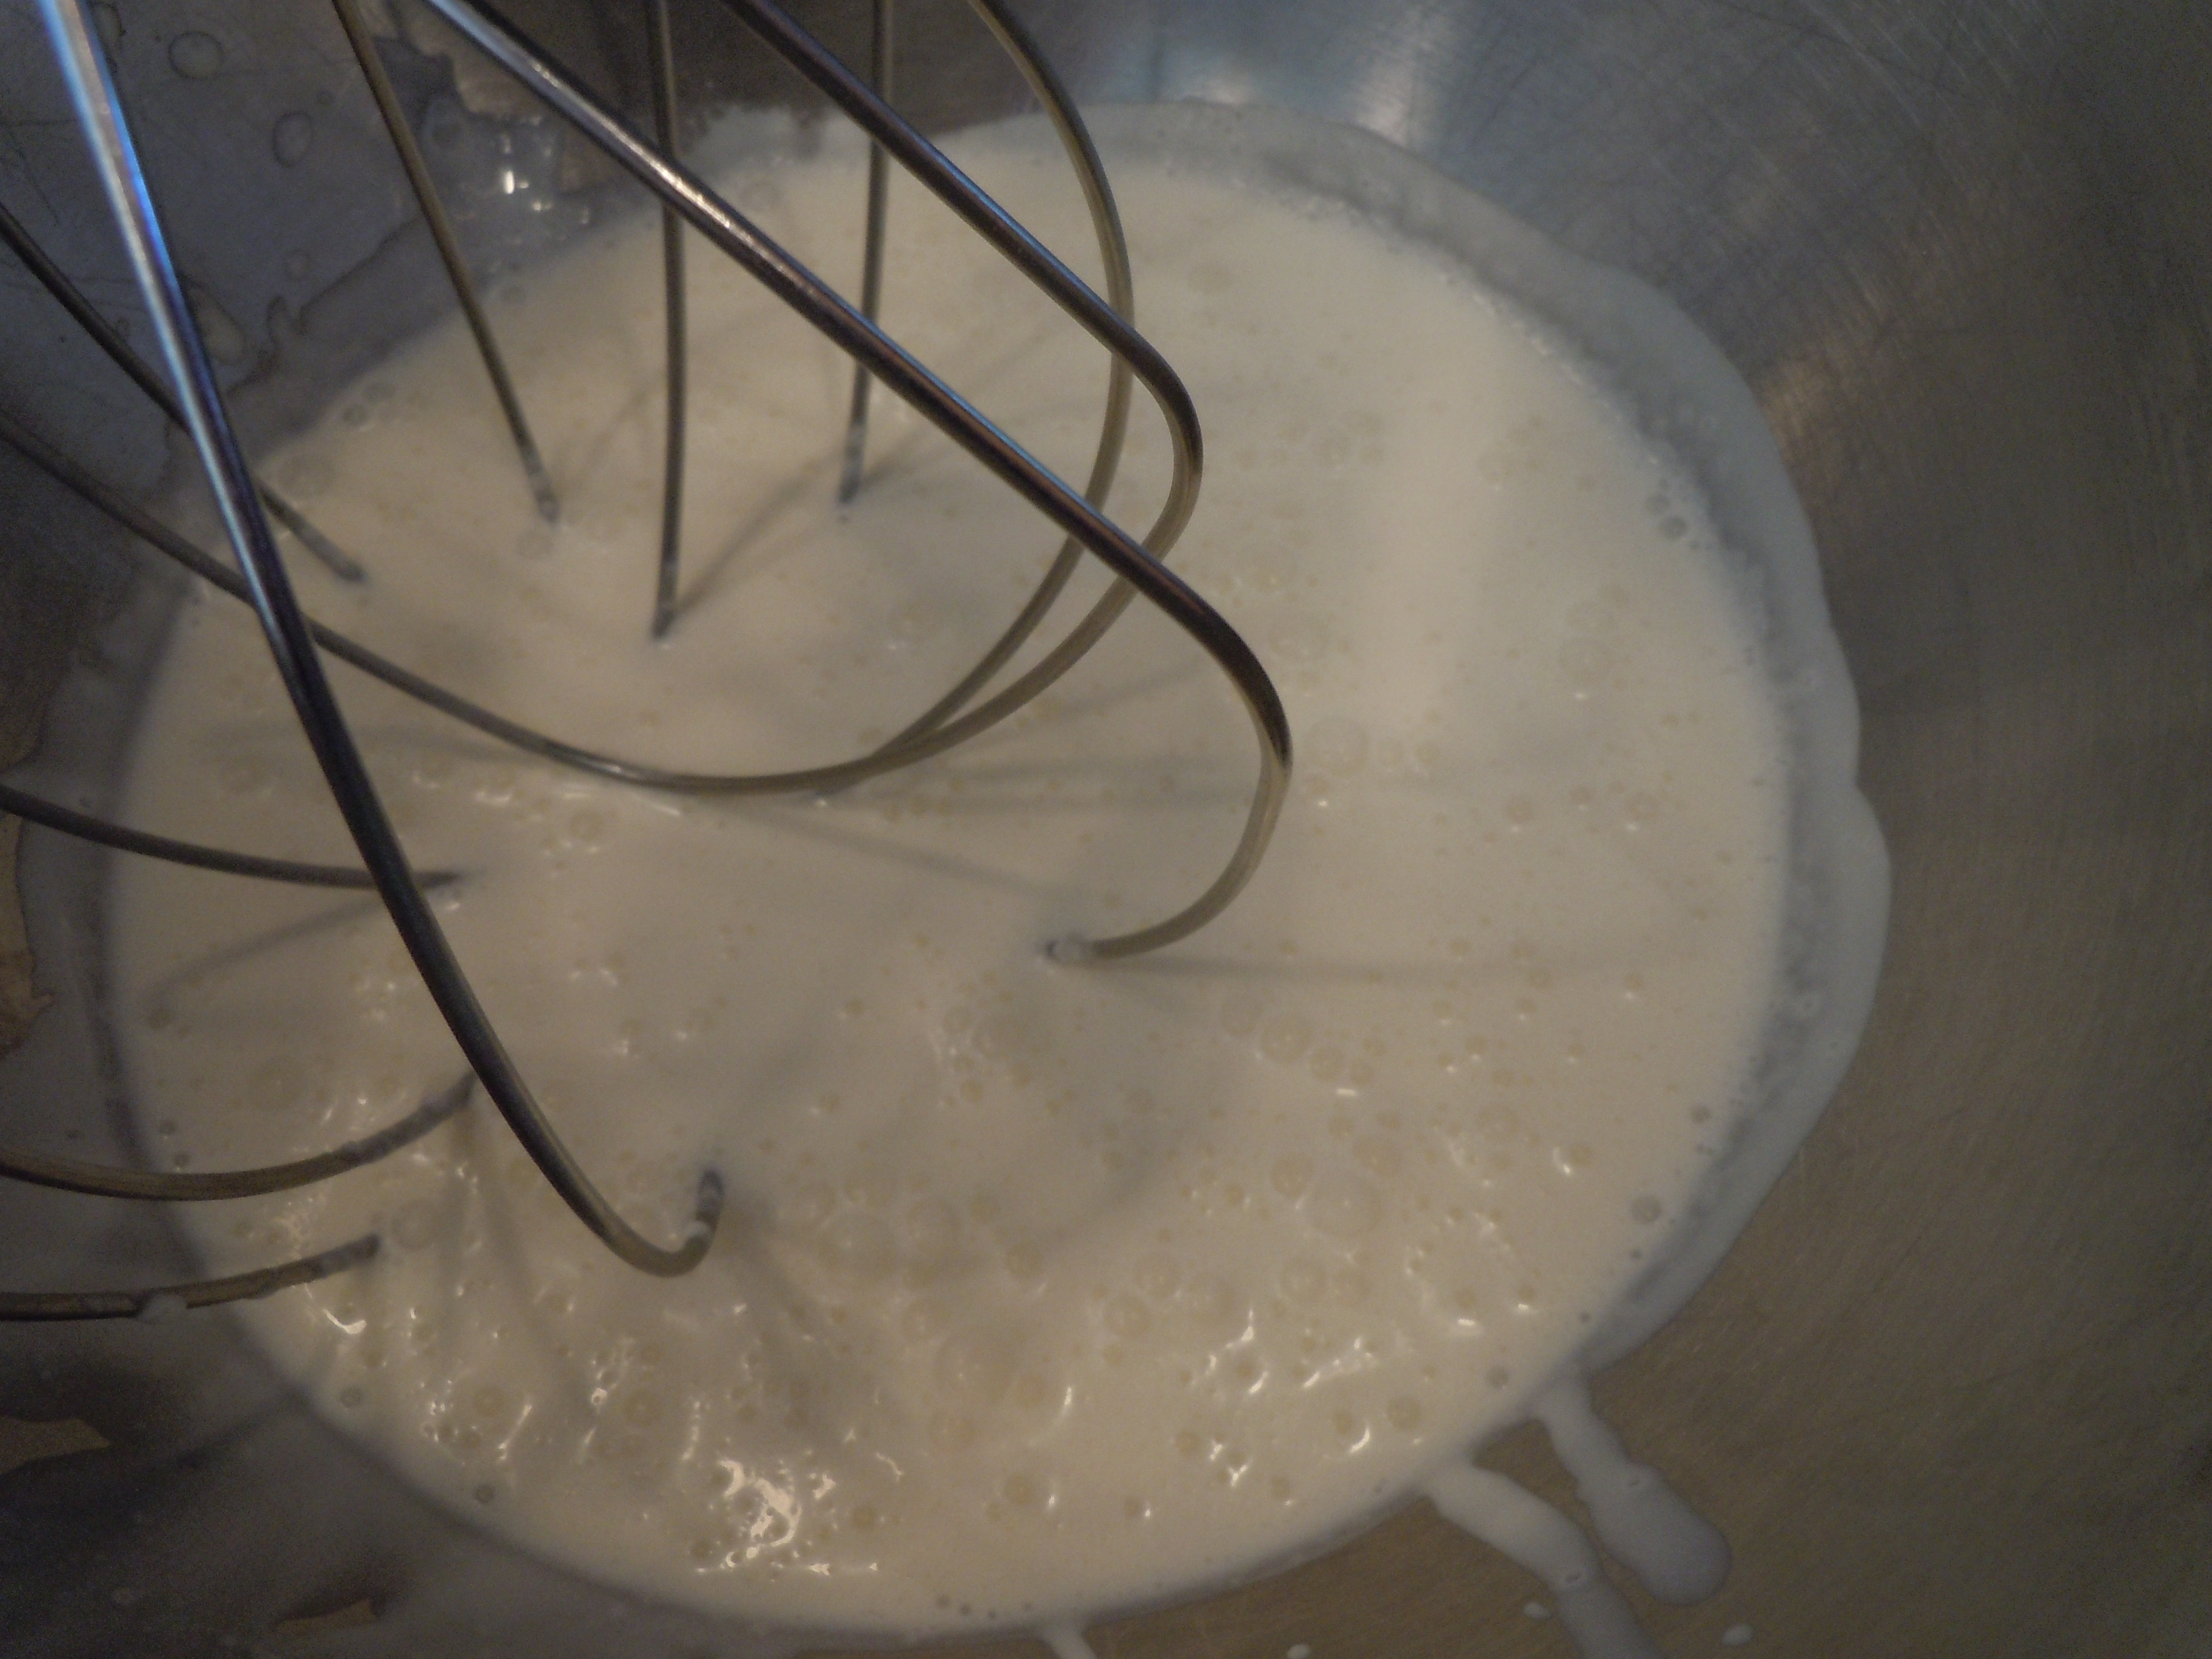
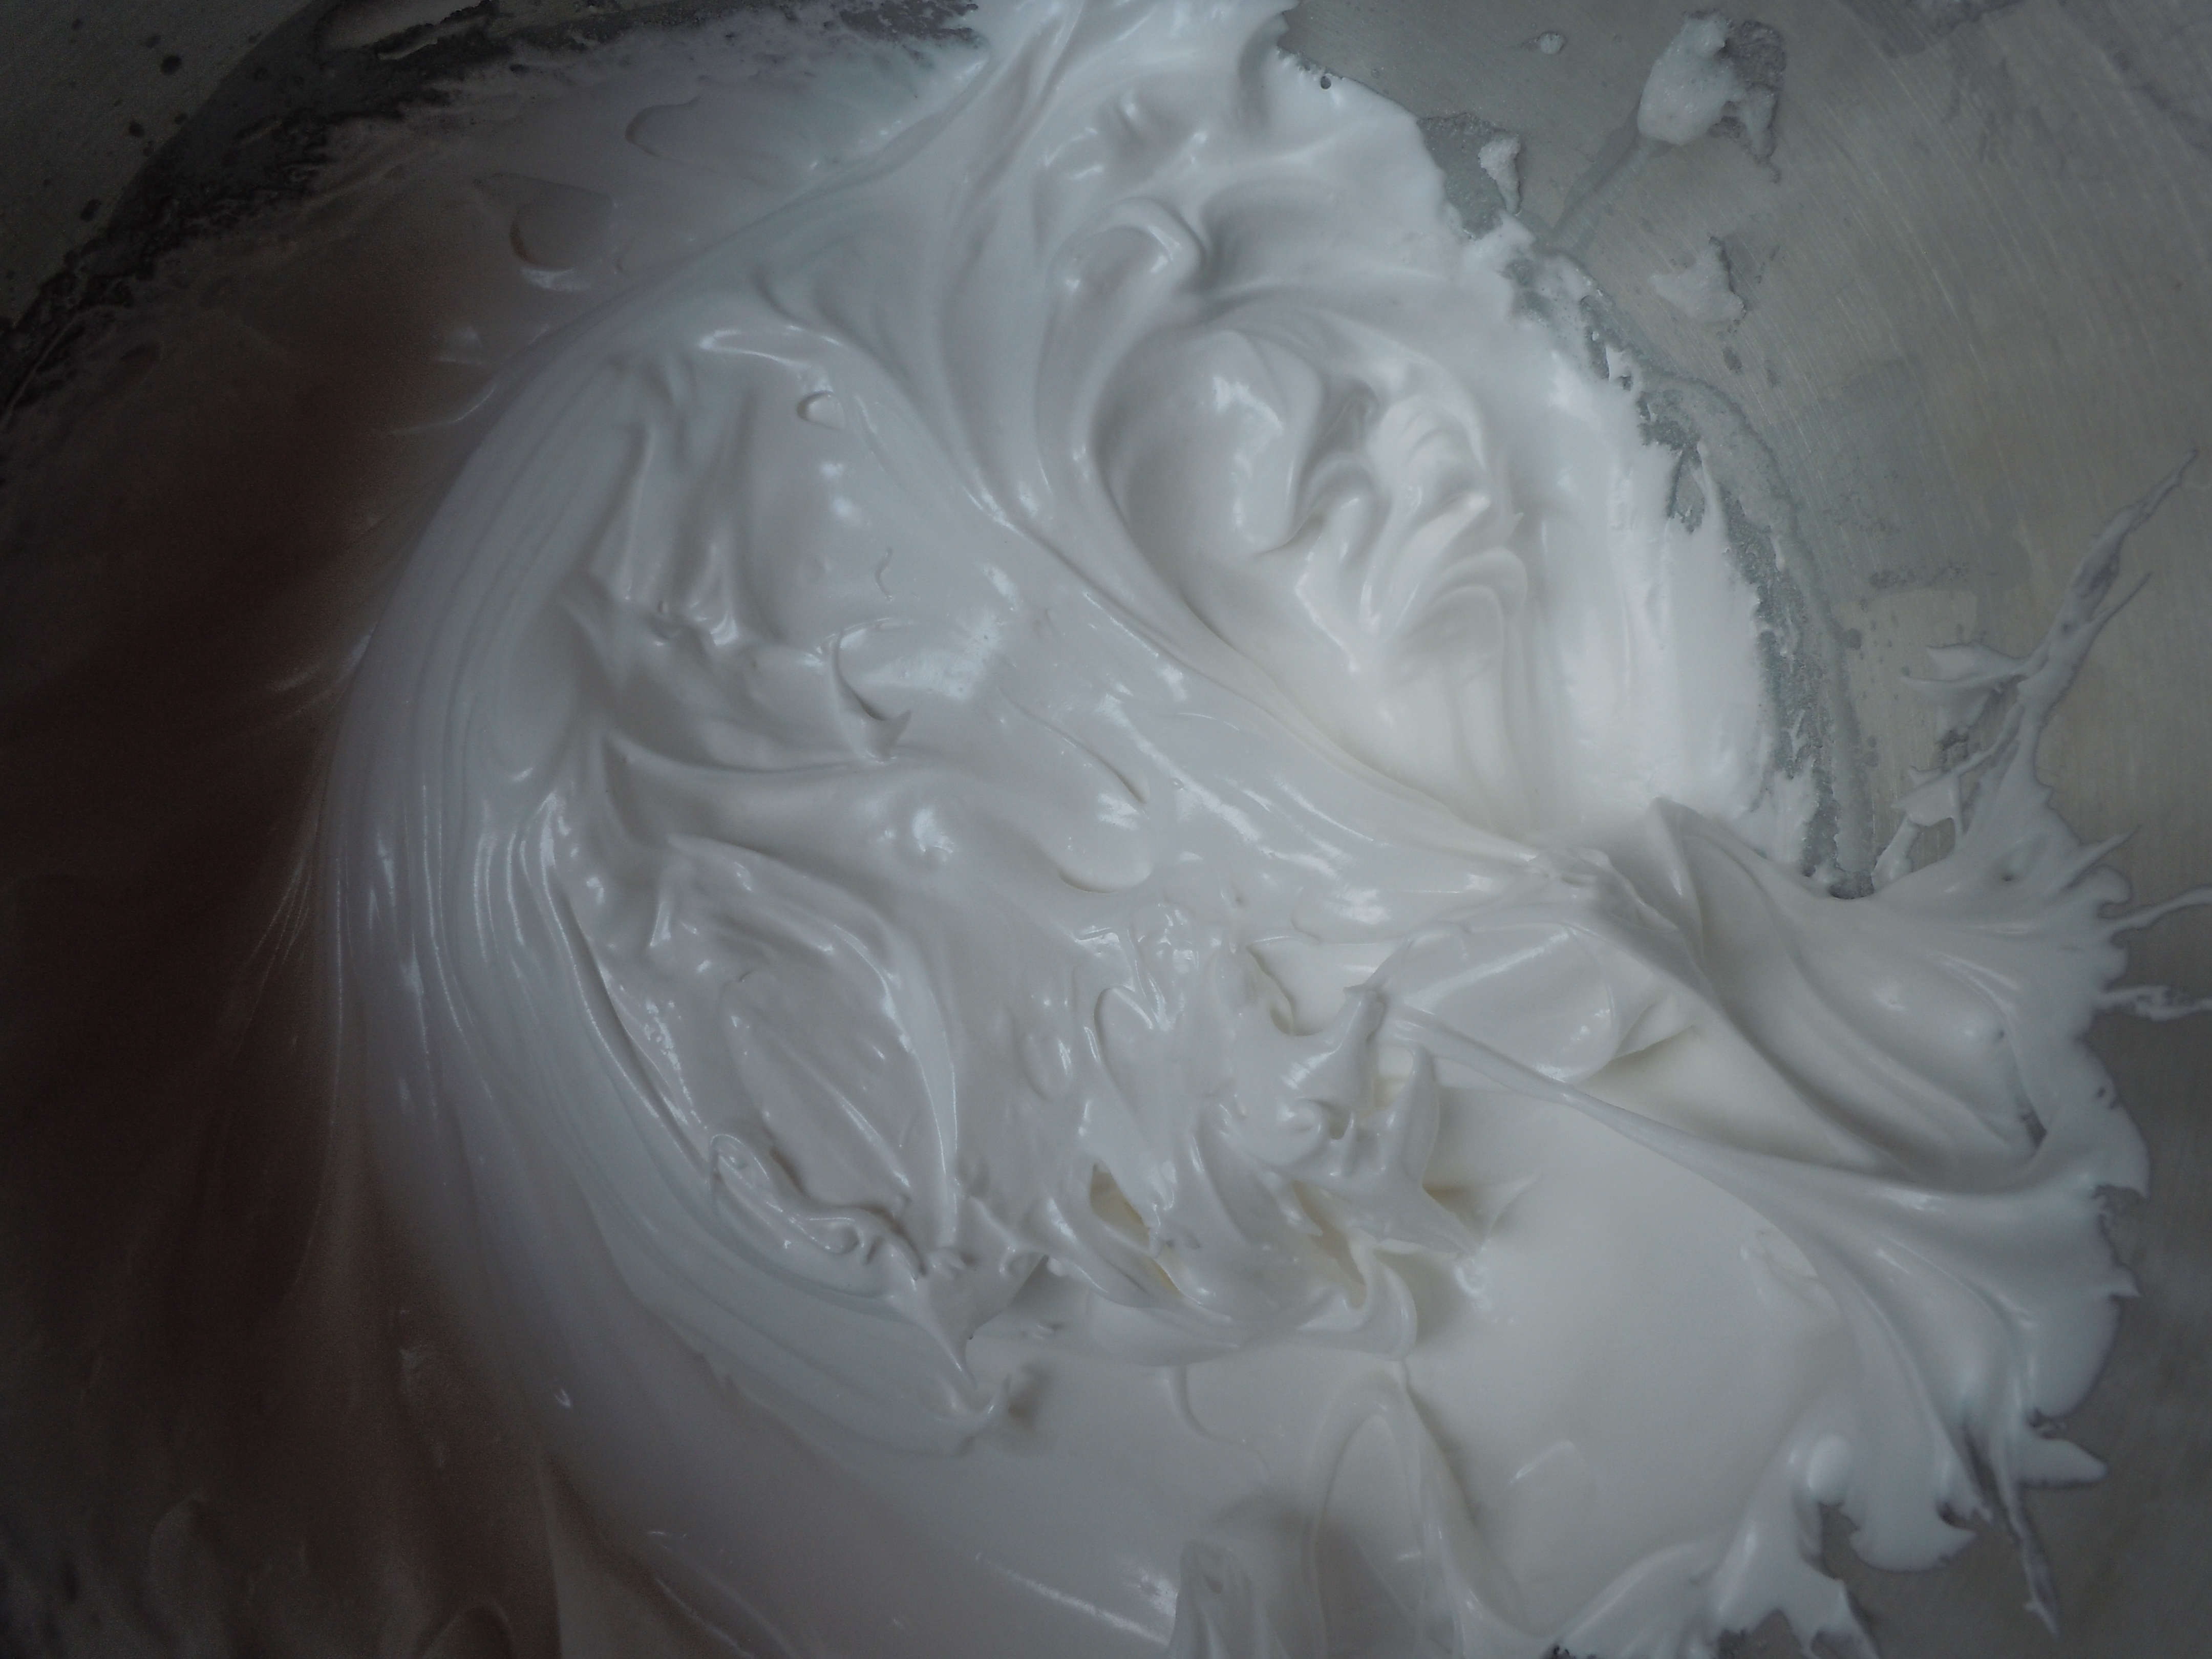
- Take out your chilled mixing bowl and begin to whisk 2 cups of heavy cream
- Whisk on medium/high till the cream turns into stiff peaks
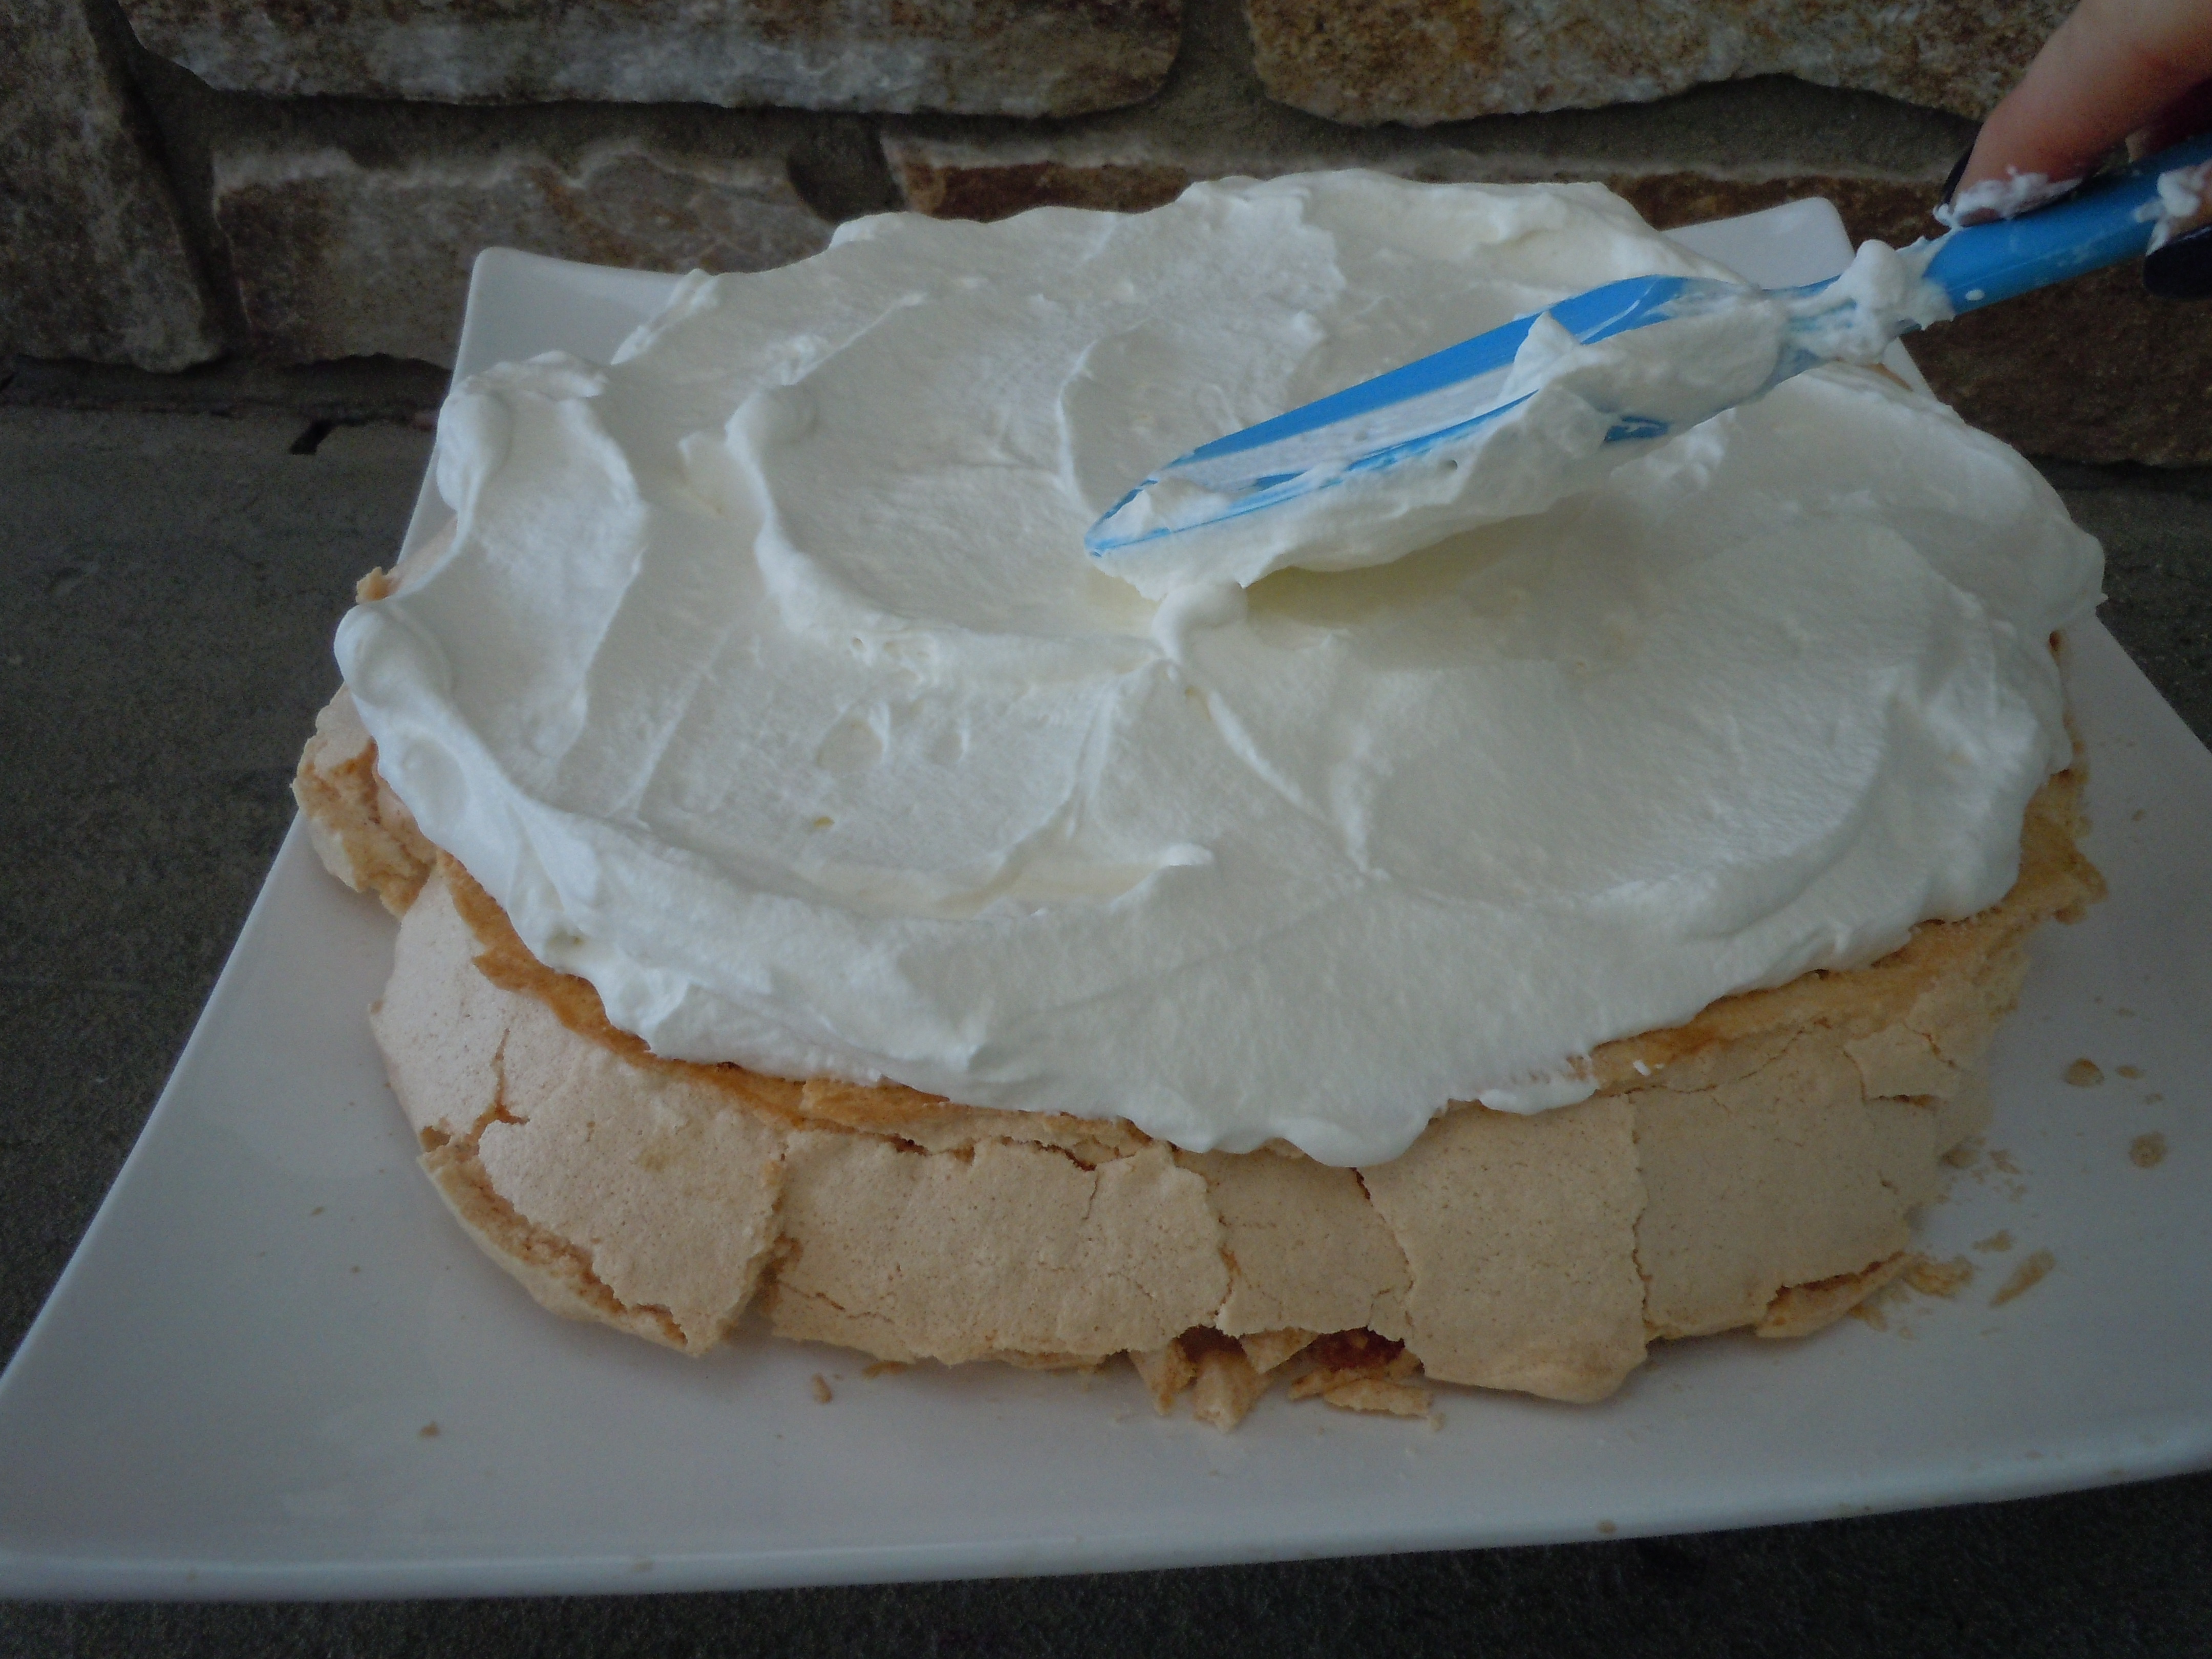
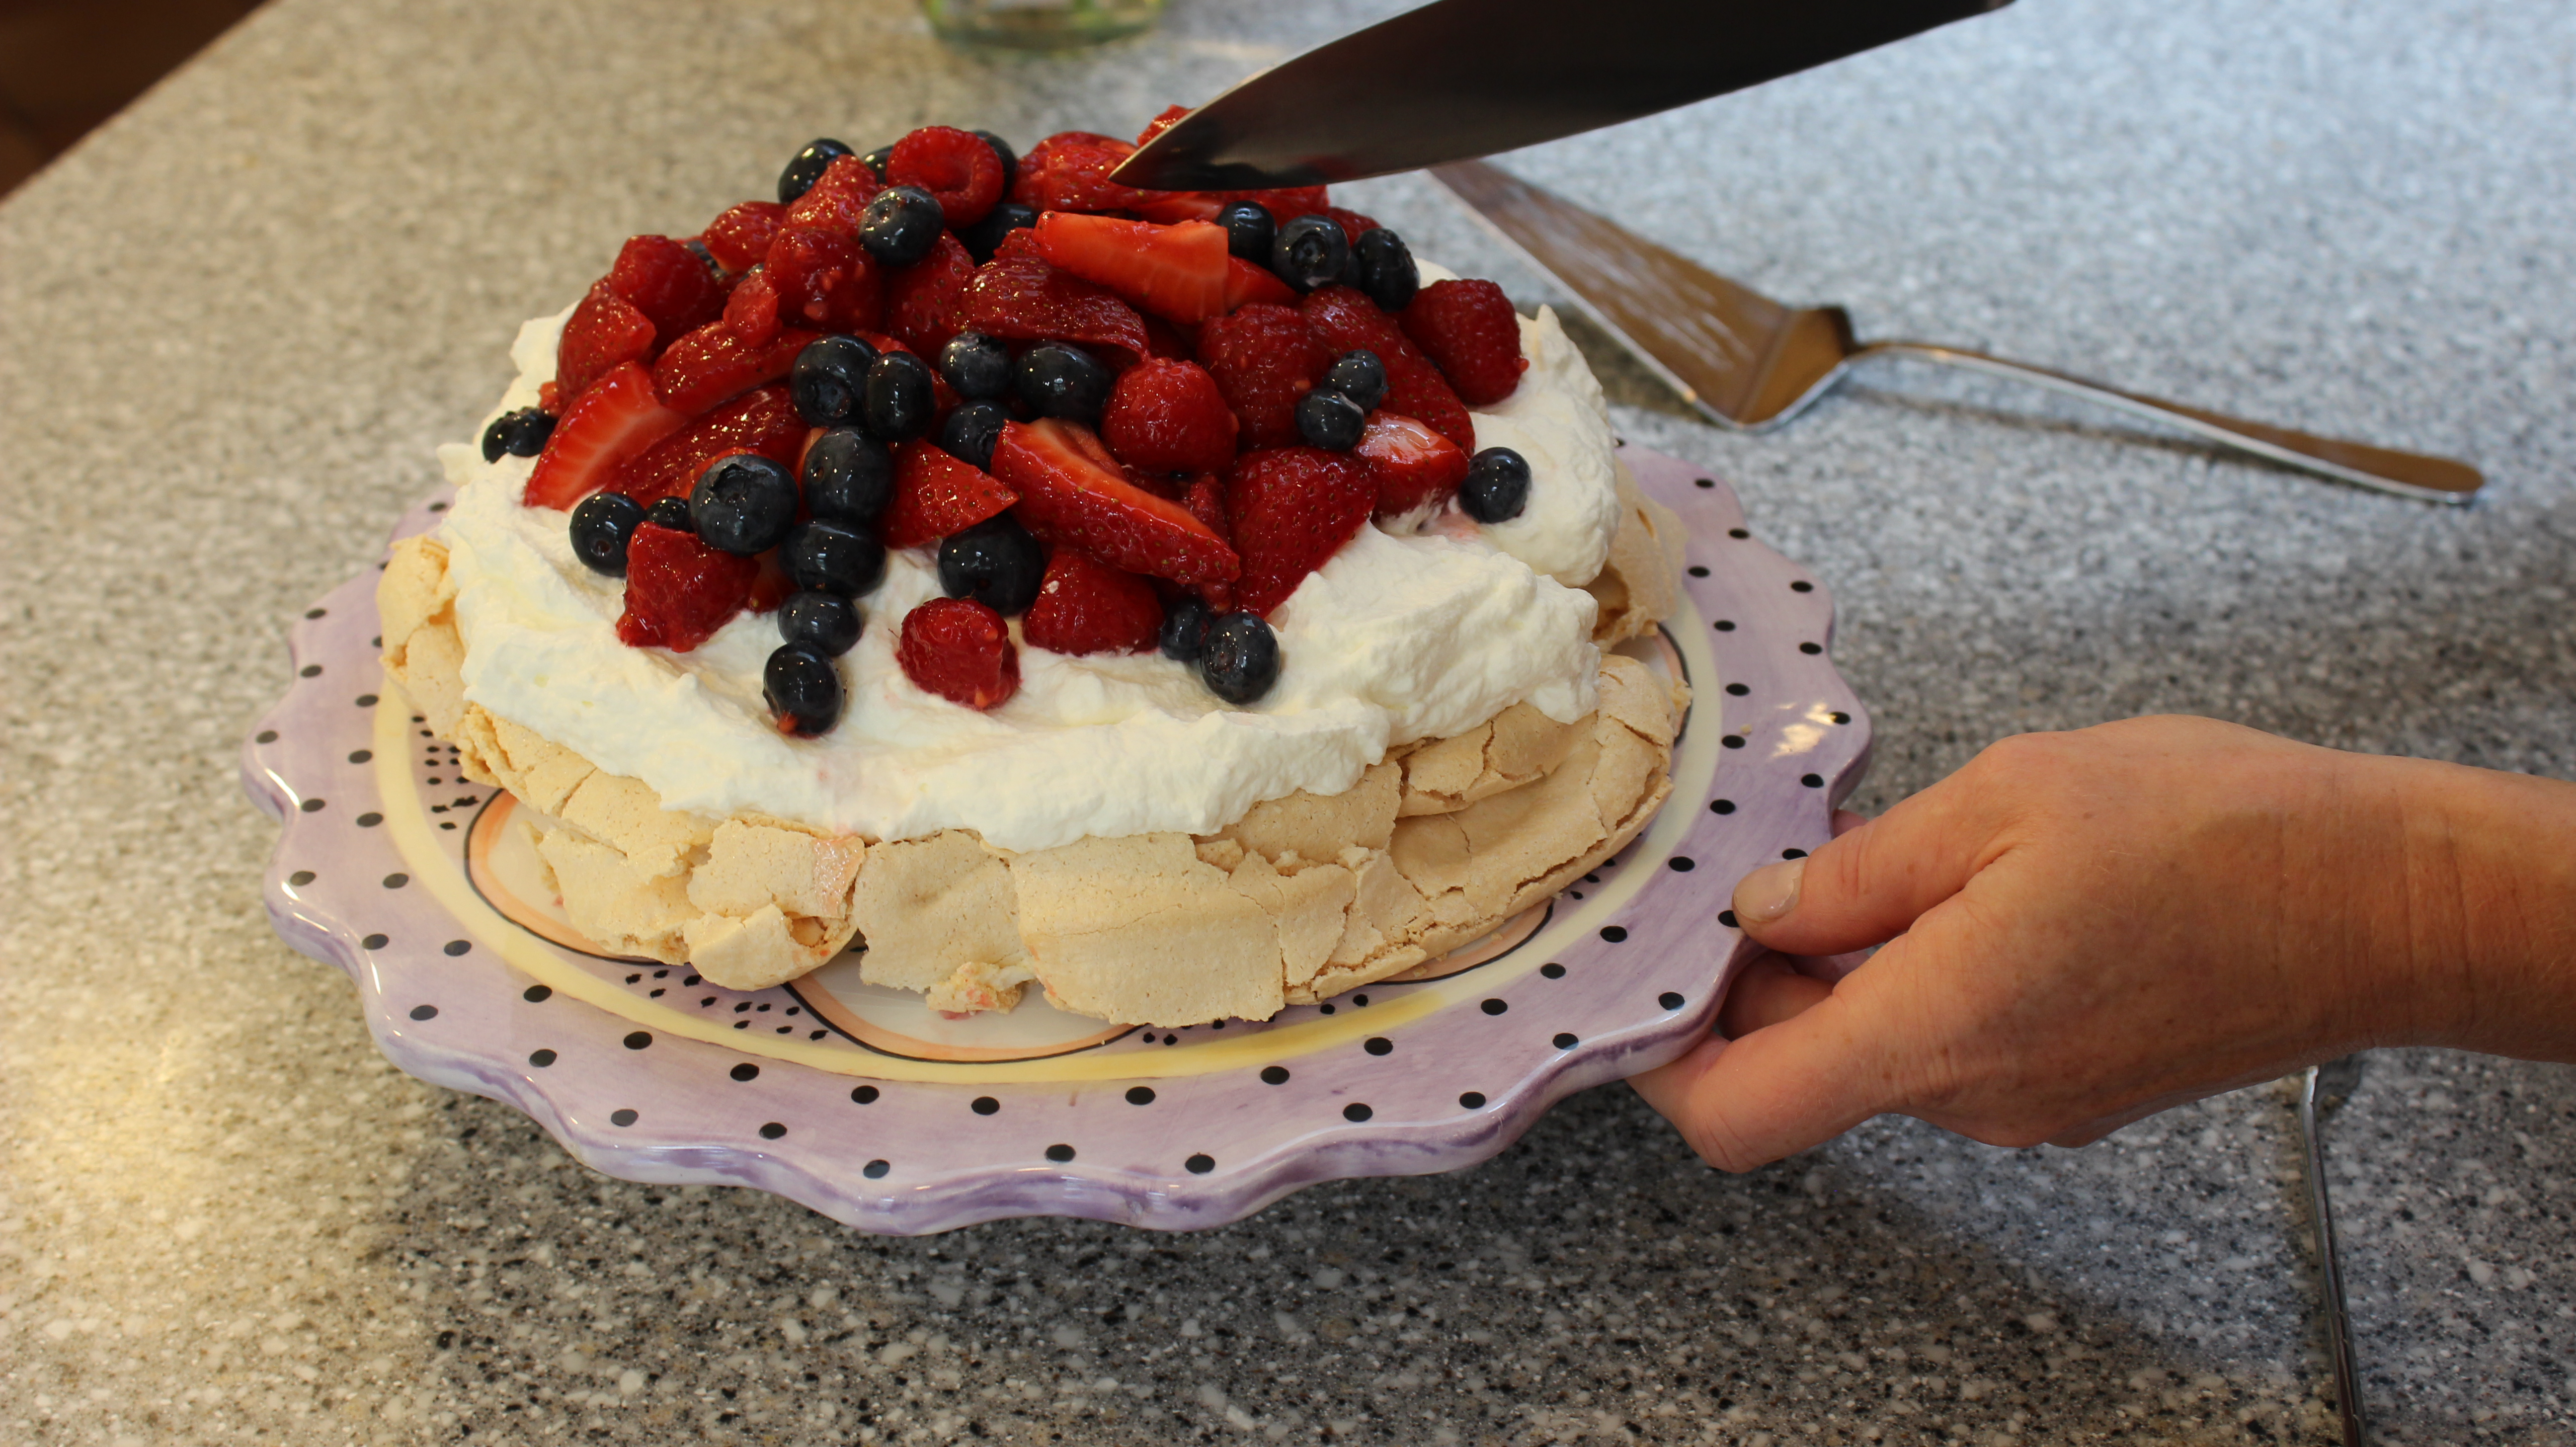
- Using your spatula scoop out whipped cream and spread a layer of whipped cream on top and then layer your different fruits in your favorite design
- You can store this in the refrigerator for a few hours until you are ready to serve it
TIP: Always use stainless steel or glass mixing bowls to whisk eggs whites and NEVER plastic or wood because they can have residual oils in them which is very bad for egg whites. Also NEVER use a wooden spoon to scoop out the meringue …same idea.