CT Style Making Asian Shrimp & Rice Noodle Salad with Ryan & Teresa!
Back on CT Style this week with Ryan Kristafer and Teresa Dufour making the perfect summer picnic dish, Asian Shrimp & Rice Noodle Salad, never gets dull with those two! I thoroughly enjoy every second on the WTNH set at Channel 8. There were several groups going on camera this week making it even more exciting then usual, if that’s at all possible.
Not only do I try to offer appropriate seasonal recipes but its important for me to find out what recipes my followers and friends want to see so please feel free to make suggestions always. That’s how I came up with this Asian Shrimp & Noodle Salad… it was the #1 request, a picnic-beach salad that won’t spoil.
You can find the wriiten recipe for this Asian Shrimp & Rice Noodle Salad and how I originally got it from my big foodie friends Karen and Ken from Andover, MA by clicking on the hyper-link.
CT Style in The Bender Kitchen with Summertime Recipes!
Back on CT Style in The Bender Kitchen with Ryan Kristafer and Teresa Dufour this past Thursday morning! I feel so fortunate to be working with such a wonderful group of people at WTNH Channel 8 who make it so fun to share The Traveling Epicurean recipes with all of you.
My goal for this segment was to show you a couple of creative and really delicious ideas for all your summertime produce. Panzanella and Berries in Dreamy Cream came to mind.
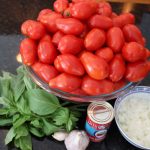
One of the wonderful things about making these dishes is the abundance and variety you have to choose from at the farmers markets in the summer. The incredible flavors in this Panzanella recipe go without saying. All the aroma’s from the fresh herbs, basil, parsley, thyme & oregano to the fresh vegetables like the heirloom tomatoes, garlic, cucumbers, red onions really get you salavating. The creaminess from the fresh mozzarella and the crunchy from the homemade croutons balance it all out.
As for the Berries in Dreamy Cream, you can whip this one up in a matter of minutes as well. I’ve been making this sauce for over 20 years and always get the same delightful response from guests after their first bite. You would never think that melting Fluff and cream cheese together could make such a delectable sauce on fresh berries. It’s a sensation you have to treat your self to and then you’ll know what I’m talking about.
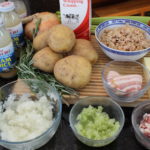
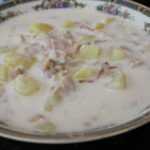
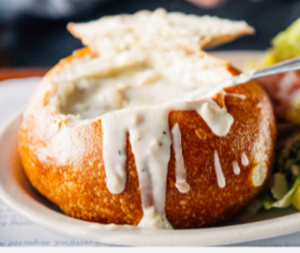
This Creamy New England Clam Chowder is bursting with clam broth flavor, tender clams, melt in your mouth potatoes and a hint of smokey from the bacon and best of all, I can make it 12 months of the year! My secret ingredients in this homemade New England Clam Chowder push it right over the top! My mother was whipping up creamy New England clam chowder when I was little so making homemade soups just comes naturally to me. My New England clam chowder recipe reminds me of my no-nonsense crab cake recipe, no extra fillers! Topped with a little dollop of butter, a few dashes of tabasco and some oyster crackers brings me to chowda heaven!
My first secret ingredient in this New England Clam Chowder is dry cream sherry. De-glazing and simmering with dry sherry brings it to a whole new level. It really gives the chowder that extra something special everyone will be trying to figure out! If you have the time you really ought to pick up the Savory & James Medium Dry Sherry-Blend of Amontillado for only $11 a bottle. It will last a while in your cupboard and help you to create amazing dishes. I would never not think of putting a big splash of dry sherry into my chowder! You will understand why once you try it this way …you’ll never go back to sherry-less chowder!
My second secret ingredient is Wondra Quick-Mixing Flour, it’s a godsend. You don’t have to bother with a roux and worrying about lumps in your soup, sauce or gravy ever. It will change the way you cook! You can add the Wondra at any time during the creation of your dish and it magically dissolves. Sometimes we need a roux, like for making a gumbo when you want to develop that nutty flavor working it into a dark golden color but we don’t need that in New England Clam Chowder!
How wonderful if it’s the right time of the year and you’ve set aside time to find and buy fresh whole clams for your chowder but my recipe can be made at the snap of your fingers, 12 months of the year. It tastes like restaurant quality chowder and it’s easy to do. I always stock my cabinets with snows clams and broth for chowder or linguine and clam sauce!
5 Bottles “Snows Clam Broth = 6 cups broth (5 cups bottle + 1 cup comes from the cans after you drain the clams)
2 cups heavy cream
1 cup half and half
3/4 cup good dry cream sherry -(the pink one) Savory & James Medium Dry Sherry -“Amontillado” is one of my favorites (1/4 cup to de-glaze onion/celery and 1/2 cup to simmer with broth base)
2 slices minced bacon (smokey flavor ONLY not maple)
3 extra lg potatoes or 4 small diced to 1/2″ size
2 celery stalk finely diced
1 whole sweet onion finely diced
1 bunch rosemary tied with string … just a flavor bundle – to be removed
1 large bay leaf
1 tsp salt
1/2 tsp finely ground pepper
3 sprinkles of “Wondra-Quick Dissolving Flour”
Directions:
Finely chop 1 whole onion
Finely chop 2 celery stalks
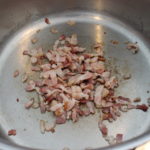
Slice 3 slice of smoked bacon, then dice that
Add diced bacon to large pot and begin to sauté on low, just want the bacon to become slightly crispy
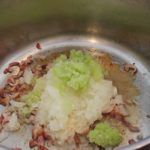
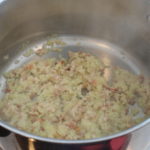
Add in chopped onion and celery and sauté until lightly golden
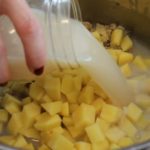
De-glaze with 1/4 cup dry cream sherry
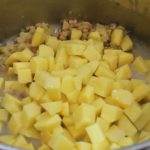
In 1 minute add in diced Yukon potatoes and all the clam broth from cans and bottles and 2 bay leaves and 1 tsp salt
Bring to a simmer and cook for 12-15 minutes until the potatoes are tender but FIRM because the potatoes will continue to cook even after you take them off the heat
Tie off a bundle of fresh rosemary with cotton string
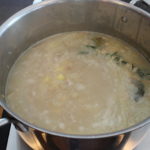
At the 5 minute mark of simmering the potatoes ADD in the rosemary bundle and 1/2 cup of dry cream sherry and bring back to a low simmer
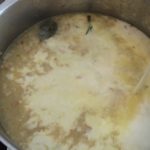
At the last 2 minutes of simmering the potatoes ADD in 3 cups of heavy cream, 1/4 tsp finely ground blk pepper and possibly 1 tsp more of salt (you need to taste here to see if your chowder needs this addition of salt) and bring back to a low simmer
Take the New England Clam Chowder base off the heat and gently stir in all the clams
Remove the the rosemary bundle and the bay leaves and serve with Tabasco and oyster crackers
If this is for the following day cool chowder completely at room temp allowing space with the cover for the soup to evaporate, place in frig
When re-heat the soup watch carefully not to bring to a boil…just heat thru…mmm! Enjoy!
Shop Ingredients HERE!
Cutiset 20 Ounces ceramic bowls set with handles for chowder, set of 4
San Francisco Boudin Bakery Sourdough Rounds 16 oz (2 Bread Rounds)
Baking Serving Ceramic Red 16 Oz Soup Bowls with Handles – Set of Four – Stoneware Chowder Bisque Pot Pie Crocks
SNOW’S BY BUMBLE BEE Chopped Clams, 6.5 Ounce Can (Case of 12), Canned Clams, Gluten Free, High Protein, Keto Food, Keto Snacks, Paleo Diet Food, Canned Food
SNOW’S BY BUMBLE BEE All Natural Clam Juice, 8 Ounce Bottle (Pack of 12), Pure Bottled Clam Juice
Double Smoked Bacon Slab by Schaller & Weber (11 ounce)
Rosemary, Locally Grown, 2 Bunches
2-Ounce Premium Whole Bay Leaves
Tabasco Original Flavor Pepper Sauce 2 oz (Pack of 4)
Wondra All Purpose Quick-Mixing Sauce ‘N Gravy Flour (Pack of 2) 13.5 oz Size by Gold Medal
New England Original Westminster Bakeries Oyster & Soup Crackers (3 Pack)
CT Style in The Bender Kitchen with Teresa & Ryan Making Manicotti!
With Easter right around the corner I was excited to be back on CT Style in The Bender Kitchen with Ryan and Teresa so I could share with you my family’s secret recipe for homemade manicotti. These delicate pasta crepes are the lightest manicotti you’ll ever have. They are oozing with mozzarella, covered in tomato-basil sauce and topped with grated Pecorino Romano cheese and are sure to turn heads at the dinner table!
Italian tradition always includes a yummy side dish to go along with the ham, leg of lamb, turkey, salmon or tenderlion like manicotti, lasagna, eggplant rollatini or parmesan. Comfort food bringing it all together, an Italian side dish makes such a nice compliment to what ever meat or fish you choose.
This homemade manicotti recipe is a poured crepe-like batter and in my opinion it’s a whole lot easier then making a tradition rolled out pasta. Making the pasta crepe is like making pancakes or French crepes. On my manicotti recipe page I show you detailed pictures of how to make them. The YouTube “Manicotti Show” that’s embeded there also includes very detailed instruction on how to make these walking you thru each step making it very easy for you to follow and learn.
I love cooking for everyone on the CT Style set who seemed to love the manicotti because there weren’t any left over…makes the chef very happy! The lettuce wedges with Roasted Blue Cheese & Buttermilk Dressing (stay tuned for an up and coming show on that one) and crumbled bacon were a big hit too and lets not forget thoseChewy Chocolate Chip Cookies!
Once you introduce these delectable homemade manicotti into your family’s holiday dinner you’ll find it becoming part of your tradition too! Other wonderful side dishes you could add into your dinner, my Creamed Onions, Steak House Creamed Spinach or zucchini torta! Don’t forget about Ricotta Pie or Greek Baklava both crowd pleasers at parties! Enjoy and Happy Holidays! 🙂
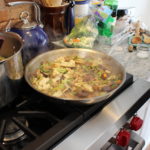
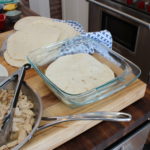
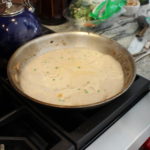
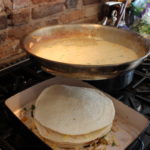
Torta de Pollo is a delicious and innovative way to change up the ole chicken pot pie not to mention it’s a down right fun thing to do! That’s what Chef Mark has done here layering tortilla’s with chicken and vegetables instead using a traditional pie crust. A Spanish Dry Sherry, called Amontillado, certainly takes this chicken pot pie version to a new level. Using these tortilla’s will save you time from making and fussing with a pie crust and who doesn’t love that.
Chef Mark has some wonderful flavor building steps going on here in his Torta de Pollo as he graces us with his truffle salt and Himalayan salt rock. Let’s not forget his de-glazing of the veggies with this Spanish Dry Sherry called Amontillado by Savory and James that every kitchen should carry for a mere $13 a bottle. It would be silly not to have this in your cubbard!
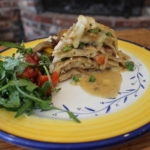
Using the tortilla’s instead of the pie crust gives this Torta de Pollo an almost creamy texture. Changing up a chicken pot pie recipe like this, swapping out the tortilla’s for the pie crust, is such a creative and easy thing to do. It reminds me of a couple other of my favorites like chicken enchiladas or chicken cordon blue because of the swiss cheese in with the layers.
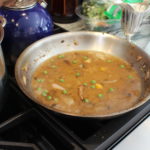
No baking time is another wonderful feature of this recipe. Once you sauté the veggies and make the “special sauce” consisting of chicken stock, rosemary, heavy cream and Spanish sherry you then cover the torta with this delectable sauce and flash broil it for 3-5 minutes…voilà! You certainly won’t be disappointed with this one! Enjoy and have fun using your favorite vegetables!
9 x 13 baking dish (will be wider then the tortilla’s
fresh rosemary for “Special Sauce” – recipe below
1 cup heavy cream for “Special Sauce” – recipe below
Directions for Torta de Pollo:
Remove all the meat from the rotisserie chicken
Slice up the chicken to bite size pieces and set aside
Add remaining rotisserie chicken, the bones & the skin to a medium size pot and add 1 celery stalk, onion skin, and 1 carrot cover with water and bring to a simmer for 1/2-1 hr
Warm sliced de-boned chicken in a medium pan with 1 cup chicken stock on low heat
Put sliced mushrooms in a hot sauté pan and cook for 5 minutes, stir after a minute…don’t worry if they seem to stick it’s ok
Now add 1/4 tsp salt to mushrooms
Move sautéed mushrooms to the side and add in 2 tbsp olive oil with the slice potaotes
Sauté potatoes for 3 minutes
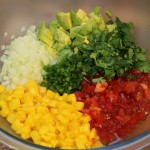
Then add parnips, peppers, celery, garlic, shallots and lemon zest
Add in broccoli, cauliflower, cook 1 minute
Deglaze with 1/3 cup dry sherry
Add in frozen peas, add 1 cup chicken stock, bring to a simmer
Stir in 1/2 tsp salt and 1/4 tsp Berbere spice
Let veggie reduce 5 minutes until most of the liquid has evaporated
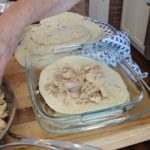
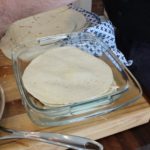
Put wrapped 10-12 flour tortilla’s in foil in a warm oven
Begin to layer Torta de Pollo
Add 3 tbsp chicken chicken stock to bottom of baking dish
Begin with tortilla, then 1/2 cup chicken & 1/4 cup swiss, then a tortilla, 1/2 cup veggies (without any excess juice), tortilla, and repeat until 10 layers – 4 or 5 chicken layers & 4 or 5 veggie layers. Note: push down slightly as you are layering to keep shape flatter
Make “Special Sauce” -see below
Pour all the sauce over the Torta de Pollo and place under the broiler for 3-5 minutes, til slightly bubbly
Slice and serve with a drizzle of extra sauce over the top…mmm!
Ingredients & Directions for “Special Sauce”:
1 cup chicken stock
1/3 cup dry sherry
1 cup heavy cream
1/4 cup shredded Comte swiss cheese
1/4 cup shredded Emmentaler swiss cheese
1/2 tsp salt
1/4 tsp pepper
1 tsp fresh chopped rosemary
Using same veggie sauté pan add in first 3 ingredients, and bring to a simmer for 5 minutes
Reduce slightly and then stir in cheeses, rosemary, s & p
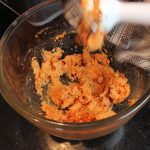
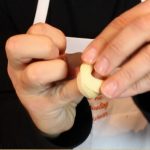
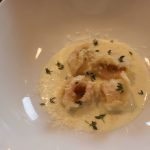
You know this labor of love is so worth the effort when you taste how tender and flavorful these homemade tortellini are! The delicate, circular shaped pasta are stuffed with a purée of sundried tomato, mozzarella, and Reggiano Parmesan and served in one of my all time favorites, a tomato-cream sauce. I introduced Steve to another easy and scrumptious sauce, Gorganzola Dolce-Cream Saucethat’s garnishedwith fresh thyme and a drizzle of truffle oil!
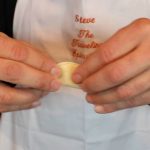
This past weekend I was at The Gulla’s house with Steve and his son Maximo making their homemade tortellini. Steve dedicates a few hours every Christmas Eve making these little gourmet bites for his family’s Christmas dinner. Making these tortellini is definitely a labor of love because you are creating each little amazing folded bundle of pasta by hand.
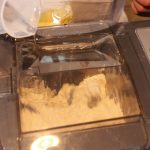
Having a Smart pasta machine like Steve’s really cuts down on the labor of making tortellini as the pasta comes out of the machine in long ready-made sheets in mere minutes. It’s a very cool process putting out smooth sheets of pasta in 3 minutes flat but you can also learn to make Steve’s tortellini using homemade pasta too if you don’t own an Smart pasta machine. I have a homemade pastarecipe below for all of us without a pasta machine who don’t want to miss out on learning how to make these incredible tortellini.
As Italian legend goes on how the shape of the tortellini came about dates back to the days when Venus, the Goddess of Love, was traveling to a small town in Italy between Modena and Bologna. She was staying at a tavern where the Innkeeper was so taken by her beauty he peeked thru the key to her room one night and got a glimse of her navel. He rushed to the kitchen and created a pasta in the likeness of her belly button. And that’s how the shape of the tortellini came about, the belly button pasta! Who Knew?
INGRDIENTS for making PASTA in The Smart Pasta Machine:
3 parts flour
1 part semolina
180 ml OR 3/4 cup of water for 2 lbs flour in pasta machine
1 egg and 1 tsp water whisked in a small bowl – set aside until ready to form tortellini
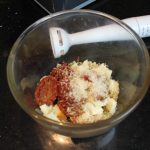
INGREDIENTS for Sun-dried Tomato FILLING: NOTE: THIS FILLING IS UNBELIEVEABLY DELICIOUS!…try it on crostini OR on crusty bread!
1/2 cup sun dried tomatoes
1/2 cup mozzarella – whole milk or part skim
1/4 cup grated Reggiano Parmesan
2-3 tbsp olive oil
Purée these ingredients with an immersion blender or add to food processor and pulse. Start with 2 tbsp of olive oil and add a little extra if needed to purée til smooth texture
DIRECTIONS FOR FORMING THE TORTELLINI WITH SHEETS OF PASTA MADE FROM THE PASTA MACHINE:
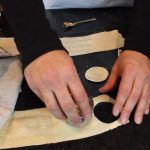
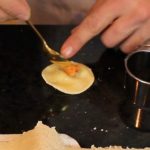
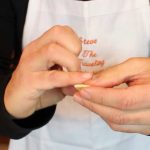
Begin to cut 2″ circles with your cookie cutter out of the machine made sheets of pasta
Brush top 1/2 of the circle edge with a whisked egg
Place 1/4 tsp of sun dried tomato filling in the middle of the circle pasta
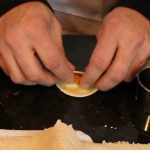
Fold the circle in 1/2
Press to SEAL the 1/2 circle of pasta…VERY IMPORTANT to SEAL this edge!
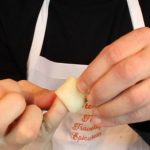
Take 1/2 circle and wrap around your pinky having each end meet
Press these two ends together to seal and form one continous circular shape
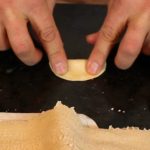
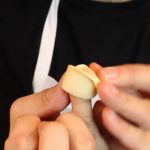
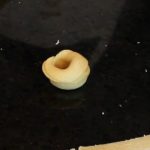
Fold down top of circular pasta to form tortellini
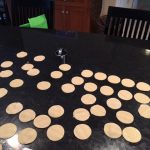
Place in a bowl as you finish each one until you gone thru all the pasta sheets
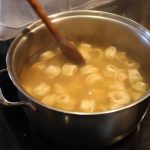
Bring large pan of salted water to a boil and add fresh pasta
Cook pasta for 8 minutes, test pieces of pasta for proper doneness
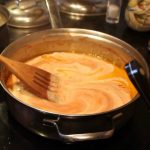
Serve with tomato-cream sauce or Gorganzola Dolce-cream sauce, garnish with thyme and truffle oil … mmm!
INGREDIENTS FOR TOMATO-CREAM SAUCE:
2 cloves finely chopped garlic
1/2 tsp salt
1/4 tsp dried oregano
3 1/4 cup POMI “strained tomaotes” – 1 med box – 26 oz.
2 cups heavy cream
2 tbsp olive oil
Sauté finely chopped garlic in 2 tbsp olive oil for 3 minutes, add in POMI strained tomatoes, salt & oregano and simmer for 15 minutes. Add in 2 cups of heavy cream to tomato sauce. Bring to a simmer for 15 miutes more. Serve with cooked tortellini, garnish with fresh thyme (and truffle oil.
INGREDIENTS FOR GORGANZOLA DOLCE-CREAM SAUCE:
2 cups heavy cream
1/4 cup Gorganzola Dolce cheese
1/4 cup dry vermouth
fresh thyme leaves
truffle oil
Add heavy cream, Gorganzola, and vermouth to a small sauce pan and bring to a simmer. When it comes to a simmer whisk the melted cheese into the cream and simmer 10 minutes. Serve with tortellini, garnish with a sprinkle of fresh thyme leaves and a drizzle of truffle oil.
INGREDIENTS for Easy Homemade-Handmade Pasta- (Recipe from “Pasta at Vin’s“)
2 1/2 cups all purpose flour
1/4 cup olive oil
4 1/2 – 5 lg eggs
1/4 tsp salt
DIRECTIONS:
Put the kneading attachment on your food processor and add the flour
Add the salt and olive oil
Turn on the food processor to slow
Add in 1 tbsp of water
Begin adding in 1 egg at a time with the processor still on slow
Add in the rest of the eggs
Keep the food processor going on medium speed to begin kneading the dough
Let knead for about 8 minutes until the texture turns into a smooth consistency
Remove the pasta dough and place onto the counter
Knead briefly with your hands and let sit for 1/2 hr.
NOTE: Vin does not cover his pasta dough while it sits for the 1/2 so it can begin to dry out a little bit
Sprinkle some flour onto the counter or work surface and cut pasta dough into 8 pieces
Begin to roll out each piece of dough to your desired thickness, into long lasagna-like sheets
Sprinkle more flour on top of each thinly rolled out pasta piece and begin to cut out 2″ circles with your cookie cutter
Brush top 1/2 of the circle edge with a whisked egg
Place 1/4 tsp of sun dried tomato filling in the middle of the circle pasta
Fold the circle in 1/2
Press to SEAL the 1/2 circle of pasta…VERY IMPORTANT to SEAL this edge!
Take 1/2 circle and wrap around your pinky having each end meet
Press these two ends together to seal and form one continous circular shape
Fold down top of circular pasta to form tortellini
Place in a bowl as you finish each one until you gone thru all the pasta sheets
Bring large pan of salted water to a boil and add fresh pasta
Cook pasta for 8 minutes, test pieces of pasta for proper doneness
Serve with tomato-cream sauce or Gorganzola Dolce-cream sauce, garnish with thyme and truffle oil … mmm!
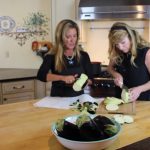
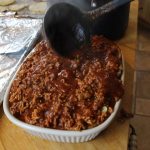
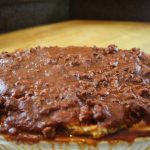
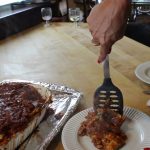
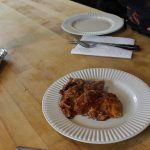
The crusty almond flour coating on the eggplant helps to soak up the meaty bolognese goodness getting ooey, gooey and decadent. Like making you feel warm all over on a winter’s day. That’s how my friend, Christine, describe’s her Paleo Eggpalnt Lasagna that we made at her house last week! She hit it right on the money.
It was Christine’s cross-fit community that introcuced her to this fresh Paleo way of living. Even though It did take a year before fully committing she has been following it for a couple of years and really loves it. Paleo refers to foods eaten during the Paleolithic times so basically if the cave man didn’t eat it, neither can you. There are different levels of Paleo, but true Paleo doesn’t allow any dairy or legumes. Not sure if being a true Paleo is exactly for me since I live for cheese and cetainly wouldn’t give up beans. Although, there are certain aspects of Paleo I think are wonderful like the fresh way of eating, nothing manufactured or processed! Like Christine say’s, everything in moderation.
This Paleo Eggplant Lasagna is definitly a guilt free dish that shouldn’t taste this darn good! You don’t even miss the cheese here because every bite is luscious! I highly recommend that you to get on the ball and check out this fresh Paleo way of eating. You won’t regret it one bit and may find yourself with a big ole smile on your face!
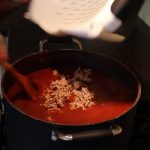
Make tomato- basil sauceand leave simmering on low, ready for the meats to be sautéed and added
Sauté the pork, veal and lamb separately and drain the oil from each of the meats after each sautéing, this will take about 5 minutes each
As each meat is finished draining stir it into your tomato sauce
Peel and slice 2 lg eggplants approx. 1/8″-1/4″ thick
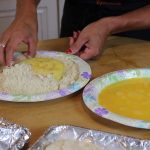
Whisk 5 eggs in a medium bowl
Add 3-4 cups almond flour in another bowl for dredging the eggplant
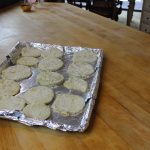
Cover cookie tray with foil and spray with coconut oil
Dip each eggplant slice into the egg, then dredge into the almond flour flipping a couple of times to get a good coating on there
Then begin to lay the coated eggplant slices on the cookie trays
No need to spray the tops of the slices
Pop them into the oven for 20 minutes, just until tender
Note: the tops of the eggplant slices will not turn golden when baked
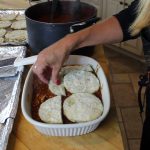
Begin to layer the pre-baked eggplant slices in a 13″ x 9″, 12″ x 8″ approx. baking dish
Spray bottom of baking dish with coconut oil
Begin with a sauce layer, then eggplant slices, meat sauce, eggplant, meat sauce and so on until you reach the rim of the baking dish ending with a meat sauce layer completeing the Paleo Eggplant Lasagna
Change foil layers on cookie tray to clean foil
Place the Paleo Eggplant Lasagna onto the foiled tray and bake for approx. 35 minutes still on 350º until bubbly all over
As with a traditional lasagna you want to let it sit for 10-15 minutes before slicing after you take it out of the oven…Mangia, mangia!!
Secret Meatball Recipe at Glenn’s New Haven Apizza
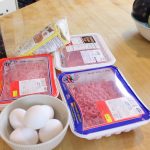
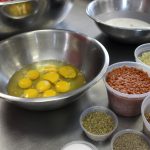
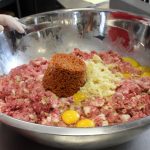
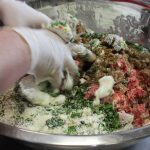
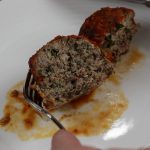
One of the most delicious meatballs you’ll ever have and the mammoth size will knock you for a loop! Glenn Proto, at New Haven Apizza & Bakery, right here in our very own Madison, CT, shared his mother, Annette’s, secret meatball recipe with me this week. The ingredients he use’s in his meatballs couldn’t get any fresher because he even grind’s his own meats for these meatballs. Freshly ground brisket, short ribs, 80/20 beef and Longhini sweet sausage are the main ingredients in his meatballs. Oh, but let’s not forget what he calls his “secret” to the meatballs, his addition of finely chopped pepperoni! Glenn says this is what give’s these authentic Italian meatball’s that extra special something!
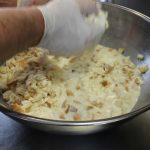
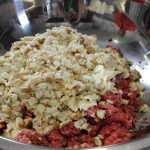
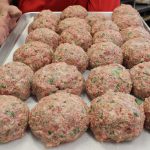
Once we get past all the freshly ground meat that goes into Glenn’s meatballs the love doesn’t stop there, he then caramelizes red onions, adds in Ricotta fina (a special and costly ricotta from the very best Liuzzi Cheese in North Haven,CT, eggs, grated Romano cheese, Italian cubed up bread soaked in heavy cream, and fresh garlic and herbs! Wow, he doesn’t hold back on quality that’s for sure. What an incredible ingredient list for these most flavorful and succulent morsels. Maybe I shouldn’t use the word “morsels” either because the size of these meatball’s are cray cray! It was a blast rolling the meat mixture into bigger then baseball size meatballs with Glenn and his son Dylan. Isn’t it wonderful how the tradition carries on as Dylan and his siblings grew up making these incredible meatballs just as Glenn did. And now, we can add some of this lovely tradition into our kitchen’s since Glenn was so kind as to share his family’s recipe with all of us. He believe’s traditions and recipe’s are meant to be shared so everyone can enjoy them!
Hope you enjoy this secret meatball recipe show and remember he serve’s up 3 of these colossal meatballs in one “spaghetti and meatball” order from his restaurant! You might want to start with a few appetizer’s like my crab cakes, buffalo chicken dip, Mediterranean layered dip, spanakopita or my hummus!
Glenn’s Mammoth Size Meatballs – makes approx 10-12 Colossal Size…Can make them smaller to yield more meatballs!
2 1/2 lbs. of ground beef (.75 lbs ea. of ground brisket, short ribs and 80/20 ground beef)
1 1/4 lbs. Longhini sweet sausage
1/2 cup finely chopped pepperoni
2 cups Italian bread after soaked in heavy cream and squeezed slightly (1 lb. about 1 loaf of Italian bread, cubed and soaked in heavy cream)
2-3 cups heavy cream – to soak cubed up Italian bread
3 lg eggs
1 cup grated Romano cheese
3/4 cup ricotta (ricotta fina if you can get it)
3/4 cup fresh chopped parsley
1/2 cup fresh chopped basil
1/3 heaping cup finely chopped fresh garlic
1/2 cup caramelized red onions (finely chop 2 med. size red onions and sauté on medium/high with 1 tbsp olive oil and 1 tbsp butter for 5 minutes and then twenty minutes on low with adding 1 tbsp sugar and 1/4 tsp salt)
1 tbsp plus 1 tsp sea salt
1 tbsp plus 1 tsp finely ground pepper
1 tbsp plus 1 tsp dried oregano
Directions:
Pre-heat oven to 400º
Cube up the Italian loaf of bread to 3/4″ pieces
Add cubed up bread to 2 – 3 cups heavy cream – should be enough to have all the pieces get saturated and soak for approx 15 minutes
Add beef and sausage to a large bowl and combine with your hands
Add in the pepperoni and the rest of the ingredients in the list and combine with your hands – Don’t over mixed meat …just until combined
Begin to roll meat mixture into desired size meatballs dipping your hands in the left over the heavy cream to help smooth the edges of the meat while shaping them
Place the meatballs onto a cookie tray..they can be right next to each other
Note: the larger they are the longer you will bake them
Bake for 45-60 until the tops are crispy and brown …mangia, mangia!
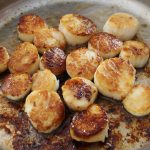
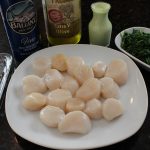
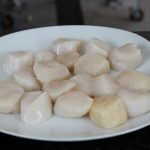
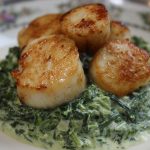
Seared scallops are so gosh darn delicious you really don’t need anything else to accompany them. They have a succulent and creamy texture that’s so tender they melt in your mouth when cooked correctly. All that is needed to sear sea scallop’s is a hot non-stick pan, a couple tablespoons of olive oil, butter for basting at the end, a squeeze of fresh lemon and violà, you have an amazing seafood dish in 4 minutes.
Butter is just one of additions to seafood that always seems to give one last flavor boost. That’s why I have you baste the scallops in the last few seconds in the show. Butter makes everything better, right? You can’t get any easier then making scallops in mere minutes. It is best to use a non-stick pan to sear these though because it will make for a smooth ride home and super easy to flip them over to get that golden sear on the other side of the scallop.
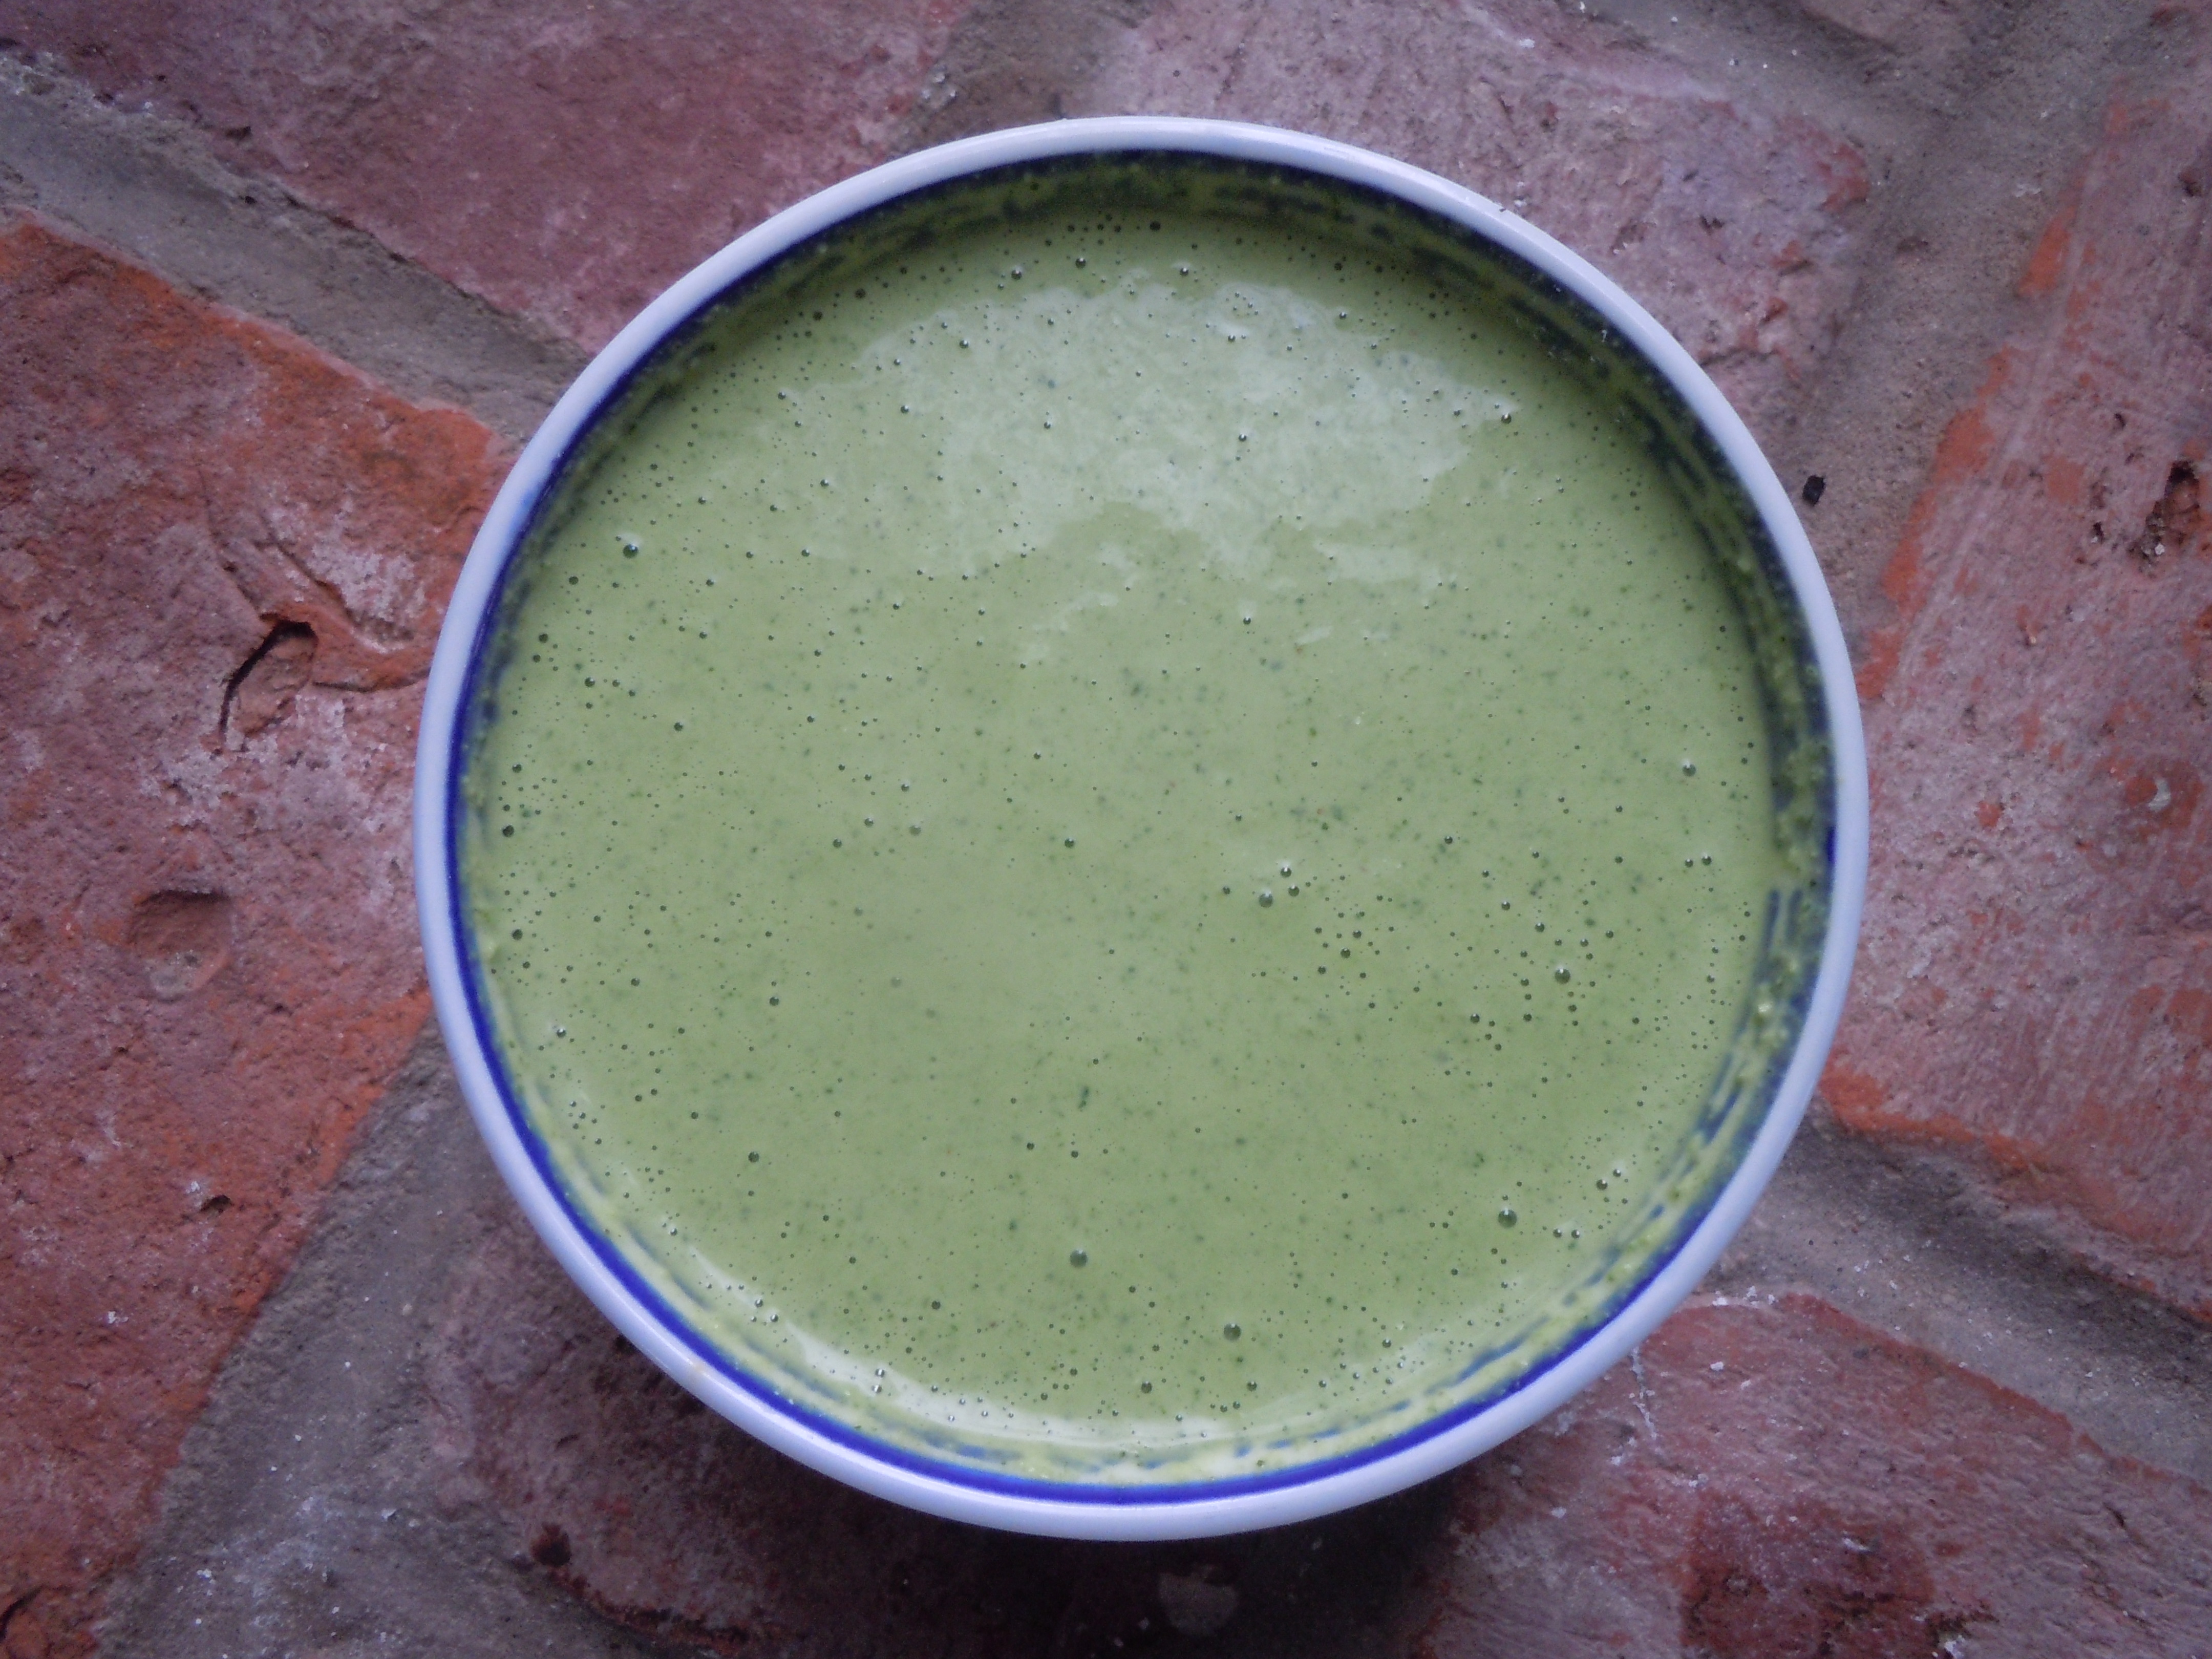
You really need to try my cold cucumber and fennel soup to go with your seared scallops. The flavors you will get from all the vegetables and herbs in the soup to the creamy scallops will put you over the top. The green goddess sauce II goes without saying when paired up with the seared scallops. If I’m serving the scallops for an appetizer I set a small bowl of green goddess sauce right in the middle of a platter for dunking and scallops placed all around…YUM!
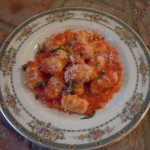
You may want to add something hardy to compliment the fish so if you haven’t tried my family recipe for the best pasta fagioli you will ever have you should get on the ball. You could go thezucchini spaghettiroute or even my amazing melt-a-away homemade gnocchiwith a bolognese sauce, and who doesn’t love sticky buns with their coffee for dessert!
Ingredients:
1 large NON-STICK pan
1 lb sea scallops – you want 3 per person for appetizer and 4-5 for entré
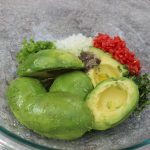
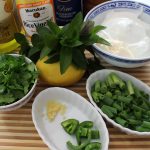
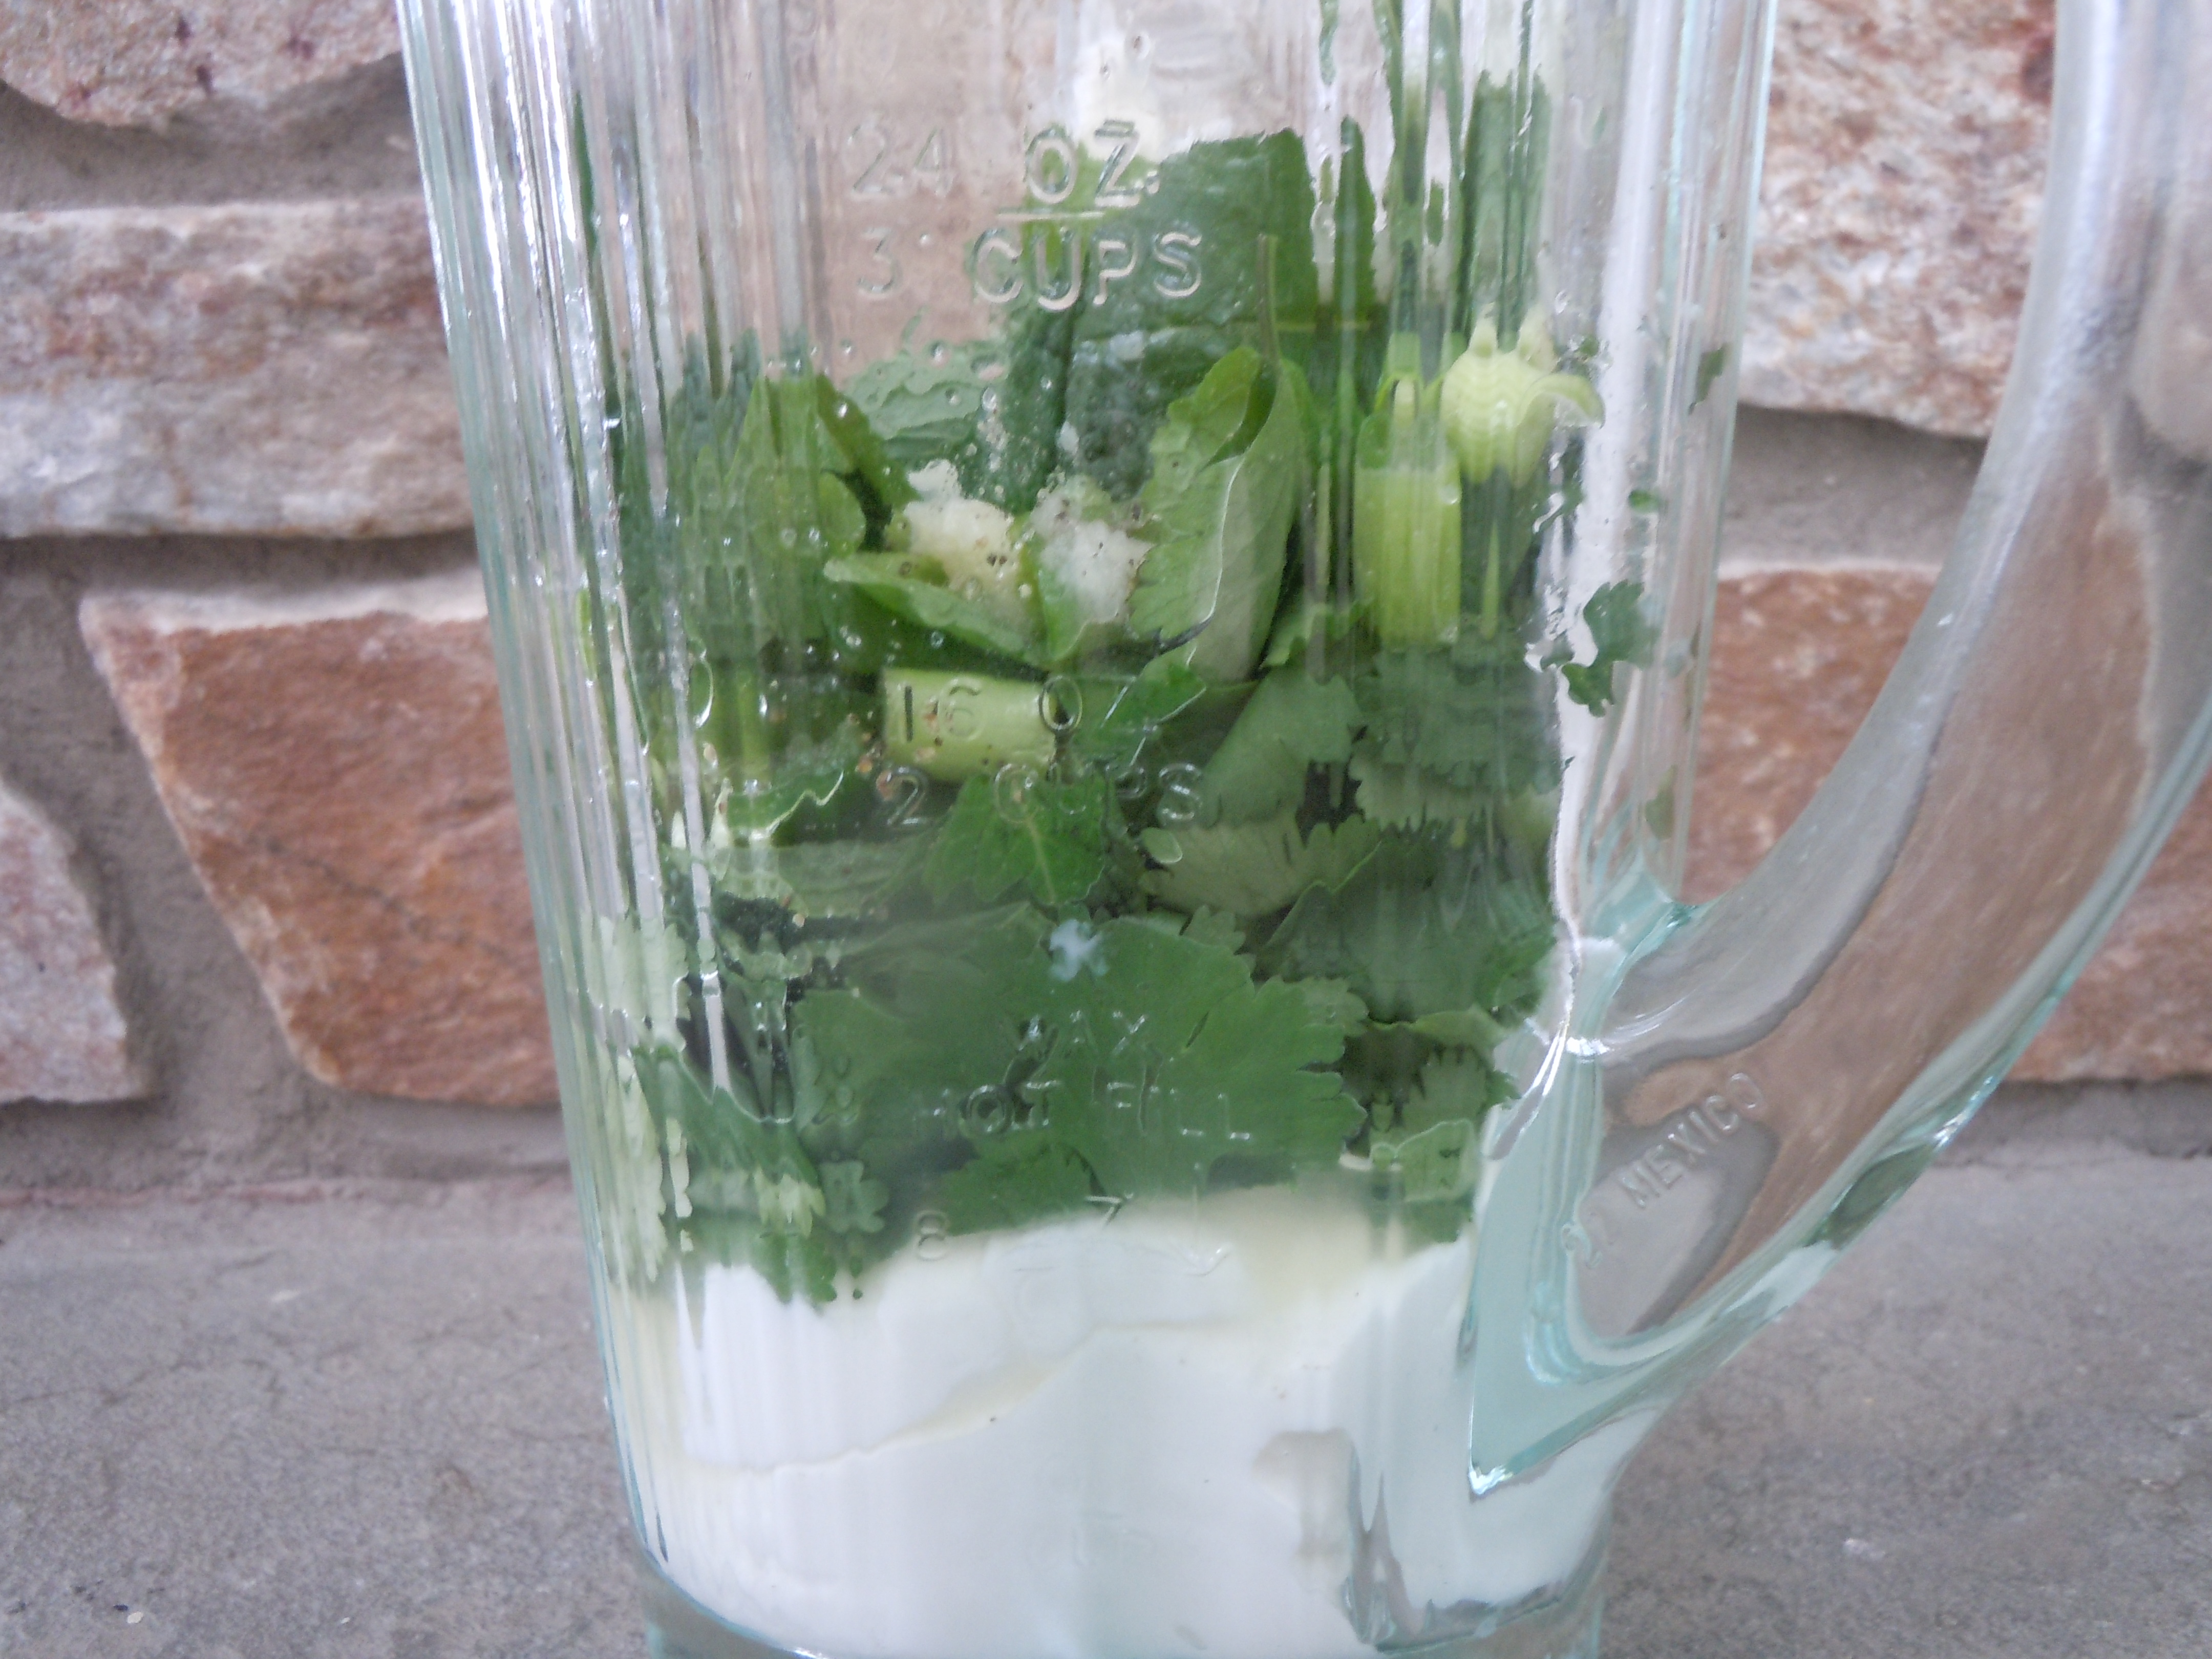
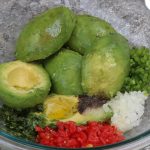
Having my green goddess sauce ll at your next party will be sure to turn heads. It’s kind of like wearing a new party dress! This green goddess sauce is made in mere minutes in a blender. It’s a blend of Greek yogurt, mayo, fresh mint leaves and cilantro, garlic, green onion, lemon juice, olive oil and rice wine vinegar. You don’t even have to waste time chopping finely because it all get puréed anyways!
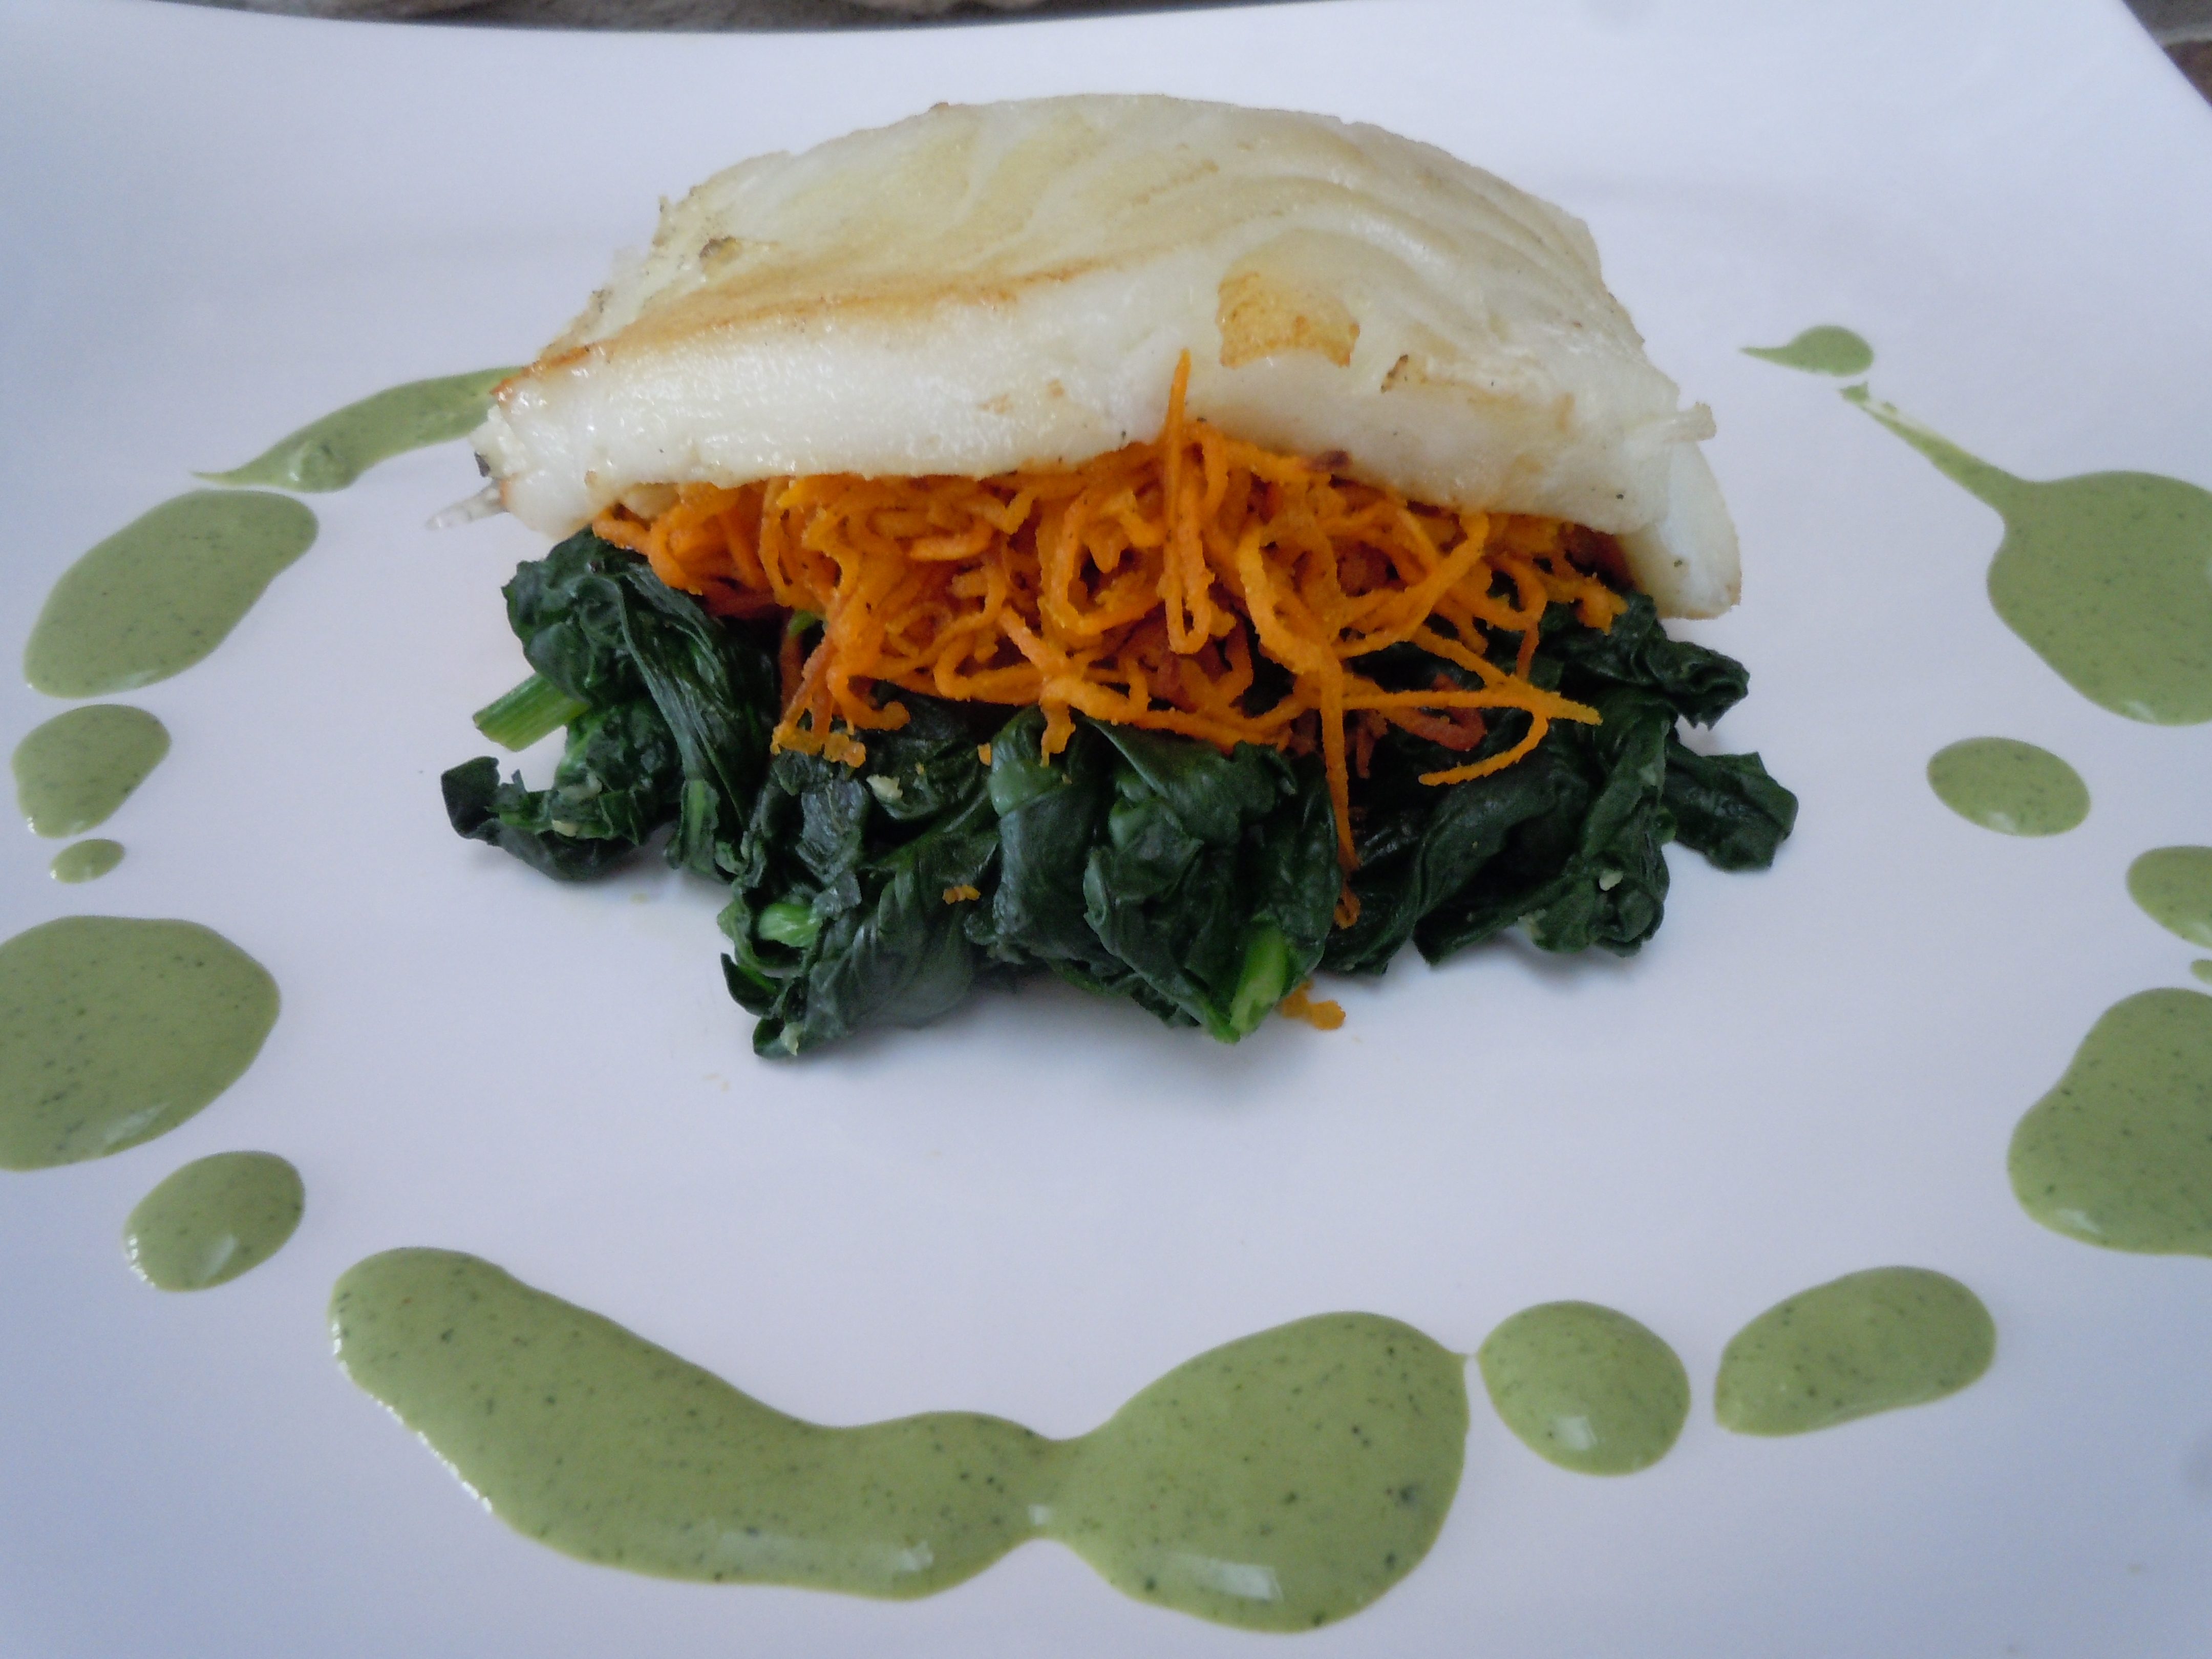
Decorating your party plates with my green goddess sauce will make for a lovely presentation, a more formal one, but having a bowl or pouring cup of the sauce on the table will do the trick quite nicely! In fact, the latter might be better since there’s a good possibility your guest’s will be going back for seconds.
4 lg stalks, 6 small of green onion chopped coarsely
1 tbsp fresh lemon juice
1 tbsp extra virgin olive oil
1 Tbsp “seasoned” rice wine vinegar
1 tsp sugar – (NOTE: I forgot to add this in the show, but it really needs this for balance 🙂
s & p
If it’s not hot enough with the jalapeno add a dash of Siracha
Directions:
Place all of the ingredients into a blender an purée for 10 seconds…be patient – you may need to stop and stir everything to get it going but do NOT add any more liquid
Stop blender and scrap down sides to get the larger leaf pieces and blend for 5 more seconds and violà!
Taste here and add salt and pepper
Add a dash of Siracha – you need to taste the sauce first, sometimes a jalapeño can be super hot and other times it can be a mellow hot
This sauce gets even better if you can pop it into the fridge for an hour and let the flavors mingle, the sauce will thicken up a little too!
Make this ahead of time and keep sauce in a plastic container and refrigerate. It stays nicely for days in frig.
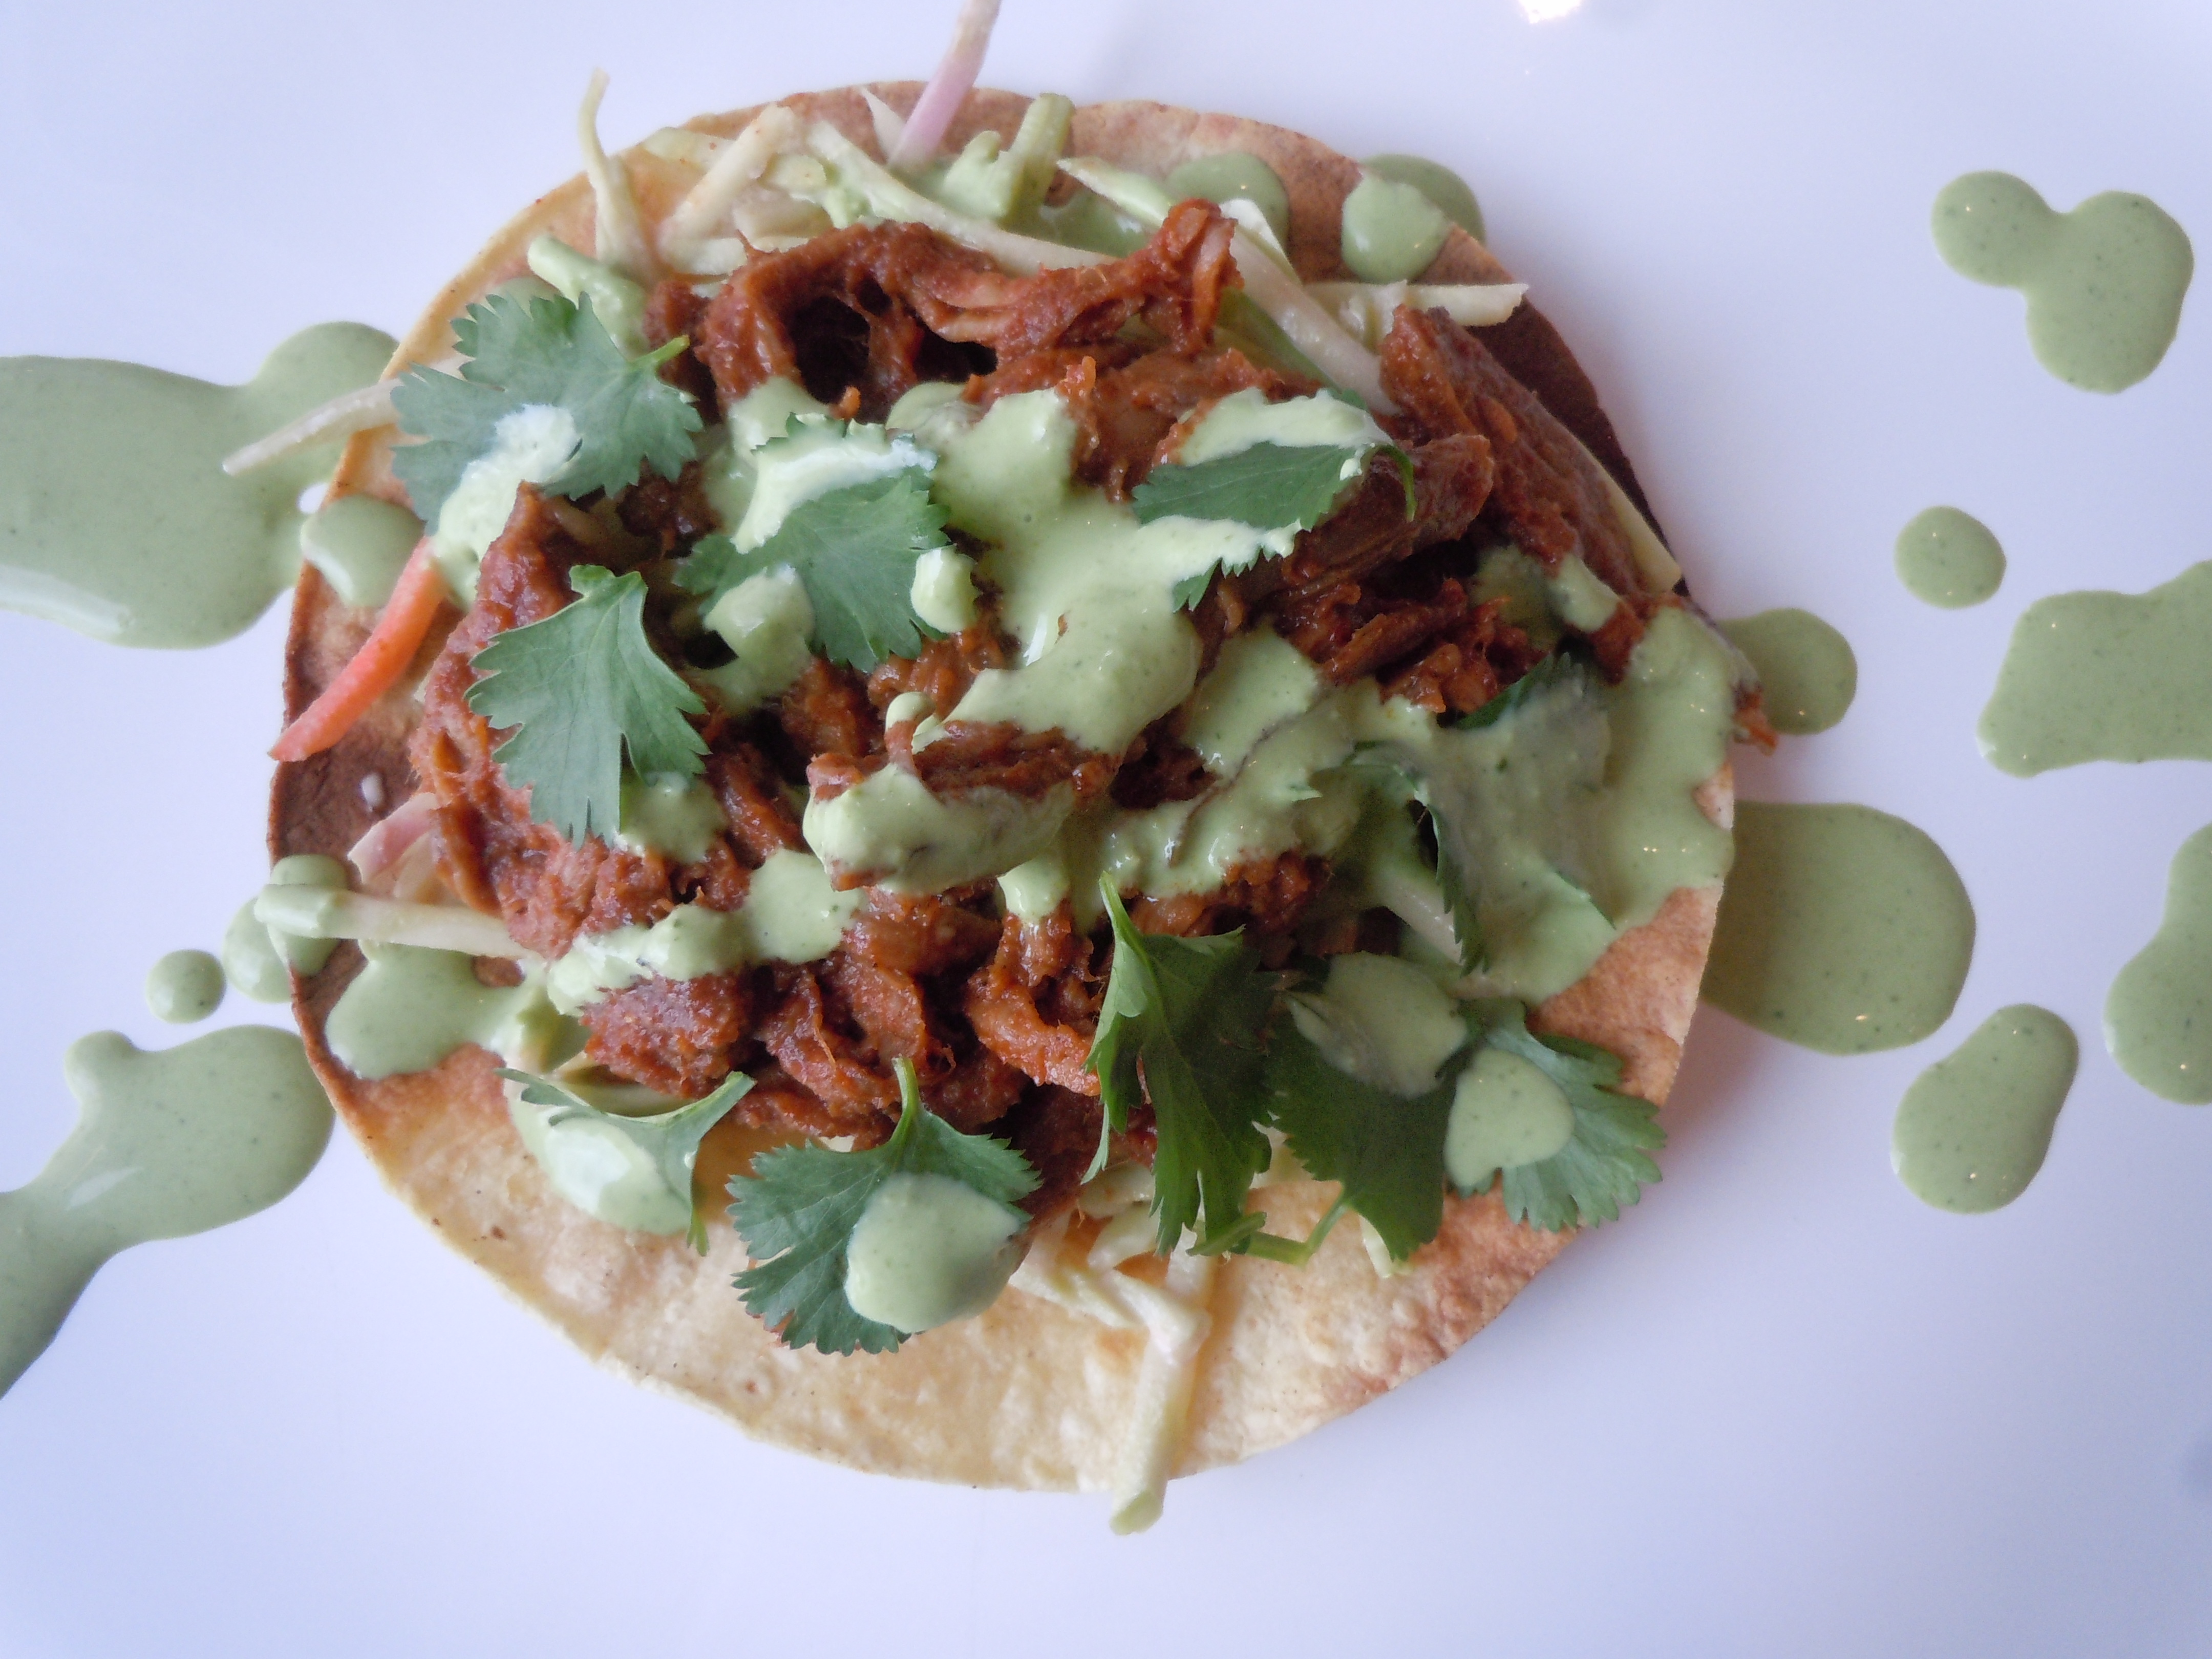
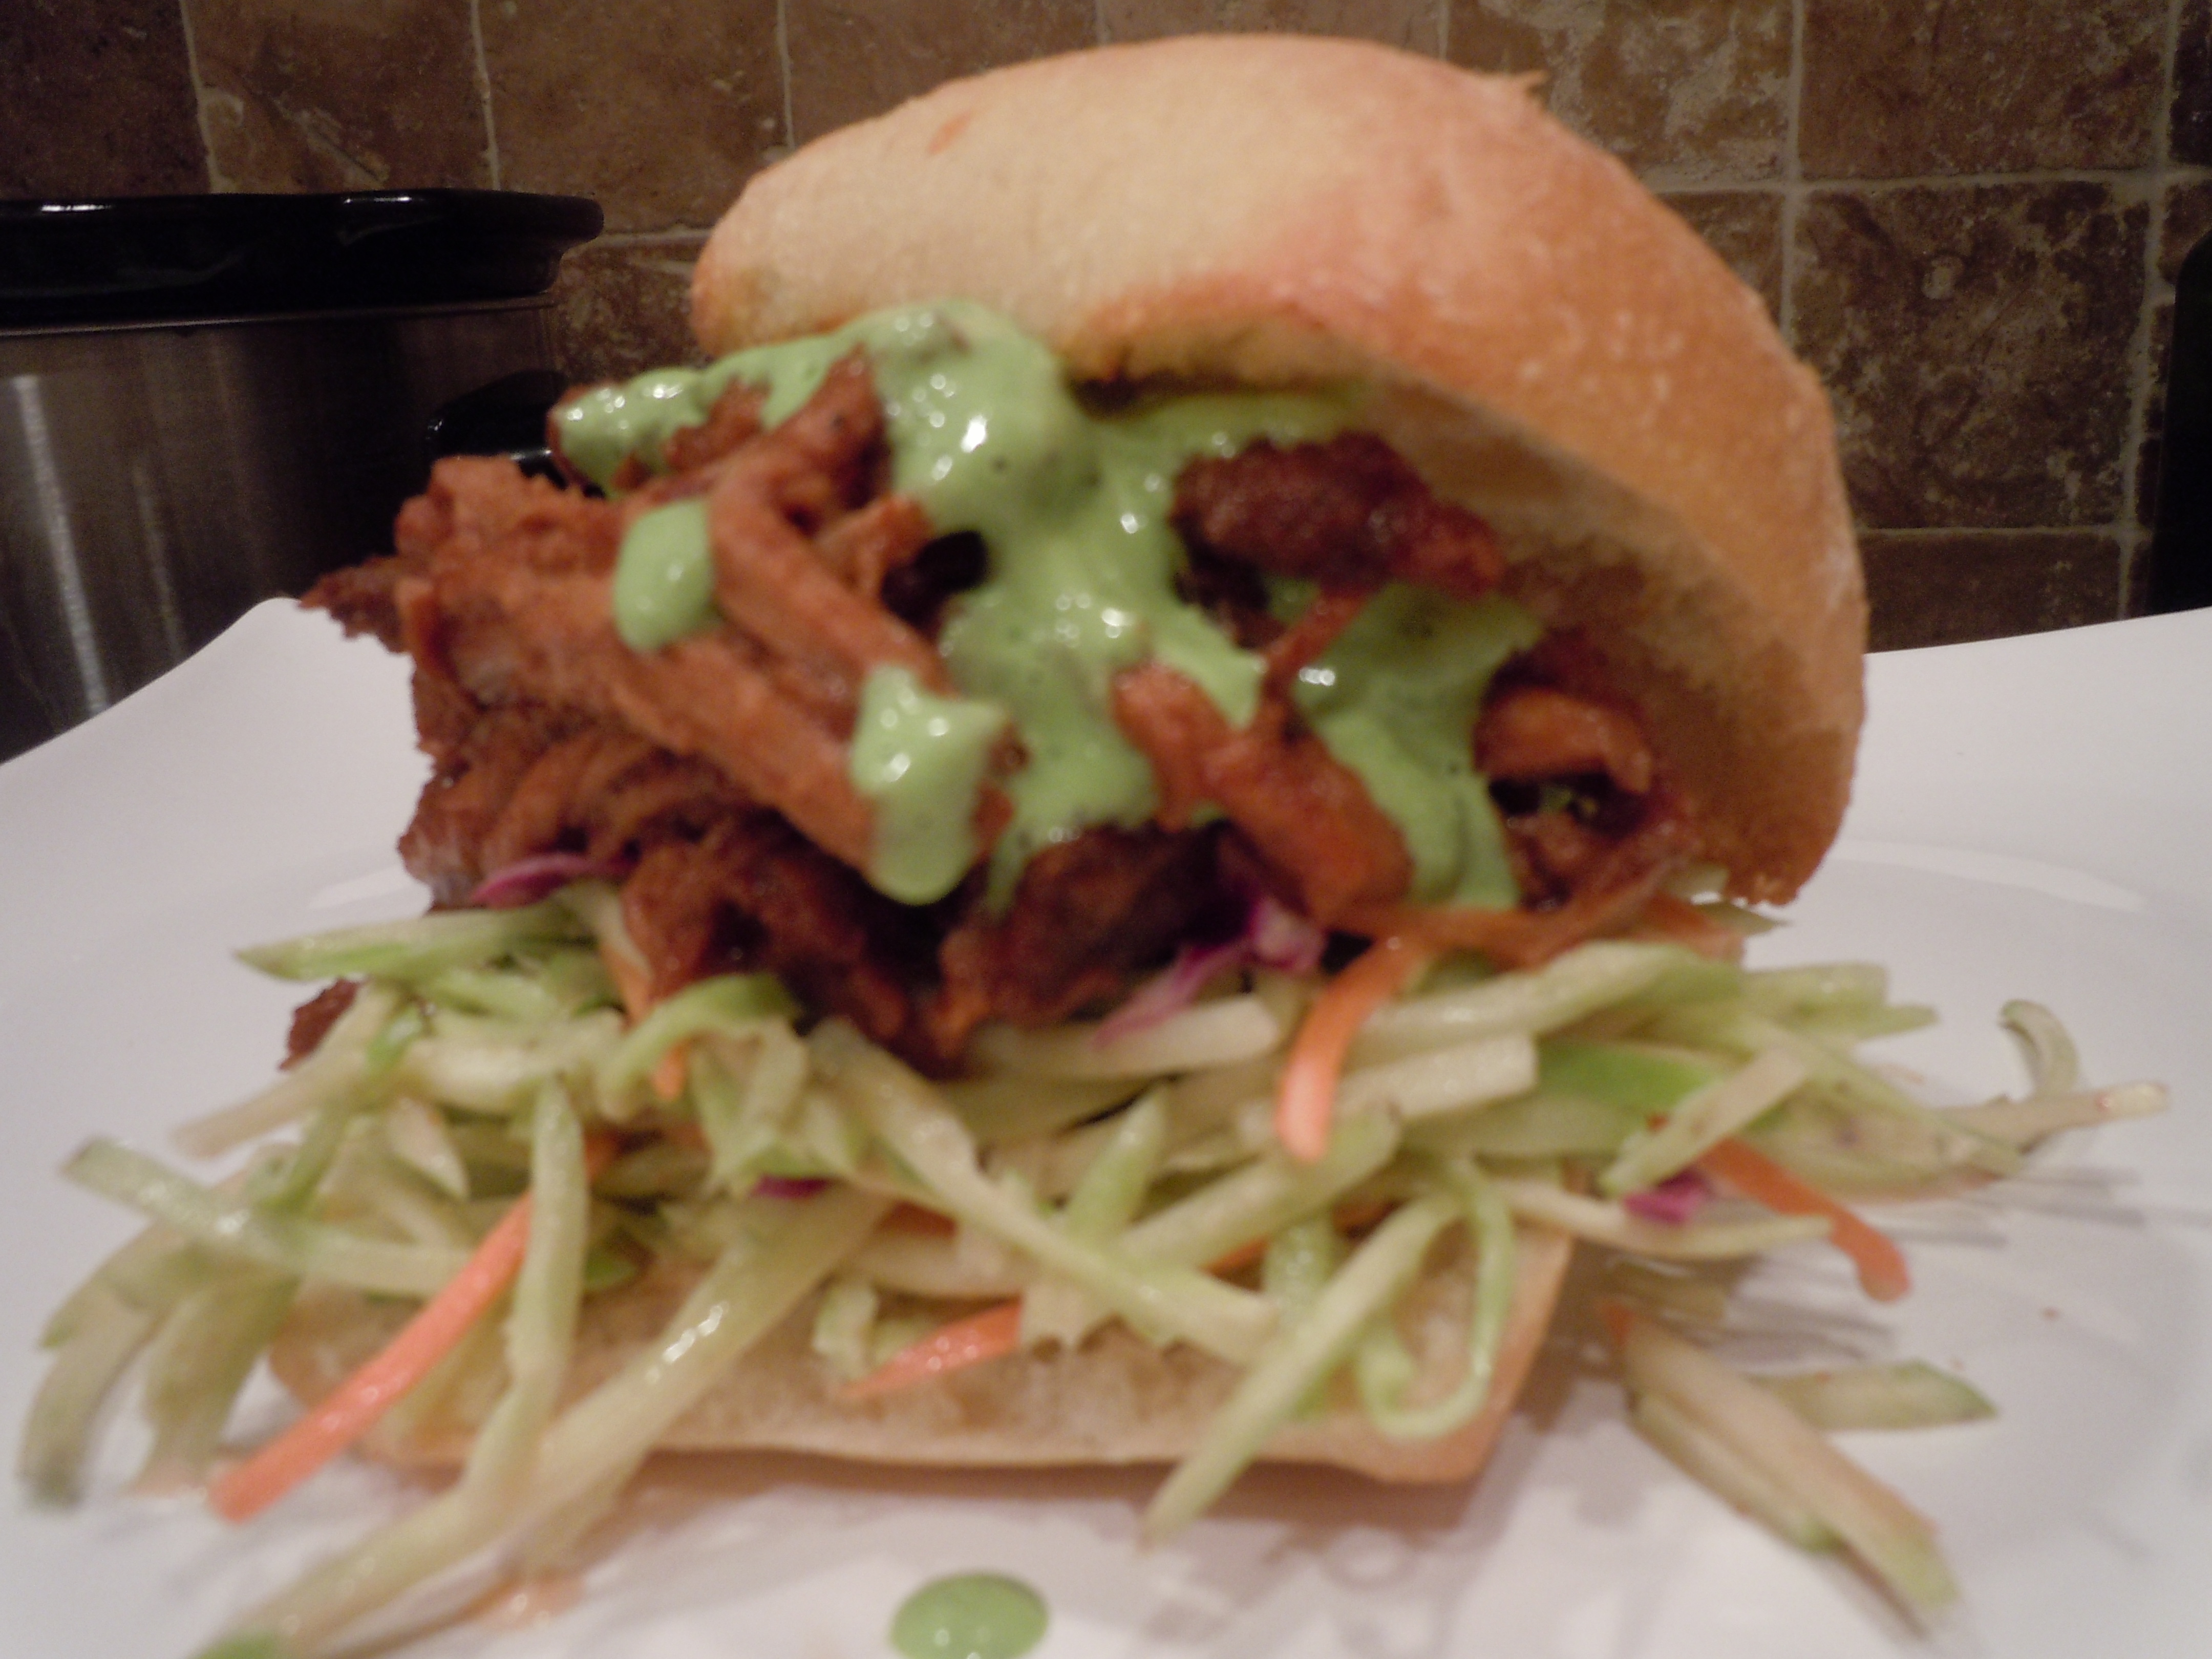
This green sauce is absolutely delicious on so many things…be creative.

 Back on CT Style this week with Ryan Kristafer and Teresa Dufour making the perfect summer picnic dish, Asian Shrimp & Rice Noodle Salad, never gets dull with those two! I thoroughly enjoy every second on the WTNH set at Channel 8. There were several groups going on camera this week making it even more exciting then usual, if that’s at all possible.
 important for me to find out what recipes my followers and friends want to see so please feel free to make suggestions always. That’s how I came up with this Asian Shrimp & Noodle Salad… it was the #1 request, a picnic-beach salad that won’t spoil.
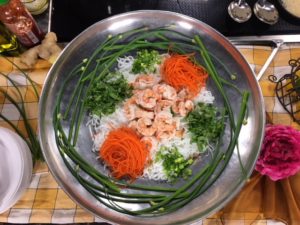 Here are some other summer dishes you may enjoy like my 2 minute Homemade PESTO on crostini with roasted cherry tomatoes and mozzarella, EGGPLANT BALLS, ZUCCHINI TORTA, Mediterranean Chicken Kabobs, or Dreamy Cream & Fresh Berries.
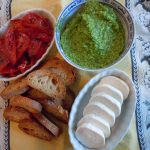


 This Creamy New England Clam Chowder is bursting with clam broth flavor, tender clams, melt in your mouth potatoes and a hint of smokey from the bacon and best of all, I can make it 12 months of the year! My secret ingredients in this homemade New England Clam Chowder push it right over the top! My mother was whipping up creamy New England clam chowder when I was little so making homemade soups just comes naturally to me. My New England clam chowder recipe reminds me of my no-nonsense crab cake recipe, no extra fillers! Topped with a little dollop of butter, a few dashes of tabasco and some oyster crackers brings me to chowda heaven!
 Dry Sherry-Blend of Amontillado for only $11 a bottle. It will last a while in your cupboard and help you to create amazing dishes. I would never not think of putting a big splash of dry sherry into my chowder! You will understand why once you try it this way …you’ll never go back to sherry-less chowder!


 With Easter right around the corner I was excited to be back on CT Style in The Bender Kitchen with Ryan and Teresa so I could share with you my family’s secret recipe for
  Italian tradition always includes a yummy side dish to go along with the ham, leg of lamb, turkey, salmon or tenderlion like manicotti, lasagna, eggplant rollatini or parmesan. Comfort food bringing it all together, an Italian side dish makes such a nice compliment to what ever meat or fish you choose.
 de like a


 Paleo Eggplant Lasagna at Christine’s