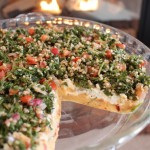
Greek Baklava at Maria’s
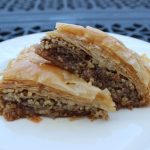
You’ll know why this Greek Baklava is considered “The Dessert of the Gods” when you bite into the rich flavor of the walnuts, the sticky, syrupy bottom and the buttery-flaky top layers. Not to mention, hearing that sizzling as you pour the cooled honey syrup over the hot baked phyllo dough with layers of ground walnuts, cinnamon and cloves will make you mouth water!
It’s truly amazing how the top layers of the Greek baklava soak up that honey-syrup yet remain flaky and stay drier then those sticky and syrupy bottom layers of the Greek baklava -the perfect combination. The trick here to not having a gooey, soggy baklava is to make sure the baked baklava is hot and the honey-syrup is cooled. It’s important that they’re not both hot.
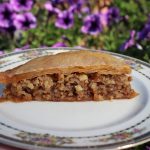
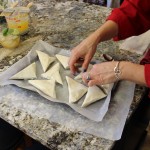
Looking at the gorgeous golden layers of phyllo and walnuts in the Greek Baklava you’ll automatically think that this may be too difficult to make. On the contrary, the Gods are very forgiving here because this really is a fail safe dish! Phyllo dough can be temperamental whether it’s your first time working with it or your hundredth . That fact is, it won’t matter whether you are layering with a piece that has a rip in it or not because the buttery layers completely flake up and turn golden when the are baked and you just can’t tell.
It was such a fun afternoon at my dear friend Maria’s house learning how to make her amazing Greek Baklava. I’m grateful she shared a family recipe that holds much tradition for the holidays. I hope you can add this incredible dish to your parties and or holiday’s too. Who knows, maybe some day I will get Maria to share with us her Moussaka recipe!
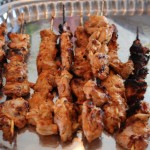
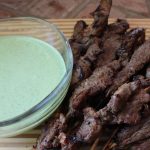
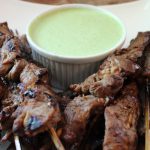
If you are craving the exotic Mediterranean flavors you should definitely try the yogurt chicken kabobs with roasted grape tomatoes, tzatziki and garlic toum that may be the most flavor chicken you will ever have to go with this lovely Greek Baklava. What a perfect dinner that would be! Or you could mix it up a little going down the road to Italy with my lazy-mans lasagna, homemade pasta, or spaghetti and a secret meatballs recipe from New Haven Apizza and Bakery! Enjoy 🙂


Baklava Ingredients:
- 1 lb walnuts – pulsed finely in the food processor
- 1 package phyllo dough thawed over night in the frig
- 1 tsp cinnamon
- 1 dash of ground clove
- 1 1/2 sticks of unsalted butter (melted but not HOT)
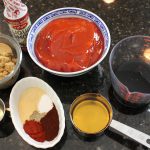
Syrup
- 1 cup water
- 1 cup sugar
- 1 cup honey
- 1 cinnamon stick
- 1 tbsp freshly squeezed lemon juice, 1/2 of a lemon
- A lemon peel, a 1″ x 2″ piece
Directions for Syrup:
- NOTE: Make the syrup first and let it cool down while you are working on the baklava
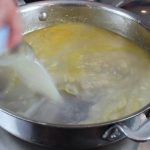
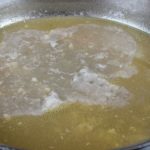
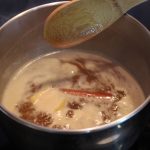
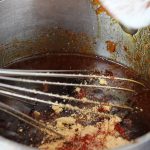
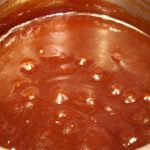
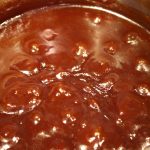
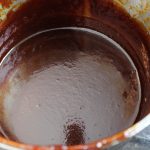
- Add all the syrup ingredients to a saucepan over medium-high and heat bring to a simmer
- Simmer for about 10 minutes until a froth is formed
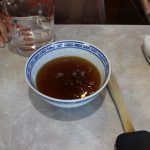
- Pour into a glass Pyrex (heat proof) measuring cup or similar to let COOL and set aside
Directions for Baklava:
- Preheat oven to 350º
- Pulse the walnuts in your food processor until they are finely chopped and put them into a bowl
- Add the cinnamon and clove to the walnuts and mix with a spoon to combine
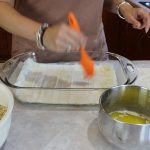
- Use a brush to apply butter to the bottom and sides of a 13 x 9 pan
- Place a layer of the phyllo dough then brush the top of the phyllo dough with butter
- Repeat 8 times (total bottom layer 8-9)
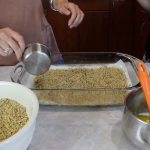
- Spread about 3/4 of a cup of the walnut mixture at a time
- Add 2 more layers of phyllo dough and brush butter in between each layer
- Add another layer of walnuts and repeat process 3 more times or until nuts are gone
- Add 8-9 layers of buttered phyllo dough for the topping
- Make sure to butter the final top layer
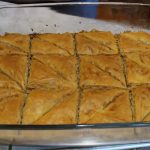
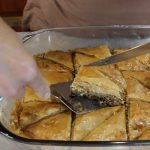
- Cut the baklava into 3″ x 3″ squares with a very sharp knife, then slice those squares on a diagonal
- Bake for approx. 50 minutes until golden
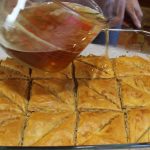
- When the baklava comes out of the oven pour the COOLED syrup over the HOT baklava immediately and hear that wonderful sizzle
- Allow the baklava time to absorb the honey-syrup, about 2-3 hours or overnight
- Do not refrigerate, or cover, just tent loosely with foil and you can leave out on the counter for up to 1 week, although it won’t last that long lol …enjoy 🙂
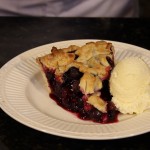
- Try crumbling the baklava over a bowl of vanilla ice cream…mmm!

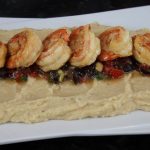


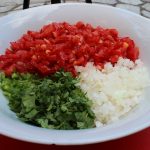
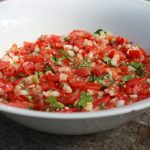


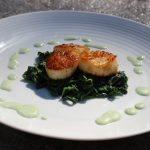


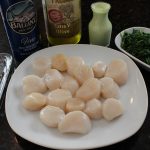


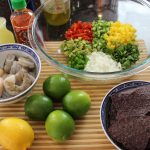
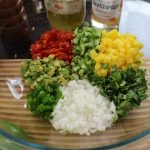
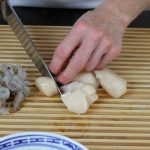
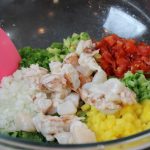
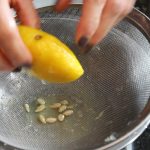
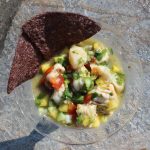
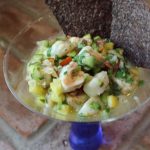
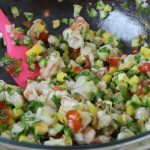 Making shrimp & scallop ceviche really can’t get an easier then this! Ceviche is a South American dish that’s usually served as an appetizer. The fish cures/cooks in citrus juice for an hour or two while you get all your salsa ingredients in order. The citrus curing juices are drained from the fish, leaving a tender shrimp & scallops to be tossed with salsa and voilà. The base of the shrimp and scallop ceviche here is my

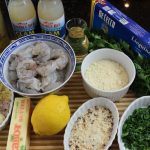
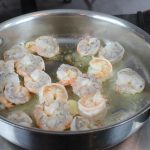
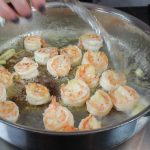
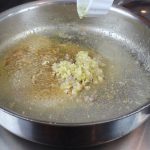
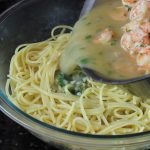
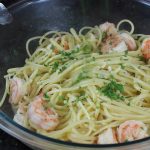
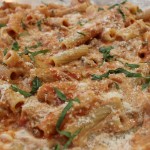
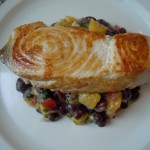
 Shrimp scampi is one of those delicious dishes that’s sure to bring a smile to everyone’s face just on aroma’s alone! Shrimp sautéed in olive oil and butter with lots of garlic, shallots, clam broth, and white wine topped with fresh lemon juice, parsley and Parmesan make’s for a grand party atop a pile of linguine!