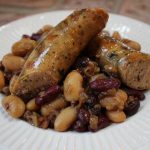
Best Baked Beans! – Show 101
Every time there’s a get together in my neighborhood the first thing that comes to mind, “I hope Linda brings her baked beans!” That’s how good these baked beans are! My friend and neighbor, Linda, graciously offered up her recipe so that I may share it with all of you. Linda titles the recipe “Sue’s Baked Beans” because she got the recipe from her sister Sue who got the recipe from their mom! No matter what the title it’s one great family recipe.
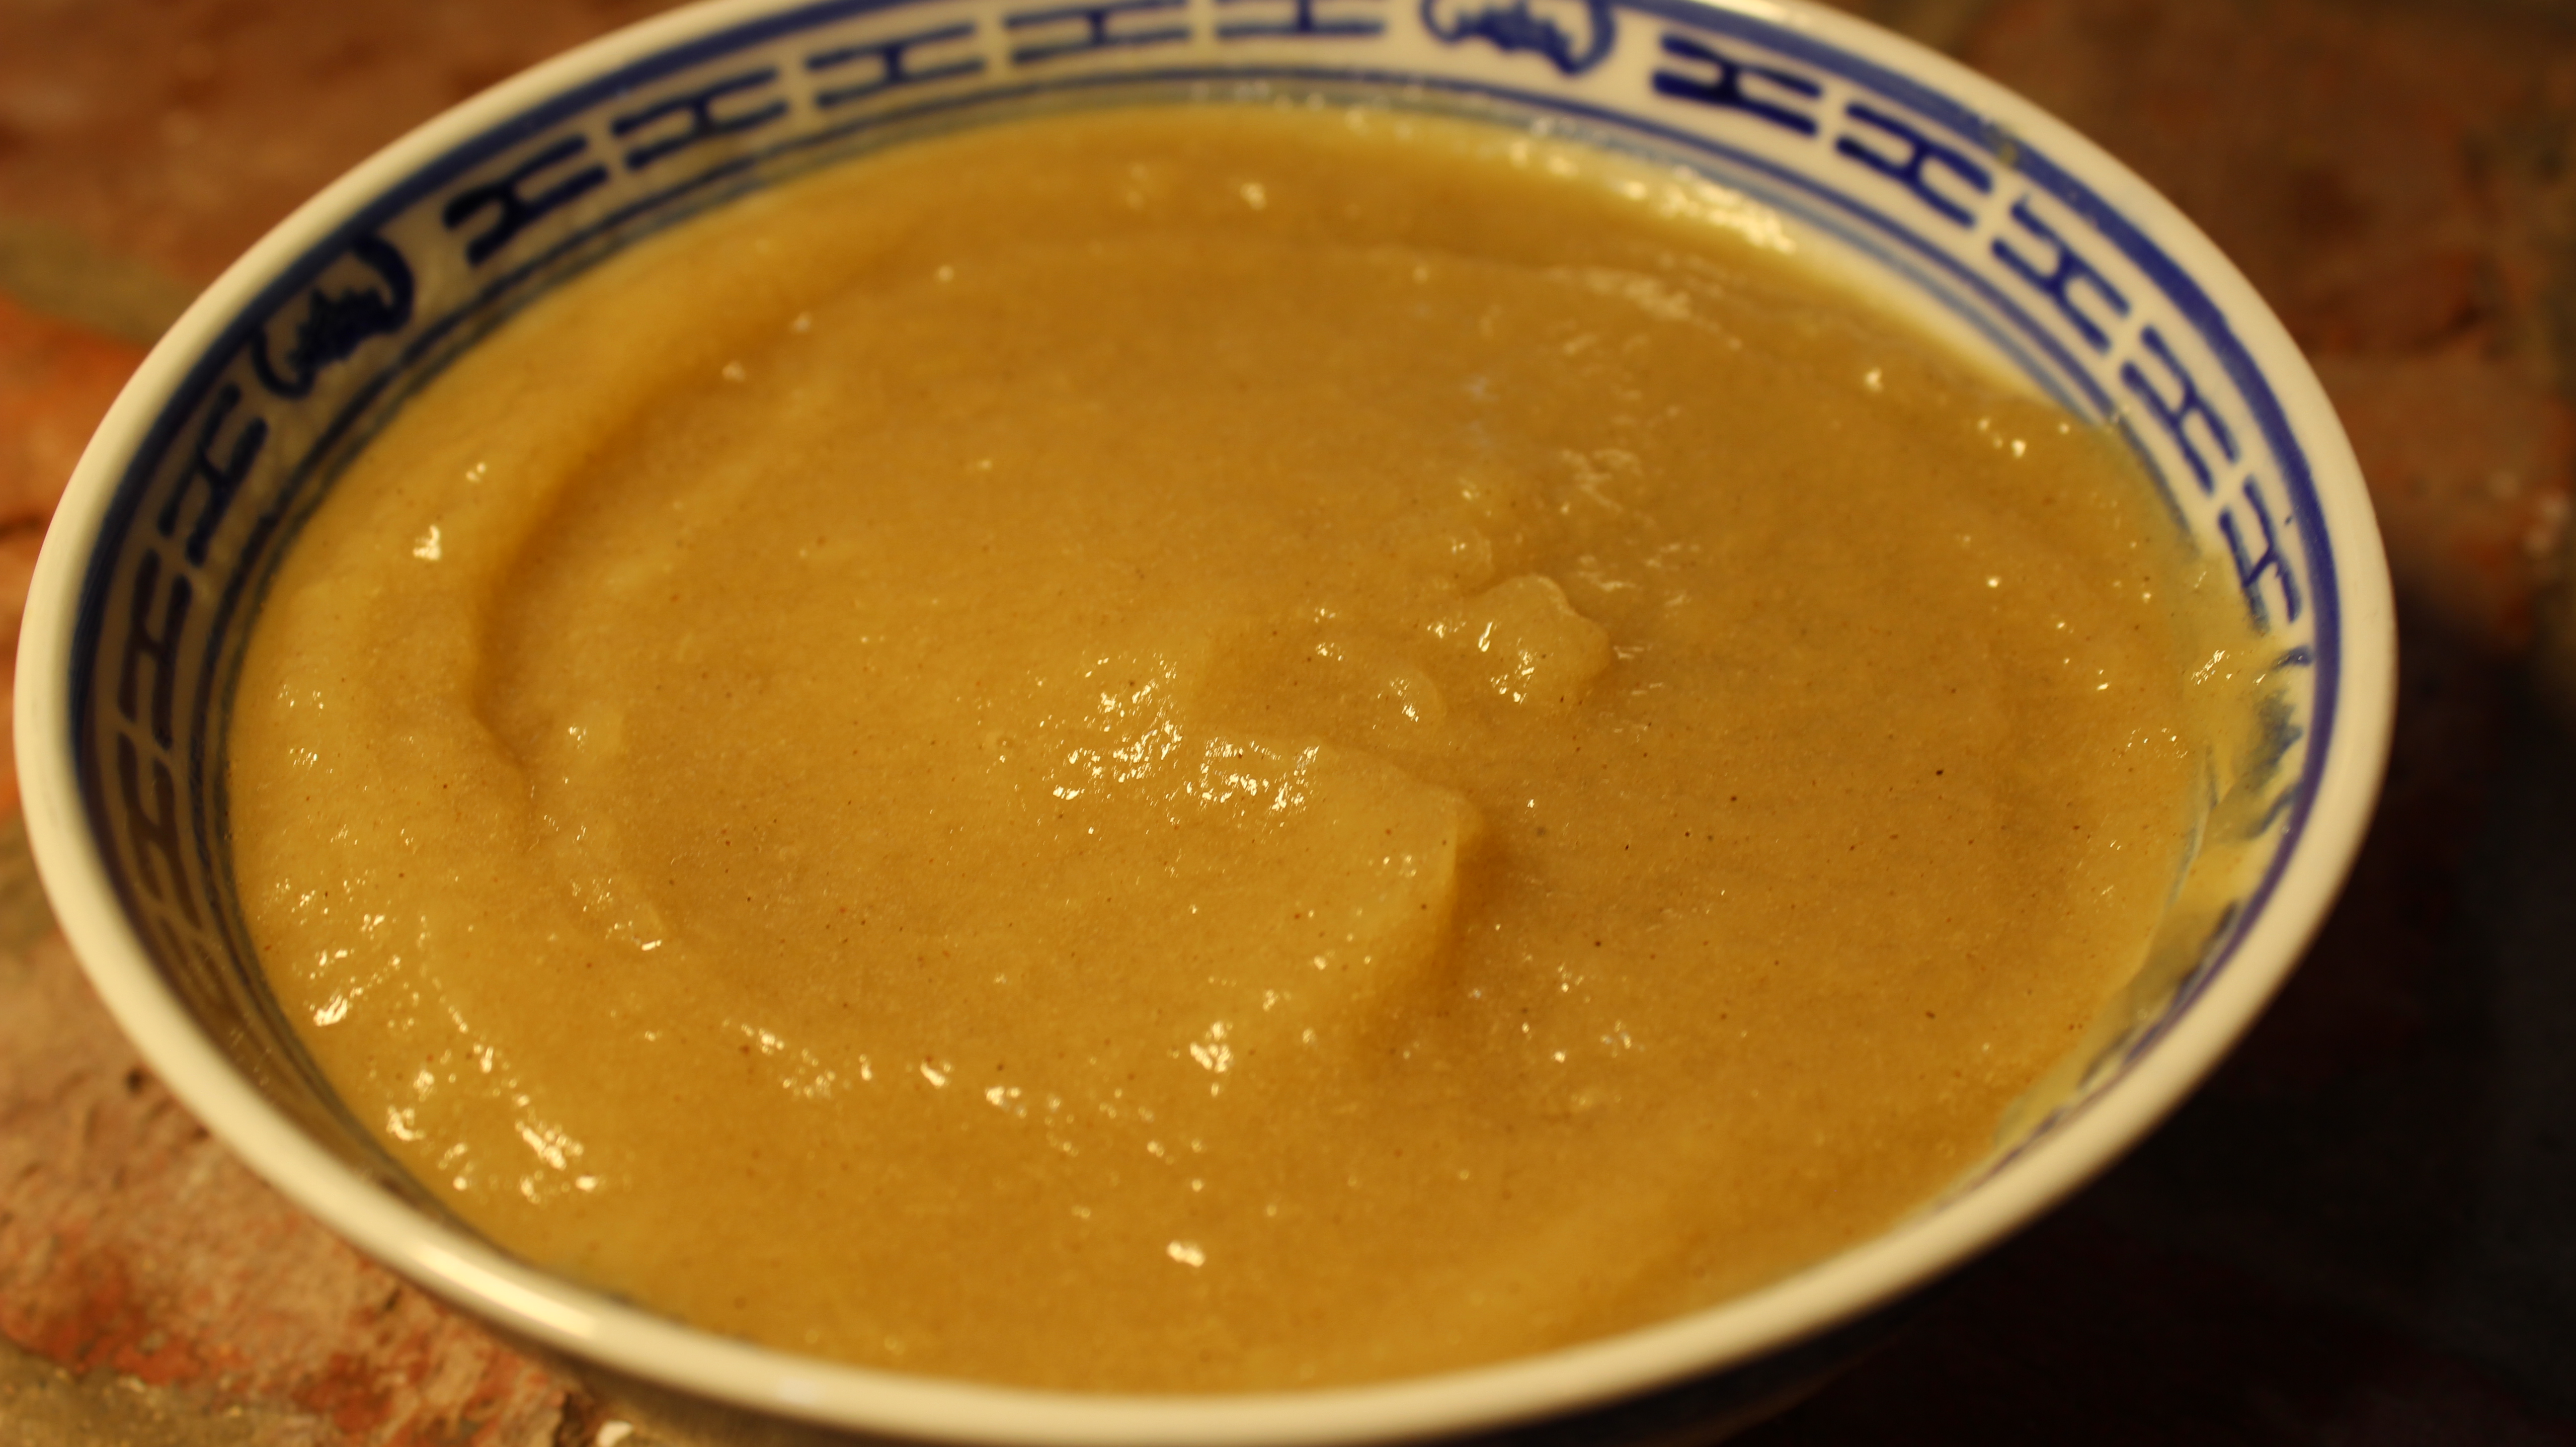
Just the thought of bacon, sauteéd onions and creamy beans and you’ve got my attention. These are a few of the ingredients that go into this Best Baked Beans recipe. Other key ingredients are brown sugar, honey mustard, garlic granules, and to balance out the whole dish apple cider vinegar, of course.
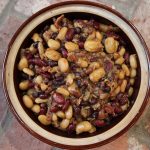
It’s really fairly simple especially since the recipe calls for canned beans. Shhhh …no one has to know that, lol! These beans, in my opinion, taste like they are made from scratch. Our time is very valuable and if you can make baked beans that taste like this you’re one step ahead of the game. These best beaked beans are creamy, flavorful, and a wonderful balance between sweet and tangy making a great addition to grilled fish, chicken, pulled pork or sausages. These will become your go to baked bean recipe once you taste them!
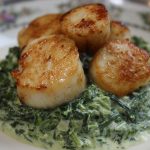
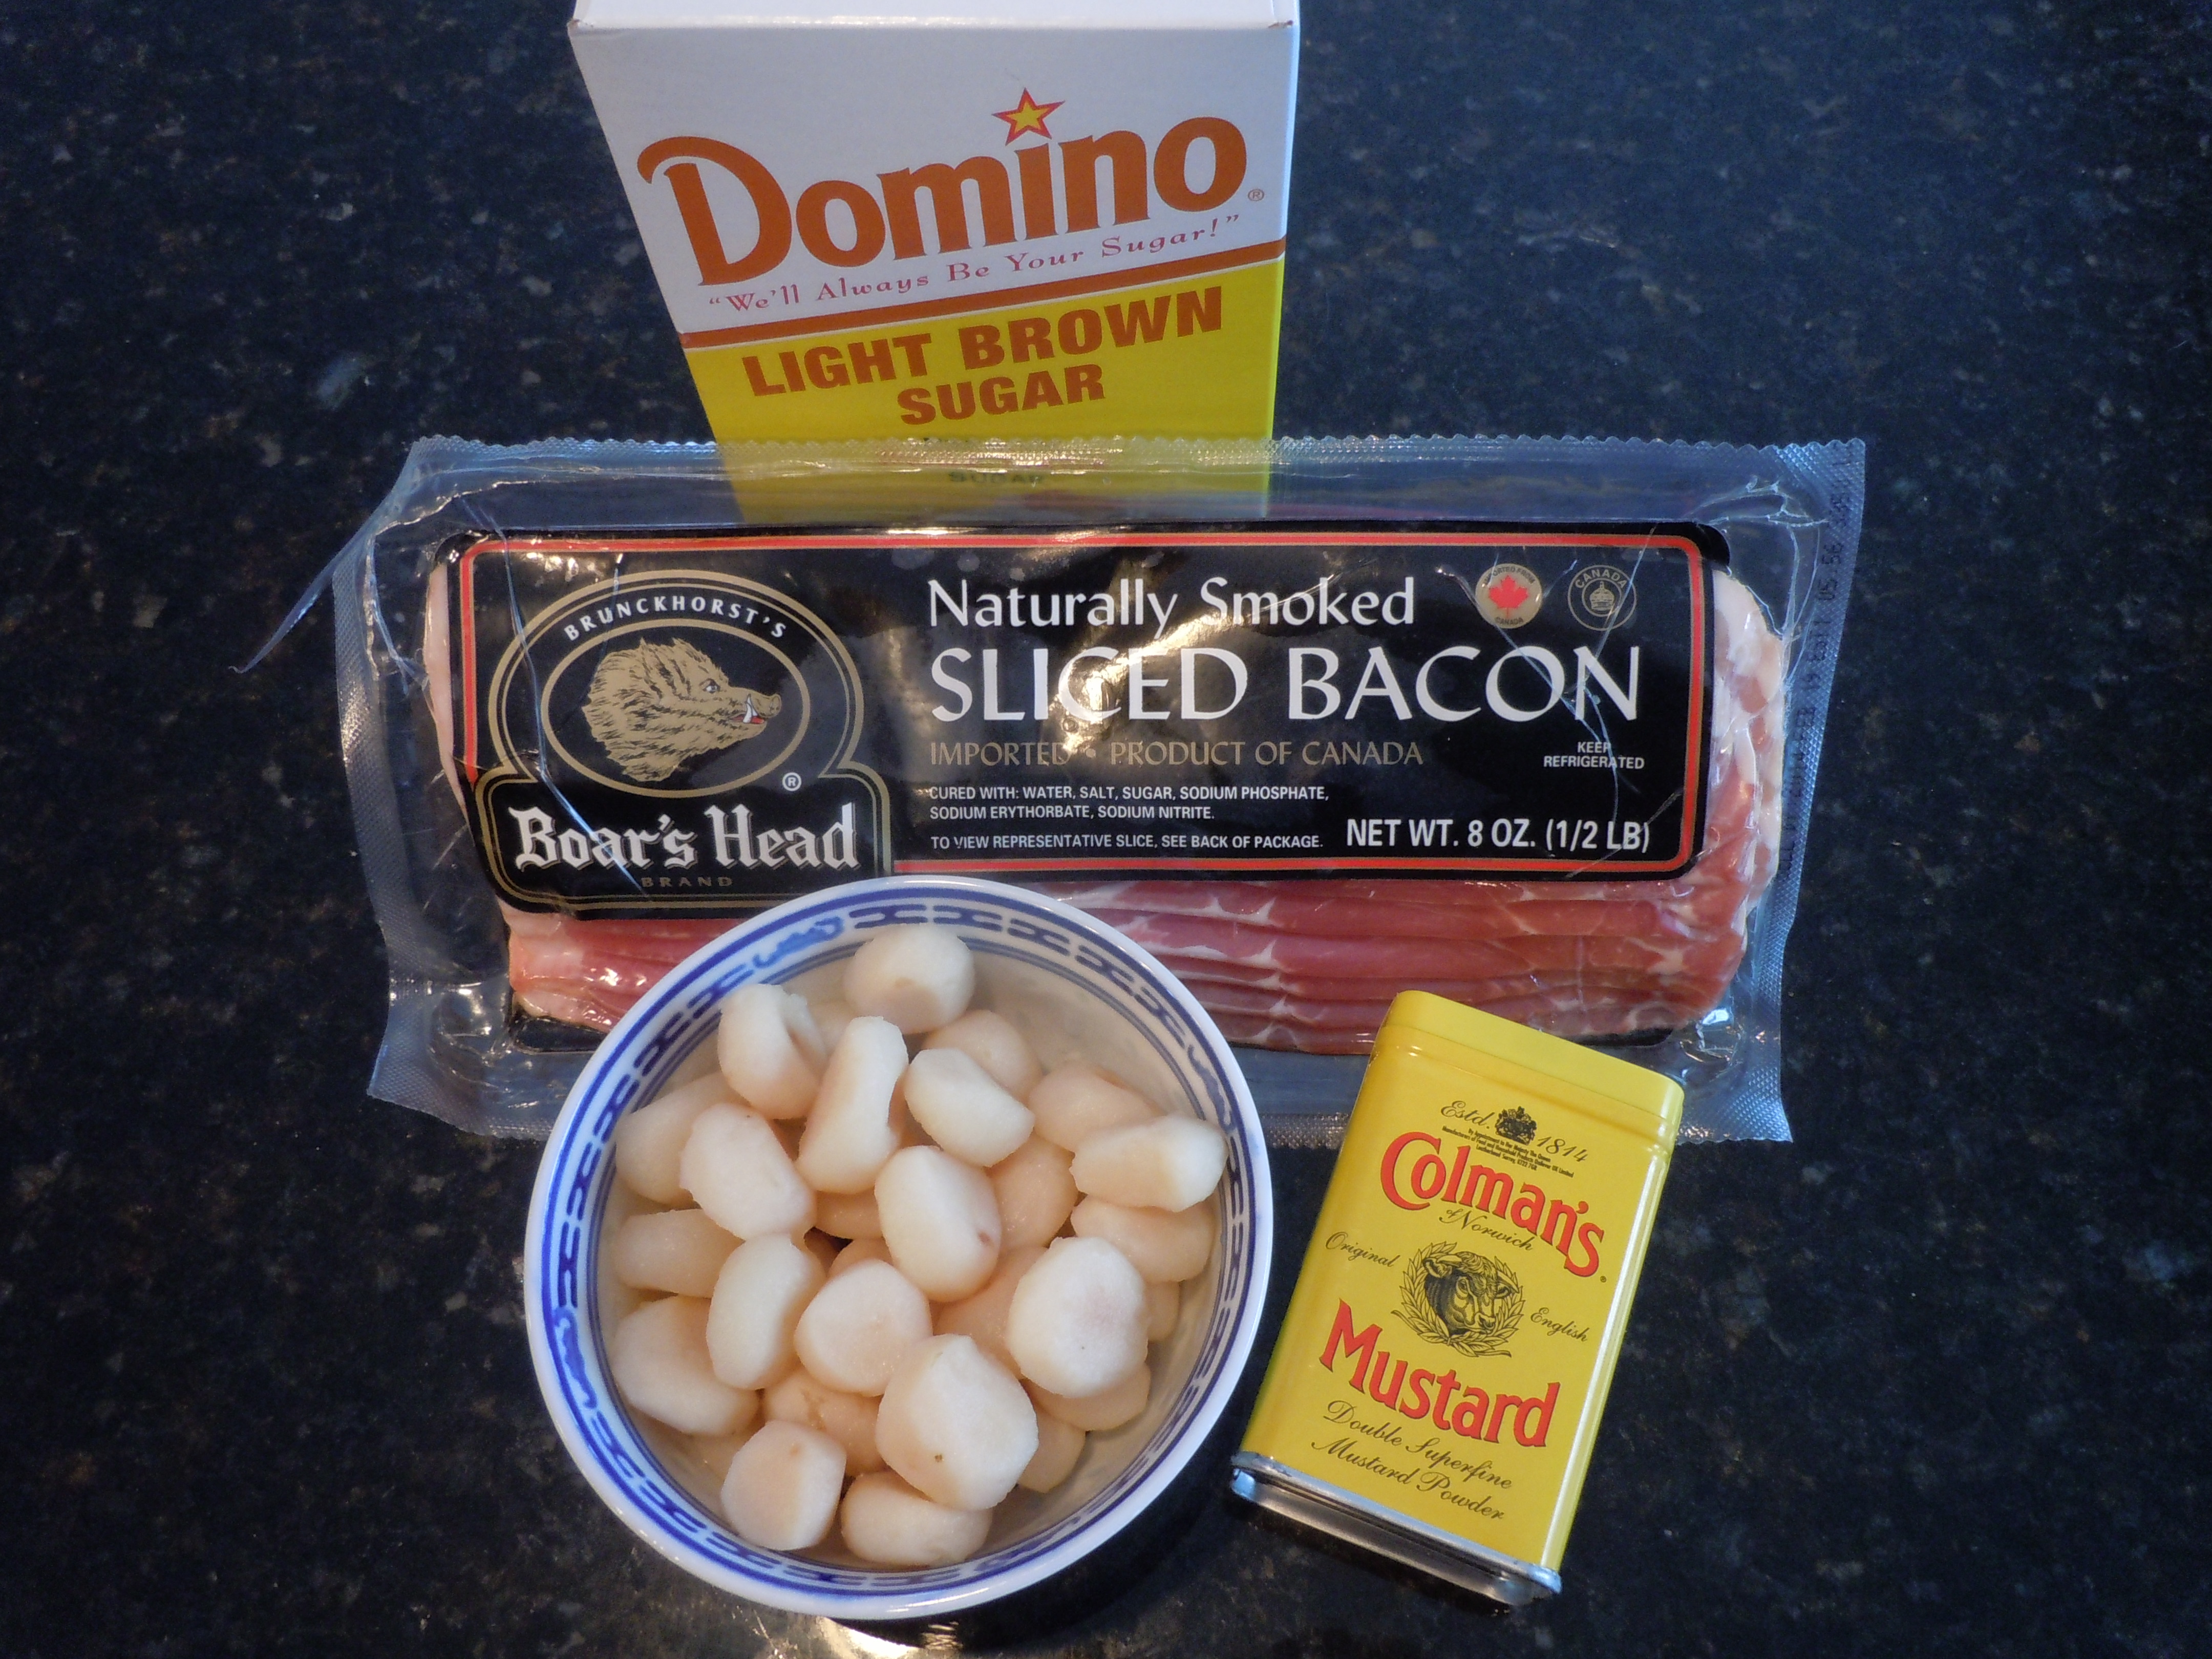
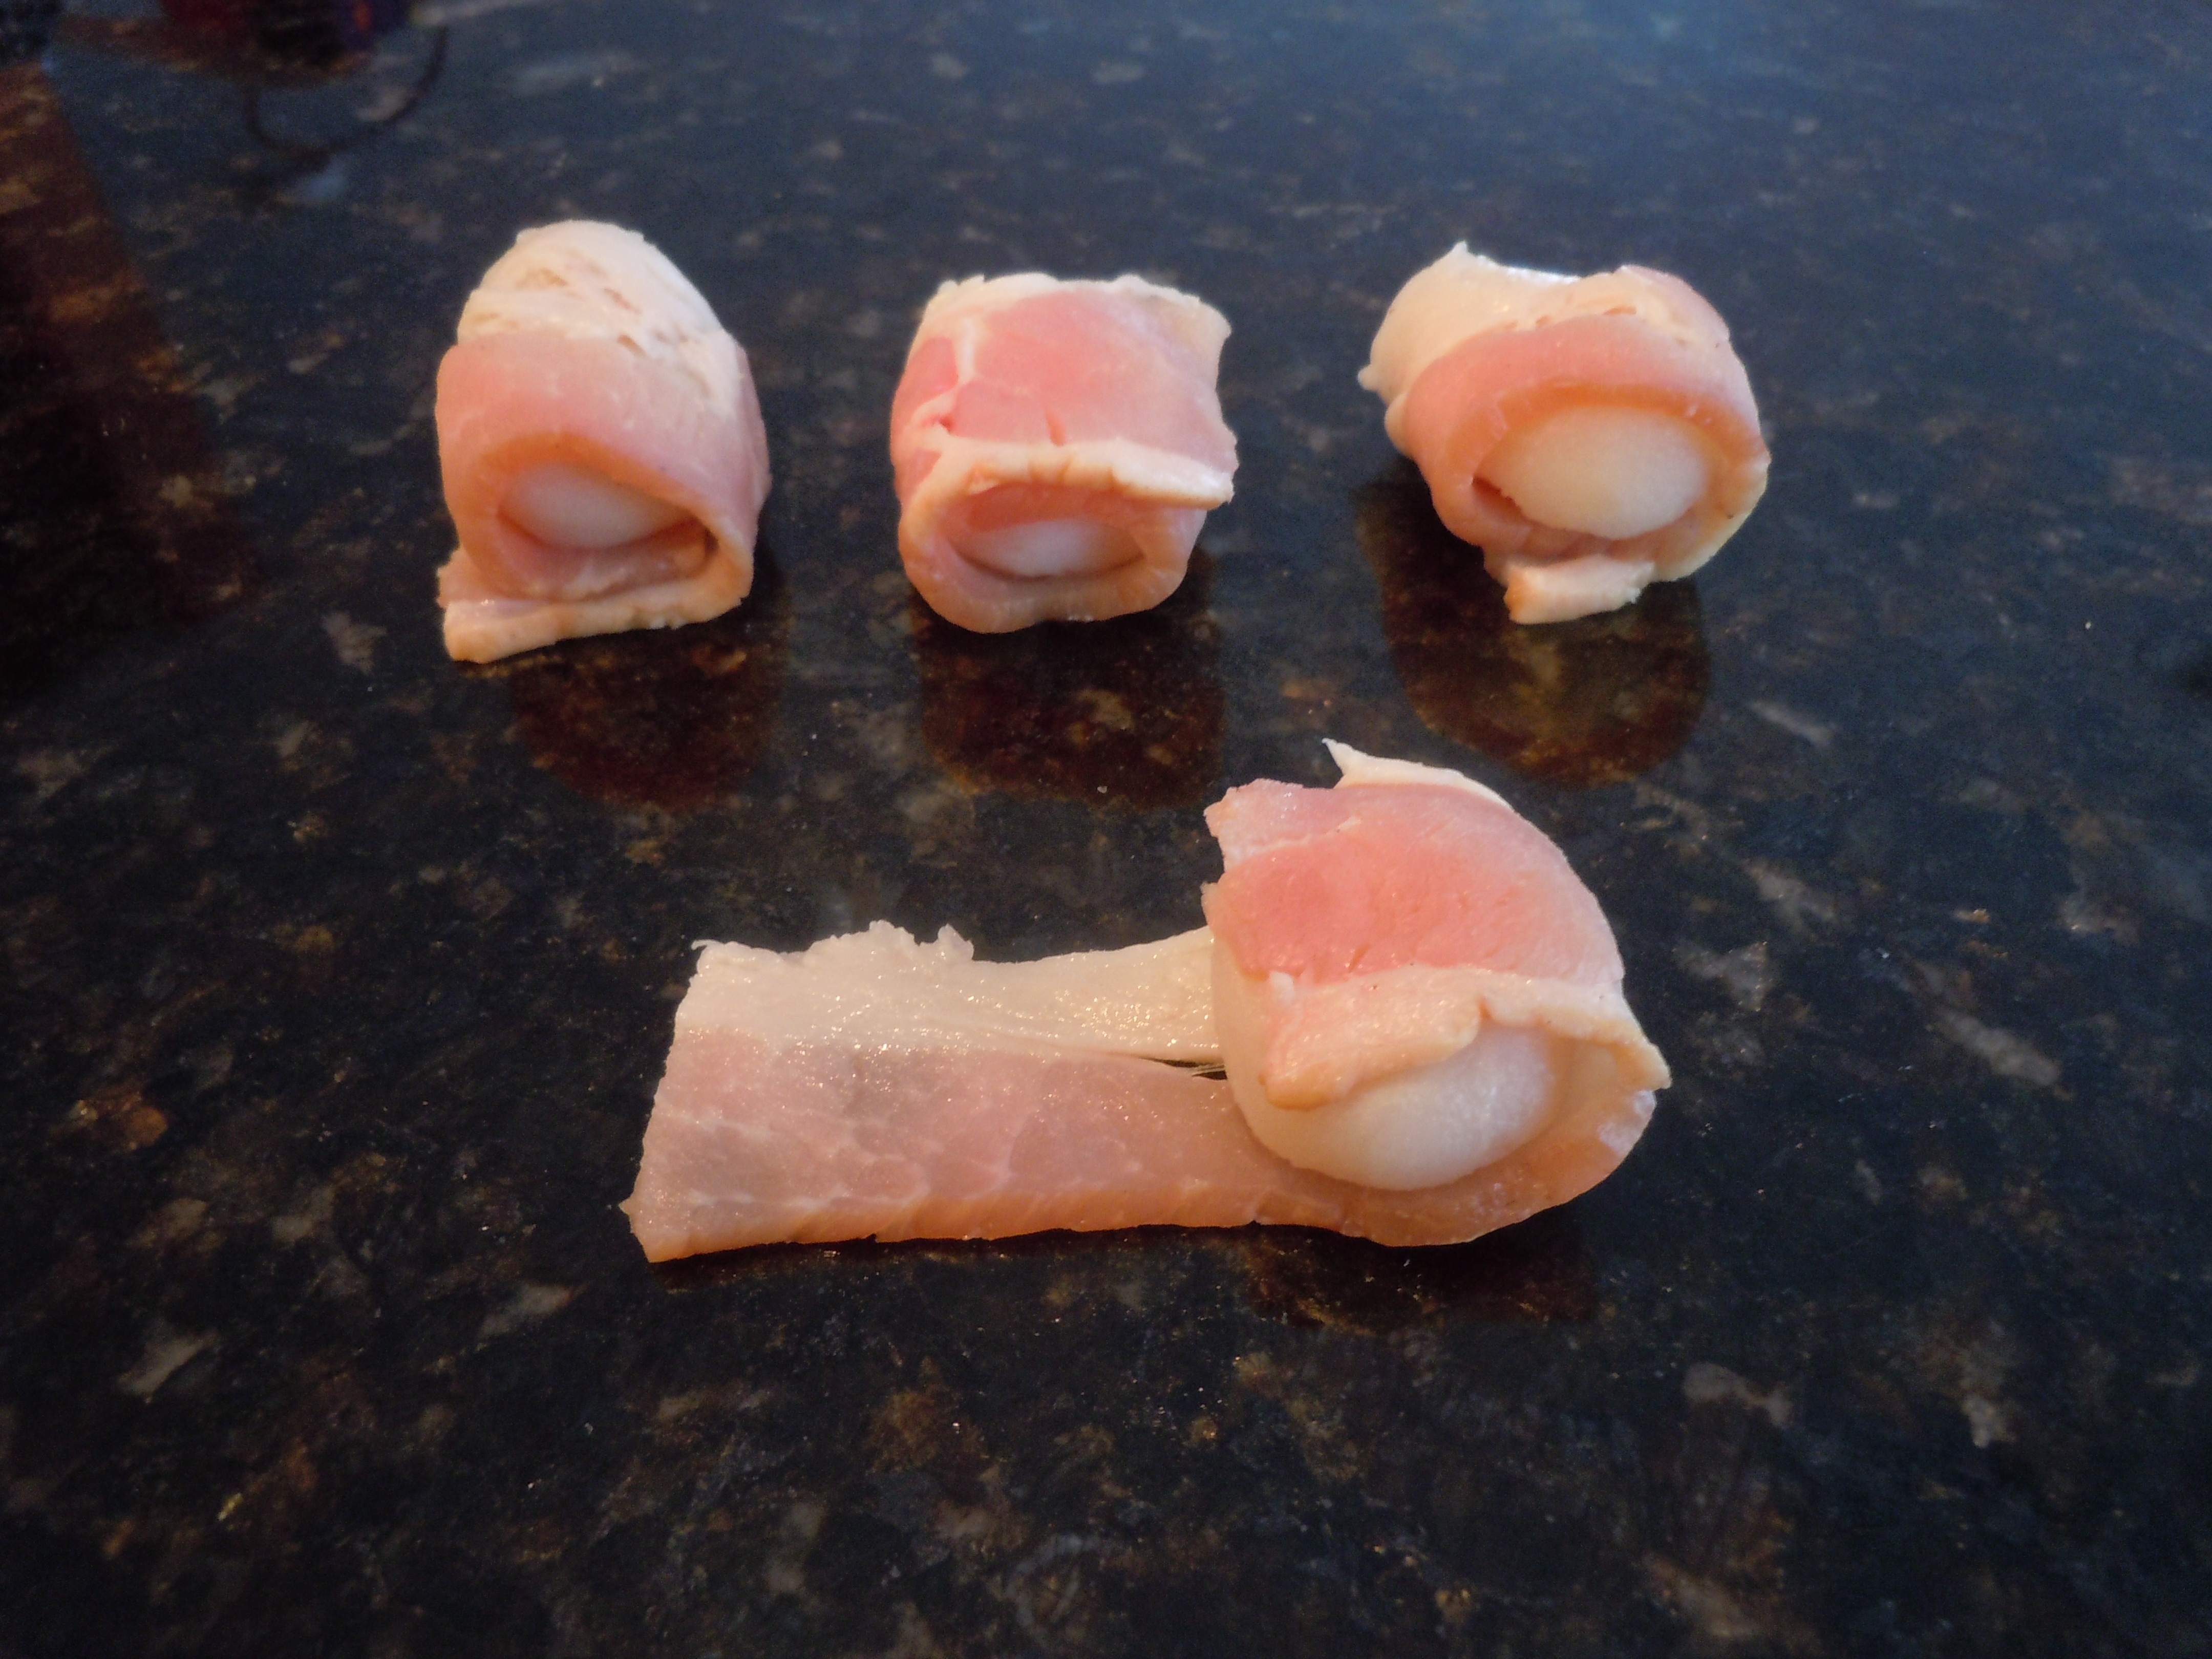
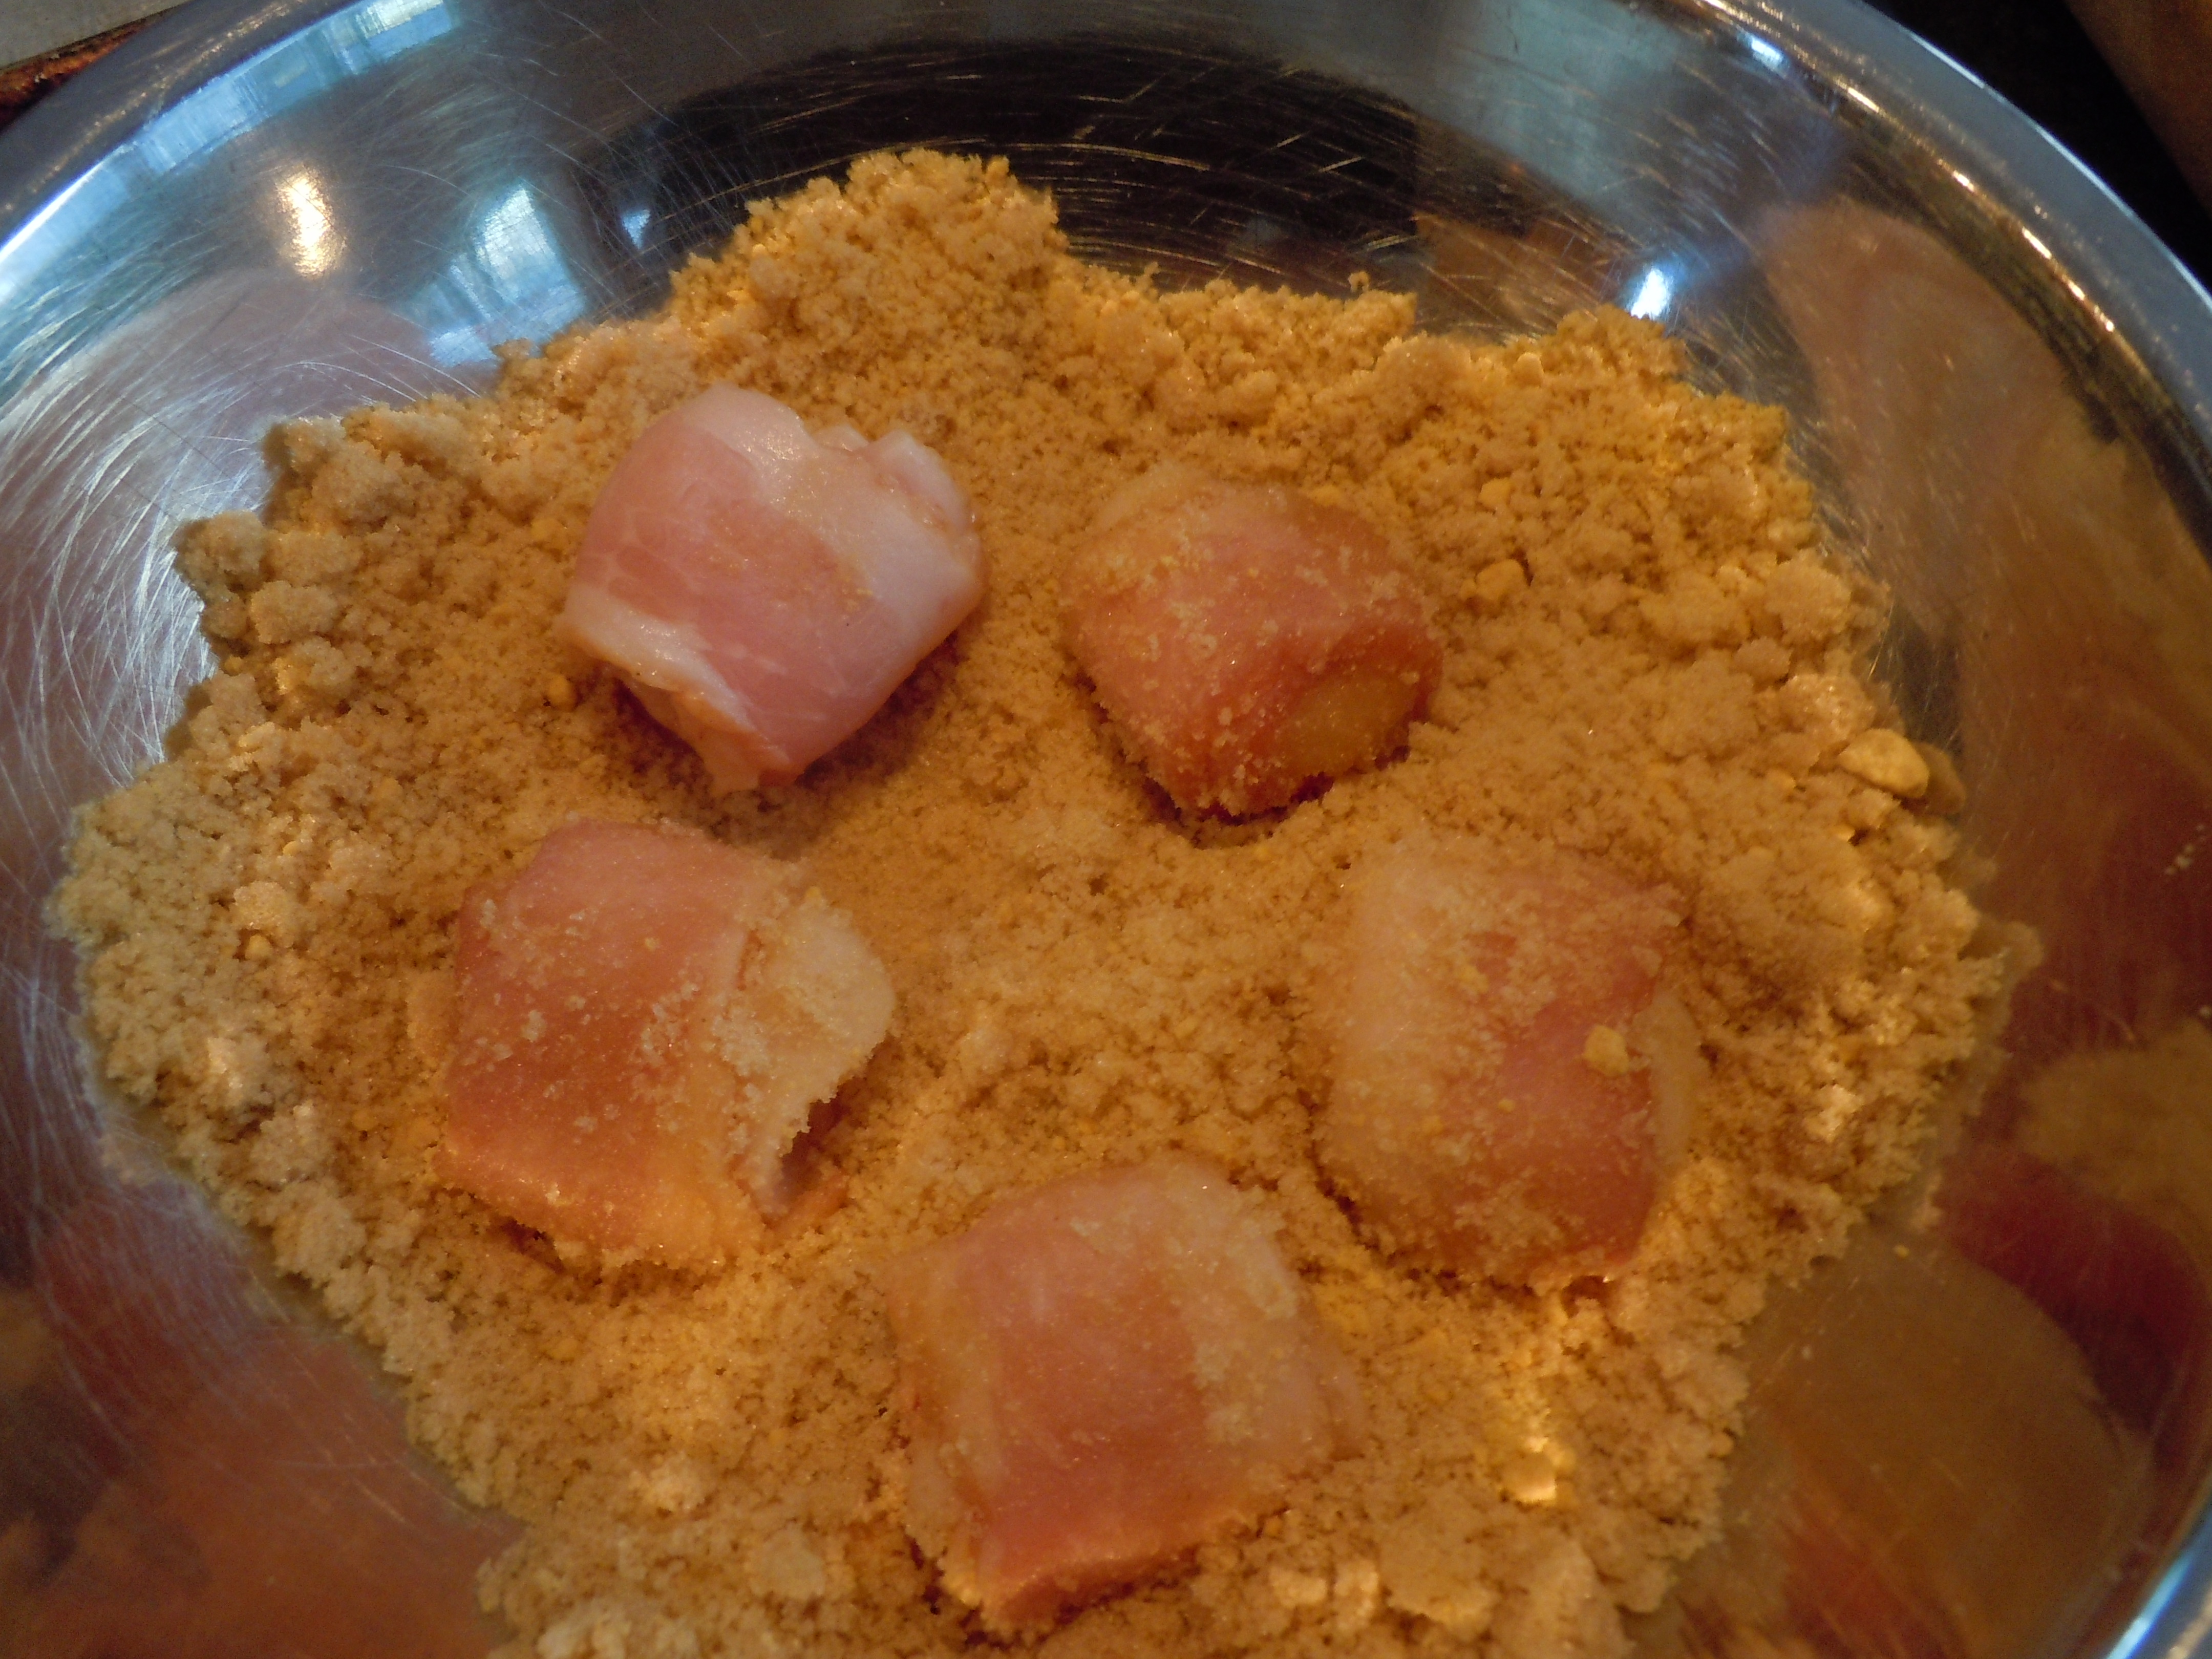
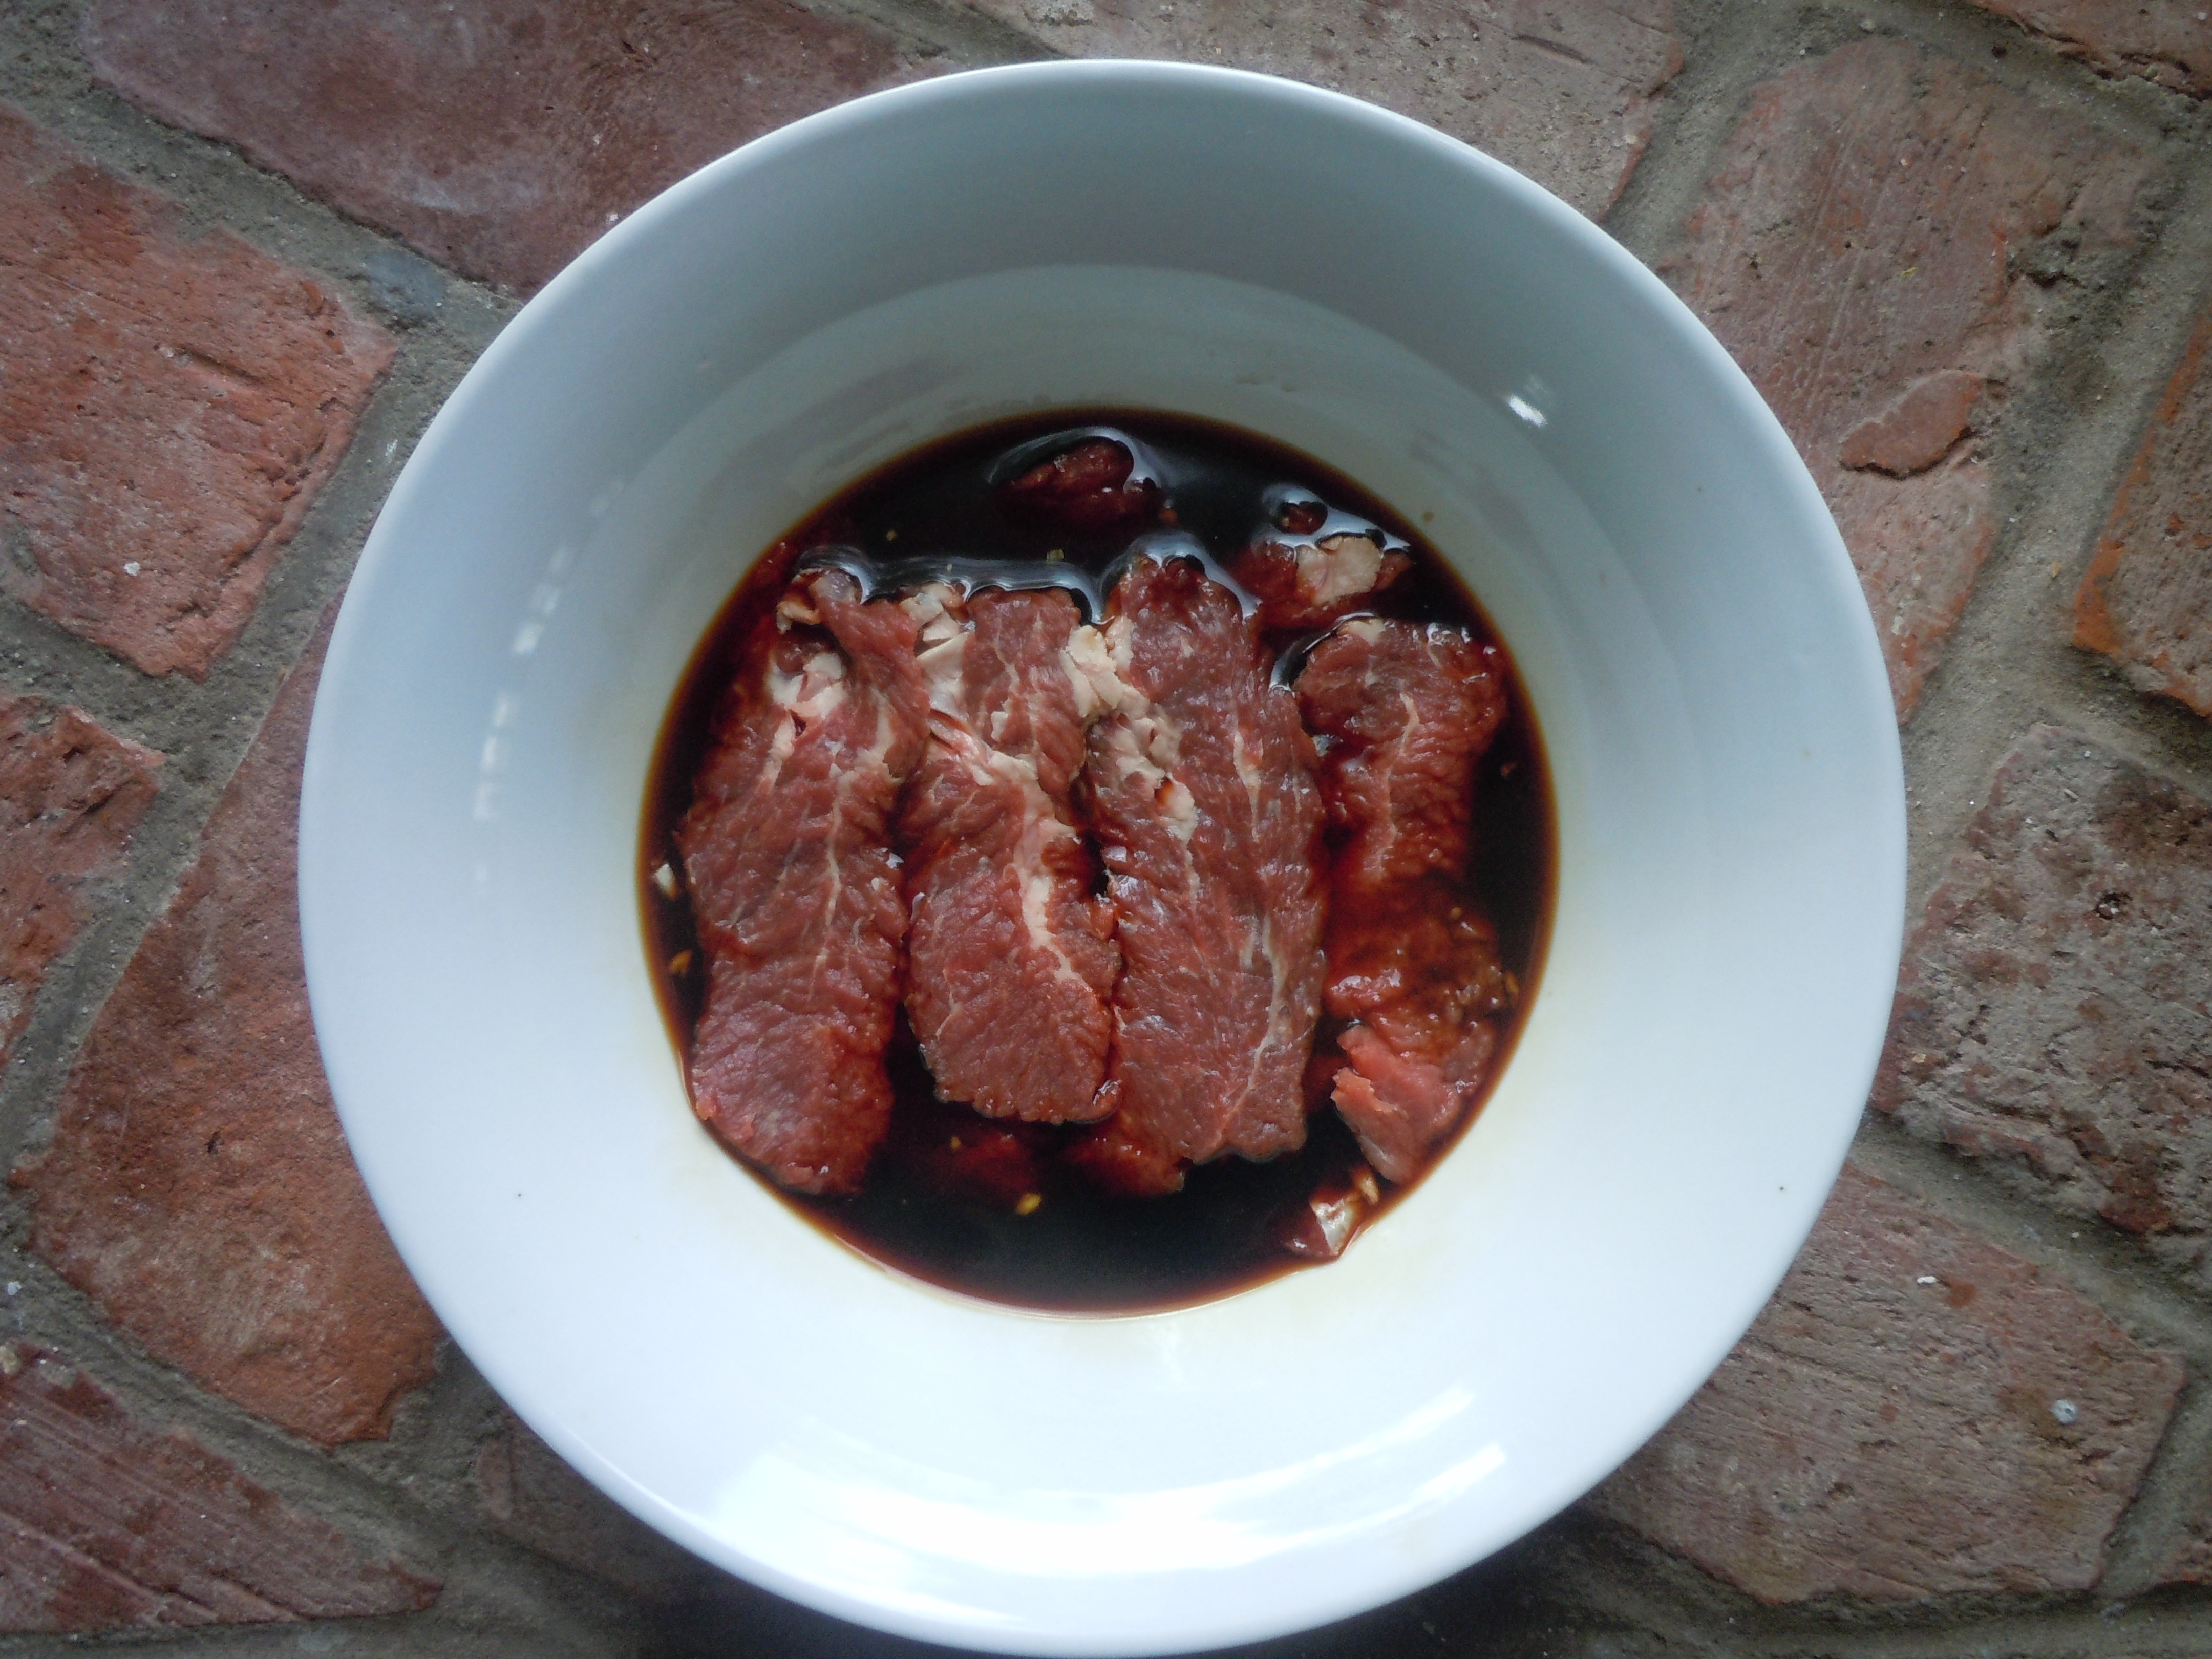
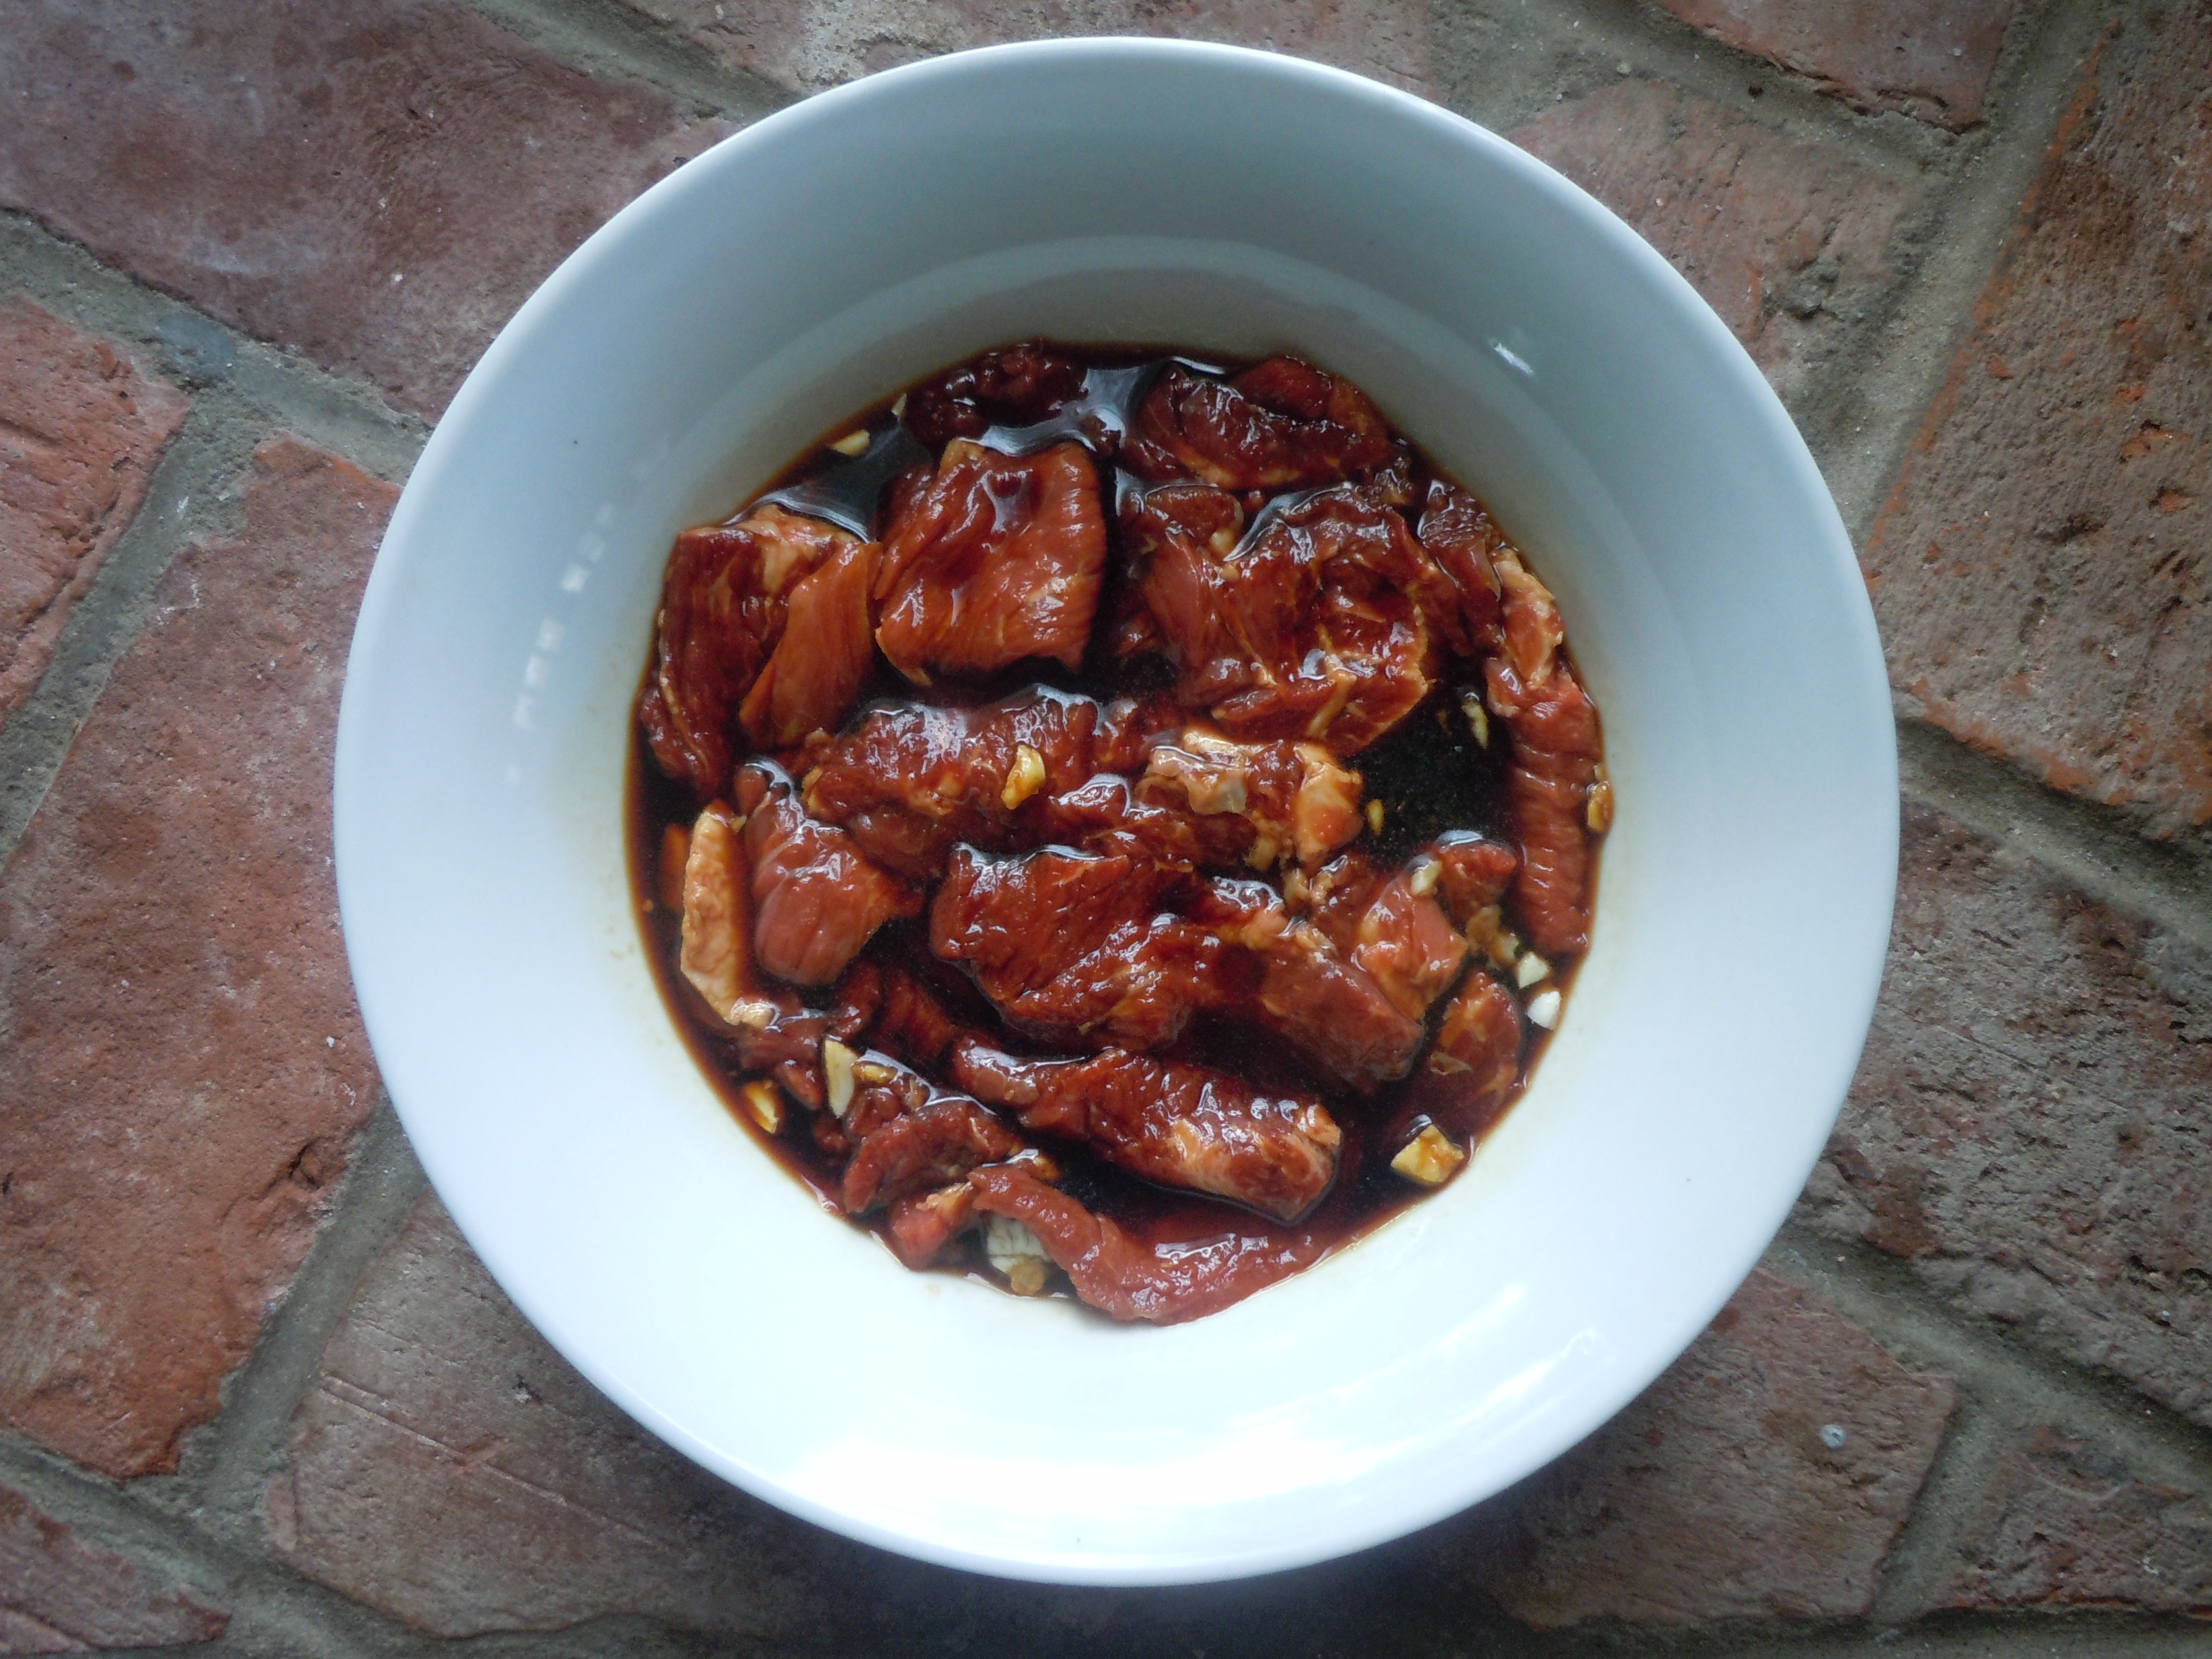
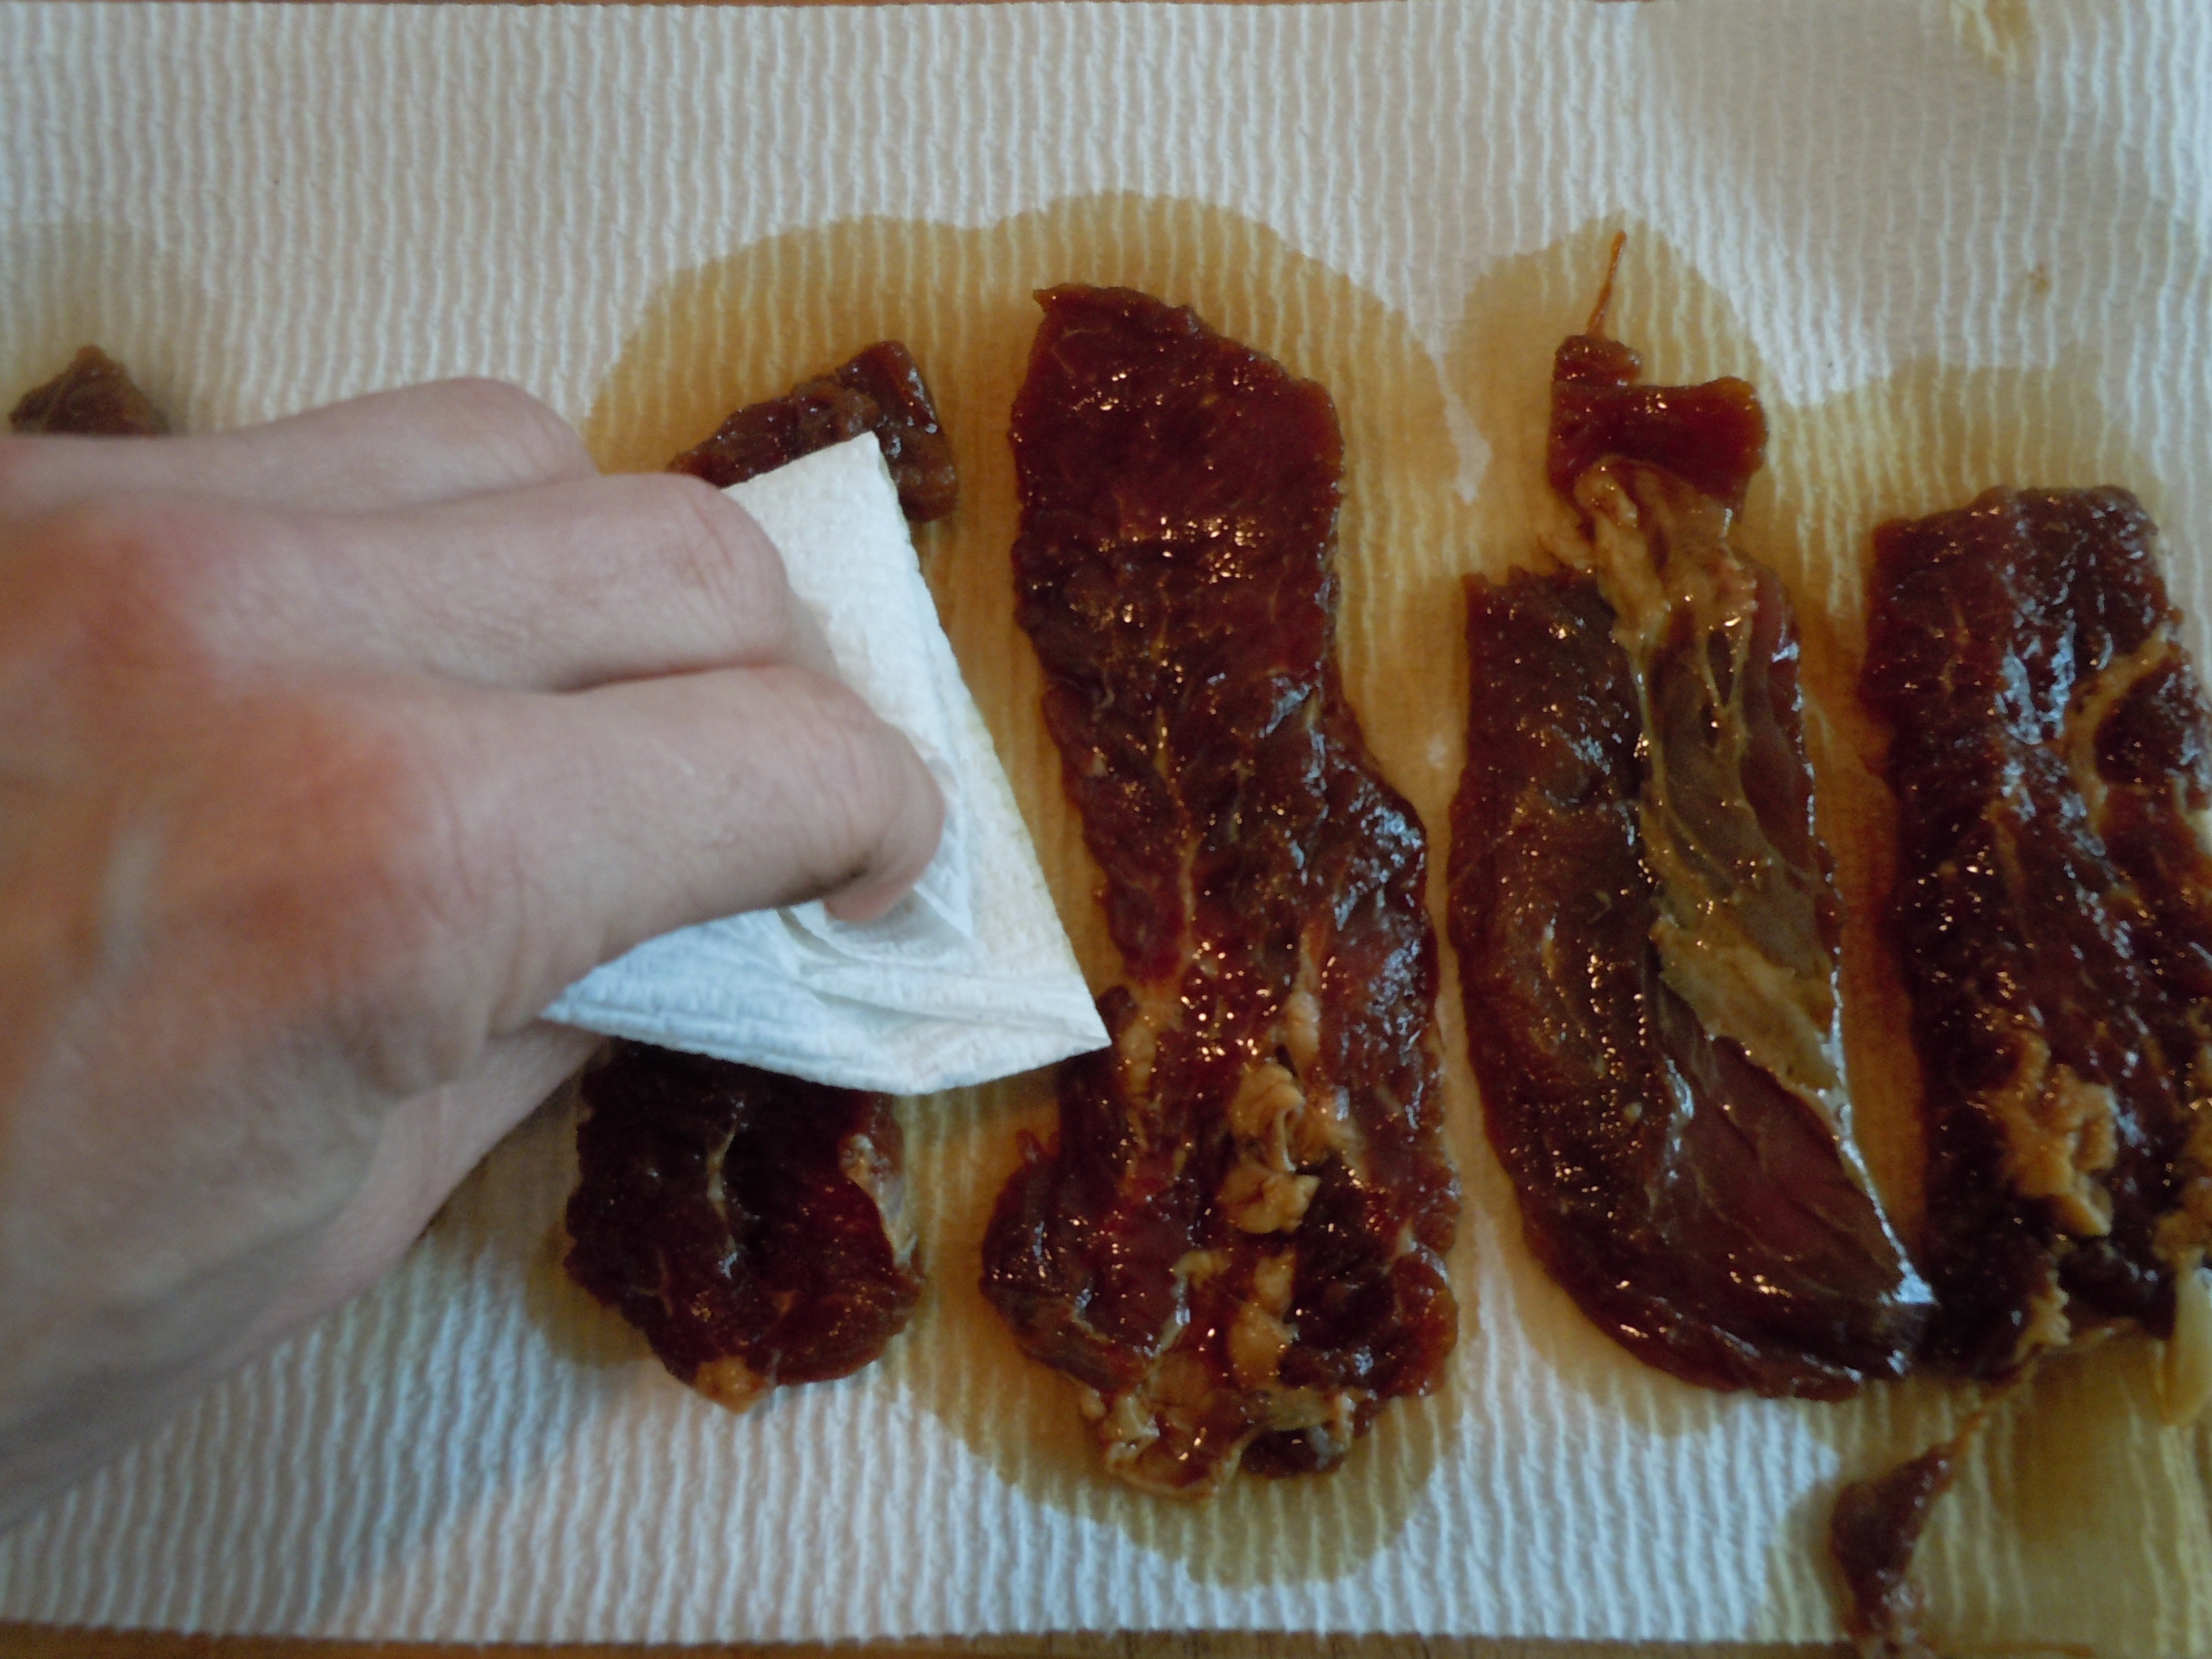
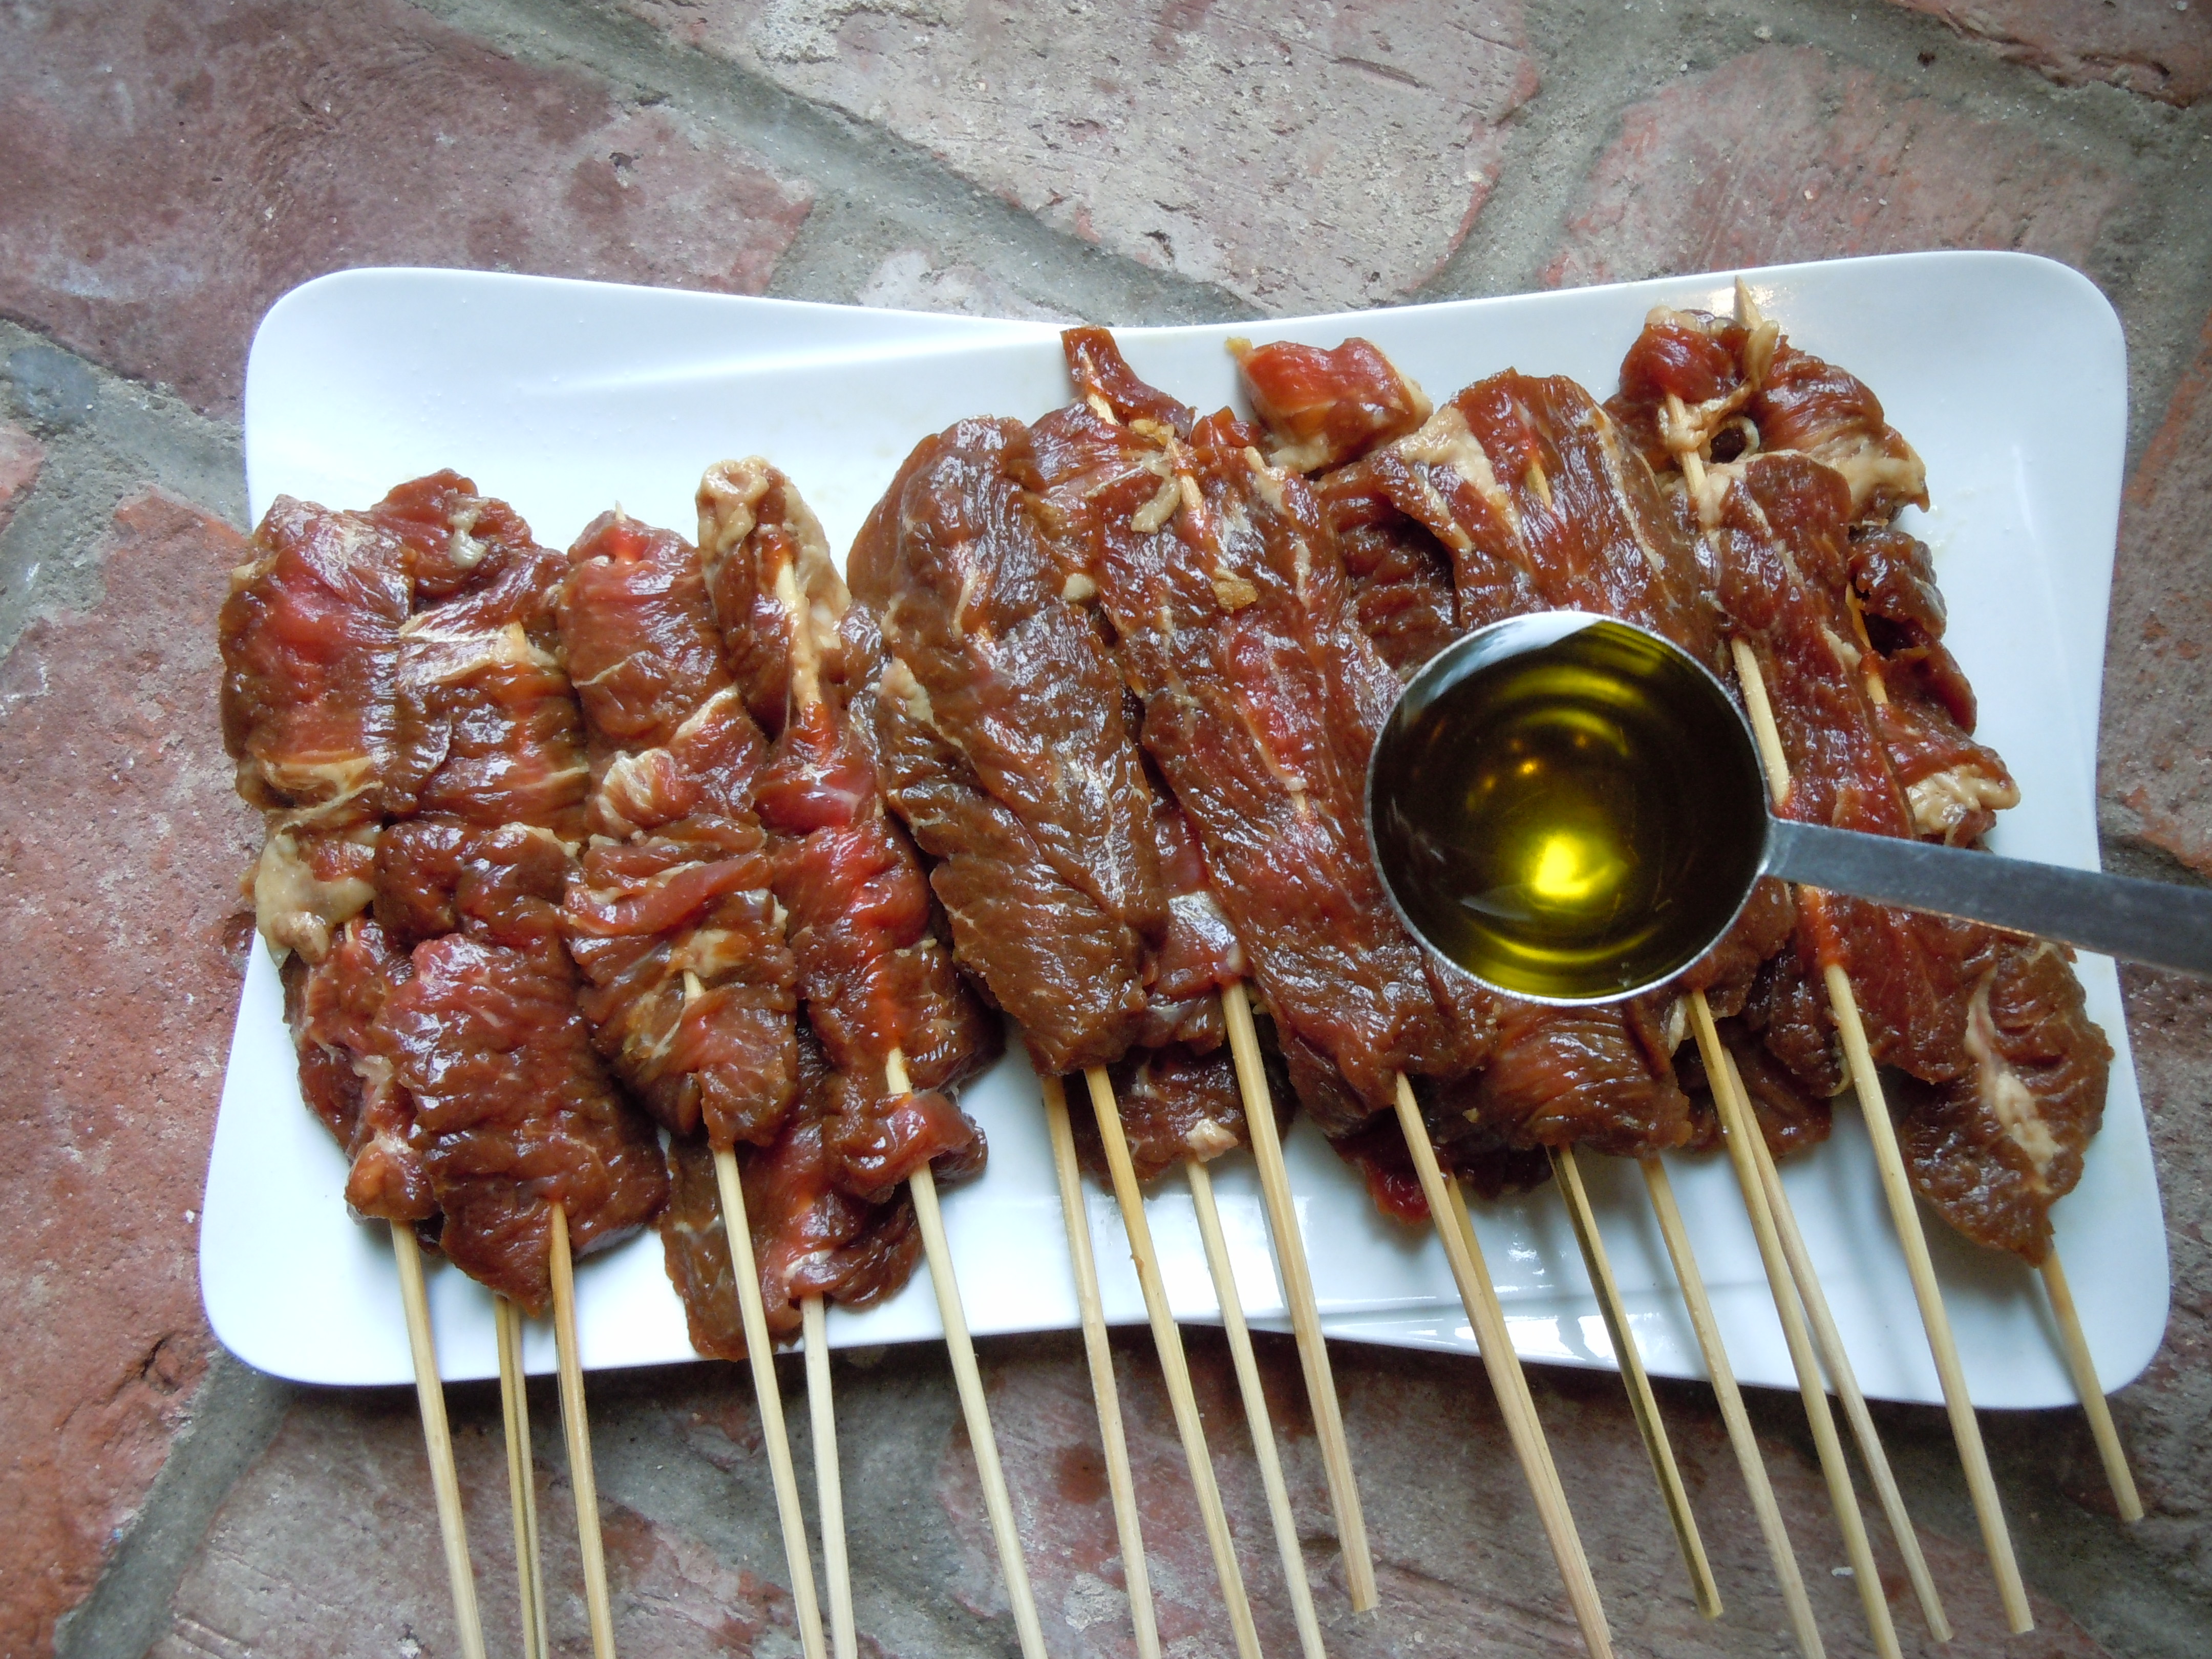
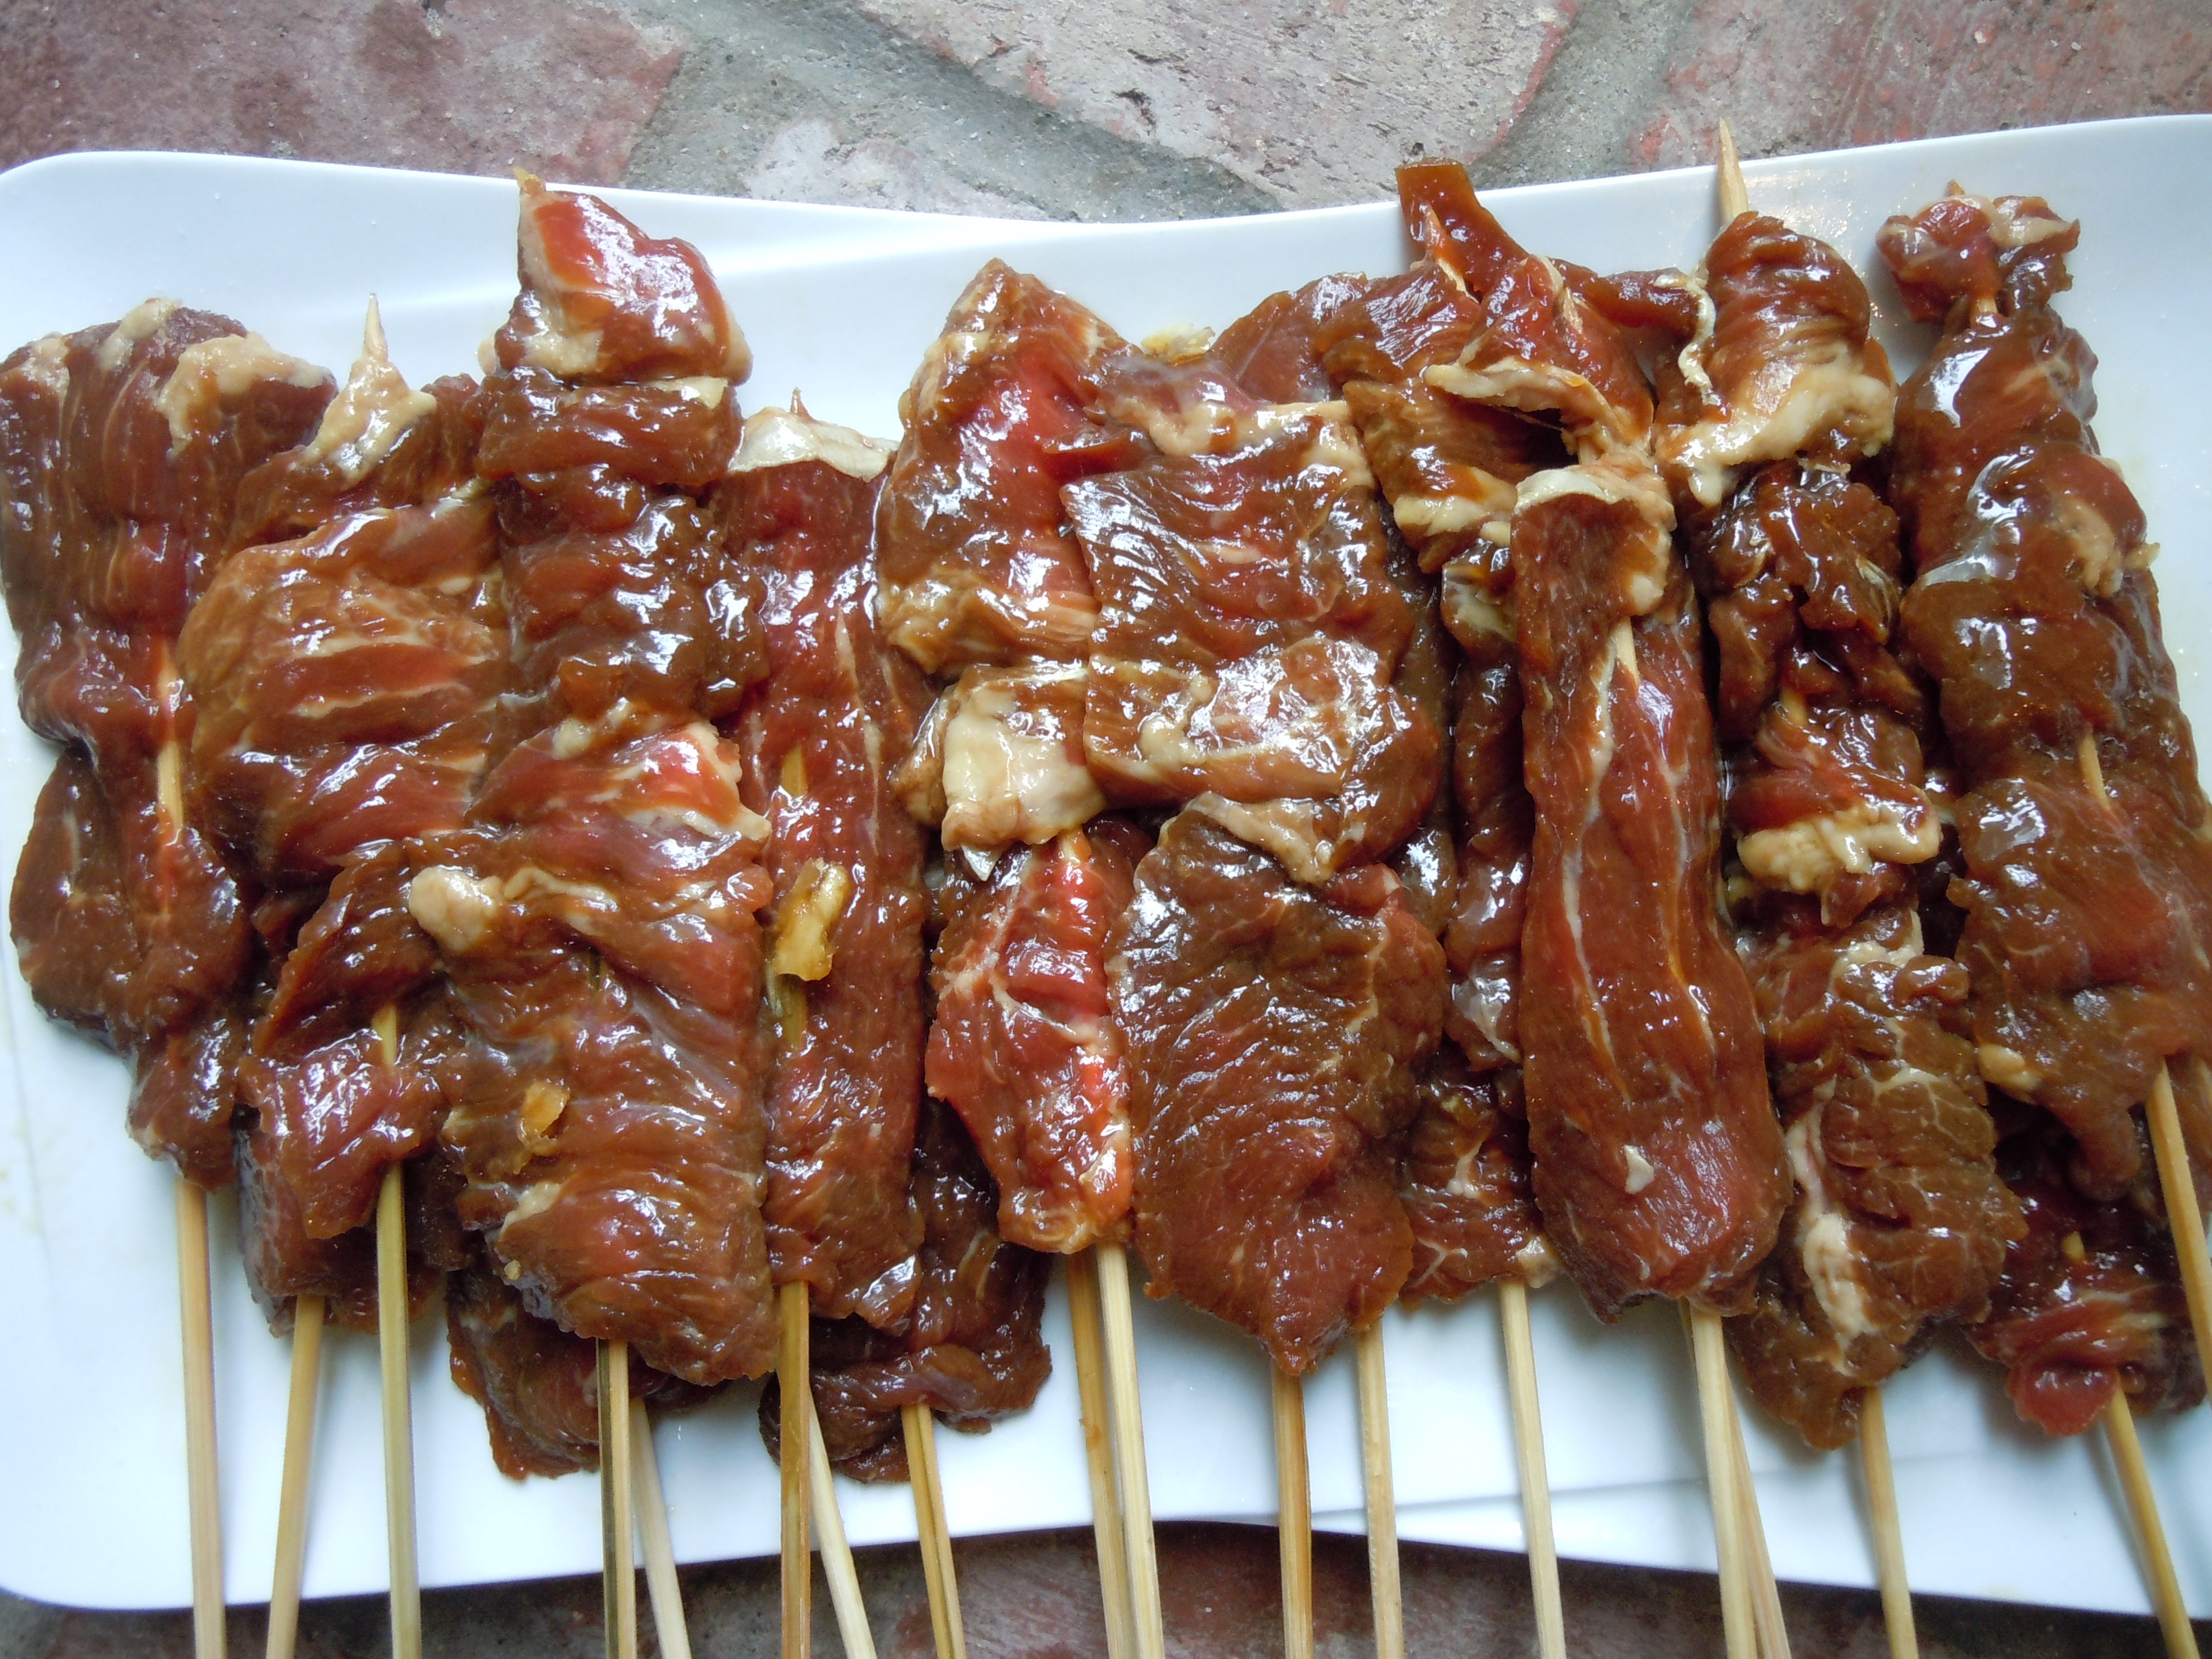
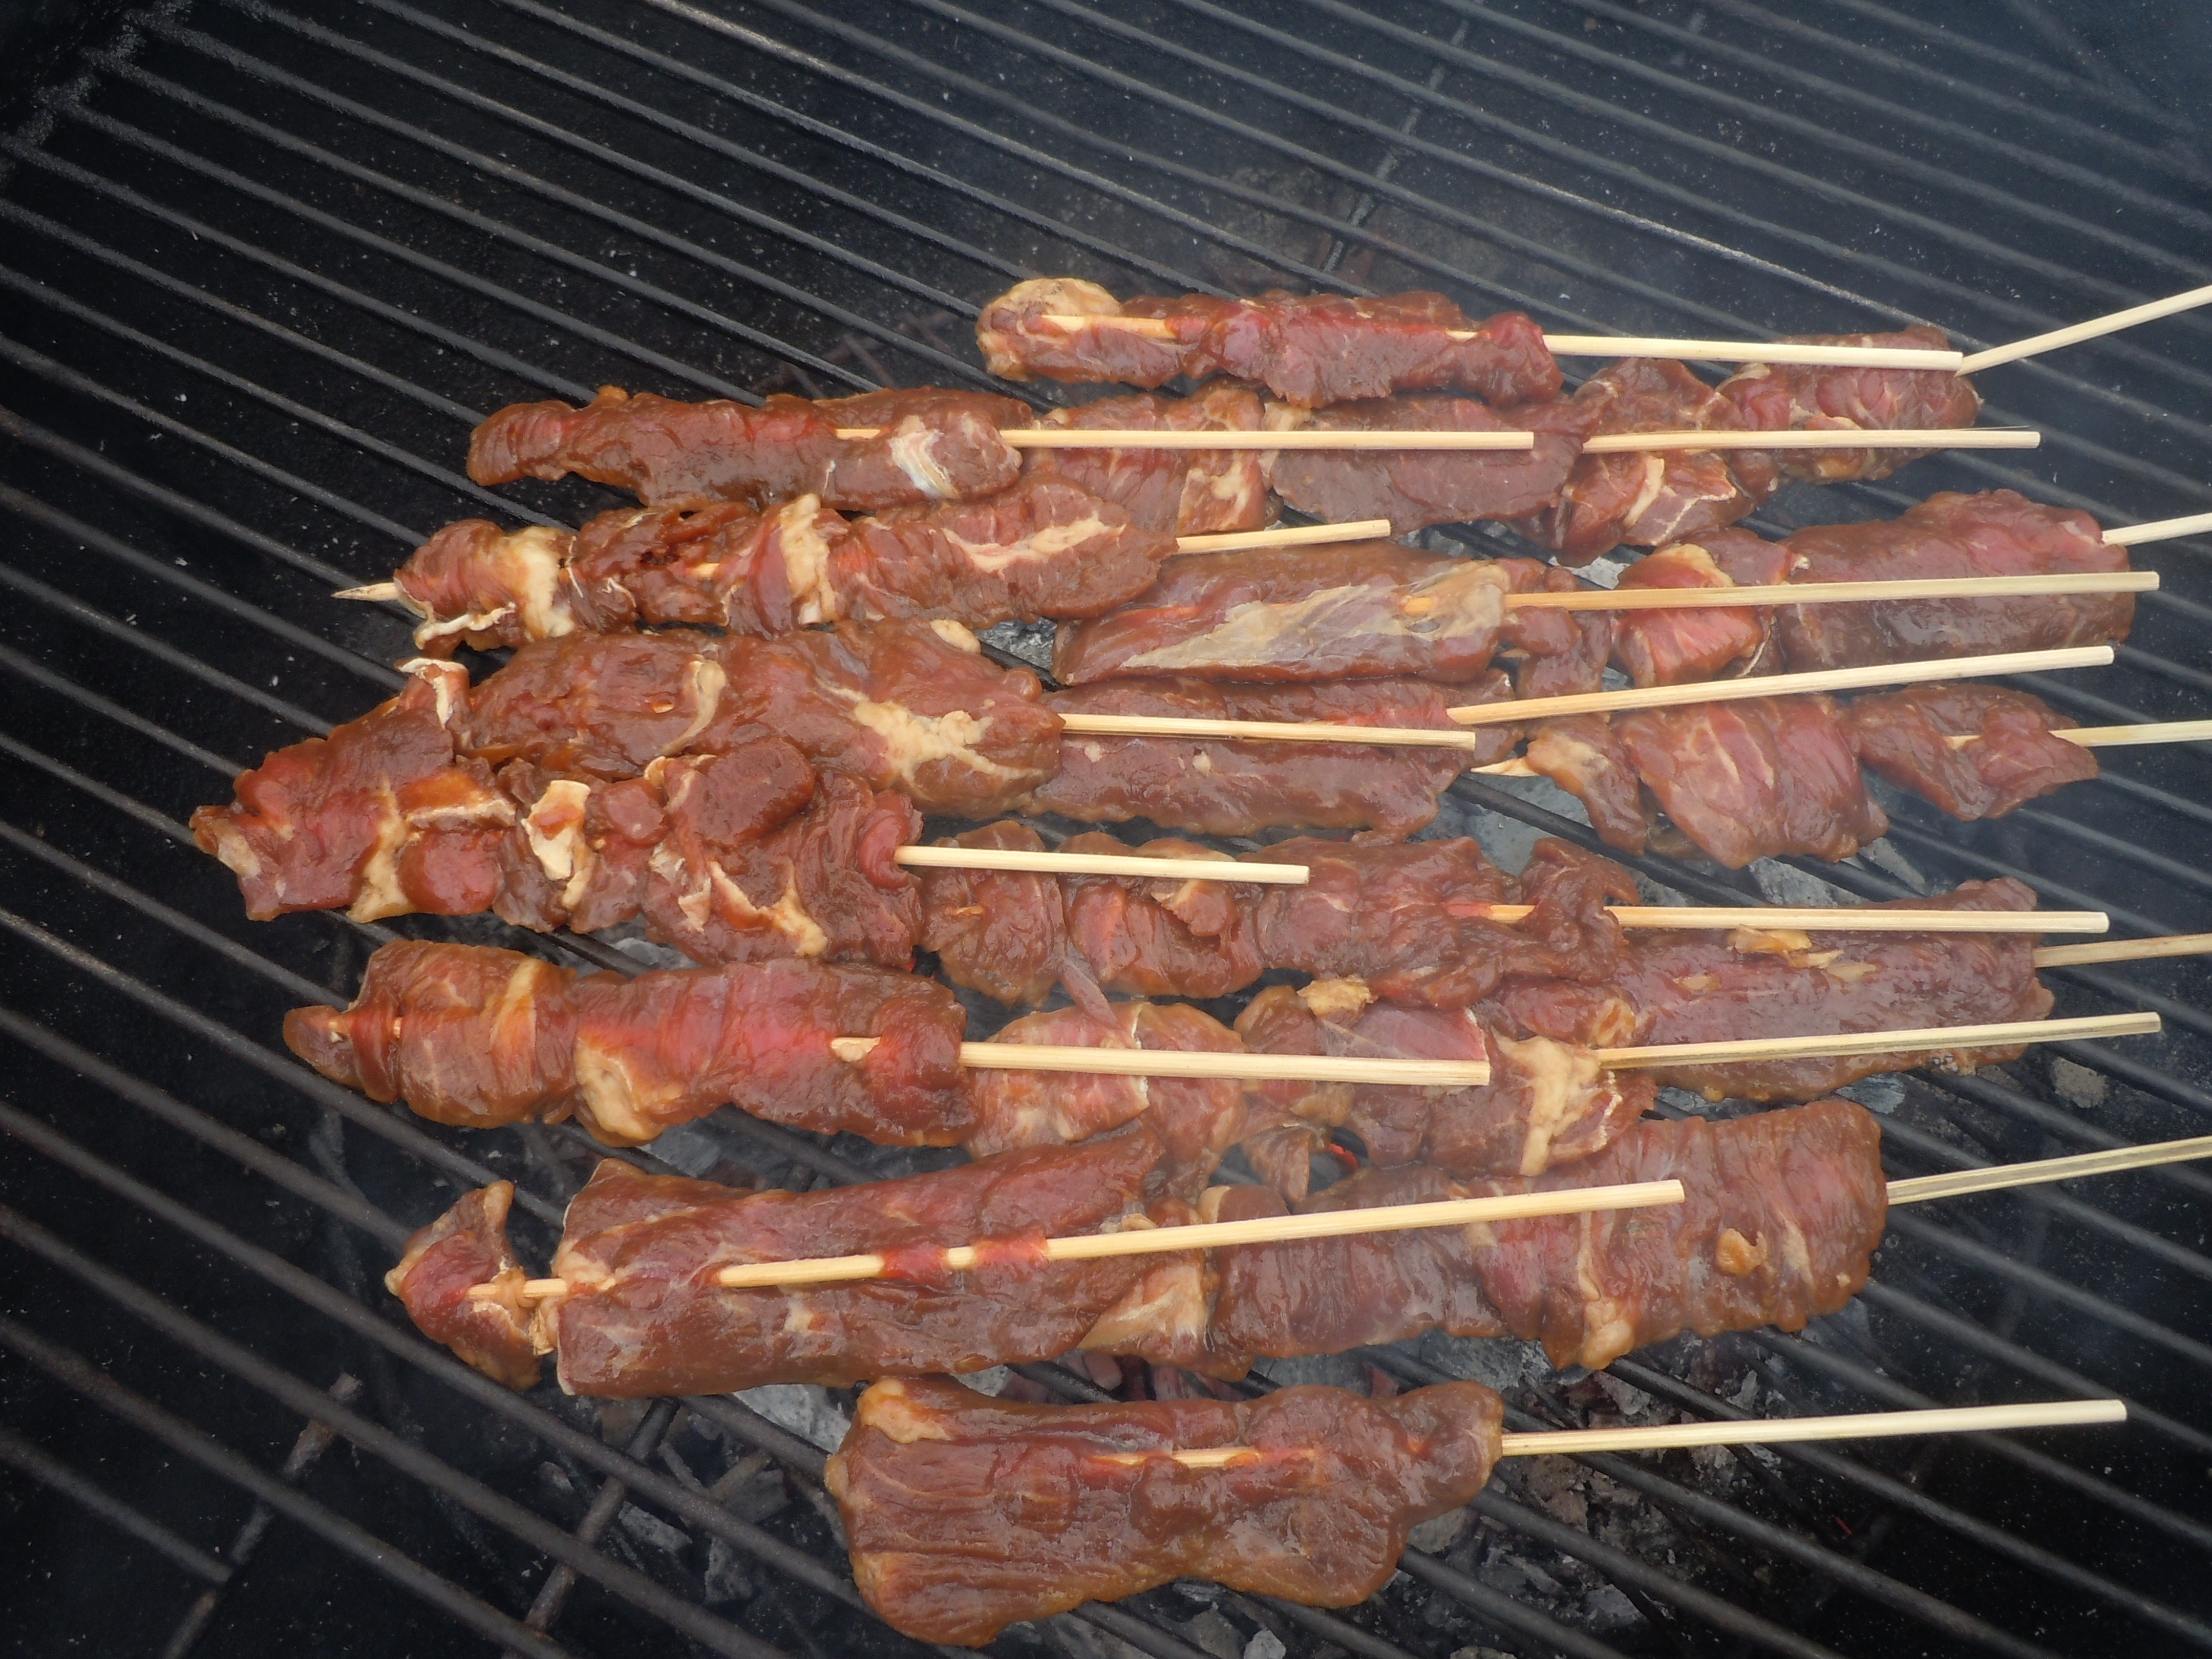
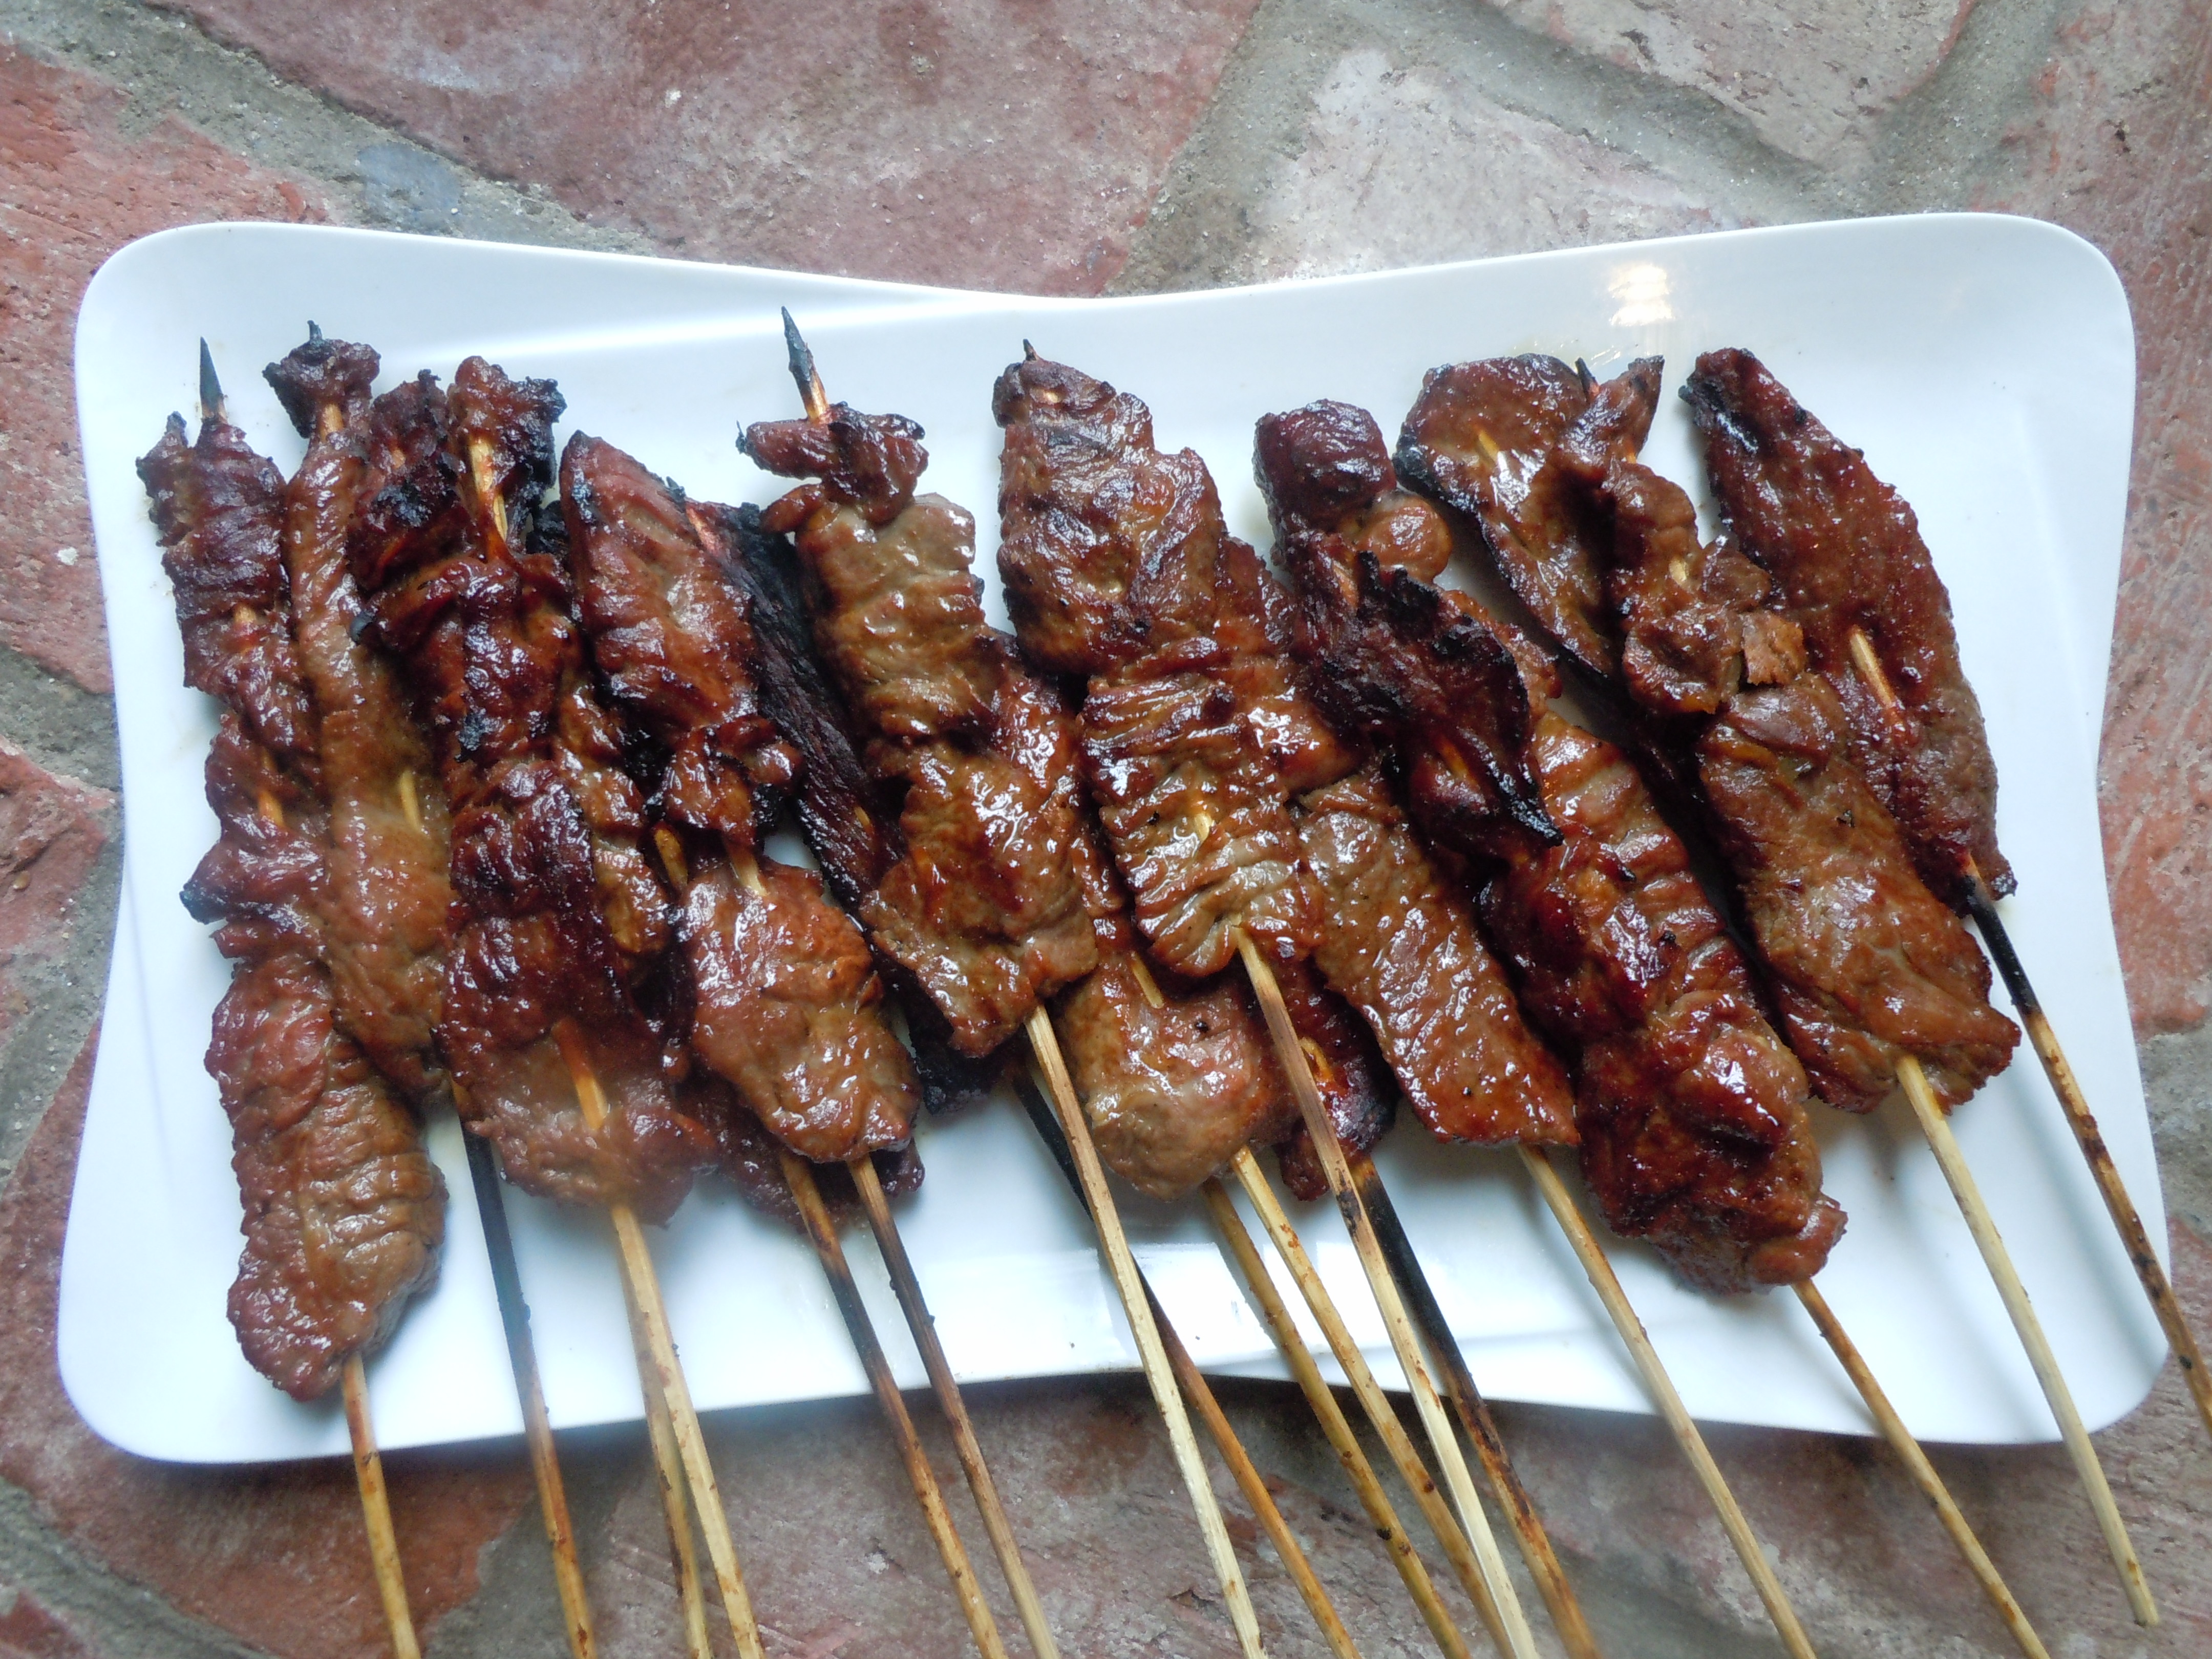
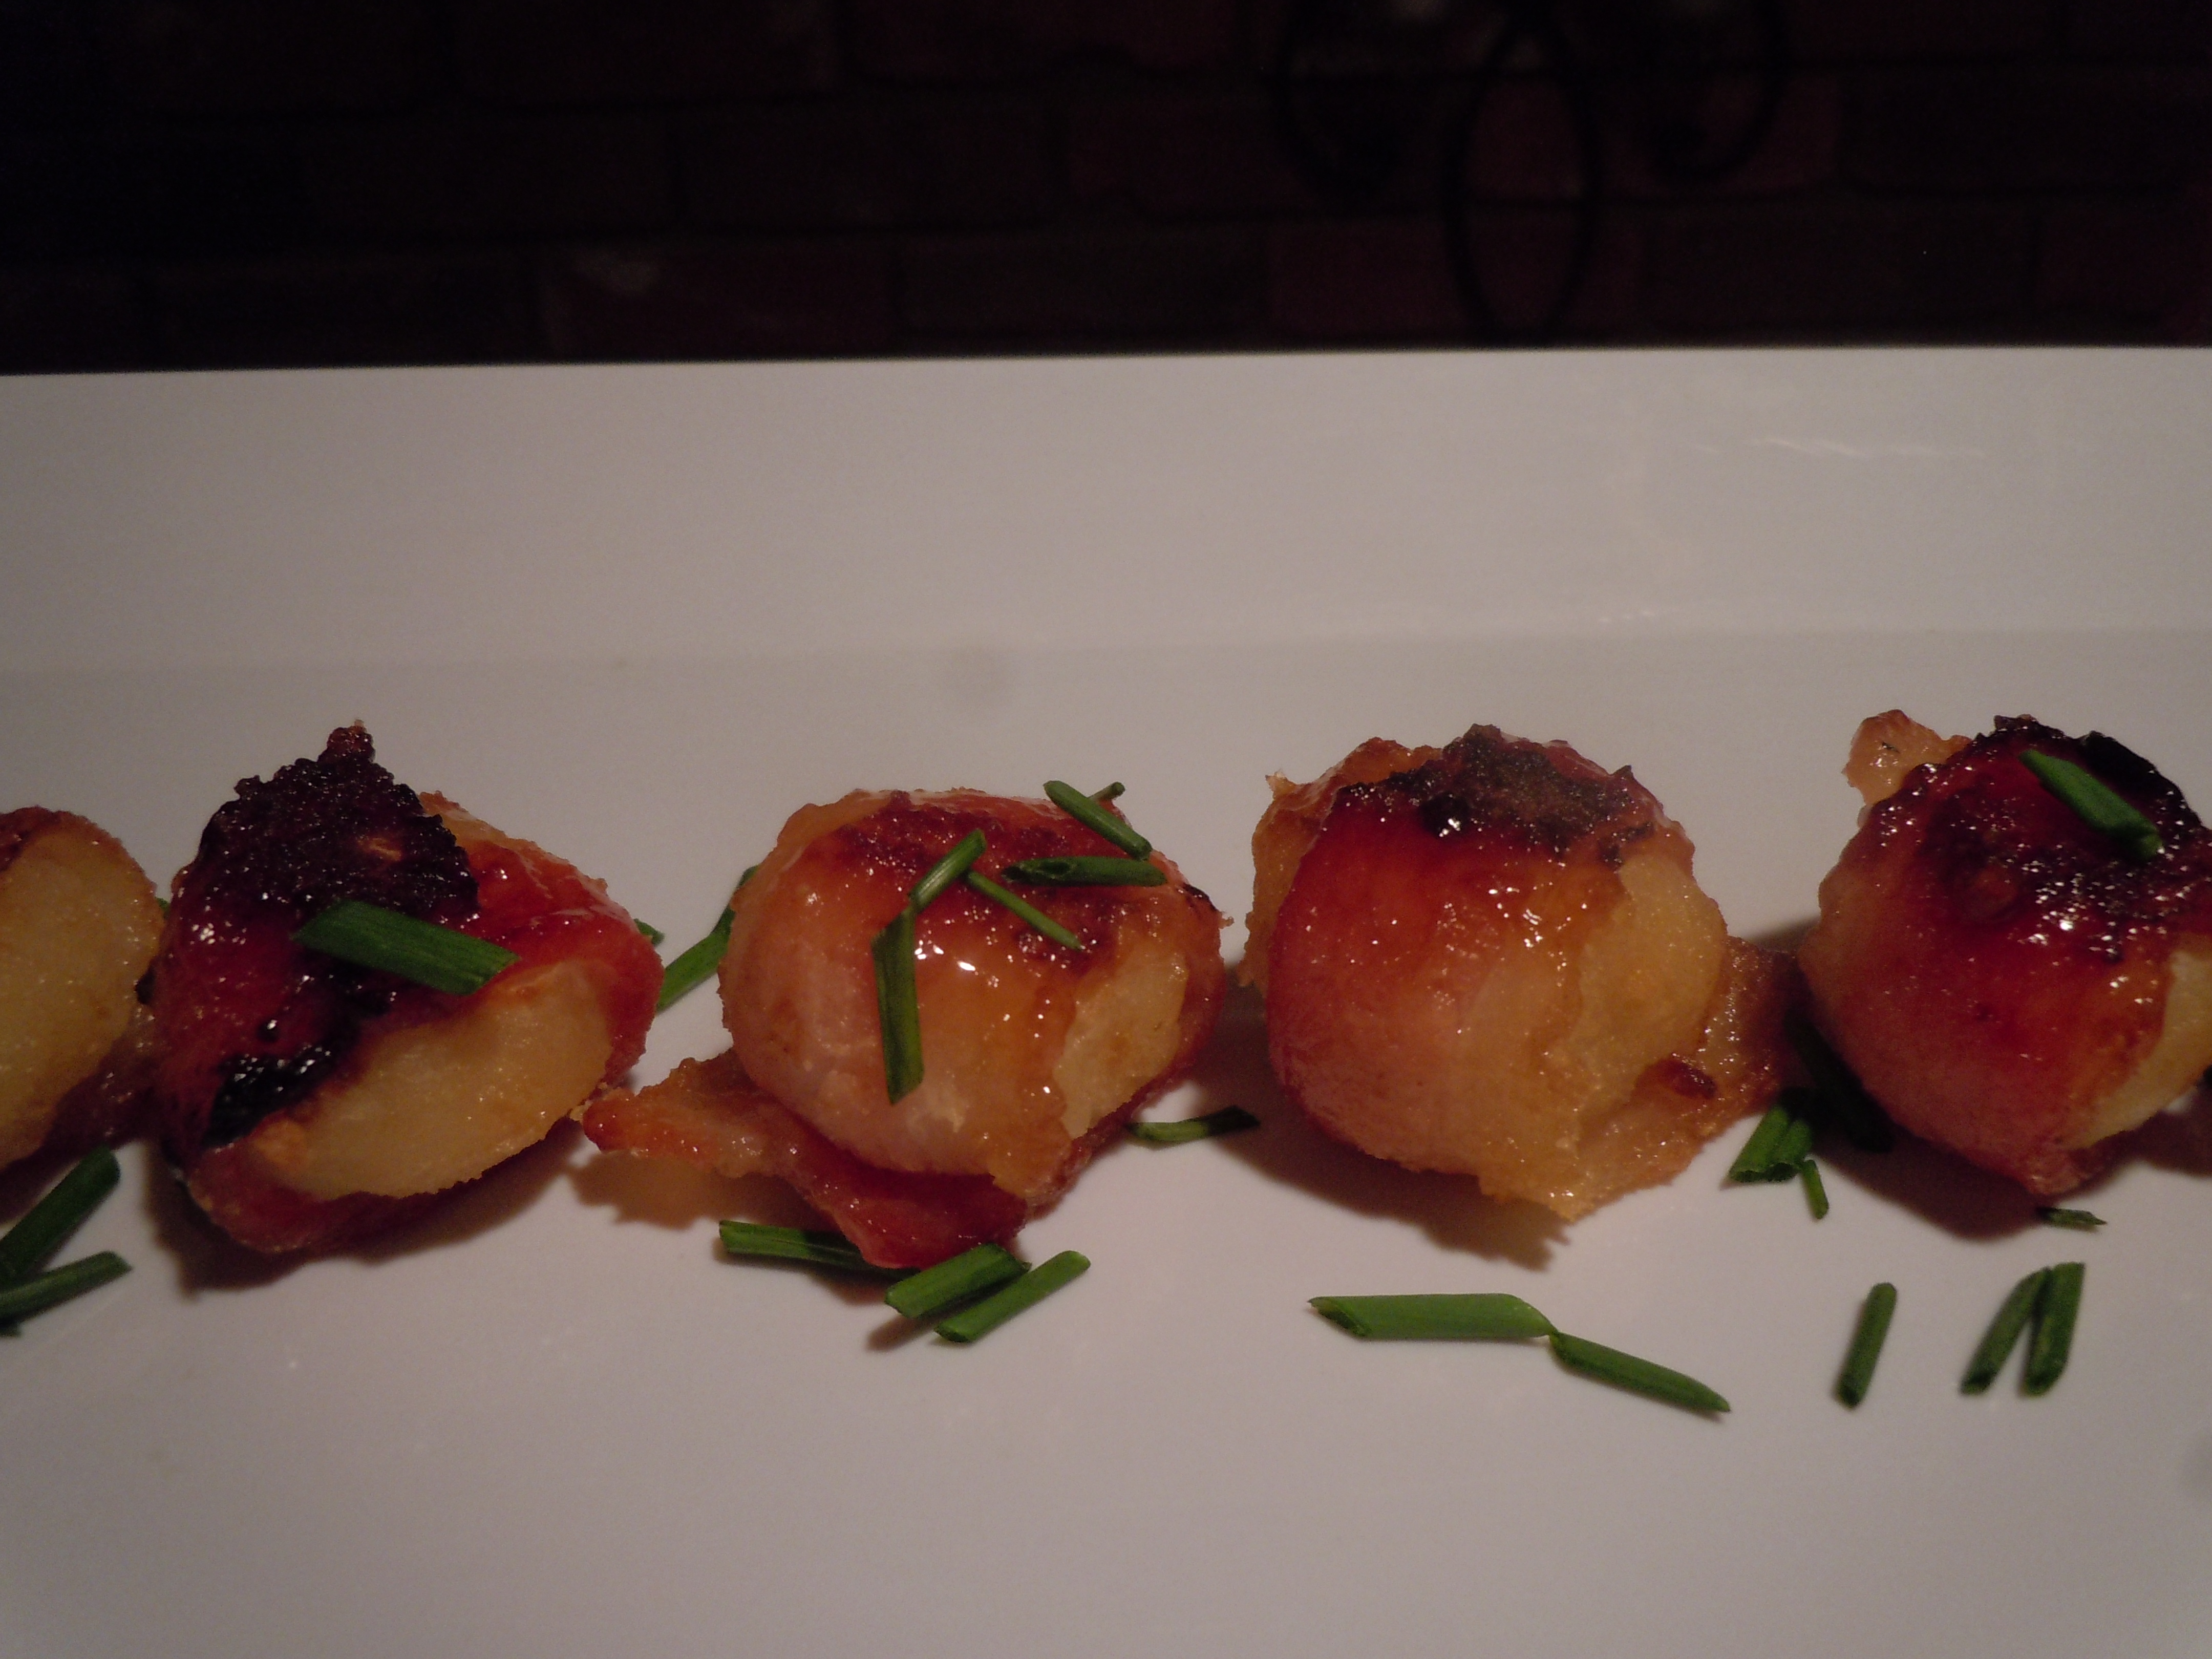
 For some other fun BBQ ideas, Homemade BBQ Sauce, Grilled-Marinated Steak on Skewers, Seared Sea Scallops or Stout Braised Pulled Beef Short Ribs and don’t forget to end the meal with some Homemade Hersheys Perfectly Chocolate Chocolate Cake topped with GHOST Peeps!
Ingredients:
- Bush Beans – Vegetarian (large can undrained)
- Black beans- 15 oz. can (drained and rinsed)
- Kidney beans – 15 oz. can (drained and rinsed)
- Butter beans – 15 oz. can (drained and rinsed)
- Cannelloni beans – 15 oz. can (drained and rinsed)
- Bacon – 8 slices Boars Head
- 2 to 3 onions (chopped)
- ½ cup cider vinegar (add more if you like tangy vs. sweet)
- 2 to 3 tbls. honey mustard
- ¾ cup brown sugar
- ½ tsp. garlic powder
- Ground pepper to taste
Directions:
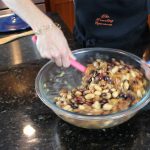
- Add the 5 cans of beans to a large mixing bowl
- Cook bacon in skillet until crisp, drain on paper towels and then crumble into small pieces–save 2 tbls grease
- In the same skillet cook chopped onions in the 2 tbls bacon grease until soft
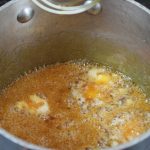
- Then add in the crumbled bacon, cider vinegar, brown sugar, honey mustard, garlic powder, and ground pepper and simmer for 10-15 minutes
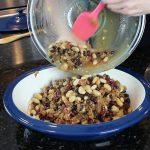
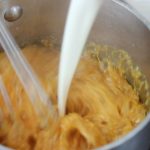
- Pour this mixture over beans and mix well.
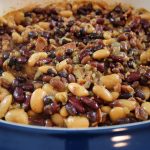
- Pour into baking crock or dish and bake at 350 degrees for one hour….delicious!
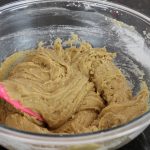
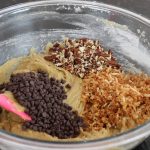
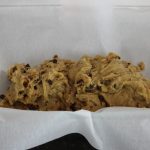
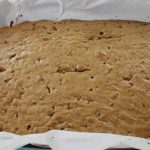
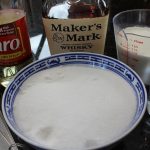
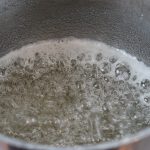
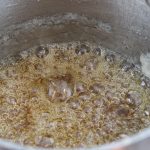
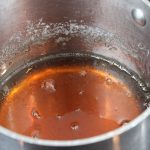
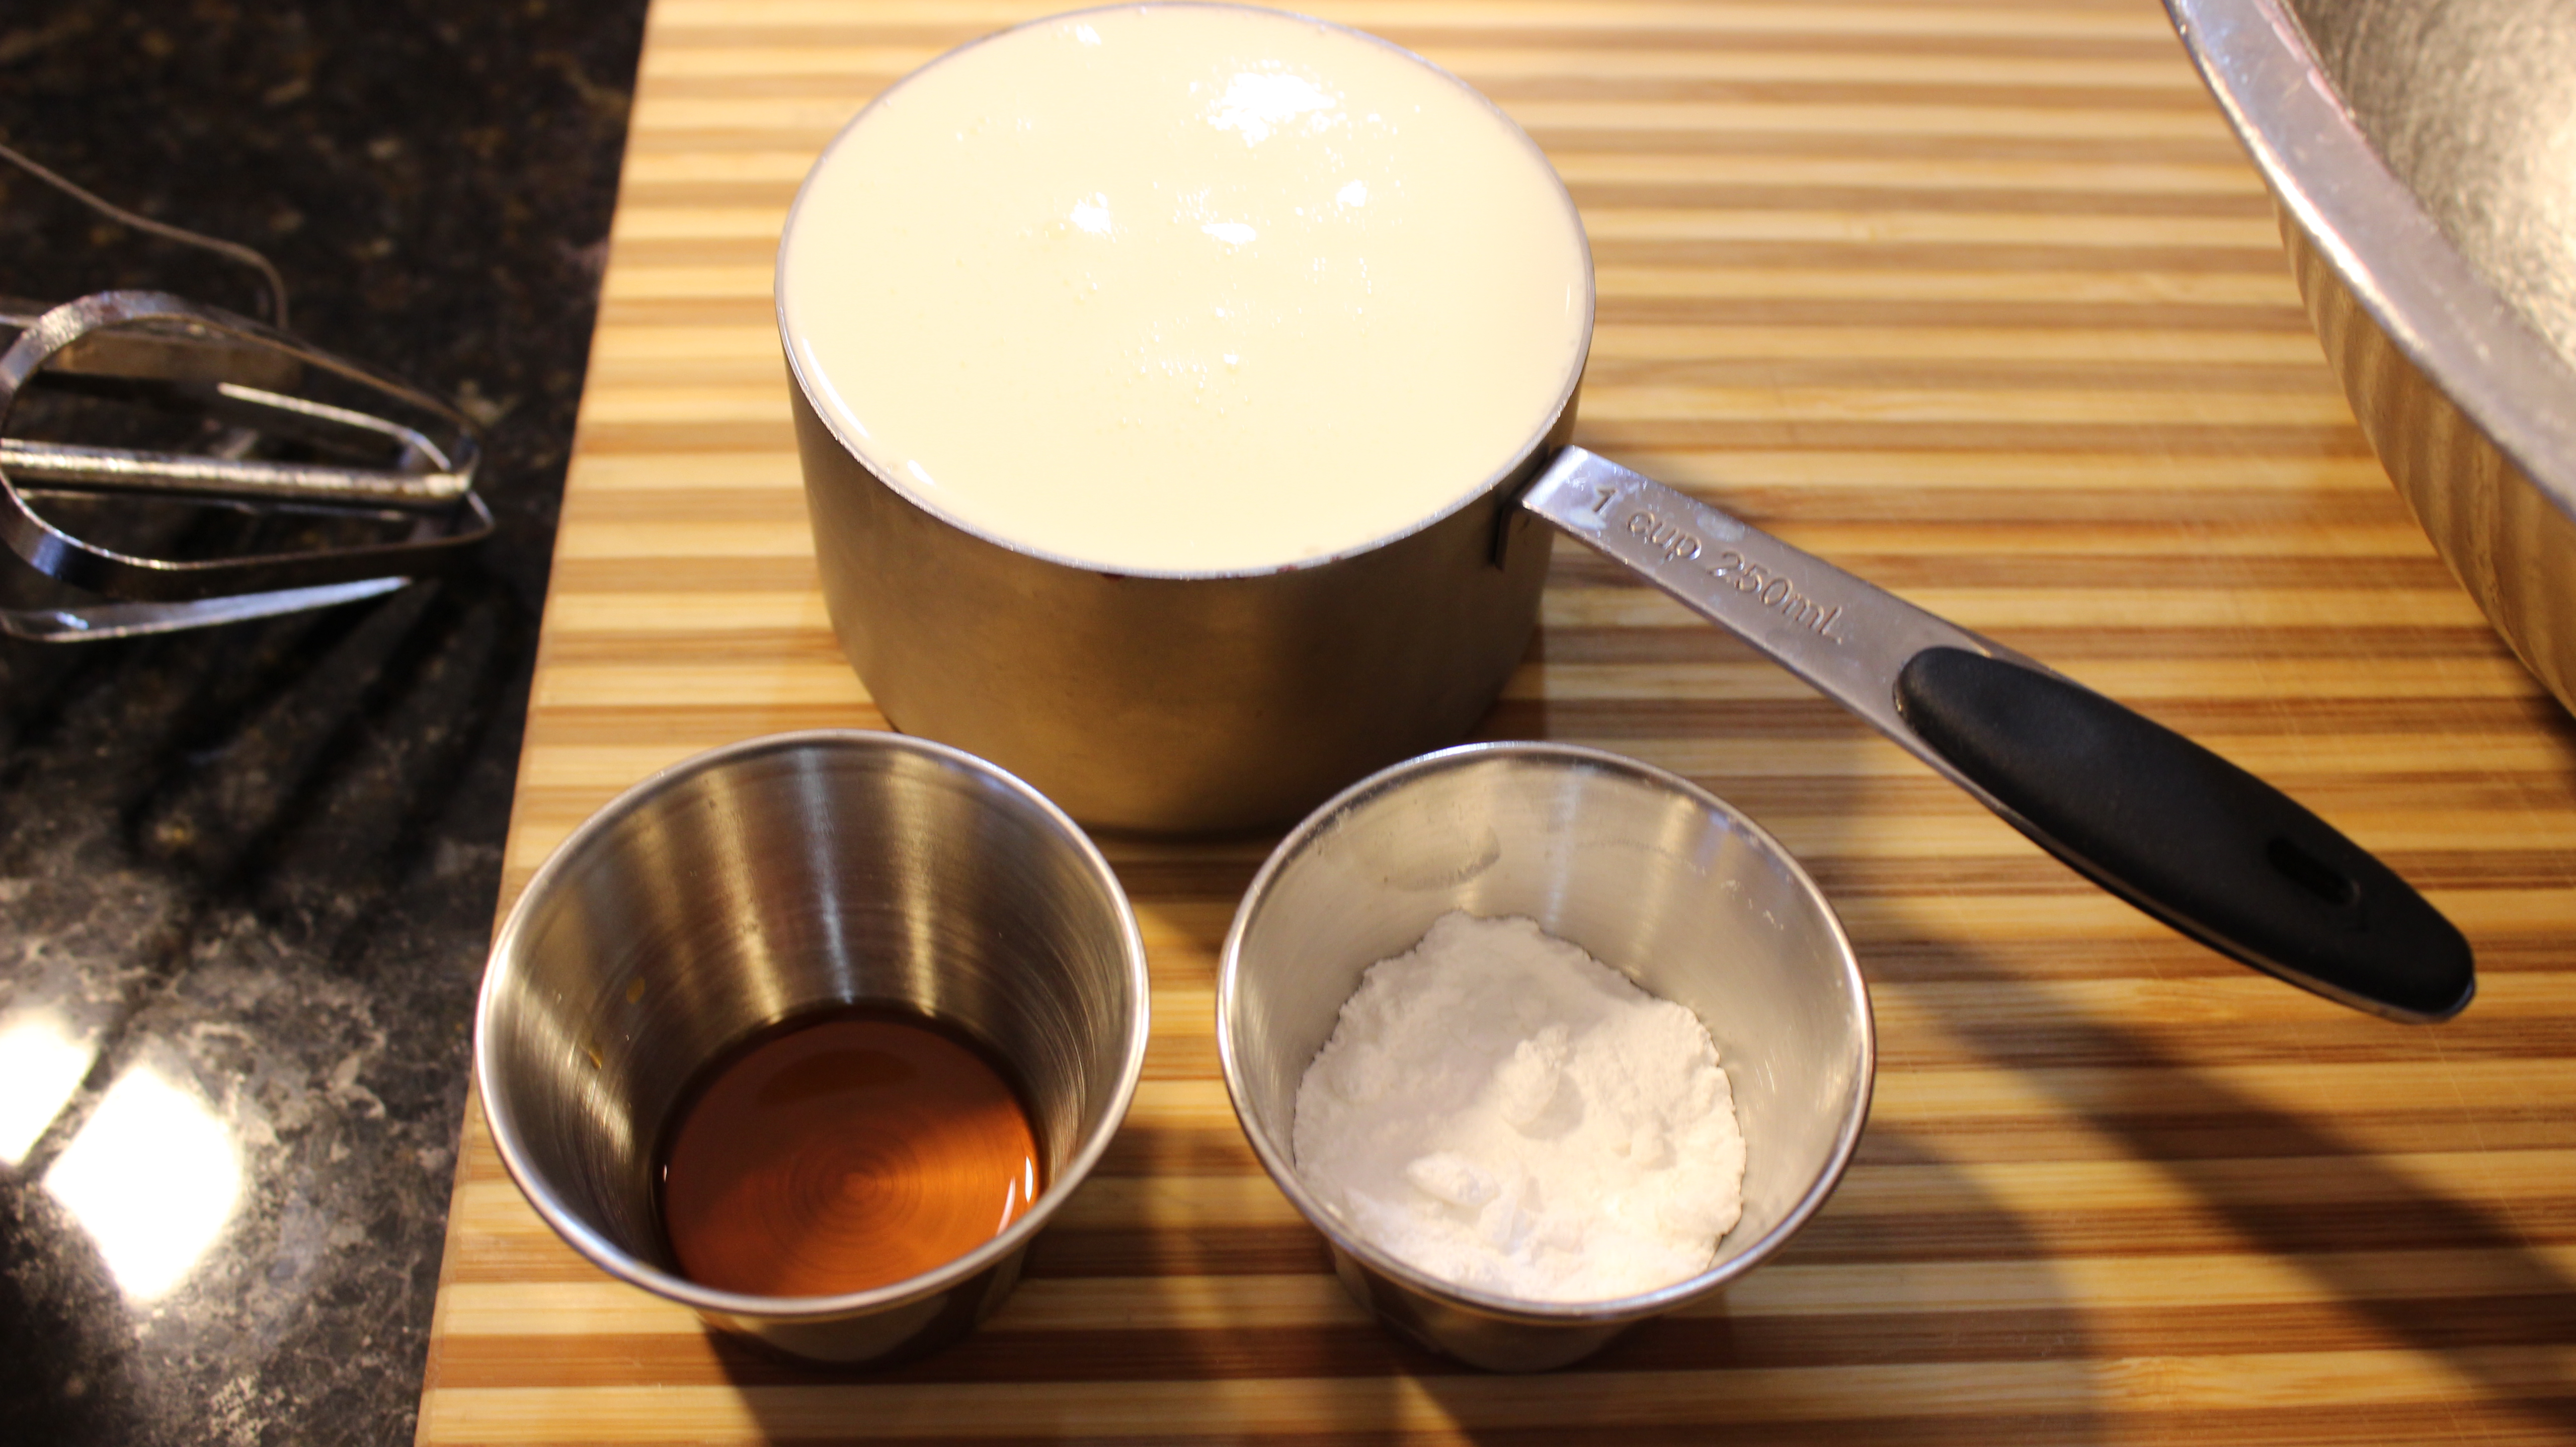
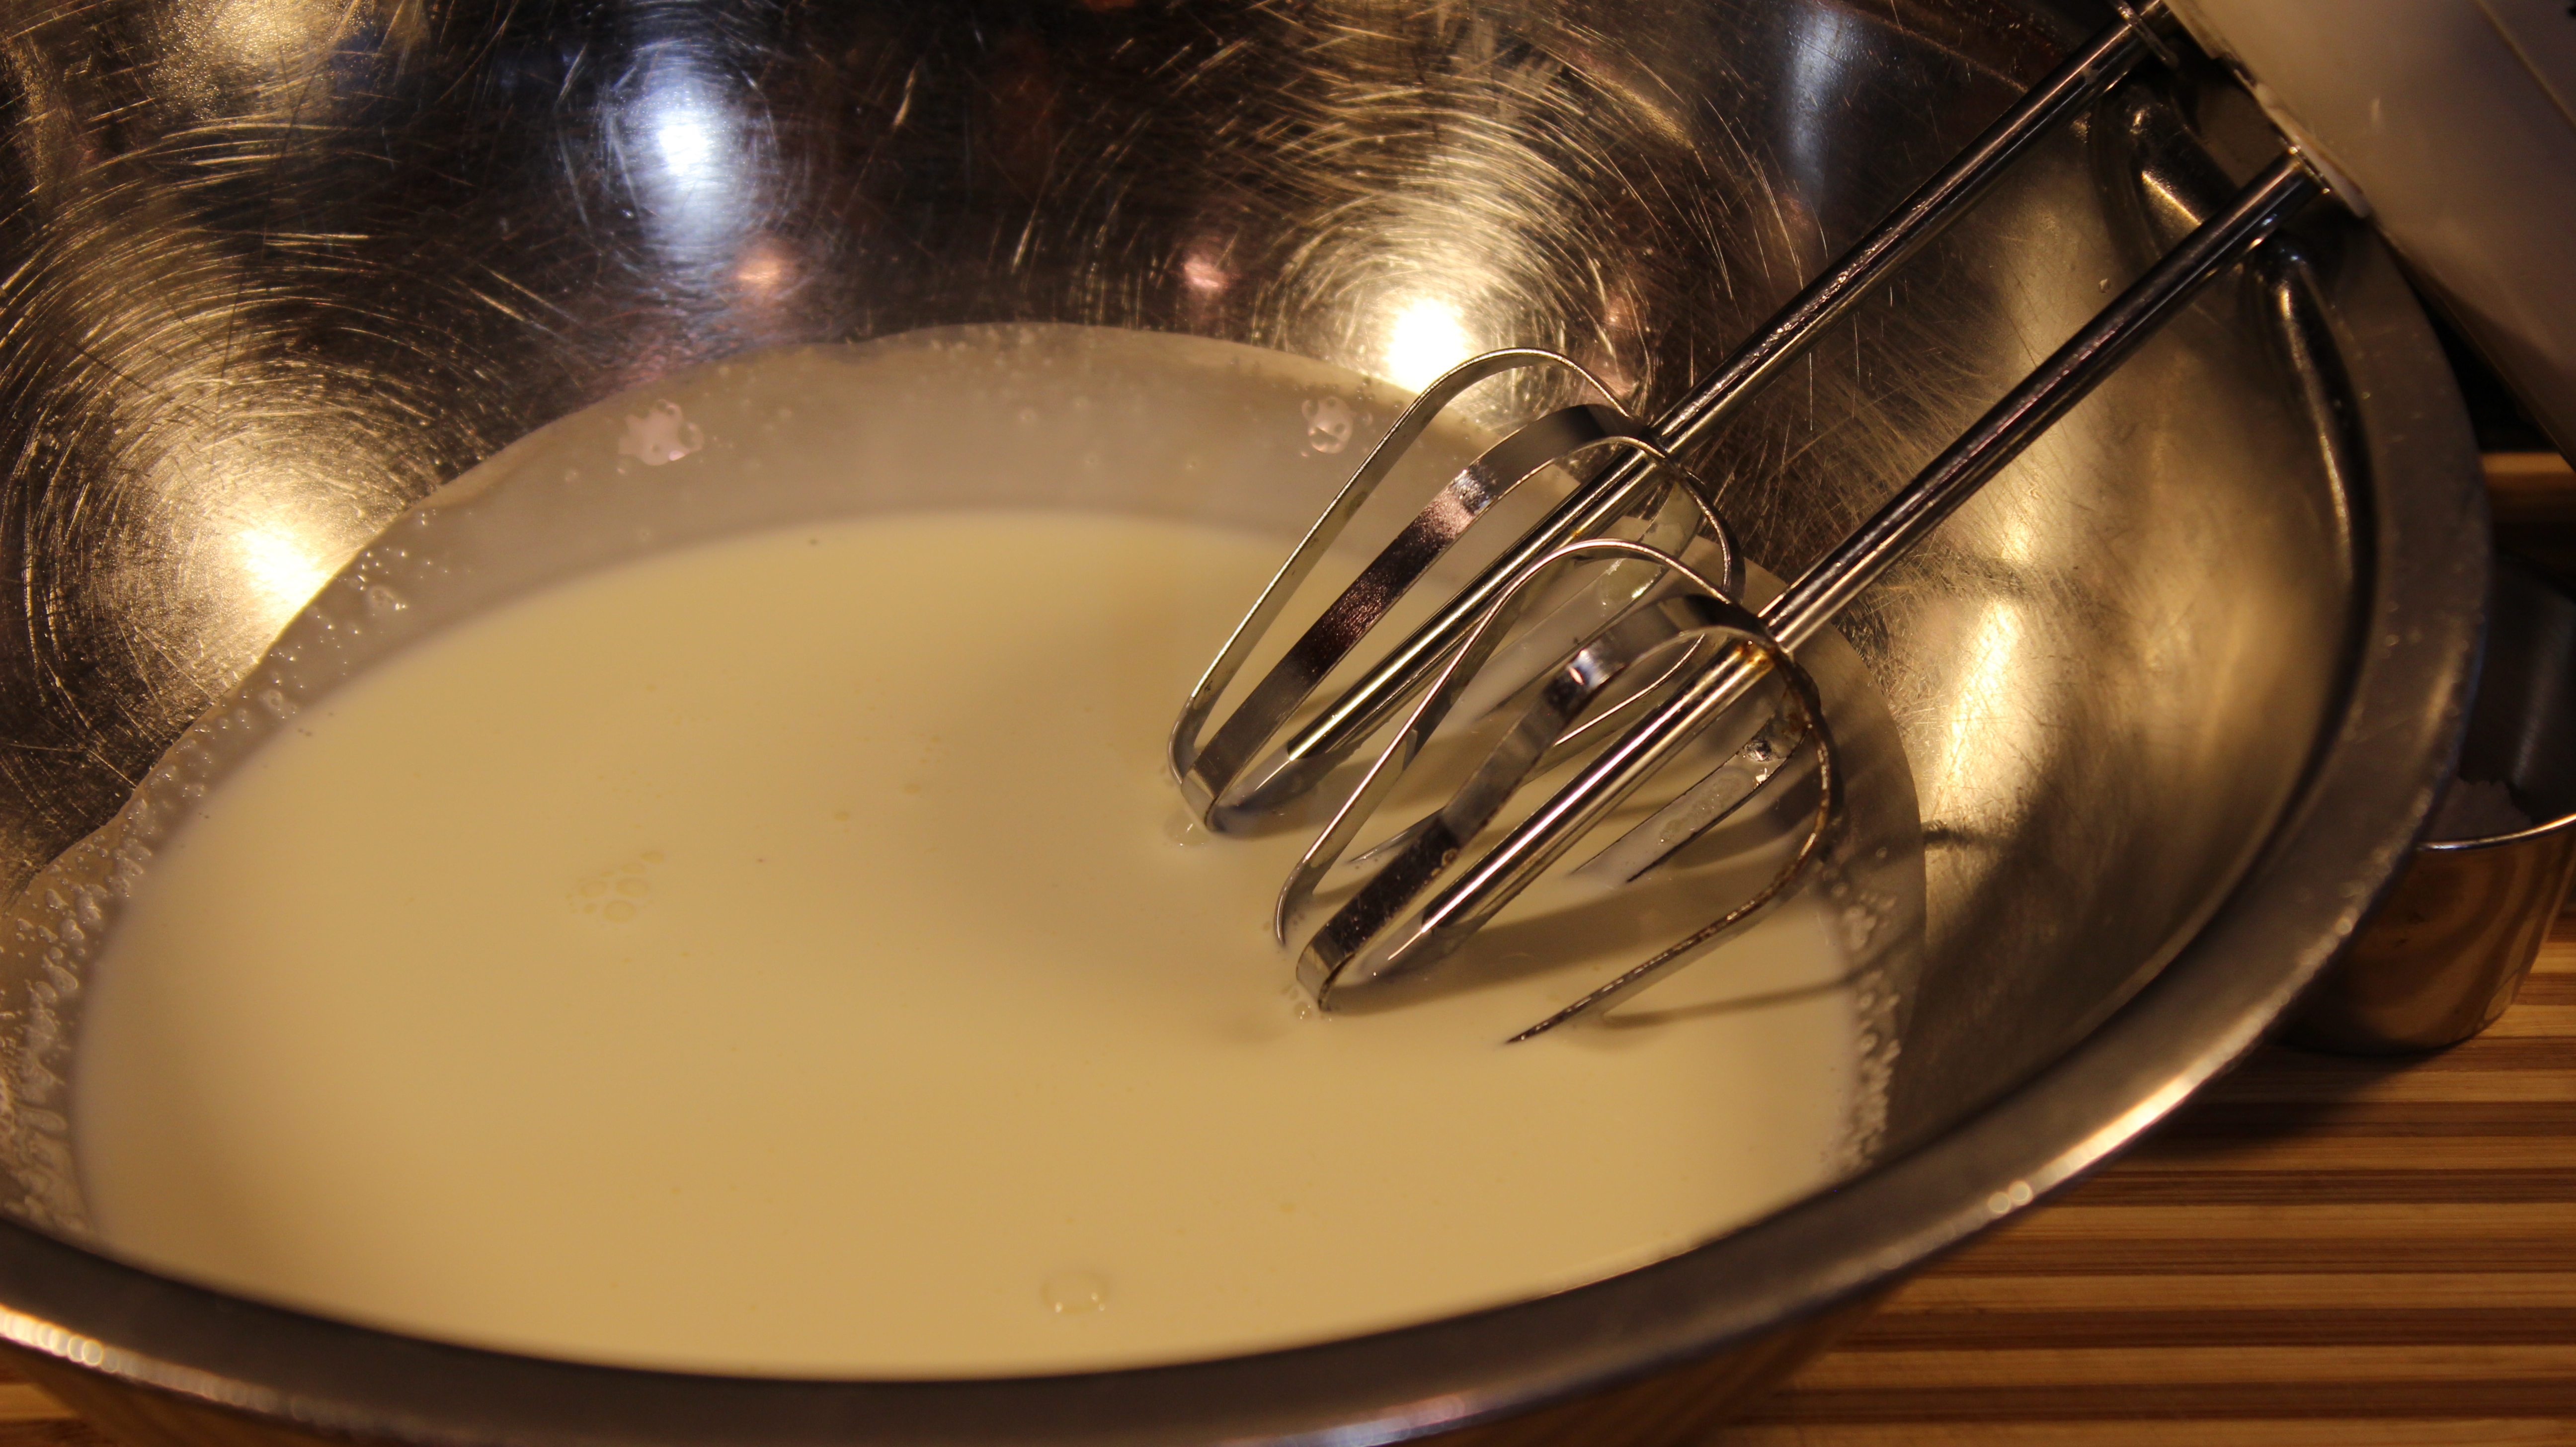
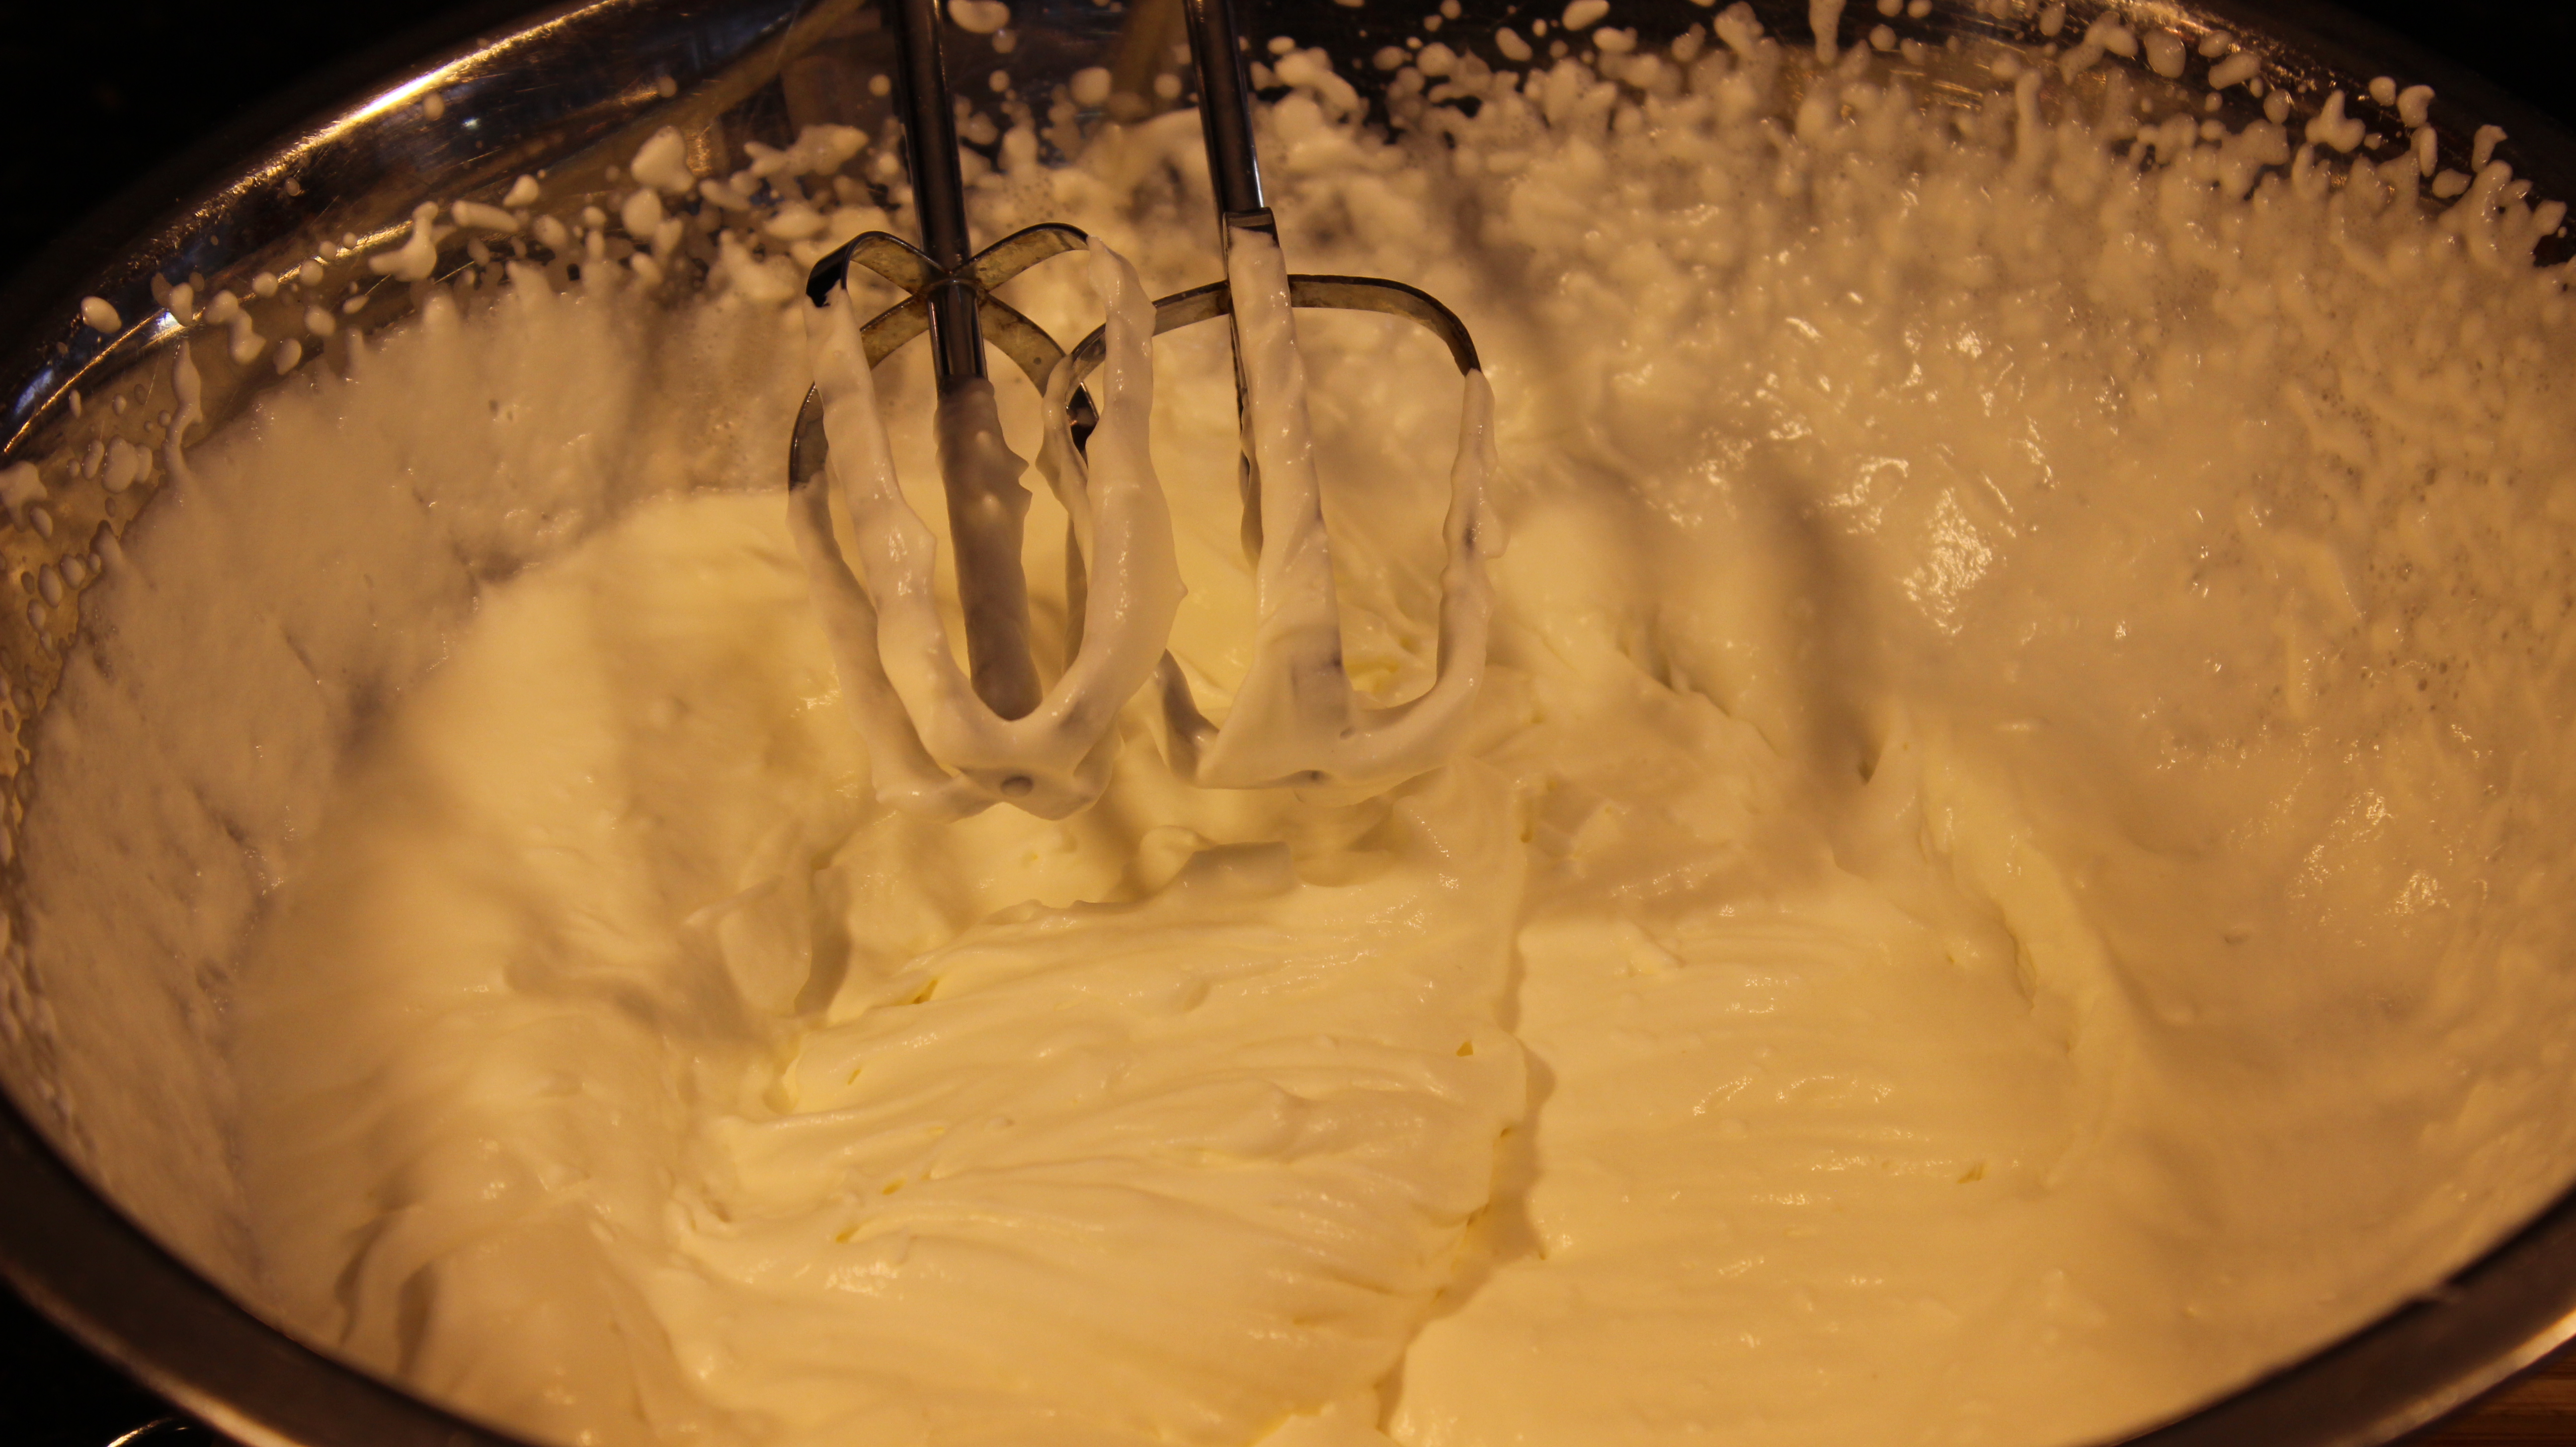
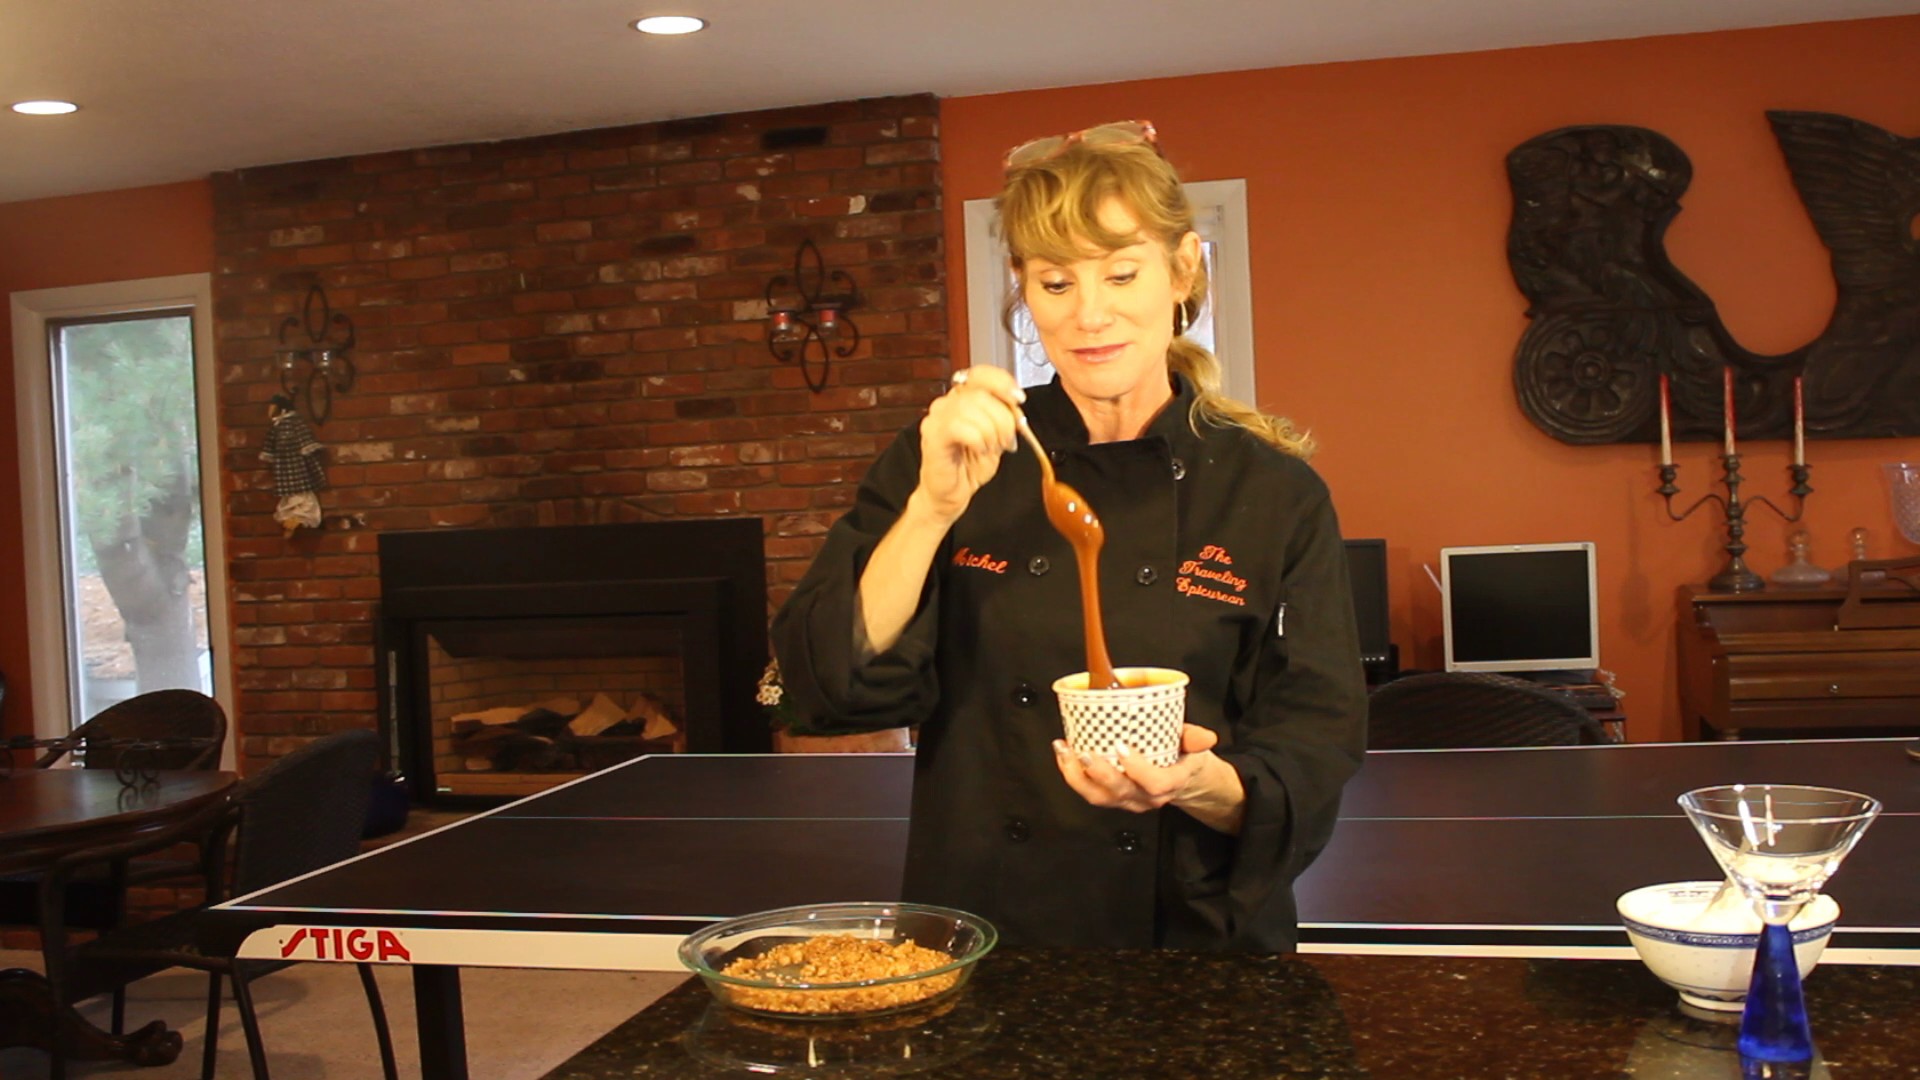
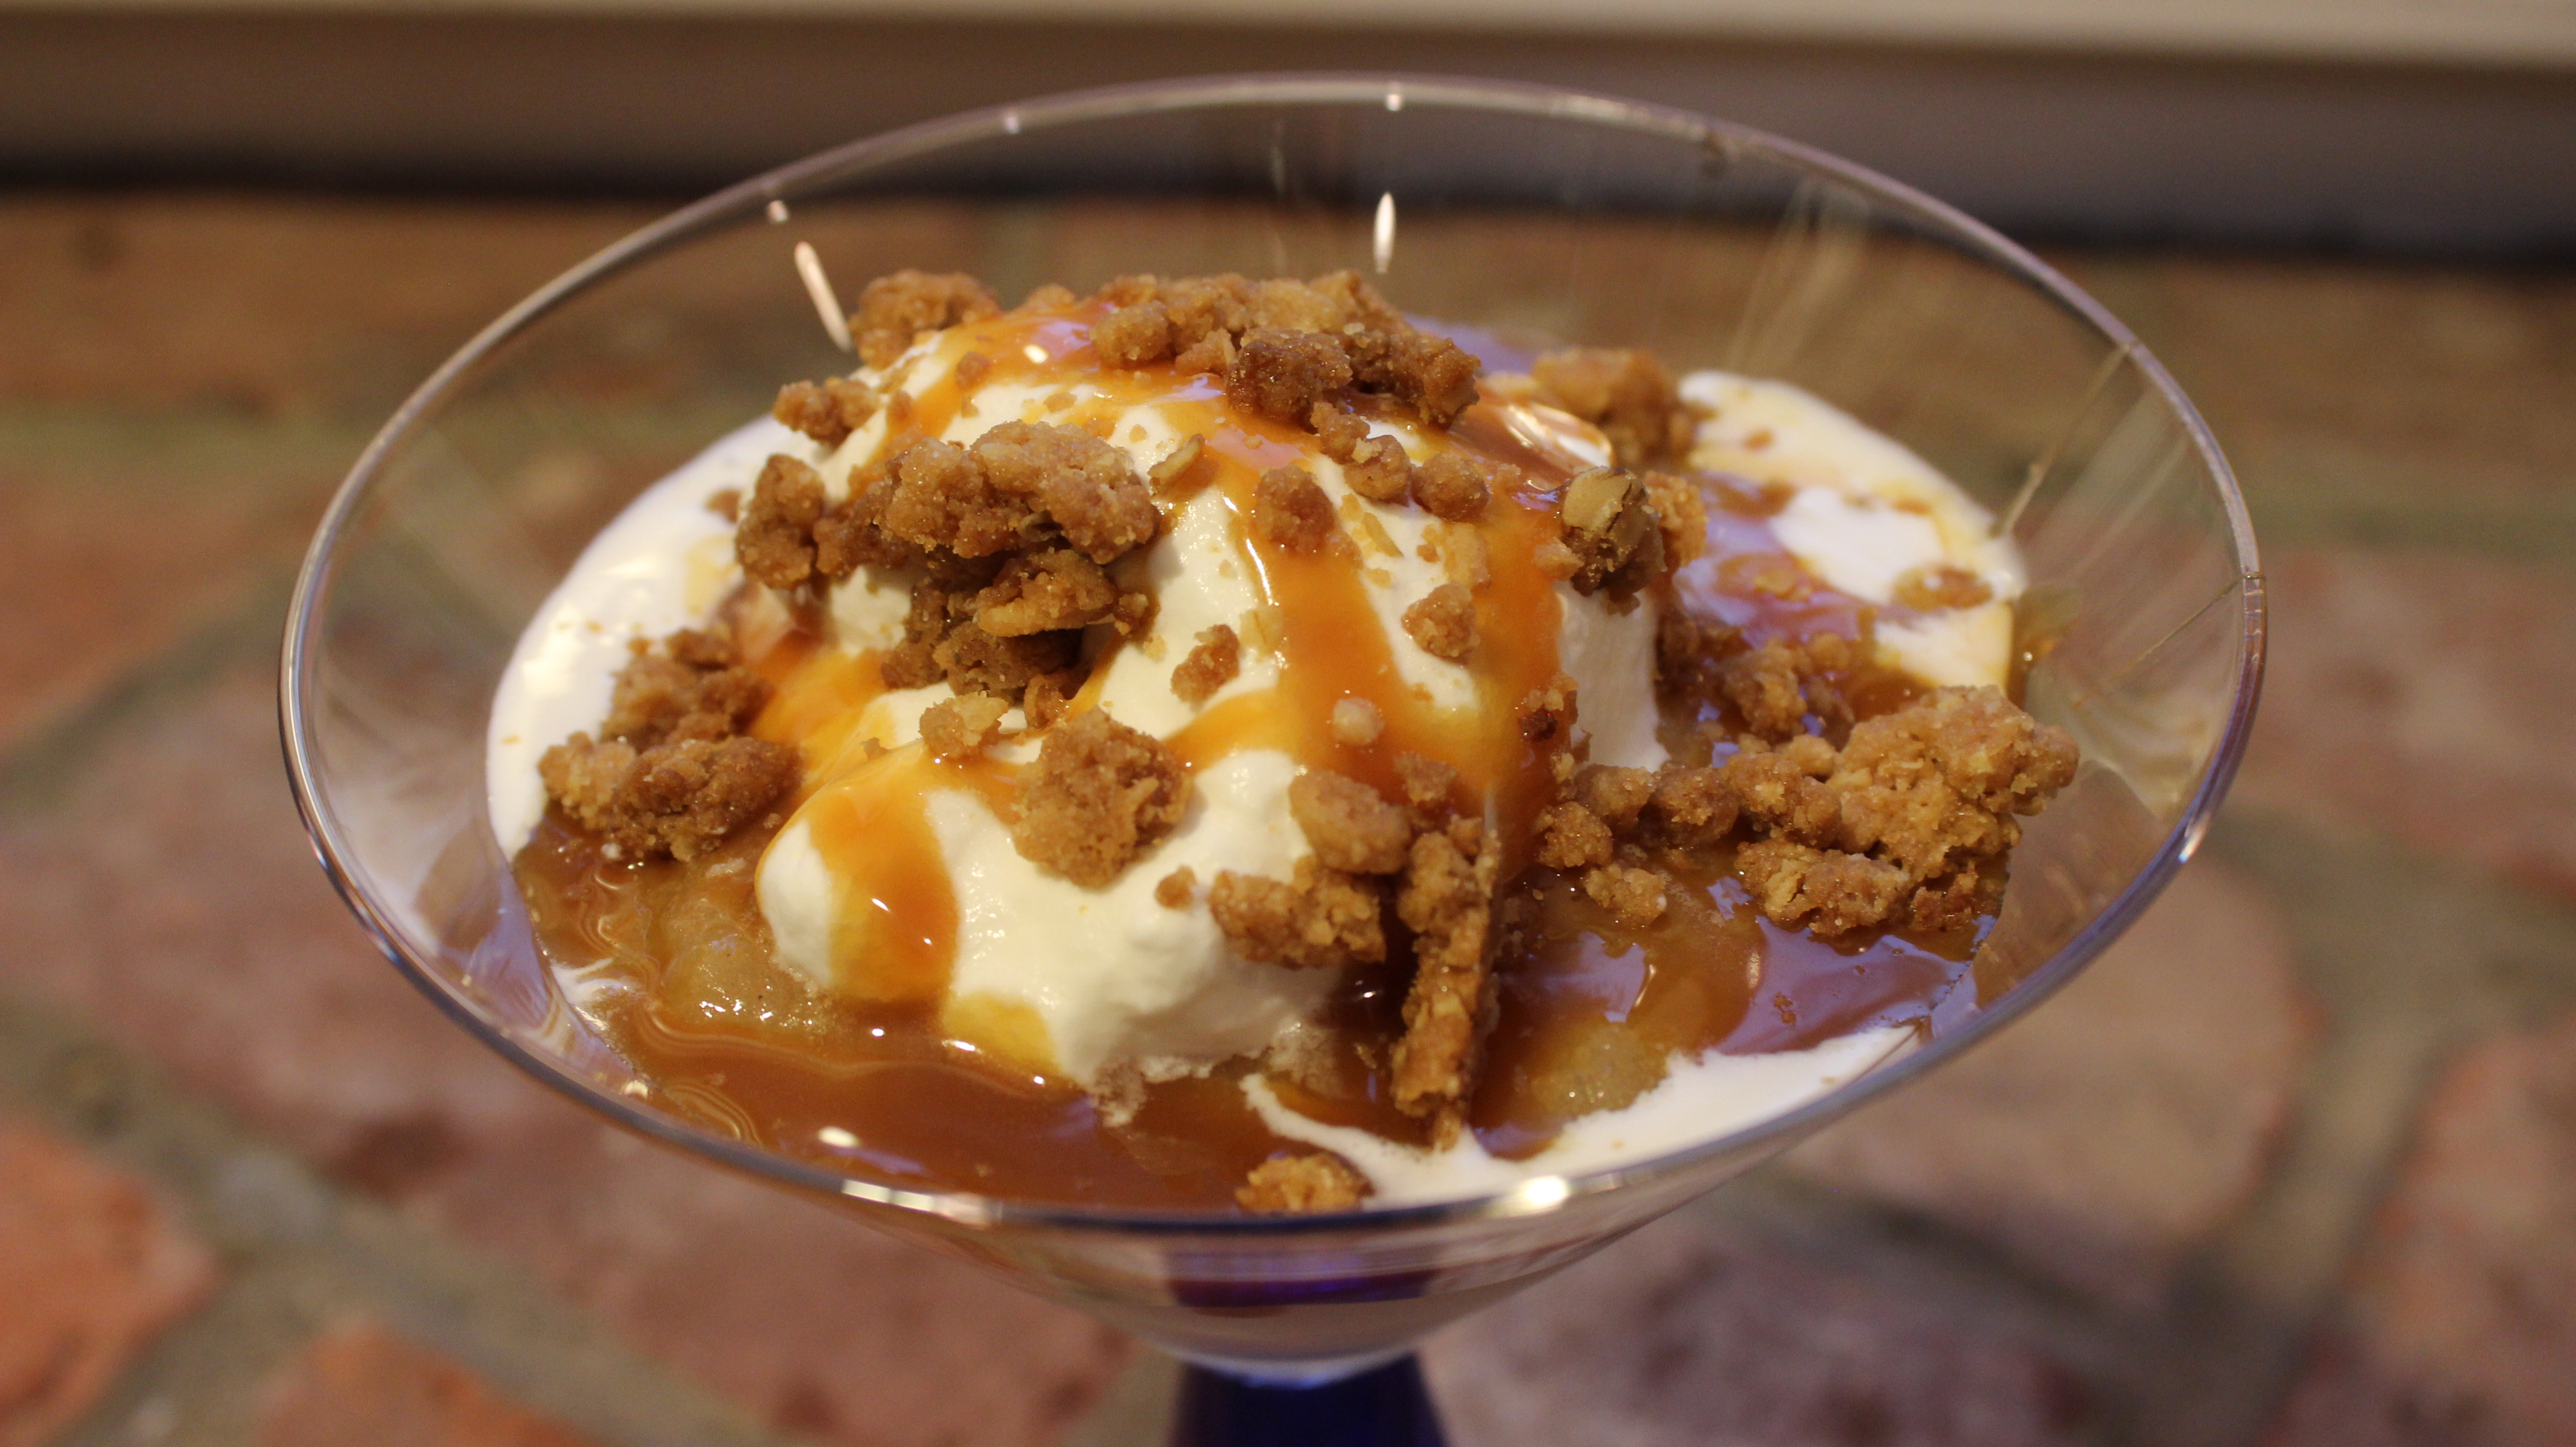
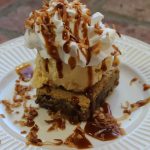 Drunk blondies are a dessert that will have you and your guest’s reminiscing for days! These drunk blondies are a buttery, chewy cookie bar made with bourbon, butter, toasted coconut, pecans and semi-sweet chocolate chips…could it get any better then that! They get even more decadent when you serve them with vanilla ice cream, homemade bourbon caramel sauce, whipped cream and extra toasted coconut to top it off. In fact, I wouldn’t serve them any other way. You will feel like you are in dessert ecstasy!


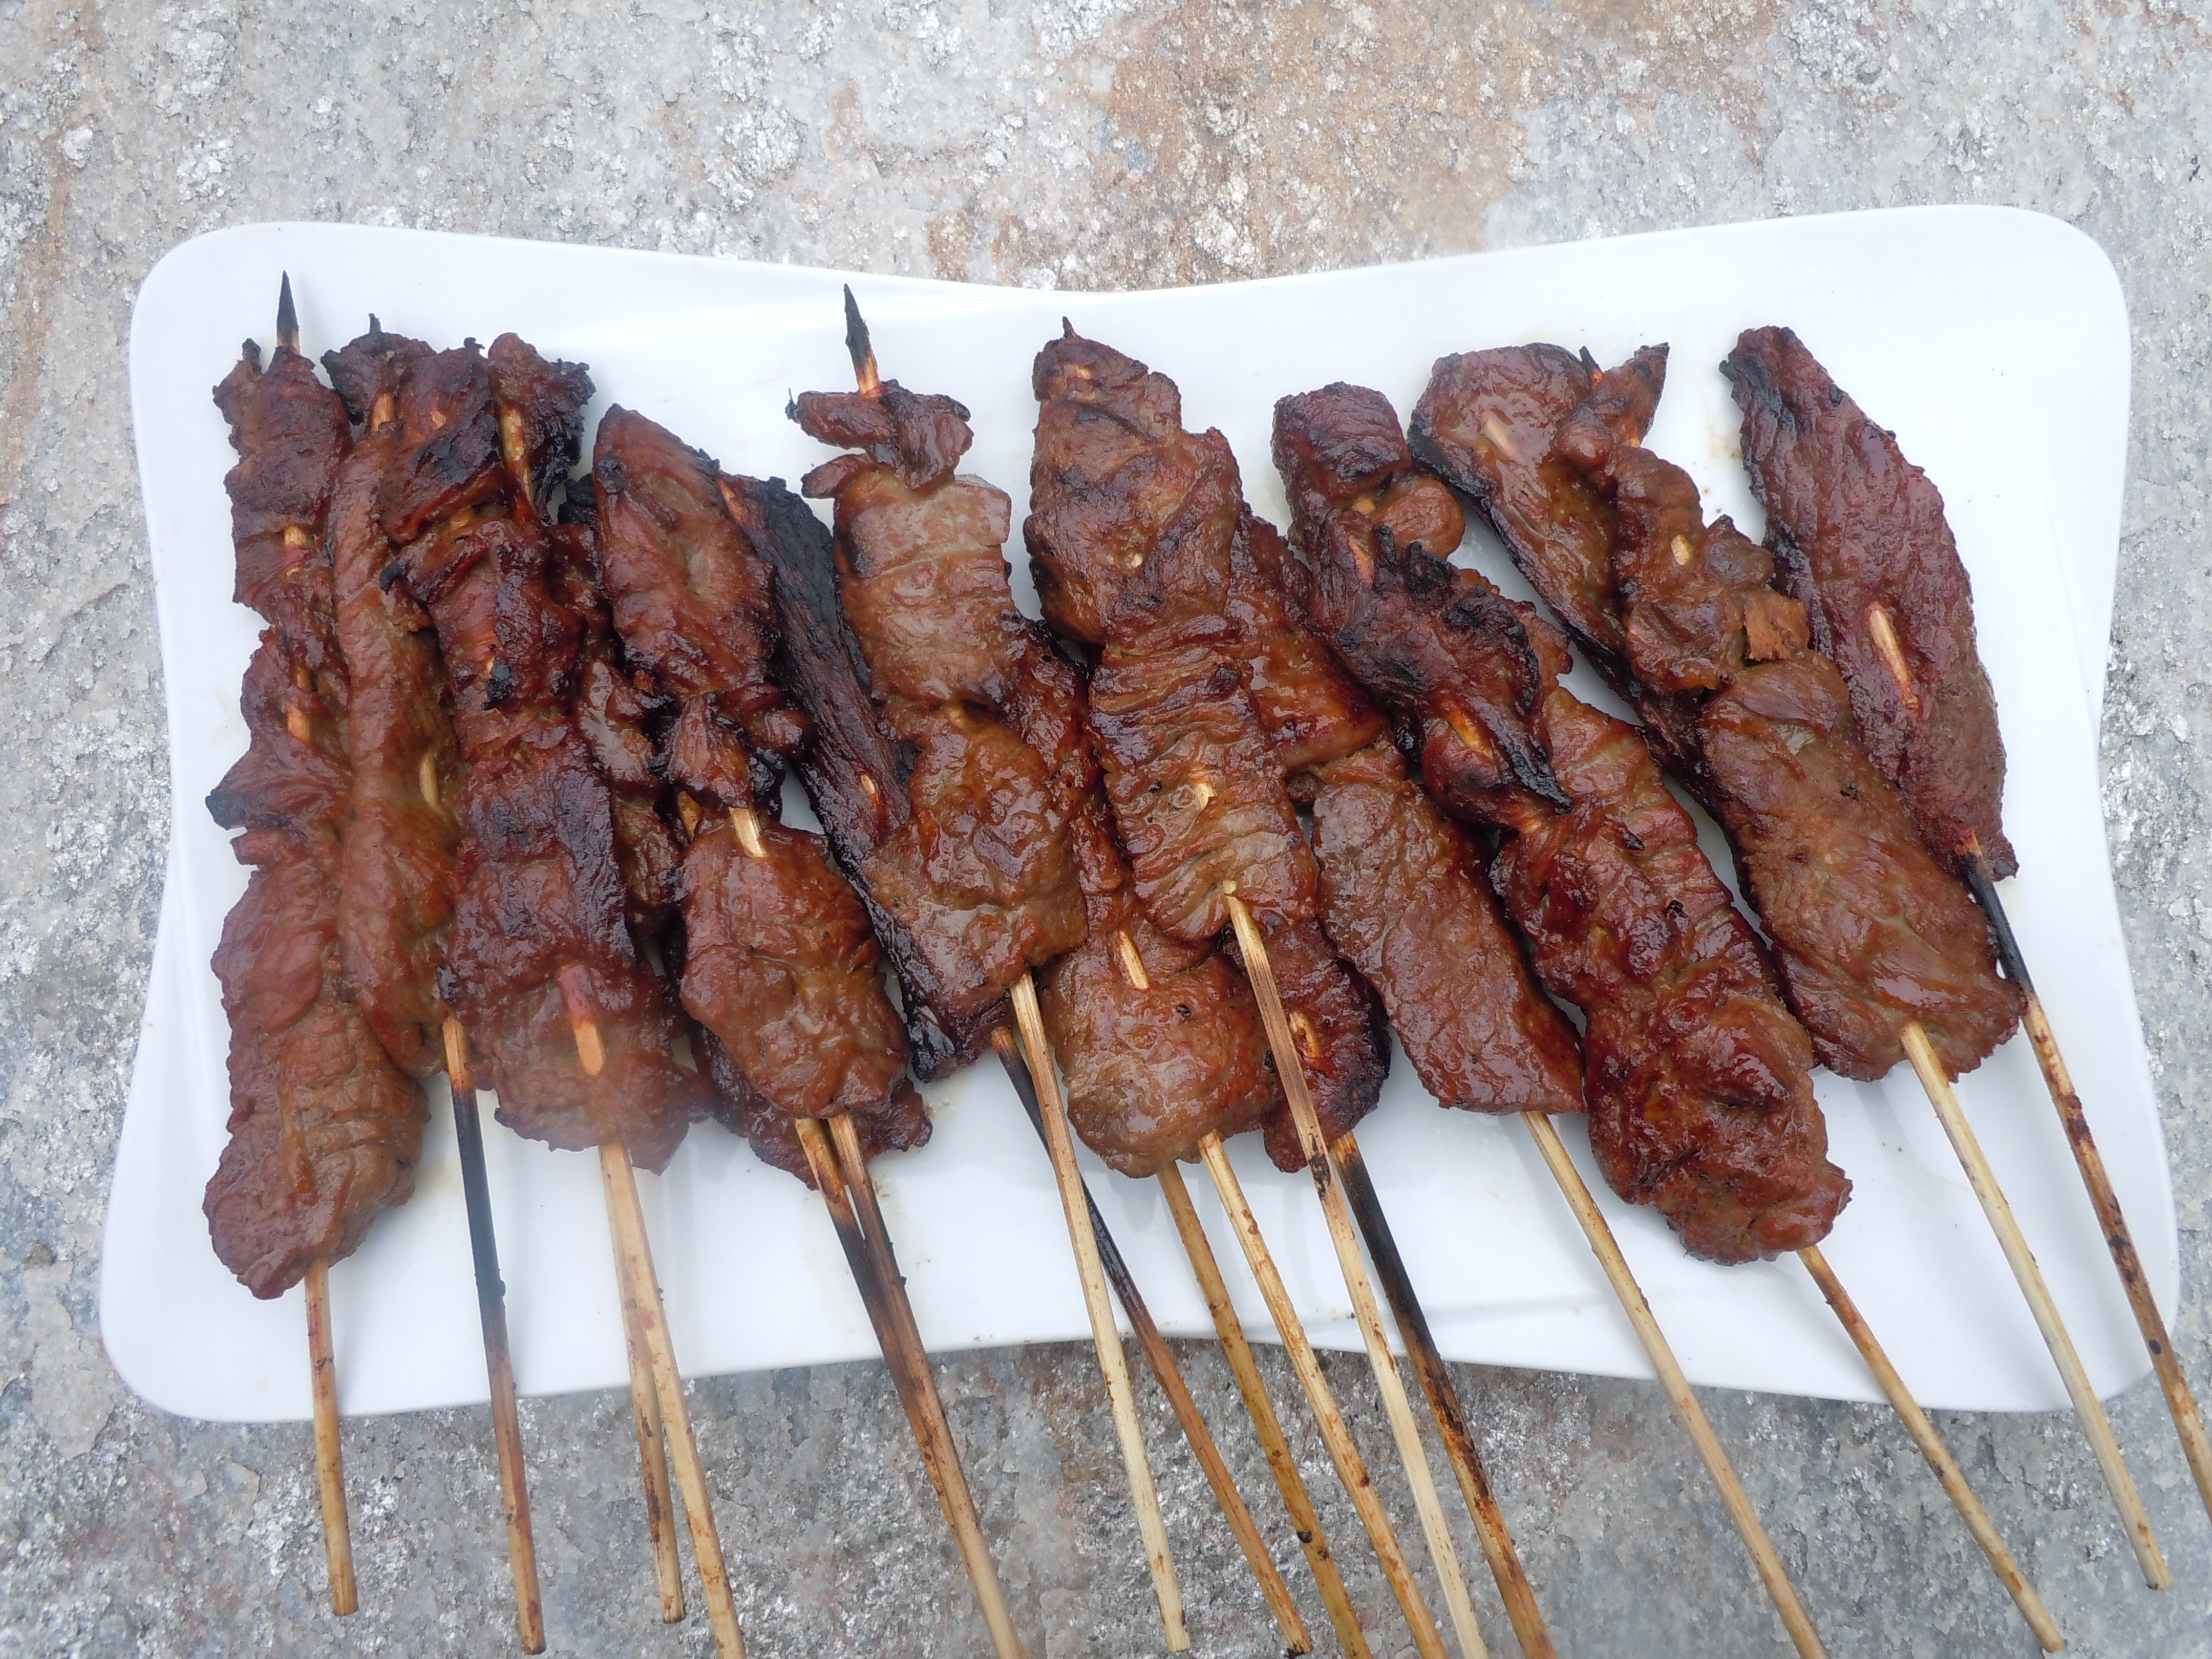

 If you are on an appetizer roll you ought to try my