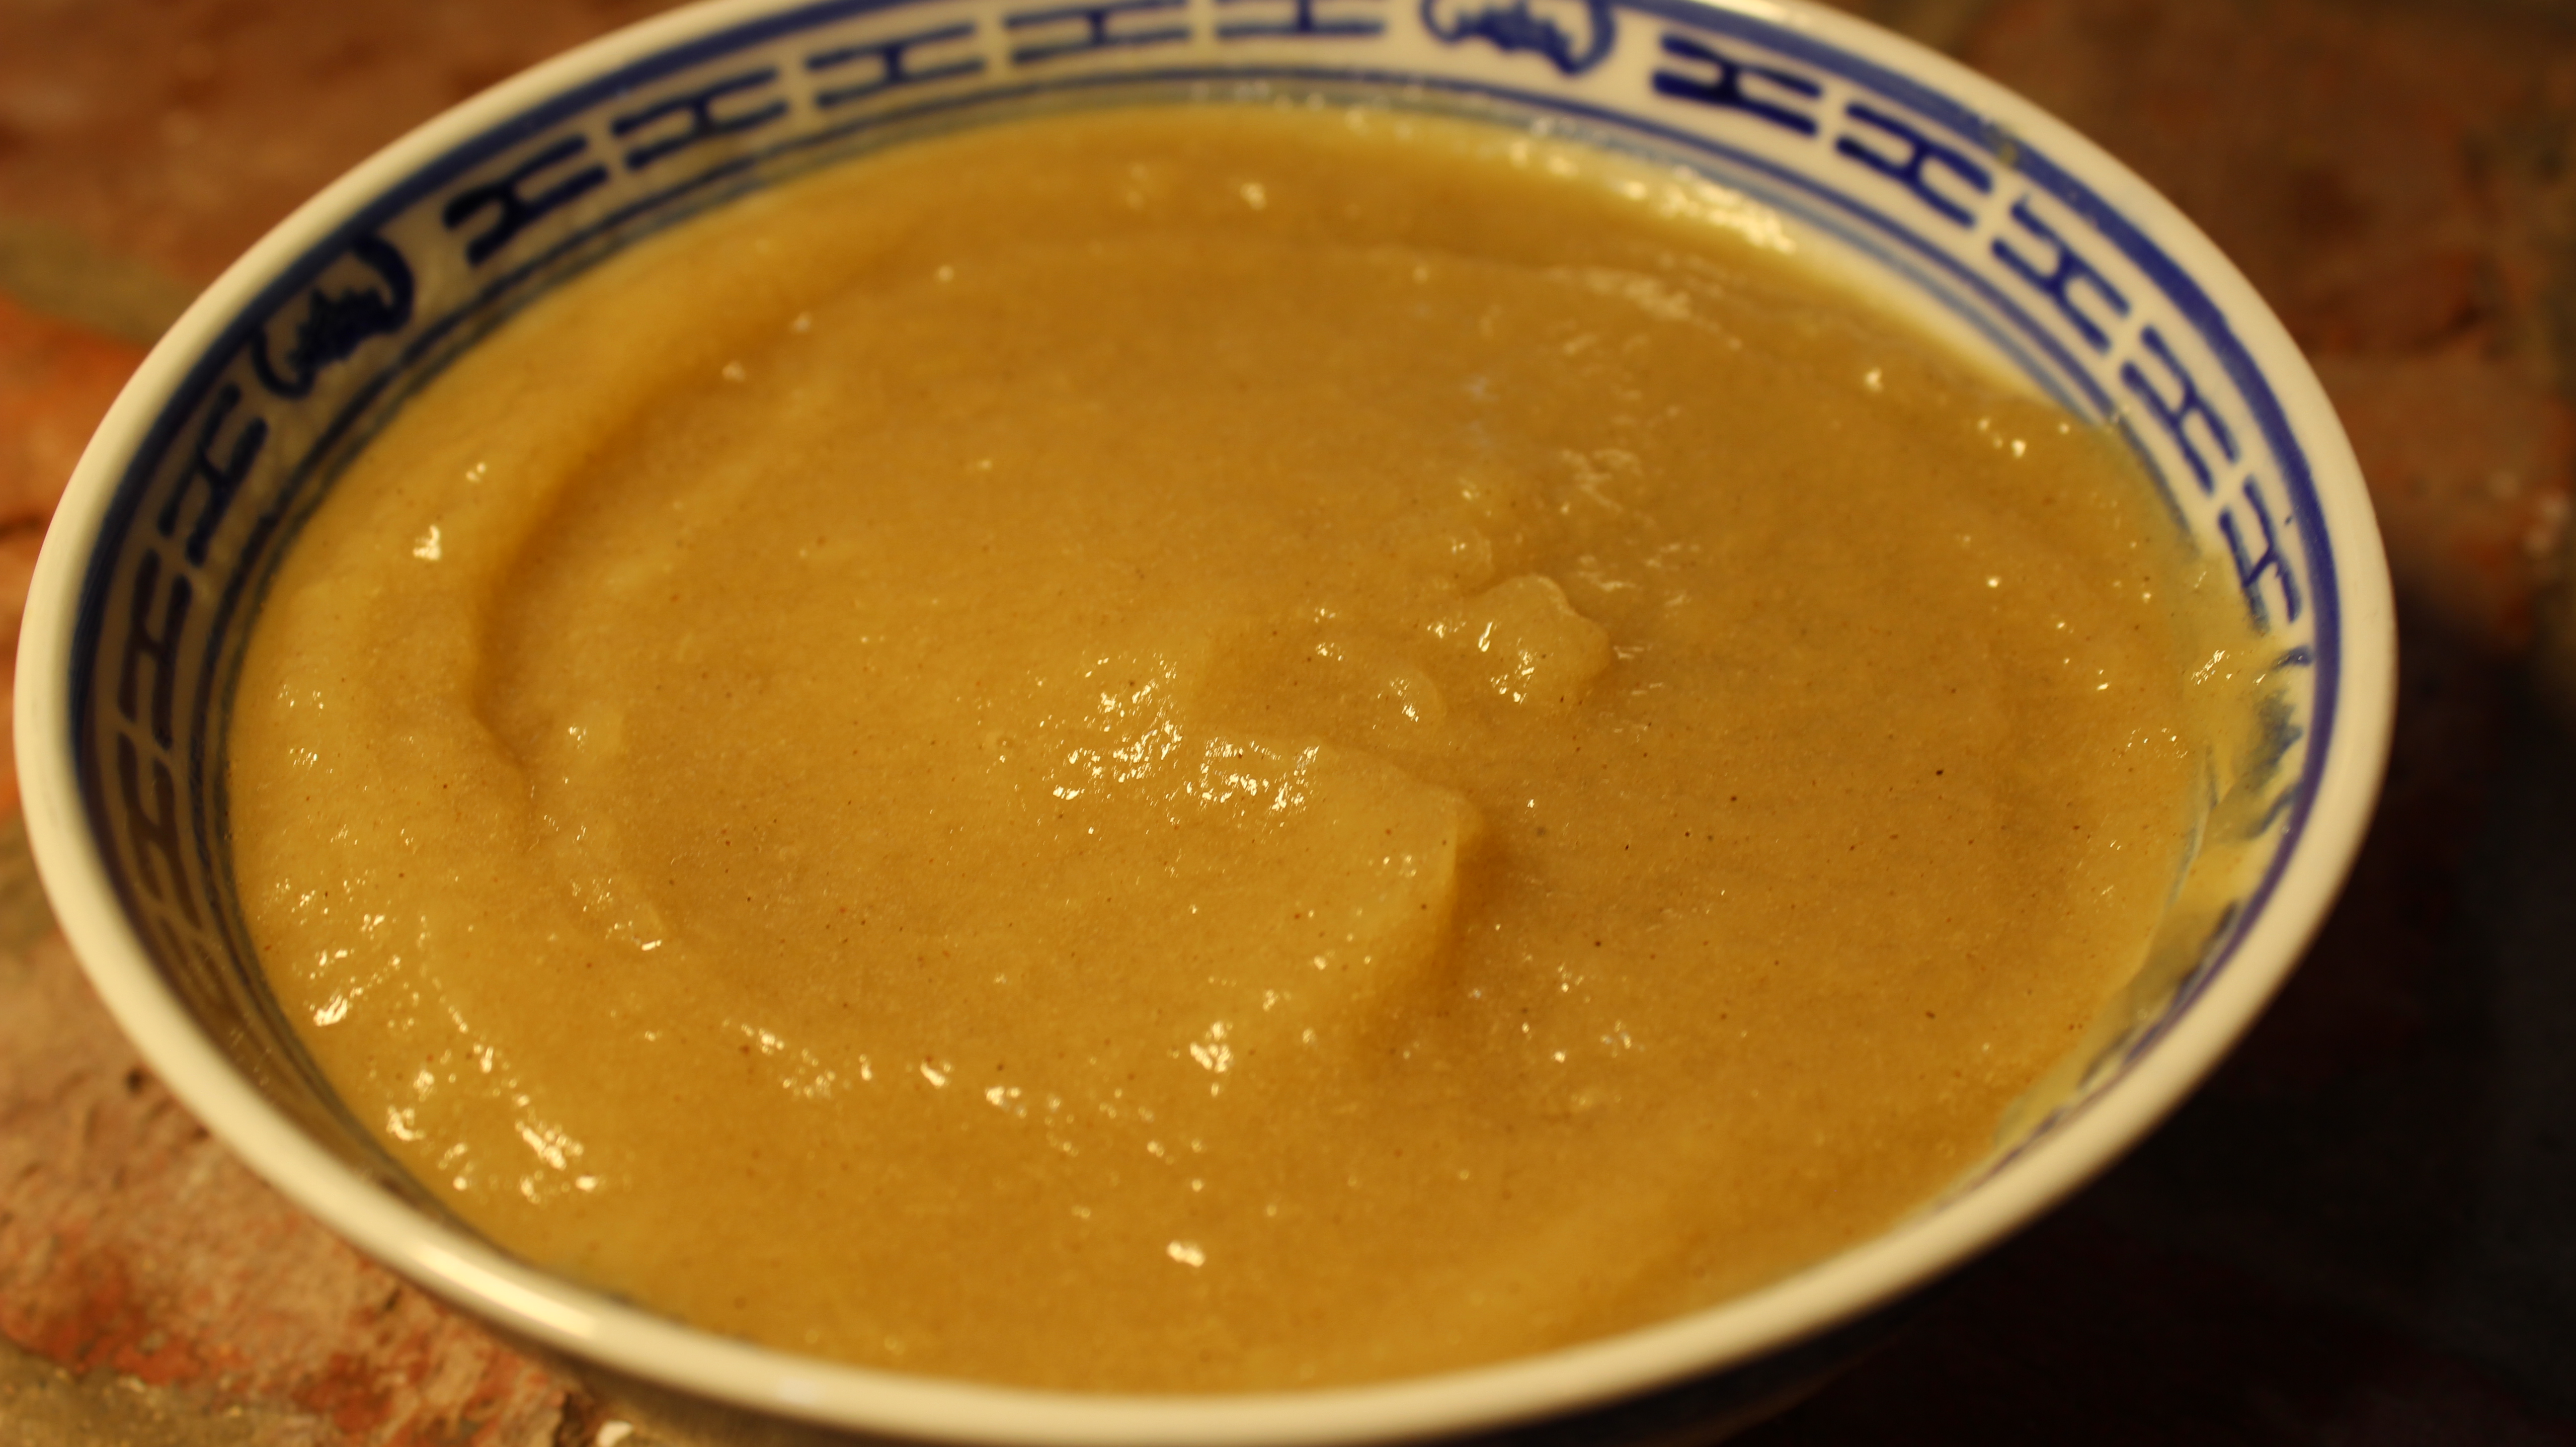
The Traveling Epicurean

Homemade Applesauce

Homemade Applesauce

Playing at my childhood friend Karen’s house growing up and smelling her mom’s homemade applesauce simmering on the stove with aromas of apple and cinnamon in the fall air are one of those nostalgic memories that will stay with me my whole life. That’s where the inspiration for this show and recipe came from. I contacted my friend Karen about her mom’s recipe and she was happy to share.

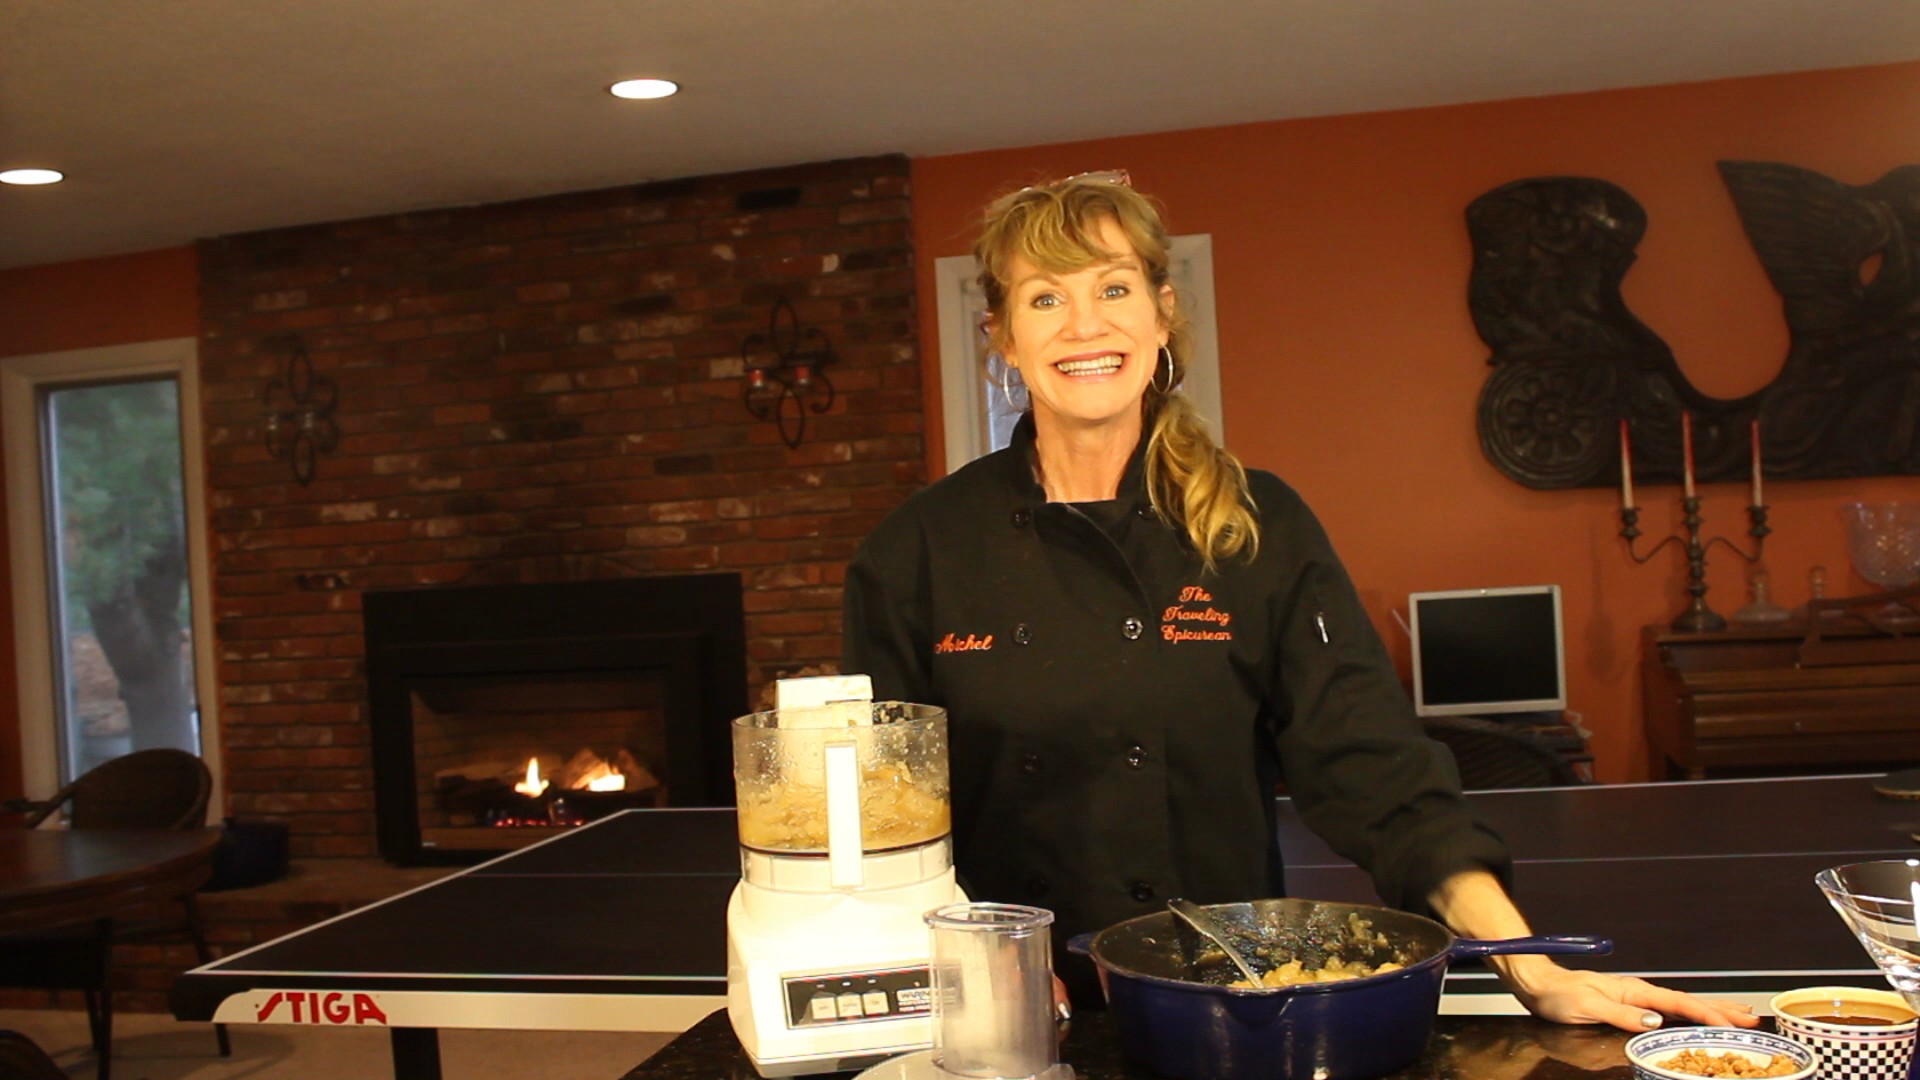
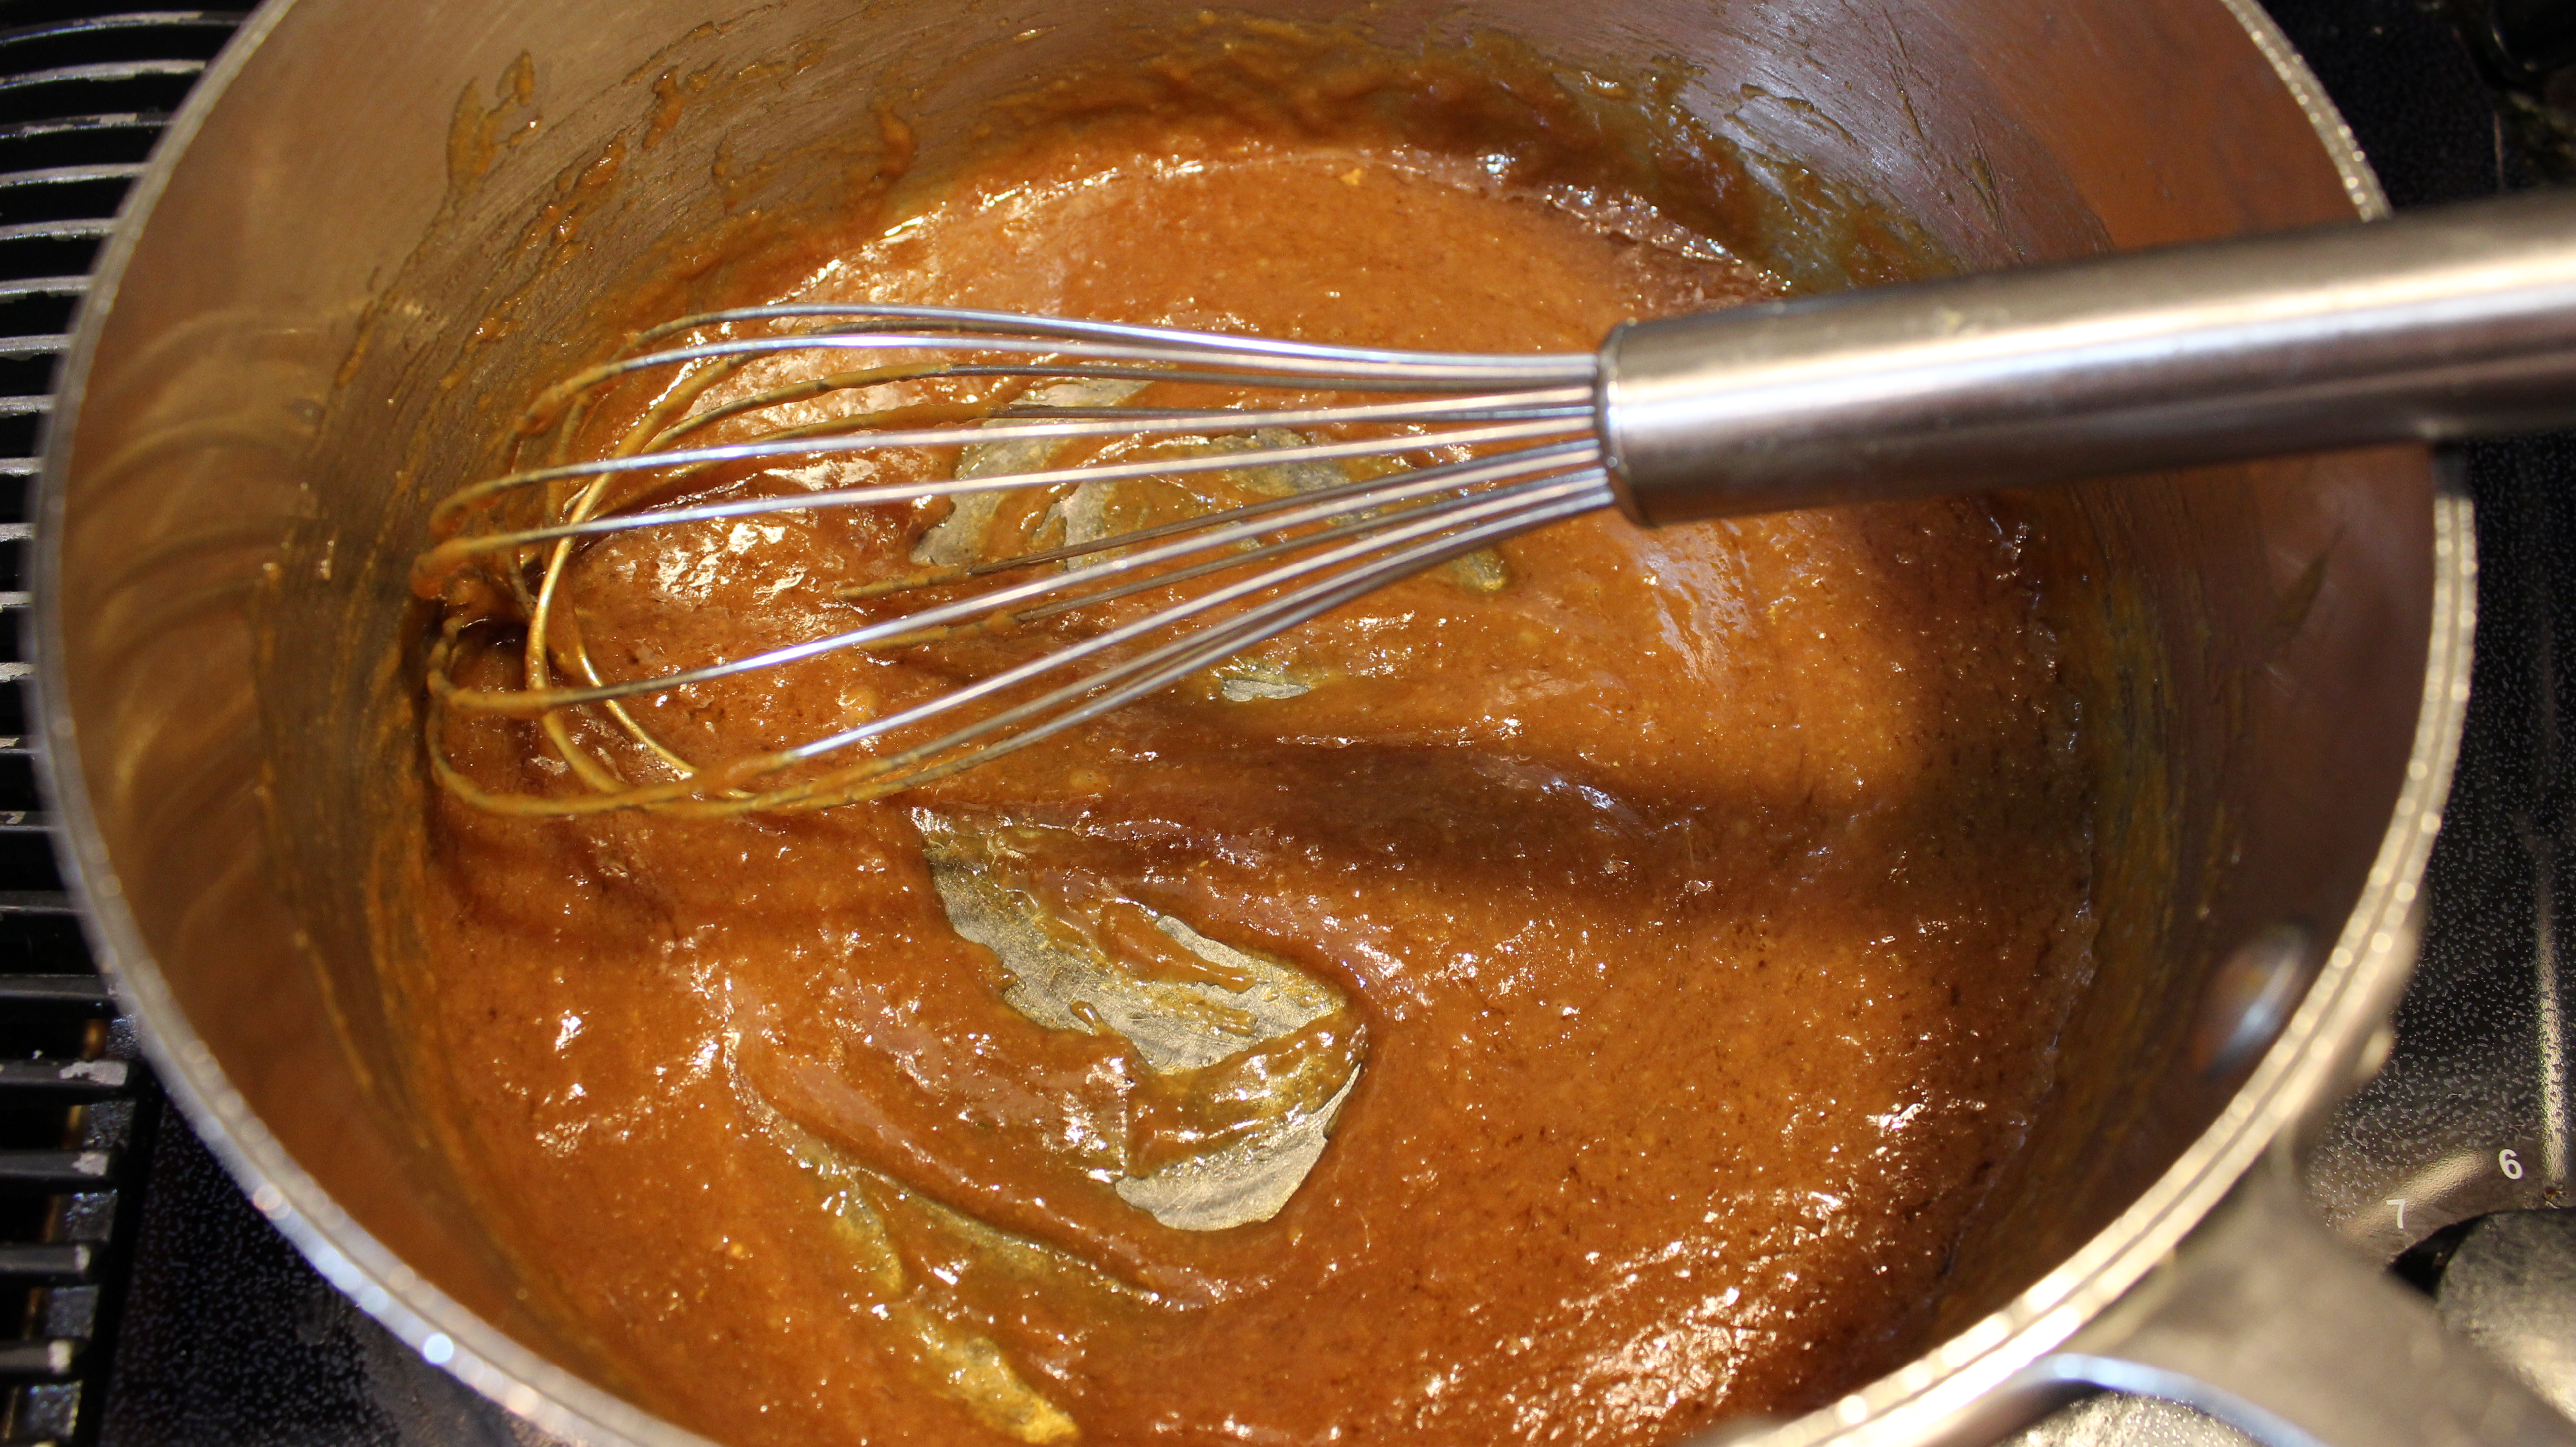
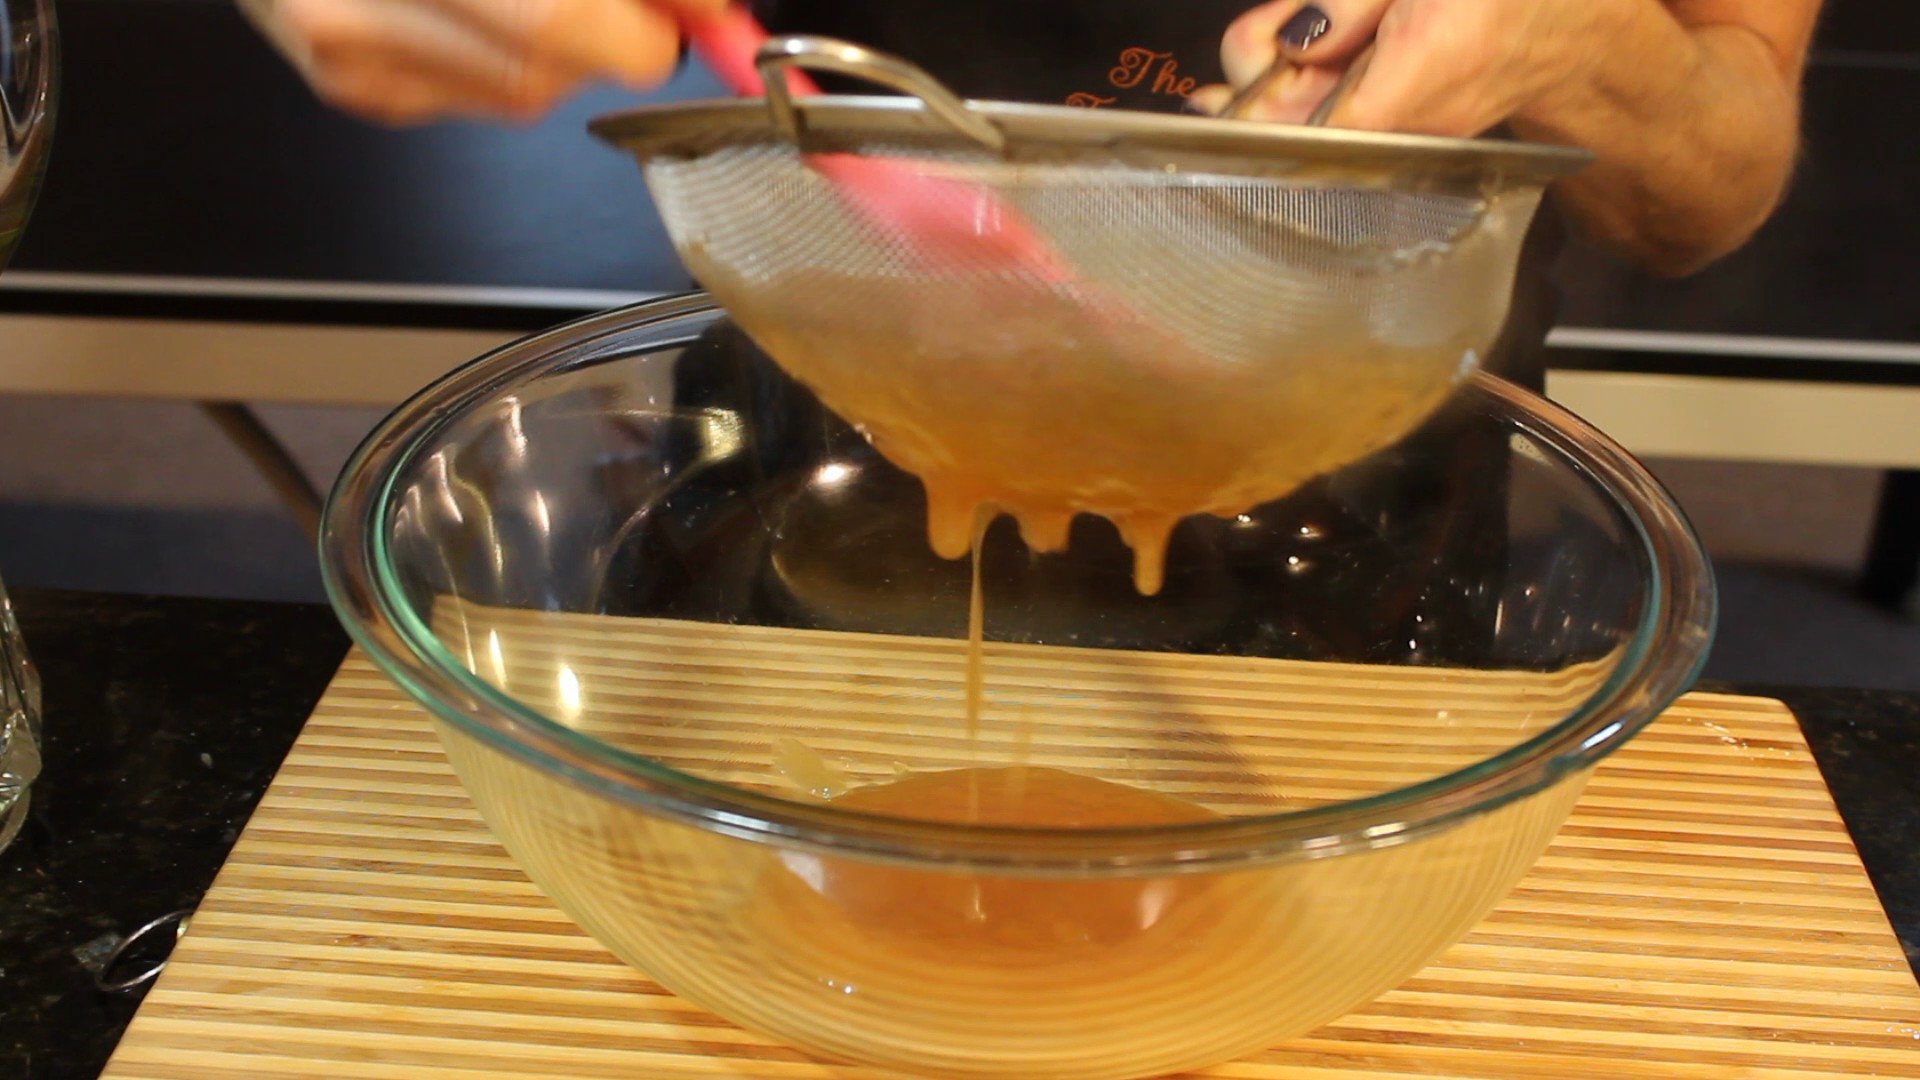
Karen’s mom, Pat, used a food mill to pass the apples through smoothing out the consistency and removing the peels . For those of you who don’t have a food mill I am simplifying that process having you peel the apples prior to simmering. Even though the peel does offer a little extra flavor we will take the middle of the road for convenience purposes. For that smooth texture that I like I put the simmered apples in my food processor in small batches. You can skip this step completely by using a potato masher, whisk or even a fork to work out the lumps to your desired texture.

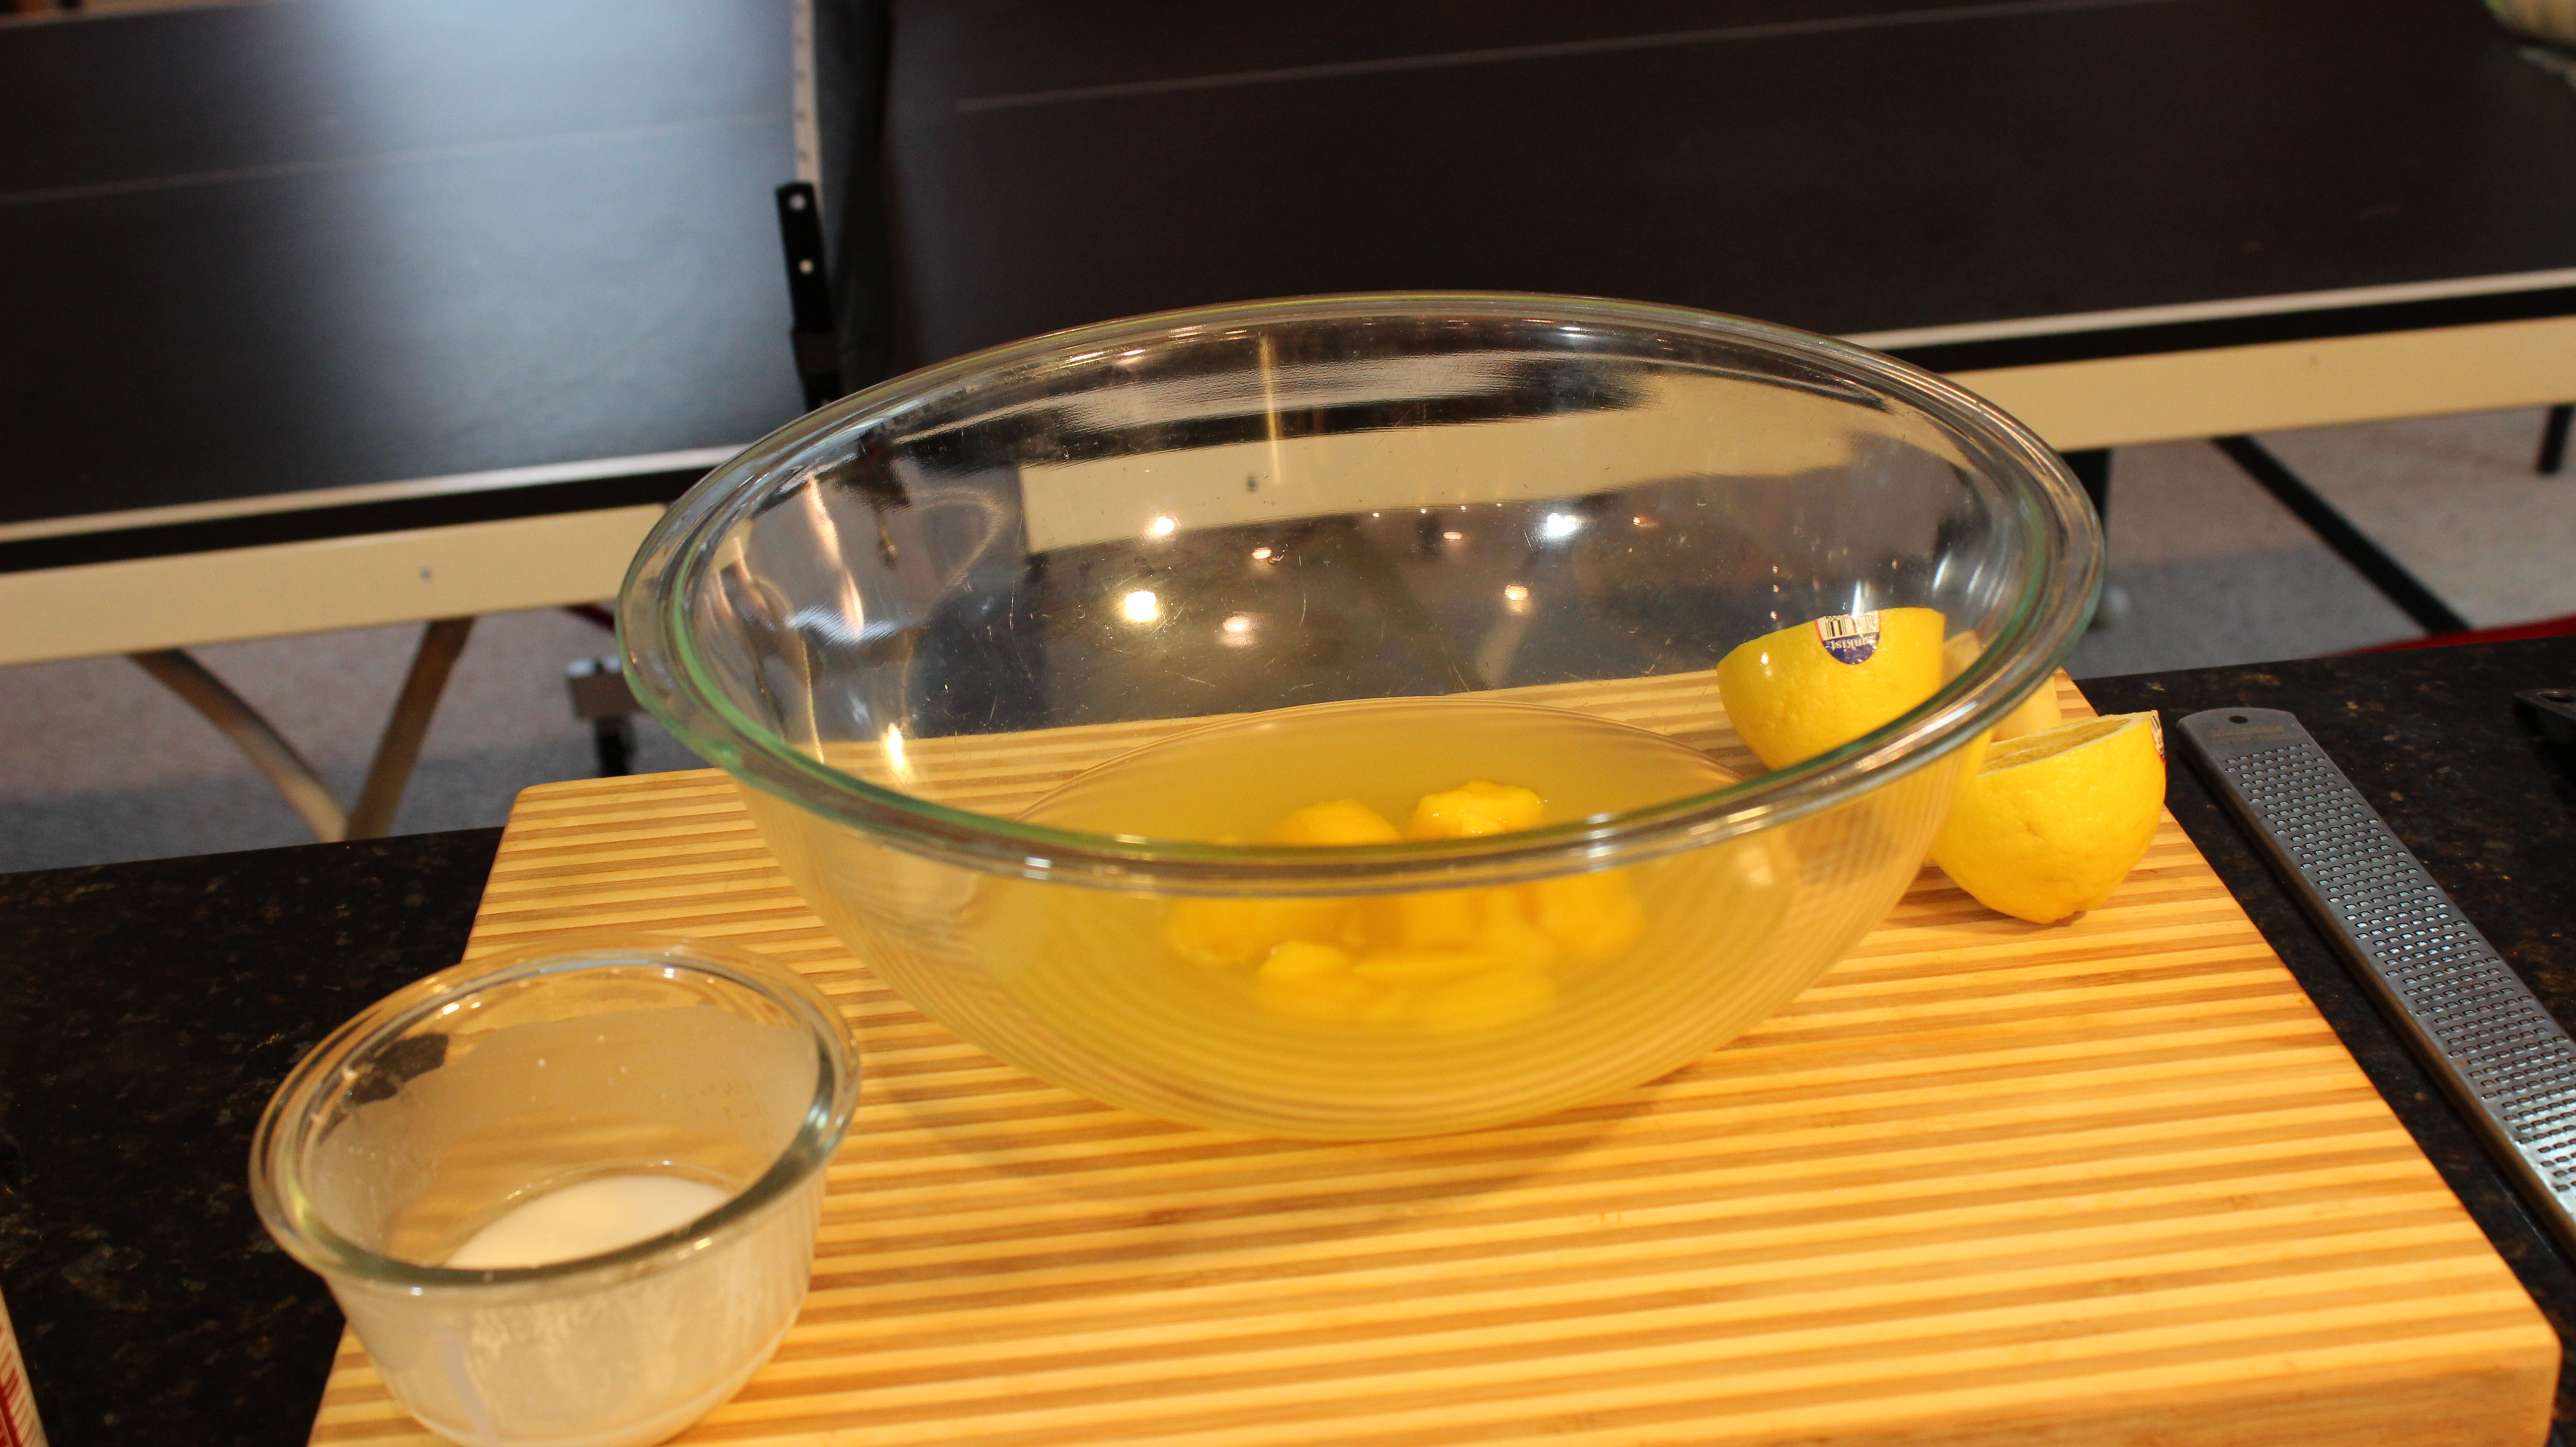
The only addition to Pat’s recipe is that I add in a couple of tablespoons of fresh squeezed lemon juice for a subtle brightness to the sauce balancing out the sweetness. Actually, I add the fresh lemon juice while I peel, core and slice the apples into eighths so they don’t turn brown. I want those cinnamon-apple aromas to permeate the house as soon as possible so I add her spices in the beginning of the simmering. Some recipes even add in orange or lemon peel when simmering the apples but I think that’s a matter of preference and you can get as creative as you want.

Making homemade applesauce is really easy to make filling your kitchen with so many wonderful seasonal aromas you may wonder why you don’t do it more often. You may find your self starting a crackling fire to get the full effect while your apples are simmering on the stove. Be careful if a window is open you may just find a neighbor or two dropping in to “borrow” a cup of sugar.

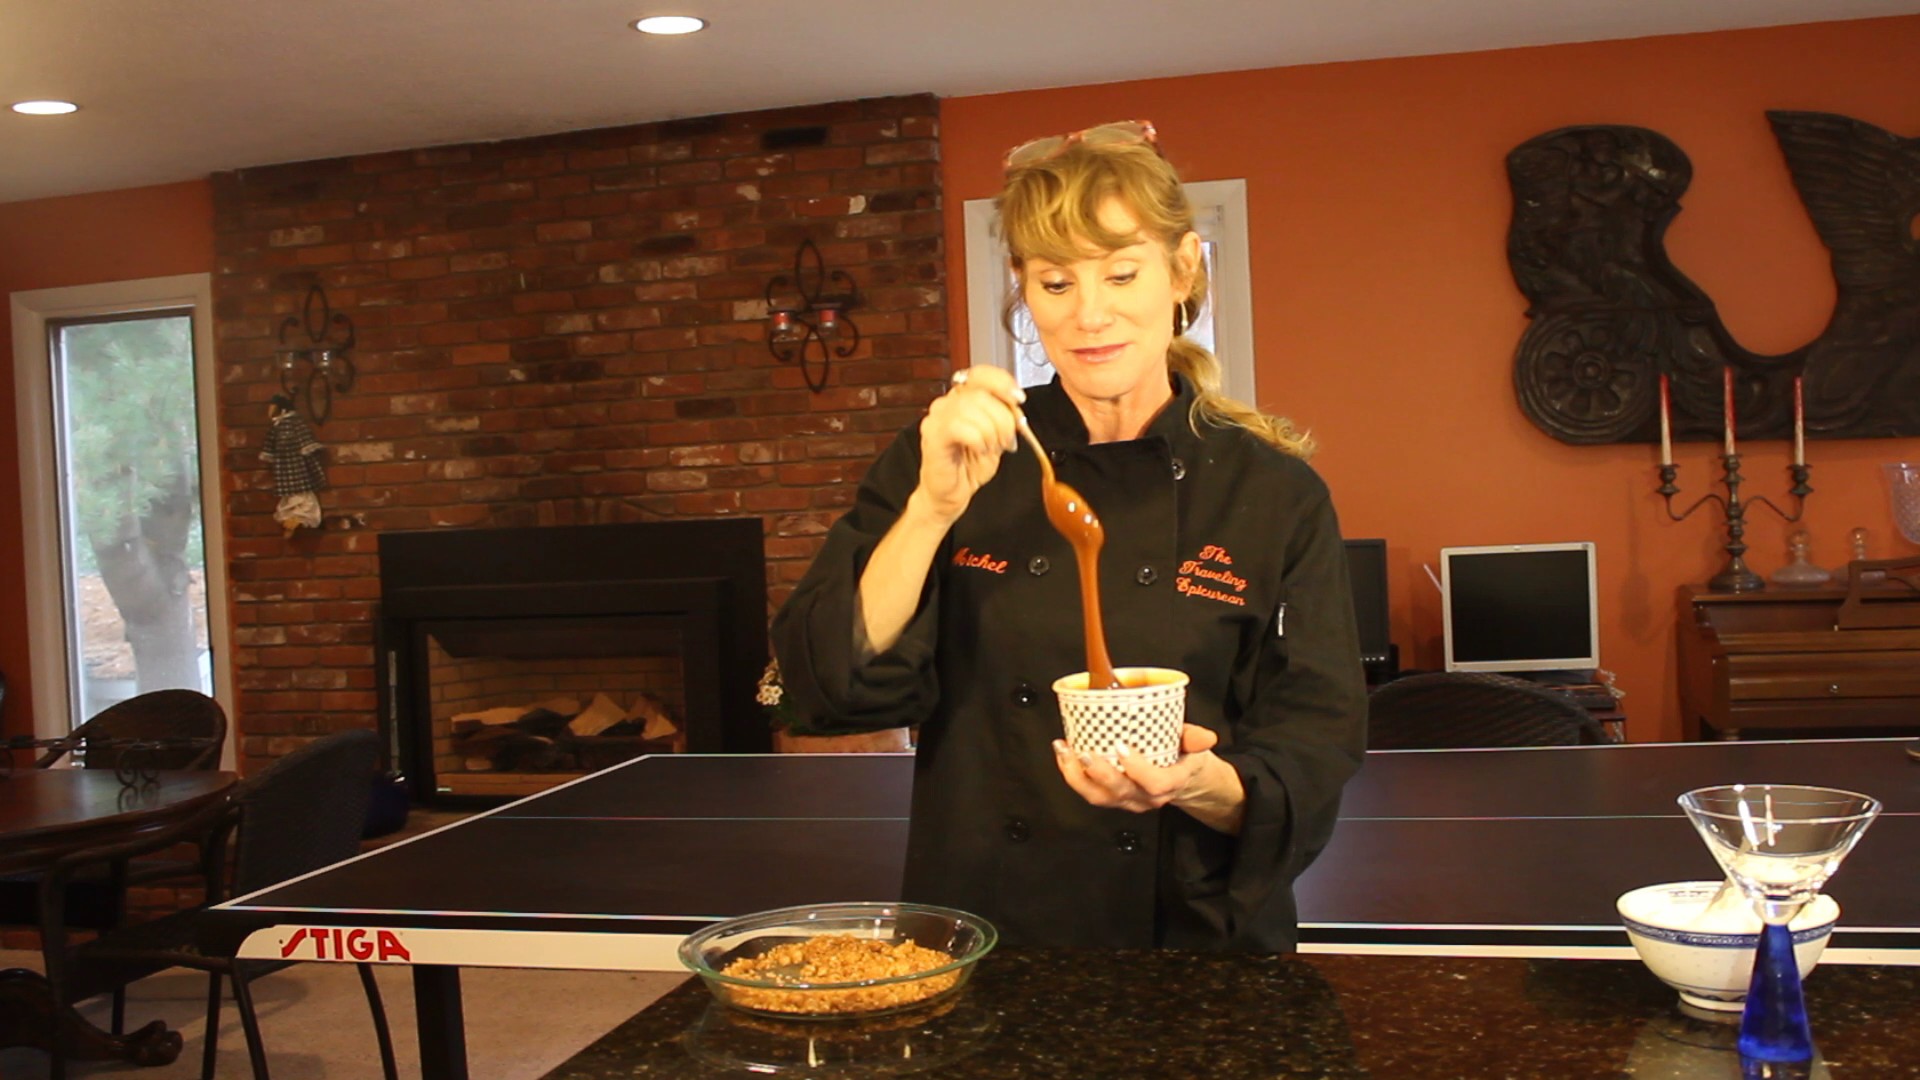
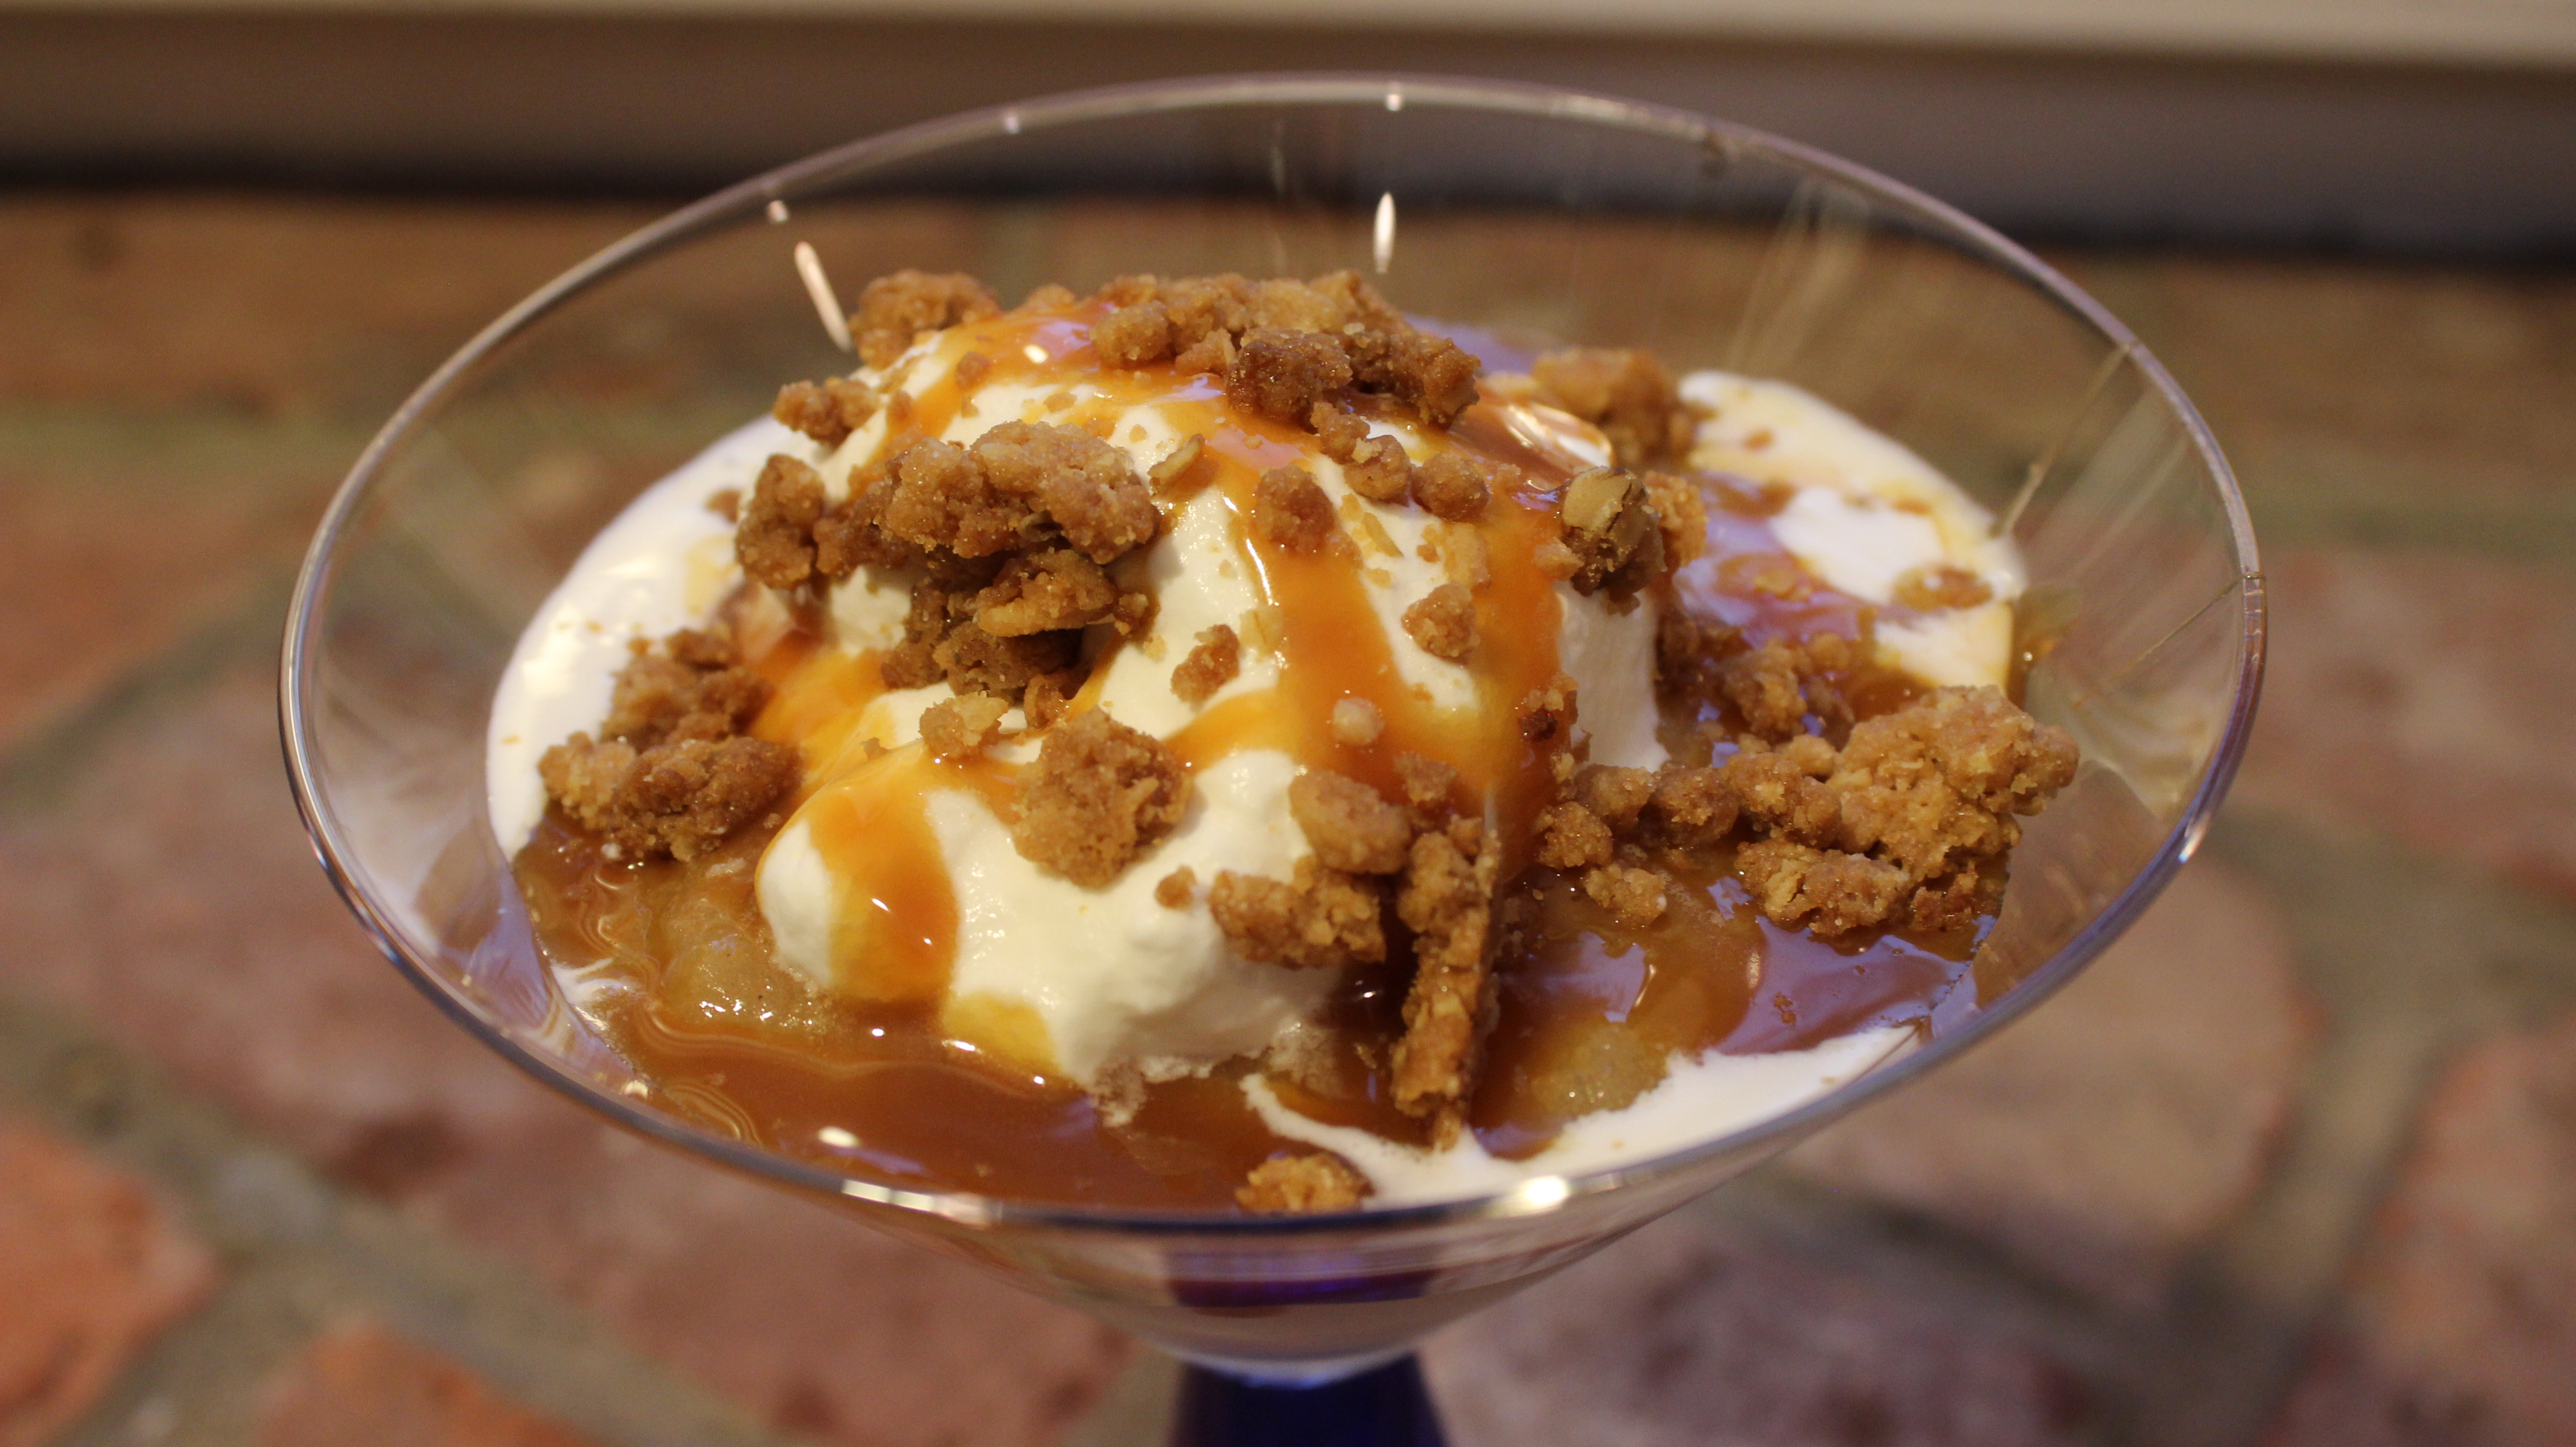
Fall is the perfect time to make this homemade applesauce with apples in abundance at the stores and local orchards. A wonderful thing about making applesauce is it stays well for months in your freezer. One of my favorite ways to have applesauce is with grilled pork chops, caramelized onions and a little crumbled Gorgonzola. For a simple, gluten-free dessert that’s out of this world you can top vanilla ice cream with this warm homemade applesauce, whipped cream, a drizzle of caramel sauce and a sprinkle of toasted apple crisp topping made with oats! This just may be my new favorite dessert! I buy our local Ashley’s vanilla ice cream and their caramel sauce when I make this incredible Applesauce-Caramel Sundae. So get into the holiday spirit and create those nostalgic memories for your kids, family and friends filling the house with simmering apples and cinnamon, a similar aroma to hot apple cider, that will stay with them forever. Hope you enjoy the show 🙂

IMG_3993  IMG_4014  IMG_4063

IMG_3967  IMG_3986  IMG_3988

smileapple  IMG_4104  caramelapple

IMG_4086

Ingredients:

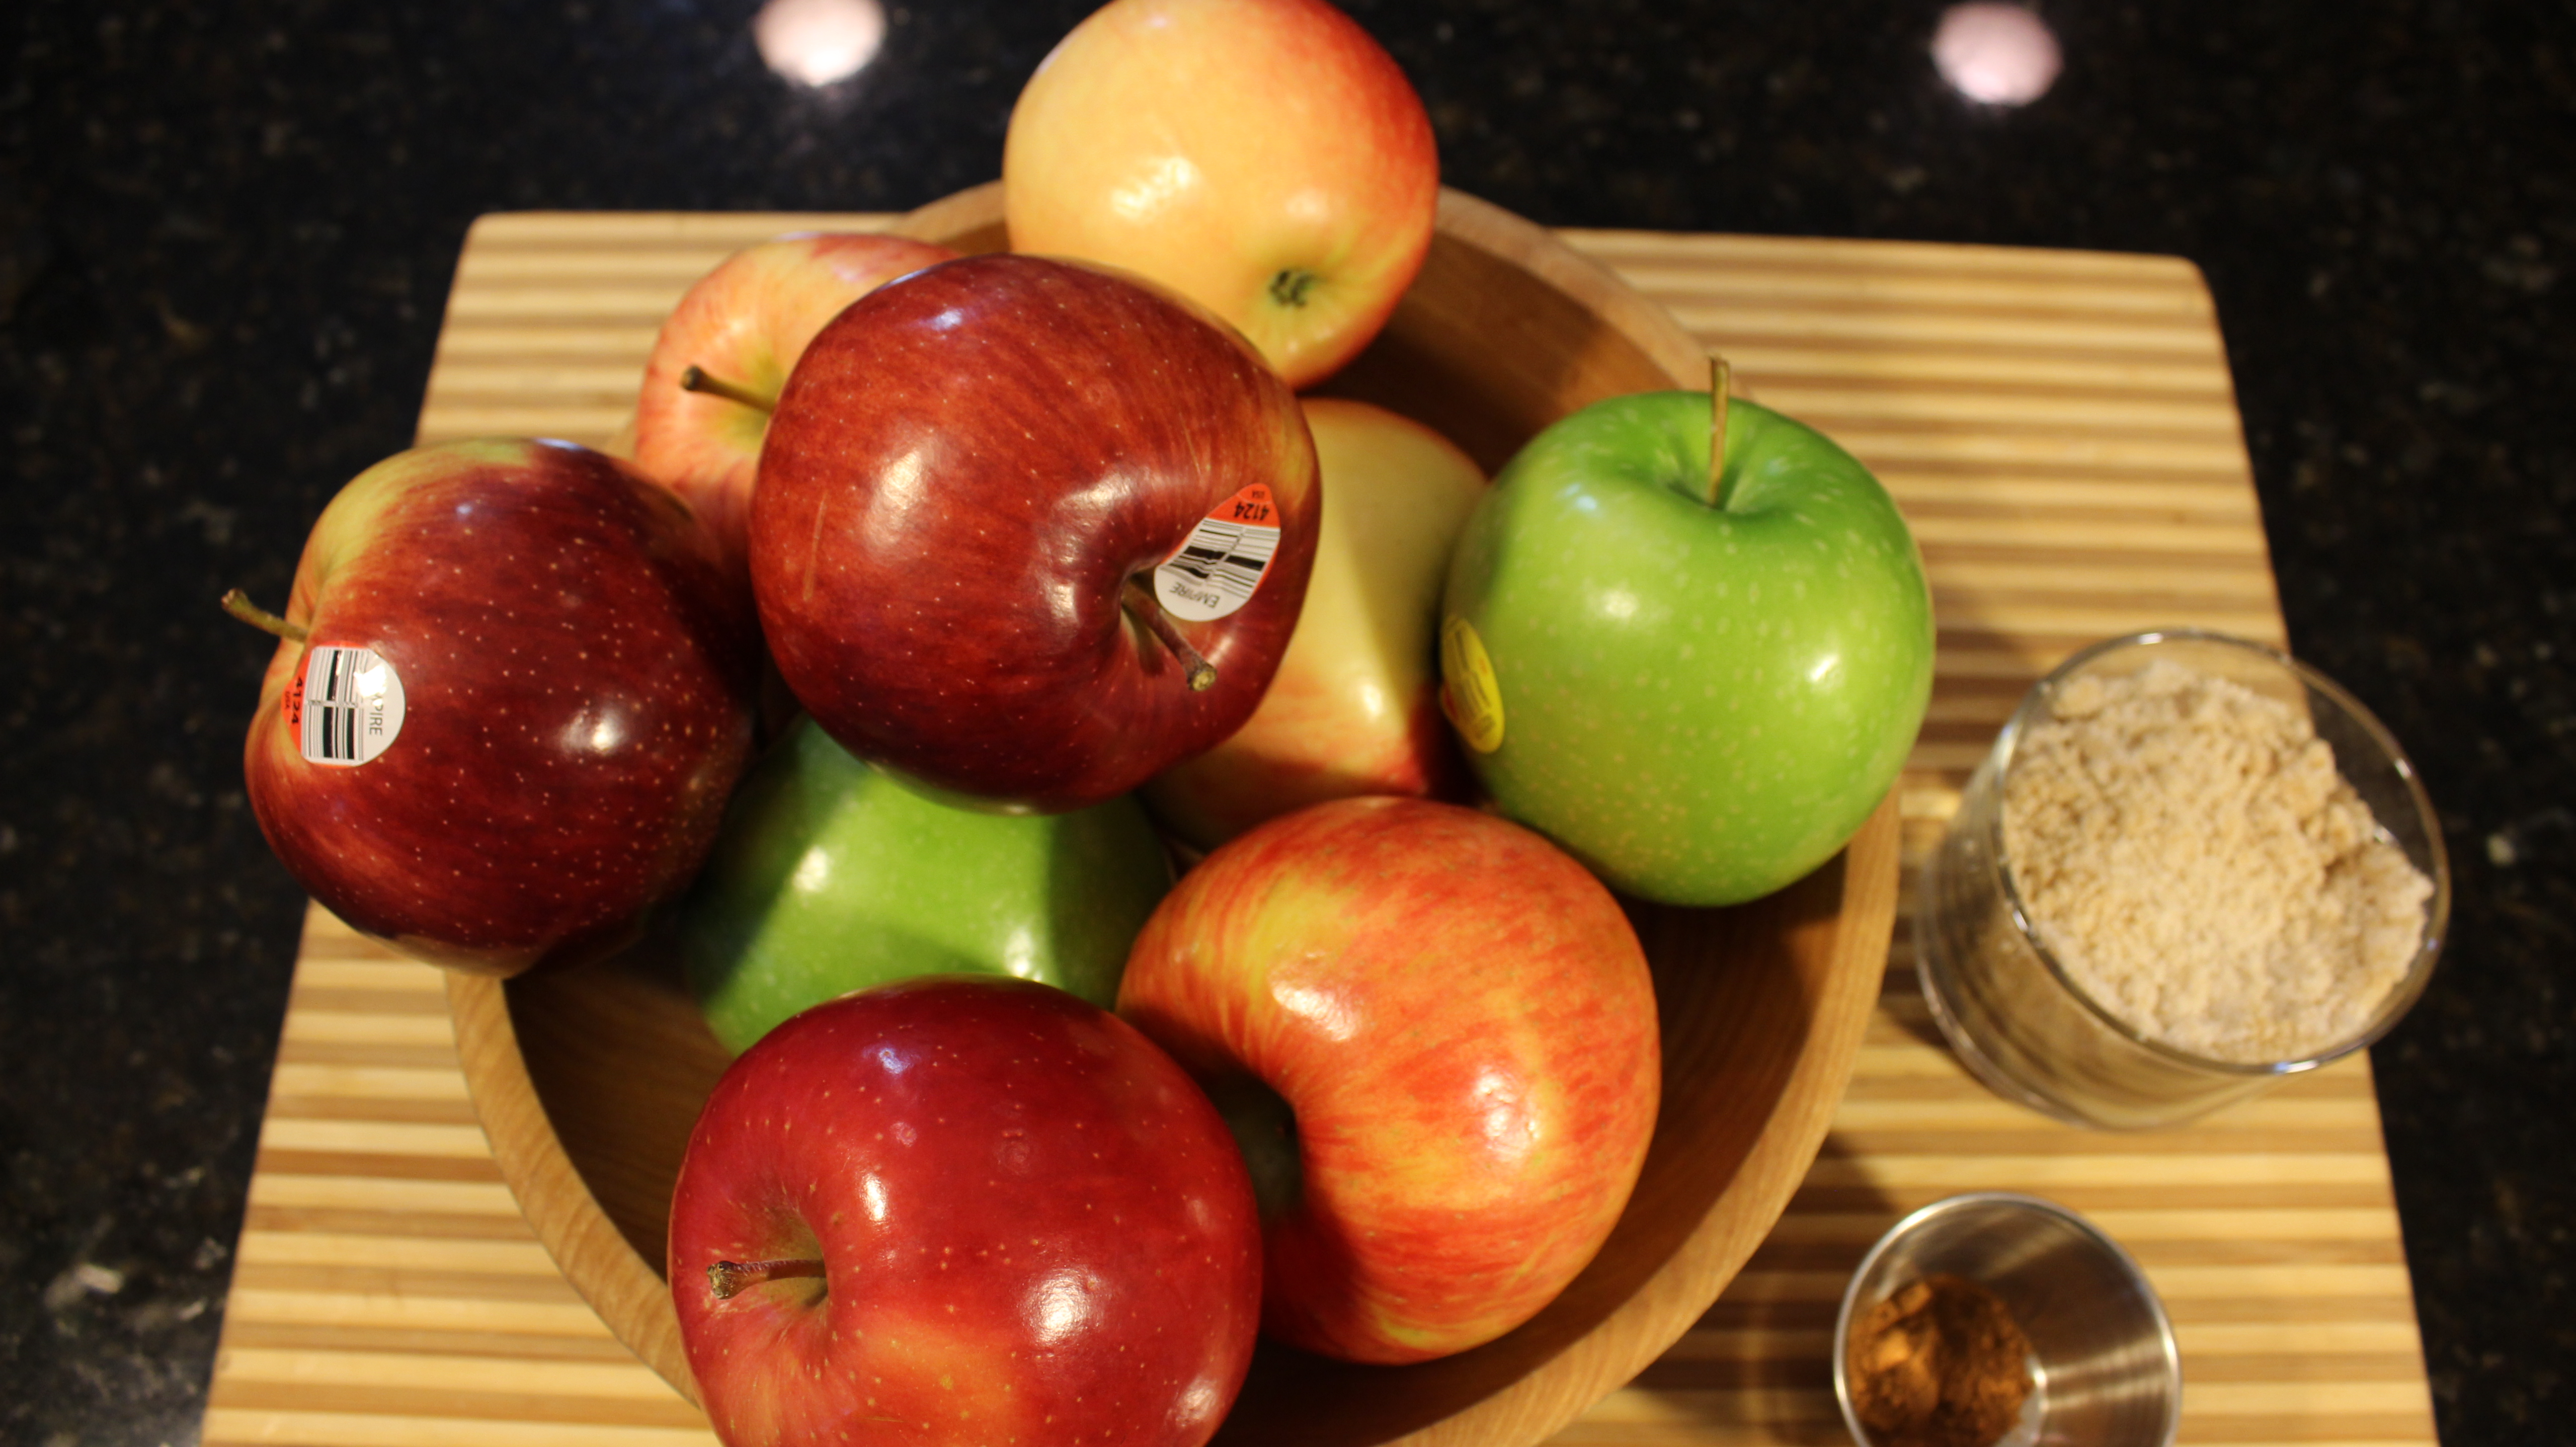
  • 4 lbs. (10 apples) – an assortment of apples for well rounded flavors
  • 3 tbsp brown sugar
  • 3 tbsp white sugar
  • 1/8 tsp salt
  • 1 tsp cinnamon
  • 1/4 tsp nutmeg
  • dash of cloves (optional)
  • 1 1/4 cup water
  • 2 tbsp fresh lemon juice

FOR Applesauce-Caramel Sundae:

  • Your favorite “apple crisp topping” recipe made with oats toasted up in the oven on 400º in a bake dish until golden
  • 1 Quart of your favorite local Ice creamery Vanilla and 1/2 pint of their caramel sauce
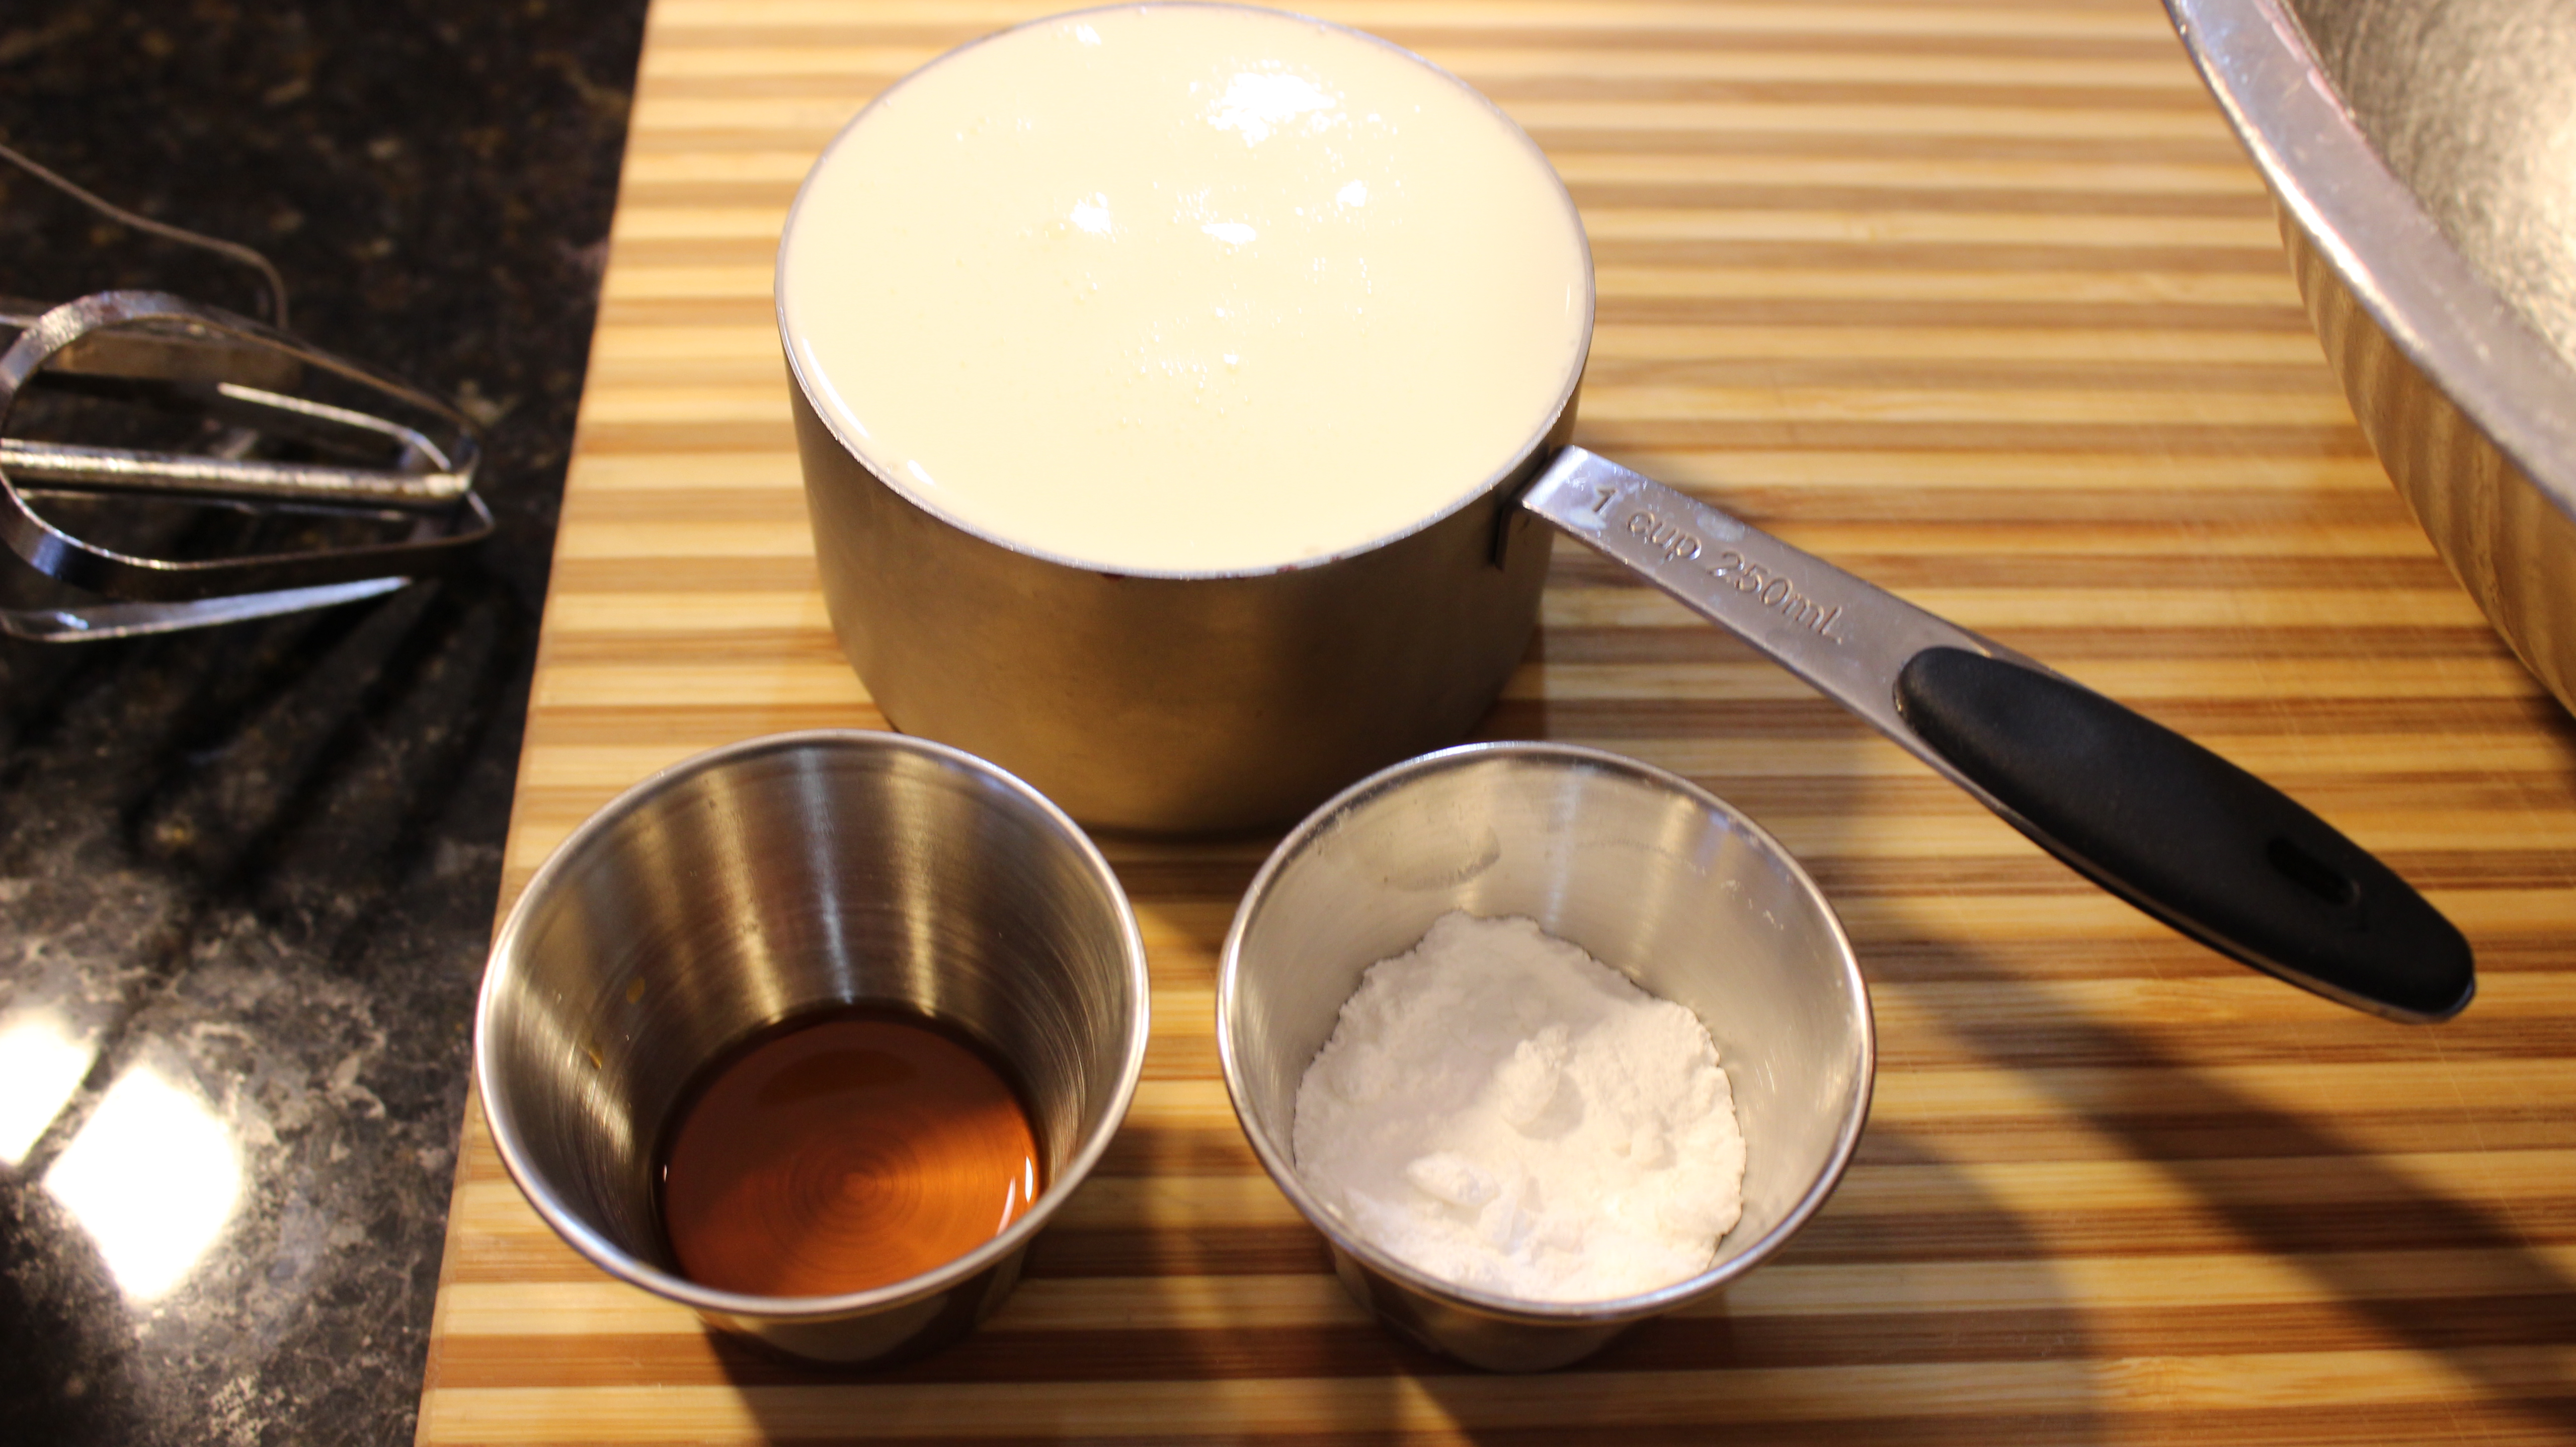
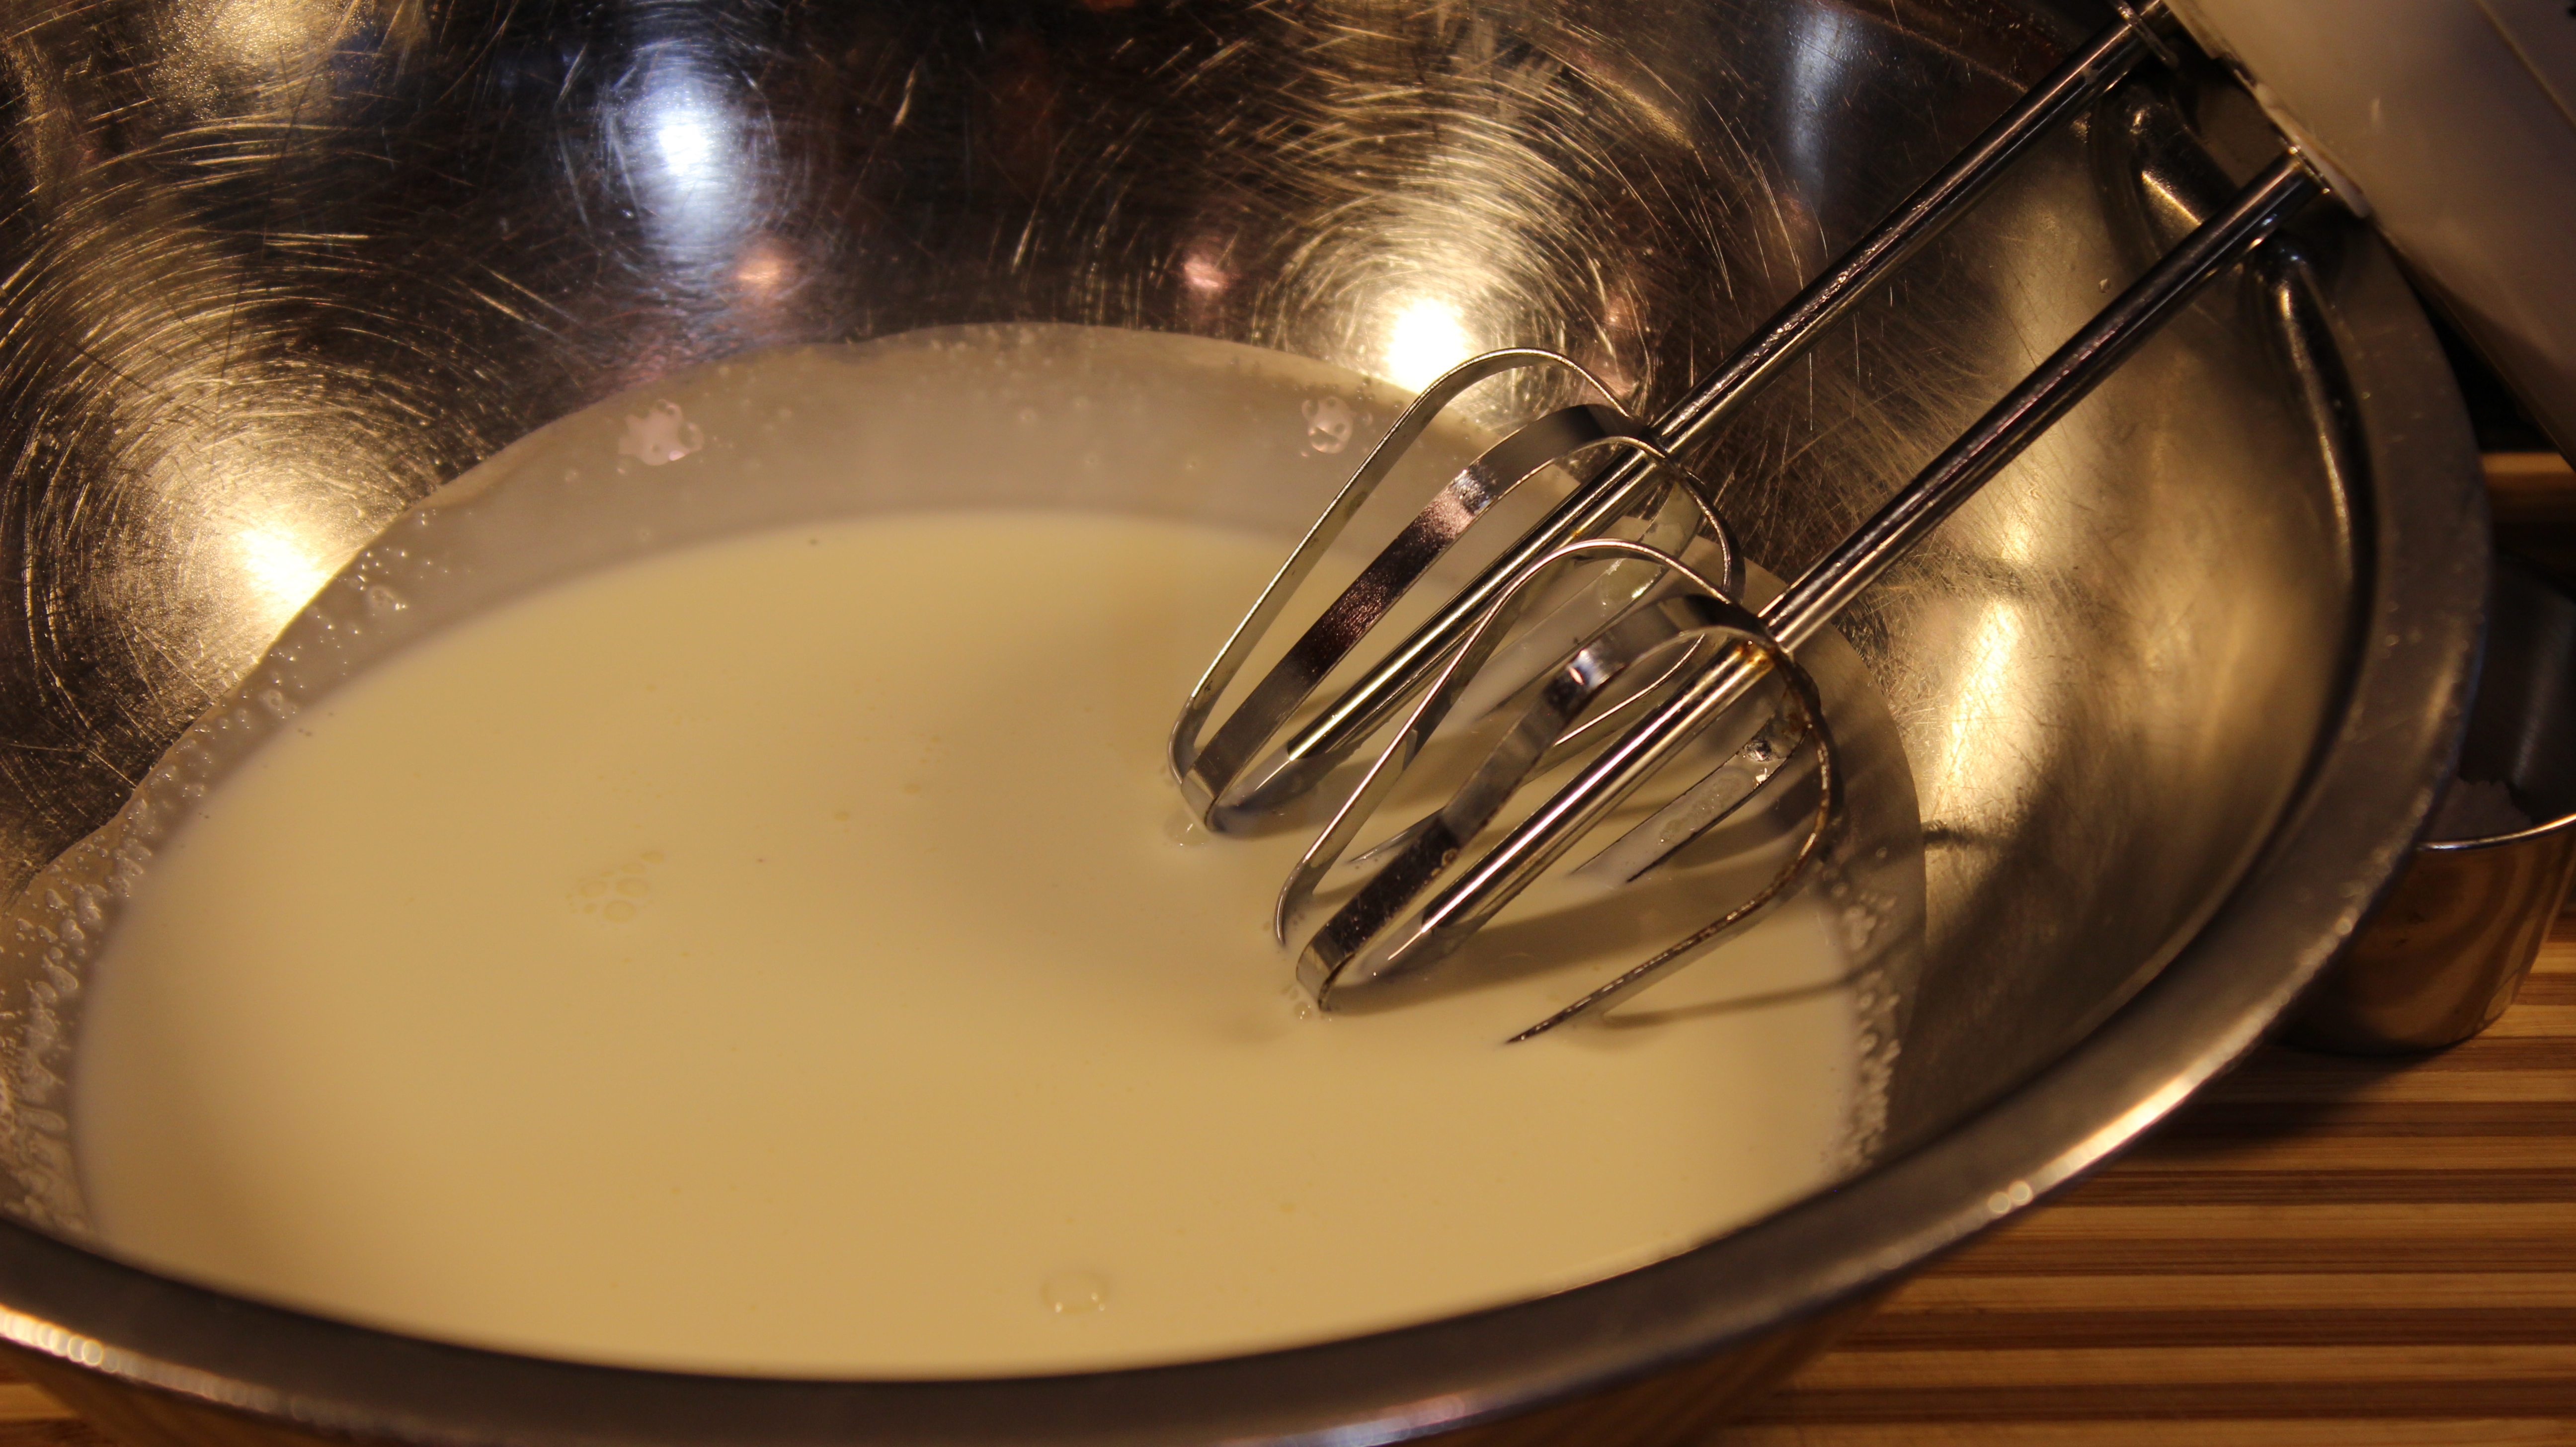
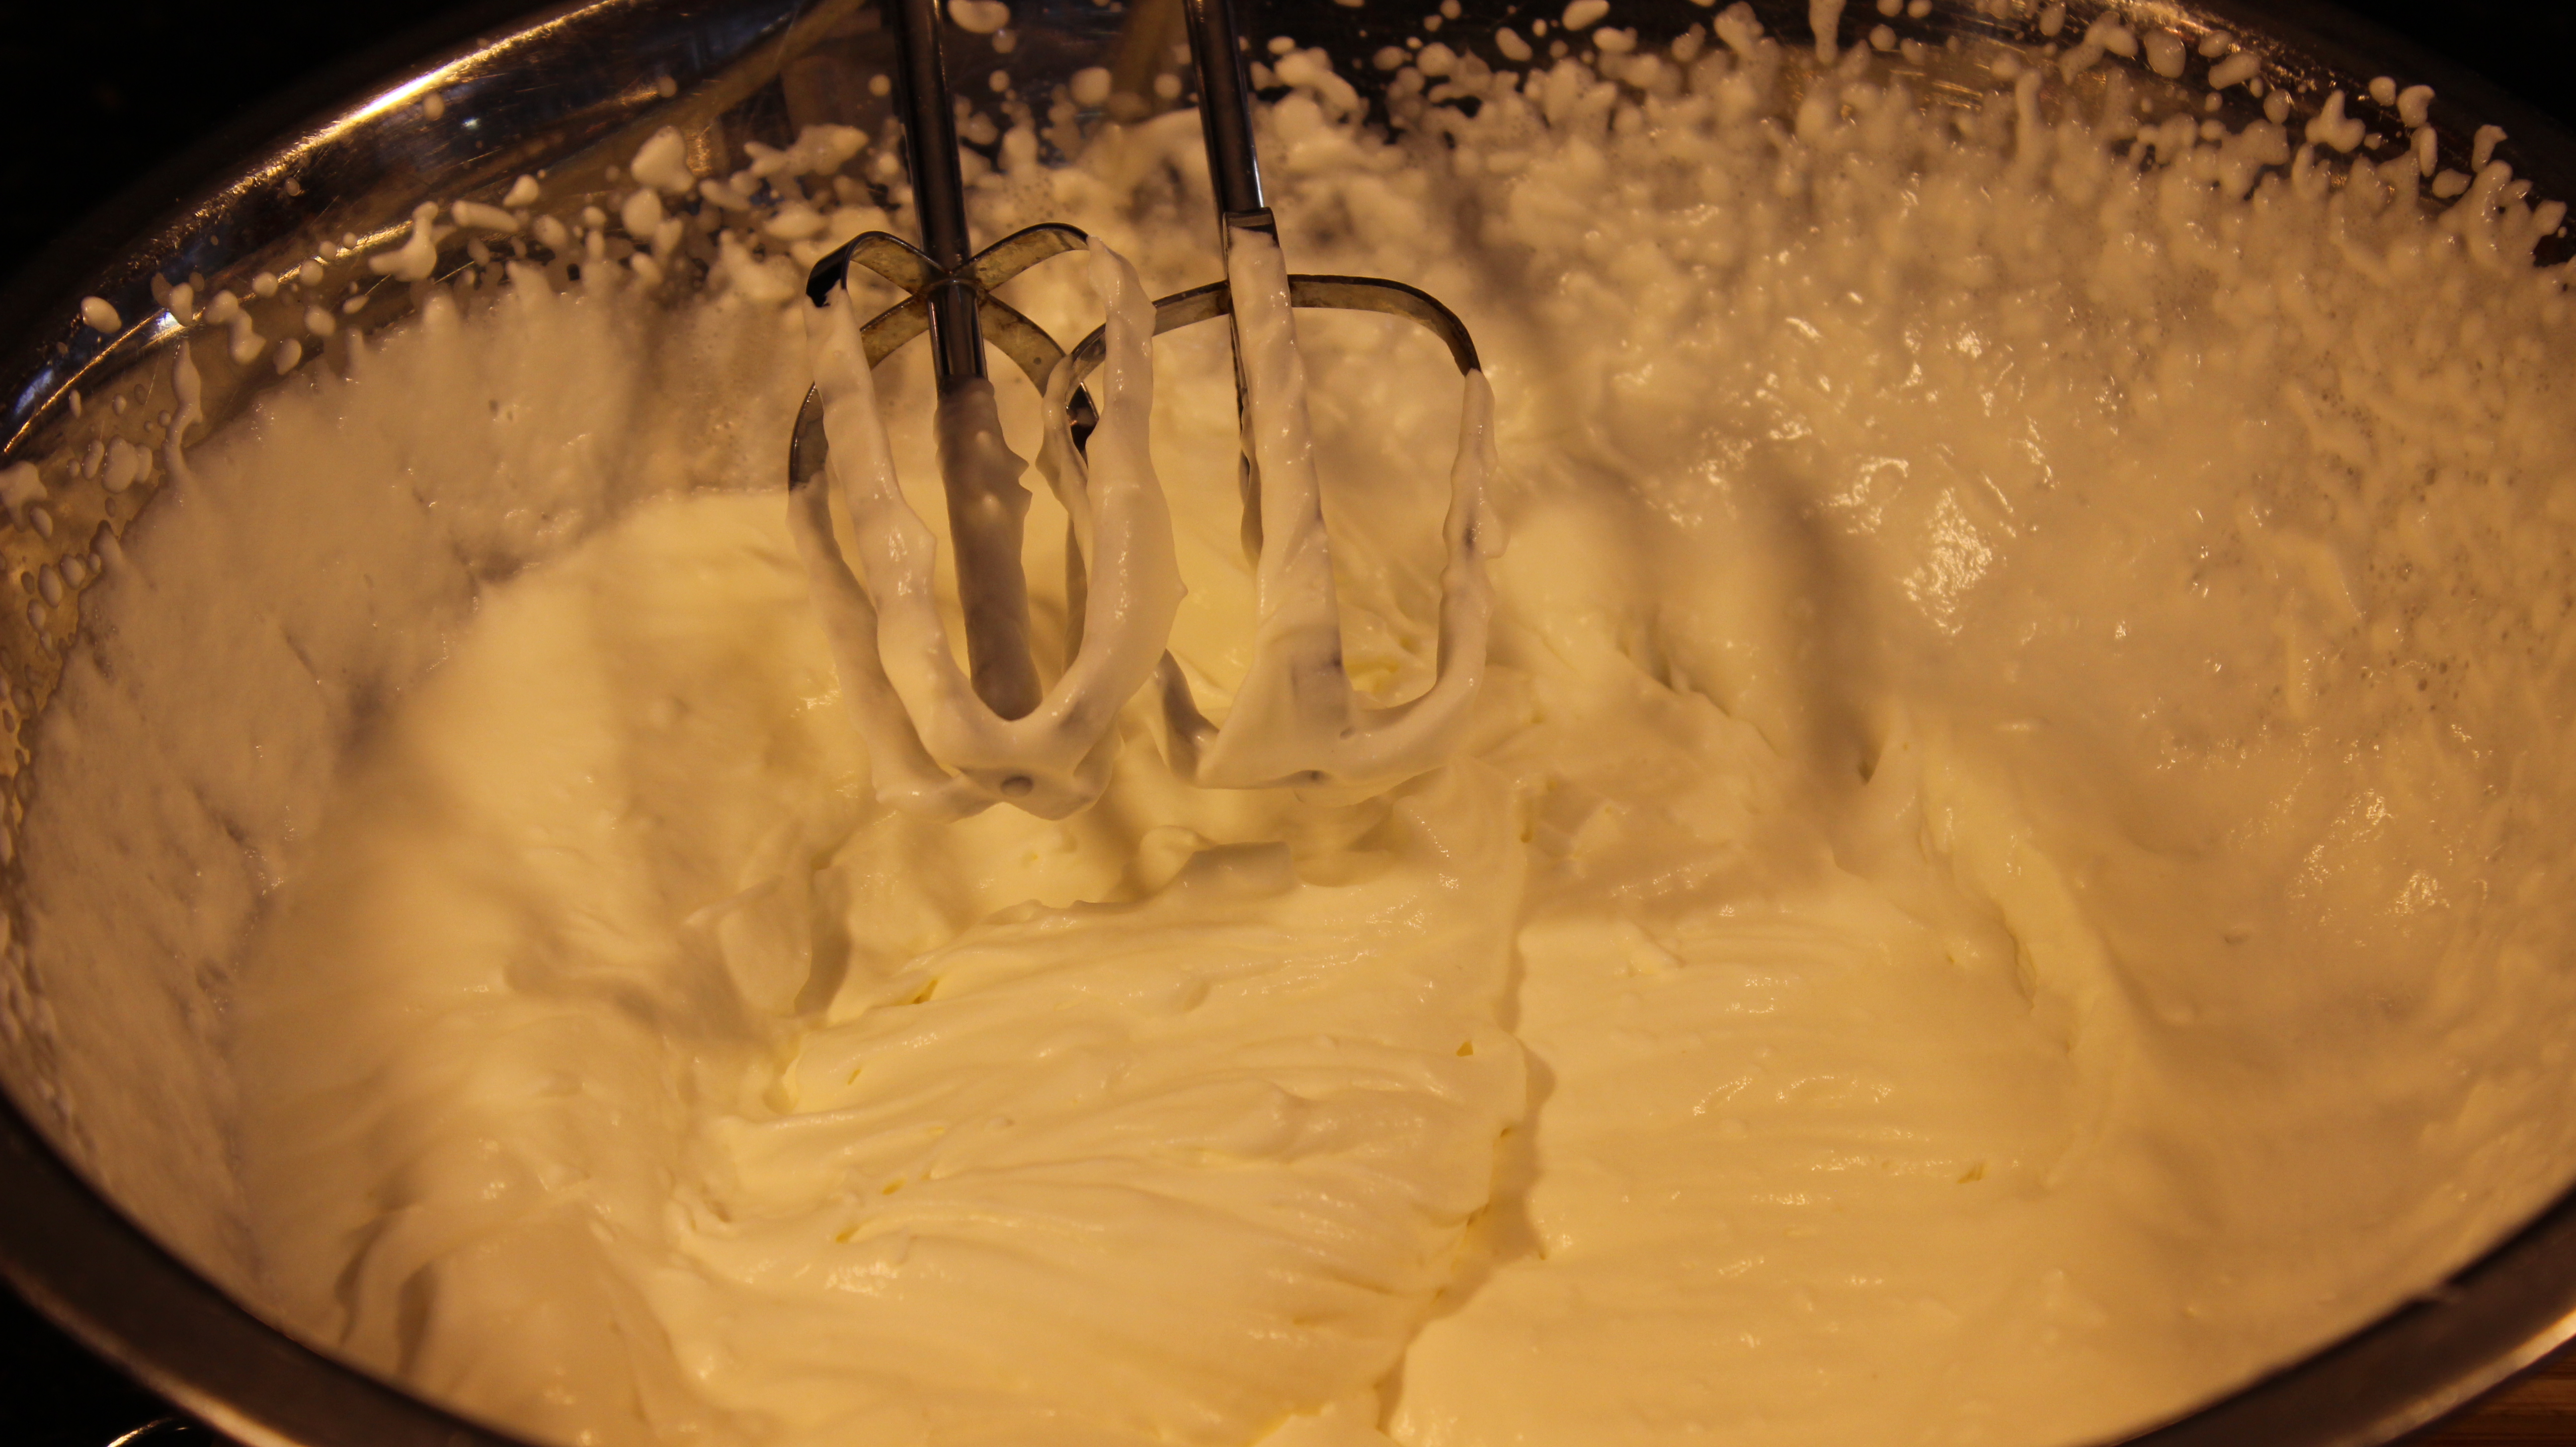
  • Whipped cream (1 cup heavy whipping cream, 1 tbsp confectioners sugar, 1 tsp vanilla, bourbon or whiskey)
  • Toasted apple crisp topping with oats

Directions:

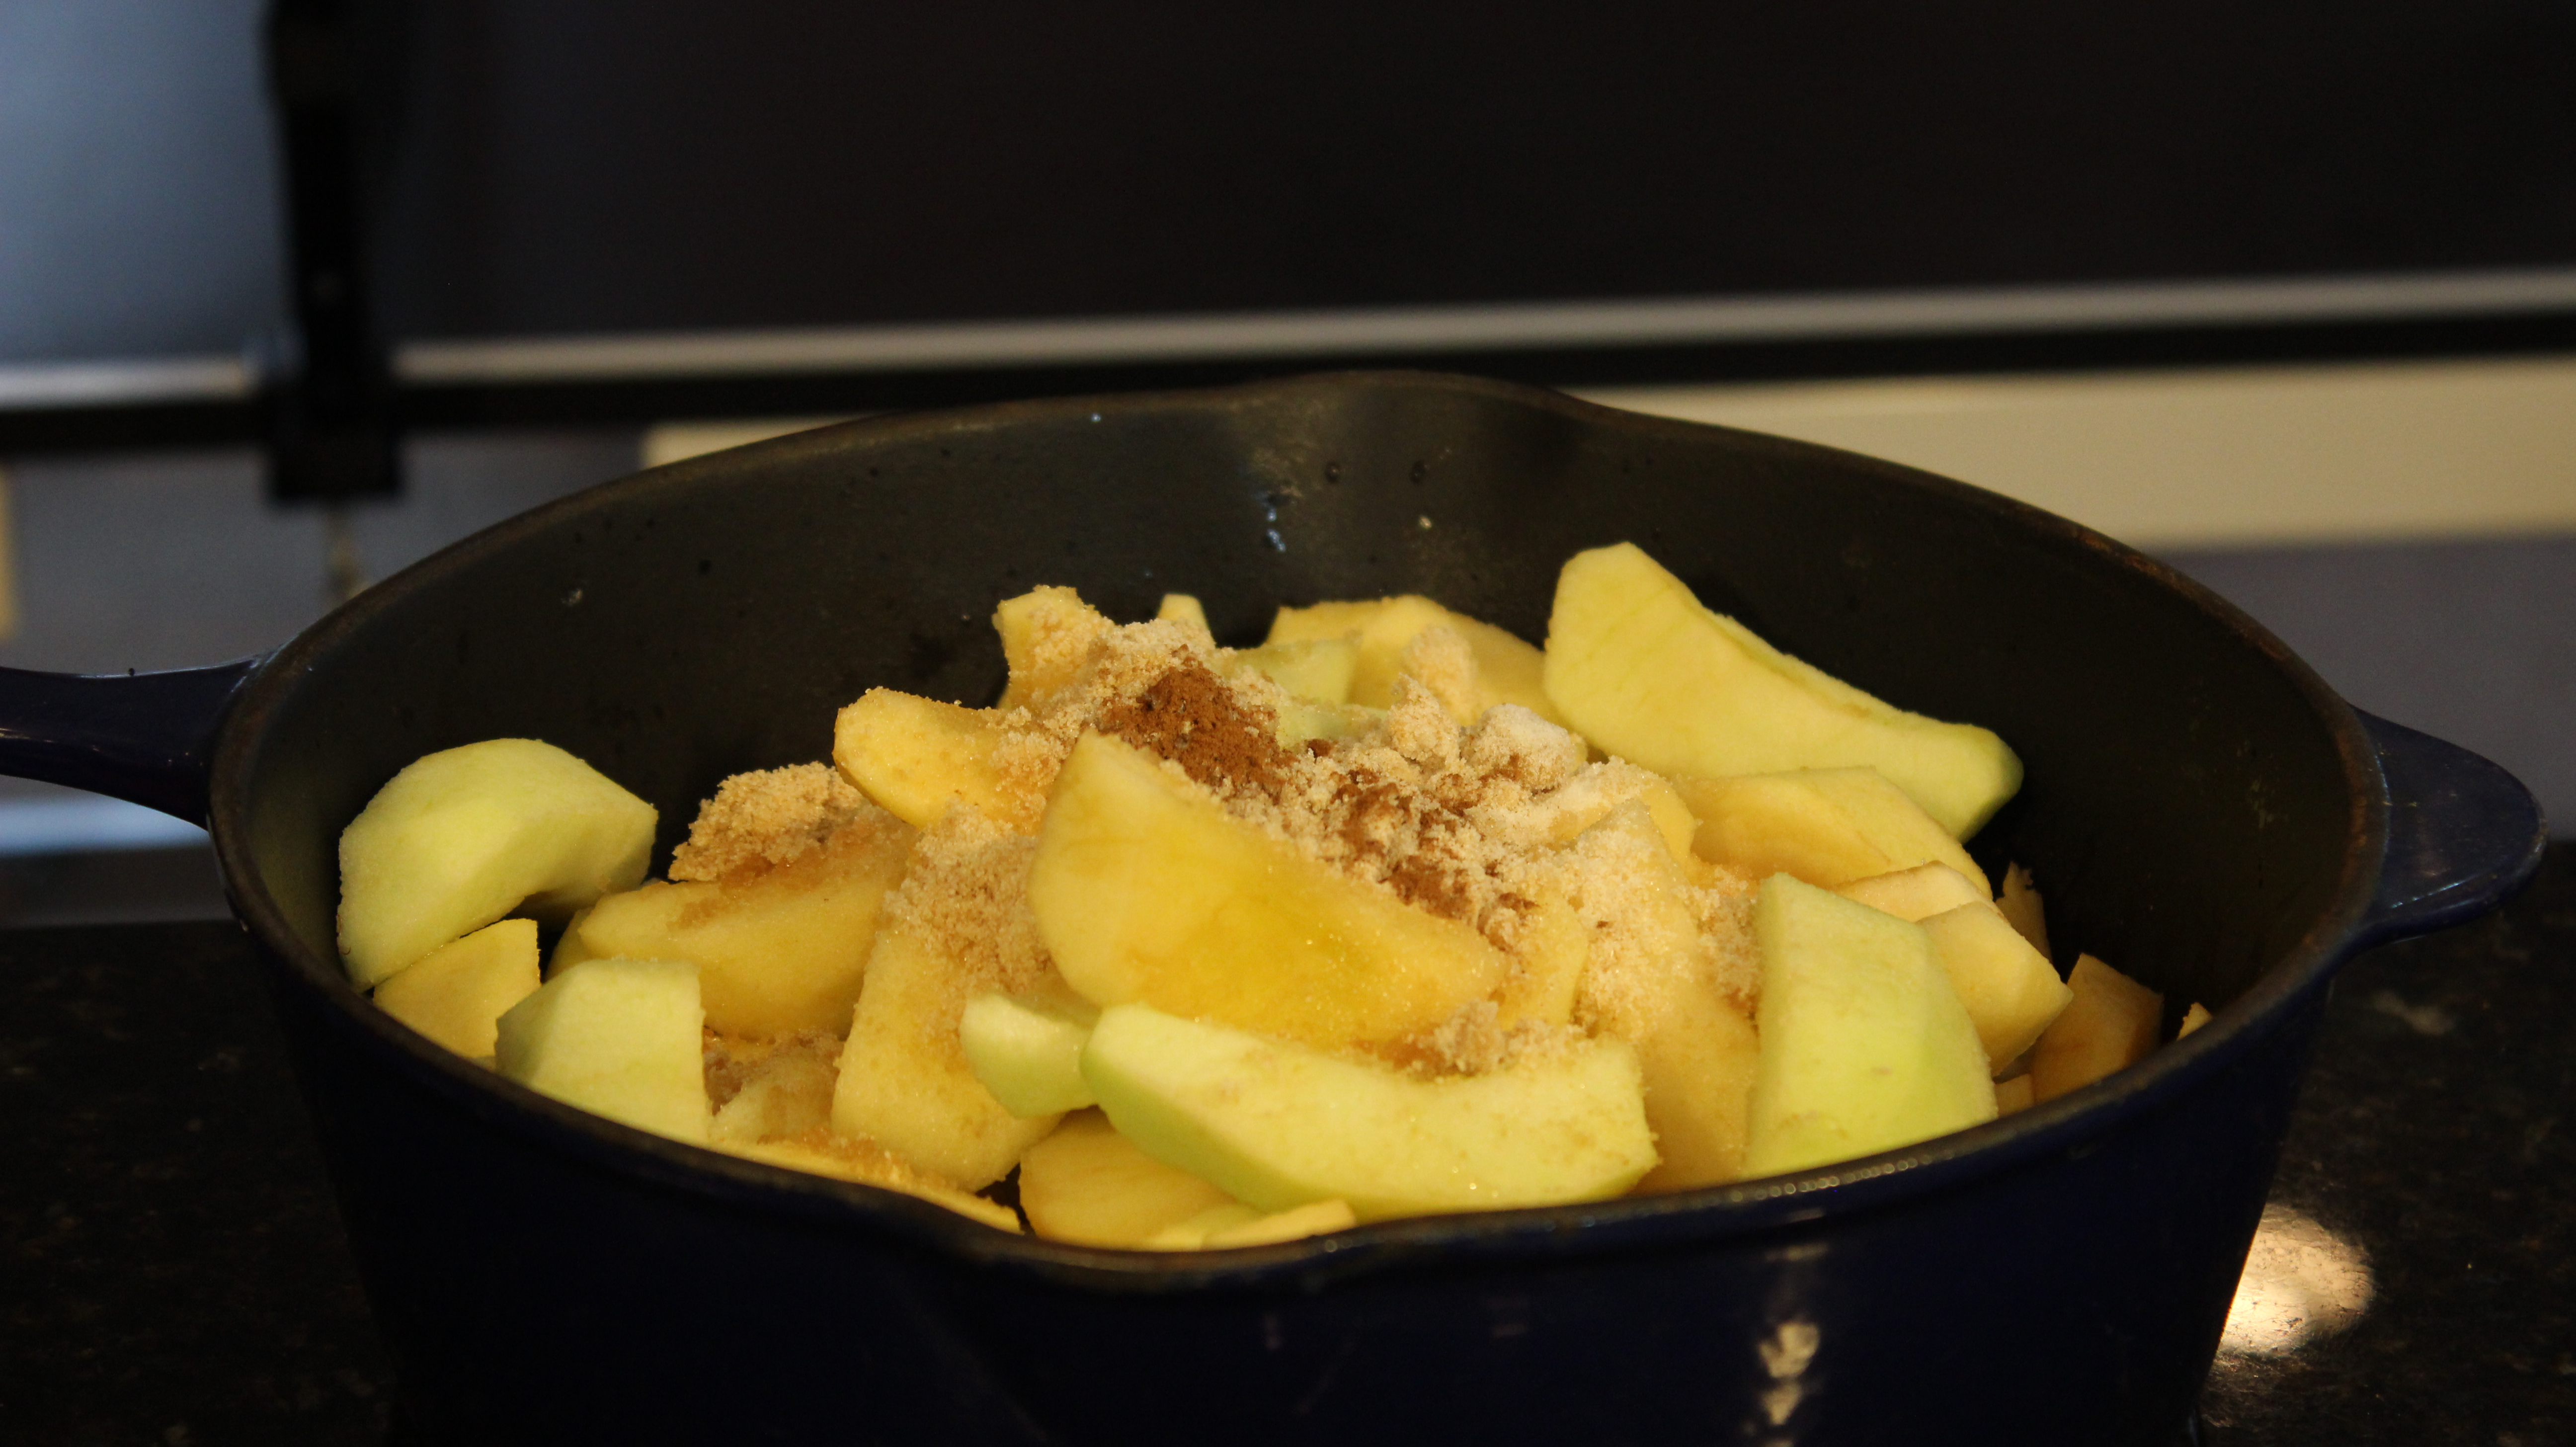
  1. Peel, core and slice apples into 8ths and place into large pan
  2. Squeeze lemon juice on them slices as you go to prevent them from turning brown
  3. Mix the brown and white sugar together
  4. Sprinkle 1/2 the sugar on the apples
  5. Add all of the cinnamon, nutmeg, (cloves -optional) salt and the water
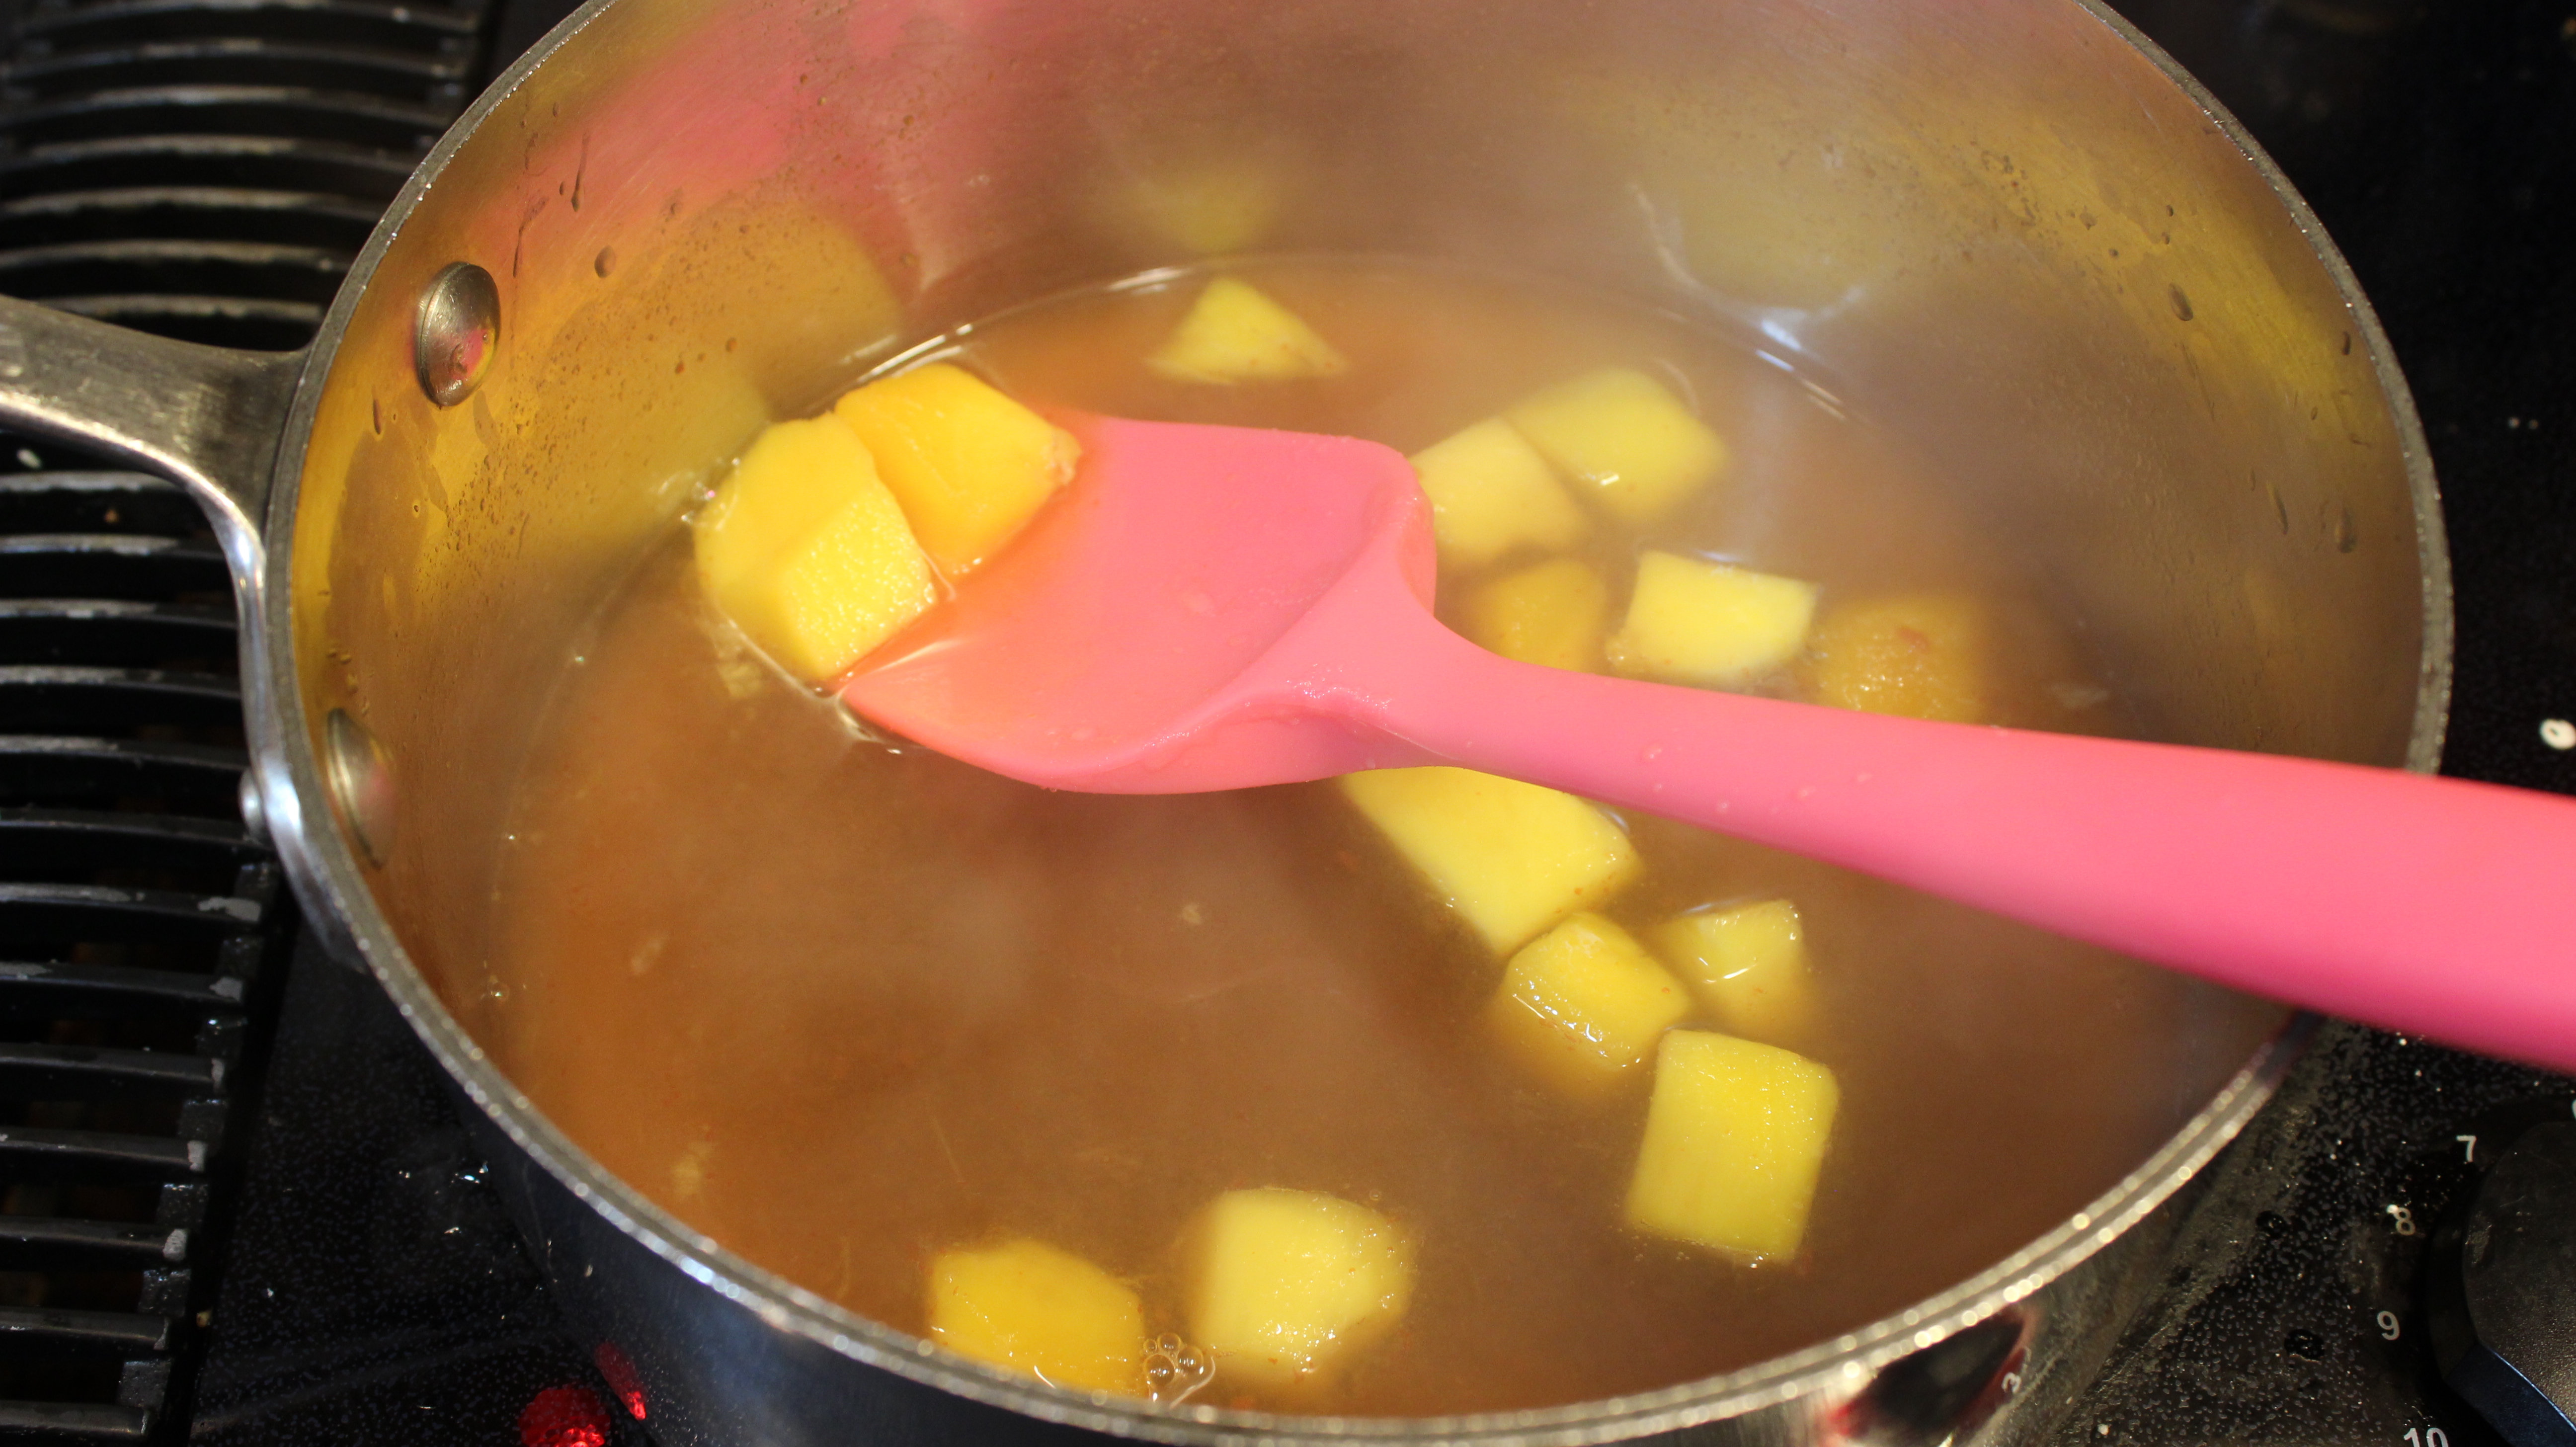
  6. Mix with a spoon and put on the stove over med/high bringing to a boil
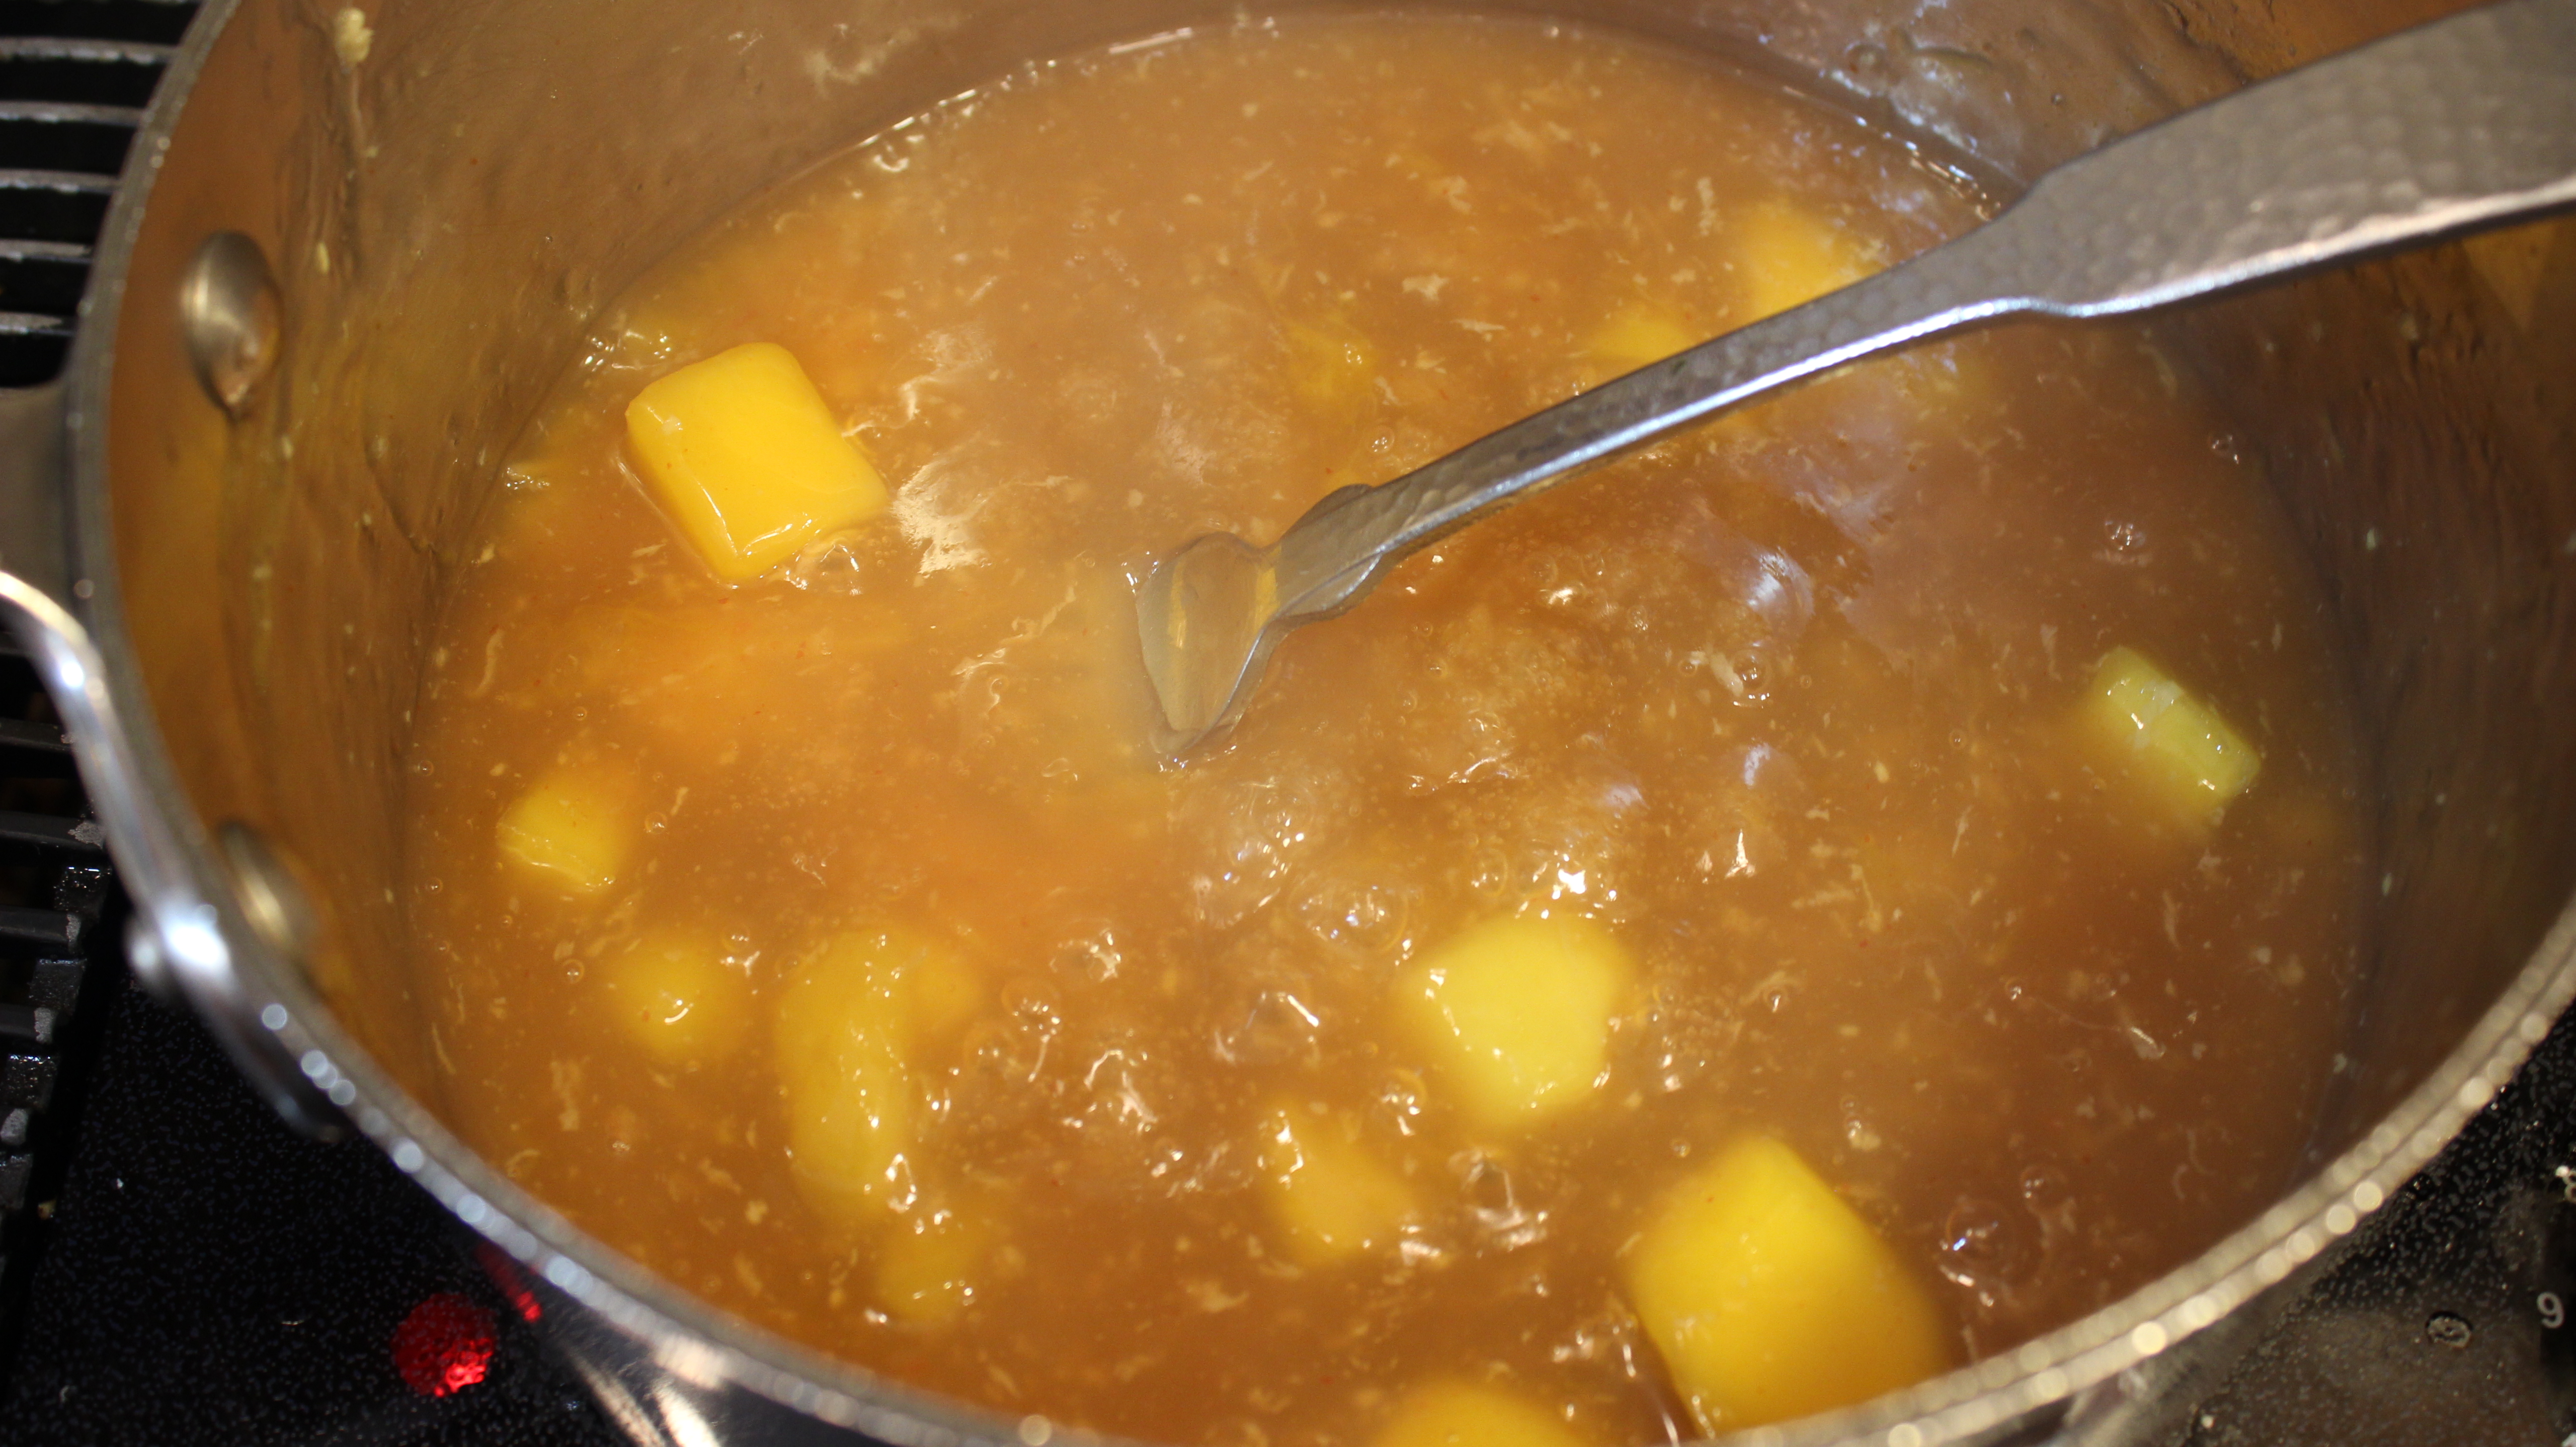
  7. Turn down and keep simmering for 20-25 minutes until softened
  8. Taste and check sugar content, add the remaining sugar if you want sweeter
  9. If you add the rest of the sugar simmer for a few more minutes til it melts
  10. Remove from stove and let cool 5 minutes
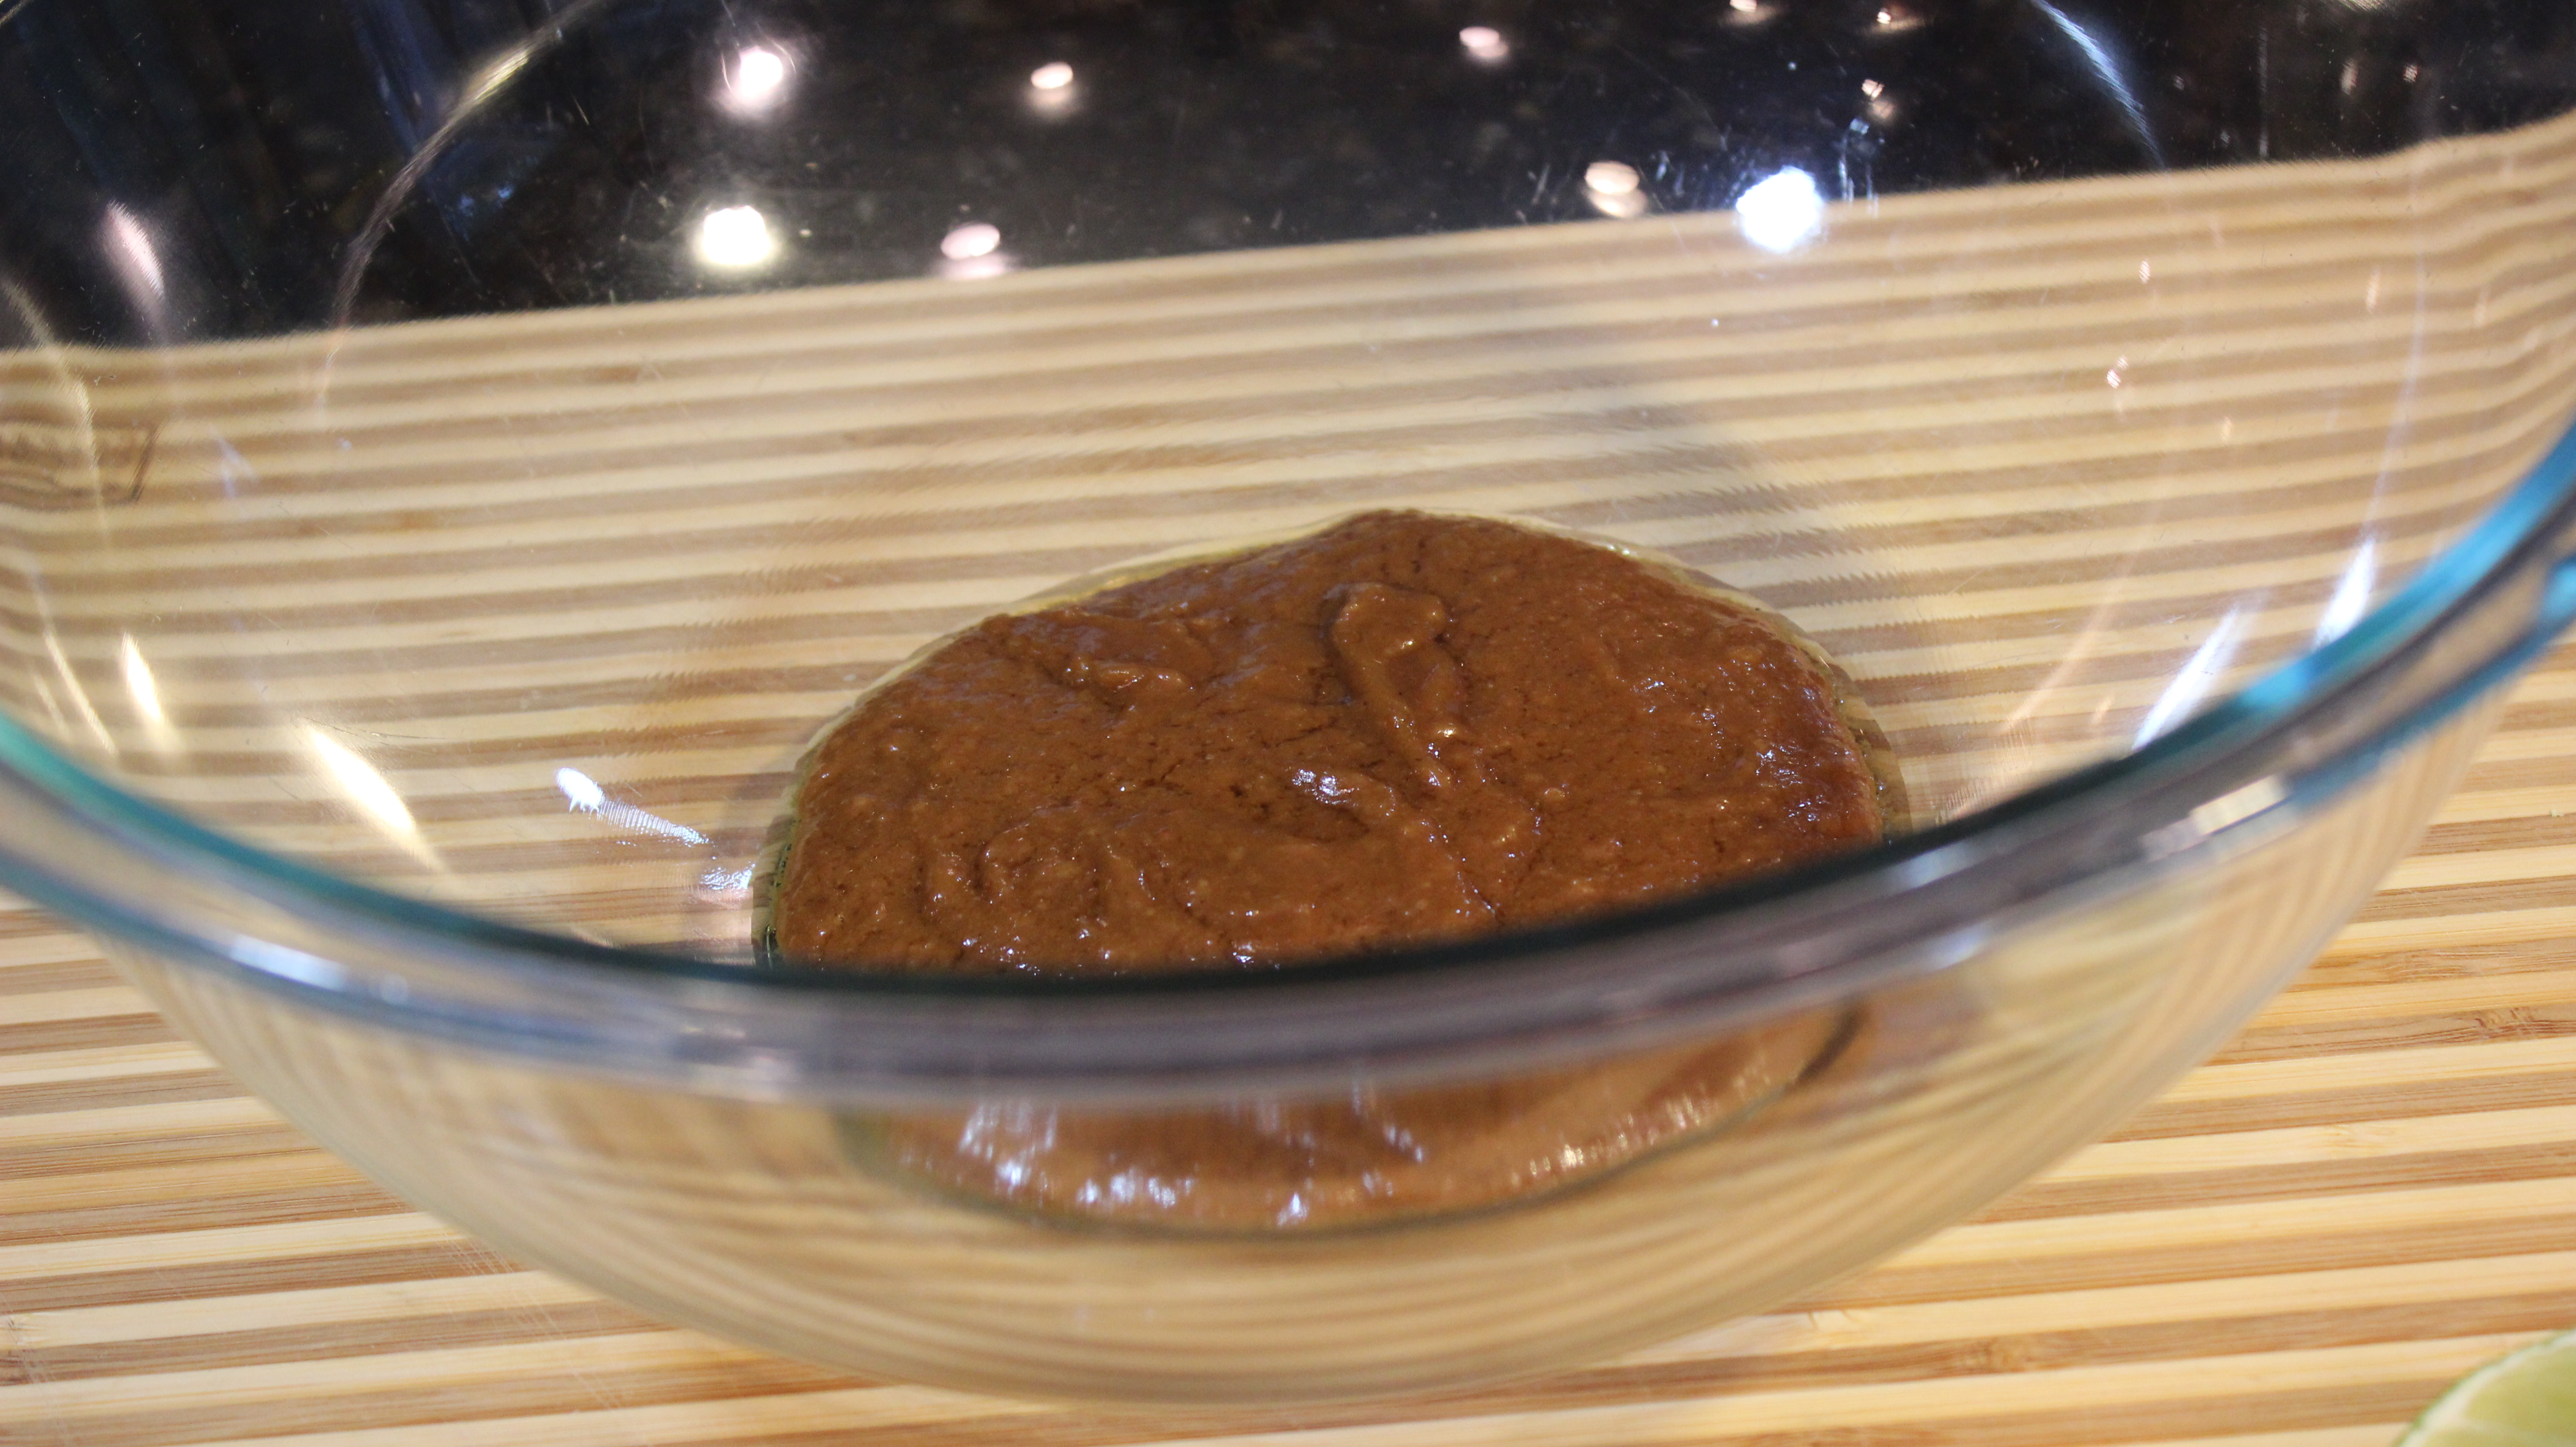
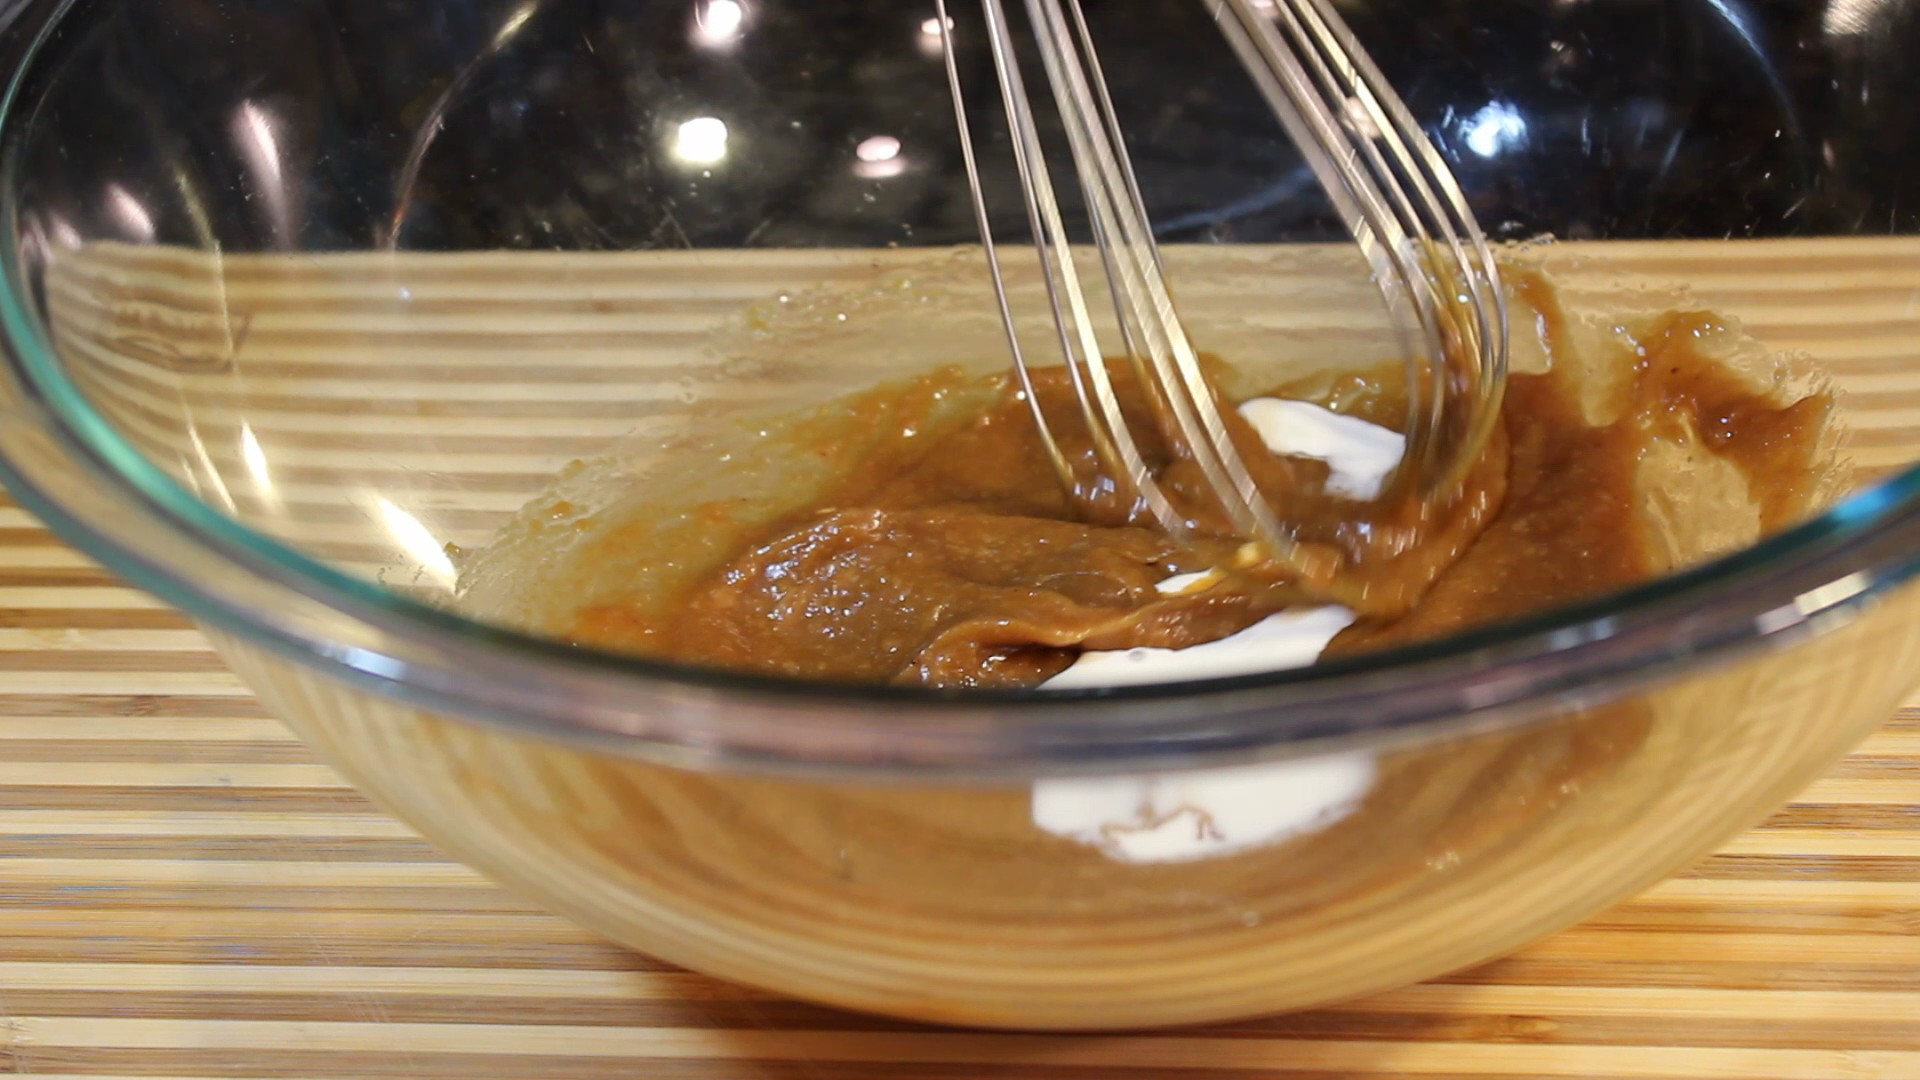
  11. Mash the apples with a potato masher, fork, whisk or add to food processor til you get the texture that you want – If you are using a food processor only fill 1/2 way then puree
  12. Serve with a big grilled pork chop, topped with caramelized onions, and crumbled Gorgonzola or do up dessert with the Applesauce-Caramel Sundae…enjoy! 🙂

Sweet Potato Fries & Green Goddess Dip lll

Sweet Potato Fries & Green Goddess Dip lll

IMG_3827
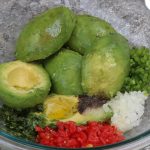
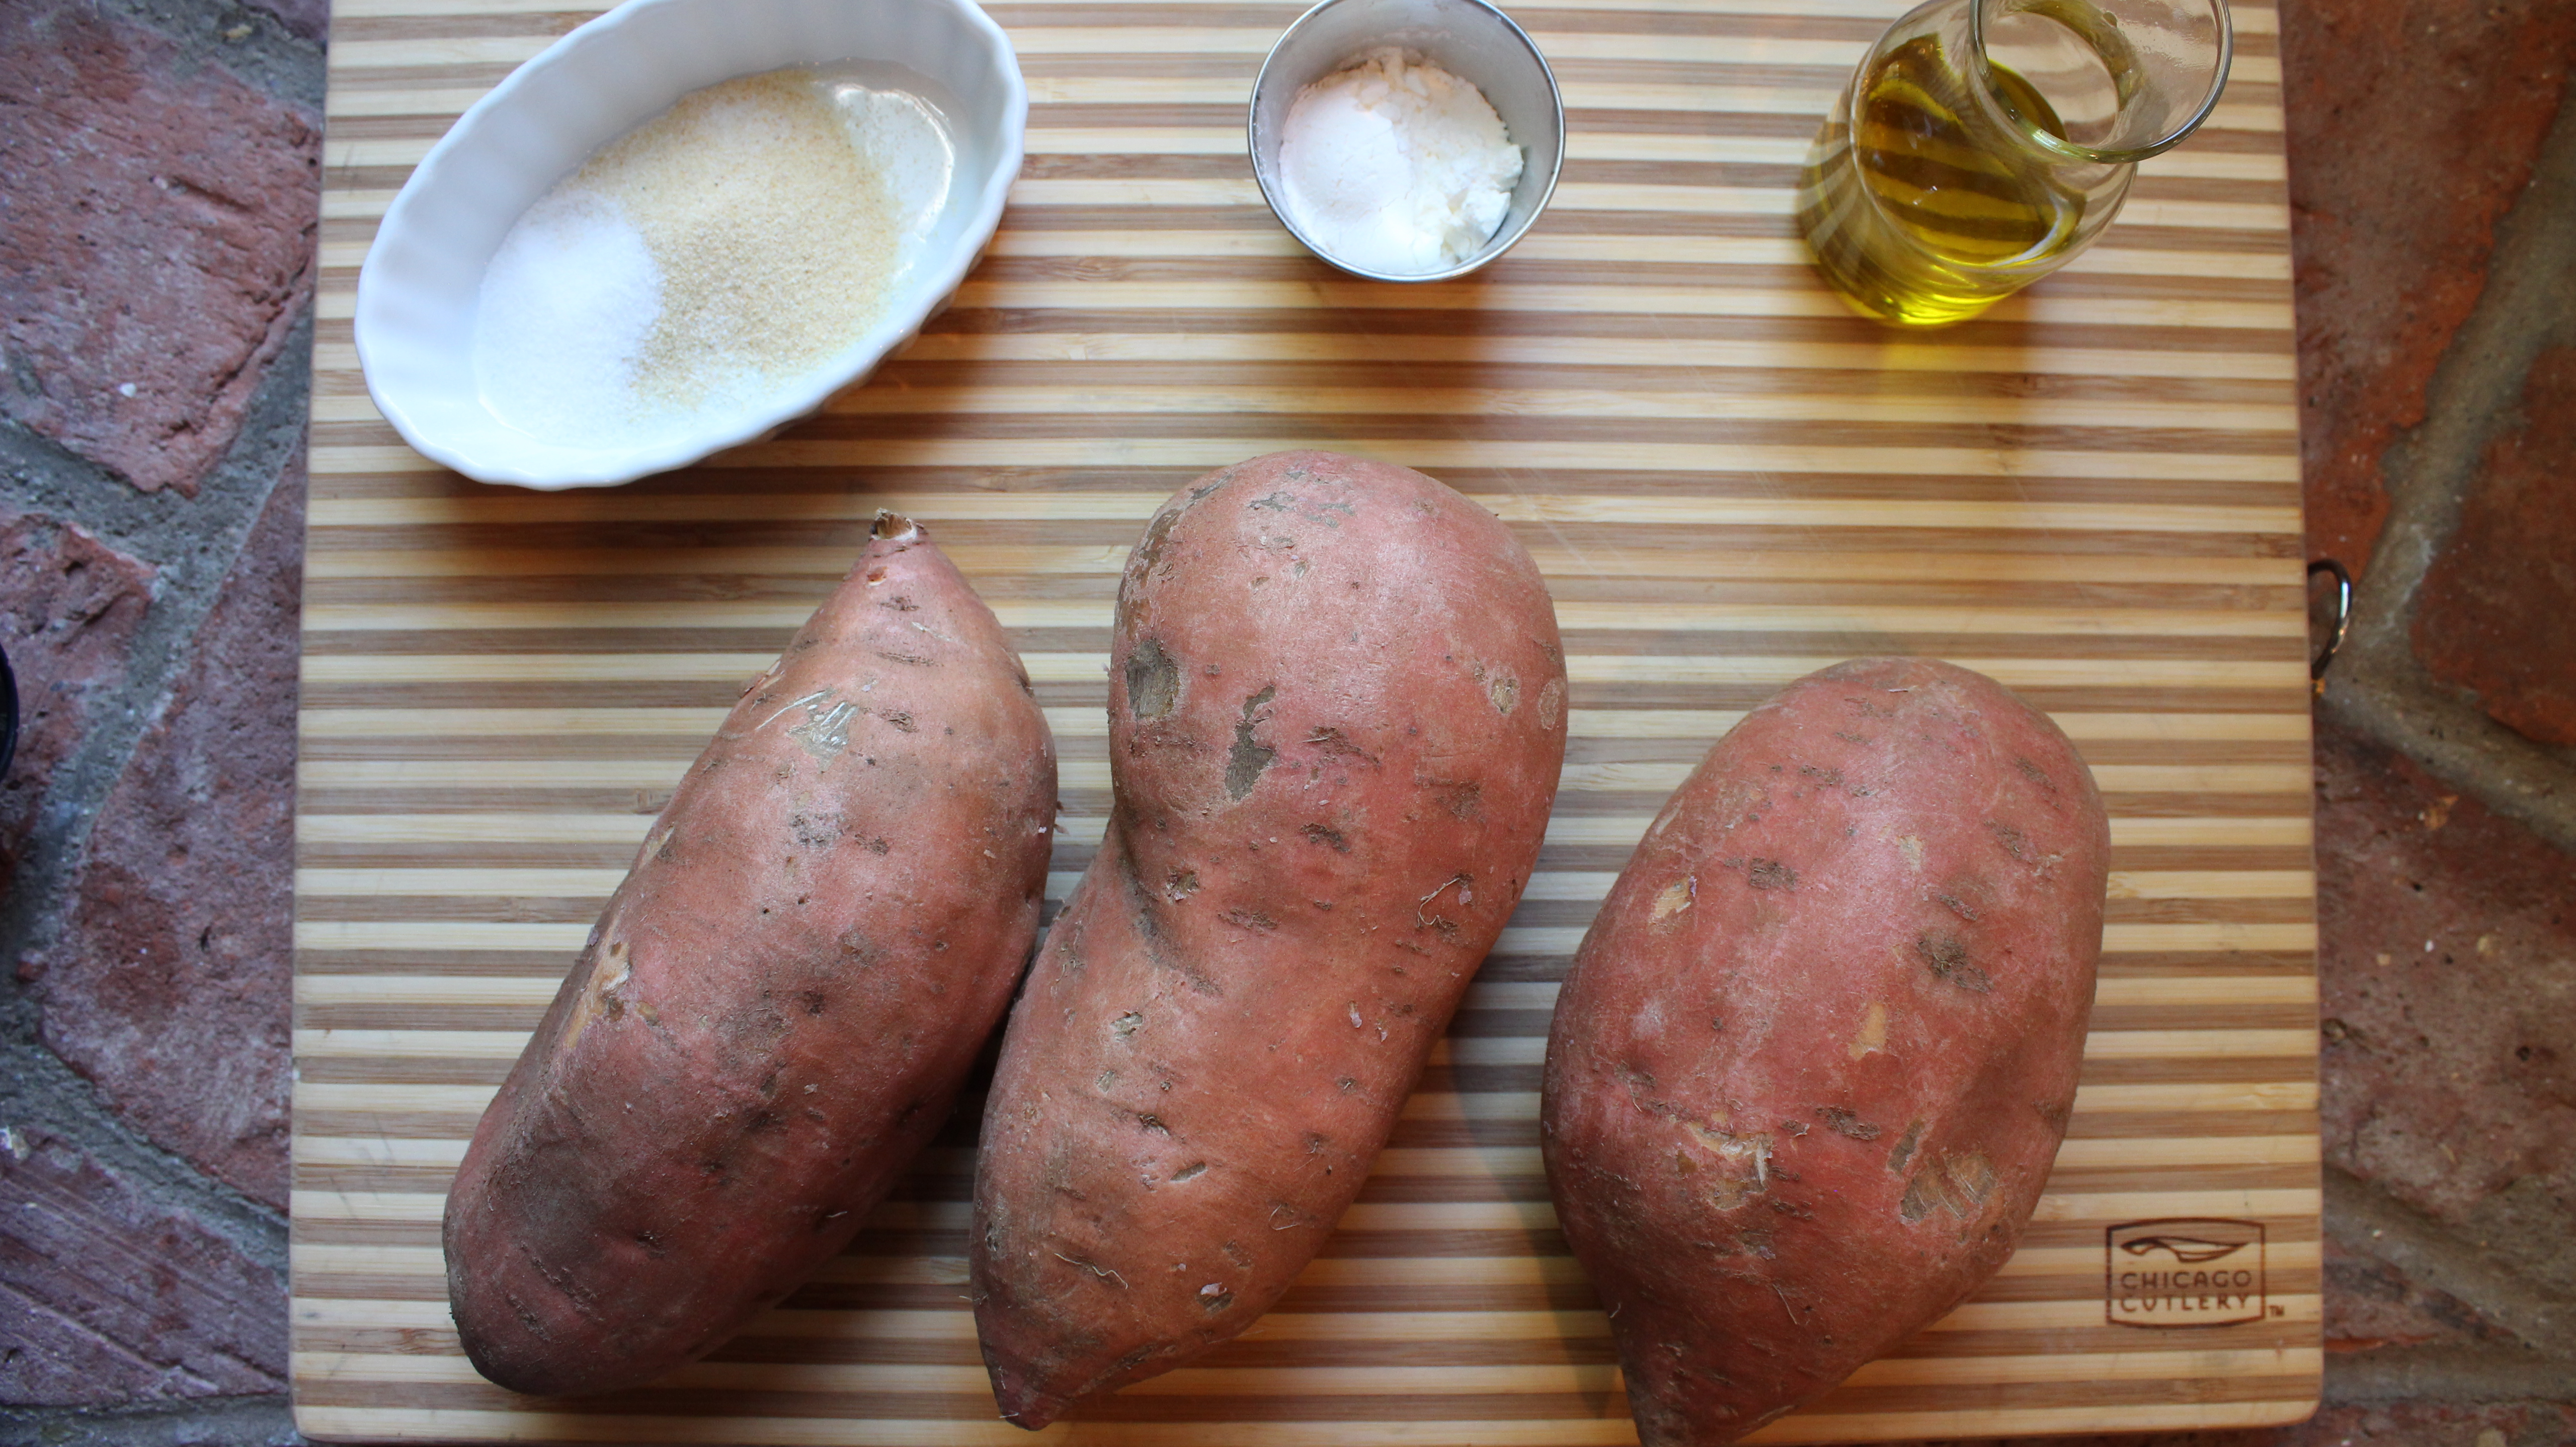
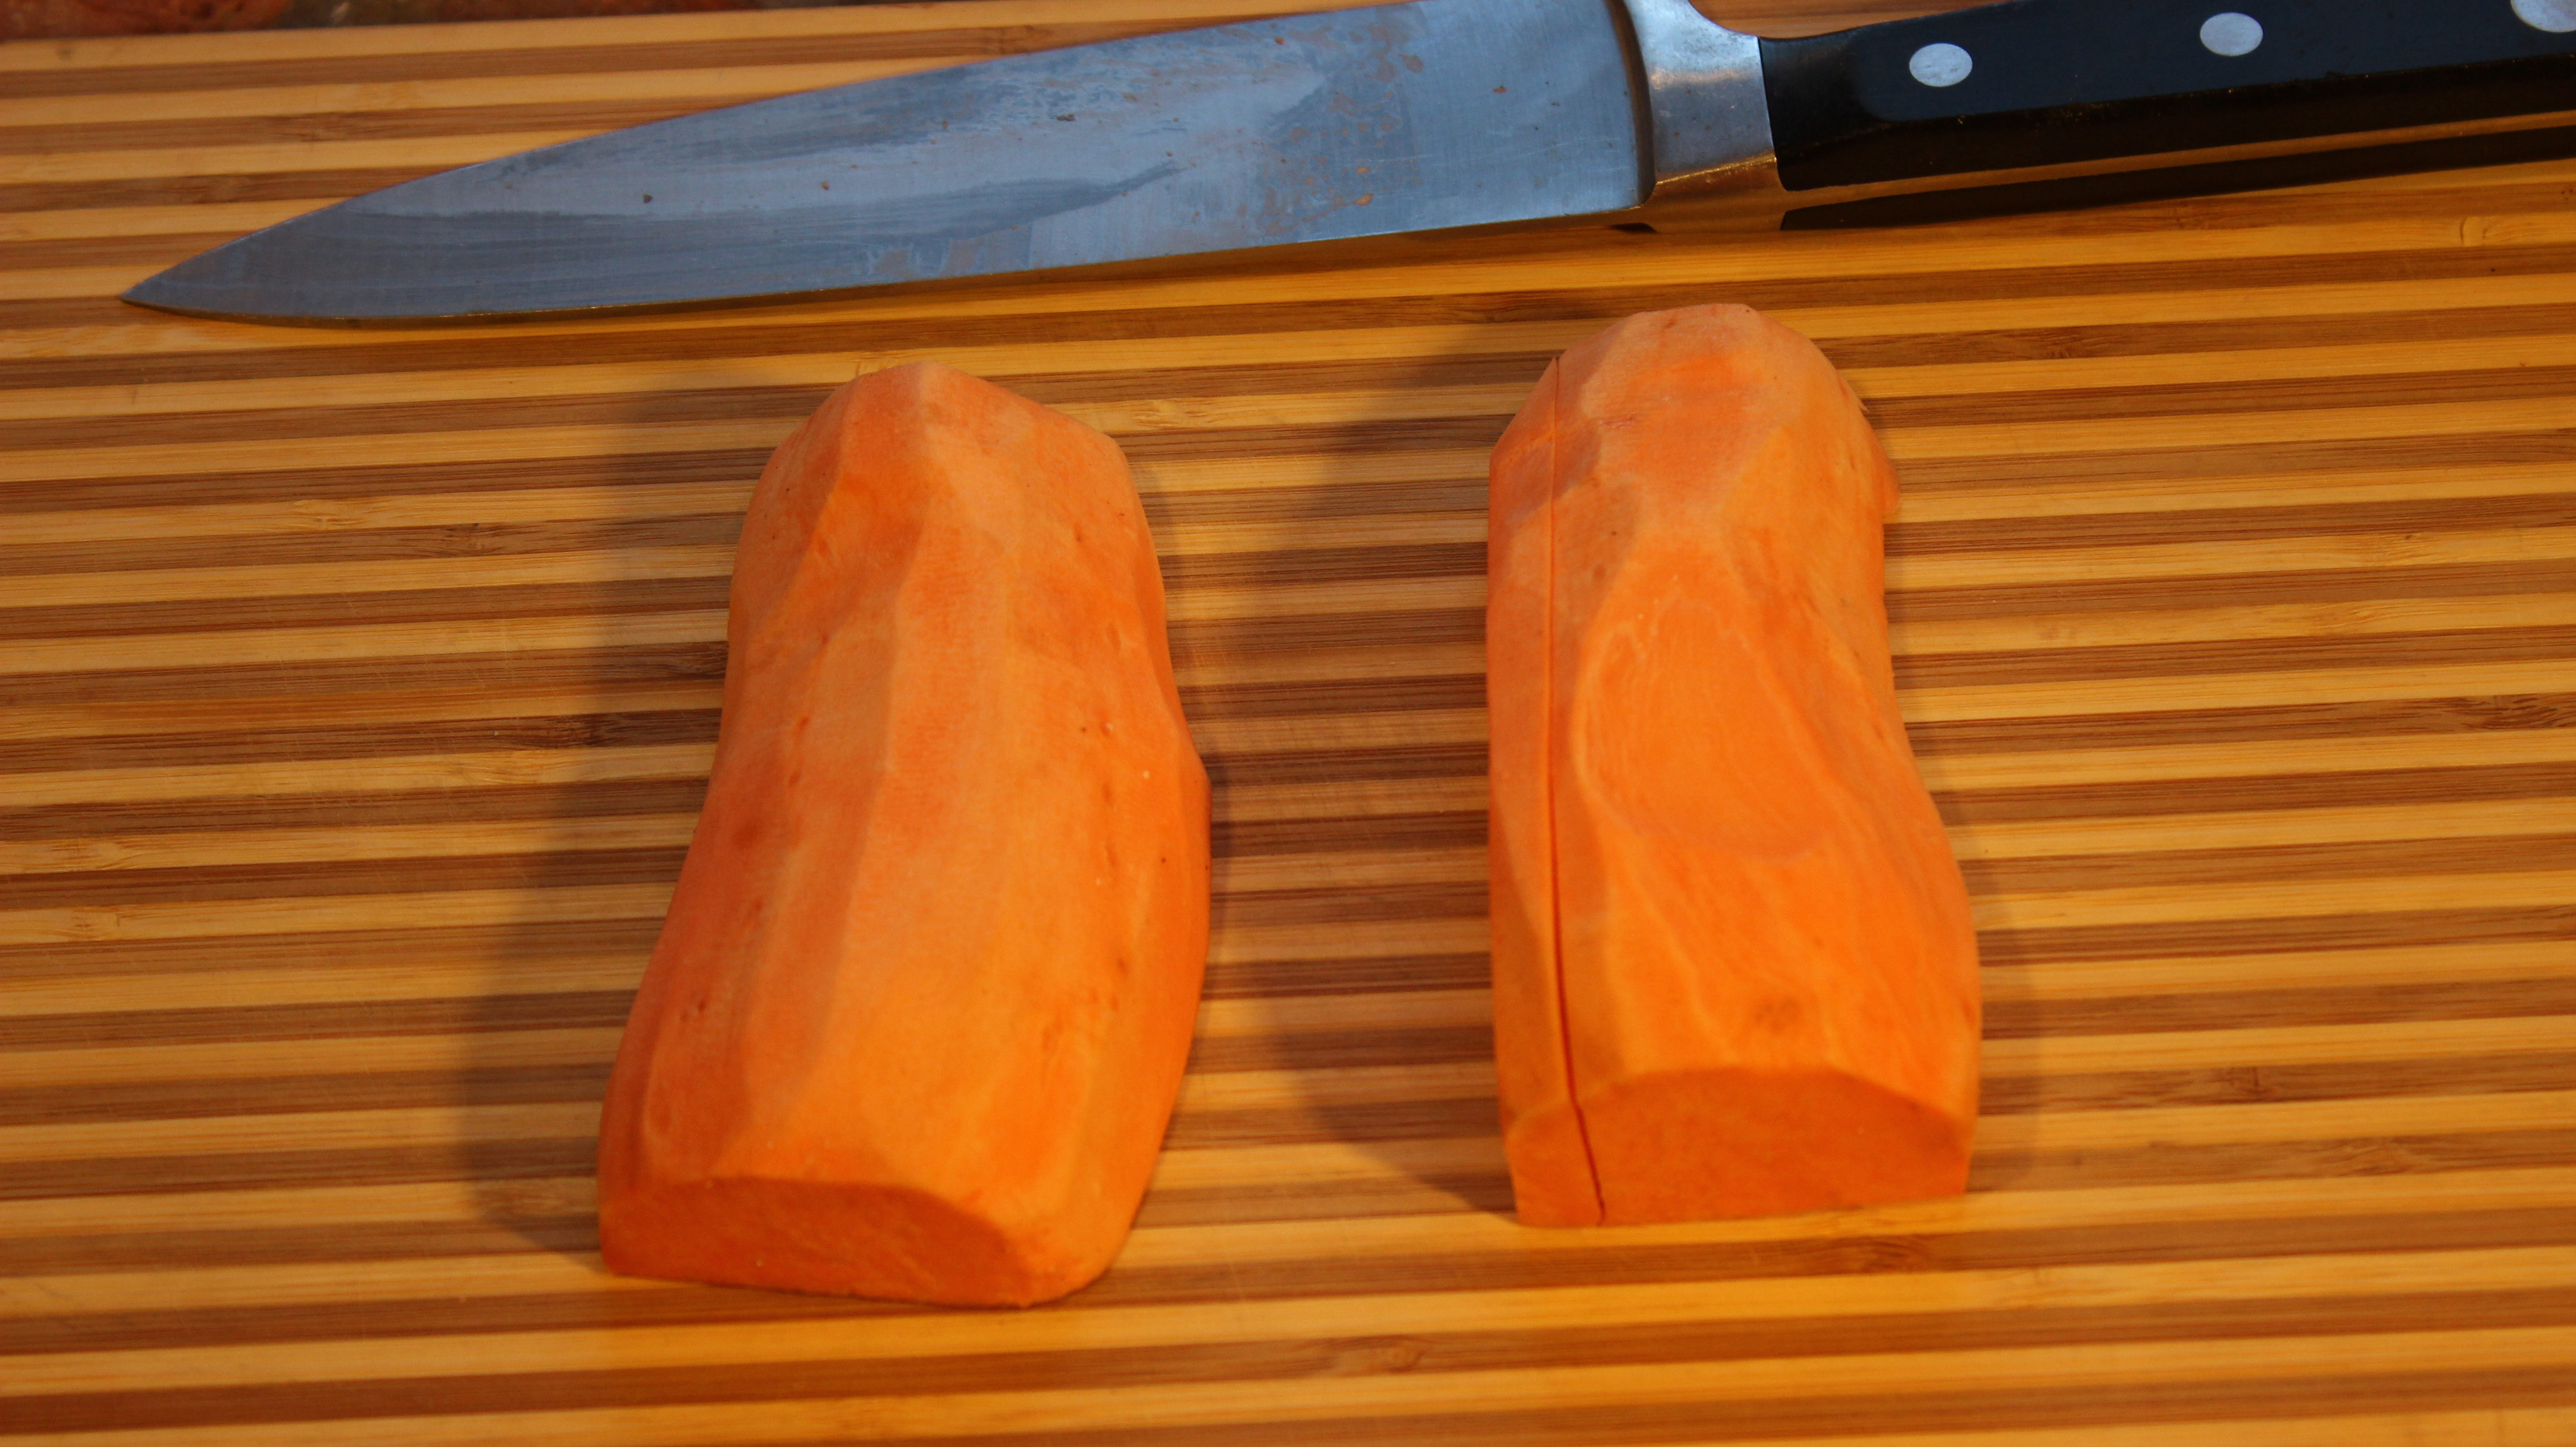
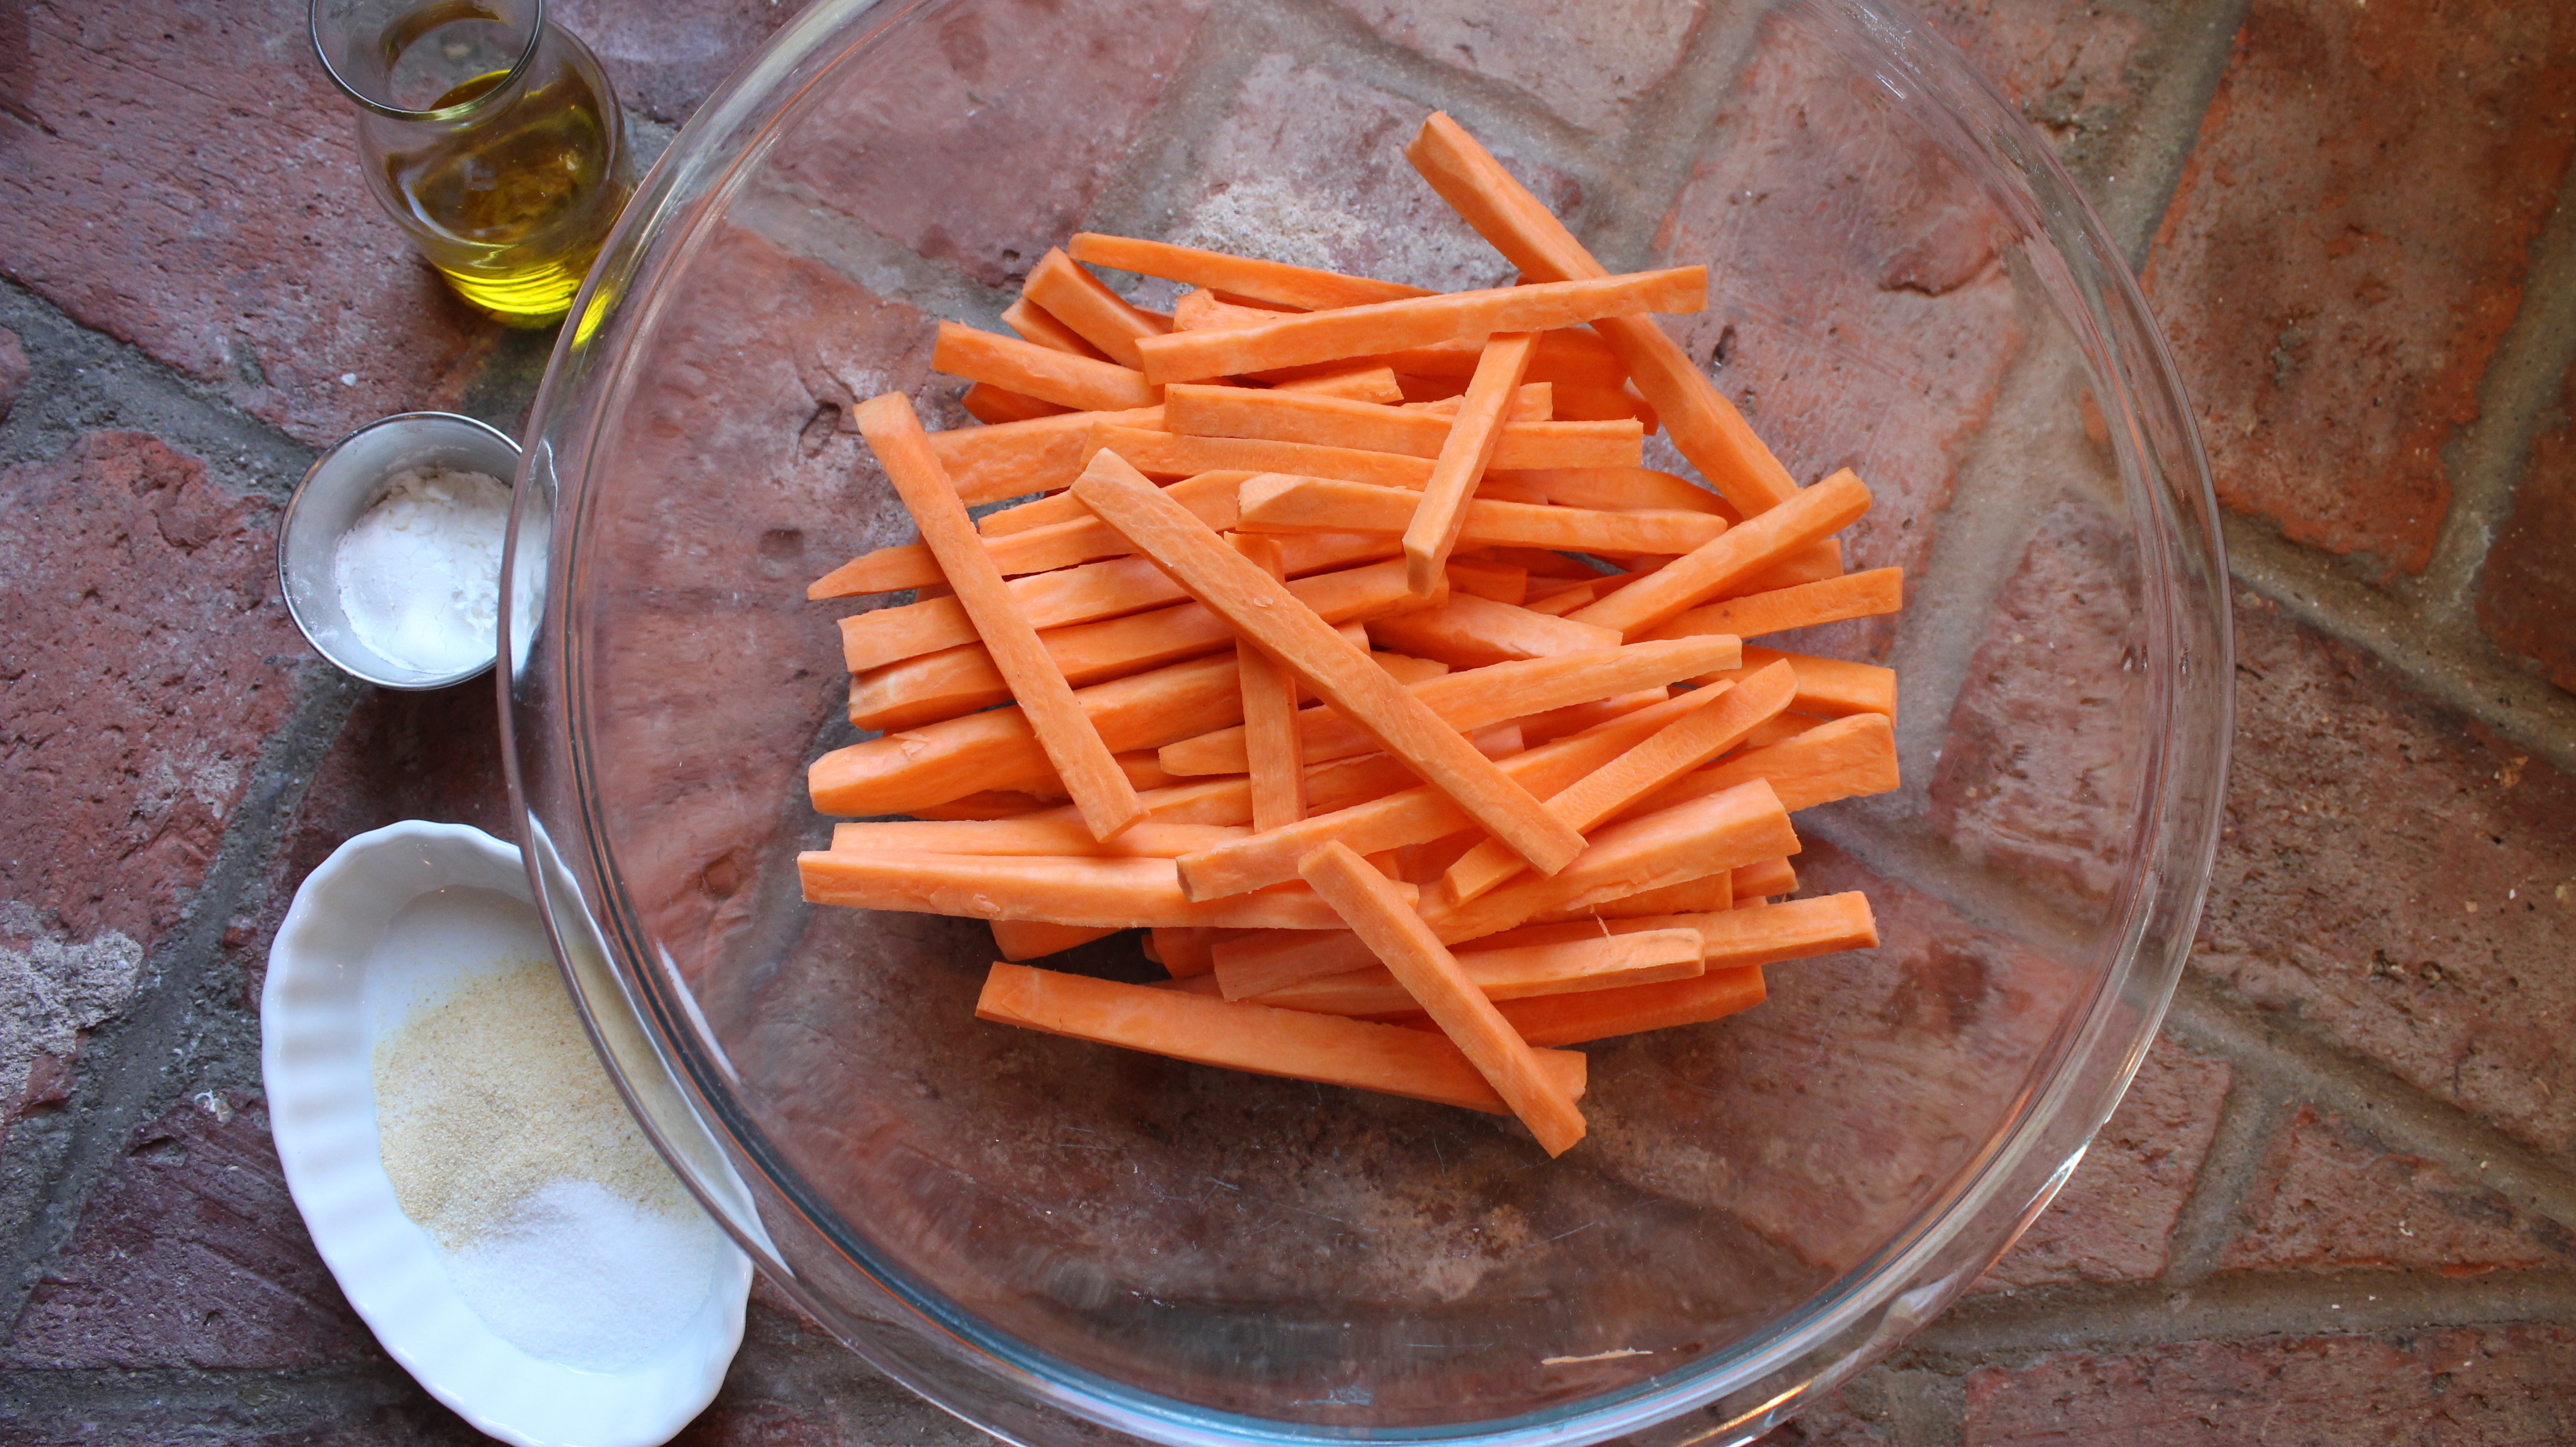
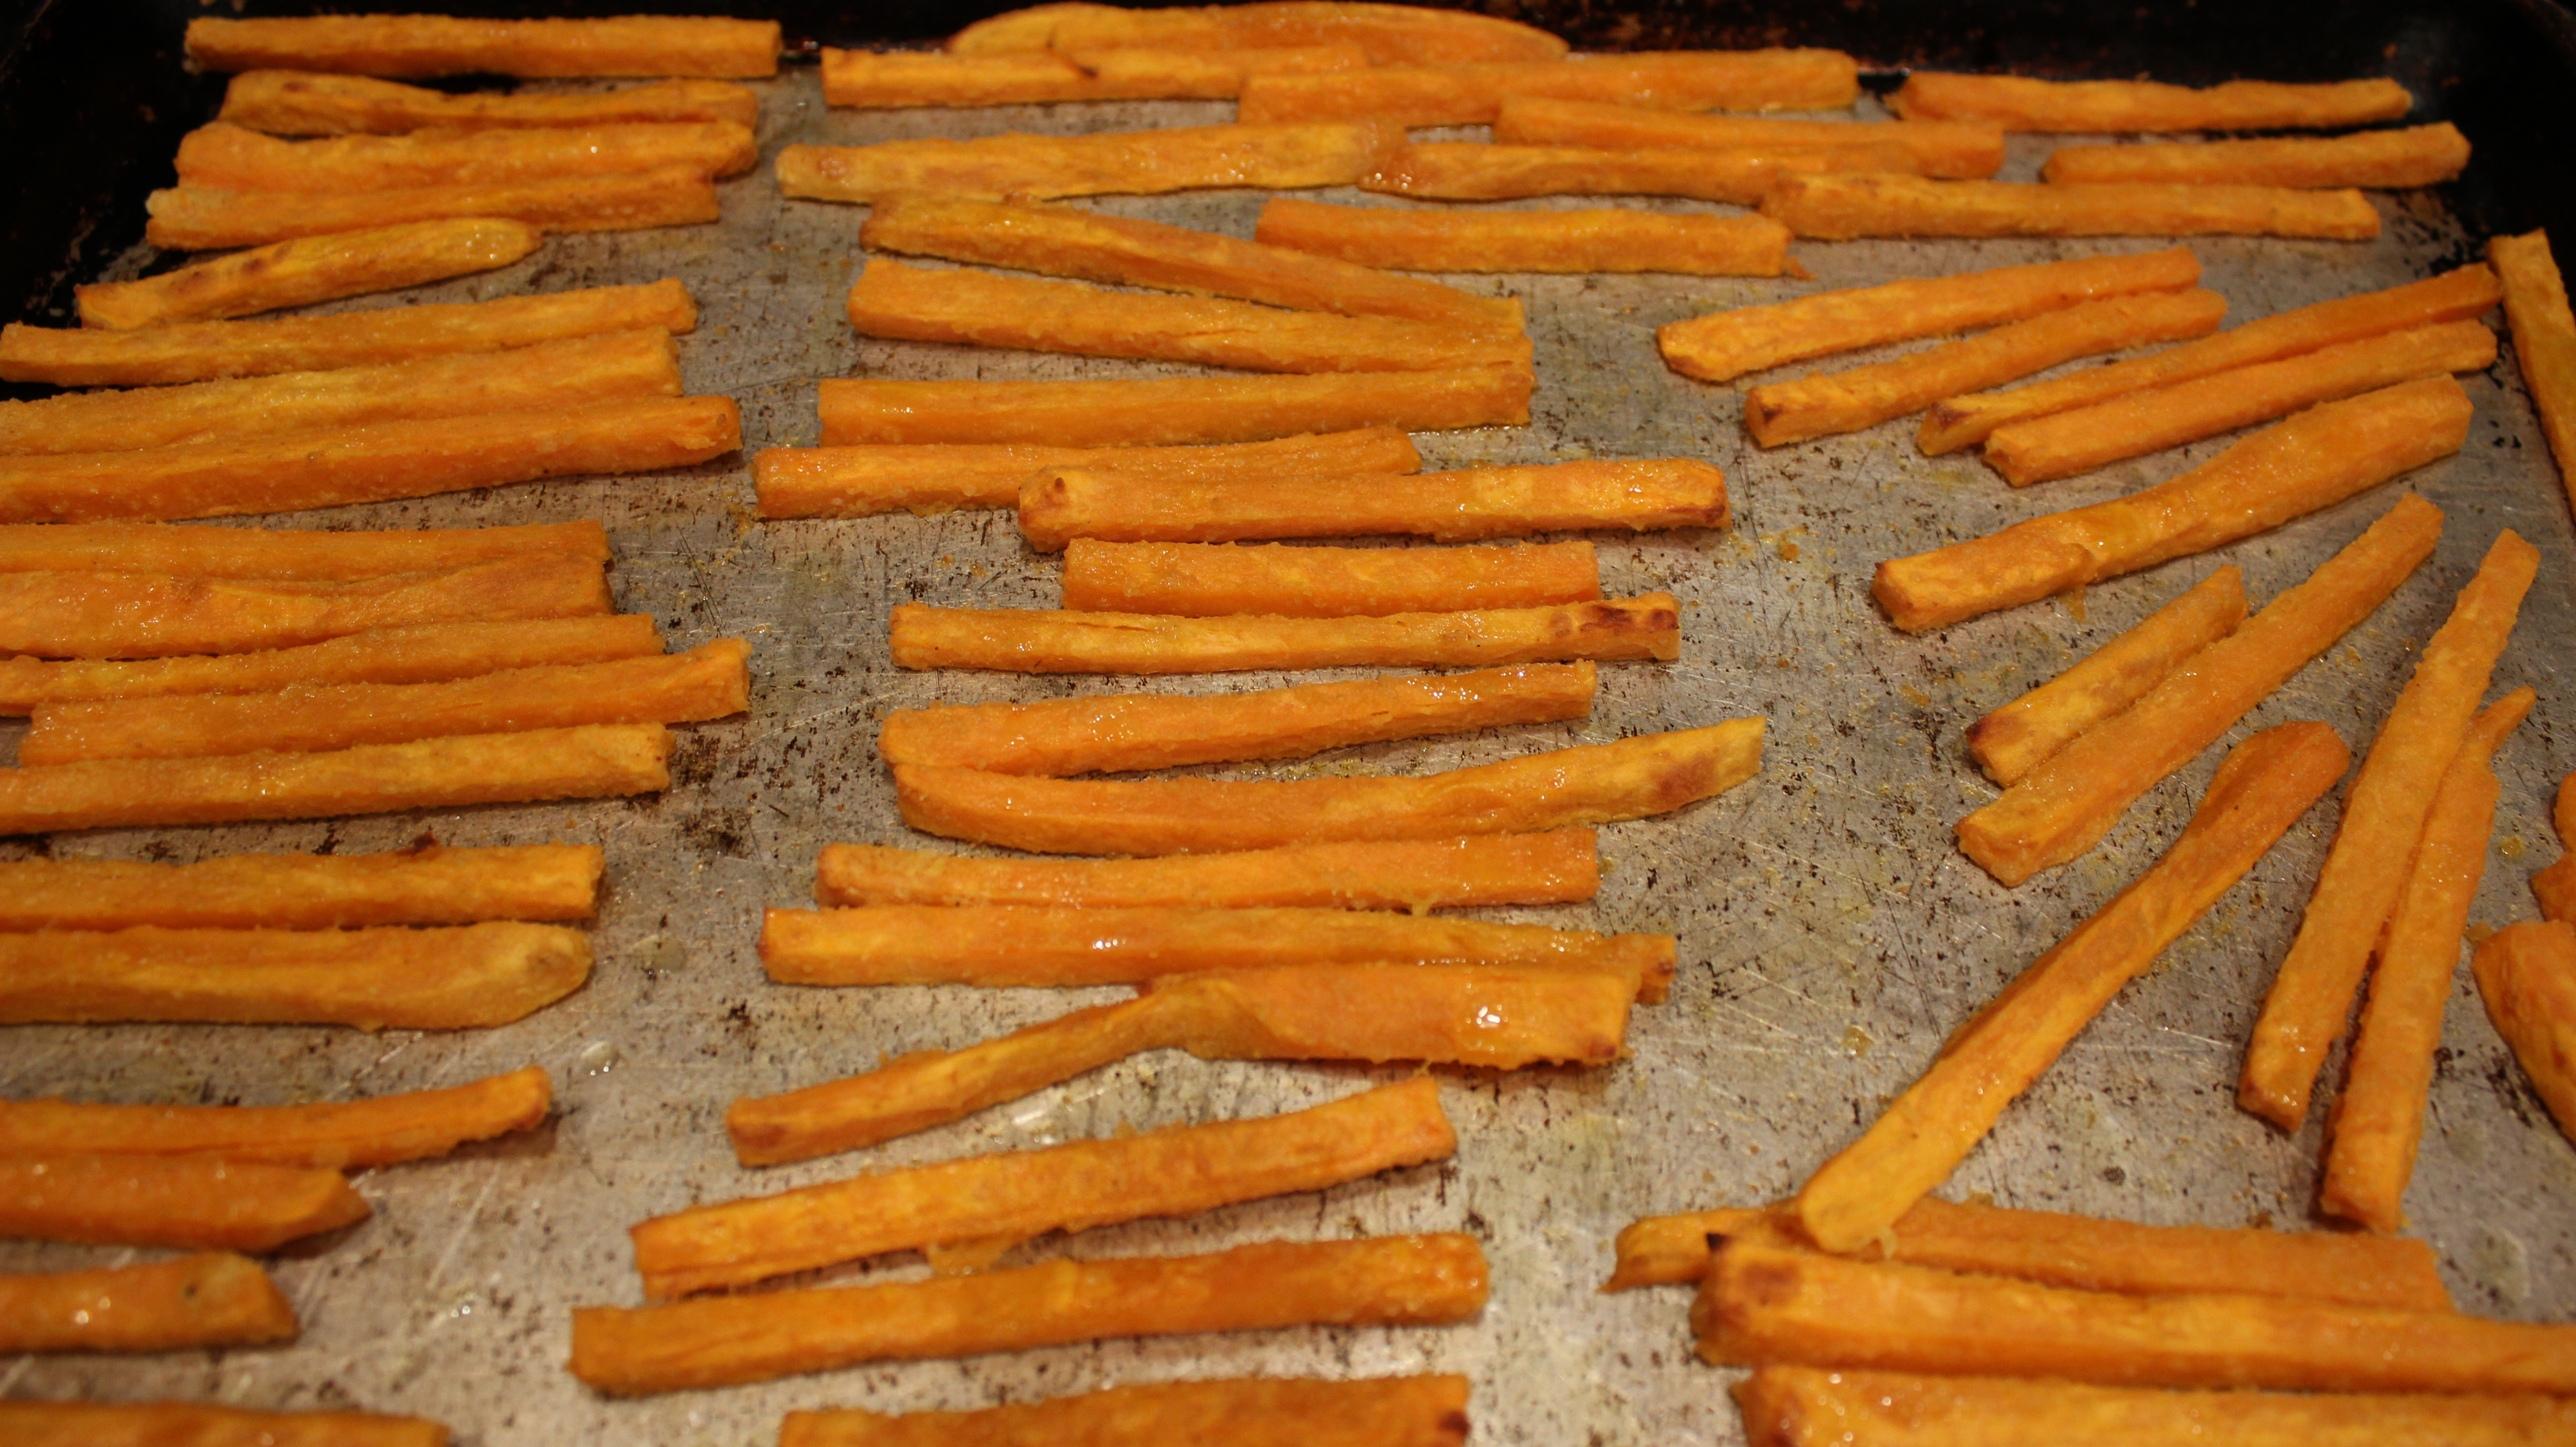
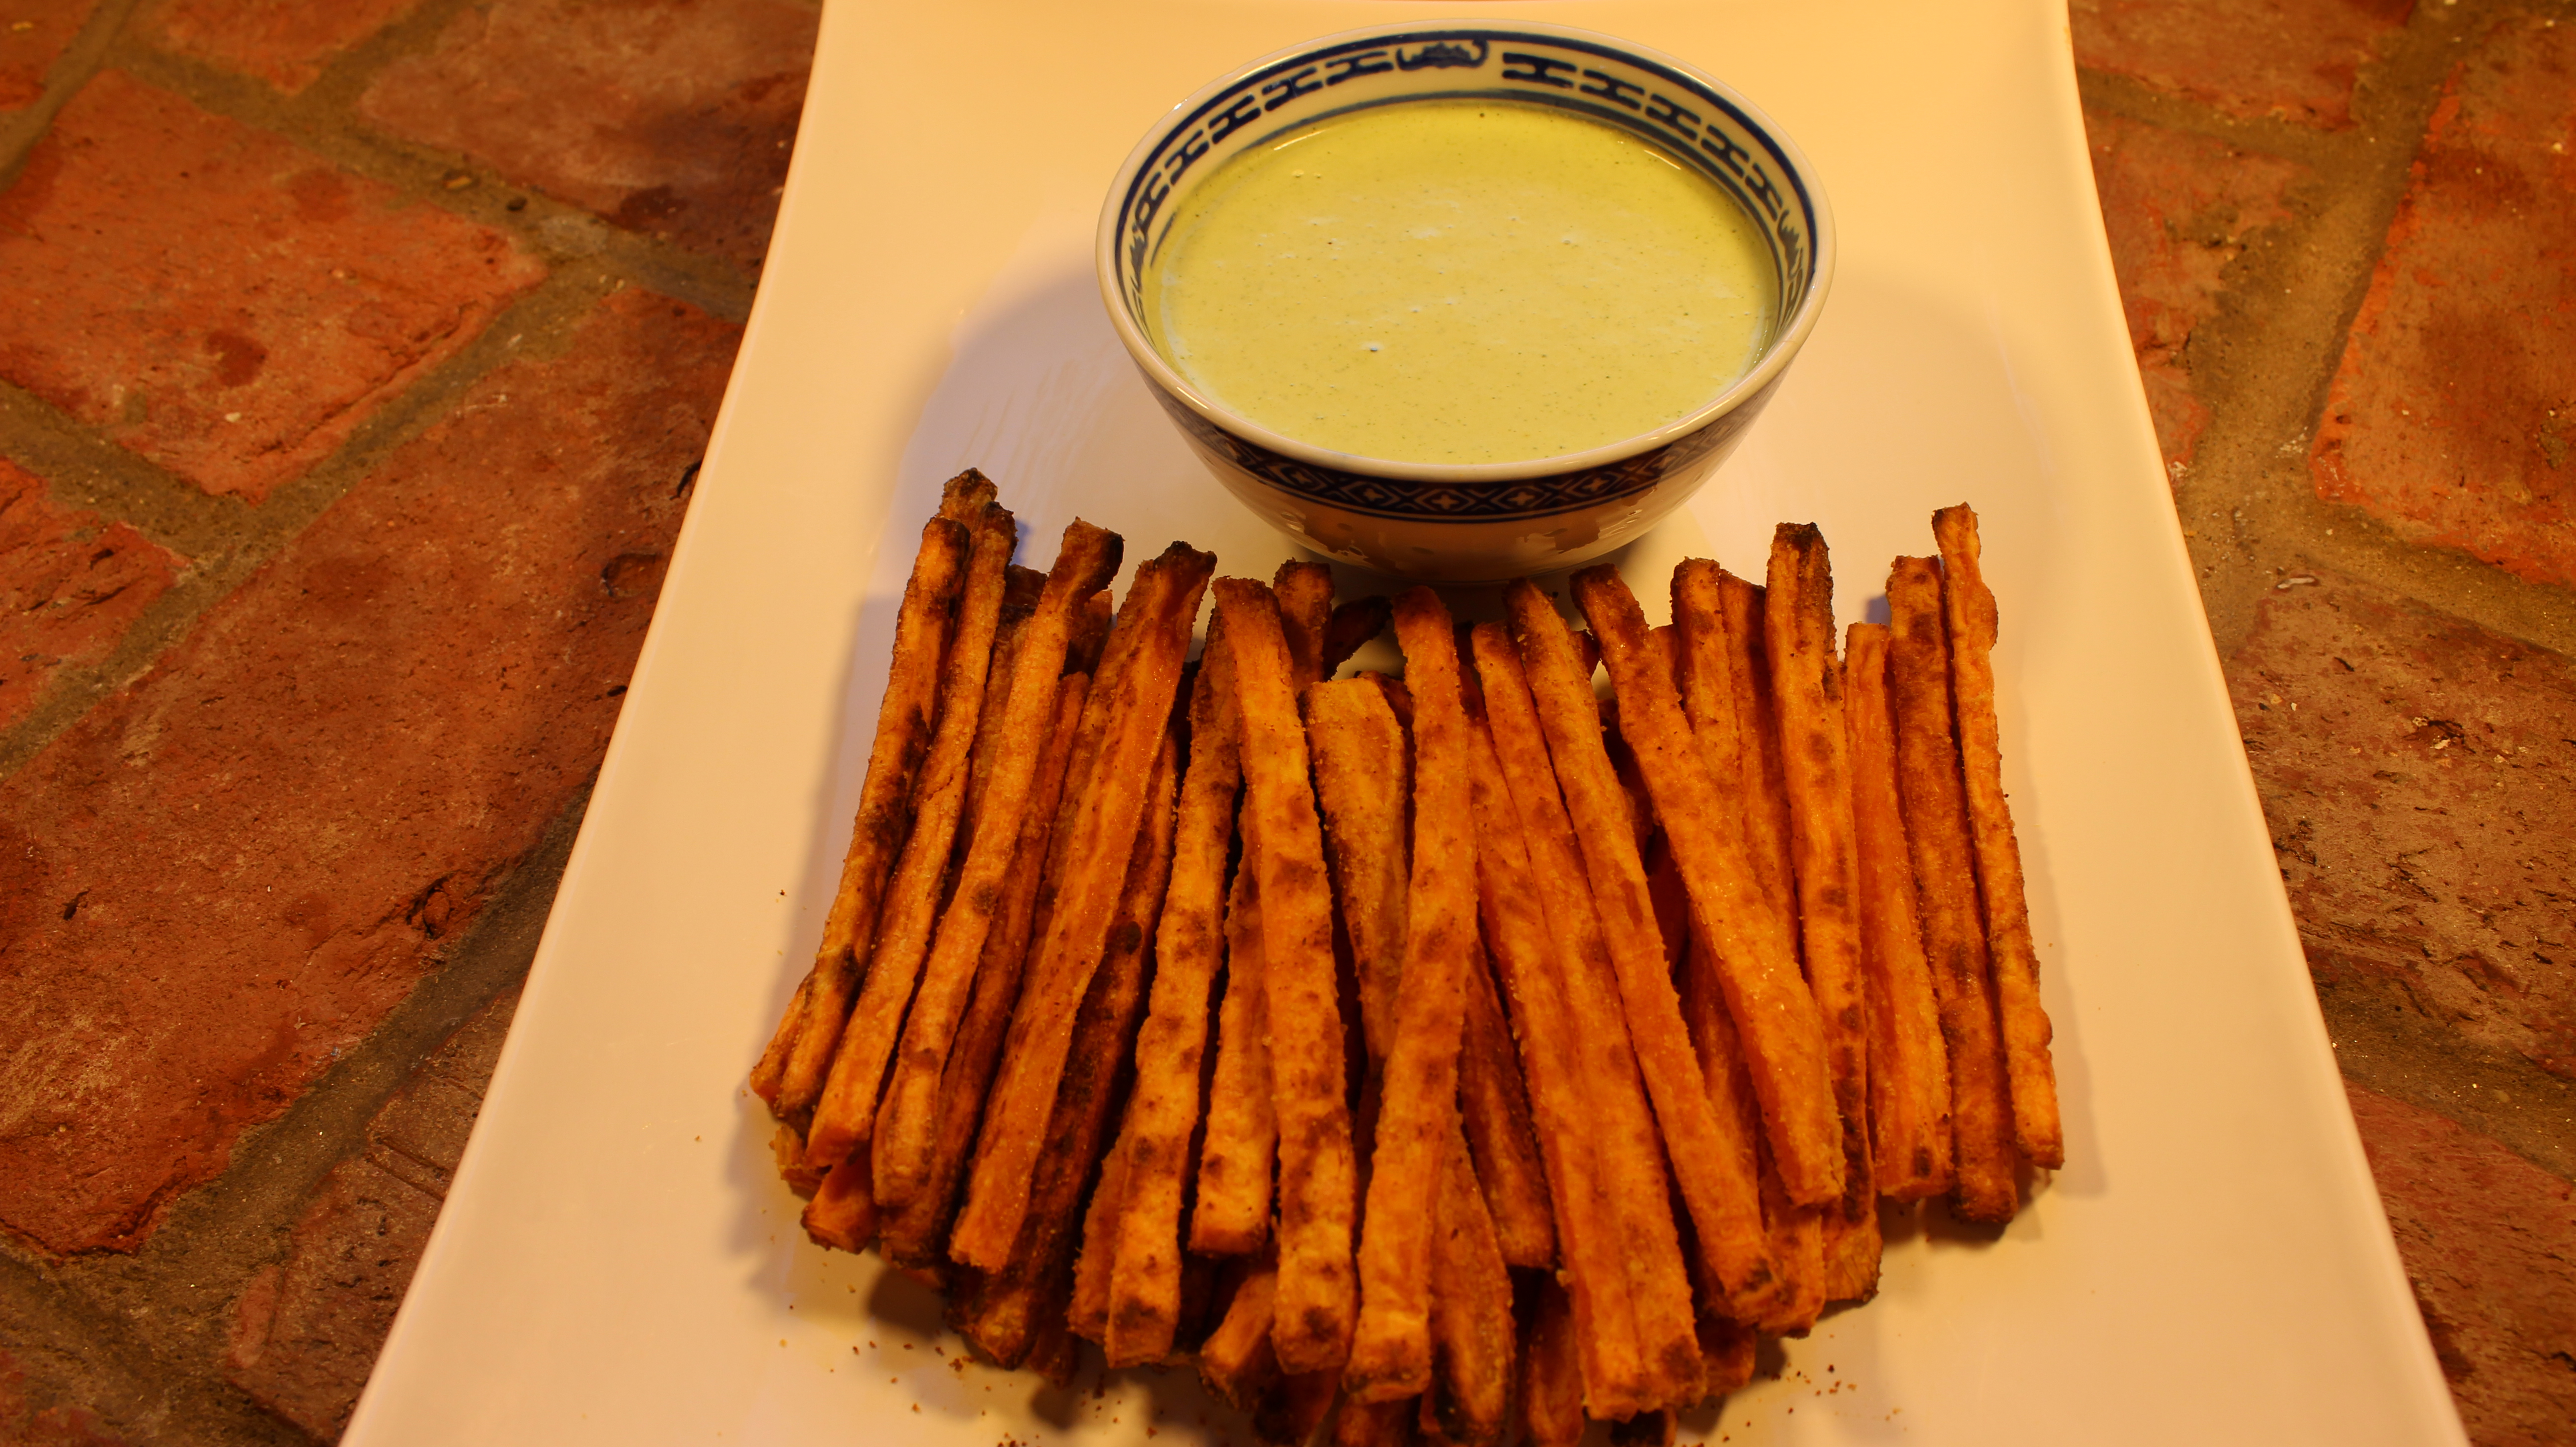
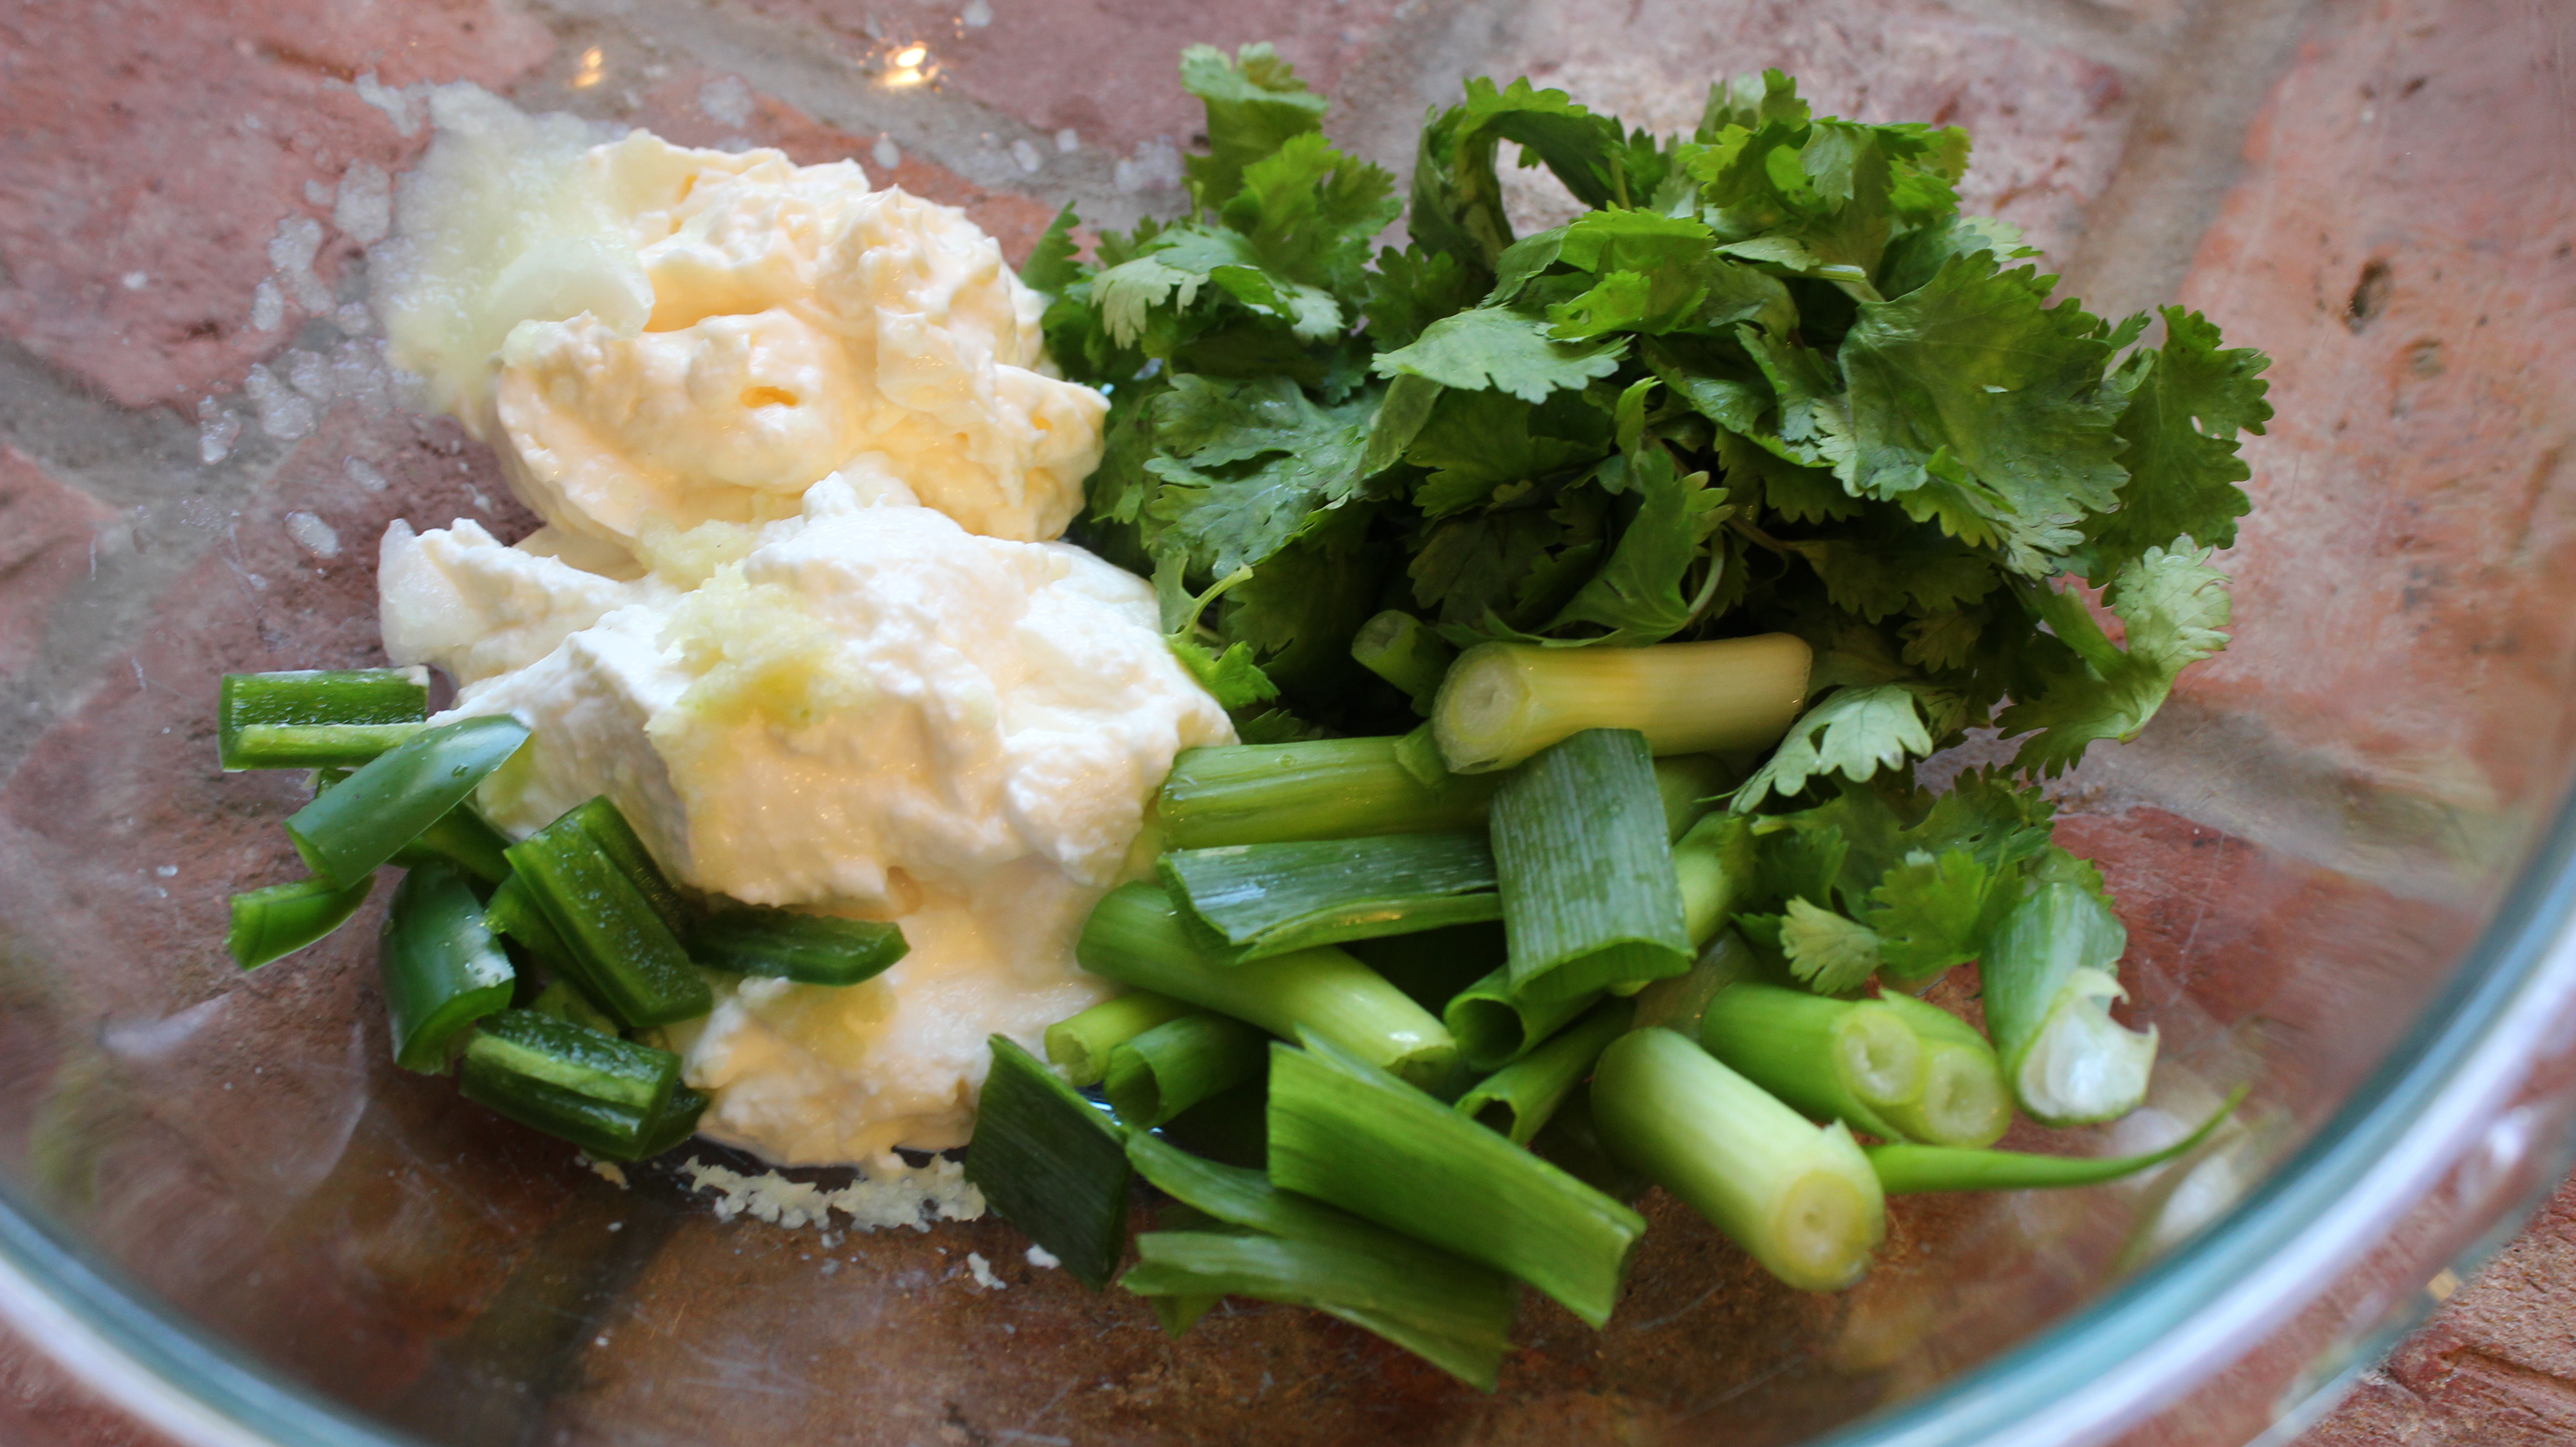
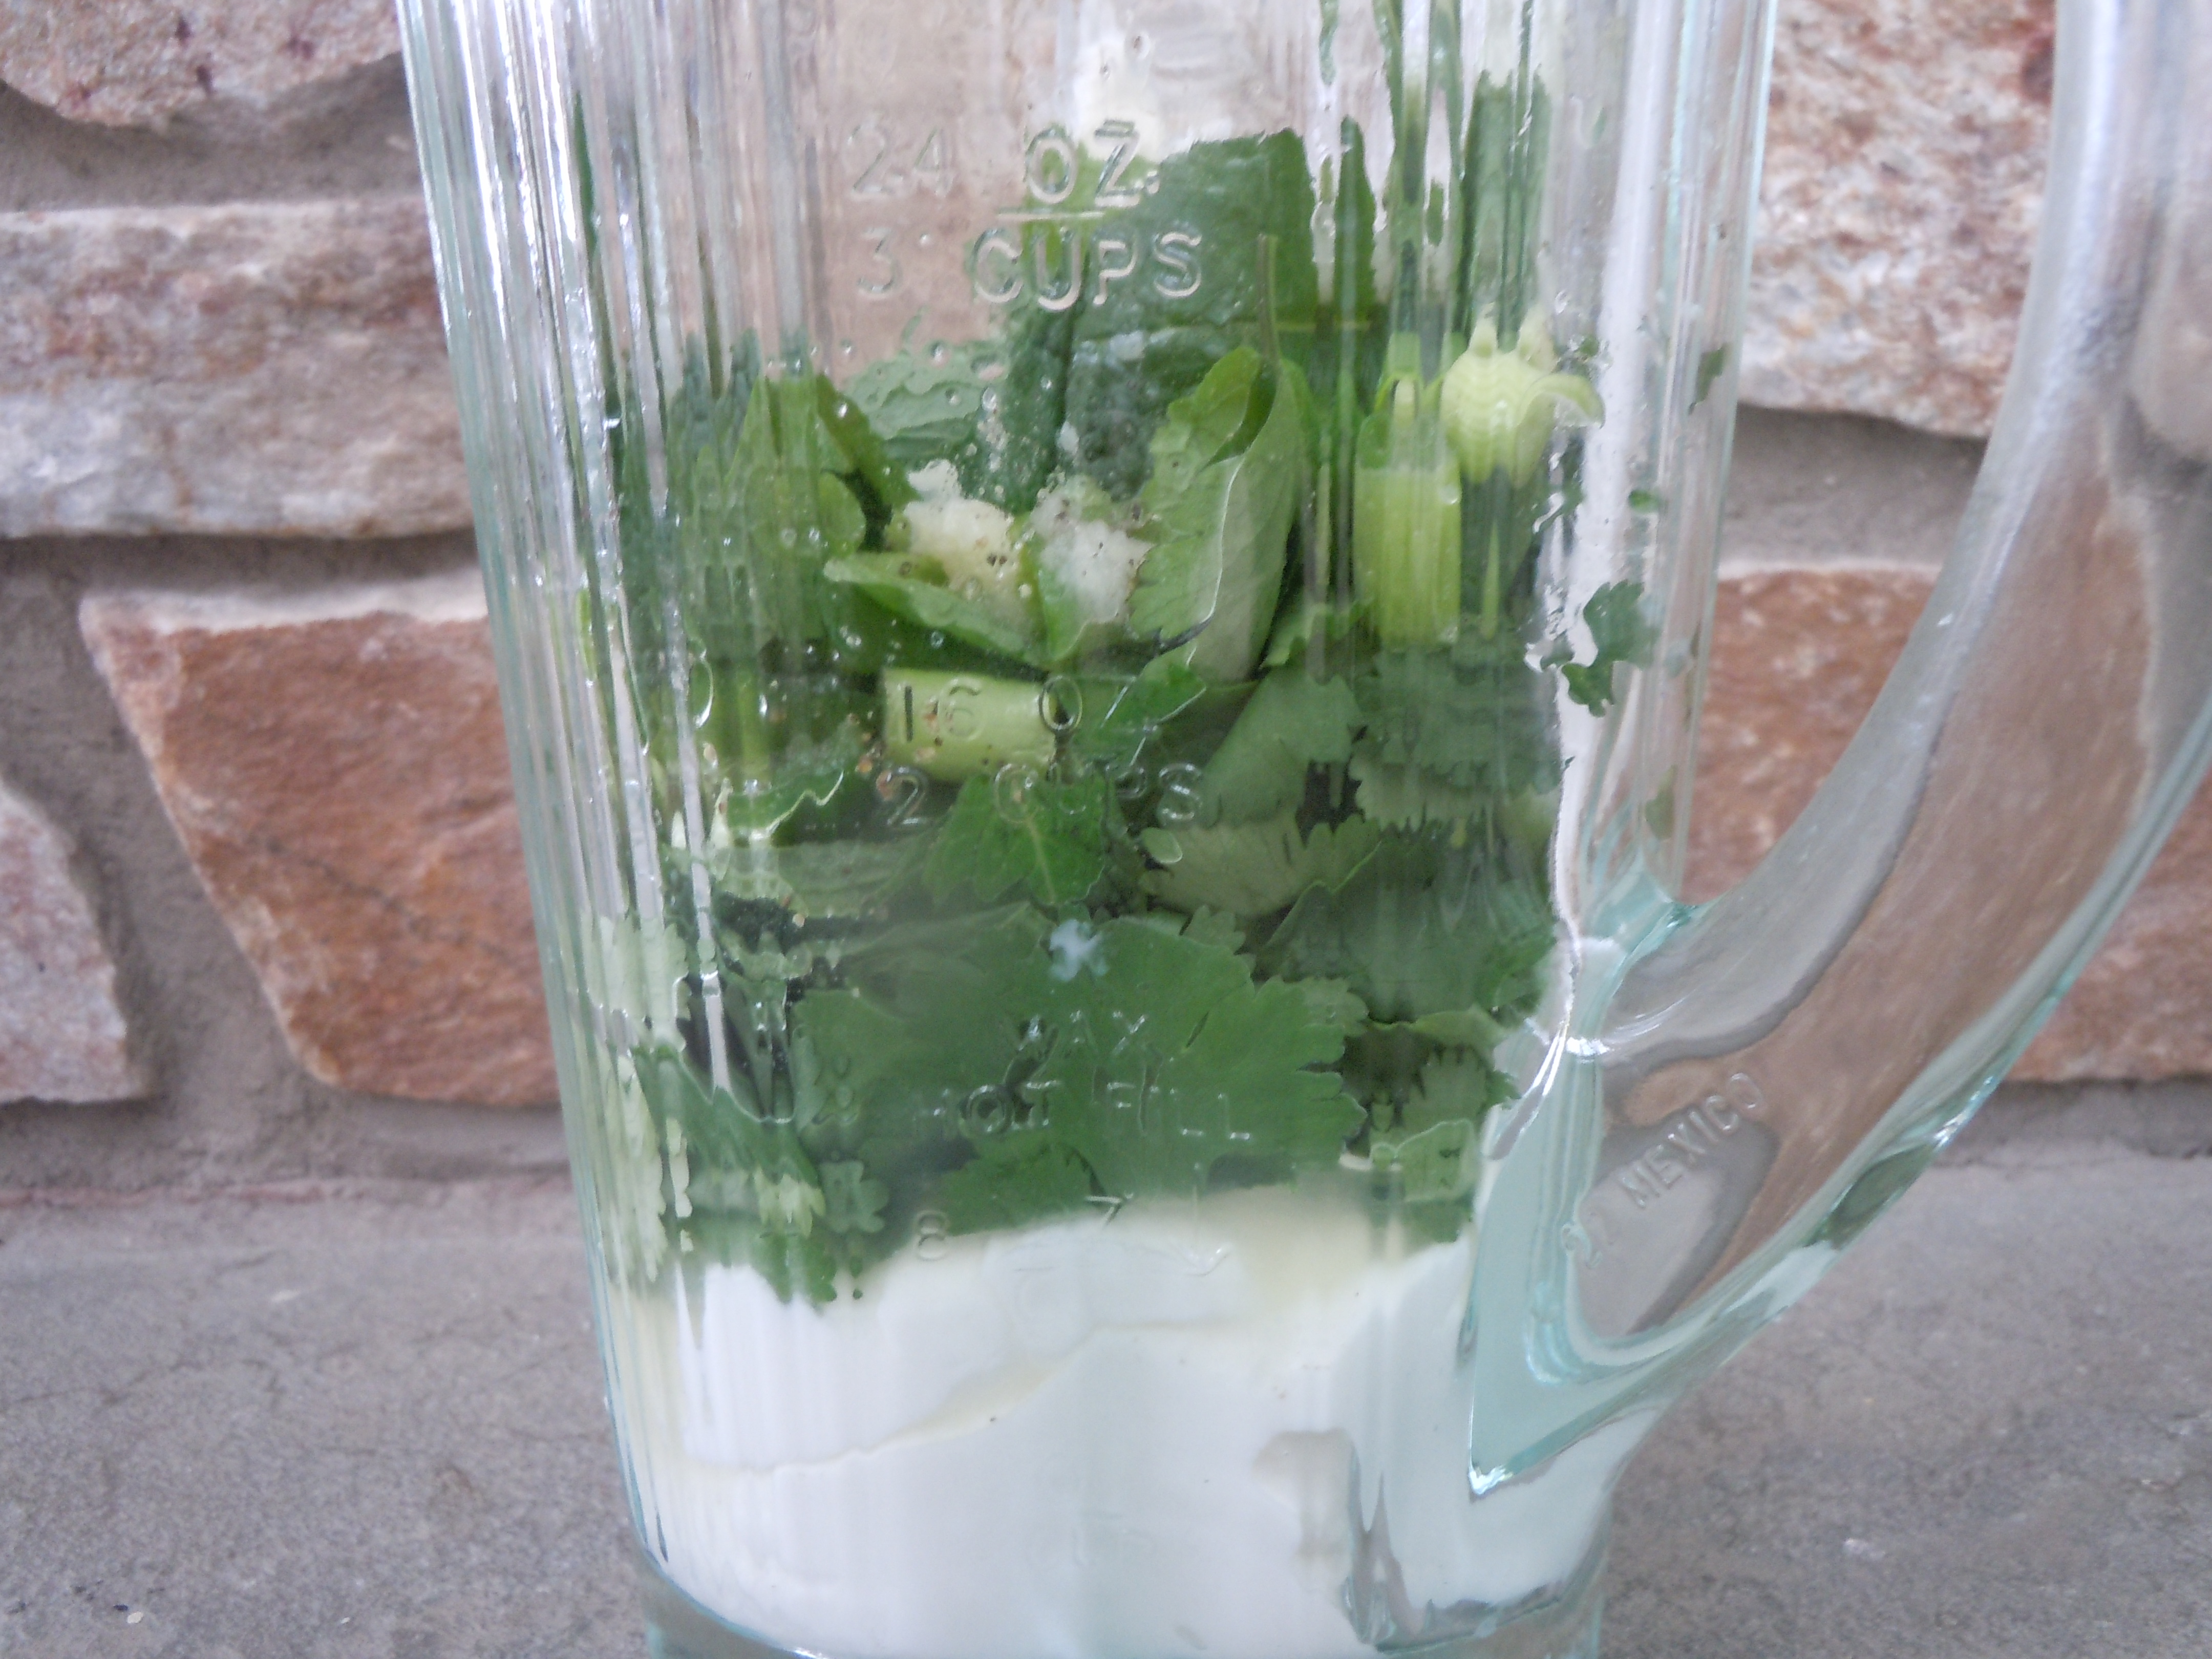
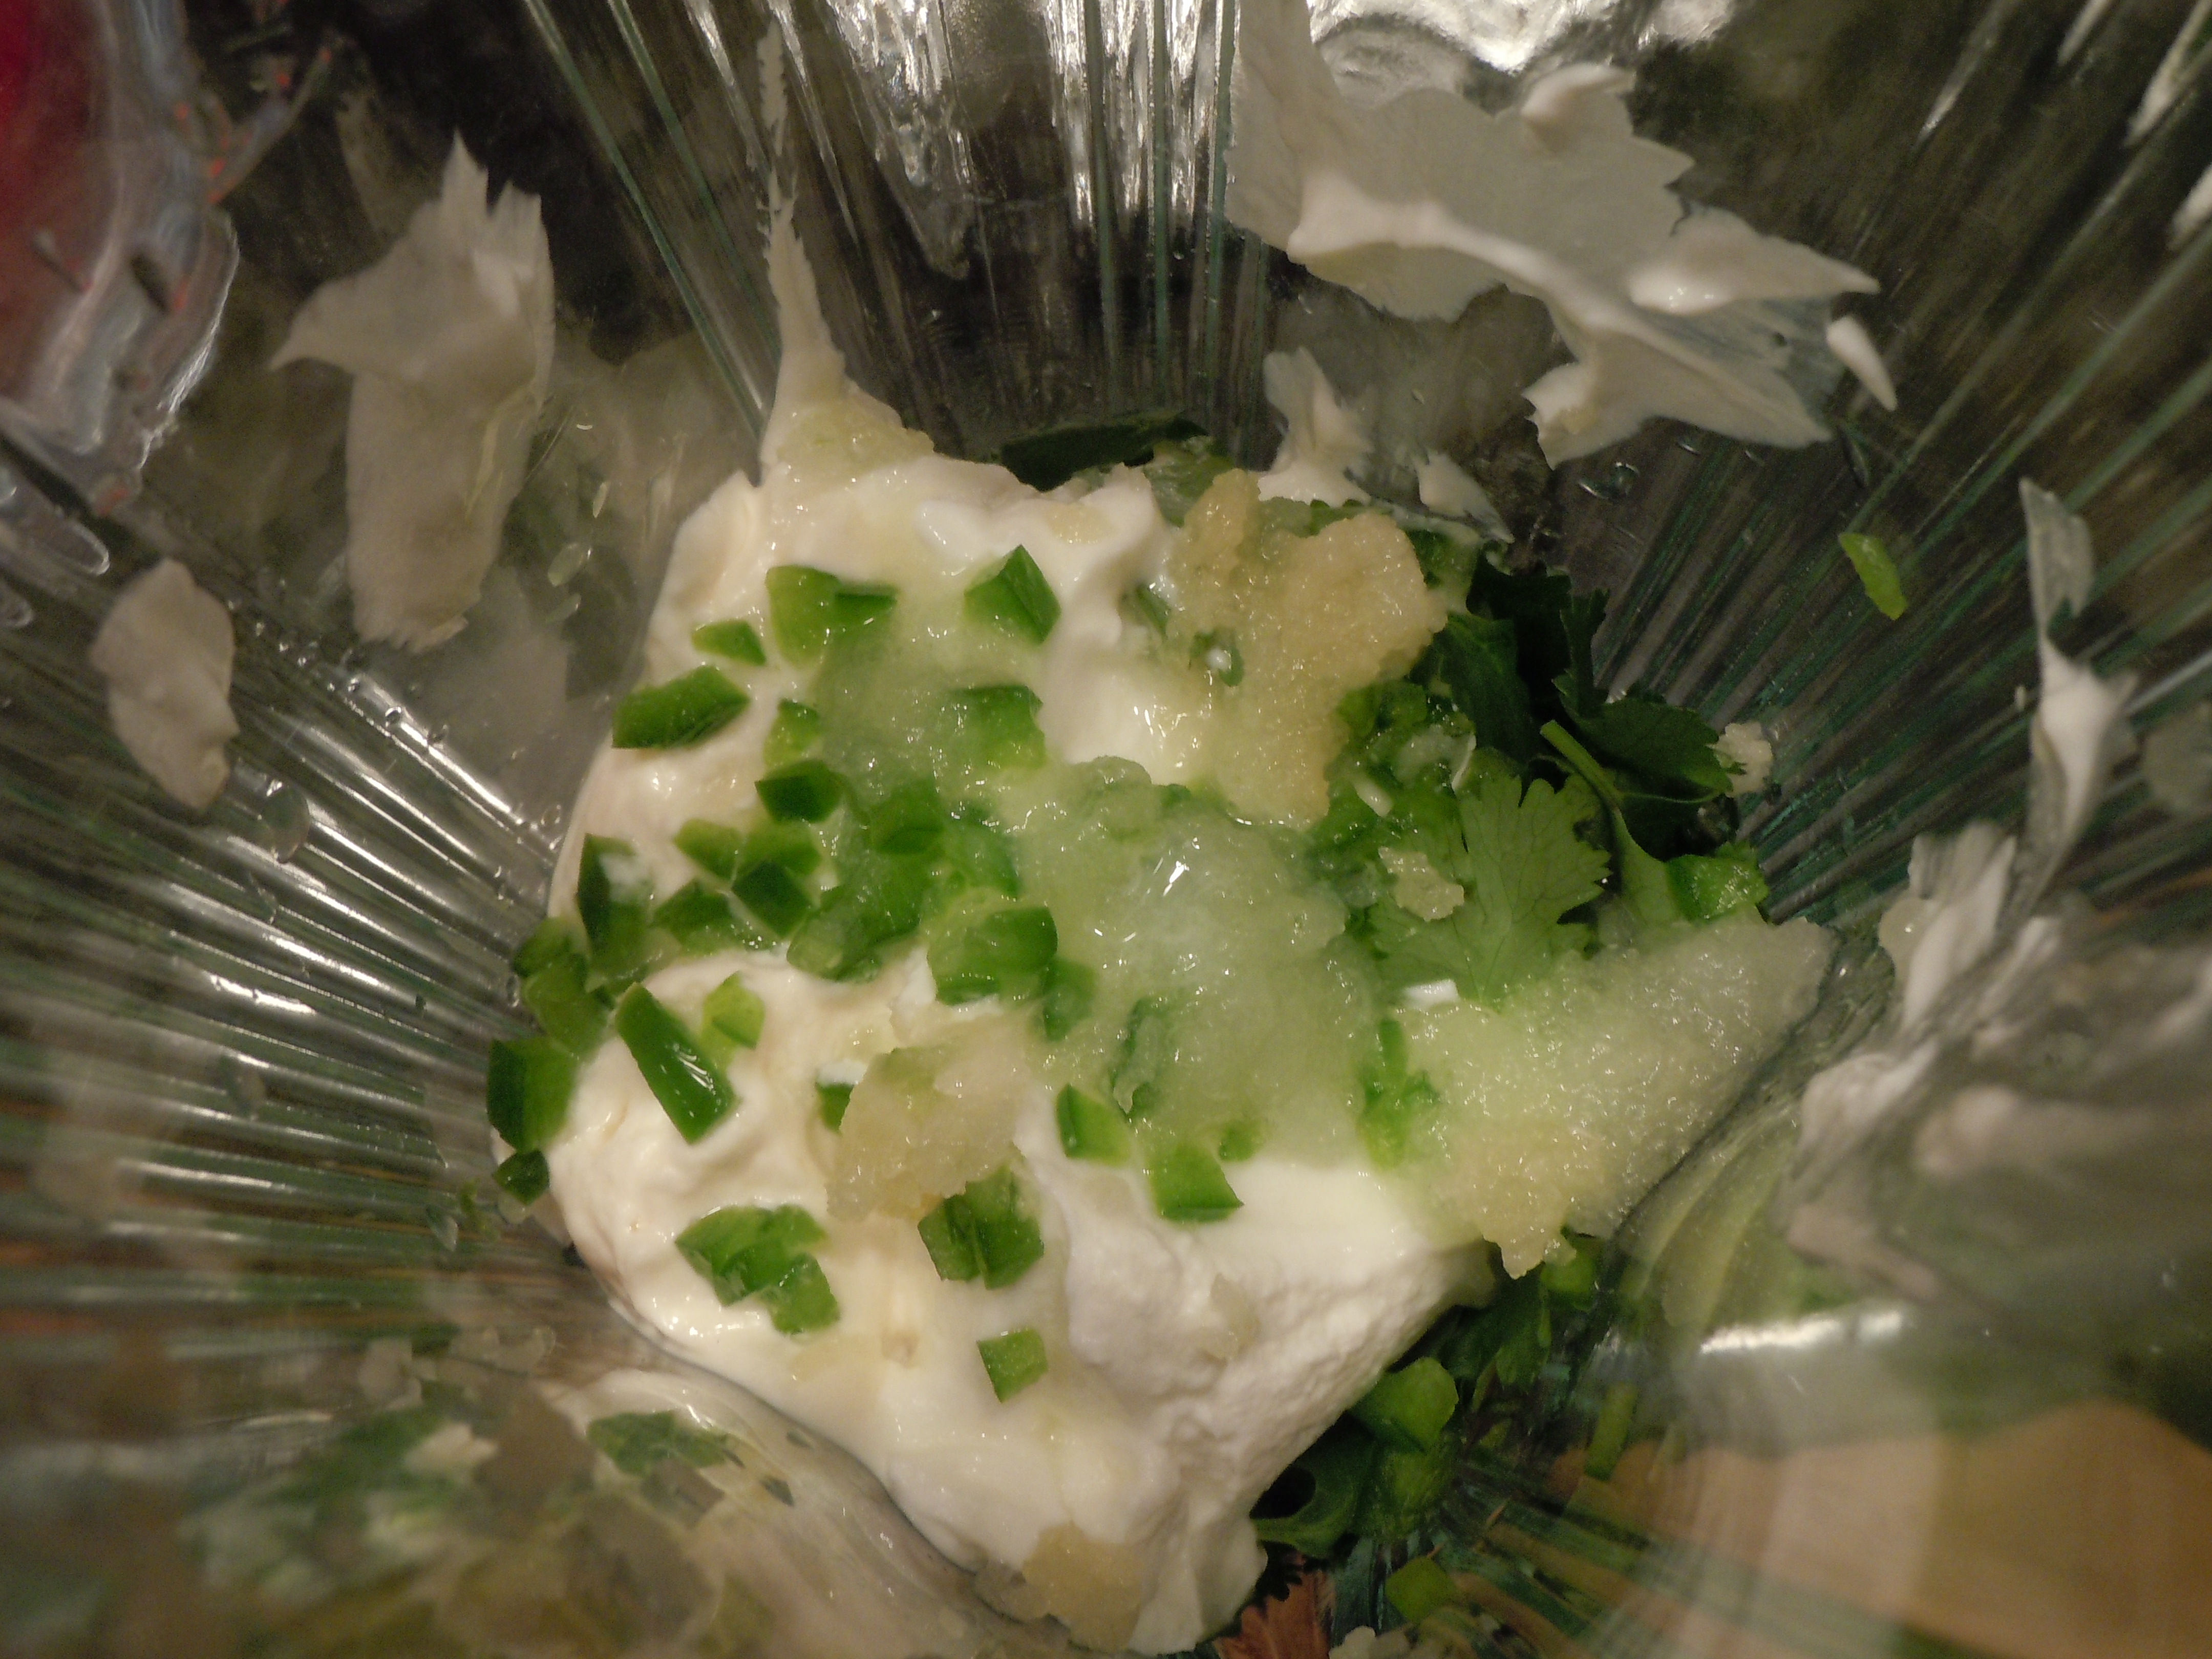
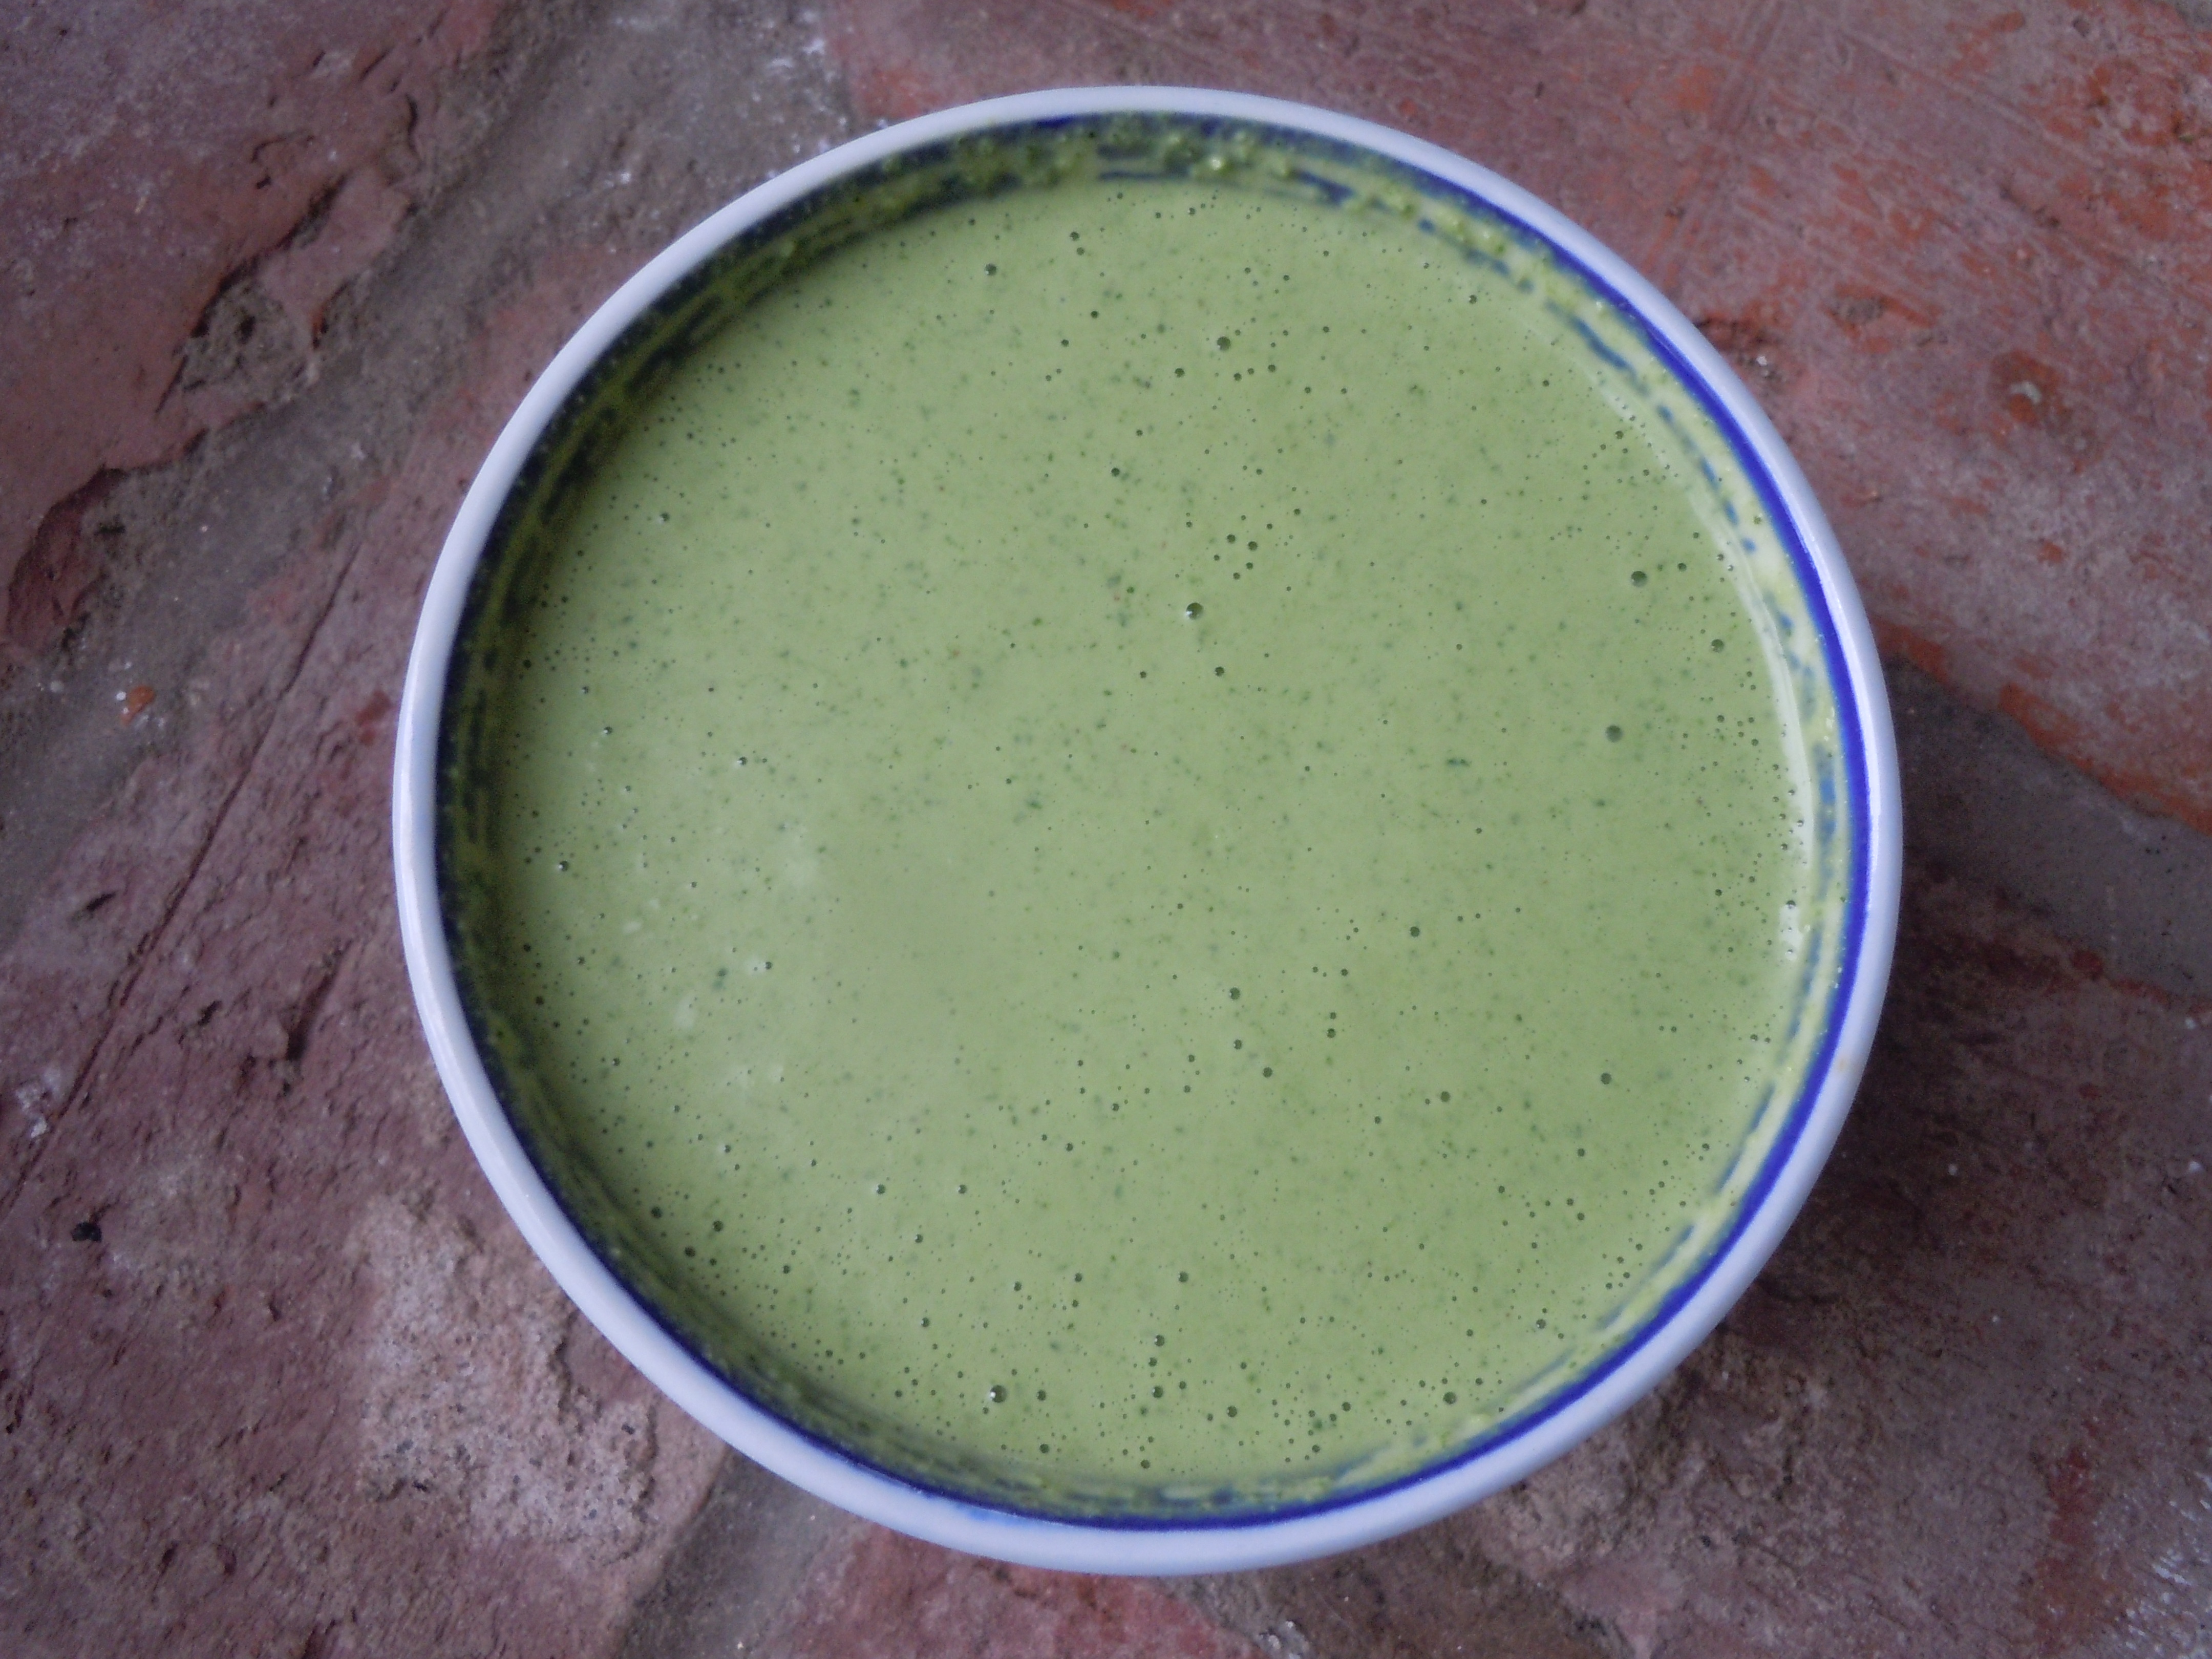
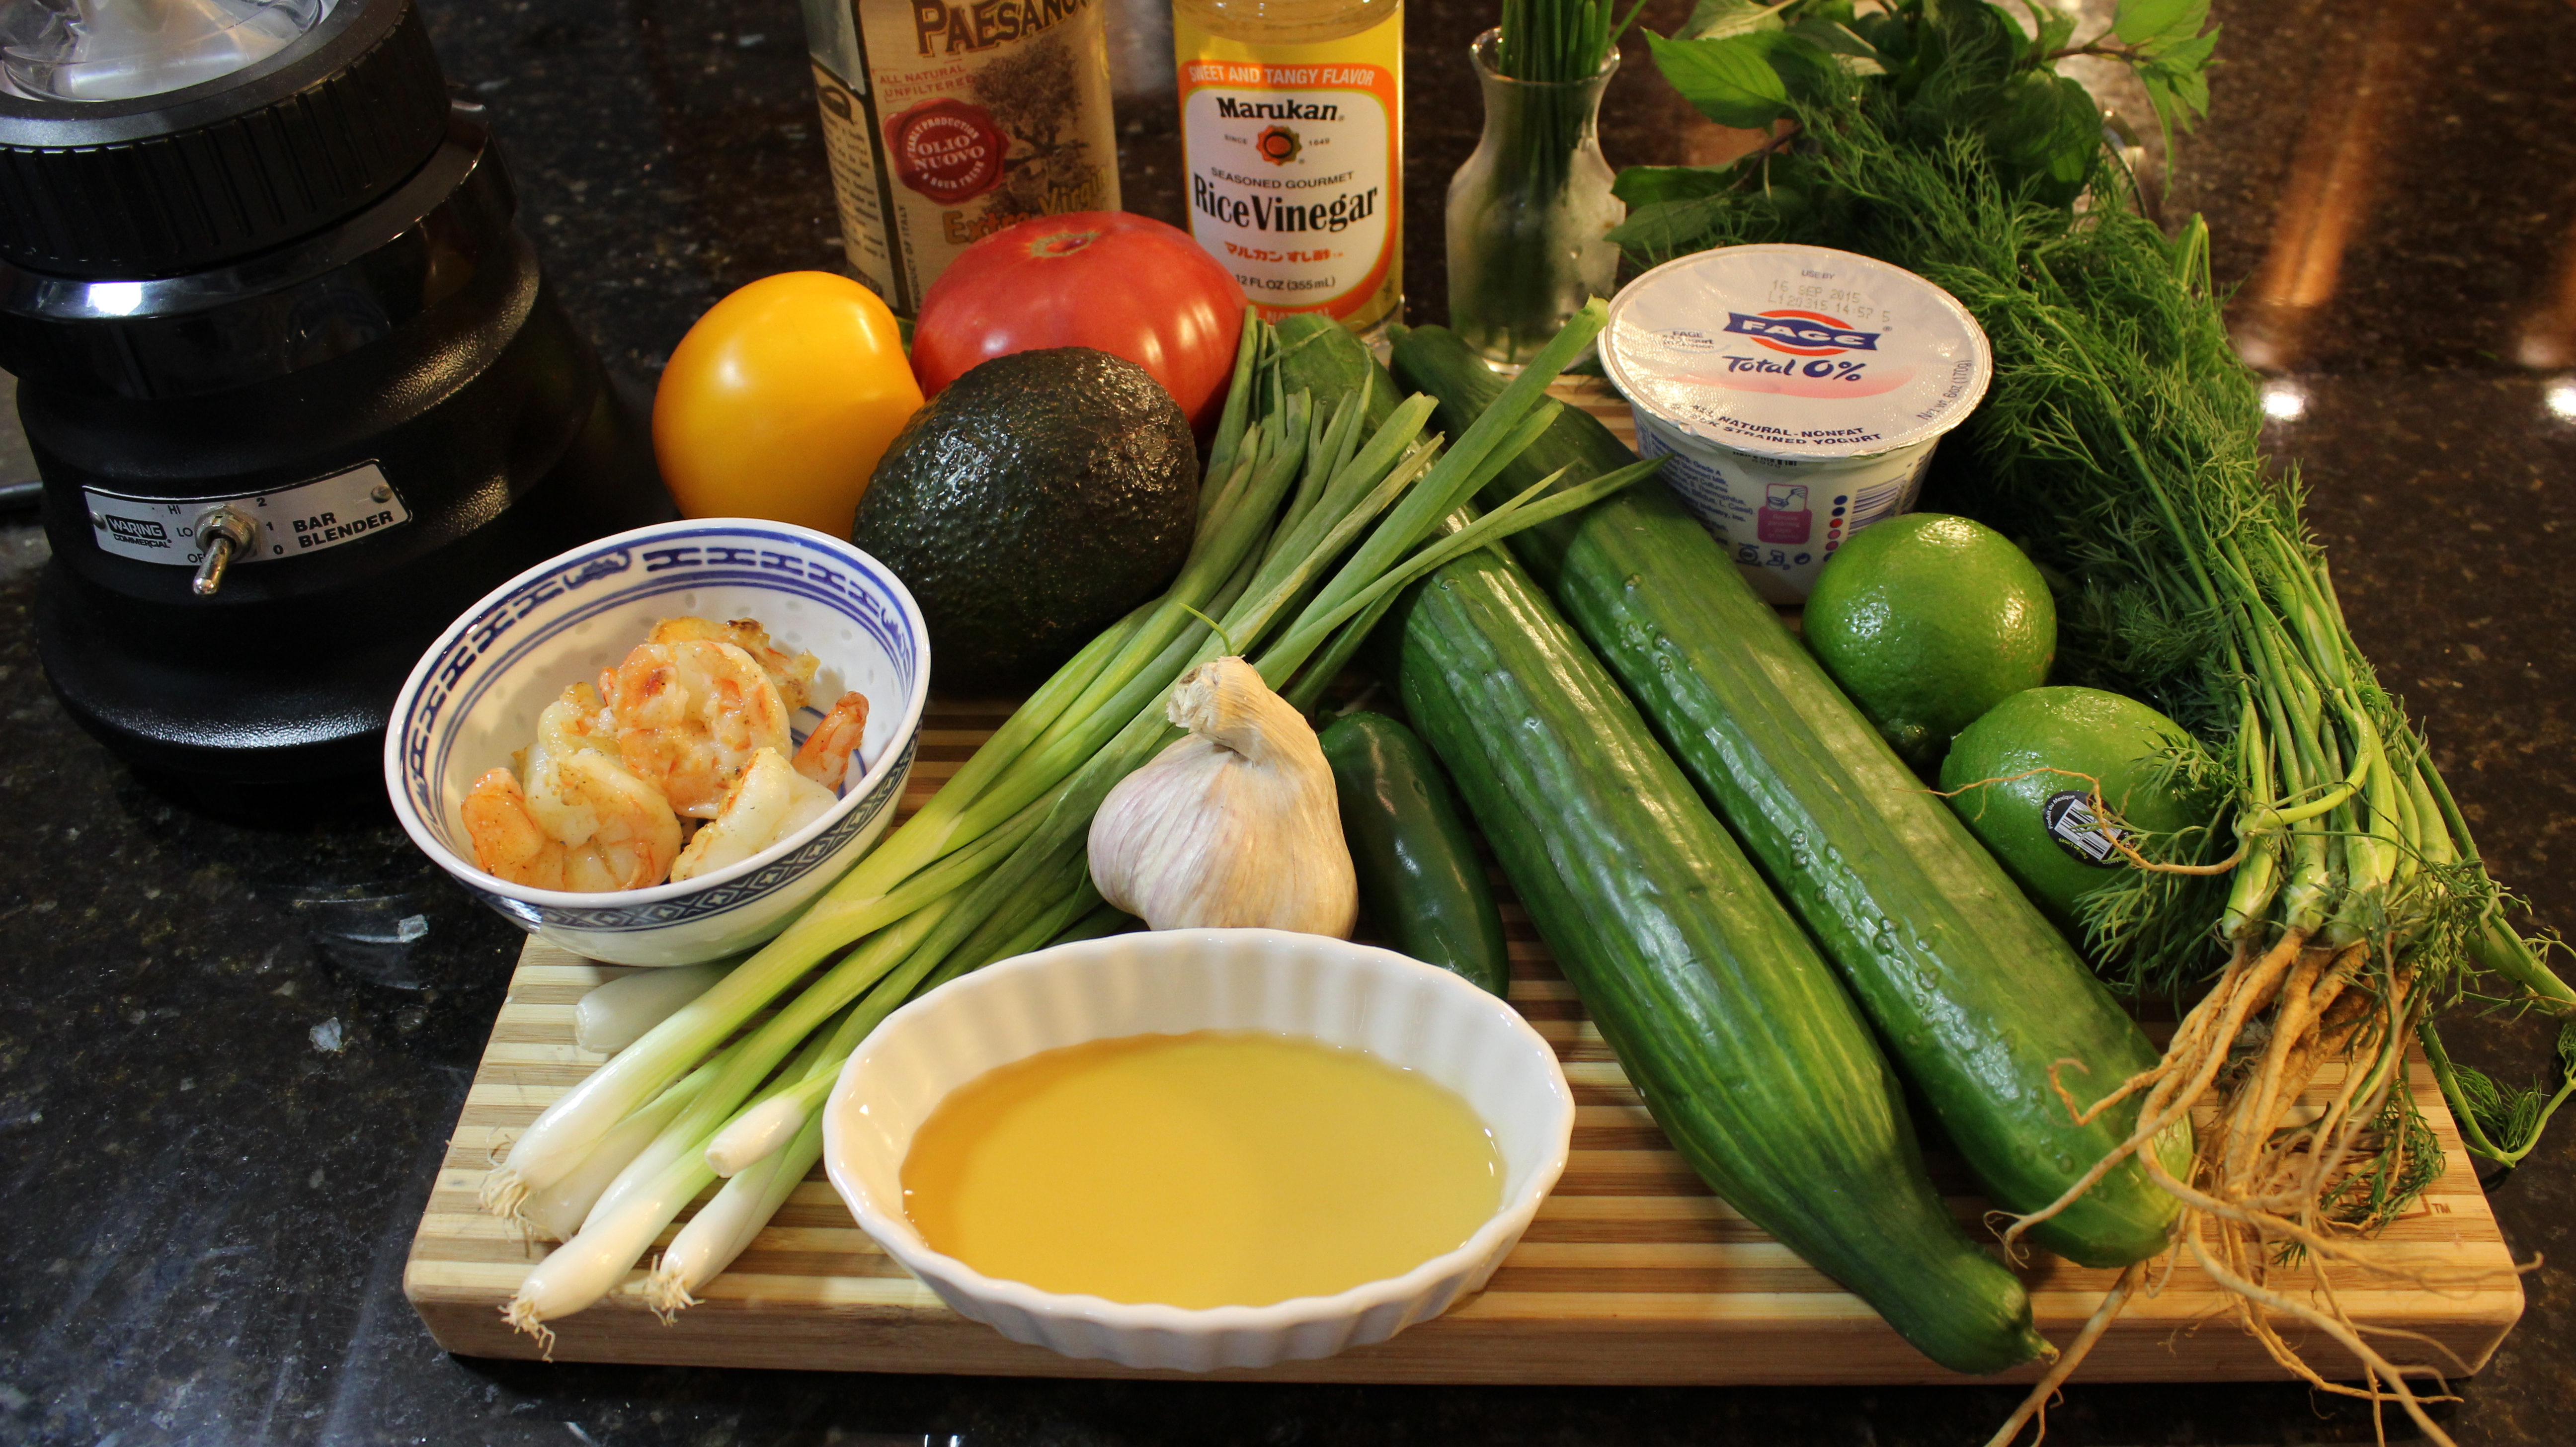
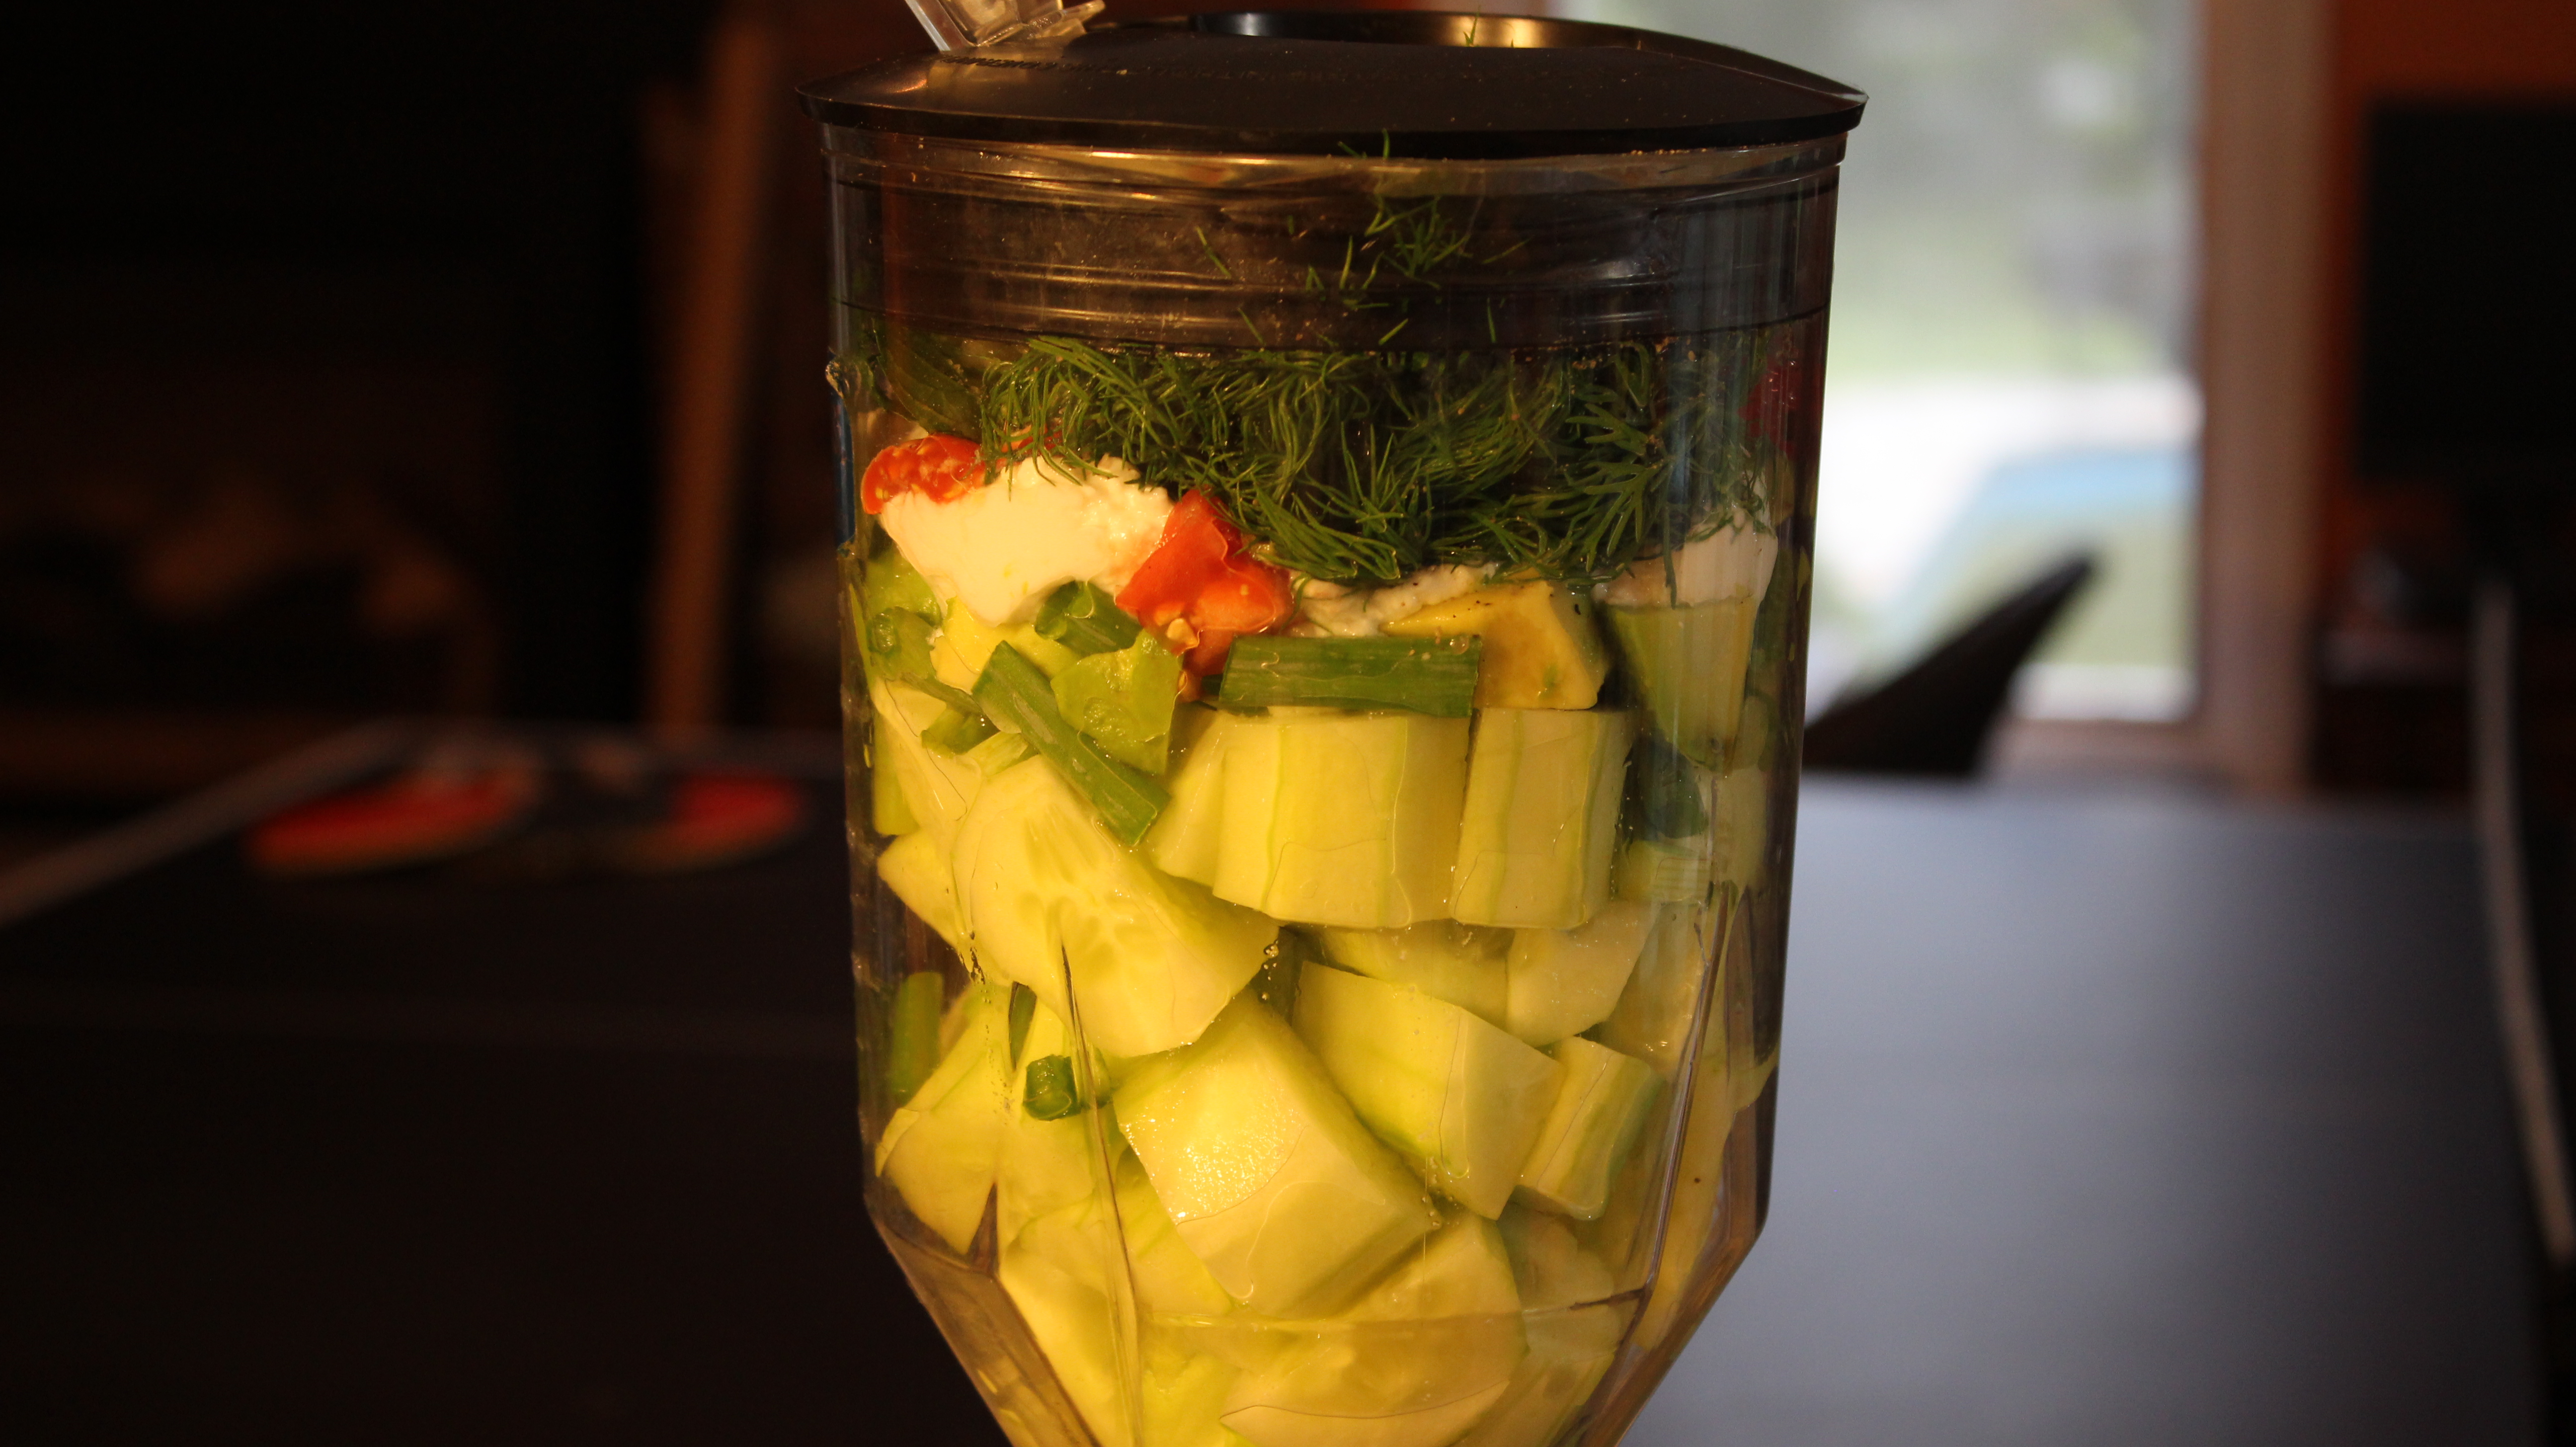
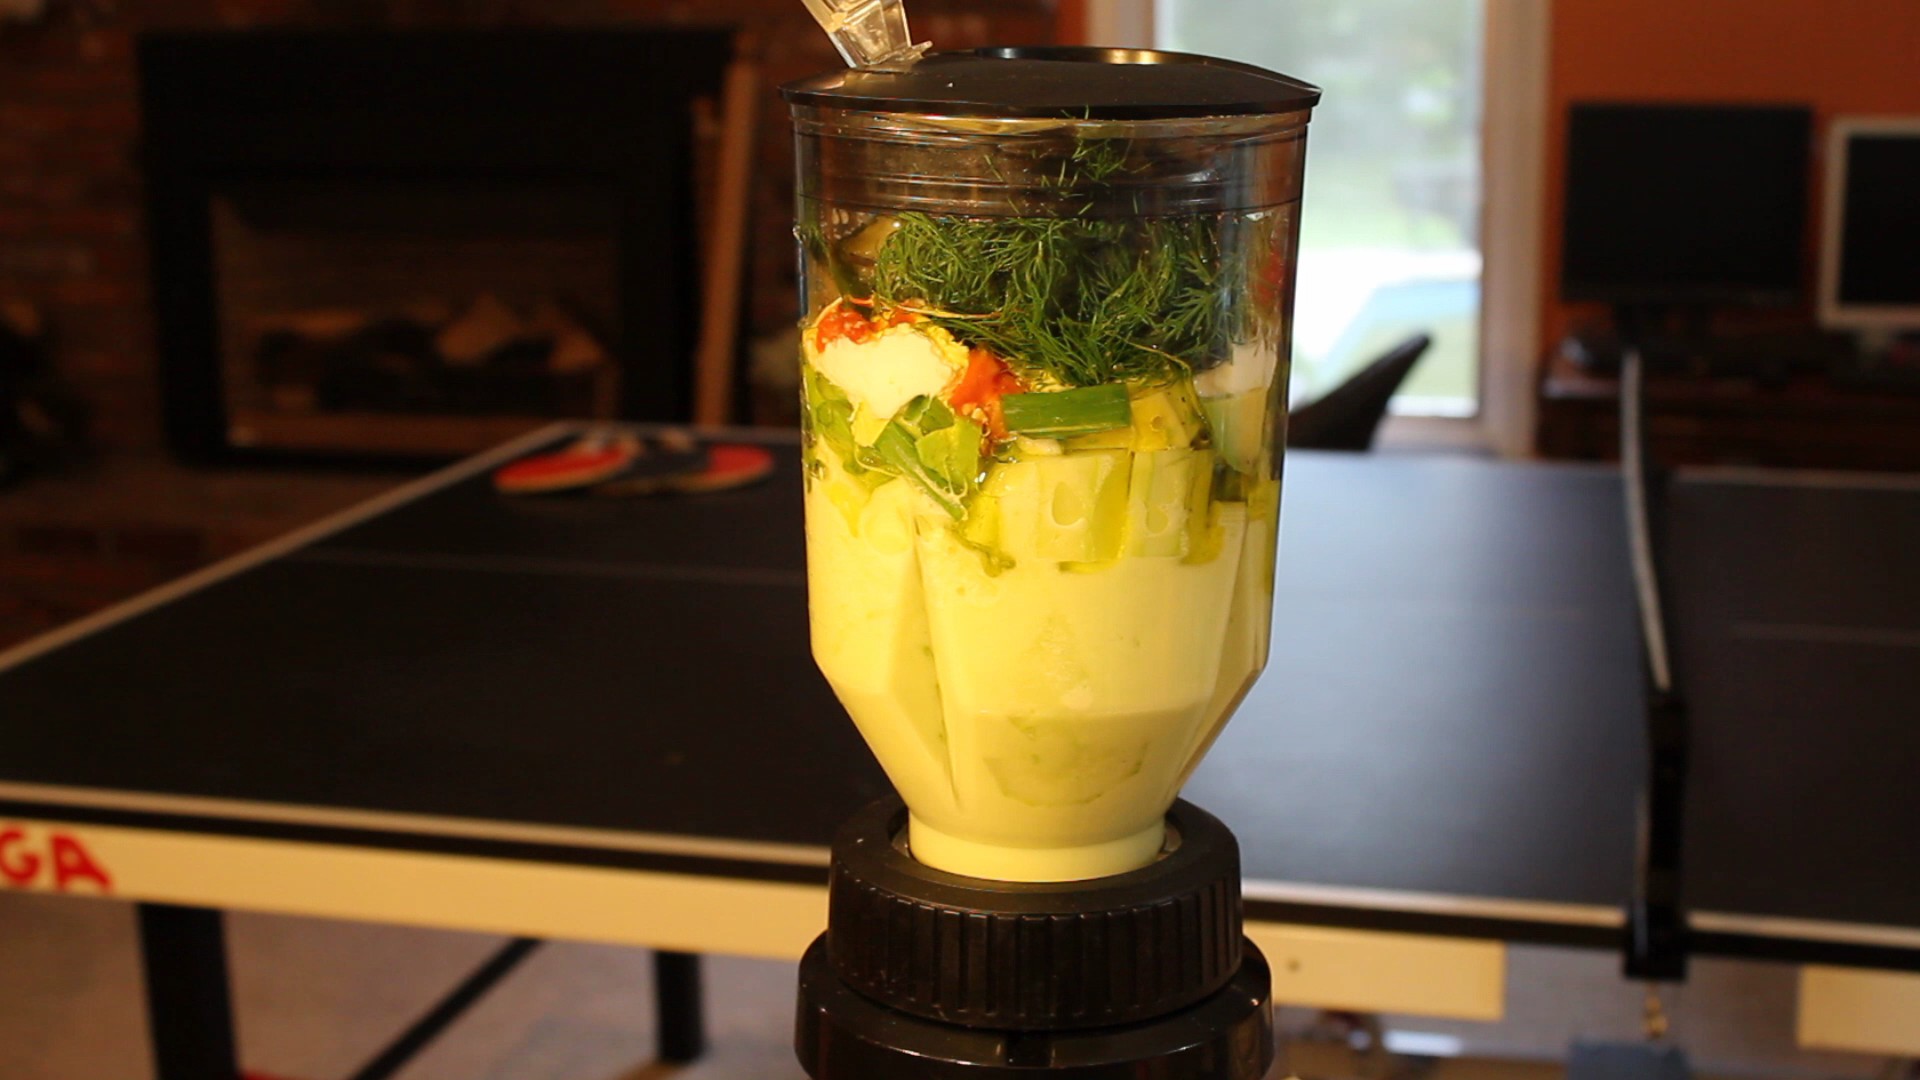
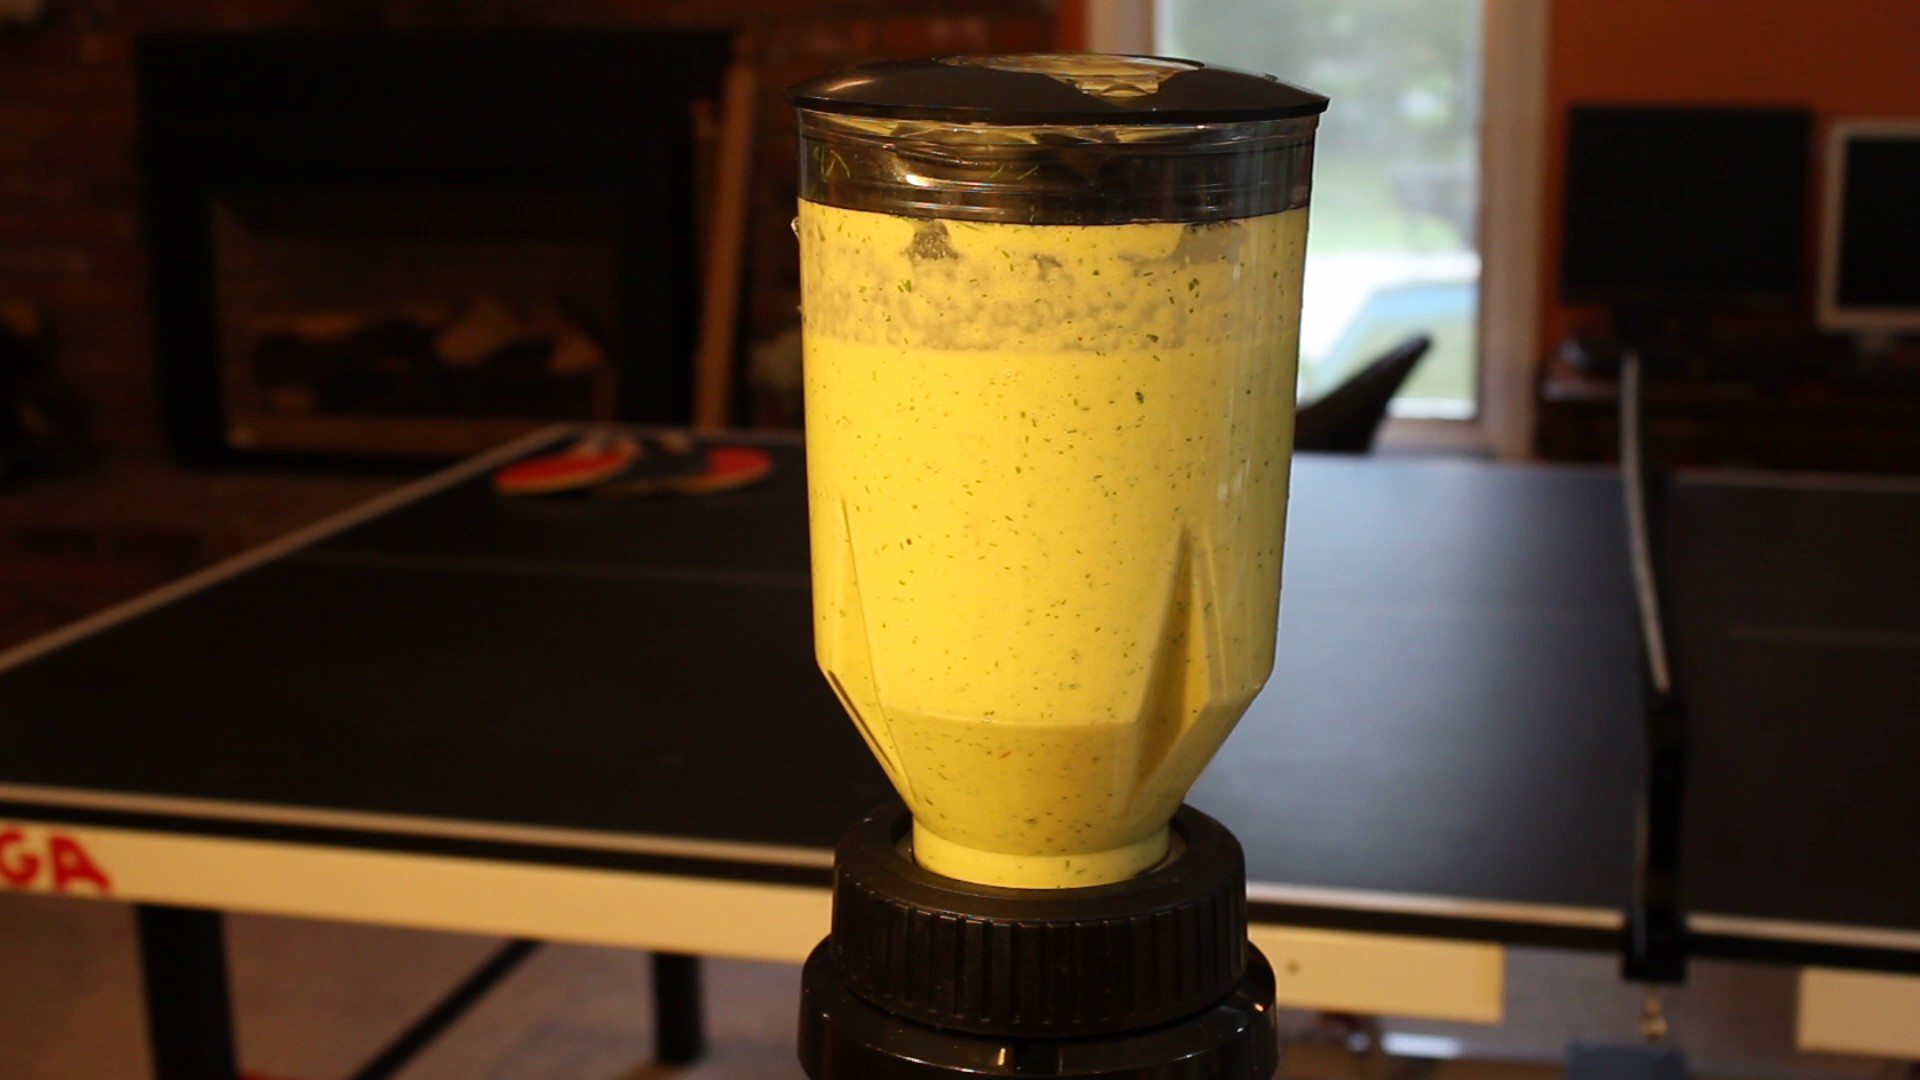
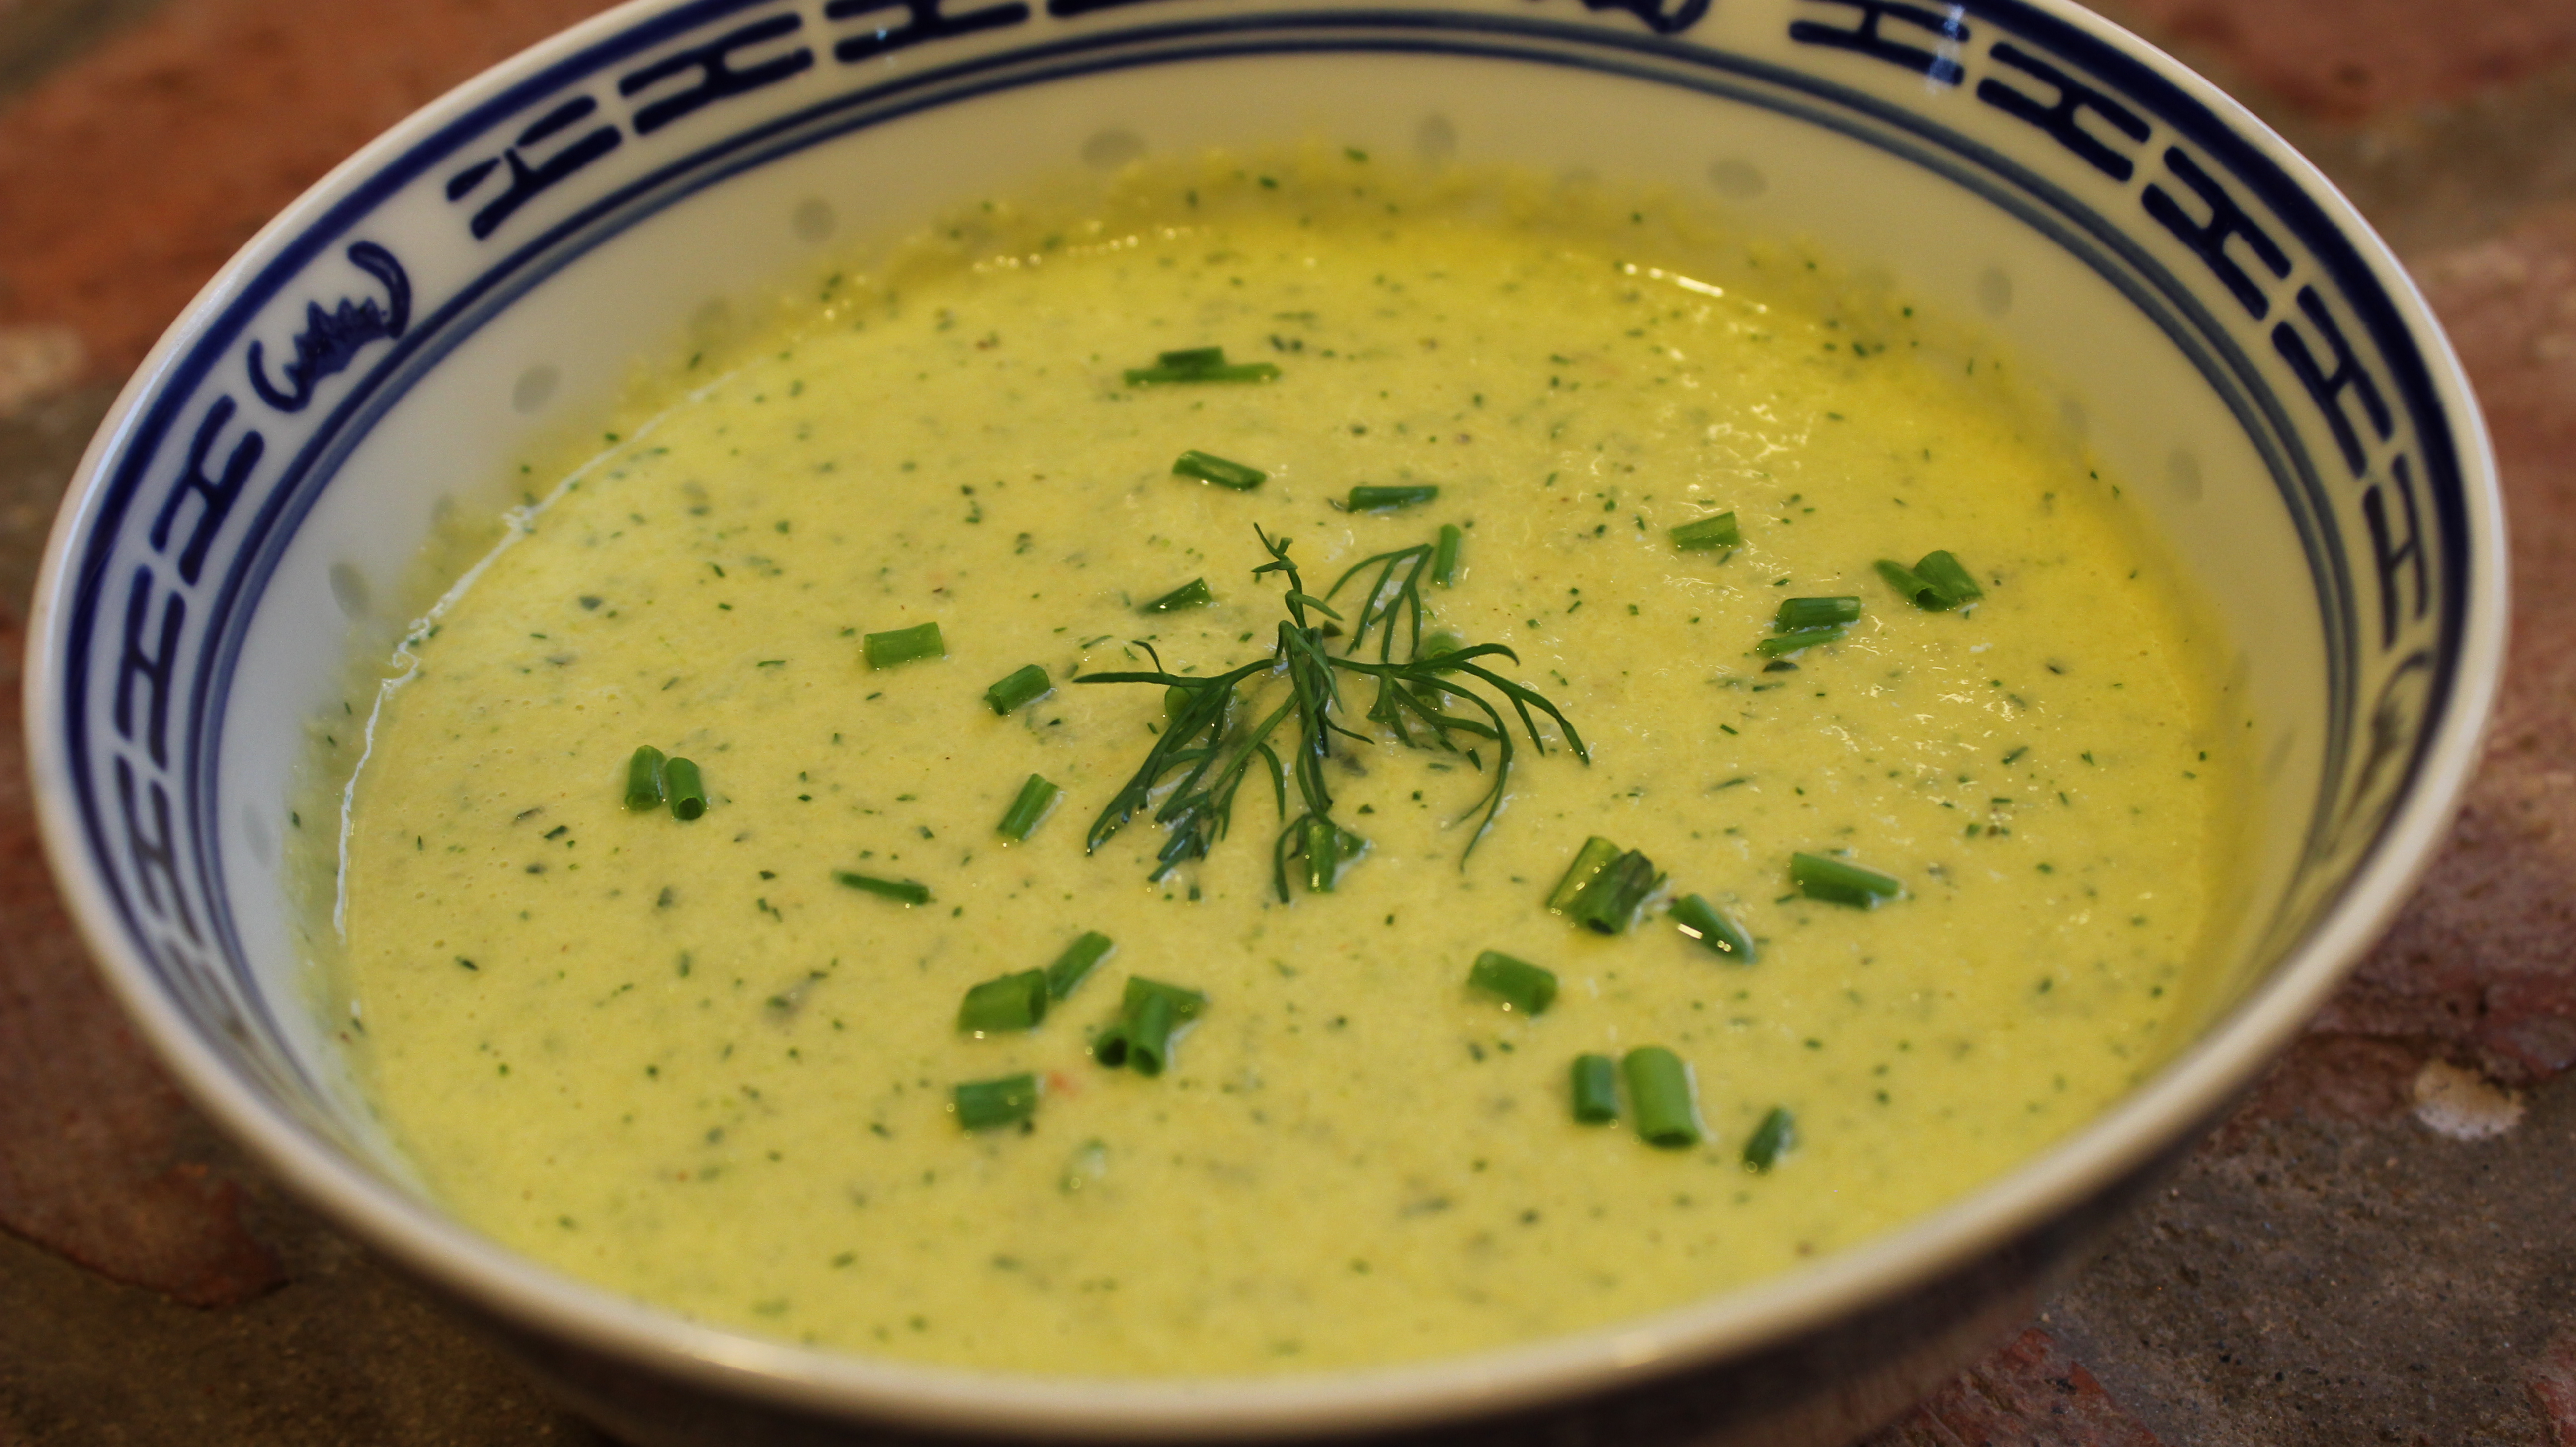
The colors orange and green were stuck in my head for this Halloween episode and that’s why I decided to share my sweet potato fries & green goddess dip recipes with you! These baked sweet potato fries are so delicious all on their own but wait until you dip them into the green goddess sauce you’ll want to put green goddess dip on EVERYTHING! I make this dipping sauce when I cook up swordfish, shrimp, tuna, chicken and steaks also. Being able to make a homemade gourmet sauce like this in 5 minutes, in a blender is basically a no-brainer for me. I can’t wait until you taste this sauce. And here I go again, making my dipping sauce with Greek yogurt to balance out the mayo giving it yet another layer of flavor and tangy richness.  I do this also with my pink remoulade sauce too.

Baking the sweet potato fries is definitely healthier then frying and a lot less work!  Now if you don’t have cornstarch in the cabinets don’t let it keep you from making these fries because they will still be delicious. Dusting the raw sweet potatoes fries with a couple of tablespoons of cornstarch helps with the moisture content and gives them a little extra crunch.

I hope you enjoy making the sweet potato fries and green goddess dipping sauce and that they will become part of your go to appetizer list. You may want to venture off and some other appetizer’s like my Feta-Basil Pesto Dip,  Crab CakesSpanakopita Triangle’s, or some yummy Homemade Hummus! You can end with my Chewy ChocolateChip Cookies!

img_8565 cookedspan IMG_5076 IMG_6064 DSCN4521

IMG_3880 IMG_3943  IMG_3885

IMG_3895  IMG_3966  IMG_3862

iphone pictures 1167  iphone pictures 1156  iphone pictures 1169

IMG_3806  IMG_3808  IMG_3827

Ingredients and Directions for Sweet Potato Fries:

  • 3 extra lg sweet potatoes ONLY need 2 but I like to have an extra just in case
  • 1/4 cup extra virgin olive oil
  • 1/2 tsp salt
  • 2 tbsp corn starch
  • 1 tsp garlic granules
  • 1 tsp onion granules
  1. Pre-heat the oven to 425º.
  2. Peel and Slice sweet potatoes in 1/4″ sticks -CUT ENDS FLAT so they don’t burn
  3. Dab with paper towels to dry excess sweet potato moisture
  4. Drizzle with 1/4 cup olive oil and sprinkle with 1 tsp garlic granules,  1 tsp onion granules  and 1/2 tsp salt
  5. Mixed with hands and then spread out into even layer on cookie sheet
  6. Bake for 15 minutes then flip and back into the oven for 8-10 more minutes
  7. BE SURE TO keep an eye on them at this point so they don’t BURN 🙂

Ingredients and Directions for Green Goddess Dip lll:

  • 3/4 cup Greek yogurt
  • 1/3 cup mayo (I use Hellmans)
  • 1 cup fresh cilantro
  • 1 garlic clove put thru press
  • 1/2 jalapeño diced
  • 4 green onion stalks
  • 1 tsp. grated vadalia onion ( or yellow onion)
  • 1 tbsp ( 1/2) fresh lime juice
  • 1 tbsp “seasoned” rice wine vinegar ( “oops” – I accidentally said red wine vinegar in the show but it’s rice wine vinegar)
  • s & p
  • Optional: dash of Siracha (Siracha is a hot chili sauce sold next to Tabasco at the store)
  1. Place all of the ingredients into a blender an purée and you will probably need to stop and stir everything a couple of times to get it going but do not add any more liquid (you will see that once it gets going it will be just right).
  2. You can make this ahead of time and keep sauce in a plastic container and refrigerate.  It  gets thicker as it sits in the fridge chilling and stays nice for a few days…  Yum!

Ingredients and Directions for Roasted Pumpkin Seeds:

  • Pumpkin Seeds for 2 pumkins
  • 1 tsp garlic granules
  • 1 tsp onion granules
  • 1/2 sea salt (plus a sprinkle at the end for a pinch more seasoning)
  • 2 tbsp olive oil
  1. Pre-heat oven at 425º.
  2. Wash pumpkins seeds to remove pulp.
  3. Dry between paper towels and leave on cookie tray to dry further over night (can roast right away if you don’t have time – just by sure to completely dry seeds)
  4. Drizzle olive oil over seeds and sprinkle all of seasonings and toss to evenly mix
  5. NOTE: you can add in cumin, cayenne, chili powder … add your favorite seasonings
  6. Roast for 10 minutes, take out and stir seeds, put back in oven for approx. 4 more minutes – Keep an eye on them at this point so they don’t burn


Best Buffalo Chicken Dip Ever!

Best Buffalo Chicken Dip Ever!

This delicious buffalo chicken dip is my top viewed recipe on my YouTube Channel at 160,704 views and climbing! It takes center stage every time! You may find yourself not straying too far in fear that it will be devoured. The layers start with room temperature cream cheese, chicken tenderloins sautéed in Franks Hot Sauce, a drizzling of homemade buffalo sauce, and finally a sprinkle of crumbled blue cheese, sharp cheddar and mozzarella. It bake’s in the oven until bubbly and served with tortilla chips. I also like to serve this appetizer with carrots, celery and cucumber slices on the side.

I have a secret for you! I’ve been using rotisserie chicken instead! It comes out just as good as sautéing the tenderloin and it saves time! Just toss the rotisserie chicken pieces with some of the butter whisked with the Frank’s Red sauce, and begin to layer. You can also bake chicken wings at 400° for 40 minutes and then toss with this butter-Frank’s Red Hot sauce and you’ll have amazing Buffalo wings!

The Buffalo chicken dip gives all the amazing flavors of that typical “buffalo wings and blue cheese” with out all the work! I am very particular about my blue cheese dressing so I highly recommend my easy homemade blue cheese dressing recipe!

This buffalo chicken dip recipe came from my friend Lisa who just recently made it for a party we were at and it didn’t last very long! I make this dish all year round not to mention how totally awesome it is for football season.

IMG_7406
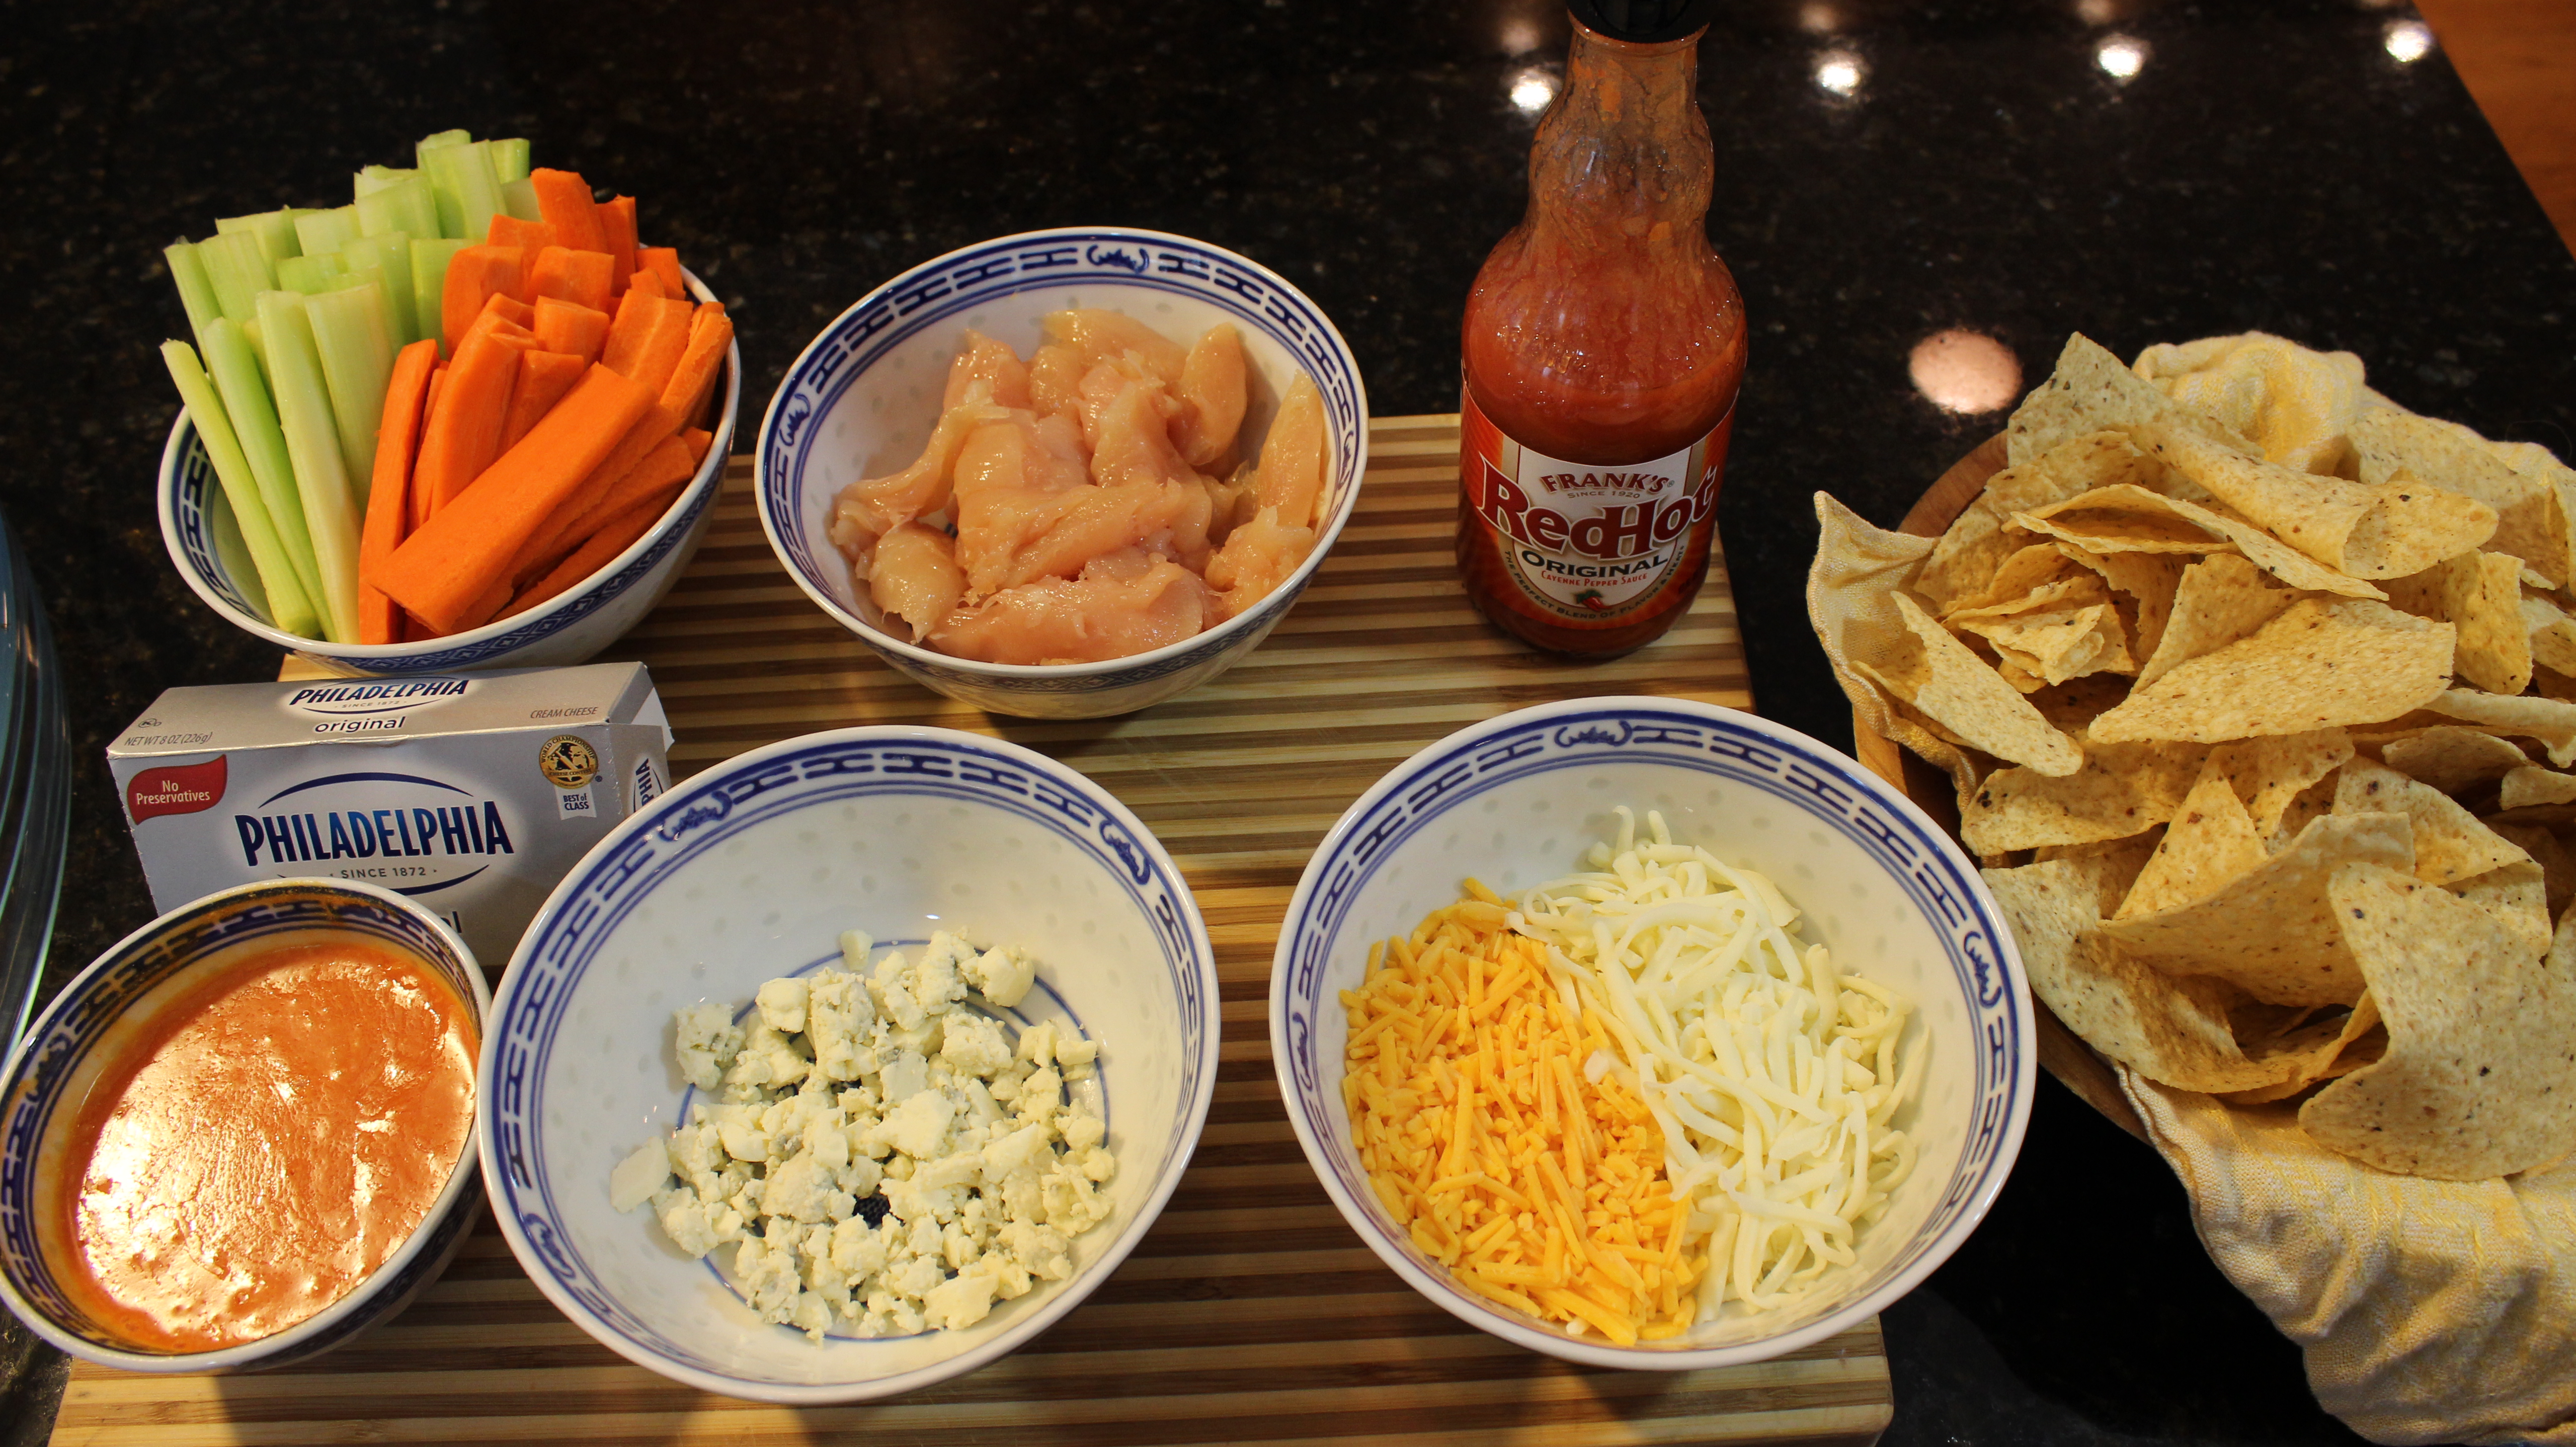
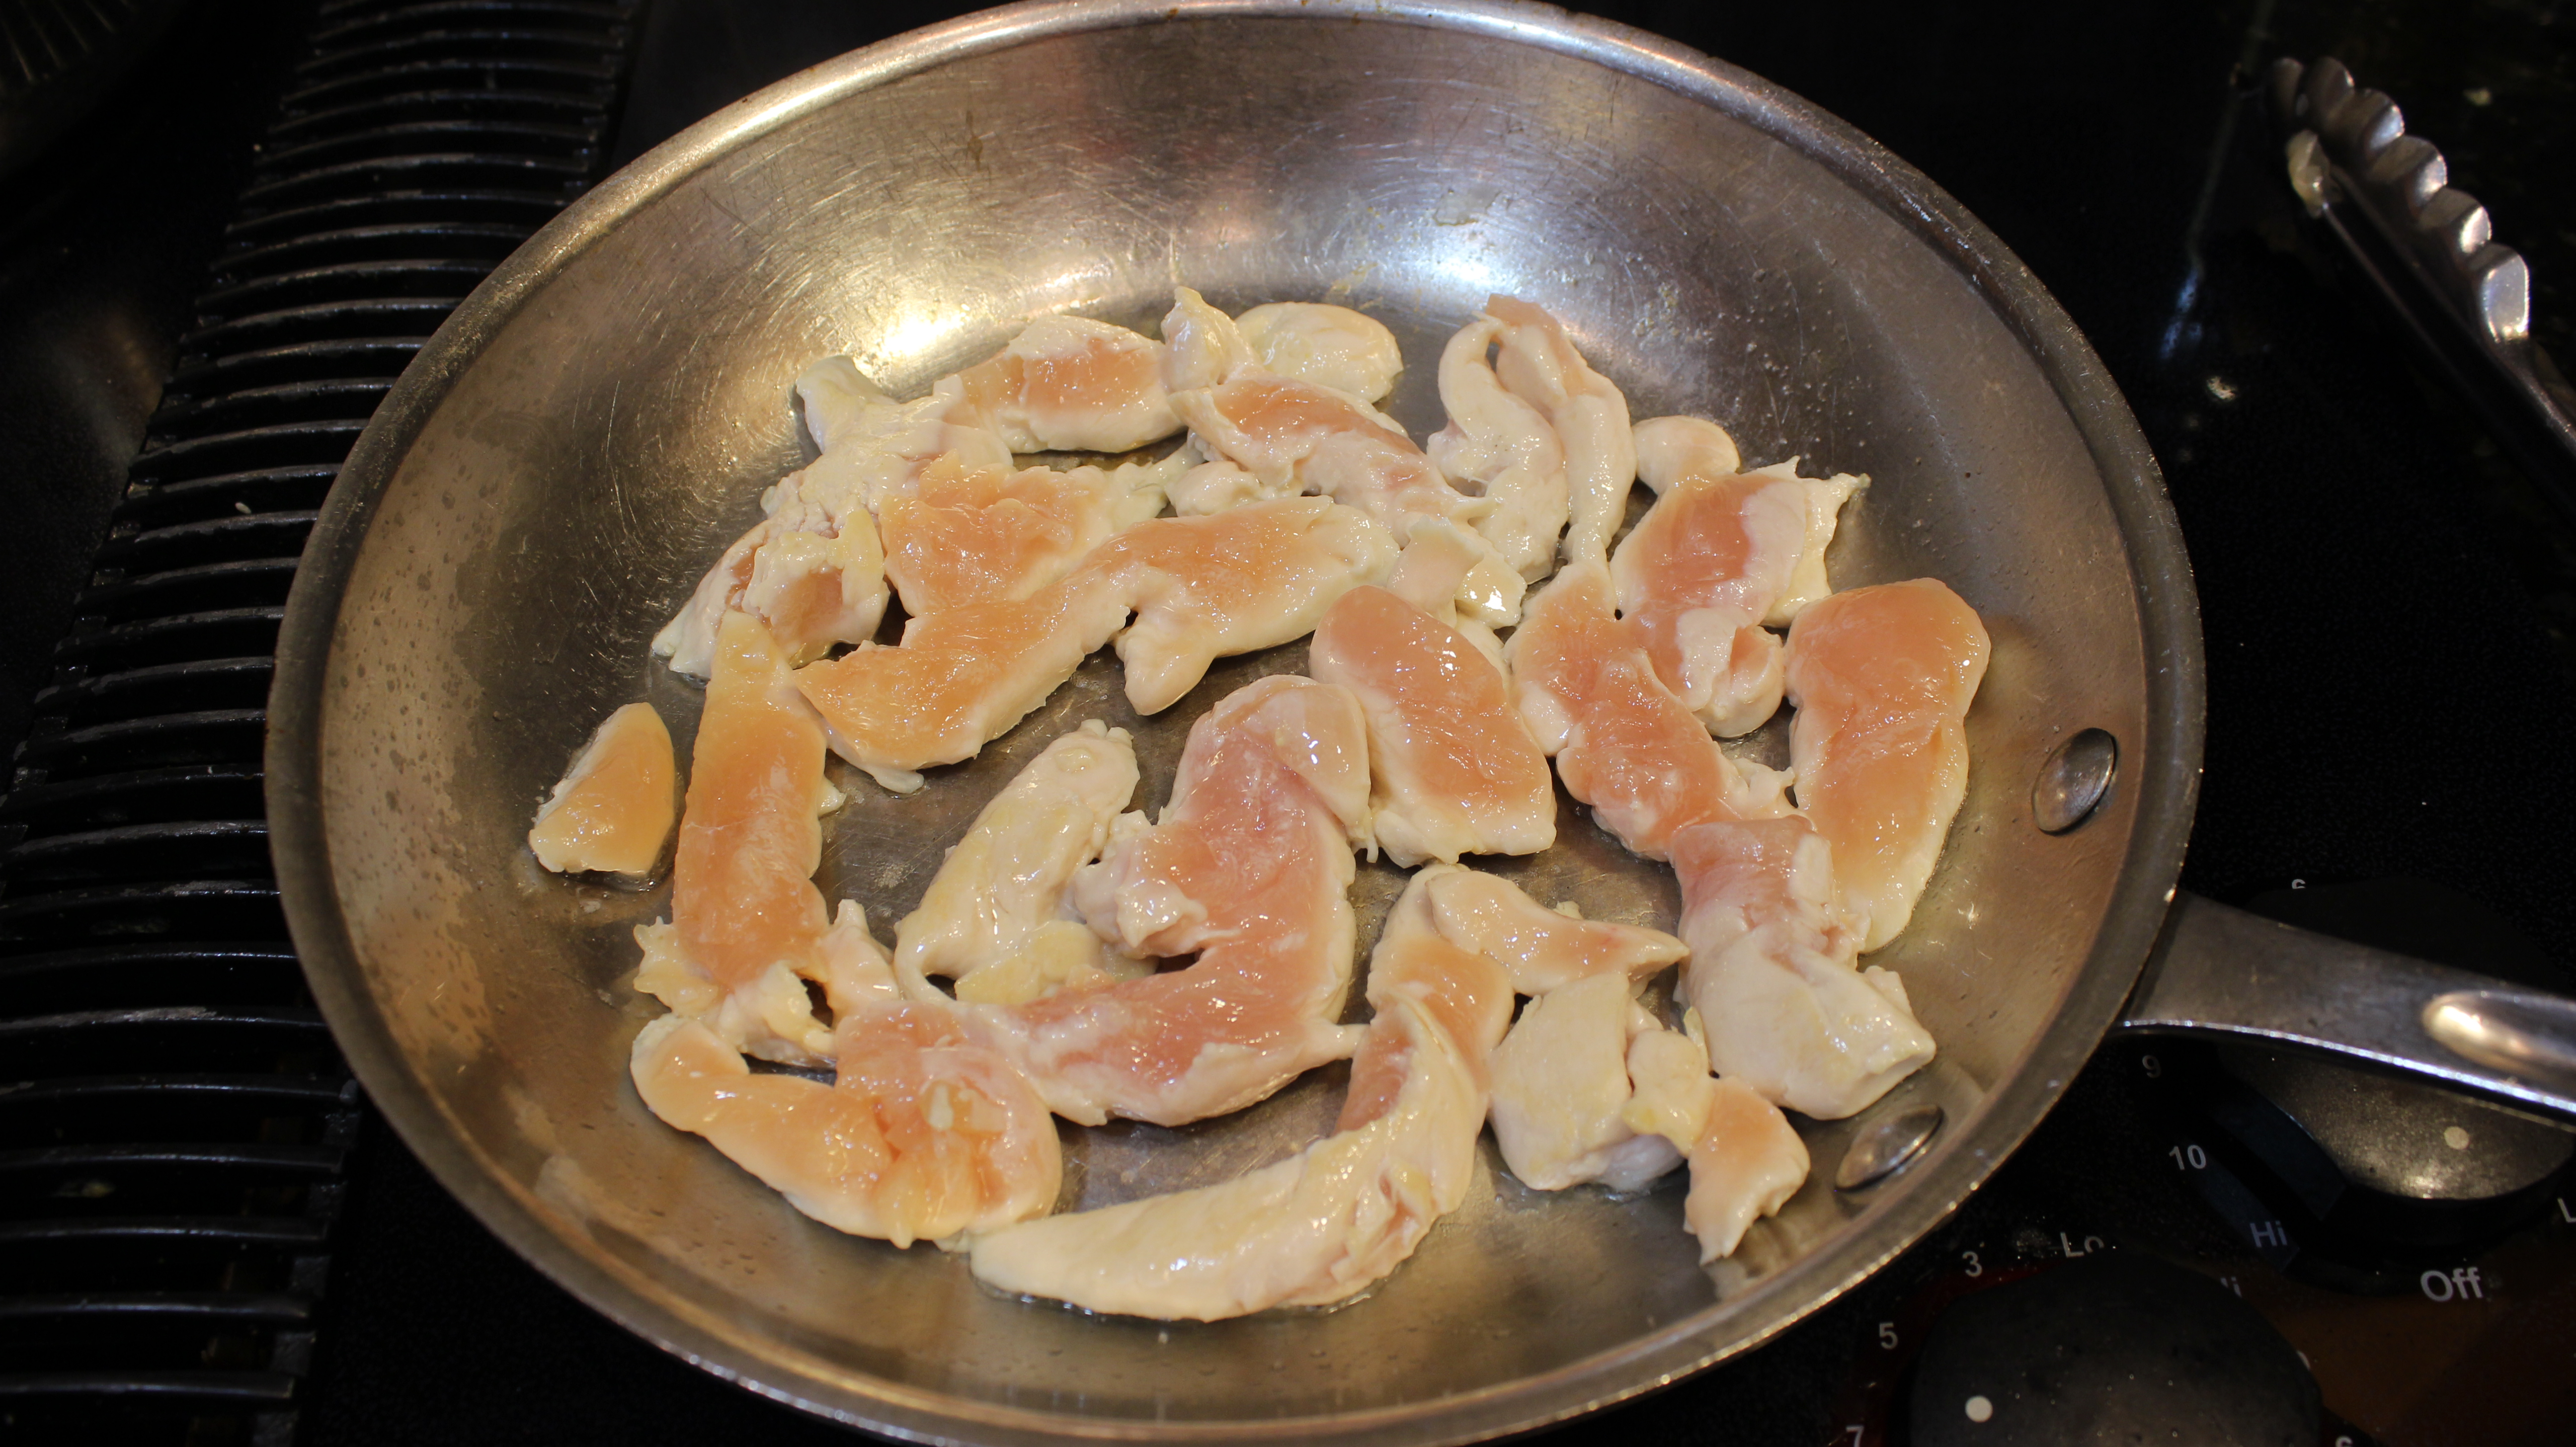
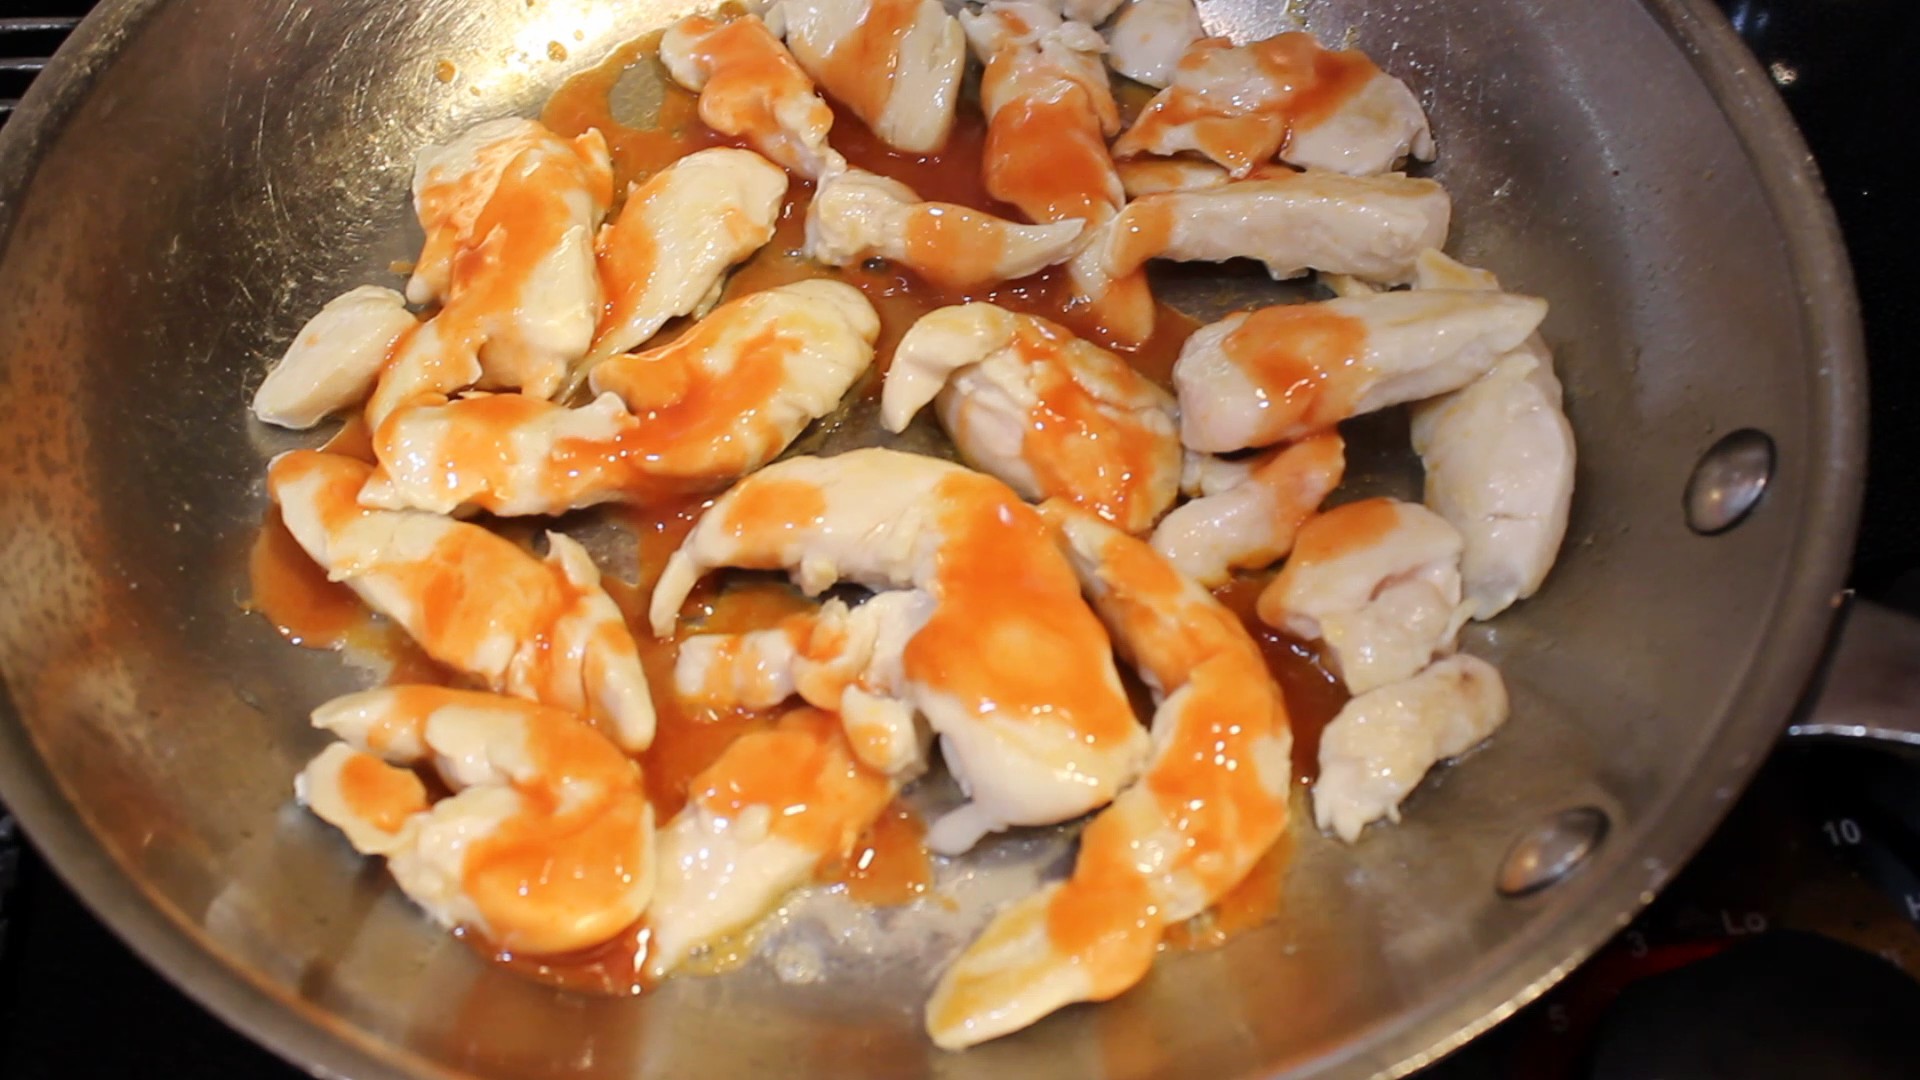
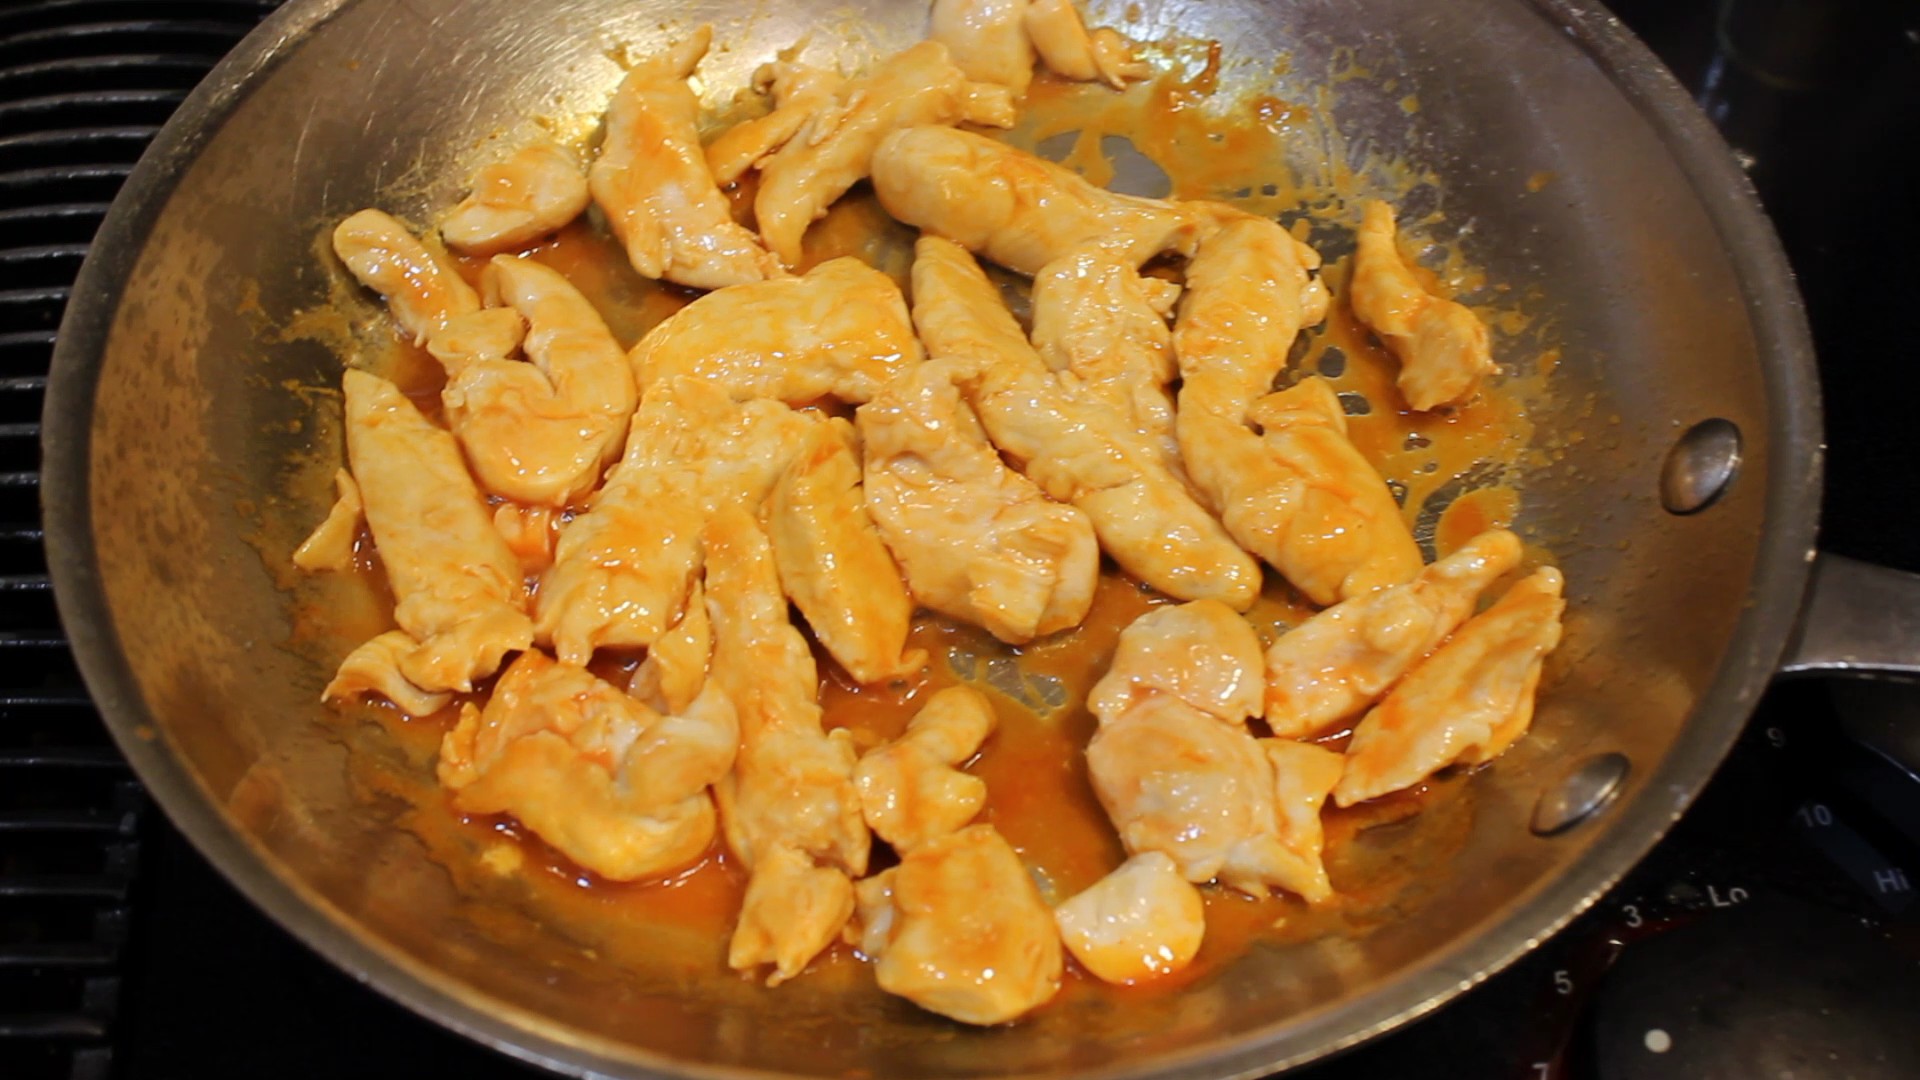
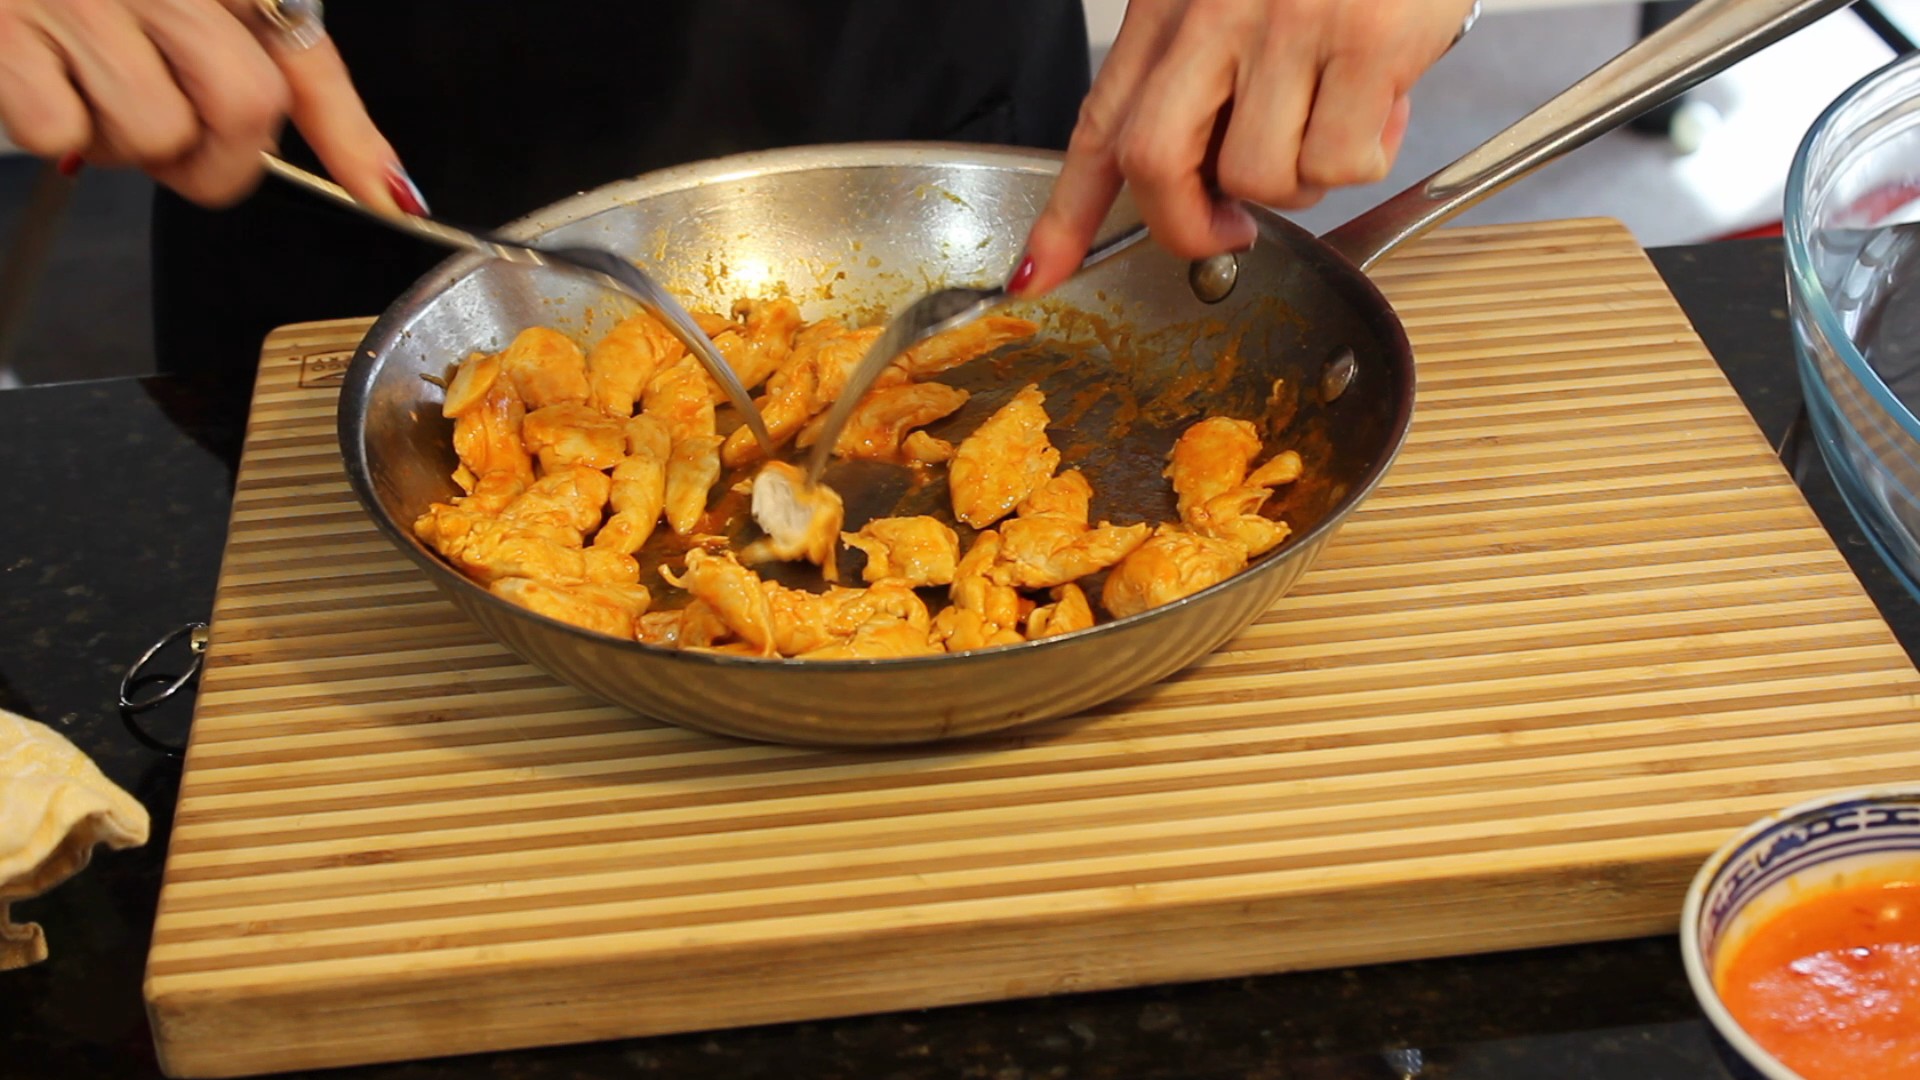
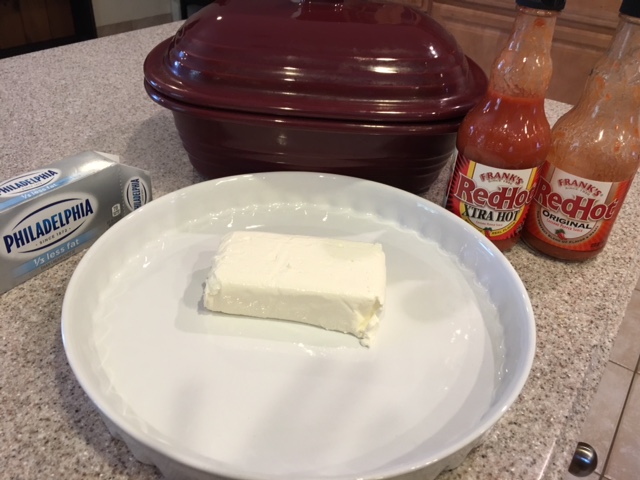
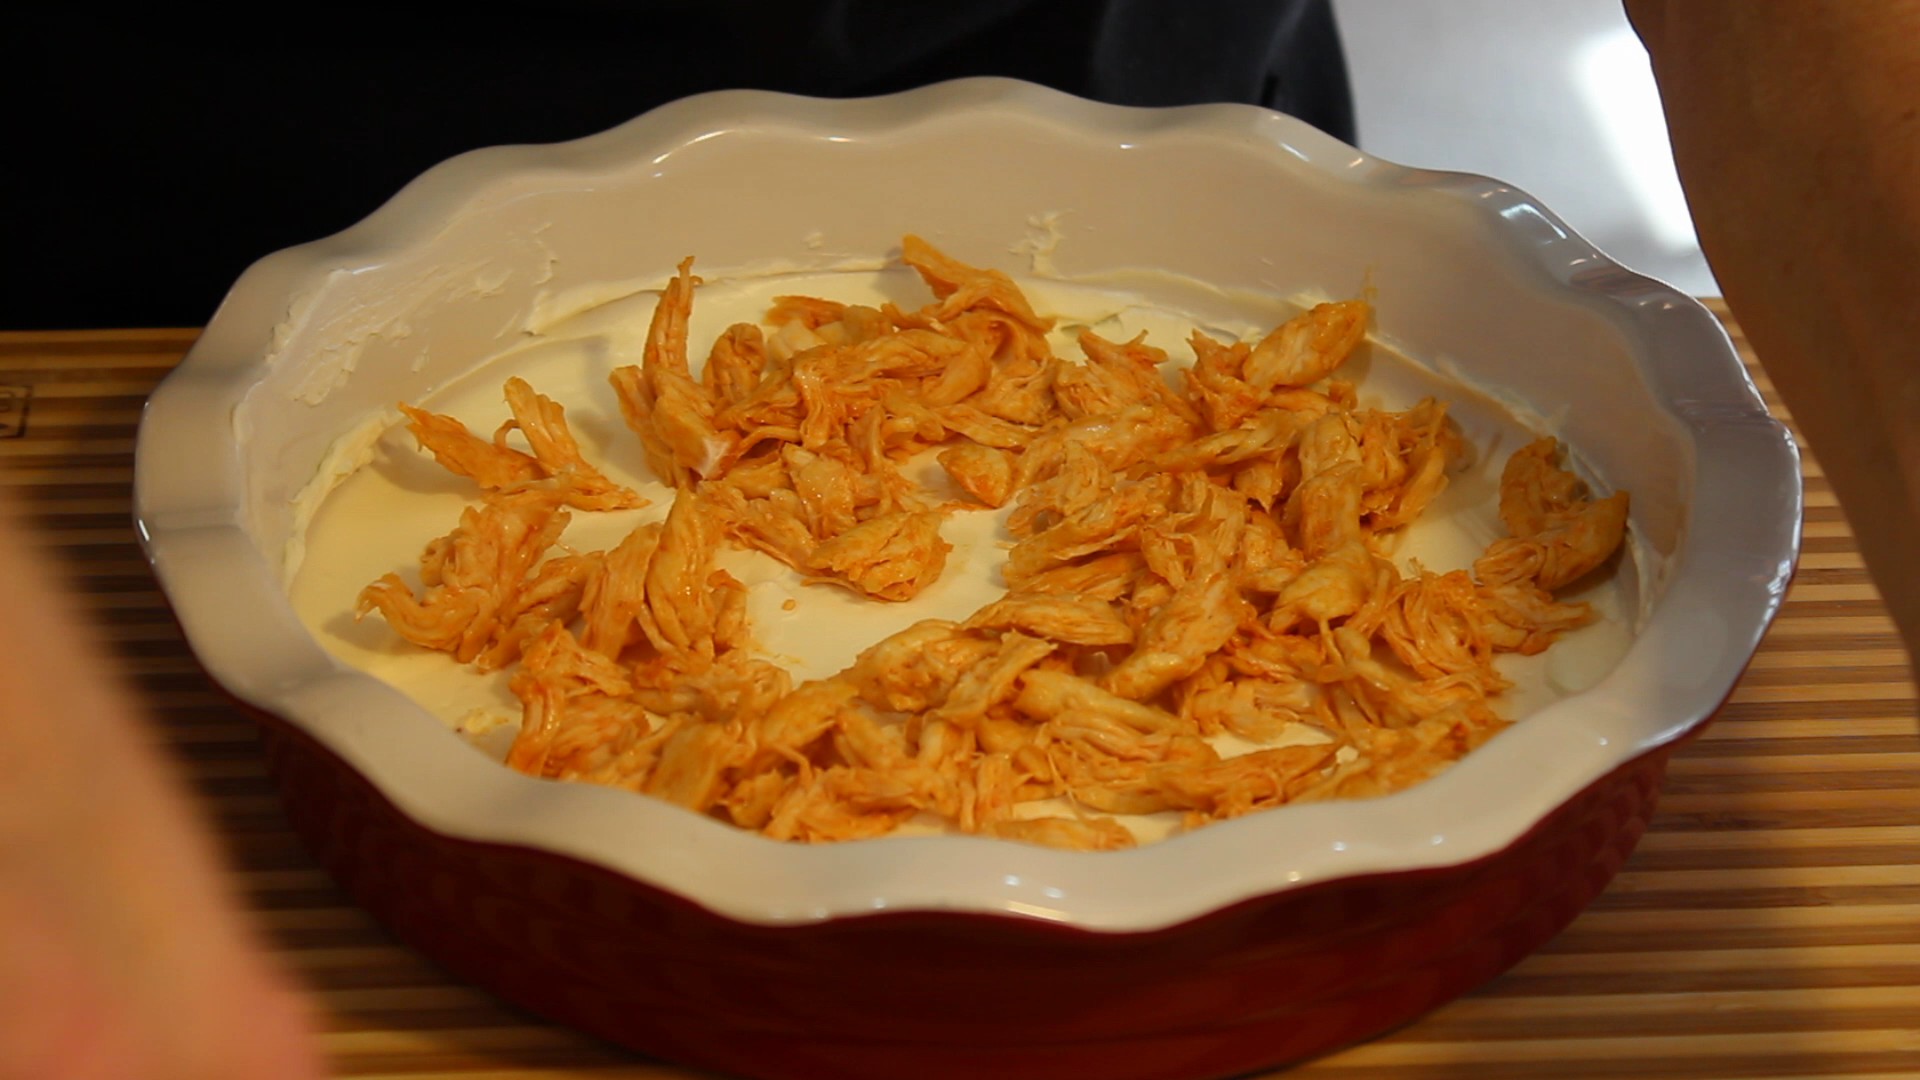
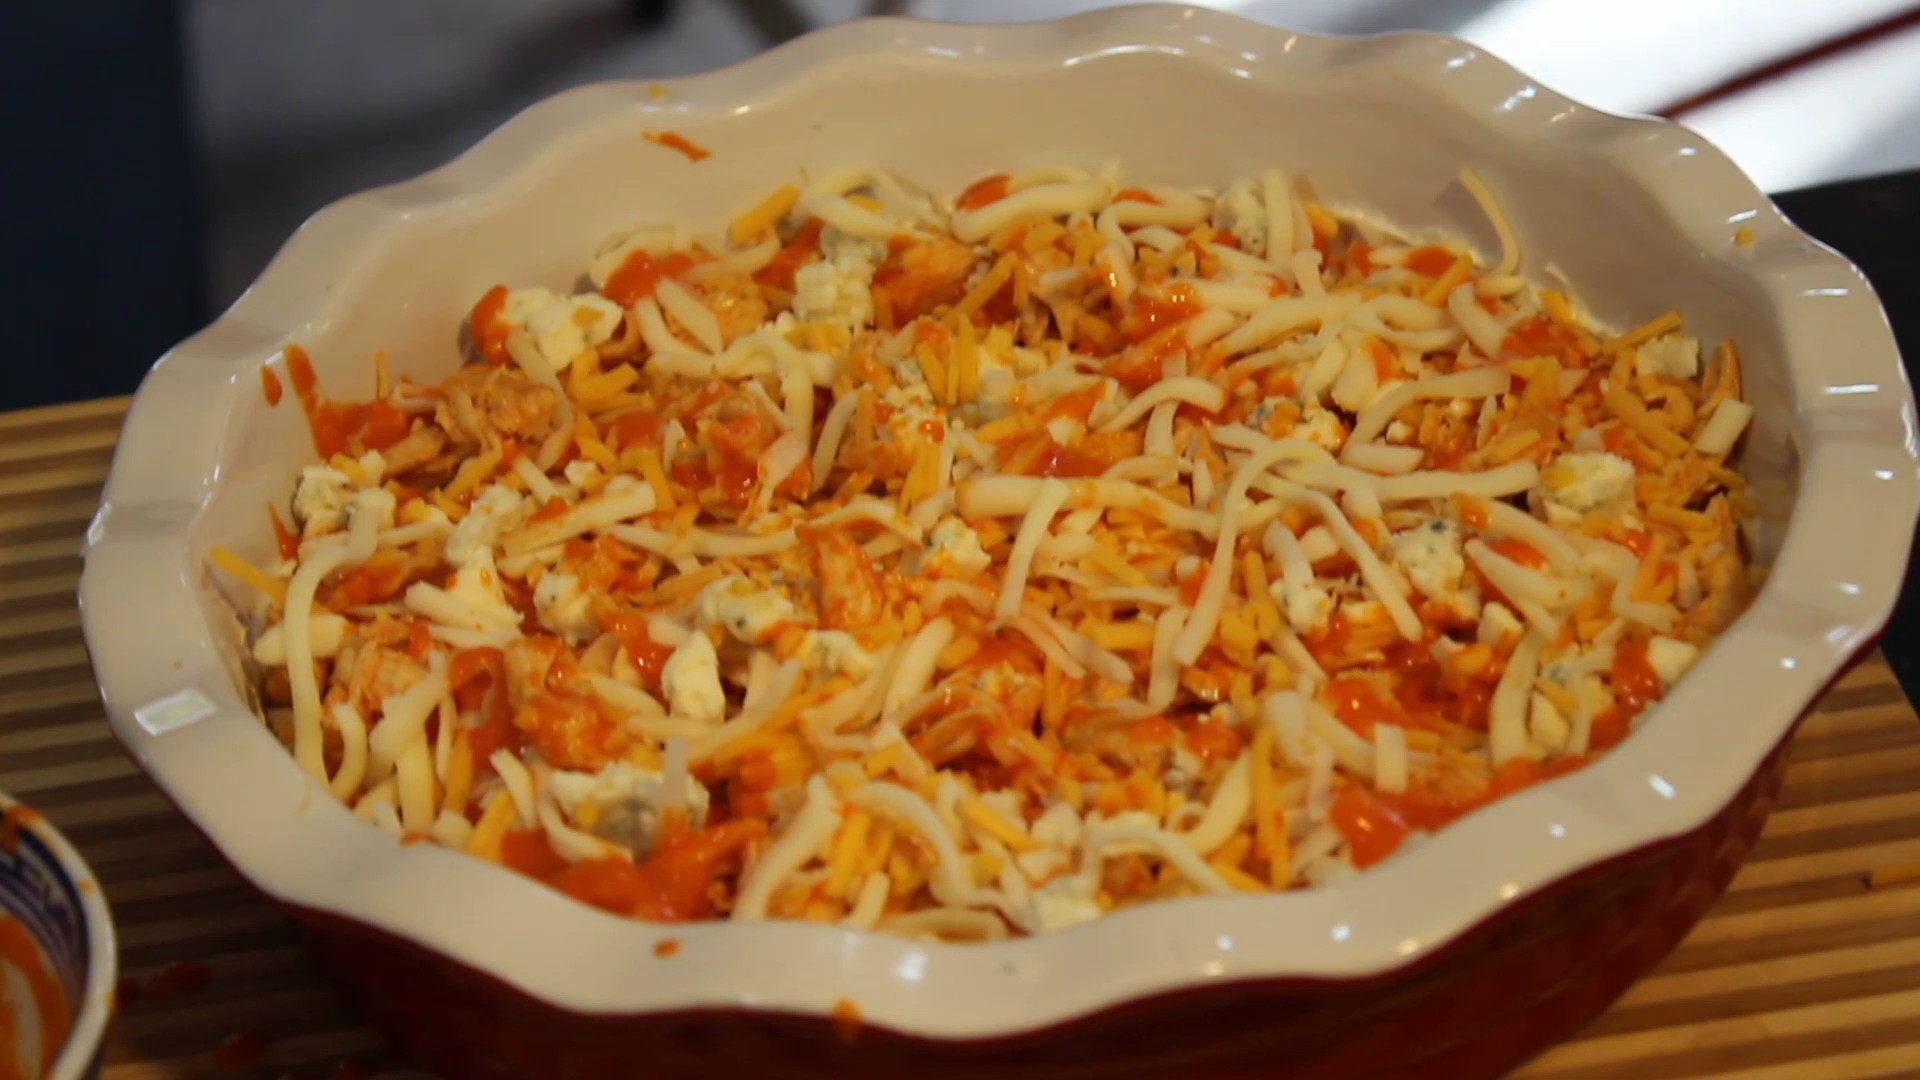
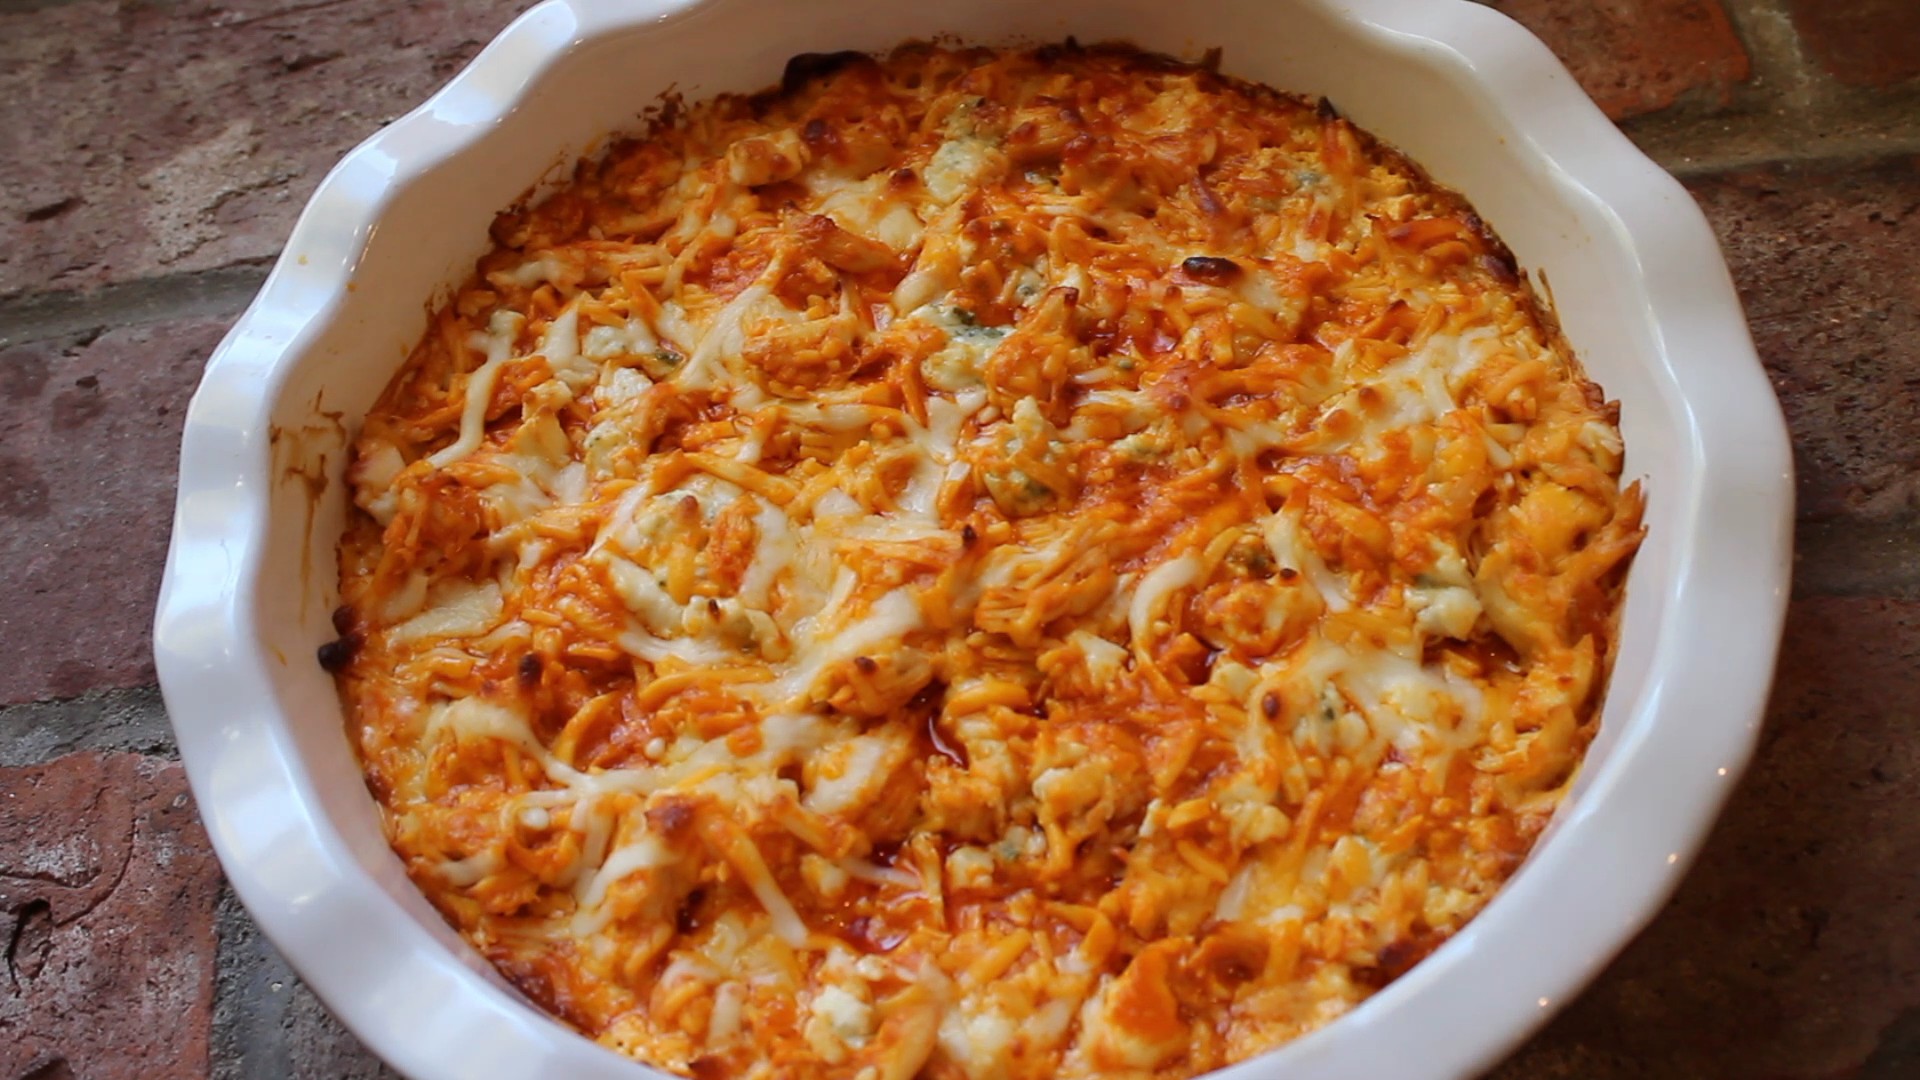
I think this buffalo chicken layered dip is a win win for you and your party. Everyone will be asking you for the recipe. I hope you enjoy this “BEST Buffalo Chicken Dip” recipe and the show too! Don’t miss the “Behind the scenes bloopers” included at the end of the show. And if you want to make an amazing desert that will get you lots of oohs and ahhs try the Pavlova or the “Death by Chocolate Meringue Pie”! Don’t forget a Homemade Caesar Salad and an entré of Lobster Mac n’ Cheese or Eggplant Balls with pasta or Zucchini Spaghetti!

chcomerg lobmac DSCN4572-300x225 IMG_8005 zucspaghetti

IMG_3721  IMG_3751  chixfranks

bufchix  chixbuf  creamchixbuf

chixcream  withcheeses   buffdip

Ingredients: NOTE: You can use ROTISSERIE Chicken!

  • 3/4 lb chicken tenderloins raw OR 1/2 of a ROTISSERIE Chicken
  • 1 tbsp olive oil (NOTE: this is only if sautéing up the tenderloins)
  • Sprinkle of salt (only if sautéing up the tenderloins)
  • 1 -8 oz pkg Philadelphia Cream Cheese
  • Frank’s Hot Sauce
  • Buffalo sauce: 1/4 cup (1/2 stick) butter (Kerrygold or favorite) & 1/3 cup Franks Hot Sauce
  • 1/4 cup Blue cheese crumbles
  • 1/4  cup sharp cheddar cheese
  • 1/4  cup mozzarella
  • (1) 9″ Deep-dish baking pie plate

Directions:

  1. Pre-heat oven to 375º
  2. Melt 1/2 stick of butter in microwave, then add 1/3 cup of Frank’s Red Hot Sauce, whisk until combined – this is the “homemade buffalo sauce” – set aside
  3. Add 1 tbsp. olive oil on medium heat
  4. Add in the chicken tenderloin pieces to a pan on med. high heat, sprinkle with a pinch of salt begin to sauté for 3 minutes
  5. Flip chicken pieces over and sauté another 3 minutes
  6. Once they start to golden slightly add 2 tbsp. Franks hot sauce and let reduce on low 1-2 minutes
  7. Remove from heat and shred or cut up
  8. OR toss ROTISSERIE CHICKEN meat from 1/2 of a chicken, cut up or pulled apart to bite-size pieces with enough Frank’s Red Hot/butter sauce mixture to coat
  9. Begin the layering on top of the cream cheese
  10. Smear 8 oz. of room temperature cream cheese in bottom of your bake dish
  11. Then add the shredded chicken for the layer next
  12. Drizzle homemade buffalo sauce over the chicken (save some to drizzle after the layer of cheeses)
  13. Sprinkle 1/4 cup crumbled blue cheese
  14. Then Sprinkle 1/4-1/3 cup cheddar and mozzarella each – if using 9″ baking dish go with 1/4 cup, if using 12″ baking dish you could use 1/3 cup if you want a little extra
  15. OPTIONAL – Drizzle more buffalo sauce over the cheeses
  16. Bake for 20 minutes until bubbly and serve with tortilla ships, carrots and celery

My MasterChef Sauces

My MasterChef Sauces

masterchefpicThe creation of these MasterChef sauces. a spicy, sweet and sour mango and a ginger-peanut sesame sauce, all began while surfing the net a few weeks ago, I accidentally ran into the MasterChef homepage advertising “Casting calls are coming soon to a city near you”.  My kids, Reilly and Bella were there at the time and enthusiastically shouted, “you should do it”! I think what sealed the deal was reading the “Come and meet the MasterChef casting team for your chance to be on the show!” The excitement started to seep in and I began to seriously consider going to the New York City MasterChef open call. If anything, I knew it would be a step in the right direction and a great learning experience let alone the adrenaline of it all!

After sending in their required online pre-registration form and printing out the nine page hard copy form to be submitted at the casting call I thought it would be a good idea to look over the FAQ page. The FAQ’s certainly had a list of what to do and what not to do. The “to do’s” started off like this:  First, bring one prepared dish to serve to their food judges. Second,  we would be given 3 minutes to plate our dish at their casting call location and for some reason I had initially thought I had 5 minutes to plate so that was a bit of an eye opener! Third, there wouldn’t be a kitchen to cook or warm our dish up so we were to come prepared! Fourth, we are to supply our own dishes, utensils, etc.

The “do not do’s went like this:  no air mattresses, no alcoholic beverages, no animals (unless health related), no candles, no cans or bottles (except water bottles), no chairs that do not fold (i.e. lawn chairs, chaise lounges, molded plastic chairs), no digital or still cameras, no fireworks, no hair dryers, no illegal drugs, no tents, no video, cameras or camcorders of any kind, no weapons of any kind, no children under the age of 13 years are allowed at the audition venues. There you have it!

Well OK,  I had a little organizing to do and a plate to figure out for my MasterChef casting call debut! I really wanted to wow them! The part about the “NO kitchen” and “come prepared” got me to thinking that a cold dish of some sort might be a wise way to go! An appetizer is probably the most logical then, right? Yes that’s it, it came to me.  I would make my “Fresh Shrimp and Chive Rolls” with the new MasterChef sauces that I have created which I can decorate the plate with. A julienne of daikon radish, carrots and a sprinkle of toasted sesame seeds with micro herbs for some pizzaz would add in the finishing touches. I also thought I needed to add in some height so I came up with baked egg roll shells that I form in a cup cake pan. I got this idea from my “Bloody Mary shrimp and Mango-Curry Shrimp in Wonton cups at Nancy’s Show” except I decided to use egg rolls shells instead of won-ton because they are a little bit lighter.

Now that I knew what I was going to make I thought I would practice my plate decorating with my MasterChef Sauces by shooting it in this weeks show so I could share this fun experience with all of you! It was definitely a lot of work to do this and go to the casting call but I did it! It was an awesome experience being there and the “MasterChef team” was pretty dynamite. They had everything down to a science and moved around with ease offering up a very warm welcome to all the competitors. I am super glad that I took Reilly and Bella’s advice on going for this.

I kicked you know what with my dish and the plating. I went there and did exactly what I set out to do with my presentation with 8 or so seconds left before they yelled “TIMES UP”! That part I have to say was such a RUSH because it reminded me of chopped!!! I was then the first to be called back in with 8 others for that first plate presentation part from our first group of 30 plating competitors.  I might be over thinking all of this a little, but I was so tired from preparing the food and shooting the show I feel as though I forgot to prep myself on what exactly to say about “me” when they pulled us 8 into interview. Although, I had them laughing a bit. I got the feeling what was more important to them was the person who said the right things in that second interviewing, more character not food ability. Gods only knows I do have lots of that so if it doesn’t work out this time I NOW know what they want next time around! I still have to wait until the end of October to see if I hear from them (they are still traveling to other states). I had an incredible time and will keep you all posted. Thank you all for your support, it means a lot! Hope you enjoy “My MasterChef Sauces” Show! 

IMG_3462 IMG_3468 IMG_3472

IMG_3474 milkpean  IMG_3489

IMG_3506  IMG_3508  mangosieve

IMG_3514  saucesqueeze  squeeze

eggrollcups  juienned  microherbs

rolls

Ingredients for Ginger-Peanut Sesame Sauce:

  • 3 tbsp smooth peanut butter (Teddy’s All Natural)
  • 1/4 cup soy sauce
  • 2 tbsp toasted sesame oil
  • 1 1/2 tbsp vegetable oil
  • 1 tbsp rice wine vinegar
  • 1 tbsp red wine vinegar
  • 1/2 tsp wasabi powder
  • 2 tbsp sugar
  • 1/2-1 tsp Siracha (can find this next to Tabasco products)
  • 1 whole lime
  • 1 tbsp corn starch dissolved in 3 tbsp pineapple juice – Use 1 1/2 tsp of this 
  • 1 tbsp fresh grated ginger
  • 2 tbsp half and half

Directions for Ginger-Peanut Sesame Sauce:

  1. Add all of the ingredients to a large bowl (EXCEPT corn starch mixture) and whisk
  2. Squeeze only 1/2 of the lime in at this point
  3. Add to medium pan over medium/high bring to a low simmer – whisking constantly this will be about 2-3 minutes
  4. When this begins to thicken turn down to med/low and add in 1 1/2 tsp of corn starch mixture and keep whisking- this will be about 3-4 minutes
  5. Remove from stove and cool
  6. When cooled add in 2 tbsp half and half and a squeeze of the other half of the lime and whisk briefly til smooth
  7. Add to ramekins for a dipping sauce or put into squeeze bottle to decorate plate with

Ingredients for Spicy, Sweet and Sour Mango Sauce:

  • 1 cup pineapple juice
  • 1/2 cup mango
  • 1/4 cup red wine vinegar
  • 1/4 cup sugar
  • 1 tsp ketchup
  • 1 tsp fresh grated ginger
  • 1 tsp Siracha
  • 1/8 tsp salt
  • 2 tbsp corn starch dissolved in 3 tbsp water
  • 1 lemon

Directions for Spicy, Sweet and Sour Mango Sauce:

  1. Add all of the ingredients to a large bowl except the corn starch mixture
  2. Whisk til combined – use juice from 1/2 lemon here
  3. Add to a medium size pan over med/high heat and bring to a low simmer to melt sugar – 3 minutes
  4. Add in corn starch and keep whisking at a low simmer til the mixture is transparent again and thickened – 5 more minutes
  5. Mash Mango pieces into sauce with a fork
  6. Remove from heat and press thru a sieve into a bowl and let cool completely (can add a little squeeze of the other half of the lemon if too thick)
  7. Pour into ramekins for dipping or put in a squeeze bottle to draw on plates …have fun decorating!

Easy Gourmet Eggplant Parmesan

Easy Gourmet Eggplant Parmesan

My easy gourmet eggplant Parmesan is sweet, saucy and oozing with mozzarella getting even better the next day when it’s re-heated if that’s even possible! Eggplant Parmesan one of my very favorite things to make. I used to watch my mother fry eggplant when I was young and I have been making this homemade eggplant Parmesan for 30 years now. Eggplant Parmesan is one of those delicious Italian comfort foods that can be a little bit of work to prepare so I show you how to keep the process simple by spreading out the steps.

The secret to sweet eggplant Parmesan is slicing , lightly salting and weighting down the eggplant letting it sit in the refrigerator for 2 hrs to overnight preferably to remove the bitter purple juice making my homemade baked eggplant Parmesan as sweet as ever. This is a simple but ingenious way that’s been in my family for generations.

It will be much easier to try and fry up only one eggplant if it’s your first time just to get the hang of it. If you have gone through the frying process before I would suggest cooking up two or three large eggplants. I like to fry up 3 eggplants because I freeze the slices I don’t use right away when they are completely cooled in between layers of thick durable Bounty paper towels in freezer Ziploc baggies. This way all your base work is done for you and you are able to pull them out of the freezer and whip up an eggplant rollatini, eggplant Parmesan, or even eggplant lasagna. When you take them out of the freezer they pop apart easily thawing in minutes too ready for what ever dish you may have in mind.

I recommend making my quick and easy tomato-basil pasta sauce  or even my slow cooked pasta sauce to baked this easy gourmet eggplant Parmesan dish. I love the fact that it can totally be made days ahead, even weeks ahead and put into the freezer ready to thaw when you need it.

If you’re feeling ambitious you may want to venture off and try my homemade eggplant rollatini with vodka sauce and, or my homemade ricotta which you can also make the day before or just treat yourself and buy Liuzzi Cheese ricotta or your favorite store brand for the rollatini. Planning is sometimes the name of the game for taking the labor out of scrumptious food like this where if you get it done in steps it makes everything go so smoothly.

You may want to accompany this amazing Italian dish with some apps like crab cakes, a homemade Caesar saladMediterranean layered dip, or asparagus wrapped in Prosciutto and you could end it with the best chocolate cake you ever had that’s a snap to make! ENJOY! 🙂

DSCN45211-300x225 DSCN4572-300x225 IMG_5437 iphone-pictures-572-300x225 IMG_2793

DSCN4361[1]  DSCN4362[1]  DSCN4364[1]

DSCN4367[1]  DSCN4369[1]  DSCN4372[1]

DSCN4374[1]  DSCN4376[1]  DSCN4378[1]

DSCN4382[1]  DSCN4385[1]  DSCN4386[1]

DSCN4391[1]  DSCN4393[1]  DSCN4395[1]

DSCN4399[1]  DSCN4405[1]  sauce

sauceeggplant  eggplsnt  eggwithplant

IMG_3349

Ingredients:

  • Tomato-Basil Pasta Sauce or Slow cooked pasta 101 recipe
  • 2-3 large eggplants
  • 6-9 extra large eggs whisked (approx. 3 eggs per 1 extra-large eggplant)
  • 3 cups seasoned Italian bread crumbs – (use “seasoned breadcrumbs” then you don’t have to add that in)
  • salt
  • 1 16 oz. block of part-skim or whole milk mozzarella shredded or sliced thinly
  • 3 1/2-4 cups canola oil for frying
  • fresh basil leaves
  • grated Parmesan for garnish
  • Cookie racks
  • 1 whole roll of Bounty Paper Towels (it’s important to get quality paper towel so they will absorb the oil properly and won’t fall apart)
  • Candy thermometer to keep oil at 300º

Directions – Pre-heat oven to 350º:

  1. Slice the ends off the eggplants
  2. Using a potato peeler peel off all the skin of the eggplants
  3. Slice up eggplants on a slight bias (on a little bit of an angle) into 1/4″ slices (1/4″ for rolling up for eggplant rollatini BUT you can cut them a little thicker 3/8″ for eggplant parm!
  4. NOTE: If i plan on freezing the left over fried eggplant slice’s for future dinners (eggplant rollatini) I cut them length wise so as to have enough length to roll up with ricotta in the middle BUT if I’m just making enough for parm I cut the eggplant on a slight bias because I don’t need the length…I try to cut them all the same so cooking time is constant.
  5. Layer the eggplant slices in a large glass bowl
  6. In between each layer sprinkle 1/4 Tsp of salt, and keep layering eggplant, salt, eggplant, salt…
  7. Cover with Saran wrap and place a small plate on top and then some heavy fry pans or large tomato can to weight down the eggplant and into the frig for 1-2 hours up to 1 day
  8. Drain the purple juice from the bowl
  9. Take the eggplant and pat them dry in layers between Bounty paper towels
  10. Whisk eggs
  11. Get your line-up of bowls in order: eggplant slices – whisked eggs – bread crumbs
  12. Add 3 1/2 – 4 cups canola oil to a large sauce pan and begin to heat up on medium/high heat
  13. The oil needs to get to about 300º …The temperature will go down a little when you start filling the pan with breaded eggplant slices so start with the heat on med/high then after you start to fry you will have to turn it up a little to maintain the 300º
  14. Lay out 2-3 cookie racks covered with layers of paper towels to absorb oil for frying
  15. Add slices of eggplant to the egg bowl in batches – only add in the 4 or 5 slices that are going next into the oil and ready to go into the bread crumbs
  16. Then dip into the bread crumbs and into the heated oil
  17. Put 4 or 5 slices of breaded eggplant into the oil at a time…
  18. They will fry for about 2-3 minutes per side til golden then flip the slice over
  19. While the 1st batch is frying get the 2nd batch ready to fry dipping into the egg and then into the bread crumbs and let them sit there on the bread crumbs til they are ready to go into the oil
  20. Once the eggplant are golden place onto cookie racks with paper towels and dab them with fresh paper towels, flip and do the same to the other side to remove all excess oil
  21. Throw away oily paper towels and re-place with a new set of paper towels for the next and replace with each batch there after
  22. Then place the eggplant onto the wire cookie racks with out paper towels to cool
  23. Finish frying the rest of the eggplant going thru the same procedures
  24. Get out your favorite baking dish and cover the bottom with sauce
  25. Begin to layer sauce, eggplant, mozzarella and some fresh basil leaves til you are 1″ from the top
  26. Cover with foil and bake for 50-55 minutes appox. with foil til sides are bubbling and bake another 5-10 with out foil so mozzarella can get bubbly

FREEZING TIPS: I love, love, love to freeze my fried eggplant slices because all the work is done for you the next time you want to make parm or rollatini. BEST way to freeze your eggplant slices:  let all the fried slices COMPLETELY cool on a cookie rack, then layer as many slices in between BOUNTY (need a durable paper towel)  paper towels. Layer enough slices to fit a SINGLE layer in between each sheet of Bounty in a FREEZER ZIP-LOC baggie.  Begin with a sheet of Bounty in the Zip-Loc, then slices of eggplant-single layer, then another sheet of Bounty, then another layer of eggplant slices and so on until you can barely close baggie. Lay flat in you freezer and Voilà! Freezes great 4-5 months!

Pulled Beef Taco’s & Mango Salsa


Pulled Beef Taco’s & Mango Salsa

Just wait until you taste the flavors in this pulled beef taco dish that ONLY uses three ingredients! Yes, that’s right we only use three ingredients… red wine, Trader Joe’s Autentica Salsa and a chuck roast that braises in the oven for two and a half hours with the cover off. I almost feel like we are cheating here by only using these three items because it seems as though something this amazing in taste, similar to Boeuf Bourguignon, should involve way more effort and ingredients. I think it’s important here to use the oven instead of a crock pot because the dry heat helps to caramelize the beef really building on all those layers of flavors.

This is the perfect dish for having groups of friends over because it’s a total make ahead dish. You can even make my mango salsa the day before. If you are really in a pinch for time you could always buy fresh made salsa at the store. I personally like to make this homemade pulled beef the morning of the party so that the house fills with all the aromas of the braising chuck roast, red wine and tomatoes. Really gets the juices flowing!

You can use your favorite hard taco shells to serve up the homemade pulled beef, corn and flour tortilla’s or even serve it on a bed of lettuce with shredded cheddar cheese and my mango salsa! I would also offer sour cream and Siracha in the side fixin’s and just let people go to town making their own creations. How fun is that?
You may just want to make my decadent Hershey’s Perfectly Chocolate Chocolate Cake for dessert! You won’t believe how EASY it is to make! You could also try my Chocolate Crackle Cookies that melt in your mouth. Then there always Fresh Berry Granita or Berries in a Dreamy Cream for dessert too. You’ll be able to actually relax and have lots of fun with your family and friends.

IMG_2793 IMG_3663 IMG_2375 IMG_2201

IMG_3110  IMG_3140  IMG_3127

IMG_3132  IMG_3135  IMG_3173

IMG_3223  IMG_3234  IMG_3144

mangosalsa

Ingredients for the Pulled Beef Taco’s:

  • 3 1/2 lb. beef chuck roast (look for some good marbling)
  • 1 bottle of red wine – Cabernet Sauvignon
  • 1 bottle Trader Joe’s Salsa – Autentica
  • 3 tbsn olive oil

Directions:

  1. Pre-heat the oven to 350º
  2. Slice  the chuck roast into 6 pieces
  3. Salt and pepper the pieces
  4. Add 3 tbsn of olive oil to a large pan on med/high heat and begin to add the beef pieces
  5. Turn up the heat to high and quickly sear all sides til browned – this takes 10 minutes
  6. Add in 3/4 of the bottle of red wine (be careful of steam here) and the whole jar of salsa
  7. Bring to a simmer and pop into the oven for 2 1/2 hrs.
  8. Every hour turn the beef pieces over so the other sides can caramelize
  9. At 2 1/2 hours take the braising meat out of the oven and begin to remove the beef to a dish wear you can start to pull apart the beef pieces
  10. Tilt the braising pan to the side so that you can skim off the fat that rendered out of the meat
  11. Pour the left over juice onto the pulled beef and serve with taco shells and my mango salsa…enjoy!

Ingredients for the Mango Salsa:

  • 2 lg mangoes chopped 1/4″ cubed – (about 1 1/2 cups)
  • 1 avocado chopped 1/4″ cubed (1 cup)
  • 2 med/lg size tomato’s or 5 small tomato’s chopped 1/4″ cubed (1 cup)
  • 1/2 Vidalia onion (or yellow) FINELY chopped (1/2 cup)
  • 1 FINELY chopped jalapeno (2-3 tbsn)
  • juice from 1 lime
  • 2 Tbsp olive oil
  • 1 Tbsp rice wine vinegar
  • 1/2 cup coarsely chopped cilantro
  • a dash of Siracha (optional)
  • S & P

Directions:

  1. Add all of the ingredients to a large bowl and mix thoroughly.
  2. We really love to eats this salsa with blue chips too
  3. I have also served this salsa up on the tips of endive leaves, and or with a cooked shrimp on top of that ….yum!
  4. I must warn you this salsa is highly addictive……consume at your own risk! LOL

iphone pictures 718  iphone pictures 732  iphone pictures 721

iphone pictures 722  iphone pictures 724  iphone pictures 738

iphone pictures 739  iphone pictures 740

TIP:  There is an easy way to get the pit out of a avocado which I have displayed in the pictures above.  After running the knife around the flesh of the avocado against the edges of the inside pit… put the knife down and twist the avocado halves and pull apart. Then stick the knife into the pit and do the same thing holding on to the knife with one hand and carefully twist the avocado pit and it will pop right out.  Then knock the pit off onto the board away from your hands.  This can be a little tricky the first time so I would advise that this would be for an adult to try.   Finally, Insert a large spoon and scoop the avocado along the edge of the avocado skin to remove avocado flesh.

Michigan Sauce at Kathleen’s

Michigan Sauce at Kathleen’s

We make this incredible Michigan sauce in the show with ground turkey, but many who make this savory sauce make it with ground beef! Michigan sauce is made from simmering ground turkey, warm water, French’s Yellow Mustard, Franks Hot Sauce, Hunts Tomato Sauce, chili powder, ground cumin all awhile mashing the ground meat with a potato masher to achieve a tender, fine sauce.

Now you may think that adding a whole 5 oz. bottle of Frank’s Hot Sauce to this homemade Michigan sauce would make it really spicy but it doesn’t at all. The amounts of all the flavorful ingredients are pretty perfect here giving you this nicely balanced combination. You get hints of citrus and floral from the ground cumin, a bit of a kick from the cayenne in the Frank’s Hot Sauce and a little tang from the French’s Yellow Mustard. Lets not forget the chili powder that gives it the right amount of earthiness to complete the circle. Now you know how important it is to me that you always season a dish as you go along but here there is no need for salt or pepper because all of the ingredients added into this recipe take care of that.

These Michigan Sauce recipes go back for generations and are very special to an Upstate New Yorker such as Kathleen and her family. I feel honored that they were willing to share their family recipe that they hold so dear to them so that I might be able to share it with all of you.

clarecarlsOver the years there have been legends and tales going around of how this delicious Michigan Sauce recipe began. One says that the Coney Island hot dog met a sauce made from a woman in Nashville who married a man from Detroit and they moved to Plattsburgh, NY. They started selling hot dogs with this sauce and called them “Michigans”. The other says it was a couple from Detroit that moved to Plattsburgh, NY.  But if you ask some of the locals they will insist that “Michigans” have nothing to do with Detroit! Back in the 1920’s is when the the first “Michigan” stand opened up but Clare and Carl’s is the one very well known to people which opened in the 1940’s along Lake Champlain. To this day, Clare & Carl’s keeps the car hop service that made it popular a half century ago.

A typical “Michigan” is garnished with chopped onion and a line of French’s Yellow Mustard on the top. If you to go into Clare and Carl’s they would ask you if you want your Michigans “with” or “without”, referring to the chopped onions of course. You might reply, I would like two Michigans “with-buried”. This would mean you want onions and they are to be under the sauce. Now you know how to properly order your Michigans when you are in Upstate New York.

Even though this special meat sauce is an Upstate New York summer tradition I think this is the perfect dish for football season! Not to mention it’s a total make ahead dish so you won’t miss any of the game tending to that darn stove. This Michigan sauce also freezes really well so make sure to take advantage of that and make an extra large batch like Kathleen’s mom, Shirley, does for future meals and get together’s. Thank you again Shirley and Kathleen for enlightening us with your lovely Michigan sauce recipe.

IMG_2283

Hope you enjoy the show! You may want to try and make some refreshing Pavlova for dessert to go with this savory Michigan sauce!


IMG_3020  IMG_3031  IMG_3041

IMG_3044  IMG_3072  IMG_3054  

clarecarls  clarecarl  clares

Ingredients:

  • 1 lb. Ground turkey
  • 1 cup warm water – Add 1/2 cup in the beginning and add 1/2 cup after adding the Hunts Tomato Sauce
  • 1 heaping tbsp French’s yellow mustard
  • 1- 5 oz. bottle Franks Hot sauce (whole bottle)
  • 8 oz. can of hunts-plain tomato sauce plain or garlic
  • 3 tsp ground cumin
  • 3 tsp chili powder
  • 1 small chopped Vadalia sweet onion – chopped for garnish or a Michigan “with-buried” (if you don’t get this you need to watch the show) 🙂
  • 1 pkg Deutschmacher Frankfurters (mild and delicious) OR Red Hots
  • Hot dog rolls

Directions:

  1. Add 1/2  cup water to 1 lb. ground turkey (beef) in a large sauté pan on medium/low
  2. Continue to mash these two for 10 minutes while simmering with a potato masher
  3. Change to a fork to further mash ground turkey to a finer mash for 5 minutes
  4. Stir in 1 heaping tbsp French’s Yellow Mustard until it disappears into turkey mixture
  5. Stir in 1 whole 5 oz. bottle of Frank’s Hot Sauce until it disappears into turkey mixture
  6. Stir in 1- 8 oz. can of Hunt’s tomato sauce
  7. Add in another 1/2 cup of warm water
  8. And then stir in 3 tsp chili powder and 3 tsp ground cumin
  9. Let this simmer on low for 1/2 hour
  10. Then mash a little more with the potato mash to make sure you have a fine texture.
  11. You can let simmer for another 1/2 – 1 hour til a thick consistency
  12. The more you let it simmer the more the flavors develop
  13. This sauce freezes really well for future meals
  14. Serve in a bowl with a drizzle of French’s Yellow Mustard and some chopped onions on top OR on top of a steamed hot dog in a bun with a drizzle of French’s Yellow Mustard and some chopped onions on top …YUM!

Gourmet Sausage Stuffed Mushrooms

Gourmet Sausage Stuffed Mushrooms

These gourmet sausage stuffed mushrooms are literally the easiest appetizer ever. Wipe the mushrooms off with a damp paper towel or mushroom brush, add your favorite sausage and bake for 15-20 minutes! There is no need for chopping or sauteing. You remove the sausage meat out of the casing it comes in, fill the mushroom caps and viola! In this recipe I used two pork sausages Italian garlic herb, and a chorizo sausage made with spices like chili and paprika. I also used two chicken sausages one made with jalapeño, fennel and cilantro and the other with feta and spinach that I bought at Whole Foods Markets.

There are so many specialty sausages to choose from out there that you can’t go wrong stuffing these baby bells! All the work is done for you so take advantage of these gourmet sausage products and stuff these mushrooms for an incredibly scrumptious appetizer that will continue to get raves from your guests.

Mushrooms are probably one of my favorite vegetables to eat. Give me Chanterelle mushrooms in a brandy cream sauce and I am in complete heaven. But here all you need is a simple button shaped mushroom with some room under the cap for filling.You can use a white button mushroom for these gourmet sausage stuffed mushrooms but what I prefer are Baby Bells because they are packed with flavor.

Another great specialty meat product called D’Artagnan offers many different sausages. One in particular is a mix of pork, duck, duck liver and egg white and is out of this world! This type of sausage is called Boudin and is very popular in New Orleans. It has distinct flavors that you might just start to crave after you have tried it. I really like D’Artagnan and I have found that Bishops Orchards Market in Guilford, CT carries a wide variety of their products. This brand offers a lot of duck products which Bishops also carries. Anything with duck or goose whether it be breast or liver is a no brainer in my book…YUM!

You can have these stuffed mushrooms for hors’ d oeurves before serving stuffed roulades of chicken on a garlic-bean puréeAsian shrimp & rice noodle saladturkey stuffed peppers or Chilean sea bass with green goddess sauce II for dinner.

iphone pictures 1418  iphone pictures 940  iphone pictures 941

iphone pictures 1420  iphone pictures 1421  iphone pictures 1422

iphone pictures 1423  iphone pictures 1419  iphone pictures 1424

iphone pictures 1427  iphone pictures 1426  iphone pictures 1425

iphone pictures 1428  iphone pictures 1430  iphone pictures 1441

Ingredients – Makes 20-24 Stuffed Mushrooms:

  • 2 pkgs of baby bella mushrooms (2- 8 oz. pkgs. will get you 20 and 2-10 oz. will get you 24)
  • 1 lb. – a variety of your favorite flavored sausages
  • Sprinkle of salt and pepper- (for after the mushrooms come out of the oven)
  • Fresh shaved Reggiano Parmesano
  • Fresh chopped chives for garnish

Directions:

  1. Pre-heat oven to 400º
  2. Clean your baby Bella mushrooms off with either a damp paper towel or a mushroom brush … you should NEVER wash your mushrooms or submerse them in water because mushrooms are porous.
  3. Pop out the mushroom stems
  4. Drizzle 2-3 Tbsp olive oil across a cookie sheet and rub it with your hands or use a brush to smear all of the olive oil across the baking sheet
  5. Place all of the baby bella mushroom caps on the olive oil and roll them around lightly coating mushrooms then make sure they are all open side up on cookie tray
  6. Slice open the sausage casings to get the sausage meat out and place on a small dish
  7. Begin to gently fill mushroom caps with approximately 1 1/2 Tbsp of sausage per mushroom (some may be smaller and only need 1 Tbsp)
  8. Do not pack in sausage just lightly stuff mushroom caps
  9. Bake for 15-20 minutes til slightly crispy on the edges
  10. DO NOT SALT the mushrooms before you bake them because all the water will release from the mushrooms and they will steam instead of baking
  11. When you take the mushrooms out of the oven THEN you can sprinkle a little salt
  12. The mushrooms will be juicy when you take them out of the oven so before you place them on a serving dish tilt them a little over the cookie tray that way some of the juice can drain out onto the tray and not on the serving platter
  13. Shave a little Parmesan and chives on the mushrooms and serve

Cold Cucumber Soup

Cold Cucumber Soup

This homemade cold cucumber soup is out of this world! It has texture and flavors that won’t stop! Not one of the flavors in this soup over powers another, it’s the perfect balance. You actually find yourself trying to distinguish between them only because you are aware of all the fresh vegetables and herbs that went into this amazing cold soup.

Being a born and raised East Coaster I have to say I have never been a big “cold soup” kind of person. With our unbearably cold winters we have here I really appreciate a very hot bowl of soup to warm the bones. So when ever I’m making this cold cucumber soup I’m slightly biased going in, not willing to give merit where it is due, until I take my first spoonful and it all changes!

My cold cucumber soup completely stands on it’s own and is very satisfying not to mention the medicinal qualities that cucumbers offer. Cucumber’s can reduce puffiness, help to eliminate toxins in your body and we all know that slice’s of cucumber over your eyes can help to reduce dark circles! Some of the vitamin’s cucumber’s offer are A, C and folic acid and minerals of potassium and magnesium.  All and all this homemade cold cucumber soup is a win win situation.

This homemade cold cucumber soup would be great for lunch with a side sandwich or grill up some shrimp like I did in the show. One of my favorite accents to this soup are seared scallops cut in half and placed right in the center on the soup. You can check out in my “Seared Scallop Show” to see exactly how to make the scallops.

King crab meat is also a lovely topping to this cold cucumber soup and was a big hit when I presented this soup this way to the tasting judges at my second MasterChef open casting call in NYC this past March (2016)! All of the MasterChef casting call judges didn’t have any critique for my soup during the tasting phase…they just said “they really, really loved it!” When I made my cucumber soup for the MasterChef casting call I added fresh fennel to the recipe to change it up and give it that je ne sais qua…that extra special something!

This cold cucumber soup is an amazing way to start your dinner party or even have for a luncheon. If you are thinking of other course’s to add to your soup you should check out my stuffed mushrooms, yogurt chicken kabobs, bolognese sauce with homemade pasta and end with my perfect chocolate cake that will rock your world! Enjoy 🙂

mushrooms IMG_1897 025 IMG_4327 IMG_2793

IMG_2859  IMG_2880  blendsoup

pureed  IMG_2902  IMG_7236

IMG_7242 IMG_7223

Ingredients:

  • 2 European cucumbers peeled and cubed – 4 1/2 cups – you do not need to remove seeds with the European cucumbers
  • If you are using regular cucumbers, peel and slice down the middle and remove the seeds scooping them out with a small spoon and cut into chunks
  • 3 ex-lg green onions or 5 small sliced in 1″ pieces from green tips to whitish green stems
  • 1/4 cup of diced cherry tomatoes OR diced heirloom tomatoes
  • ½ an avocado cut in chunks
  • 1 jalapeño chopped (take out seeds)
  • 1 lg garlic clove put through garlic press
  • 1 cup plus 2 tbsp Greek Yogurt – whole milk
  • 1/3 cup fresh dill
  • 1/4 cup fresh mint leaves
  • 1 Tbsp of honey
  • 1/4 cup of seasoned rice vinegar
  • juice from 1 lime
  • 1/4 cup olive oil
  • 1/2 tsp salt – to taste  – (NOTE: I said 1 tsp in the show but I meant to say 1/2 tsp!)
  • 1/4 tsp finely ground pepper

         -FOR COLD CUCUMBER & FENNEL SOUP …ADD:

  • 1 cup cut up fresh FENNEL  …for a change up try this with the FENNEL – YUM!
  • chopped fresh chives for garnish
  • seared scallops , cooked Lobster, Shrimp, or Crab to top the soup in the center

Directions:

  1. Add all the ingredients in the list above to your blender except olive oil
  2. Begin to puree while slowly pouring in olive oil through the opening at the top
  3. Continue to puree for 20-30 seconds
  4. Be patient, all the vegetables in the cucumber soup will begin to slowly puree
  5. Stop and scrape down any herbs or vegetables stuck on the side’s and pulse for 10 more seconds
  6. Chill in the refrigerator for 1 hour
  7. Serve with a sprinkle of dill, finely chopped tomato, cucumber and avocado
  8. Top the center of the soup with seared scallops – room temperature cooked lobster, king crab meat, or shrimp AND then a drizzle of extra virgin olive oil

“Perfectly Chocolate Chocolate Cake”

“Perfectly Chocolate Chocolate Cake”

ghostpeepstwo
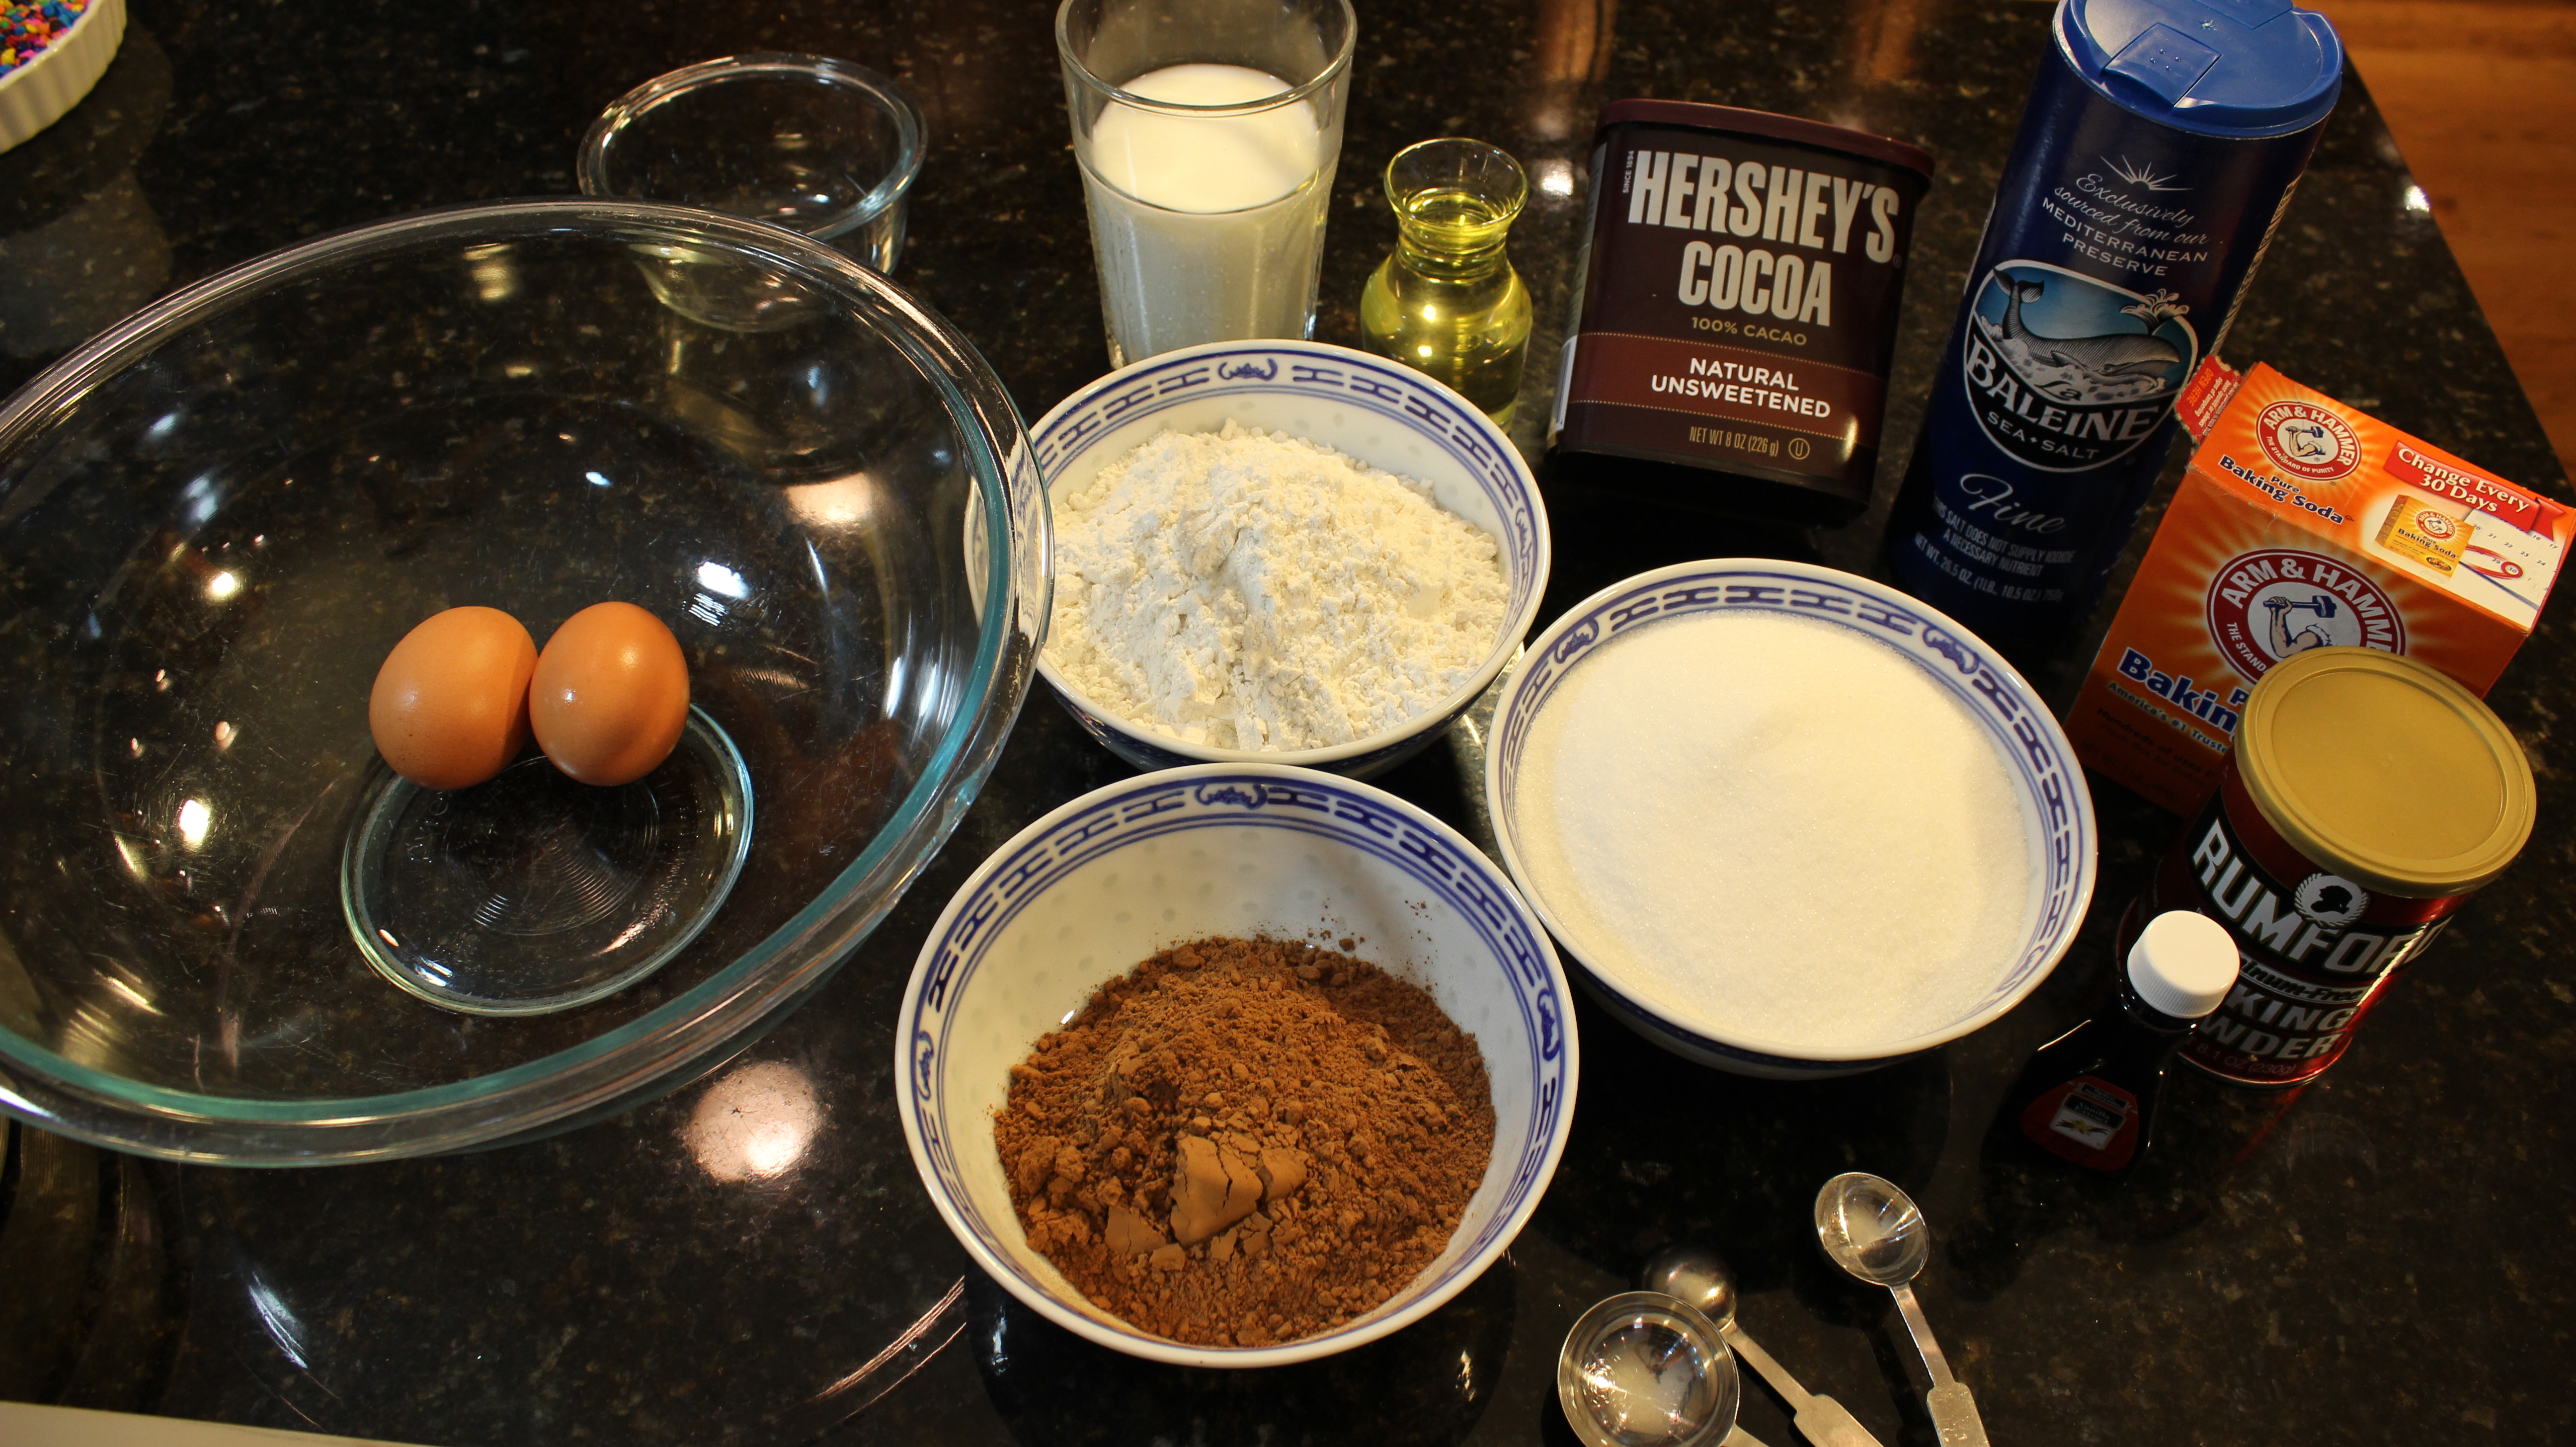
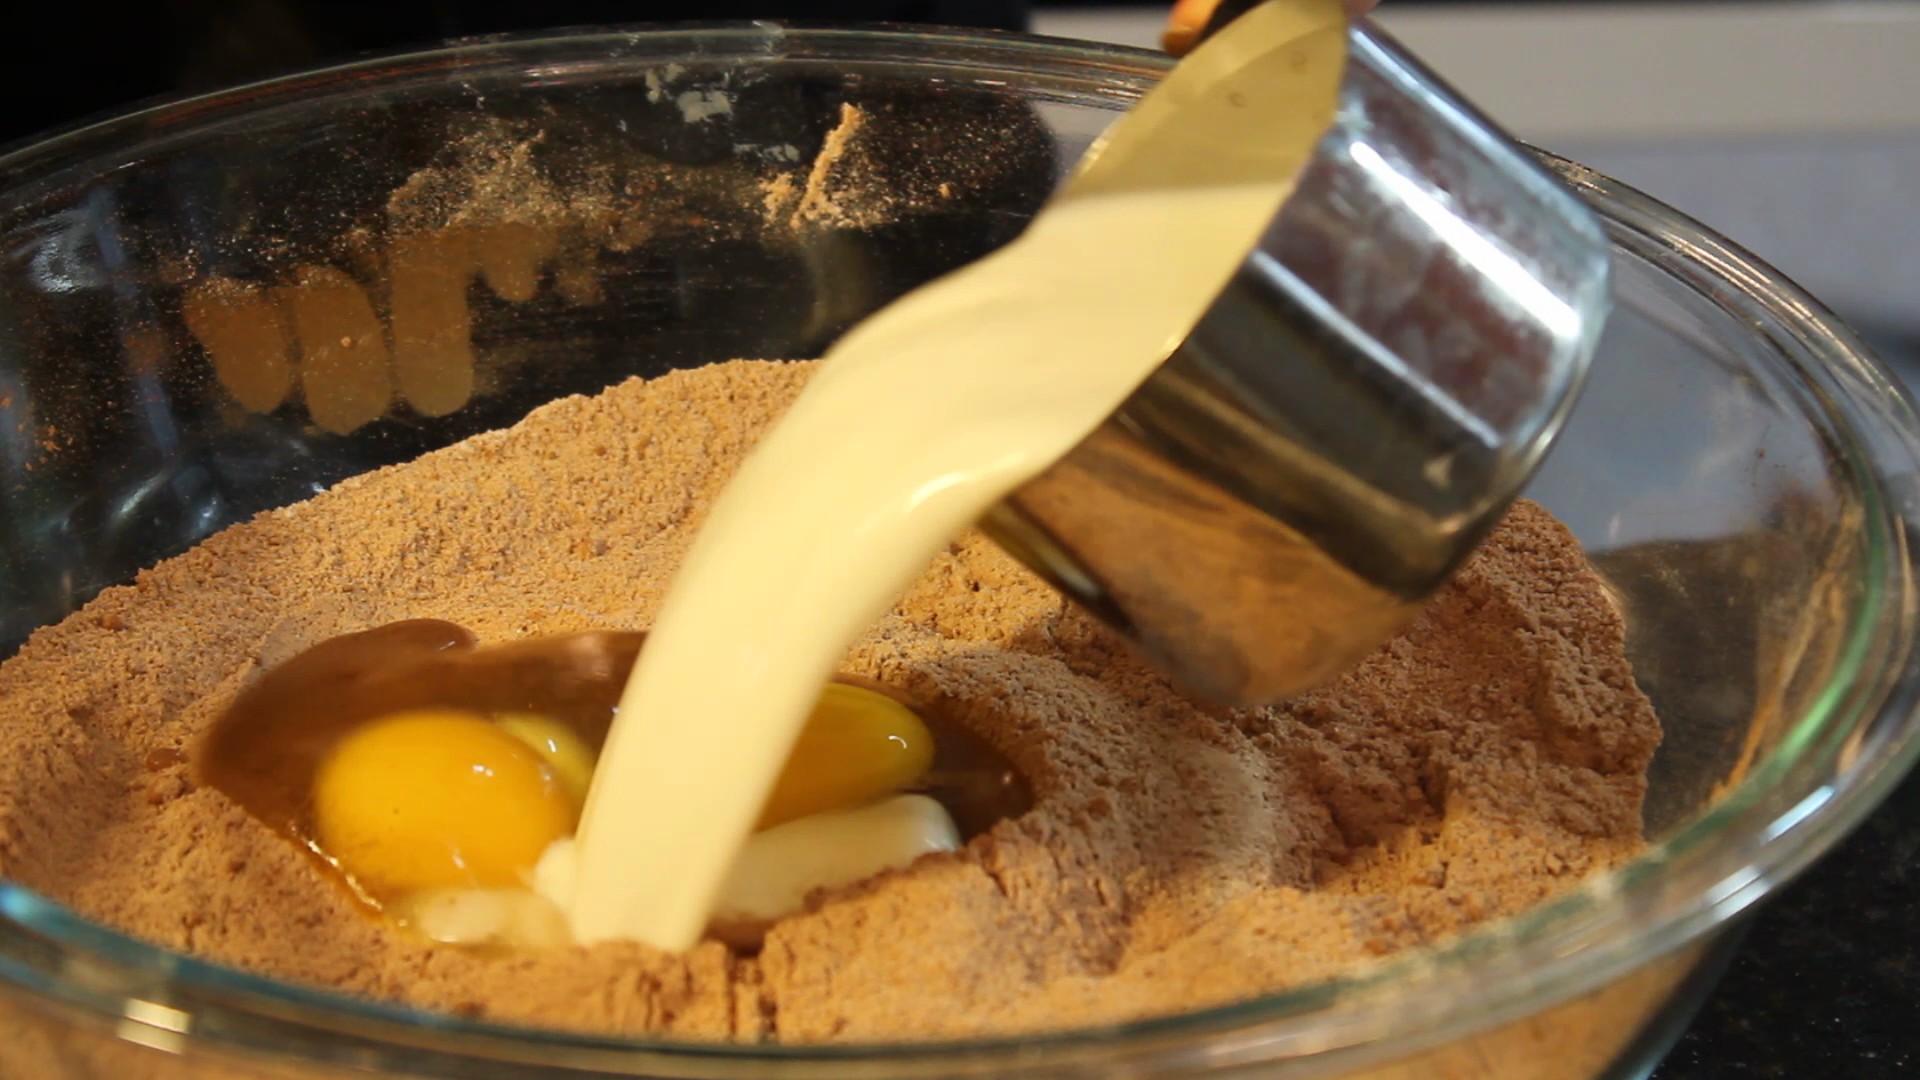
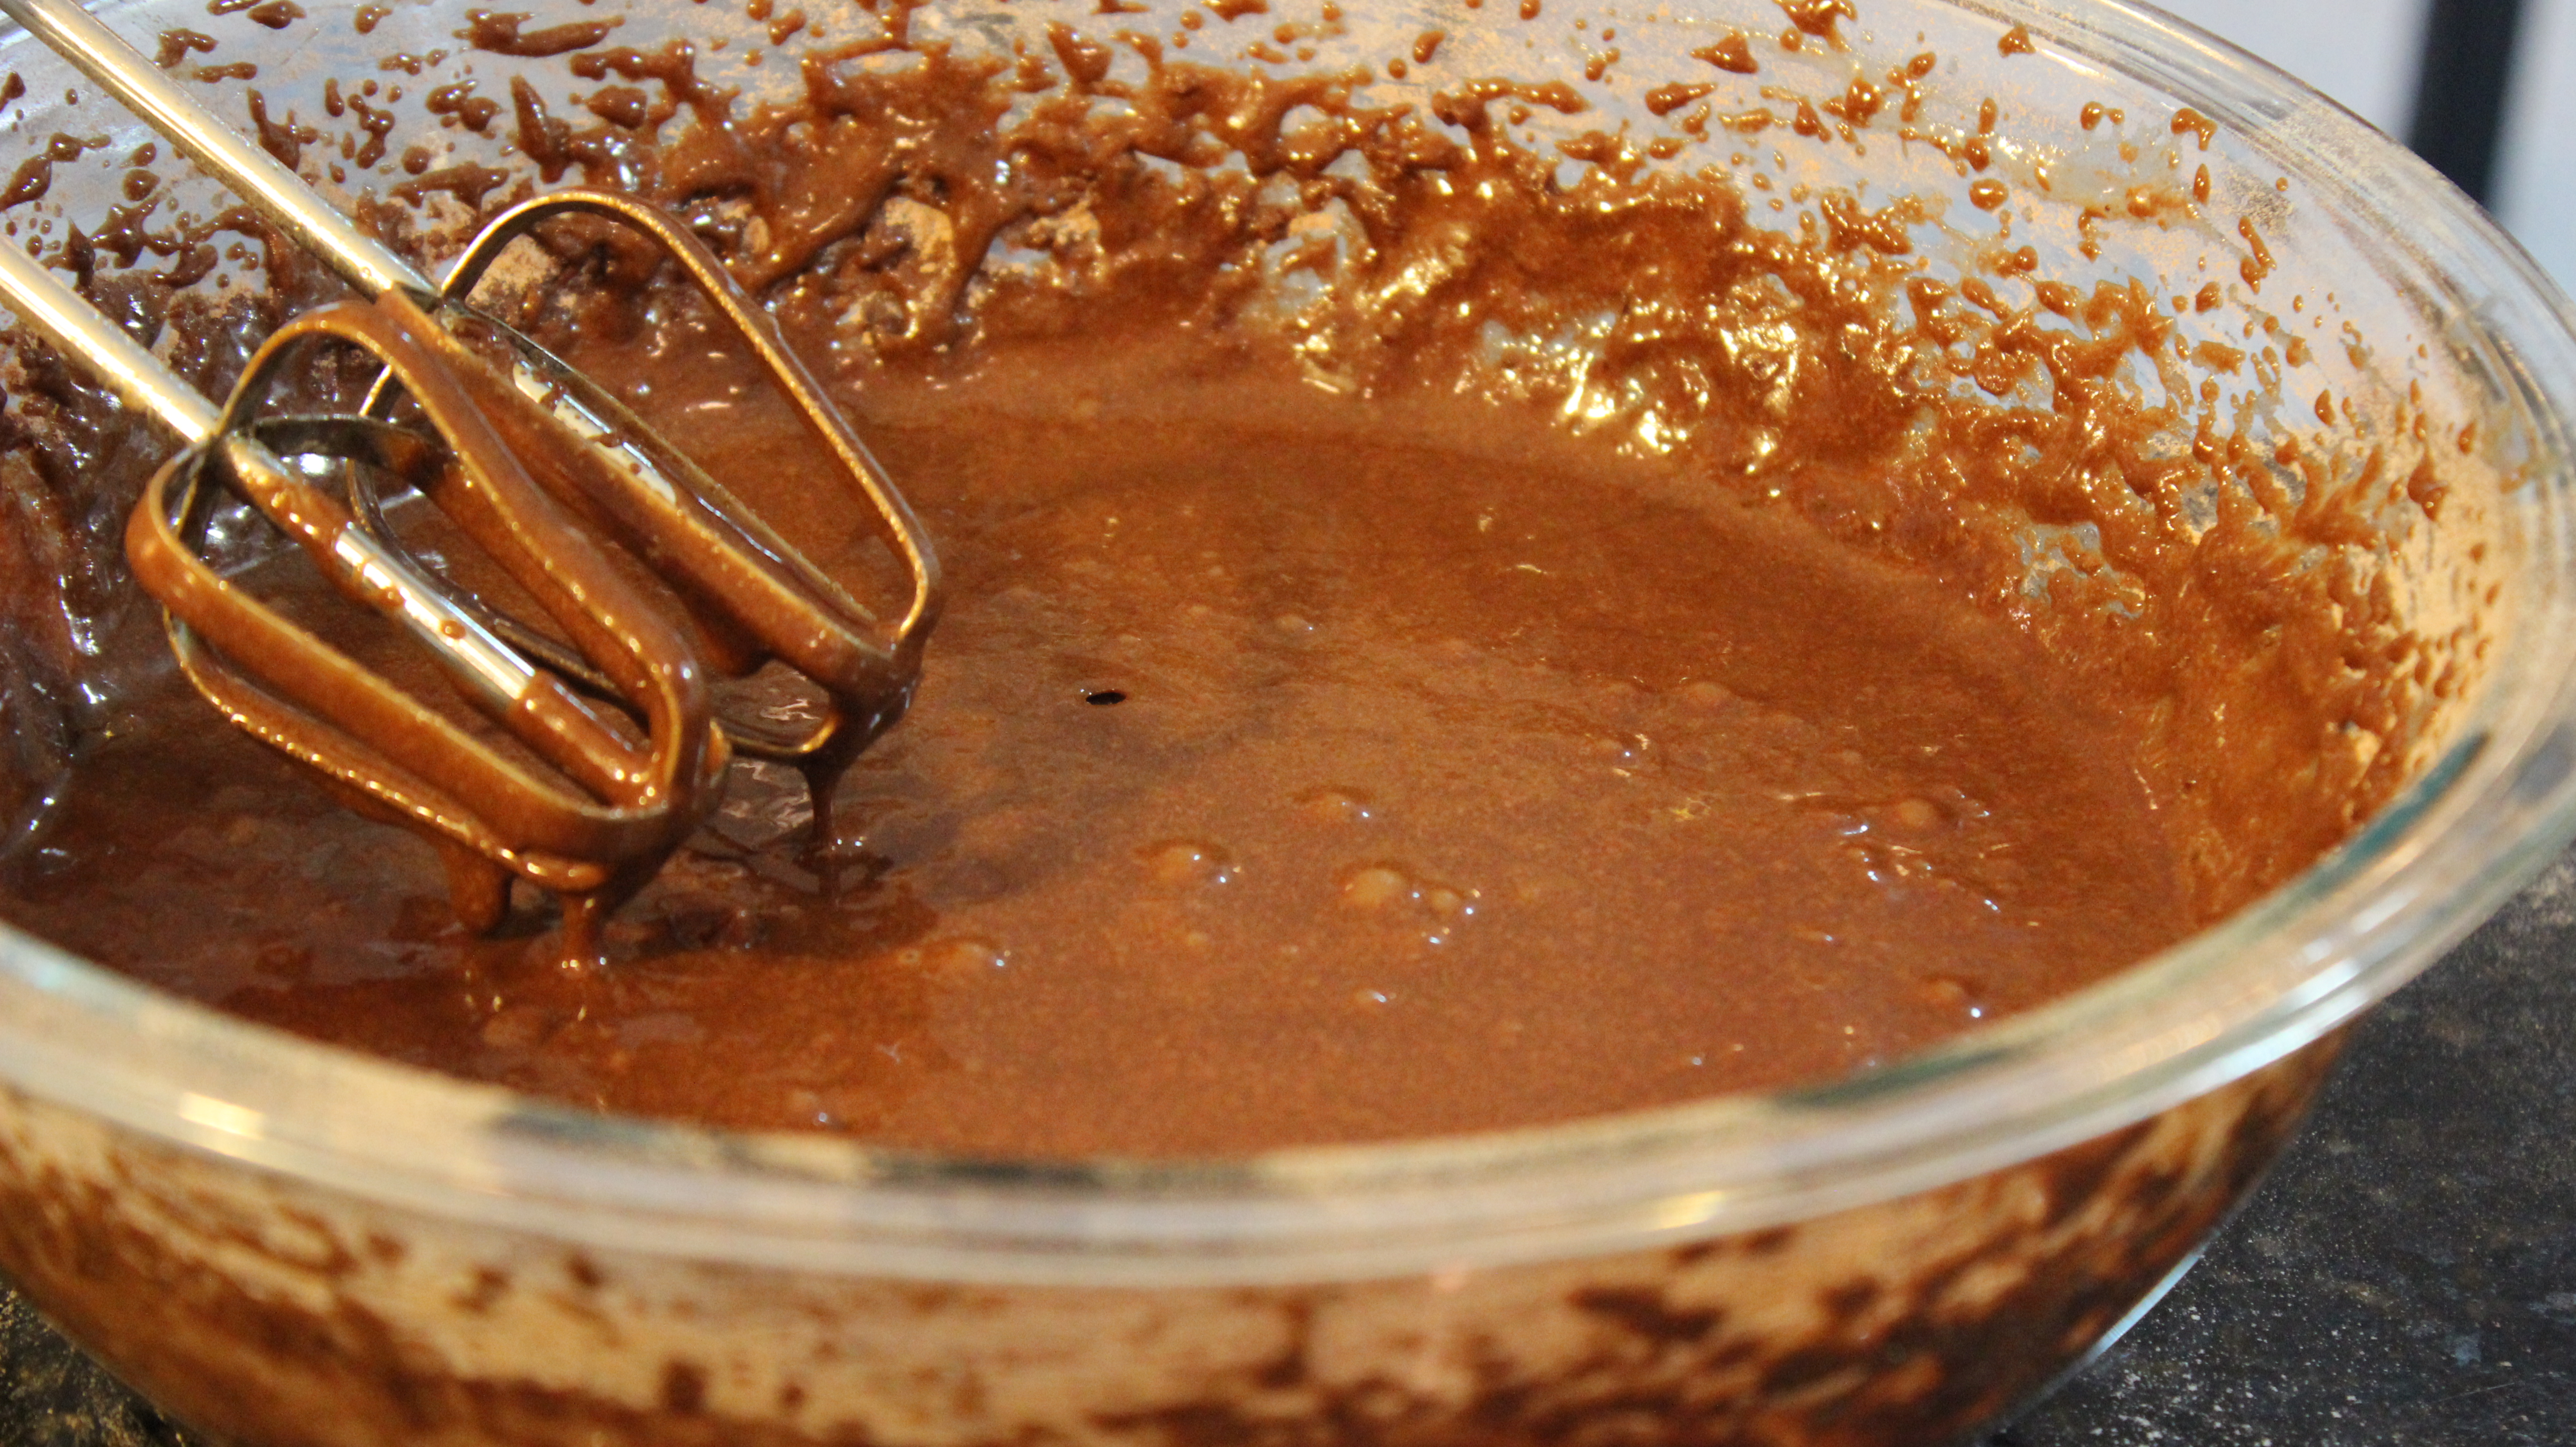
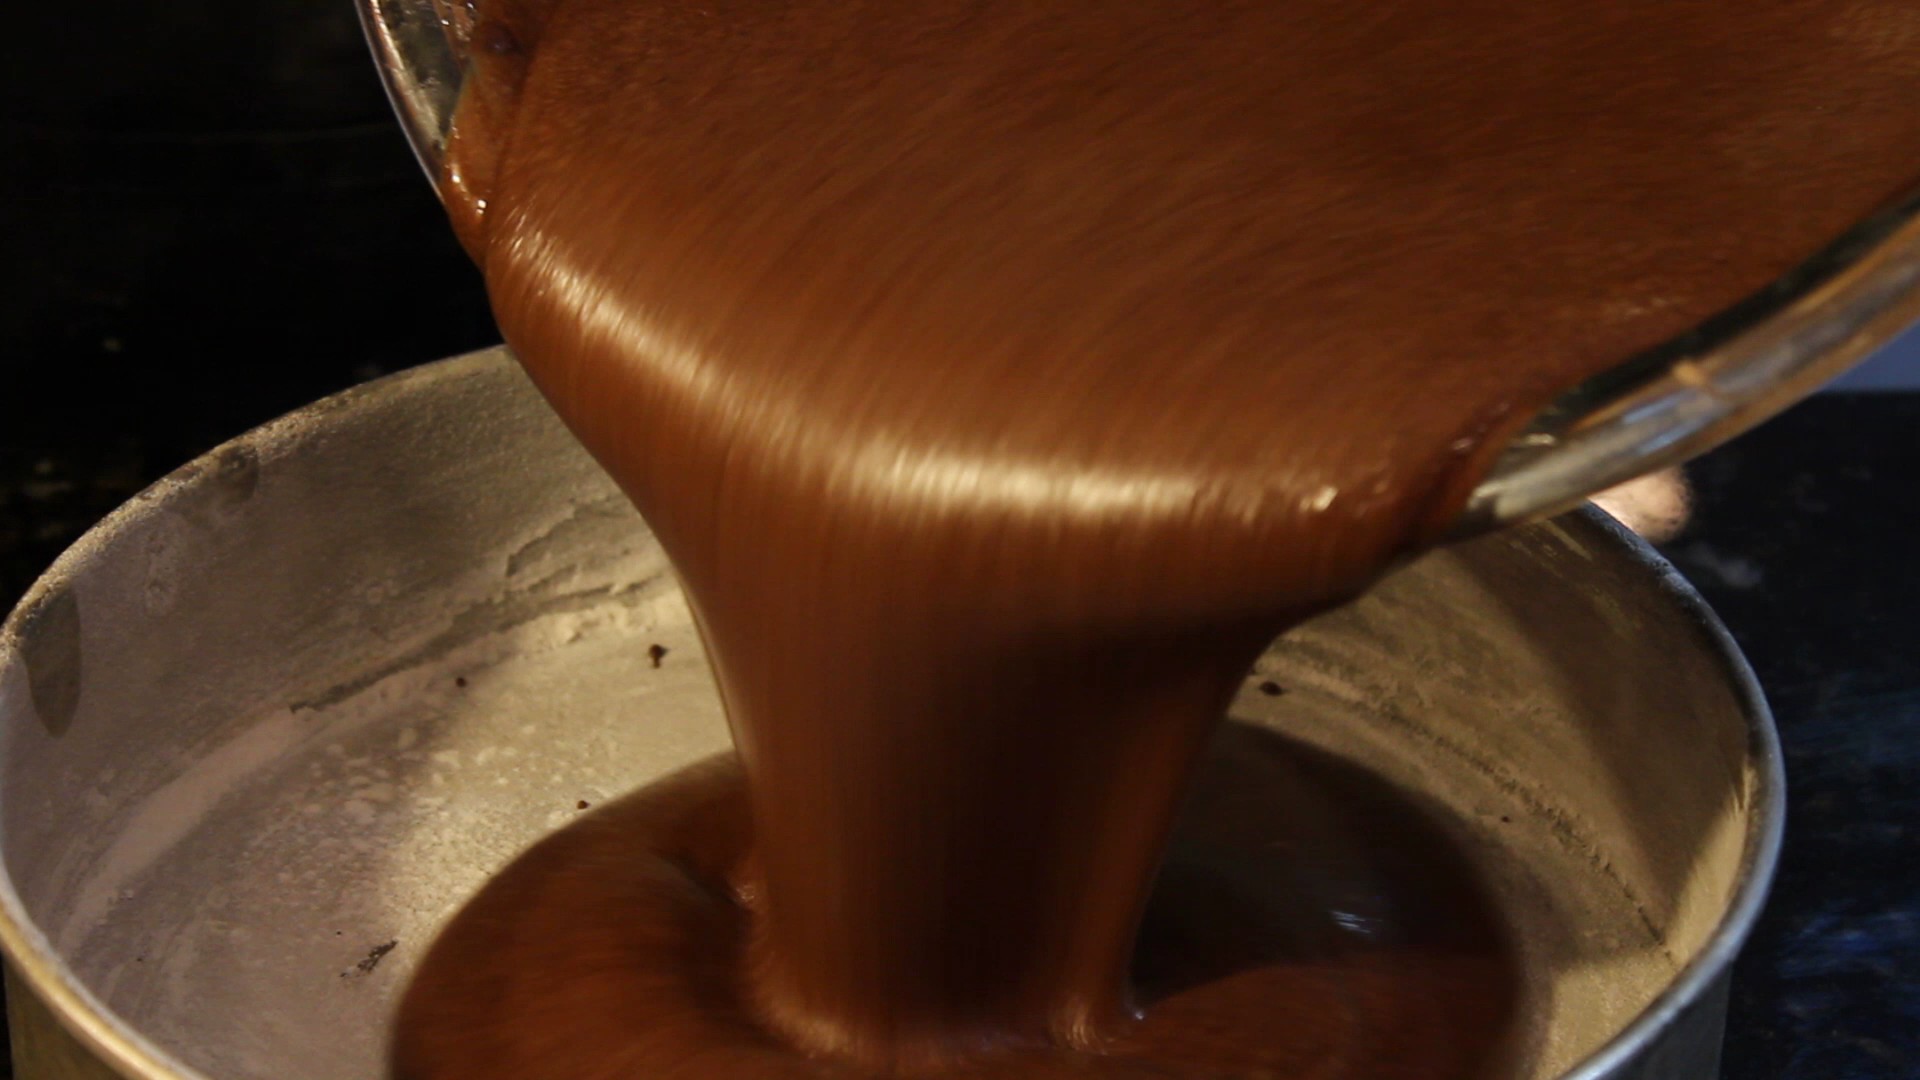
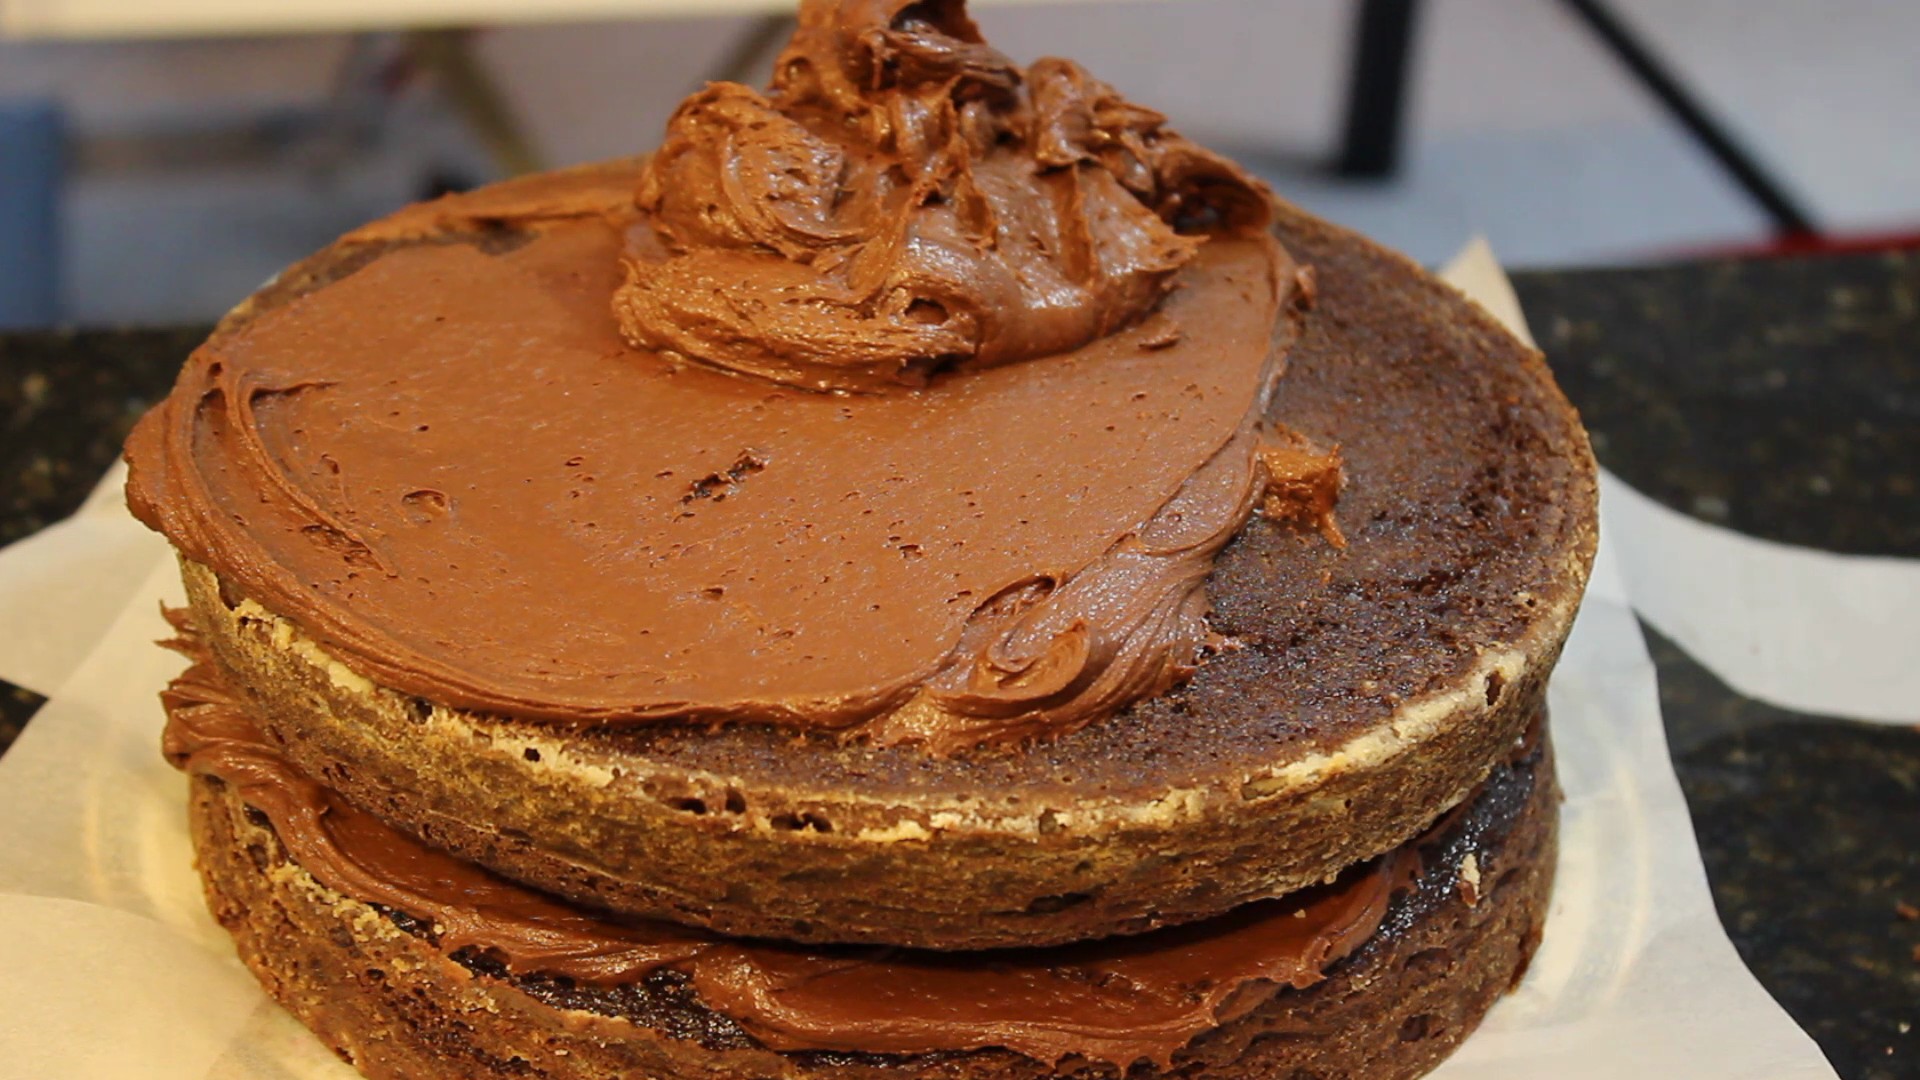
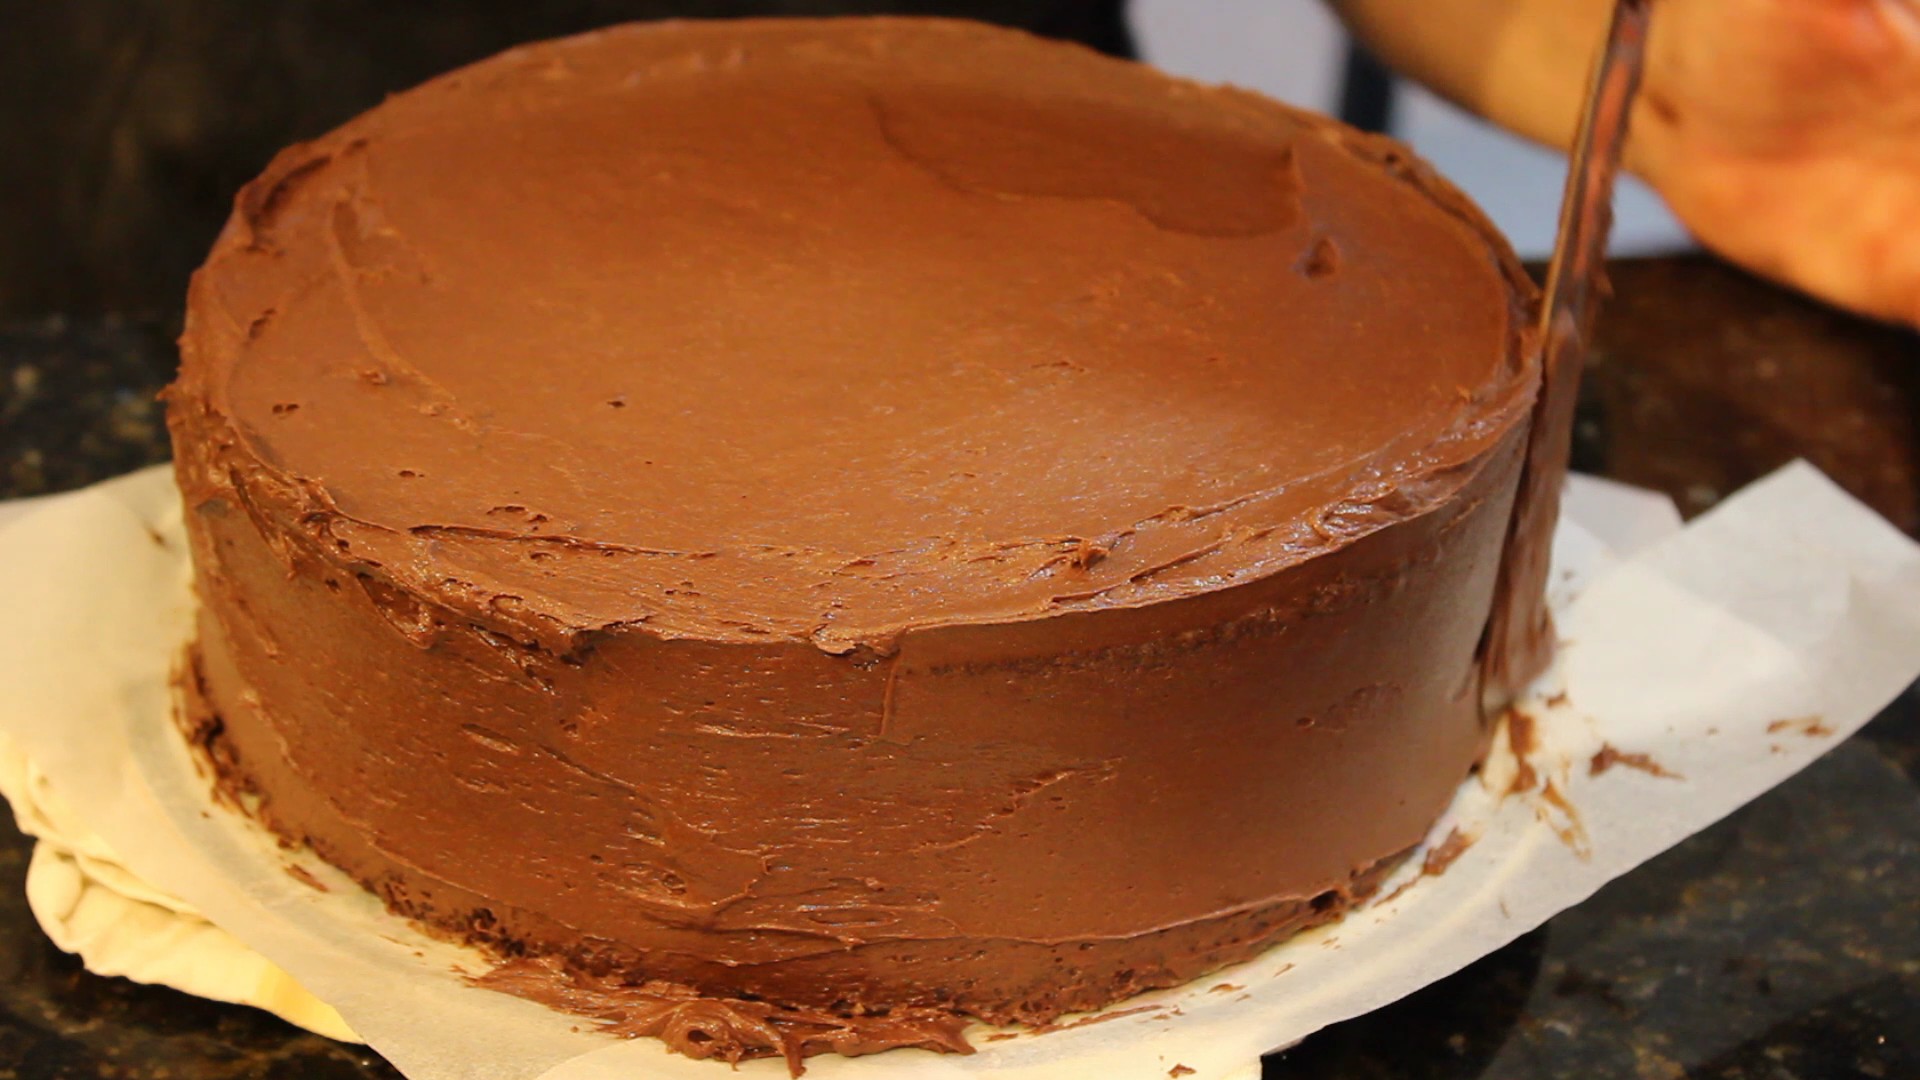
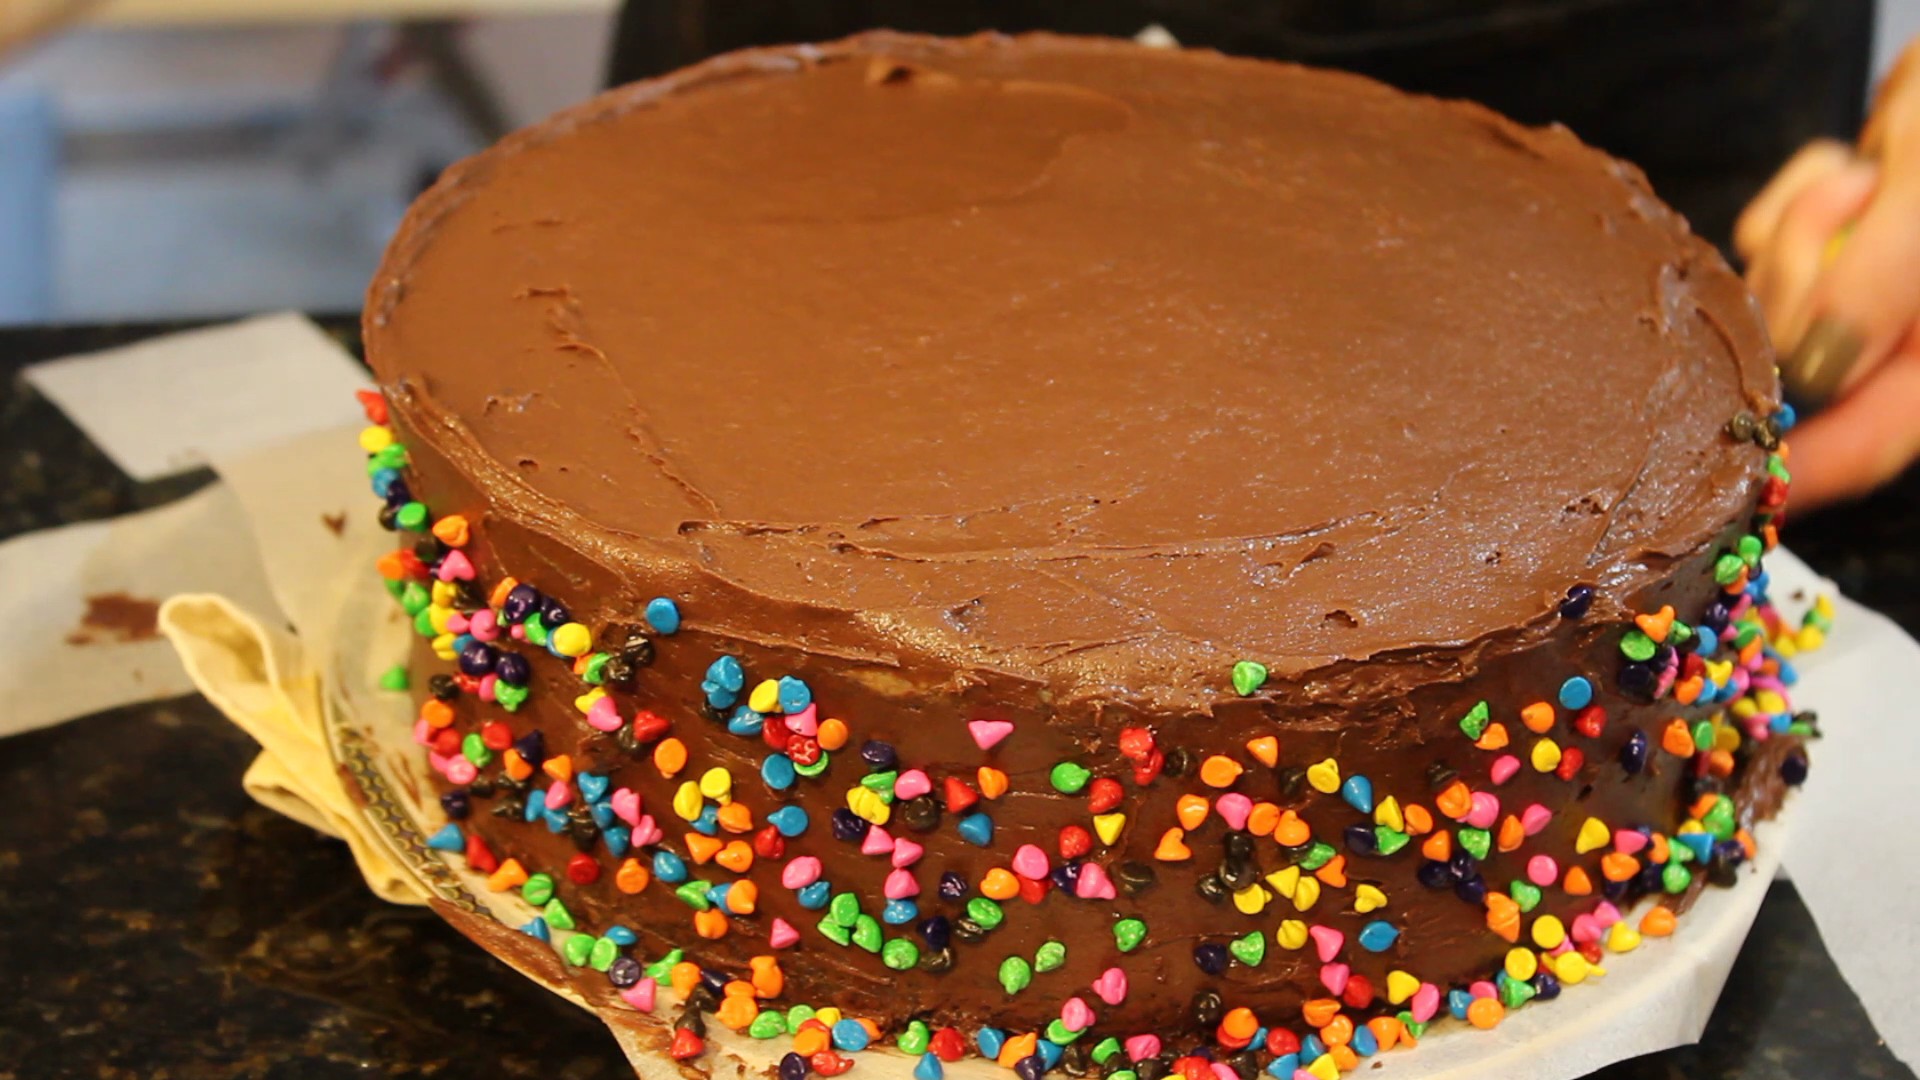
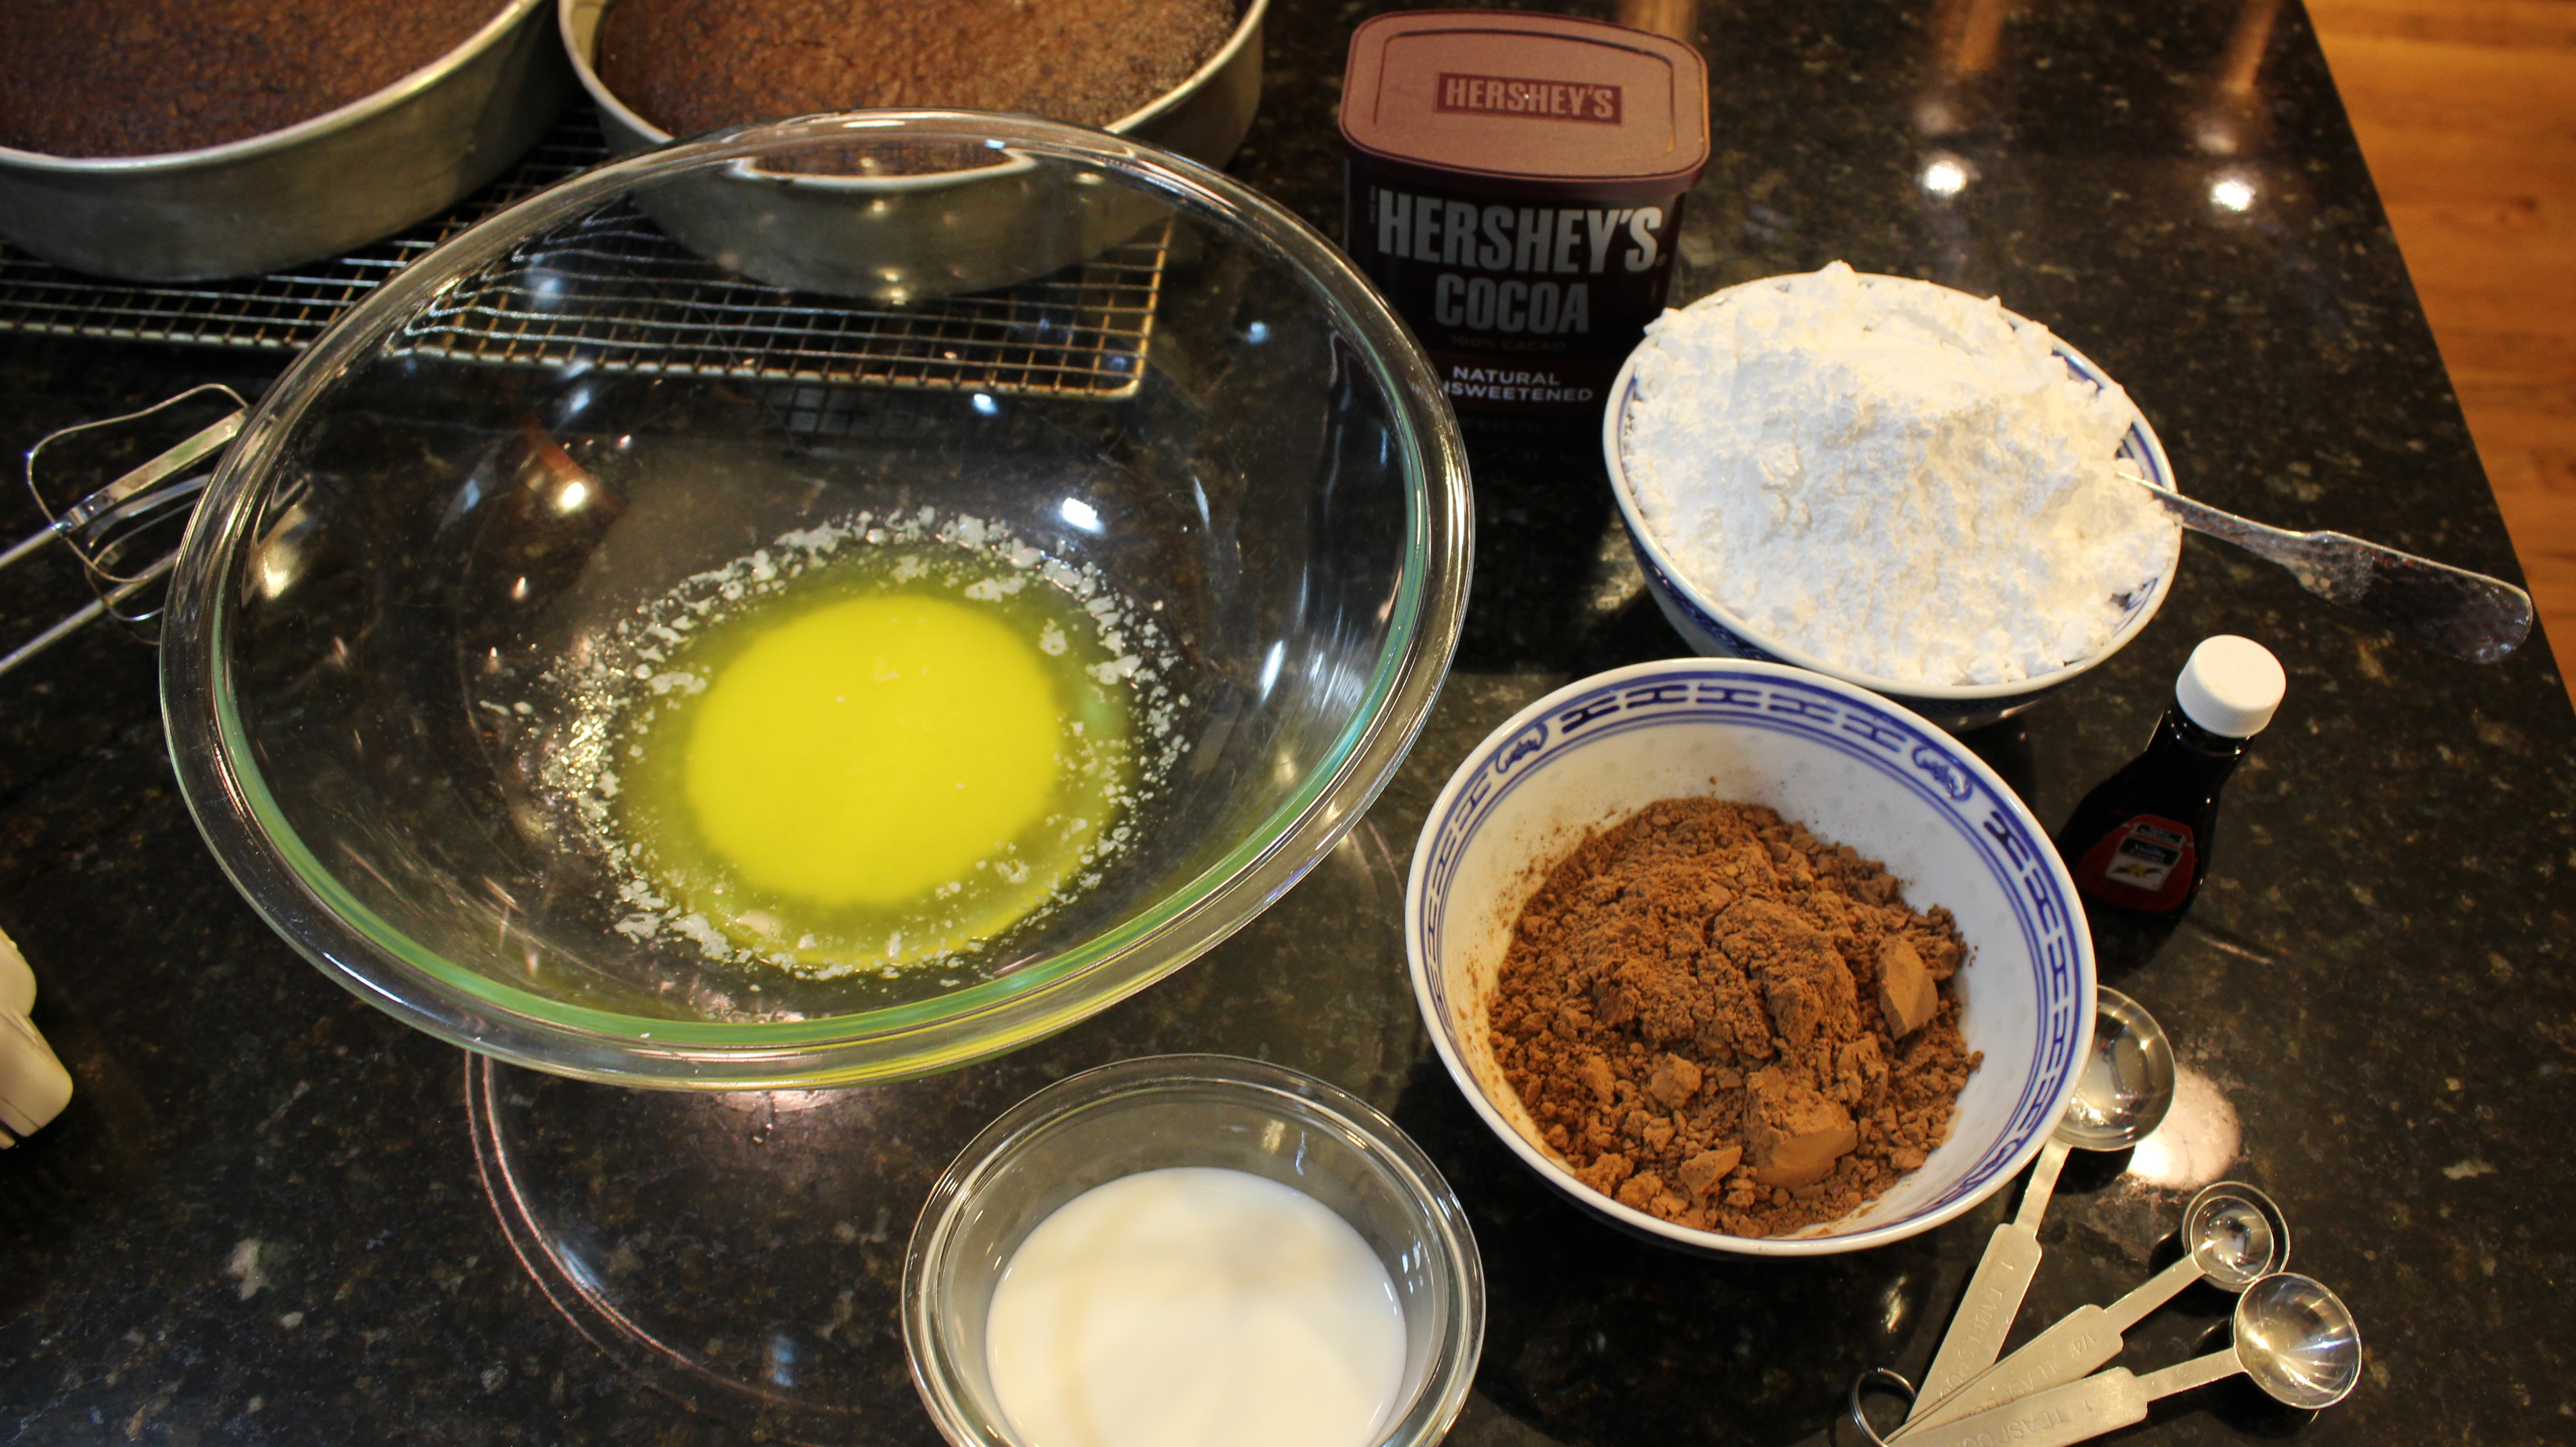
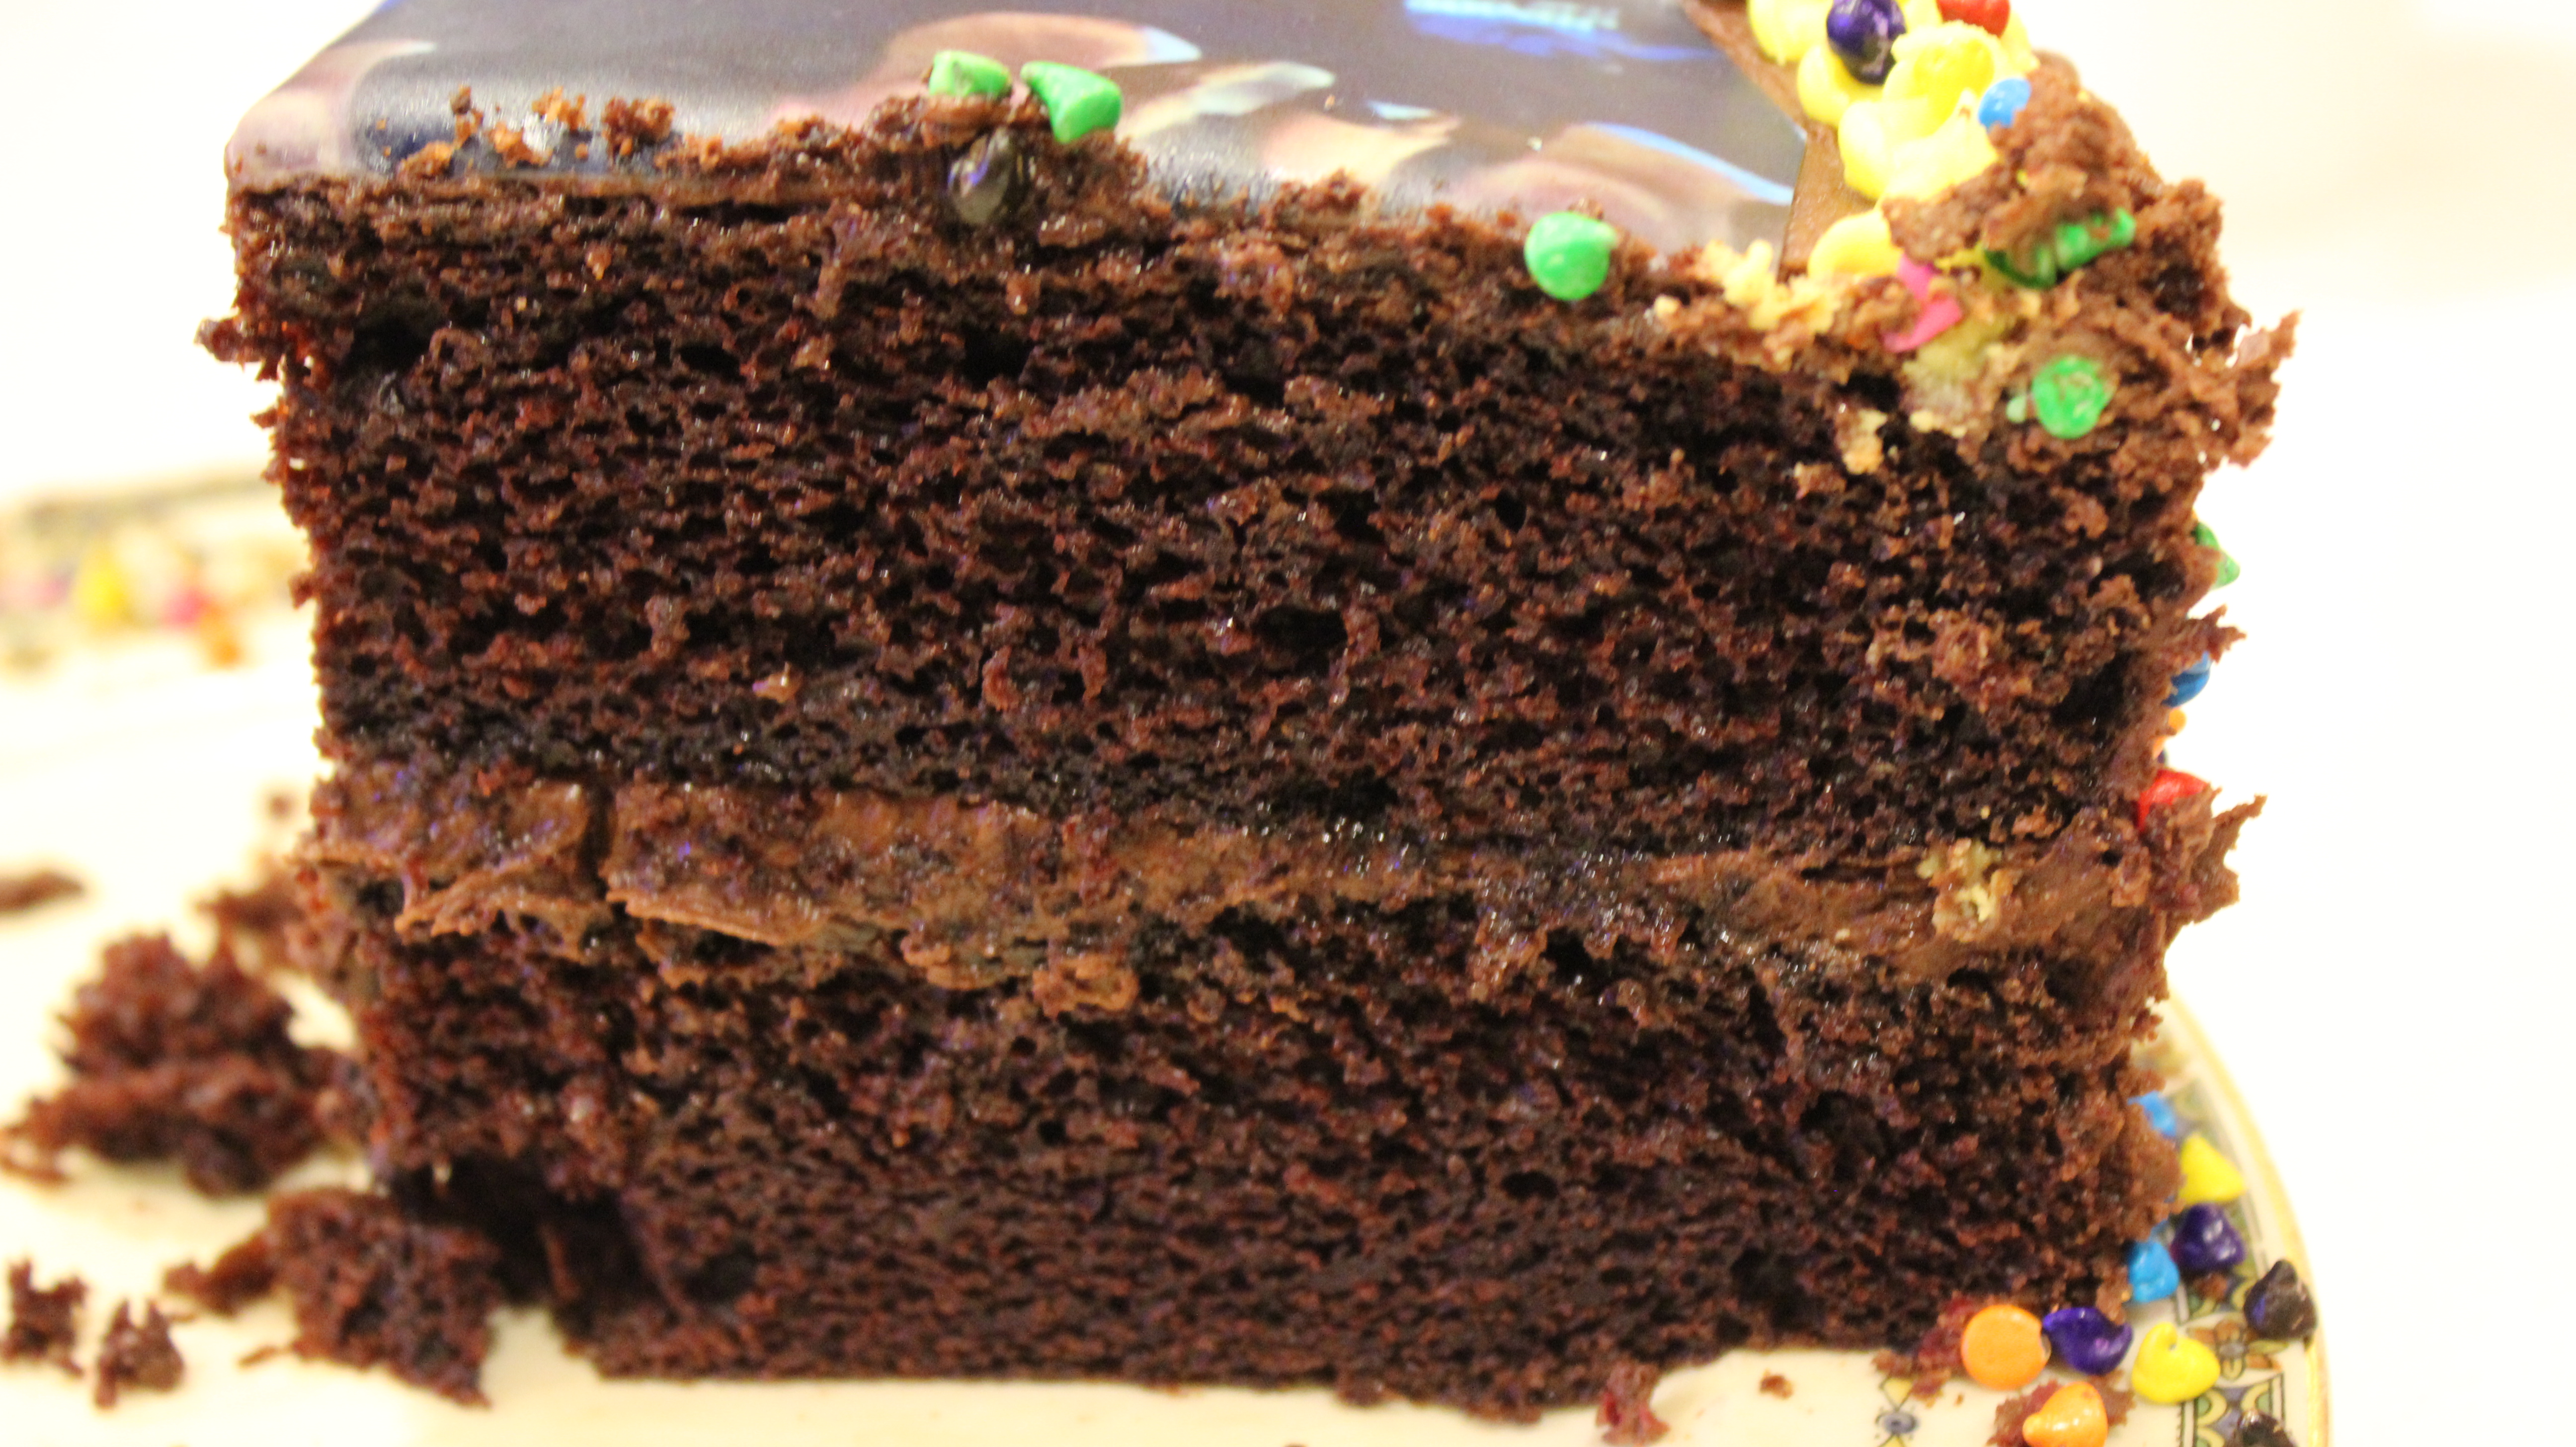
The name “perfectly chocolate chocolate cake” pretty much sums it up right there although you won’t know how easy it is to make this homemade gourmet chocolaty cake until you give it a go! This incredible cake and frosting made from Hershey’s Cocoa Powder I have been making for almost 20 years now!  Once you see how easy it is to make these moist and chocolaty homemade cakes you’ll never go back to the box again! Besides on my blog you can find these recipe’s right on the back of the Hershey’s Cocoa canister.

I was first turned on to the recipe by a mother-daughter baking team that I met about 20 years ago. They were professional baking contestants from the Midwest who had won numerous times. My quest at the time was to find the “perfect” chocolate cake and their answer was the Hershey’s Cocoa recipe. Not that the name itself on the back of the Hershey canister for this chocolate cake recipe wasn’t “perfect” enough I just couldn’t take the irony of it all so off I was trying out the recipe and baking this cake! It had such a lovely texture without being too dense or heavy. It was oh so chocolaty and moist to top it off. The amount of steps and effort put in to making this cake is pretty much equal to that of making a box cake so why would you ever resort back to making box ever again. You know me, I test other recipes to make sure I have the best and I always go back to the Hershey Cocoa recipe!

The Hershey’s “perfectly chocolate chocolate frosting” is one that should not be over looked either. The frosting is amazing and one of my favorite go to recipes totally blowing away that “canned” stuff with the plastic lid. I am really excited for these recipe’s to become a couple of your favorites too. You may find your friends and family requesting “your” perfectly chocolate cake for their next visit! I hope you enjoy the show!

You should check out my Green Goddess Dip & Sweet Potato Fries for an appetizer!  what ever you do DON’T FORGET TO ROAST your PUMKIN SEEDS! And how about some green ghoul Best Guacamole Guacmole Ever!  Or be creative with another dessert placing eatable eyballs on top a homemade Chocolate Meringue Pie!

IMG_0672 IMG_6956 IMG_3812 guaca IMG_8098

IMG_2689  hershey  IMG_2710

cakebatter  frosting  sidefrosting

chocsprink  finishcake  IMG_2730

IMG_2793 ghostpeps ghostwrt

ghostwebbing ghostpeepstwo

Ingredients for Cake:

  • 1 3/4 cups white sugar  -(Hershey recipe calls for 2 cups white sugar)
  • 1/4 cup light brown sugar
  • 1 3/4 cup all purpose flour
  • 3/4 cup Hershey Cocoa
  • 1 1/4 tsp baking powder -(Hershey recipe calls for 1 1/2 tsp)
  • 1 1/4 tsp baking soda -(Hershey recipe calls for 1 1/2 tsp)
  • NOTE: I like to use 1 1/4 tsp baking powder & 1 1/4 tsp baking soda instead of the “Hershey” recipe that calls for 1 1/2 tsp for both because this produces a cake that is a little more moist because it doesn’t rise fully, and sometimes I even use 1/2 tsp baking powder & 1/2 tsp baking soda for a cake that has more of a pudding texture (not too dense or heavy either …just pudding like) Have fun!
  • 1 tsp salt
  • 2 lg. eggs
  • 1 cup whole milk
  • 1/2 cup vegetable oil
  • 2 tsp pure vanilla extract
  • 1 cup boiling water

TO MAKE GHOST CAKE THIS IS WHAT YOU’LL NEED:

ghostpeps ghostwrt ghostwebbing

Find at “Michaels Stores” No. 1-3                                                                                                               Find at “Fresh Market” No. 4

  1. Ghost peeps
  2. Eatable eyballs
  3. Cookie Icing to write on small Hershey chocolate bars for tomb stone’s “RIP”
  4. Spider web stretchy candy (stretchy cotton candy-like) – stretch all around base & in between chocolate bar tomb stone’s
  5. Confectioner’s sugar sprinkled on top to look like a dusting of snow!
  6. Hershey chocolate bars-small ones-write on back “RIP” with Icing in bottle SHOWN ABOVE
  7. Glue candy eye’s and anchor tomb stone’s to cake with the cookie icing

Directions for Cake…NOTE- I Bake My Cake On Convection:

  1. Pre-heat oven to 350º
  2. Grease and flour 2 – 9″ round baking pans
  3. Add all dry ingredients to a large mixing bowl and whisk to combine
  4. Add in eggs, milk vanilla and oil and beat on medium speed for 2 minutes
  5. Stir in 1 cup boiling water til combined (batter will be thin)
  6. Pour evenly into cake pans
  7. Bake for 30-35 minutes –NOTE: I ALWAYS take the cake out at 30 minutes!
  8. Remove from oven and cool 10 minutes
  9. Remove cakes from pans, place on cookie racks to cool completely before frosting
  10. I cool for 1 hour then immediately frost the cake

Ingredients for Frosting:

  • 1 stick of butter melted
  • 2/3 cup Hershey Cocoa
  • 3 1/2 cups confectioners sugar (powdered sugar)
  • 1/3 cup plus 1-2 tbsp milk
  • 1 tsp pure vanilla extract

Directions for Frosting:

  1. Melt butter and add to lg bowl
  2. Add in Hershey Cocoa and vanilla and whisk til smooth
  3. Alternate adding in a tbsp of milk and 1/4 powdered sugar while beating on medium speed til smooth
  4. When texture is smooth add in more milk and powdered sugar until all is gone and it’s the thick creamy consistency you want