The Traveling Epicurean

Easy Icebox Dinner Rolls

Easy Icebox Dinner Rolls

Laura, my loyal friend and follower making the icebox rolls for the holidays!
2014 – Laura, my loyal friend and follower making the icebox rolls for the holidays!

There’s nothing better than the aromas of homemade fresh baked bread, sweet onion and rosemary to wet the appetite! I was thrilled to find this icebox dinner roll recipe about fifteen years ago and have been making them ever since. The recipe card was from “easytobake” and I have tried to access their website but it doesn’t exist anymore. I have made many different bread dough’s in my life, kneading by hand, proofing, kneading again and it can all be exhausting. The whole idea behind icebox dough is that kneading is not necessary. The flavor and soft, tender texture develops as it proofs right in the refrigerator. Once you see how easy it is to make these melt in your mouth icebox dinner rolls you may never pick up store bought rolls again.

Laura making the icebox rolls for her 2015 Thanksgiving!

I have added lots of chopped green onion and fresh rosemary in my rolls but they are just as delicious plain too! It takes all of fifteen minutes to make this dough and can be made up to 4 days ahead. The dough stays in the refrigerator, hence the name “icebox” rolls. You take the dough out of the frig the morning of your dinner party. It get’s formed into dough balls mixing in chopped green onion and fresh rosemary. Then the rolls get lined up on a buttery baking tray and back into the frig.  Two hours before you want to serve the homemade icebox dinner rolls you take them out of the frig and let them rise for an hour and a half to two hours. When they have doubled in size, give them an egg wash for a little shine, then bake.
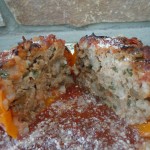
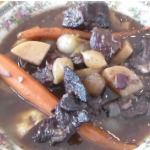
iphone pictures 1015

150150boeuf

025

IMG_2793

IMG_2283


Hope you enjoy these scrumptious “easy icebox dinner rolls” as much as our family and friends do.  They will be asking you for the recipe for sure! These homemade dinner rolls aren’t just for holidays they are great for any day. Try them with my turkey stuffed peppers where you can dunk them in the sauce and pepper juices, the Au Jus in my Boeuf Bourguignon, or Bolognese Sauce. After all this savoriness you may need a chocolate fix with my perfectly chocolate chocolate cake or for a light and refreshing sweet try this amazing Pavlova!

iphone pictures 683  iphone pictures 686  iphone pictures 687

iphone pictures 688  iphone pictures 641  iphone pictures 643

iphone pictures 646  iphone pictures 692  iphone pictures 693

iphone pictures 694  iphone pictures 695  iphone pictures 697

iphone pictures 701  iphone pictures 702

Ingredients: Makes 24 Dinner Rolls

  • 4 1/2 cups all purpose flour
  • 2 packets active dry yeast (NOT rapid rise)
  • 1 cup warm water (105 -115 degrees)
  • 3 lg eggs (if you use extra large eggs you will need to add a little more flour to compensate)
  • 1/2 cup melted butter
  • 1/2 cup sugar
  • 1 Tsp salt
  • 2 bunches of green onions chopped to 1/8″ pieces -(from white/greenish part to ends)
  • 1/2 cup fresh chopped rosemary
  • 1/3 stick room temp butter to coat the cookie tray or inside of the 10″x 15″ baking dish

Directions:  

  1. Using a KitchenAid mixer OR lg mixing bowl pour in the 2 packets of yeast then add in 1 cup of 105º – 110 º  water.
  2. Then add 1 Tbsp of sugar (from the 1/2 of cup of sugar that you add later) now because it feeds the yeast and really gets it activated.
  3. Let this sit for about 5 minutes and you will see it get foamy.
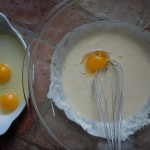
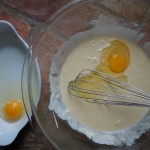
  4. Add in the eggs, melted butter, sugar, and salt and whisk- make sure the butter is not hot because it can kill the yeast if too hot
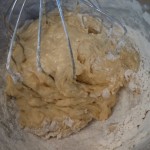
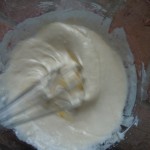
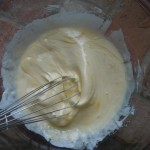
  5. Begin to beat in a 1/2 cup of flour at a time using the whisk the whole time until the dough gets too stiff to mix.
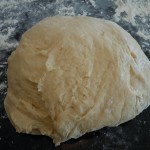
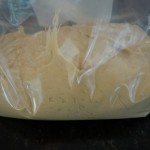
  6. Turn the dough out onto a lightly floured surface, place the big ball of dough into a large Ziploc baggy and put it into the refrigerator for 2 hours…. up to 4 days.
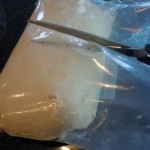
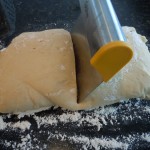
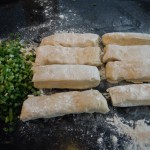
  7. When you are ready to make the rolls just cut the dough right out of the zip lock with scissors nice and easy…..then turn out the chilled dough onto a floured work surface and divide equally into 24 pieces with a pastry scraper
  8. Roll each piece into a ball then firmly push into the pile of chopped green onion and freshly chopped rosemary and re-roll into a ball again. You can keep some of the rolls plain.
  9. Coat 4 Tbsp of softened butter all over a cookie tray with 1/2″ sides or a 10″ x 15″ baking dish for taller rolls
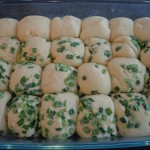
  10. Place the dough balls into the buttered baking tray, cover with Saran wrap and let them rise for 1-2 hours depending how warm your kitchen is (they need to dbl in size) OR you can put them back into the frig until 1 1/2 hours before you need them then take them rolls back out of the frig and let them begin to rise and double in size
  11. Pre-Heat the oven to 375º
  12. Whisk 1 whole egg with 1 tbsp water and brush a good coating onto the rolls after they rise and before putting them into the oven
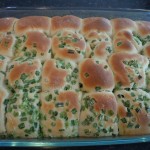
  13. Bake for 13-18 minutes until a dark golden color…it depends how warm the rolls got while rising so you’ll need to peak at them to see if they’re golden yet.

 TIP:   It’s a good idea to warm the stainless steel mixing bowl by running hot water into it before you begin so the cold bowl doesn’t take the necessary temperature of the water down.

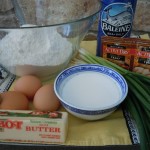
Sweet Potato Fries & Green Goddess Dip lll

Sweet Potato Fries & Green Goddess Dip lll

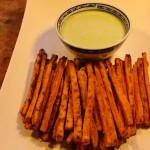
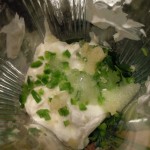
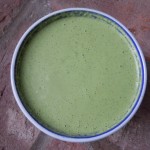
IMG_3827The colors orange and green were stuck in my head for this Halloween episode and that’s why I decided to share my sweet potato fries & green goddess dip recipes with you! These baked sweet potato fries are so delicious all on their own but wait until you dip them into the green goddess sauce you’ll want to put green goddess dip on EVERYTHING! I make this dipping sauce when I cook up swordfish, shrimp, tuna, chicken and steaks also. Being able to make a homemade gourmet sauce like this in 5 minutes, in a blender is basically a no-brainer for me. I can’t wait until you taste this sauce. And here I go again, making my dipping sauce with Greek yogurt to balance out the mayo giving it yet another layer of flavor and tangy richness.  I do this also with my pink remoulade sauce too.
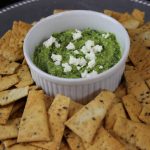
Baking the sweet potato fries is definitely healthier then frying and a lot less work!  Now if you don’t have cornstarch in the cabinets don’t let it keep you from making these fries because they will still be delicious. Dusting the raw sweet potatoes fries with a couple of tablespoons of cornstarch helps with the moisture content and gives them a little extra crunch.

I hope you enjoy making the sweet potato fries and green goddess dipping sauce and that they will become part of your go to appetizer list. You may want to venture off and some other appetizer’s like my Feta-Basil Pesto Dip,  Crab CakesSpanakopita Triangle’s, or some yummy Homemade Hummus! You can end with my Chewy ChocolateChip Cookies!

img_8565 cookedspan IMG_5076 IMG_6064 DSCN4521

IMG_3880 IMG_3943  IMG_3885

IMG_3895  IMG_3966  IMG_3862

iphone pictures 1167  iphone pictures 1156  iphone pictures 1169

IMG_3806  IMG_3808  IMG_3827

Ingredients and Directions for Sweet Potato Fries:

  • 3 extra lg sweet potatoes ONLY need 2 but I like to have an extra just in case
  • 1/4 cup extra virgin olive oil
  • 1/2 tsp salt
  • 2 tbsp corn starch
  • 1 tsp garlic granules
  • 1 tsp onion granules
  1. Pre-heat the oven to 425º.
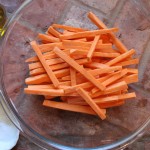
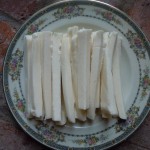
  2. Peel and Slice sweet potatoes in 1/4″ sticks -CUT ENDS FLAT so they don’t burn
  3. Dab with paper towels to dry excess sweet potato moisture
  4. Drizzle with 1/4 cup olive oil and sprinkle with 1 tsp garlic granules,  1 tsp onion granules  and 1/2 tsp salt
  5. Mixed with hands and then spread out into even layer on cookie sheet
  6. Bake for 15 minutes then flip and back into the oven for 8-10 more minutes
  7. BE SURE TO keep an eye on them at this point so they don’t BURN 🙂

Ingredients and Directions for Green Goddess Dip lll:

  • 3/4 cup Greek yogurt
  • 1/3 cup mayo (I use Hellmans)
  • 1 cup fresh cilantro
  • 1 garlic clove put thru press
  • 1/2 jalapeño diced
  • 4 green onion stalks
  • 1 tsp. grated vadalia onion ( or yellow onion)
  • 1 tbsp ( 1/2) fresh lime juice
  • 1 tbsp “seasoned” rice wine vinegar ( “oops” – I accidentally said red wine vinegar in the show but it’s rice wine vinegar)
  • s & p
  • Optional: dash of Siracha (Siracha is a hot chili sauce sold next to Tabasco at the store)
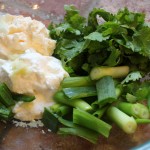
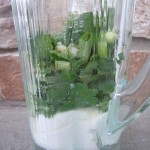
  1. Place all of the ingredients into a blender an purée and you will probably need to stop and stir everything a couple of times to get it going but do not add any more liquid (you will see that once it gets going it will be just right).
  2. You can make this ahead of time and keep sauce in a plastic container and refrigerate.  It  gets thicker as it sits in the fridge chilling and stays nice for a few days…  Yum!

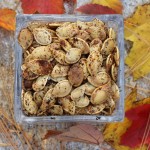
Ingredients and Directions for Roasted Pumpkin Seeds:

  • Pumpkin Seeds for 2 pumkins
  • 1 tsp garlic granules
  • 1 tsp onion granules
  • 1/2 sea salt (plus a sprinkle at the end for a pinch more seasoning)
  • 2 tbsp olive oil
  1. Pre-heat oven at 425º.
  2. Wash pumpkins seeds to remove pulp.
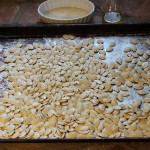
  3. Dry between paper towels and leave on cookie tray to dry further over night (can roast right away if you don’t have time – just by sure to completely dry seeds)
  4. Drizzle olive oil over seeds and sprinkle all of seasonings and toss to evenly mix
  5. NOTE: you can add in cumin, cayenne, chili powder … add your favorite seasonings
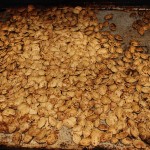
  6. Roast for 10 minutes, take out and stir seeds, put back in oven for approx. 4 more minutes – Keep an eye on them at this point so they don’t burn


My MasterChef Sauces

My MasterChef Sauces

masterchefpicThe creation of these MasterChef sauces. a spicy, sweet and sour mango and a ginger-peanut sesame sauce, all began while surfing the net a few weeks ago, I accidentally ran into the MasterChef homepage advertising “Casting calls are coming soon to a city near you”.  My kids, Reilly and Bella were there at the time and enthusiastically shouted, “you should do it”! I think what sealed the deal was reading the “Come and meet the MasterChef casting team for your chance to be on the show!” The excitement started to seep in and I began to seriously consider going to the New York City MasterChef open call. If anything, I knew it would be a step in the right direction and a great learning experience let alone the adrenaline of it all!

After sending in their required online pre-registration form and printing out the nine page hard copy form to be submitted at the casting call I thought it would be a good idea to look over the FAQ page. The FAQ’s certainly had a list of what to do and what not to do. The “to do’s” started off like this:  First, bring one prepared dish to serve to their food judges. Second,  we would be given 3 minutes to plate our dish at their casting call location and for some reason I had initially thought I had 5 minutes to plate so that was a bit of an eye opener! Third, there wouldn’t be a kitchen to cook or warm our dish up so we were to come prepared! Fourth, we are to supply our own dishes, utensils, etc.

The “do not do’s went like this:  no air mattresses, no alcoholic beverages, no animals (unless health related), no candles, no cans or bottles (except water bottles), no chairs that do not fold (i.e. lawn chairs, chaise lounges, molded plastic chairs), no digital or still cameras, no fireworks, no hair dryers, no illegal drugs, no tents, no video, cameras or camcorders of any kind, no weapons of any kind, no children under the age of 13 years are allowed at the audition venues. There you have it!

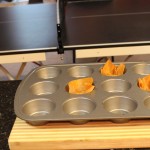
Well OK,  I had a little organizing to do and a plate to figure out for my MasterChef casting call debut! I really wanted to wow them! The part about the “NO kitchen” and “come prepared” got me to thinking that a cold dish of some sort might be a wise way to go! An appetizer is probably the most logical then, right? Yes that’s it, it came to me.  I would make my “Fresh Shrimp and Chive Rolls” with the new MasterChef sauces that I have created which I can decorate the plate with. A julienne of daikon radish, carrots and a sprinkle of toasted sesame seeds with micro herbs for some pizzaz would add in the finishing touches. I also thought I needed to add in some height so I came up with baked egg roll shells that I form in a cup cake pan. I got this idea from my “Bloody Mary shrimp and Mango-Curry Shrimp in Wonton cups at Nancy’s Show” except I decided to use egg rolls shells instead of won-ton because they are a little bit lighter.

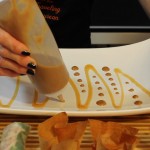
Now that I knew what I was going to make I thought I would practice my plate decorating with my MasterChef Sauces by shooting it in this weeks show so I could share this fun experience with all of you! It was definitely a lot of work to do this and go to the casting call but I did it! It was an awesome experience being there and the “MasterChef team” was pretty dynamite. They had everything down to a science and moved around with ease offering up a very warm welcome to all the competitors. I am super glad that I took Reilly and Bella’s advice on going for this.

I kicked you know what with my dish and the plating. I went there and did exactly what I set out to do with my presentation with 8 or so seconds left before they yelled “TIMES UP”! That part I have to say was such a RUSH because it reminded me of chopped!!! I was then the first to be called back in with 8 others for that first plate presentation part from our first group of 30 plating competitors.  I might be over thinking all of this a little, but I was so tired from preparing the food and shooting the show I feel as though I forgot to prep myself on what exactly to say about “me” when they pulled us 8 into interview. Although, I had them laughing a bit. I got the feeling what was more important to them was the person who said the right things in that second interviewing, more character not food ability. Gods only knows I do have lots of that so if it doesn’t work out this time I NOW know what they want next time around! I still have to wait until the end of October to see if I hear from them (they are still traveling to other states). I had an incredible time and will keep you all posted. Thank you all for your support, it means a lot! Hope you enjoy “My MasterChef Sauces” Show! 

IMG_3462 IMG_3468 IMG_3472

IMG_3474 milkpean  IMG_3489

IMG_3506  IMG_3508  mangosieve

IMG_3514  saucesqueeze  squeeze

eggrollcups  juienned  microherbs

rolls

Ingredients for Ginger-Peanut Sesame Sauce:

  • 3 tbsp smooth peanut butter (Teddy’s All Natural)
  • 1/4 cup soy sauce
  • 2 tbsp toasted sesame oil
  • 1 1/2 tbsp vegetable oil
  • 1 tbsp rice wine vinegar
  • 1 tbsp red wine vinegar
  • 1/2 tsp wasabi powder
  • 2 tbsp sugar
  • 1/2-1 tsp Siracha (can find this next to Tabasco products)
  • 1 whole lime
  • 1 tbsp corn starch dissolved in 3 tbsp pineapple juice – Use 1 1/2 tsp of this 
  • 1 tbsp fresh grated ginger
  • 2 tbsp half and half

Directions for Ginger-Peanut Sesame Sauce:

  1. Add all of the ingredients to a large bowl (EXCEPT corn starch mixture) and whisk
  2. Squeeze only 1/2 of the lime in at this point
  3. Add to medium pan over medium/high bring to a low simmer – whisking constantly this will be about 2-3 minutes
  4. When this begins to thicken turn down to med/low and add in 1 1/2 tsp of corn starch mixture and keep whisking- this will be about 3-4 minutes
  5. Remove from stove and cool
  6. When cooled add in 2 tbsp half and half and a squeeze of the other half of the lime and whisk briefly til smooth
  7. Add to ramekins for a dipping sauce or put into squeeze bottle to decorate plate with

Ingredients for Spicy, Sweet and Sour Mango Sauce:

  • 1 cup pineapple juice
  • 1/2 cup mango
  • 1/4 cup red wine vinegar
  • 1/4 cup sugar
  • 1 tsp ketchup
  • 1 tsp fresh grated ginger
  • 1 tsp Siracha
  • 1/8 tsp salt
  • 2 tbsp corn starch dissolved in 3 tbsp water
  • 1 lemon

Directions for Spicy, Sweet and Sour Mango Sauce:

  1. Add all of the ingredients to a large bowl except the corn starch mixture
  2. Whisk til combined – use juice from 1/2 lemon here
  3. Add to a medium size pan over med/high heat and bring to a low simmer to melt sugar – 3 minutes
  4. Add in corn starch and keep whisking at a low simmer til the mixture is transparent again and thickened – 5 more minutes
  5. Mash Mango pieces into sauce with a fork
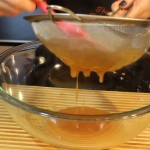
  6. Remove from heat and press thru a sieve into a bowl and let cool completely (can add a little squeeze of the other half of the lemon if too thick)
  7. Pour into ramekins for dipping or put in a squeeze bottle to draw on plates …have fun decorating!

Cold Cucumber Soup

Cold Cucumber Soup

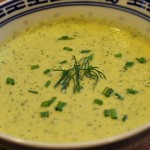
This homemade cold cucumber soup is out of this world! It has texture and flavors that won’t stop! Not one of the flavors in this soup over powers another, it’s the perfect balance. You actually find yourself trying to distinguish between them only because you are aware of all the fresh vegetables and herbs that went into this amazing cold soup.

Being a born and raised East Coaster I have to say I have never been a big “cold soup” kind of person. With our unbearably cold winters we have here I really appreciate a very hot bowl of soup to warm the bones. So when ever I’m making this cold cucumber soup I’m slightly biased going in, not willing to give merit where it is due, until I take my first spoonful and it all changes!

My cold cucumber soup completely stands on it’s own and is very satisfying not to mention the medicinal qualities that cucumbers offer. Cucumber’s can reduce puffiness, help to eliminate toxins in your body and we all know that slice’s of cucumber over your eyes can help to reduce dark circles! Some of the vitamin’s cucumber’s offer are A, C and folic acid and minerals of potassium and magnesium.  All and all this homemade cold cucumber soup is a win win situation.

This homemade cold cucumber soup would be great for lunch with a side sandwich or grill up some shrimp like I did in the show. One of my favorite accents to this soup are seared scallops cut in half and placed right in the center on the soup. You can check out in my “Seared Scallop Show” to see exactly how to make the scallops.

King crab meat is also a lovely topping to this cold cucumber soup and was a big hit when I presented this soup this way to the tasting judges at my second MasterChef open casting call in NYC this past March (2016)! All of the MasterChef casting call judges didn’t have any critique for my soup during the tasting phase…they just said “they really, really loved it!” When I made my cucumber soup for the MasterChef casting call I added fresh fennel to the recipe to change it up and give it that je ne sais qua…that extra special something!

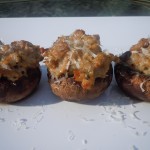
This cold cucumber soup is an amazing way to start your dinner party or even have for a luncheon. If you are thinking of other course’s to add to your soup you should check out my stuffed mushrooms, yogurt chicken kabobs, bolognese sauce with homemade pasta and end with my perfect chocolate cake that will rock your world! Enjoy 🙂

mushrooms IMG_1897 025 IMG_4327 IMG_2793

IMG_2859  IMG_2880  blendsoup

pureed  IMG_2902  IMG_7236

IMG_7242 IMG_7223

Ingredients:

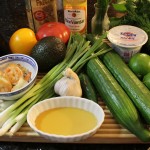
  • 2 European cucumbers peeled and cubed – 4 1/2 cups – you do not need to remove seeds with the European cucumbers
  • If you are using regular cucumbers, peel and slice down the middle and remove the seeds scooping them out with a small spoon and cut into chunks
  • 3 ex-lg green onions or 5 small sliced in 1″ pieces from green tips to whitish green stems
  • 1/4 cup of diced cherry tomatoes OR diced heirloom tomatoes
  • ½ an avocado cut in chunks
  • 1 jalapeño chopped (take out seeds)
  • 1 lg garlic clove put through garlic press
  • 1 cup plus 2 tbsp Greek Yogurt – whole milk
  • 1/3 cup fresh dill
  • 1/4 cup fresh mint leaves
  • 1 Tbsp of honey
  • 1/4 cup of seasoned rice vinegar
  • juice from 1 lime
  • 1/4 cup olive oil
  • 1/2 tsp salt – to taste  – (NOTE: I said 1 tsp in the show but I meant to say 1/2 tsp!)
  • 1/4 tsp finely ground pepper

         -FOR COLD CUCUMBER & FENNEL SOUP …ADD:

  • 1 cup cut up fresh FENNEL  …for a change up try this with the FENNEL – YUM!
  • chopped fresh chives for garnish
  • seared scallops , cooked Lobster, Shrimp, or Crab to top the soup in the center

Directions:

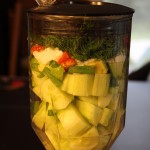
  1. Add all the ingredients in the list above to your blender except olive oil
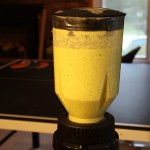
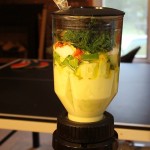
  2. Begin to puree while slowly pouring in olive oil through the opening at the top
  3. Continue to puree for 20-30 seconds
  4. Be patient, all the vegetables in the cucumber soup will begin to slowly puree
  5. Stop and scrape down any herbs or vegetables stuck on the side’s and pulse for 10 more seconds
  6. Chill in the refrigerator for 1 hour
  7. Serve with a sprinkle of dill, finely chopped tomato, cucumber and avocado
  8. Top the center of the soup with seared scallops – room temperature cooked lobster, king crab meat, or shrimp AND then a drizzle of extra virgin olive oil

Zucchini Spaghetti at Jaynee’s

Zucchini Spaghetti at Jaynee’s

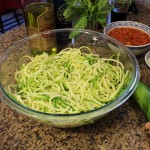
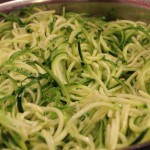
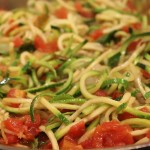
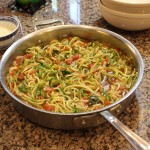
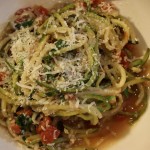
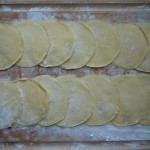
Wow! Zucchini spaghetti…who would have ever thought? A gluten free dish full of nutrients that taste’s amazing and looks as gorgeous as does is the perfect path to healthy eating! Bringing you this zucchini spaghetti simmering with tomato, basil and red wine at Jaynee’s has inspired me to put together future recipes and shows like this one.

Jaynee and I cook the zucchini spaghetti in this recipe so that it’s al dente. For those of you who might not know what Al dente means it’s an Italian term meaning to have some tooth or bite to it where the texture isn’t too soft. This is kind of ironic because that’s exactly how I like to cook my wheat pasta. I can’t think of anything worse than pasta that is fully cooked to a soft texture.
It is really exciting all the different things you can do with these creative veggie noodles! From Thai themes where raw zucchini noodles are dressed with a citrus dressing made from puréed mangoes, cilantro, fresh lime juice, and avocado’s to tahini sauce puréed with green onions, coconut meat, ginger and fresh lemons. Not only are these dressings packed with anti-oxidants and exotic flavors but the citrus partially cooks the zucchini getting results similar to ceviche. The citrus actually softens the texture of the vegetable giving you a softer mouth feel crunch rather than a harsh raw bite.

It couldn’t get any easier to make these spiral veggie noodles with the new-fangled devices available out there. I purchased my Spiralizer at William Sonoma Outlet in Westbrook on a 30% off sale with an additional 20% off if I gave them my email. Can’t go wrong there. Here is the Spiralizer Amazon link offering a great deal too! Can’t wait for you to venture off into veggie noodle land. You will be amazed how fun and delicious it is to make this recipe. Hope you enjoy the show and keep a look out for future veggie noodle recipes 🙂
IMG_2403  intro  IMG_2416

IMG_2418  IMG_2422  IMG_2430

zucspaghetti  IMG_2442  IMG_2446

Ingredients: Need “Spiralizer” or similar to make zucchini spaghetti

  • 4 med/lg zucchini
  • 1 small vadalia (sweet) onion chopped
  • OPTIONAL: 2 finely chopped garlic cloves – If you love garlic as I do
  • 1 14 oz. can of diced tomatoes flavored with onion, garlic, celery and or green peppers OR your favorite can of peeled tomatoes in your cabinet (just need to add in 1/4 cup chopped peppers in addition to the onion/garlic above – chop up the whole peeled tomatoes as well to add in after you sauté veggies)
  • NOTE: If you use “whole peeled” tomatoes DO NOT use the juice too, tomatoes only, because the zucchini renders out a lot of water all on its own.
  • 1/4 cup red wine
  • 3 tbsn olive oil
  • 1 bunch fresh basil
  • 1/2 tsp salt
  • S & P to taste
  • OPTIONAL: 1 small container of fresh ricotta to garnish at the end with the Parmesan

Directions:

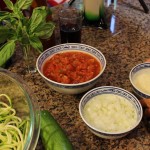
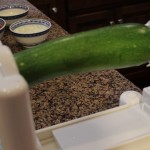
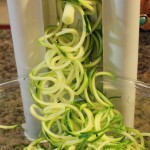
  1. Spiralize all 4 zucchini and place in a lg bowl
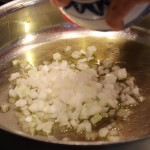
  2. Add chopped onion to 3 tbsp olive oil in a large fry pan on medium heat
  3. Sauté for 5 minutes til soft
  4. Add in Spiralized zucchini with 1/2 tsp salt and sauté 5 minutes on med/high heat- Make sure to stir a couple of times to help it from not sticking.  Sautéing on med/high will help to evaporate some of that liquid rendering out of the zucchini while sautéing– (If you saute on low it will just simmer in all the water, you will then have to drain a little of the water out of the pan)
  5. Add in tomatoes, red wine, s & p to taste and simmer 5 more minutes
  6. Plate up and top with your favorite grated Parmesan cheese
  7. OPTIONAL: Top with dollops of fresh ricotta and grated Parmesan

Homemade Salmon Gravlax

Homemade Salmon Gravlax

What a treat it is to have homemade salmon gravlax. It’s an even bigger delight to be able to make it yourself at home and have left overs the next day that are just as incredible as the first day they finished curing. Not to mention the money you will save from the astronomical price tag usually attached to those salmon gravlax or Nova lox if you were to buy them at a specialty shop!

You won’t believe how easy it is until you make these gourmet salmon gravlax for yourself. It is very important that when you do decide to make my homemade salmon gravlax to buy wild salmon and NOT farm raised. The wild salmon is definitely going to be pricier then the farm raised but you will still be saving a ton from having a specialty shop cure and sell them to you.
Now there is a little difference between salmon gravlax and Nova lox. Nova lox come from Nova Scotia and are cold smoked after the curing or brining process using some kind of brandy, gin or lemon vodka. Gravlax is the Scandinavian preparation of lox with just the curing or brining using dill and other spices like juniper berries, pepper corns as well as a liquid like an aquavit or vodka. Gravlax actually originated a lot like how sushi evolved in Asia where they buried the fish in rice to preserve and ferment.  Gravlax was made by fishmen who salted and fermented it by burying it in the sand …hence the Scandinavian word “grava” meaning to dig.

This homemade salmon gravlax recipe of mine came from a good friend, Jim, who is a saucier himself and always has an endless assortment of great recipes up his sleeve. His wife Jen and him are also big foodies and a lot of fun has been had with them in our own “kitchen cook-offs”! Needless to say I have been making these homemade salmon gravlax for over fifteen years and the results are always amazing. They are for sure “easy gourmet”.

With all the graduations and summer parties around the corner I think you better get busy and invest in some Coho wild salmon or do a little fishing yourself. I actually bought my Coho wild salmon that’s in the cooking show at Whole Foods Market. Their Coho wild caught salmon is packaged and flash frozen by the fisherman to a certain degree required by FDA law to kill any parasites and is ready for distribution. You may never buy store bought salmon gravlax or Nova lox at specialty shops again after eating this incredible delicacy! I hope you Enjoy the “Homemade Salmon Gravlax” show!
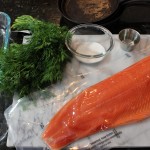
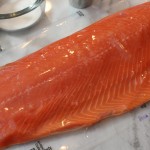
IMG_0872  IMG_0876  IMG_0947

IMG_0949  IMG_0966  IMG_0964

INGREDIENTS for Salmon GRAVLAX:

  • 1 1/2 -2 lbs. fresh Wild Coho Salmon (flash frozen or right out of the ocean!)
  • 3-4 tbsp sea salt ( USE 2 tbsp PER POUND of salmon)
  • 3-4 tbsp sugar (USE 2 tbsp PER POUND of salmon)
  • 2 tbsp vodka or aquavit
  • 1 lg bunch of fresh dill
  • 2 tbsp pepper corns -OPTIONAL -for a little spice (Use pepper corns not ground pepper)

DIRECTIONS for Salmon GRAVLAX:

  1. Cut 2 lb salmon filet in 1/2 so we can sandwich the halves together with salmon flesh facing the inside
  2. Whisk dry ingredients together salt, sugar and peppercorns
  3. Sprinkle about 1 tsp of vodka on the flesh sides of each of the salmon halves
  4. Rub all of the dry mixture onto the flesh sides and skin sides of the salmon halves…most of the rub should be on the flesh side though
  5. Lay fresh dill bunch onto one the the salmon fillets, on the flesh side
  6. Sandwich the other salmon fillet on top so that the flesh sides are facing each other
  7. Place into a Ziploc baggie and place in a glass baking dish
  8. Top the salmon fillets with cast iron pans and large cans – YOU NEED TO WEIGHT THE SALMON DOWN (tomato or vegetable cans work great)
  9. Place into the frig and cure for 3 days (2-3 days preferably 3)
  10. Flip the curing salmon every 24 hours making sure to out the weights back on
  11. On day 3 remove the salmon from the baggie and pick off all of the toppings (dill, pepper corns) and give a QUICK rinse or rub off toppings with a damp paper towel (you don’t want to run water over your cured salmon … it’s a QIUCK rinse)
  12. Pat completely dry and sliced salmon on a bias as shown in the show
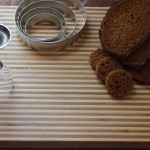
  13. Serve with mustard sauce or cream cheese-caper mixture and bagels or rye bread rounds and a sprig of fresh dill on top
  14. Mangia mangia

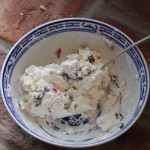
INGREDIENTS for CREAM CHEESE SPREAD:

  • 6 oz. Philadelphia cream cheese
  • 2 tbsp finely chopped red onion
  • 2 tbsp small capers
  • 1/2 fresh squeezed lemon
  • 2 tbsp chopped fresh dil

Bring cream cheese to room temperature, add remaining ingredients and mix to combine

INGREDIENTS for MUSTARD SAUCE:

  • 2 tbsp Dijon
  • 1 tbsp sugar
  • 1 tbsp finely chopped red onion
  • 2 tbsp finely chopped dill
  • 3 tbsp “seasoned” rice wine vinegar
  • 3 tbsp good olive oil

Put first 4 ingredients in a medium size bowl, add in vinegar and begin to whisk in olive oil


Homemade Pasta Fagioli

Homemade Pasta Fagioli

This homemade pasta fagioli dish is a traditional Italian soup where the recipe differs from family to family and region to region. Every single version is different which makes it nice because it’s very personal that way. It’s what ever you were used to having in your own home or at your relatives growing up. Originally, pasta fagioli was made without meat, then there were versions that started the dish off by sauteing pancetta and now there are so many different recipes floating around. It’s what ever floats your boat really! It’s supposed to be easy gourmet…what ever you have in the pantry and refrigerator will work.

Pasta fagioli is a savory comfort food that I just love. It consist of several universal ingredients like ditalini pasta,  cannellini beans, some kind of tomato base and a liquid of either chicken, or vegetable and I have even seen water used. It’s been considered a soup which is perfect for dunking that crusty bread but there are versions that make it more like a thick saucy “pasta” dish. The liquids do evaporate quickly after the pasta is added to the pot and cooked through so you have to be careful at this point to keep an eye on that if you want it to have a looser soup-like consistency.

The pronunciation of the word has evolved to “pasta fazool”. Then again, there are many variations of that as well 🙂 So enjoy this Italian soup…I know you will love it. If you need an appetizer to go with this gourmet homemade pasta fagioli you may want to check out my sea scallops wrapped in bacon, scallop cerviche, or even a refreshing fennel and citrus salad with tangerine dressingAnd how about some Pavlova with fresh pineapple and berries for dessert!

iphone pictures 2152iphone pictures 1830iphone pictures 1790

des


INGREDIENTS For Pasta Fagioli (makes enough for many…10-15 side dishes):

  • 2 cans cannellini beans
  • 1/2 -3/4 cup ditalini pasta ( 1/2 if you want it looser soup-like consistencey …remember it just keeps getting thicker even after you take it off the stove as the liquid evaporates)
  • 1 qt. (4 cups) chicken stock
  • 1 cup white wine-pinot grigio or what ever you are drinking -(1/2 to deglaze pancetta and veggies and 1/2 when you add stock
  • 1/3 cup each diced carrots, celery and onion
  • 3 tbsp finely chopped garlic
  • 2 cups whole peeled tomatoes with some juice, broken up with your hands – NOTE: USE 3 cups if you are not using a cup of “leftover pork & sauce”
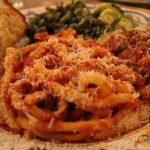
  • 1 cup pork in tomato sauce OR 1 lb. sausage taken out of the casing ready to sauté OR omit all together
  • 2 1/4″ sliced of pancetta diced up or bacon
  • 2 sprigs of fresh rosemary and 2 of fresh thyme tied in up with string
  • Fresh basil -julienne to add at the end
  • grated Reggiano Parmigiano and some to shave for decoration
  • good olive oil to drizzle at the end
  • 1/2 tsp salt -add 1/4 tsp at the addition of sauteing veggies and 1/4 tsp when you add beans and broth
  • 1/4 tsp pepper
  • 1/4 tsp crushed red pepper flakes if you like a pinch of HEAT

DIRECTIONS:

  1. Add diced pancetta to a large pan and begin to sauté for 8 minutes on med heat
  2. Add in broken up sausage to brown with the pancetta If you do not have “pork in sauce”
  3. On med/low heat add diced carrots, onion, celery and garlic with 1/4 tsp salt (along with 1/4 tsp crushed red pepper flakes if you want a little heat) to the same pot with 1 tbsp olive oil extra – sauté til veggies are tender 10 minutes
  4. De-glaze with 1/2 cup white wine and simmer 5 minutes
  5. Add in beans, pork-sauce, whole peeled tomatoes, herb bouquet, chicken stock, 1/4 salt, 1/4 pepper and simmer for 30 minutes
  6. Remove herb bouquet from soup
  7. Take 4-5 ladles of beans out of the soup to puree for a little creamier then adding back in
  8. Simmer 5 minutes and add in 1/2 cup ditalini pasta
  9. Cook til pasta is cooked – approx 7 minutes
  10. Plate up and drizzle olive oil, sprinkle parmigiano cheese and fresh basil and mangia mangia!


BEST Manicotti Ever Recipe

BEST Manicotti Ever Recipe

Yes, I am giving up the good’s on this one and I know you will appreciate it because this is one of my very favorite secret recipes that has been in our family for generations! My mother Maria taught me how to make these homemade gourmet manicotti when I was young and now I am thrilled to pass this very special dish on to you.

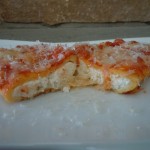
These are the BEST homemade manicotti I have EVER tasted and I know you will love them too. They are a poured pasta, a crêpe so to speak and are light and fluffy.  I’m partial to Liuzzi’s homemade whole milk ricotta, and I user a mix of mozzarella’s from Scamorza, which is a slightly salted/dryer mozzarella to whole milk and skim milk mozzarella. I start off with either my tomato-basil pasta sauce or my pasta sauce 101 for the homemade manicotti. These are an especially festive and a special dish to make for the holidays.

This manicotti batter is poured like a crêpe. It’s light and airy like a crepe but definitely different in texture. The texture of the crêpe is a pasta texture, creamy and soft. These manicotti shells (crêpes) are truly gourmet and you’ll will appreciate how delicate a dish this really is when you make them for your own family and friends. My turkey meatballs would go great with this holiday dish also.  A spread of spiral ham or roasted lamb with gourmet manicotti and turkey meatballs …who’s better than you?!

It’s nice to serve a refreshing salad with pasta like my Caesar Salad then maybe an appetizer like crab cakes and sides like Roasted Beet Salad with Mint and Feta or Yogurt Chicken Kabobs. A light pavlova dessert with fresh pineapple and berries would make the perfect end for this manicotti dinner.

DSCN45211-300x225

DSCN4575

iphone pictures 1670

IMG_1897

145


iphone pictures 1938 iphone pictures 1939 iphone pictures 1942

iphone pictures 1945 iphone pictures 1946 iphone pictures 1947

iphone pictures 1948 iphone pictures 1949 iphone pictures 1950

iphone pictures 1951 iphone pictures 1952 iphone pictures 1953

iphone pictures 1955 iphone pictures 1956 iphone pictures 1957

iphone pictures 1958 iphone pictures 1959 iphone pictures 1960

iphone pictures 1962 iphone pictures 1970 iphone pictures 1975

iphone pictures 1963 iphone pictures 1971 iphone pictures 1965

iphone pictures 1973 iphone pictures 1967 iphone pictures 1968

iphone pictures 1977 iphone pictures 1976 iphone pictures 1980

iphone pictures 1981 iphone pictures 1991 iphone pictures 1992

iphone pictures 1993 iphone pictures 1982 iphone pictures 1985

iphone pictures 1989 iphone pictures 1994 iphone pictures 2001

iphone pictures 2002 iphone pictures 2003 iphone pictures 1996

iphone pictures 1998 iphone pictures 1999 iphone pictures 2000

iphone pictures 2009 iphone pictures 2020

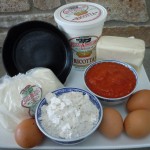
Ingredients:

    • 1 cup all purpose flour
    • 1 cup water
    • 1/4 Tsp salt
    • 4 extra large eggs
    • 2-3 Tbsp olive oil
    • 3 lbs. Liuzzi whole milk or “fina style” (a finer ricotta), or your favorite
    • 5 0z. shredded whole milk, 5 oz. park skim and 5 oz. Scamorza mozzarella mixed together
    • (you can also do 8 oz. whole milk and 8 oz. part skim shedded and mixed)
    • 5″ cast iron pan or 5″ non-stick pan
    • Baking pan approx. 11″ x 16″

Directions:

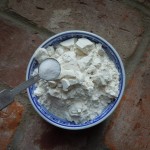
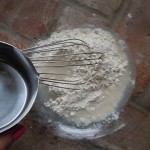
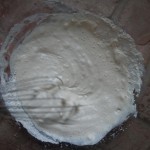
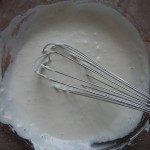
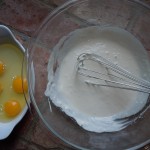
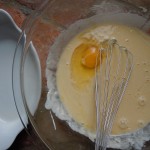
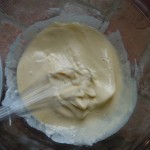
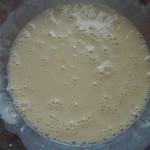
  1. In a large bowl whisk 1 cup flour, 1/4 Tsp salt with 1 cup water (approx. 20 whisks)
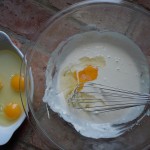
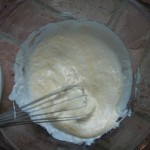
  2. Add in 1 egg at a time and whisk about 5 whisks per egg
  3. Put cast iron pan on stove on medium/high heat (a 7 out of an 11)
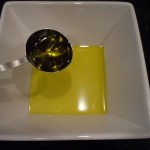
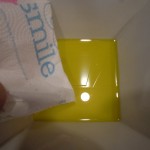
  4. Put a couple of Tbsp of olive oil in a bowl with a paper towel
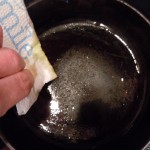
  5. Rub pan with olive oil-saturated paper towel in between cooking poured pasta batter
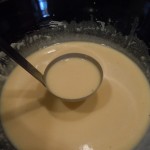
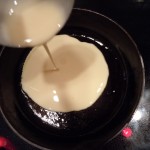
  6. Pour in a ladle of batter into hot pan, approx. a little less than 1/4 cup laddle
  7. Pick up pan and swirl around 3 times and place back down onto stove
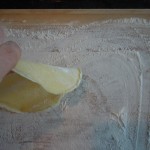
  8. Wait about 25 seconds and flip pasta crepe over, you can use a flexible pastry knife to help you get under it…it will be easy to flip and will not ever be stuck
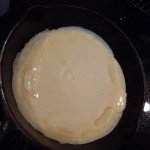
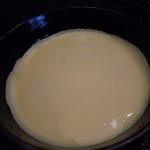
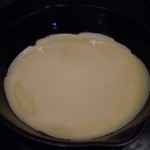
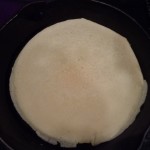
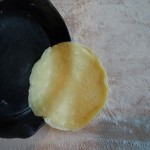
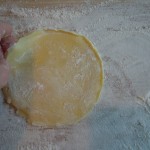
  9. You never want the pasta crepe to be golden on the edges-that would be over cooking them…they should look like the photo above light in color
  10. Immediately flip over onto floured board and flip a couple of times to cool a little
  11. Repeat dredging saturated paper towel into pan to coat and then pour another 1/4 cup ladle of batter into pan.
  12. Repeat this over and over until you run out of batter…this amount will make 16 manicotti
  13. When you are done lay out a work board to roll manicotti’s on
  14. Put ricotta in a bowl so it’s easy to work with
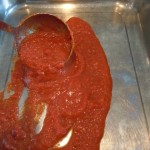
  15. Pour about 2 cup of tomato sauce into the baking pan
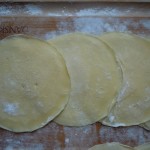
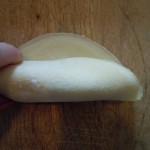
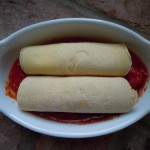
  16. Lay out manicotti crepe and scoop 1/4 cup ricotta going across the center of the circle as shown in the photo
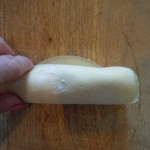
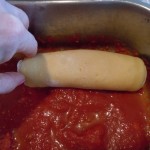
  17. Lay a piece of mozzarella in the center and roll up manicotti
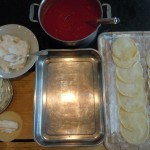
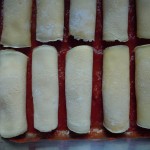
  18. Place rolled manicotti on top of sauce in pan and continue on until all the pasta crepes are done
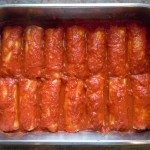
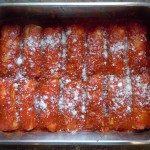
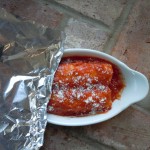
  19. Pour another 2-2 1/2 cups of sauce on top of roll manicotti’s, sprinkle with parmesan and cover with foil
  20. Place in frig until you are ready to bake
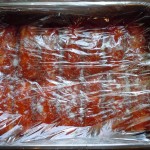
  21. Or cover with saran and then foil and put into the freezer until your event is near and then pull out two nights before and put into the frig to thaw
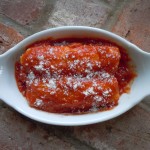
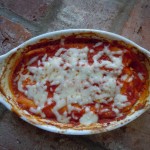
  22. When you are ready to bake your manicotti put into a 350º oven and bake for 45 minutes
  23. The manicotti will be bubbly when you take it out of the oven and need to rest for 5 minutes before serving

Bolognese Sauce Easy Gourmet

Bolognese Sauce Easy Gourmet RECIPE

025This homemade gourmet bolognese Sauce is like no other that I have ever had. Over the years I have worked hard to perfect this recipe to match a dish I used to have in Urbino, Italy. So all the hard work is done for you and now all you have to do is follow my recipe and savour over the most amazing and unique Bolognese sauce you’ll ever have.

During my college years I had the opportunity to go school in Urbino, Italy for a summer and fall semester. Urbino is a little Renaissance town located in the Marche region of Italy. It was two hours East of Florence (near the town of Pesaro on the east coast). It’s where black and white truffles are prevalent. The picture above is of Urbino, The Palazzo Ducale which now houses part of The Marche National Gallery. This renaissance town of Urbino is also where the great artist Raffaello was born in 1483. I had the opportunity to study renaissance art, restoration and language in Italy at the University of Urbino …being an art major and all I was in heaven living here!

Urbino was a magnificent place to be for all those months (which never seemed long enough) allowing me to fall in love with their art, their culture and the people there in Italy and what it’s really all about …big kinds hearts with a passion for enjoying life, and an amazing culinary appreciation!

The tender Prosciutto di Parma to mouth watering homemade pasta dishes found most places in Italy is to die for but there’s one bolognese dish in particular that I had in a restaurant in Urbino made with “strozzapreti” pasta which really stood out for me. The sauce was made with sautéed ground veal, ground pork, veal stock, heavy cream, red wine and fresh rosemary where the aromas alone will knock your socks off!  This is the dish, the bolognese sauce, in which I have derived my recipe from and the one in which I wish to share with you.  You should note that homemade gourmet bolognese recipe is NOT to be made with BEEF because it completely changes the flavors and does not taste at all like the oringinal bolognese recipe from Urbino.

I recently found this uniquely shaped pasta that they served the bolognese sauce with in Urbino called “StrozzaPreti” at one of my favorite local specialty shops, a gourmet cheese shop called Fromage right here in Old Saybrook, CT.  See, you can make my bolognese sauce and have it with the original pasta it was meant to be with. And while you are there you should pick up some white truffle oil to drizzle over the pasta sauce.

If you want this recipe to be gluten free you could always substitute out the pasta or gnocchi with a rice noodle and if you can’t have heavy cream you can substitute that with coconut cream and it would be just as delicious.

A marriage made in heaven is this bolognese sauce on my light and fluffy homemade potato gnocchi! Or try it on your own homemade pasta, and don’t forget a Caesar Salad! Last but not least you will need to tame that sweet tooth with a dessert like Pavlova, or Death by Chocolate Meringue Pie! Enjoy! 🙂

014 IMG_4327 DSCN4572-300x225 145 chcomerg

012  013  015

001  016  002

004  003006

009  014  010

012  002

011  019  025

INGREDIENTS: Serves 10-12 people or more if for appetizers.    

NOTE: THIS SAUCE FREEZES AMAZINGLY WELL so if you have sauce left over freeze in a container right away and all the hard work is DONE!

  • NOTE: DO NOT USE BEEF …this recipe will NOT have the right flavors if you use beef
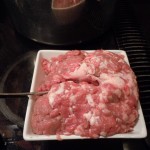
  • 1 lb. ground veal
  • 1 lb. ground pork
  • 1/3  cup grated carrots
  • 1/4 cup grated celery
  • 1 cup grated Vadalia Onion
  • 2 extra lg garlic cloves
  • 2 cups whole peeled tomatoes and juice
  • 2 slices applewood smoked or plain bacon cooked and finely chopped (approx 3 Tbsp finely chopped)
  • 1 1/2 cups good red wine
  • 2 cups heavy cream (or 2 cups coconut cream)
  • approx. 1/2 cup olive oil
  • 1  1/2 tsp salt
  • 1/4 tsp pepper
  • 1/4 cup grated Reggiano Parmesano cheese and more to finish
  • 1  tsp  and 1 Tbsp fresh chopped rosemary
  • White Truffle Oil (Optional)
  • 1 lb. dried Egg fettuccine or Strozzapreti pasta found at Fromage

Directions:

  1. Add 3 tbsp olive oil to lg pan on medium/low
  2. Add grated carrots, celery, onion and smashed garlic cloves to olive oil and sauté for 12 minutes til light golden and soft
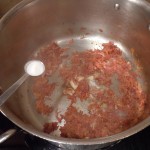
  3. Deglaze by adding 1/4 cup red wine, stir, add 1/2 tsp salt and continue to sauté until wine evaporates
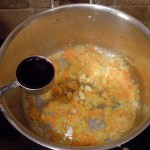
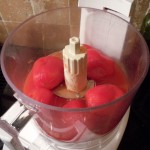
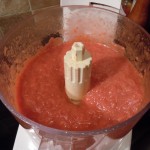
  4. Add these cooked veggies to food processor with 2 cups whole peeled tomatoes and juice
  5. Pureé and set aside
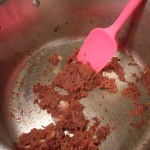
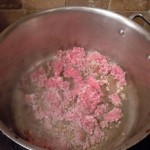
  6. Add 3 tbsp olive oil to same pan and bring to med/high temp and then add 1 lb. only of veal/pork (1/2 veal, 1/2 pork)
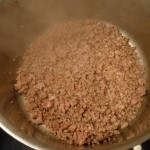
  7. Keep on med/high temp and brown meat
  8. Deglaze first batch of meat with 1/4 cup red wine, stir, reduce and set aside in a med bowl
  9. Add 3 tbsp more olive oil back to same pan to brown next 1 lb. of ground veal/pork
  10. Repeating steps 6-9
  11. Put all browned meat back into pan and add in 1 tsp salt, 1/4 tsp pepper, pureed tomato/veggie mixture, and 1/4 cup red wine, 3 tbsp finely chopped crispy bacon, and 1 tbsp finely chopped rosemary
  12. Cover (leave small opening for steam to evaporate) and simmer for 1 1/2 hrs. stirring every 20 minutes making sure to let steam from inside cover drain out of pan when you lift it off to stir
  13. Add in 2 cups heavy cream, 1 tbsp finely chopped fresh rosemary, 1/2 cup red wine and s&p to taste and simmer for 5-8 minutes …just need to warm thru
  14. Boil 1 lb. pasta and add to bolognese sauce …mangia mangia!

Pistou

Pistou

The first time I had pistou I was at my friend Joanne’s house for dinner and she made this incredible soup and had this pistou to the side so you could add it in if you so desired to enhance the flavor of her soup. Pistou is considered the french cousin of pesto. The ingredients are very similar to pesto except there is an addition of tomato paste to the recipe. This simple Provencal cold sauce transforms any soup or stew and is made pretty much with these same ingredients across the board varying in amounts of each ingredient to the chefs liking. This particular recipe originates from Barefoot Contessa.

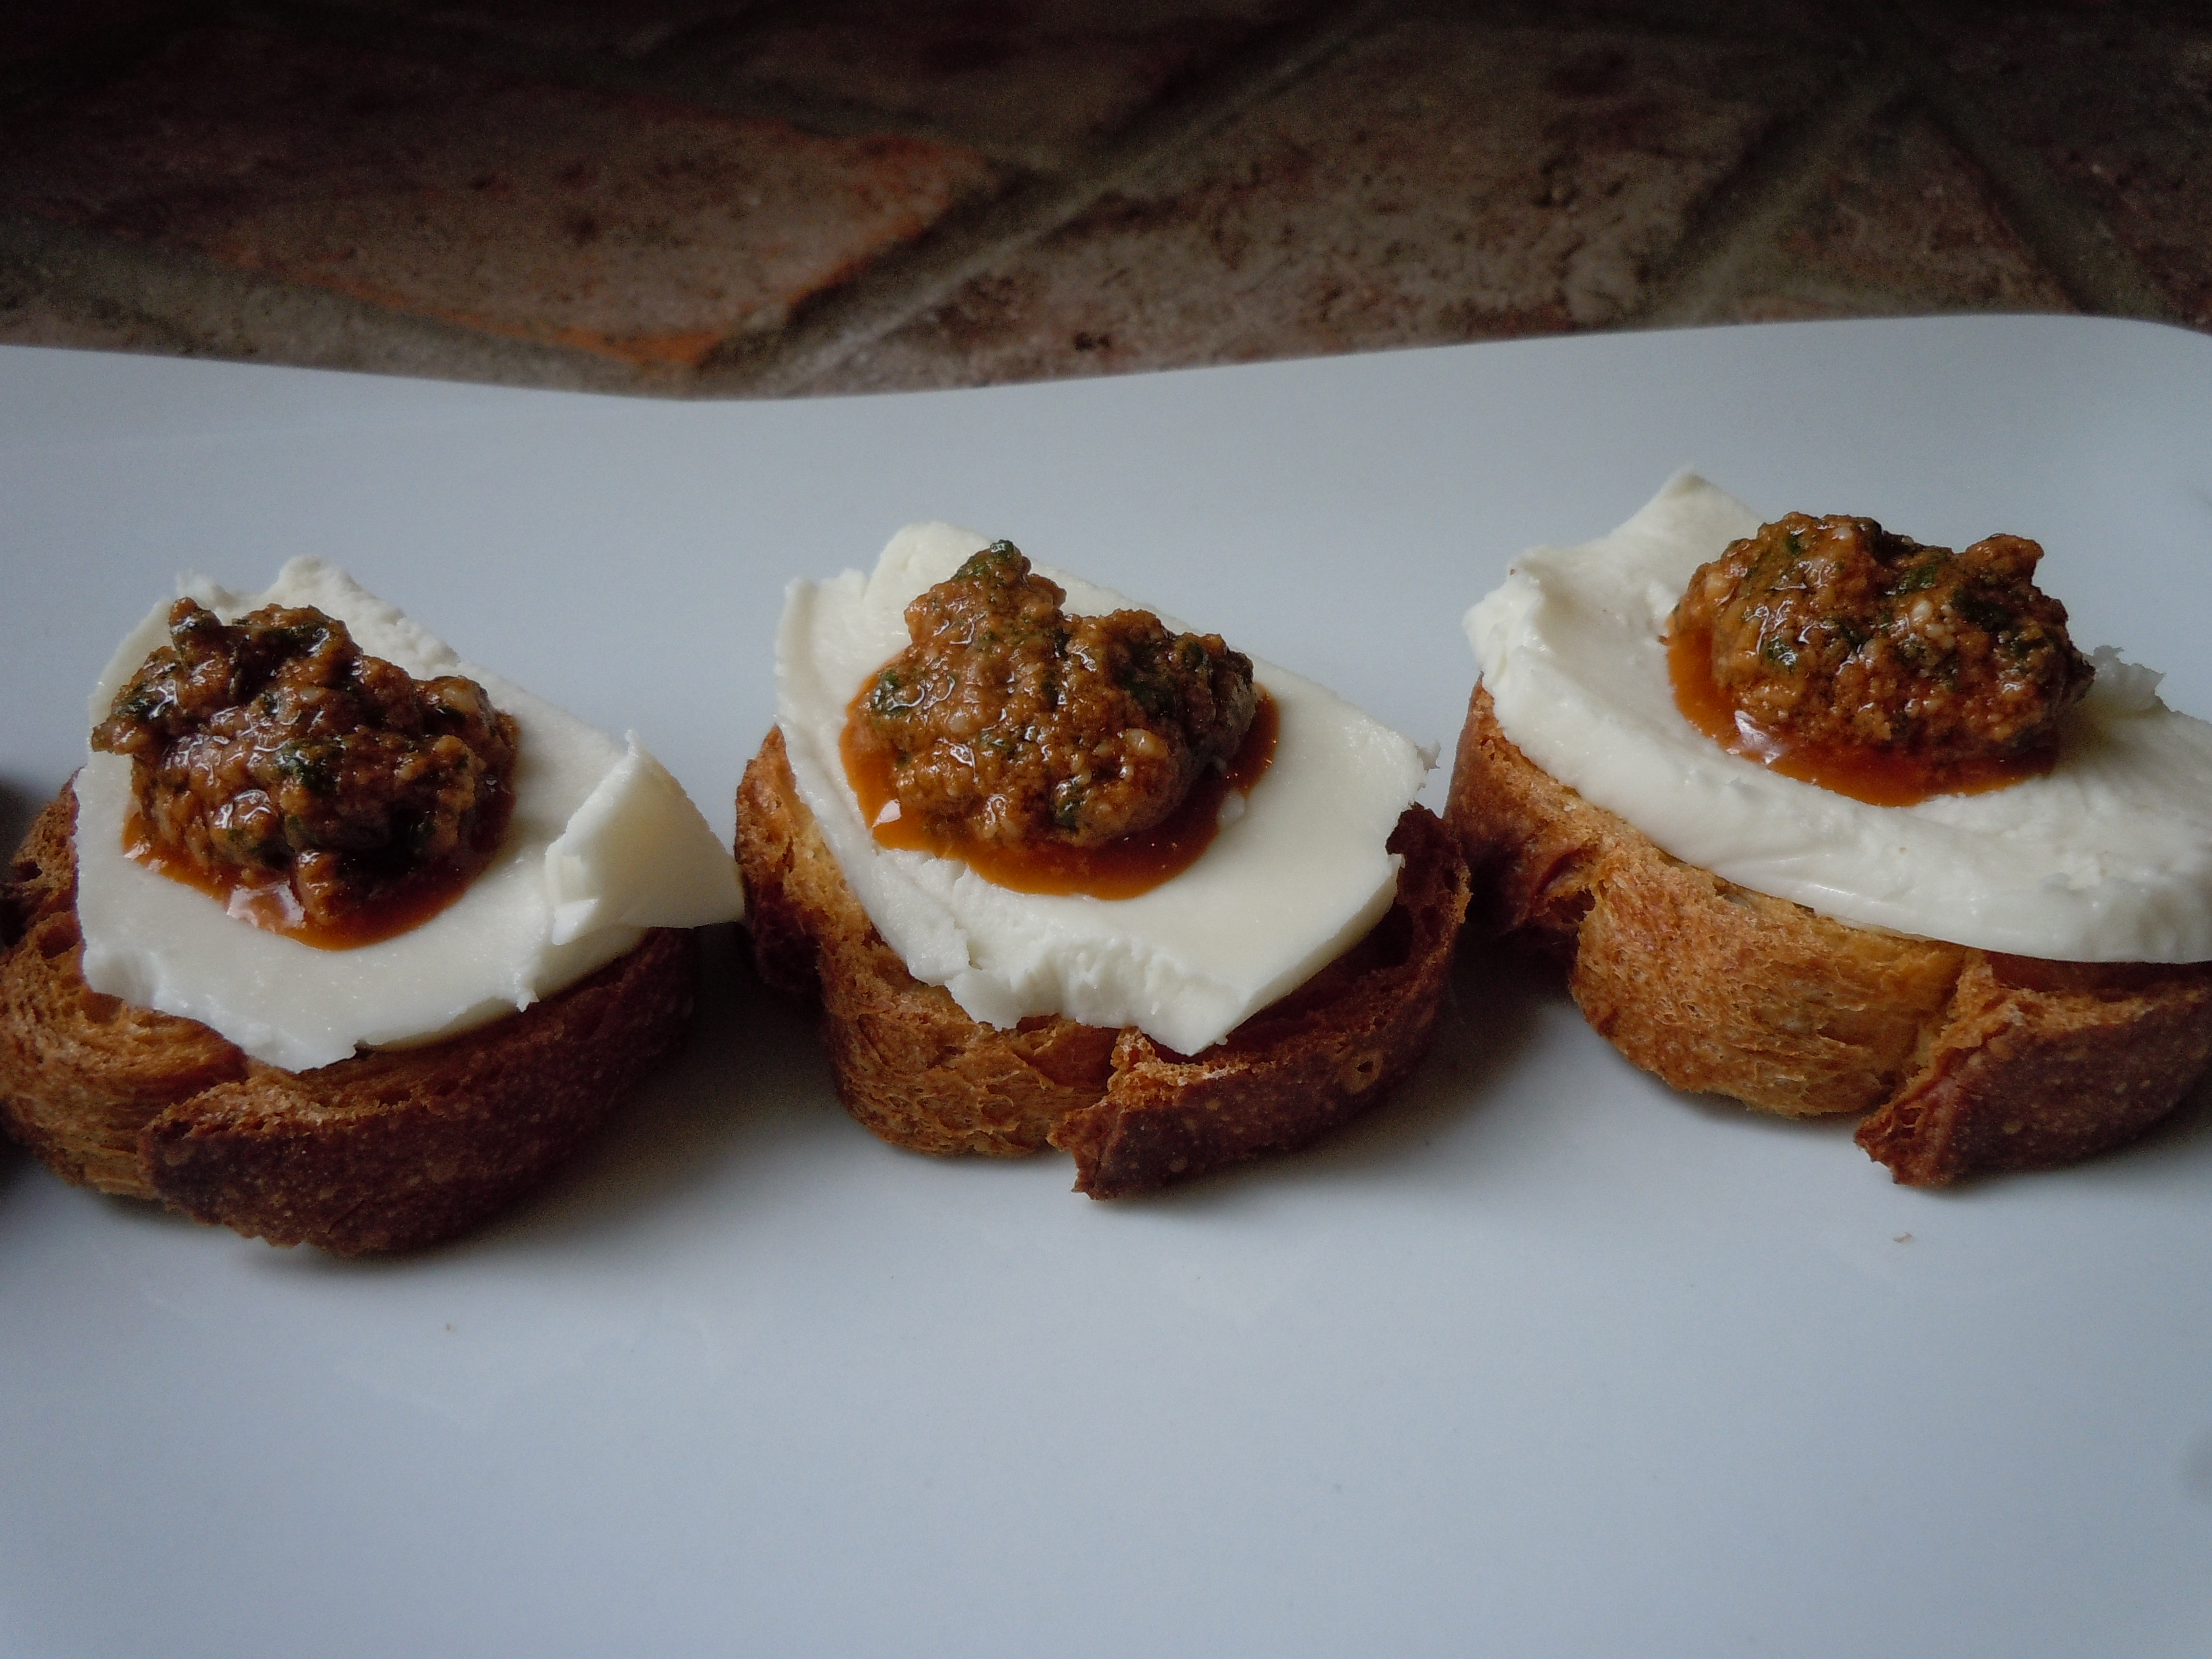
And wow is all I have to say! No wonder it’s an amazing flavor booster to soups and stews it’s made up of basil, garlic, Parmesan, tomato paste and olive oil…what’s not to love?! So I was thinking what would go great with this sensational creation and that was simple …the nutty crunchiness of a crostini and the creaminess of fresh mozzarella topped with a dollop of this pistou and voilà you have yourself a yummy little appetizer. Don’t forget to add this to your next batch of beef stew or chicken soup!

DSCN4692 DSCN4695  DSCN4697

DSCN4701 DSCN4698

Ingredients:

  • 24 large basil leaves
  • 1/4 cup tomato paste
  • 4 large garlic  cloves put thru a garlic press
  • 1/2 cup Reggiano Parmesan
  • 1/2 cup good olive oil
  • 1/4 tsp salt
  • 1/8 -1/4 tsp fresh ground pepper
  • a few dashes of your favorite hot sauce (I use Tabasco)
  • 1 recipe for crostini
  • 1 fresh mozzarella log

Directions:

  1. Place the basil, tomato paste, garlic thru press, and Parmesan into food processor
  2. Begin to purée and while it’s running drizzle in the olive oil
  3. Purée just til smooth about 1 minute
  4. Place a slice of fresh mozzarella onto the crostini and add a dollop of fresh pistou and mangia!
  5. If you don’t use it right away, just like the pesto, drizzle a small amount of olive oil over the top so as to stop the oxidation, cover with saran wrap and pop it into the frig or freezer