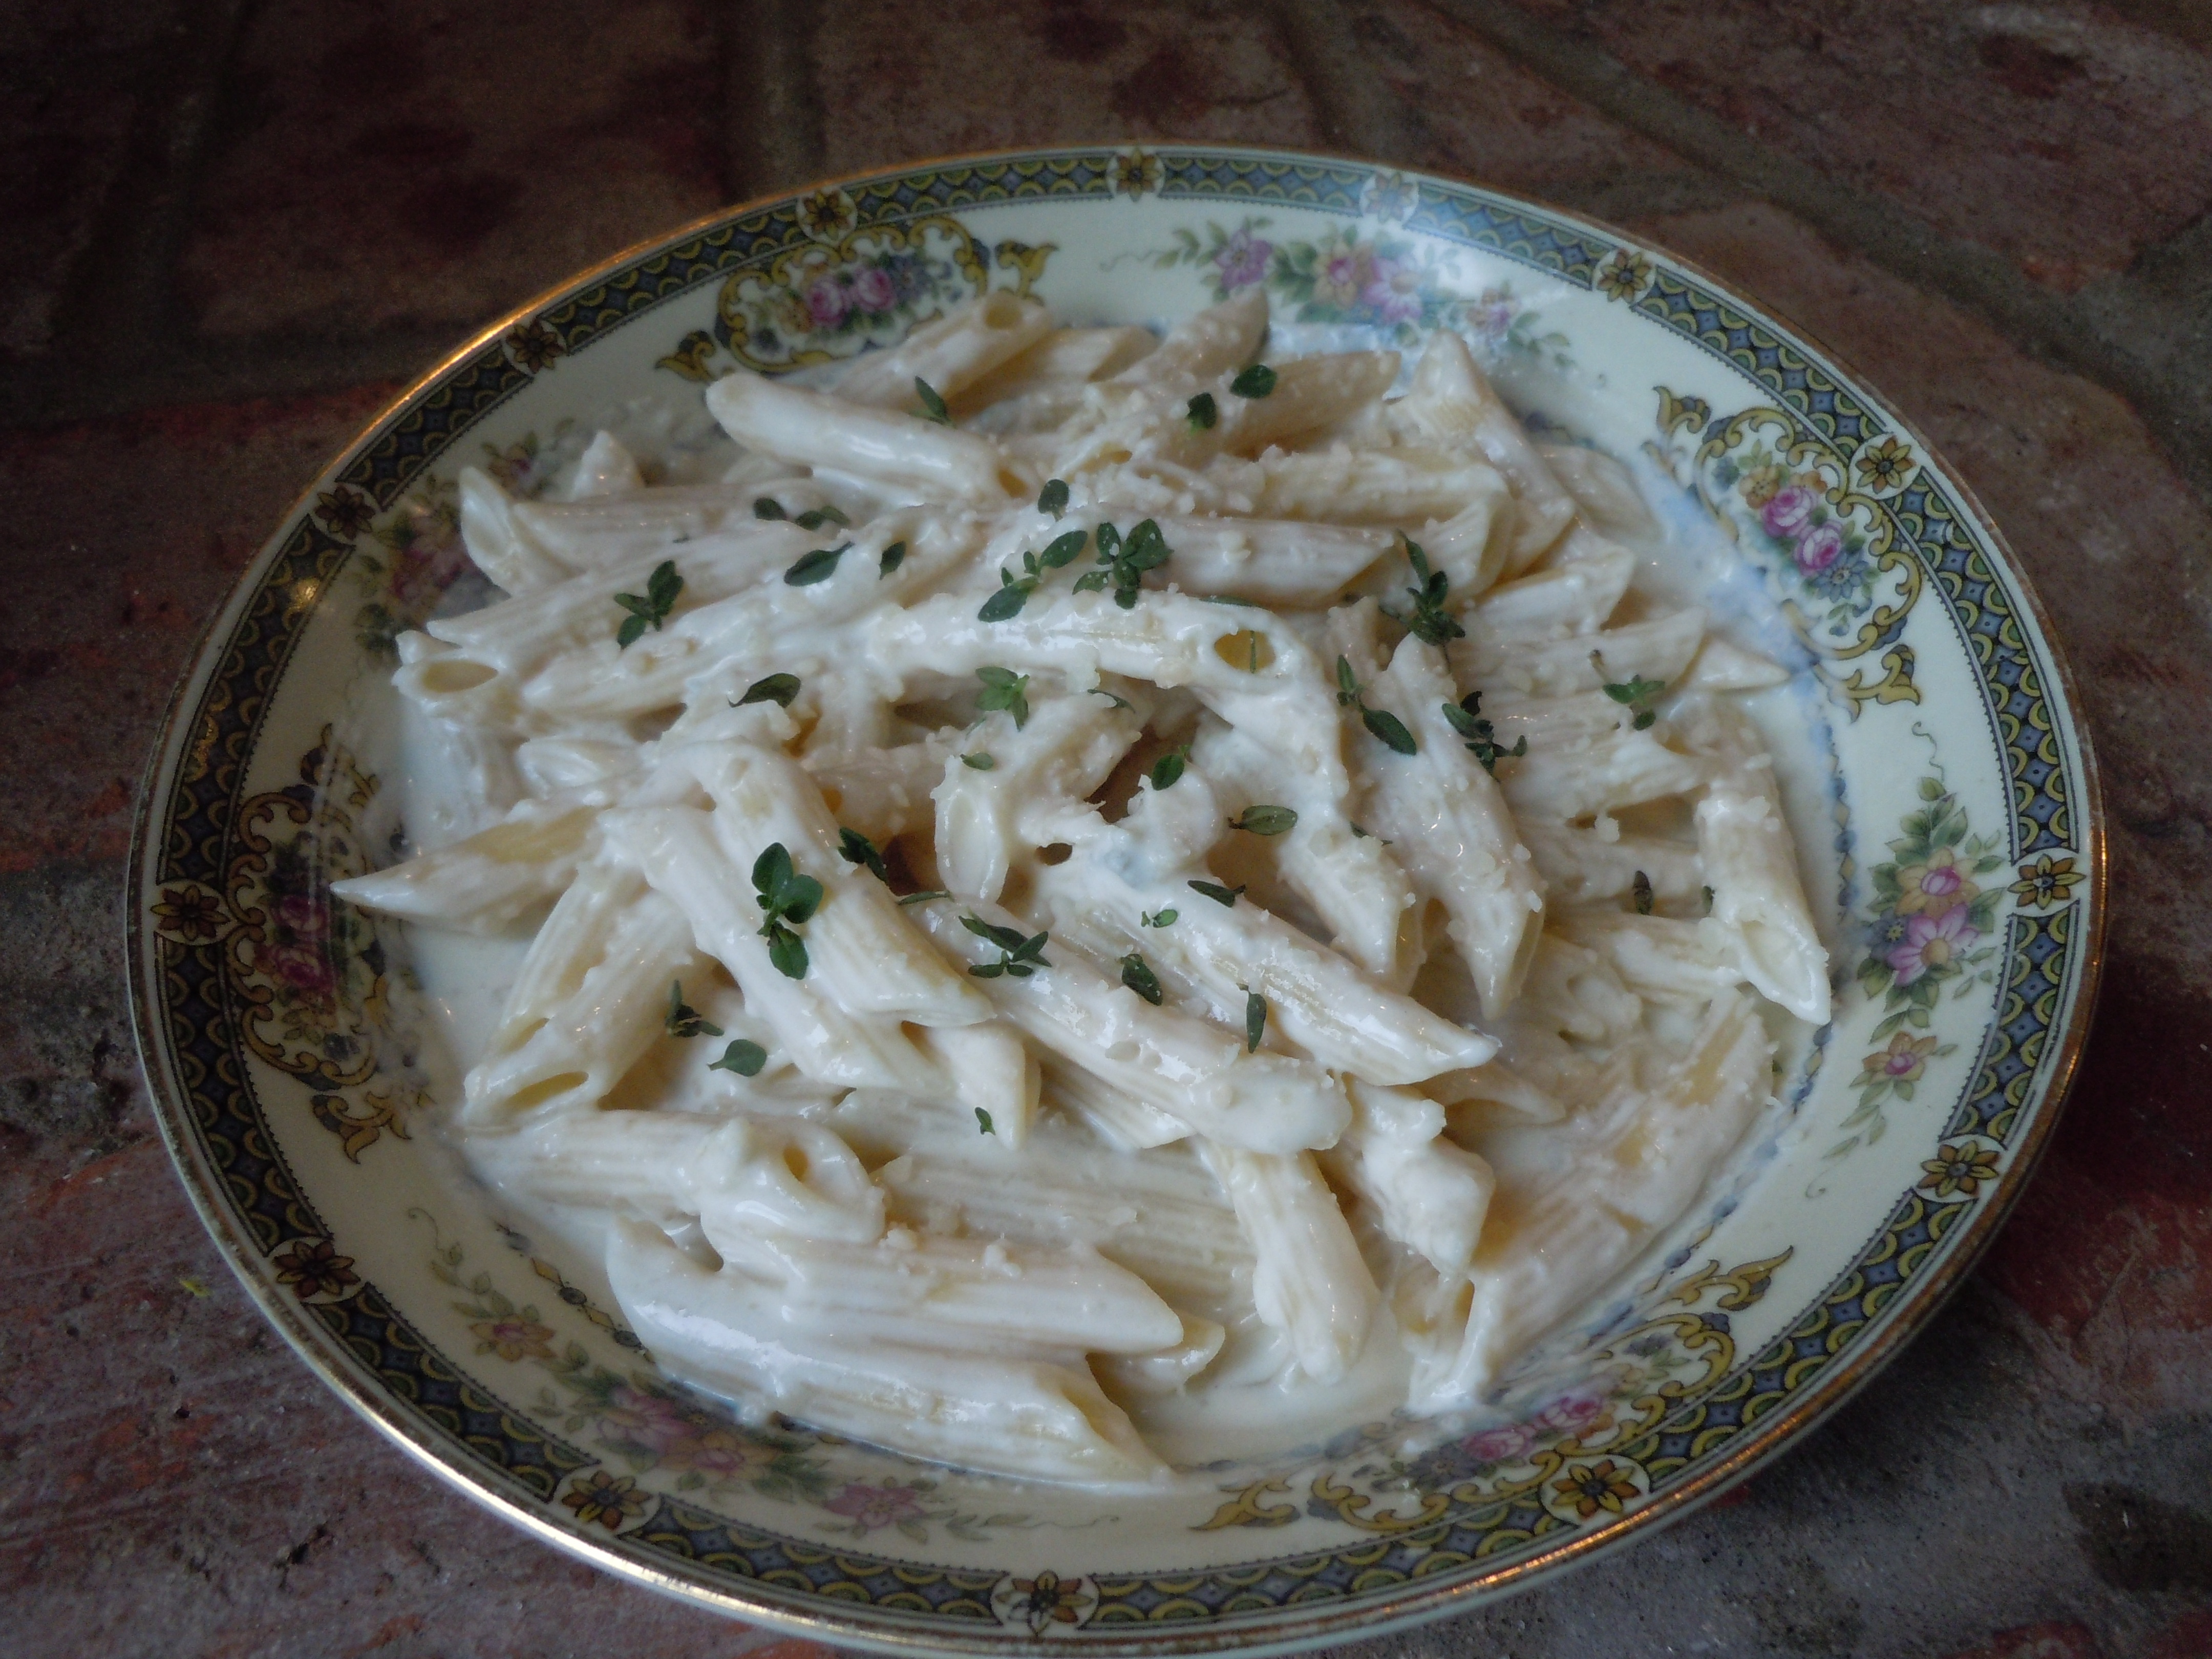
Gorganzola Dolce Cream Sauce with Fresh Thyme
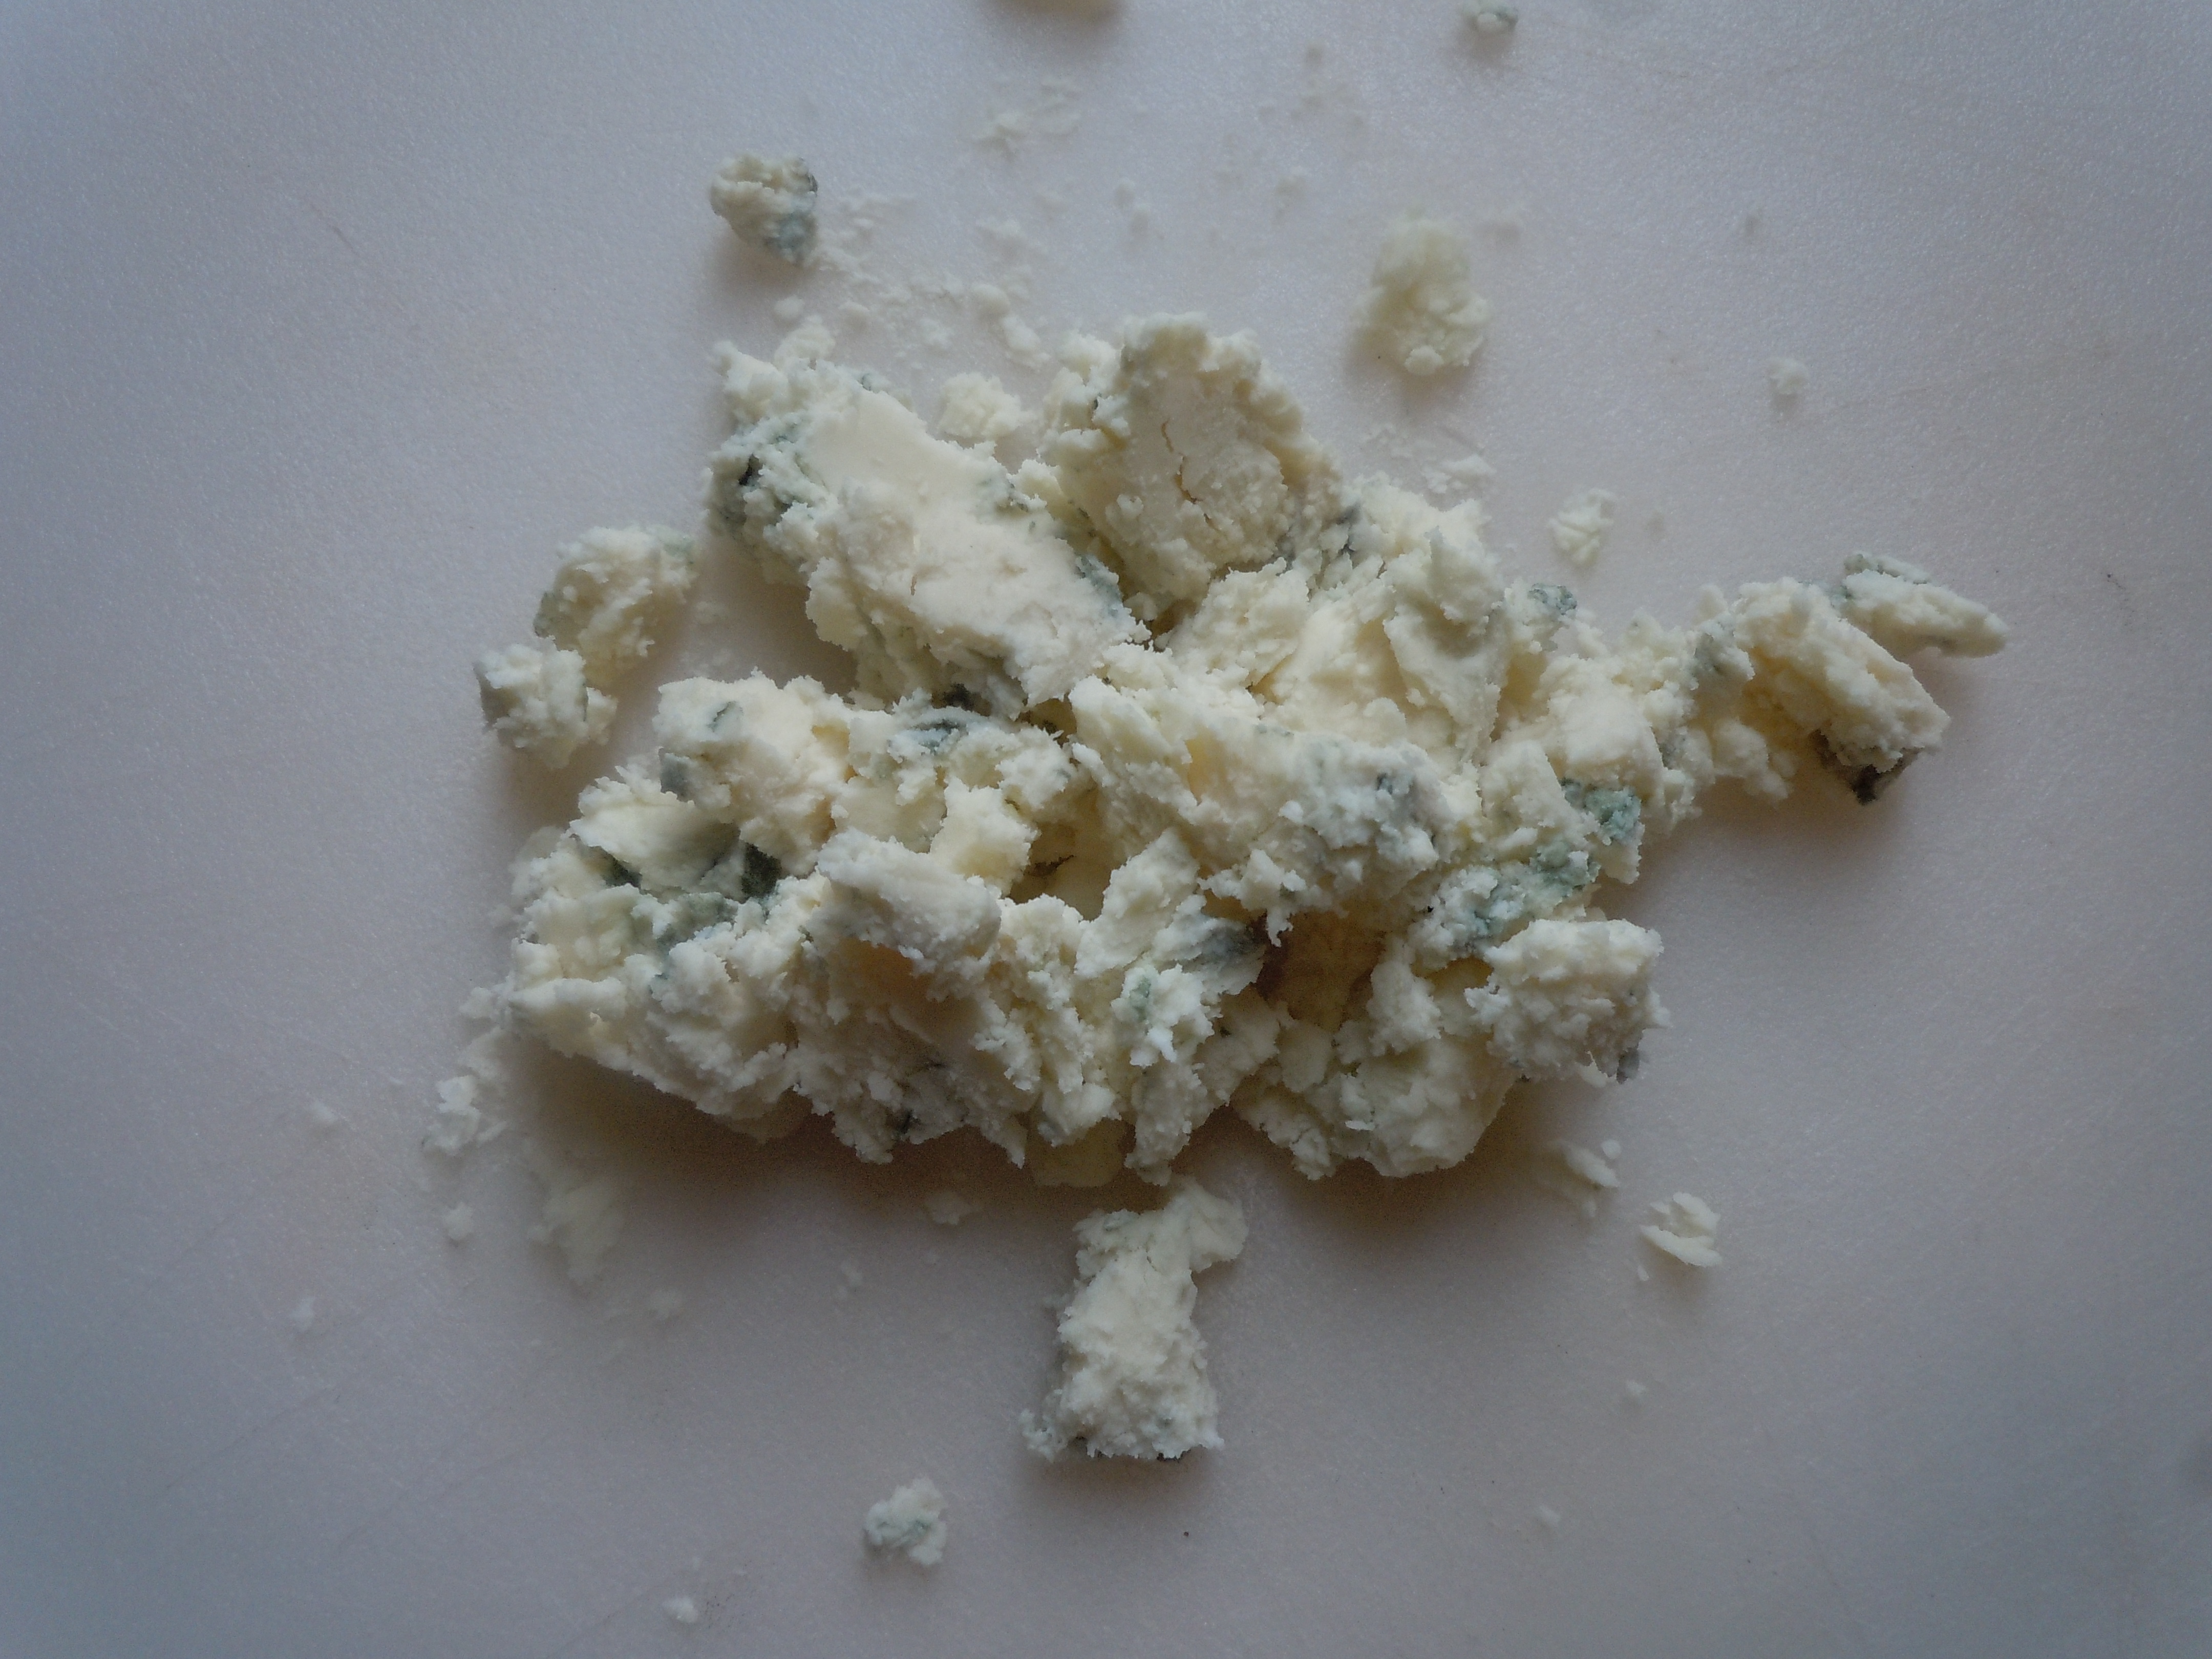
This Gorganzola Dolce cream sauce with fresh thyme couldn’t get any easier and your dinner guests will think you secretly went to culinary school and became a saucier! Gorganzola Dolce cheese originated in Northern Italy, and is made from cows milk. It’s a mild, creamy, and sweet cheese great for spreading on baguette slices or even crackers. It’s moister than Stilton and definitely more buttery than Roquefort. It’s decadent really, one of my very favorite cheeses of all times along side of Taleggio…another amazing Italian cheese!
I came up with this recipe because I serve it on my homemade gnocchi (potato pasta) with truffle oil and fresh thyme. You won’t believe how easy this is to make. You can make it to go over any kind of pasta you like and pair it up with grilled steaks or sautéed chicken along side.
Ingredients: Makes enough for 1 lb. pasta
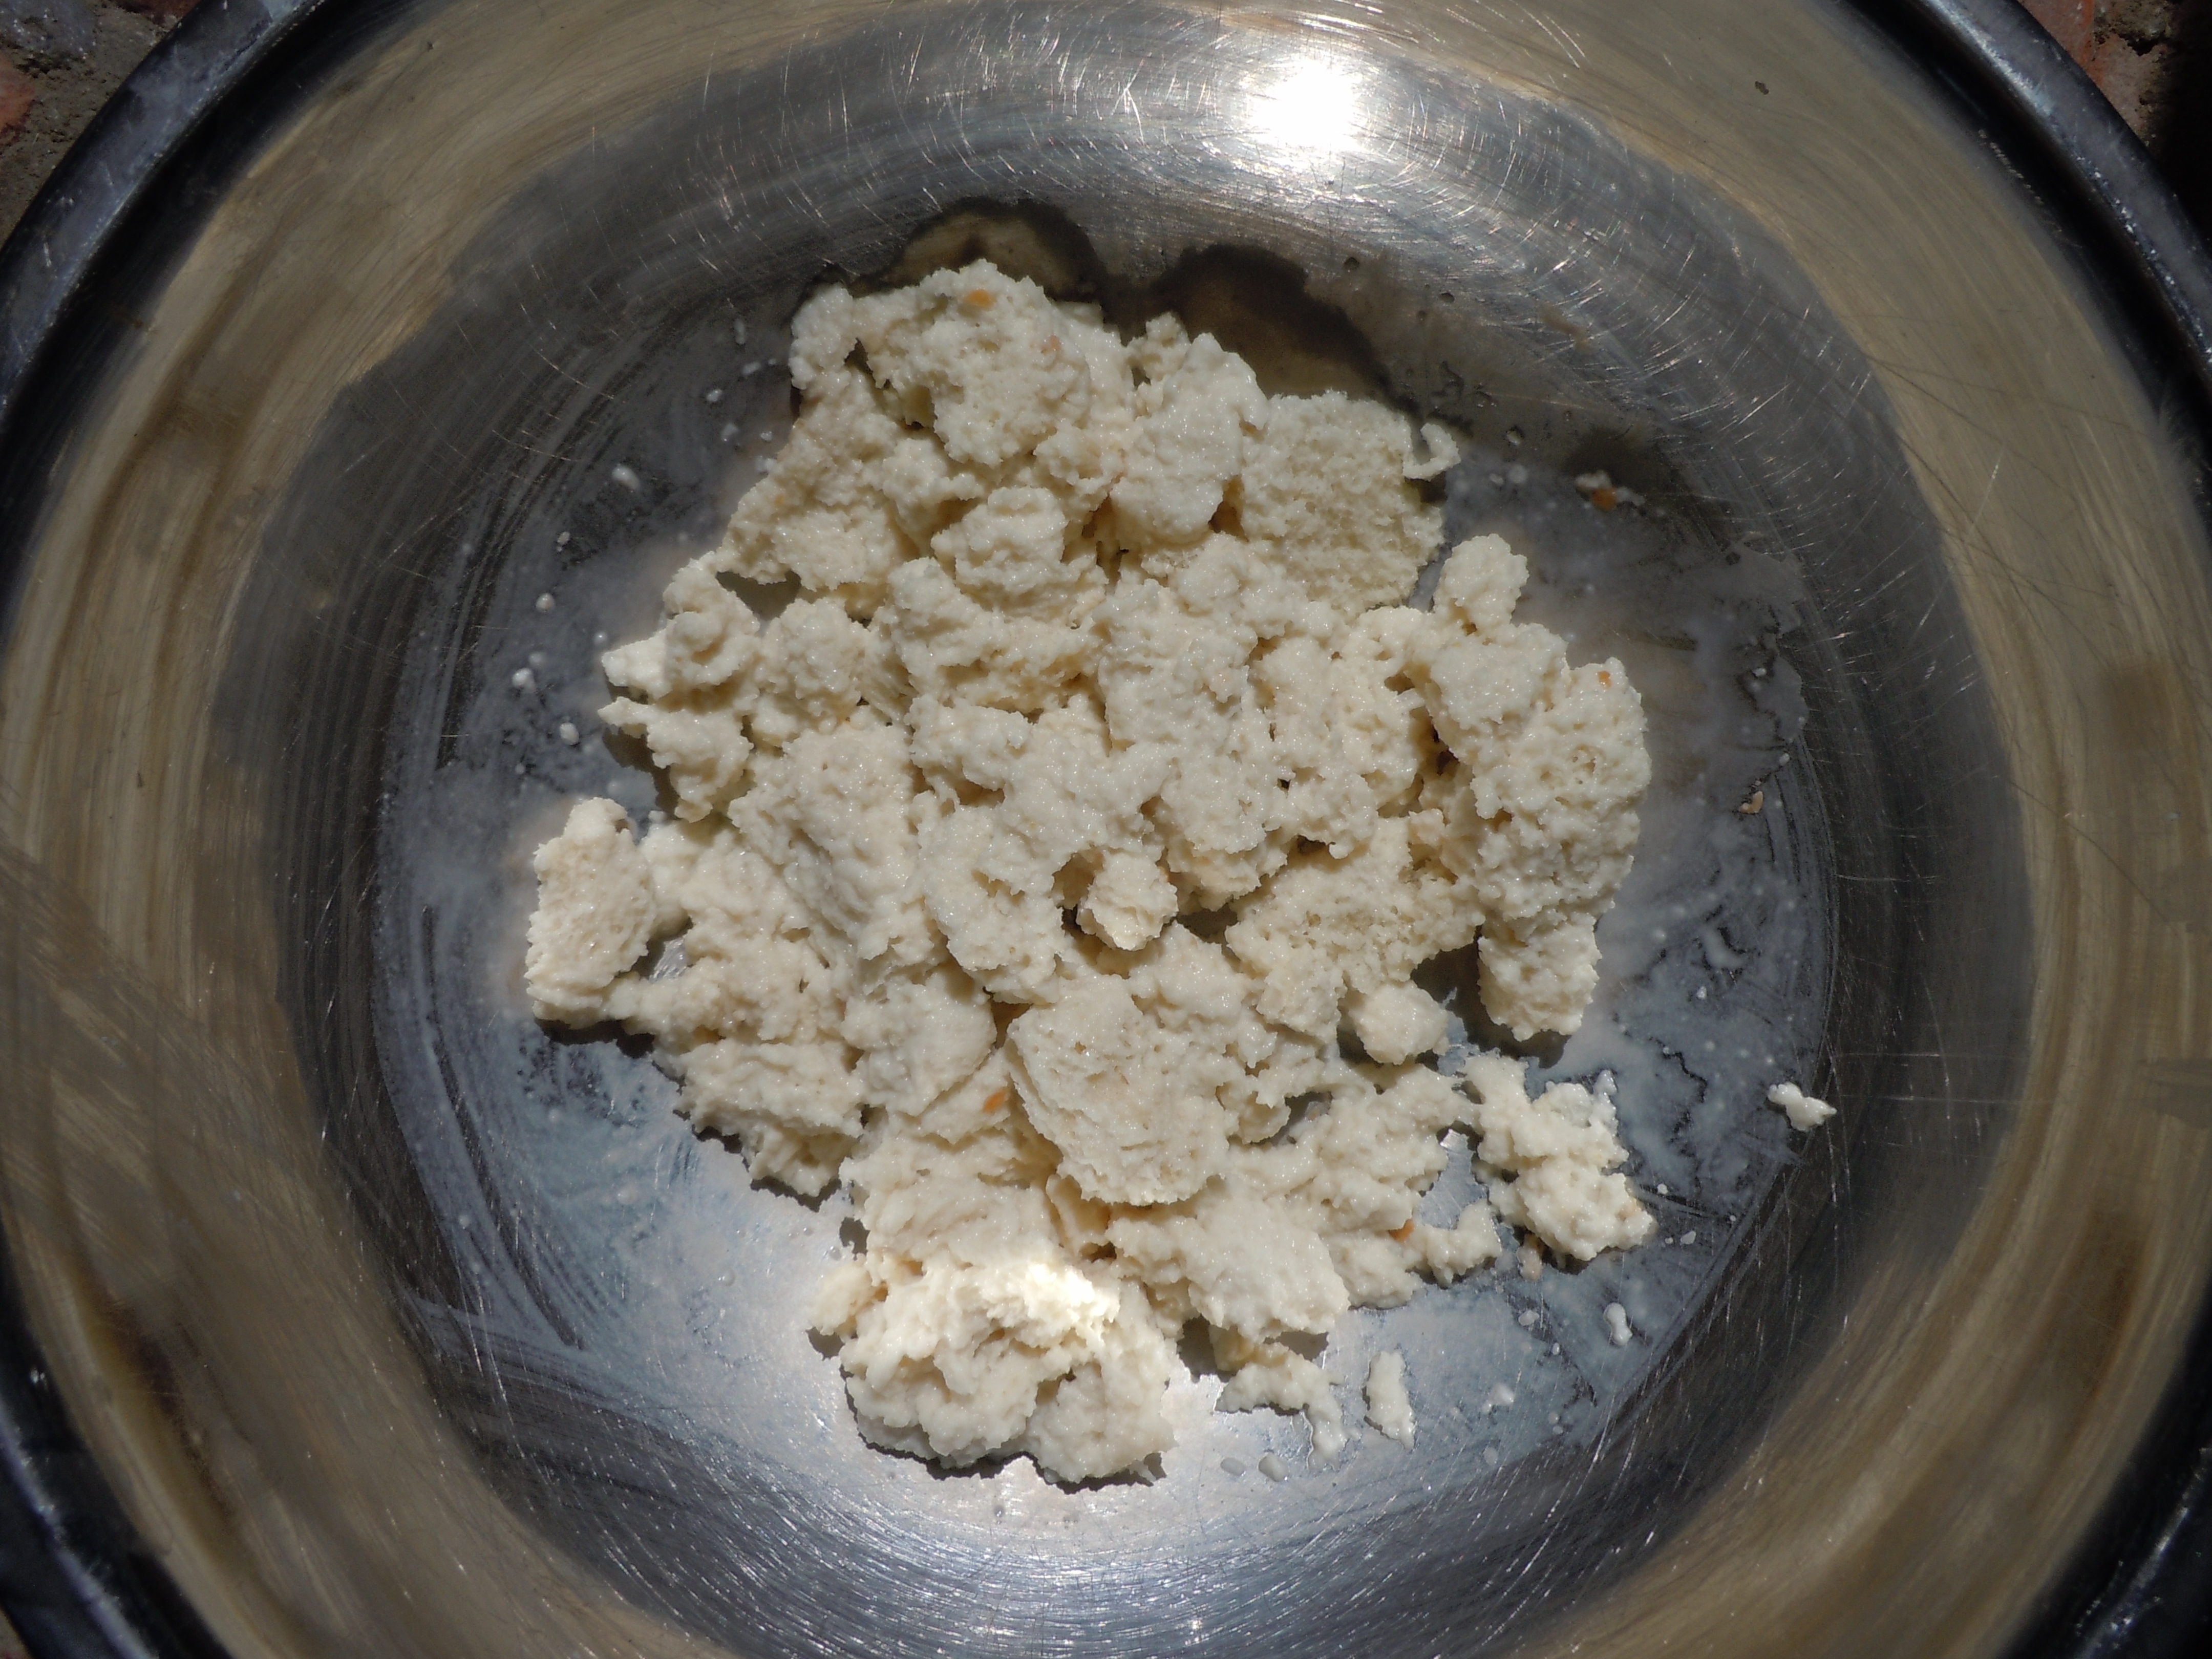
- 1/4 cup plus 2 Tbsp of Gorganzola Dolce Cheese
- 2 cups heavy cream
- 1/2 cup extra dry vermouth or white wine
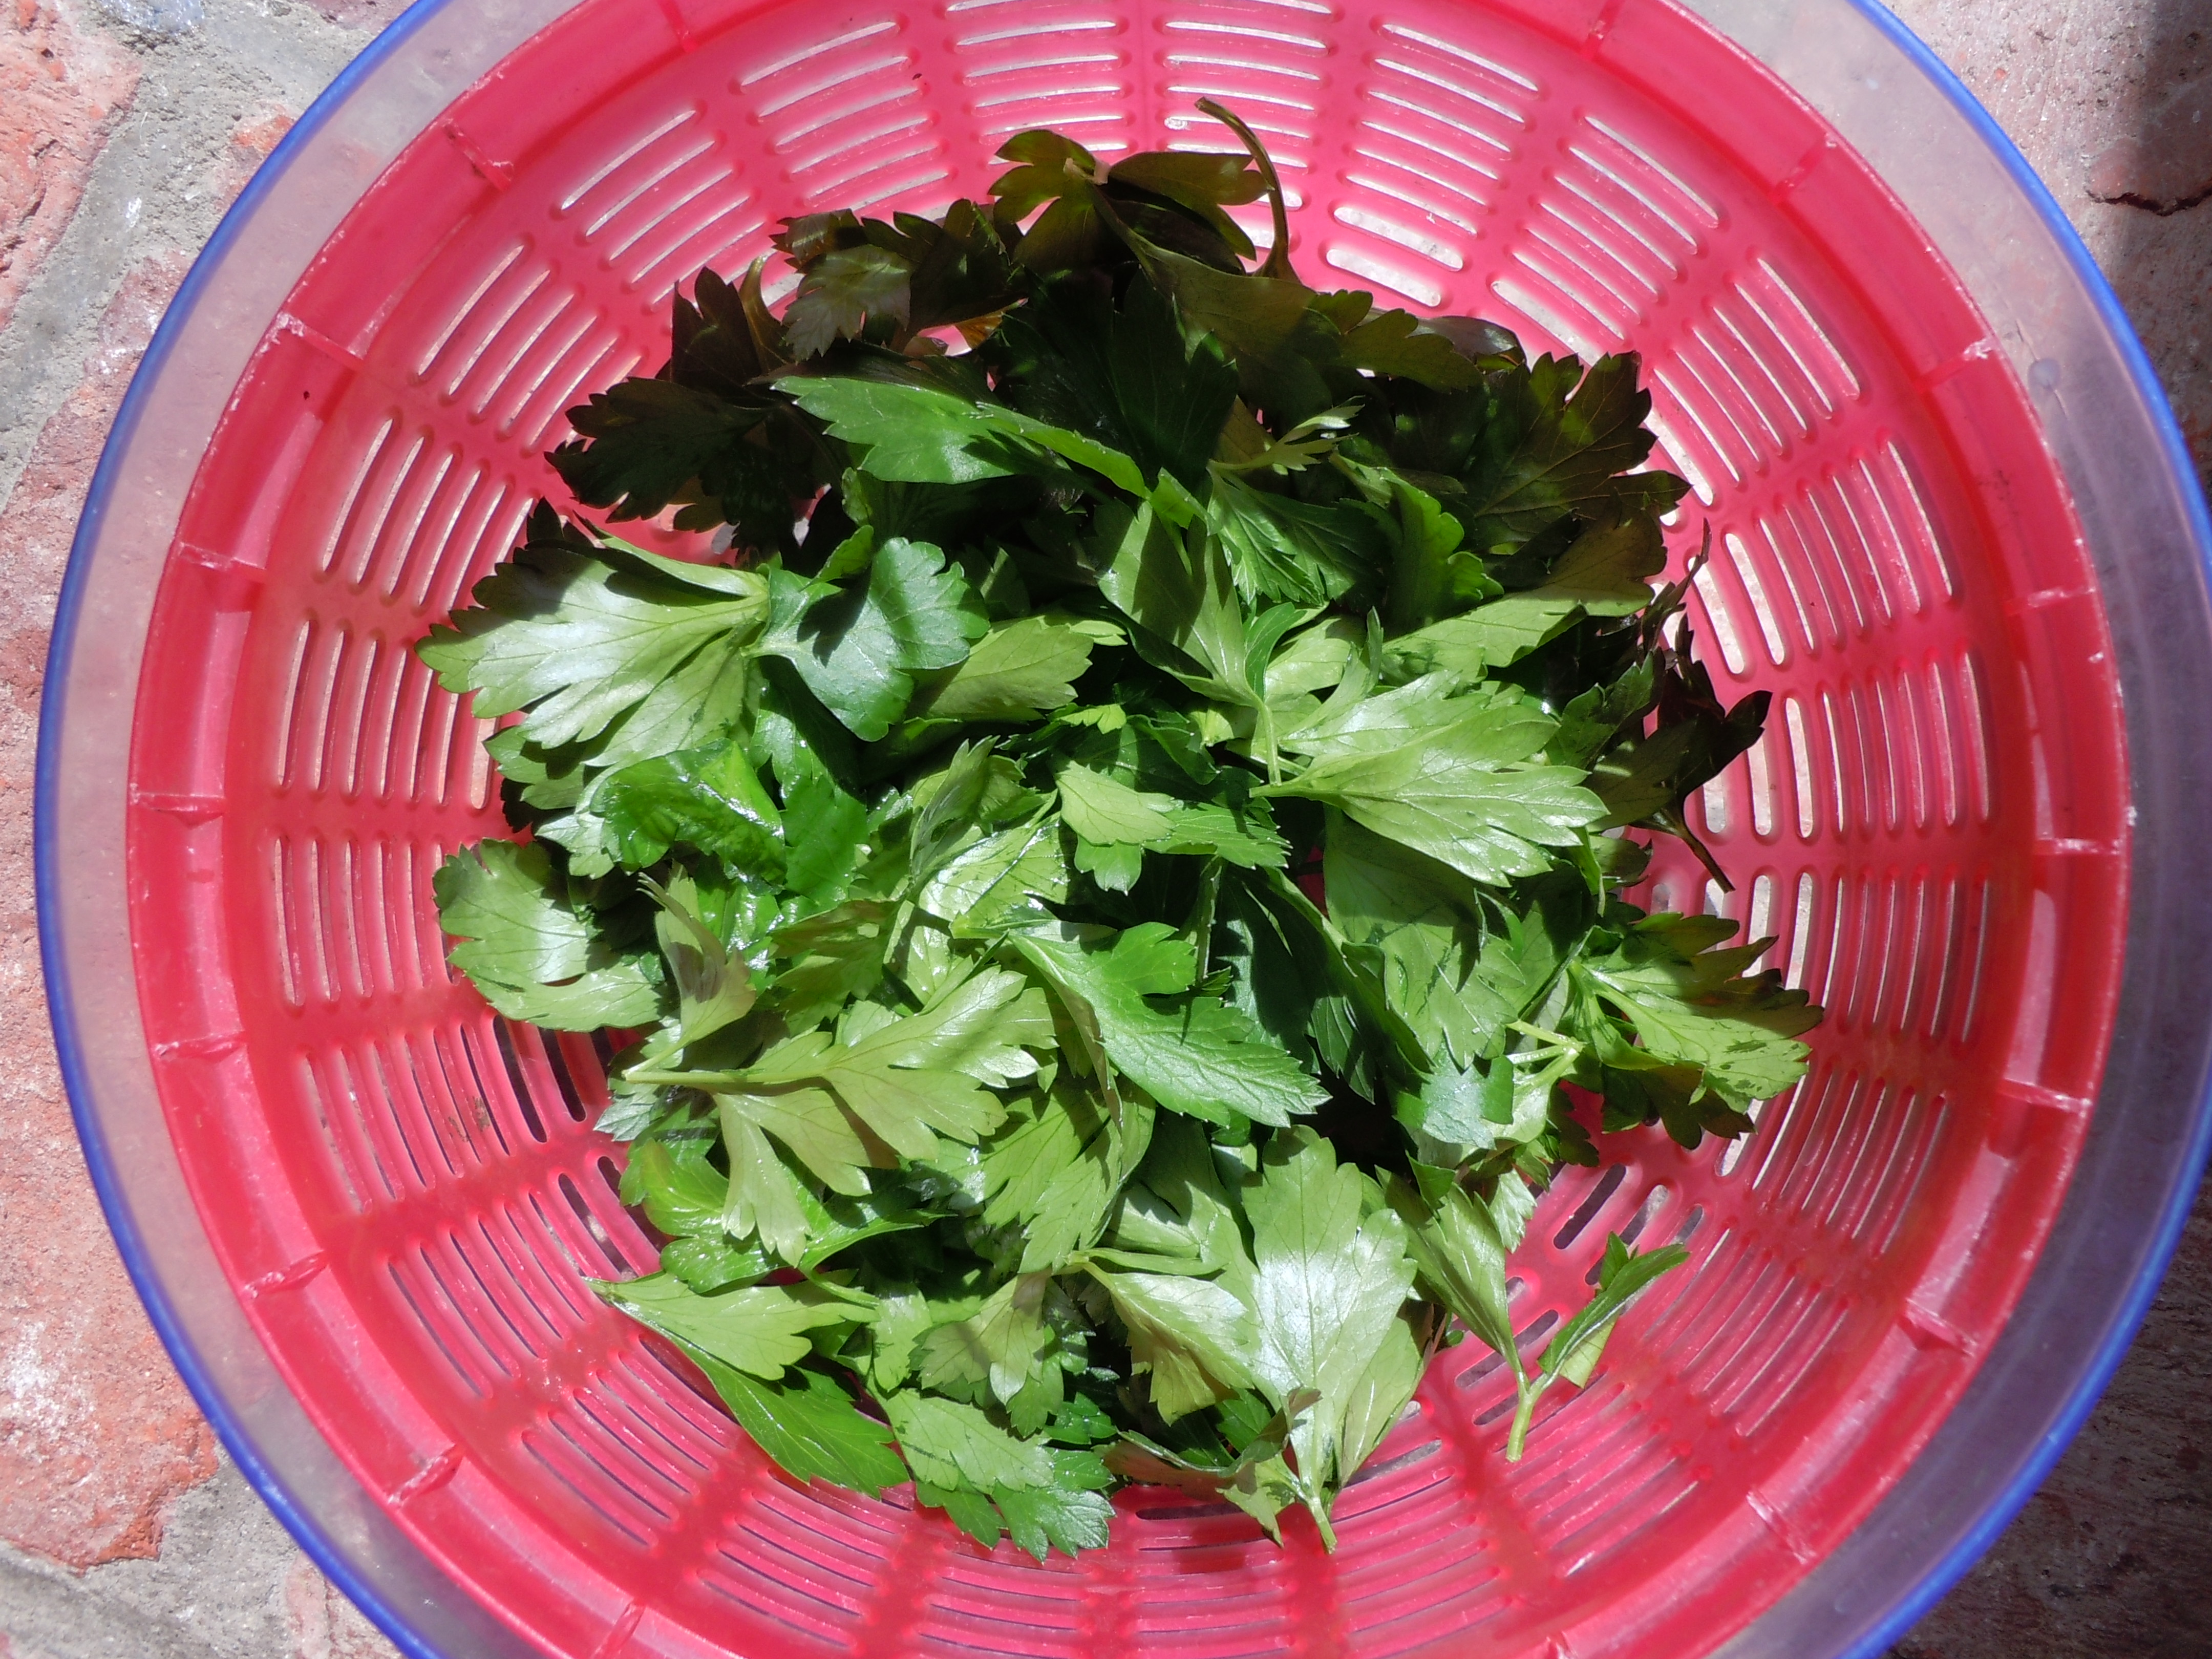
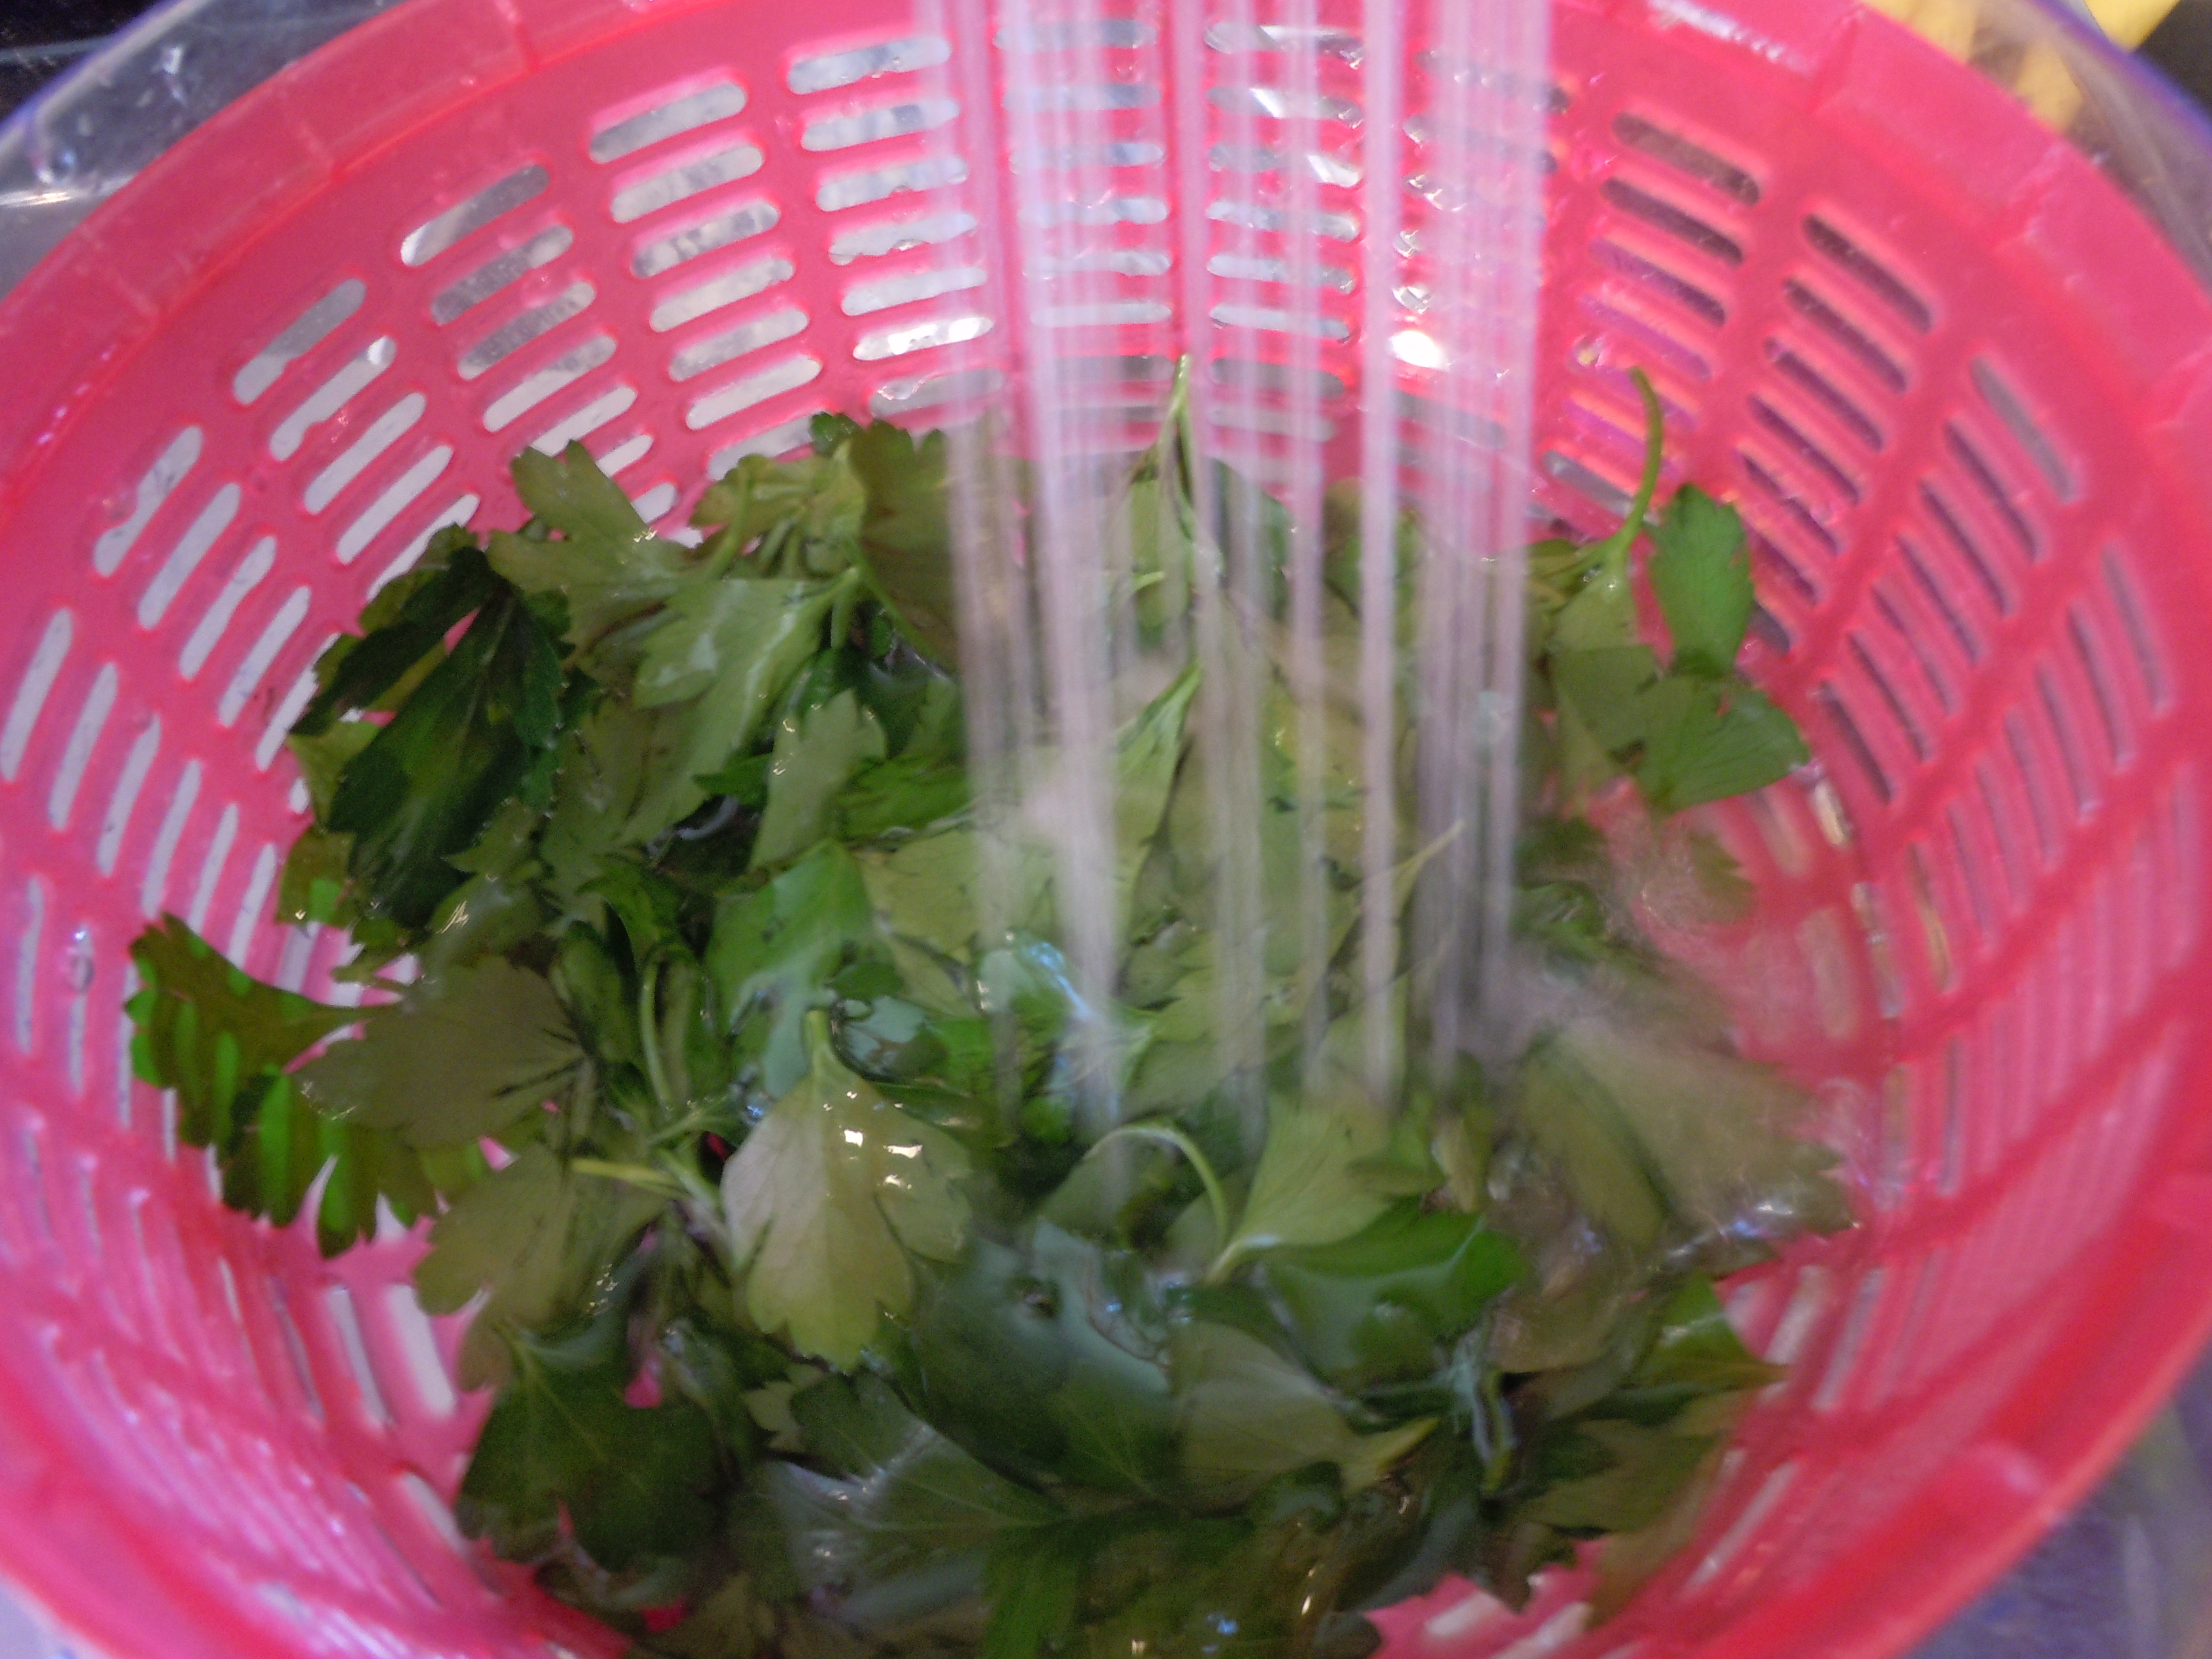
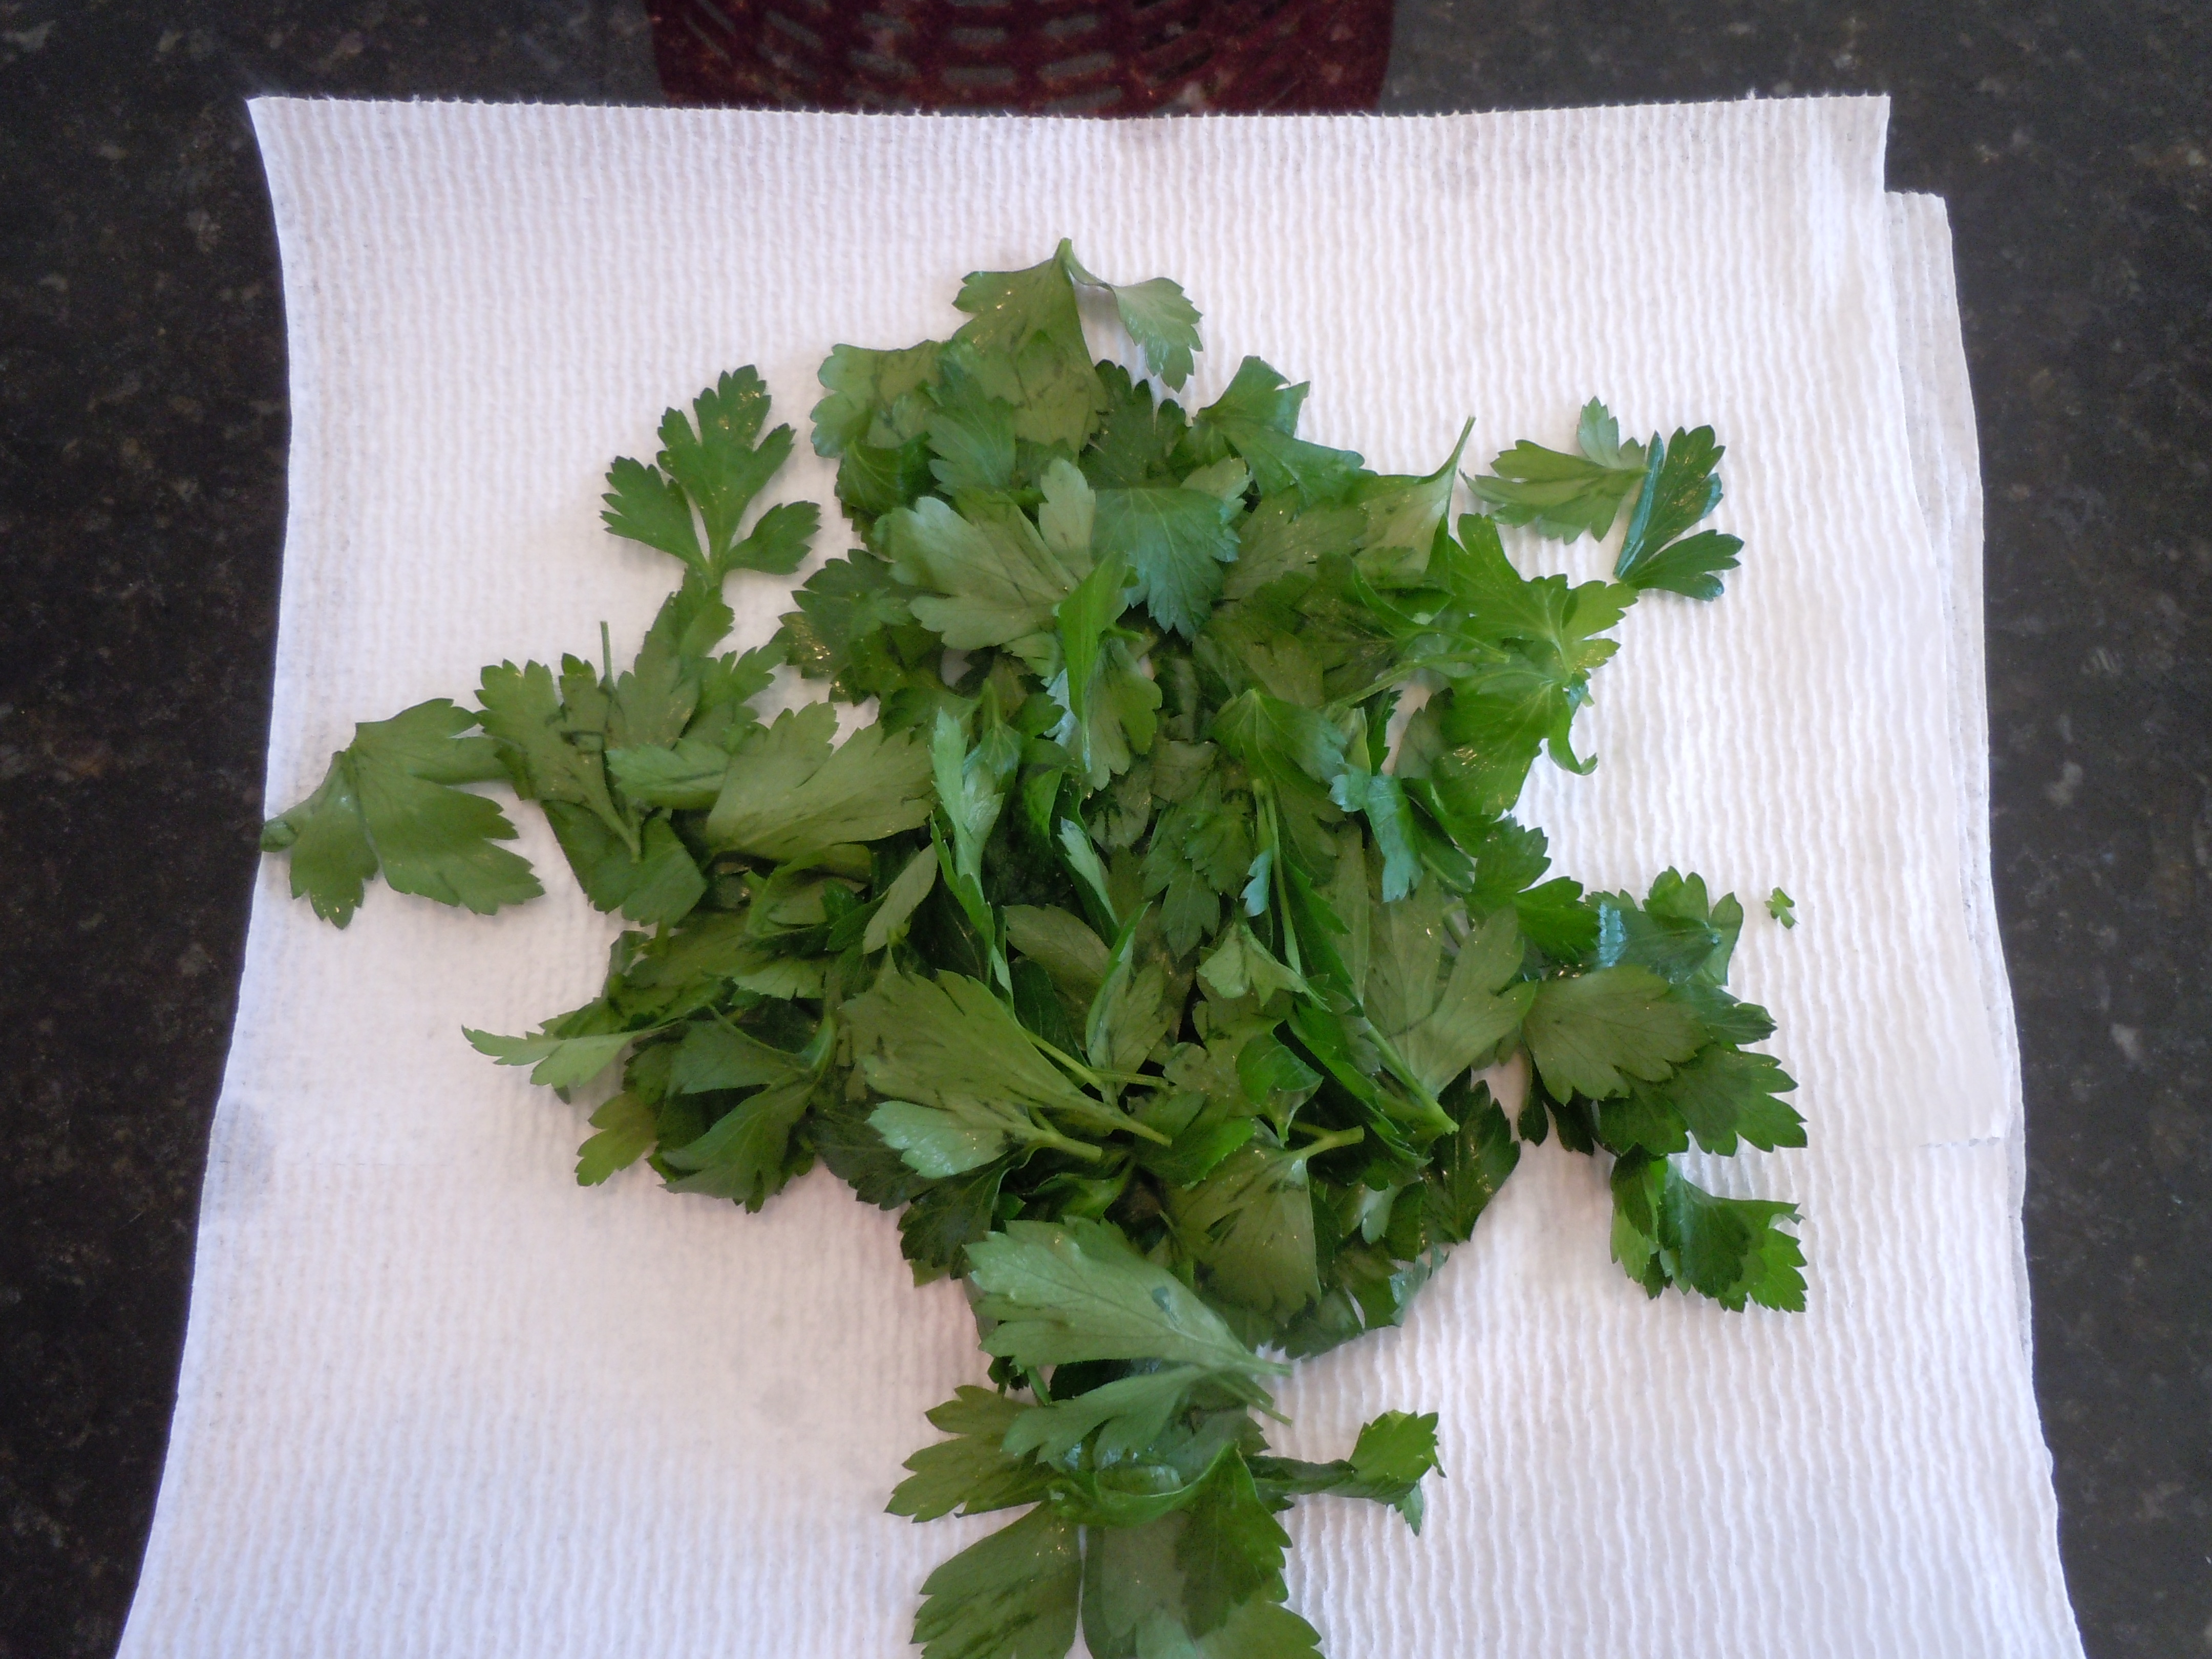
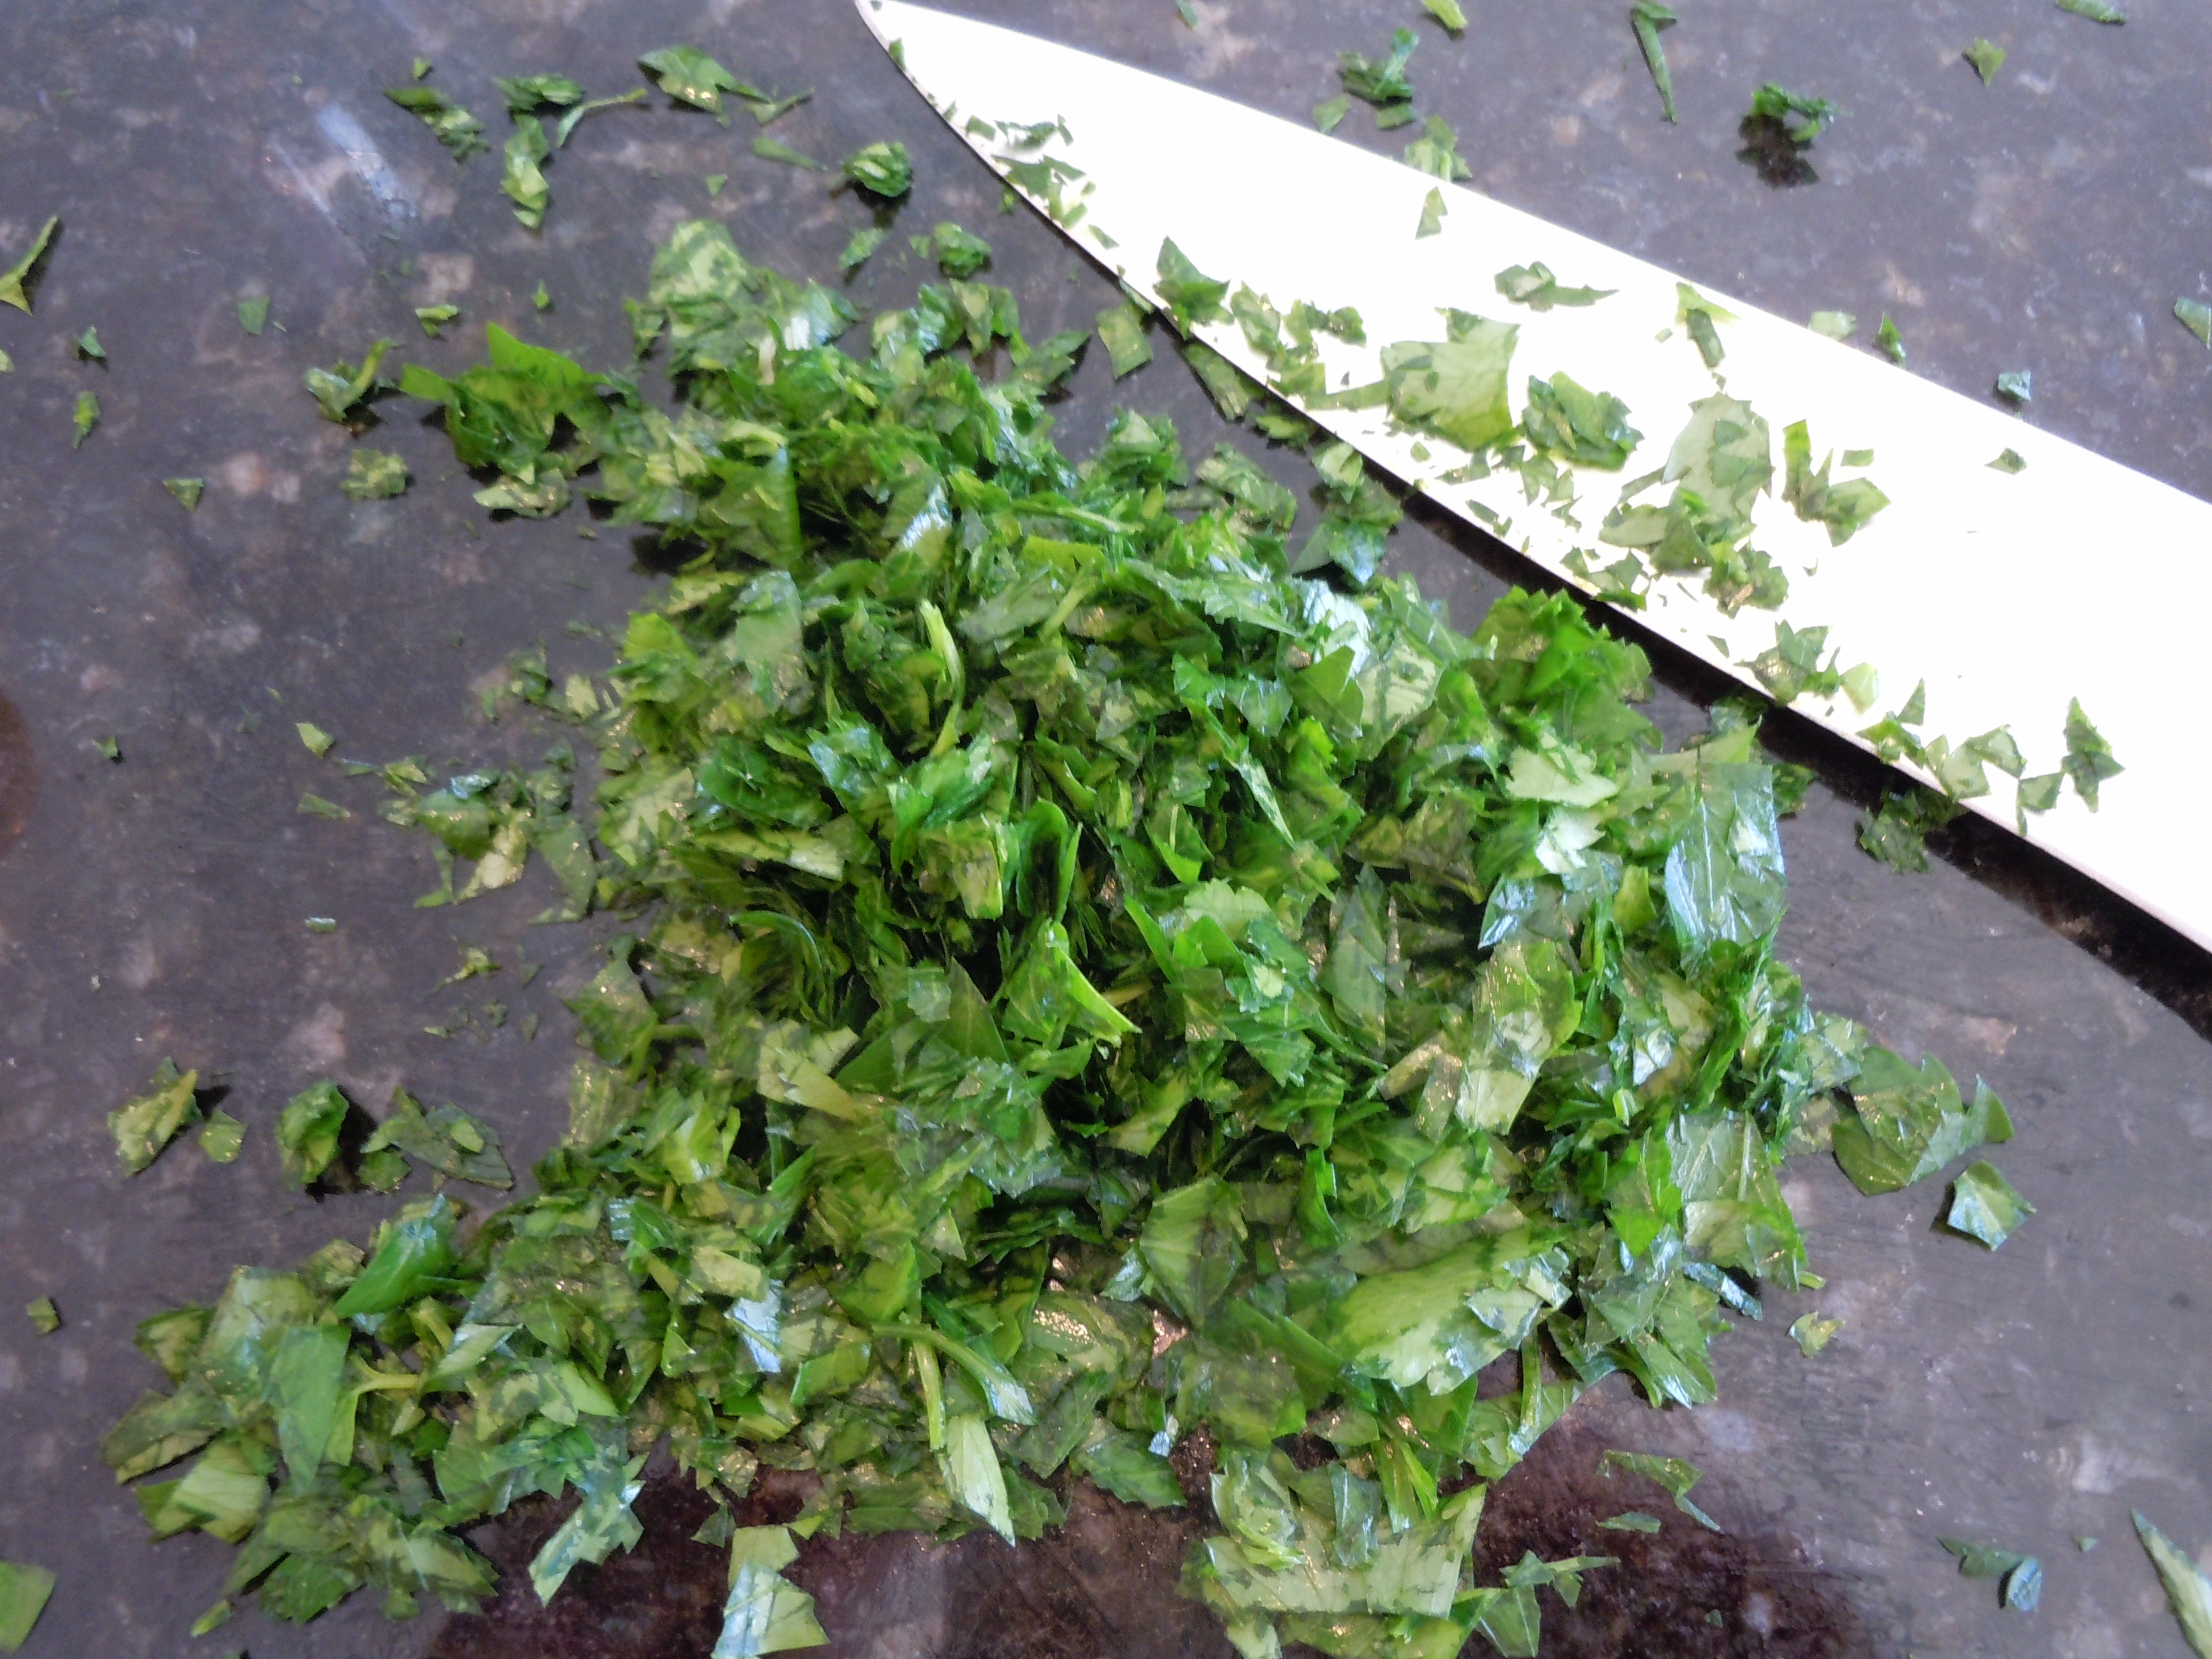
- 1 bunch fresh thyme
- Salt and pepper to taste
- Reggiano Parmeggiano to sprinkle on top at the end
- Truffle oil
Directions:
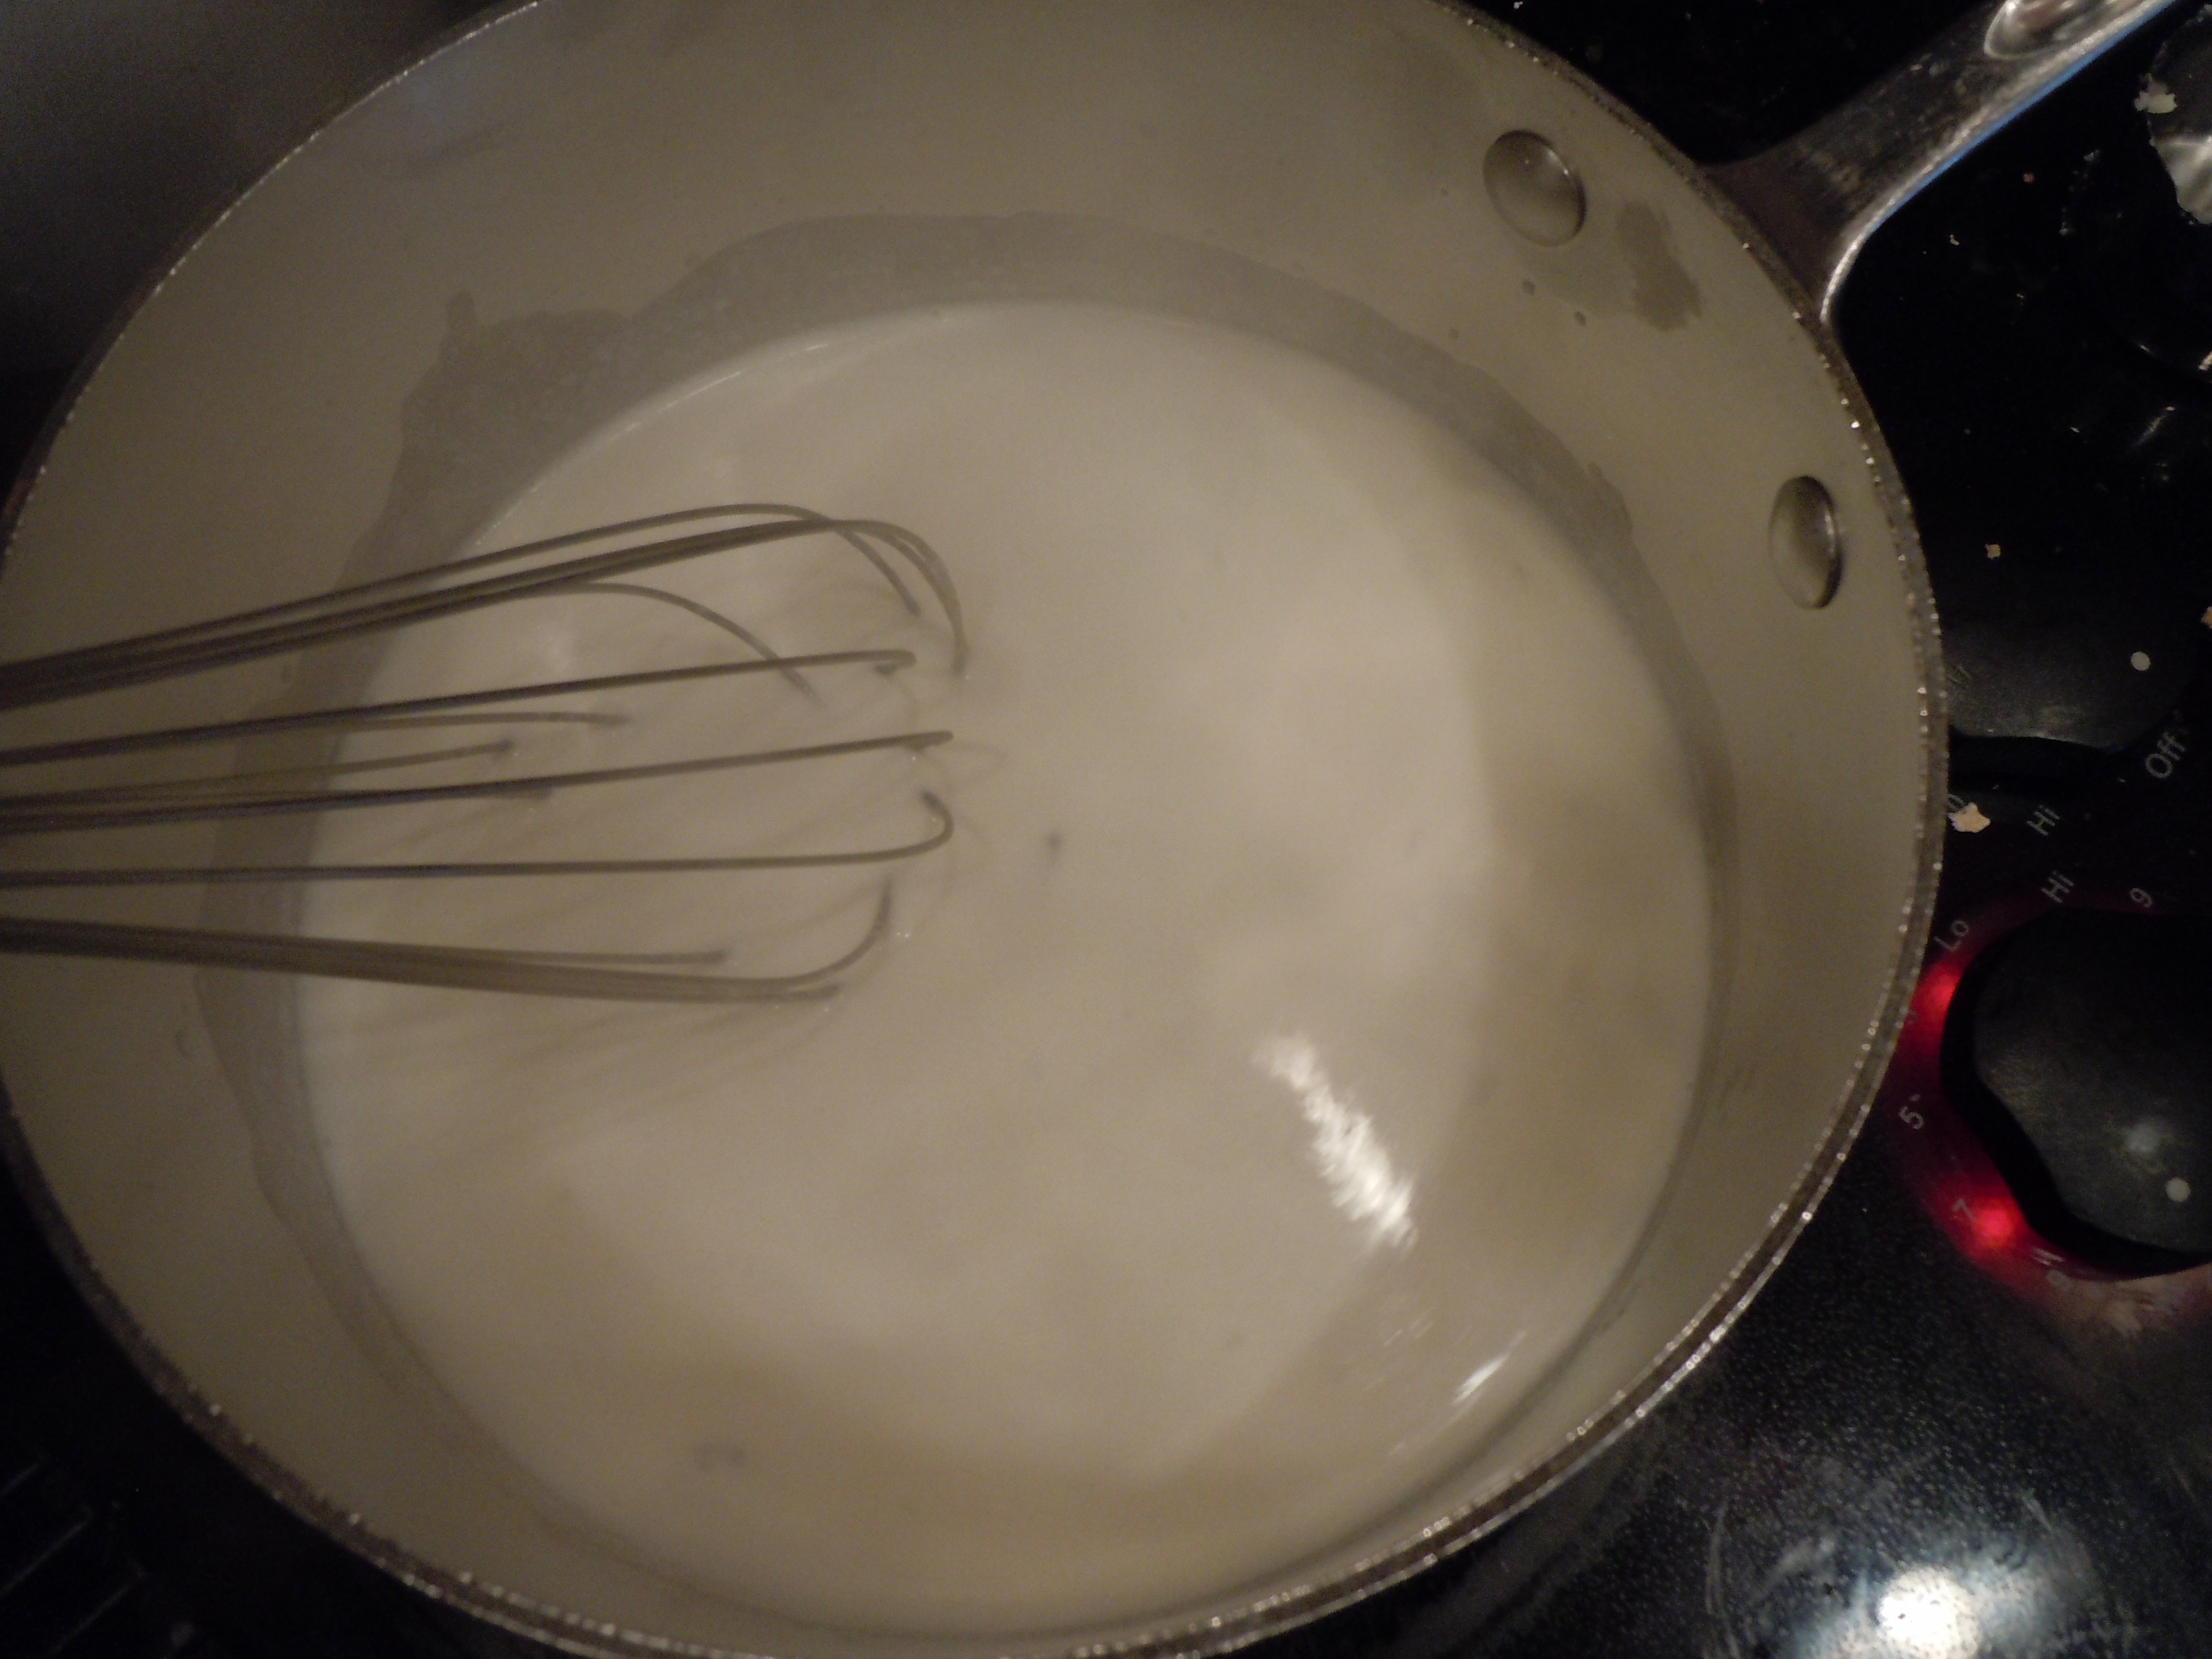
- Pour heavy cream into a medium sauce pan on the stove over medium heat and bring to a simmer.
- Add in the gorganzola dolce cheese and whisk just to combine.
- Add in the vermouth and simmer for 5 minutes on low
- Turn off and stir in 1 Tbsp of fresh thyme leaves..set aside til pasta is ready
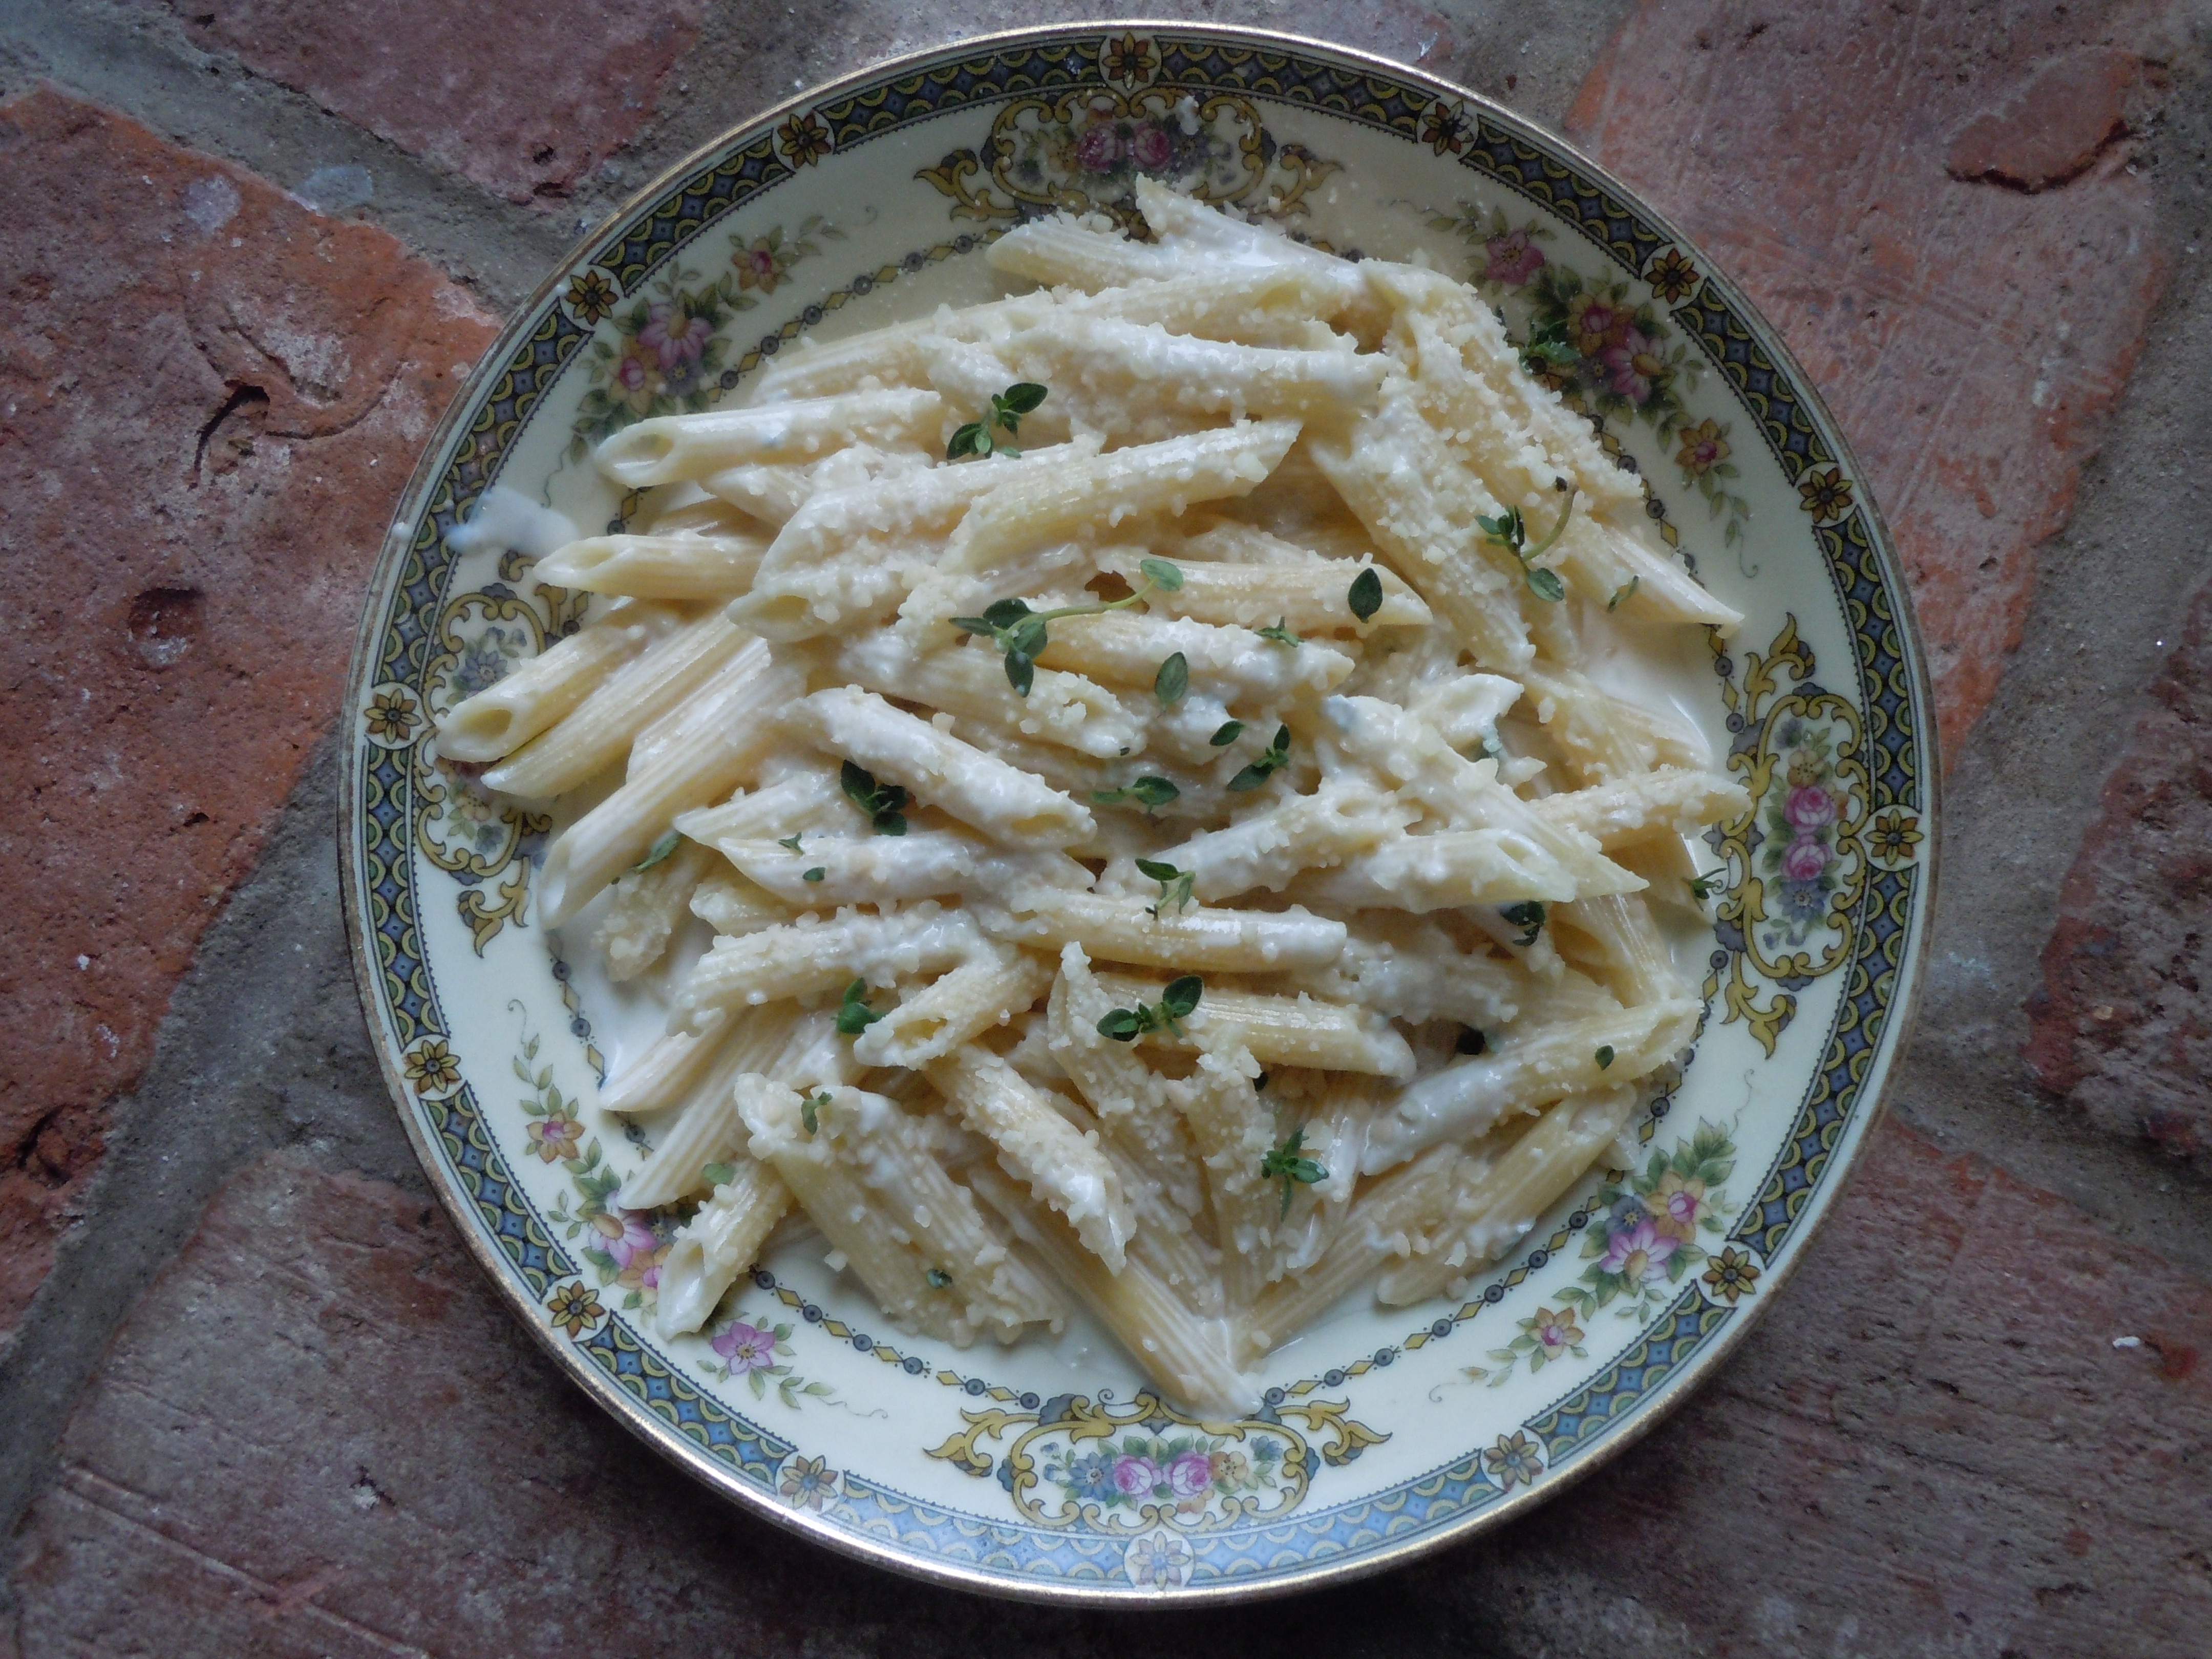
- Cook 1 lb. of your favorite tubular, shaped pasta, or gnocchi and pour sauce over
- Serve with a sprinkle of Reggiano cheese, a drizzle of truffle oil and more fresh thyme leaves sprinkled on top
You may want to serve some appetizers with this dinner like: