The Traveling Epicurean

Black Bean Salsa & Swordfish Recipe

Black Bean Salsa & Swordfish Recipe

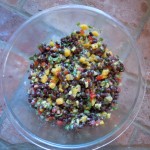
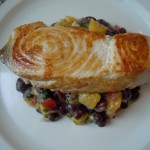
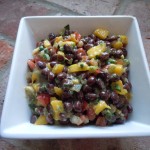
2015 is here so let’s not procrastinated and get right down to business with some refreshing and heathy dinners. You can’t beat this black bean salsa & swordfish with its nutritional values and taste to boot! It’s so nice to brighten up our menu after the starchy celebratory holiday meals. With this black bean salsa you still get that “comfort food” feeling because the black beans are so creamy and filling. Black beans are considered to be the best “meat-free” sources of protein serving up 15 grams each of protein and fiber per 1 cup…not to mention black beans have the highest antioxidant level of all beans!

I first learned how to make salsa almost 20 years ago from a Chef in San Franciso name Barclay. He was a chef at one of my favorite restaurants in San Francisco called Bix (on Gold St.) Bix had foie gras that was to die for and the most outrageous bar burgers that had to be made from filet mignon because they melted in your mouth like butter! Needless to say Barclay made a killer salsa and I’m thankful to him for starting me out on the right path when it came to making salsa.

This black bean salsa is almost identical to my “best mango-avocado salsa ever” on my website except I minus one mango and add 2 cans of Goya black beans. This is a such a quick and easy recipe and if you don’t have time for the chopping you’ve got to check out the produce department at your local store because most of them do offer a section of pre-chopped vegetables or you could pre-chop everything yourself the night before you put this dinner together.

Fresh swordfish is now being caught off the Carolina’s so it’s an ideal fish to buy. Swordfish is a hardy kind of fish and eats like a steak so it is very filling. The oils in the swordfish are also as nutritious for you, if not more, as eating that black bean salsa. So what a team this black bean salsa & pan seared swordfish makes…you just can’t beat it! The best thing is it doesn’t have to be summer to whip this meal up either…enjoy. Make sure to watch my YouTube cooking show that goes with this recipe and don’t forget to subscribe on my YouTube channel so that you can receive my latest cooking show releases!

You may want to try baked asparagus wrapped in prosciutto, or roasted chick peas for an appetizer and the chocolate avocado mousse for dessert to go along with this dinner.

003  004  006  

007  009  013

014  011  027

034  036

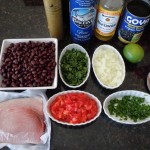
INGREDIENTS: You need approx. .30 lbs per person for the swordfish

NOTE: CLICK HERE If you need some guidance on cutting up the avocado and or mango AND look to directions in that recipe

  • 2 cans Goya black beans drained and rinsed
  • 1 lg mangoes chopped 1/4″ cube
  • 1 avocado chopped 1/4″ cubed
  • 1 cup or 2 med/lg size tomato’s or 5 small tomato’s chopped 1/4″ cubed
  • 1 cup or 1/2 extra LG Vidalia onion (or yellow) FINELY chopped
  • 1 FINELY chopped jalapeno
  • juice from 1 lime
  • 3 Tbsp olive oil
  • 2 Tbsp rice wine vinegar
  • 1/2 cup coarsely chopped cilantro
  • a dash of Siracha (optional)
  • S & P
  • 1-2 lbs of fresh swordfish cut up into .30 lbs pieces per person

DIRECTIONS: Pre-Heat oven to 350º

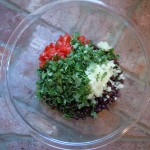
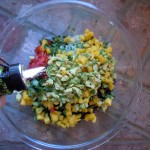
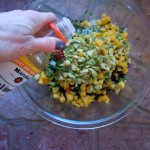
  1. Add all of the salsa ingredients ( all the first items in the list except the fish) into a large bowl and mix thoroughly.
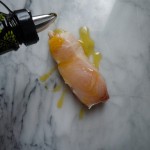
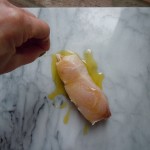
  2. Cut up the swordfish into .30 lb pieces and salt and olive oil them
  3. Heat cast iron pan or heavy bottom pan to med/high
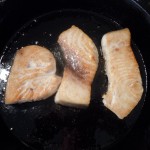
  4. When pan is hot add in swordfish and sear 3 minutes on each side and then put into the oven for 5 minutes to finish
  5. Spoon up salsa in the center of the plate and place a piece of swordfish on top
  6. Squeeze a piece of lemon over the top and mangia mangia : )
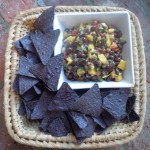
  7. We really love to eats this salsa with blue chips.
  8. I have also served this salsa up on the tips of endive leaves, and or with a cooked shrimp on top of that ….yum!
  9. I must warn you this salsa is highly addictive……consume at your own risk! LOL

Bolognese Sauce Easy Gourmet

Bolognese Sauce Easy Gourmet RECIPE

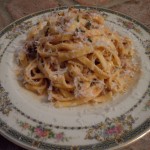
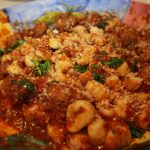
025This homemade gourmet bolognese Sauce is like no other that I have ever had. Over the years I have worked hard to perfect this recipe to match a dish I used to have in Urbino, Italy. So all the hard work is done for you and now all you have to do is follow my recipe and savour over the most amazing and unique Bolognese sauce you’ll ever have.

During my college years I had the opportunity to go school in Urbino, Italy for a summer and fall semester. Urbino is a little Renaissance town located in the Marche region of Italy. It was two hours East of Florence (near the town of Pesaro on the east coast). It’s where black and white truffles are prevalent. The picture above is of Urbino, The Palazzo Ducale which now houses part of The Marche National Gallery. This renaissance town of Urbino is also where the great artist Raffaello was born in 1483. I had the opportunity to study renaissance art, restoration and language in Italy at the University of Urbino …being an art major and all I was in heaven living here!

Urbino was a magnificent place to be for all those months (which never seemed long enough) allowing me to fall in love with their art, their culture and the people there in Italy and what it’s really all about …big kinds hearts with a passion for enjoying life, and an amazing culinary appreciation!

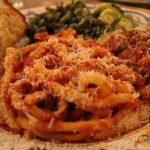
The tender Prosciutto di Parma to mouth watering homemade pasta dishes found most places in Italy is to die for but there’s one bolognese dish in particular that I had in a restaurant in Urbino made with “strozzapreti” pasta which really stood out for me. The sauce was made with sautéed ground veal, ground pork, veal stock, heavy cream, red wine and fresh rosemary where the aromas alone will knock your socks off!  This is the dish, the bolognese sauce, in which I have derived my recipe from and the one in which I wish to share with you.  You should note that homemade gourmet bolognese recipe is NOT to be made with BEEF because it completely changes the flavors and does not taste at all like the oringinal bolognese recipe from Urbino.

I recently found this uniquely shaped pasta that they served the bolognese sauce with in Urbino called “StrozzaPreti” at one of my favorite local specialty shops, a gourmet cheese shop called Fromage right here in Old Saybrook, CT.  See, you can make my bolognese sauce and have it with the original pasta it was meant to be with. And while you are there you should pick up some white truffle oil to drizzle over the pasta sauce.

If you want this recipe to be gluten free you could always substitute out the pasta or gnocchi with a rice noodle and if you can’t have heavy cream you can substitute that with coconut cream and it would be just as delicious.

A marriage made in heaven is this bolognese sauce on my light and fluffy homemade potato gnocchi! Or try it on your own homemade pasta, and don’t forget a Caesar Salad! Last but not least you will need to tame that sweet tooth with a dessert like Pavlova, or Death by Chocolate Meringue Pie! Enjoy! 🙂

014 IMG_4327 DSCN4572-300x225 145 chcomerg

012  013  015

001  016  002

004  003006

009  014  010

012  002

011  019  025

INGREDIENTS: Serves 10-12 people or more if for appetizers.    

NOTE: THIS SAUCE FREEZES AMAZINGLY WELL so if you have sauce left over freeze in a container right away and all the hard work is DONE!
  • NOTE: DO NOT USE BEEF …this recipe will NOT have the right flavors if you use beef
  • 1 lb. ground veal
  • 1 lb. ground pork
  • 1/3  cup grated carrots
  • 1/4 cup grated celery
  • 1 cup grated Vadalia Onion
  • 2 extra lg garlic cloves
  • 2 cups whole peeled tomatoes and juice
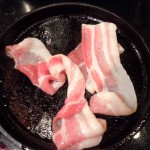
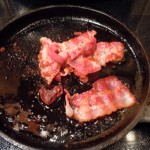
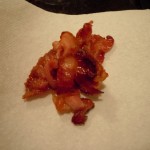
  • 2 slices applewood smoked or plain bacon cooked and finely chopped (approx 3 Tbsp finely chopped)
  • 1 1/2 cups good red wine
  • 2 cups heavy cream (or 2 cups coconut cream)
  • approx. 1/2 cup olive oil
  • 1  1/2 tsp salt
  • 1/4 tsp pepper
  • 1/4 cup grated Reggiano Parmesano cheese and more to finish
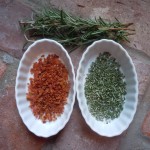
  • 1  tsp  and 1 Tbsp fresh chopped rosemary
  • White Truffle Oil (Optional)
  • 1 lb. dried Egg fettuccine or Strozzapreti pasta found at Fromage

Directions:

  1. Add 3 tbsp olive oil to lg pan on medium/low
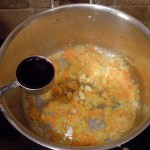
  2. Add grated carrots, celery, onion and smashed garlic cloves to olive oil and sauté for 12 minutes til light golden and soft
  3. Deglaze by adding 1/4 cup red wine, stir, add 1/2 tsp salt and continue to sauté until wine evaporates
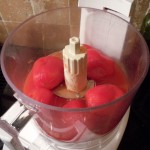
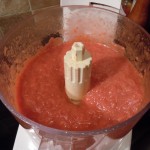
  4. Add these cooked veggies to food processor with 2 cups whole peeled tomatoes and juice
  5. Pureé and set aside
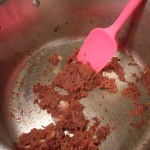
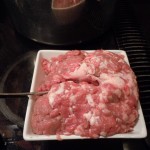
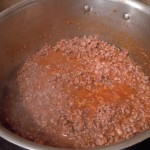
  6. Add 3 tbsp olive oil to same pan and bring to med/high temp and then add 1 lb. only of veal/pork (1/2 veal, 1/2 pork)
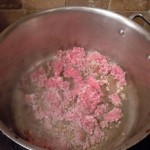
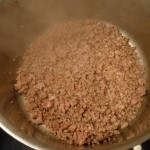
  7. Keep on med/high temp and brown meat
  8. Deglaze first batch of meat with 1/4 cup red wine, stir, reduce and set aside in a med bowl
  9. Add 3 tbsp more olive oil back to same pan to brown next 1 lb. of ground veal/pork
  10. Repeating steps 6-9
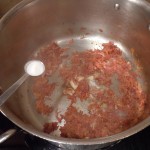
  11. Put all browned meat back into pan and add in 1 tsp salt, 1/4 tsp pepper, pureed tomato/veggie mixture, and 1/4 cup red wine, 3 tbsp finely chopped crispy bacon, and 1 tbsp finely chopped rosemary
  12. Cover (leave small opening for steam to evaporate) and simmer for 1 1/2 hrs. stirring every 20 minutes making sure to let steam from inside cover drain out of pan when you lift it off to stir
  13. Add in 2 cups heavy cream, 1 tbsp finely chopped fresh rosemary, 1/2 cup red wine and s&p to taste and simmer for 5-8 minutes …just need to warm thru
  14. Boil 1 lb. pasta and add to bolognese sauce …mangia mangia!

Cucumber Salad

Cucumber Salad

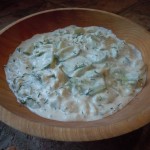
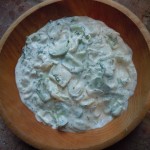
This homemade cucumber salad is my version of tzatziki sauce which is a Greek cucumber yogurt dip except I use 1/2 Greek yogurt and 1/2 sour cream. My mother has been making this dish since I was little although mine is a somewhat different version. You can have it as a side with lunch or dinner or even jazz up chicken and steak sandwiches or vegetarian dishes with humus and mango salsa and or guacamole…YUM! . It’s really refreshing and bright on your palate. The Vadalia onion, which is the sweetest, is a wonderful addition to a Tzatziki sauce and fresh dill is always best. The cucumber and onion can be grated instead of sliced to make it more of a sauce then a side dish.

I use thinly sliced cucumbers instead of grating here, garlic, onion and cumin granules in this gourmet sauce which really develop nicely in flavor as you let them sit for a bit. This homemade cucumber salad is certainly not for summer only! I promise you will be delighted with my cucumber salad  recipe…let me know what you think. Enjoy.

029  022  026

028  015  035

036  037  040

041  046  049

Ingredients:

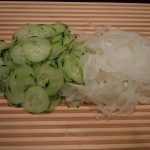
  • 2 cucumbers peeled with thin stripes left on them (only 3 – 1/4 ” stripes) AND sliced PAPER thin on Mandolin or carefully with a knife
  • 1 lg Vadalia onion sliced paper thin with mandolin or sharp knife
  • 1/2 c. Greek yugurt
  • 1/2 c. sour cream
  • 3 tbsp olive oil
  • 2 tbsp seasoned rice wine vinegar
  • 1 tbsp red wine vinegar
  • 1 tsp garlic granules
  • 1 tsp onion granules
  • 1 tsp ground cumin
  • 1/2 tsp salt to release water from cucumbers and onions
  • s&p to taste at the end

Directions:

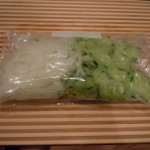
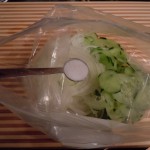
  1. Put sliced cucumbers and onion into a lg Ziploc with 1/2 tsp salt and let sit for 1-2 hrs. or over night
  2. Gently squeeze cucumber-onion mixture and drain liquid from Ziploc
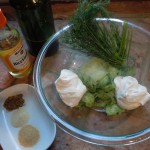
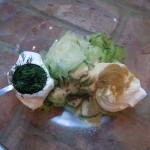
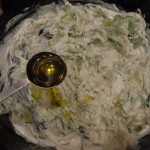
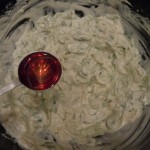
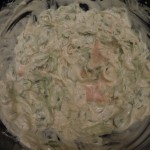
  3. Put into a lg mixing bowl with the next 8 ingredients like in photos
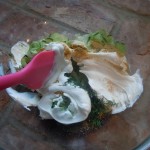
  4. Mix with spatula
  5. Add desired s&p
  6. Can chill and serve or serve immediately …mangia mangia

Homemade Potato Gnocchi

Homemade Potato Gnocchi

My homemade, light and fluffy gnocchi recipe is a dish you really have to make just once in order to see how darn easy it is to create your own. These potato gnocchi are something that will exceed your expectations to the point that you will never want to go back to store bought again.  You’ll be hooked and you’ll never settle for less than these “melt-a-way gnocchi” which is exactly how one of my students described these little bundles of love. I want you to know how easily you can master this so make sure to watch my VIDEO that goes with this recipe where I take you step-by-step on how to make them including a Gorganzola Dolce Cream Sauce.

Yes, it does take some motivation but you only need about an hour after you bake the potatoes to make them. Once you start rolling out the potato ropes, cutting and then rolling them off a fork to make the little impressions …it’s a breeze! Not to mention when making the gnocchi you will end up with ample supply so you will be able to flash freeze the rest of what you don’t use for future dinners. You will be thrilled that all the hard work has already been done and now you just take them from the freezer to the boiling water, and then to the sauce. Enjoy! Make sure to watch my YouTube cooking show above that goes with this recipe and don’t forget to subscribe on my YouTube channel so that you can receive my latest cooking show releases!

004  037  039

041  042  043

014  015

009  018  017

019  028  032  

038  014

Ingredients:

Directions: Pre-heat oven to 400º

  1. Wash and pierce potatoes
  2. Bake potatoes for 1 hr. on middle rack until fork tender
  3. Cool slightly so you can handle them, 20-30 min.
  4. Slice potatoes in half and scoop potato flesh into potato ricer
  5. Rice two halves at a time into ex-lg bowl
  6. Repeat, ricing all the potatoes
  7. Make a well in the middle of the potatoes then add in flour, salt and nutmeg into the well
  8. Add in 2 whisked eggs
  9. With a spatula mix just to incorporate ingredients
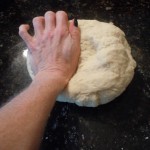
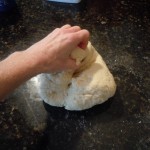
  10. Turn out onto counter and kneading for 1 minute until ball forms…Do Not Over Knead
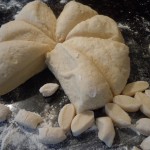
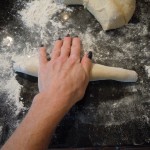
  11. Cut ball into 8 wedges, take one section at a time rolling out into a long rope
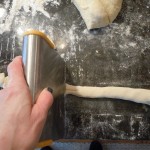
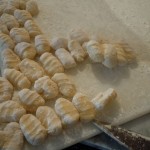
  12. Slice rope into 1/2″ pieces, roll each potato piece off a fork to form indentations
  13. Continue to do this until you go through all the potato dough
  14. Bring large pot of salted water to a low boil
  15. Add in gnocchi continuously, a few at a time, into boiling water
  16. Using a slotted spoon gently give a swirl to help them not to stick to the bottom
  17. NOTE: the boiling water should not be a full rapid boil but a low one
  18. As soon as they float to the top remove with a slotted spoon and add to your sauce
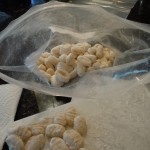
  19. Place the gnocchi you are not cooking right away onto cookie trays covered in parchment and flash freeze until solid, approx. 2 hrs.
  20. Once completely frozen place gnocchi into Ziploc baggies and place back into freezer
  21. When you are ready cook flash frozen gnocchi go directly from the freezer to the boiling water, give a couple of stirs so as not to clump at the bottom. NEVER thaw first or leave on counter too longer especially marble or granite because they will thaw quickly

Chicken Piccata-Easy Gourmet

Chicken Piccata-Easy Gourmet

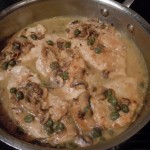
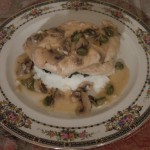
My Chicken Piccata-Easy Gourmet recipe really is an uncomplicated dish that will knock your socks off! The chicken cutlets are so tender that they are almost falling apart in it’s delicate wine-shallot sauce with capers, paper thin Baby Bella mushrooms and fresh squeezed lemon is truly amazing. It has a delicate zing from the capers, and a brightness from that fresh squeezed lemon at the end. I serve up this chicken piccata with fresh sautéed spinach and mashed potatoes that just seems to pull it all together almost making it a comfort food with the mouth watering wine gravy and mashed potatoes. It is a dish that you may just start to crave! It only takes about 30 minutes to make so it should definitely be part of your cooking repertoire considering how incredible it tastes!

Even my kids love it although I do put aside several pieces for them at the point right after I deg-laze with wine and before I add the mushrooms and capers because that’s just not their thing …yet! -This way everyone is happy.

I don’t use too much butter in this recipe. I don’t think there is a big need for that with all these amazing layered flavors from the chicken, shallots, mushrooms, capers, white wine, chicken broth and lemon juice.  The light flour coating on the chicken when dredging it to sauté helps to thicken the sauce right there.  I see many recipes adding a ton of butter “to thicken” it and it’s just not necessary. Enjoy making this tasty dish and be sure to watch it on my Chicken Piccata cooking show video either posted right here (listed under “videos” tab above) or on my YouTube channel.

010  011  012

015  019  021

023  028  024

026  032  029

033  035  007

Ingredients: Serves 4-6 people if served with mashed potatoes and fresh sautéed spinach

  • 3 lg chicken breasts or 4 med. sliced into 3 and pounded thinly
  • 3 tbsp lg capers (or sm if you prefer…they’re all good)
  • 3 tbsp. finely chopped shallots
  • 2 cups white wine (approx. 1/2 cup for each chicken deglazing and 1/3 c. for mushrooms and approx another 1/2 cup at the end to simmer…NOTE in my video I did say 1/4 cup at each stage but oops I used a little more than that : )
  • 1/3-1/2 cup chicken broth
  • 6 lg BABY BELLA mushrooms sliced PAPER thin
  • 1 wedge of lemon for the end
  • 6 lg garlic cloves just smashed to sauté and flavor olive oil
  • 1/2 cup olive oil
  • 1 tbsp butter
  • 1 1/2 cups of all purpose flour
  • 1/2 tsp salt and 1/4 tsp pepper for flavoring flour
  • 1 recipe fresh sautéed spinach (can leave out garlic in recipe)
  • 1 recipe mashed potatoes (can leave out red onion)

Directions: Approx. 30-40 minute to prep and cook

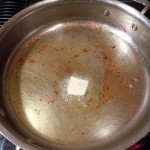
  1. Either buy chicken breasts pounded out at your local butcher or cut each breast into 3 horizontally and pound out each one gently to 1/4″ thickness
  2. Put flour into shallow dish and season with s & p
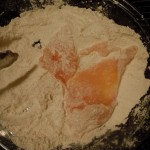
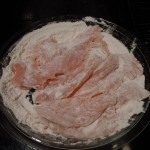
  3. Dredge pounded chicken breasts in flour and leave in flour dish ready to sauté
  4. Heat large, shallow pan on med/high
  5. Add 3 tbsp-1/4 cup olive oil to pan while heating
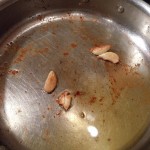
  6. Add 3 garlic clove to olive oil and sauté til golden to flavor pan
  7. Remove garlic cloves and begin to sauté chicken breasts filling entire pan (this will be done in 2 batches)
  8. Make sure the pan stays hot enough on med/high heat while cooking breasts
  9. Cook chicken approx. 2 1/2 minutes on each side
  10. Add 1/4 white wine and deglaze, place cover over for 1 minute
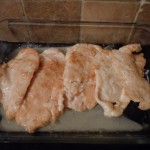
  11. Remove cover and remove first batch of chicken to baking dish using a spatula to scrap out all of the gravy and bits
  12. Put pan back on med/high heat and repeat #5-#11.
  13. Now add 1 tbsp butter, finely chopped shallots and paper thin sliced Baby Bella’s to the pan and sauté til water renders out of mushrooms and they are a light golden
  14. OPTIONAL: you can finely chop the golden sautéed garlic cloves and add them back in at this point or not
  15. Deglaze mushroom and shallots with 1/4 cup wine and cover for 30 seconds
  16. Remove cover and add all the chicken breasts back into pan
  17. Add 1/4 cup wine and 1/4 cup chicken broth to pan and turn down to med/low
  18. Simmer 5 minutes ONLY …don’t want too much of the sauce to evoporate
  19. Either serve immediately or put into frig until your guests arrive and then PRE-HEAT oven to 325º and warm for approx. 30 minutes with pan COVERED-if too much of the sauce evaporates you can add a splash of white wine and chicken broth
  20. Add s & p to taste
  21. Right before serving squeeze a wedge of lemon on chicken breasts ( about 1 tbsp) and serve over mashed potatoes and fresh sauteed spinach


Pasta Sauce-Tomato Basil

Pasta Sauce-Tomato Basil

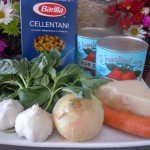
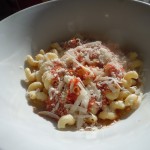
Homemade gourmet pasta sauce isn’t quick and easy when you spend hours sautéing sausages and simmering for 3 hours. We don’t always have the time for that especially around the busy holidays. Yet, you always seem to have unexpected family or friends dropping in. So here is a quick and easy homemade tomato-basil pasta sauce that you are going to love! Yes, a tomato basil pasta sauce that only takes about 30 minutes to make and stills fills your kitchen with those comforting aromas of tomatoes, garlic and basil that make you want to rip off a piece of crusty bread and dunk it right in.

The whole point of this recipe is quick and delicious…no chopping, just grating and only using one pan. We are still getting layers of gourmet flavors with the carrots, onions, garlic, tomatoes, red wine, dried and fresh herbs! This sauce also comes out with a thick consistency.  If you want a chunkier sauce you would just puree the first can with the sauteed vegetables until smooth, and with the other can of tomatoes you would pulse only a couple of times in the food processor keeping the tomatoes chunky then adding into the pan. Make it this way also if you like a chunkier VODKA SAUCE!  If you are using it for making pizza just puree everything and you are ready to go… you don’t even need to simmer the sauce at all just spread the raw sauce onto the raw dough and into the oven (the carrots, onions, and garlic were sauteed of course before you pureed them with the tomatoes. This homemade gourmet tomato basil pasta sauce will definitely help make your life a little easier while getting you rave reviews! Enjoy!

013  017  019

036  023  030

031  038   040

INGREDIENTS:

  • 2 – 28.oz cans whole peeled tomatoes – NOTE: If you want a chunkier sauce puree til smooth ONLY 1 can with the sauteed vegetables and then other can pulse only a couple of times. Make It this way also if you like a chunkier VODKA SAUCE!
  • 1 carrot peeled
  • 1/2 lg onion grated
  • 2 lg garlic cloves thru garlic press
  • 2 tbsp olive oil
  • 1 tsp salt
  • 1/2 tsp finely ground Italian seasonings
  • 1 tbsp sugar
  • 4-6 fresh basil leaves
  • 1/4 cup of red wine, cabernet, pinot noir what ever you are drinking 🙂

DIRECTIONS:

  1. Peel and the grated 1 carrot in sauce pan
  2. Cut lg onion in 1/2 peel and grate into same sauce pan
  3. Smash 2 lg clove of garlic and put thru garlic press and into same sauce pan
  4. Add 2 tbsp olive oil and put on med./low heat and begin to sauté
  5. Sauté for about 10 minutes on med/low til soften (you don’t want it to brown or burn)
  6. Deglaze by adding in 1/4 cup red wine (or white if you don’t have red)
  7. Simmer for 2 minutes and then add to food processor with 1 can whole peeled tomatoes
  8. Puree til a smooth consistency and then add to same pan.
  9. Puree the other can of whole peeled and add to pan as well…..NOTE: If you want a chunkier sauce puree til smooth ONLY 1 can with the sauteed vegetables and then other can pulse only a couple of times. Make It this way also if you like a chunkier VODKA SAUCE!
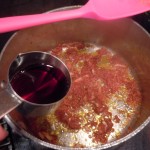
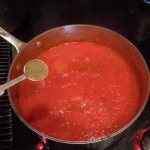
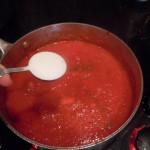
  10. Add 1 tbsp sugar, 1/2 tsp finely ground Italian seasonings, 1/2 tsp salt, pepper to taste and 5 fresh basil leaves
  11. Simmer for 20 minutes and serve with you favorite pasta, or chicken cutlet or ciabatta bread and sprinkle with some freshly grated Reggiano Parmeseano or Pecorino Romano and mangia!

Curry-Yogurt Dip

Curry-Yogurt Dip

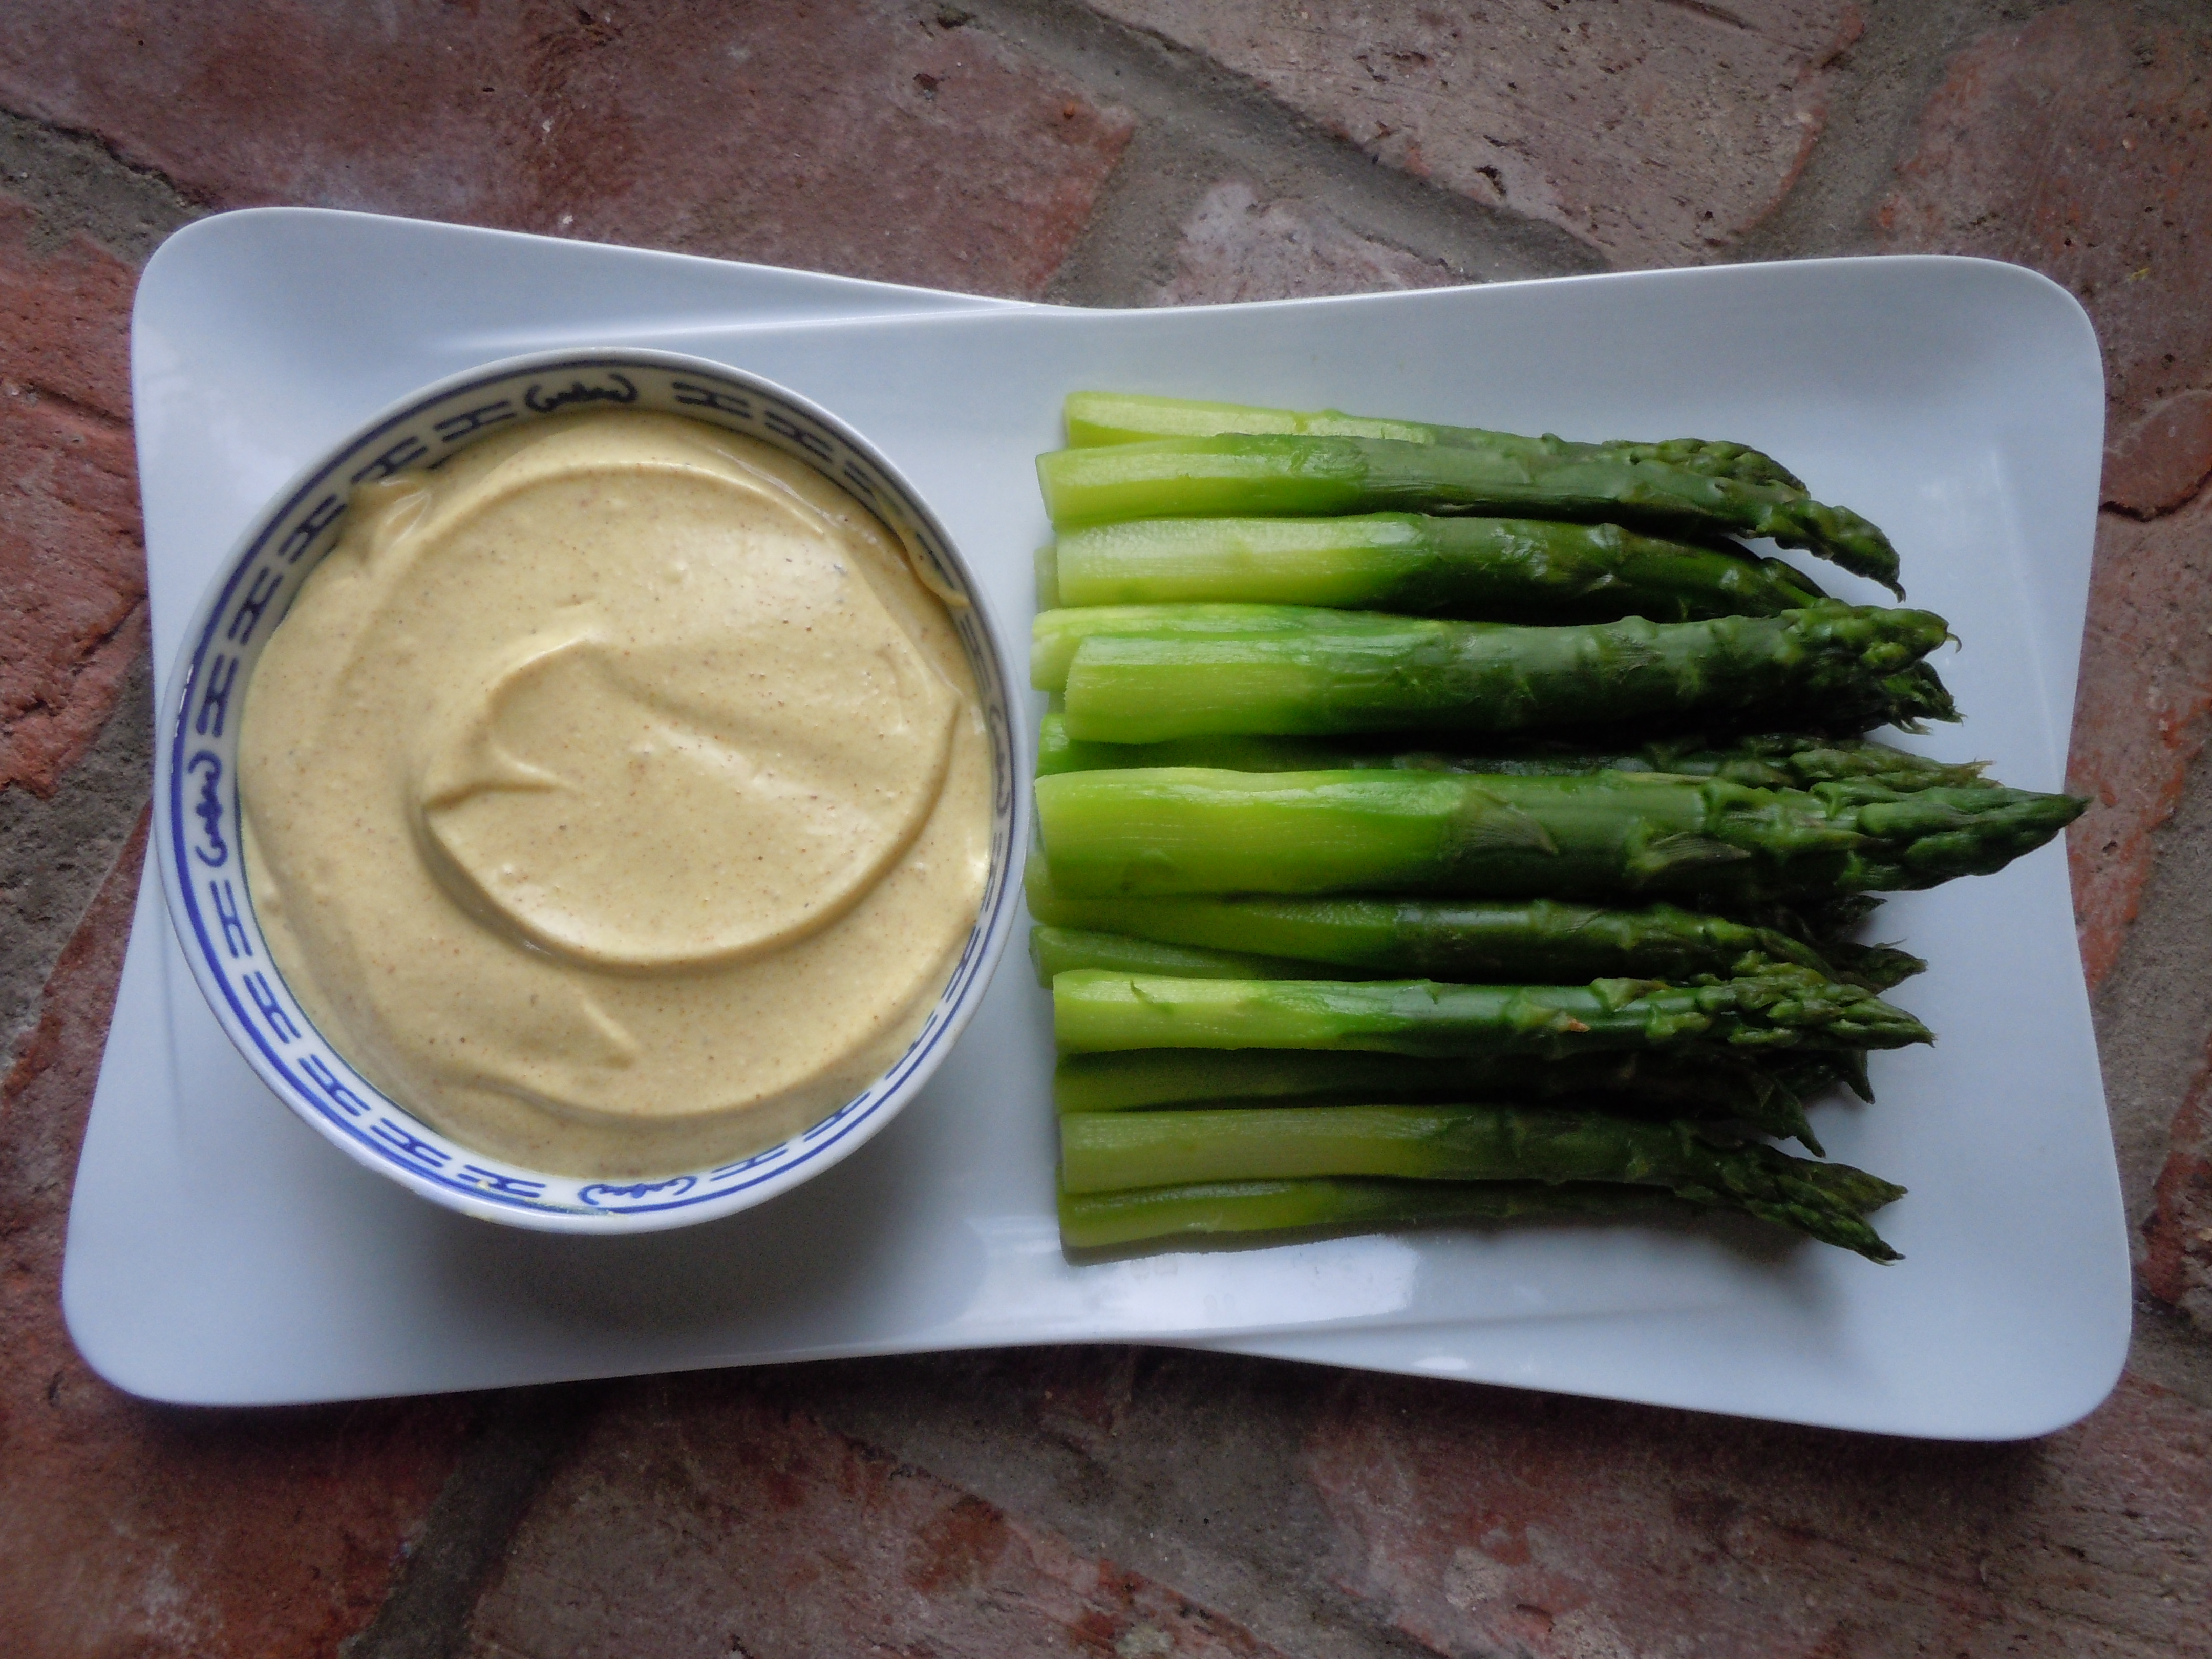
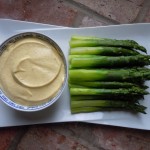
This curry-yogurt dip is an elegant and refreshing way to have serve your vegetables. I really like this combination of the earthy asparagus and the lemony curry-yogurt dip. This dip was originally made with mayo only but mixing the two, half mayo and half yogurt gives you the best of both worlds. The creaminess from the mayo an the tang from the yogurt makes for a refreshing dip. The stalks on the asparagus are peeled with a potato peelers before you blanch them. This gives a vibrant green color and a nice feel when you bite into the asparagus not to mention putting in that little extra effort makes for a lovely presentation.

iphone pictures 2135  iphone pictures 2136  iphone pictures 2134 iphone pictures 2137

Ingredients:

  • 1 asparagus recipe from sun-dried tomato aioli and asparagus
  • 1/2 cup Greek yogurt
  • 1/2 cup mayo
  • 2 Tsp curry powder
  • 3 Tbsp olive oil
  • 1 Tbps Rice wine vinegar
  • 1 Tbsp champagne vinegar
  • Juice from 1/4 lemon
  • A few dashes of Tabasco (optional)

Directions:

  1. Place all the ingredients in a large mixing bowl and whisk
  2. Place into a small serving bowl and refrigerate for 1 hour to let the spices develop together
  3. Serve with large room temperature asparagus

If you like this curry-yogurt dip & asparagus you may want to other apps like:

Crab Cakes
Crab Cakes
Bacon Wrapped Scallops
Scallop Ceviche
Scallop Ceviche
Sausage Stuffed Mushrooms


Caesar Salad

Caesar Salad

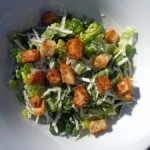
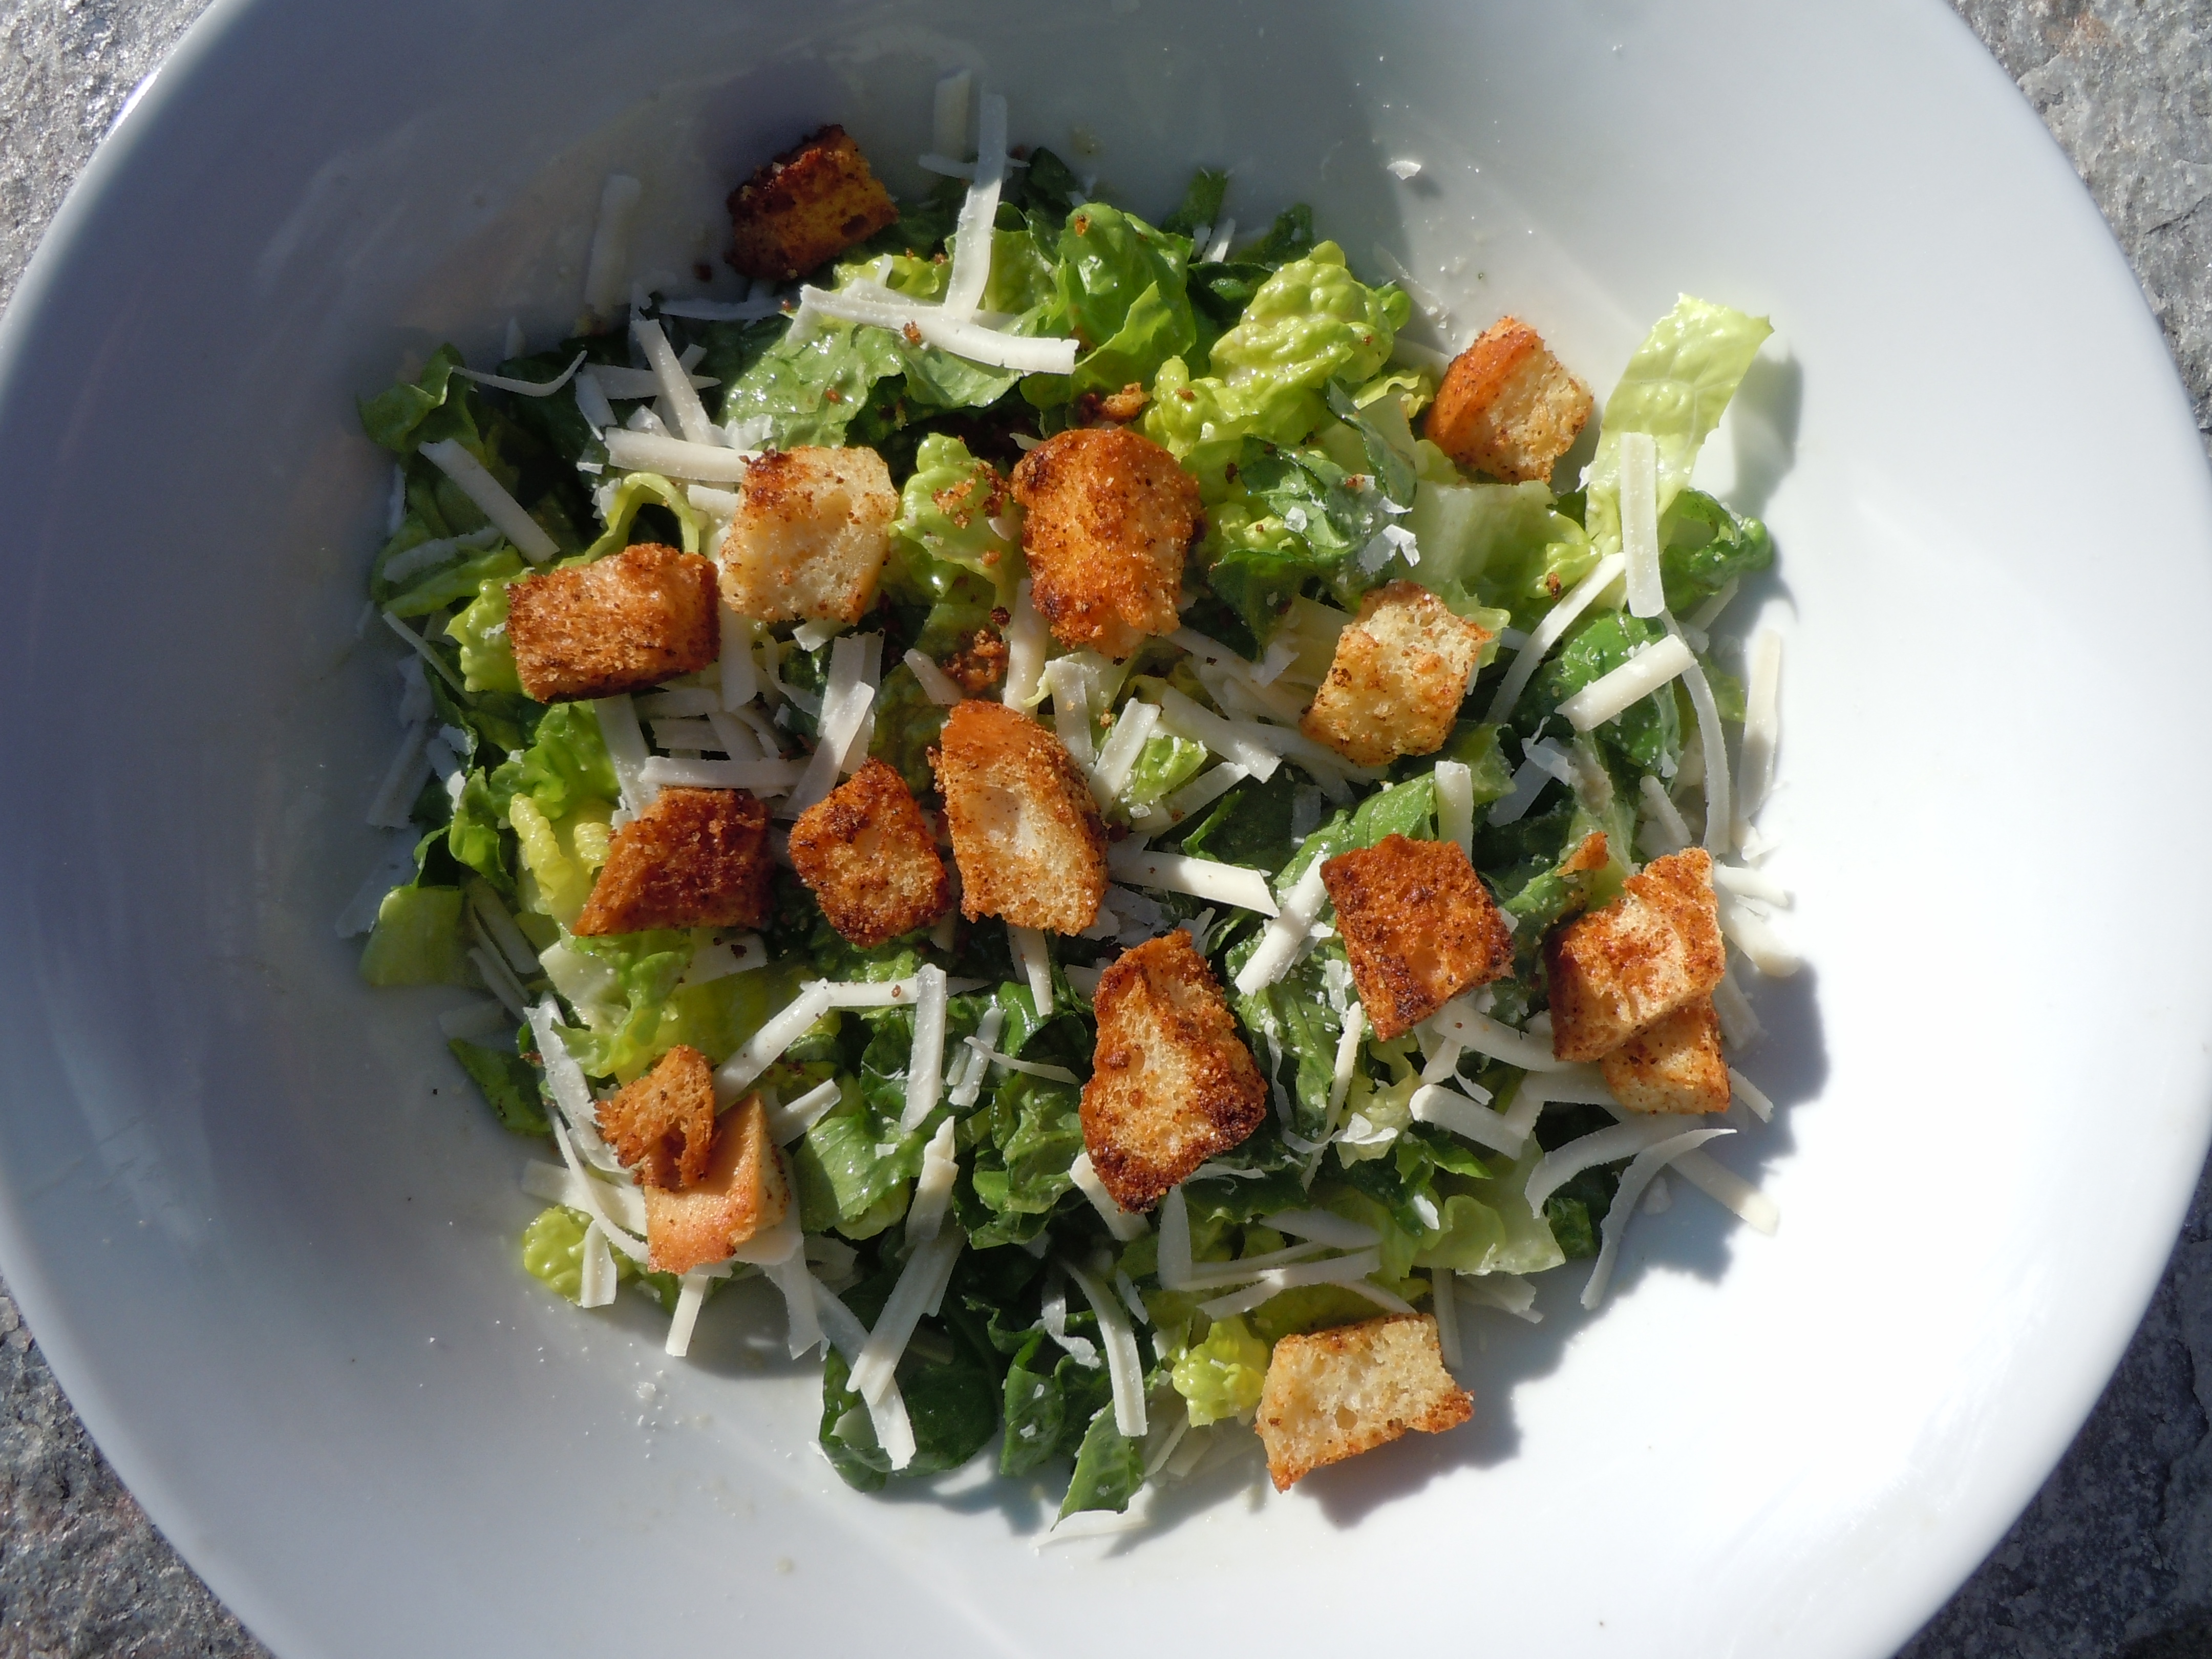
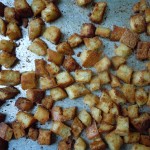
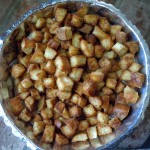
Caesar salads are probably my favorite of all time. So many wonderful flavors and textures in this combination from crunchy and garlicky with the Italian garlic croutons, to a sharpness from the shaved Reggiano Parmesano sprinkled on the top of the romaine and a creaminess with the grated Parmesan in the actual dressing itself. Then there is a tang from the lemon and Dijon, and an extra savory flavor in the undertones that you just can’t put your finger on but tastes delicious from the anchovie paste and Worcestershire sauce!

Wow, you will really like the simplicity of this recipe and you can make the croutons a day or more ahead of time and make the dressing the morning of your lunch or dinner. It makes for such a nice presentation if you can use a large shallow dish like the one in the photos.  When I have friends over for dinner I often serve the Caesar salad in that large shallow bowl and then add slices of grilled or sautéed chicken breasts, or grilled salmon pieces going all around the outer edges and everyone loves it. Have fun with this and enjoy!

DSCN4562  DSCN4564  DSCN4563

DSCN4565 DSCN4568 DSCN4543

DSCN4554 DSCN4555 DSCN4561

DSCN4572 DSCN4575

CAESAR SALAD DRESSING RECIPE:

  • 1 large/2 medium cloves of garlic put thru garlic press
  • 1 egg yolk farm fresh or organic brown eggs ONLY – EGG YOLK OPTIONAL
  • 1 Tbsp Dijon – Grey Poupon or Maille
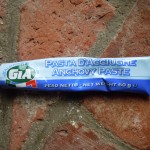
  • 1 Tsp anchovie paste
  • 3/4 tsp salt
  • 1/4 tsp fine blk pepper
  • 2 dashes of Worcestershire sauce
  • 1 Tbsp fresh lemon juice
  • 2 Tbsp rice wine vinegar “seasoned” (this comes original or seasoned …I prefer seasoned)
  • between 1/3 – 1/2 cup good olive oil
  • 1/4-1/3 cup grated Reggiano Parmesan
  • 2 good dashes of your favorite hot sauce (I use Siracha in this recipe)

DIRECTIONS for the CAESAR DRESSING:

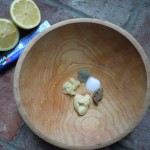
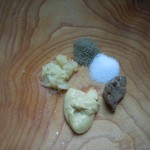
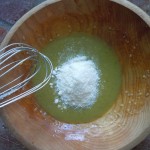
  1. In a medium bowl add garlic thru press, anchovie paste, salt, pepper and Dijon
  2. Mash these items together with  the back of a spoon to combine and form a paste in a wooden bowl
  3. Transfer paste to a large glass bowl
  4. Add in 2 dashes of Worcestershire sauce, dash of Siracha and rice wine vinegar/ lemon juice mixture
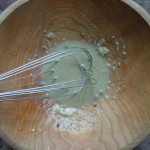
  5. Separate egg yolk from white and add to glass bowl and whisk immediately
  6. Then very slowly whisk in olive oil so it emulsifies JUST DRIZZLE IN DROPS AT A TIME or IT WILL NOT EMULSIFY and you will have to start over
  7. Lastly, whisk in 1/3 grated Reggiano Parmesan
  8. Put the dressing into a canning jar for ease and pop it into the frig til you are ready to use
  9. Be sure to take out 30 minutes before you use the dressing so it can come to room temperature
  10. Will be good for a few days in the frig

Directions for Caesar Salad:

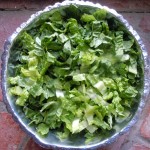
  1. Cut ends off of romaine hearts then cut them in half length wise
  2. Wash and spin leaves
  3. Lay the leaves down on paper towels to catch any additional moisture
  4. Put 3 or 4 pieces at a time layered on top of one another and slice into 1/2″ strips
  5. Here you can put the cut romaine pieces into large freezer Ziploc baggies and into the frig til you are ready to assemble the Caesar salad OR
  6. Put into a large shallow bowl, add dressing, and toss
  7. Top with shredded Parmesan and Italian garlic croutons and mangia!


Thai Slaw

Thai Slaw

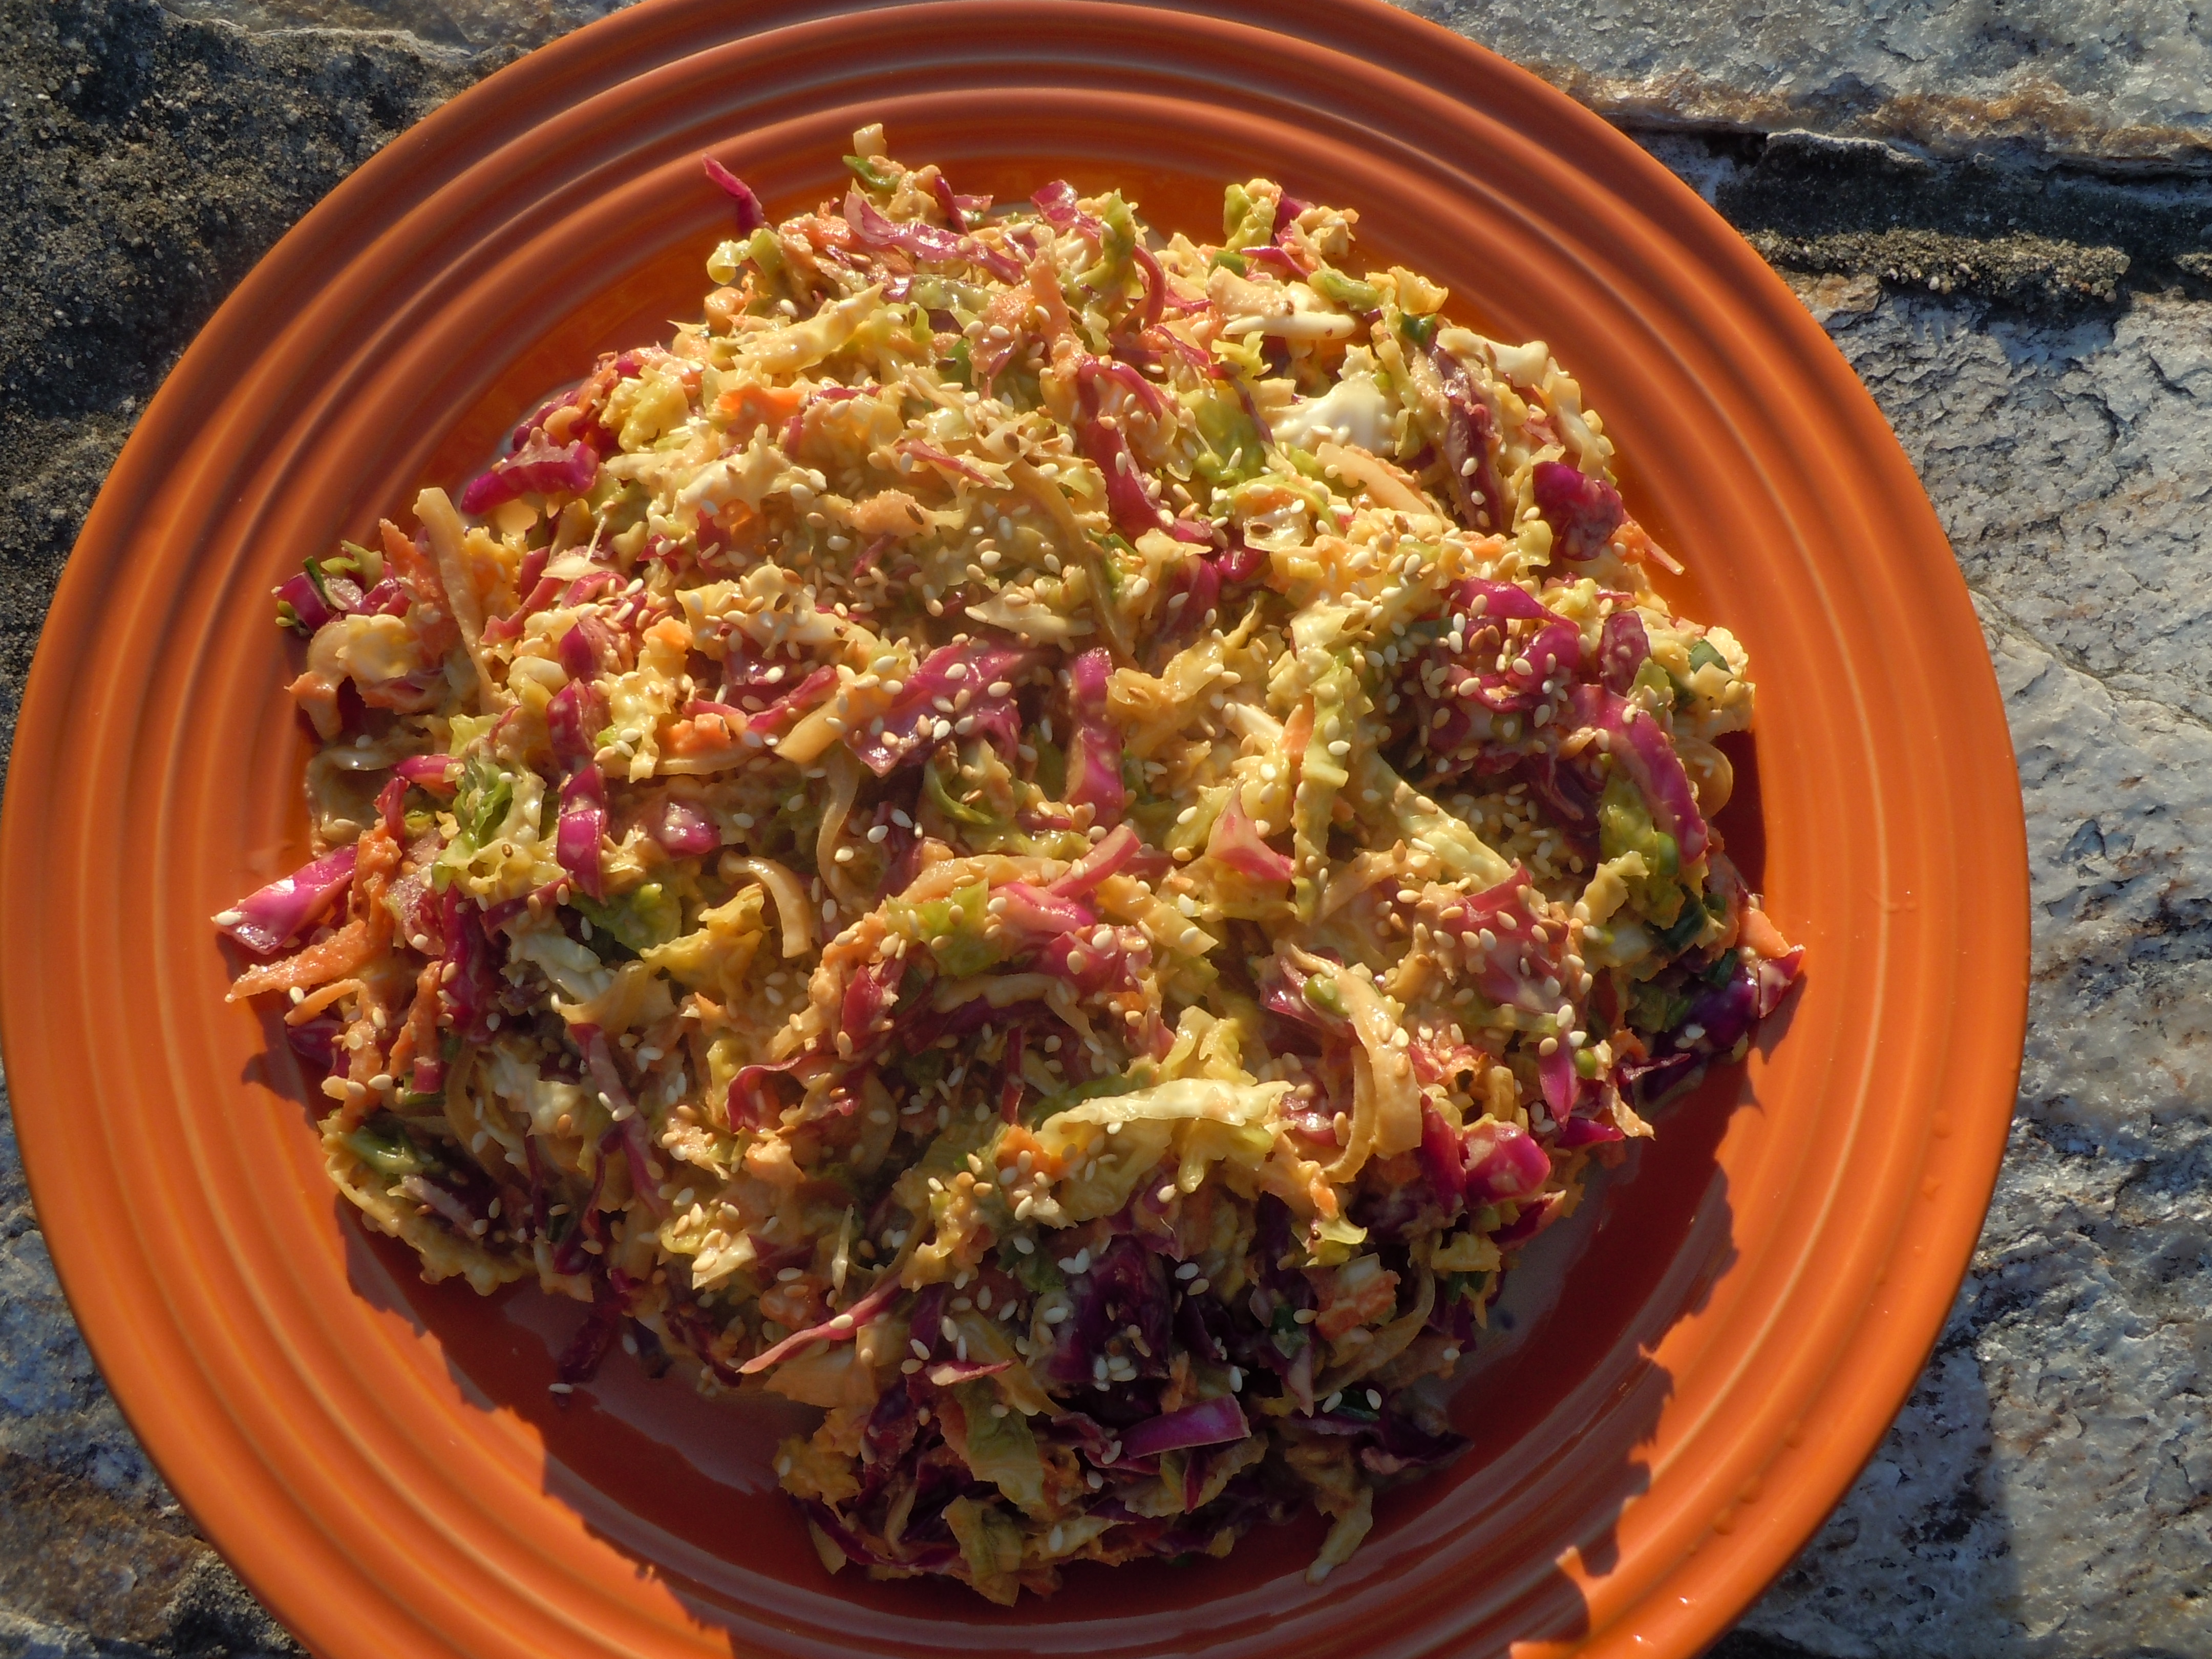
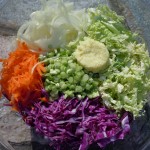
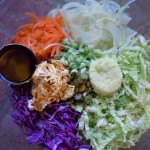
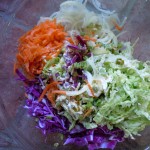
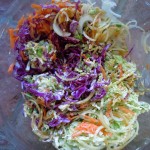
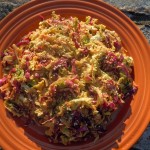
This is definitely not a boring old cole slaw. It has 2 cabbages, sweet and green onion, carrots, crunchy peanut butter, ginger, soy, fresh lime juice, and a few other seasonings. I have used both napa cabbage for this slaw and regular green cabbage and I have to tell you that the green cabbage holds up so much better while the napa gets mushy quickly. This Thai slaw is packed with flavor so you may want to pair this with something on the more simple side of things like grilled salmon, or steak, sautéed chicken or sea bass. Then a chocolate-avocado mousse or pavlova with fresh pineapple & berries could do the trick to end the meal well.

iphone pictures 603 iphone pictures 605 iphone pictures 608

iphone pictures 2463 iphone pictures 2465 iphone pictures 2466

iphone pictures 2467 iphone pictures 2468 iphone pictures 2473

iphone pictures 2479 iphone pictures 2484 iphone pictures 2485

iphone pictures 2490  iphone pictures 2493

Ingredients:

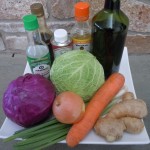
    • 4 cups thinly sliced green cabbage
    • 2 cups thinly sliced red cabbage
    • 1/2 cup thinly sliced Spanish onion or Vidalia onion
    • 1 cup shredded carrot
    • 1/2 cup thinly diced green onions (6 of them)
    • 3 Tbsp fresh zested ginger (on micro planer)
    • 1/2 cup Helman’s mayo
    • 3 Tbsp crunchy peanut butter
    • 1/4 cup sugar
    • 2 tbsp olive oil
    • 2 Tbsp rice wine
    • 2 Tbsp cider vinegar
    • 2 Tbsp reduced sodium Kikoman soy sauce
    • 1 Tbsp sesame oil
    • 3 dashes tabasco
    • juice from 2 limes
    • 1 Tbsp toasted sesame seeds plus 1 Tsp for the garnish

Directions:

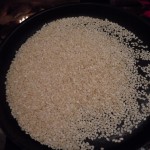
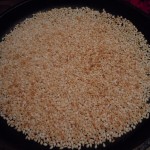
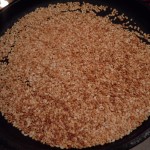
  1. Toast sesame seeds on medium heat in a small pan shaking the pan periodically back and forth
  2. This happens quickly once they heat up…it will only take about 3-4 minutes so it’s best not to leave the pan or the stove so they turn golden evenly
  3. Once the sesame seeds are golden remove from the pan, place in a ramekin and set aside
  4. Add sliced green cabbage, red cabbage, Spanish onion, green onions, shredded carrot and zested ginger to a large mixing bowl
  5. Then add in peanut butter, mayo, soy, vinegar’s, oils, fresh lime juice, sugar, Tabasco, sesame seeds and toss together to mix thoroughly
  6. Serve in a large bowl and sprinkle with toasted sesame seeds

Best Brussel Sprouts Ever!

Best Brussel Sprouts Ever!

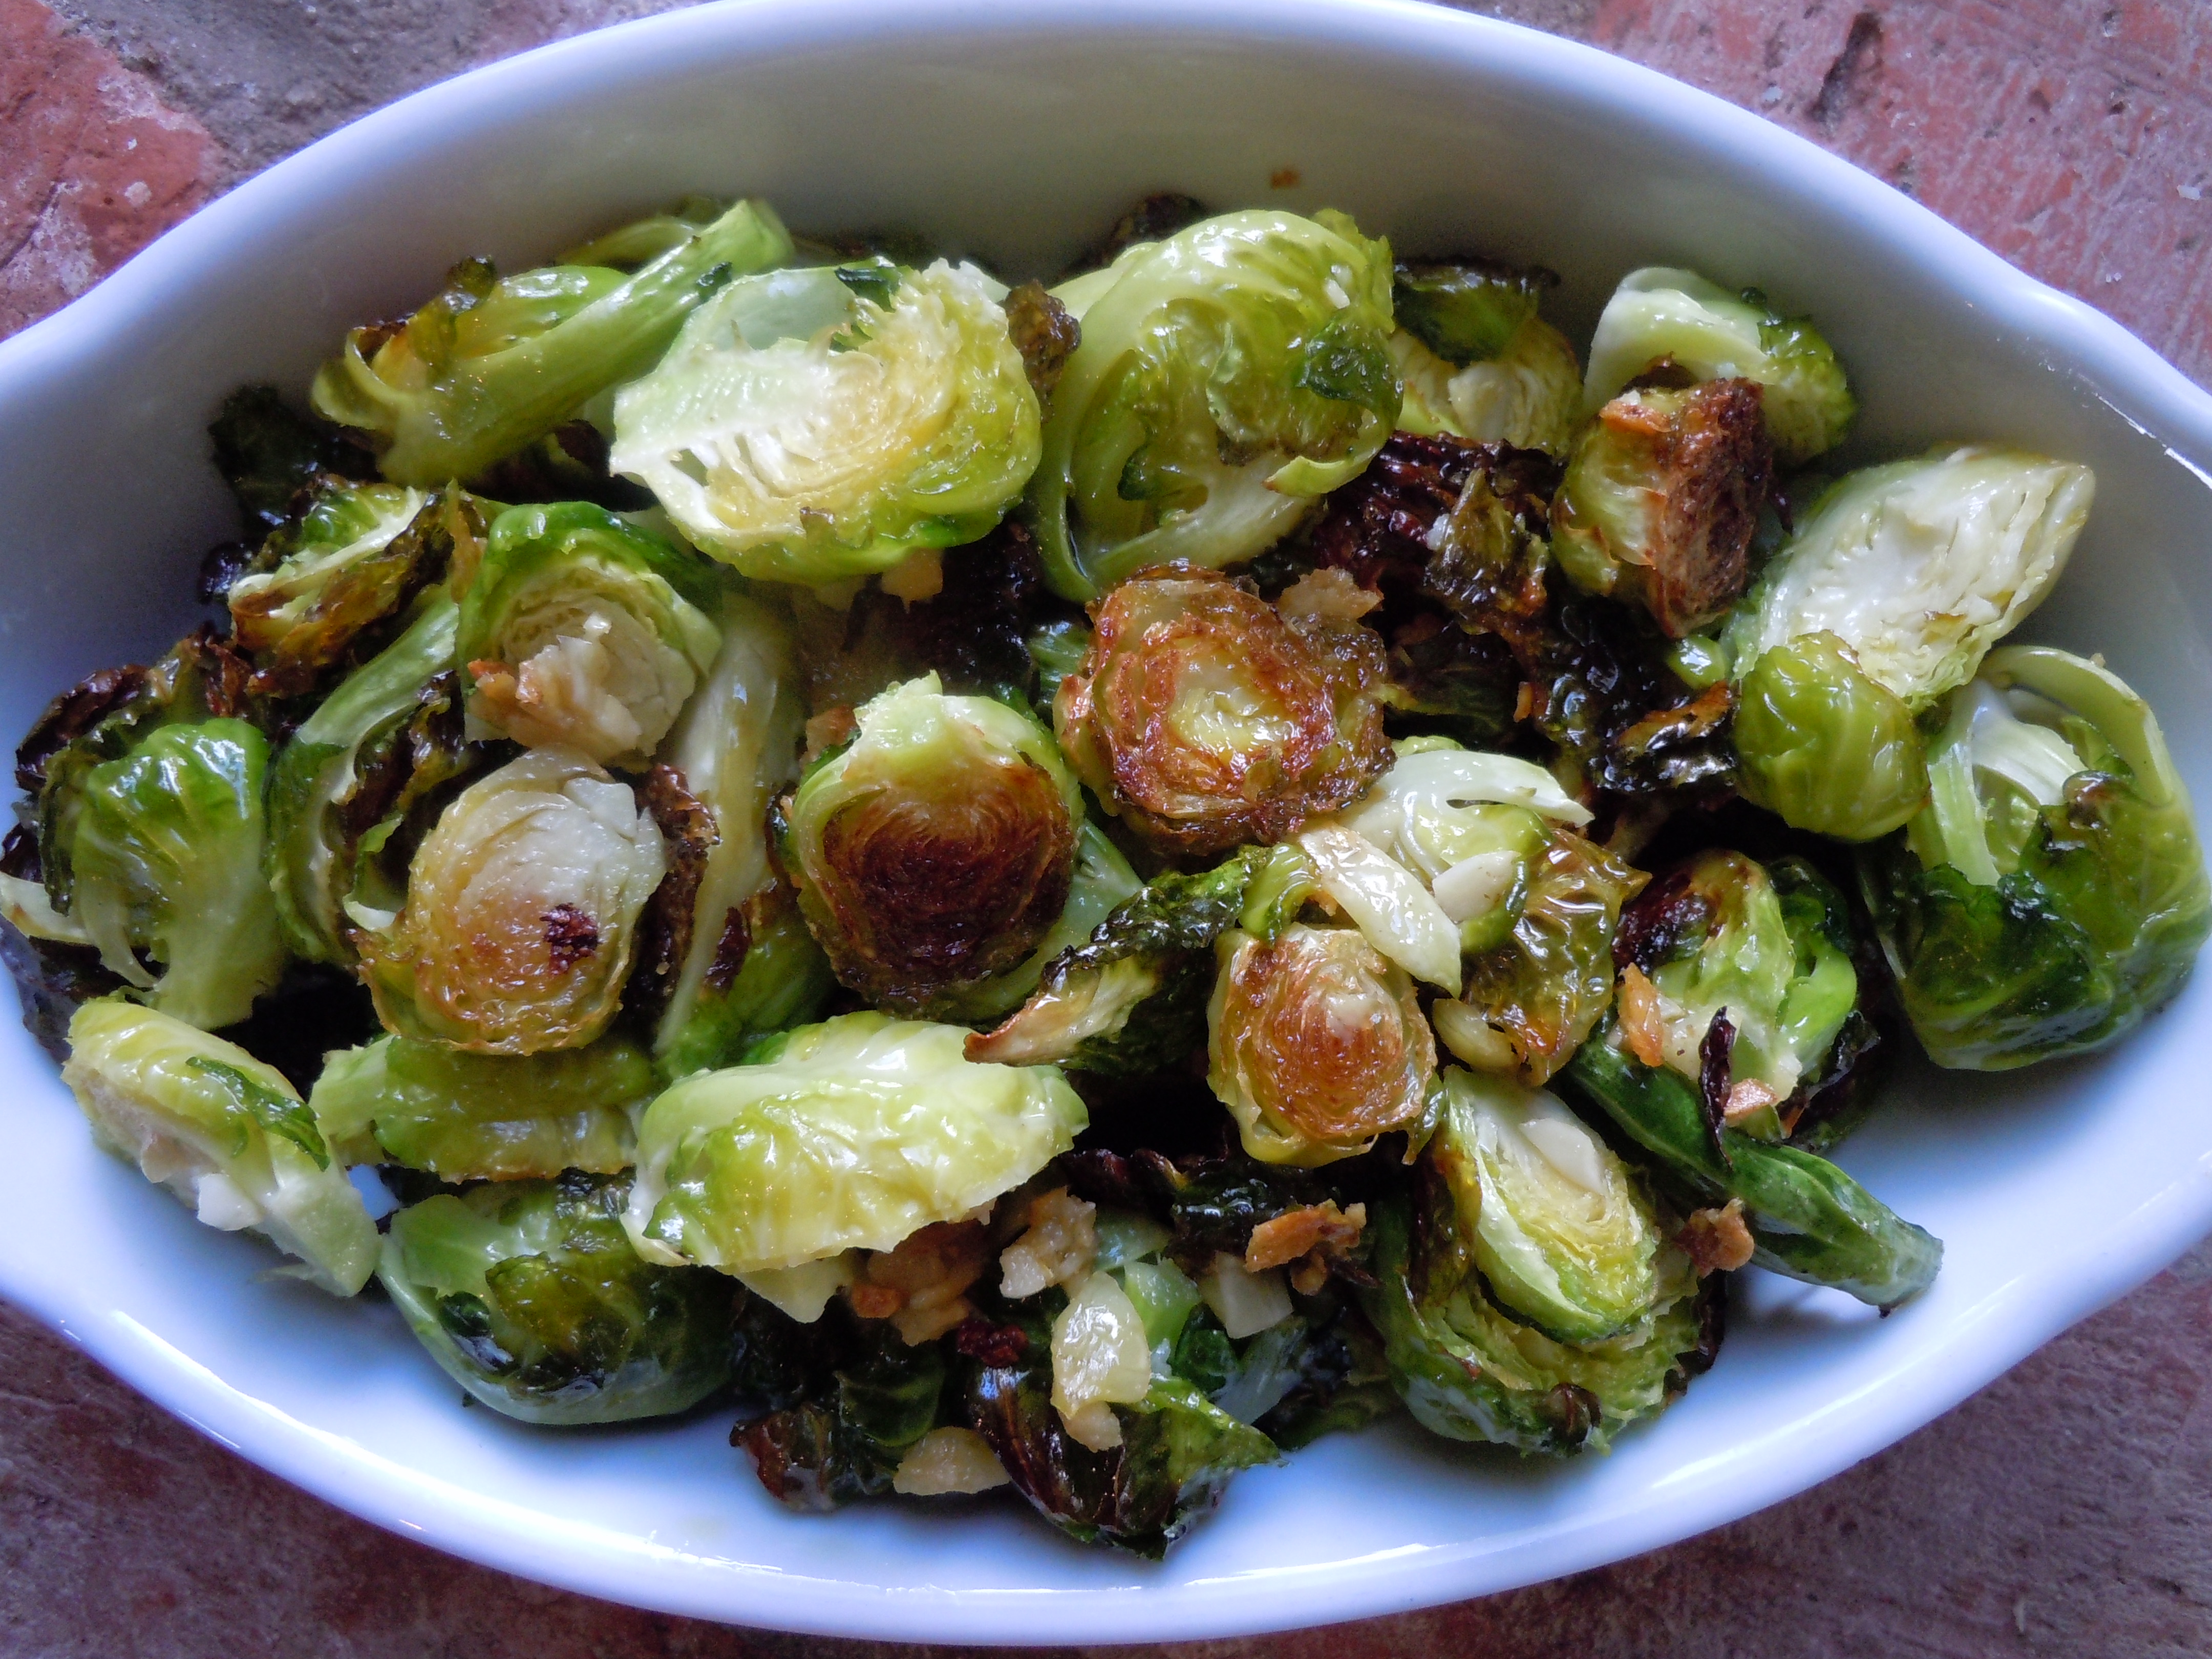
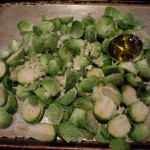
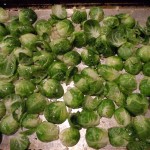
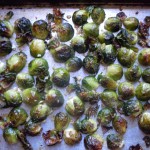
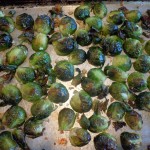
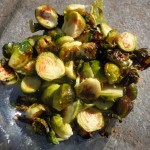
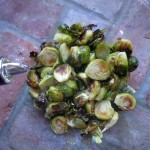
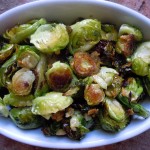
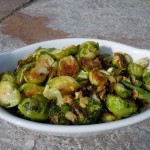
If you never like brussel sprouts before you really need to give these a try because they will seriously change the way you think of them! These are roasted in the oven for 25-35 minutes with chopped garlic, olive oil and a sprinkle of salt…that’s it. They are so simple to make and the edges of the brussel sprouts get caramelized along with the garlic pieces. These are delicious served with a sprinkle of Parmesan too after they are roasted.

IMG_8098You may want to try some Crab Cakes, Eggplant Balls or Homemade Gnocchi too! Don’t forget to end your meal with something sweet like Death by Chocolate Meringue Pie or even mouth watering Chocolate Eclairs. Enjoy 🙂


DSCN45211-300x225 IMG_7953 IMG_7867 chcomerg

iphone pictures 2447 iphone pictures 2455 iphone pictures 2449

iphone pictures 2451 iphone pictures 2453 iphone pictures 2457

iphone pictures 2456 iphone pictures 2459 iphone pictures 2462

iphone pictures 2412 iphone pictures 2420

Ingredients – serves 6-8 people:

  • 2 lbs. fresh brussel sprouts
  • 4 lg garlic cloves coarsely chopped
  • 1/4 cup olive oil – plus extra drizzle of olive oil OR 1 tbsp butter after they are roasted
  • 1/4 Tsp of salt – – plus extra sprinkle of salt to taste after they are roasted
  • Sprinkle of black pepper
  • 1/4 cup Reggiano Parmesan to serve on the side (optional)

Directions:

  1. Pre-heat oven to 375º
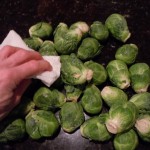
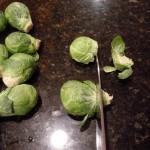
  2. Cut 1/2″ off the ends of the brussel sprouts
  3. Cut the brussel sprouts in half vertically
  4. Add the chopped garlic, and brussel sprout to a cookie tray
  5. Drizzle olive oil over sprouts and garlic and sprinkle with salt
  6. Arrange the brussel sprouts so that the cut halves are all face down on the cookie tray – this inner side will be the caramelized side of the sprout
  7. Put into pre-heated oven for 25 – 35 minutes – no need to turn or toss them while cooking
  8. Put on a serving dish along with grated Reggiano Parmesan cheese on the side