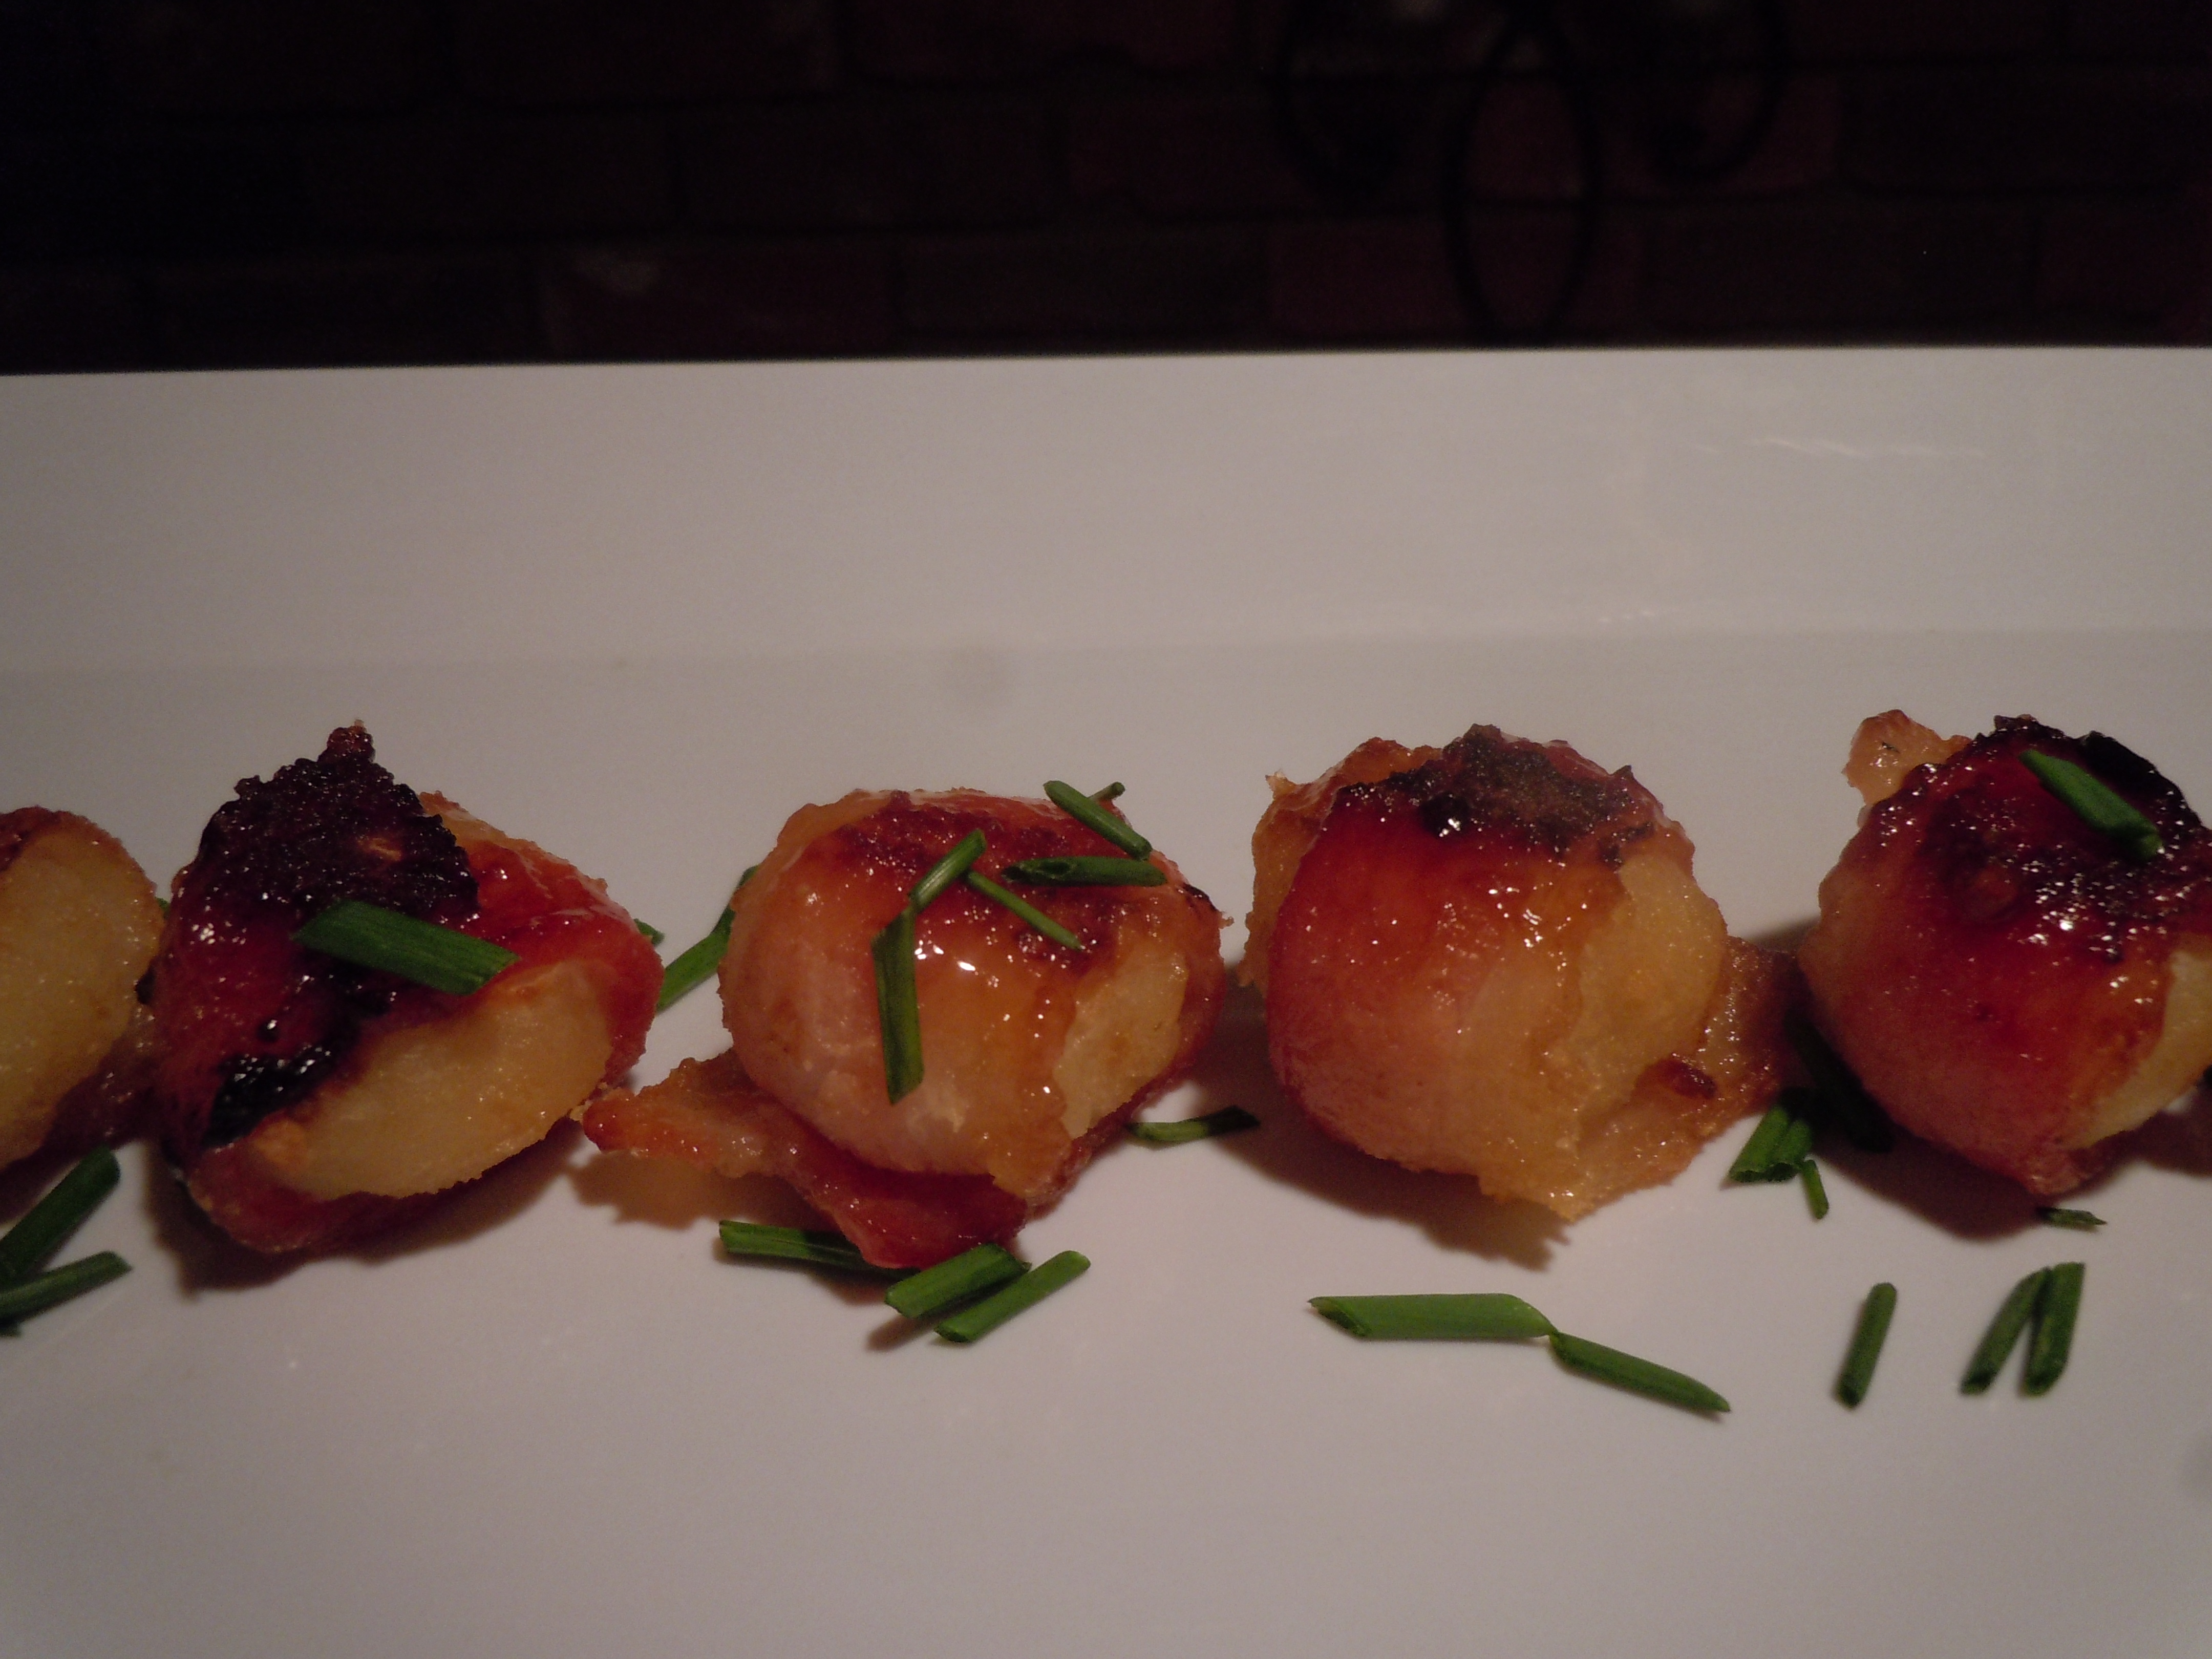
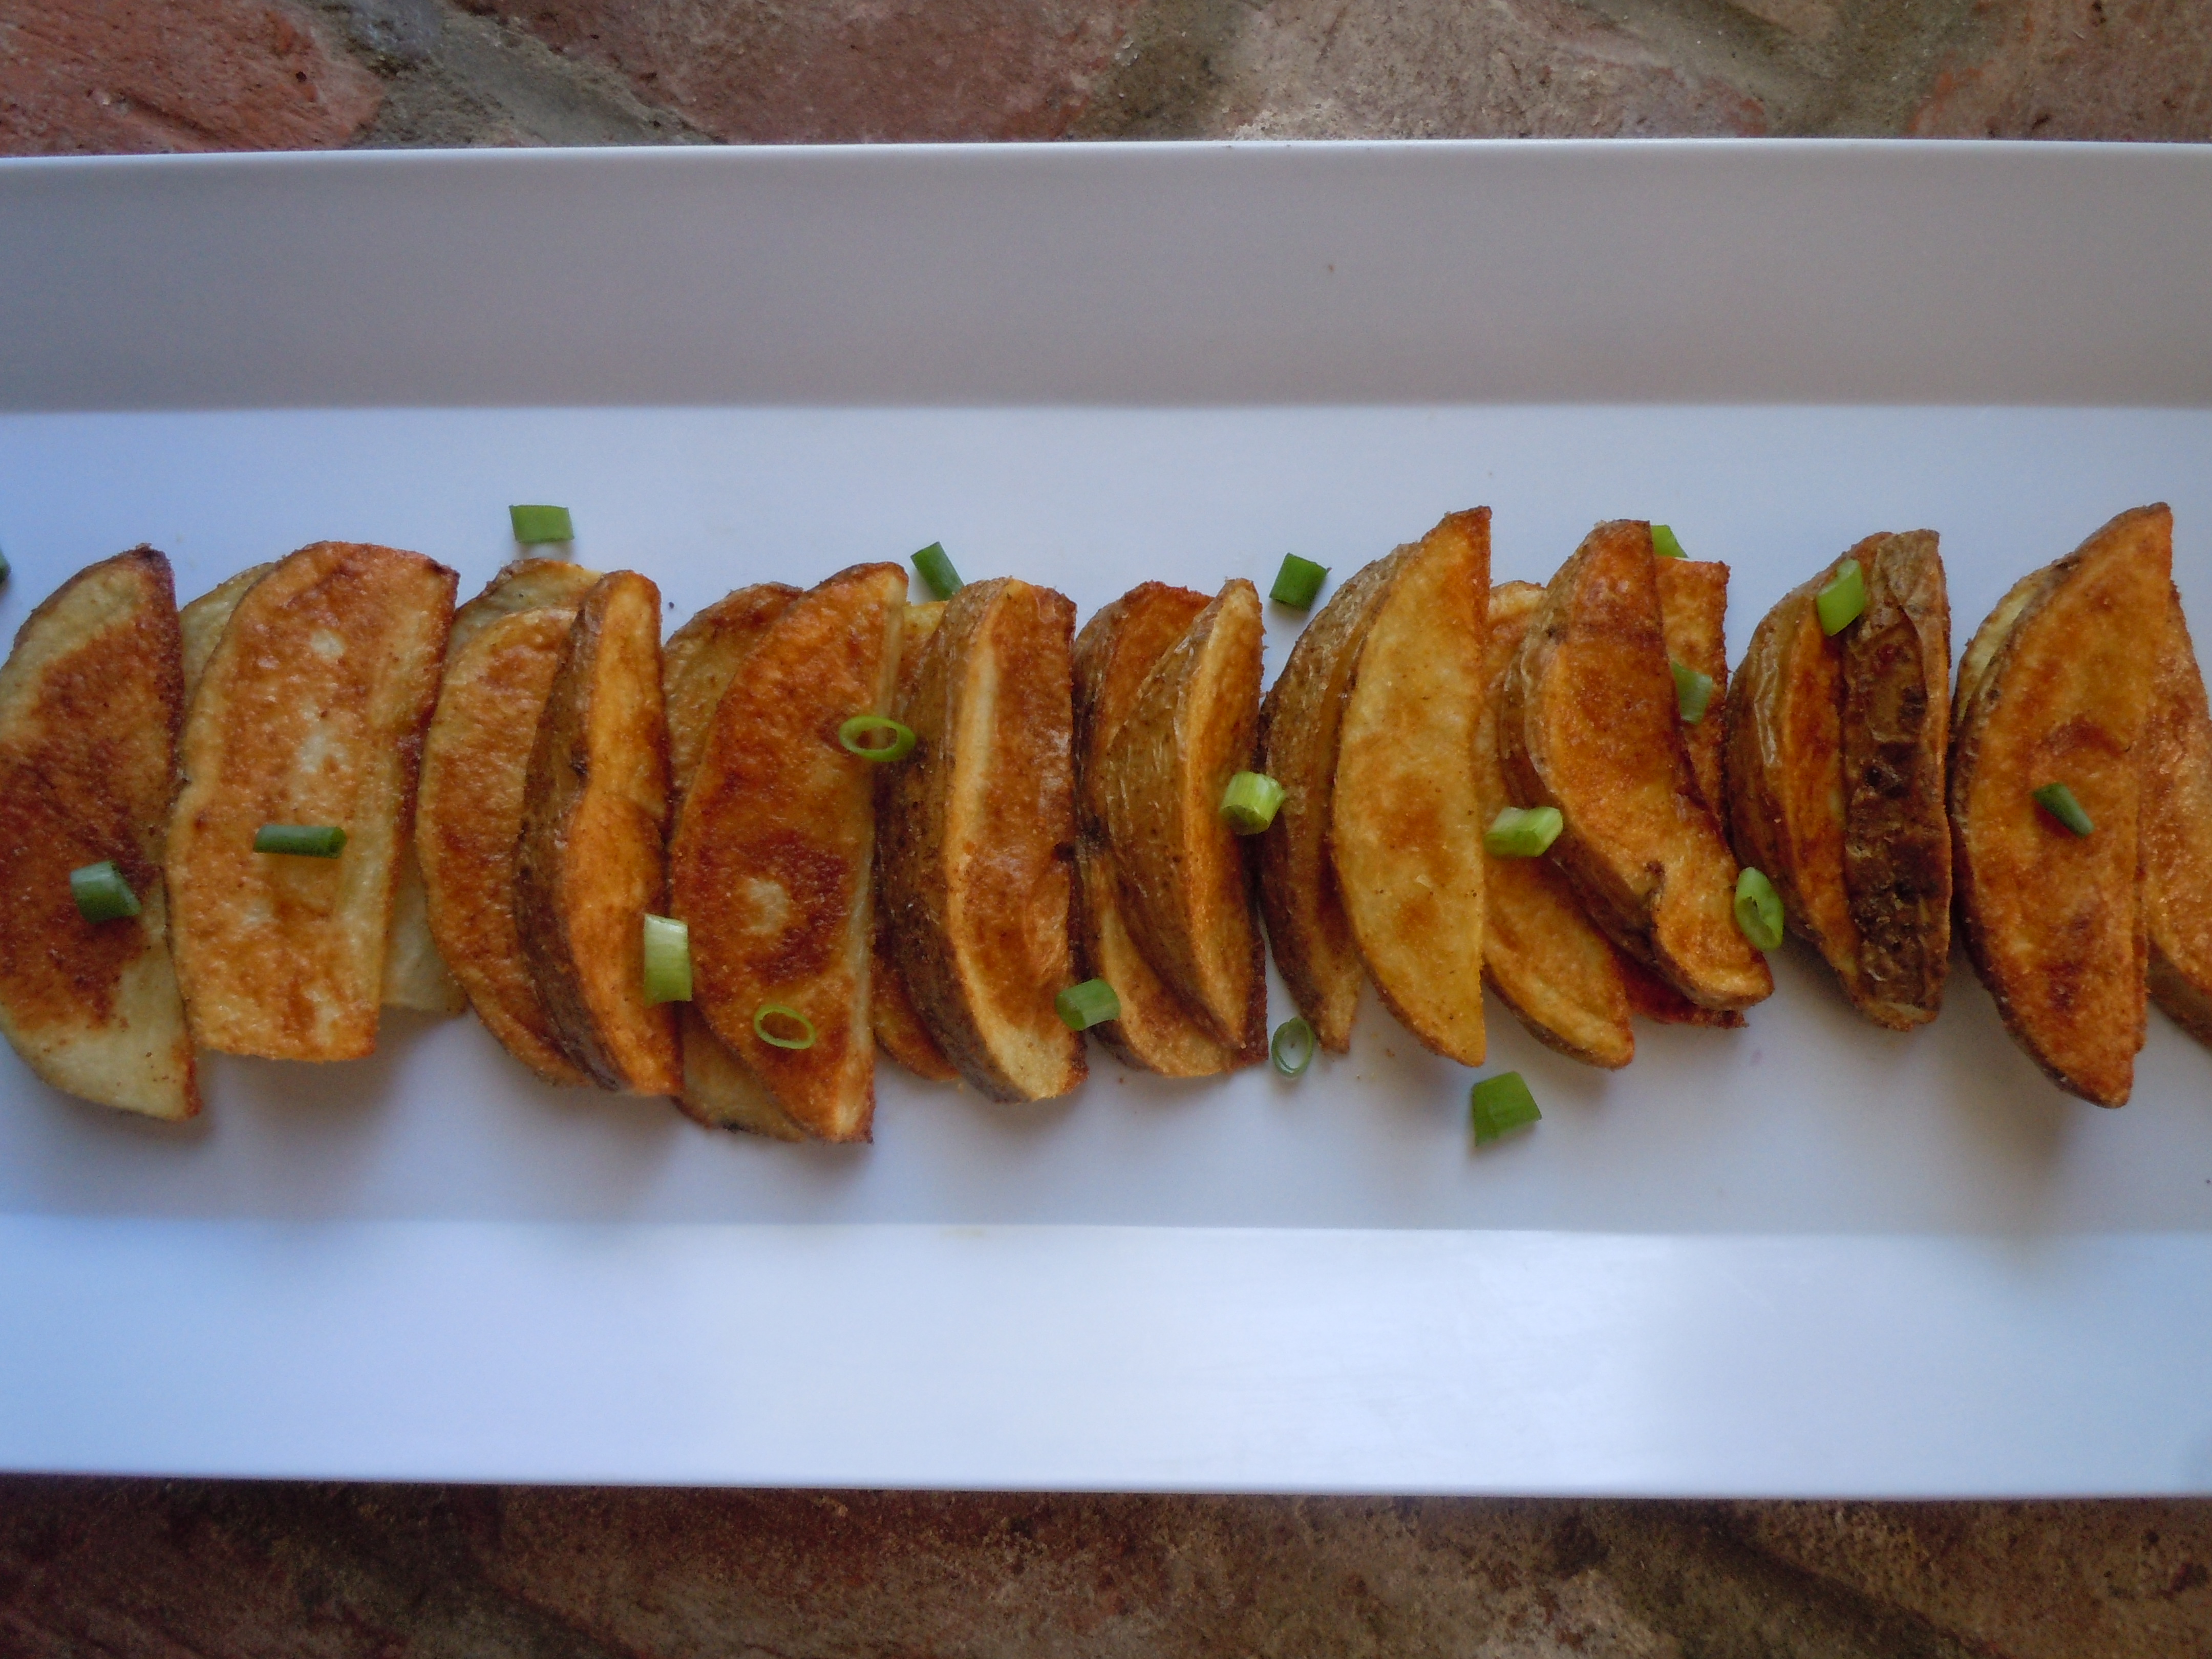
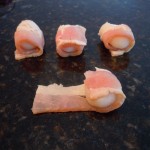
Bacon Wrapped Water Chestnuts
These bacon wrapped water chestnuts are sweet and savory. You have that slightly smokey and salty flavor from the bacon, a sweet candy-like carmelization from the brown sugar, a little kick from the dry mustard and a lovely crunch from the water chestnut. All those amazing flavors packaged up in one little morsel!
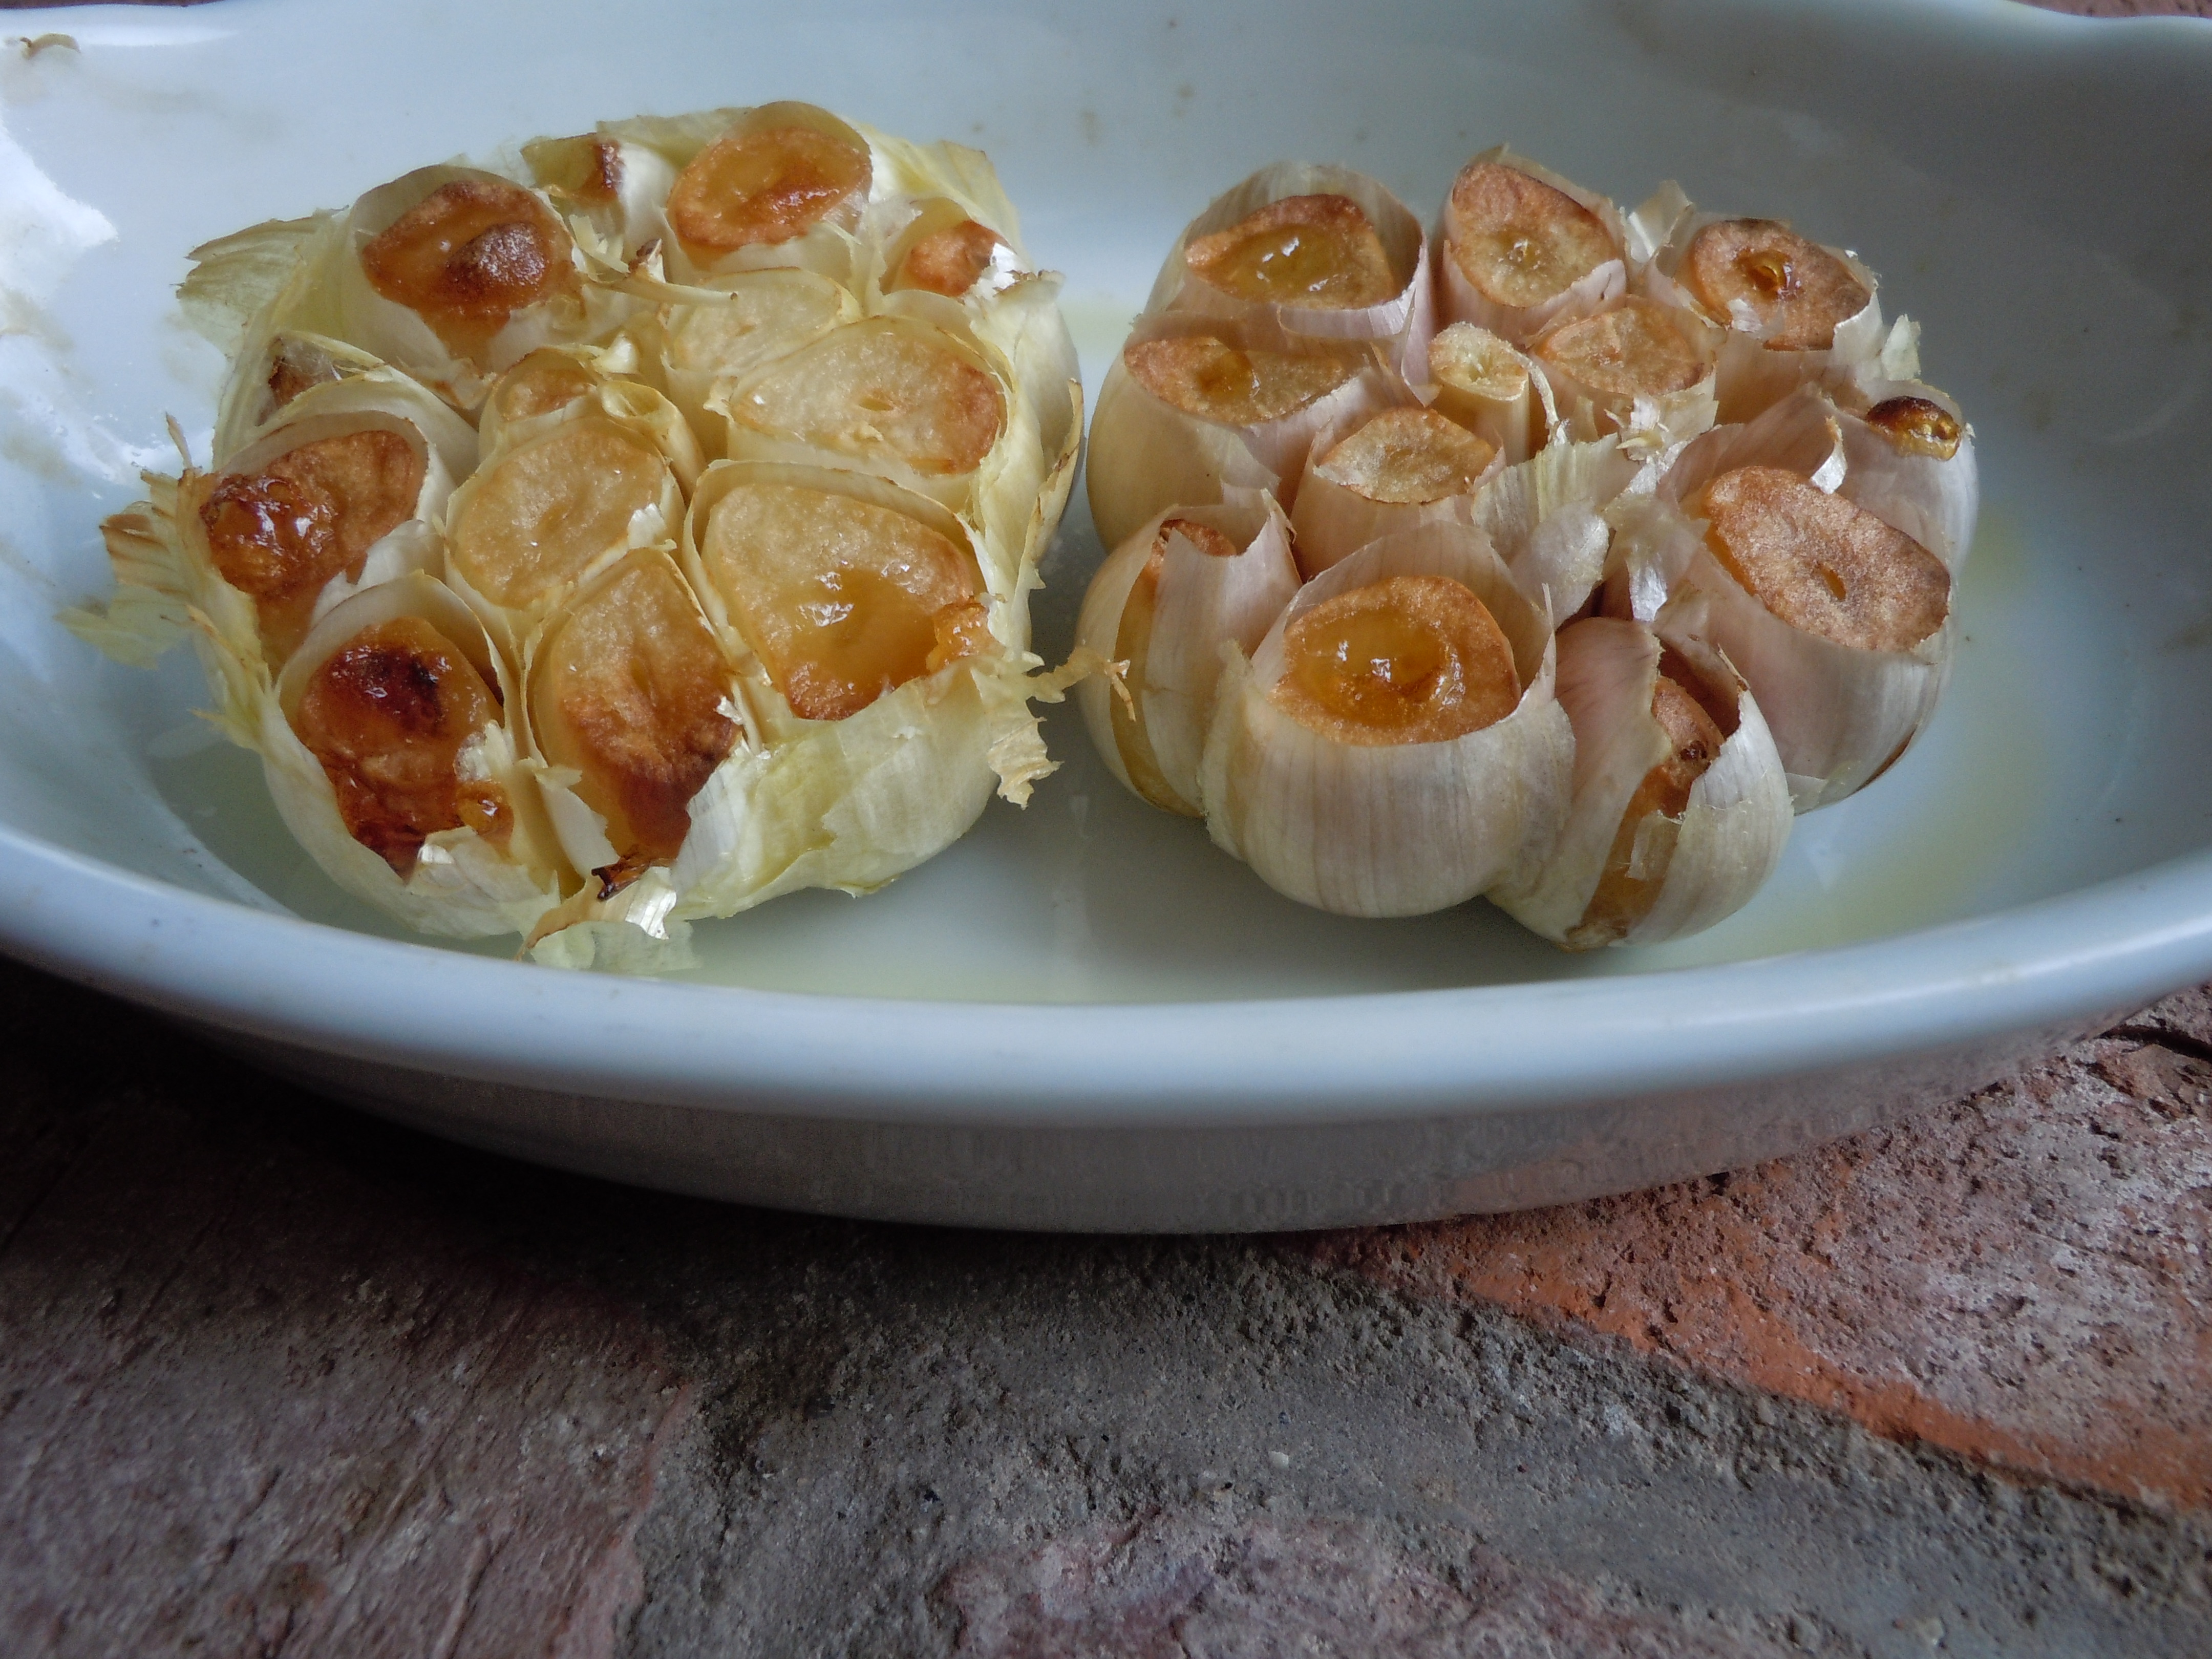
Nut or vegetable? Well I will tell you – a water chestnut is actually an equatic vegetable grown in marshes. Didn’t you always want to know that? This water chestnut recipe came about from a Trader Vic’s recipe called Rumaki . Except this original recipe was done with chicken livers and water chestnuts wrapped in bacon with a wet marinade. Now don’t get scared away . Even though I do love chicken livers sautéed with lots of chopped garlic and a crusty baguette this recipe is made without the liver or wet marinade for that matter.
It is some what comical too because your guests will think they are bacon wrapped scallops at first glance. These homemade gourmet little morsels are a must try for the holidays. Your guest’s will love them. In fact, you better grab one before the tray goes out because it’s coming back empty!
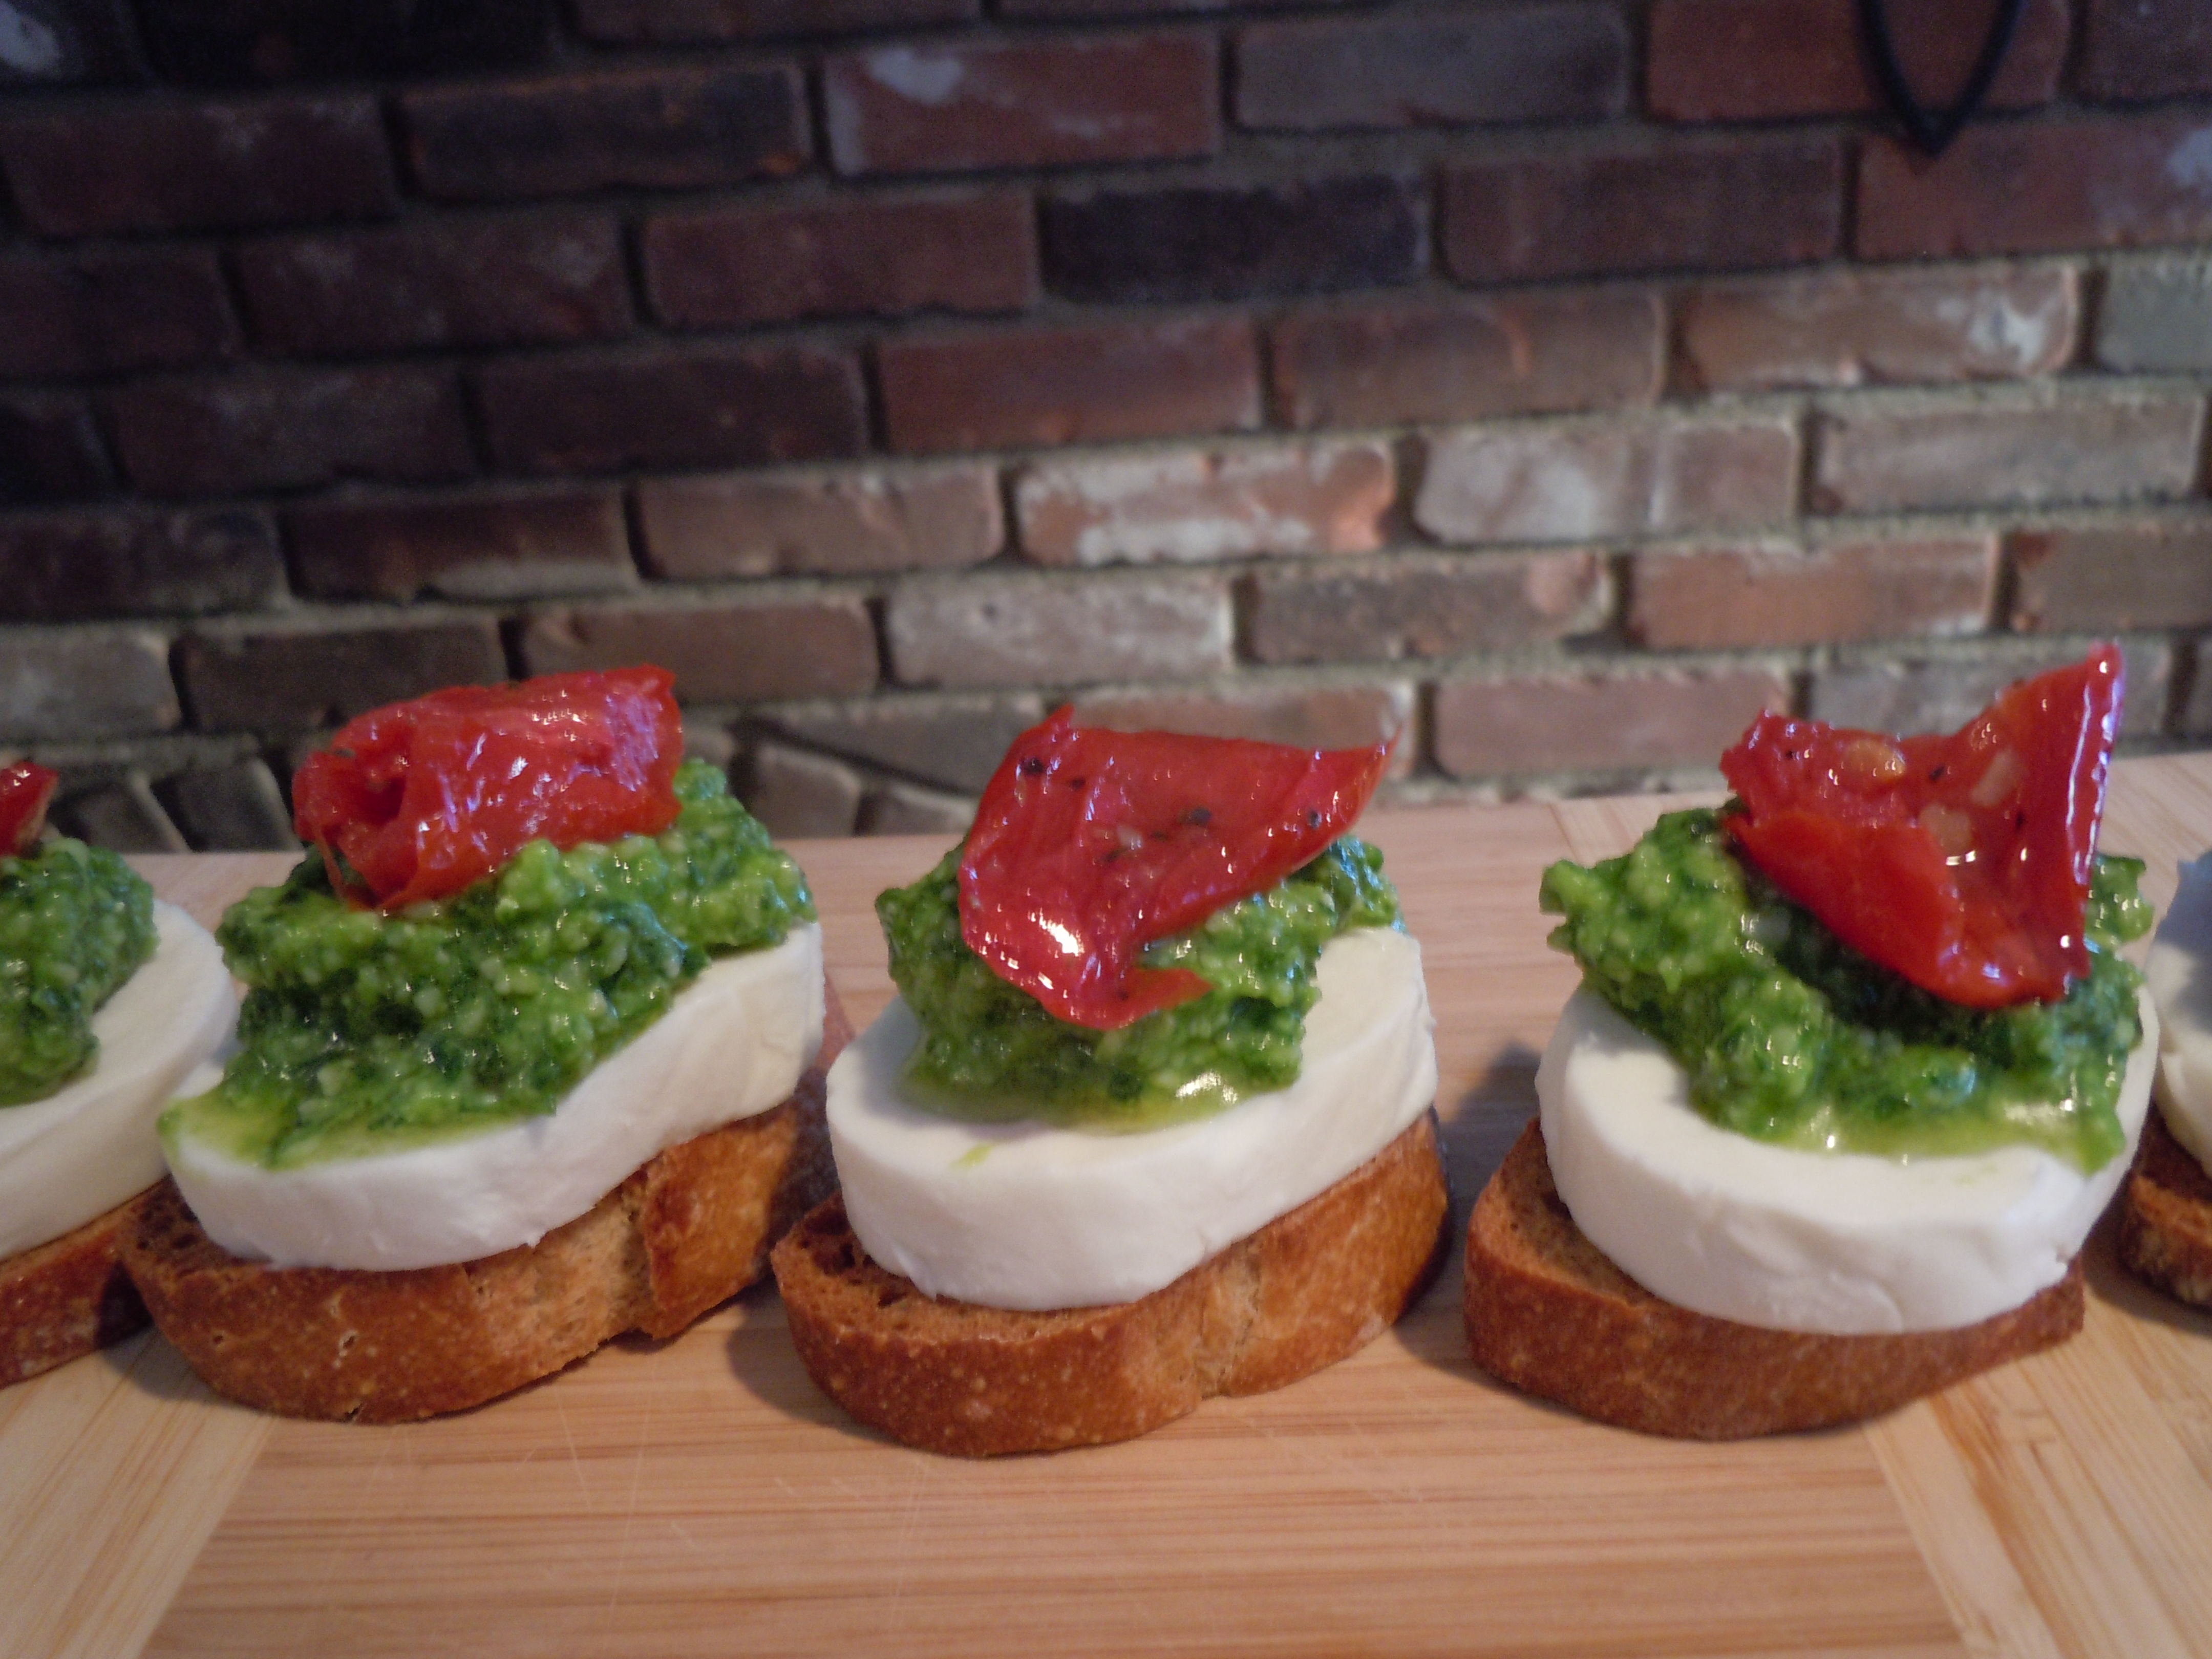
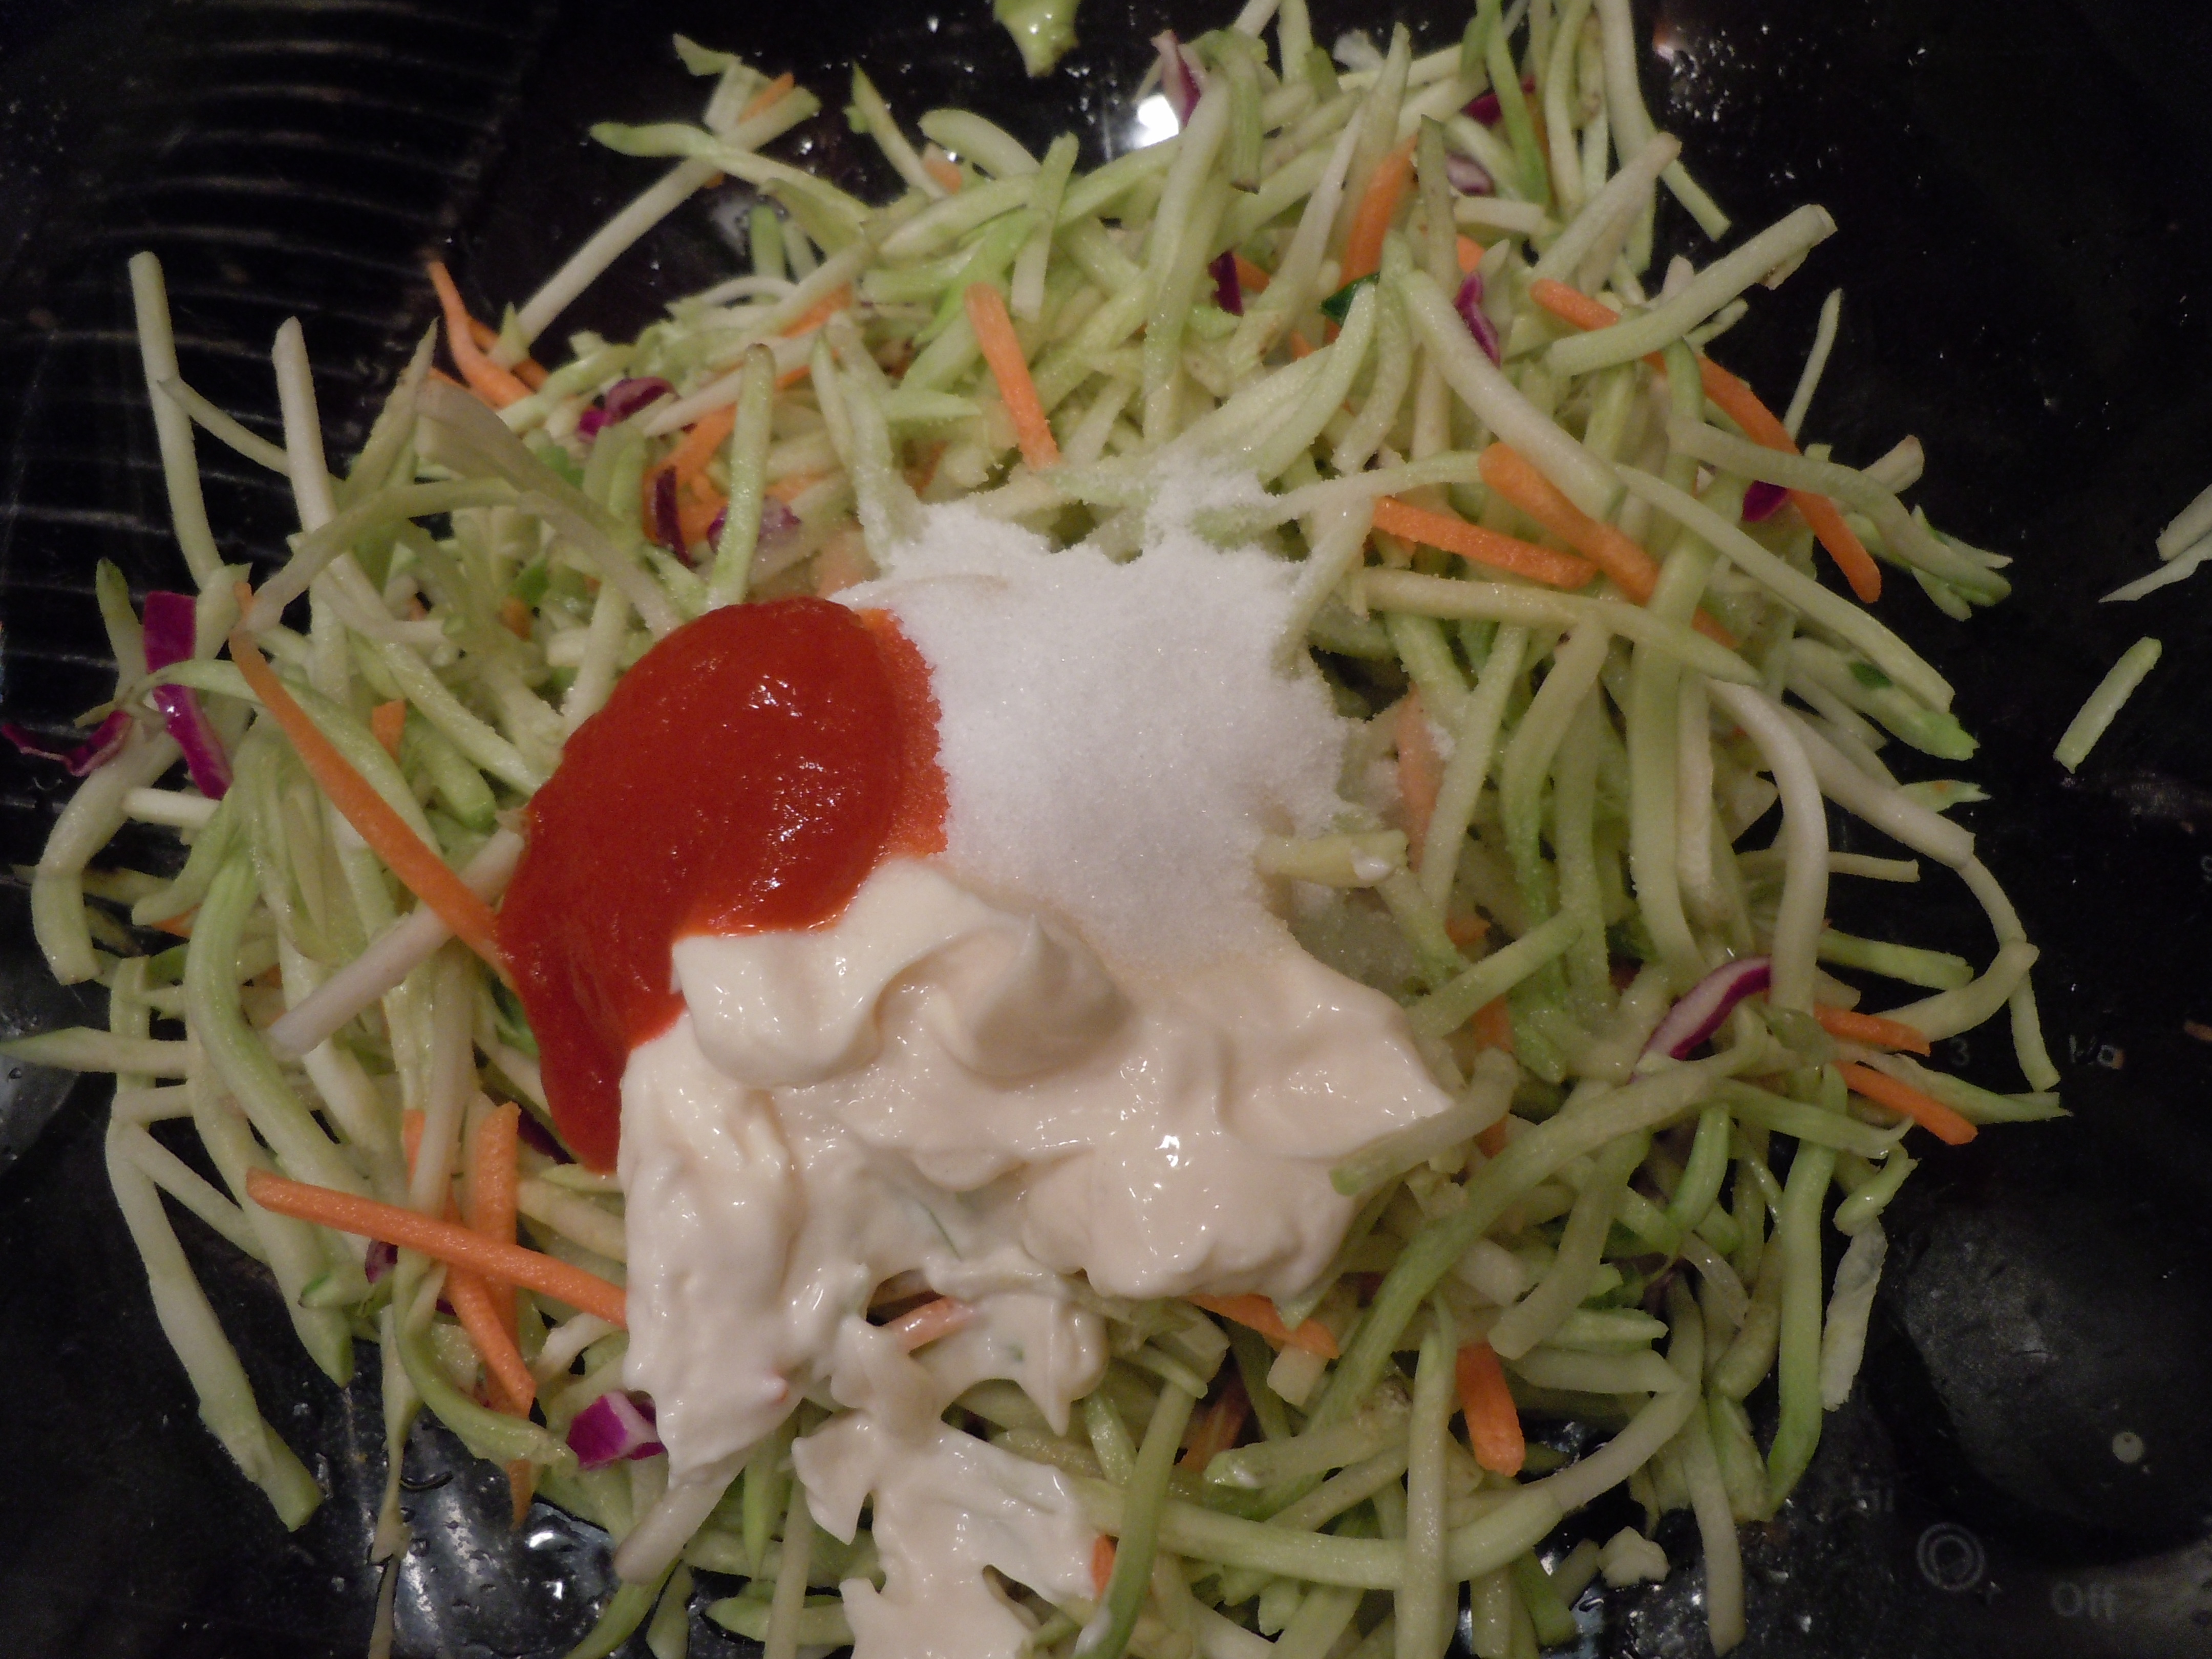
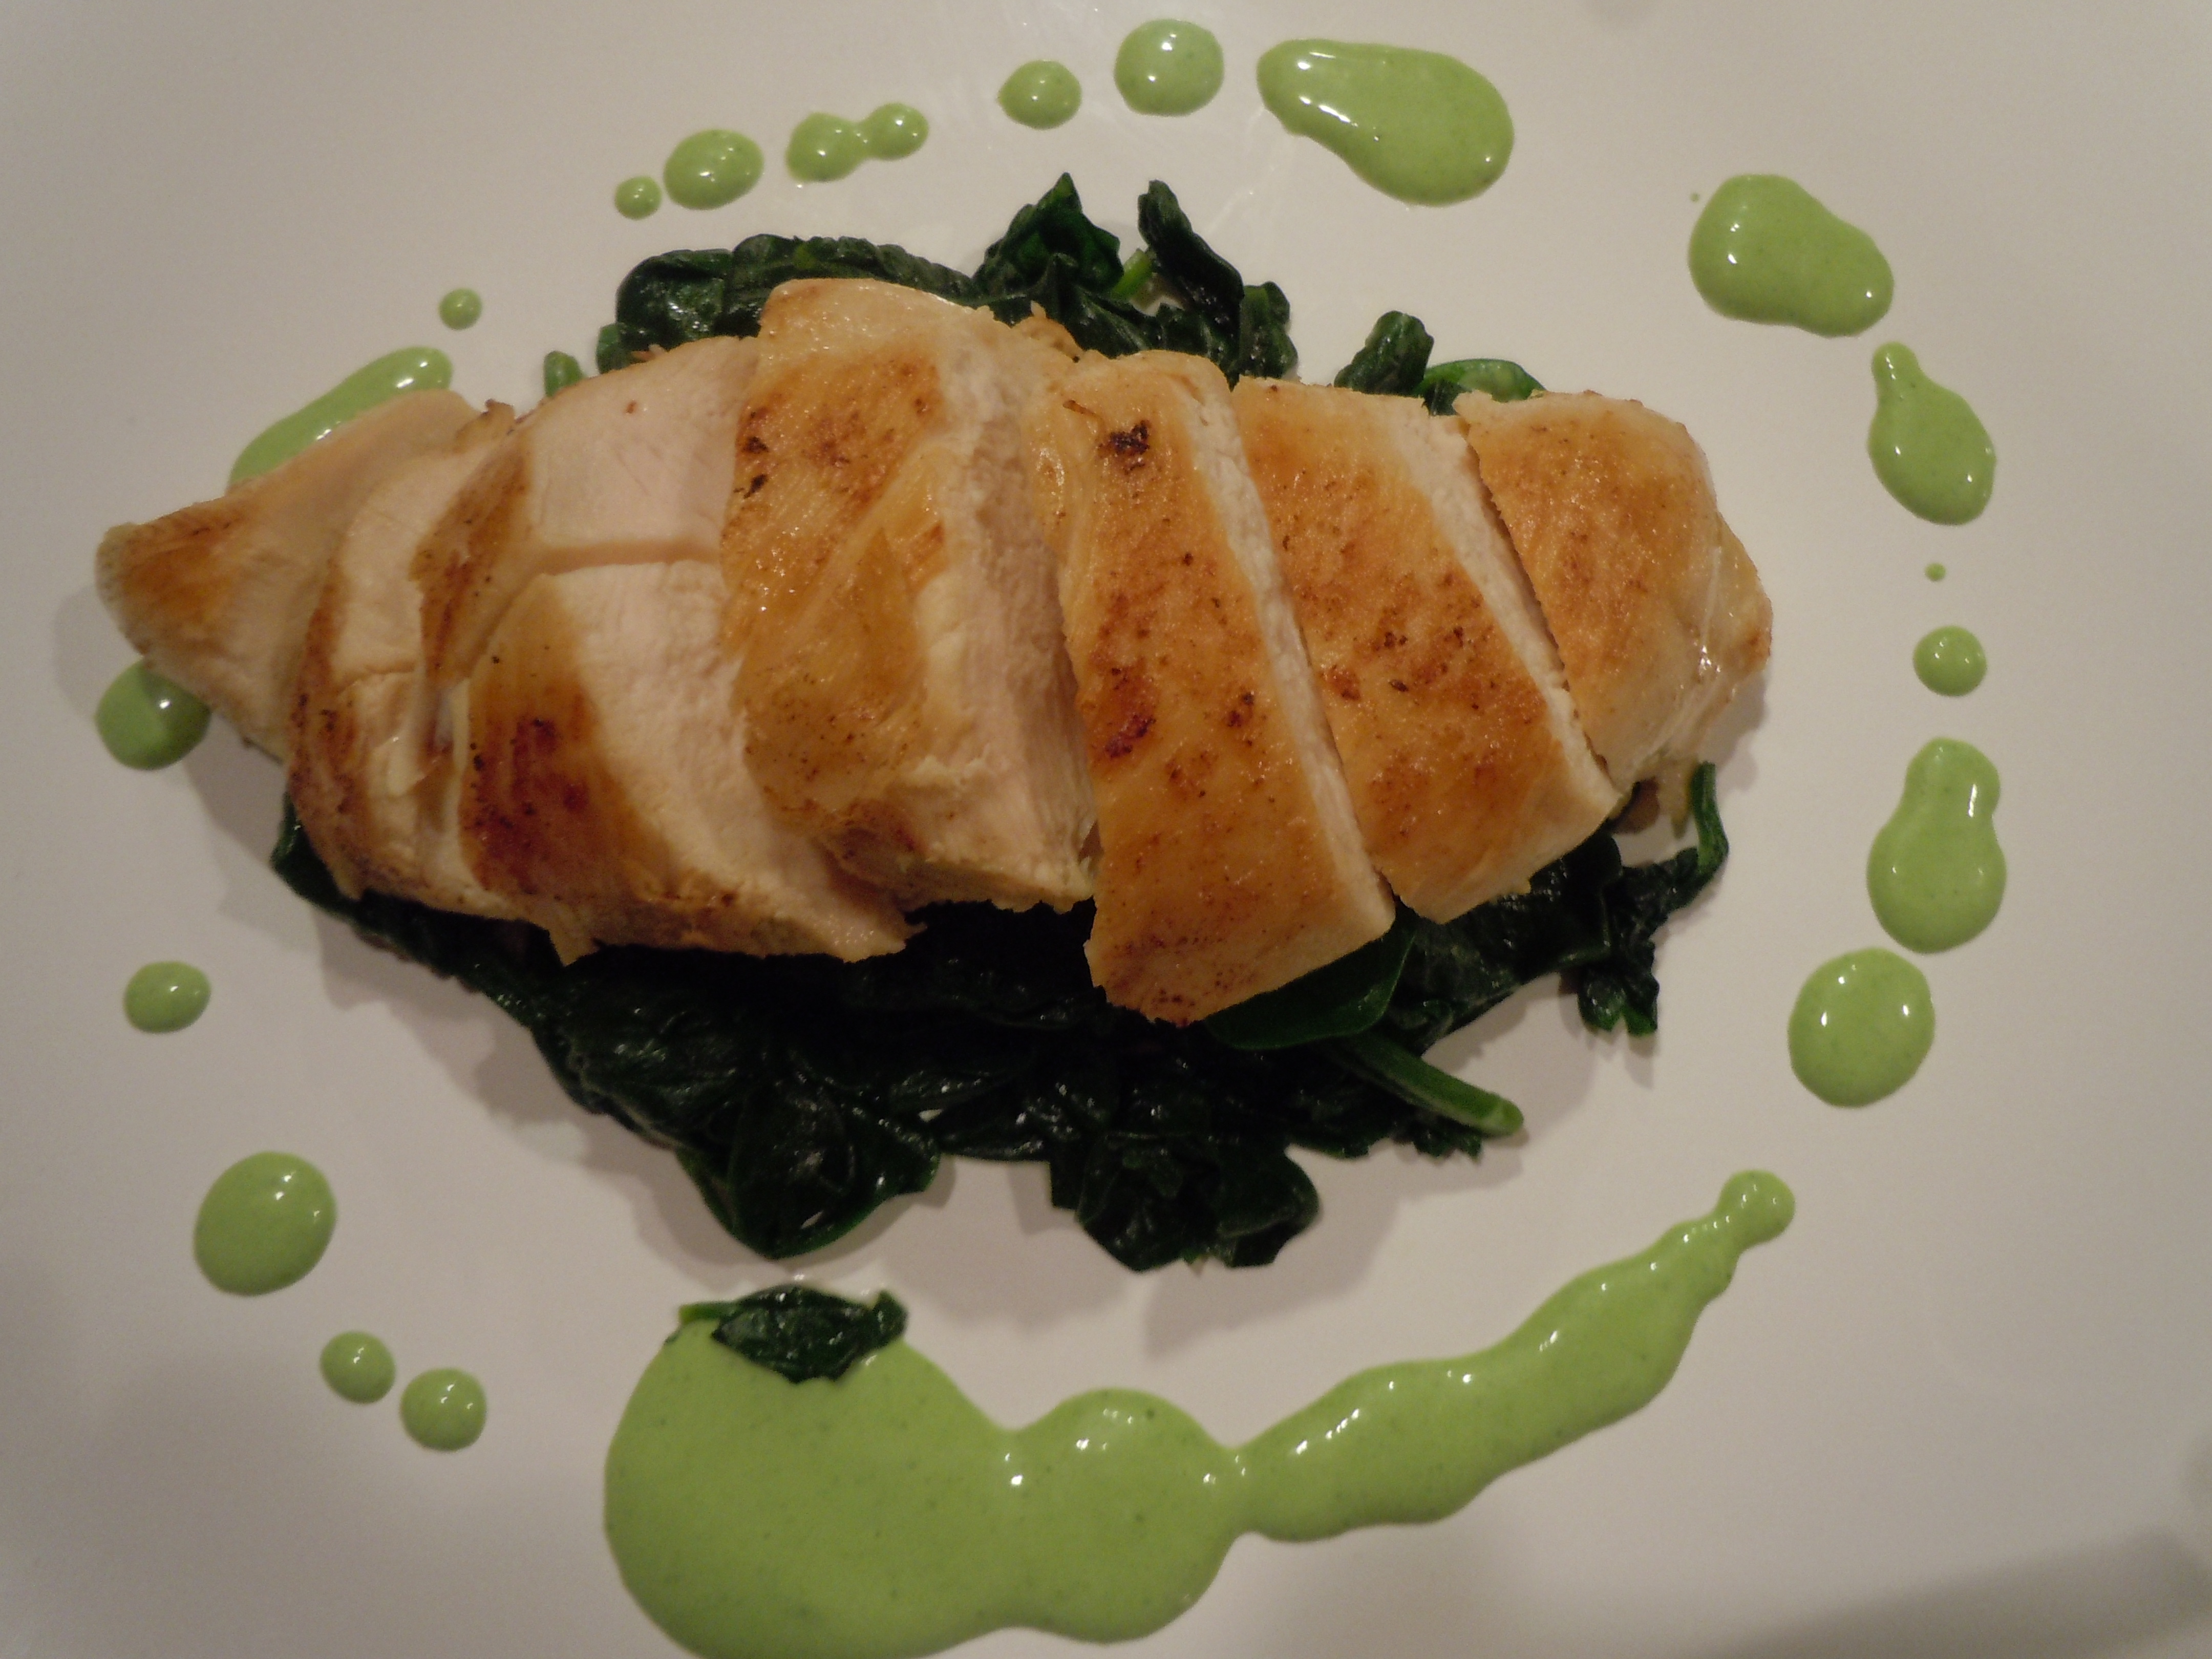
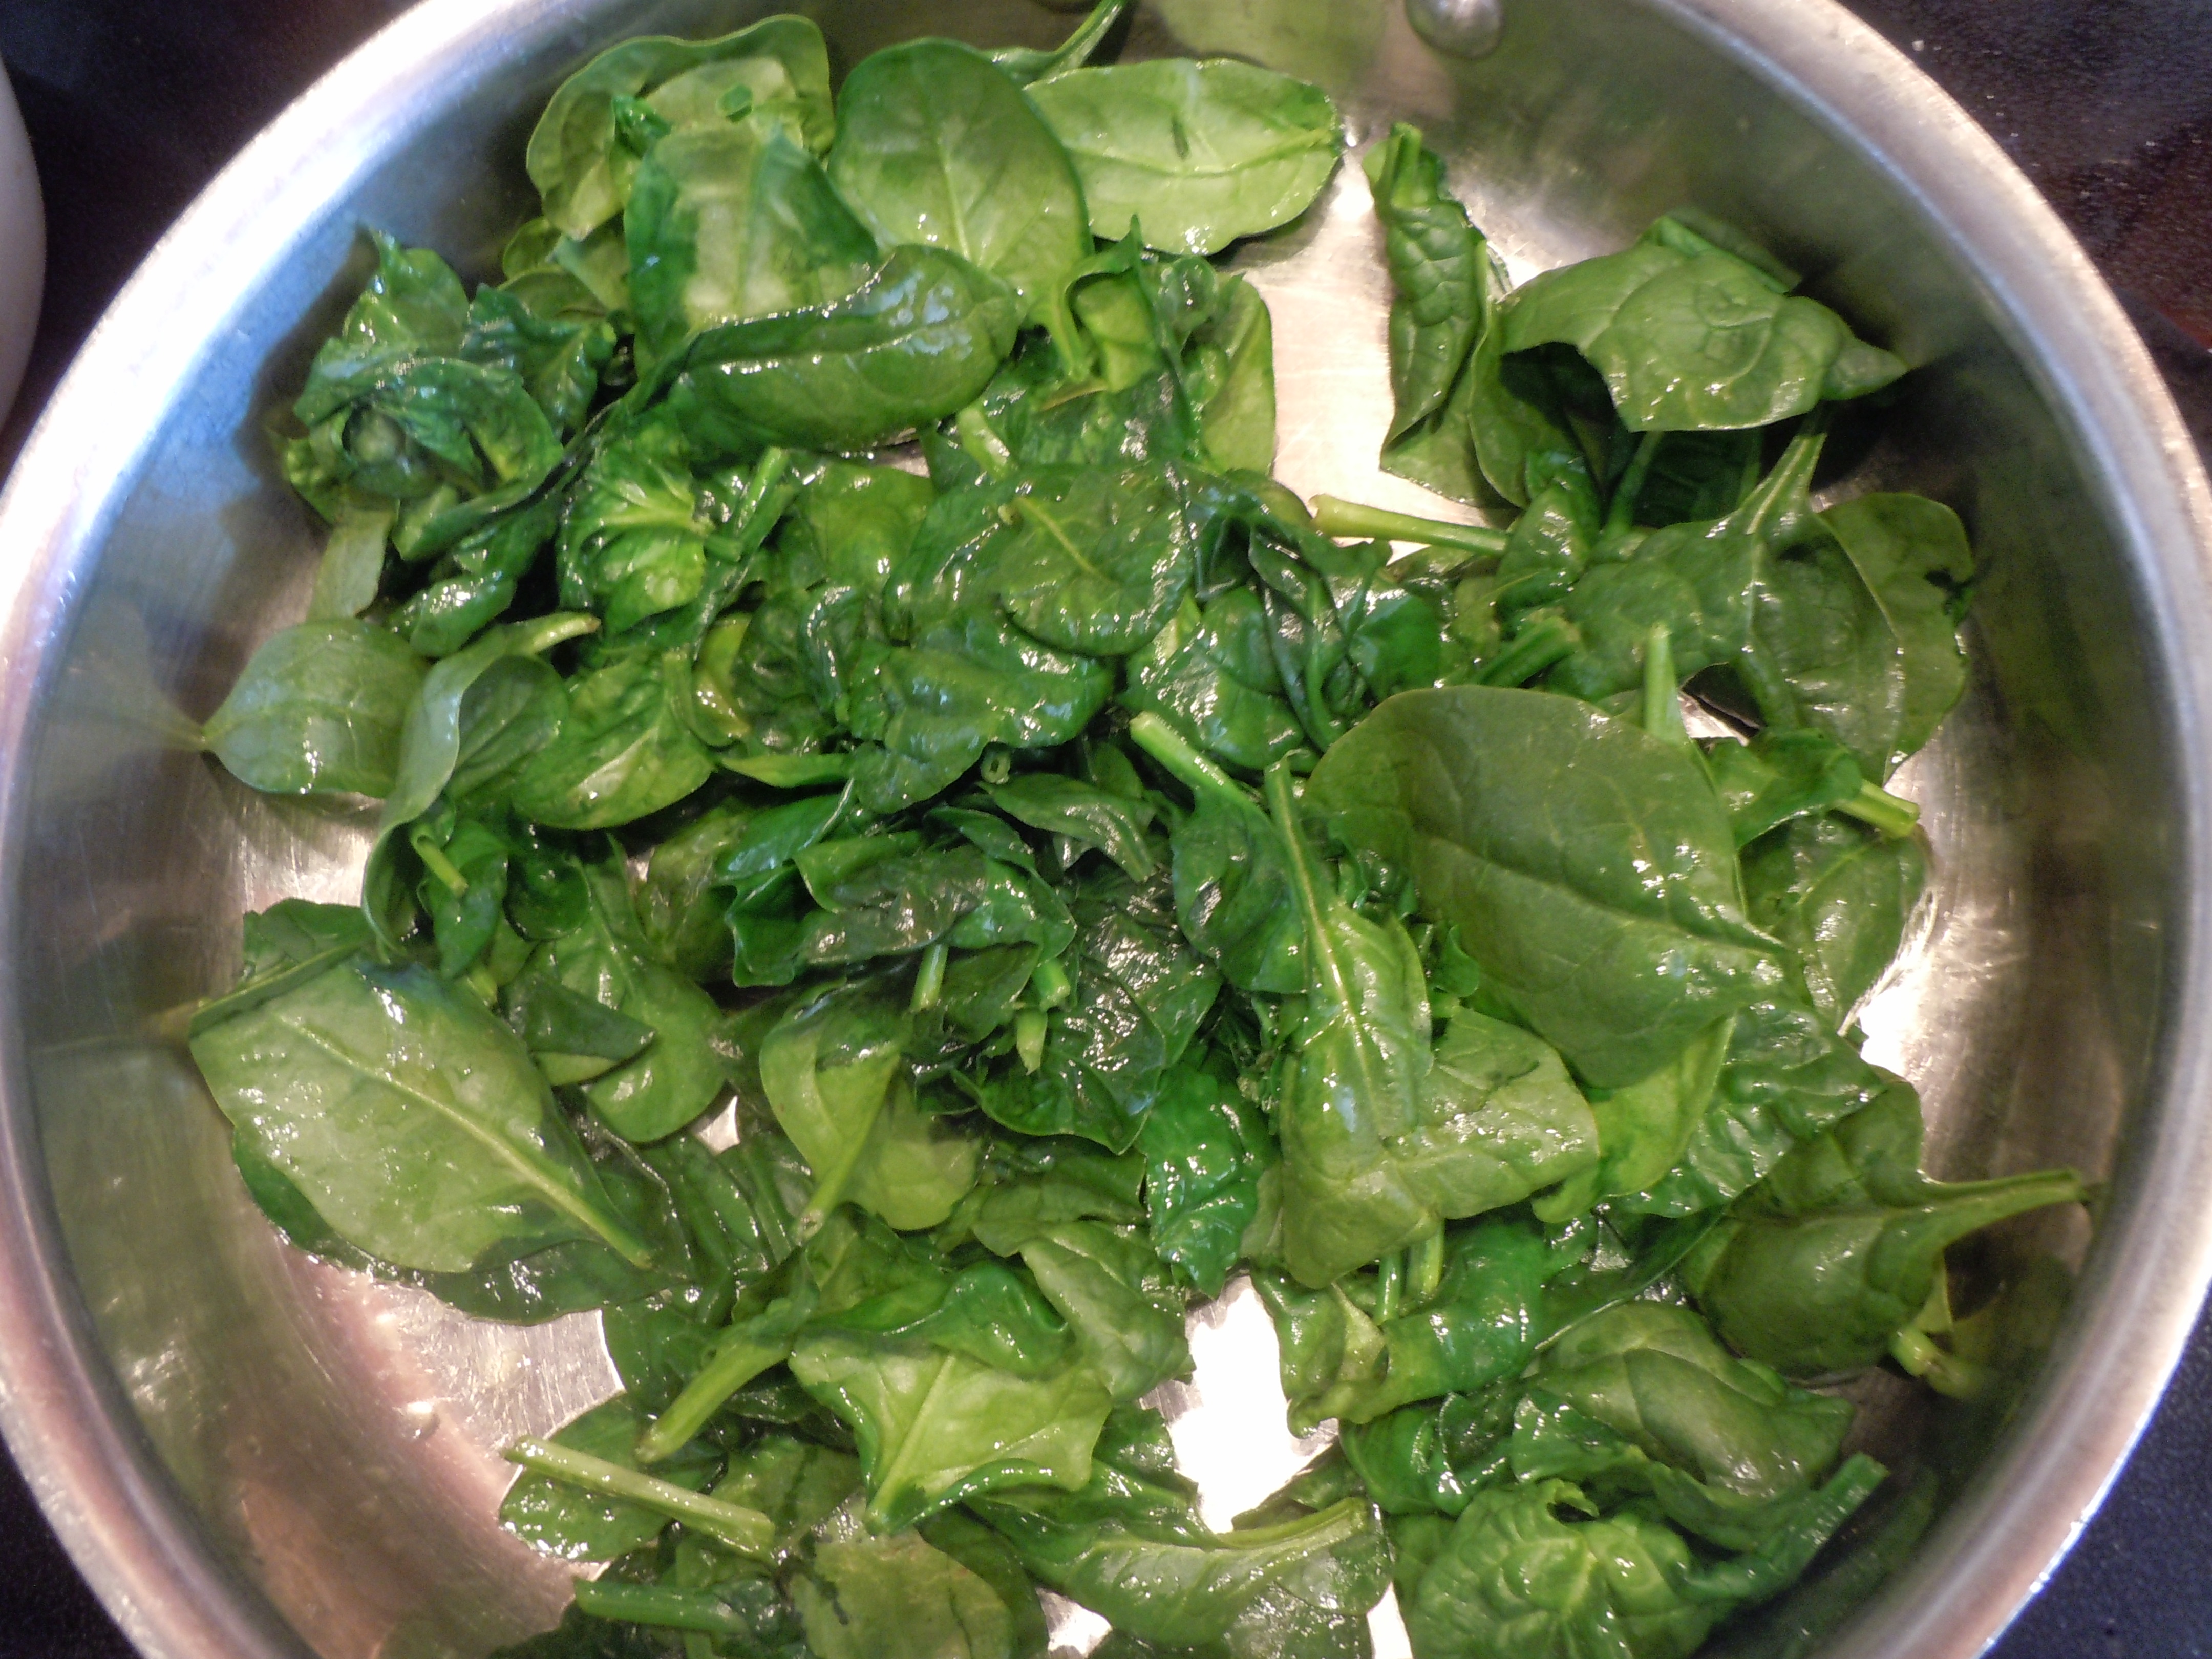
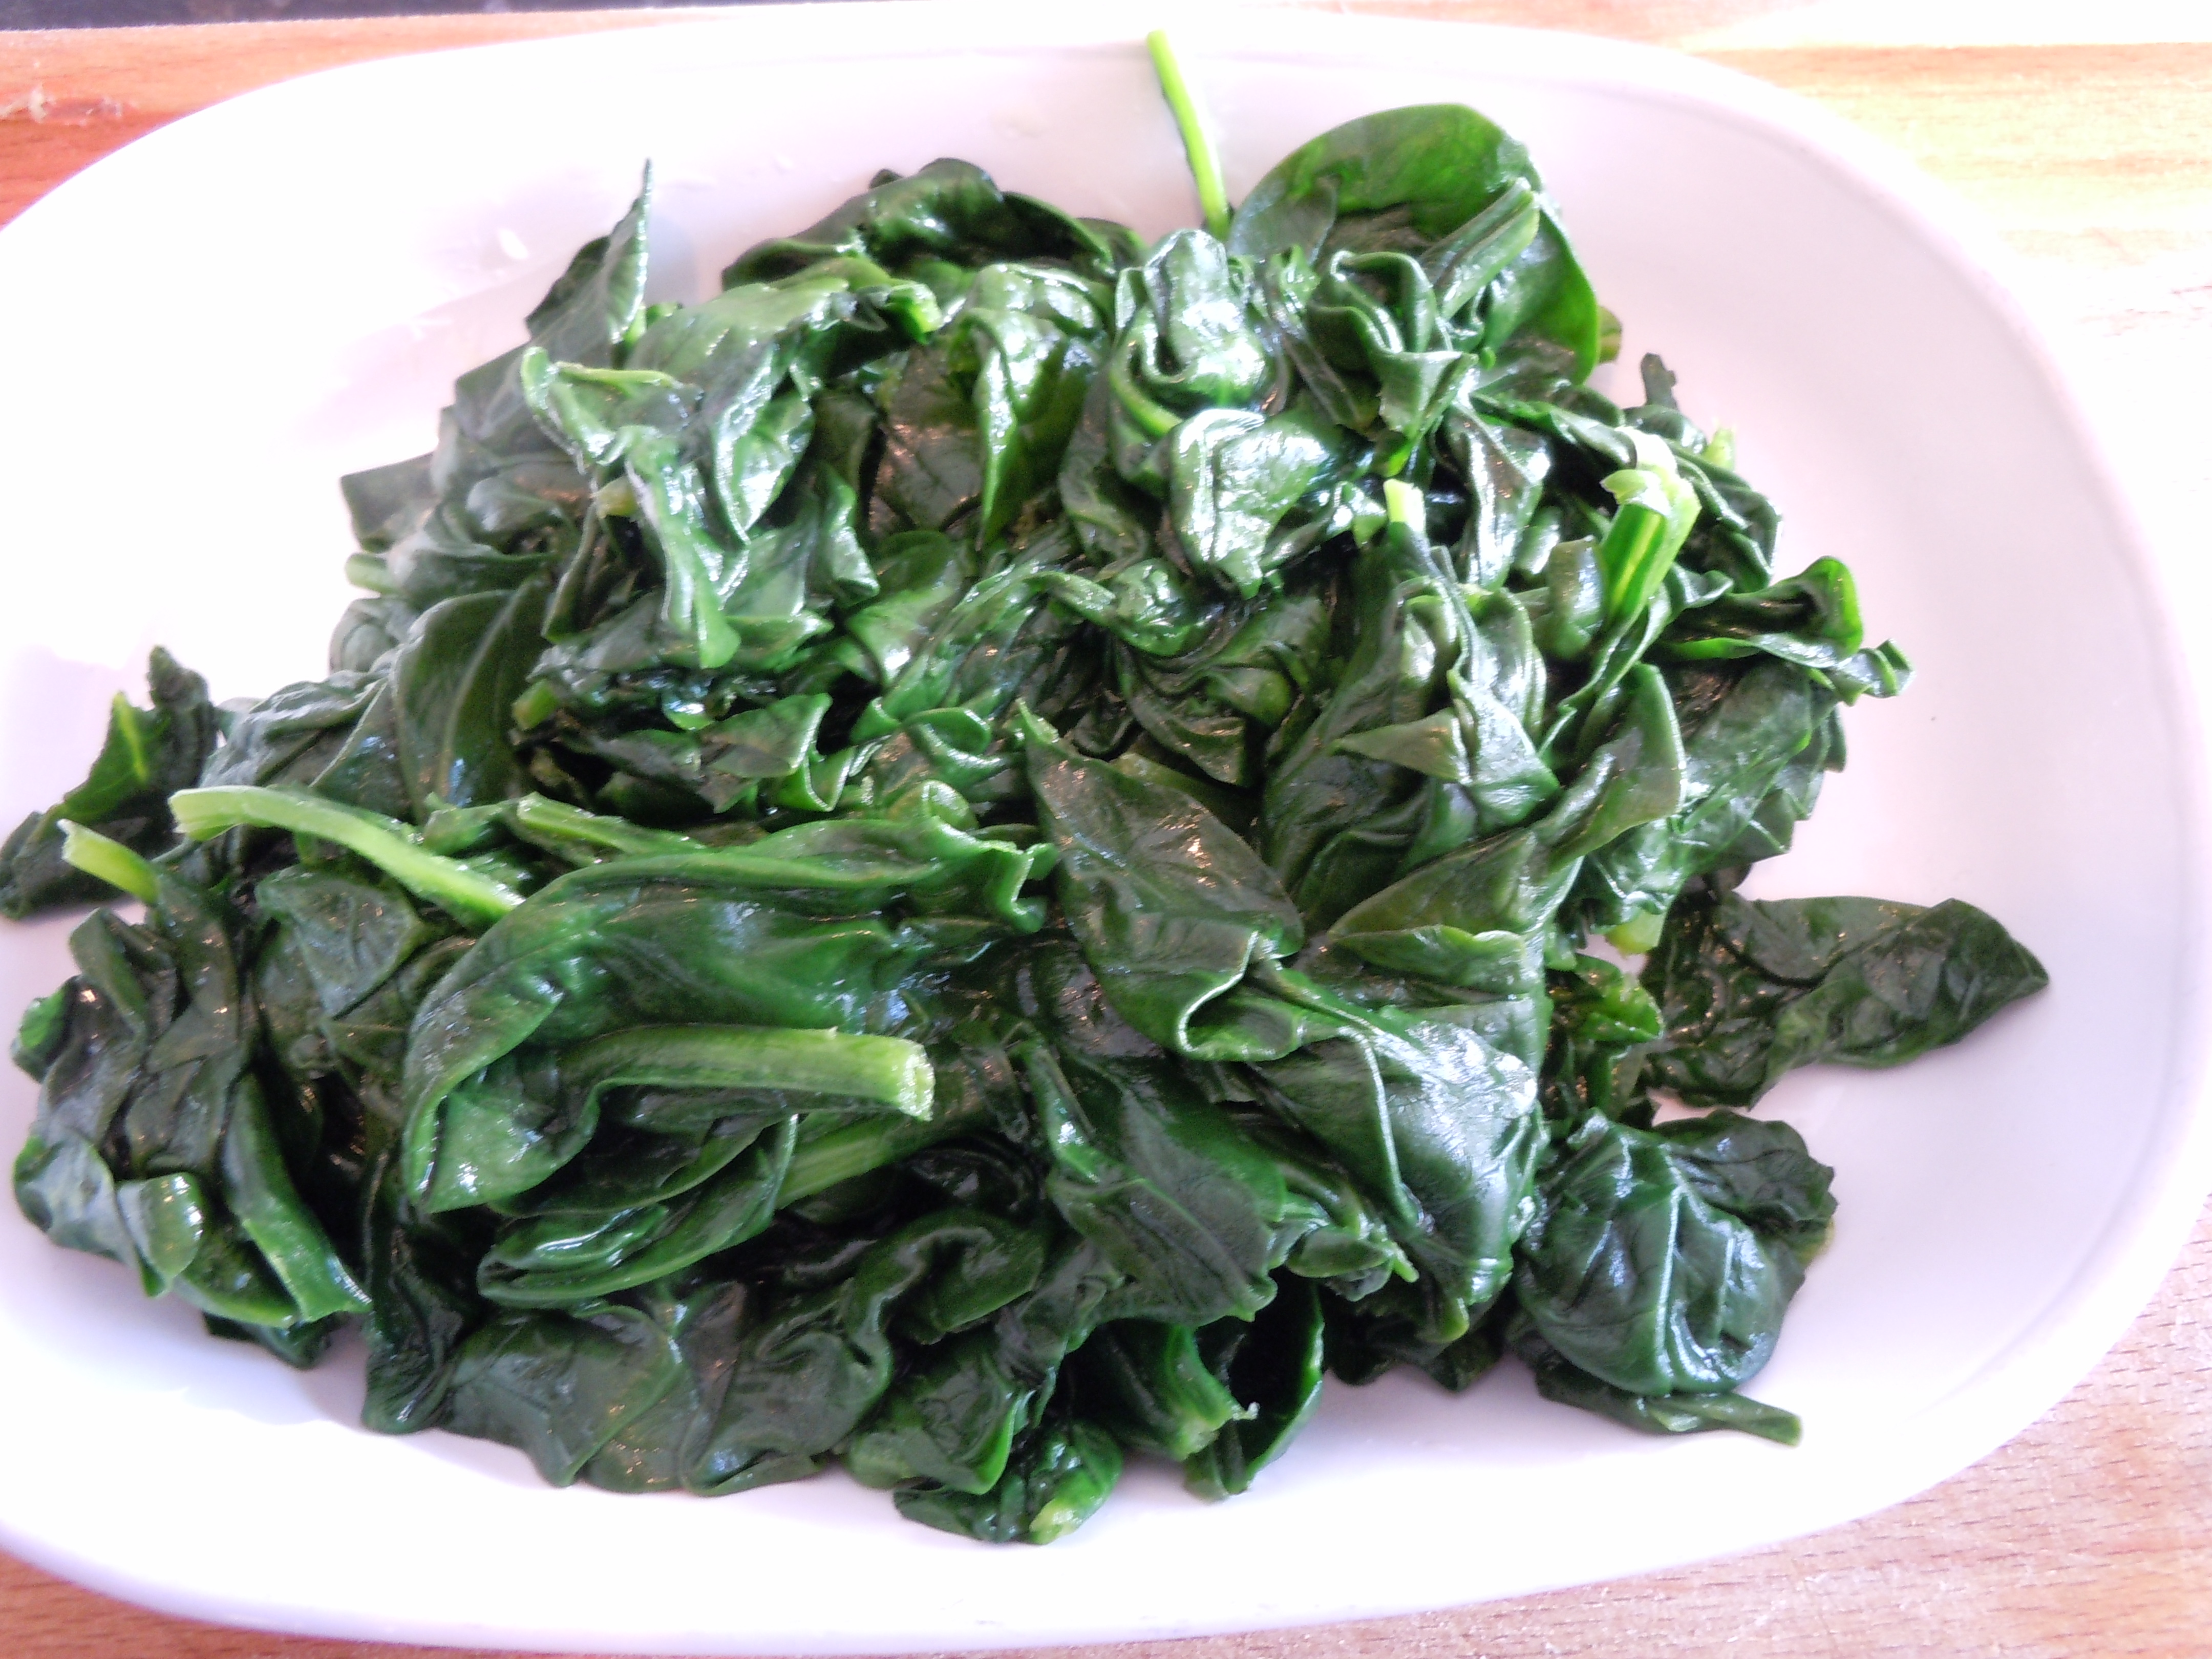
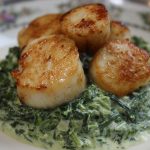
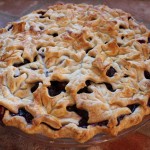 If you are on an appetizer roll you ought to try my Crab Cakes with Homemade Thousand Island Dressing, or Baked Spinach & Feta Spankopita Triangles with Metaxa Mojito’s are to die for, Homemade Salmon Gravlax are one of my all time favorites and so easy to make with fresh dill sprigs and vodka or eau de vie! My “Steakhouse” Cream Spinach is a huge crowd pleaser. For dessert, a Best Blueberry Pie with My 5 Minute Pie Crust always calls out to me! ENJOY! 🙂


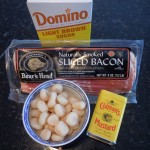

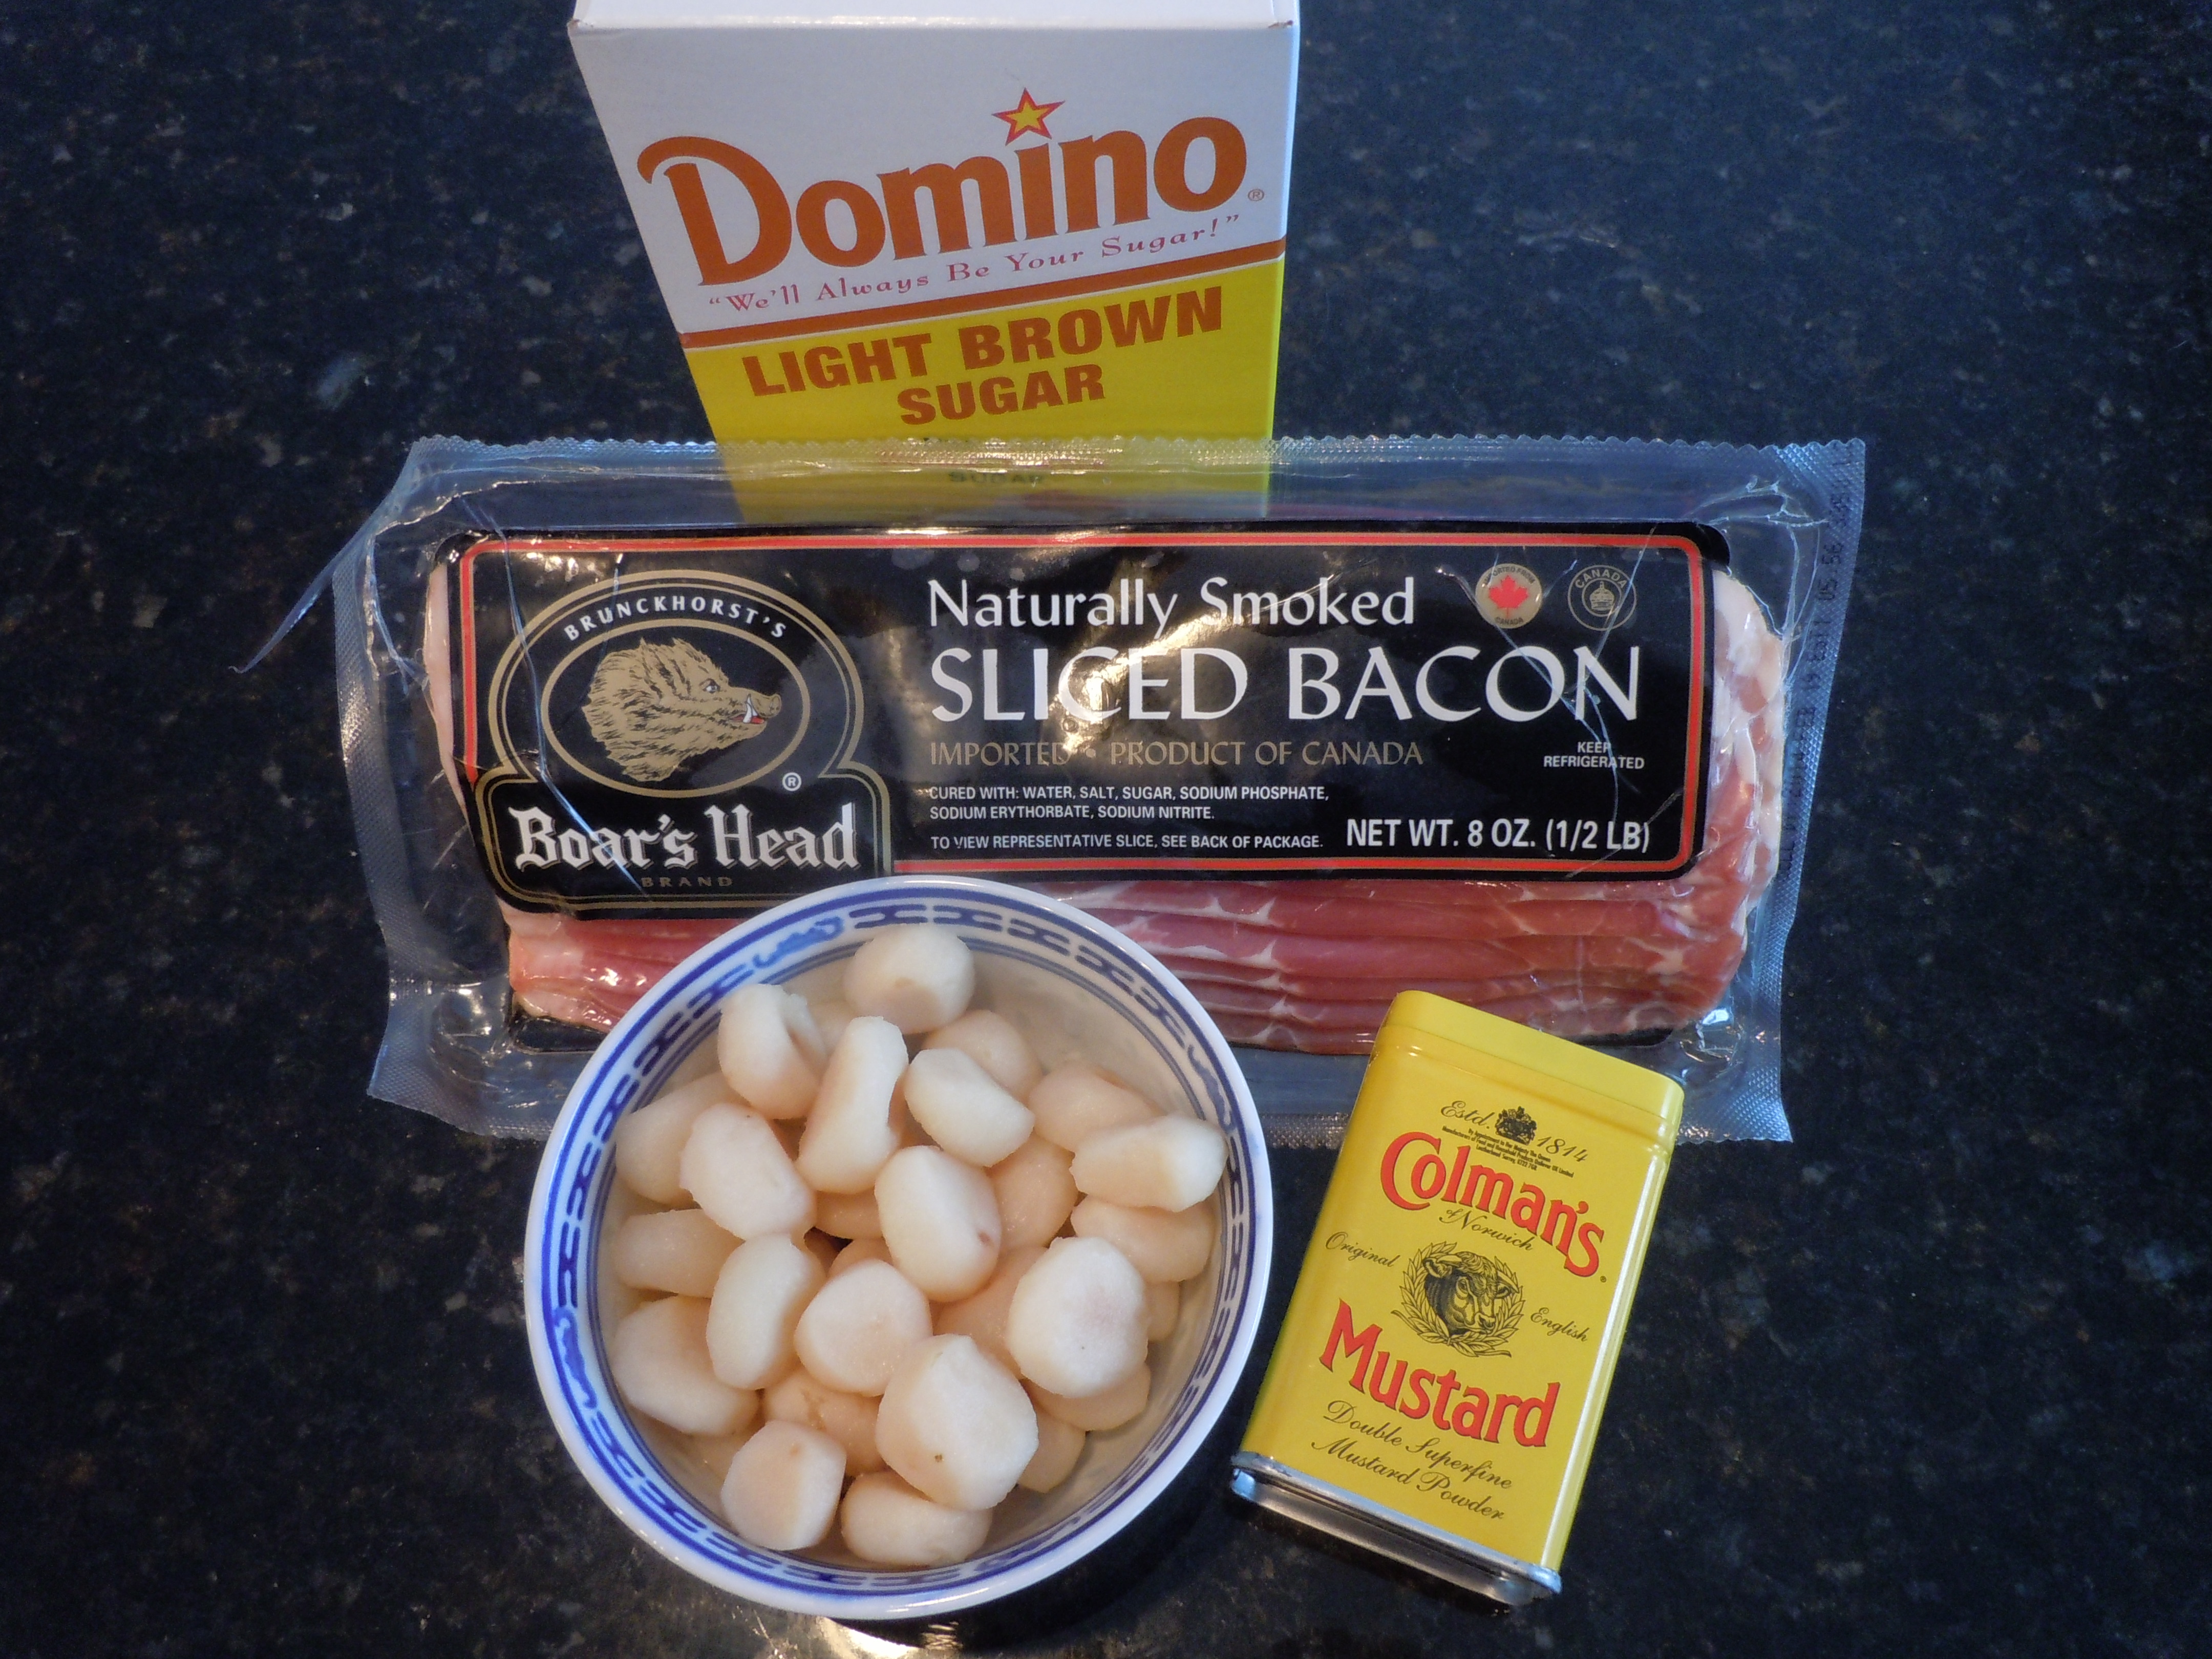
Ingredients:
- 2 cans whole water chestnuts ( Geisha – approx 18 per can)
- 1 lb. Boar’s Head bacon (sliced into 3″ strips)
- 1 cup light brown sugar
- 2 tbsp Colemans dry mustard – (if you like it less spicy only use 1 tbsp)
Directions:
- Pre-heat oven to 375º
- Whisk brown sugar and dry mustard together in a medium size bowl
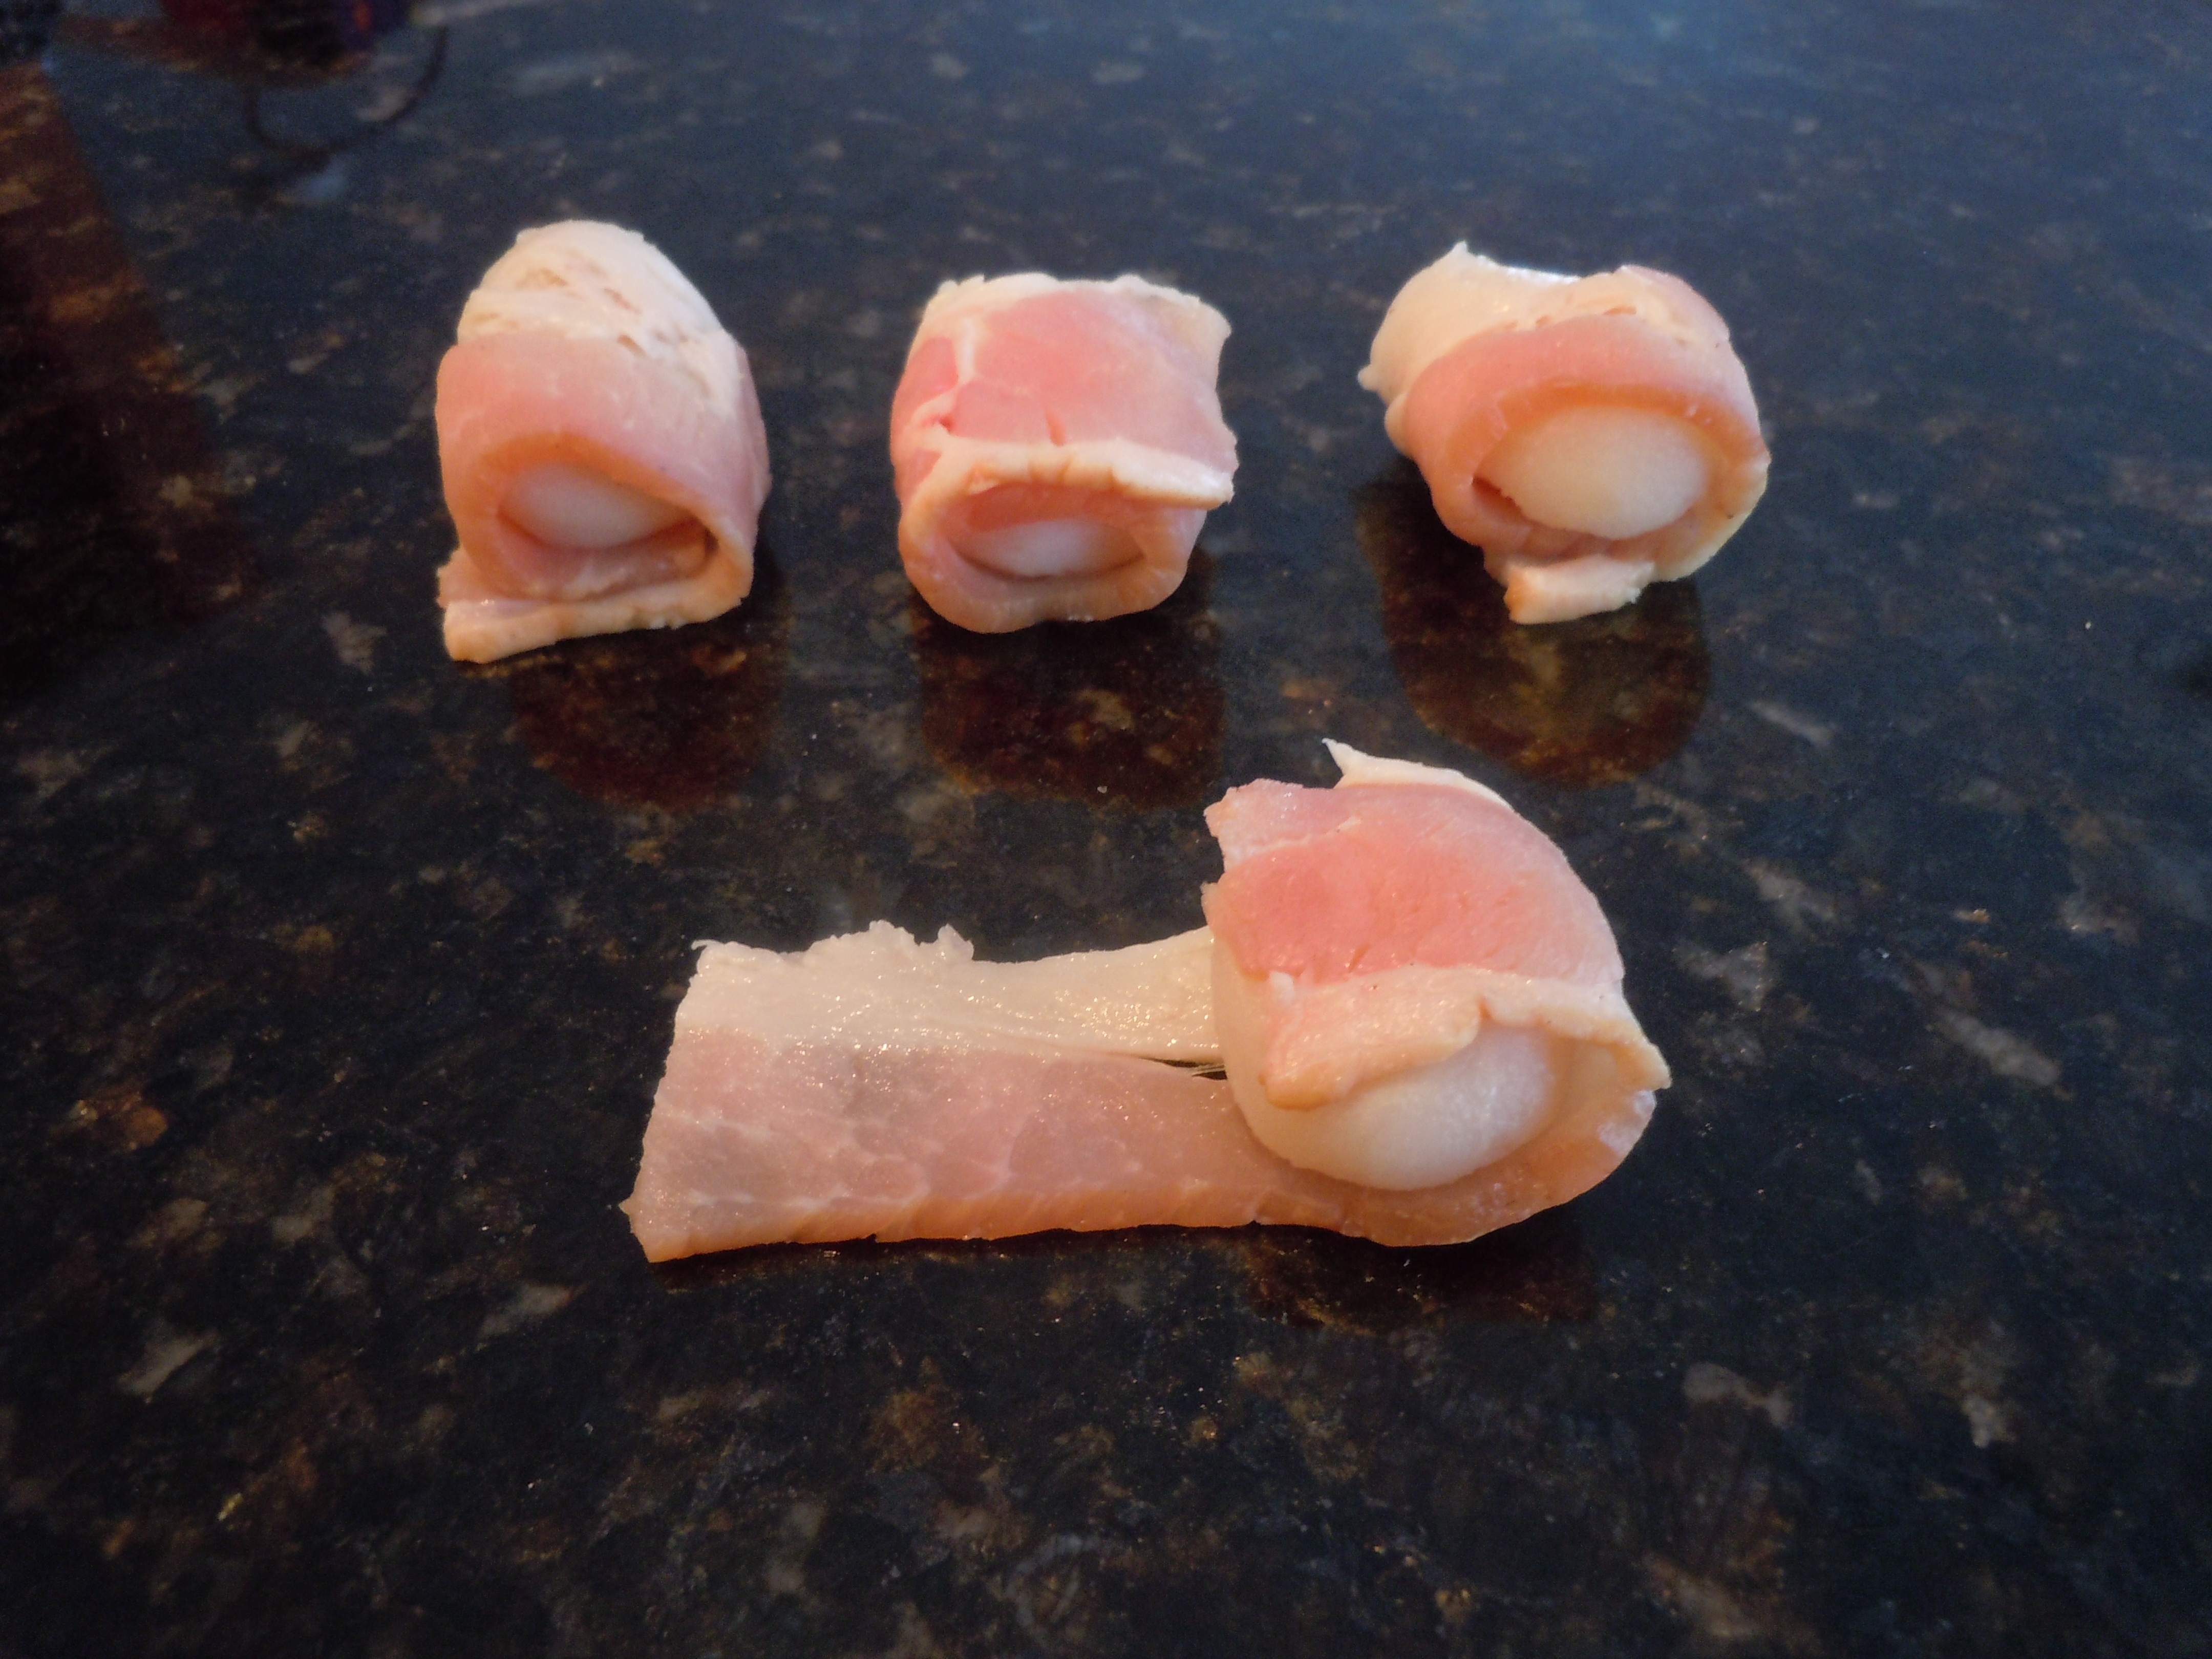
- Slice up the bacon into 3″ pieces
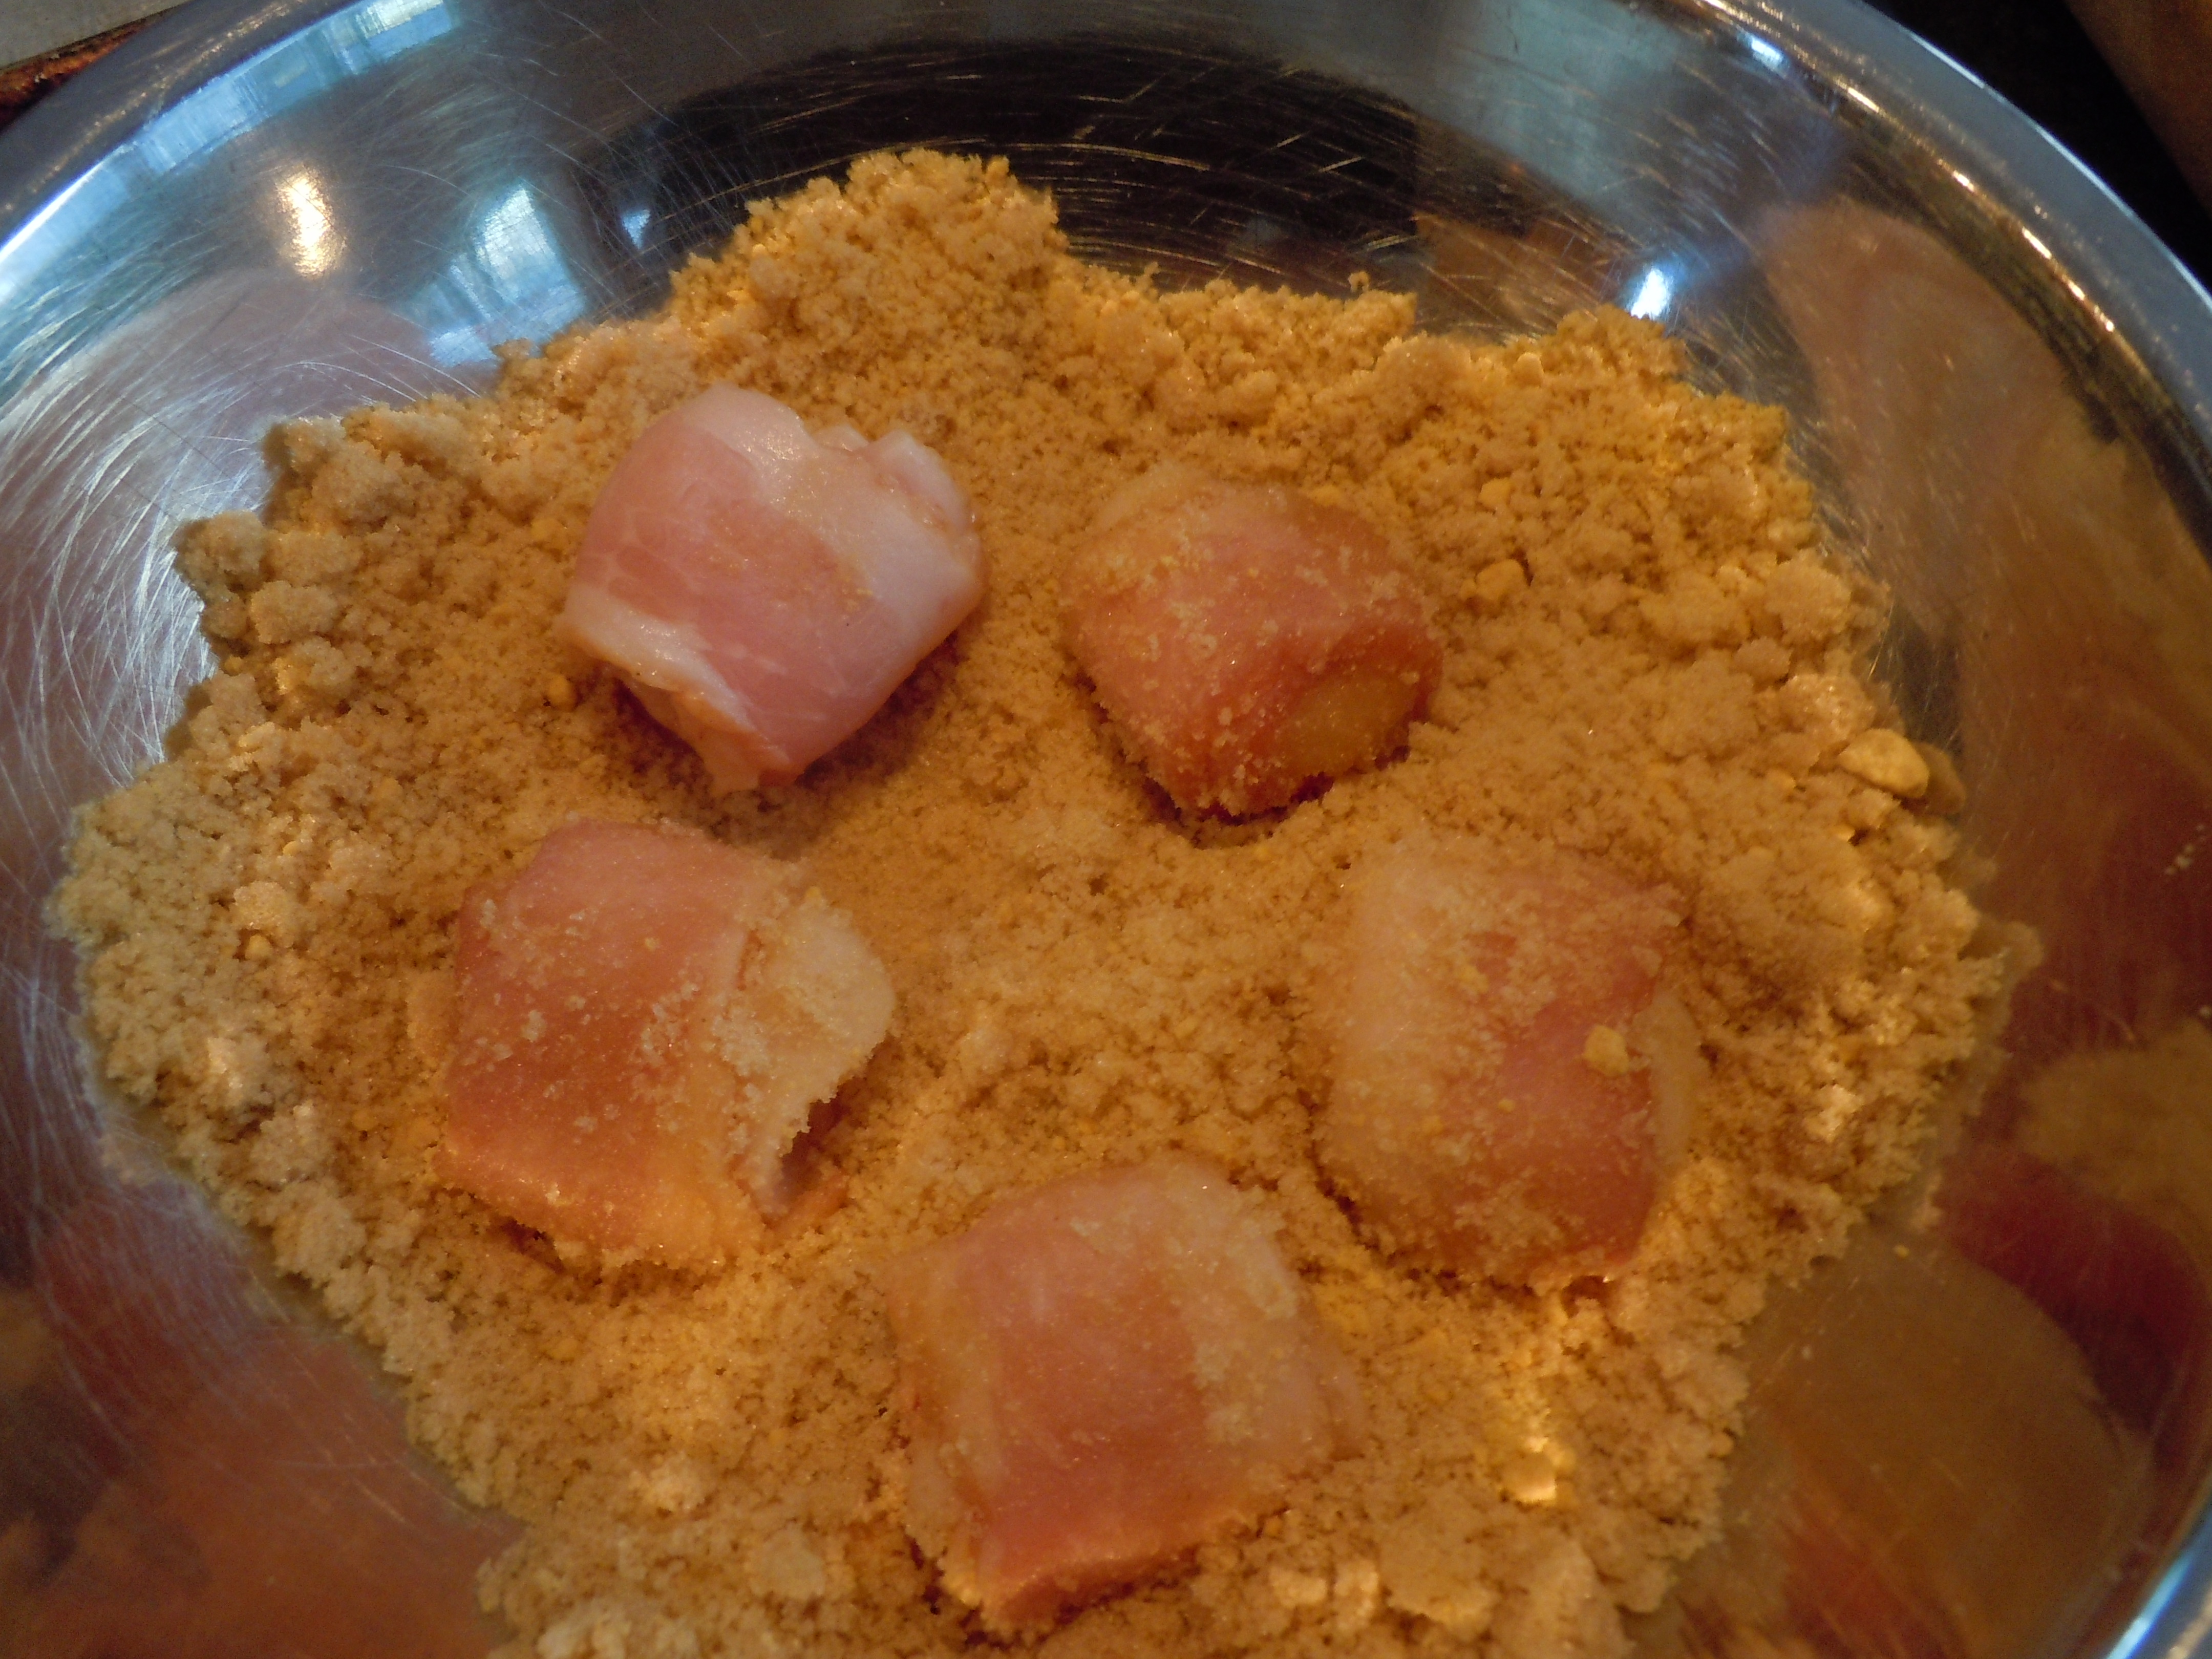
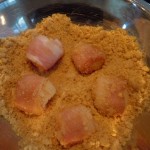
- Wrap each water chestnut on the bacon strip and roll-up,
- Then roll it around in the brown sugar mixture, you will need to press down a little to help the mixture adhere
- Place the appetizer’s seem side down on a cookie sheet
- You can use a silicone baking mat or Silpat to bake the bacon wrapped water chestnuts on, DO NOT USE FOIL because it will be stuck to the waterchestnut!
- Bake for approx. 15 minutes
- Do not flip them over
- The bottoms will be more caramelized then the tops so flip them over when you plate them to see the carmelization
- Be sure to let them cool a pinch before eating because the chestnuts get pretty hot along with the sugar
- These are a great party item because you can prep a day ahead, BUT DO NOT DREDGE them into the brown sugar mixture until right before you put them into the oven or they will get watery
- Just wrap chestnuts in bacon, place onto a cookie tray and pop them into the frig until you are ready for them

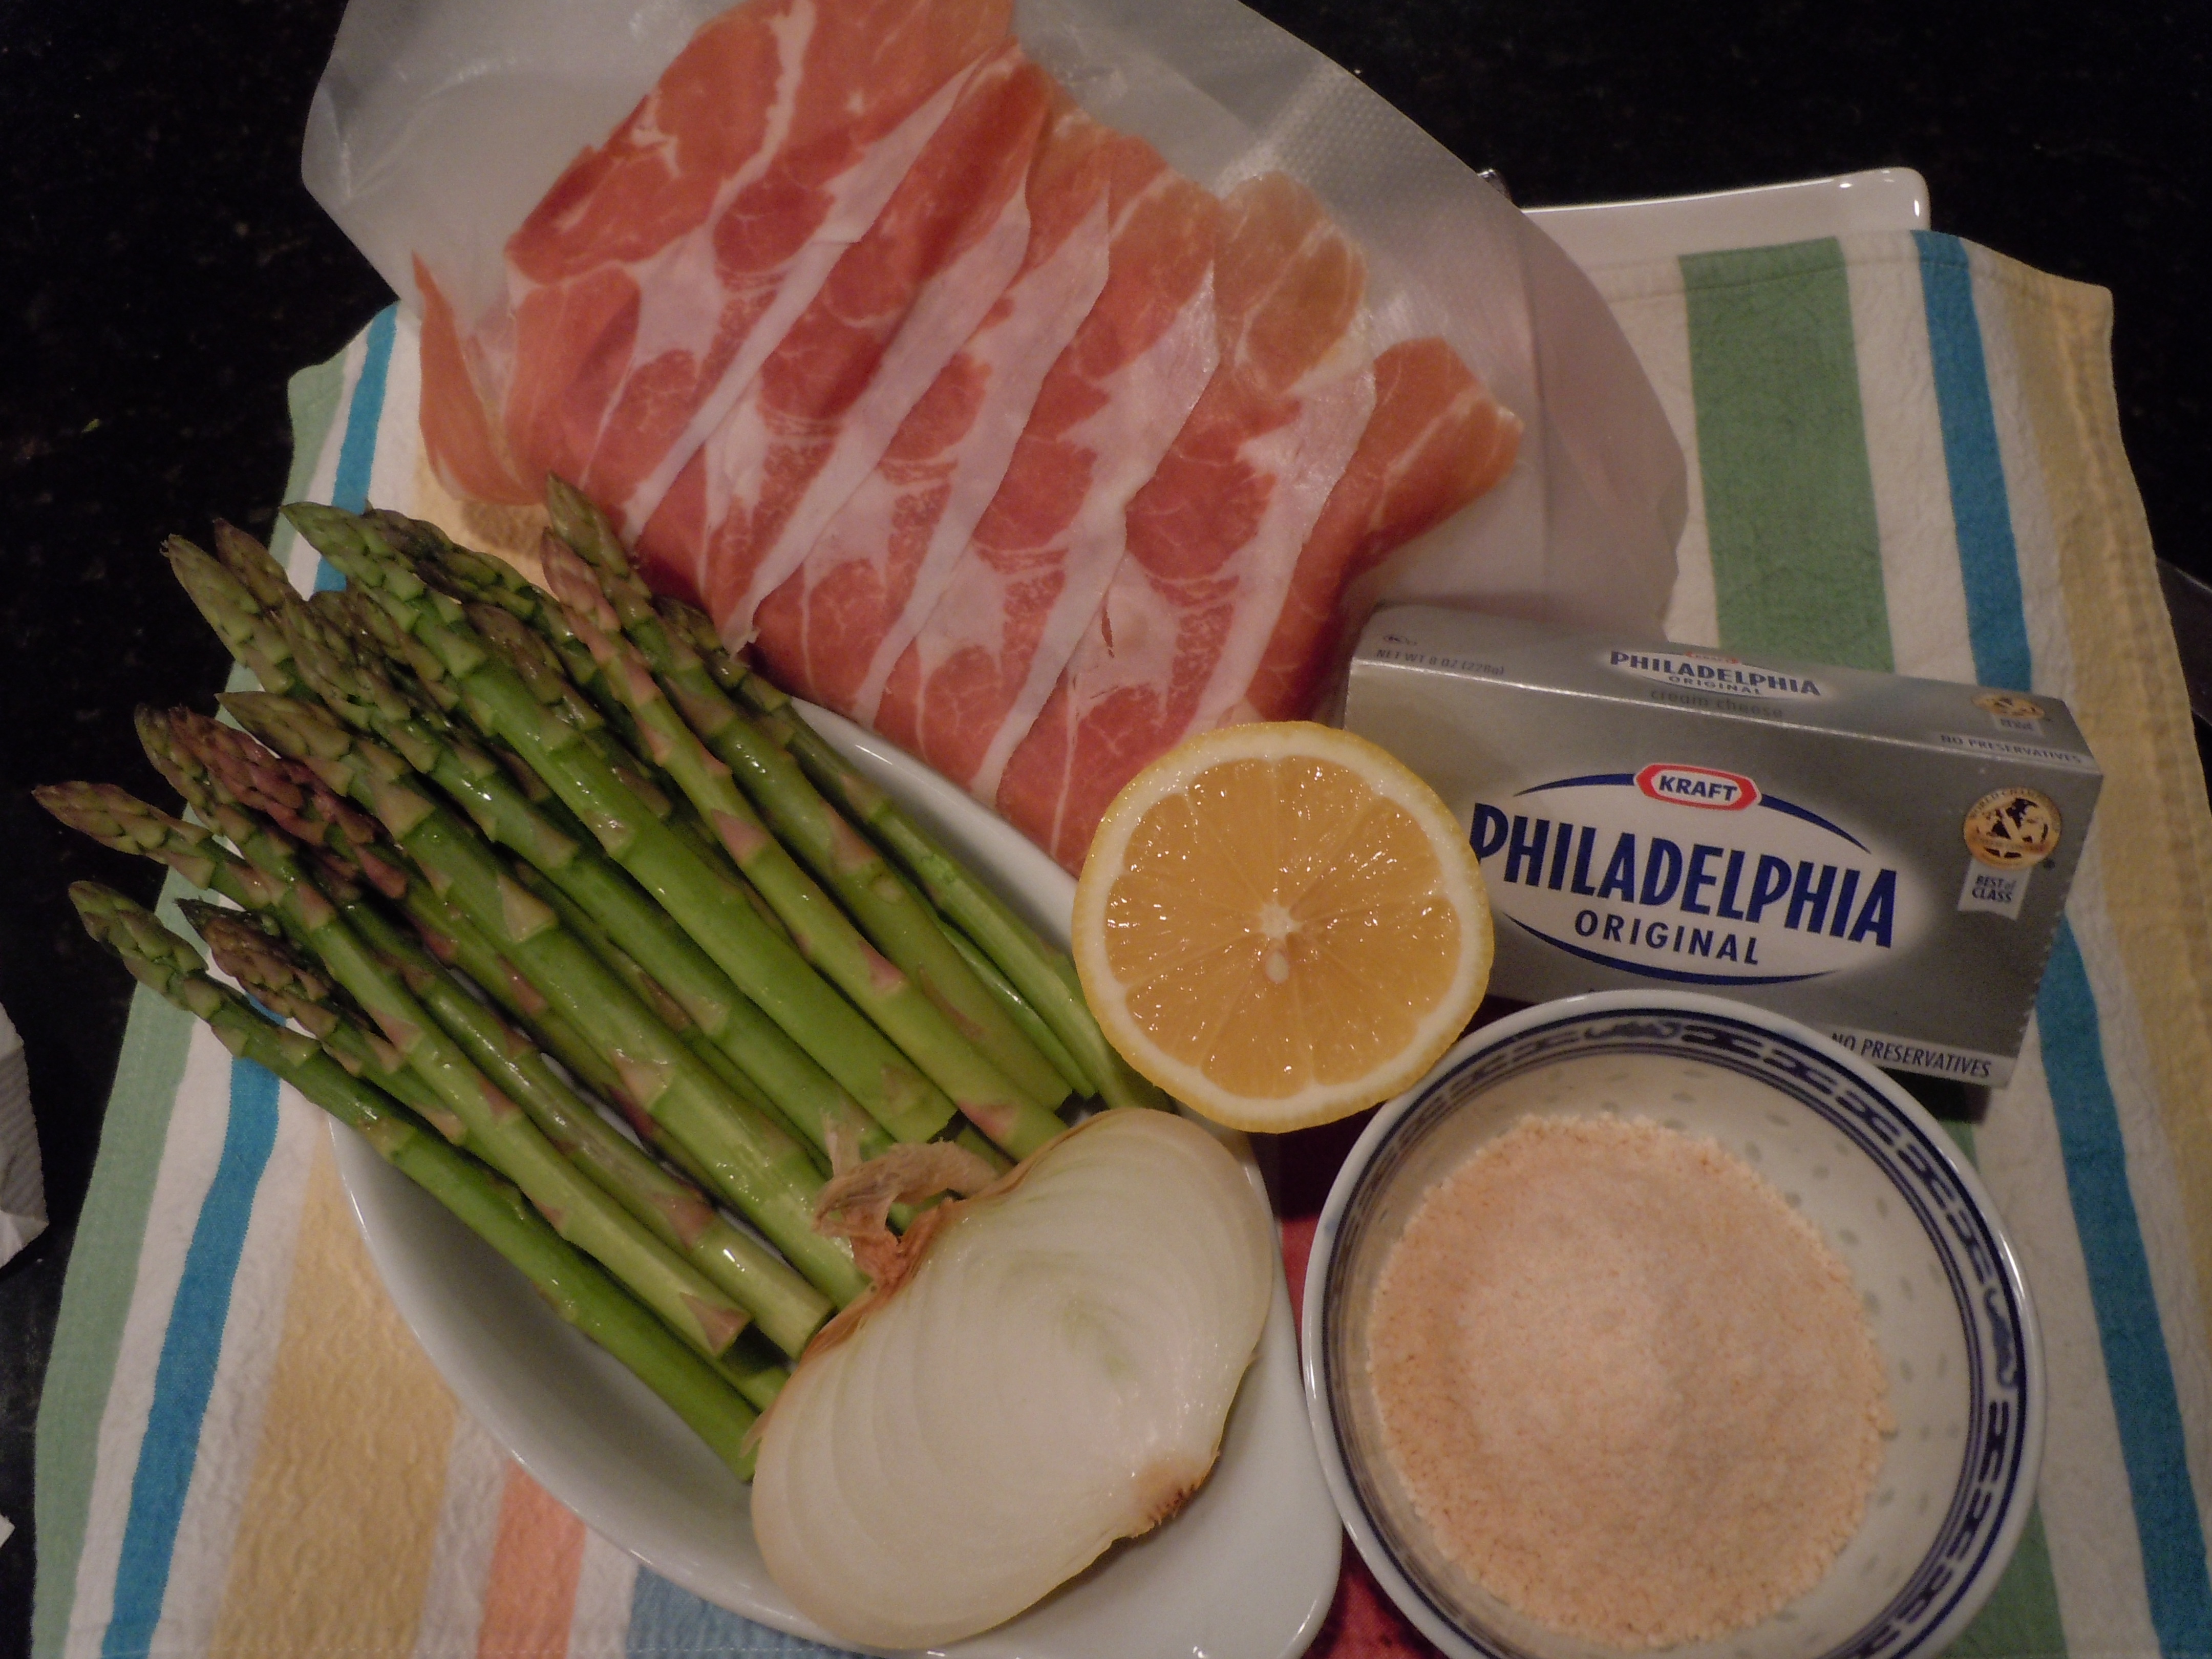
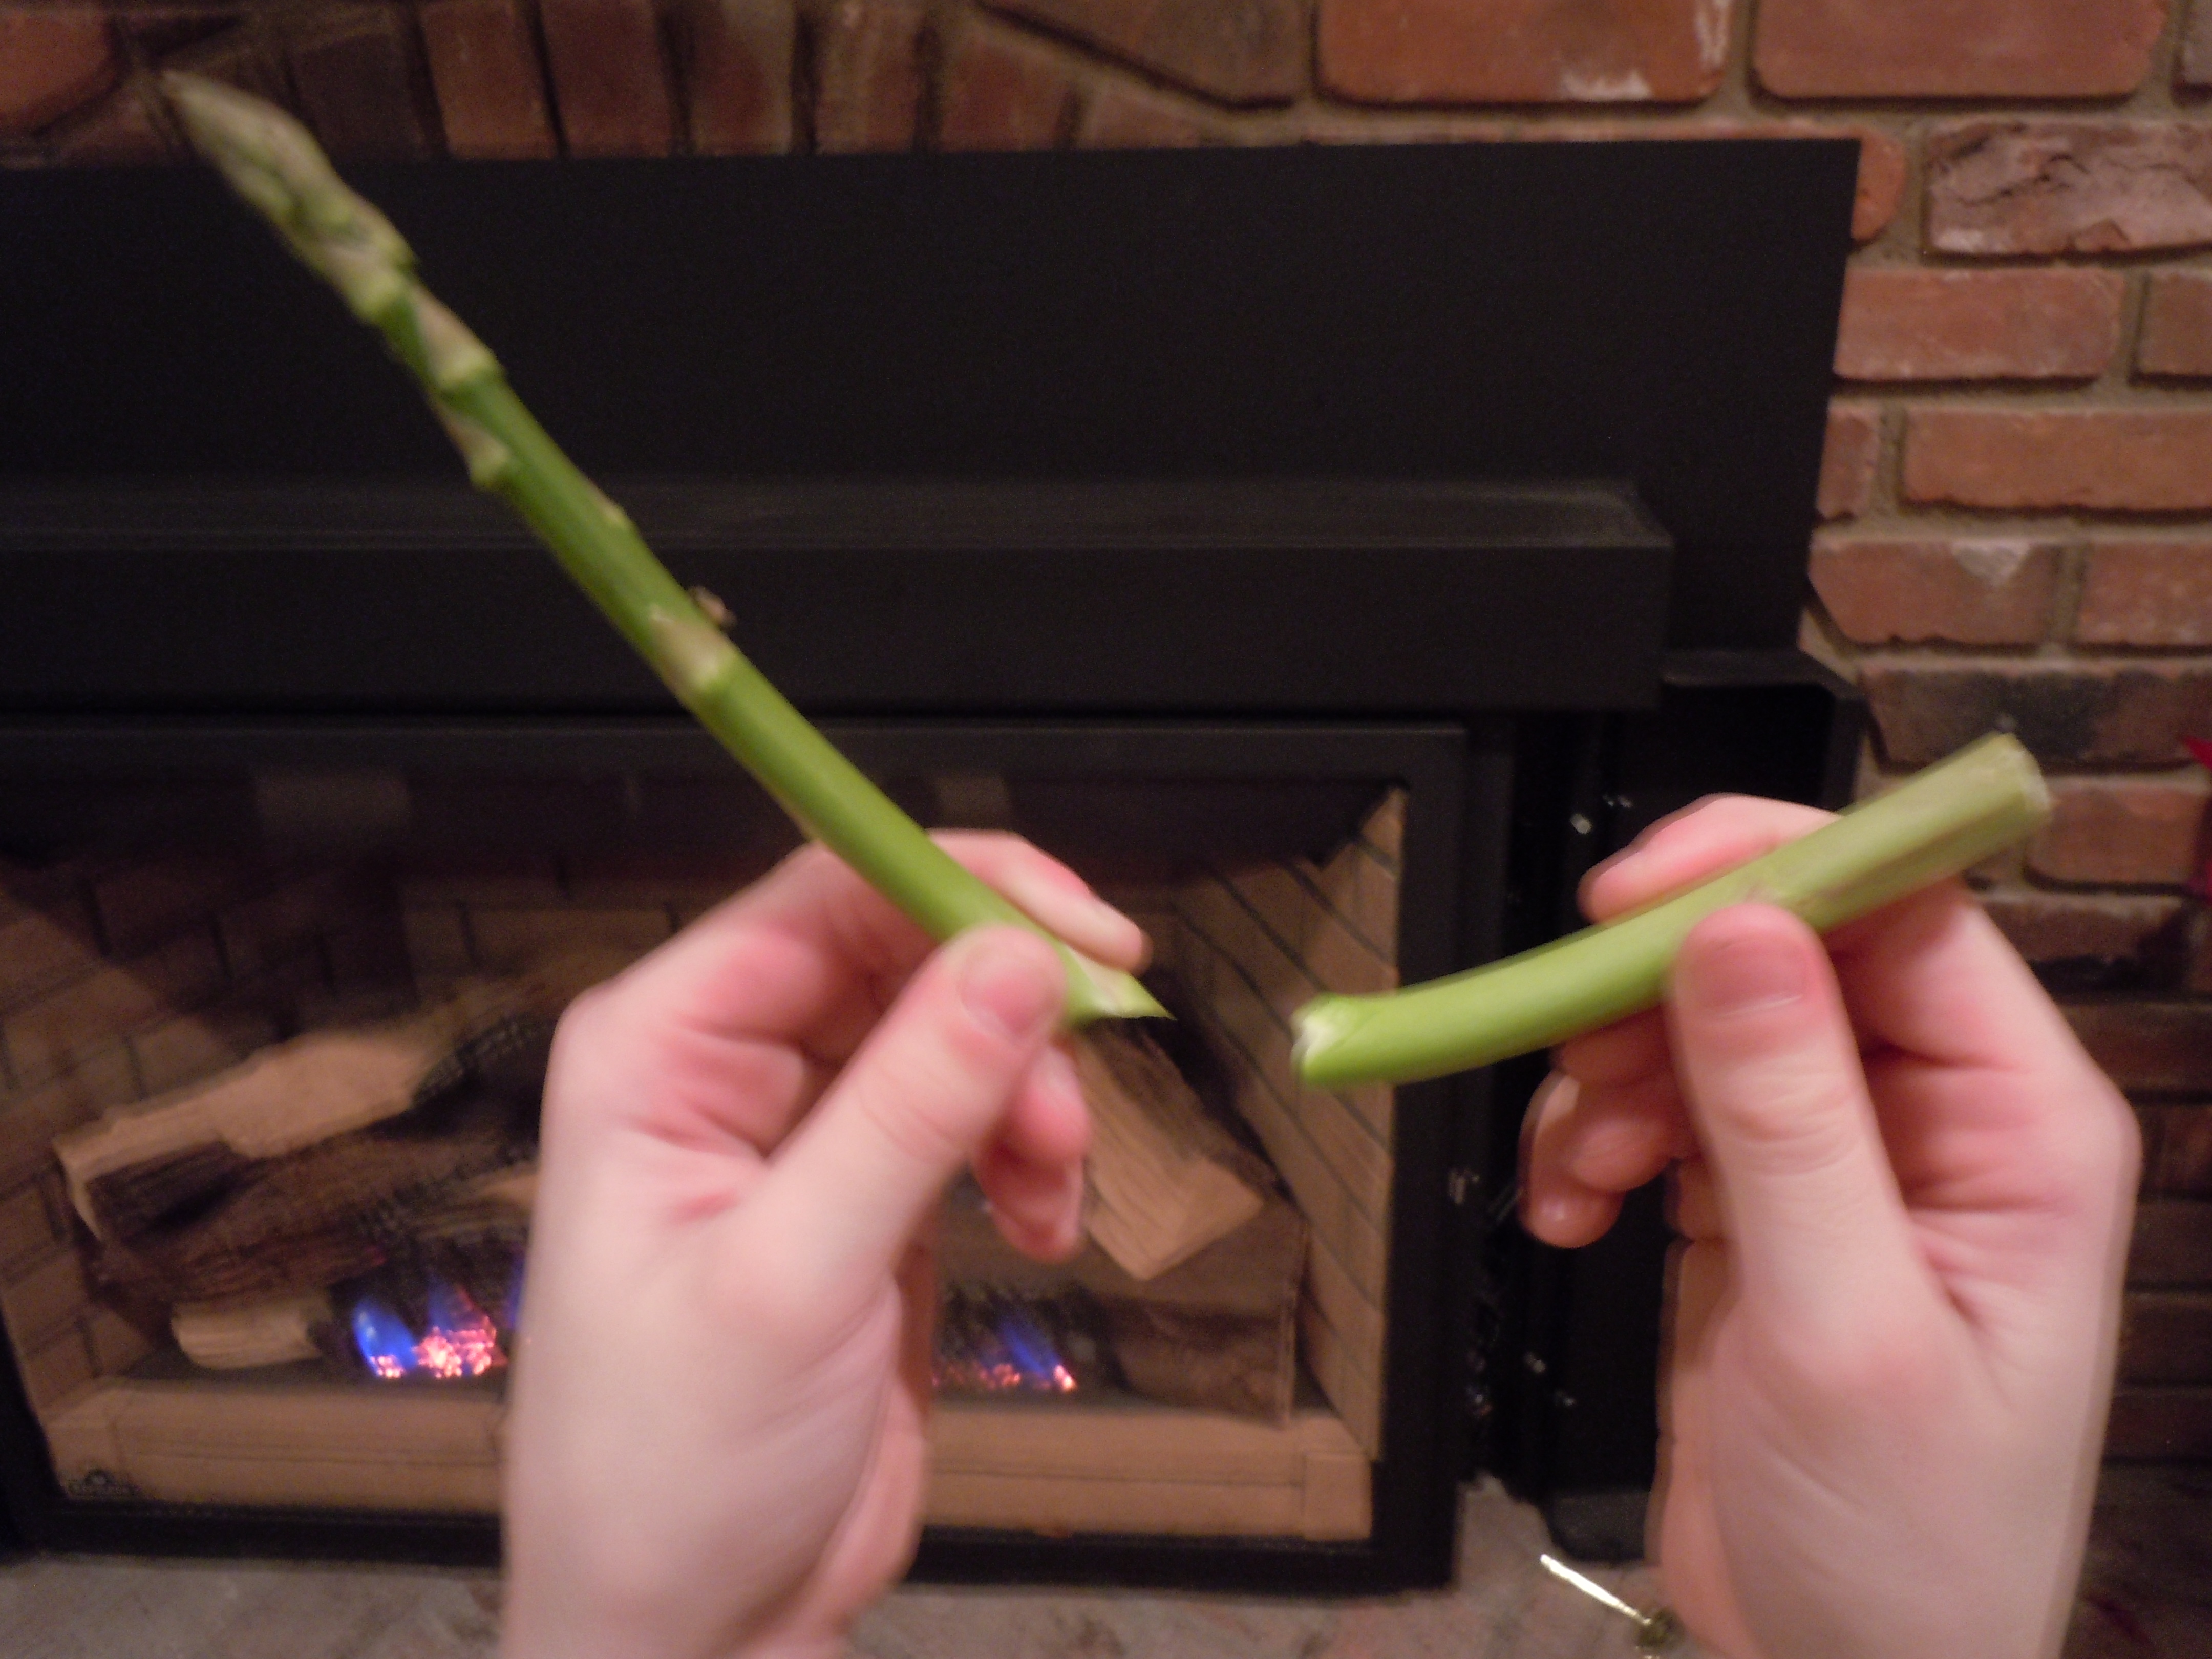
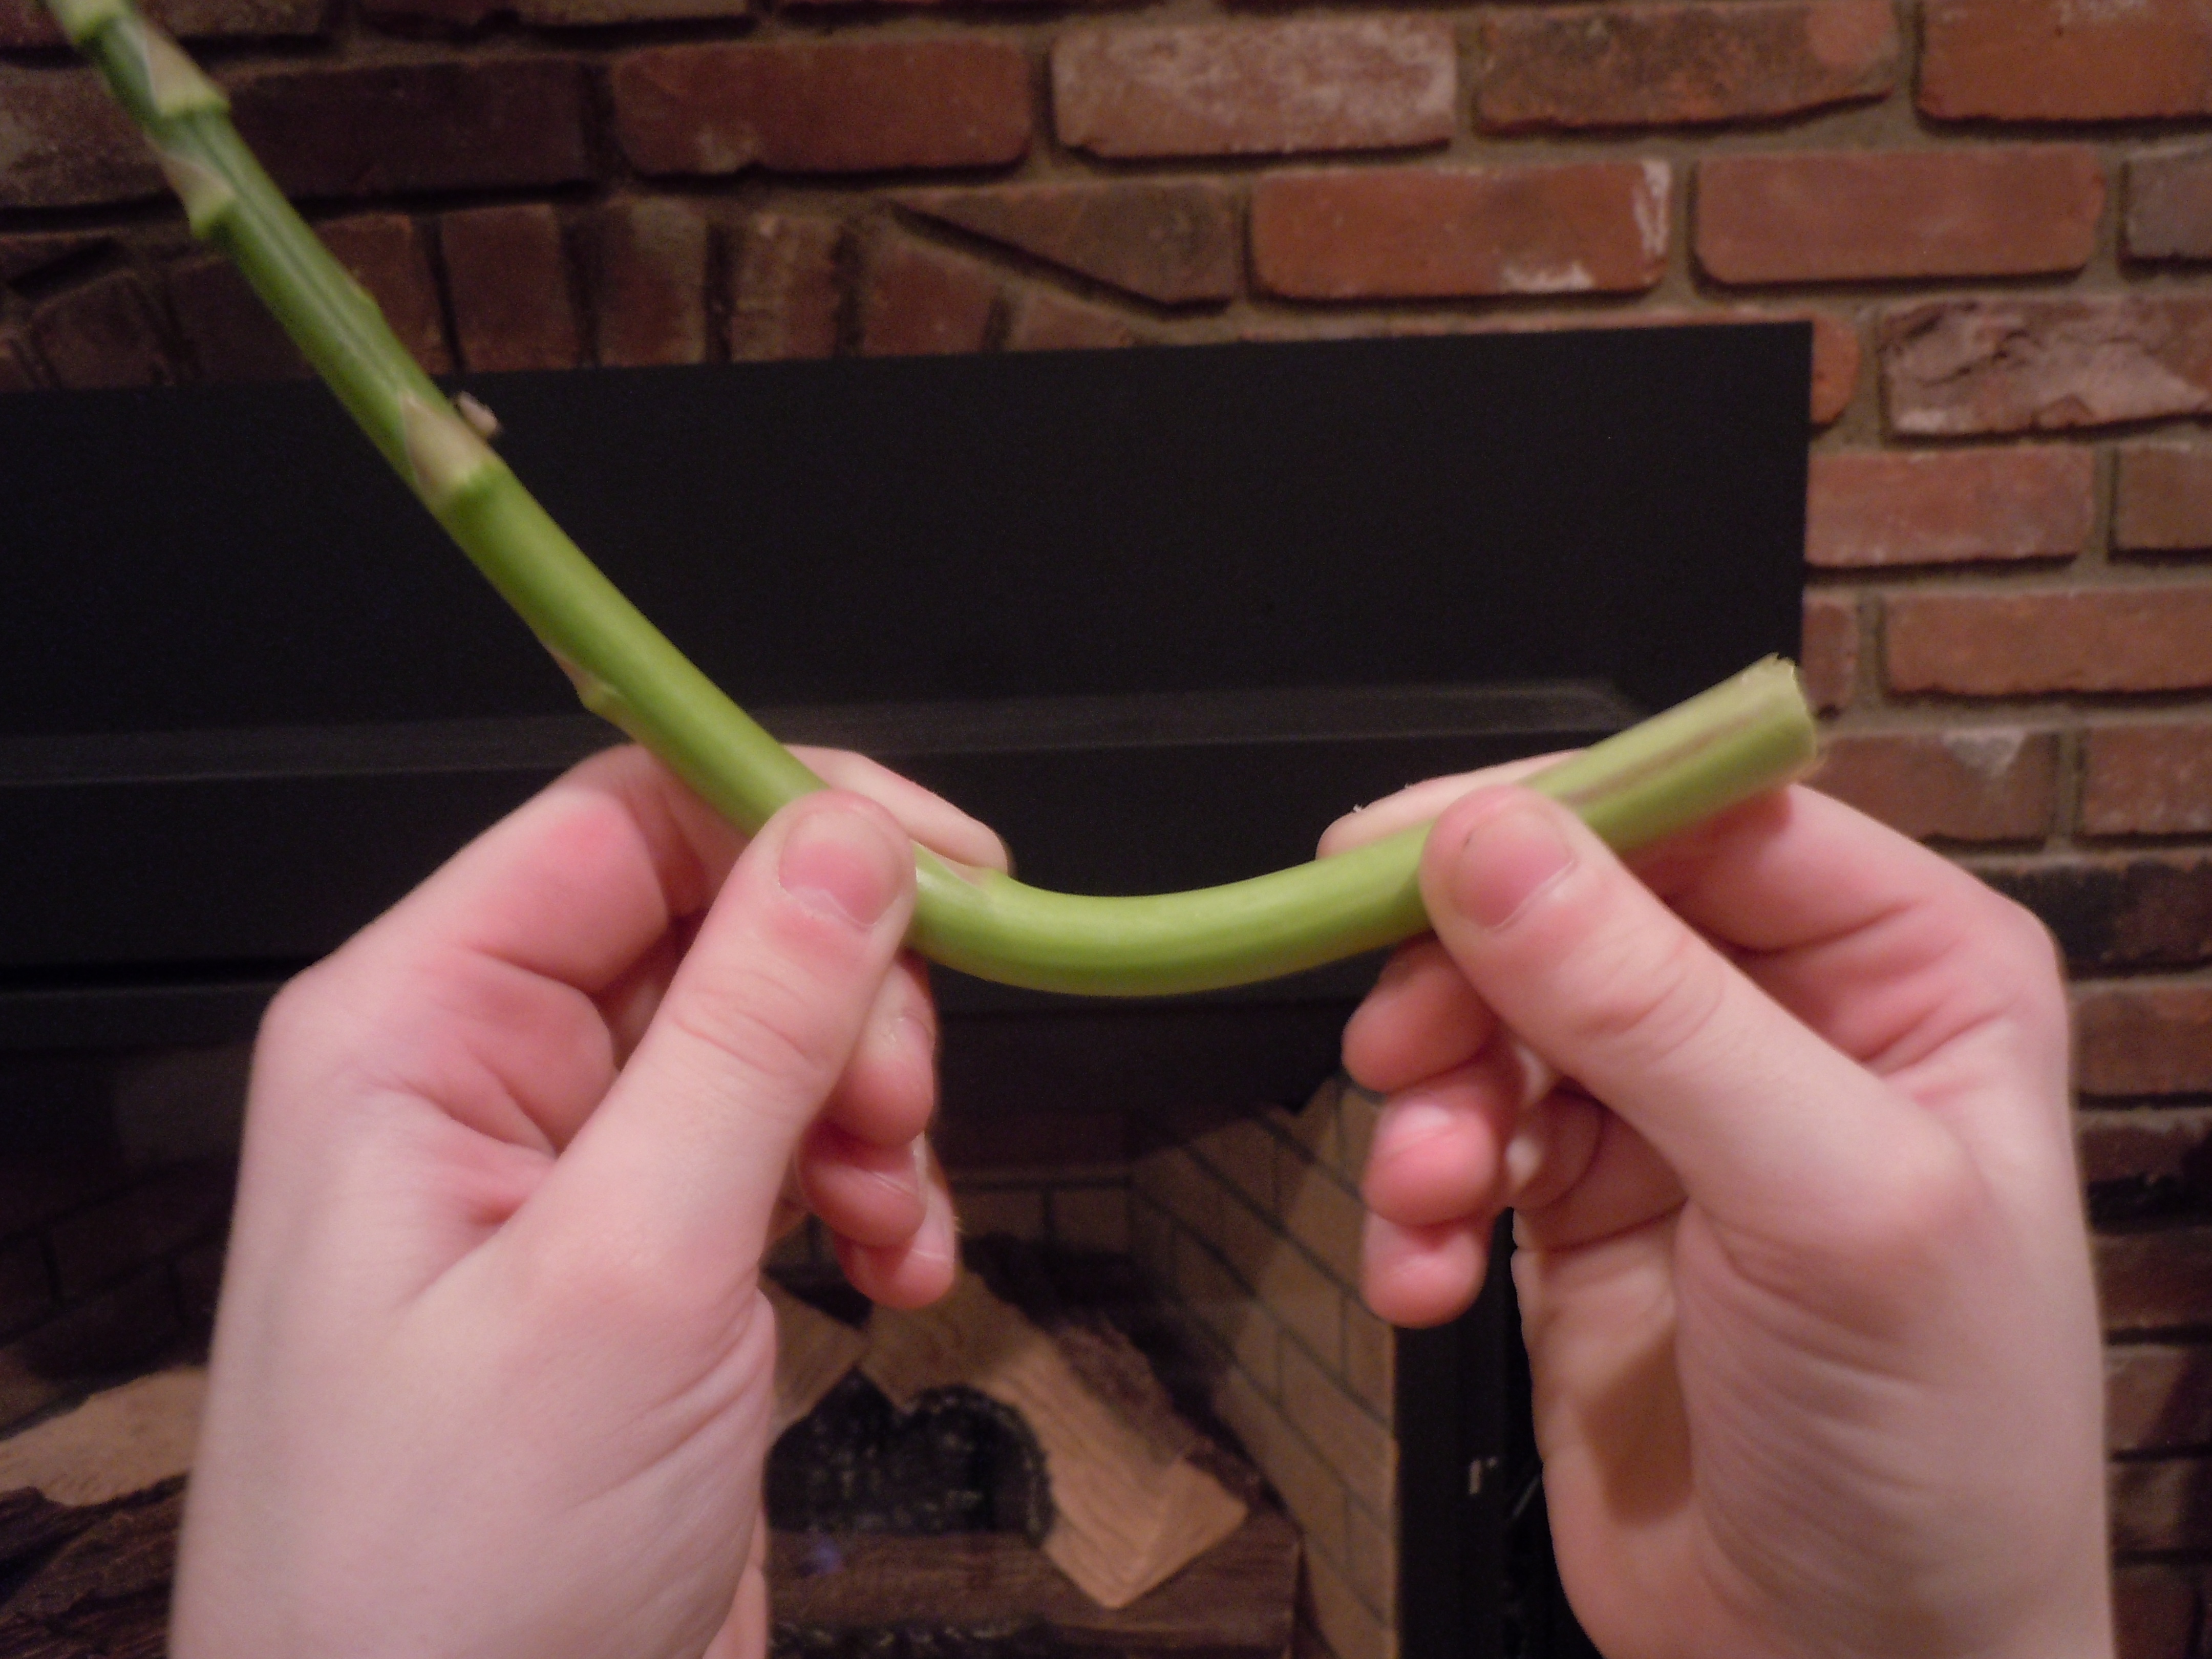
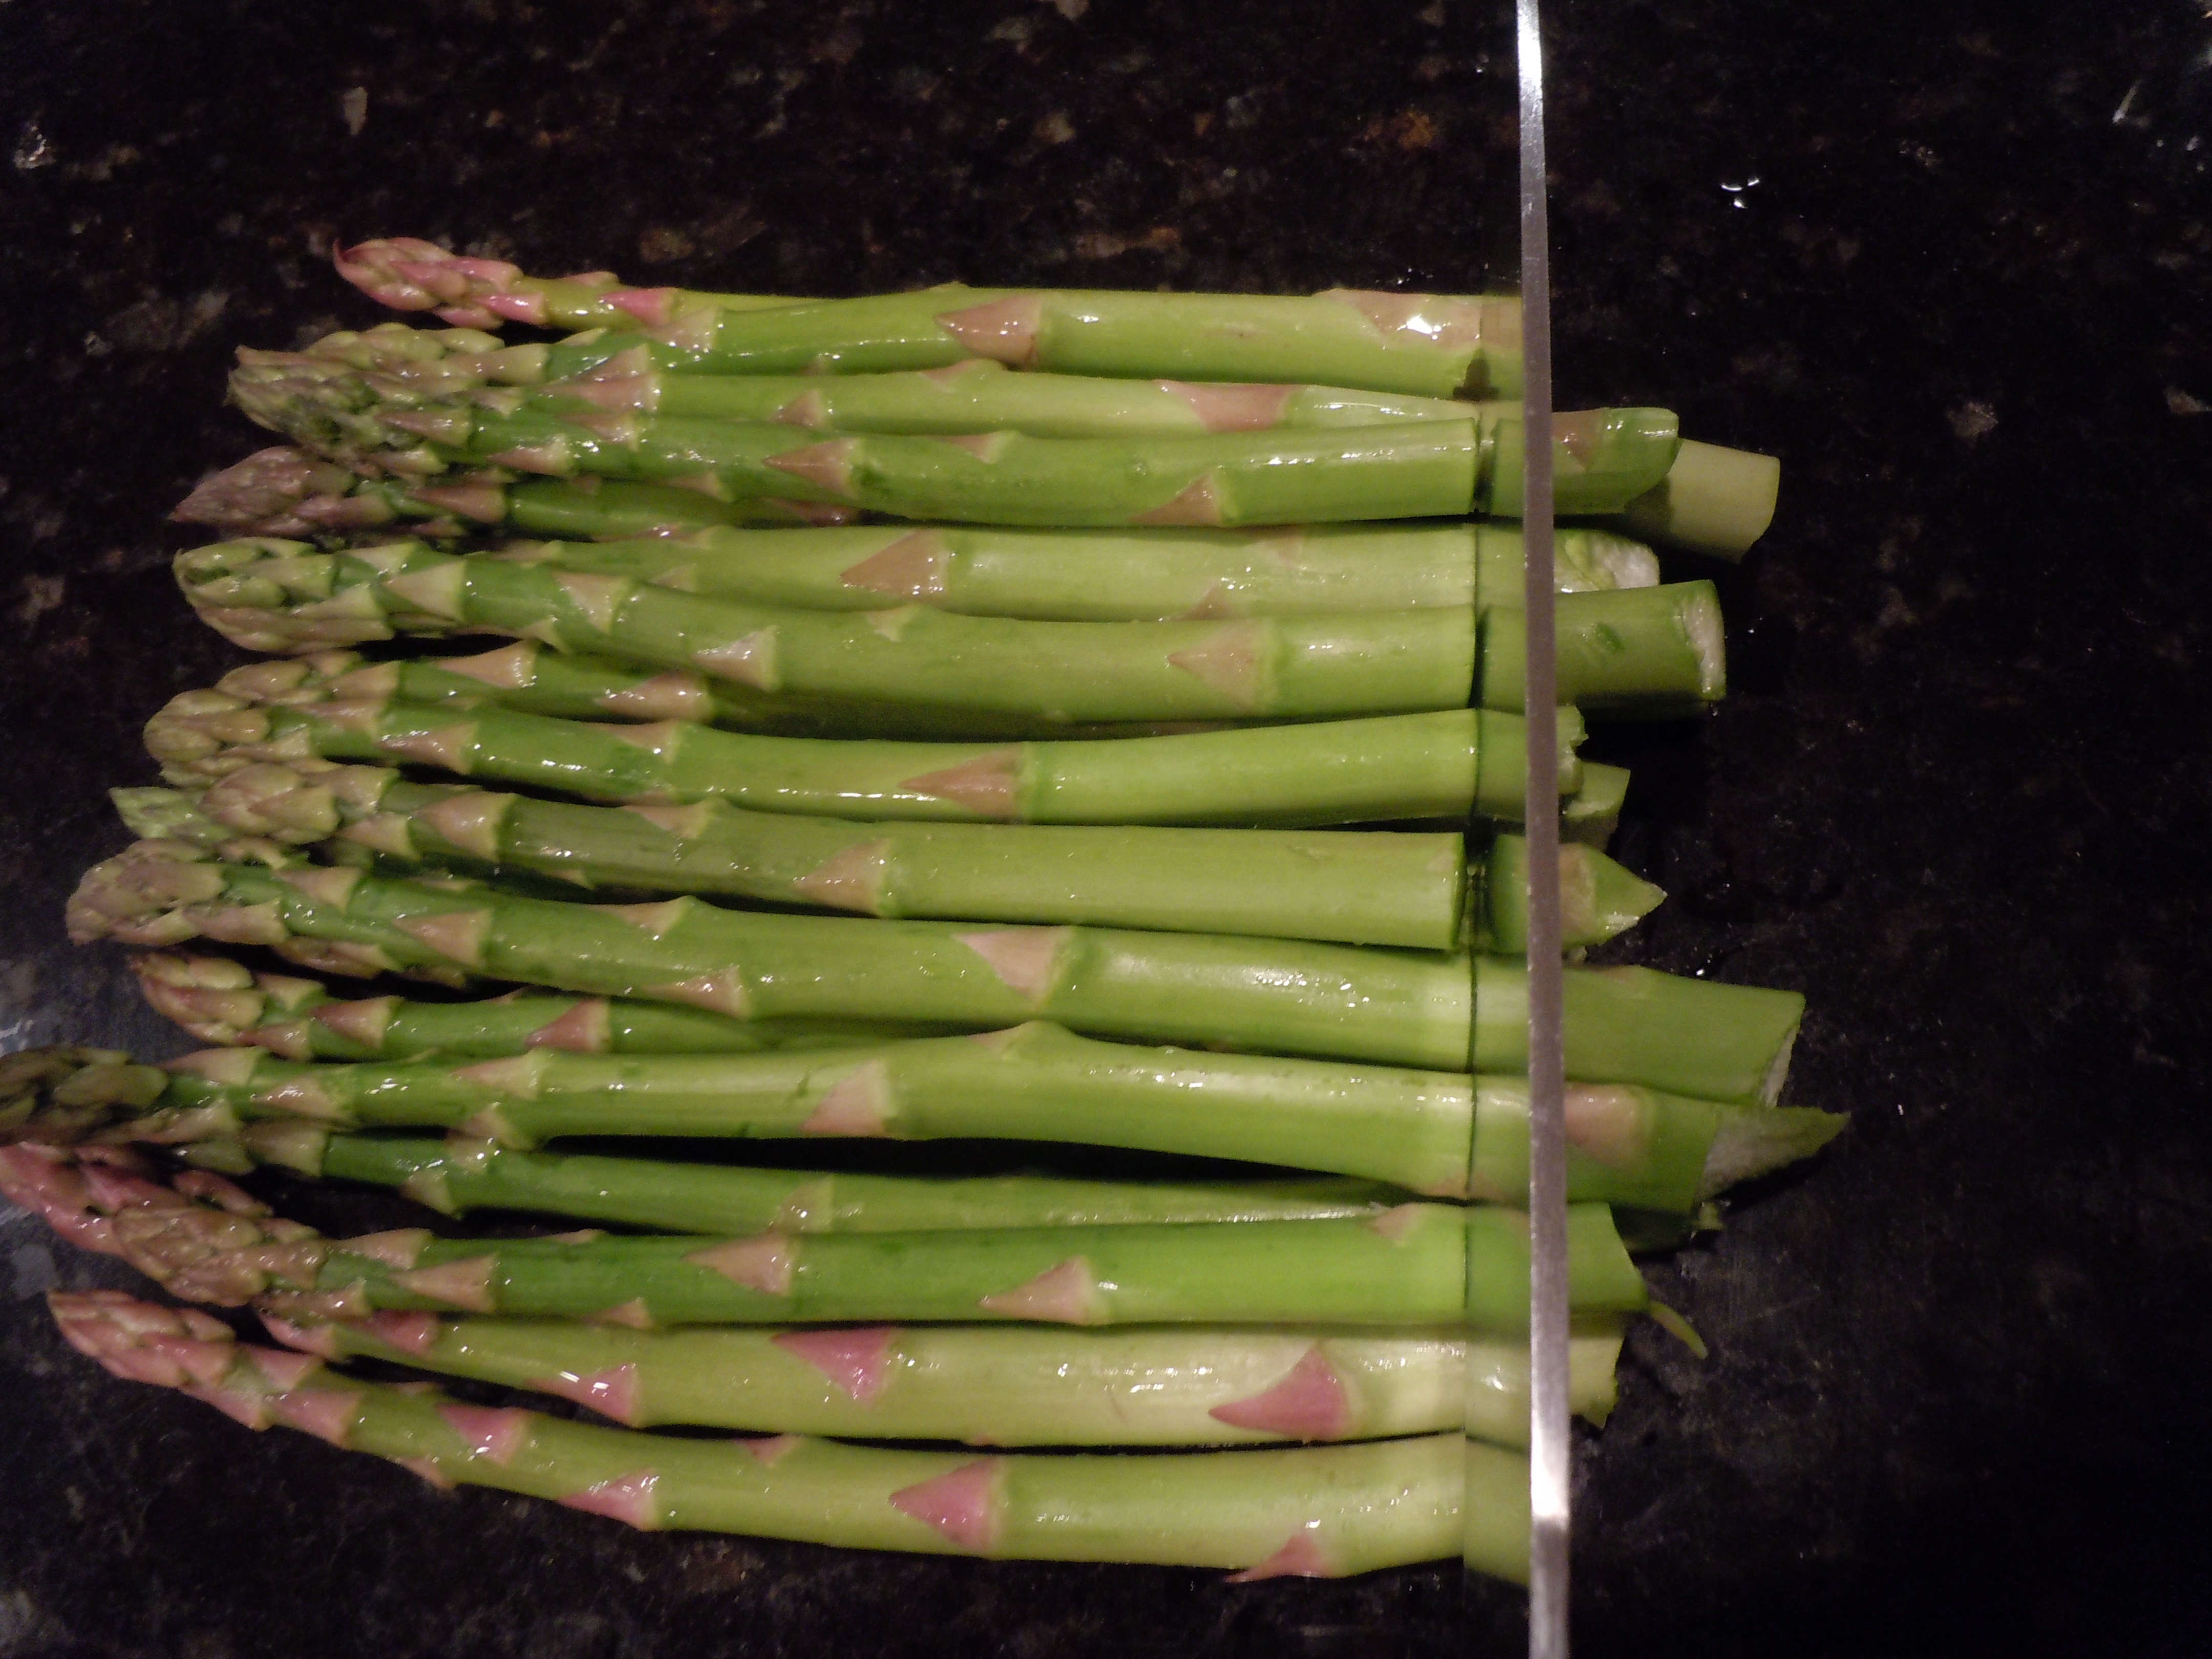
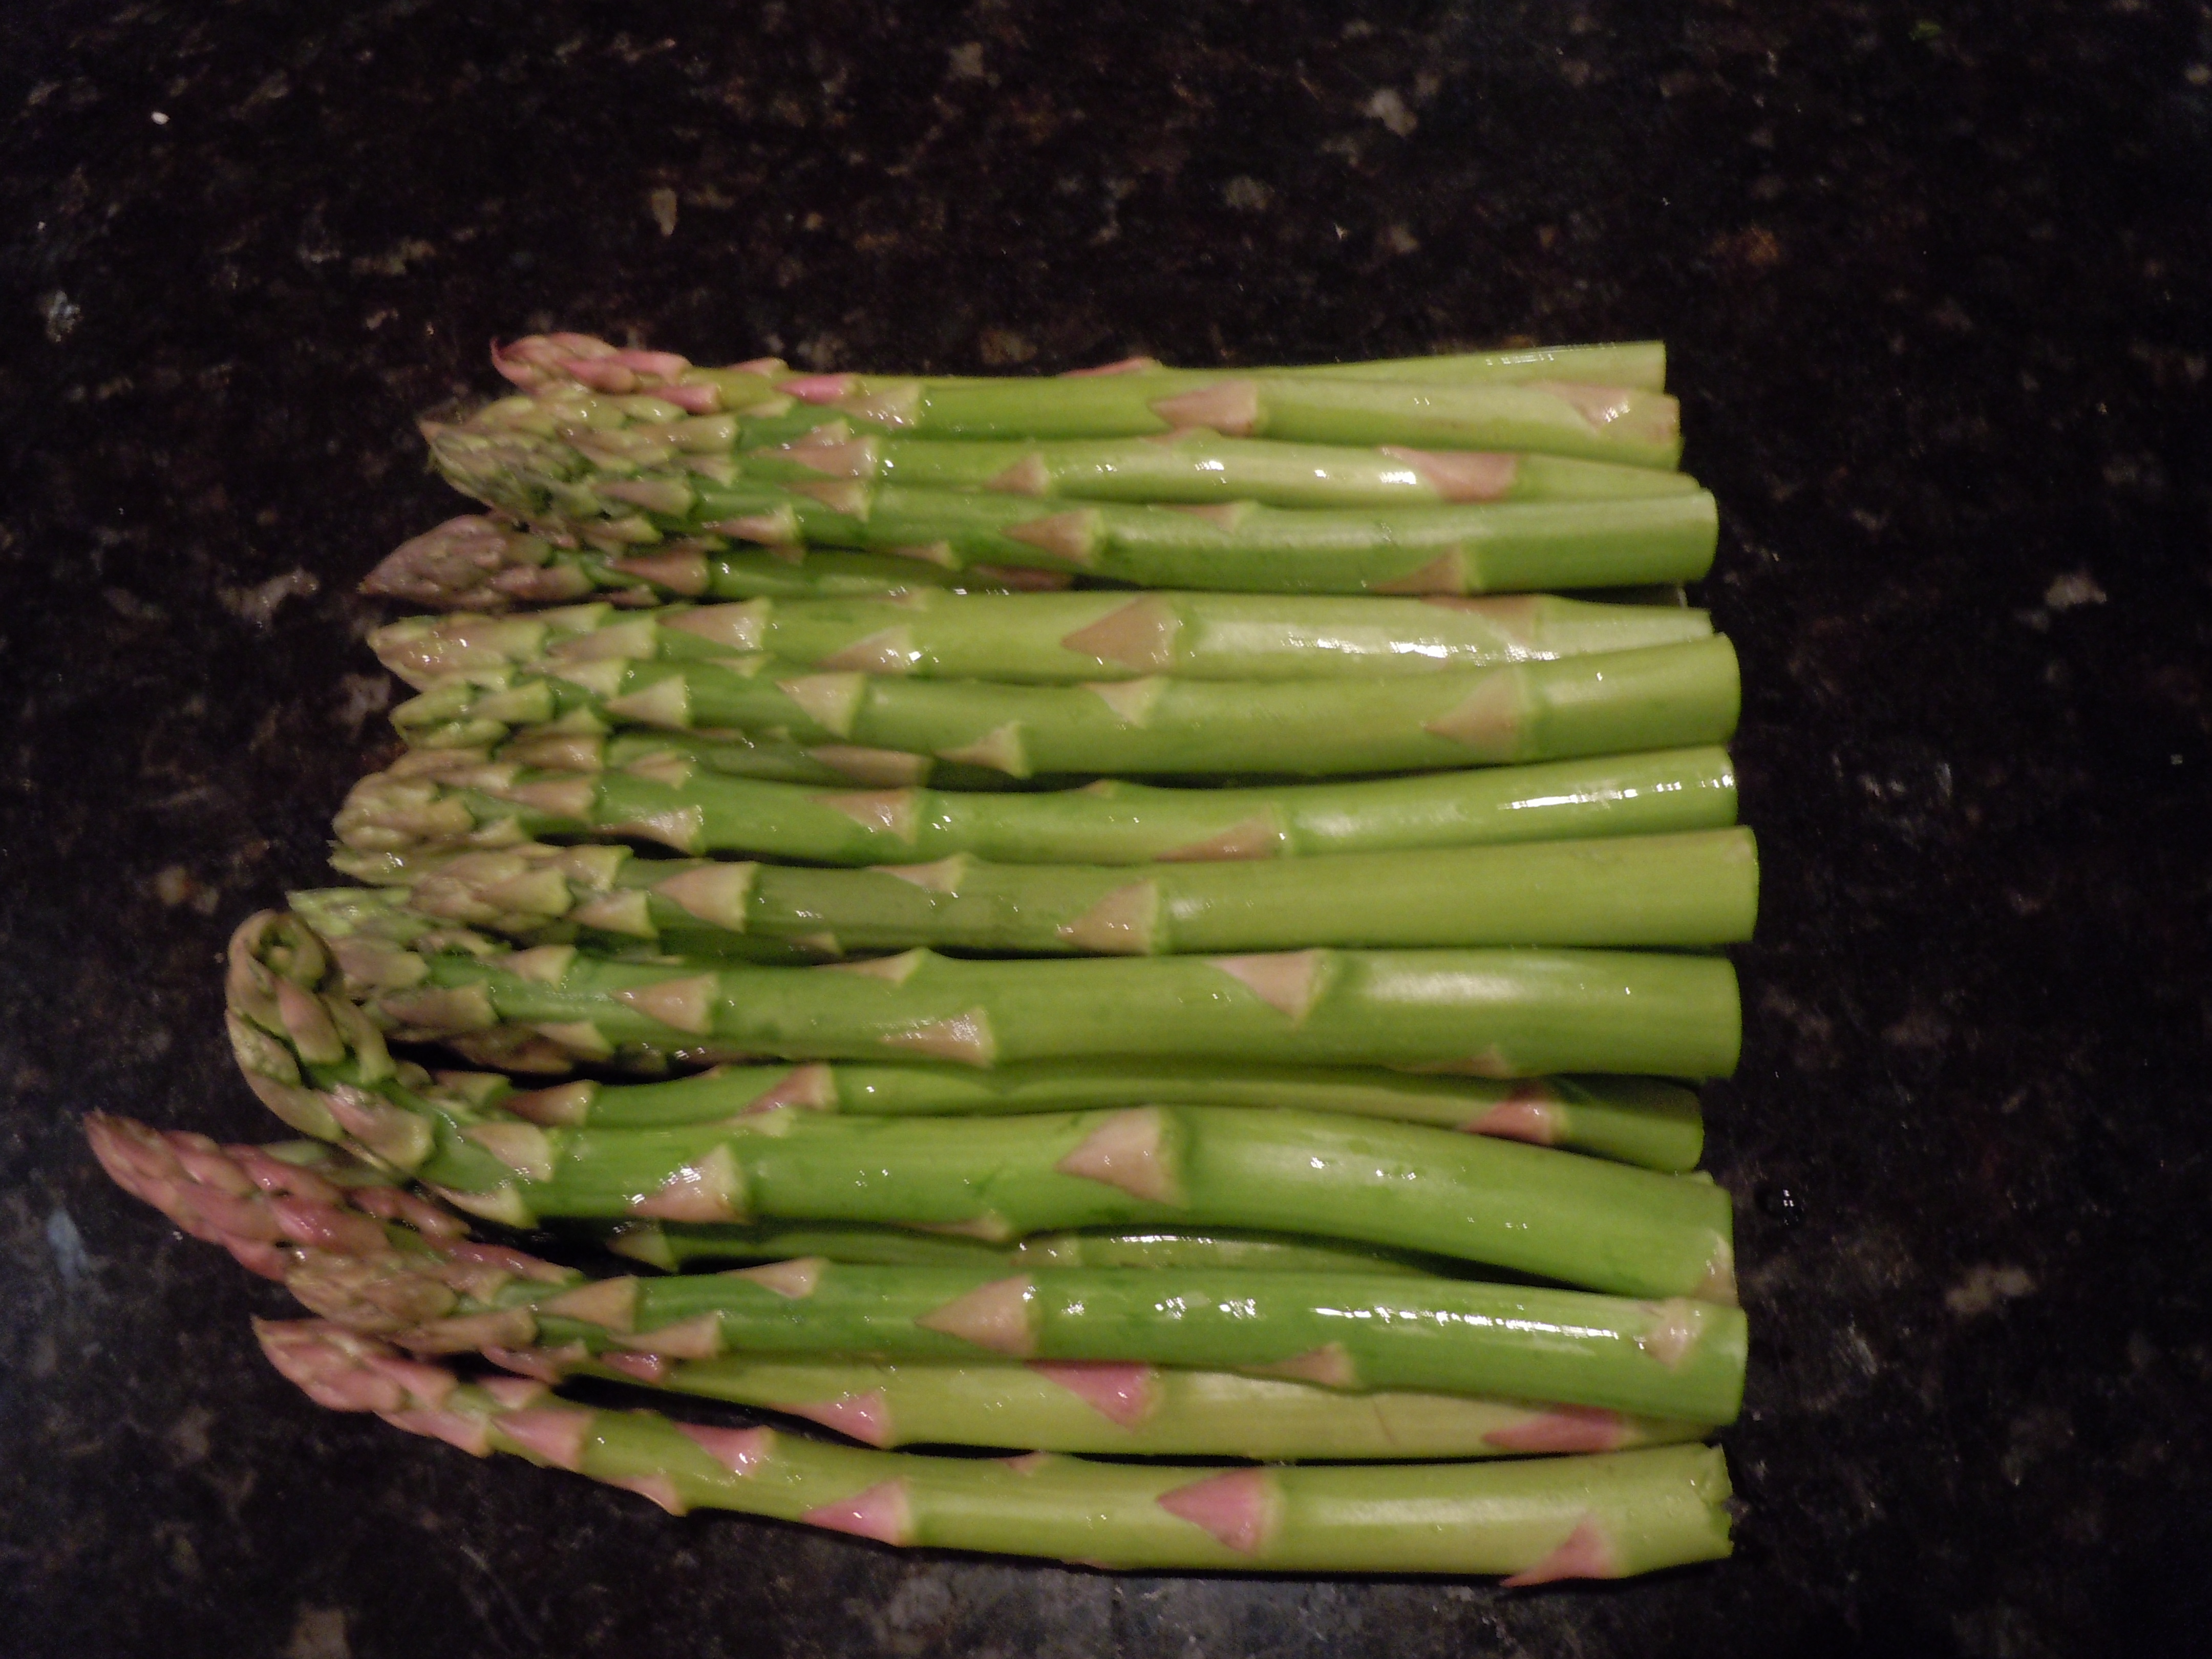
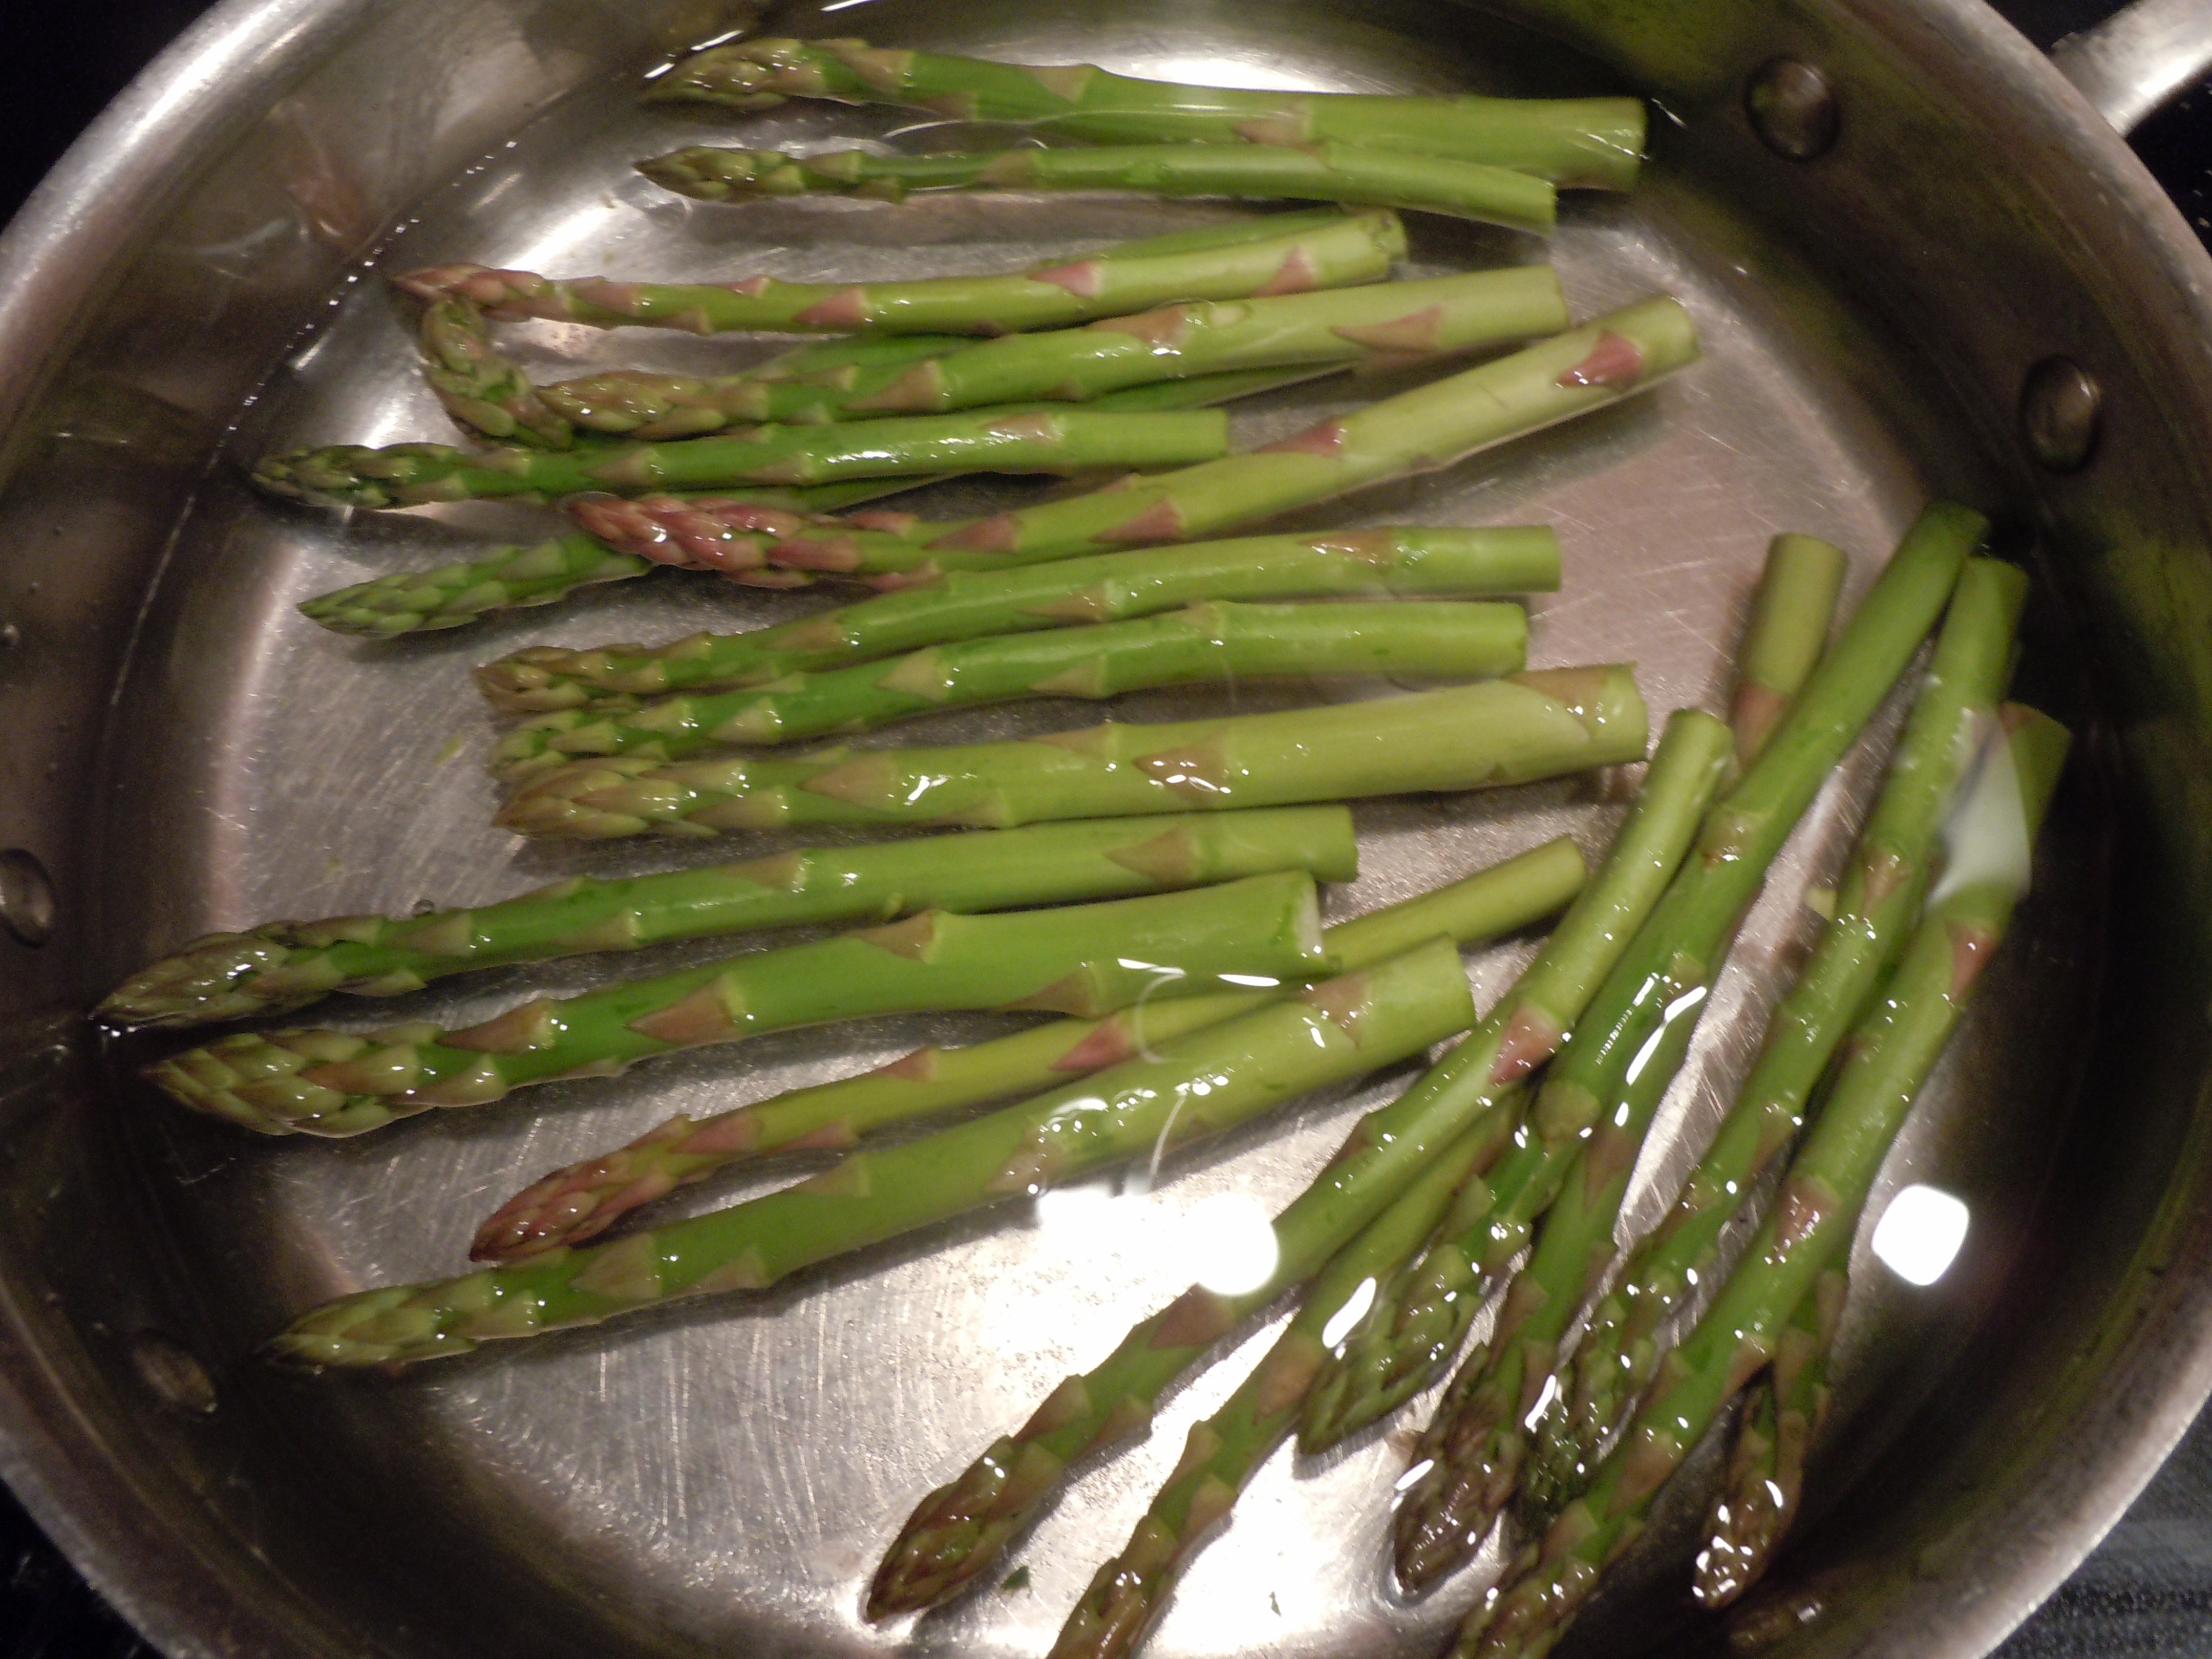
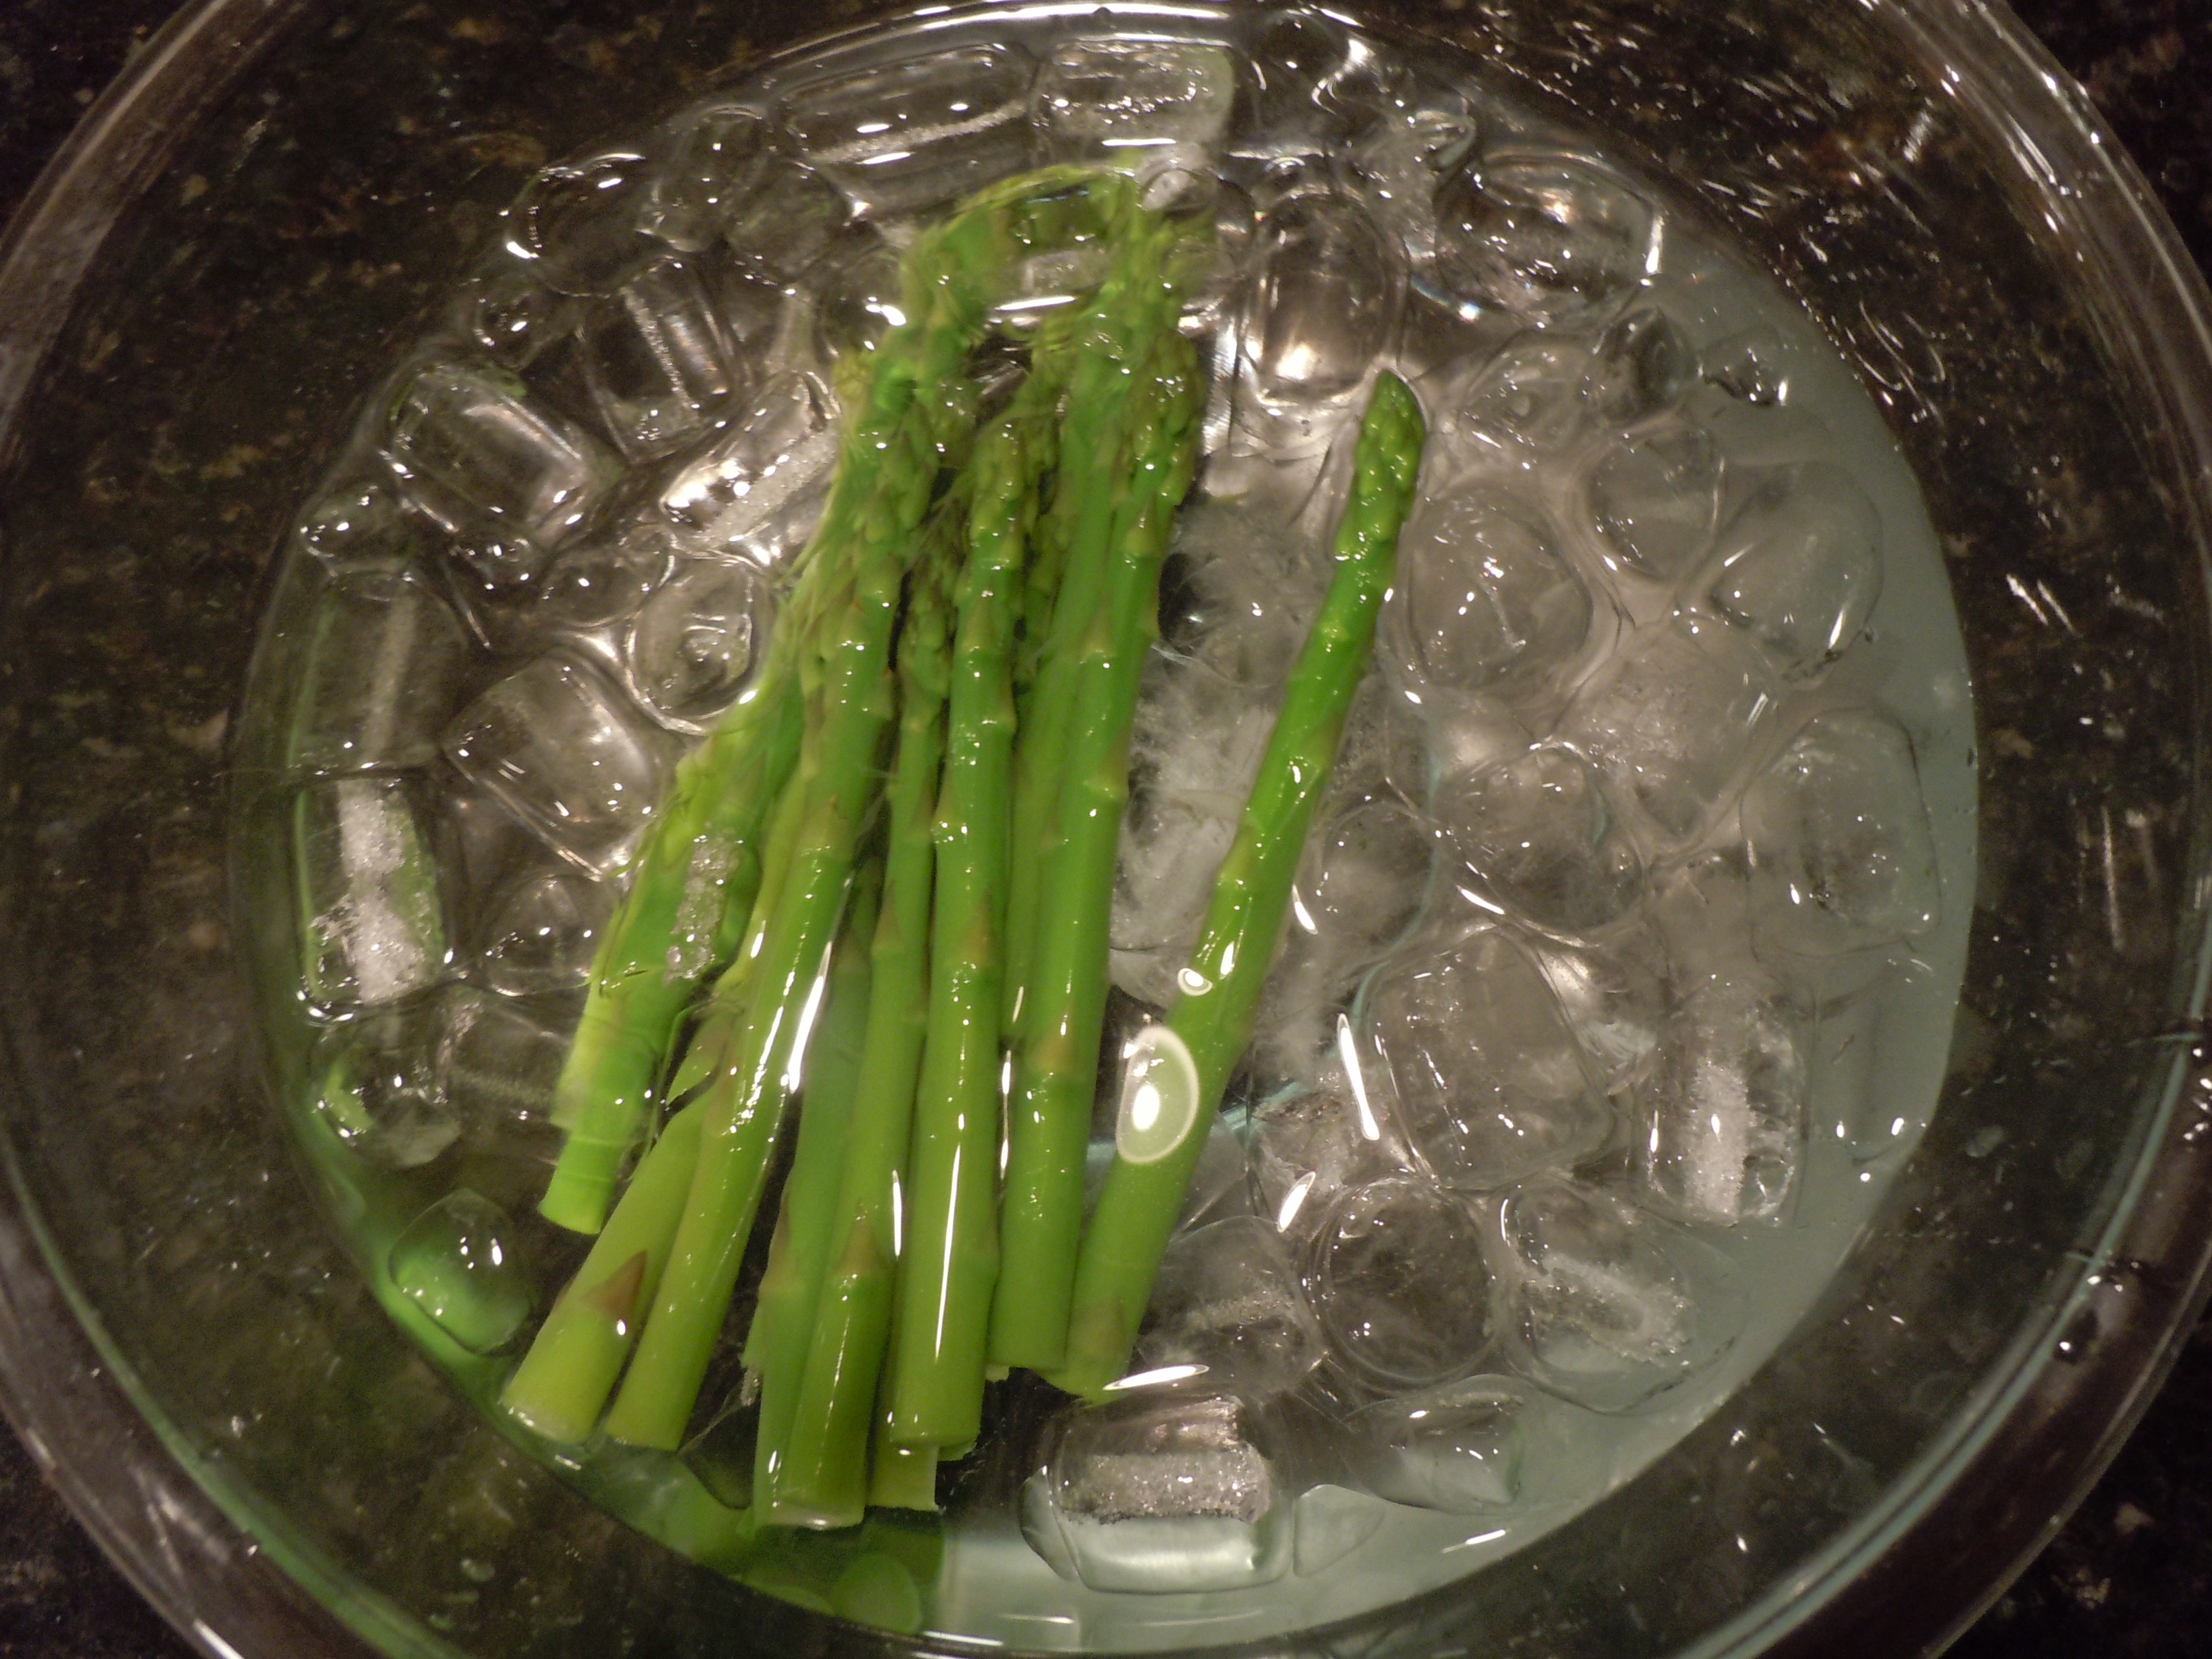
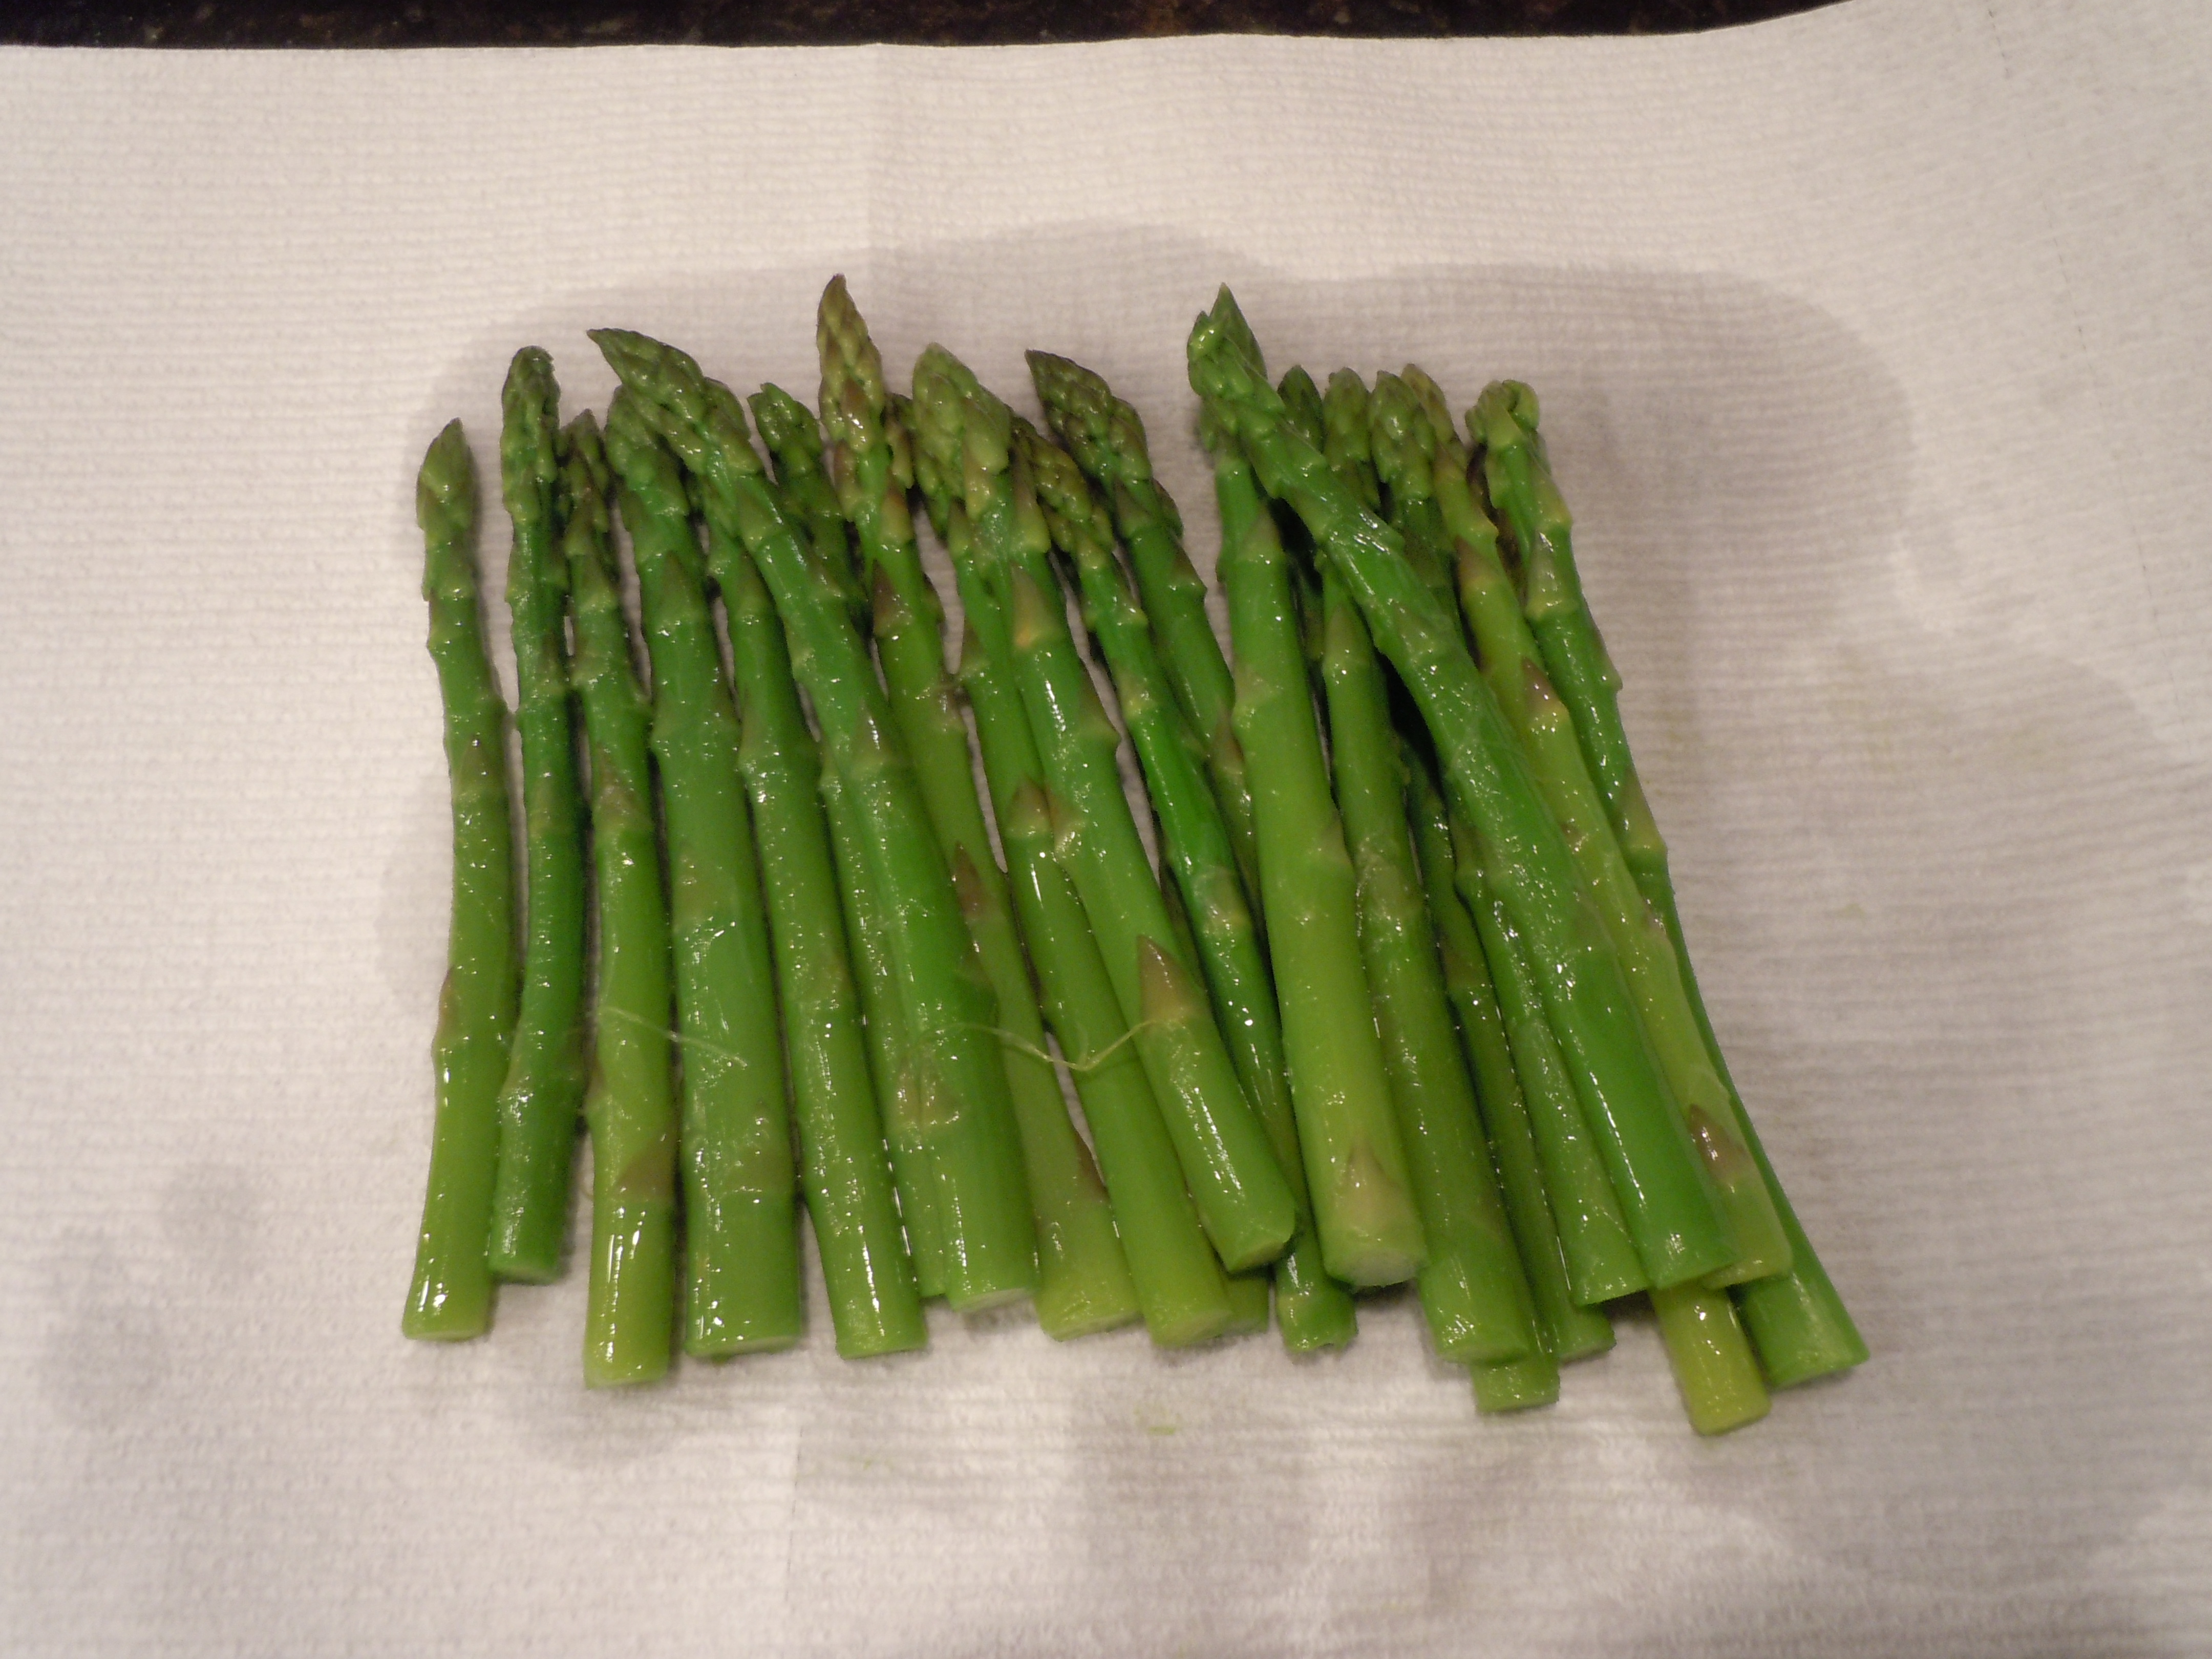
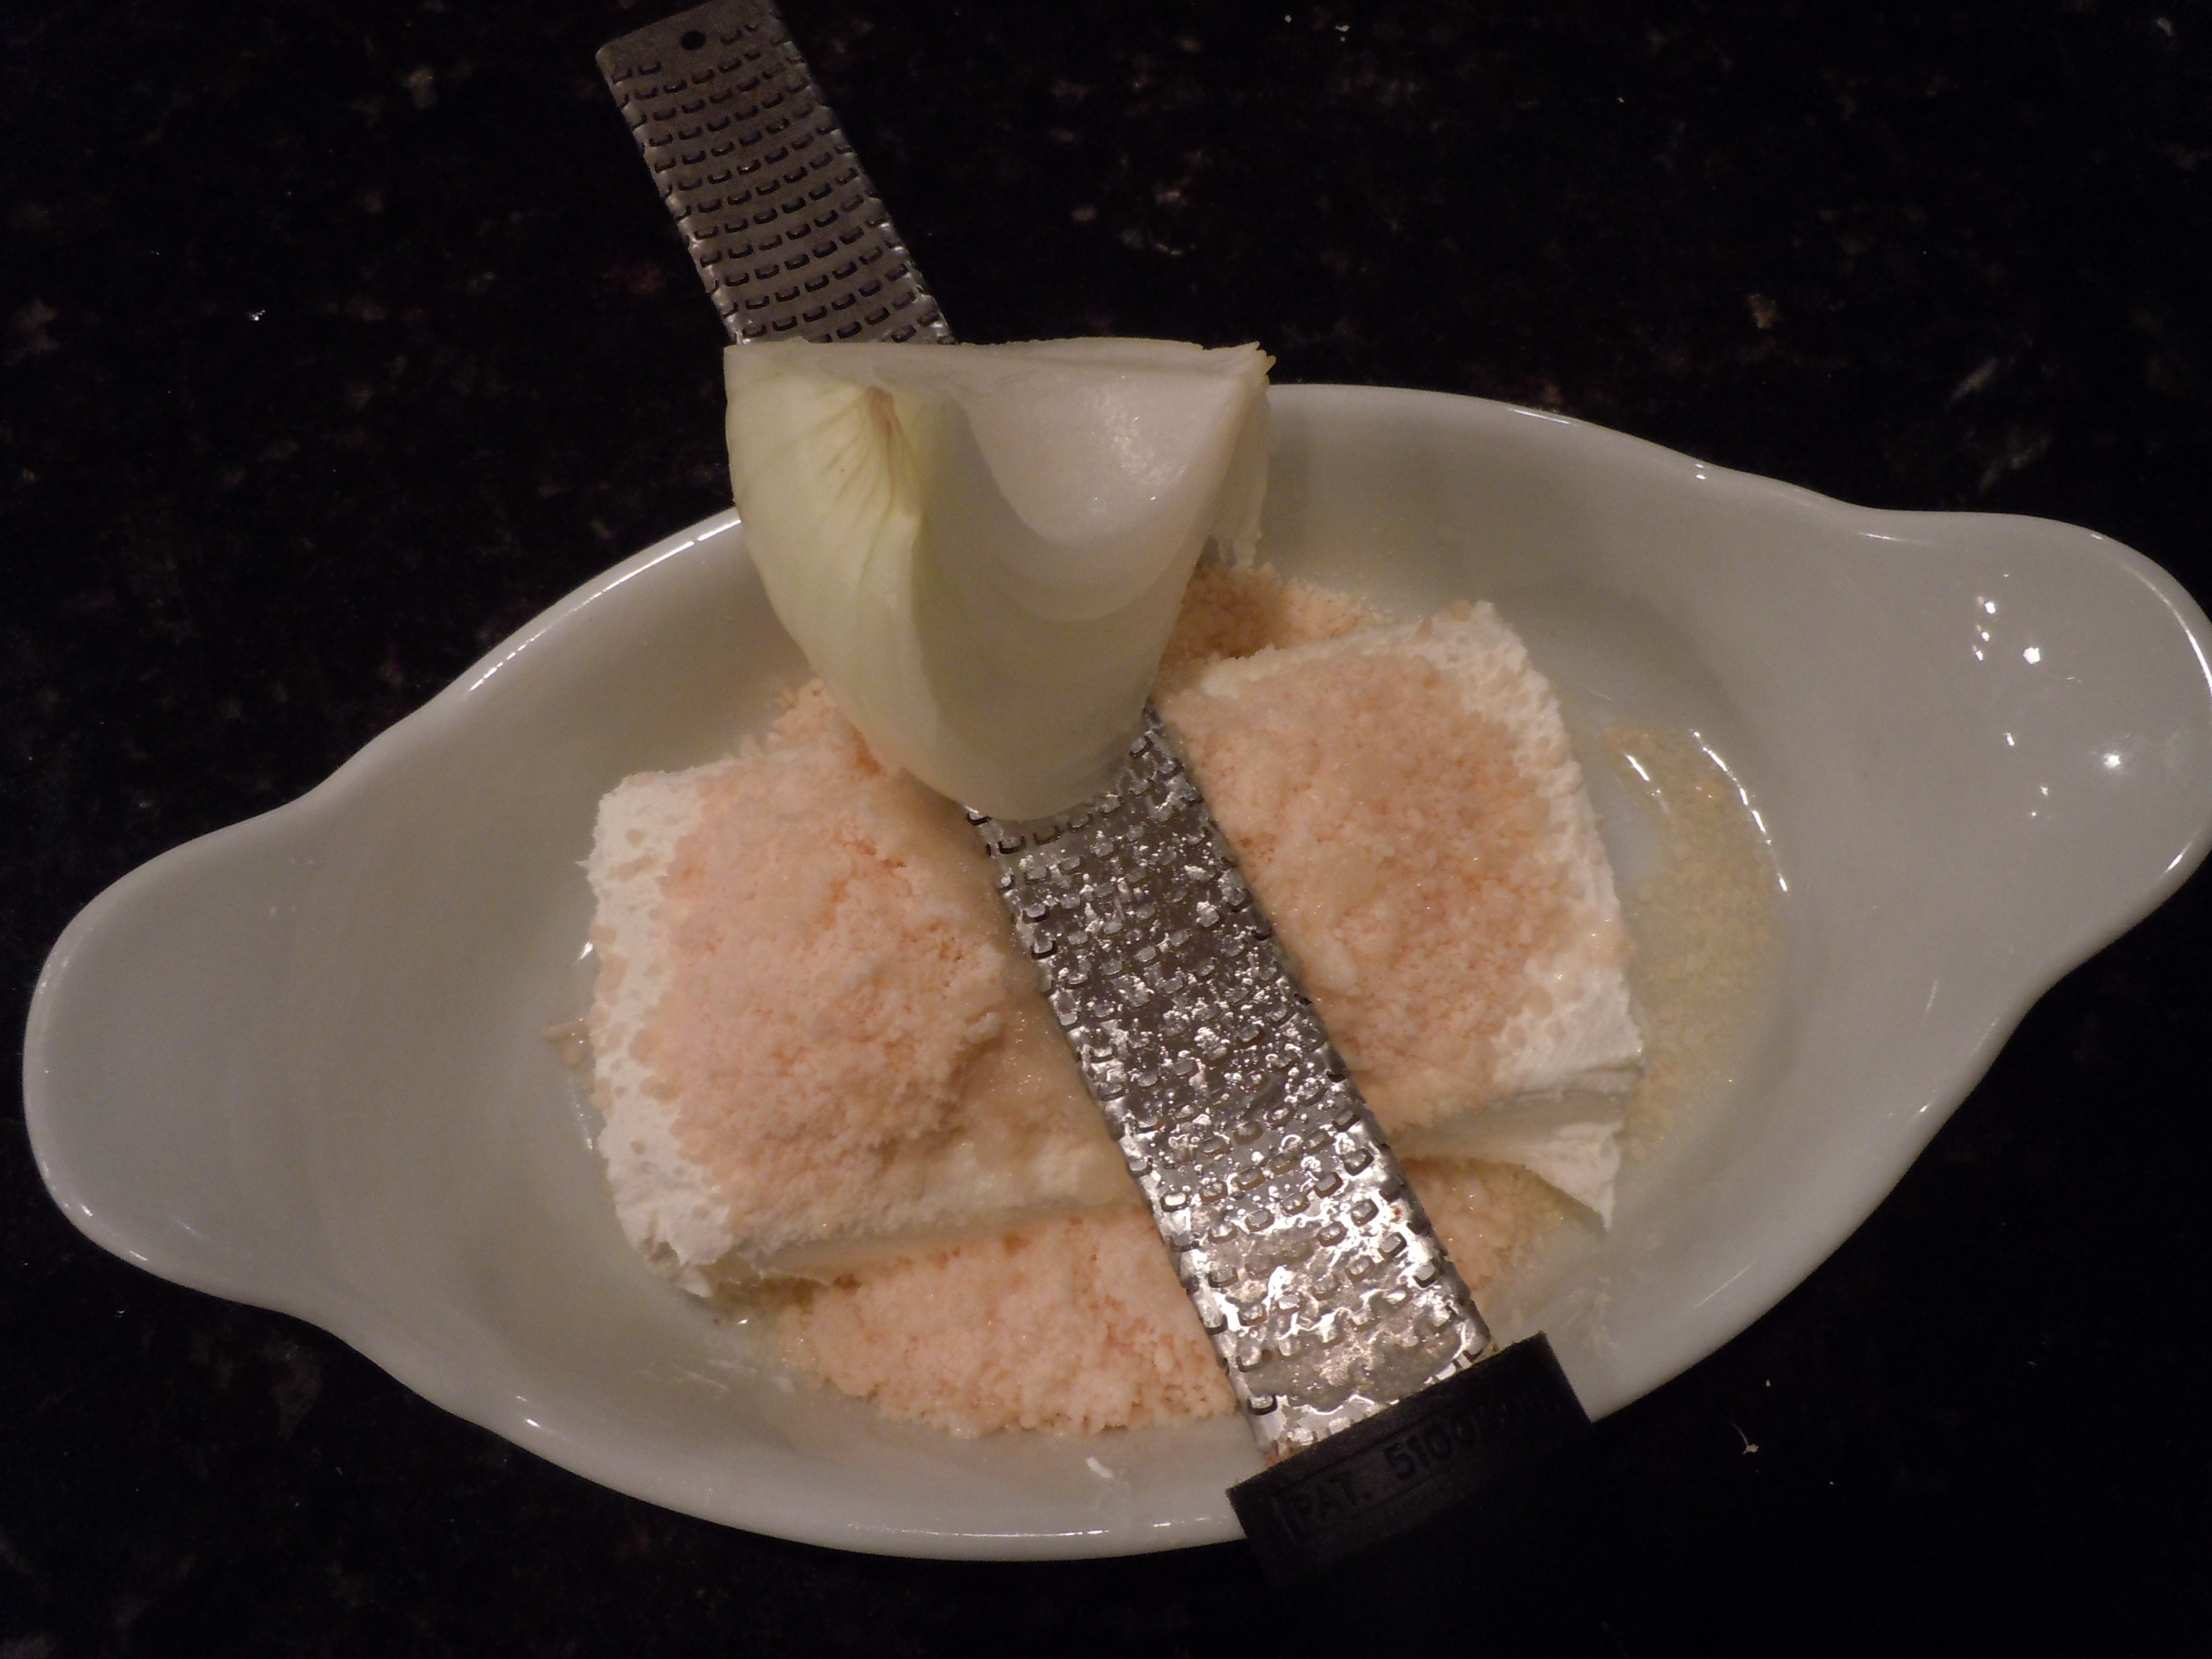
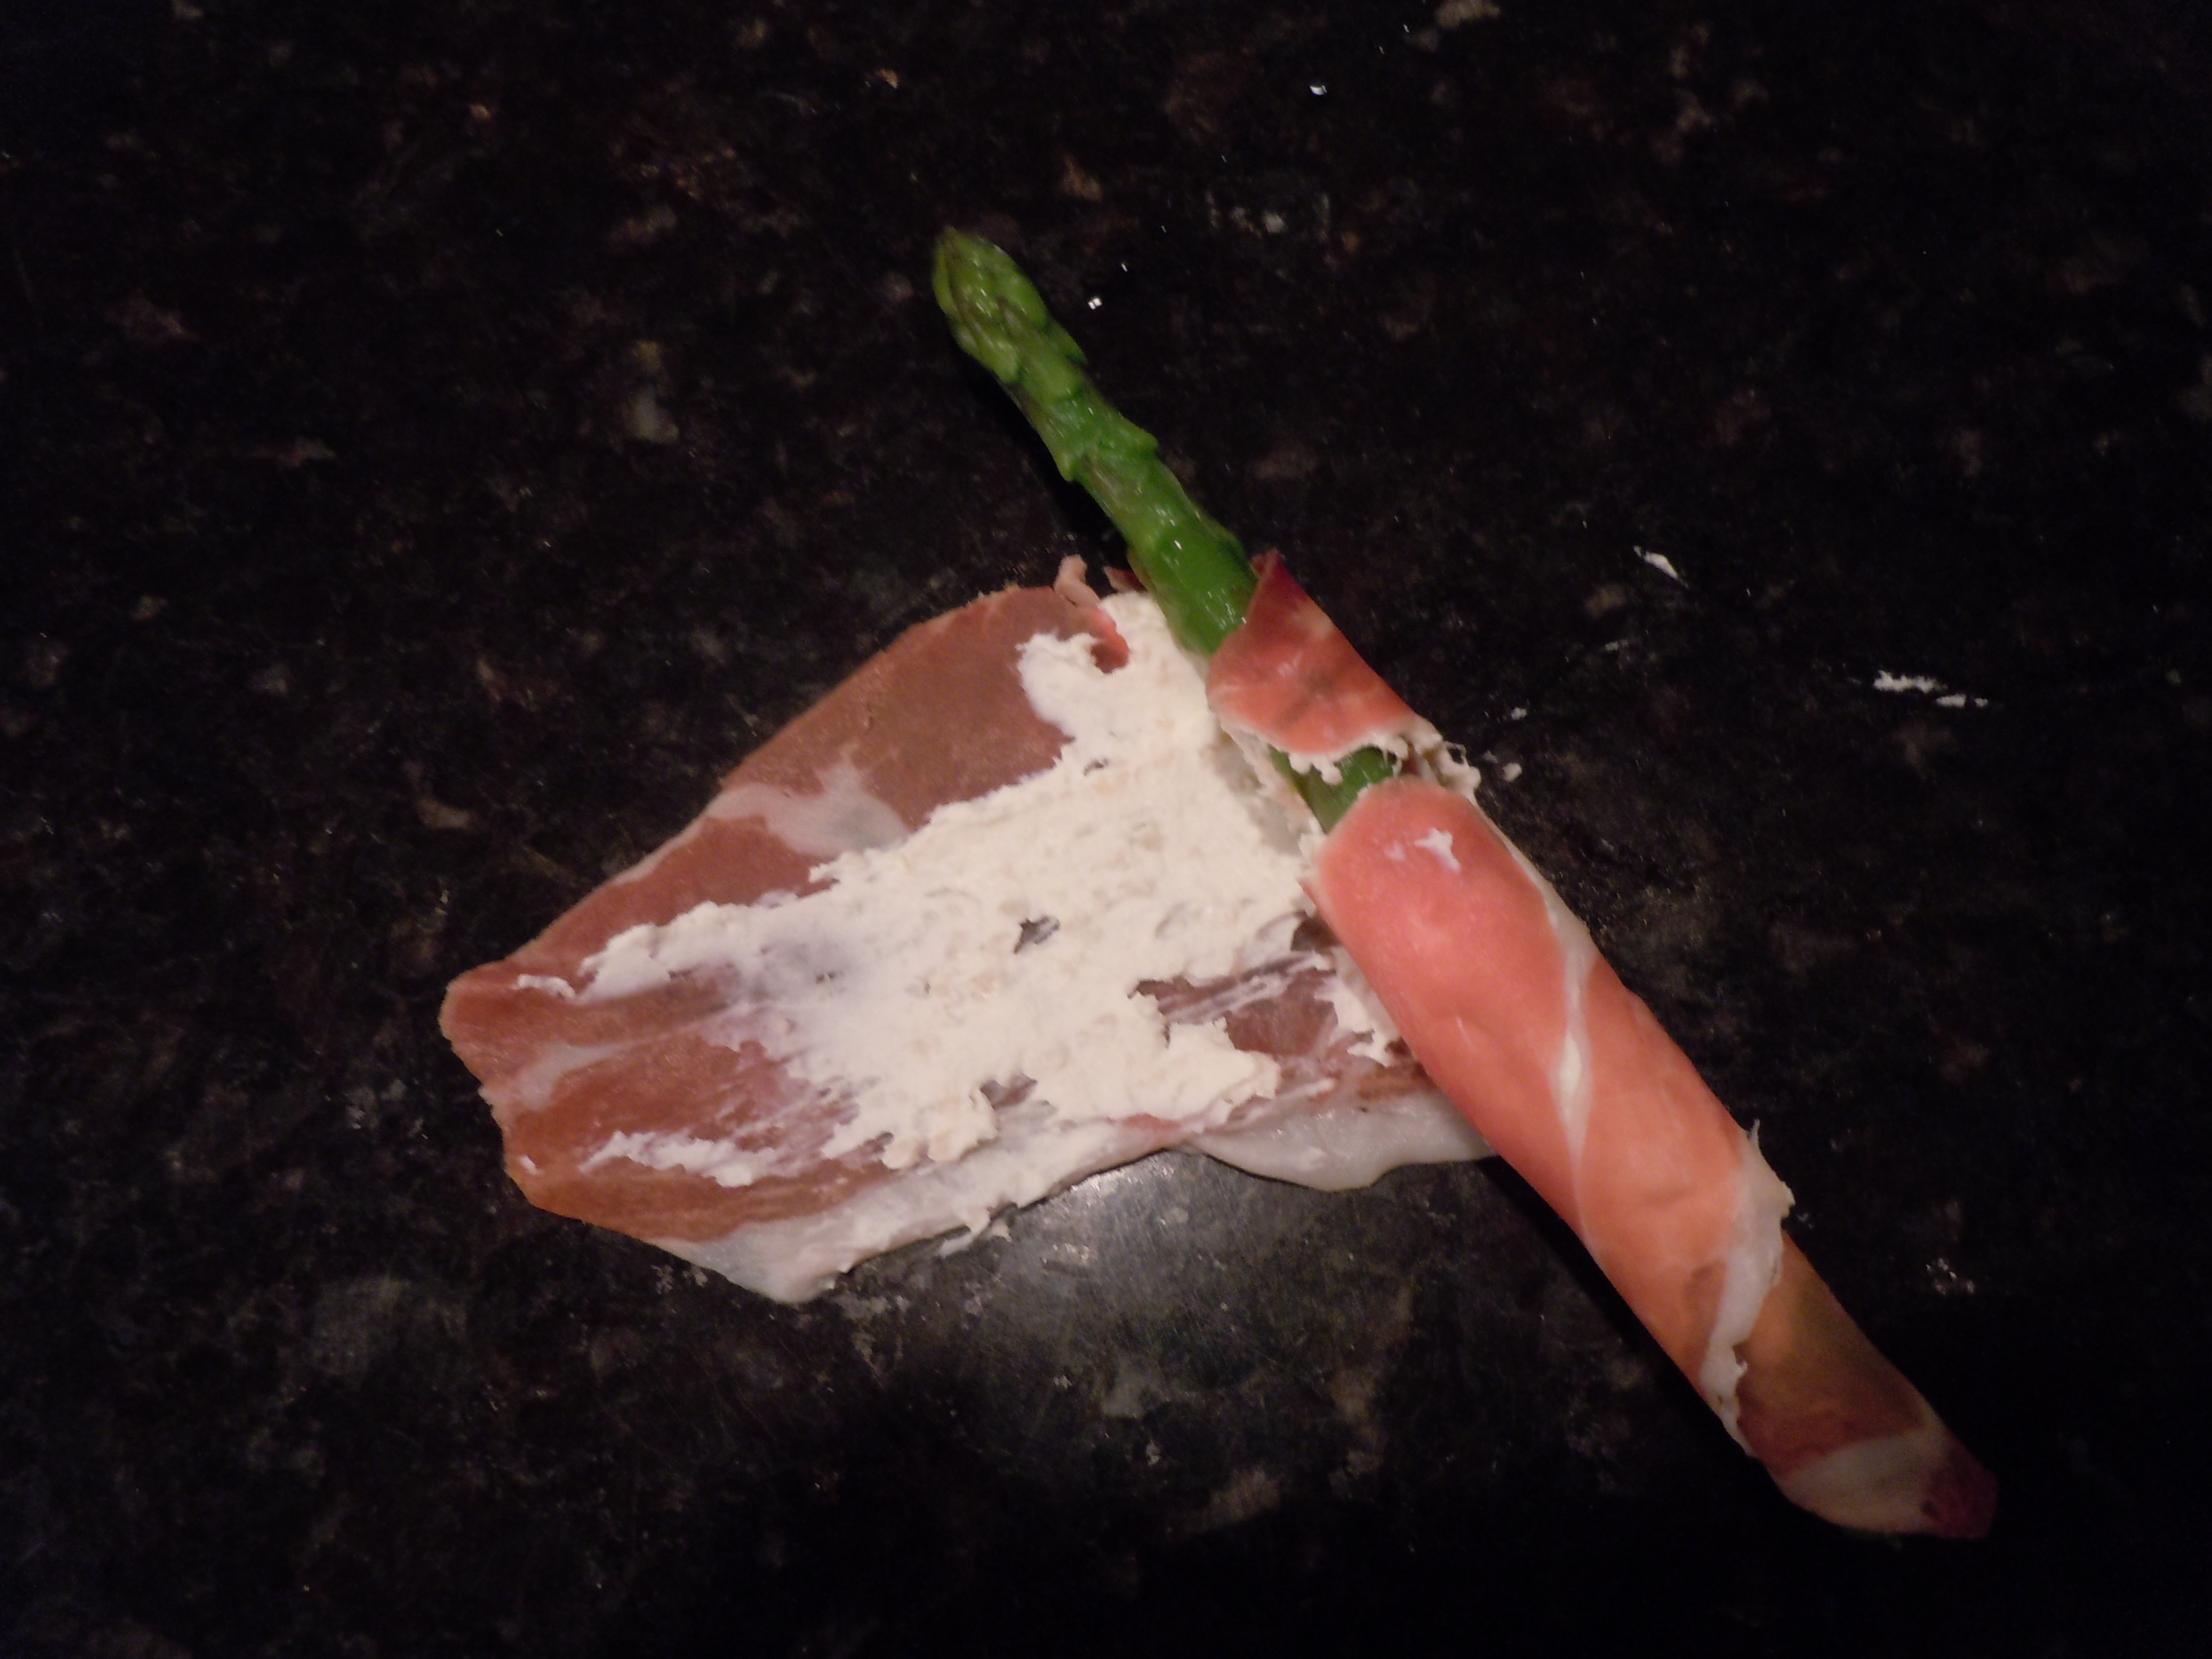
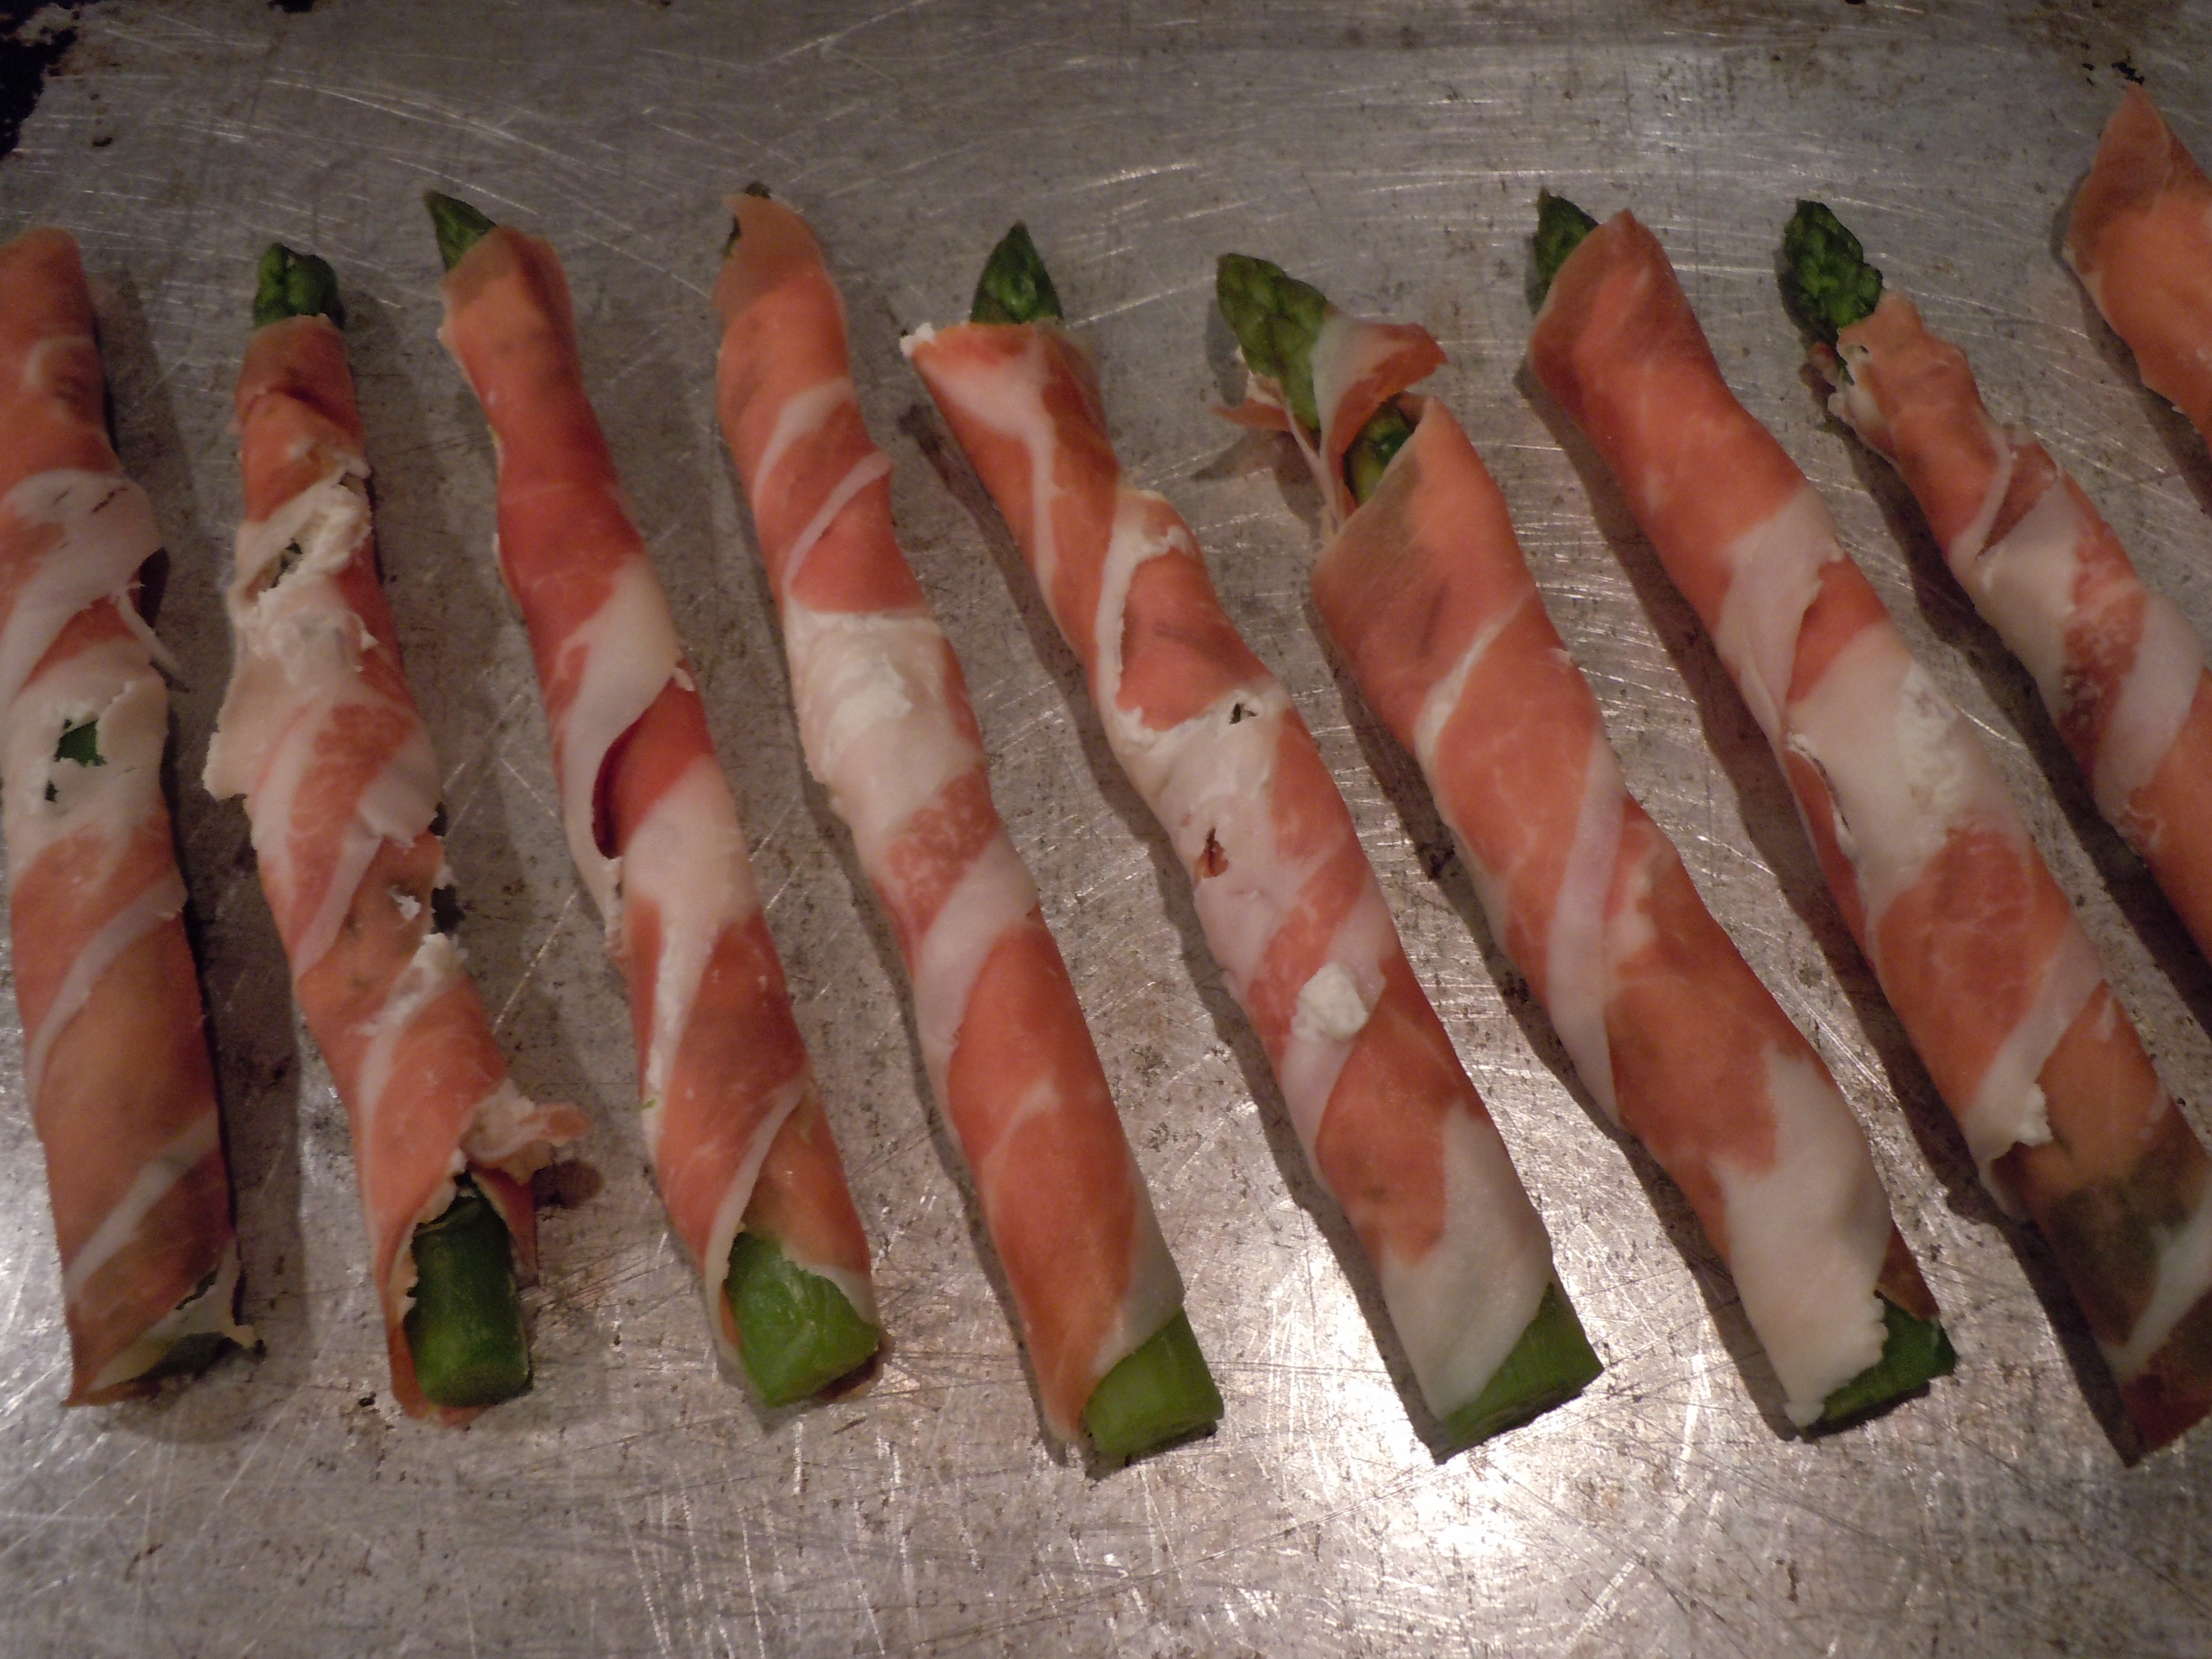
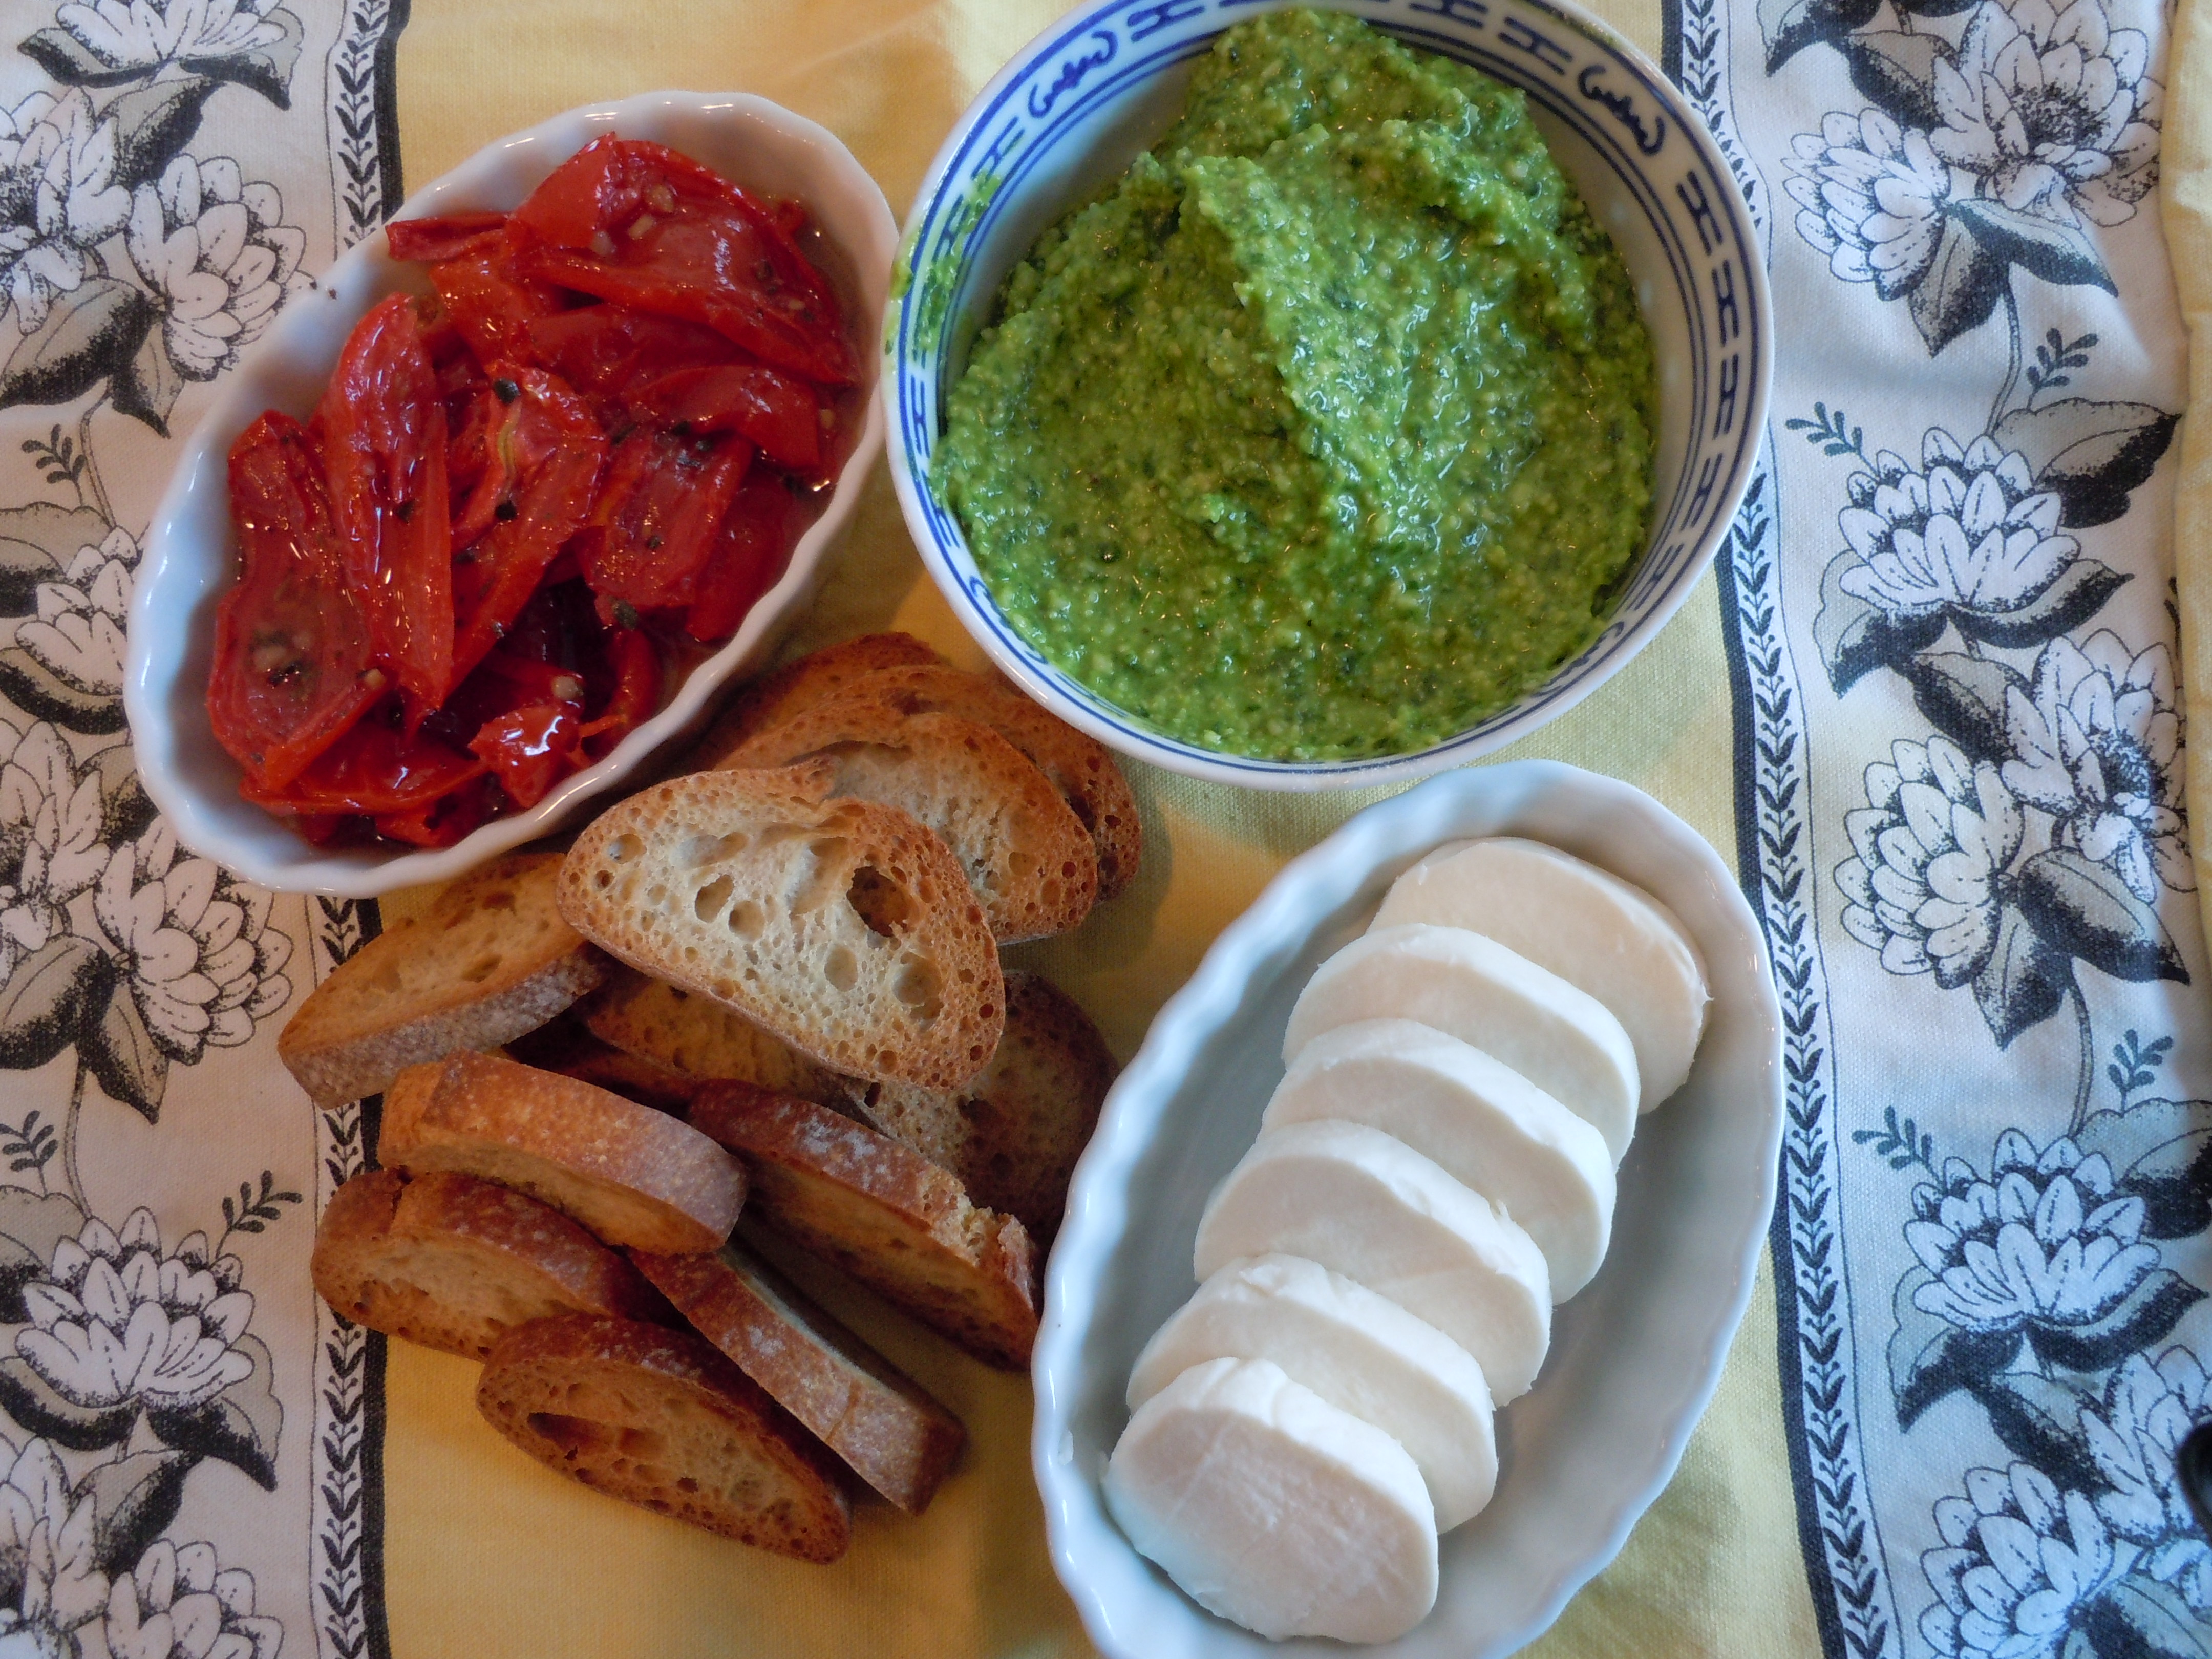
 I first had these delicious little bundles at my sister-in-law Anita’s seventeen years ago. She is an amazing chef is always cooking up a storm. These Proscuitto wrapped Asparagus are one of my favorite appetizers and can be a topping to a salad or a pretty side vegetable to lunch or dinner. What’s great about this appetizer is it can totally be made ahead of time (the day before preferably) placed on a cookie tray and into the frig until you need to put them in the oven. The asparagus is blanched before they are wrapped with Proscuitto and shocked into an ice bath to stop the cooking and to keep that vibrant green color. When buying the prosciutto you want to make sure it’s Proscuitto di Parma because it’s the best and has the most delicate flavor. There are other tasty Proscuitto’s but they are not as tender as the Parma and may get too salty or waxy after baking. The slices of the Proscuitto will vary in size and usually large enough where you can cut a piece right down the middle vertically and get 2 out if it . You can add in other hors d’ oeurves if you are having a party like