The Traveling Epicurean

My MasterChef Sauces

My MasterChef Sauces

masterchefpicThe creation of these MasterChef sauces. a spicy, sweet and sour mango and a ginger-peanut sesame sauce, all began while surfing the net a few weeks ago, I accidentally ran into the MasterChef homepage advertising “Casting calls are coming soon to a city near you”.  My kids, Reilly and Bella were there at the time and enthusiastically shouted, “you should do it”! I think what sealed the deal was reading the “Come and meet the MasterChef casting team for your chance to be on the show!” The excitement started to seep in and I began to seriously consider going to the New York City MasterChef open call. If anything, I knew it would be a step in the right direction and a great learning experience let alone the adrenaline of it all!

After sending in their required online pre-registration form and printing out the nine page hard copy form to be submitted at the casting call I thought it would be a good idea to look over the FAQ page. The FAQ’s certainly had a list of what to do and what not to do. The “to do’s” started off like this:  First, bring one prepared dish to serve to their food judges. Second,  we would be given 3 minutes to plate our dish at their casting call location and for some reason I had initially thought I had 5 minutes to plate so that was a bit of an eye opener! Third, there wouldn’t be a kitchen to cook or warm our dish up so we were to come prepared! Fourth, we are to supply our own dishes, utensils, etc.

The “do not do’s went like this:  no air mattresses, no alcoholic beverages, no animals (unless health related), no candles, no cans or bottles (except water bottles), no chairs that do not fold (i.e. lawn chairs, chaise lounges, molded plastic chairs), no digital or still cameras, no fireworks, no hair dryers, no illegal drugs, no tents, no video, cameras or camcorders of any kind, no weapons of any kind, no children under the age of 13 years are allowed at the audition venues. There you have it!

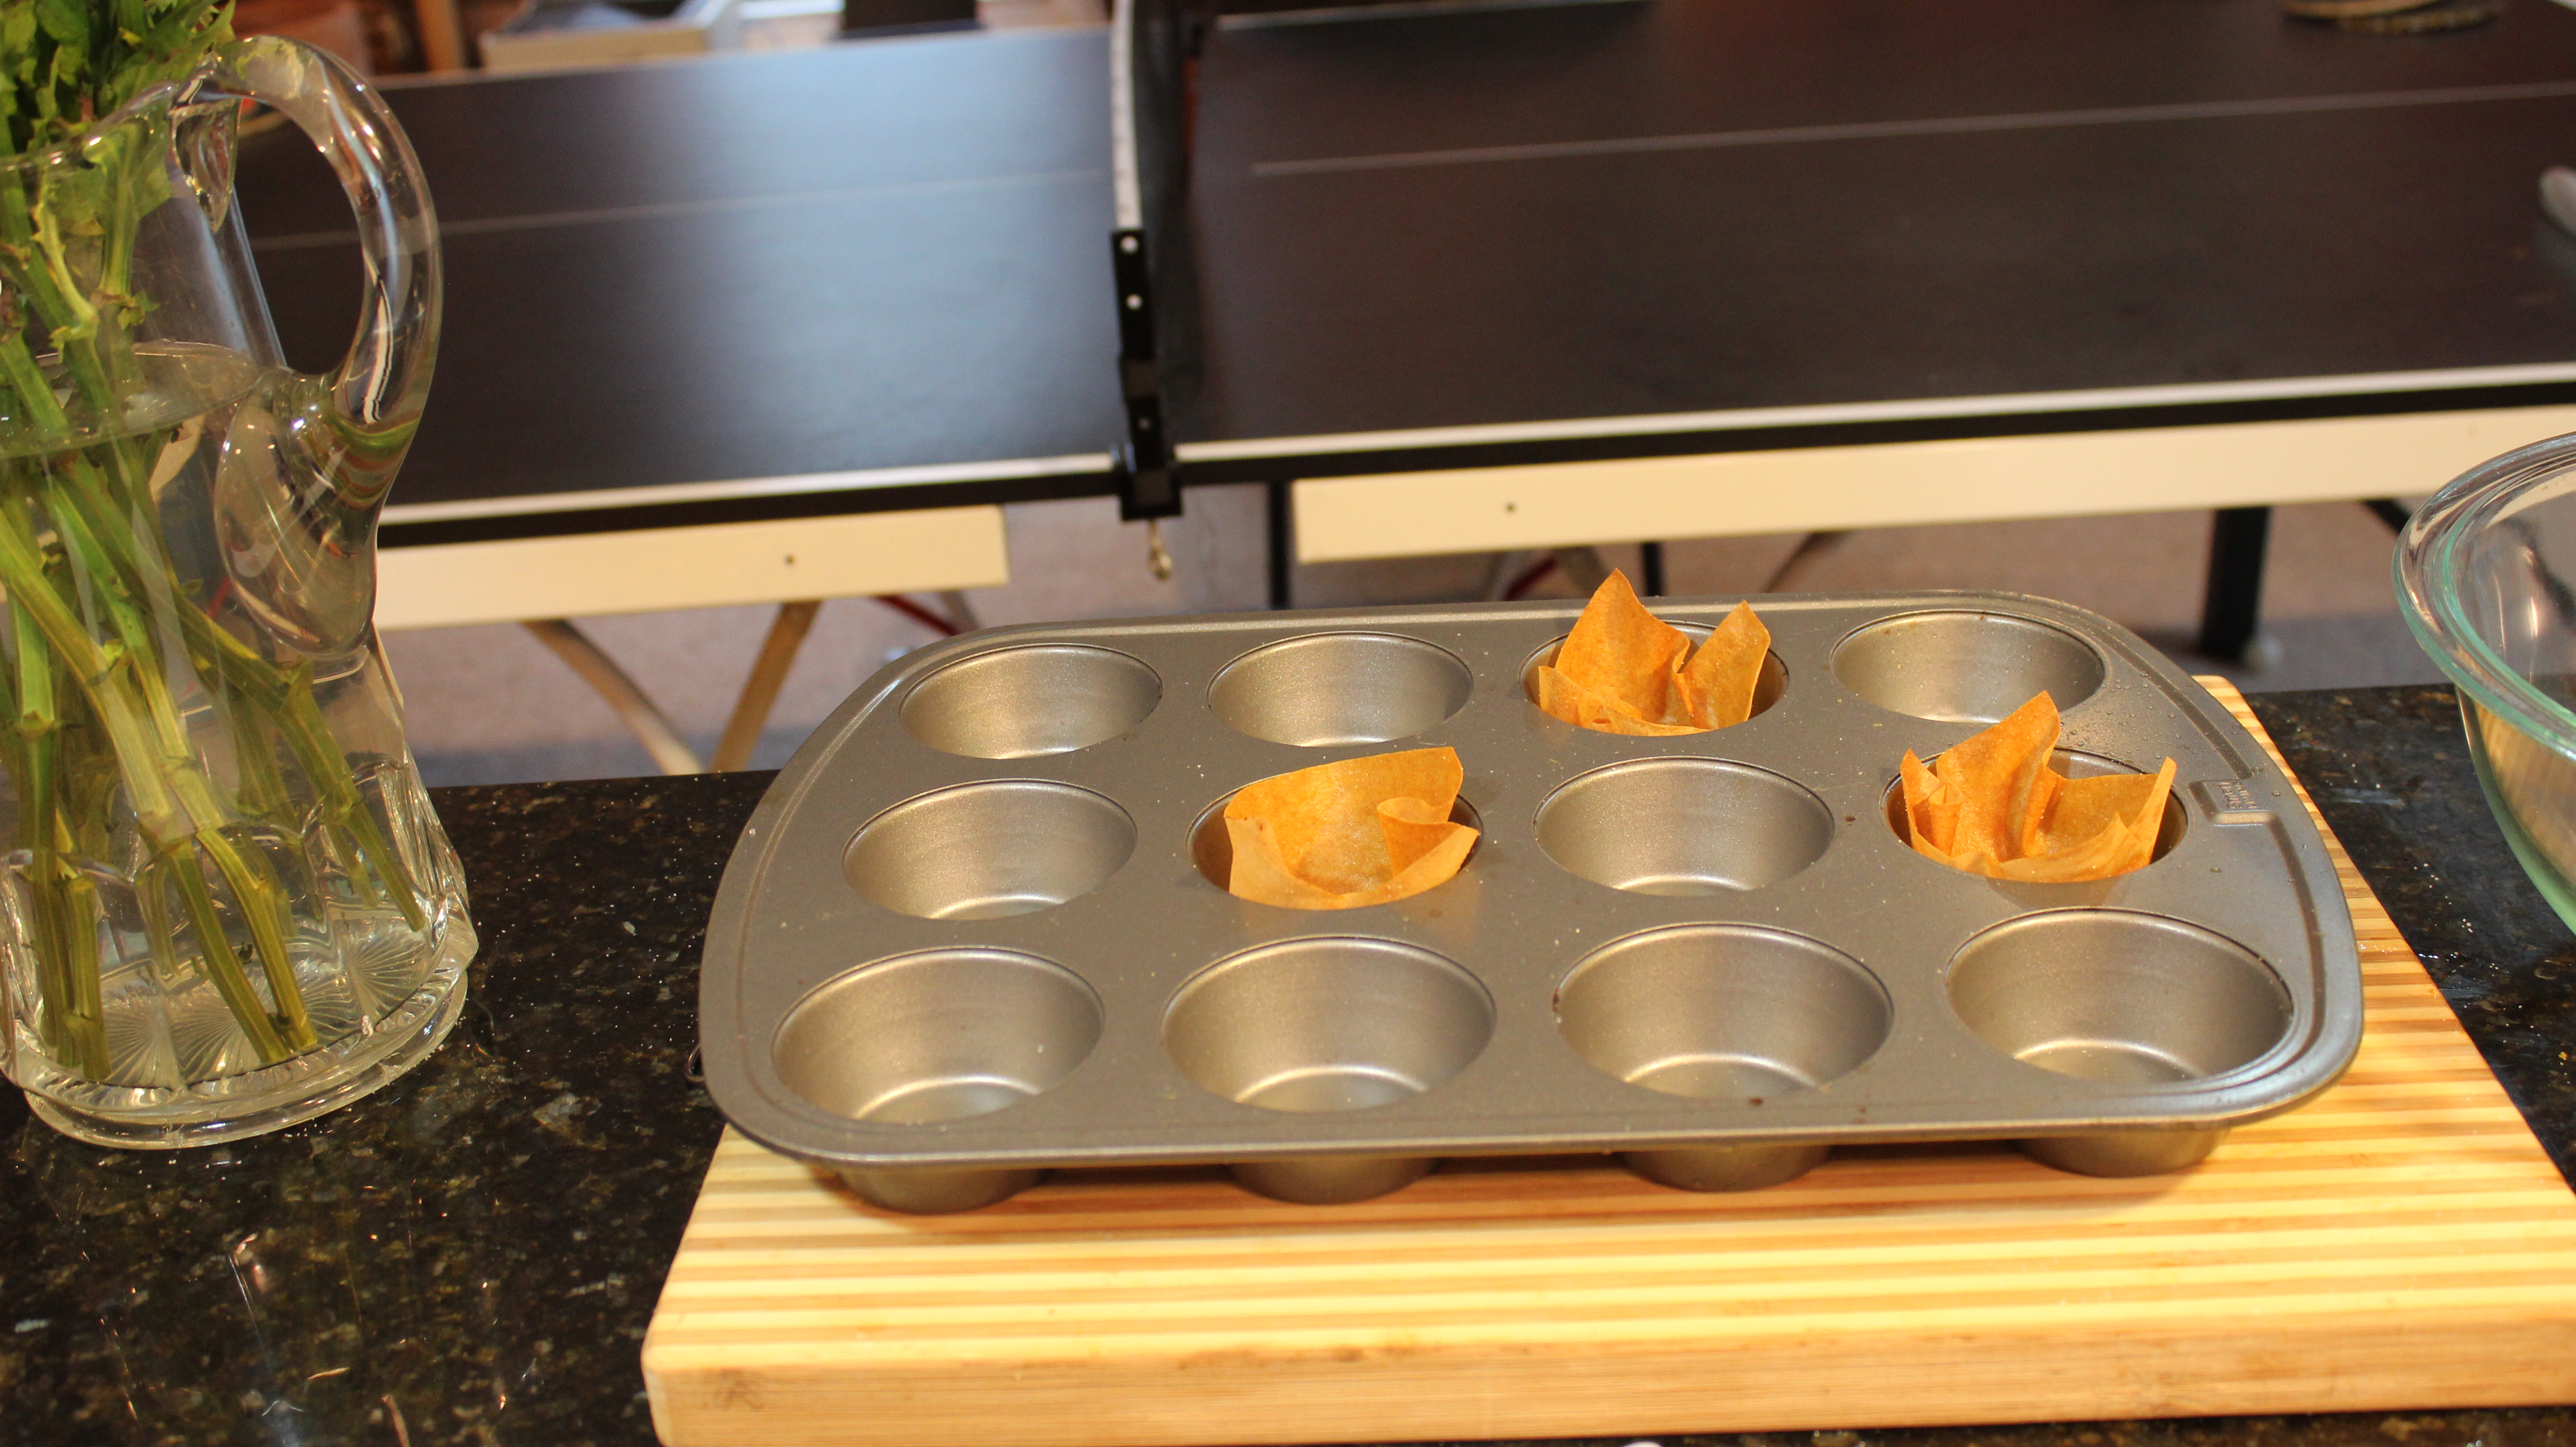
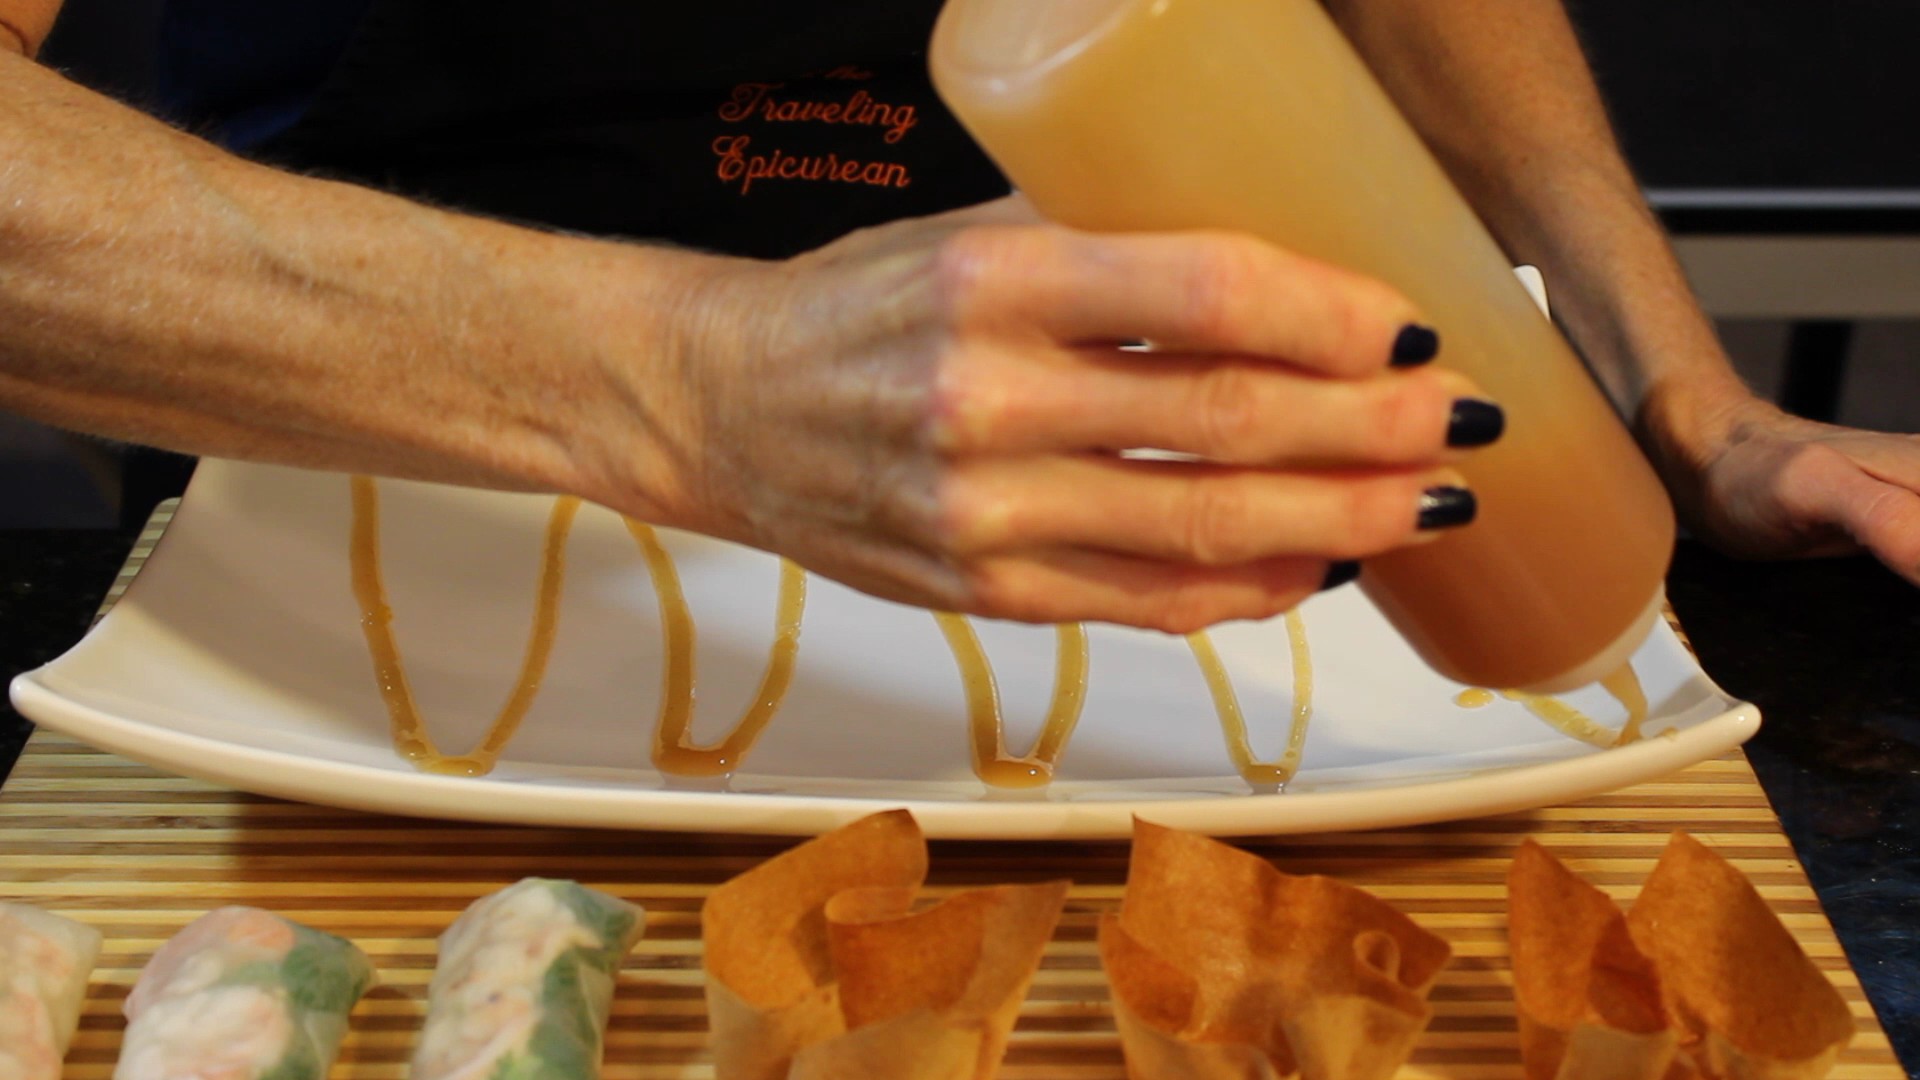
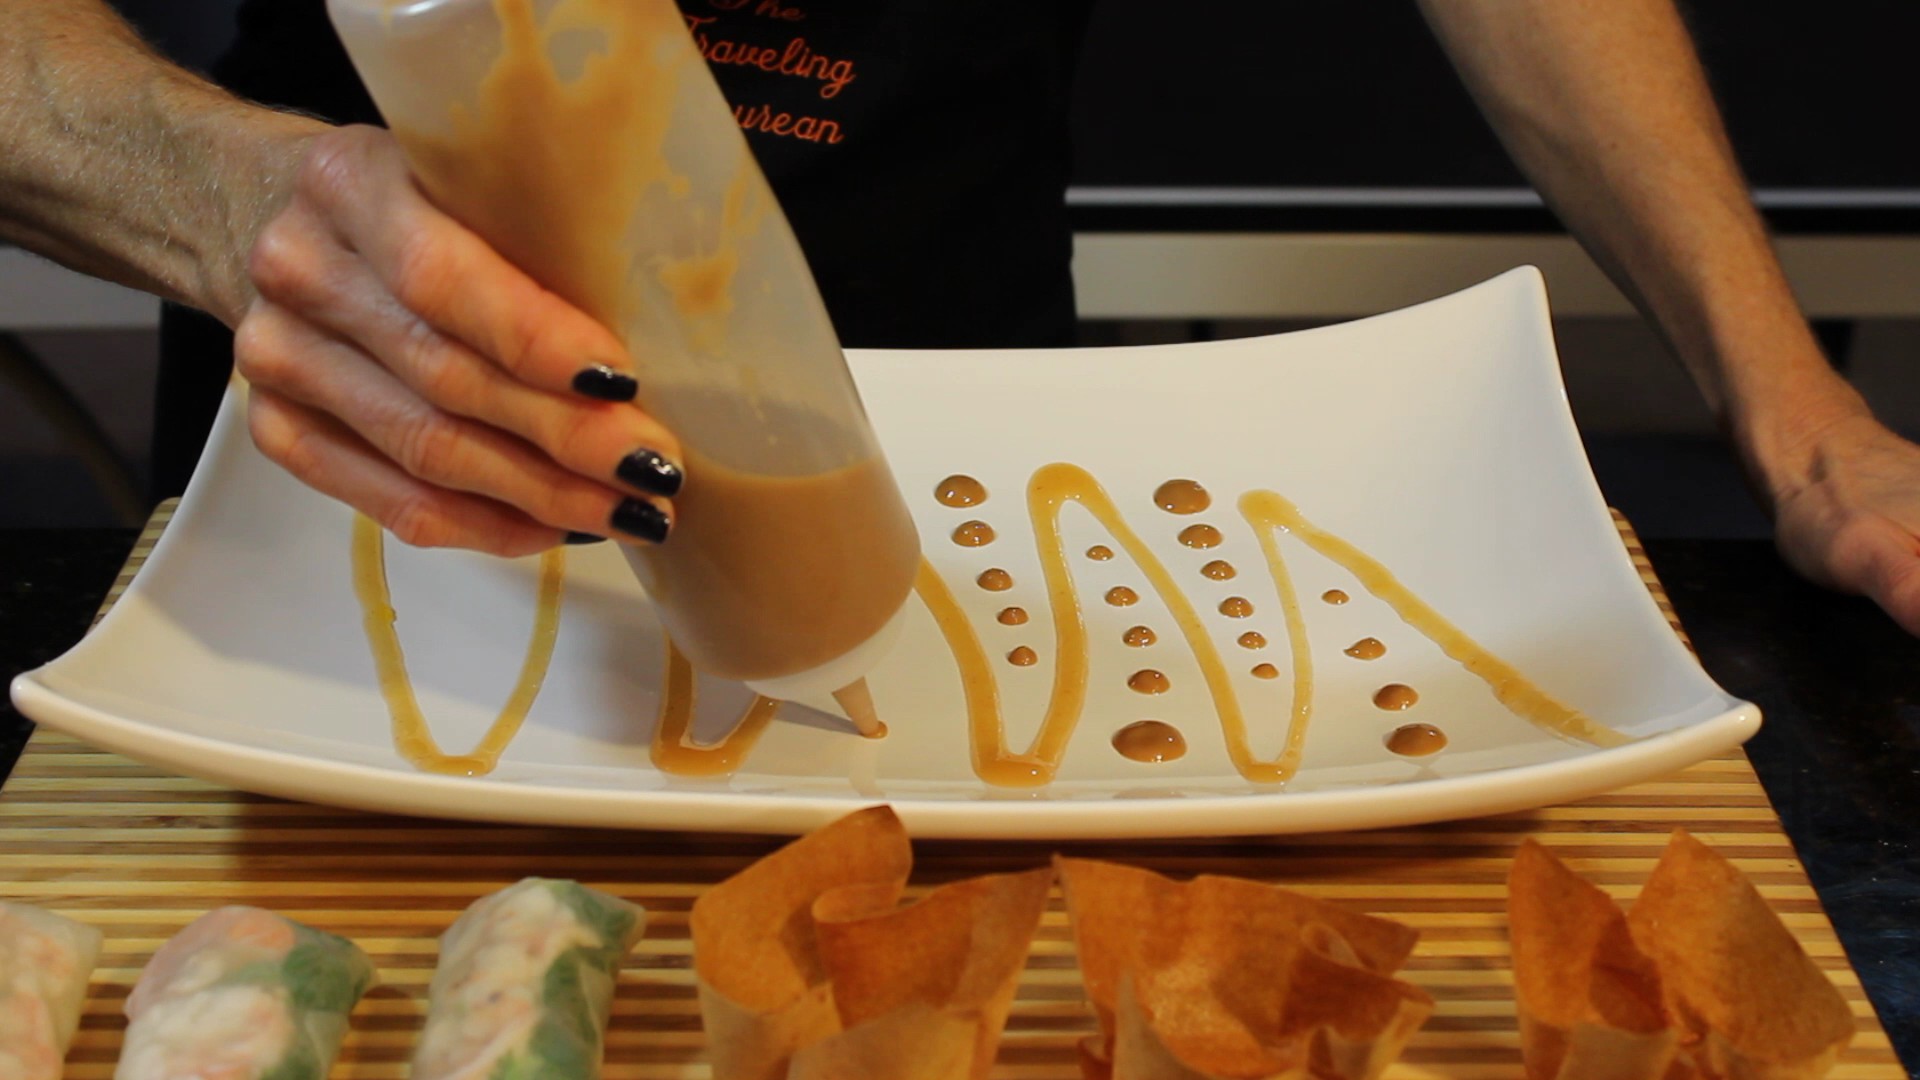
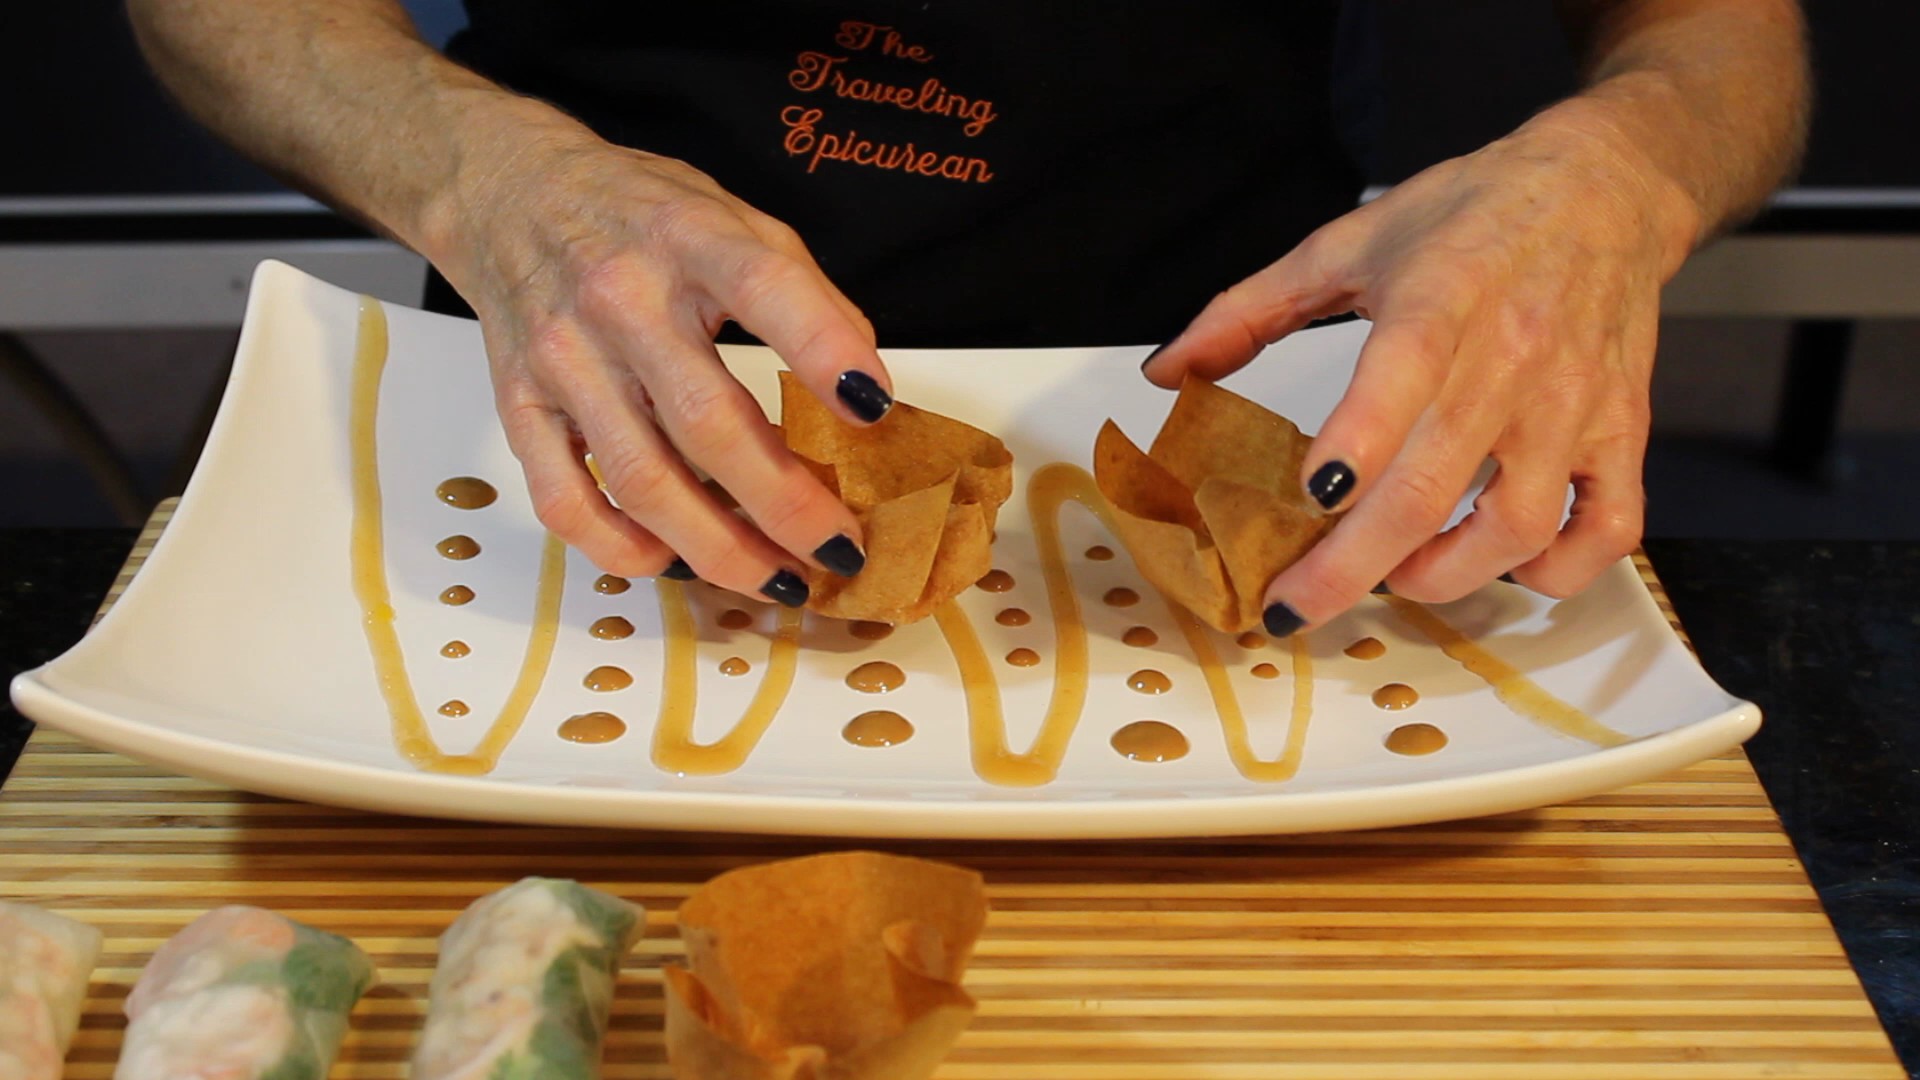
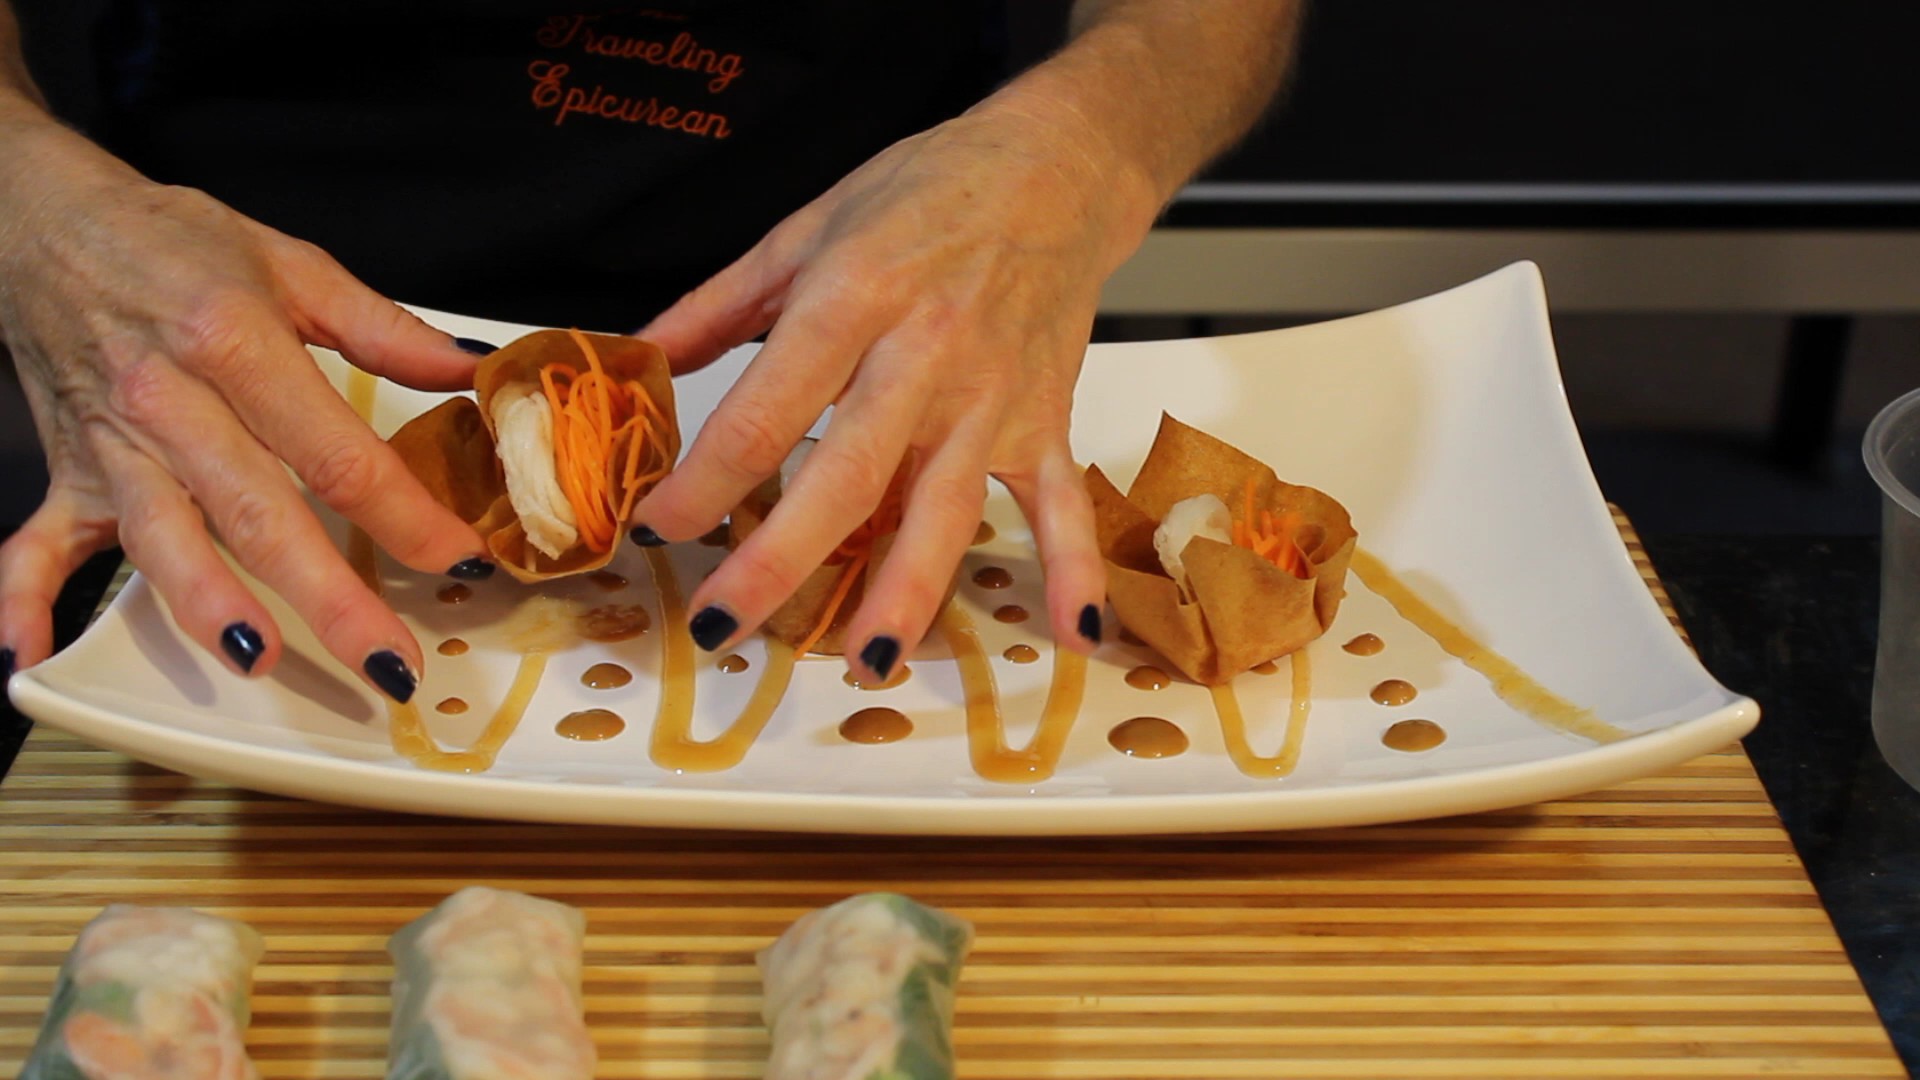
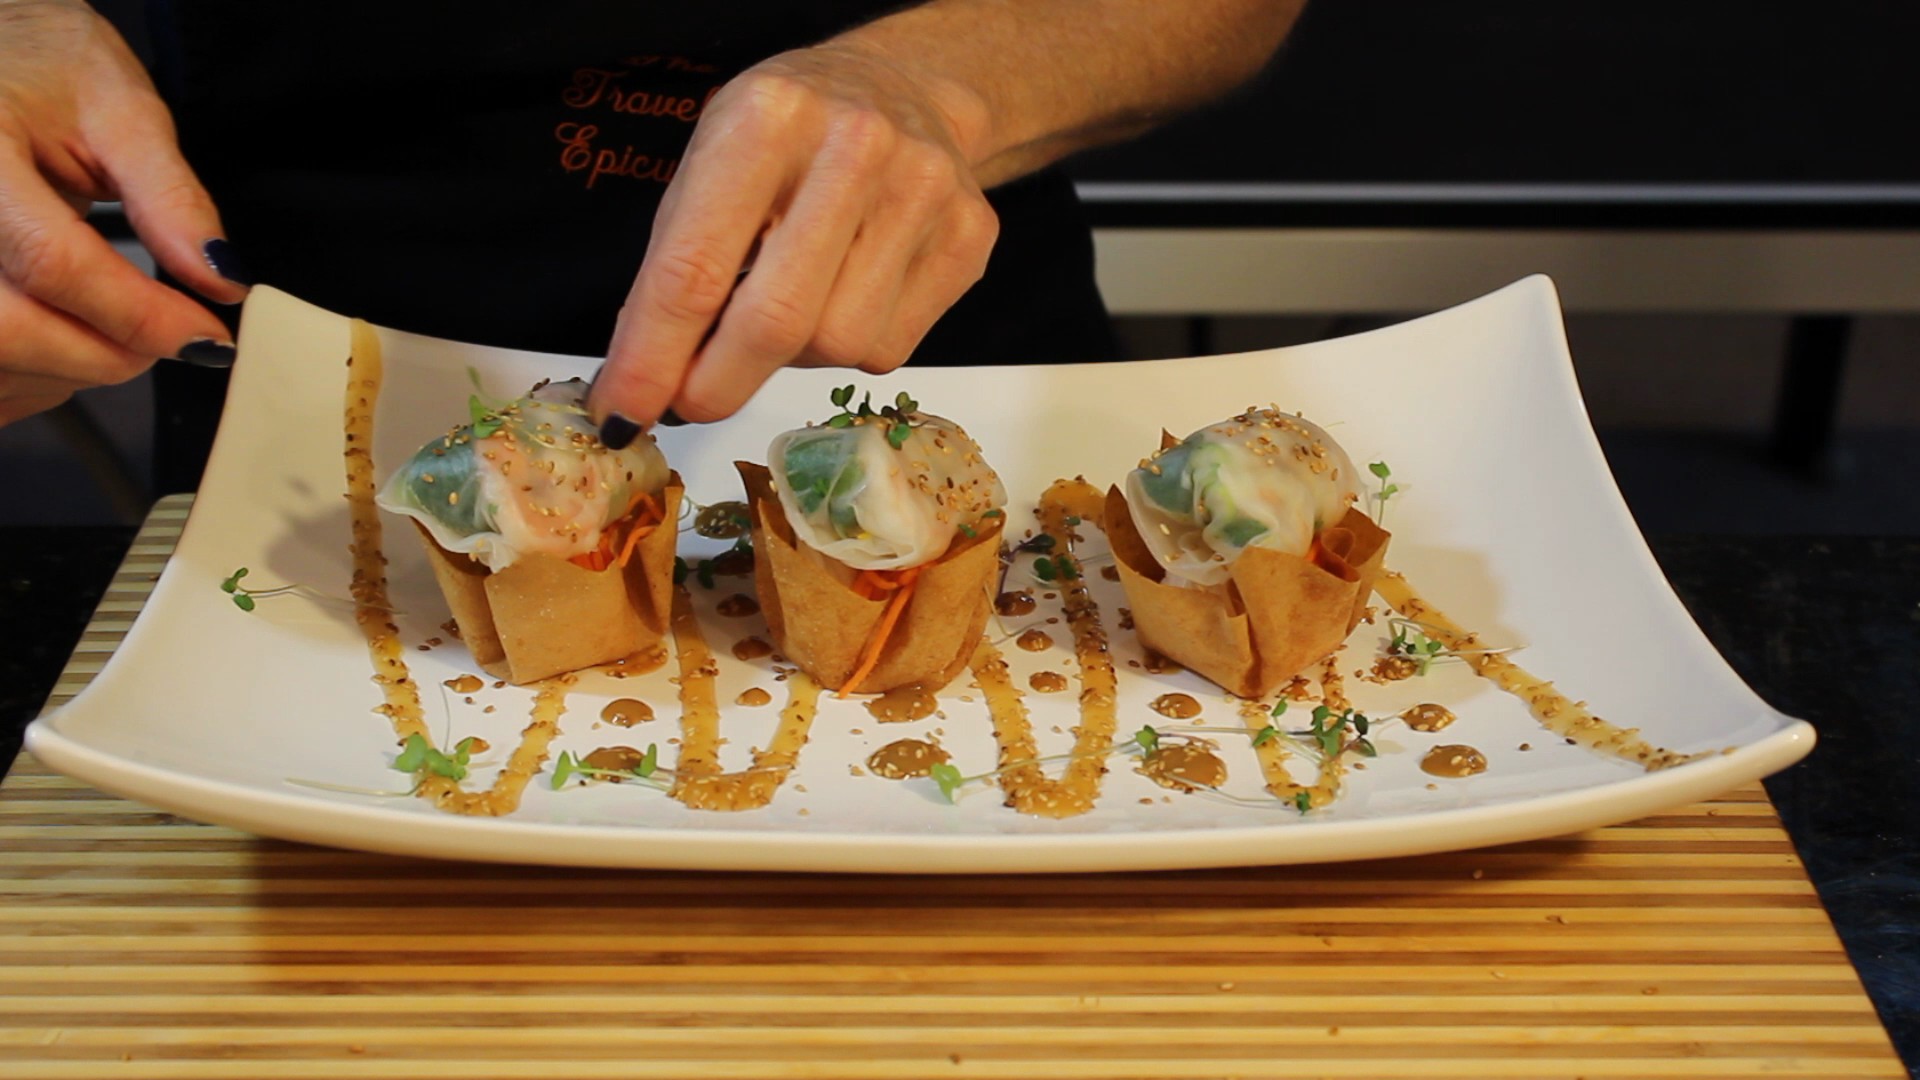
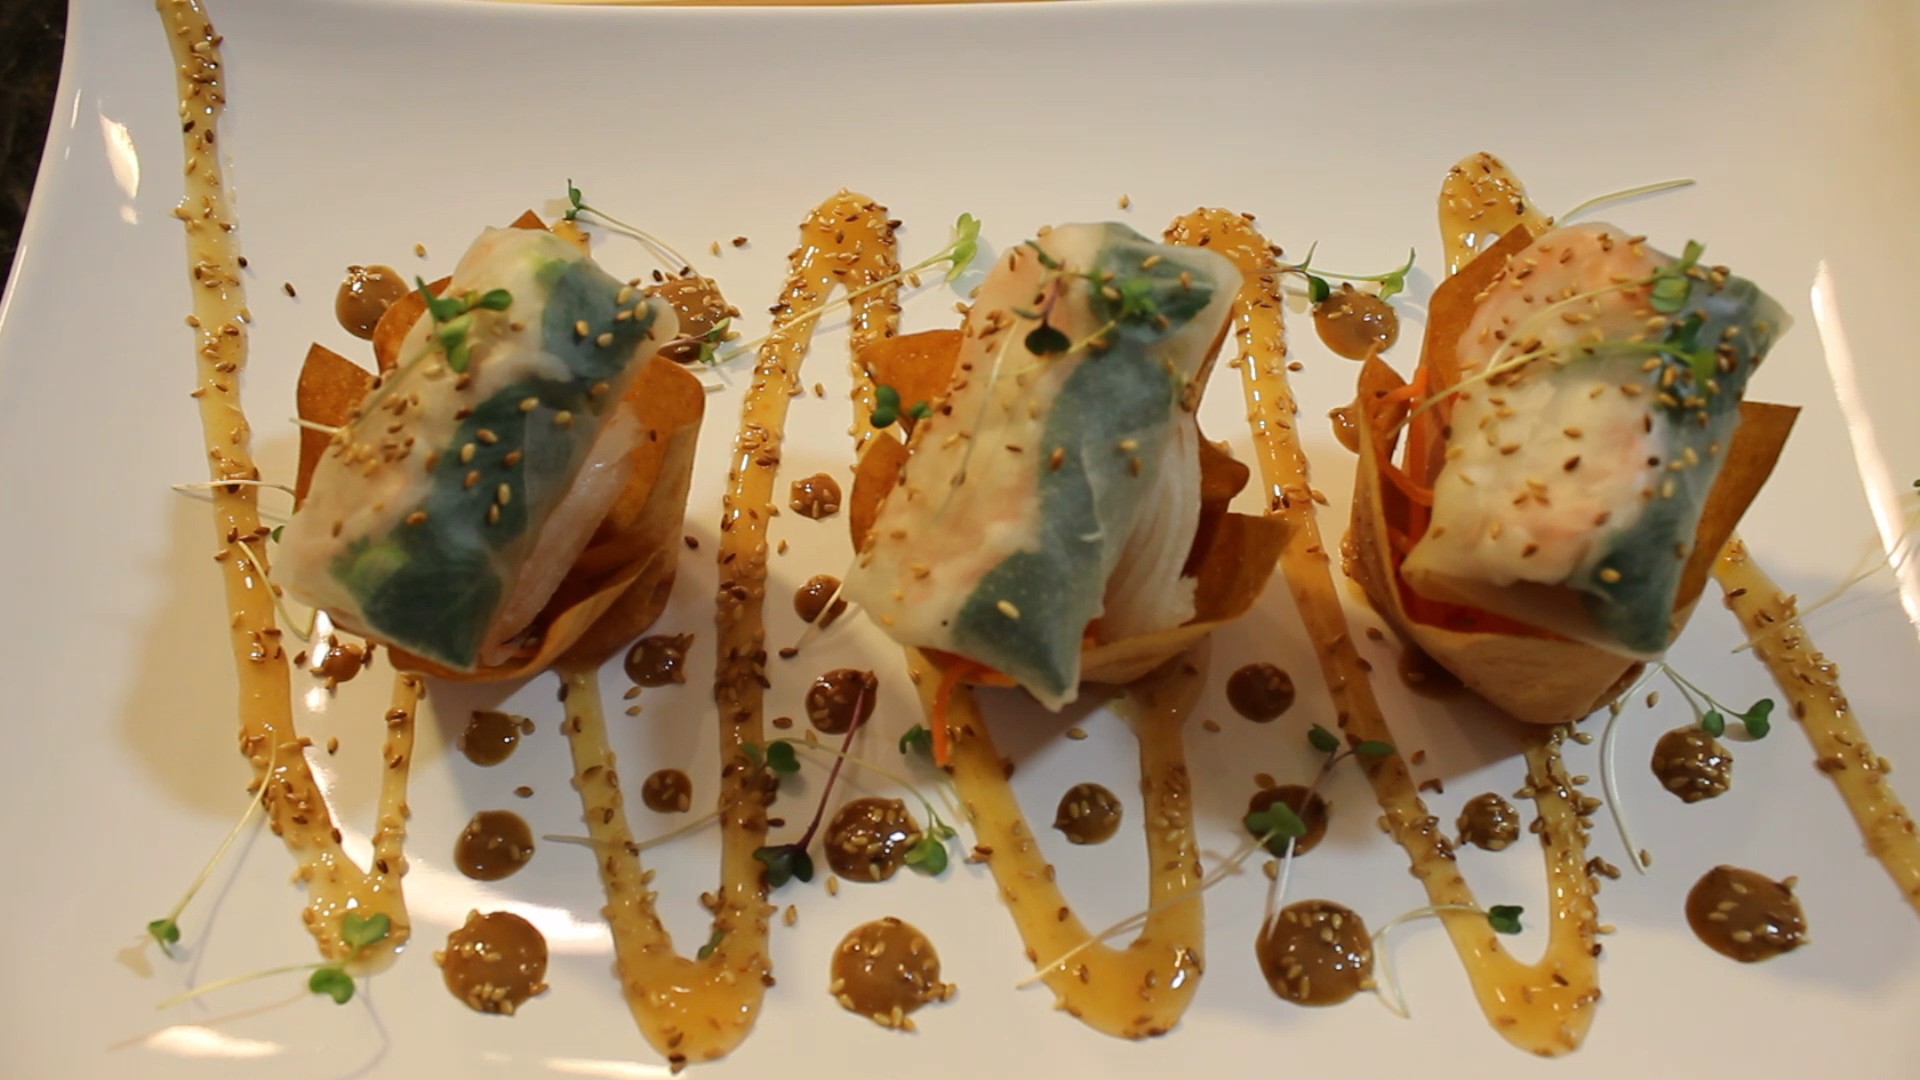
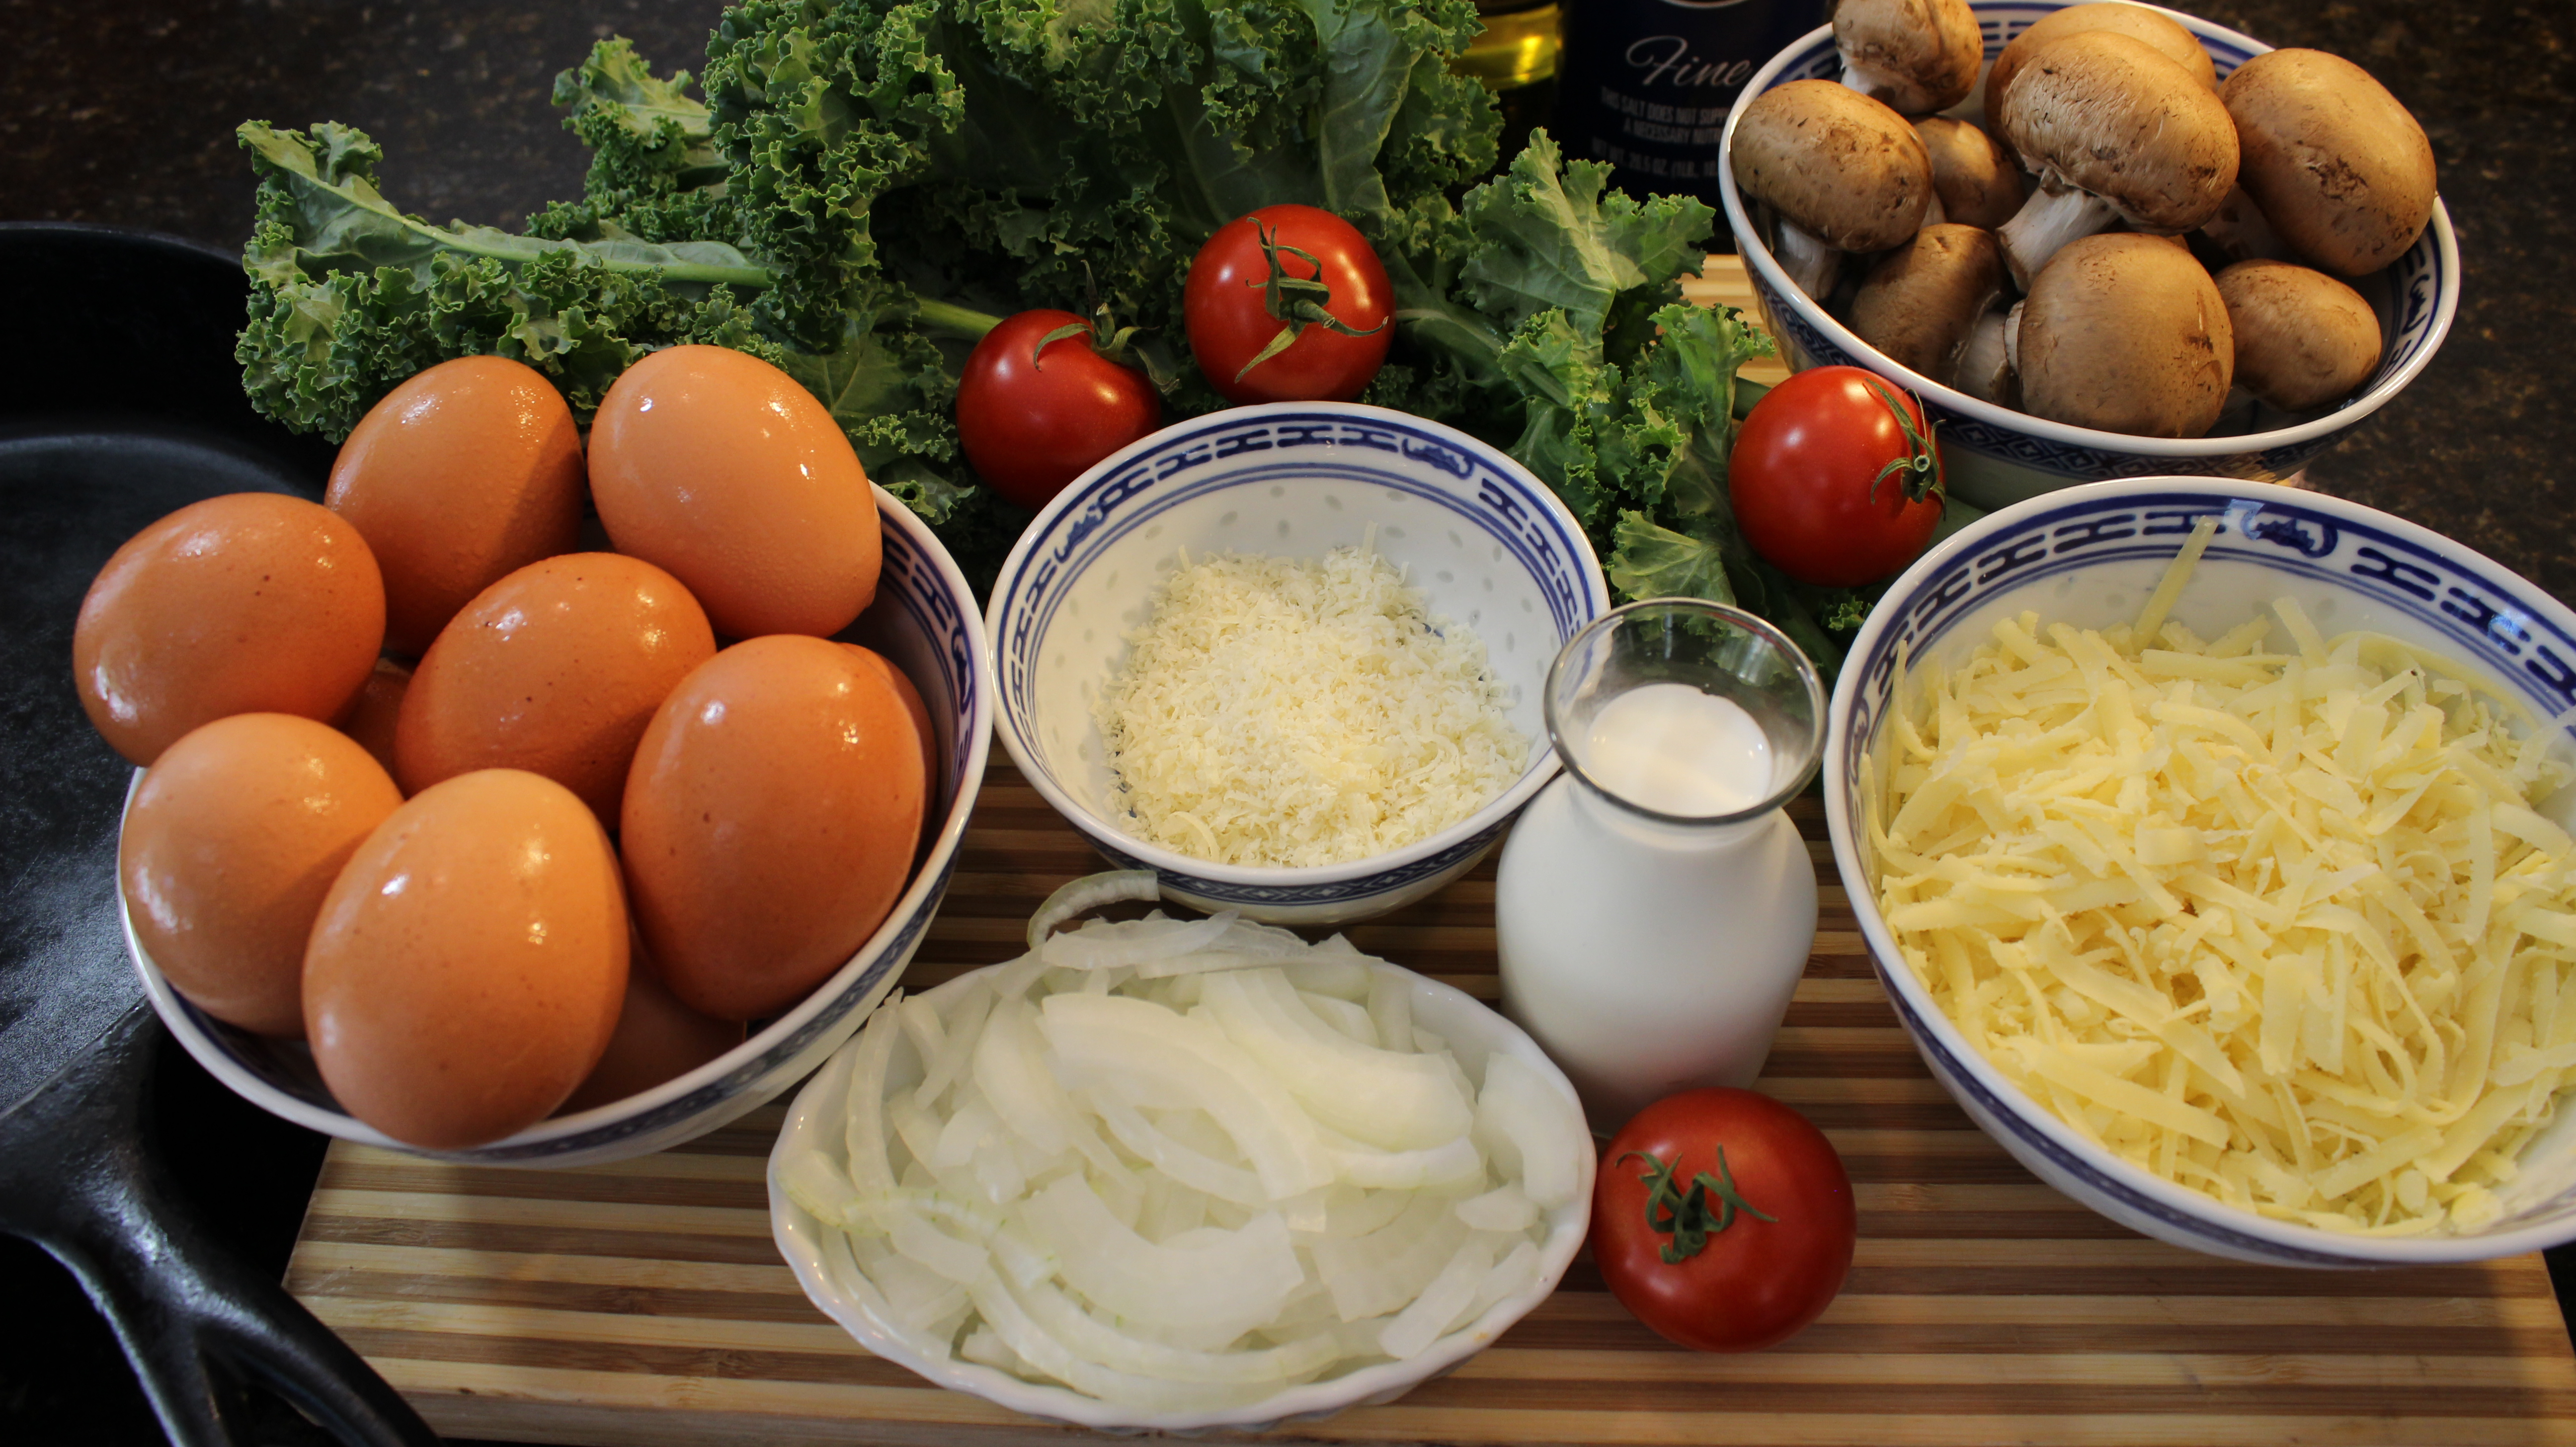
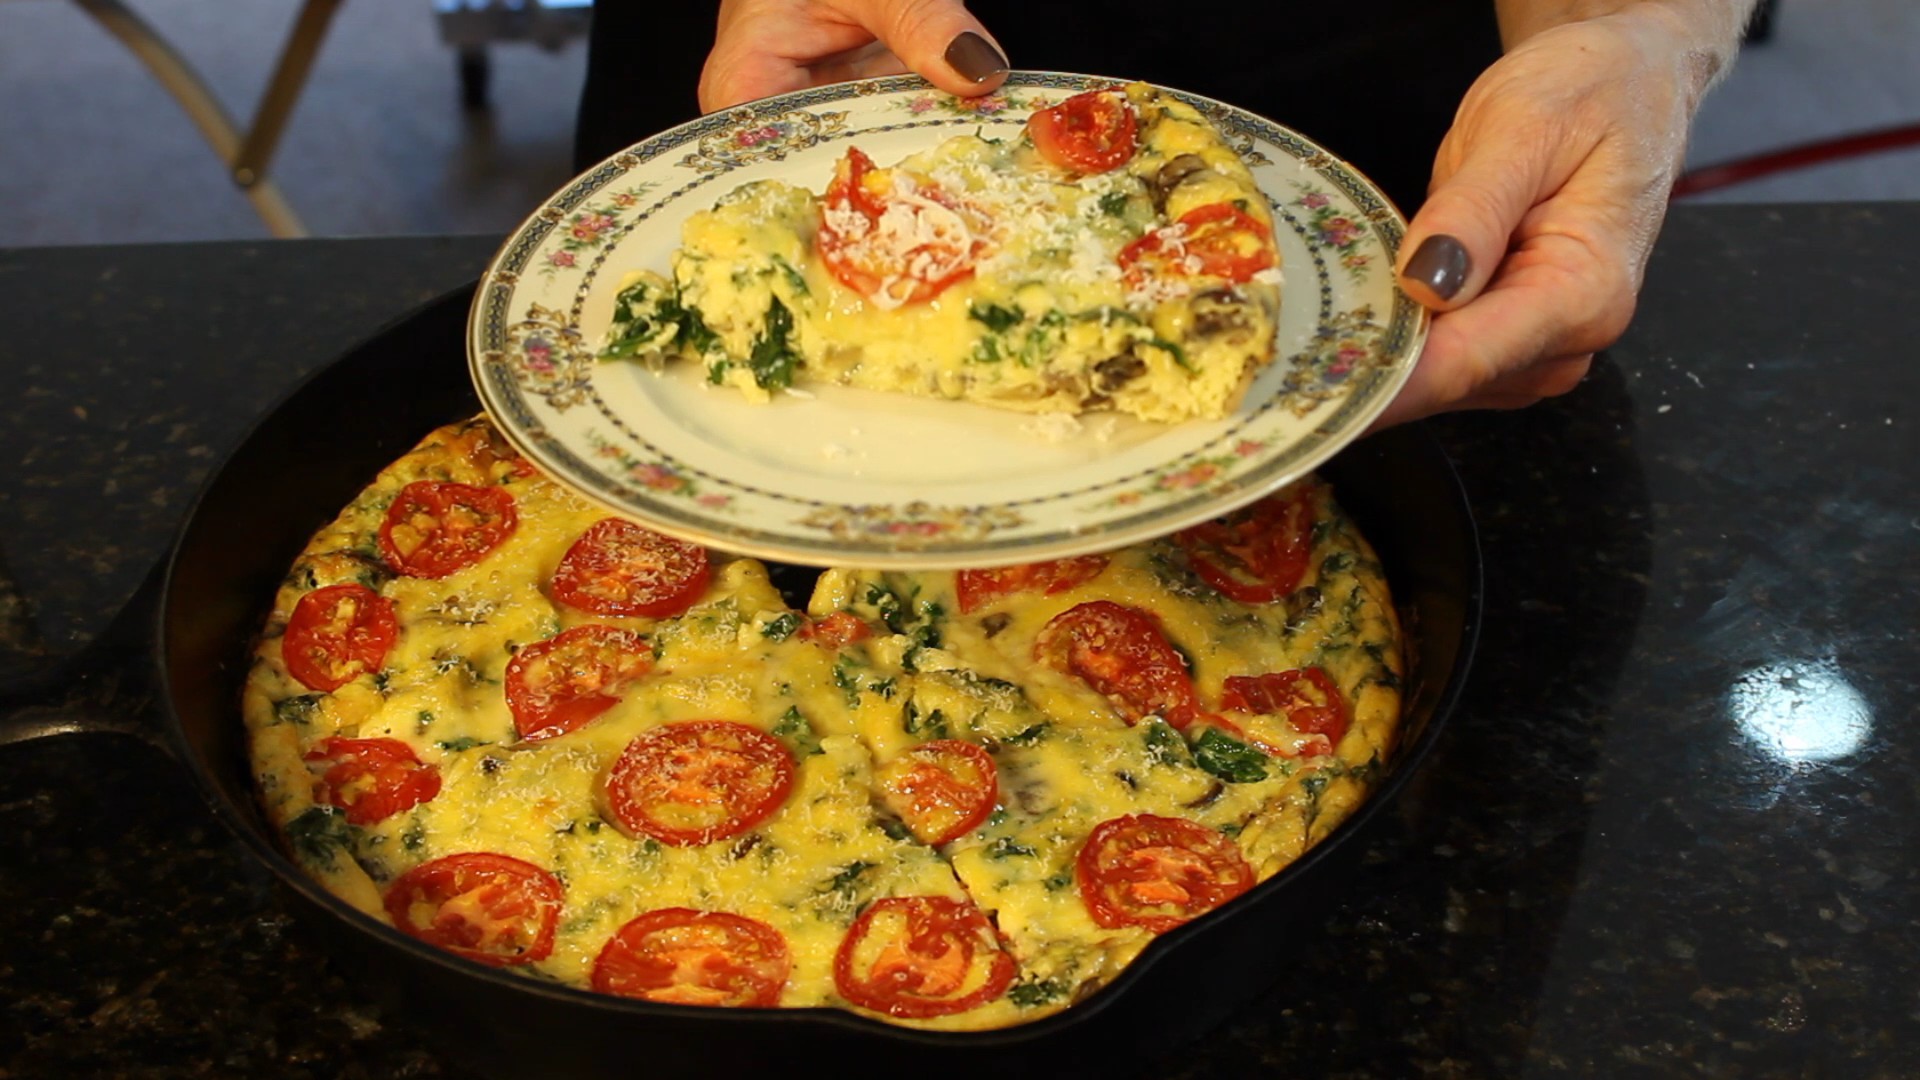
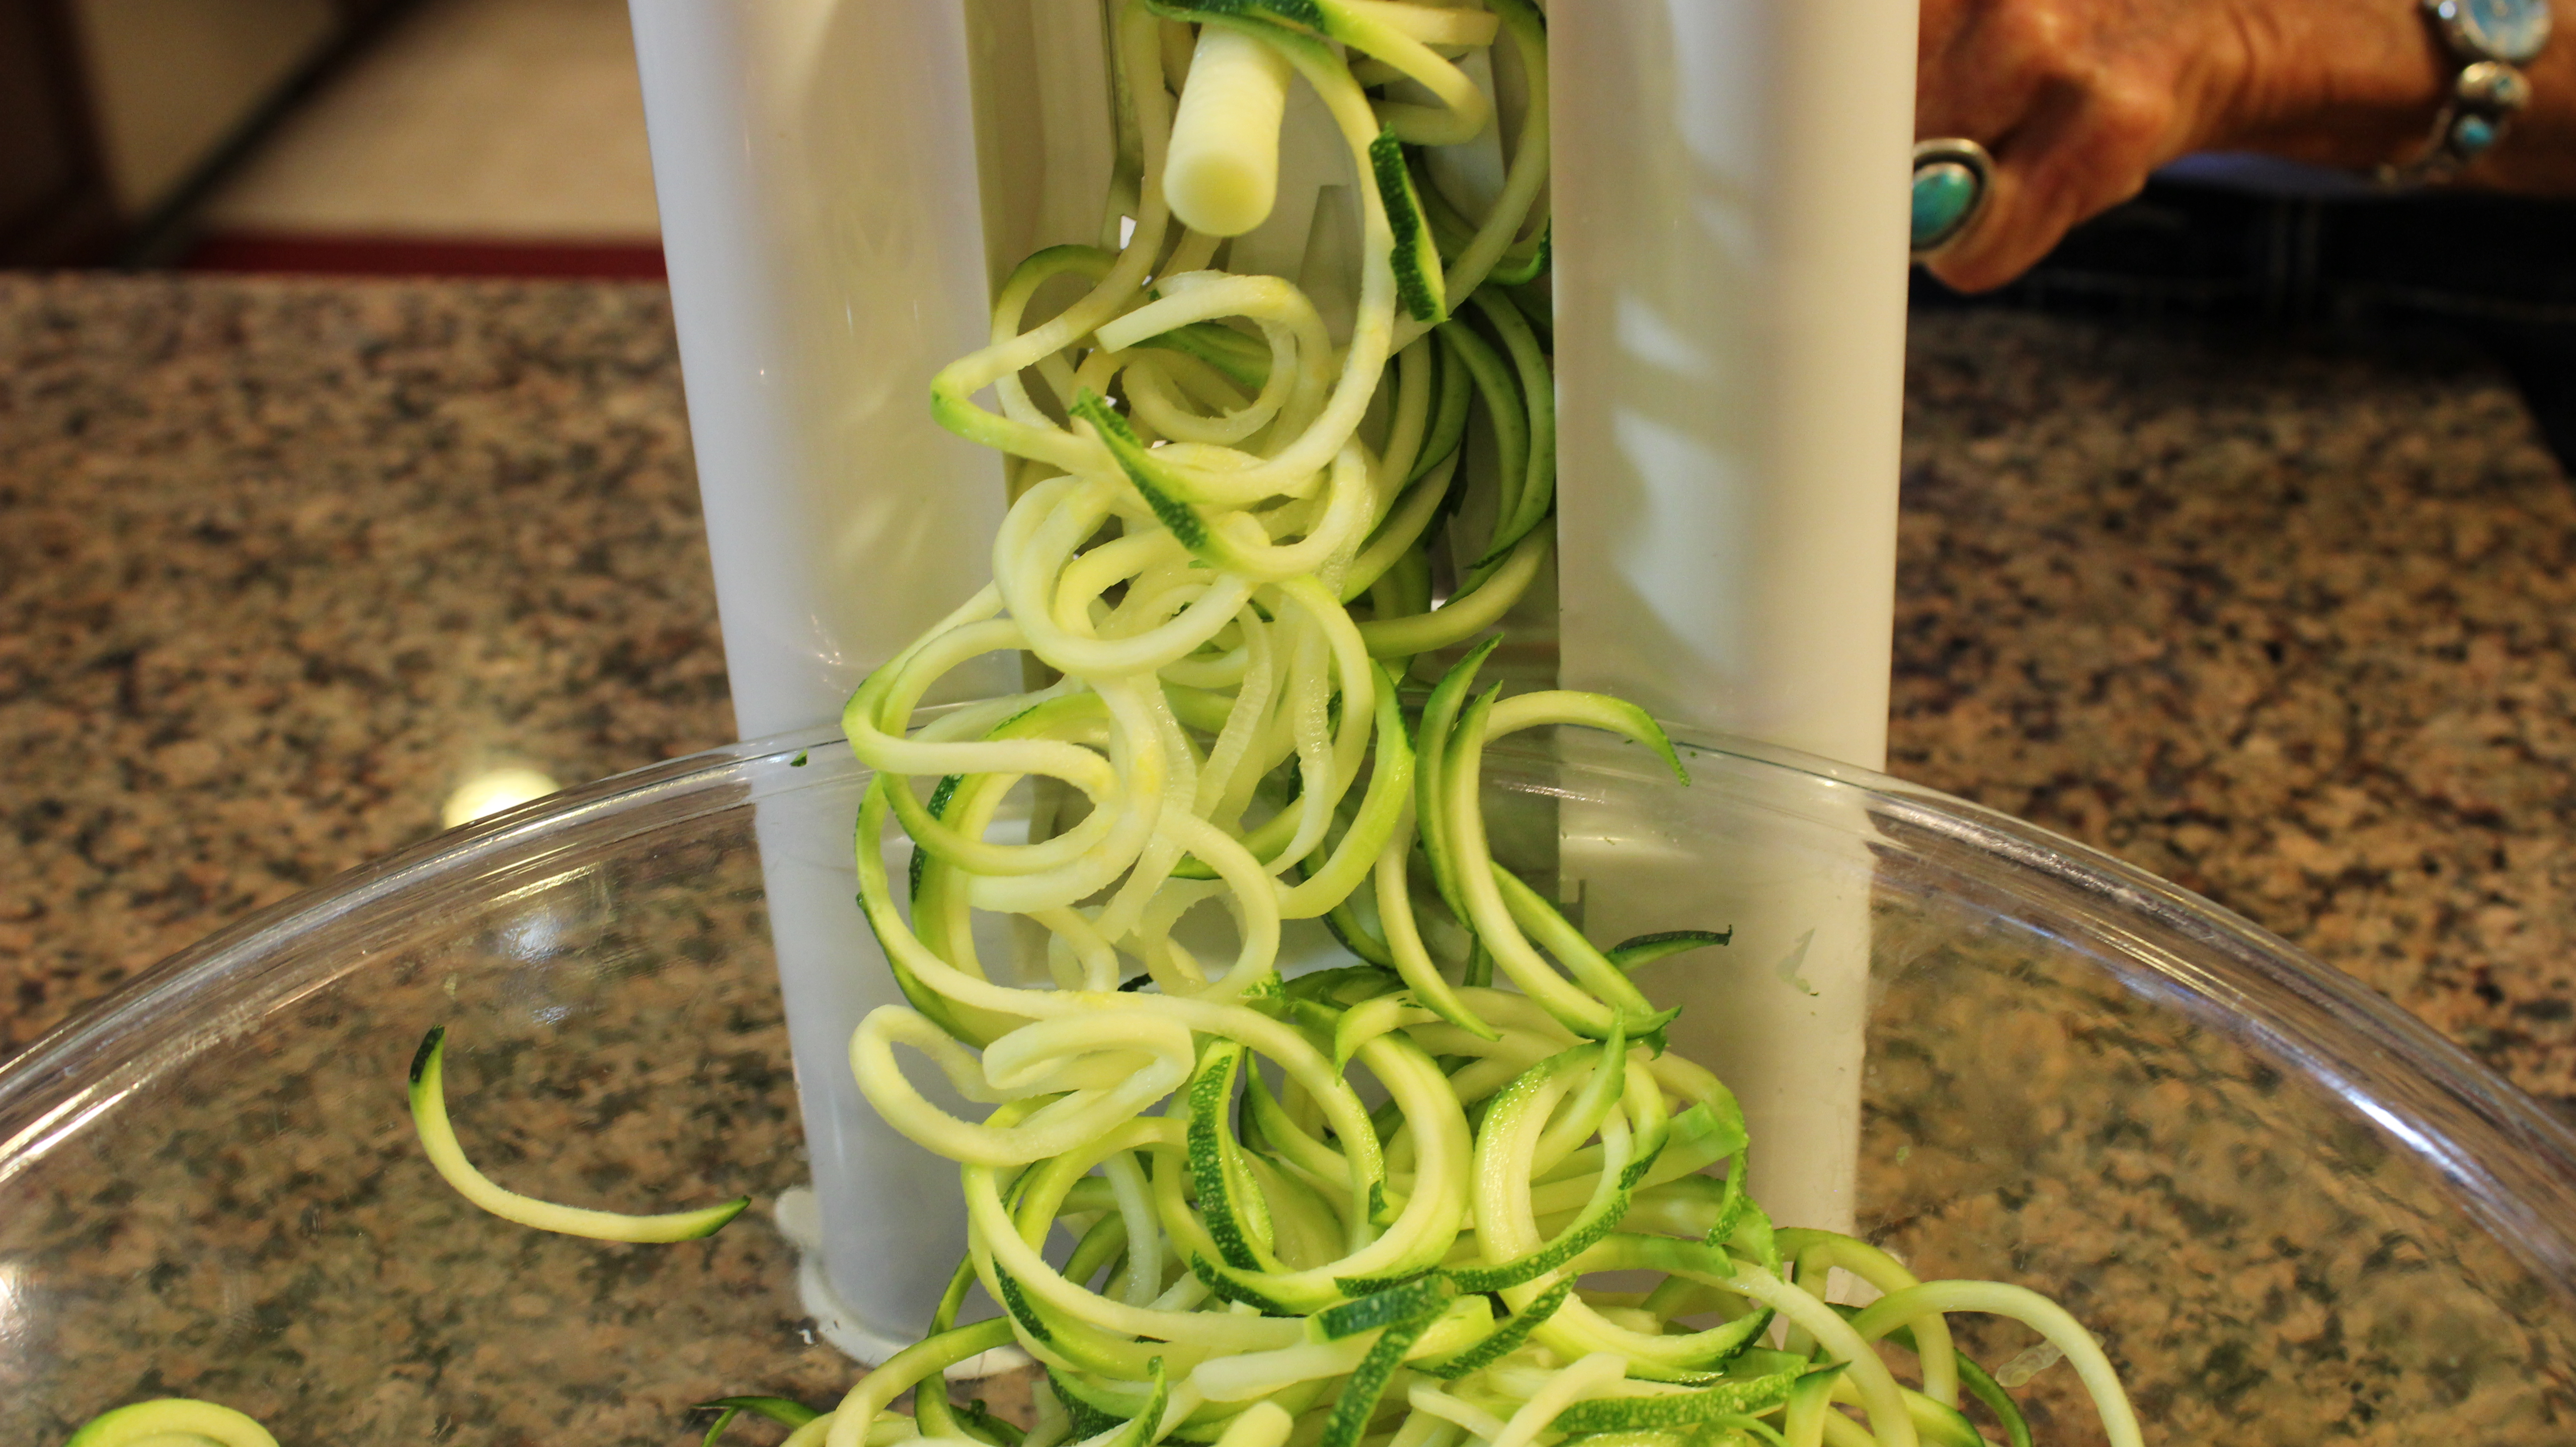
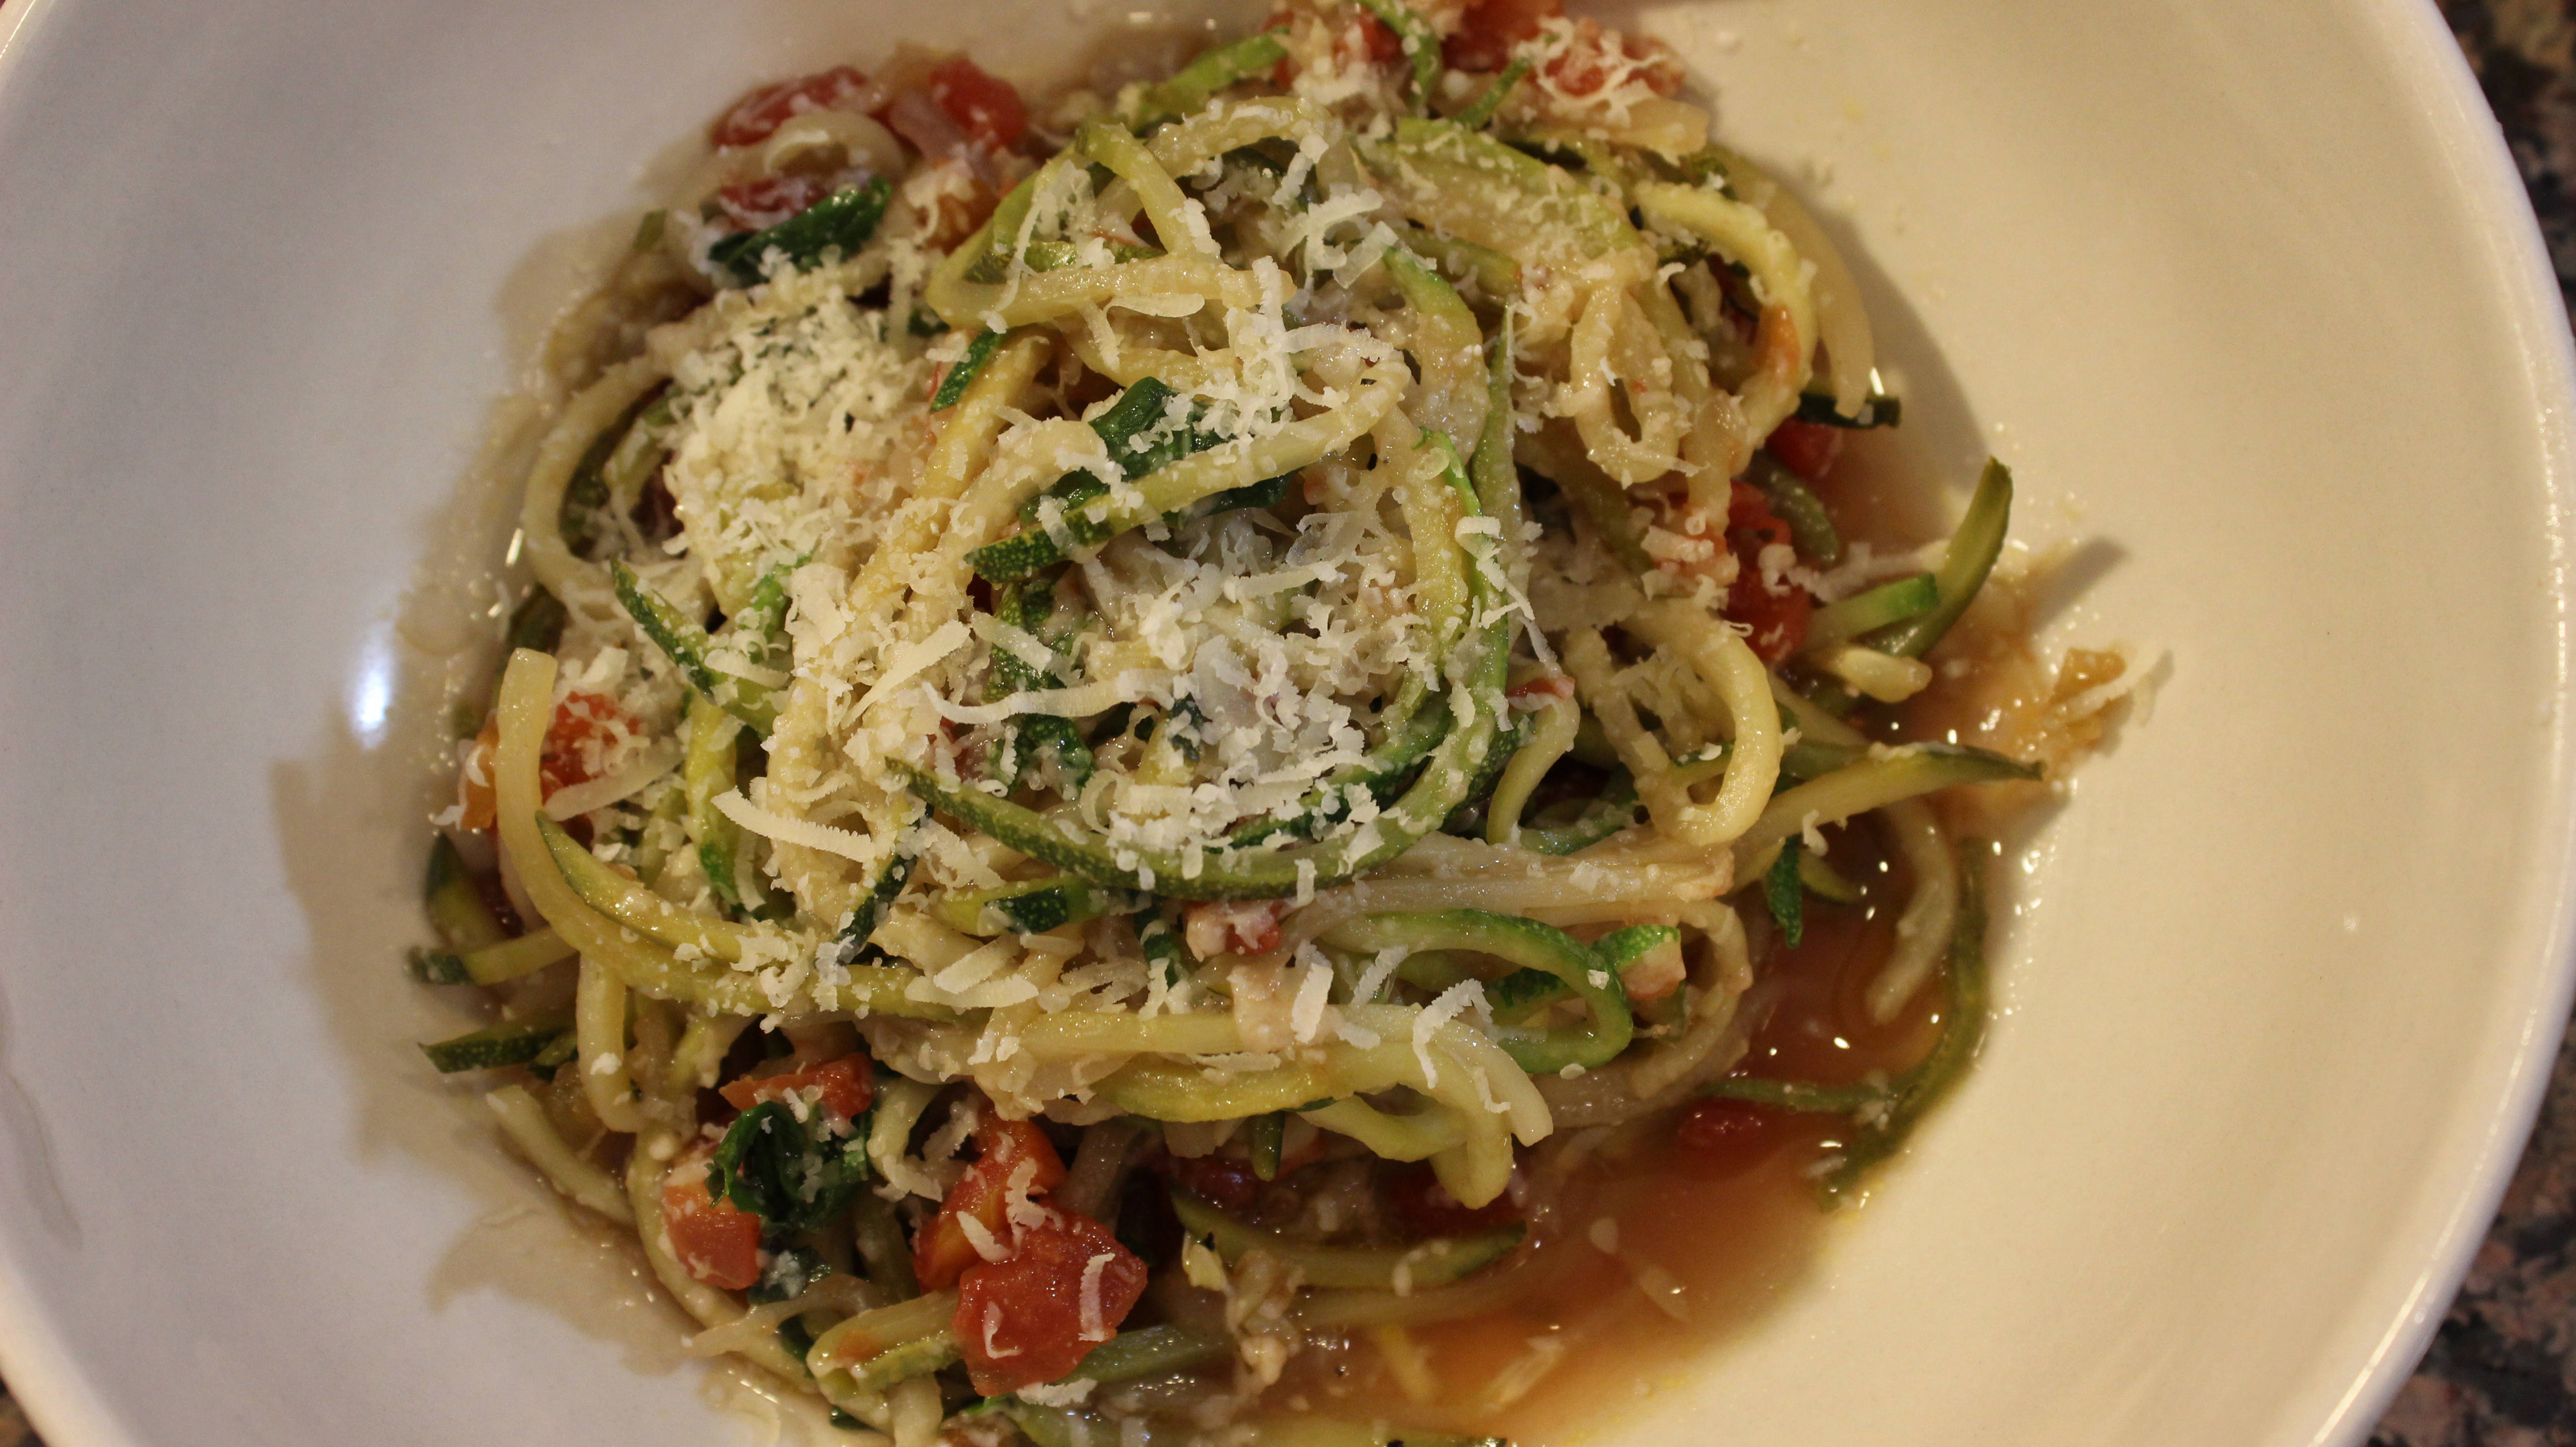
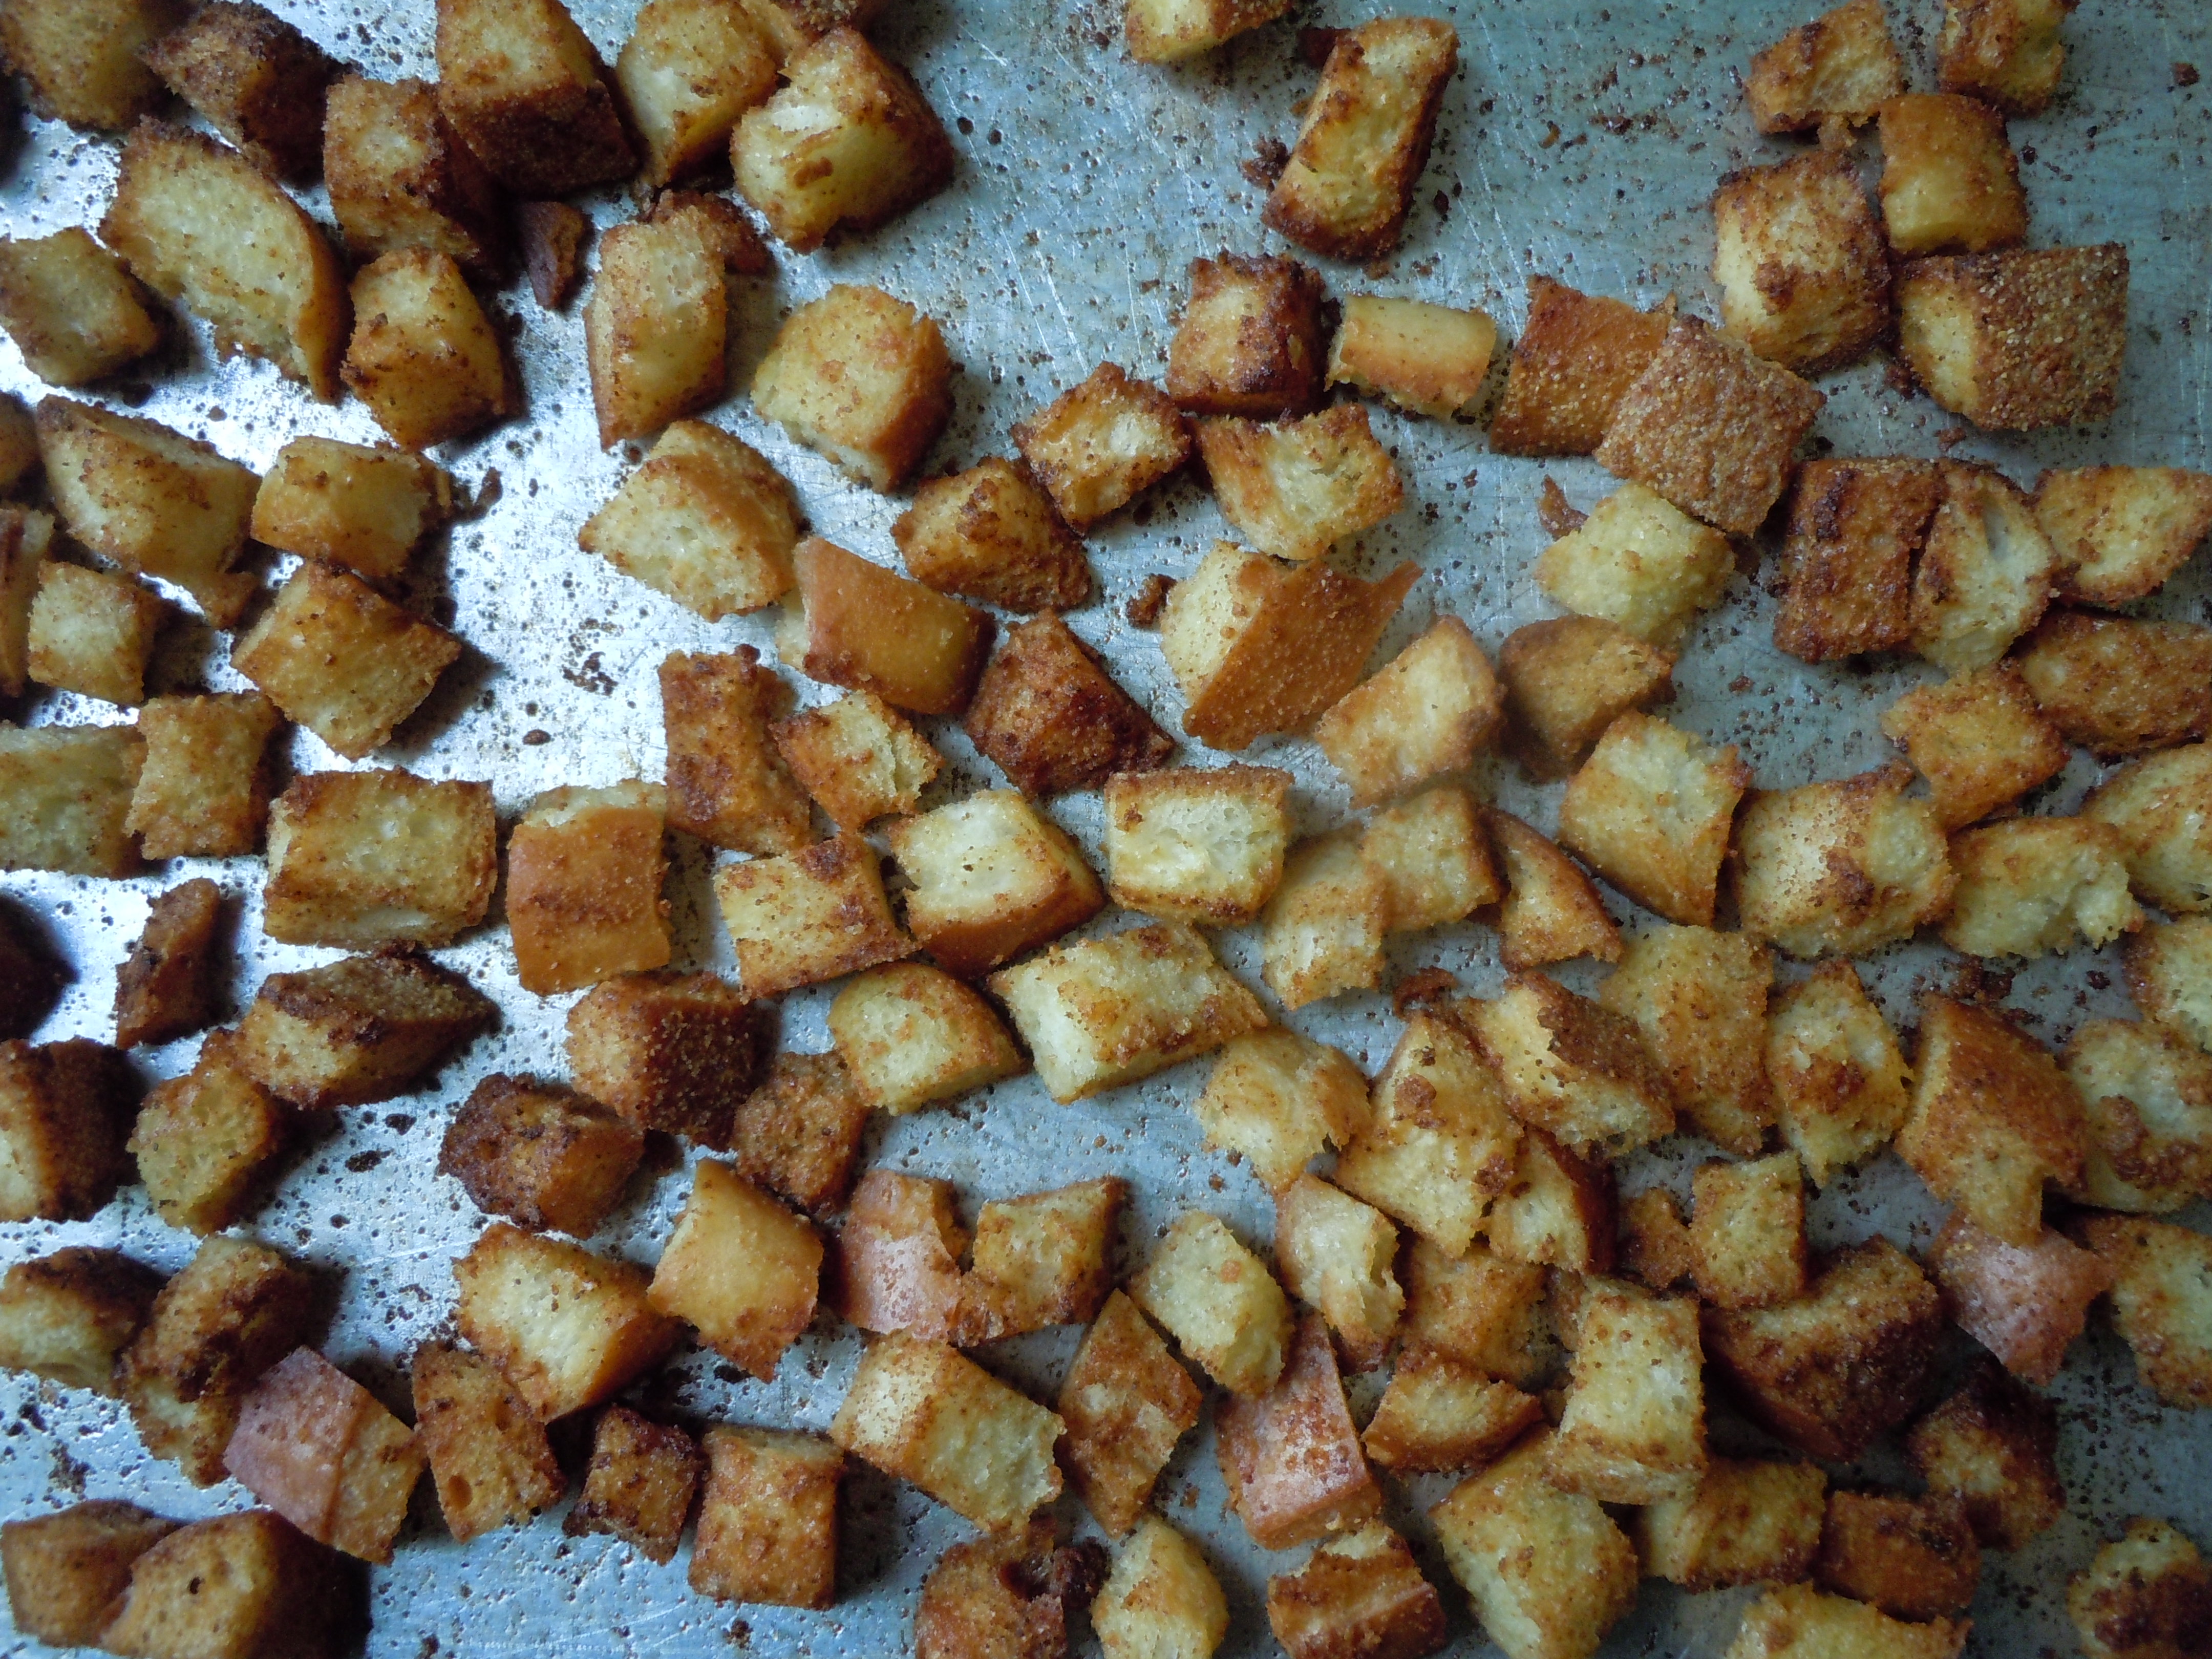
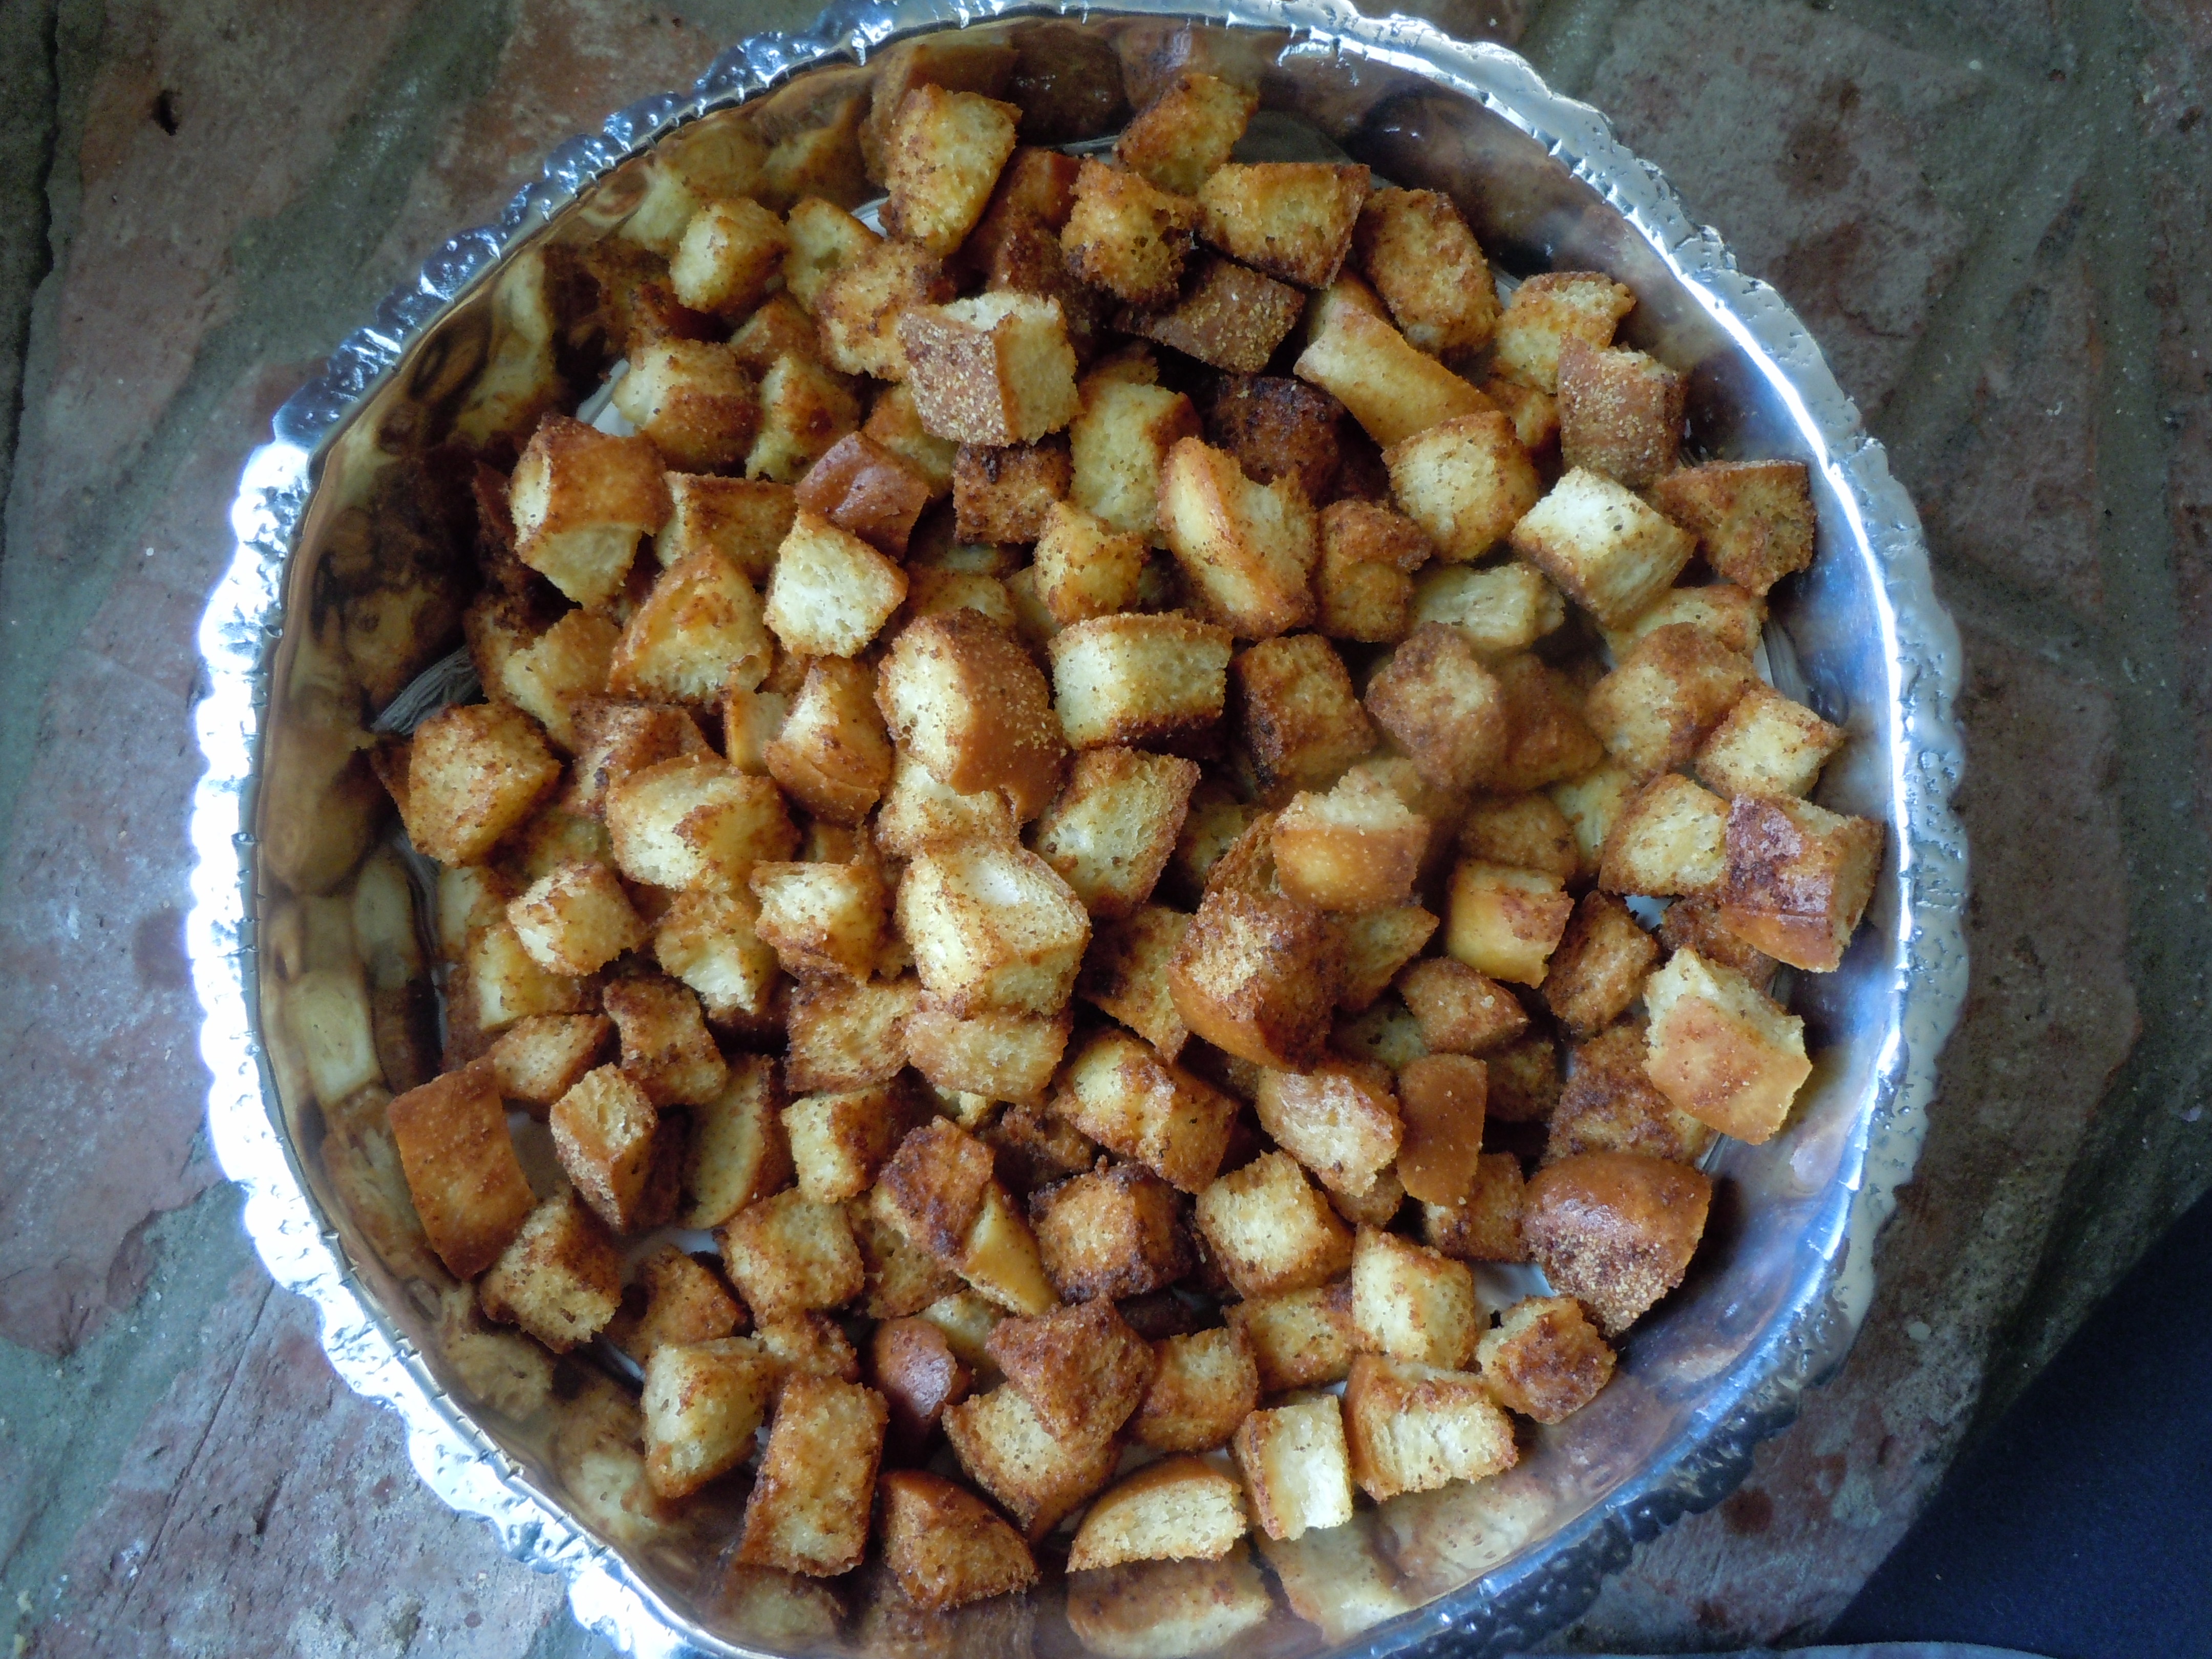
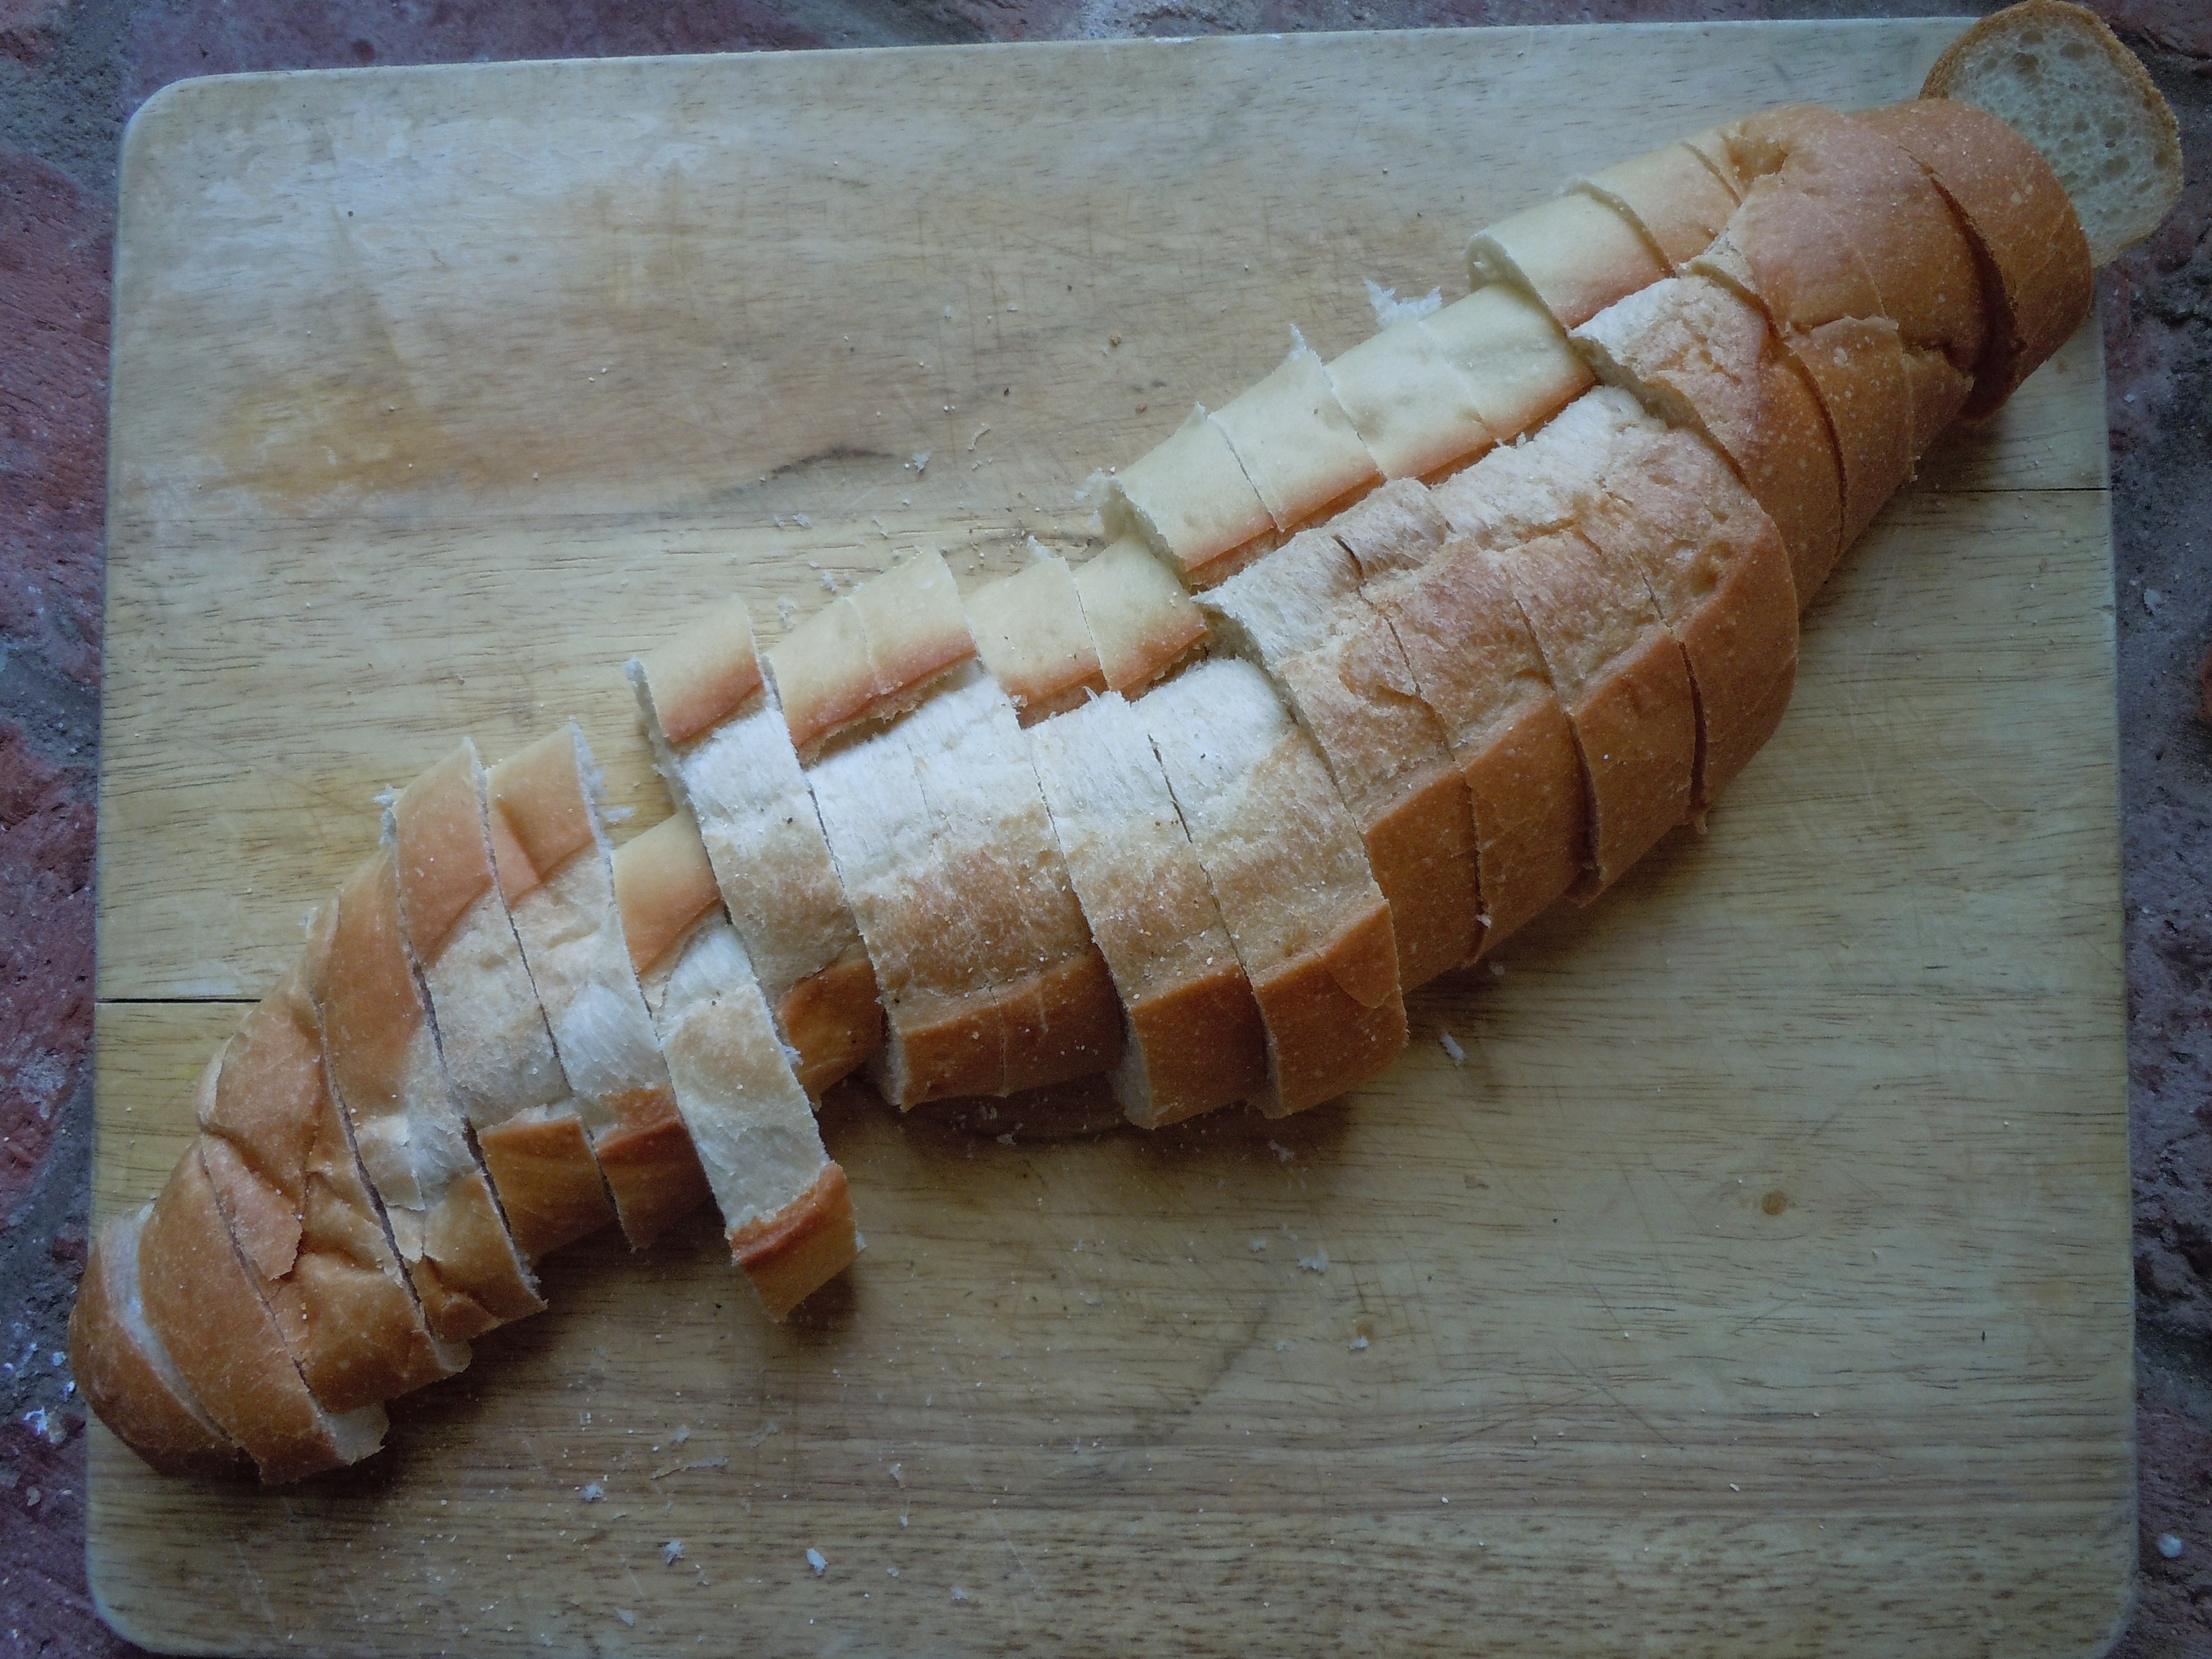
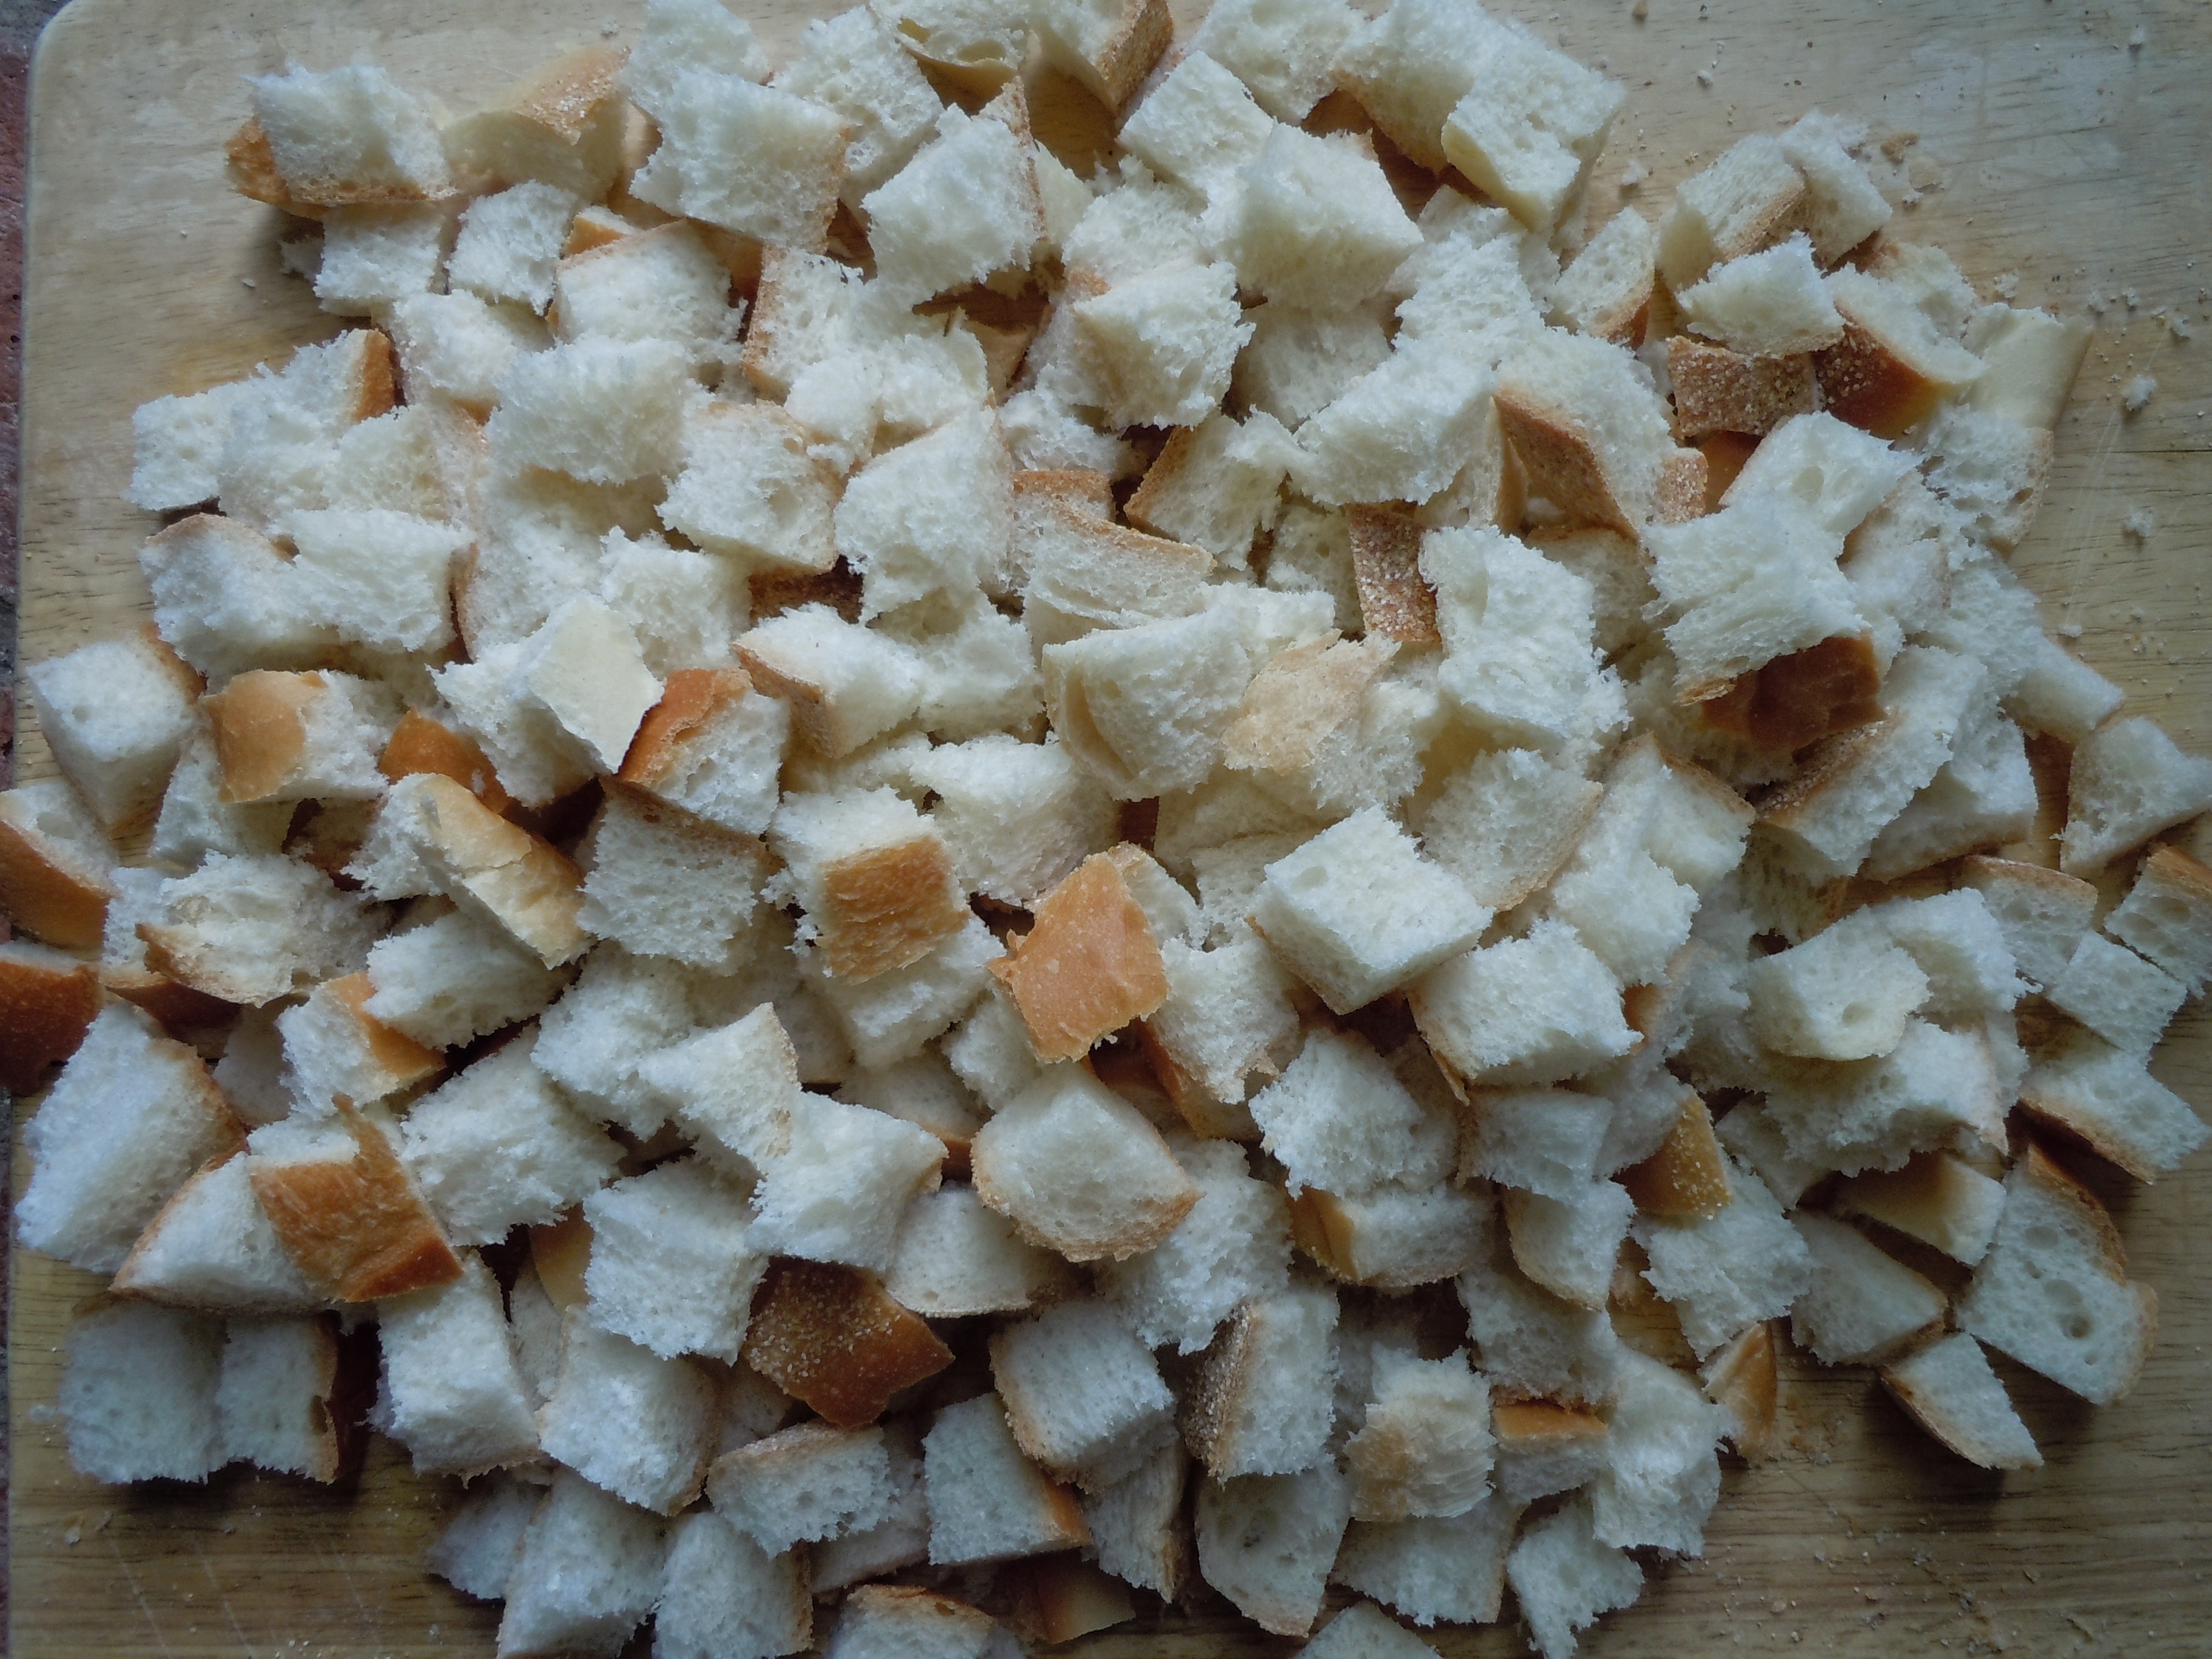
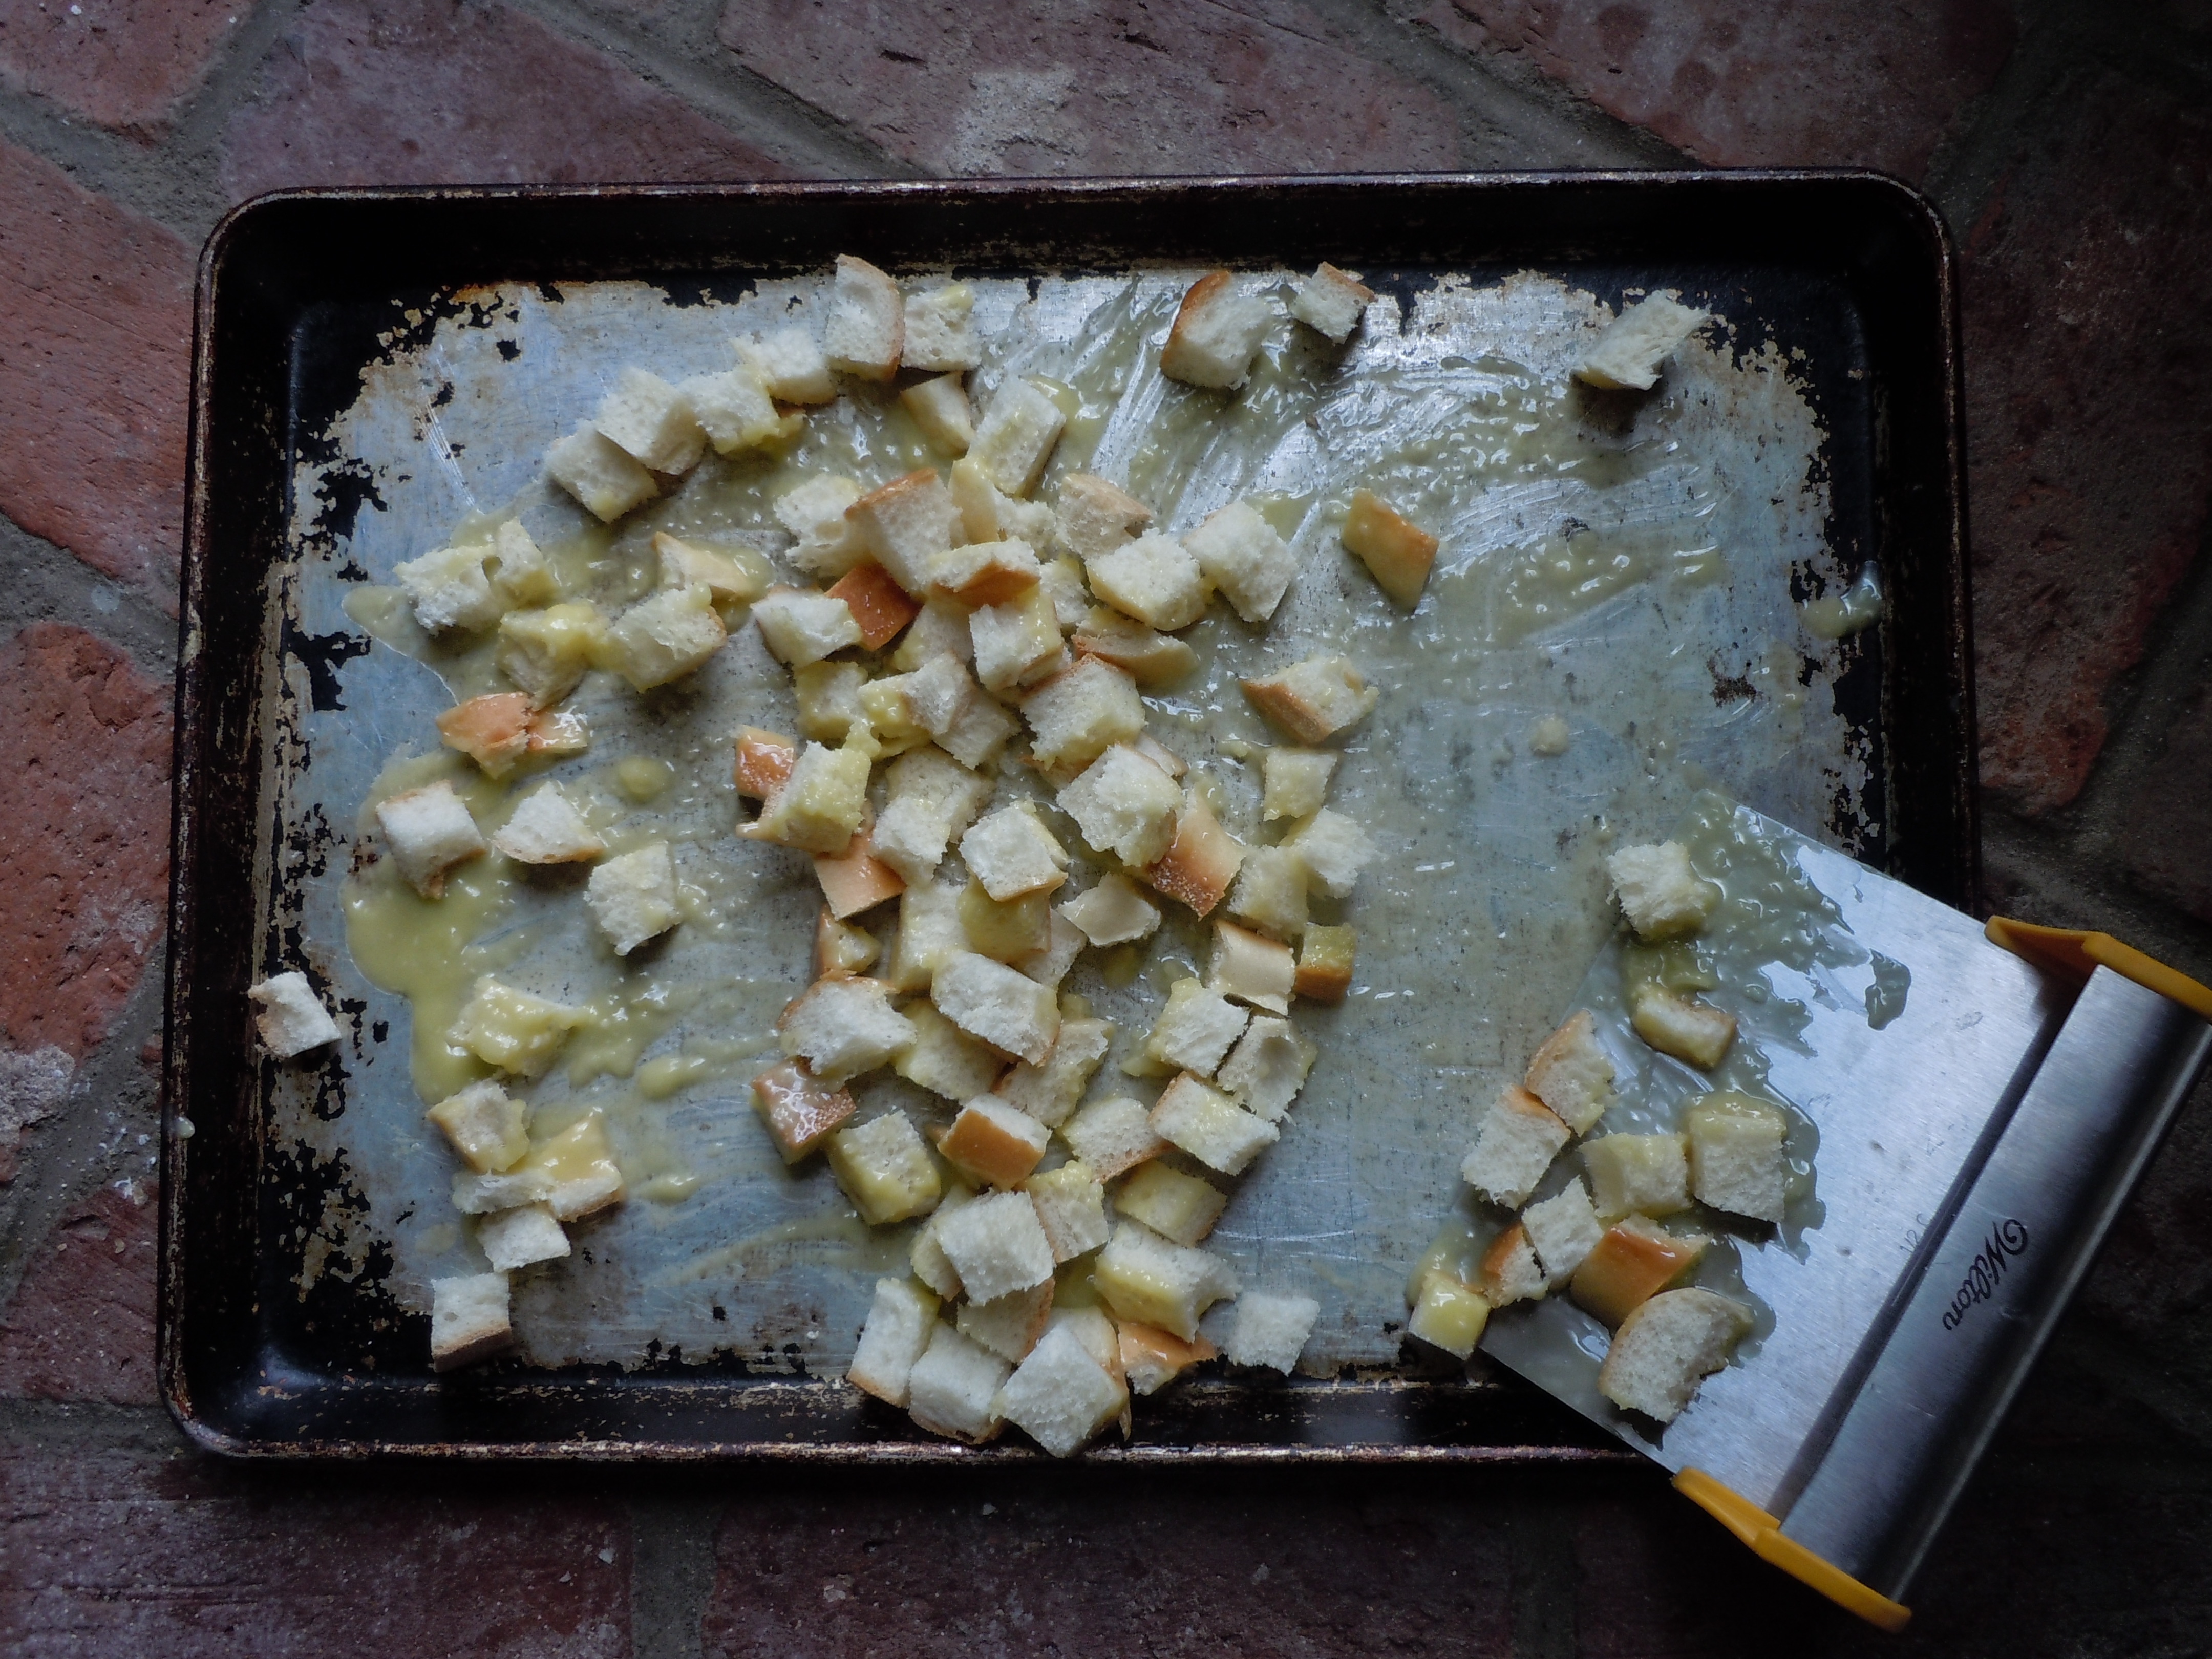
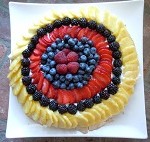
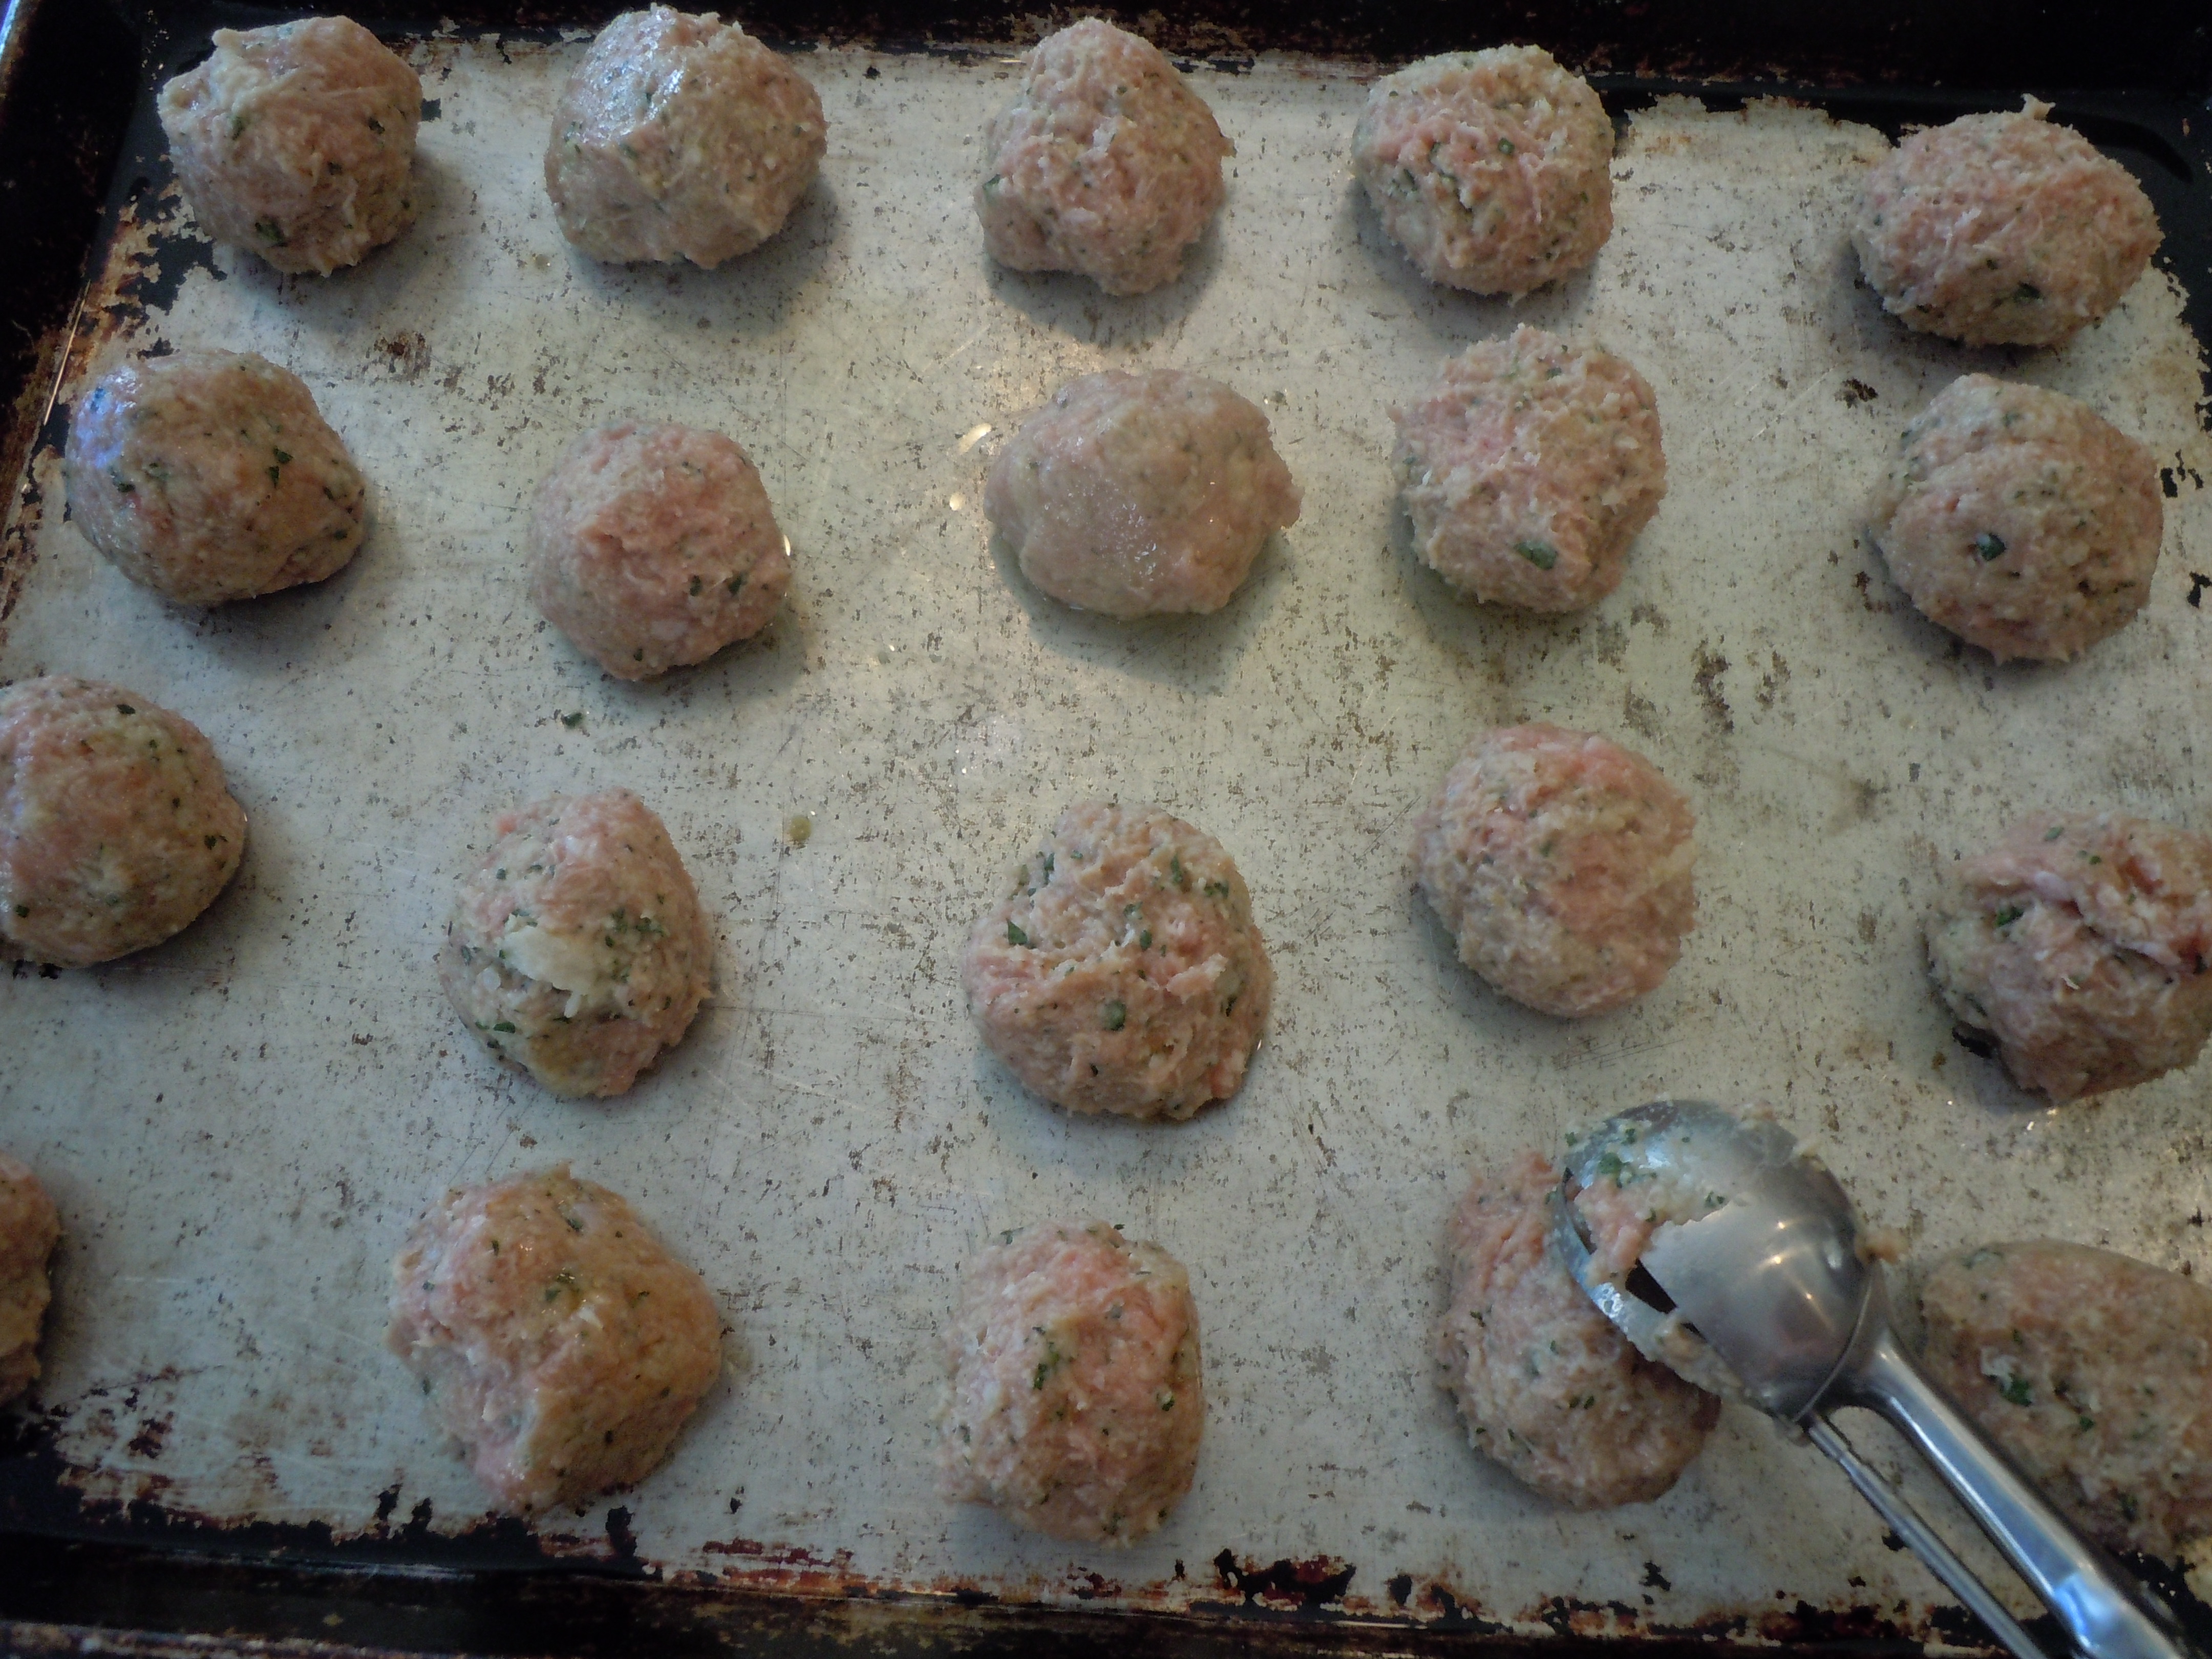
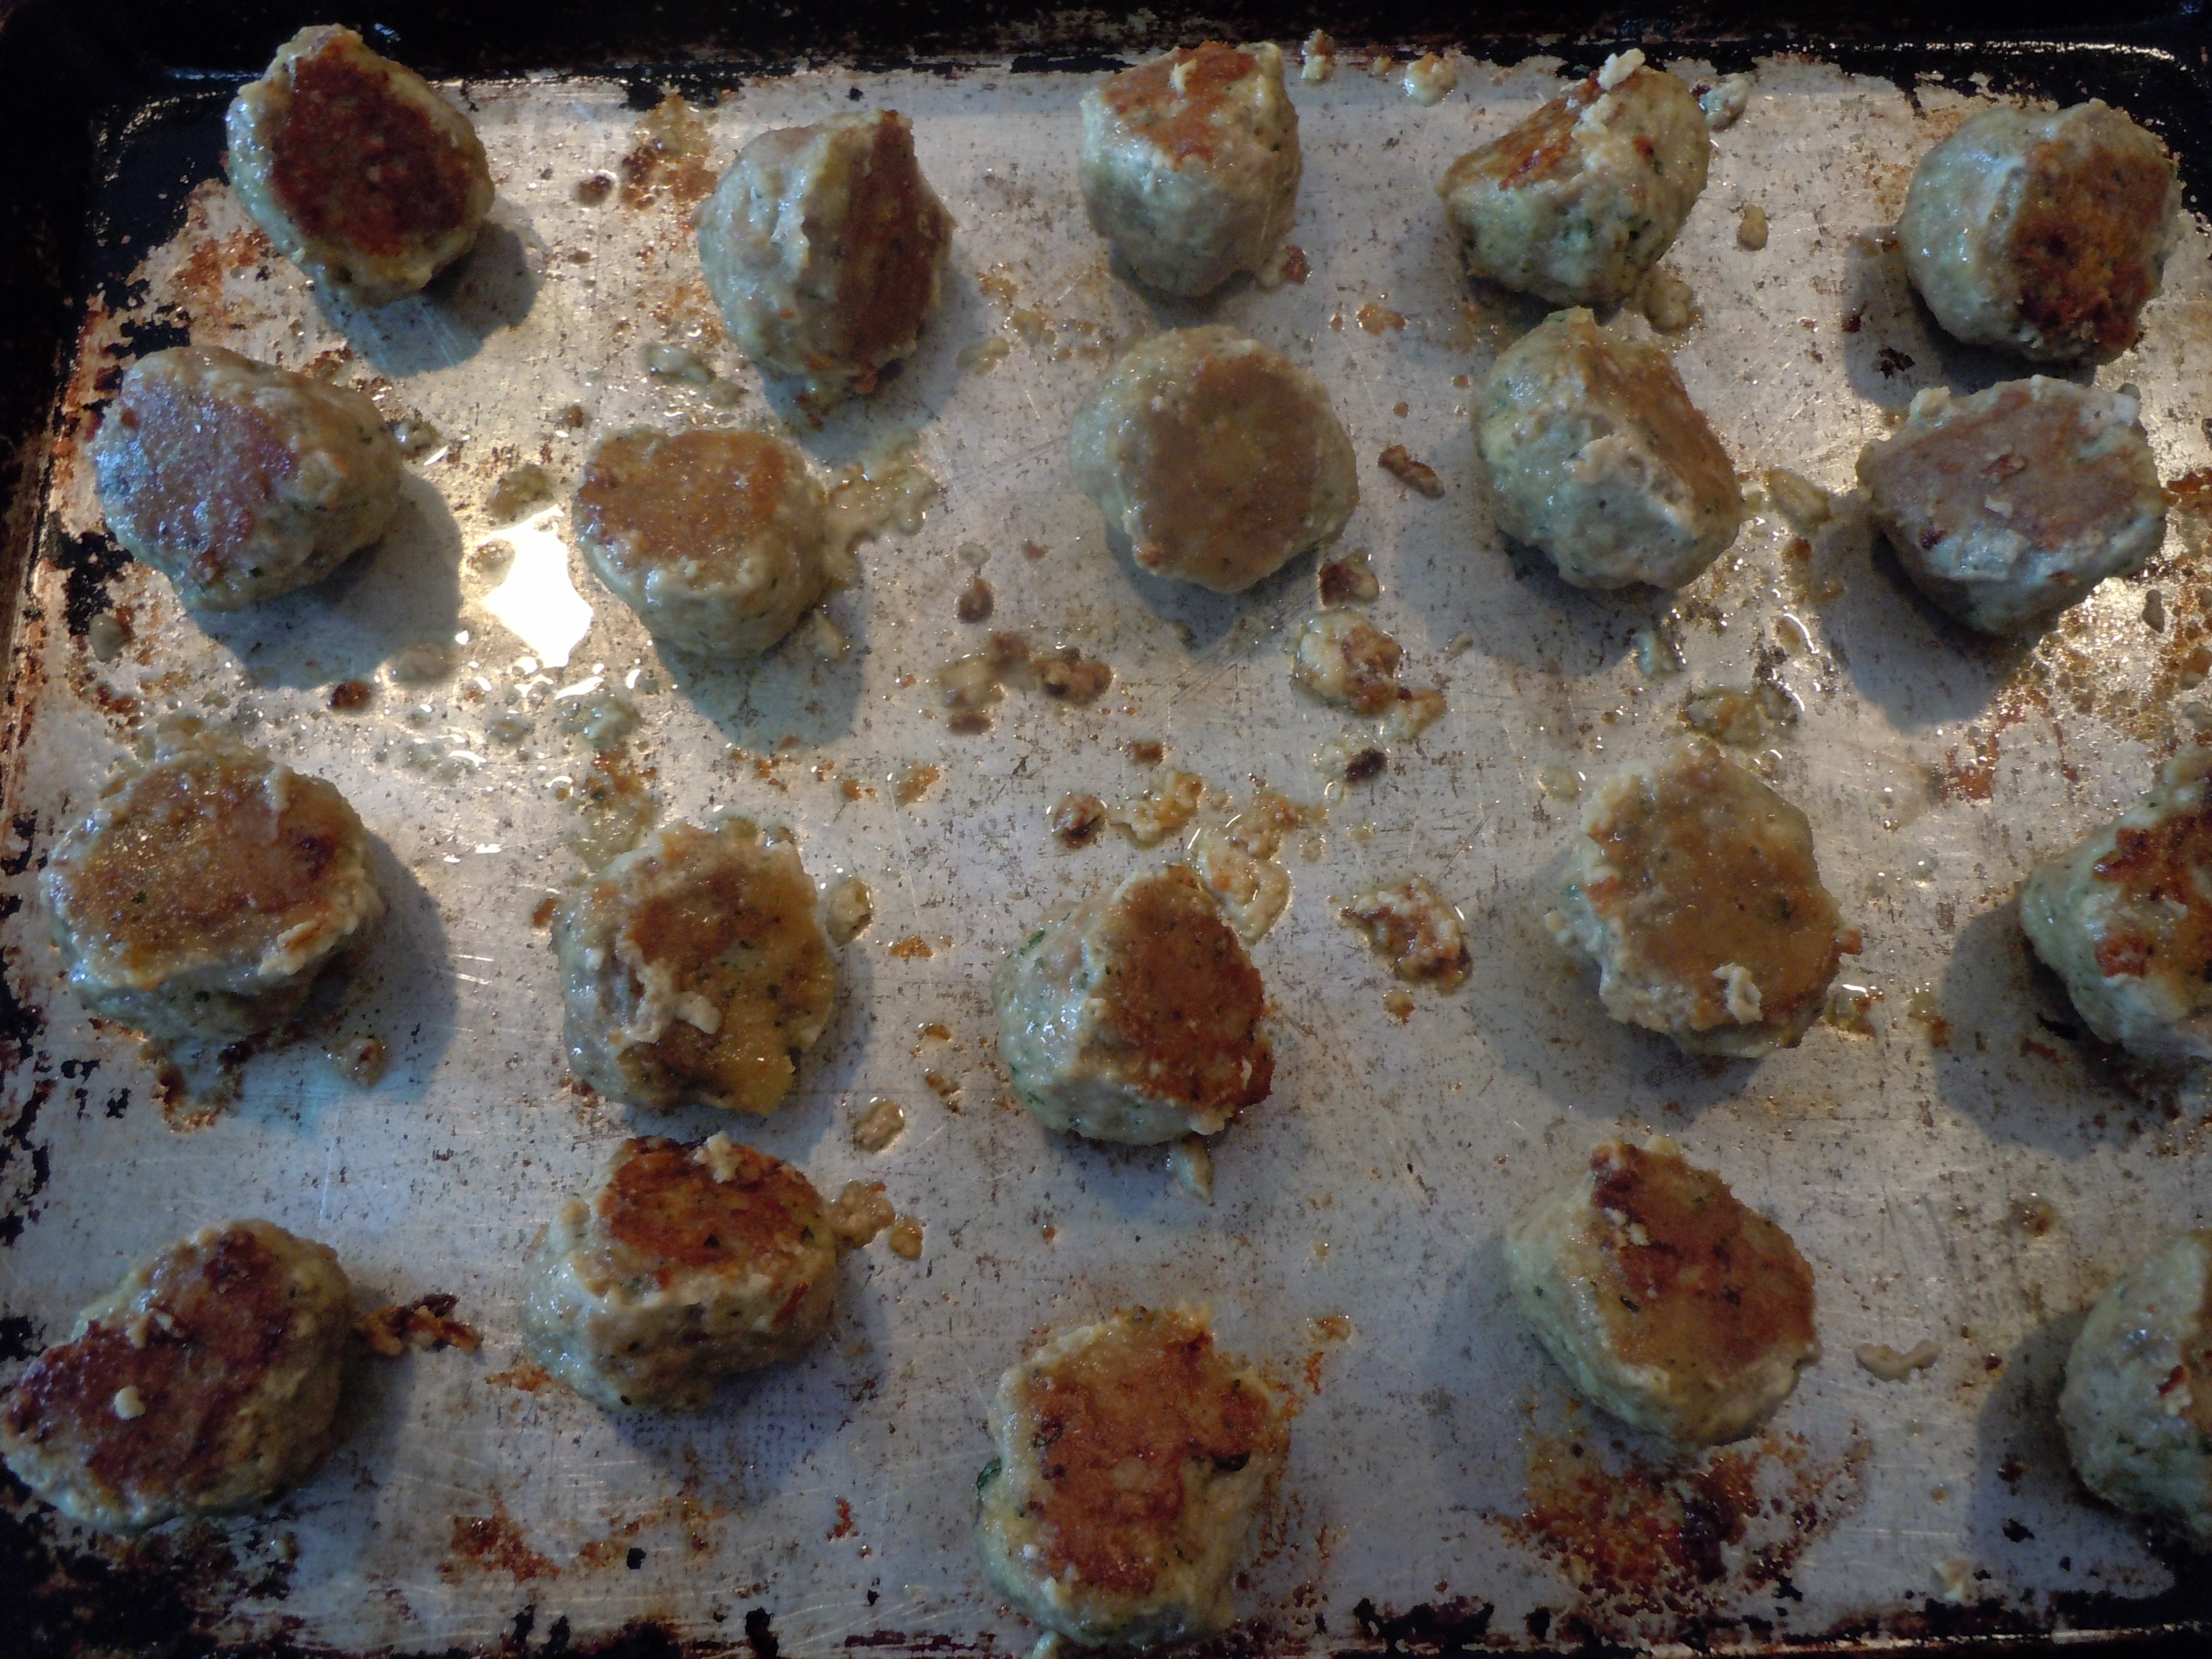
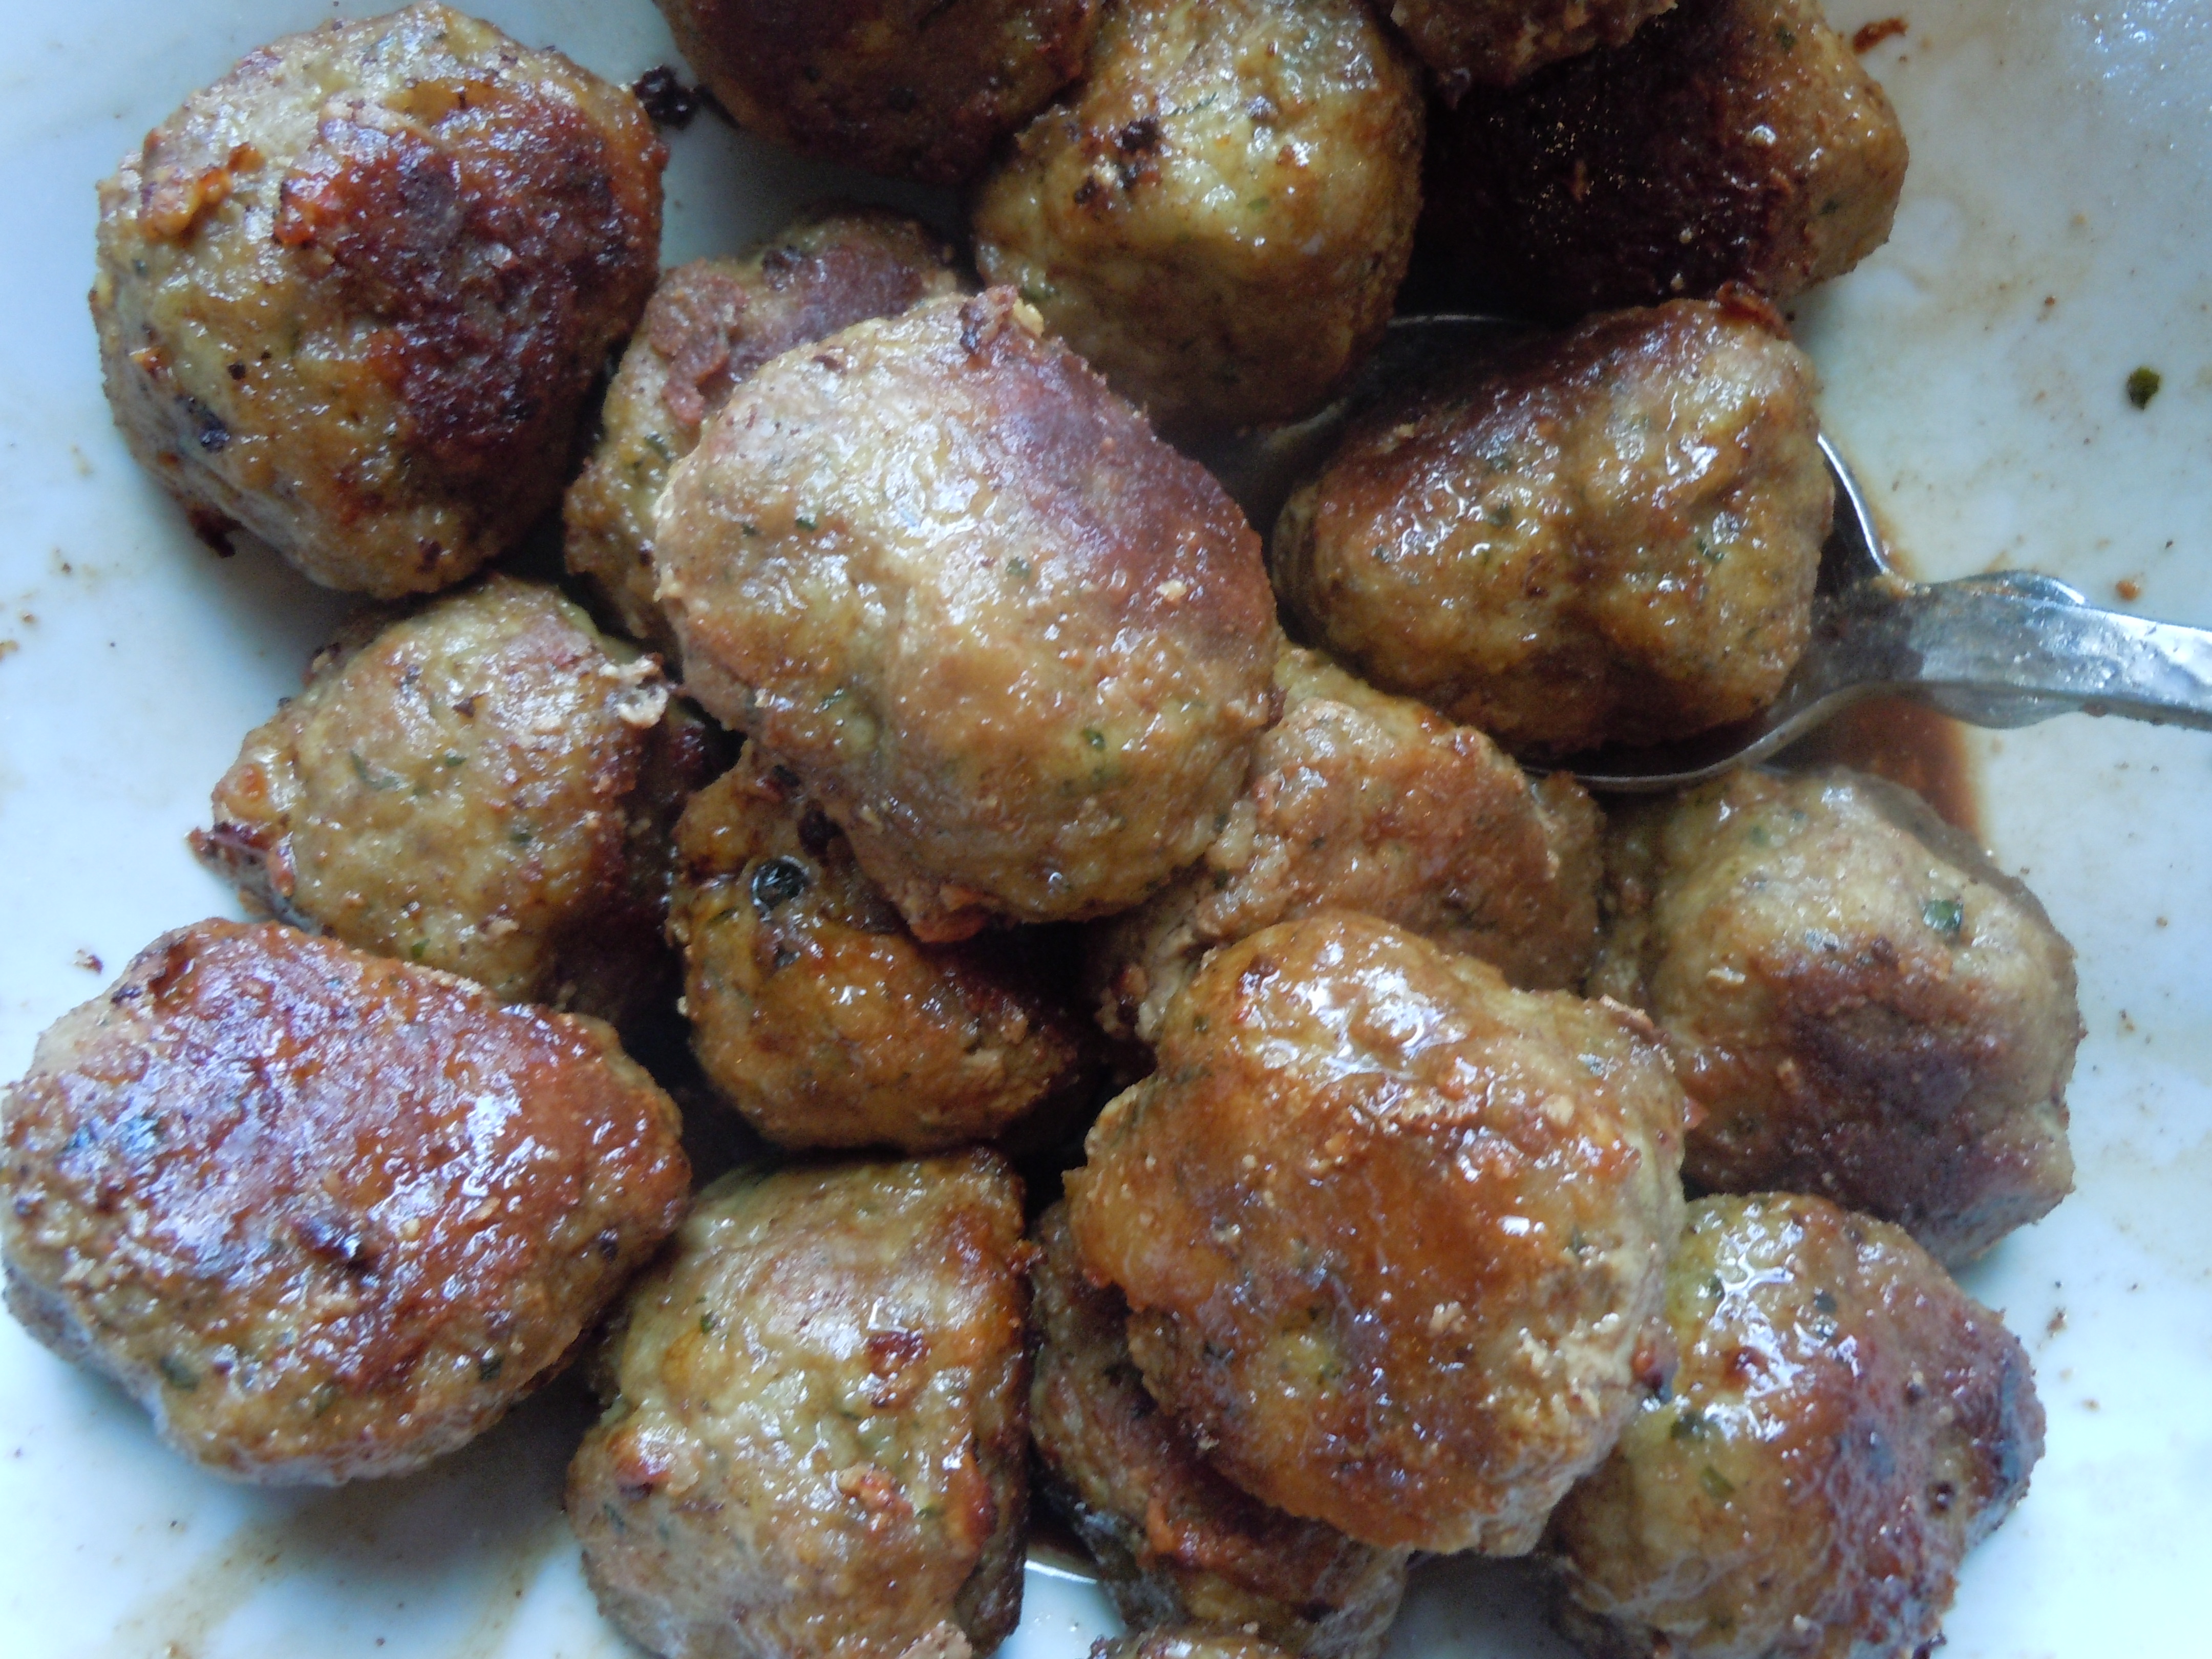
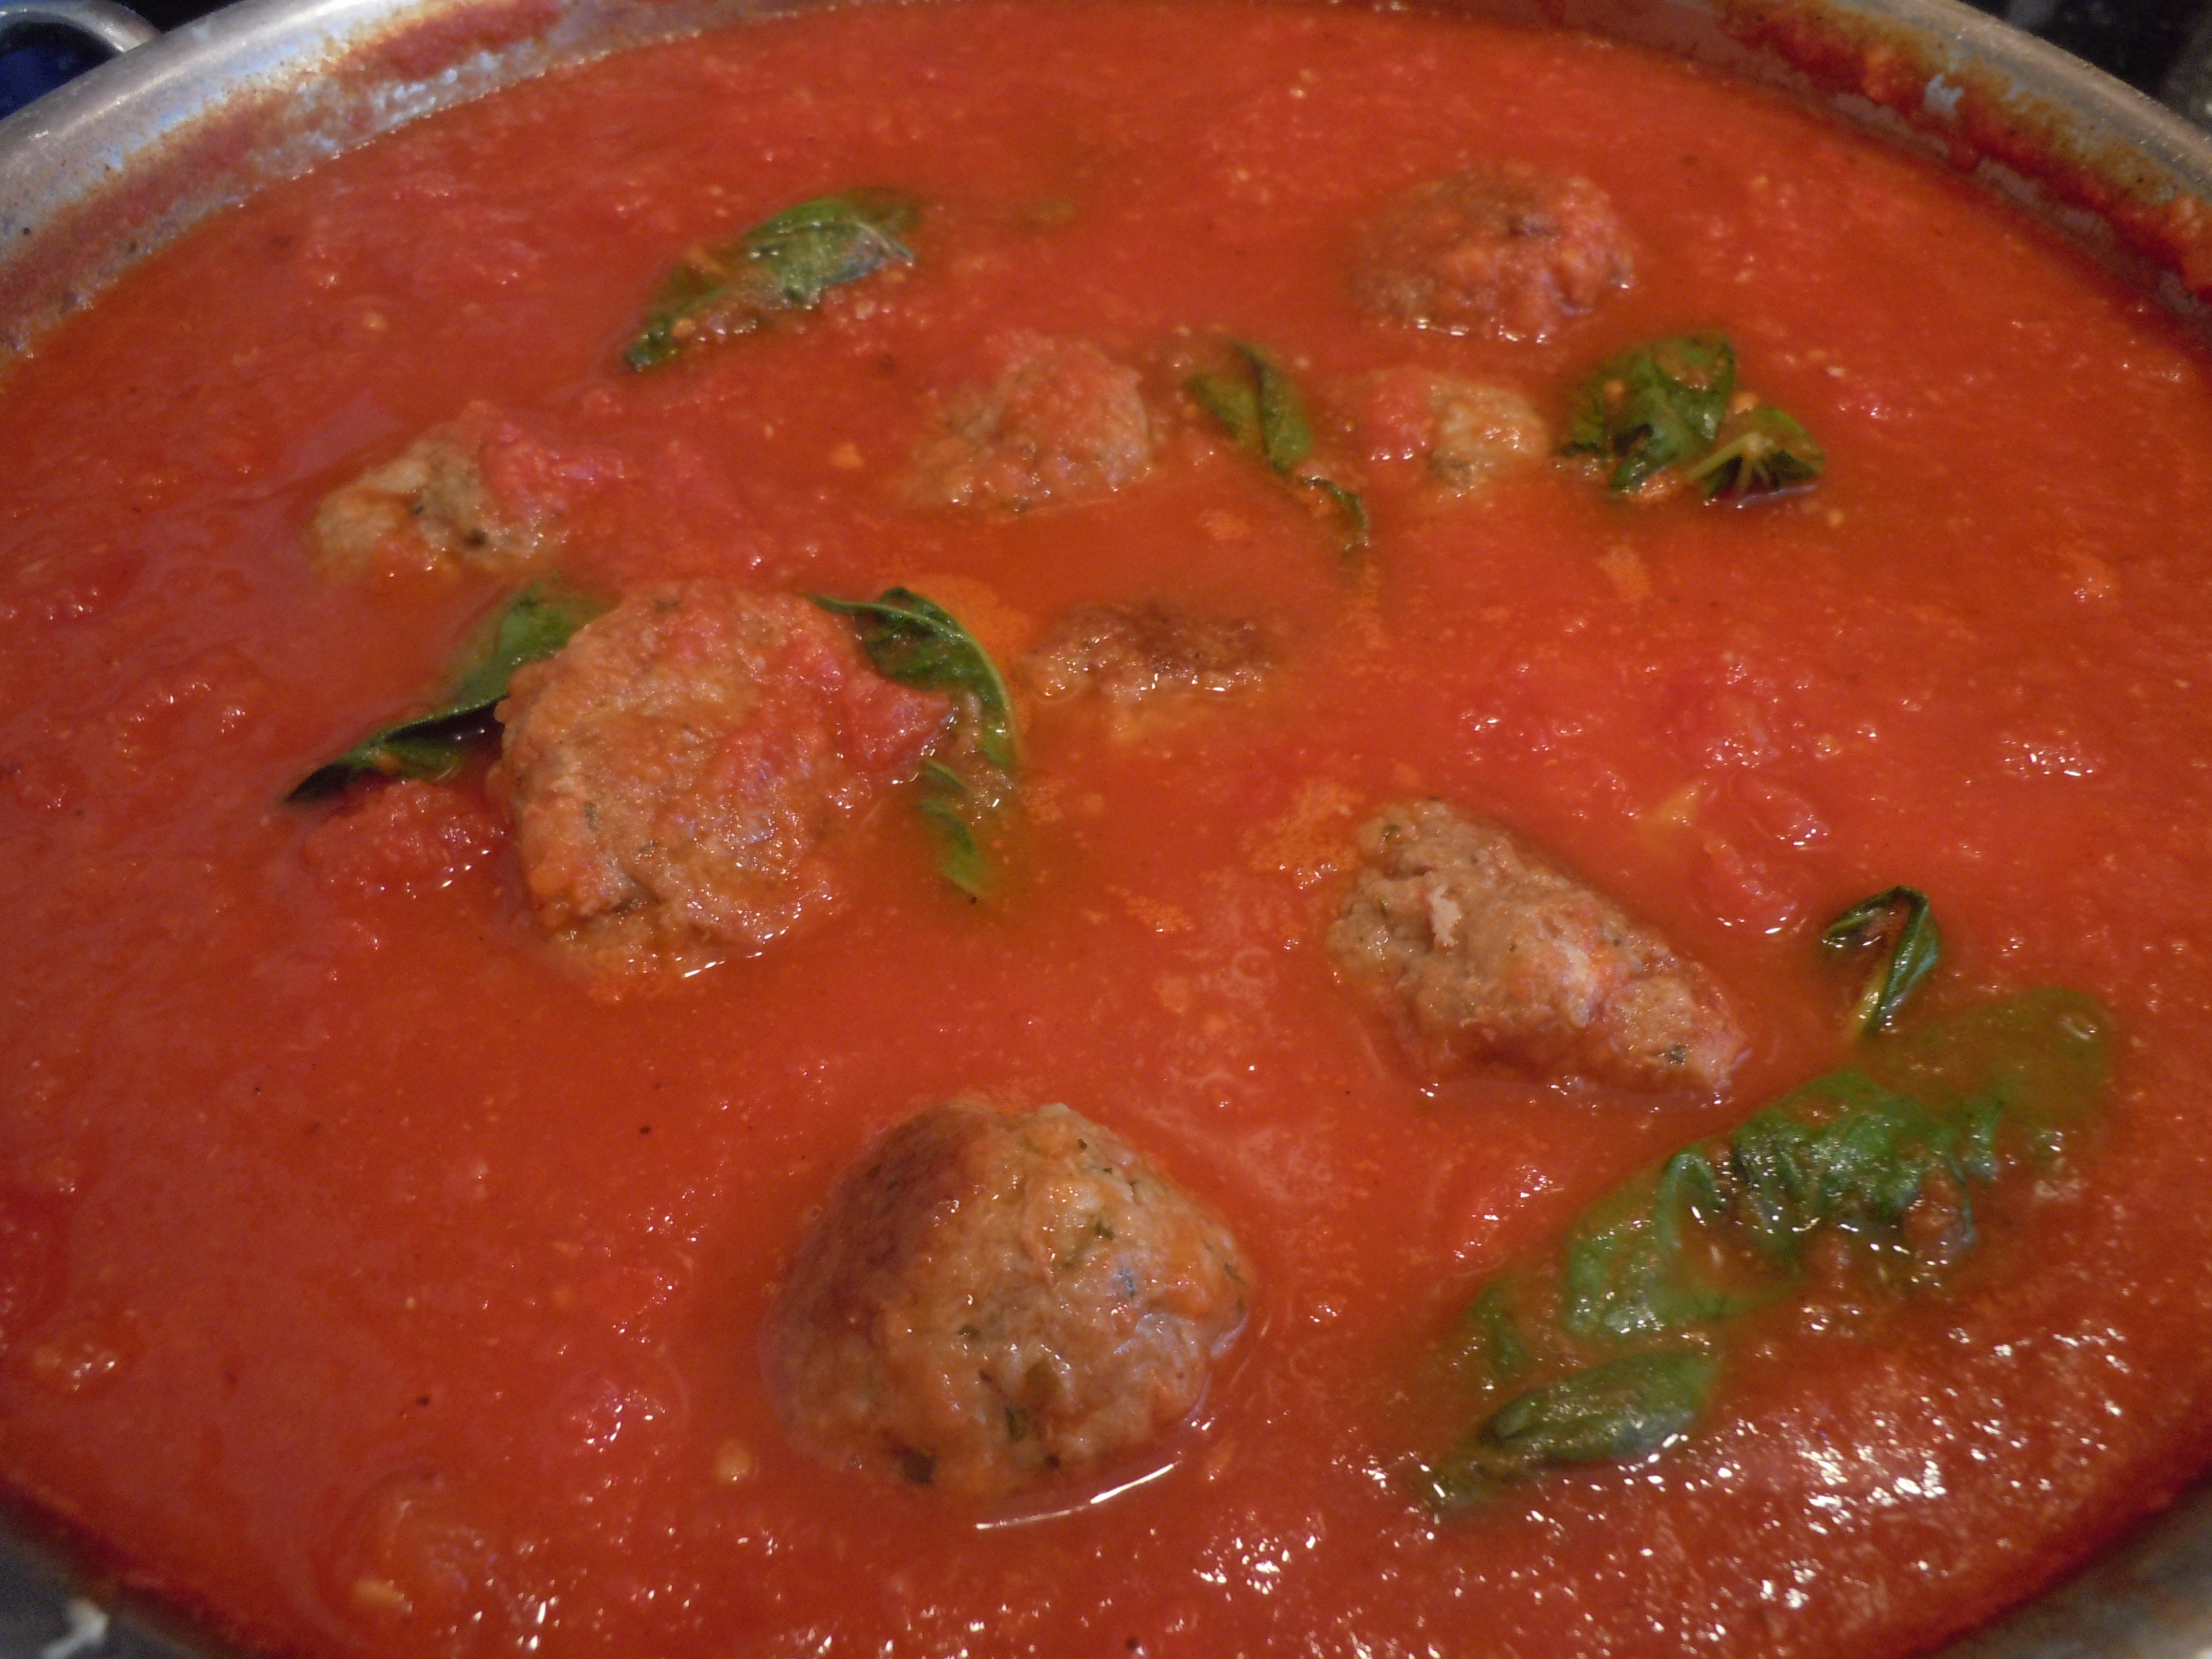
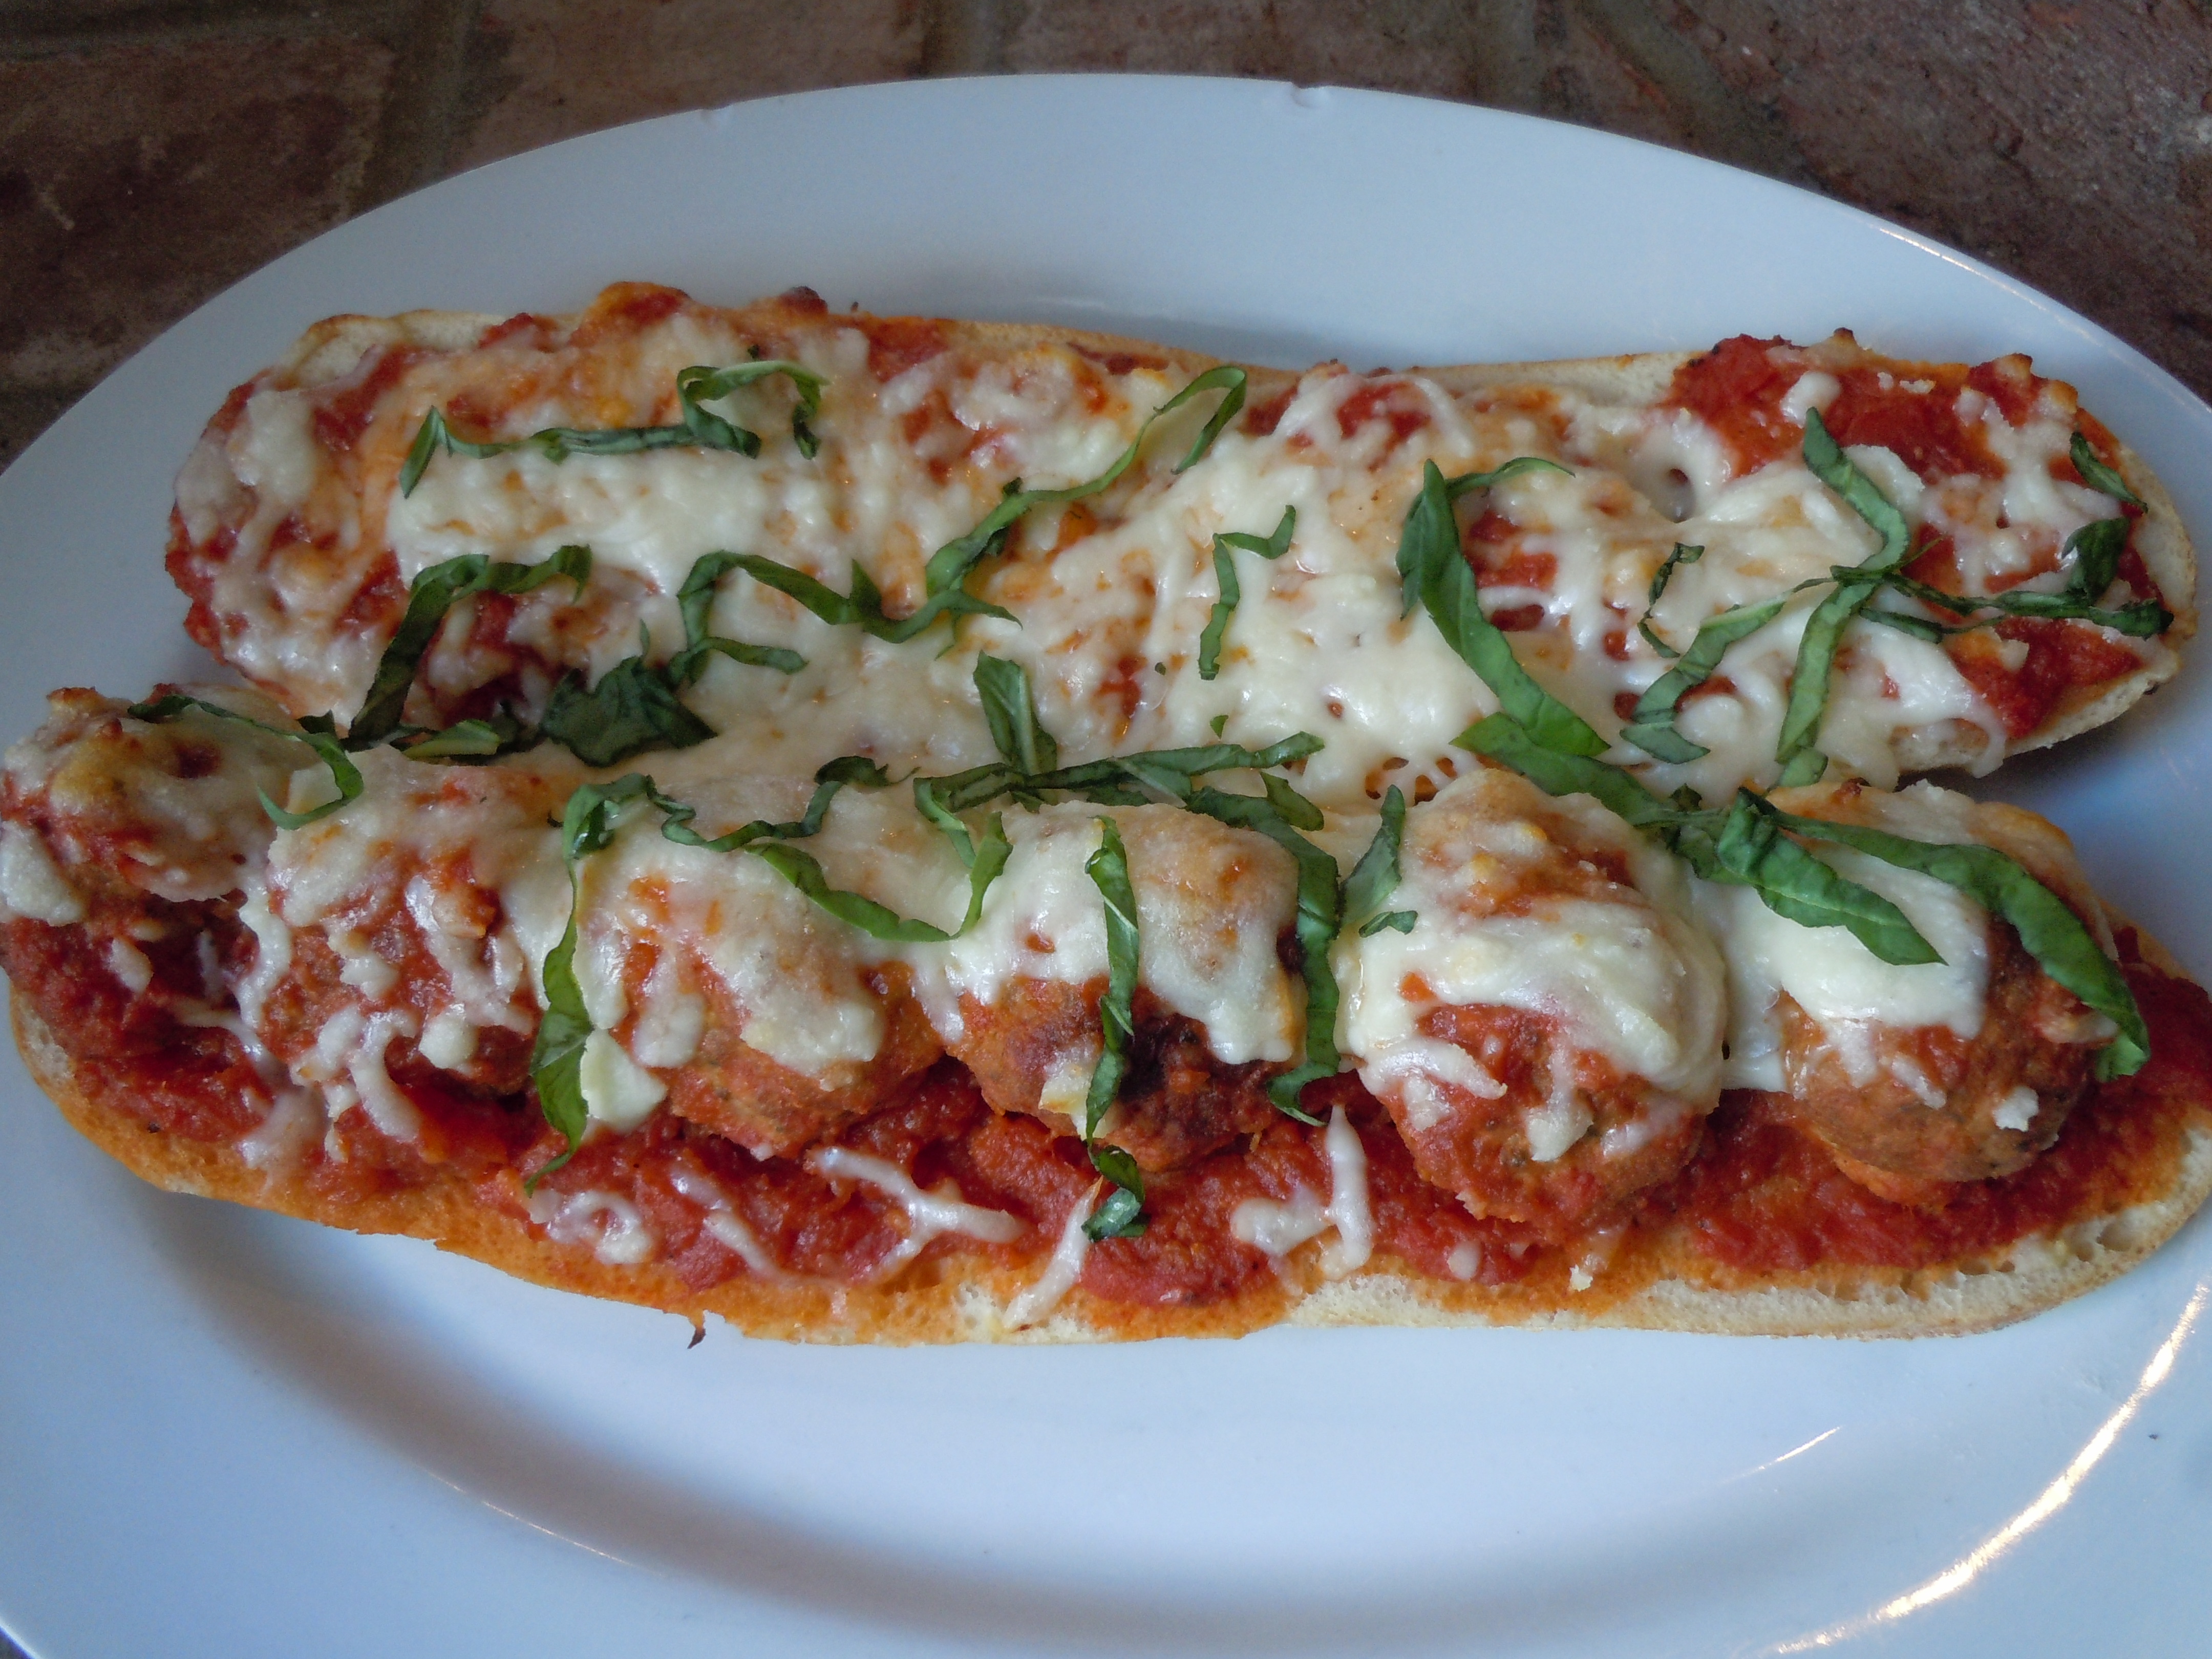
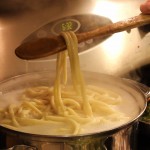
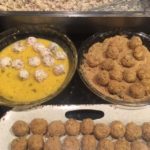
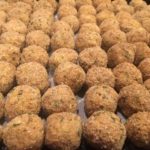
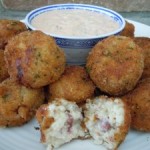
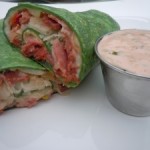
Well OK,  I had a little organizing to do and a plate to figure out for my MasterChef casting call debut! I really wanted to wow them! The part about the “NO kitchen” and “come prepared” got me to thinking that a cold dish of some sort might be a wise way to go! An appetizer is probably the most logical then, right? Yes that’s it, it came to me.  I would make my “Fresh Shrimp and Chive Rolls” with the new MasterChef sauces that I have created which I can decorate the plate with. A julienne of daikon radish, carrots and a sprinkle of toasted sesame seeds with micro herbs for some pizzaz would add in the finishing touches. I also thought I needed to add in some height so I came up with baked egg roll shells that I form in a cup cake pan. I got this idea from my “Bloody Mary shrimp and Mango-Curry Shrimp in Wonton cups at Nancy’s Show” except I decided to use egg rolls shells instead of won-ton because they are a little bit lighter.

Now that I knew what I was going to make I thought I would practice my plate decorating with my MasterChef Sauces by shooting it in this weeks show so I could share this fun experience with all of you! It was definitely a lot of work to do this and go to the casting call but I did it! It was an awesome experience being there and the “MasterChef team” was pretty dynamite. They had everything down to a science and moved around with ease offering up a very warm welcome to all the competitors. I am super glad that I took Reilly and Bella’s advice on going for this.

I kicked you know what with my dish and the plating. I went there and did exactly what I set out to do with my presentation with 8 or so seconds left before they yelled “TIMES UP”! That part I have to say was such a RUSH because it reminded me of chopped!!! I was then the first to be called back in with 8 others for that first plate presentation part from our first group of 30 plating competitors.  I might be over thinking all of this a little, but I was so tired from preparing the food and shooting the show I feel as though I forgot to prep myself on what exactly to say about “me” when they pulled us 8 into interview. Although, I had them laughing a bit. I got the feeling what was more important to them was the person who said the right things in that second interviewing, more character not food ability. Gods only knows I do have lots of that so if it doesn’t work out this time I NOW know what they want next time around! I still have to wait until the end of October to see if I hear from them (they are still traveling to other states). I had an incredible time and will keep you all posted. Thank you all for your support, it means a lot! Hope you enjoy “My MasterChef Sauces” Show! 

IMG_3462 IMG_3468 IMG_3472

IMG_3474 milkpean  IMG_3489

IMG_3506  IMG_3508  mangosieve

IMG_3514  saucesqueeze  squeeze

eggrollcups  juienned  microherbs

rolls

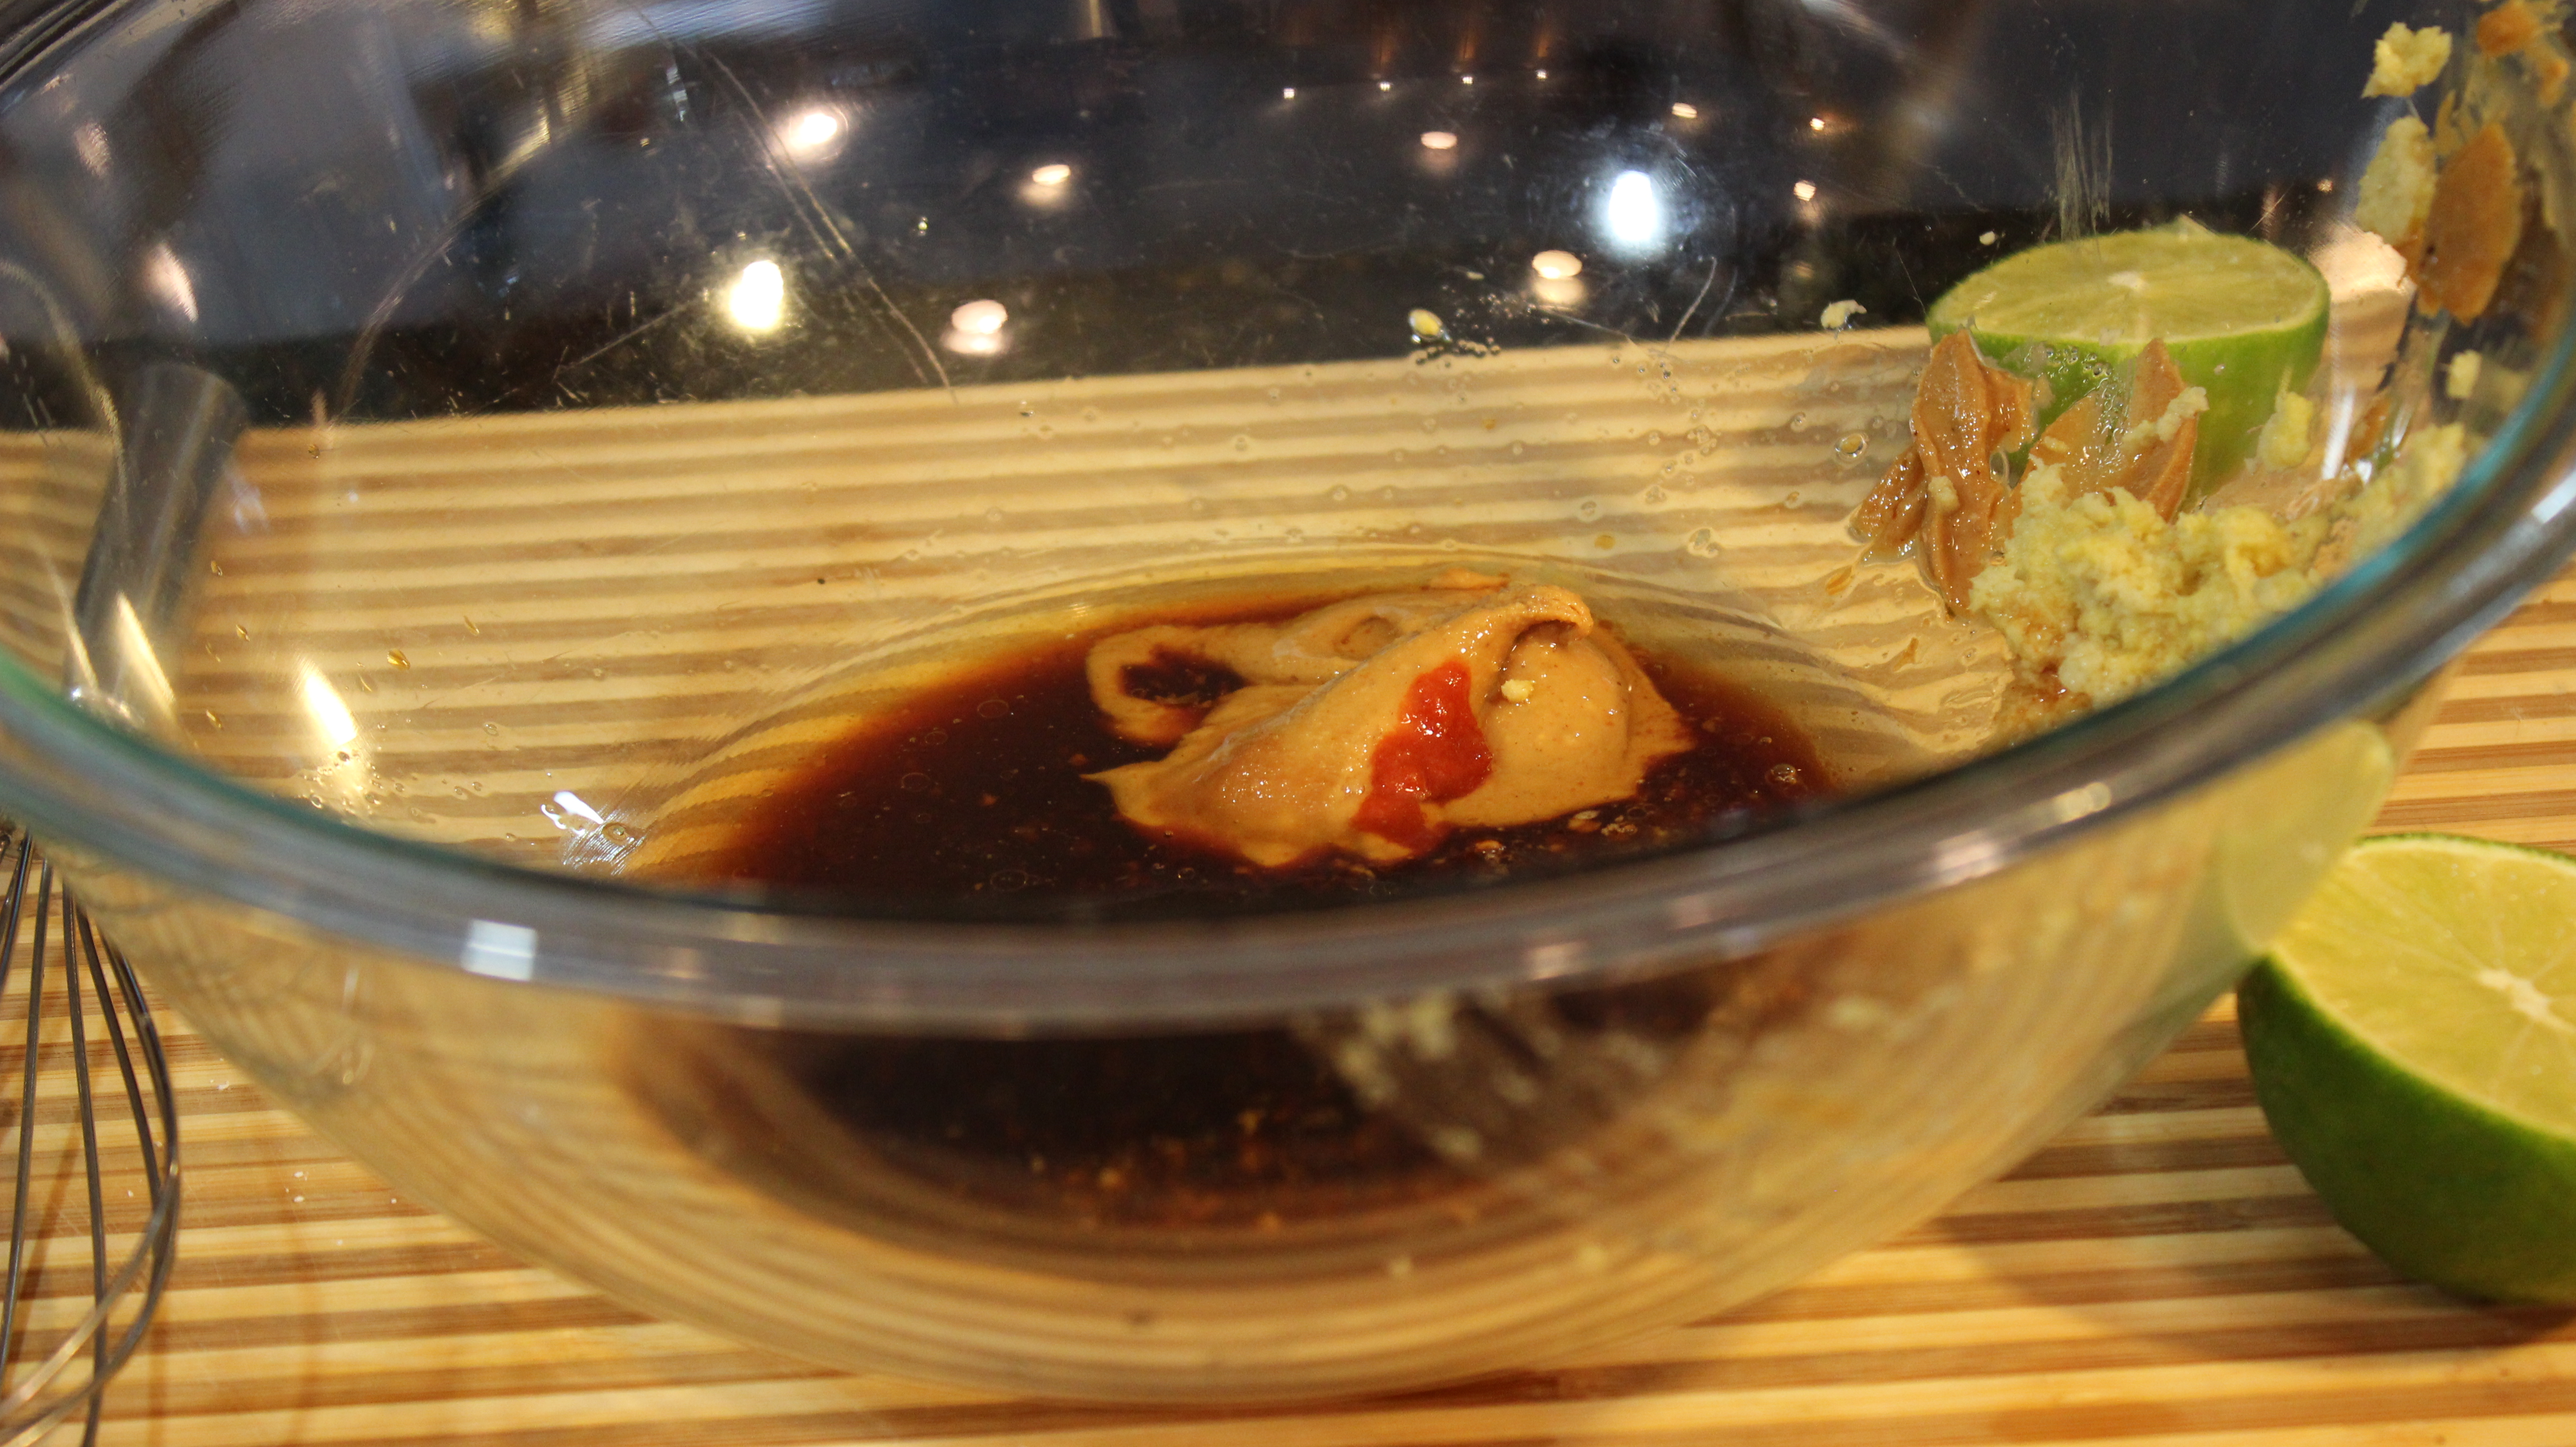
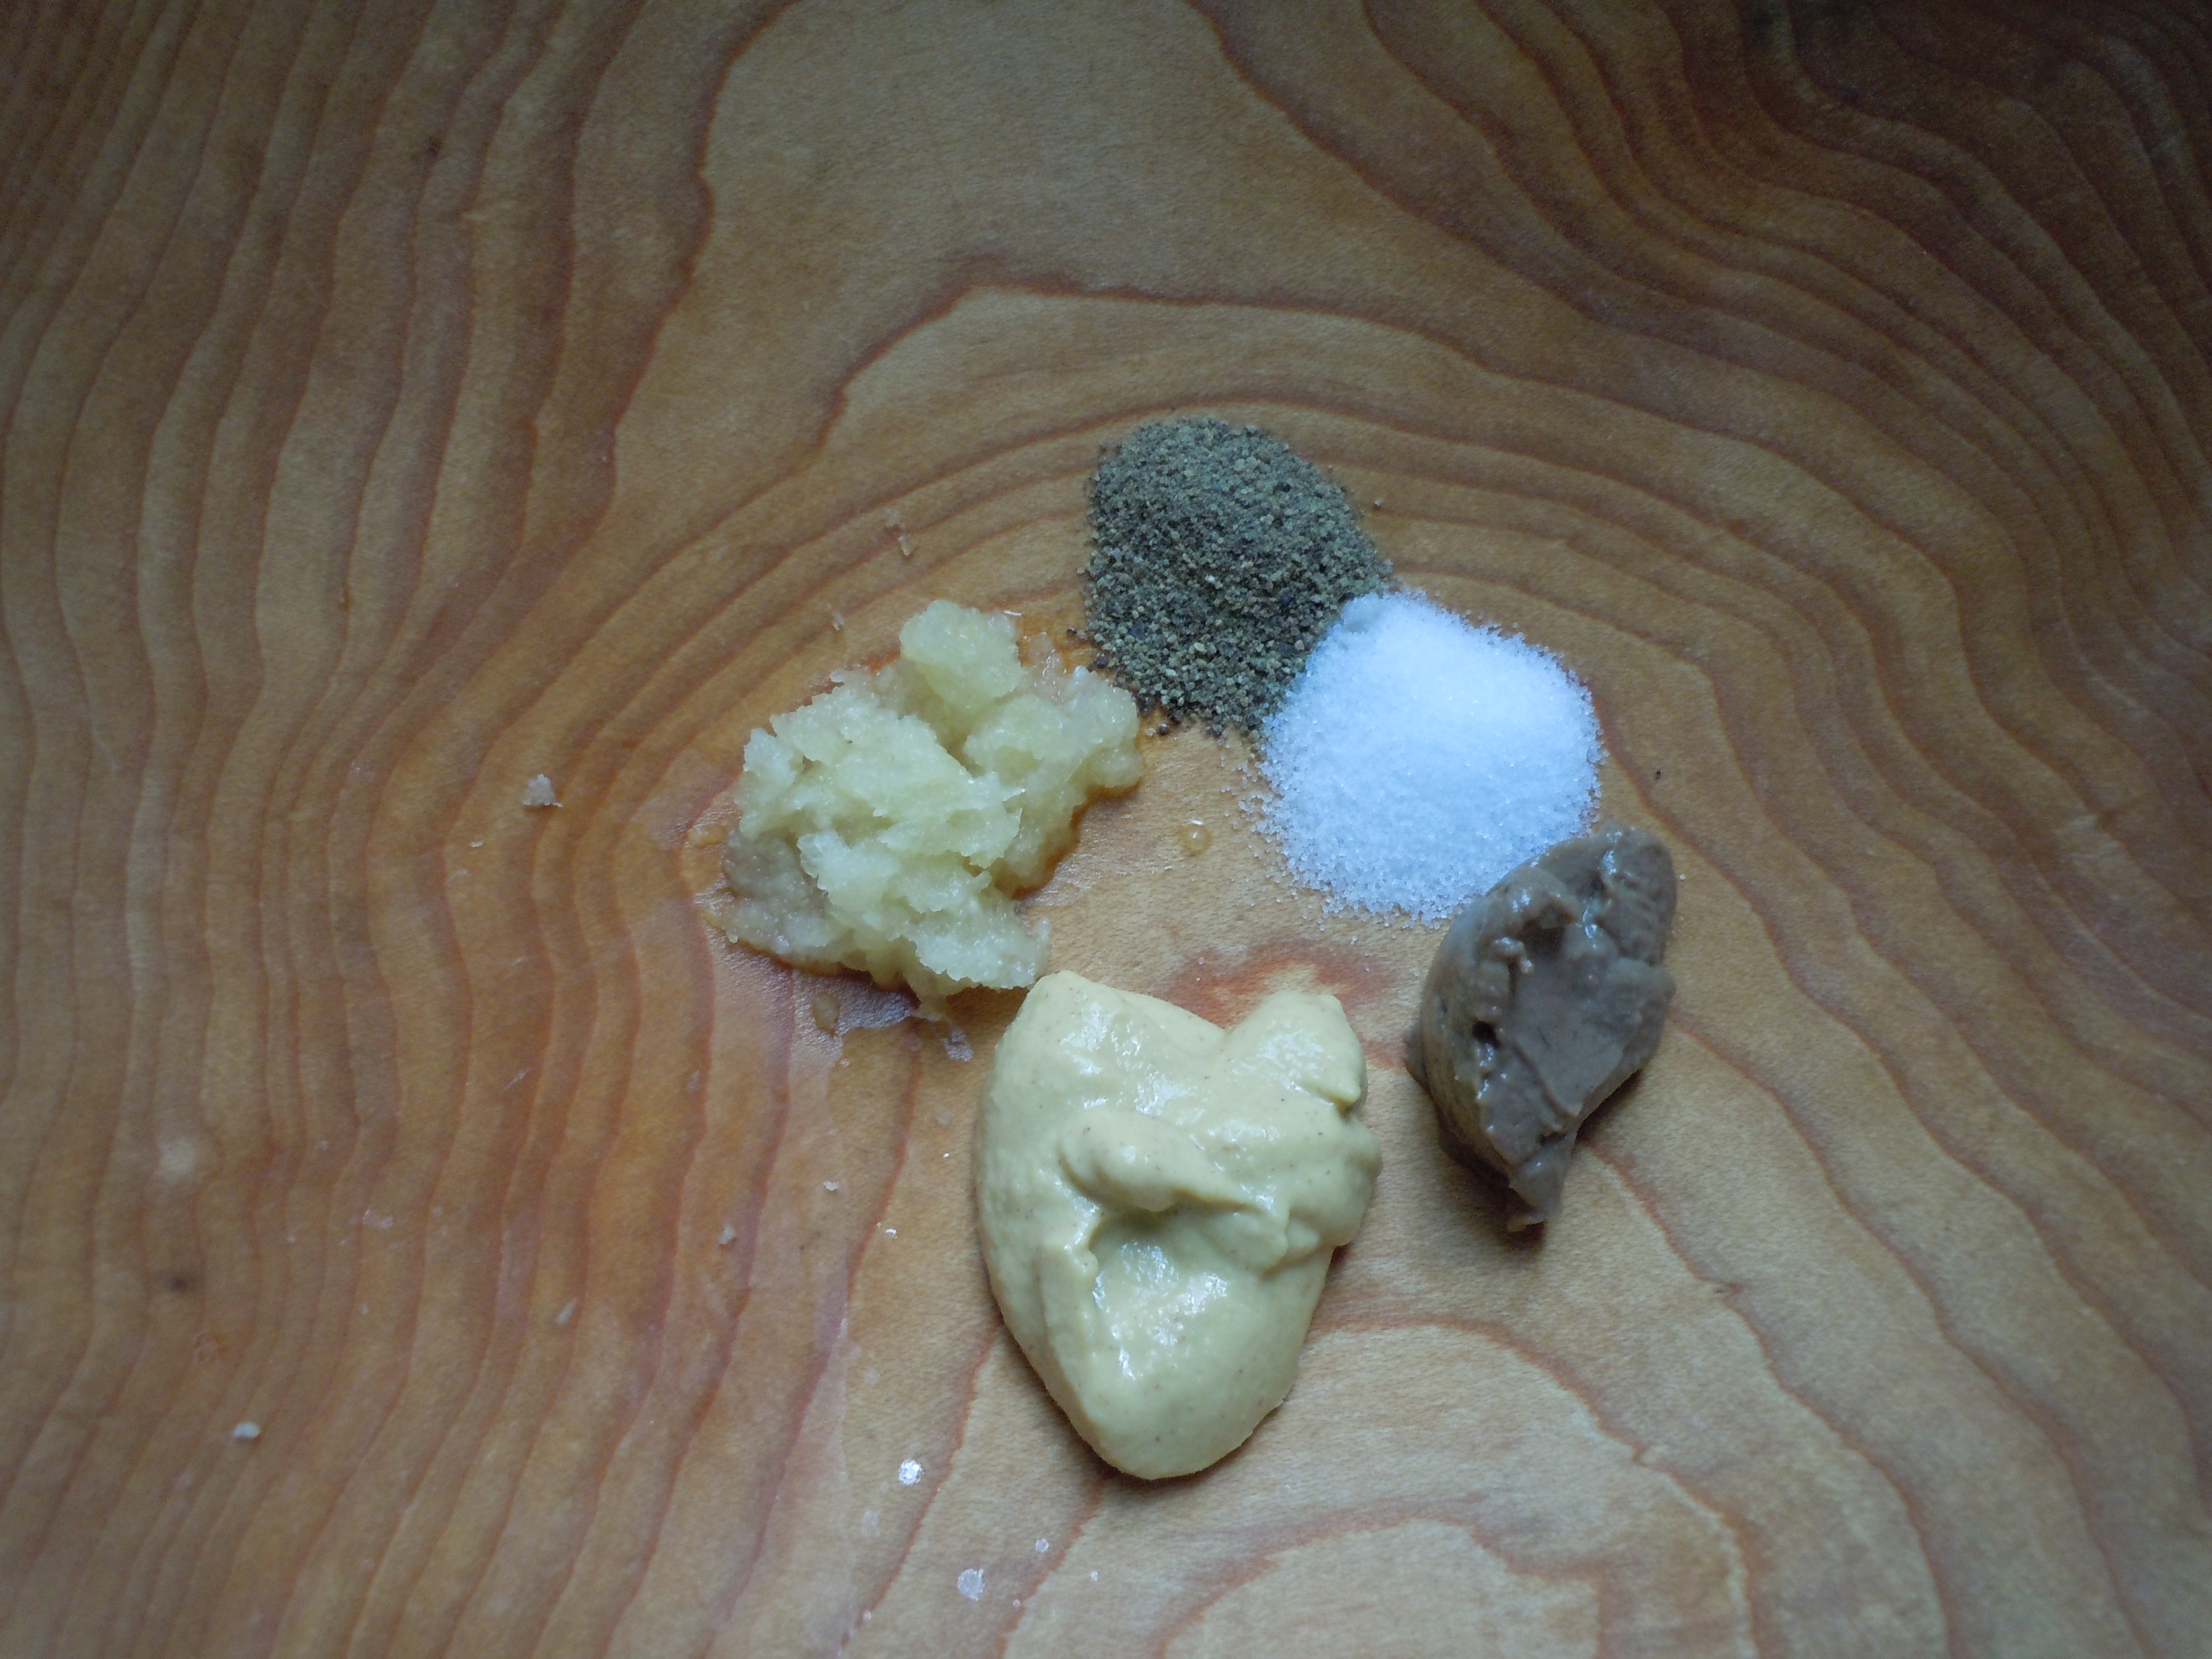
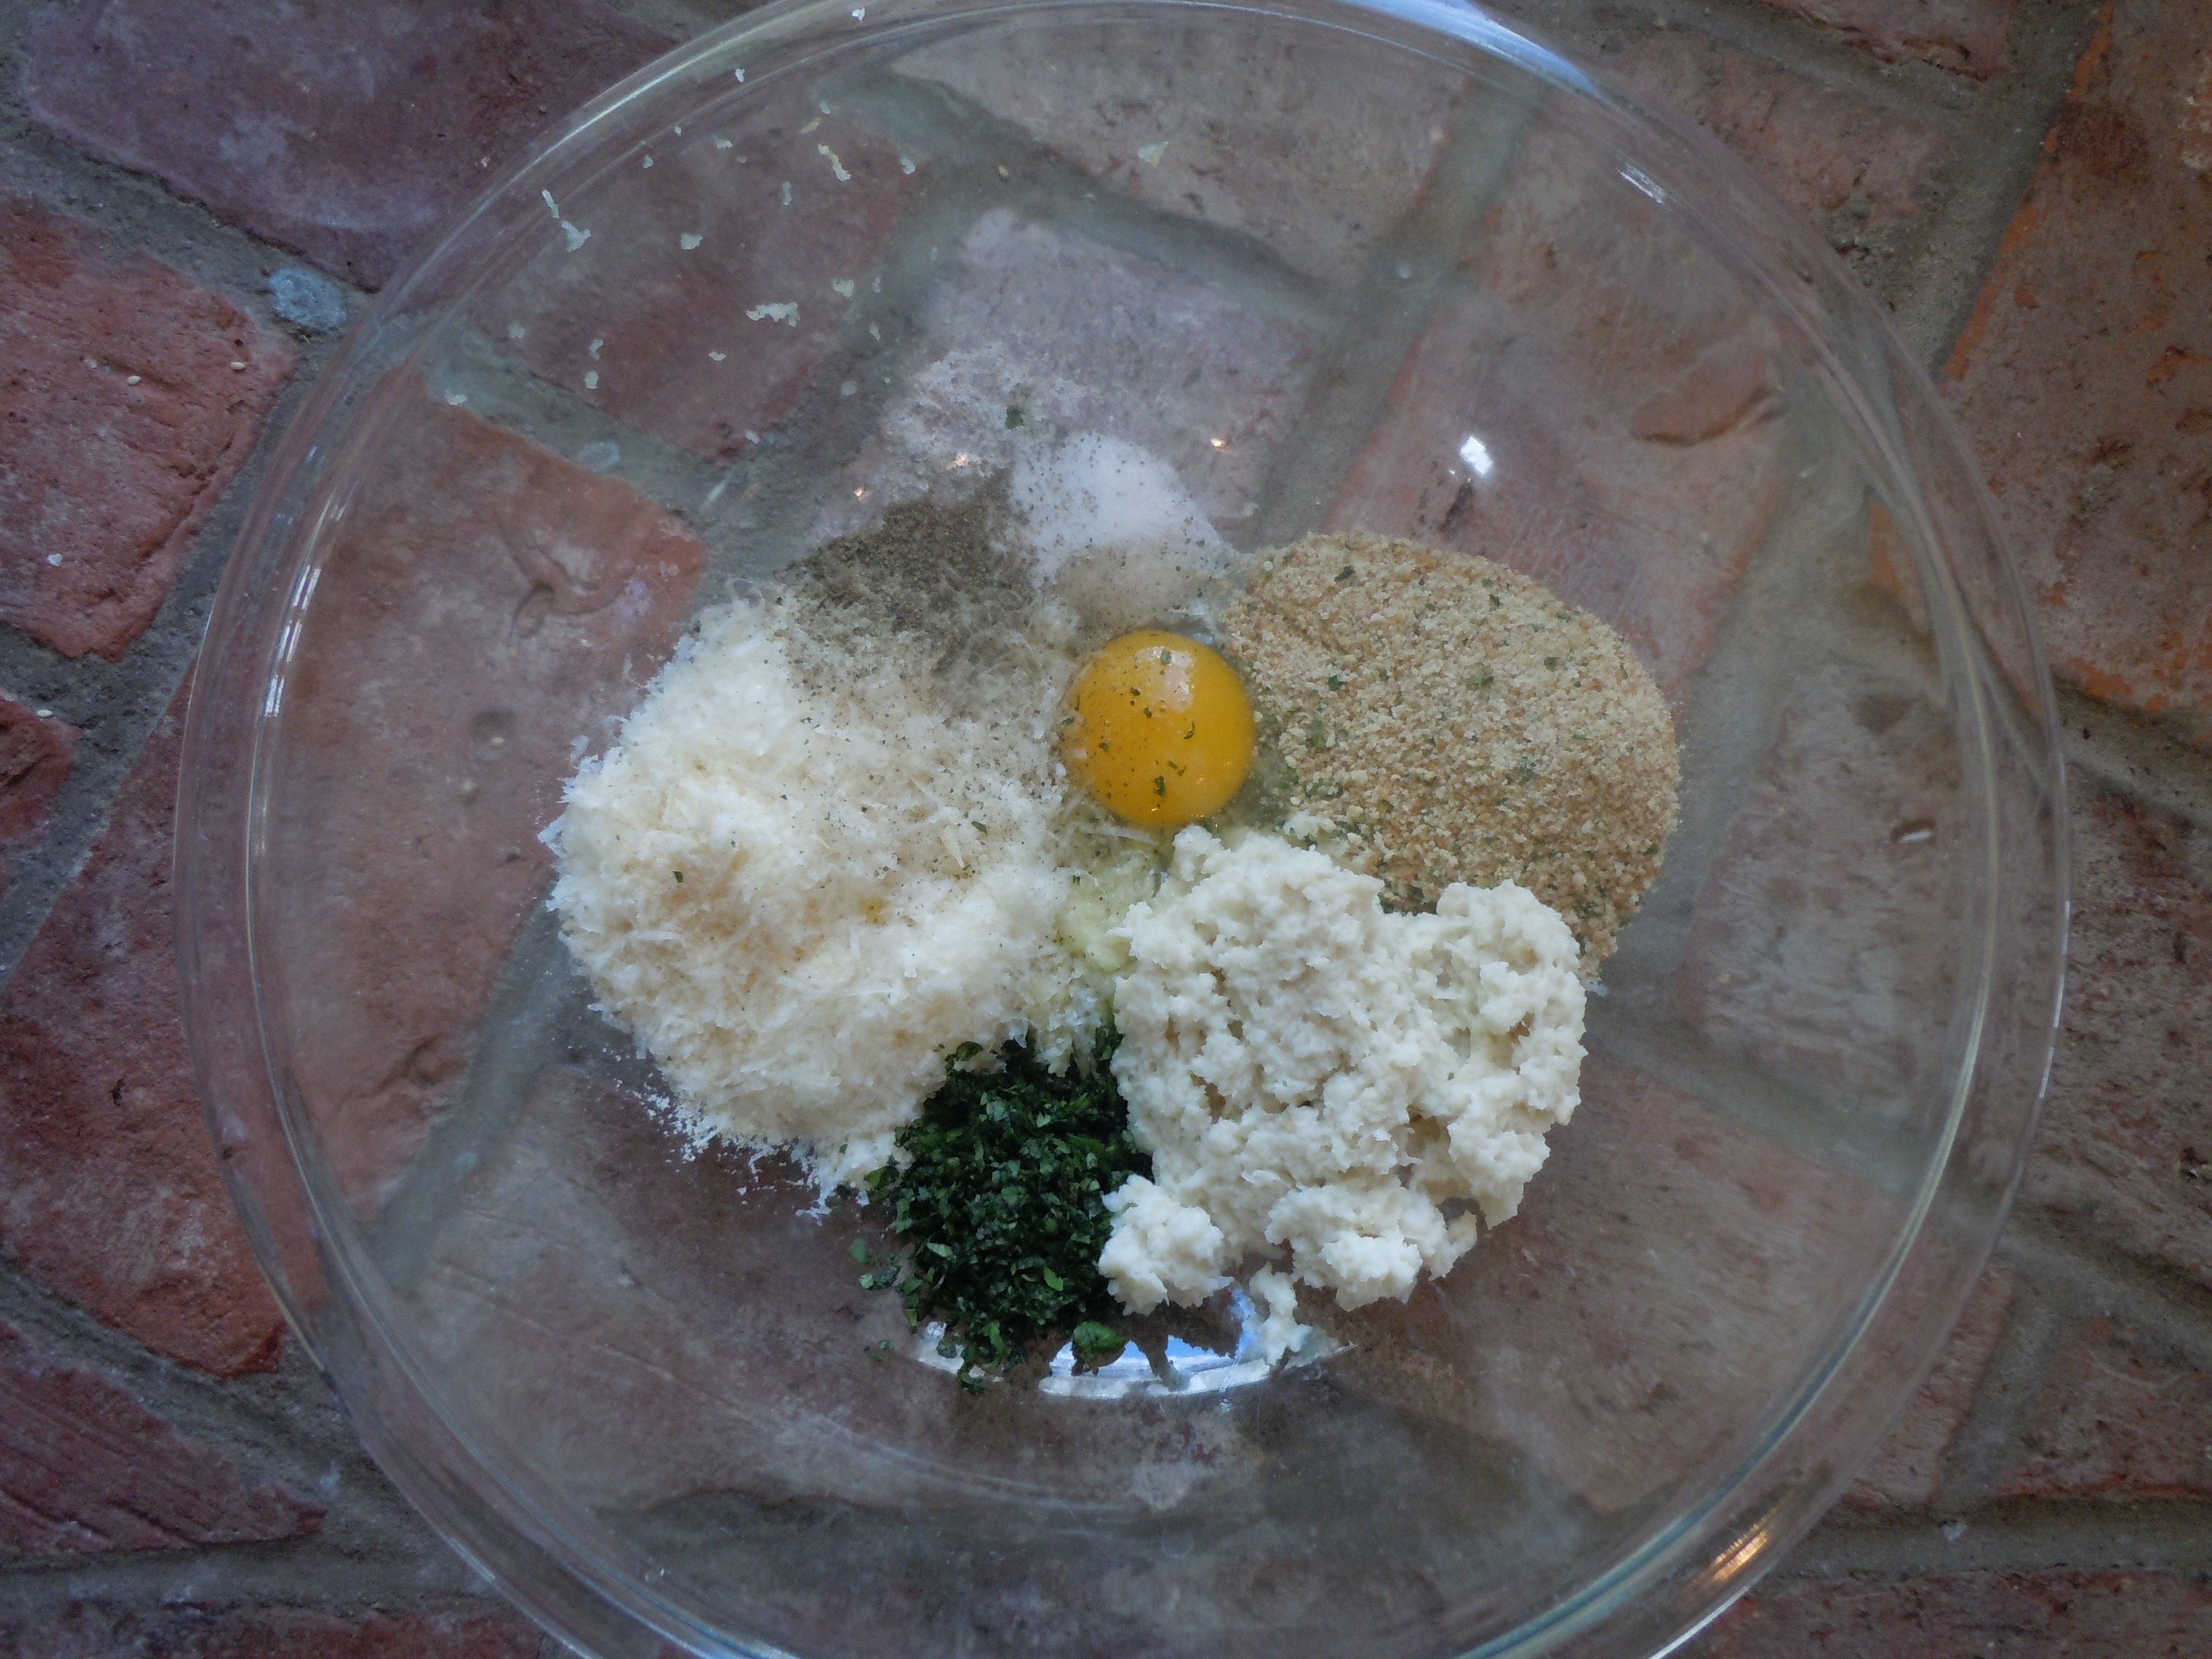
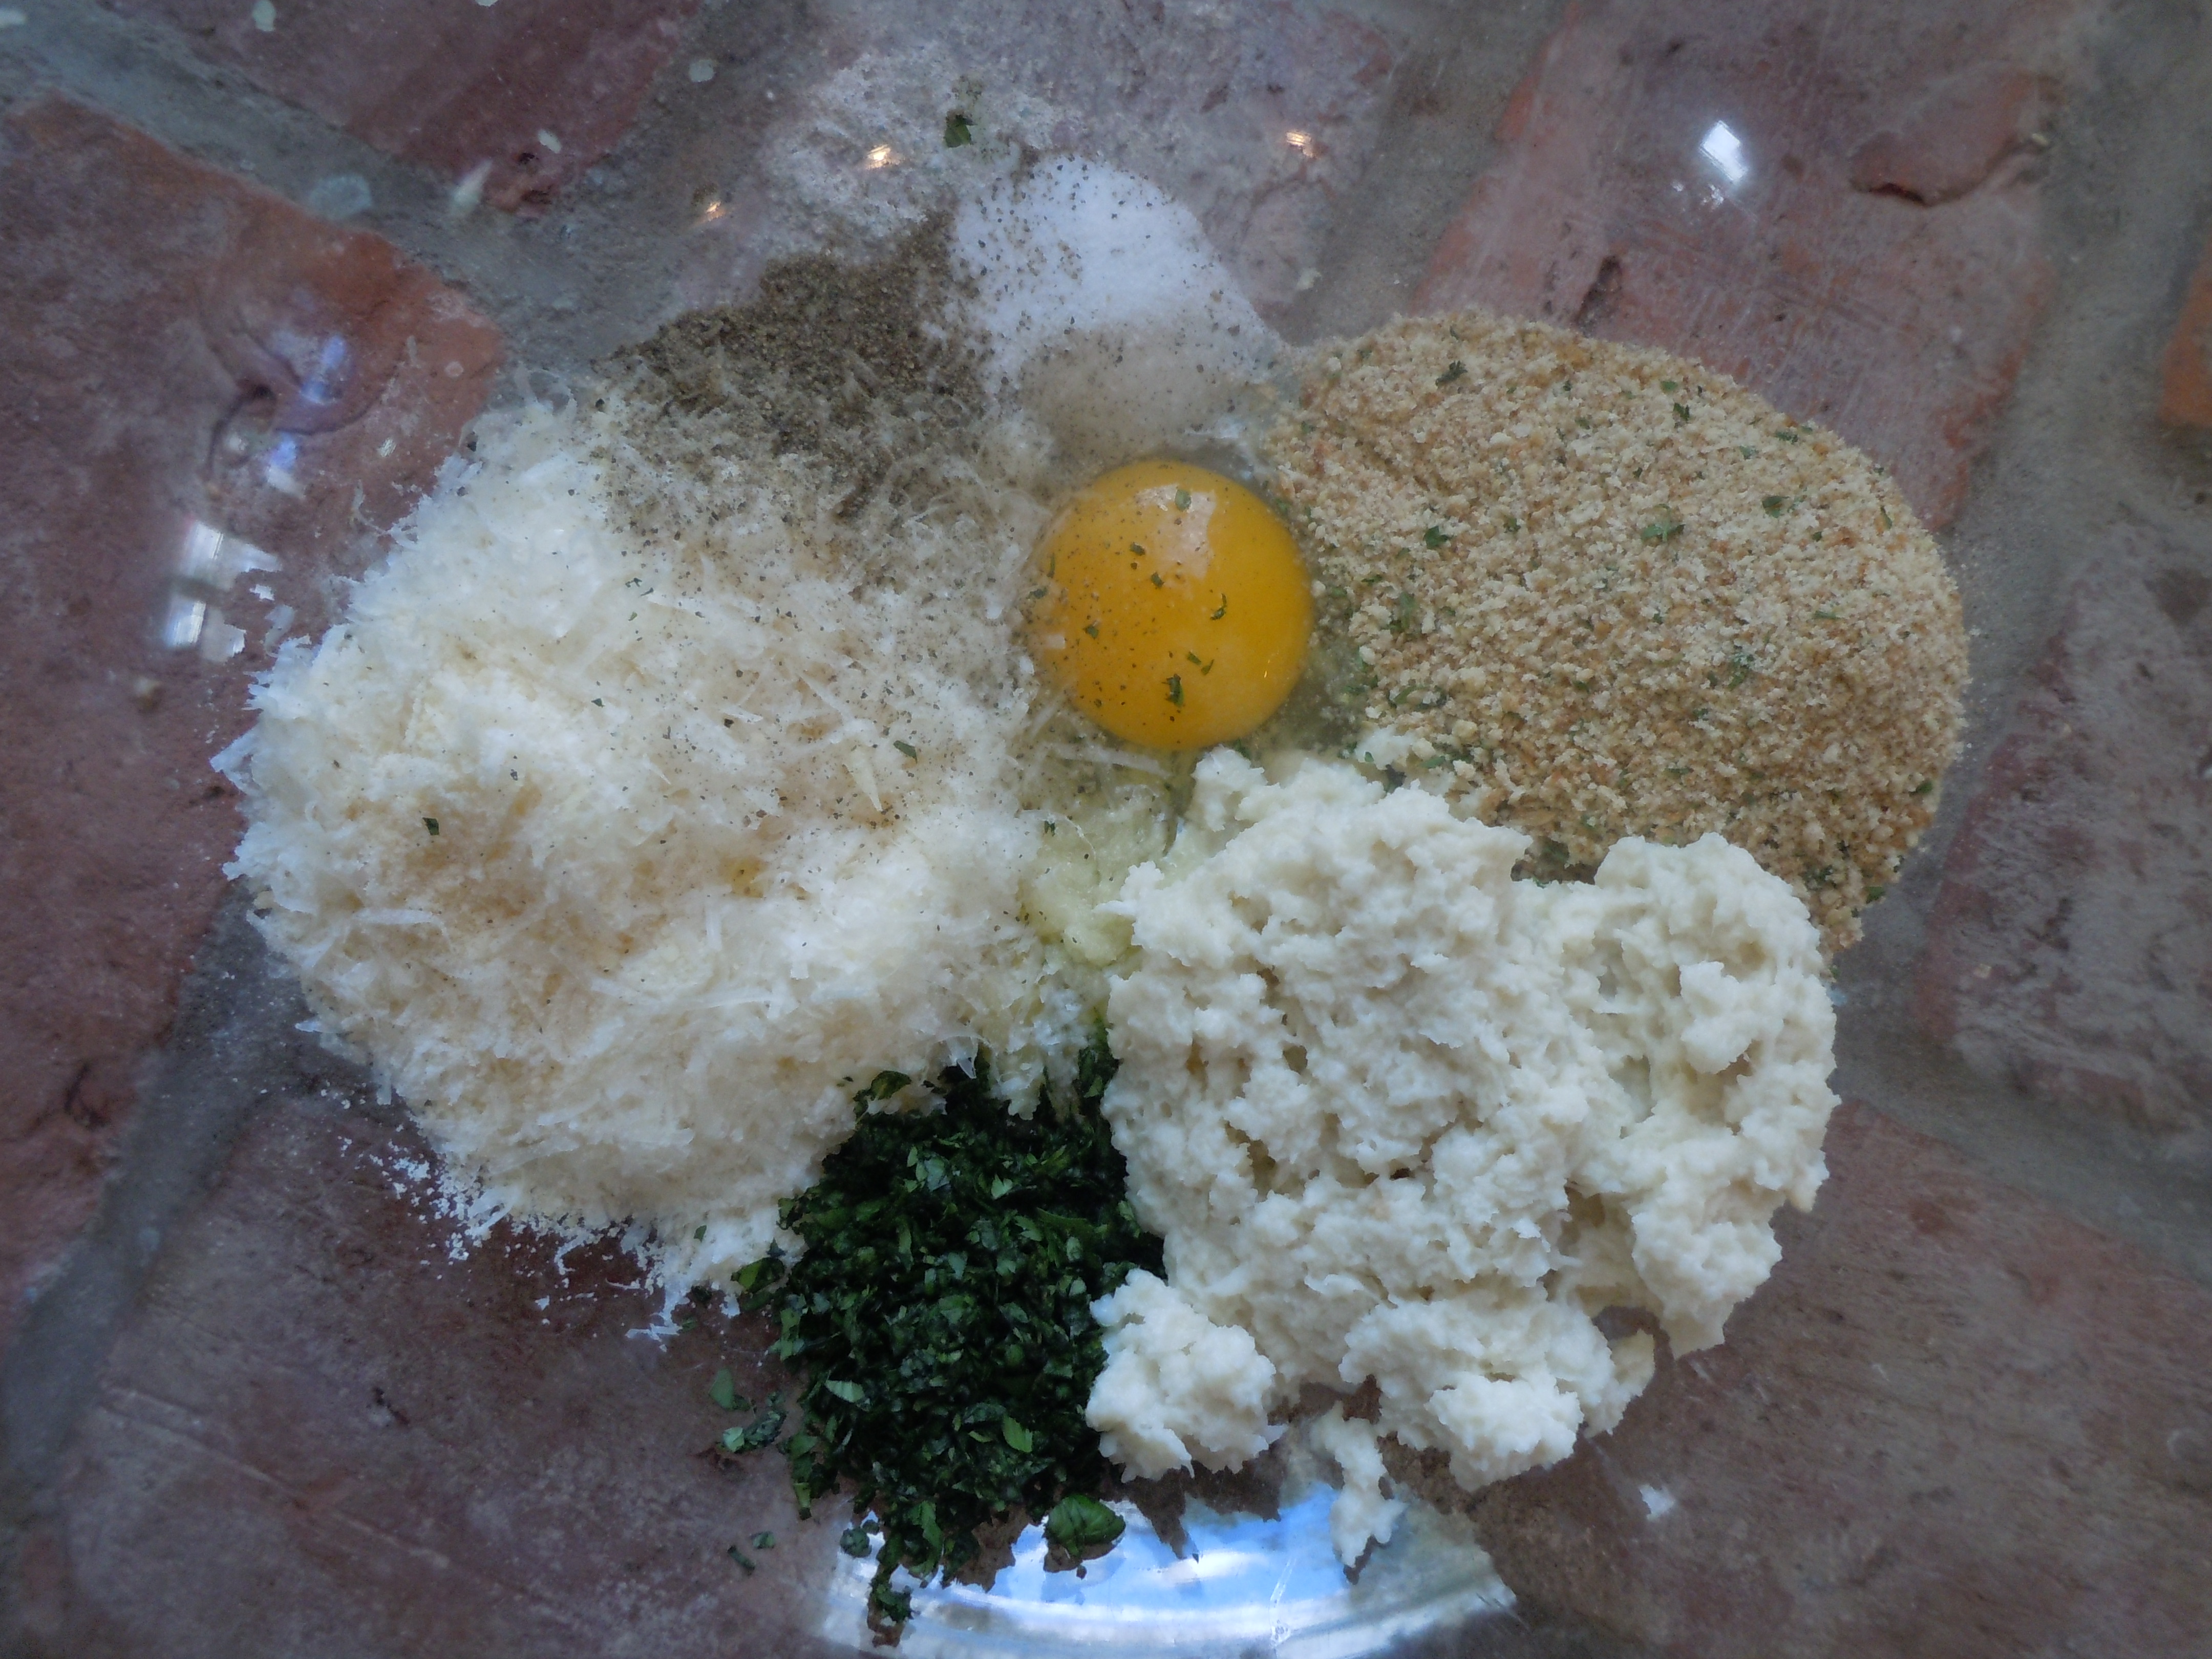
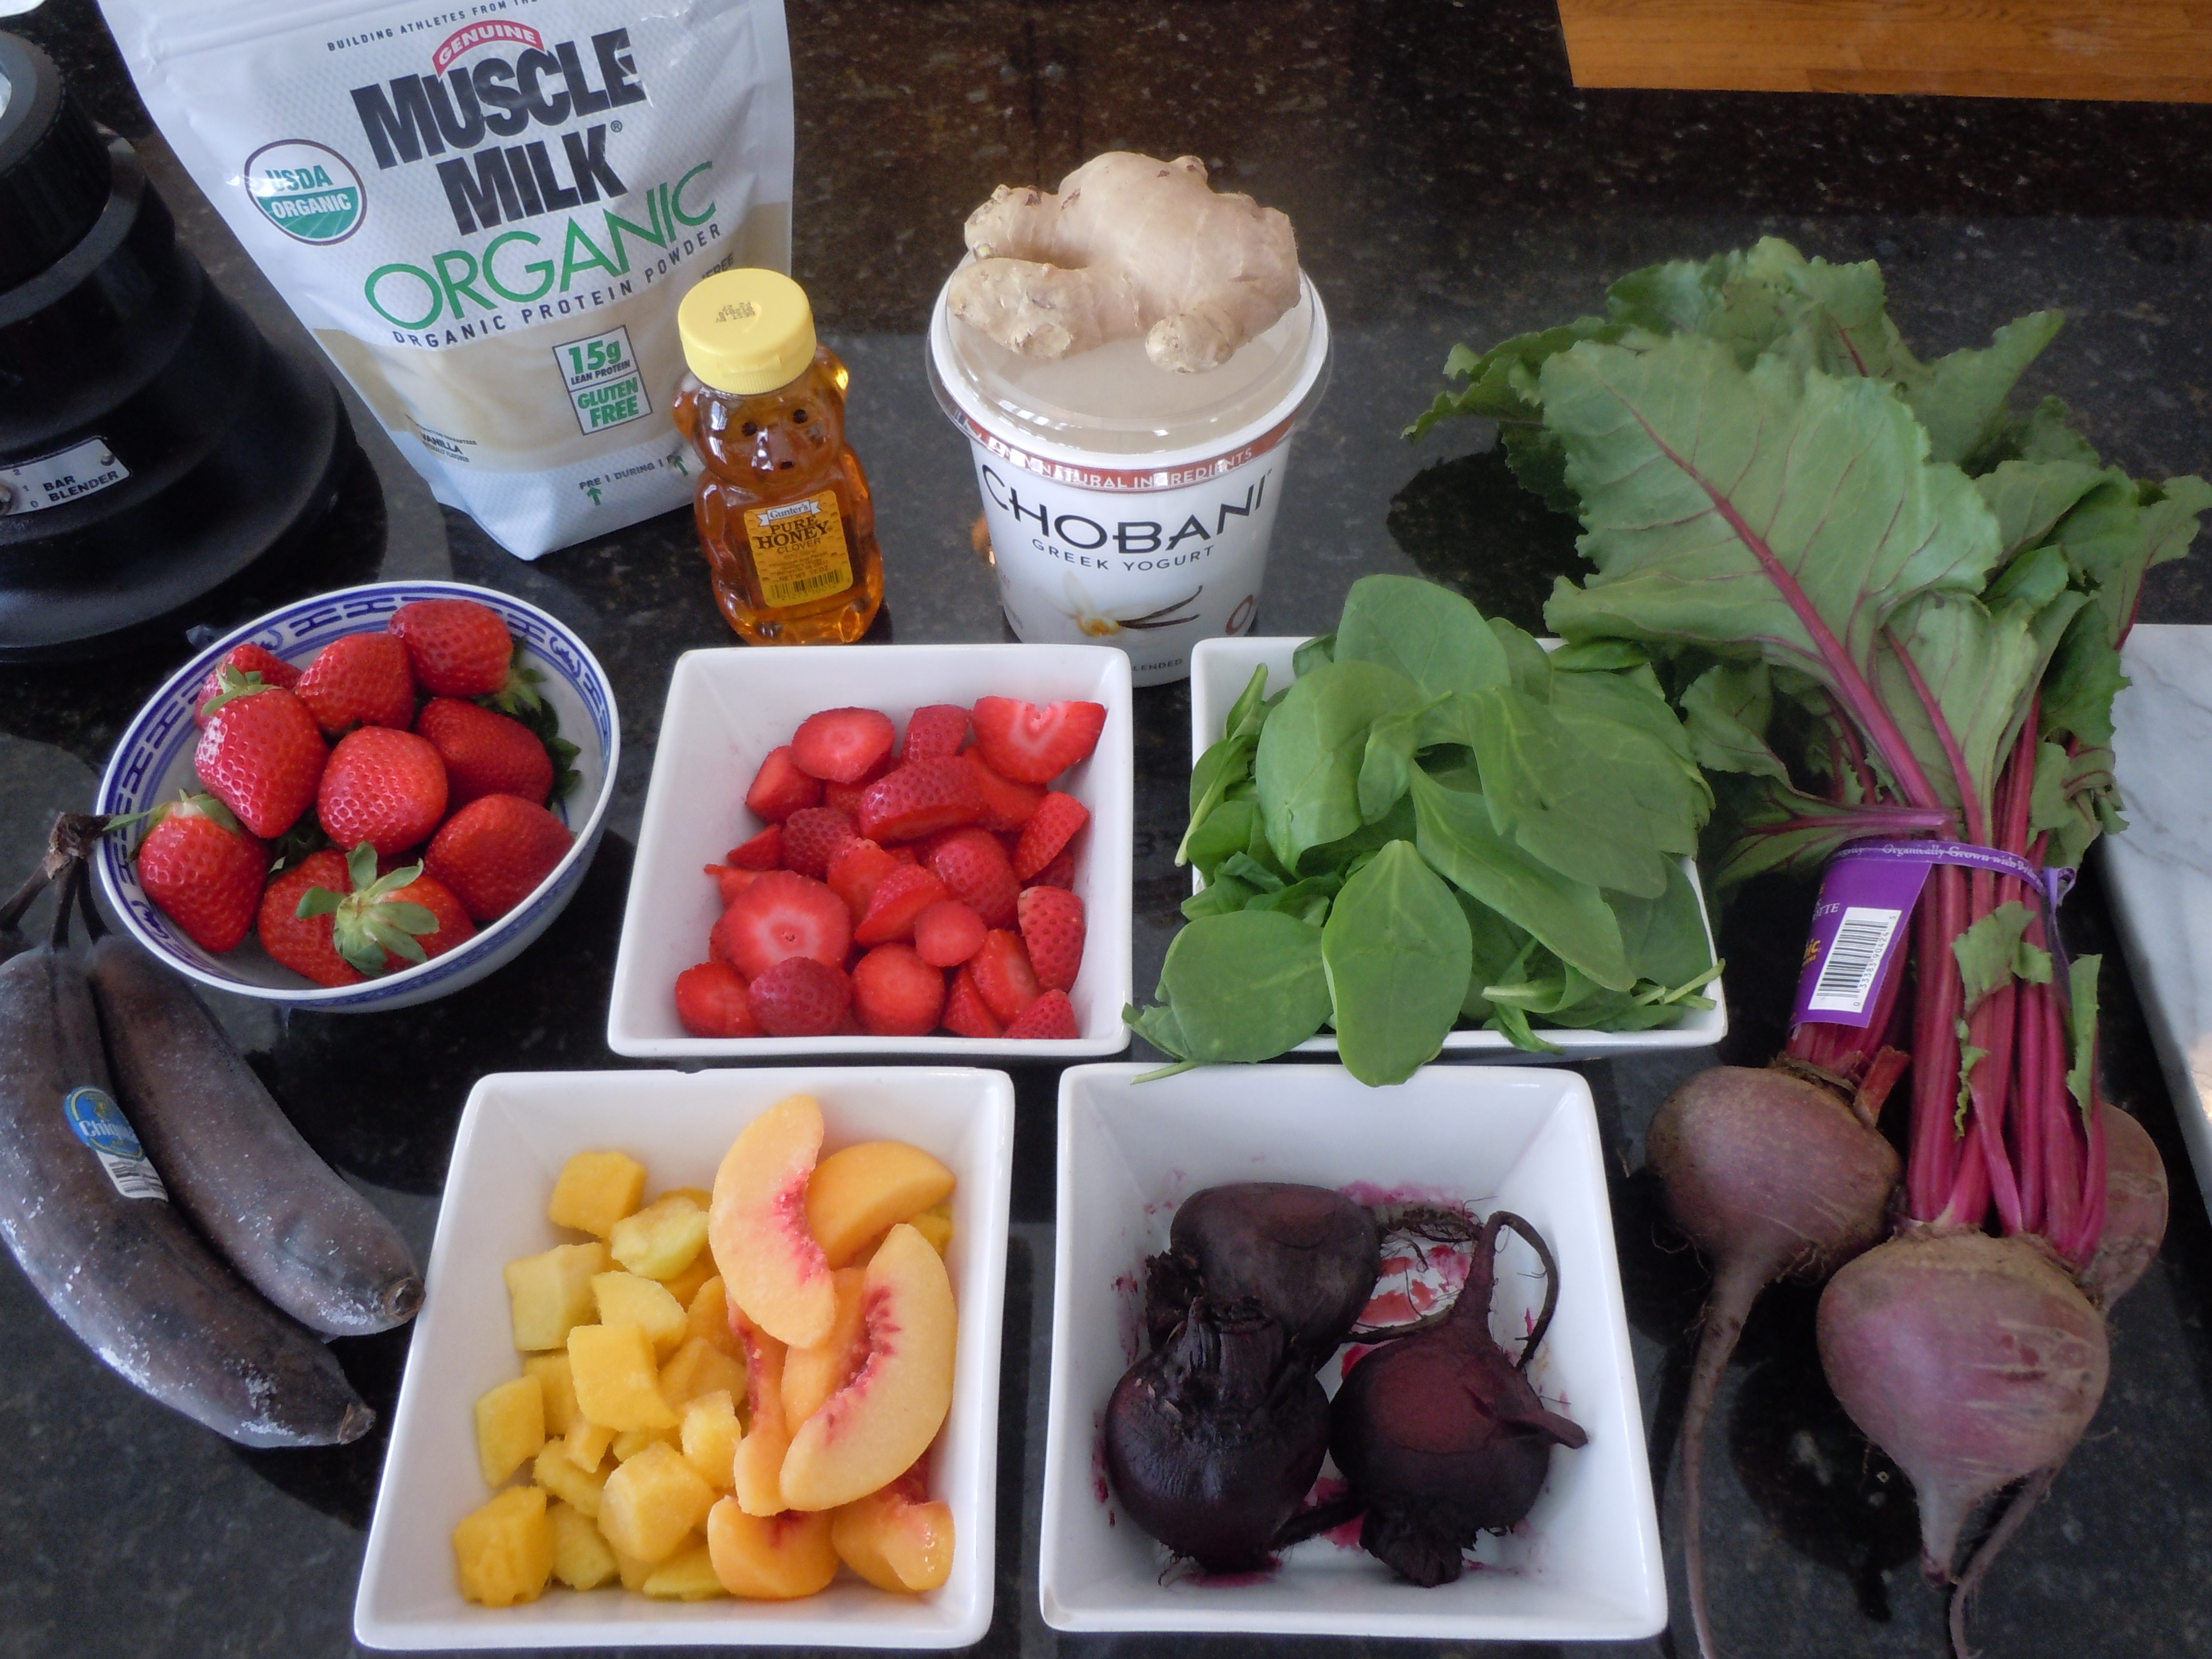
Ingredients for Ginger-Peanut Sesame Sauce:

  • 3 tbsp smooth peanut butter (Teddy’s All Natural)
  • 1/4 cup soy sauce
  • 2 tbsp toasted sesame oil
  • 1 1/2 tbsp vegetable oil
  • 1 tbsp rice wine vinegar
  • 1 tbsp red wine vinegar
  • 1/2 tsp wasabi powder
  • 2 tbsp sugar
  • 1/2-1 tsp Siracha (can find this next to Tabasco products)
  • 1 whole lime
  • 1 tbsp corn starch dissolved in 3 tbsp pineapple juice – Use 1 1/2 tsp of this 
  • 1 tbsp fresh grated ginger
  • 2 tbsp half and half

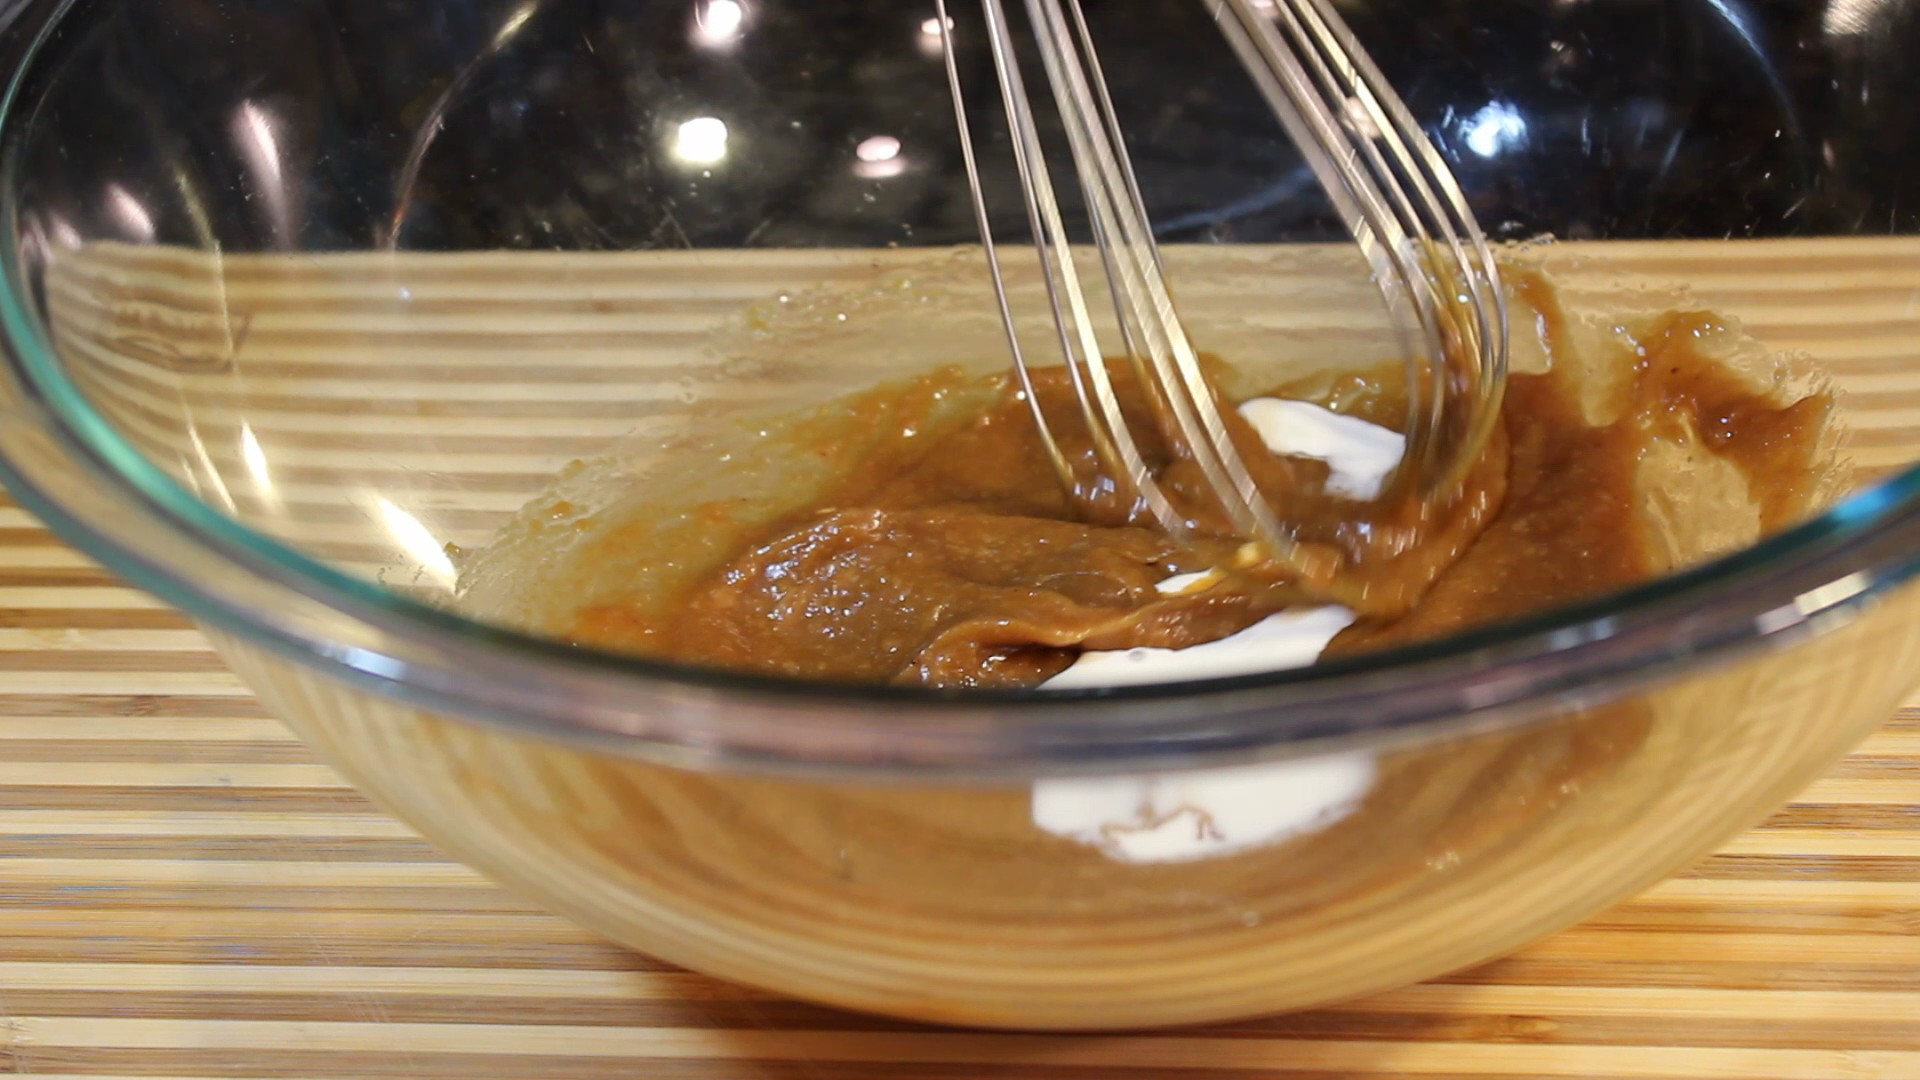
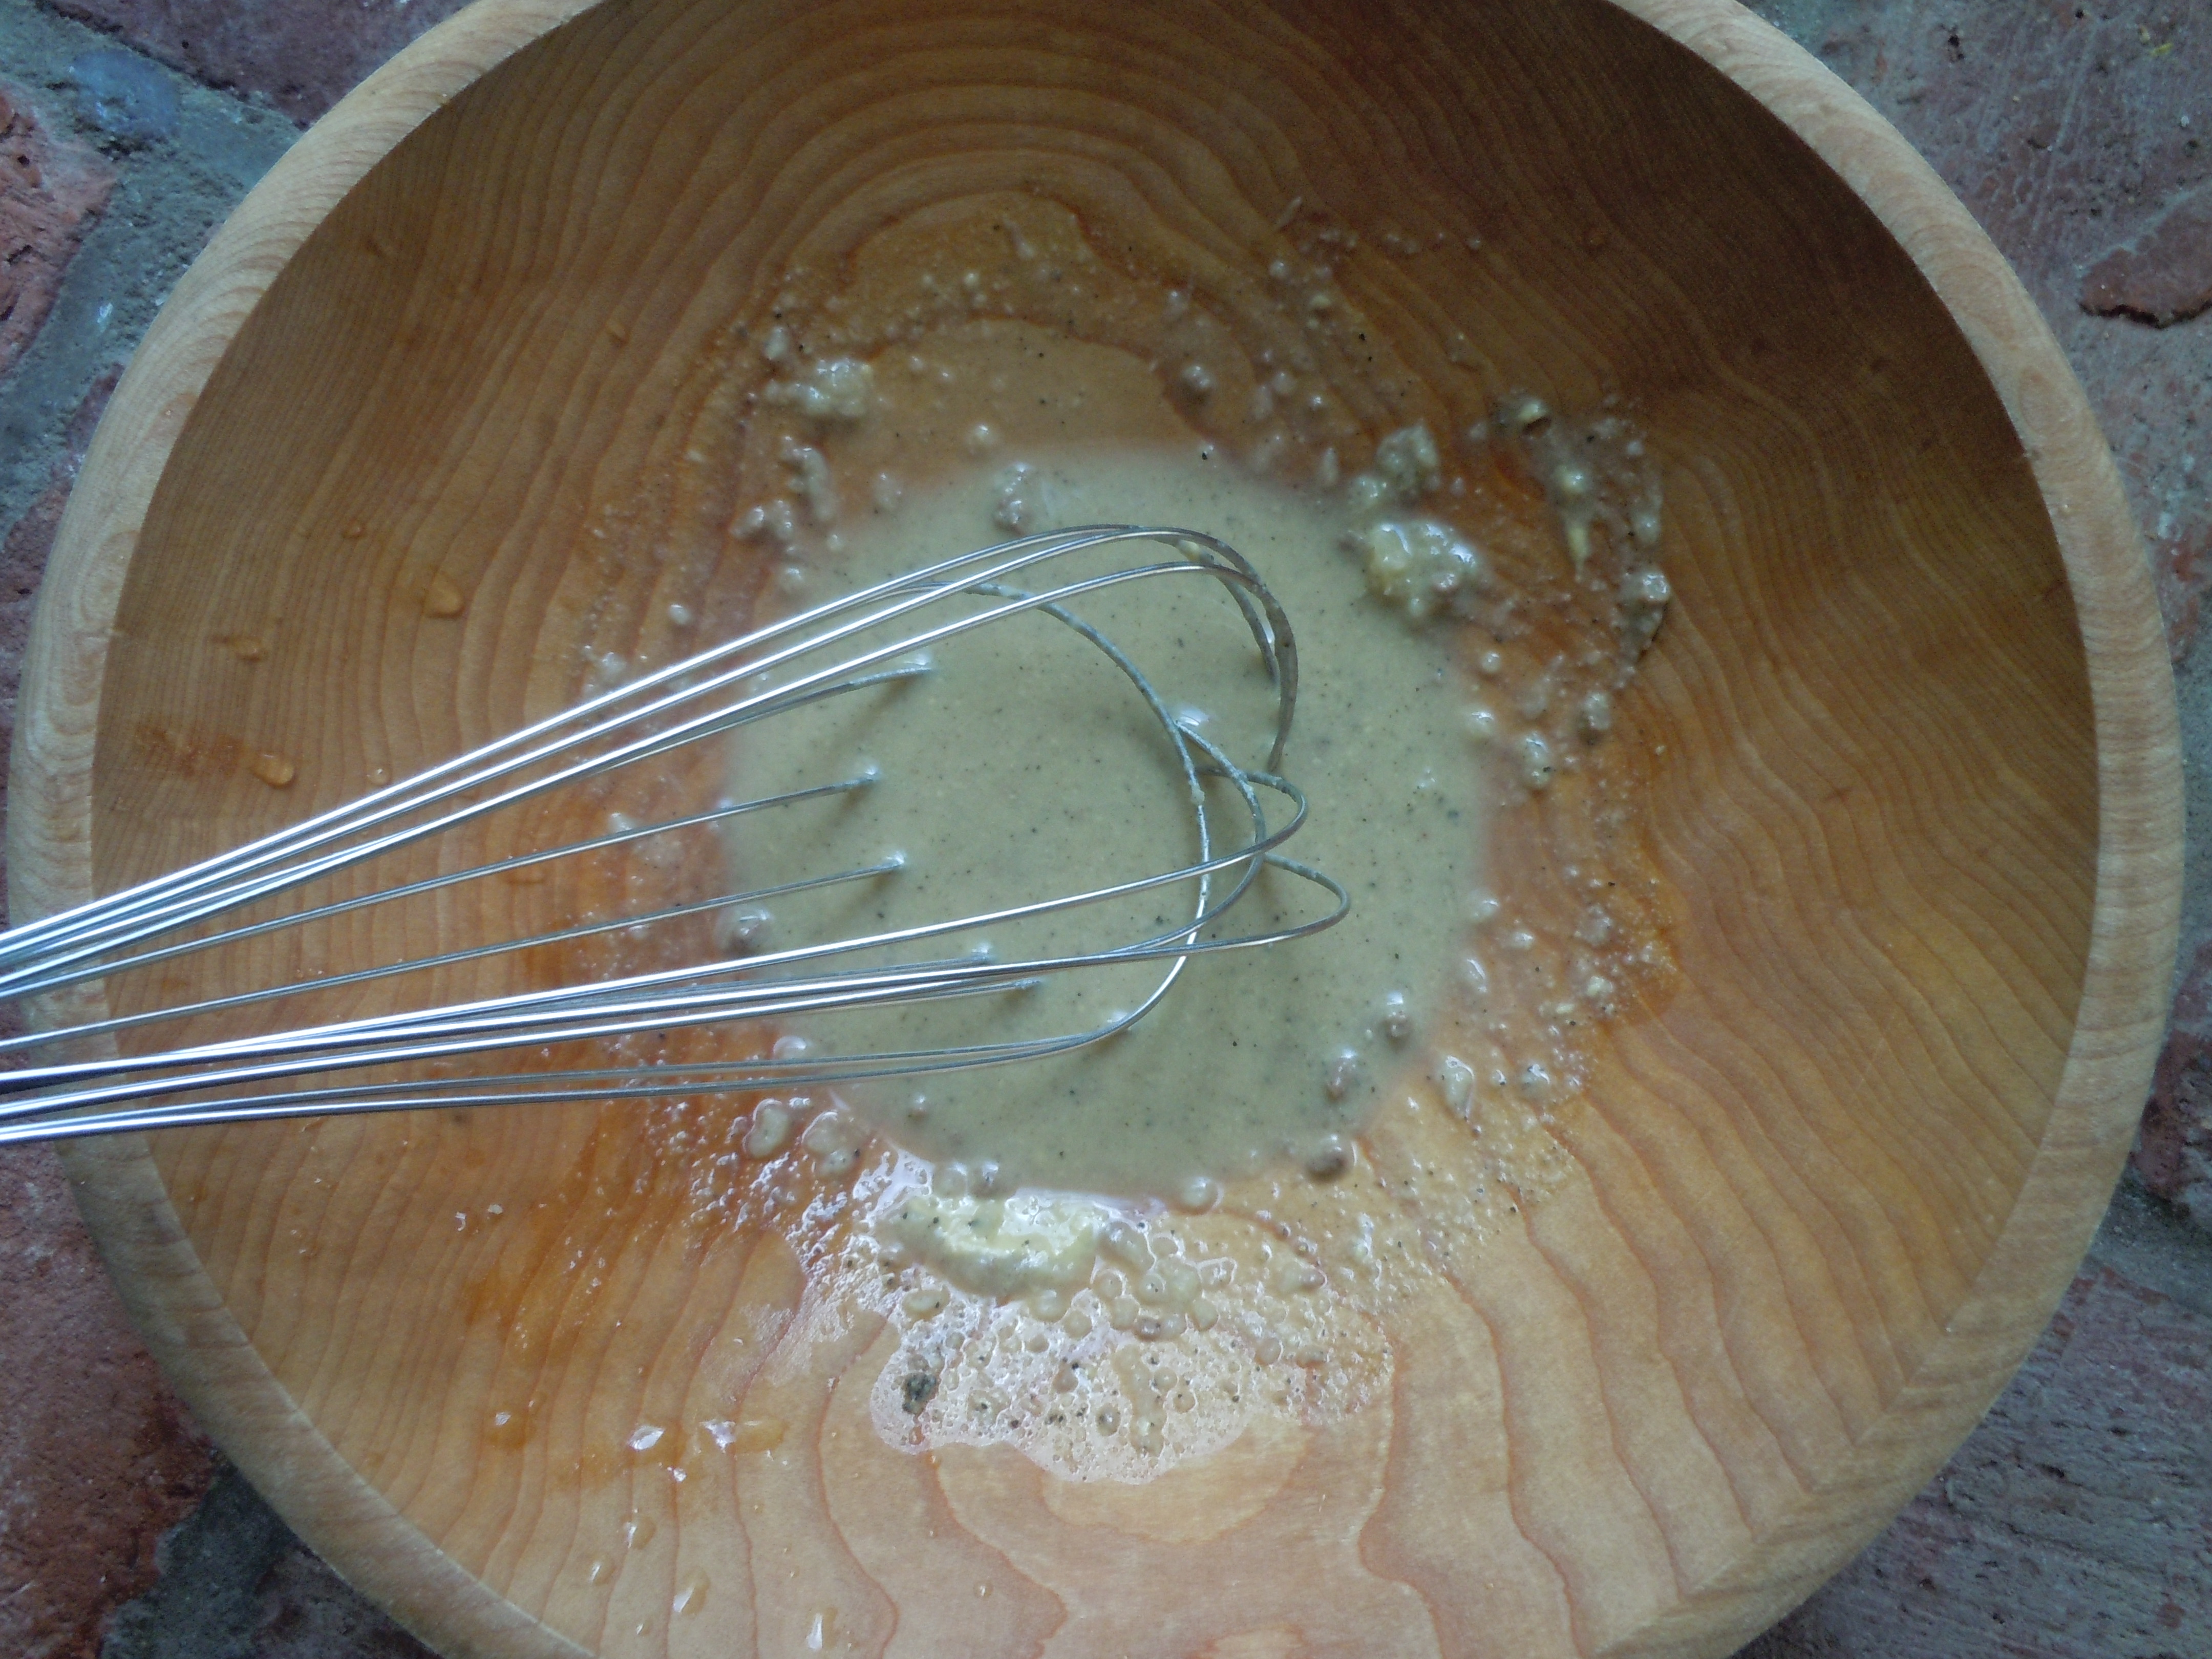
Directions for Ginger-Peanut Sesame Sauce:

  1. Add all of the ingredients to a large bowl (EXCEPT corn starch mixture) and whisk
  2. Squeeze only 1/2 of the lime in at this point
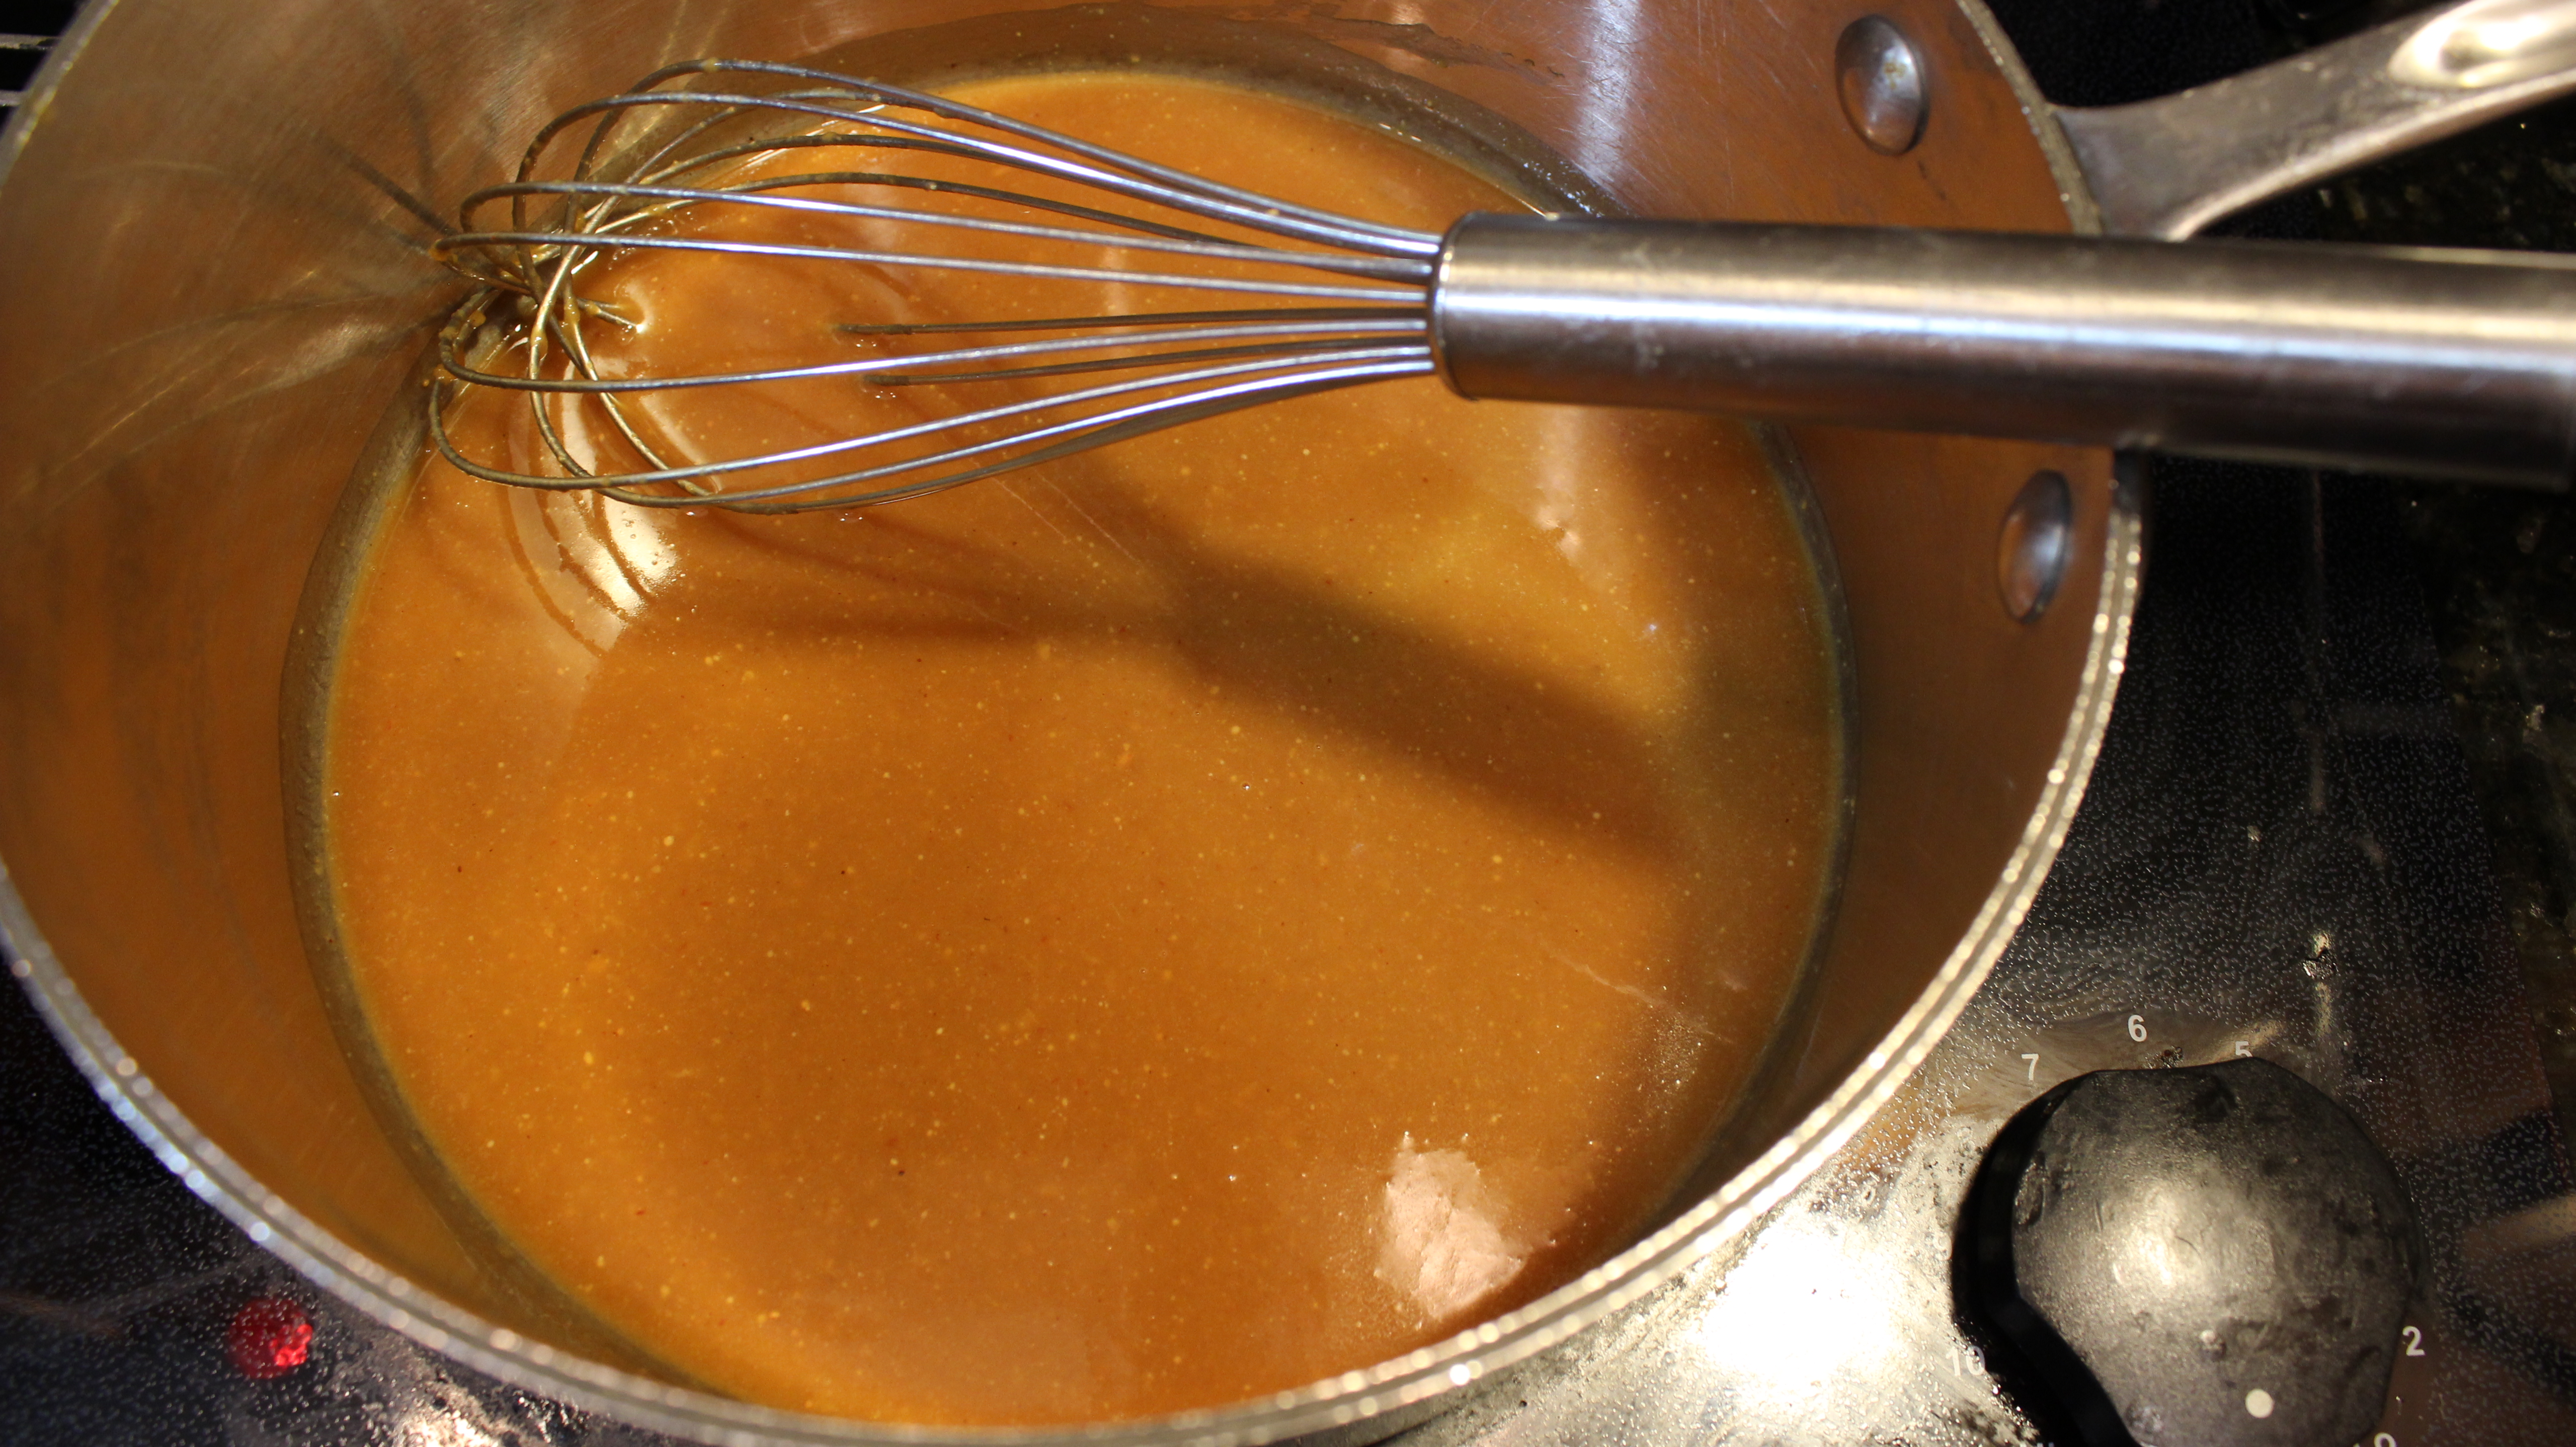
  3. Add to medium pan over medium/high bring to a low simmer – whisking constantly this will be about 2-3 minutes
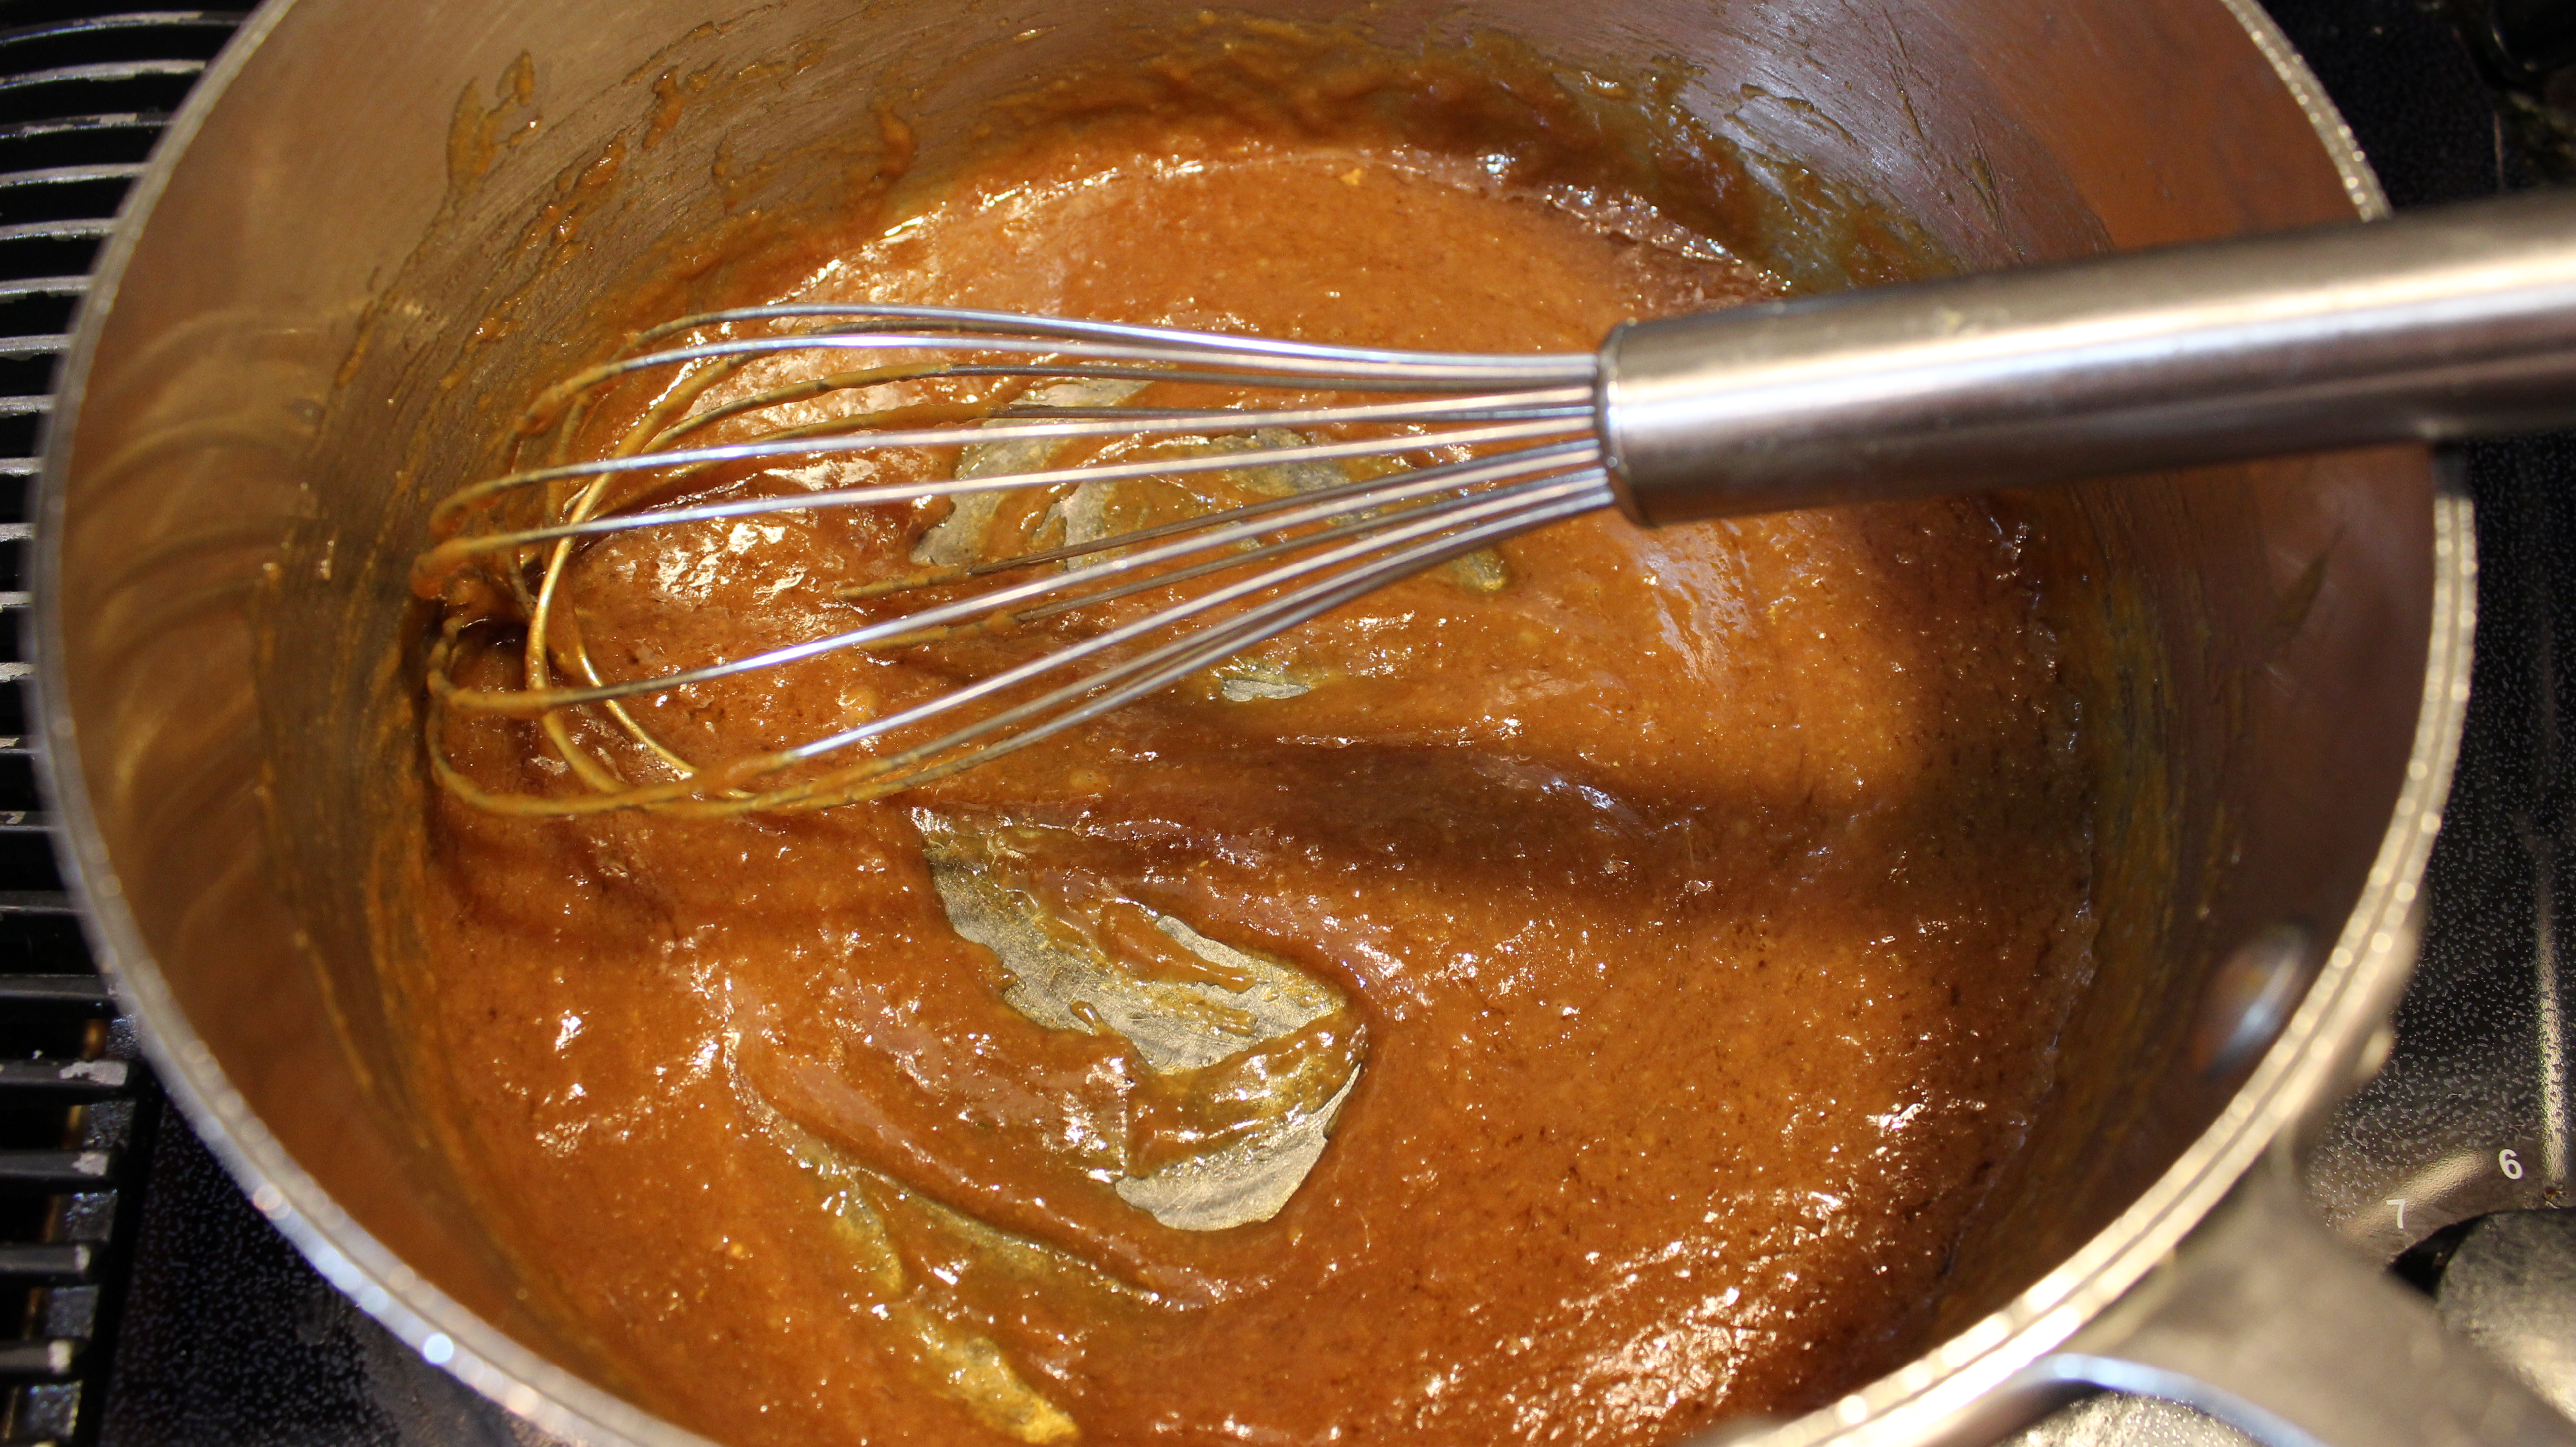
  4. When this begins to thicken turn down to med/low and add in 1 1/2 tsp of corn starch mixture and keep whisking- this will be about 3-4 minutes
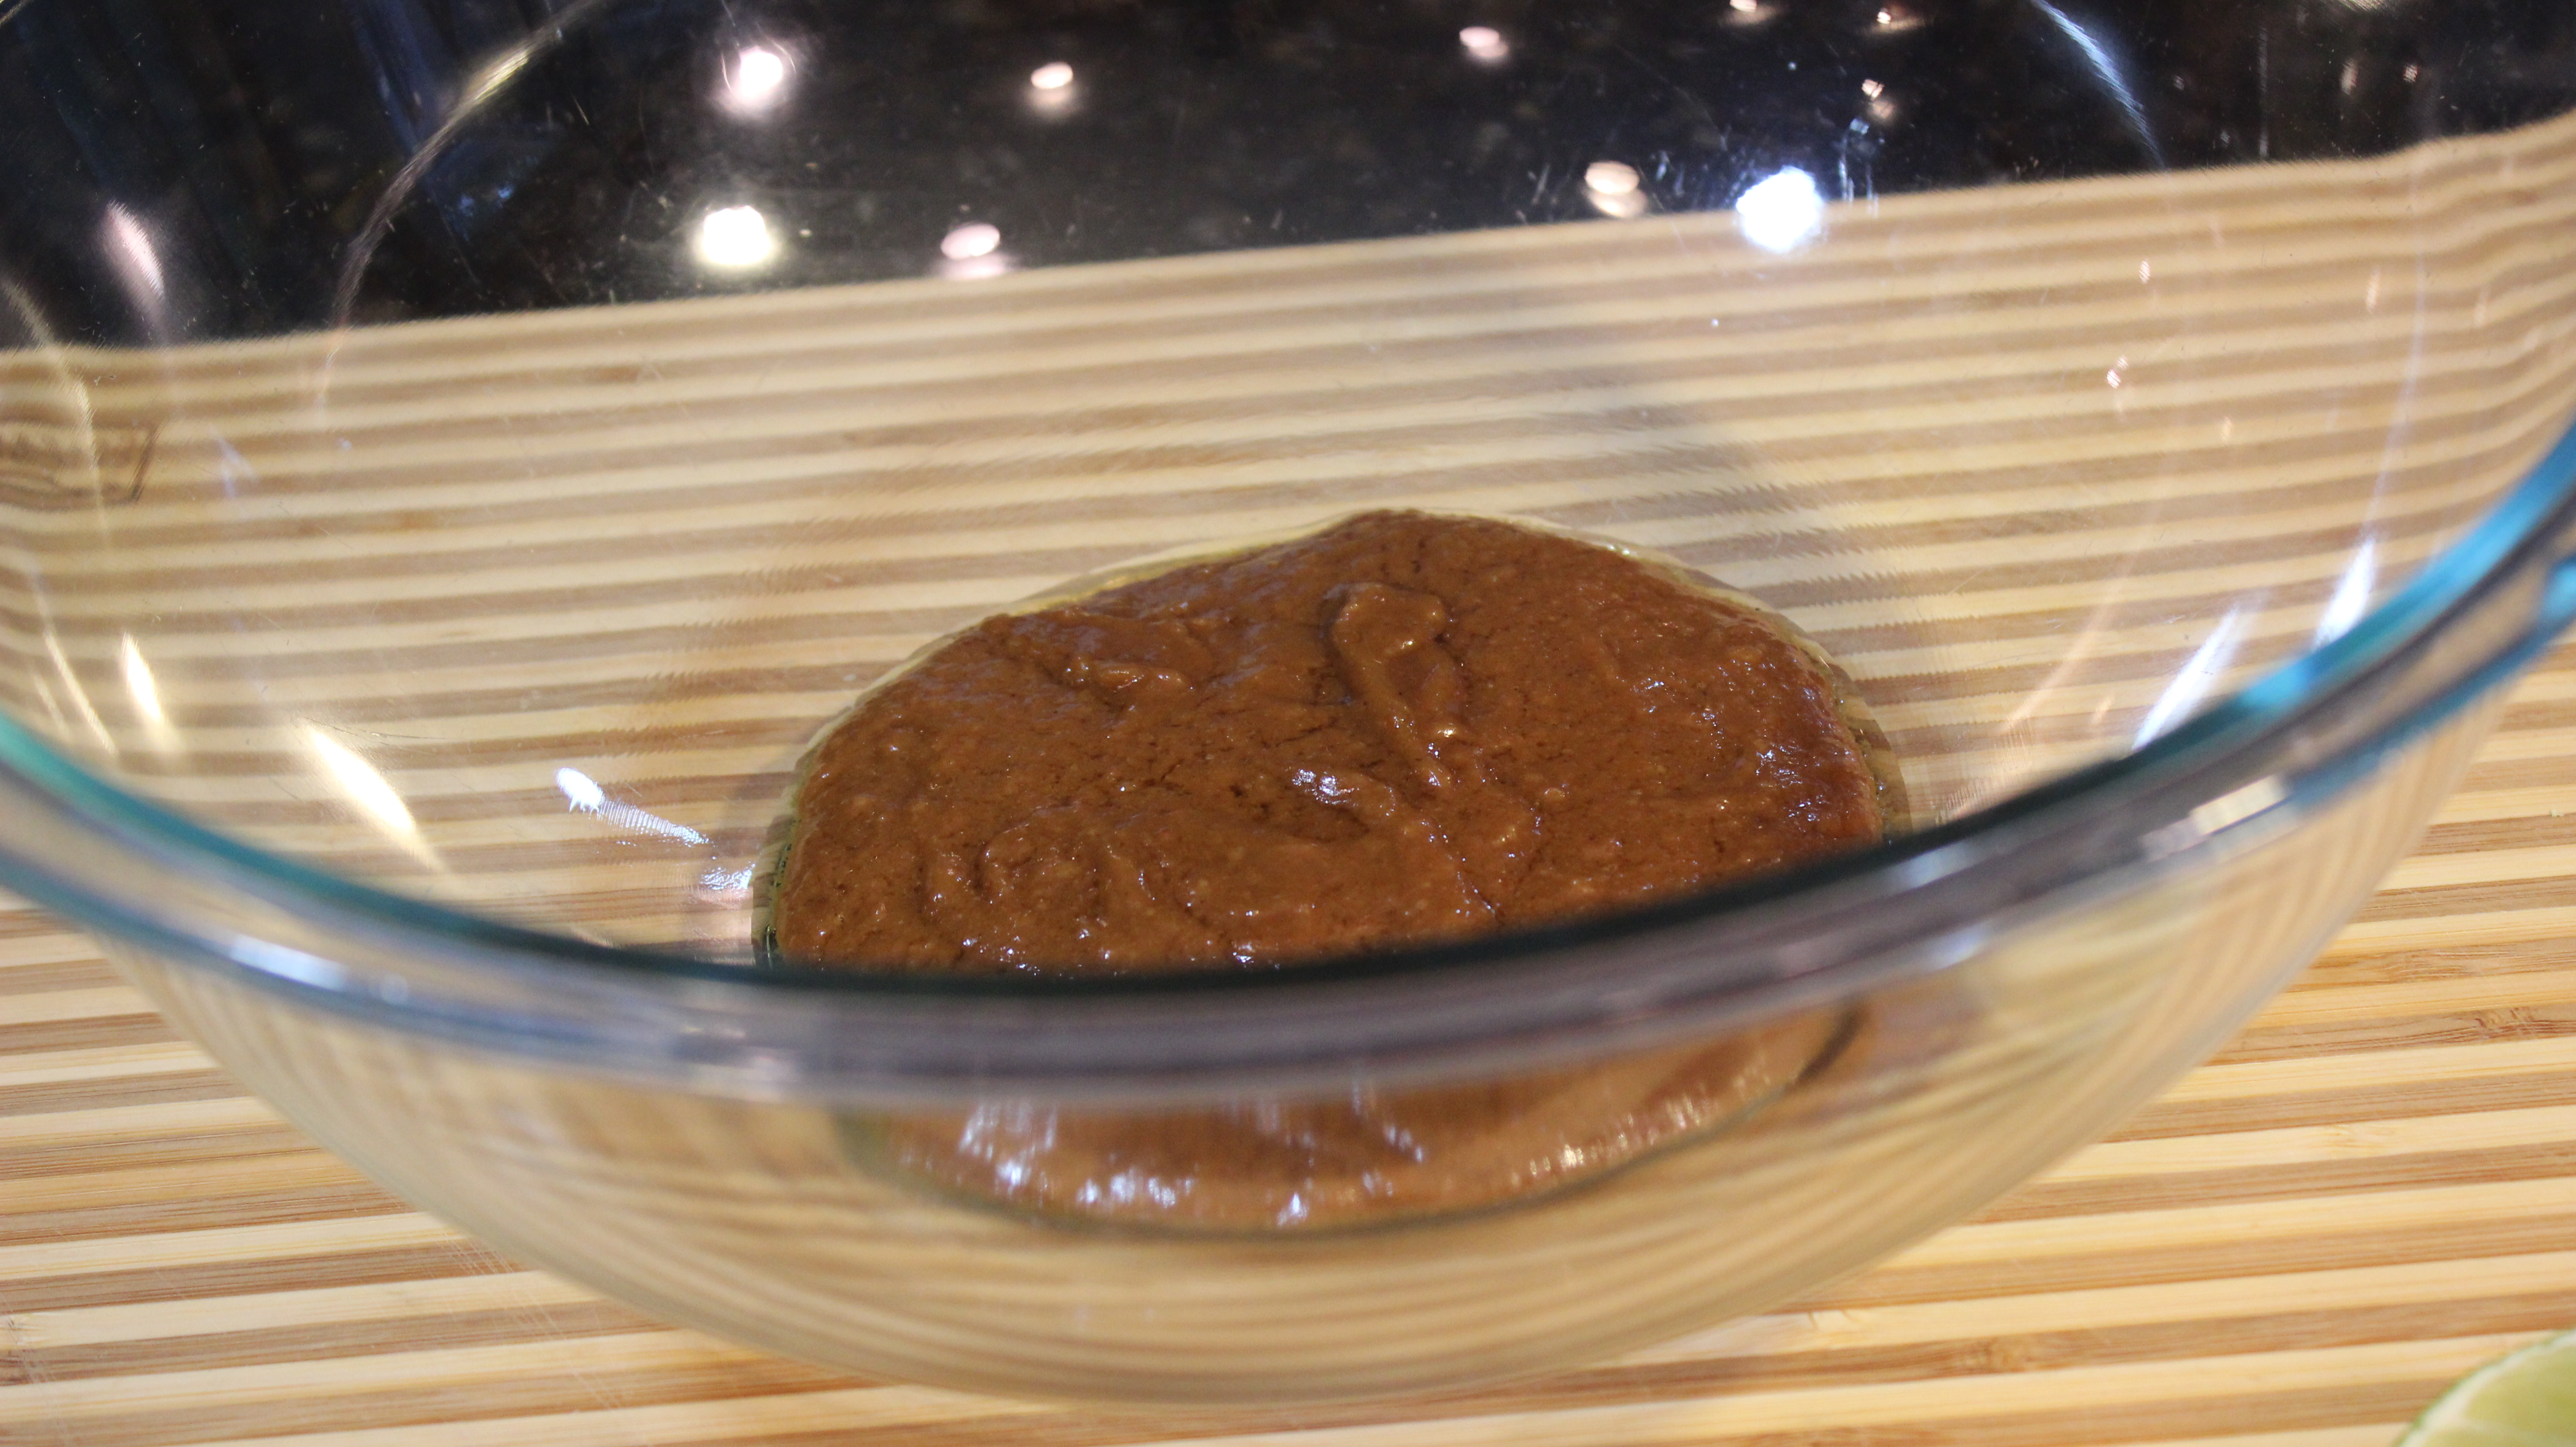
  5. Remove from stove and cool
  6. When cooled add in 2 tbsp half and half and a squeeze of the other half of the lime and whisk briefly til smooth
  7. Add to ramekins for a dipping sauce or put into squeeze bottle to decorate plate with

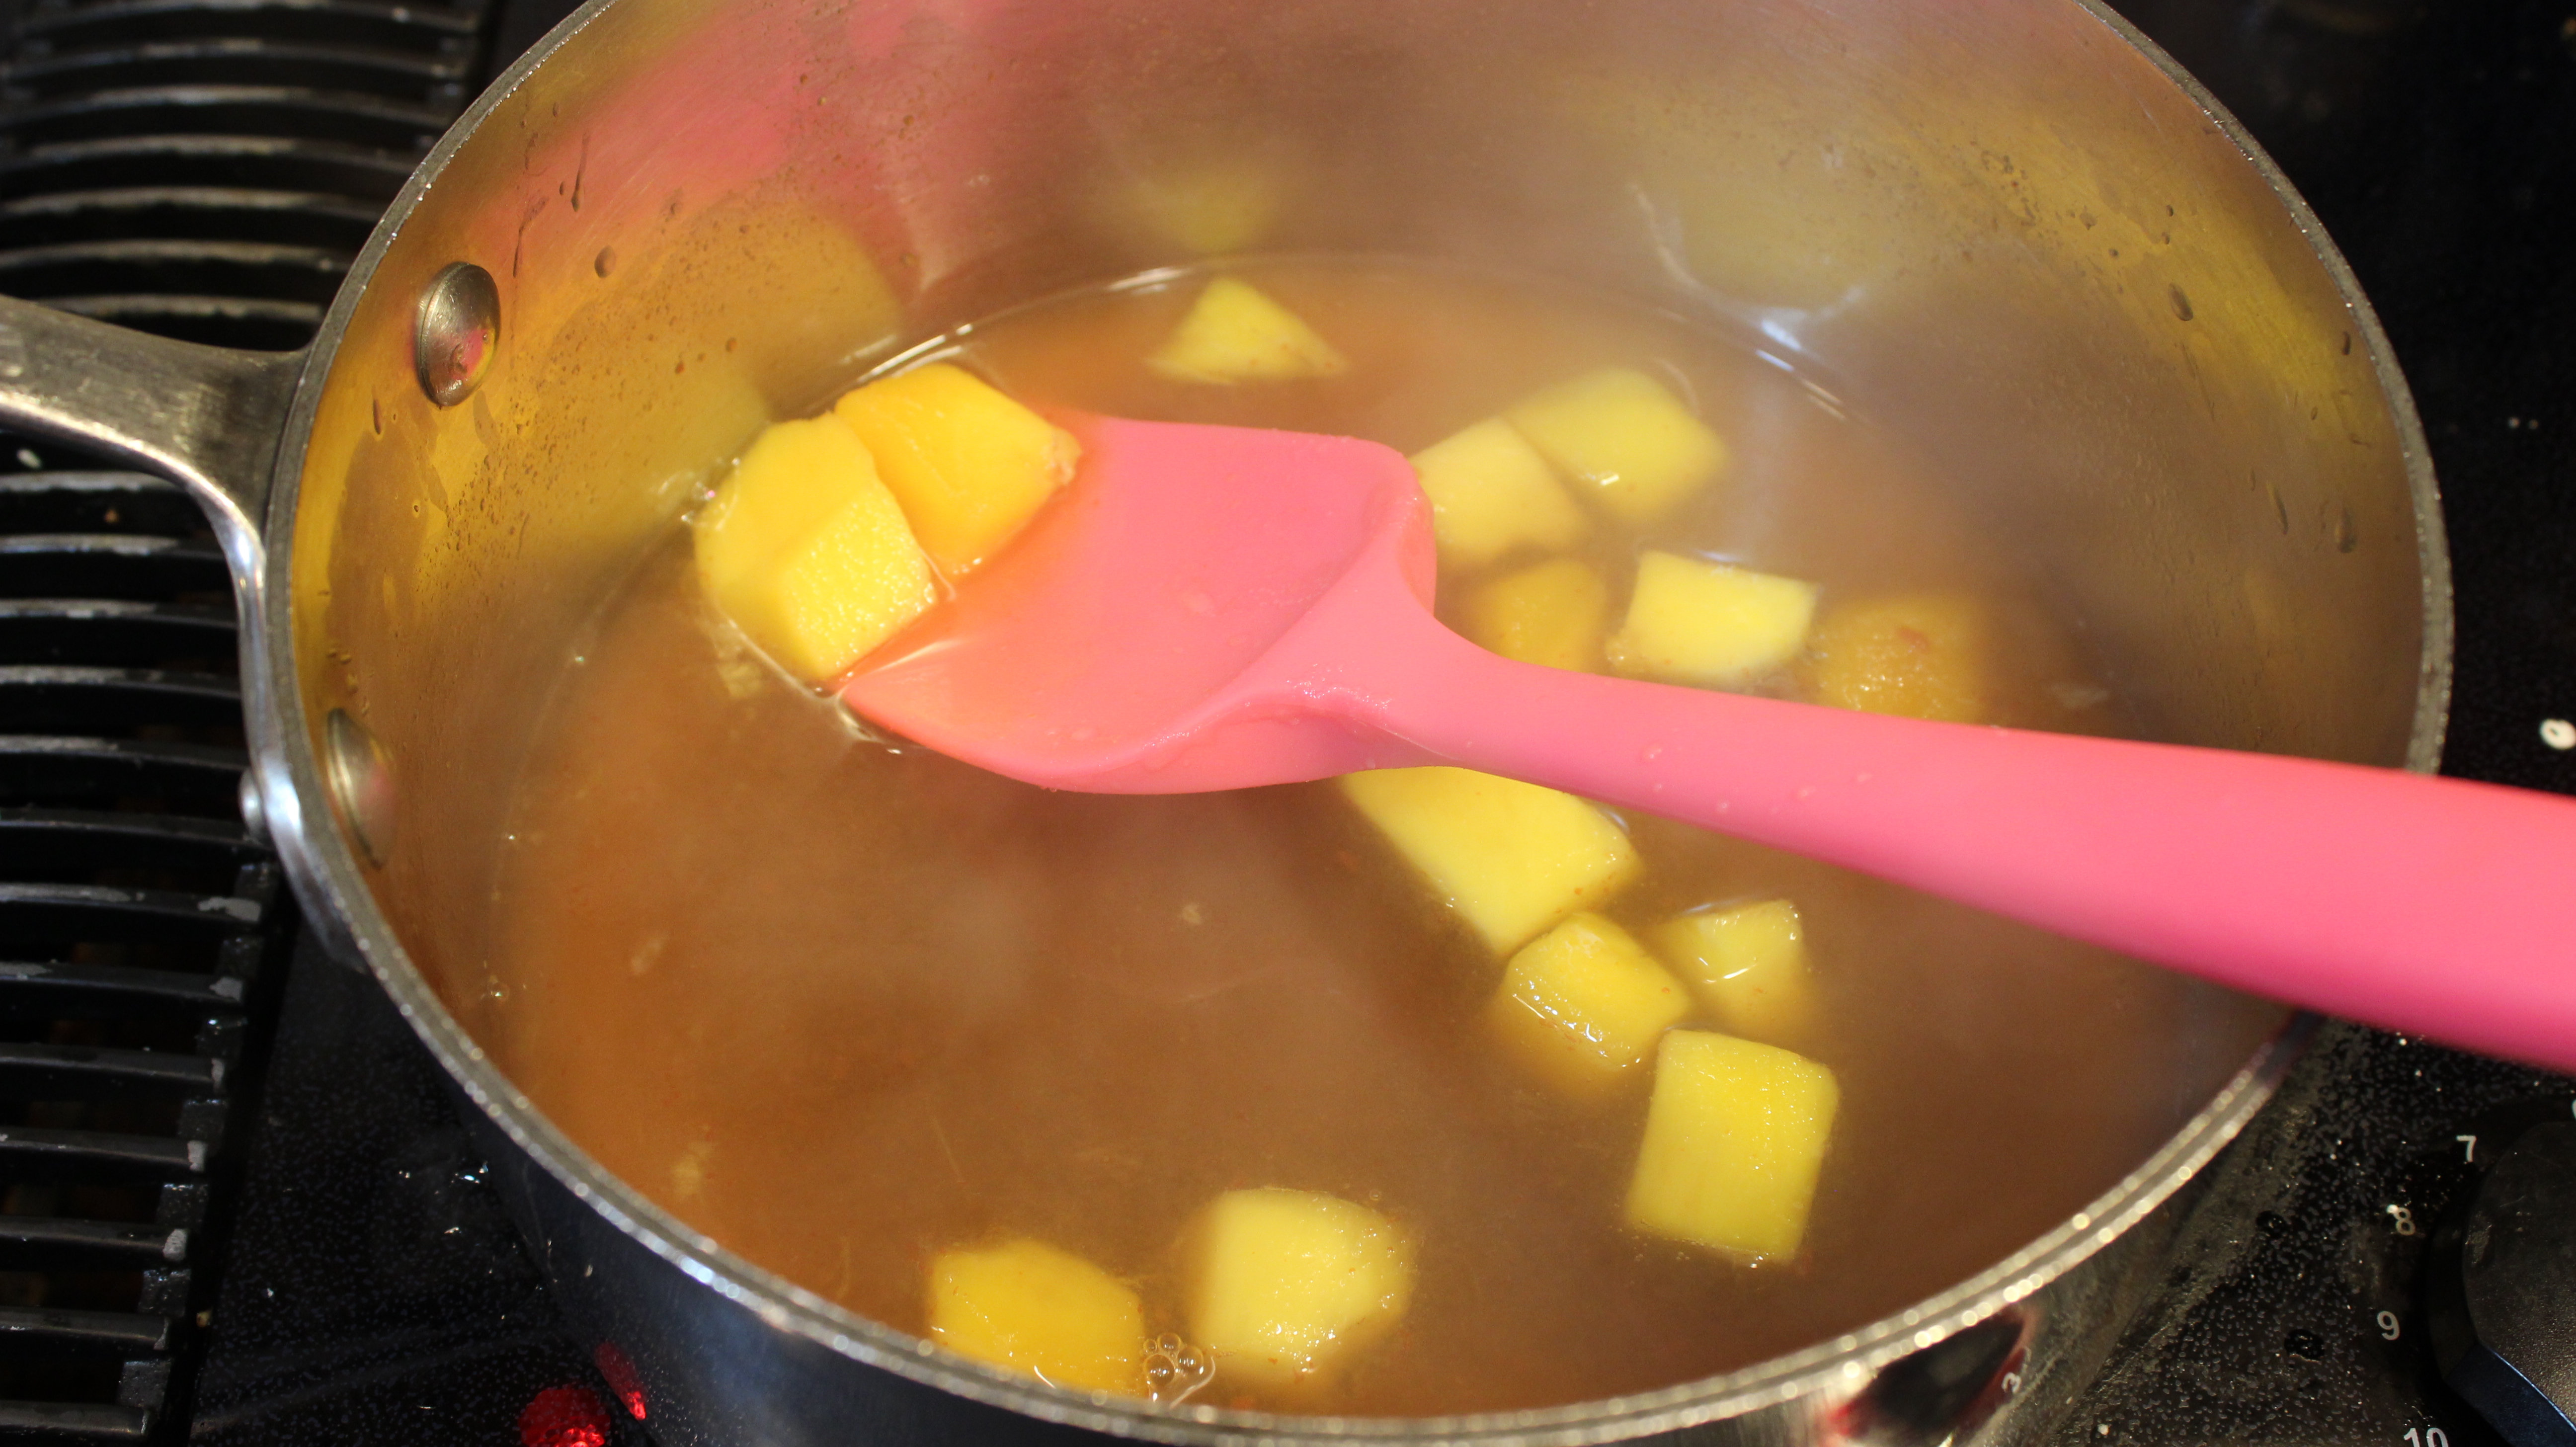
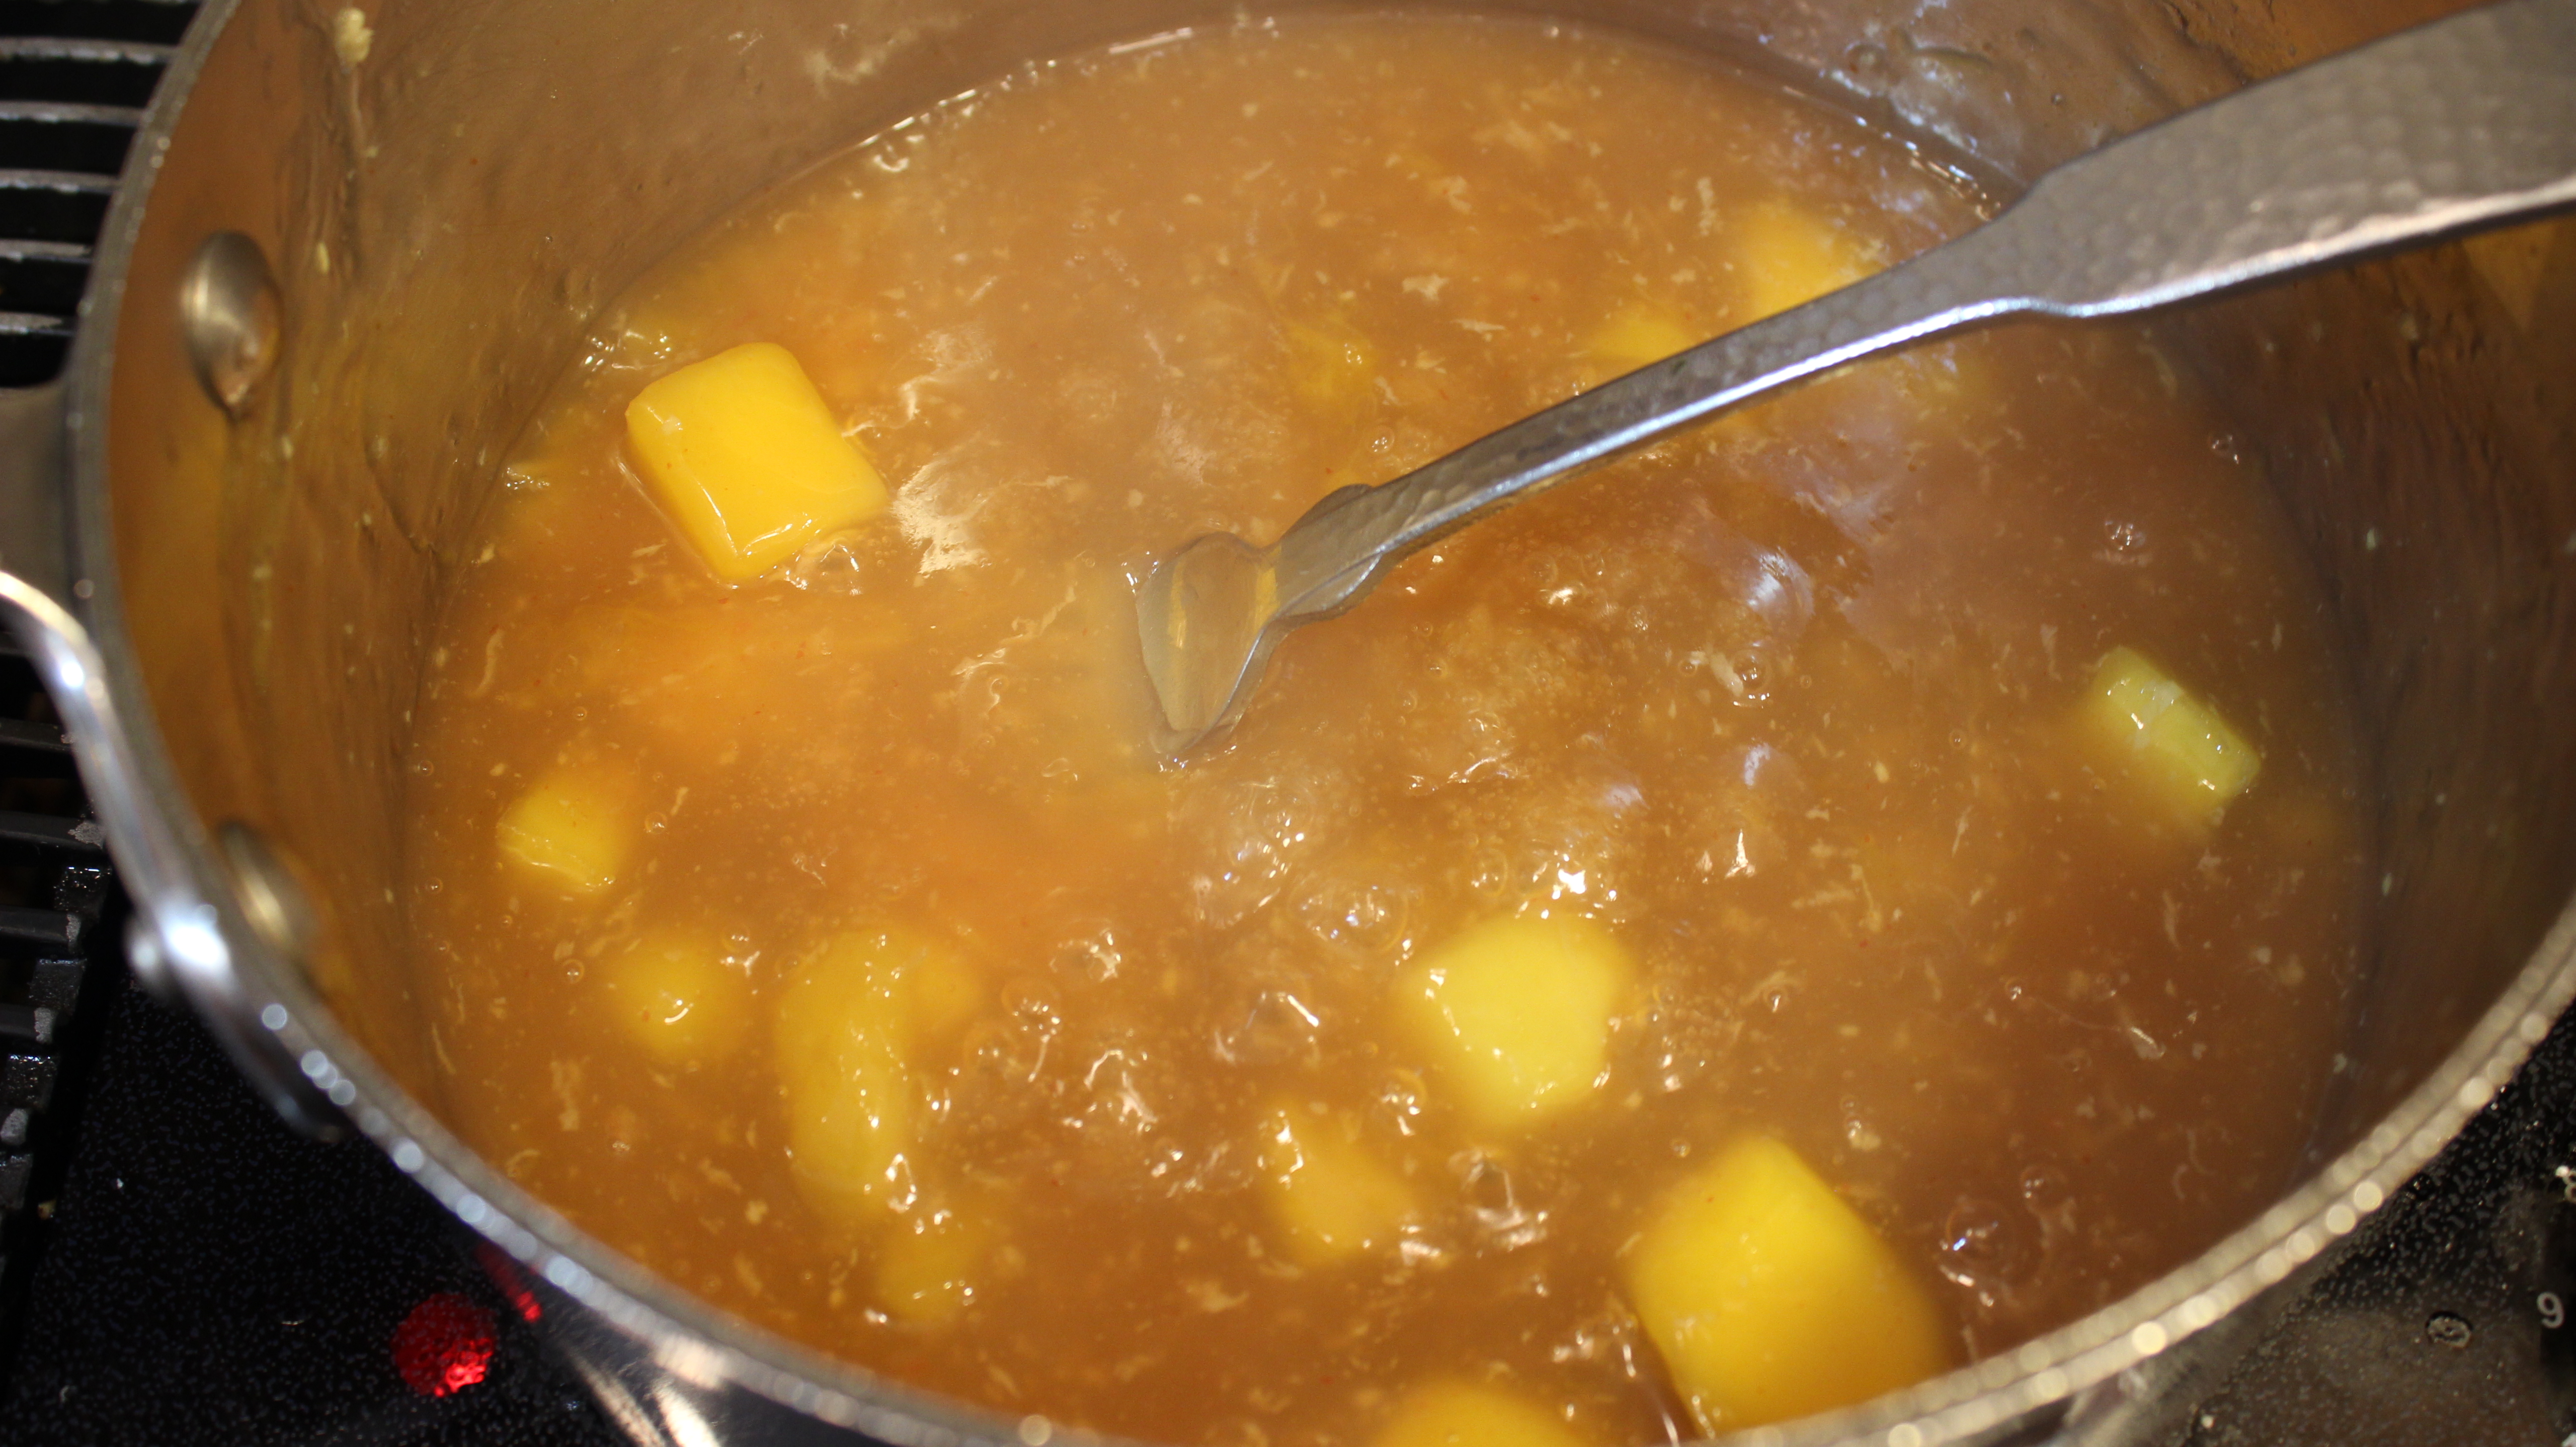
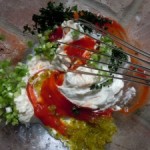
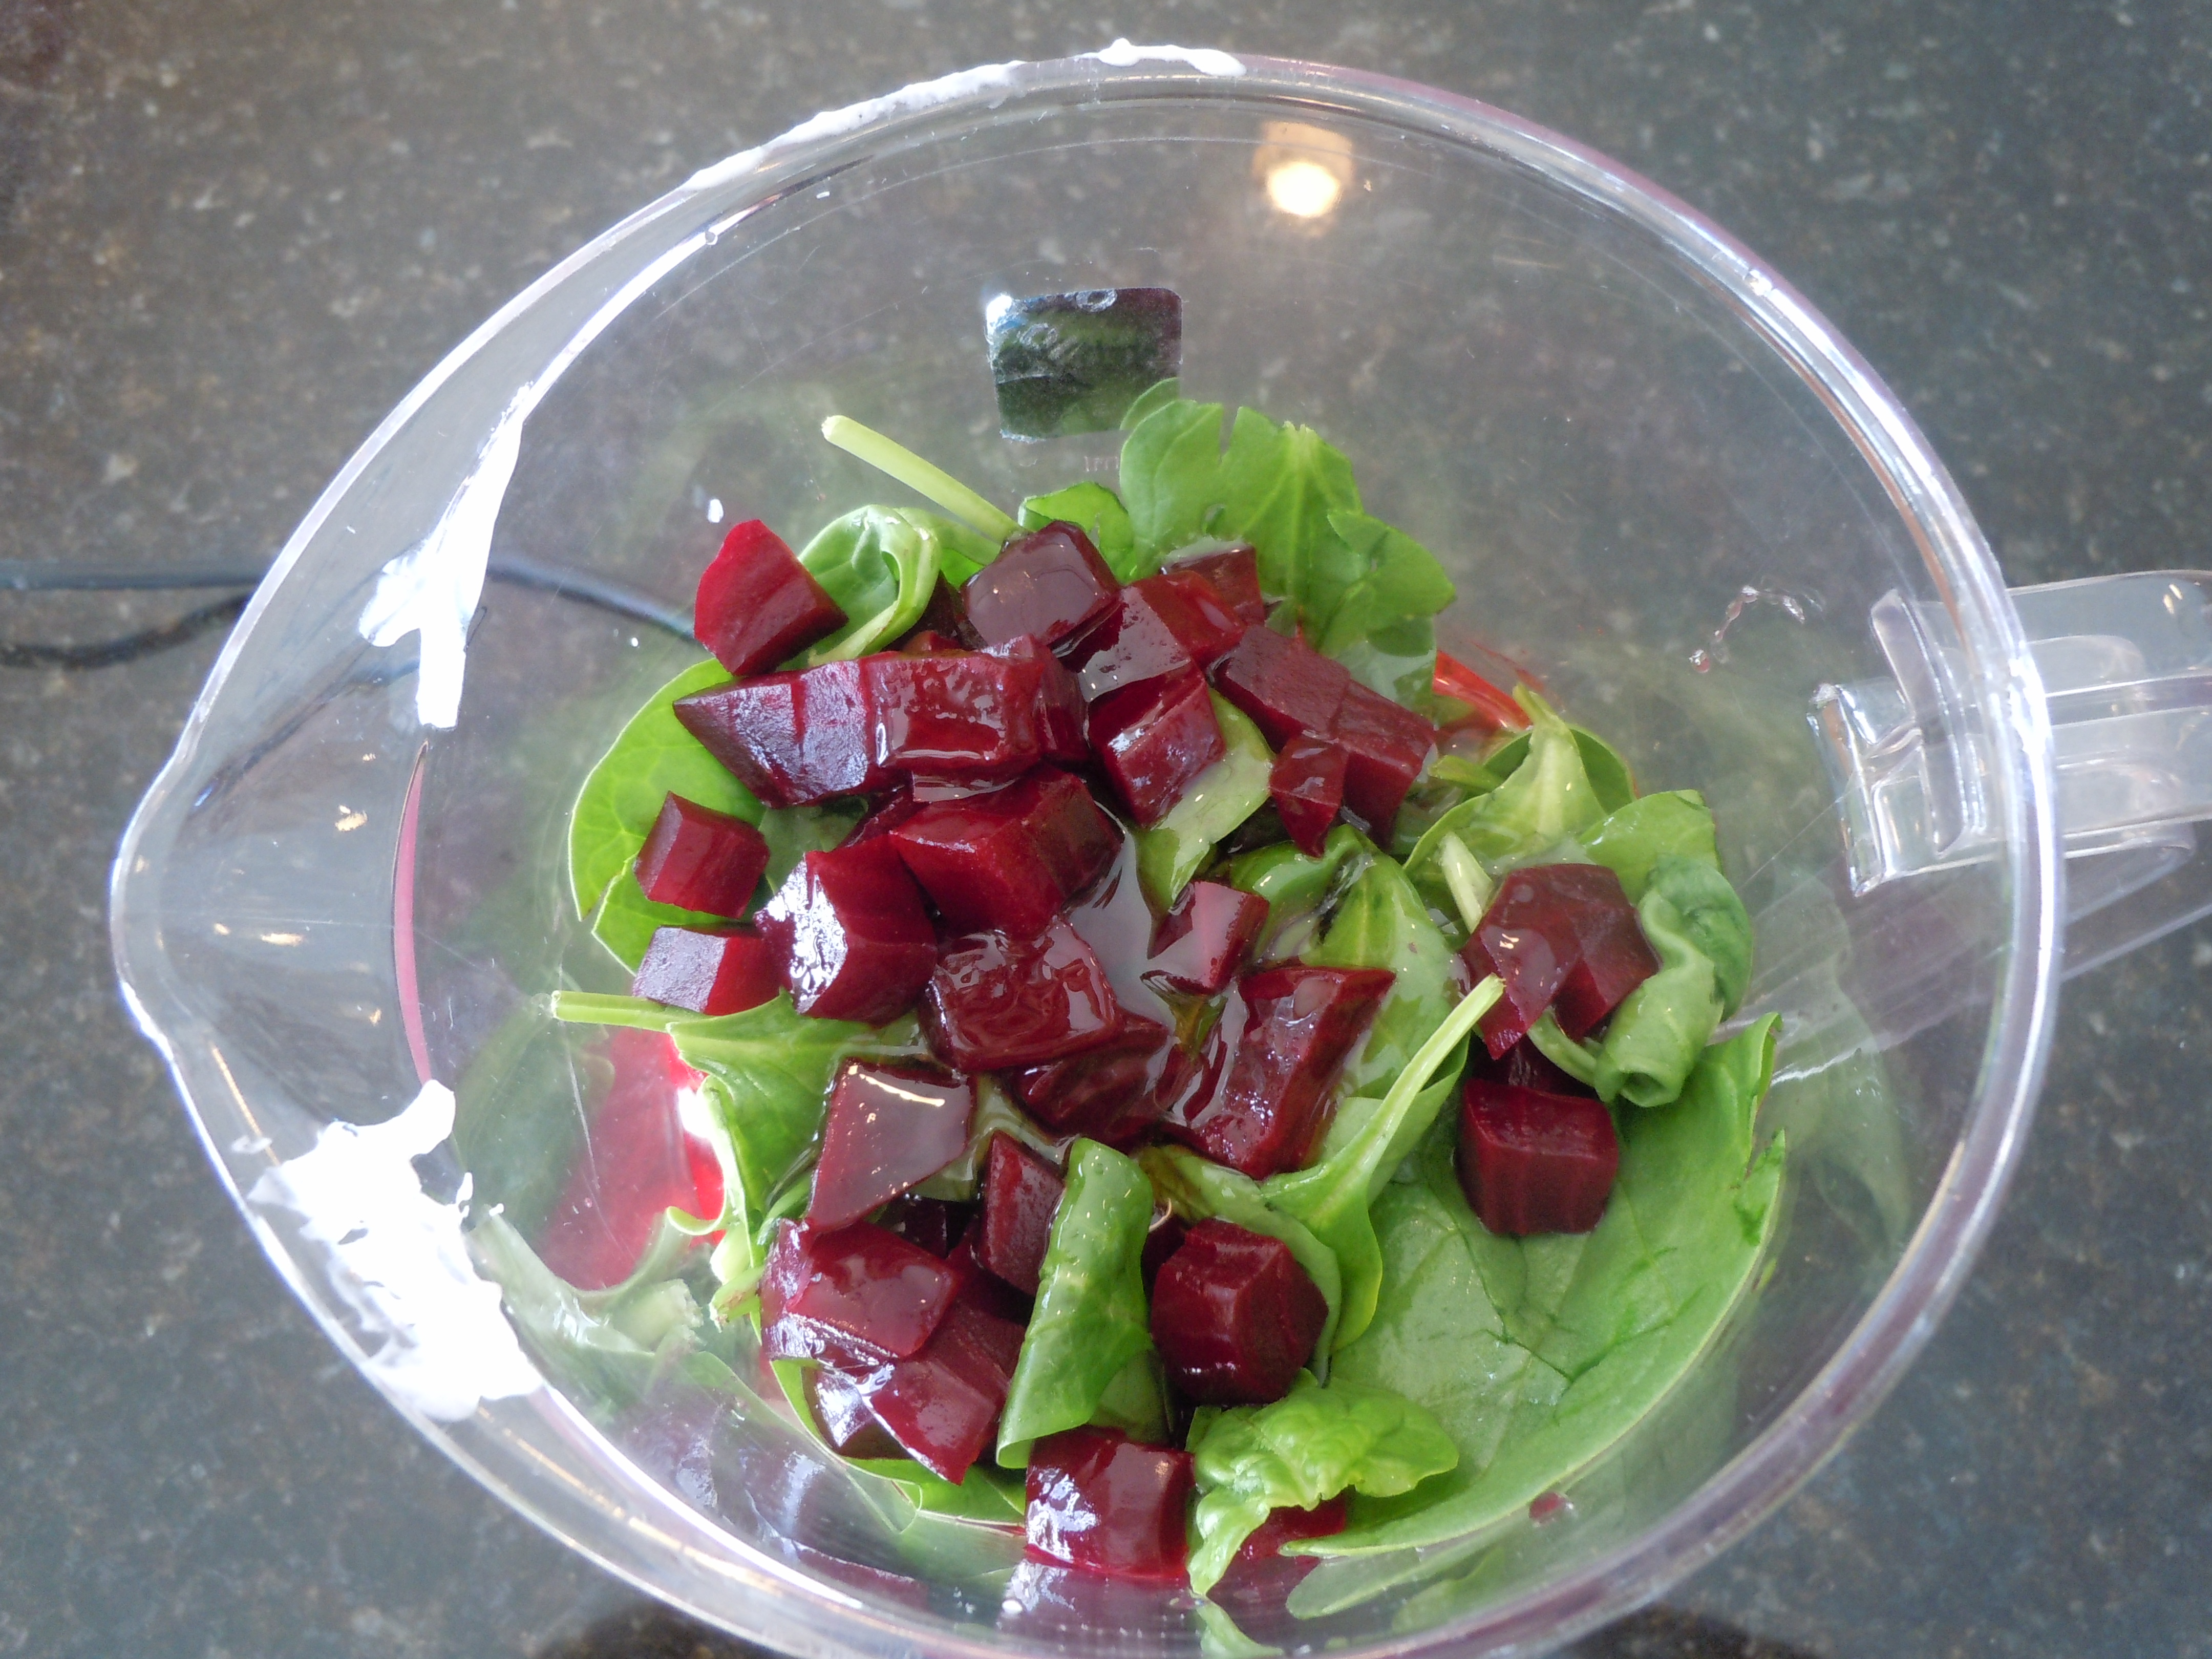
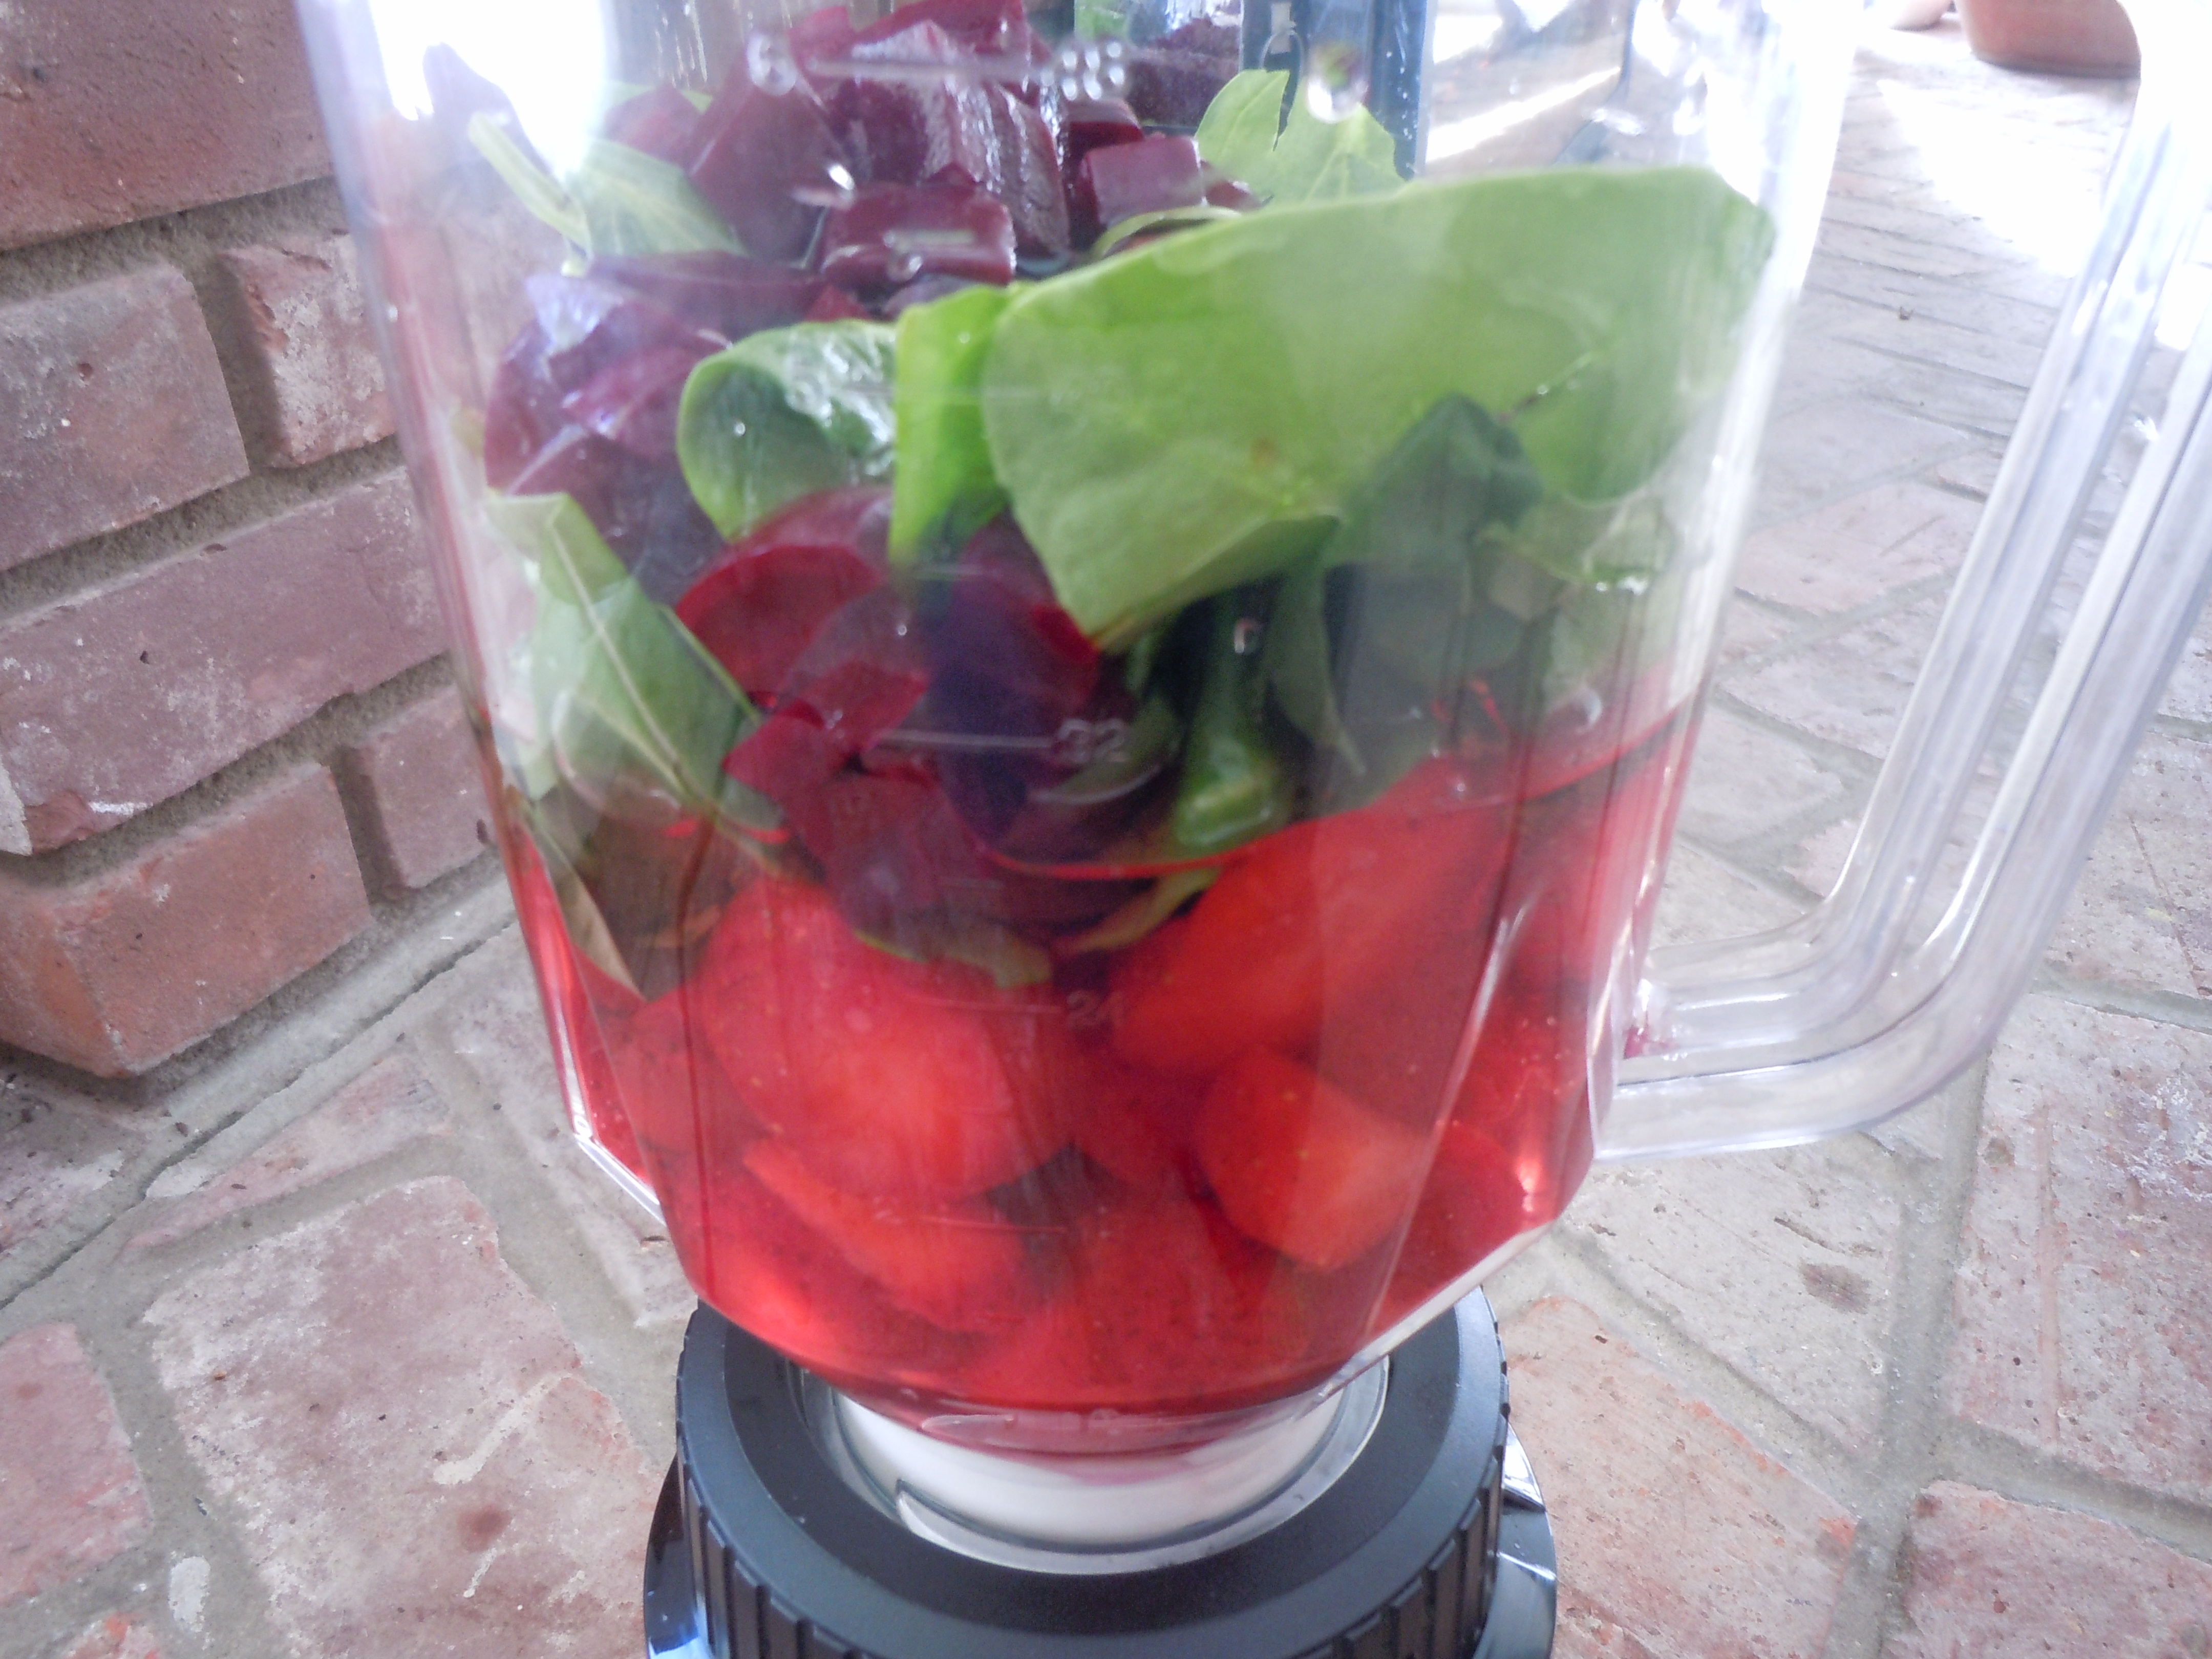
Ingredients for Spicy, Sweet and Sour Mango Sauce:

  • 1 cup pineapple juice
  • 1/2 cup mango
  • 1/4 cup red wine vinegar
  • 1/4 cup sugar
  • 1 tsp ketchup
  • 1 tsp fresh grated ginger
  • 1 tsp Siracha
  • 1/8 tsp salt
  • 2 tbsp corn starch dissolved in 3 tbsp water
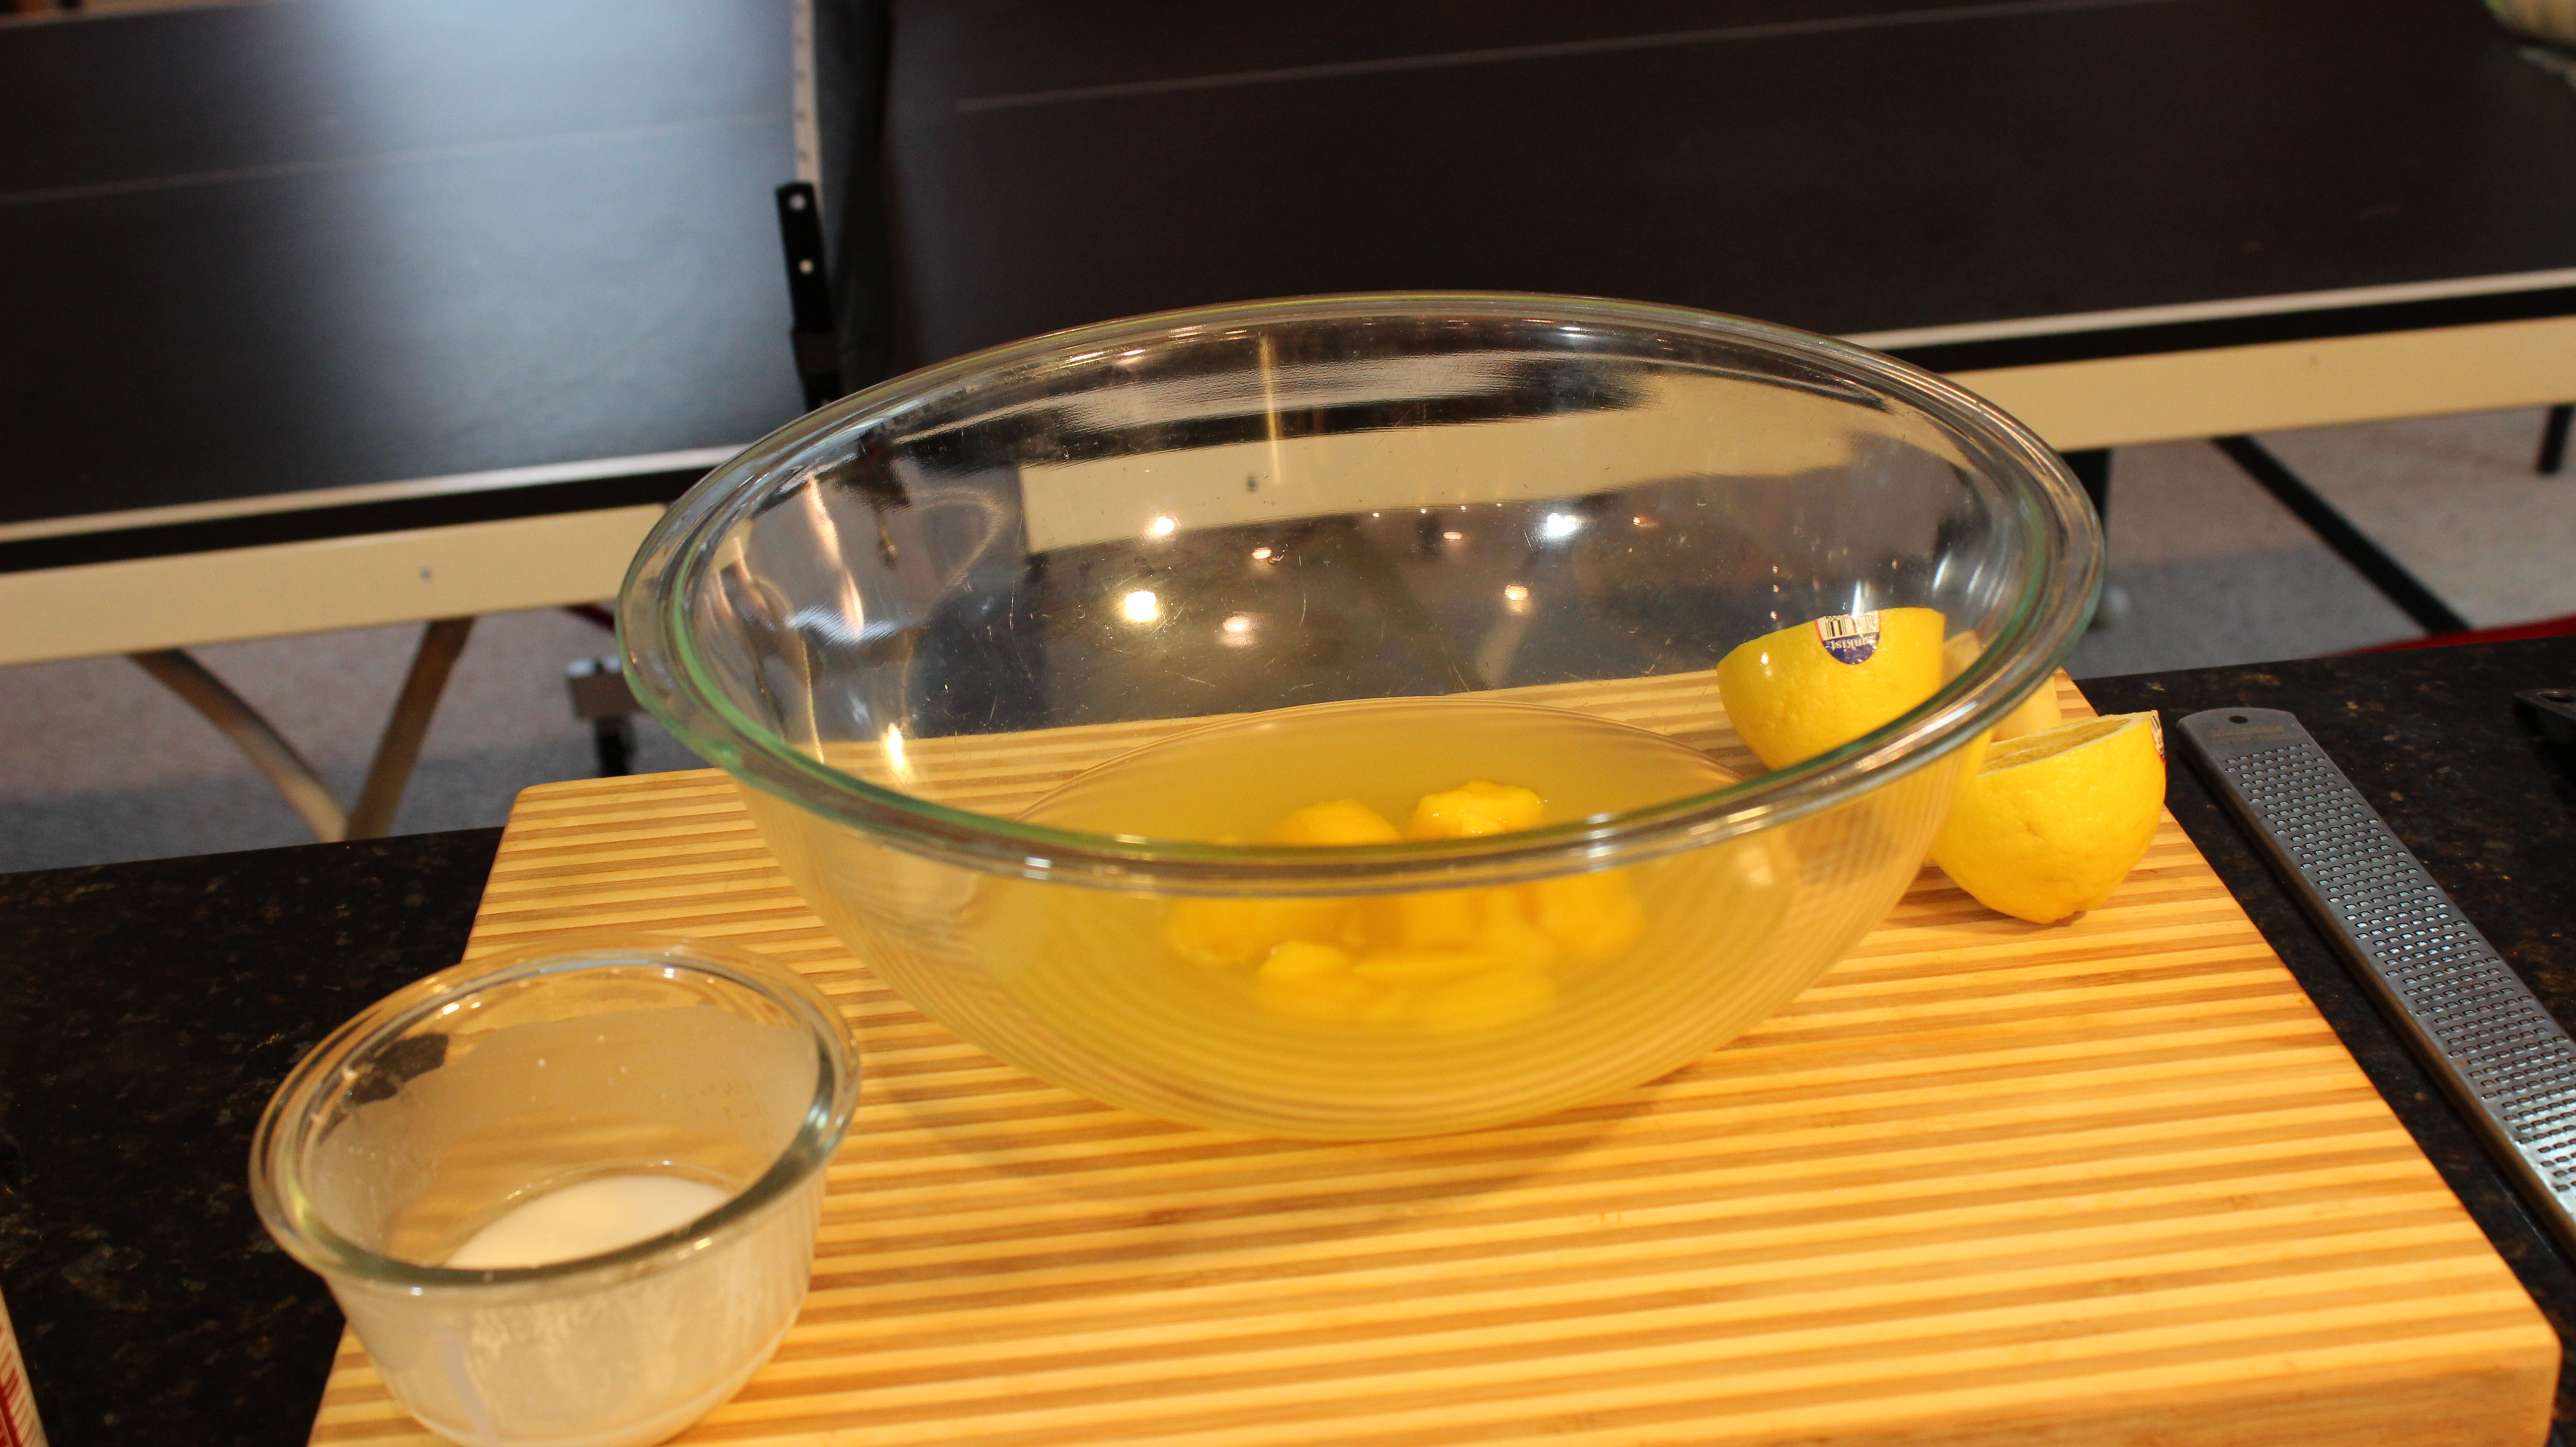
  • 1 lemon

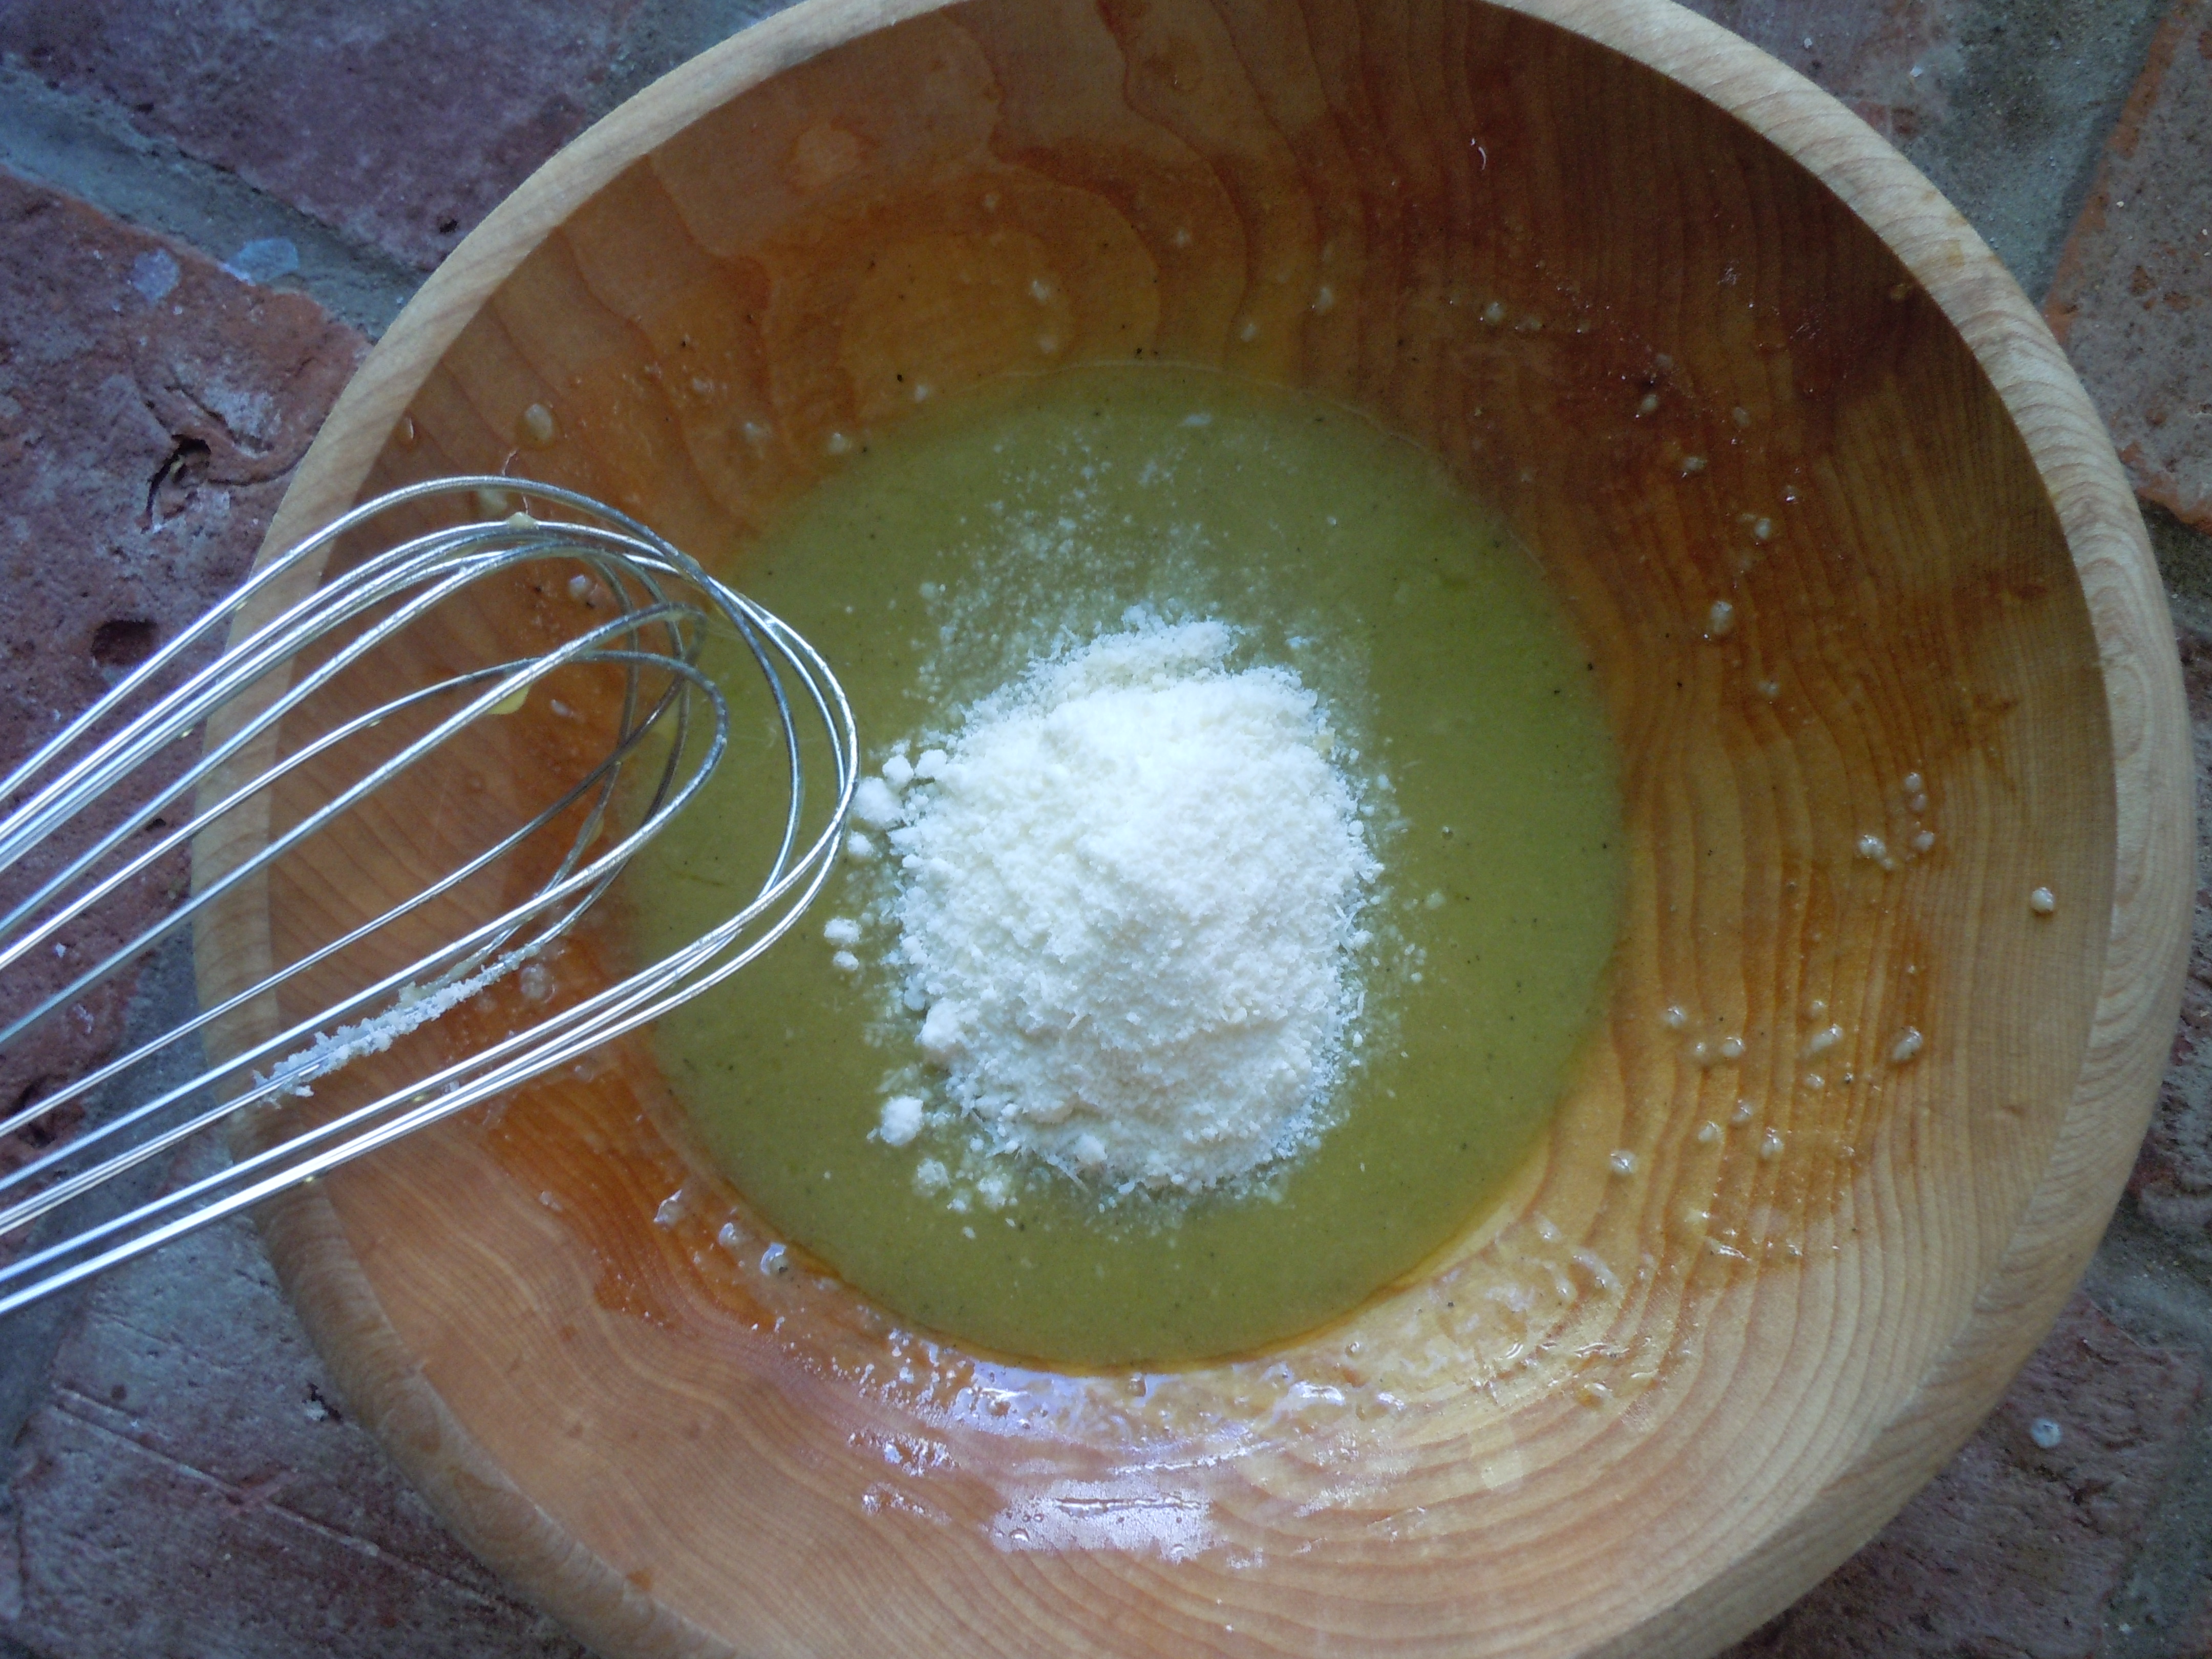
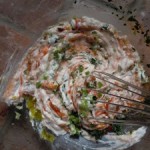
Directions for Spicy, Sweet and Sour Mango Sauce:

  1. Add all of the ingredients to a large bowl except the corn starch mixture
  2. Whisk til combined – use juice from 1/2 lemon here
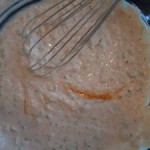
  3. Add to a medium size pan over med/high heat and bring to a low simmer to melt sugar – 3 minutes
  4. Add in corn starch and keep whisking at a low simmer til the mixture is transparent again and thickened – 5 more minutes
  5. Mash Mango pieces into sauce with a fork
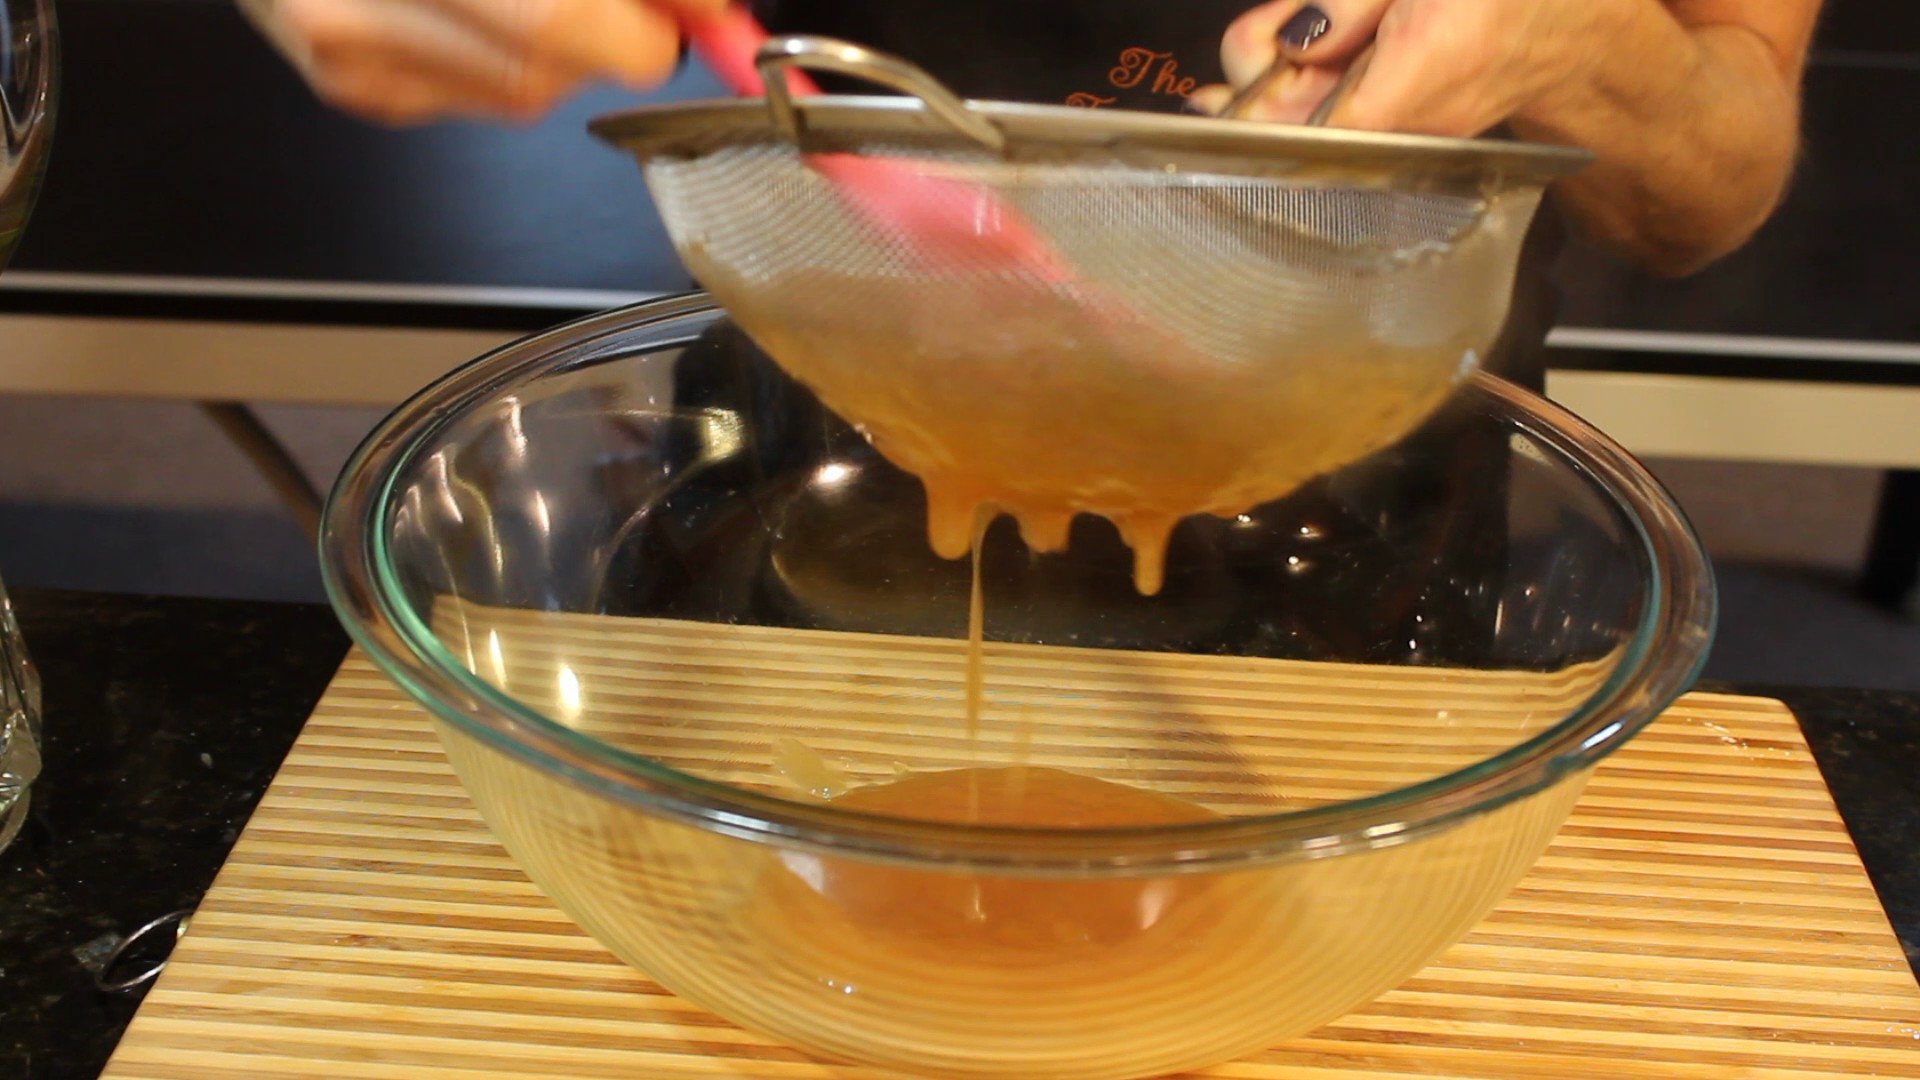
  6. Remove from heat and press thru a sieve into a bowl and let cool completely (can add a little squeeze of the other half of the lemon if too thick)
  7. Pour into ramekins for dipping or put in a squeeze bottle to draw on plates …have fun decorating!

Easy Gourmet Eggplant Parmesan

Easy Gourmet Eggplant Parmesan

My easy gourmet eggplant Parmesan is sweet, saucy and oozing with mozzarella getting even better the next day when it’s re-heated if that’s even possible! Eggplant Parmesan one of my very favorite things to make. I used to watch my mother fry eggplant when I was young and I have been making this homemade eggplant Parmesan for 30 years now. Eggplant Parmesan is one of those delicious Italian comfort foods that can be a little bit of work to prepare so I show you how to keep the process simple by spreading out the steps.

The secret to sweet eggplant Parmesan is slicing , lightly salting and weighting down the eggplant letting it sit in the refrigerator for 2 hrs to overnight preferably to remove the bitter purple juice making my homemade baked eggplant Parmesan as sweet as ever. This is a simple but ingenious way that’s been in my family for generations.

It will be much easier to try and fry up only one eggplant if it’s your first time just to get the hang of it. If you have gone through the frying process before I would suggest cooking up two or three large eggplants. I like to fry up 3 eggplants because I freeze the slices I don’t use right away when they are completely cooled in between layers of thick durable Bounty paper towels in freezer Ziploc baggies. This way all your base work is done for you and you are able to pull them out of the freezer and whip up an eggplant rollatini, eggplant Parmesan, or even eggplant lasagna. When you take them out of the freezer they pop apart easily thawing in minutes too ready for what ever dish you may have in mind.

I recommend making my quick and easy tomato-basil pasta sauce  or even my slow cooked pasta sauce to baked this easy gourmet eggplant Parmesan dish. I love the fact that it can totally be made days ahead, even weeks ahead and put into the freezer ready to thaw when you need it.

If you’re feeling ambitious you may want to venture off and try my homemade eggplant rollatini with vodka sauce and, or my homemade ricotta which you can also make the day before or just treat yourself and buy Liuzzi Cheese ricotta or your favorite store brand for the rollatini. Planning is sometimes the name of the game for taking the labor out of scrumptious food like this where if you get it done in steps it makes everything go so smoothly.

You may want to accompany this amazing Italian dish with some apps like crab cakes, a homemade Caesar saladMediterranean layered dip, or asparagus wrapped in Prosciutto and you could end it with the best chocolate cake you ever had that’s a snap to make! ENJOY! 🙂

DSCN45211-300x225 DSCN4572-300x225 IMG_5437 iphone-pictures-572-300x225 IMG_2793

DSCN4361[1]  DSCN4362[1]  DSCN4364[1]

DSCN4367[1]  DSCN4369[1]  DSCN4372[1]

DSCN4374[1]  DSCN4376[1]  DSCN4378[1]

DSCN4382[1]  DSCN4385[1]  DSCN4386[1]

DSCN4391[1]  DSCN4393[1]  DSCN4395[1]

DSCN4399[1]  DSCN4405[1]  sauce

sauceeggplant  eggplsnt  eggwithplant

IMG_3349

Ingredients:

  • Tomato-Basil Pasta Sauce or Slow cooked pasta 101 recipe
  • 2-3 large eggplants
  • 6-9 extra large eggs whisked (approx. 3 eggs per 1 extra-large eggplant)
  • 3 cups seasoned Italian bread crumbs – (use “seasoned breadcrumbs” then you don’t have to add that in)
  • salt
  • 1 16 oz. block of part-skim or whole milk mozzarella shredded or sliced thinly
  • 3 1/2-4 cups canola oil for frying
  • fresh basil leaves
  • grated Parmesan for garnish
  • Cookie racks
  • 1 whole roll of Bounty Paper Towels (it’s important to get quality paper towel so they will absorb the oil properly and won’t fall apart)
  • Candy thermometer to keep oil at 300º

Directions – Pre-heat oven to 350º:

  1. Slice the ends off the eggplants
  2. Using a potato peeler peel off all the skin of the eggplants
  3. Slice up eggplants on a slight bias (on a little bit of an angle) into 1/4″ slices (1/4″ for rolling up for eggplant rollatini BUT you can cut them a little thicker 3/8″ for eggplant parm!
  4. NOTE: If i plan on freezing the left over fried eggplant slice’s for future dinners (eggplant rollatini) I cut them length wise so as to have enough length to roll up with ricotta in the middle BUT if I’m just making enough for parm I cut the eggplant on a slight bias because I don’t need the length…I try to cut them all the same so cooking time is constant.
  5. Layer the eggplant slices in a large glass bowl
  6. In between each layer sprinkle 1/4 Tsp of salt, and keep layering eggplant, salt, eggplant, salt…
  7. Cover with Saran wrap and place a small plate on top and then some heavy fry pans or large tomato can to weight down the eggplant and into the frig for 1-2 hours up to 1 day
  8. Drain the purple juice from the bowl
  9. Take the eggplant and pat them dry in layers between Bounty paper towels
  10. Whisk eggs
  11. Get your line-up of bowls in order: eggplant slices – whisked eggs – bread crumbs
  12. Add 3 1/2 – 4 cups canola oil to a large sauce pan and begin to heat up on medium/high heat
  13. The oil needs to get to about 300º …The temperature will go down a little when you start filling the pan with breaded eggplant slices so start with the heat on med/high then after you start to fry you will have to turn it up a little to maintain the 300º
  14. Lay out 2-3 cookie racks covered with layers of paper towels to absorb oil for frying
  15. Add slices of eggplant to the egg bowl in batches – only add in the 4 or 5 slices that are going next into the oil and ready to go into the bread crumbs
  16. Then dip into the bread crumbs and into the heated oil
  17. Put 4 or 5 slices of breaded eggplant into the oil at a time…
  18. They will fry for about 2-3 minutes per side til golden then flip the slice over
  19. While the 1st batch is frying get the 2nd batch ready to fry dipping into the egg and then into the bread crumbs and let them sit there on the bread crumbs til they are ready to go into the oil
  20. Once the eggplant are golden place onto cookie racks with paper towels and dab them with fresh paper towels, flip and do the same to the other side to remove all excess oil
  21. Throw away oily paper towels and re-place with a new set of paper towels for the next and replace with each batch there after
  22. Then place the eggplant onto the wire cookie racks with out paper towels to cool
  23. Finish frying the rest of the eggplant going thru the same procedures
  24. Get out your favorite baking dish and cover the bottom with sauce
  25. Begin to layer sauce, eggplant, mozzarella and some fresh basil leaves til you are 1″ from the top
  26. Cover with foil and bake for 50-55 minutes appox. with foil til sides are bubbling and bake another 5-10 with out foil so mozzarella can get bubbly

FREEZING TIPS: I love, love, love to freeze my fried eggplant slices because all the work is done for you the next time you want to make parm or rollatini. BEST way to freeze your eggplant slices:  let all the fried slices COMPLETELY cool on a cookie rack, then layer as many slices in between BOUNTY (need a durable paper towel)  paper towels. Layer enough slices to fit a SINGLE layer in between each sheet of Bounty in a FREEZER ZIP-LOC baggie.  Begin with a sheet of Bounty in the Zip-Loc, then slices of eggplant-single layer, then another sheet of Bounty, then another layer of eggplant slices and so on until you can barely close baggie. Lay flat in you freezer and Voilà! Freezes great 4-5 months!

Gourmet Frittata

Gourmet Frittata

The Frittata first came about as practical dish in theory for using up those leftovers in our frig but when adding in some lovely melting cheeses and a pinch of dairy it turns into something much more then that. Not to mention this Italian egg dish is just as delicious served room temperature as it is warm.

Making a gourmet frittata is as easy as can be leaving you with lots of room to be creative. The measurements do not have to be exact at all to get wonderful results. You can use 10-12 eggs, and mix in heavy cream, half and half, sour cream, or even creme fresh. You can also change out the cheeses to one that you prefer. Use feta or goat cheese, cheddar, Monterey Jack, Pepper jack, Colby-jack, Swiss or Gruyère, Parmesan and so on. It’s nice to mix it up too using a combination of these cheeses. I really love using up the leftover veggies in the fridge and don’t mind sautéing up one or two more to enhance the leftovers.

By no means does this homemade frittata have to remain a vegetarian either! Pack in the meat using chunks or slices of ham, cooked sausages, bacon, steak and well that list goes on too. I think the trick here is not to fuss too much, be sure to add a little dairy and be sure not to over cook the frittata thinking that it’s not done enough because you see a little movement in the center when taking it out of the oven. Remember it will keep cooking after you take it out of the oven and it will also congeal a bit with the cooling process. Enjoy the show and making this yummy gourmet frittata! You may want to try some grilled Asian Salmon or Caesar Salad with this frittata too.

IMG_2490  onions  mushrooms

kale  cookedkale  eggwithvg

IMG_2533  IMG_2536  slice

Ingredients:

  • 12 extra-lg eggs
  • 1/2 cup half & half, heavy cream or creme fresh
  • 1 1/2 cup gruyere cheese ( 1/2 cup is for the topping) OR 1/2 cup cheddar, 1/2 gruyere with addtional 1/2 cup mix of each for the topping
  • 1/3 cup grated Reggiano Parmesan
  • 8 oz. pkg baby bella mushrooms sliced
  • 1 1/2 cup chopped or sliced onions
  • 6 small tomatoes sliced 1/8″ thick to decorate top of frittata before you bake it
  • 1 tsp salt (1/2 tsp into eggs & 1/4 tsp each for onion/mush. and 1/4 tsp when you add kale)
  • 1/4 tsp ground pepper
  • 1 tsp Siracha (or more…to taste)

Directions :

  1. Pre-heat oven to 350º
  2. Wash and dry kale leaves
  3. Remove kale leaves from the ribbing (stalk) as shown in show
  4. Slice mushrooms, onions, kale and tomatoes – set aside
  5. Whisk 12 eggs, then whisk in 1/2 tsp salt. 1/4 tsp finely ground pepper and half and half
  6. Add 3 tbsp olive oil to 10″ cast iron pan or oven proof pan on med/high heat
  7. Add onions and sauté for 5 minutes
  8. Add mushrooms to onions and 1/4 tsp salt, then sauté another 5 minutes on med/high
  9. Add in kale when juices begin to release from the mushrooms along with another 1/4 tsp salt and sprinkle of pepper, and a few shots of Siracha
  10. Sauté kale mixture for 5 minutes while stirring just to wilt slightly
  11. Add 1 cup of gruyere and 1/2 cup of parm to egg mixture and give it a quick stir
  12. Turn off heat on cast iron pan and add in egg mixture
  13. Give it a stir to the veggies and egg mixture
  14. Then top with 1/2 cup more gruyere cheese and decorate with sliced tomatoes
  15. Put into the oven and bake for approx. 23 minutes
  16. Take a peak at the 20 minute mark to make sure that the top hasn’t gotten golden
  17. You only want slight golden on outer edge
  18. Take out frittata and let sit for 20-30 minutes
  19. NOTE: the frittata will keep cooking after you remove it from the oven
  20. Slice and serve with a sprinkle of grated Reggiano Parmesan on top

Zucchini Spaghetti at Jaynee’s

Zucchini Spaghetti at Jaynee’s

Wow! Zucchini spaghetti…who would have ever thought? A gluten free dish full of nutrients that taste’s amazing and looks as gorgeous as does is the perfect path to healthy eating! Bringing you this zucchini spaghetti simmering with tomato, basil and red wine at Jaynee’s has inspired me to put together future recipes and shows like this one.

Jaynee and I cook the zucchini spaghetti in this recipe so that it’s al dente. For those of you who might not know what Al dente means it’s an Italian term meaning to have some tooth or bite to it where the texture isn’t too soft. This is kind of ironic because that’s exactly how I like to cook my wheat pasta. I can’t think of anything worse than pasta that is fully cooked to a soft texture.

It is really exciting all the different things you can do with these creative veggie noodles! From Thai themes where raw zucchini noodles are dressed with a citrus dressing made from puréed mangoes, cilantro, fresh lime juice, and avocado’s to tahini sauce puréed with green onions, coconut meat, ginger and fresh lemons. Not only are these dressings packed with anti-oxidants and exotic flavors but the citrus partially cooks the zucchini getting results similar to ceviche. The citrus actually softens the texture of the vegetable giving you a softer mouth feel crunch rather than a harsh raw bite.

It couldn’t get any easier to make these spiral veggie noodles with the new-fangled devices available out there. I purchased my Spiralizer at William Sonoma Outlet in Westbrook on a 30% off sale with an additional 20% off if I gave them my email. Can’t go wrong there. Here is the Spiralizer Amazon link offering a great deal too! Can’t wait for you to venture off into veggie noodle land. You will be amazed how fun and delicious it is to make this recipe. Hope you enjoy the show and keep a look out for future veggie noodle recipes 🙂

IMG_2403  intro  IMG_2416

IMG_2418  IMG_2422  IMG_2430

zucspaghetti  IMG_2442  IMG_2446

Ingredients: Need “Spiralizer” or similar to make zucchini spaghetti

  • 4 med/lg zucchini
  • 1 small vadalia (sweet) onion chopped
  • OPTIONAL: 2 finely chopped garlic cloves – If you love garlic as I do
  • 1 14 oz. can of diced tomatoes flavored with onion, garlic, celery and or green peppers OR your favorite can of peeled tomatoes in your cabinet (just need to add in 1/4 cup chopped peppers in addition to the onion/garlic above – chop up the whole peeled tomatoes as well to add in after you sauté veggies)
  • NOTE: If you use “whole peeled” tomatoes DO NOT use the juice too, tomatoes only, because the zucchini renders out a lot of water all on its own.
  • 1/4 cup red wine
  • 3 tbsn olive oil
  • 1 bunch fresh basil
  • 1/2 tsp salt
  • S & P to taste
  • OPTIONAL: 1 small container of fresh ricotta to garnish at the end with the Parmesan

Directions:

  1. Spiralize all 4 zucchini and place in a lg bowl
  2. Add chopped onion to 3 tbsp olive oil in a large fry pan on medium heat
  3. Sauté for 5 minutes til soft
  4. Add in Spiralized zucchini with 1/2 tsp salt and sauté 5 minutes on med/high heat- Make sure to stir a couple of times to help it from not sticking.  Sautéing on med/high will help to evaporate some of that liquid rendering out of the zucchini while sautéing– (If you saute on low it will just simmer in all the water, you will then have to drain a little of the water out of the pan)
  5. Add in tomatoes, red wine, s & p to taste and simmer 5 more minutes
  6. Plate up and top with your favorite grated Parmesan cheese
  7. OPTIONAL: Top with dollops of fresh ricotta and grated Parmesan

Maurice’s Piggy Park BBQ

Maurice’s Piggy Park BBQ

Maurice’s Piggy Park BBQ is real fine homemade gourmet BBQ with a mustard base sauce that makes you pucker, all awhile biting into a succulent piece of pork rib that just melts in your mouth. The savory hickory smoked flavor of their ribs is something you will definitely be back for with out a whole lot of time lapsing in between visits. The mustard-vinegar based sauce just grows on you and you can’t really put your finger on it so you just keep dipping into this sauce for another lick. I recently had the opportunity to eat here when my son Reilly and I met up with his tennis team in South Carolina for his National Team competition.

Well, I tell you, when I travel I want to visit places to eat where their heart and soul is served up to you on a plate.  To taste different foods from other regions is one of the most wonderful opportunities we get when we travel. If you are not into this kind of thing you ought to open your self up and try to appreciate new tastes and ways to prepare foods that have become traditions for people in that region. That’s what makes the world such a diverse place with so many different flavors to soak up.

I decided that during our stay in South Carolina I wanted to accomplish a few of things before heading back. First off, was having Southern BBQ, of course! The second was to get my son, Reilly, to Carowinds Amusement Park in North Carolina which would be an easy task since we were flying in and out of Charlotte and the third was to get in a couple rounds of golf! My friend Luanne, one of the other tennis mom’s, had the same point of view as me on the whole Southern BBQ thing and tasting new foods from where ever you happen to be traveling especially if you are miles away from where you live. On one of the afternoons at tennis practice much of our group was ready to hit up Chic-fil-A AGAIN! I am happy to say that didn’t even enter my mind nor did I go there during our stay in South Carolina. I looked at my friend Luanne , we began to laugh and said lets go, lets do REAL BBQ. She had already looked it up on her phone and it wasn’t far from The Cayce Tennis Facility so off we went in my rental car.

It was the tastiest meal I had on this trip to South Carolina and it totally lived up to my BBQ standards. I ordered the pork ribs, collard greens, and coleslaw and needless to say I wore much of it that mustard based BBQ sauce all over the front of my white with navy blue pinstripe cotton dress I had on. Too funny but it was definitely worth it…should have gotten a picture of that 🙂 The ribs  were moist and falling of the bone tender slathered in their mustard-vinegar sauce and I can’t help but love that hickory smoked flavor. The collard greens were delicious, earthy but not too bitter and the chopped style coleslaw was a refreshing balance with the mustard sauce from the ribs. Each item complemented one another very well! I did buy a bottle of Maurice’s Piggy Park BBQ sauce to take home with me. They have quite the assortment of sauces to choose from (shown below) but I bought the one I had that day. To my surprise I was able to get the yellow mustard stain completely out of my dress before it dried.

On the last day Reilly and I headed to Carowinds Amusement Park and he had the time of his life bravely riding on several loop coasters over and over again! We actually found another gourmet BBQ eatery in downtown Charlotte which was a bonus. I was also able to get in two rounds of golf during our stay so it was a wonderful trip all around. Don’t you forget to treat yourself to Maurice’s Piggy Park BBQ when you are in Cayce, South Carolina …you won’t regret it!

piggieparkdoor Display sauce  wingssign

mauricepiggy frontmauricepiggy reillyAlex

reillyandfriend roller yellow coaster


Gourmet Caesar Salad

Gourmet Caesar Salad

Caesar salads are probably one of my favorite salads of all time. So many wonderful flavors and textures in this combination from the crunchy garlic croutons (shown below) to the sharpness of the Reggiano Parmesano shaved on top. Then there’s a creaminess with the grated Parmesan and dijon in the actual dressing itself and a tang from the lemon and Dijon. Let’s not forget about that savory flavor in the undertones that you just can’t put your finger on with the anchovy paste and Worcestershire sauce. This Caesar salad is a winner all around!

You will really like how perfectly simple this recipe is and how you can totally make the croutons ahead of time, even weeks ahead. One of the reasons I love this recipe is the make ahead concept which makes our busy lives more enjoyable. You can make my homemade garlic croutons weeks ahead and keep them fresh in a Ziploc baggie in the freezer. Then make my gourmet Caesar salad dressing the morning of your event  storing it in a container in the refrigerator until needed. Last but not least the romaine, which you can clean and cut up the night before storing that in a Ziploc baggie while taking the air out ensuring the freshness as I show you in my VIDEO. Cutting up the romaine into 1/2″ strips is key to serving this at a party or picnic making it easy to eat  and eliminating the need for unnecessary utensils.

Now there’s the whole dilemma on whether or not to use a raw egg yolk. If I am having a small group of foodie friends over I would definitely add in a raw egg yolk to my Caesar salad dressing because it makes it that much more decadent. If you have never tried it with a farm fresh or organic egg yolk yet you should definitely treat yourself! When I do use an egg yolk I drizzle in the full half cup of olive oil and also add in an extra tablespoon or two of rice wine vinegar and lemon juice . Adding in a tablespoon extra of each will give it a nice balance. It’s basically to get the desired thickness you want because that added yolk offers up an extra thick and creaminess to the dressing this way you thin it out a pinch. For the most part when I make this gourmet Caesar salad for parties and picnics where I’m not sure if there will be someone there with an allergy I play it safe and omit the raw egg. And NO, I am not worried about salmonella with the raw egg because I only use farm fresh eggs directly from the farm or organic brown eggs from the food market. The ONLY time I would buy bulk white eggs from the store is when we are boiling and dyeing eggs for a holiday like Easter. You have to be picky about your ingredients, even the eggs are very important.

A large shallow dish like the one I have in the photos and in my video show is a great investment for salads like this. I have found many gorgeous platters and bowls like this at very economical prices at stores like Home Goods and TJ Max…you should definitely check out those deals! When I have many friends over for dinner I often serve the Caesar salad in that large shallow bowl and if it’s a more intimate dinner party I even plate up individual size portions which also make for a pretty presentation. 

Not only can this bold full flavored salad hold up on its own as an appetizer but you can certainly pear it up with some crab cakeslazy mans lasagna, lobster mac & cheese, or some pulled beef taco’s and ending with chocolate eclairs would just put it over the top!

DSCN45211-300x225

IMG_5742

lobmac

IMG_3234

IMG_6379


CAESAR SALAD DRESSING 

DSCN4562 DSCN4564 DSCN4563 DSCN4565 DSCN4568  DSCN4543  DSCN4554 DSCN4555 DSCN4561 DSCN4572 DSCN4575

CAESAR SALAD DRESSING RECIPE:

  • 1 large/2 medium cloves of garlic put thru garlic press
  • 1 egg yolk farm fresh or organic brown eggs ONLY – EGG YOLK OPTIONAL
  • 1 Tbsp Dijon – Grey Poupon or Maille
  • 1 Tsp anchovie paste
  • 1/2 tsp salt
  • 1/4 tsp fine blk pepper
  • 2 dashes of Worcestershire sauce
  • 1 Tbsp fresh lemon juice
  • 2 Tbsp rice wine vinegar “seasoned” (this comes original or seasoned …I prefer seasoned)
  • between 1/3 – 1/2 cup good olive oil
  • 1/4-1/3 cup grated Reggiano Parmesan
  • 2 good dashes of your favorite hot sauce (I use Siracha in this recipe)

DIRECTIONS for the CAESAR DRESSING:

  1. In a medium bowl add garlic thru press, anchovie paste, salt, pepper and Dijon
  2. Mash these items together with  the back of a spoon to combine and form a paste in a wooden bowl
  3. Transfer paste to a large glass bowl
  4. Add in 2 dashes of Worcestershire sauce, dash of Siracha and rice wine vinegar/ lemon juice mixture
  5. Separate egg yolk from white and add to glass bowl (EGG YOLK OPTIONAL) and whisk immediately
  6. Then very slowly whisk in olive oil so it emulsifies JUST DRIZZLE IN DROPS AT A TIME or IT WILL NOT EMULSIFY and you will have to start over
  7. NOTE: Adding in the egg yolk makes it super easy to emulsify the dressing
  8. Lastly, whisk in 1/3 grated Reggiano Parmesan
  9. Put the dressing into a canning jar for ease and pop it into the frig til you are ready to use
  10. Be sure to take out 30 minutes before you use the dressing so it can come to room temperature
  11. Will be good for a few days in the frig

DIRECTIONS- for Assembling the Caesar Salad:

  1. Cut ends off of romaine hearts then cut them in half length wise
  2. Wash and spin leaves
  3. Lay the leaves down on paper towels to catch any additional moisture
  4. Put 3 or 4 pieces at a time layered on top of one another and slice into 1/2″ strips which make it ideal for a party so there no need for a knife
  5. Here you can put the cut romaine pieces into large freezer Ziploc baggies and into the frig til you are ready to assemble the Caesar salad OR
  6. Put into a large shallow bowl, add dressing, and toss
  7. Top with shredded Parmesan and Italian garlic croutons (shown below) and mangia-mangia!

Garlic Croutons

DSCN4535 DSCN4536 DSCN4537 DSCN4538DSCN4540 DSCN4541 DSCN4542 DSCN4543DSCN4551 DSCN4552 DSCN4554 DSCN4572DSCN4549

INGREDIENTS FOR GARLIC CROUTONS: Makes 12 -13 cups of Croutons – 1 Ex-Lg Ziploc Freezer Baggie of Croutons:

  • 1- 1 1/2  large loafs of good Italian bead (14-15 cups croutons-use 1/2 stick butter and 3 tbsp olive oil if you have 10 cup of bread cubes)
    • 4 large garlic cloves put thru garlic press
    • 1/4 cup olive oil
    • 3/4 stick butter (salted) melted
    • 4 tsp garlic granules (not powder) – Sprinkle 2 tsp per cookie tray
    • 1 tsp salt
    • A couple dashes of your favorite hot sauce Siracha -you can find this with the other hot sauces at the super market
    • 2 cookie trays

DIRECTIONS FOR GARLIC CROUTONS:

  1. Pre-heat oven to 400º
  2. Slice bread into 3/4″ slices length wise
  3. Then slice into 3/4″ squares, you don’t want them to be perfect – that’s what’s lovely about hand made croutons they don’t look like they came from a box
  4. Melt 3/4 stick of butter
  5. In a large mixing bowl add 1/4 cup olive oil, 3/4 stick melted butter, 4 garlic cloves thru garlic press, 1 Tsp salt, and whisk  to mix
  6. Divide this mixture into two and pour onto the 2 cookie trays spreading them evenly all over the tray
  7. Divide up Italian bread cubes into 2 and put onto the 2 cookie trays right on the olive oil mixture
  8. Stir the cut up bread cubes all around the cookie tray to evenly coat and soak up all of the olive oil mixture. I use a pastry scraper (see photo) to do this…a tool which I use a lot!
  9. NOW sprinkle 2 Tsp of garlic granules on each of the cookie trays filled with Italian garlic croutons
  10. Put into the oven for 12 minutes til golden
  11. IMPORTANT – they go quickly at the end so you really need to watch them so they don’t burn
  12. Let the Italian garlic croutons cool before putting them into a Freezer Ziploc baggie
  13. I usually keep them on the counter for a few days then throw them into the freezer to store and keep fresh

Homemade Turkey Meatballs Recipe/VIDEO

Homemade Turkey Meatballs Recipe/VIDEO

OK, I know you are probably saying “where’s the beef” but just give these light and flavorful turkey meatballs a chance. They are meaty, garlicky, cheesy, moist and melt in your mouth after simmering in my tomato-basil pasta sauce for 2 hrs. Wait until you try these gourmet turkey meatballs in tomato basil sauce on a crusty sub that’s baked with oozing mozzarella and a julienne of fresh basil …do I have your attention now? That’s what I’m talking about  🙂

Good ole meatball subs are just one of those all american comfort foods that I have always adored. Although, I think the word “sub” referring to a “sandwich” is represented differently through parts of the US. It threw me a little when I first moved to California because when I would asked for a “sub” they had no idea what I was talking about because they use the term “hoagie” there. Another little play on words which would totally crack me up when I living in California was asking for the location of their nearest package store and they would send me to a mailing facility!

Anyhow, I am excited for you to make these homemade turkey meatballs because even though they are made exactly like my 100% Angus meatballs these aren’t as heavy.  I have been substituting out a lot of ground beef for turkey and it’s has really given me a new lease on cooking, a new avenue so to speak on the whole meat situation. To enjoy a meaty meal with the same herbs and spices but making it a lighter meal in the end.

I actually started making my lasagna with ground turkey instead of ground beef and it’s amazing! Once again using the turkey makes the lasagna a lighter dish then if it were made with beef. I brown the ground turkey and de-glaze it twice with a nice Cab (Cabernet) and by the time I’m done the color even looks like beef lol. My very picky daughter Bella, who loves my lasagna didn’t even know I had switched some time ago to turkey until I recently told her. She loves the taste of the lasagna so much that she’s totally OK with this…I call that a home run!

desEnjoy watching my “how to ” video on making these homemade gourmet turkey meatballs in an Italian meatball sub. And if you need something sweet and refreshing, easy to make and out of this world check out my Pavlova recipe!


003  004  005

006  007  009

018  041

INGREDIENTS for Homemade Turkey Meatballs In An Italian Meatball Sub – (Makes 21 Small Meatballs):

  • 1 lb. ground turkey
  • 1 extra-large egg (rule of thumb …1 egg per 1 lb. of meat)
  • 1/2-3/4 cup after soaked in milk – (1/2 loaf of 2 day old Italian bread soaked in 1 cup milk)
  • 1/4 cup seasoned bread crumbs
  • 1/2 cup grated Reggiano Parmesan cheese
  • 1 lg. garlic clove put thru garlic press
  • 1/4 cup finely chopped fresh parsley
  • 1 Tsp salt
  • 1/4 Tsp ground black pepper
  • 1 cup milk
  • 1 recipe Tomato-Basil Pasta Sauce
  • 1 bunch fresh basil
  • 10 oz part skim mozzarella
  • fresh baguettes

DIRECTIONS:

  1. Pre-heat oven to 425º
  2. Break up a 1/2 loaf of 2 day old Italian bread and place into a large bowl as shown in photo
  3. Pour 1 cup milk over bread and let it absorb for 10 minutes
  4. Wash, spin, dry and finely chop parsley, set aside
  5. Discard outer crusts from soaking Italian bread
  6. Begin to break soaking bread pieces apart with your fingers…if you feel any gooey pieces throw those away (if it sat out for a couple of days it won’t get gooey)…the bread should just fall apart easily
  7. Take 1/2-3/4’s cup of this soaking bread and add to a large mixing bowl
  8. NOTE: with turkey being as moist as it is you should squeeze a little more of the milk out (you don’t do this with beef because it’s drier)
  9. To this bowl add in Parmesan, chopped parsley, garlic clove thru garlic press, salt and pepper and 1 egg
  10. Whisk til just combined
  11. Add in 1 lb. of ground turkey and begin to mix gently with your hands…DON’T over work the meatballs you don’t want it to look fully combined like a meatloaf
  12. Using a cookie scooper begin to shape and roll mixture with your hands – they will be small about 1 1/2″…have a small bowl of water to the side to keep hands damp not wet (this makes it easier to rolls meatballs)
  13. Spray cookie tray with Pam canola oil and give a drizzle of olive oil for flavor
  14. Place 21 shaped meatballs onto the cookie tray and spray the tops of the meatballs
  15. Place them into the oven for 17 minutes
  16. Take out the turkey meatballs and set aside in a bowl, meanwhile add 1/2 cup red wine the cookie sheet (as long as the cookie sheet has 1″ sides) and scrape browned left over turkey meatball bits and pour this along with meatballs into tomato basil sauce
  17. Add turkey meatballs and wine with bits to my Tomato Basil Pasta Sauce and simmer for 1 1/2 – 2 hrs.
  18. Spoon tomato sauce onto baguette(s), then add turkey meatballs and top with mozzarella
  19. Bake in a 400º oven for 10 minutes or until cheese is melted, then add a julienne of fresh basil and slice up for several servings or keep whole…good luck and make sure to have plenty of napkins!
  20. Mangia mangia 🙂


Arancini Reuben Balls

Arancini Reuben Balls

My homemade Arancini Reuben Balls are absolutely gourmet. Arancini balls, also called risotto balls, are an Italian appetizer made with left over risotto, stuffed with mozzarella and prosciutto, then breaded and deep fried! Oh boy, they are out of this world. They are crispy on the outside, and creamy and cheesy on the the inside. You can eat them plain or serve them with a tomato sauce.

My homemade Arancini Reuben Balls are made with risotto, diced corned beef, Swiss cheese, cream cheese and sautéed jalapeño’s to incorporate that “popper” flavor! I serve them with my gourmet thousand island dressing which I make with Greek yogurt and a creamy horseradish to compliment the corned beef. The flavors of the risotto balls paired up with the thousand island dressing are outstanding!

Do you remember having poppers? You know, those deep fried jalapeno’s stuffed with cream cheese? Wow, I used to love those little morsels and I haven’t had them in ages so that’s why I thought it would be fun to put a twist on my Risotto Reuben Balls. It was a great idea too because the cream cheese lightens up the risotto balls and the jalapeno’s give it that something extra special!

You’ll be so happy when you make these homemade gourmet Arancini Reuben Balls with your left over St. Patrick’s Day corned beef. They freeze up really well too which will make for a nice little treat at a later date although I highly doubt you’ll have any left behind.

My thousand island dressing is fantastic as a dip for my baked sweet potato fries too. You might want some other appetizer’s to go along with the Risotto Reuben Balls like my crab cakes, or bloody Mary shrimp. You could even serve them as an appetizer to a homemade pasta dinner served with a Caesar Salad and some chocolate pecan pie for dessert! Hope you enjoy the show 🙂

DSCN45211-300x225

nancy3

cookpastajpg

DSCN4572

wholepiepecan


Risotto Ingredients and Directions – Total time to make approx. 30 minutes:

 I halved my recipe specifically for the Arancini Reuben Balls but I usually make full a full recipe, double the amount below

  • 1 cup Arborio Rice
  • 3/4 cup finely chopped sweet onion
  • 2 tbsp butter and a drizzle of olive oil
  • 1/3 cup white wine
  • 4 cups hot chicken broth – homemade or store bought
  • 1/2 cup grated Reggiano Parmesano

Directions: 

  1. In small pot heat 4 cups chicken stock til simmering
  2. Add onion to medium size pot to 1 tbsp. butter & sauté on low til soft  
  3. Stir in 1 cup Arborio rice and sauté til the rice looks chalky
  4. Add in 1/3 cup white wineat a time, keep stirring, when wine is absorbed begin to add in 4 cups of simmering chicken stock ONLY 1/2 cup at a time-it will be approx 4 minutes for each addition 
  5. ONLY add in chicken stock when previously addition is completely absorbed while STIRRING all the time
  6. Stir in 1 tbsp butter and 1/2 cup Reggiano Parmesano after the last of the chicken stock is absorbed, then let cool to make Arancini Reuben Balls.

Ingredients- Makes 20 – 1 1/2″ Arancini Balls:

  • 1 1/4 cup diced into 1/4″ pieces of corned beef
  • 2 cups cooked risotto (see below for recipe my recipe for risotto)
  • 4 oz. softened cream cheese
  • 1/4 cup grated and packed Jarlsberg swiss cheese
  • 1/4 cup grated and packed mozzarella cheese
  • 2 jalapeno’s finely diced and sauteed just til barely softened 2 minutes
  • 1/4 tsp salt
  • 1/4 tsp pepper
  • 2 lg eggs
  • 1 cup seasoned bread crumbs

Directions for Arancini Reuben Balls:

  1. Put all of the above ingredients into a large bowl and stir with spatula til mixed
  2. Use cookie scoop and from balls, roll in hands after scooping to get nice and round
  3. Whisk eggs in a med. bowl
  4. Add bread crumbs to another and begin the dip formed risotto balls into egg and them into bread crumbs and place on dish
  5. Put breaded risotto Reuben balls in frig for 20-30 minutes
  6. When the Reuben balls are chilled heat 1/2″ vegetable oil in medium size pan and begin to heat on low for 5 minutes and then turn up to med/high to 350º
  7. Add in Arancini Reuben Balls in 2 batches into hot oil
  8. Fry for about 2 minutes and then turn over for another 2 minutes til golden
  9. Remove to cookie rack covered with paper towels to absorb excess oil
  10. Plate up Arancini Reuben Balls with my homemade gourmet thousand island recipe below 🙂

iphone-pictures-1579-300x225

iphone-pictures-1580-300x225

iphone-pictures-1581-300x225


030-300x225

iphone-pictures-1605-300x225


This Thousand Island Dressing is great on Reuben Wraps also

INGREDIENTS FOR THOUSAND ISLAND DRESSING:

  • 1/2 cup Greek yogurt
  • 2/3 cup Hellman’s mayonnaise
  • 1/2 cup ketchup
  • 1 Heaping tbsp finely chopped cornichons
  • 1/3 cup sweet relish
  • 1 Heaping tbsp grated sweet onion
  • 1 Heaping tbsp finely chopped fresh parsley
  • 3 tbsp creamy horseradish
  • 1 tbsp olive oil
  • 1 tbsp “seasoned” rice wine vinegar
  • 1-3 dashes of Siracha

DIRECTIONS:

  1. Put all ingredients into a large bowl and whisk til combined


Energy Smoothies 101 VIDEO

Energy Smoothies 101 Recipe and VIDEO

Making homemade smoothies is such an ideal way to get so many wonderful nutritients into one beverage and not compromise on taste! These gourmet energy smoothies are absolutely scrumptious! Who doesn’t love a smoothie and now with all the high tech appliances available out there just for puréeing vegetables into drinks you can’t go wrong. Those juicers can get a little pricey though and an average Waring blender can get the job done too! So don’t feel like you can’t join in if you’re a novice to all this and start making your own homemade gourmet energy smoothies if you haven’t spent the dough…no pun intended 🙂 Yes, you can make your own!

My energy smoothies 101 recipes and video start you off with some basics on how to create these delicious energy smoothies. I make it easy for you with a proven lists of ingredients that taste incredible and help your body to feel good too. Granted, there’s always that afternoon cup of joe that you can grab for a boost and let me tell you I do love my caffeinated beverages! Standing by my coffee pot in the morning in anticipation of pouring that first cup is how I begin my day. Then there’s mid-afternoon when we all seem to need that extra zing to keep us going and that’s when I usually go for my cup of tea which has sentimental reasons for me as well reminding me of my Grandmother and I having tea and crackers together when I was very little. BUT when I add an energy smoothie into my day I definitely feel the difference with more of a long lasting energy and good feeling surge!

Making these energy-power smoothies will give you that “feel good” energy surge and when we are feeling up it puts us in a good mood! There are studies that show an anti-inflammatory diet that is high in protein really does have an effect on our moods and increases our stamina… who doesn’t need that!

While doing some research on high protein and anti-inflammatory diets I was recently turned on to Muscle Milk. Muscle Milk is a product that a lot of athletes use because it’s great for after work out recovery. It’s also formulated for people who are lactose sensitive, it’s gluten free and they do carry a line of Muscle Milk Light too. Best of all, while offering up all that great protein it taste scrumptious in my first “tropical vanilla energy smoothie”! The vanilla Muscle Milk compliments the vanilla Greek yogurt making for a creamy tropical flavor. It’s truly a tropical vanilla flavor that’s luscious.

My second smoothie is called the “green zinger” because the spinach turns it green and the fresh grated ginger gives it that underlying needed zing. This may me one of the most unique and delicious smoothies I have come up with. Maybe it’s because I absolutely adore the taste of fresh ginger and honey together and if you haven’t had this combo yet please put it on your bucket list! Fresh grated ginger and honey with a little squeeze of lemon will send your tea through the roof in flavor…please try it 🙂

And last but not least is my third smoothie called “the berry-beta bomb” where the color alone is enough to make you smile. There is a small amount of beets in this smoothie which give you a unique source of that wonderful nutrient called betaine. Betaine is like a power nutrient that protects our cells from stress which help fight inflammation and at the same time caring more iron than even spinach…woo hoo I say who’s better that you! I have you baking the beets for a no fuss way to cook them. If you are not big on beets try the golden beets or chioggia striped beets which you can find at Whole Foods or our local Bishop Orchards because they are definitely milder in flavor and it’s important to have them in this smoothie.

When you make your homemade batch of smoothies don’t forget to freeze a small amount in containers. That’s take some of the work out of your next round and makes for refreshing little energy snacks in the afternoon. I take them right out of the freezer and eat them like an Italian ice. Make sure to watch my show on how to make these babies! Enjoy and stay healthy!

002  005  008

009  024  013

INGREDIENTS FOR THE TROPICAL VANILLA SMOOTHIE W/ MUSCLE MILK:

  • 1 cup Muscle Milk
  • 1 cup vanilla Greek yogurt
  • 1 cup unsweetened apple juice
  • 1 cup frozen cut-up mangoes
  • 1 cup frozen cut-up peaches
  • 2/3 cup frozen cut-up bananas
  • 3 tbsp honey

INGREDIENTS FOR THE GREEN ZINGER SMOOTHIE:

  • 1 cup vanilla Greek yogurt
  • 2 cups unsweetened apple juice
  • 2 cups baby spinach leaves
  • 1 cup frozen cut-up mangoes
  • 1 cup frozen cup-up peaches
  • 2/3 cup frozen cut-up bananas
  • 1 heaping tbsp fresh zested ginger
  • 3 tbsp honey

INGREDIENTS FOR THE BERRY-BETA BOMB SMOOTHIE:

  • 1 1/2 cups vanilla Greek yogurt
  • 1 1/2 cups unsweetened apple juice
  • 1 1/2 cups baby spinach leaves
  • 1/4 cup roasted beet – diced up (If you are not a big beet lover use lighter colored beets like golden beets, or Chioggia beets – the striped beets because they are more mellow in flavor
  • TO COOK BEETS: Cut stems off of beets 1/2″ up on stem from actual base of  beet, wash and dry the beets, place them in a small shallow baking dish like a pie plate, cover with foil snugly and bake for 1 hr. When beets are done, let them cool and then peel off skin with your fingers.
  • 2 cups frozen strawberries
  • 1 cup frozen cut-up peaches
  • 3 tbsp honey

DIRECTIONS FOR ALL SMOOTHIES:

  1. Place ingredients into blender and puree til smooth.
  2. You use frozen fruits in these energy smoothie 101 recipes but feel free to add crushed ice as well to add in volume and help keep them frosty.
  3. Keep in the frig if you are drinking right away or put into several small containers and freeze to have at a later time.
  4. If you do freeze them in containers just take out from freezer when ready and let it sit on the counter for 15 minutes and stir to drink or eat them right out of the frigerator scrapping with a spoon like an Italian ice! Enjoy!

(Note: Muscle Milk is not a paid sponsor at this time I just happen to really like the product 🙂


Homemade Blue Cheese Dressing

Homemade Blue Cheese Dressing


BLUEI can’t think of anything more annoying then being out at a restaurant where they serve up a beautiful mescaline salad or heirloom tomatoes with blue cheese dressing from a bottle! My homemade gourmet blue cheese dressing recipe is gosh darn easy to make and all done in the food processor!

I have been making this homemade blue cheese dressing for over 20 years and it’s one of my favorite recipes. I love all blues whether they are pungent, and or creamy from Stilton, to Maytag, Danish, and Gorgonzola, and to die for sweet and creamy Cambozola. Last but not least is my Italian Gorgonzola Dolce which I make an incredible pasta sauce with (that’s not really “last” …the list of great blues goes on and on). Not to stray from the homemade blue cheese dressing recipe but you really ought to check out my gourmet Gorganzola Dolce Cream Sauce & Fresh Thyme that I serve on pasta or gnocchi featured on May 15, 2014 which you can make in 5 minutes blind folded!

The Chart House Restaurant makes one of my favorite blue cheese dressings and that’s where my recipe was hatched from. Of course, I changed up amounts, procedures and ingredients adding in several others until I got the taste I wanted and this is how I have been making it for over 20 years. My homemade blue cheese dressing is slightly chunky, on the creamier side where you sprinkle extra crumbled blue to the top of your salad at the end. The consistency is really a matter of personal preference. You can actually make it as smooth or chunky as you want by “pulsing” only when blending the ingredients in the food processor. You can also pulse til smooth in the food processor, then throw in a handful of crumbled blue and finish with a gentle mix using a spatula… it’s your prerogative to change it up how you see fit. I offer up the great list of ingredients and now you can be creative on texture!

buffdip
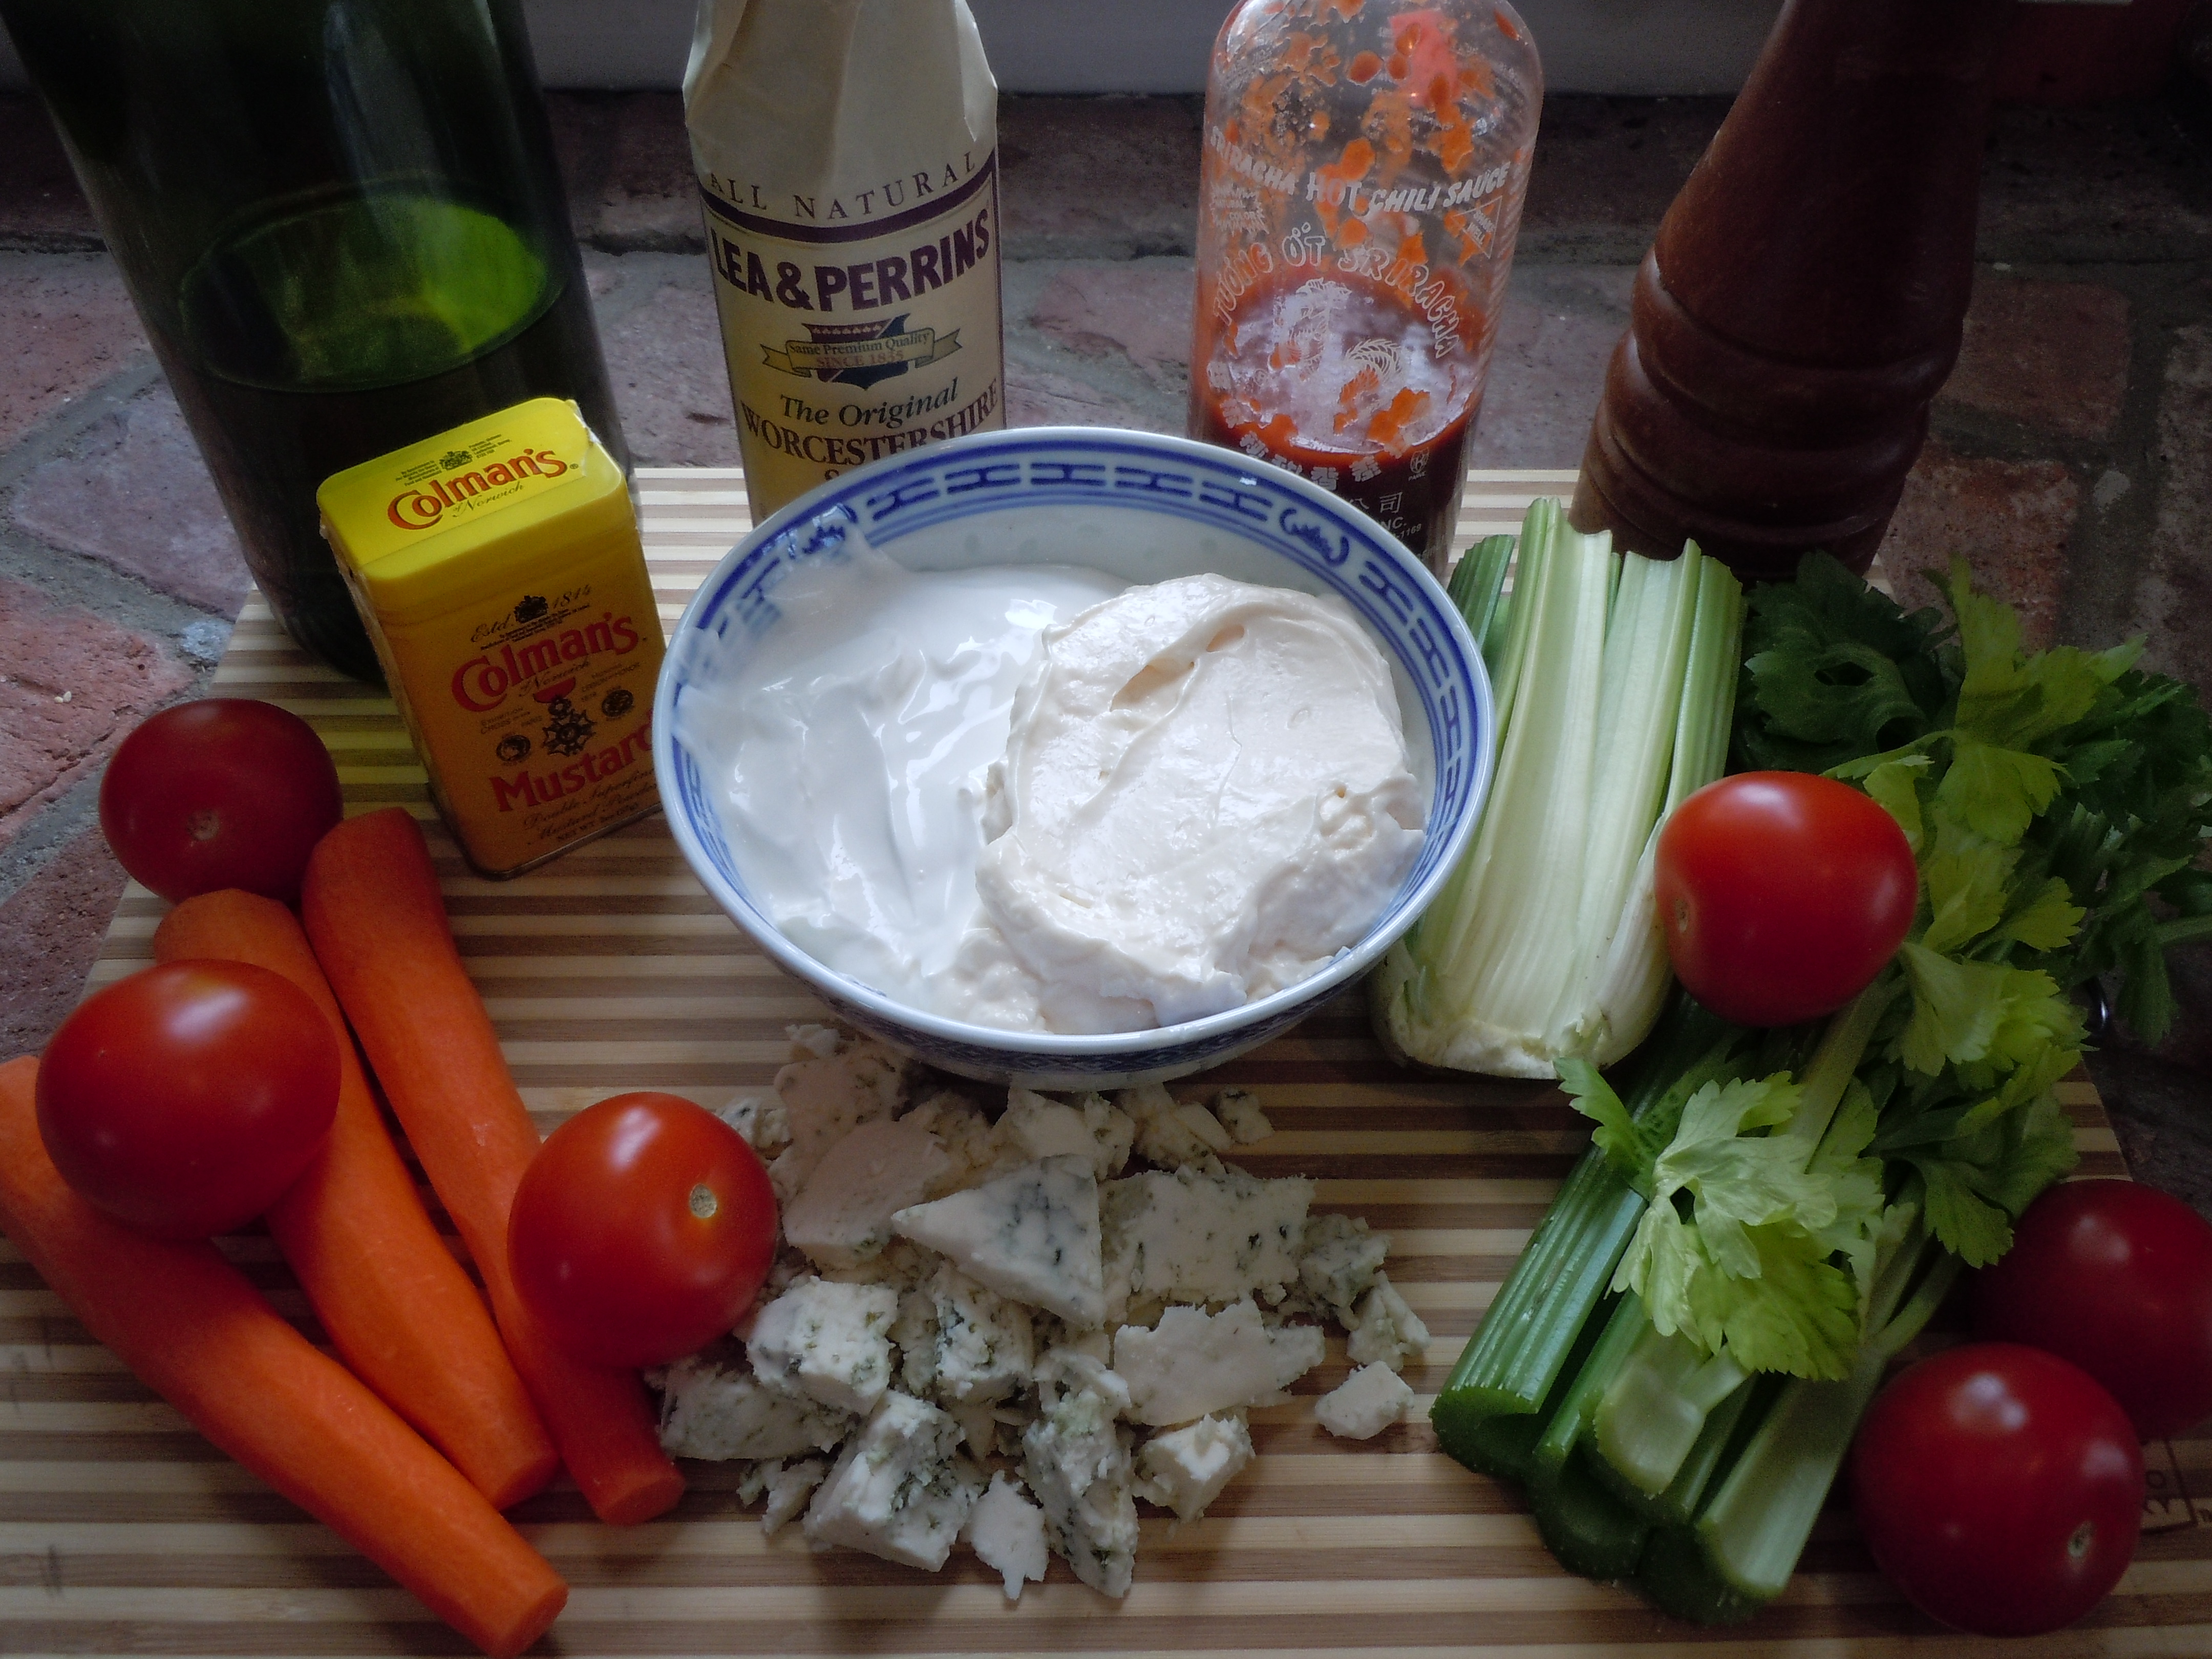
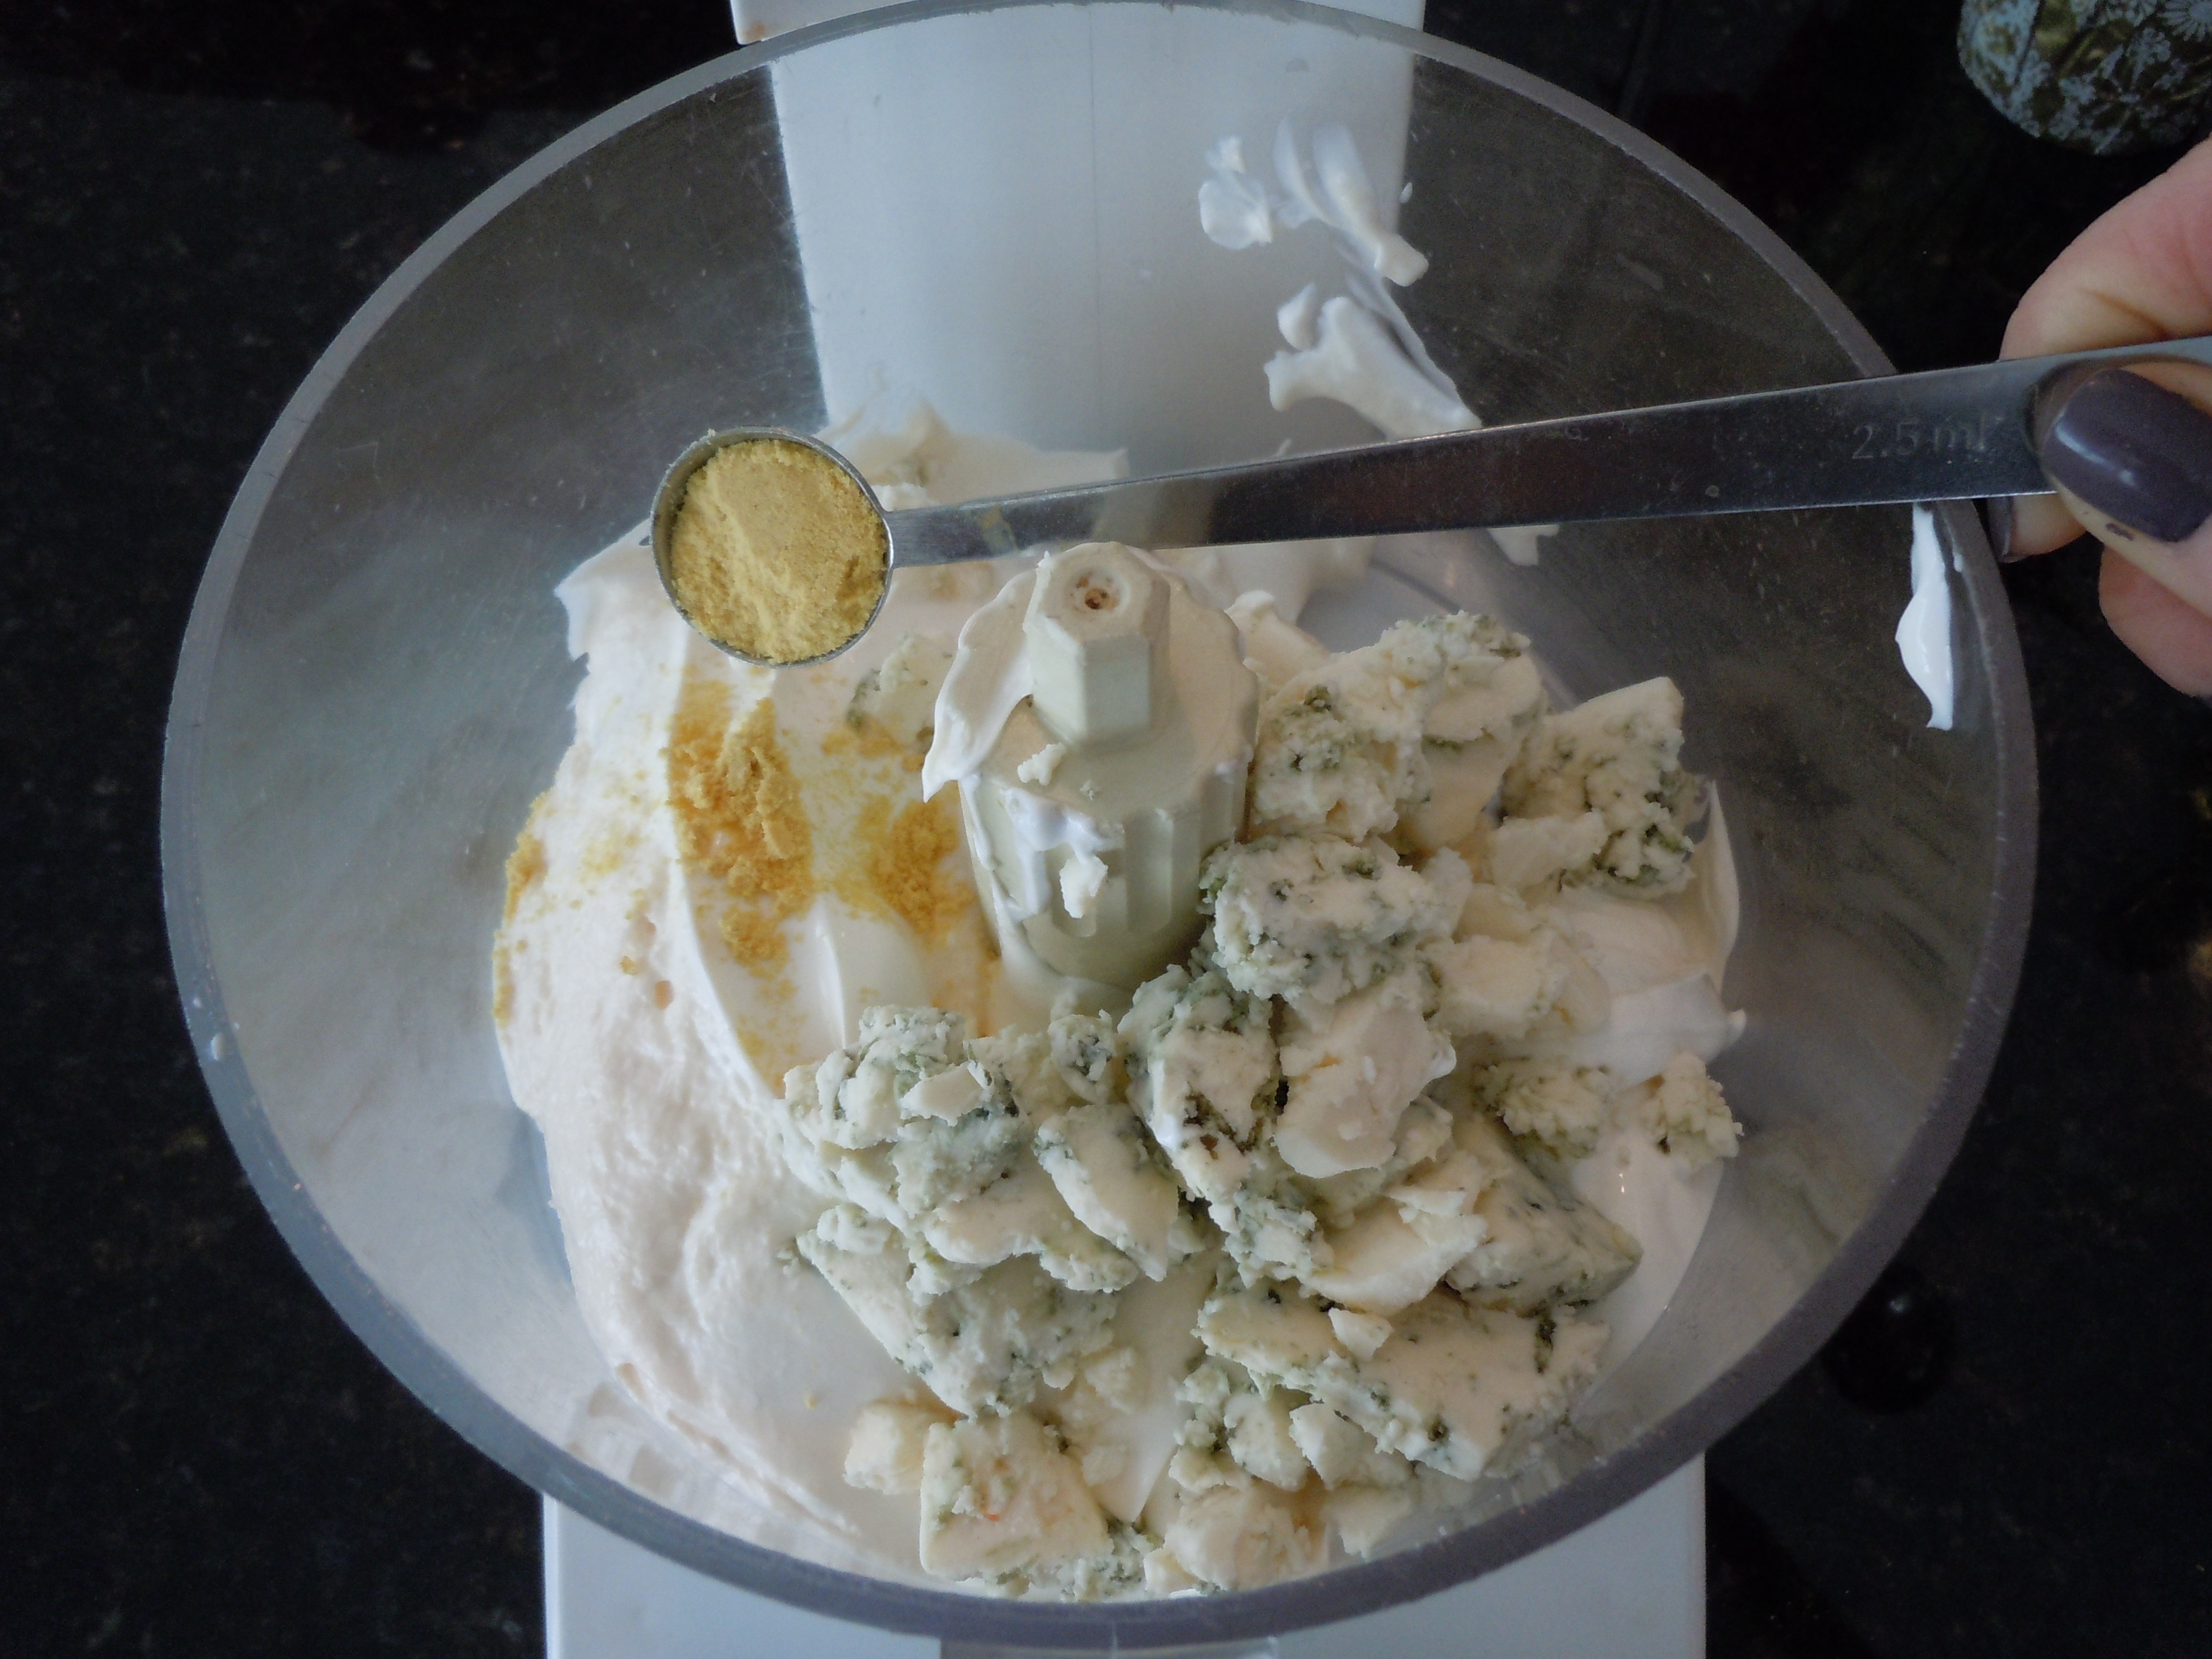
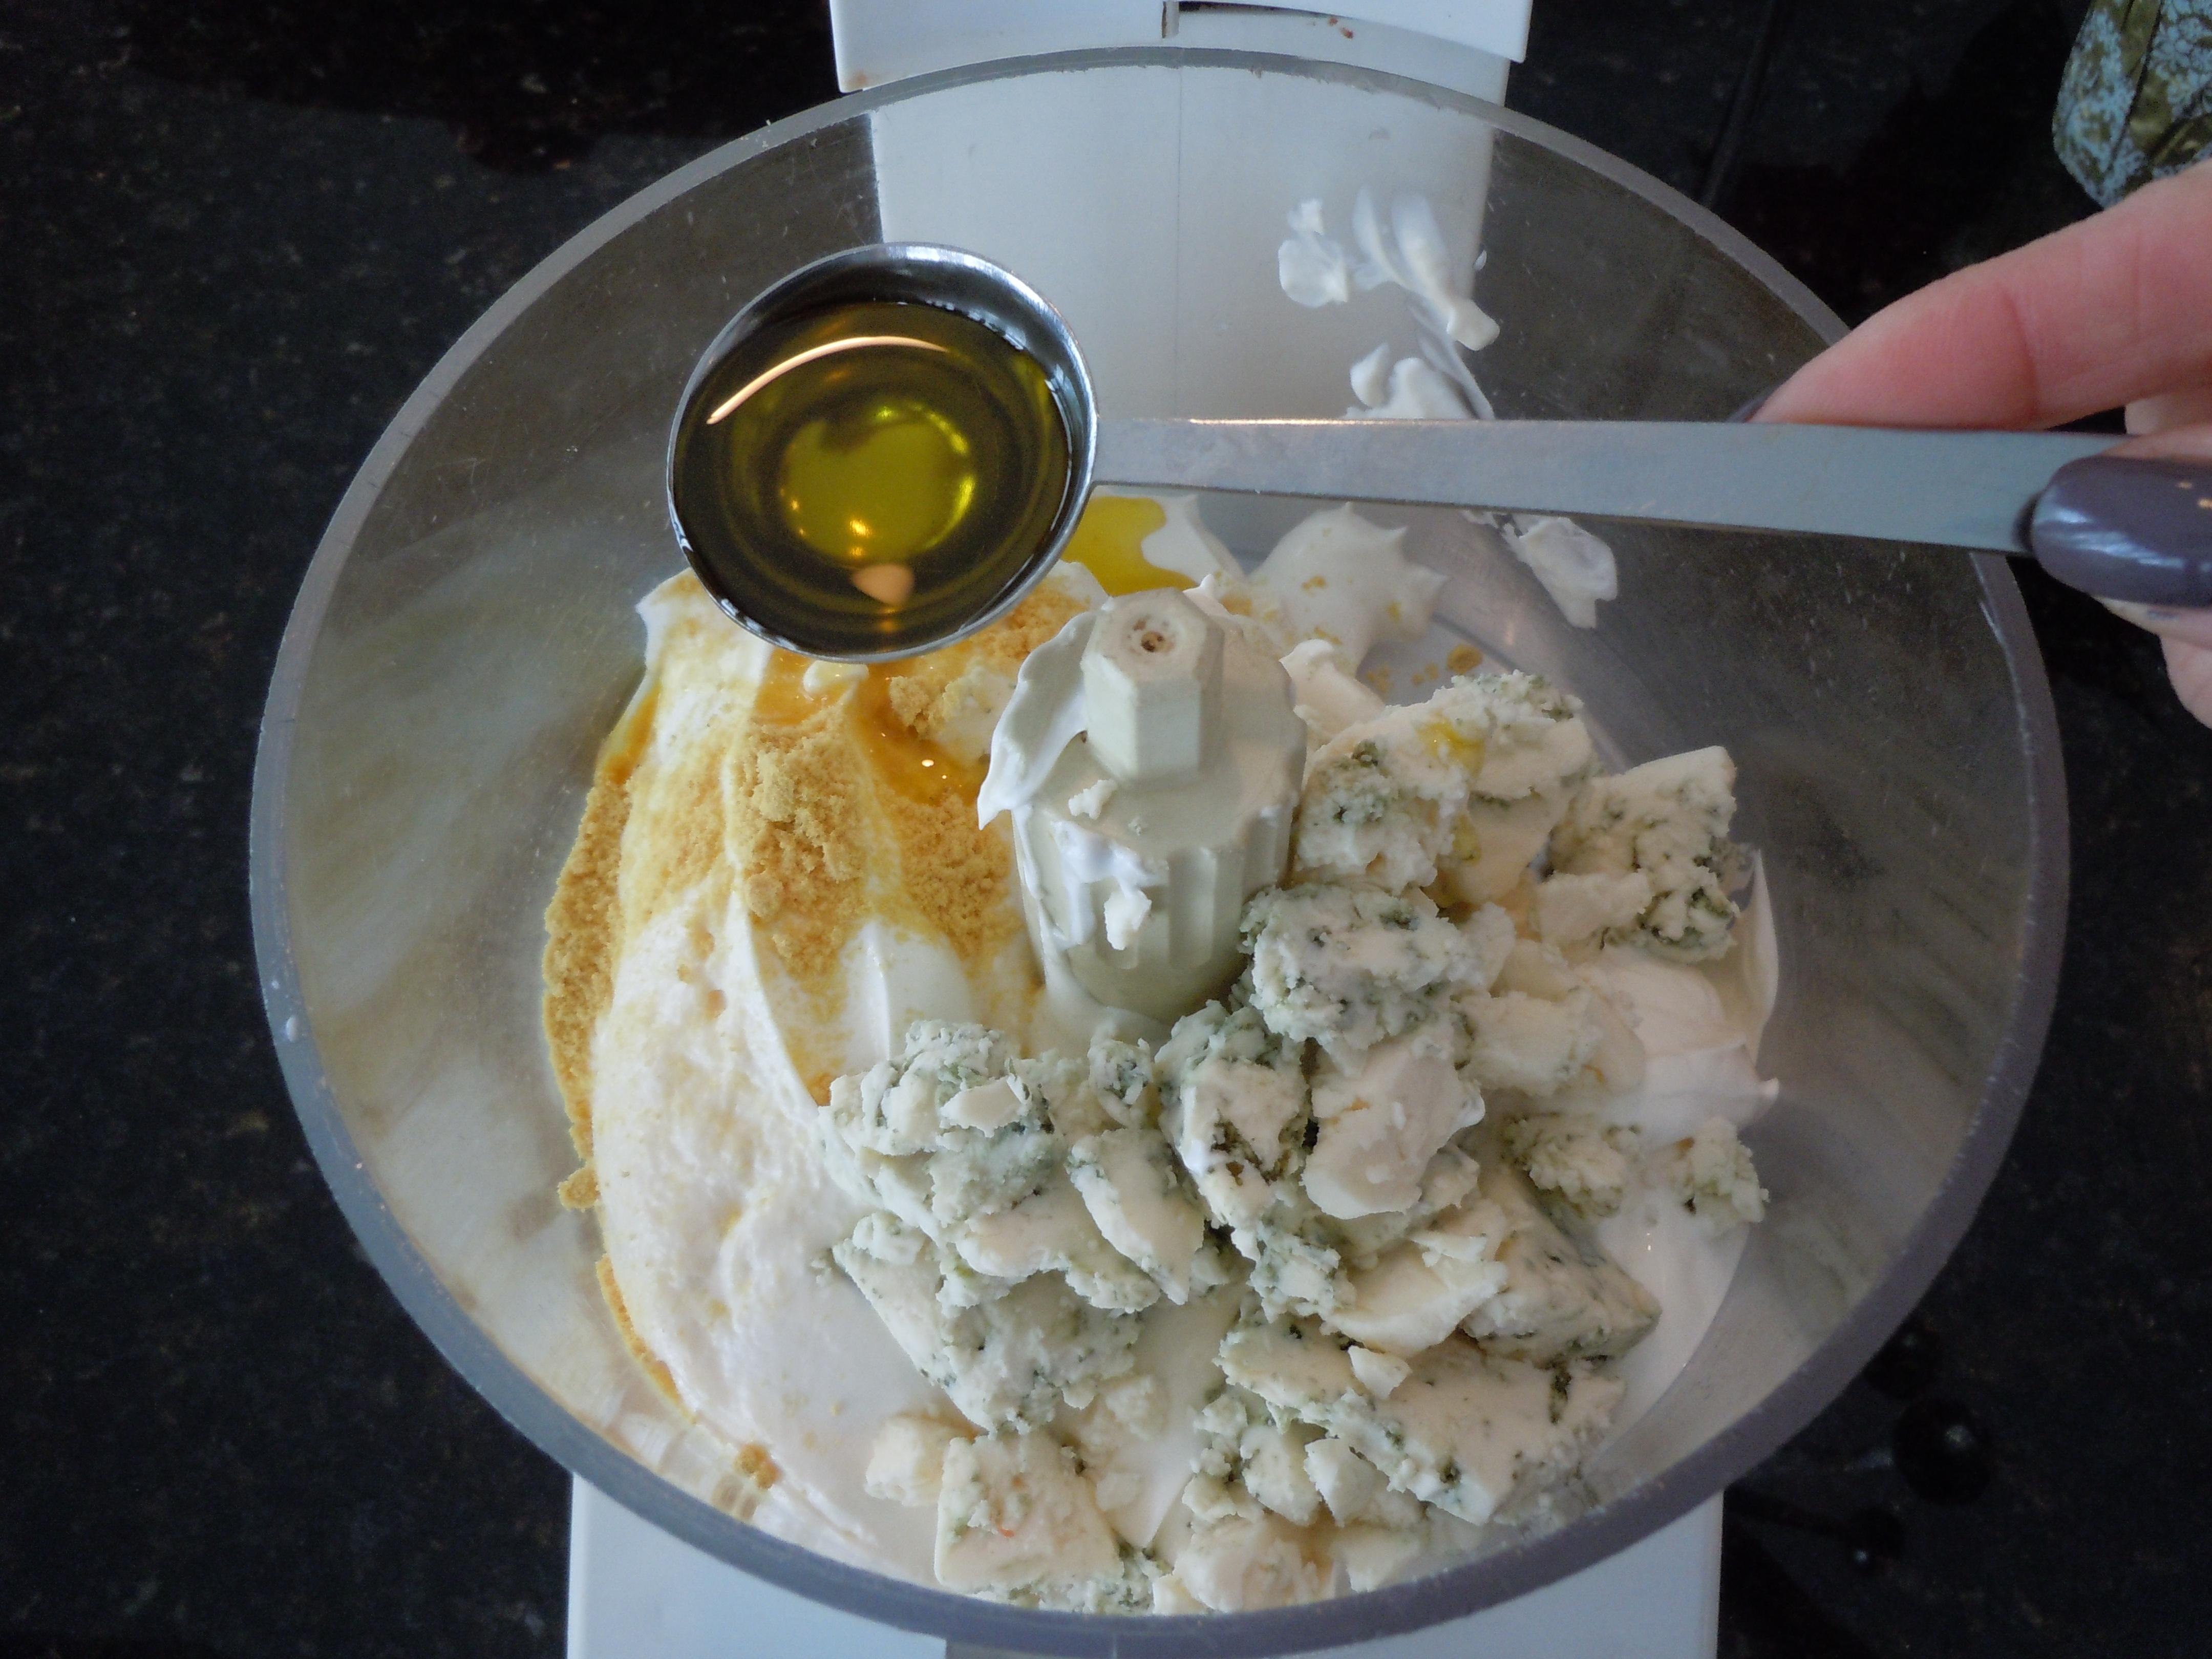
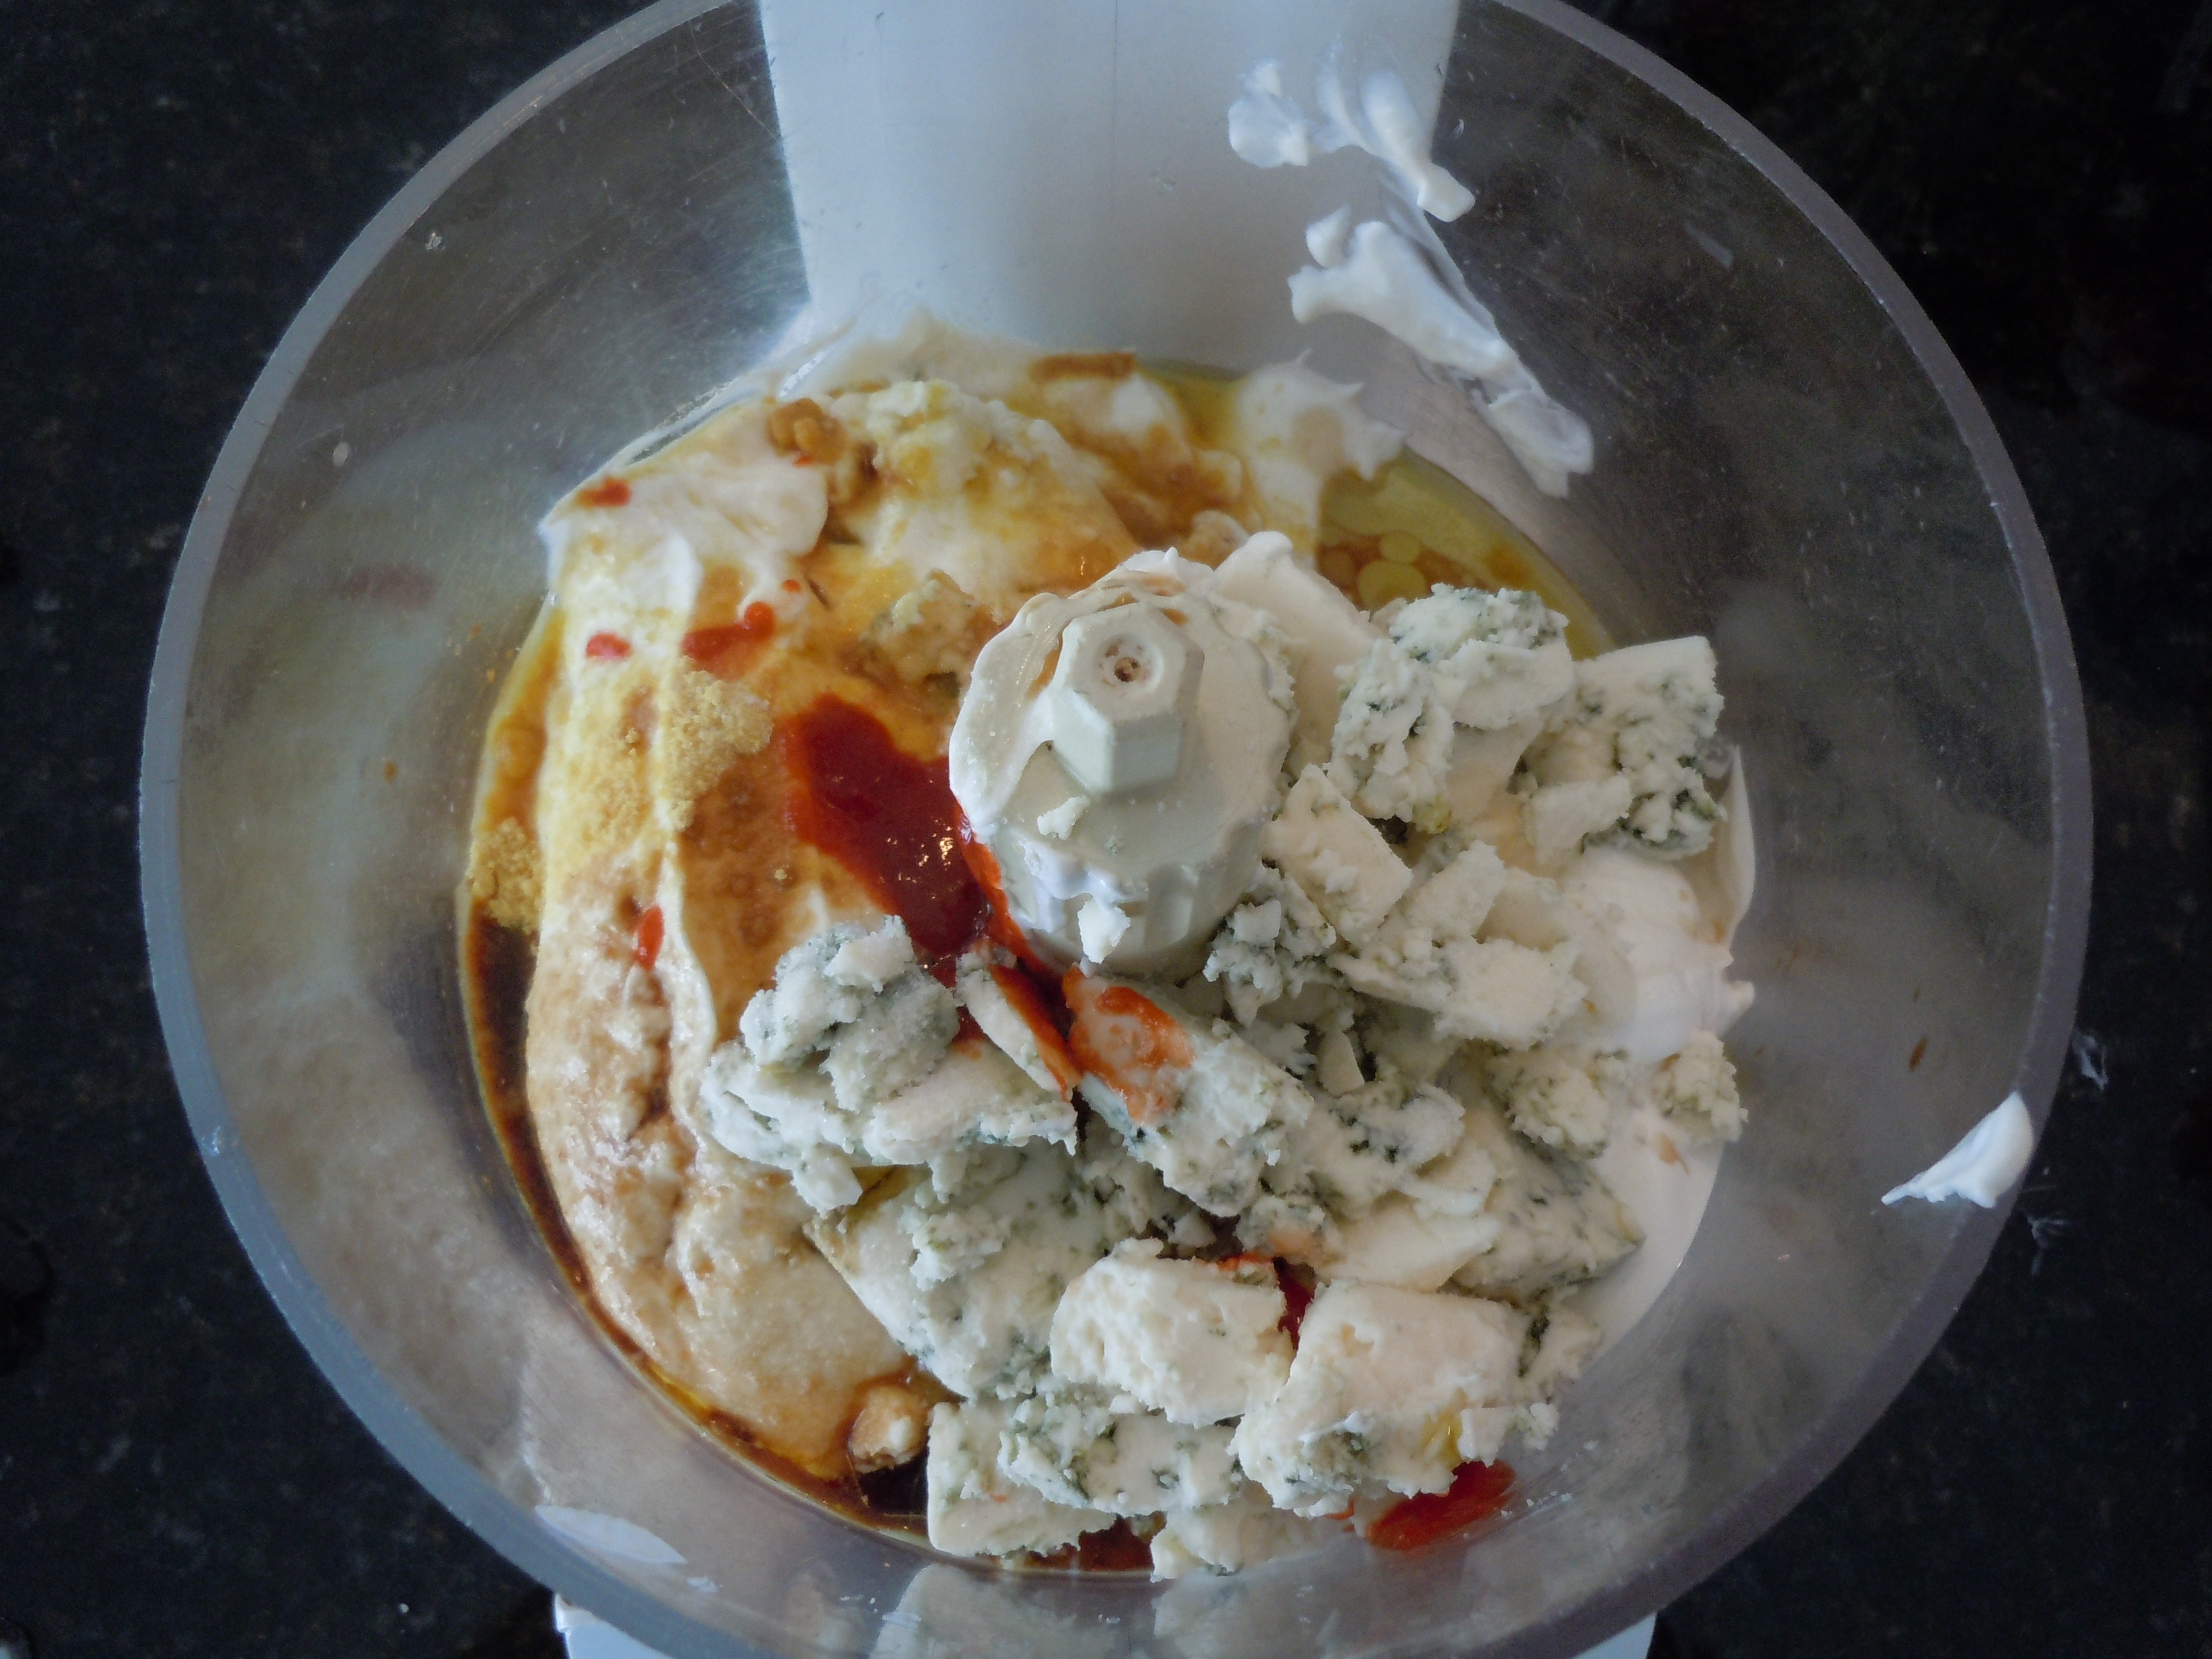
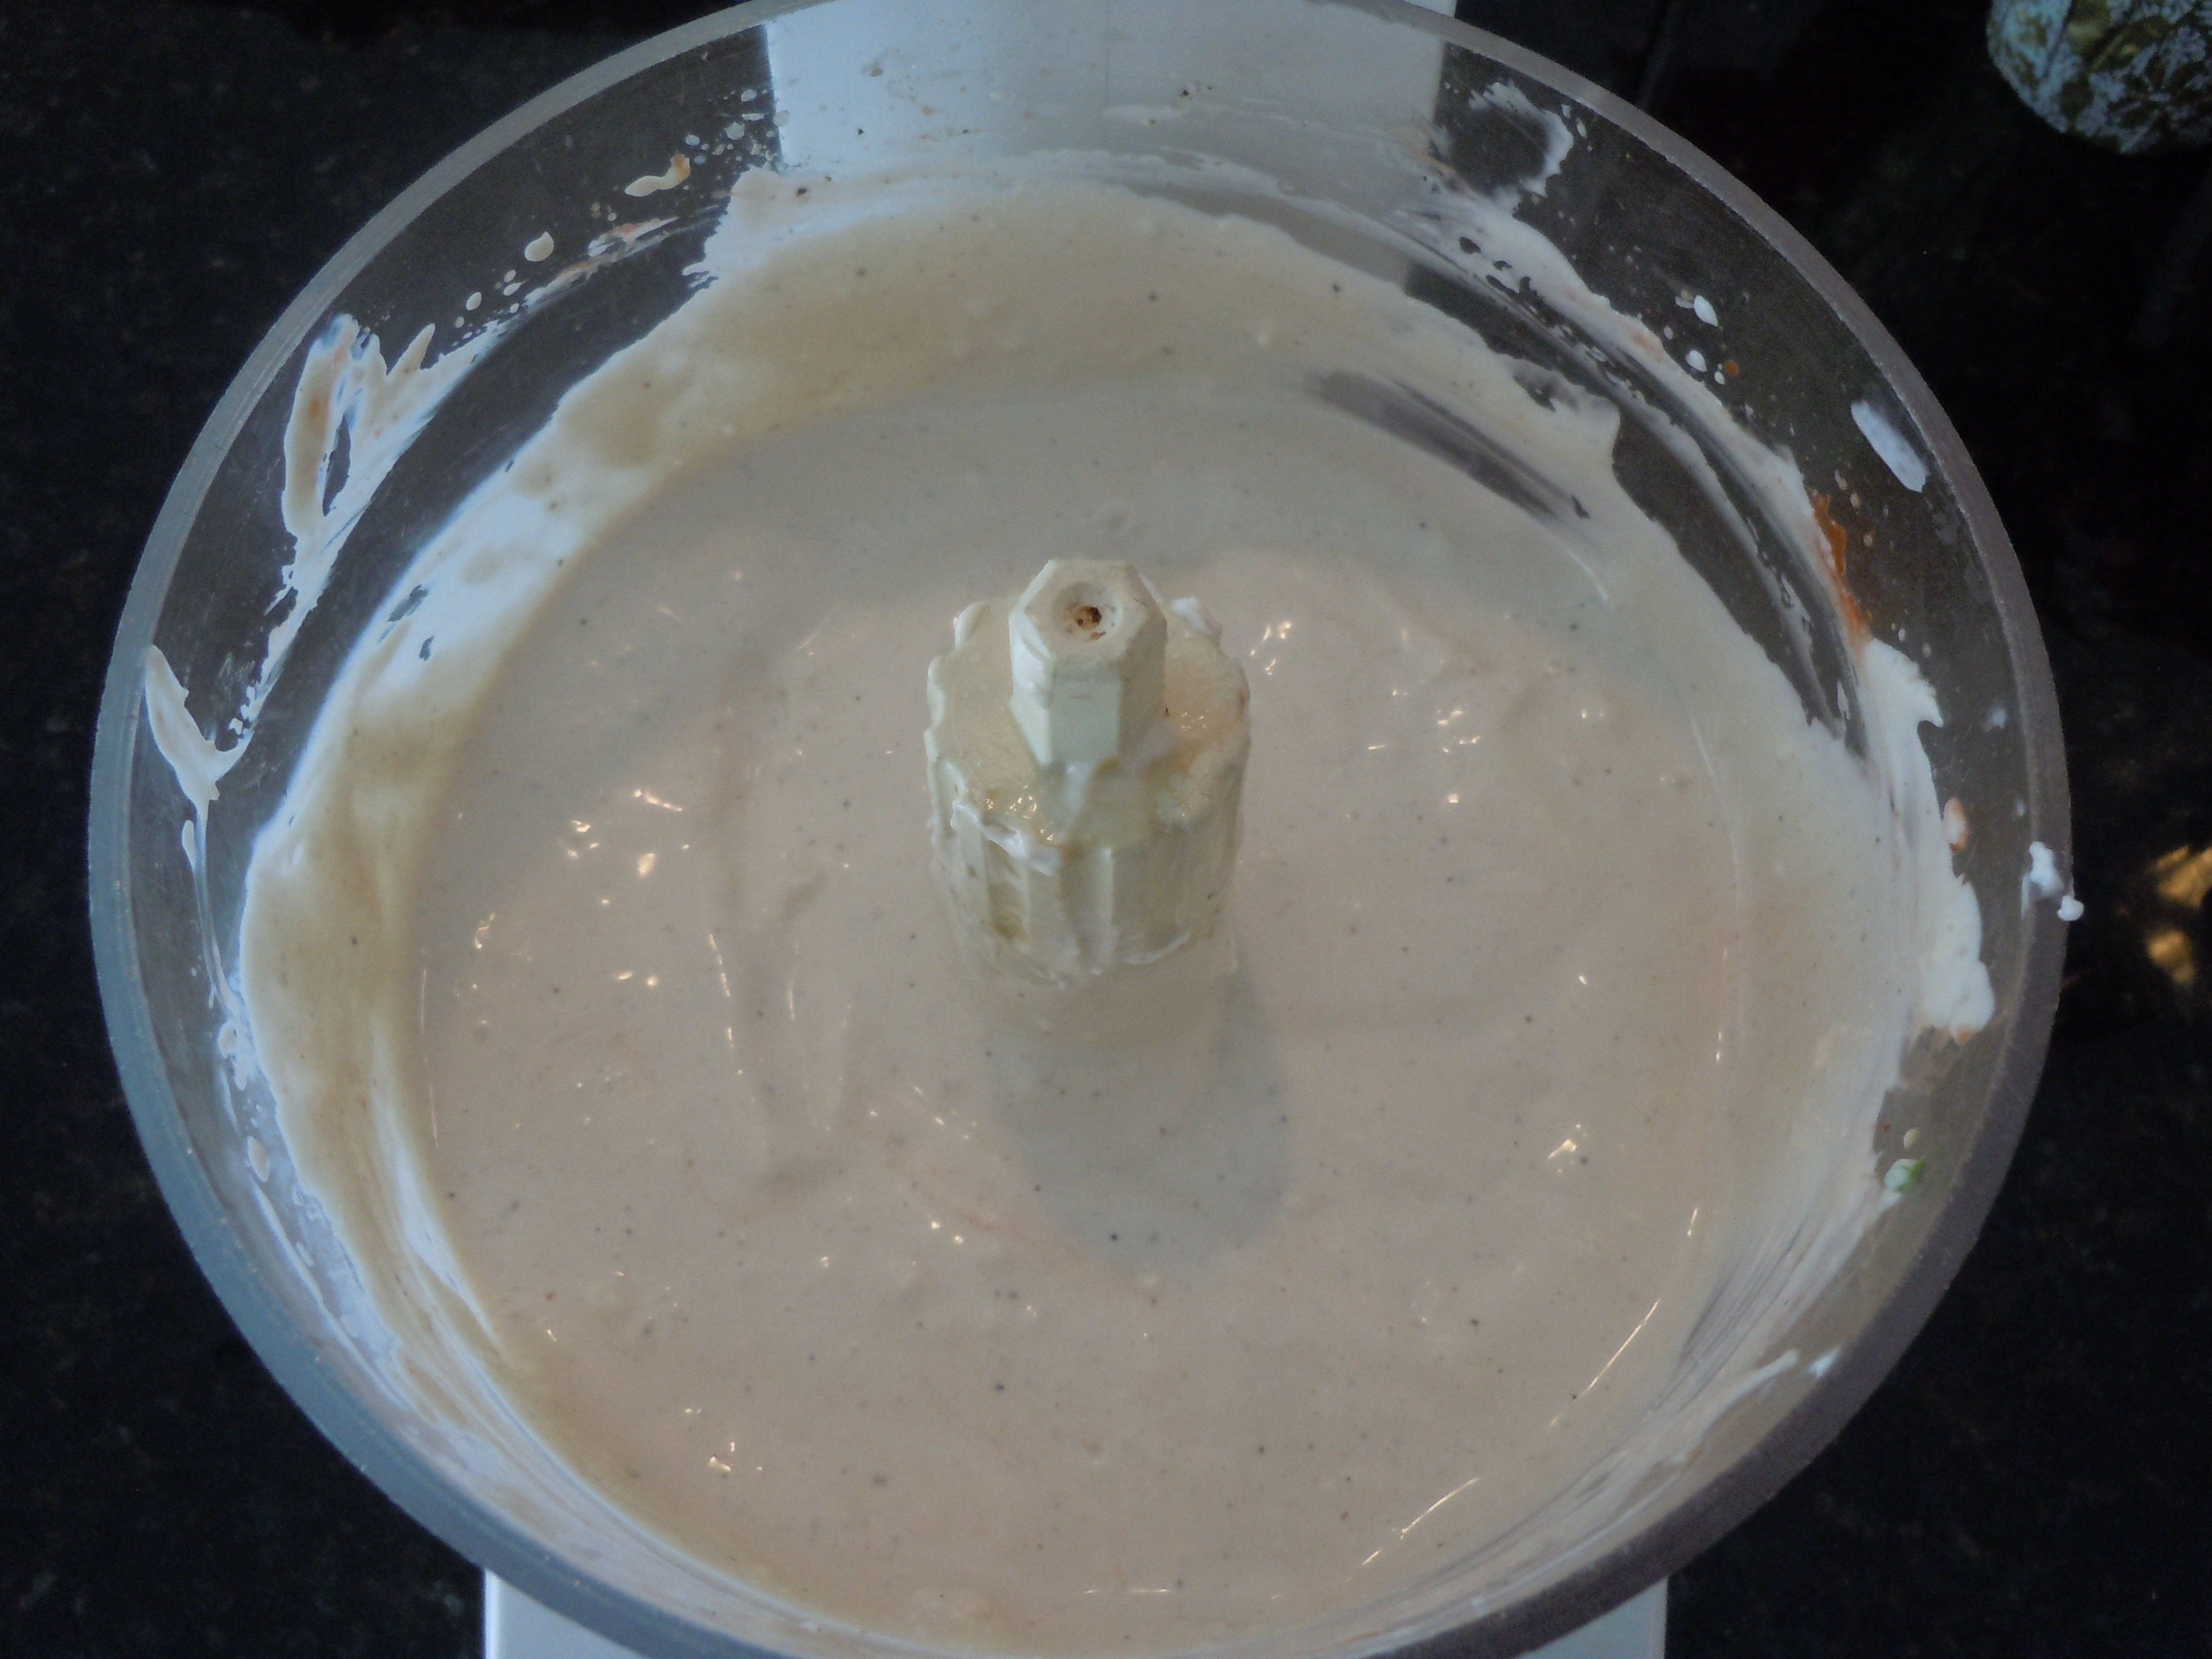
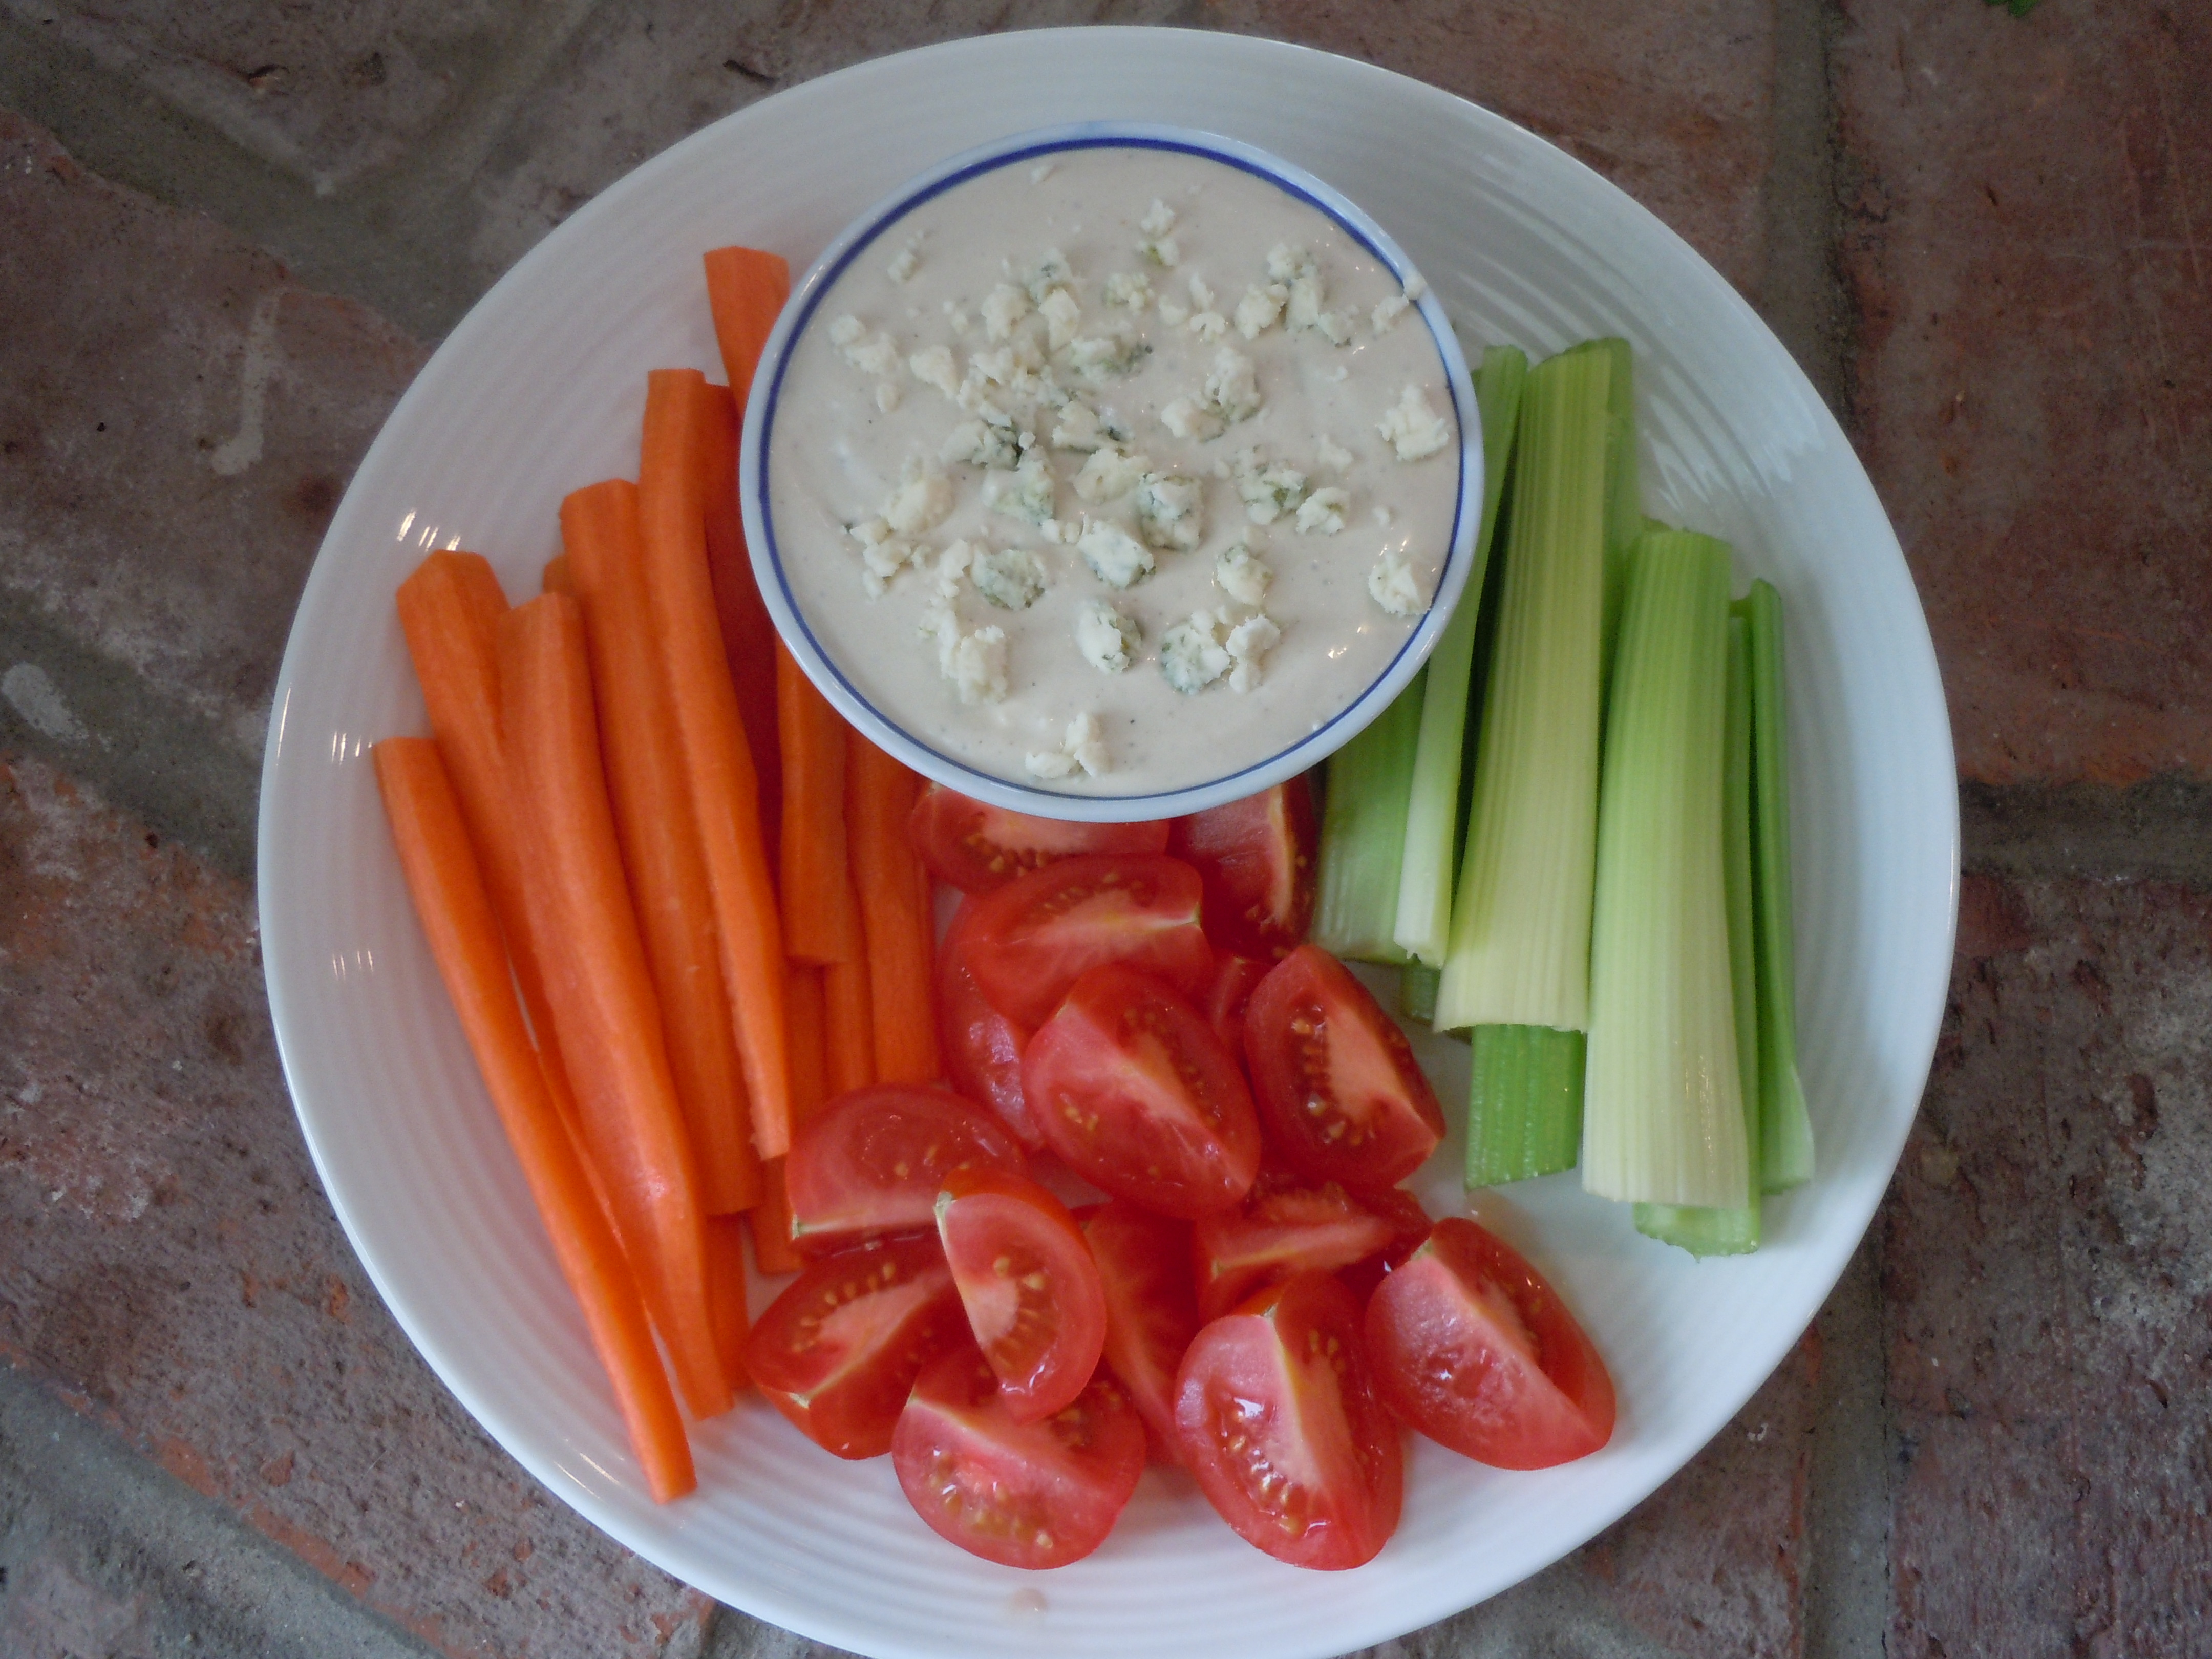
I always make this dressing when I make my chicken wings or when I buy blue for my Buffalo Chicken Dip that’s always the first appetizer gone at my parties! Serving the blue cheese dressing up with the chicken wings and all of my favorite veggies on the side you can’t go wrong. Another great dinner idea would be layering grilled beef or chicken fillets, a couple of thickly sliced heirloom tomatoes, a drizzle of my homemade blue cheese dressing and a sprinkle of crumbled blue with crispy chunks of bacon on top of that … hot diggety! When you see how easy and crazy good this blue cheese dressing is you will never be happy with bottle again!

icemohitoYou may want to add in some other yummy appetizers like Homemade Salsa, or Spanakopita with Metaxa Mojito’s, and for an entré try Homemade Potato-Ricotta Gnocchi, easier than you think to make! You certainly shouldn’t forget dessert of Honey-Dripping Baklava or Death by Chocolate Meringue Pie! 🙂


IMG_7479 cookedspan IMG_7868 IMG_7568 chcomerg

020  023  

024

031


036

 038
INGREDIENTS:

  • 1 cup of Gorganzola, Danish or Maytag crumbling blue cheese
  • NOTE: lately I love using PRE-CRUMBLED Gorganzola or Blue  Cheese, comes in a convenient plastic container
  • PLUS 1/3 cup blue cheese extra for mixing in after pureed and sprinkling on top for garnish when you plate the salads
  • 1 cup Hellman’s mayonnaise
  • 1 cup sour cream
  • 1 tbsp each olive oil & “seasoned” rice wine vinegar
  • 1 tsp Worcestershire Sauce
  • 1/2 tsp Siracha
  • 1 tsp Colemans Dry Mustard
  • 1/4 tsp each salt & pepper
  • 1 Recipe Buffalo Chicken Wings

DIRECTIONS:

  1. Put all above ingredients into food processor except 1/3 cup blue cheese and pulse slowly for 15 seconds until you get the desired smoothness
  2. Pour a medium size bowl,  2 tbsp of crumbled blue and sprinkle the rest on top

After all this cheesiness  you may want to try my Perfectly Chocolate” Hershey Cakes, my chocolate crackle cookies, or chocolate pecan pie! YUM!

IMG_2793 IMG_3663 wholepiepecan