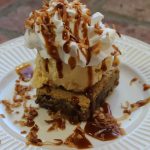
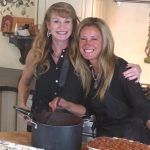
 Paleo Eggplant Lasagna at Christine’s
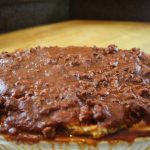
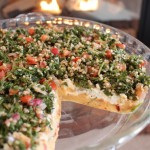
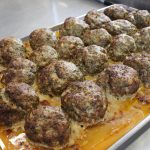
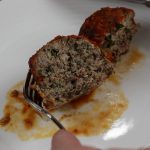
The crusty almond flour coating on the eggplant helps to soak up the meaty bolognese goodness getting ooey, gooey and decadent. Like making you feel warm all over on a winter’s day. That’s how my friend, Christine, describe’s her Paleo Eggpalnt Lasagna that we made at her house last week! She hit it right on the money.
It was Christine’s cross-fit community that introcuced her to this fresh Paleo way of living. Even though It did take a year before fully committing she has been following it for a couple of years and really loves it. Paleo refers to foods eaten during the Paleolithic times so basically if the cave man didn’t eat it, neither can you. There are different levels of Paleo, but true Paleo doesn’t allow any dairy or legumes. Not sure if being a true Paleo is exactly for me since I live for cheese and cetainly wouldn’t give up beans. Although, there are certain aspects of Paleo I think are wonderful like the fresh way of eating, nothing manufactured or processed! Like Christine say’s, everything in moderation.
This Paleo Eggplant Lasagna is definitly a guilt free dish that shouldn’t taste this darn good! You don’t even miss the cheese here because every bite is luscious! I highly recommend that you to get on the ball and check out this fresh Paleo way of eating. You won’t regret it one bit and may find yourself with a big ole smile on your face!
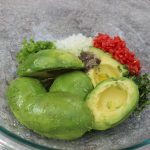
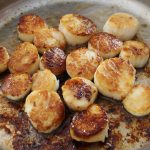
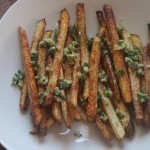
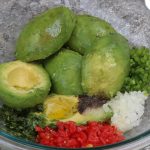
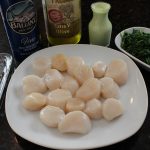
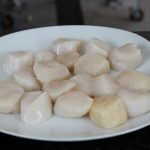
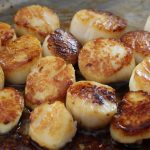
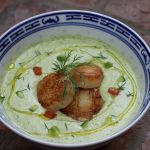
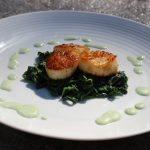
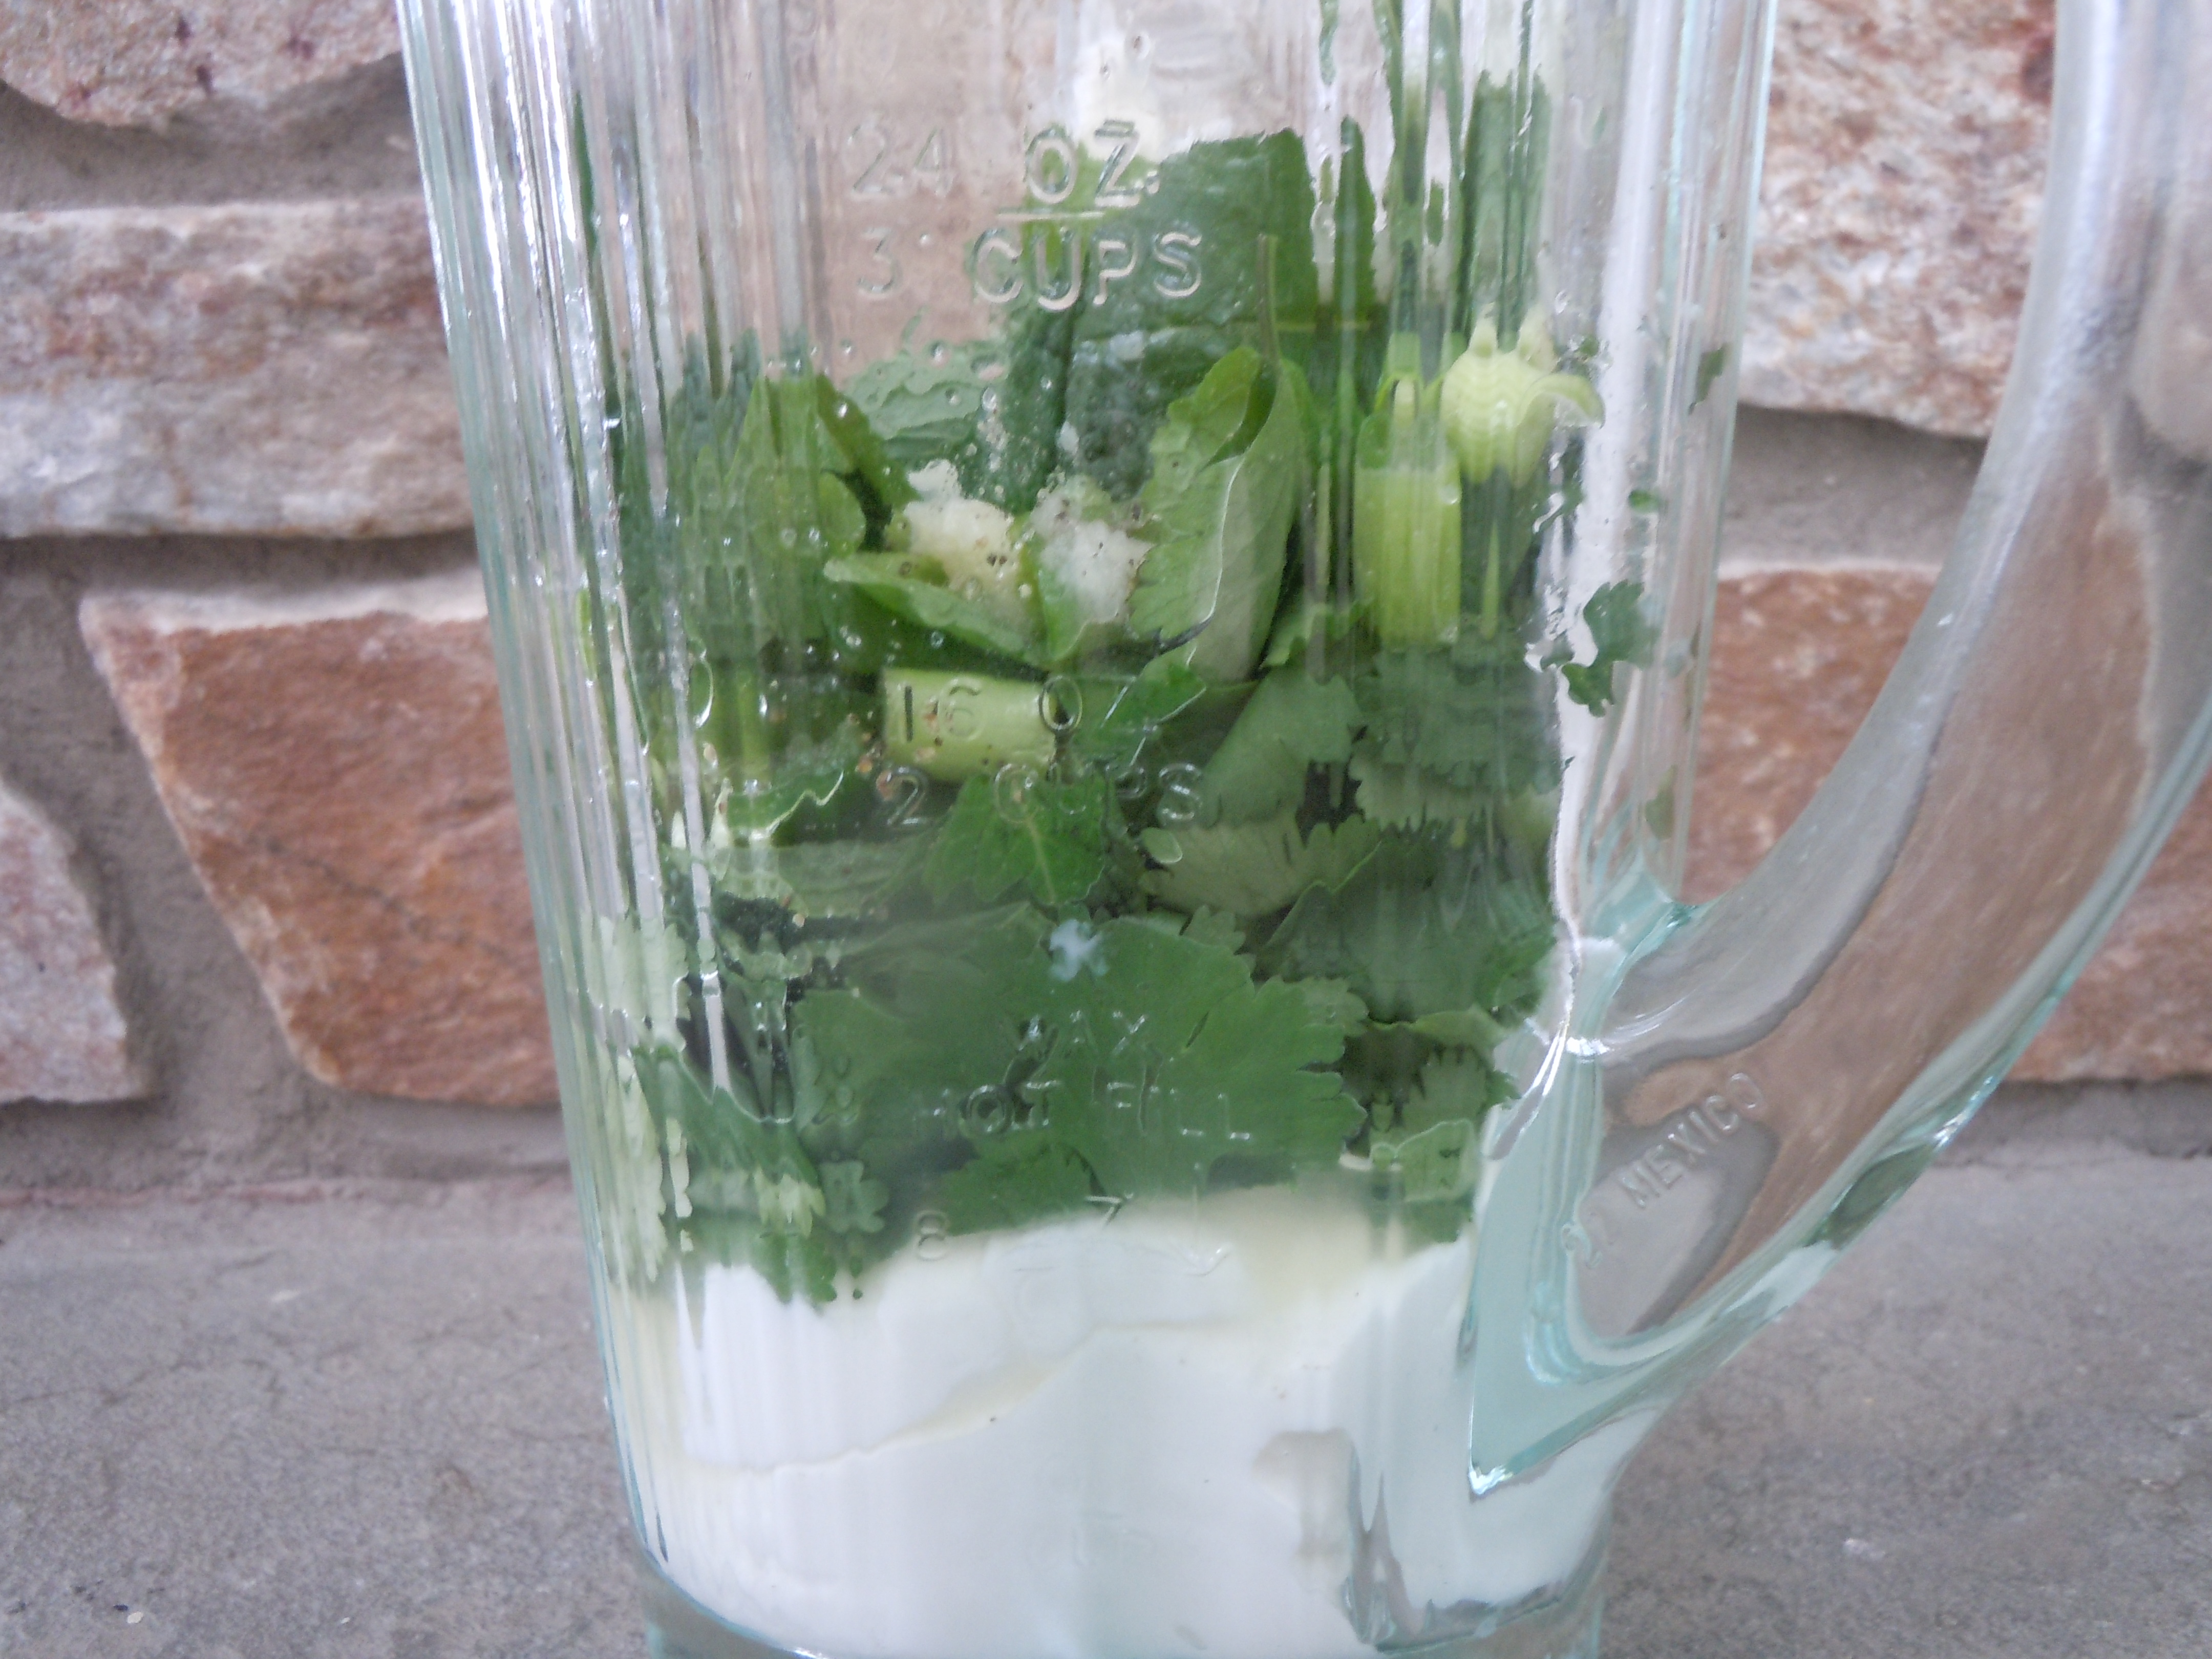
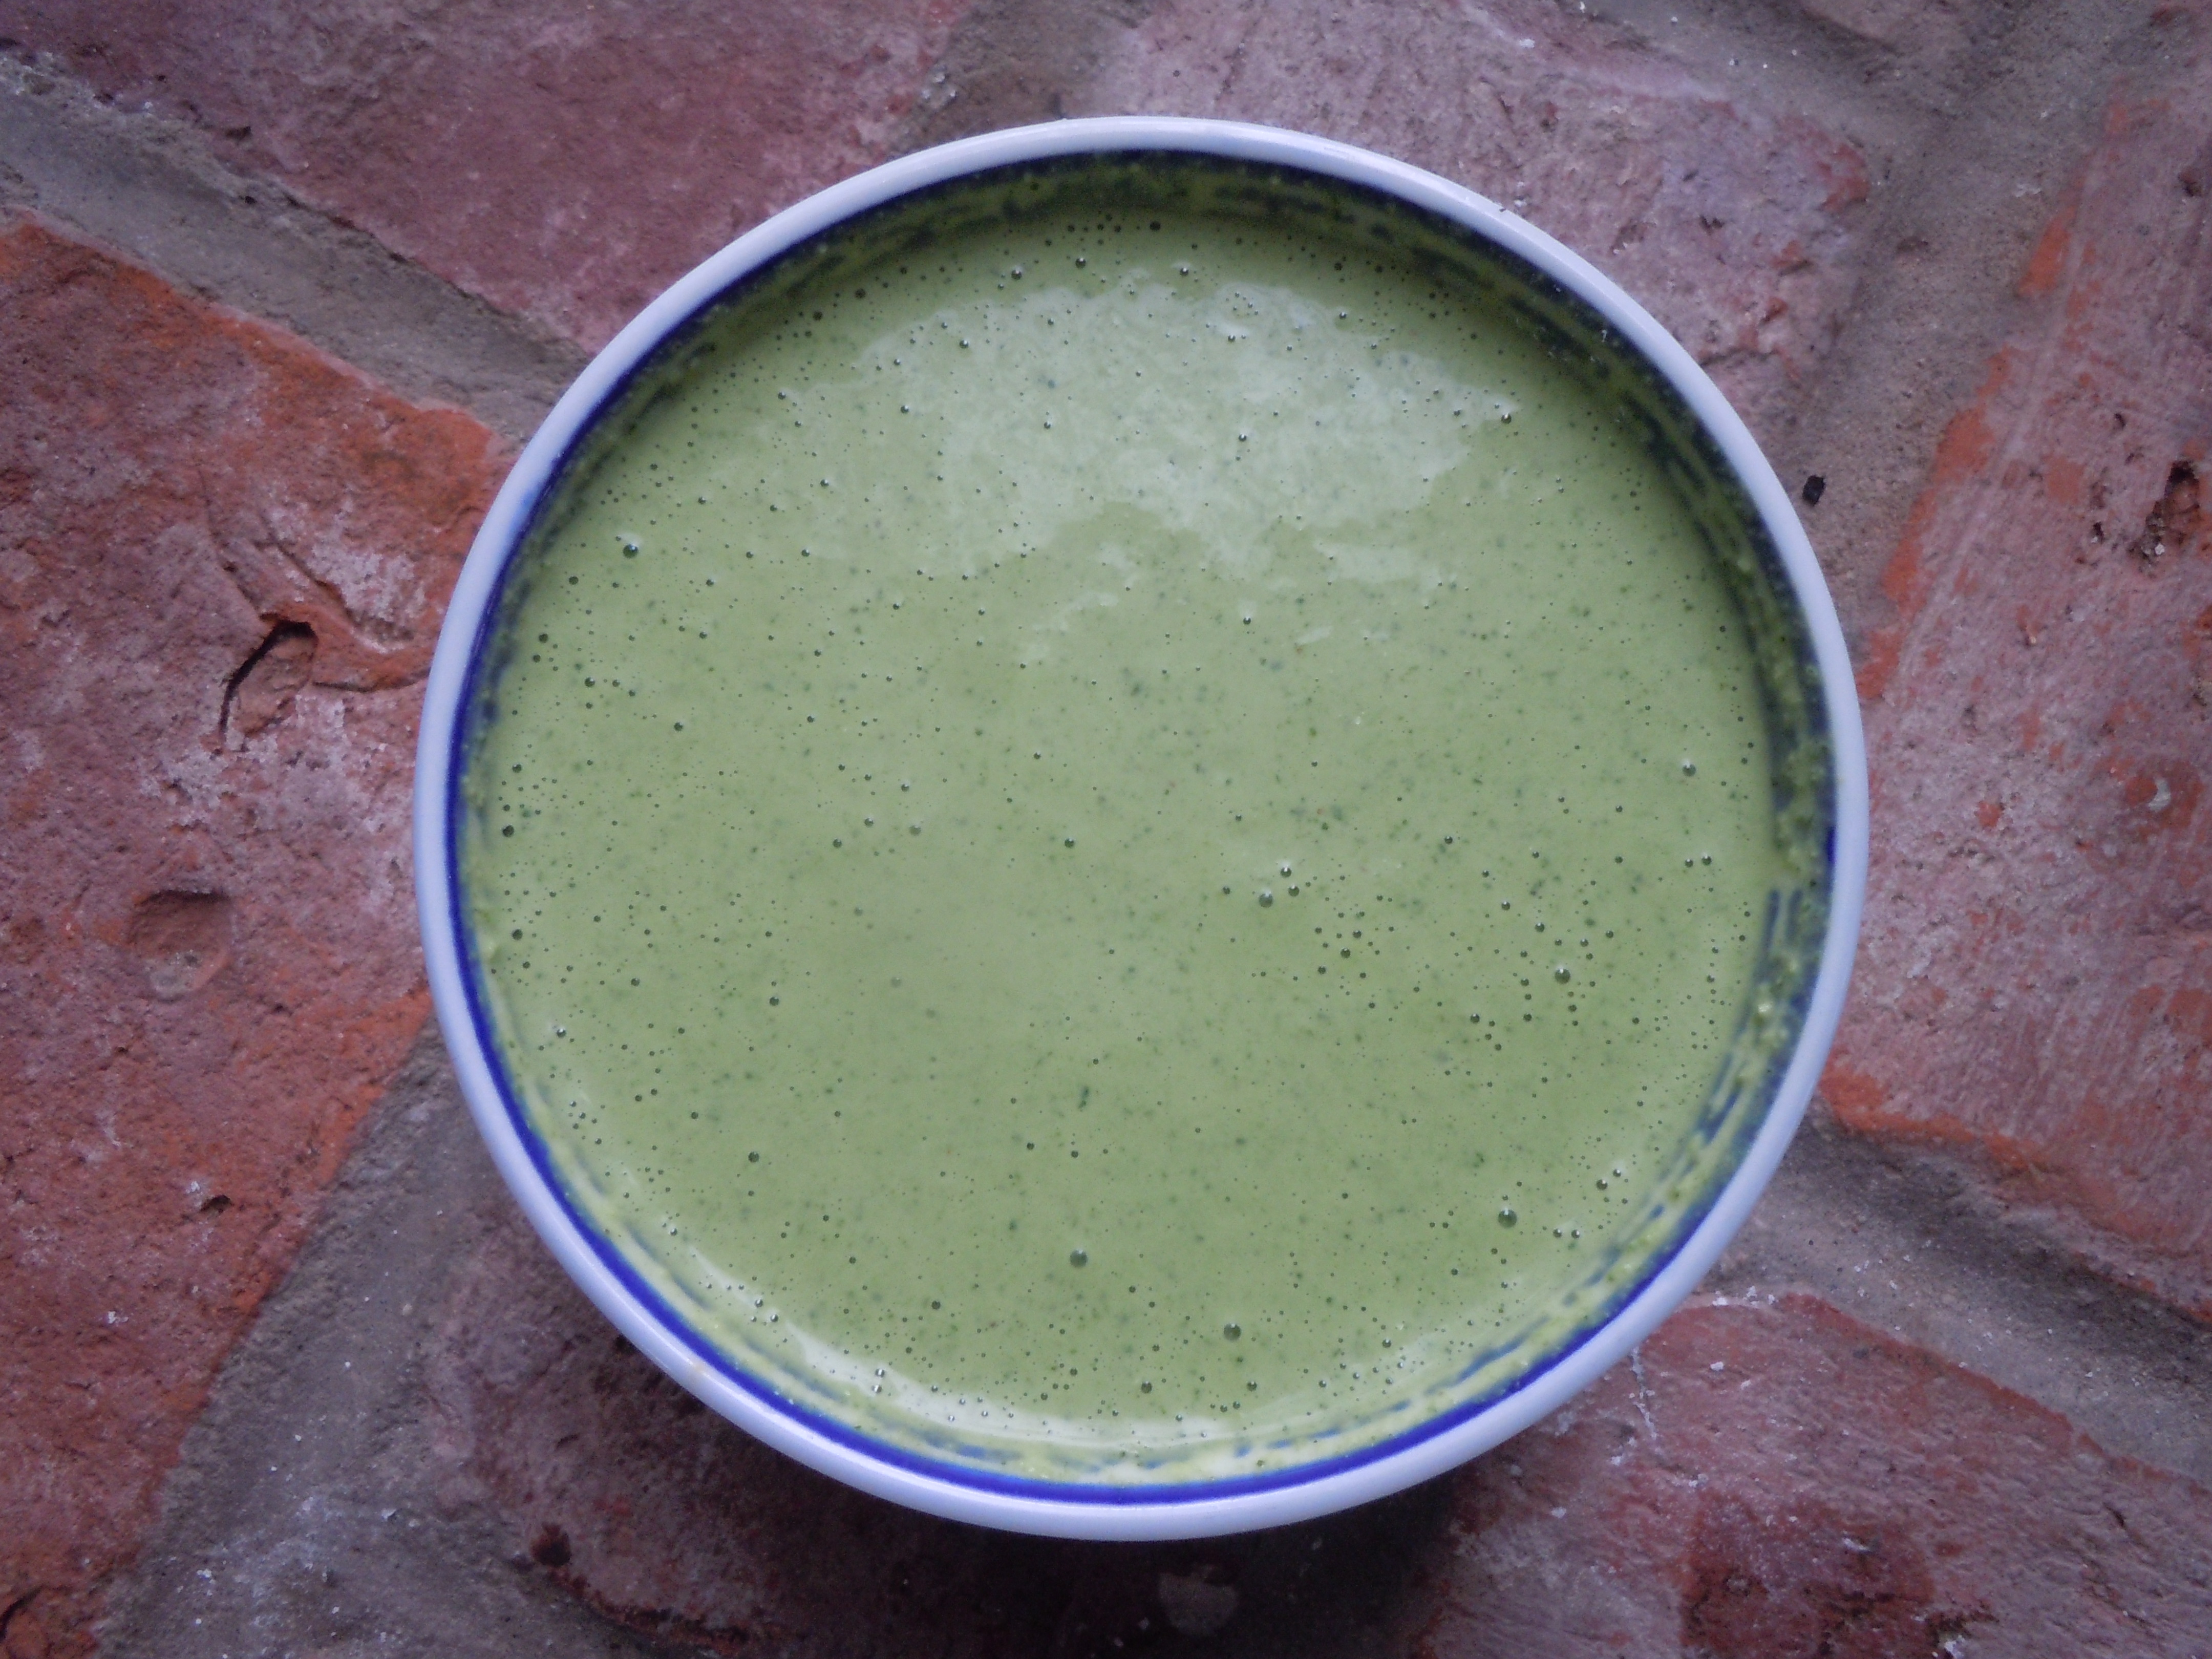
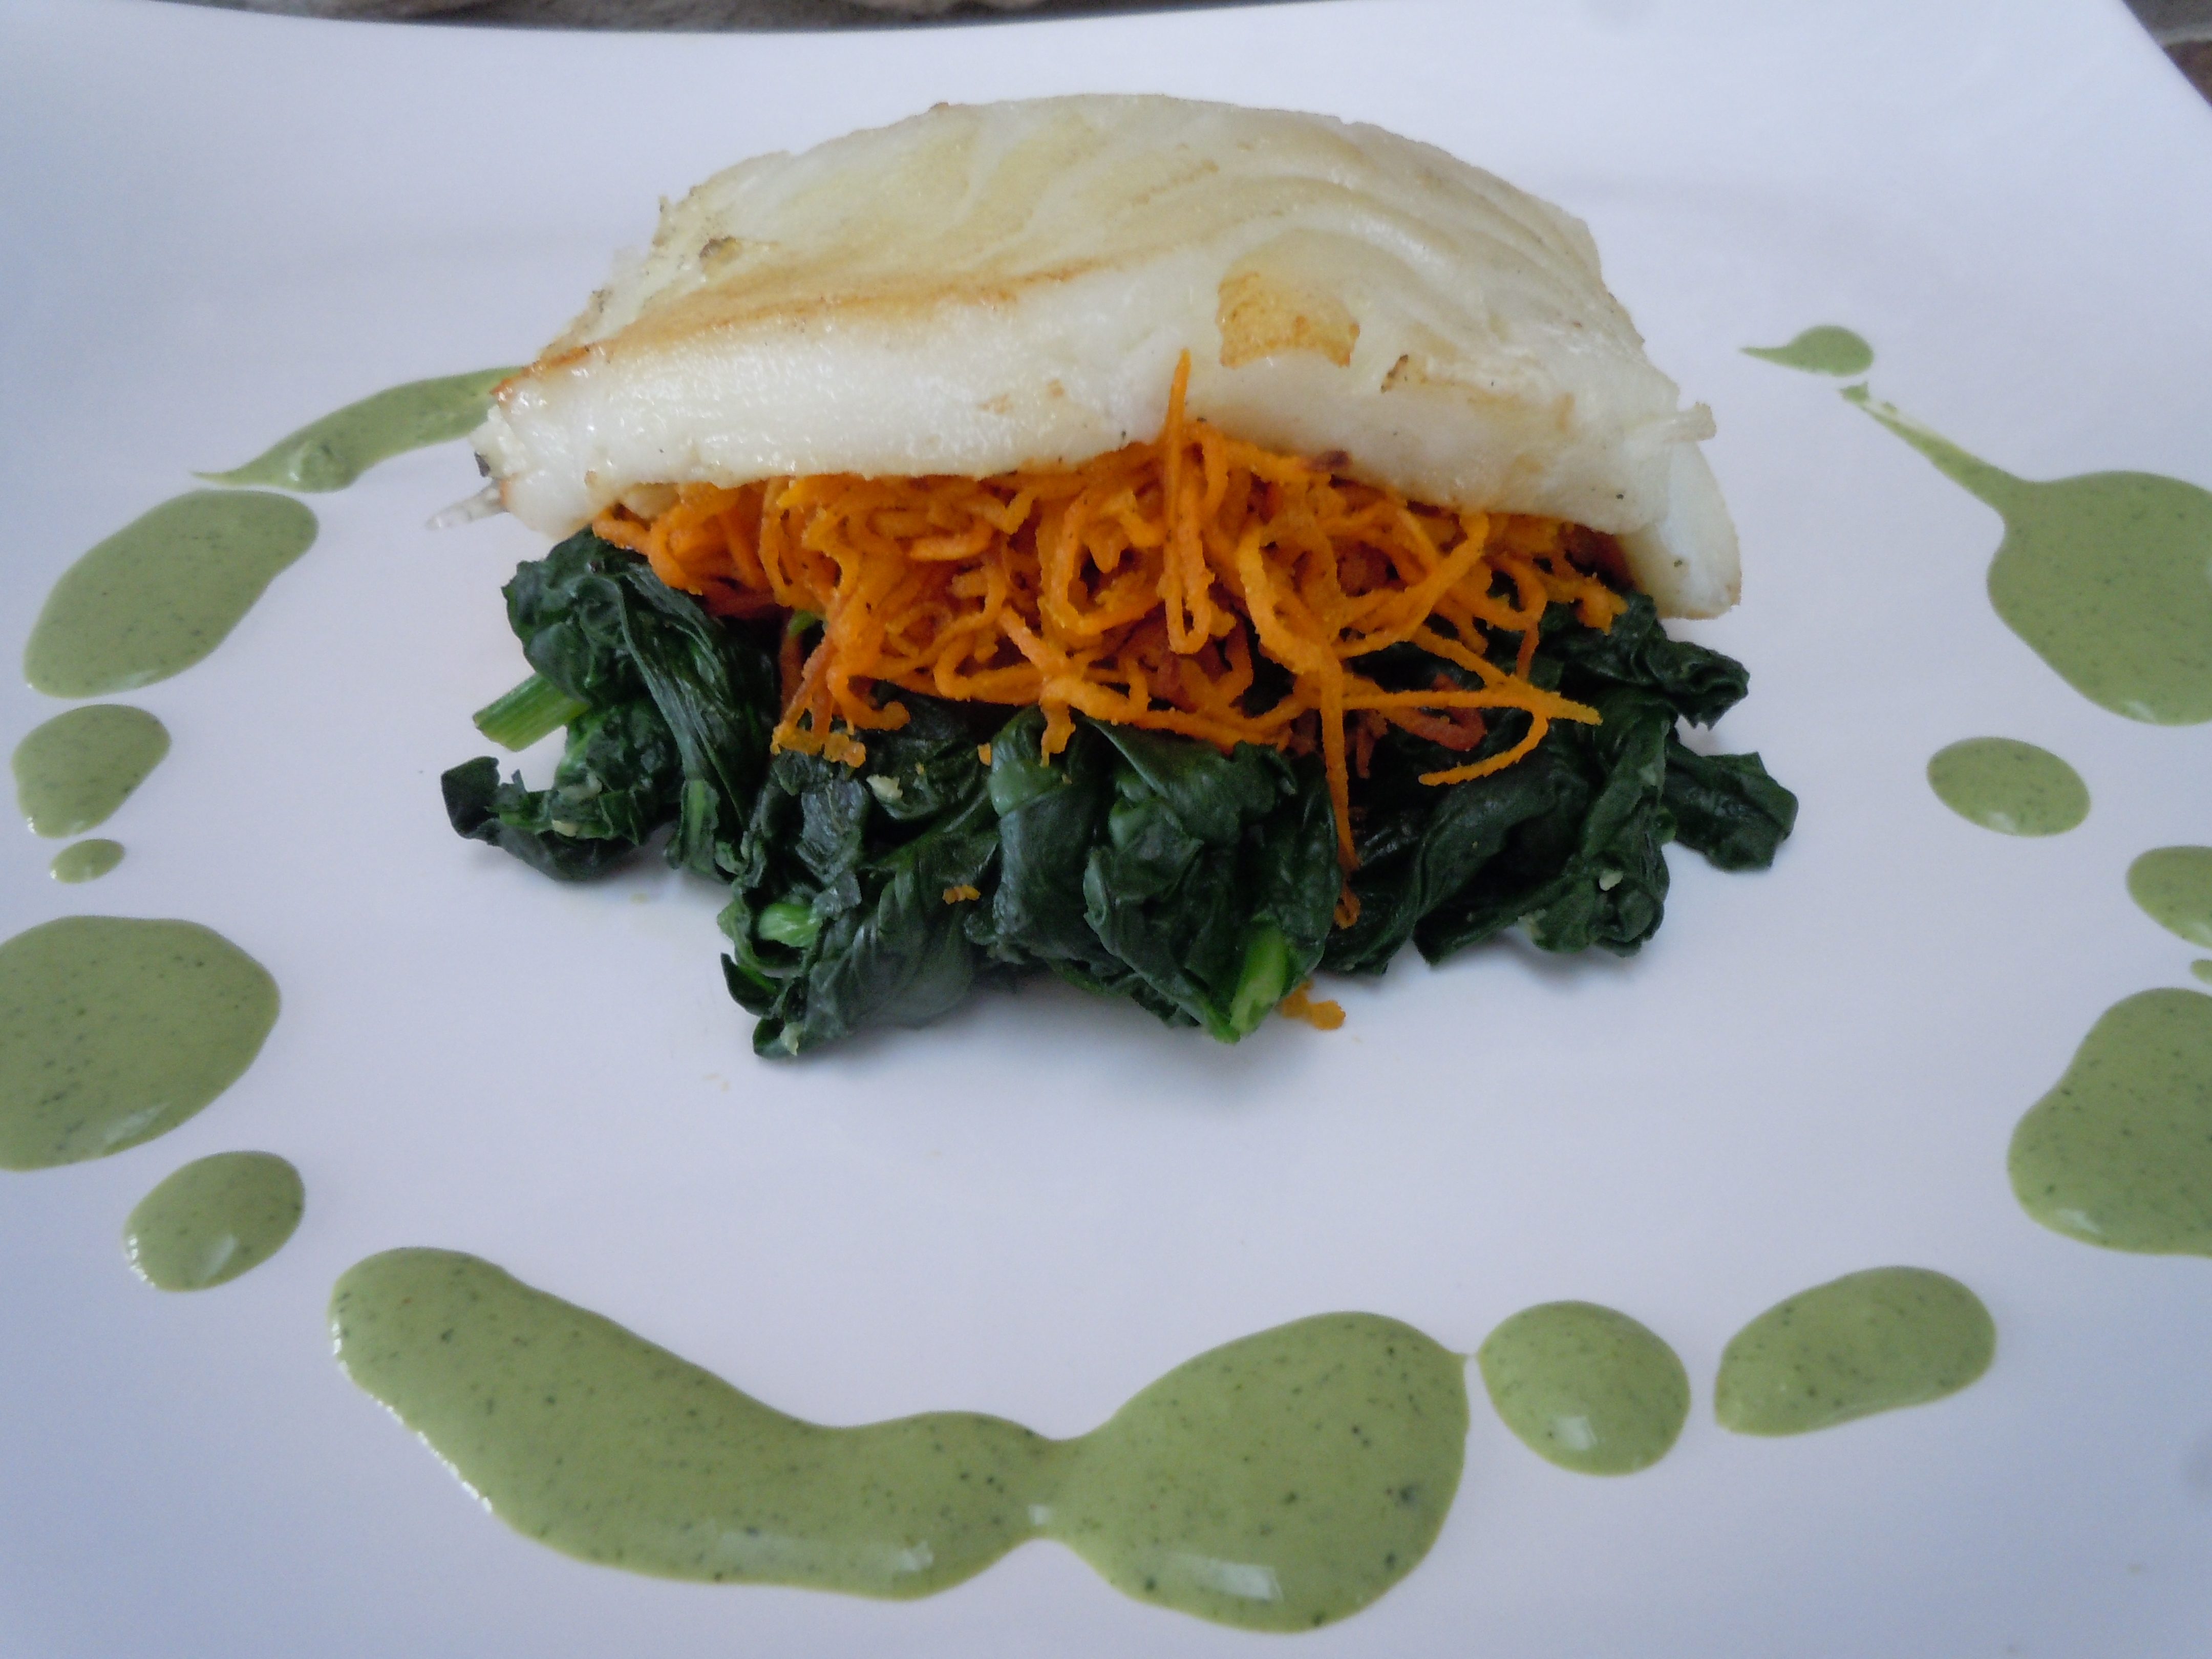
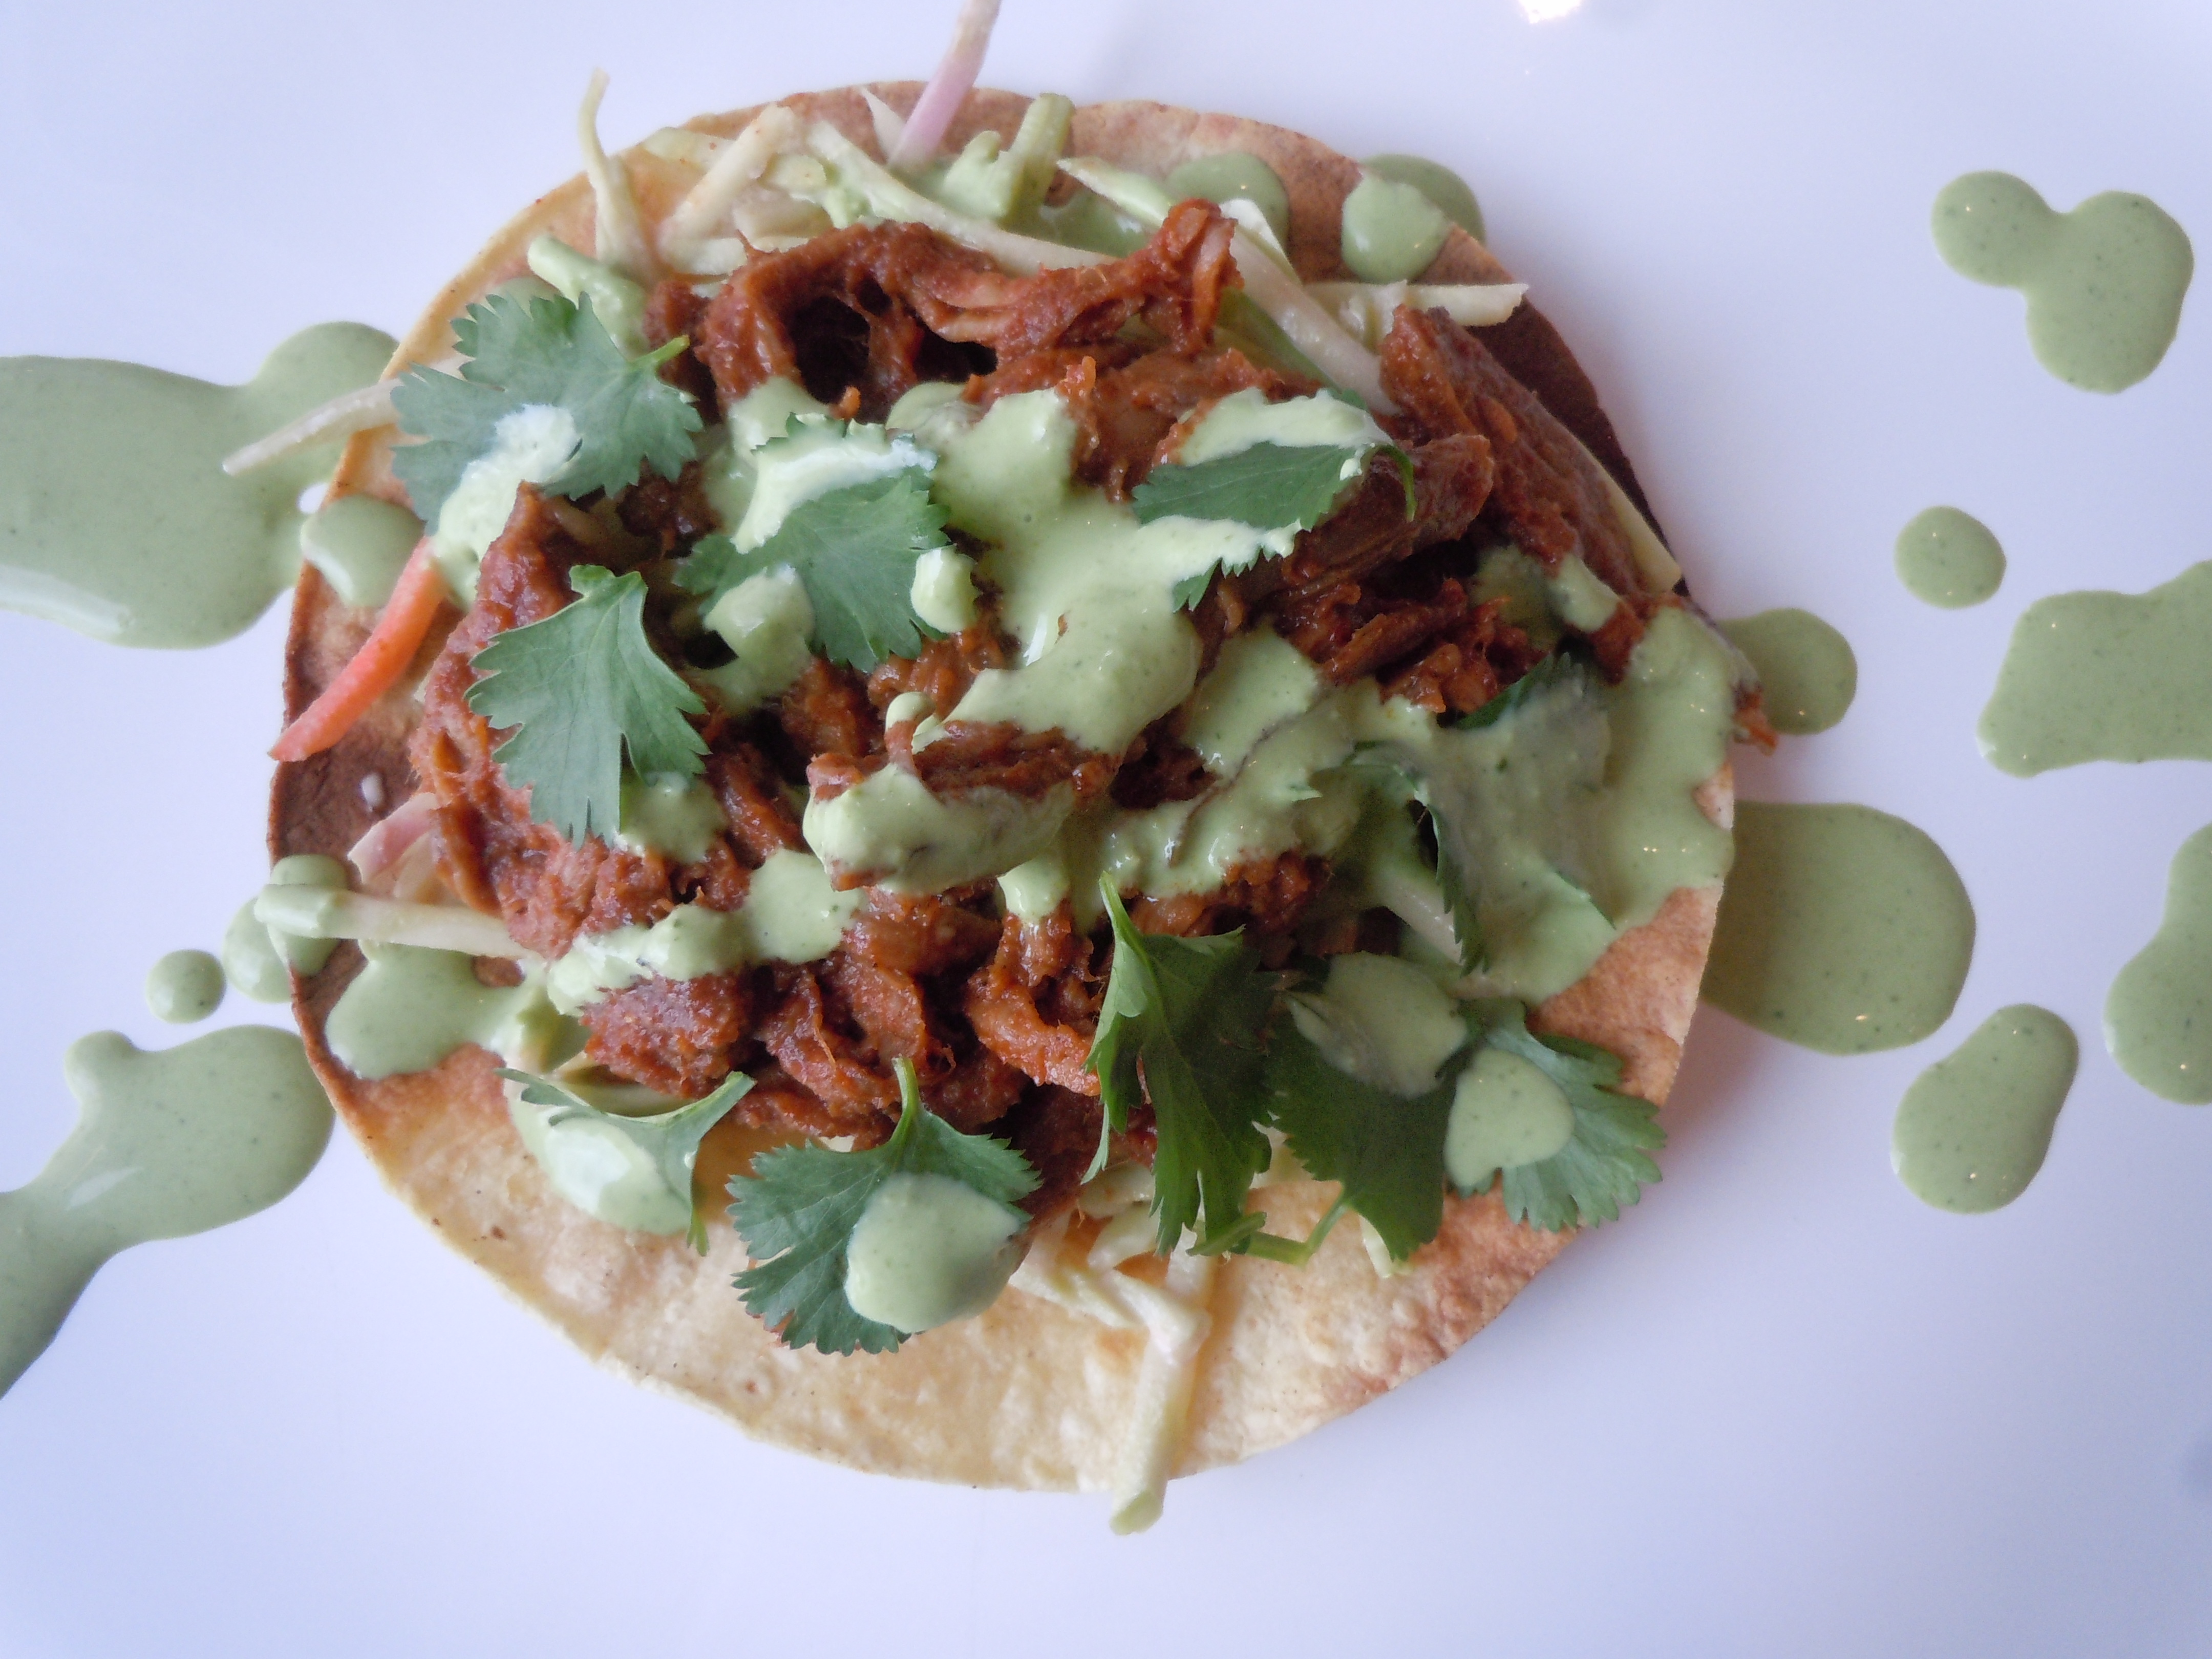
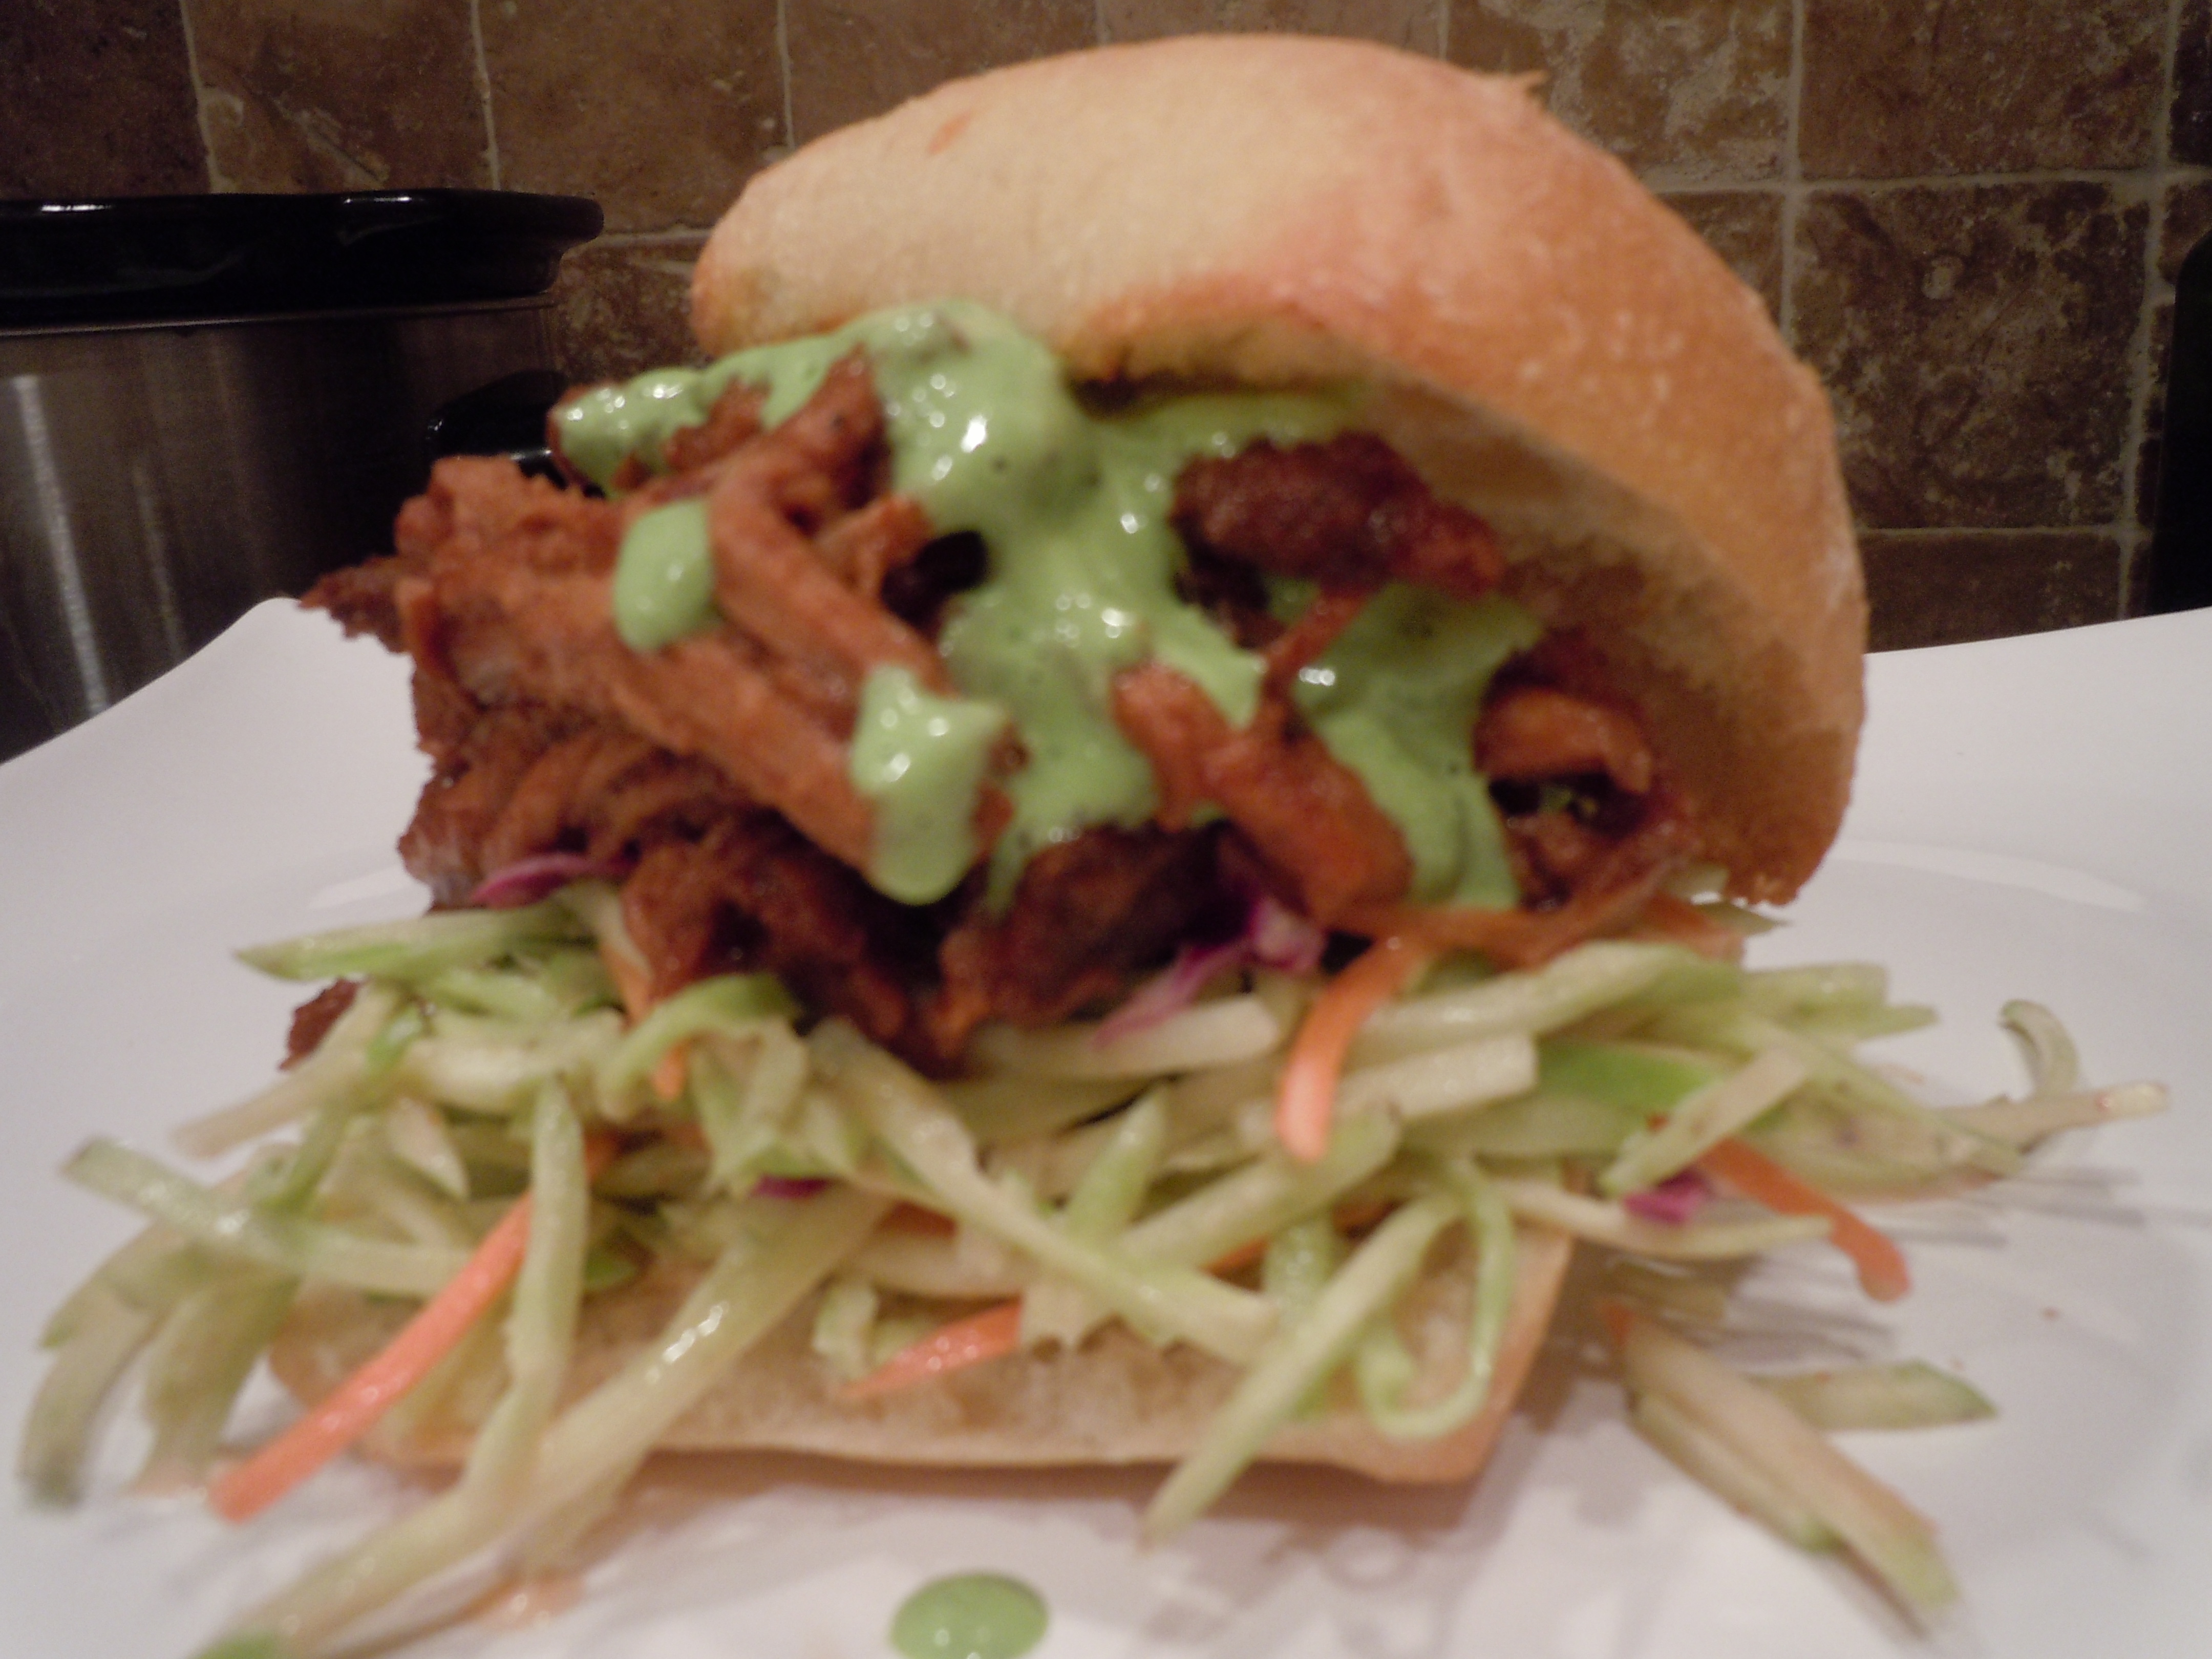
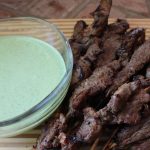
While you are on a freshness roll you may want to try my Guacamole, Pulled Beef and Mango Salsa, Salmon B.L.T Sliders, Seared Sea Scallops or Sweet Potato Fries with Green Goddess Sauce!


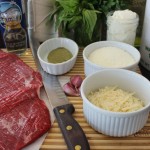
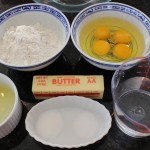
Ingredients:
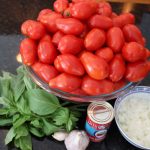
- 2 large eggplants
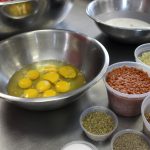
- 5 eggs
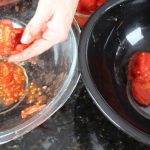
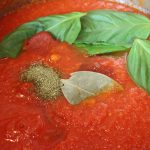
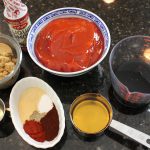
- 1 recipe tomato-basil sauce (30 minute sauce) adding in an extra 28 oz can of puréed whole peeled tomatoes to the recipe OR Slow Cooked Old Style Italian-Tomato Sauce 101
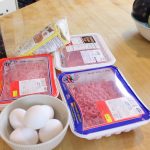
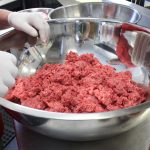
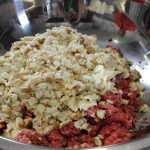
- 1 lb. ground pork
- 1 lb. gound veal
- 1 lb. ground lamb
- 1 pkg. almond flour
- s & p
- coconut oil spray
- grapeseed oil for sautéing the meats
Directions – Pre-heat Oven to 350º
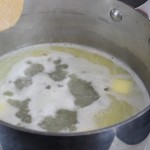
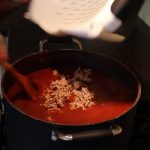
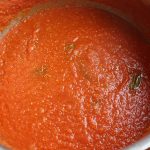
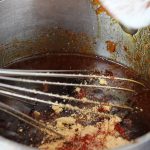
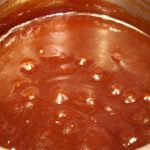
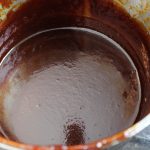
- Make tomato- basil sauce and leave simmering on low, ready for the meats to be sautéed and added
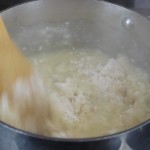
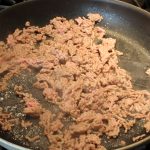
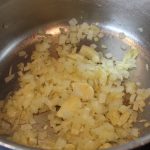
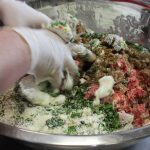
- Sauté the pork, veal and lamb separately and drain the oil from each of the meats after each sautéing, this will take about 5 minutes each
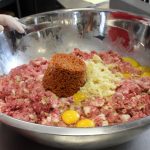
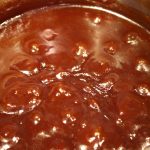
- As each meat is finished draining stir it into your tomato sauce
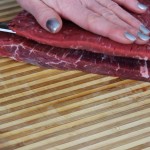
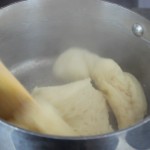
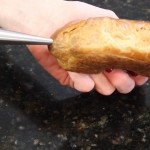
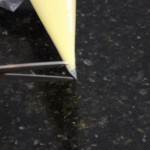
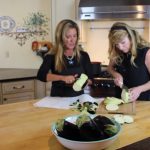
- Peel and slice 2 lg eggplants approx. 1/8″-1/4″ thick
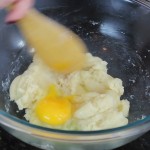
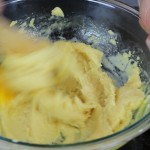
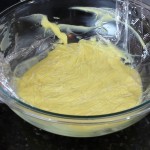
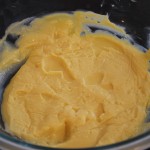
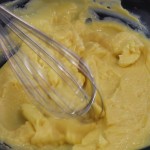
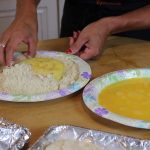
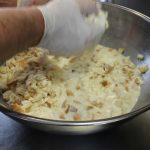
- Whisk 5 eggs in a medium bowl
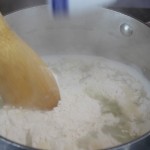
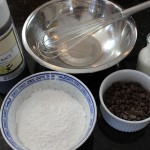
- Add 3-4 cups almond flour in another bowl for dredging the eggplant
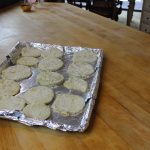
- Cover cookie tray with foil and spray with coconut oil
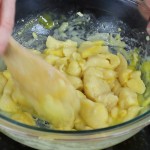
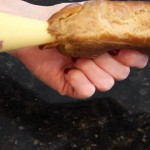
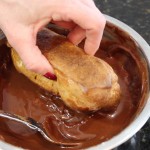
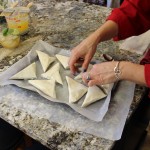
- Dip each eggplant slice into the egg, then dredge into the almond flour flipping a couple of times to get a good coating on there
- Then begin to lay the coated eggplant slices on the cookie trays
- No need to spray the tops of the slices
- Pop them into the oven for 20 minutes, just until tender
- Note: the tops of the eggplant slices will not turn golden when baked
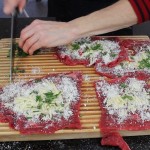
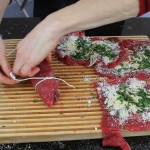
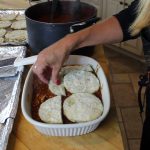
- Begin to layer the pre-baked eggplant slices in a 13″ x 9″, 12″ x 8″ approx. baking dish
- Spray bottom of baking dish with coconut oil
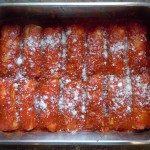
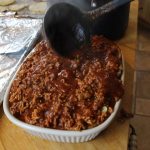
- Begin with a sauce layer, then eggplant slices, meat sauce, eggplant, meat sauce and so on until you reach the rim of the baking dish ending with a meat sauce layer completeing the Paleo Eggplant Lasagna
- Change foil layers on cookie tray to clean foil
- Place the Paleo Eggplant Lasagna onto the foiled tray and bake for approx. 35 minutes still on 350º until bubbly all over
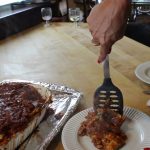
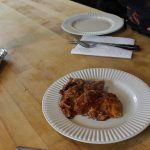
- As with a traditional lasagna you want to let it sit for 10-15 minutes before slicing after you take it out of the oven…Mangia, mangia!!


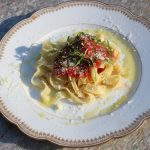
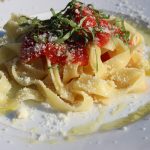


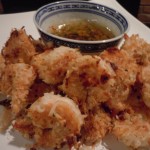
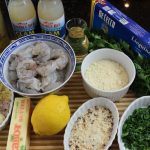
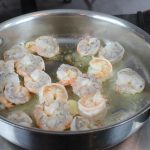
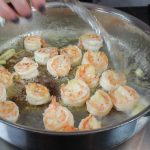
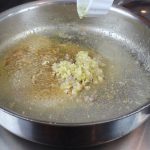
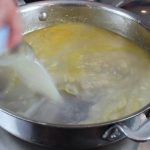
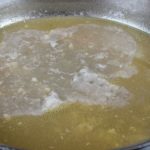
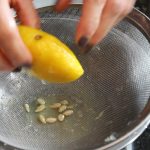
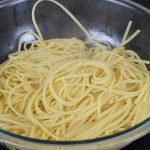
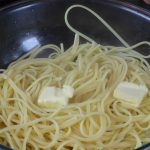
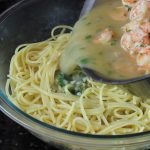
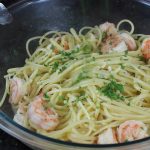
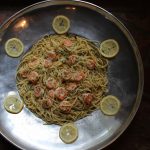
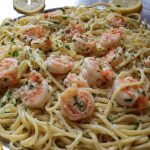
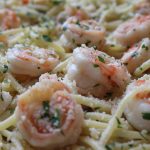
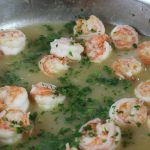 Shrimp scampi is one of those delicious dishes that’s sure to bring a smile to everyone’s face just on aroma’s alone! Shrimp sautéed in olive oil and butter with lots of garlic, shallots, clam broth, and white wine topped with fresh lemon juice, parsley and Parmesan make’s for a grand party atop a pile of linguine!