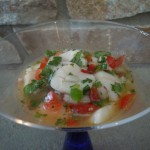
Zucchini Spaghetti at Jaynee’s
Wow! Zucchini spaghetti…who would have ever thought? A gluten free dish full of nutrients that taste’s amazing and looks as gorgeous as does is the perfect path to healthy eating! Bringing you this zucchini spaghetti simmering with tomato, basil and red wine at Jaynee’s has inspired me to put together future recipes and shows like this one.
Jaynee and I cook the zucchini spaghetti in this recipe so that it’s al dente. For those of you who might not know what Al dente means it’s an Italian term meaning to have some tooth or bite to it where the texture isn’t too soft. This is kind of ironic because that’s exactly how I like to cook my wheat pasta. I can’t think of anything worse than pasta that is fully cooked to a soft texture.
It is really exciting all the different things you can do with these creative veggie noodles! From Thai themes where raw zucchini noodles are dressed with a citrus dressing made from puréed mangoes, cilantro, fresh lime juice, and avocado’s to tahini sauce puréed with green onions, coconut meat, ginger and fresh lemons. Not only are these dressings packed with anti-oxidants and exotic flavors but the citrus partially cooks the zucchini getting results similar to ceviche. The citrus actually softens the texture of the vegetable giving you a softer mouth feel crunch rather than a harsh raw bite.
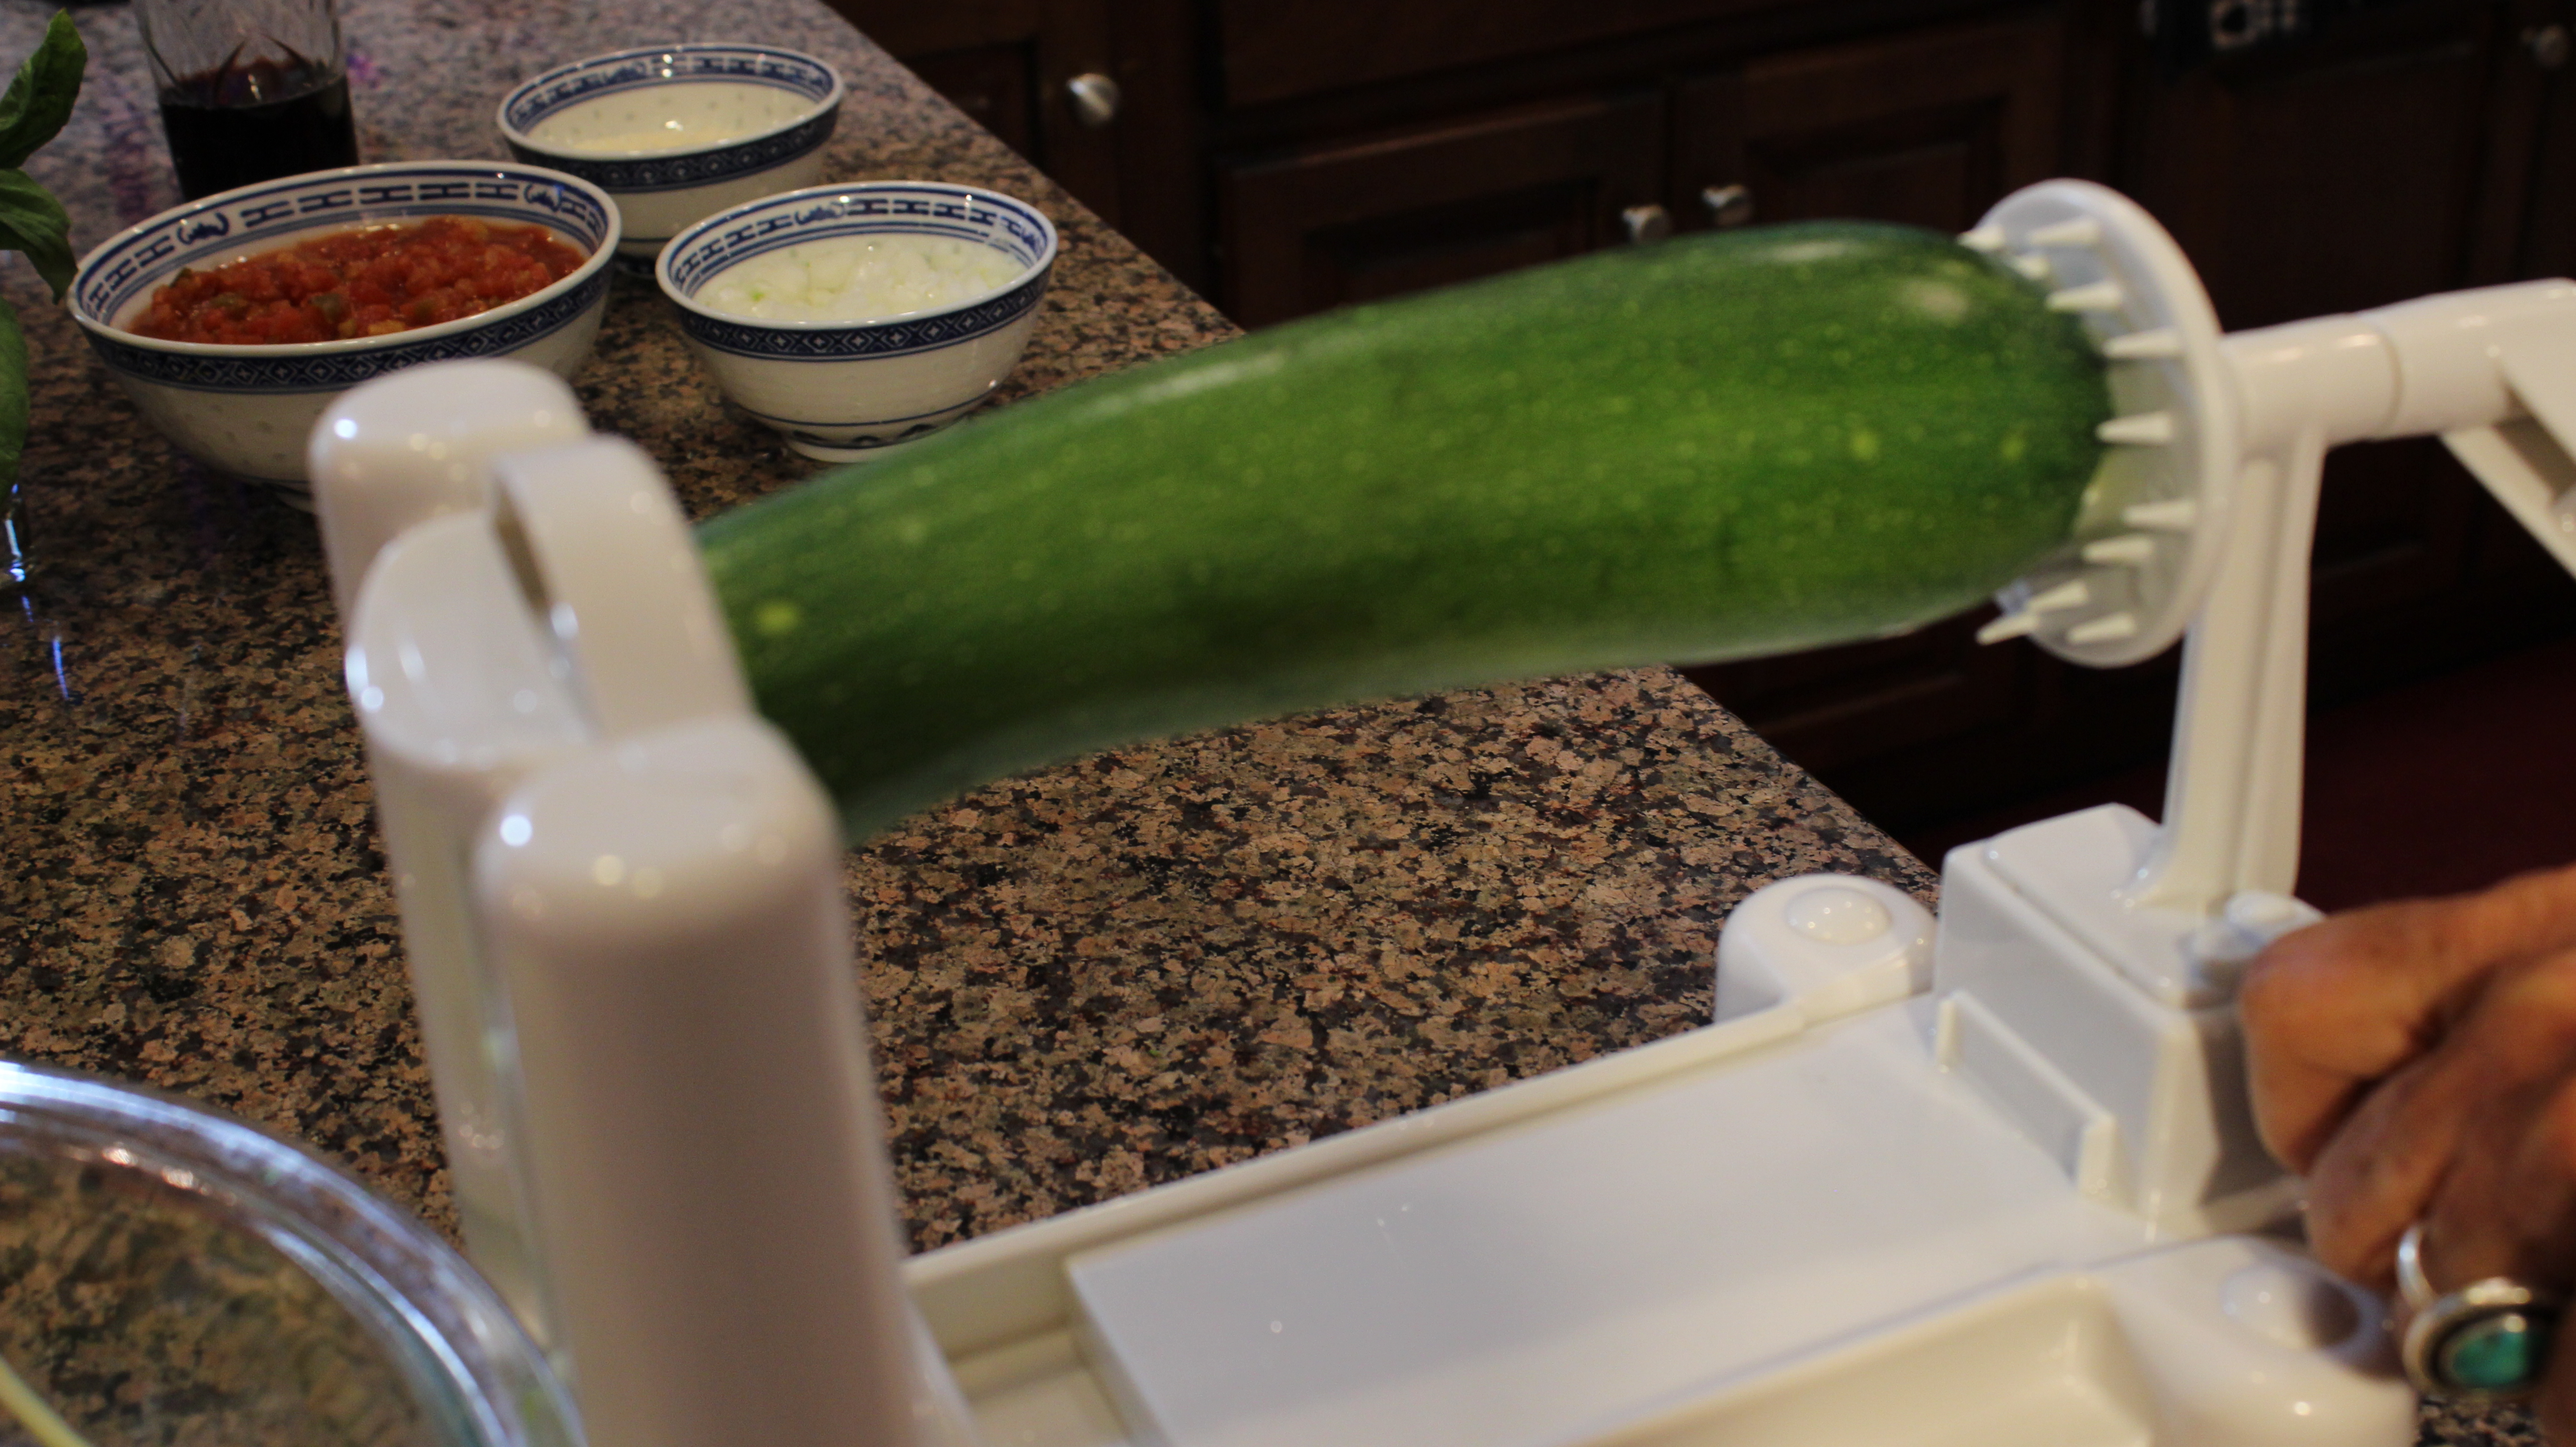
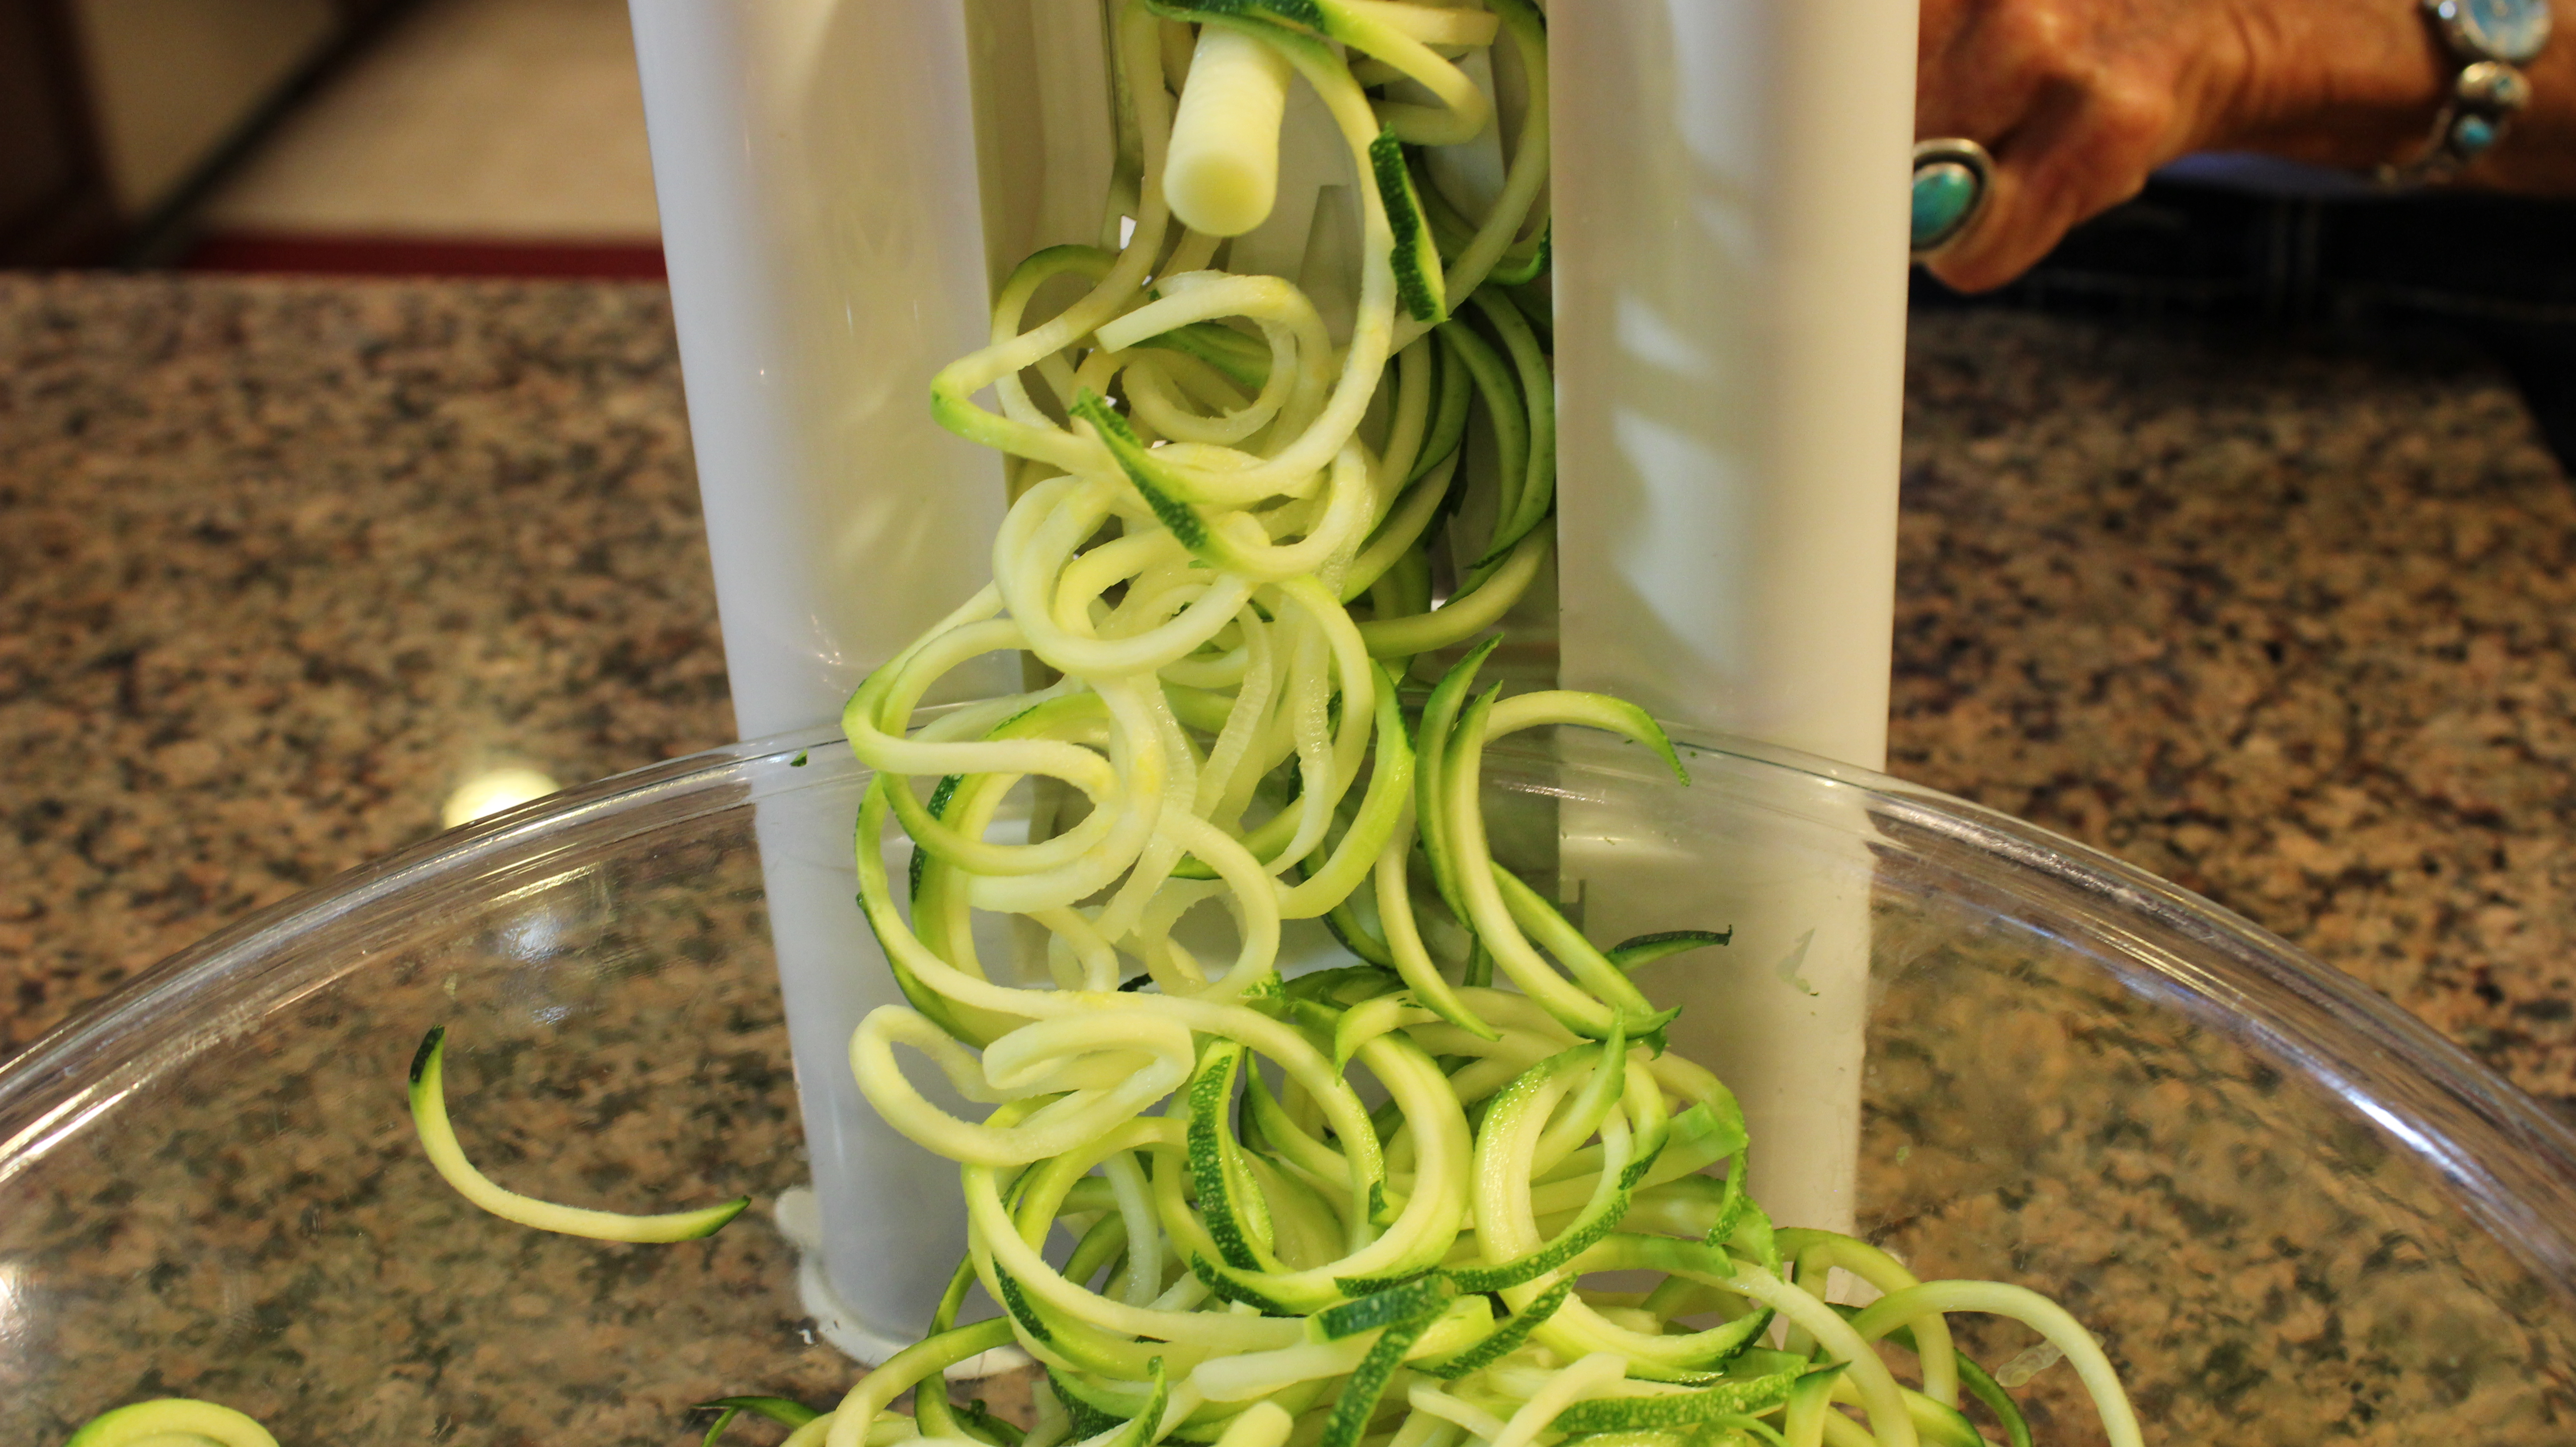
It couldn’t get any easier to make these spiral veggie noodles with the new-fangled devices available out there. I purchased my Spiralizer at William Sonoma Outlet in Westbrook on a 30% off sale with an additional 20% off if I gave them my email. Can’t go wrong there. Here is the Spiralizer Amazon link offering a great deal too! Can’t wait for you to venture off into veggie noodle land. You will be amazed how fun and delicious it is to make this recipe. Hope you enjoy the show and keep a look out for future veggie noodle recipes 🙂
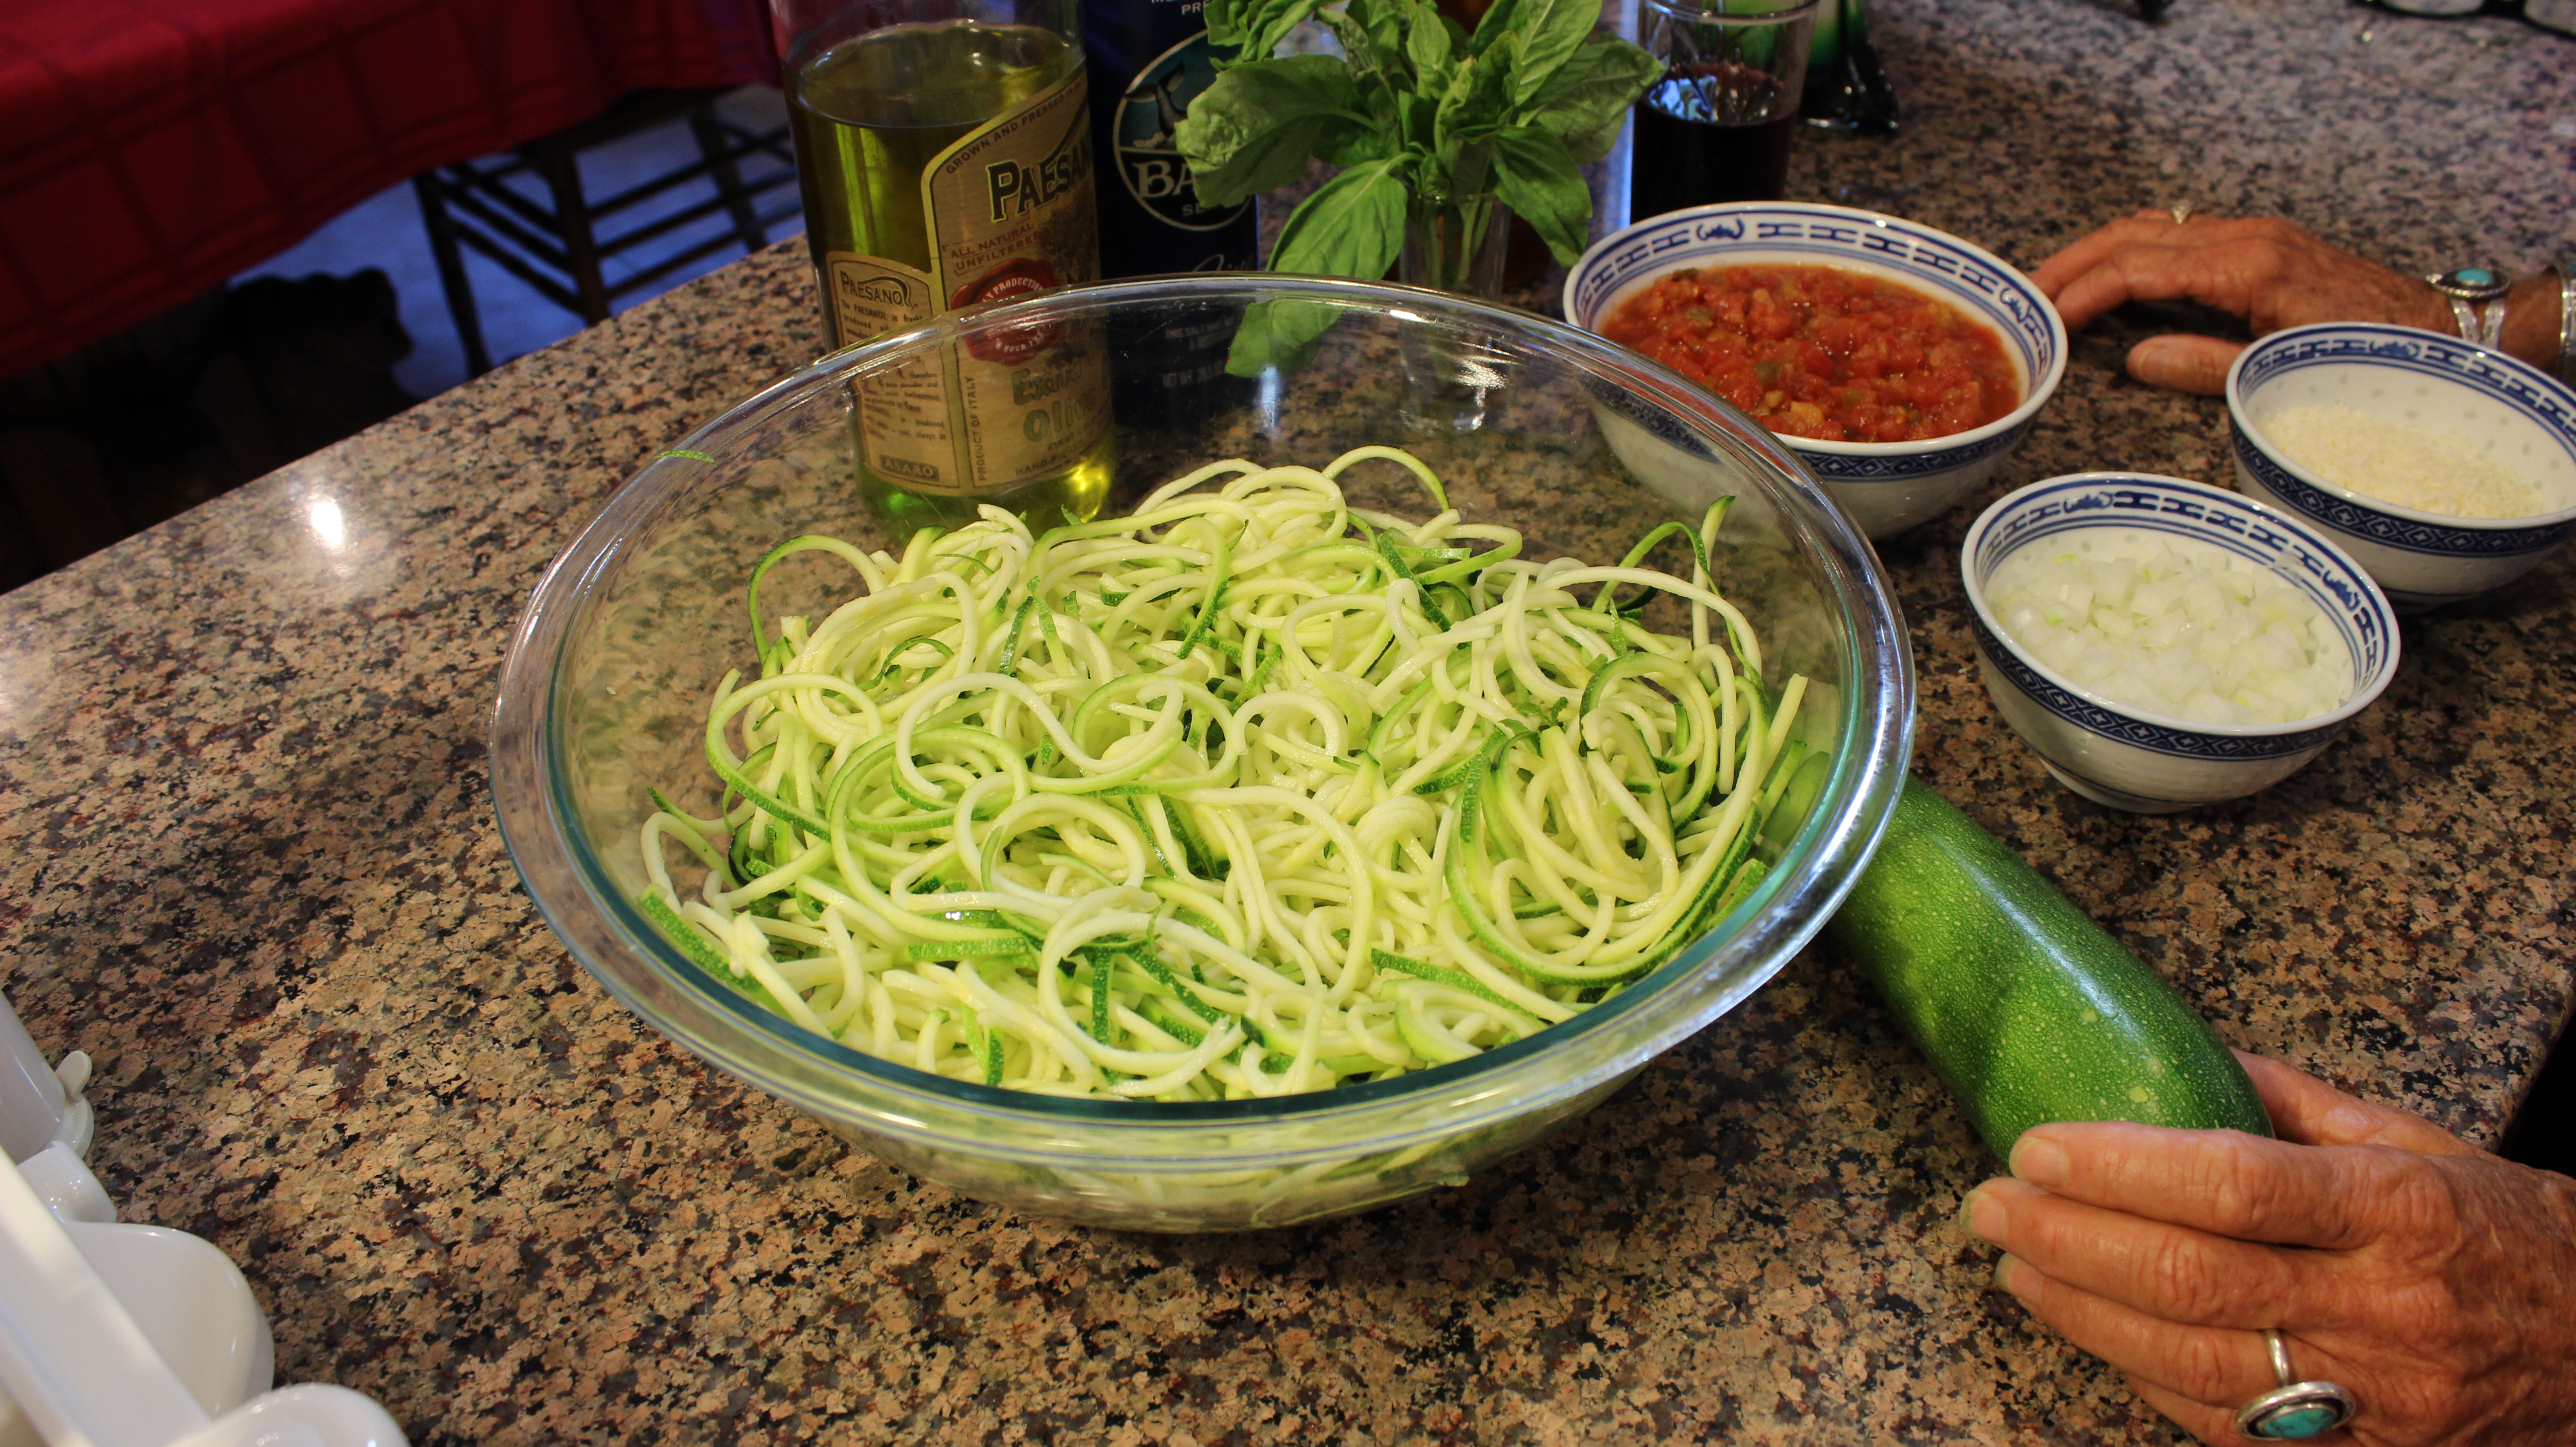
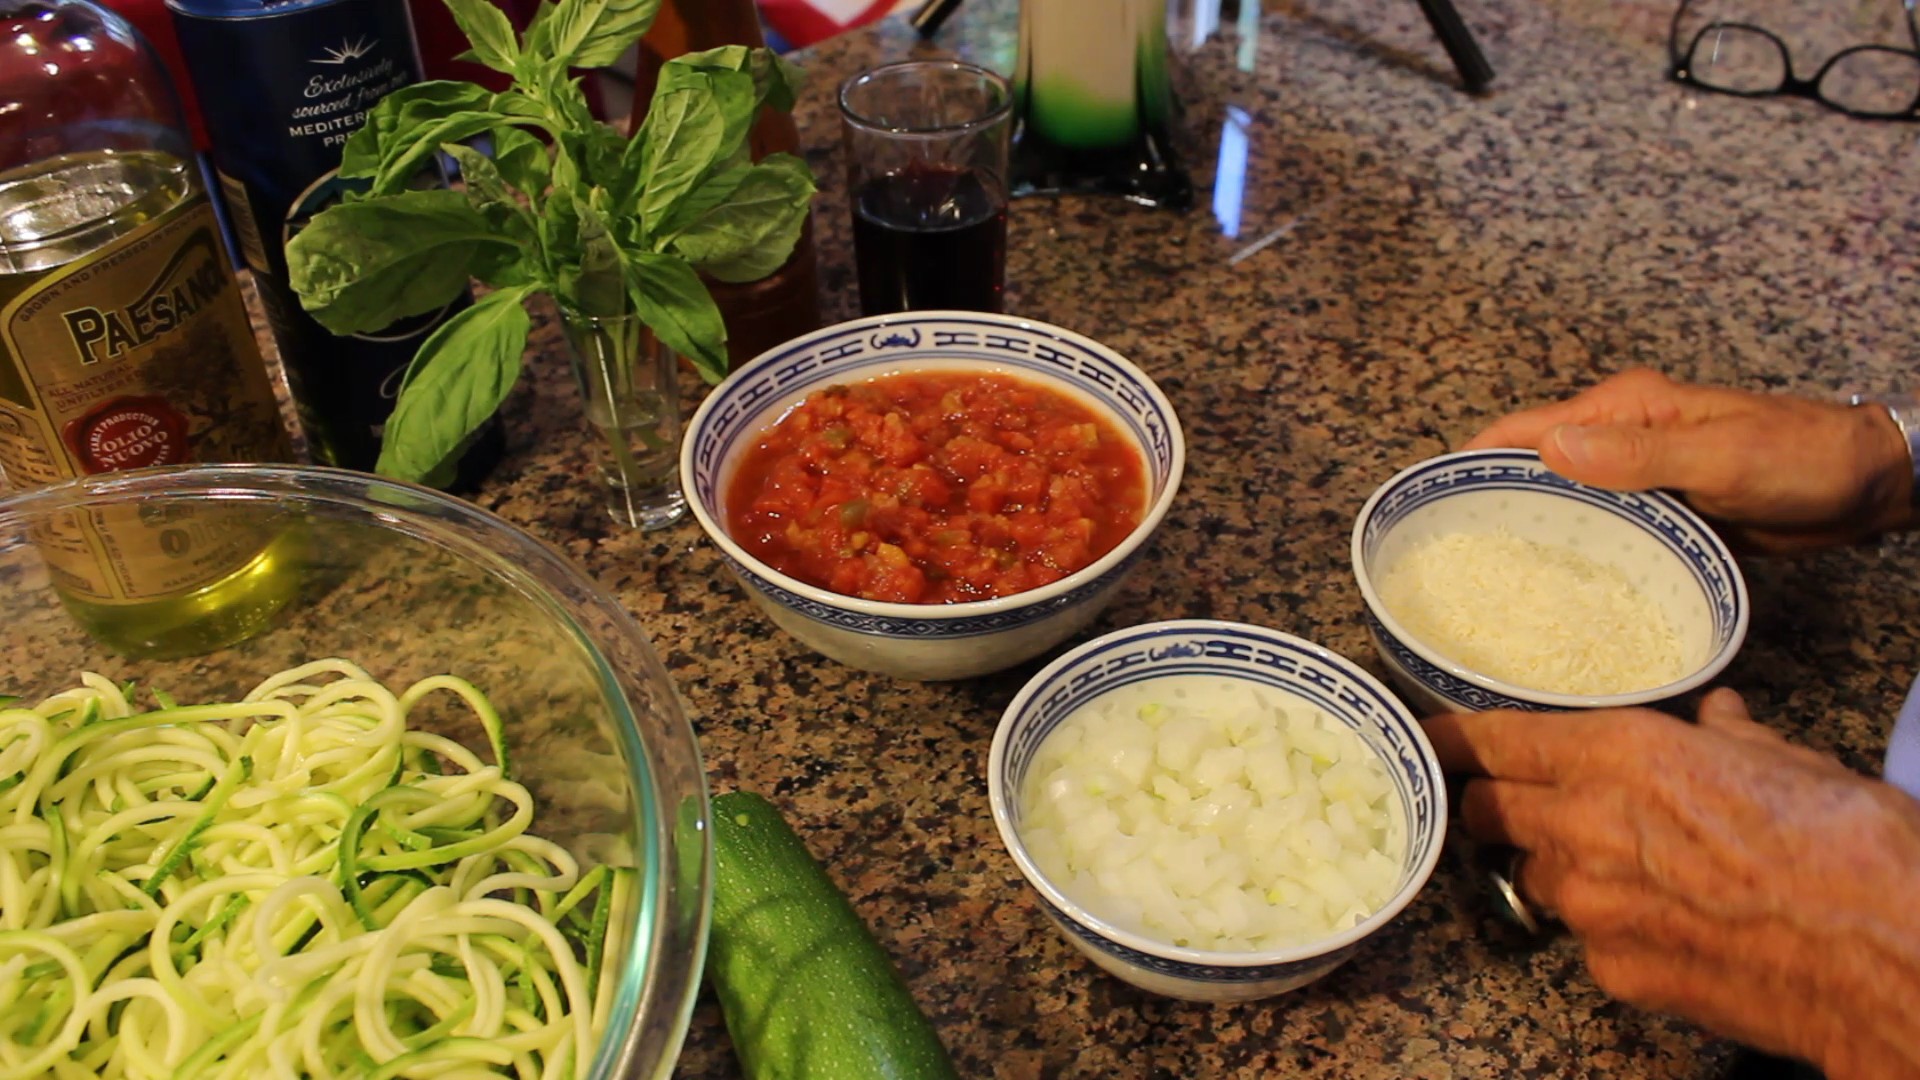

Ingredients: Need “Spiralizer” or similar to make zucchini spaghetti
- 4 med/lg zucchini
- 1 small vadalia (sweet) onion chopped
- OPTIONAL: 2 finely chopped garlic cloves – If you love garlic as I do
- 1 14 oz. can of diced tomatoes flavored with onion, garlic, celery and or green peppers OR your favorite can of peeled tomatoes in your cabinet (just need to add in 1/4 cup chopped peppers in addition to the onion/garlic above – chop up the whole peeled tomatoes as well to add in after you sauté veggies)
- NOTE: If you use “whole peeled” tomatoes DO NOT use the juice too, tomatoes only, because the zucchini renders out a lot of water all on its own.
- 1/4 cup red wine
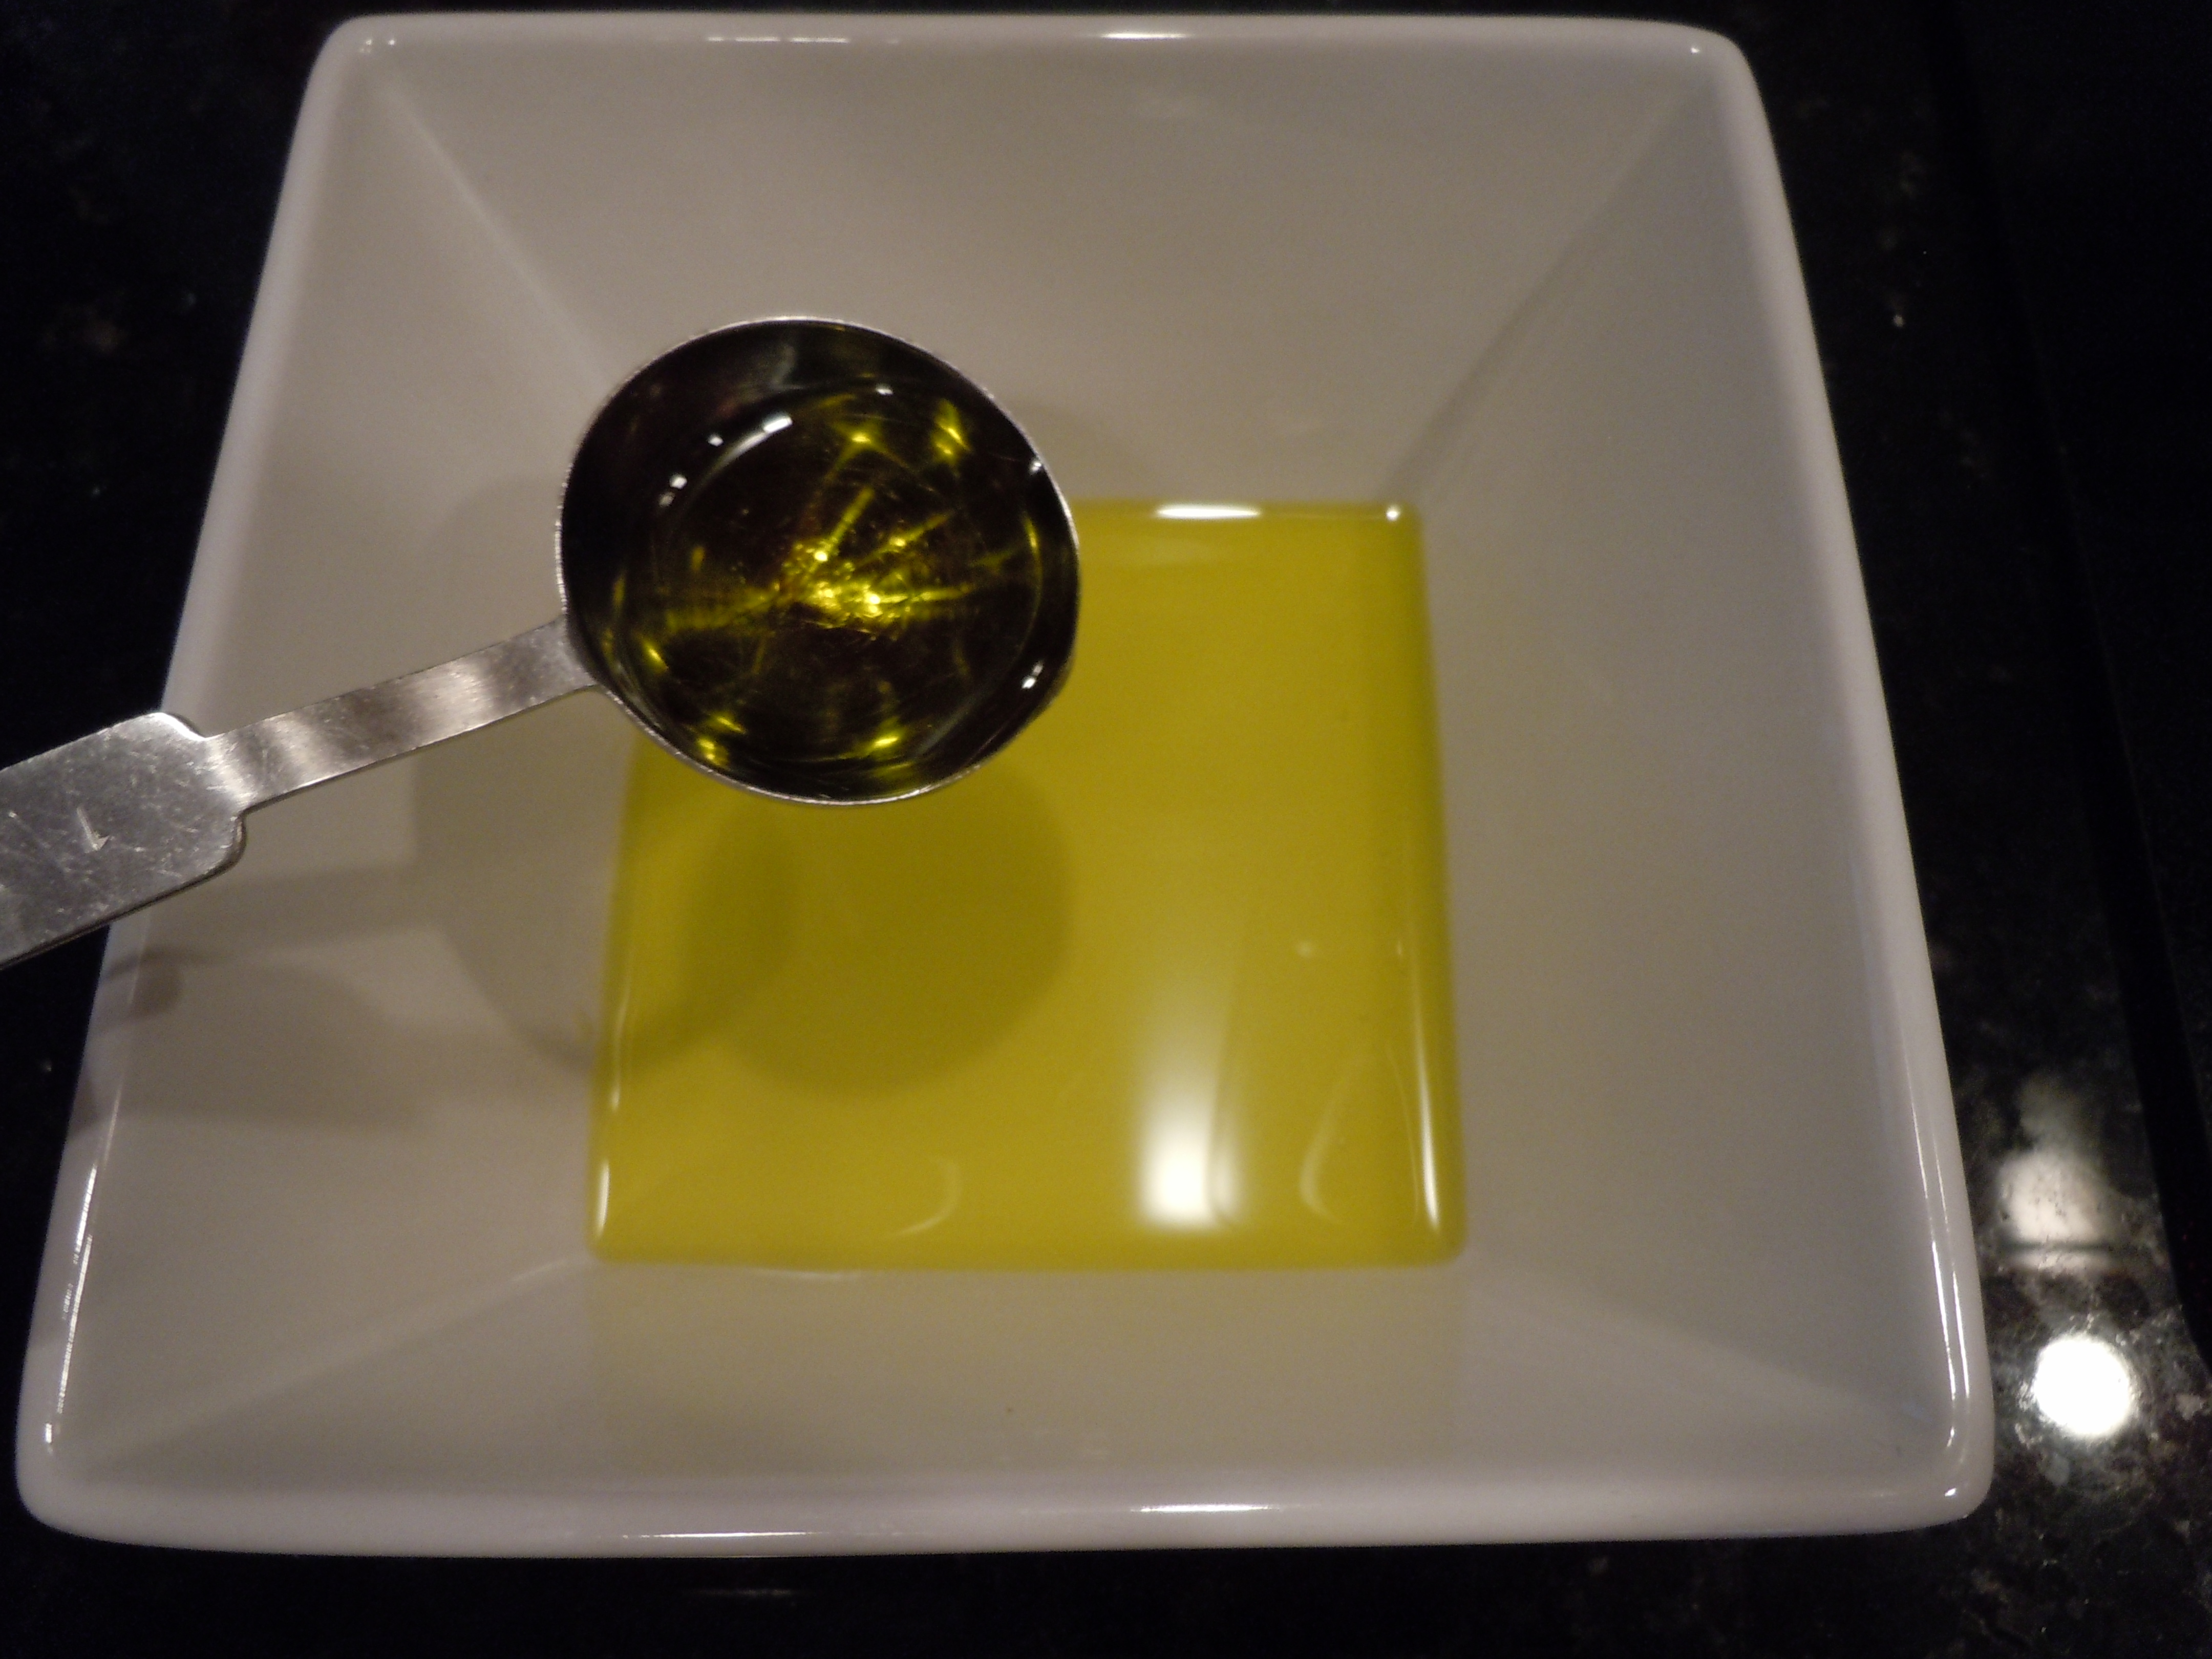
- 3 tbsn olive oil
- 1 bunch fresh basil
- 1/2 tsp salt
- S & P to taste
- OPTIONAL: 1 small container of fresh ricotta to garnish at the end with the Parmesan
Directions:
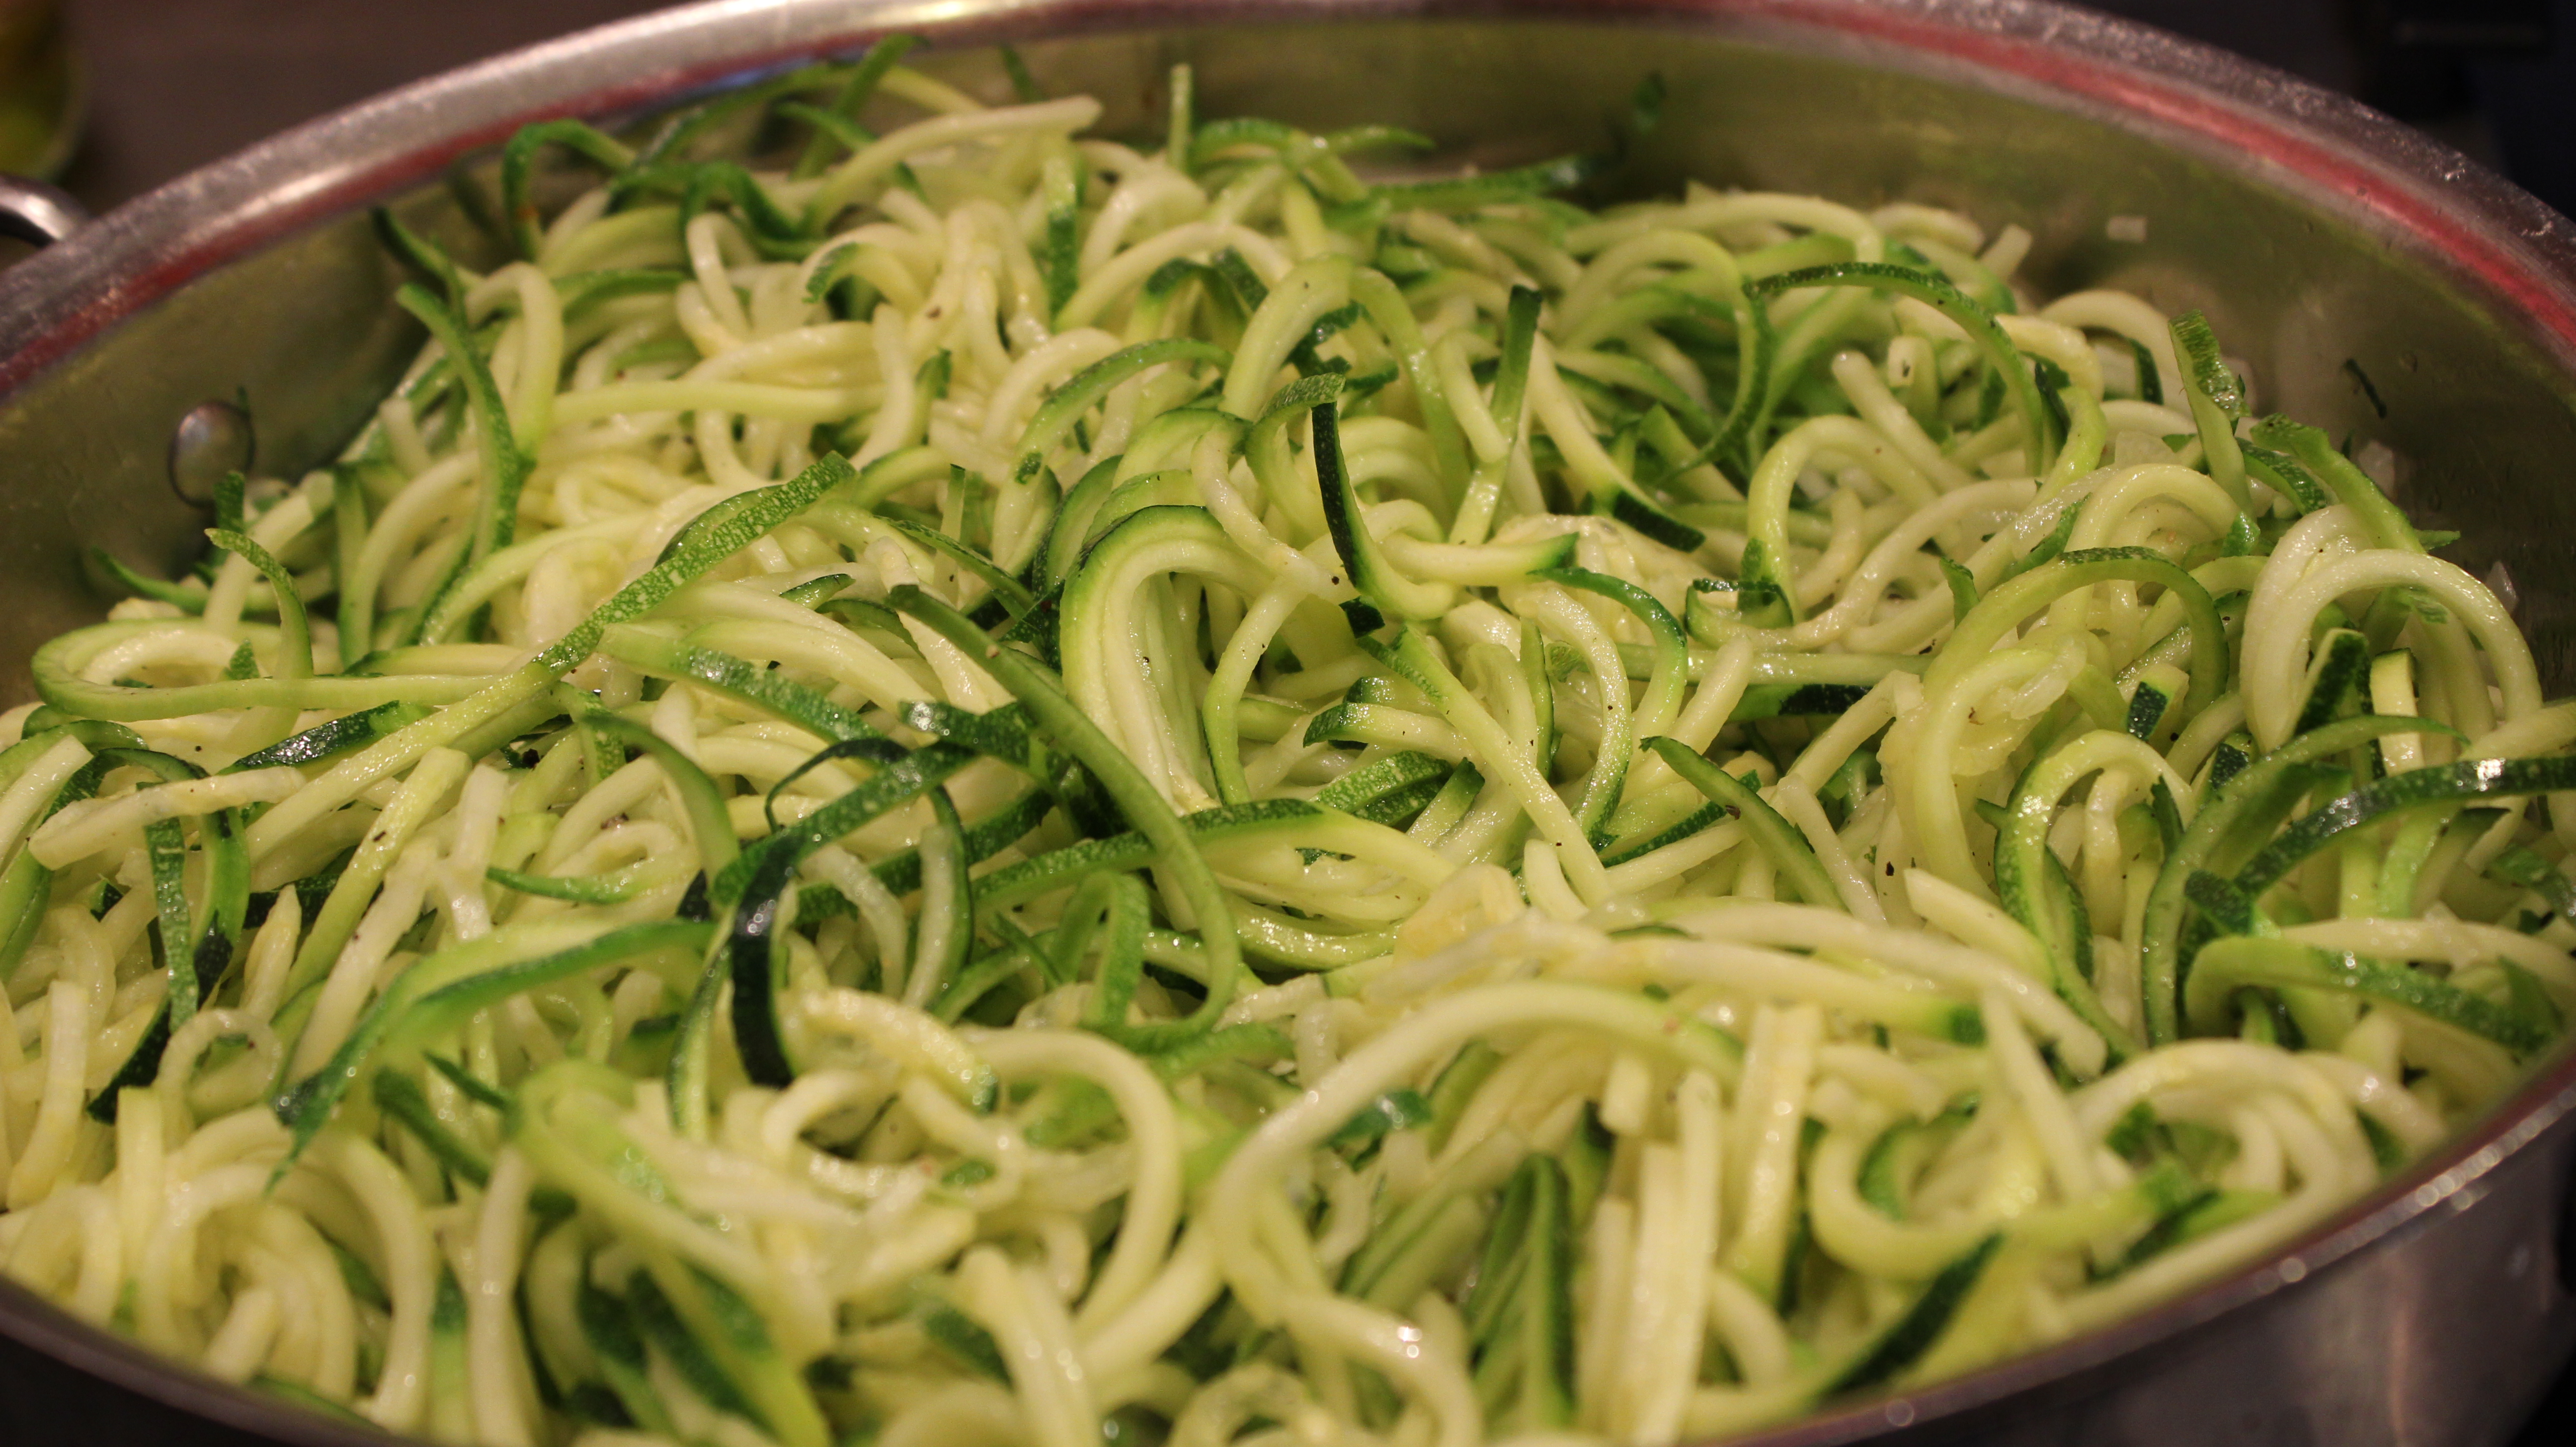
- Spiralize all 4 zucchini and place in a lg bowl
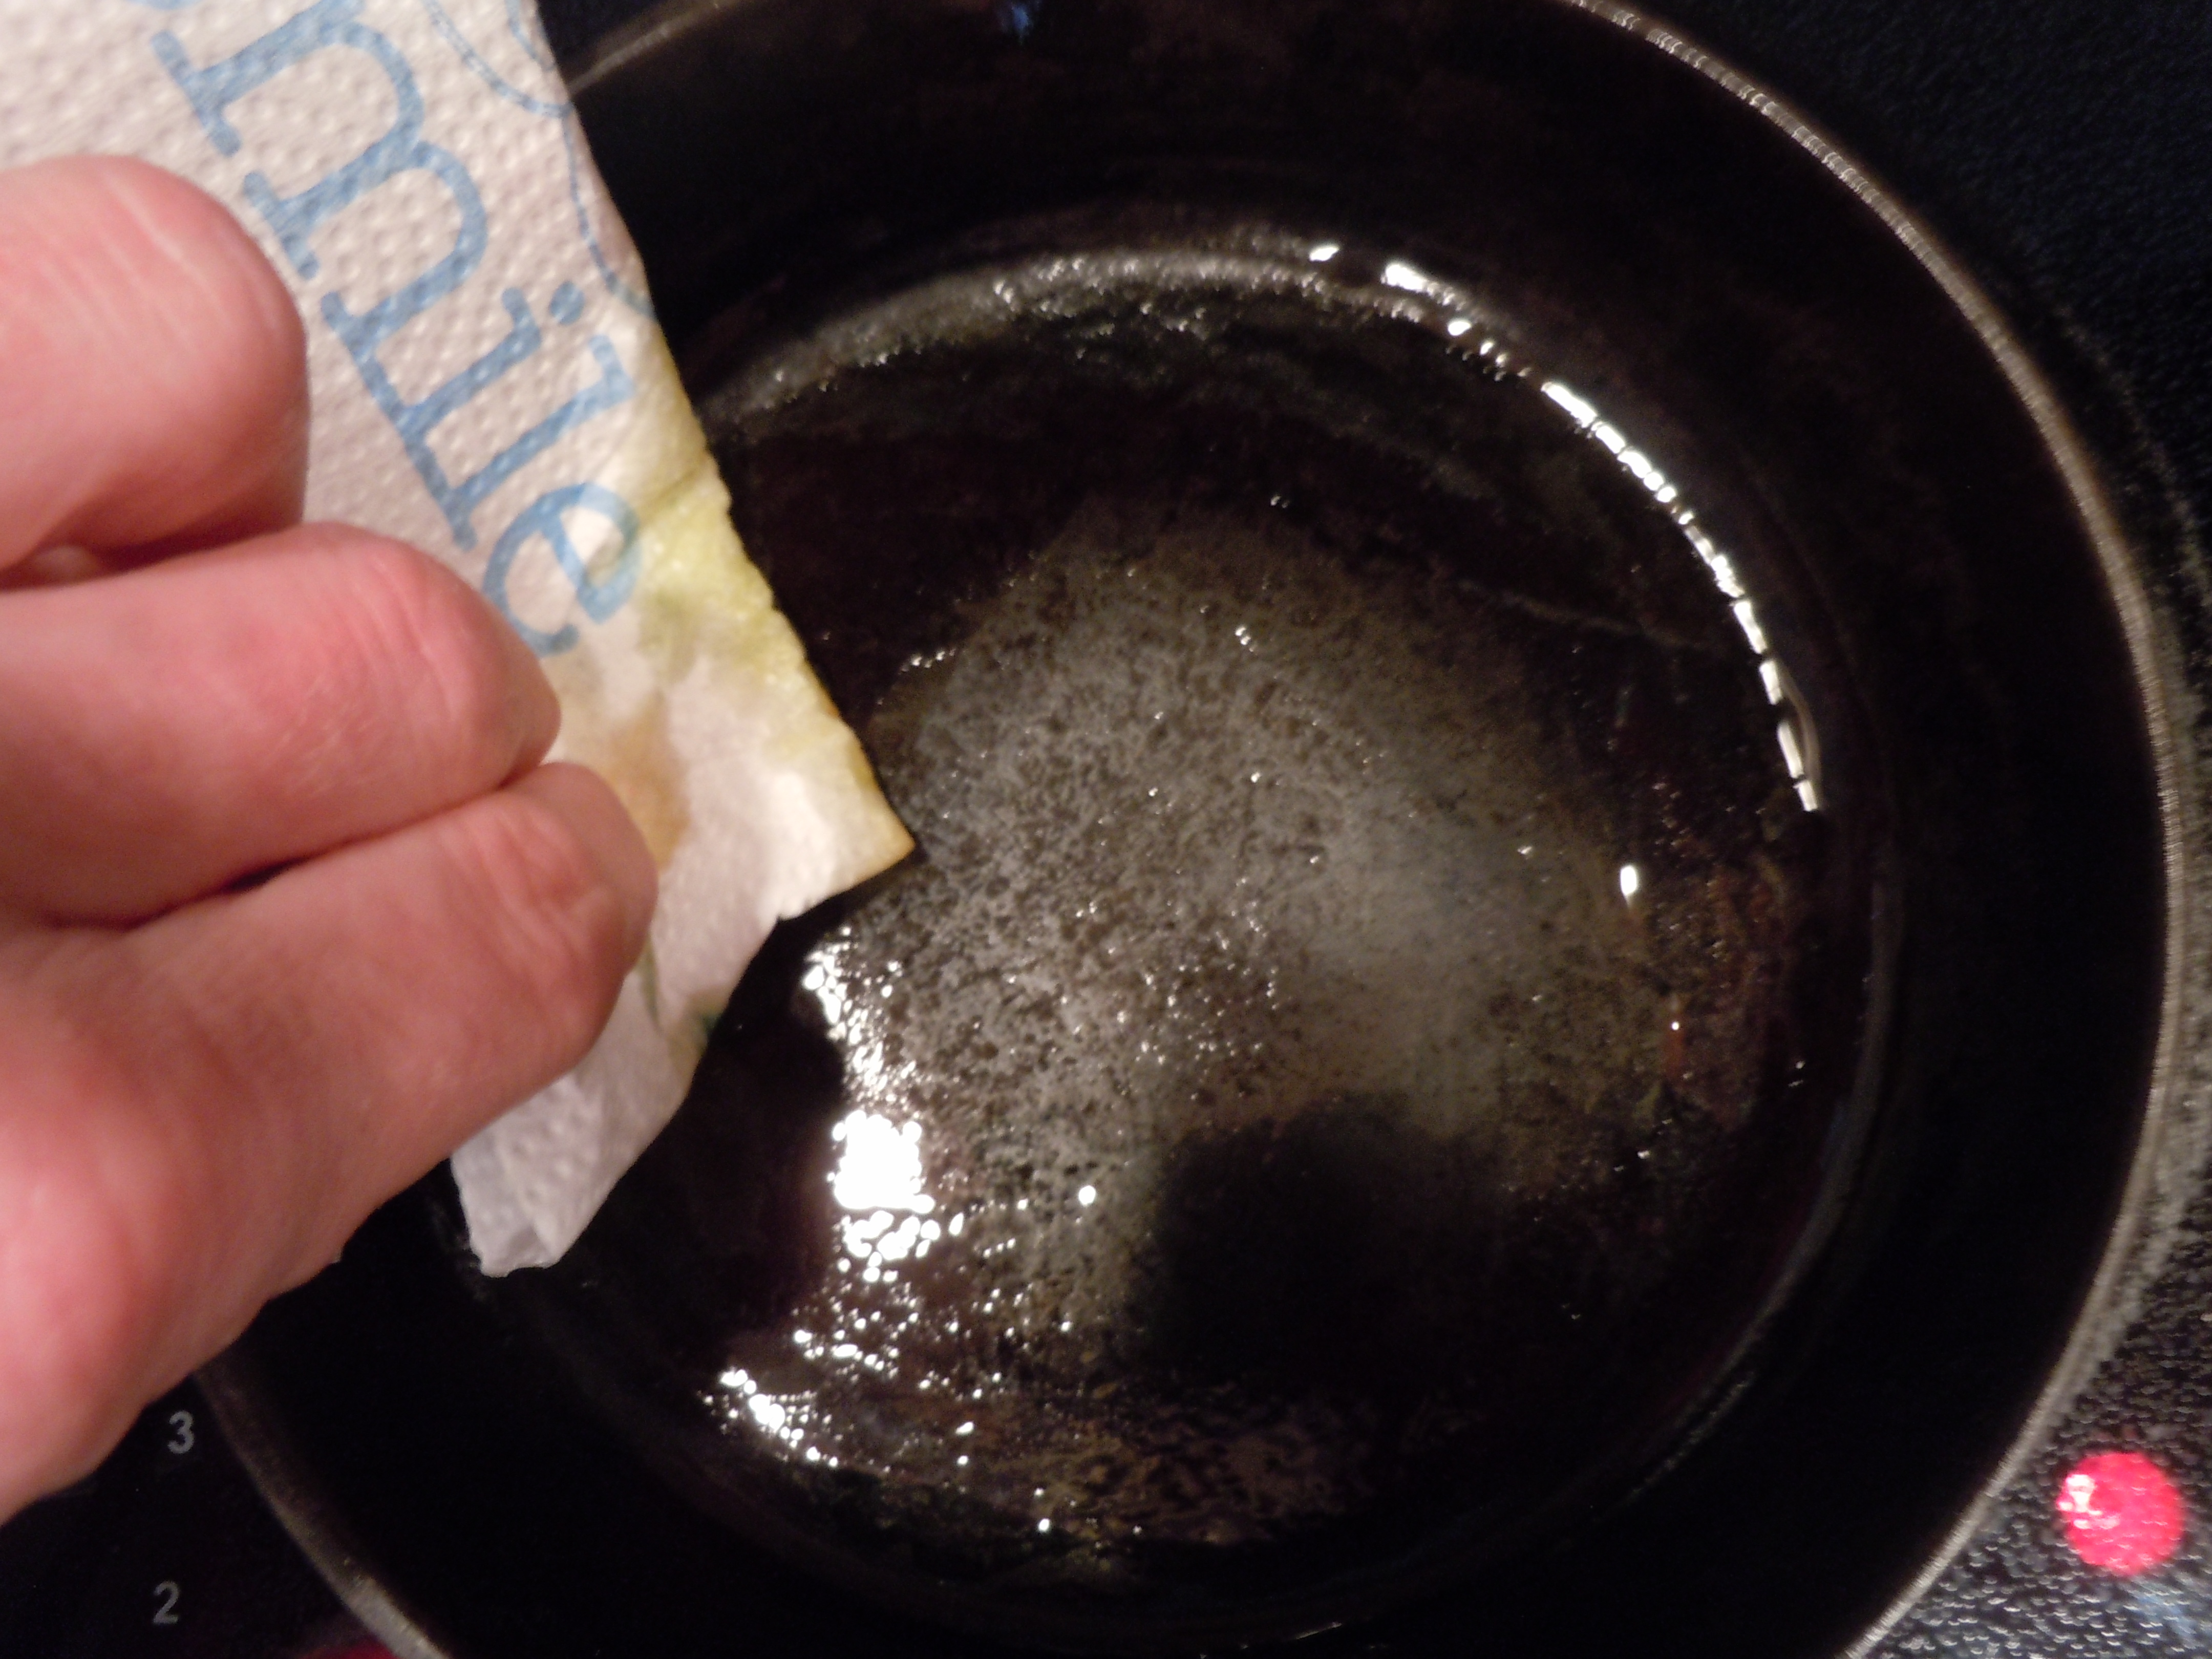
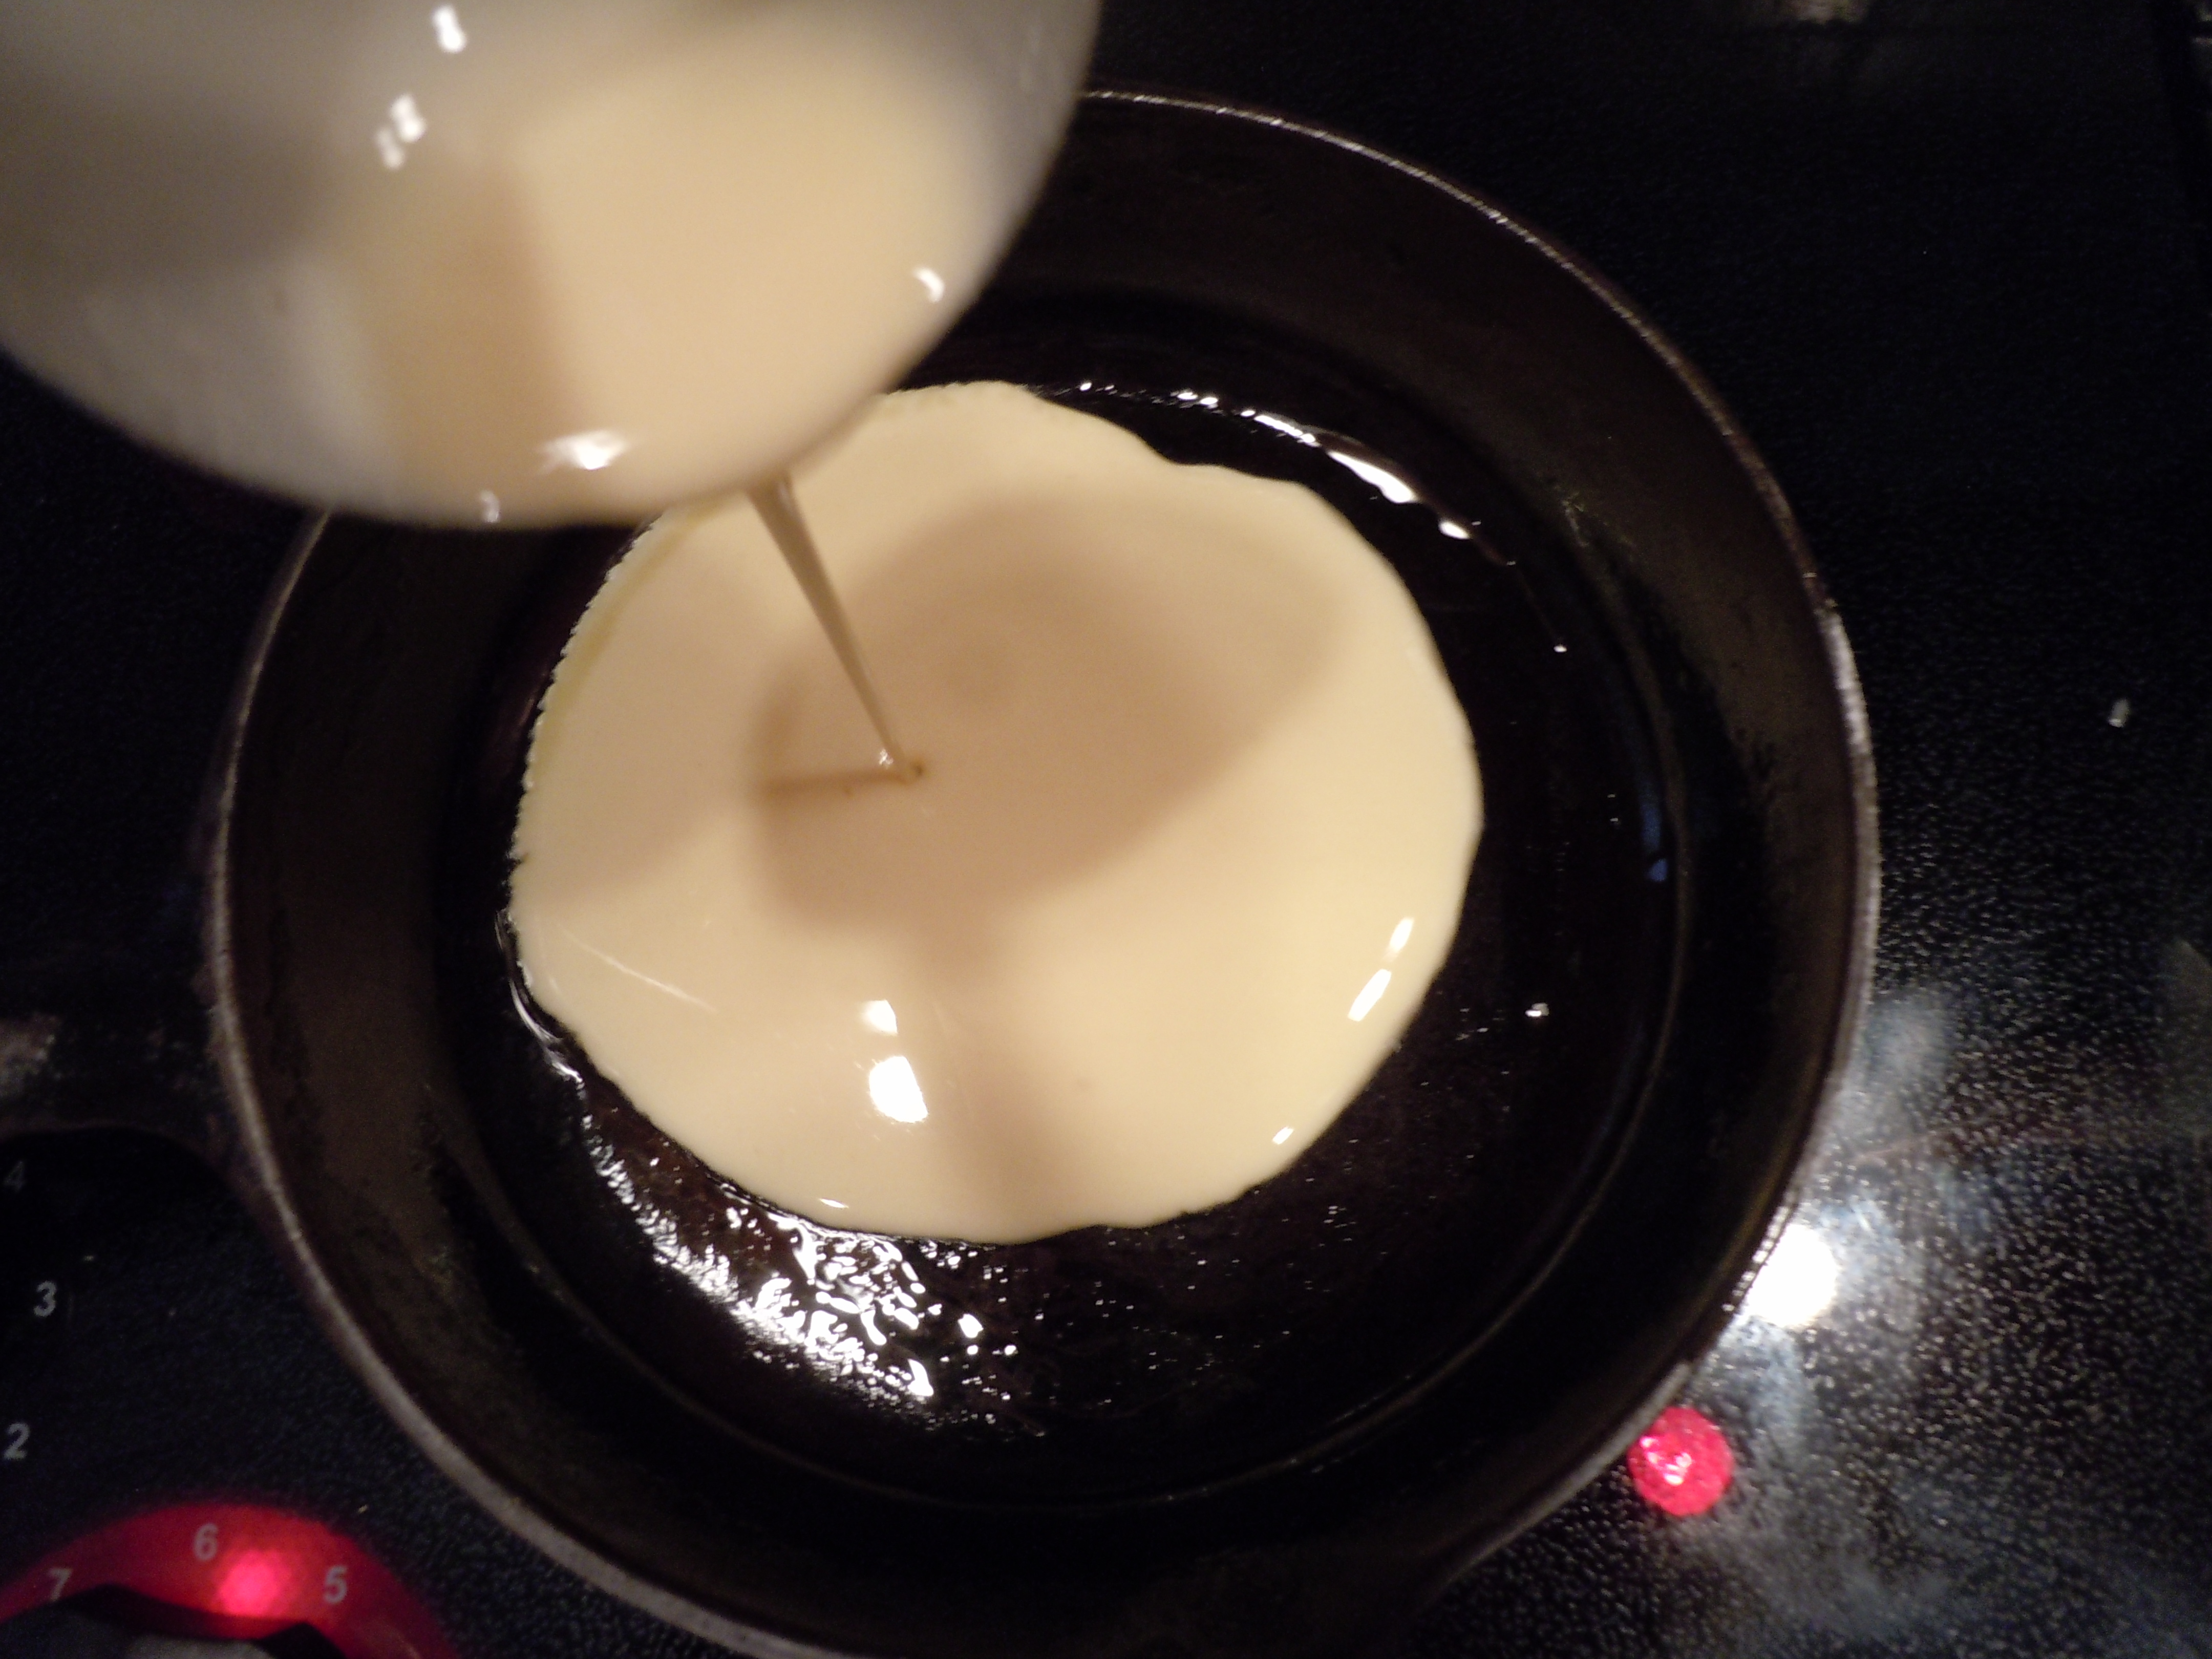
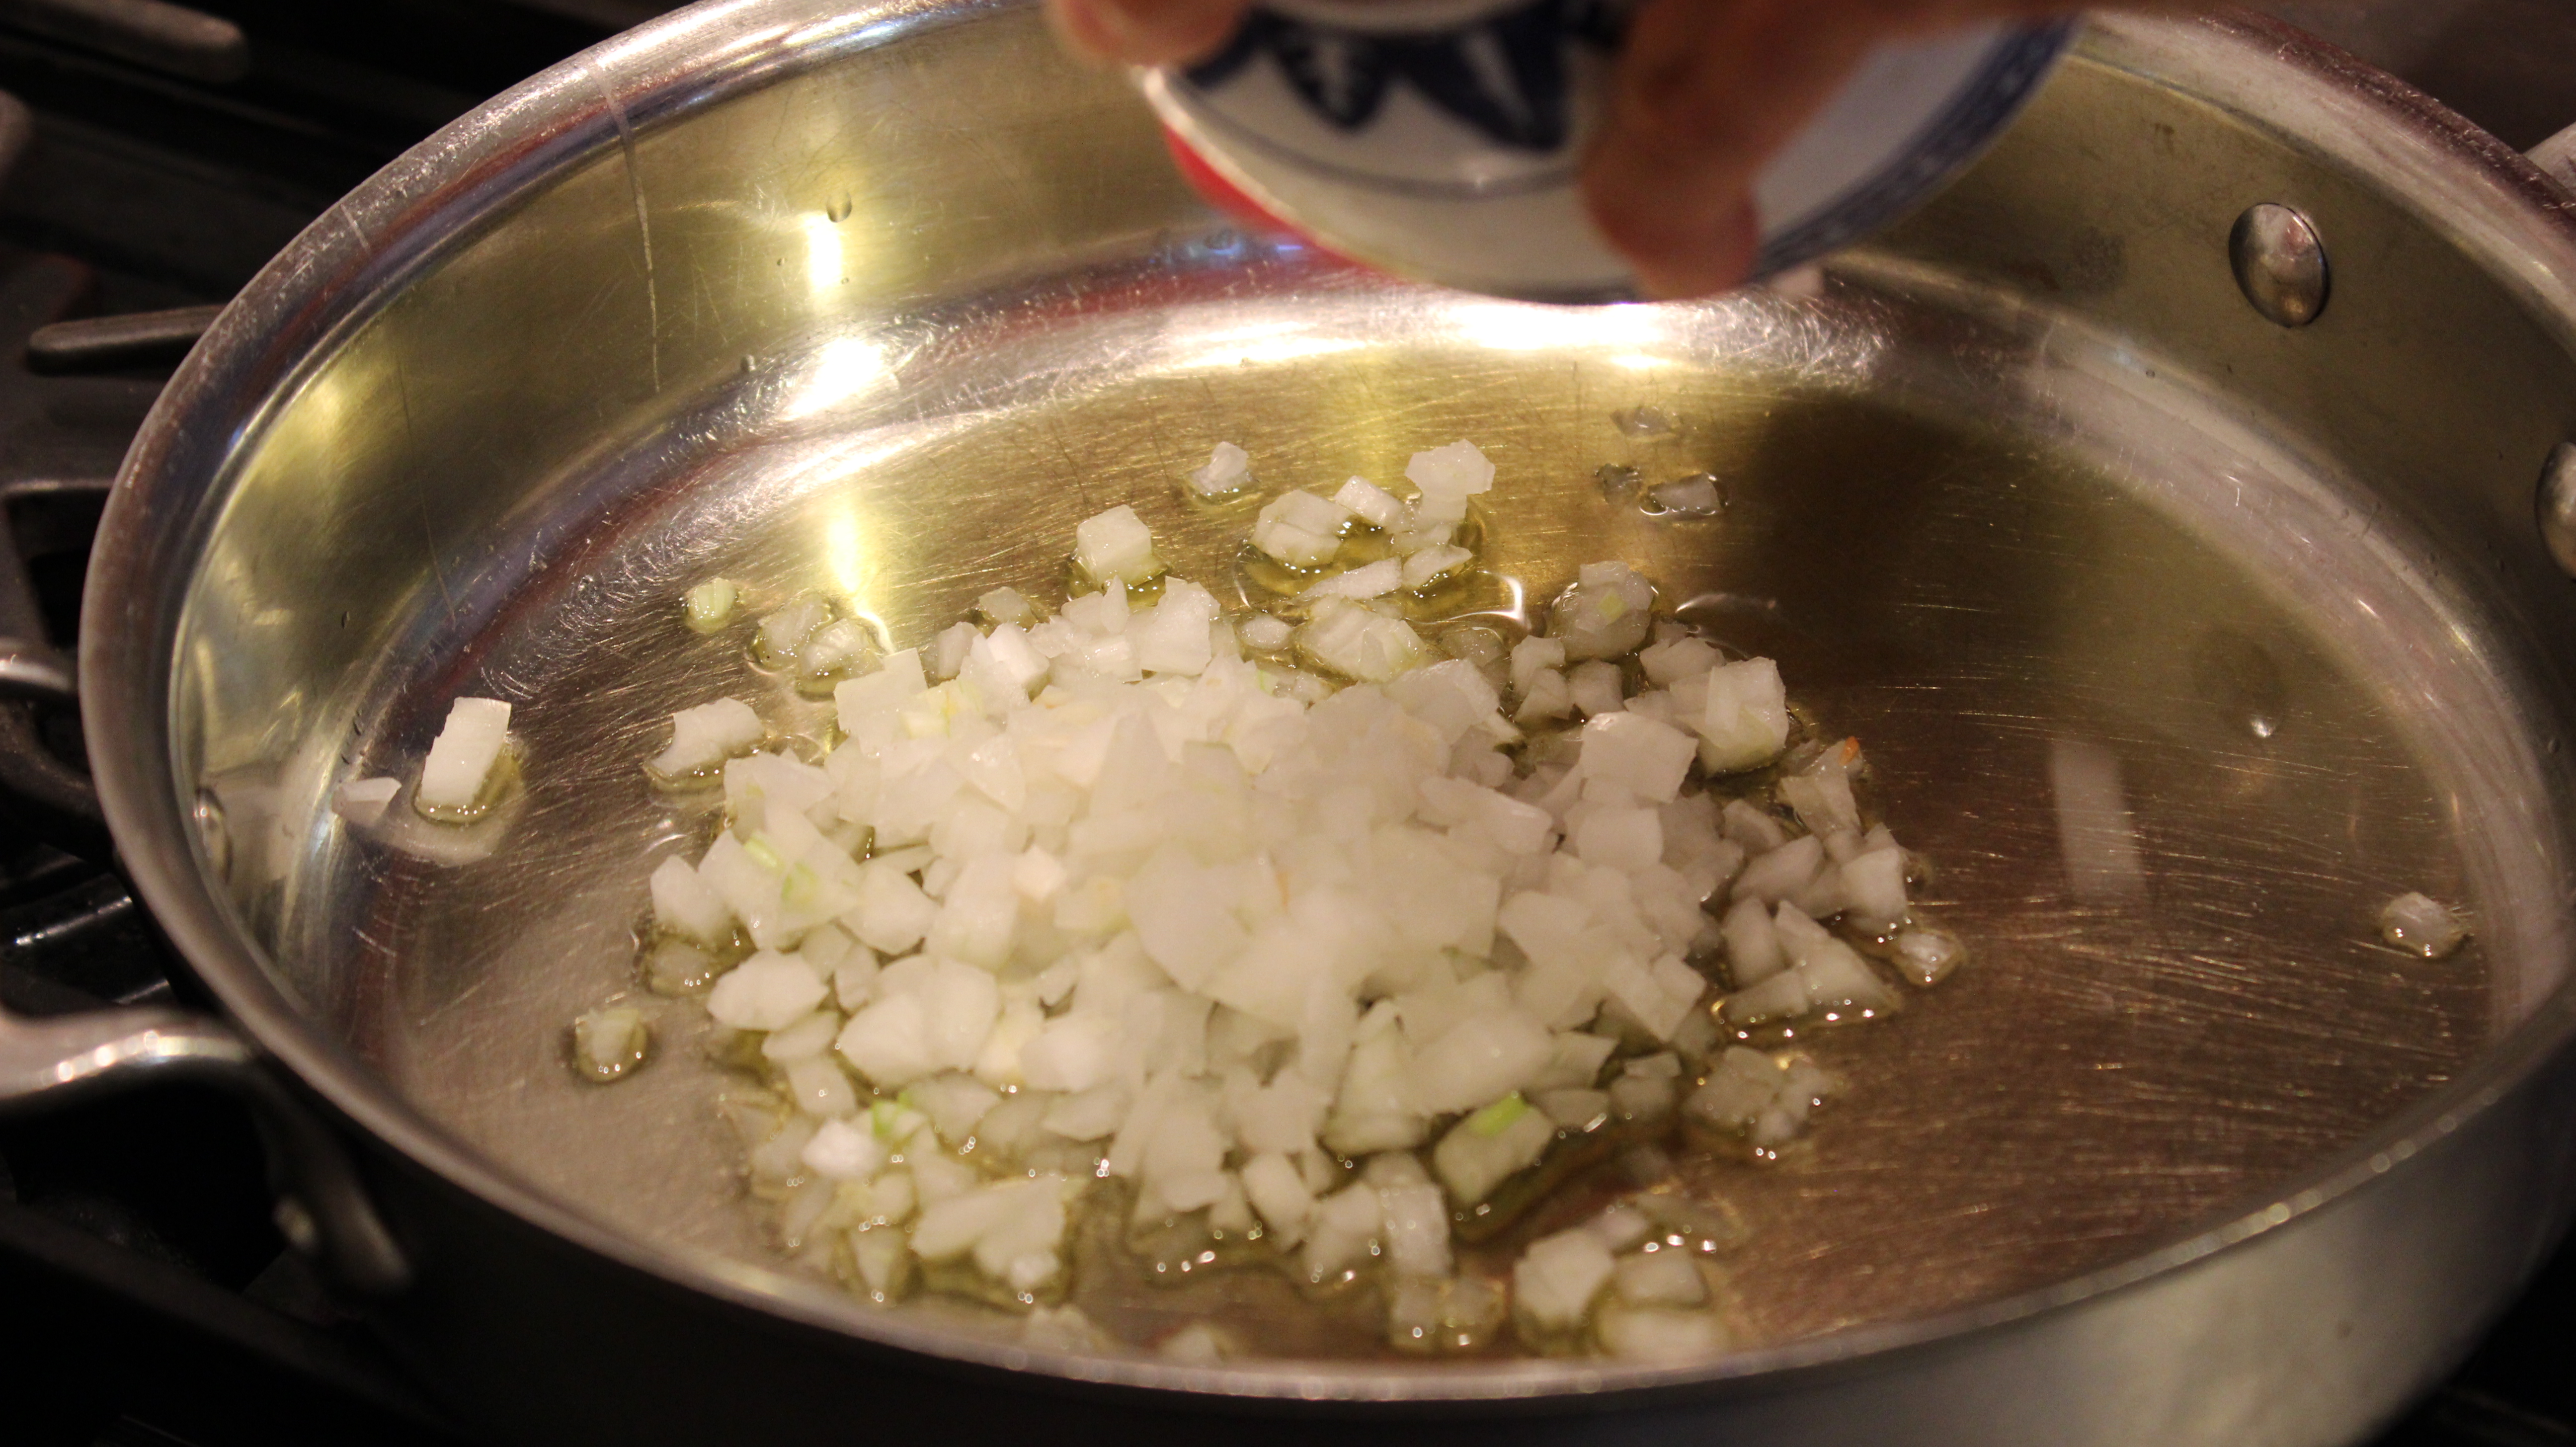
- Add chopped onion to 3 tbsp olive oil in a large fry pan on medium heat
- Sauté for 5 minutes til soft
- Add in Spiralized zucchini with 1/2 tsp salt and sauté 5 minutes on med/high heat- Make sure to stir a couple of times to help it from not sticking. Sautéing on med/high will help to evaporate some of that liquid rendering out of the zucchini while sautéing– (If you saute on low it will just simmer in all the water, you will then have to drain a little of the water out of the pan)
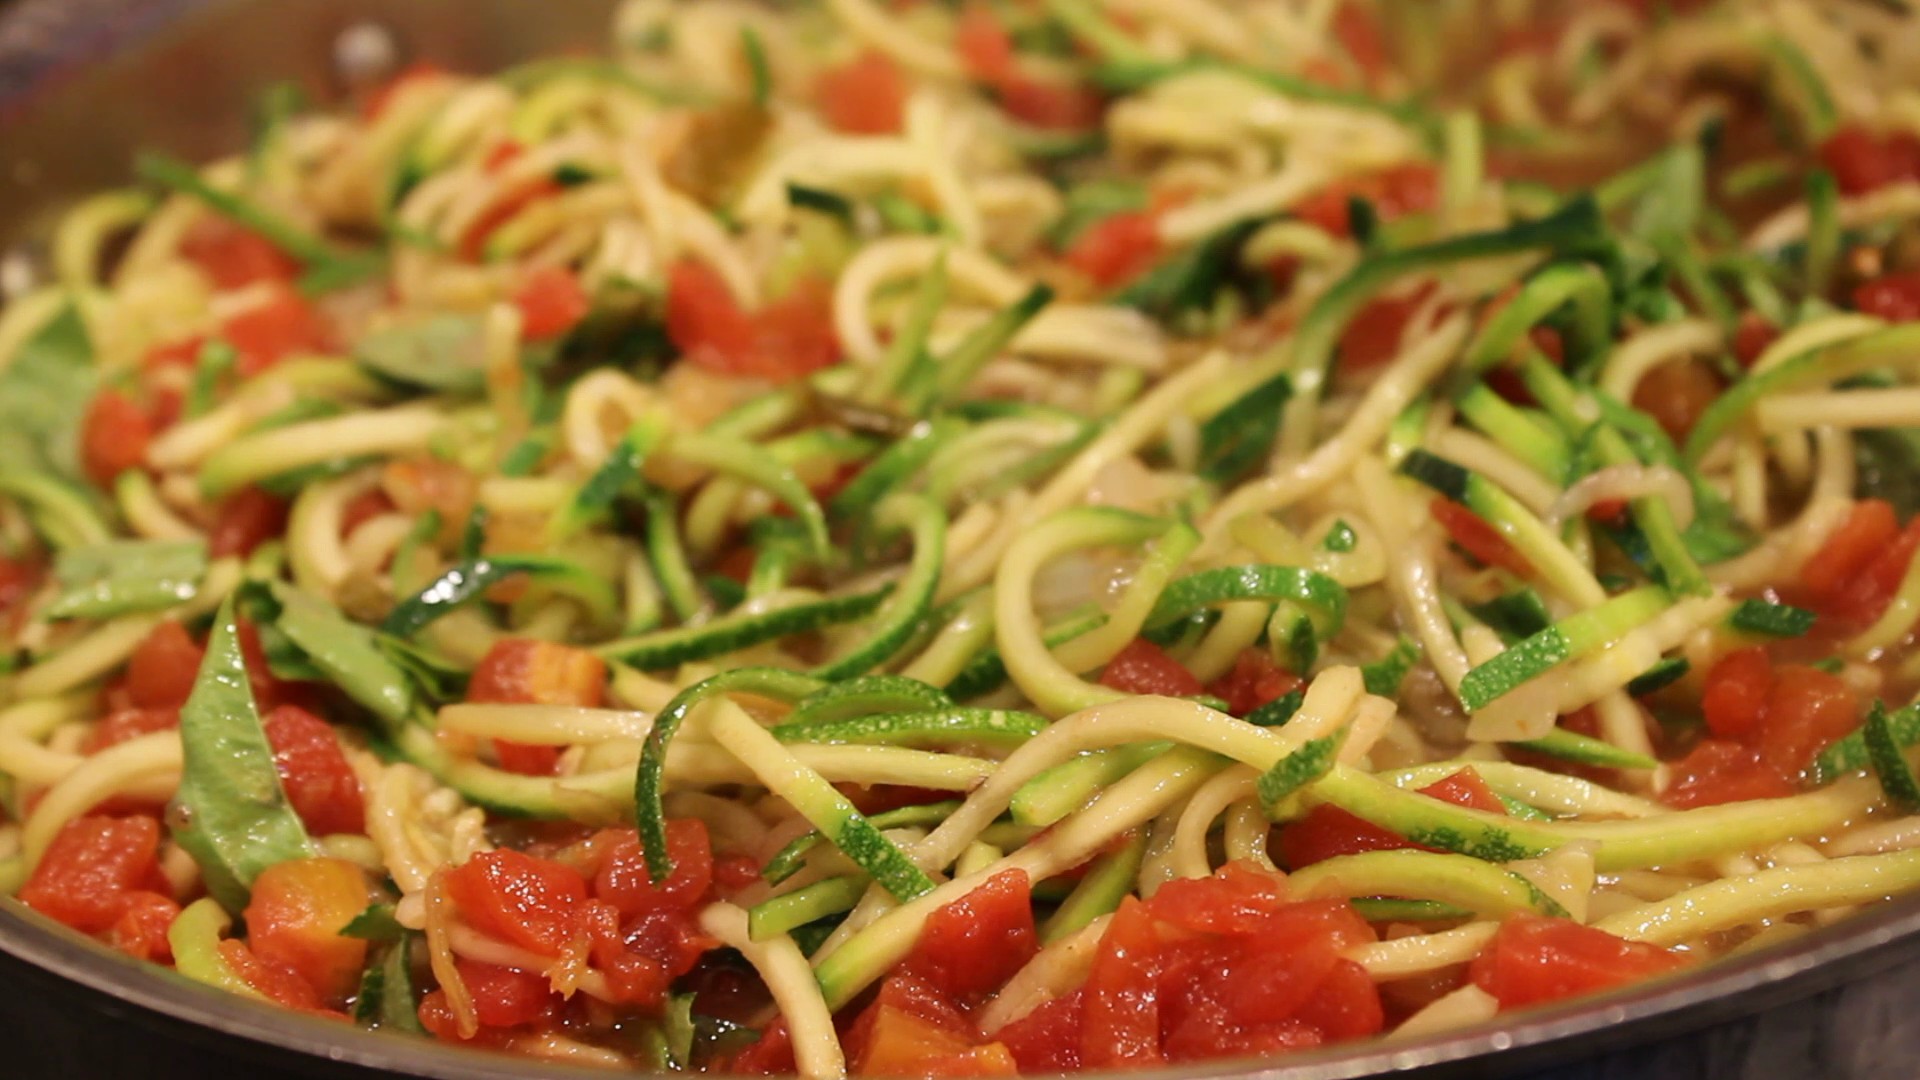
- Add in tomatoes, red wine, s & p to taste and simmer 5 more minutes
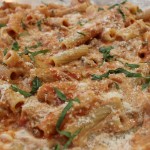
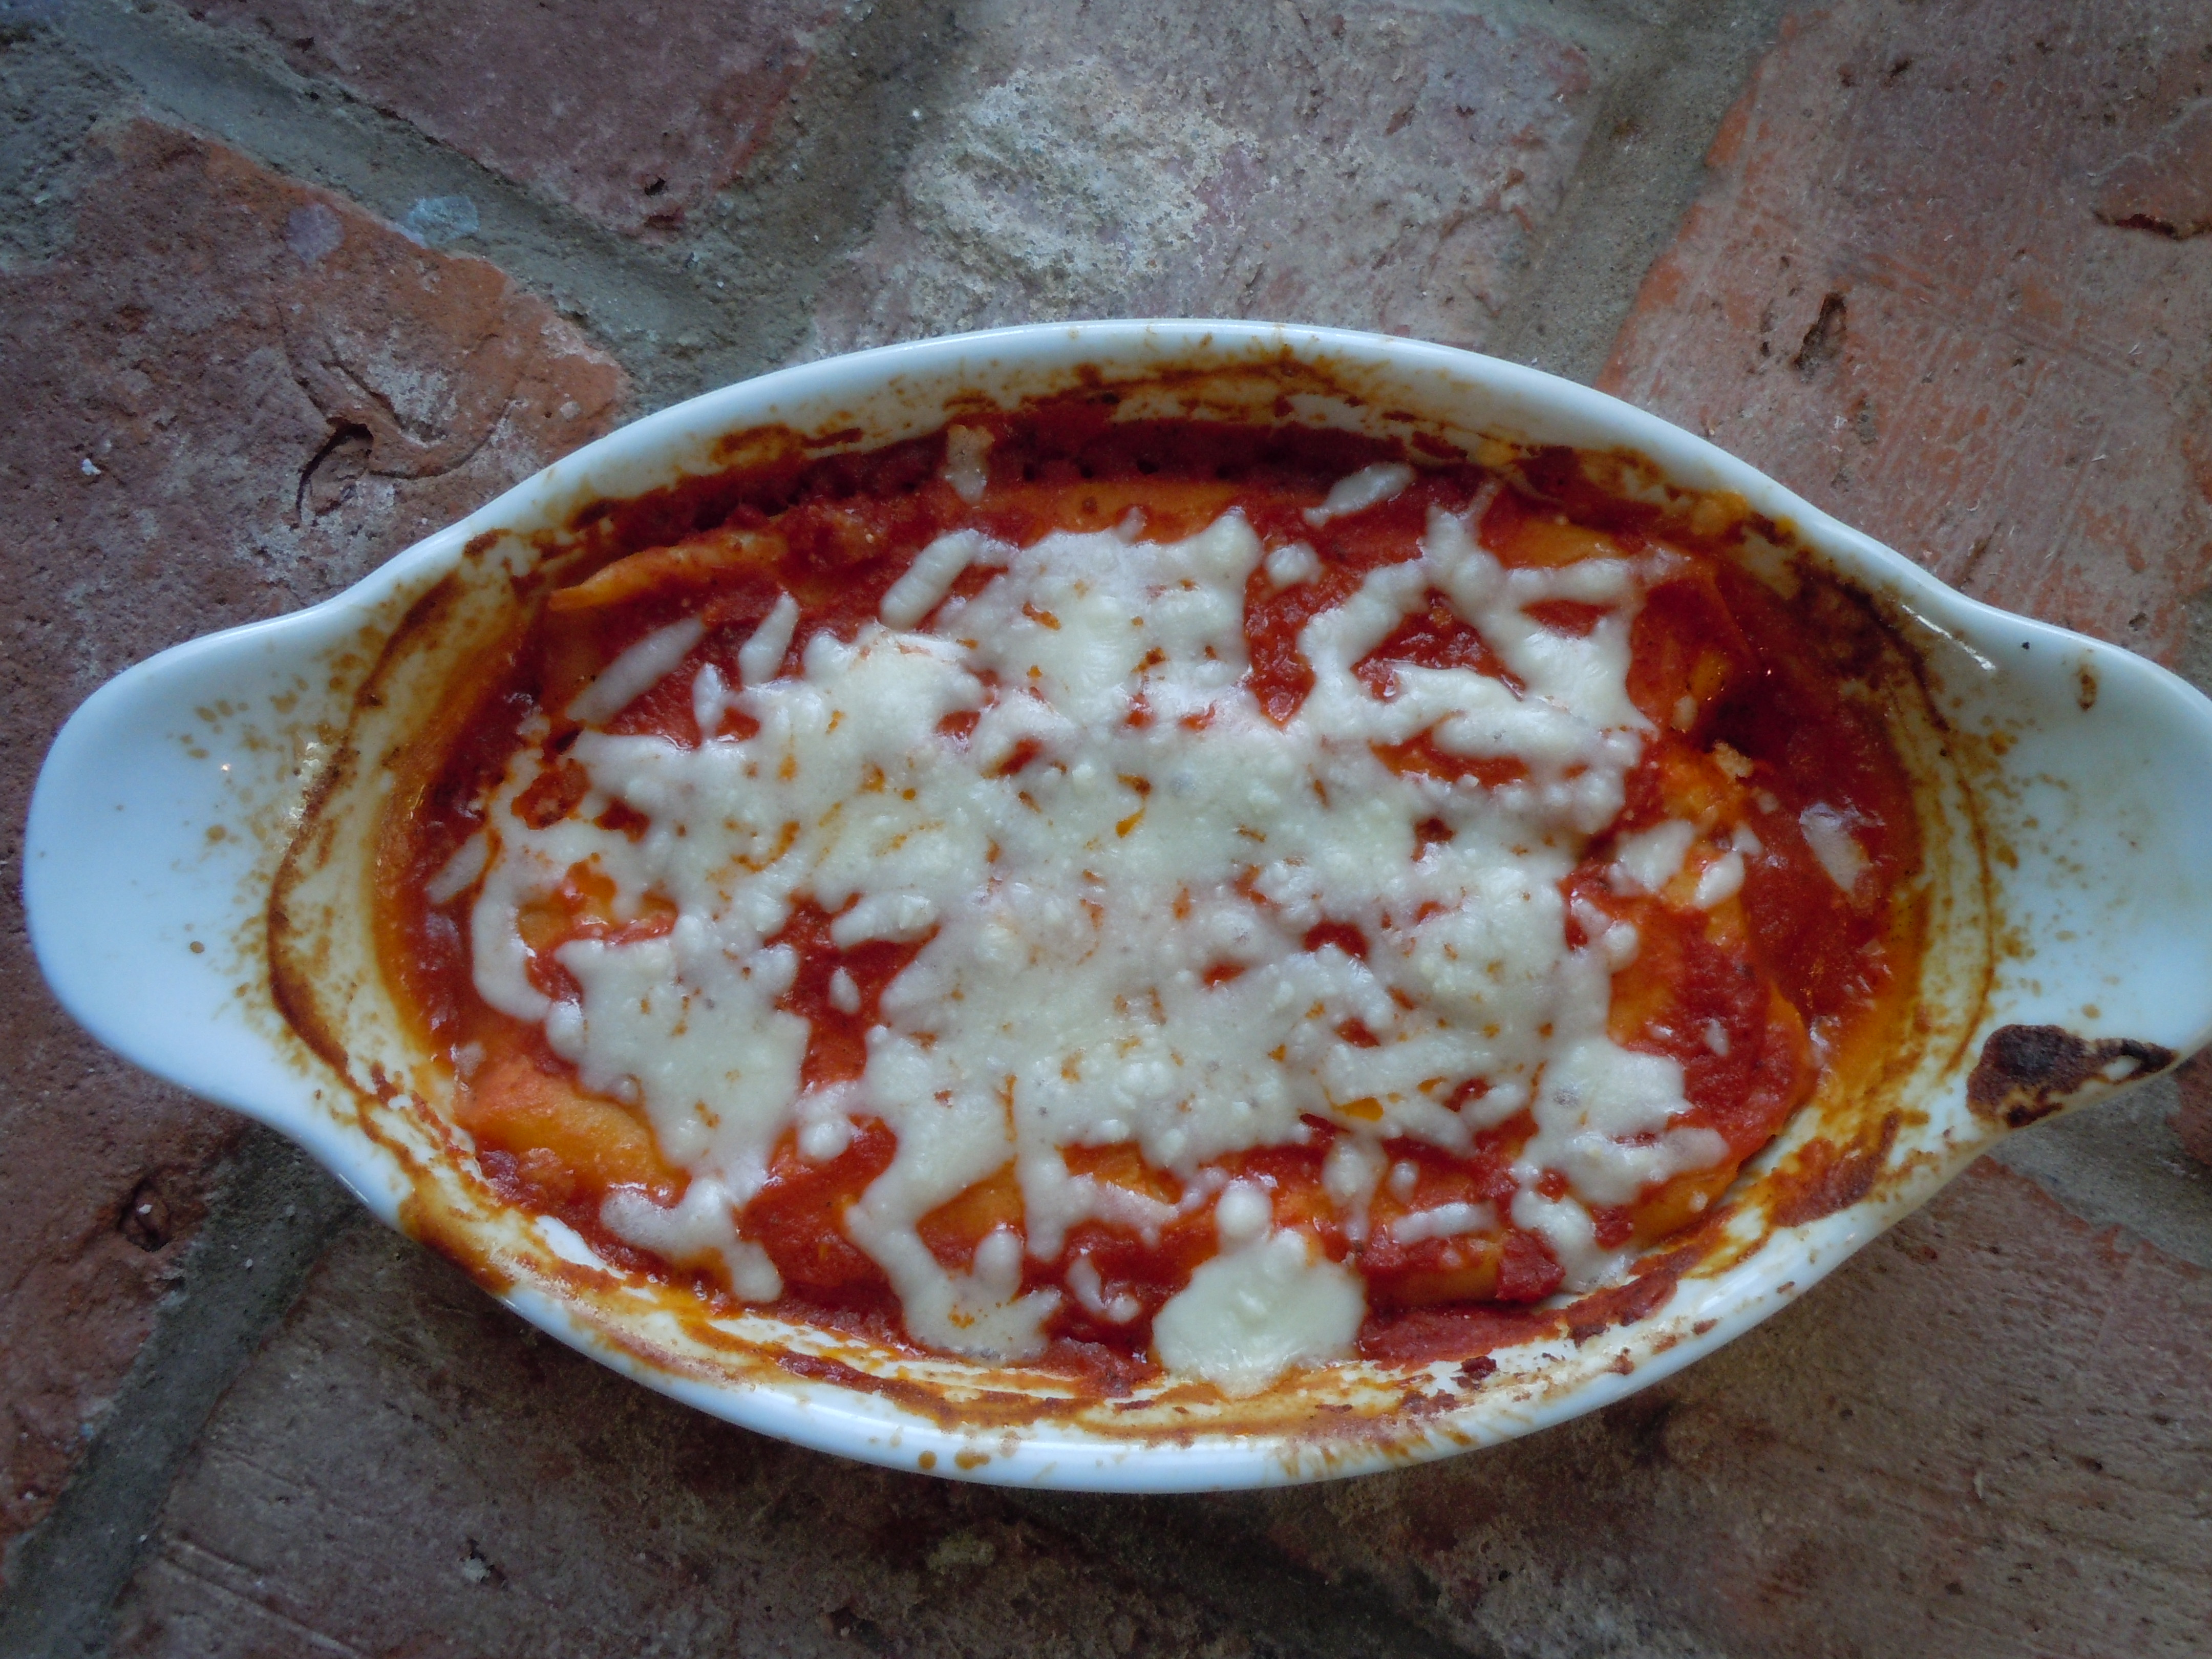
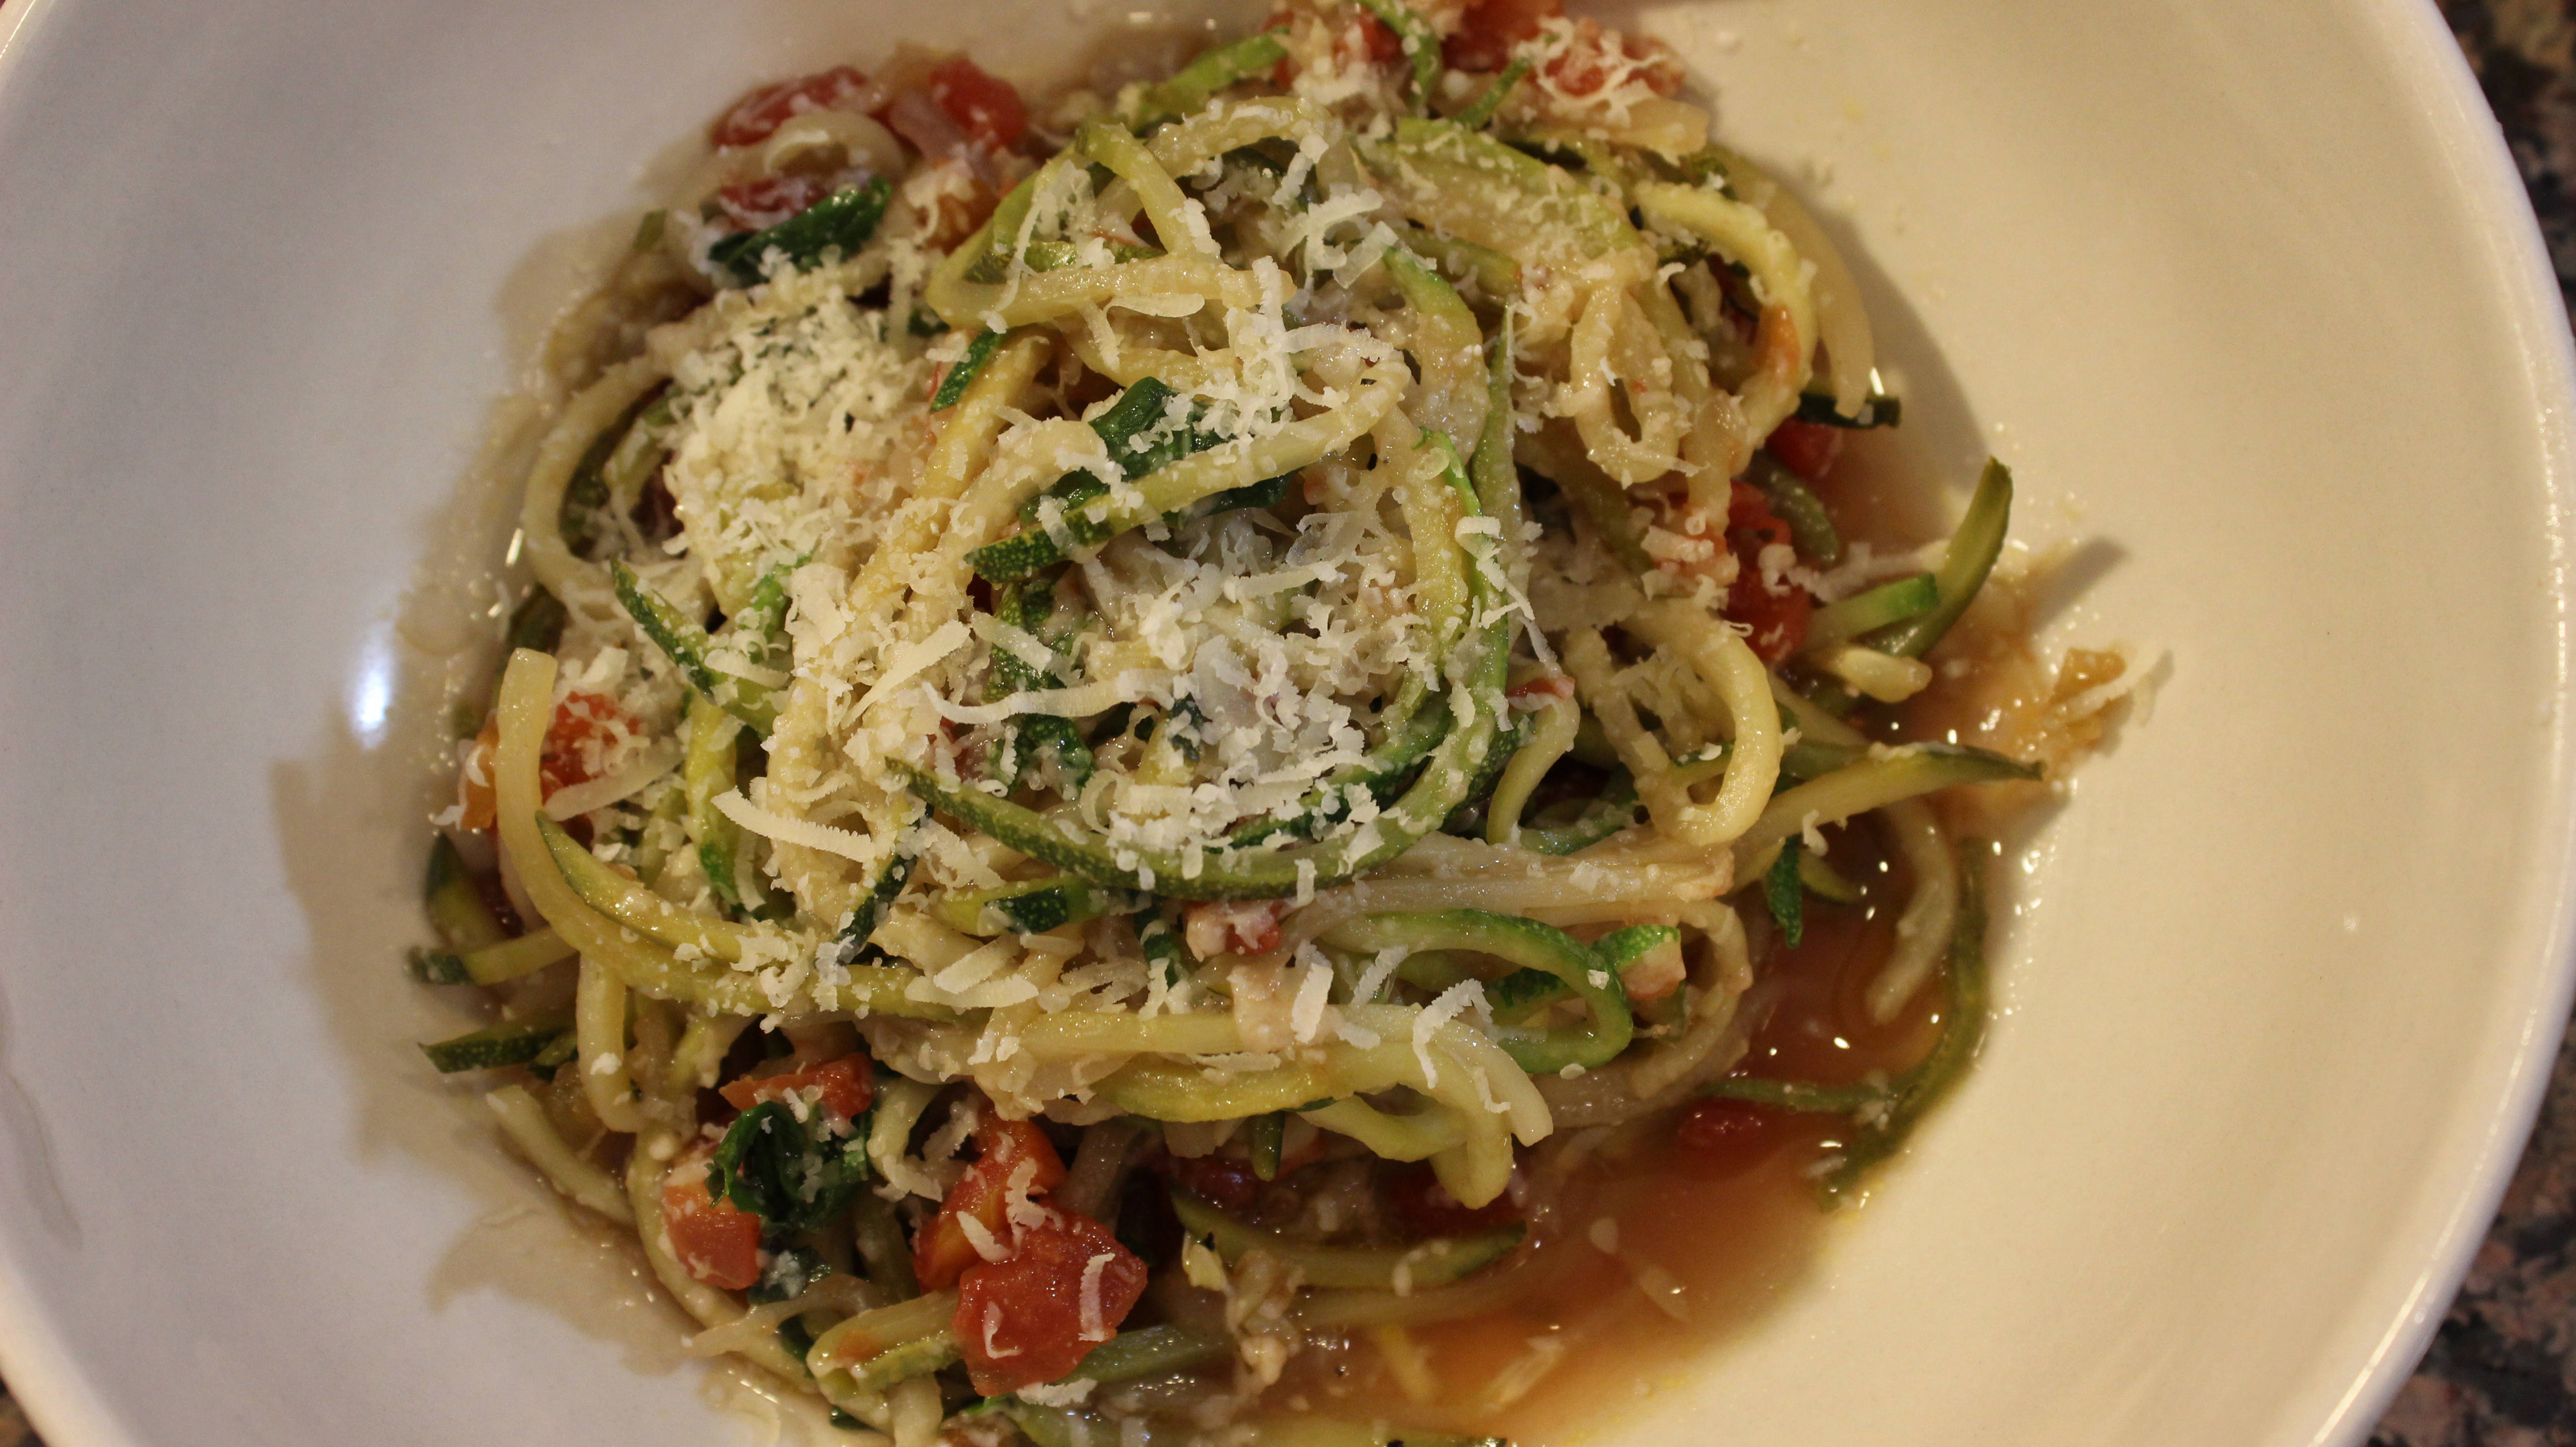
- Plate up and top with your favorite grated Parmesan cheese
- OPTIONAL: Top with dollops of fresh ricotta and grated Parmesan