The Traveling Epicurean

Best Hummus Ever

Best Hummus Ever!

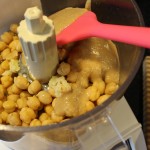
My Best Hummus Ever recipe is going to become a go to dish for you when you see how gosh darn easy it is to make it yourself! Chic peas, tahini paste, garlic, olive oil, fresh lemon juice, and salt in a food processor, purée until smooth and violà you have an amazing dip. Wait, there is one caveat to this best hummus ever recipe. My secret to a silky, smooth homemade hummus is removing the skins from the chic peas. This is actually a very easy task that will take you about five to ten minutes and it makes all the difference in the texture and taste for your hummus. It’s still quicker than taking that trip to the market for the already prepared hummus.

Hummus is such a versatile kind of dip where you can change it up in so many ways to get a new flavor. You can add a teaspoon of cumin to give it a bright, floral and lemony flavor. You could add in smoked paprika, hot sauce, or even throw in some roasted red peppers when you go to purée the chic peas for a beautiful reddish roasted pepper hummus. The options really are endless so don’t be afraid to have some fun here.

Biting the bullet and buying the jar of Tahini paste is totally worth it because it will last a long, long time and you will get many, many hummus dishes from this! For all you local followers I buy my jar of Tahini paste at FoodWorks Natural Market in Guilford, CT.

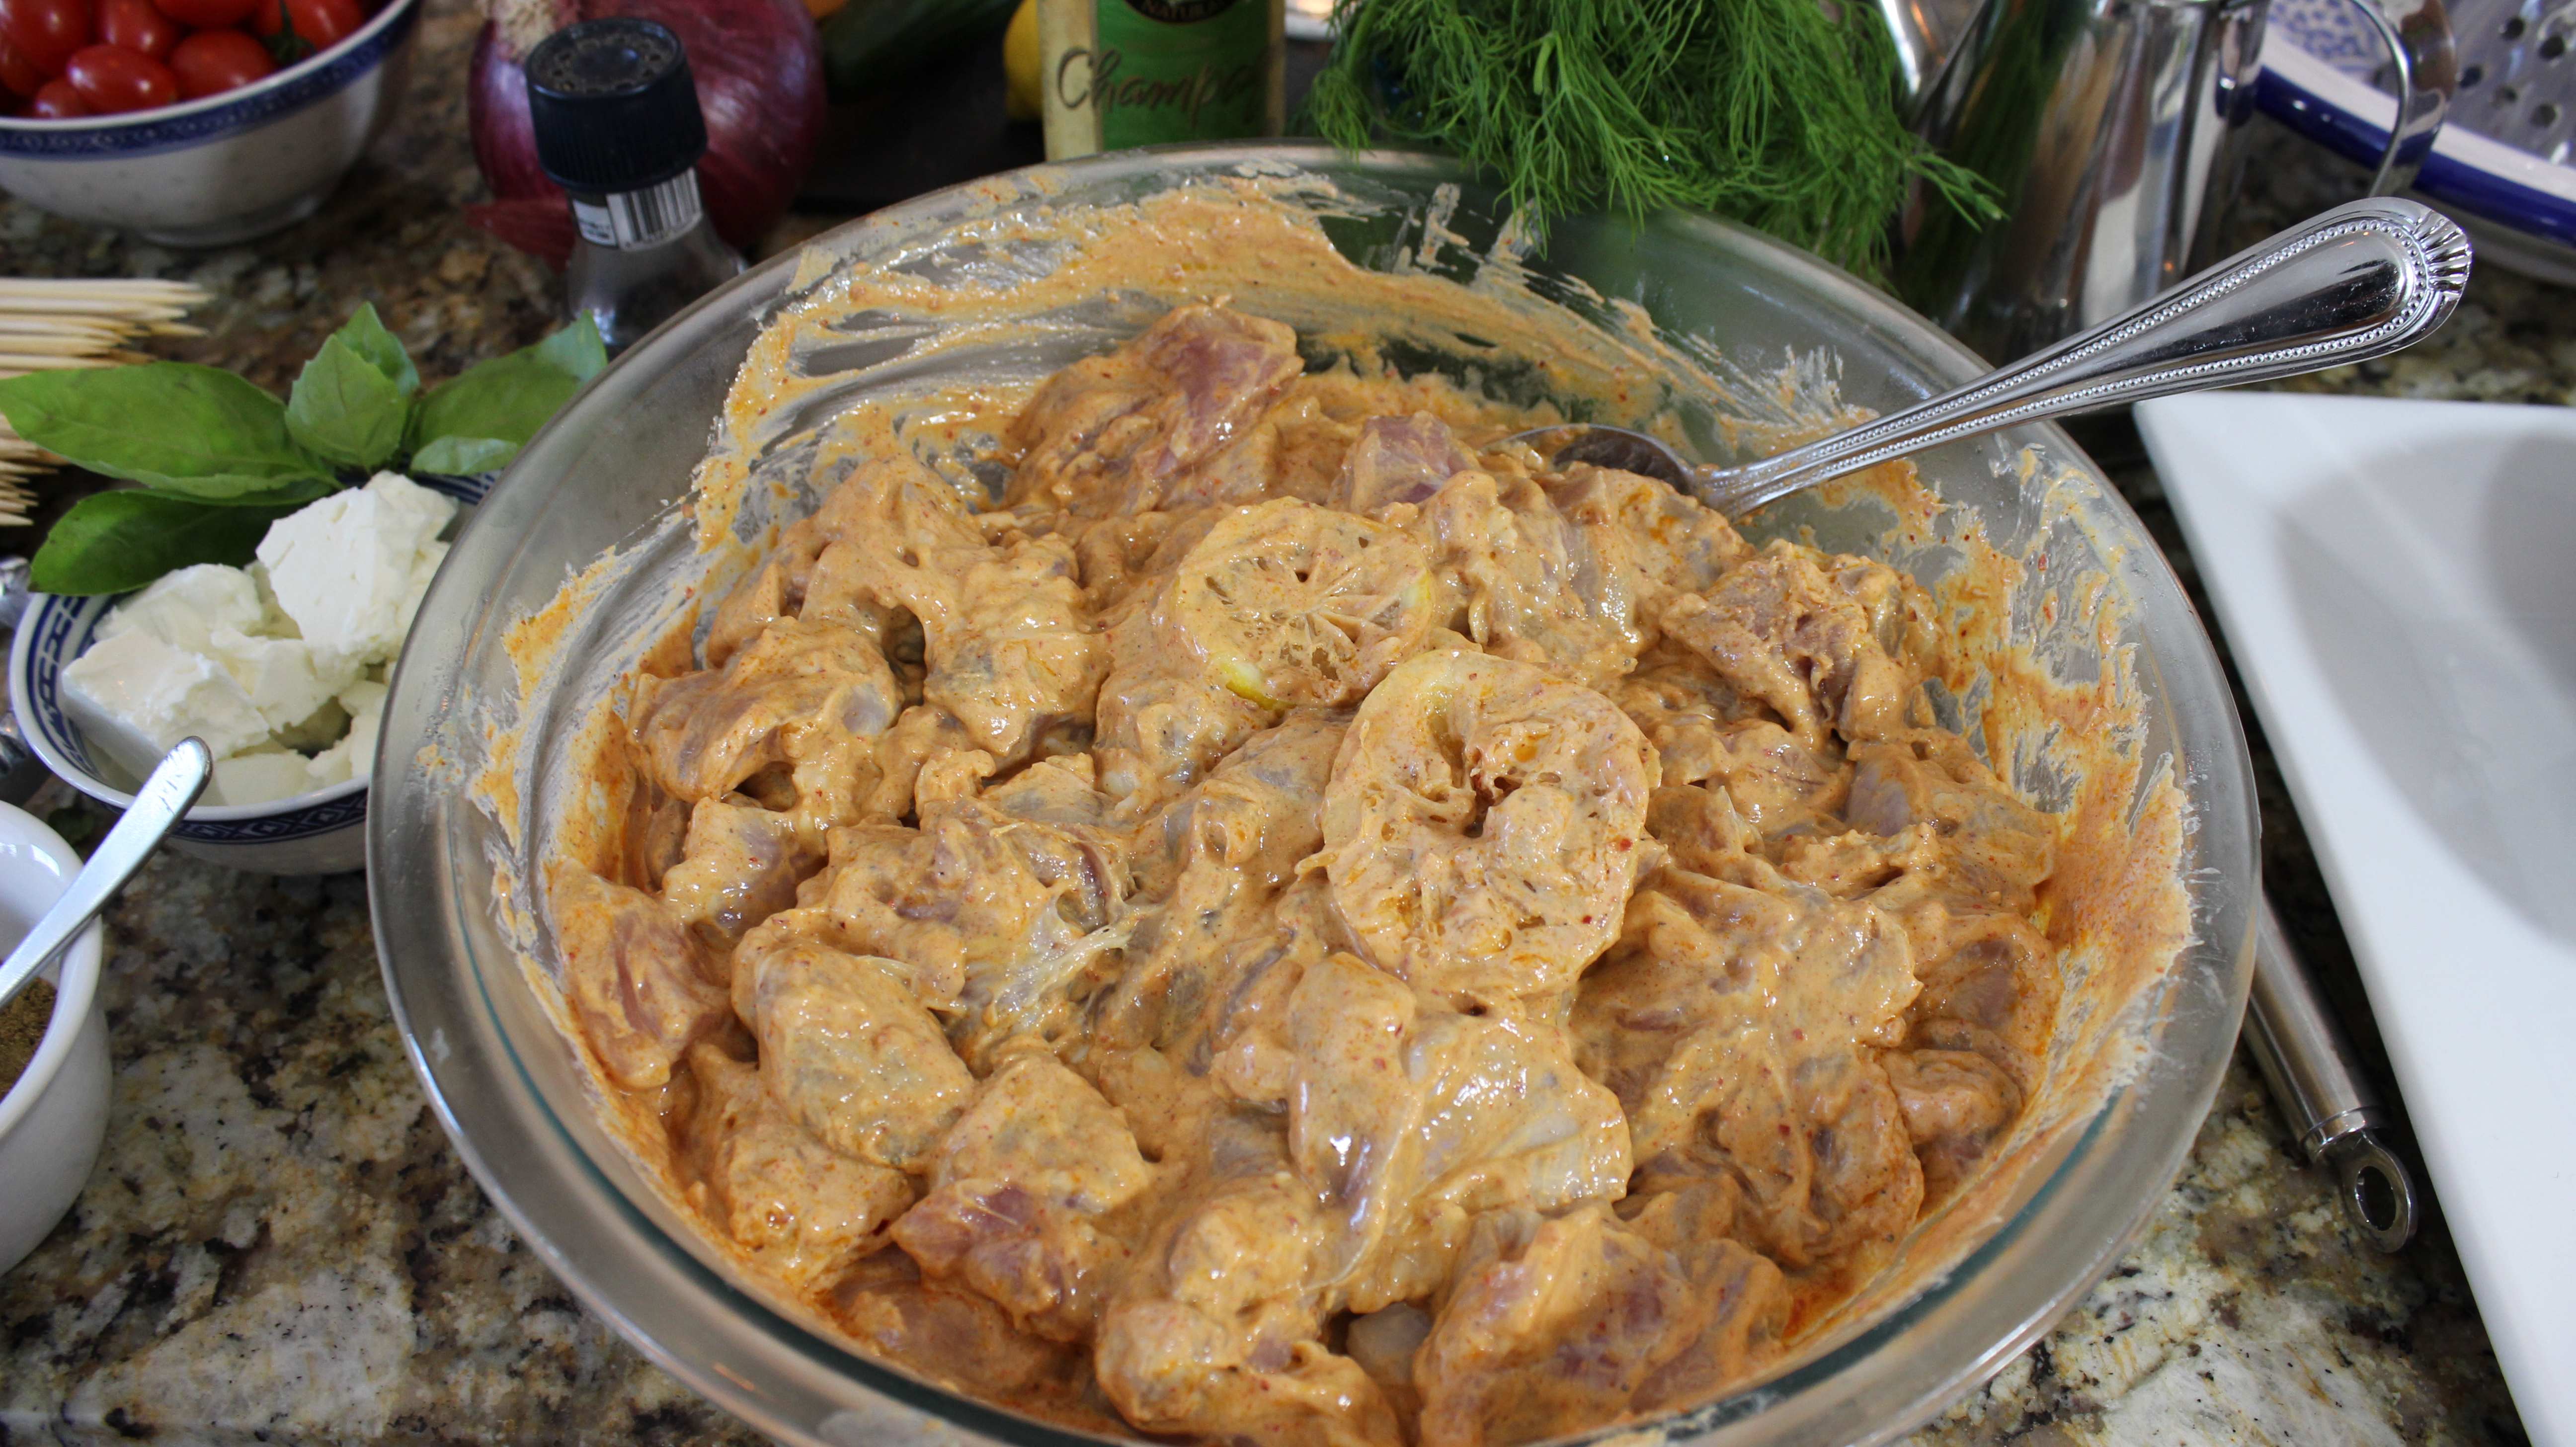
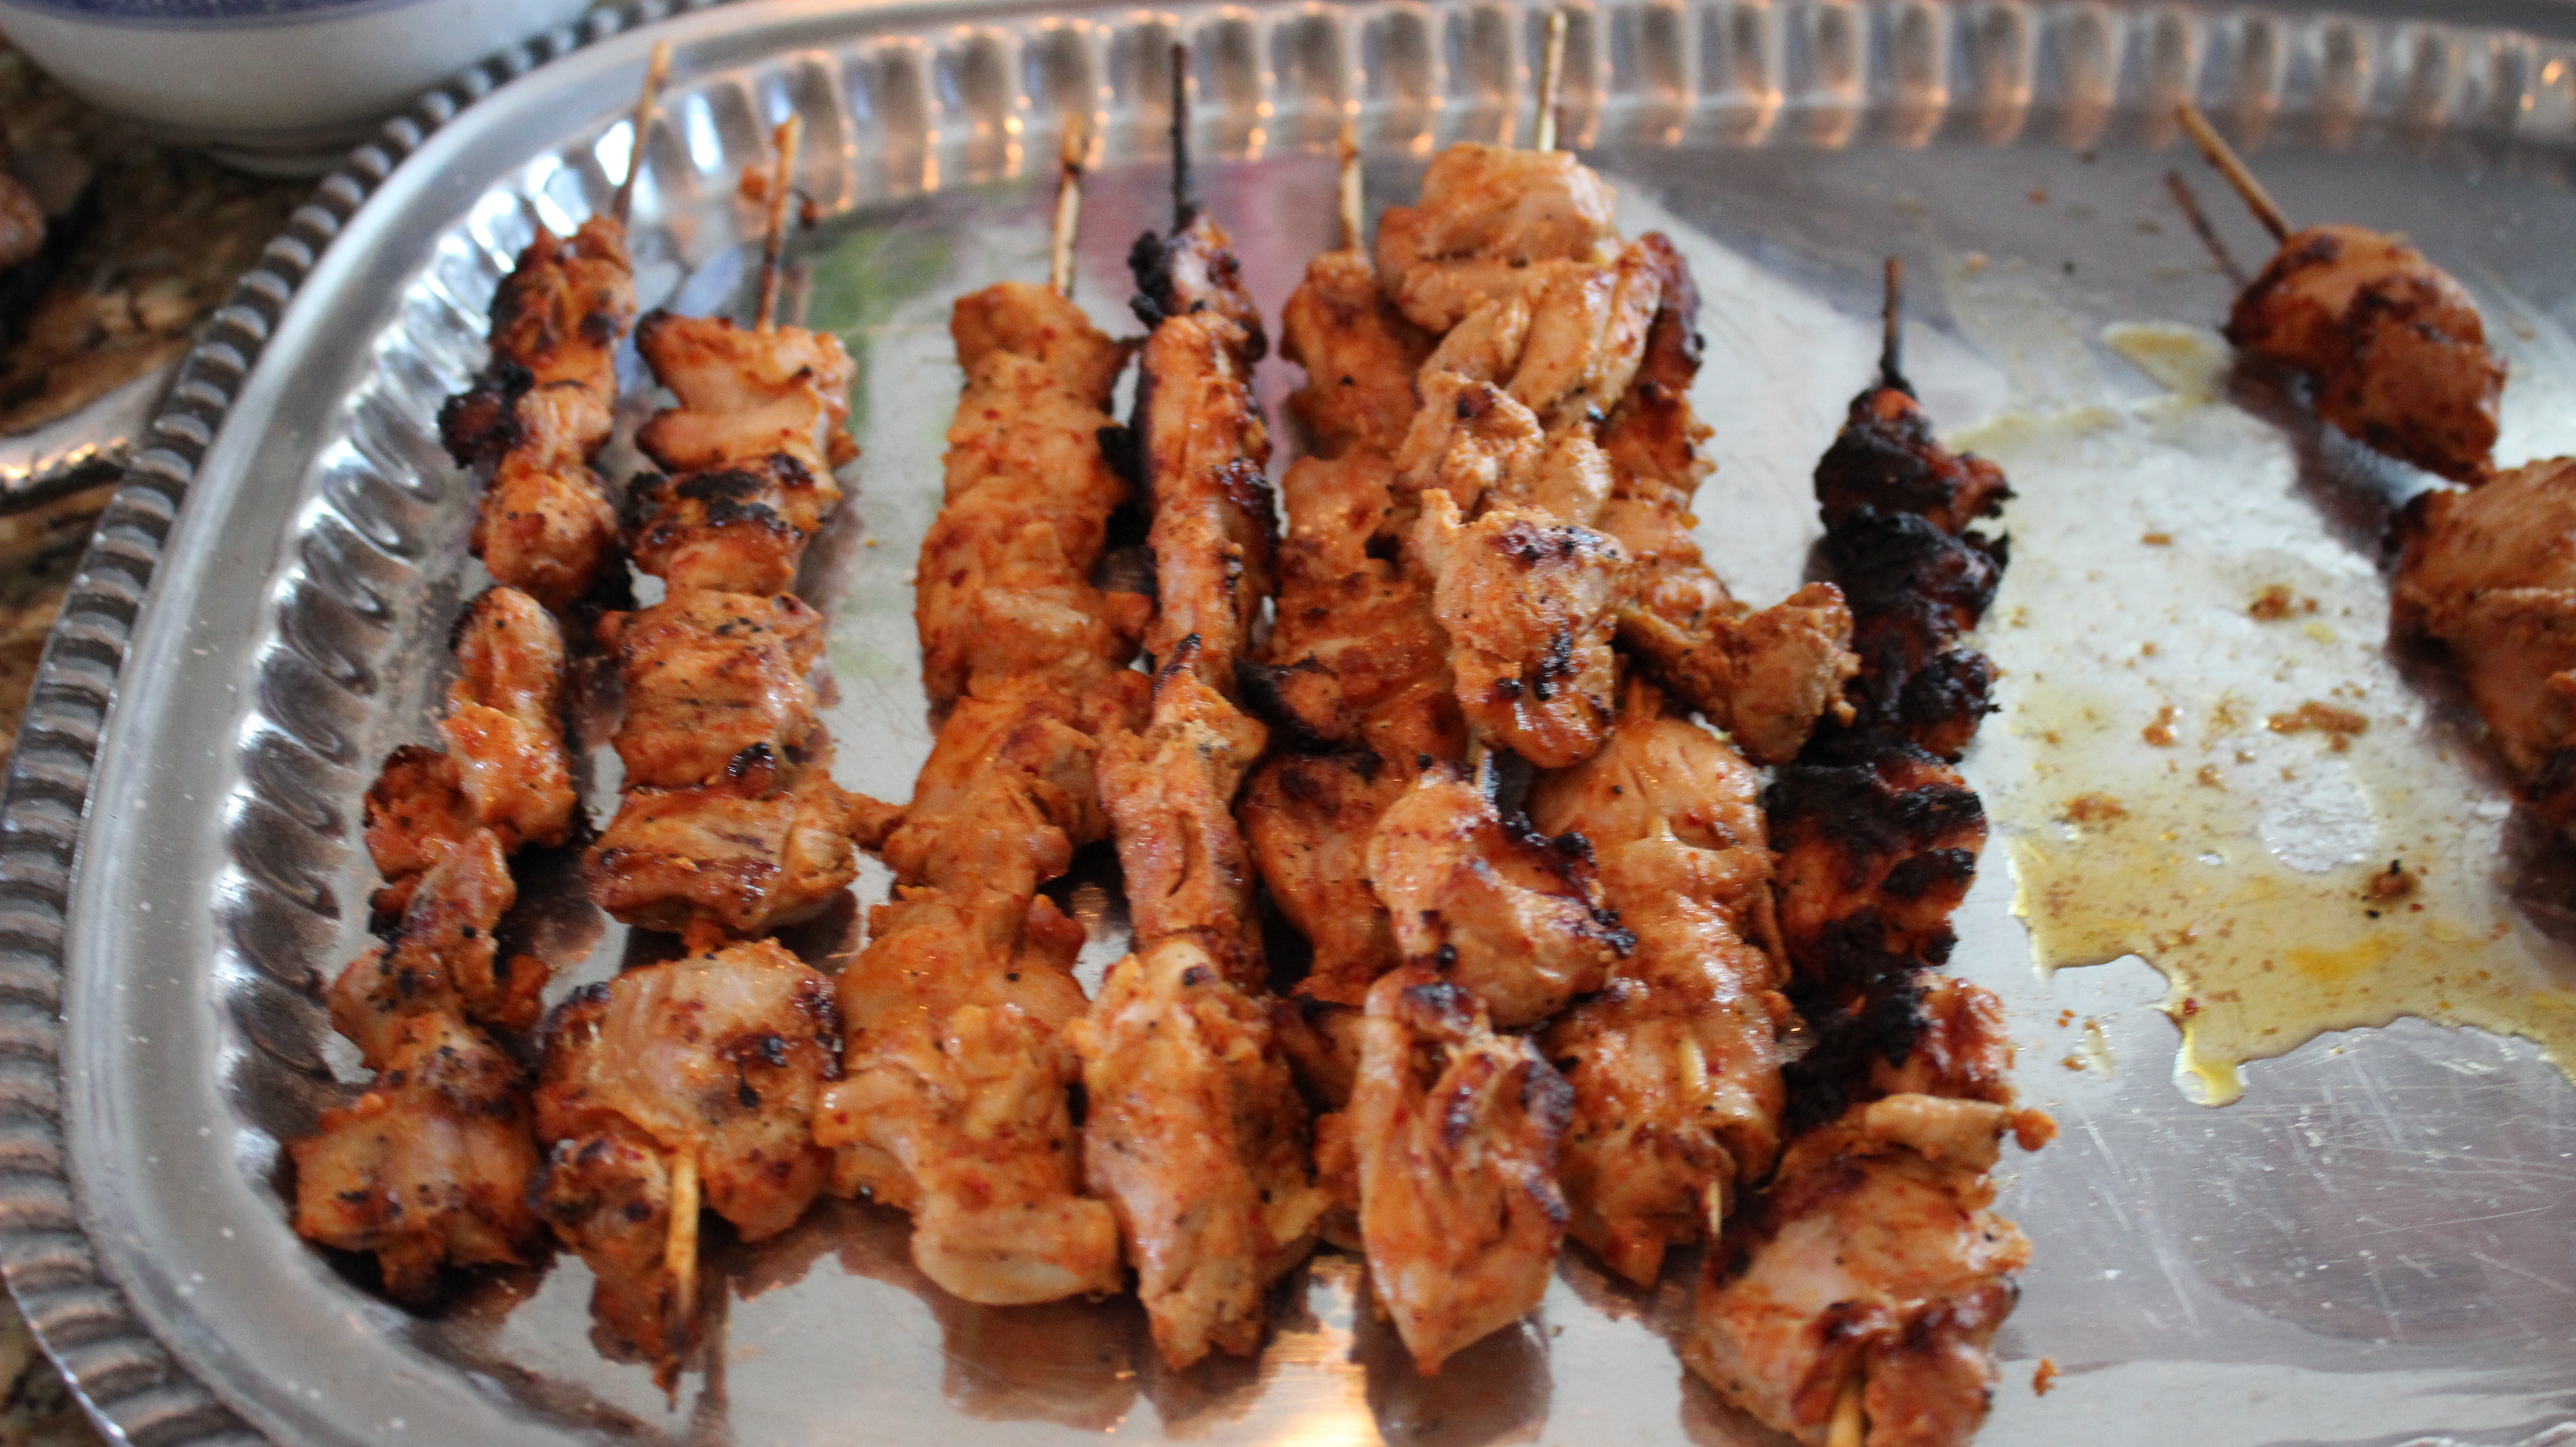
If you like this best hummus ever recipe you may want to try my Michigan Sauce, yogurt chicken kabobs and tzatziki beef bourguignon where you make an amazing Indian spiced tomato-cream dish on the 2nd day or Sea bass with green goddess sauce. Then you can end the meal with the cake that won’t last or an apple sauce-caramel sundae!
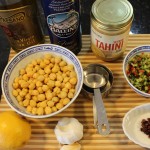
150150boeuf

iphone pictures 1194

iphone pictures 2345

IMG_4085

IMG_3072


IMG_5029

IMG_5056

IMG_5058


IMG_5076

IMG_5097


INGREDIENTS:

  • 1 can chic peas – garbanzo beans drained, rinsed and with skins removed (I used Goya)
  • 3 tbsp – In the show I said 1/4 cup but I actually think 3 tbsp is better (a little milder)… Tahini has a strong flavor.
  • Food Works in Guilford has Tahini Paste (note: this is a good investment because it will last a long, long time and you will get many, many hummus dishes from it 🙂
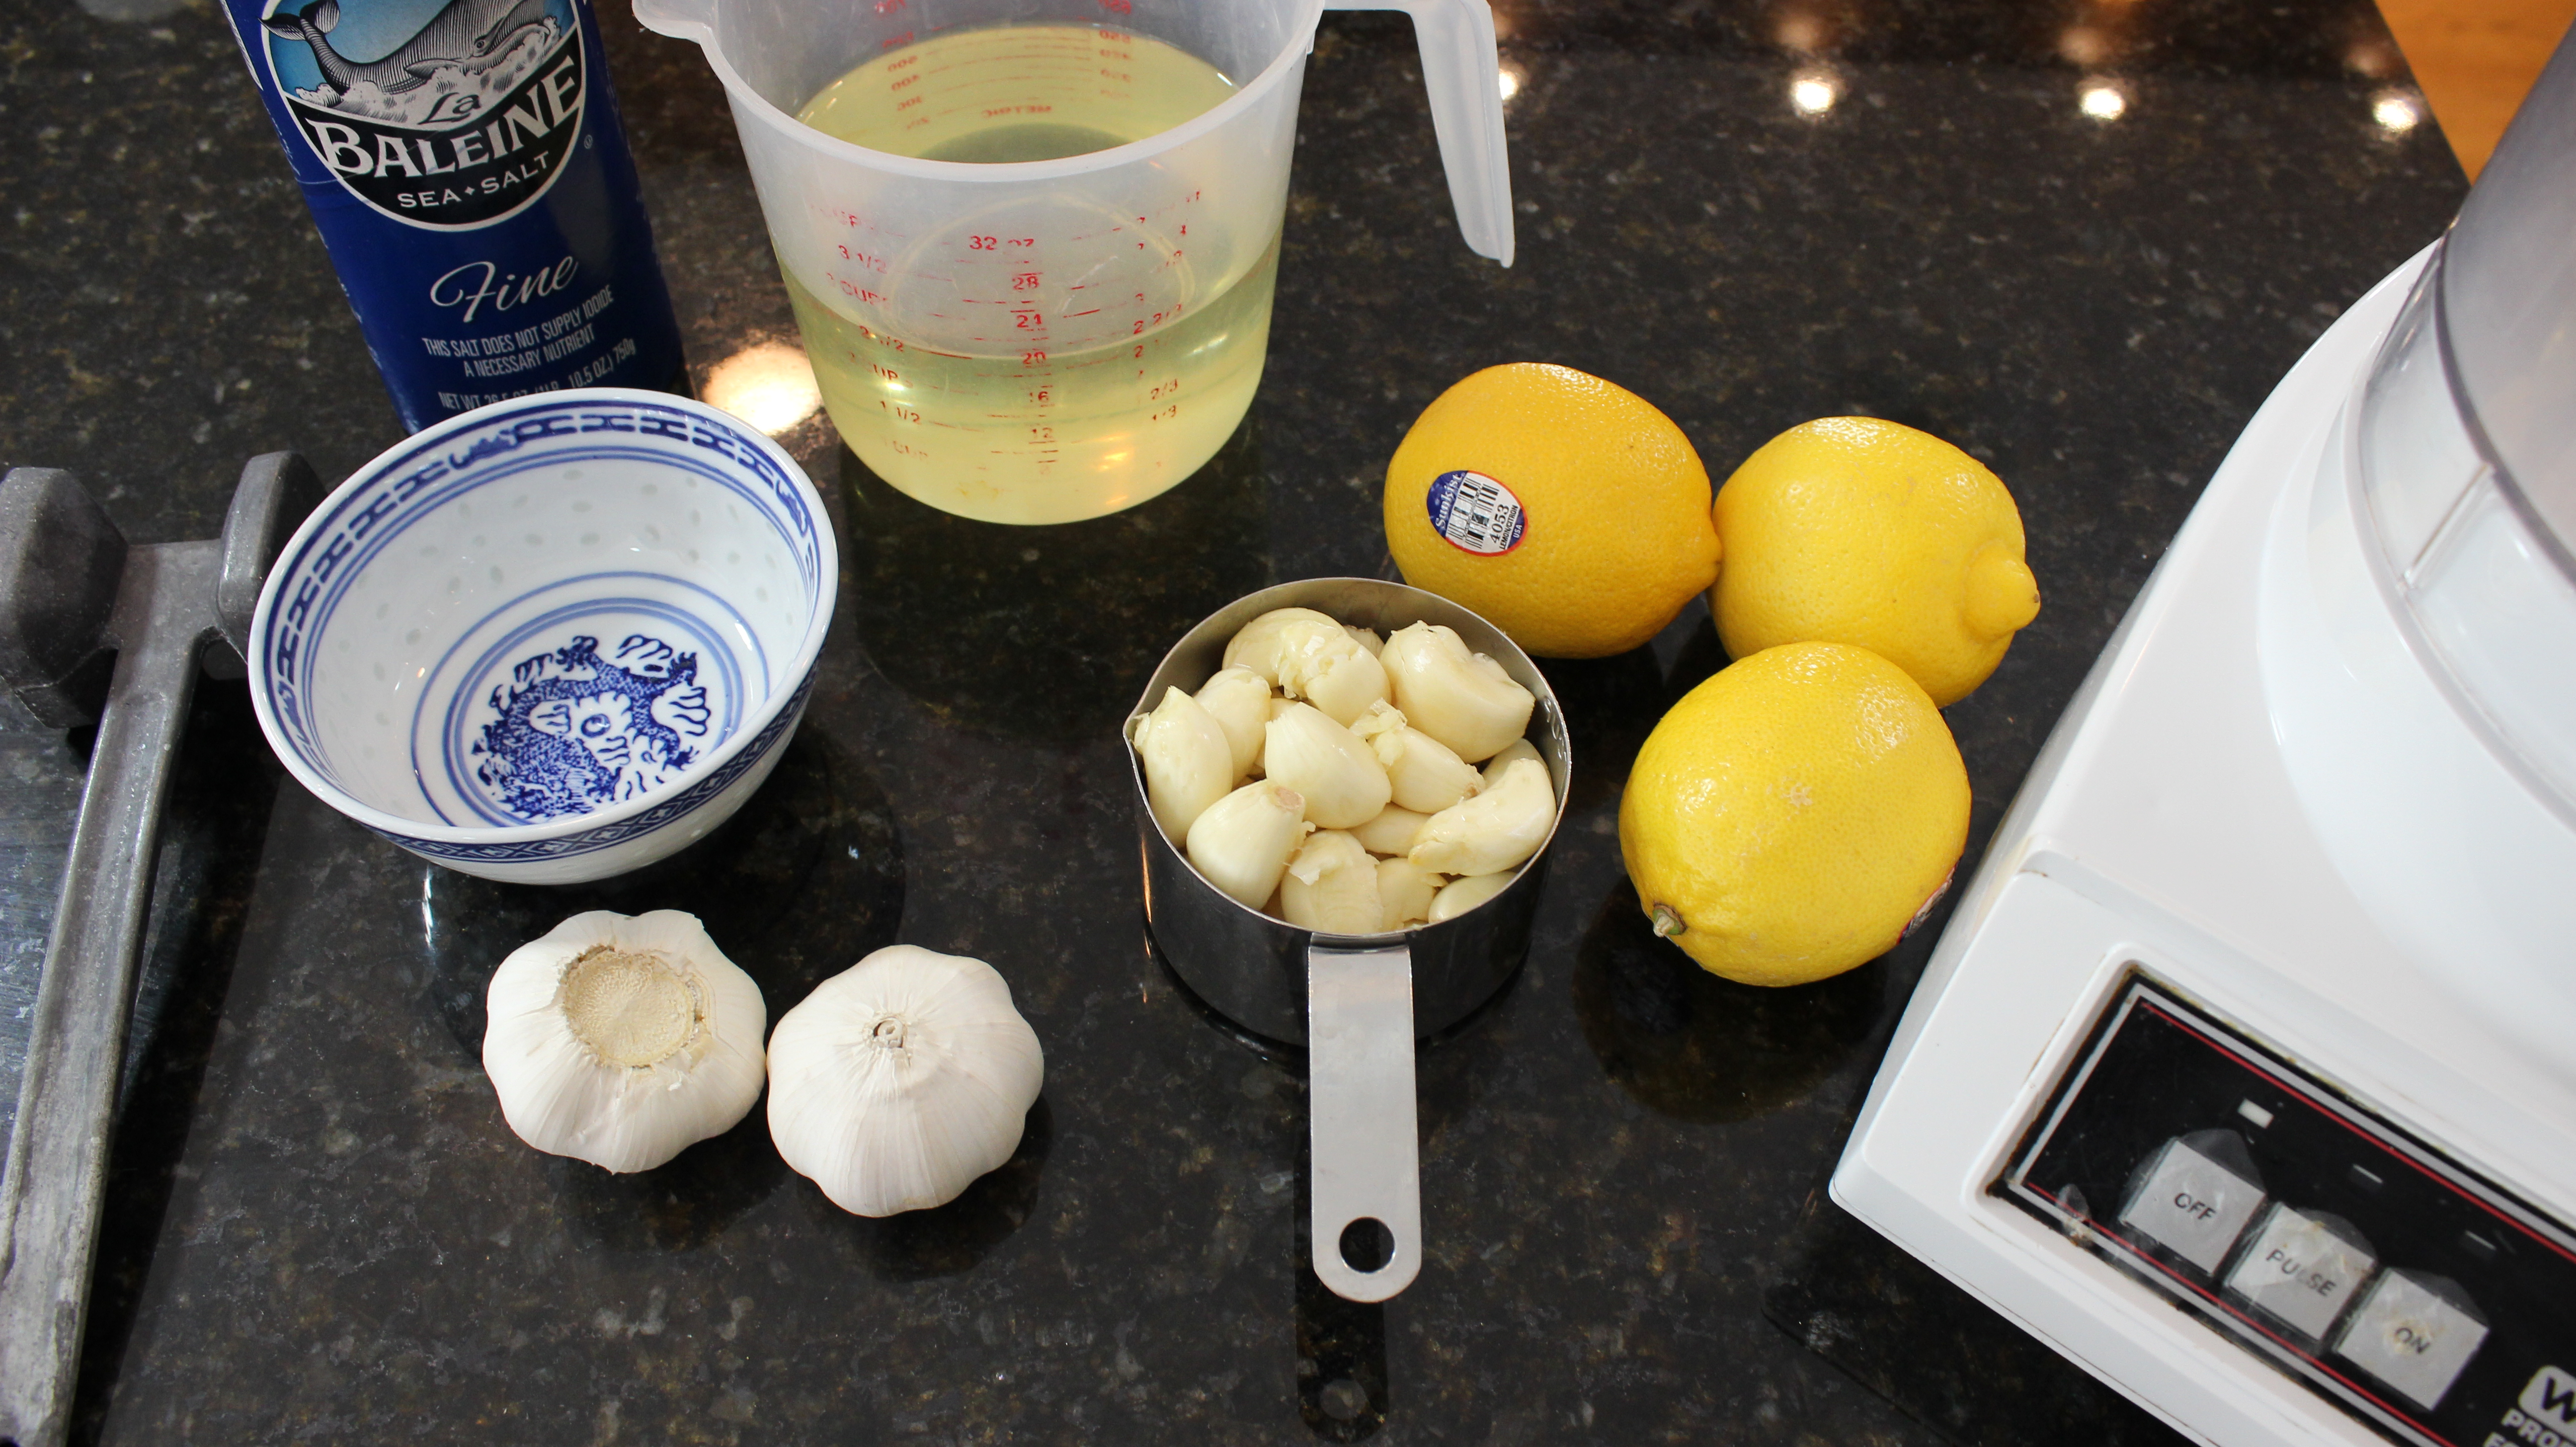
  • 1 tbsp fresh lemon juice
  • 1 ex-large garlic clove put thru press for a fine mash
  • 1/4 cup olive oil
  • 1/2 tsp sea salt – will add 1/4 tsp at a time
  • 1-3 tbsp water
  • a few dashes of Siracha or your favorite hot sauce (you can find Siracha near the Tabasco in the store)

DIRECTIONS:

  • Drain, wash and remove the skins from the chic peas by gently squeezing the peas between your fingers to loosen and remove the outer skins
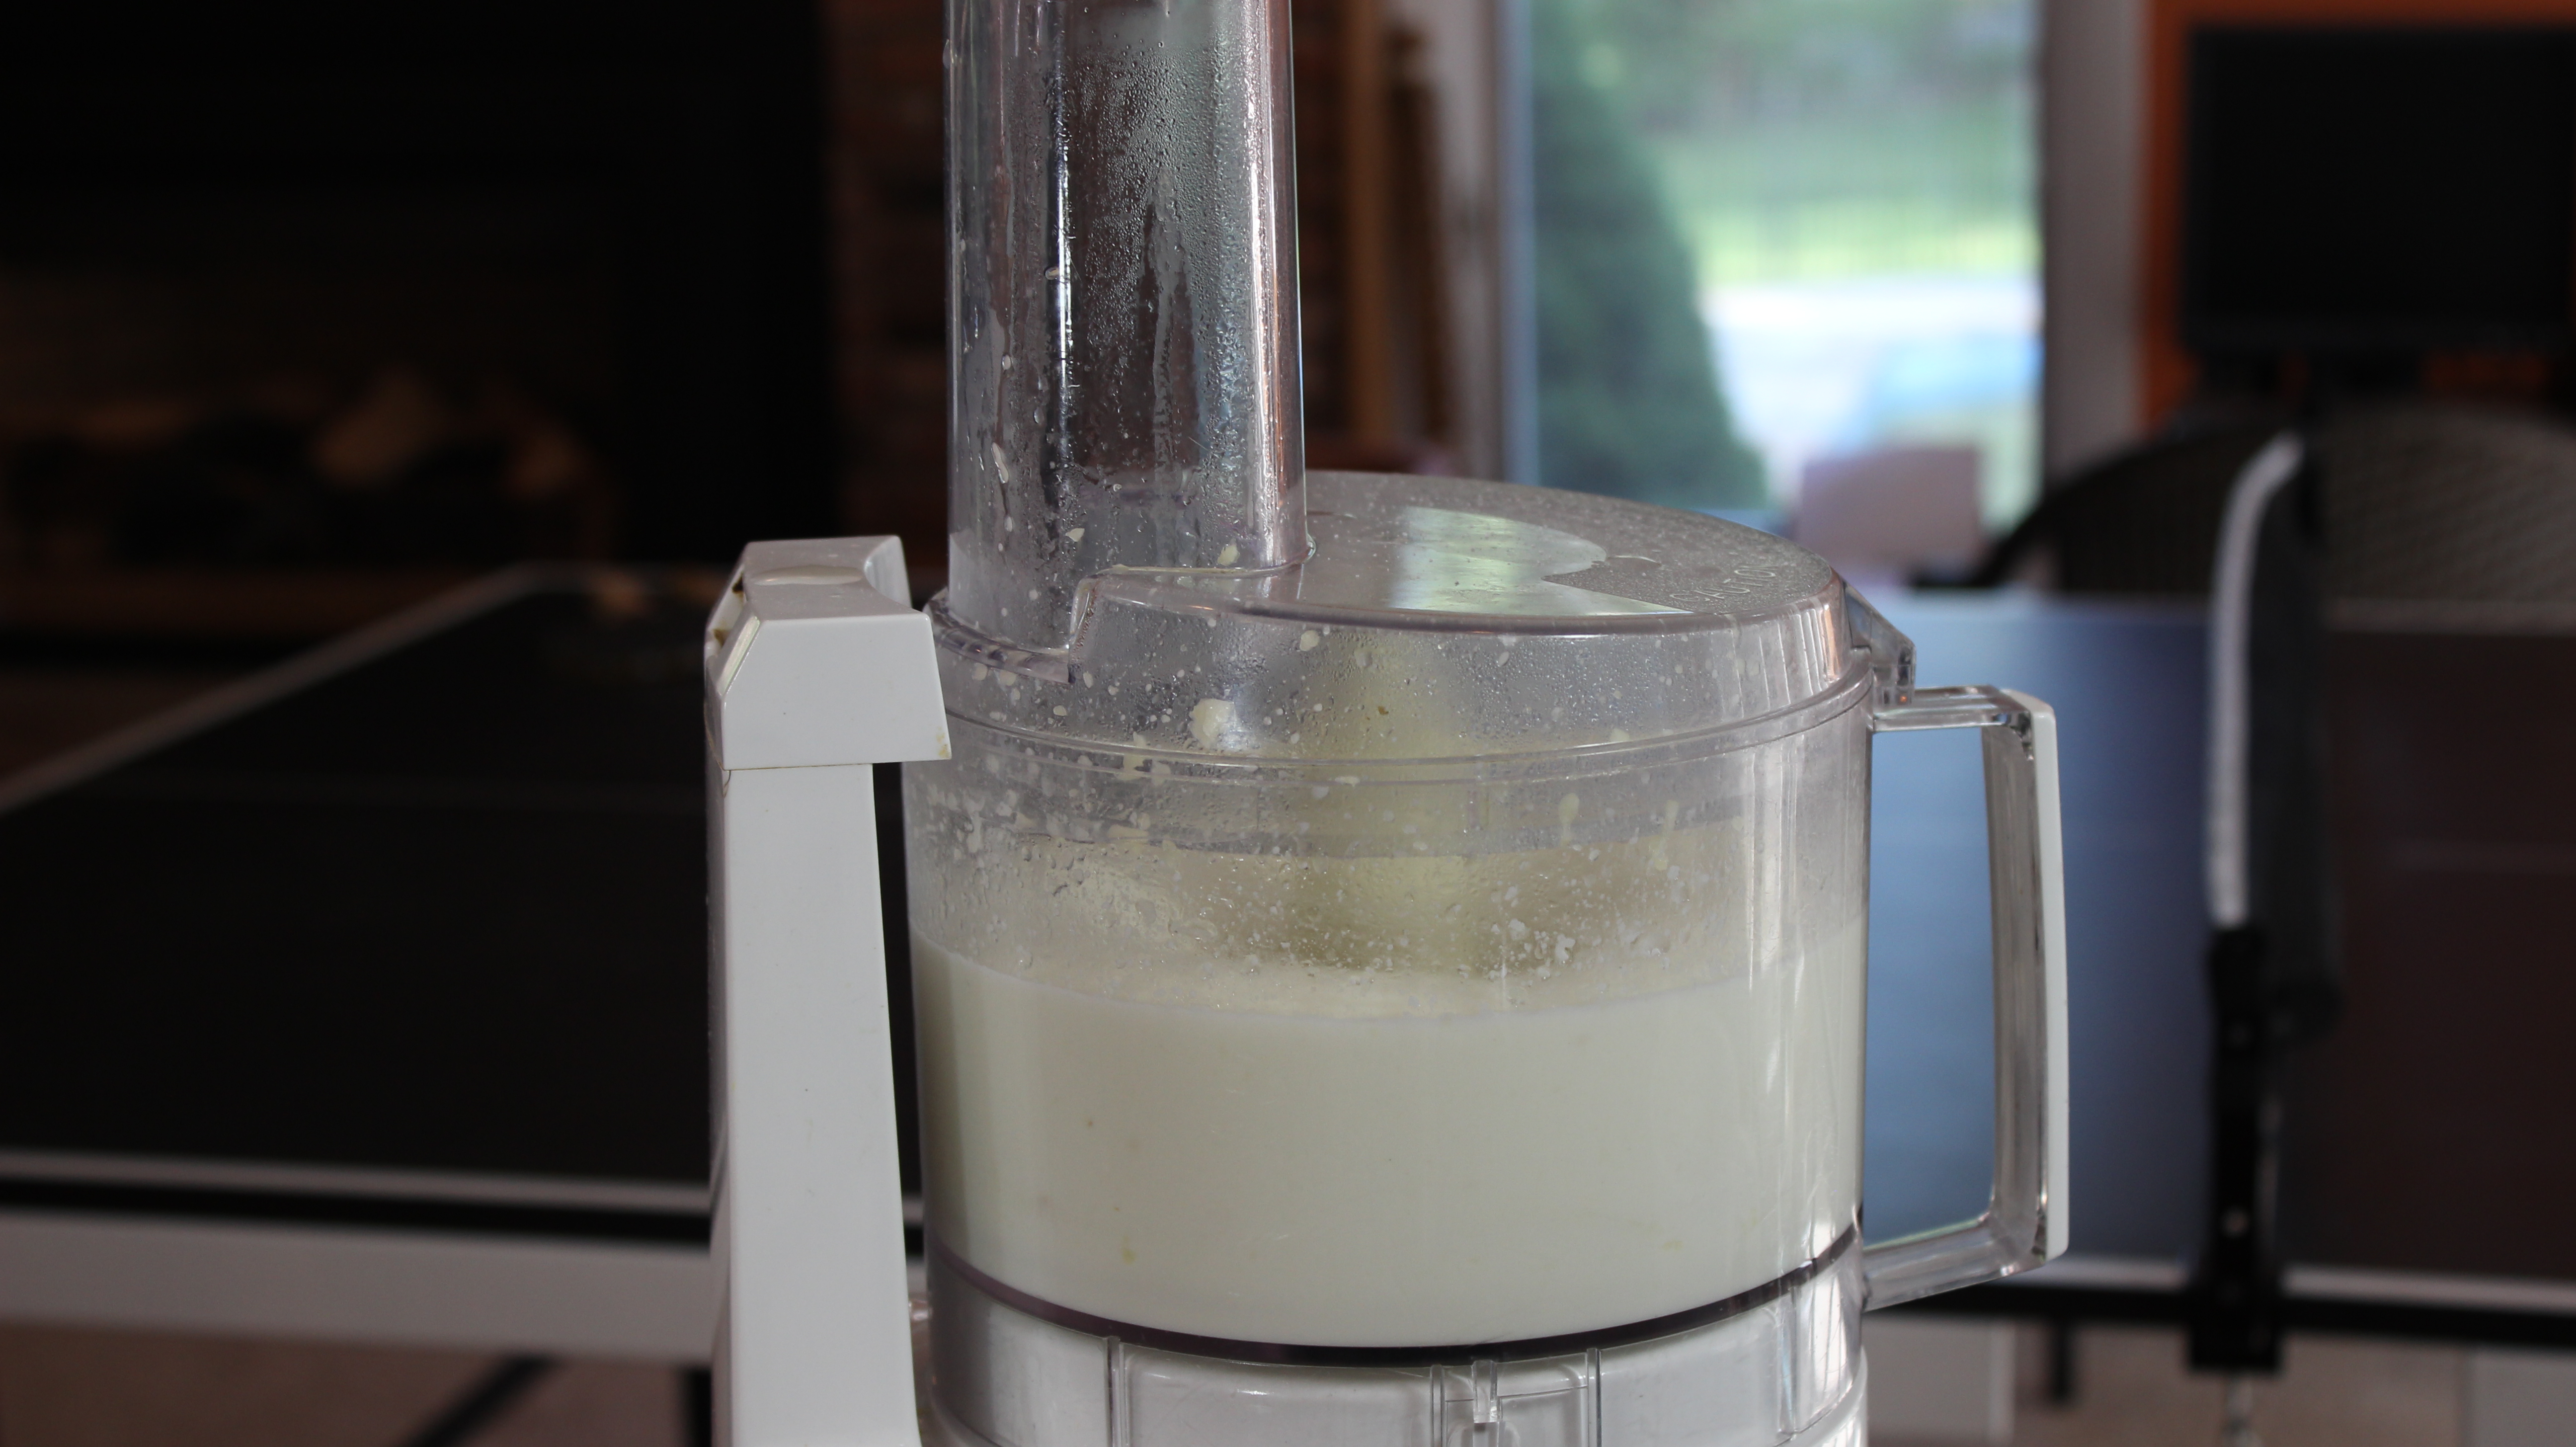
  • Put the chic peas, tahini paste, a garlic clove put thru garlic press, olive oil and fresh lemon juice in the food processor and run for 1 minute
  • Stop and scrap down the sides of the processor
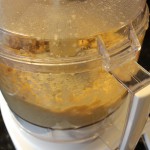
  • Add 1/4 tsp of sea salt, 1 tbsp of water and purée 1 minute
  • Stop and taste, you will probably need to add 1 tsp sea salt more and 1 tbsp water getting it to thin it out a bit (adding the water aerates the dip lightening it up)
  • Run the processor for 1 more minute
  • Check to make sure hummus is the thickness you want – you may want 1 tbsp more of water
  • Turn out hummus into a bowl and garnish with a drizzle of olive oil
  • And, OR Sprinkle with paprika, OR top with 2 tbsp chopped kalamata olives or cucumber salad in the center of the hummus
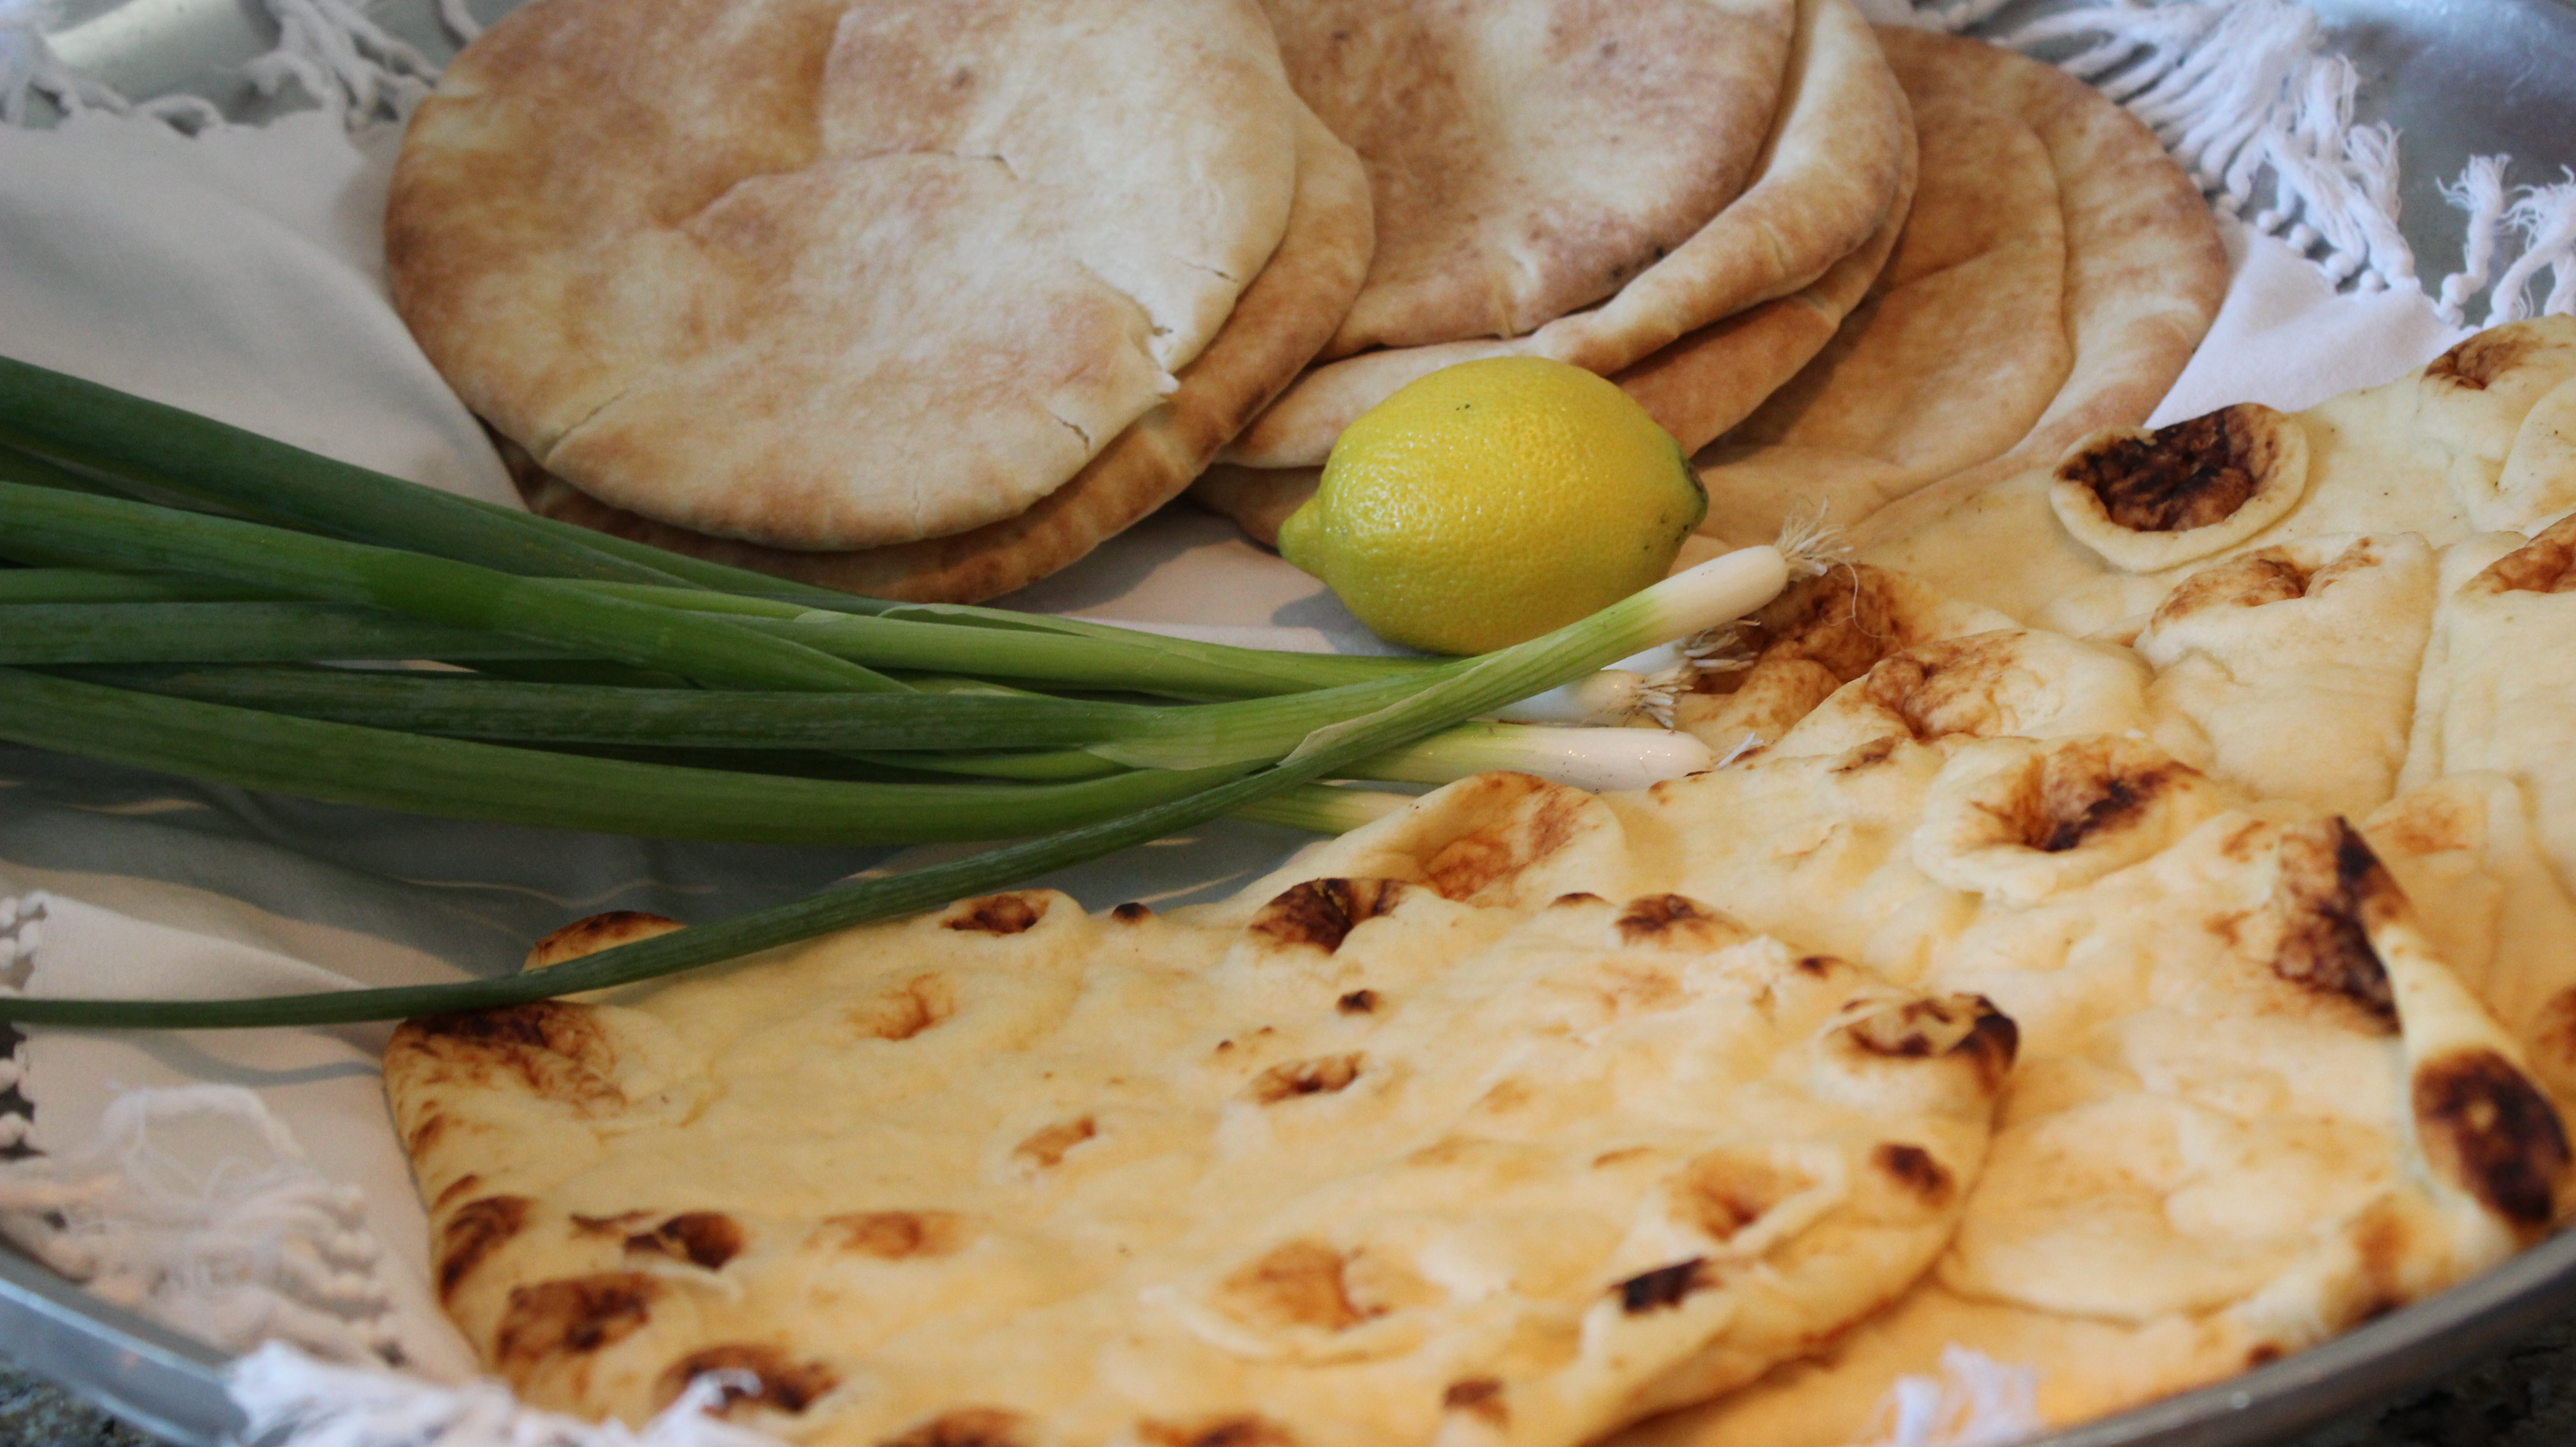
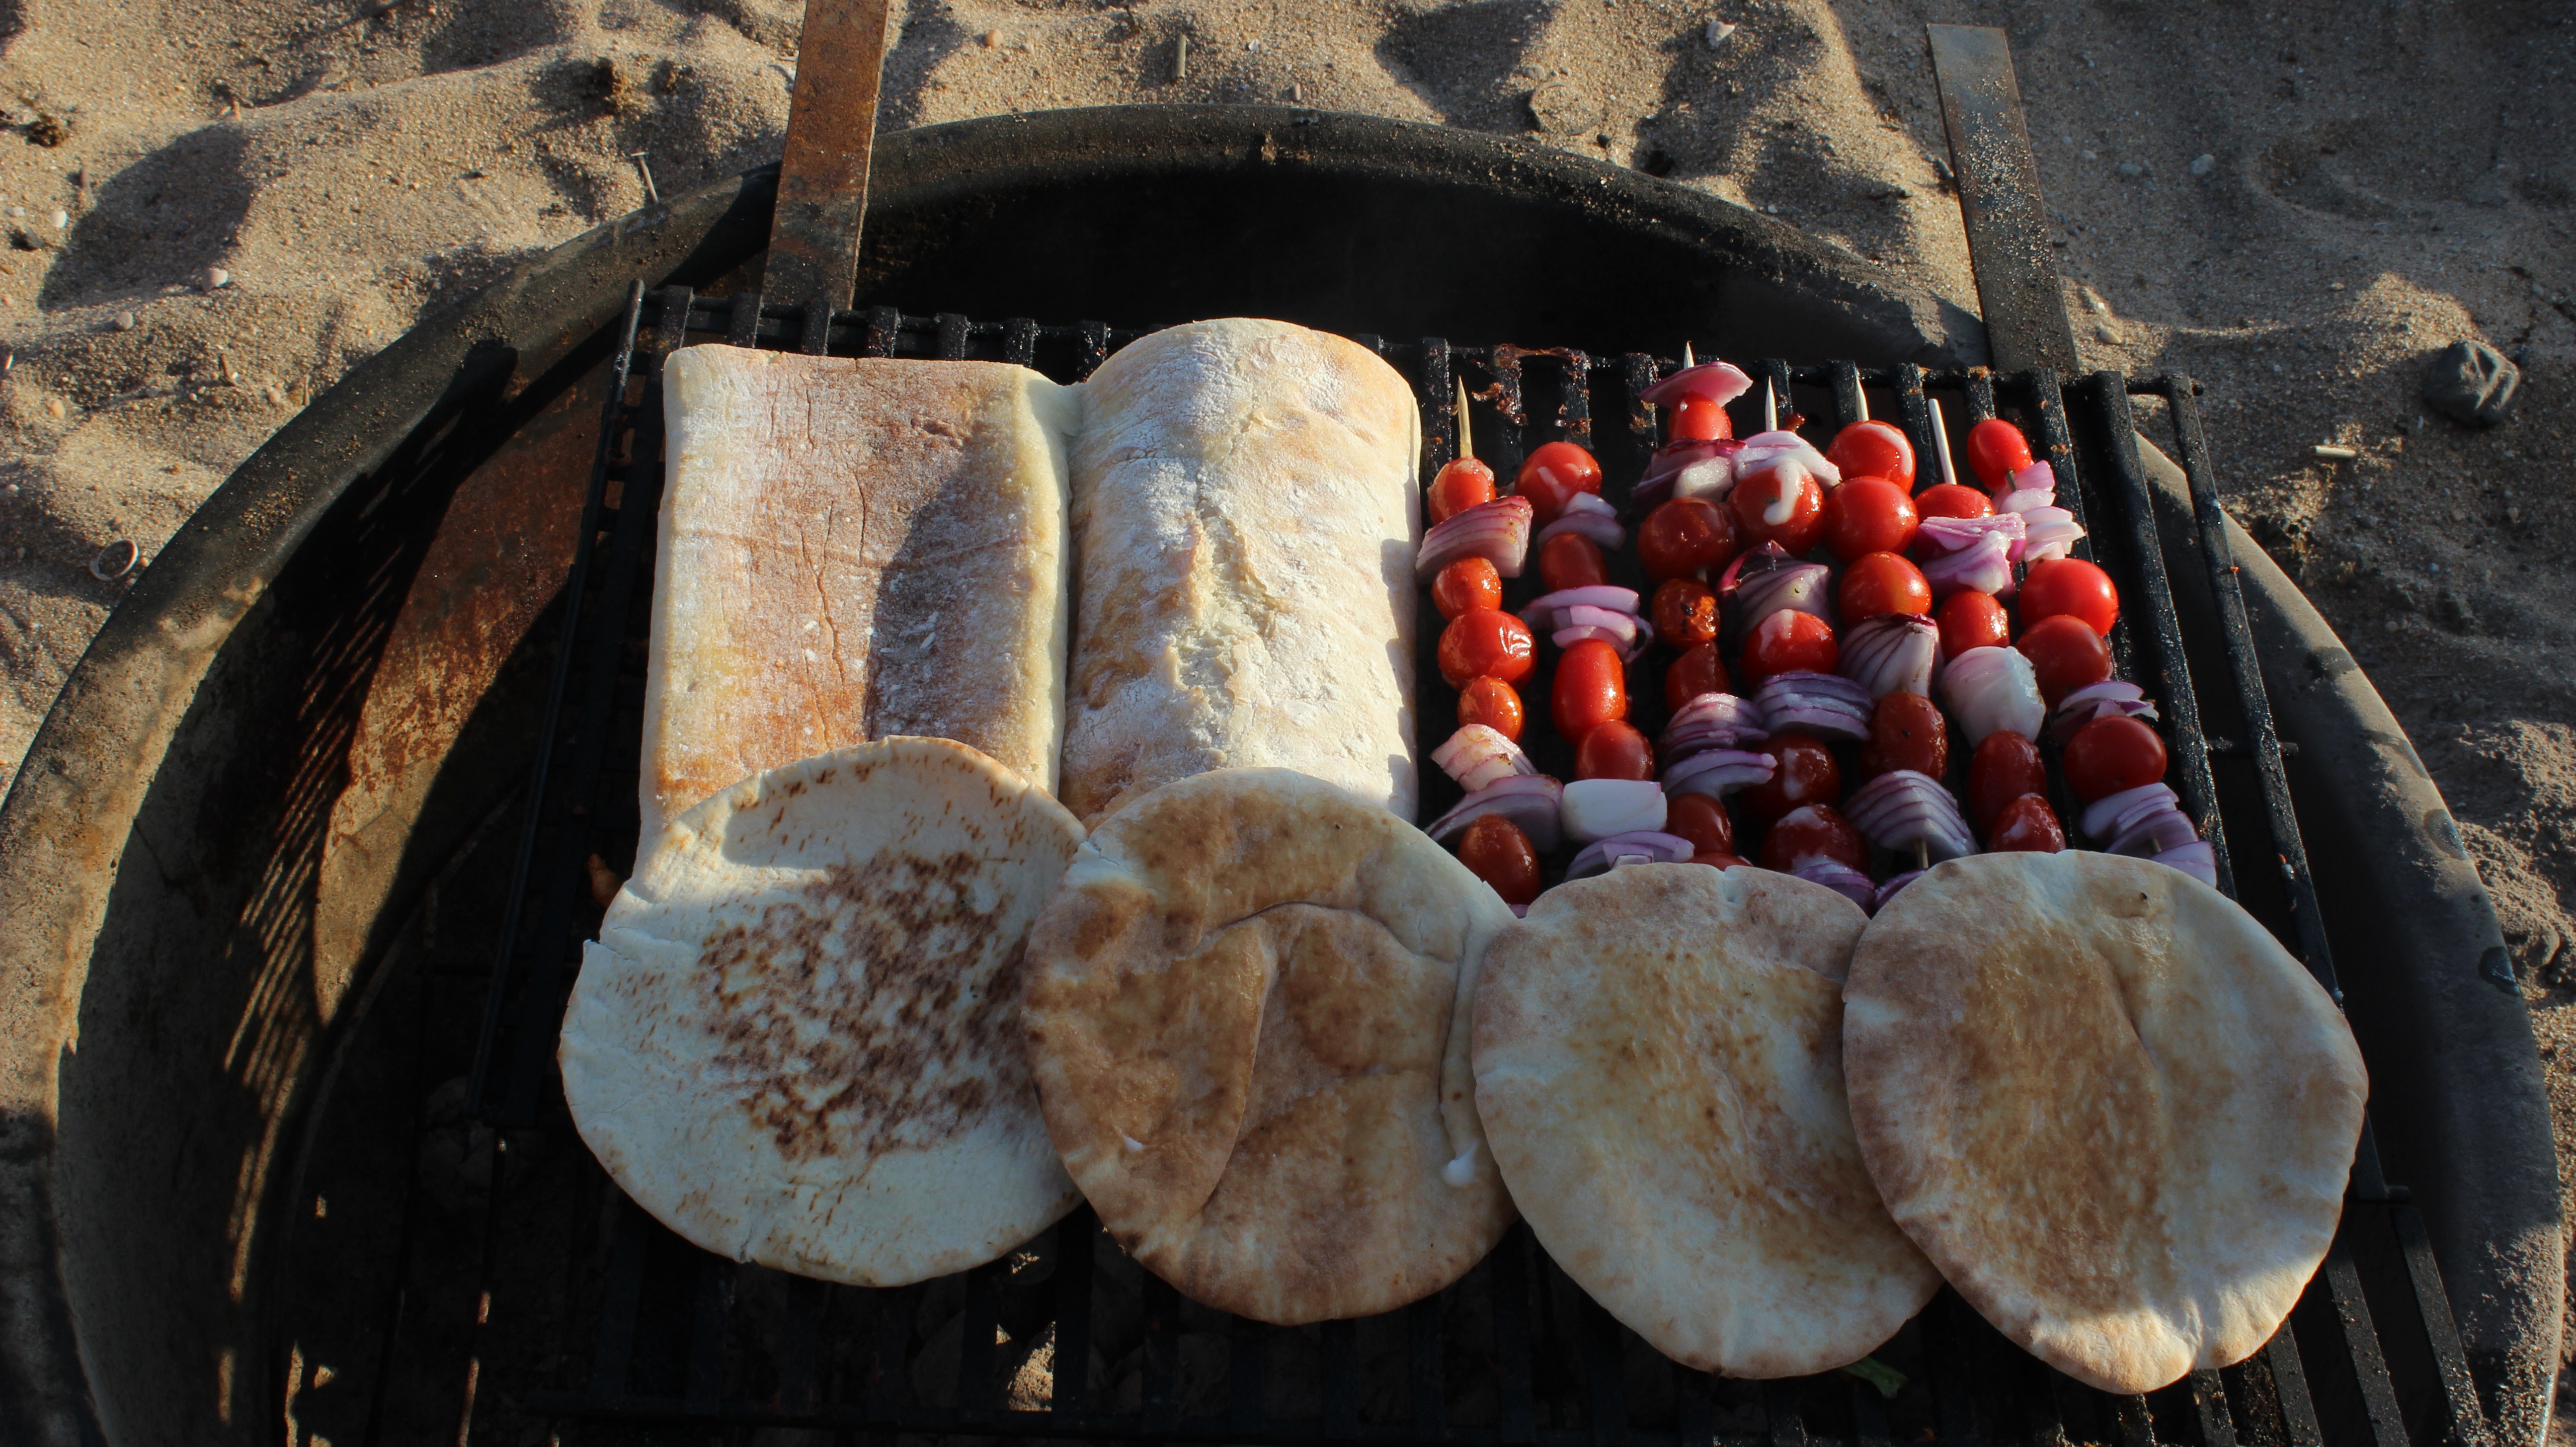
  • Serve with blue chips, pita or naan
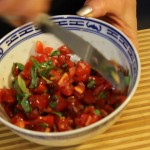
  • CUCUMBER SALAD: 1/4 cup finely chopped European cucumber, 2 tbsp finely chopped cherry tomatoes, 1 tbsp finely chopped kalamata olive and red onion, 1 tsp olive oil, 1 tbsp finely chopped cilantro and a sprinkle of s & p – combine all ingredients in a sm bowl

Holiday Appetizer’s

Holiday Appetizer’s

iphone pictures 572
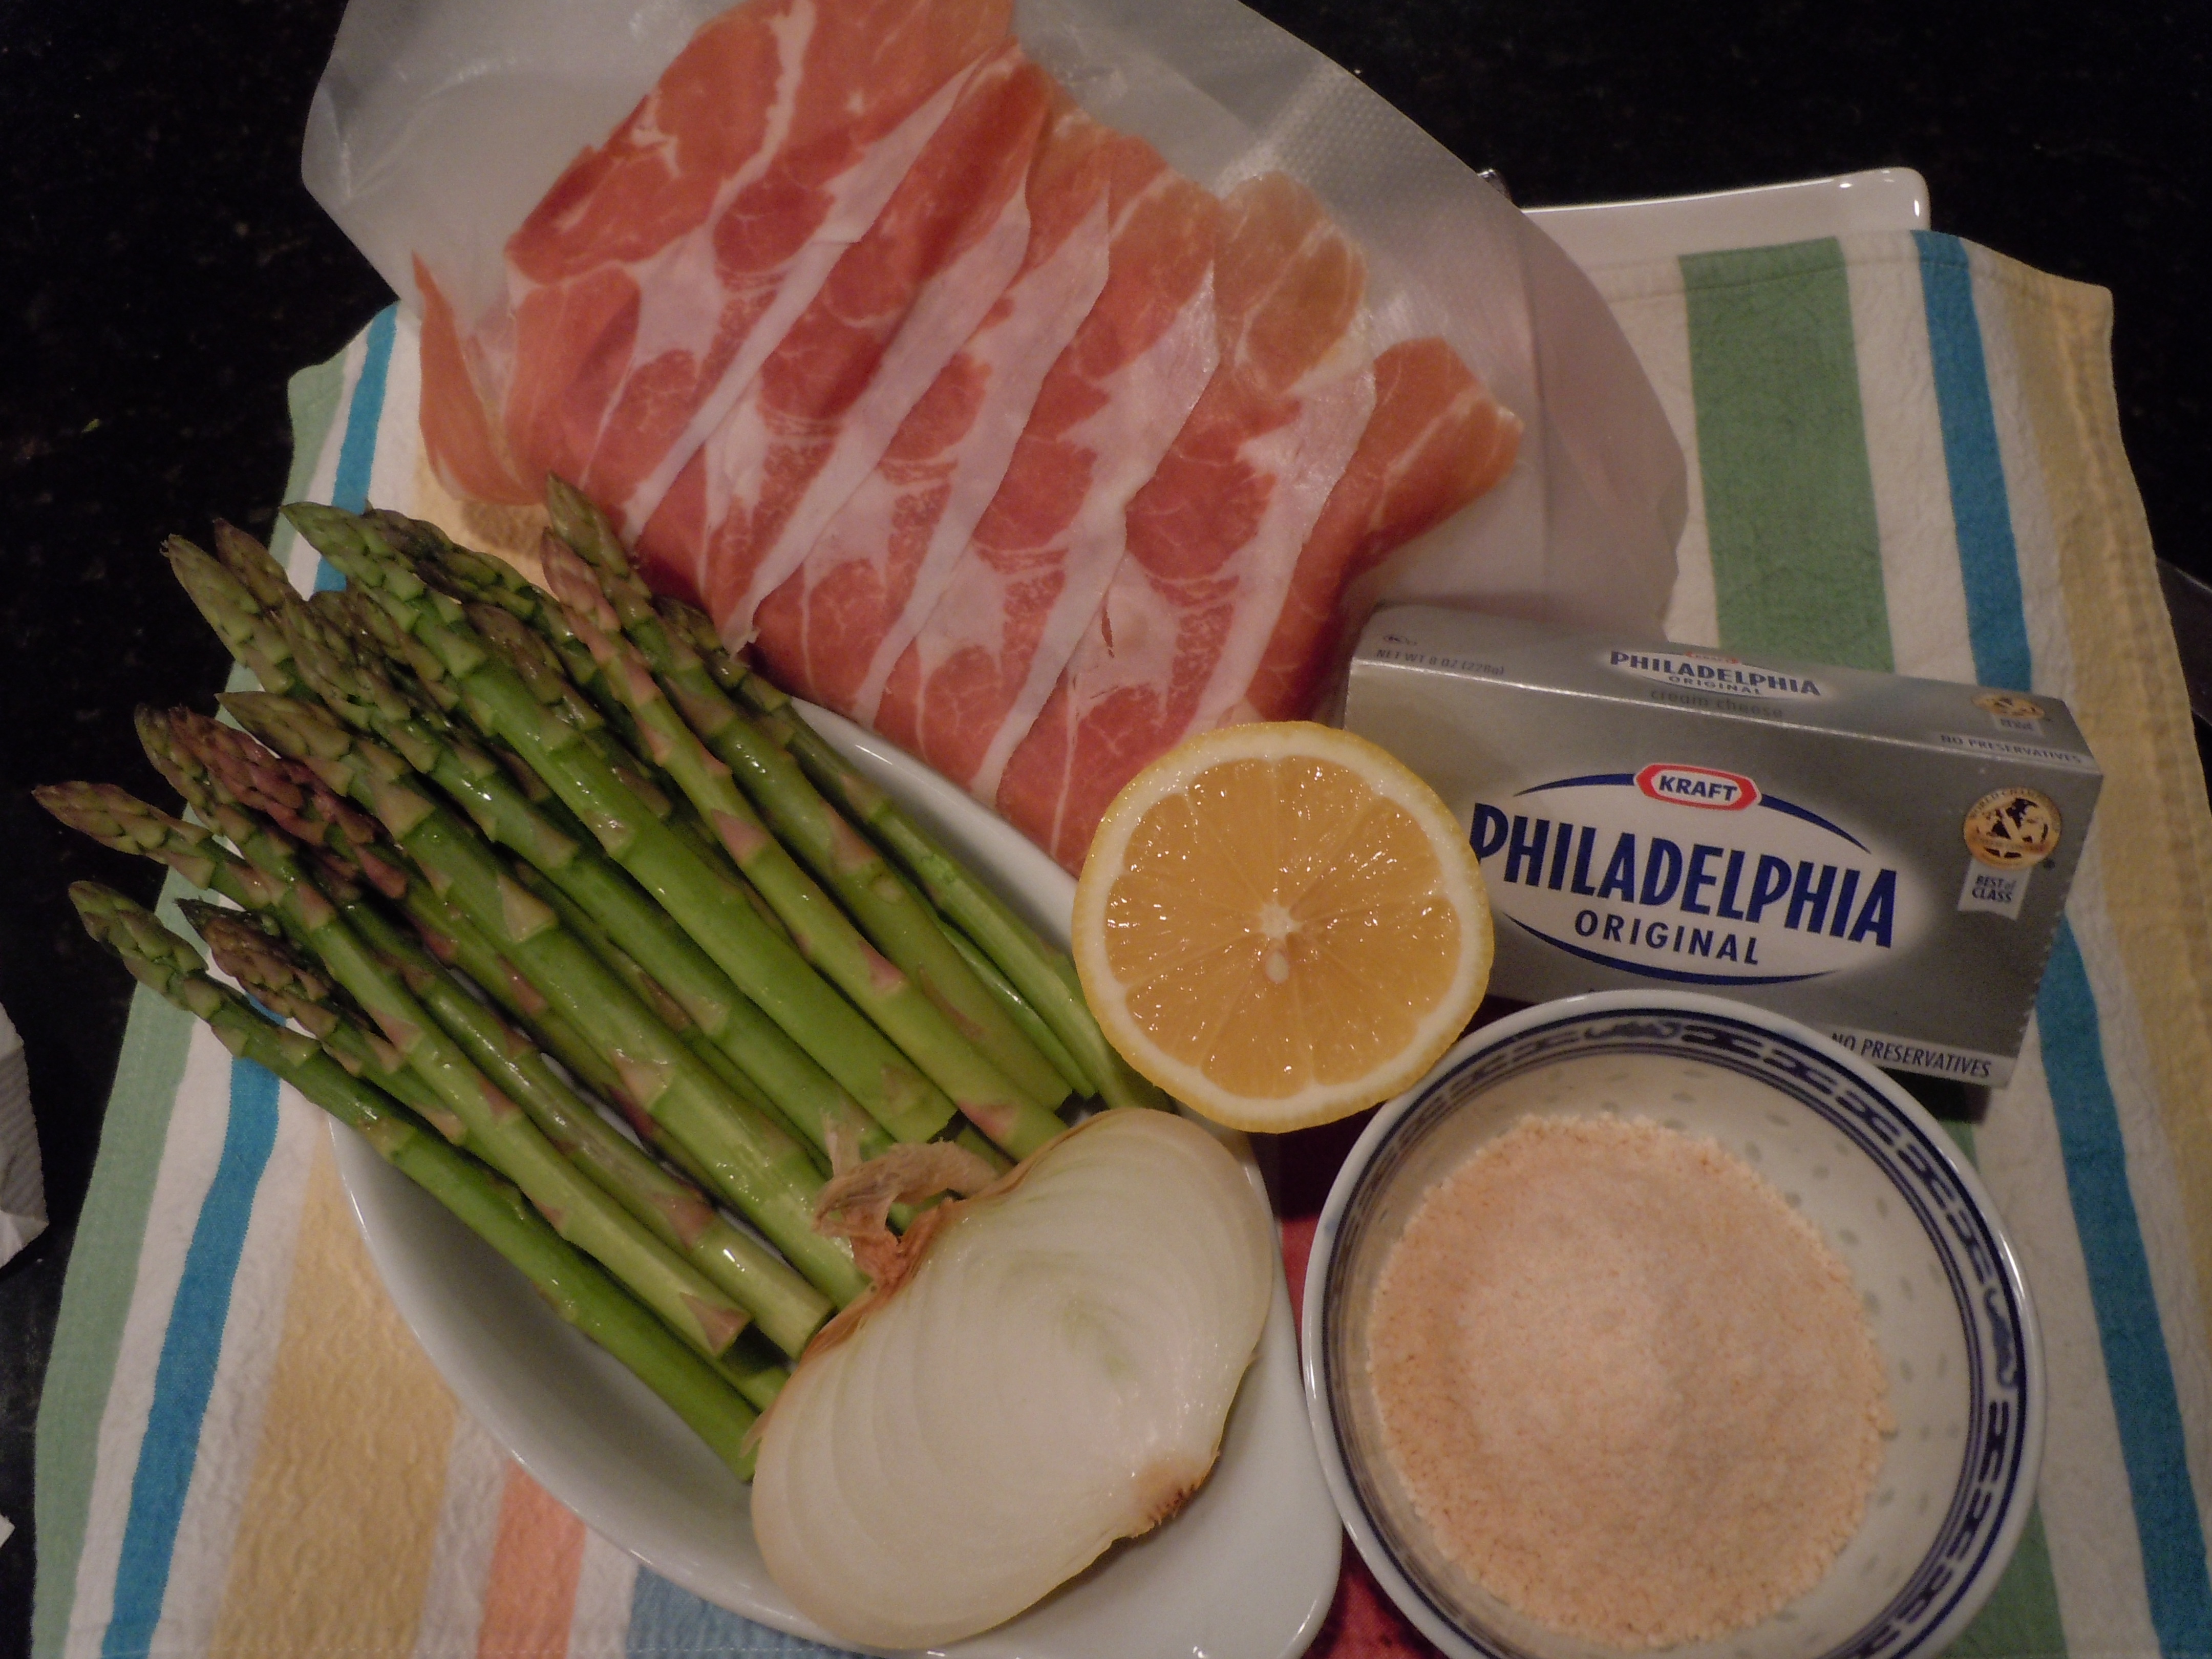
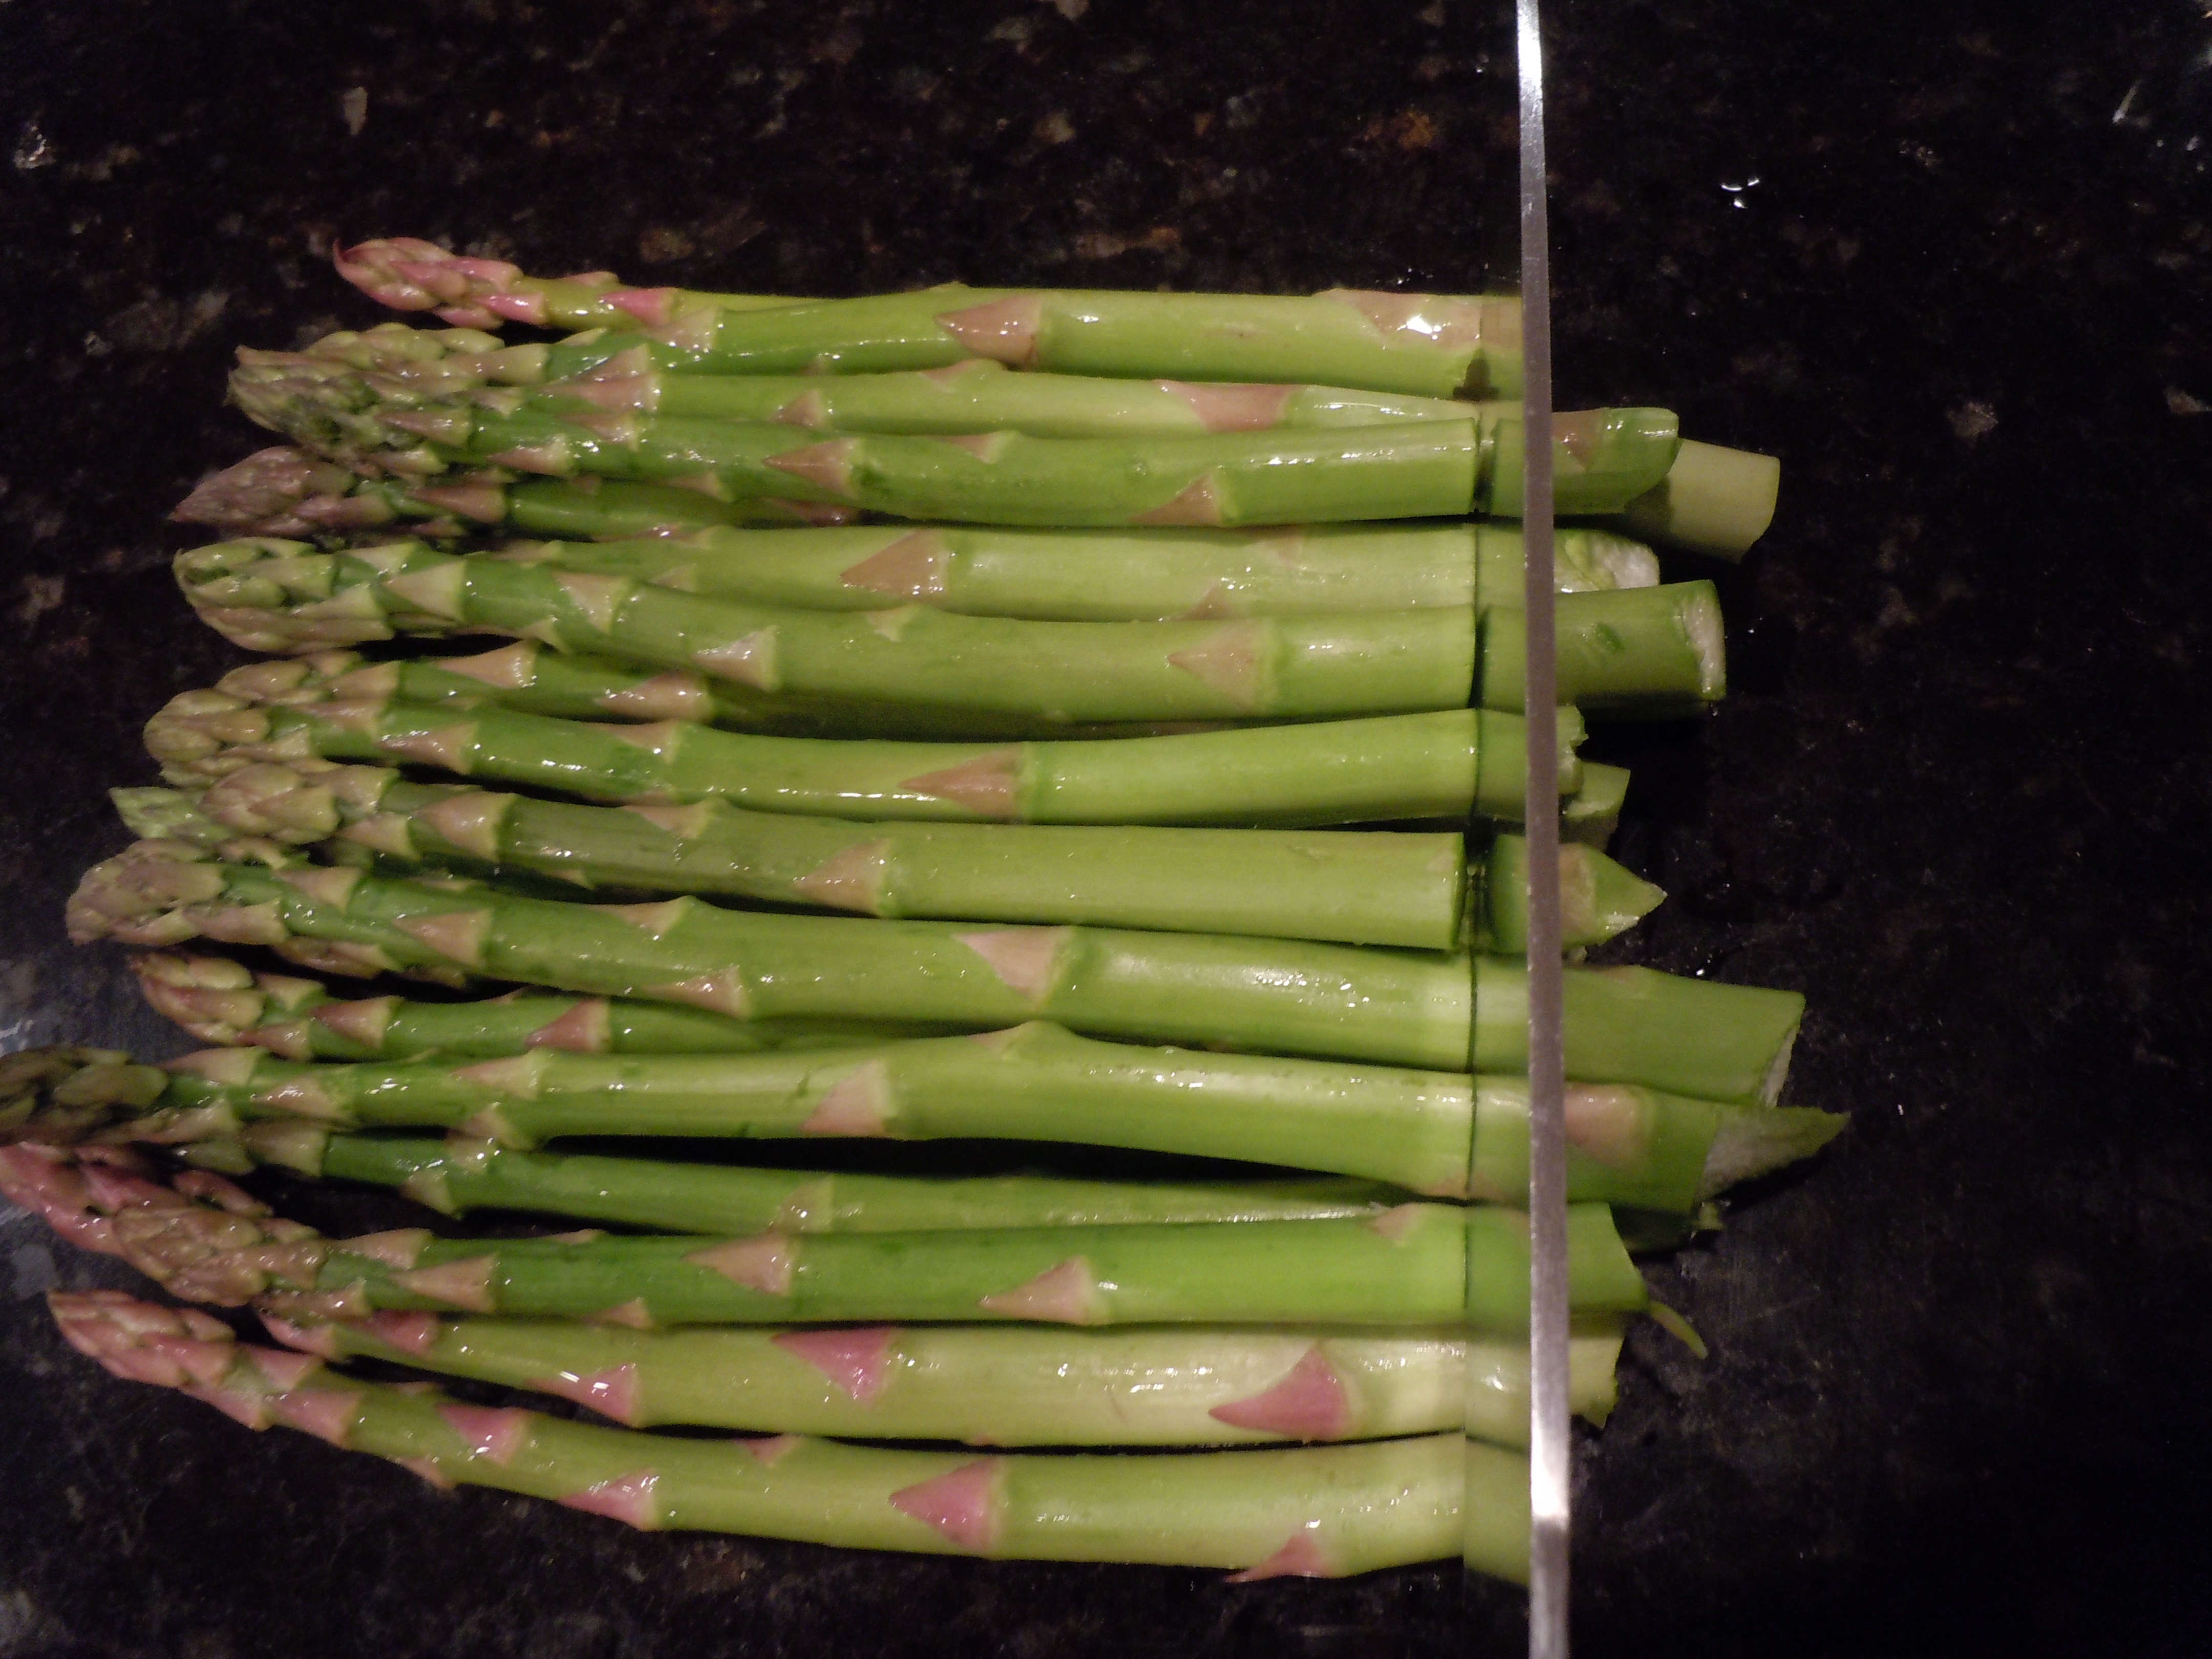
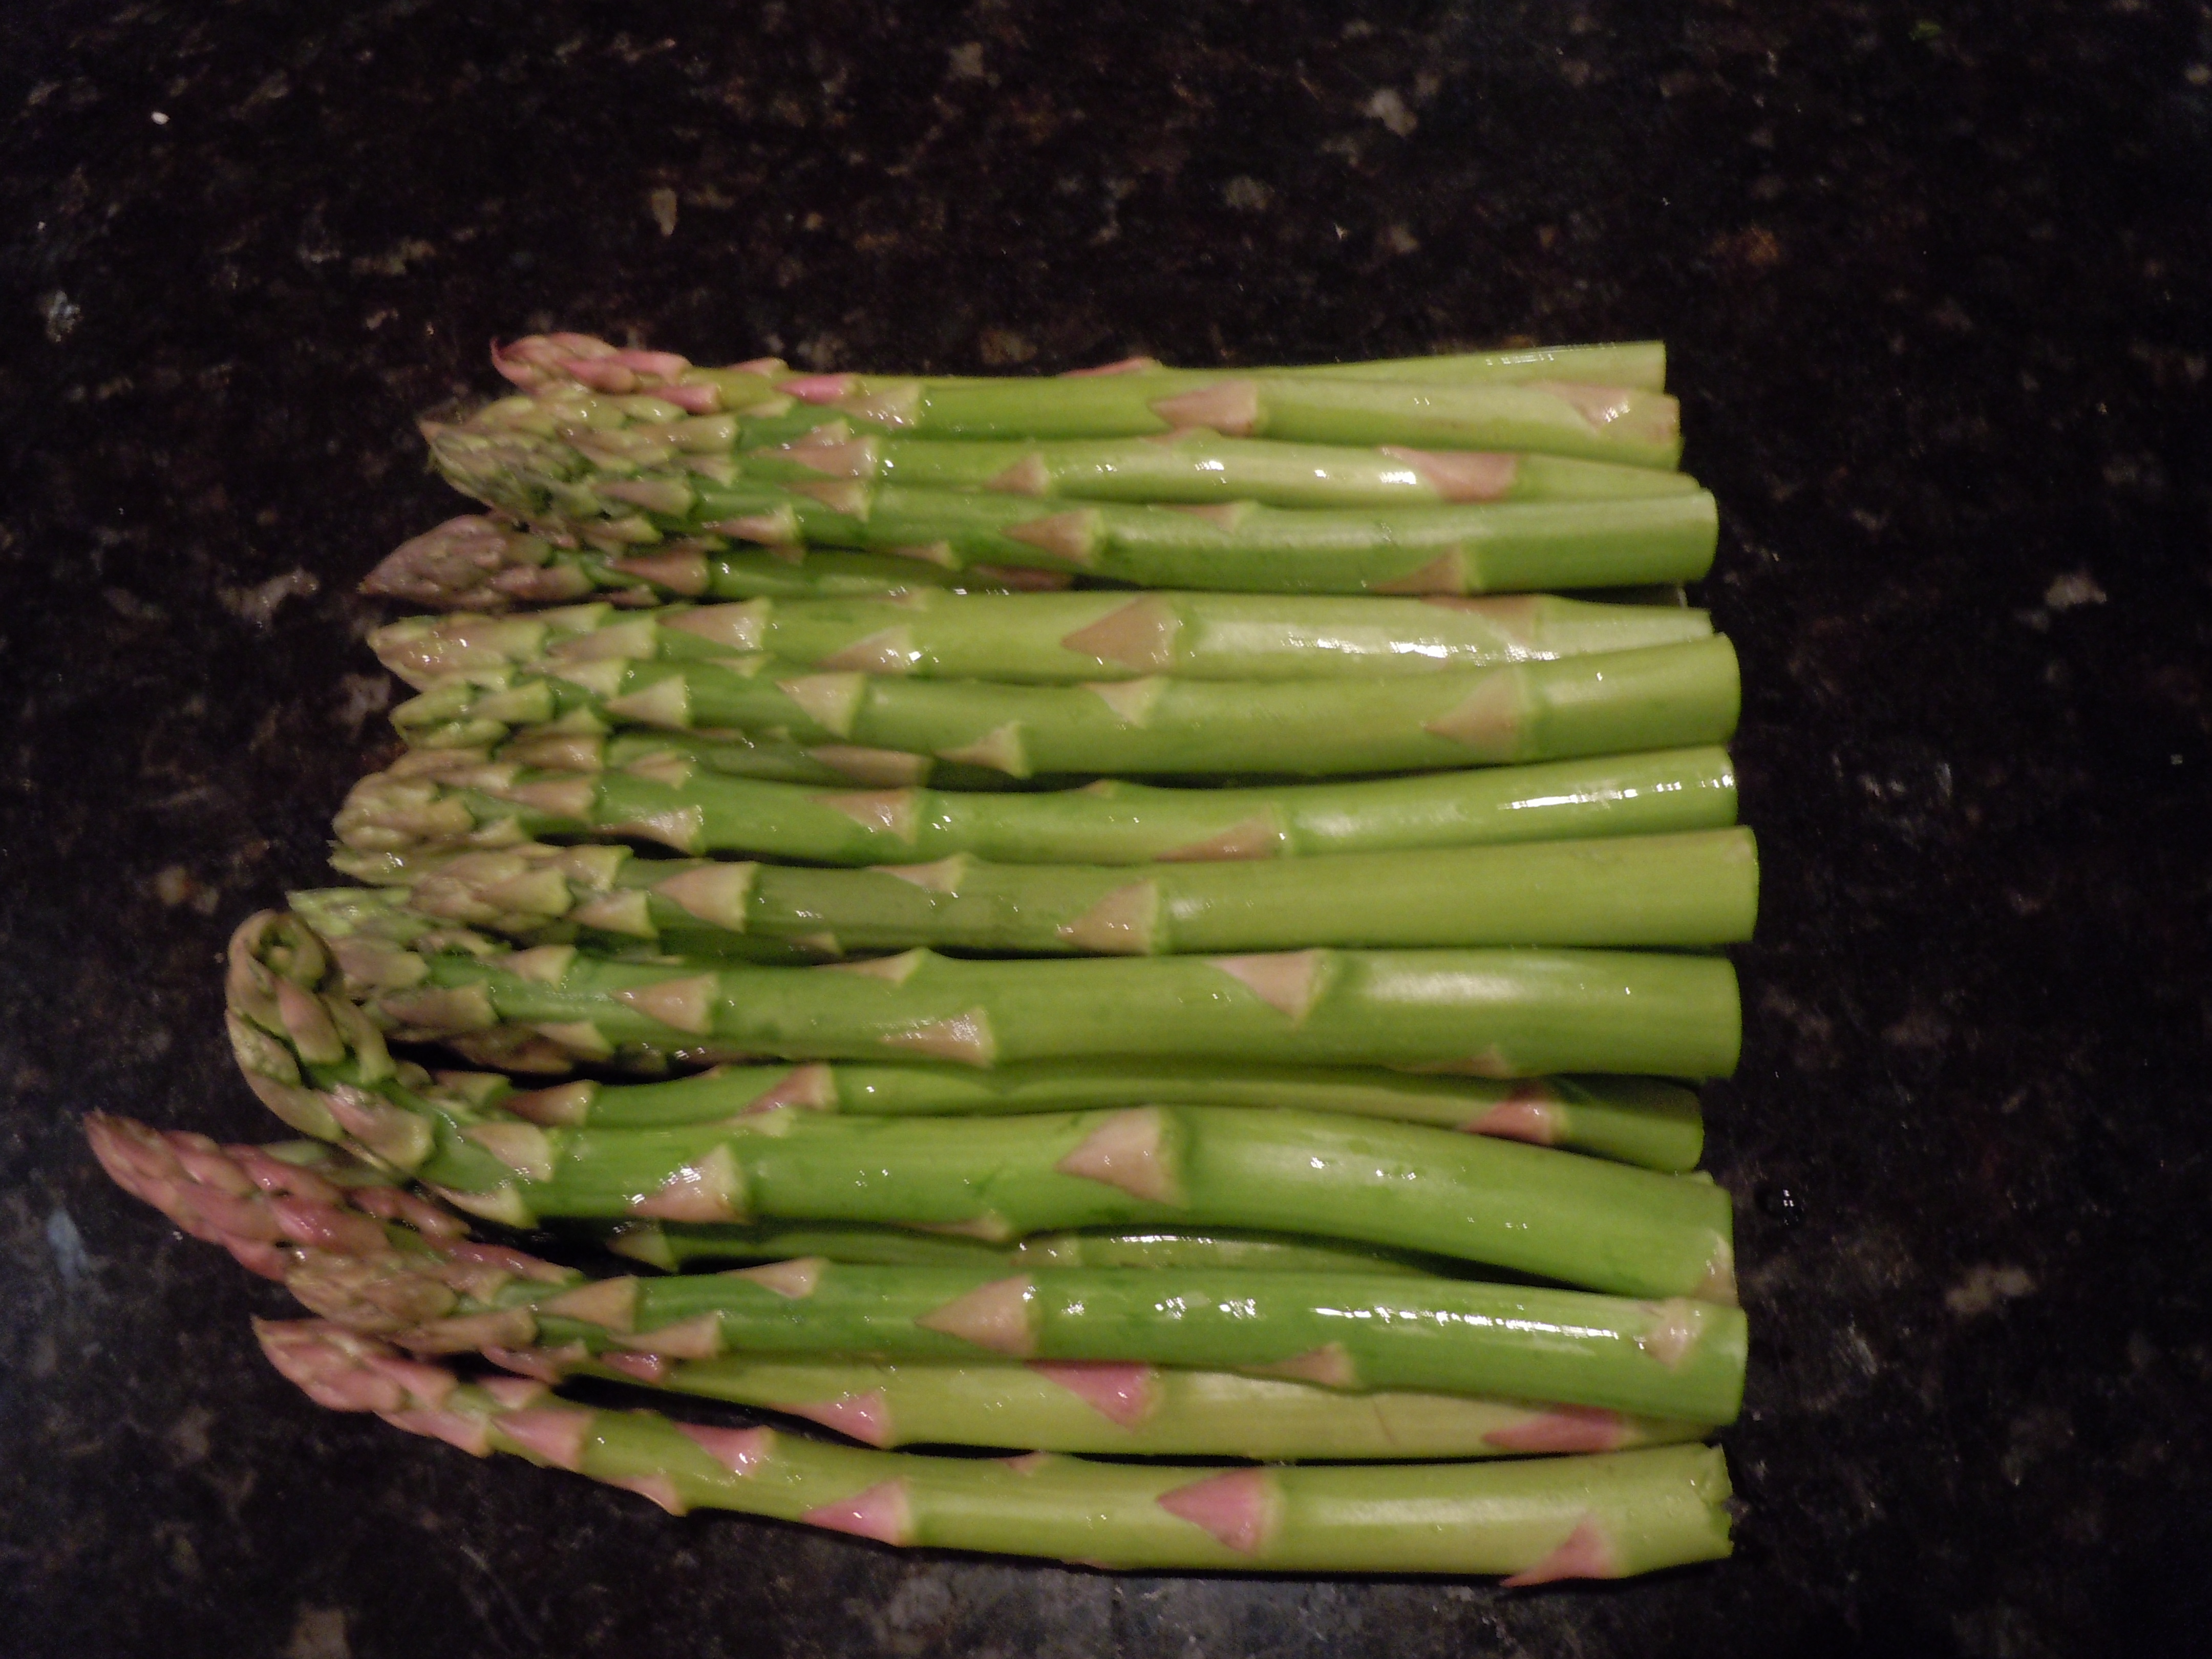
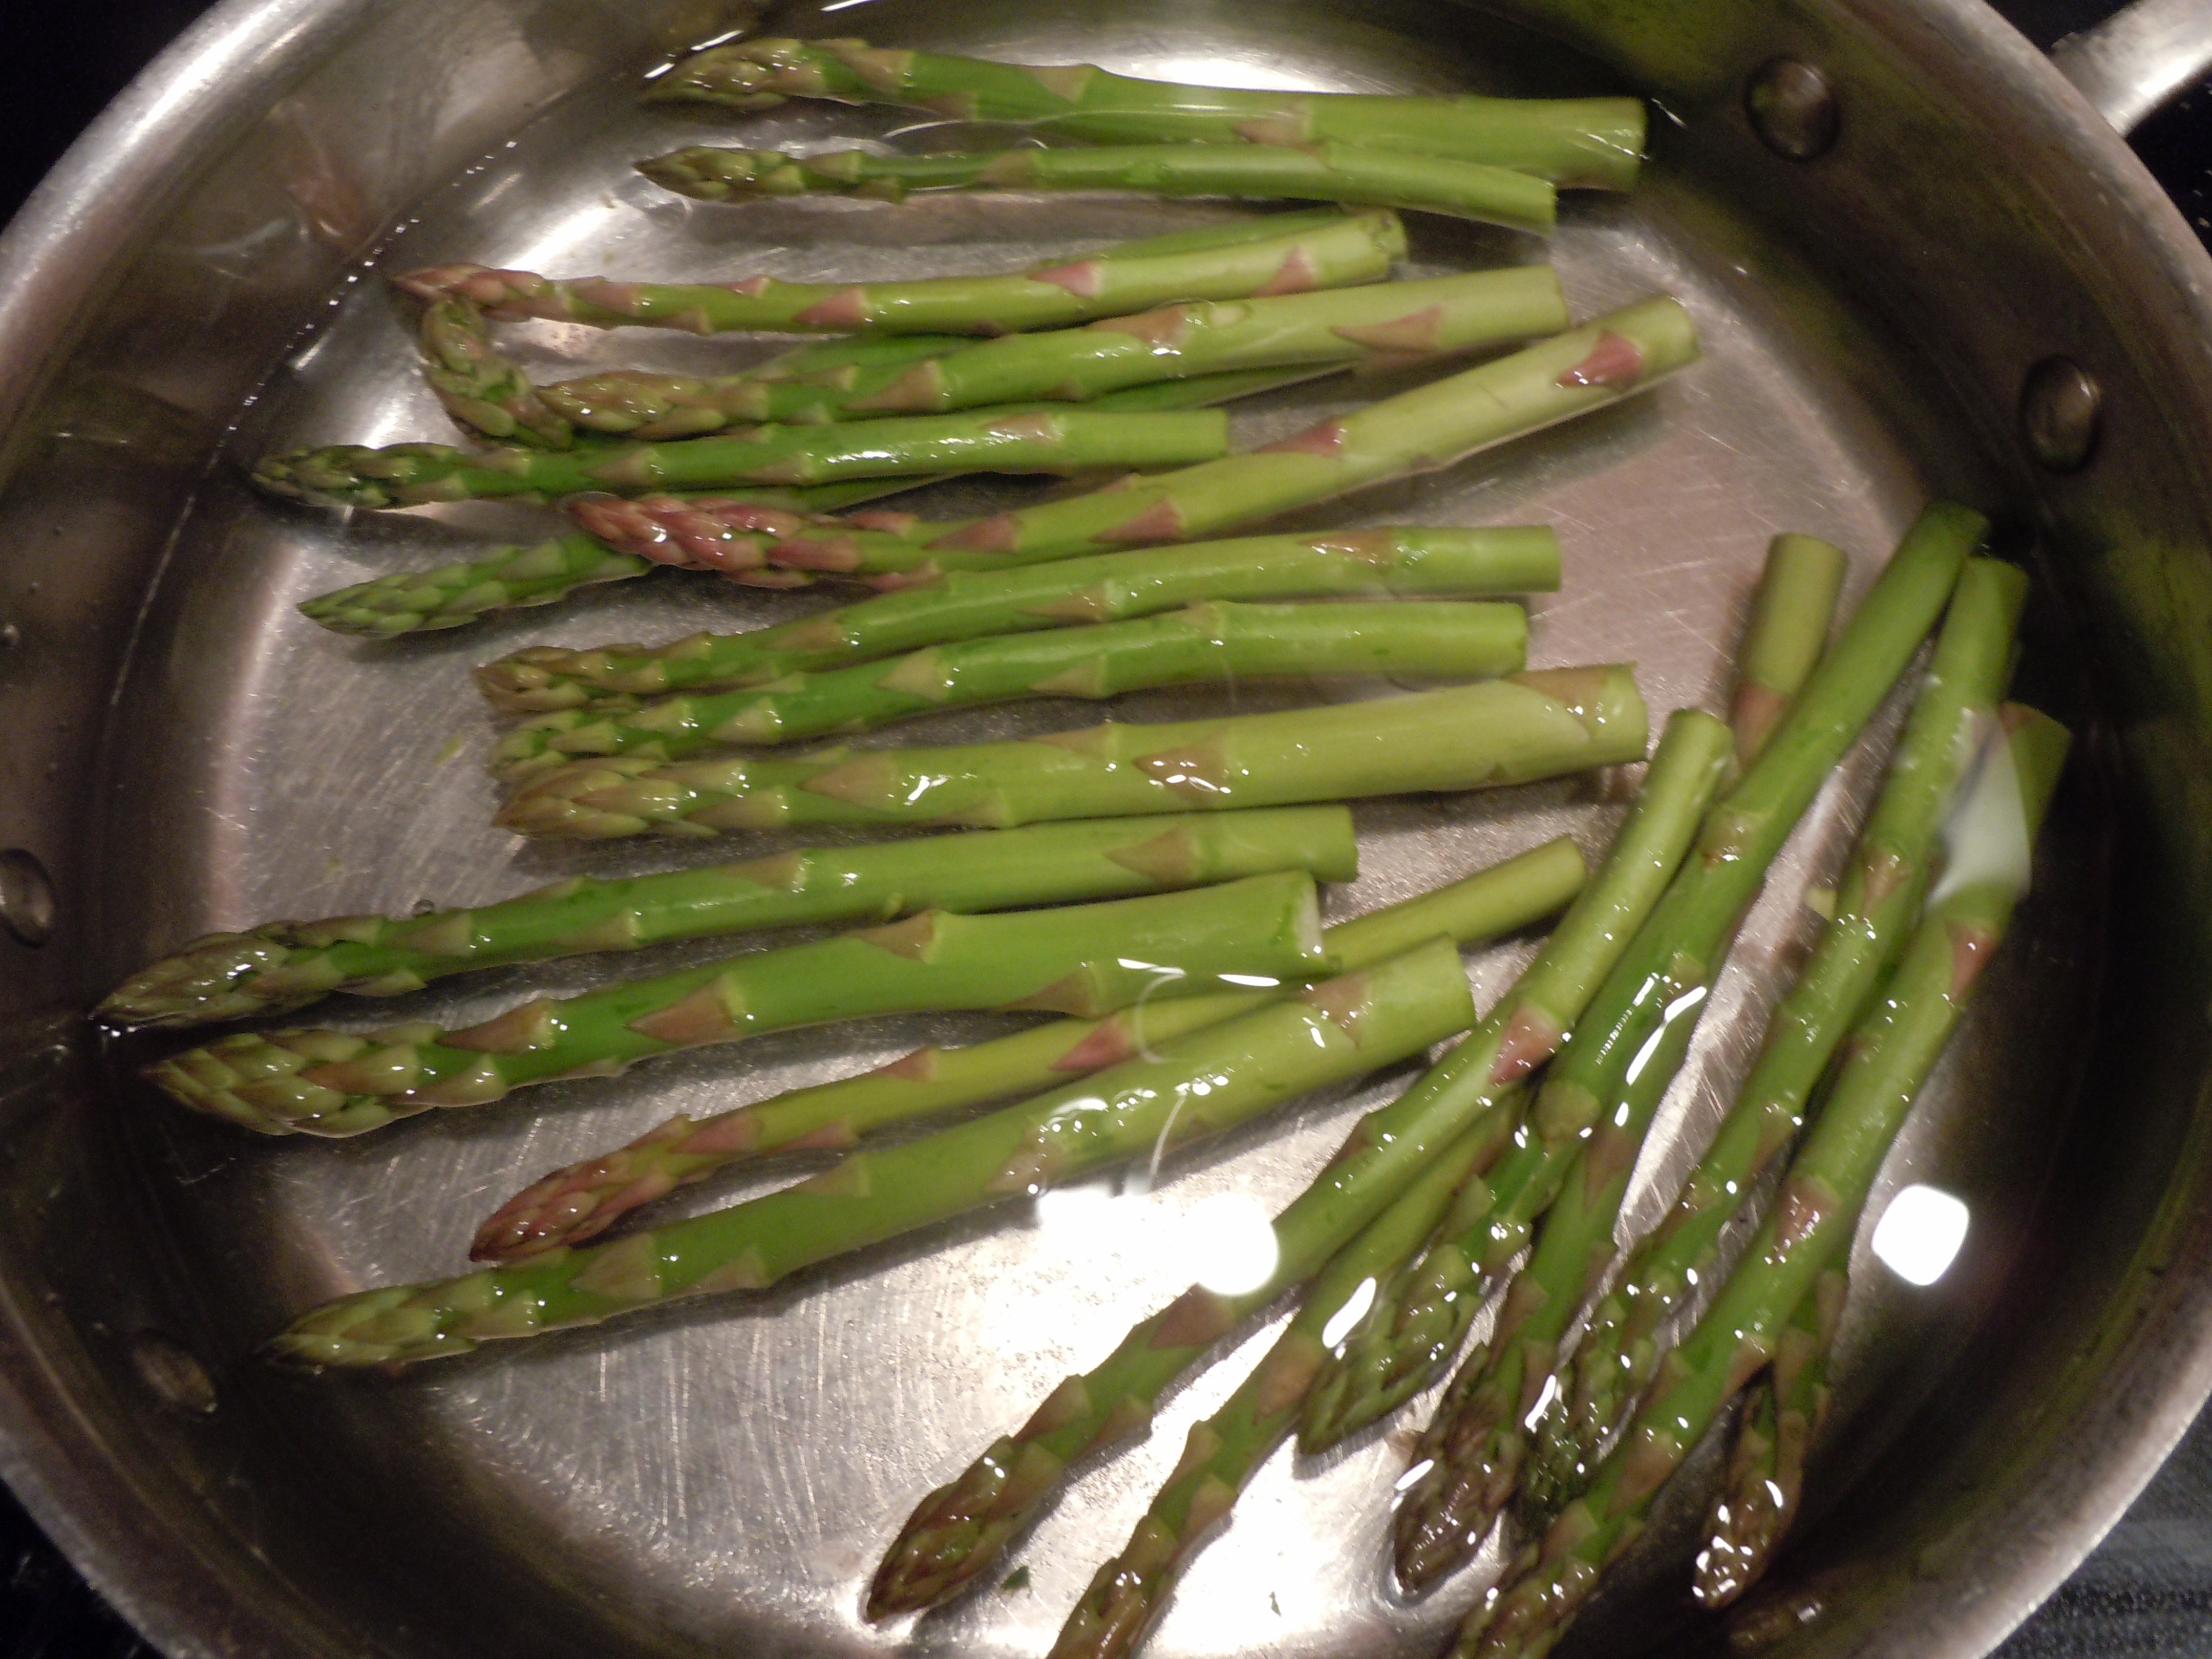
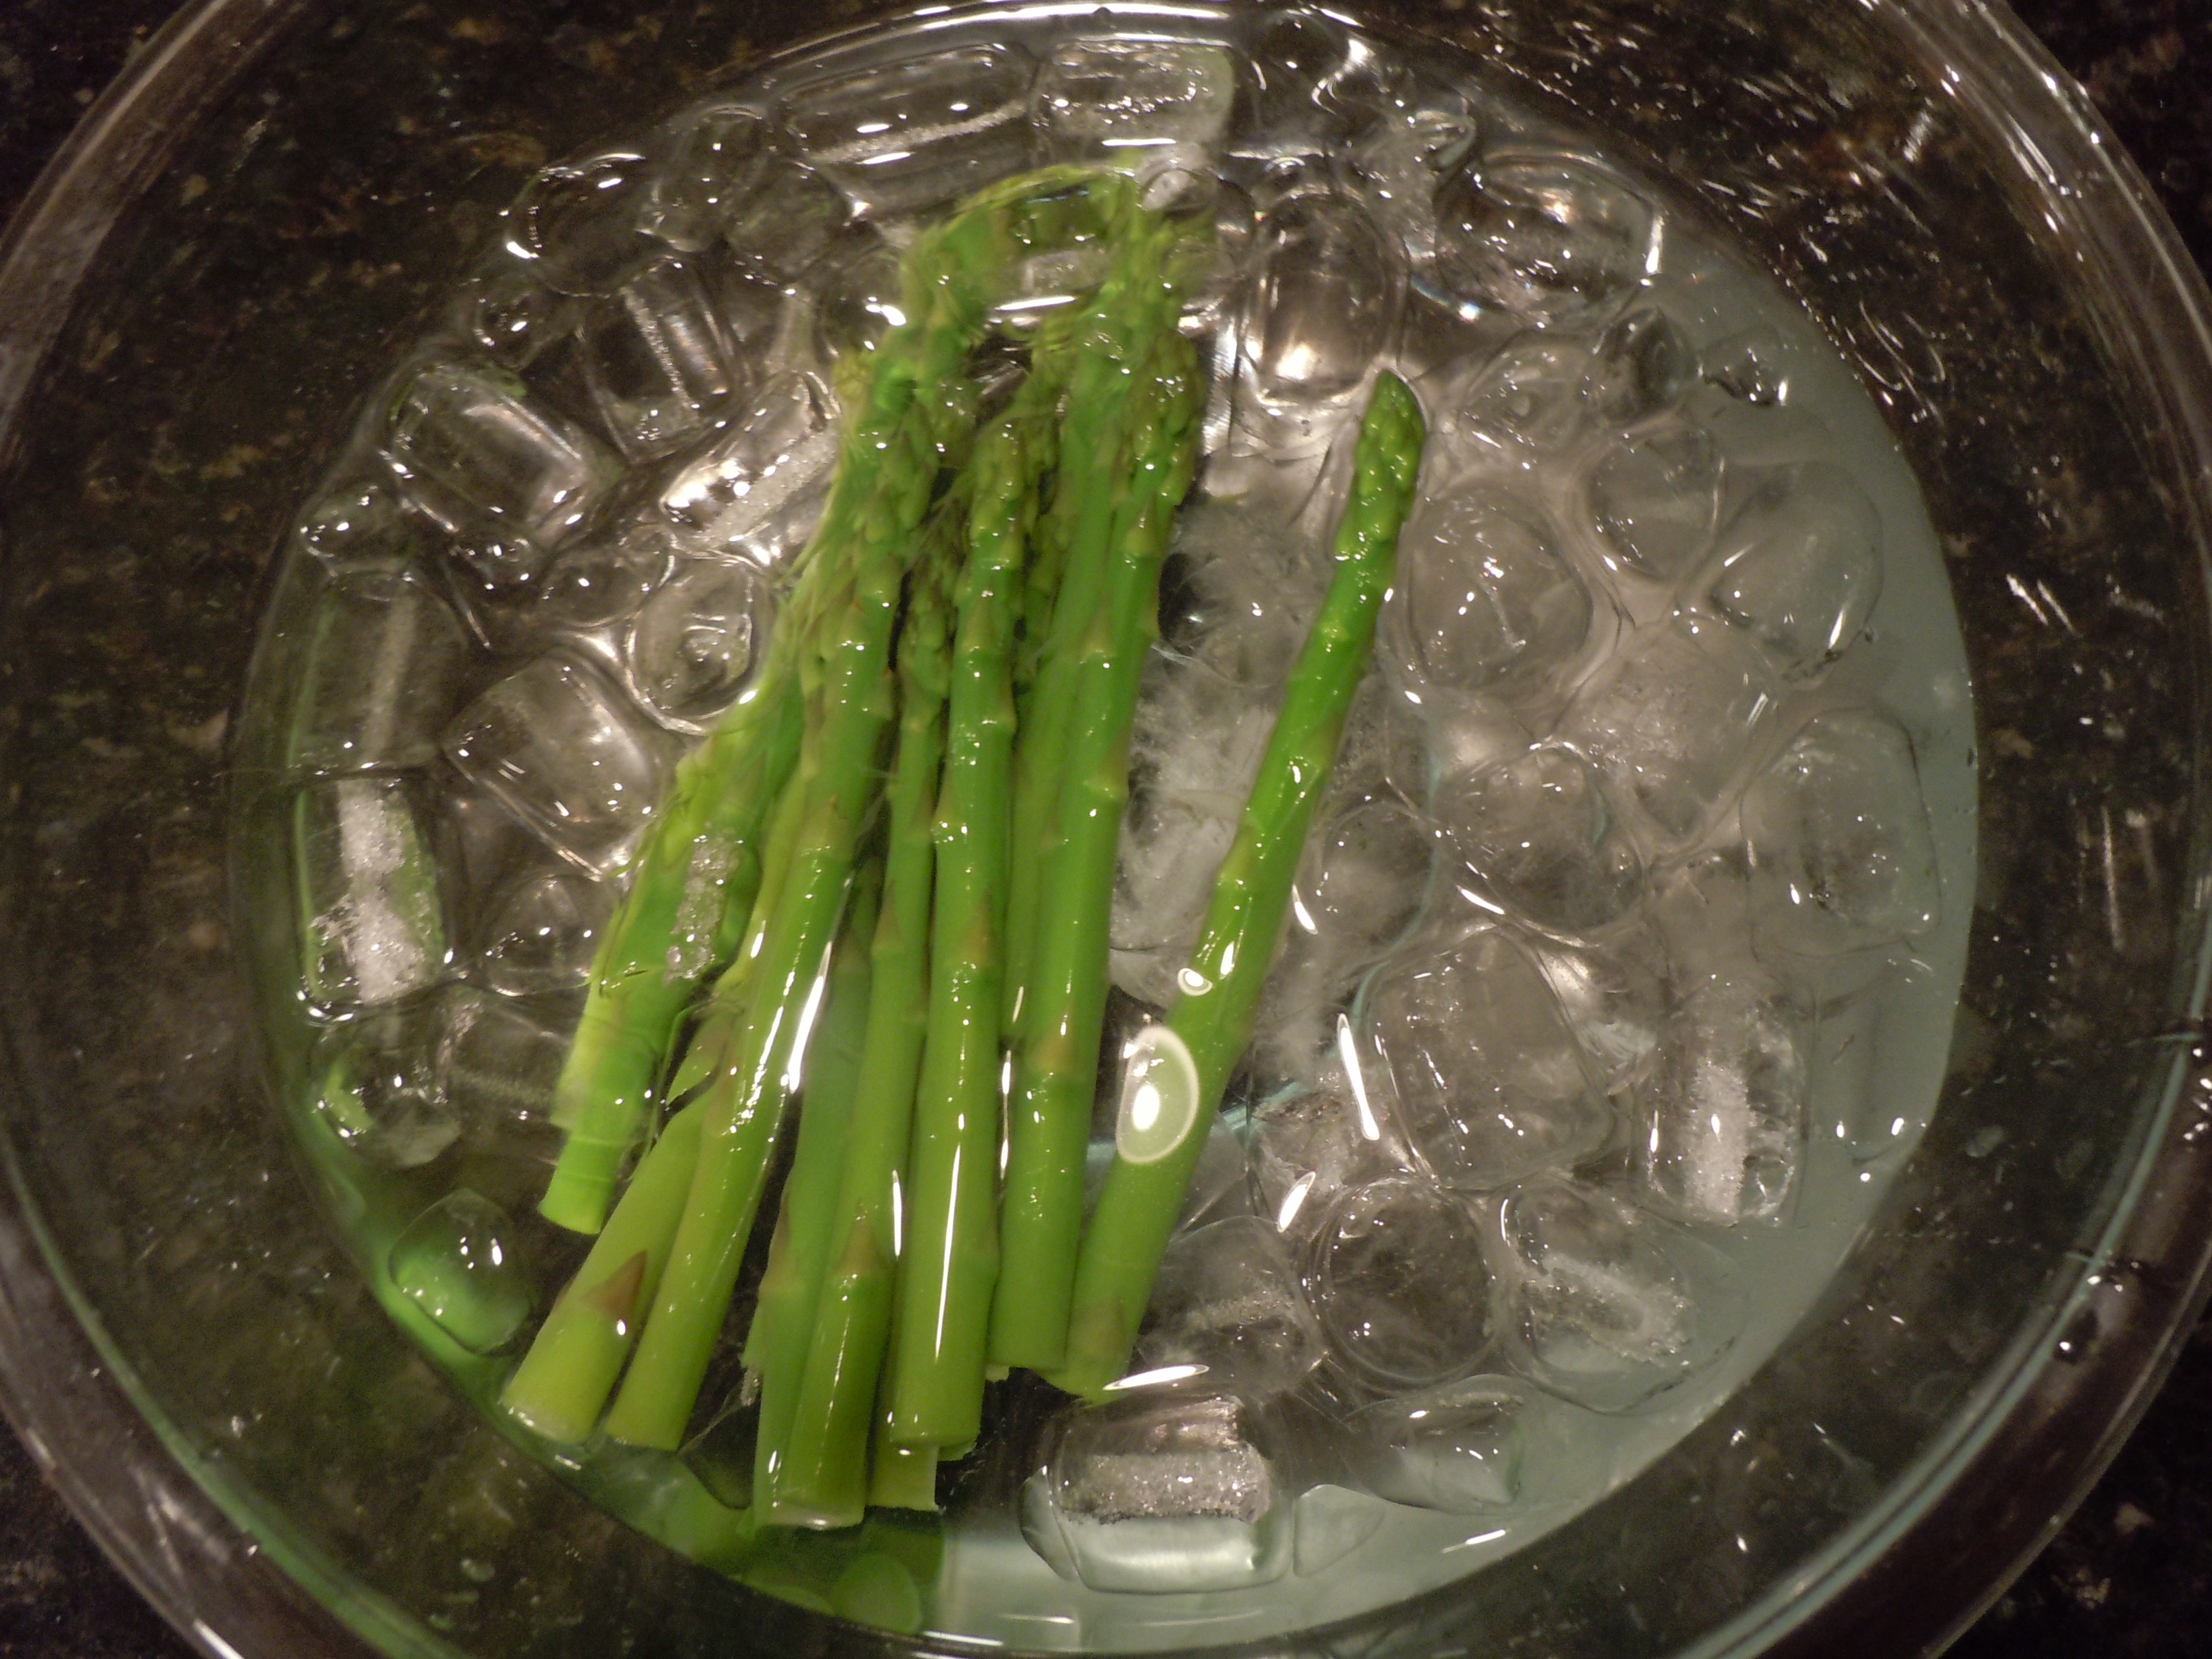
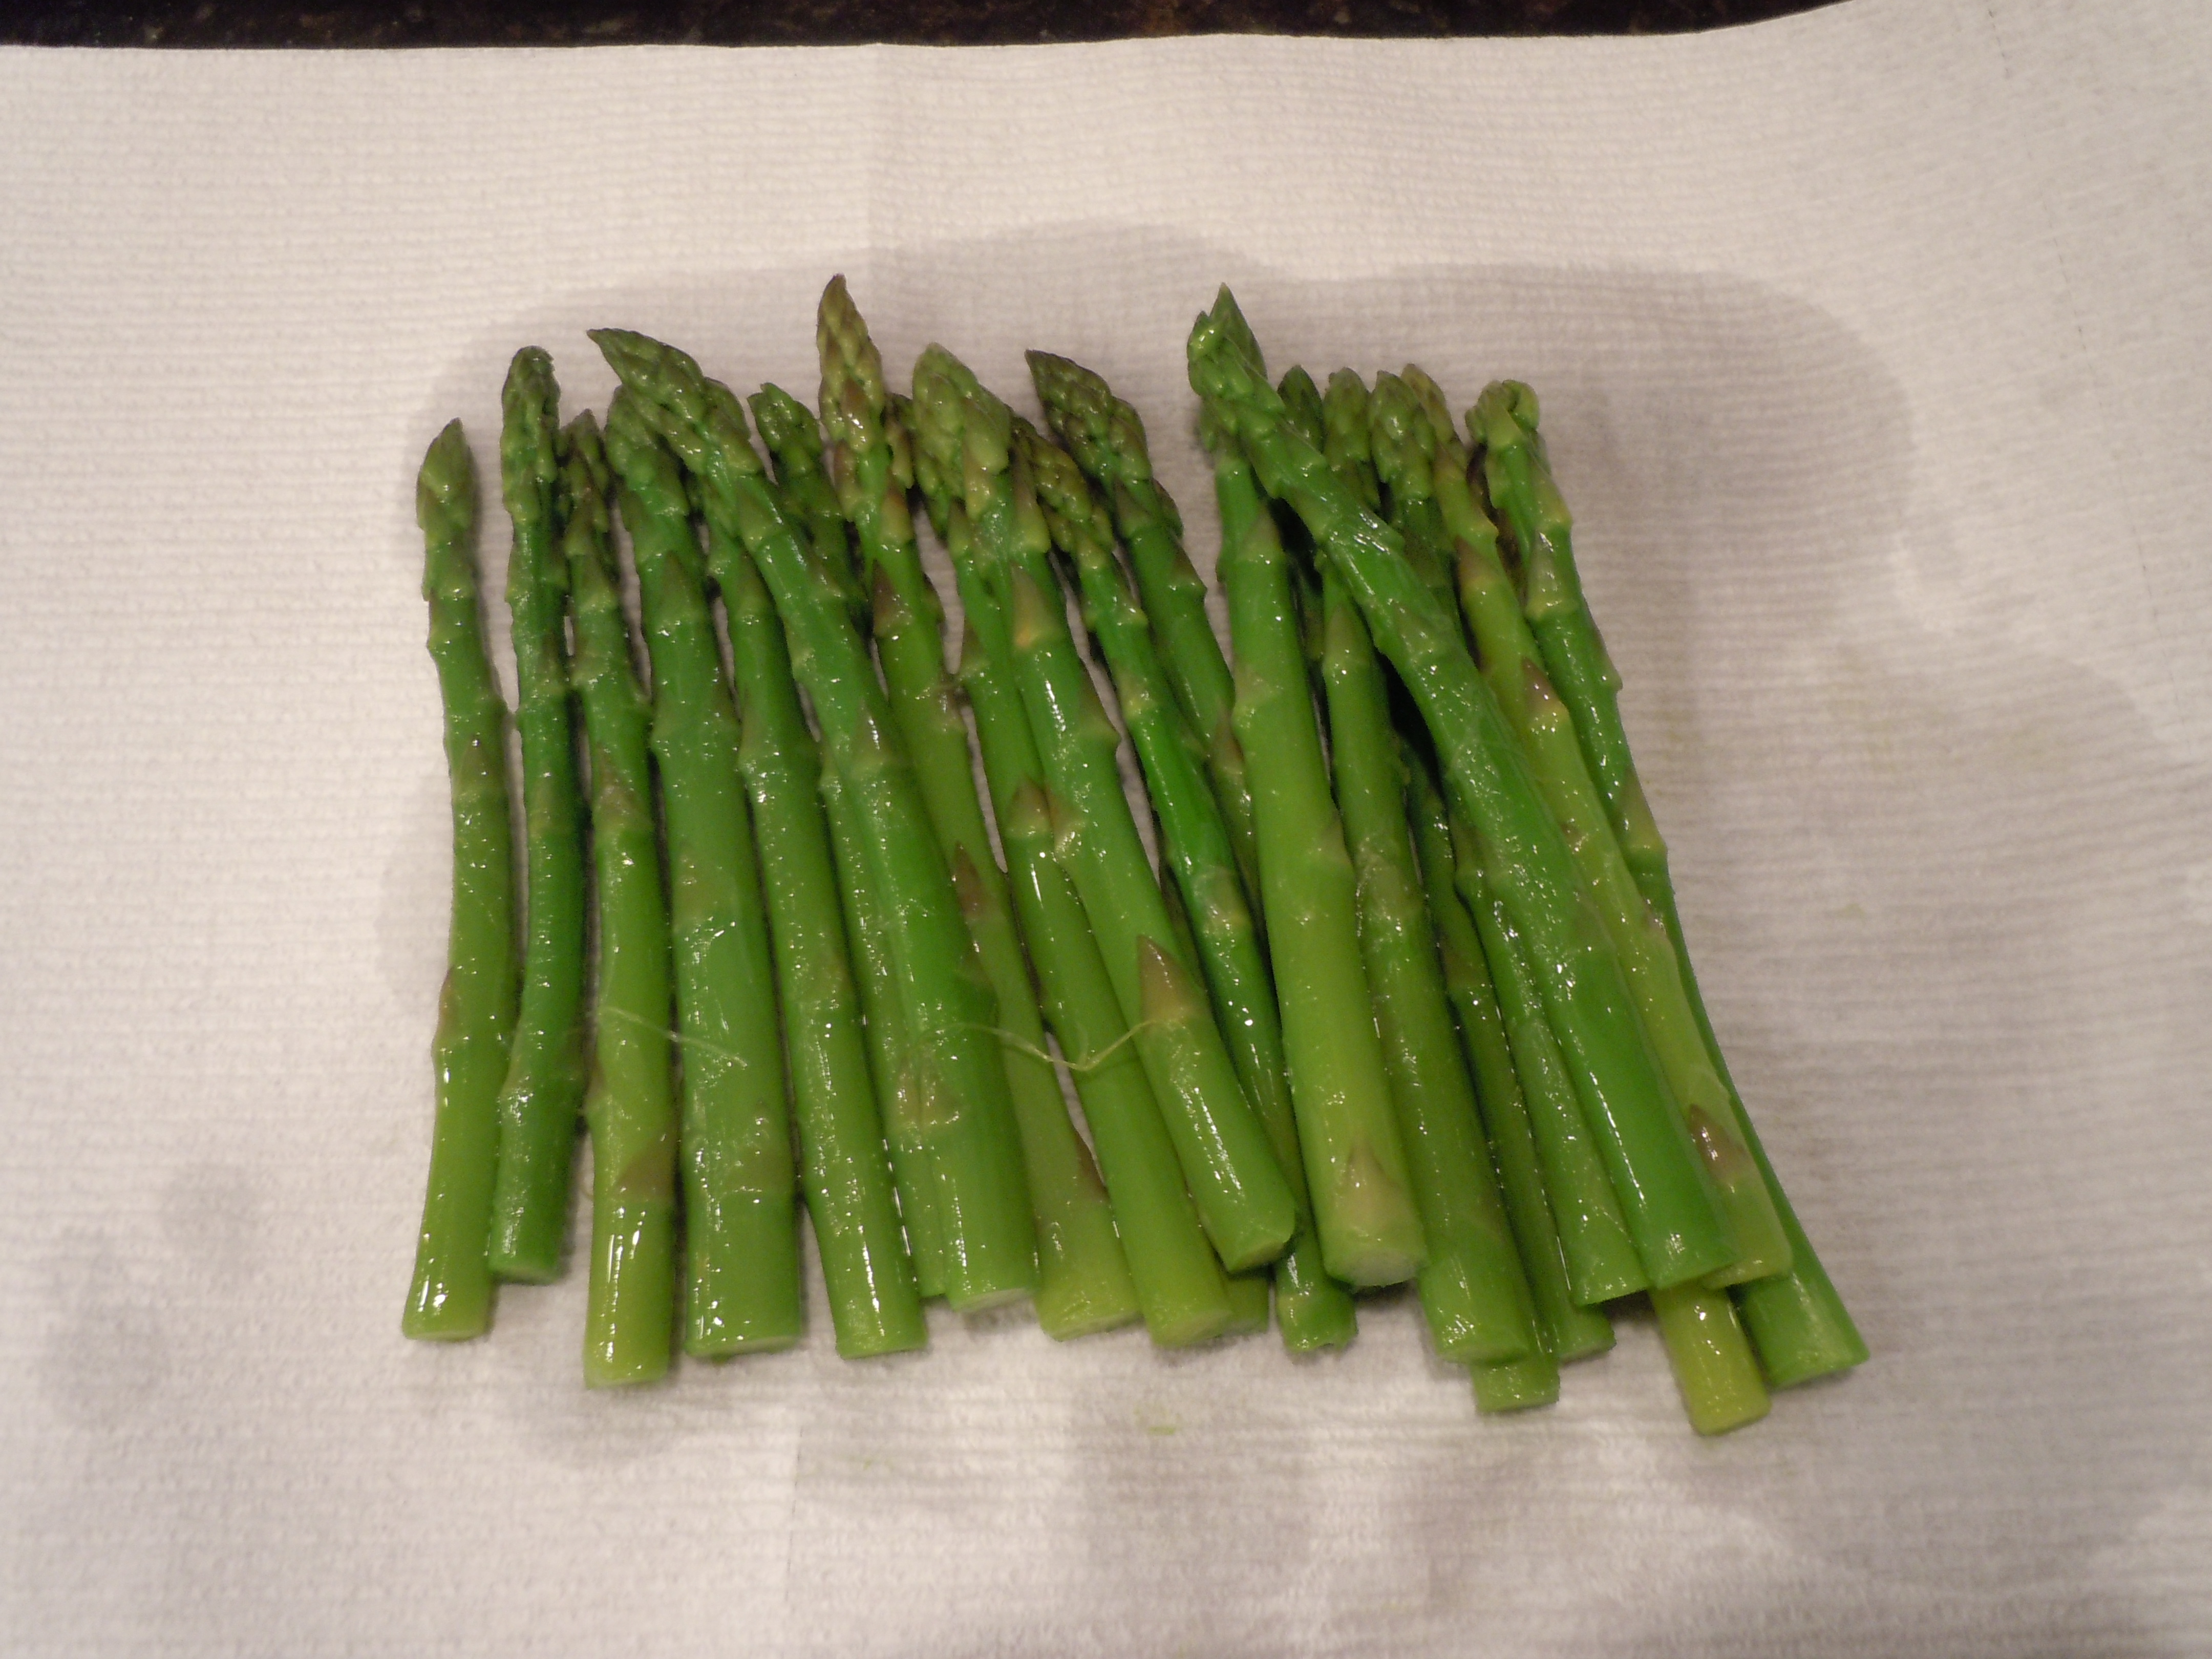
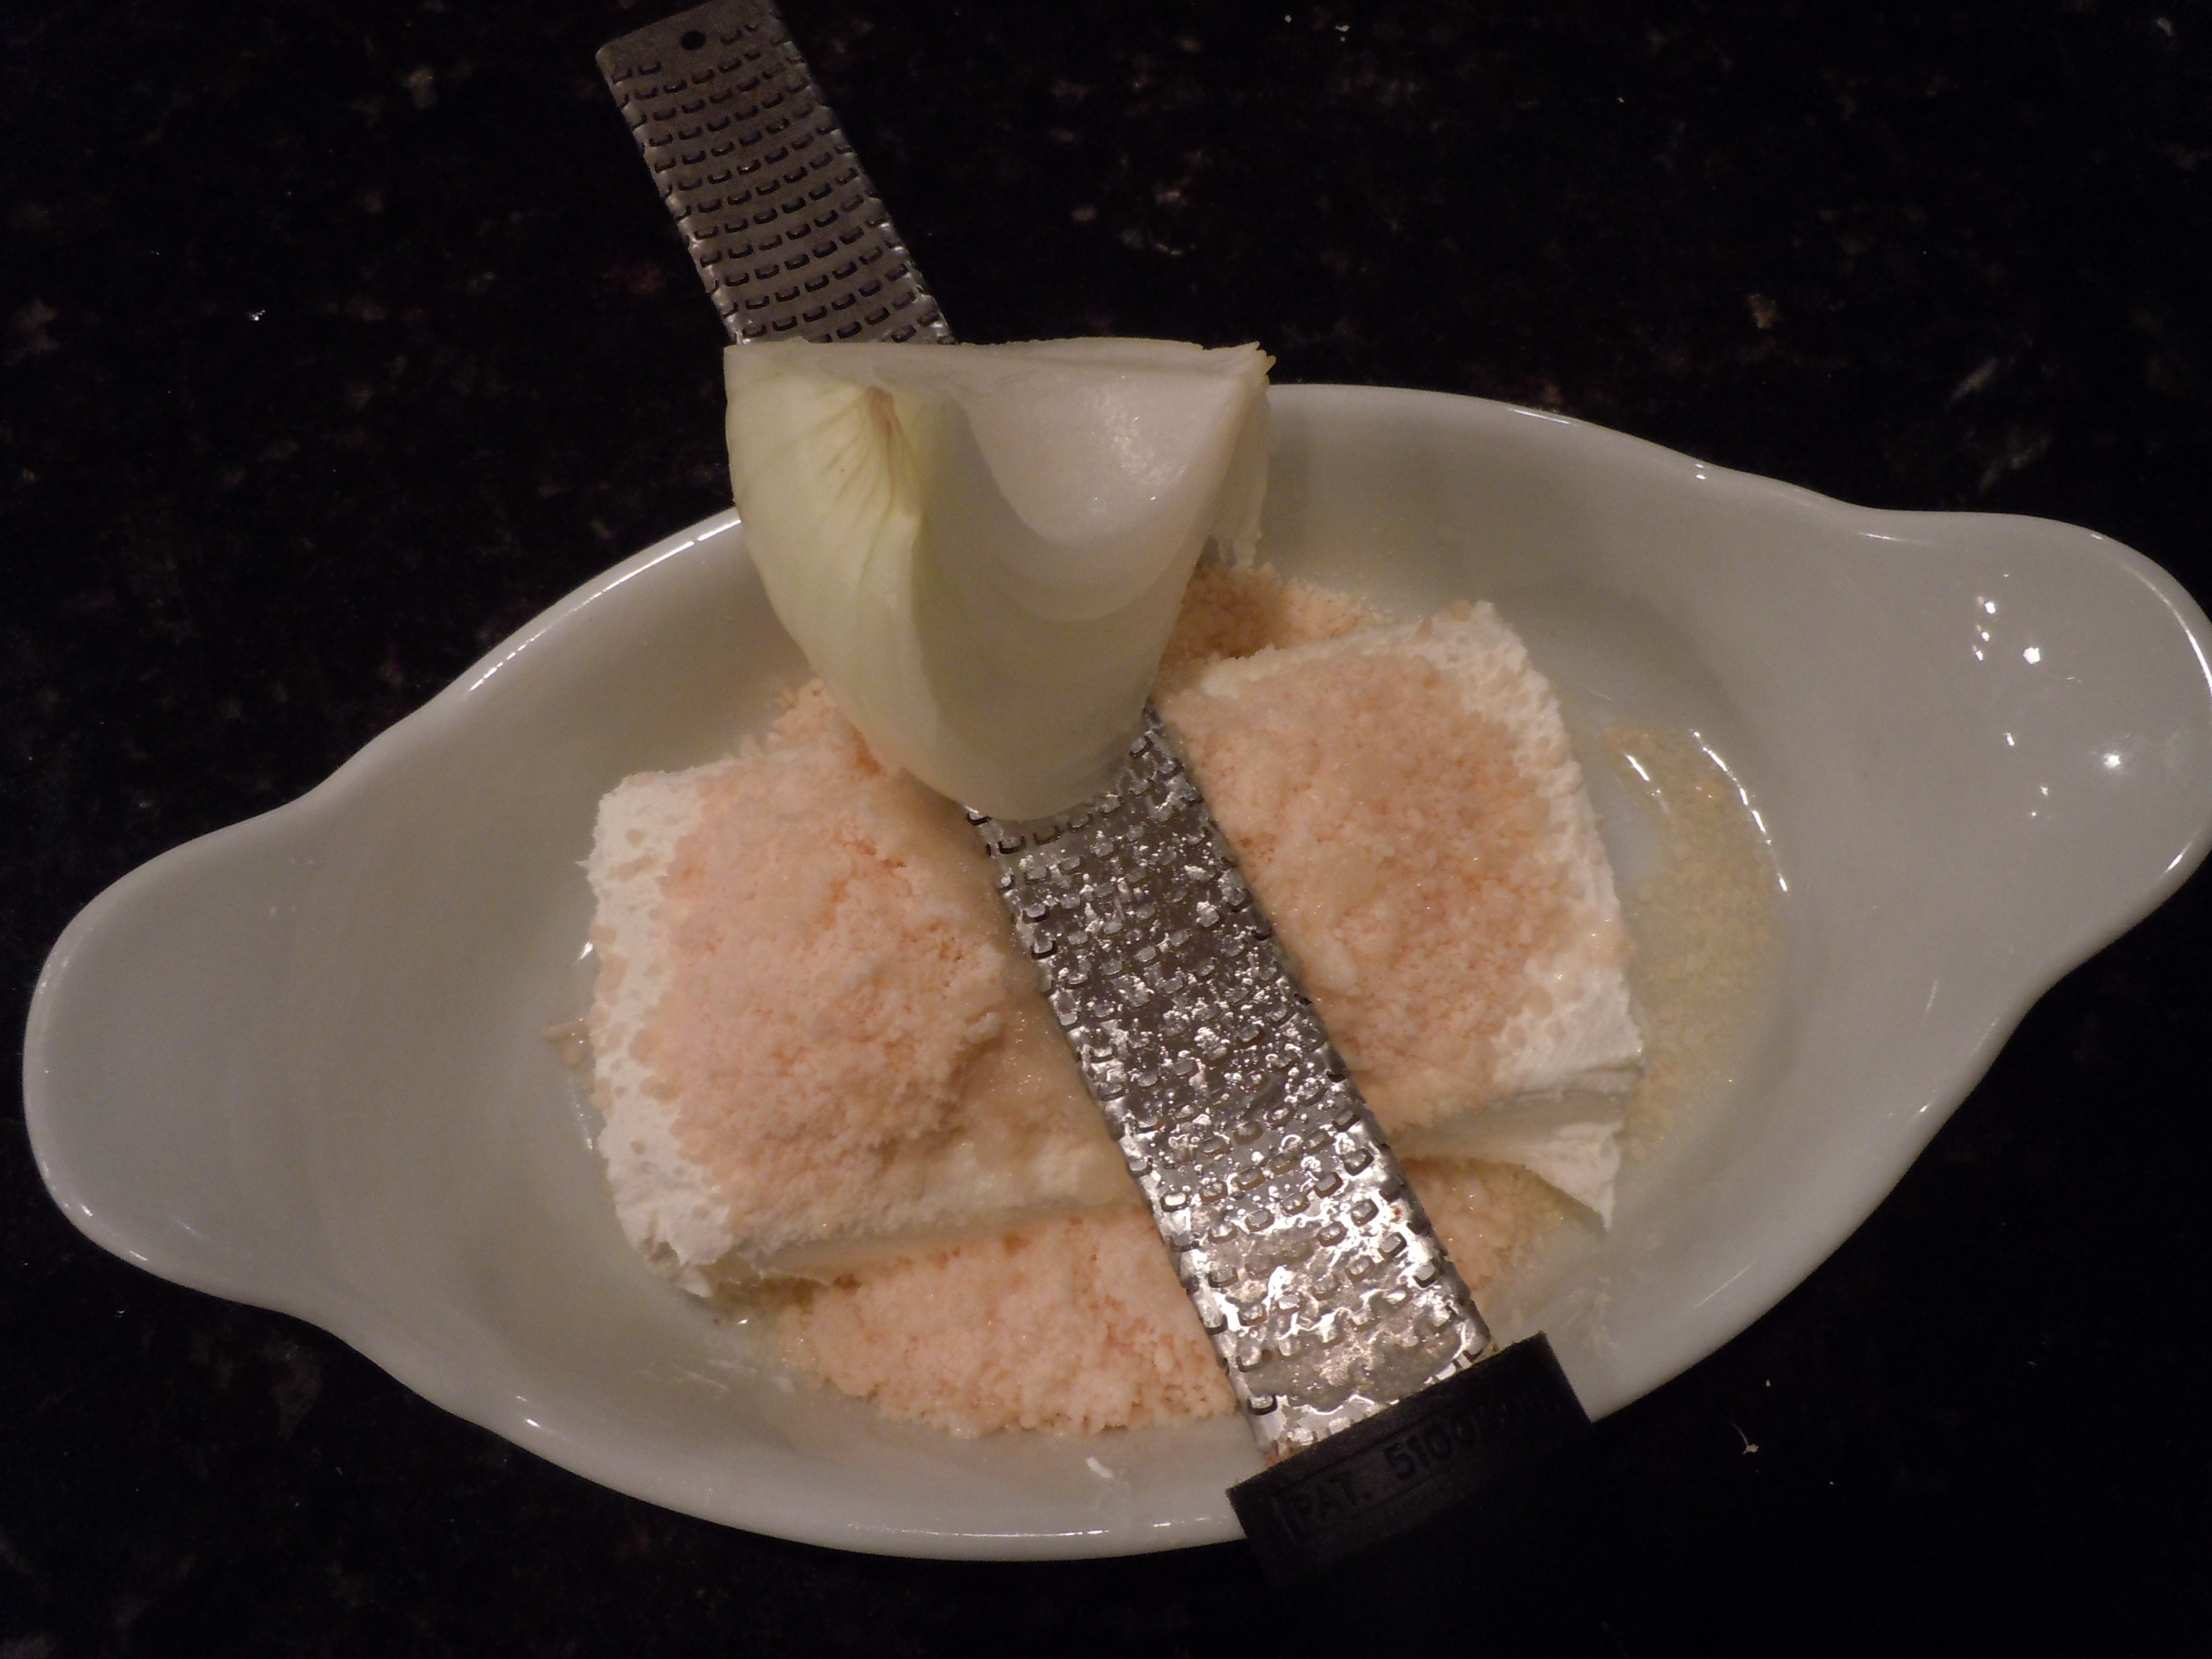
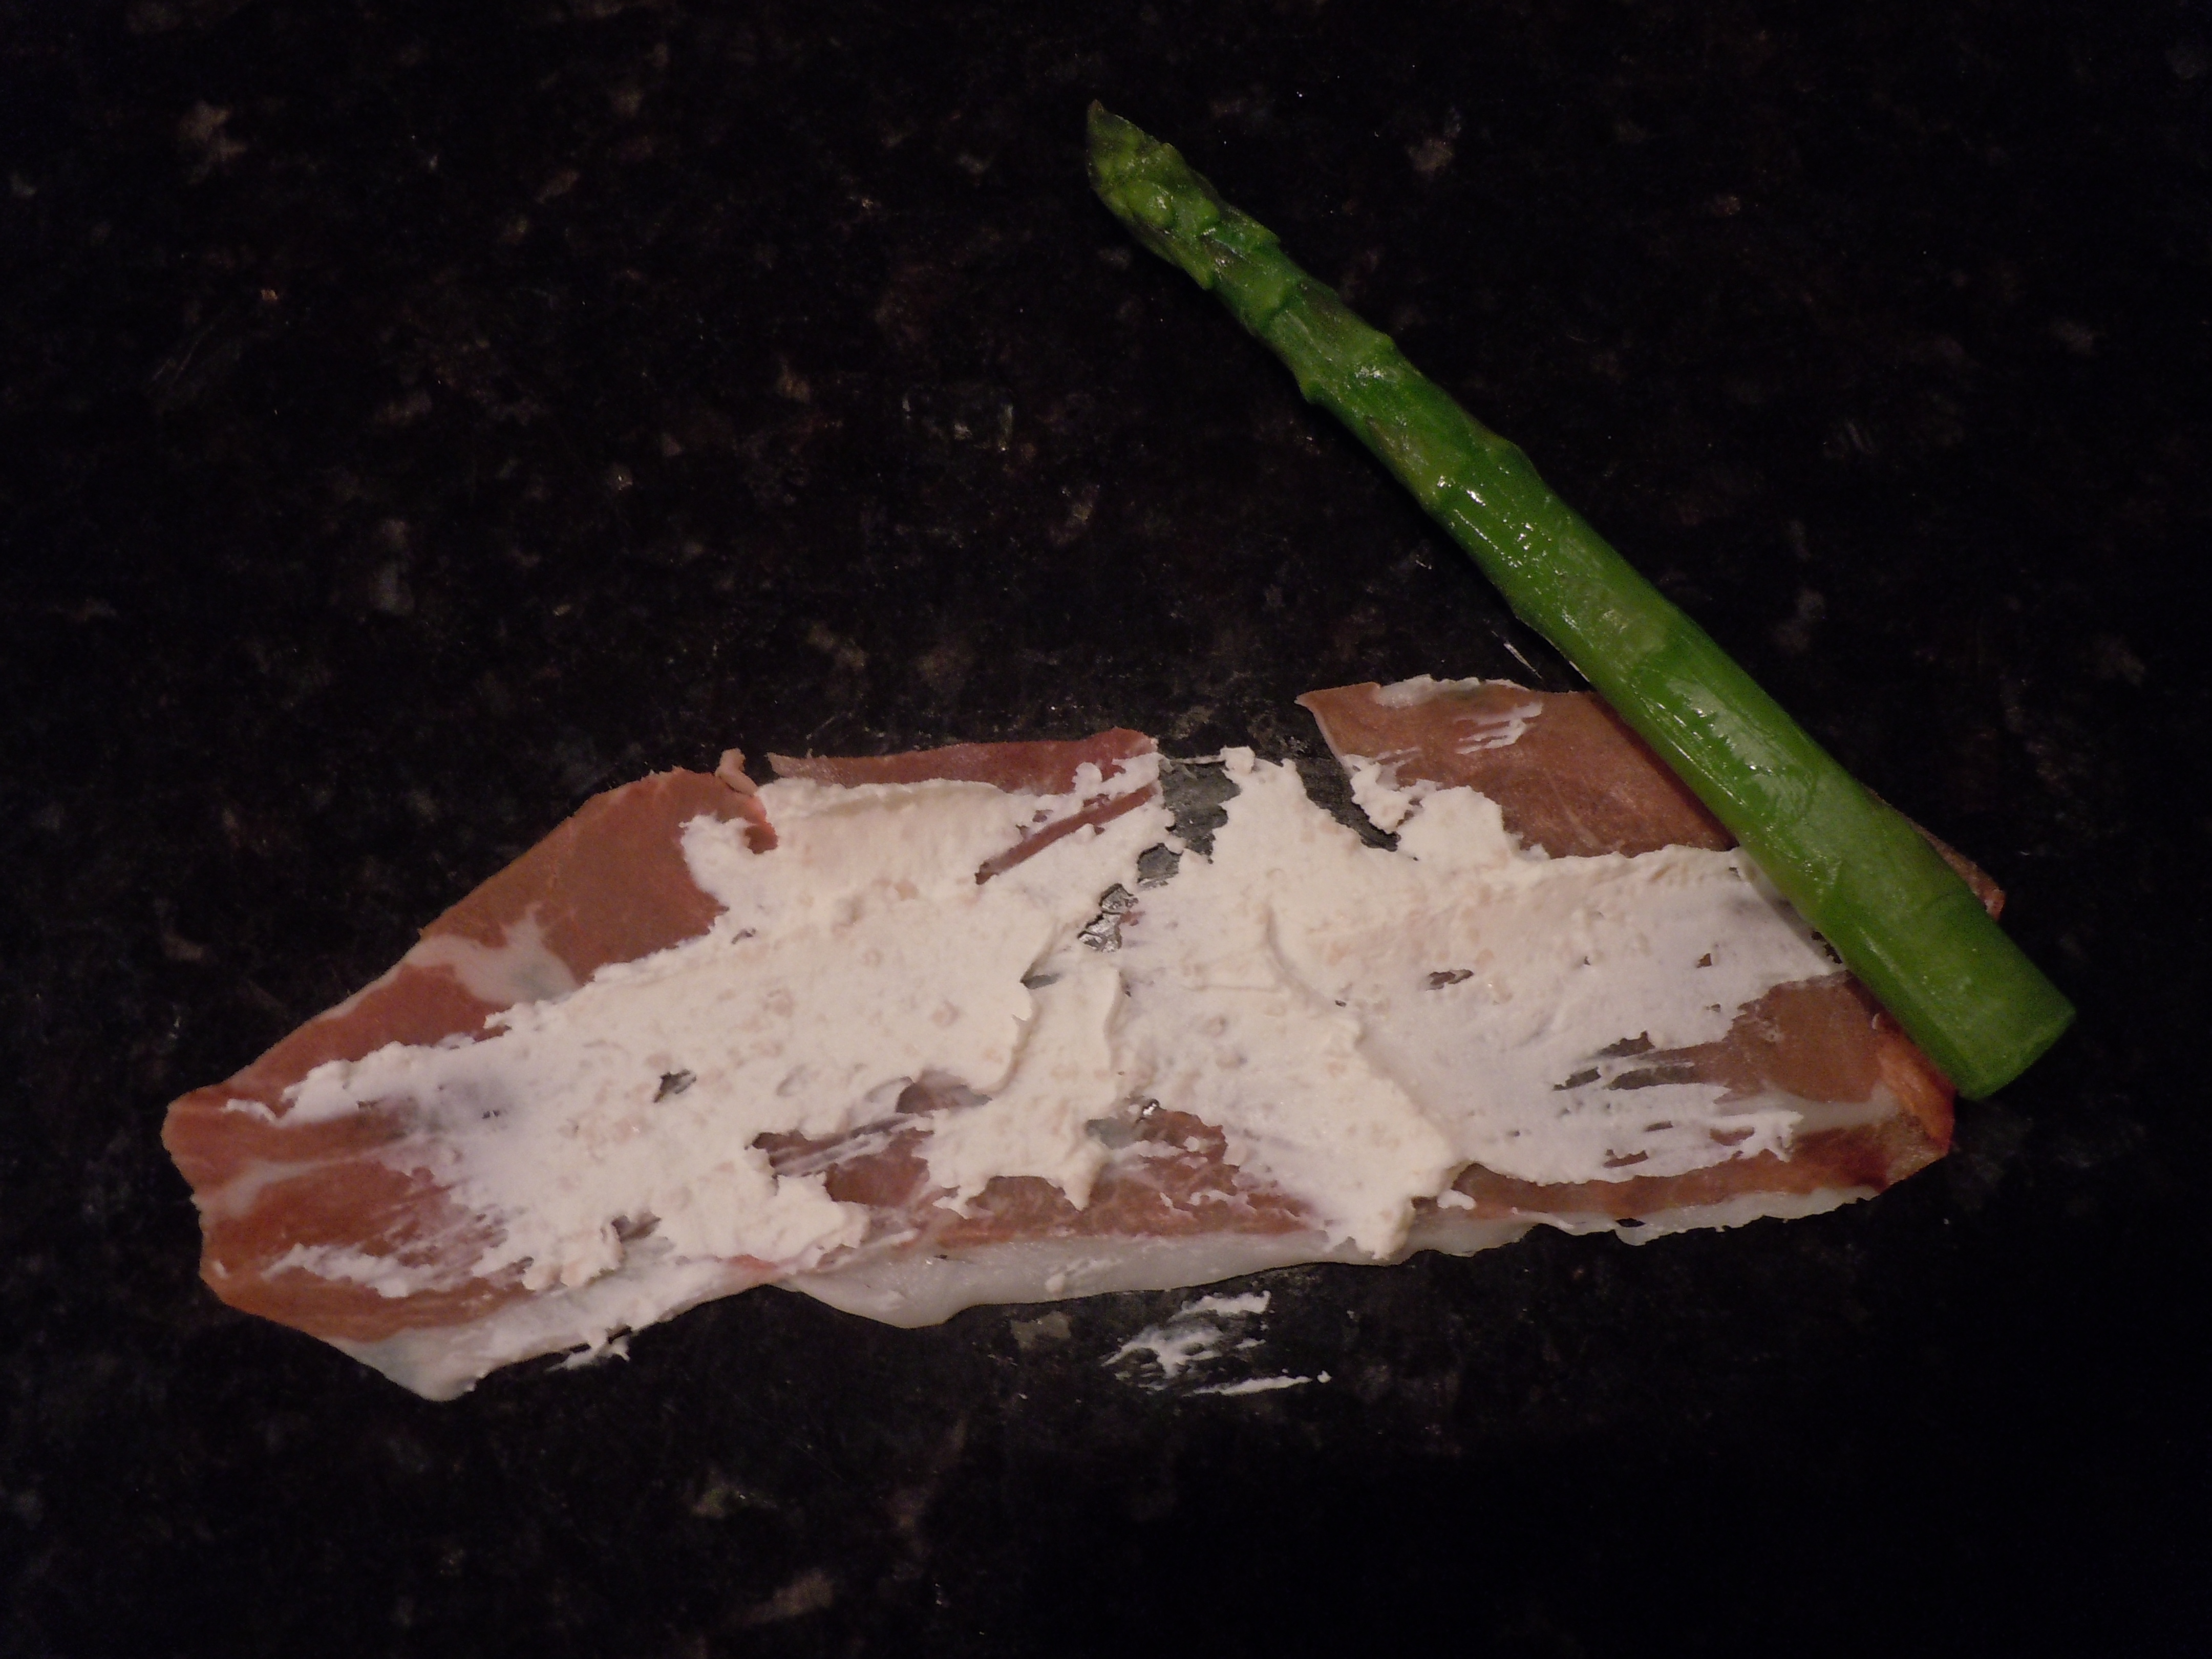
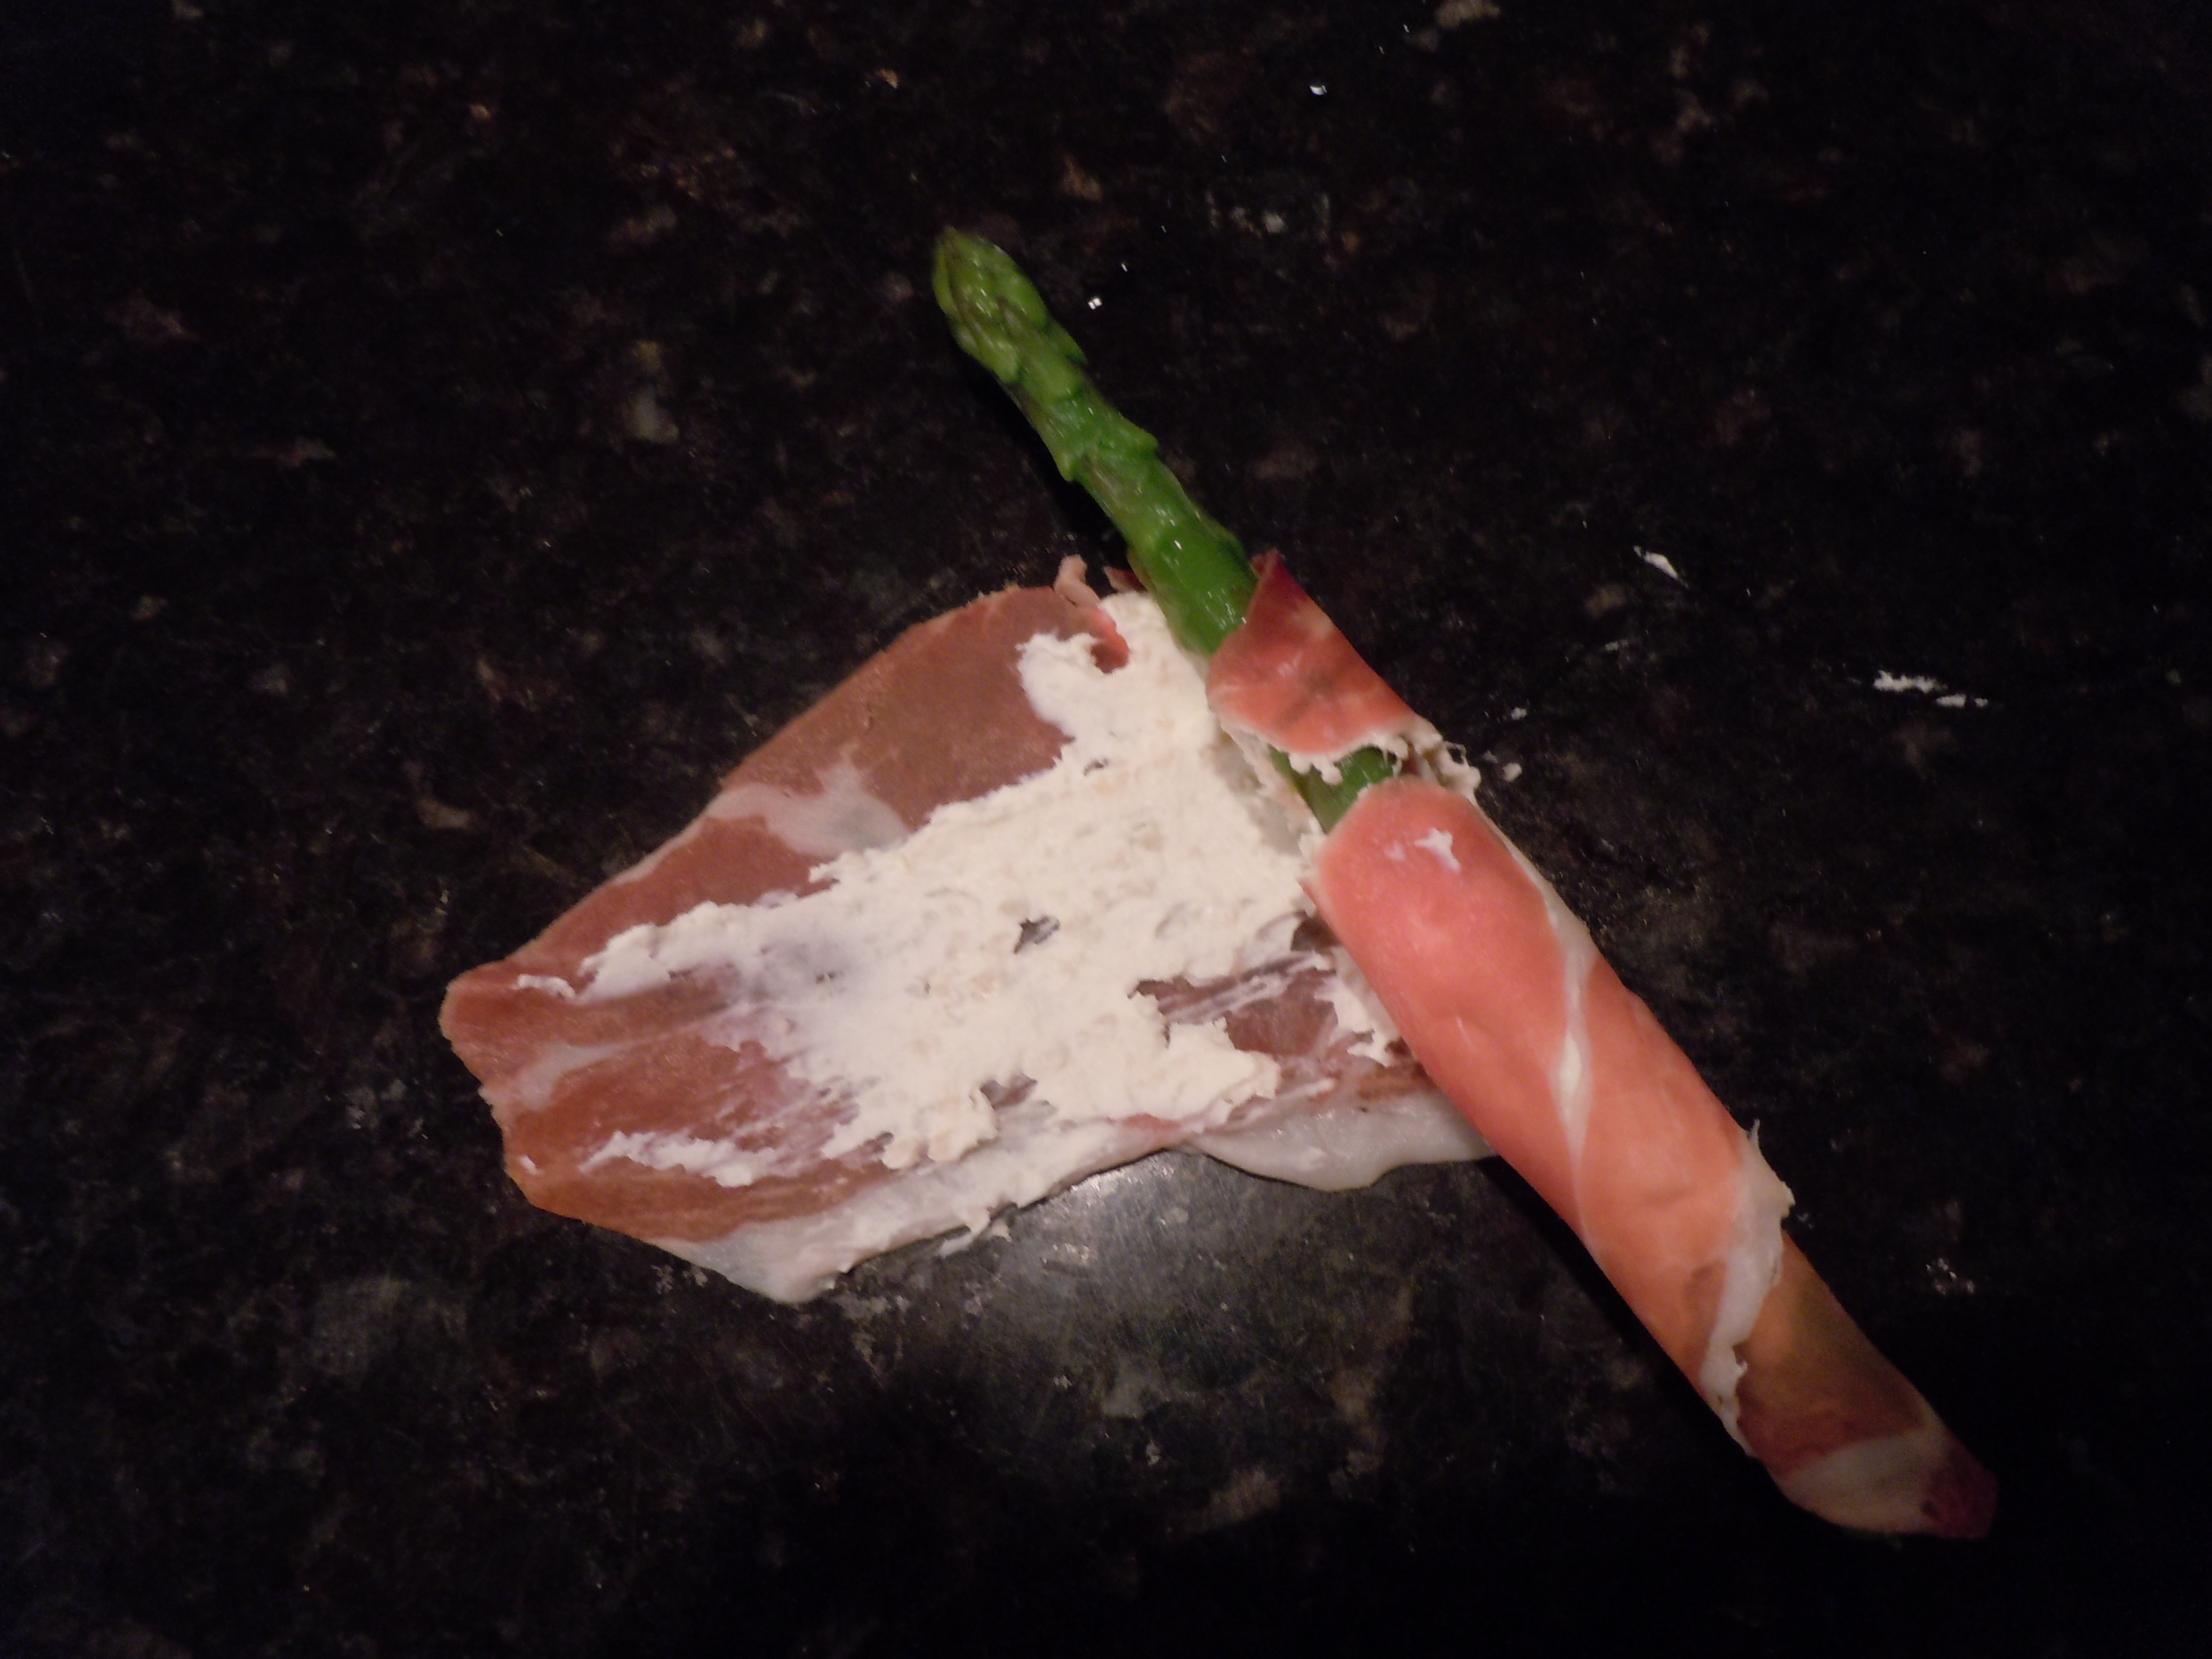
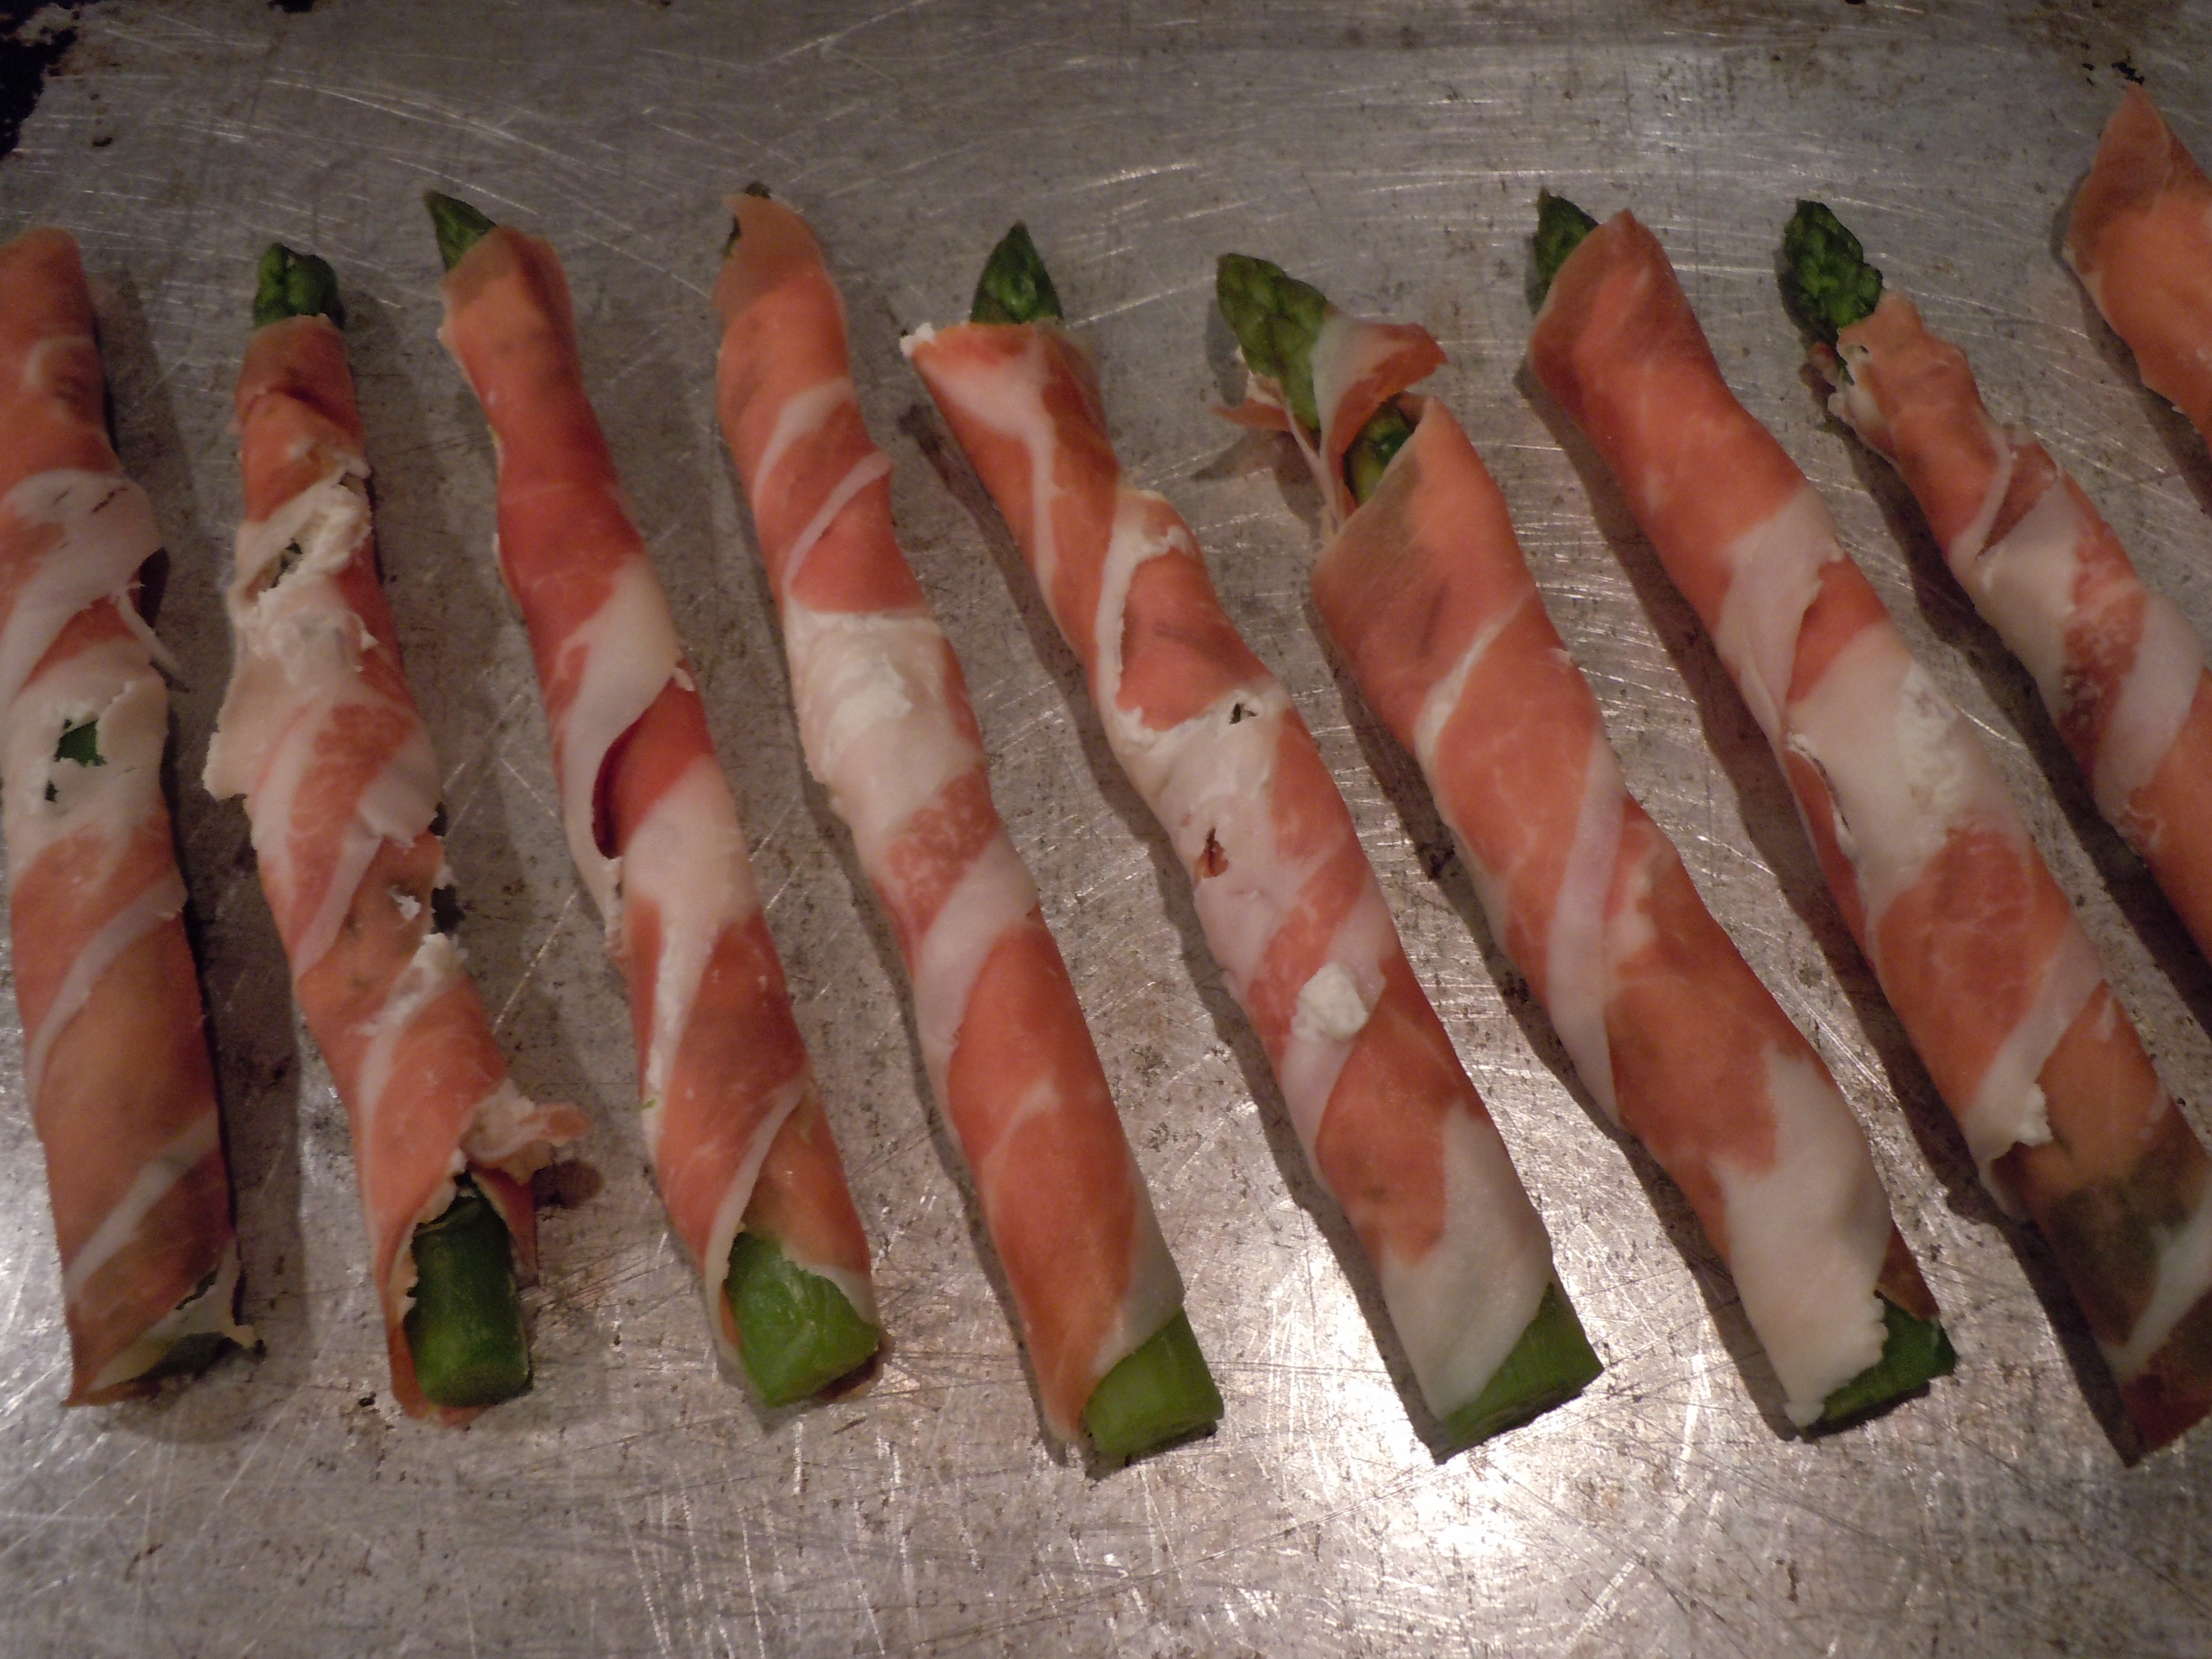
The first holiday appetizer I have for you is my baked asparagus wrapped in Prosciutto that has a smear of a cream cheese, sweet onion and Parmesan spread on the Prosciutto. These Proscuitto wrapped Asparagus are one of my favorite appetizers and can be a topping to a salad or a pretty side vegetable to lunch or dinner. I first had these delicious little bundles at my sister-in-law’s, Anita’s house, twenty years ago.  She is an amazing chef who’s always cooking up a storm. They can totally be made a day ahead, placed on a cookie tray and stored in the frig until you need them. The asparagus is blanched and shocked in an ice bath to stop the cooking and to keep that vibrant green color before they are wrapped with Proscuitto. You want to make sure you buy “Proscuitto di Parma” for this holiday appetizer because it’s the best and most delicate in flavor.  There are other tasty Prosciutto’s out there but they won’t be as tender as the Parma and may get too salty or waxy after baking.

The second quick and easy, gourmet tidbit i have for you are my holiday crostinis with Gorgonzola, fresh chopped tomato, basil and garlic that bakes for seven minutes. These take the same amount of time as the asparagus-Prosciutto appetizer’s. How convenient is that? You can buy already crumbled Gorgonzola at the market in small plastic containers. A little chopping of cherry or grape tomatoes and basil and voilà! The crostinis are beyond simple to make and you can check out that recipe by the hyper-link.

The last wicked easy and delicious holiday appetizer I have for you is something a little sweet. It’s a dollop of goat cheese, fig jam, fresh chopped pear and a mint leave all in a pre-baked fillo shell. Yes, I said pre-baked!!! Can you believe that one? This one you serve at room temperature so all you need to do is thaw the pre-baked shells which takes all of two minutes. It just can’t get any easier than that.

You can totally be flexible with these perfect little holiday appetizer’s too. If you don’t like Gorgonzola switch it out with some cubed up fresh mozzarella to top the crostinis and tomato-basil mixture. As for the pre-baked phylo cups, you can always swap out the goat cheese for a slice of brie if that’s more your taste.

I hope these last minute holiday appetizer’s help you out for your party! I wish you all a joyous New Year! You can certainly swap out or add in other hors d’ oeurves if you are feeling ambitious like baked coconut shrimp, zucchini torta, roasted chick peas, or smoked salmon on crostinis with cream cheese-caper spread. Enjoy 😉

iphone pictures 448

iphone pictures 1063

iphone pictures 970

iphone pictures 777


Baked Asparagus Wrapped in Prosciutto

iphone pictures 538 iphone pictures 601 iphone pictures 529

iphone pictures 532 iphone pictures 534 iphone pictures 540

iphone pictures 544 iphone pictures 546 iphone pictures 545

iphone pictures 552 iphone pictures 554 iphone pictures 560

Ingredients:

  • 20 large asparagus (the bigger the better)
  • 1/4 lb Prosciutto di Parma sliced thinly
  • 4 oz cream cheese room temp (Philadelphia)
  • 1 Tbsp grated vidalia onion (yellow or white is fine too)
  • 1/2 cup grated Parmesan cheese
  • 1 Tsp fresh lemon juice

Directions:

  1. Pre-heat the oven to 400º.
  2. Hold the asparagus with your fingers in the middle and on the end and bend.
  3. The asparagus will break where it’s supposed to.
  4. Line them up and cut evenly across the bottom so they are all at a consistent length.
  5. Bring salted water to a boil and add in asparagus …Blanch 2 minutes
  6. Drain and put into a ice bath.
  7. Dry the asparagus with paper towels.
  8. At this point you can pop them into a zip lock and into the frig until you are ready for them.
  9. Mix together in a small bowl the room temperature cream cheese, grated onion, Parmesan and lemon juice just til combined
  10. Take a piece of Prosciutto and smear 1 Tbsp of the cream cheese mixture down the length of it.
  11. Place the asparagus on a bit of a diagonal (see photo) and roll up.
  12. Place onto an ungreased cookie sheet and bake for 7 minutes – you are heating thru only
  13. Use a spatula to remove from pan and be sure to flip them over when you plate them to see the lovely caramelization on the under side.
  14. Optional: Drizzle a little olive oil, a fresh squeeze of lemon and some shaves of Parmesan on top for a little extra!

iphone pictures 545

 TIP:  Using a micro-plane grater or rasp to grate the onion is a wonderful culinary tool which actually started out back in the day as a wood planer for woodworkers!


Baked Crostinis with Gorgonzola, Fresh Tomato, Basil & Garlic

gorgon mixgorgan crostitoma

withgorg gorgtray IMG_4768

Ingredients:

  • 1 french baguette sliced into 20 – 1/4″ pieces
  • Crostini Recipe
  • 1 cup chopped cherry or grape tomatoes
  • 2 tbsp fresh julienne basil
  • 1 garlic clove put thru garlic press
  • dash salt and pepper
  • 1 small container crumbled Gorgonzola cheese 4 oz. OR diced up fresh Mozzarella

Directions:

  1. Pre-heat oven to 400º
  2. Top crostini with tomato-basil mixture and a tsp of crumbled Gorgonzola OR Mozzarella
  3. Bake for 7 minutes

Goat Cheese, Fig Jam, Fresh Pear and Mint in Pre-Baked Fillo Cups

fillocup withjam endgoat

Ingredients:

  • 1-2 pkg of pre-baked fillo cups (if you can’t find these just buy pre-formed pastry cups that you can quickly bake)
  • 2 oz. goat cheese OR wedge of your favorite dbl cream brie…Saint Albray for example
  • fig jam
  • 1/2 cup fresh chopped pear
  • Wedge of fresh lemon
  • fresh peppermint leaves

Directions:

  1. Chopped the pear and give a squeeze of a wedge of lemon
  2. Thaw the pre-baked fillo cups
  3. Place fresh mint leaf into cups
  4. Place a dollop of goat cheese or slice of brie into the cup
  5. Top with 1/2 tsp of fig jam
  6. Then top with diced fresh pear
  7. Serve room temperature


Sweet Potato Fries & Green Goddess Dip lll

Sweet Potato Fries & Green Goddess Dip lll

IMG_3827
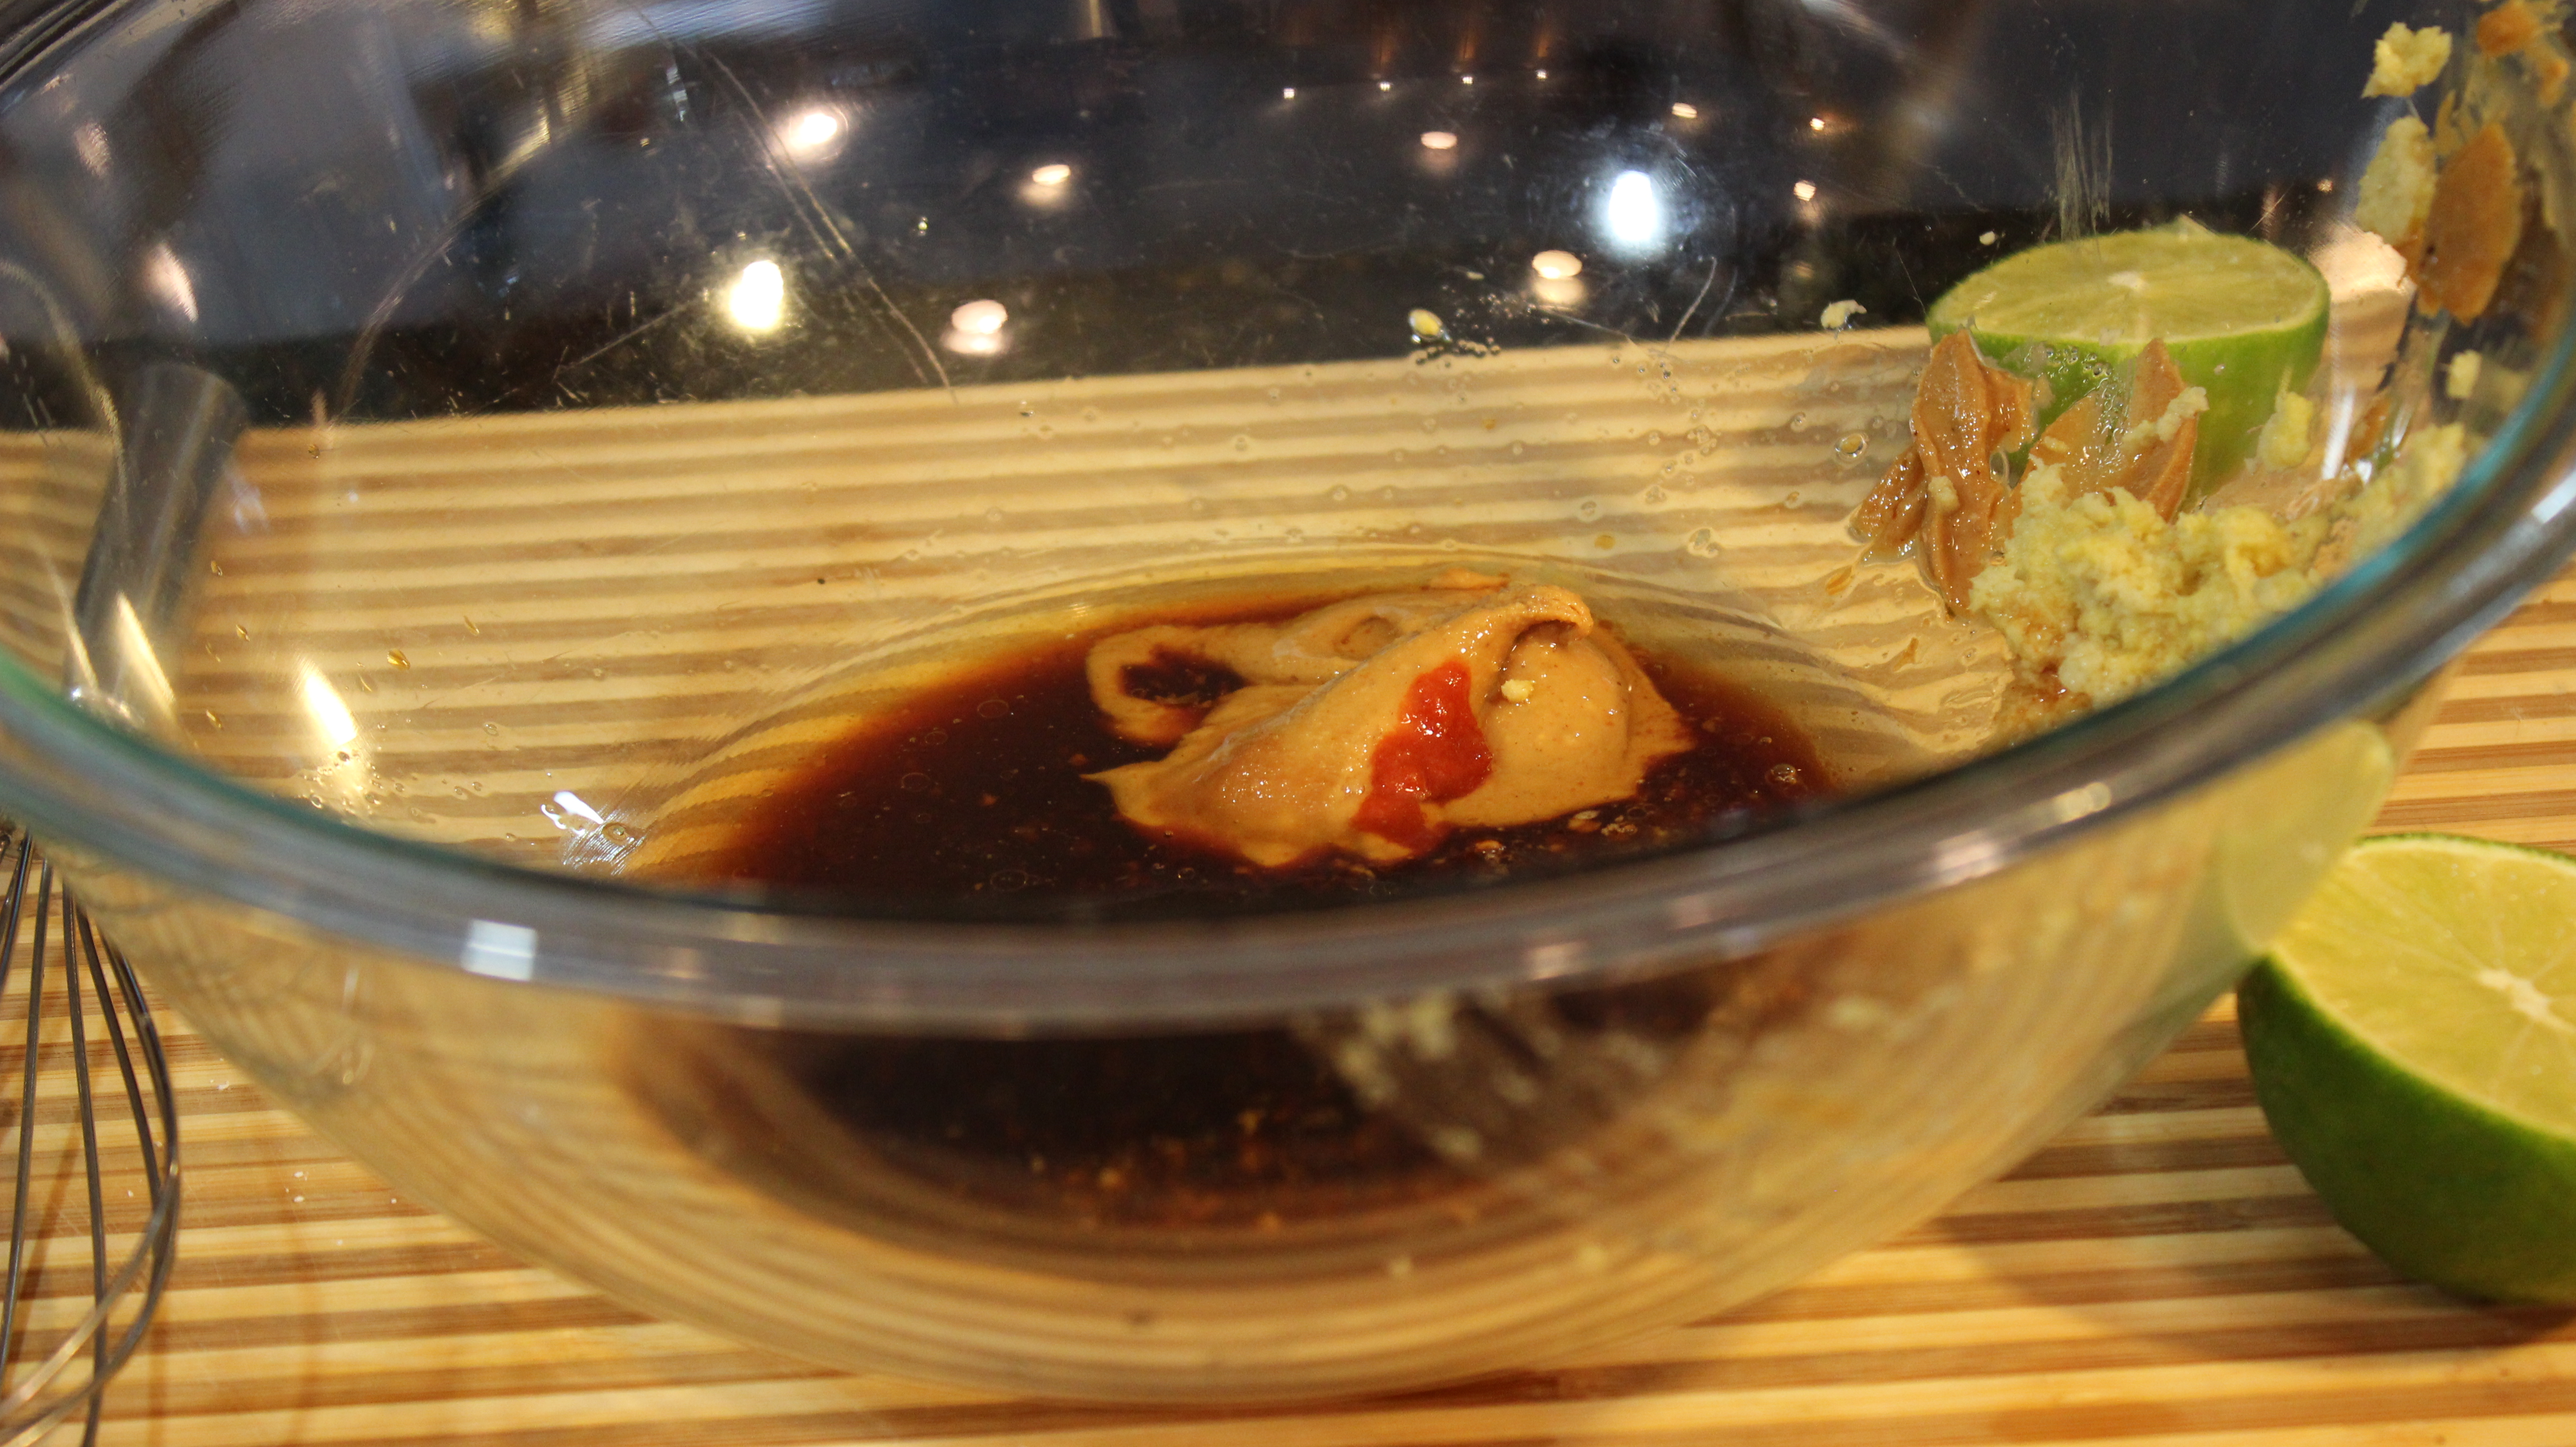
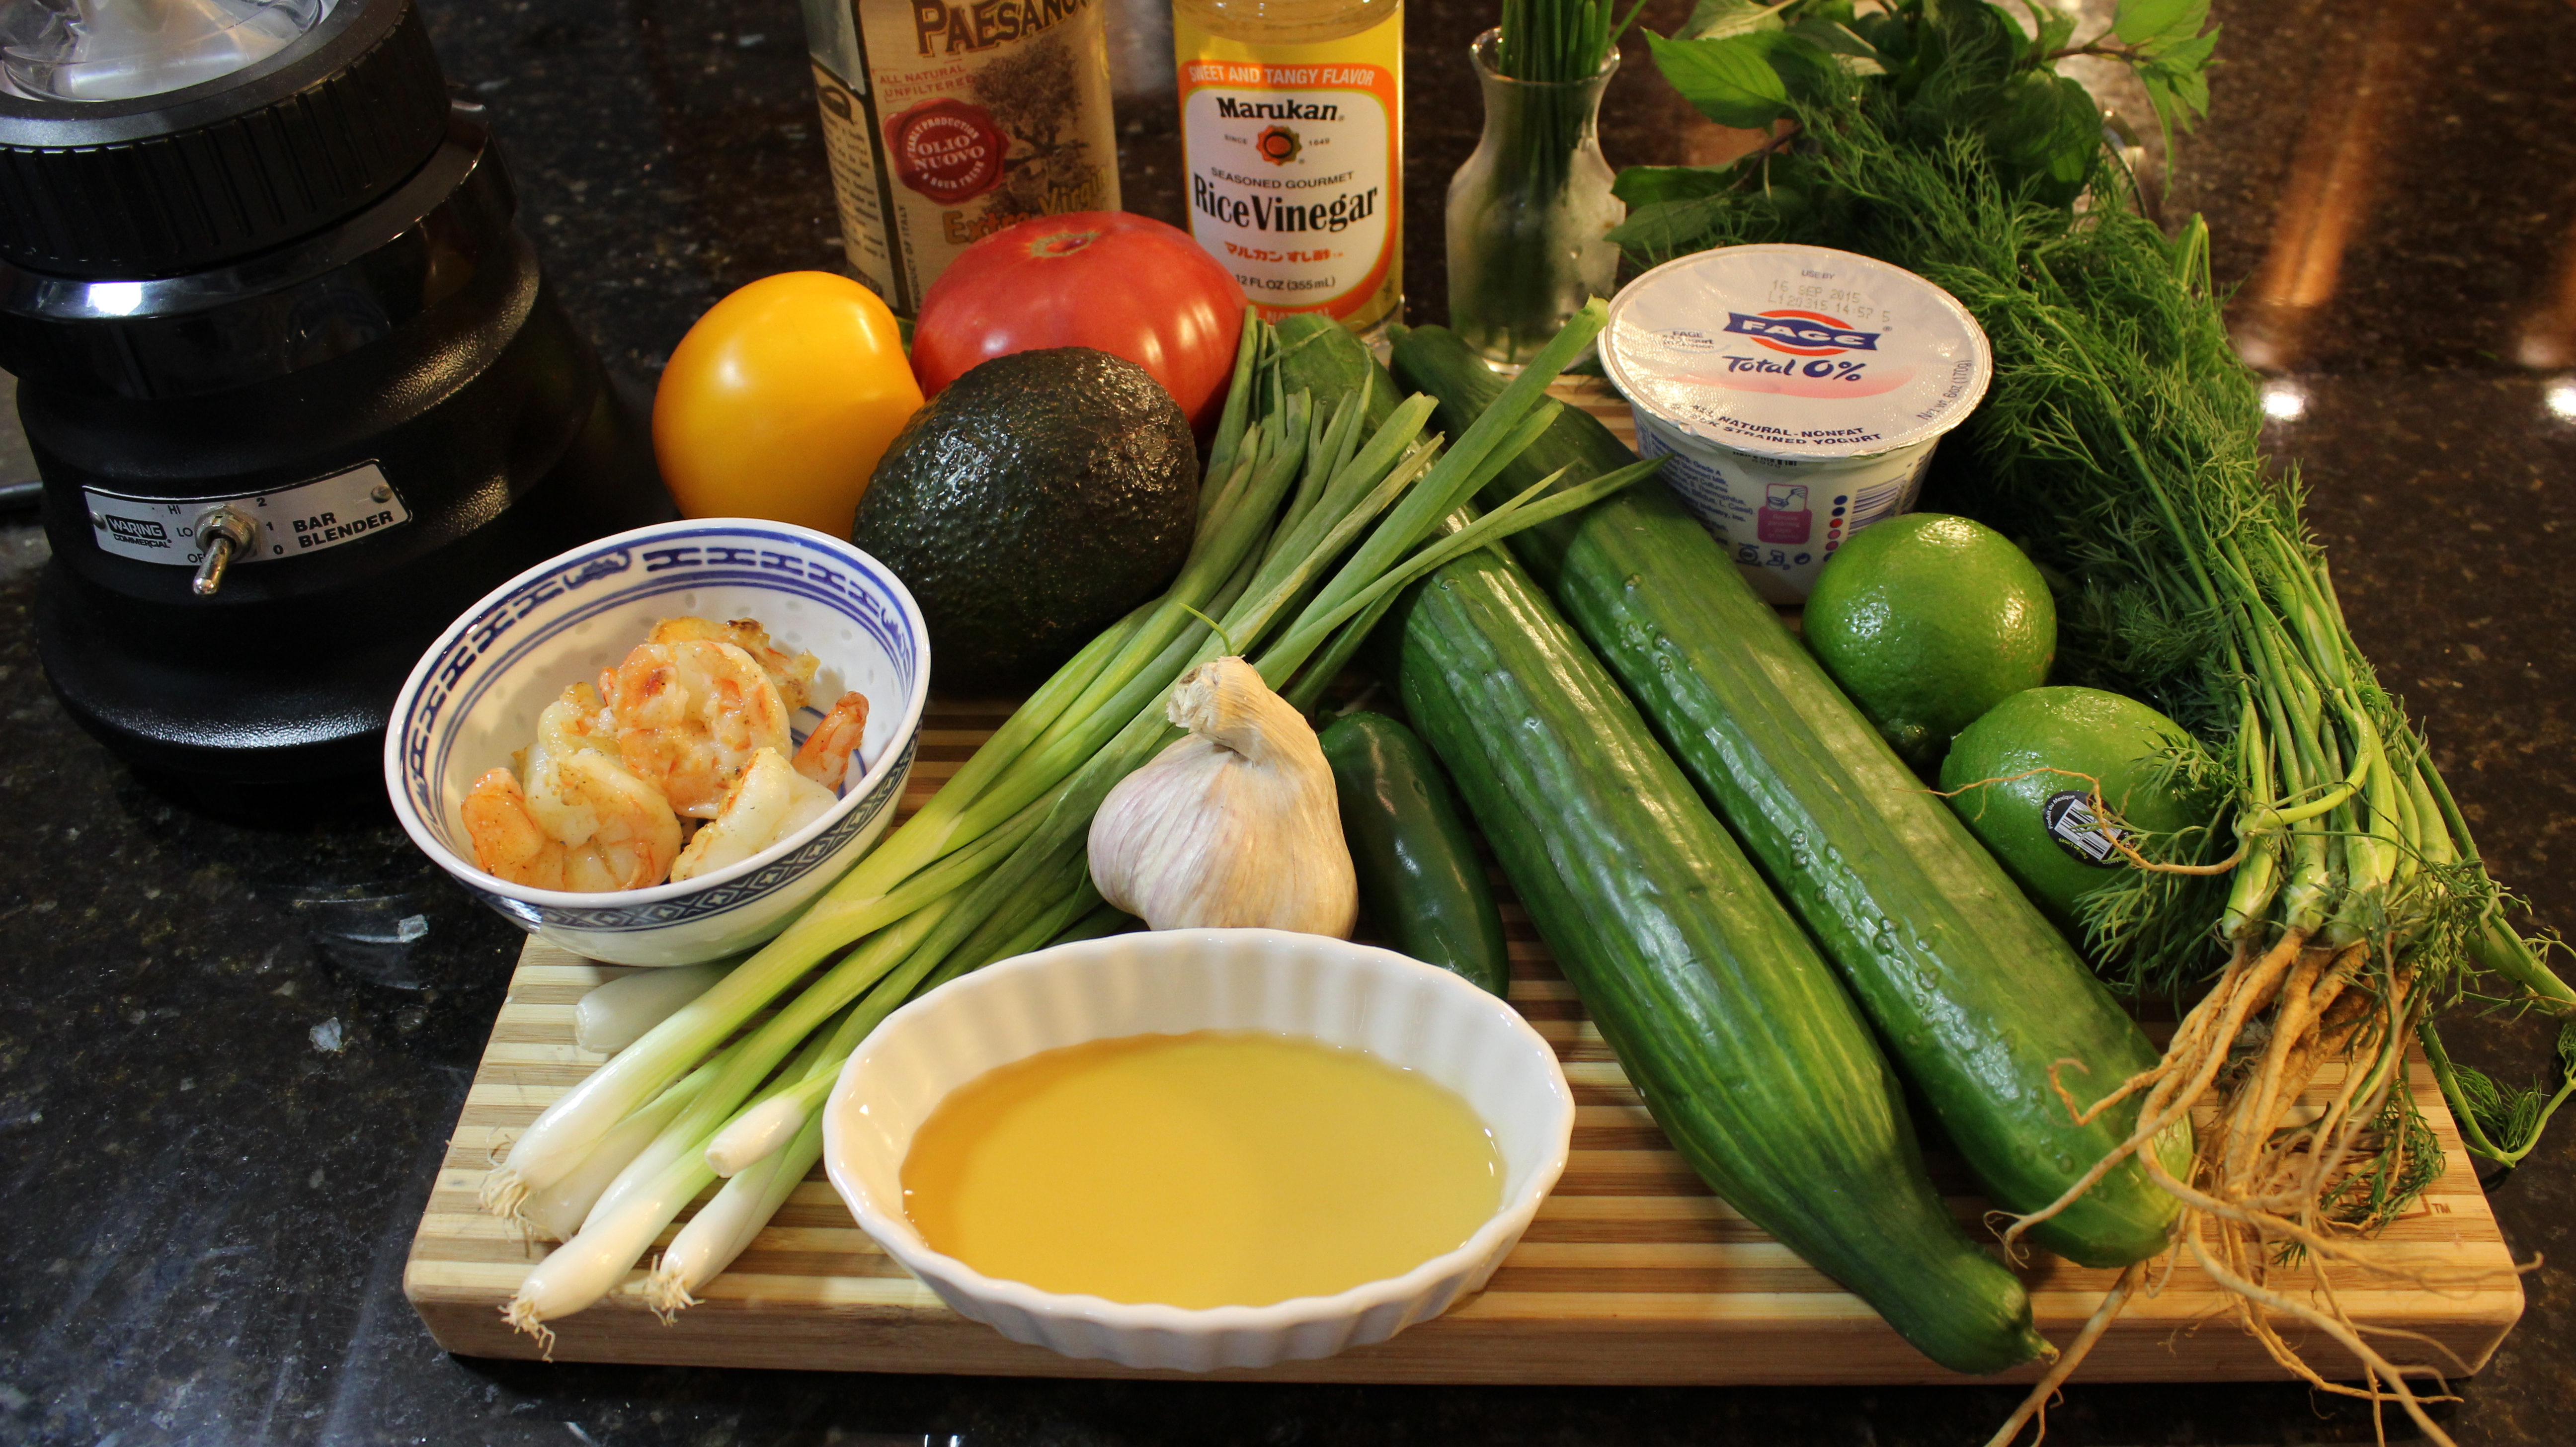
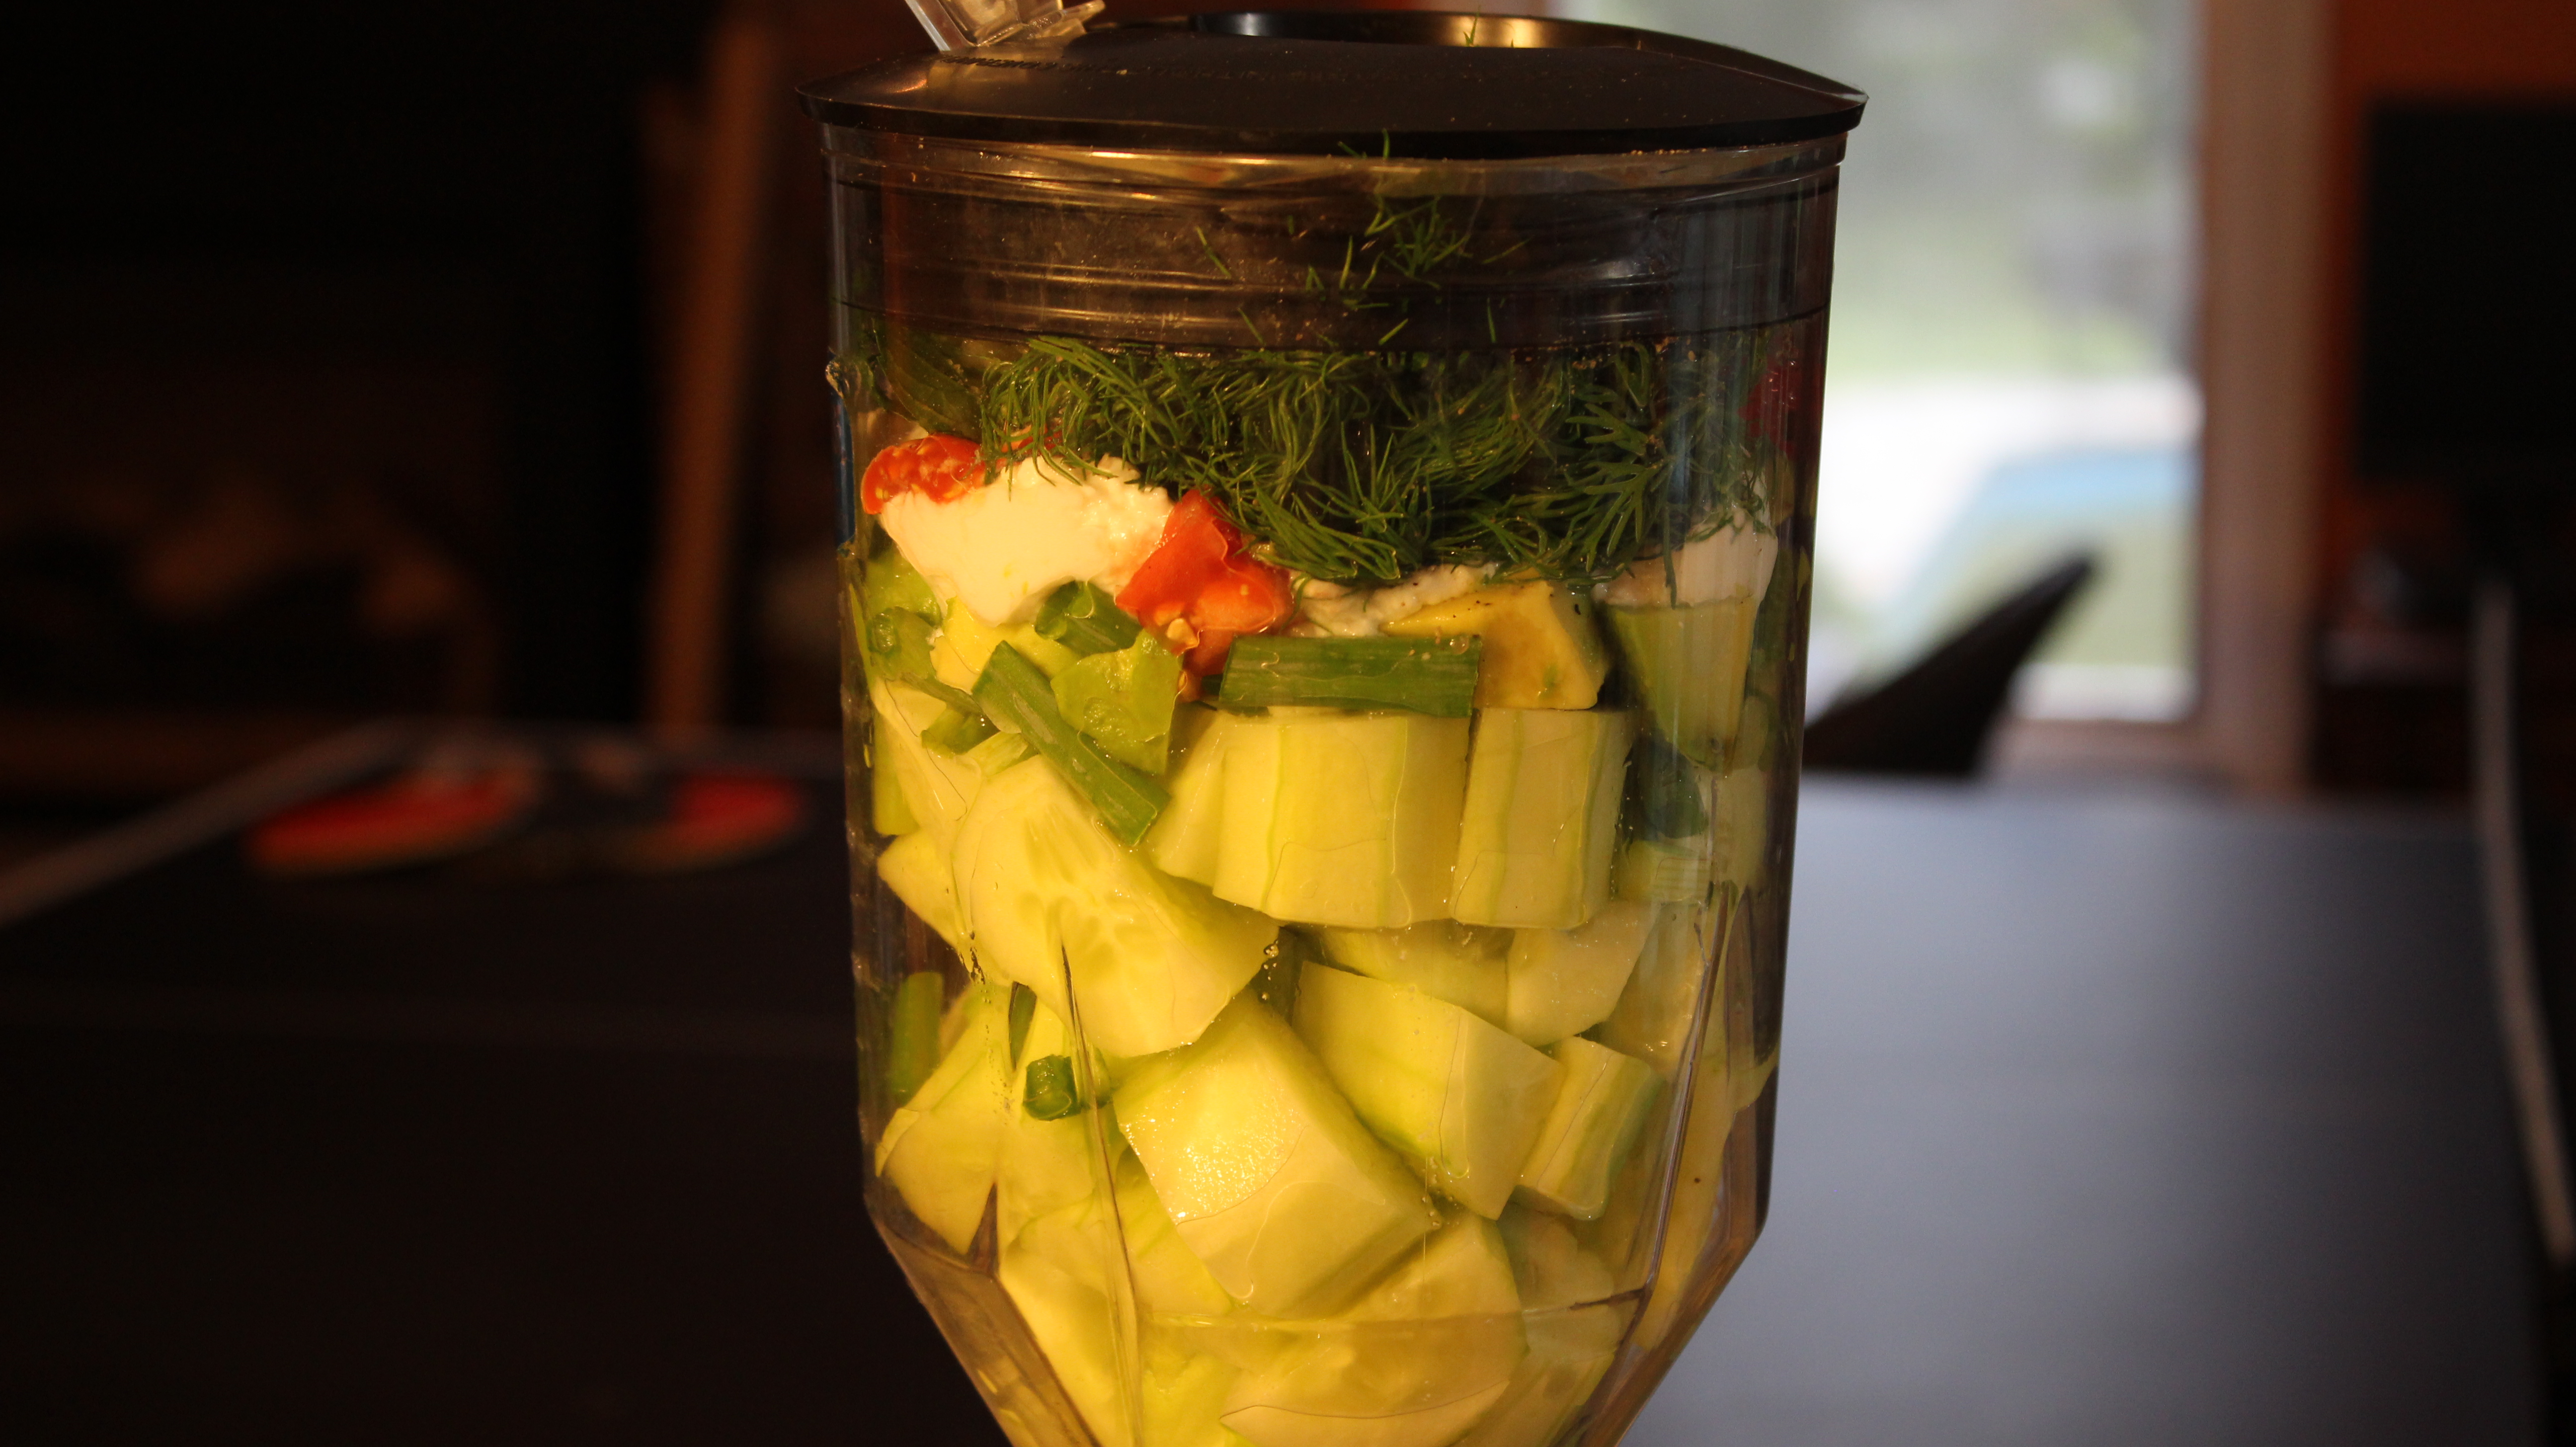
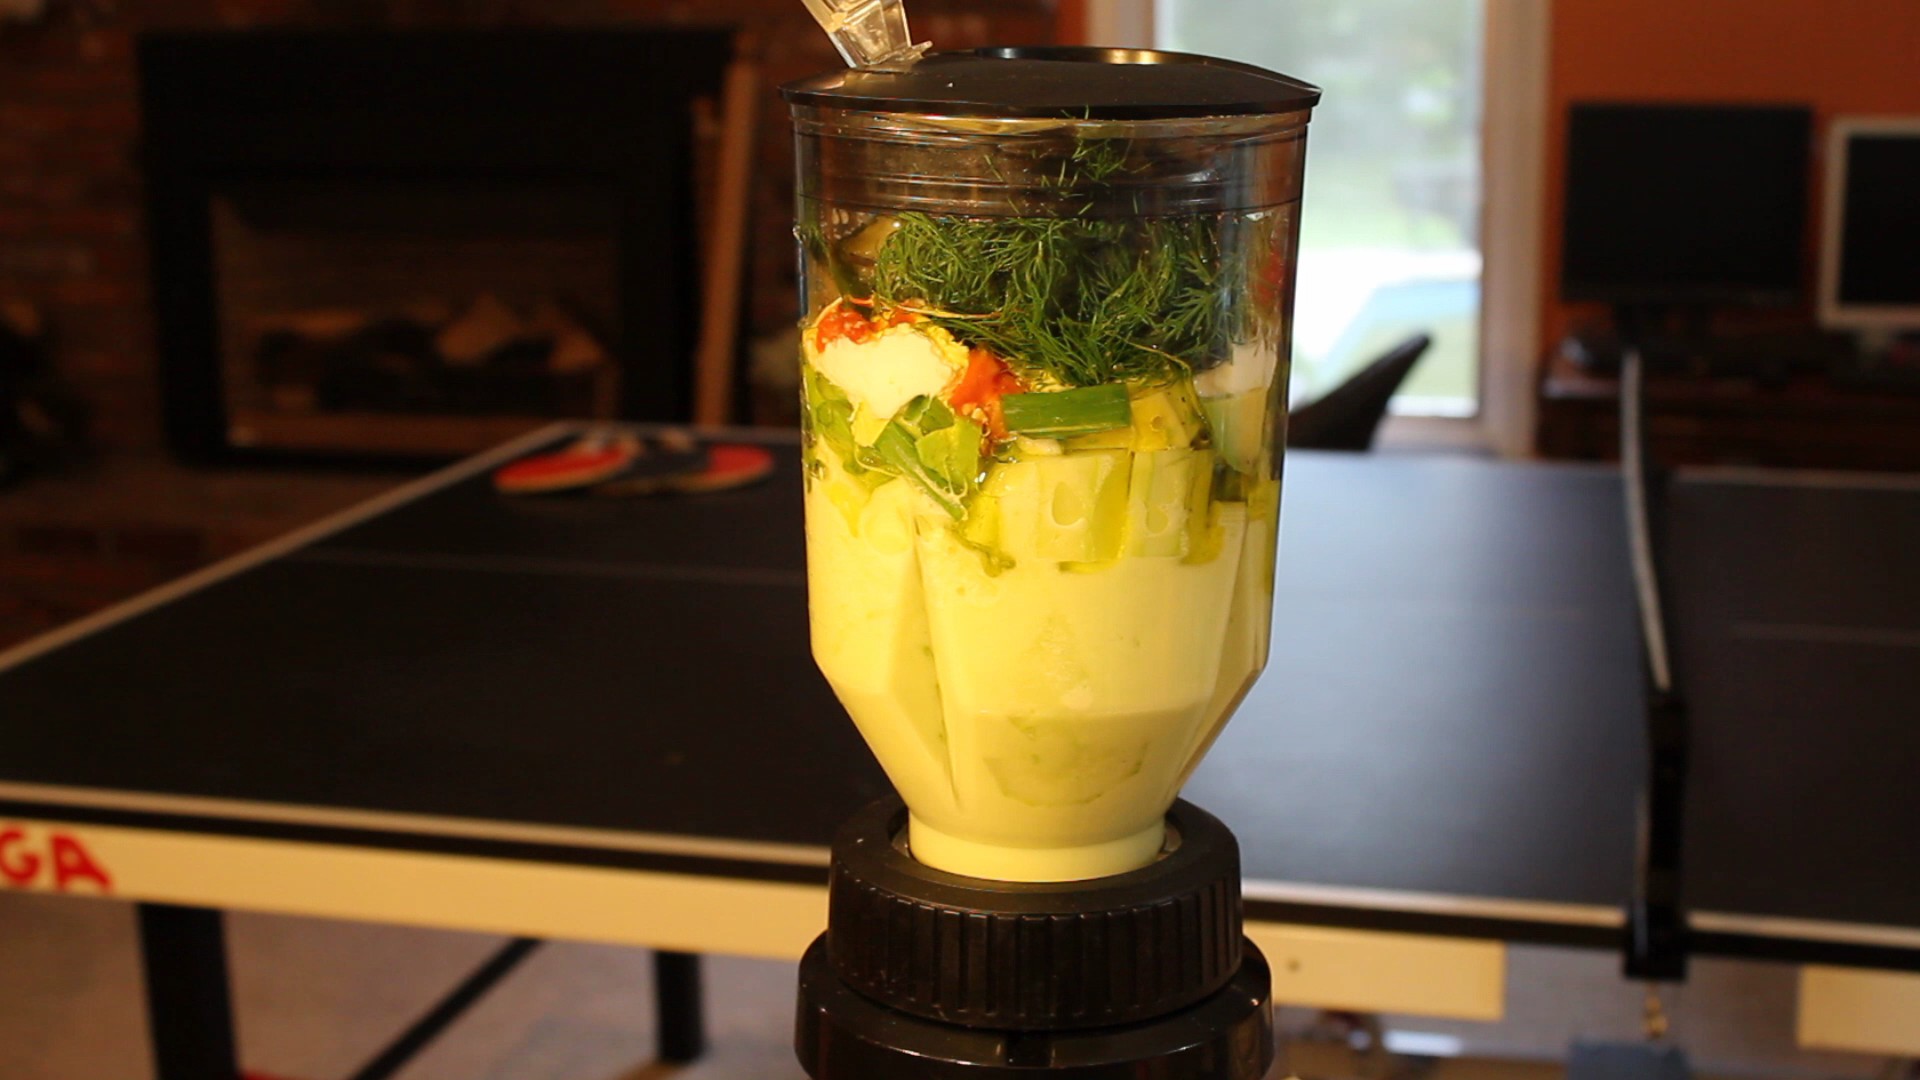
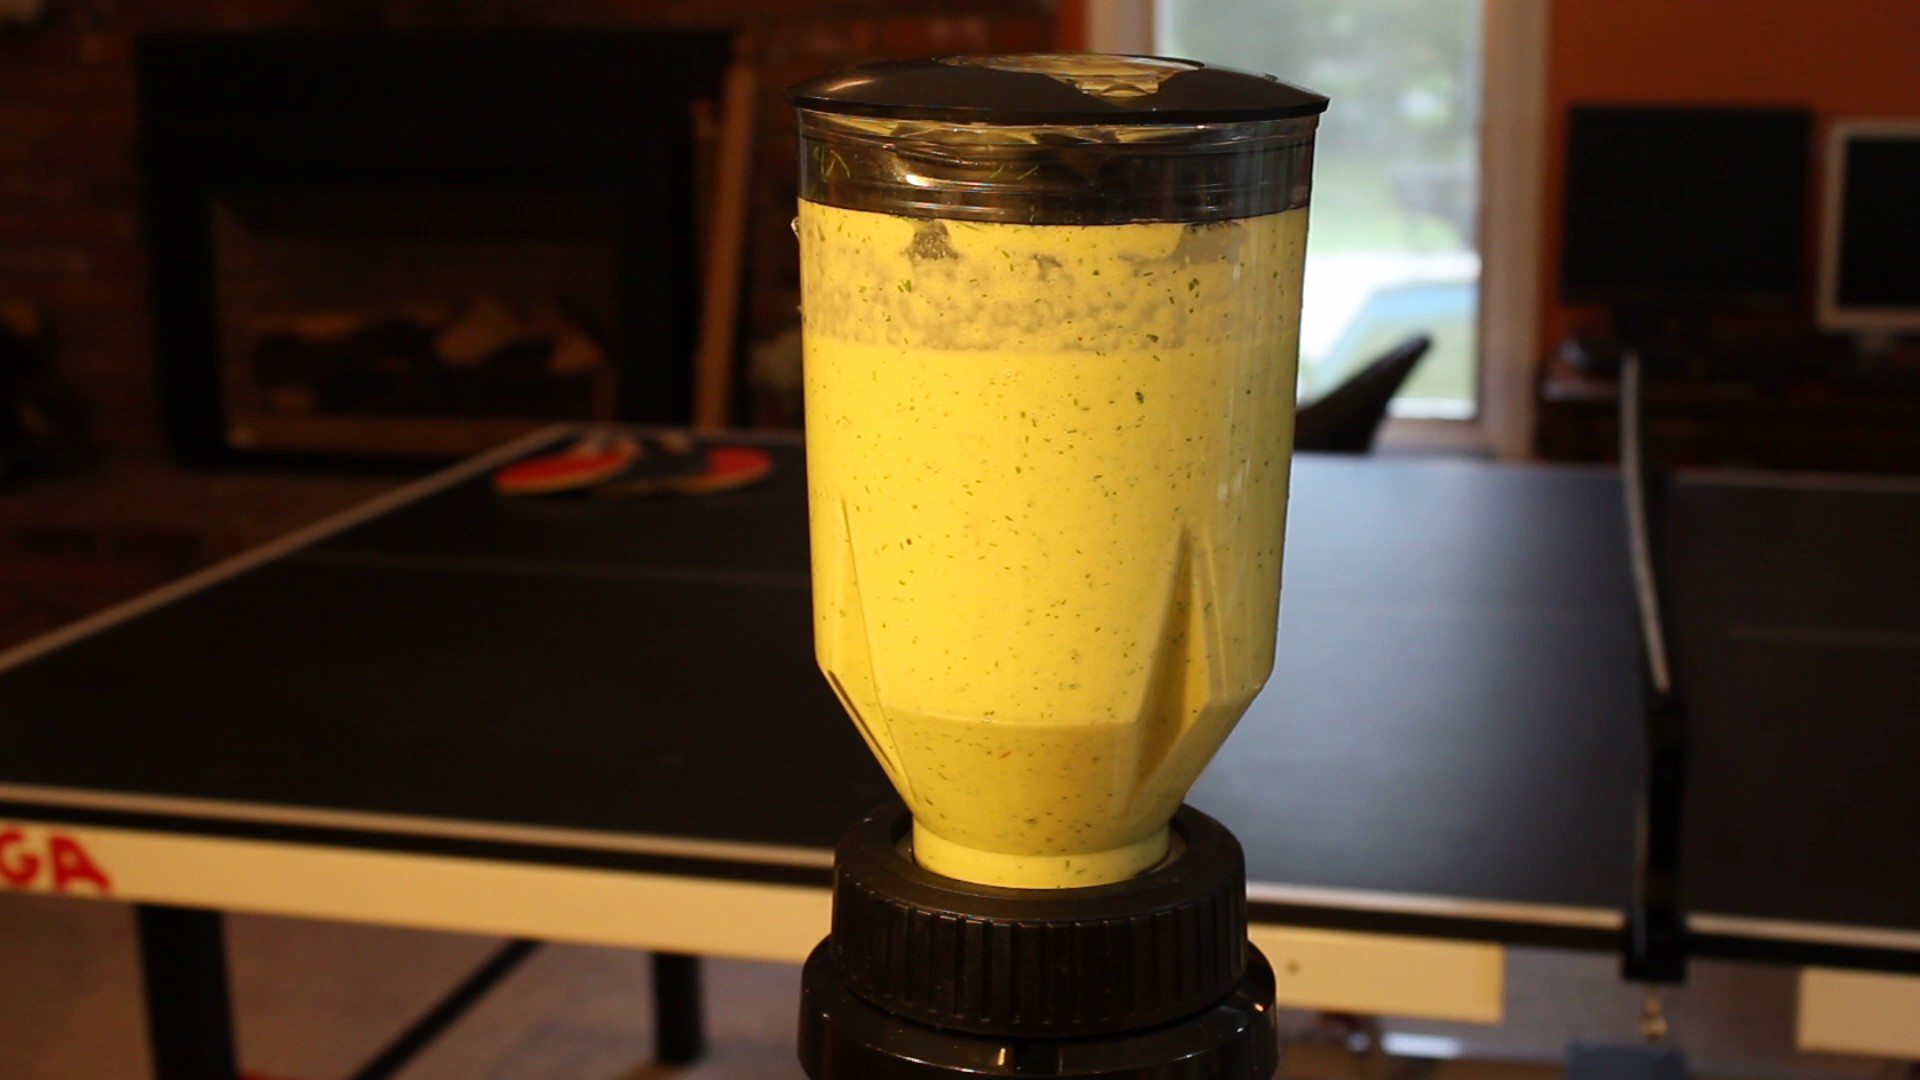
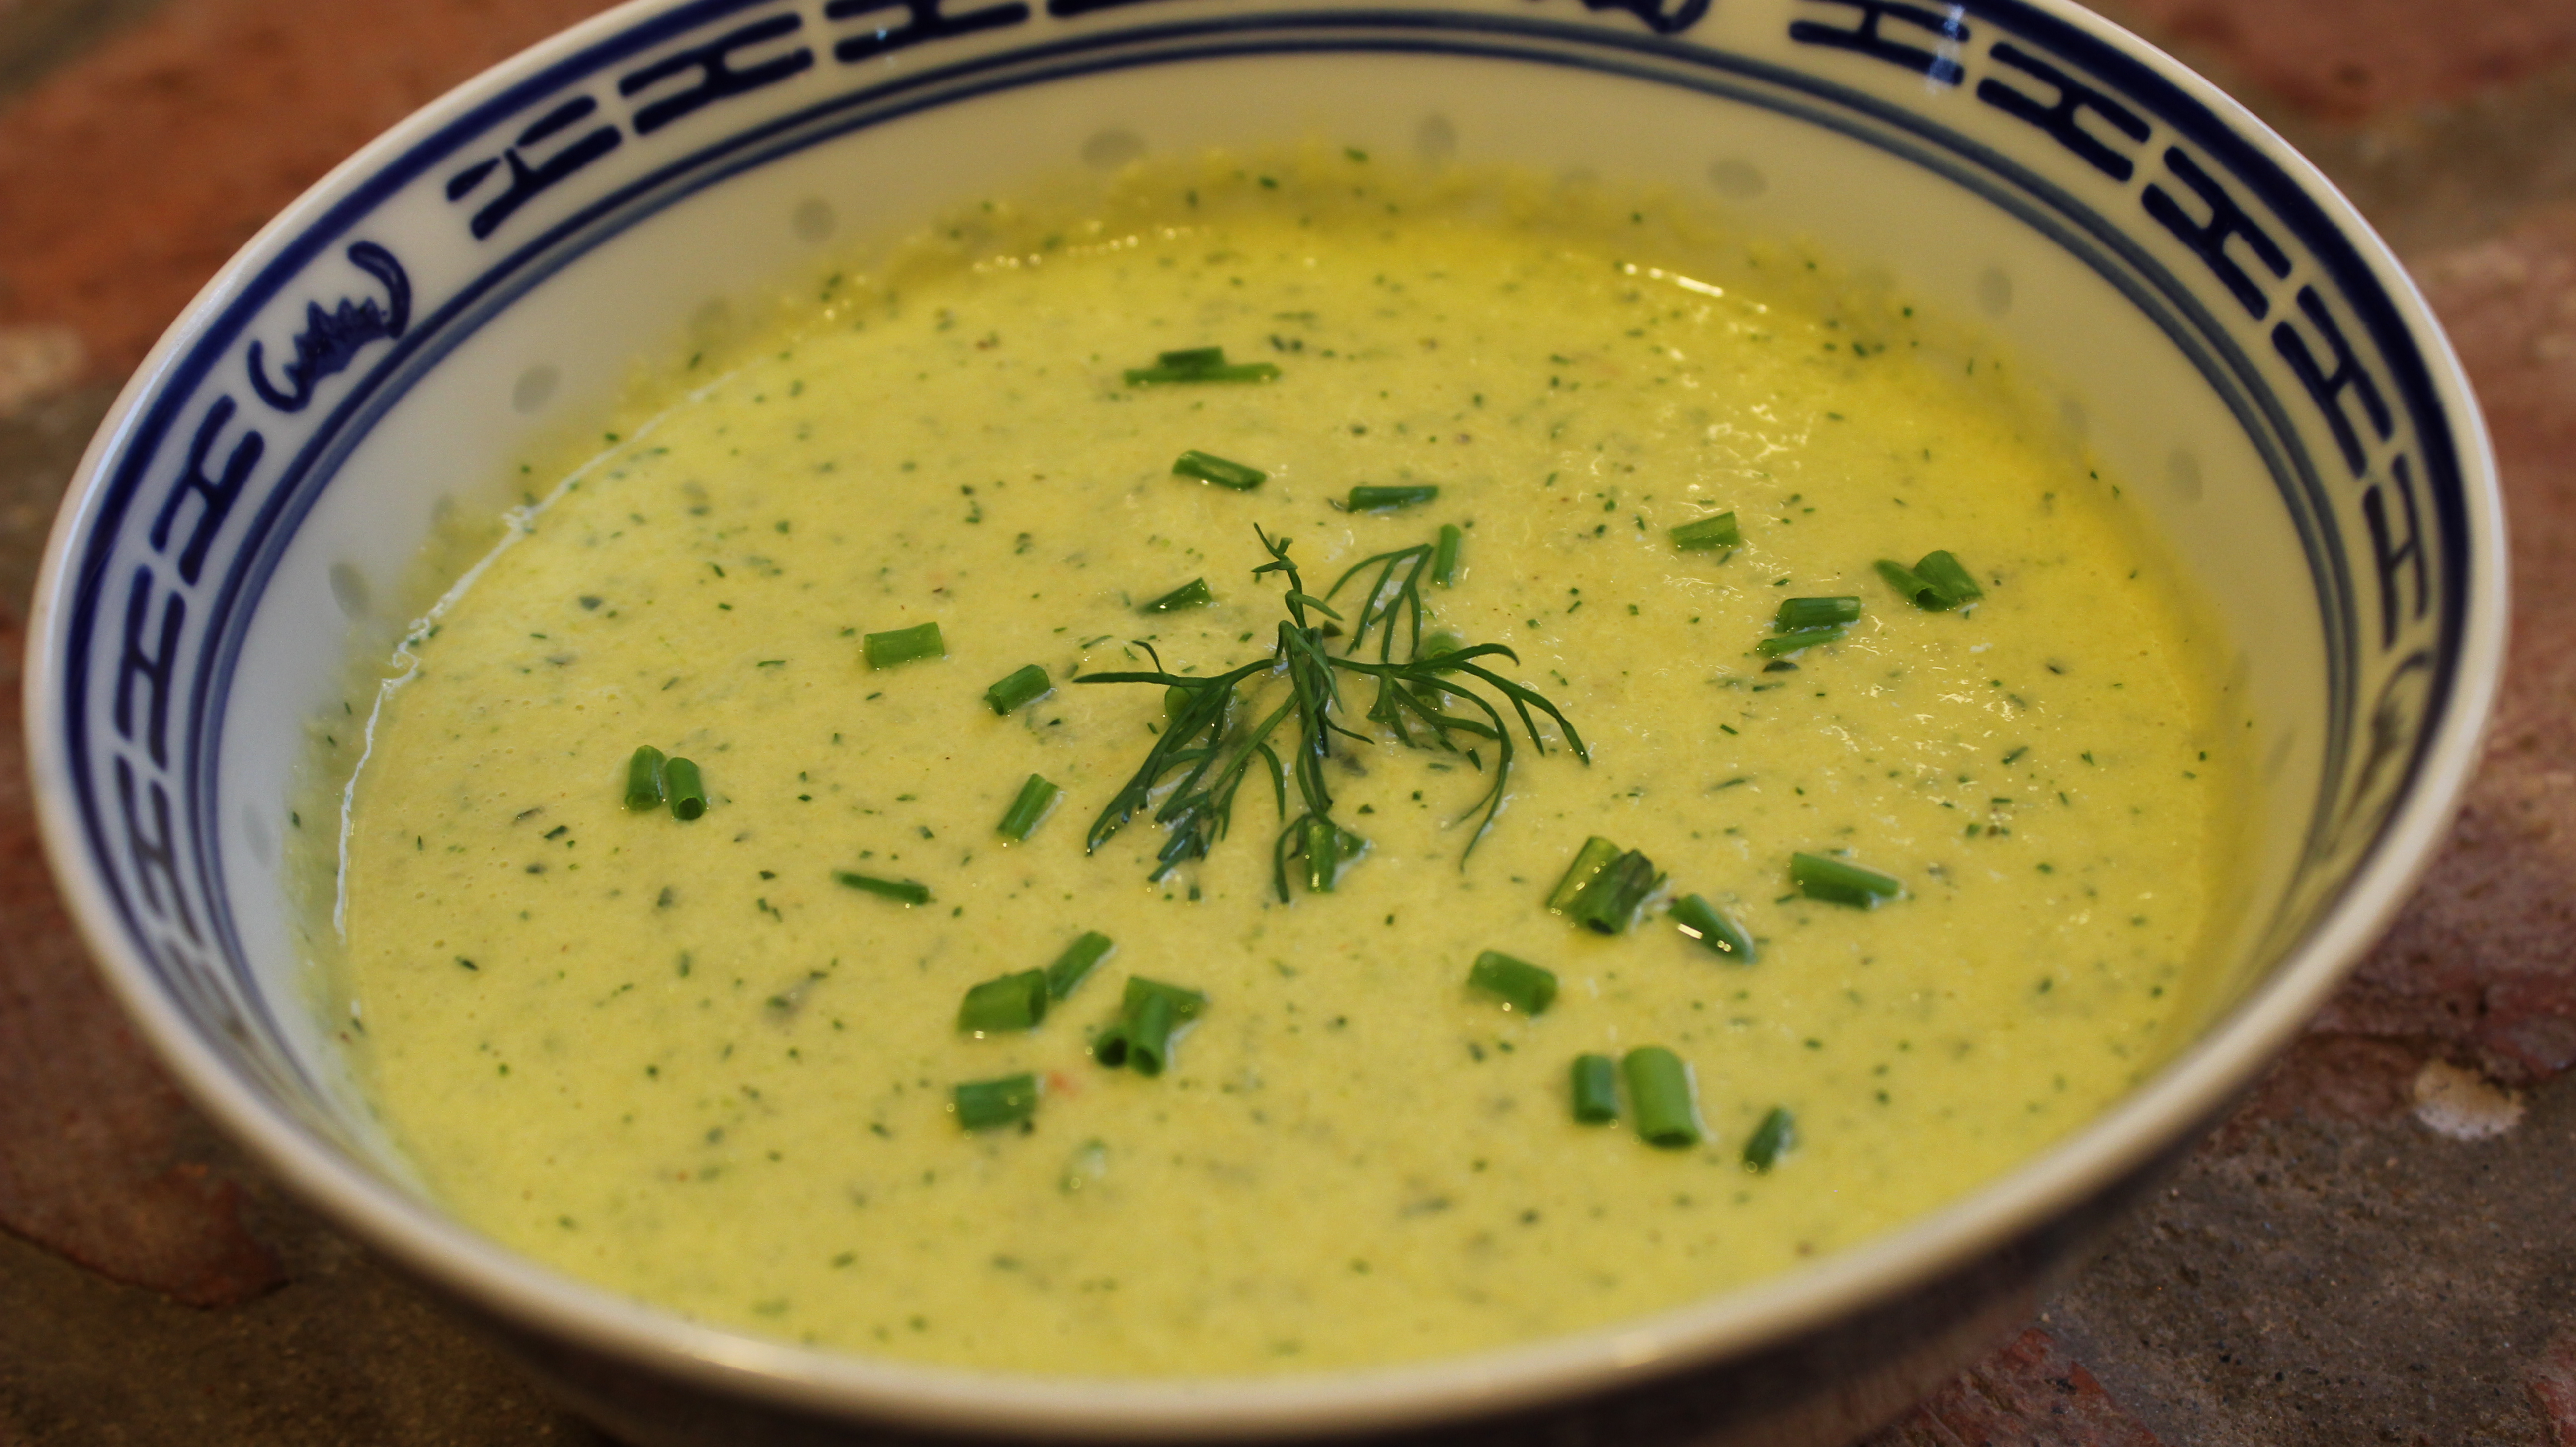
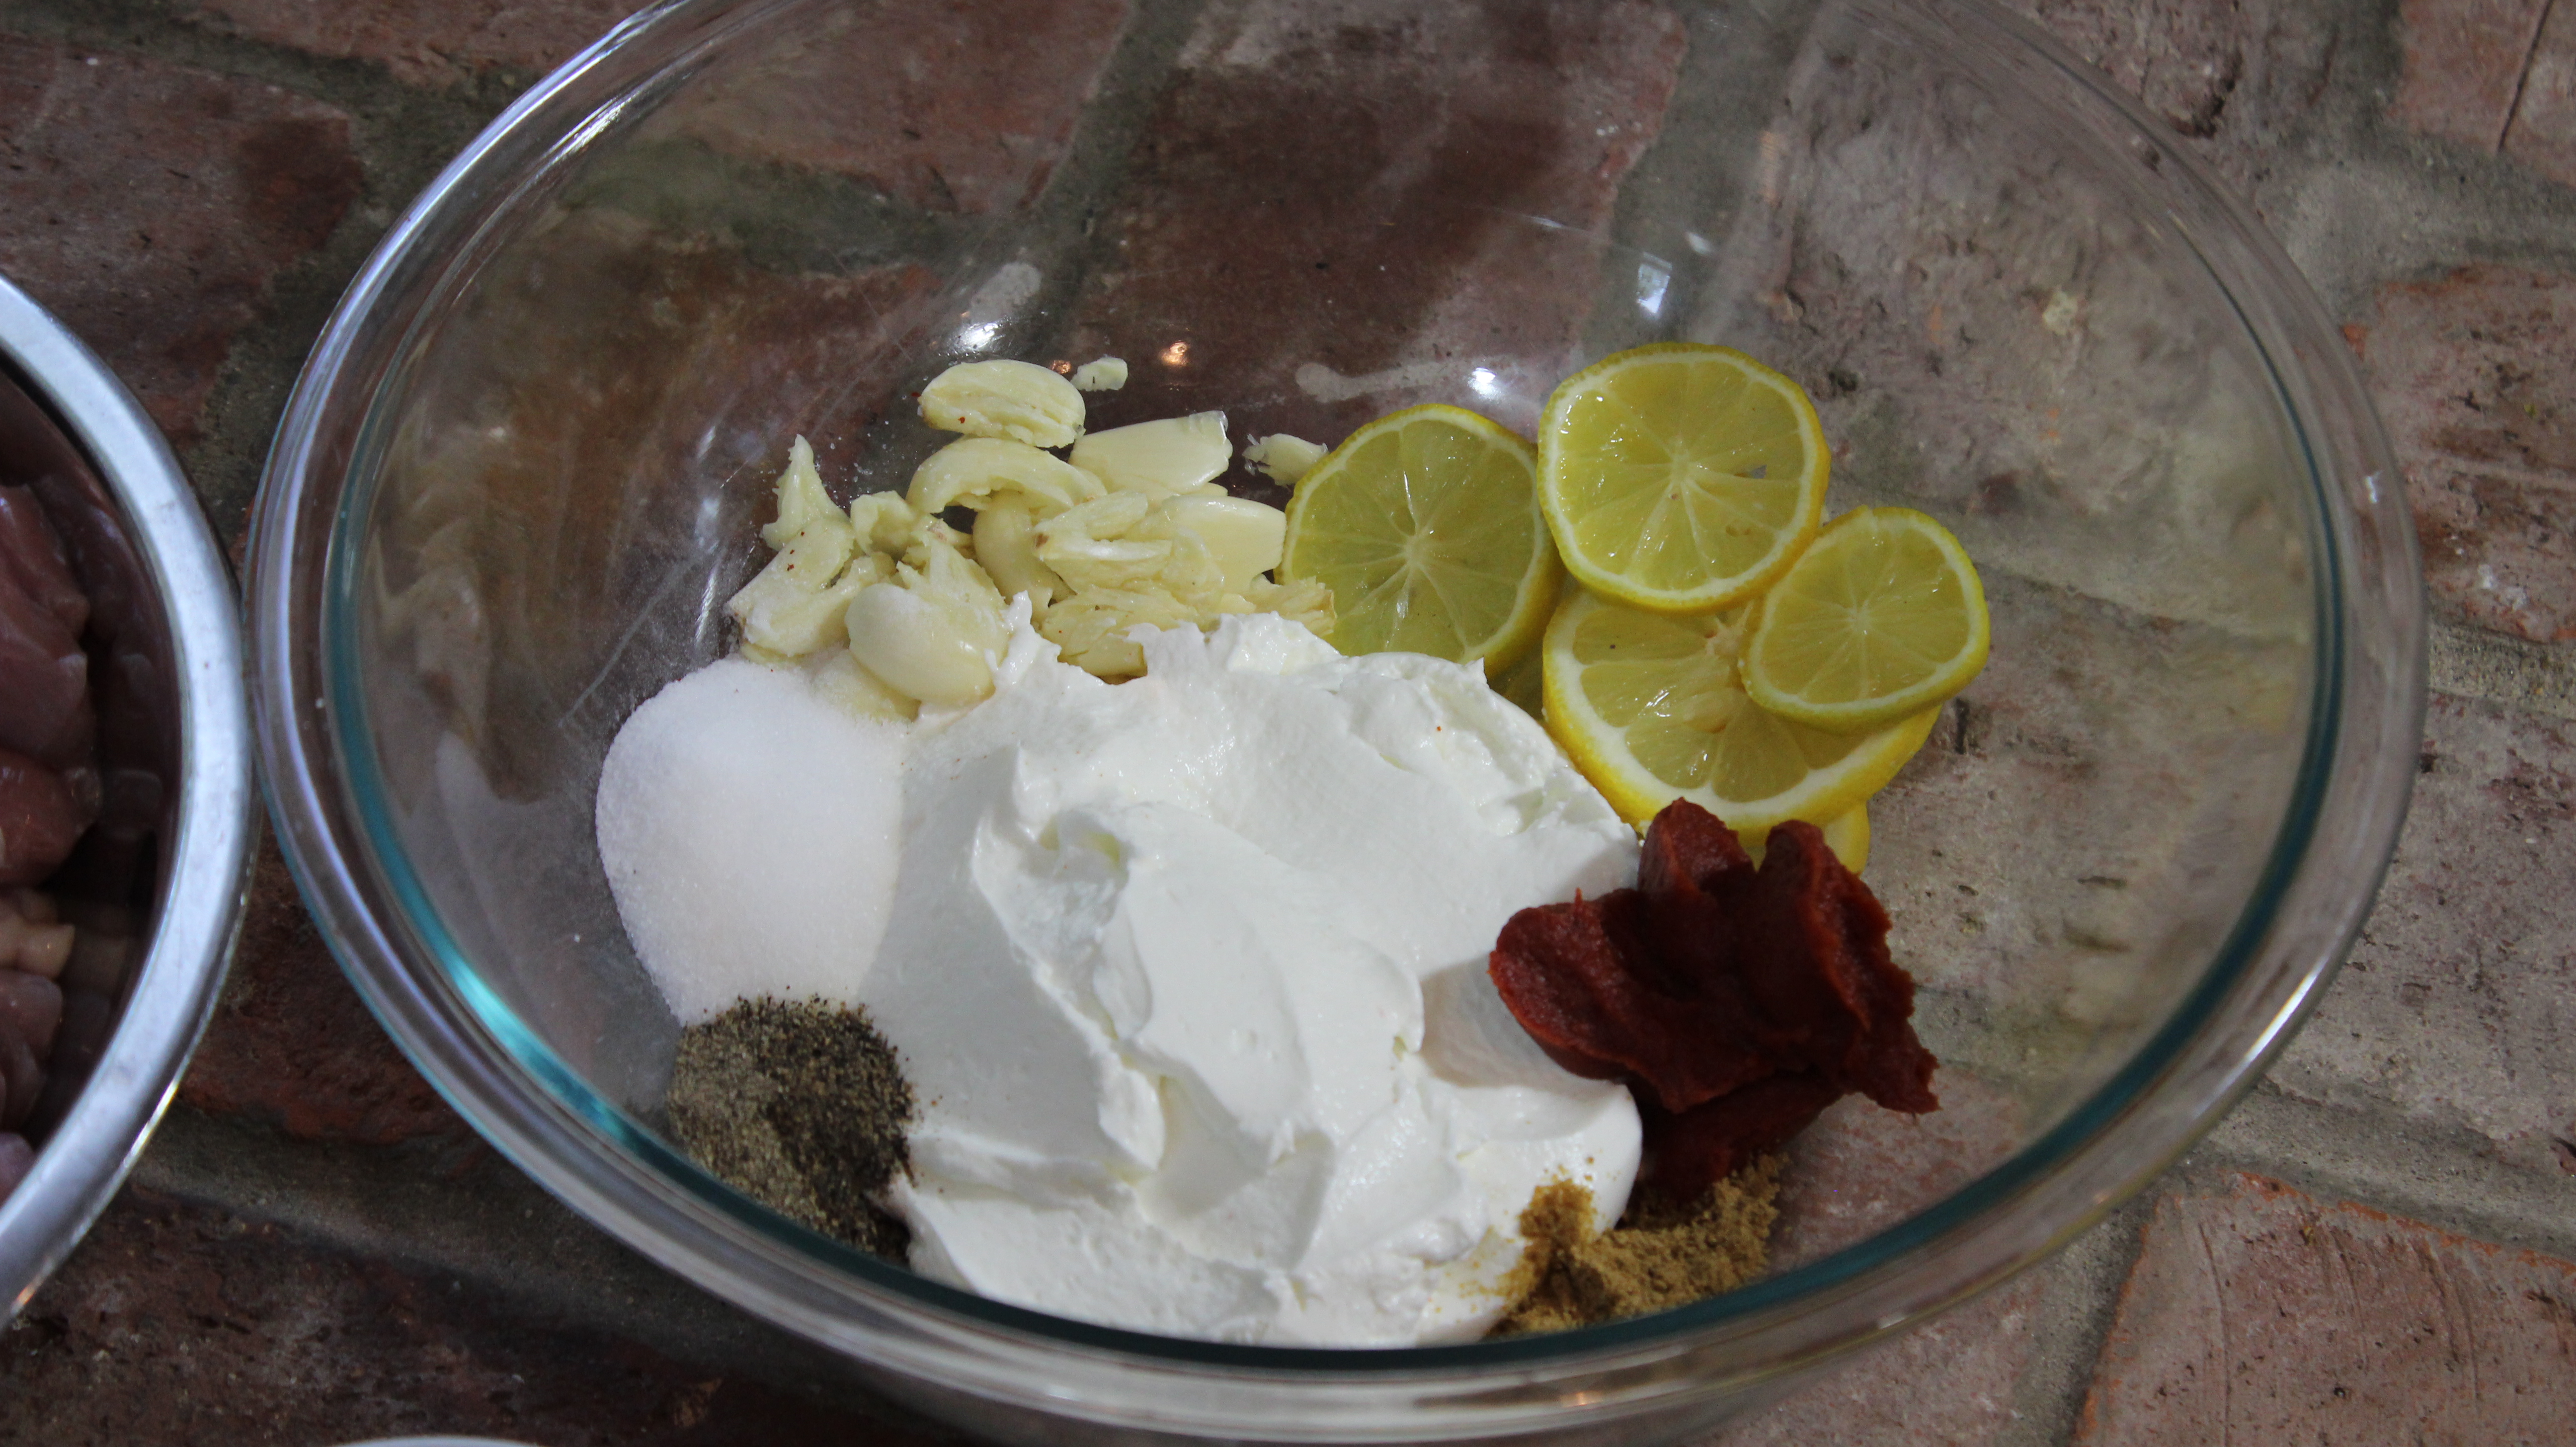
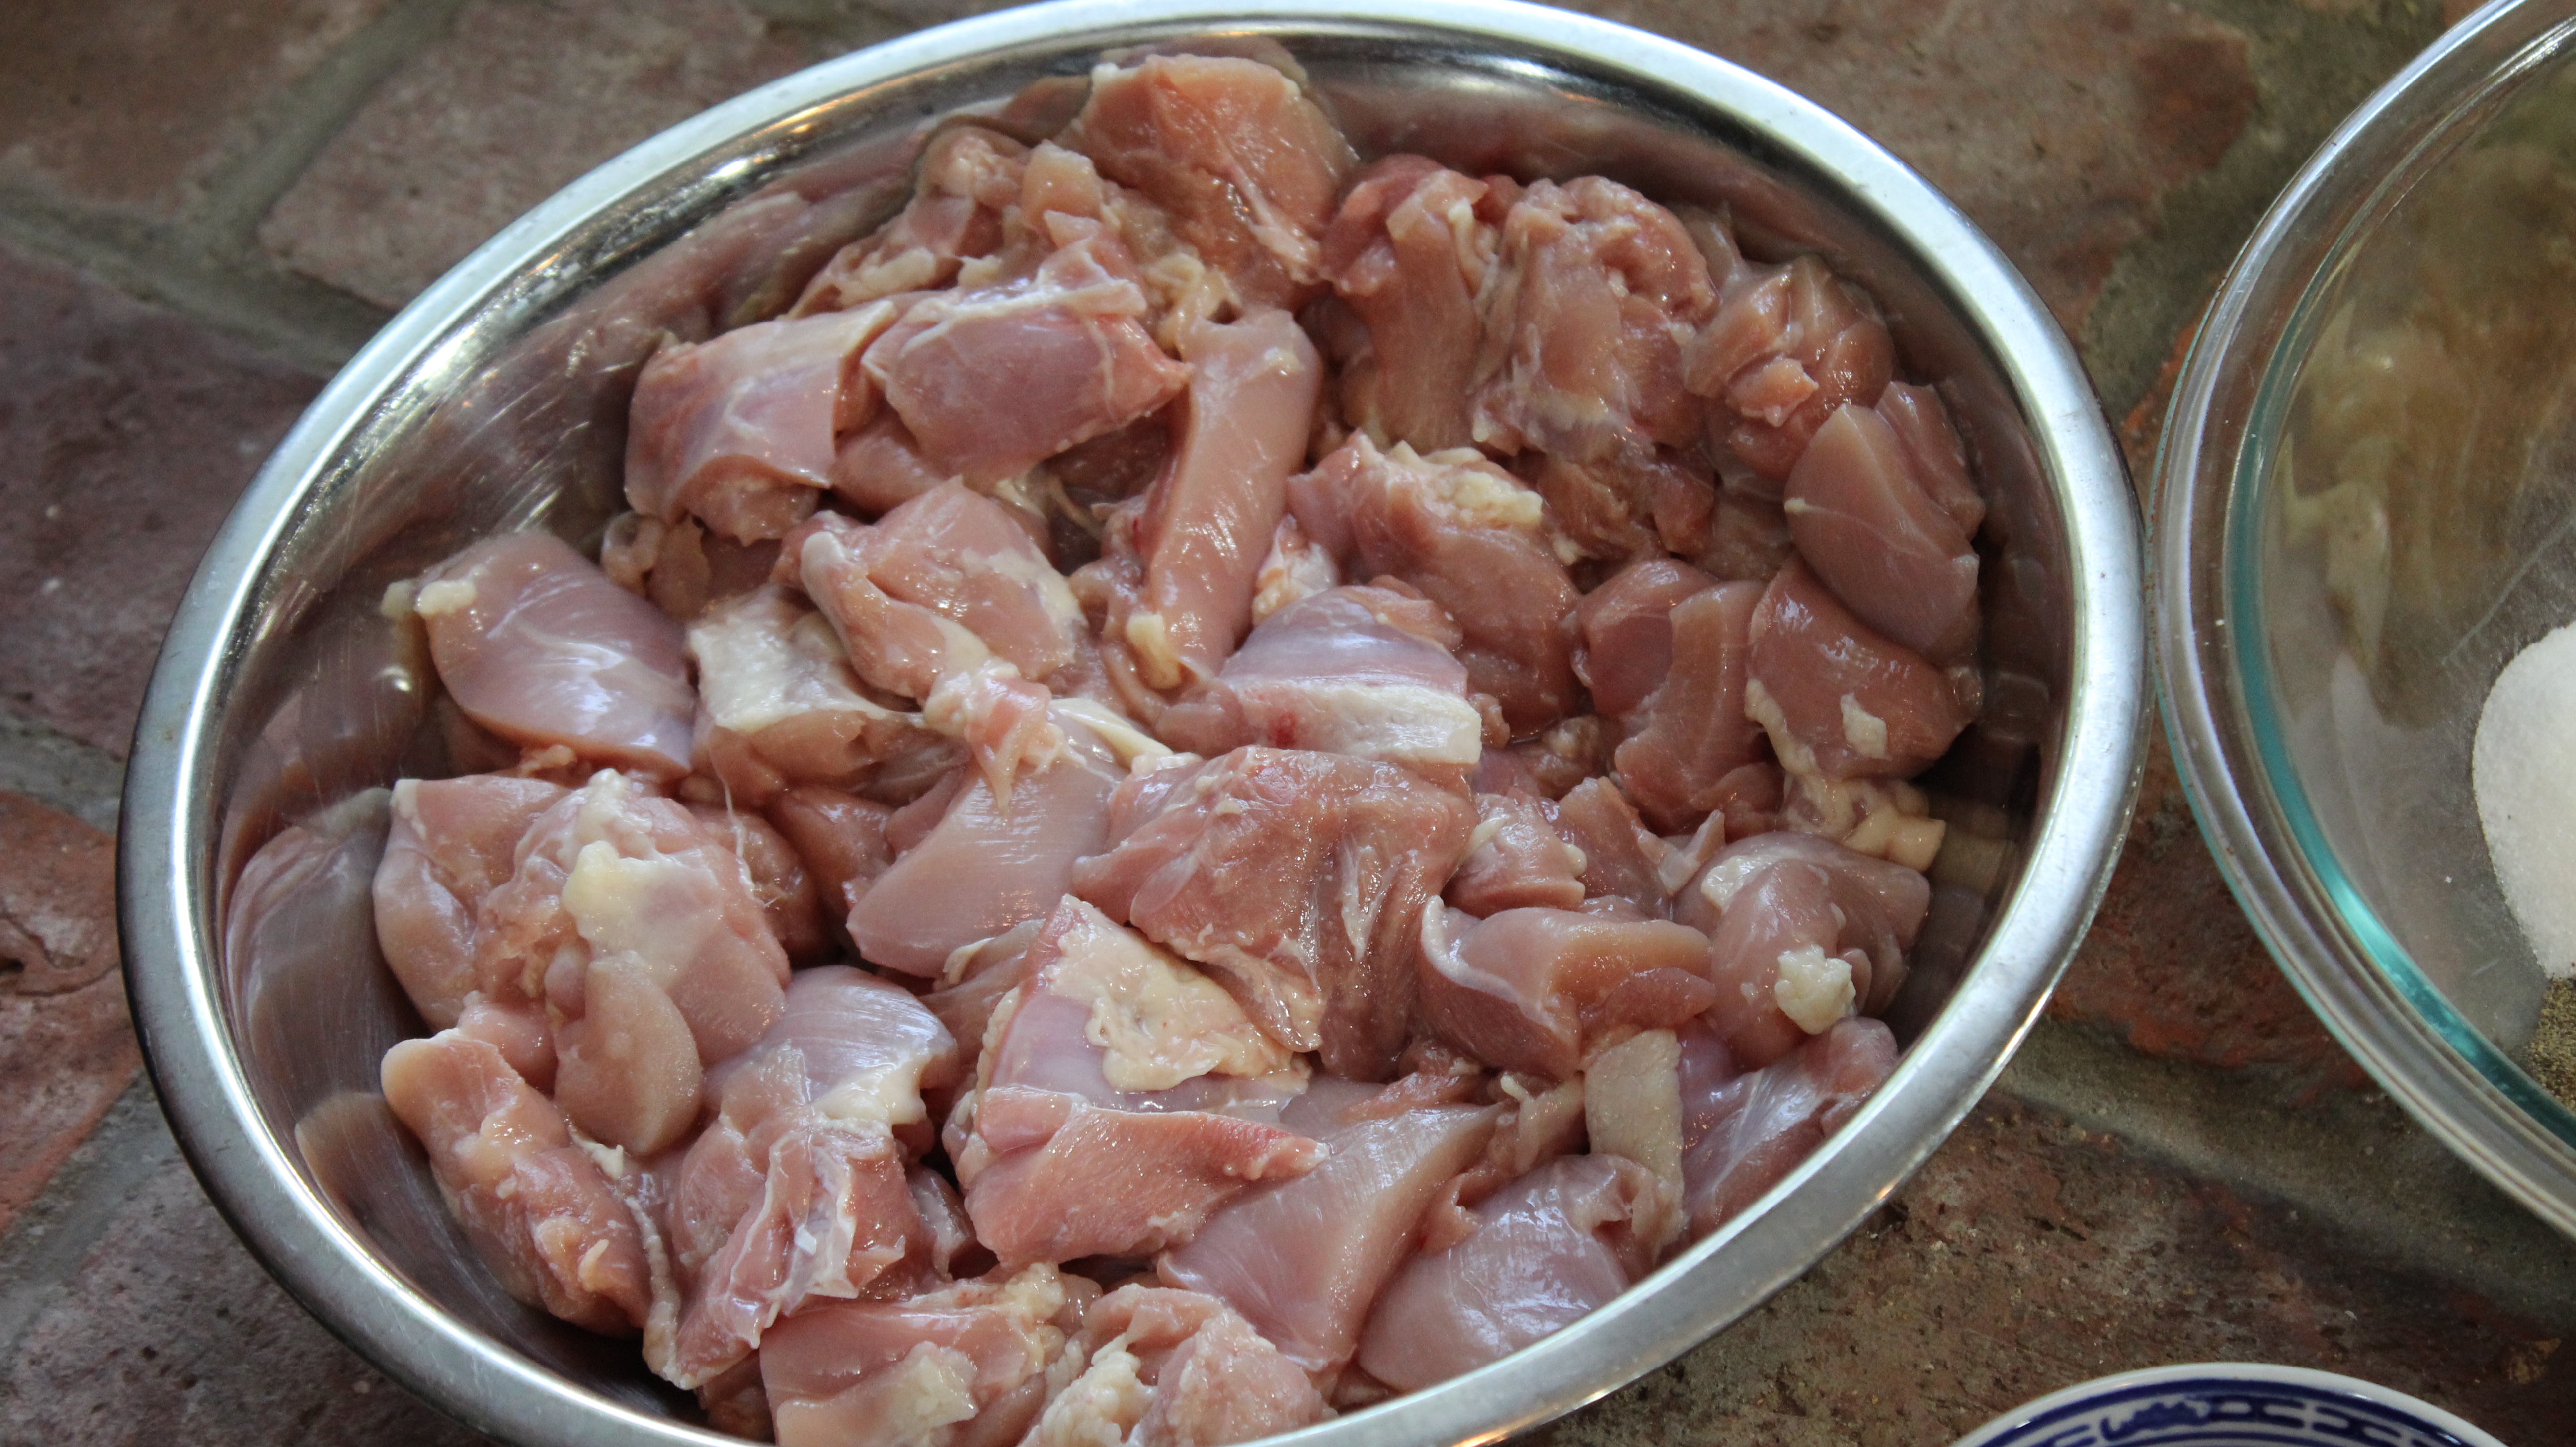
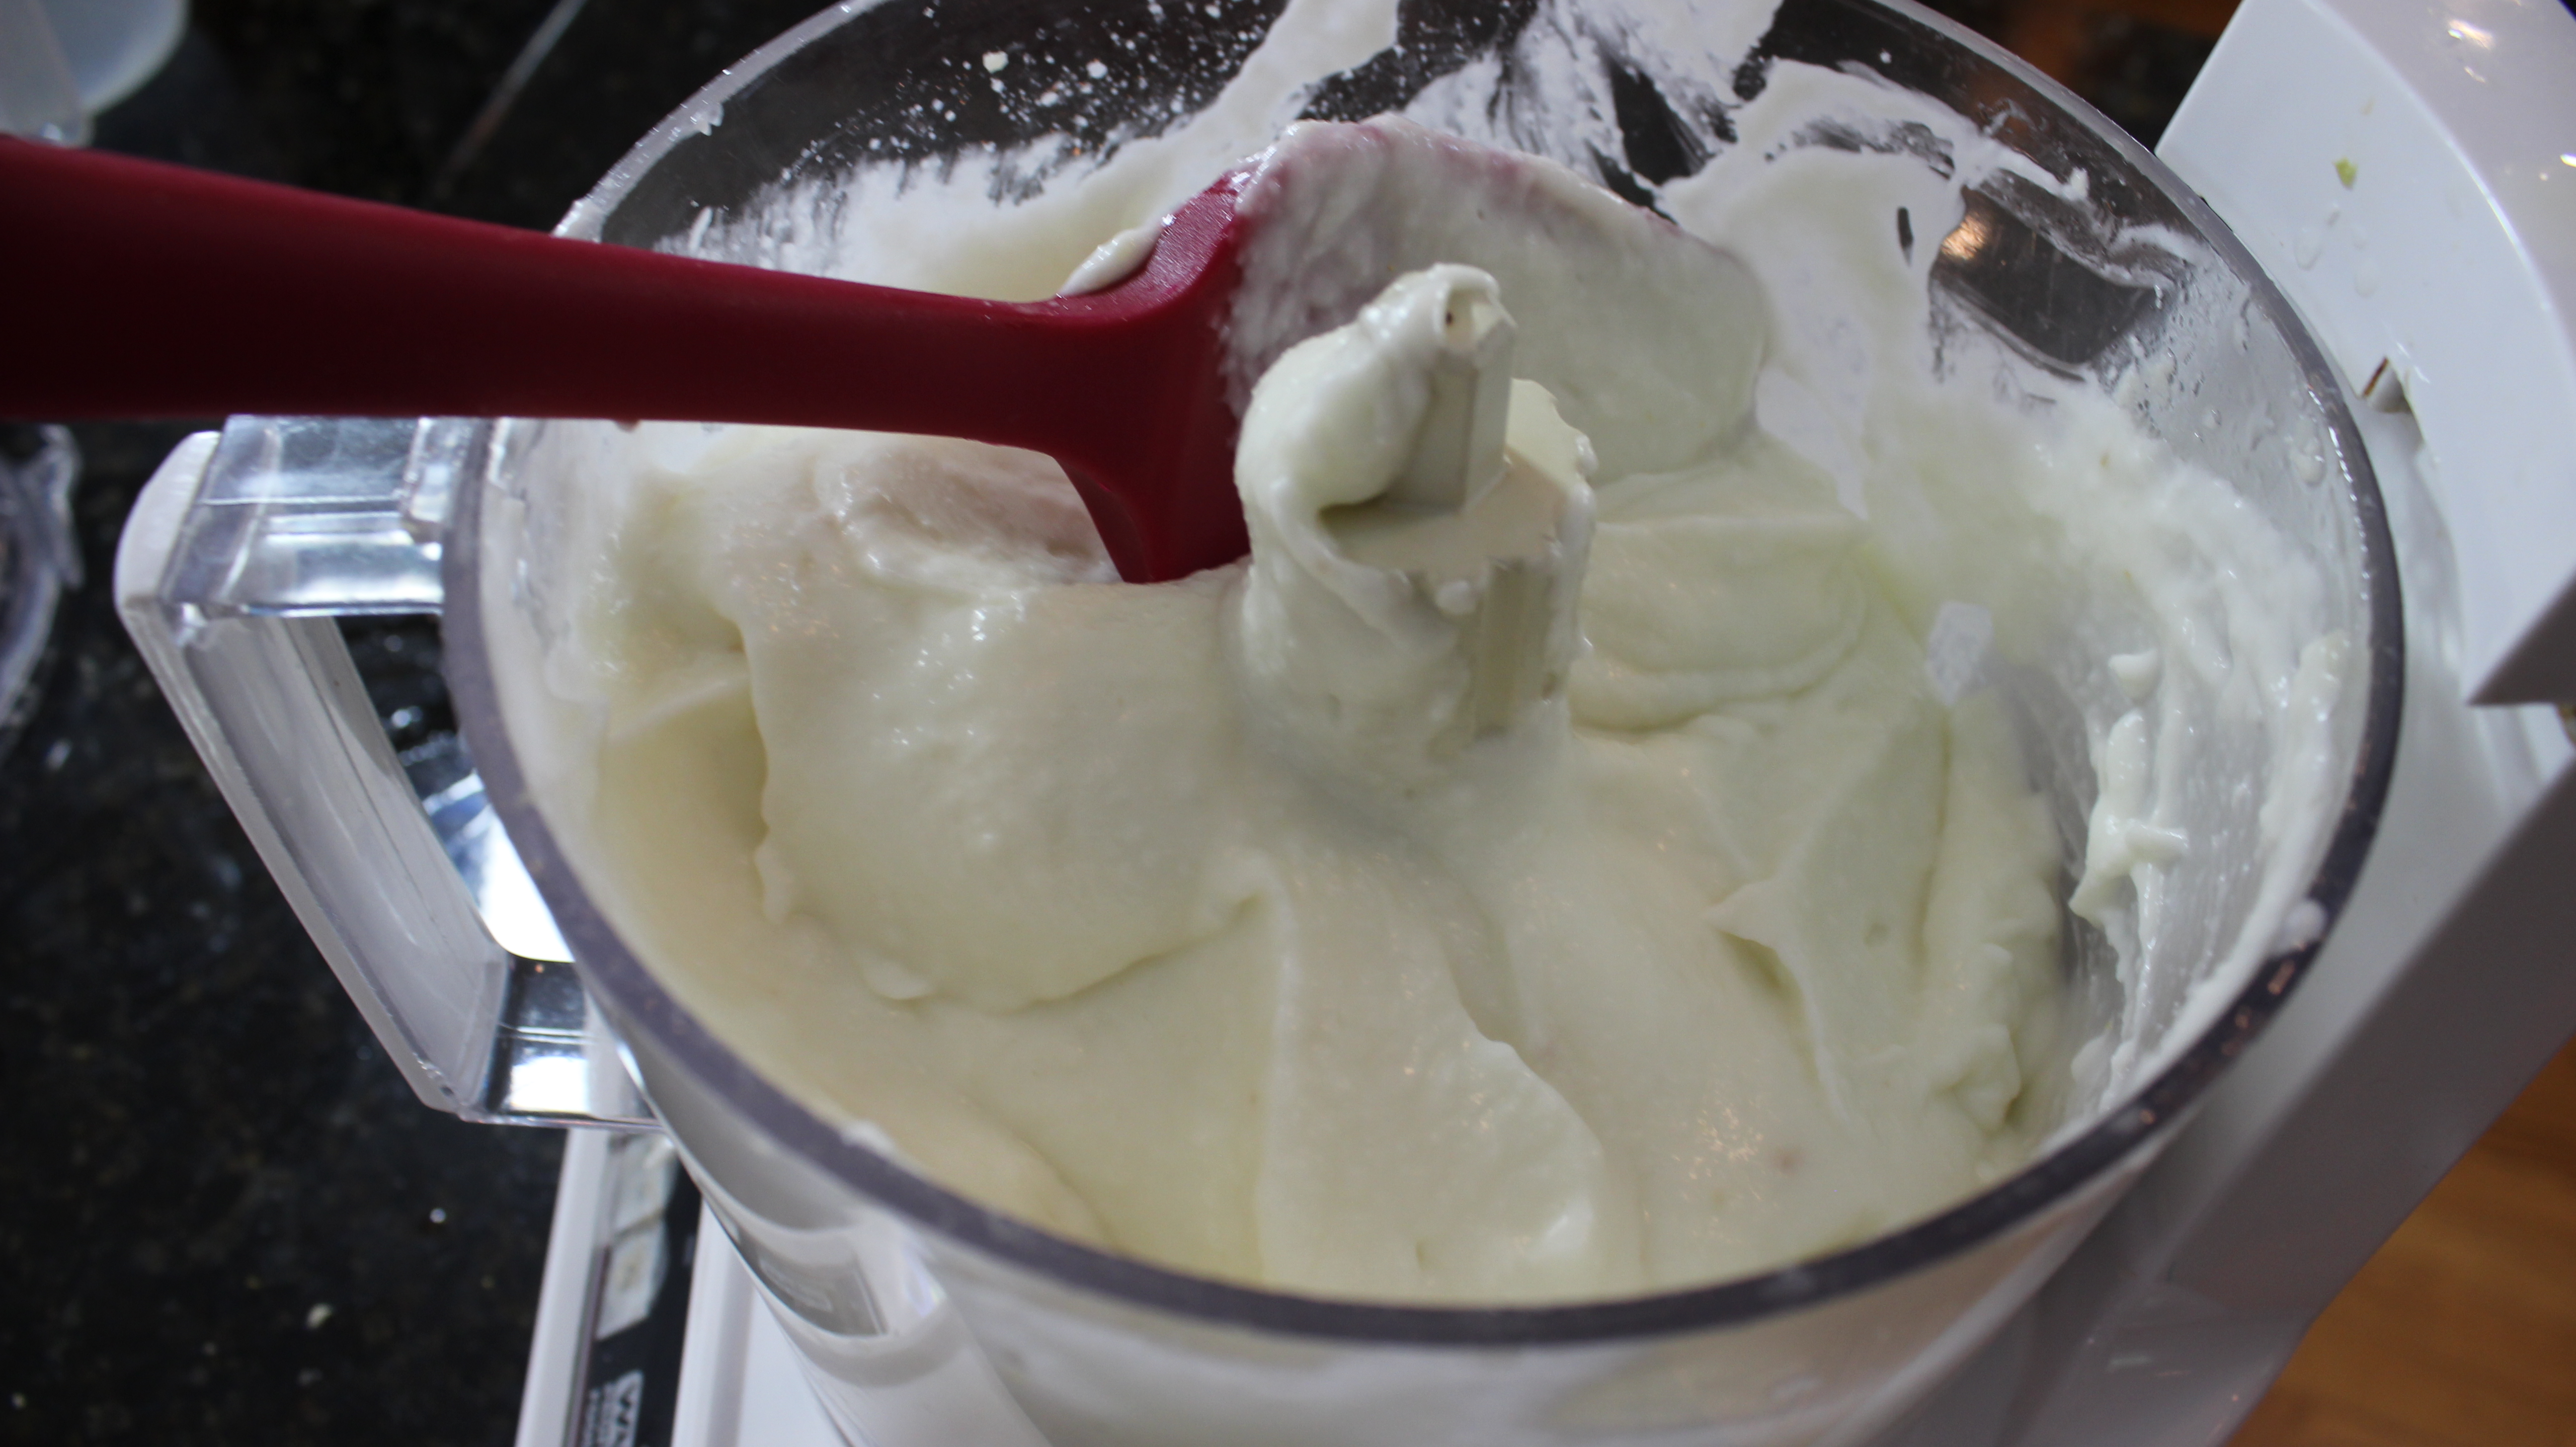
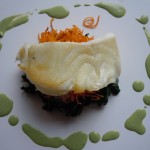
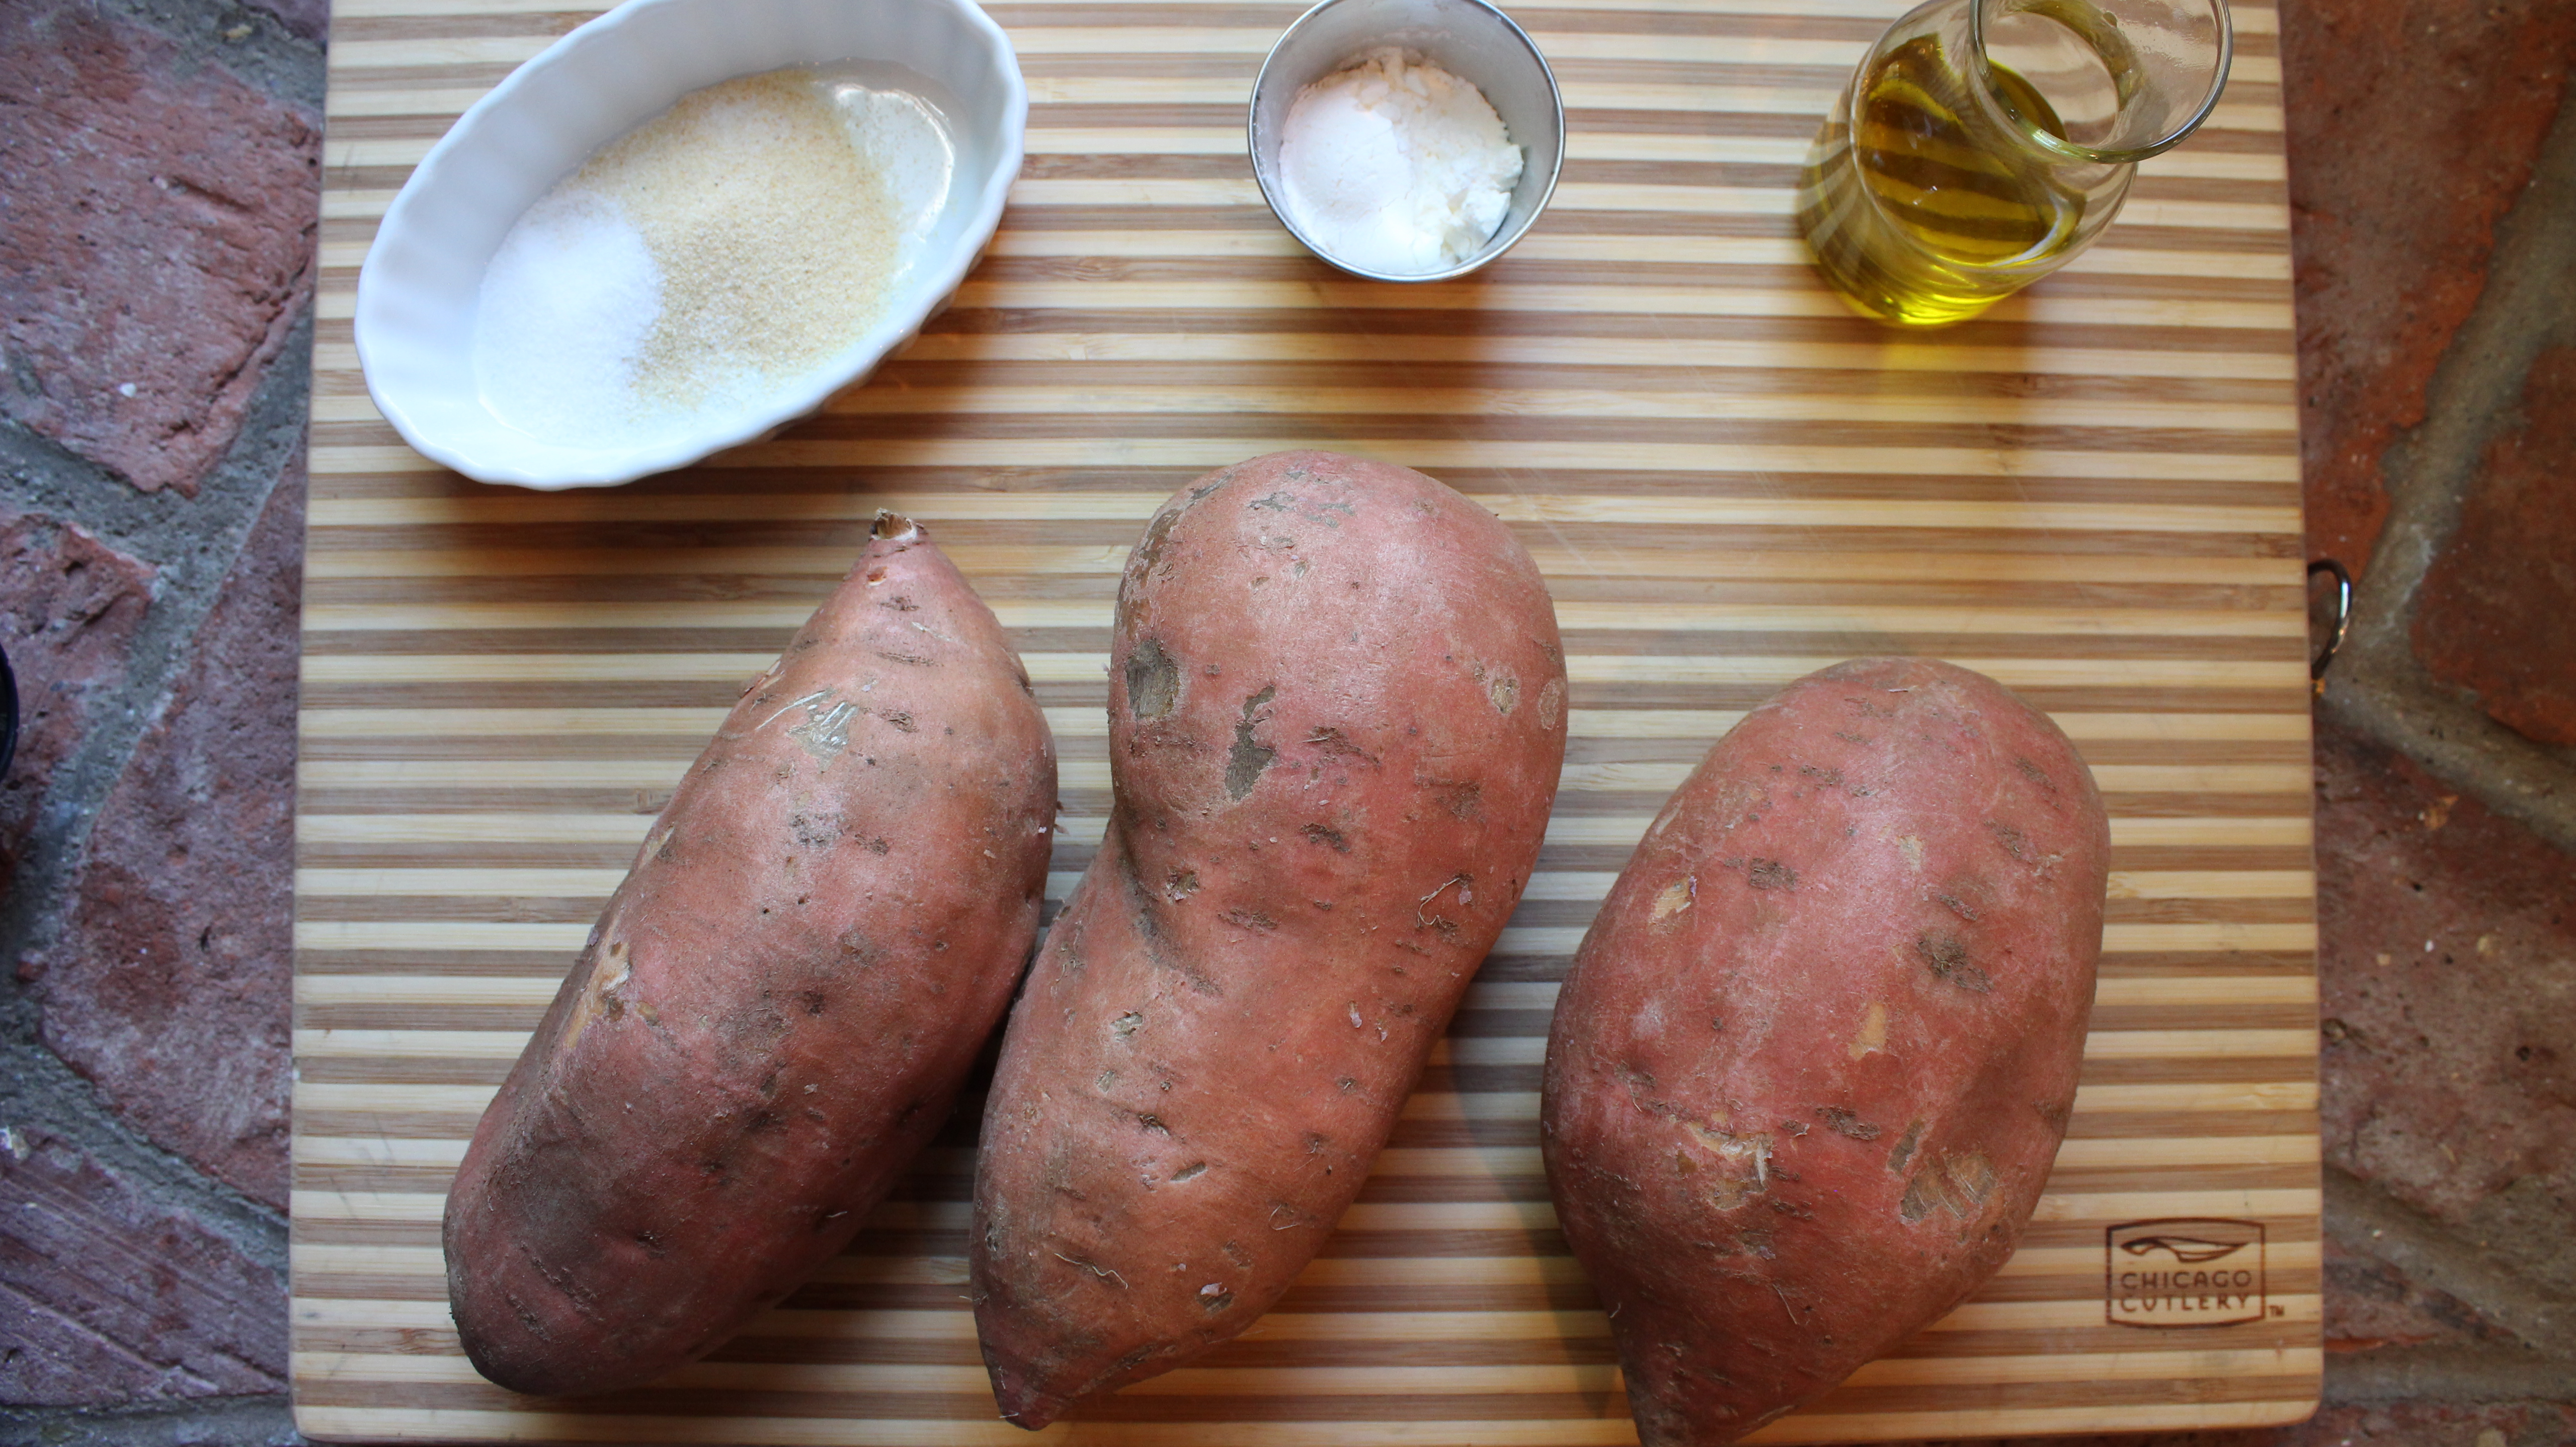
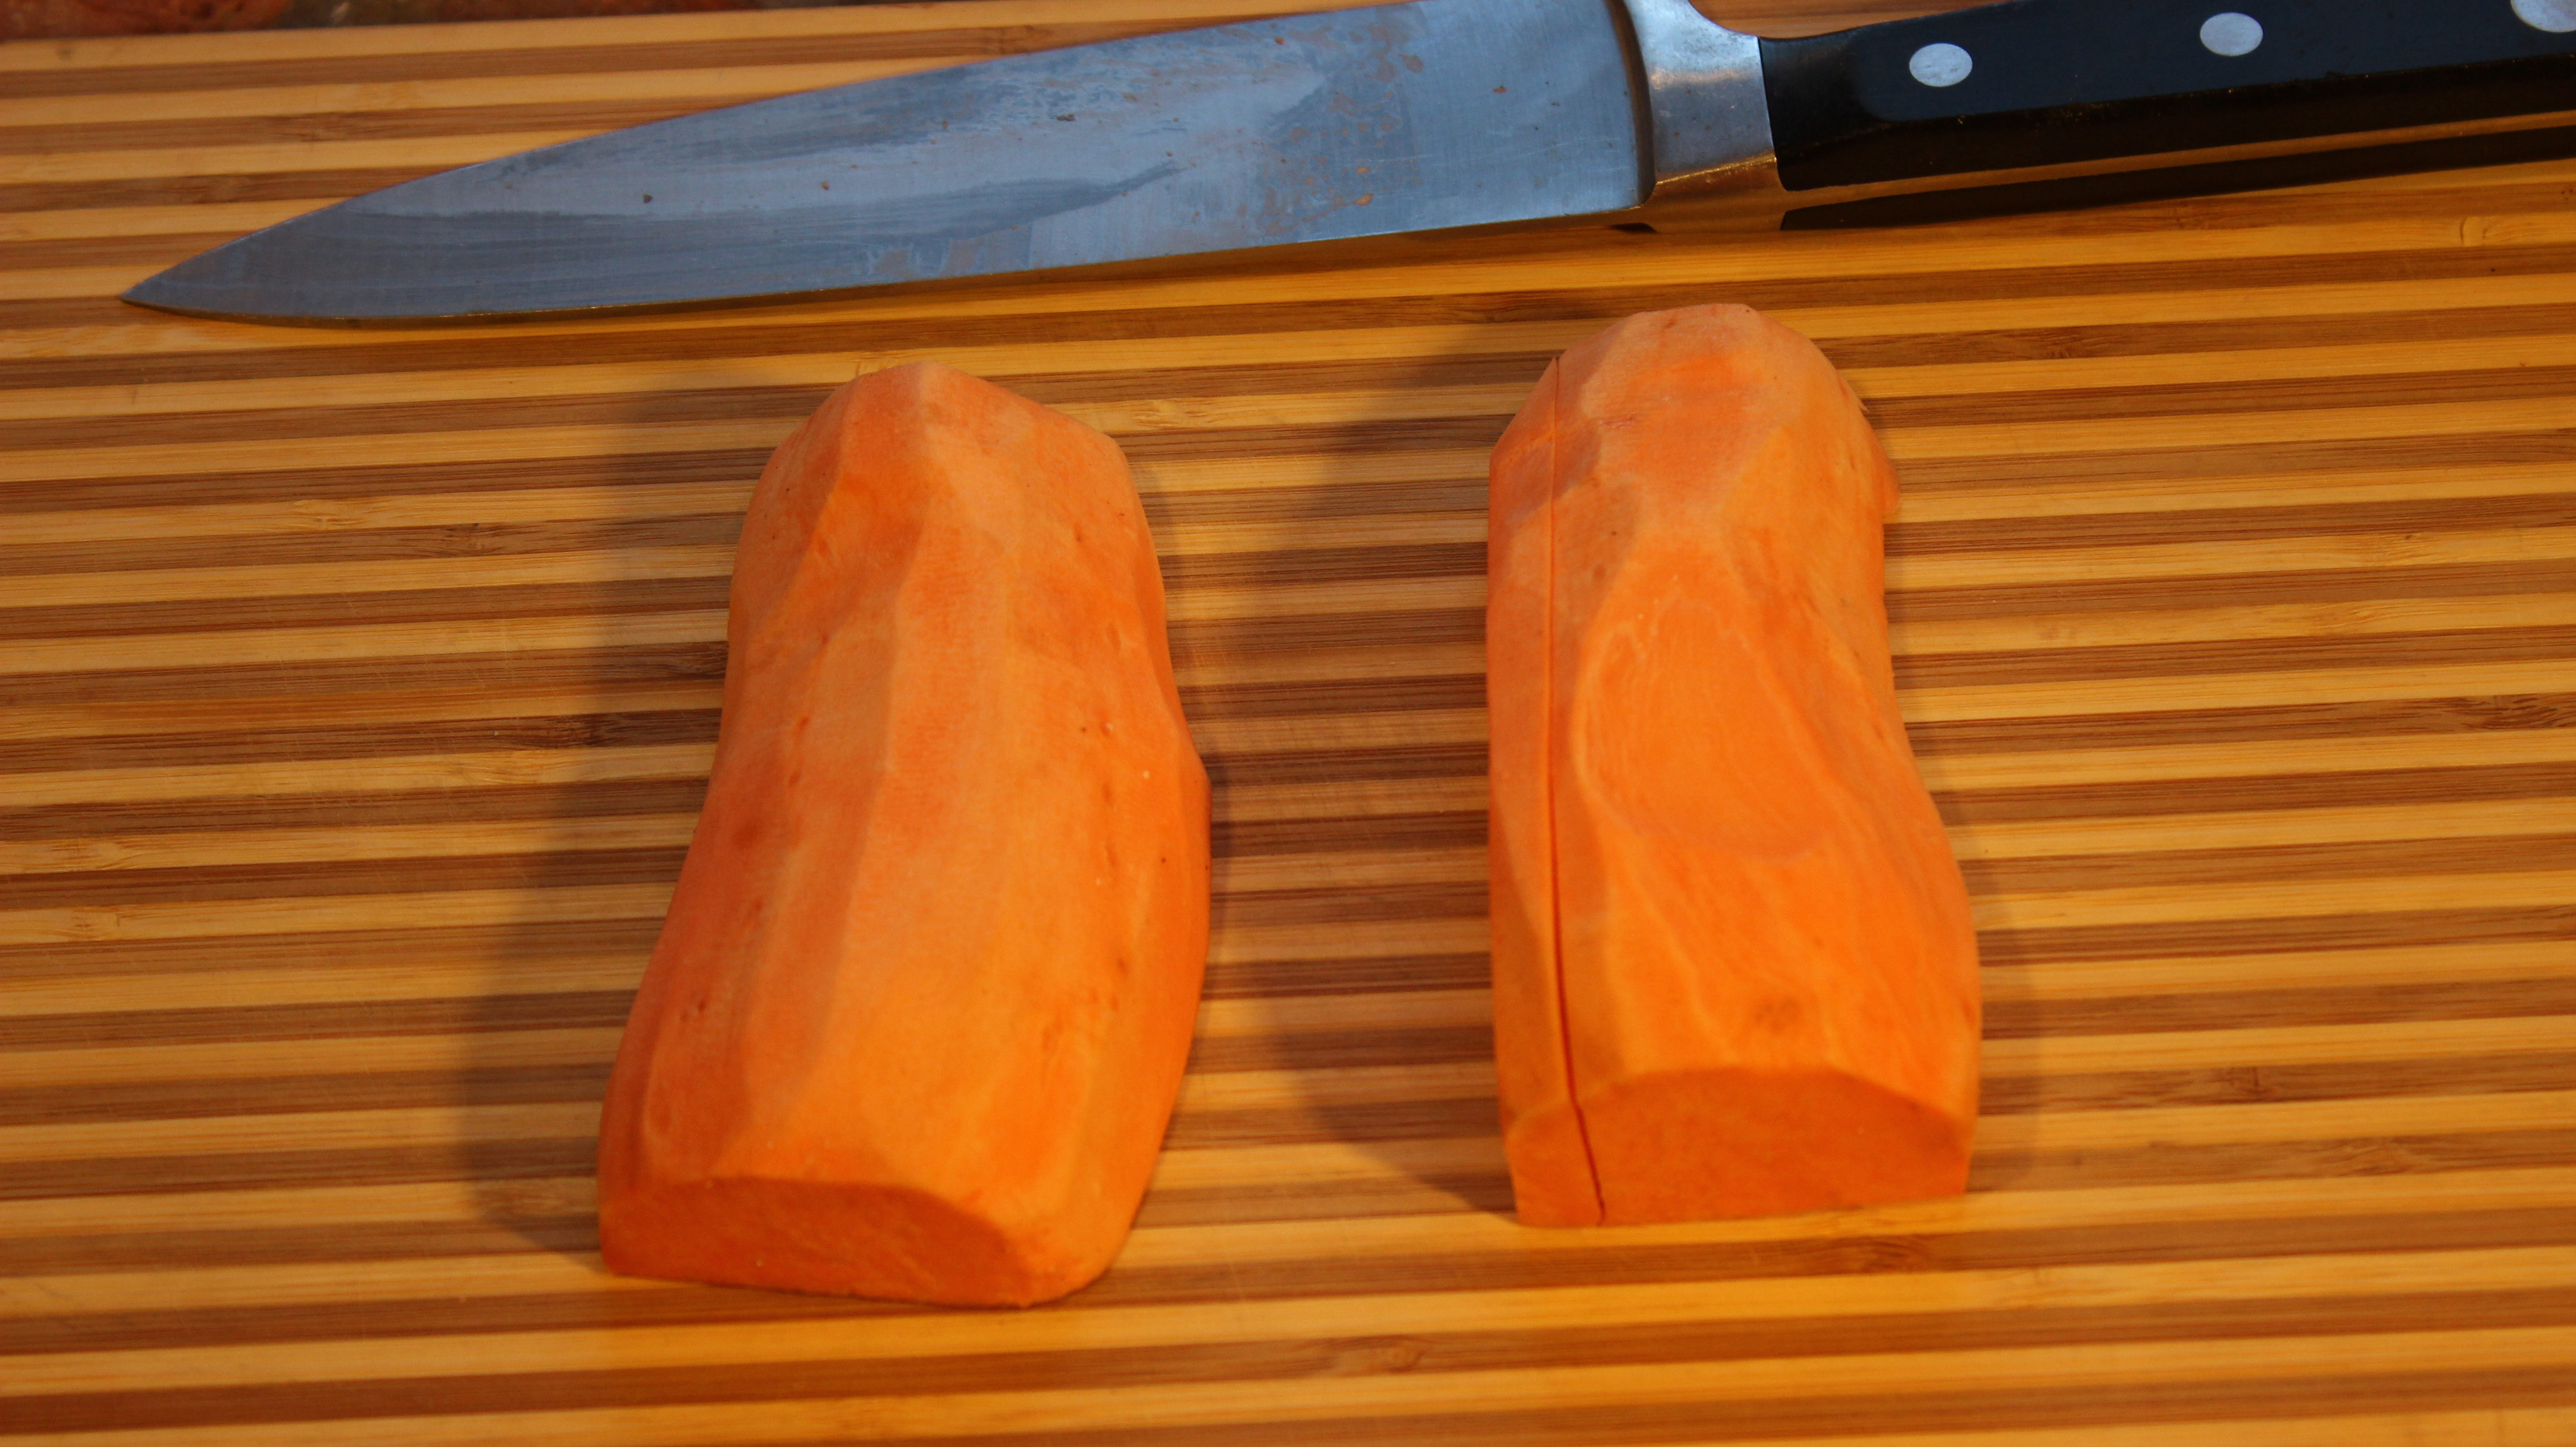
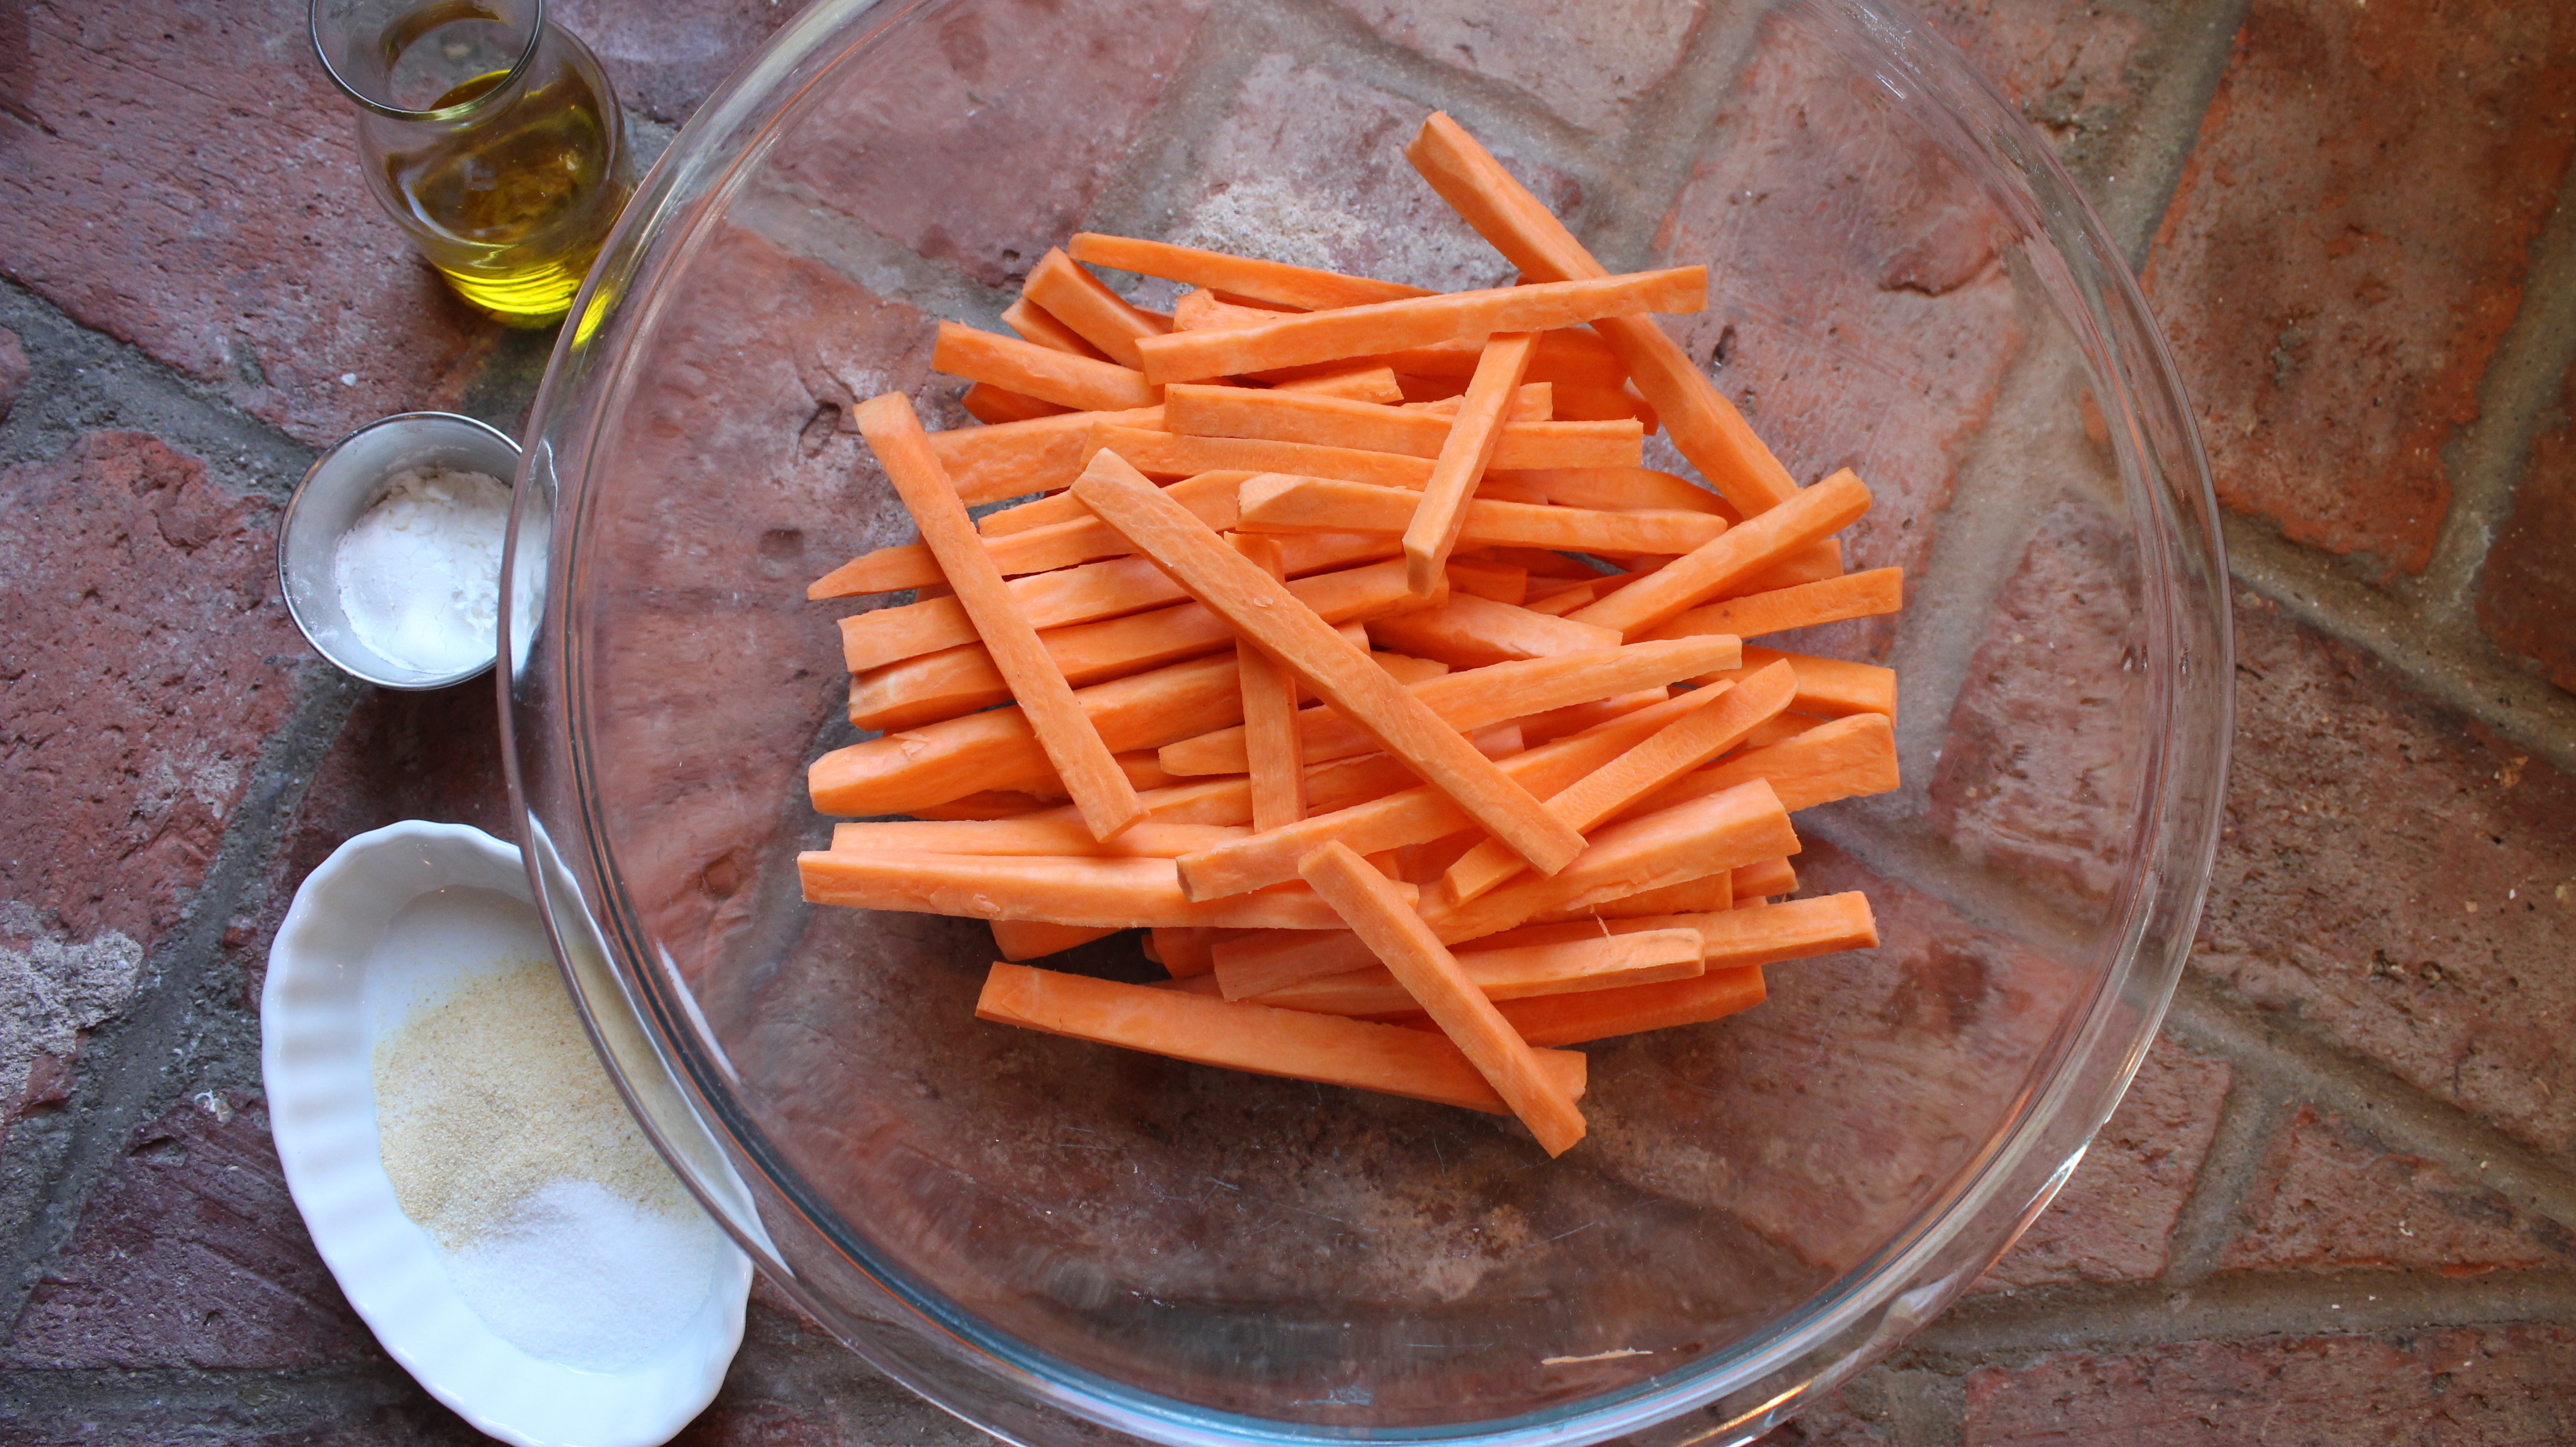
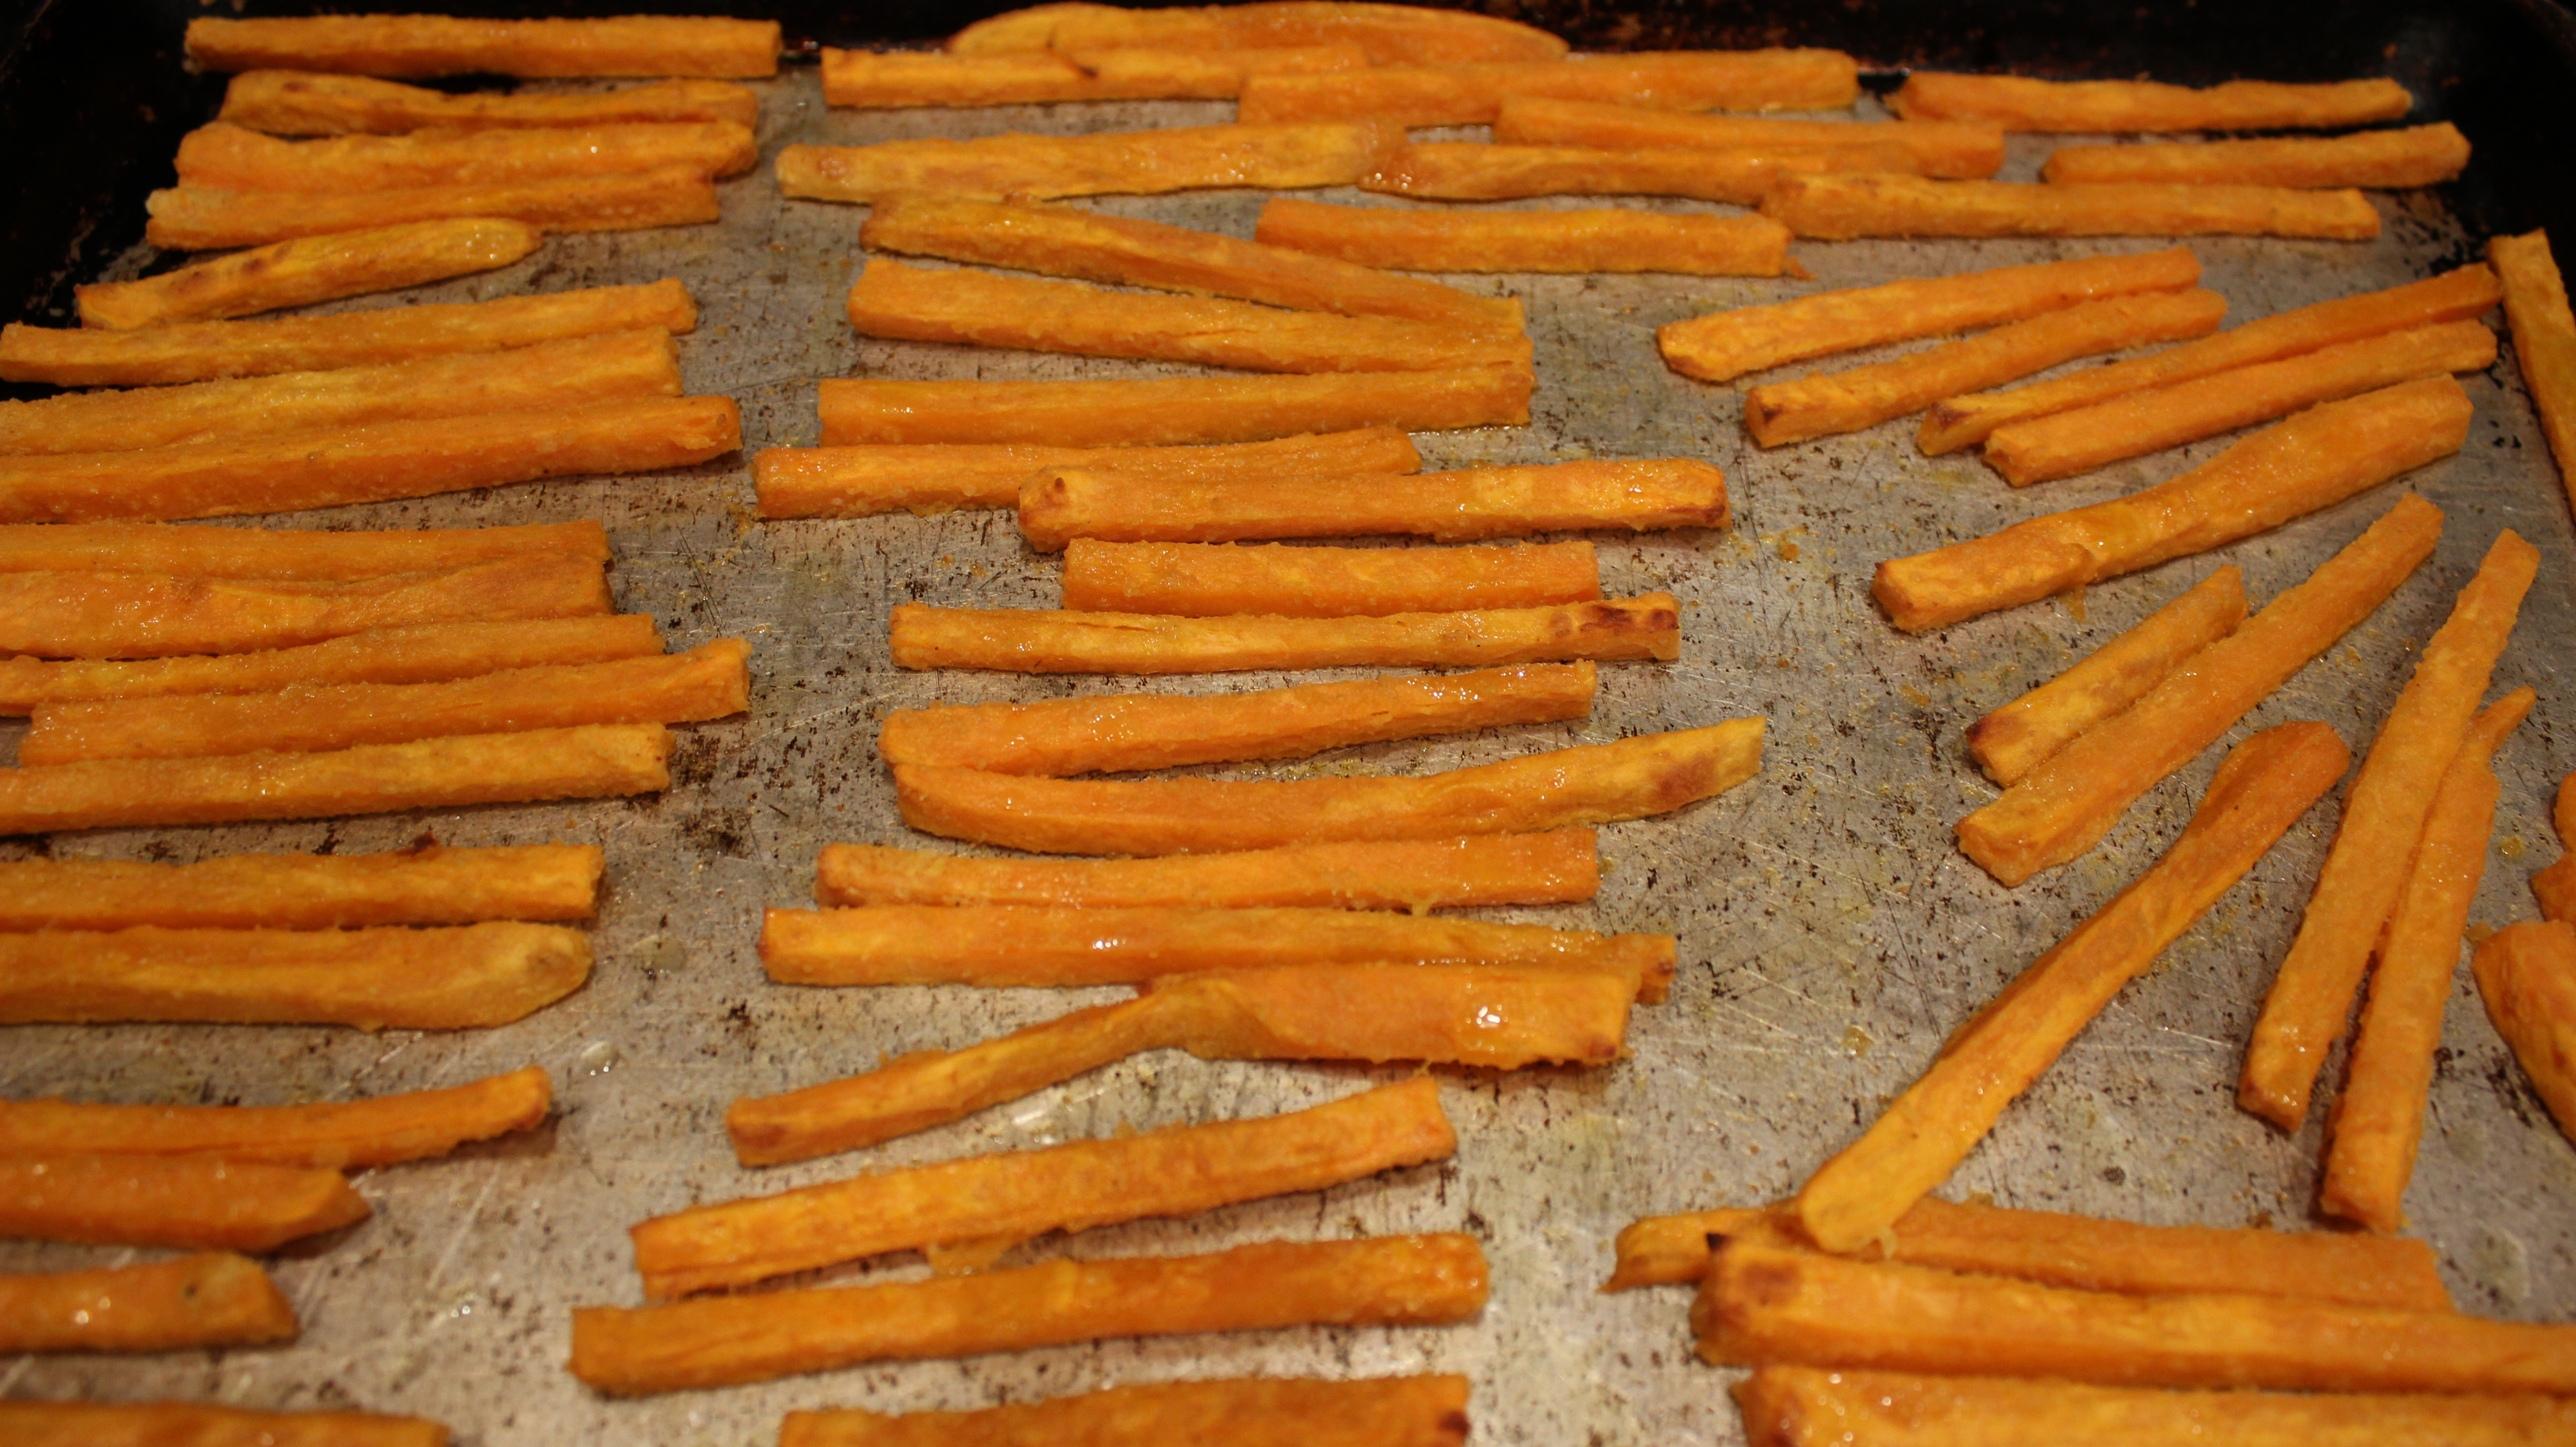
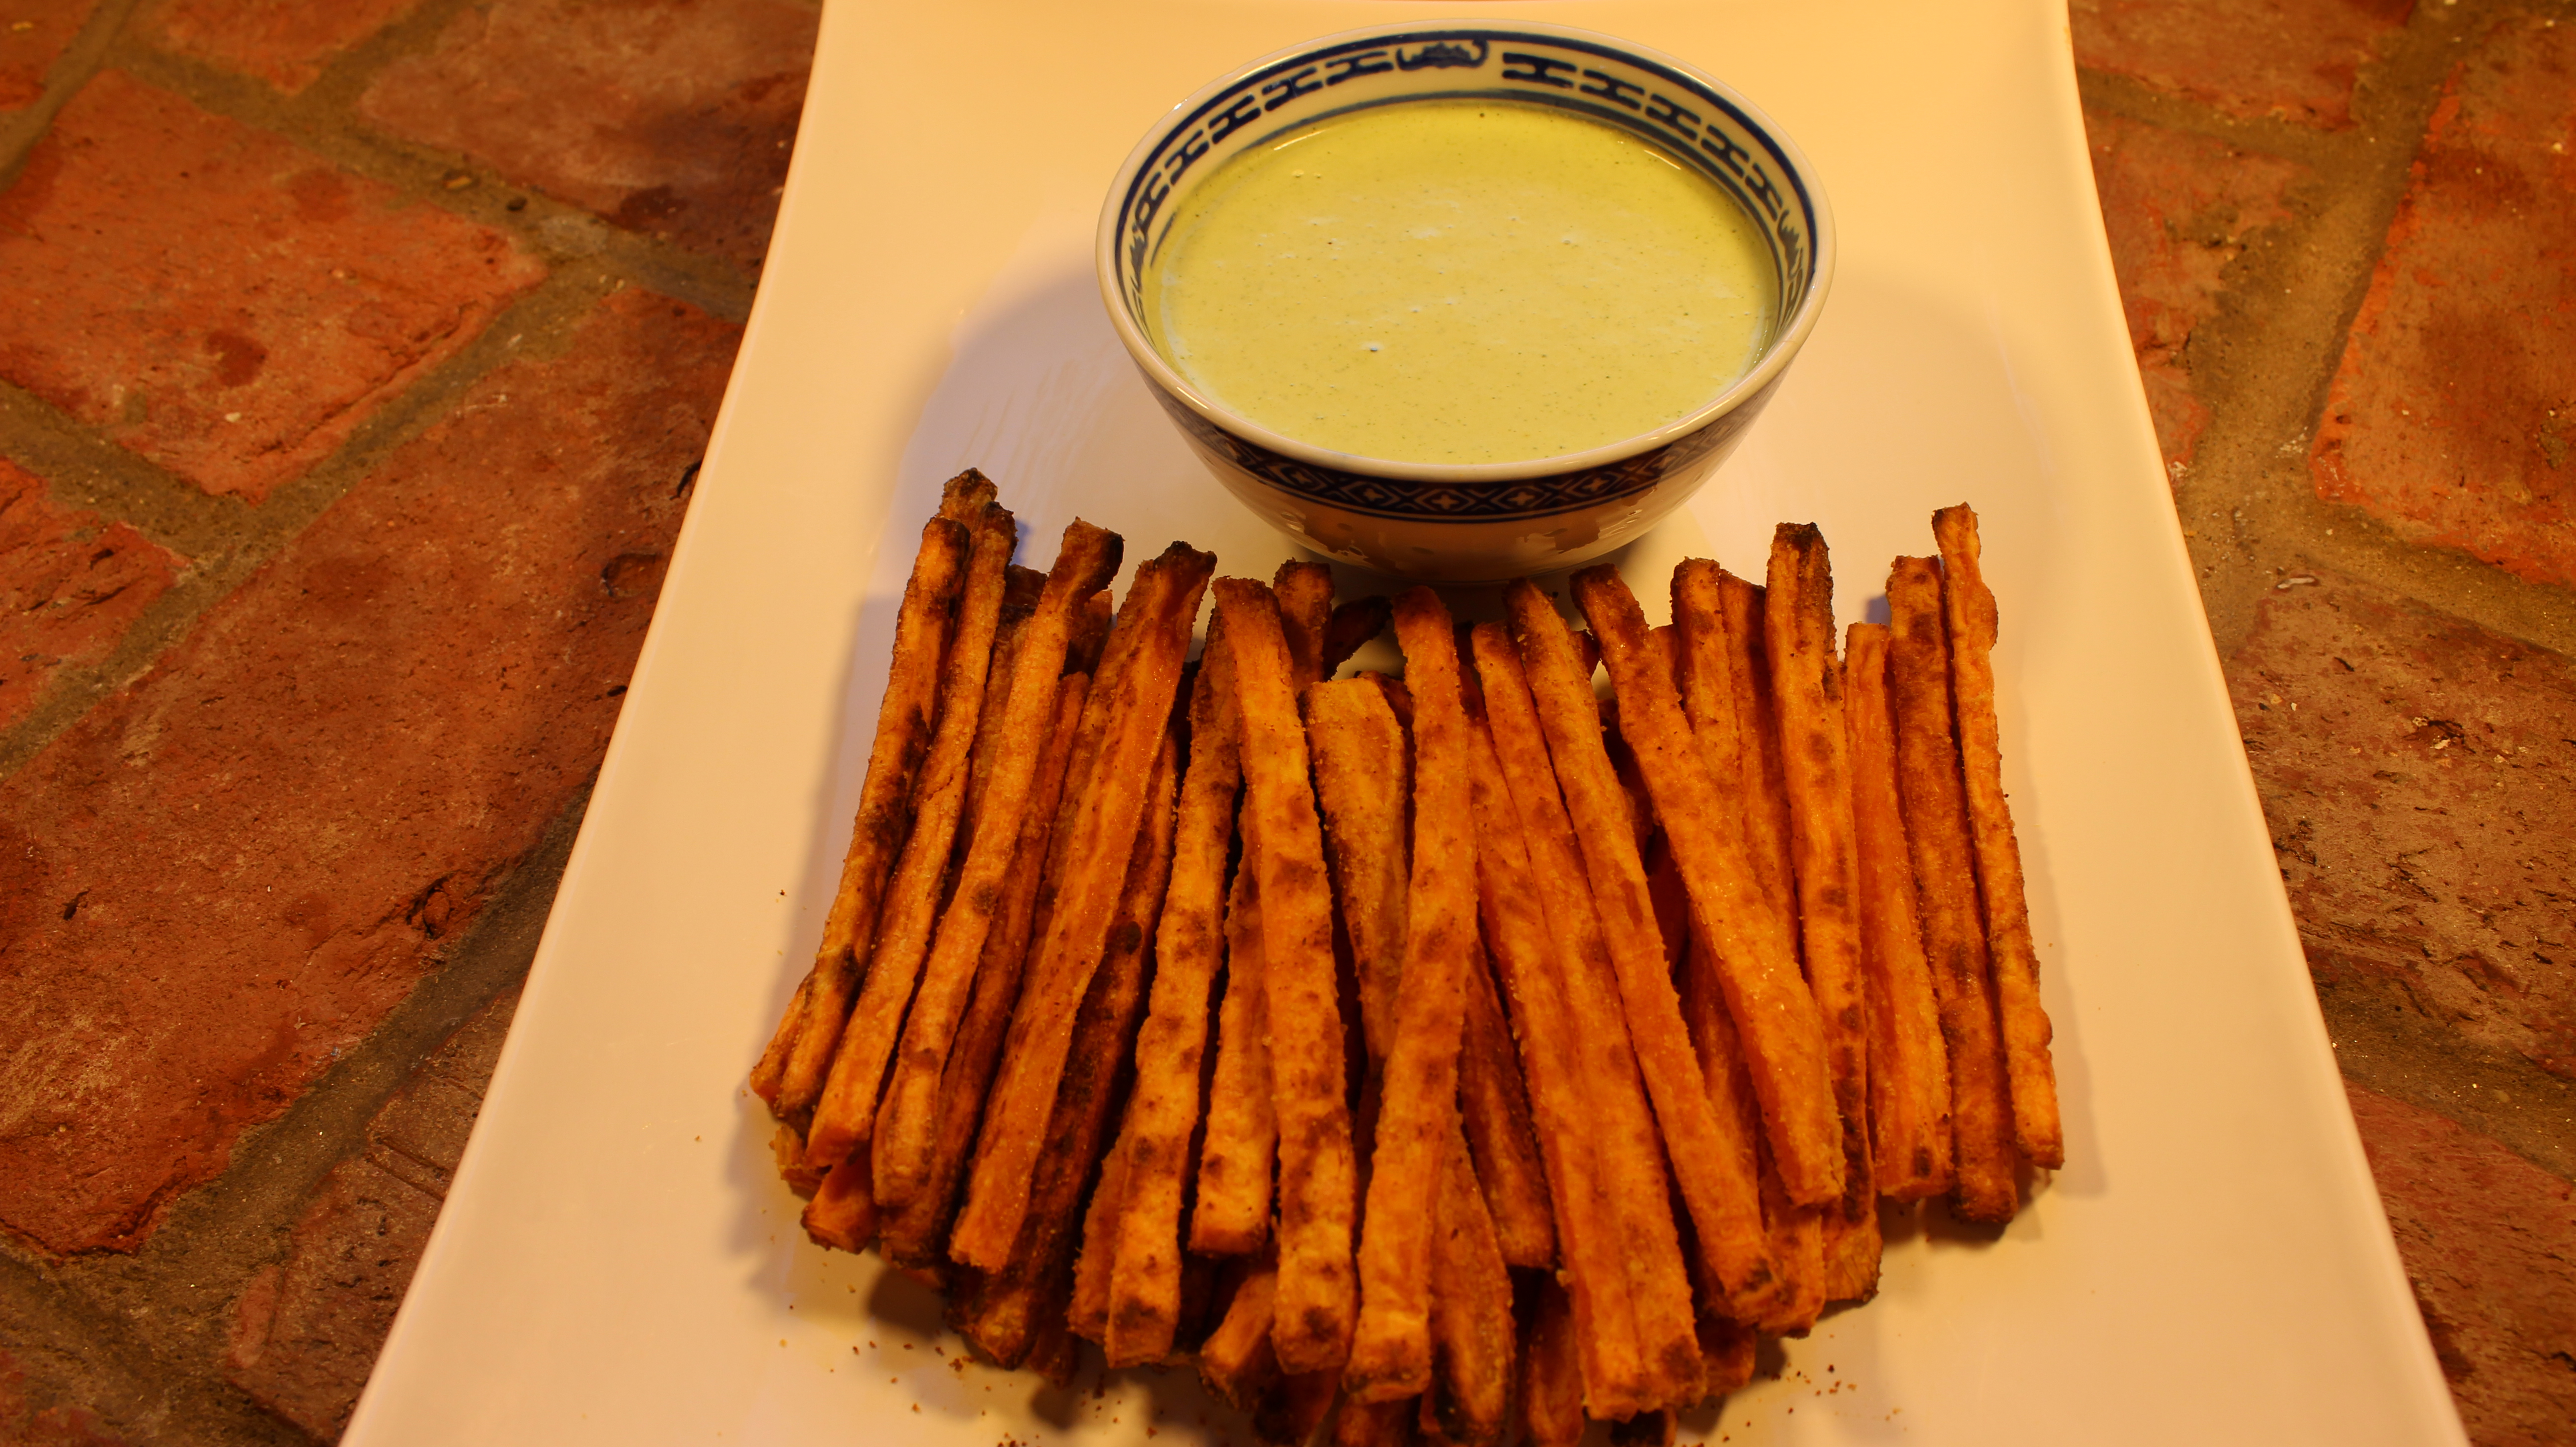
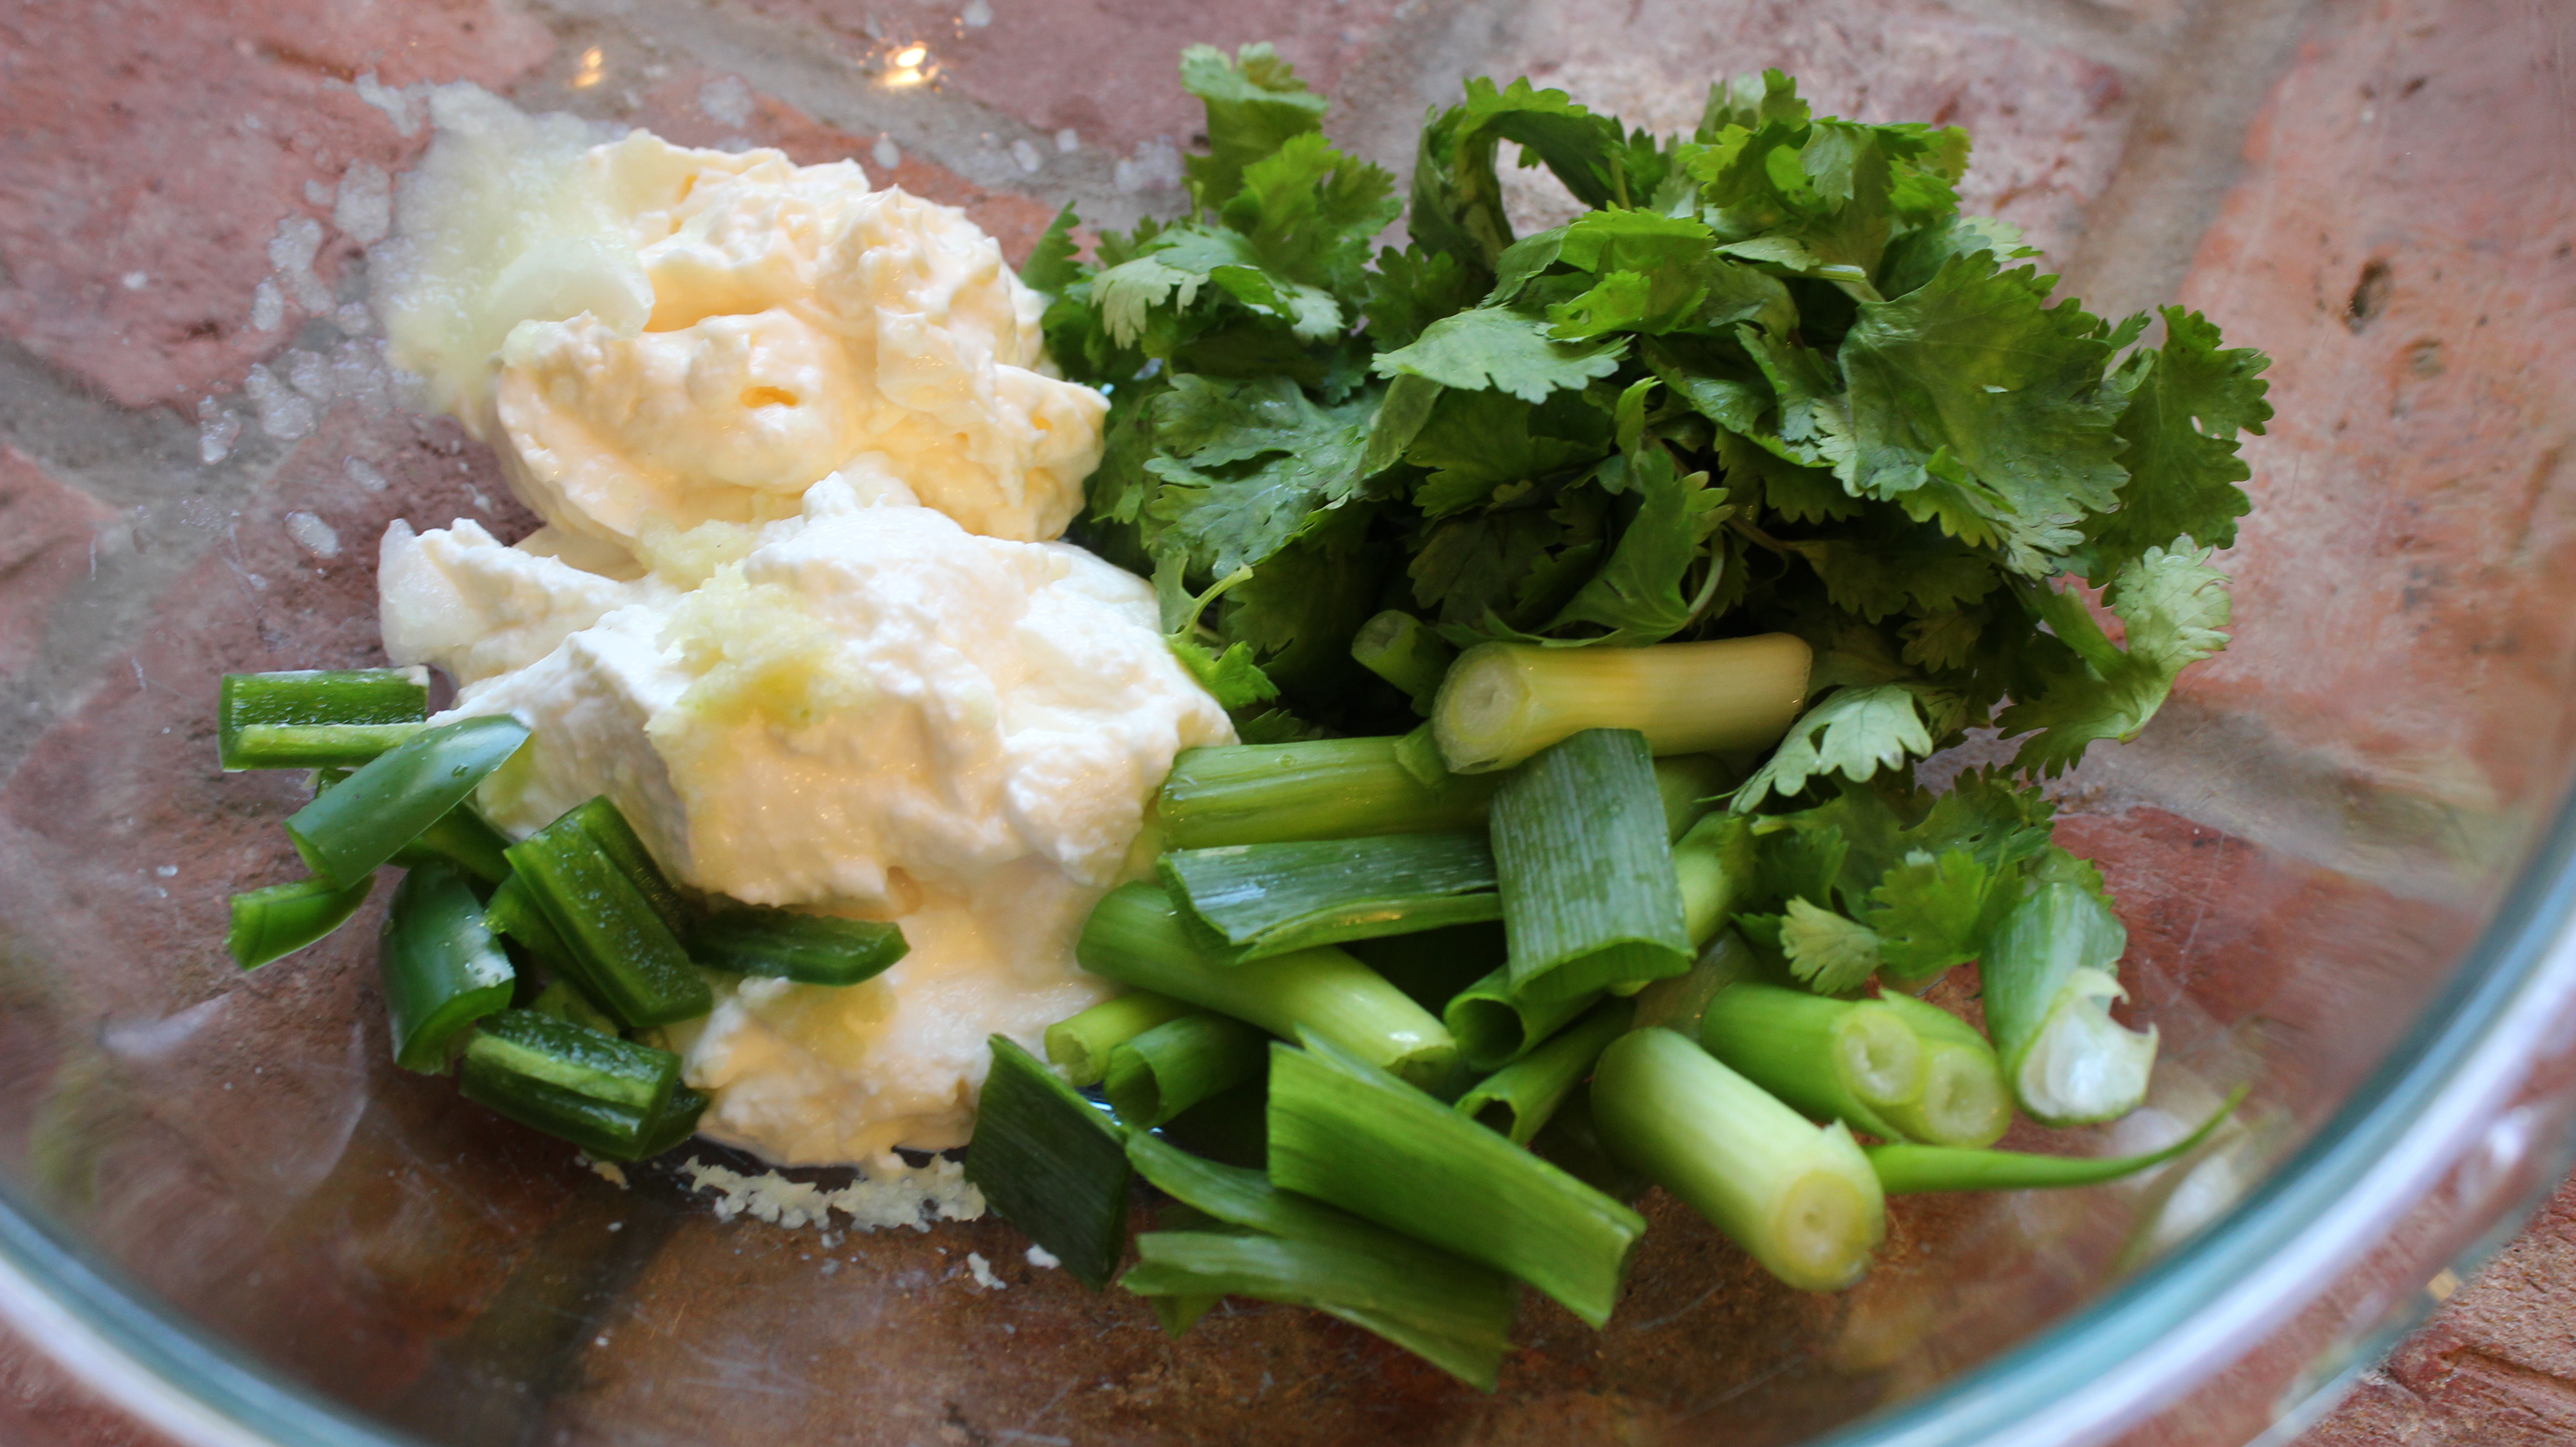
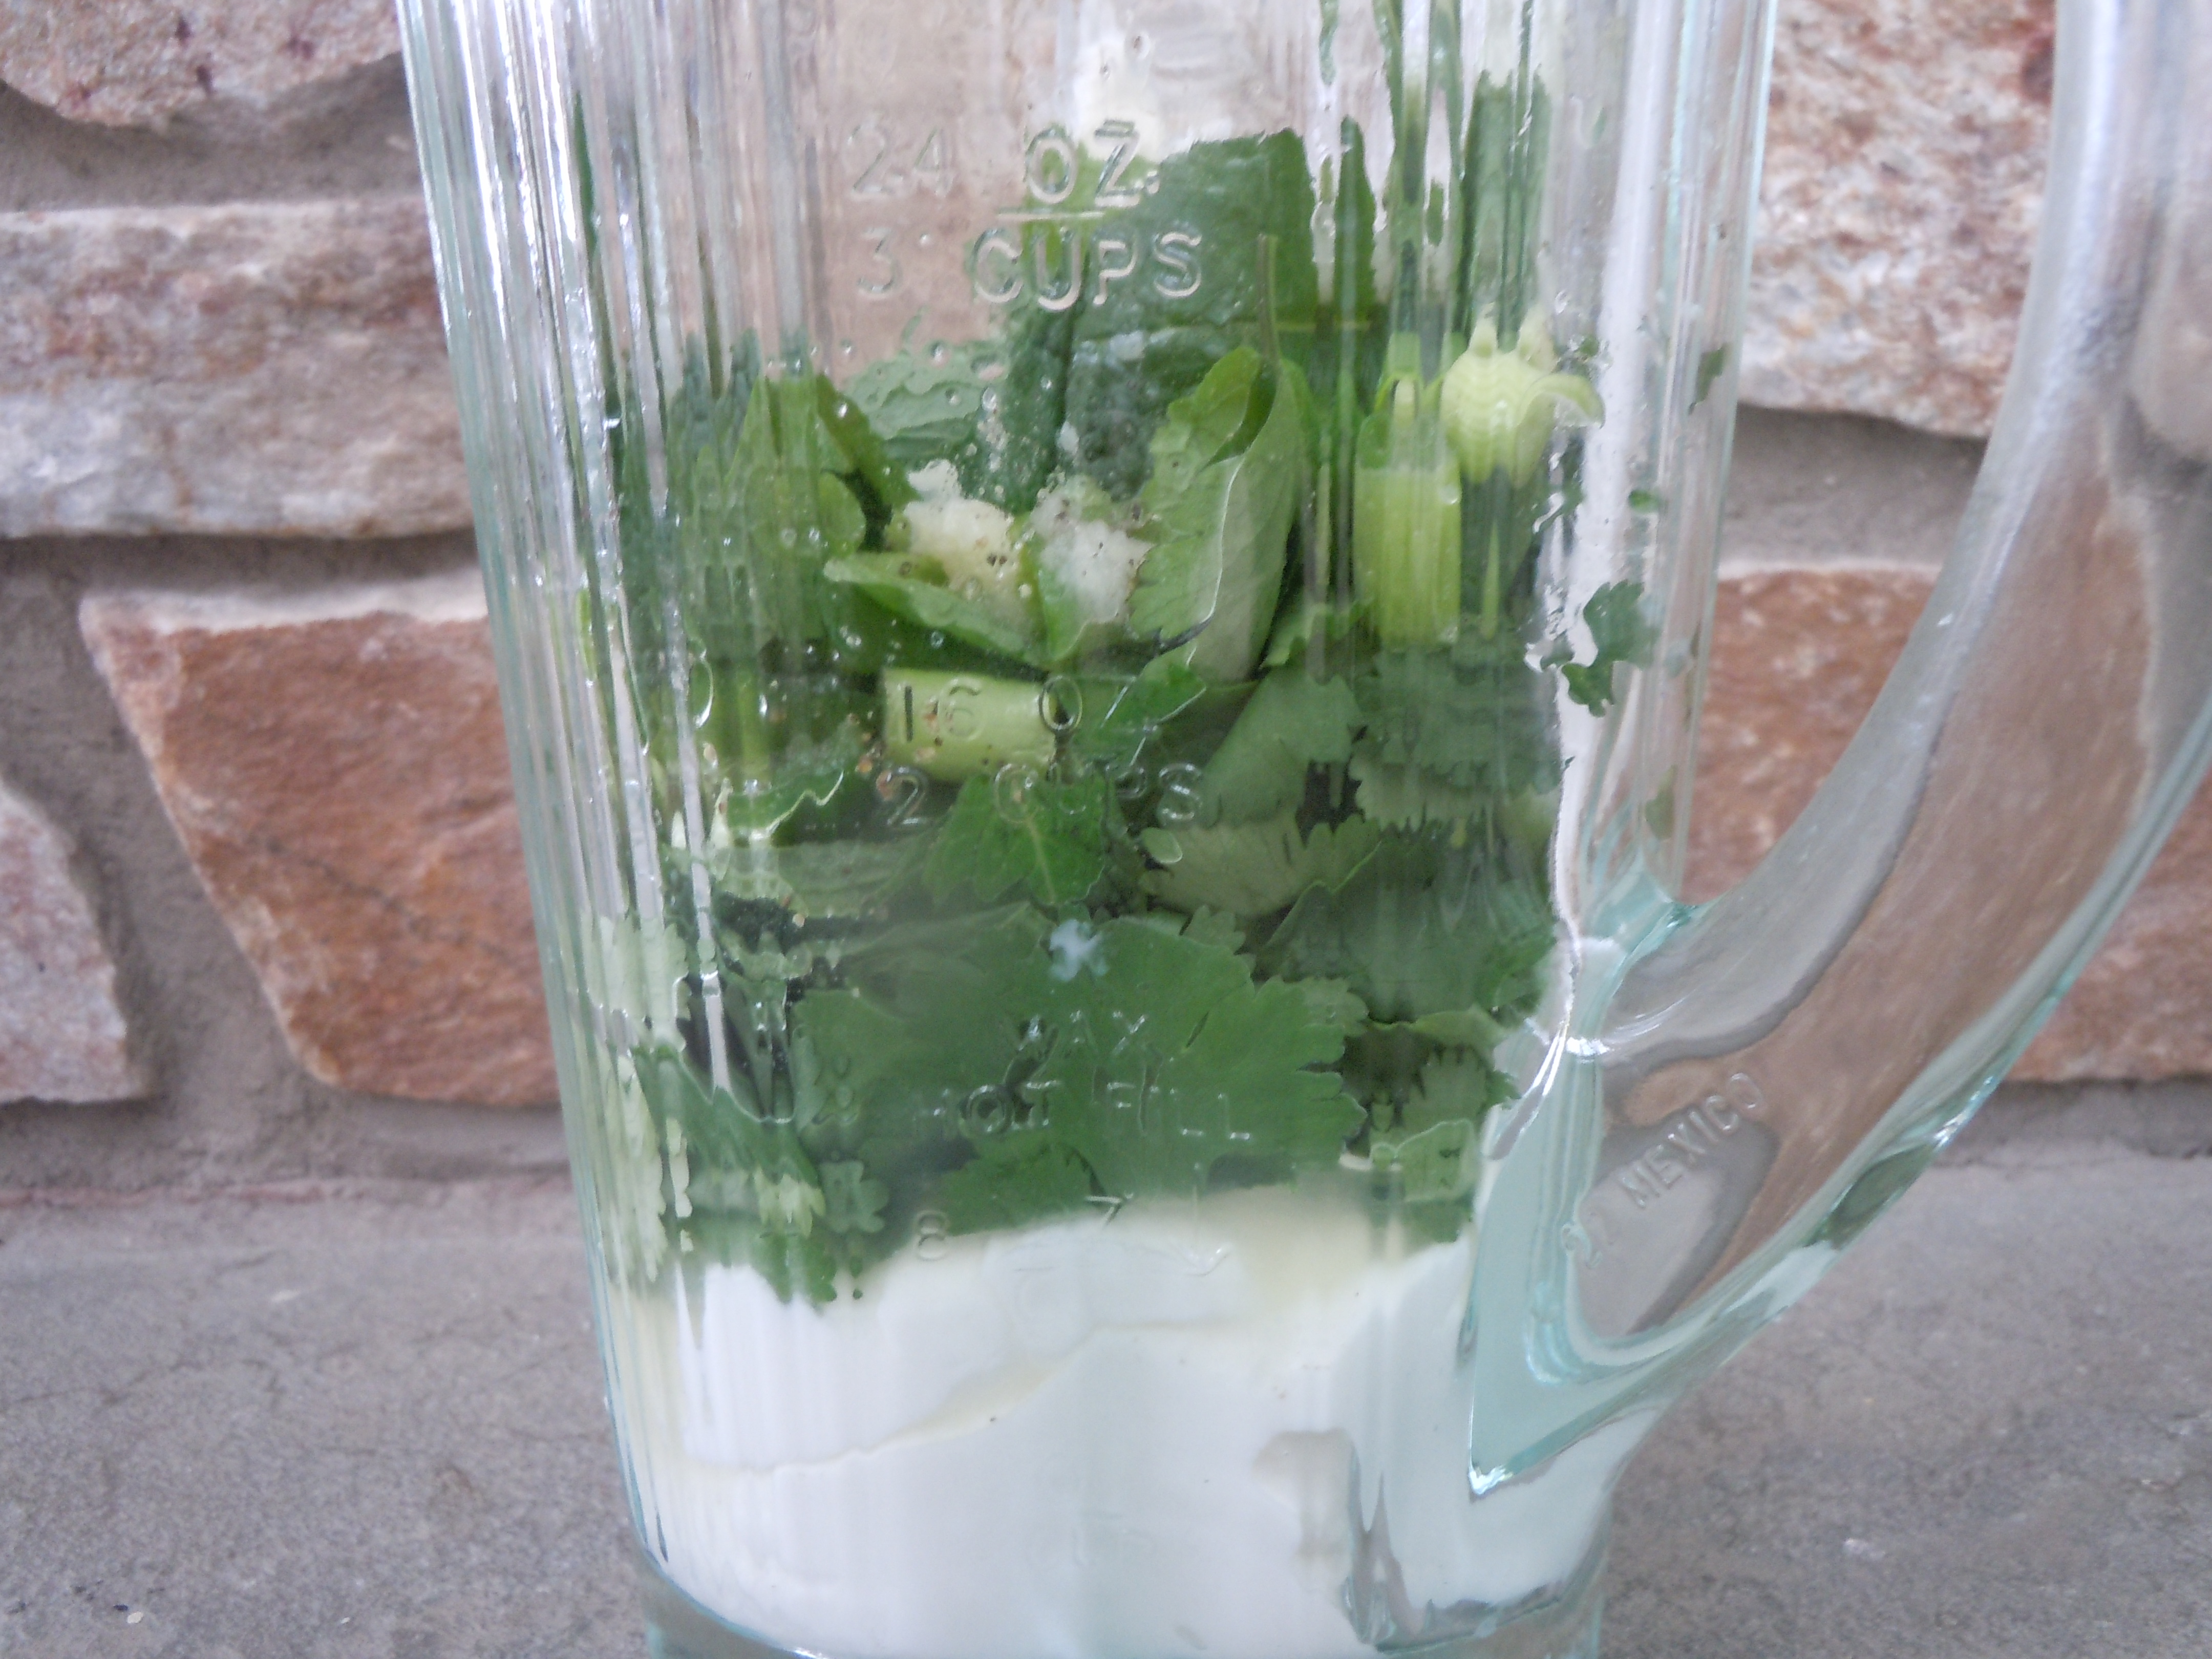
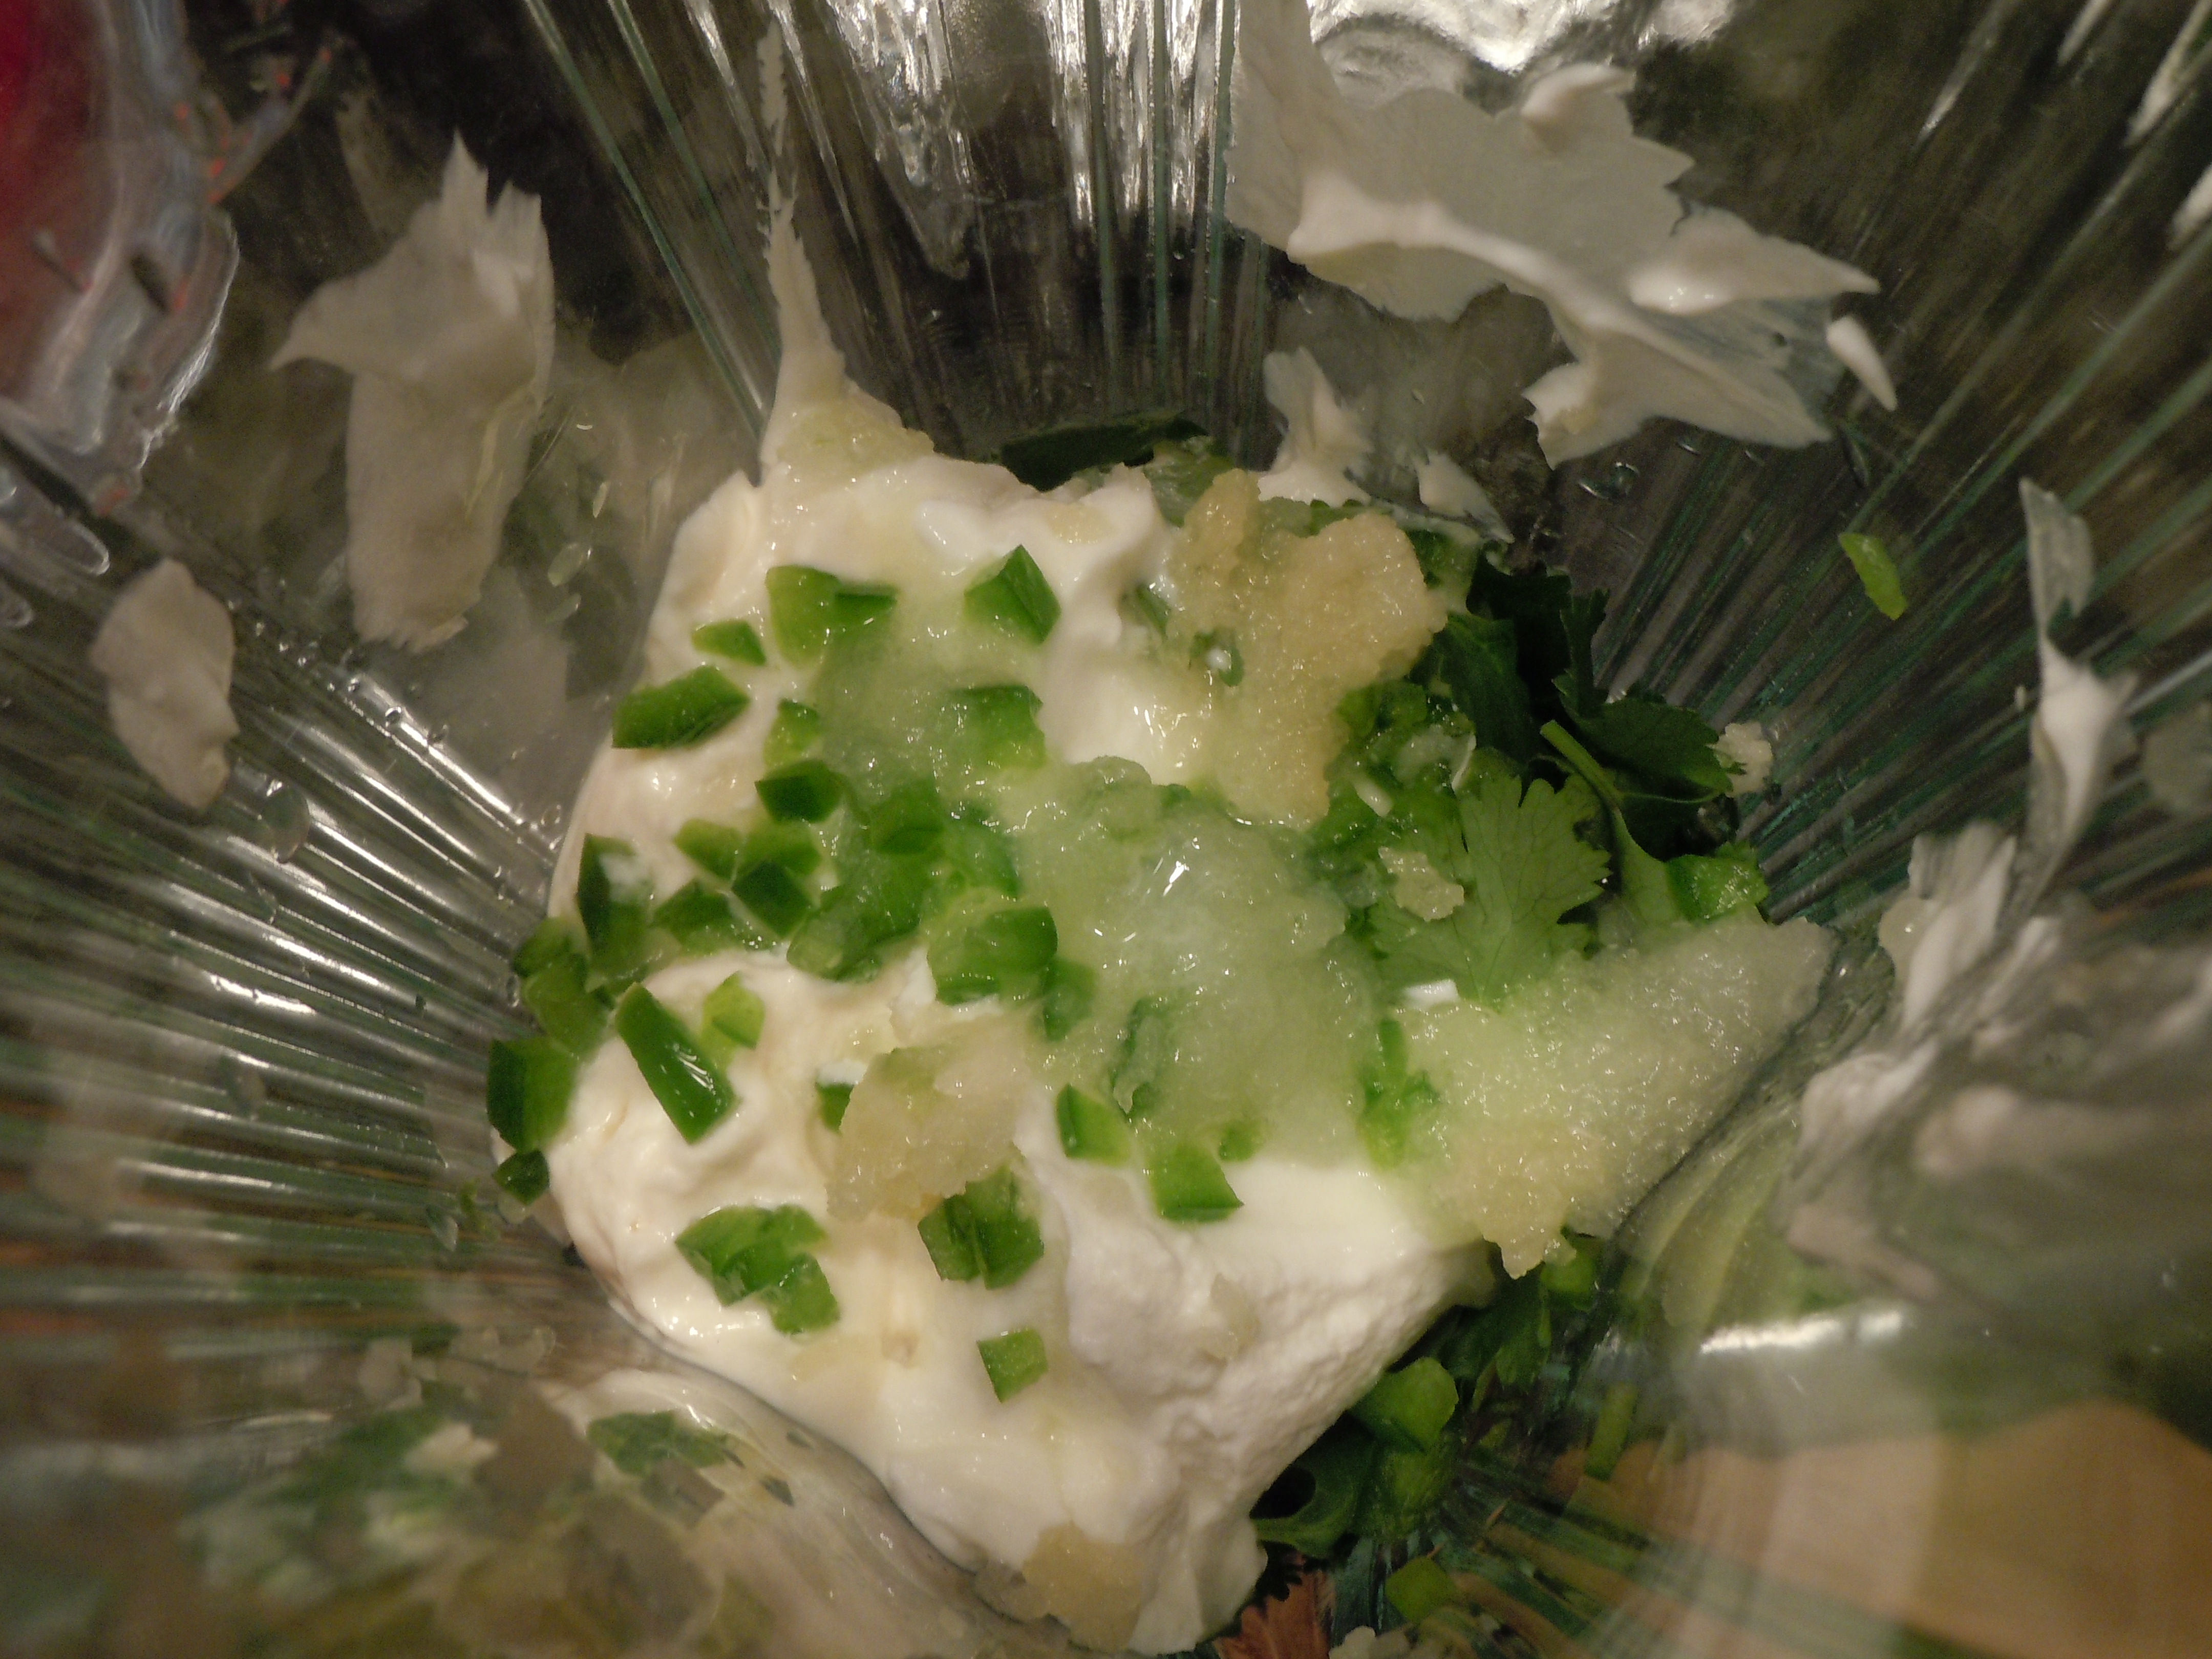
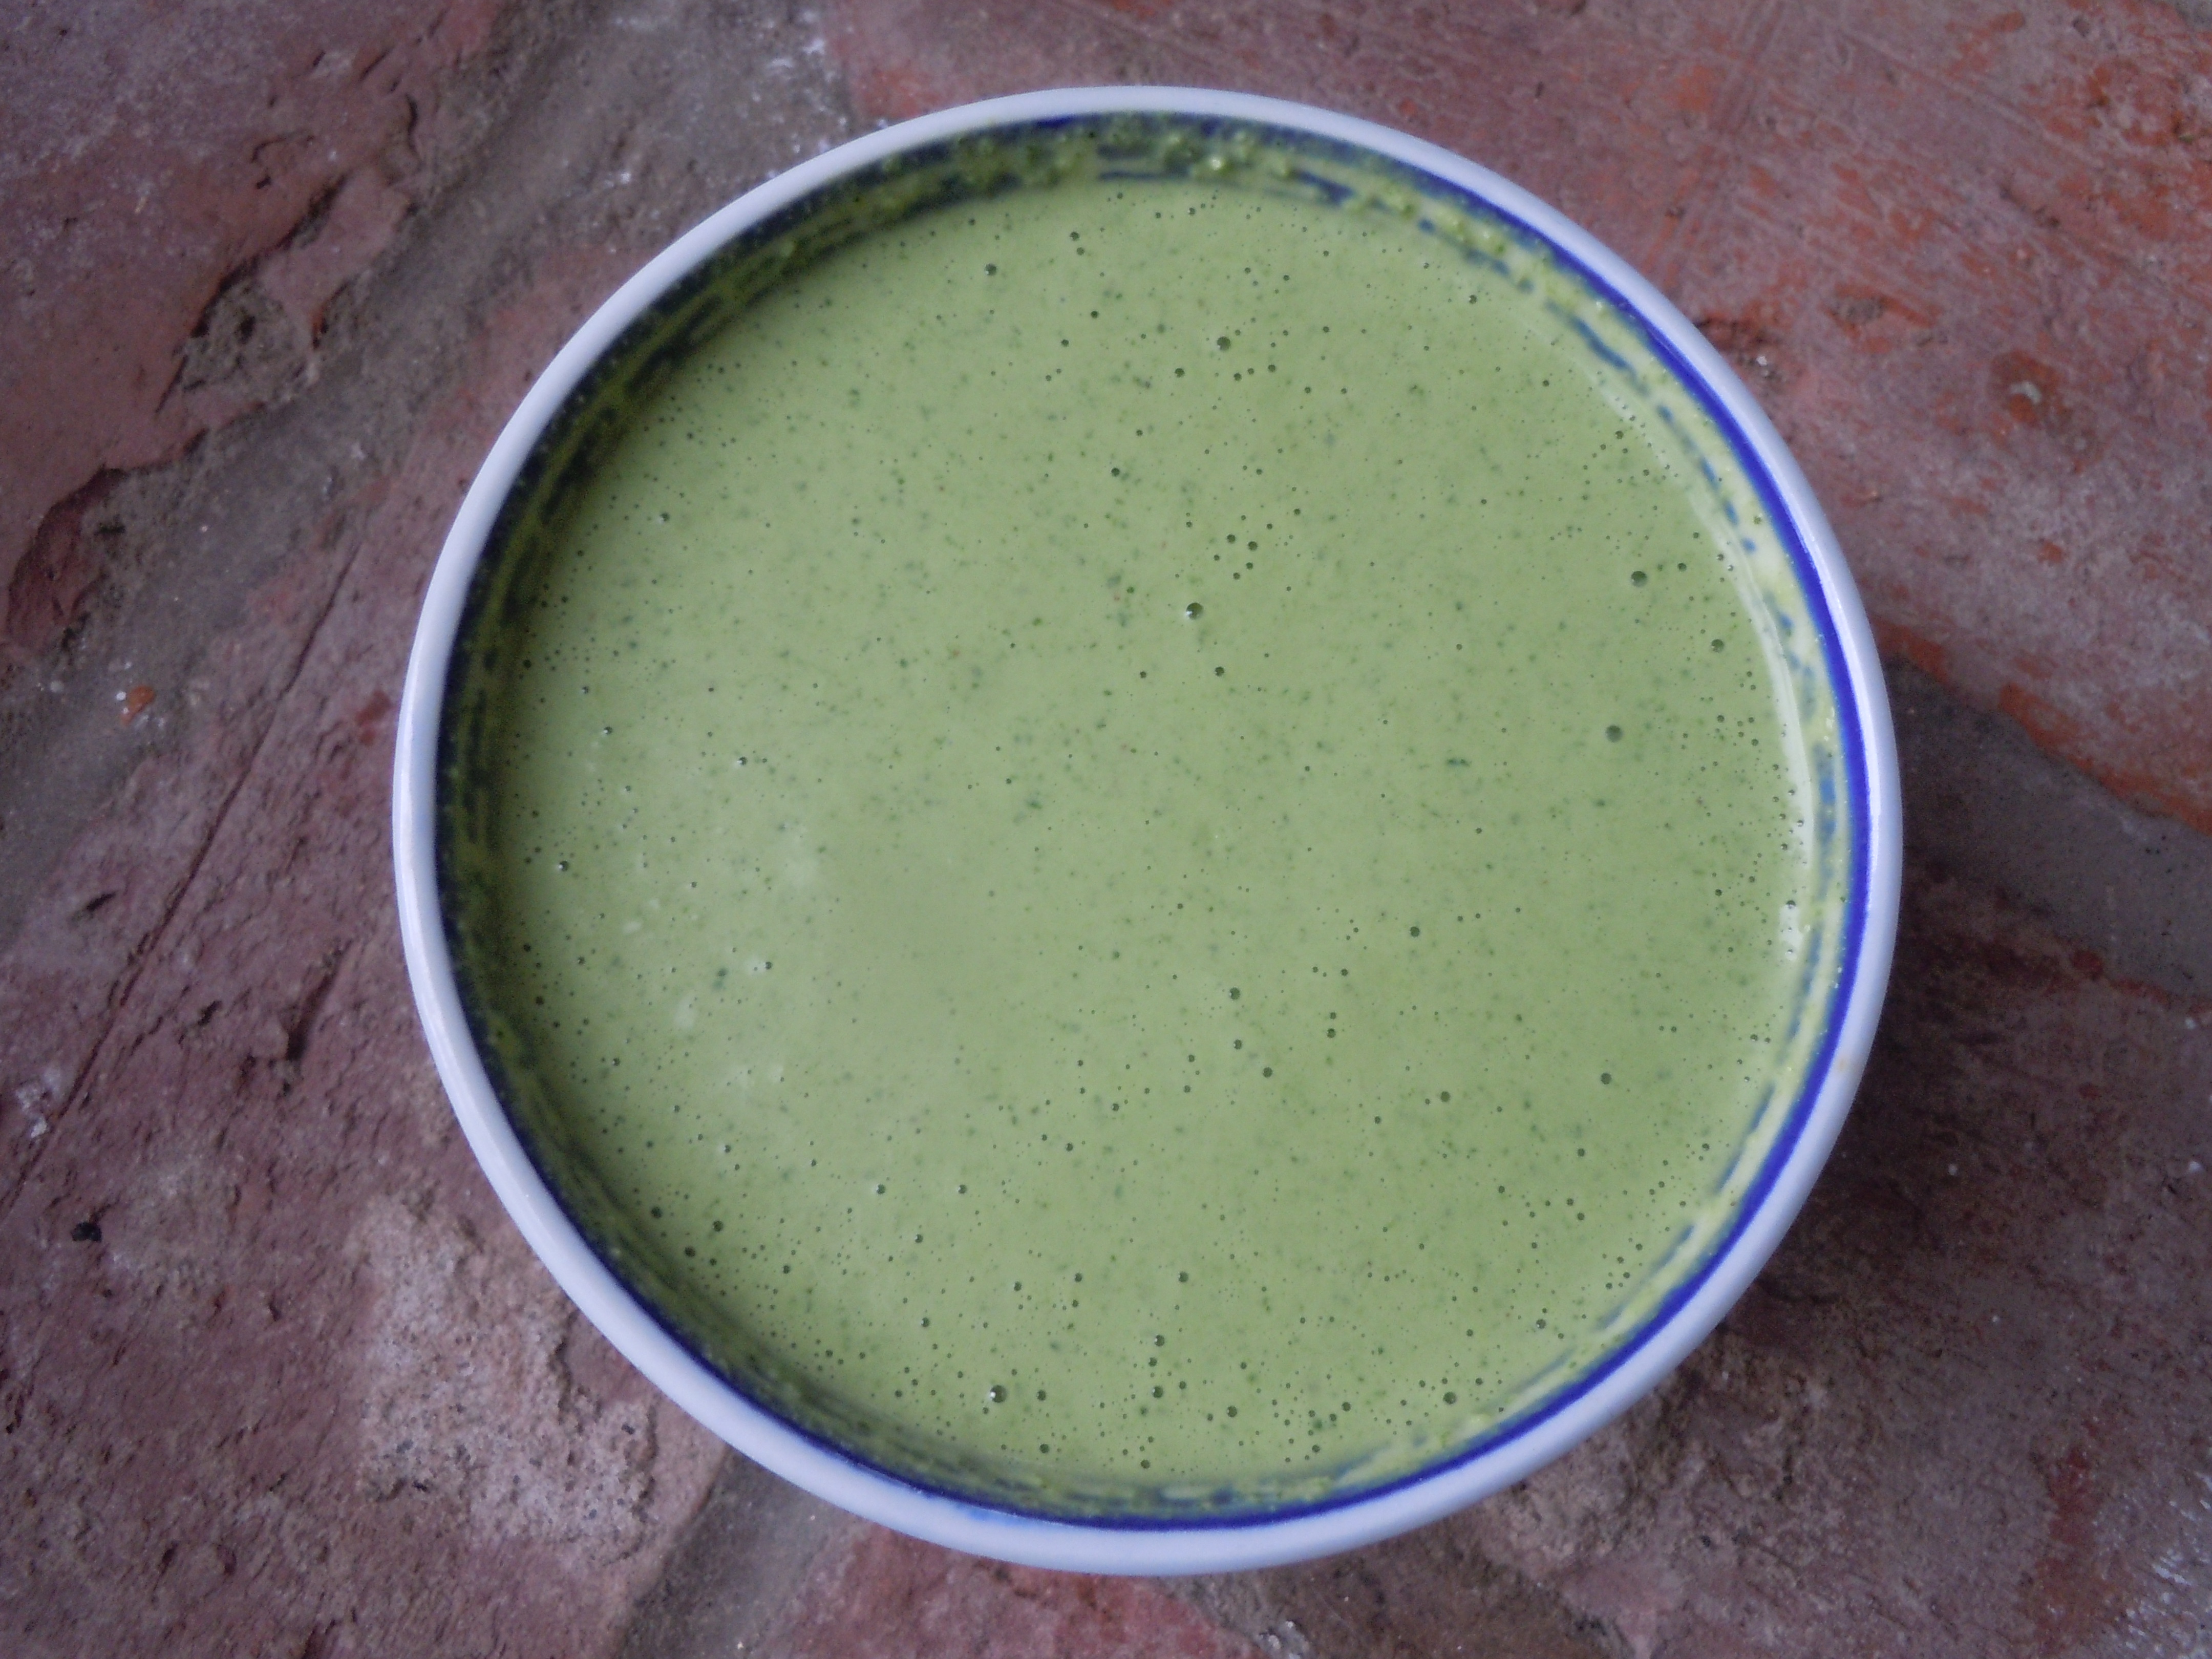
The colors orange and green were stuck in my head for this Halloween episode and that’s why I decided to share my sweet potato fries & green goddess dip recipes with you! These baked sweet potato fries are so delicious all on their own but wait until you dip them into the green goddess sauce you’ll want to put green goddess dip on EVERYTHING! I make this dipping sauce when I cook up swordfish, shrimp, tuna, chicken and steaks also. Being able to make a homemade gourmet sauce like this in 5 minutes, in a blender is basically a no-brainer for me. I can’t wait until you taste this sauce. And here I go again, making my dipping sauce with Greek yogurt to balance out the mayo giving it yet another layer of flavor and tangy richness.  I do this also with my pink remoulade sauce too.

Baking the sweet potato fries is definitely healthier then frying and a lot less work!  Now if you don’t have cornstarch in the cabinets don’t let it keep you from making these fries because they will still be delicious. Dusting the raw sweet potatoes fries with a couple of tablespoons of cornstarch helps with the moisture content and gives them a little extra crunch.

I hope you enjoy making the sweet potato fries and green goddess dipping sauce and that they will become part of your go to appetizer list. You may want to venture off and some other appetizer’s like my Feta-Basil Pesto Dip,  Crab CakesSpanakopita Triangle’s, or some yummy Homemade Hummus! You can end with my Chewy ChocolateChip Cookies!

img_8565 cookedspan IMG_5076 IMG_6064 DSCN4521

IMG_3880 IMG_3943  IMG_3885

IMG_3895  IMG_3966  IMG_3862

iphone pictures 1167  iphone pictures 1156  iphone pictures 1169

IMG_3806  IMG_3808  IMG_3827

Ingredients and Directions for Sweet Potato Fries:

  • 3 extra lg sweet potatoes ONLY need 2 but I like to have an extra just in case
  • 1/4 cup extra virgin olive oil
  • 1/2 tsp salt
  • 2 tbsp corn starch
  • 1 tsp garlic granules
  • 1 tsp onion granules
  1. Pre-heat the oven to 425º.
  2. Peel and Slice sweet potatoes in 1/4″ sticks -CUT ENDS FLAT so they don’t burn
  3. Dab with paper towels to dry excess sweet potato moisture
  4. Drizzle with 1/4 cup olive oil and sprinkle with 1 tsp garlic granules,  1 tsp onion granules  and 1/2 tsp salt
  5. Mixed with hands and then spread out into even layer on cookie sheet
  6. Bake for 15 minutes then flip and back into the oven for 8-10 more minutes
  7. BE SURE TO keep an eye on them at this point so they don’t BURN 🙂

Ingredients and Directions for Green Goddess Dip lll:

  • 3/4 cup Greek yogurt
  • 1/3 cup mayo (I use Hellmans)
  • 1 cup fresh cilantro
  • 1 garlic clove put thru press
  • 1/2 jalapeño diced
  • 4 green onion stalks
  • 1 tsp. grated vadalia onion ( or yellow onion)
  • 1 tbsp ( 1/2) fresh lime juice
  • 1 tbsp “seasoned” rice wine vinegar ( “oops” – I accidentally said red wine vinegar in the show but it’s rice wine vinegar)
  • s & p
  • Optional: dash of Siracha (Siracha is a hot chili sauce sold next to Tabasco at the store)
  1. Place all of the ingredients into a blender an purée and you will probably need to stop and stir everything a couple of times to get it going but do not add any more liquid (you will see that once it gets going it will be just right).
  2. You can make this ahead of time and keep sauce in a plastic container and refrigerate.  It  gets thicker as it sits in the fridge chilling and stays nice for a few days…  Yum!

Ingredients and Directions for Roasted Pumpkin Seeds:

  • Pumpkin Seeds for 2 pumkins
  • 1 tsp garlic granules
  • 1 tsp onion granules
  • 1/2 sea salt (plus a sprinkle at the end for a pinch more seasoning)
  • 2 tbsp olive oil
  1. Pre-heat oven at 425º.
  2. Wash pumpkins seeds to remove pulp.
  3. Dry between paper towels and leave on cookie tray to dry further over night (can roast right away if you don’t have time – just by sure to completely dry seeds)
  4. Drizzle olive oil over seeds and sprinkle all of seasonings and toss to evenly mix
  5. NOTE: you can add in cumin, cayenne, chili powder … add your favorite seasonings
  6. Roast for 10 minutes, take out and stir seeds, put back in oven for approx. 4 more minutes – Keep an eye on them at this point so they don’t burn


Best Buffalo Chicken Dip Ever!

Best Buffalo Chicken Dip Ever!

This delicious buffalo chicken dip is my top viewed recipe on my YouTube Channel at 160,704 views and climbing! It takes center stage every time! You may find yourself not straying too far in fear that it will be devoured. The layers start with room temperature cream cheese, chicken tenderloins sautéed in Franks Hot Sauce, a drizzling of homemade buffalo sauce, and finally a sprinkle of crumbled blue cheese, sharp cheddar and mozzarella. It bake’s in the oven until bubbly and served with tortilla chips. I also like to serve this appetizer with carrots, celery and cucumber slices on the side.

I have a secret for you! I’ve been using rotisserie chicken instead! It comes out just as good as sautéing the tenderloin and it saves time! Just toss the rotisserie chicken pieces with some of the butter whisked with the Frank’s Red sauce, and begin to layer. You can also bake chicken wings at 400° for 40 minutes and then toss with this butter-Frank’s Red Hot sauce and you’ll have amazing Buffalo wings!

The Buffalo chicken dip gives all the amazing flavors of that typical “buffalo wings and blue cheese” with out all the work! I am very particular about my blue cheese dressing so I highly recommend my easy homemade blue cheese dressing recipe!

This buffalo chicken dip recipe came from my friend Lisa who just recently made it for a party we were at and it didn’t last very long! I make this dish all year round not to mention how totally awesome it is for football season.

IMG_7406
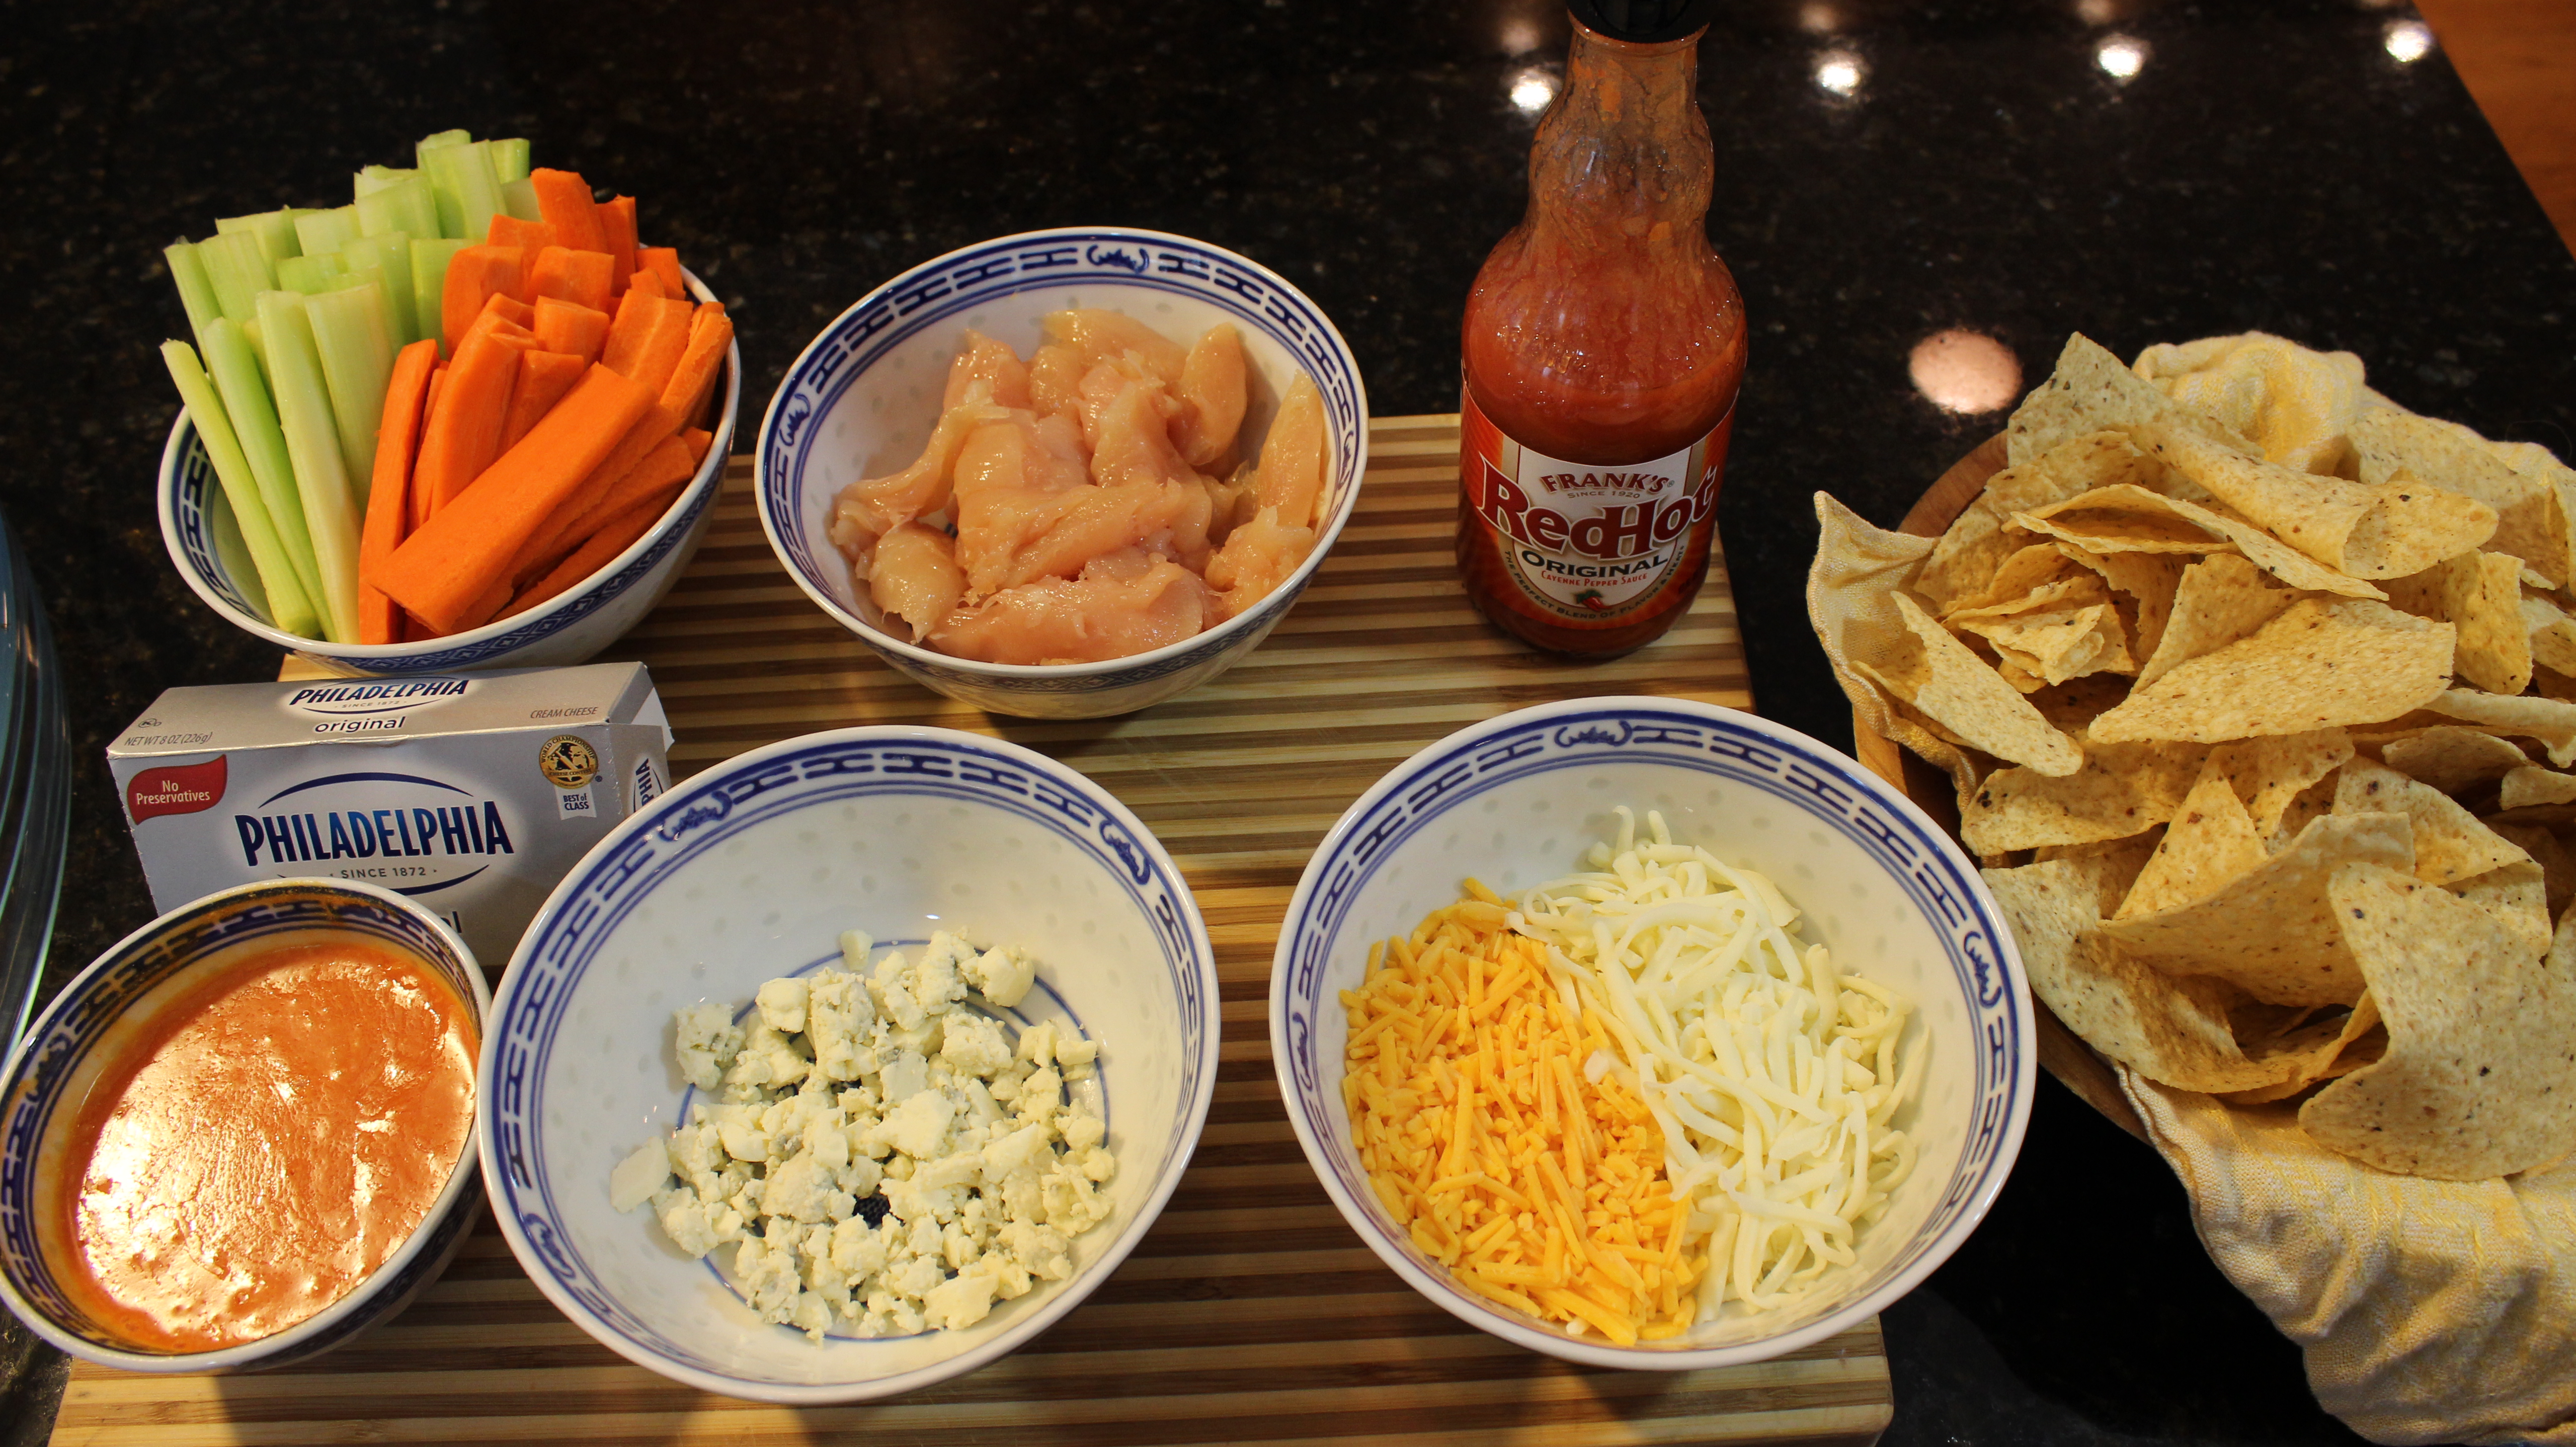
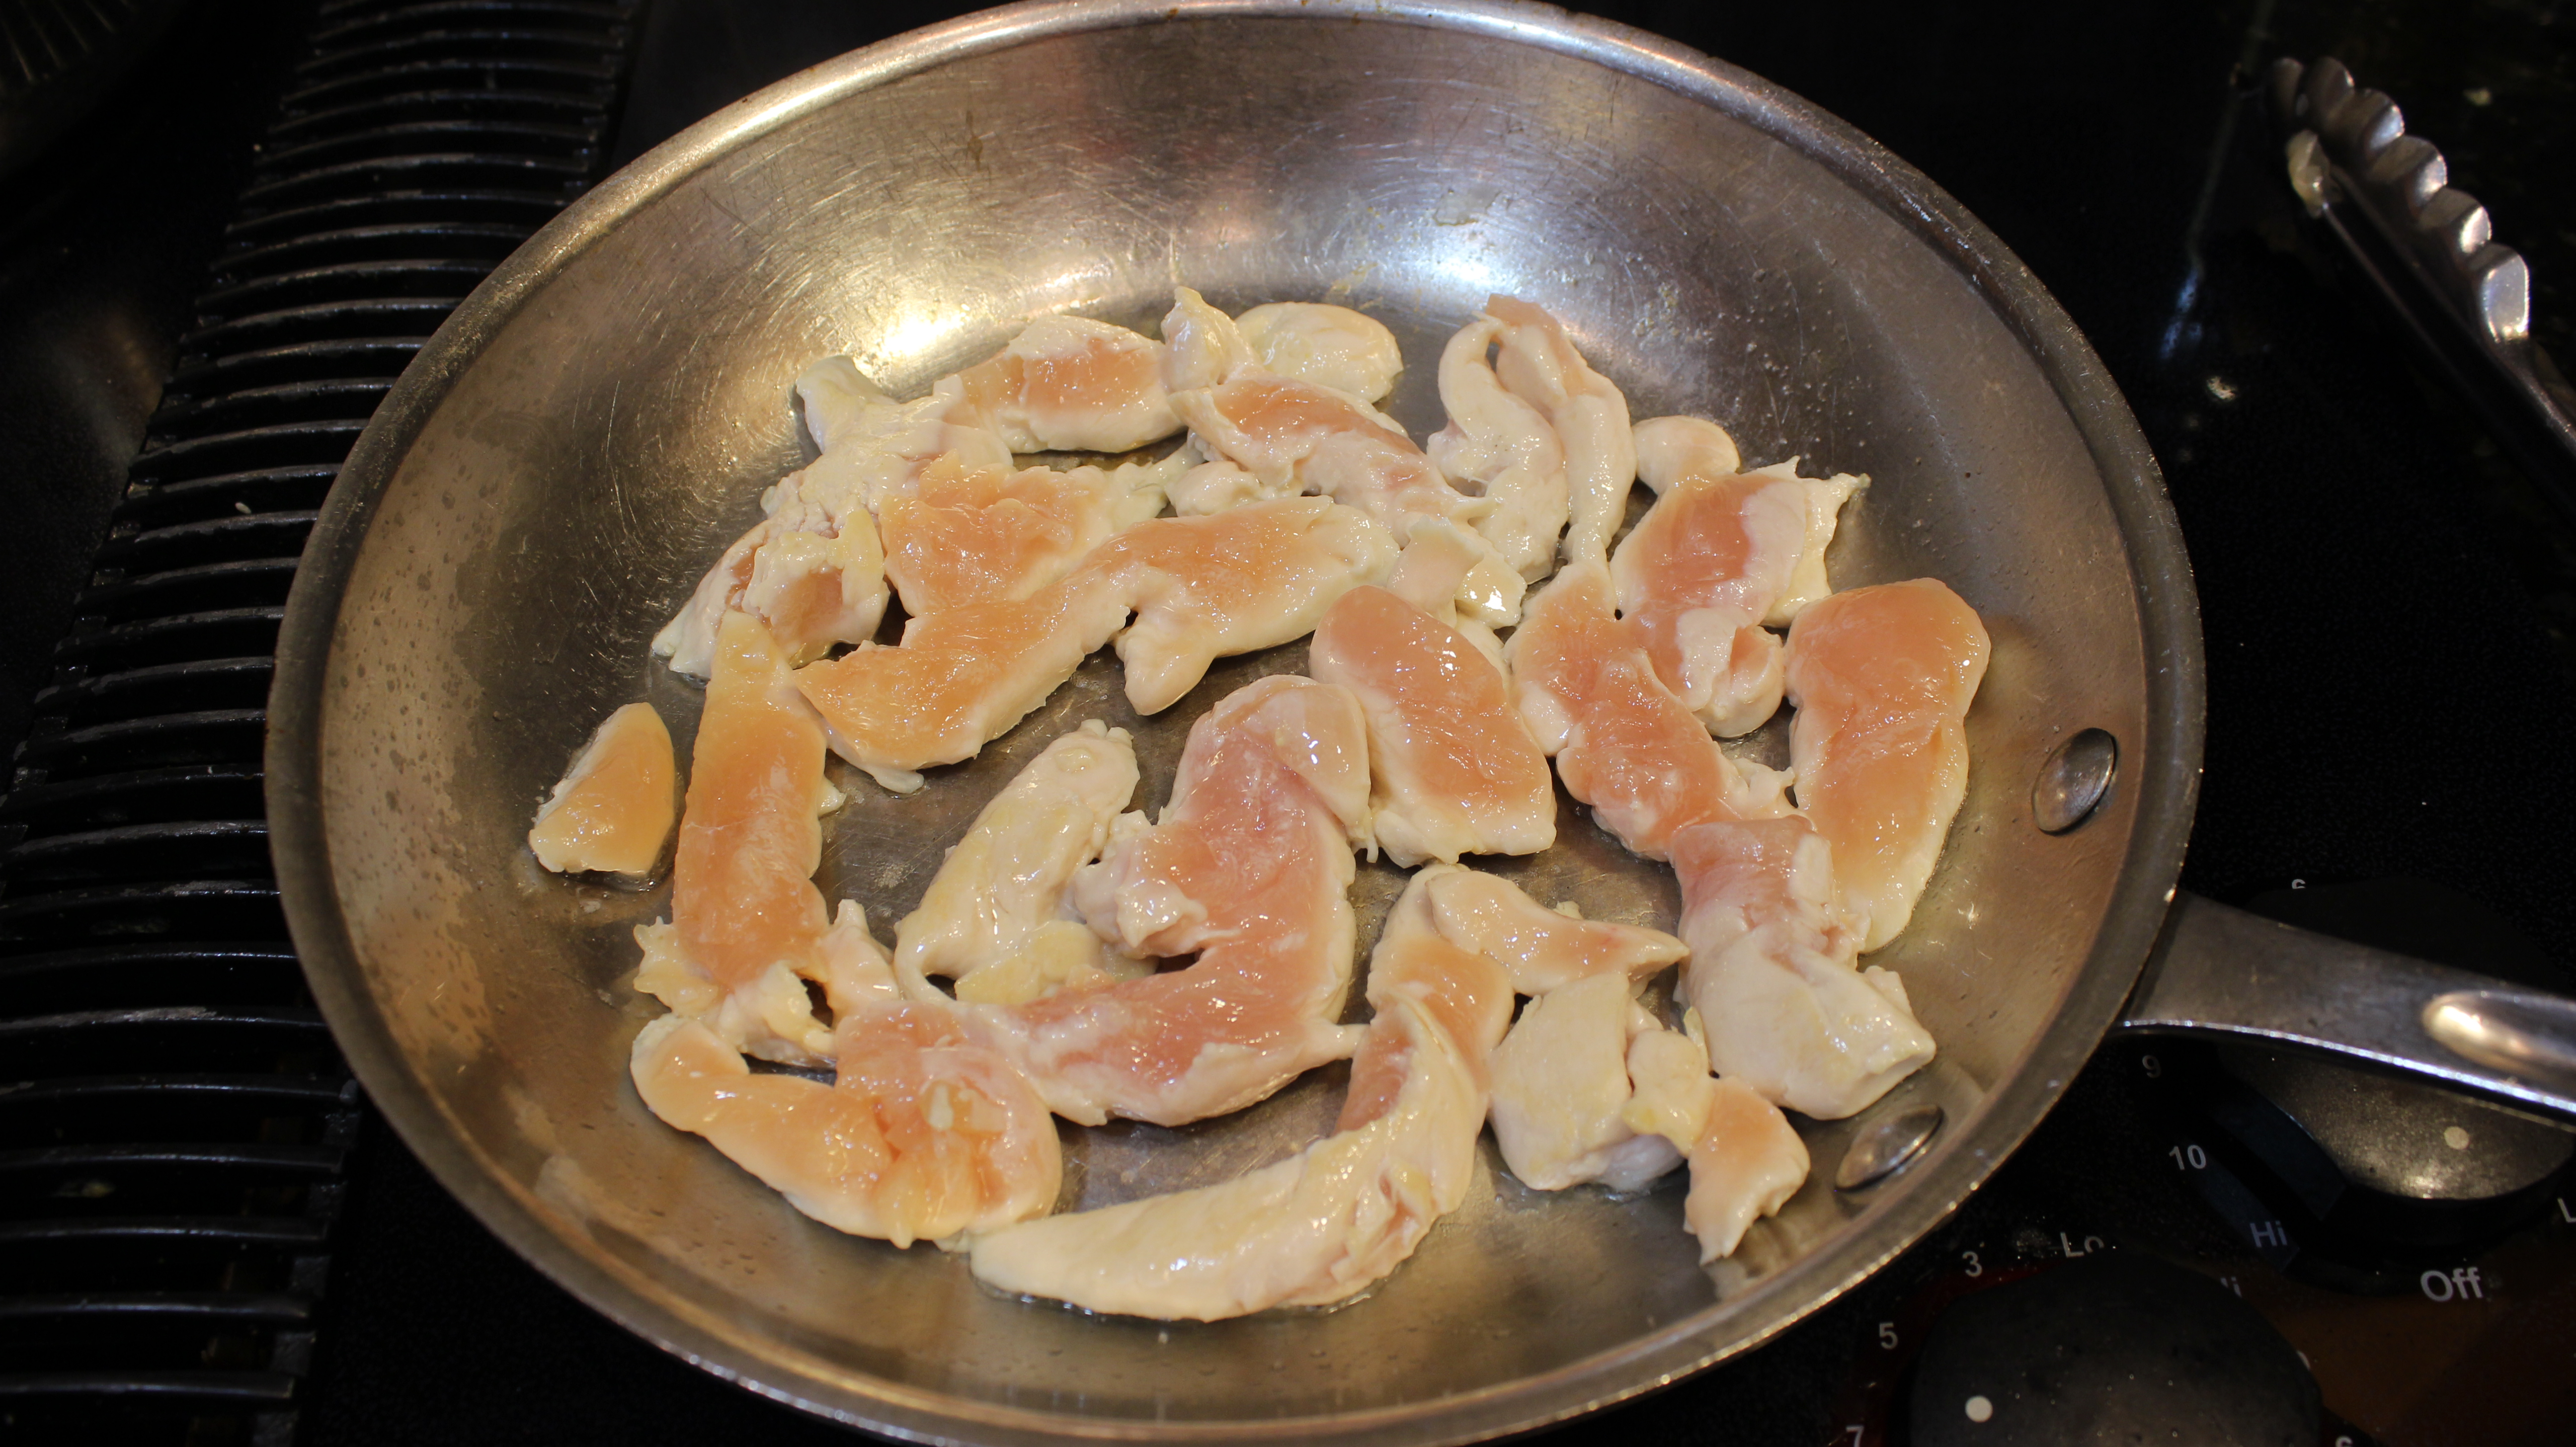
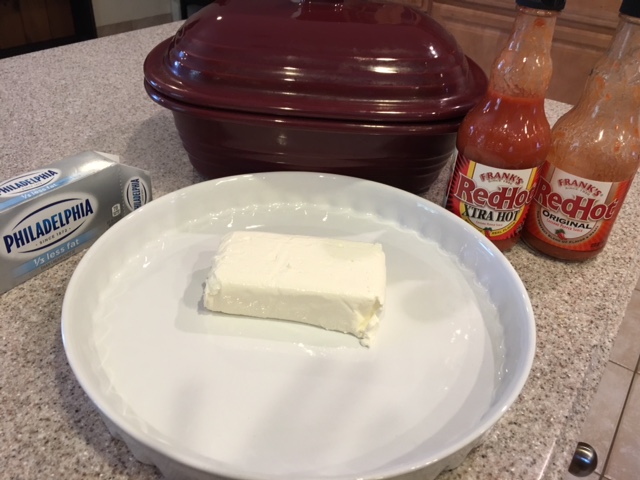
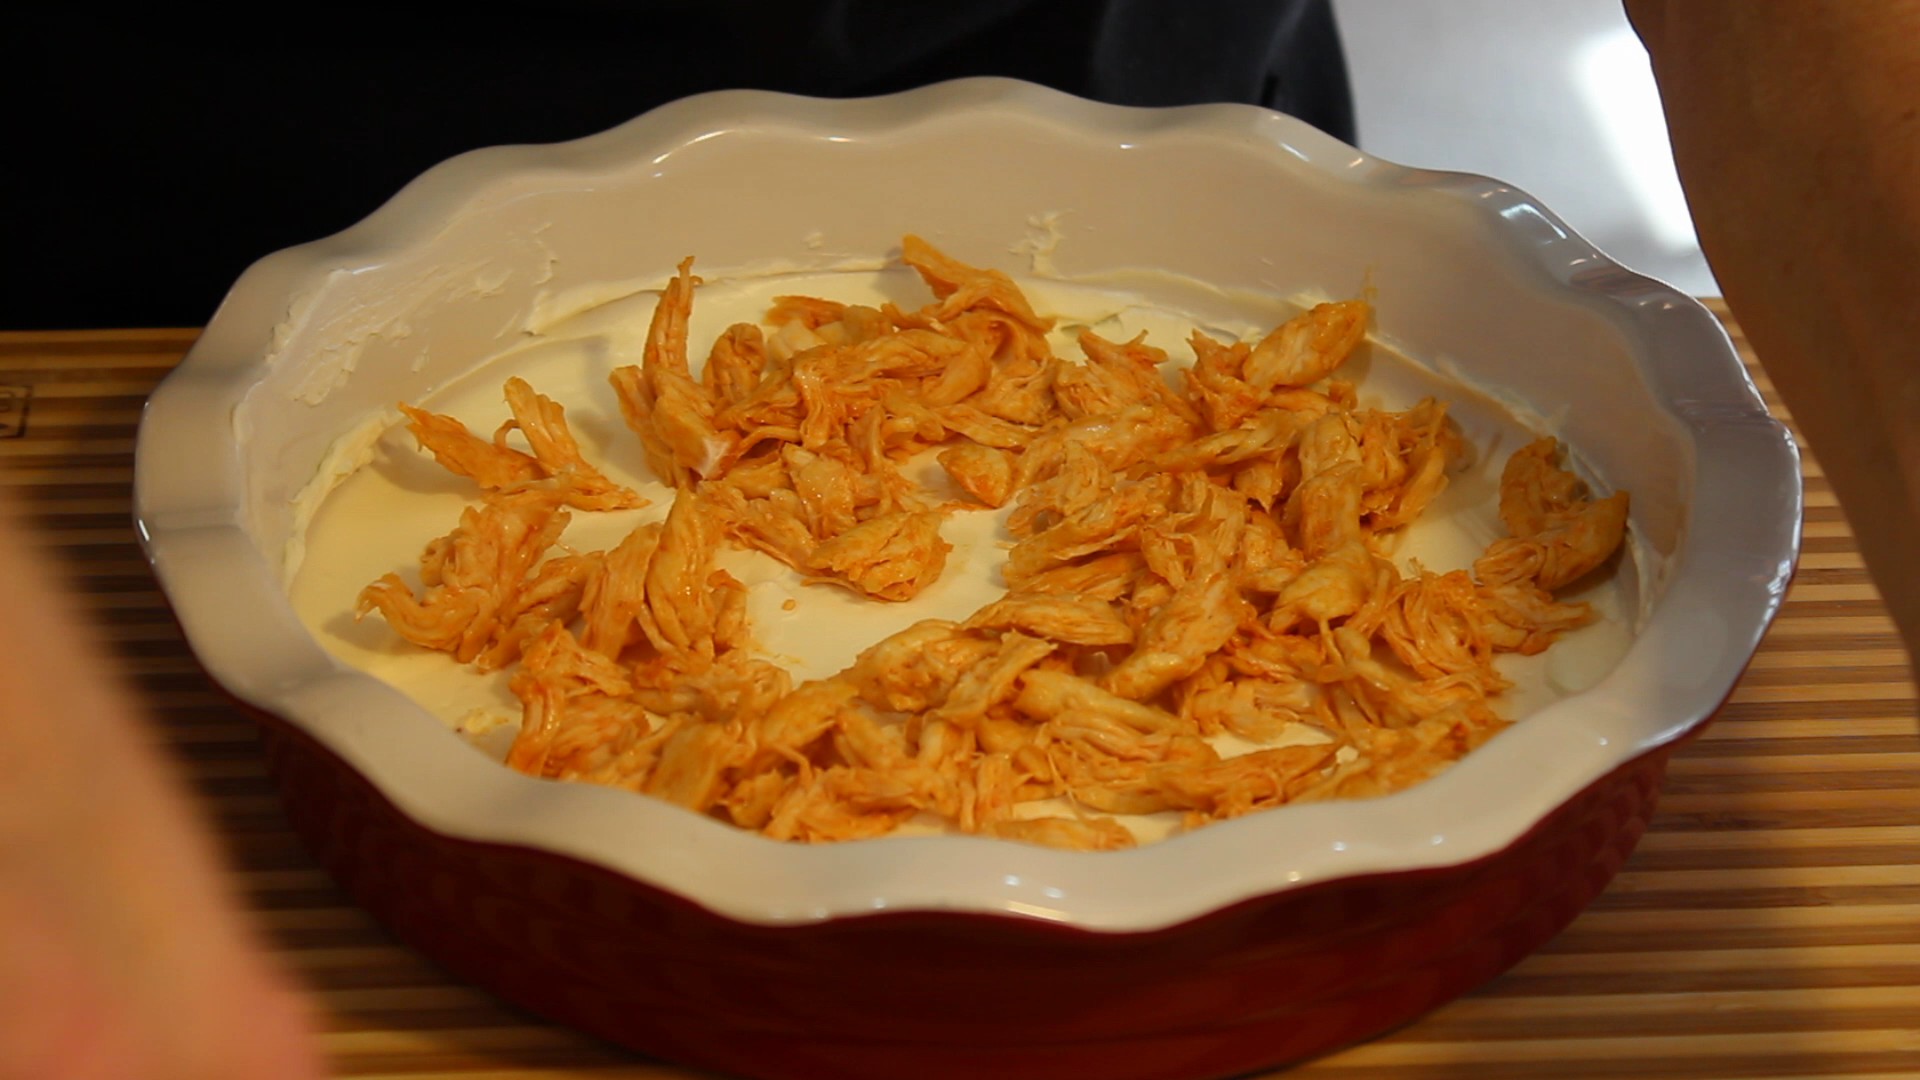
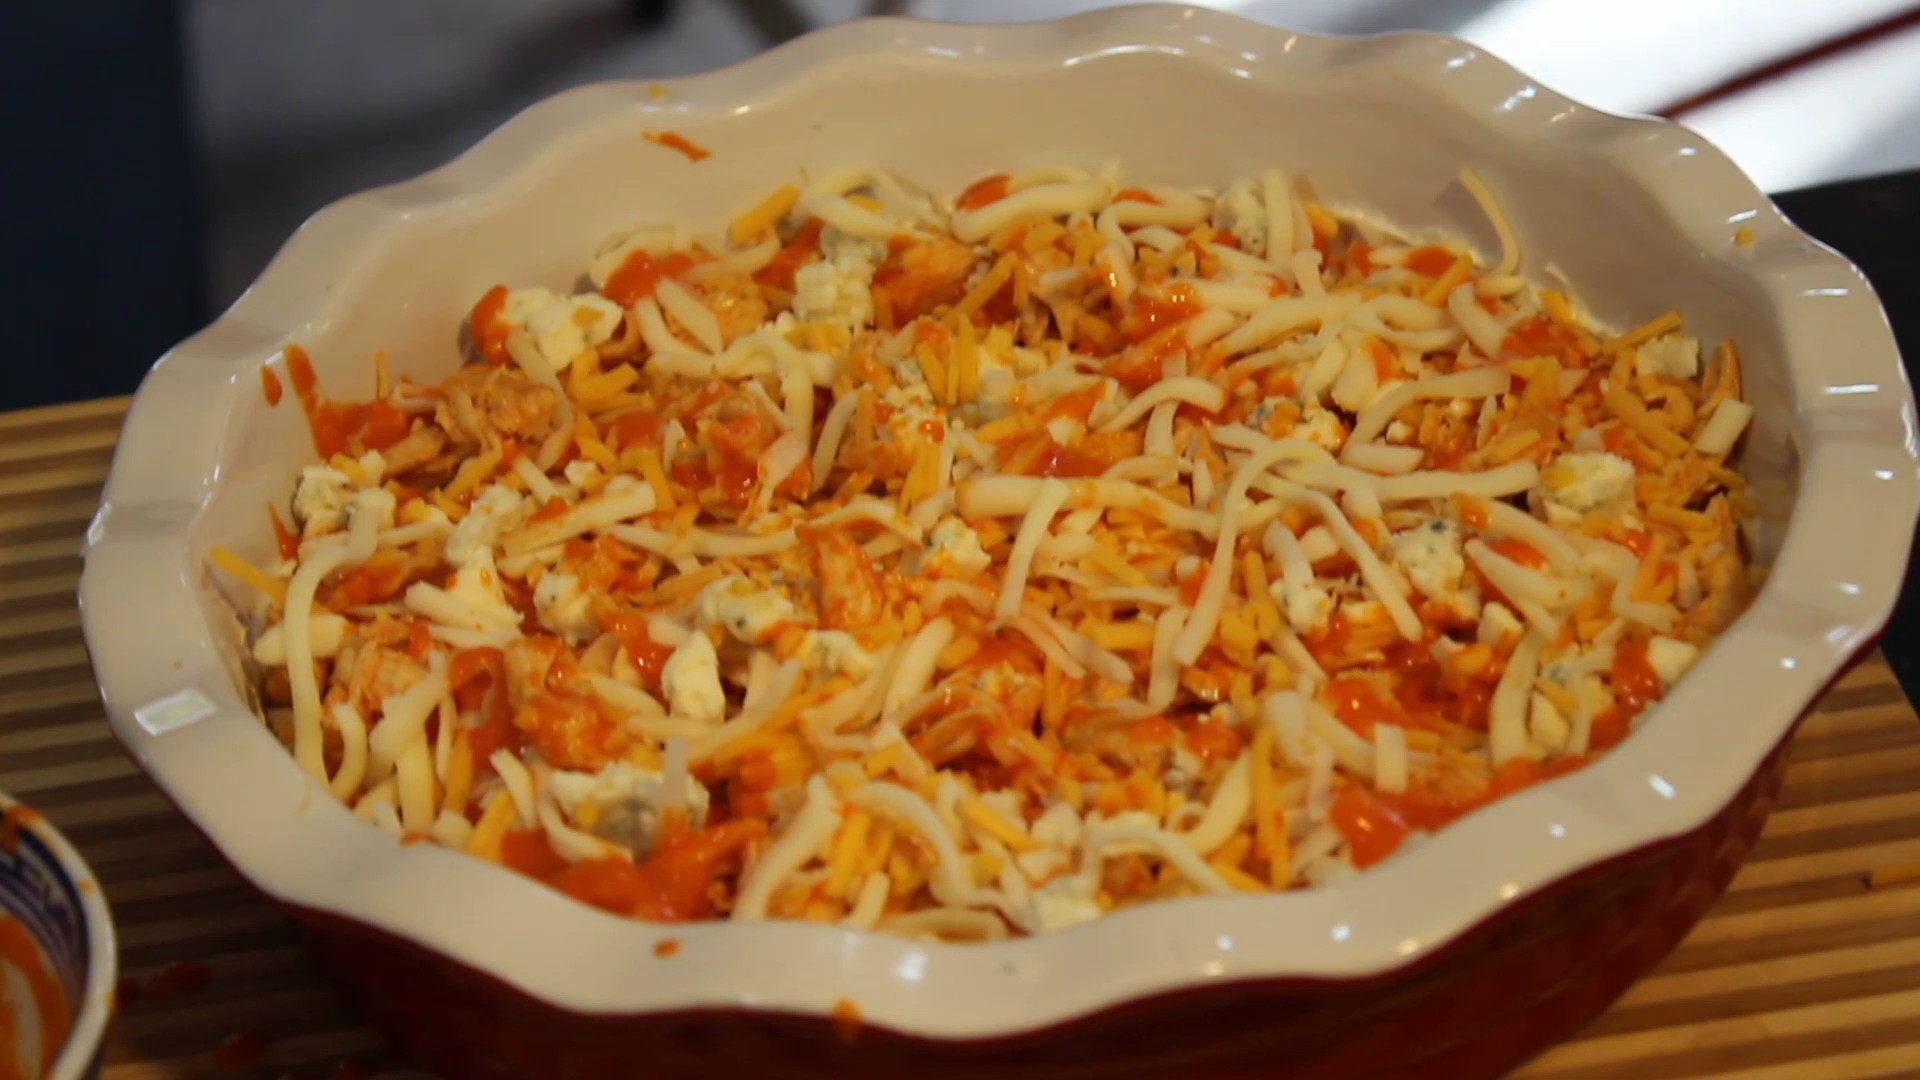
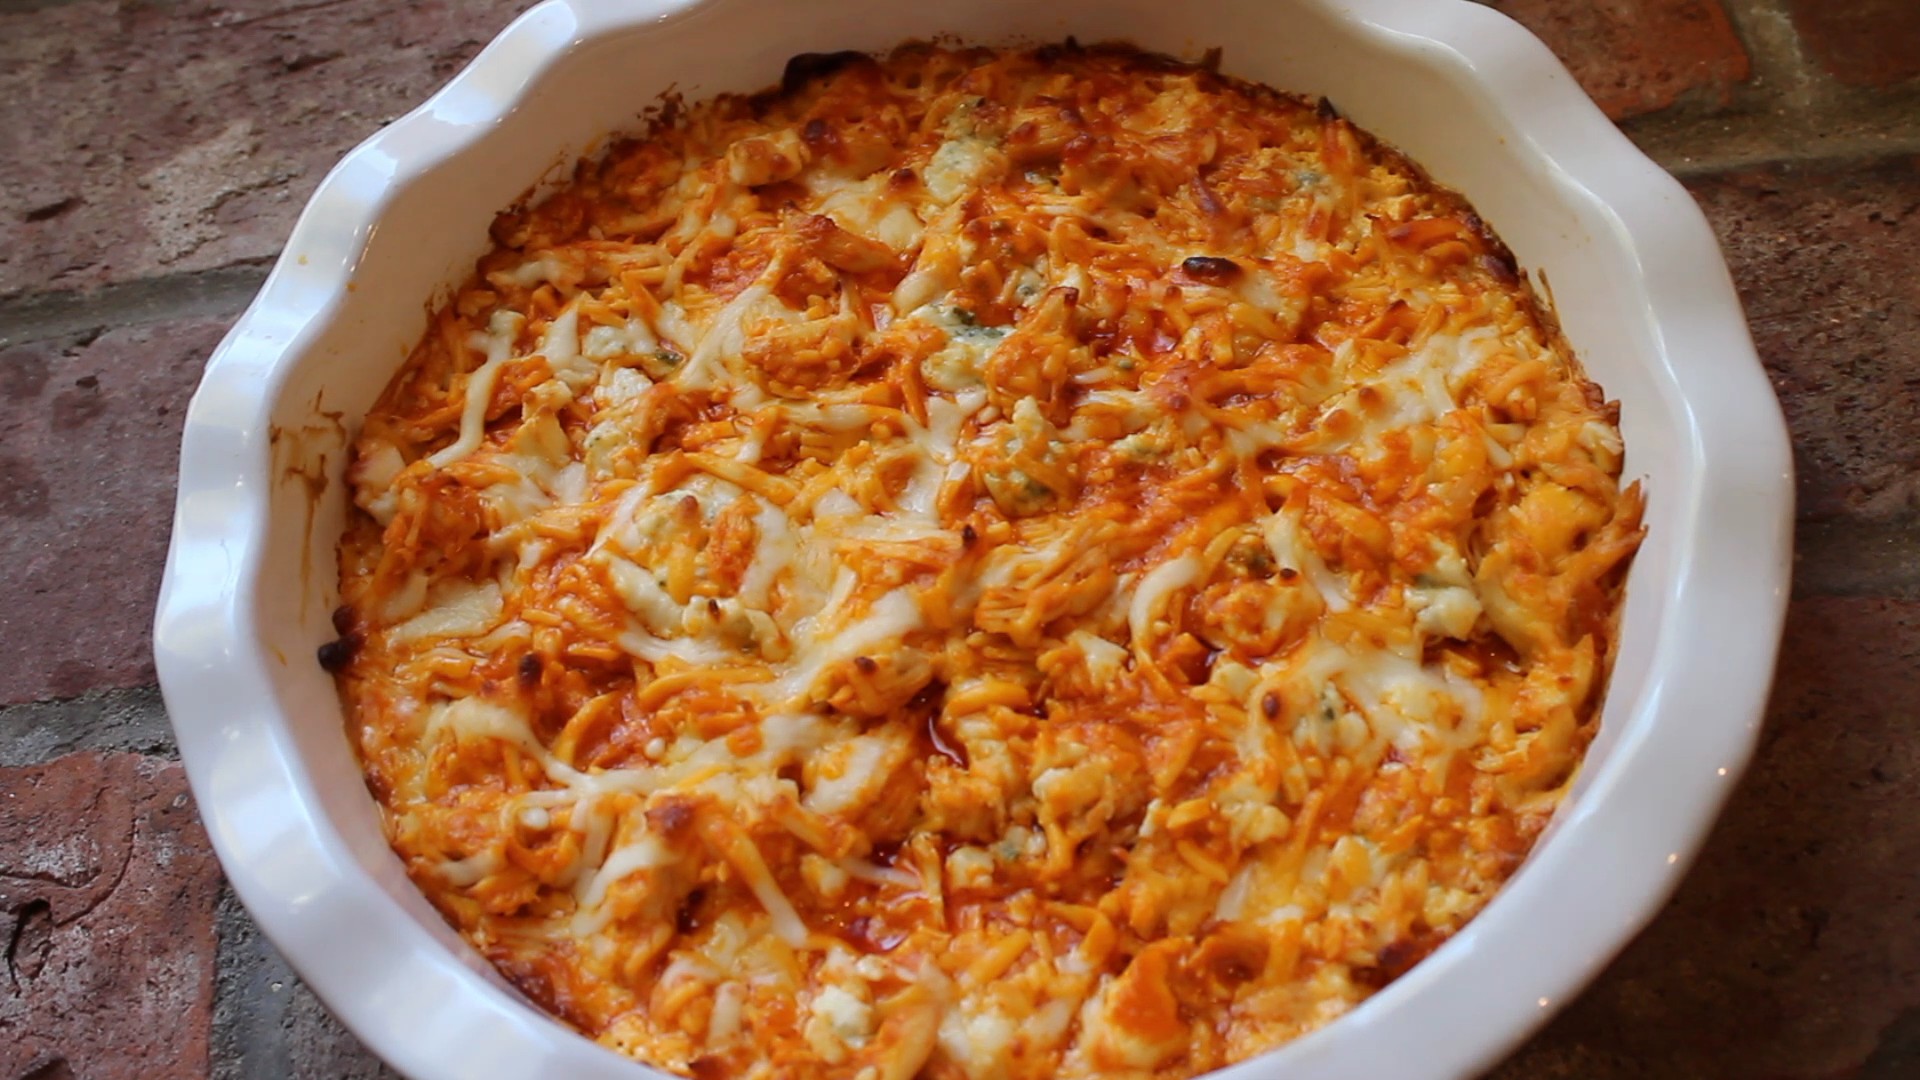
I think this buffalo chicken layered dip is a win win for you and your party. Everyone will be asking you for the recipe. I hope you enjoy this “BEST Buffalo Chicken Dip” recipe and the show too! Don’t miss the “Behind the scenes bloopers” included at the end of the show. And if you want to make an amazing desert that will get you lots of oohs and ahhs try the Pavlova or the “Death by Chocolate Meringue Pie”! Don’t forget a Homemade Caesar Salad and an entré of Lobster Mac n’ Cheese or Eggplant Balls with pasta or Zucchini Spaghetti!

chcomerg lobmac DSCN4572-300x225 IMG_8005 zucspaghetti

IMG_3721  IMG_3751  chixfranks

bufchix  chixbuf  creamchixbuf

chixcream  withcheeses   buffdip

Ingredients: NOTE: You can use ROTISSERIE Chicken!

  • 3/4 lb chicken tenderloins raw OR 1/2 of a ROTISSERIE Chicken
  • 1 tbsp olive oil (NOTE: this is only if sautéing up the tenderloins)
  • Sprinkle of salt (only if sautéing up the tenderloins)
  • 1 -8 oz pkg Philadelphia Cream Cheese
  • Frank’s Hot Sauce
  • Buffalo sauce: 1/4 cup (1/2 stick) butter (Kerrygold or favorite) & 1/3 cup Franks Hot Sauce
  • 1/4 cup Blue cheese crumbles
  • 1/4  cup sharp cheddar cheese
  • 1/4  cup mozzarella
  • (1) 9″ Deep-dish baking pie plate

Directions:

  1. Pre-heat oven to 375º
  2. Melt 1/2 stick of butter in microwave, then add 1/3 cup of Frank’s Red Hot Sauce, whisk until combined – this is the “homemade buffalo sauce” – set aside
  3. Add 1 tbsp. olive oil on medium heat
  4. Add in the chicken tenderloin pieces to a pan on med. high heat, sprinkle with a pinch of salt begin to sauté for 3 minutes
  5. Flip chicken pieces over and sauté another 3 minutes
  6. Once they start to golden slightly add 2 tbsp. Franks hot sauce and let reduce on low 1-2 minutes
  7. Remove from heat and shred or cut up
  8. OR toss ROTISSERIE CHICKEN meat from 1/2 of a chicken, cut up or pulled apart to bite-size pieces with enough Frank’s Red Hot/butter sauce mixture to coat
  9. Begin the layering on top of the cream cheese
  10. Smear 8 oz. of room temperature cream cheese in bottom of your bake dish
  11. Then add the shredded chicken for the layer next
  12. Drizzle homemade buffalo sauce over the chicken (save some to drizzle after the layer of cheeses)
  13. Sprinkle 1/4 cup crumbled blue cheese
  14. Then Sprinkle 1/4-1/3 cup cheddar and mozzarella each – if using 9″ baking dish go with 1/4 cup, if using 12″ baking dish you could use 1/3 cup if you want a little extra
  15. OPTIONAL – Drizzle more buffalo sauce over the cheeses
  16. Bake for 20 minutes until bubbly and serve with tortilla ships, carrots and celery

My MasterChef Sauces

My MasterChef Sauces

masterchefpicThe creation of these MasterChef sauces. a spicy, sweet and sour mango and a ginger-peanut sesame sauce, all began while surfing the net a few weeks ago, I accidentally ran into the MasterChef homepage advertising “Casting calls are coming soon to a city near you”.  My kids, Reilly and Bella were there at the time and enthusiastically shouted, “you should do it”! I think what sealed the deal was reading the “Come and meet the MasterChef casting team for your chance to be on the show!” The excitement started to seep in and I began to seriously consider going to the New York City MasterChef open call. If anything, I knew it would be a step in the right direction and a great learning experience let alone the adrenaline of it all!

After sending in their required online pre-registration form and printing out the nine page hard copy form to be submitted at the casting call I thought it would be a good idea to look over the FAQ page. The FAQ’s certainly had a list of what to do and what not to do. The “to do’s” started off like this:  First, bring one prepared dish to serve to their food judges. Second,  we would be given 3 minutes to plate our dish at their casting call location and for some reason I had initially thought I had 5 minutes to plate so that was a bit of an eye opener! Third, there wouldn’t be a kitchen to cook or warm our dish up so we were to come prepared! Fourth, we are to supply our own dishes, utensils, etc.

The “do not do’s went like this:  no air mattresses, no alcoholic beverages, no animals (unless health related), no candles, no cans or bottles (except water bottles), no chairs that do not fold (i.e. lawn chairs, chaise lounges, molded plastic chairs), no digital or still cameras, no fireworks, no hair dryers, no illegal drugs, no tents, no video, cameras or camcorders of any kind, no weapons of any kind, no children under the age of 13 years are allowed at the audition venues. There you have it!

Well OK,  I had a little organizing to do and a plate to figure out for my MasterChef casting call debut! I really wanted to wow them! The part about the “NO kitchen” and “come prepared” got me to thinking that a cold dish of some sort might be a wise way to go! An appetizer is probably the most logical then, right? Yes that’s it, it came to me.  I would make my “Fresh Shrimp and Chive Rolls” with the new MasterChef sauces that I have created which I can decorate the plate with. A julienne of daikon radish, carrots and a sprinkle of toasted sesame seeds with micro herbs for some pizzaz would add in the finishing touches. I also thought I needed to add in some height so I came up with baked egg roll shells that I form in a cup cake pan. I got this idea from my “Bloody Mary shrimp and Mango-Curry Shrimp in Wonton cups at Nancy’s Show” except I decided to use egg rolls shells instead of won-ton because they are a little bit lighter.

Now that I knew what I was going to make I thought I would practice my plate decorating with my MasterChef Sauces by shooting it in this weeks show so I could share this fun experience with all of you! It was definitely a lot of work to do this and go to the casting call but I did it! It was an awesome experience being there and the “MasterChef team” was pretty dynamite. They had everything down to a science and moved around with ease offering up a very warm welcome to all the competitors. I am super glad that I took Reilly and Bella’s advice on going for this.

I kicked you know what with my dish and the plating. I went there and did exactly what I set out to do with my presentation with 8 or so seconds left before they yelled “TIMES UP”! That part I have to say was such a RUSH because it reminded me of chopped!!! I was then the first to be called back in with 8 others for that first plate presentation part from our first group of 30 plating competitors.  I might be over thinking all of this a little, but I was so tired from preparing the food and shooting the show I feel as though I forgot to prep myself on what exactly to say about “me” when they pulled us 8 into interview. Although, I had them laughing a bit. I got the feeling what was more important to them was the person who said the right things in that second interviewing, more character not food ability. Gods only knows I do have lots of that so if it doesn’t work out this time I NOW know what they want next time around! I still have to wait until the end of October to see if I hear from them (they are still traveling to other states). I had an incredible time and will keep you all posted. Thank you all for your support, it means a lot! Hope you enjoy “My MasterChef Sauces” Show! 

IMG_3462 IMG_3468 IMG_3472

IMG_3474 milkpean  IMG_3489

IMG_3506  IMG_3508  mangosieve

IMG_3514  saucesqueeze  squeeze

eggrollcups  juienned  microherbs

rolls

Ingredients for Ginger-Peanut Sesame Sauce:

  • 3 tbsp smooth peanut butter (Teddy’s All Natural)
  • 1/4 cup soy sauce
  • 2 tbsp toasted sesame oil
  • 1 1/2 tbsp vegetable oil
  • 1 tbsp rice wine vinegar
  • 1 tbsp red wine vinegar
  • 1/2 tsp wasabi powder
  • 2 tbsp sugar
  • 1/2-1 tsp Siracha (can find this next to Tabasco products)
  • 1 whole lime
  • 1 tbsp corn starch dissolved in 3 tbsp pineapple juice – Use 1 1/2 tsp of this 
  • 1 tbsp fresh grated ginger
  • 2 tbsp half and half

Directions for Ginger-Peanut Sesame Sauce:

  1. Add all of the ingredients to a large bowl (EXCEPT corn starch mixture) and whisk
  2. Squeeze only 1/2 of the lime in at this point
  3. Add to medium pan over medium/high bring to a low simmer – whisking constantly this will be about 2-3 minutes
  4. When this begins to thicken turn down to med/low and add in 1 1/2 tsp of corn starch mixture and keep whisking- this will be about 3-4 minutes
  5. Remove from stove and cool
  6. When cooled add in 2 tbsp half and half and a squeeze of the other half of the lime and whisk briefly til smooth
  7. Add to ramekins for a dipping sauce or put into squeeze bottle to decorate plate with

Ingredients for Spicy, Sweet and Sour Mango Sauce:

  • 1 cup pineapple juice
  • 1/2 cup mango
  • 1/4 cup red wine vinegar
  • 1/4 cup sugar
  • 1 tsp ketchup
  • 1 tsp fresh grated ginger
  • 1 tsp Siracha
  • 1/8 tsp salt
  • 2 tbsp corn starch dissolved in 3 tbsp water
  • 1 lemon

Directions for Spicy, Sweet and Sour Mango Sauce:

  1. Add all of the ingredients to a large bowl except the corn starch mixture
  2. Whisk til combined – use juice from 1/2 lemon here
  3. Add to a medium size pan over med/high heat and bring to a low simmer to melt sugar – 3 minutes
  4. Add in corn starch and keep whisking at a low simmer til the mixture is transparent again and thickened – 5 more minutes
  5. Mash Mango pieces into sauce with a fork
  6. Remove from heat and press thru a sieve into a bowl and let cool completely (can add a little squeeze of the other half of the lemon if too thick)
  7. Pour into ramekins for dipping or put in a squeeze bottle to draw on plates …have fun decorating!

Gourmet Sausage Stuffed Mushrooms

Gourmet Sausage Stuffed Mushrooms

These gourmet sausage stuffed mushrooms are literally the easiest appetizer ever. Wipe the mushrooms off with a damp paper towel or mushroom brush, add your favorite sausage and bake for 15-20 minutes! There is no need for chopping or sauteing. You remove the sausage meat out of the casing it comes in, fill the mushroom caps and viola! In this recipe I used two pork sausages Italian garlic herb, and a chorizo sausage made with spices like chili and paprika. I also used two chicken sausages one made with jalapeño, fennel and cilantro and the other with feta and spinach that I bought at Whole Foods Markets.

There are so many specialty sausages to choose from out there that you can’t go wrong stuffing these baby bells! All the work is done for you so take advantage of these gourmet sausage products and stuff these mushrooms for an incredibly scrumptious appetizer that will continue to get raves from your guests.

Mushrooms are probably one of my favorite vegetables to eat. Give me Chanterelle mushrooms in a brandy cream sauce and I am in complete heaven. But here all you need is a simple button shaped mushroom with some room under the cap for filling.You can use a white button mushroom for these gourmet sausage stuffed mushrooms but what I prefer are Baby Bells because they are packed with flavor.

Another great specialty meat product called D’Artagnan offers many different sausages. One in particular is a mix of pork, duck, duck liver and egg white and is out of this world! This type of sausage is called Boudin and is very popular in New Orleans. It has distinct flavors that you might just start to crave after you have tried it. I really like D’Artagnan and I have found that Bishops Orchards Market in Guilford, CT carries a wide variety of their products. This brand offers a lot of duck products which Bishops also carries. Anything with duck or goose whether it be breast or liver is a no brainer in my book…YUM!

You can have these stuffed mushrooms for hors’ d oeurves before serving stuffed roulades of chicken on a garlic-bean puréeAsian shrimp & rice noodle saladturkey stuffed peppers or Chilean sea bass with green goddess sauce II for dinner.

iphone pictures 1418  iphone pictures 940  iphone pictures 941

iphone pictures 1420  iphone pictures 1421  iphone pictures 1422

iphone pictures 1423  iphone pictures 1419  iphone pictures 1424

iphone pictures 1427  iphone pictures 1426  iphone pictures 1425

iphone pictures 1428  iphone pictures 1430  iphone pictures 1441

Ingredients – Makes 20-24 Stuffed Mushrooms:

  • 2 pkgs of baby bella mushrooms (2- 8 oz. pkgs. will get you 20 and 2-10 oz. will get you 24)
  • 1 lb. – a variety of your favorite flavored sausages
  • Sprinkle of salt and pepper- (for after the mushrooms come out of the oven)
  • Fresh shaved Reggiano Parmesano
  • Fresh chopped chives for garnish

Directions:

  1. Pre-heat oven to 400º
  2. Clean your baby Bella mushrooms off with either a damp paper towel or a mushroom brush … you should NEVER wash your mushrooms or submerse them in water because mushrooms are porous.
  3. Pop out the mushroom stems
  4. Drizzle 2-3 Tbsp olive oil across a cookie sheet and rub it with your hands or use a brush to smear all of the olive oil across the baking sheet
  5. Place all of the baby bella mushroom caps on the olive oil and roll them around lightly coating mushrooms then make sure they are all open side up on cookie tray
  6. Slice open the sausage casings to get the sausage meat out and place on a small dish
  7. Begin to gently fill mushroom caps with approximately 1 1/2 Tbsp of sausage per mushroom (some may be smaller and only need 1 Tbsp)
  8. Do not pack in sausage just lightly stuff mushroom caps
  9. Bake for 15-20 minutes til slightly crispy on the edges
  10. DO NOT SALT the mushrooms before you bake them because all the water will release from the mushrooms and they will steam instead of baking
  11. When you take the mushrooms out of the oven THEN you can sprinkle a little salt
  12. The mushrooms will be juicy when you take them out of the oven so before you place them on a serving dish tilt them a little over the cookie tray that way some of the juice can drain out onto the tray and not on the serving platter
  13. Shave a little Parmesan and chives on the mushrooms and serve

Cold Cucumber Soup

Cold Cucumber Soup

This homemade cold cucumber soup is out of this world! It has texture and flavors that won’t stop! Not one of the flavors in this soup over powers another, it’s the perfect balance. You actually find yourself trying to distinguish between them only because you are aware of all the fresh vegetables and herbs that went into this amazing cold soup.

Being a born and raised East Coaster I have to say I have never been a big “cold soup” kind of person. With our unbearably cold winters we have here I really appreciate a very hot bowl of soup to warm the bones. So when ever I’m making this cold cucumber soup I’m slightly biased going in, not willing to give merit where it is due, until I take my first spoonful and it all changes!

My cold cucumber soup completely stands on it’s own and is very satisfying not to mention the medicinal qualities that cucumbers offer. Cucumber’s can reduce puffiness, help to eliminate toxins in your body and we all know that slice’s of cucumber over your eyes can help to reduce dark circles! Some of the vitamin’s cucumber’s offer are A, C and folic acid and minerals of potassium and magnesium.  All and all this homemade cold cucumber soup is a win win situation.

This homemade cold cucumber soup would be great for lunch with a side sandwich or grill up some shrimp like I did in the show. One of my favorite accents to this soup are seared scallops cut in half and placed right in the center on the soup. You can check out in my “Seared Scallop Show” to see exactly how to make the scallops.

King crab meat is also a lovely topping to this cold cucumber soup and was a big hit when I presented this soup this way to the tasting judges at my second MasterChef open casting call in NYC this past March (2016)! All of the MasterChef casting call judges didn’t have any critique for my soup during the tasting phase…they just said “they really, really loved it!” When I made my cucumber soup for the MasterChef casting call I added fresh fennel to the recipe to change it up and give it that je ne sais qua…that extra special something!

This cold cucumber soup is an amazing way to start your dinner party or even have for a luncheon. If you are thinking of other course’s to add to your soup you should check out my stuffed mushrooms, yogurt chicken kabobs, bolognese sauce with homemade pasta and end with my perfect chocolate cake that will rock your world! Enjoy 🙂

mushrooms IMG_1897 025 IMG_4327 IMG_2793

IMG_2859  IMG_2880  blendsoup

pureed  IMG_2902  IMG_7236

IMG_7242 IMG_7223

Ingredients:

  • 2 European cucumbers peeled and cubed – 4 1/2 cups – you do not need to remove seeds with the European cucumbers
  • If you are using regular cucumbers, peel and slice down the middle and remove the seeds scooping them out with a small spoon and cut into chunks
  • 3 ex-lg green onions or 5 small sliced in 1″ pieces from green tips to whitish green stems
  • 1/4 cup of diced cherry tomatoes OR diced heirloom tomatoes
  • ½ an avocado cut in chunks
  • 1 jalapeño chopped (take out seeds)
  • 1 lg garlic clove put through garlic press
  • 1 cup plus 2 tbsp Greek Yogurt – whole milk
  • 1/3 cup fresh dill
  • 1/4 cup fresh mint leaves
  • 1 Tbsp of honey
  • 1/4 cup of seasoned rice vinegar
  • juice from 1 lime
  • 1/4 cup olive oil
  • 1/2 tsp salt – to taste  – (NOTE: I said 1 tsp in the show but I meant to say 1/2 tsp!)
  • 1/4 tsp finely ground pepper

         -FOR COLD CUCUMBER & FENNEL SOUP …ADD:

  • 1 cup cut up fresh FENNEL  …for a change up try this with the FENNEL – YUM!
  • chopped fresh chives for garnish
  • seared scallops , cooked Lobster, Shrimp, or Crab to top the soup in the center

Directions:

  1. Add all the ingredients in the list above to your blender except olive oil
  2. Begin to puree while slowly pouring in olive oil through the opening at the top
  3. Continue to puree for 20-30 seconds
  4. Be patient, all the vegetables in the cucumber soup will begin to slowly puree
  5. Stop and scrape down any herbs or vegetables stuck on the side’s and pulse for 10 more seconds
  6. Chill in the refrigerator for 1 hour
  7. Serve with a sprinkle of dill, finely chopped tomato, cucumber and avocado
  8. Top the center of the soup with seared scallops – room temperature cooked lobster, king crab meat, or shrimp AND then a drizzle of extra virgin olive oil

Salmon B.L.T. Sliders at Marco’s

Salmon B.L.T. Sliders at Marco’s

lathropmanorThese gourmet salmon B.L.T. sliders are like no other you have ever had before. It’s a genius sandwich offering up a sweetness with the tenderly seared Sockeye salmon fillets to the salty in the roasted pancetta and lets not forget the scrumptious homemade aioli with lemon zest and garlic. Then there is the peppery baby arugula and juicy tomato slices all captured on a soft potato bun. WOW! This sandwich slider just melts in your mouth giving you a variety of flavors that compliment each other so well you try to remember each one as it passes over you tongue. Chef Marco, from the charming B & B in Norwich, Connecticut Historic District called Lathrop Manor has these salmon B.L.T. sliders down to perfection so well that it seems everyone in the neighborhood has had one! Make sure to take notice of the homemade lemon aioli recipe which is really lovely and goes with so many foods as shown below on grilled vegetables.

Marco and his wife Sheryl bought this 5500 sq. ft. B & B back in 2005 coming from a 700 sq. ft. apartment in Manhattan. Talk about a culture shock. They then put their heart and soul into the Lathrop Manor making it what it is today and filling the empty building with beautiful period pieces bringing it all together. You couldn’t ask for more gracious hosts then Marco and Sheryl with their warmth and compassion making your visit here a very special place to be.

Lathrop Manor as been written up in Yankee Magazine as well by a Kim Beckius who has written several books about New England B & B’s. You shouldn’t miss the opportunity to stay here and meet Marco and Sheryl, and experience their gourmet fare. Chef Marco can cook up a IMG_2283storm like nobody’s business which is evident their in B & B’s five course breakfast! Hope you enjoy the show and don’t forget to let me know how much you love these gourmet salmon B.L.T. sliders!  You might just get inspired and make Pavlova for dessert!


IMG_2592  IMG_2593  IMG_2587

IMG_2580  IMG_2577  IMG_2655

IMG_2658  IMG_2662  IMG_2617

IMG_2663  Poached

Ingredients for Marco’s Salmon B.L.T. Sliders – makes approx. 20 sliders:

  • 1 1/2 -2 lb. fresh Sockeye Salmon, have fishmonger fillet (remove skin) and de-bone
  • 1/2 lb sliced Pancetta (you’ll need as many slices as sliders that you are making)
  • Arugula
  • olive oil
  • fresh lemons
  • lemon aioli
  • Potato buns
  • Compari tomatoes sliced
  • s & p
  • Marco’s homemade lemon aioli

Directions For Marco’s Salmon B.L.T. Sliders :

  1. Make homemade lemon aioli recipe below
  2. Pre-heat the oven to 400º
  3. Place piece of parchment onto cookie sheet and place pancetta slices onto parchment
  4. Bake pancetta slices for approx. 12 minutes (you can leave slices on the tray when done cooking until you make the sandwich sliders)
  5. Slice salmon fillets in approx. 2 1/2 ” pieces
  6. Season salon with s & p on both sides
  7. Heat lg fry pan on med/high heat
  8. Add 3 tbsp to pan and begin to add salmon squares 4-6 at a time
  9. Sear on first side approx 1 1/2 minutes and flip (it will release when it ready)
  10. Sear 2nd side 30 seconds and remove to platter
  11. Dress arugula with 1 tbsp olive oil and 1 tbsp lemon juice and a sprinkle of s & p and toss (light dressing)
  12. On a large platter line up top and bottoms of potato rolls
  13. Smear a tsp of aioli on each side of the bun halves
  14. Begin to build gourmet salmon B.L.T. sliders
  15. Layer potato bun, aioli, pancetta, salmon, tomato slice, small mound of arugula and top with bun that has a smear of aioli
  16. Buon Appetito!

Ingredients for Marco’s Homemade Lemon Aioli:

  • 1 egg yolk
  • 1 tbsp fresh lemon Juice
  • Zest from 1 lemon
  • 1 heaping tbsp finely chopped shallots
  • 1 tsp fresh garlic finely chopped or through garlic press
  • 1/4 tsp salt
  • sprinkle fresh pepper
  • 1 heaping tbsp Dijon mustard
  • 1/3 cup olive oil
  • 2-3 tbsp grape seed oil (or Olive oil)

Directions for Homemade Lemon Aioli:

  1. Add egg yolk to large glass bowl
  2. Add in Dijon, lemon zest, lemon juice, shallots, garlic
    • Whisk to mix
    • Begin to drizzle in olive oil, then switch to grape seed oil all awhile whisking constantly to emulsify ingredients into thick texture
  3. Add s & p to taste and set aside

Gourmet Frittata

Gourmet Frittata

The Frittata first came about as practical dish in theory for using up those leftovers in our frig but when adding in some lovely melting cheeses and a pinch of dairy it turns into something much more then that. Not to mention this Italian egg dish is just as delicious served room temperature as it is warm.

Making a gourmet frittata is as easy as can be leaving you with lots of room to be creative. The measurements do not have to be exact at all to get wonderful results. You can use 10-12 eggs, and mix in heavy cream, half and half, sour cream, or even creme fresh. You can also change out the cheeses to one that you prefer. Use feta or goat cheese, cheddar, Monterey Jack, Pepper jack, Colby-jack, Swiss or Gruyère, Parmesan and so on. It’s nice to mix it up too using a combination of these cheeses. I really love using up the leftover veggies in the fridge and don’t mind sautéing up one or two more to enhance the leftovers.

By no means does this homemade frittata have to remain a vegetarian either! Pack in the meat using chunks or slices of ham, cooked sausages, bacon, steak and well that list goes on too. I think the trick here is not to fuss too much, be sure to add a little dairy and be sure not to over cook the frittata thinking that it’s not done enough because you see a little movement in the center when taking it out of the oven. Remember it will keep cooking after you take it out of the oven and it will also congeal a bit with the cooling process. Enjoy the show and making this yummy gourmet frittata! You may want to try some grilled Asian Salmon or Caesar Salad with this frittata too.

IMG_2490  onions  mushrooms

kale  cookedkale  eggwithvg

IMG_2533  IMG_2536  slice

Ingredients:

  • 12 extra-lg eggs
  • 1/2 cup half & half, heavy cream or creme fresh
  • 1 1/2 cup gruyere cheese ( 1/2 cup is for the topping) OR 1/2 cup cheddar, 1/2 gruyere with addtional 1/2 cup mix of each for the topping
  • 1/3 cup grated Reggiano Parmesan
  • 8 oz. pkg baby bella mushrooms sliced
  • 1 1/2 cup chopped or sliced onions
  • 6 small tomatoes sliced 1/8″ thick to decorate top of frittata before you bake it
  • 1 tsp salt (1/2 tsp into eggs & 1/4 tsp each for onion/mush. and 1/4 tsp when you add kale)
  • 1/4 tsp ground pepper
  • 1 tsp Siracha (or more…to taste)

Directions :

  1. Pre-heat oven to 350º
  2. Wash and dry kale leaves
  3. Remove kale leaves from the ribbing (stalk) as shown in show
  4. Slice mushrooms, onions, kale and tomatoes – set aside
  5. Whisk 12 eggs, then whisk in 1/2 tsp salt. 1/4 tsp finely ground pepper and half and half
  6. Add 3 tbsp olive oil to 10″ cast iron pan or oven proof pan on med/high heat
  7. Add onions and sauté for 5 minutes
  8. Add mushrooms to onions and 1/4 tsp salt, then sauté another 5 minutes on med/high
  9. Add in kale when juices begin to release from the mushrooms along with another 1/4 tsp salt and sprinkle of pepper, and a few shots of Siracha
  10. Sauté kale mixture for 5 minutes while stirring just to wilt slightly
  11. Add 1 cup of gruyere and 1/2 cup of parm to egg mixture and give it a quick stir
  12. Turn off heat on cast iron pan and add in egg mixture
  13. Give it a stir to the veggies and egg mixture
  14. Then top with 1/2 cup more gruyere cheese and decorate with sliced tomatoes
  15. Put into the oven and bake for approx. 23 minutes
  16. Take a peak at the 20 minute mark to make sure that the top hasn’t gotten golden
  17. You only want slight golden on outer edge
  18. Take out frittata and let sit for 20-30 minutes
  19. NOTE: the frittata will keep cooking after you remove it from the oven
  20. Slice and serve with a sprinkle of grated Reggiano Parmesan on top

Yogurt Chicken Kabobs, Tzatziki & Toum at Maria’s

Yogurt Chicken Kabobs, Tzatziki & Toum At Maria’s

Wow, this gourmet yogurt marinated chicken kabob recipe is the most scrumptious marinade I have ever had on chicken. It will be my new favorite marinade for summer grilling! There is really nothing to putting together this marinade and the results are outstanding. The grilling goes really quickly here too because you cube up the chicken into small pieces so it only takes about 7-8 minutes for each side on high heat.  I know I will be baking my chicken with this marinade over the winter months. Maria got this yogurt-marinated chicken kabob recipe from epicurious.com and of course making a couple of adjustments as I go through my own test kitchen adding in the fresh ground coriander and the “smoked” Spanish paprika giving it that hint of something extra that I was looking for.

The combination of these three gourmet recipes together are packed full of flavor! My favorite is actually having  this dynamic combo on some warmed or toasted naan adding in a chewy soft texture to this heavenly dish. Using the toum, the garlic Lebanese sauce as a baster for the breads and vegetables when you are grilling in a no brainer.

This homemade gourmet sauce called toum is such an unusual sauce because it’s hard to initially imagine how such a thick and creamy texture can come about from peeled garlic cloves and vegetable oil! You must be patient with this recipe as the slow drizzling of the vegetable oil is crucial in the emulsification of this garlic-oil combo but the efforts are well worth it. Watching the show to see how I get the sauce thick and foamy I hope will help clarify the “how to’s” of it. This toum sauce will last up to 2-3 weeks in your frig and who’s better than you with this little hidden gem just waiting to put a flavor punch of silky garlic on your sauteed veggies, garlic breads, meats, fish, chicken… the options are really endless.

Maria’s homemade tzatziki sauce is a recipe I’m sure you will love and want to add to your go to recipes for summer. The way she has you drain the whole fat Greek Yogurt makes this sauce even creamier and gives your mouth a smooth silky texture yet refreshing at the same time with the grated cucumber, and vinegars and fresh lemon juice. This sauce can easily be used as an amazing dip with pita chips. It’s similar to my cucumber & Vadalia onion salad but definitely different. So nice to have a couple different styles to choose from.

This Mediterranean night of exotic spices and flavorful recipes will not be easily forgotten. You just may start to crave these homemade dishes sooner than you think. I hope you enjoy the show and the gourmet yogurt marinated chicken kaobs, tzatziki and toum recipes.

IMG_1789  IMG_1787  IMG_1817

IMG_1897  IMG_1768  IMG_1778

IMG_1780  IMG_1826  IMG_1831

IMG_1832  IMG_1851  IMG_1898

IMG_1802  IMG_1890  IMG_1879

IMG_1809  IMG_1794  IMG_1911

INGREDIENTS for Yogurt Chicken Kabobs:

  • 1 tsp ground red pepper flakes
  • 1 tsp (Spanish) smoked paprika
  • 1 tsp (Hungarian) sweet paprika
  • 2 tsp coarse kosher salt
  • 1 tsp fine ground black pepper
  • 2 tbsp tomato paste
  • 6 garlic cloves peeled and smashed
  • 2 whole lemons thinly sliced
  • 2 tbsp red wine vinegar
  • 3 tbsp olive oil
  • 1 cup whole milk Greek Yogurt
  • 2 1/2 lbs. chicken thighs
  • 1 package extra-long wooden skewers
  • 1 package cherry or grape tomatoes
  • 1 or Vadalia sweet onion sliced into 1″ pieces

Mediterranean Yogurt Chicken Kabobs DIRECTIONS:

  1. Take first 11 ingredients in above list and add to large mixing bowl
  2. Mix everything with a spatula then add in chicken pieces and toss to coat
  3. Cover with saran and pop into the frig for 24 hours
  4. Cover 2 cookie tray with foil and begin to place pieces of marinated chicken
  5. Place chicken thigh pieces on BROIL for 10 nminutes, then flip & broil 10 minutes more
  6. Be sure to keep an eye on them so as not to burn
  7. Remove tray and let cool to touch while broiling other tray of chicken thigh pieces
  8. When all chicken can be handled place 3 cooked pieces onto each wooden skewer
  9. OR you can grill…
  10. OPTIONAL: Skewer cherry tomatoes and onion alternating pieces
  11. You can also alternate chicken, tomato, onion, chicken and repeat
  12. Grill on high for 7-8 minutes on each side (even with veggies in the mix)
  13. Serve grilled chicken and tomato/onion on naan or pita bread with tzatziki, and hummus or rice ….YUM!

INGREDIENTS for Tzatziki Sauce:

  • 1 16 oz. container of whole fat Greek yogurt
  • 1 English cucumber
  • 1 garlic clove put thru garlic press
  • 1/2 cup chopped fresh dill
  • 2 tbsp rice wine vinegar
  • 1 tbsp red wine vinegar
  • 1 tsp salt
  • 1/4 tsp pepper
  • 1/2 tsp cumin
  • juice from 1/2 fresh lemon
  • 2 tbsp good extra virgin olive oil in sauce and some to drizzle on top at the end

DIRECTIONS for Tzatziki:

  1. Slice cucumber in half-length wise, then in half crosswise
  2. Scoop out middle seeds and discard
  3. Grate cucumber halves into a large bowl
  4. Put cucumber gratings into a Ziploc baggie and add 1/2 tsp salt, let sit for 1 hour or over night
  5. Unseal a small corner of the Ziploc & drain water from baggie squeezing the grated cucumber
  6. Add grated cucumber to a medium bowl, and pat dry with paper towels to remove any excess water
  7. Add fresh dill, garlic, s&p, cumin, lemon juice and Greek yogurt to grated cucumber, mix til creamy texture
  8. Drizzle 2 tbsp good extra virgin olive oil on top and voilà you have tzatziki

INGREDIENTS for TOUM – Lebanese Garlic Sauce:

  • 1 cup peeled white garlic
  • 2 1/2 cups vegetable oil
  • 1/4 tsp salt
  • 1/2 cup fresh lemon juice

DIRECTIONS for Toum: Approx Time 12 minutes

  1. Add 1 cup peeled garlic and salt to food processor and pulse 3 times
  2. Scrape down sides
  3. Begin the garlic-vegetable oil emulsion by SLOWLY beginning to drizzle in the oil – This will take about 12 minutes to slowly drizzle in all of the oil
  4. When you have reached adding in 1/2 cup of oil you will need to stop and scrap sides one last time then start up processor again and resume adding in oil, at about 1 cup of oil mark begin to add 2 tsp of lemon juice – KEEP food processor going the WHOLE TIME
  5. Go back and forth from oil to lemon juice until it’s finished (I begin to add 3 tbsp of lemon juice at a time after about 1 1/2 cup of oil mark)
  6. You should see the volume doubling then quadrupling
  7. At this point the toum will be thick and foamy
  8. Since the food processor has been running for a while now you will need to let it COOL and put into a container but DO NOT seal at this point because any condensation will ruin the texture of the toum and all your hard work
  9. Just loosely cover with a paper towel til COMPLETELY COOLED
  10. At this point you can seal with a top
  11. It will last in the frig for a couple of weeks
  12. Serve with the yogurt marinated chicken kabobs, sauté vegetables, brush on grill items, naan, pita bread, ciabatta for garlic bread … the options are endless ENJOY 🙂