The Traveling Epicurean

Secret Meatball Recipe at Glenn’s New Haven Apizza

Secret Meatball Recipe at Glenn’s New Haven Apizza

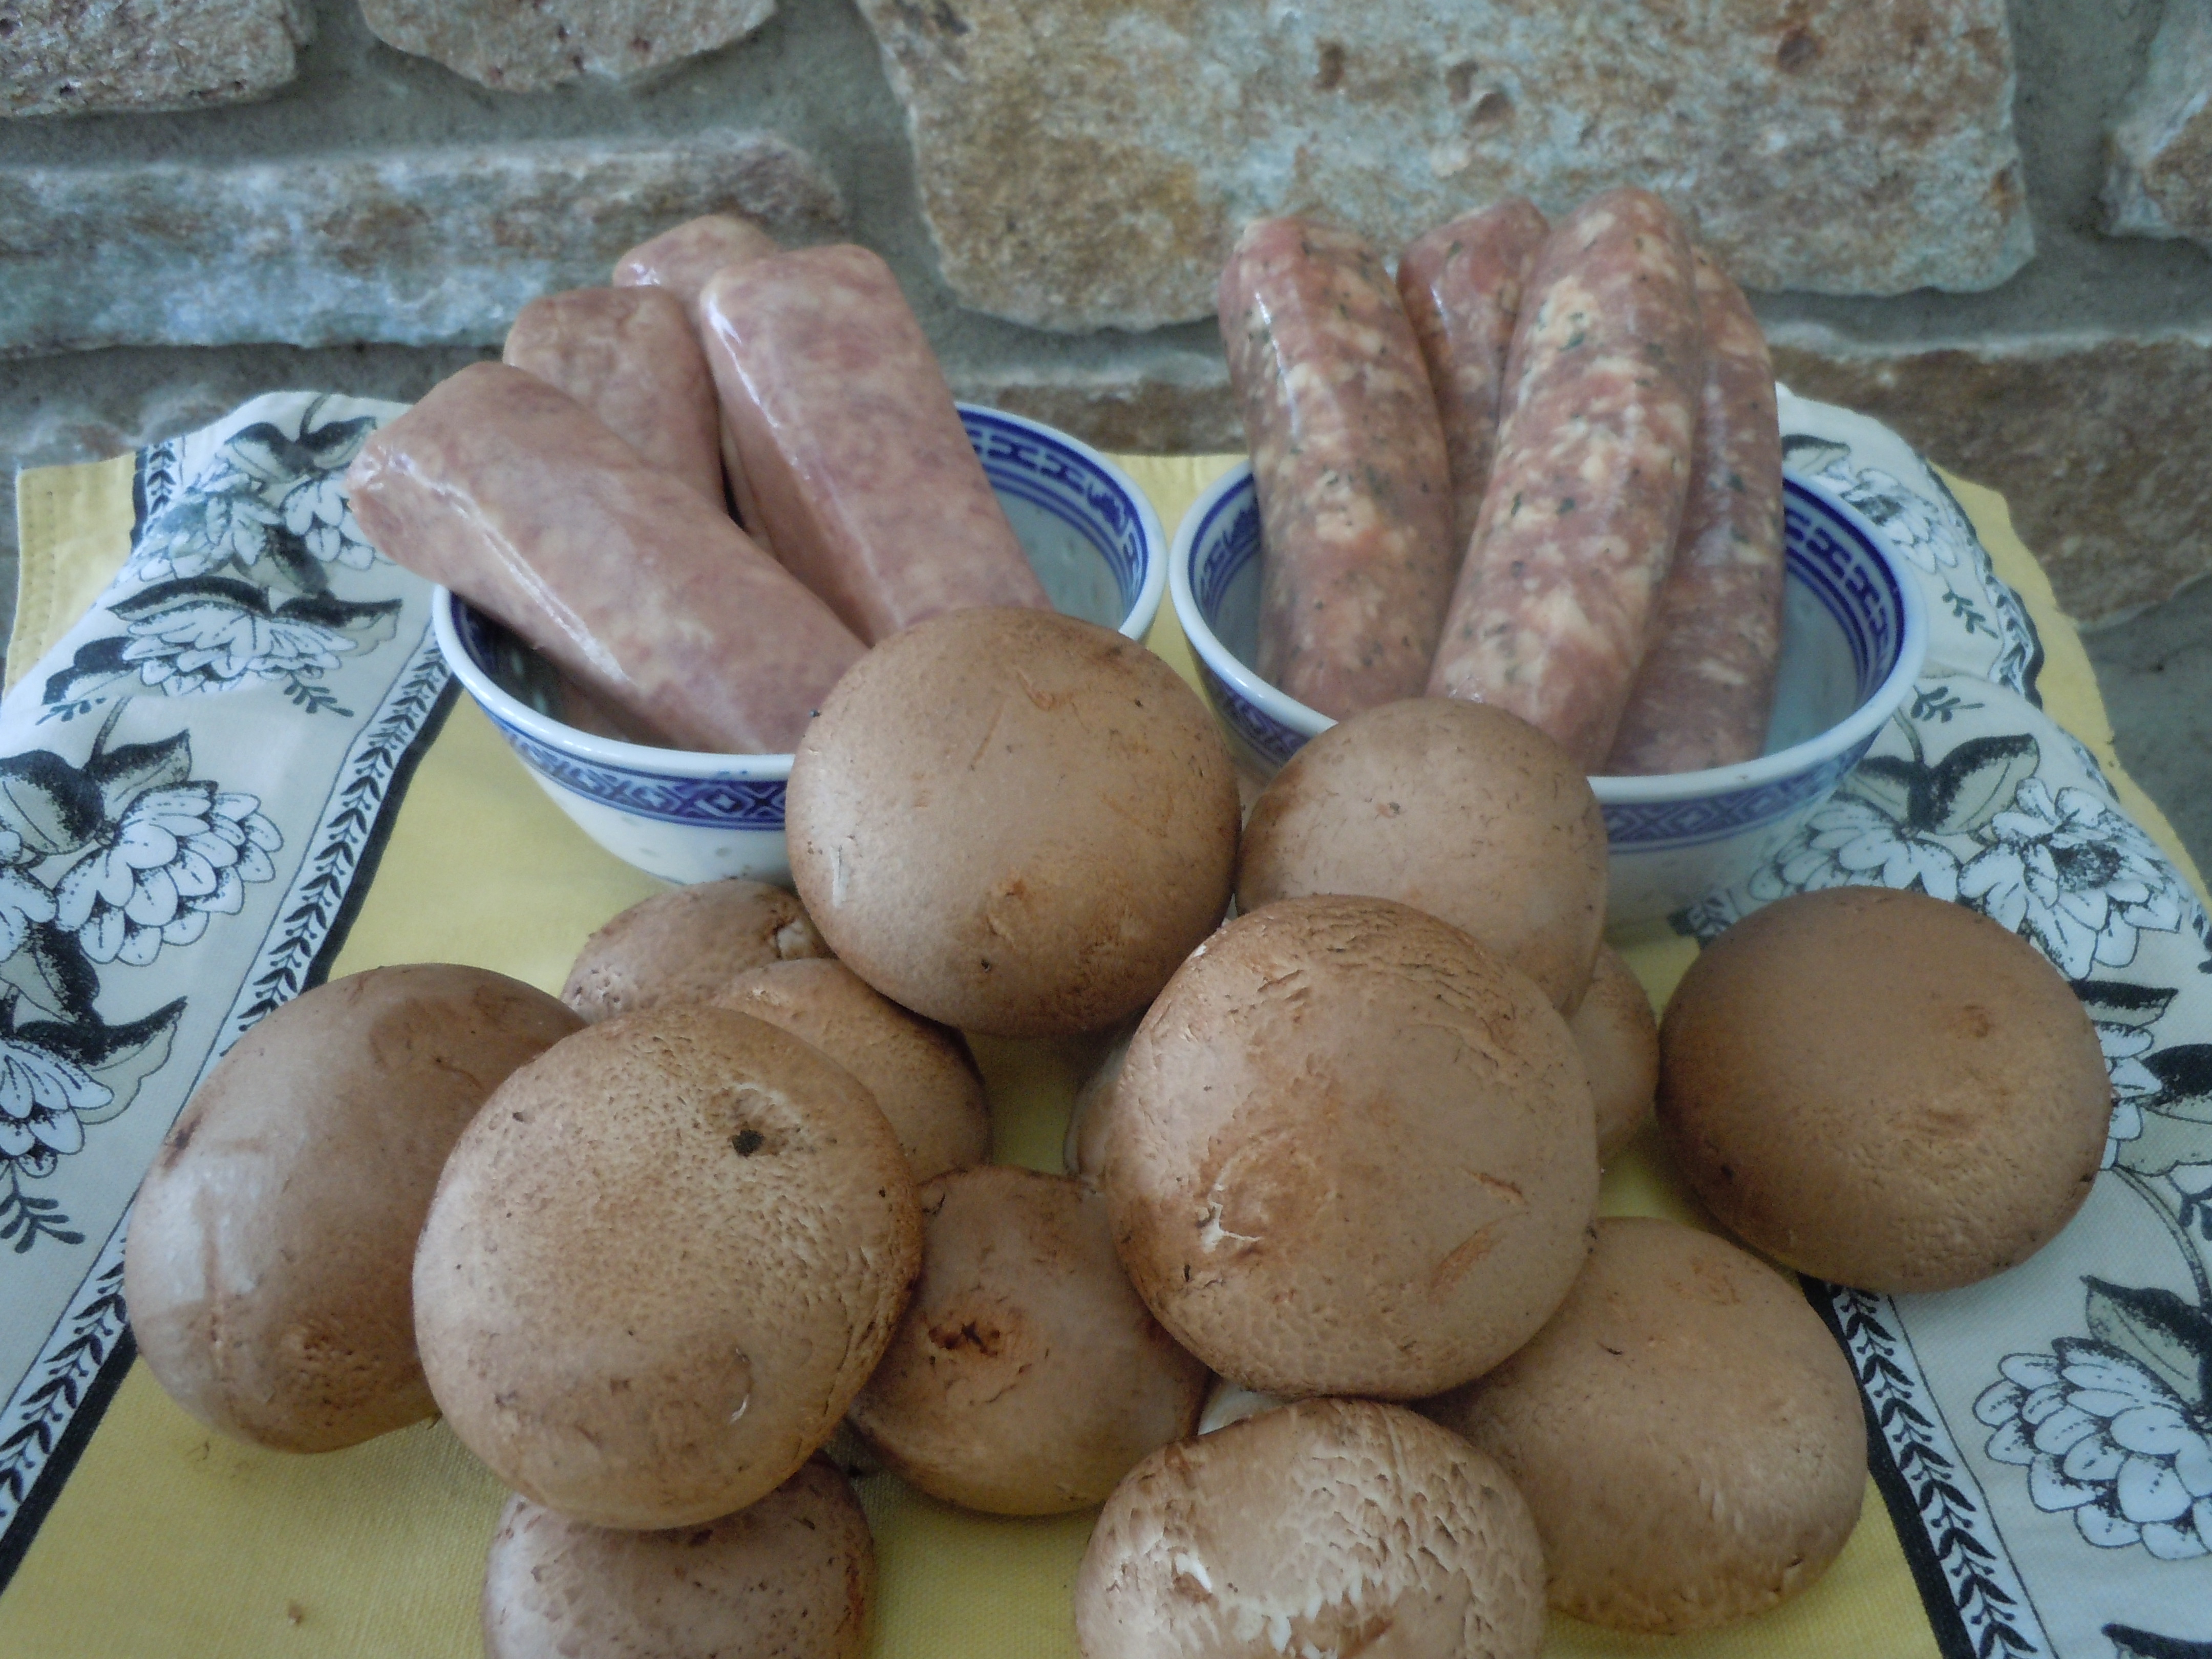
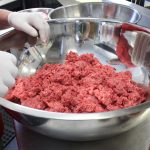
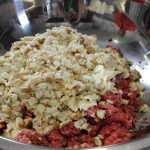
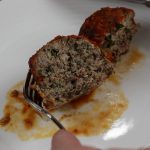
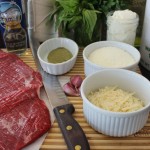
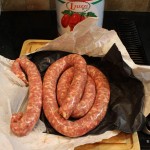
One of the most delicious meatballs you’ll ever have and the mammoth size will knock you for a loop! Glenn Proto, at New Haven Apizza & Bakery, right here in our very own Madison, CT, shared his mother, Annette’s, secret meatball recipe with me this week. The ingredients he use’s in his meatballs couldn’t get any fresher because he even grind’s his own meats for these meatballs. Freshly ground brisket, short ribs, 80/20 beef and Longhini sweet sausage are the main ingredients in his meatballs. Oh, but let’s not forget what he calls his “secret” to the meatballs, his addition of finely chopped pepperoni! Glenn says this is what give’s these authentic Italian meatball’s that extra special something!

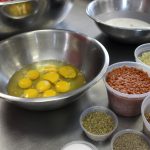
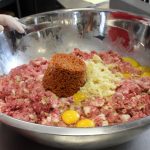
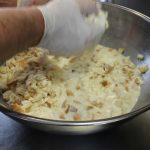
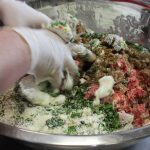
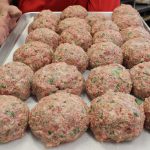
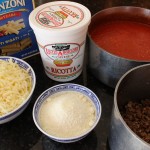
Once we get past all the freshly ground meat that goes into Glenn’s meatballs the love doesn’t stop there, he then caramelizes red onions, adds in Ricotta fina (a special and costly ricotta from the very best Liuzzi Cheese in North Haven,CT, eggs, grated Romano cheese, Italian cubed up bread soaked in heavy cream, and fresh garlic and herbs! Wow, he doesn’t hold back on quality that’s for sure. What an incredible ingredient list for these most flavorful and succulent morsels. Maybe I shouldn’t use the word “morsels” either because the size of these meatball’s are cray cray! It was a blast rolling the meat mixture into bigger then baseball size meatballs with Glenn and his son Dylan. Isn’t it wonderful how the tradition carries on as Dylan and his siblings grew up making these incredible meatballs just as Glenn did. And now, we can add some of this lovely tradition into our kitchen’s since Glenn was so kind as to share his family’s recipe with all of us. He believe’s traditions and recipe’s are meant to be shared so everyone can enjoy them!

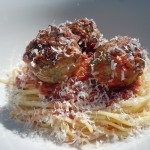
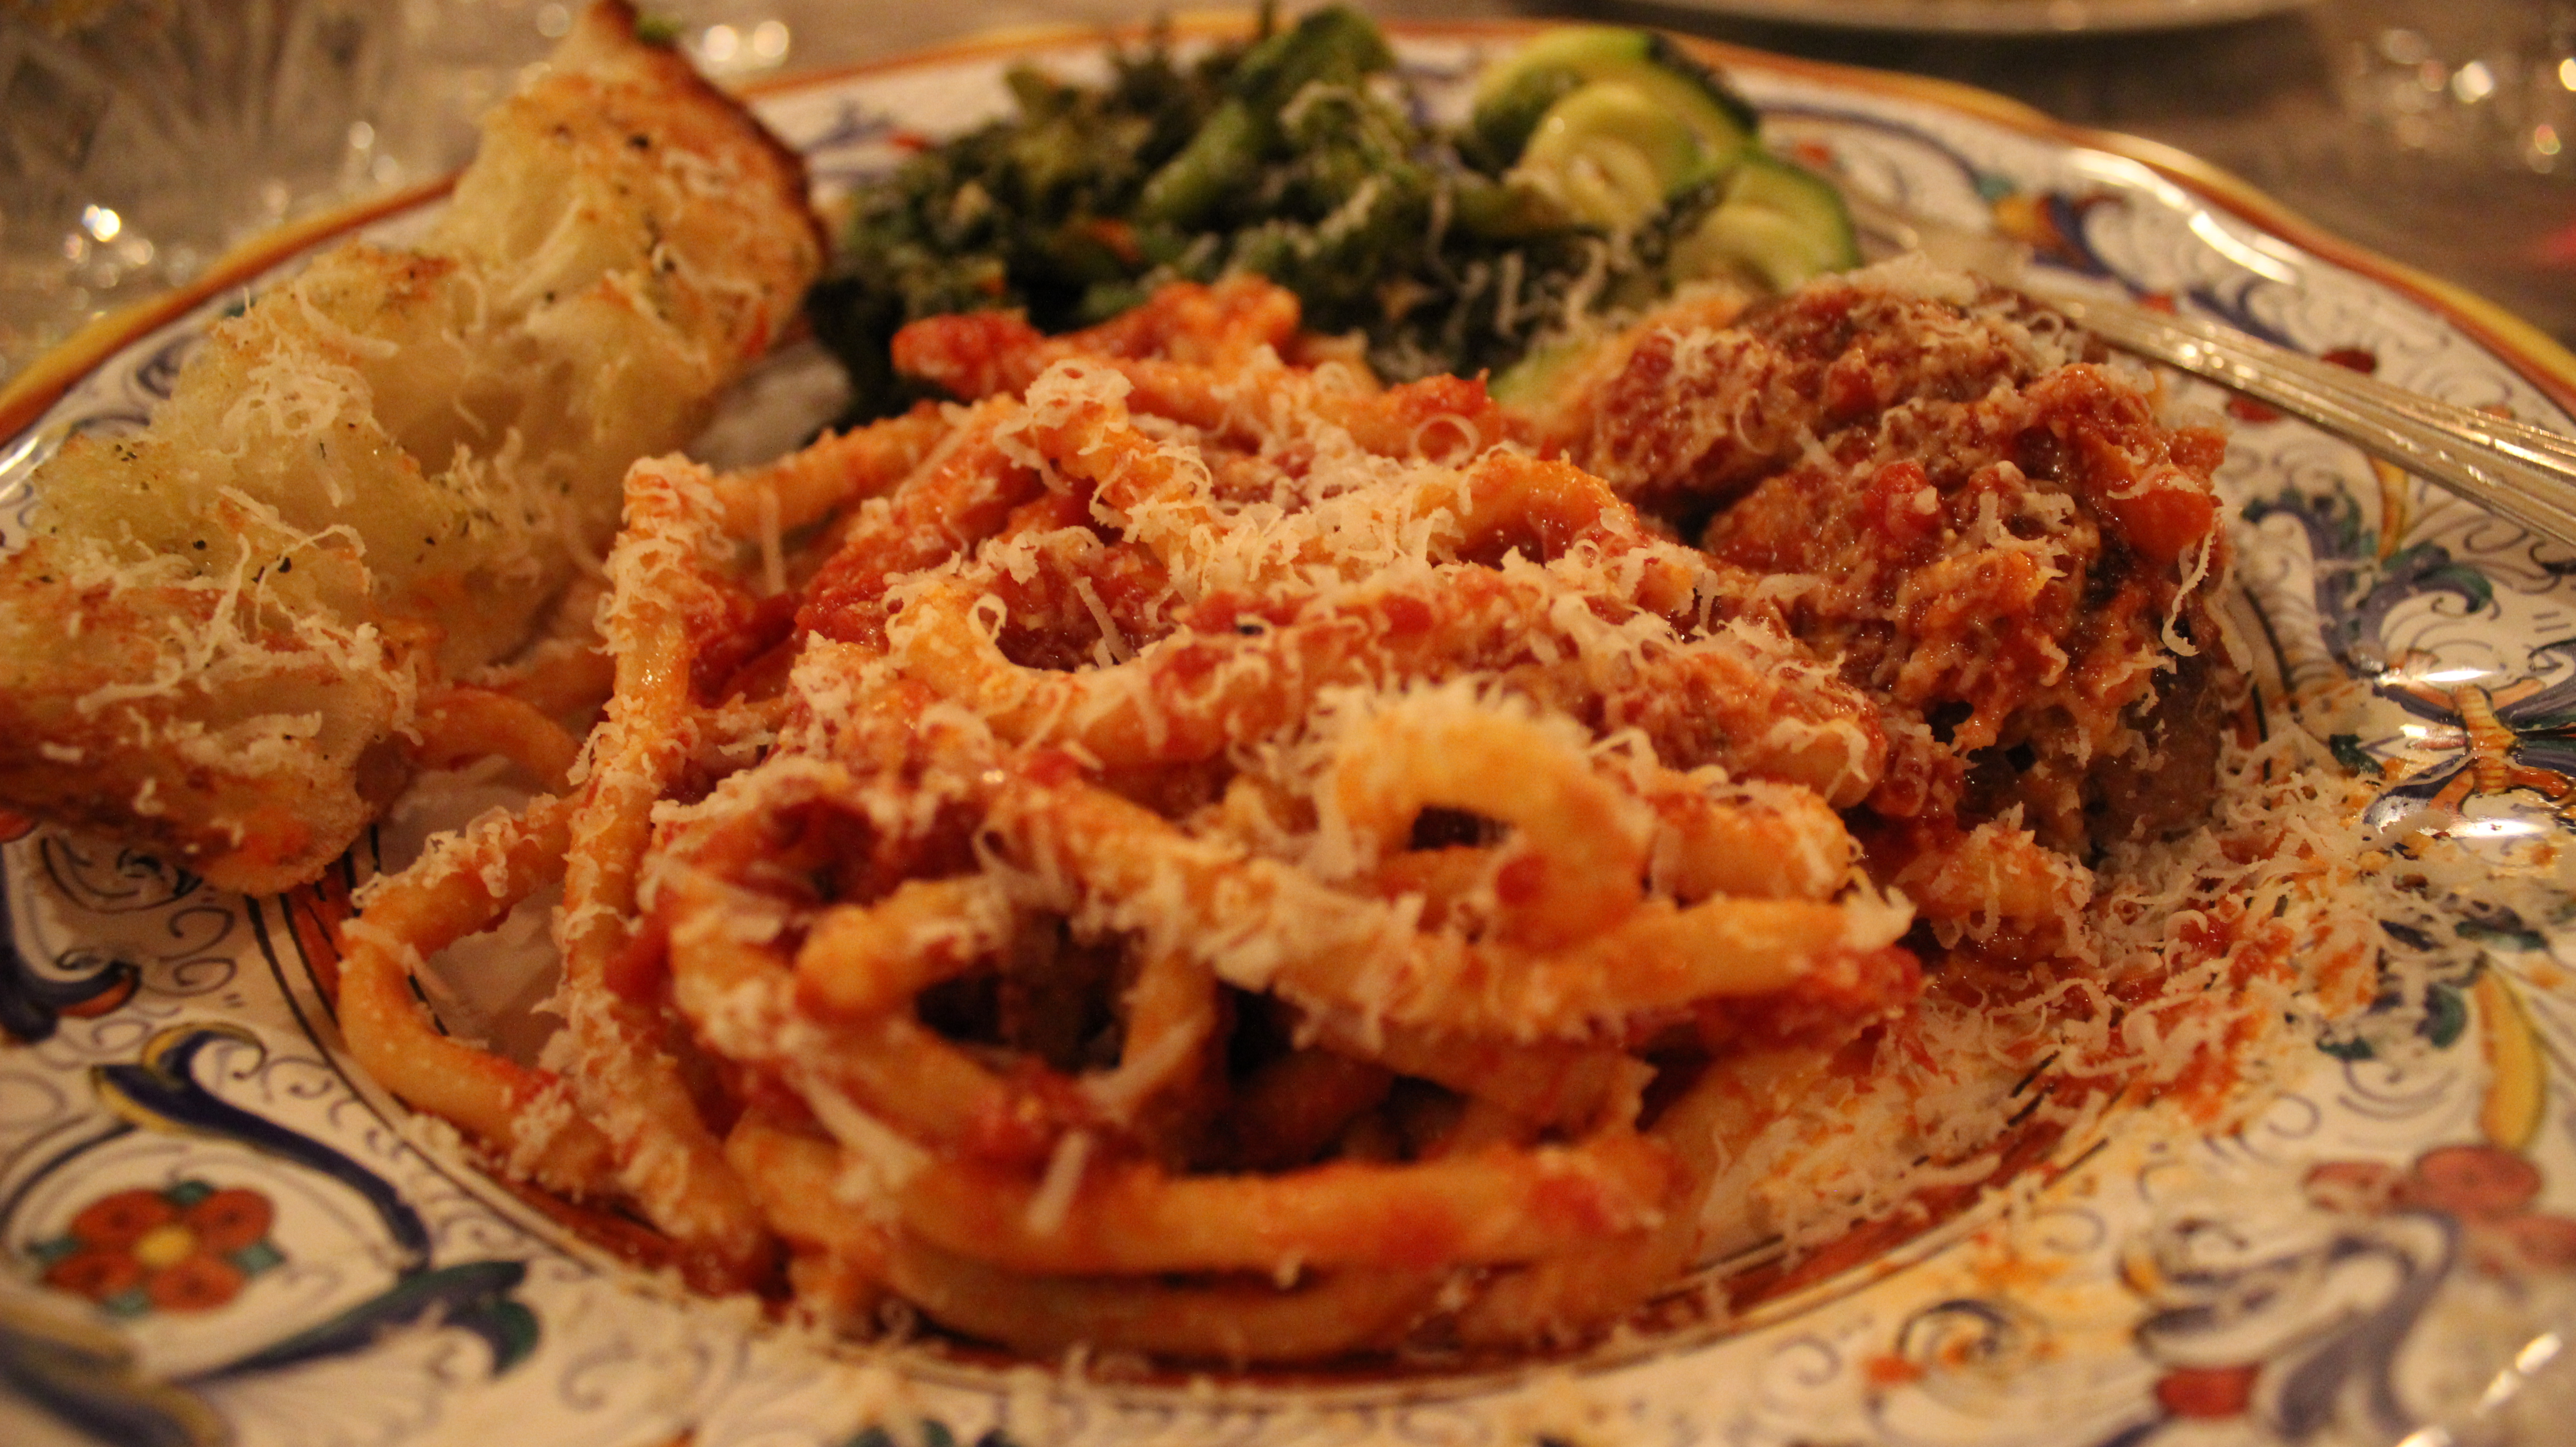
Hope you enjoy this secret meatball recipe show and remember he serve’s up 3 of these colossal meatballs in one “spaghetti and meatball” order from his restaurant! You might want to start with a few appetizer’s like my crab cakes, buffalo chicken dip, Mediterranean layered dip, spanakopita or my hummus!

DSCN45211-300x225 buffdip IMG_5437 cookedspan IMG_5097

IMG_7328 IMG_7338 IMG_7342

IMG_7332 IMG_7334 IMG_7344

IMG_7351 IMG_7388 meatbll

Glenn’s Mammoth Size Meatballs – makes approx 10-12 Colossal Size…Can make them smaller to yield more meatballs!

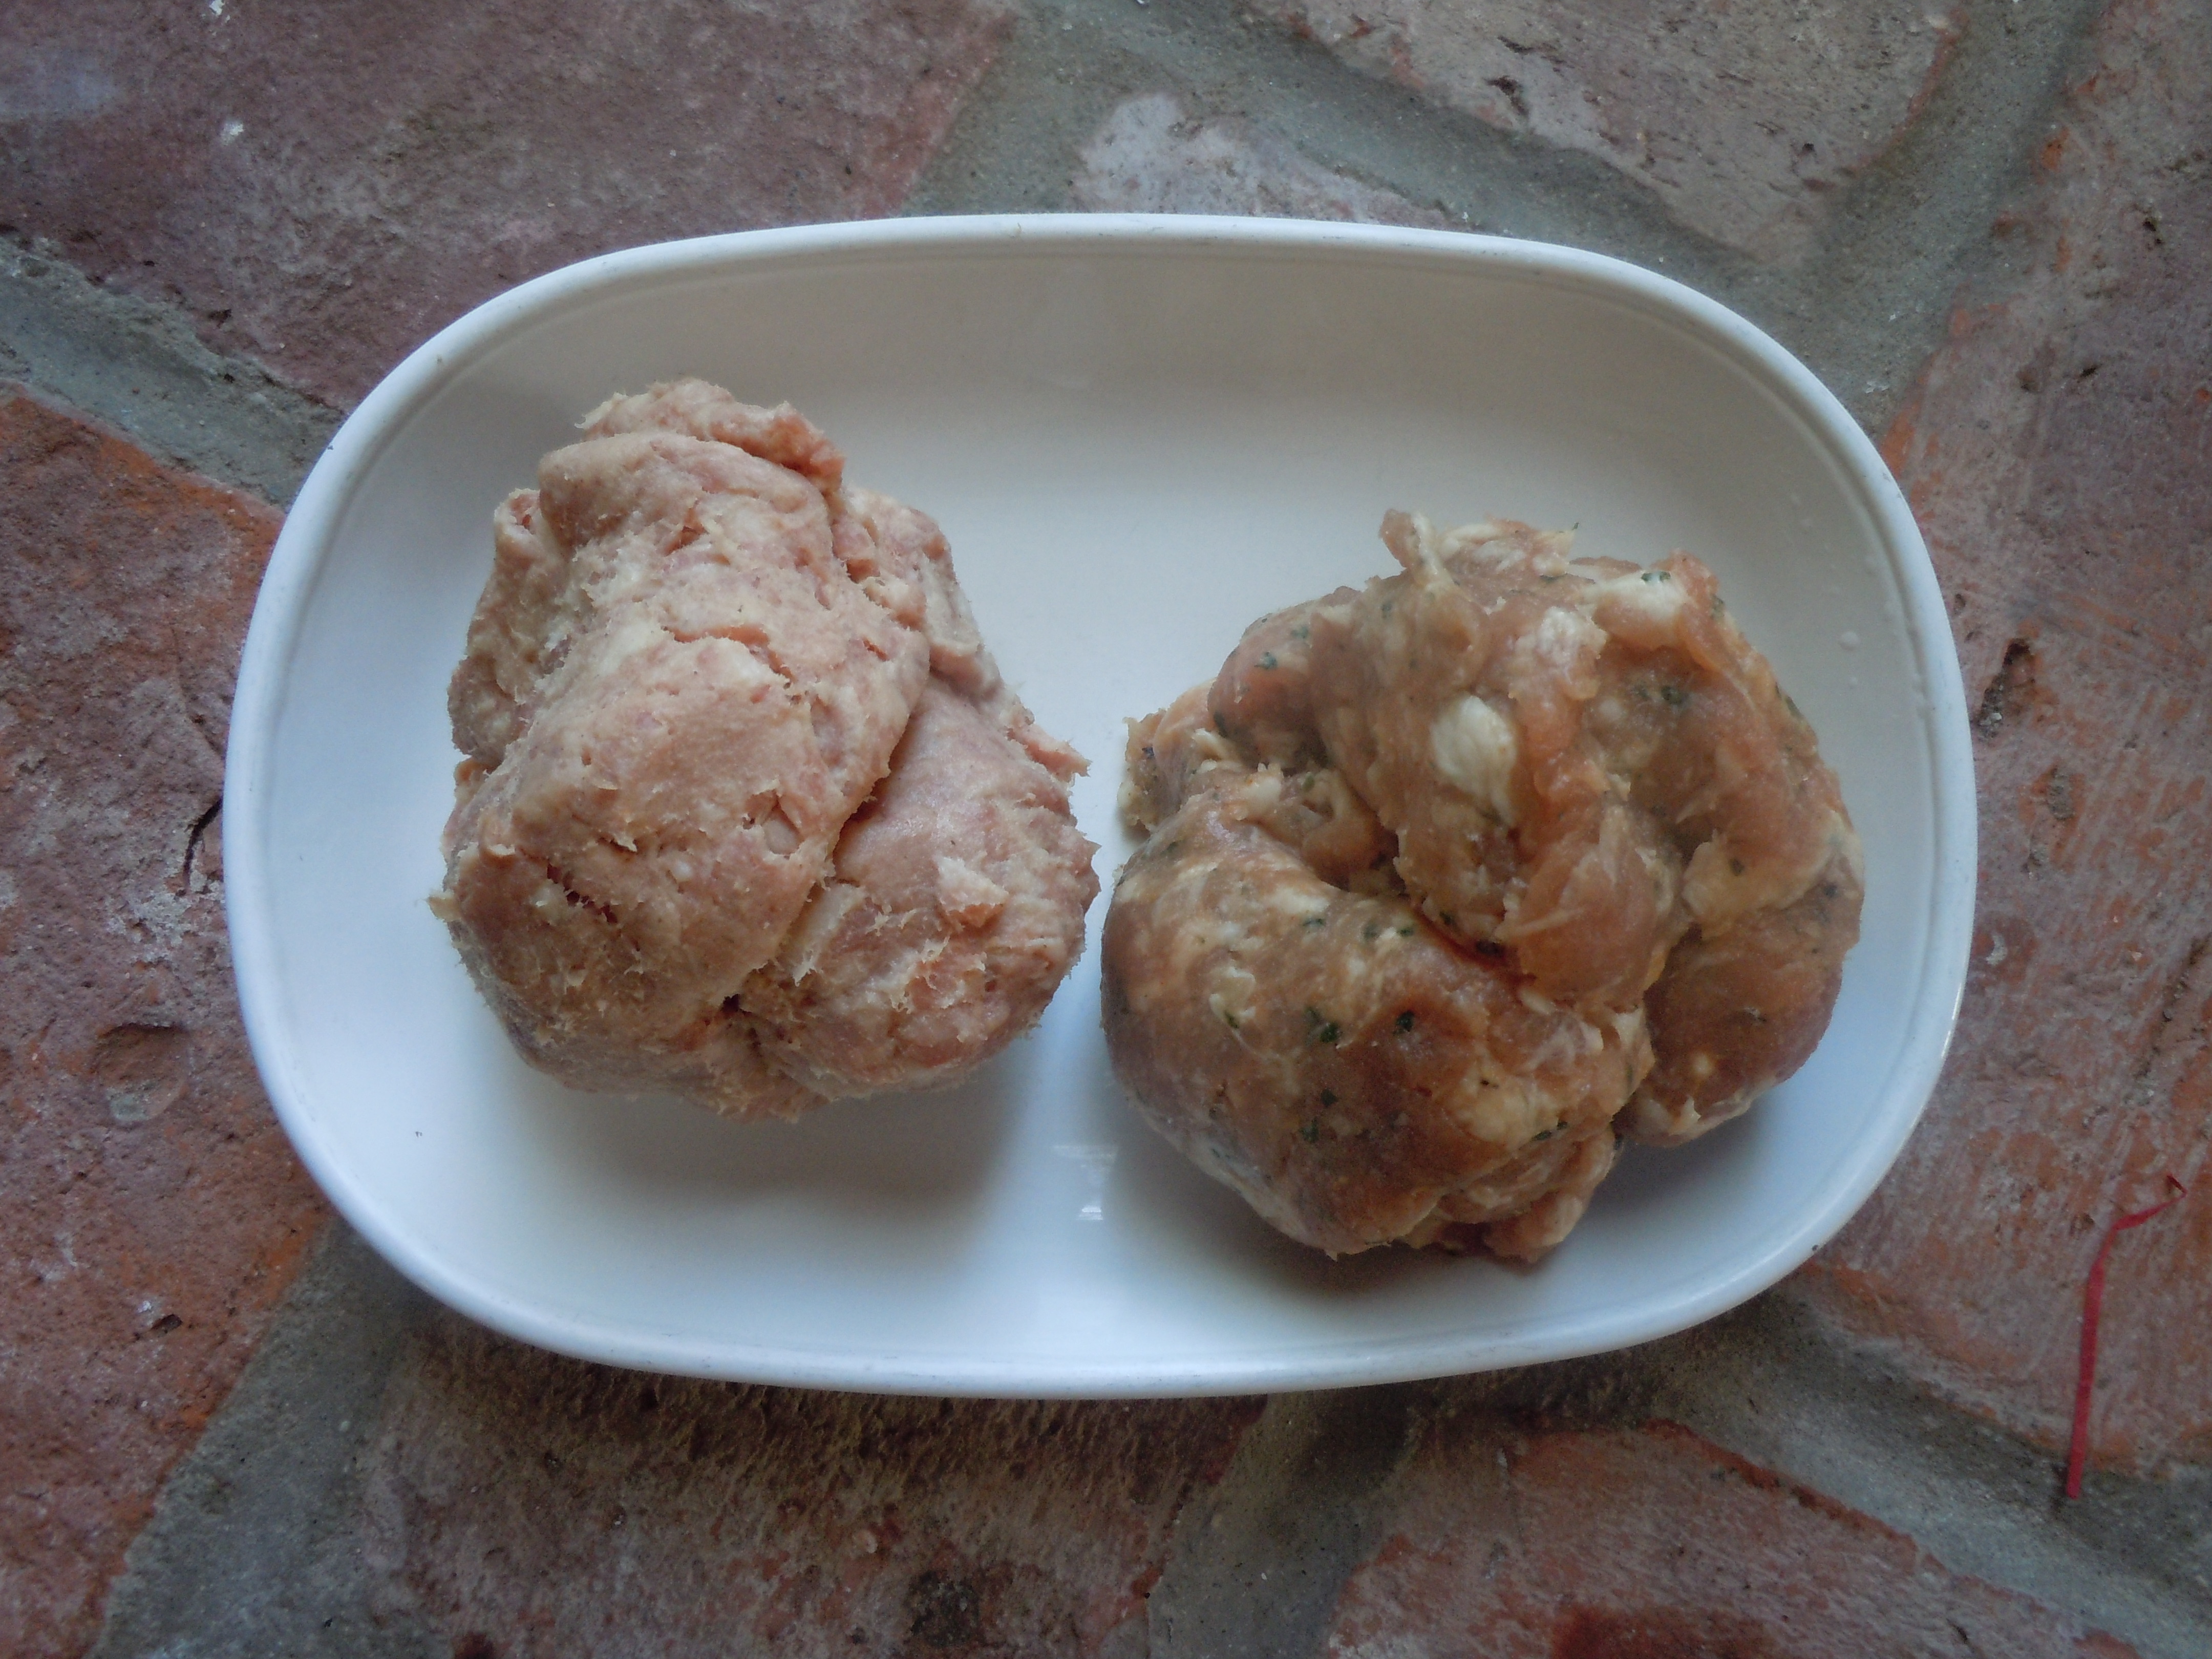
  • 2 1/2 lbs. of ground beef (.75 lbs ea. of ground brisket, short ribs and 80/20 ground beef)
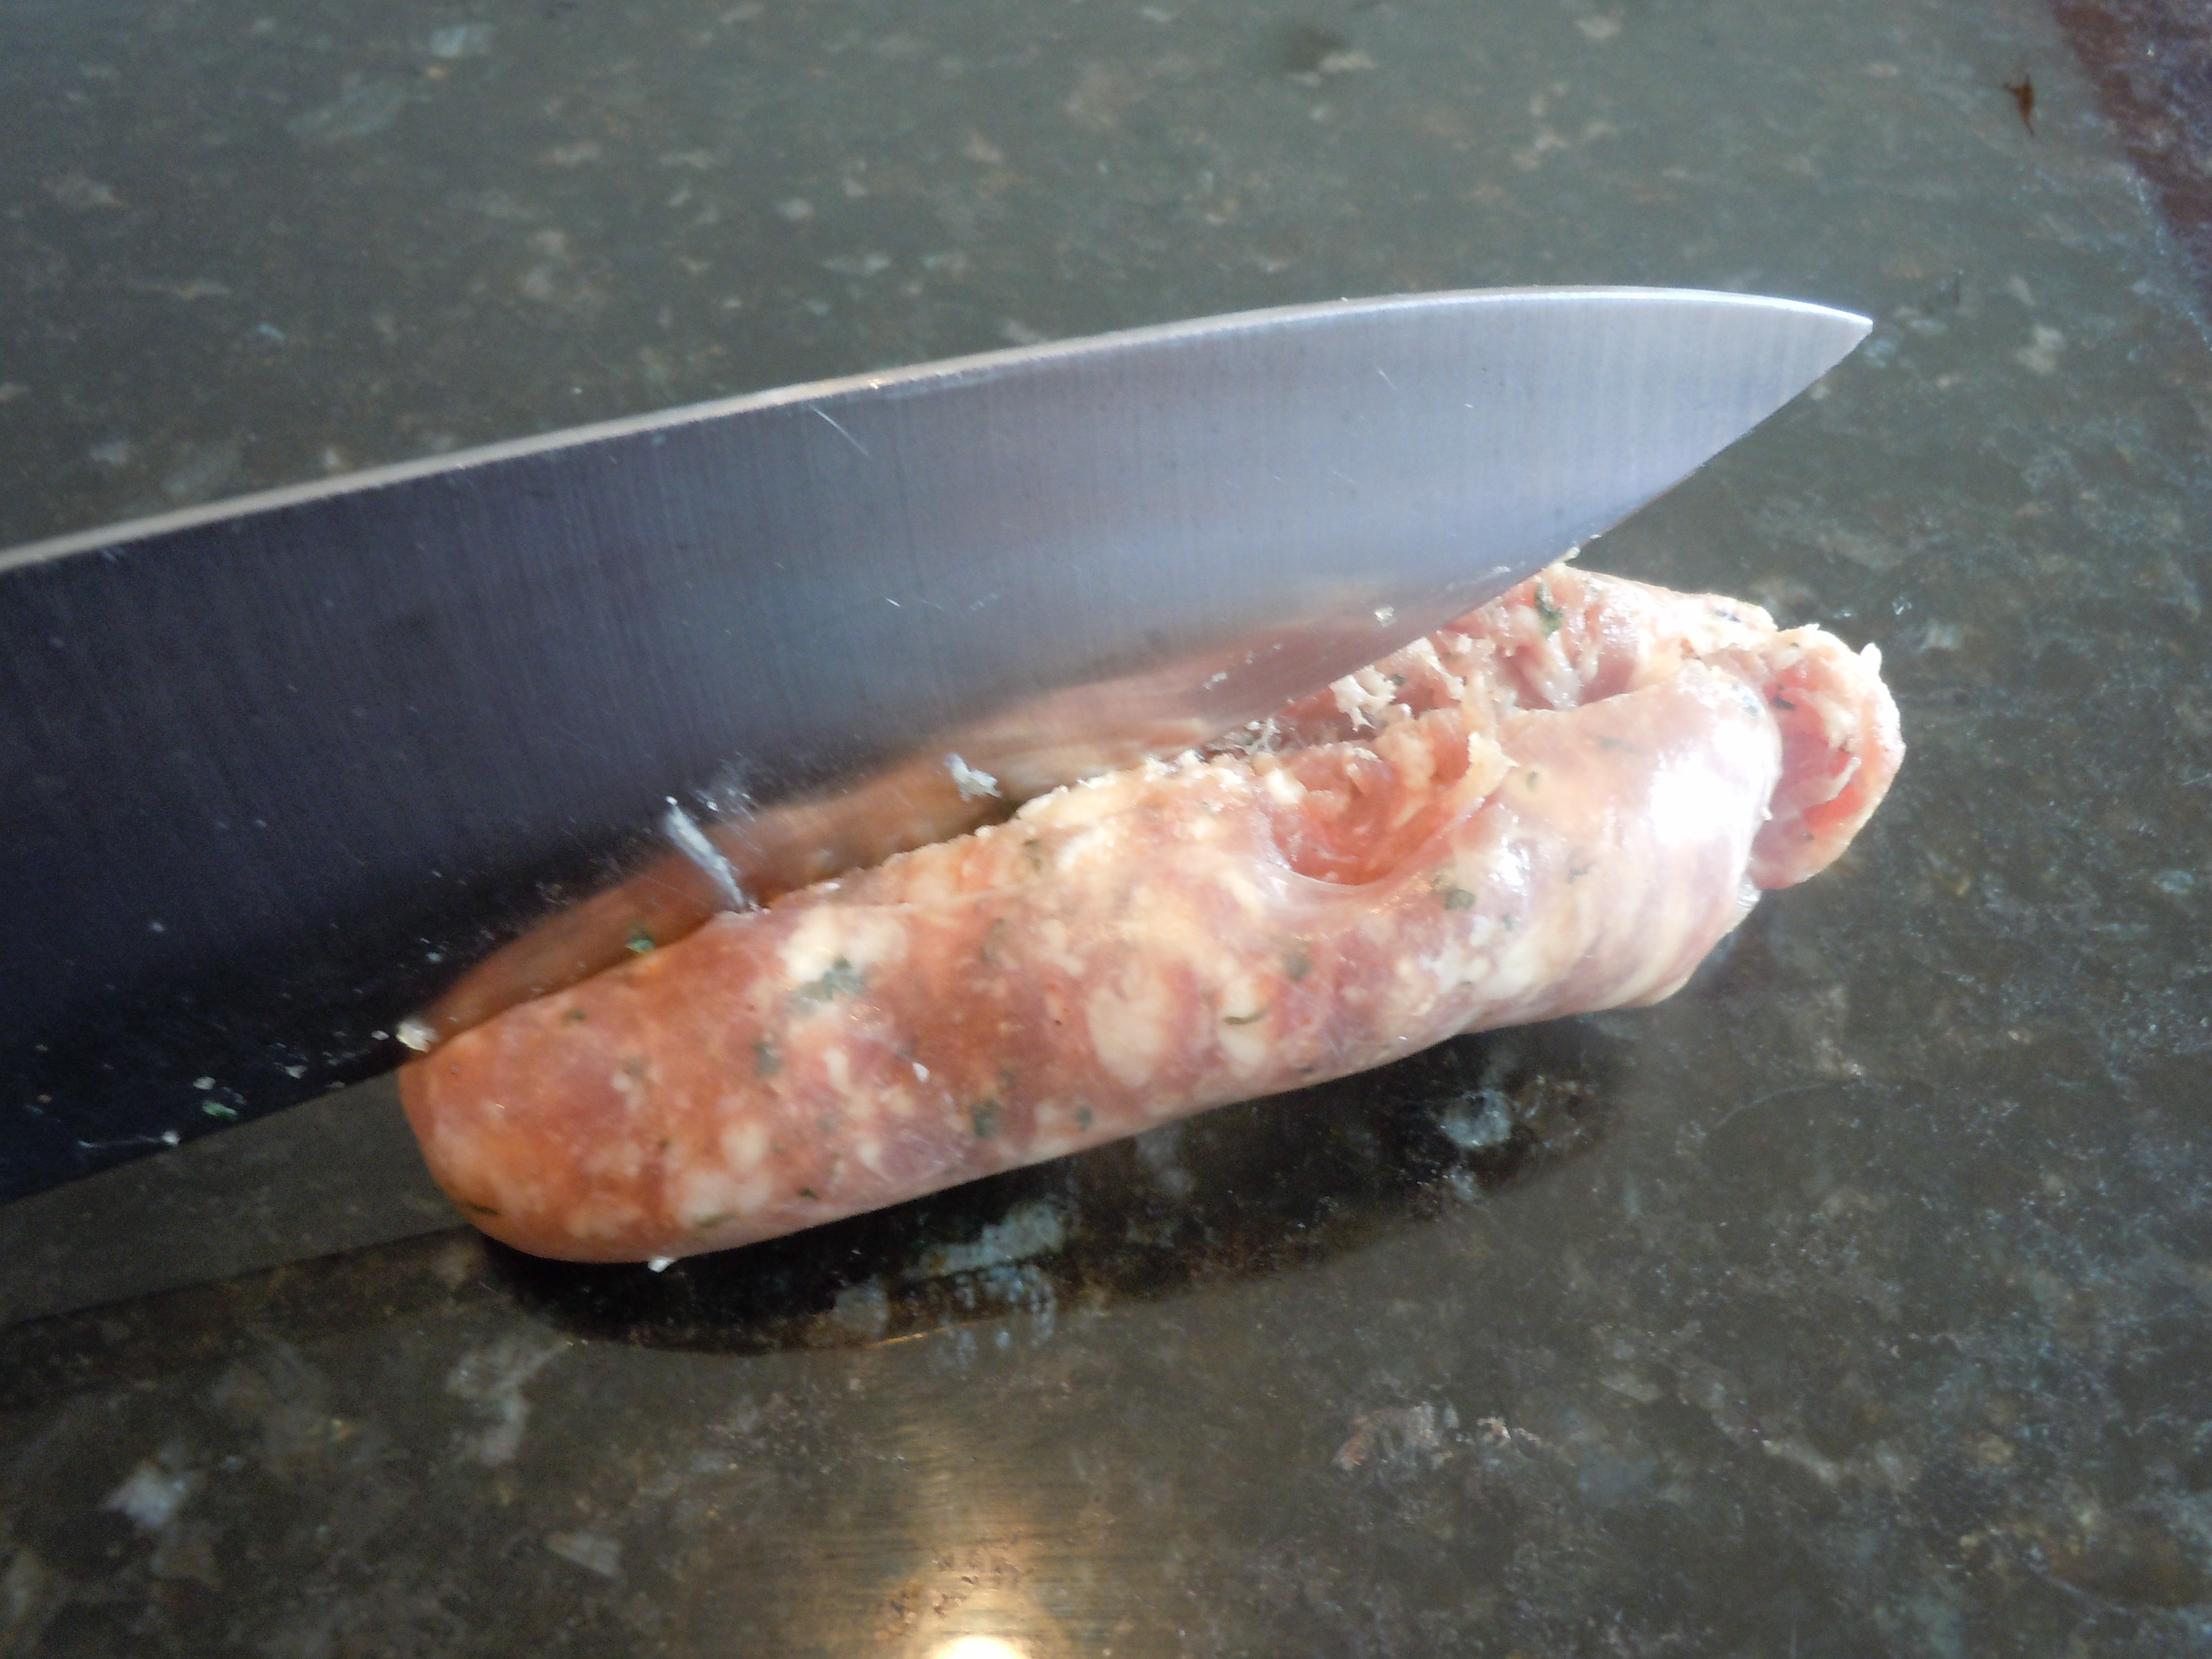
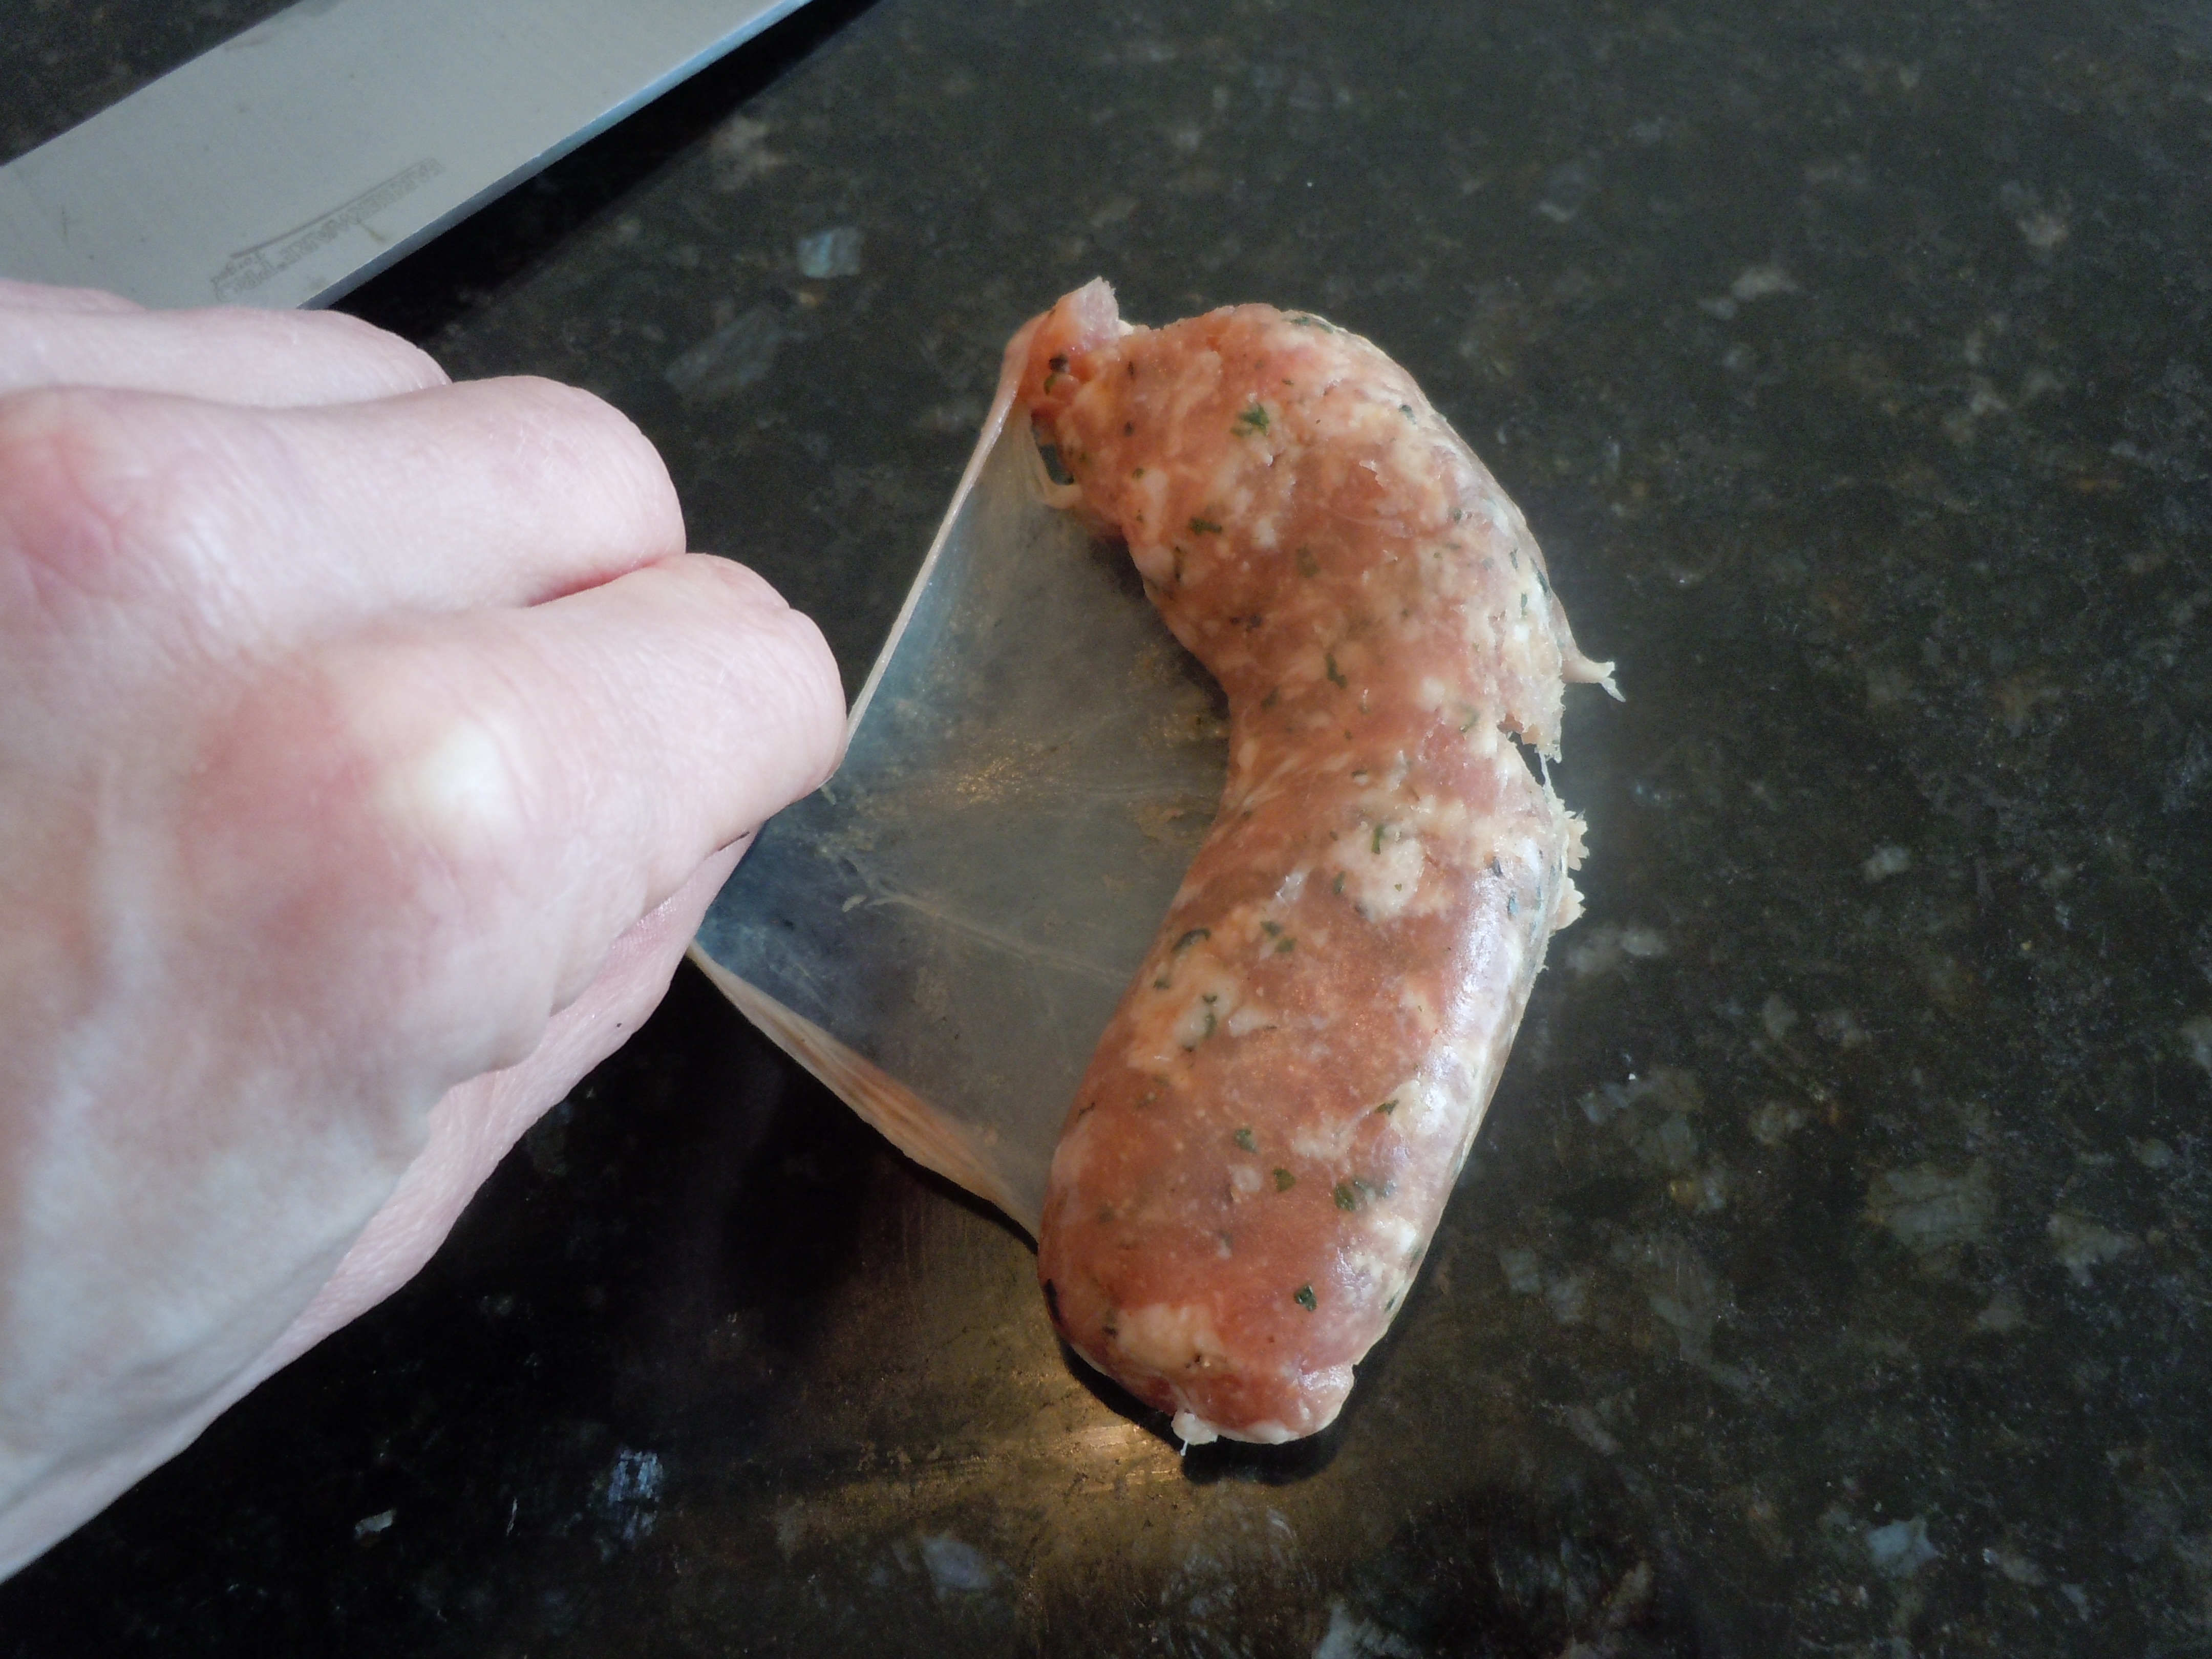
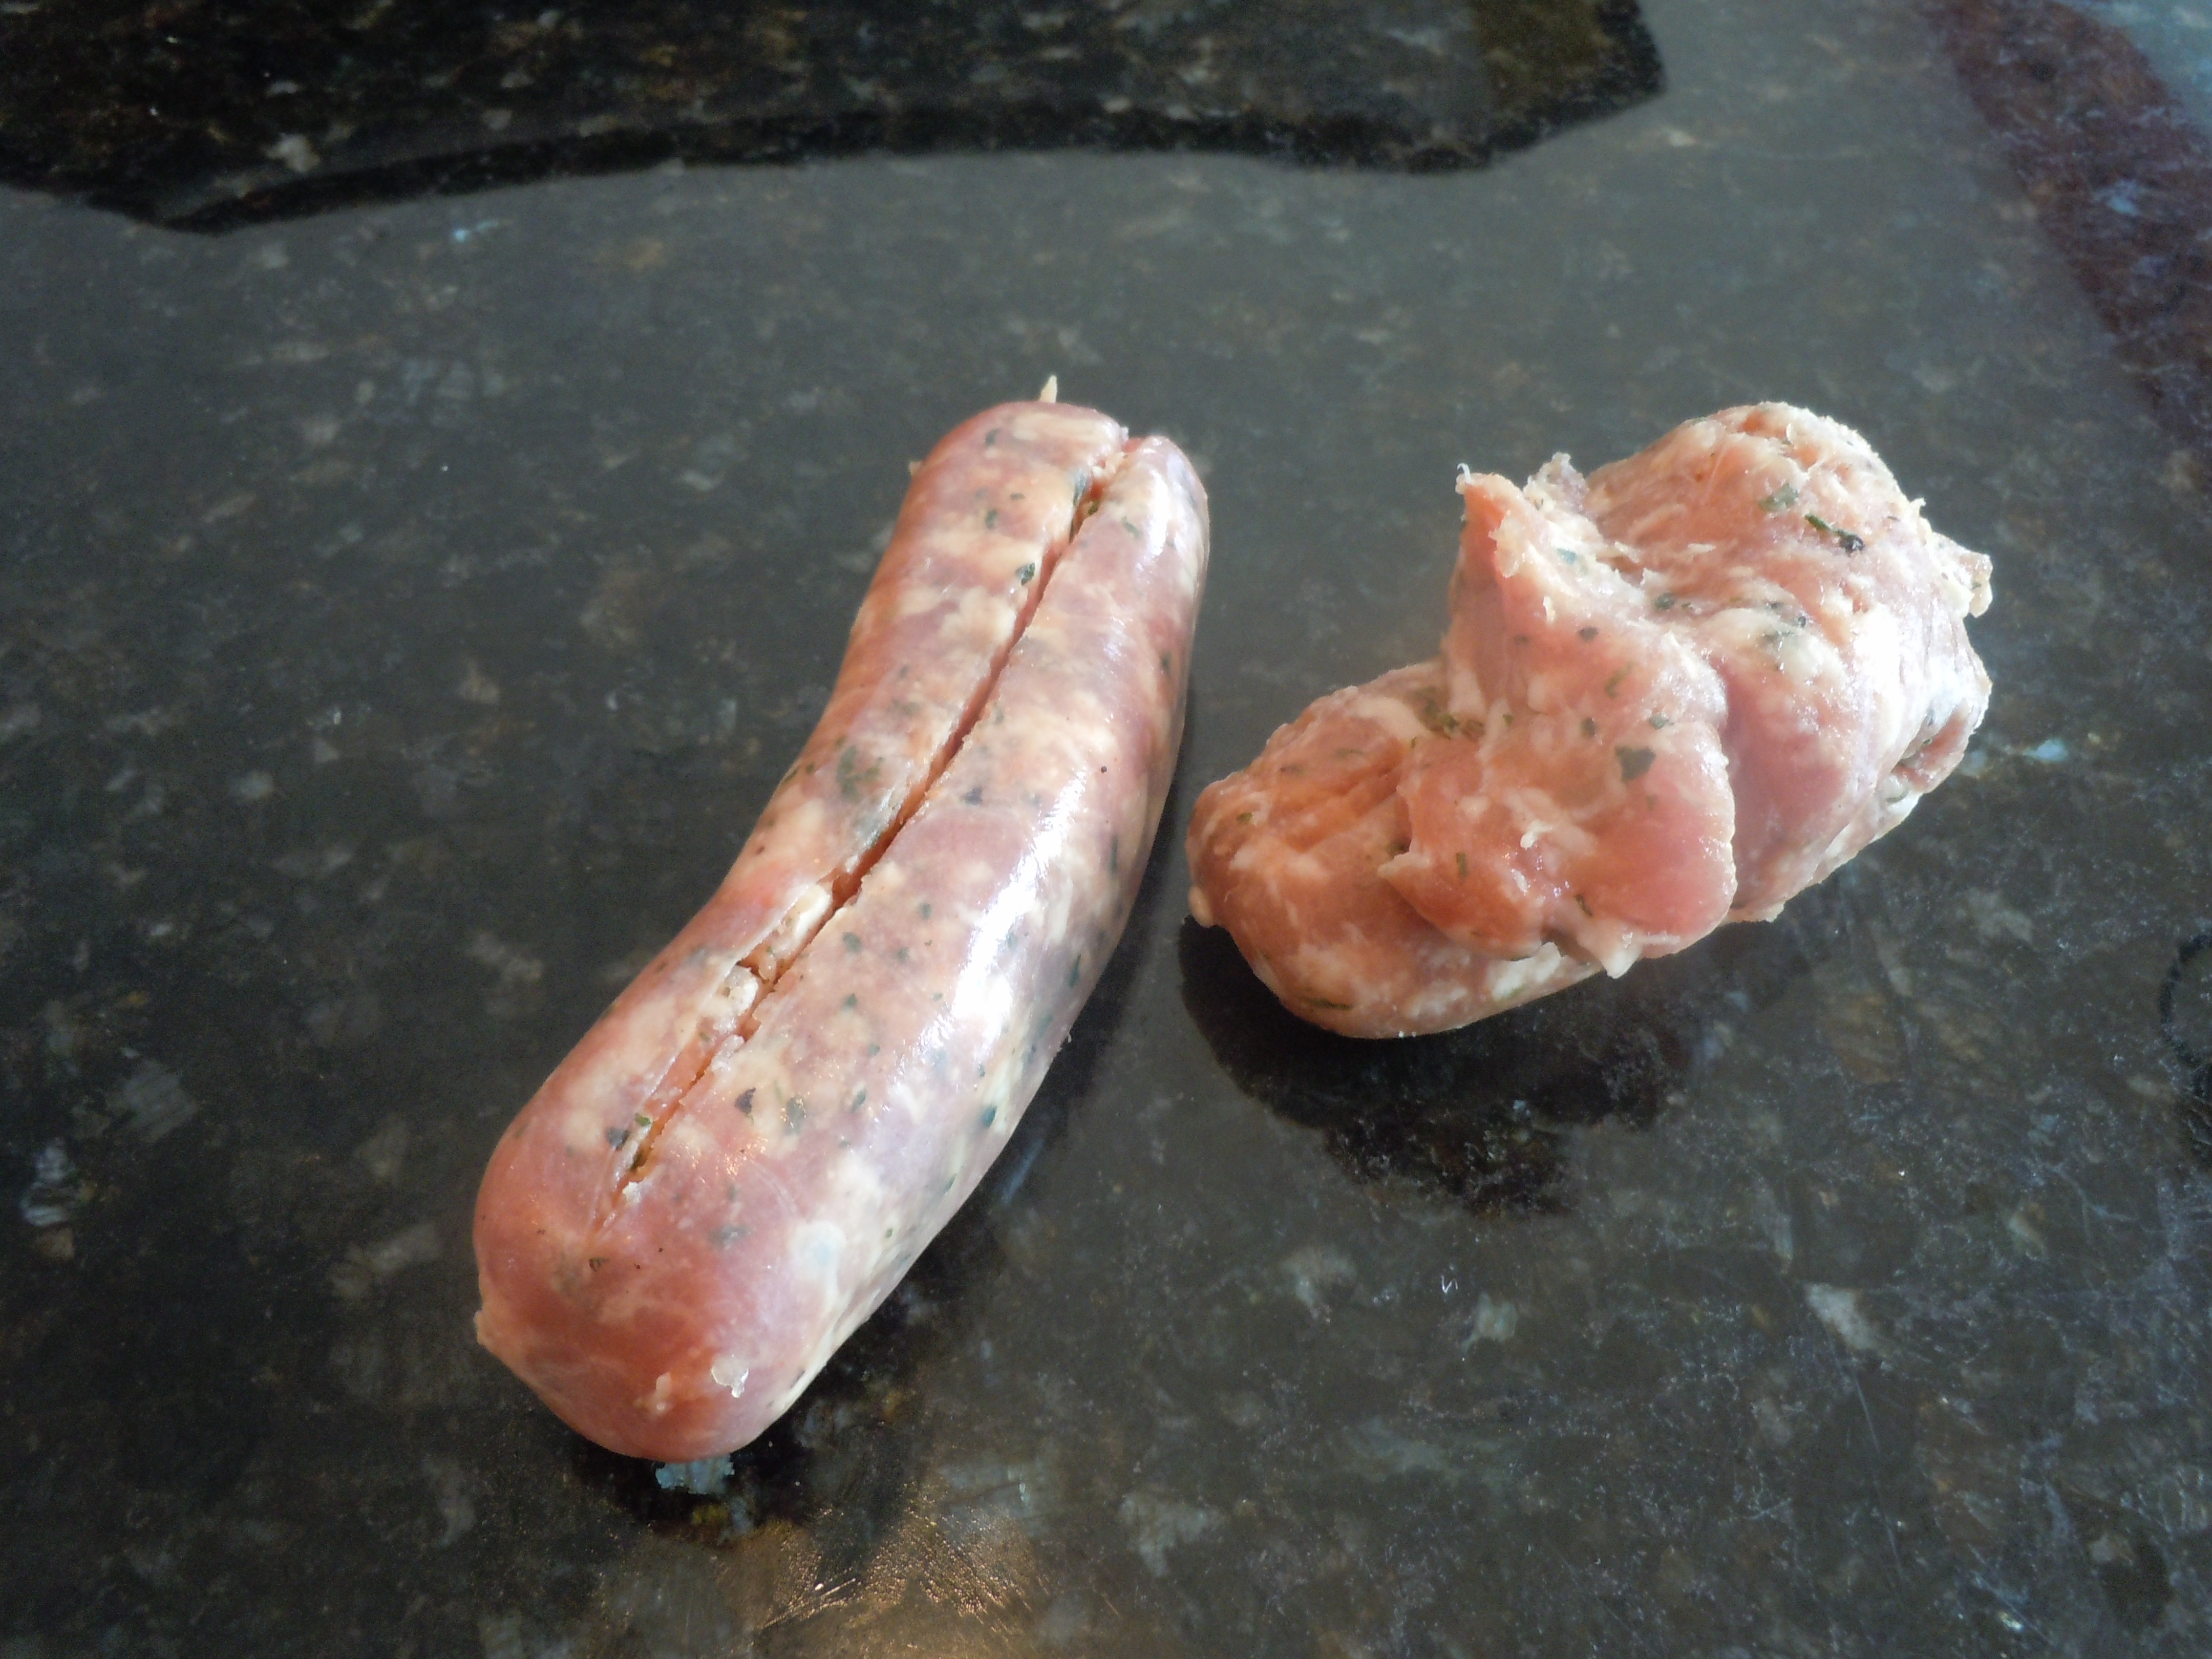
  • 1 1/4 lbs. Longhini sweet sausage
  • 1/2 cup finely chopped pepperoni
  • 2 cups Italian bread after soaked in heavy cream and squeezed slightly  (1 lb. about 1  loaf of Italian bread, cubed and soaked in heavy cream)
  • 2-3 cups heavy cream – to soak cubed up Italian bread
  • 3 lg eggs
  • 1 cup grated Romano cheese
  • 3/4 cup ricotta (ricotta fina if you can get it)
  • 3/4 cup fresh chopped parsley
  • 1/2 cup fresh chopped basil
  • 1/3 heaping cup finely chopped fresh garlic
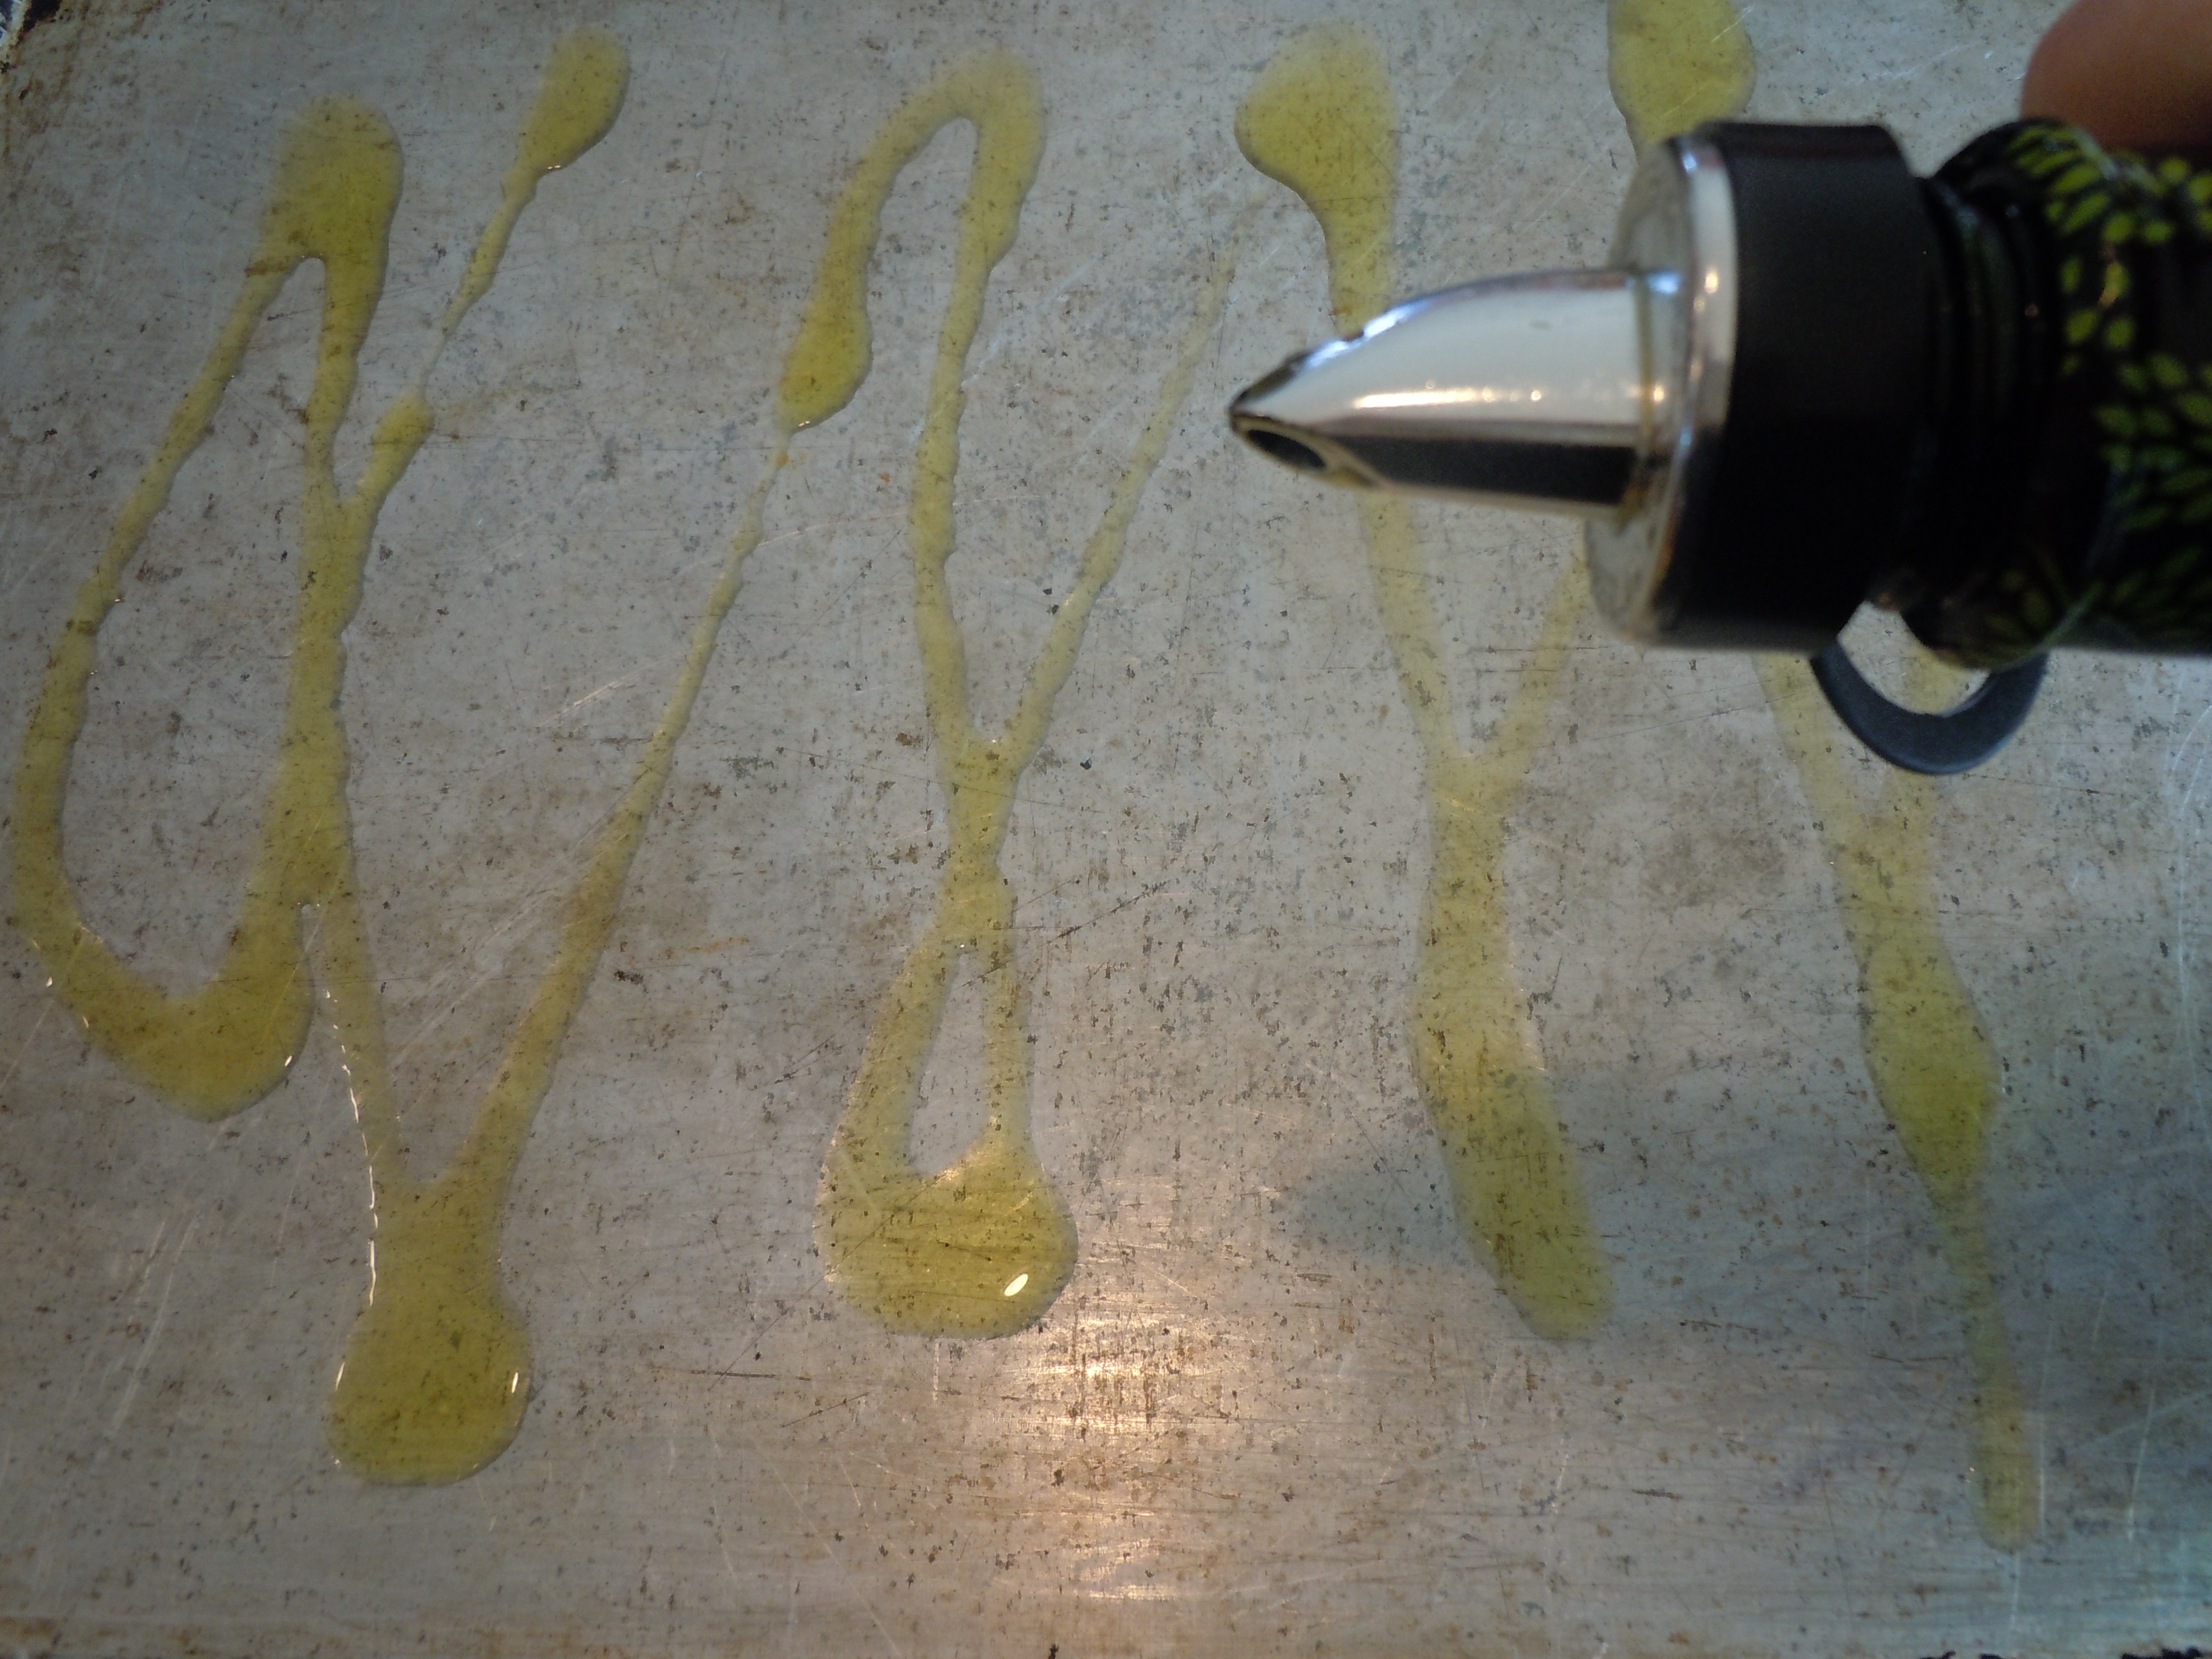
  • 1/2 cup caramelized red onions (finely chop 2 med. size red onions and sauté on medium/high with 1 tbsp olive oil and 1 tbsp butter for 5 minutes and then twenty minutes on low with adding 1 tbsp sugar and 1/4 tsp salt)
  • 1 tbsp plus 1 tsp sea salt
  • 1 tbsp plus 1 tsp finely ground pepper
  • 1 tbsp plus 1 tsp dried oregano

Directions:

  1. Pre-heat oven to 400º
  2. Cube up the Italian loaf of bread to 3/4″ pieces
  3. Add cubed up bread to 2 – 3 cups heavy cream – should be enough to have all the pieces get saturated and soak for approx 15 minutes
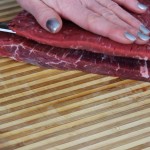
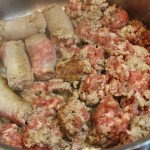
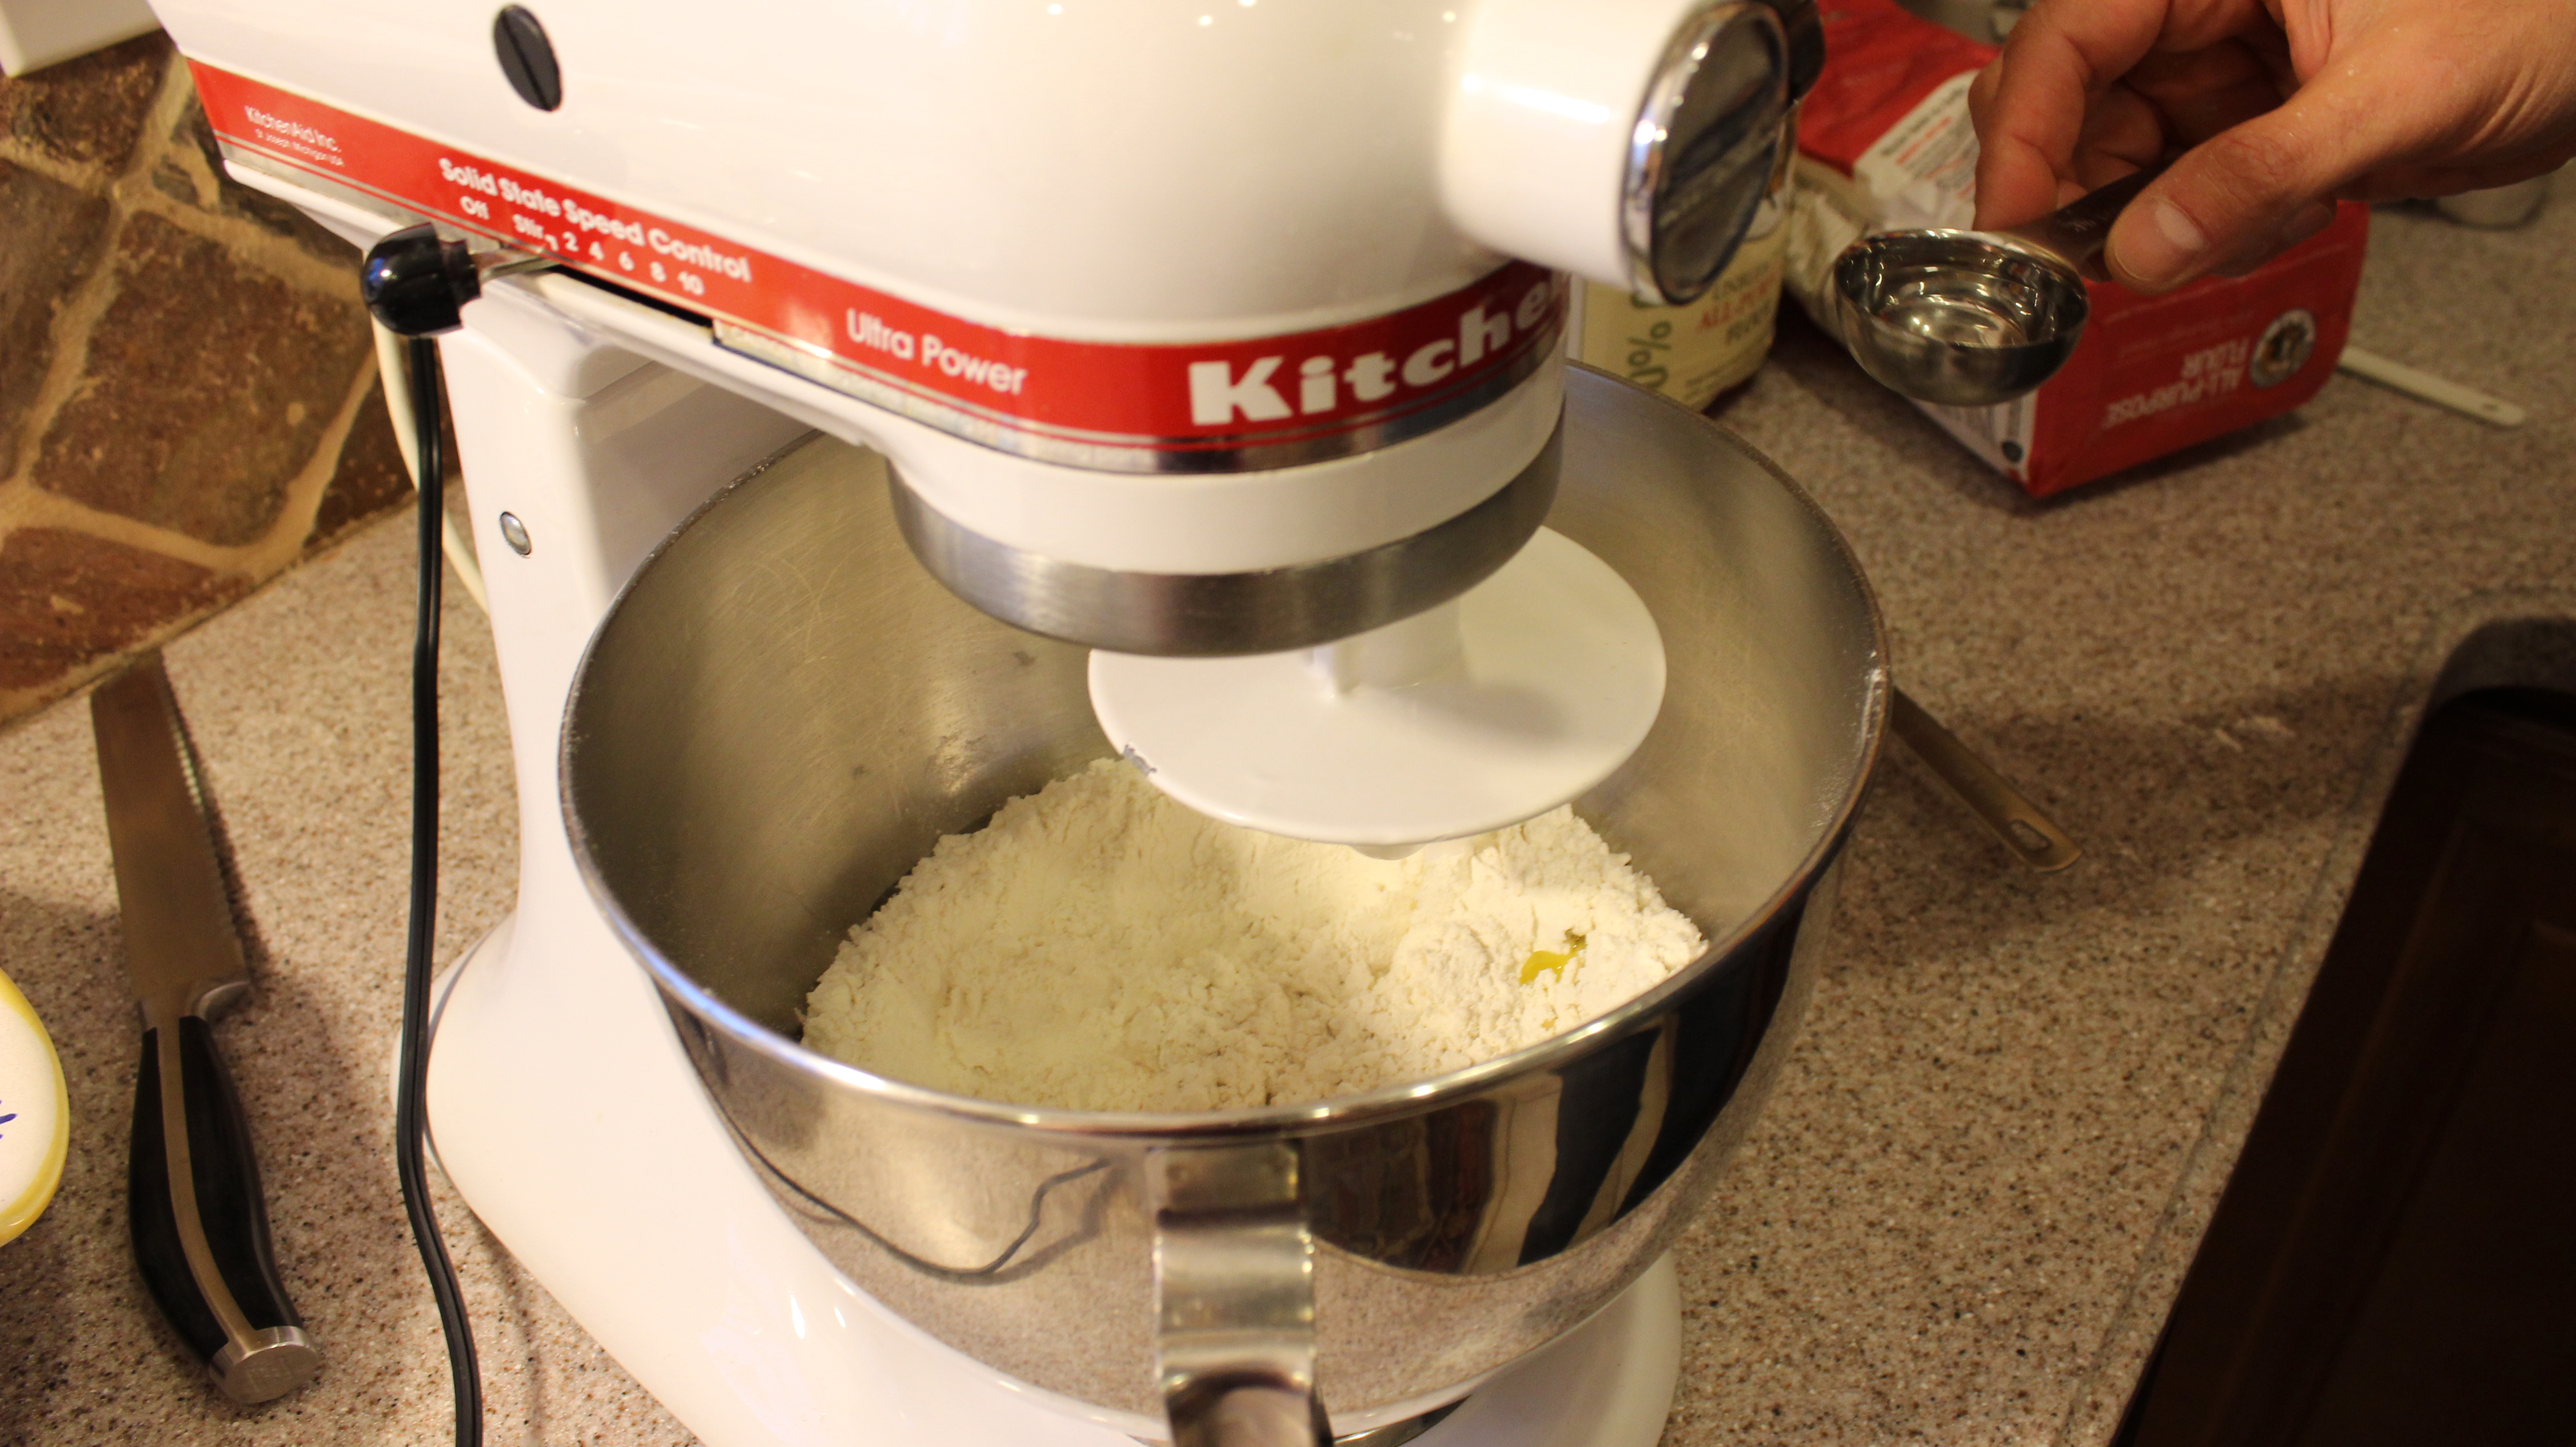
  4. Add beef and sausage to a large bowl and combine with your hands
  5. Add in the pepperoni and the rest of the ingredients in the list and combine with your hands – Don’t over mixed meat …just until combined
  6. Begin to roll meat mixture into desired size meatballs dipping your hands in the left over the heavy cream to help smooth the edges of the meat while shaping them
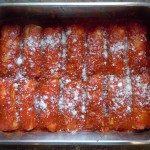
  7. Place the meatballs onto a cookie tray..they can be right next to each other
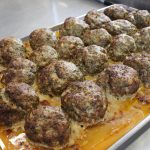
  8. Note: the larger they are the longer you will bake them
  9. Bake for 45-60 until the tops are crispy and brown …mangia, mangia!


Best Braciole Ever!

Best Braciole Ever!

Making Braciole for dinner or the holidays is one of those authentic comfort foods that’s so delicious it could easily become a tradition for you and your family, even if you are not Italian. Some of you may be asking yourself what is braciole? Well, it’s thinly sliced flank steak that’s rolled up and stuffed with Reggiano Parmigiano, Asiago, and fresh herbs. The braciole is sautéed in olive oil and garlic cloves and then simmered in a tomato-basil sauce for a couple of hours until tender and juicy. And I tell you it’s even better when re-heated the next day!

The Italians aren’t the only ones who have come up with this fun and creative idea of rolling up and stuffing thinly sliced beef then simmering or braising in a gravy until tender. There’s a German dish that I absolutely love that’s just as flavorful as braciole called beef rouladen. German beef rouladen is made up of thinly sliced top or bottom round stuffed with mustard, onions, bacon and pickles, then sautéed and braised in the oven with veggies in a beef and wine gravy until tender. It’s serve with sautéed red cabbage and spaetzle or potatoes and ooh is that scrumptious too! That will have to be another show I will put together for you!

Now that I have you in the mood for some creativity in the kitchen …get to work! lol You will be very happy to expand that recipe repertoire of yours after making this wonderful Italian braciole for dinner. Make sure to serve up your sliced braciole with a dollop of ricotta cheese on top of the pasta to give it that unexpected extra flavor and creaminess. I will get working on the German beef rouladen show for you:)

If you are going for the Italian theme you might as well treat yourself to some of my appetizer’s like baked asparagus wrapped in Prosciutto, or crab cakes with a homemade remoulade sauce. Then you can really go for it with my SECRET manicotti recipe or homemade spaghetti that’s totally fun for the whole family and easy to make! Then end it all with some chocolate eclairs with the BEST vanilla custard you have ever had …enjoy! 🙂

iphone-pictures-572-300x225 DSCN45211-300x225 iphone pictures 2002 IMG_4328 IMG_6379

IMG_6413 slicingbraciole grated

tie wrap IMG_6444

IMG_6397 IMG_6453 IMG_6460

slicebraciole ricotta IMG_6487

Ingredients:

  • 2 lb flank steak sliced horizontally into 3 layers
  • 1 cup grated Reggiano Parmigiano
  • 1 cup grated Asiago
  • 1 tbsp dried ground Italian seasonings
  • 1 bunch parsley
  • 1 bunch fresh basil
  • salt and pepper
  • olive oil
  • 1 recipe tomato-basil sauce but simmered for 1 1/2 – 2 hours
  • 1 cup ricotta
  • 1 cup red wine or white (I actually prefer to deglaze here with red)
  • 1 lb rigatoni

Directions:

  • Start sautéing the veggies for the tomato-basil sauce and use the same pan for sautéing the braciole logs
  • Slice or have your butcher slice the 2 lb piece of flank steak into 3 horizontal layers
  • Then cut those pieces in half so you now have 6 semi-equal pieces
  • Sprinkle 1 tbsp each of Reggiano and Asiago on each piece
  • Lay whole basil leaves or chop basil and parsley and sprinkle onto flank slices
  • Roll up starting at the small end
  • Cut approx 40″ of cotton string and tie a knot at one of the ends
  • Then keep wrapping string all around the length of the rolled up flank til you are at the other end
  • Now come back tucking under each row of string going across like shown in the video til you get to the end and tie off a knot with the original piece of string you started with
  • Add 2 tbsp of olive oil a large pan and a few large cloves of garlic kept whole for extra flavor and sauté 3 rolled up pieces of braciole at a time
  • Brown on all sides on medium/high heat about 3-4  minutes each side (remove the garlic coves when golden and smear on a baguette and dip into the tomato-basil sauce when you start to simmer with braciole…YUM!)
  • After browning the second batch of (3) braciole add back in the first 3 and de-glaze with red wine (I used white in the show but prefer to use red here)
  • Add in puréed tomatoes and simmer for 1 1/2 – 2 hours
  • Take braciole rolls out and slice 3/8″-1/2″ thick
  • Serve with pasta (rigatoni) and a dollop of ricotta on top with a few slices of braciole and grated Reggiano…mangia, mangia.
  • PS- It’s even better re-heated the 2nd day! 🙂


Lazy-Man’s Lasagna! – World’s Best!

Lazy-Man’s Lasagna! – World’s Best!

This world’s best lazy-man’s lasagna is the ultimate pasta dish because there is no fussing, layering or baking. It has all the ingredients and flavors of a traditional lasagna but without all the work! It’s done all-in-one pot and takes two minutes to put together after the ground meat is browned. It’s made with a tomato-basil sauce, homemade or store bought for convenience, rigatoni pasta, ricotta, mozzarella and a sautéed ground meat of your choice. The hardest part here is browning the meat, then it’s easy peasy from there on in.

When I first had this lazy-man’s lasagna it was made with ground beef. That’s the beauty of this pasta dinner you can customize it by browning up what ever your favorite meat is. I’ve actually made it with ground turkey, beef, Italian sausage and even a meatloaf mix of meats. What ever you decide I promise you it’s going to be delicious! In the show I used my favorite sweet Italian fennel sausage from Liuzzi Cheeses in North Haven, CT. I took the the sausage out of the casing and then browned it.

Usually, I serve up this lazy-man’s lasagna immediately after I combine all those yummy ingredients. Although, you can easily pour it out into a baking dish and top with one cup of shredded mozzarella to bake immediately or cover with foil and into the frig until you are ready. Granted, I do love to put together a tray of layered lasagna for the holidays but for those in between days when you want those gourmet flavors but don’t want to go through all the work this world’s best lazy-man’s lasagna is your dream come true.

You can check out my Live TV Cooking Segment on “CT STYLE”, WTNH – Channel 8 where I make Lazy-Man’s Lasagna in The Bender Kitchen with hosts Teresa Dufour and Ryan Kristafer!

If you are looking for something hardy and gourmet you should check out my Boeuf Bourguignon or Indian Spice Tomato-Cream with Snap Peas, Pulled Beef Taco’s with Mango Salsa, or for a lighter note you could check out my Swordfish with Black Bean Salsa or Asian Shrimp and Noodle Salad and for something sweet you just can’t beat Pavlova! Mangia Mangia…enjoy 🙂

150150boeuf IMG_3234 027 iphone pictures 1402 IMG_2283

IMG_5682 IMG_5617 IMG_5625

IMG_5637 IMG_5645 lazy

lazymozz lazymeat lazysaucejpg

lazymix lazyplatterjpg lazyparmjpg

lazybasil

Ingredients:

  • 1 lb. rigatoni pasta, zit rigati or your fav pasta!
  • My 20 minute tomato-basil pasta sauce recipe or a favorite store bought brand
  • 2 lbs ground meat OR 3 cups after browned of: ground beef, turkey, veal, pork, meatloaf mix, or sweet fennel sausage (Liuzzi makes my favorite sweet and spicy Italian fennel sausage)
  • 1 lb. whole milk ricotta (really easy to make your OWN HOMEMADE – check it out!)
  • 2 cups shredded mozzarella – 2 cups to mix into the lazy-man’s lasagna plus additional 1 cup to sprinkle on top if you are going to put the pasta into a baking dish to bake later
  • grated Parmesan
  • fresh basil

Directions:

  1. Brown the ground meat in a sauce pan on medium high heat
  2. Drain the meat to remove excess oil in a small strainer over a bowl
  3. Put the meat back into the pan on medium high heat add 1/3 cup of red wine to de-glaze the sauce pan scrapping up the little brown bits stuck the bottom of the pan
  4. Keep the browned meat on warm
  5. Heat tomato-basil sauce through – you want it hot to melt the mozzarella
  6. Cook the pasta in salted water until al dente …(Having a pinch of firmness to it so it’s not overly cooked)
  7. Drain the pasta and put it back into the same pan
  8. Immediately add 2 cups of hot tomato-basil sauce, 1 lb. of ricotta, 2 cups of mozzarella, 3 cups of browned meat and begin to stir
  9. Add another 1-1 1/2 cups of tomato-basil sauce
  10. Mix ingredients until combined and pour out into a serving platter
  11. Sprinkle with Parmesan and julienne fresh basil…mangia mangia 🙂

Holiday Appetizer’s

Holiday Appetizer’s

iphone pictures 572
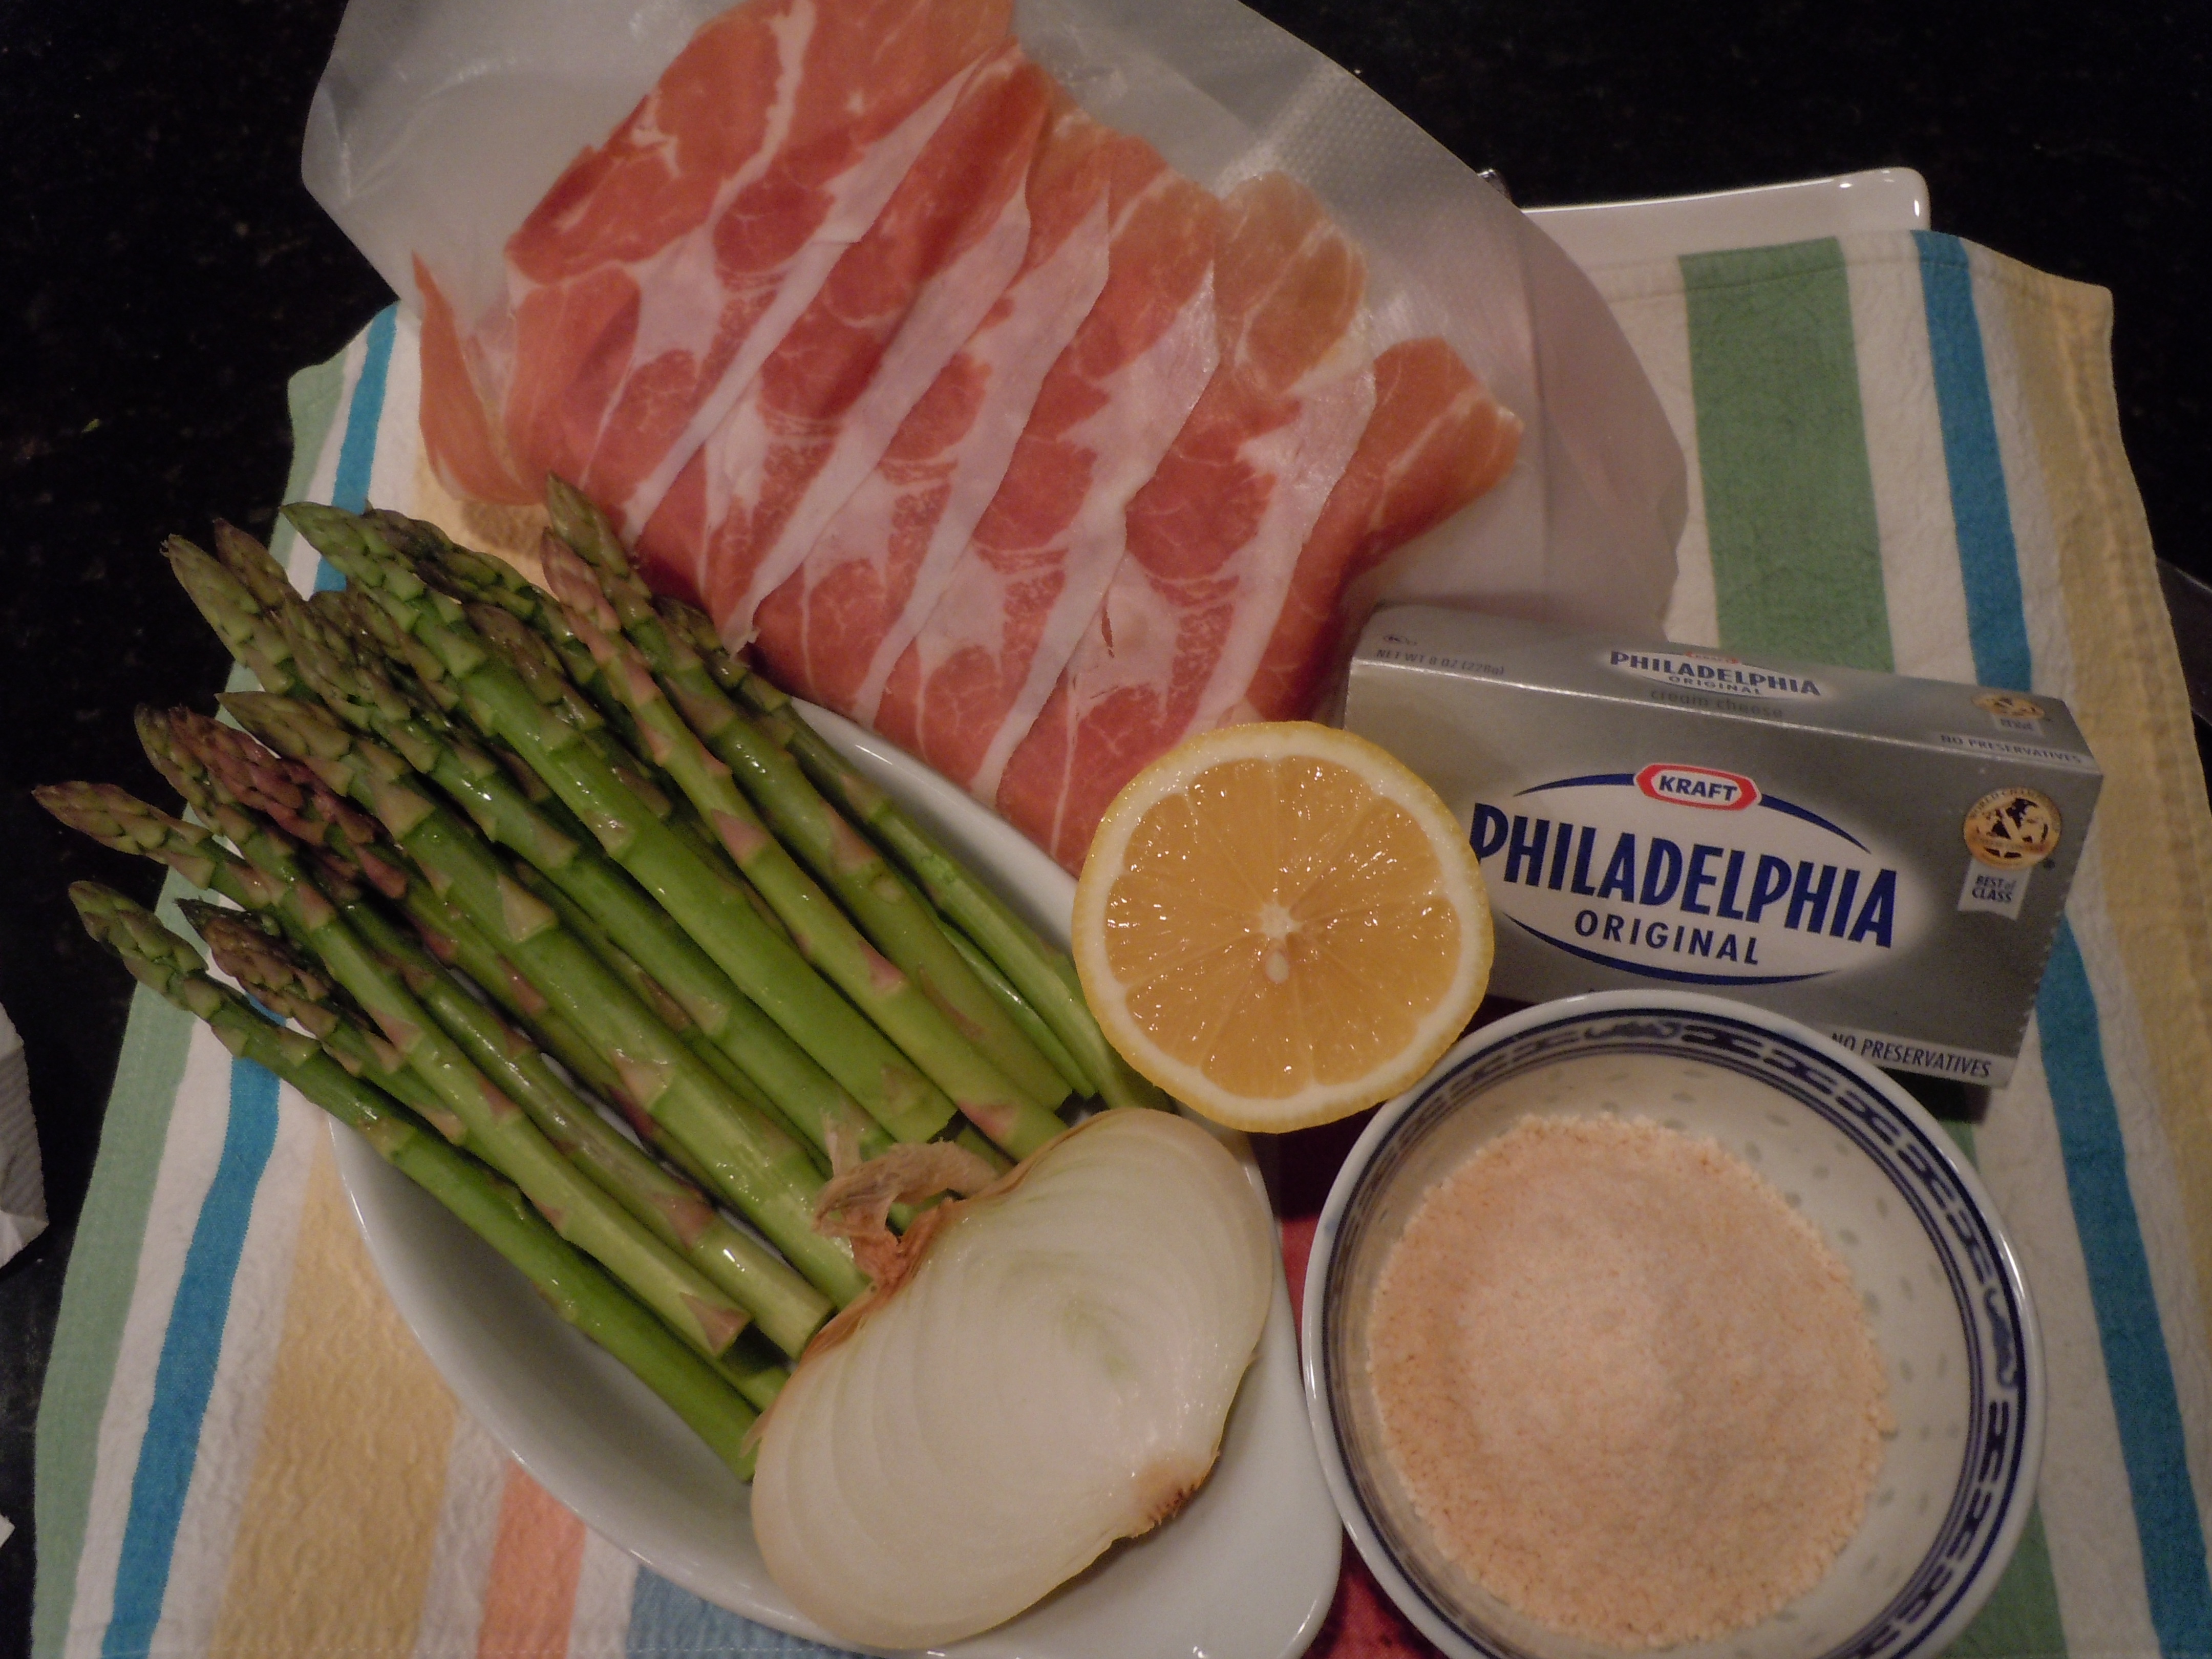
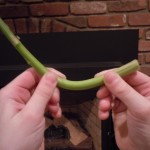
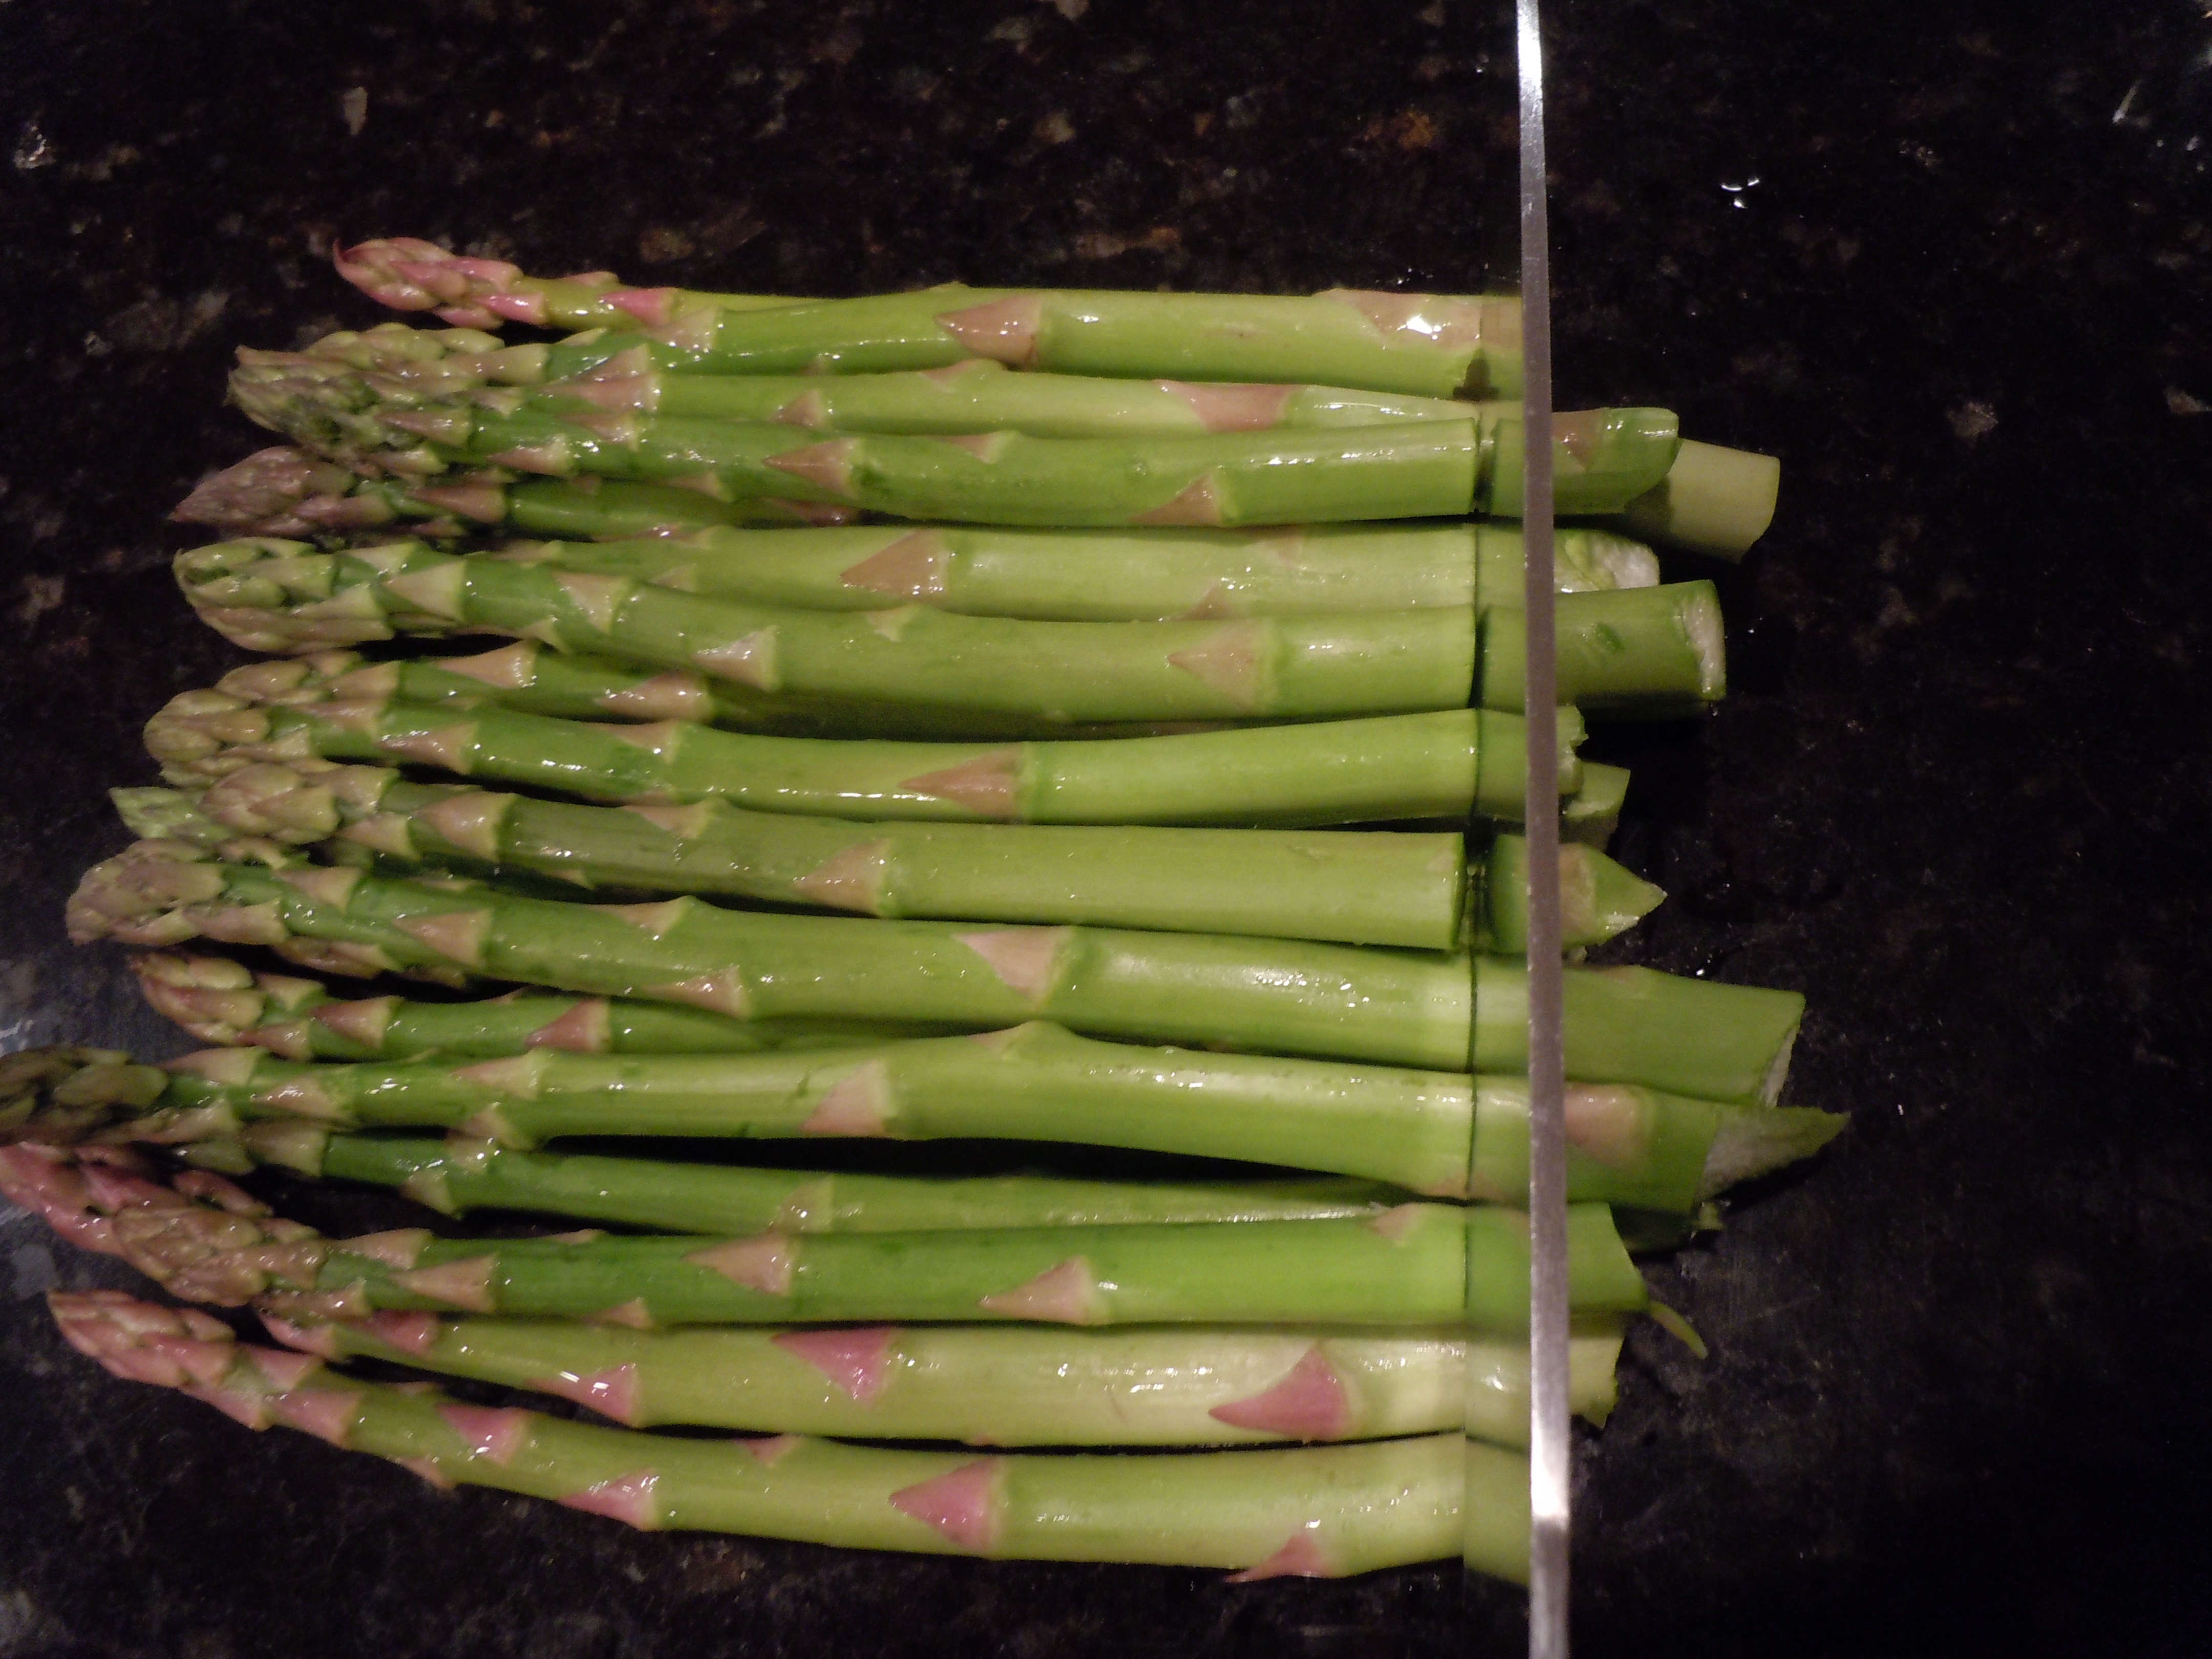
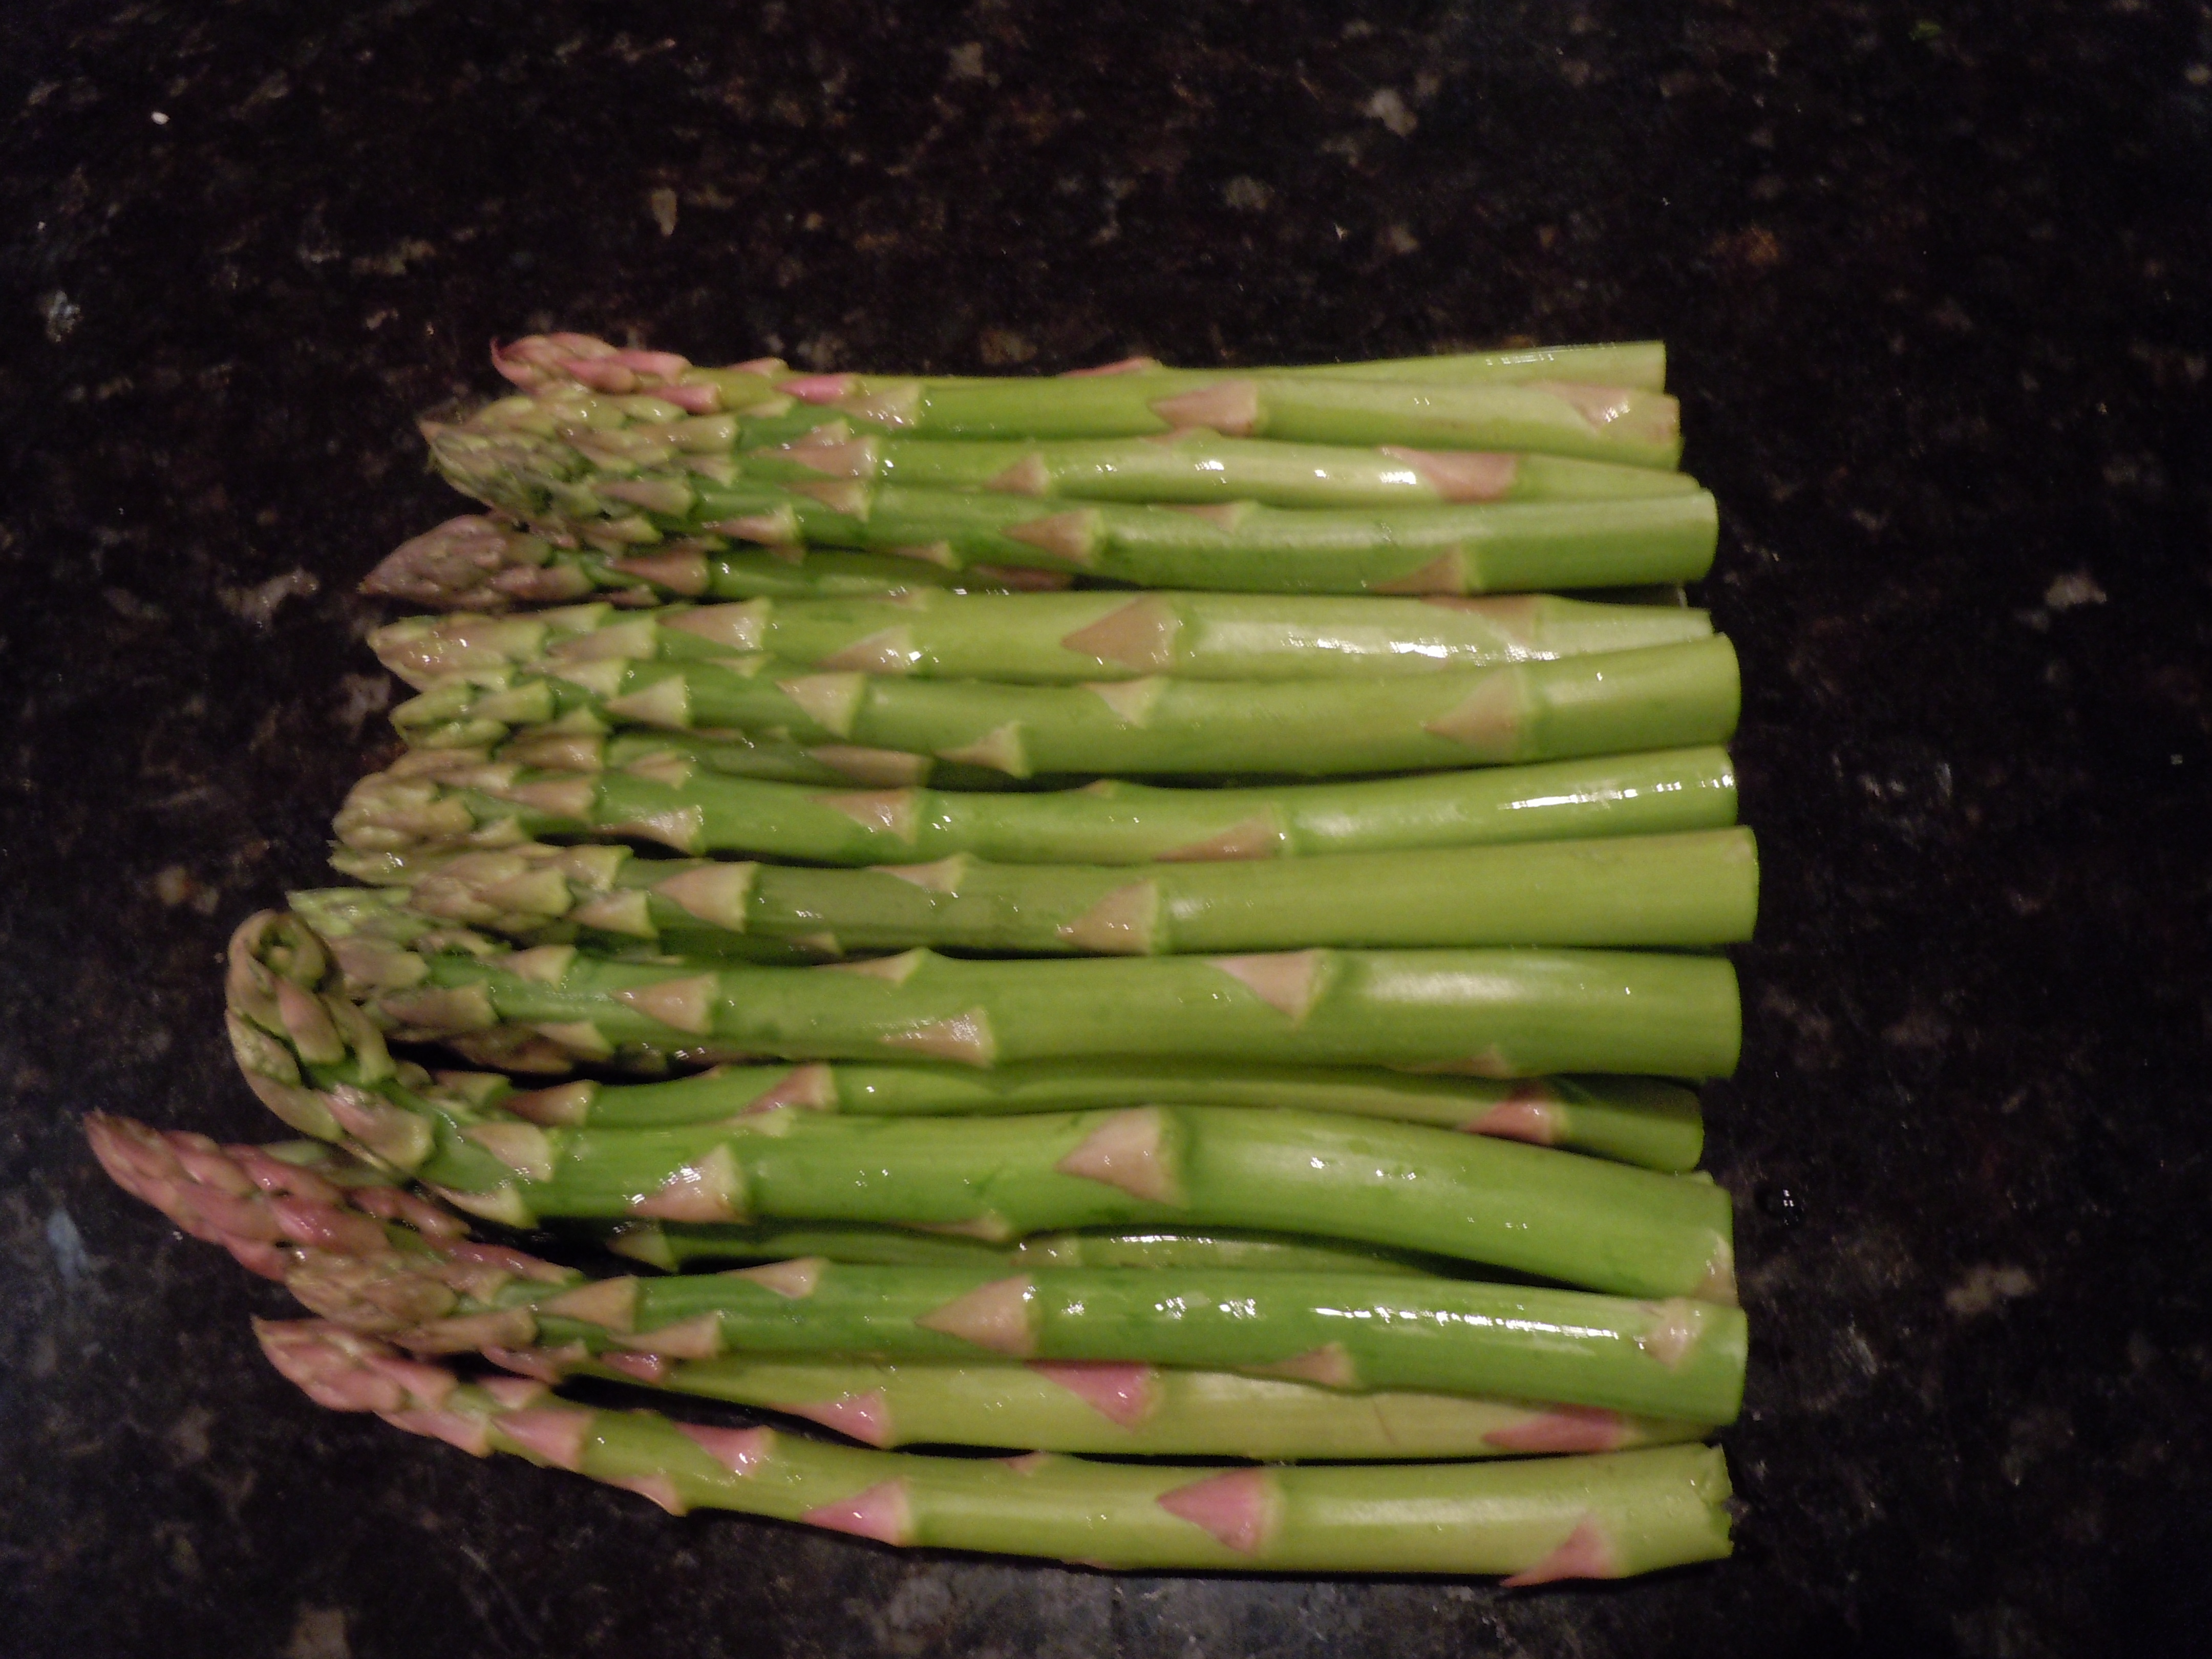
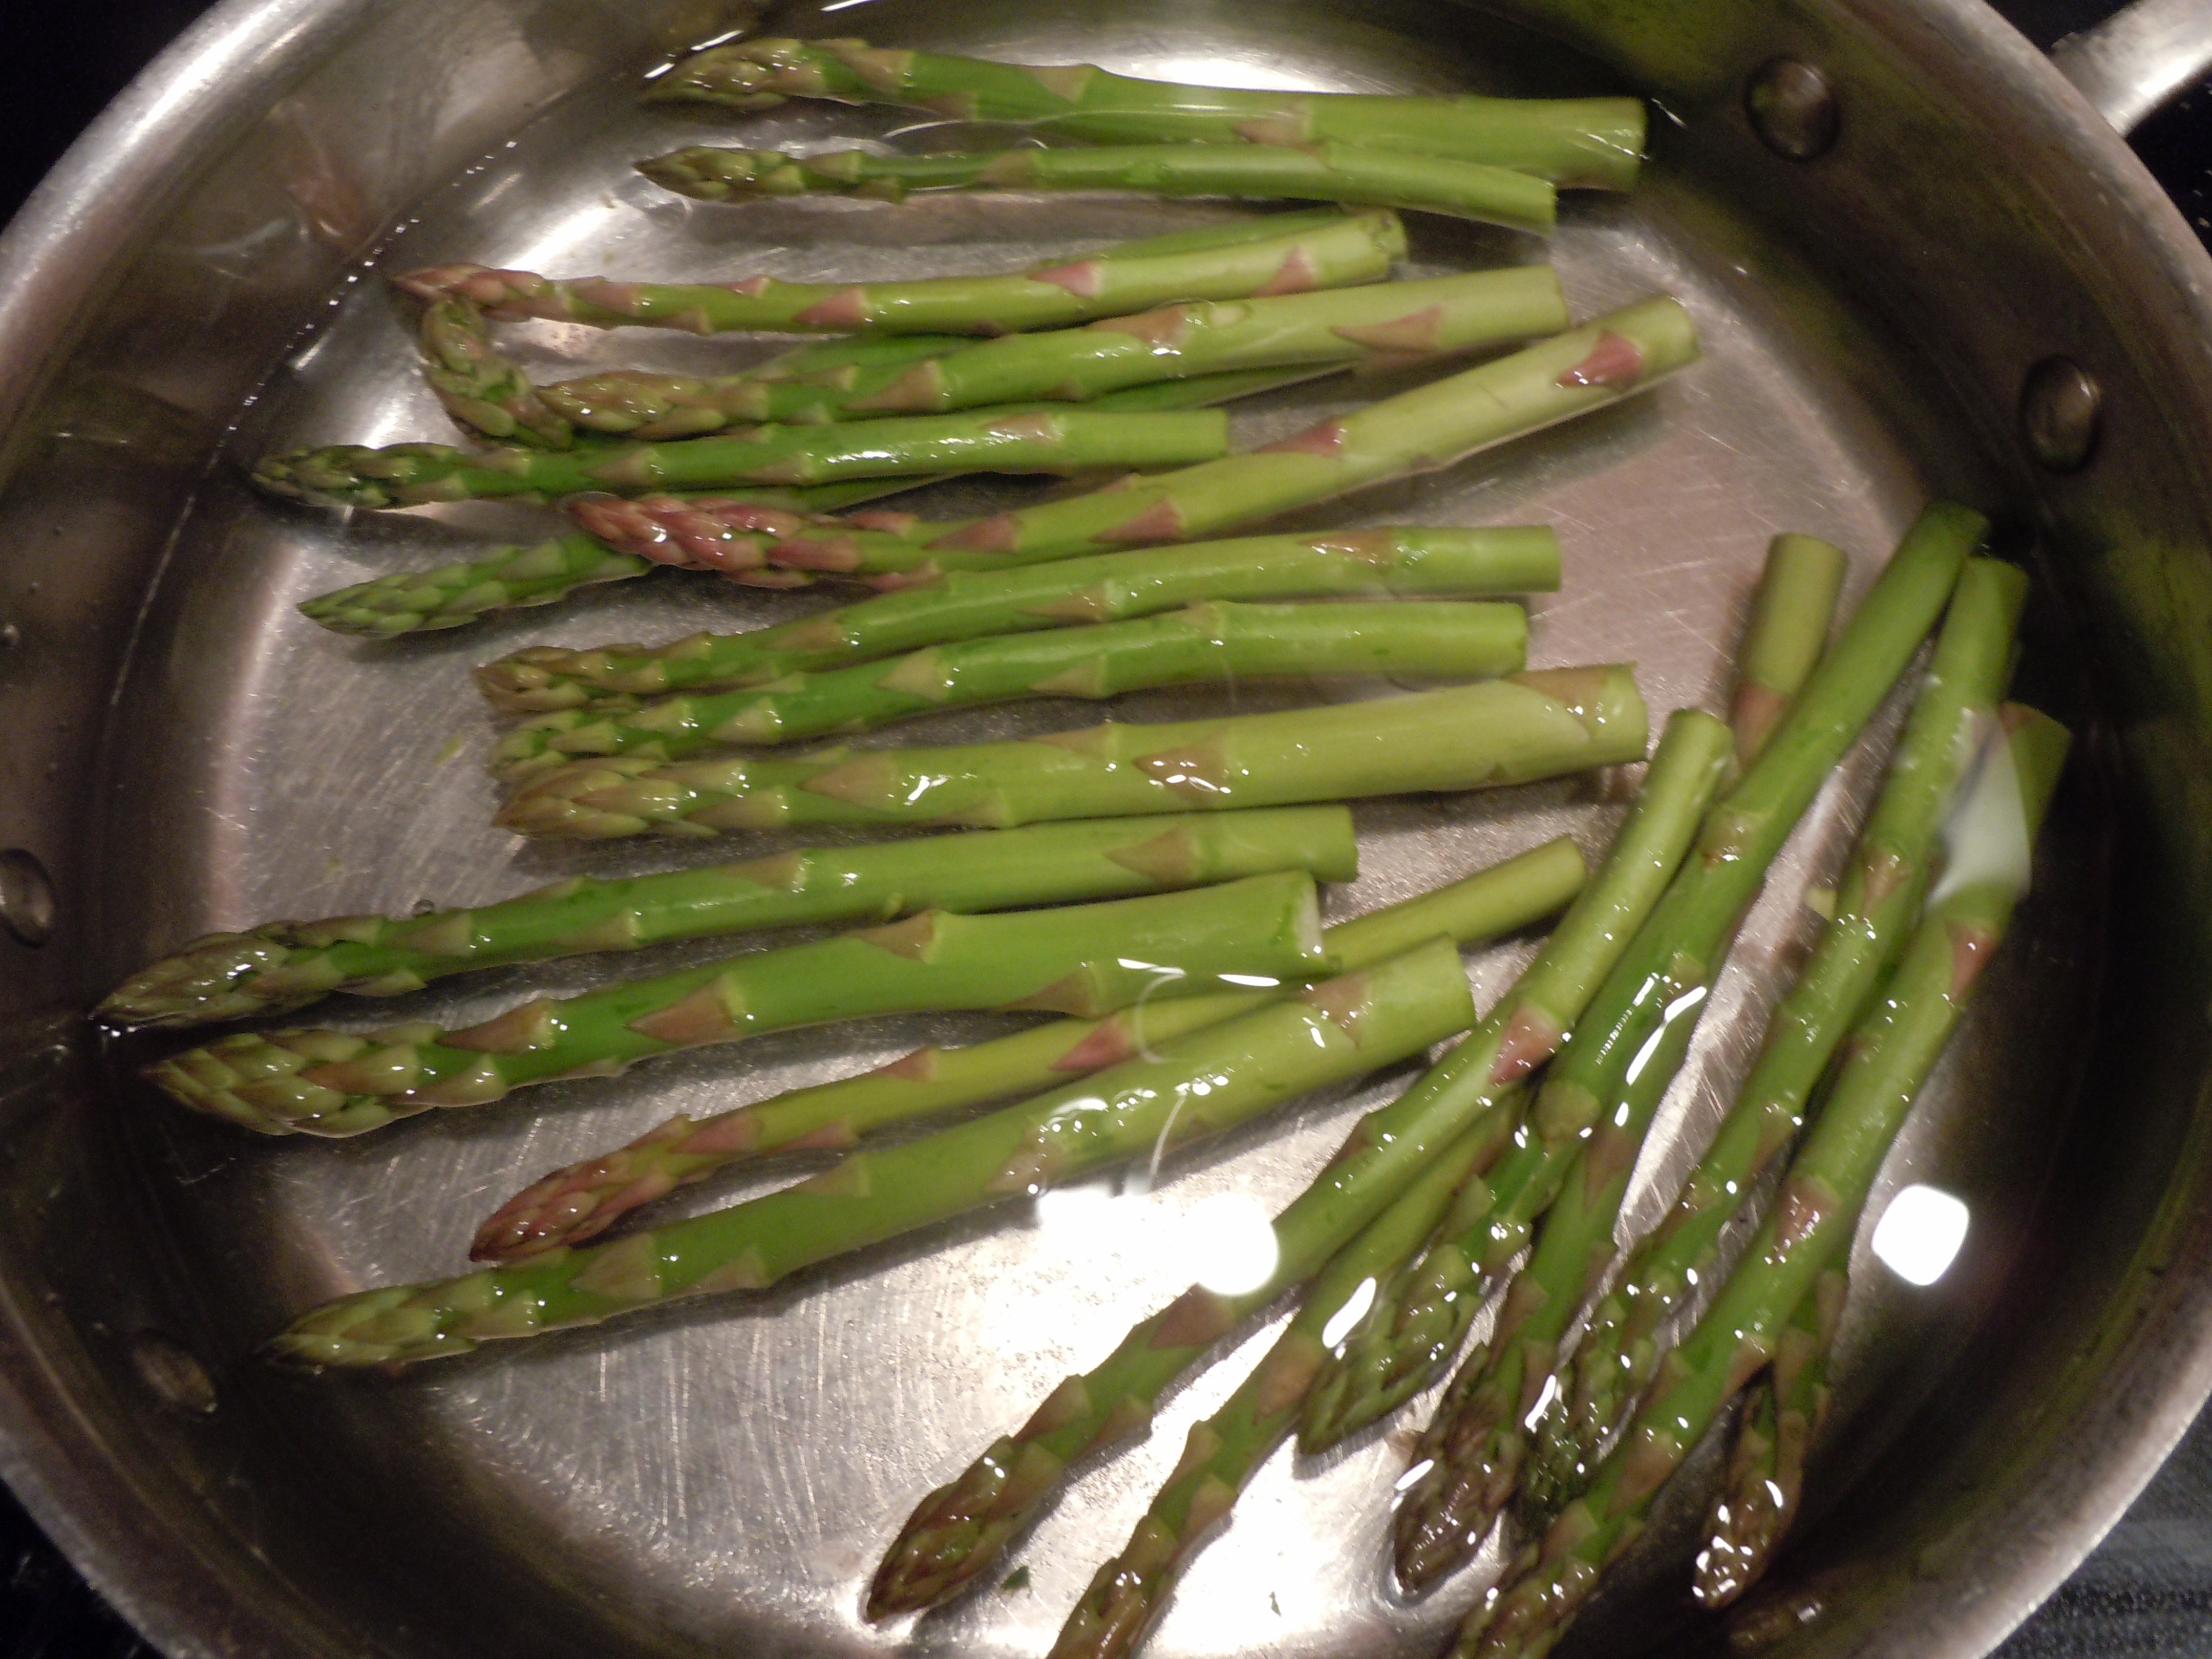
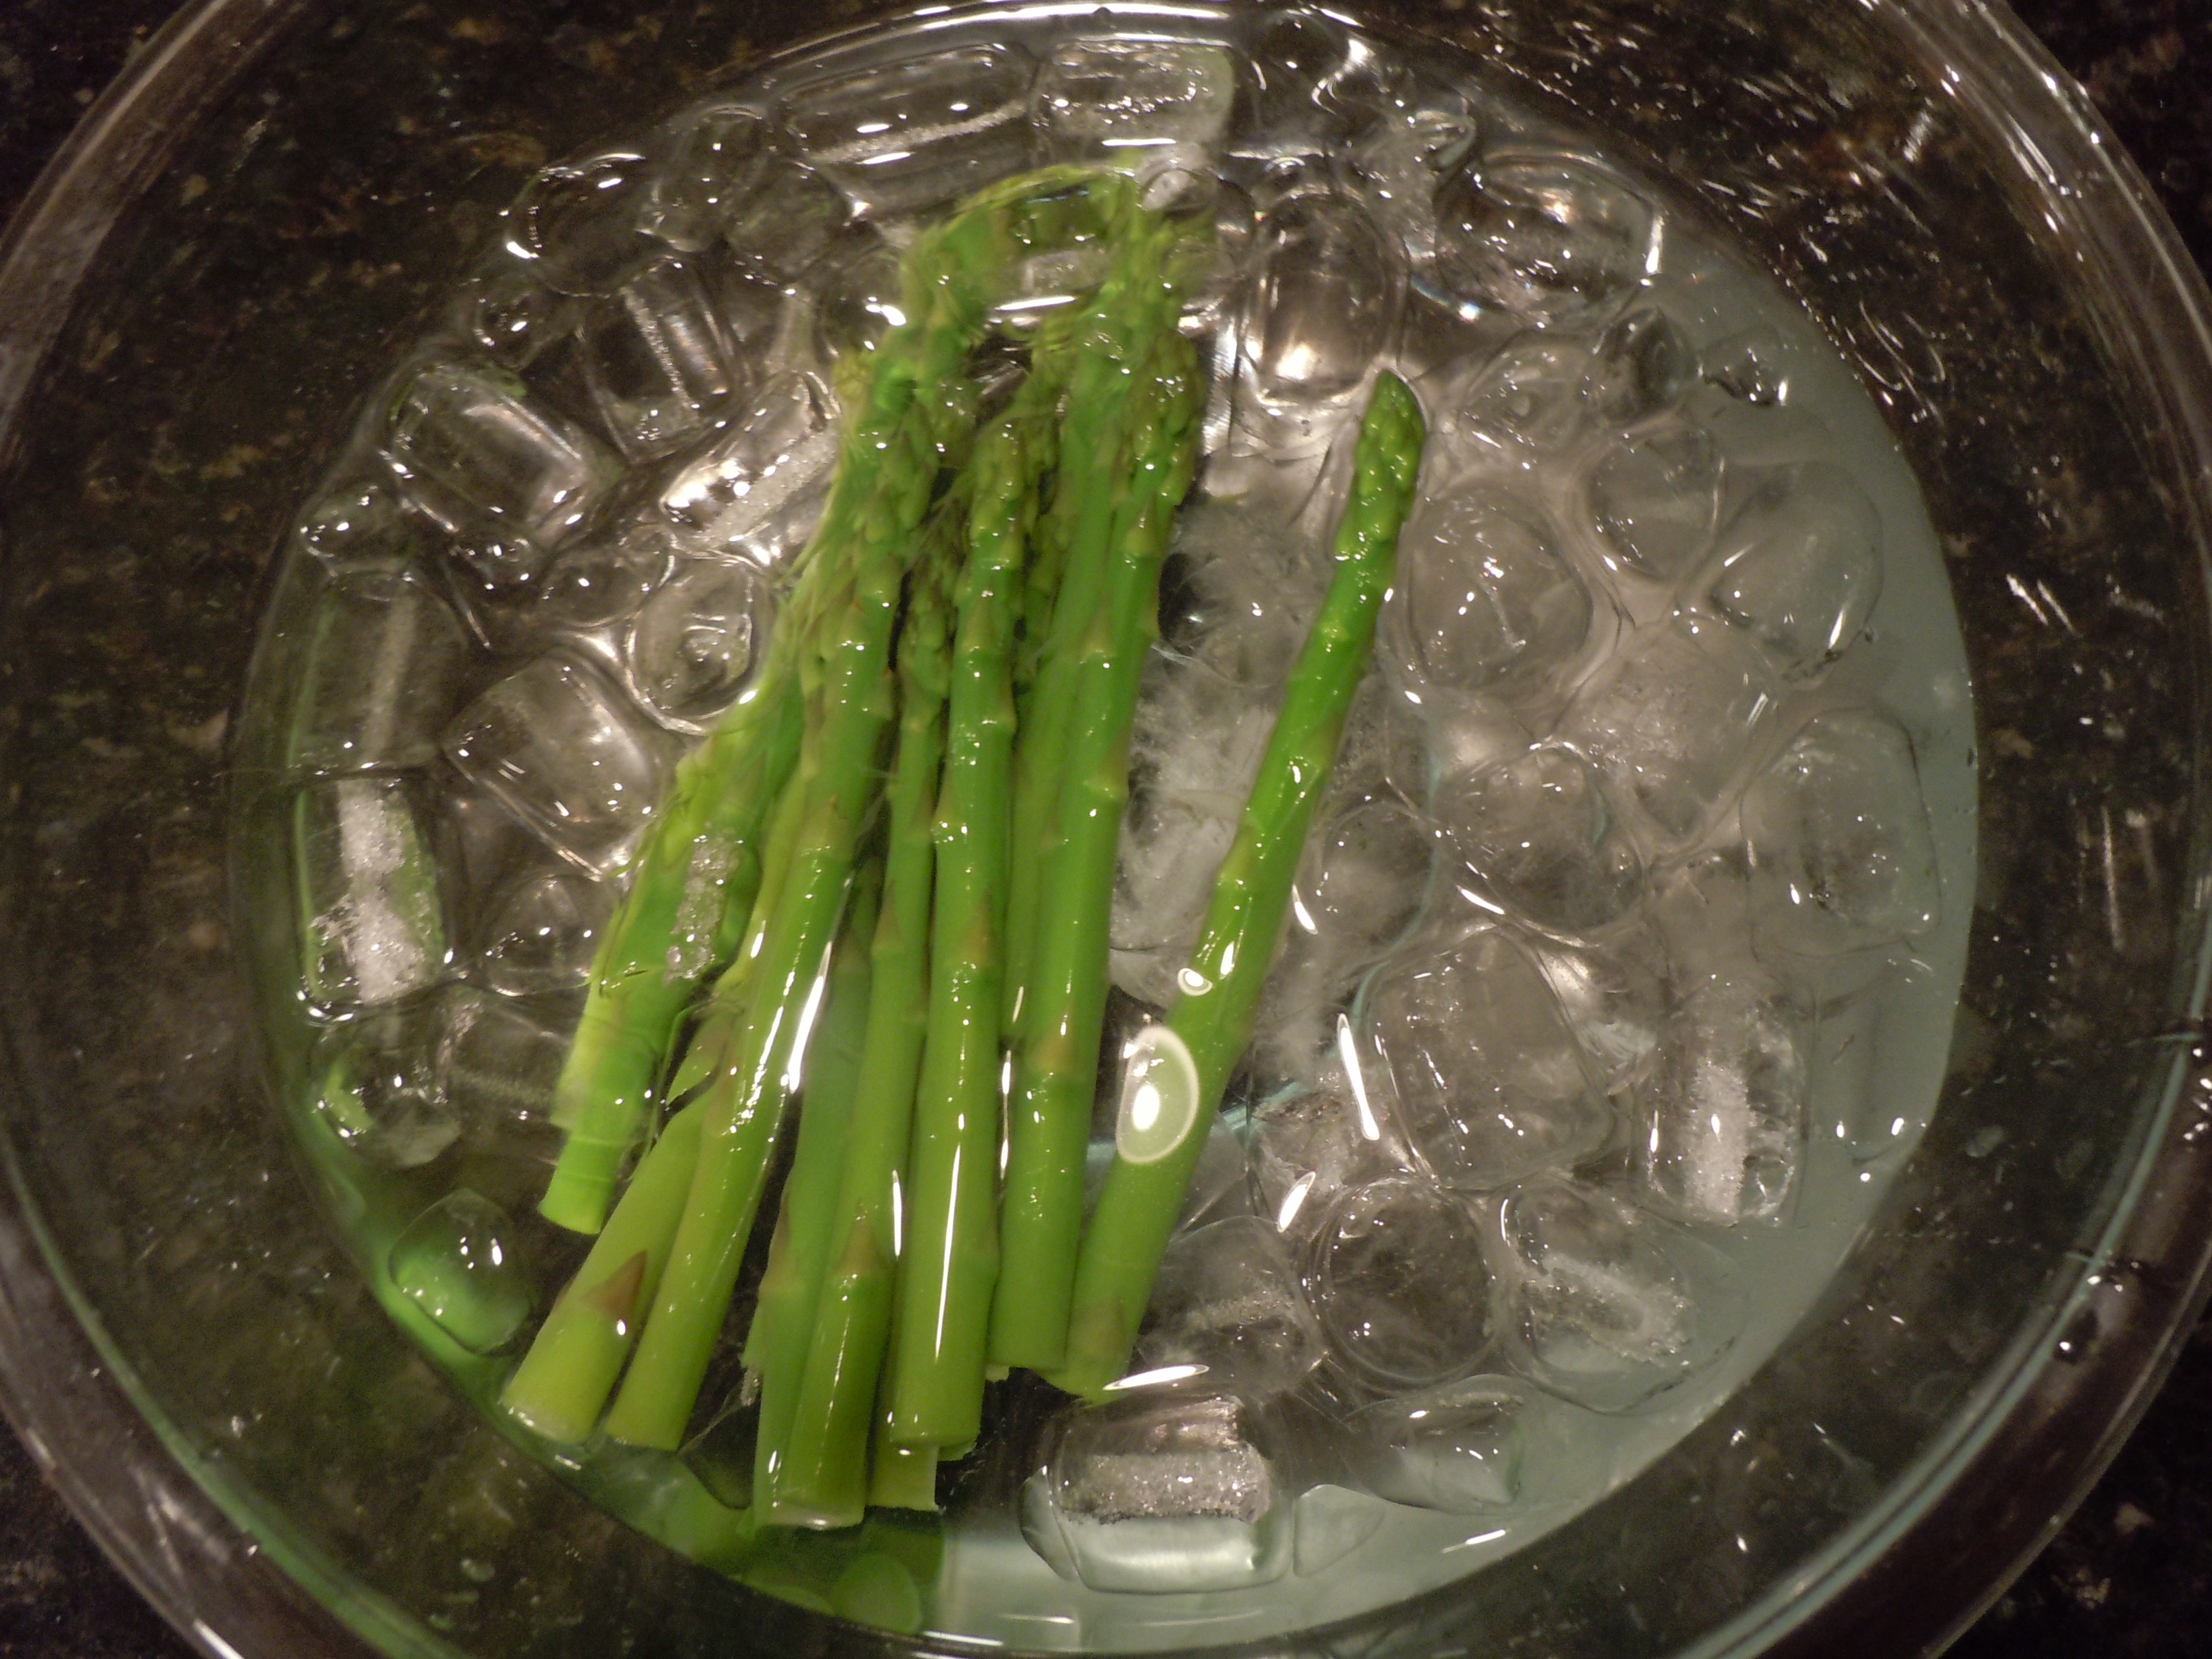
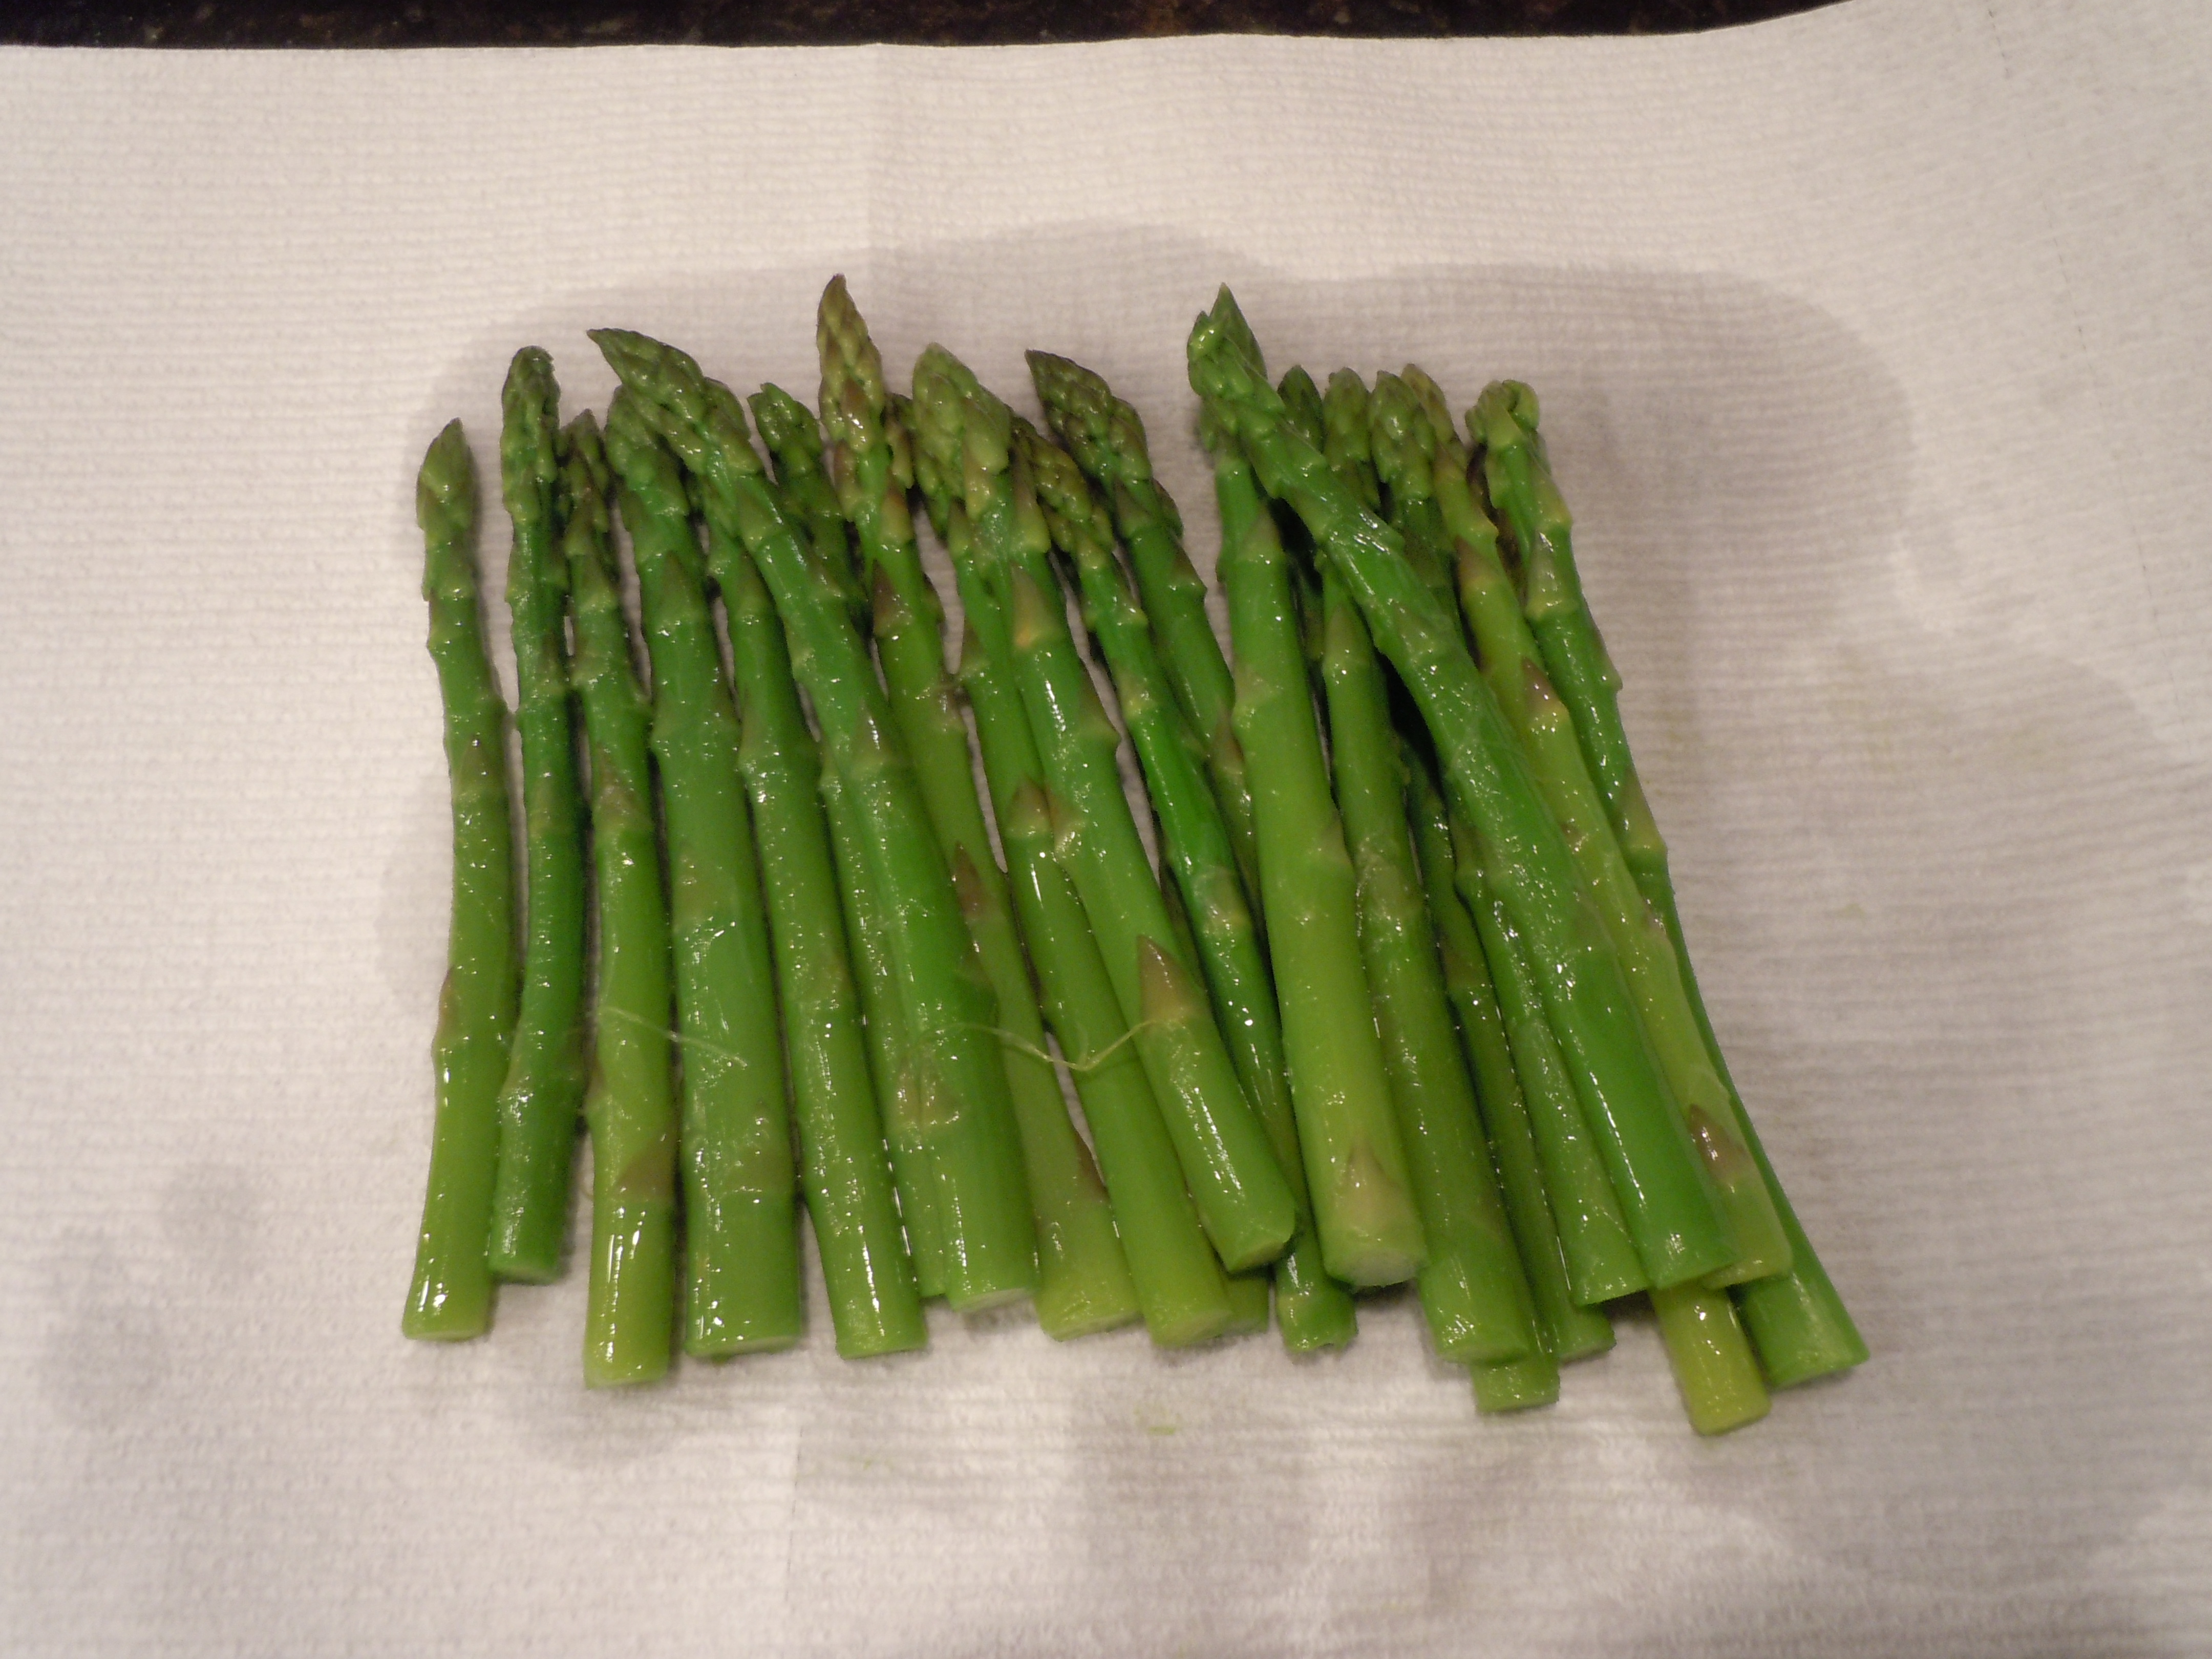
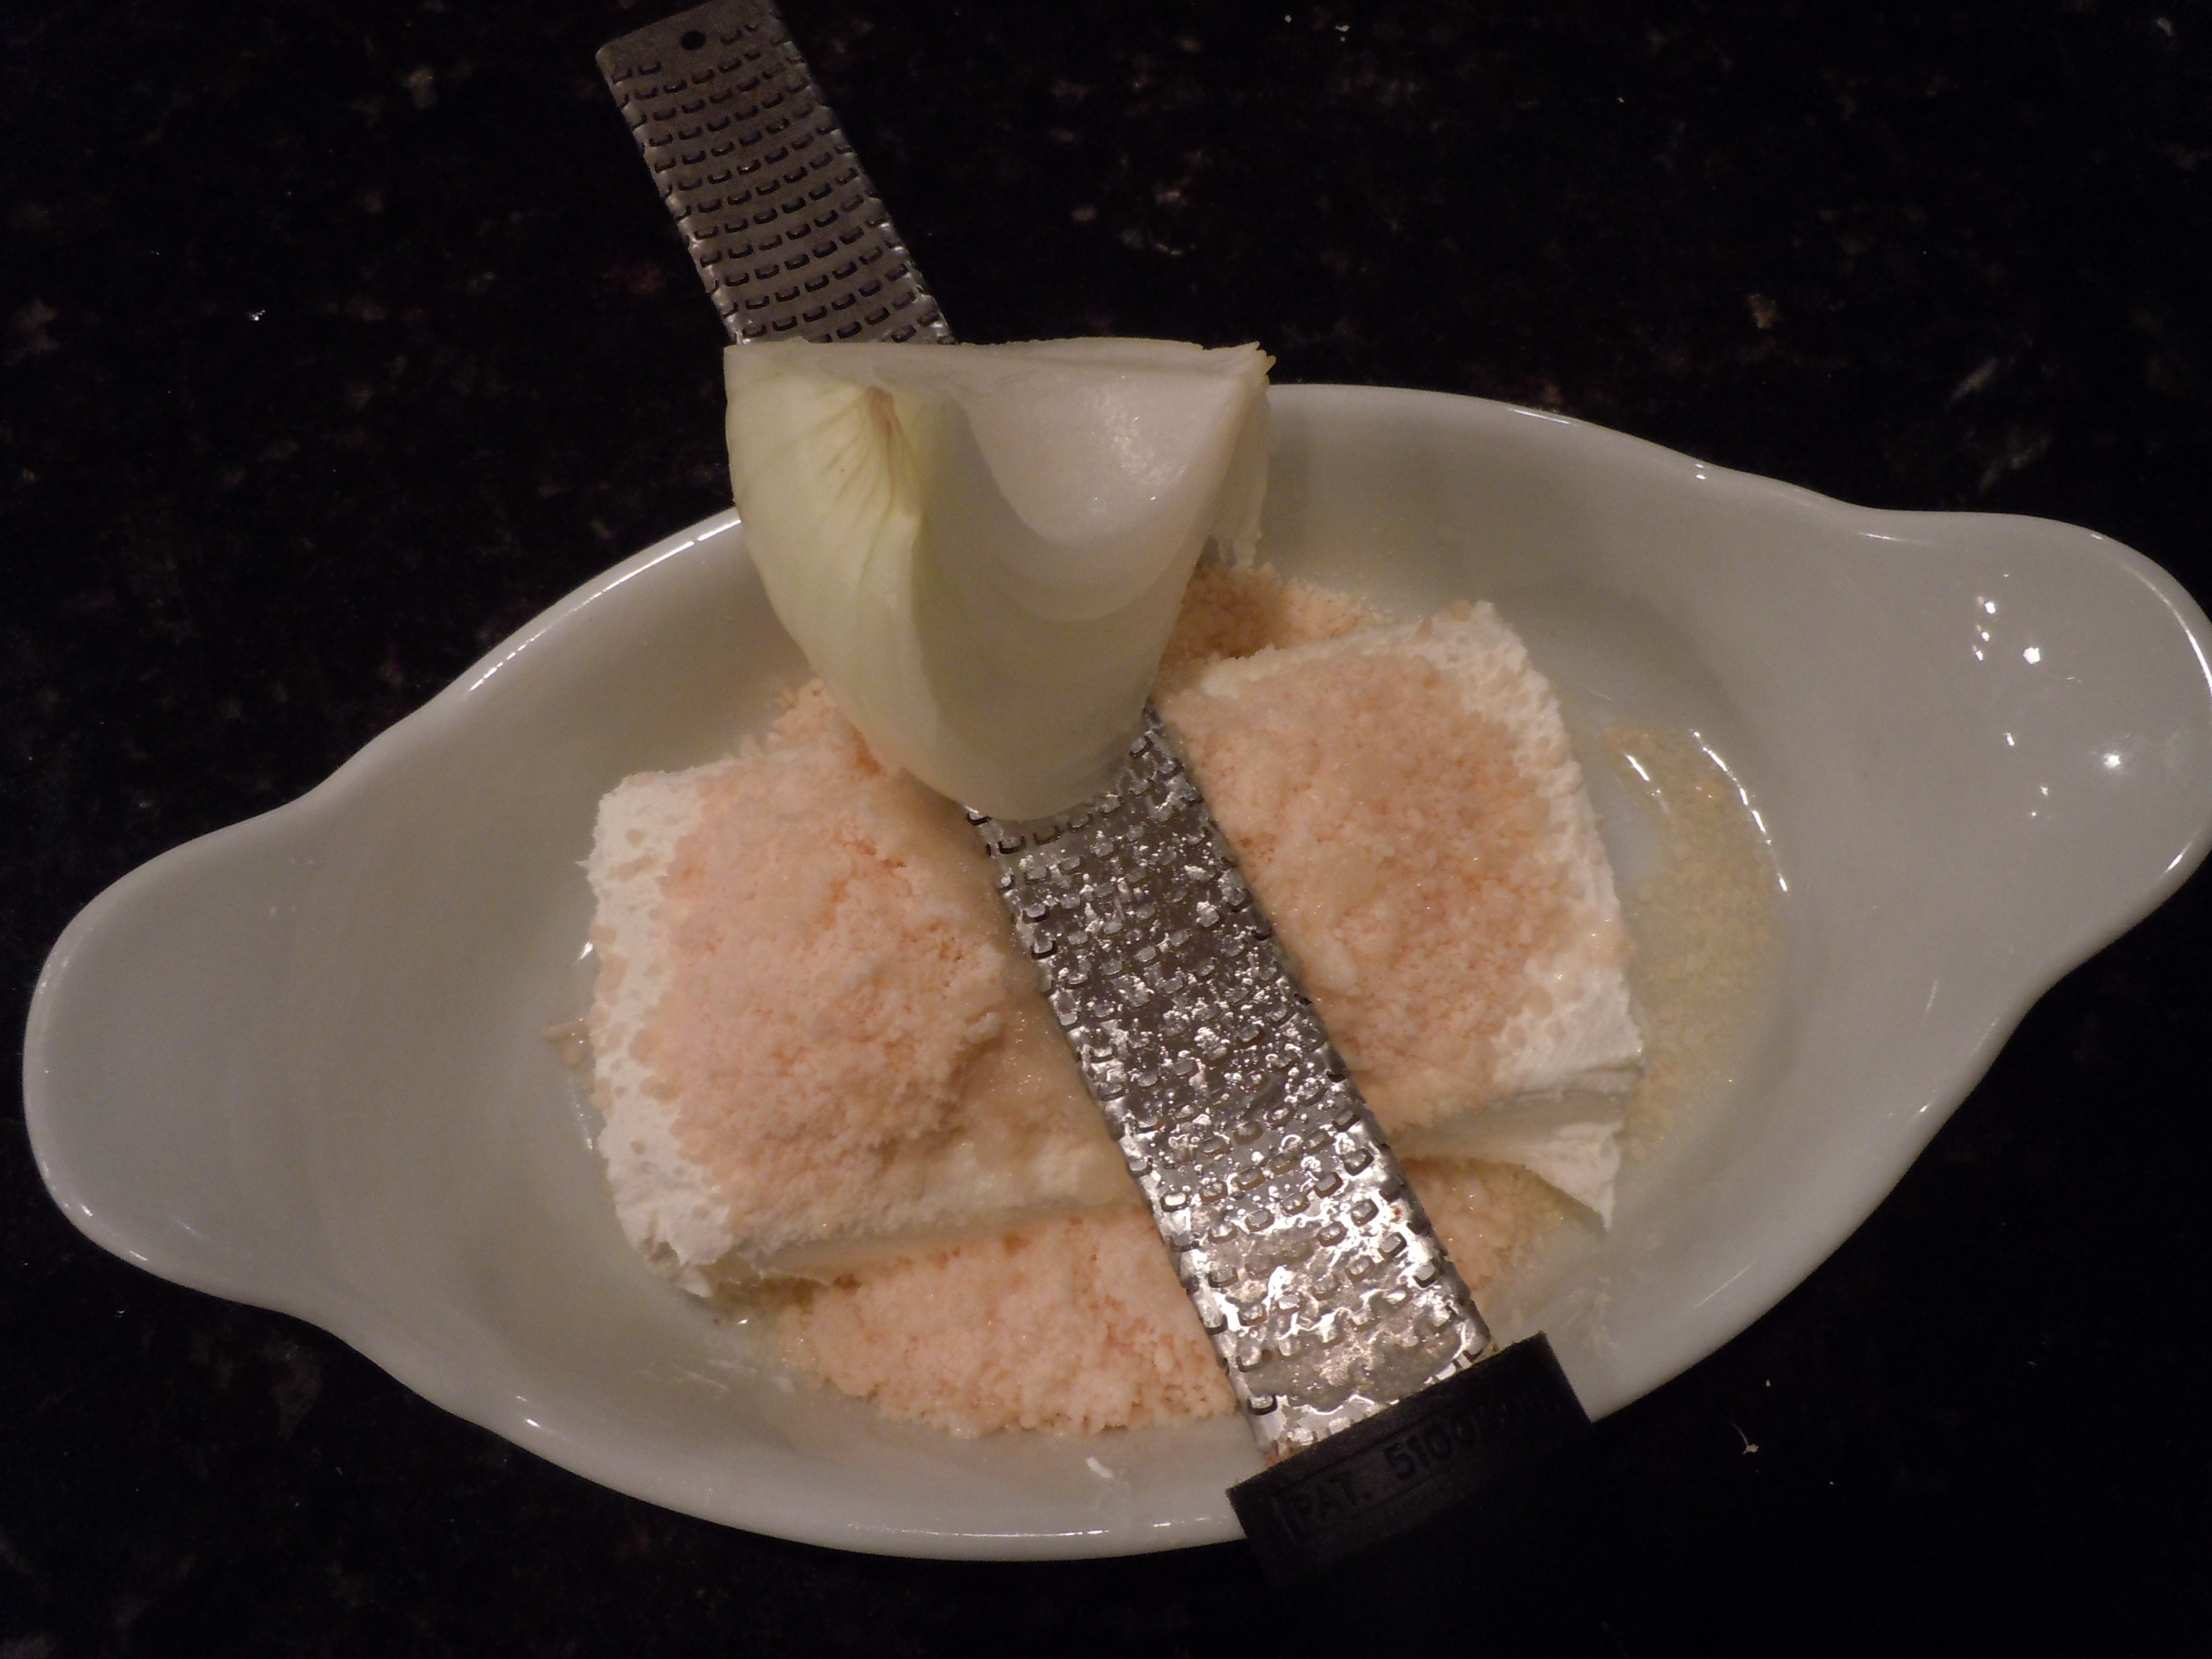
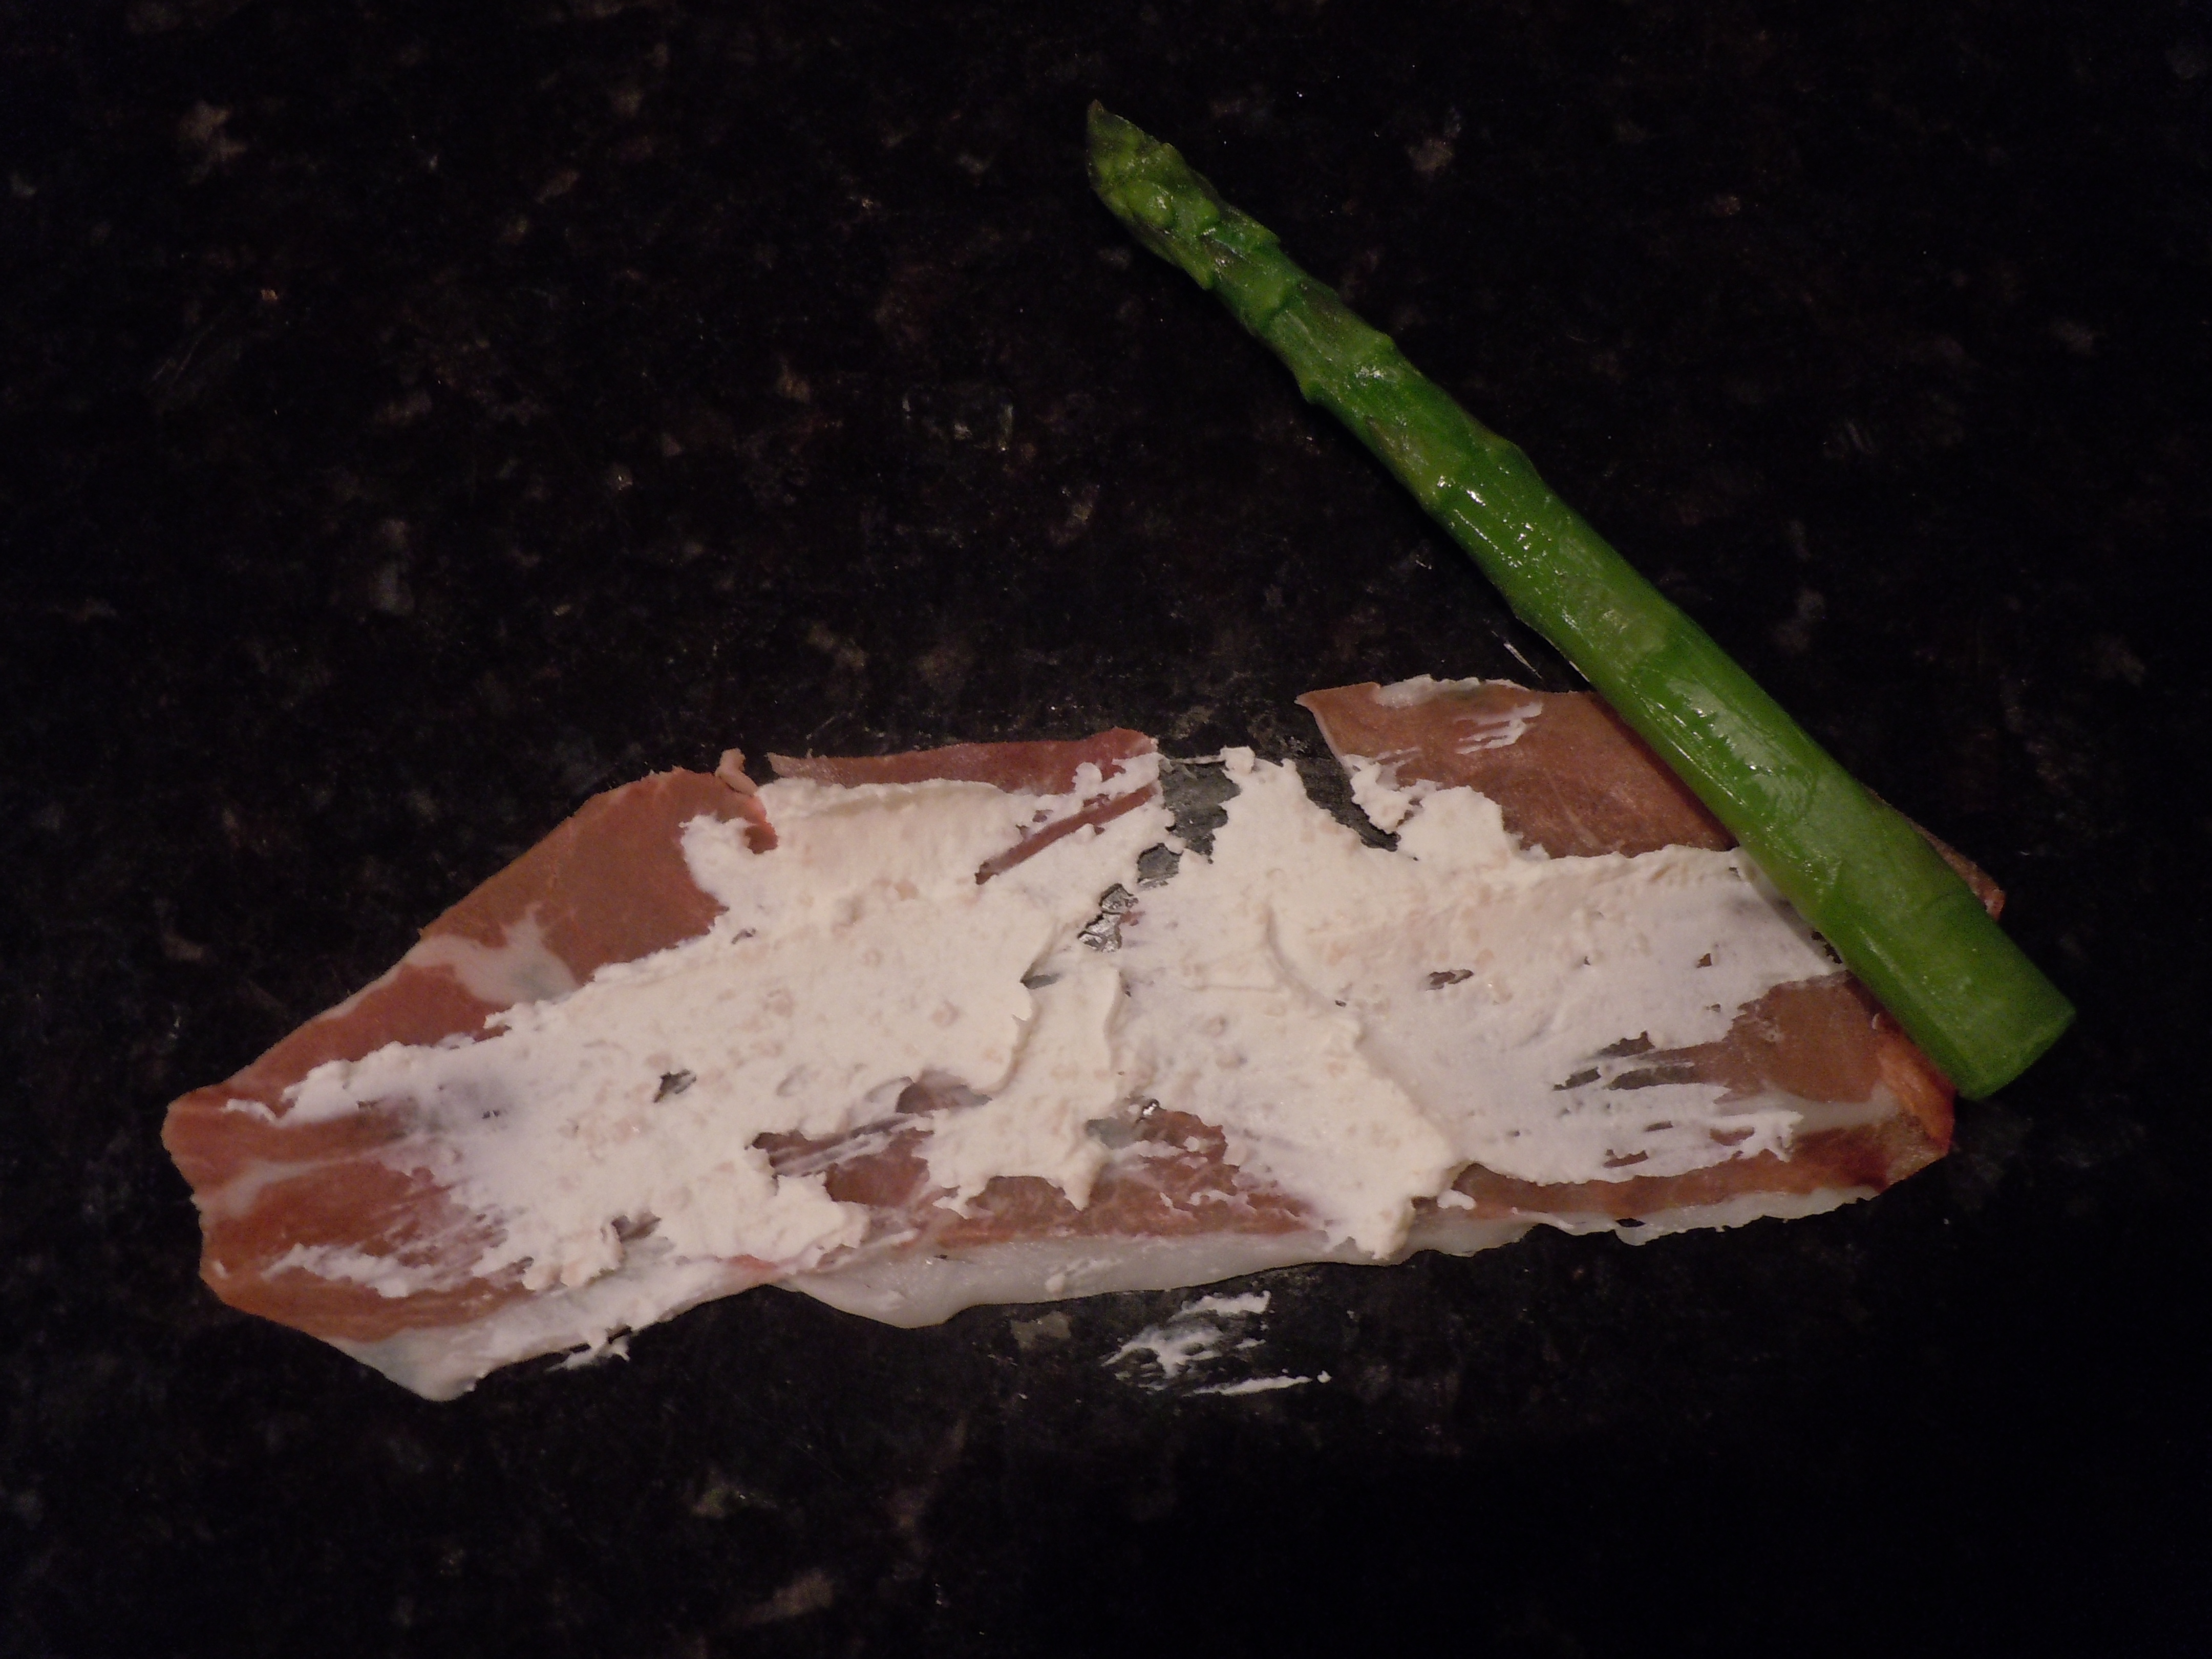
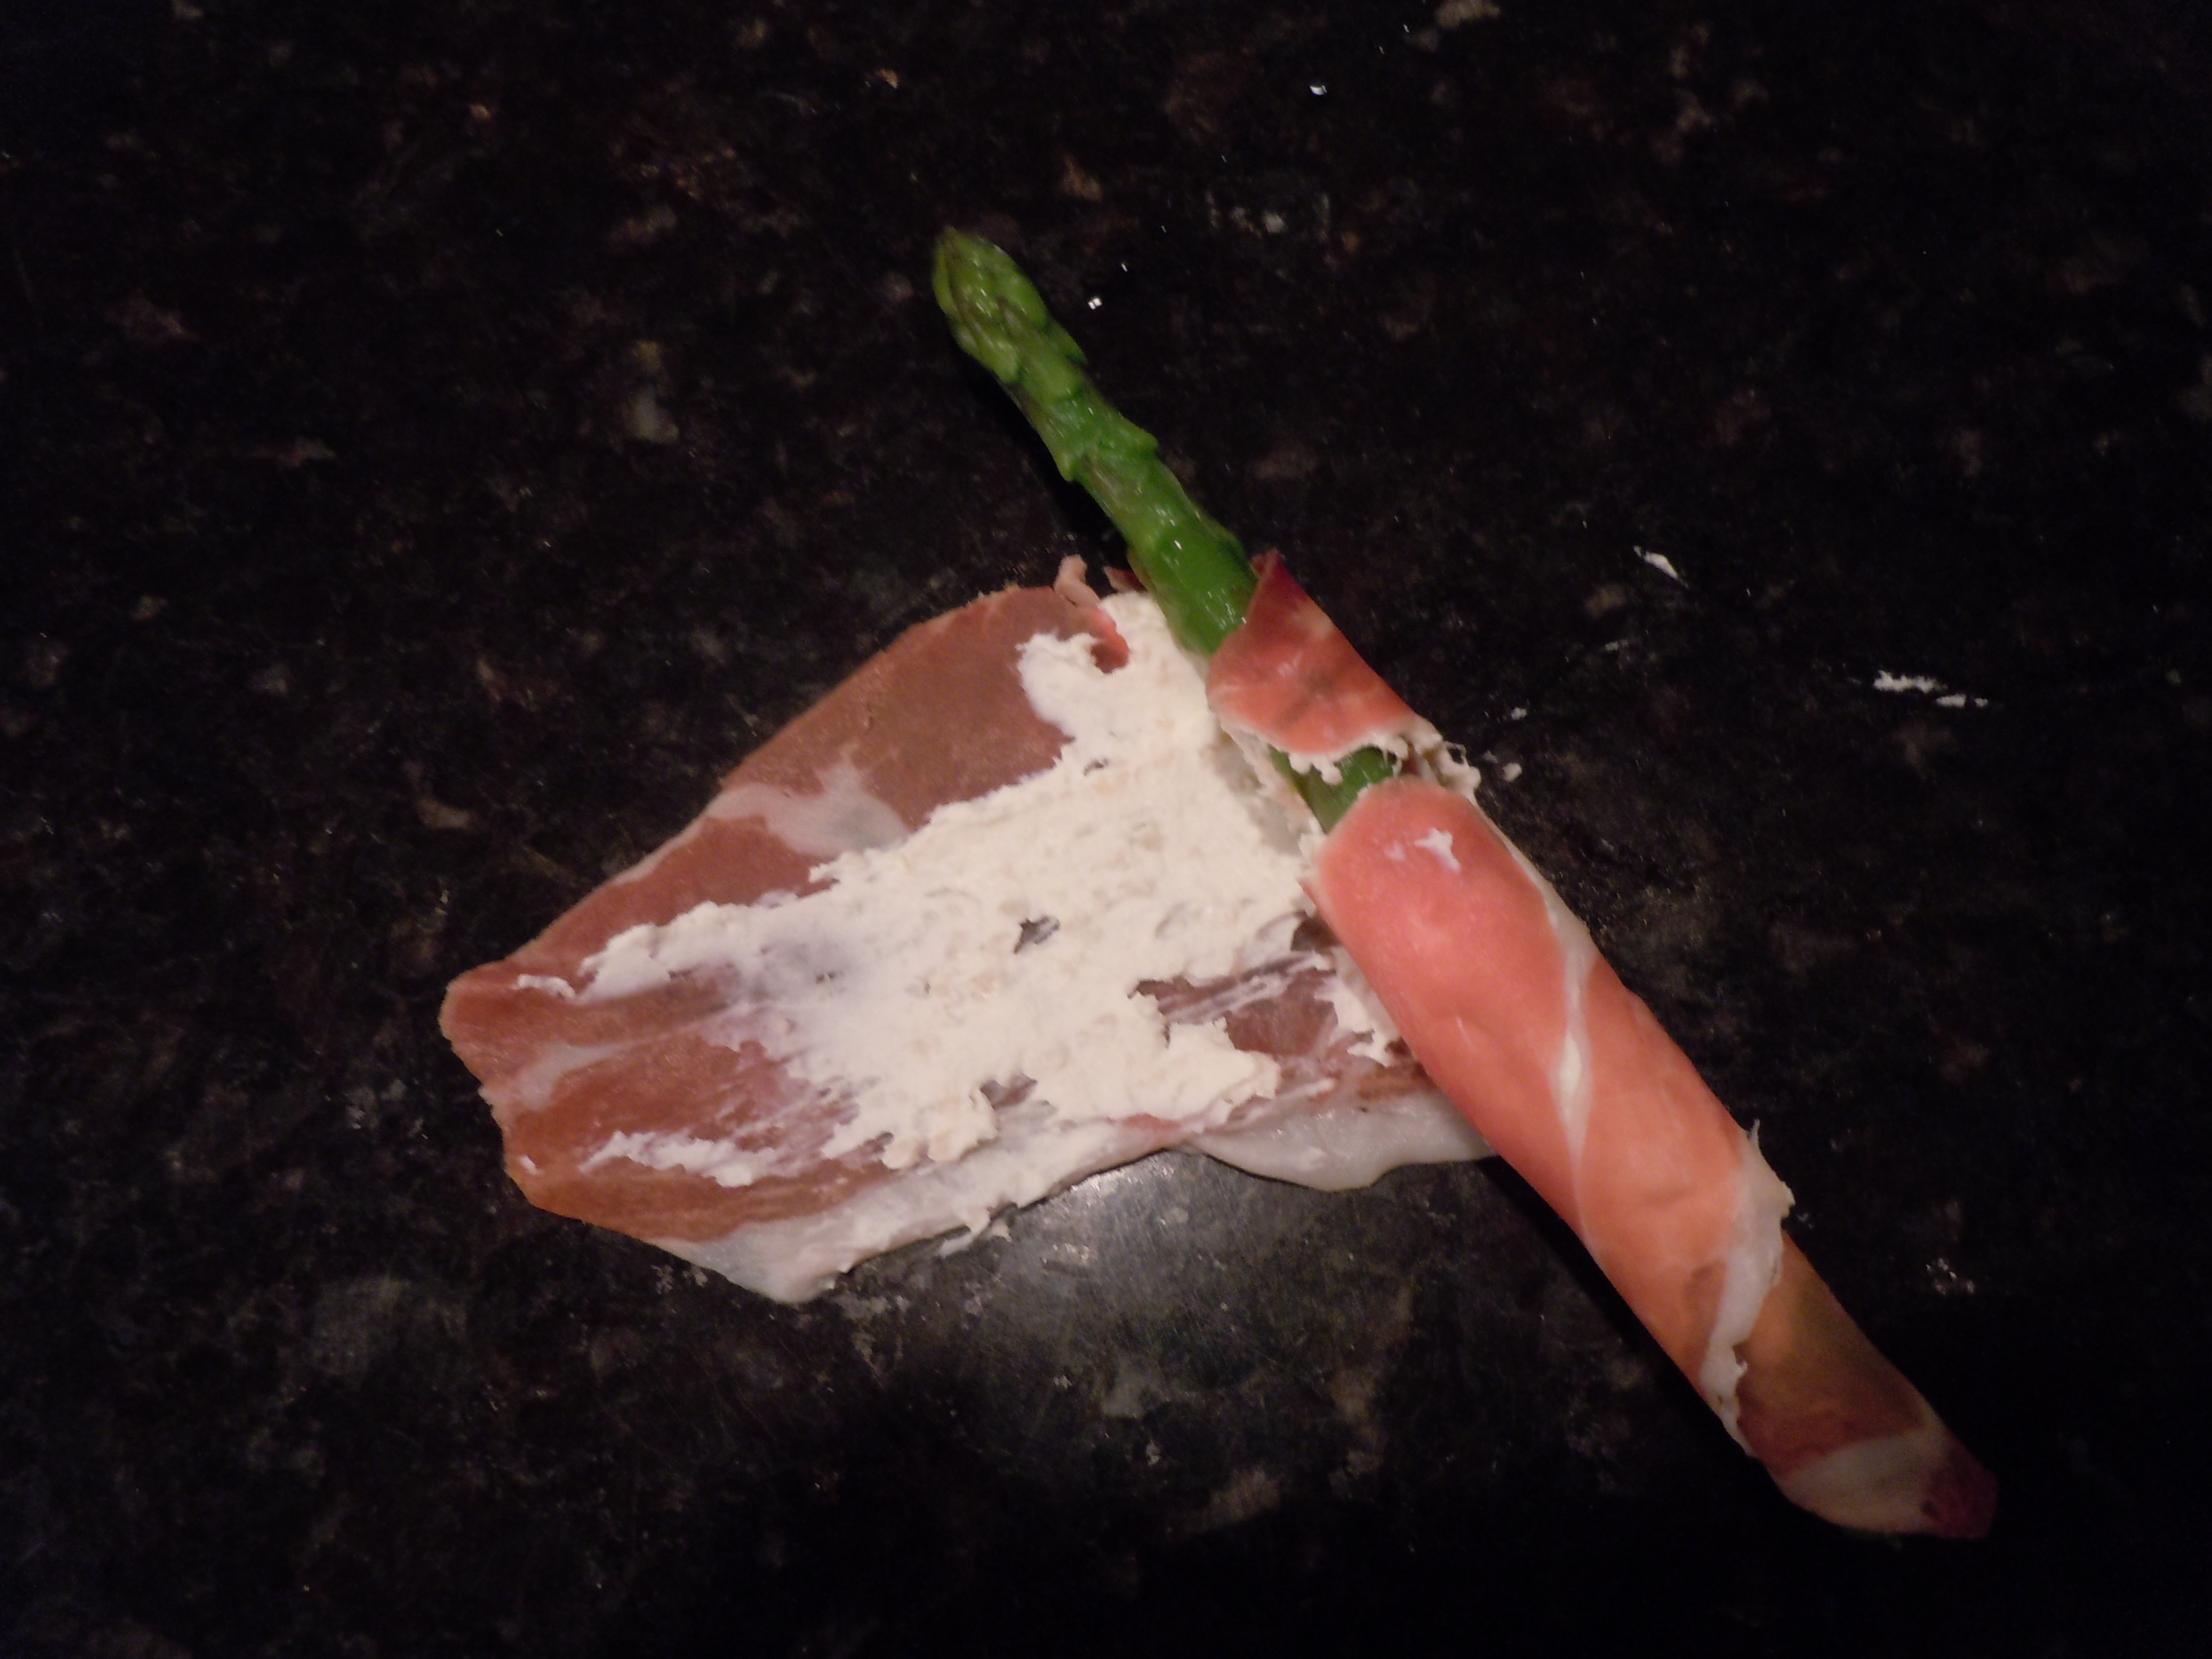
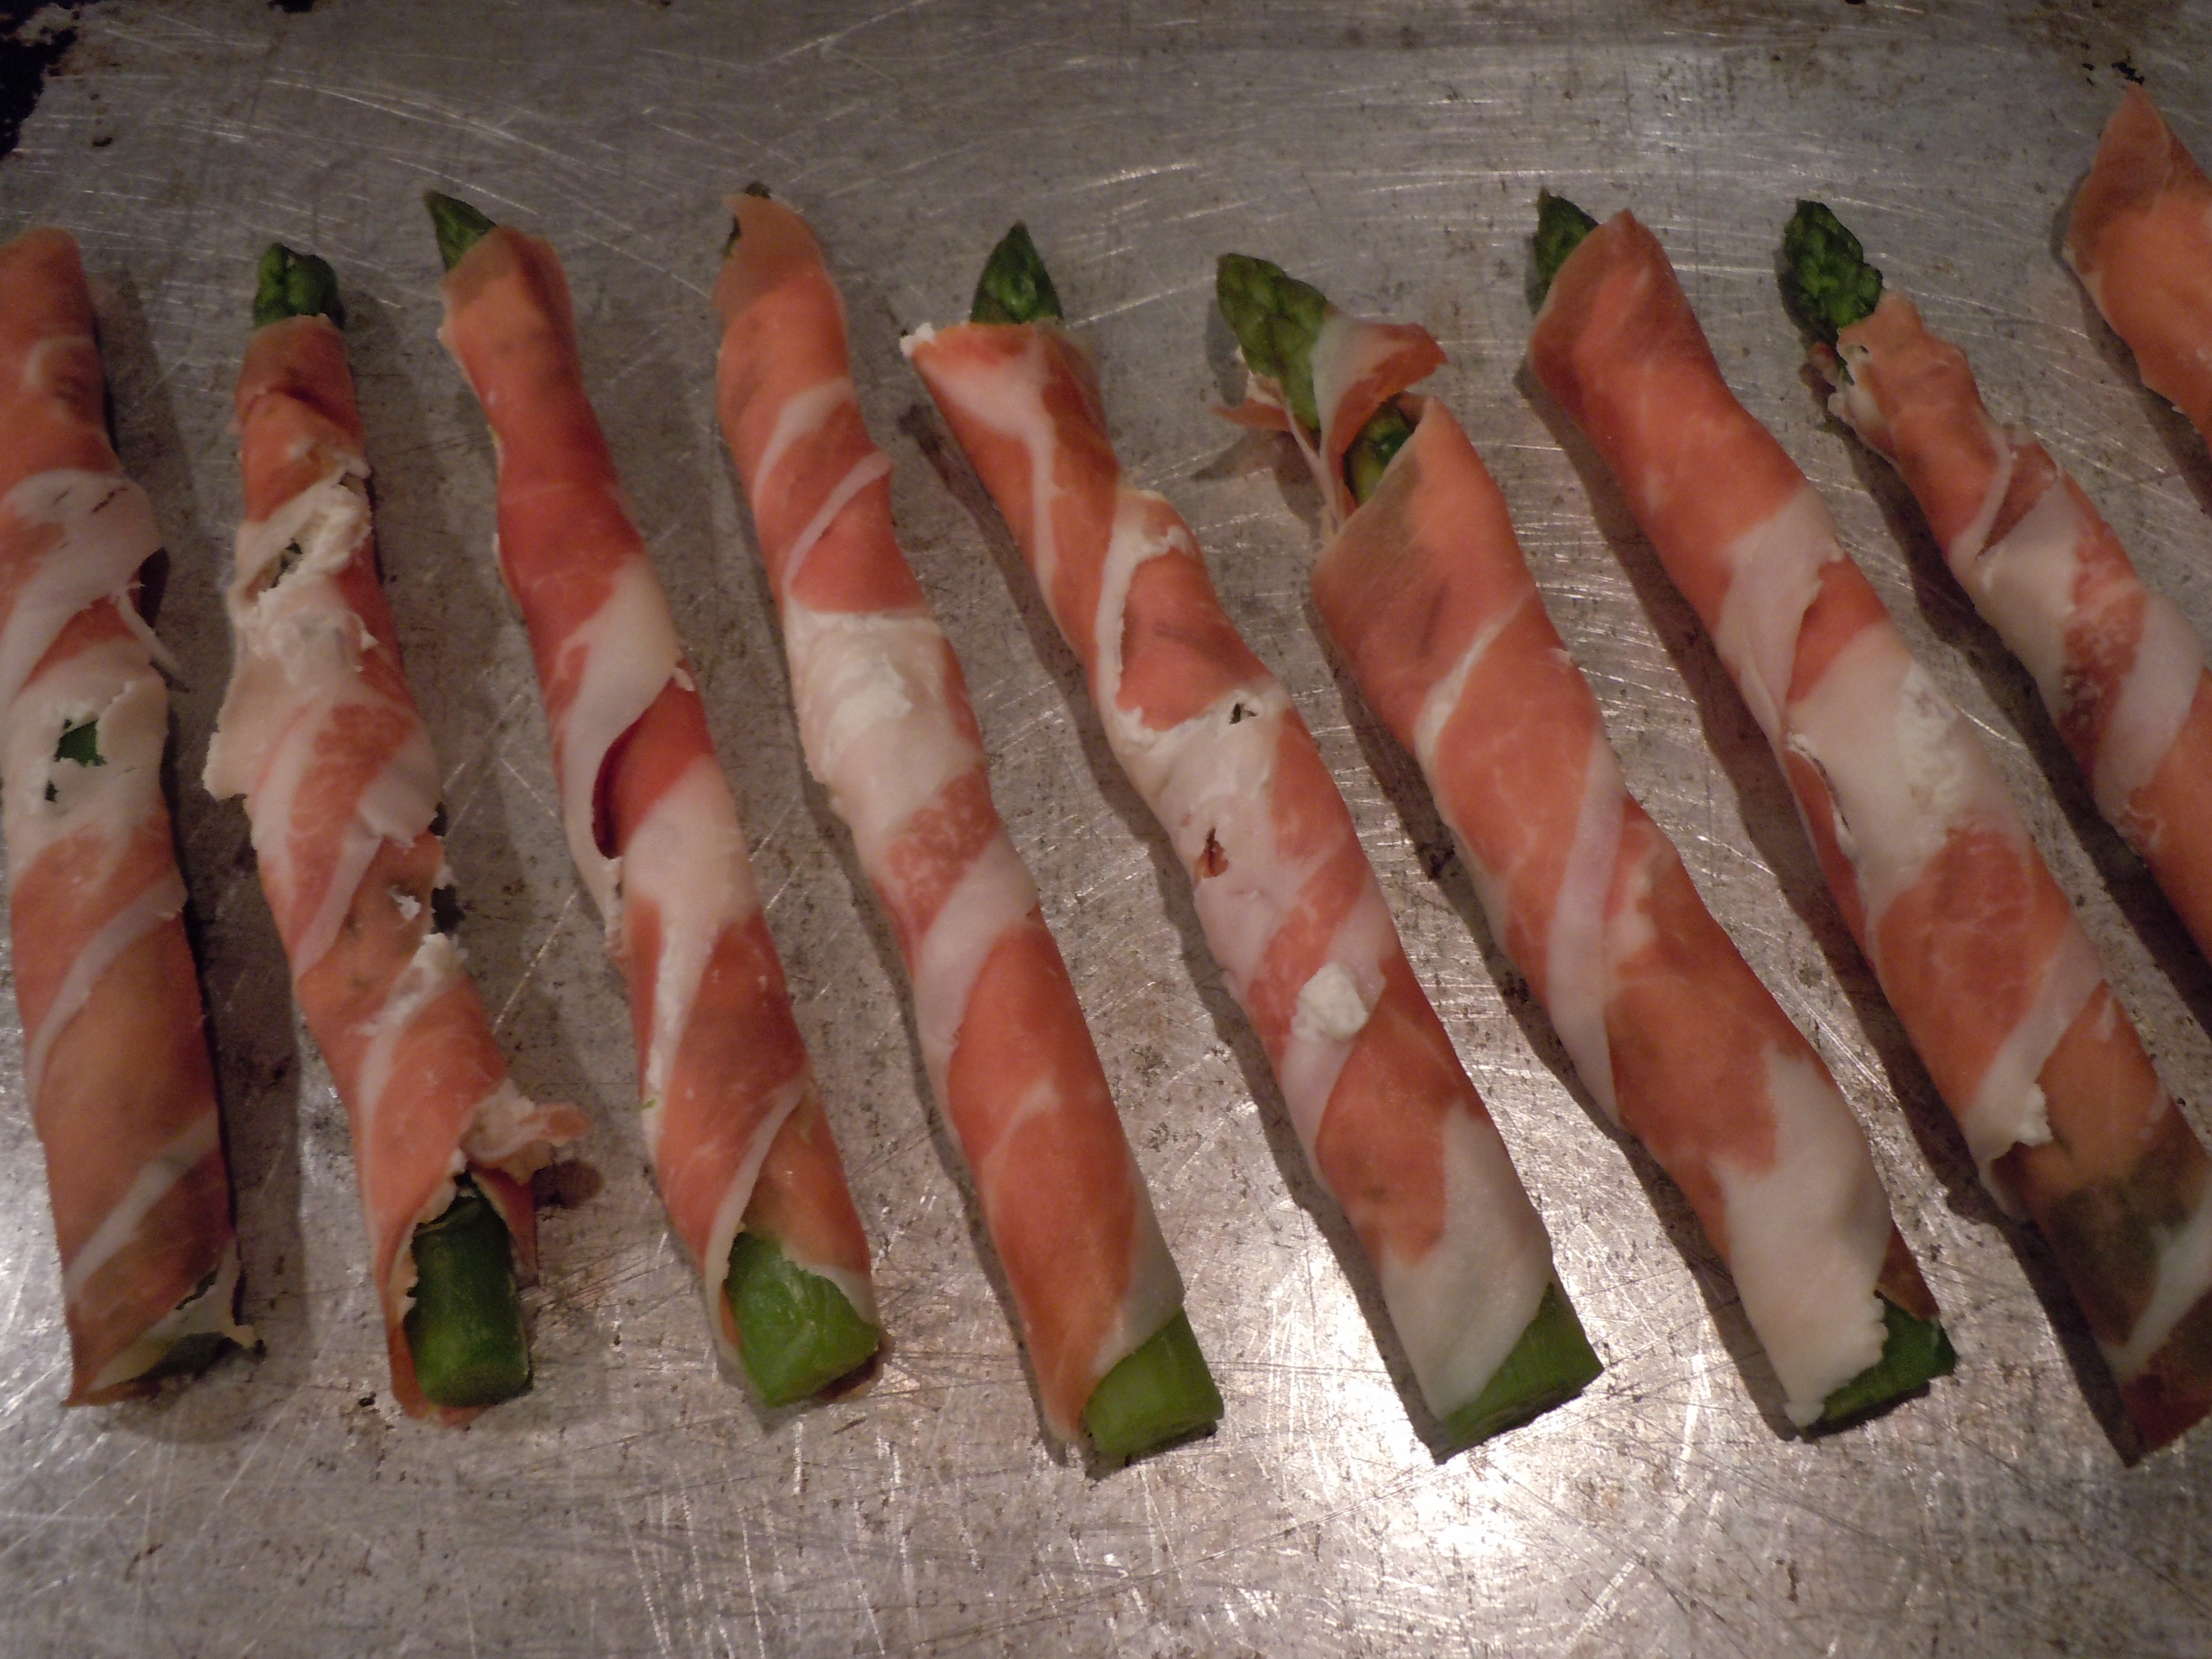
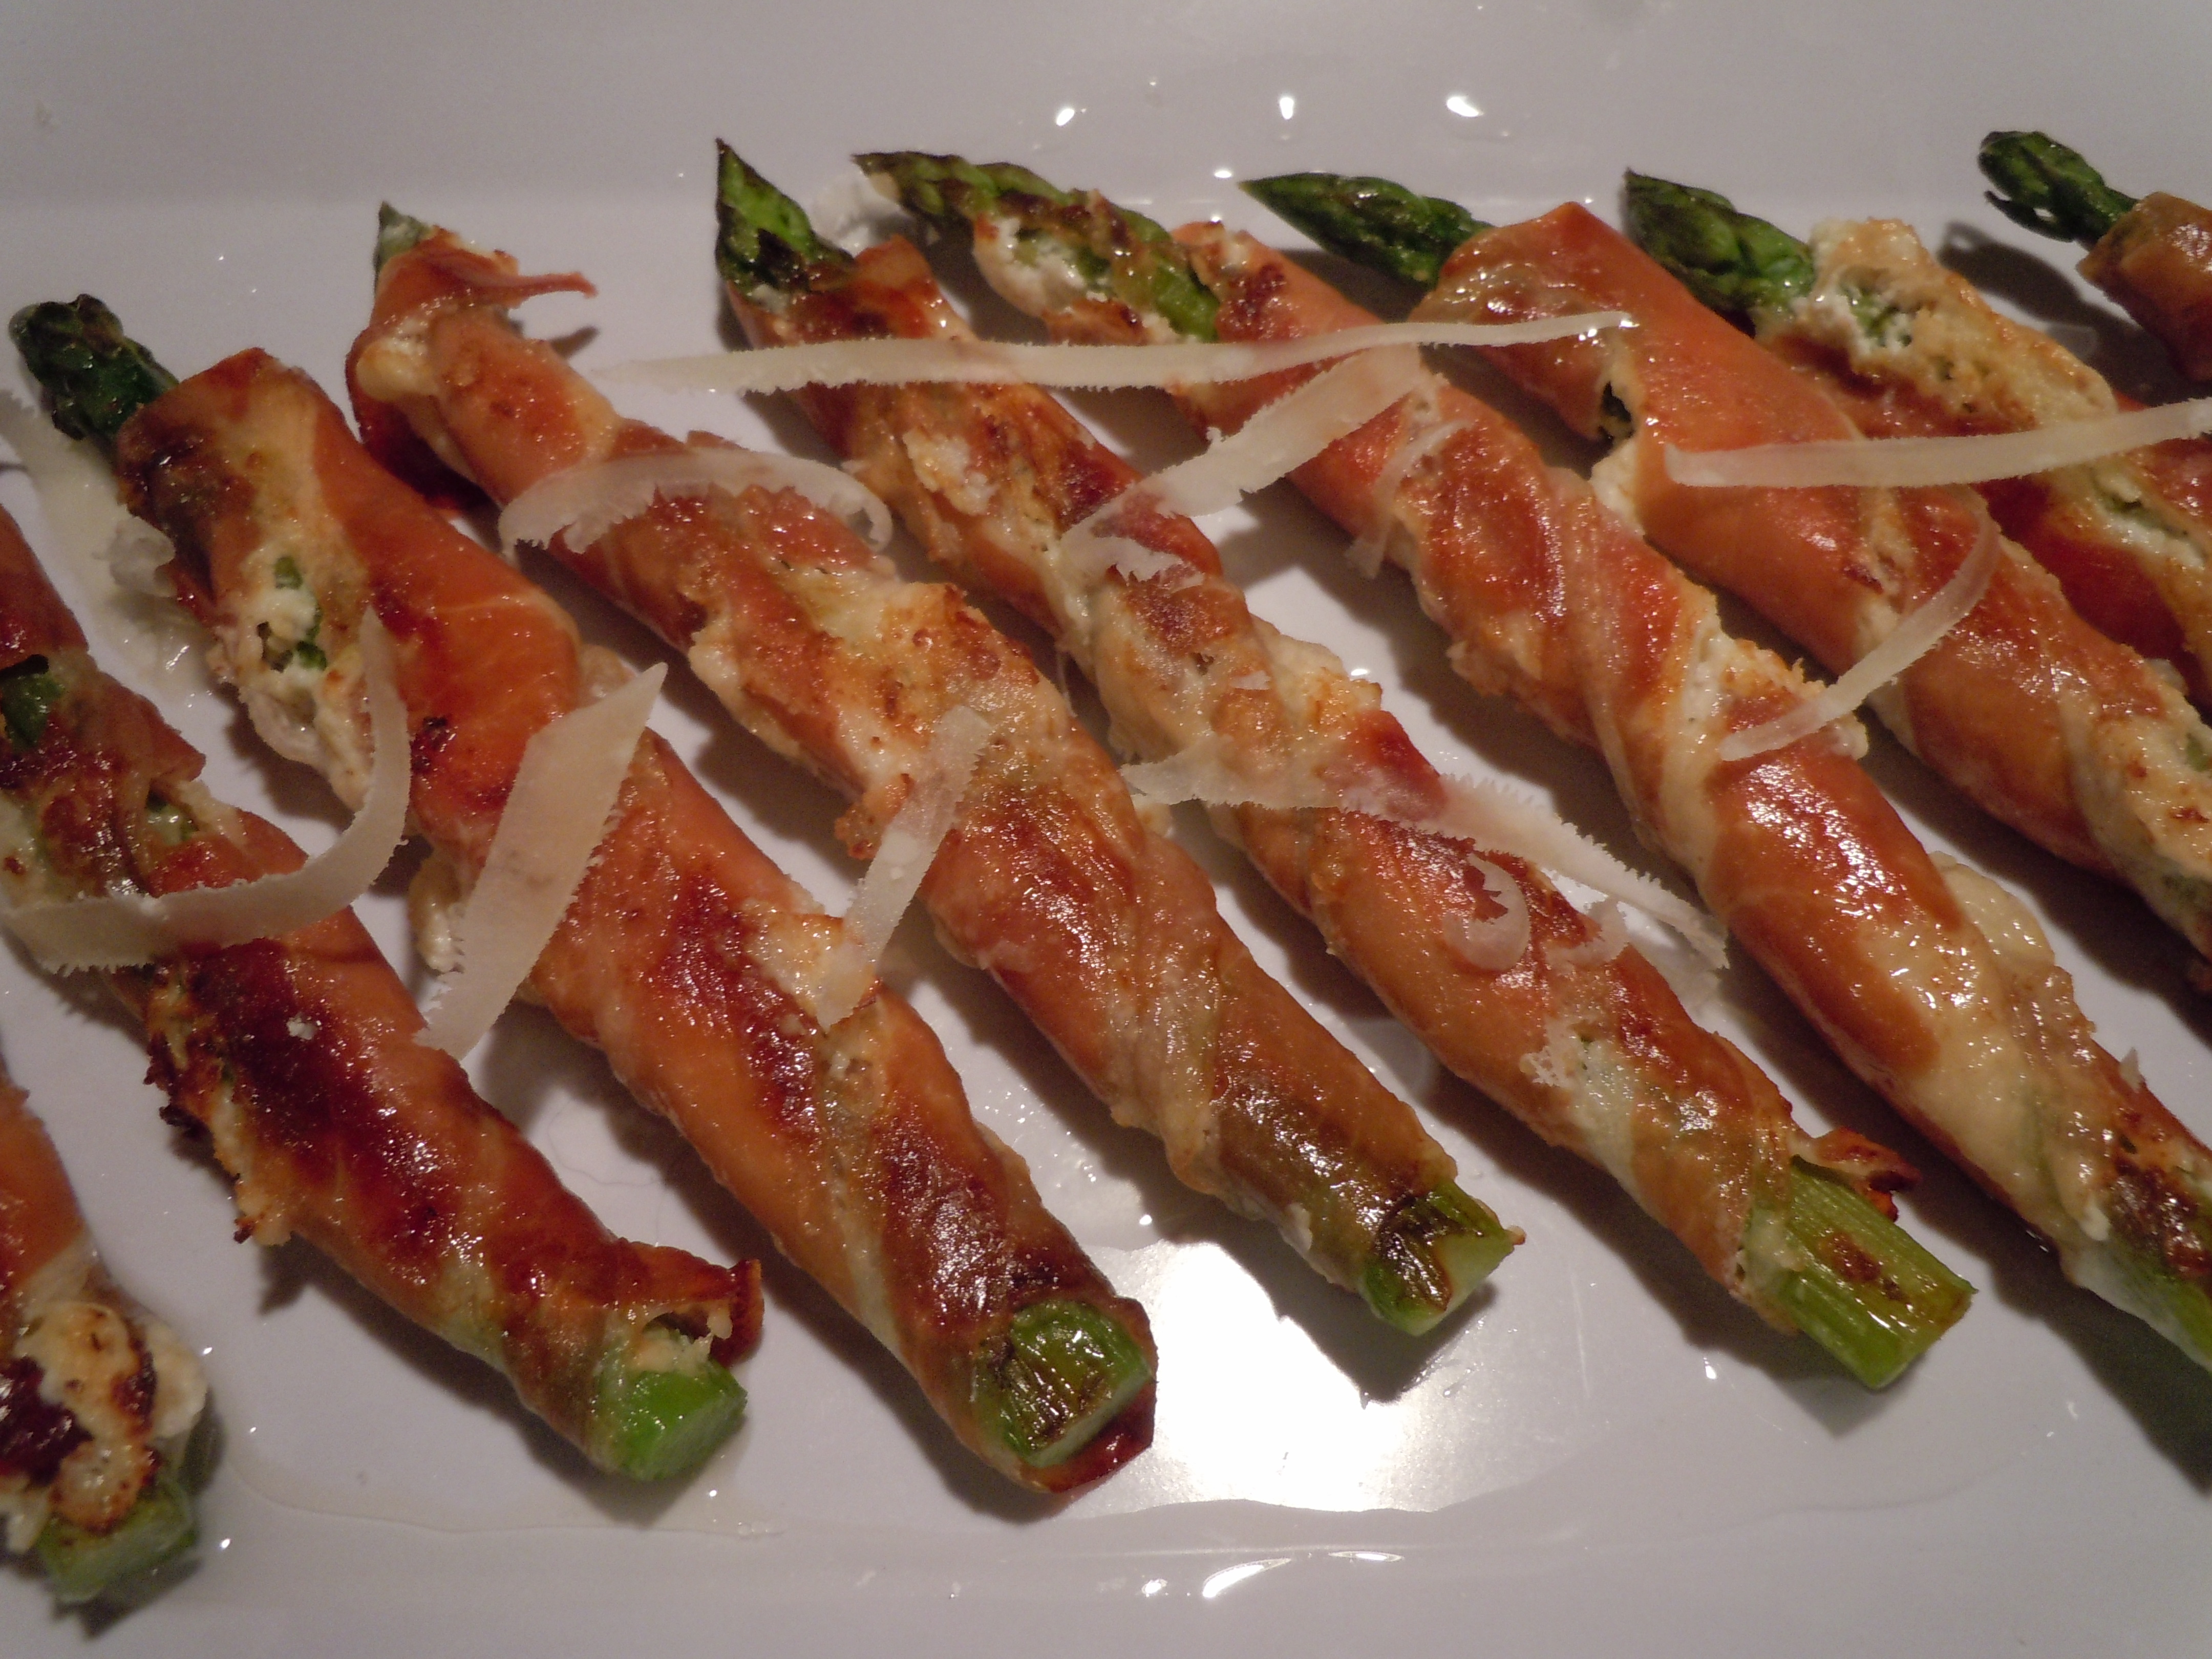
The first holiday appetizer I have for you is my baked asparagus wrapped in Prosciutto that has a smear of a cream cheese, sweet onion and Parmesan spread on the Prosciutto. These Proscuitto wrapped Asparagus are one of my favorite appetizers and can be a topping to a salad or a pretty side vegetable to lunch or dinner. I first had these delicious little bundles at my sister-in-law’s, Anita’s house, twenty years ago.  She is an amazing chef who’s always cooking up a storm. They can totally be made a day ahead, placed on a cookie tray and stored in the frig until you need them. The asparagus is blanched and shocked in an ice bath to stop the cooking and to keep that vibrant green color before they are wrapped with Proscuitto. You want to make sure you buy “Proscuitto di Parma” for this holiday appetizer because it’s the best and most delicate in flavor.  There are other tasty Prosciutto’s out there but they won’t be as tender as the Parma and may get too salty or waxy after baking.

The second quick and easy, gourmet tidbit i have for you are my holiday crostinis with Gorgonzola, fresh chopped tomato, basil and garlic that bakes for seven minutes. These take the same amount of time as the asparagus-Prosciutto appetizer’s. How convenient is that? You can buy already crumbled Gorgonzola at the market in small plastic containers. A little chopping of cherry or grape tomatoes and basil and voilà! The crostinis are beyond simple to make and you can check out that recipe by the hyper-link.

The last wicked easy and delicious holiday appetizer I have for you is something a little sweet. It’s a dollop of goat cheese, fig jam, fresh chopped pear and a mint leave all in a pre-baked fillo shell. Yes, I said pre-baked!!! Can you believe that one? This one you serve at room temperature so all you need to do is thaw the pre-baked shells which takes all of two minutes. It just can’t get any easier than that.

You can totally be flexible with these perfect little holiday appetizer’s too. If you don’t like Gorgonzola switch it out with some cubed up fresh mozzarella to top the crostinis and tomato-basil mixture. As for the pre-baked phylo cups, you can always swap out the goat cheese for a slice of brie if that’s more your taste.

I hope these last minute holiday appetizer’s help you out for your party! I wish you all a joyous New Year! You can certainly swap out or add in other hors d’ oeurves if you are feeling ambitious like baked coconut shrimp, zucchini torta, roasted chick peas, or smoked salmon on crostinis with cream cheese-caper spread. Enjoy 😉

iphone pictures 448

iphone pictures 1063

iphone pictures 970

iphone pictures 777


Baked Asparagus Wrapped in Prosciutto

iphone pictures 538 iphone pictures 601 iphone pictures 529

iphone pictures 532 iphone pictures 534 iphone pictures 540

iphone pictures 544 iphone pictures 546 iphone pictures 545

iphone pictures 552 iphone pictures 554 iphone pictures 560

Ingredients:

  • 20 large asparagus (the bigger the better)
  • 1/4 lb Prosciutto di Parma sliced thinly
  • 4 oz cream cheese room temp (Philadelphia)
  • 1 Tbsp grated vidalia onion (yellow or white is fine too)
  • 1/2 cup grated Parmesan cheese
  • 1 Tsp fresh lemon juice

Directions:

  1. Pre-heat the oven to 400º.
  2. Hold the asparagus with your fingers in the middle and on the end and bend.
  3. The asparagus will break where it’s supposed to.
  4. Line them up and cut evenly across the bottom so they are all at a consistent length.
  5. Bring salted water to a boil and add in asparagus …Blanch 2 minutes
  6. Drain and put into a ice bath.
  7. Dry the asparagus with paper towels.
  8. At this point you can pop them into a zip lock and into the frig until you are ready for them.
  9. Mix together in a small bowl the room temperature cream cheese, grated onion, Parmesan and lemon juice just til combined
  10. Take a piece of Prosciutto and smear 1 Tbsp of the cream cheese mixture down the length of it.
  11. Place the asparagus on a bit of a diagonal (see photo) and roll up.
  12. Place onto an ungreased cookie sheet and bake for 7 minutes – you are heating thru only
  13. Use a spatula to remove from pan and be sure to flip them over when you plate them to see the lovely caramelization on the under side.
  14. Optional: Drizzle a little olive oil, a fresh squeeze of lemon and some shaves of Parmesan on top for a little extra!

iphone pictures 545

 TIP:  Using a micro-plane grater or rasp to grate the onion is a wonderful culinary tool which actually started out back in the day as a wood planer for woodworkers!


Baked Crostinis with Gorgonzola, Fresh Tomato, Basil & Garlic

gorgon mixgorgan crostitoma

withgorg gorgtray IMG_4768

Ingredients:

  • 1 french baguette sliced into 20 – 1/4″ pieces
  • Crostini Recipe
  • 1 cup chopped cherry or grape tomatoes
  • 2 tbsp fresh julienne basil
  • 1 garlic clove put thru garlic press
  • dash salt and pepper
  • 1 small container crumbled Gorgonzola cheese 4 oz. OR diced up fresh Mozzarella

Directions:

  1. Pre-heat oven to 400º
  2. Top crostini with tomato-basil mixture and a tsp of crumbled Gorgonzola OR Mozzarella
  3. Bake for 7 minutes

Goat Cheese, Fig Jam, Fresh Pear and Mint in Pre-Baked Fillo Cups

fillocup withjam endgoat

Ingredients:

  • 1-2 pkg of pre-baked fillo cups (if you can’t find these just buy pre-formed pastry cups that you can quickly bake)
  • 2 oz. goat cheese OR wedge of your favorite dbl cream brie…Saint Albray for example
  • fig jam
  • 1/2 cup fresh chopped pear
  • Wedge of fresh lemon
  • fresh peppermint leaves

Directions:

  1. Chopped the pear and give a squeeze of a wedge of lemon
  2. Thaw the pre-baked fillo cups
  3. Place fresh mint leaf into cups
  4. Place a dollop of goat cheese or slice of brie into the cup
  5. Top with 1/2 tsp of fig jam
  6. Then top with diced fresh pear
  7. Serve room temperature


Homemade Pasta at Vin’s

Homemade Pasta at Vin’s

Homemade pasta is something you have to try at least once in your life! You’ll see how satisfying it is when you taste the tender, slightly chewy texture of the fresh pasta. Making pasta has been a part of my life ever since I was young making homemade manicotti with my mother for the holidays. At my Aunt Pasqualina’s, the counters were always covered with fresh pasta drying out on dish towels.

This past weekend, my friends Lisa and Vin, graciously agreed to share their grandfather’s secret family pasta recipe with me. I had the opportunity to try out, first hand, a pasta tool that belonged to Vin’s grandfather which he called the “trucal iron”. It’s a special pasta cutting tool, a roller, made years ago from medal and wood that was eventually passed on down to Vin. The center spiral part of this “trucal Iron”, made of medal, does the cutting as you roll out the pasta. It has Wooden handles which he said his grandfather glued back on a couple of times. Vin also has a newer version of this “trucal iron”, one made of all wood but the wood spirals have begun to chip away from wear and tear. They don’t make some things like they used to. Vinnie also shared some precious memories of his grandfather and father making this homemade pasta for Sunday dinners growing up where his grandfather would creatively hang the pasta noodles from atop the kitchen cabinet doors to dry out.

There’s nothing like an evening with special friends making homemade pasta! This night of homemade pasta making at Lisa and Vin’s reminded me of how much I really love to do this. Everyone has their own way of making pasta and that’s part of what makes this experience so fun. Now as for this “trucal iron”, there are other pasta tools out there that mimic what Vin’s special pasta tool does like the ones below from Amazon. I have to say, I haven’t used any of those tools from Amazon because I use my KitchenAid pasta attachment which is another great option for cutting the kneaded pasta dough. You could even cut your thinly rolled out pasta into strips by hand with a sharp knife to get the stands of fettuccine, spaghetti, or what ever thickness you might like.

iphone pictures 448 iphone pictures 572 DSCN4572 025  ita

Appetizers like baked coconut shrimp, baked asparagus wrapped in prosciutto, and, or a nice homemade Caesar Salad might be just what you are looking for to go with this homemade pasta of Vin’s! If you are looking for a meat sauce to go on this homemade pasta you should try my bolognese sauceOf course, there are other options like my Italian beef meatballsor Italian turkey meatballs. Hope you enjoy the show 😉

IMG_4244 eggpasta dough

pastdough kneadpasta trucalpasta

IMG_4283 ppasta IMG_4287

cookpastajpg IMG_4327

INGREDIENTS:

  • 2 1/2 cups all purpose flour
  • 1/4 cup olive oil
  • 4 1/2  – 5 lg eggs
  • 1/4 tsp salt

DIRECTIONS:

  1. Put the kneading attachment on your food processor and add the flour
  2. Add the salt and olive oil
  3. Turn on the food processor to slow
  4. Add in 1 tbsp of water
  5. Begin adding in 1 egg at a time with the processor still on slow
  6. Add in the rest of the eggs
  7. Keep the food processor going on medium speed to begin kneading the dough
  8. Let knead for about 8 minutes until the texture turns into a smooth consistency
  9. Remove the pasta dough and place onto the counter
  10. Knead briefly with your hands and let sit for 1/2 hr.
  11. NOTE: Vin does not cover his pasta dough while it sits for the 1/2 so it can begin to dry out  a little bit
  12. Sprinkle some flour onto the counter or work surface and cut pasta dough into 8 pieces
  13. Begin to roll out each piece of dough to your desired thickness
  14. Sprinkle more flour on top of each thinly rolled out pasta piece and use the roll cutter below or a sharp knife or a KitchenAid Pasta attachment to get desired pasta strips
  15. Bring large pan of salted water to a boil and add fresh pasta
  16. Depending on the thickness, cook pasta for 4-8 minutes, test pieces of pasta for proper doneness
  17. Serve with sauce and mangia, mangia!


Easy Gourmet Eggplant Parmesan

Easy Gourmet Eggplant Parmesan

My easy gourmet eggplant Parmesan is sweet, saucy and oozing with mozzarella getting even better the next day when it’s re-heated if that’s even possible! Eggplant Parmesan one of my very favorite things to make. I used to watch my mother fry eggplant when I was young and I have been making this homemade eggplant Parmesan for 30 years now. Eggplant Parmesan is one of those delicious Italian comfort foods that can be a little bit of work to prepare so I show you how to keep the process simple by spreading out the steps.

The secret to sweet eggplant Parmesan is slicing , lightly salting and weighting down the eggplant letting it sit in the refrigerator for 2 hrs to overnight preferably to remove the bitter purple juice making my homemade baked eggplant Parmesan as sweet as ever. This is a simple but ingenious way that’s been in my family for generations.

It will be much easier to try and fry up only one eggplant if it’s your first time just to get the hang of it. If you have gone through the frying process before I would suggest cooking up two or three large eggplants. I like to fry up 3 eggplants because I freeze the slices I don’t use right away when they are completely cooled in between layers of thick durable Bounty paper towels in freezer Ziploc baggies. This way all your base work is done for you and you are able to pull them out of the freezer and whip up an eggplant rollatini, eggplant Parmesan, or even eggplant lasagna. When you take them out of the freezer they pop apart easily thawing in minutes too ready for what ever dish you may have in mind.

I recommend making my quick and easy tomato-basil pasta sauce  or even my slow cooked pasta sauce to baked this easy gourmet eggplant Parmesan dish. I love the fact that it can totally be made days ahead, even weeks ahead and put into the freezer ready to thaw when you need it.

If you’re feeling ambitious you may want to venture off and try my homemade eggplant rollatini with vodka sauce and, or my homemade ricotta which you can also make the day before or just treat yourself and buy Liuzzi Cheese ricotta or your favorite store brand for the rollatini. Planning is sometimes the name of the game for taking the labor out of scrumptious food like this where if you get it done in steps it makes everything go so smoothly.

You may want to accompany this amazing Italian dish with some apps like crab cakes, a homemade Caesar saladMediterranean layered dip, or asparagus wrapped in Prosciutto and you could end it with the best chocolate cake you ever had that’s a snap to make! ENJOY! 🙂

DSCN45211-300x225 DSCN4572-300x225 IMG_5437 iphone-pictures-572-300x225 IMG_2793

DSCN4361[1]  DSCN4362[1]  DSCN4364[1]

DSCN4367[1]  DSCN4369[1]  DSCN4372[1]

DSCN4374[1]  DSCN4376[1]  DSCN4378[1]

DSCN4382[1]  DSCN4385[1]  DSCN4386[1]

DSCN4391[1]  DSCN4393[1]  DSCN4395[1]

DSCN4399[1]  DSCN4405[1]  sauce

sauceeggplant  eggplsnt  eggwithplant

IMG_3349

Ingredients:

  • Tomato-Basil Pasta Sauce or Slow cooked pasta 101 recipe
  • 2-3 large eggplants
  • 6-9 extra large eggs whisked (approx. 3 eggs per 1 extra-large eggplant)
  • 3 cups seasoned Italian bread crumbs – (use “seasoned breadcrumbs” then you don’t have to add that in)
  • salt
  • 1 16 oz. block of part-skim or whole milk mozzarella shredded or sliced thinly
  • 3 1/2-4 cups canola oil for frying
  • fresh basil leaves
  • grated Parmesan for garnish
  • Cookie racks
  • 1 whole roll of Bounty Paper Towels (it’s important to get quality paper towel so they will absorb the oil properly and won’t fall apart)
  • Candy thermometer to keep oil at 300º

Directions – Pre-heat oven to 350º:

  1. Slice the ends off the eggplants
  2. Using a potato peeler peel off all the skin of the eggplants
  3. Slice up eggplants on a slight bias (on a little bit of an angle) into 1/4″ slices (1/4″ for rolling up for eggplant rollatini BUT you can cut them a little thicker 3/8″ for eggplant parm!
  4. NOTE: If i plan on freezing the left over fried eggplant slice’s for future dinners (eggplant rollatini) I cut them length wise so as to have enough length to roll up with ricotta in the middle BUT if I’m just making enough for parm I cut the eggplant on a slight bias because I don’t need the length…I try to cut them all the same so cooking time is constant.
  5. Layer the eggplant slices in a large glass bowl
  6. In between each layer sprinkle 1/4 Tsp of salt, and keep layering eggplant, salt, eggplant, salt…
  7. Cover with Saran wrap and place a small plate on top and then some heavy fry pans or large tomato can to weight down the eggplant and into the frig for 1-2 hours up to 1 day
  8. Drain the purple juice from the bowl
  9. Take the eggplant and pat them dry in layers between Bounty paper towels
  10. Whisk eggs
  11. Get your line-up of bowls in order: eggplant slices – whisked eggs – bread crumbs
  12. Add 3 1/2 – 4 cups canola oil to a large sauce pan and begin to heat up on medium/high heat
  13. The oil needs to get to about 300º …The temperature will go down a little when you start filling the pan with breaded eggplant slices so start with the heat on med/high then after you start to fry you will have to turn it up a little to maintain the 300º
  14. Lay out 2-3 cookie racks covered with layers of paper towels to absorb oil for frying
  15. Add slices of eggplant to the egg bowl in batches – only add in the 4 or 5 slices that are going next into the oil and ready to go into the bread crumbs
  16. Then dip into the bread crumbs and into the heated oil
  17. Put 4 or 5 slices of breaded eggplant into the oil at a time…
  18. They will fry for about 2-3 minutes per side til golden then flip the slice over
  19. While the 1st batch is frying get the 2nd batch ready to fry dipping into the egg and then into the bread crumbs and let them sit there on the bread crumbs til they are ready to go into the oil
  20. Once the eggplant are golden place onto cookie racks with paper towels and dab them with fresh paper towels, flip and do the same to the other side to remove all excess oil
  21. Throw away oily paper towels and re-place with a new set of paper towels for the next and replace with each batch there after
  22. Then place the eggplant onto the wire cookie racks with out paper towels to cool
  23. Finish frying the rest of the eggplant going thru the same procedures
  24. Get out your favorite baking dish and cover the bottom with sauce
  25. Begin to layer sauce, eggplant, mozzarella and some fresh basil leaves til you are 1″ from the top
  26. Cover with foil and bake for 50-55 minutes appox. with foil til sides are bubbling and bake another 5-10 with out foil so mozzarella can get bubbly

FREEZING TIPS: I love, love, love to freeze my fried eggplant slices because all the work is done for you the next time you want to make parm or rollatini. BEST way to freeze your eggplant slices:  let all the fried slices COMPLETELY cool on a cookie rack, then layer as many slices in between BOUNTY (need a durable paper towel)  paper towels. Layer enough slices to fit a SINGLE layer in between each sheet of Bounty in a FREEZER ZIP-LOC baggie.  Begin with a sheet of Bounty in the Zip-Loc, then slices of eggplant-single layer, then another sheet of Bounty, then another layer of eggplant slices and so on until you can barely close baggie. Lay flat in you freezer and Voilà! Freezes great 4-5 months!

Gourmet Sausage Stuffed Mushrooms

Gourmet Sausage Stuffed Mushrooms

These gourmet sausage stuffed mushrooms are literally the easiest appetizer ever. Wipe the mushrooms off with a damp paper towel or mushroom brush, add your favorite sausage and bake for 15-20 minutes! There is no need for chopping or sauteing. You remove the sausage meat out of the casing it comes in, fill the mushroom caps and viola! In this recipe I used two pork sausages Italian garlic herb, and a chorizo sausage made with spices like chili and paprika. I also used two chicken sausages one made with jalapeño, fennel and cilantro and the other with feta and spinach that I bought at Whole Foods Markets.

There are so many specialty sausages to choose from out there that you can’t go wrong stuffing these baby bells! All the work is done for you so take advantage of these gourmet sausage products and stuff these mushrooms for an incredibly scrumptious appetizer that will continue to get raves from your guests.

Mushrooms are probably one of my favorite vegetables to eat. Give me Chanterelle mushrooms in a brandy cream sauce and I am in complete heaven. But here all you need is a simple button shaped mushroom with some room under the cap for filling.You can use a white button mushroom for these gourmet sausage stuffed mushrooms but what I prefer are Baby Bells because they are packed with flavor.

Another great specialty meat product called D’Artagnan offers many different sausages. One in particular is a mix of pork, duck, duck liver and egg white and is out of this world! This type of sausage is called Boudin and is very popular in New Orleans. It has distinct flavors that you might just start to crave after you have tried it. I really like D’Artagnan and I have found that Bishops Orchards Market in Guilford, CT carries a wide variety of their products. This brand offers a lot of duck products which Bishops also carries. Anything with duck or goose whether it be breast or liver is a no brainer in my book…YUM!

You can have these stuffed mushrooms for hors’ d oeurves before serving stuffed roulades of chicken on a garlic-bean puréeAsian shrimp & rice noodle saladturkey stuffed peppers or Chilean sea bass with green goddess sauce II for dinner.

iphone pictures 1418  iphone pictures 940  iphone pictures 941

iphone pictures 1420  iphone pictures 1421  iphone pictures 1422

iphone pictures 1423  iphone pictures 1419  iphone pictures 1424

iphone pictures 1427  iphone pictures 1426  iphone pictures 1425

iphone pictures 1428  iphone pictures 1430  iphone pictures 1441

Ingredients – Makes 20-24 Stuffed Mushrooms:

  • 2 pkgs of baby bella mushrooms (2- 8 oz. pkgs. will get you 20 and 2-10 oz. will get you 24)
  • 1 lb. – a variety of your favorite flavored sausages
  • Sprinkle of salt and pepper- (for after the mushrooms come out of the oven)
  • Fresh shaved Reggiano Parmesano
  • Fresh chopped chives for garnish

Directions:

  1. Pre-heat oven to 400º
  2. Clean your baby Bella mushrooms off with either a damp paper towel or a mushroom brush … you should NEVER wash your mushrooms or submerse them in water because mushrooms are porous.
  3. Pop out the mushroom stems
  4. Drizzle 2-3 Tbsp olive oil across a cookie sheet and rub it with your hands or use a brush to smear all of the olive oil across the baking sheet
  5. Place all of the baby bella mushroom caps on the olive oil and roll them around lightly coating mushrooms then make sure they are all open side up on cookie tray
  6. Slice open the sausage casings to get the sausage meat out and place on a small dish
  7. Begin to gently fill mushroom caps with approximately 1 1/2 Tbsp of sausage per mushroom (some may be smaller and only need 1 Tbsp)
  8. Do not pack in sausage just lightly stuff mushroom caps
  9. Bake for 15-20 minutes til slightly crispy on the edges
  10. DO NOT SALT the mushrooms before you bake them because all the water will release from the mushrooms and they will steam instead of baking
  11. When you take the mushrooms out of the oven THEN you can sprinkle a little salt
  12. The mushrooms will be juicy when you take them out of the oven so before you place them on a serving dish tilt them a little over the cookie tray that way some of the juice can drain out onto the tray and not on the serving platter
  13. Shave a little Parmesan and chives on the mushrooms and serve

Gourmet Frittata

Gourmet Frittata

The Frittata first came about as practical dish in theory for using up those leftovers in our frig but when adding in some lovely melting cheeses and a pinch of dairy it turns into something much more then that. Not to mention this Italian egg dish is just as delicious served room temperature as it is warm.

Making a gourmet frittata is as easy as can be leaving you with lots of room to be creative. The measurements do not have to be exact at all to get wonderful results. You can use 10-12 eggs, and mix in heavy cream, half and half, sour cream, or even creme fresh. You can also change out the cheeses to one that you prefer. Use feta or goat cheese, cheddar, Monterey Jack, Pepper jack, Colby-jack, Swiss or Gruyère, Parmesan and so on. It’s nice to mix it up too using a combination of these cheeses. I really love using up the leftover veggies in the fridge and don’t mind sautéing up one or two more to enhance the leftovers.

By no means does this homemade frittata have to remain a vegetarian either! Pack in the meat using chunks or slices of ham, cooked sausages, bacon, steak and well that list goes on too. I think the trick here is not to fuss too much, be sure to add a little dairy and be sure not to over cook the frittata thinking that it’s not done enough because you see a little movement in the center when taking it out of the oven. Remember it will keep cooking after you take it out of the oven and it will also congeal a bit with the cooling process. Enjoy the show and making this yummy gourmet frittata! You may want to try some grilled Asian Salmon or Caesar Salad with this frittata too.

IMG_2490  onions  mushrooms

kale  cookedkale  eggwithvg

IMG_2533  IMG_2536  slice

Ingredients:

  • 12 extra-lg eggs
  • 1/2 cup half & half, heavy cream or creme fresh
  • 1 1/2 cup gruyere cheese ( 1/2 cup is for the topping) OR 1/2 cup cheddar, 1/2 gruyere with addtional 1/2 cup mix of each for the topping
  • 1/3 cup grated Reggiano Parmesan
  • 8 oz. pkg baby bella mushrooms sliced
  • 1 1/2 cup chopped or sliced onions
  • 6 small tomatoes sliced 1/8″ thick to decorate top of frittata before you bake it
  • 1 tsp salt (1/2 tsp into eggs & 1/4 tsp each for onion/mush. and 1/4 tsp when you add kale)
  • 1/4 tsp ground pepper
  • 1 tsp Siracha (or more…to taste)

Directions :

  1. Pre-heat oven to 350º
  2. Wash and dry kale leaves
  3. Remove kale leaves from the ribbing (stalk) as shown in show
  4. Slice mushrooms, onions, kale and tomatoes – set aside
  5. Whisk 12 eggs, then whisk in 1/2 tsp salt. 1/4 tsp finely ground pepper and half and half
  6. Add 3 tbsp olive oil to 10″ cast iron pan or oven proof pan on med/high heat
  7. Add onions and sauté for 5 minutes
  8. Add mushrooms to onions and 1/4 tsp salt, then sauté another 5 minutes on med/high
  9. Add in kale when juices begin to release from the mushrooms along with another 1/4 tsp salt and sprinkle of pepper, and a few shots of Siracha
  10. Sauté kale mixture for 5 minutes while stirring just to wilt slightly
  11. Add 1 cup of gruyere and 1/2 cup of parm to egg mixture and give it a quick stir
  12. Turn off heat on cast iron pan and add in egg mixture
  13. Give it a stir to the veggies and egg mixture
  14. Then top with 1/2 cup more gruyere cheese and decorate with sliced tomatoes
  15. Put into the oven and bake for approx. 23 minutes
  16. Take a peak at the 20 minute mark to make sure that the top hasn’t gotten golden
  17. You only want slight golden on outer edge
  18. Take out frittata and let sit for 20-30 minutes
  19. NOTE: the frittata will keep cooking after you remove it from the oven
  20. Slice and serve with a sprinkle of grated Reggiano Parmesan on top

Zucchini Spaghetti at Jaynee’s

Zucchini Spaghetti at Jaynee’s

Wow! Zucchini spaghetti…who would have ever thought? A gluten free dish full of nutrients that taste’s amazing and looks as gorgeous as does is the perfect path to healthy eating! Bringing you this zucchini spaghetti simmering with tomato, basil and red wine at Jaynee’s has inspired me to put together future recipes and shows like this one.

Jaynee and I cook the zucchini spaghetti in this recipe so that it’s al dente. For those of you who might not know what Al dente means it’s an Italian term meaning to have some tooth or bite to it where the texture isn’t too soft. This is kind of ironic because that’s exactly how I like to cook my wheat pasta. I can’t think of anything worse than pasta that is fully cooked to a soft texture.

It is really exciting all the different things you can do with these creative veggie noodles! From Thai themes where raw zucchini noodles are dressed with a citrus dressing made from puréed mangoes, cilantro, fresh lime juice, and avocado’s to tahini sauce puréed with green onions, coconut meat, ginger and fresh lemons. Not only are these dressings packed with anti-oxidants and exotic flavors but the citrus partially cooks the zucchini getting results similar to ceviche. The citrus actually softens the texture of the vegetable giving you a softer mouth feel crunch rather than a harsh raw bite.

It couldn’t get any easier to make these spiral veggie noodles with the new-fangled devices available out there. I purchased my Spiralizer at William Sonoma Outlet in Westbrook on a 30% off sale with an additional 20% off if I gave them my email. Can’t go wrong there. Here is the Spiralizer Amazon link offering a great deal too! Can’t wait for you to venture off into veggie noodle land. You will be amazed how fun and delicious it is to make this recipe. Hope you enjoy the show and keep a look out for future veggie noodle recipes 🙂

IMG_2403  intro  IMG_2416

IMG_2418  IMG_2422  IMG_2430

zucspaghetti  IMG_2442  IMG_2446

Ingredients: Need “Spiralizer” or similar to make zucchini spaghetti

  • 4 med/lg zucchini
  • 1 small vadalia (sweet) onion chopped
  • OPTIONAL: 2 finely chopped garlic cloves – If you love garlic as I do
  • 1 14 oz. can of diced tomatoes flavored with onion, garlic, celery and or green peppers OR your favorite can of peeled tomatoes in your cabinet (just need to add in 1/4 cup chopped peppers in addition to the onion/garlic above – chop up the whole peeled tomatoes as well to add in after you sauté veggies)
  • NOTE: If you use “whole peeled” tomatoes DO NOT use the juice too, tomatoes only, because the zucchini renders out a lot of water all on its own.
  • 1/4 cup red wine
  • 3 tbsn olive oil
  • 1 bunch fresh basil
  • 1/2 tsp salt
  • S & P to taste
  • OPTIONAL: 1 small container of fresh ricotta to garnish at the end with the Parmesan

Directions:

  1. Spiralize all 4 zucchini and place in a lg bowl
  2. Add chopped onion to 3 tbsp olive oil in a large fry pan on medium heat
  3. Sauté for 5 minutes til soft
  4. Add in Spiralized zucchini with 1/2 tsp salt and sauté 5 minutes on med/high heat- Make sure to stir a couple of times to help it from not sticking.  Sautéing on med/high will help to evaporate some of that liquid rendering out of the zucchini while sautéing– (If you saute on low it will just simmer in all the water, you will then have to drain a little of the water out of the pan)
  5. Add in tomatoes, red wine, s & p to taste and simmer 5 more minutes
  6. Plate up and top with your favorite grated Parmesan cheese
  7. OPTIONAL: Top with dollops of fresh ricotta and grated Parmesan