Salmon B.L.T. Sliders at Marco’s
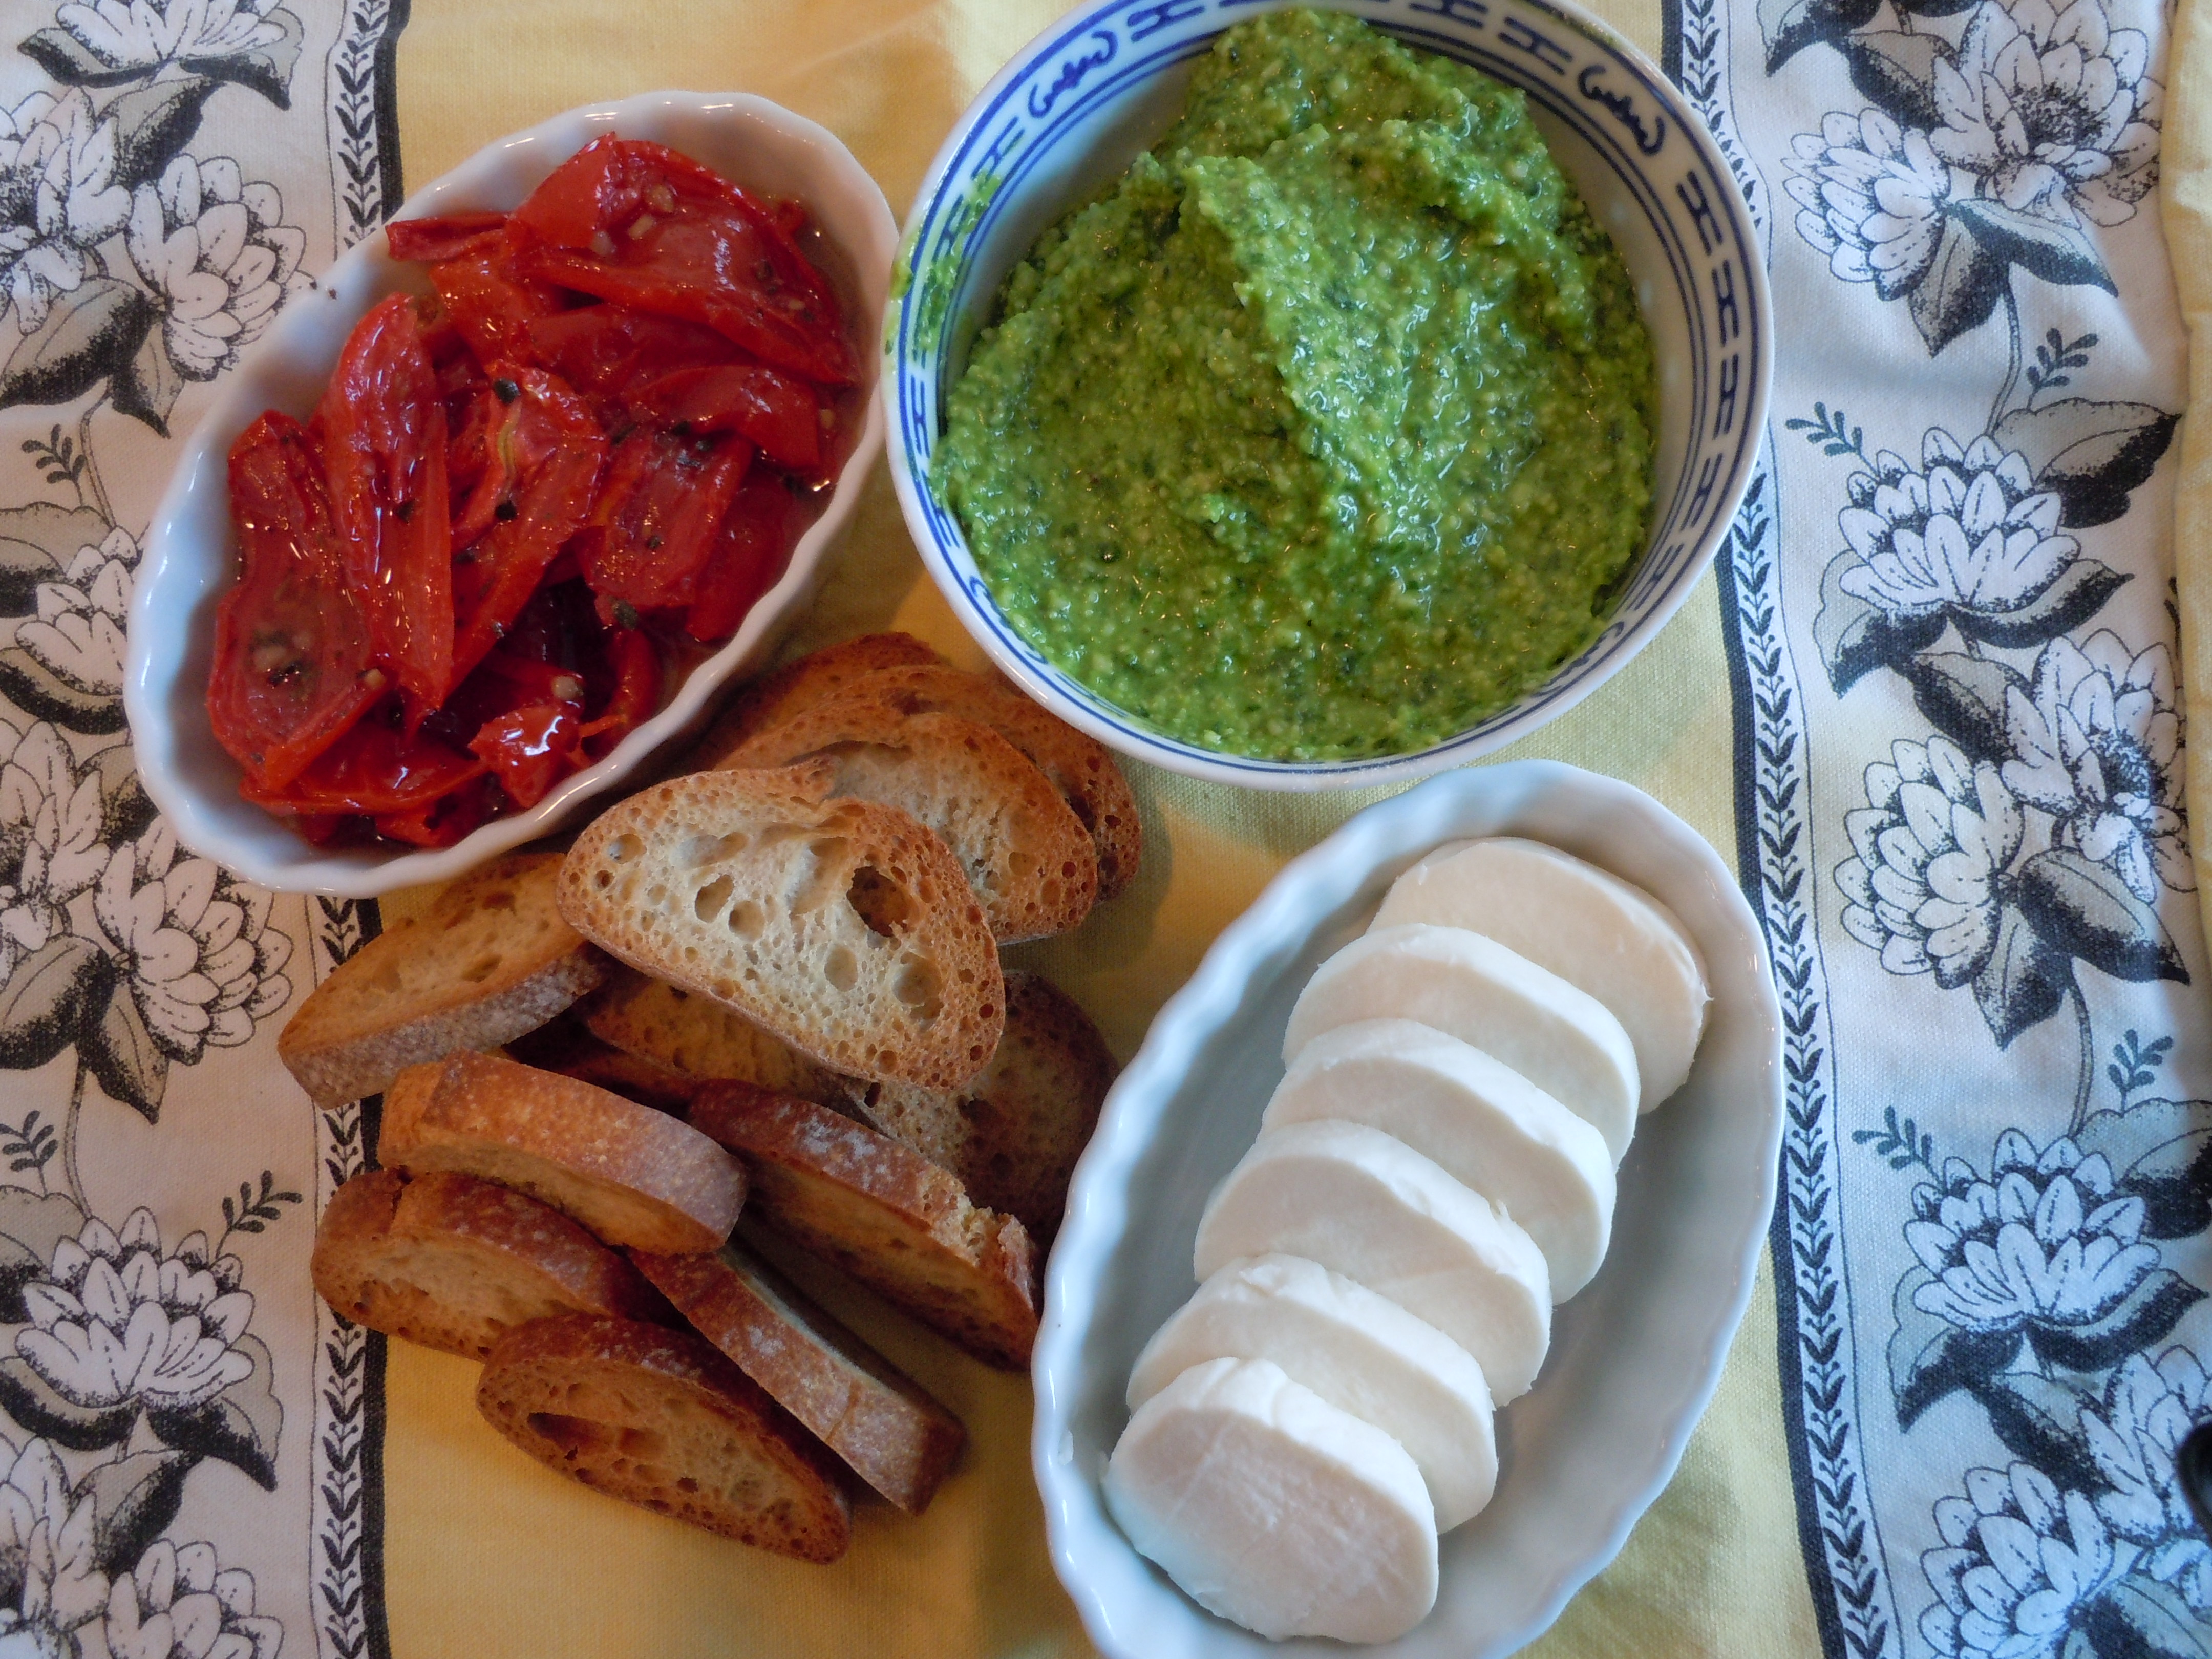
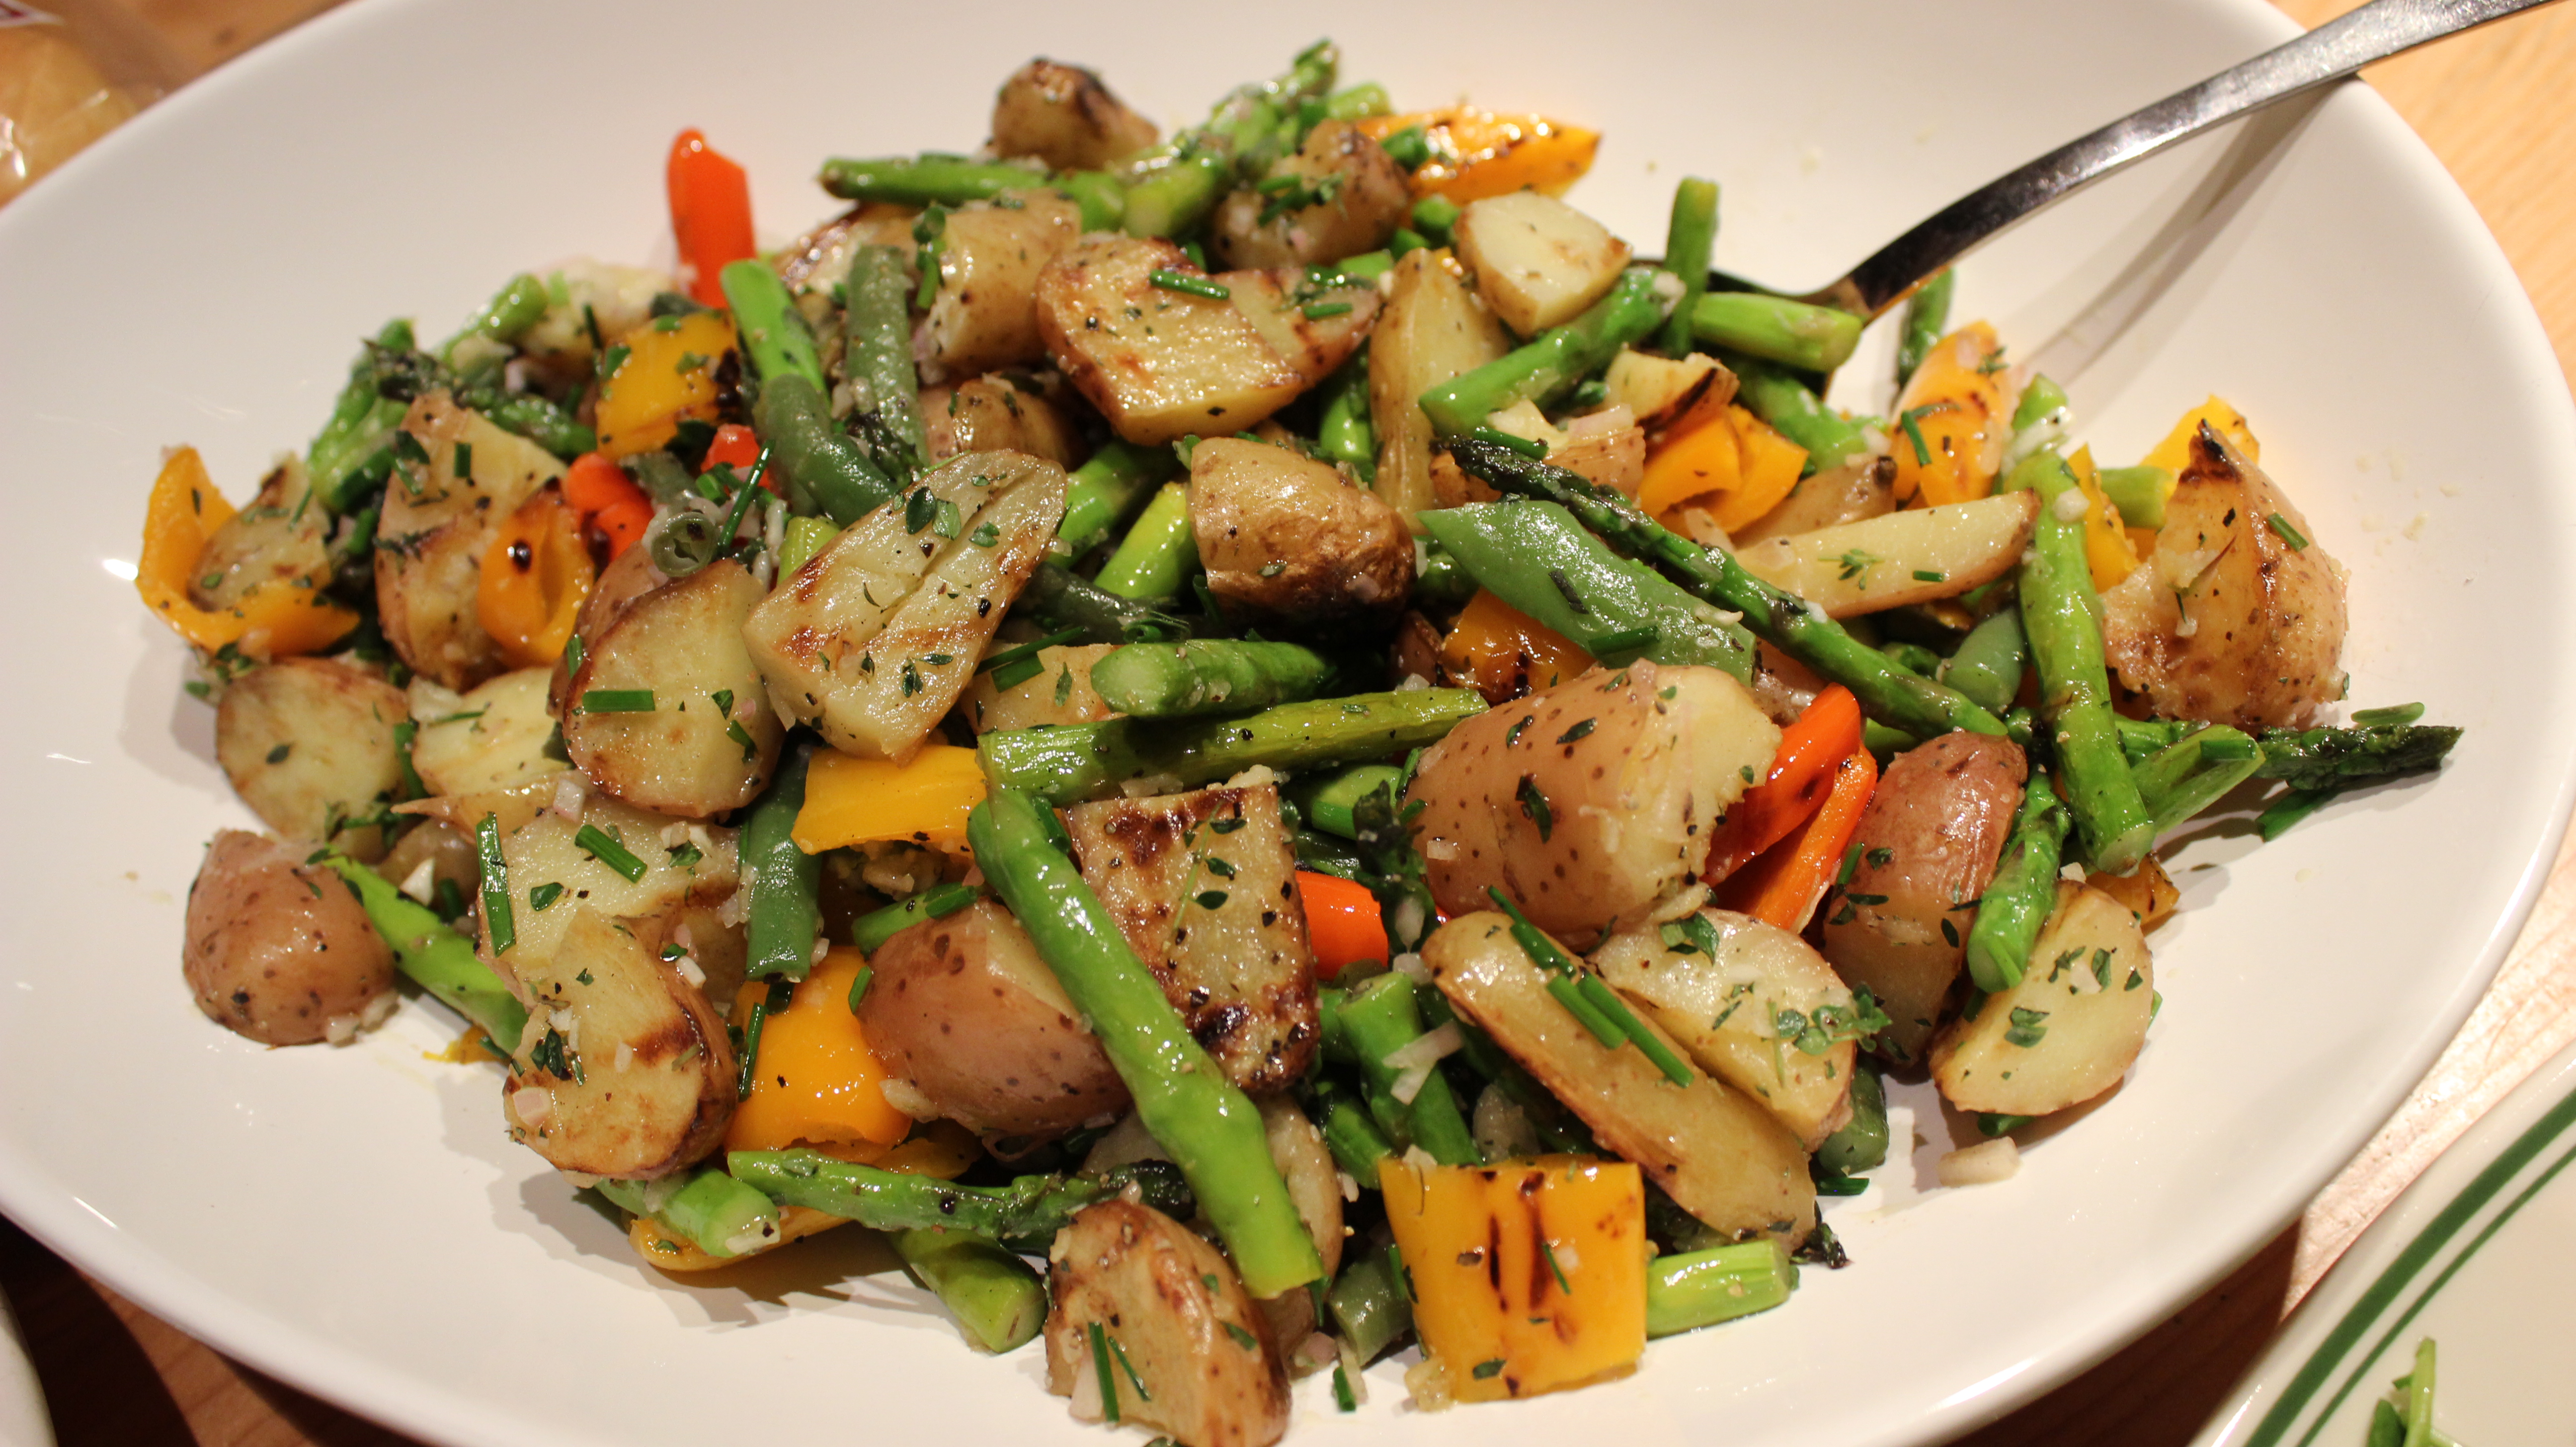
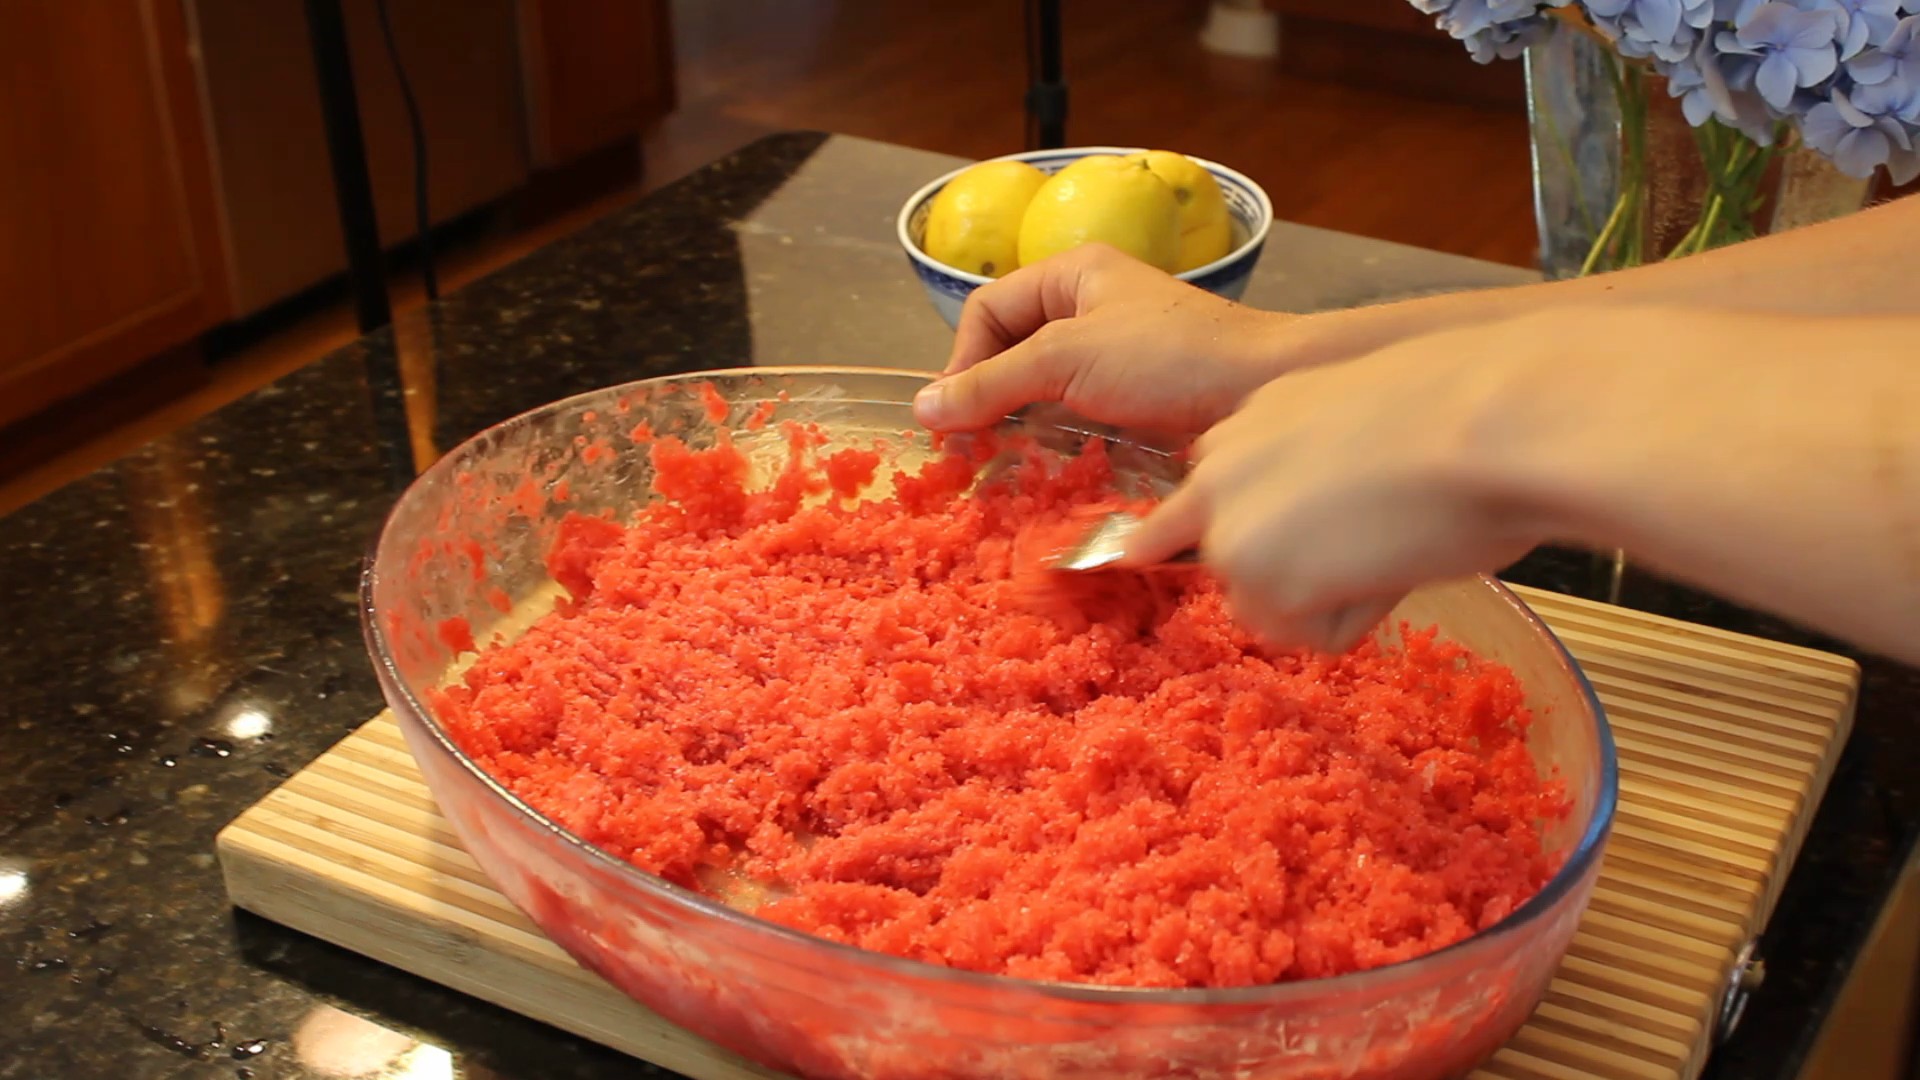
 These gourmet salmon B.L.T. sliders are like no other you have ever had before. It’s a genius sandwich offering up a sweetness with the tenderly seared Sockeye salmon fillets to the salty in the roasted pancetta and lets not forget the scrumptious homemade aioli with lemon zest and garlic. Then there is the peppery baby arugula and juicy tomato slices all captured on a soft potato bun. WOW! This sandwich slider just melts in your mouth giving you a variety of flavors that compliment each other so well you try to remember each one as it passes over you tongue. Chef Marco, from the charming B & B in Norwich, Connecticut Historic District called Lathrop Manor has these salmon B.L.T. sliders down to perfection so well that it seems everyone in the neighborhood has had one! Make sure to take notice of the homemade lemon aioli recipe which is really lovely and goes with so many foods as shown below on grilled vegetables.
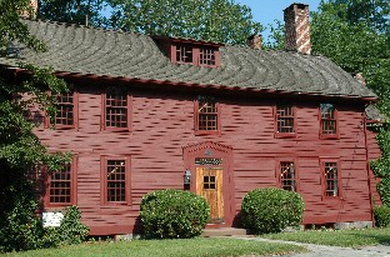
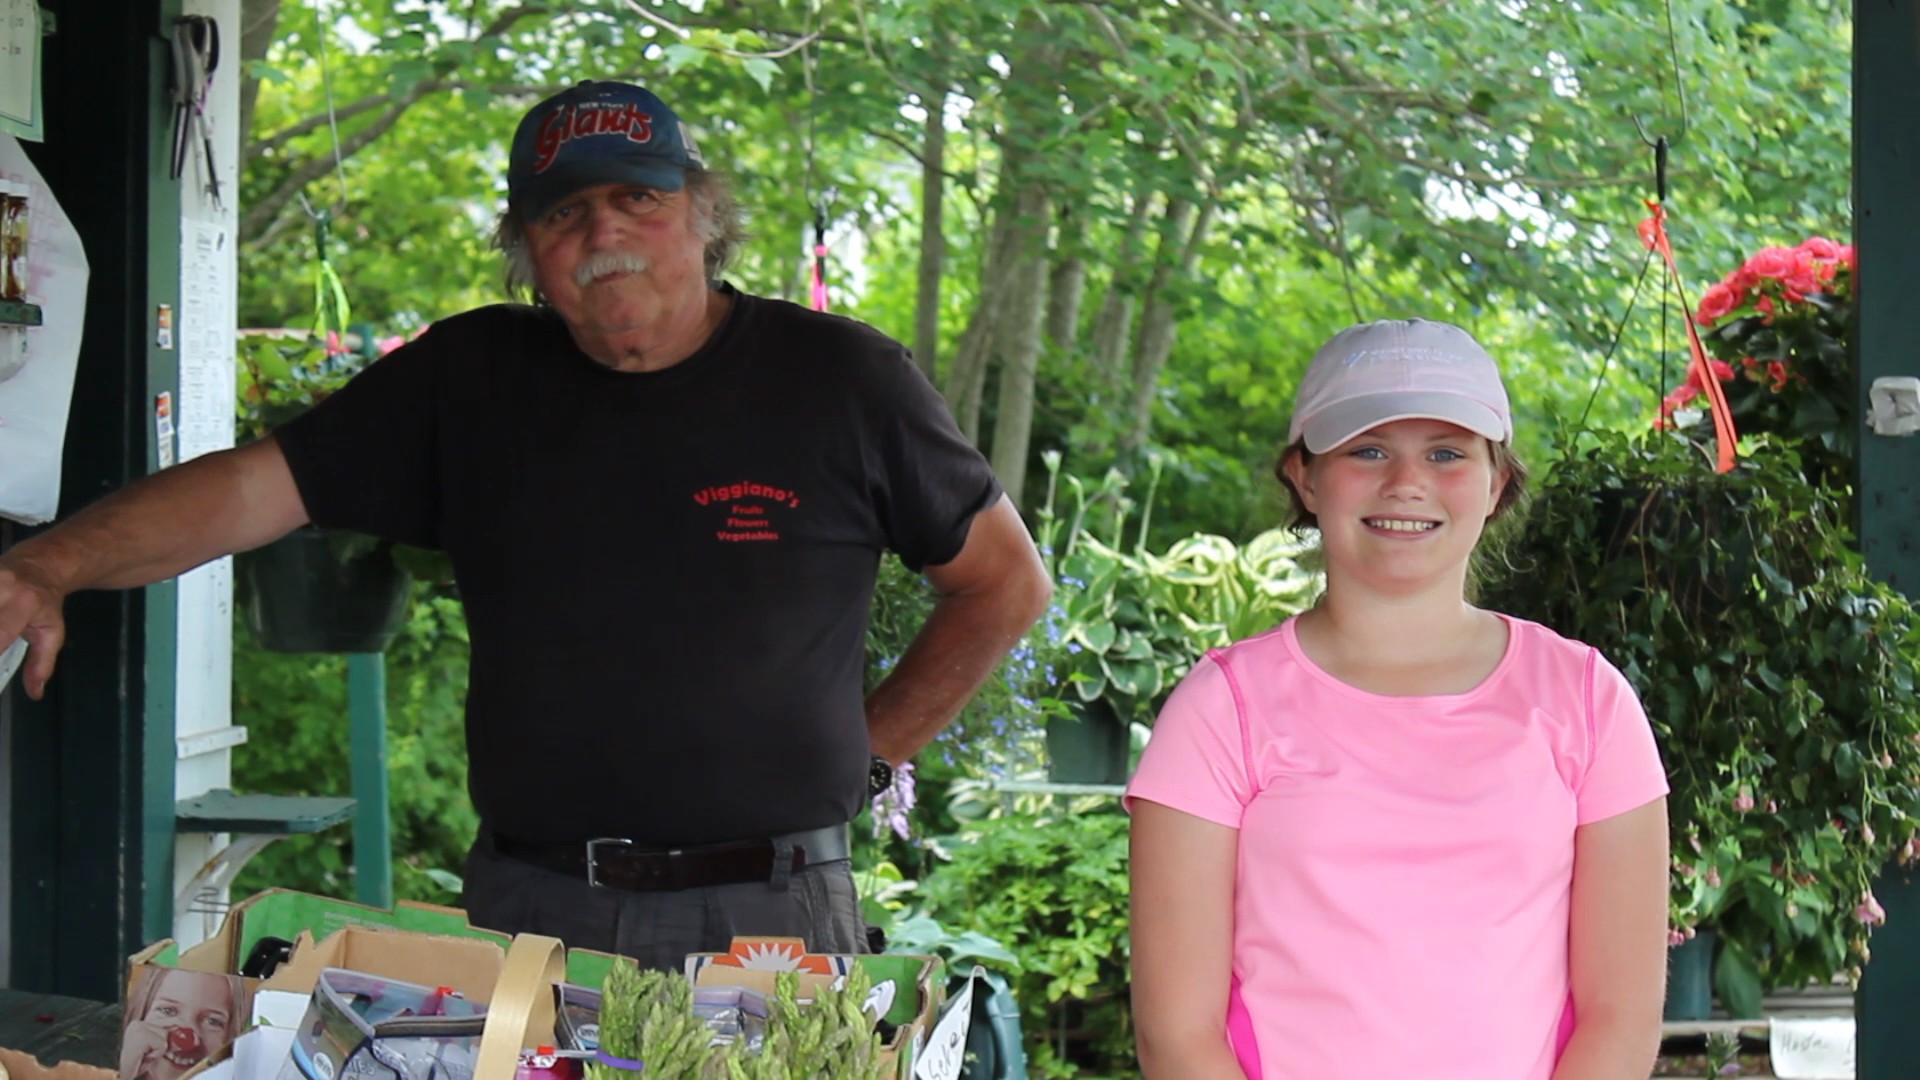
Marco and his wife Sheryl bought this 5500 sq. ft. B & B back in 2005 coming from a 700 sq. ft. apartment in Manhattan. Talk about a culture shock. They then put their heart and soul into the Lathrop Manor making it what it is today and filling the empty building with beautiful period pieces bringing it all together. You couldn’t ask for more gracious hosts then Marco and Sheryl with their warmth and compassion making your visit here a very special place to be.
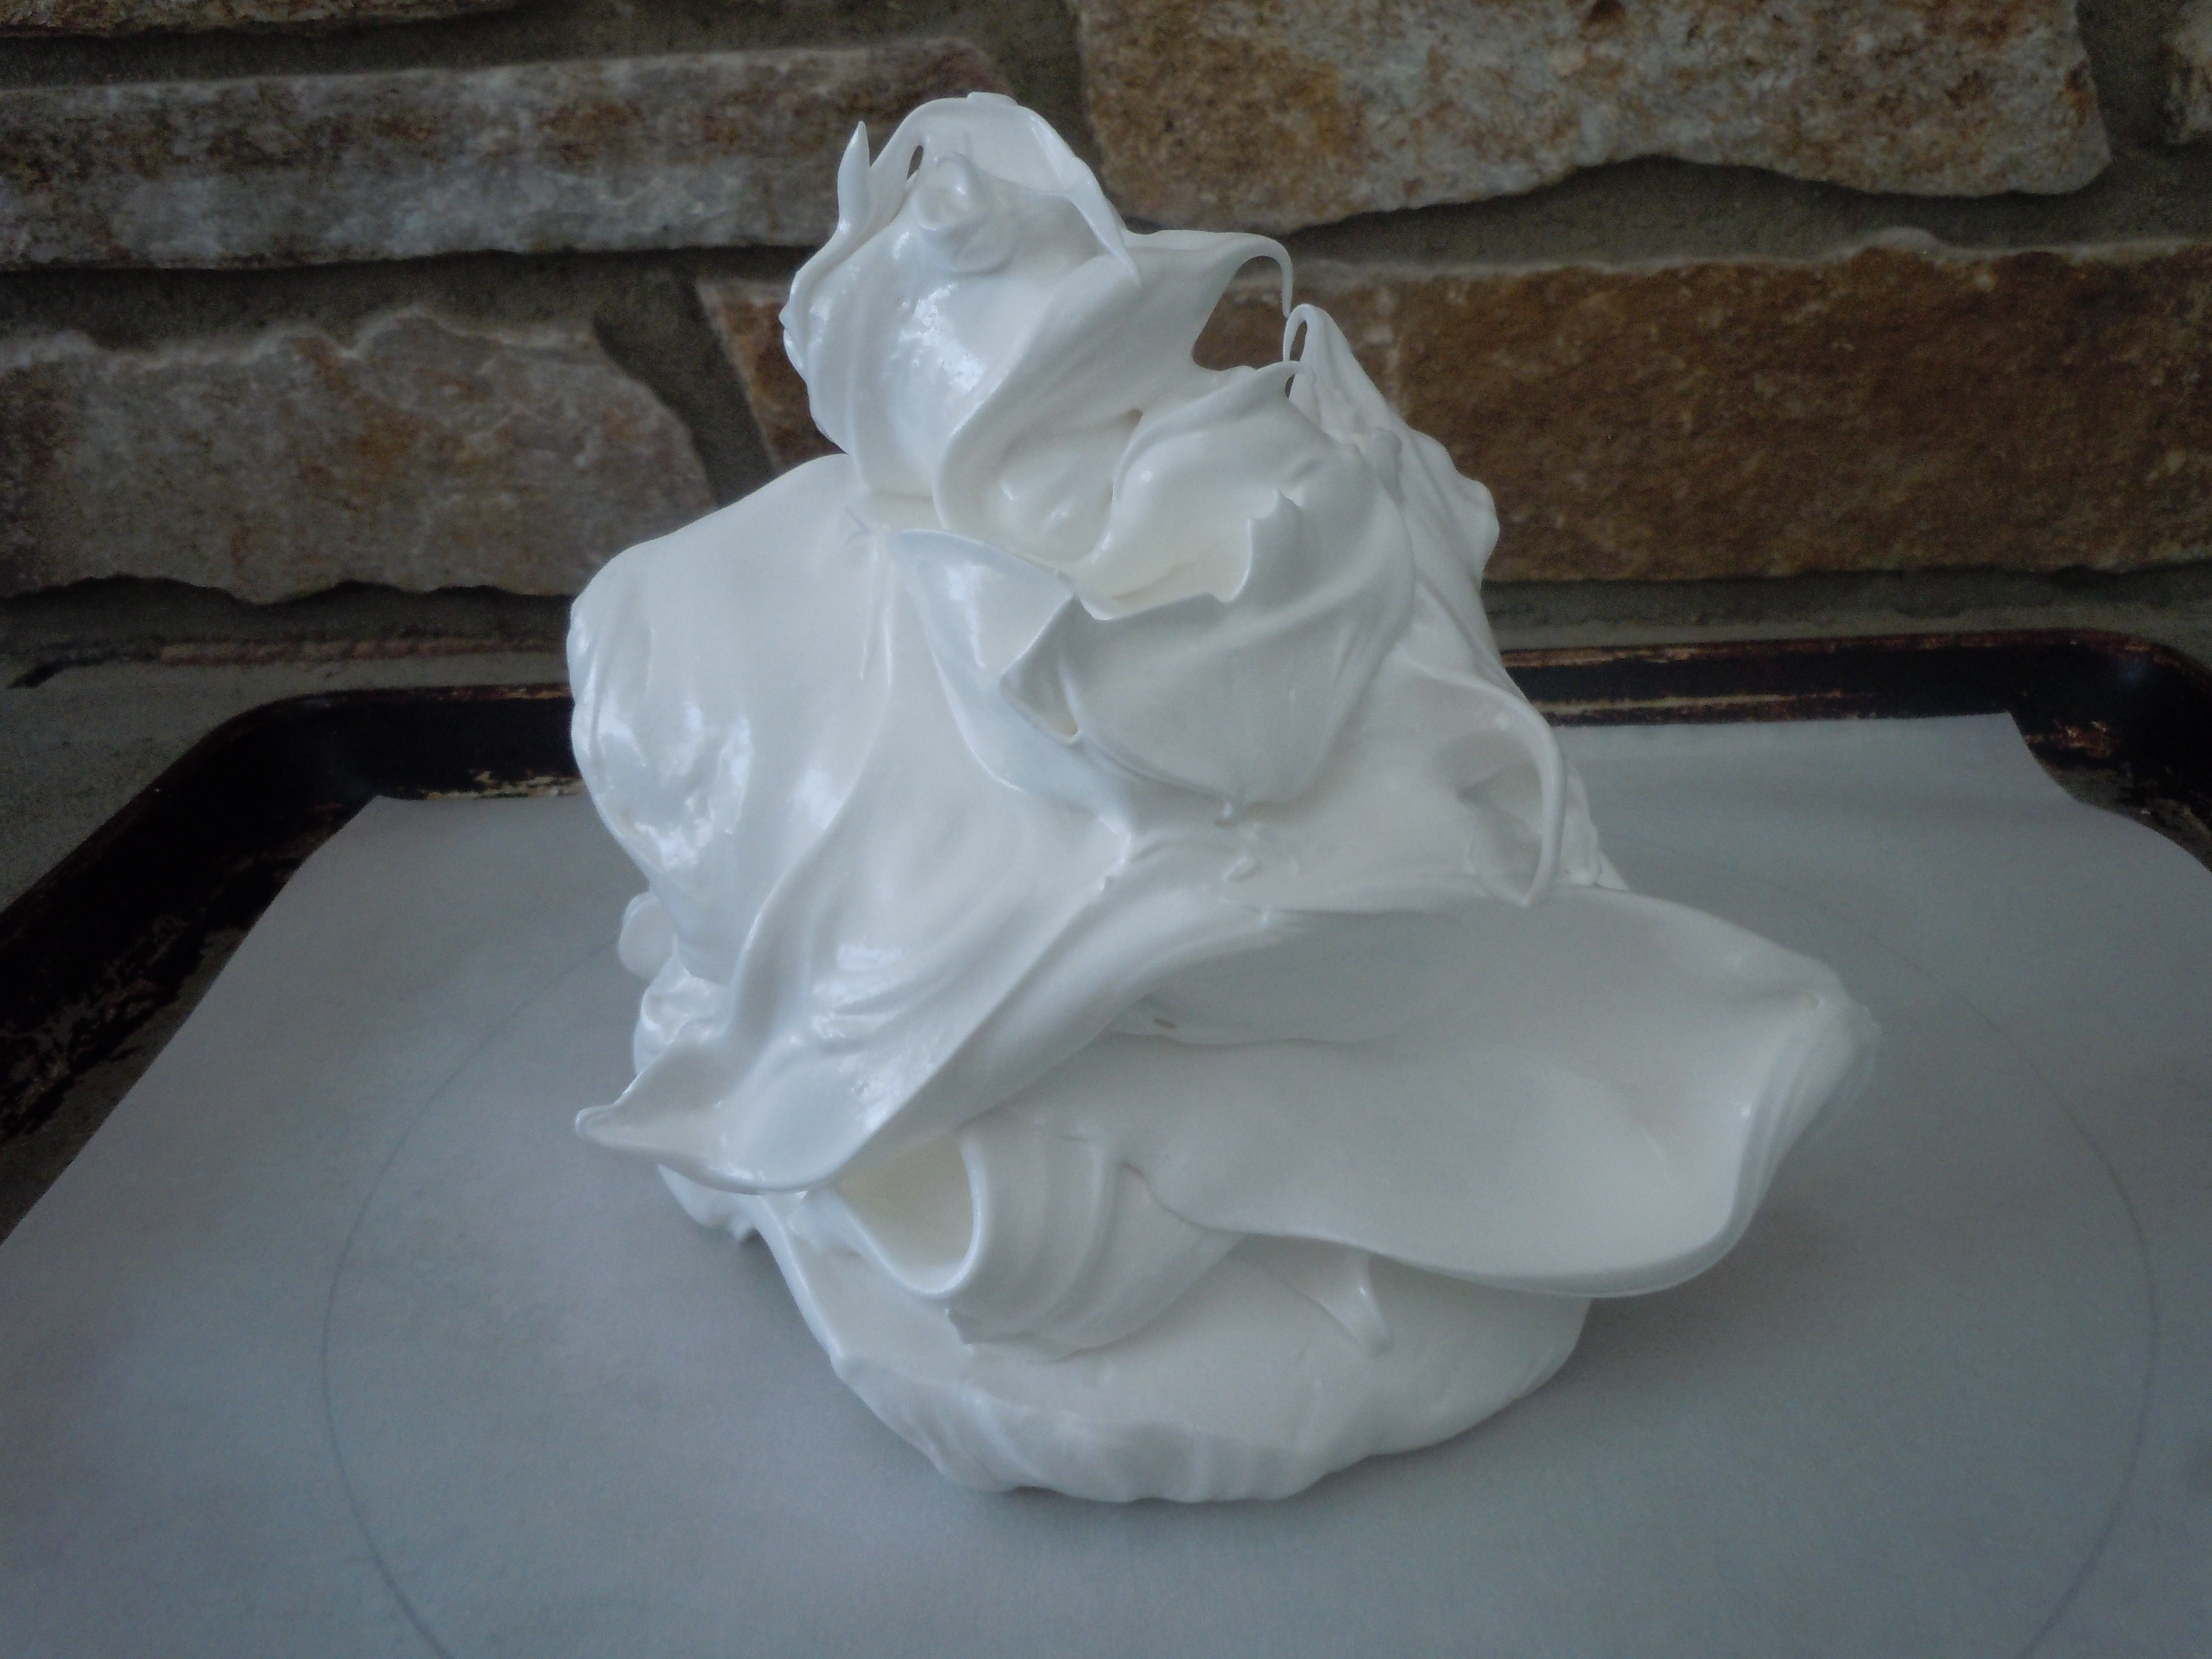
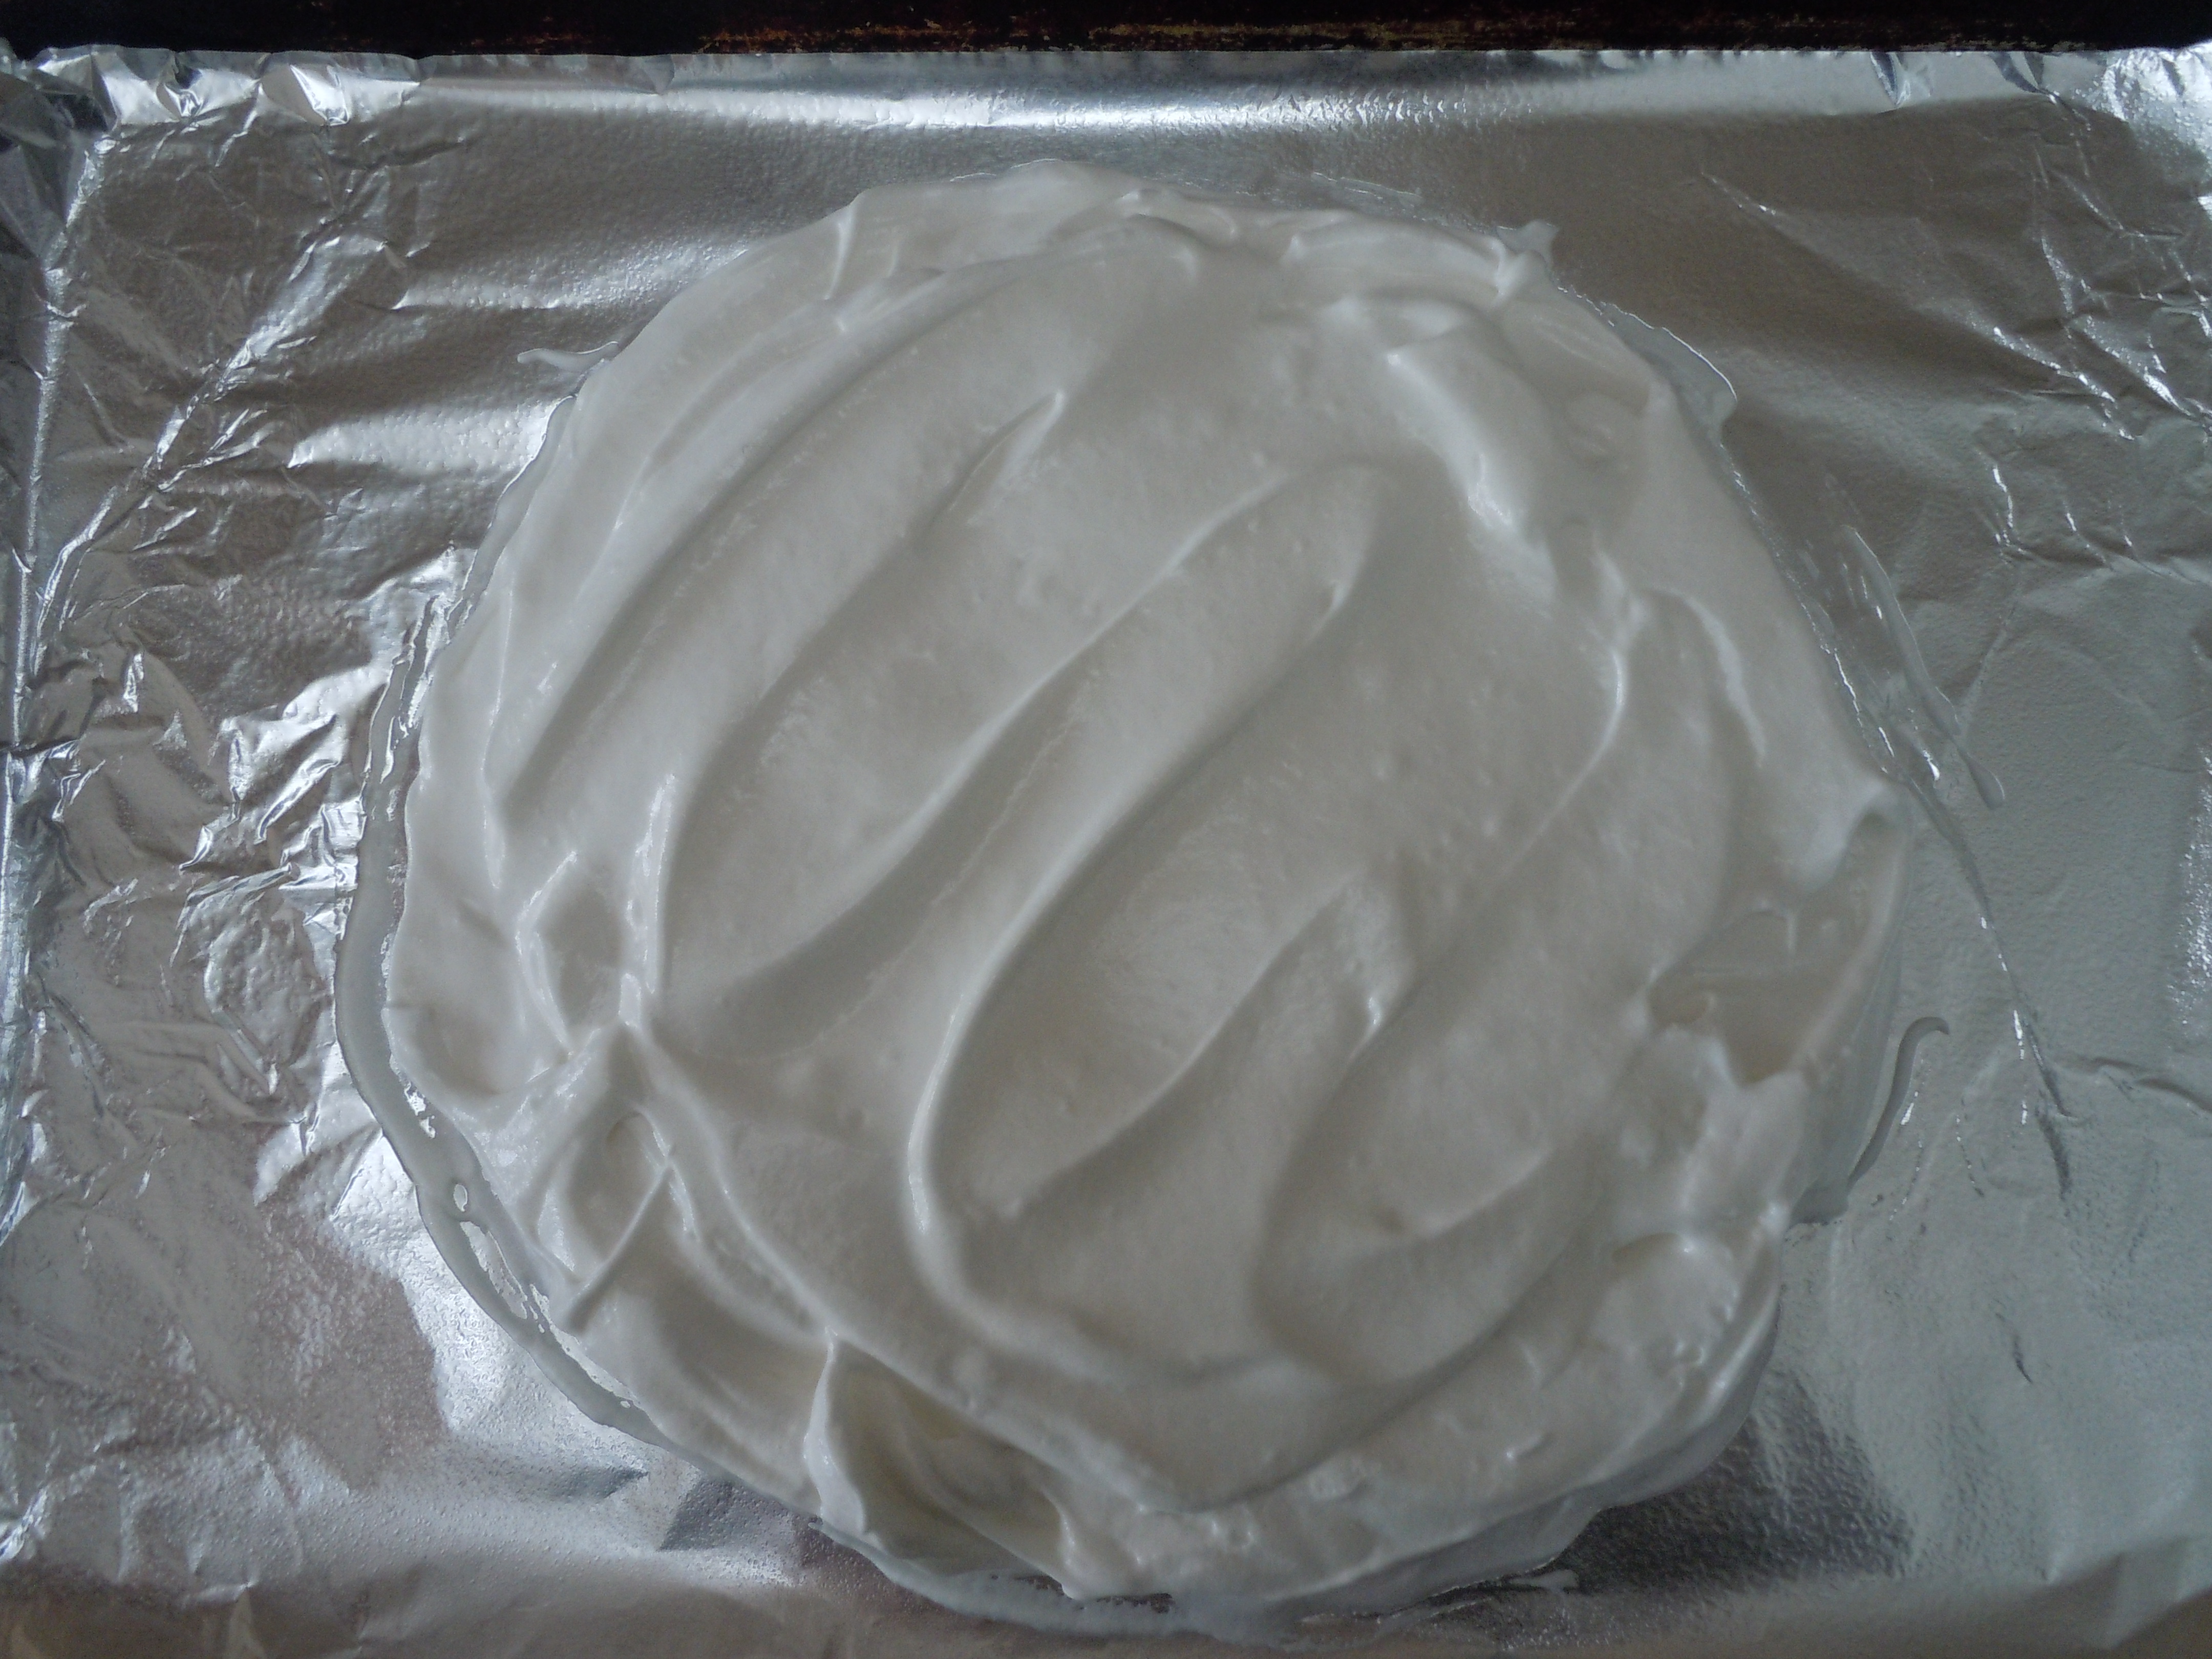
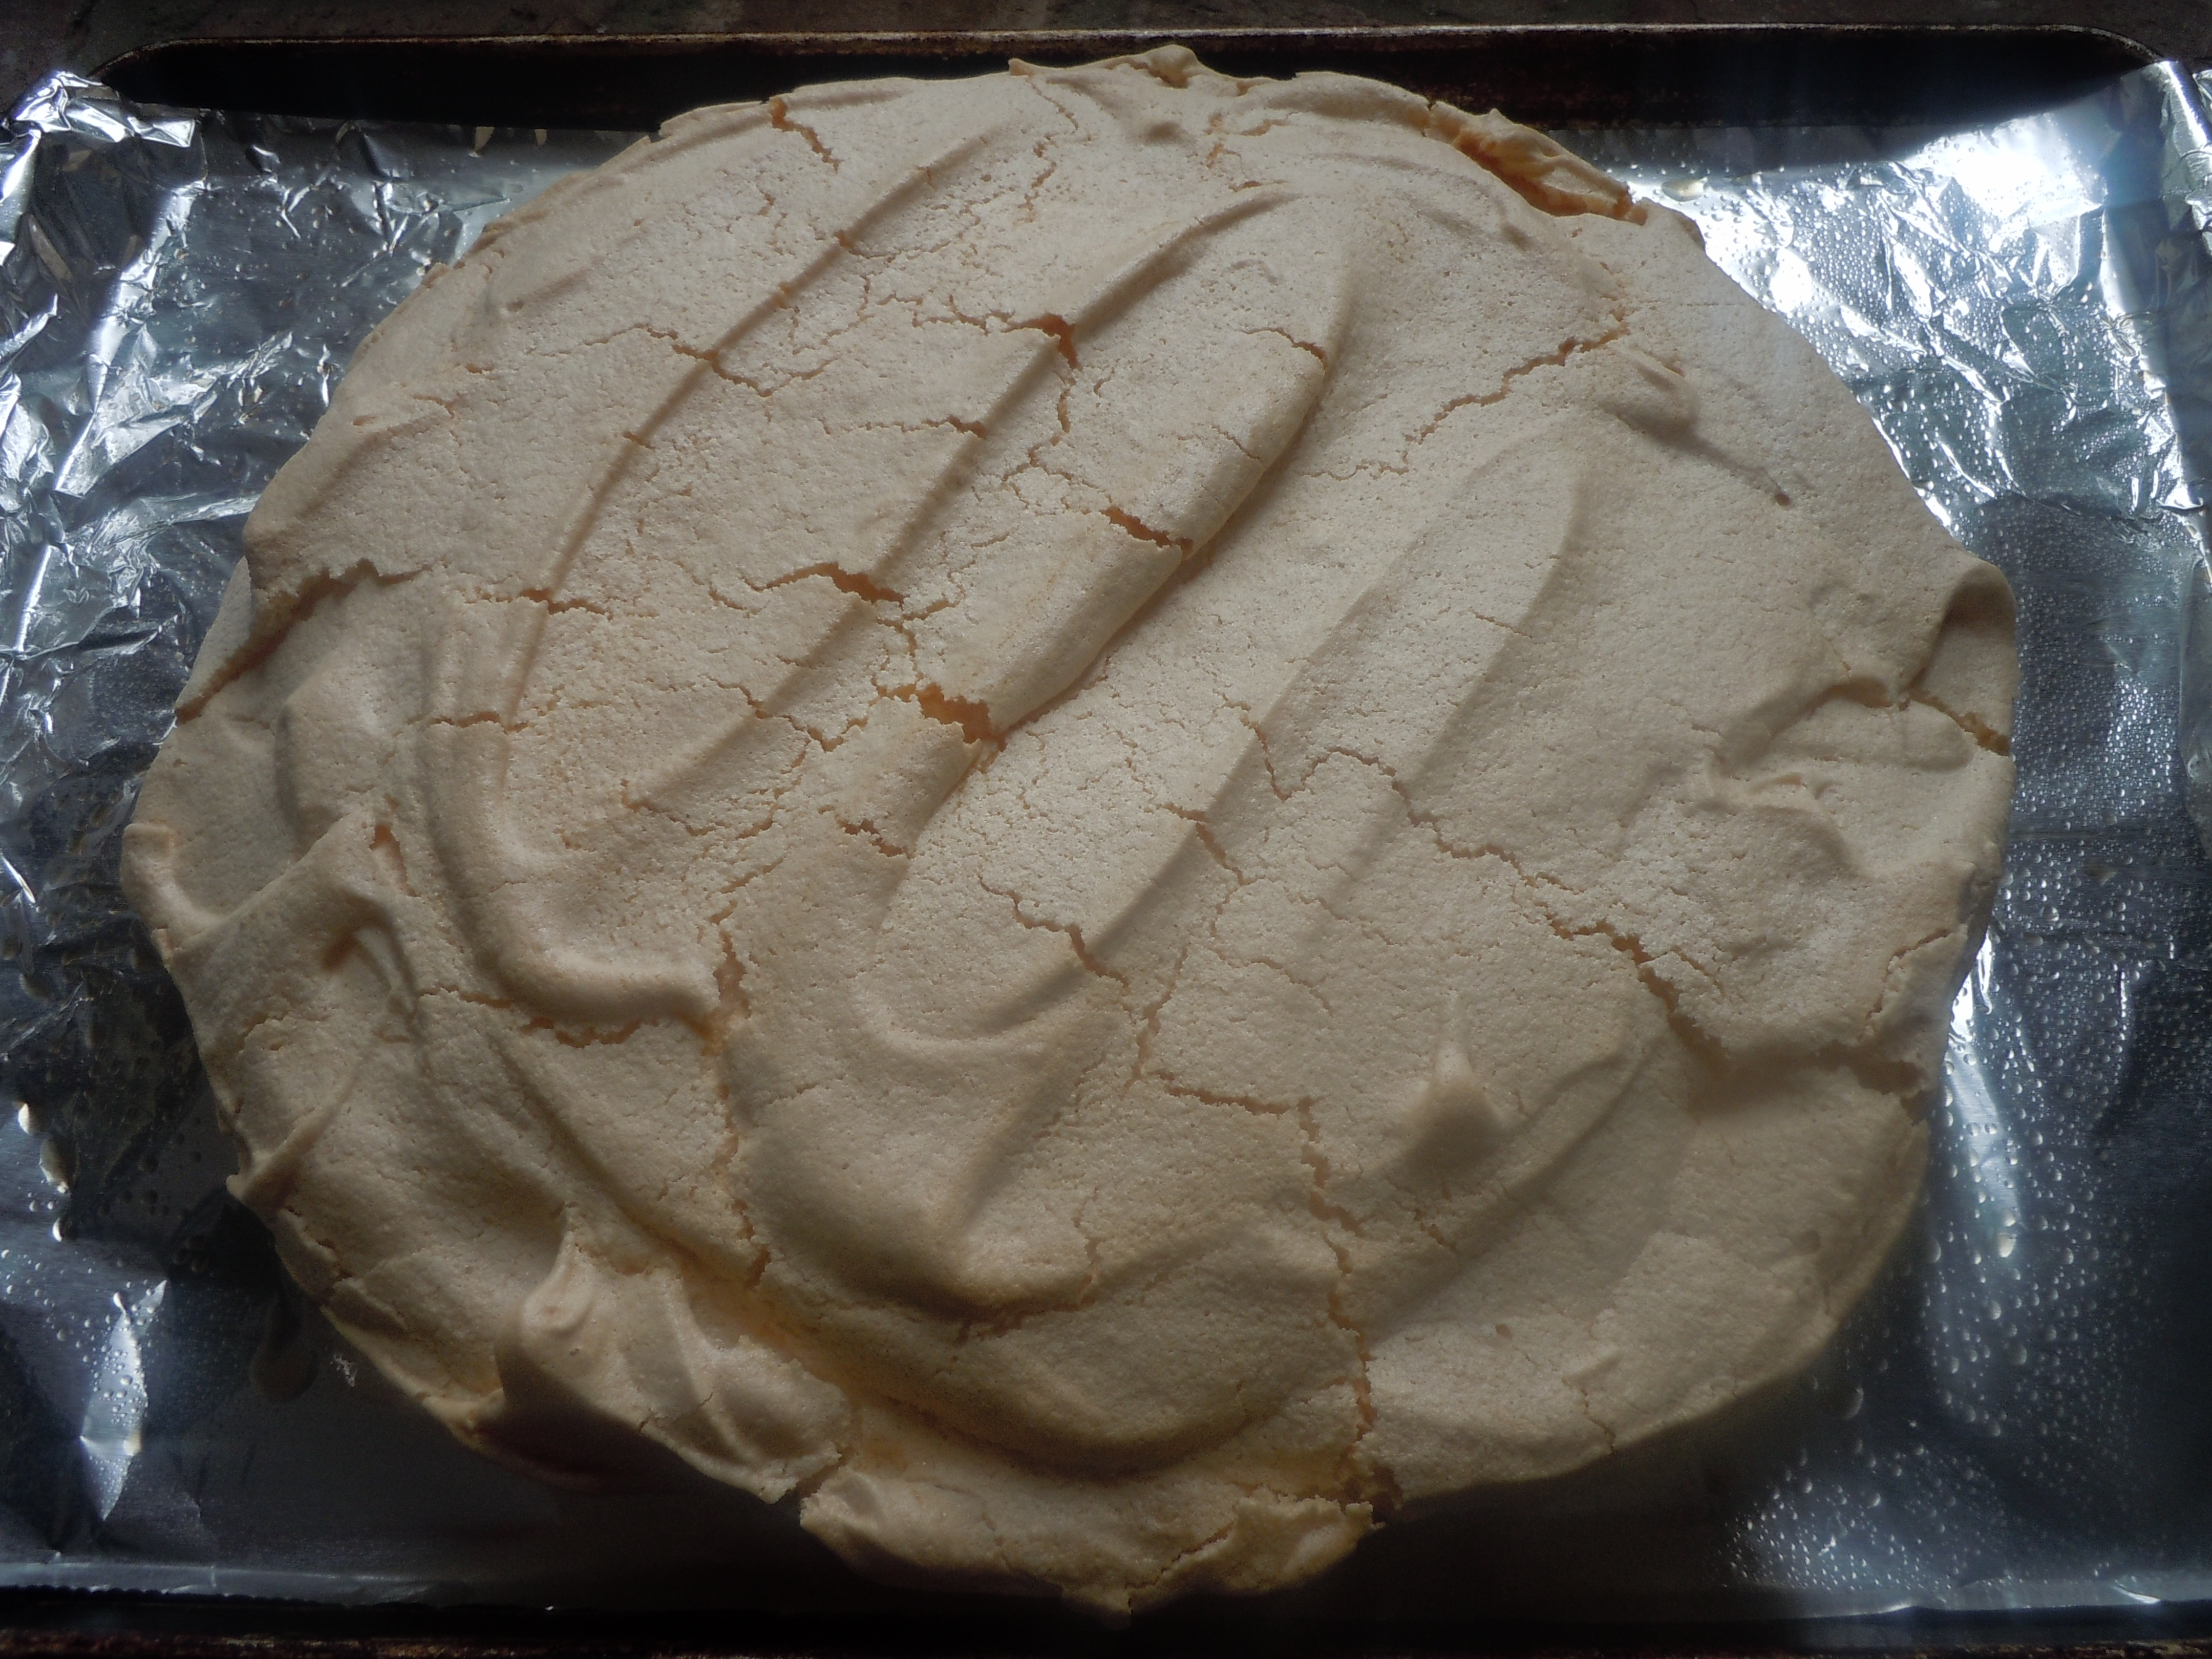
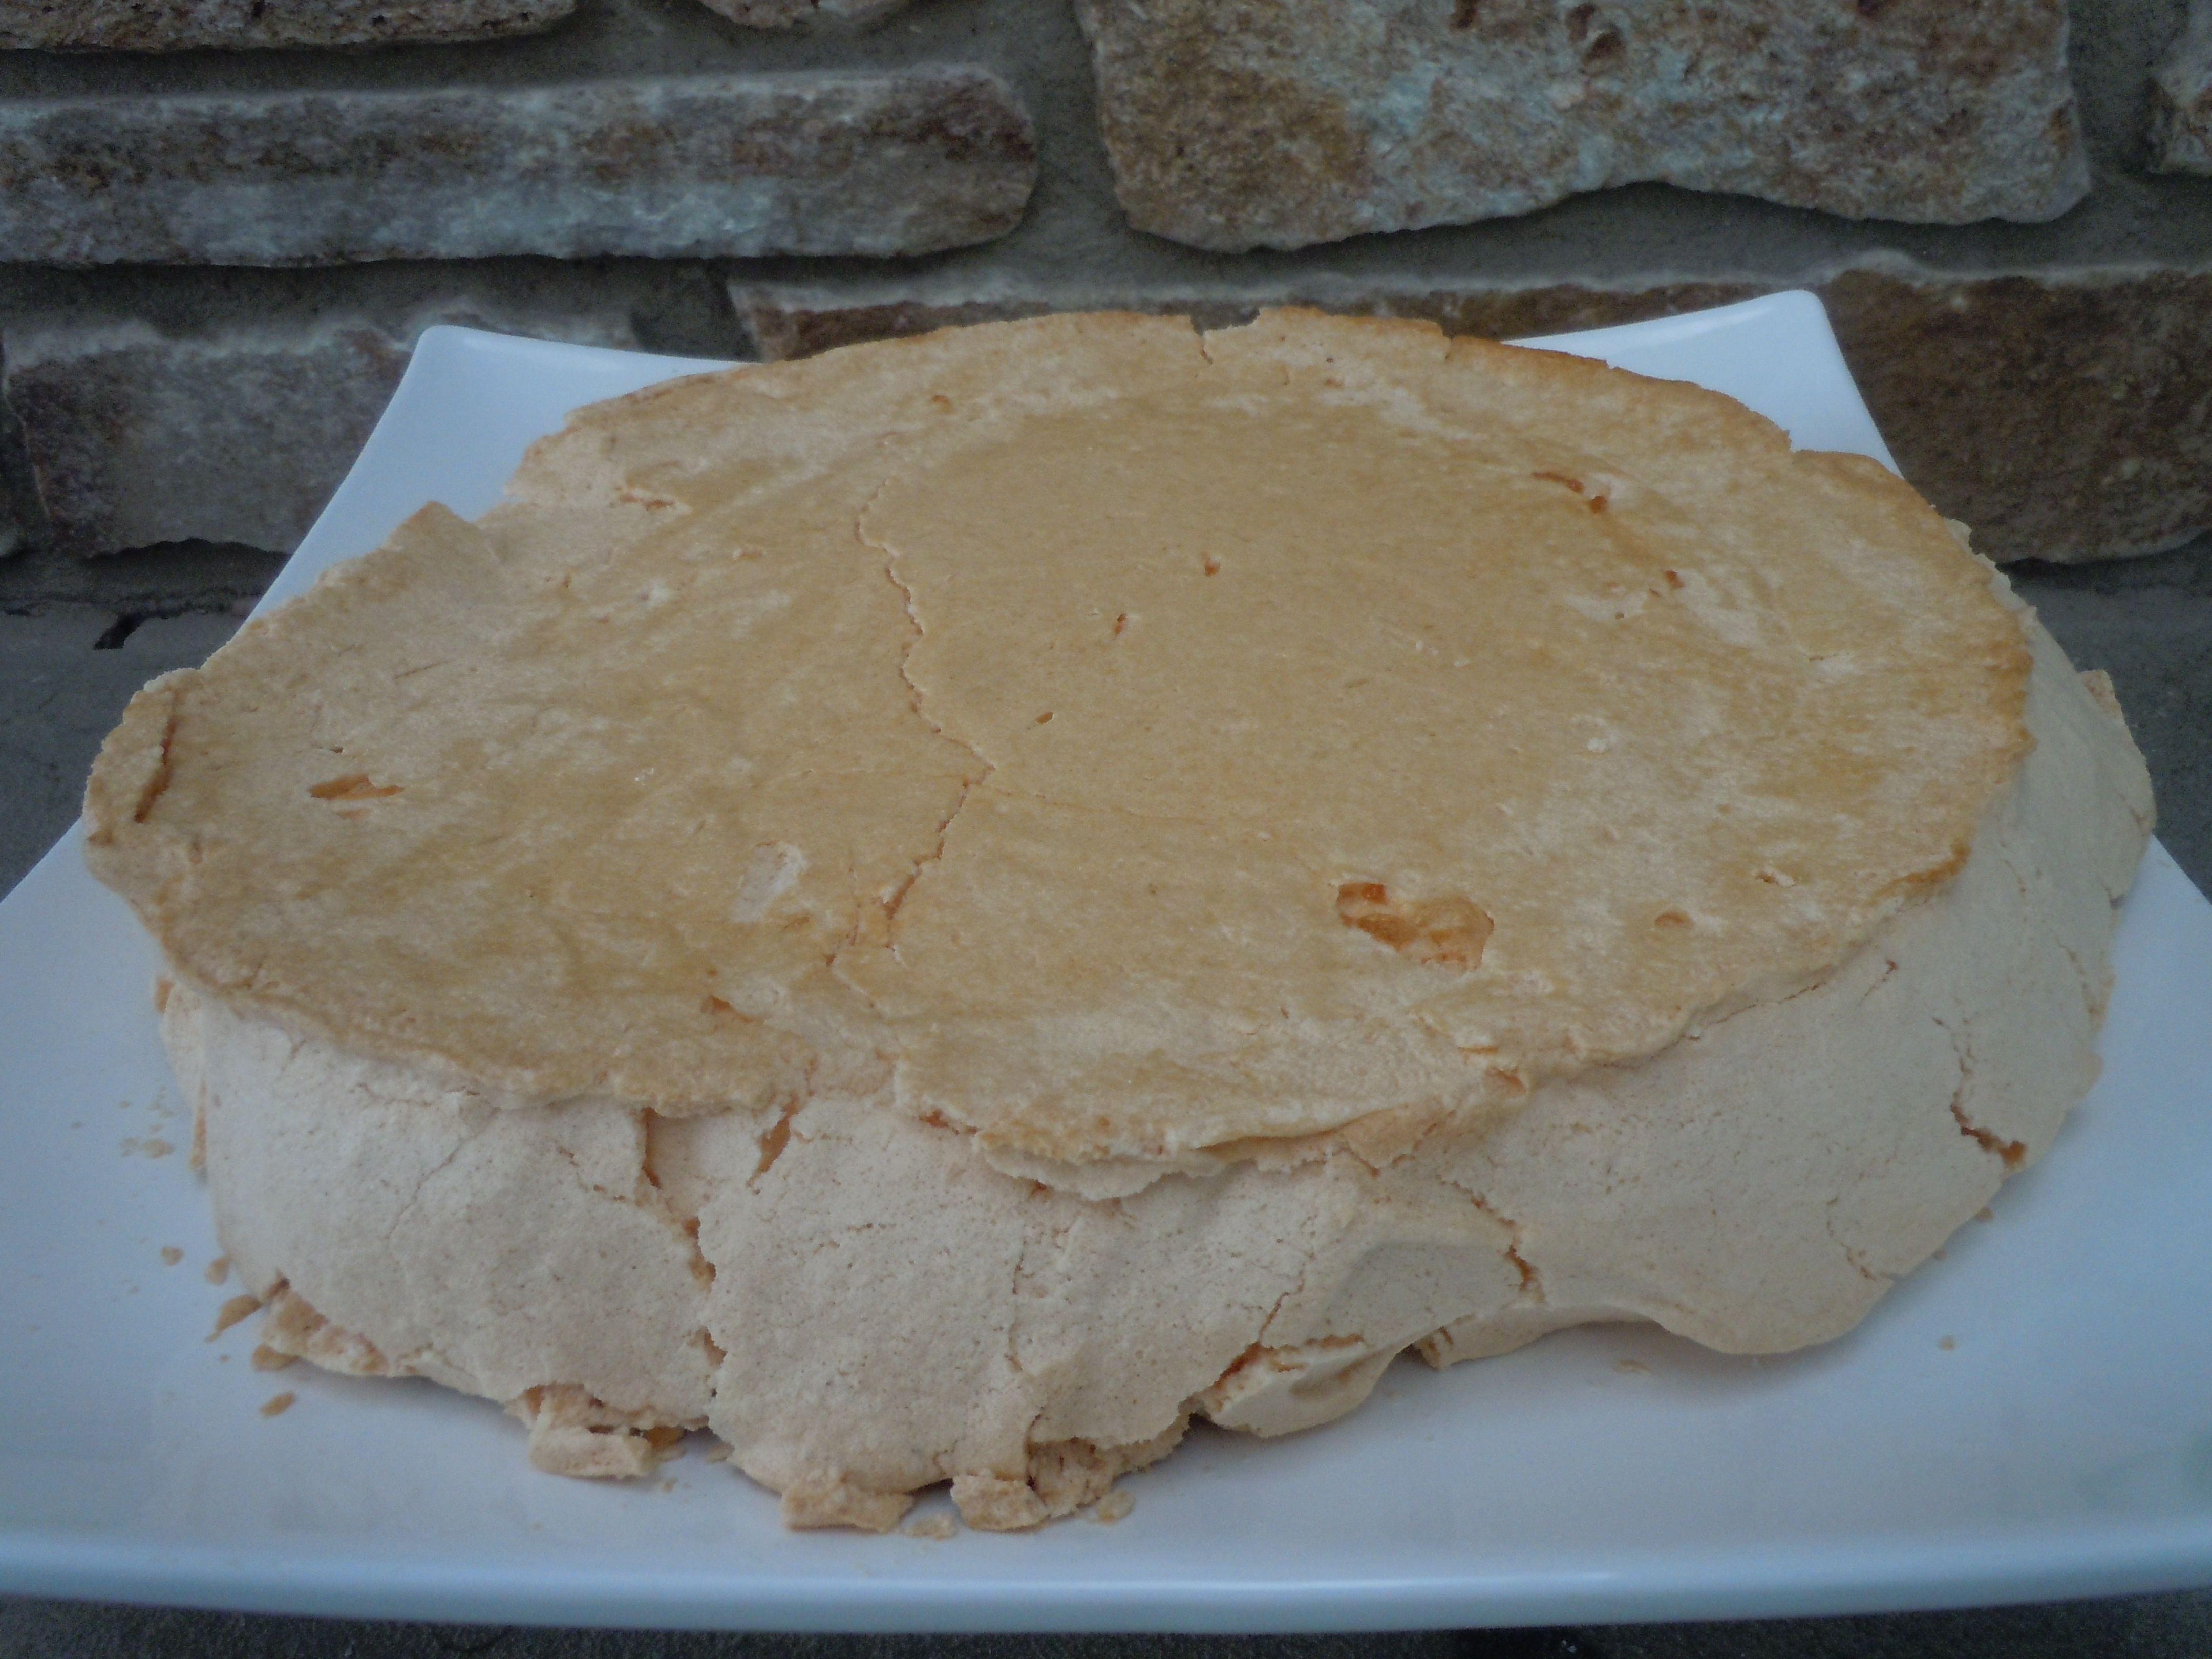
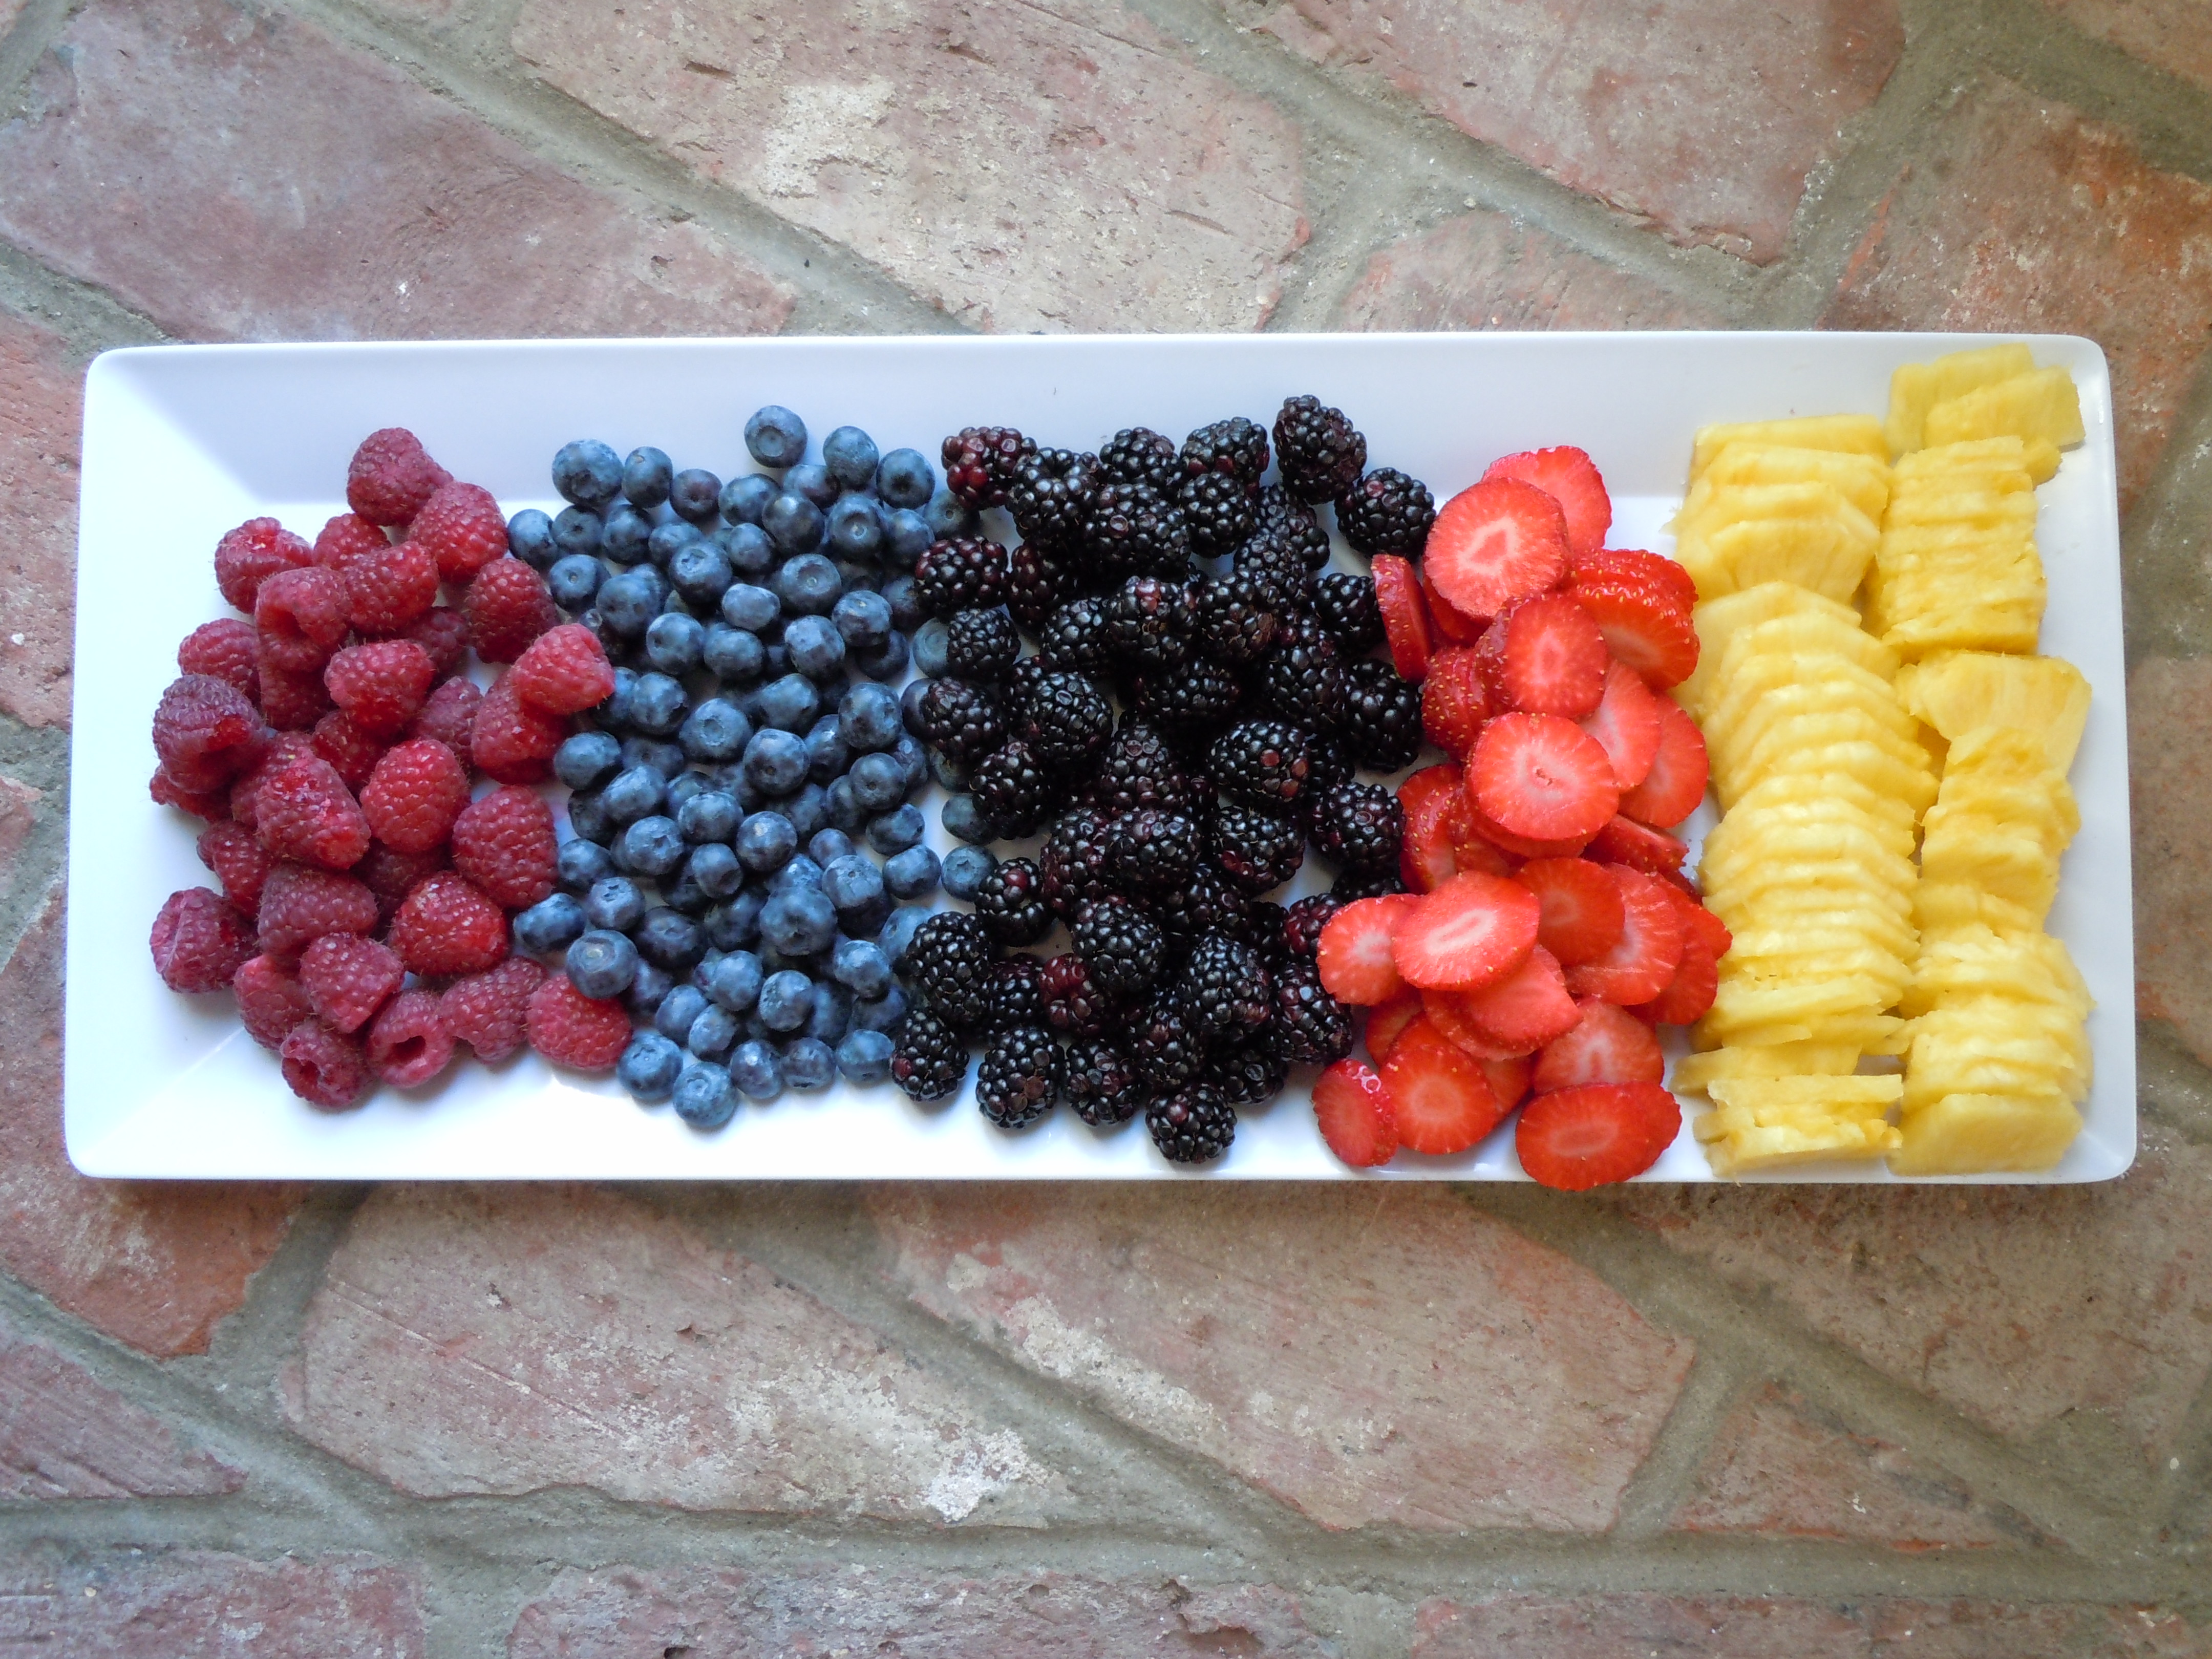
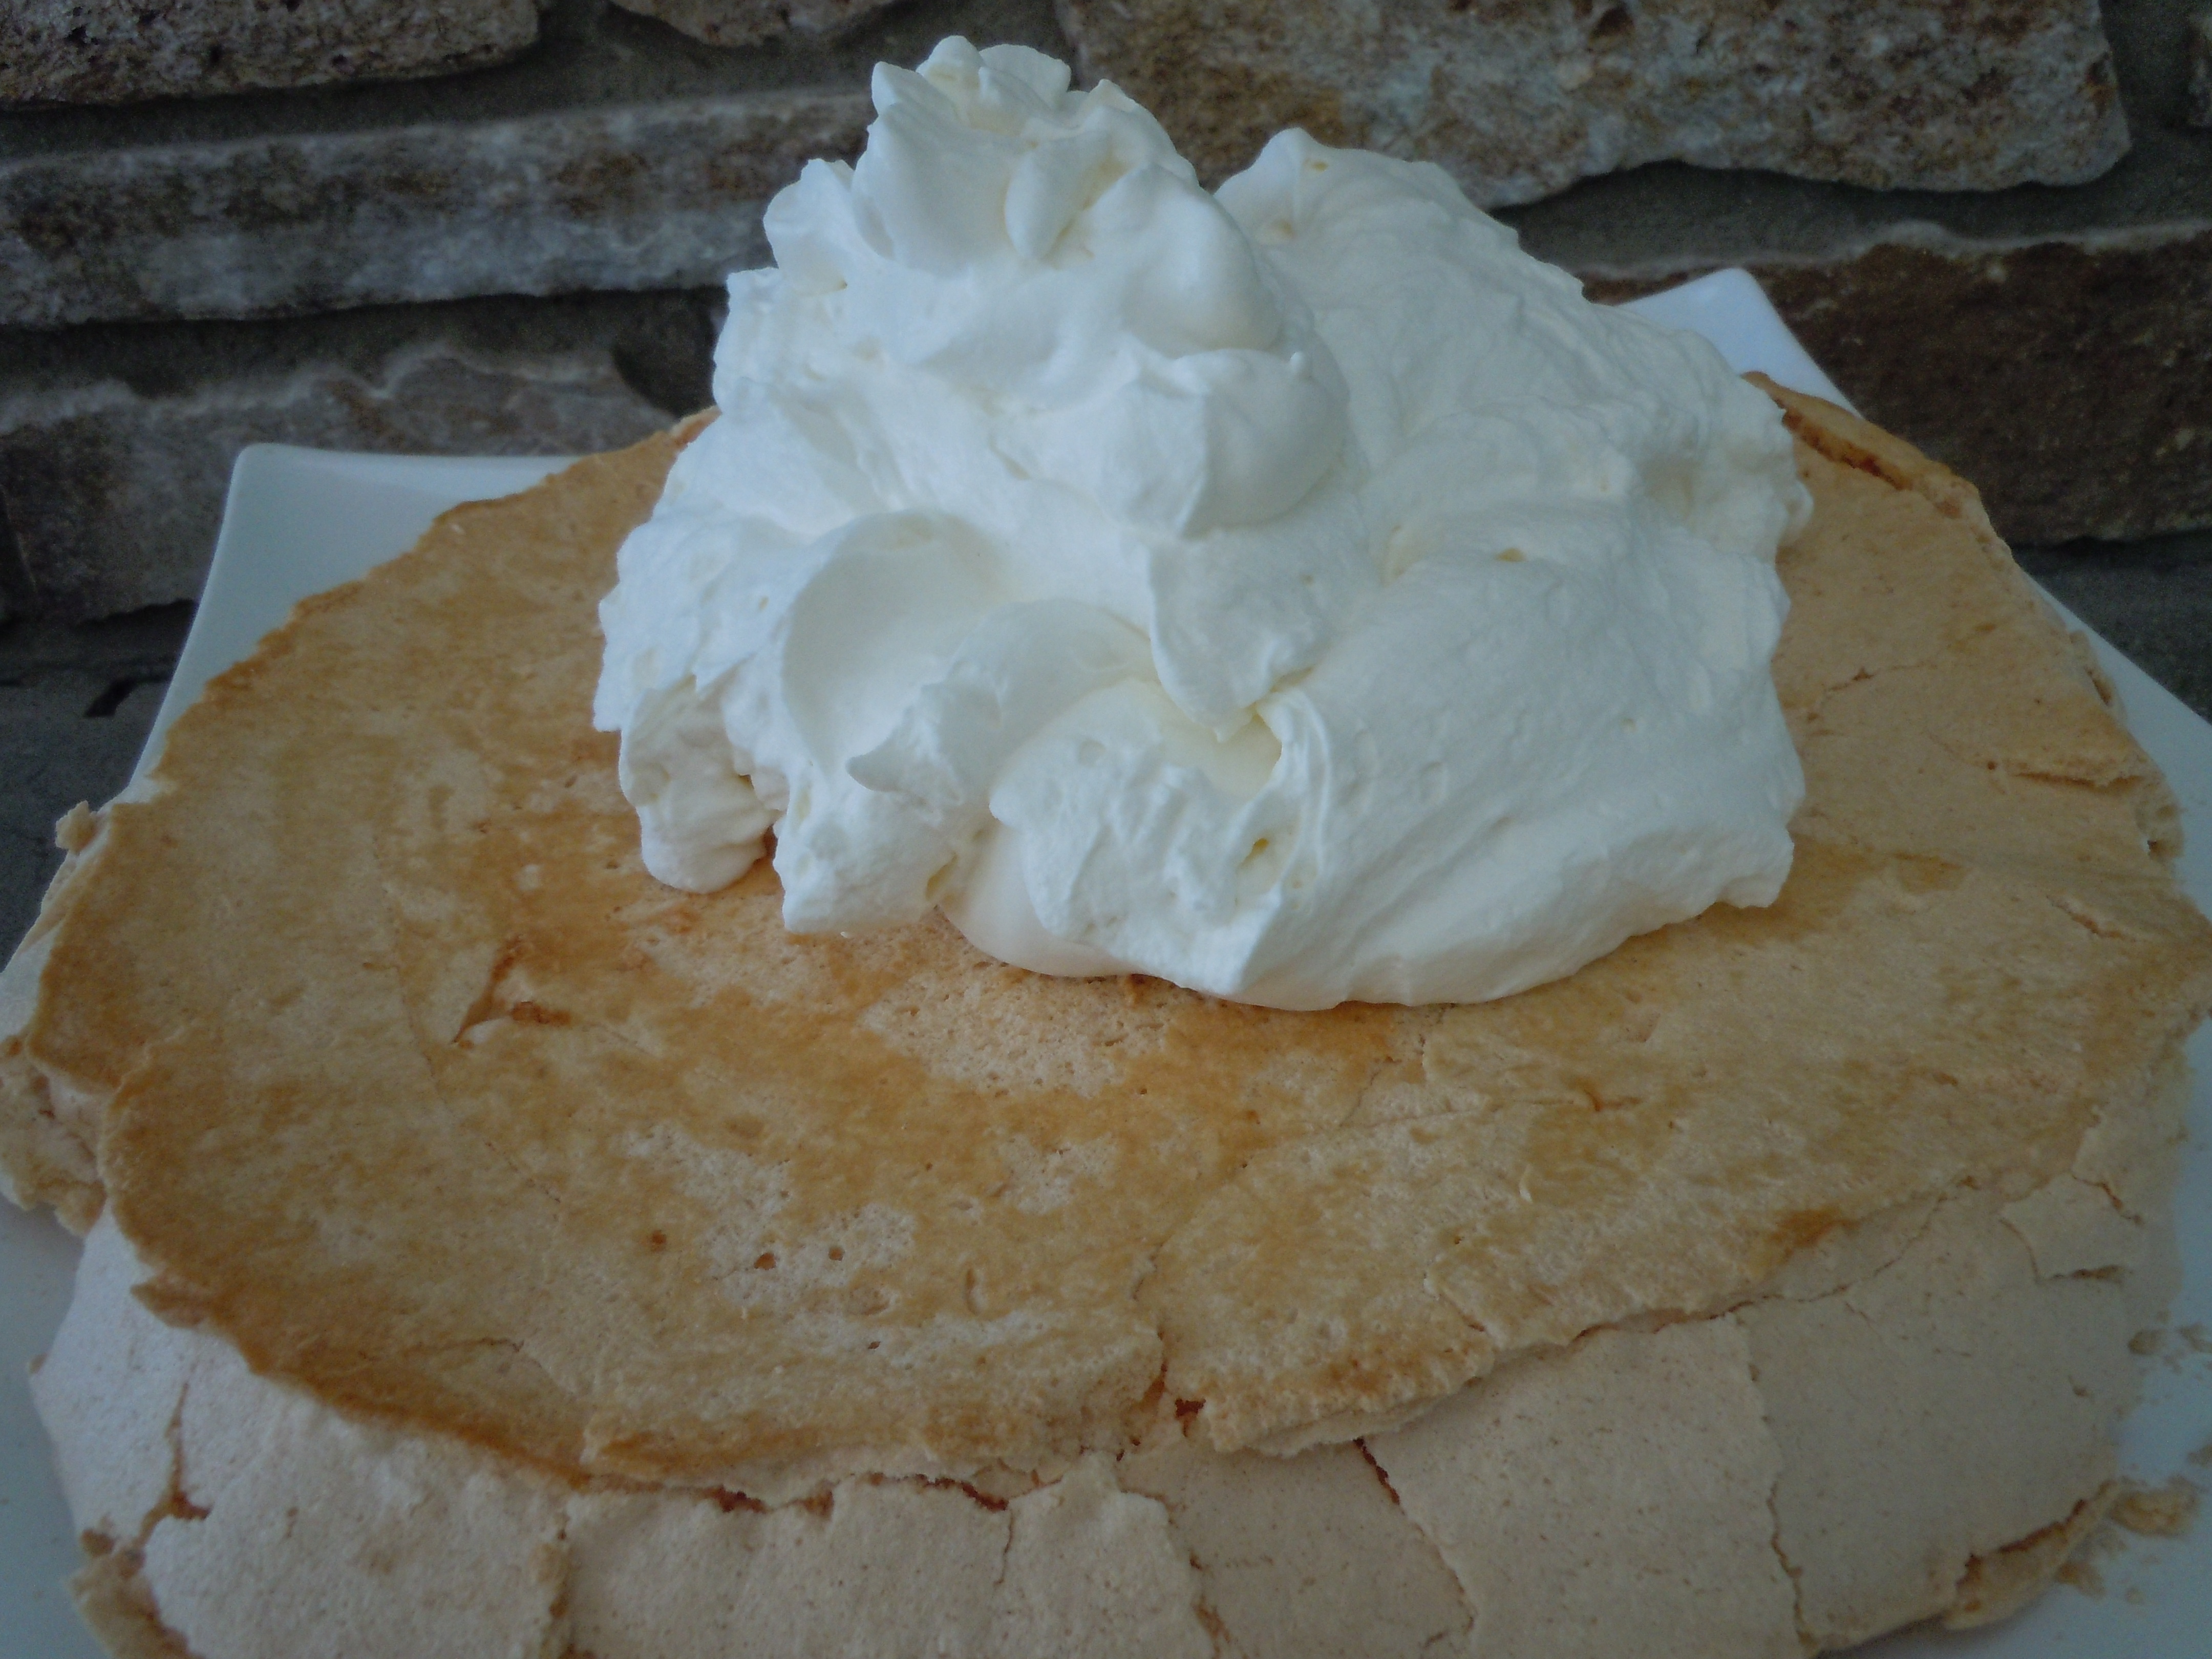
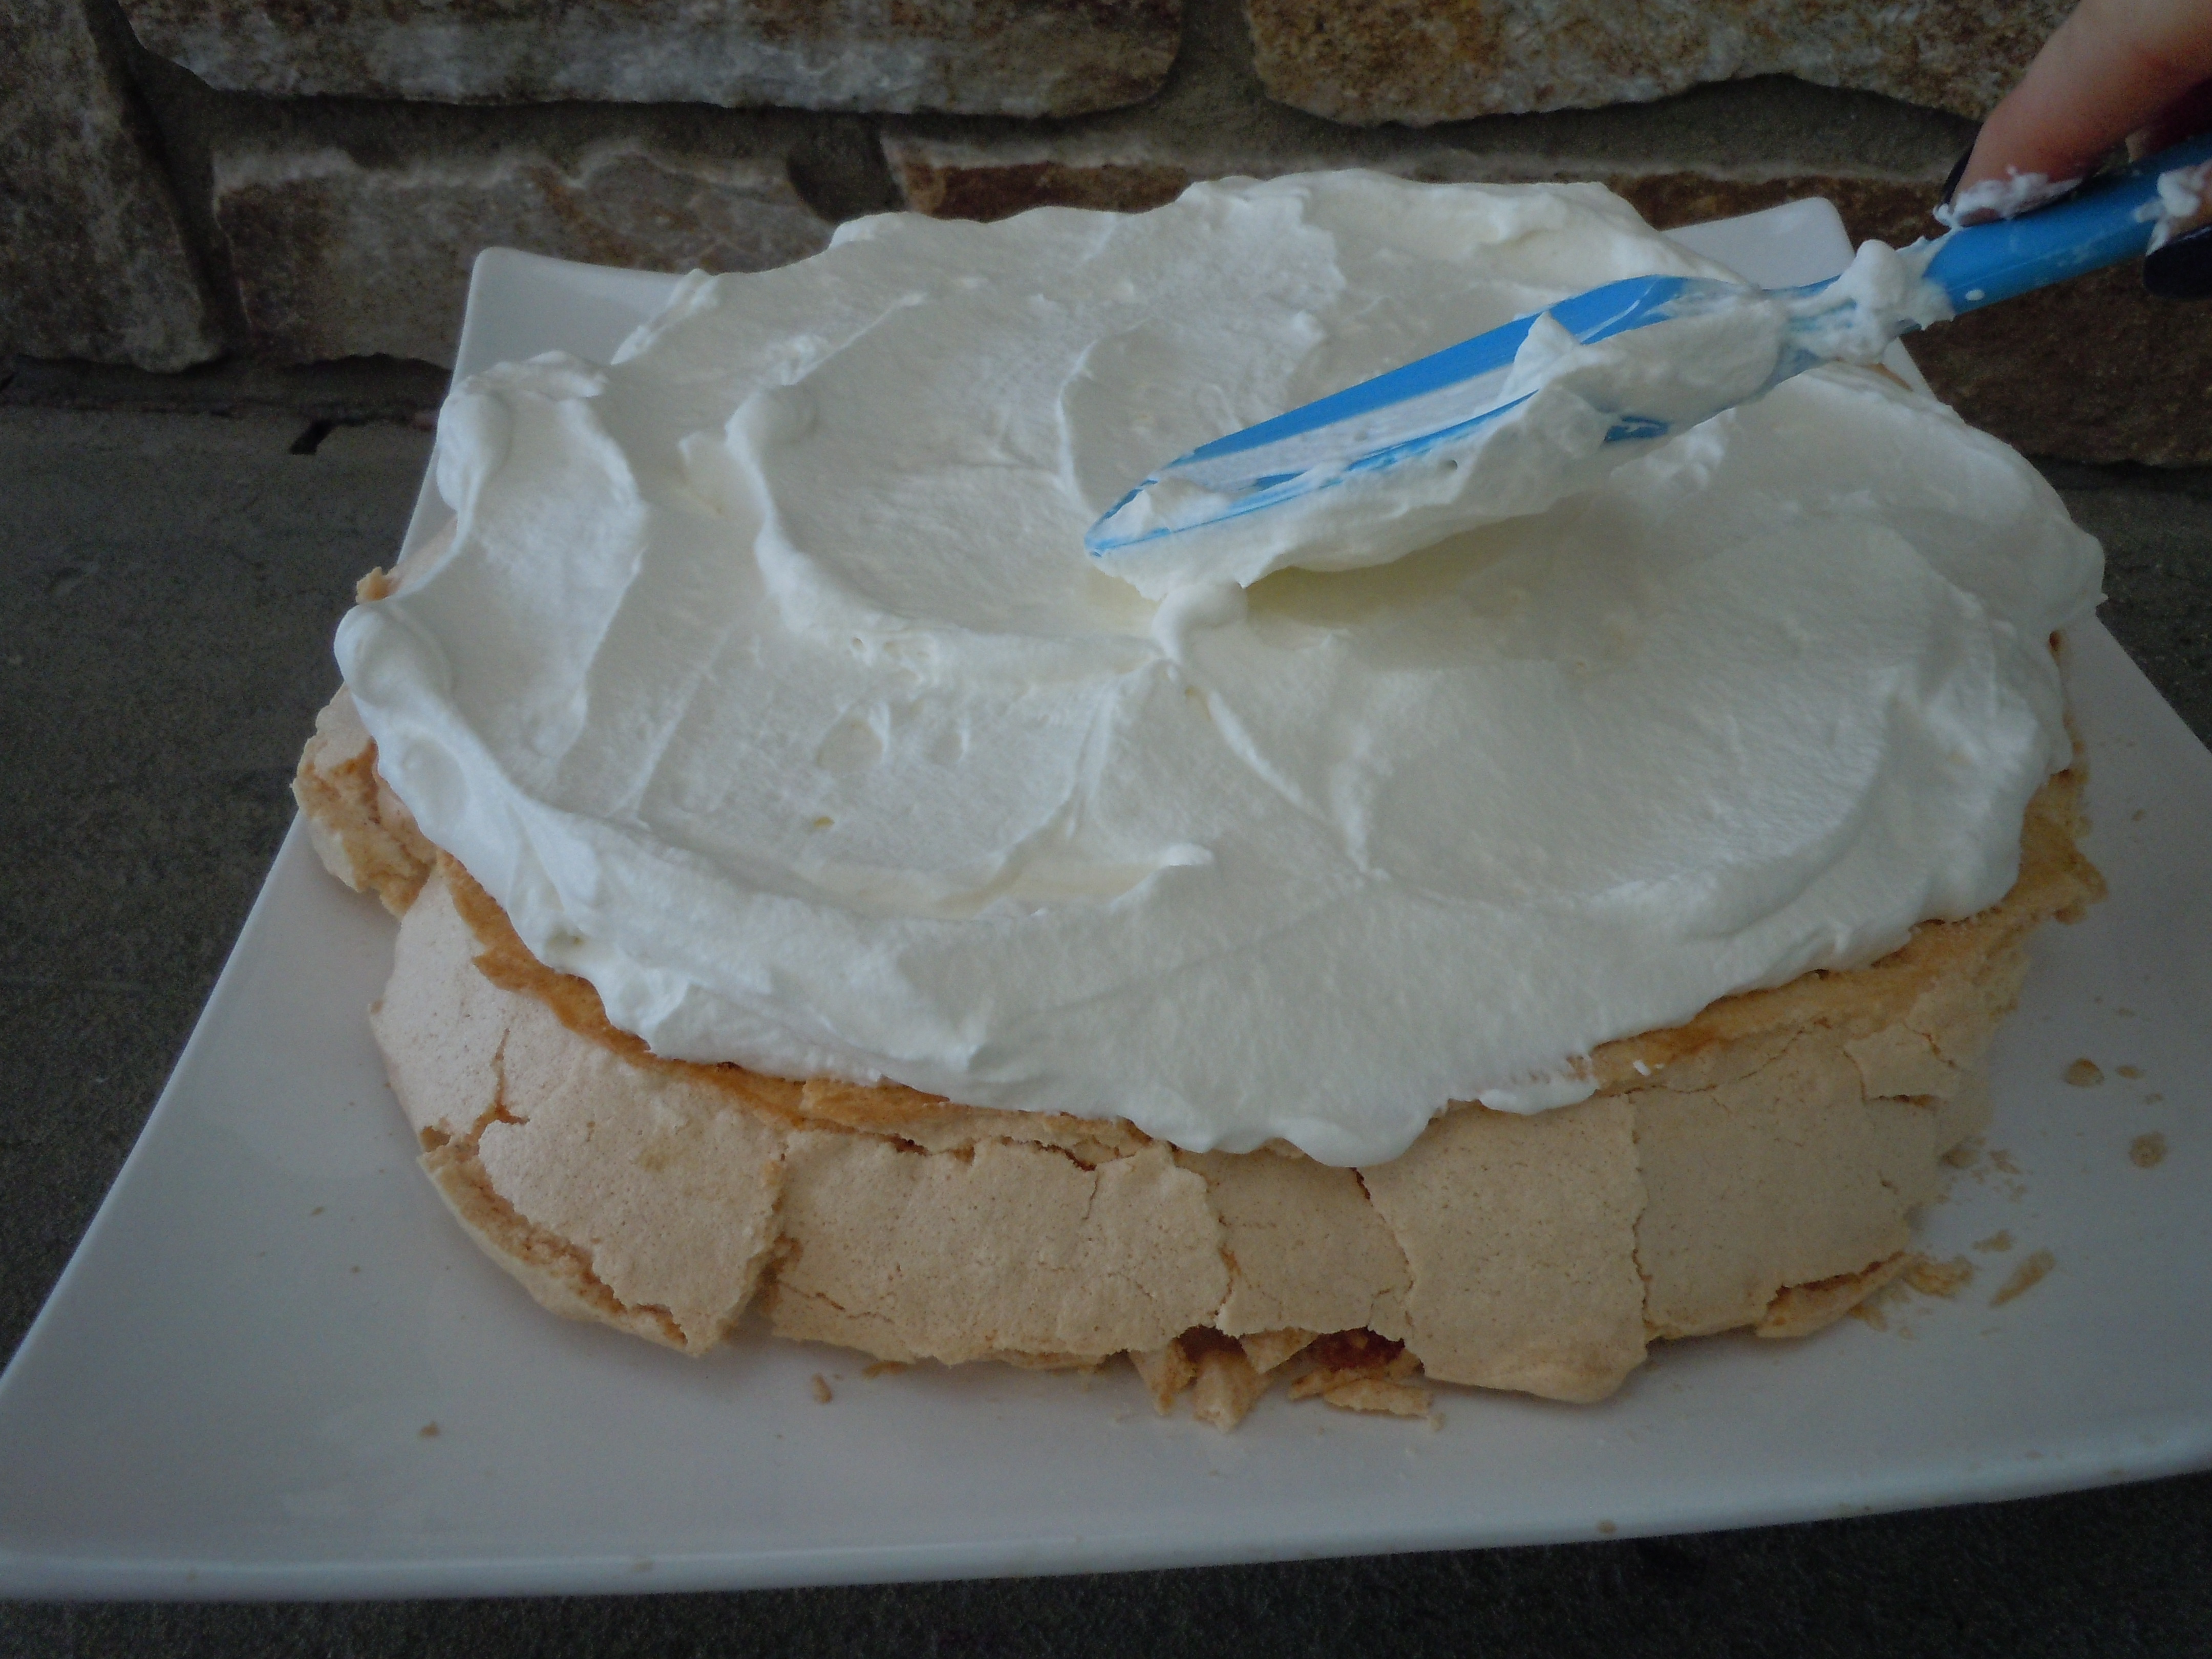
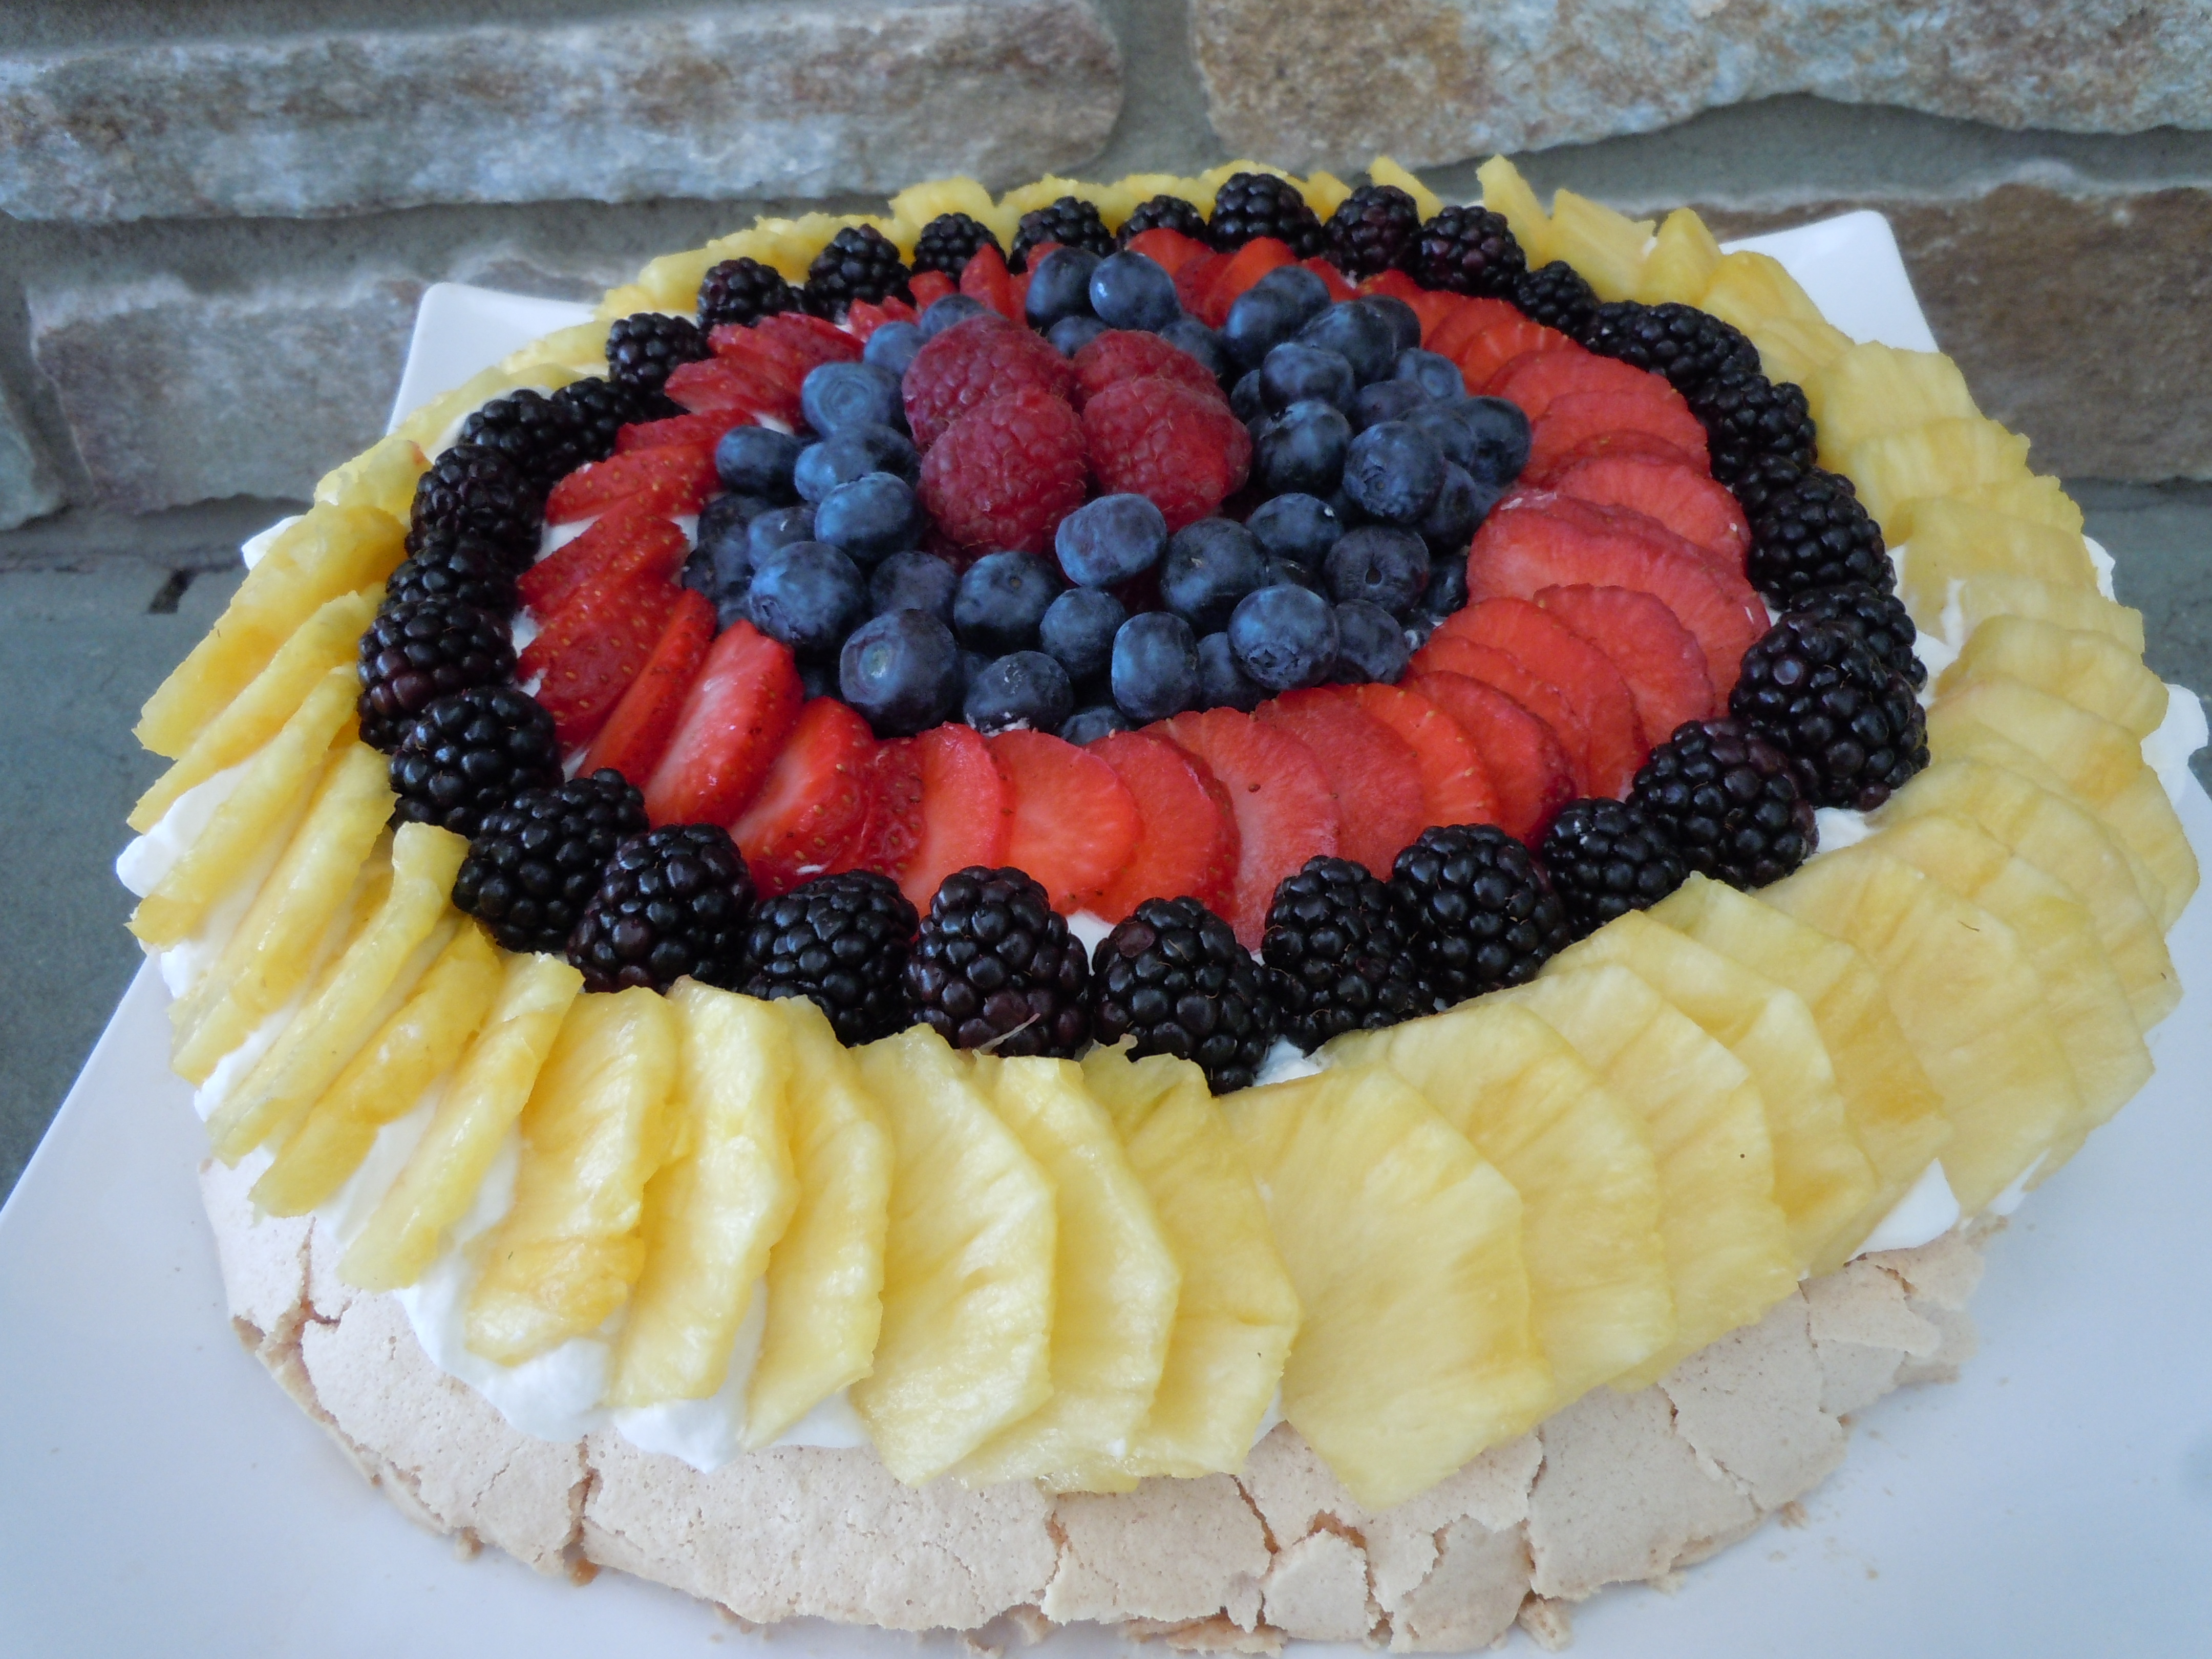
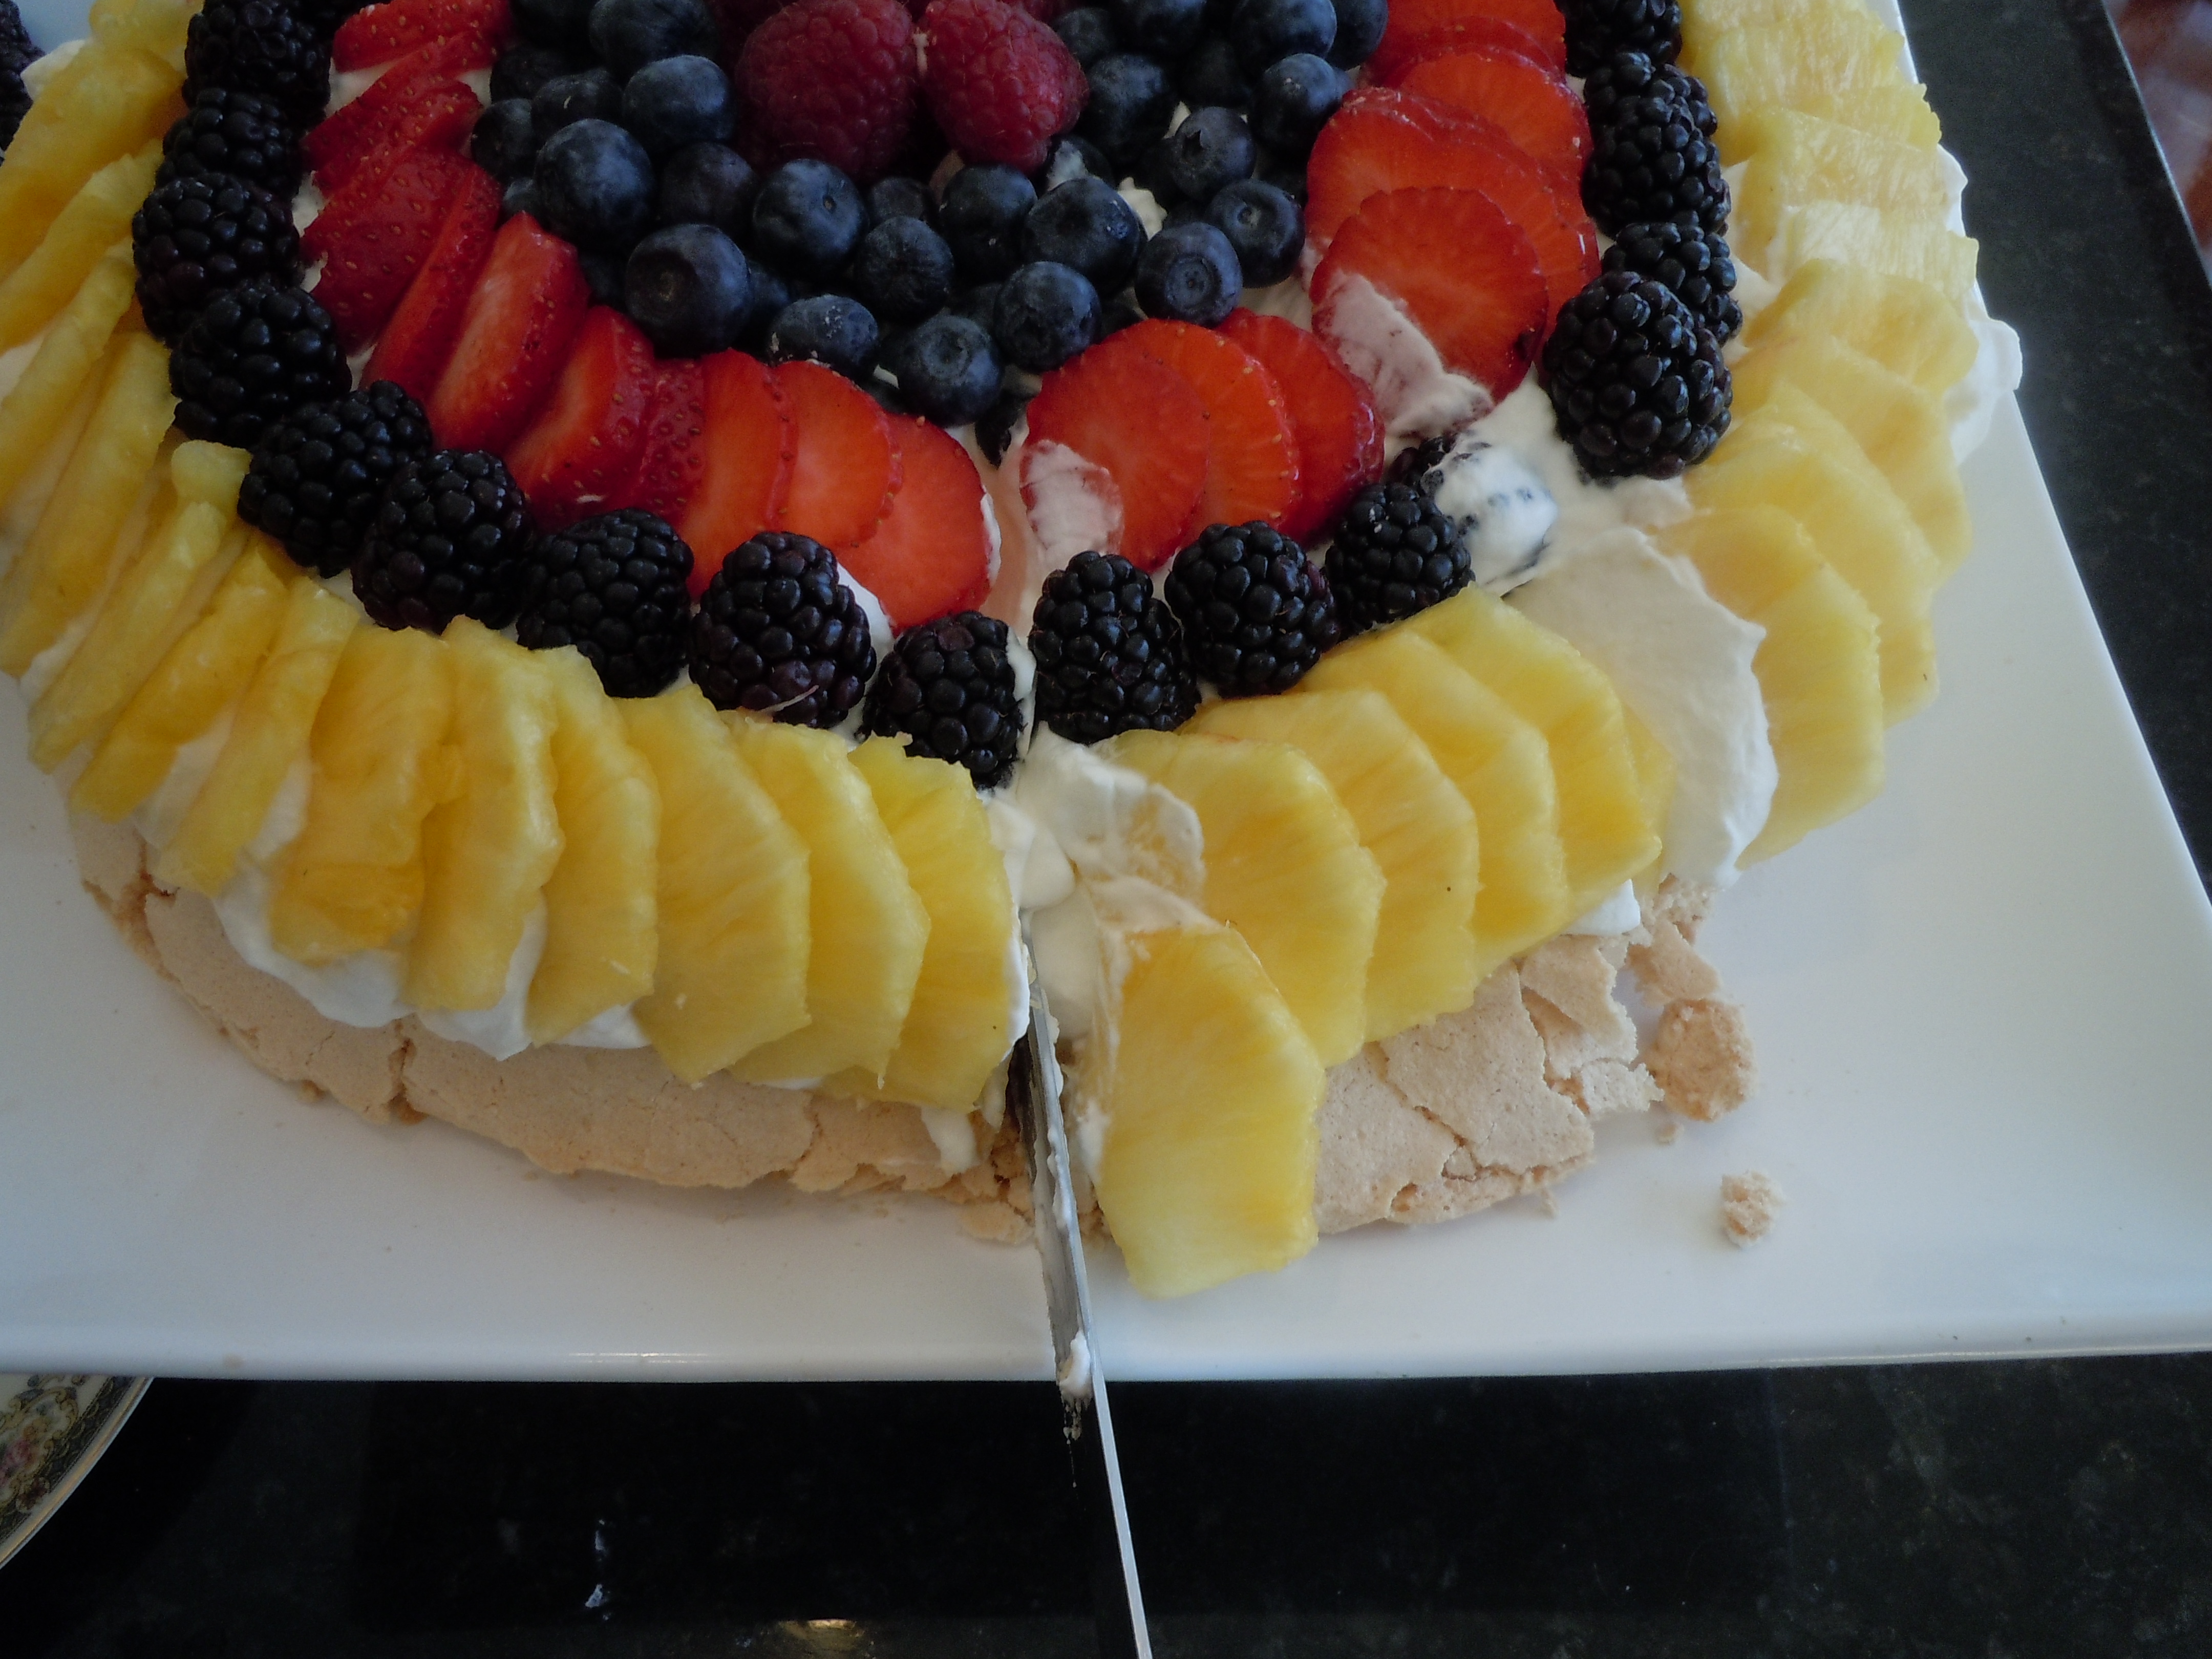
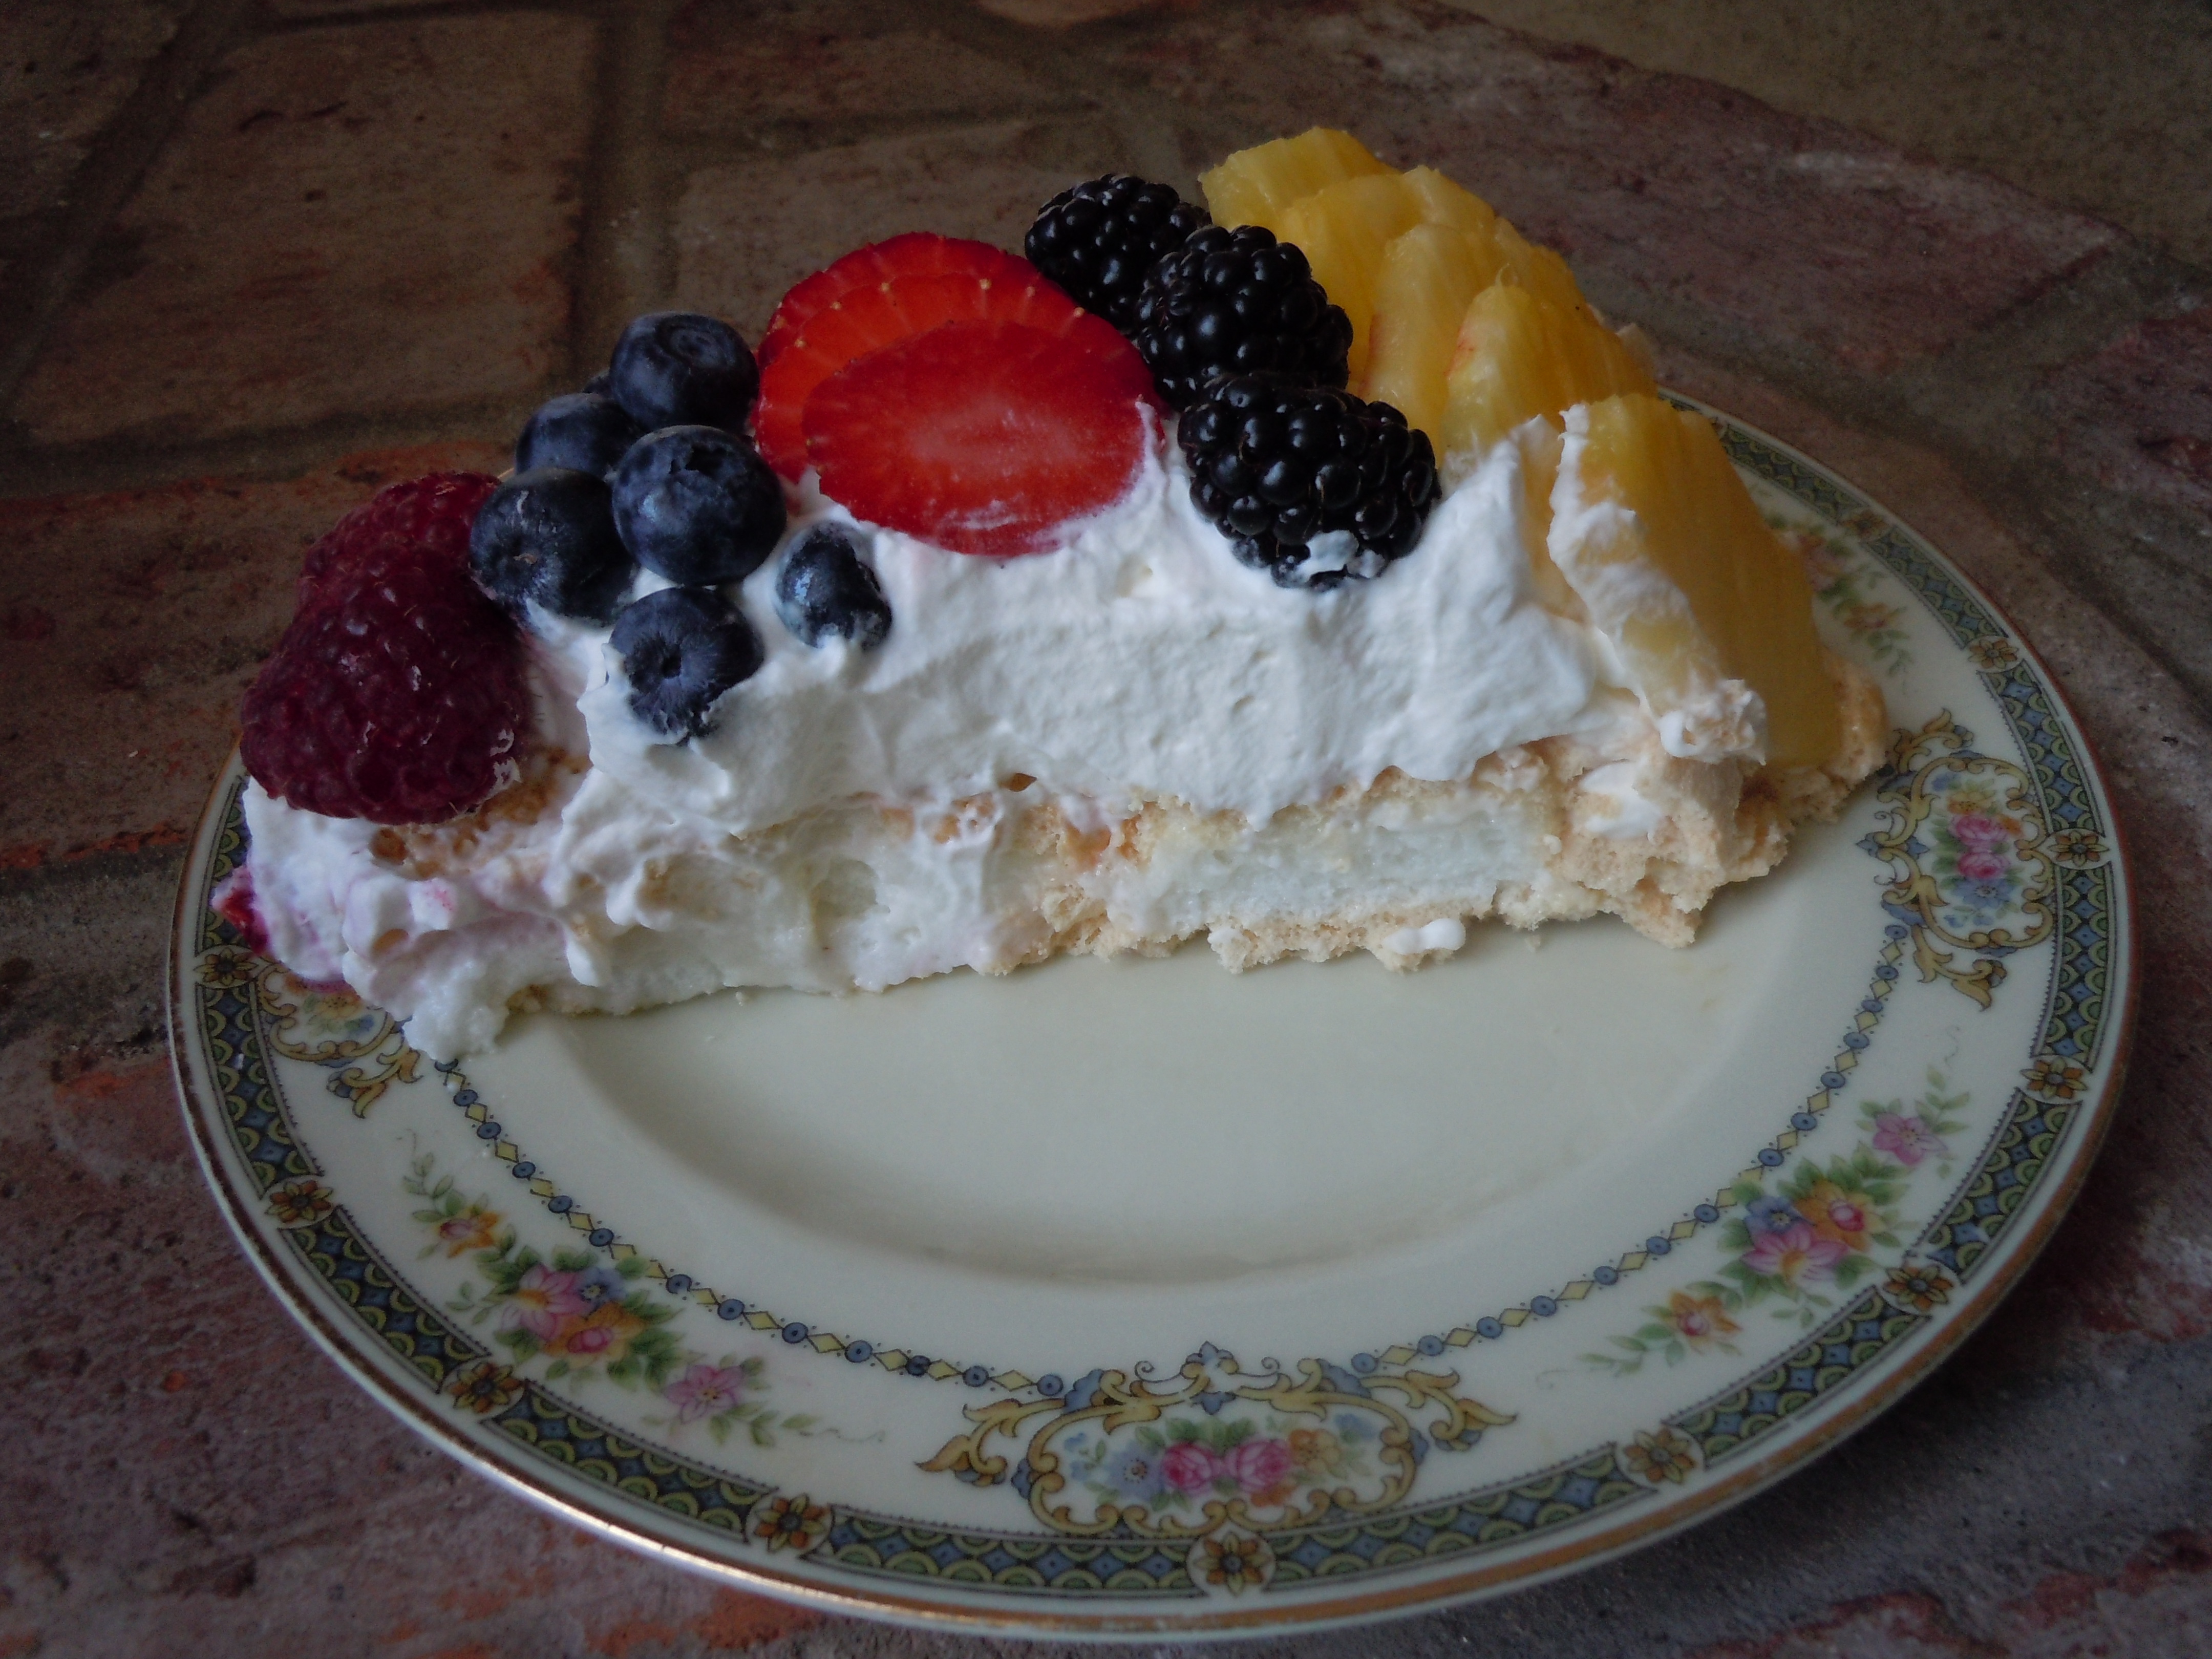
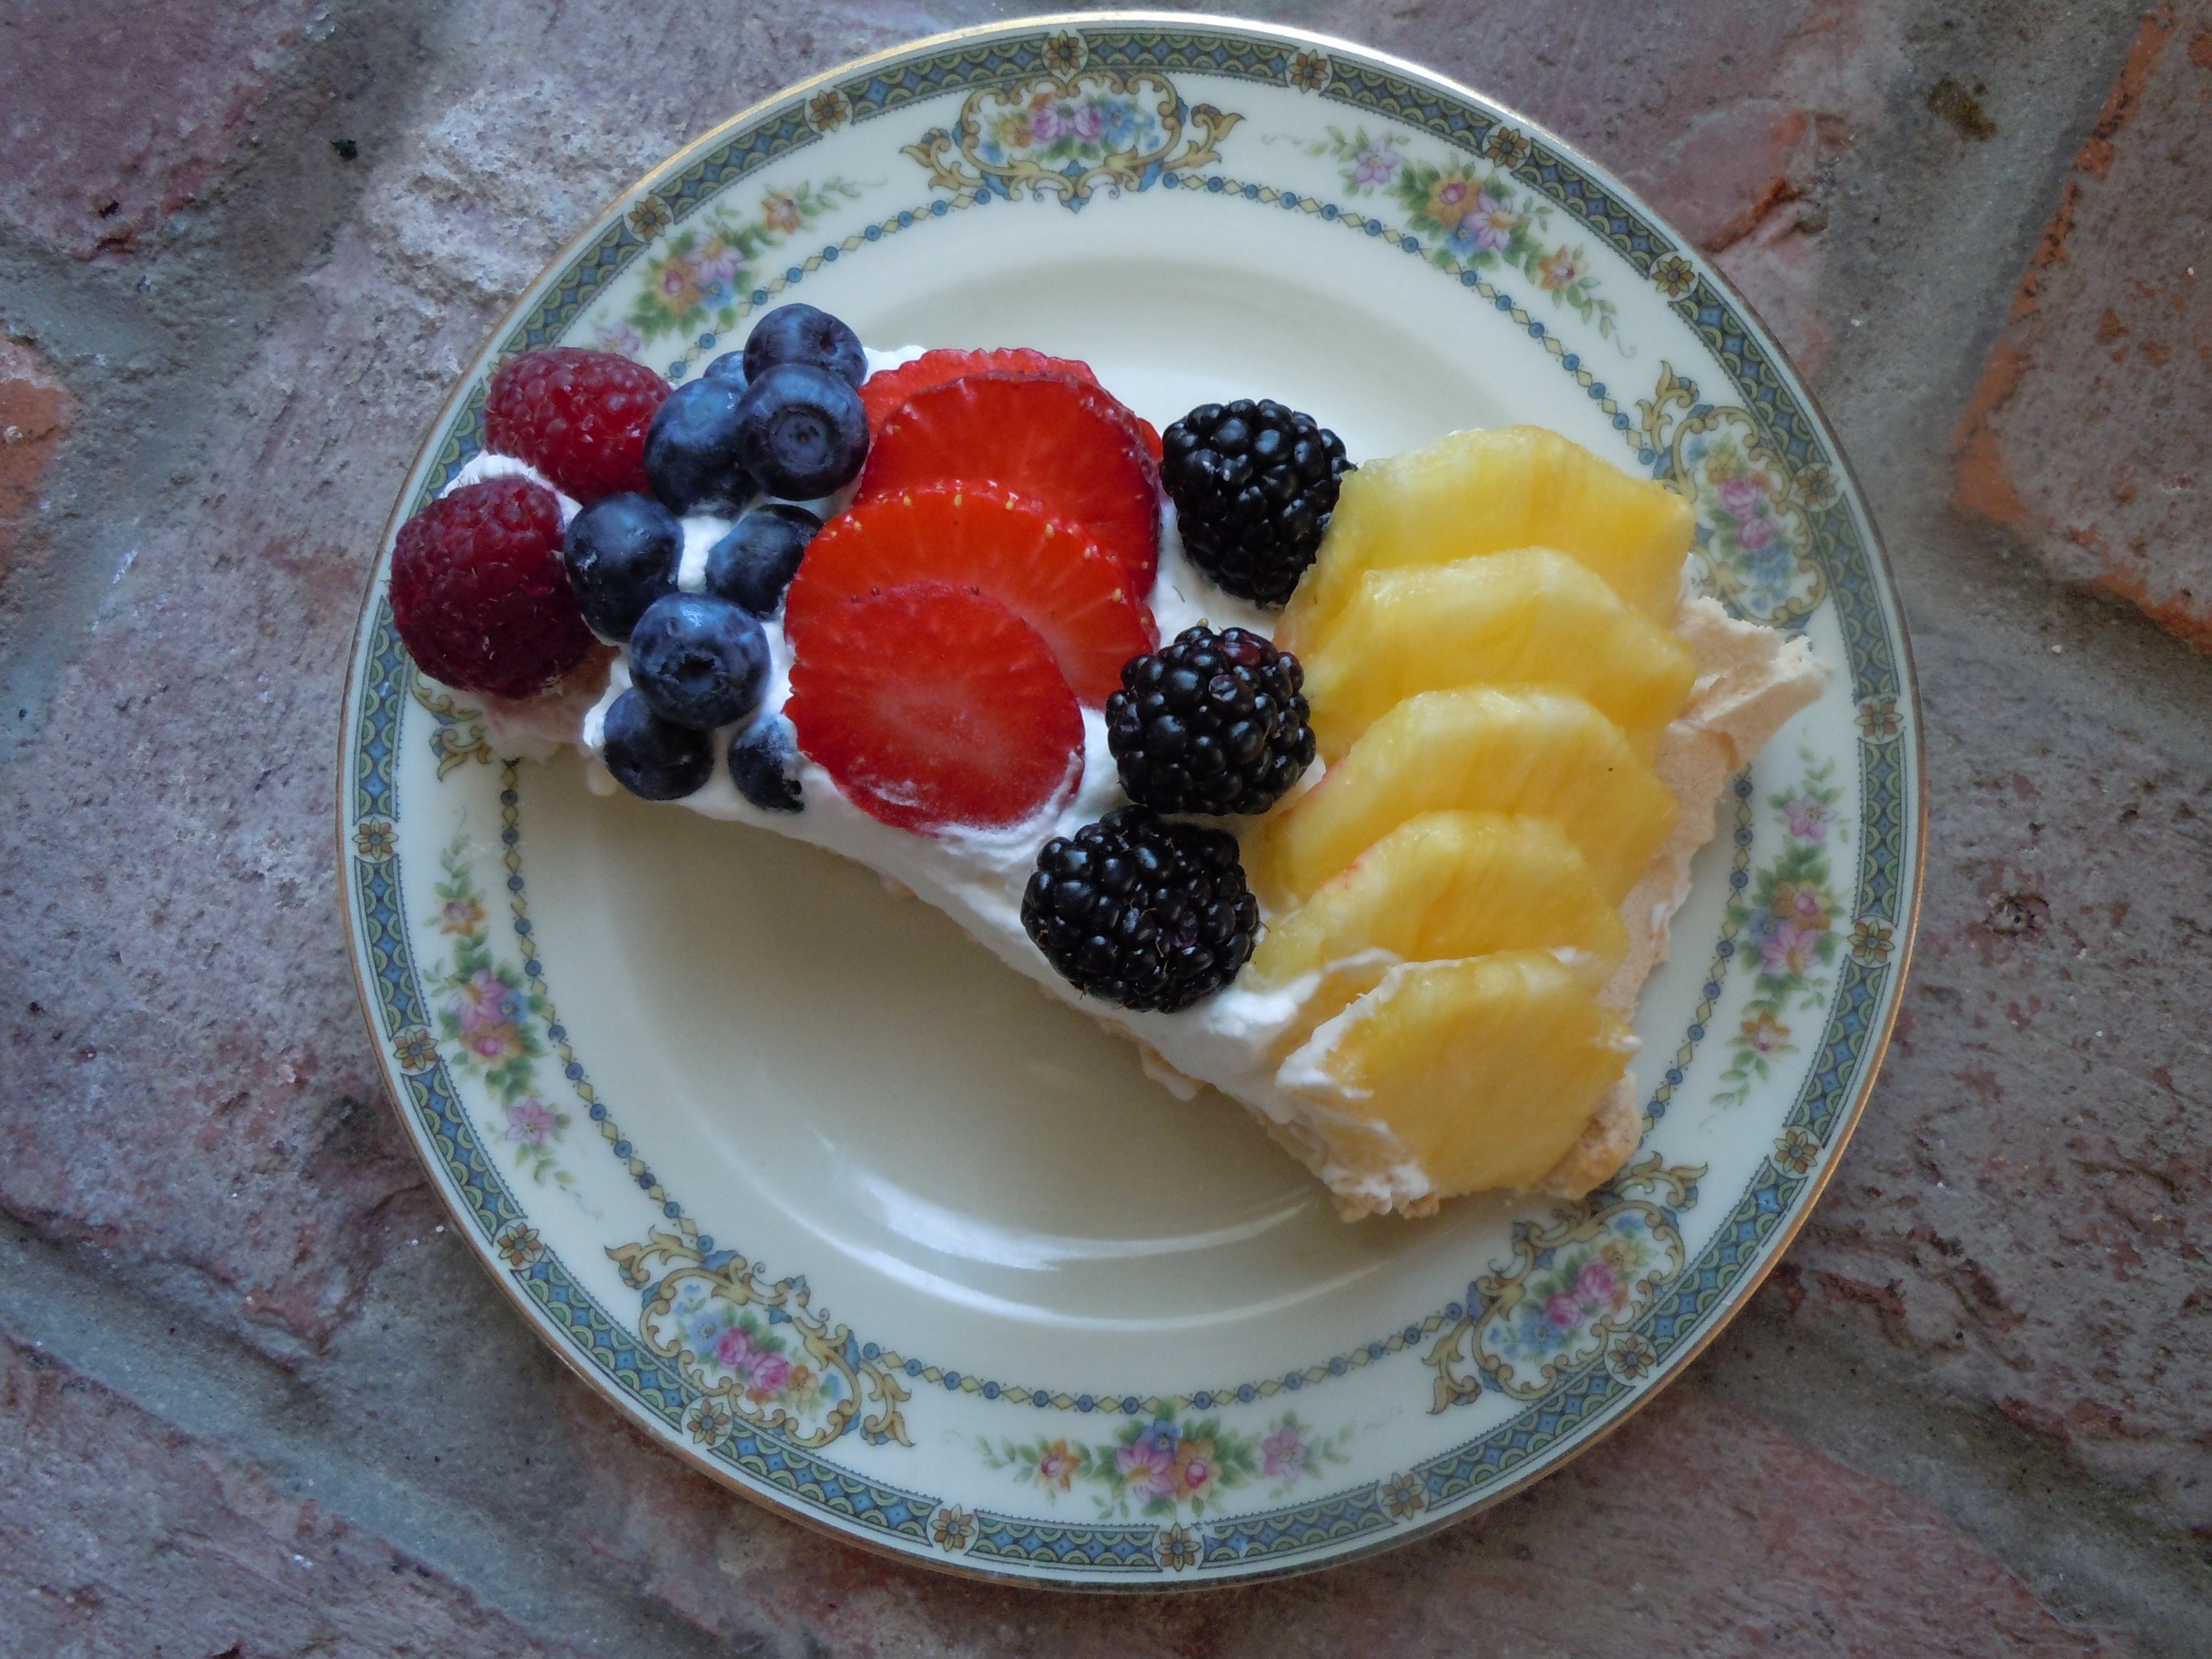
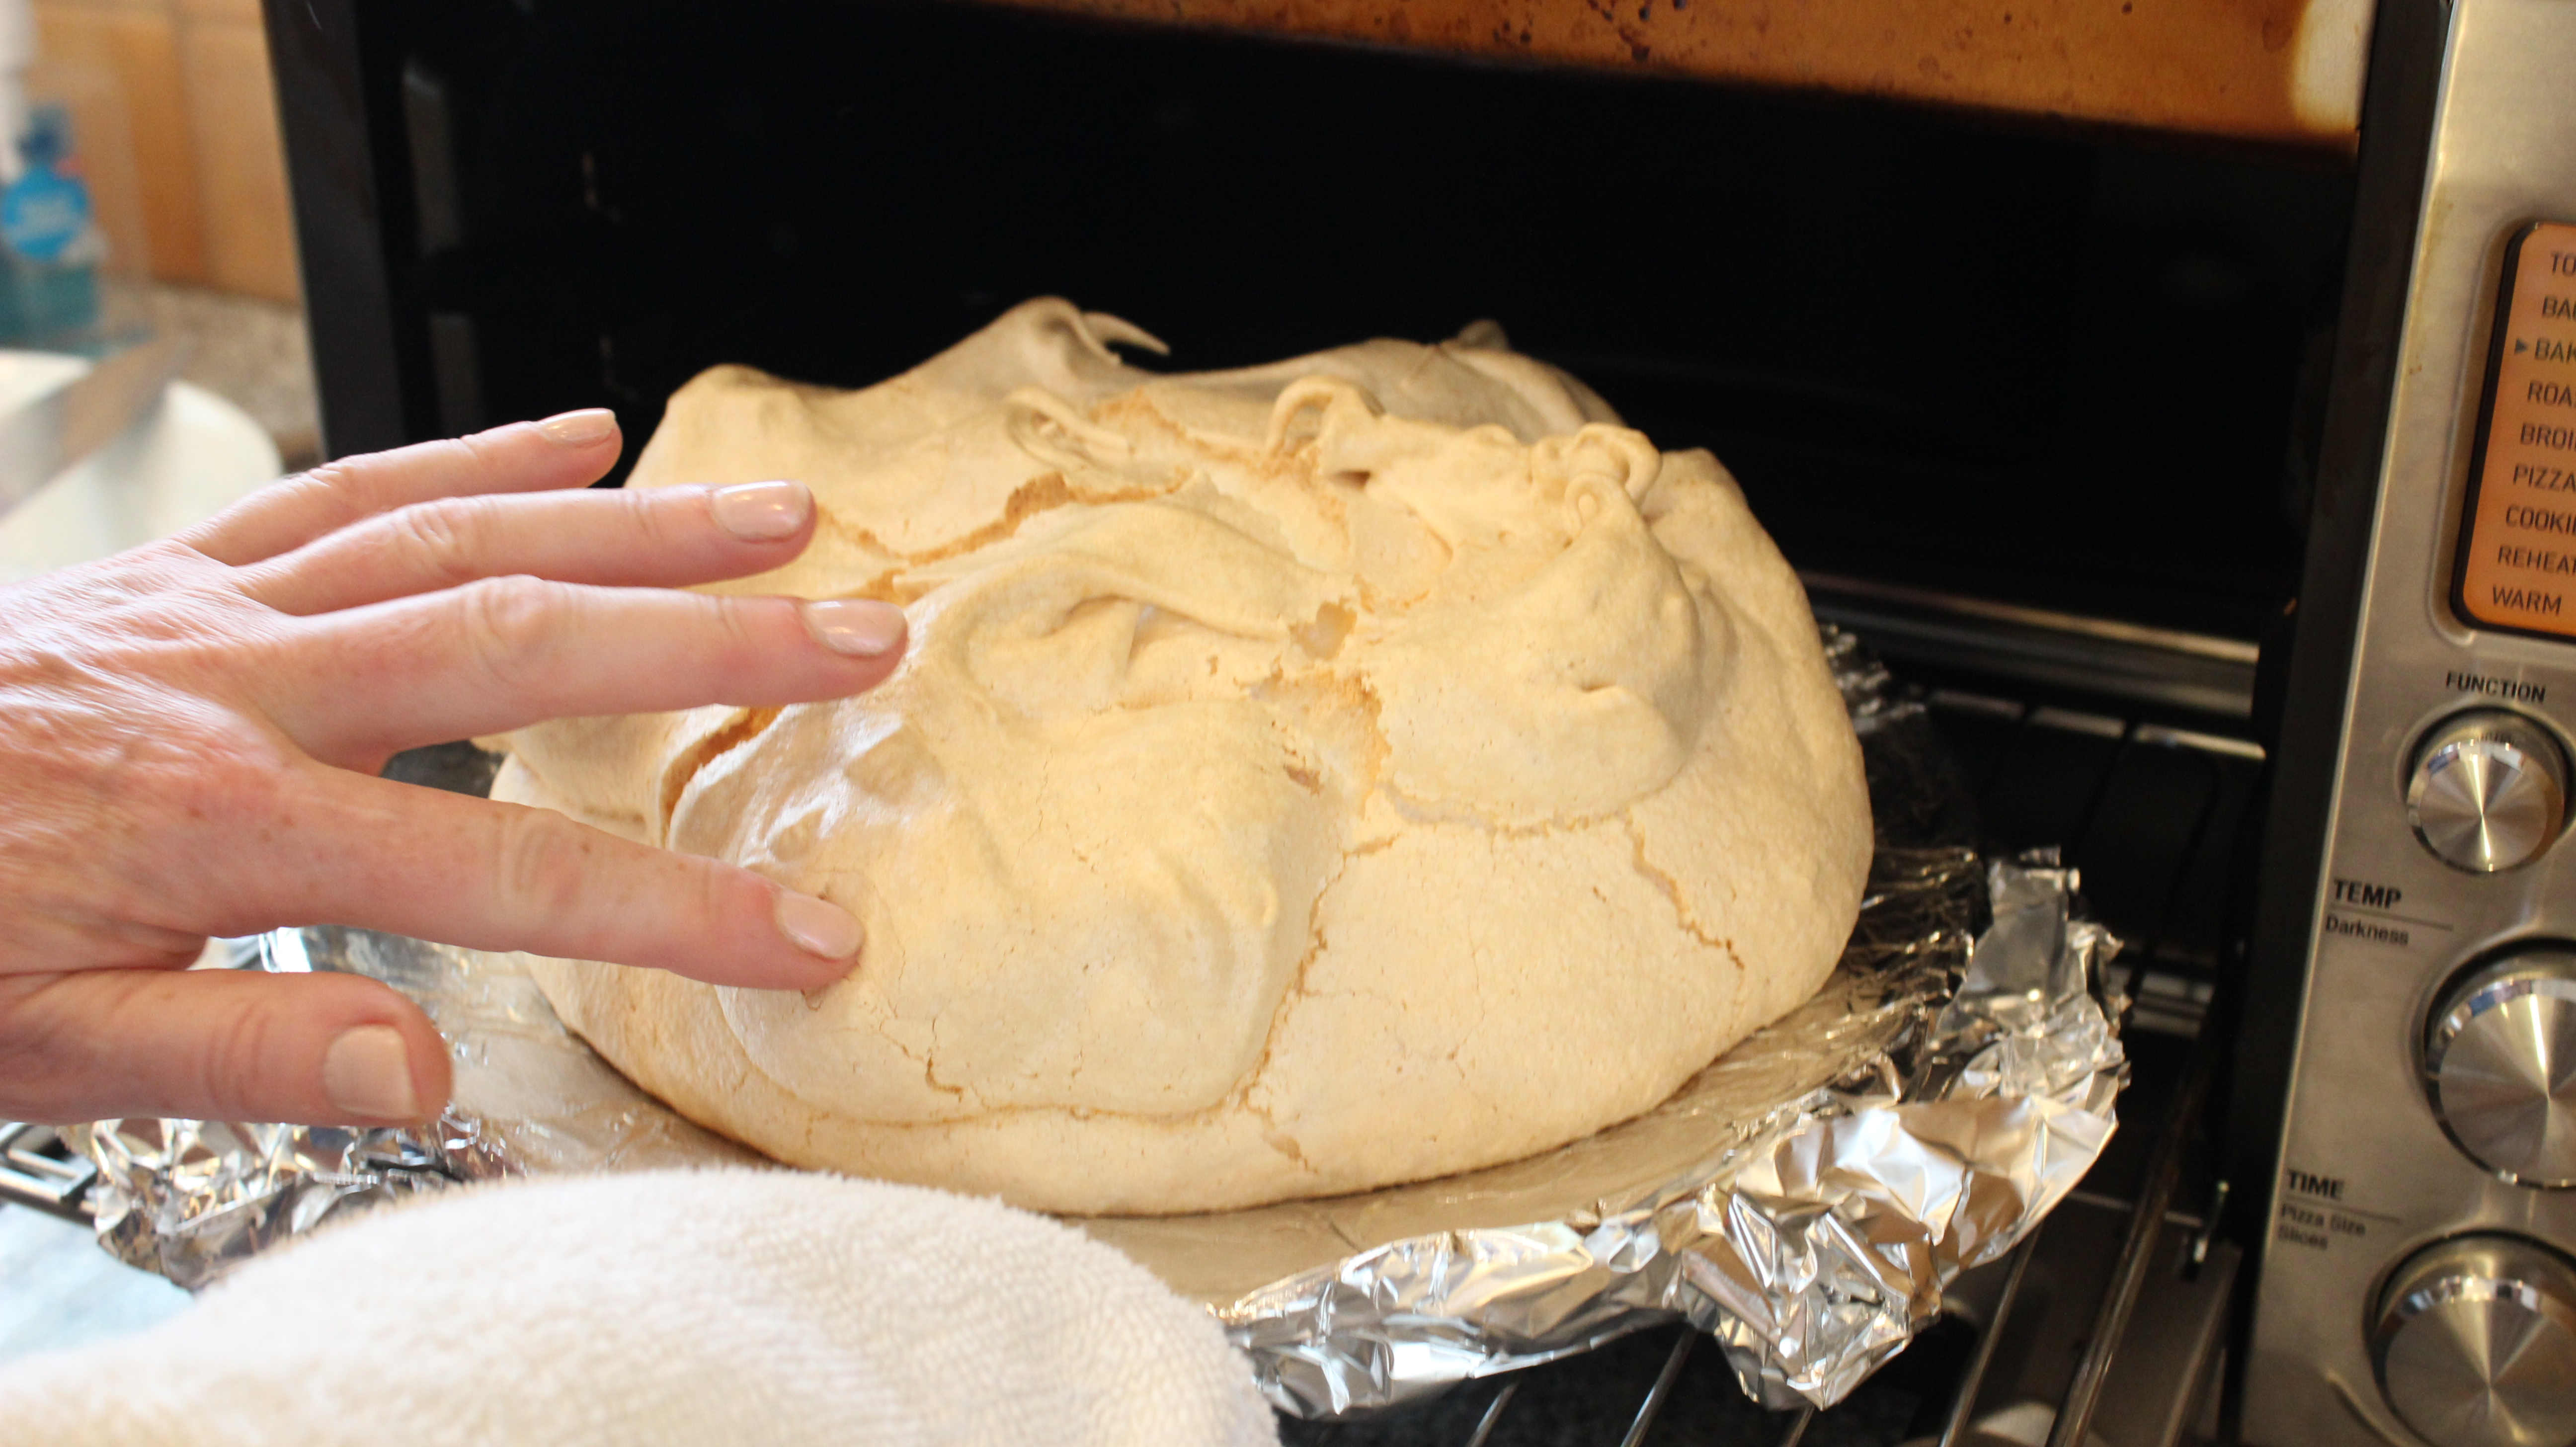
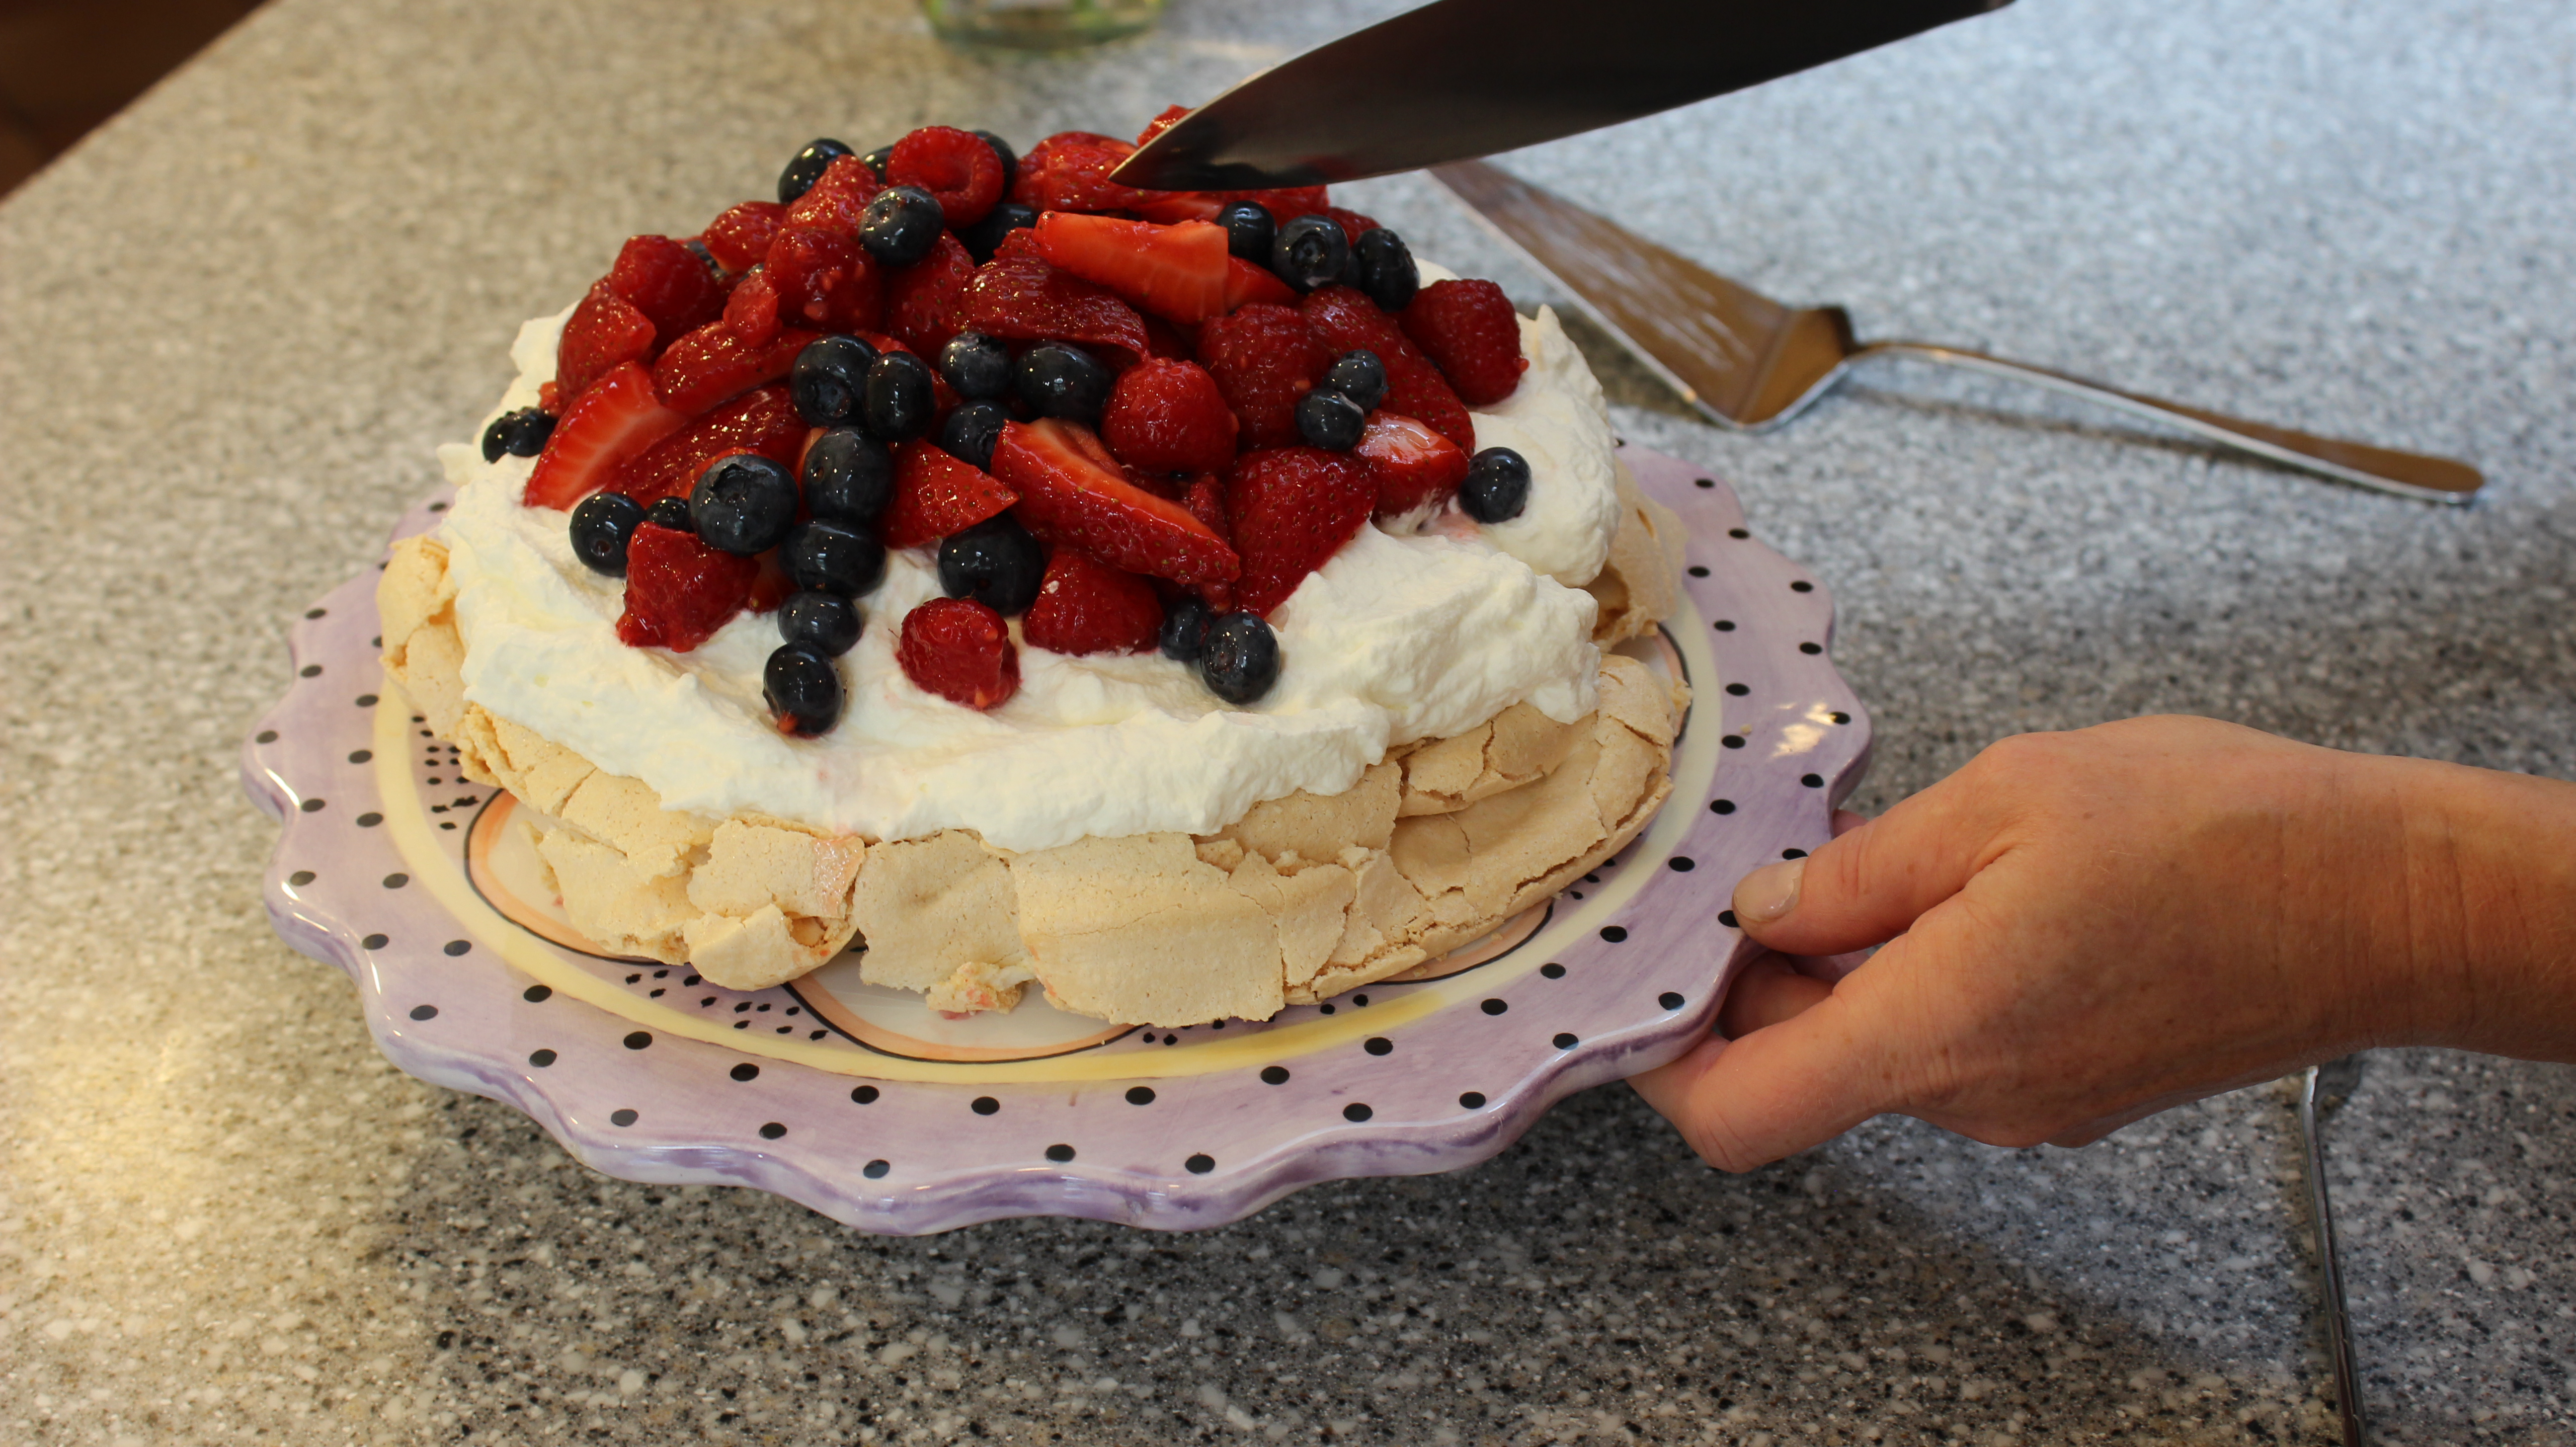
Lathrop Manor as been written up in Yankee Magazine as well by a Kim Beckius who has written several books about New England B & B’s. You shouldn’t miss the opportunity to stay here and meet Marco and Sheryl, and experience their gourmet fare. Chef Marco can cook up a  storm like nobody’s business which is evident their in B & B’s five course breakfast! Hope you enjoy the show and don’t forget to let me know how much you love these gourmet salmon B.L.T. sliders! You might just get inspired and make Pavlova for dessert!
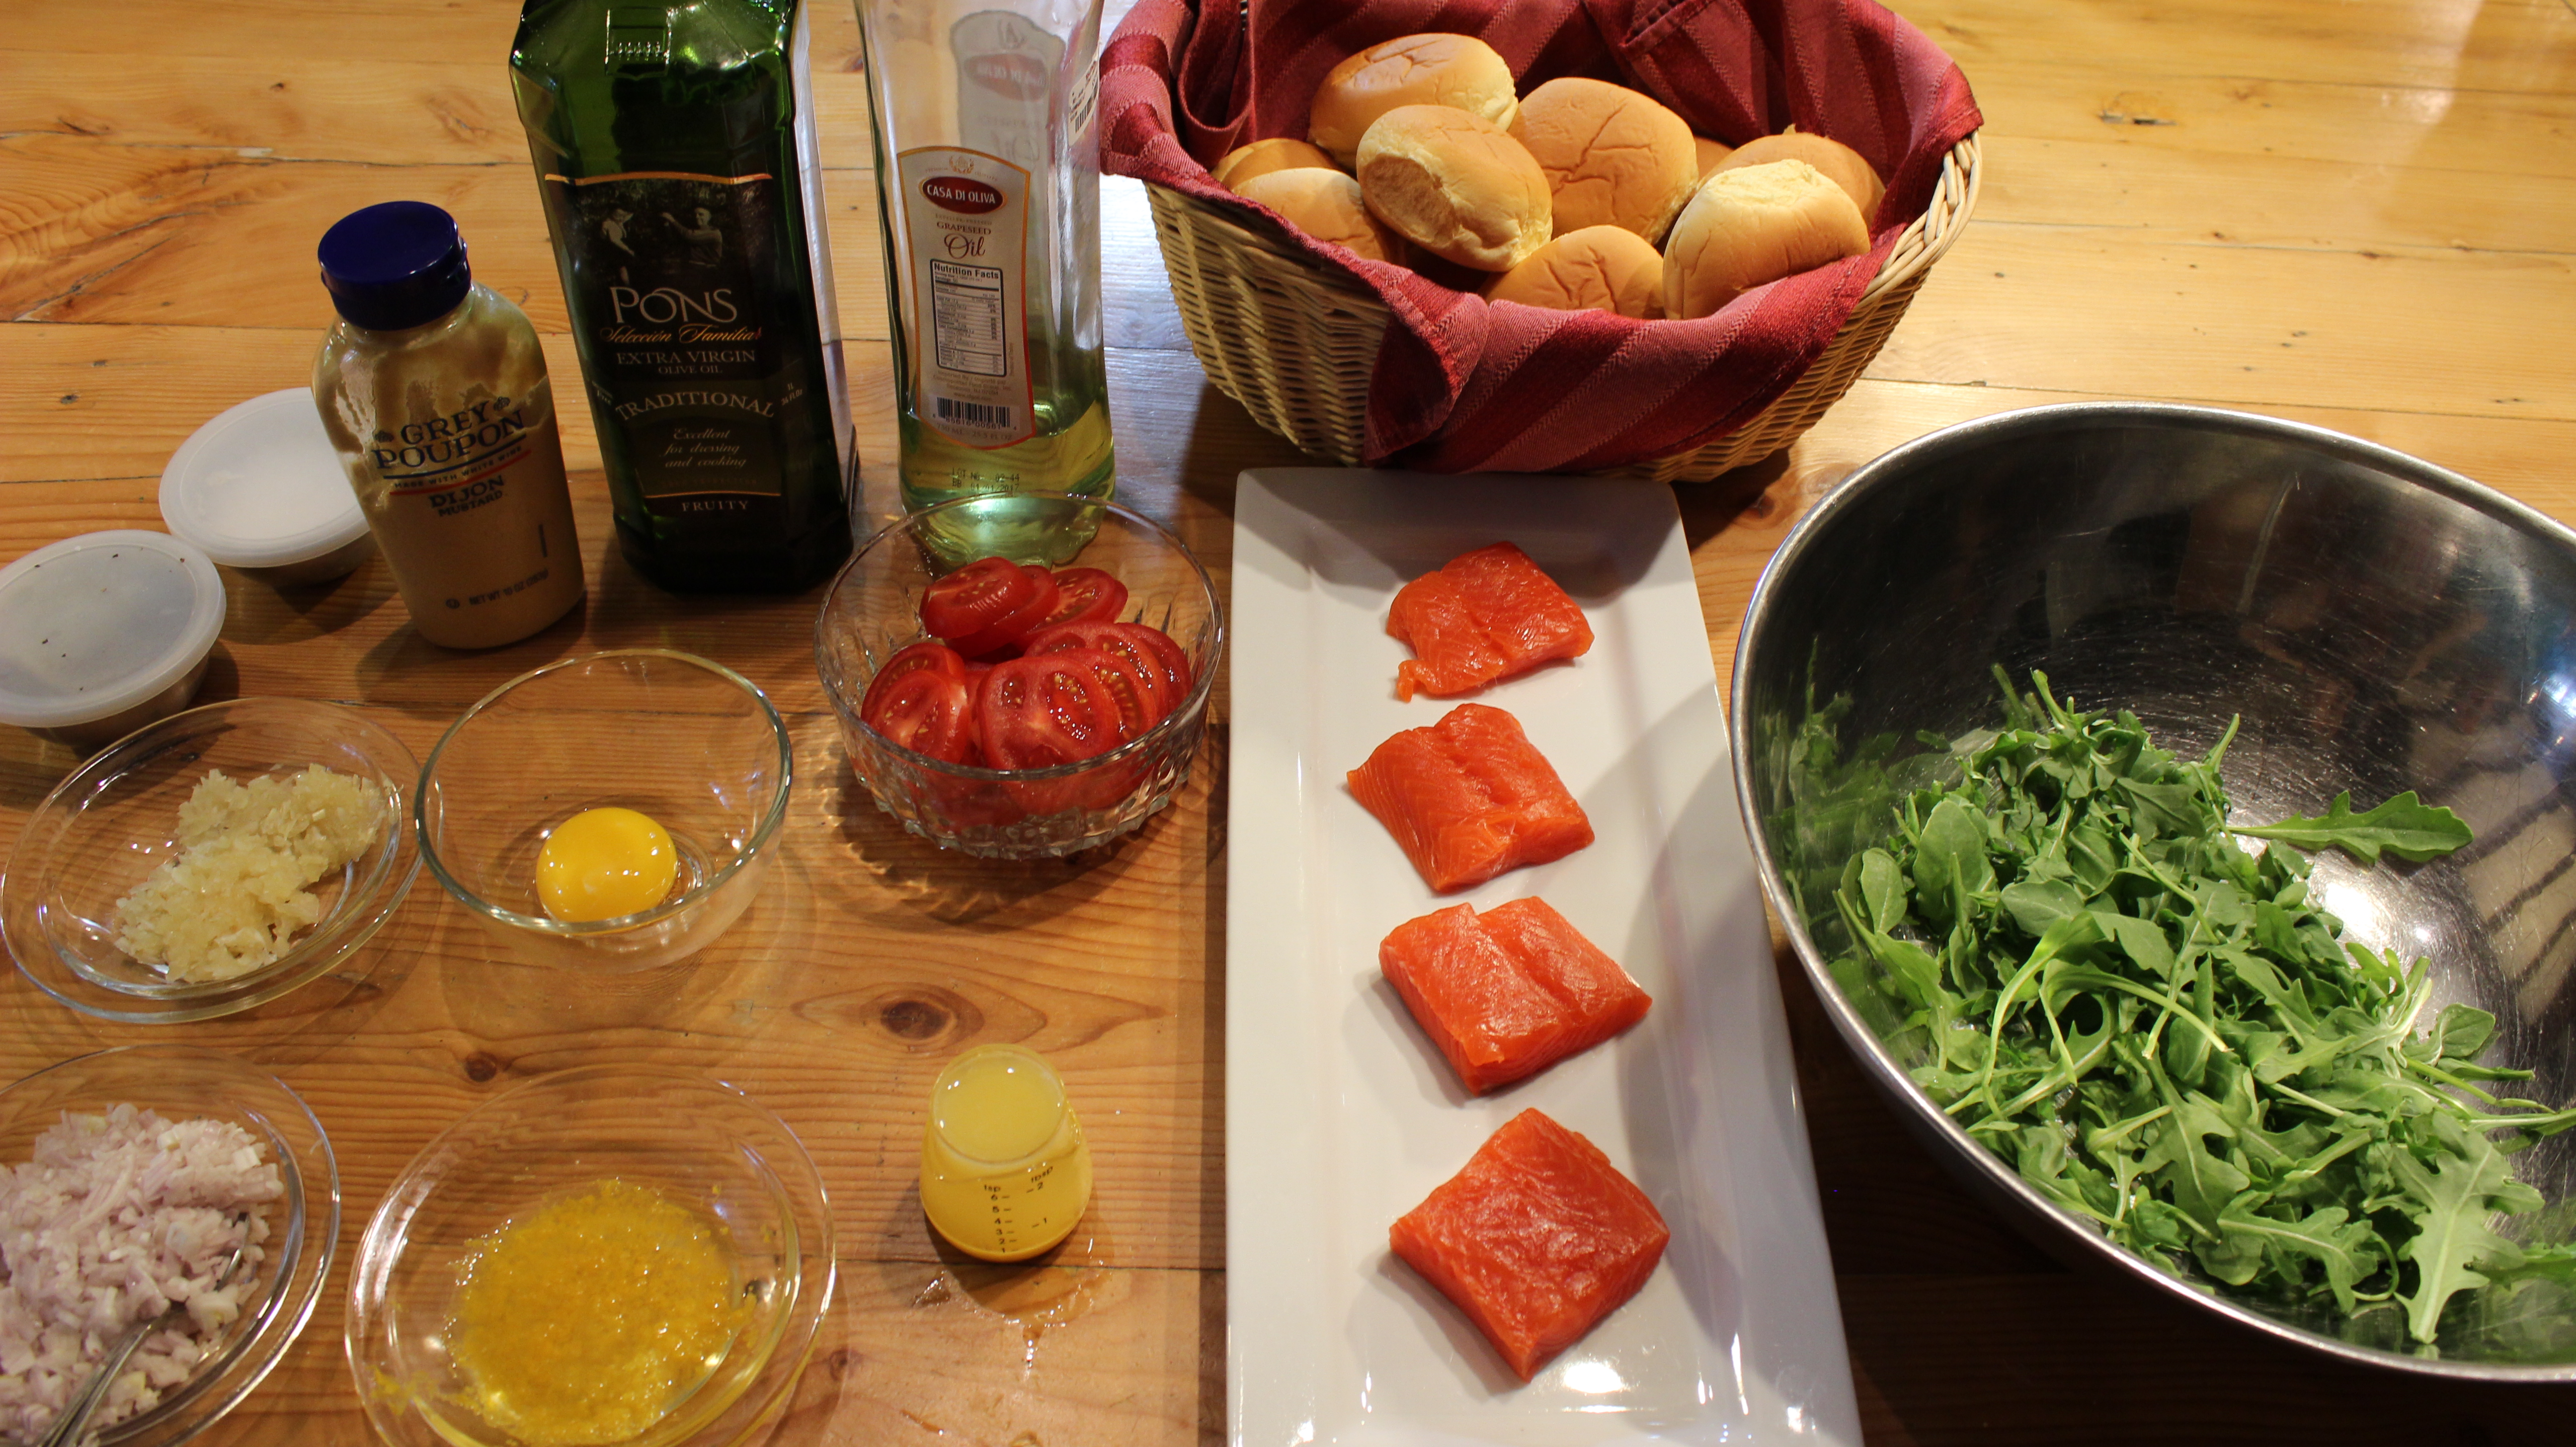

Ingredients for Marco’s Salmon B.L.T. Sliders – makes approx. 20 sliders:
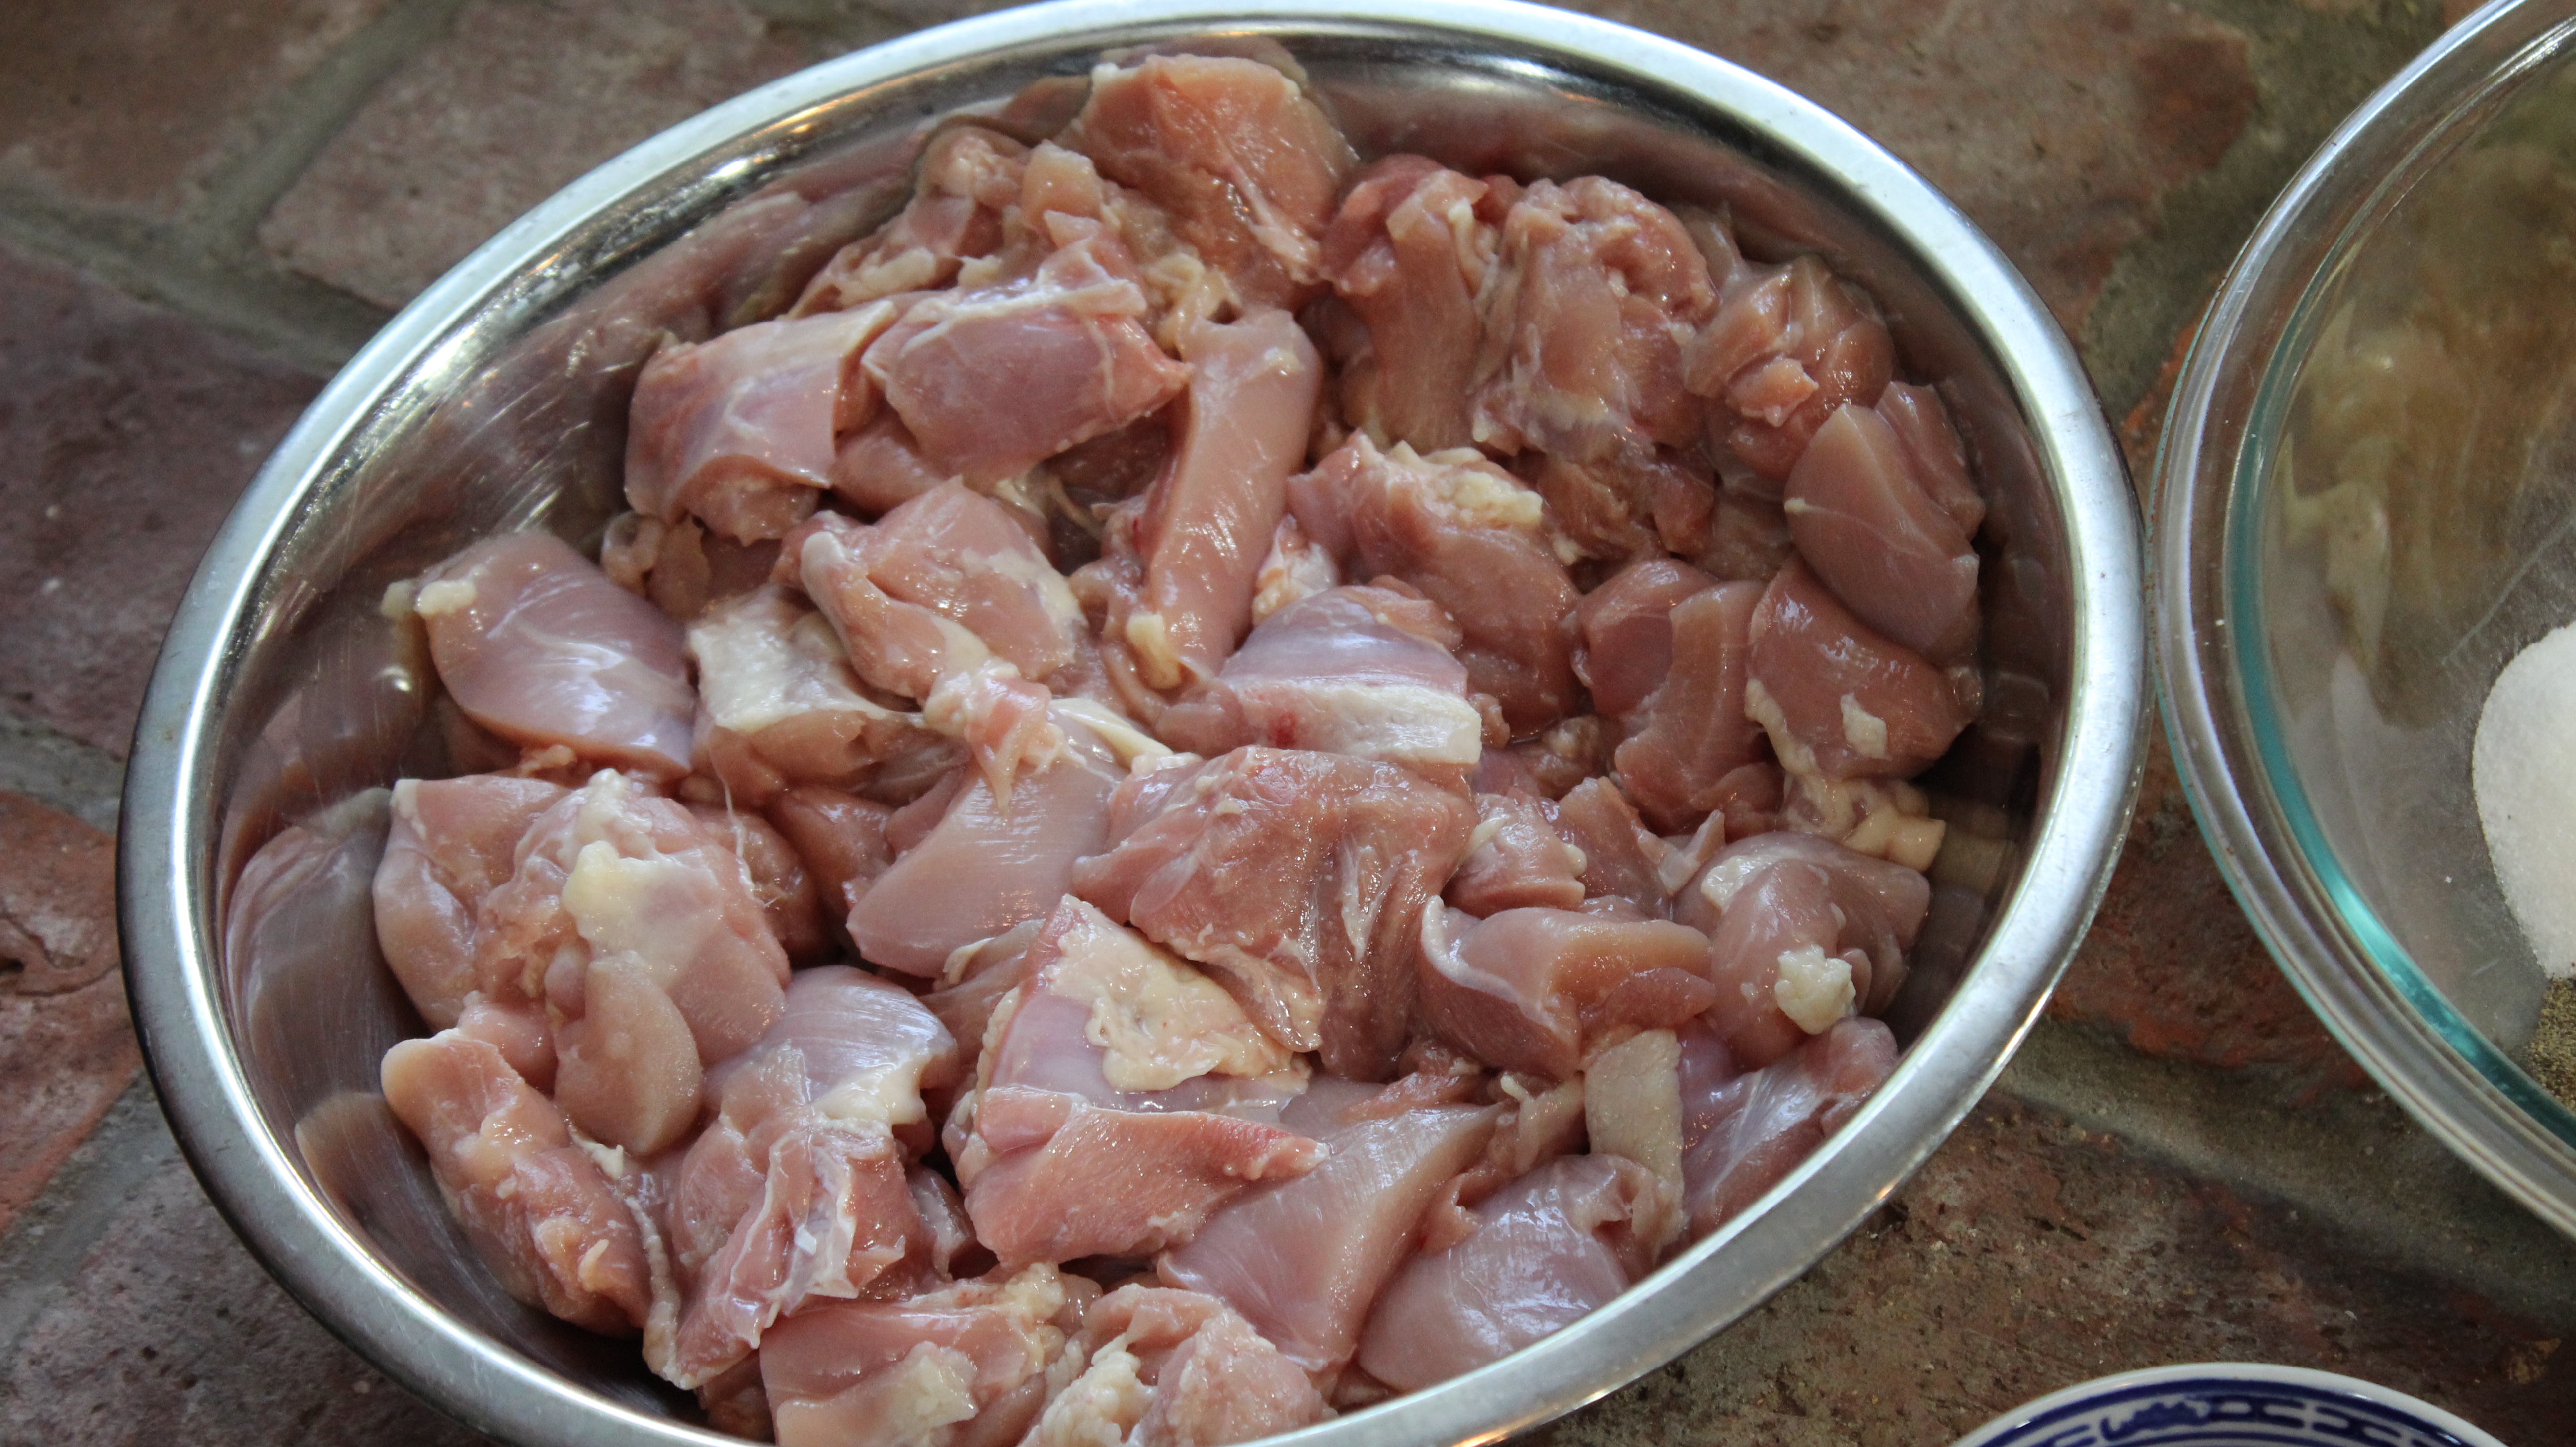
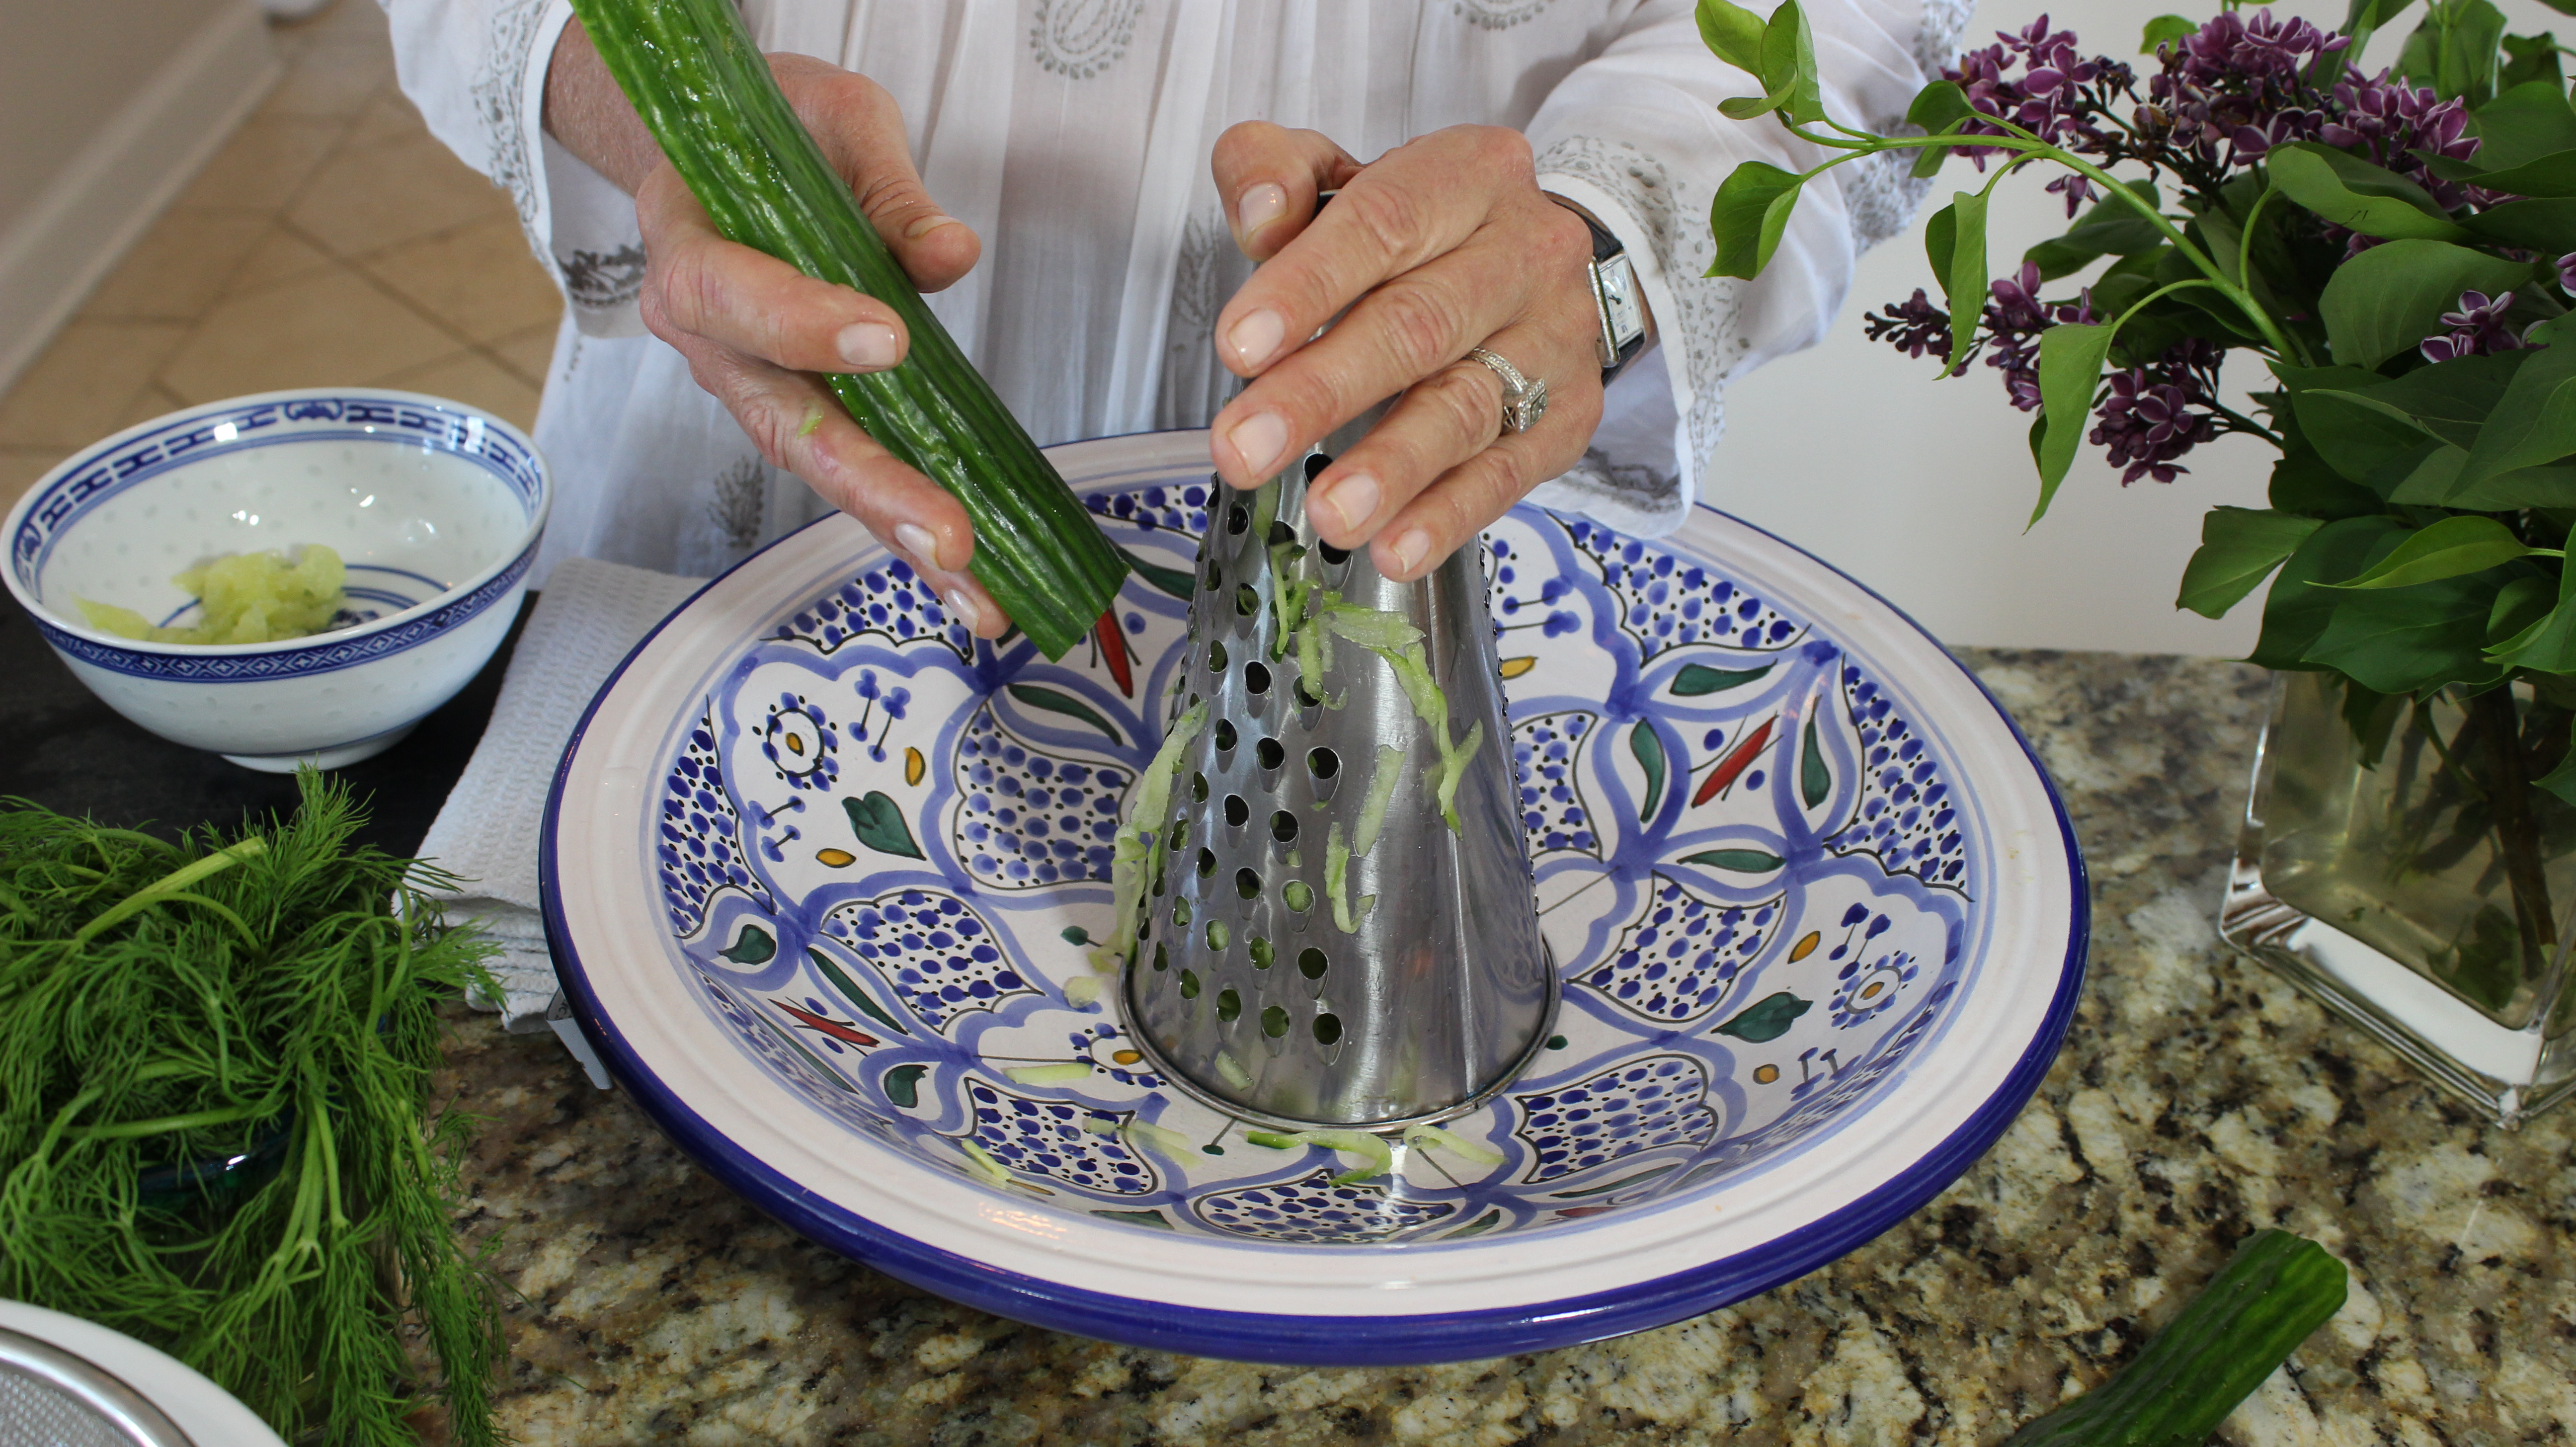
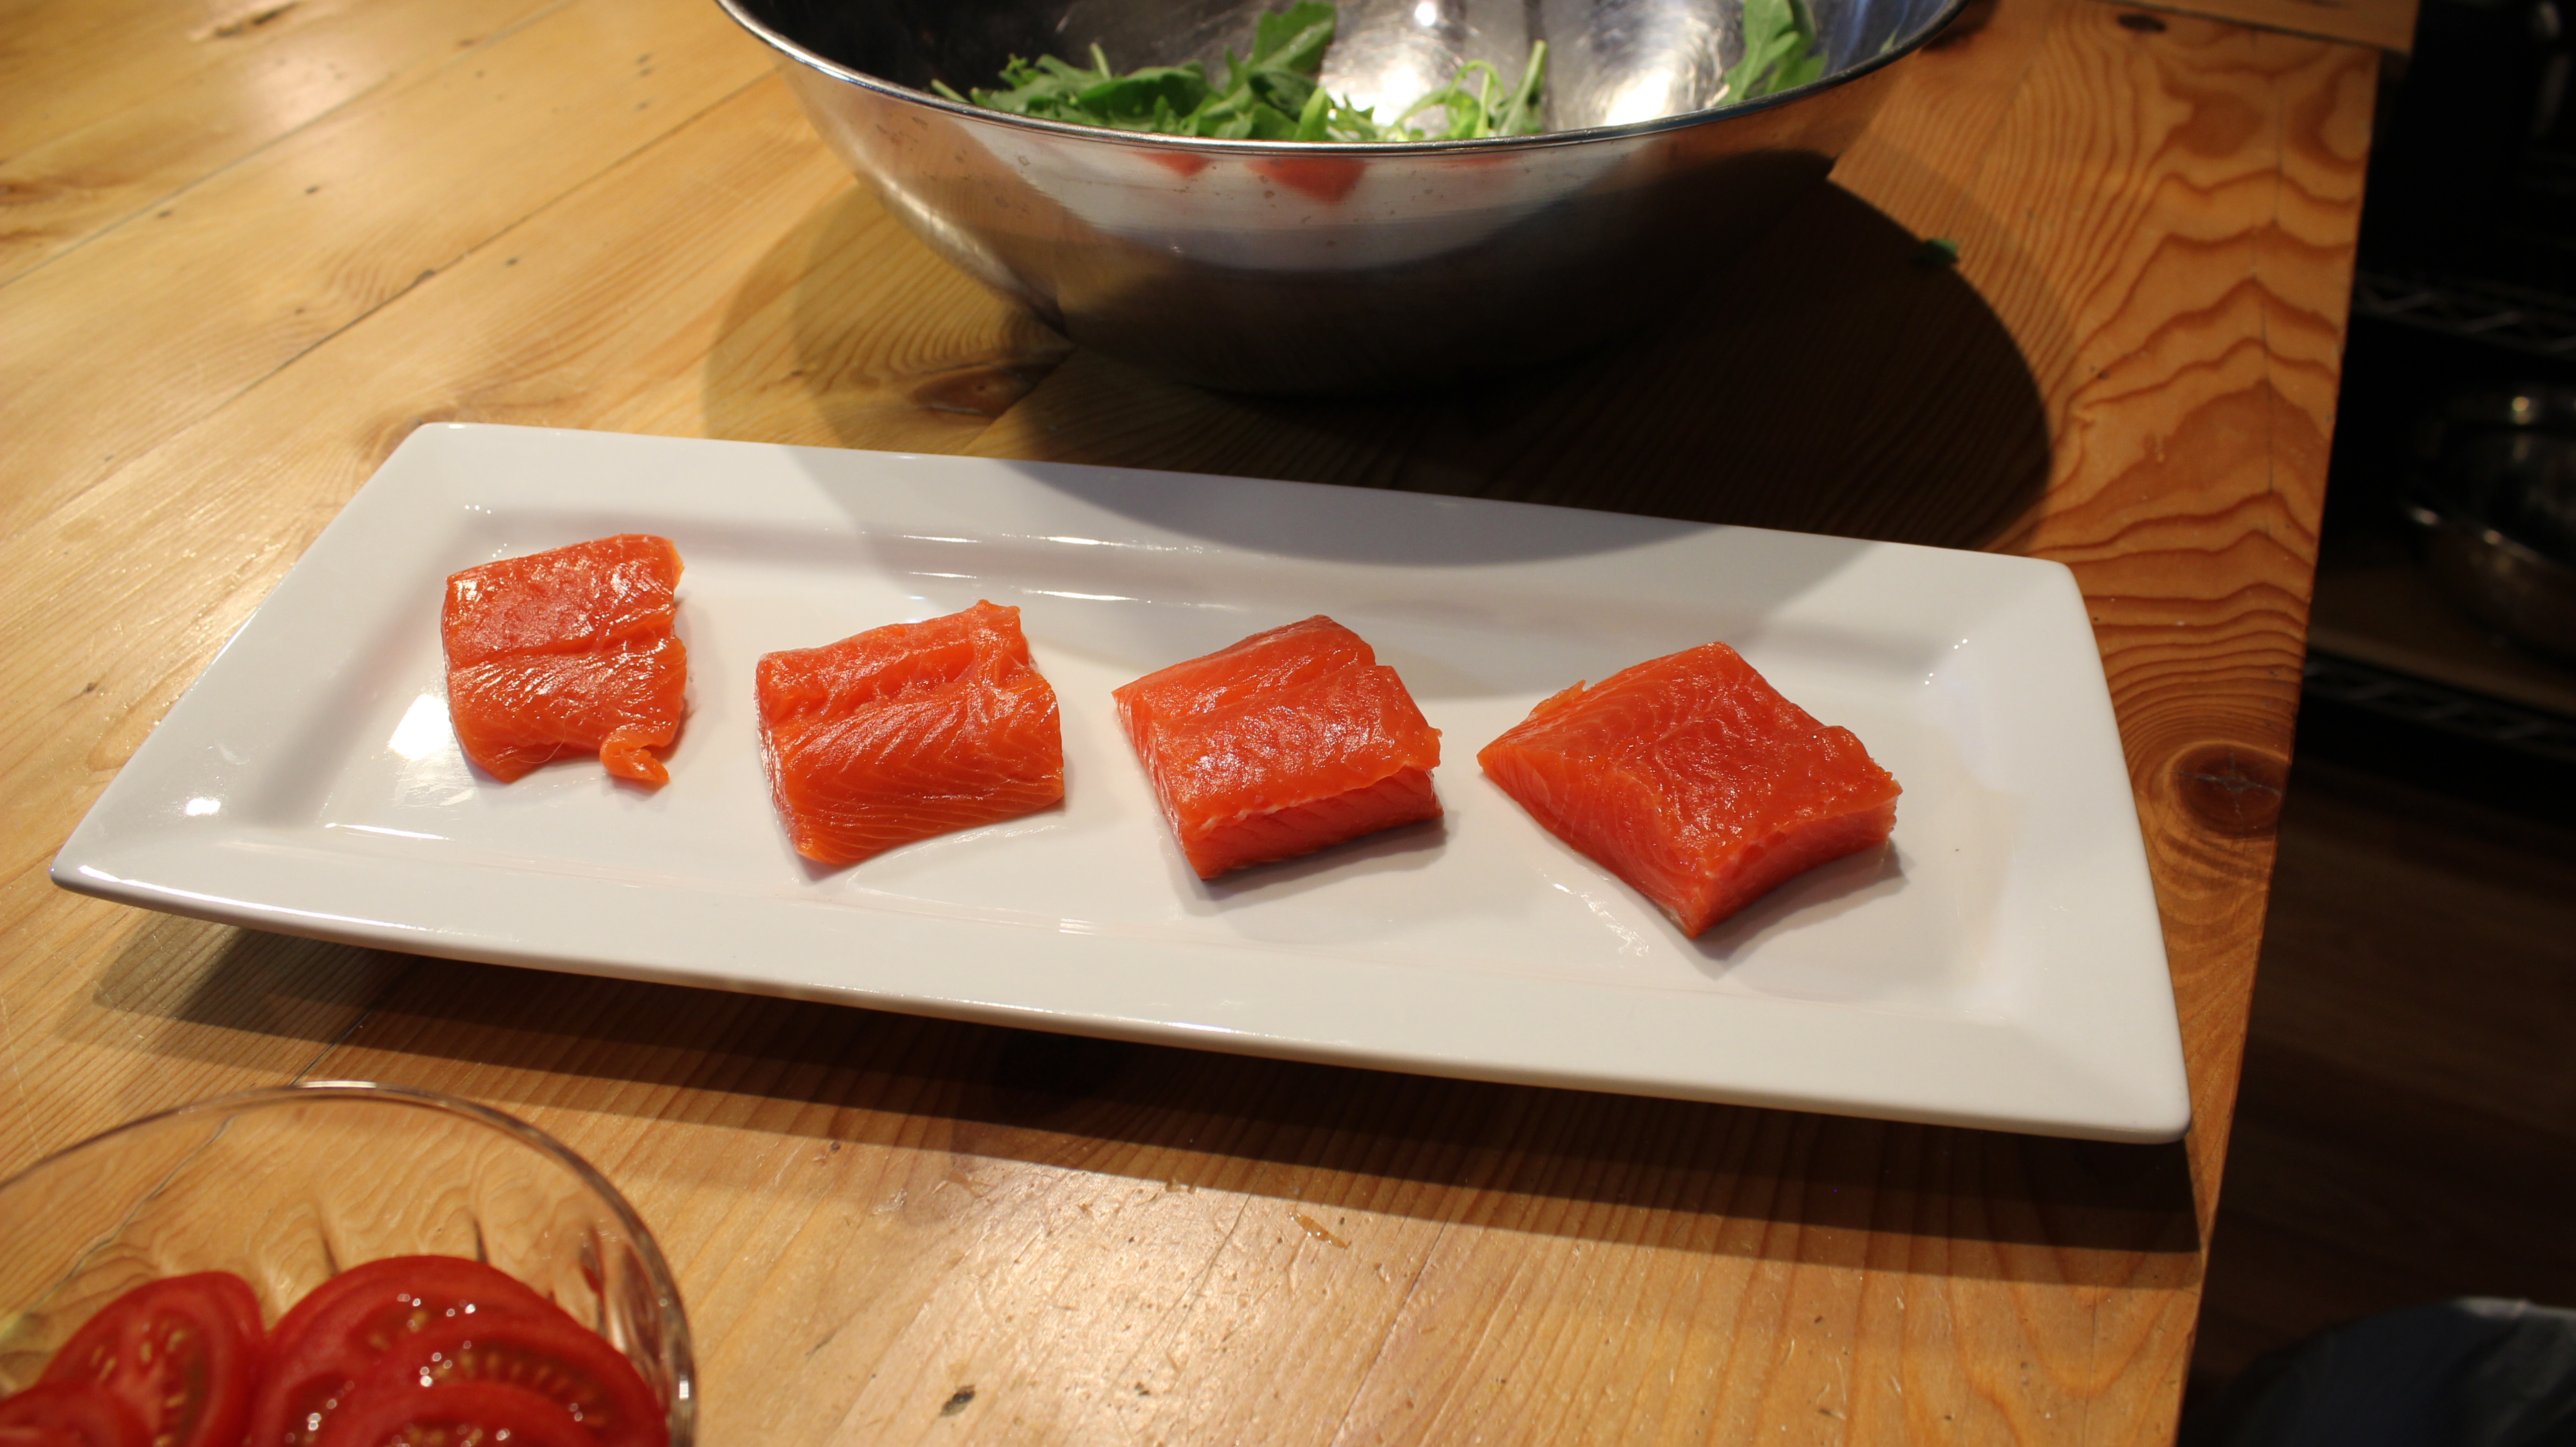
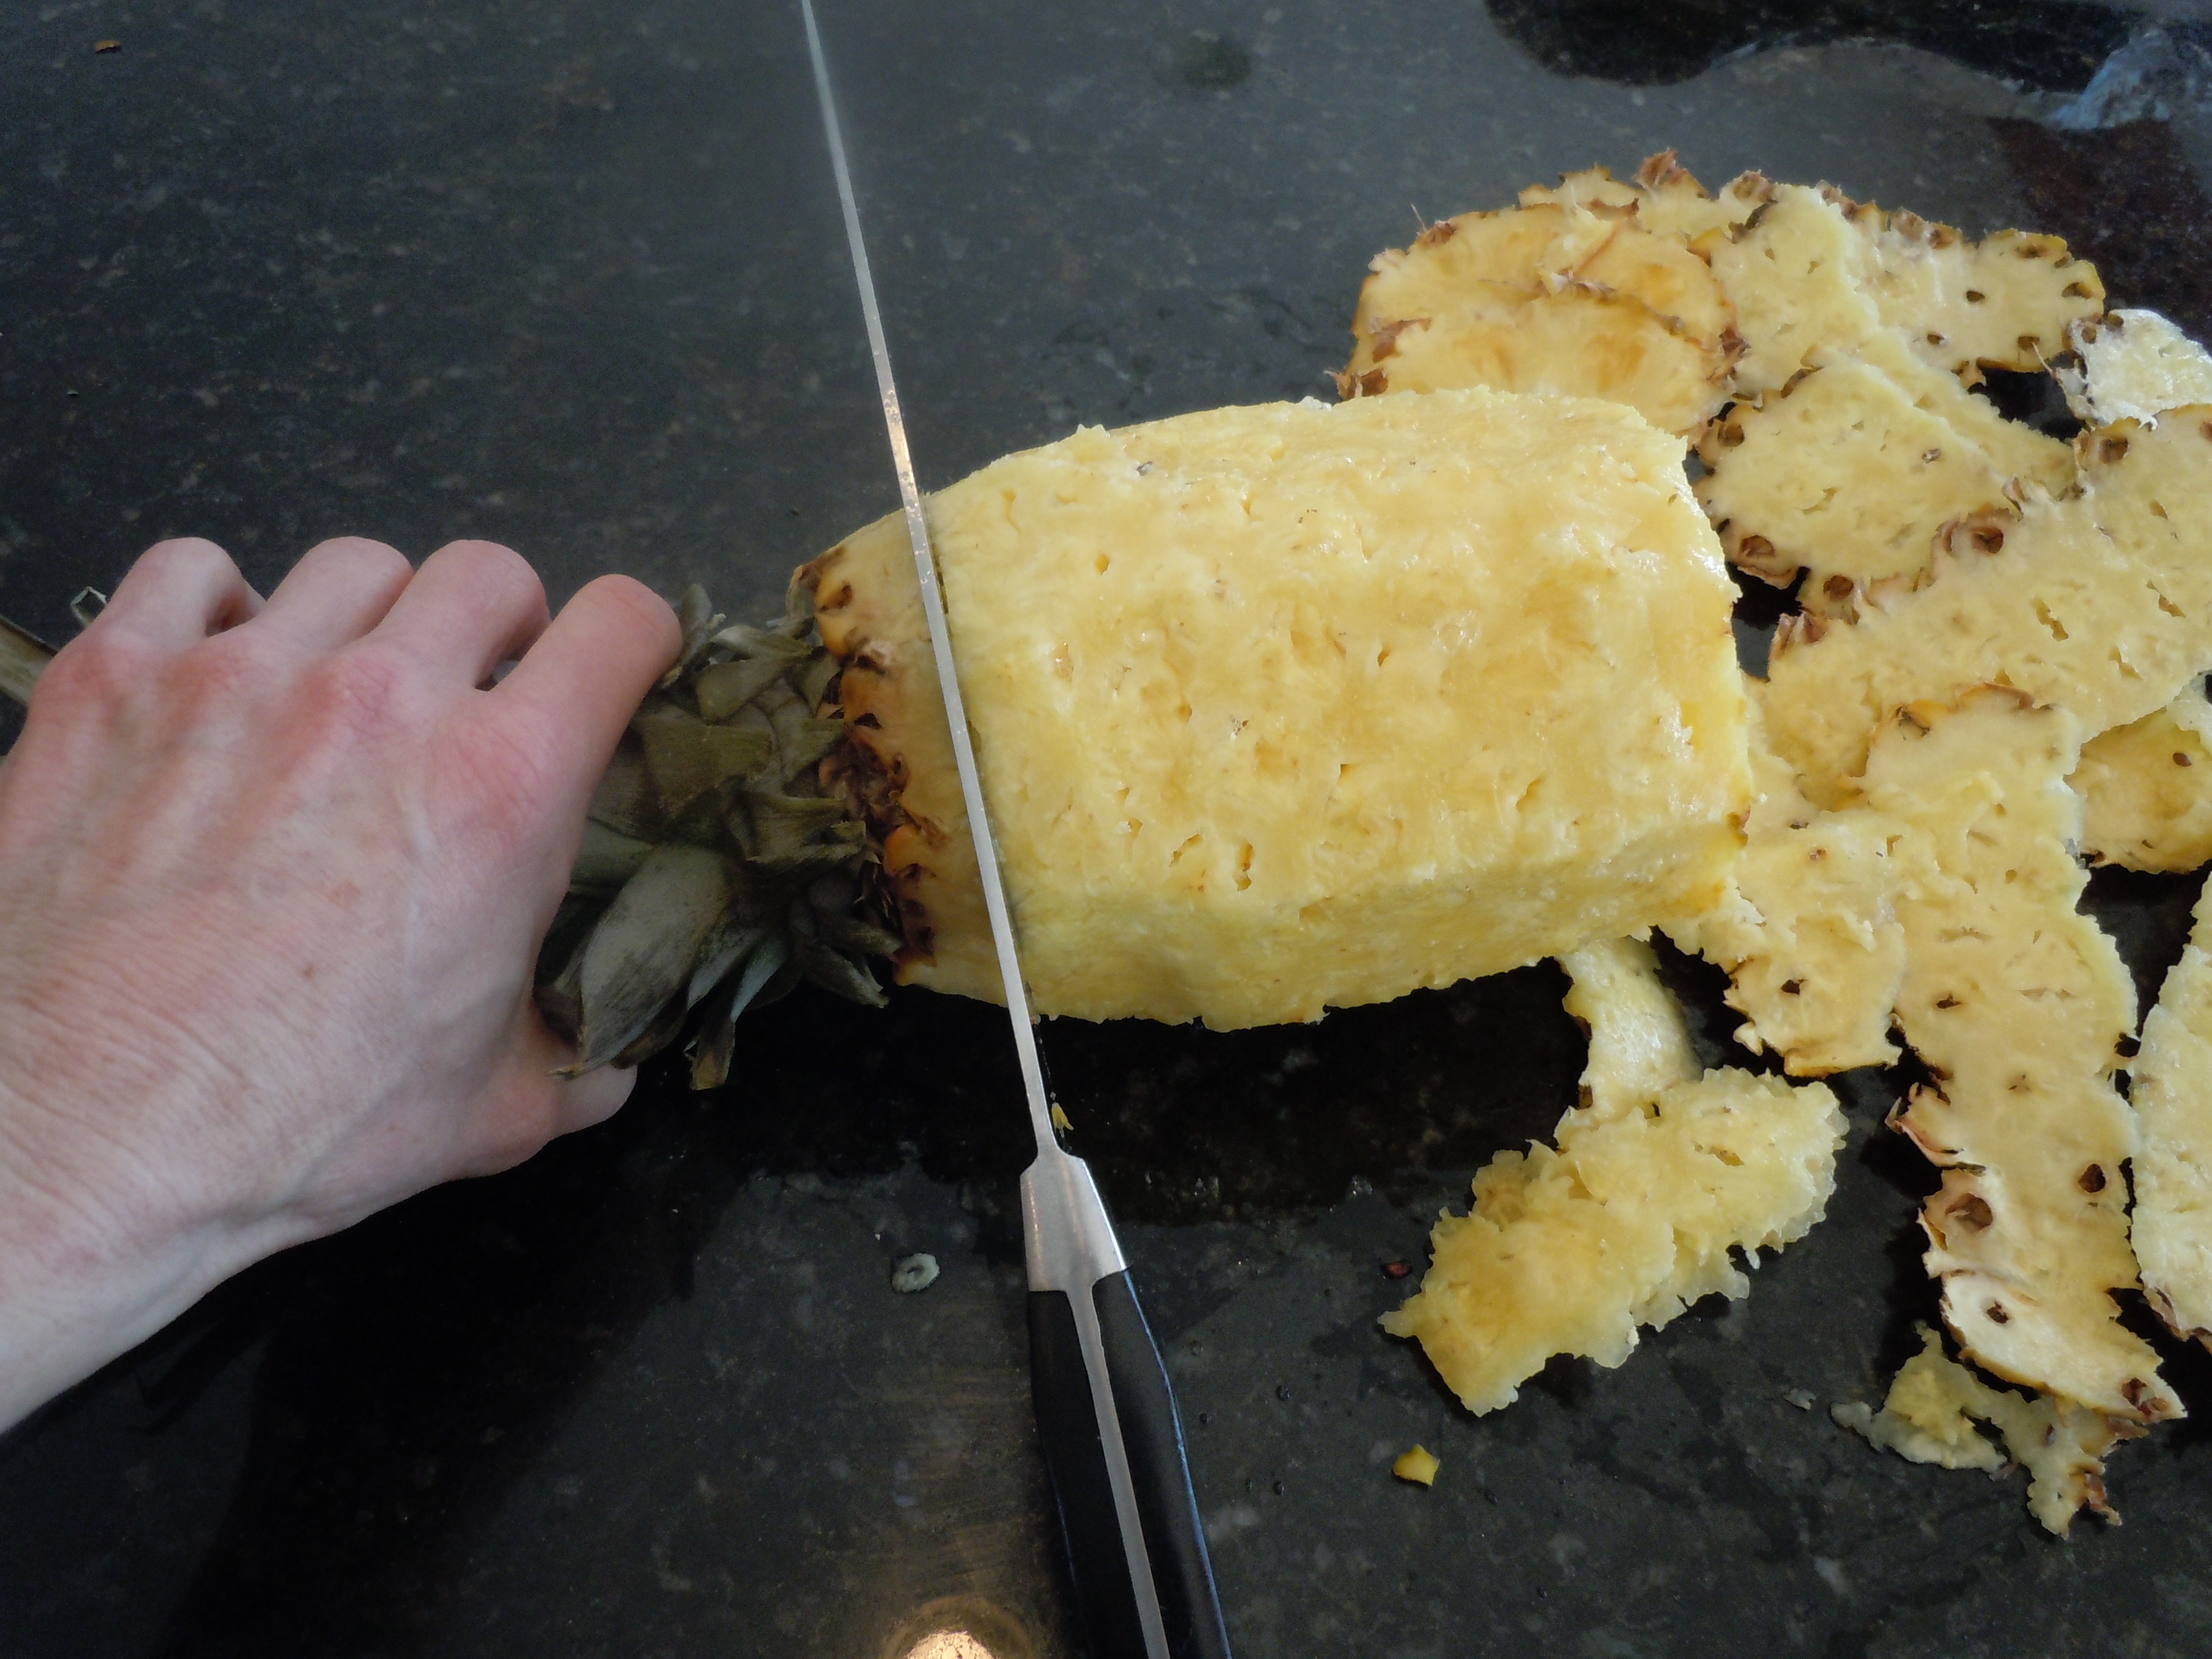
- 1 1/2 -2 lb. fresh Sockeye Salmon, have fishmonger fillet (remove skin) and de-bone
- 1/2 lb sliced Pancetta (you’ll need as many slices as sliders that you are making)
- Arugula
- olive oil
- fresh lemons
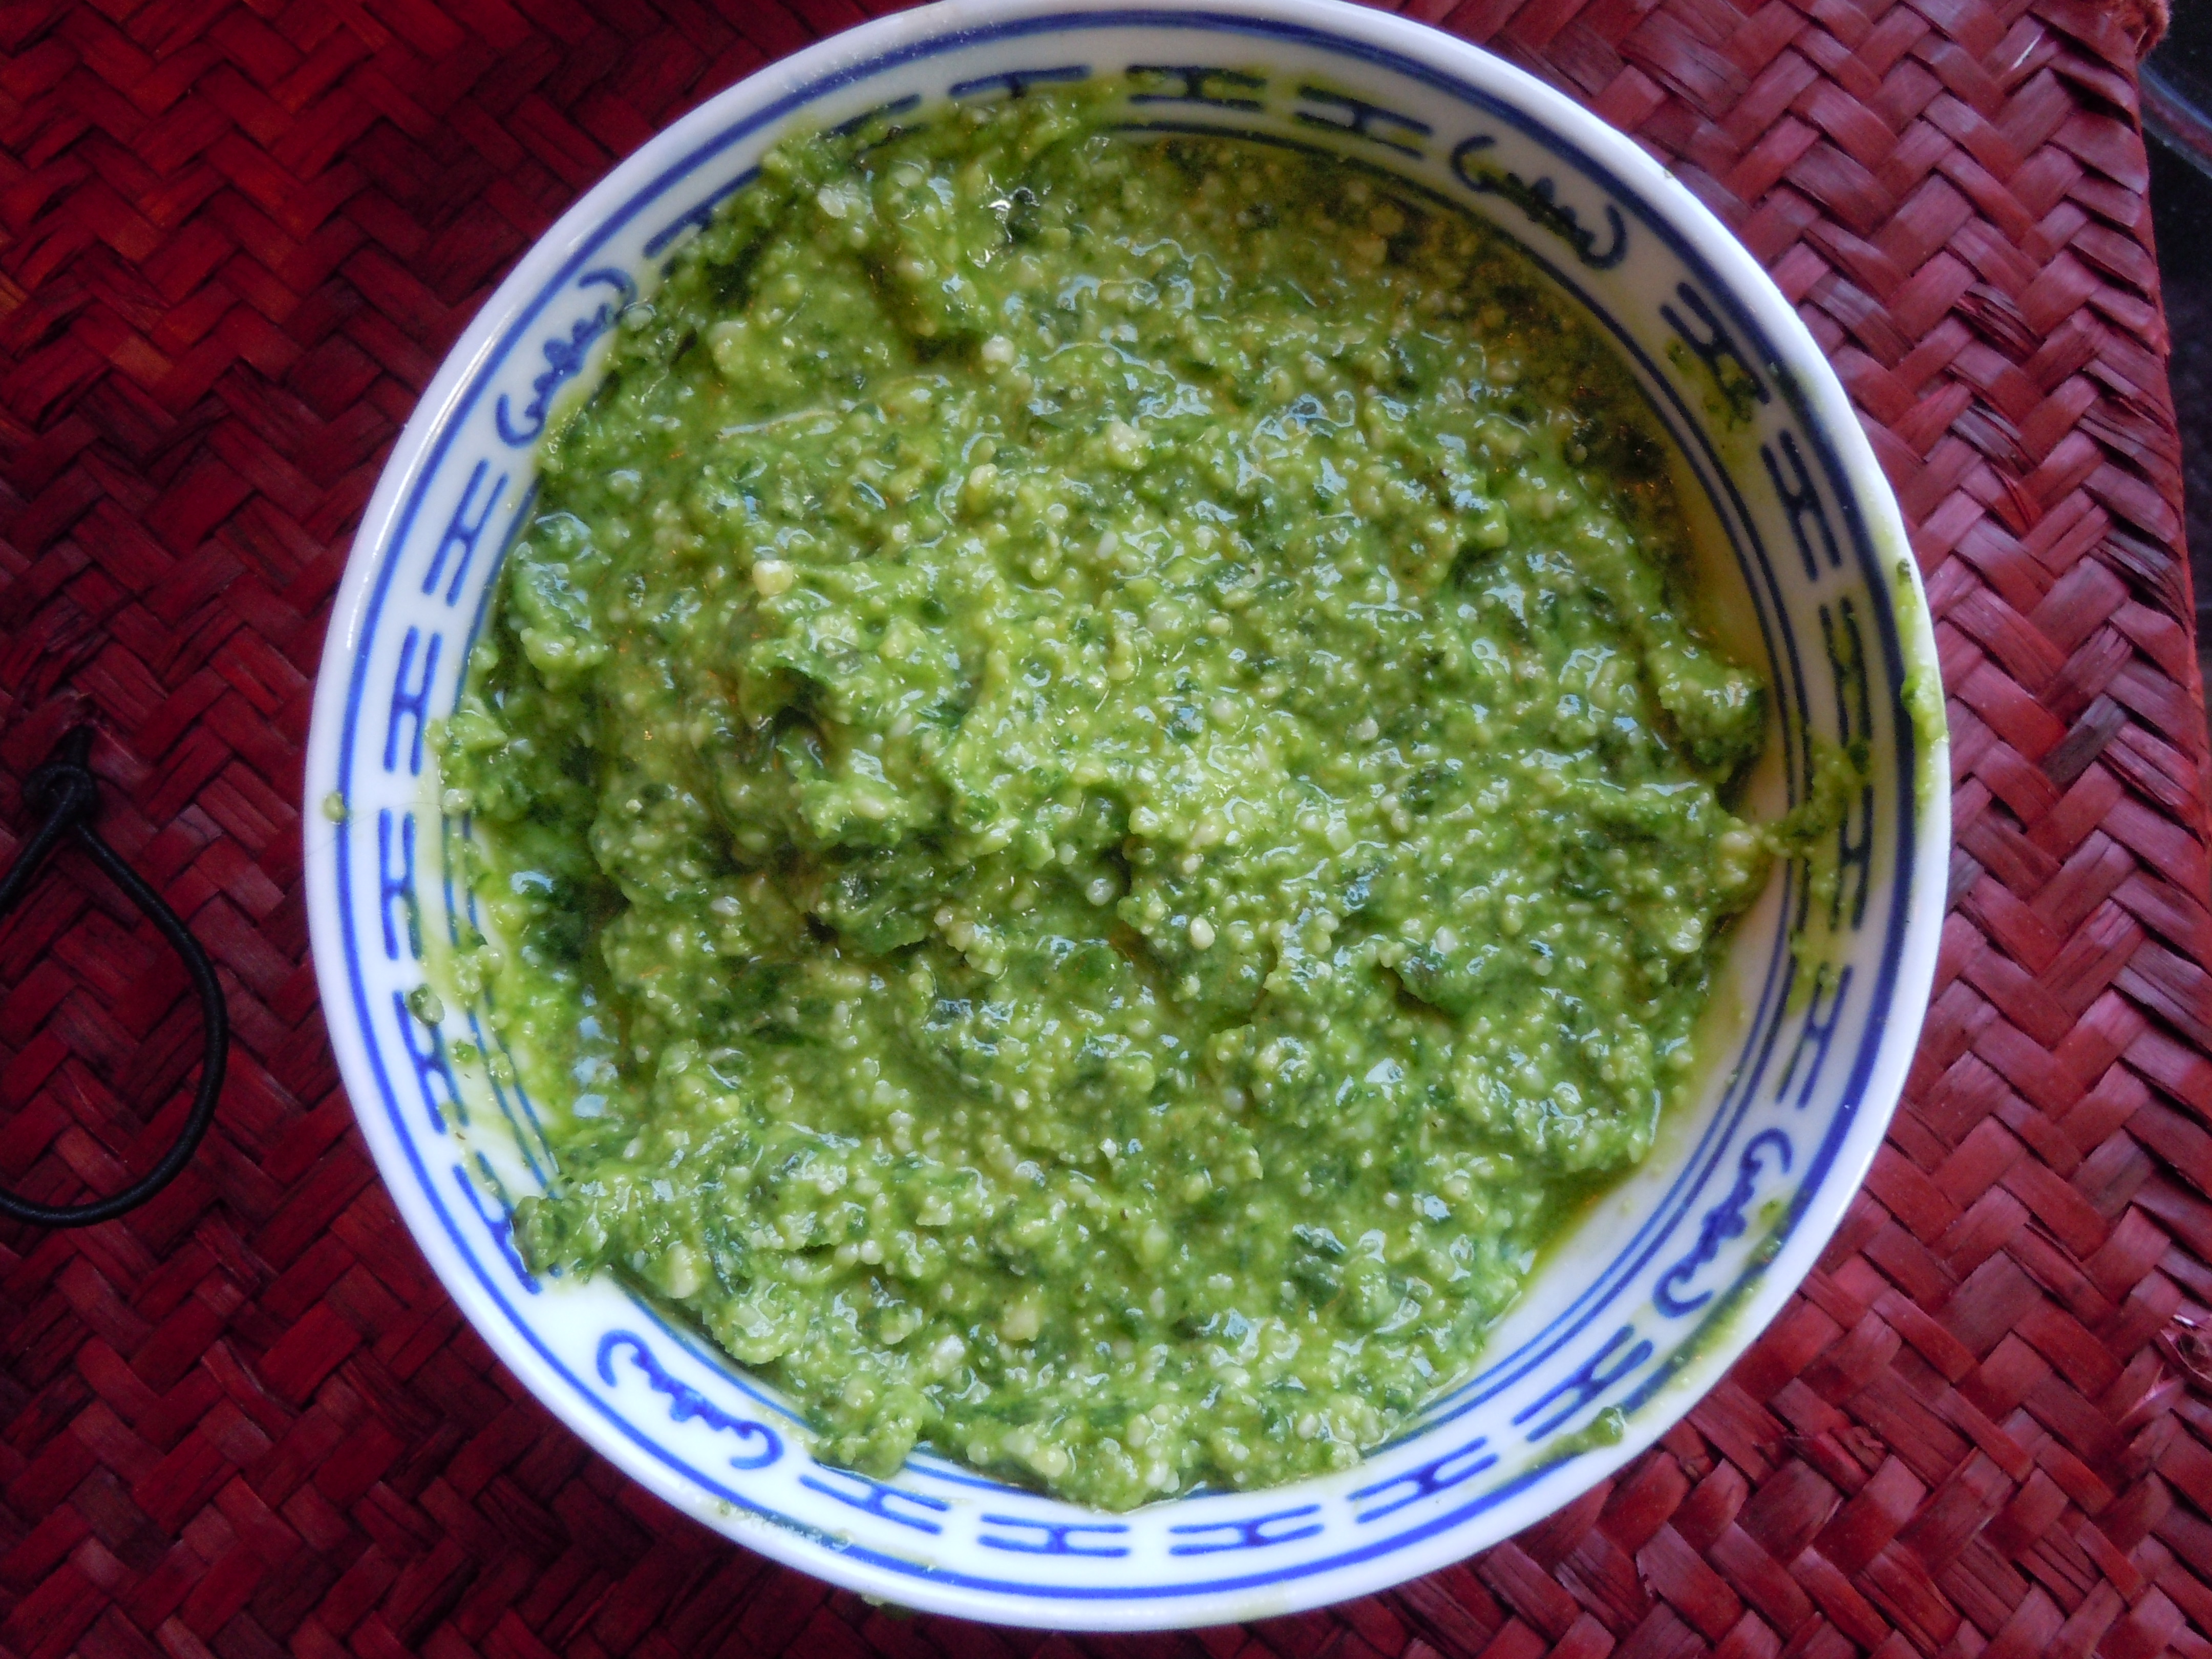
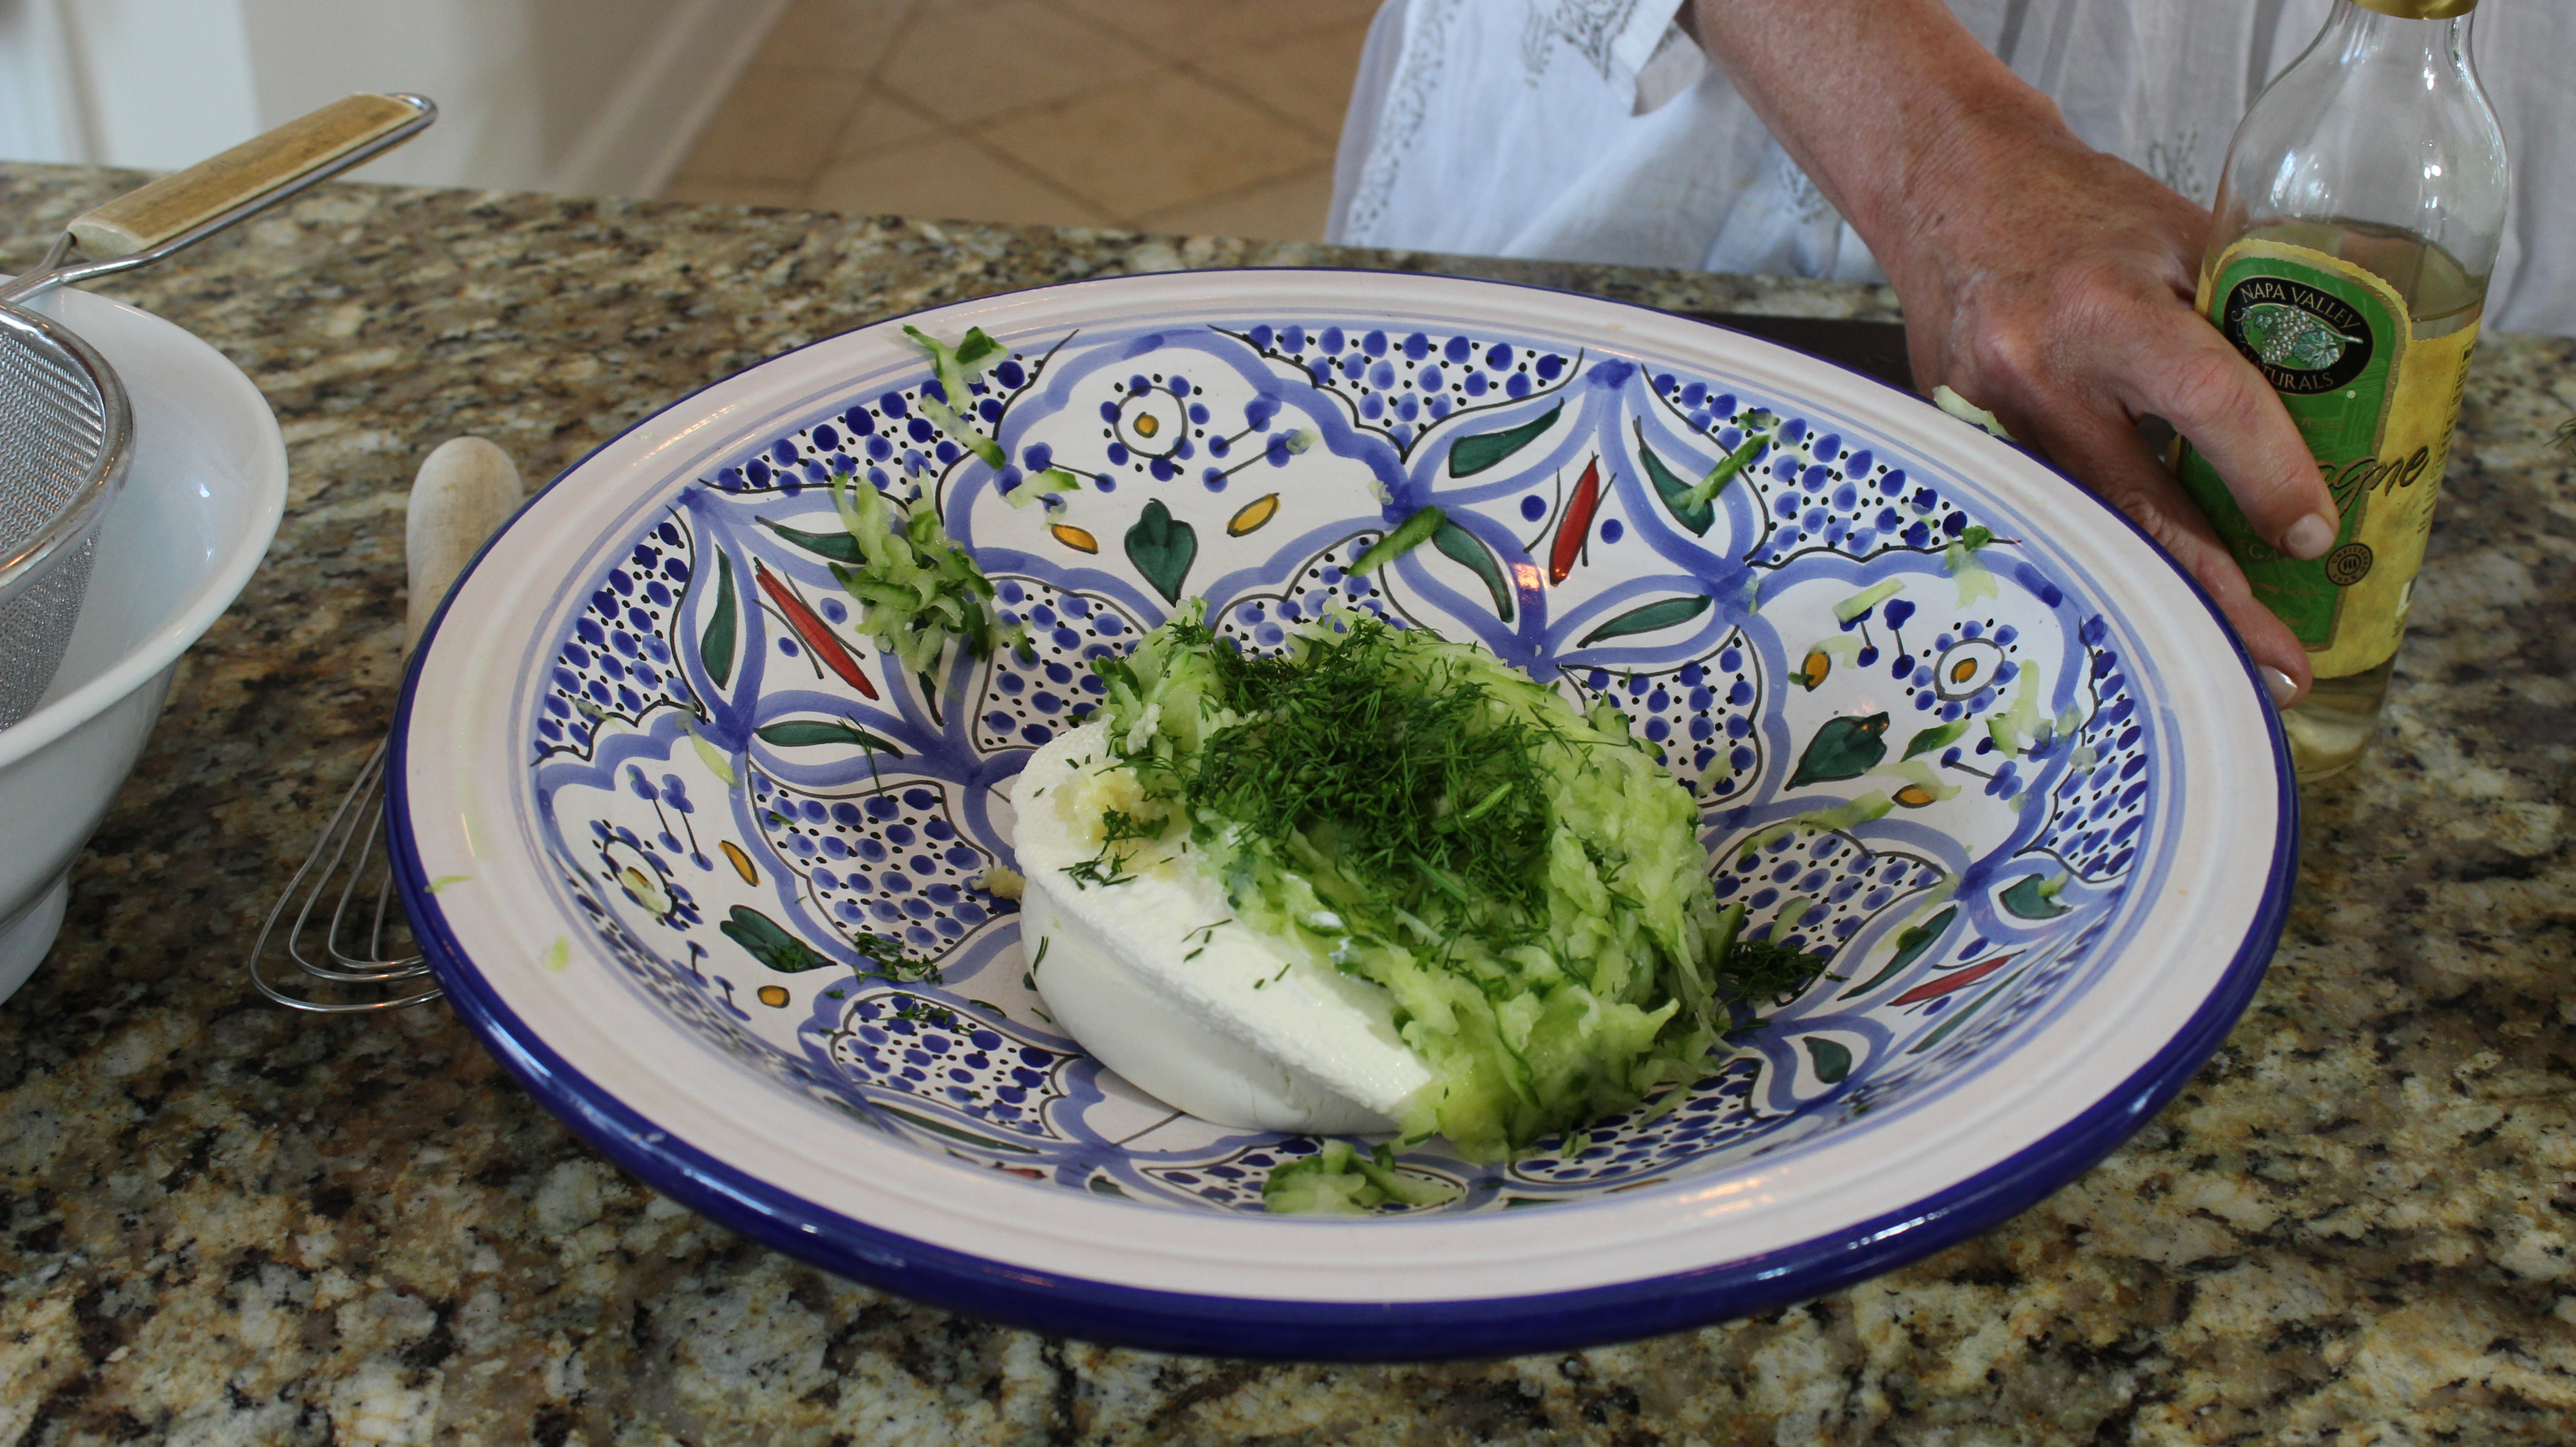
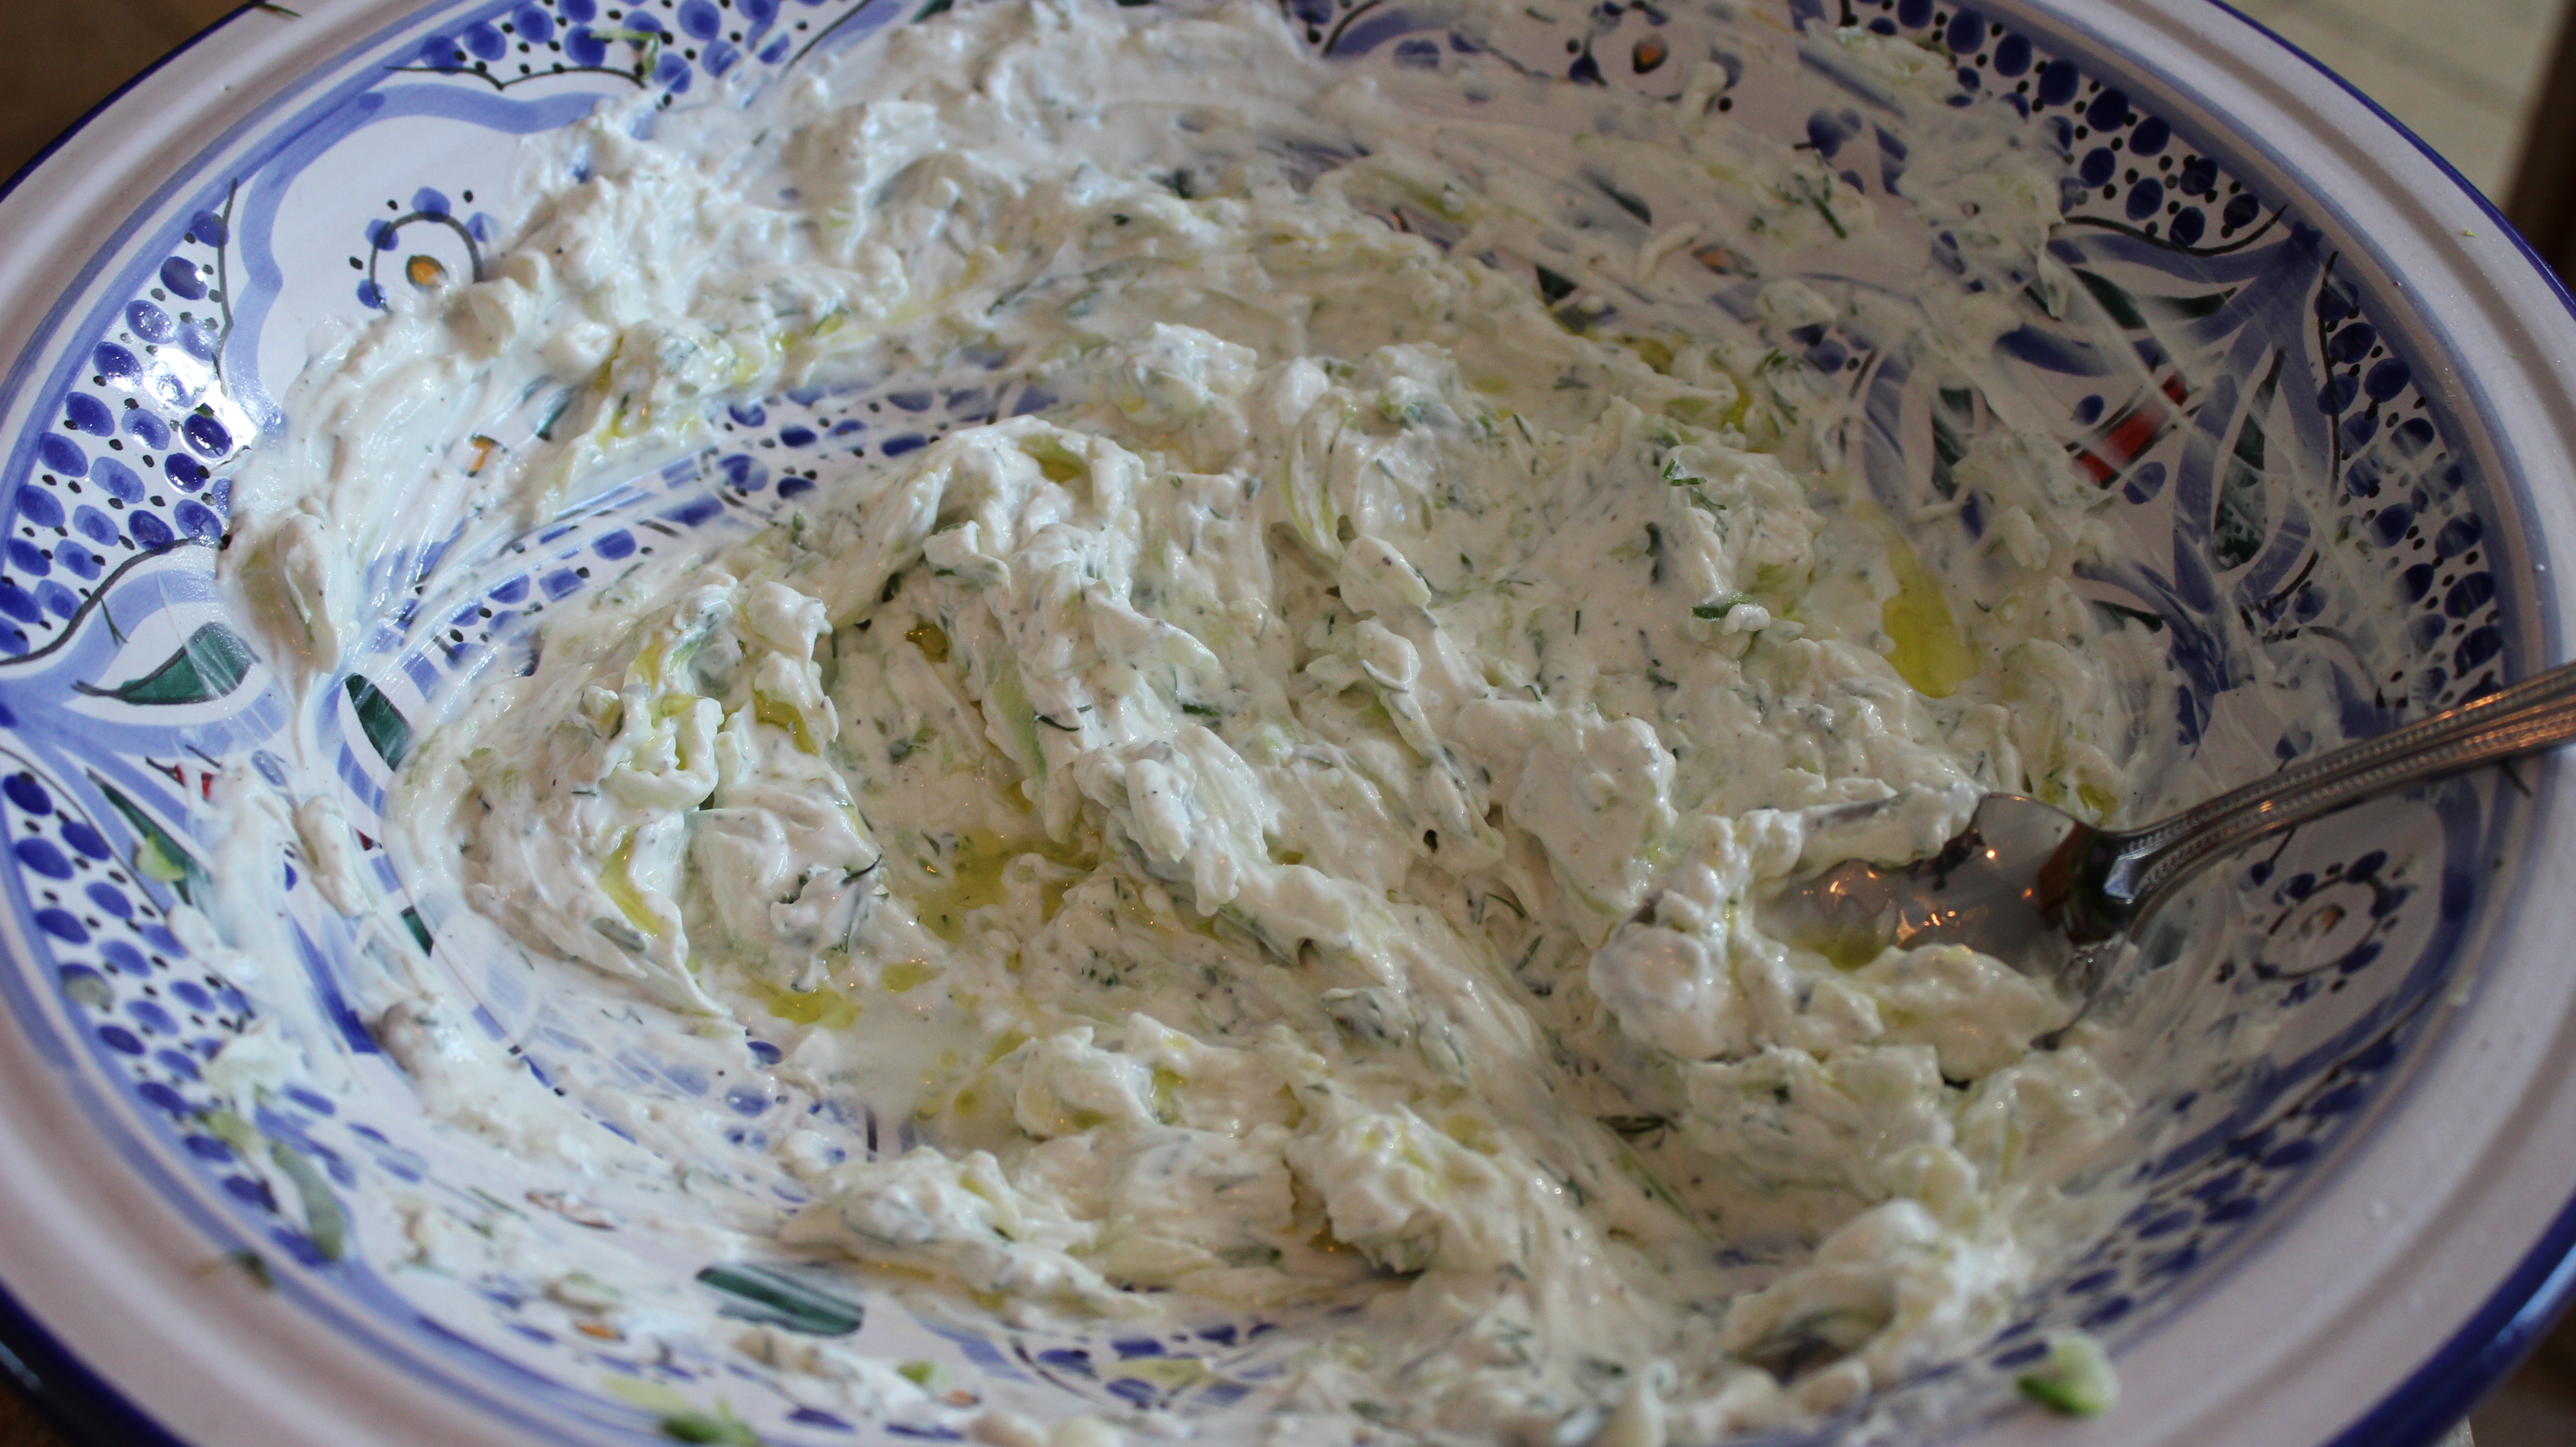
- lemon aioli
- Potato buns
- Compari tomatoes sliced
- s & p
- Marco’s homemade lemon aioli
Directions For Marco’s Salmon B.L.T. Sliders :
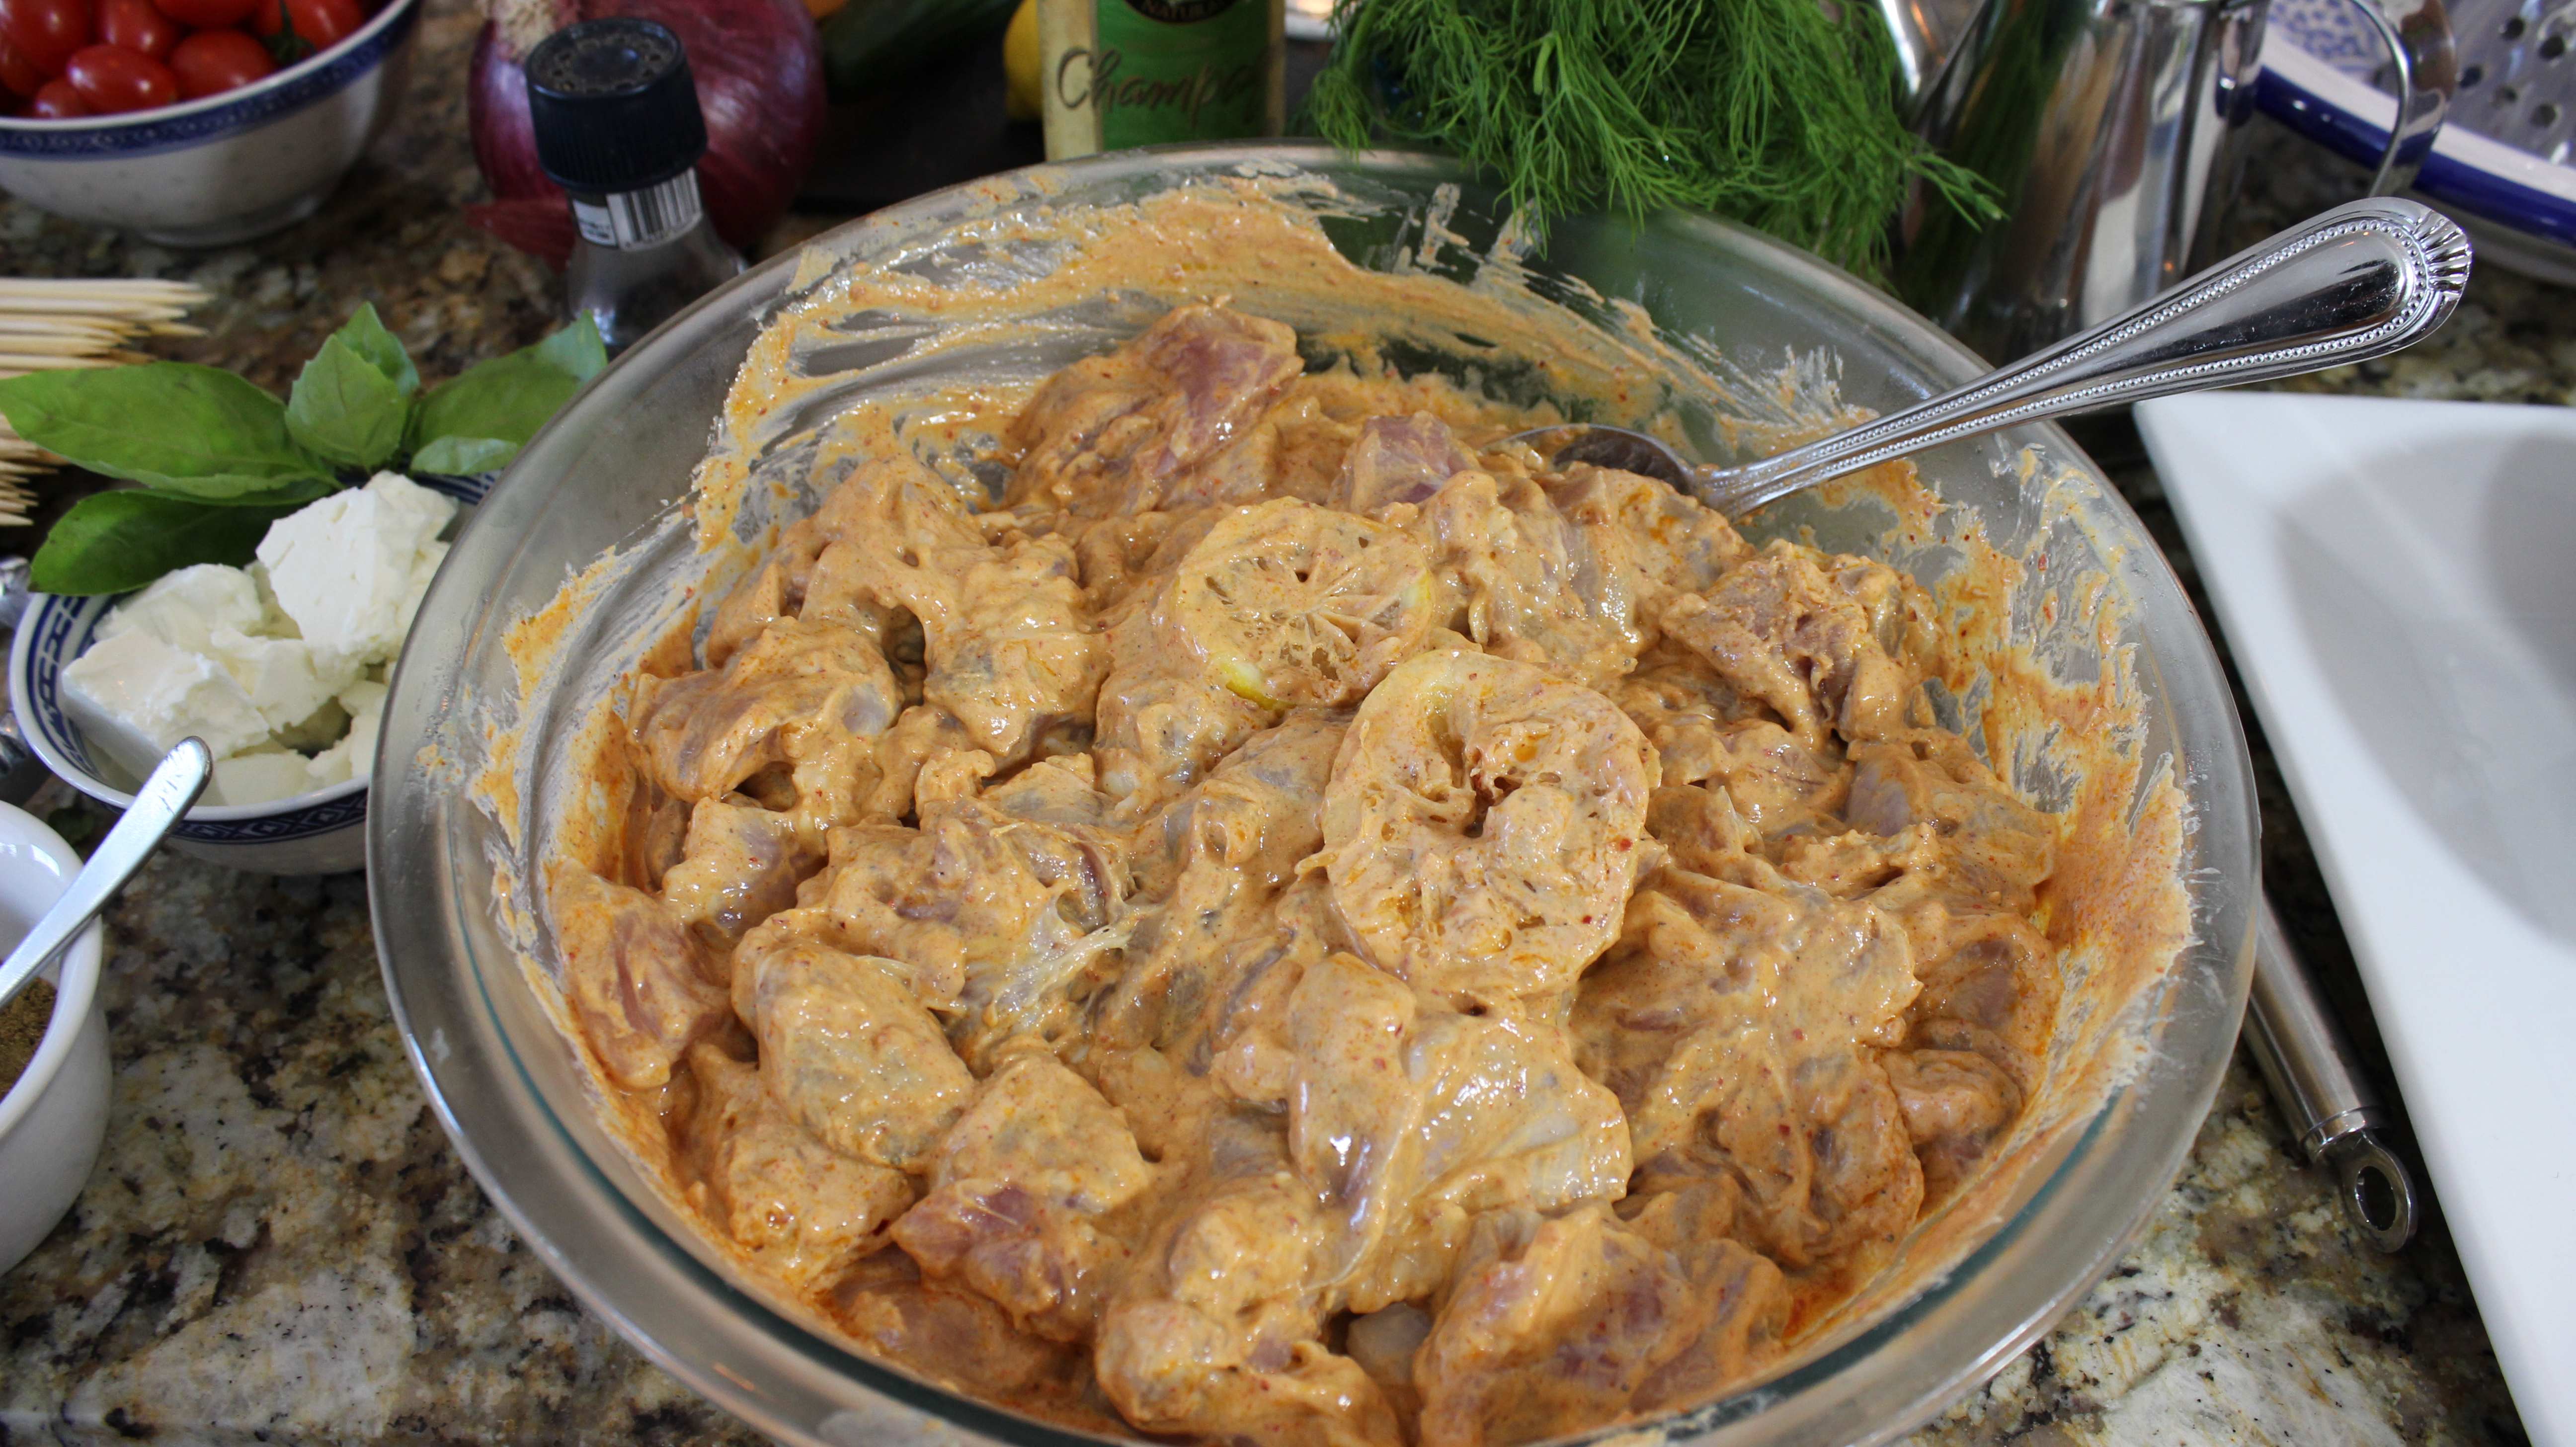
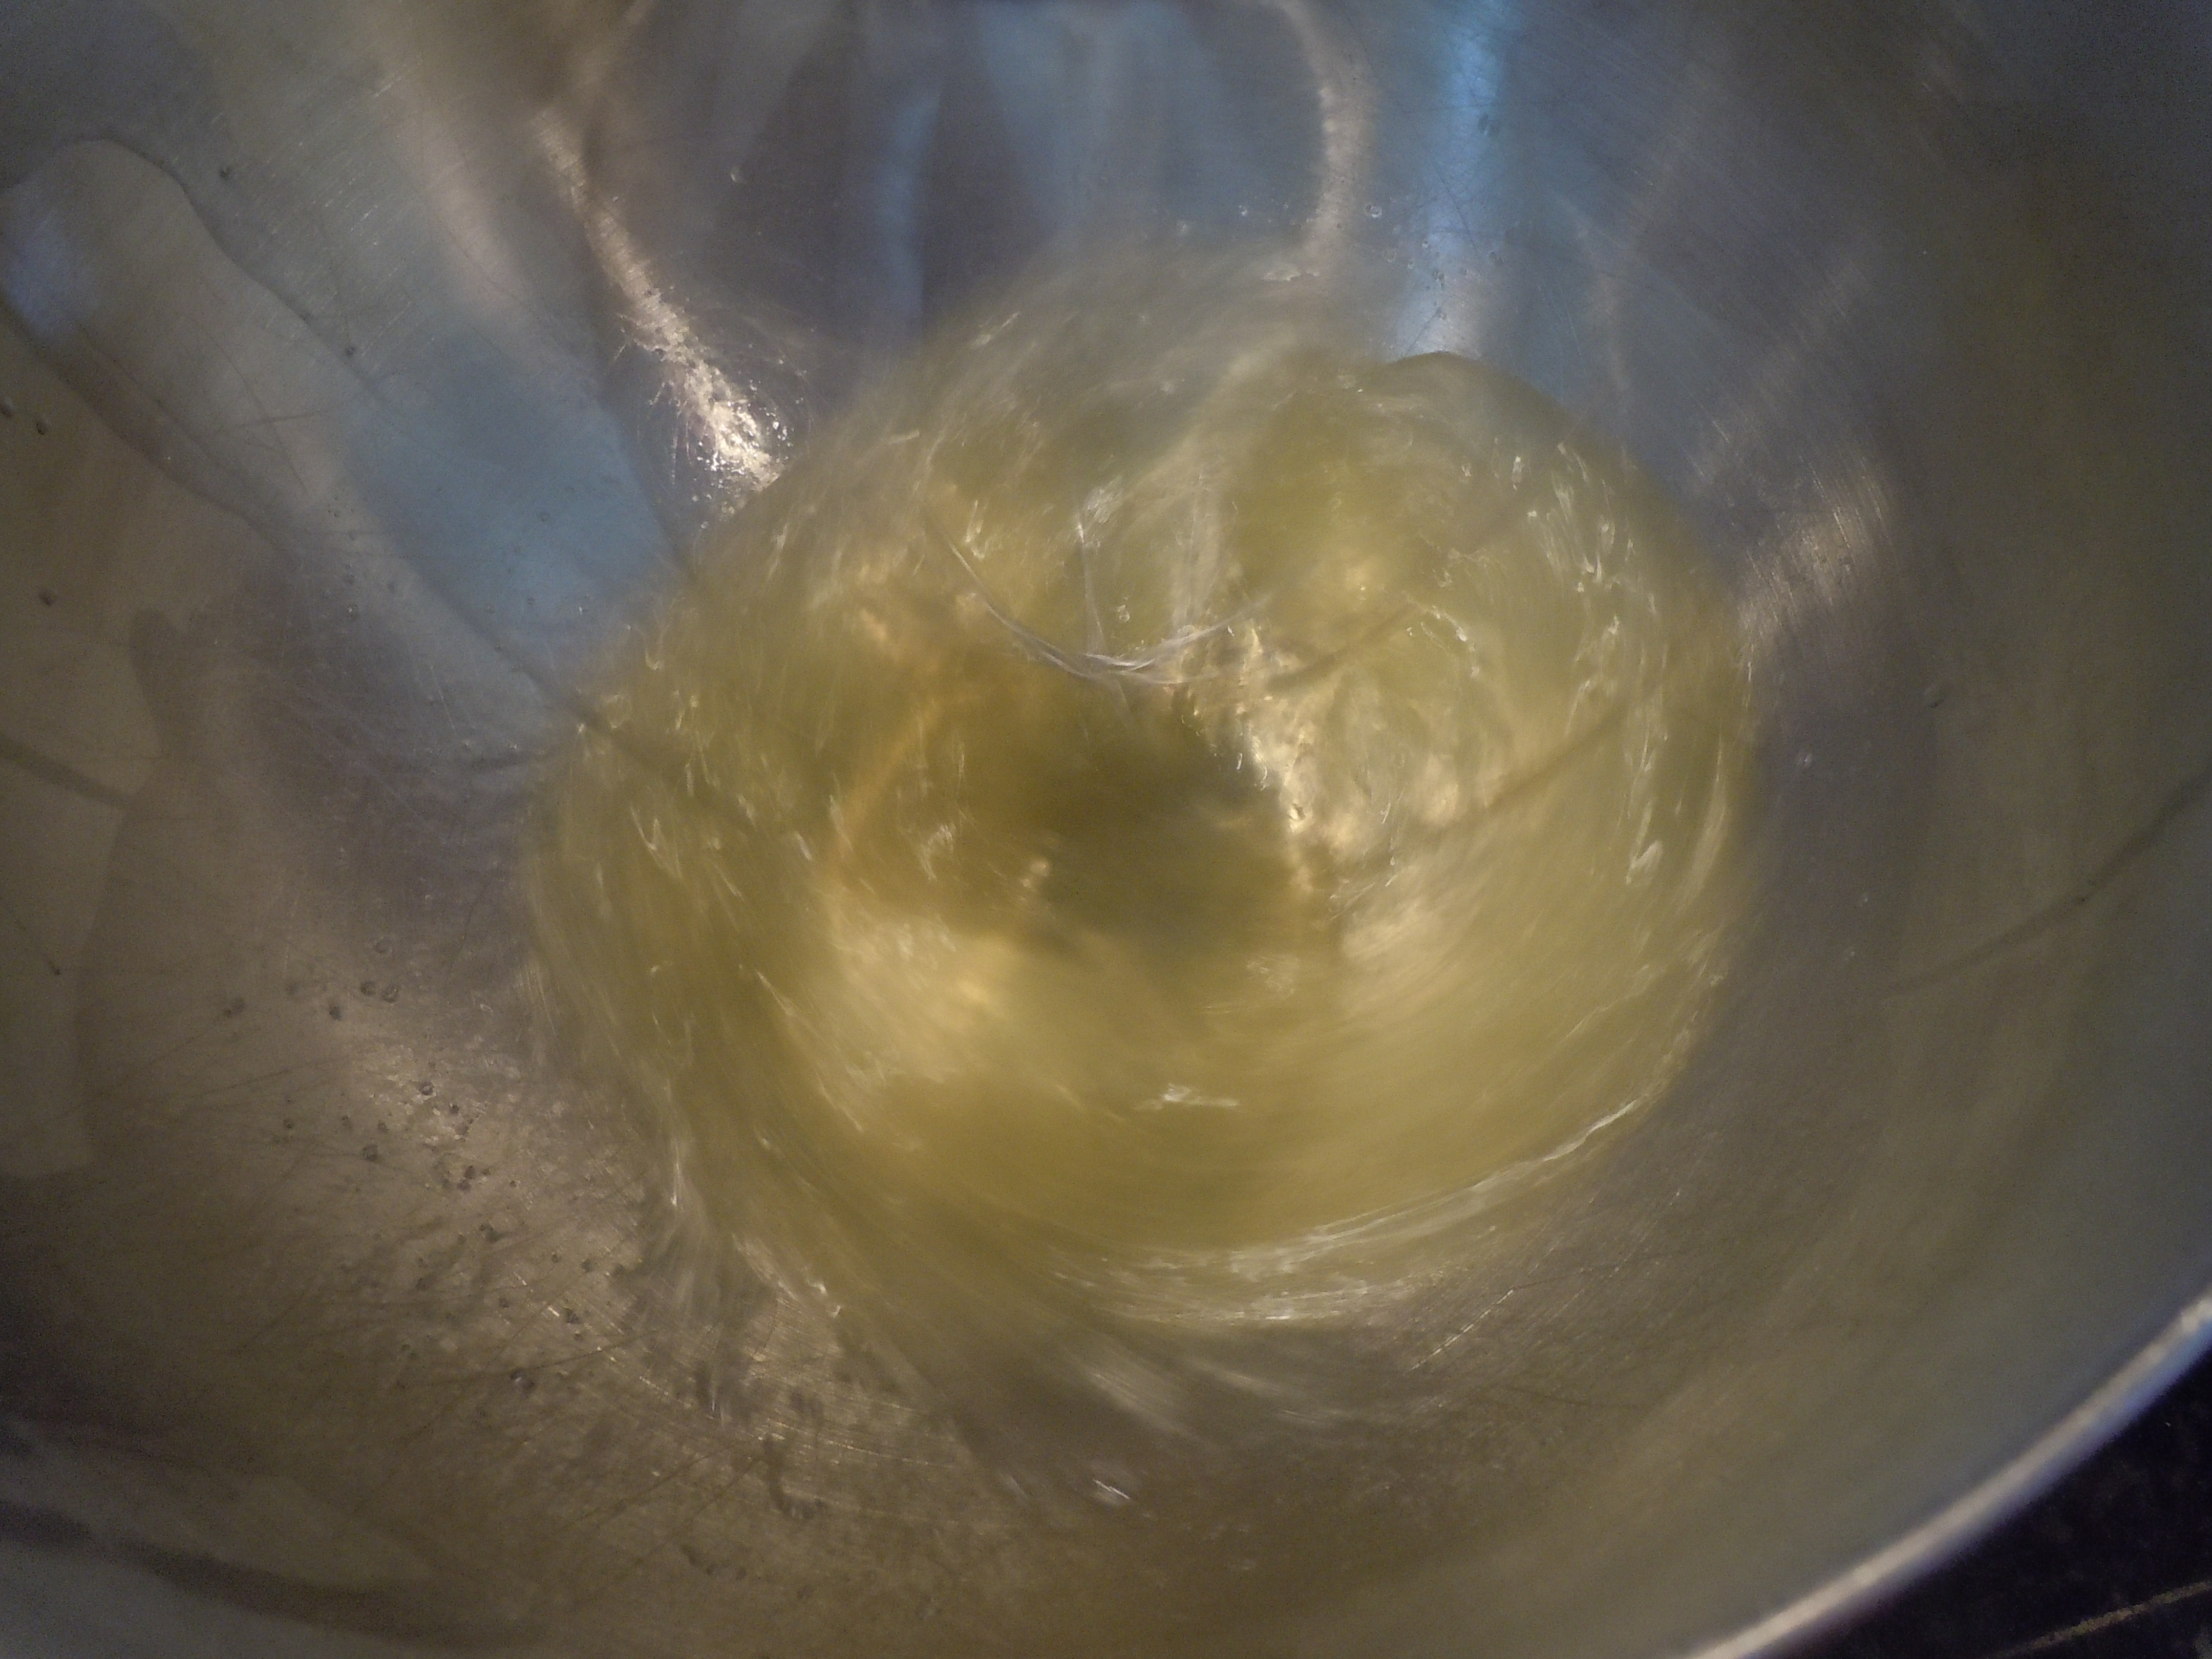
- Make homemade lemon aioli recipe below
- Pre-heat the oven to 400º
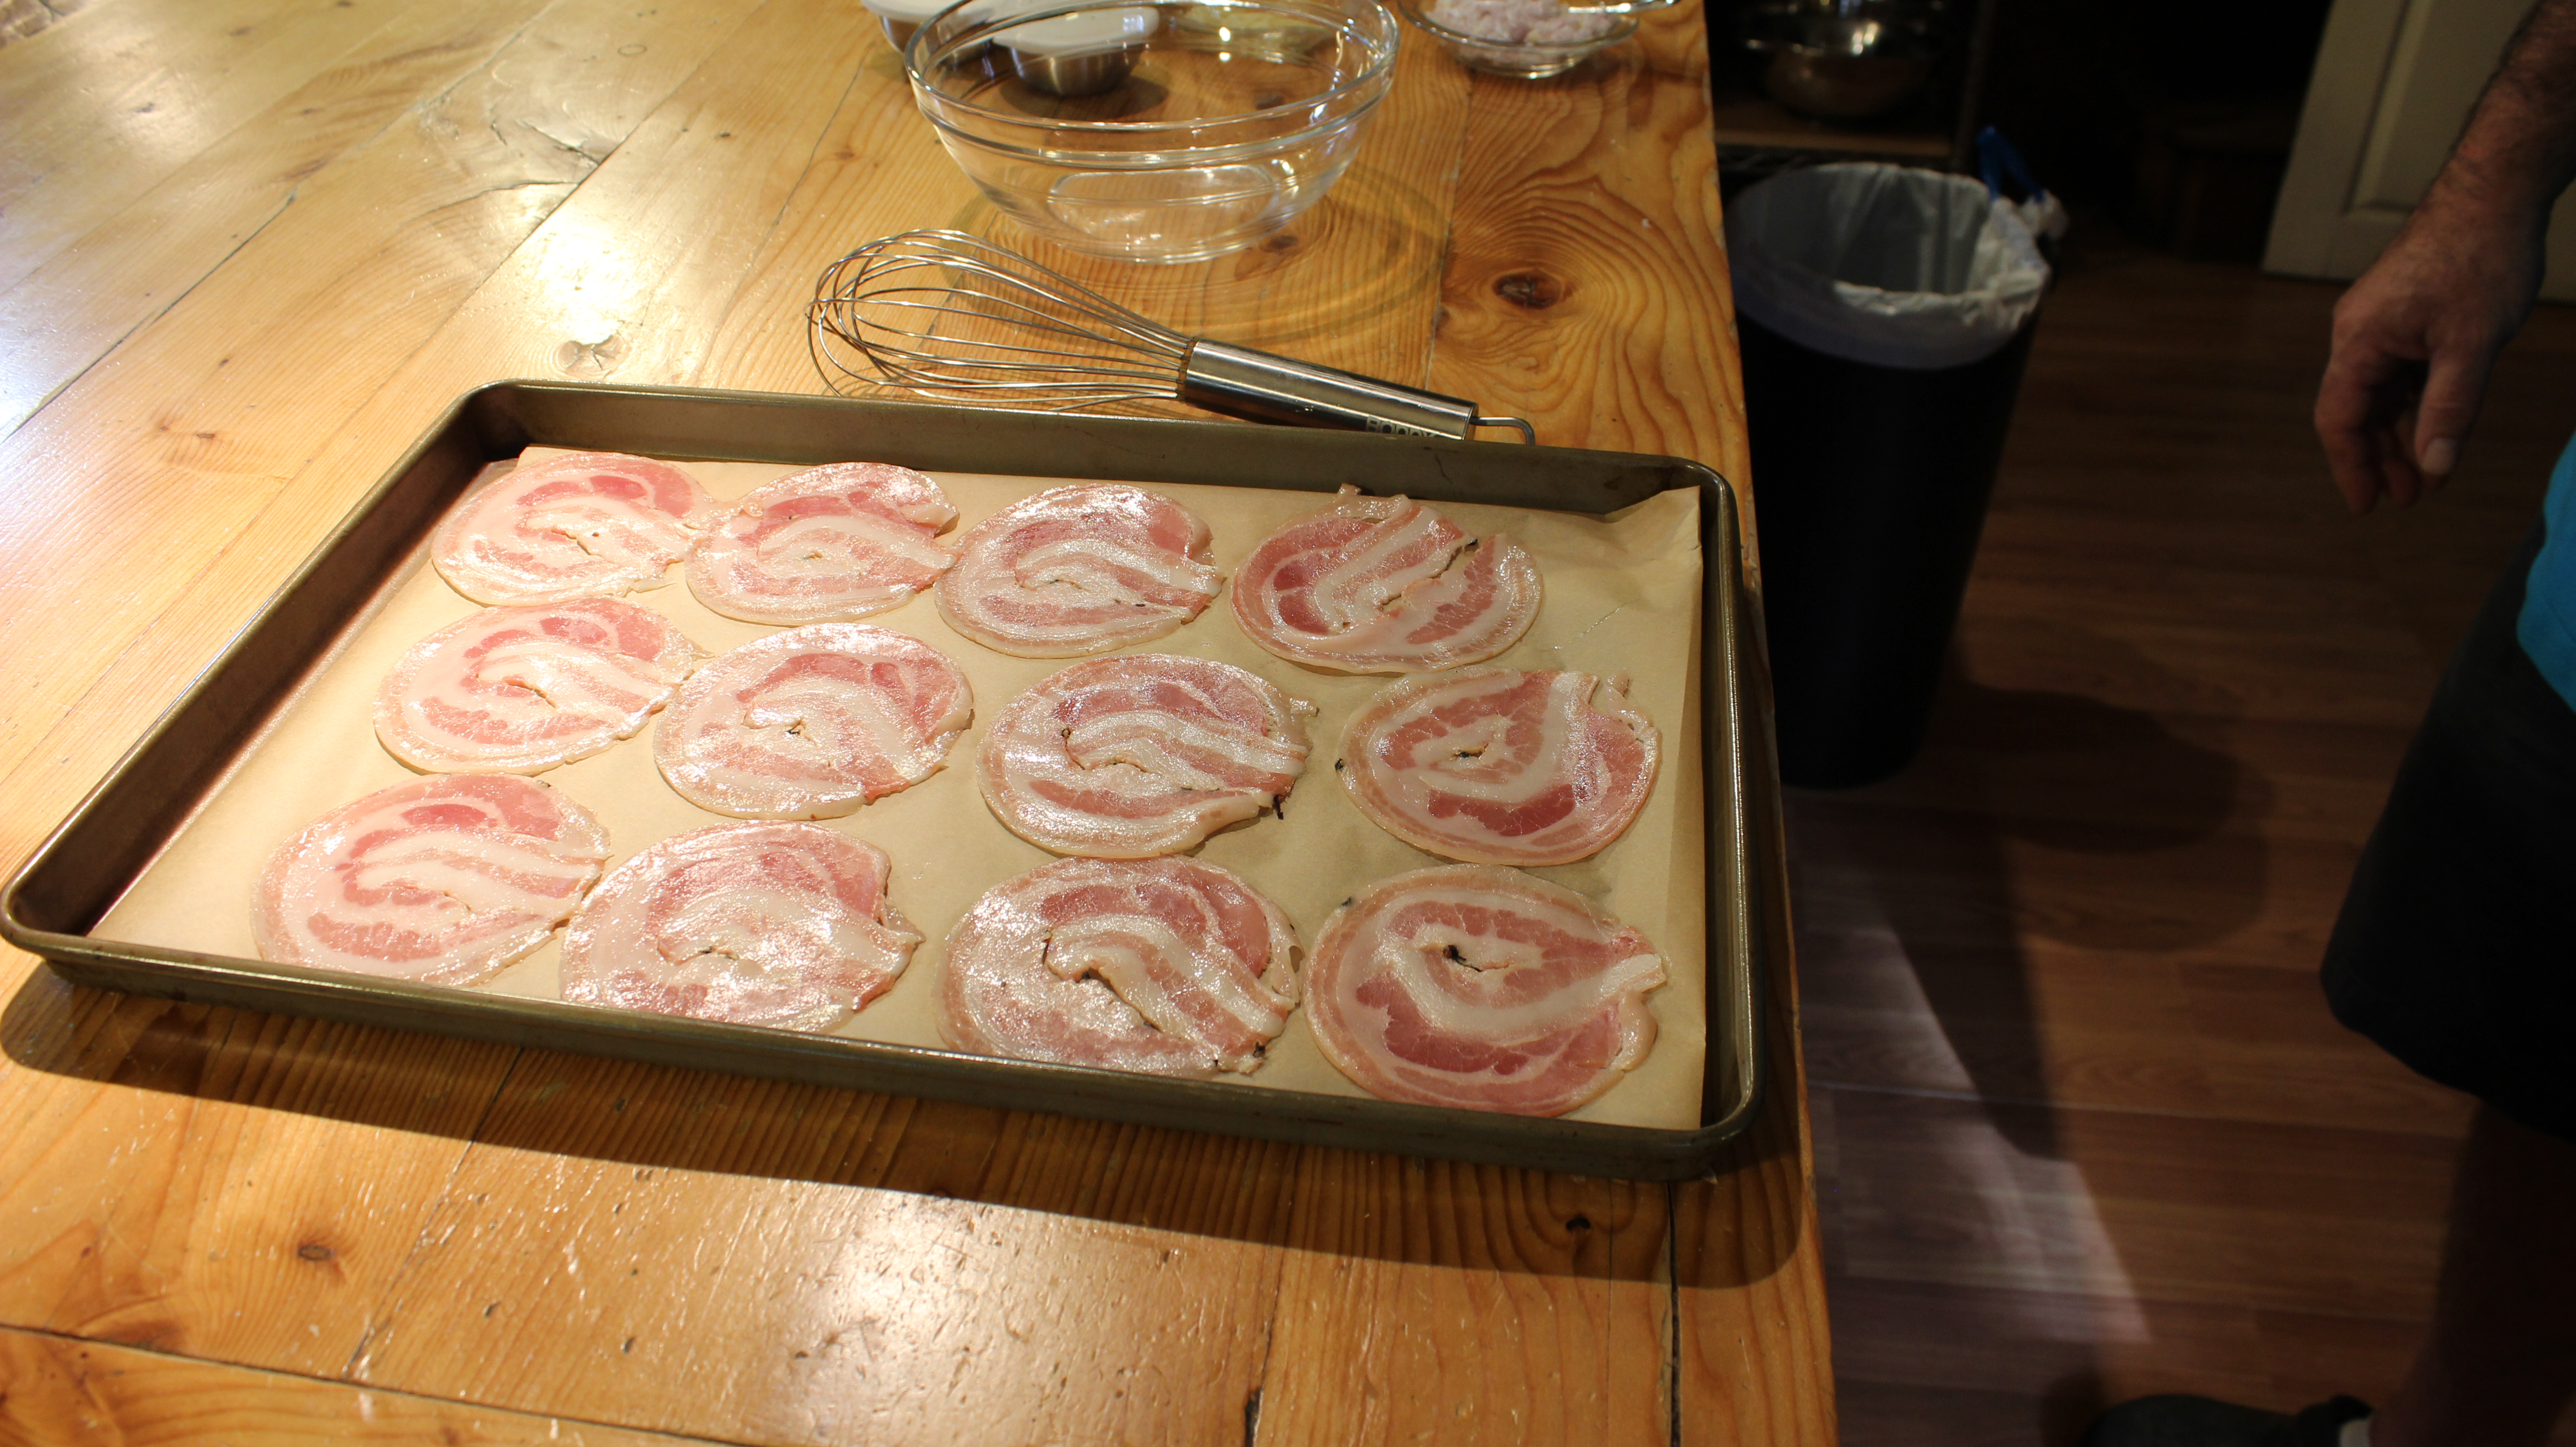
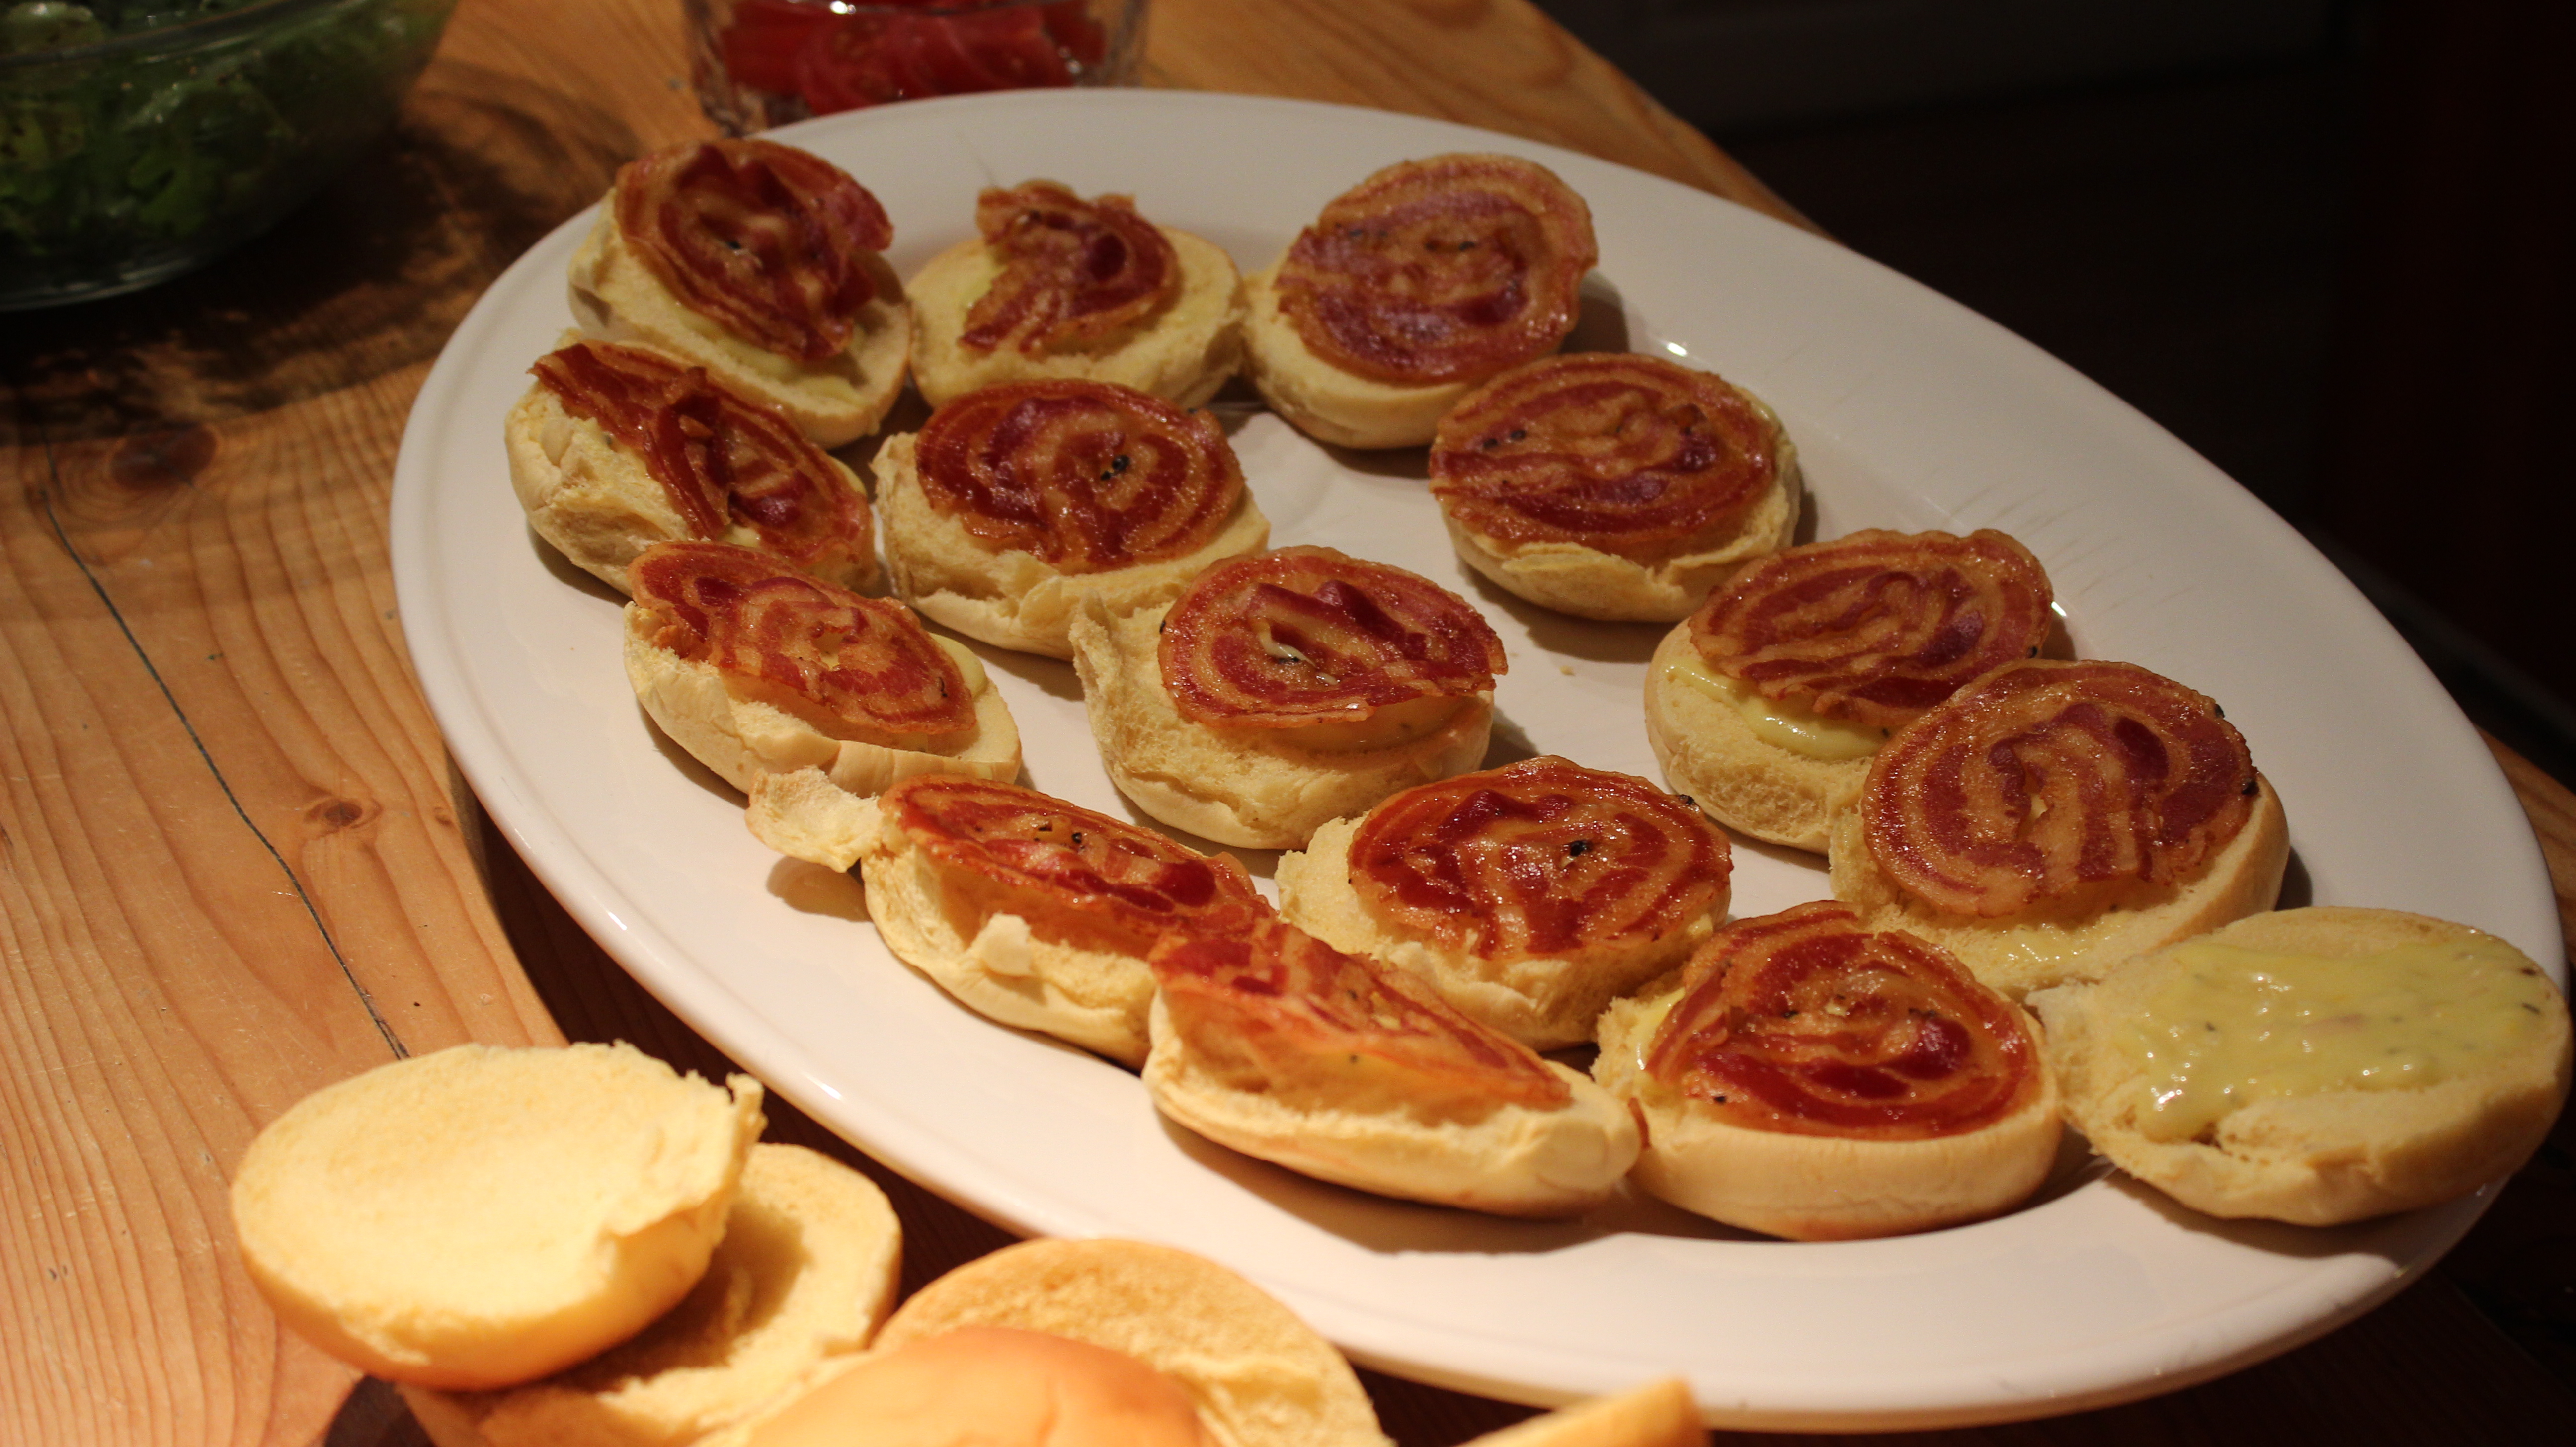
- Place piece of parchment onto cookie sheet and place pancetta slices onto parchment
- Bake pancetta slices for approx. 12 minutes (you can leave slices on the tray when done cooking until you make the sandwich sliders)
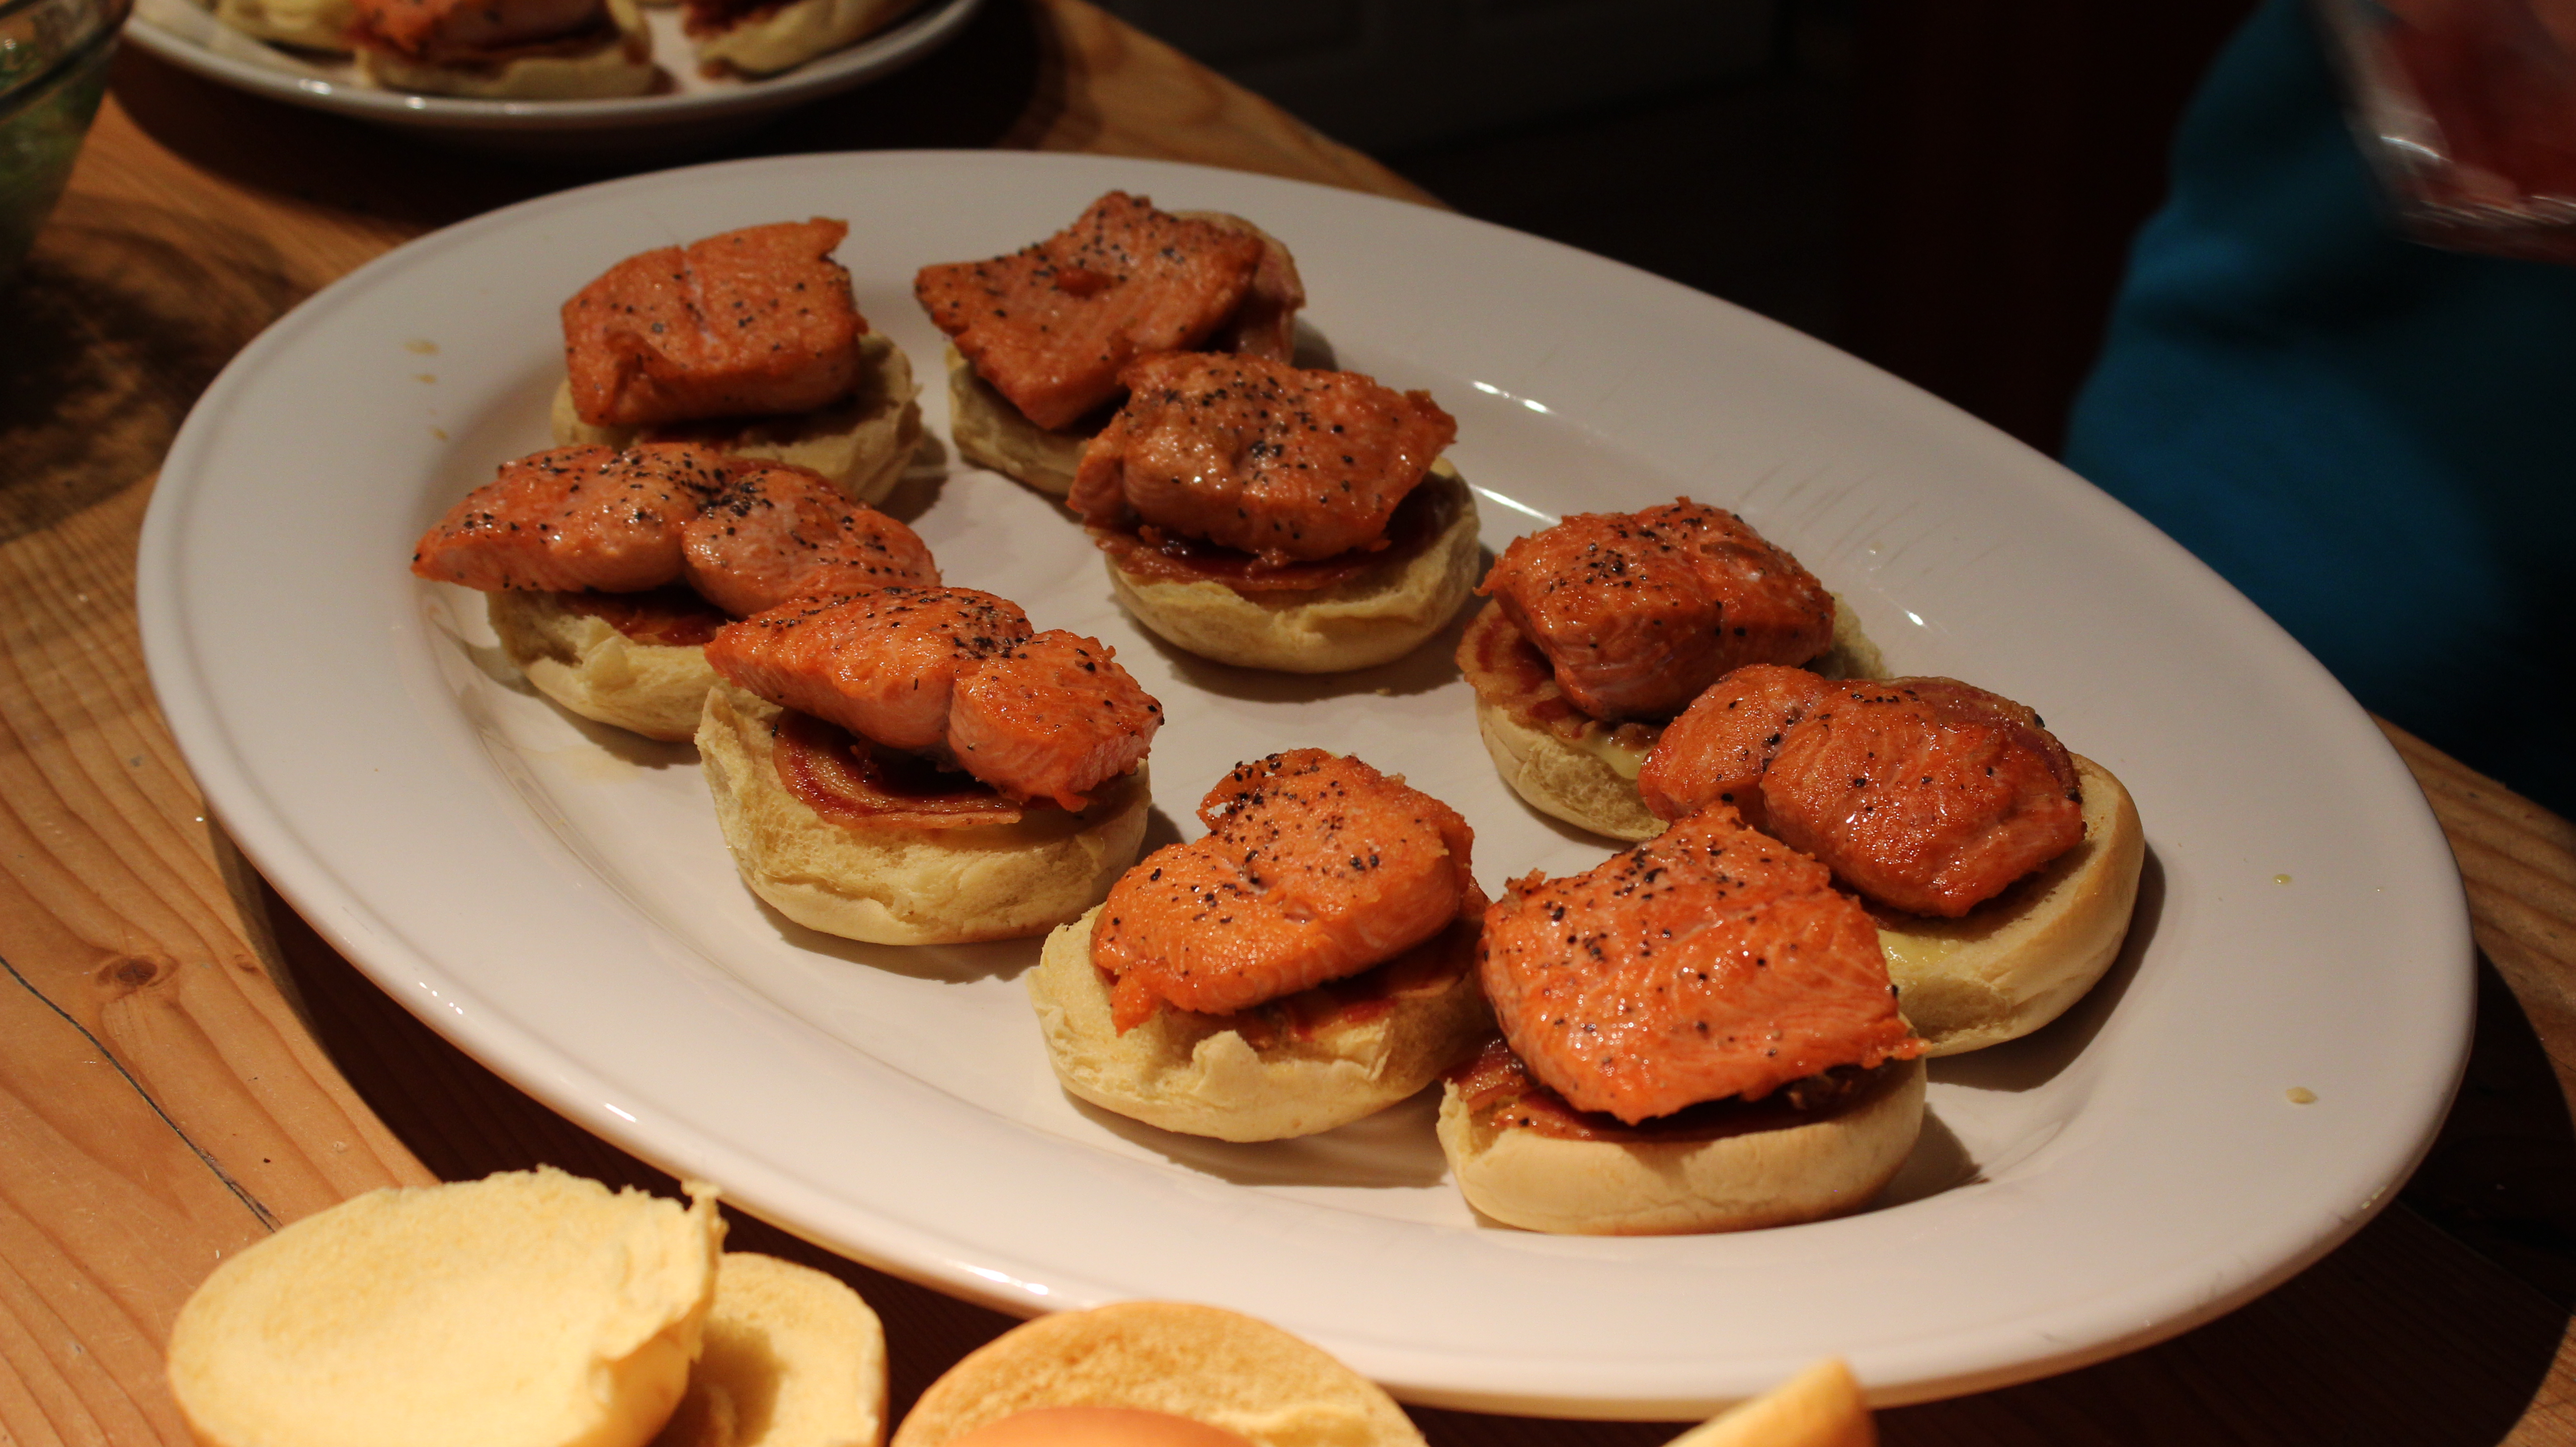
- Slice salmon fillets in approx. 2 1/2 ” pieces
- Season salon with s & p on both sides
- Heat lg fry pan on med/high heat
- Add 3 tbsp to pan and begin to add salmon squares 4-6 at a time
- Sear on first side approx 1 1/2 minutes and flip (it will release when it ready)
- Sear 2nd side 30 seconds and remove to platter
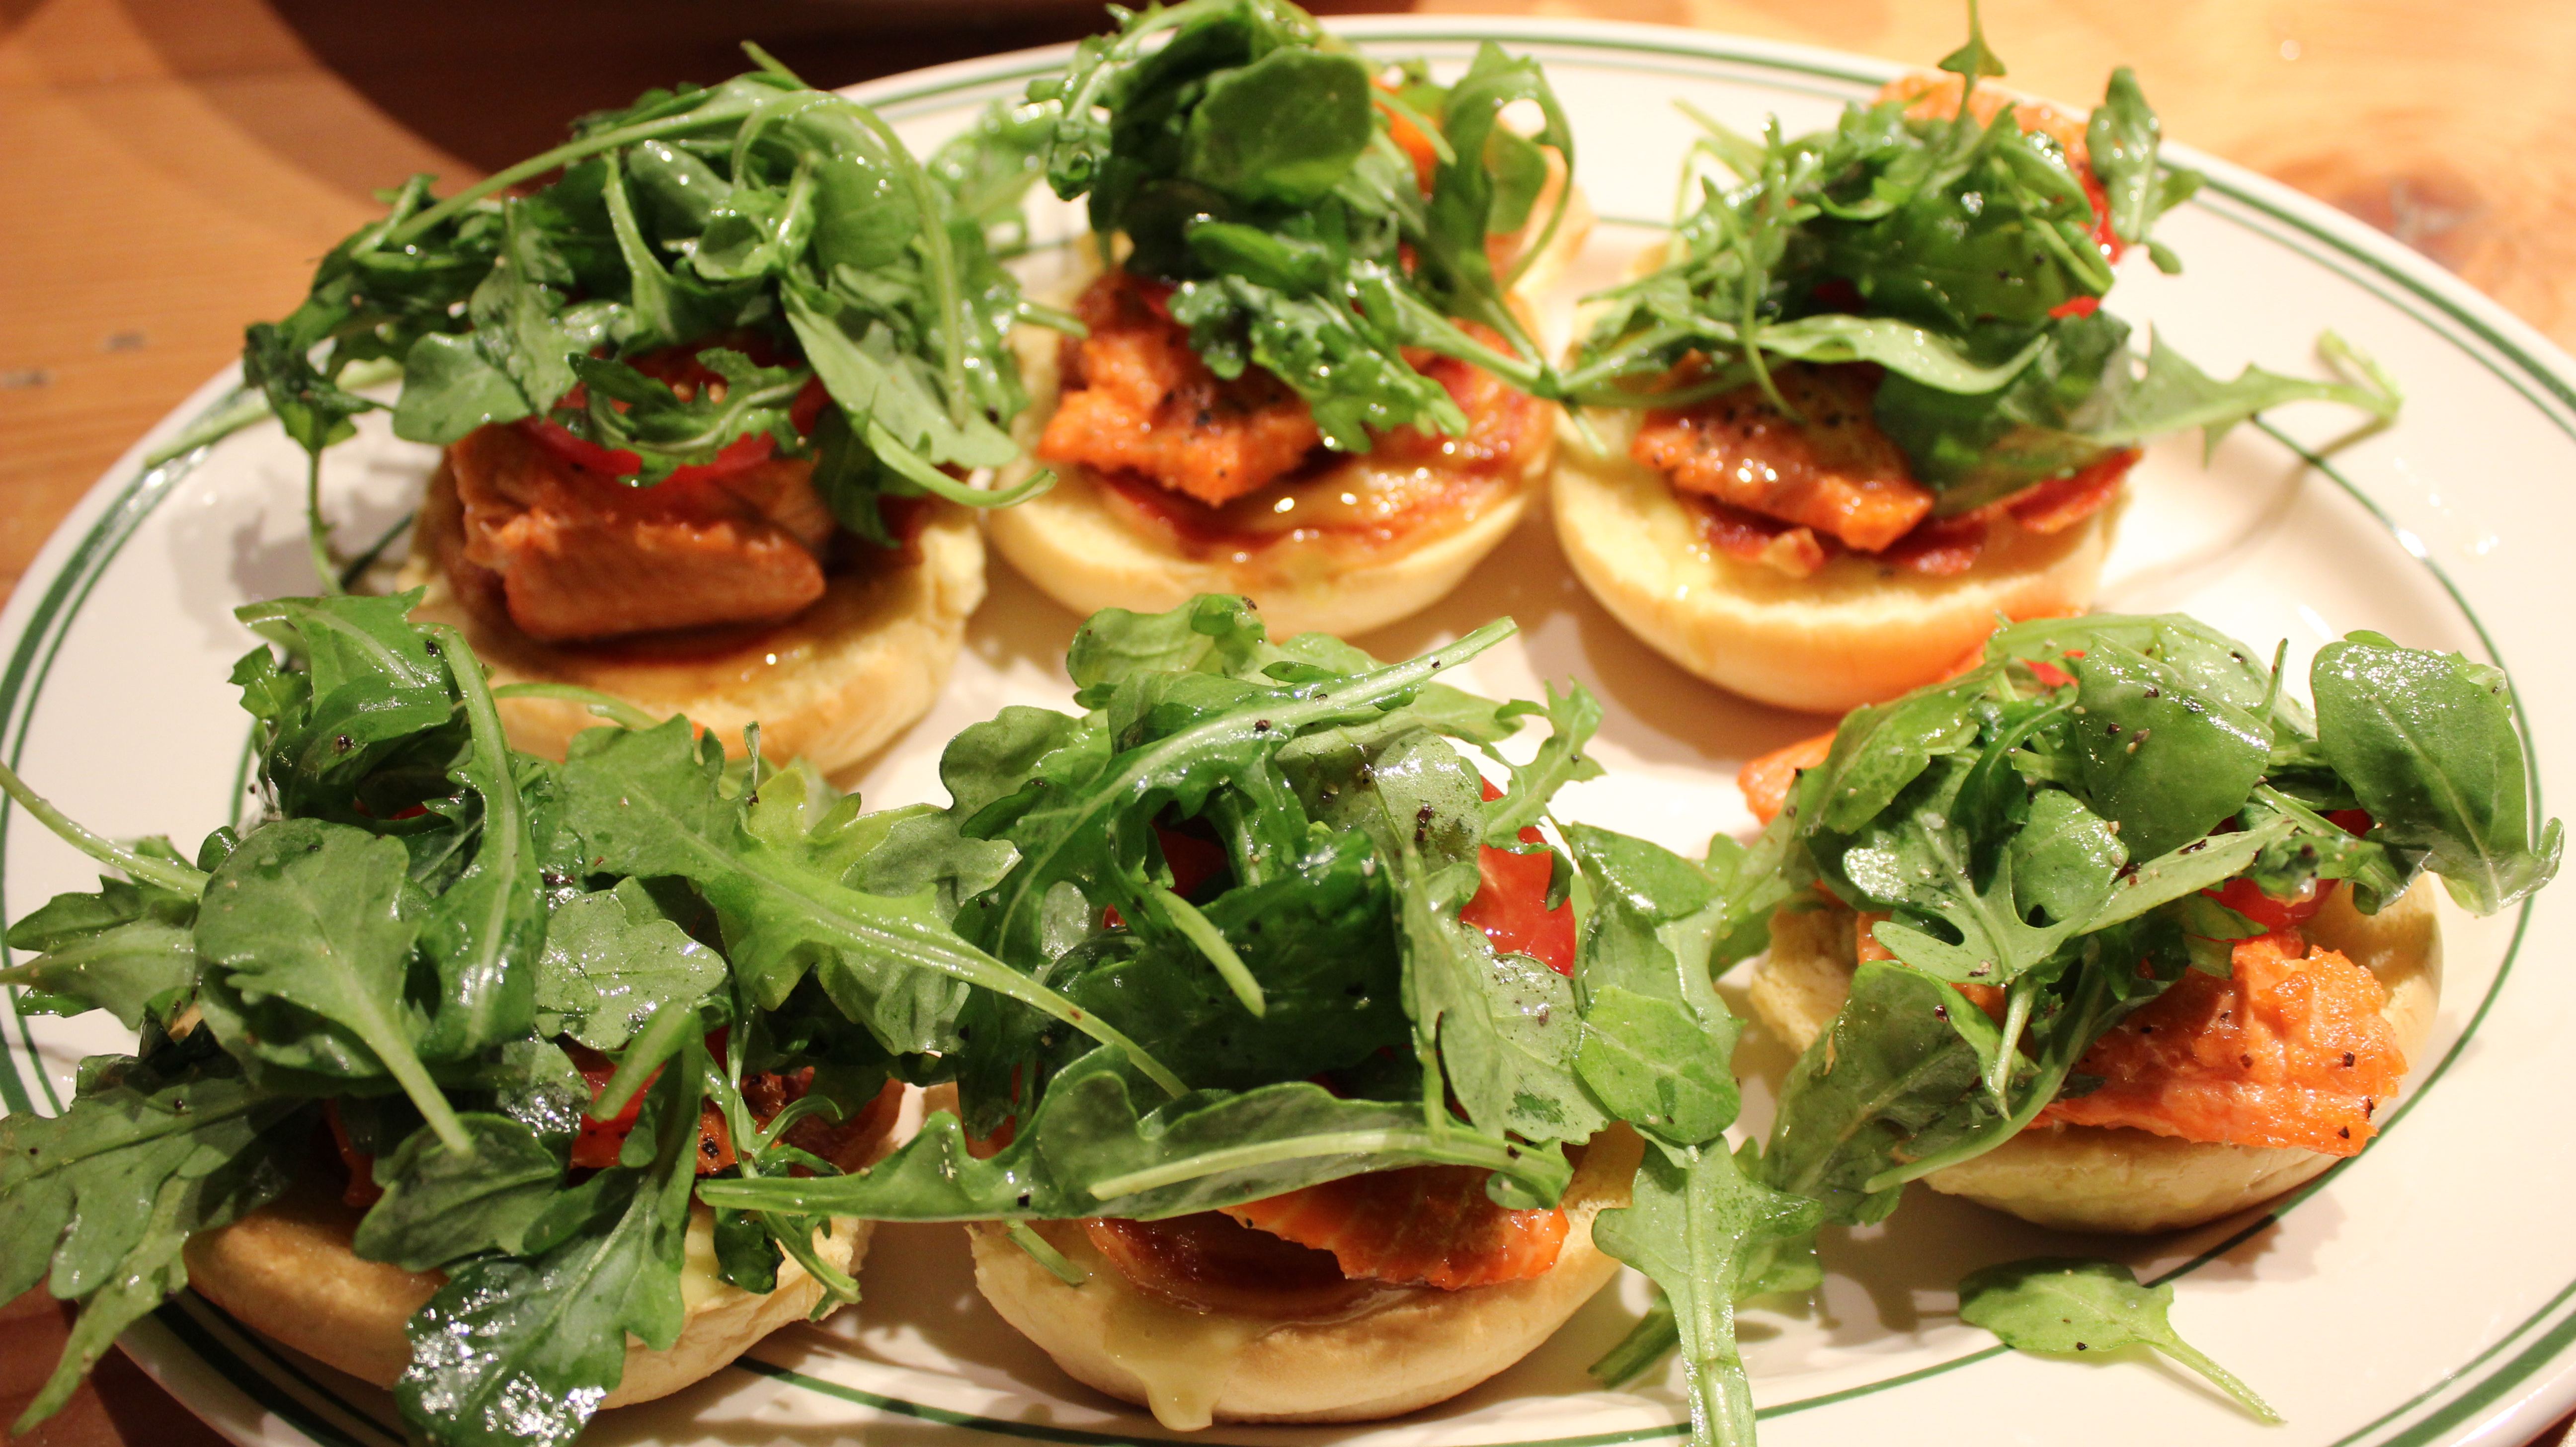
- Dress arugula with 1 tbsp olive oil and 1 tbsp lemon juice and a sprinkle of s & p and toss (light dressing)
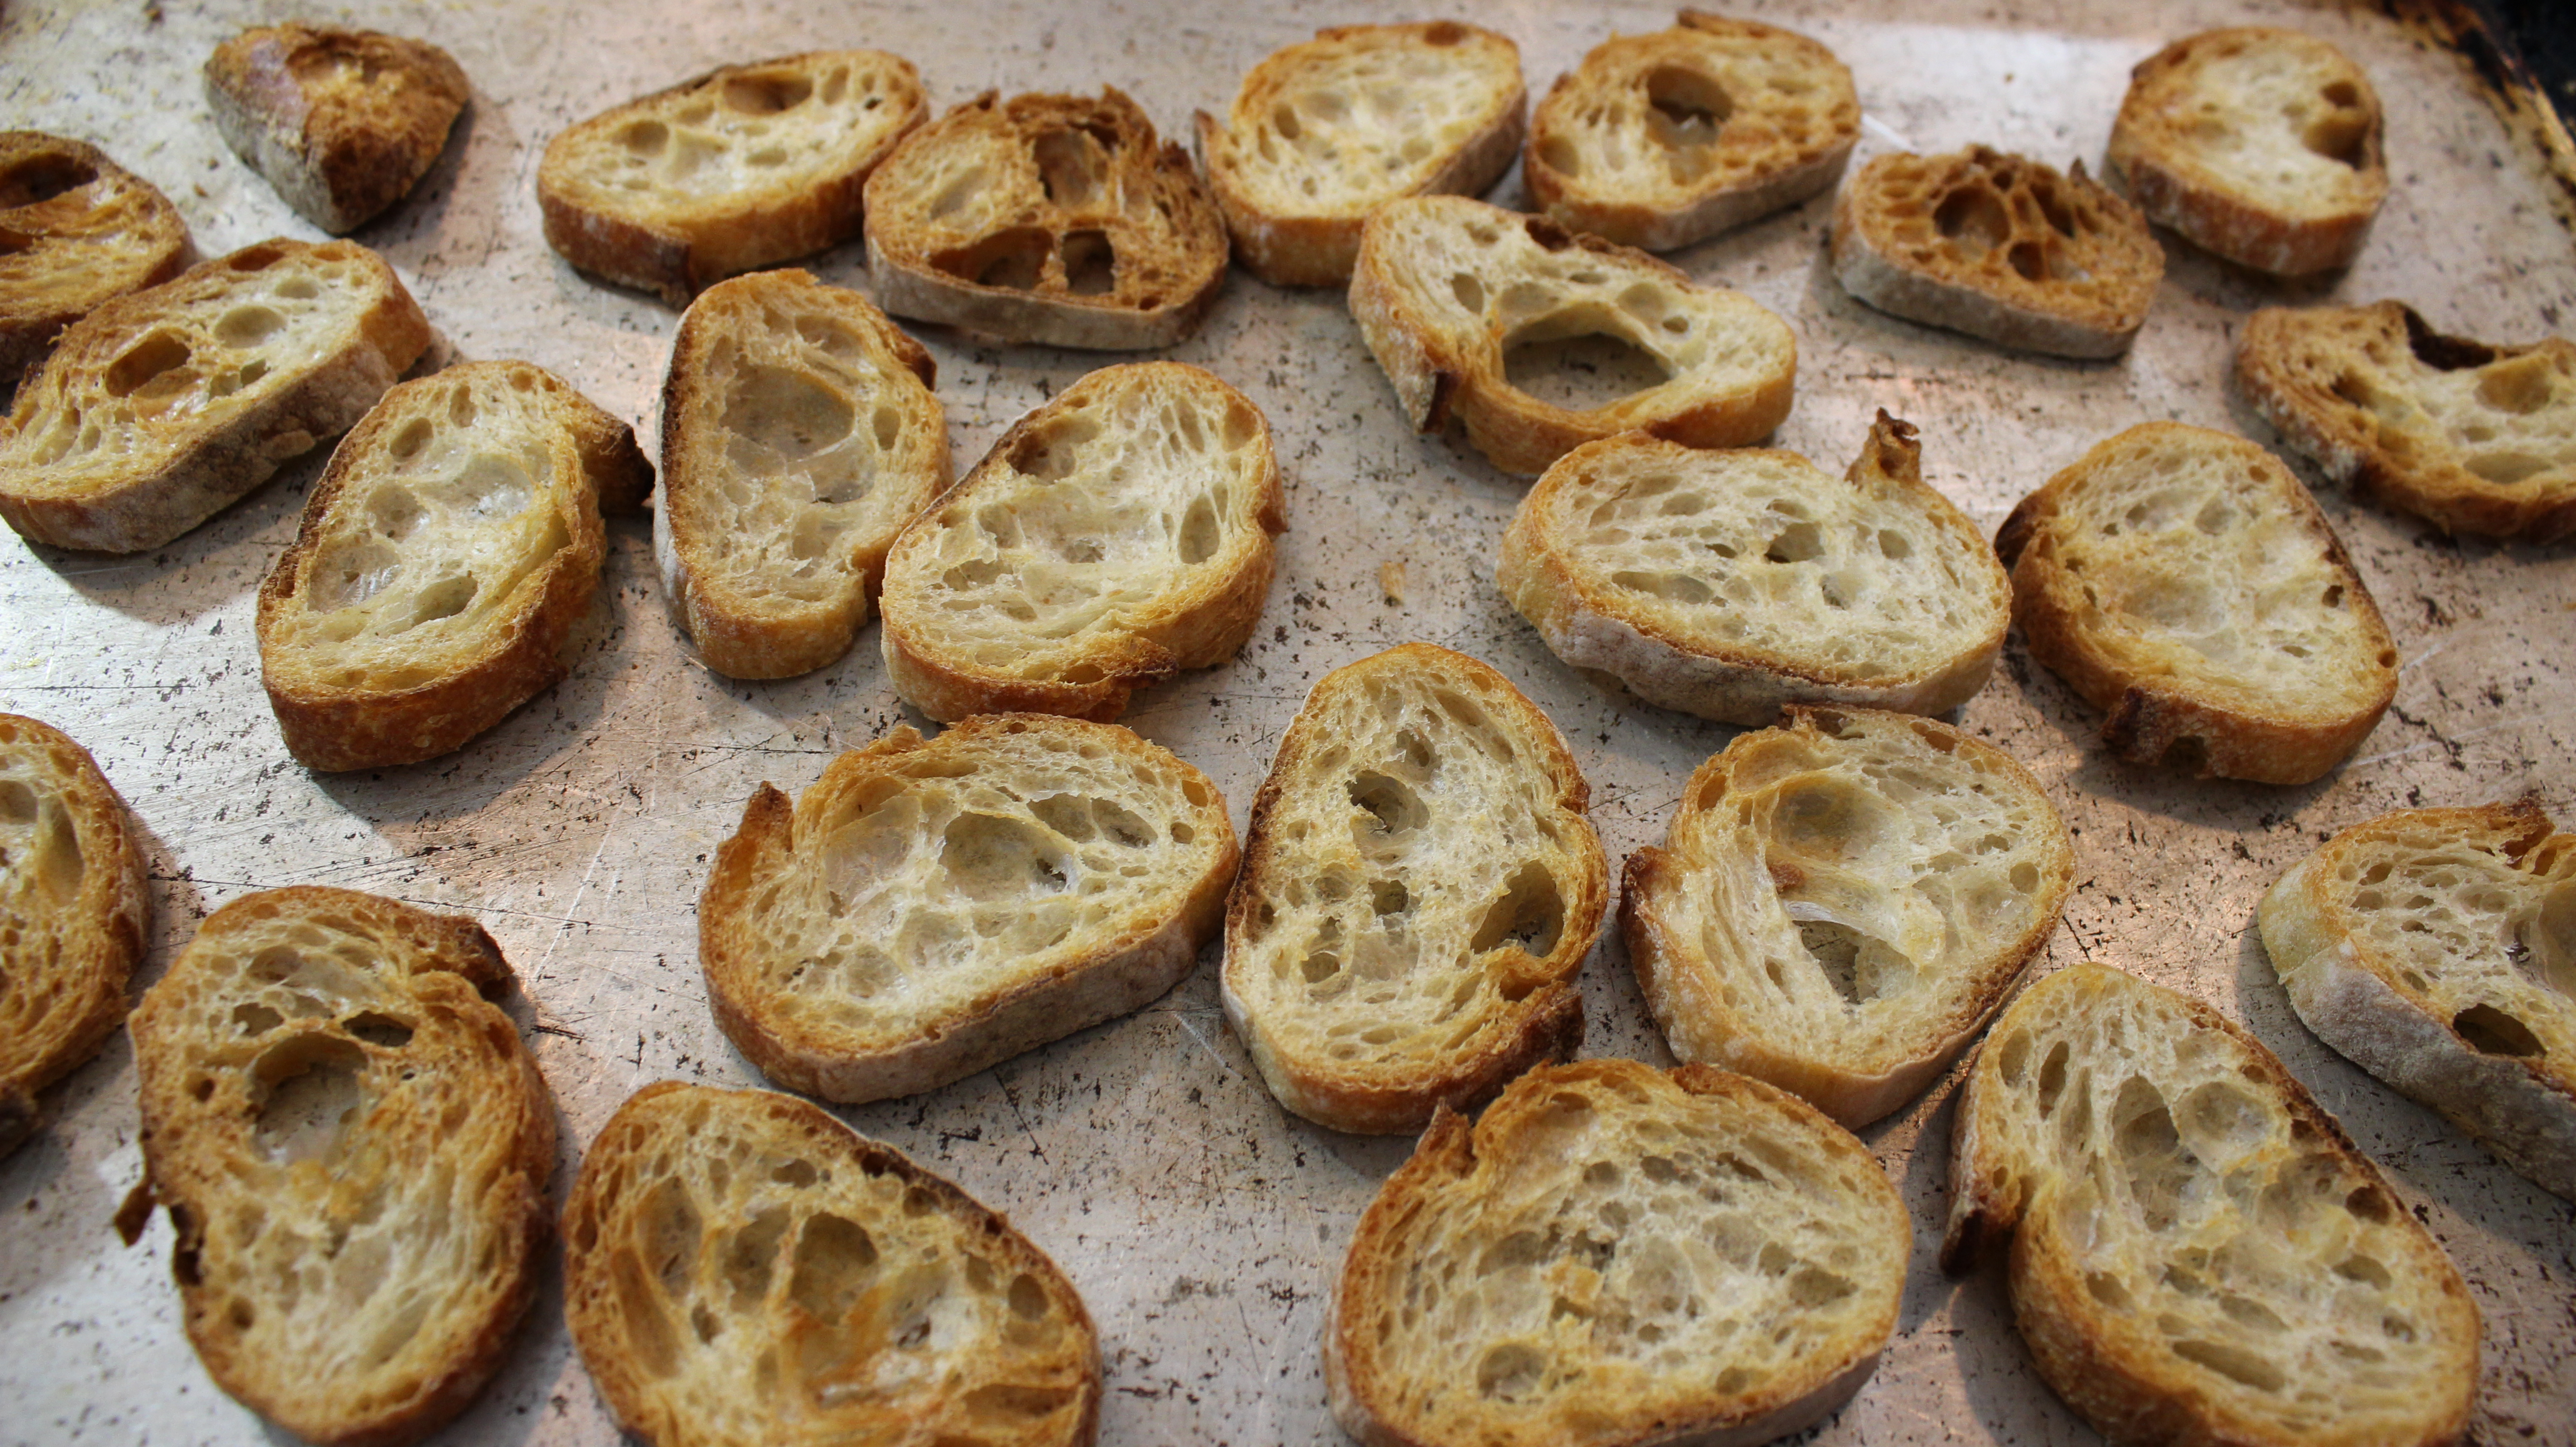
- On a large platter line up top and bottoms of potato rolls
- Smear a tsp of aioli on each side of the bun halves
- Begin to build gourmet salmon B.L.T. sliders
- Layer potato bun, aioli, pancetta, salmon, tomato slice, small mound of arugula and top with bun that has a smear of aioli
- Buon Appetito!
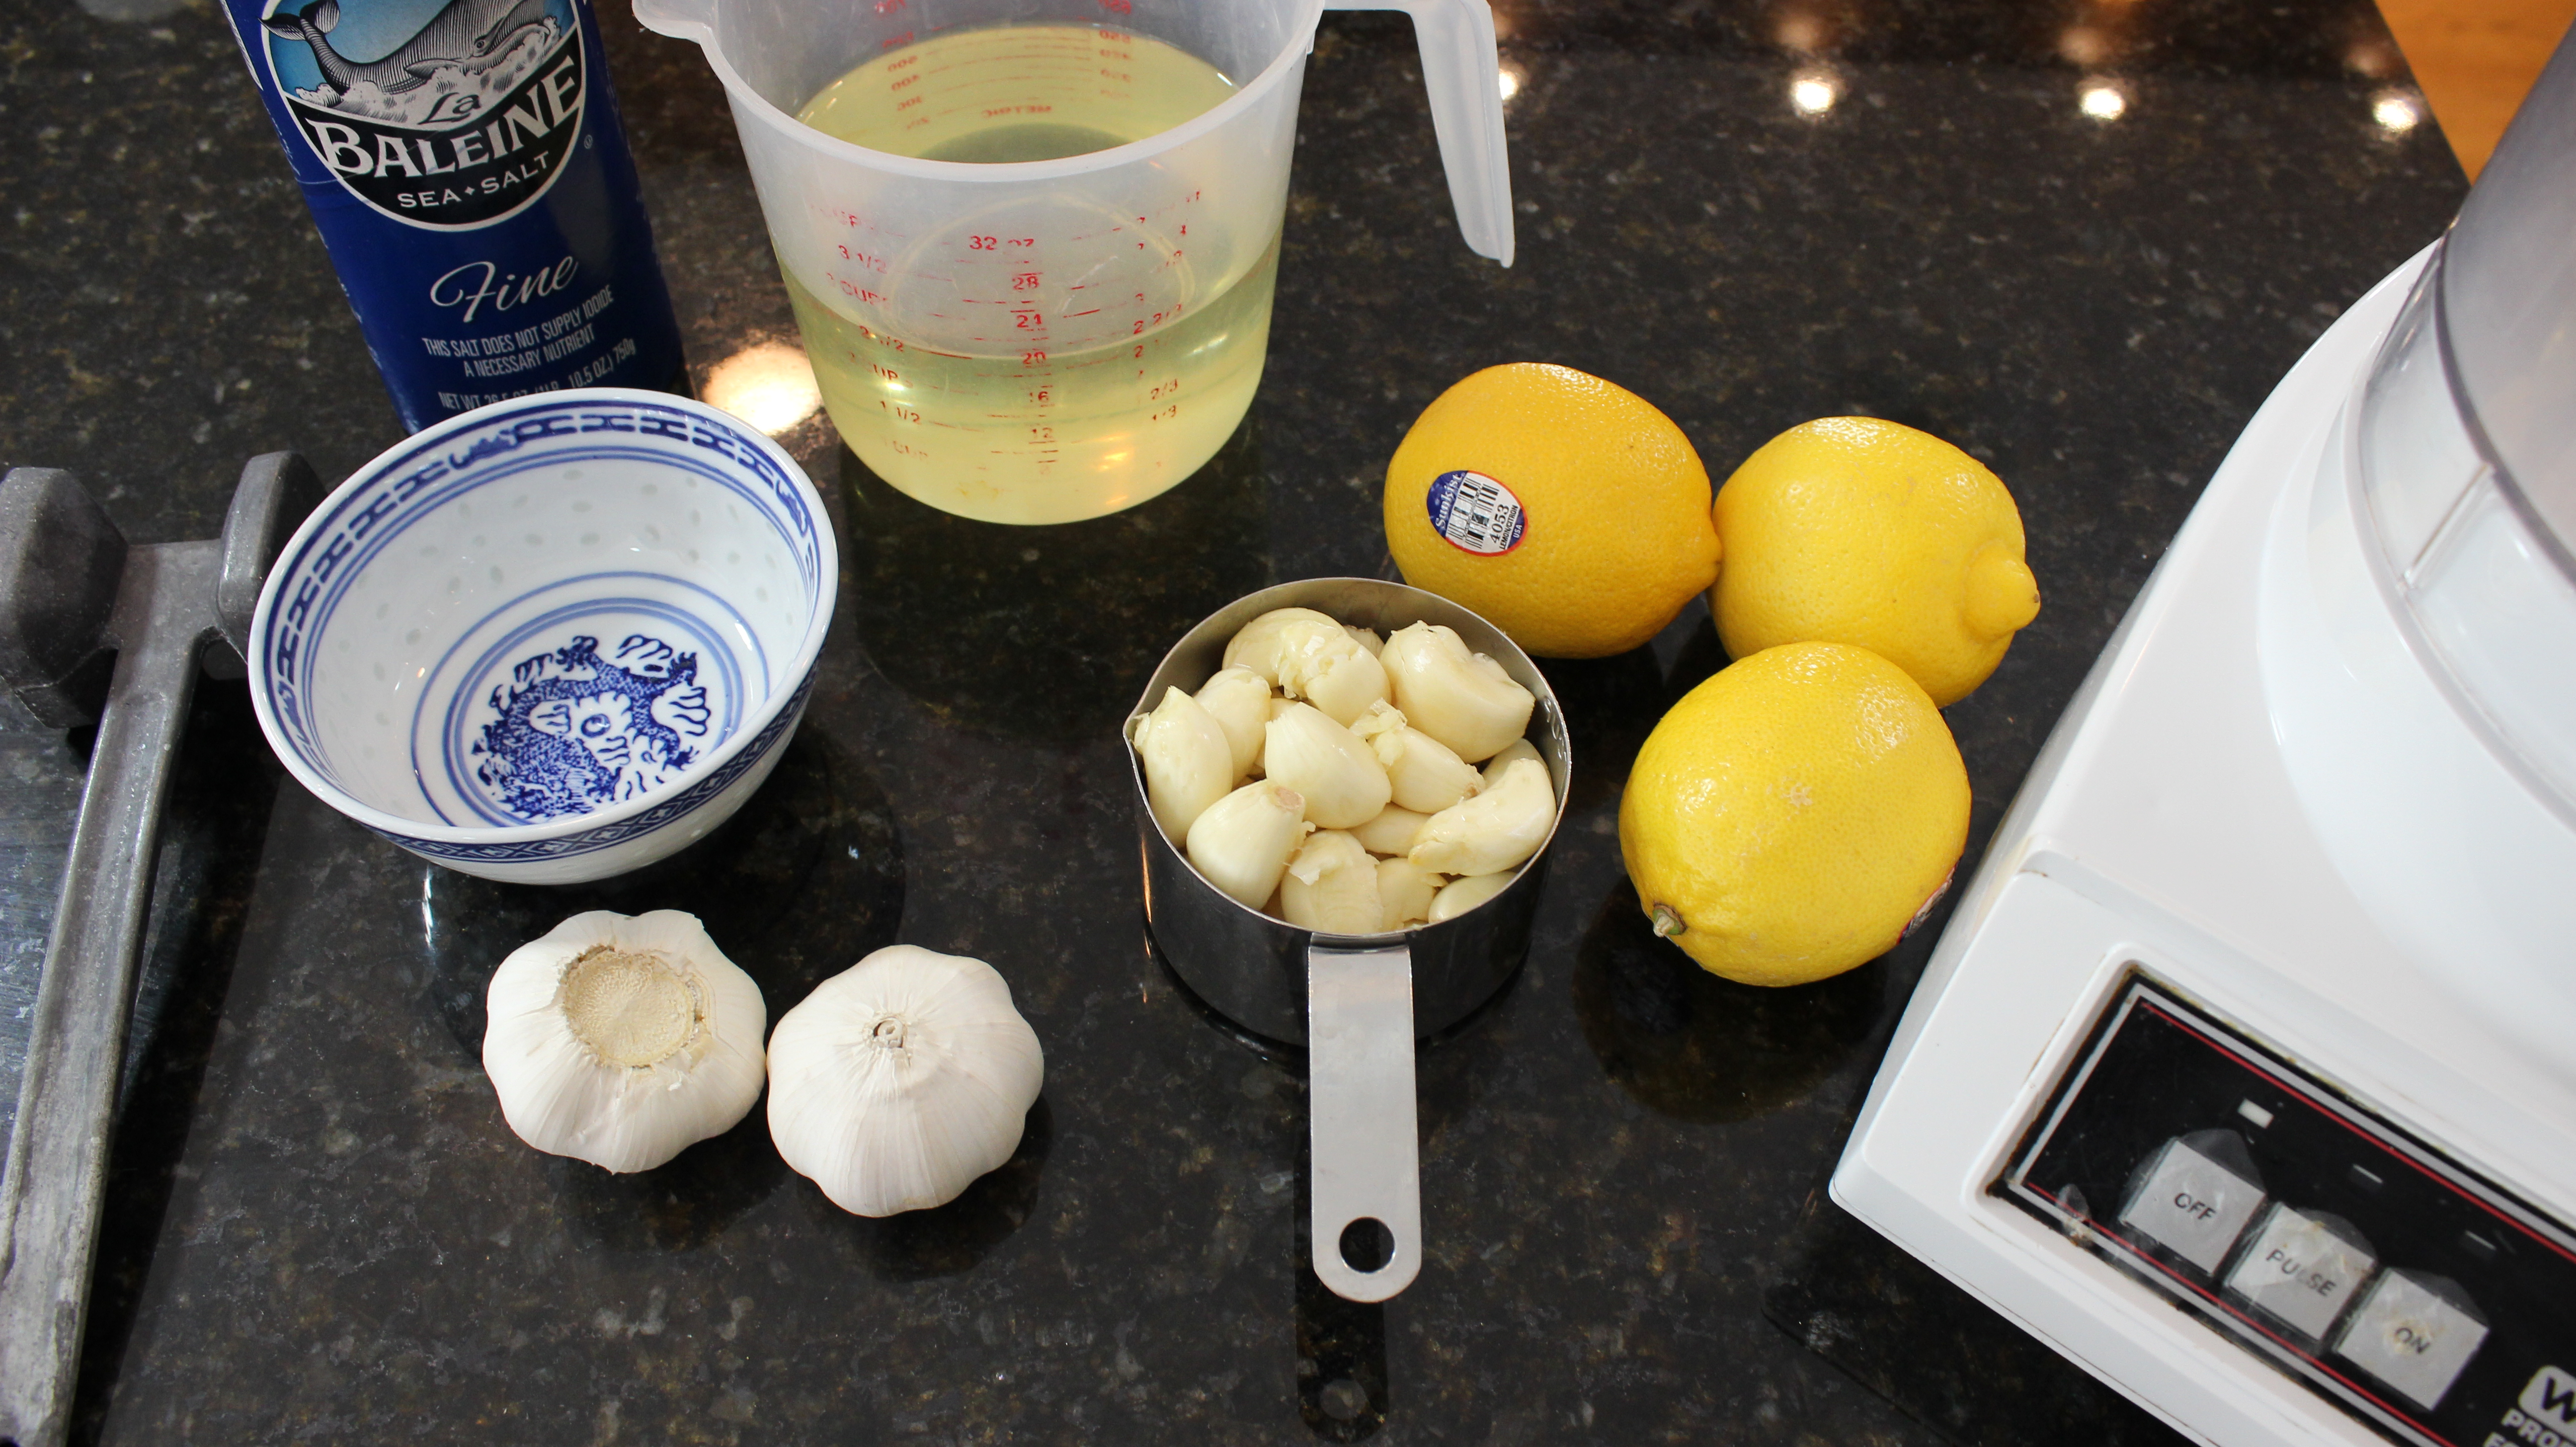
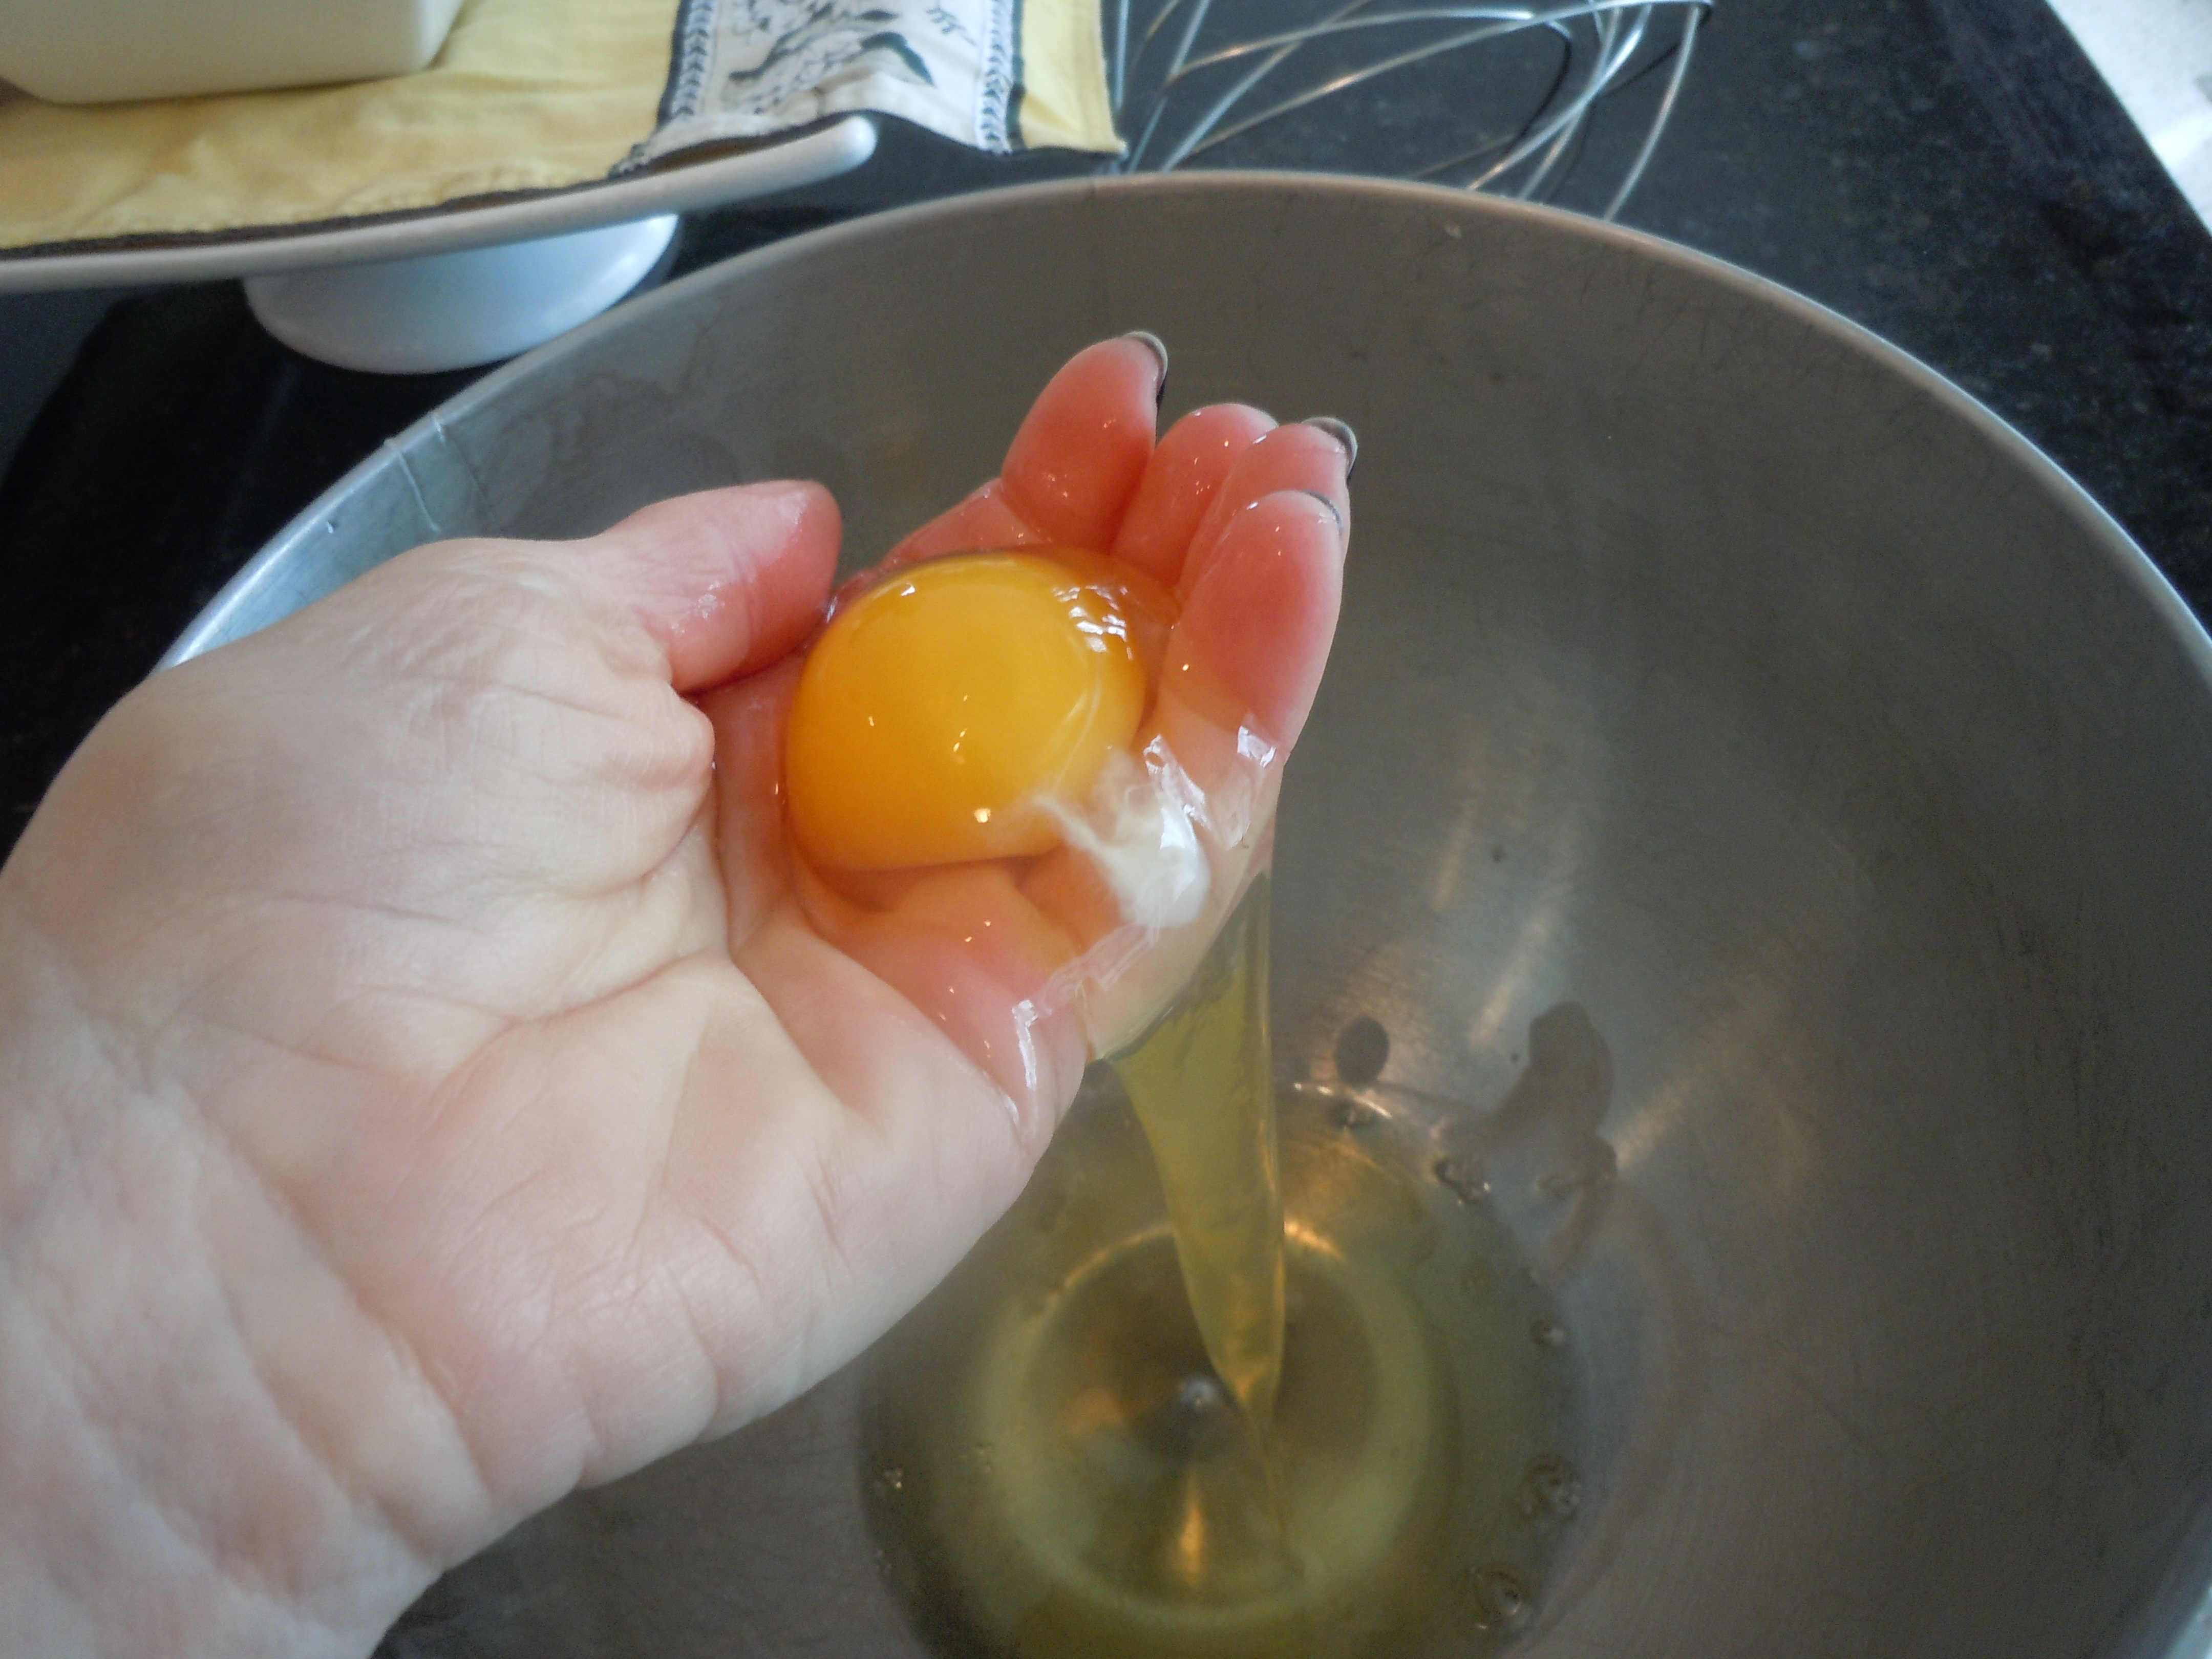
Ingredients for Marco’s Homemade Lemon Aioli:
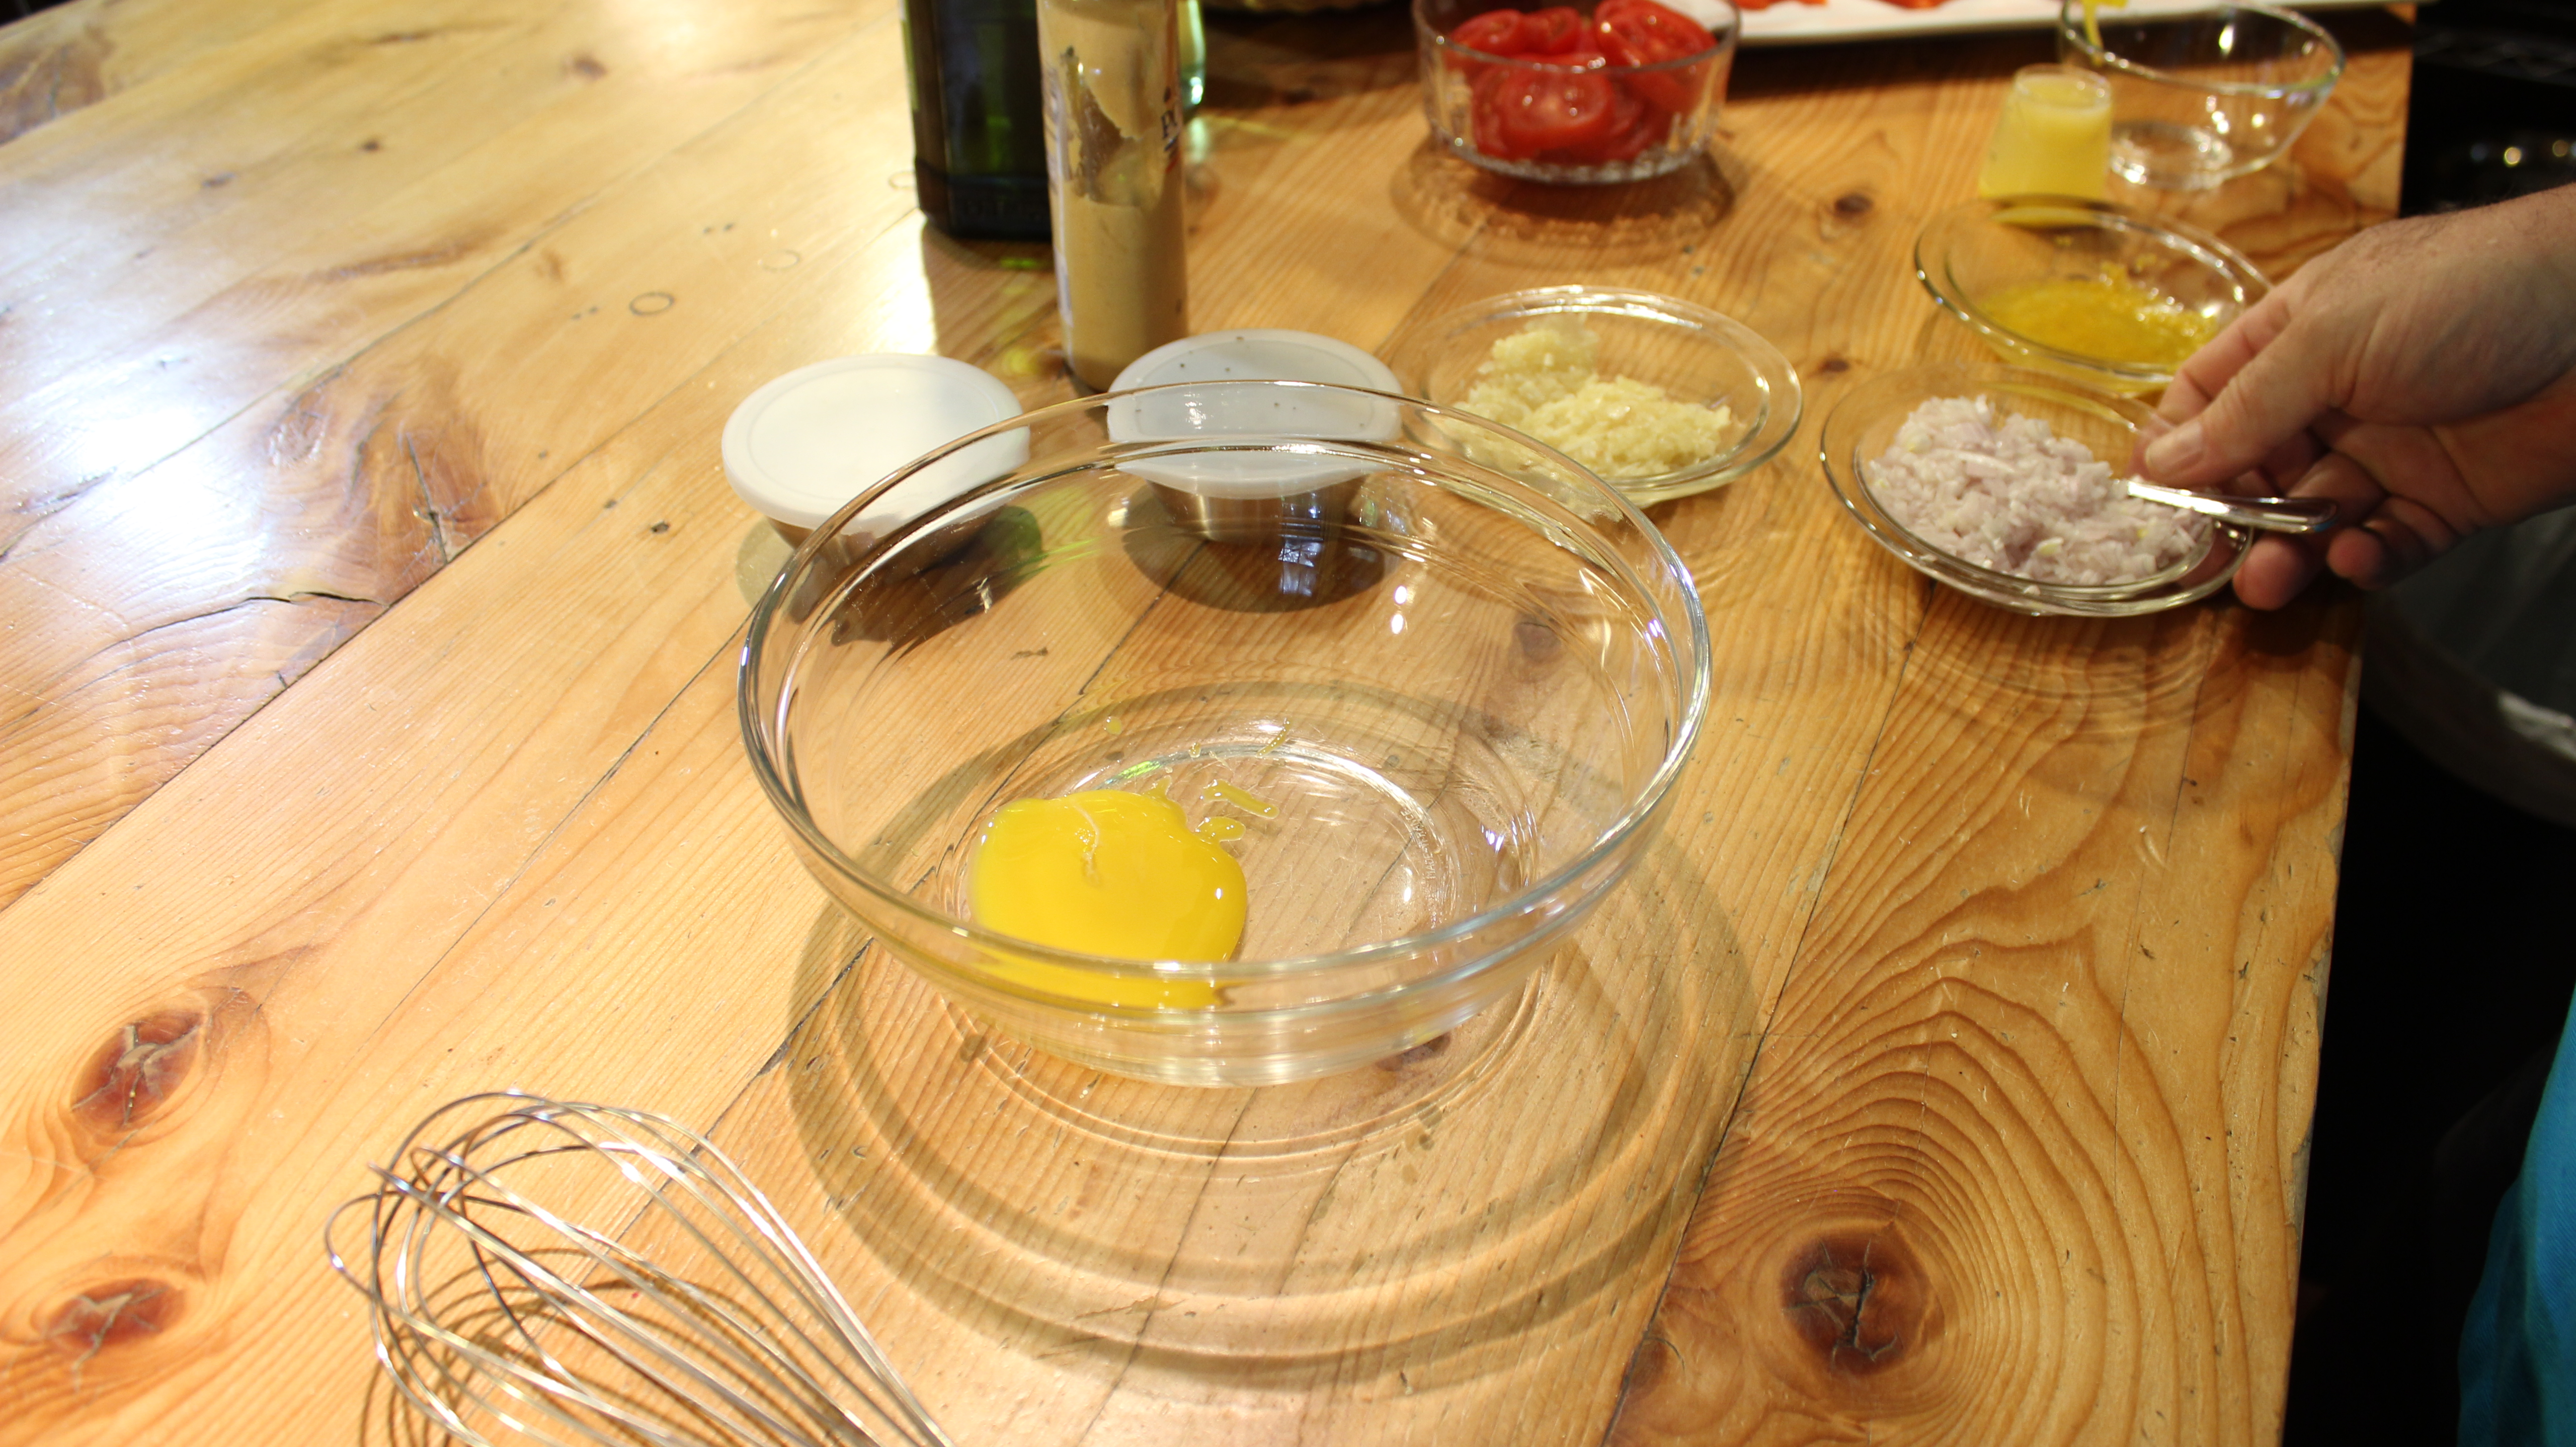
- 1 egg yolk
- 1 tbsp fresh lemon Juice
- Zest from 1 lemon
- 1 heaping tbsp finely chopped shallots
- 1 tsp fresh garlic finely chopped or through garlic press
- 1/4 tsp salt
- sprinkle fresh pepper
- 1 heaping tbsp Dijon mustard
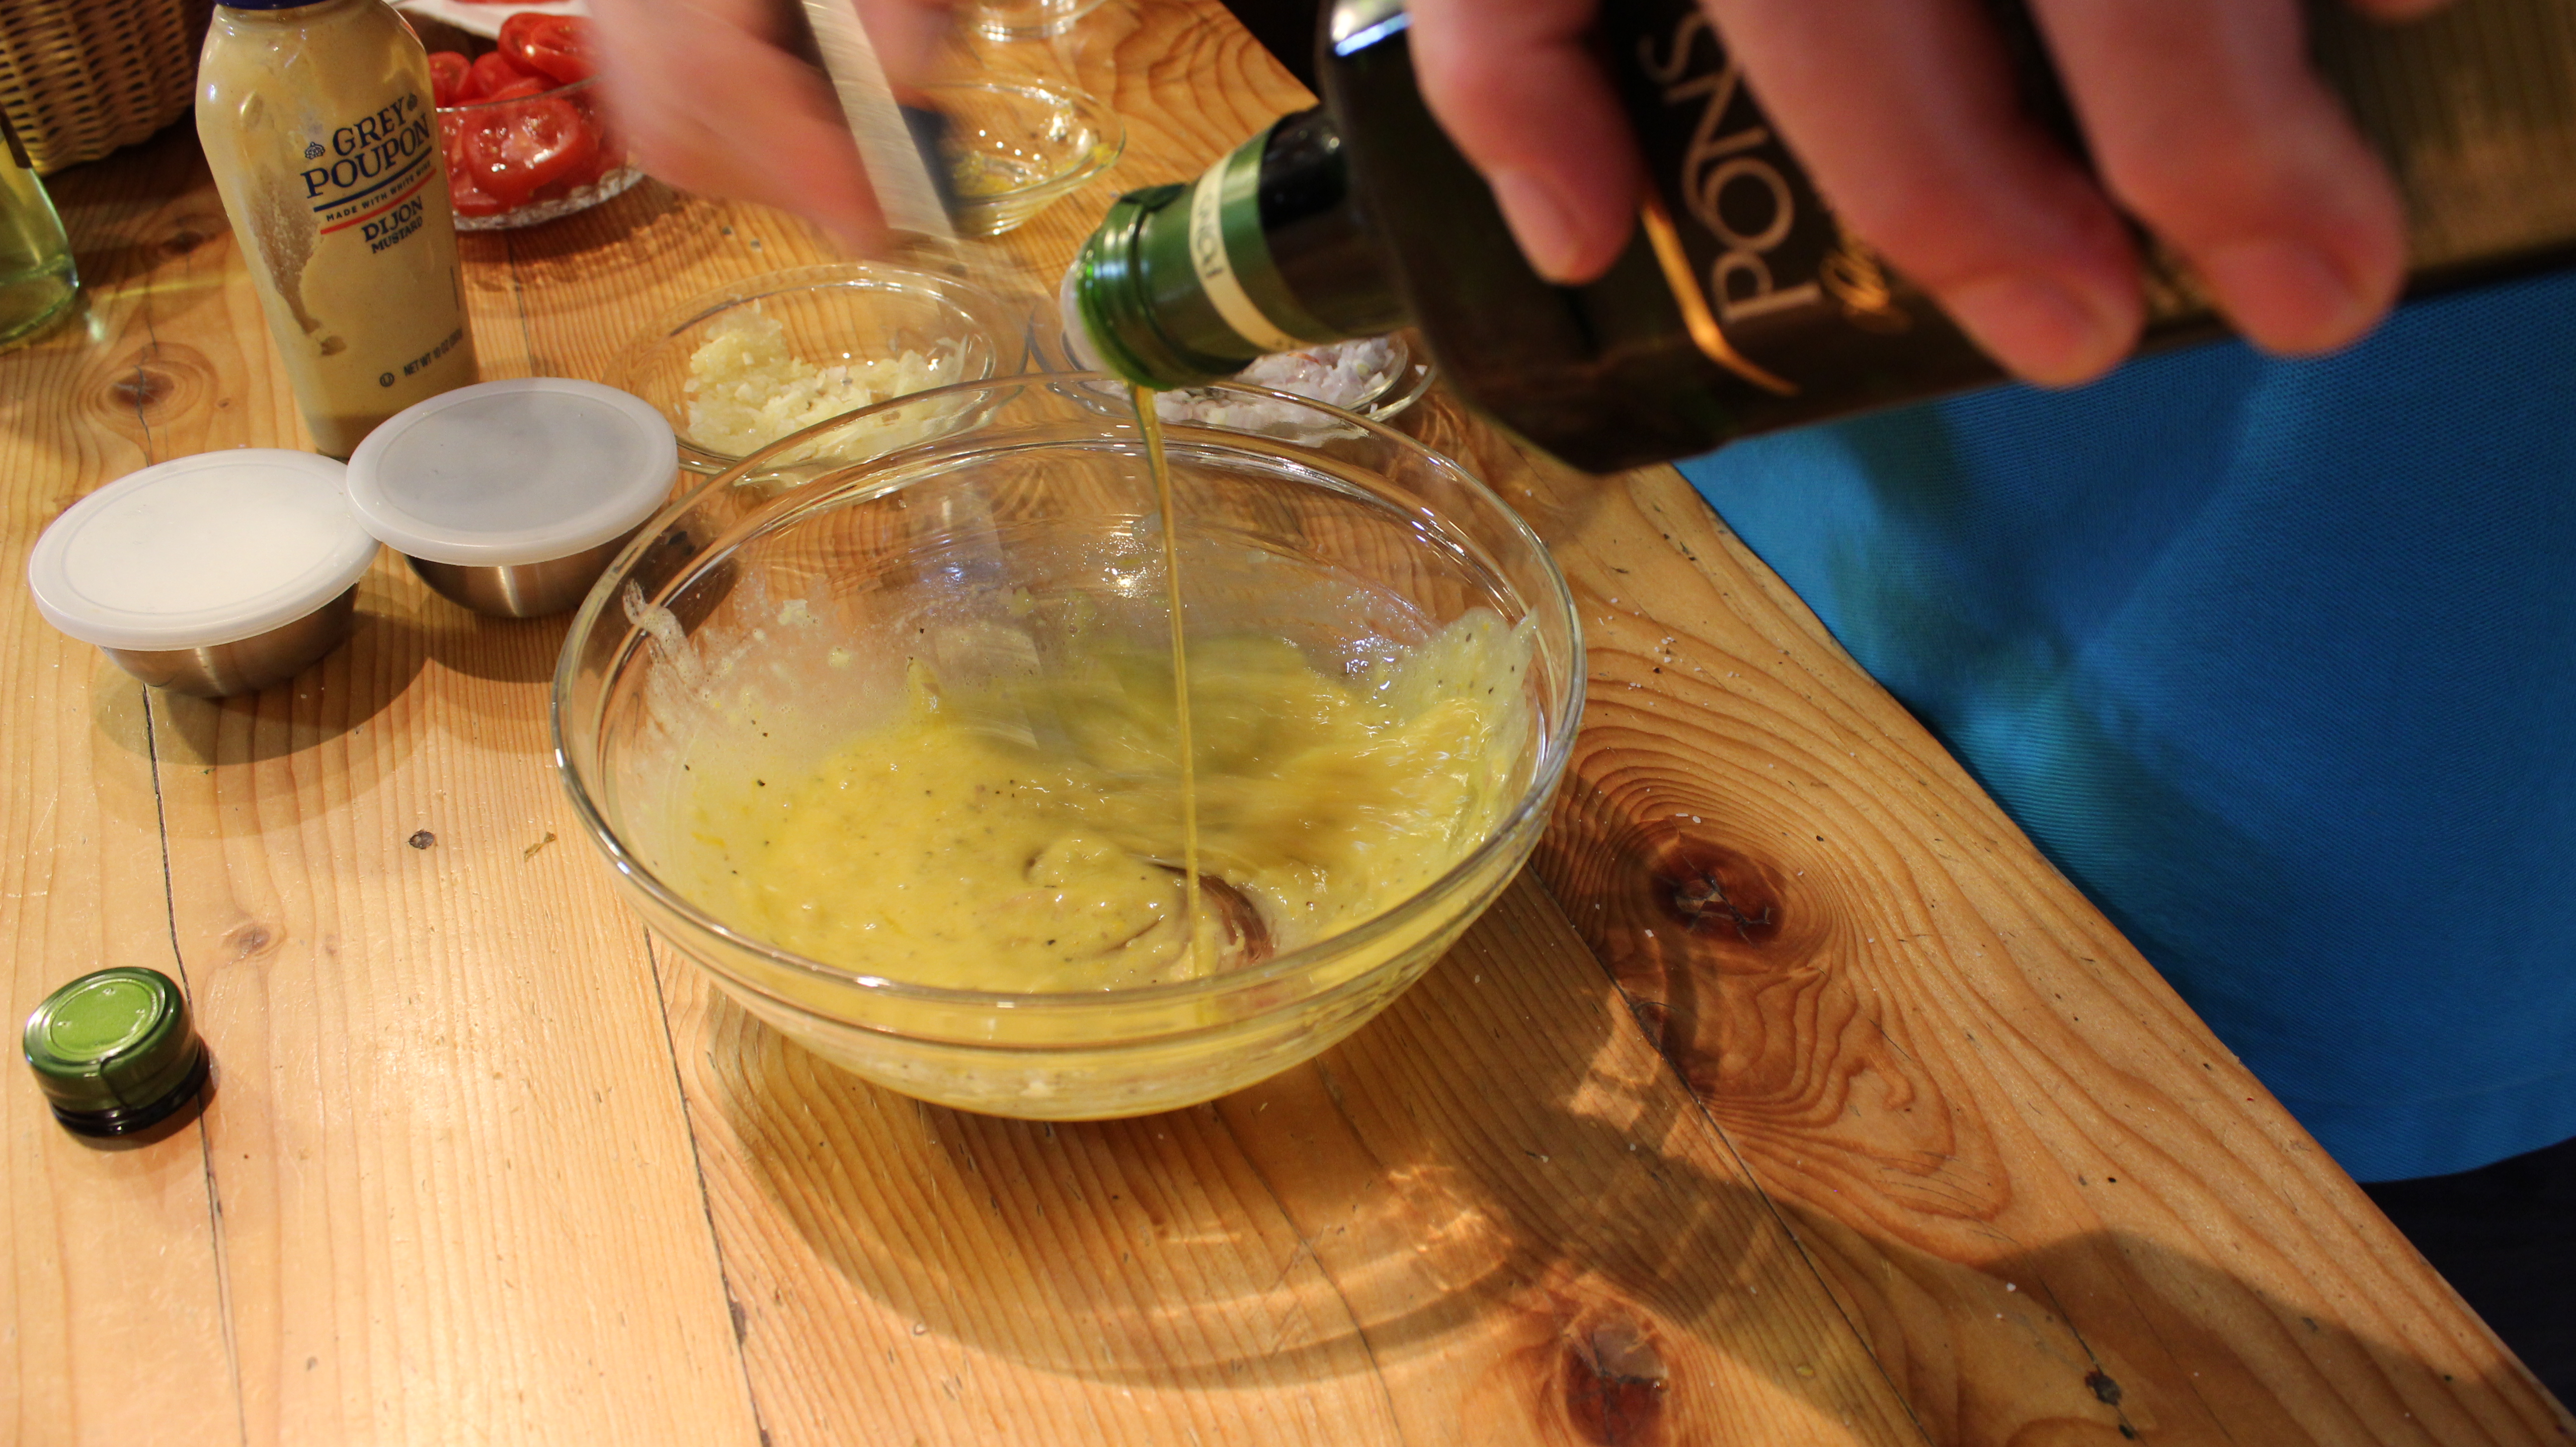
- 1/3 cup olive oil
- 2-3 tbsp grape seed oil (or Olive oil)
Directions for Homemade Lemon Aioli:
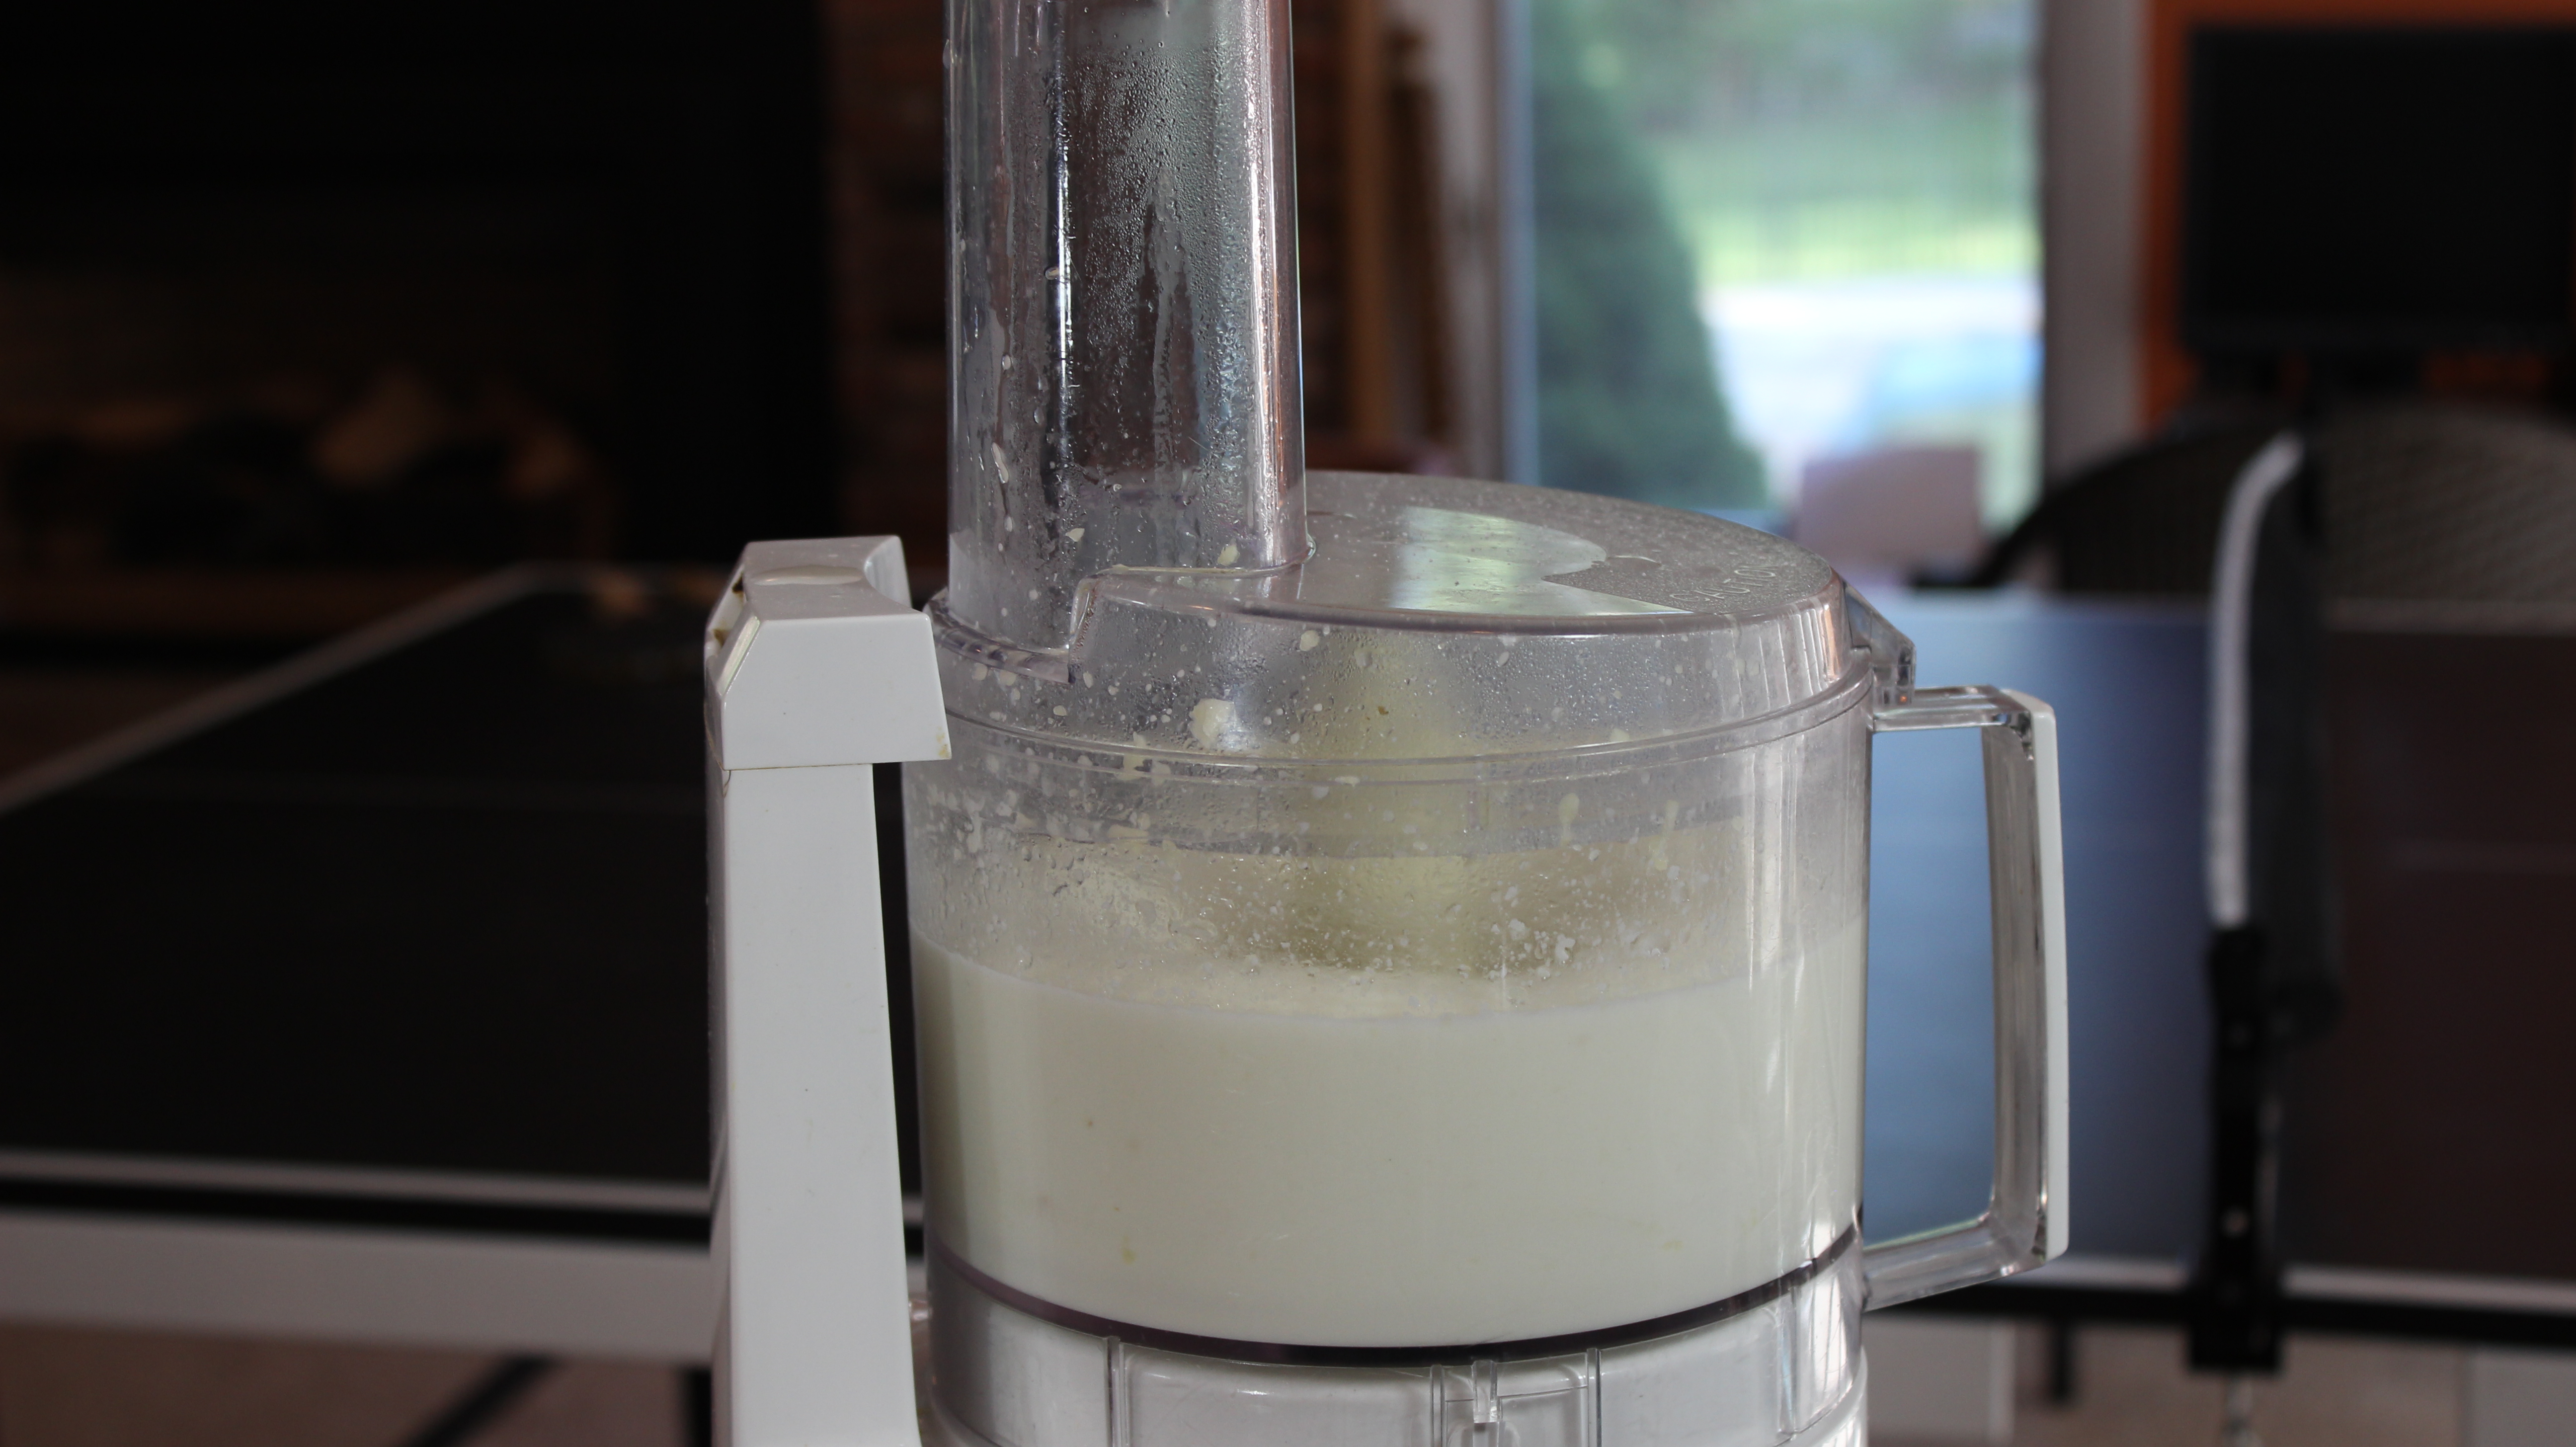
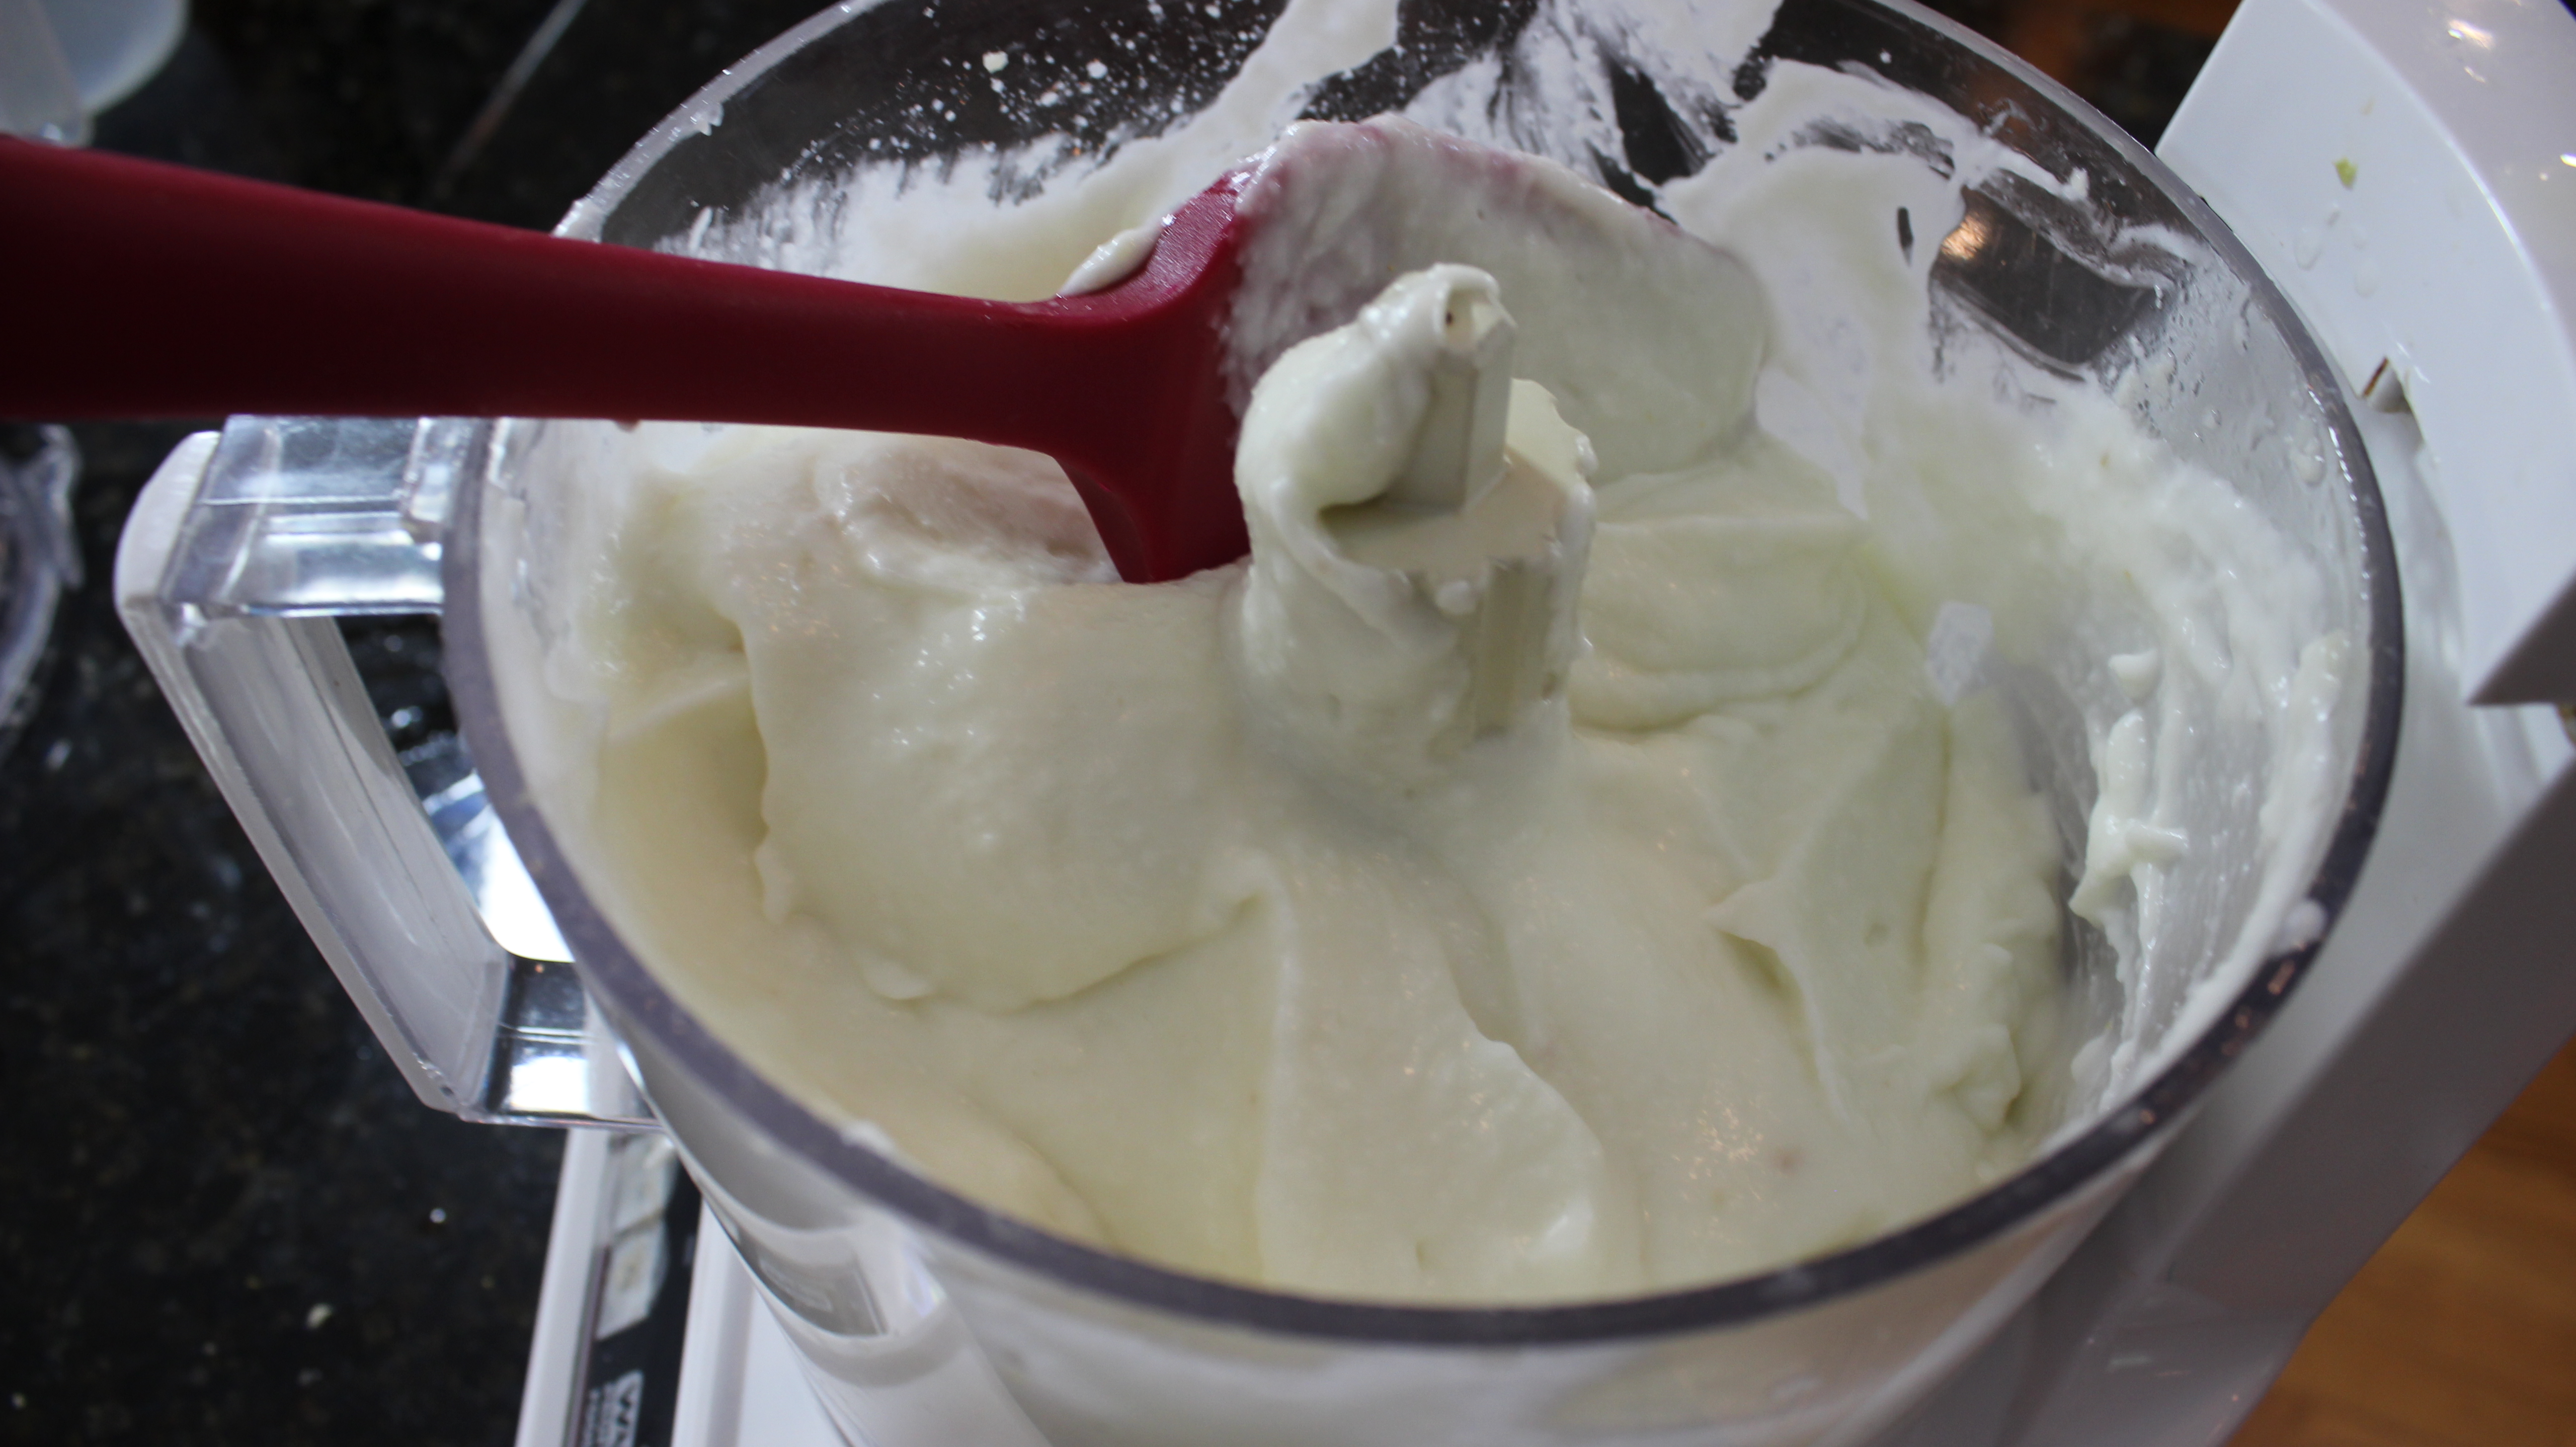
- Add egg yolk to large glass bowl
- Add in Dijon, lemon zest, lemon juice, shallots, garlic
- Whisk to mix
- Begin to drizzle in olive oil, then switch to grape seed oil all awhile whisking constantly to emulsify ingredients into thick texture
- Add s & p to taste and set aside


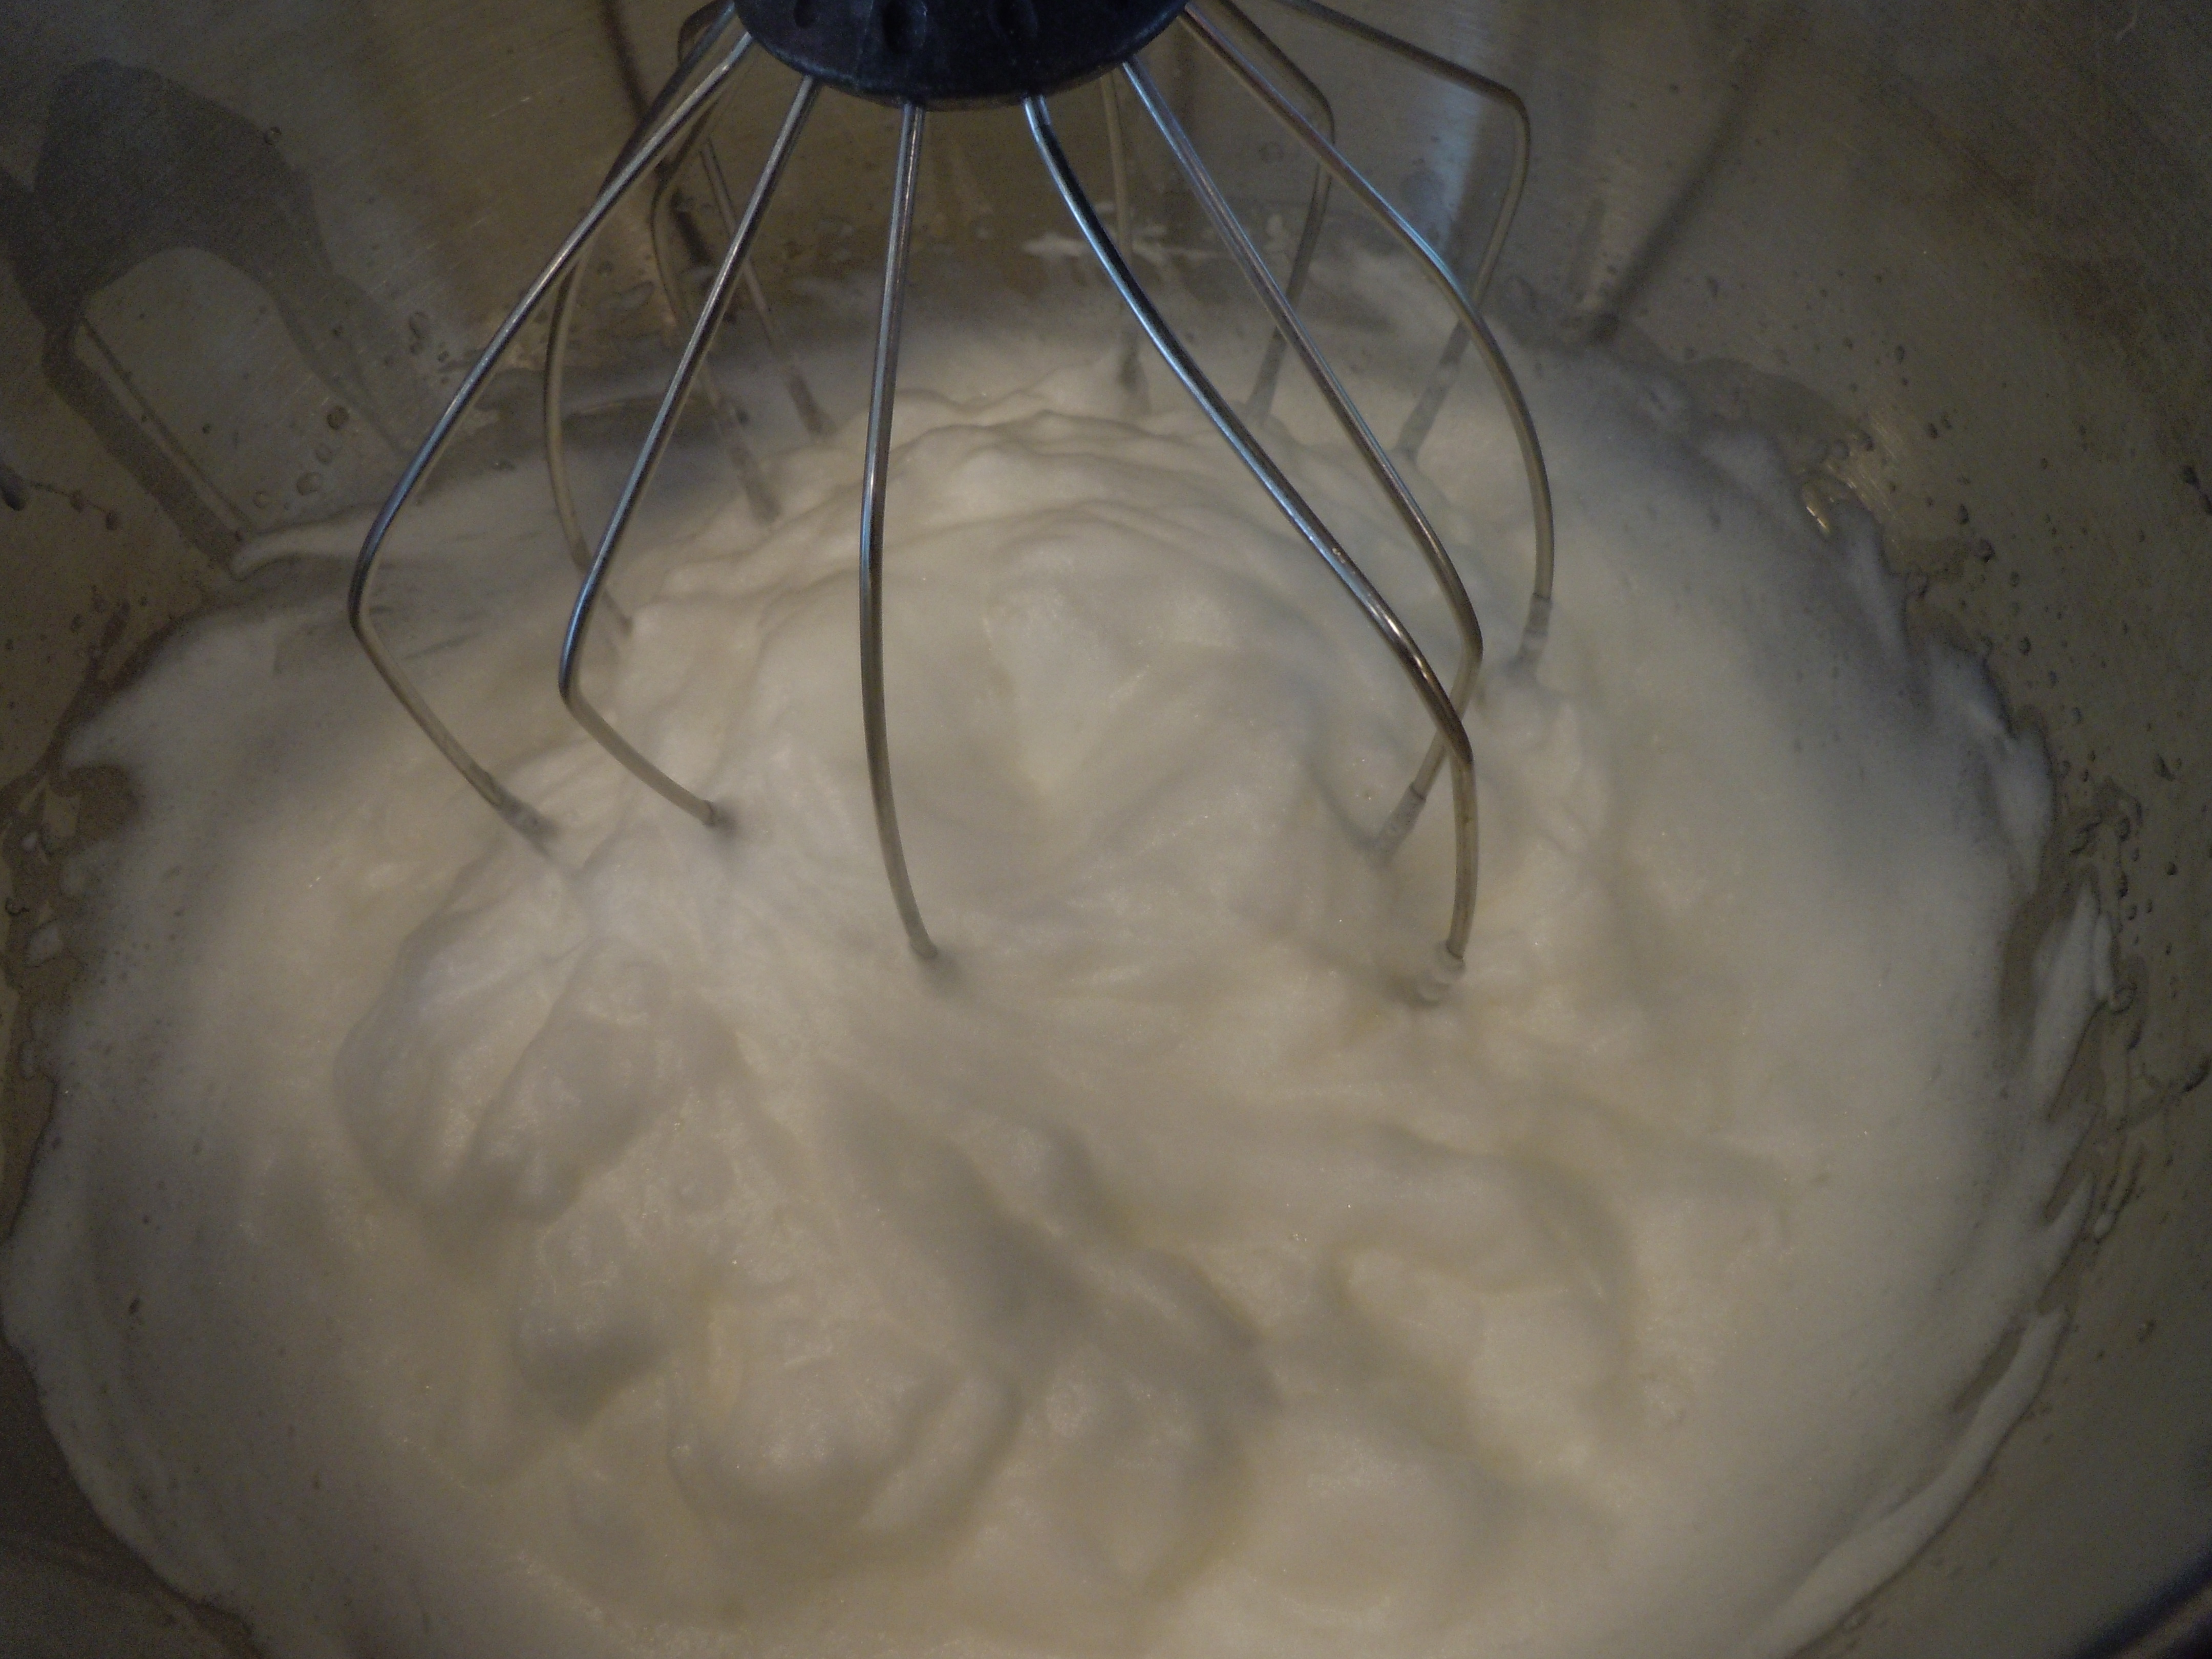
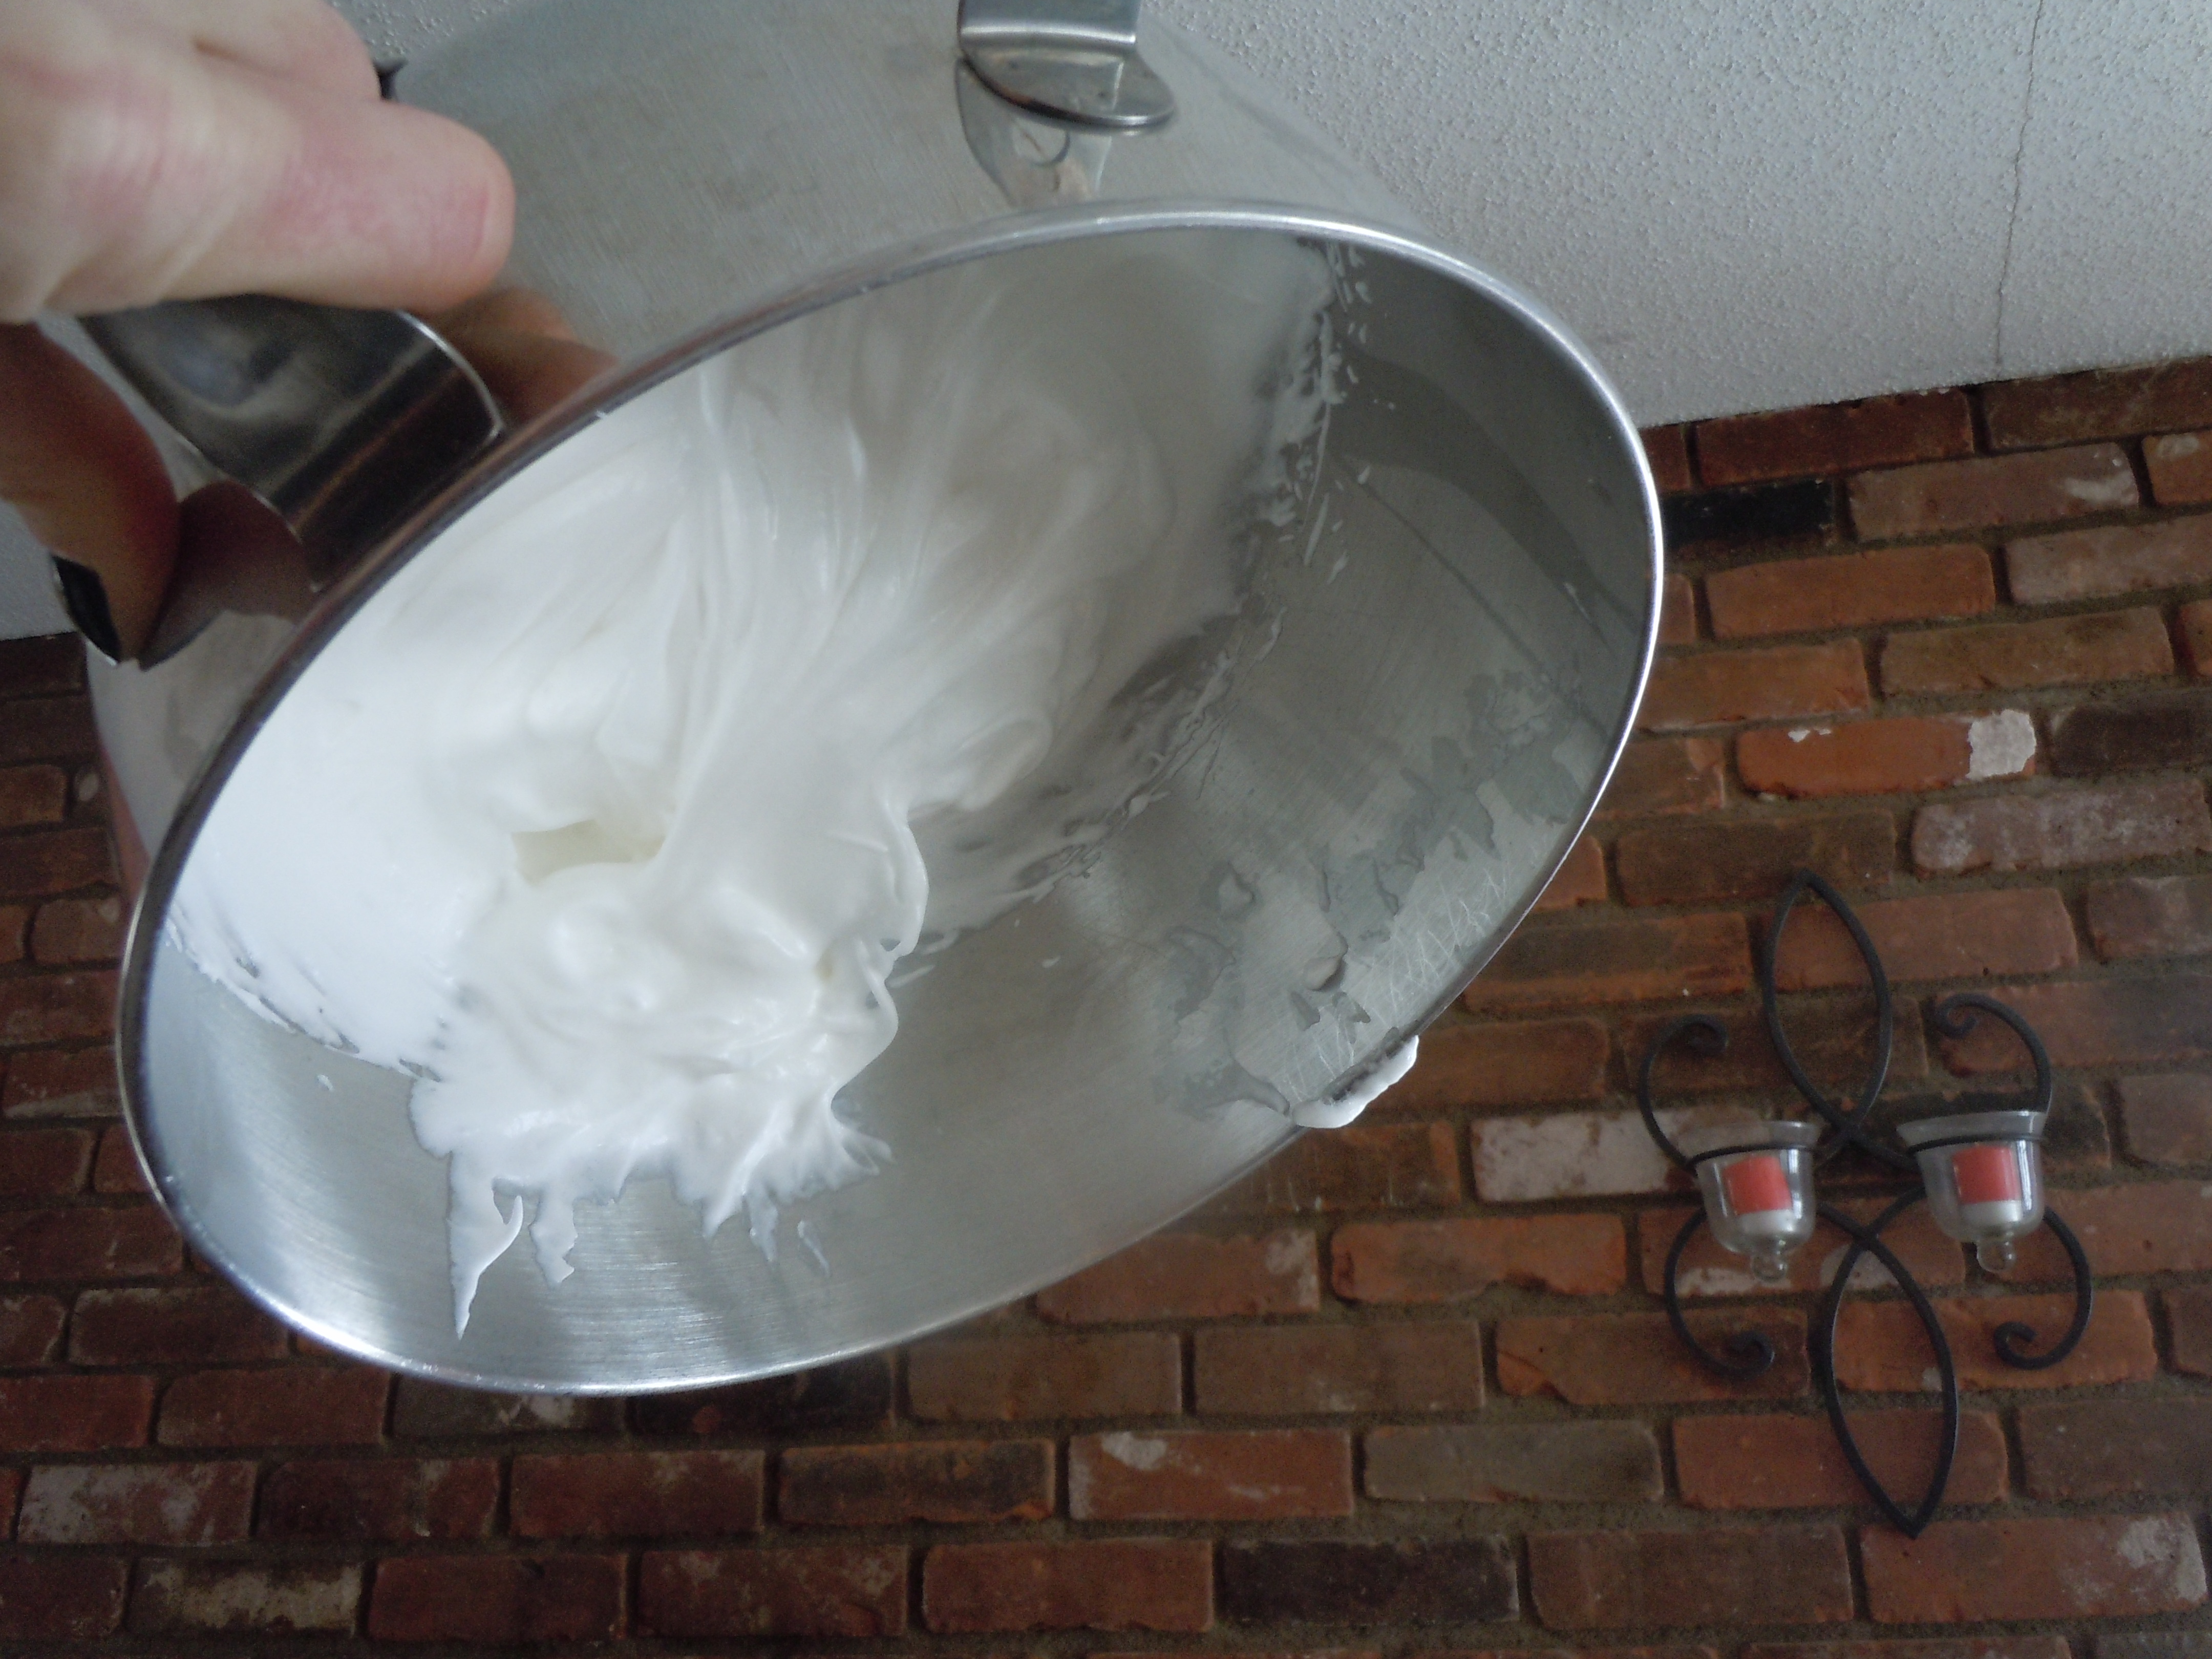
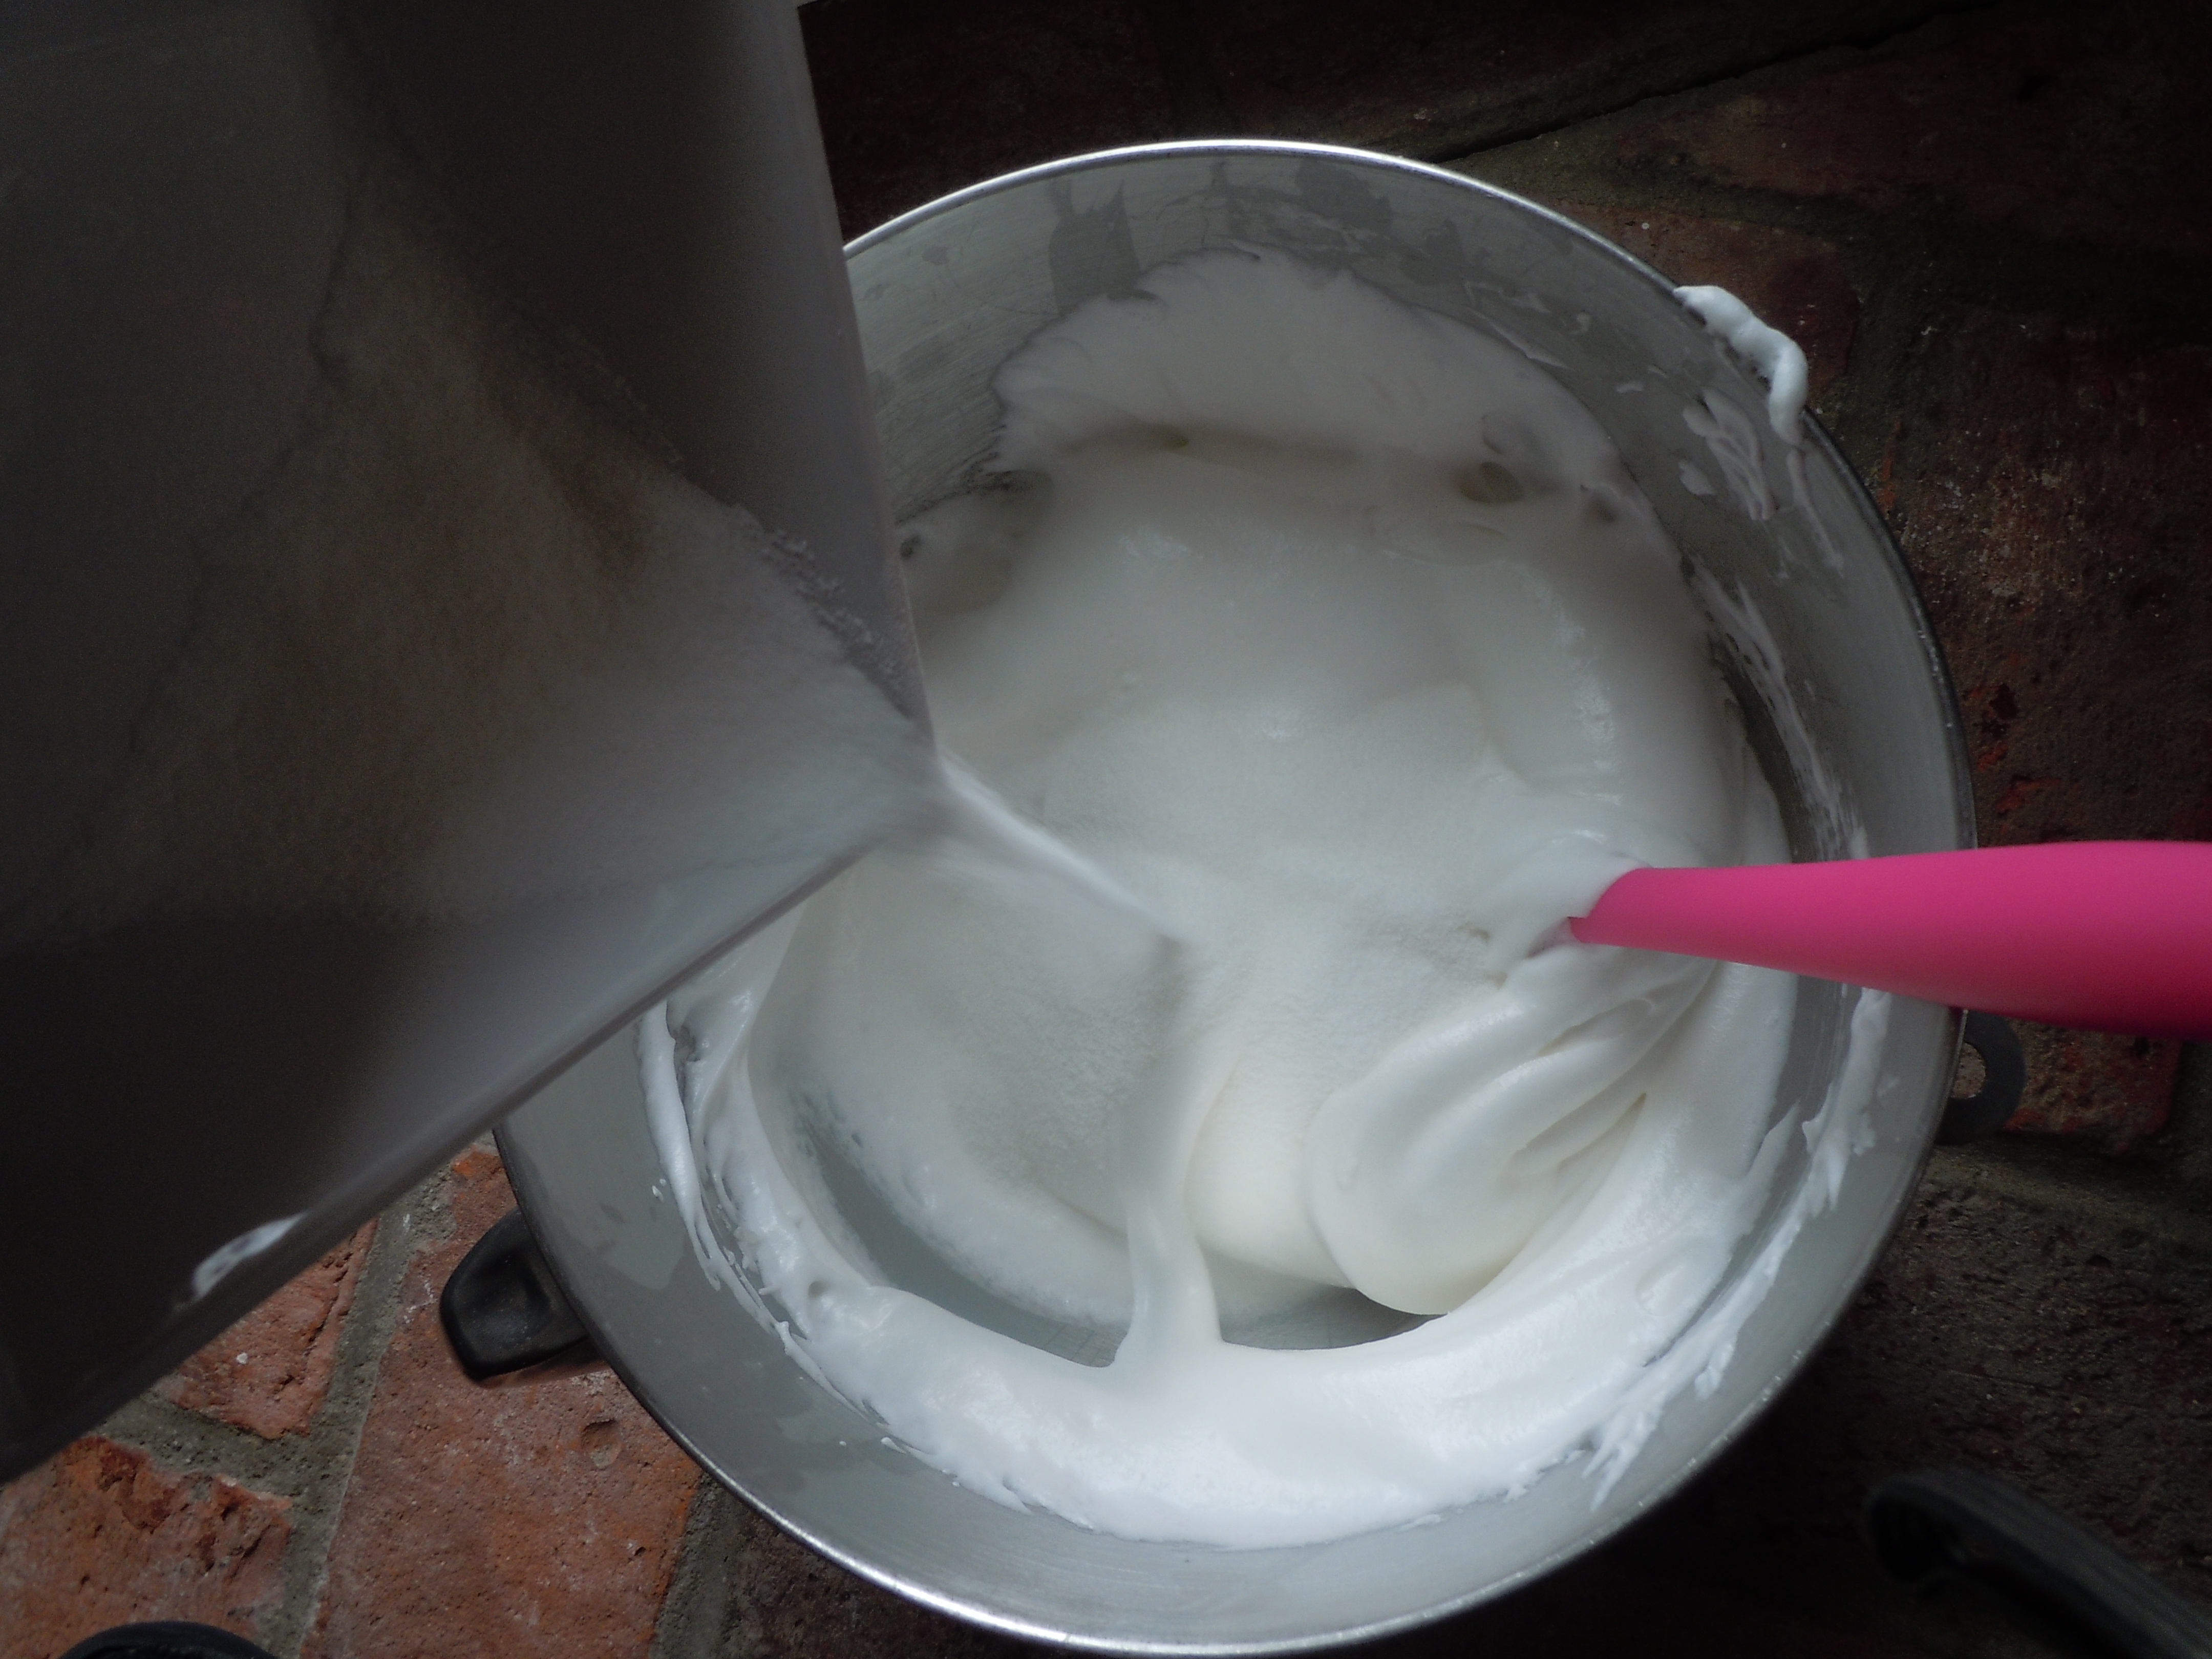

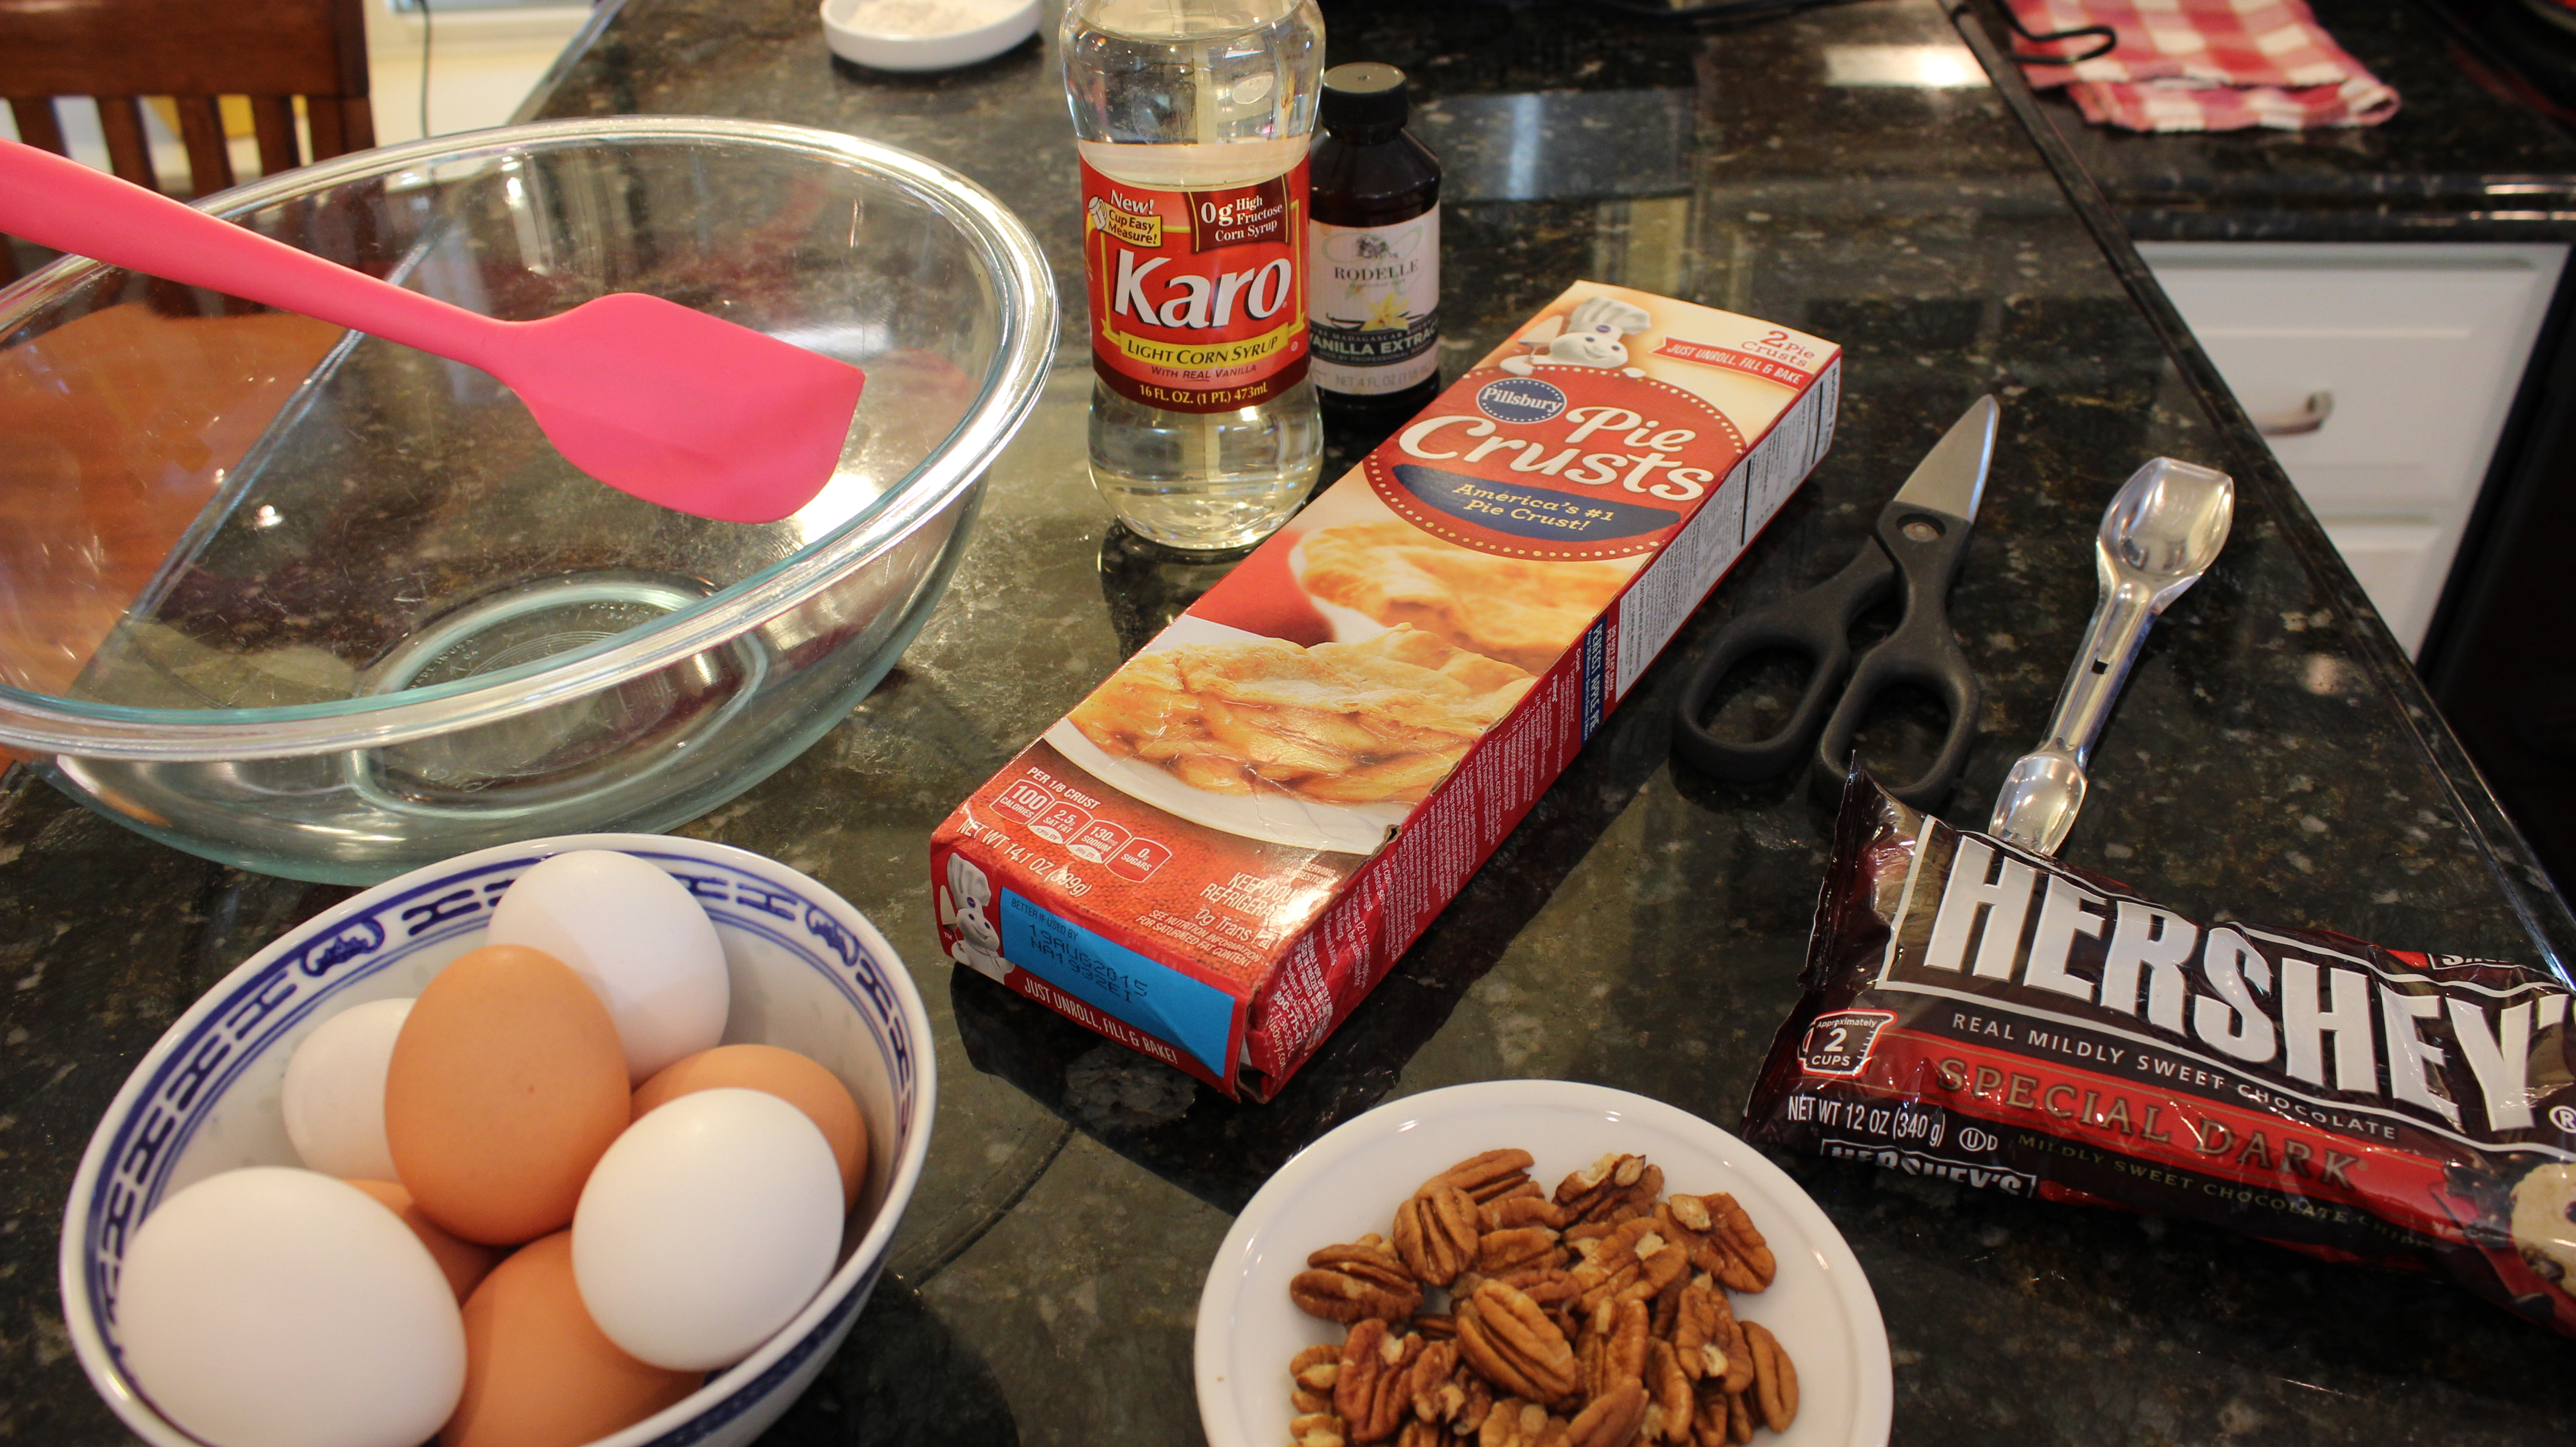
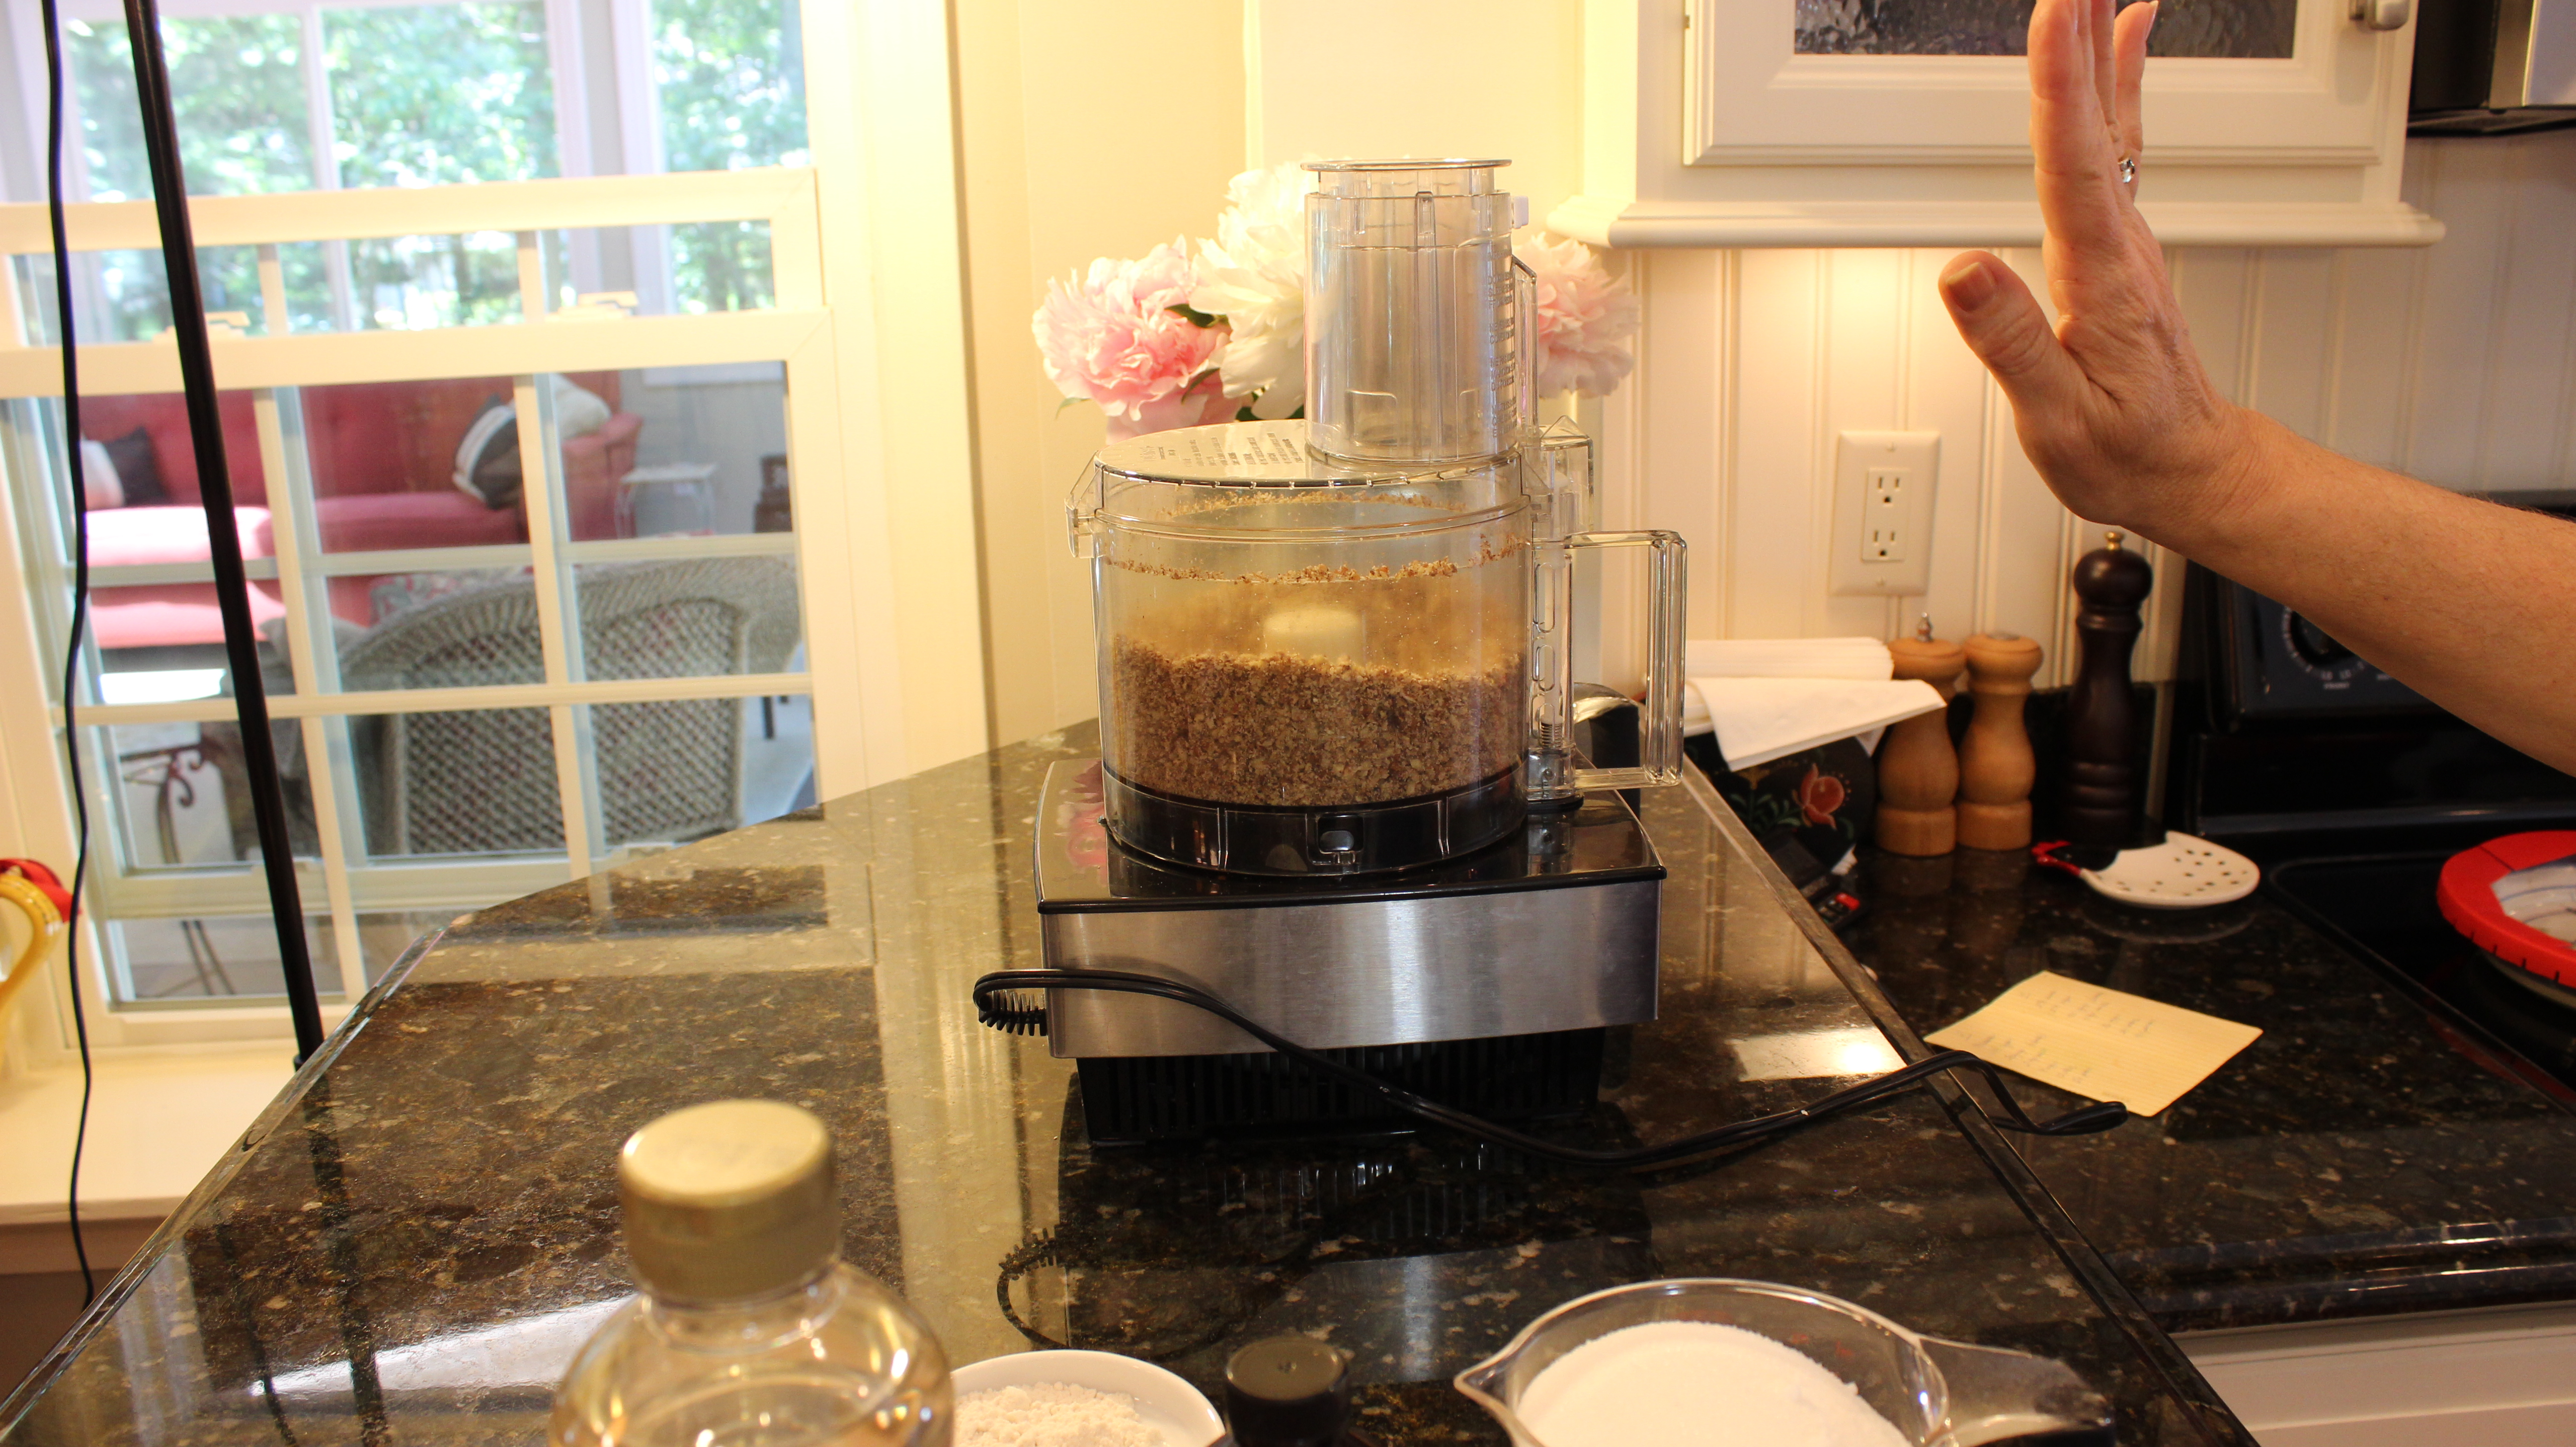
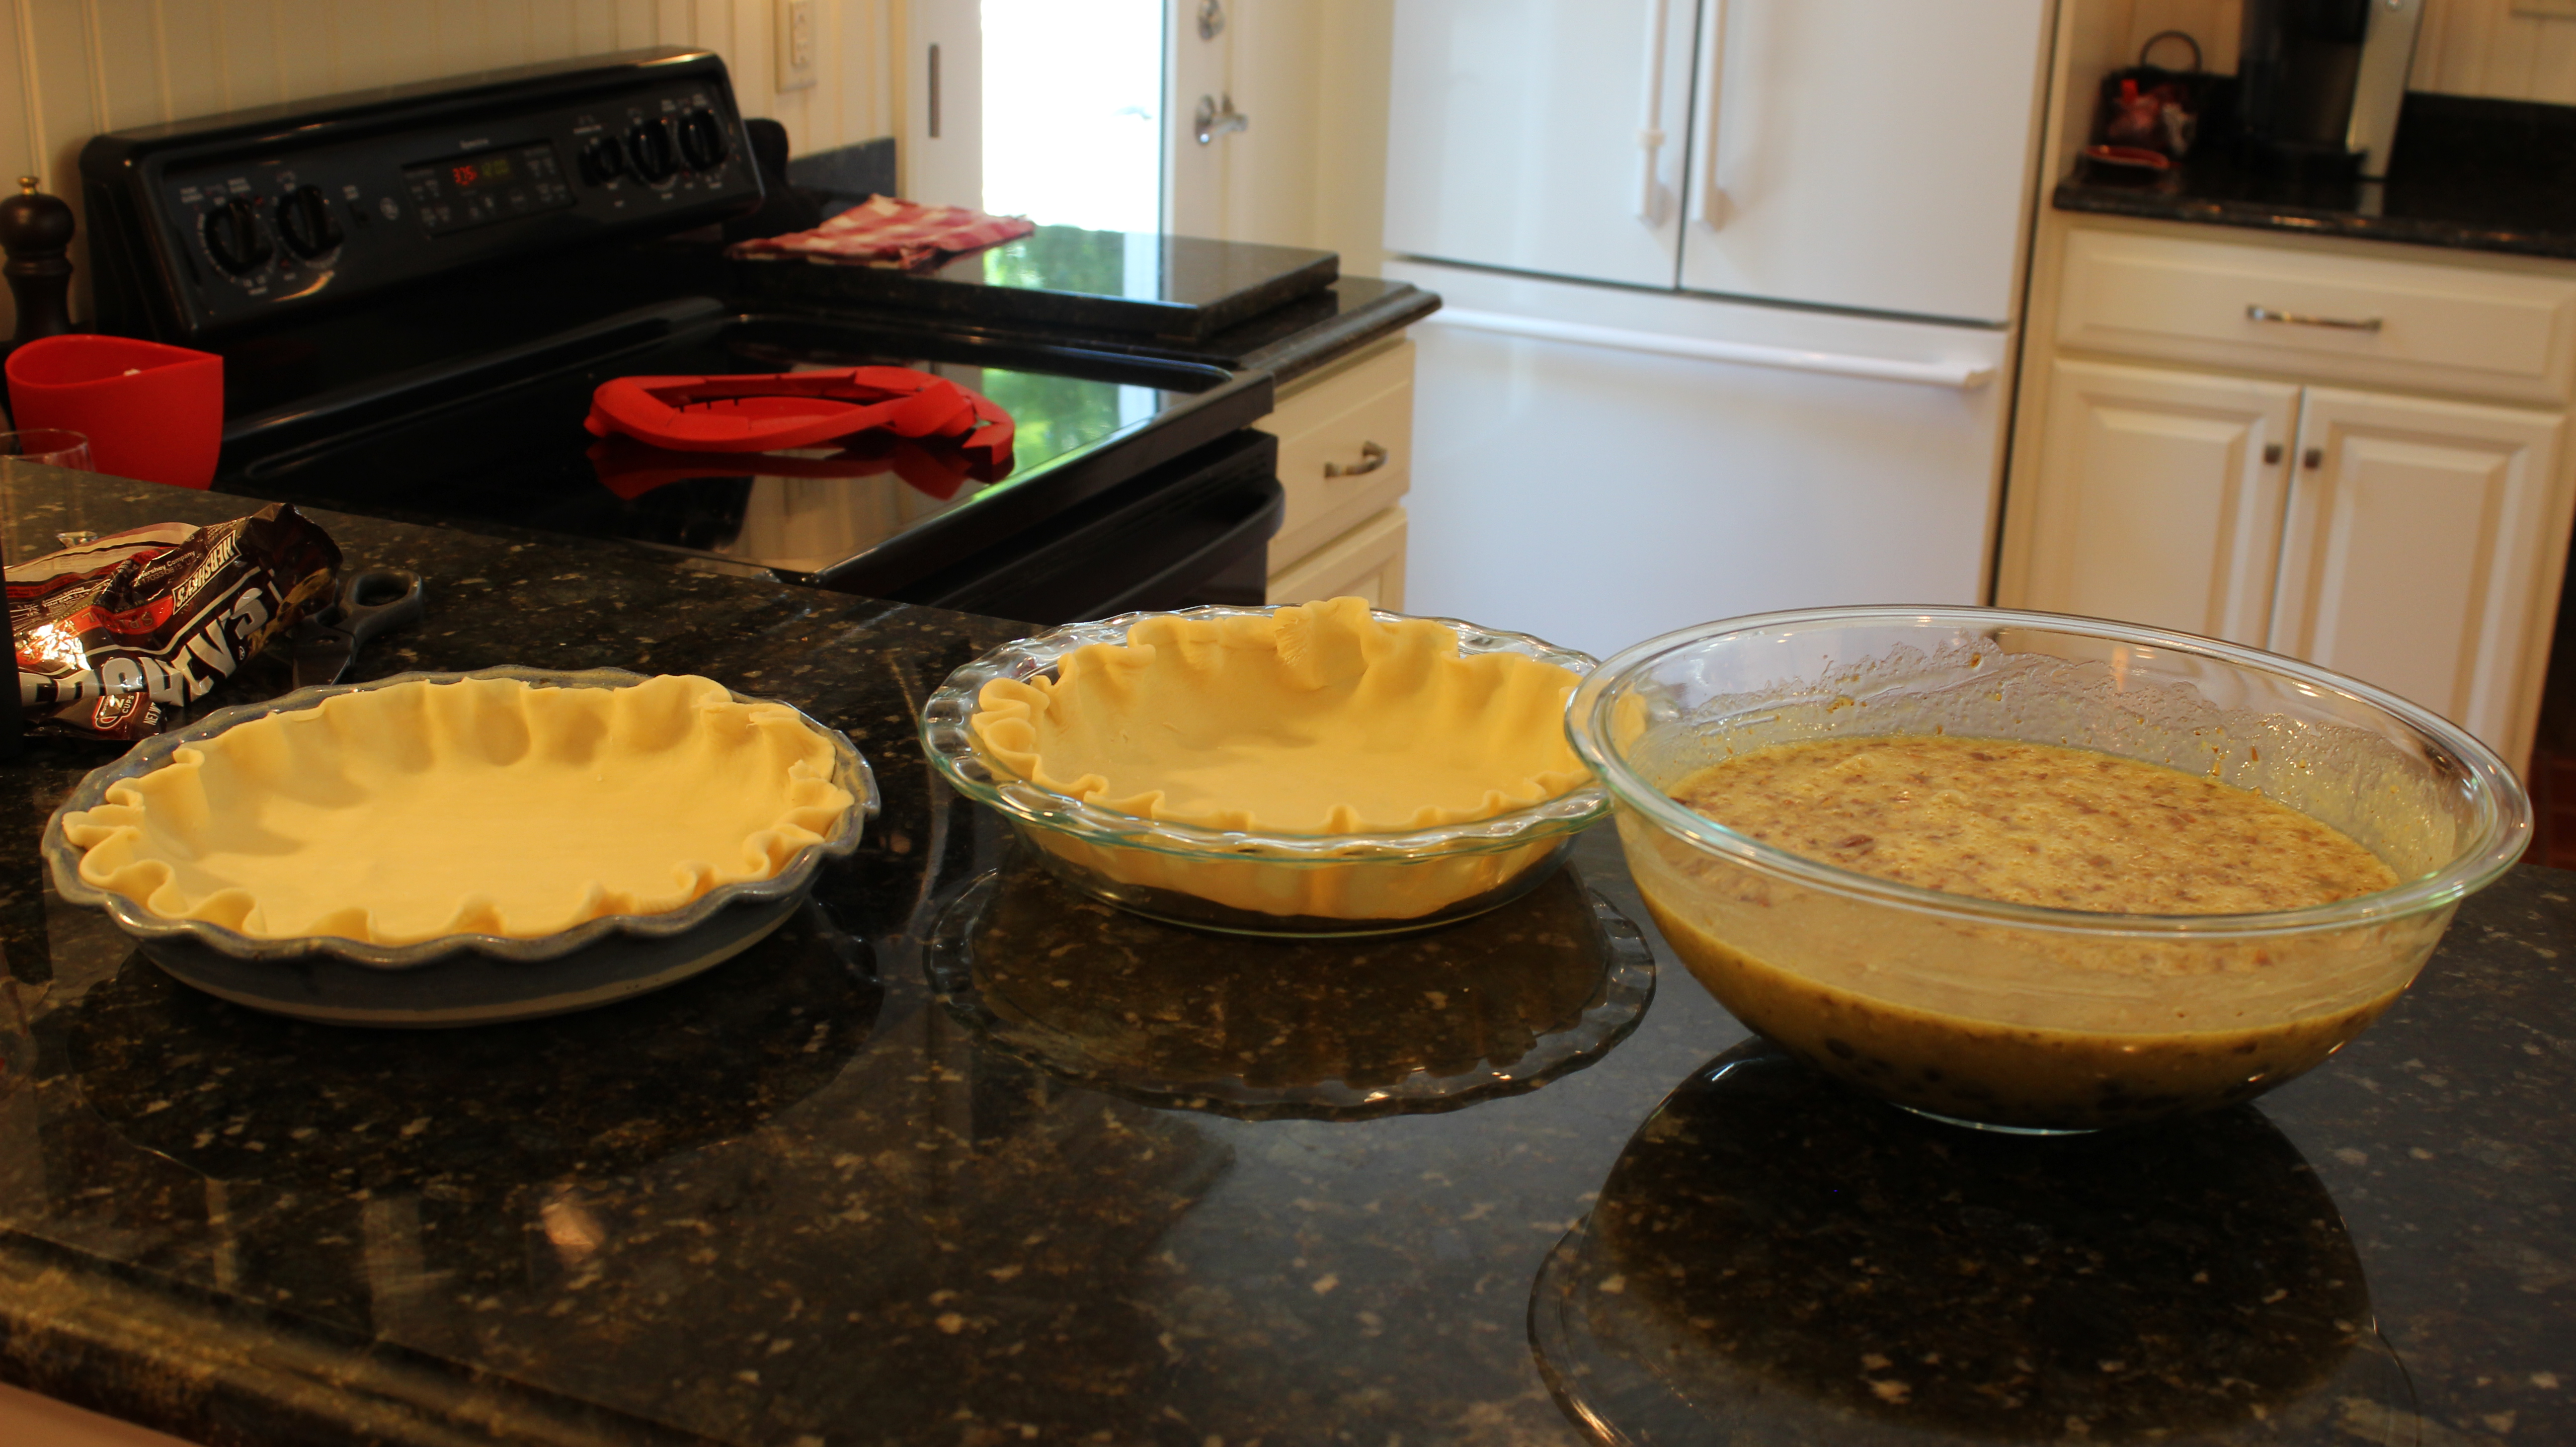
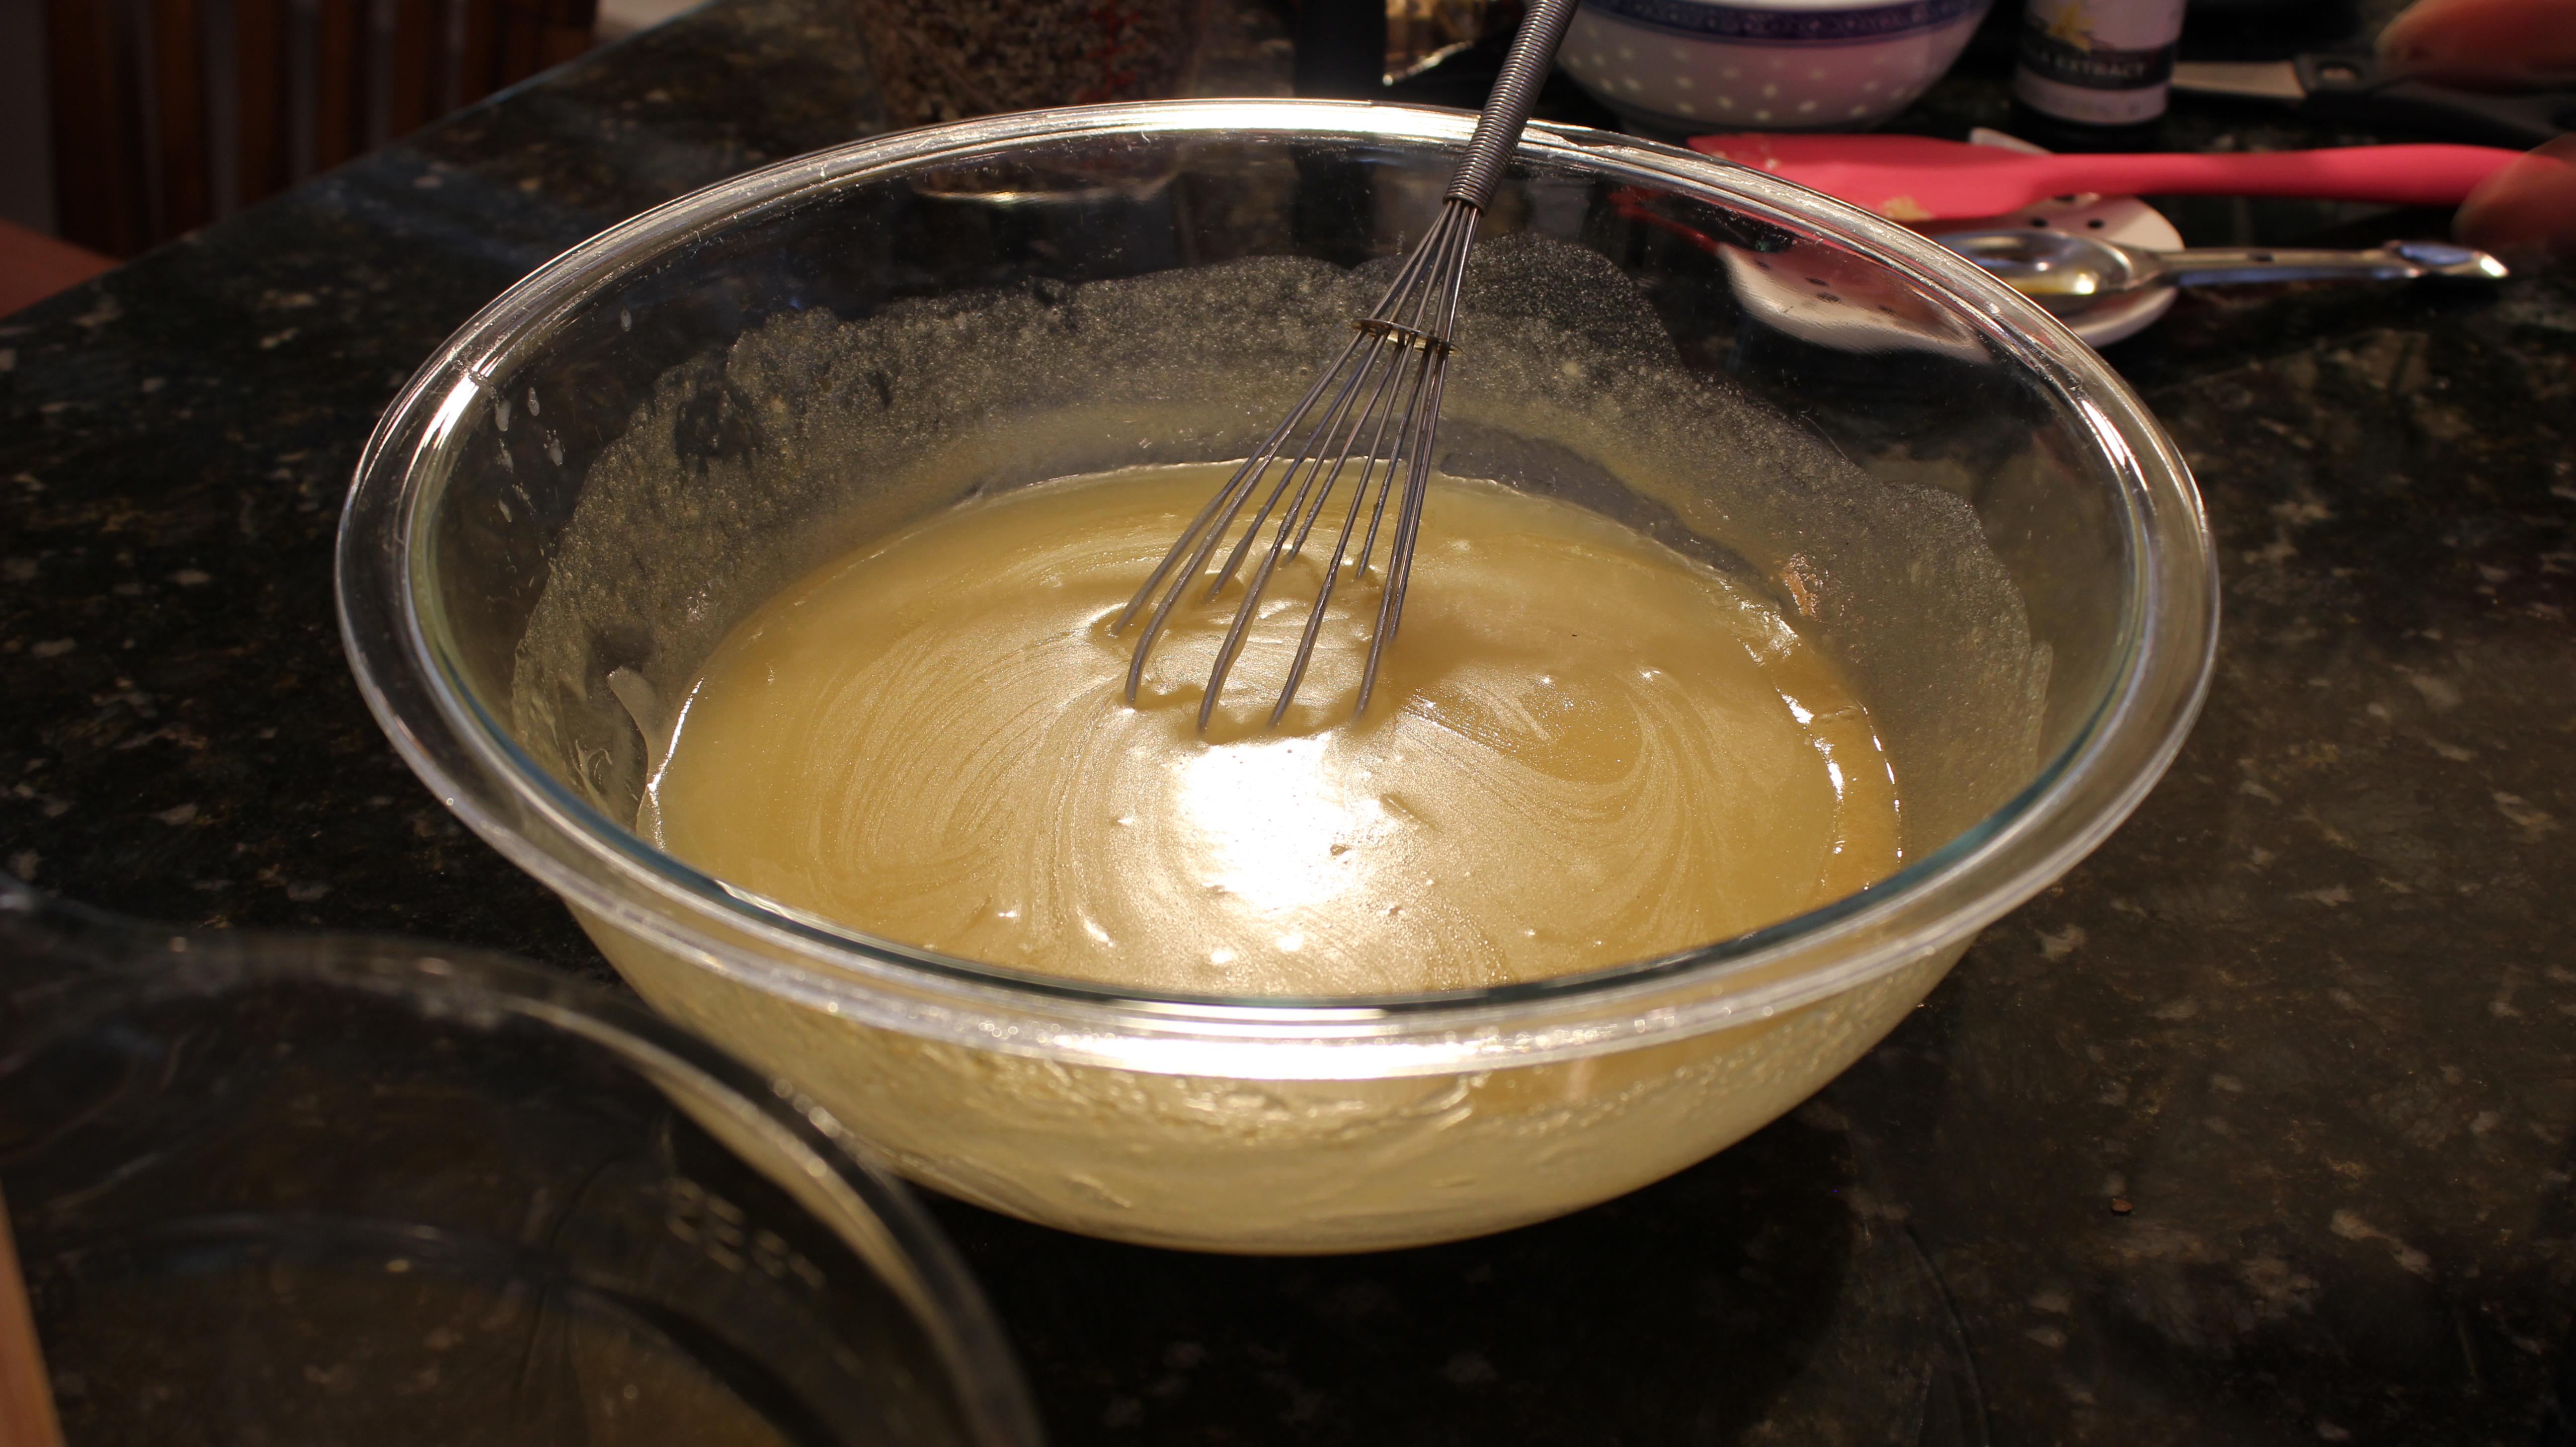
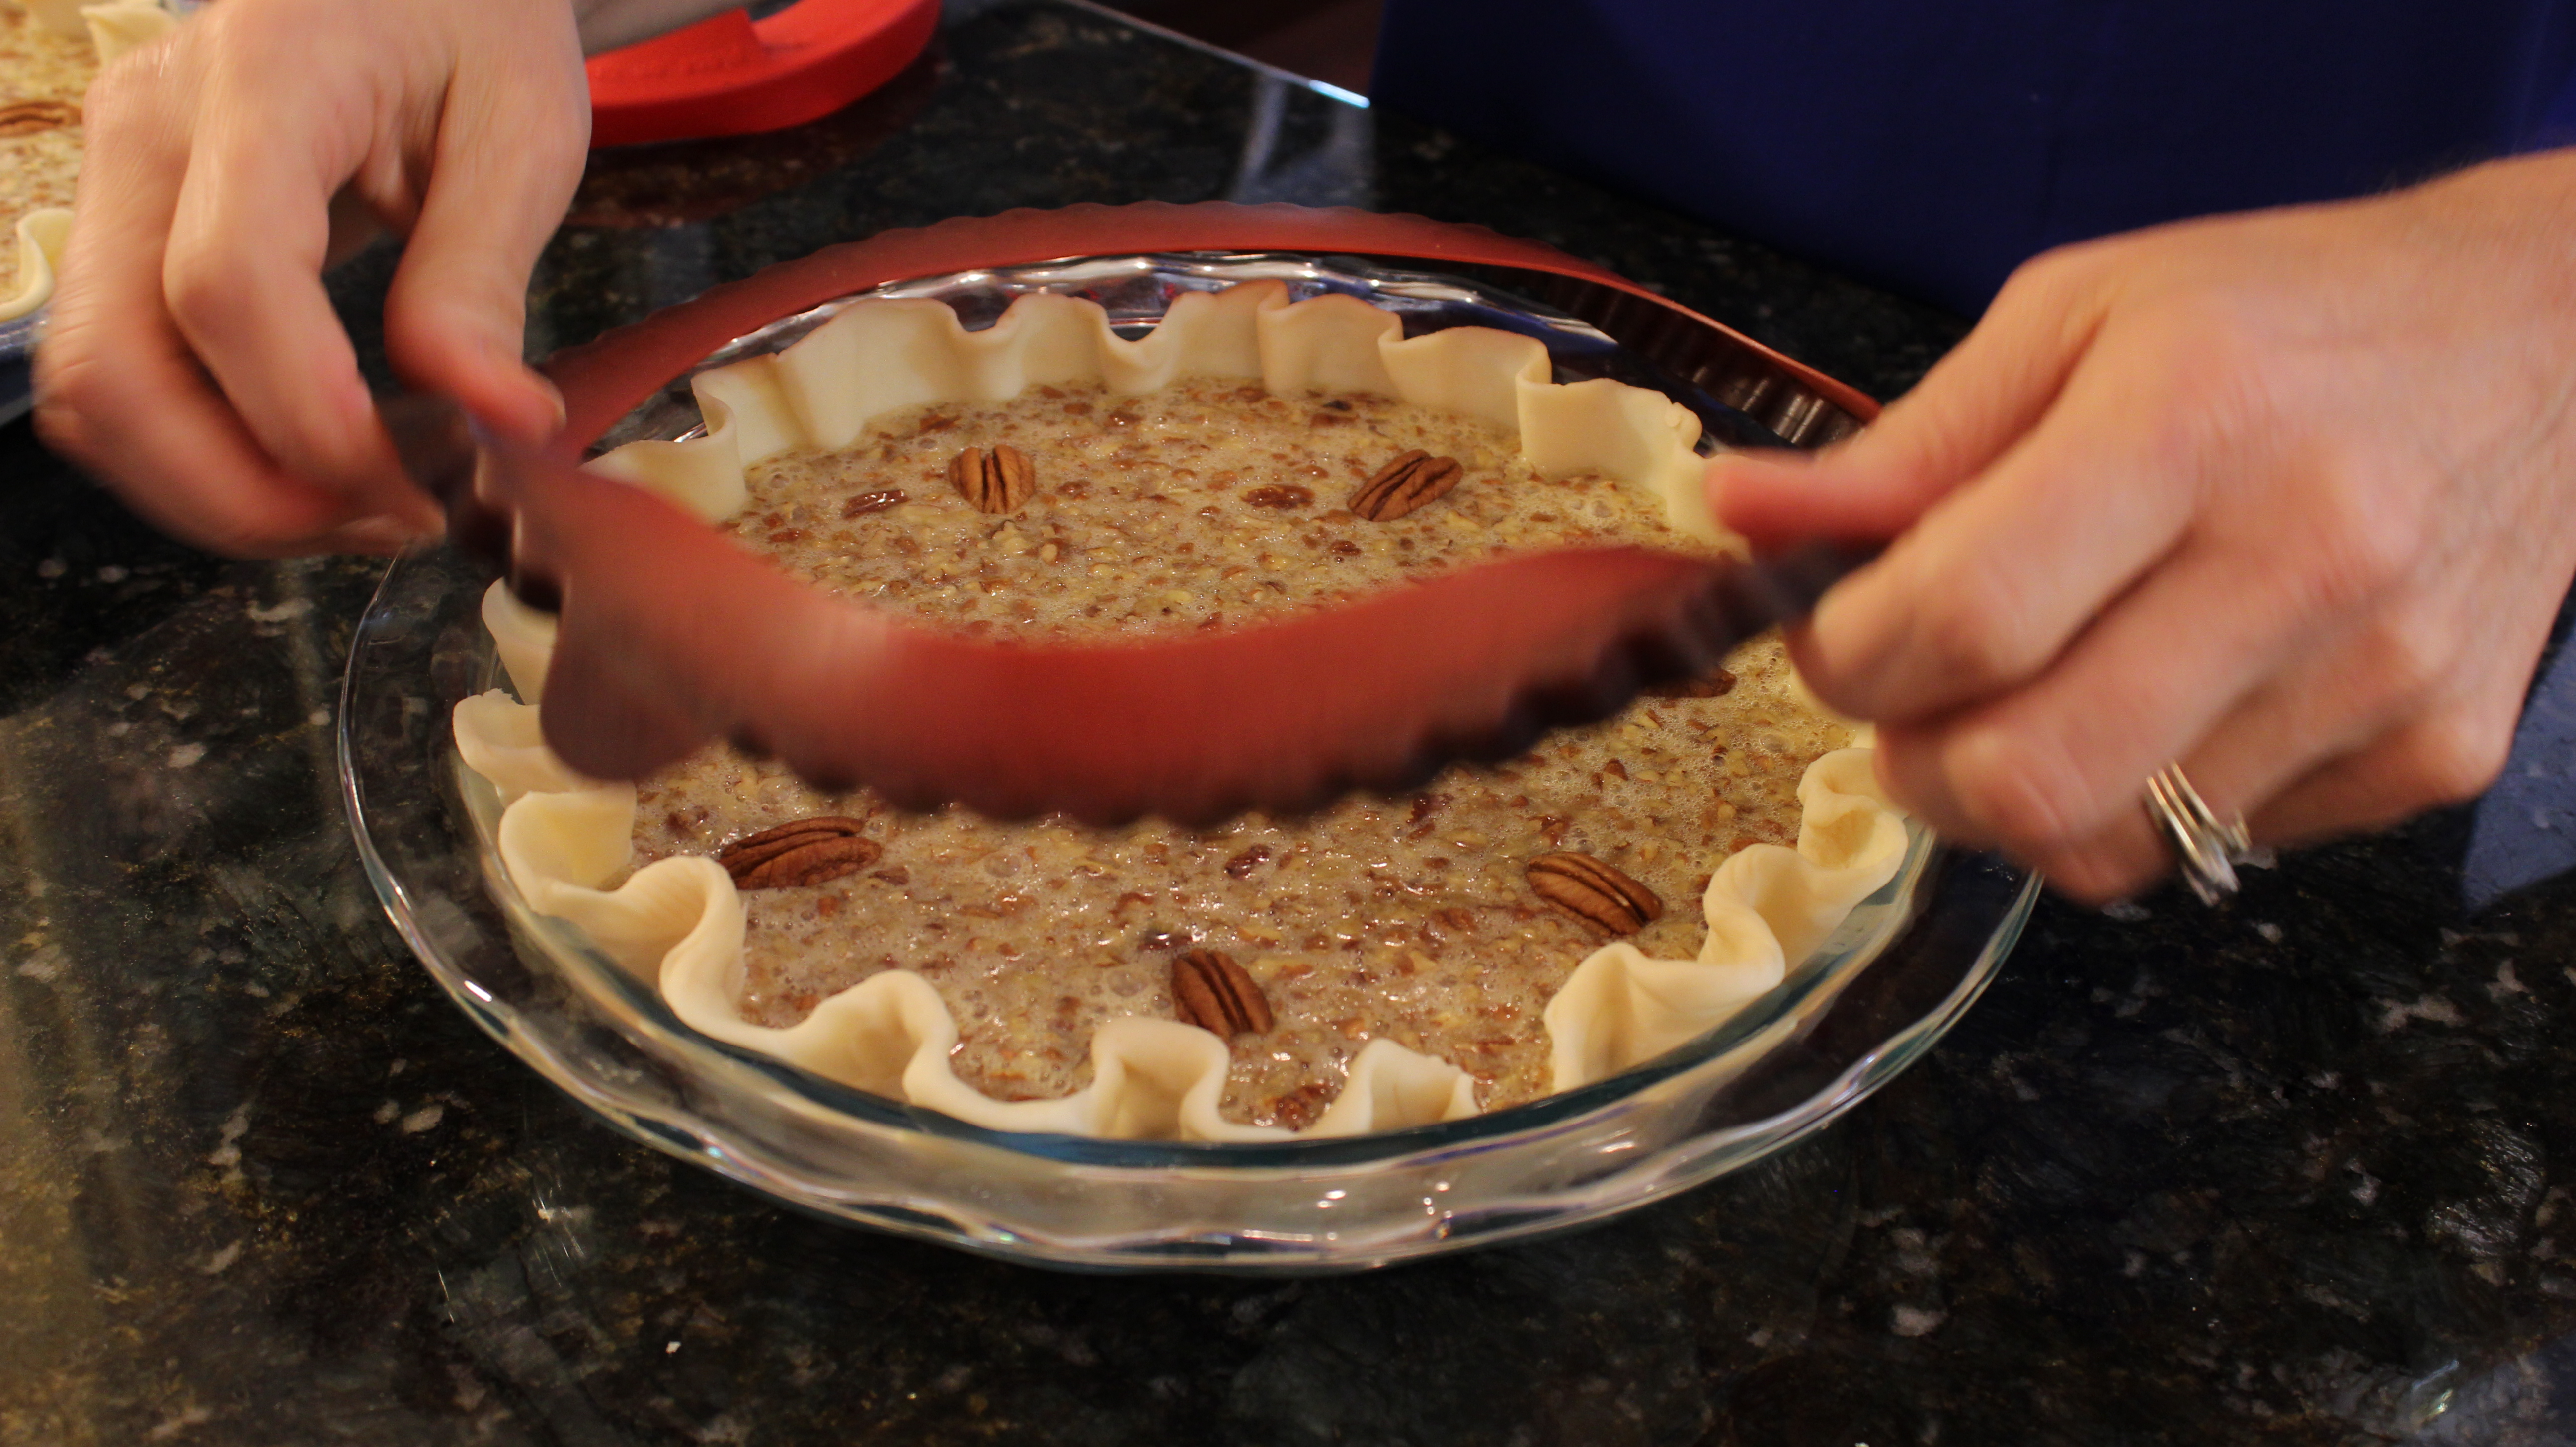
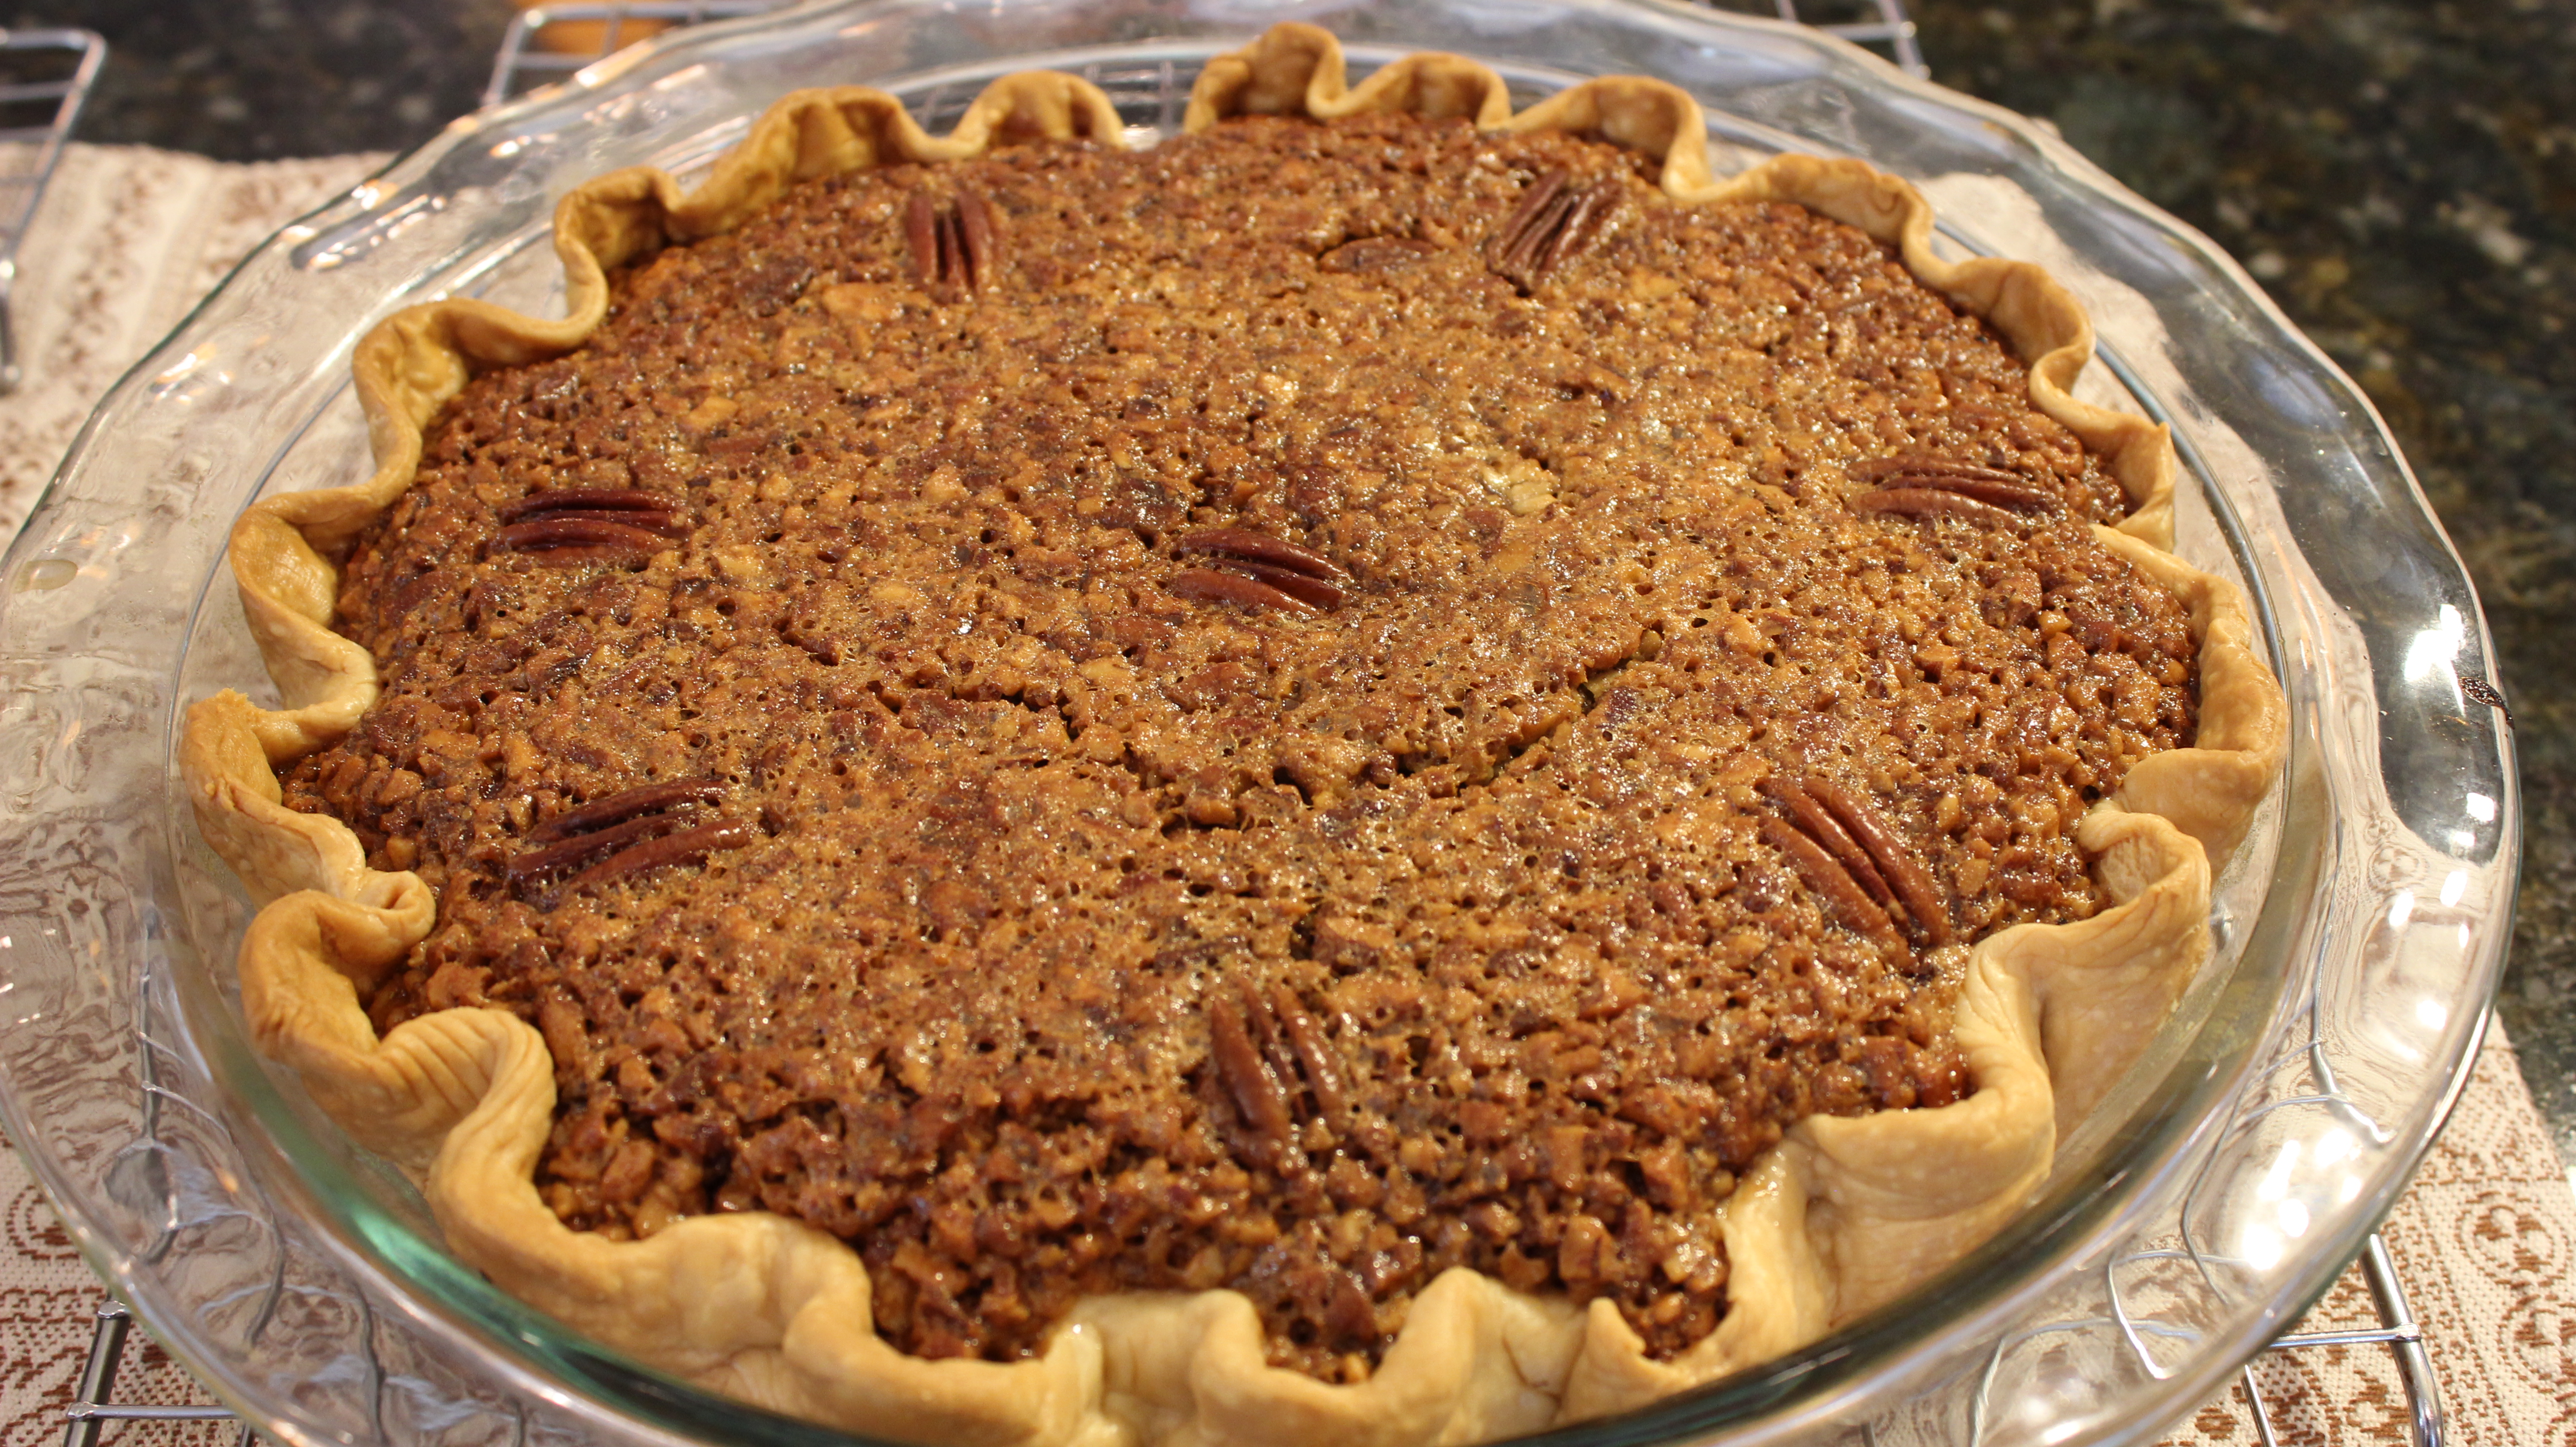
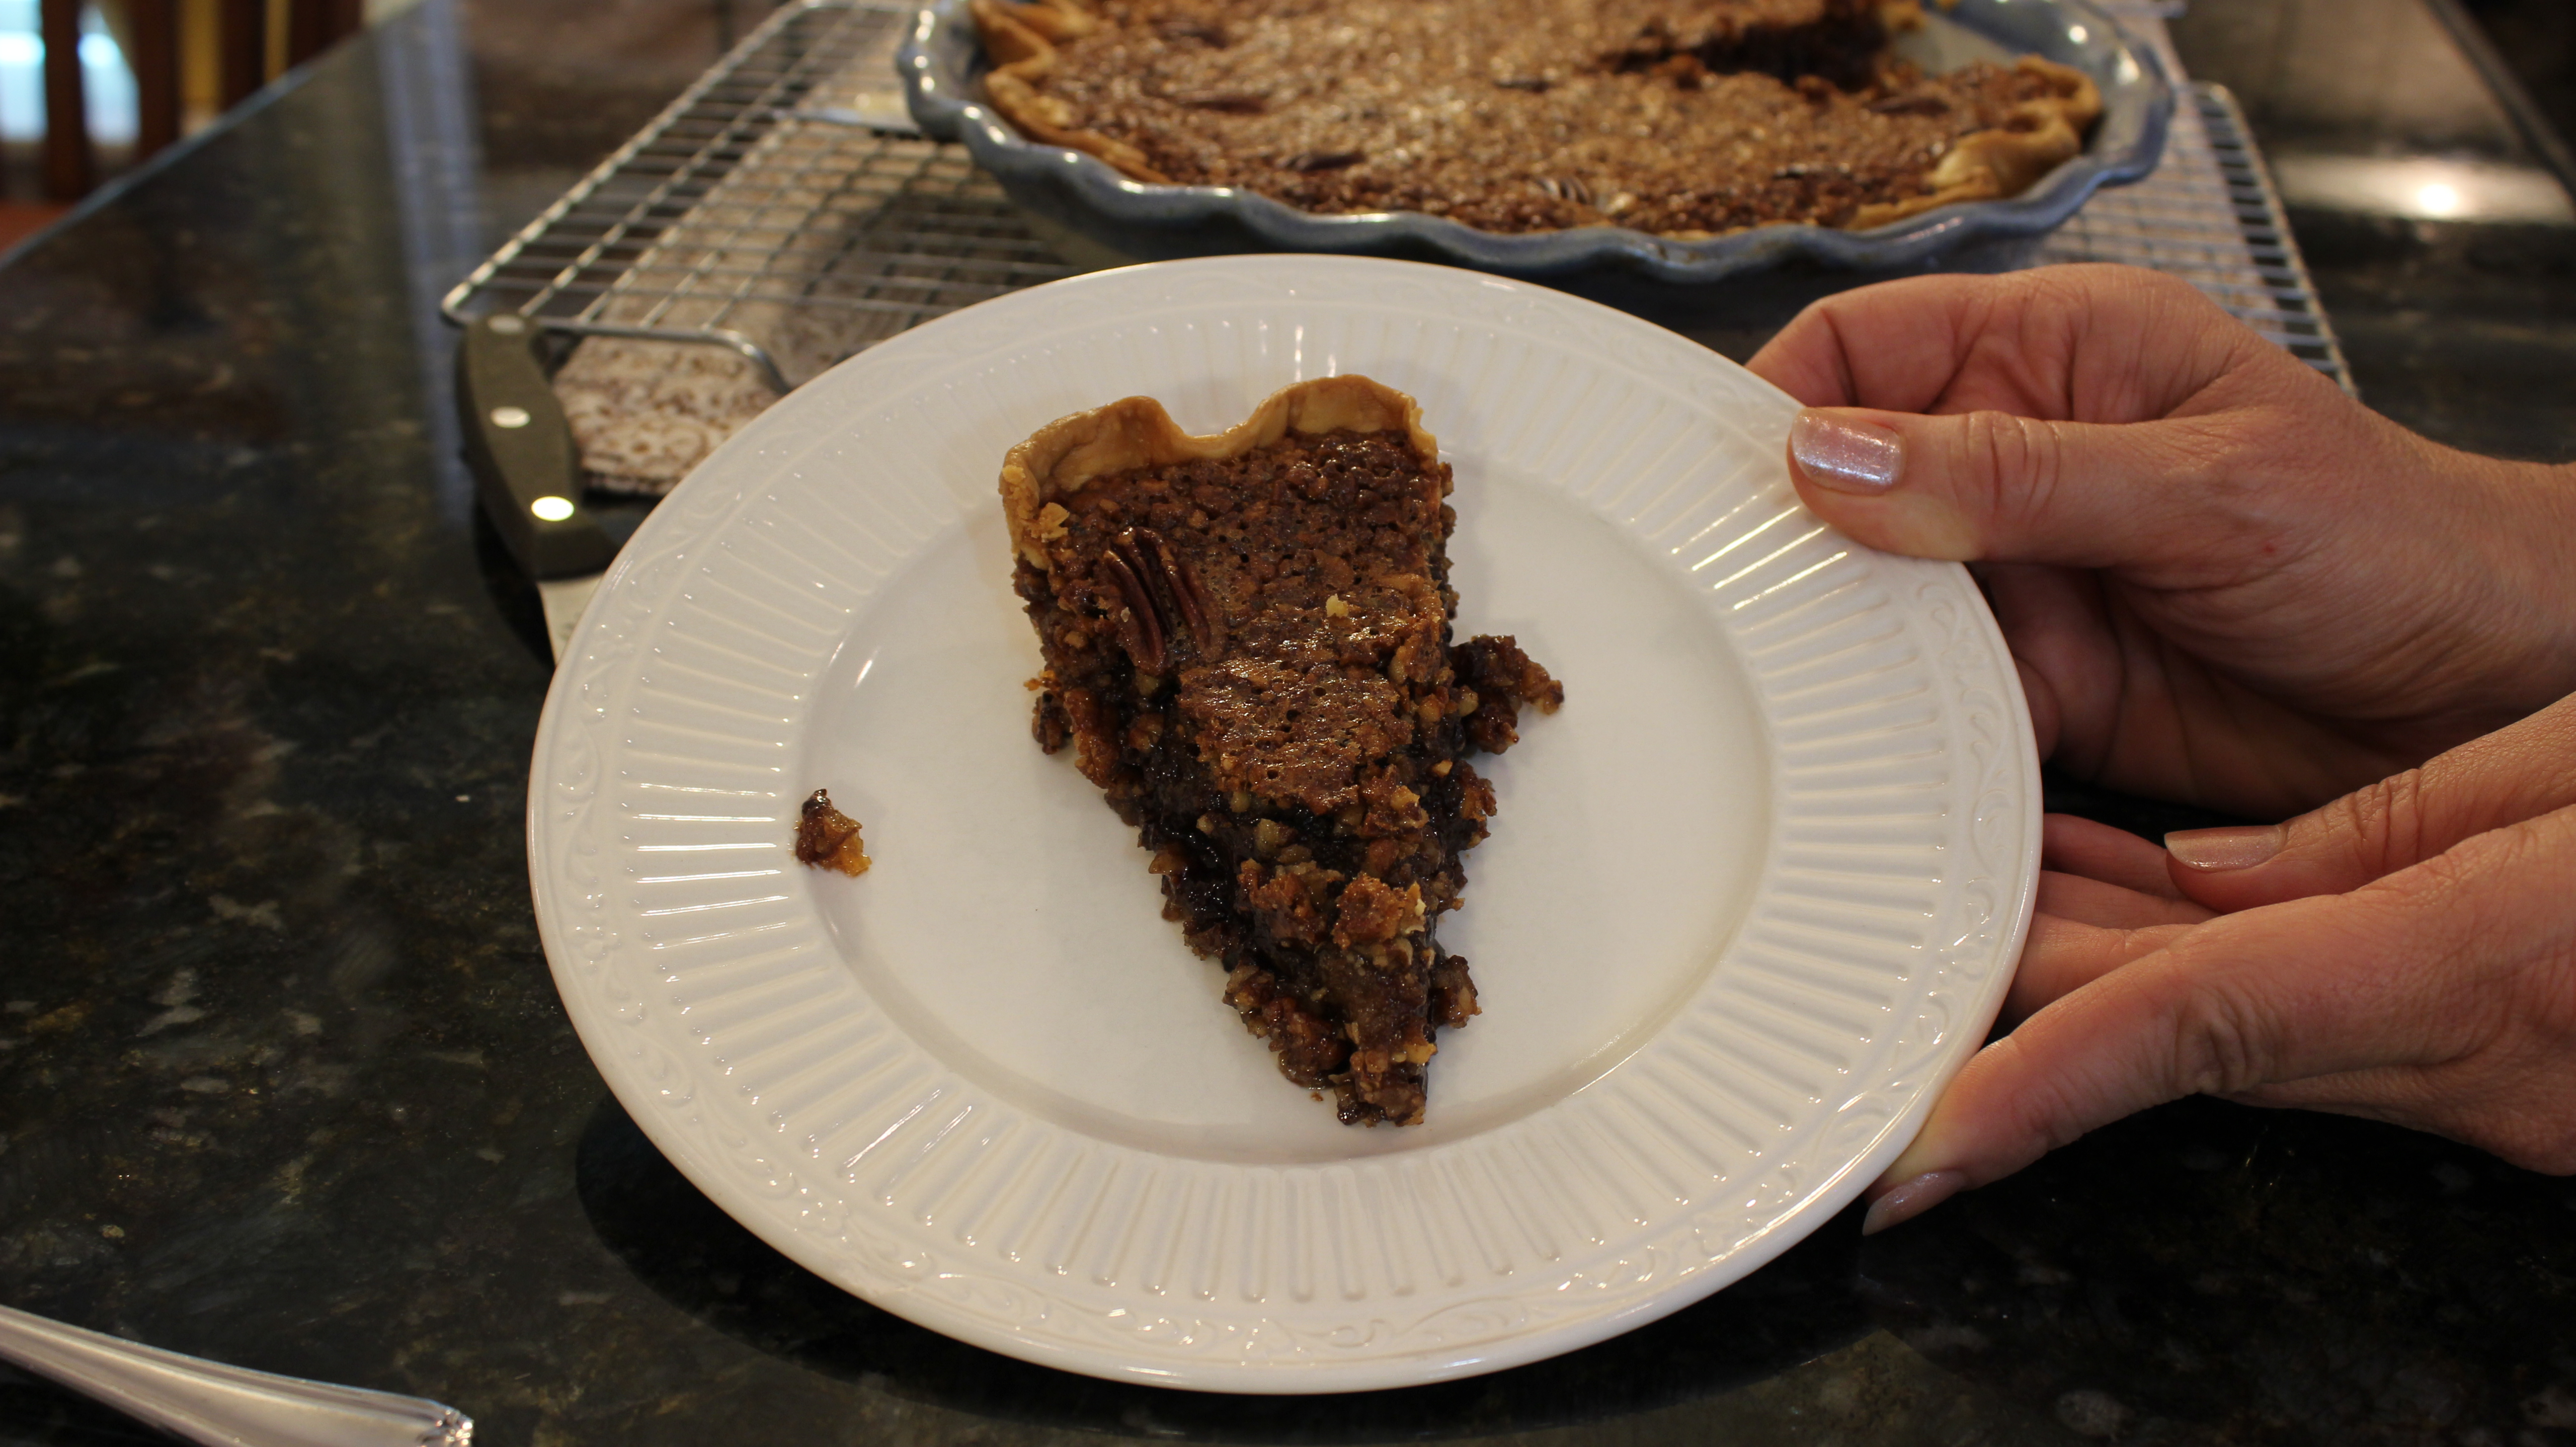
 Barbara’s homemade chocolate pecan pie is like nothing you’ve had before. Not only do you get that gooey texture with a hint of nutty caramel because it’s a pecan pie but a chocolaty finish slides right on in and makes you say wow! Gooey, nutty, caramel, chocolate …need I say MORE? In fact, it is plenty chocolaty so if you wanted to nibble on those “special dark” Hershey’s chocolate chips while you are making the pie feel free it wouldn’t make the pie any less delicious.
 This truly is a labor of love for Barbara and I’m very grateful to have become a part of this amazing tradition and see first hand how inspirational she is. You can see for yourself and hear some of the extremely funny stories that go along with Barbara’s pie making in my “Homemade Chocolate Pecan Pie Show” above. I hope you enjoy the show and now you too can make this
  homemade chocolate pecan pie part of your family tradition. If you have the time and are only making a pie or two you can check out my