Green Goddess Sauce ll
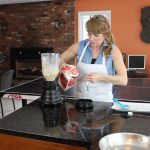
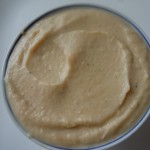
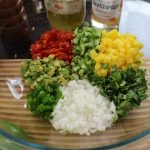
Having my green goddess sauce ll at your next party will be sure to turn heads. It’s kind of like wearing a new party dress! This green goddess sauce is made in mere minutes in a blender. It’s a blend of Greek yogurt, mayo, fresh mint leaves and cilantro, garlic, green onion, lemon juice, olive oil and rice wine vinegar. You don’t even have to waste time chopping finely because it all get puréed anyways!
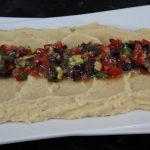
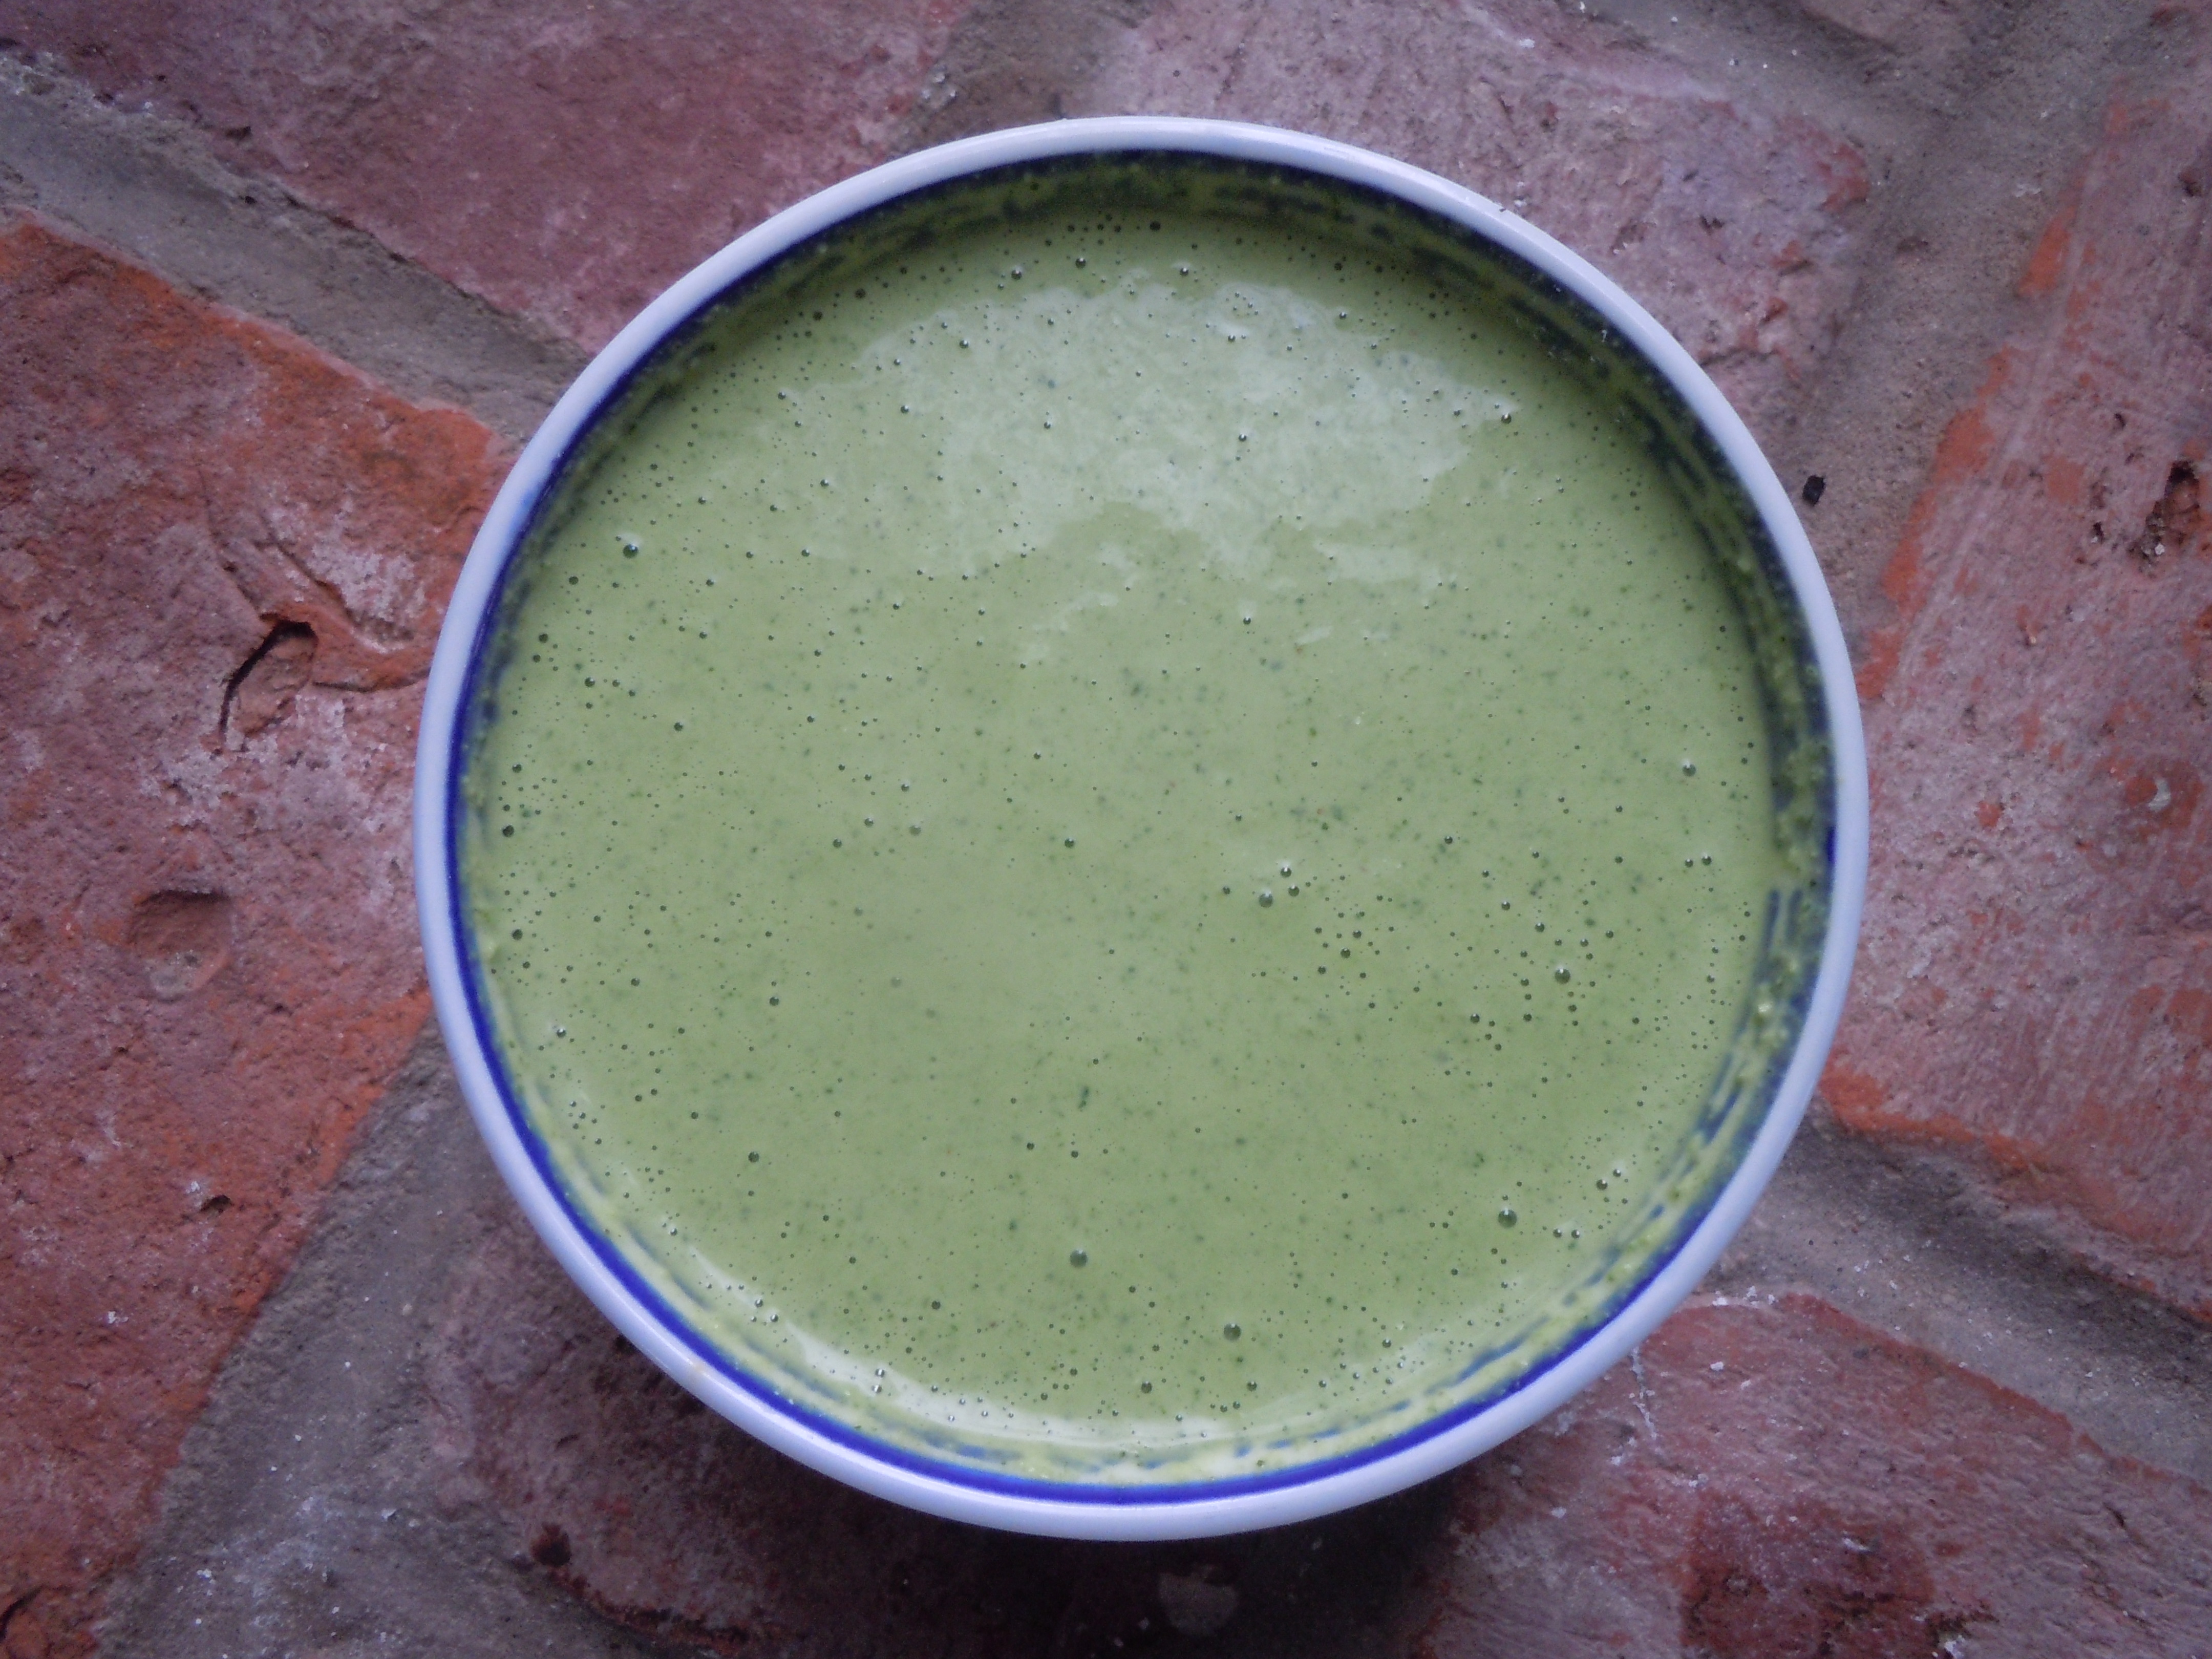
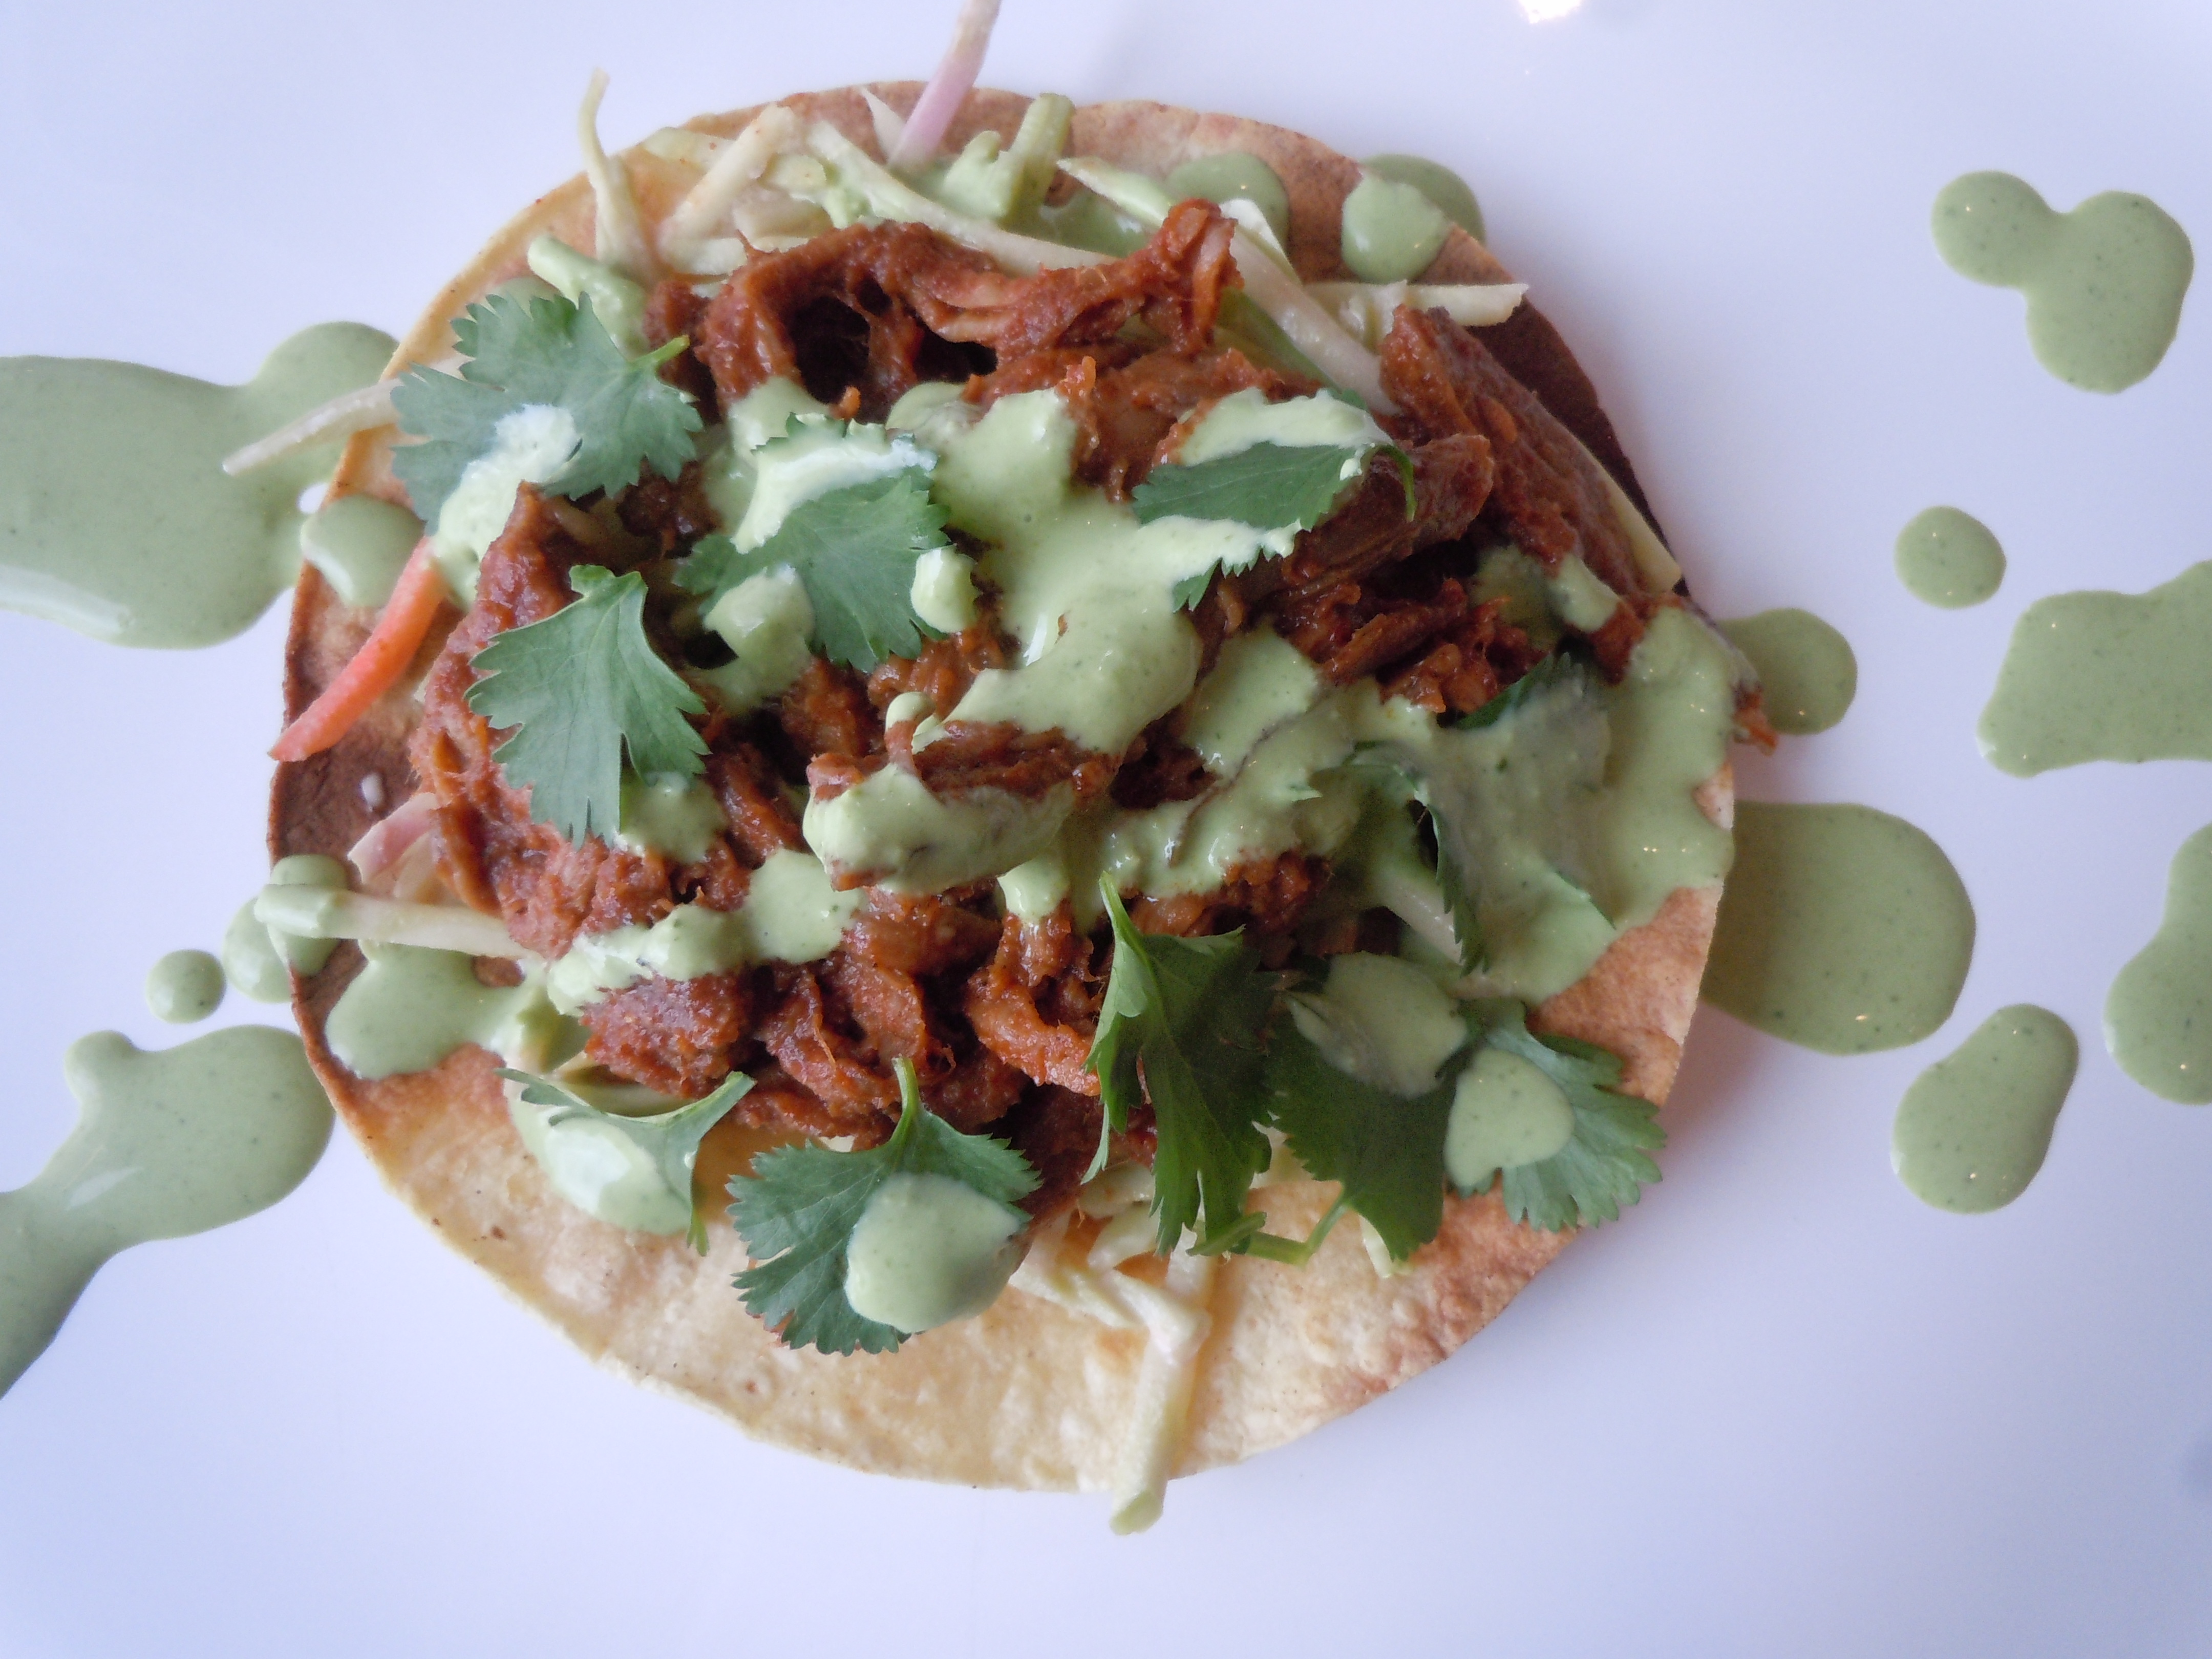
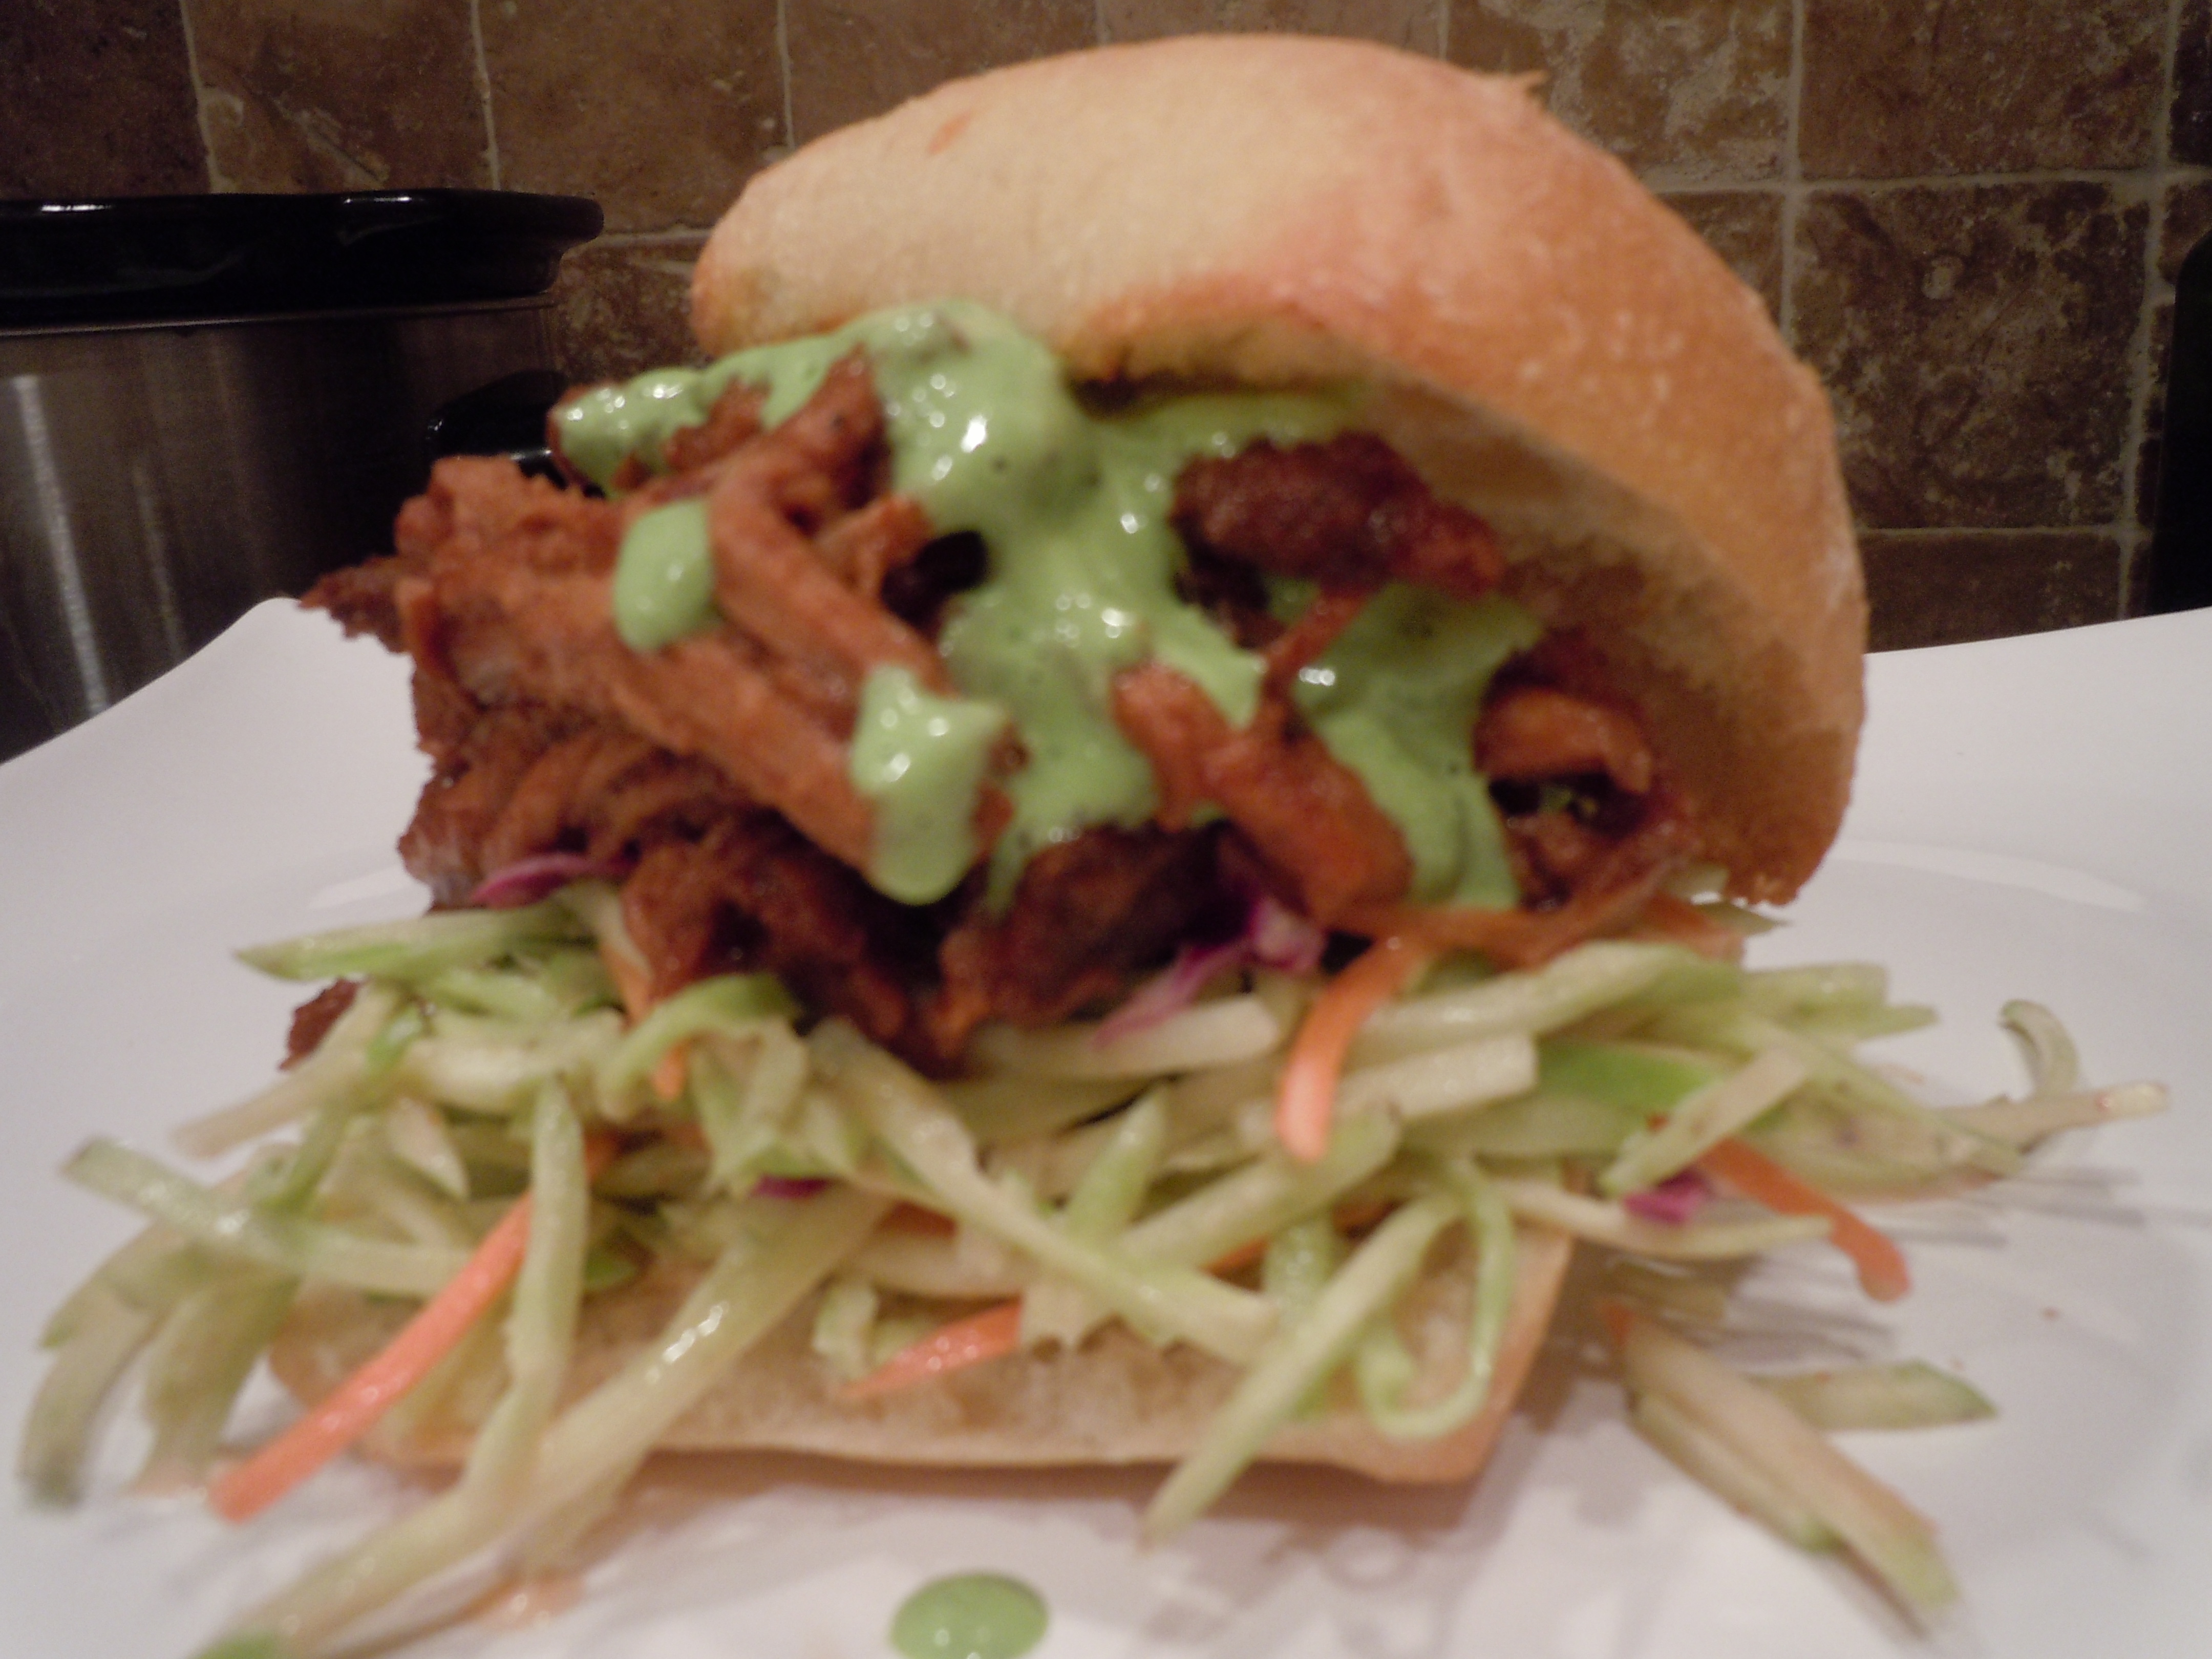
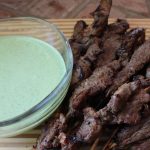
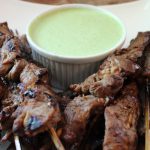
Decorating your party plates with my green goddess sauce will make for a lovely presentation, a more formal one, but having a bowl or pouring cup of the sauce on the table will do the trick quite nicely! In fact, the latter might be better since there’s a good possibility your guest’s will be going back for seconds.
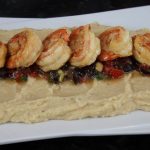
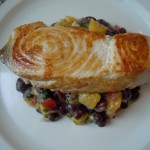
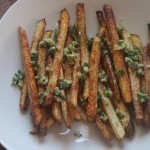
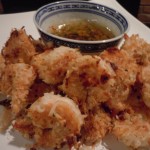
This green goddess sauce is so versatile because it literally goes with all foods! It’s heavenly on seared scallops…all fish for that matter, swordfish, rack of lamb, pulled beef tacos, Sweet Potato Fries , Baked Crispy Fries, or Baked Coconut Shrimp and even cut veggies!


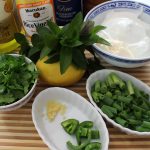
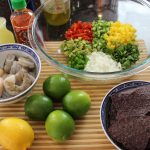
Ingredients:
- 1 cup plus 2 tbsp Greek yogurt
- 1/4 cup mayo (I use Hellman’s)
- 1/2 cup packed mint leaves (1 cup loose)
- 1 cup packed fresh cilantro
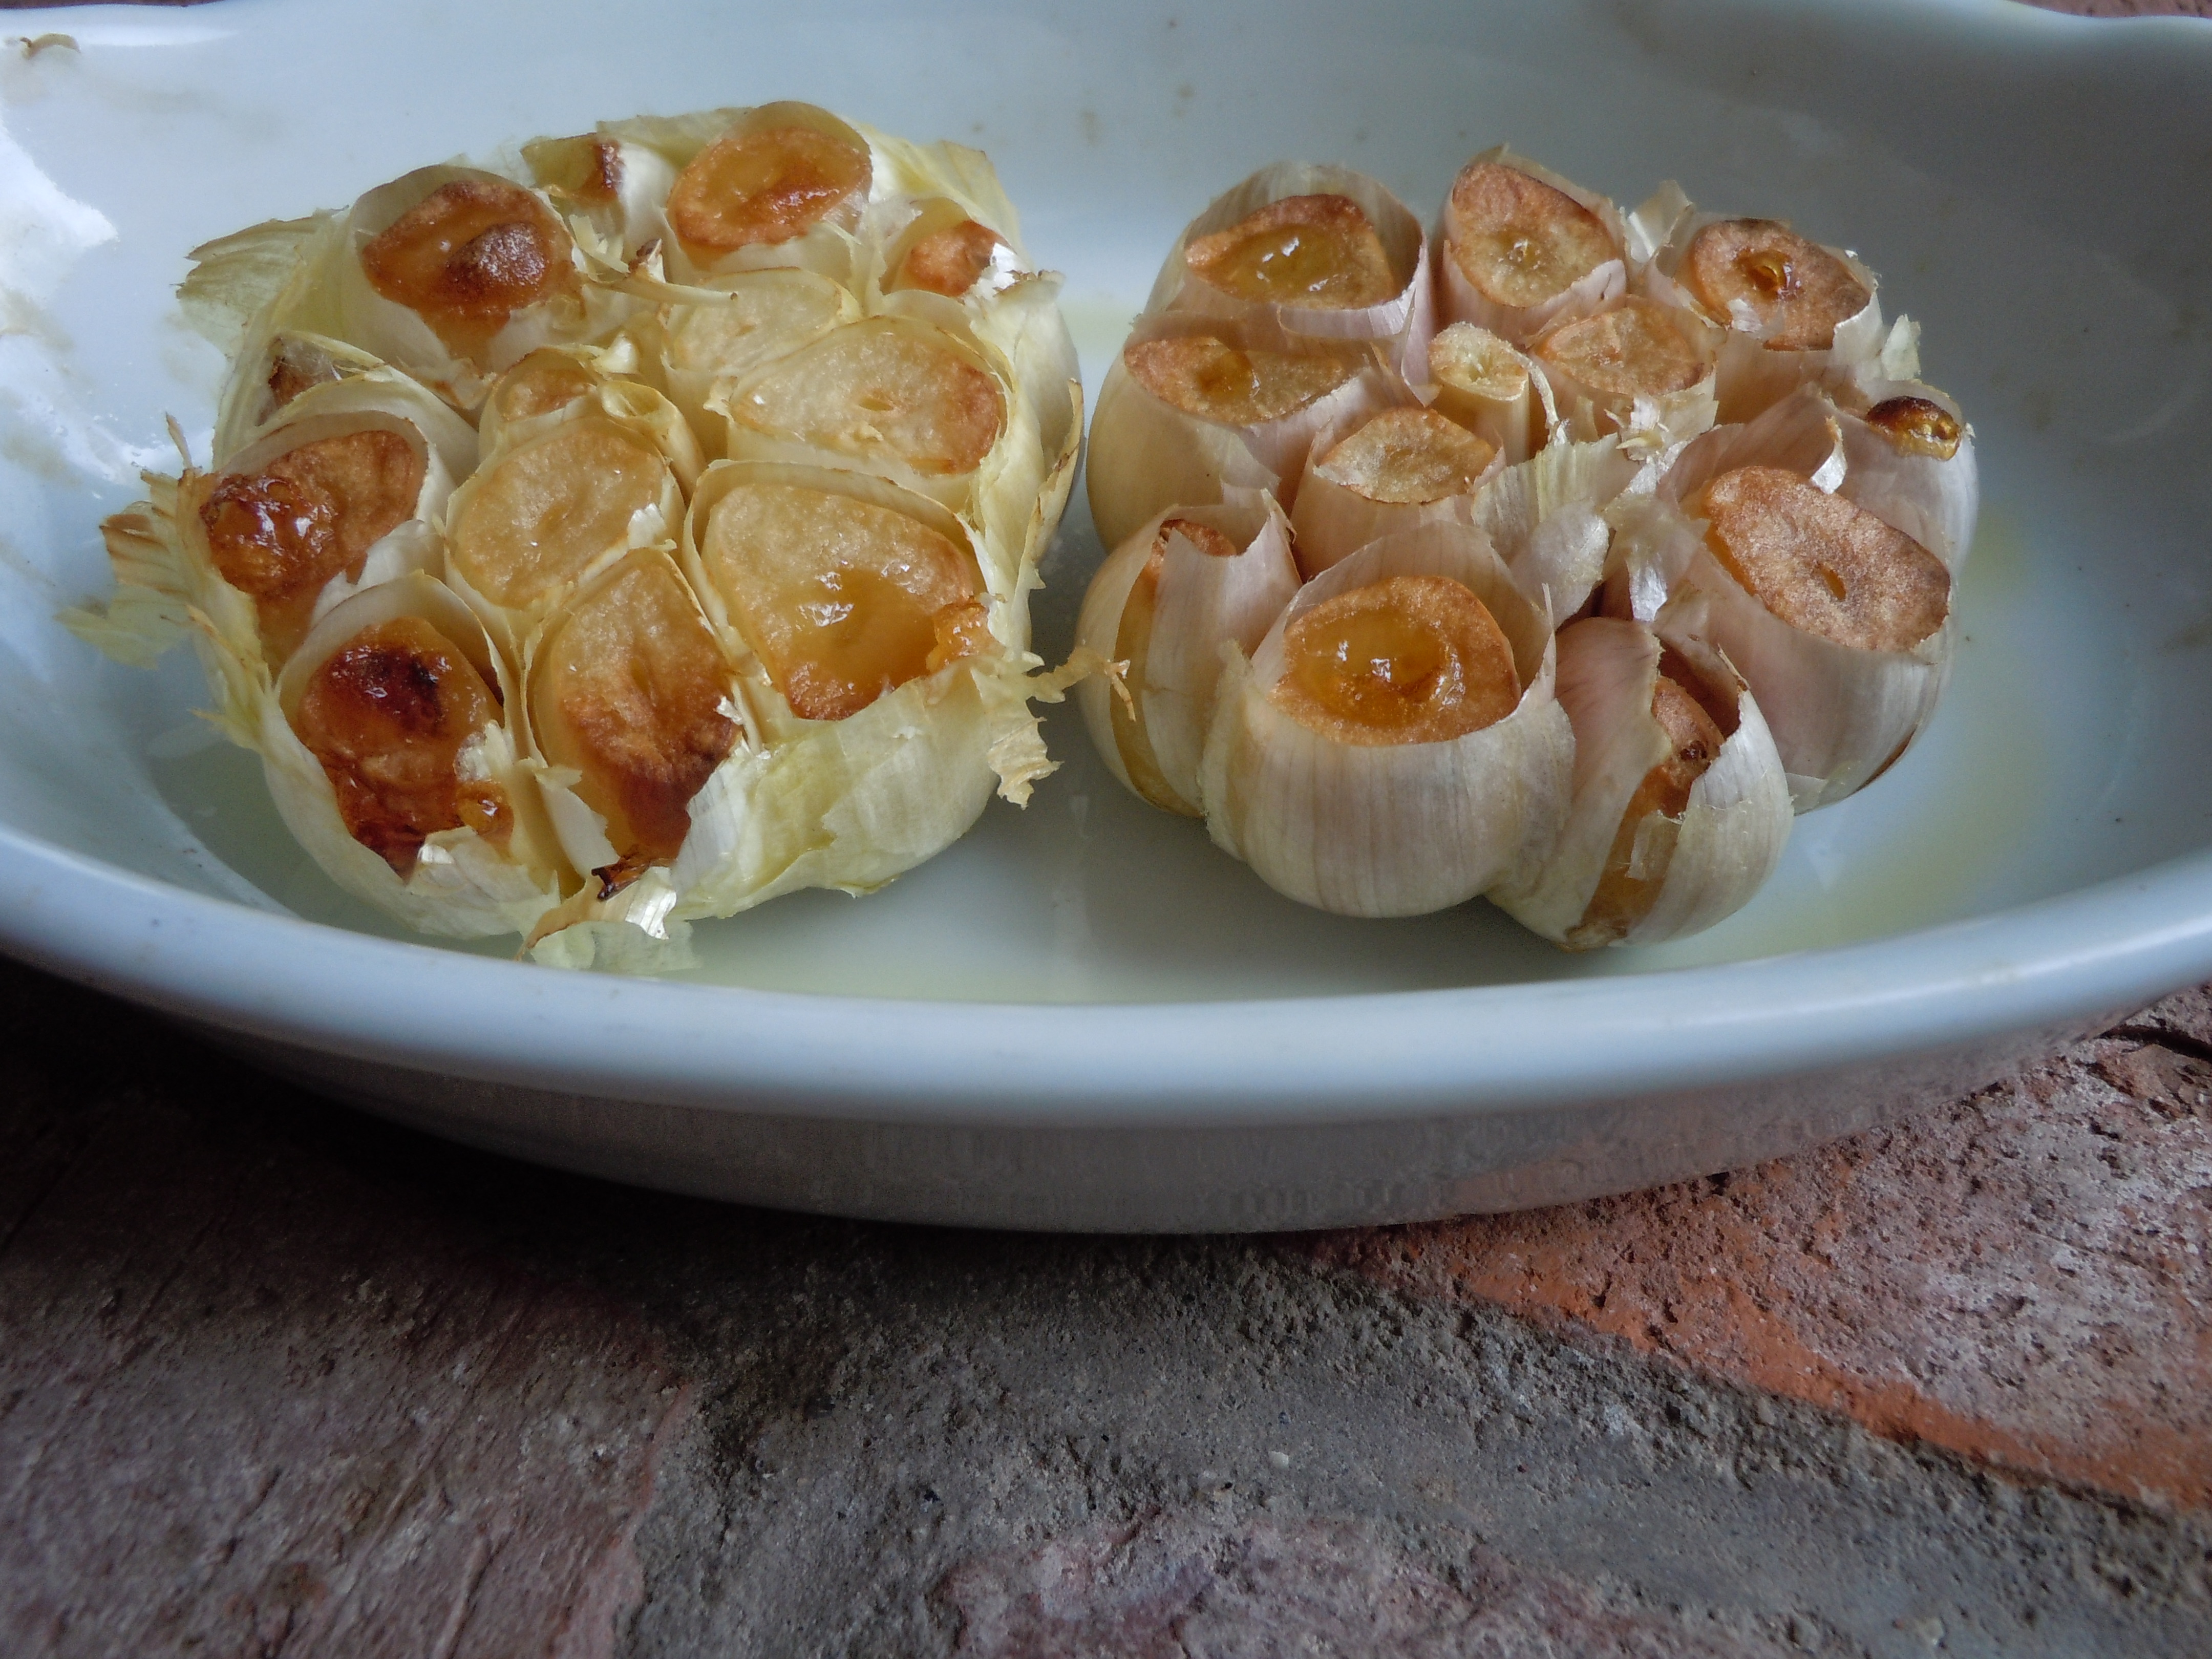
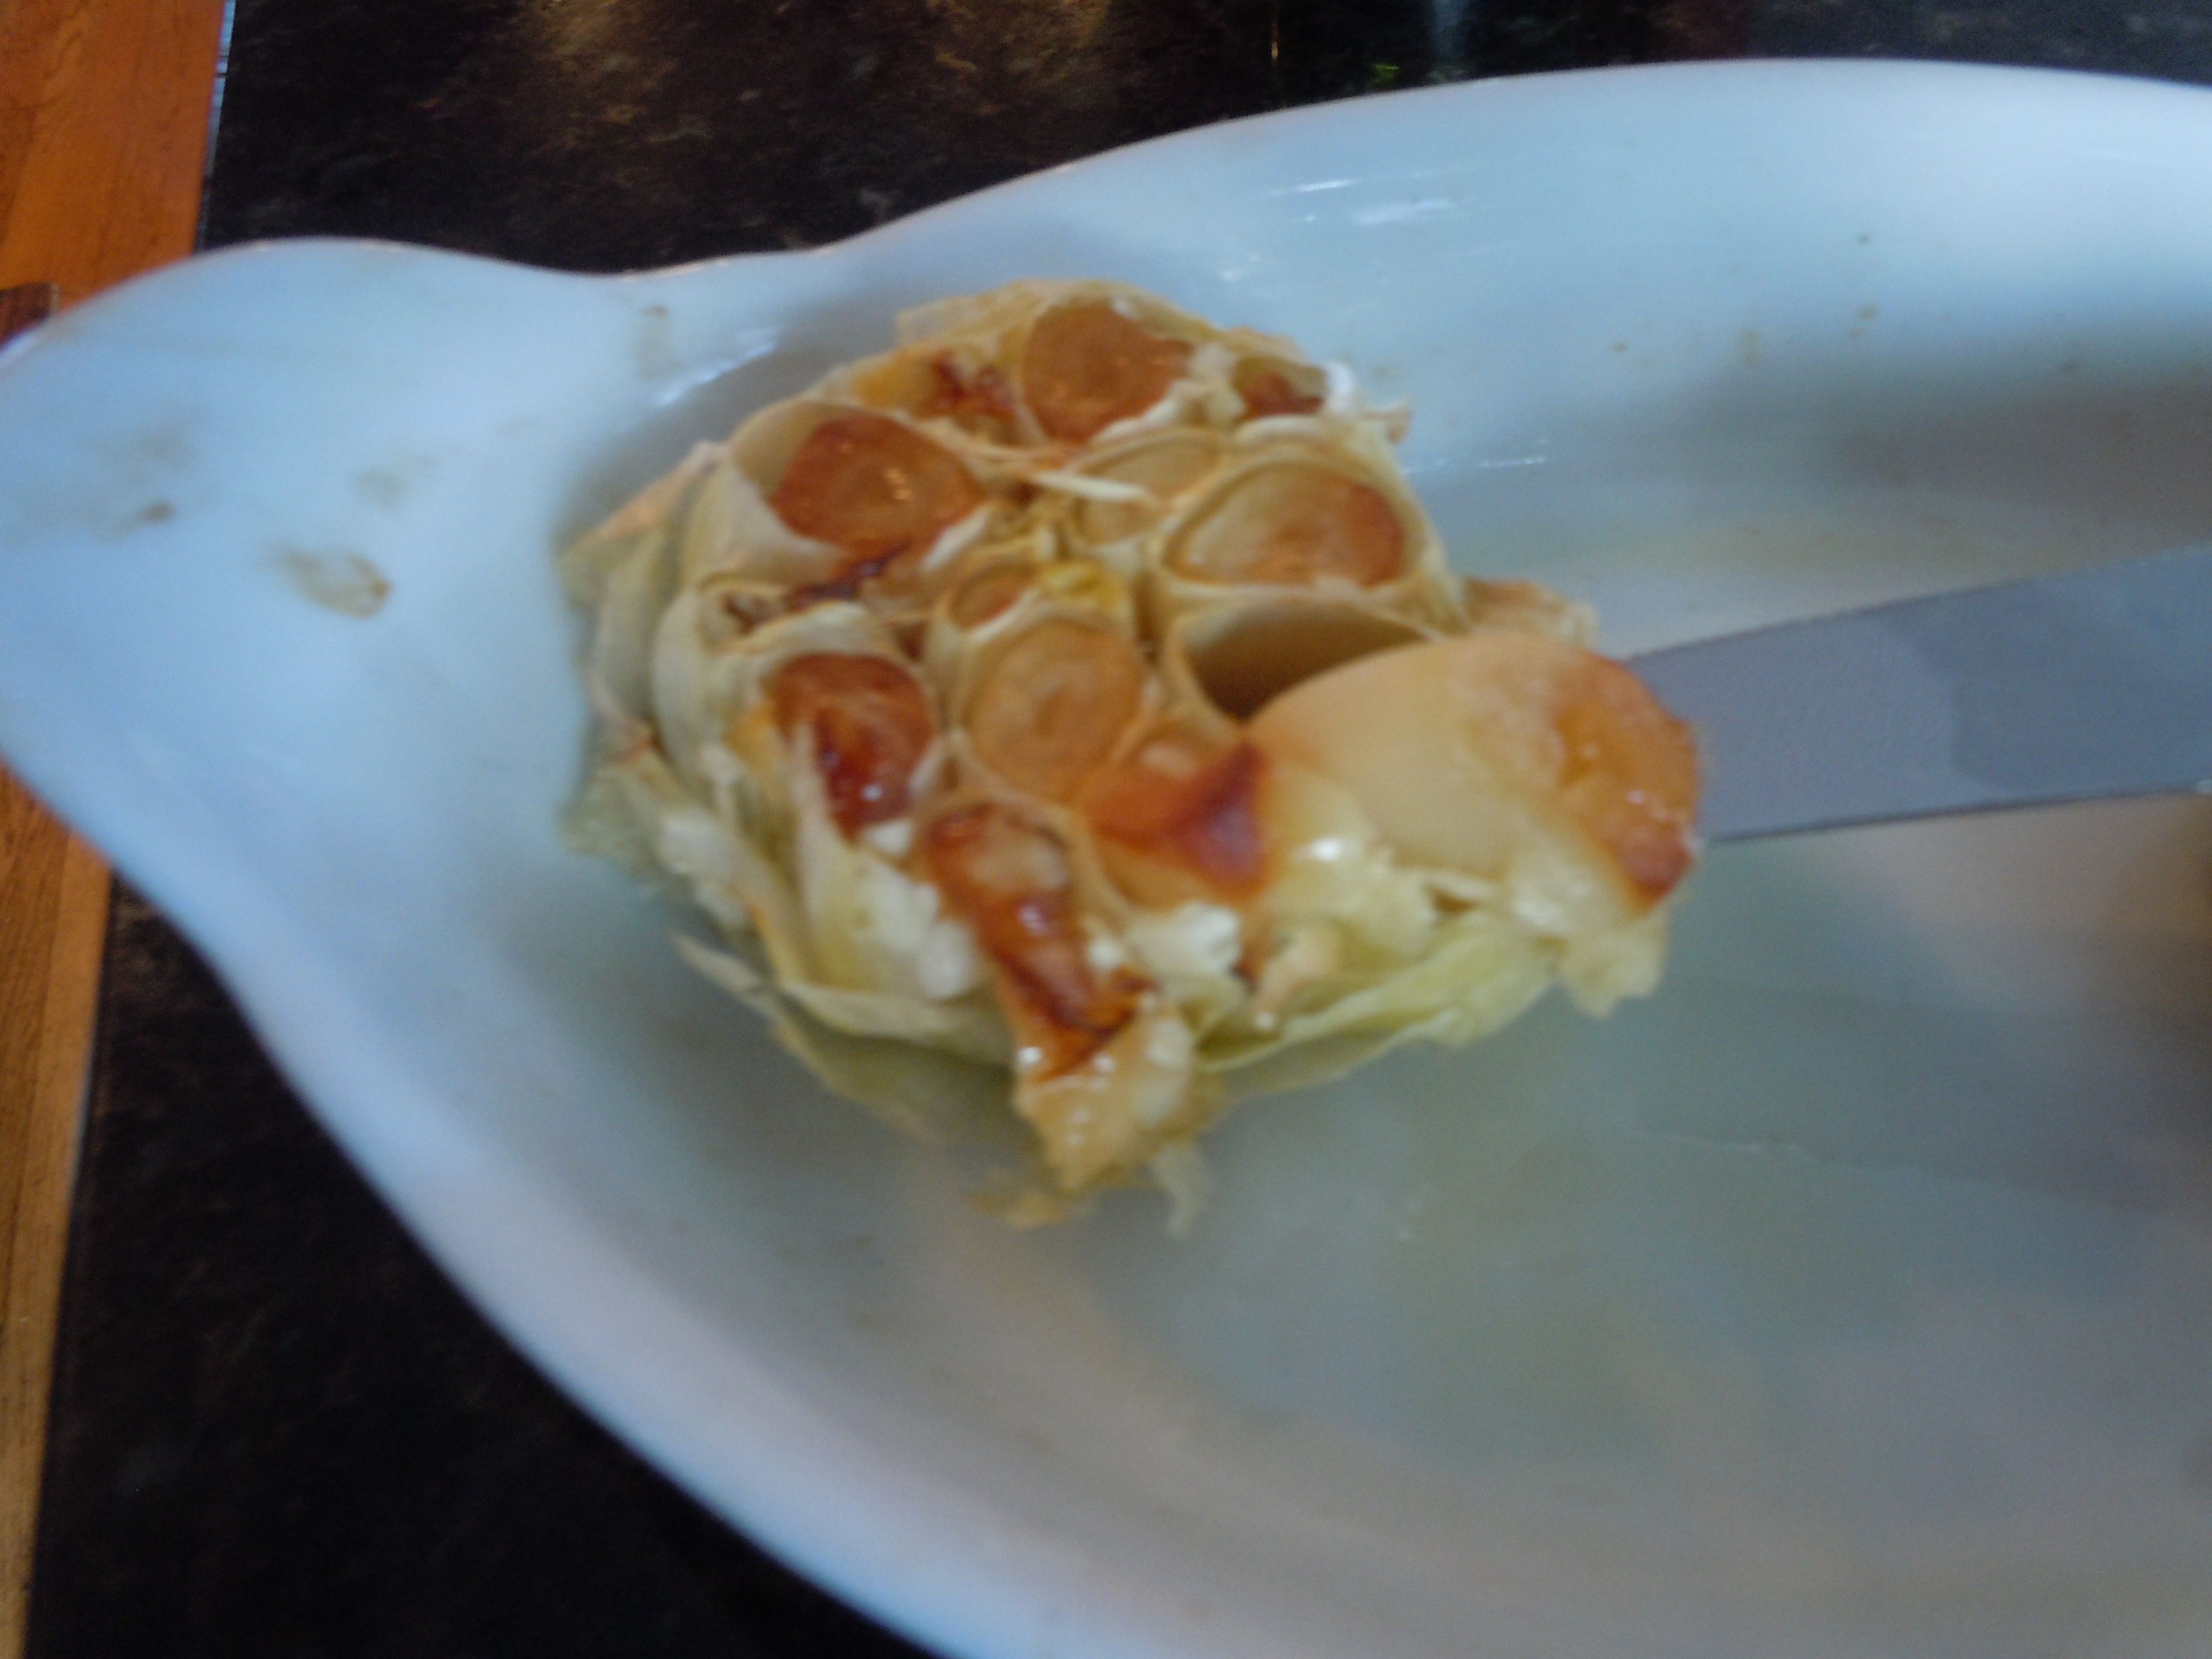
- 1 garlic clove put thru garlic press
- 1/2 jalapeño diced
- 4 lg stalks, 6 small of green onion chopped coarsely
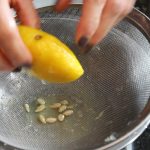
- 1 tbsp fresh lemon juice
- 1 tbsp extra virgin olive oil
- 1 Tbsp “seasoned” rice wine vinegar
- 1 tsp sugar – (NOTE: I forgot to add this in the show, but it really needs this for balance 🙂
- s & p
- If it’s not hot enough with the jalapeno add a dash of Siracha
Directions:
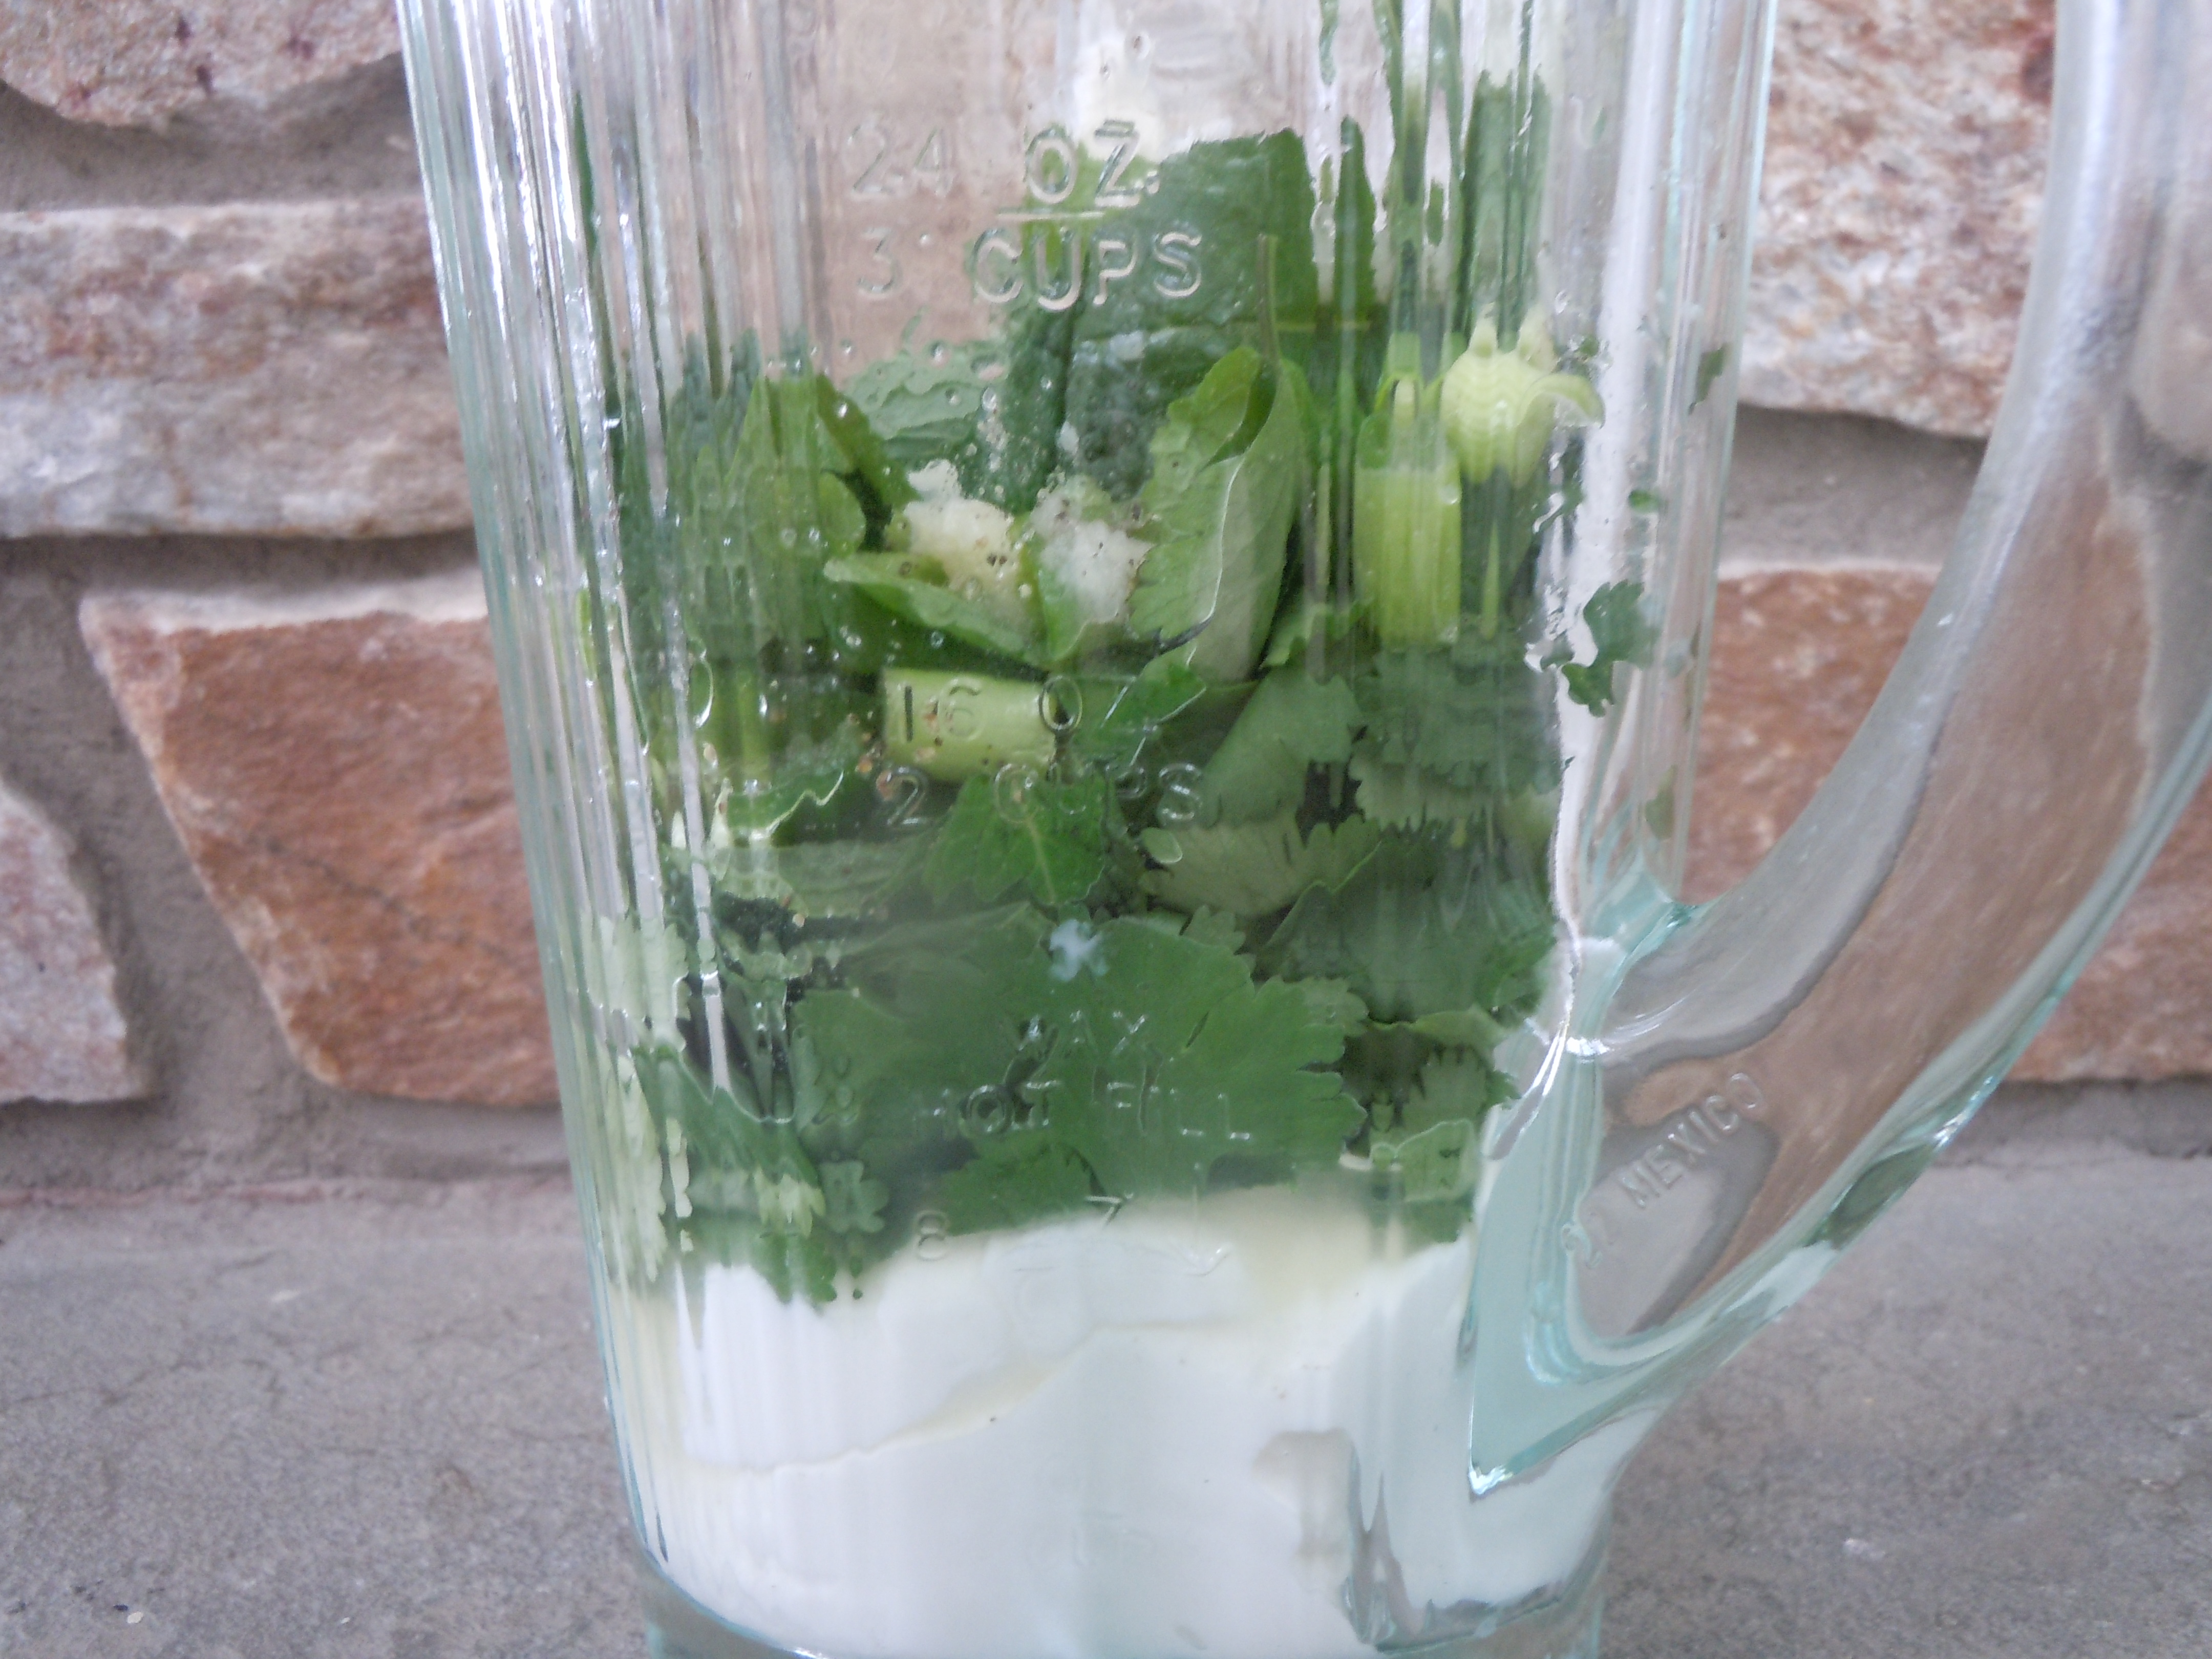
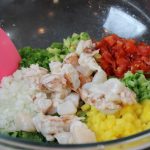
- Place all of the ingredients into a blender an purée for 10 seconds…be patient – you may need to stop and stir everything to get it going but do NOT add any more liquid
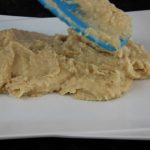
- Stop blender and scrap down sides to get the larger leaf pieces and blend for 5 more seconds and violà!
- Taste here and add salt and pepper
- Add a dash of Siracha – you need to taste the sauce first, sometimes a jalapeño can be super hot and other times it can be a mellow hot
- This sauce gets even better if you can pop it into the fridge for an hour and let the flavors mingle, the sauce will thicken up a little too!
- Make this ahead of time and keep sauce in a plastic container and refrigerate. It stays nicely for days in frig.
- This green sauce is absolutely delicious on so many things…be creative.
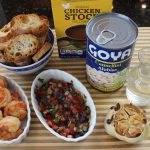
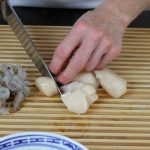
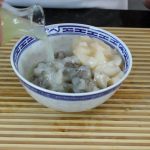
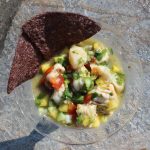
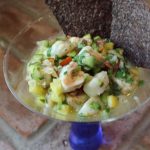
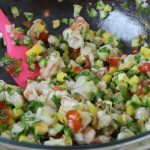 Making shrimp & scallop ceviche really can’t get an easier then this! Ceviche is a South American dish that’s usually served as an appetizer. The fish cures/cooks in citrus juice for an hour or two while you get all your salsa ingredients in order. The citrus curing juices are drained from the fish, leaving a tender shrimp & scallops to be tossed with salsa and voilà. The base of the shrimp and scallop ceviche here is my


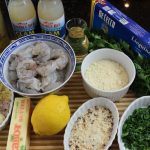
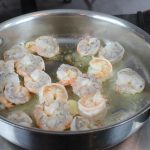
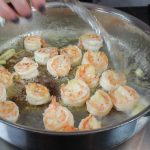
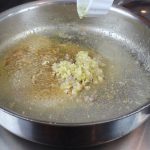
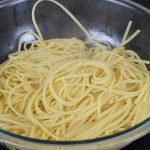
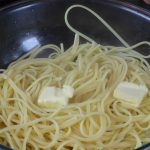
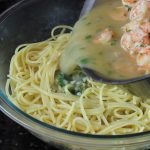
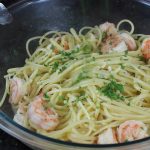
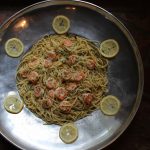
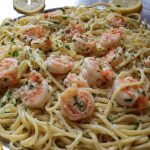
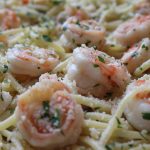
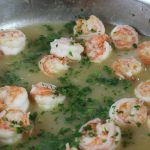 Shrimp scampi is one of those delicious dishes that’s sure to bring a smile to everyone’s face just on aroma’s alone! Shrimp sautéed in olive oil and butter with lots of garlic, shallots, clam broth, and white wine topped with fresh lemon juice, parsley and Parmesan make’s for a grand party atop a pile of linguine!