
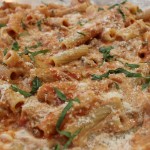
Gourmet Caesar Salad
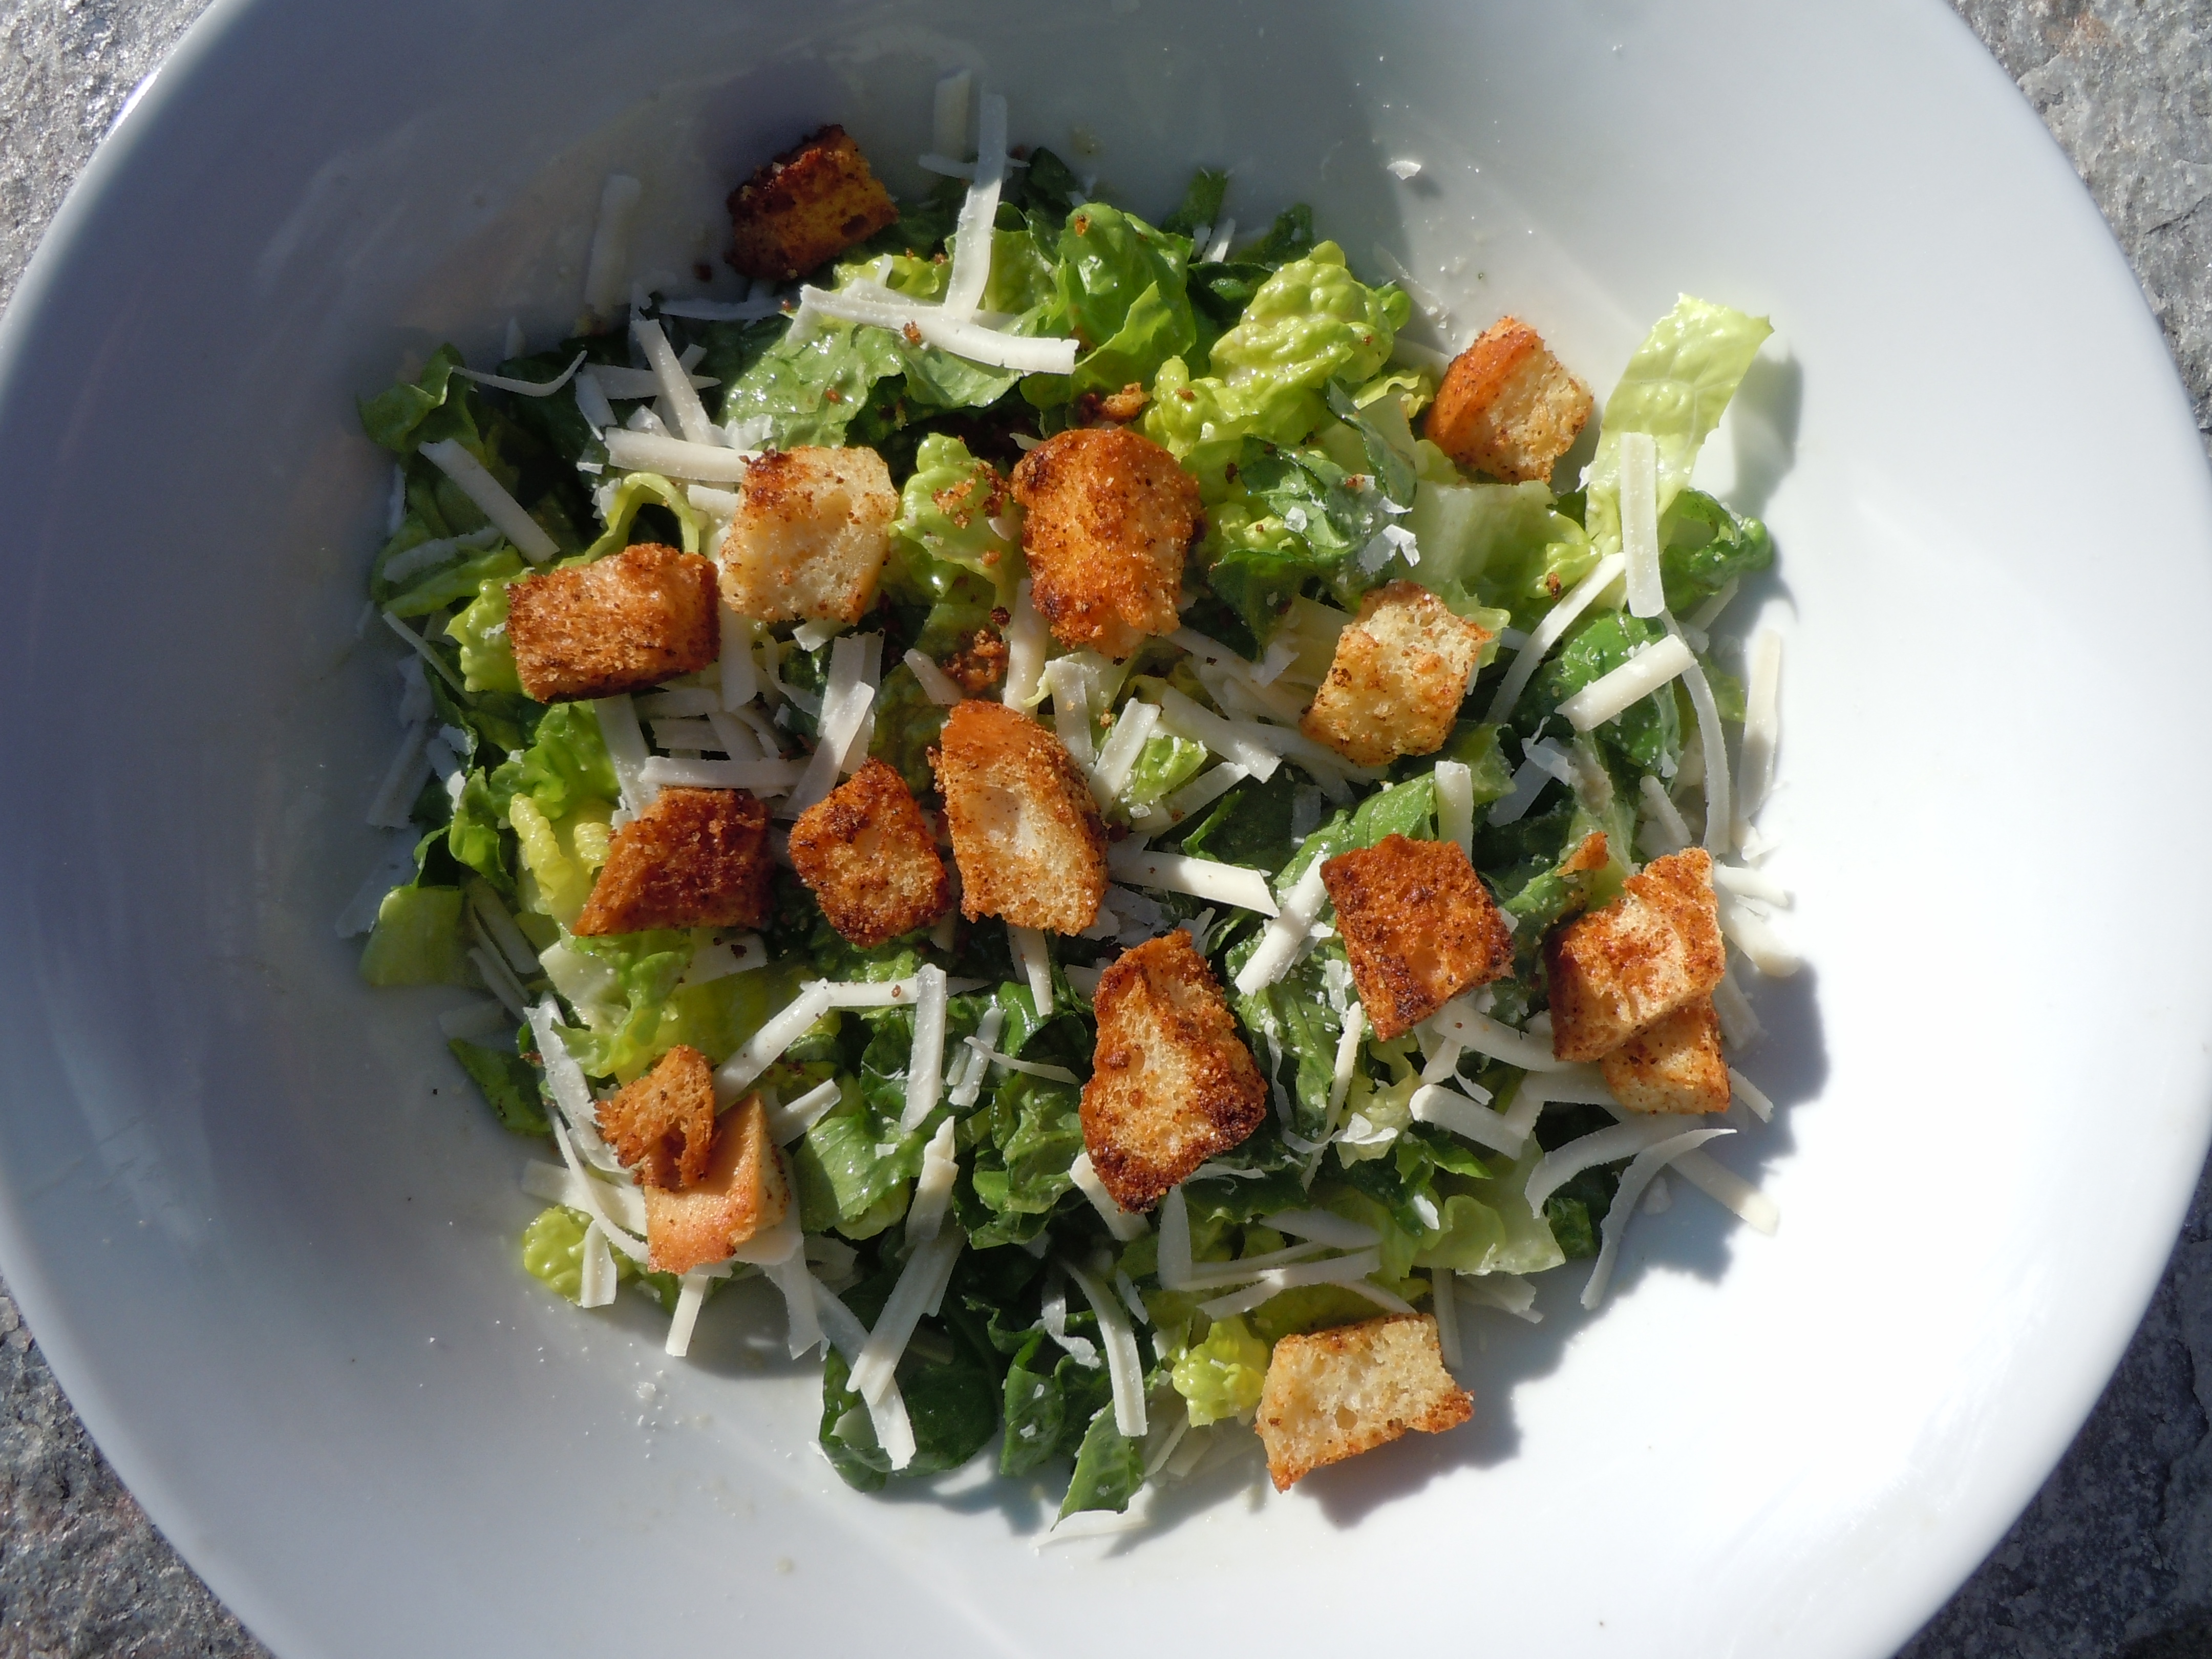
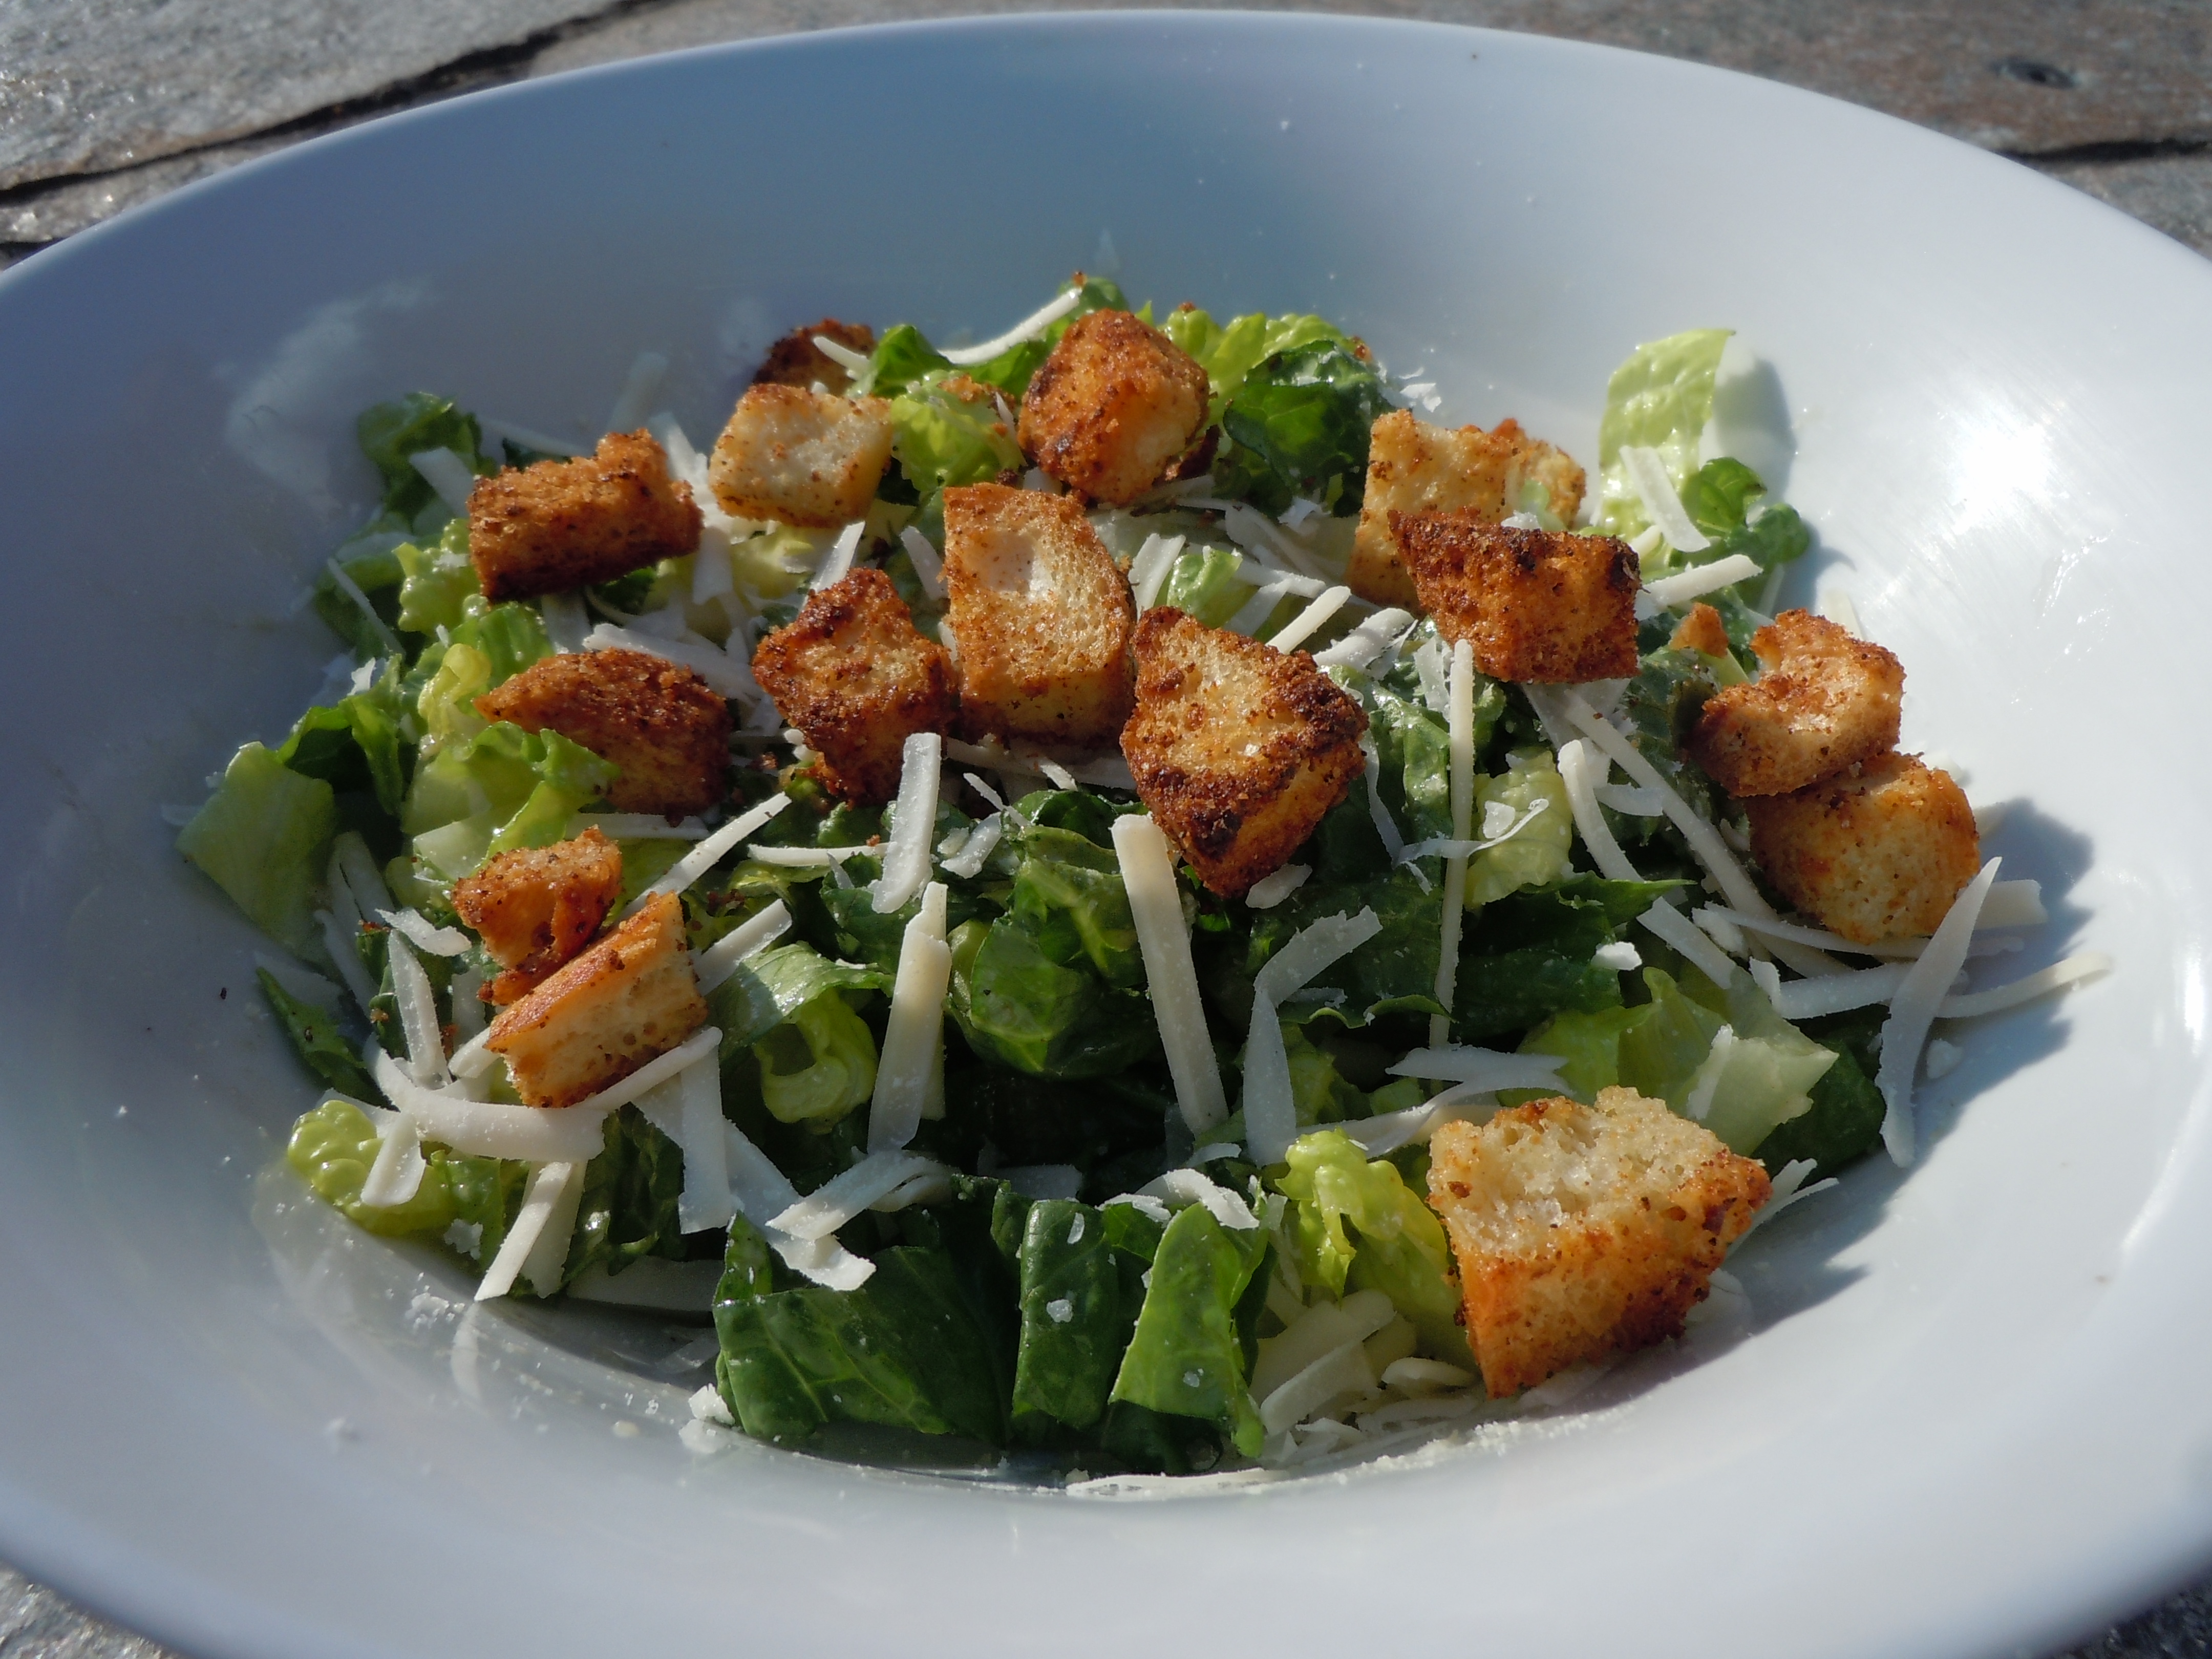
Caesar salads are probably one of my favorite salads of all time. So many wonderful flavors and textures in this combination from the crunchy garlic croutons (shown below) to the sharpness of the Reggiano Parmesano shaved on top. Then there’s a creaminess with the grated Parmesan and dijon in the actual dressing itself and a tang from the lemon and Dijon. Let’s not forget about that savory flavor in the undertones that you just can’t put your finger on with the anchovy paste and Worcestershire sauce. This Caesar salad is a winner all around!
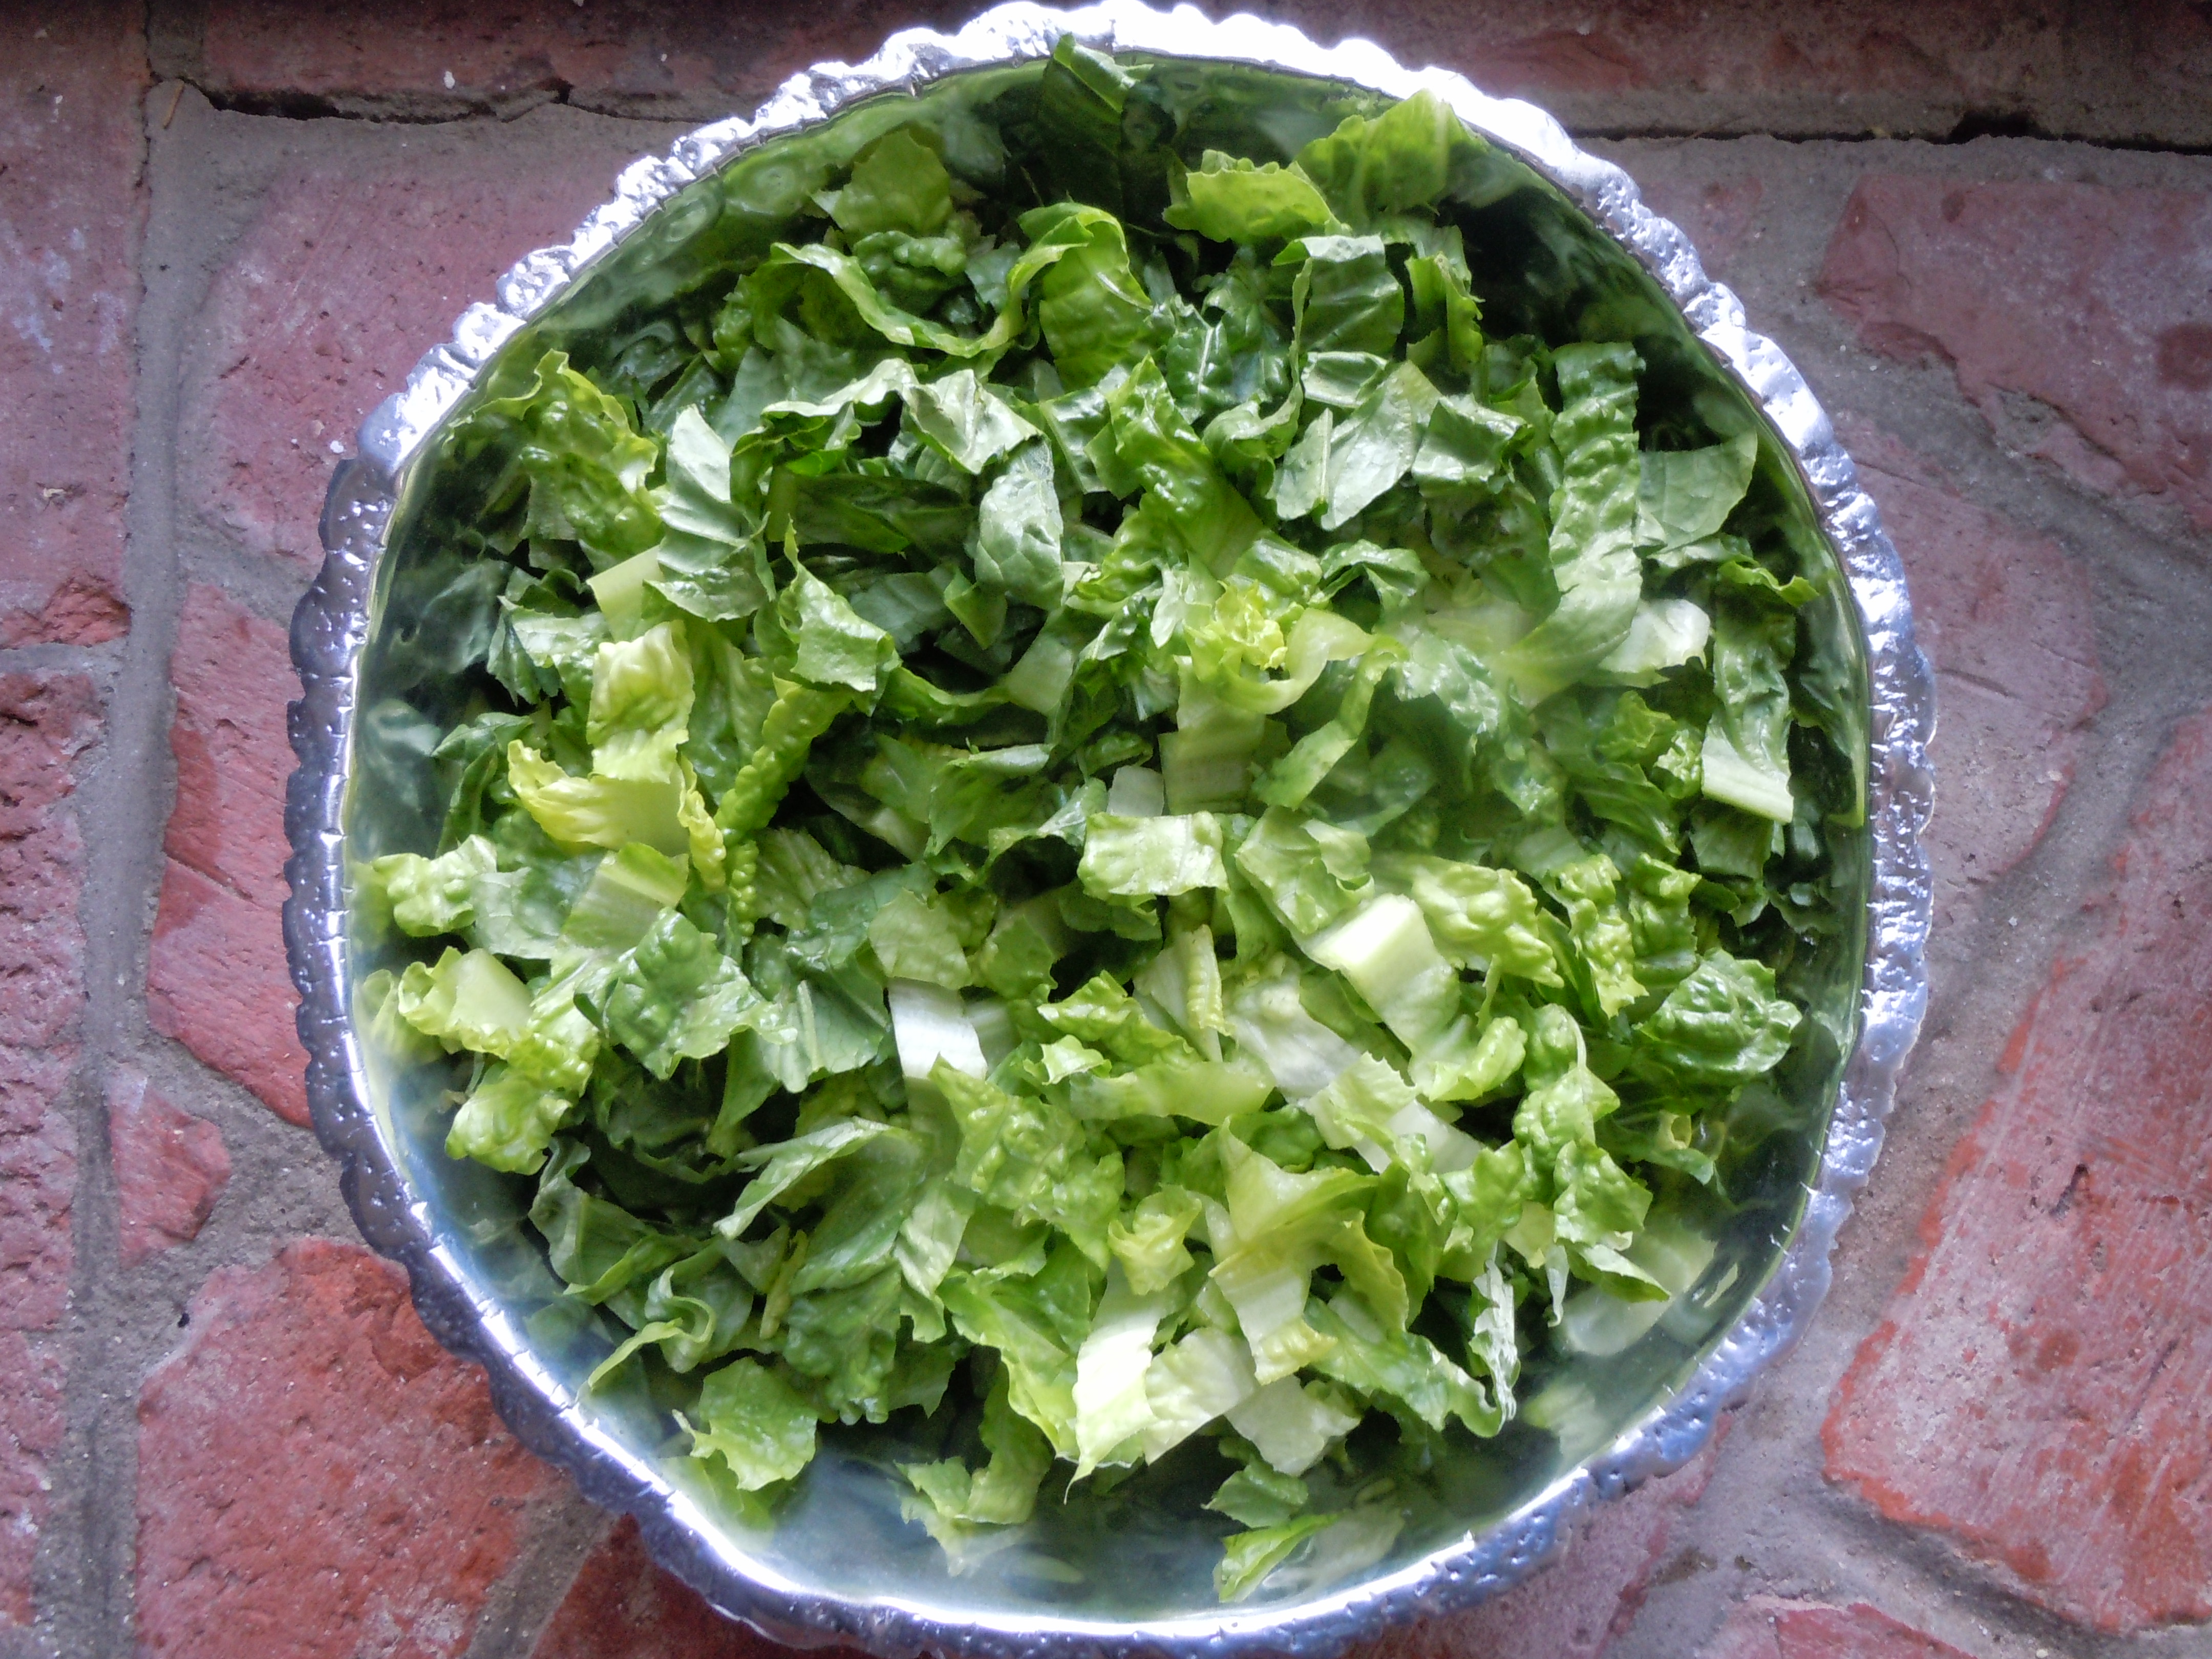
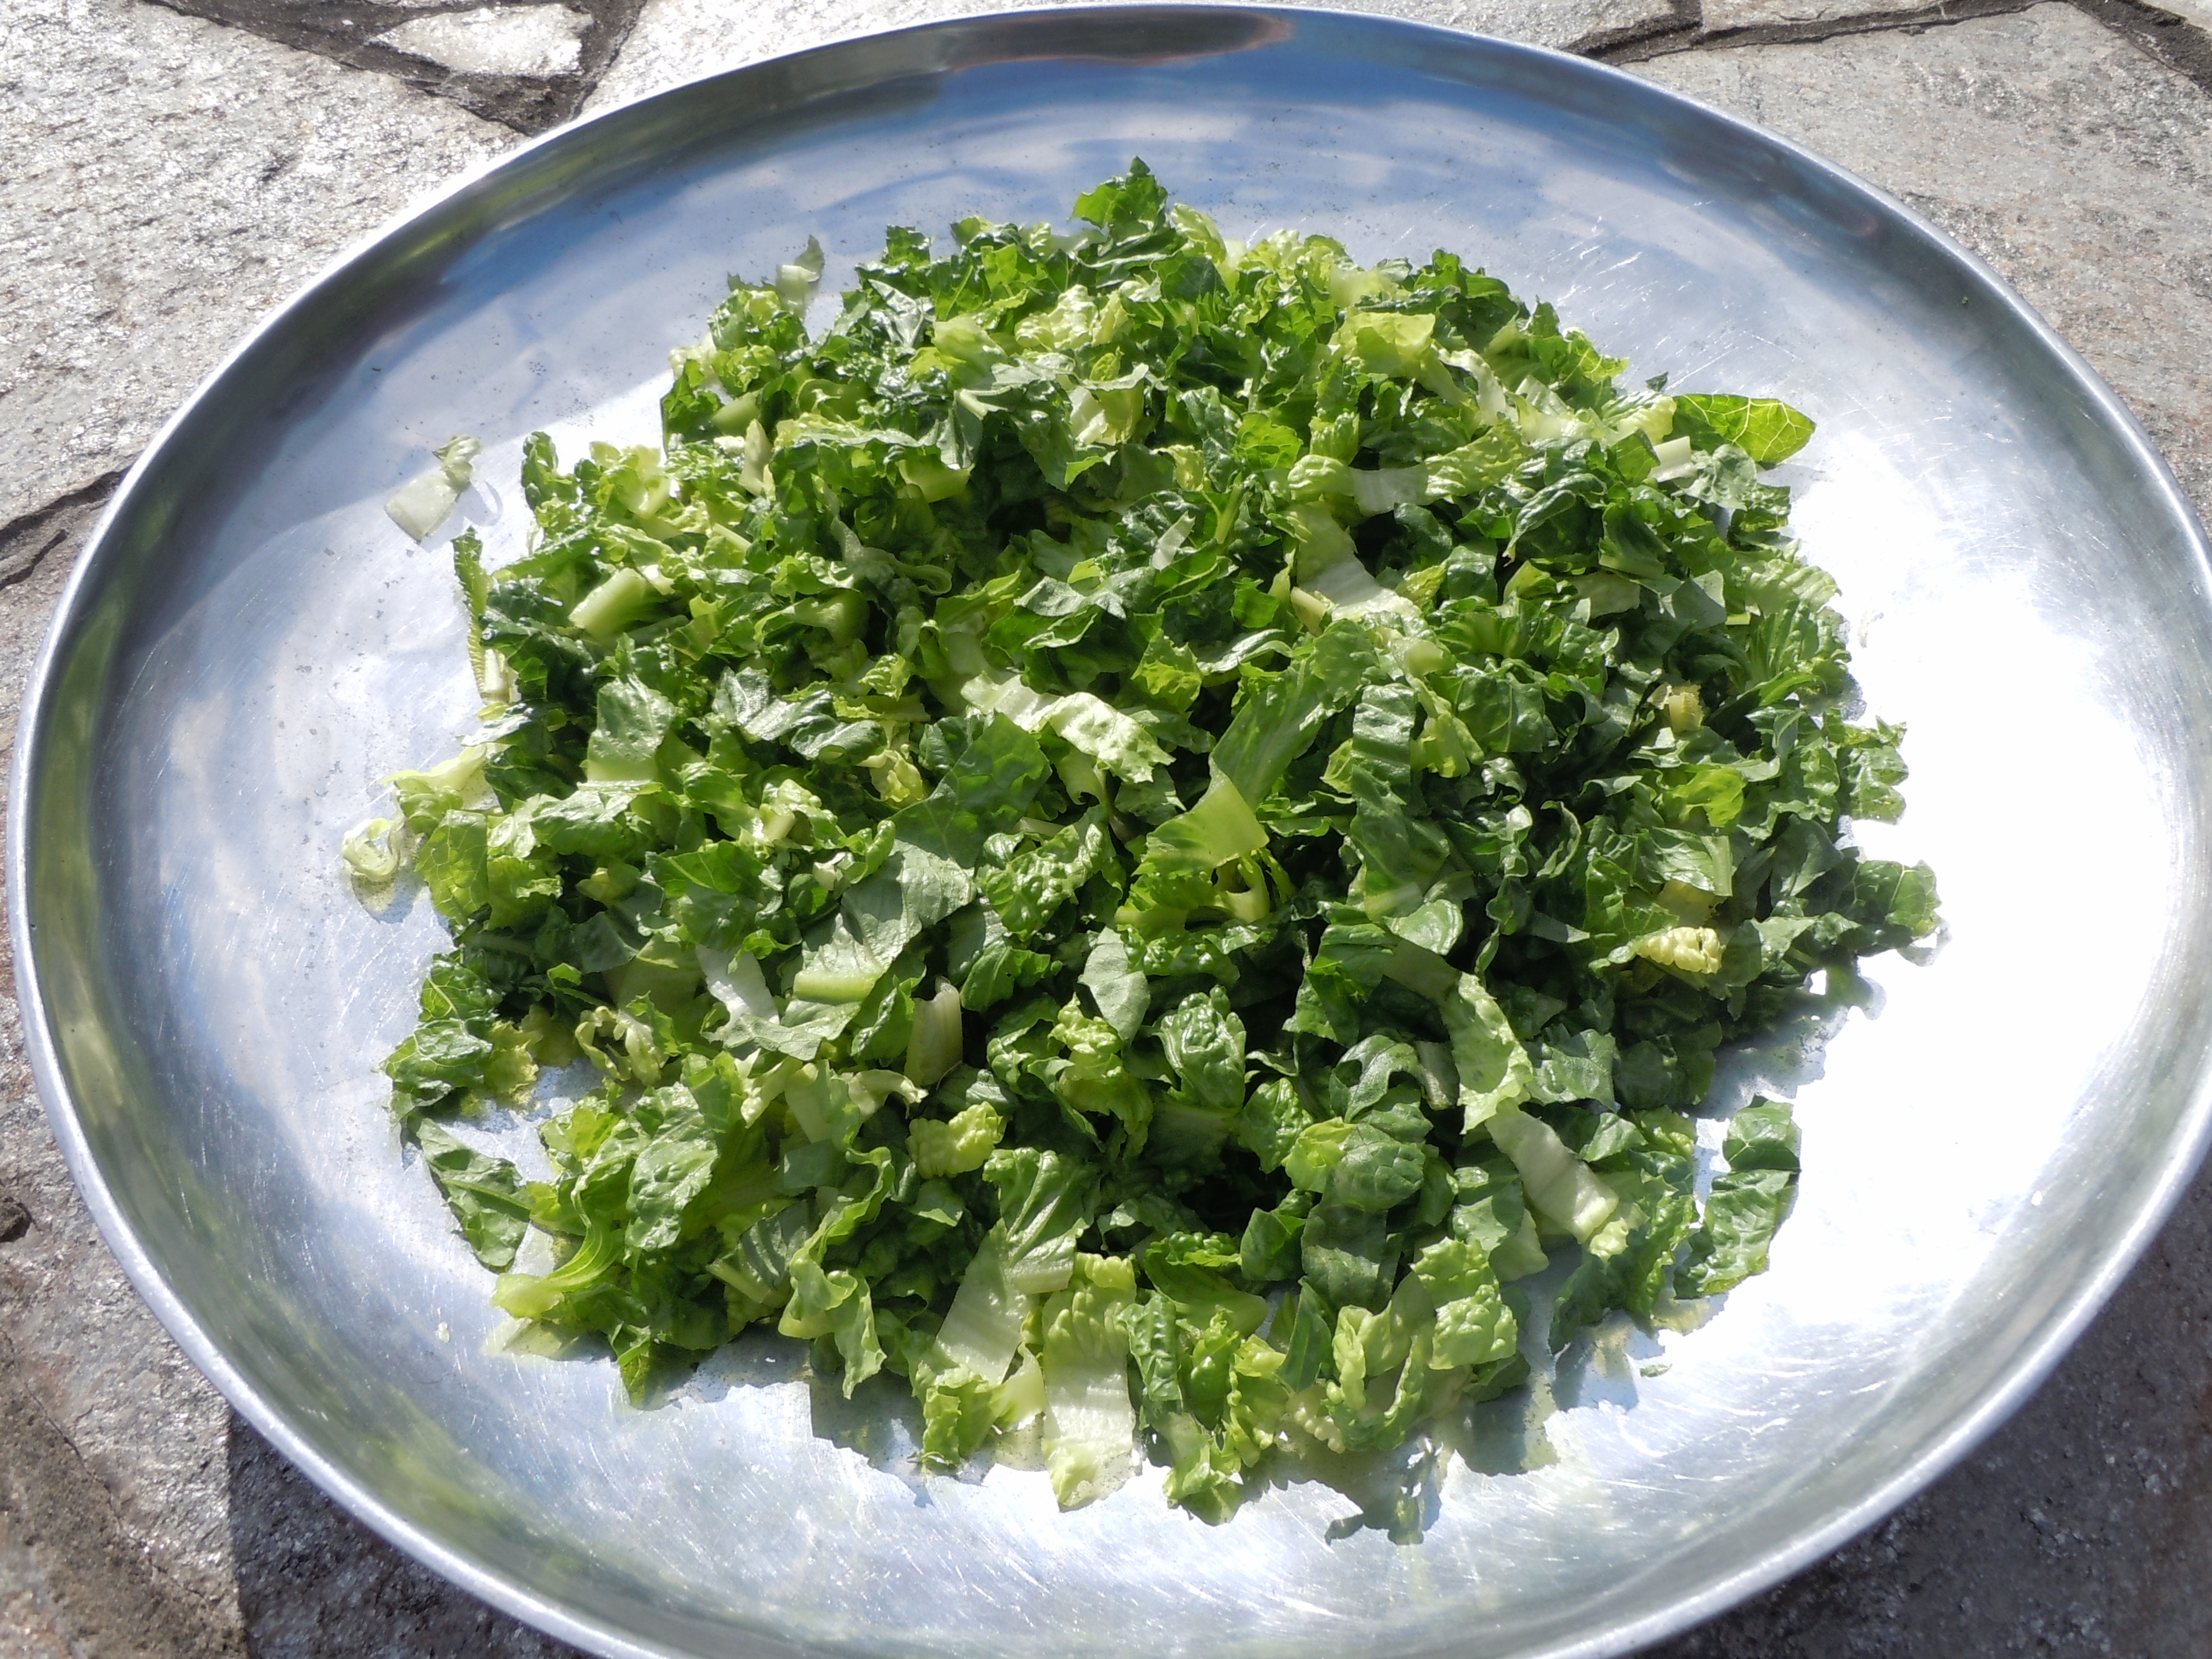
You will really like how perfectly simple this recipe is and how you can totally make the croutons ahead of time, even weeks ahead. One of the reasons I love this recipe is the make ahead concept which makes our busy lives more enjoyable. You can make my homemade garlic croutons weeks ahead and keep them fresh in a Ziploc baggie in the freezer. Then make my gourmet Caesar salad dressing the morning of your event storing it in a container in the refrigerator until needed. Last but not least the romaine, which you can clean and cut up the night before storing that in a Ziploc baggie while taking the air out ensuring the freshness as I show you in my VIDEO. Cutting up the romaine into 1/2″ strips is key to serving this at a party or picnic making it easy to eat and eliminating the need for unnecessary utensils.
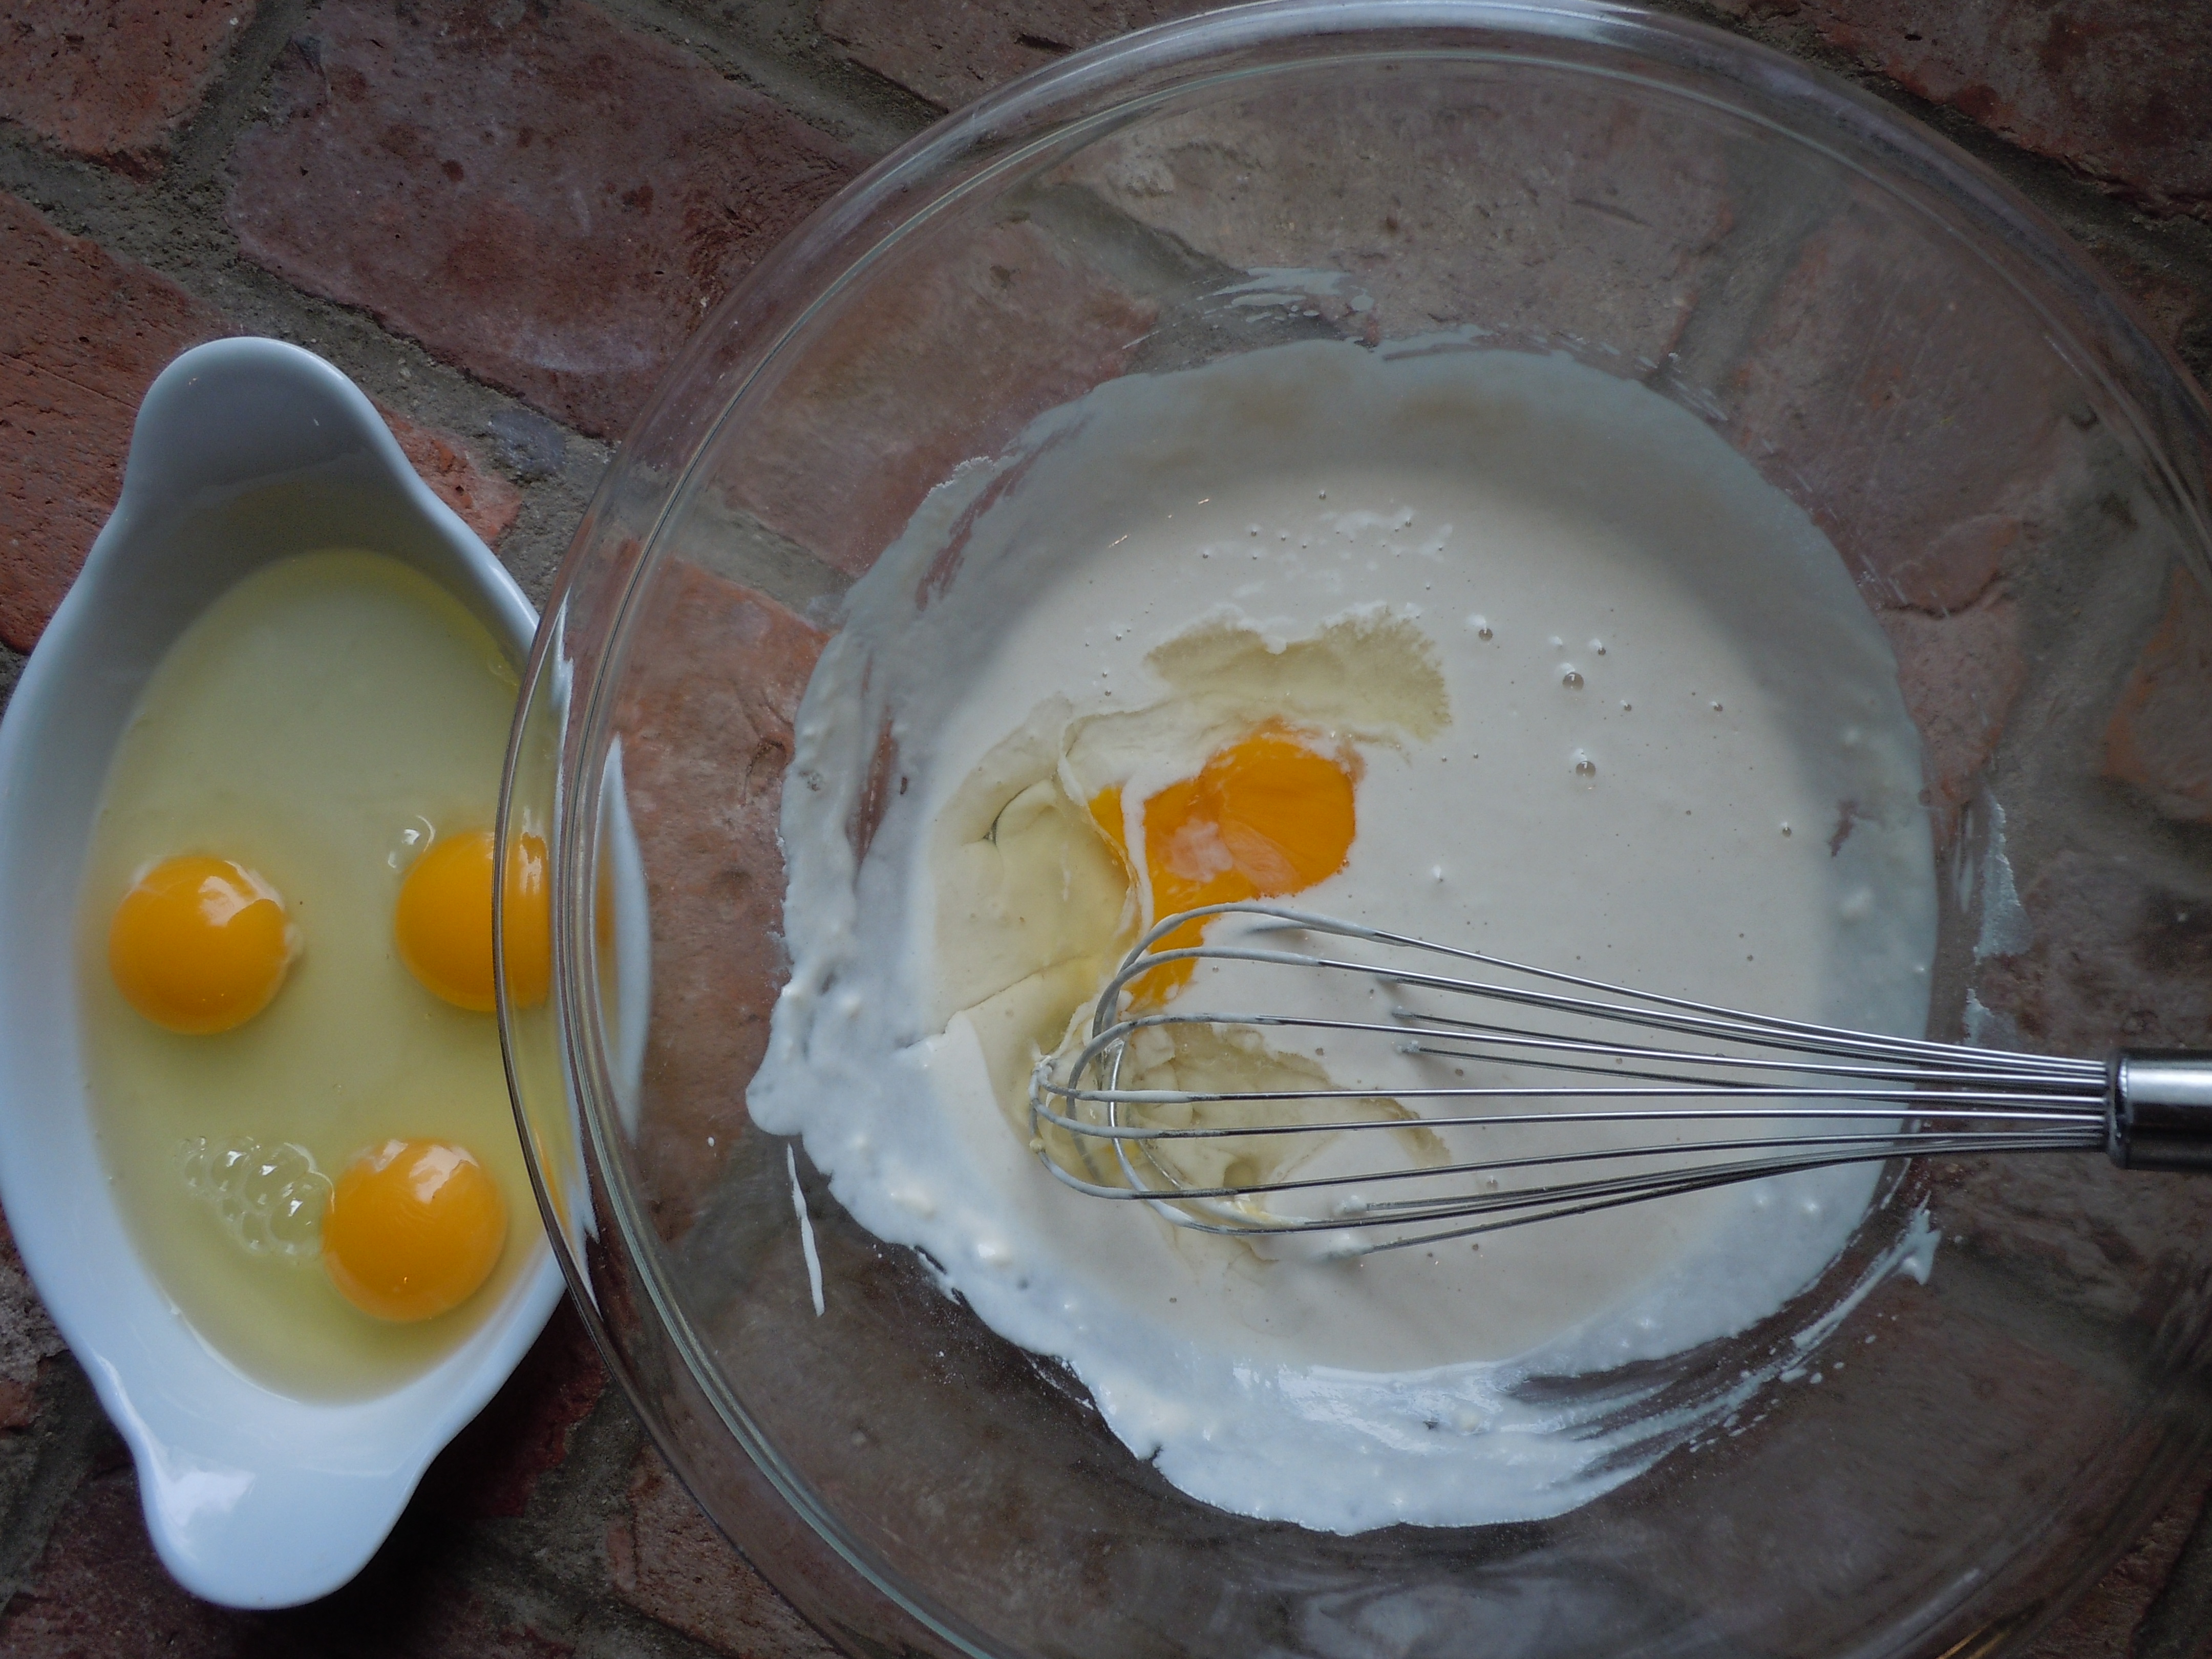
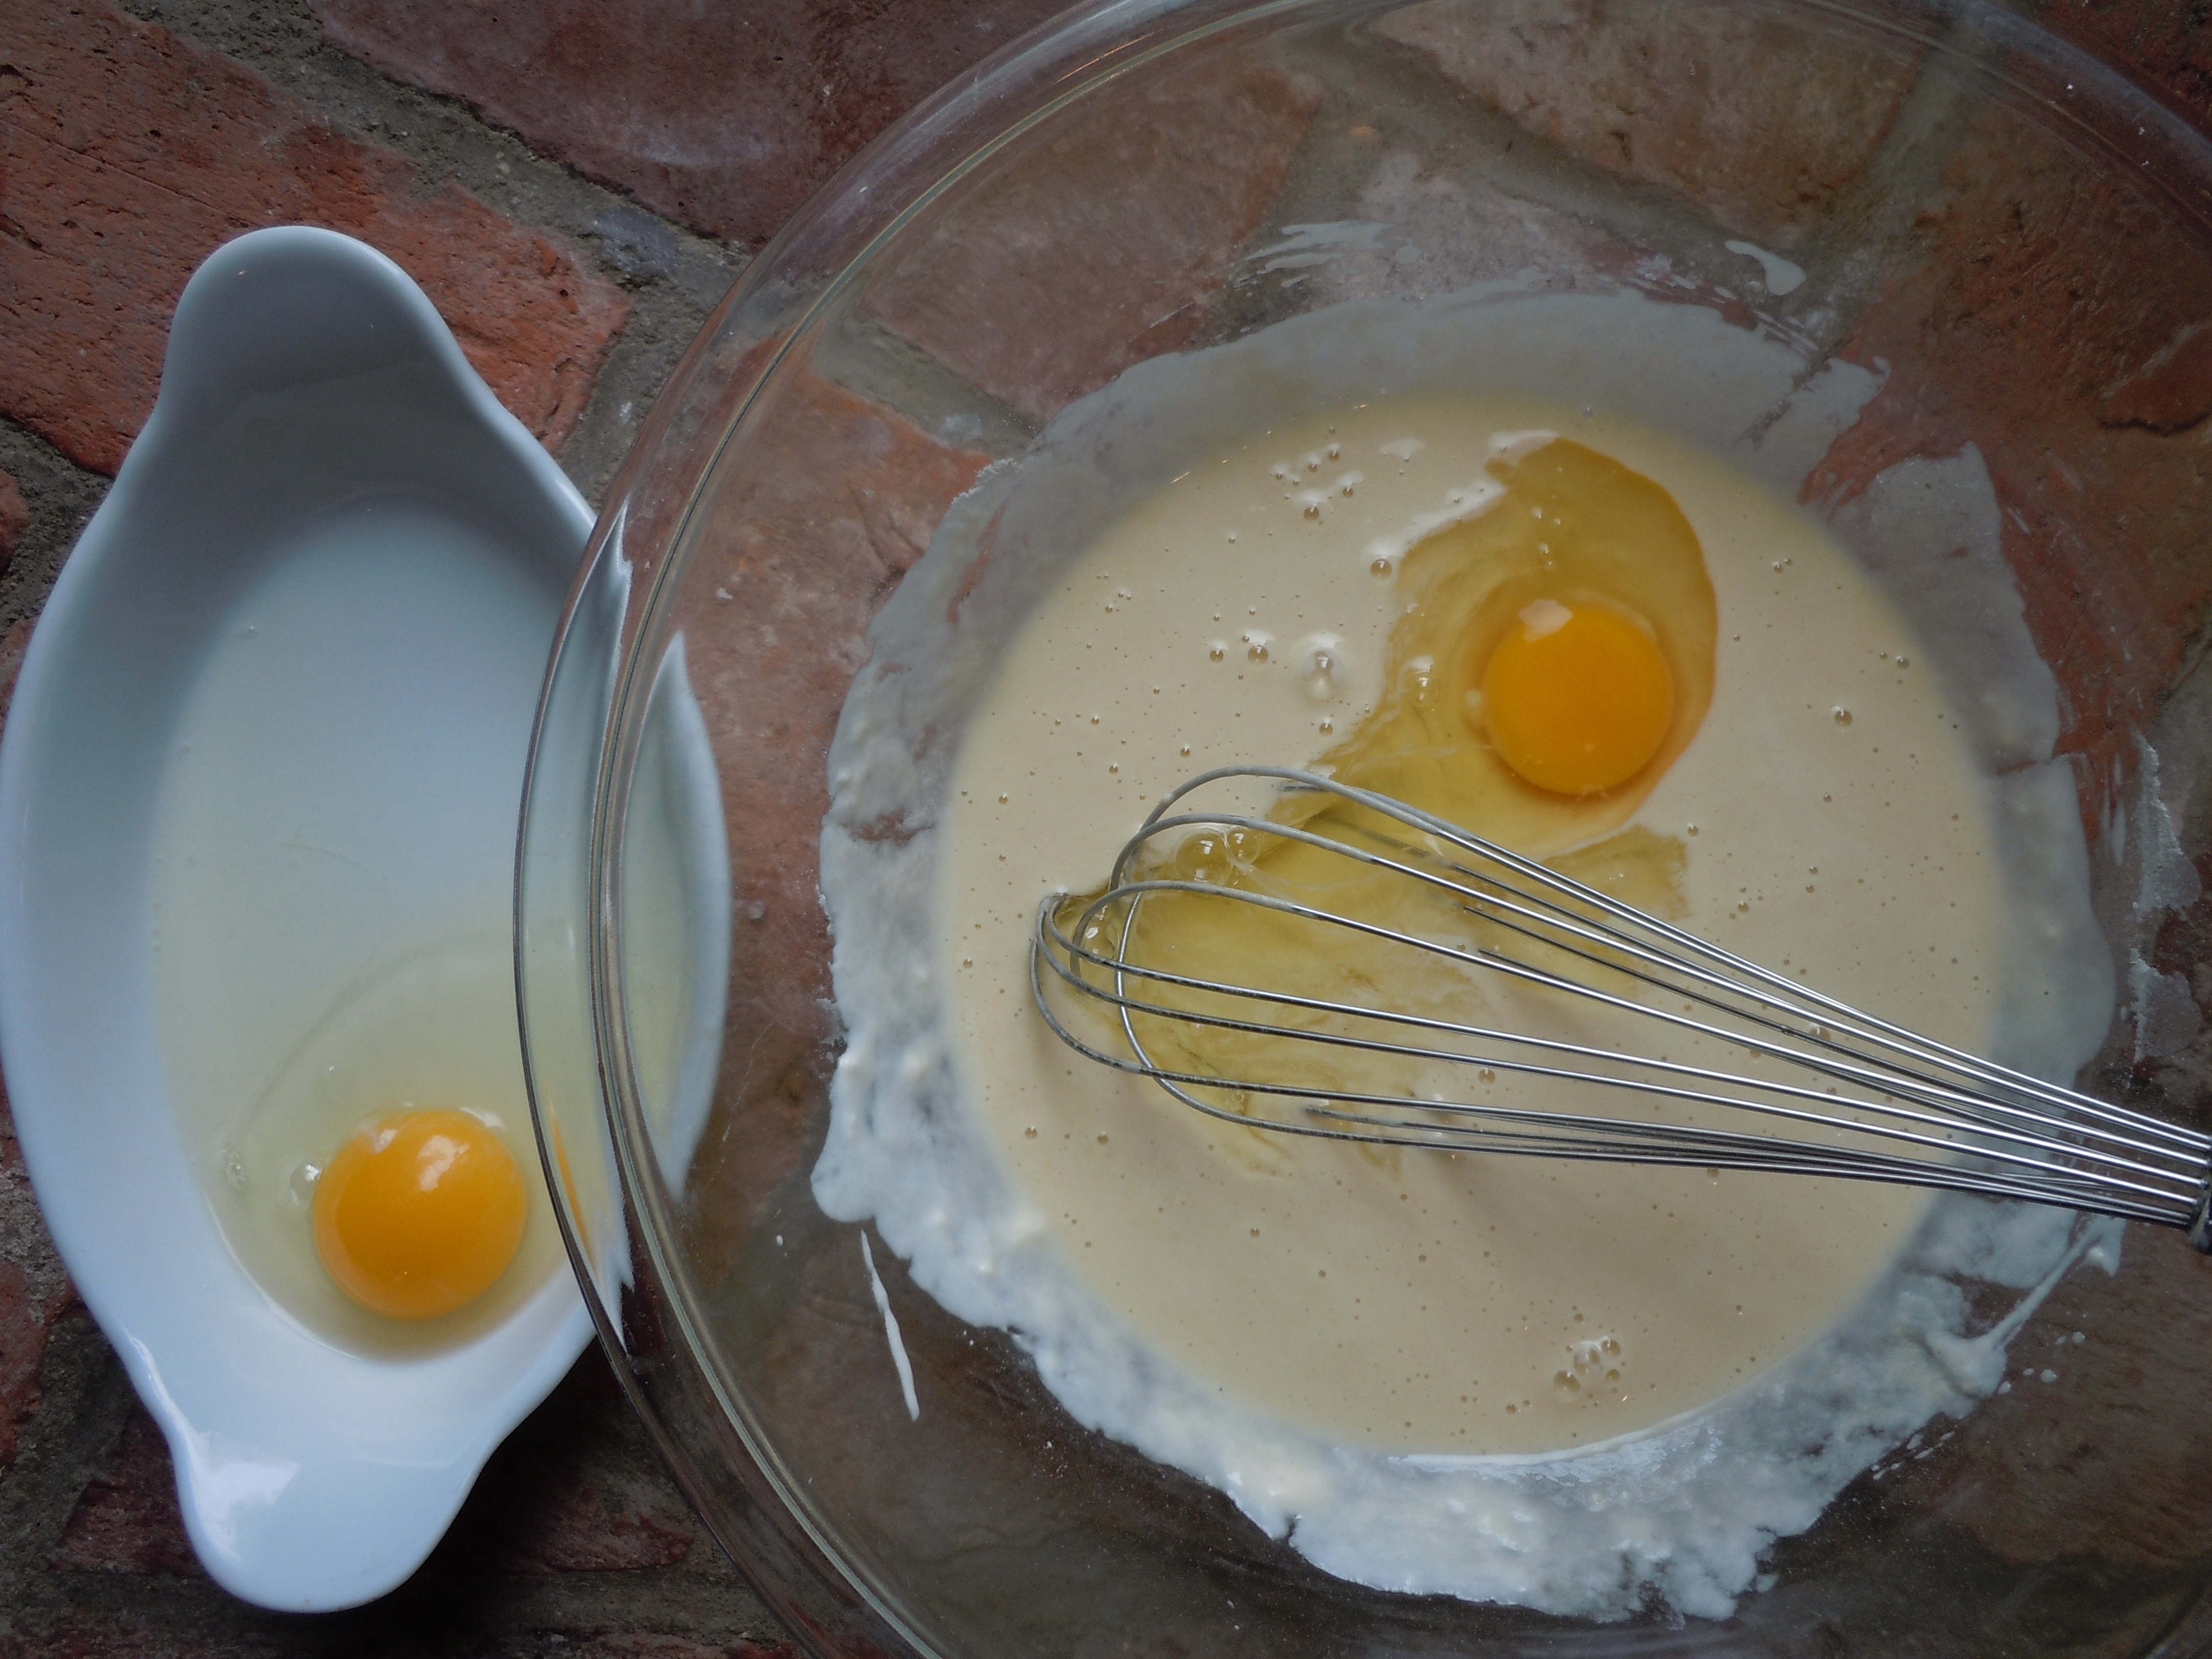
Now there’s the whole dilemma on whether or not to use a raw egg yolk. If I am having a small group of foodie friends over I would definitely add in a raw egg yolk to my Caesar salad dressing because it makes it that much more decadent. If you have never tried it with a farm fresh or organic egg yolk yet you should definitely treat yourself! When I do use an egg yolk I drizzle in the full half cup of olive oil and also add in an extra tablespoon or two of rice wine vinegar and lemon juice . Adding in a tablespoon extra of each will give it a nice balance. It’s basically to get the desired thickness you want because that added yolk offers up an extra thick and creaminess to the dressing this way you thin it out a pinch. For the most part when I make this gourmet Caesar salad for parties and picnics where I’m not sure if there will be someone there with an allergy I play it safe and omit the raw egg. And NO, I am not worried about salmonella with the raw egg because I only use farm fresh eggs directly from the farm or organic brown eggs from the food market. The ONLY time I would buy bulk white eggs from the store is when we are boiling and dyeing eggs for a holiday like Easter. You have to be picky about your ingredients, even the eggs are very important.
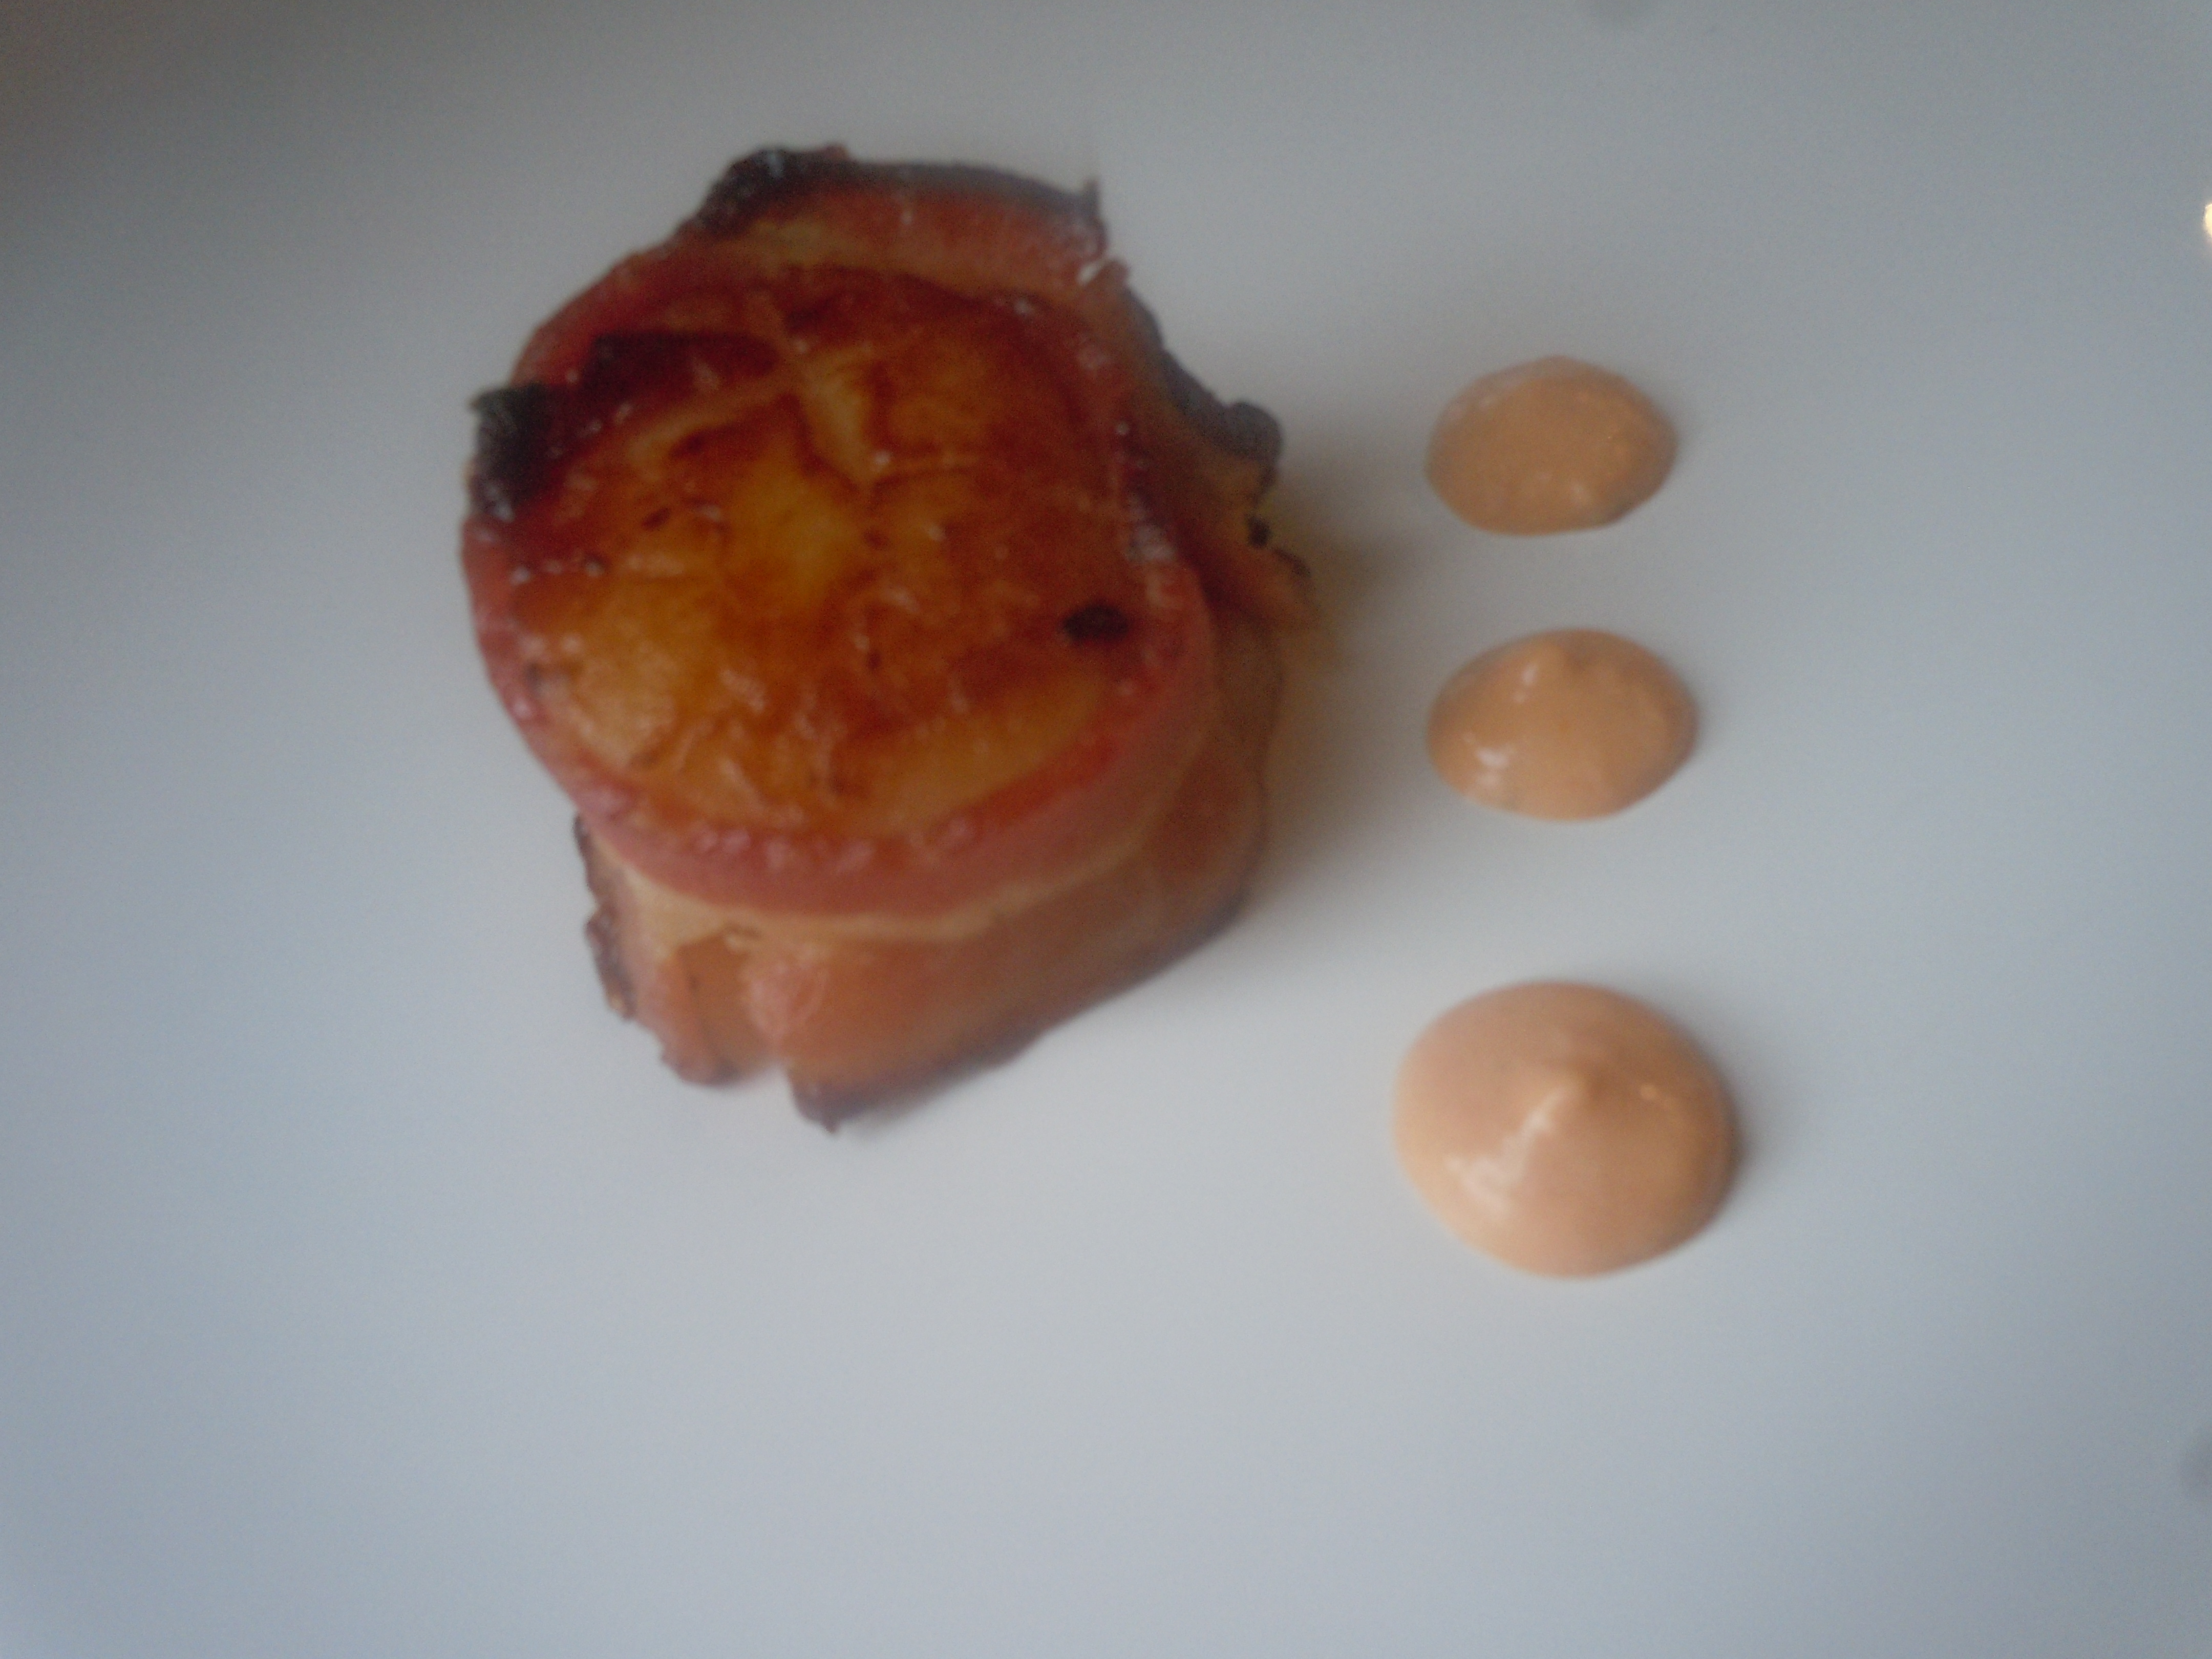
A large shallow dish like the one I have in the photos and in my video show is a great investment for salads like this. I have found many gorgeous platters and bowls like this at very economical prices at stores like Home Goods and TJ Max…you should definitely check out those deals! When I have many friends over for dinner I often serve the Caesar salad in that large shallow bowl and if it’s a more intimate dinner party I even plate up individual size portions which also make for a pretty presentation.
Not only can this bold full flavored salad hold up on its own as an appetizer but you can certainly pear it up with some crab cakes, lazy mans lasagna, lobster mac & cheese, or some pulled beef taco’s and ending with chocolate eclairs would just put it over the top!


CAESAR SALAD DRESSING
CAESAR SALAD DRESSING RECIPE:
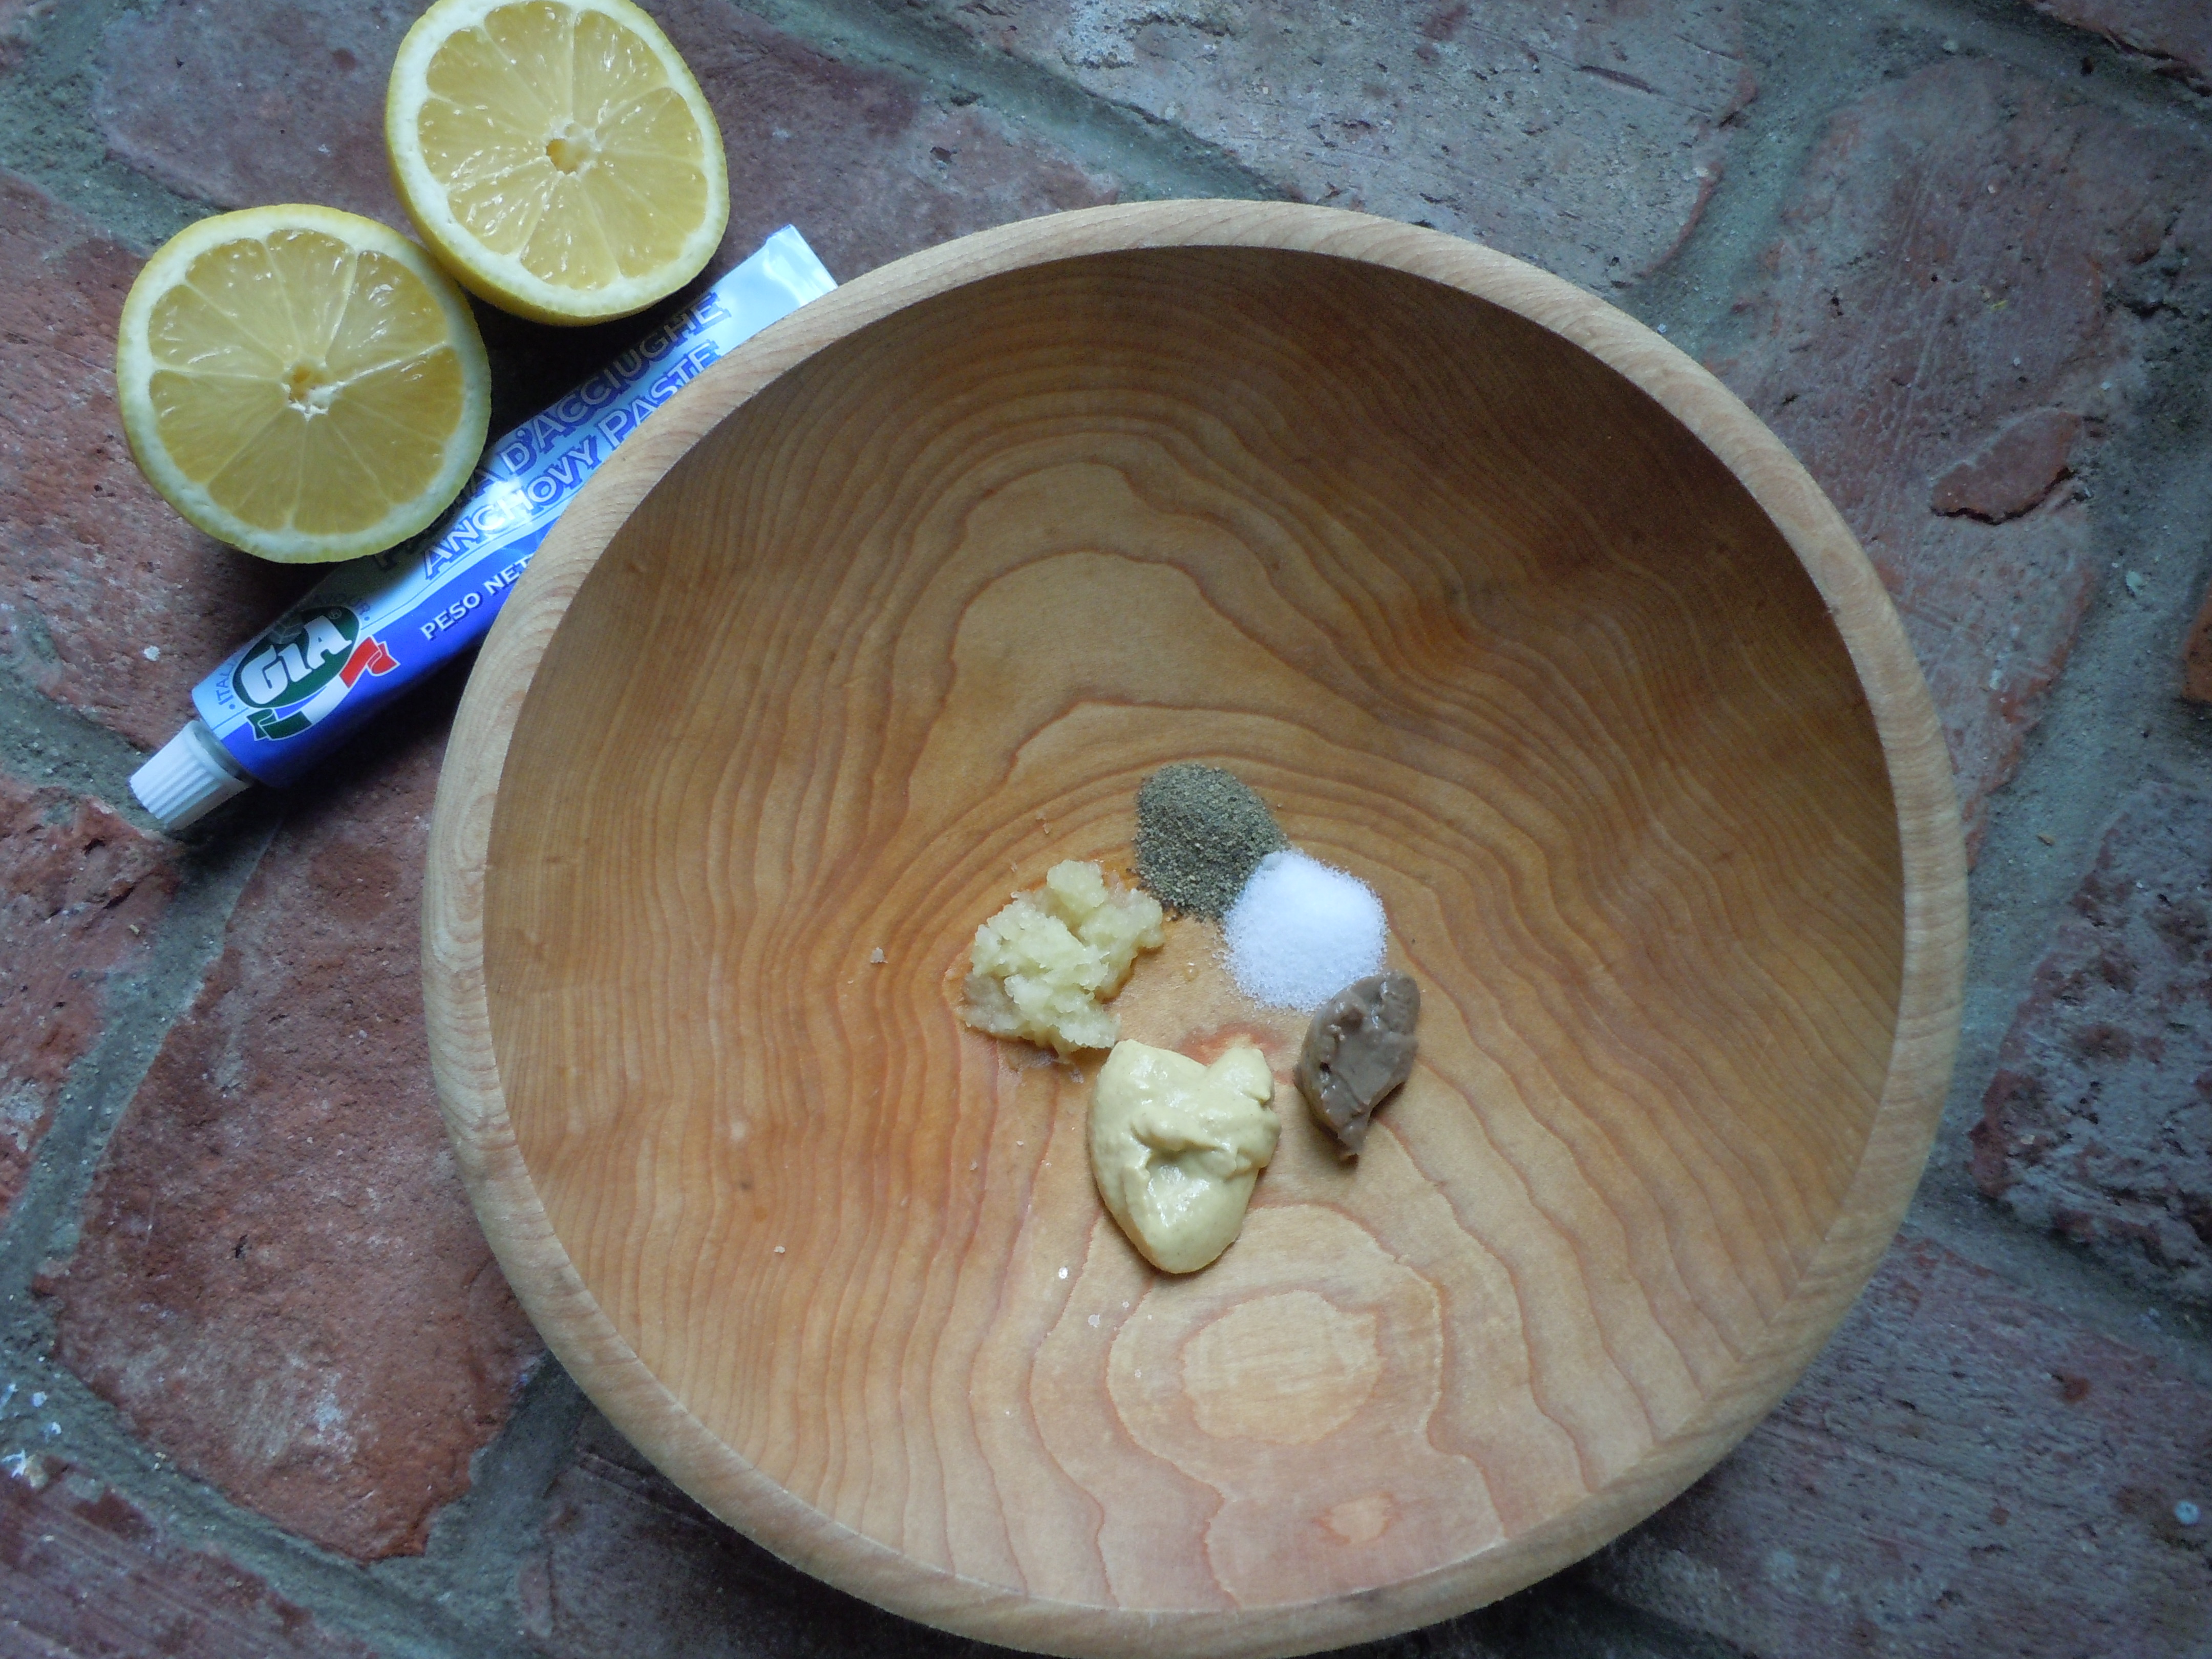
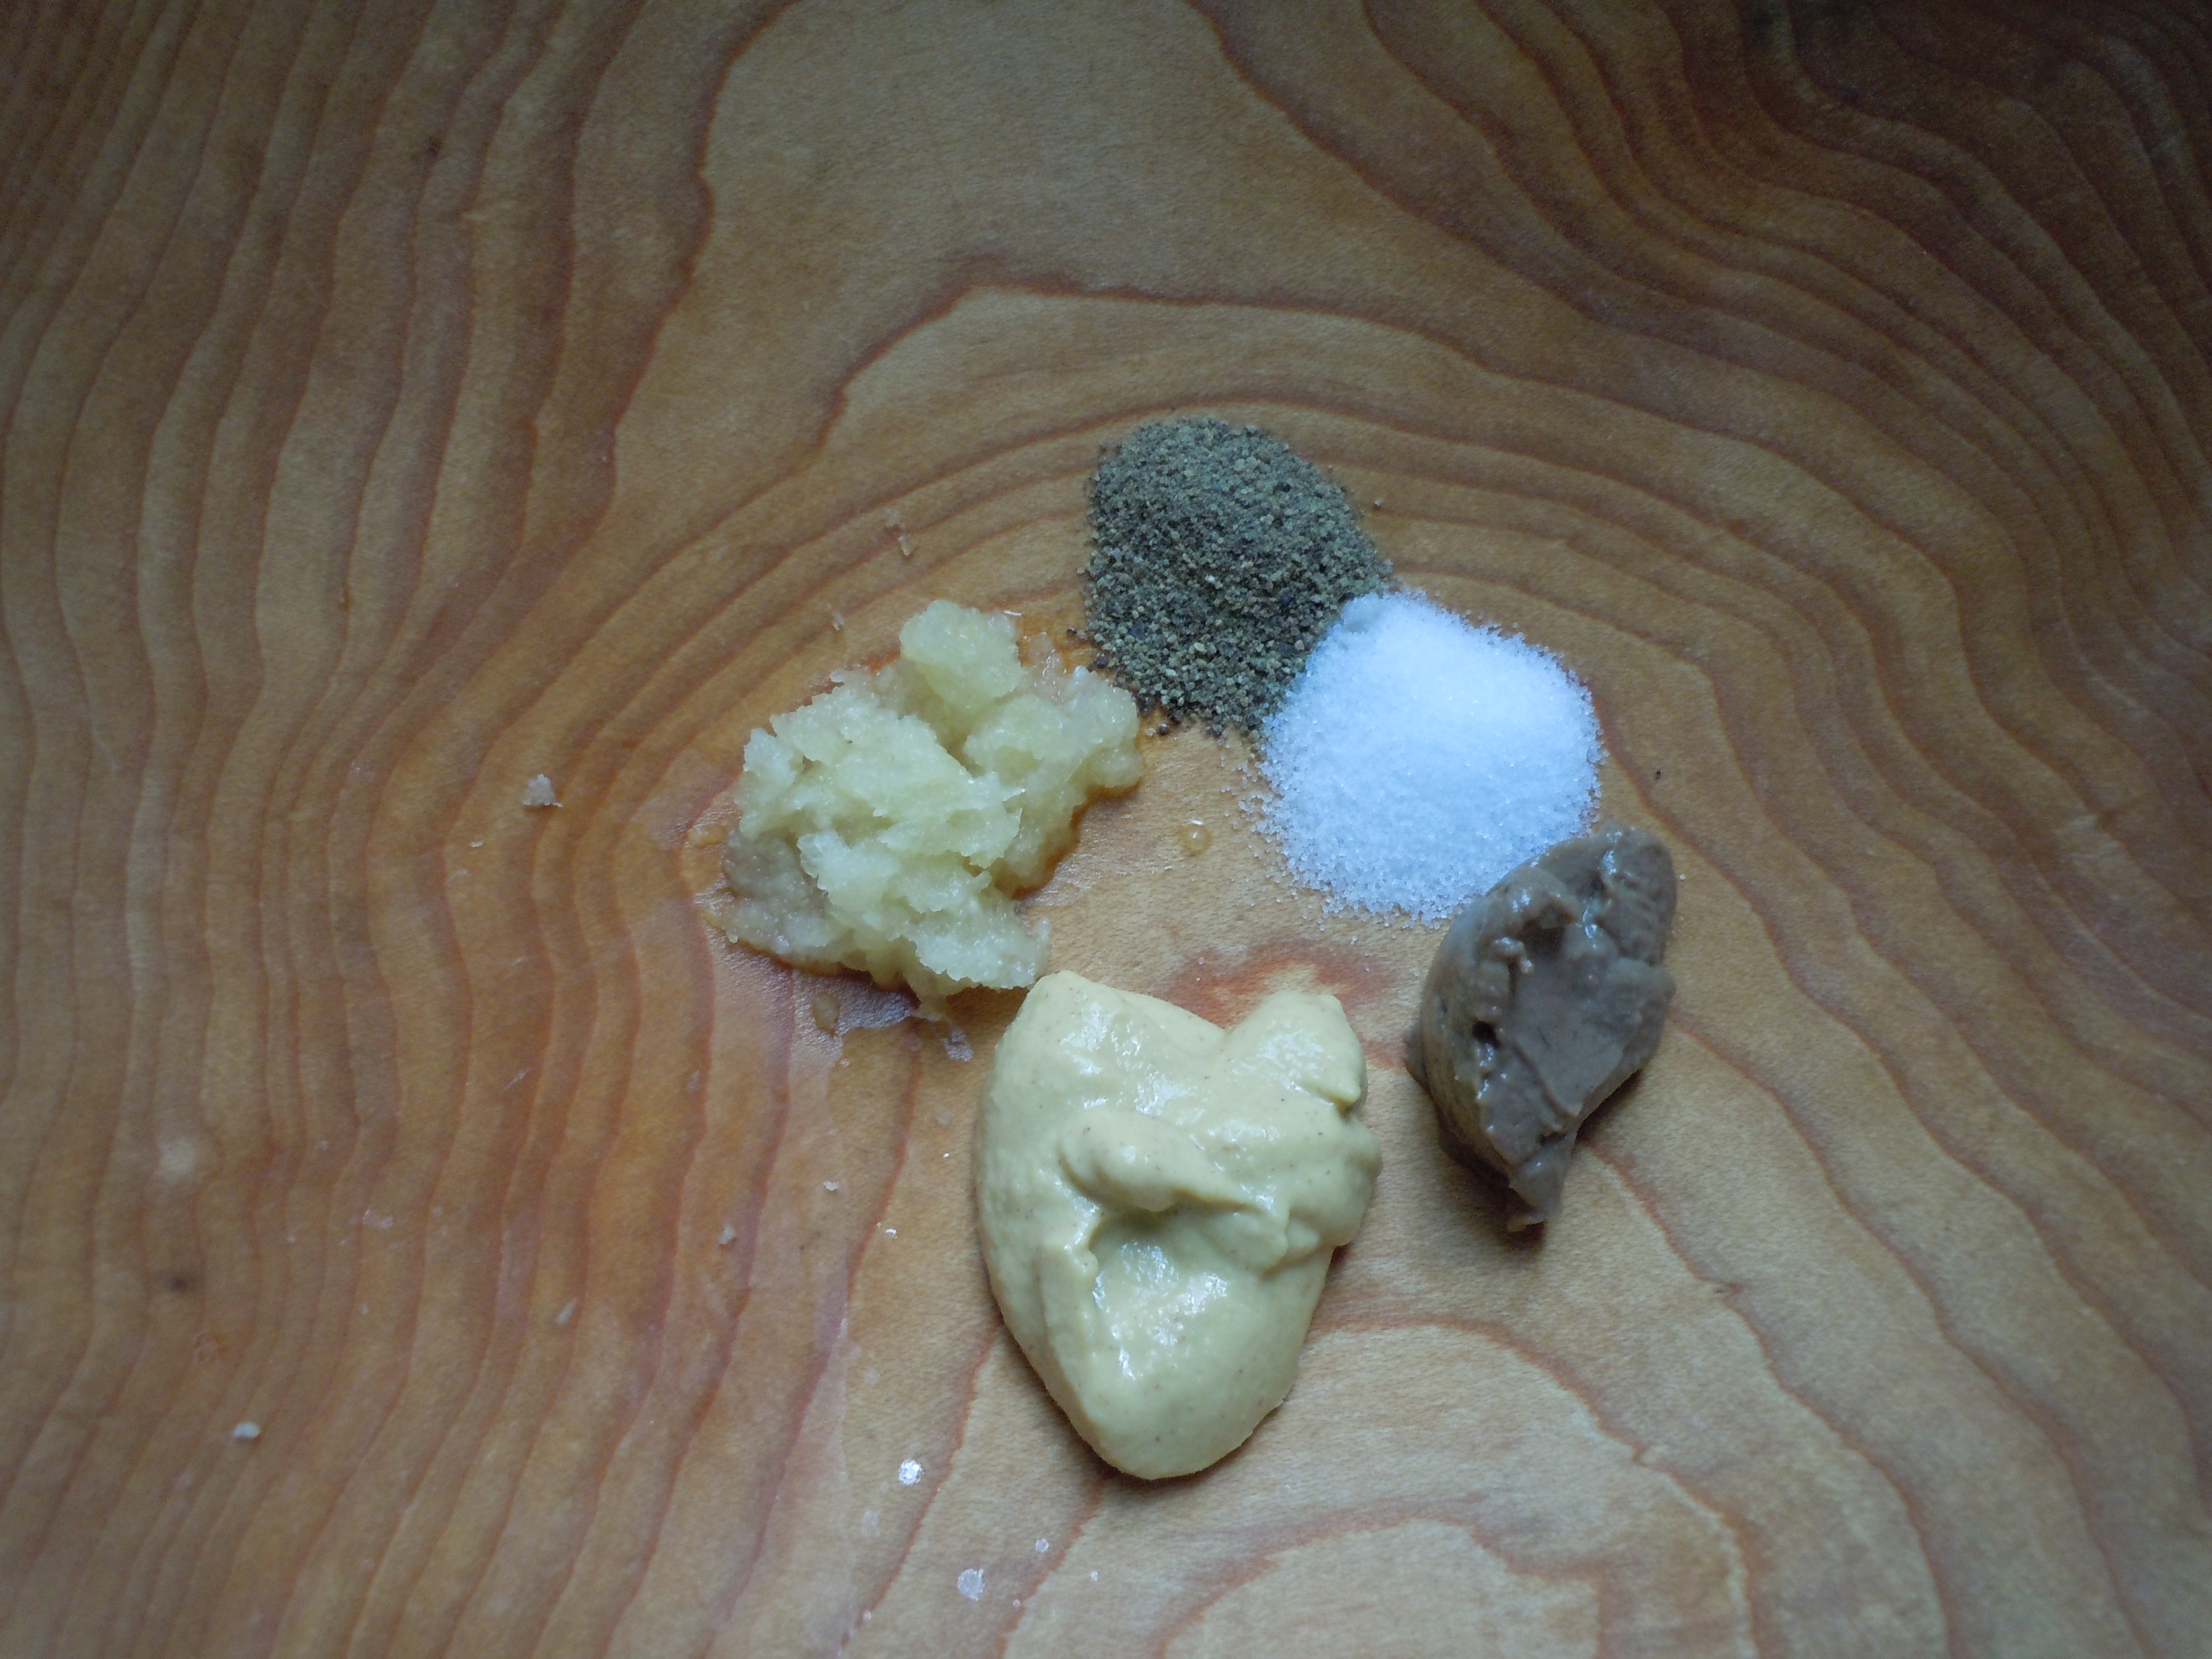
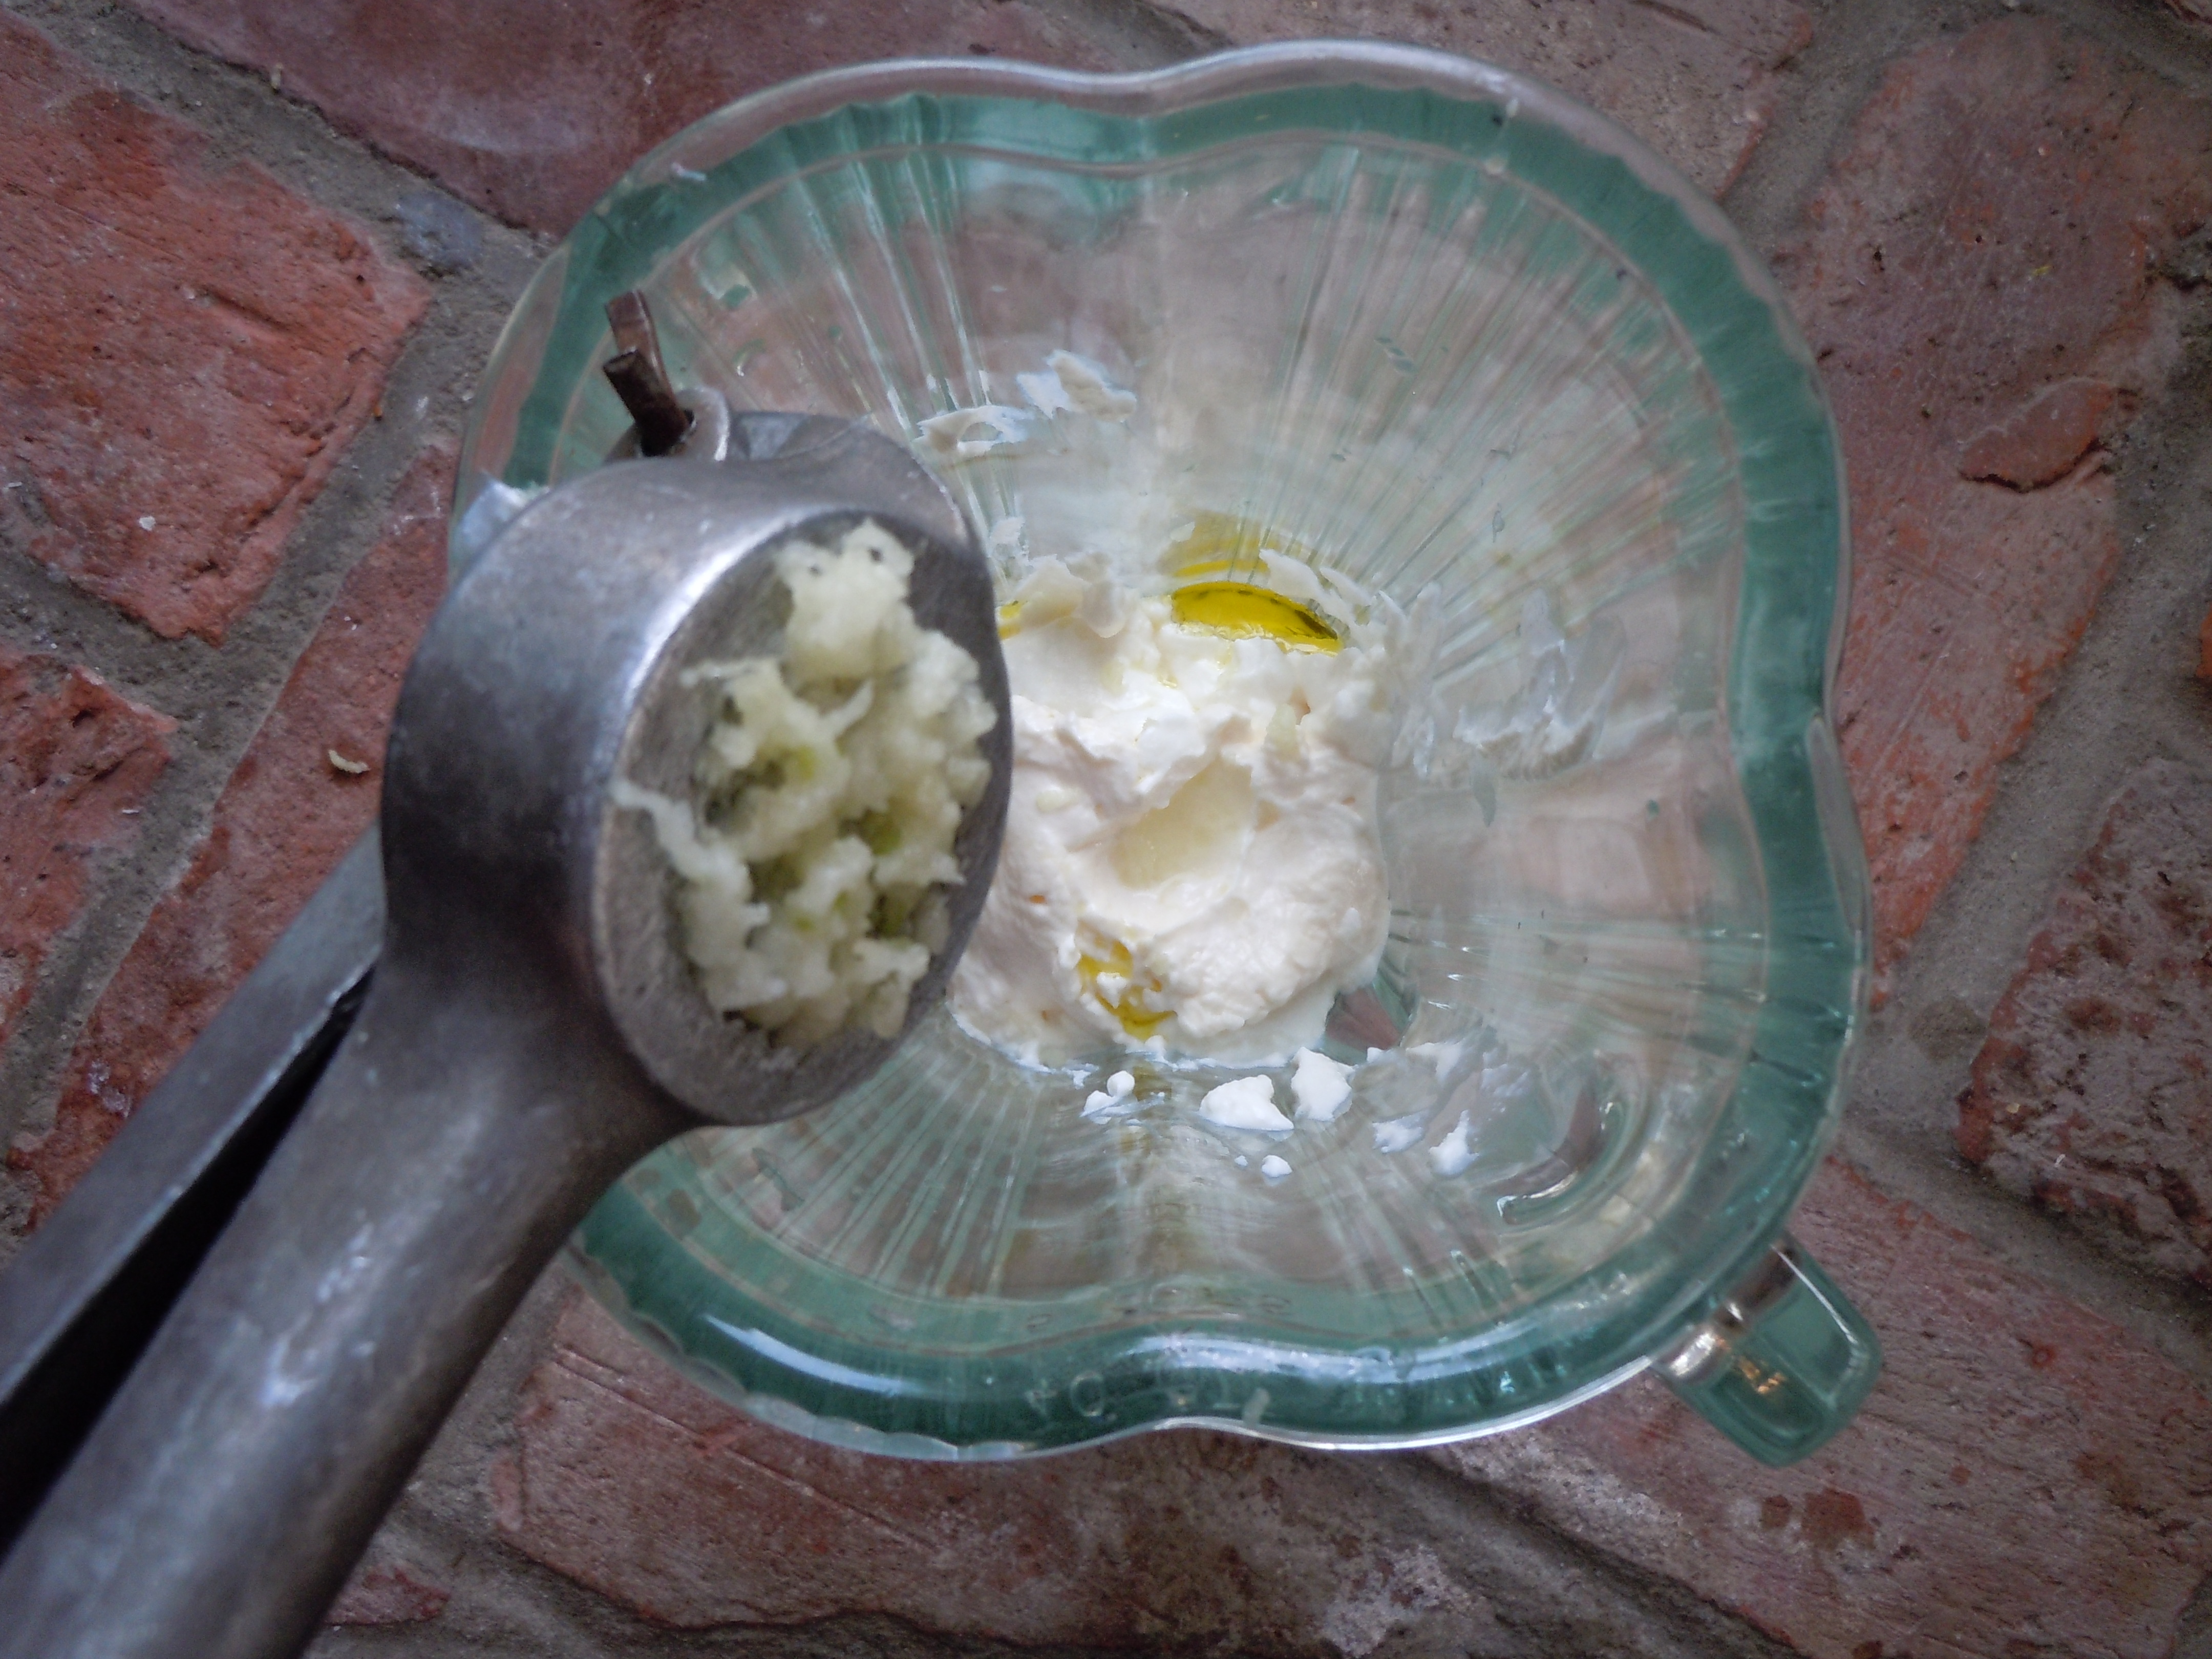
- 1 large/2 medium cloves of garlic put thru garlic press
- 1 egg yolk farm fresh or organic brown eggs ONLY – EGG YOLK OPTIONAL
- 1 Tbsp Dijon – Grey Poupon or Maille
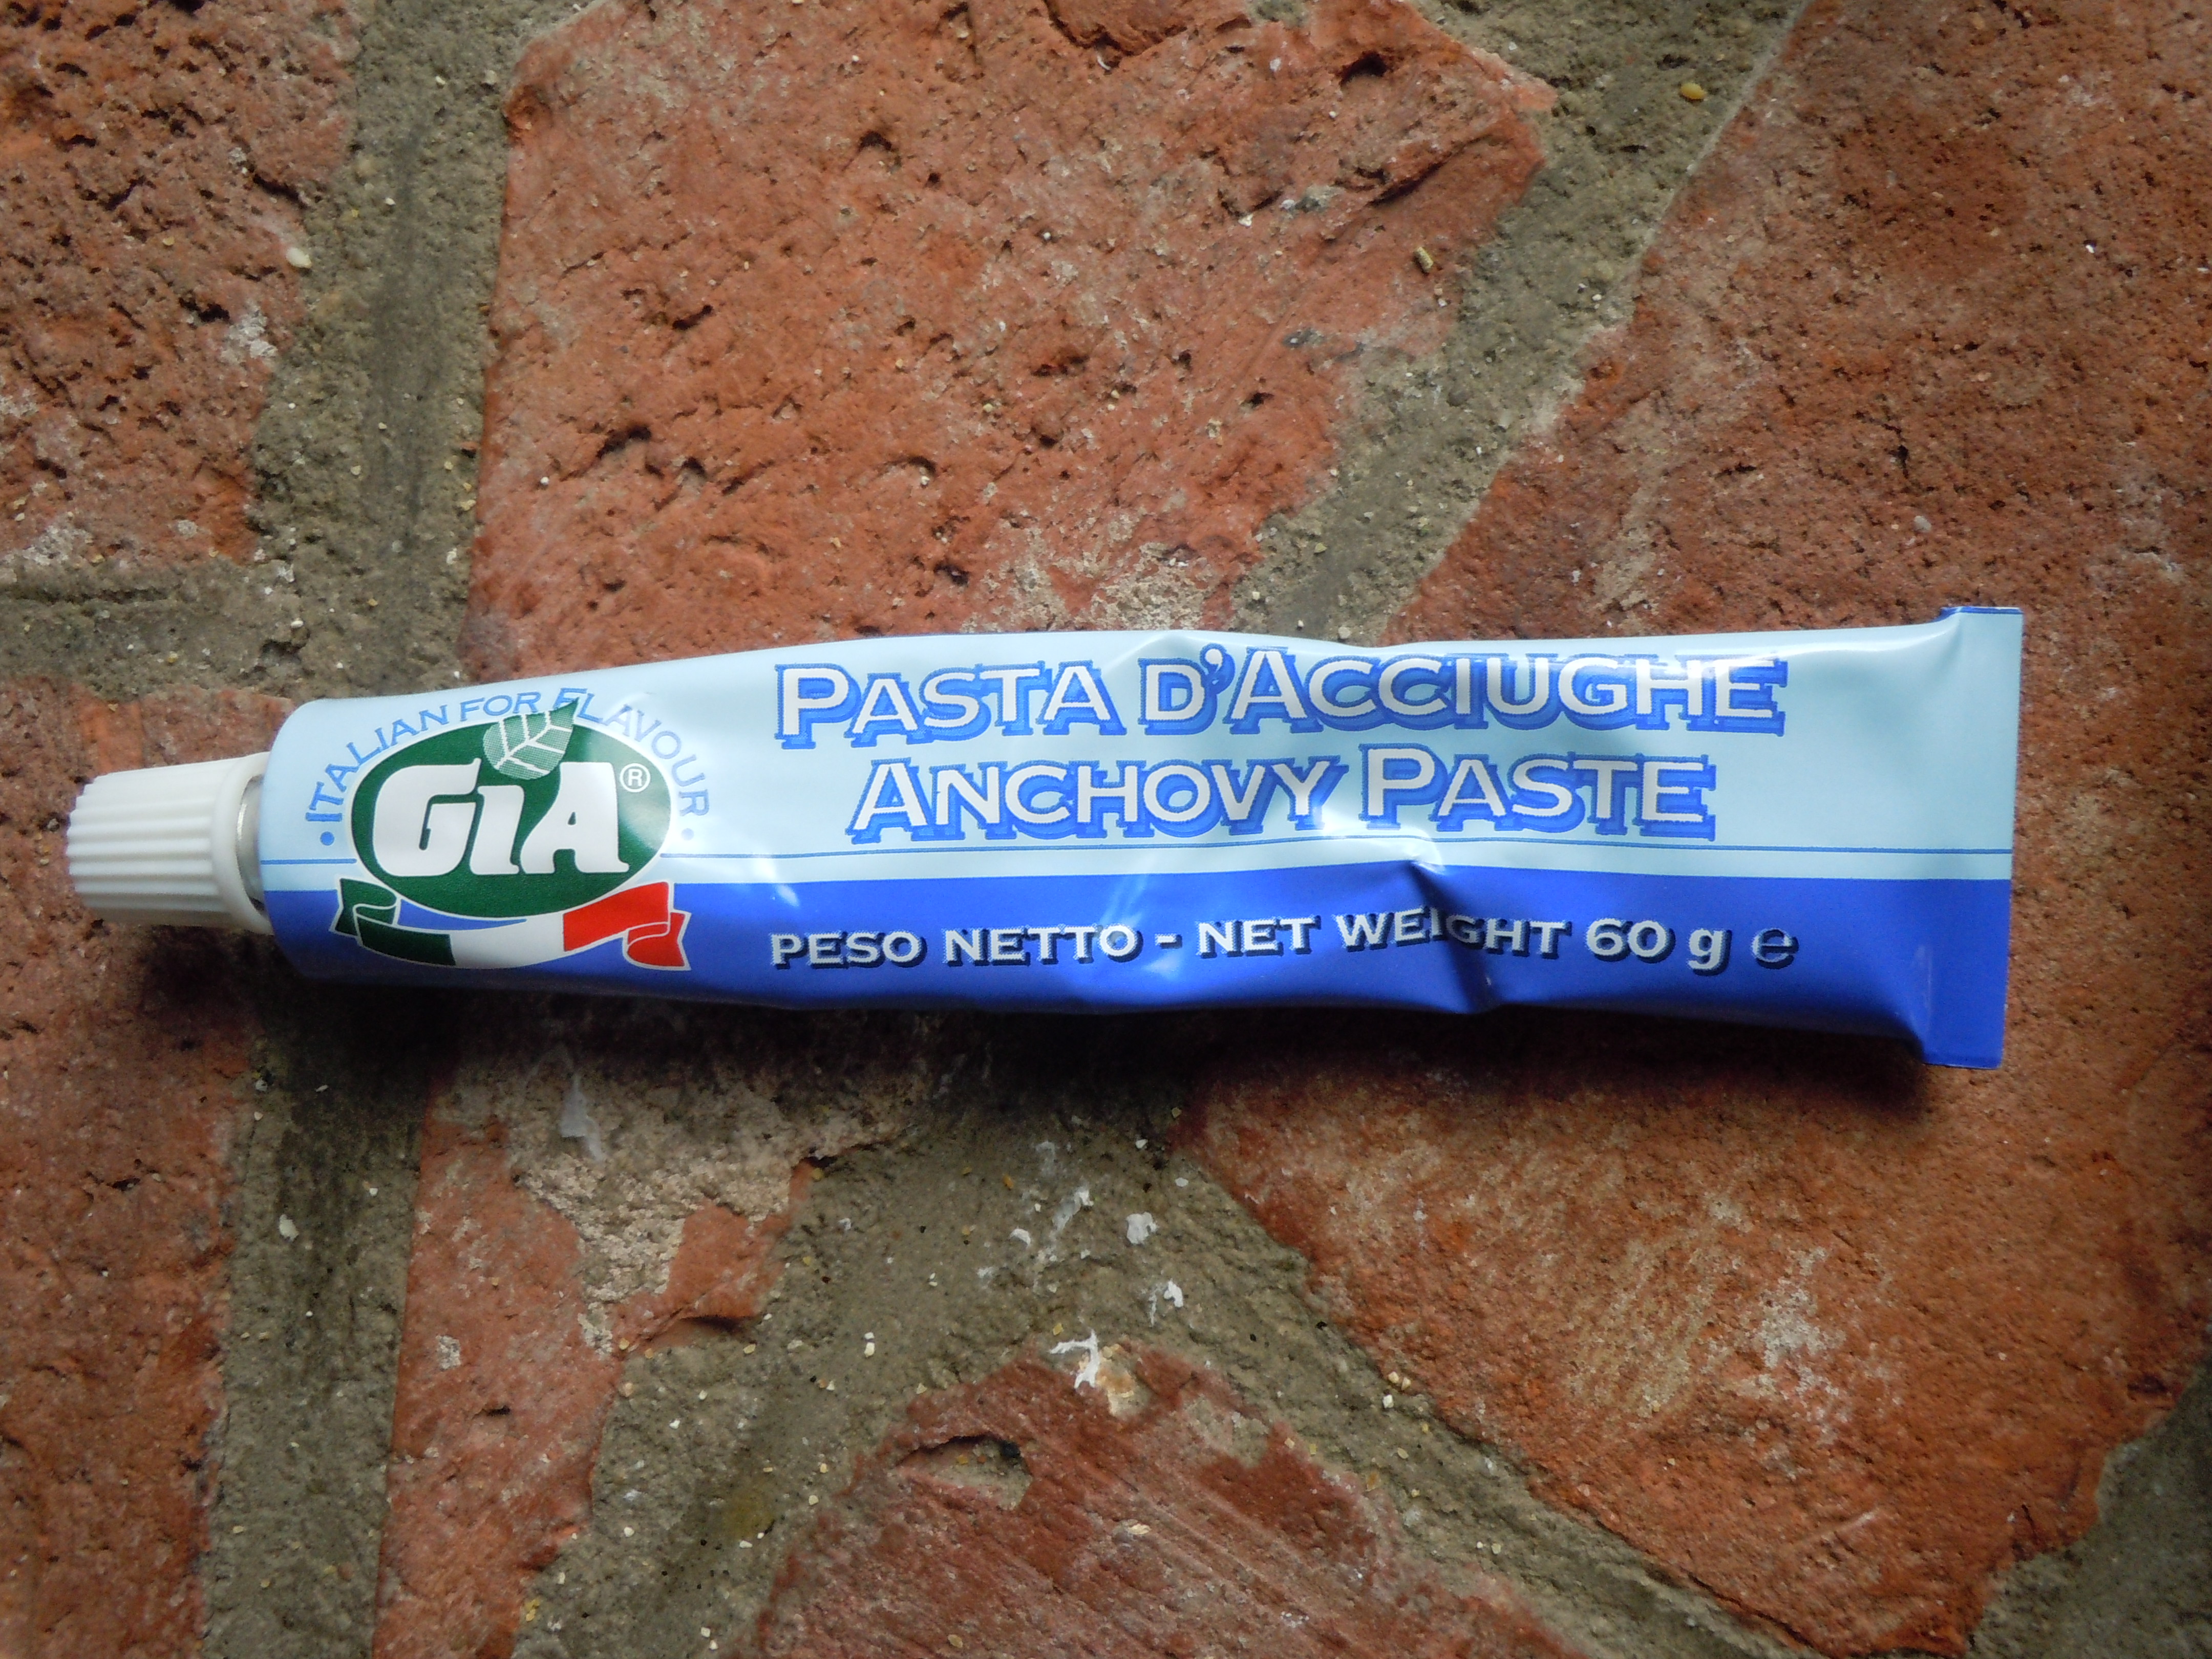
- 1 Tsp anchovie paste
- 1/2 tsp salt
- 1/4 tsp fine blk pepper
- 2 dashes of Worcestershire sauce
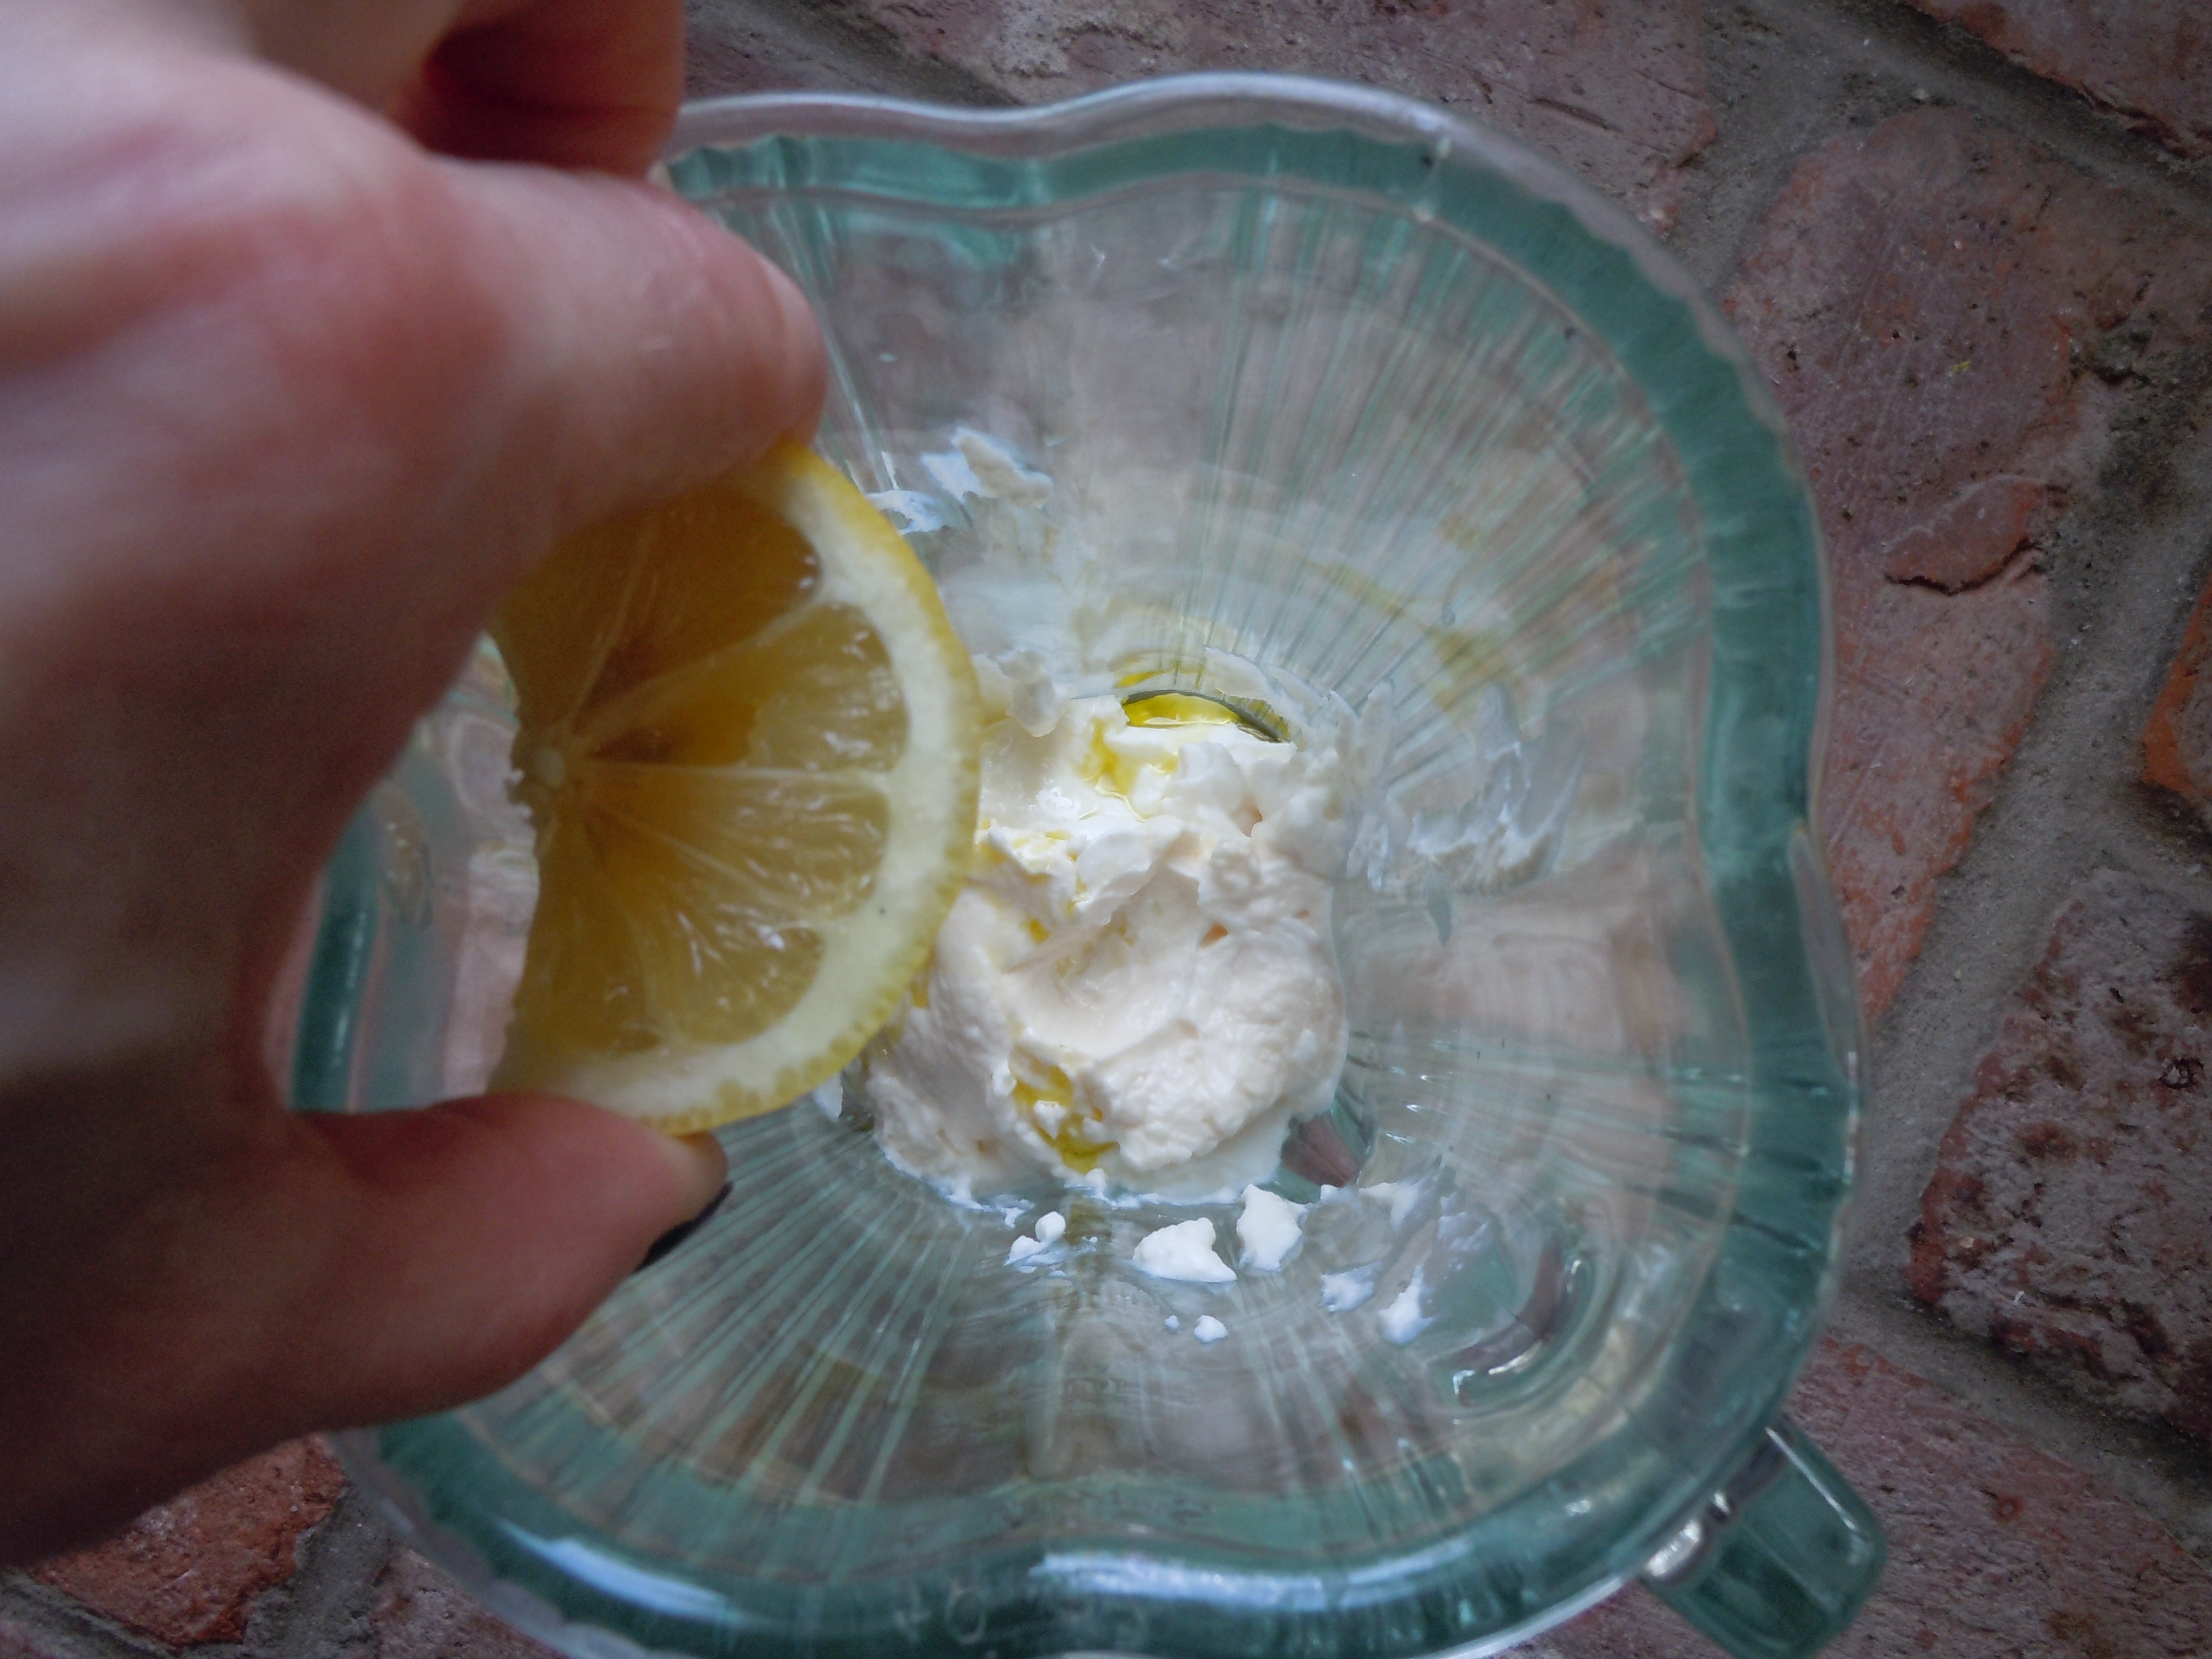
- 1 Tbsp fresh lemon juice
- 2 Tbsp rice wine vinegar “seasoned” (this comes original or seasoned …I prefer seasoned)
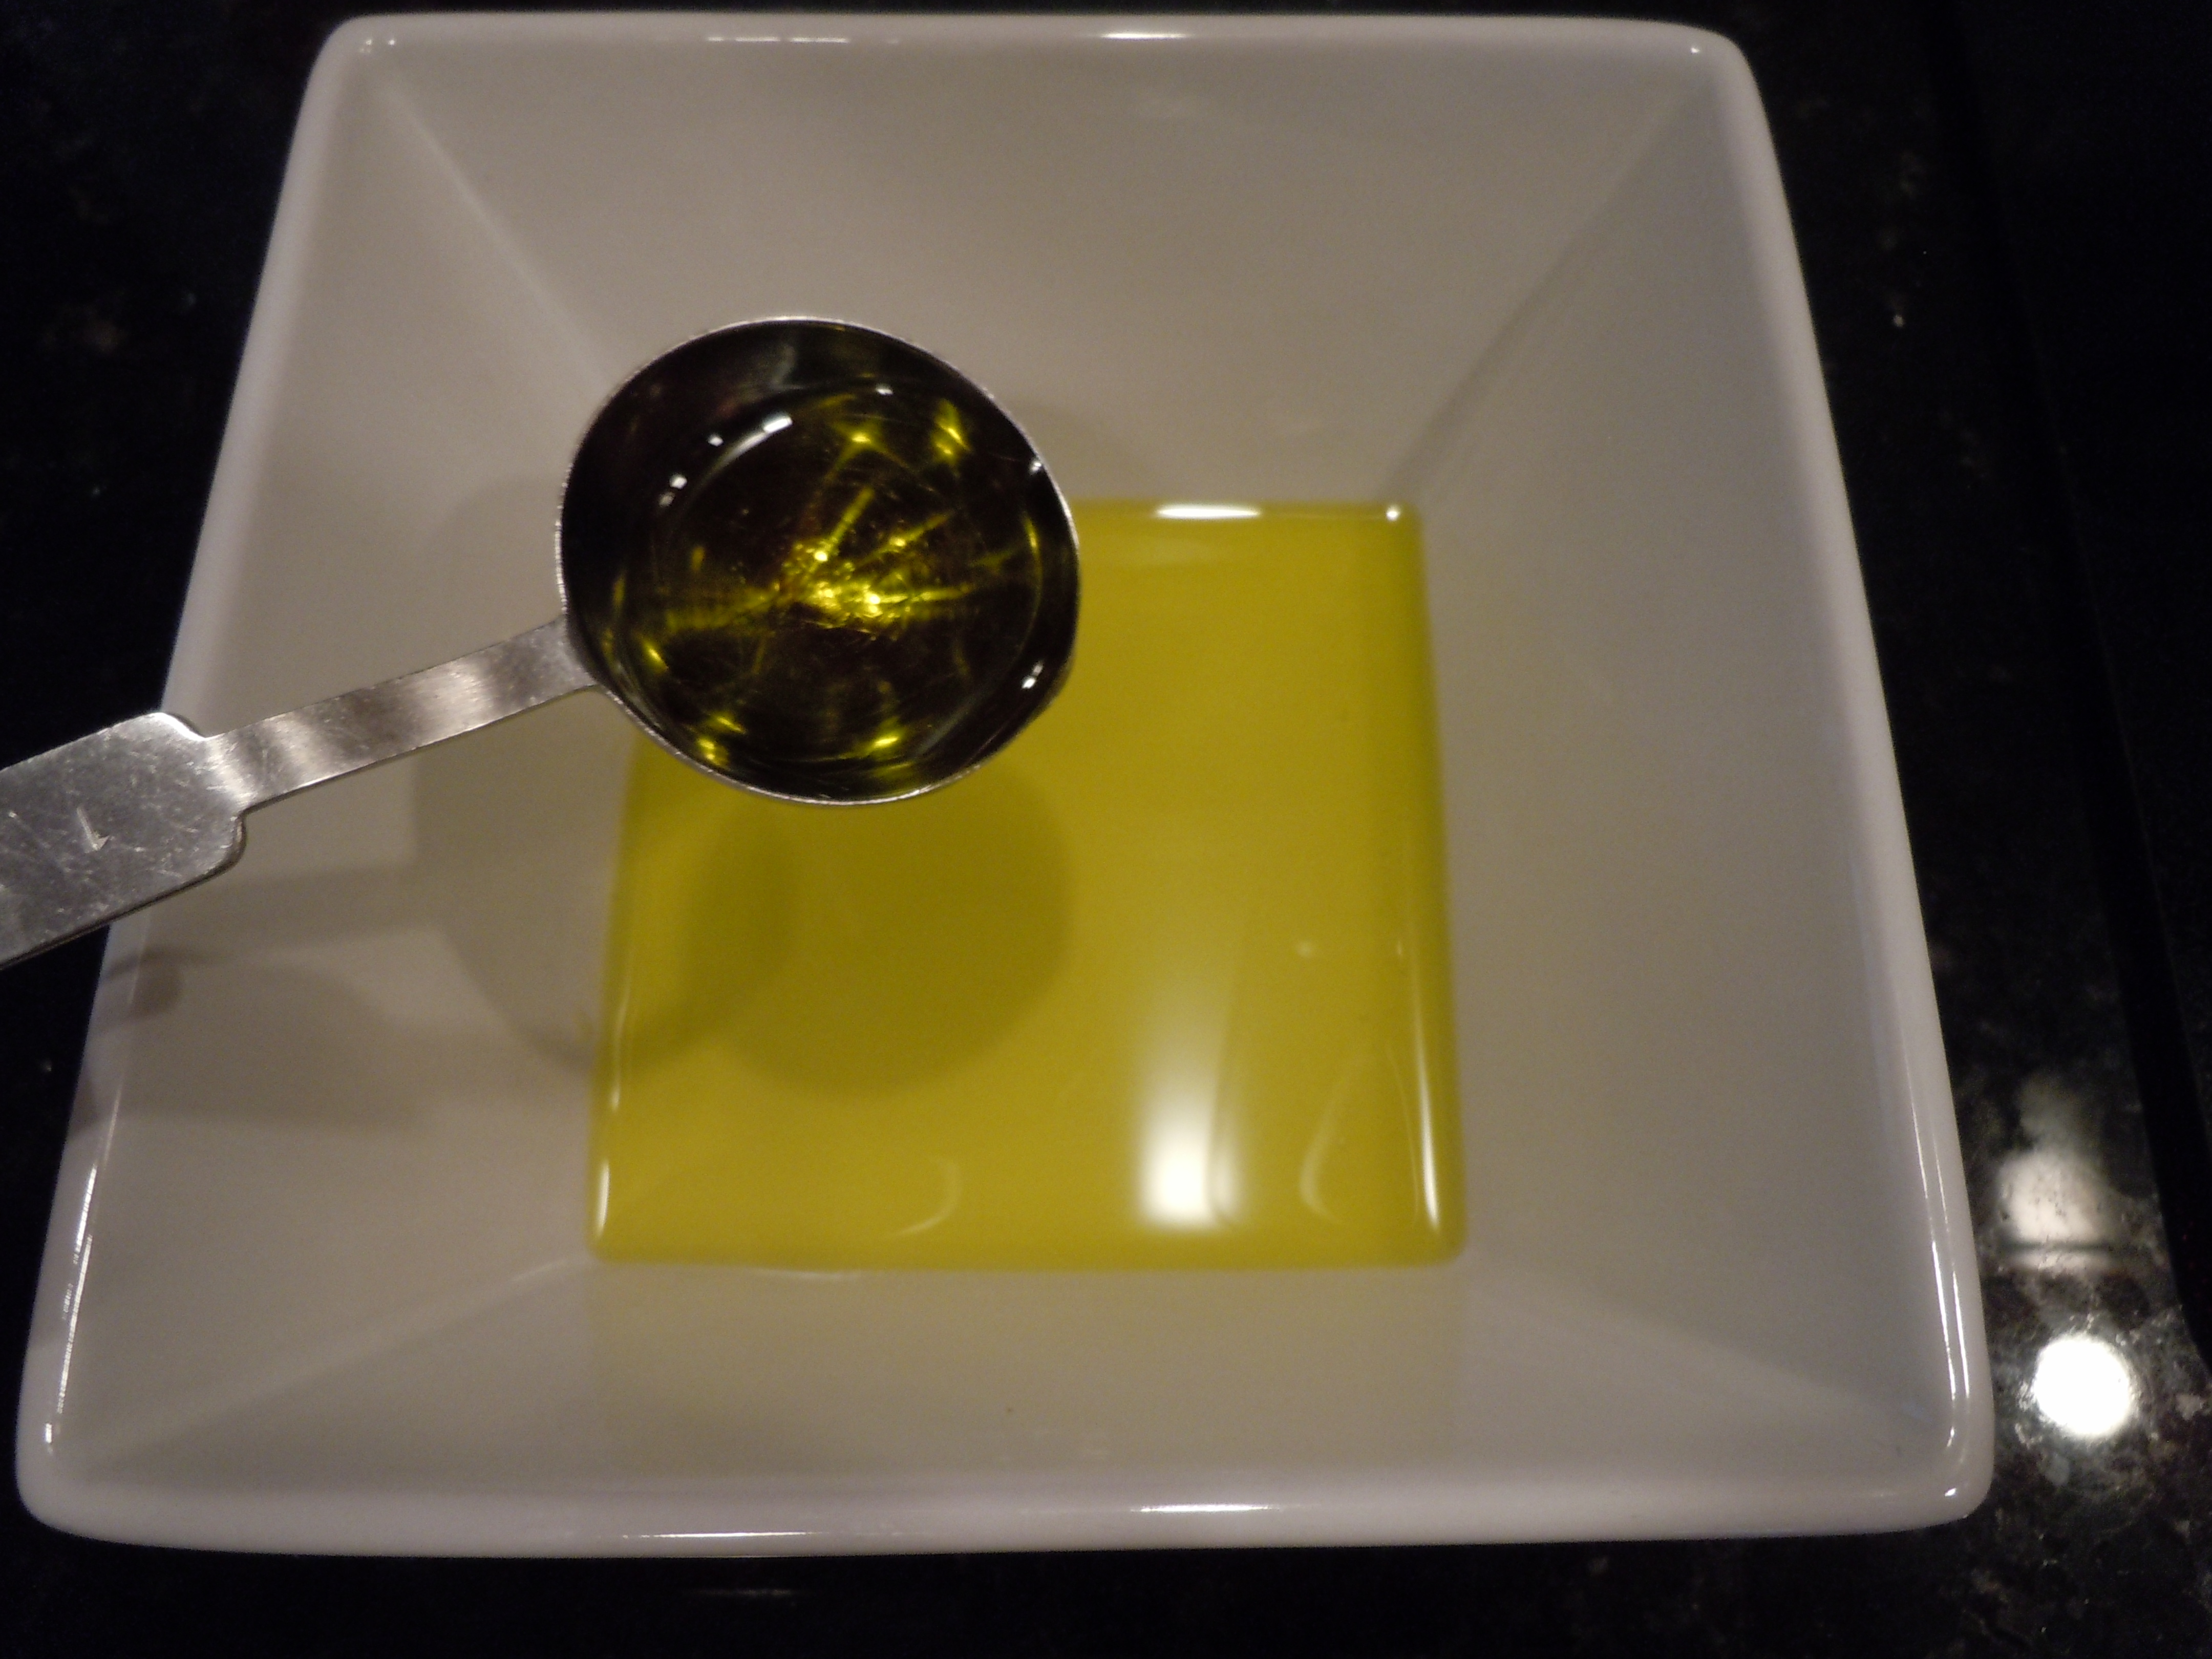
- between 1/3 – 1/2 cup good olive oil
- 1/4-1/3 cup grated Reggiano Parmesan
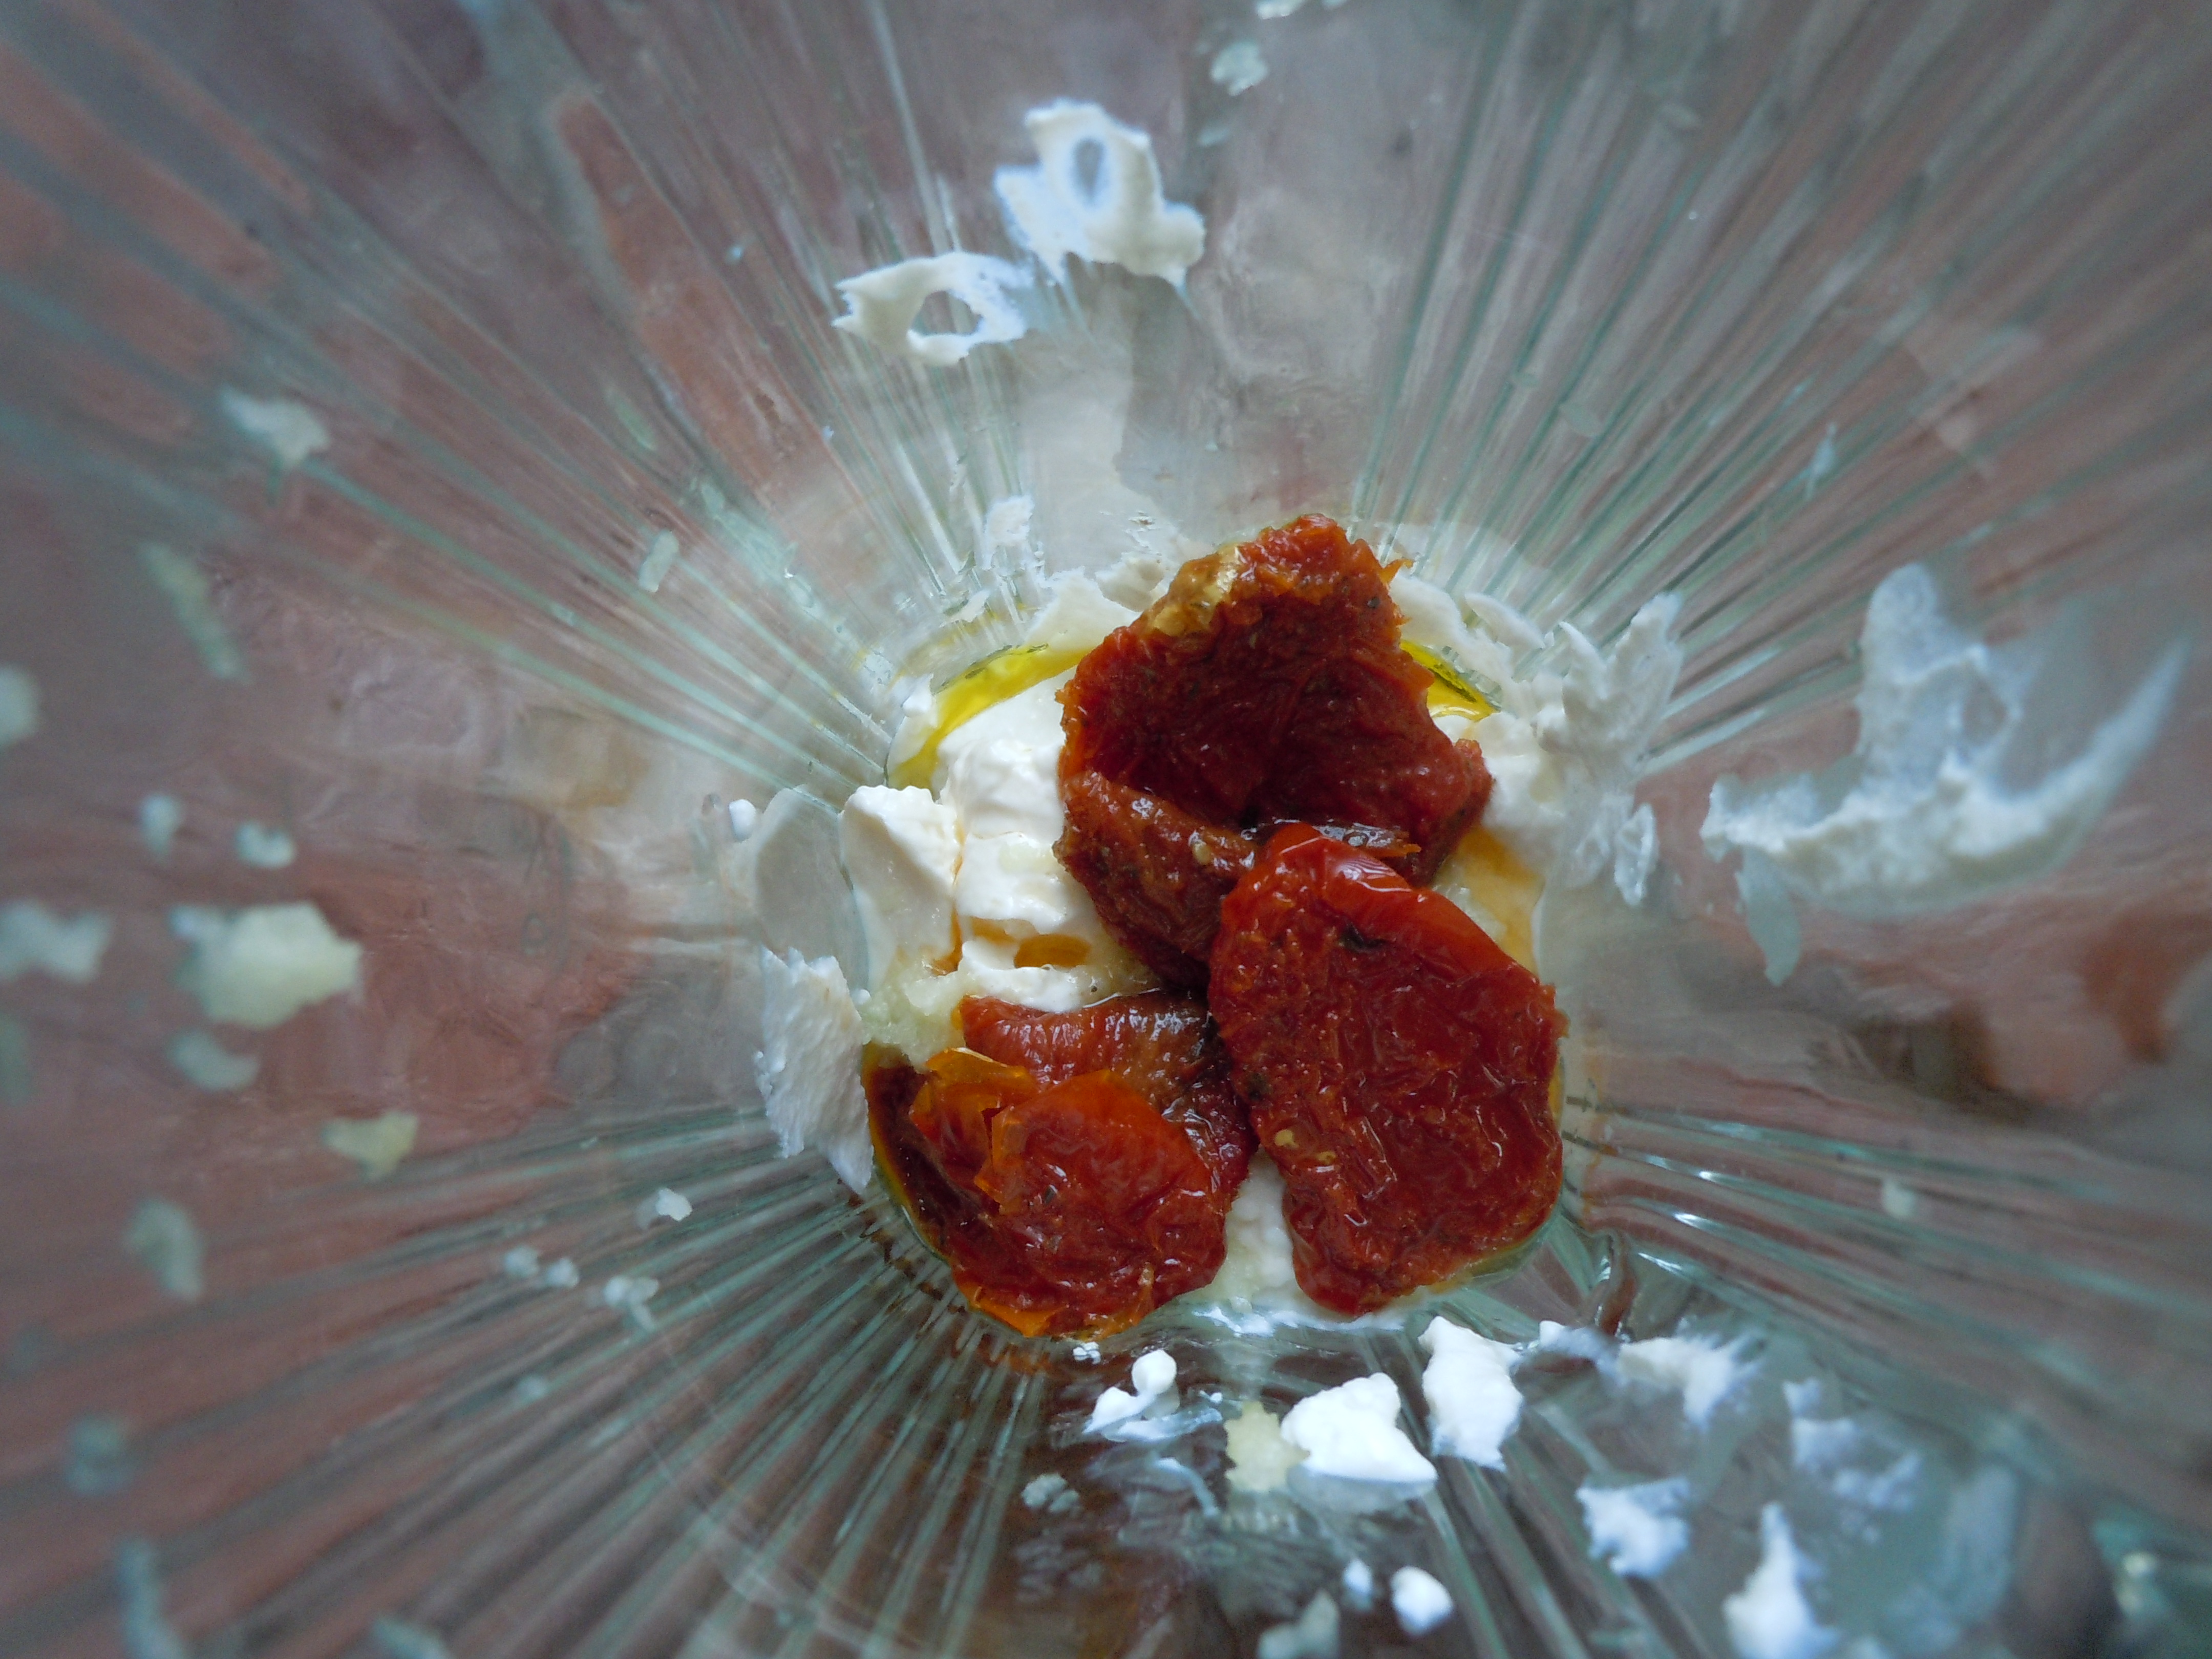
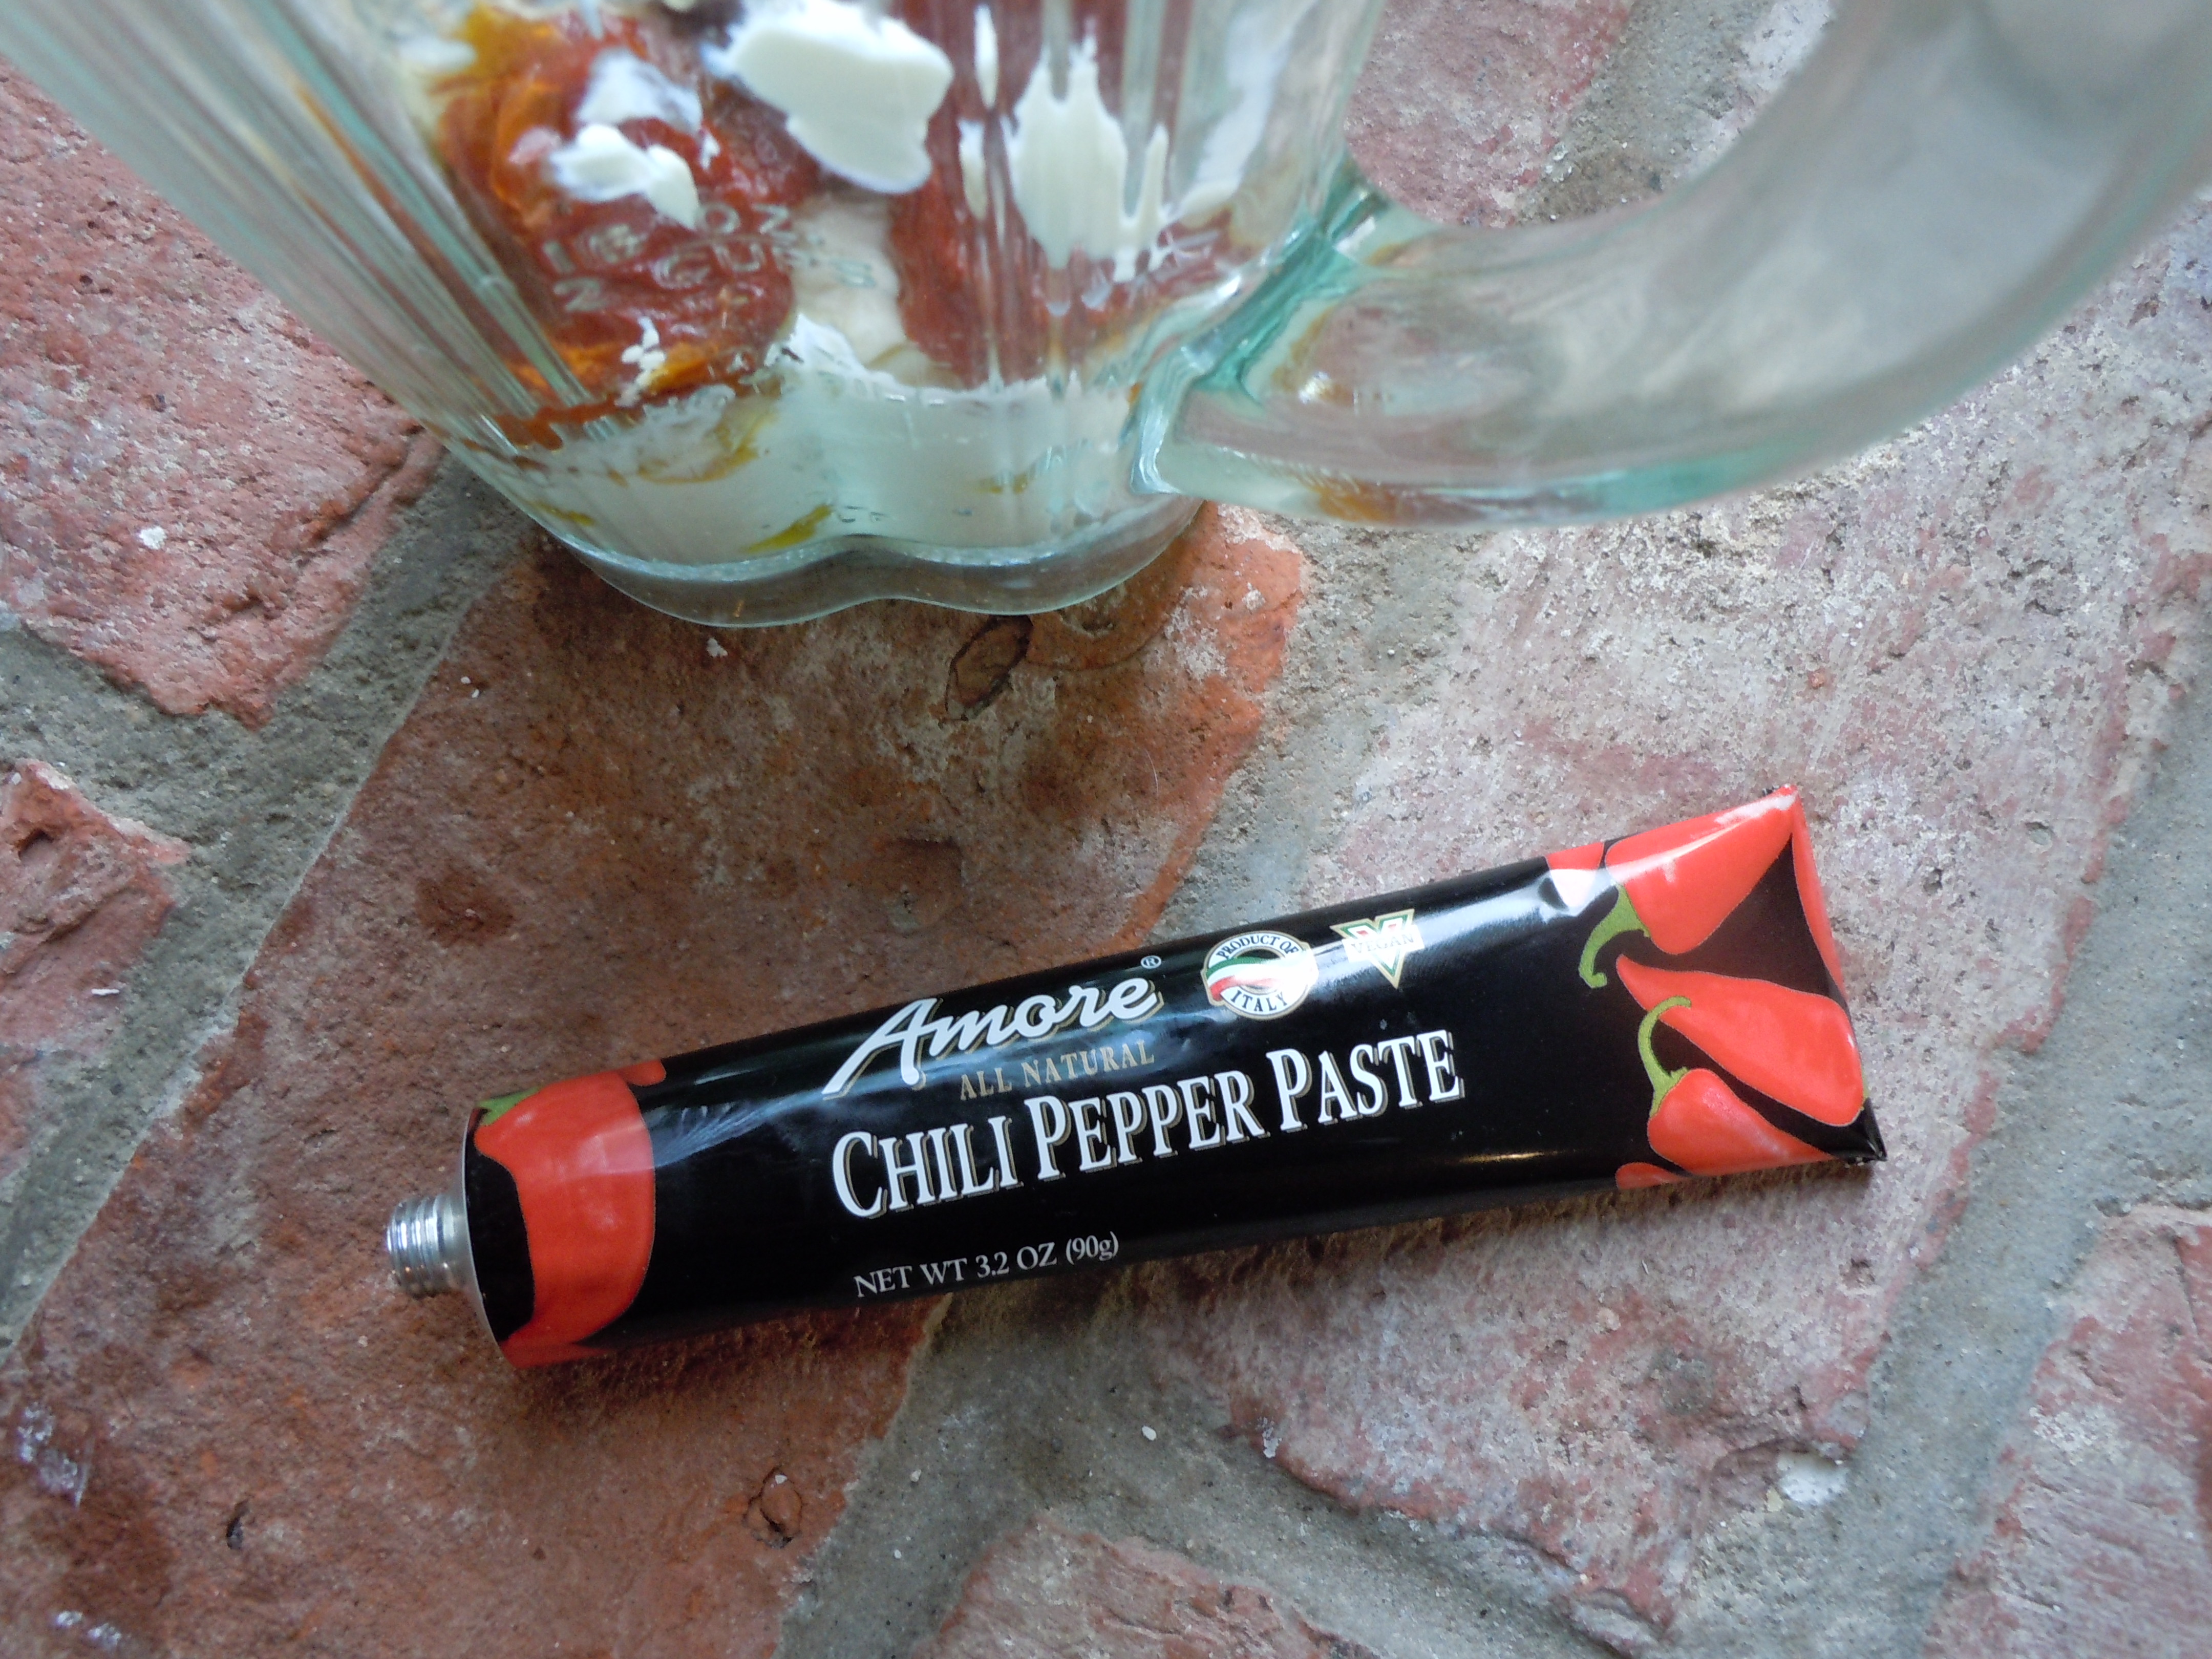
- 2 good dashes of your favorite hot sauce (I use Siracha in this recipe)
DIRECTIONS for the CAESAR DRESSING:
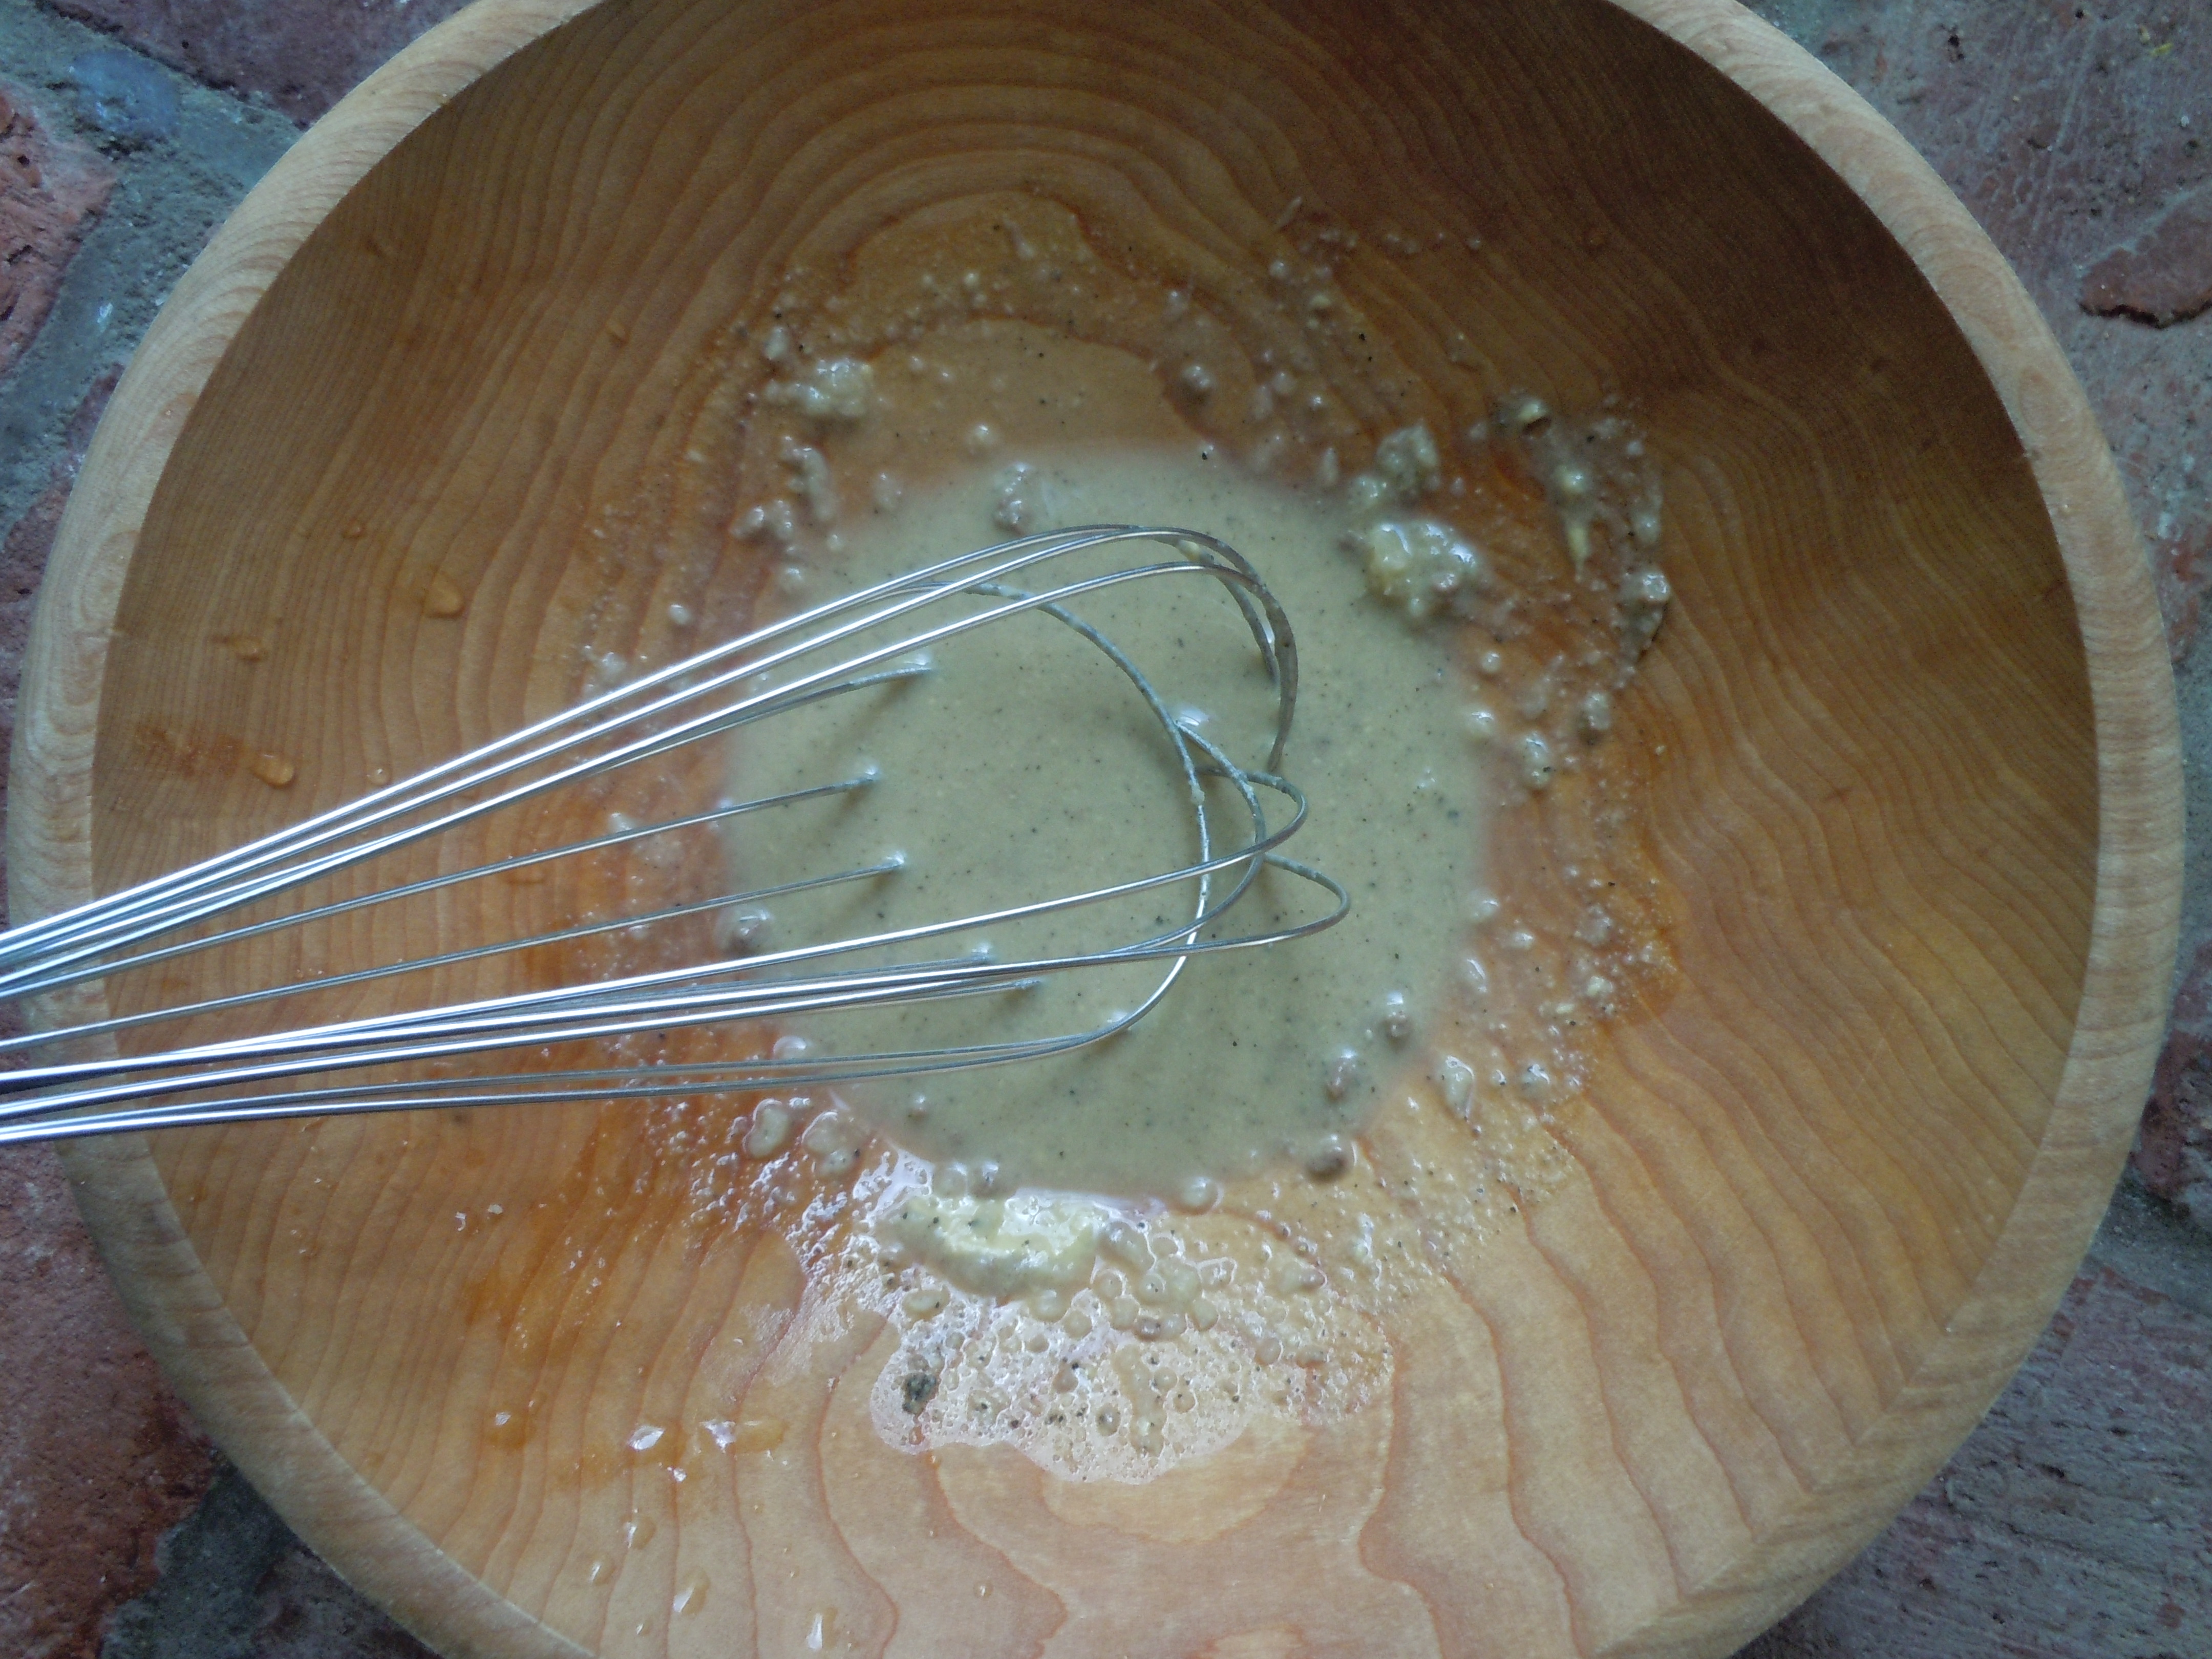
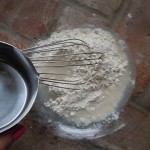
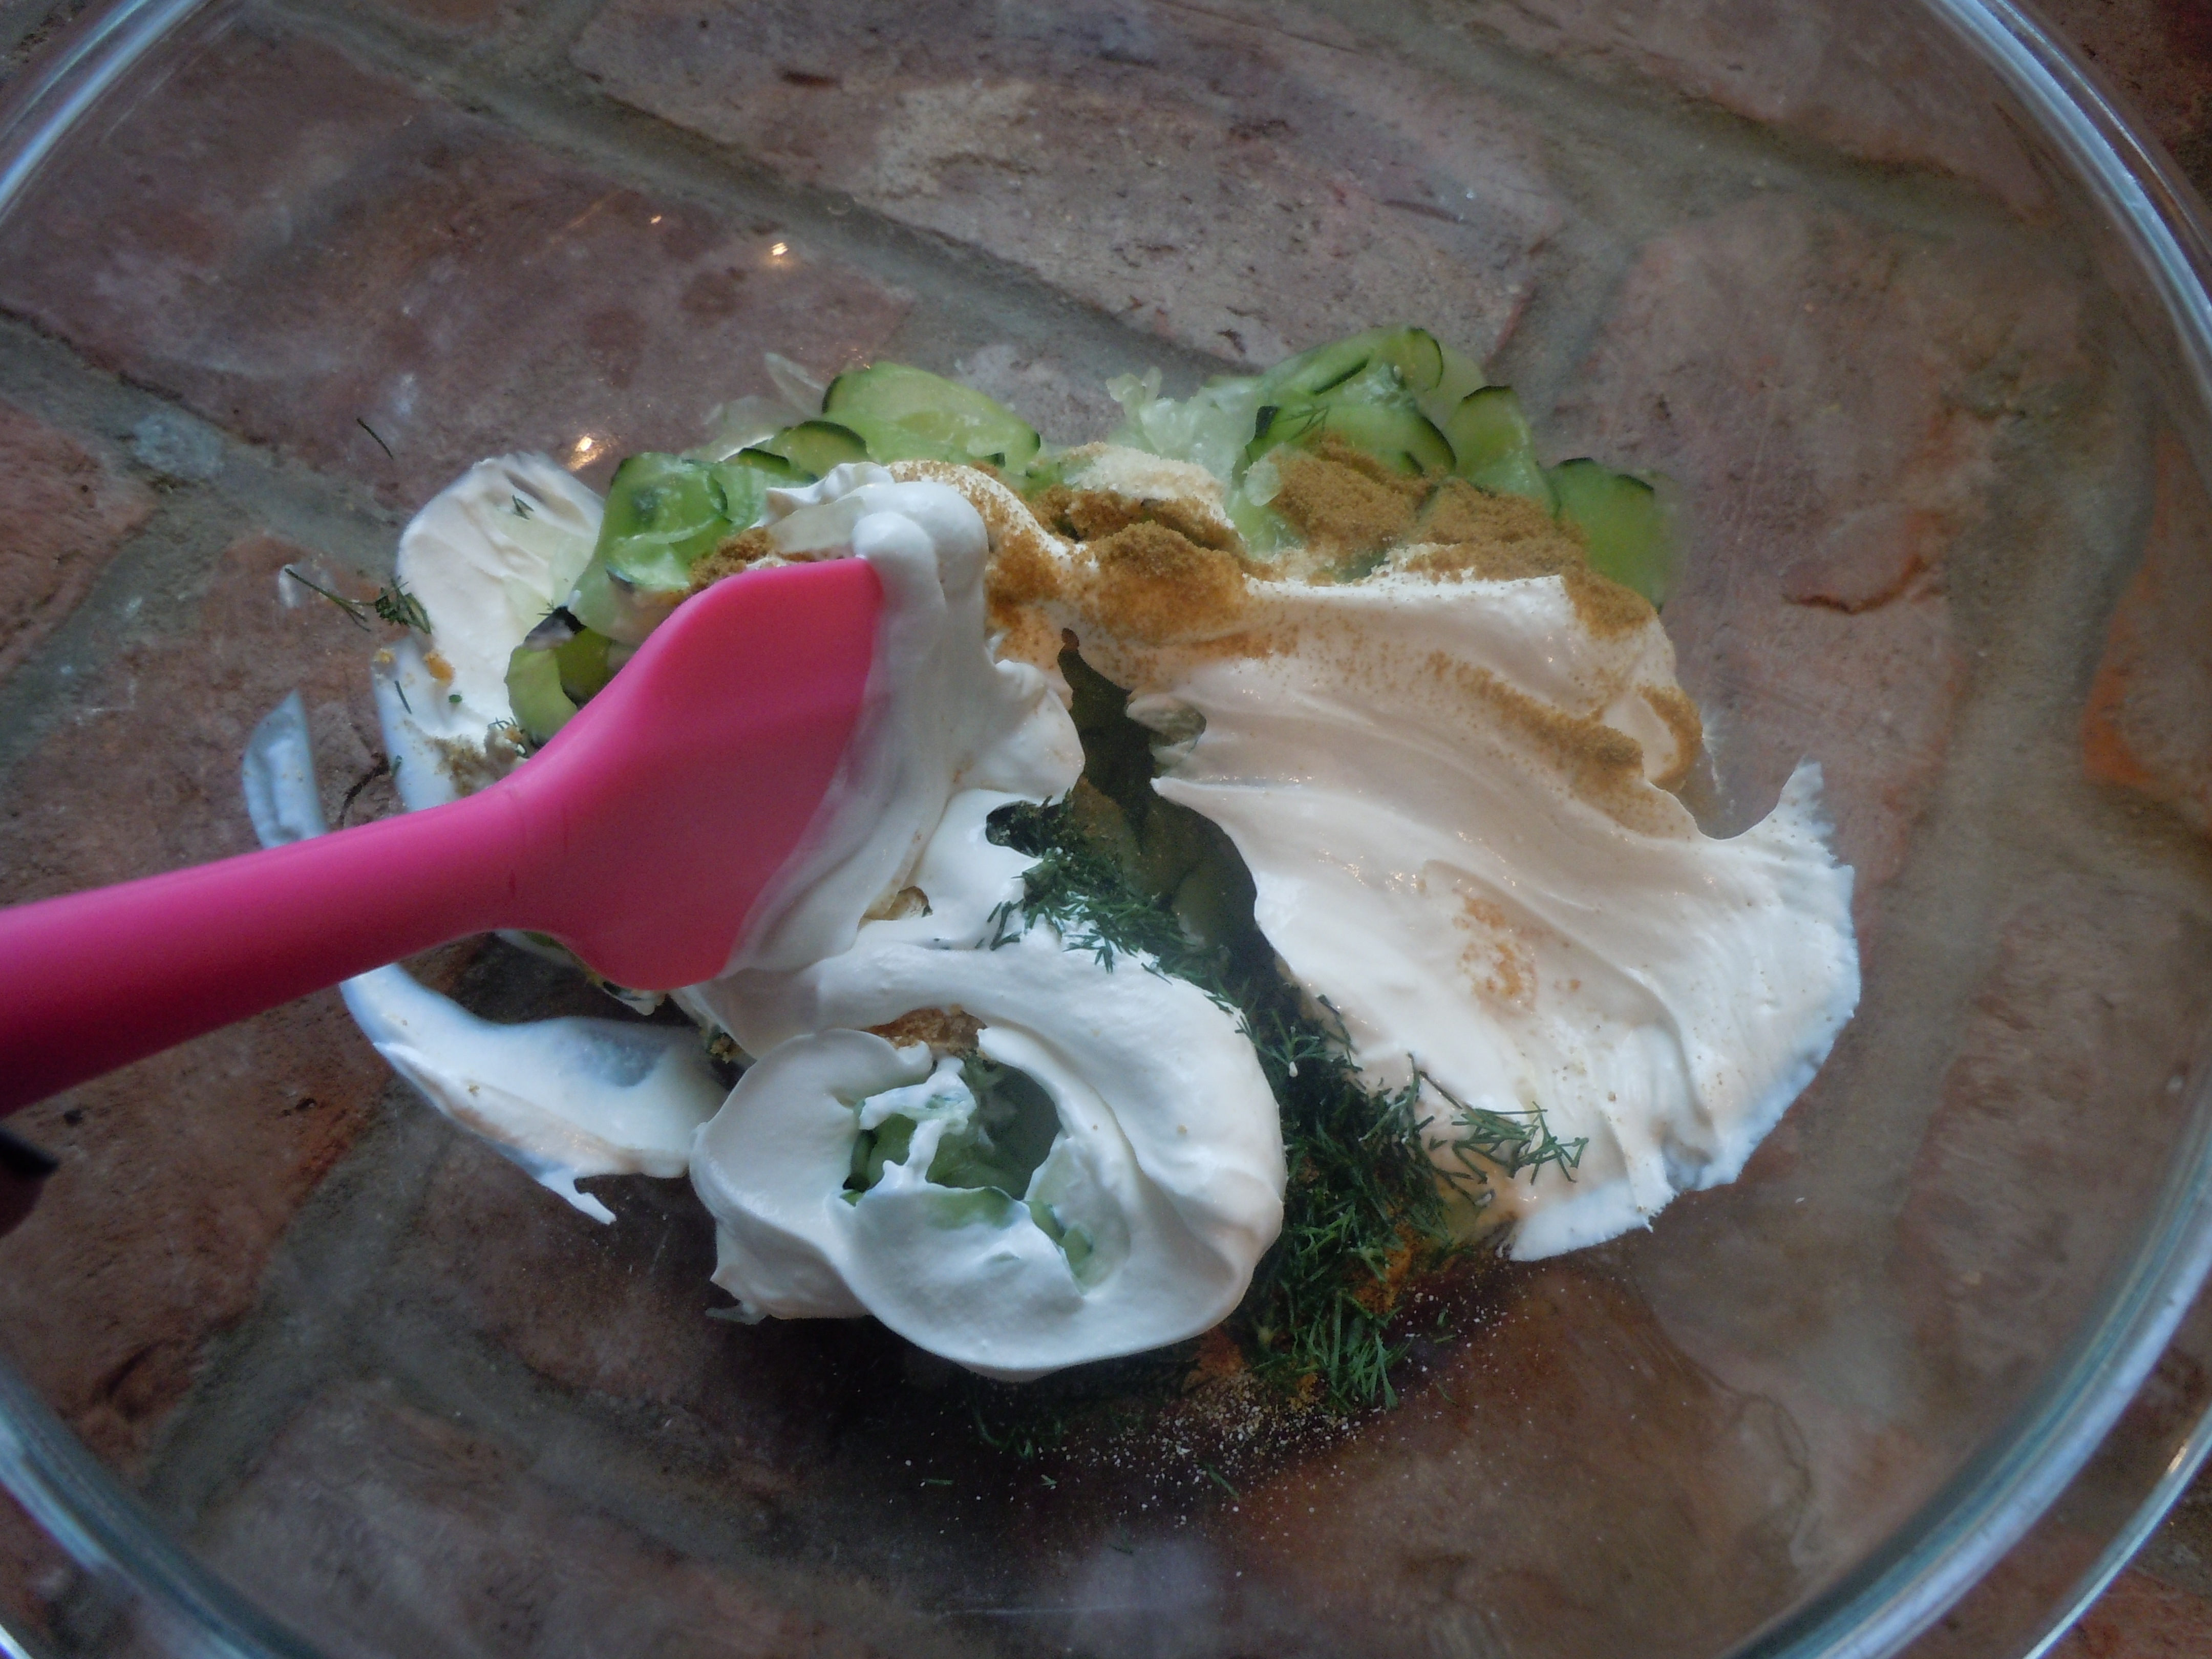
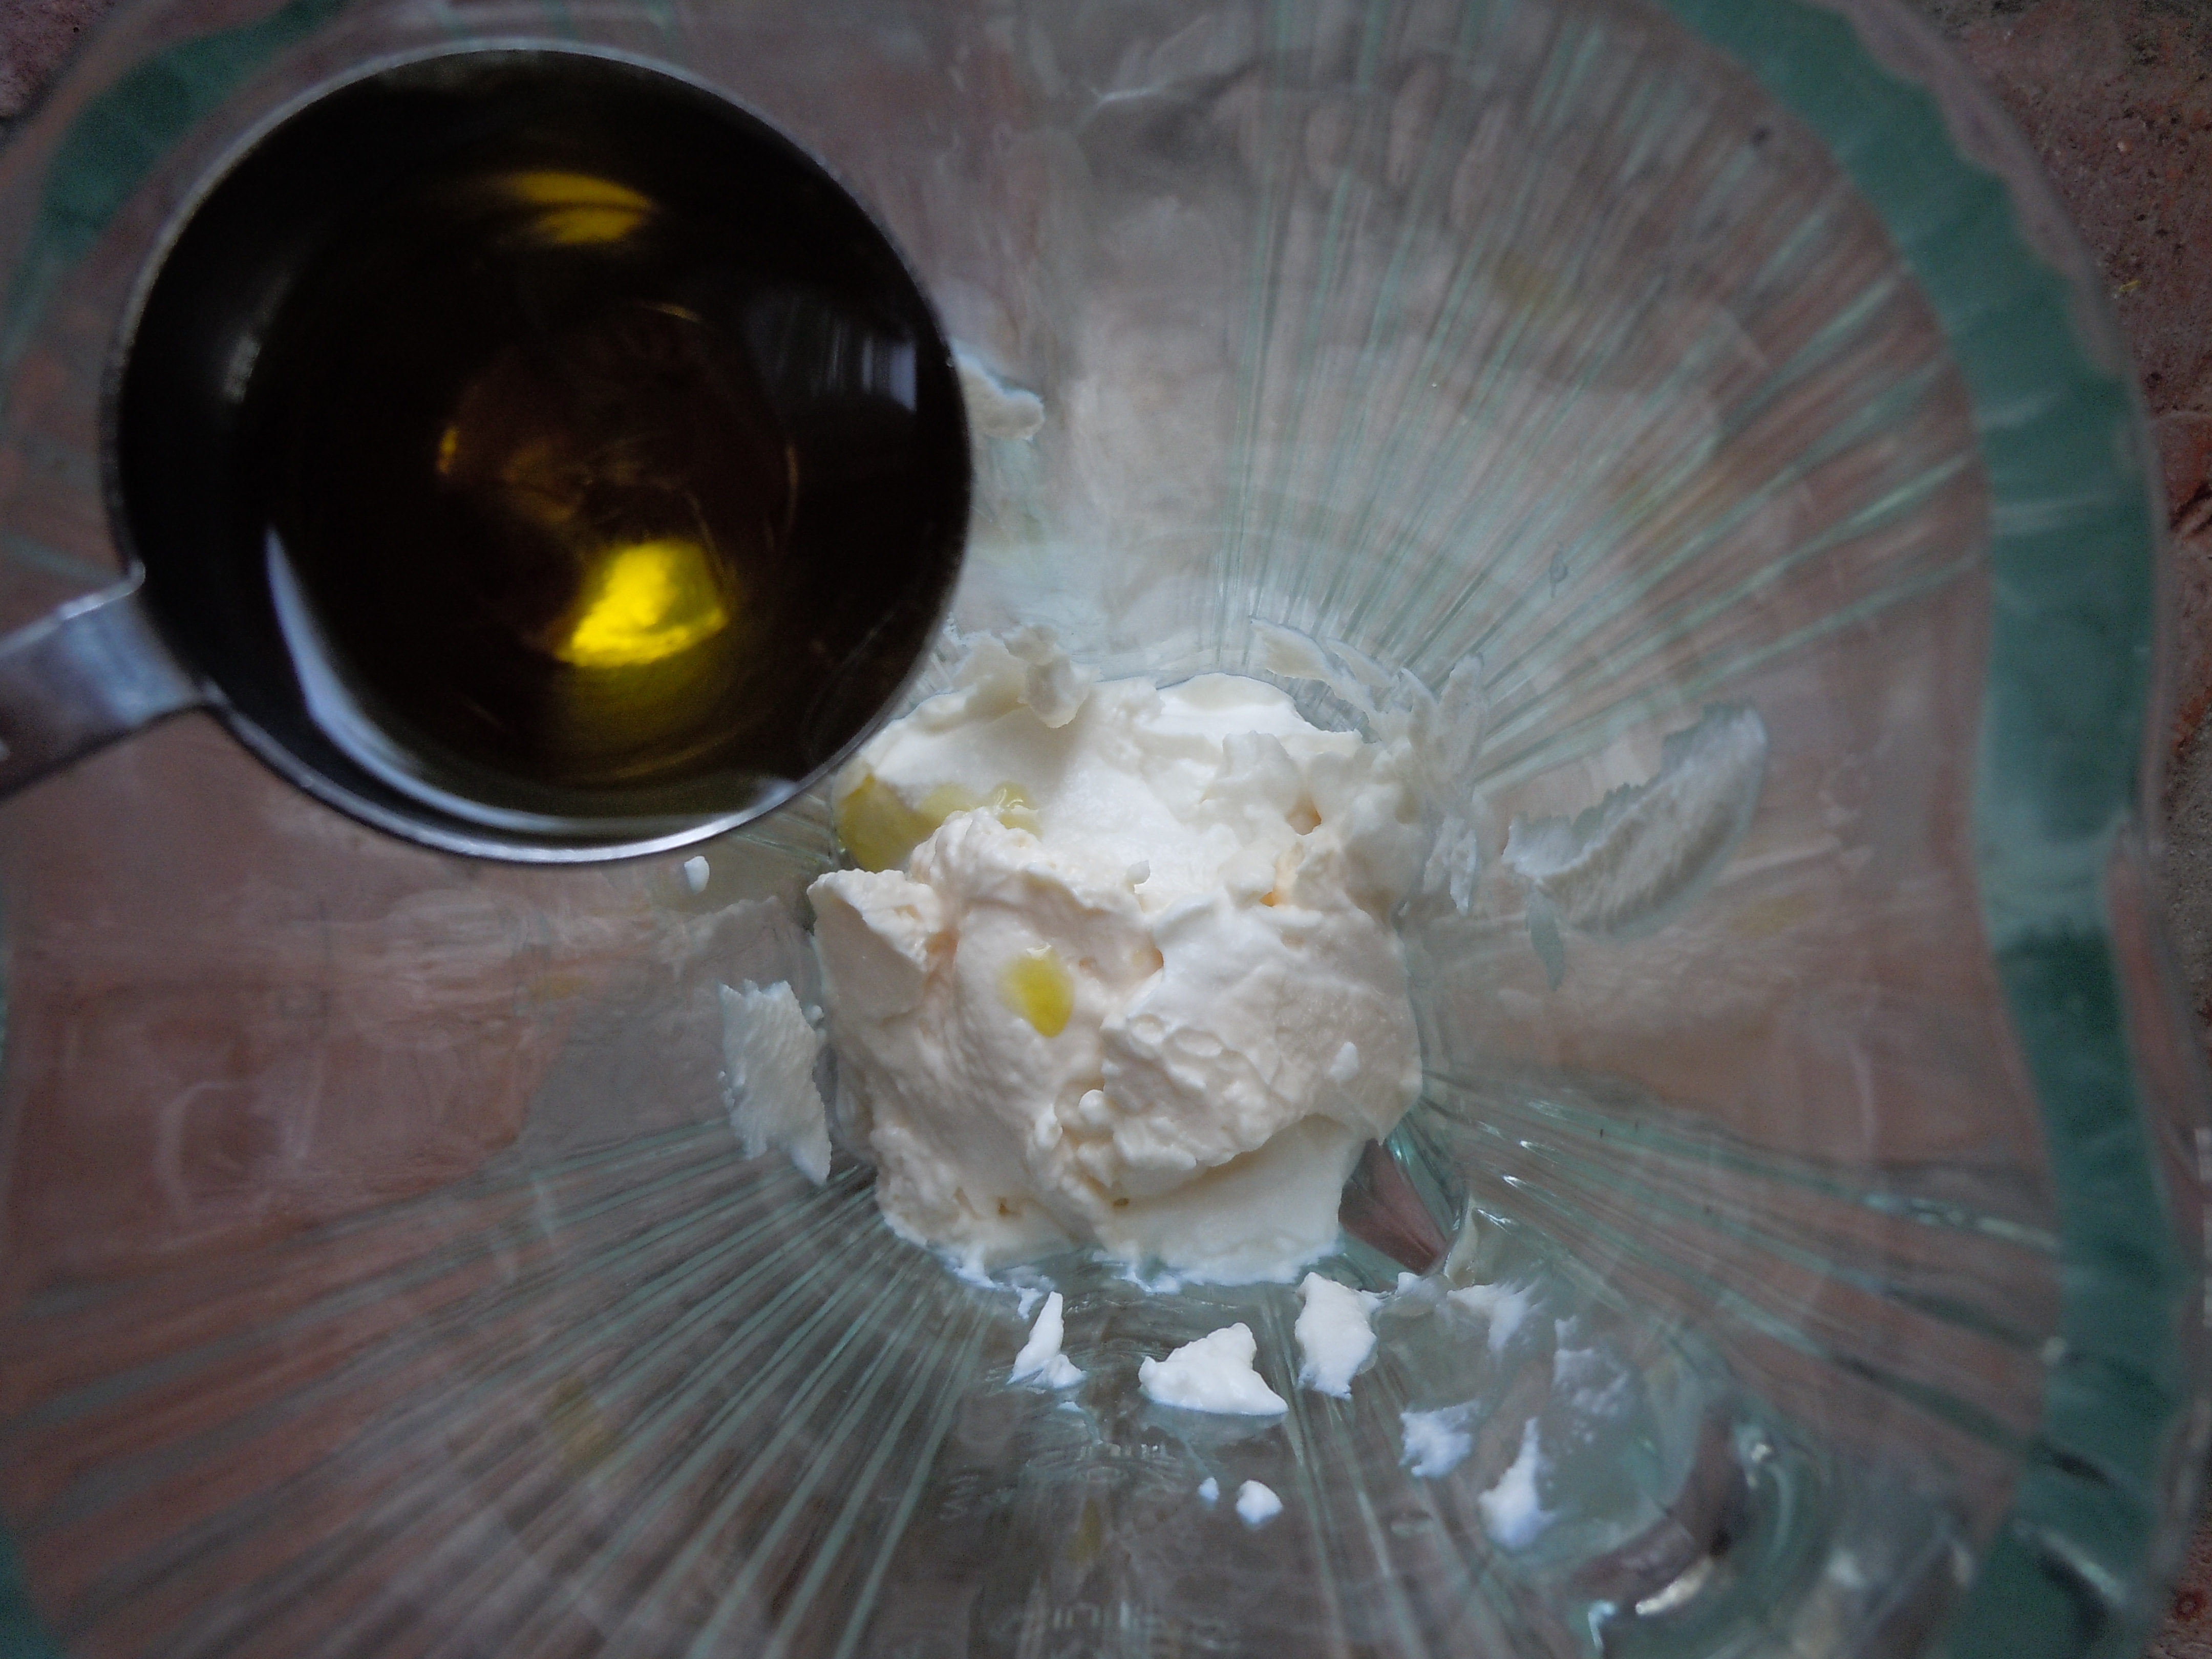
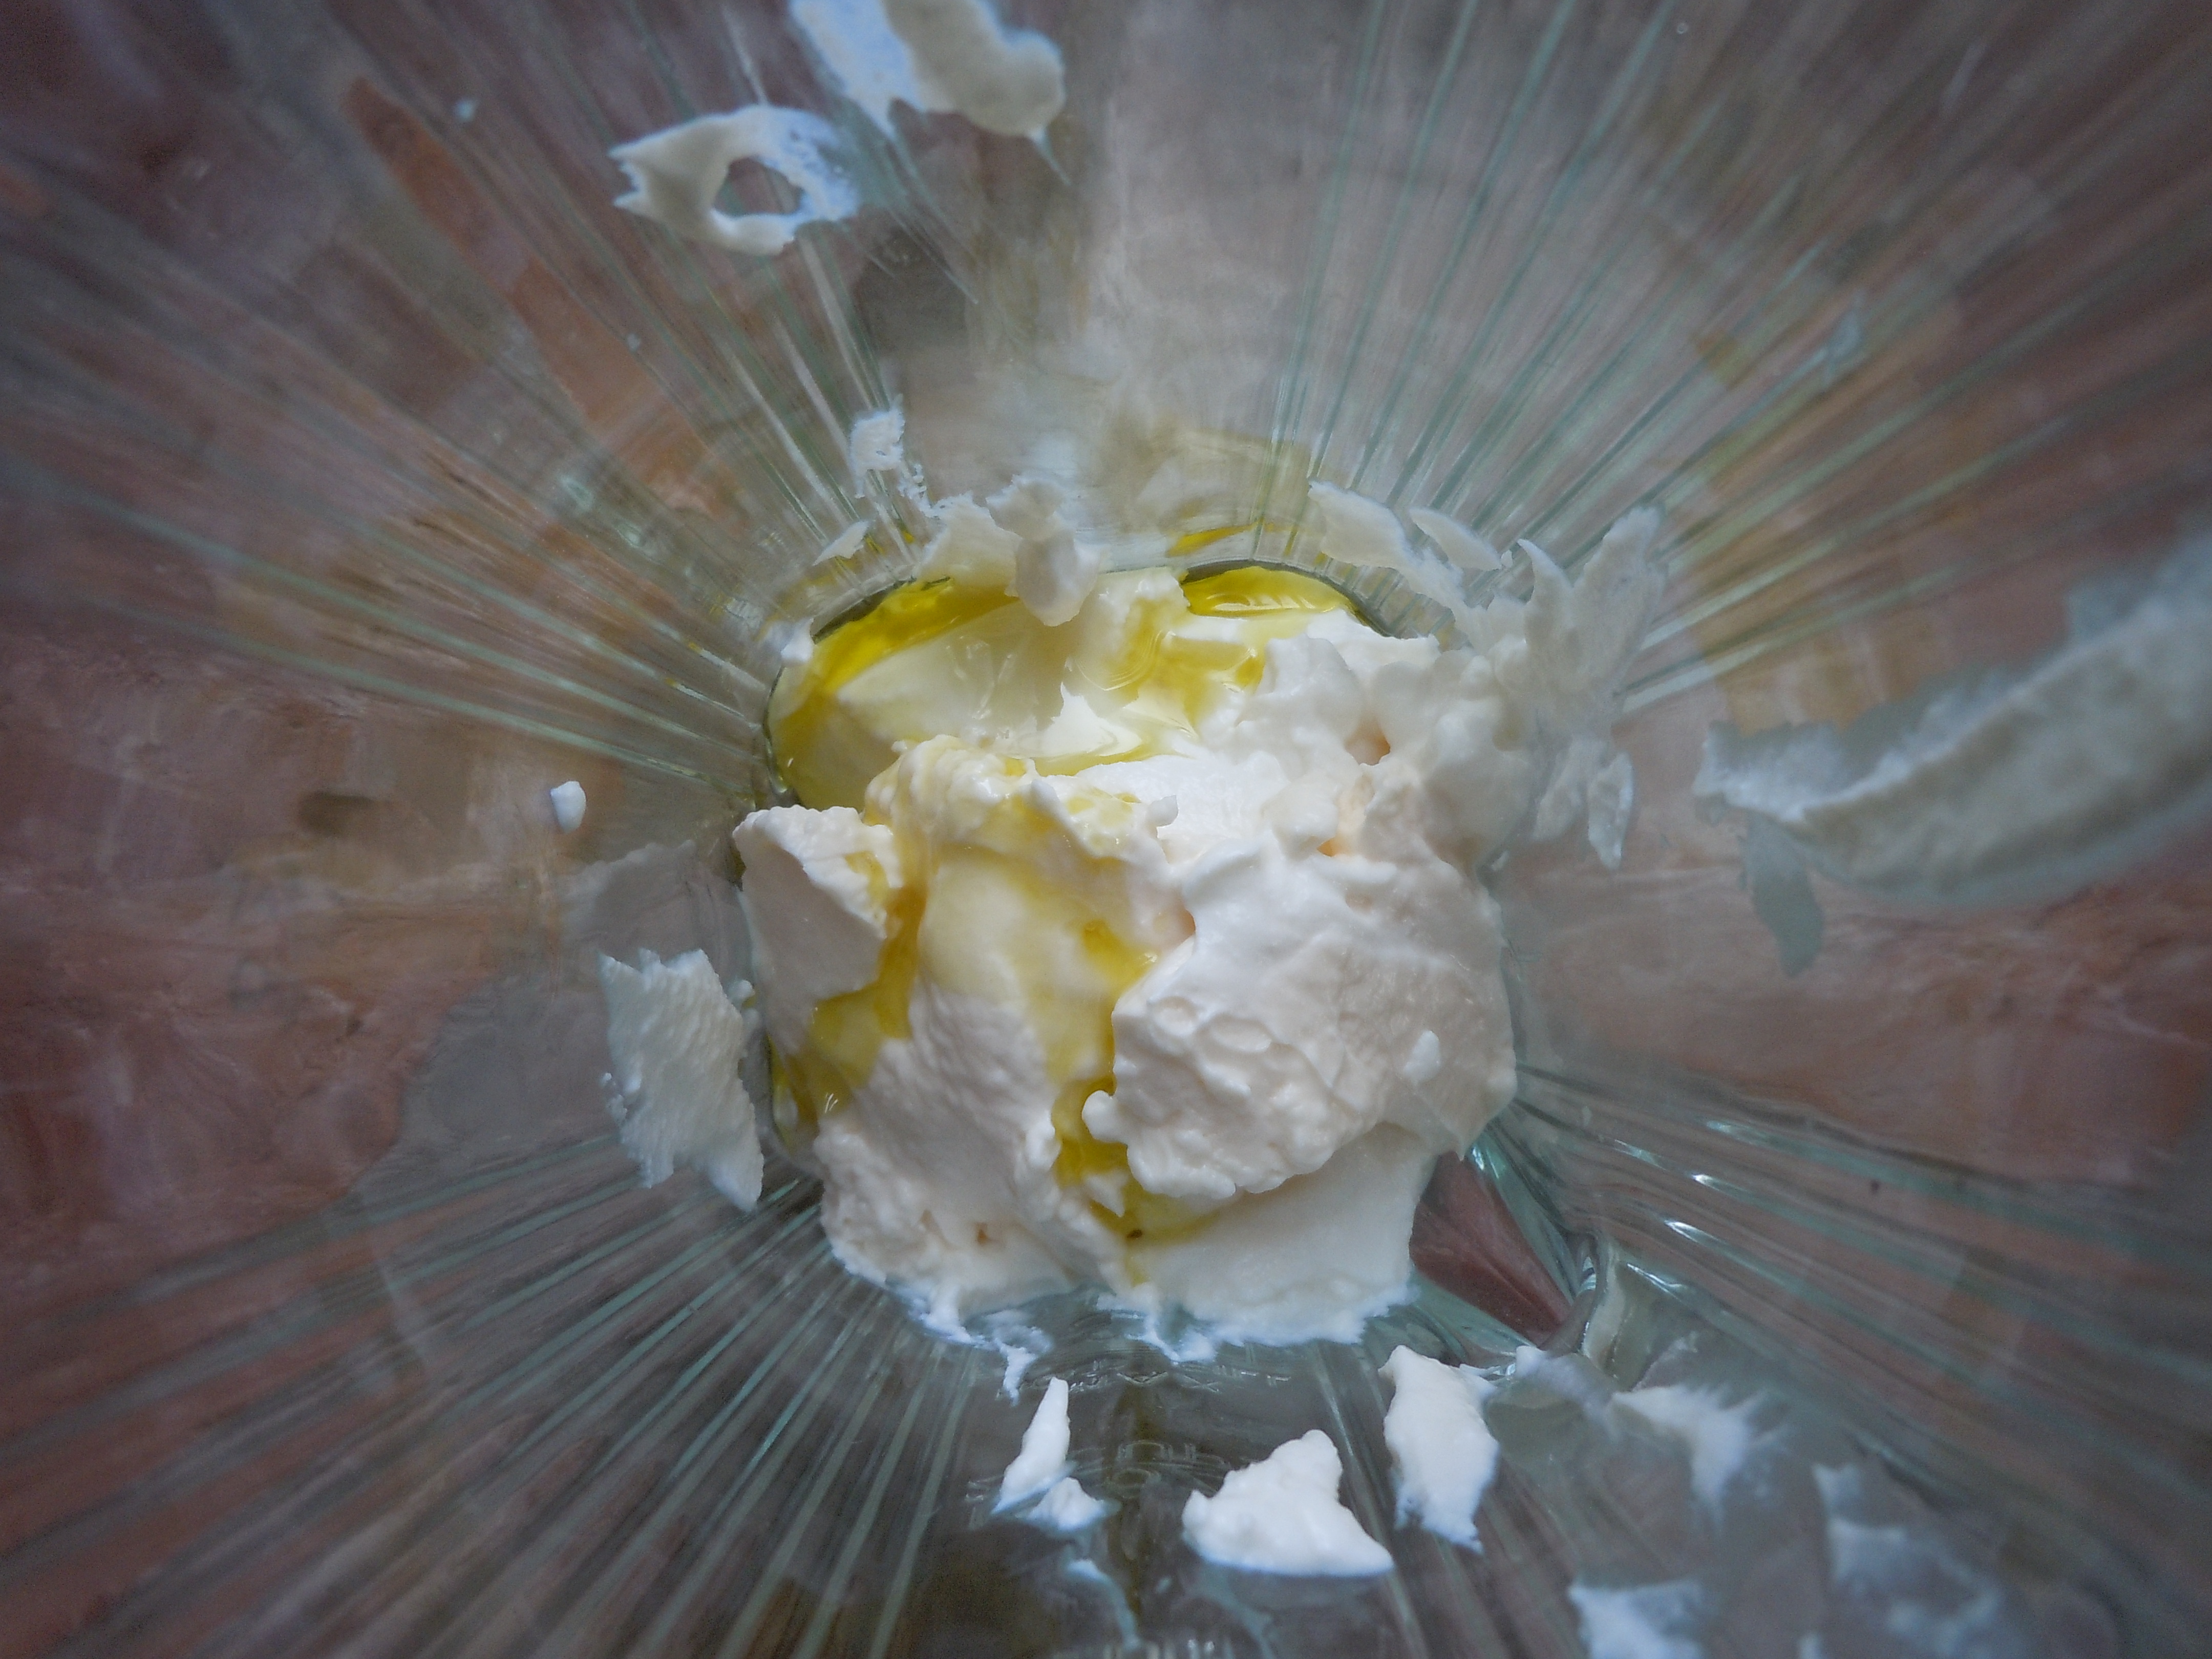
- In a medium bowl add garlic thru press, anchovie paste, salt, pepper and Dijon
- Mash these items together with the back of a spoon to combine and form a paste in a wooden bowl
- Transfer paste to a large glass bowl
- Add in 2 dashes of Worcestershire sauce, dash of Siracha and rice wine vinegar/ lemon juice mixture
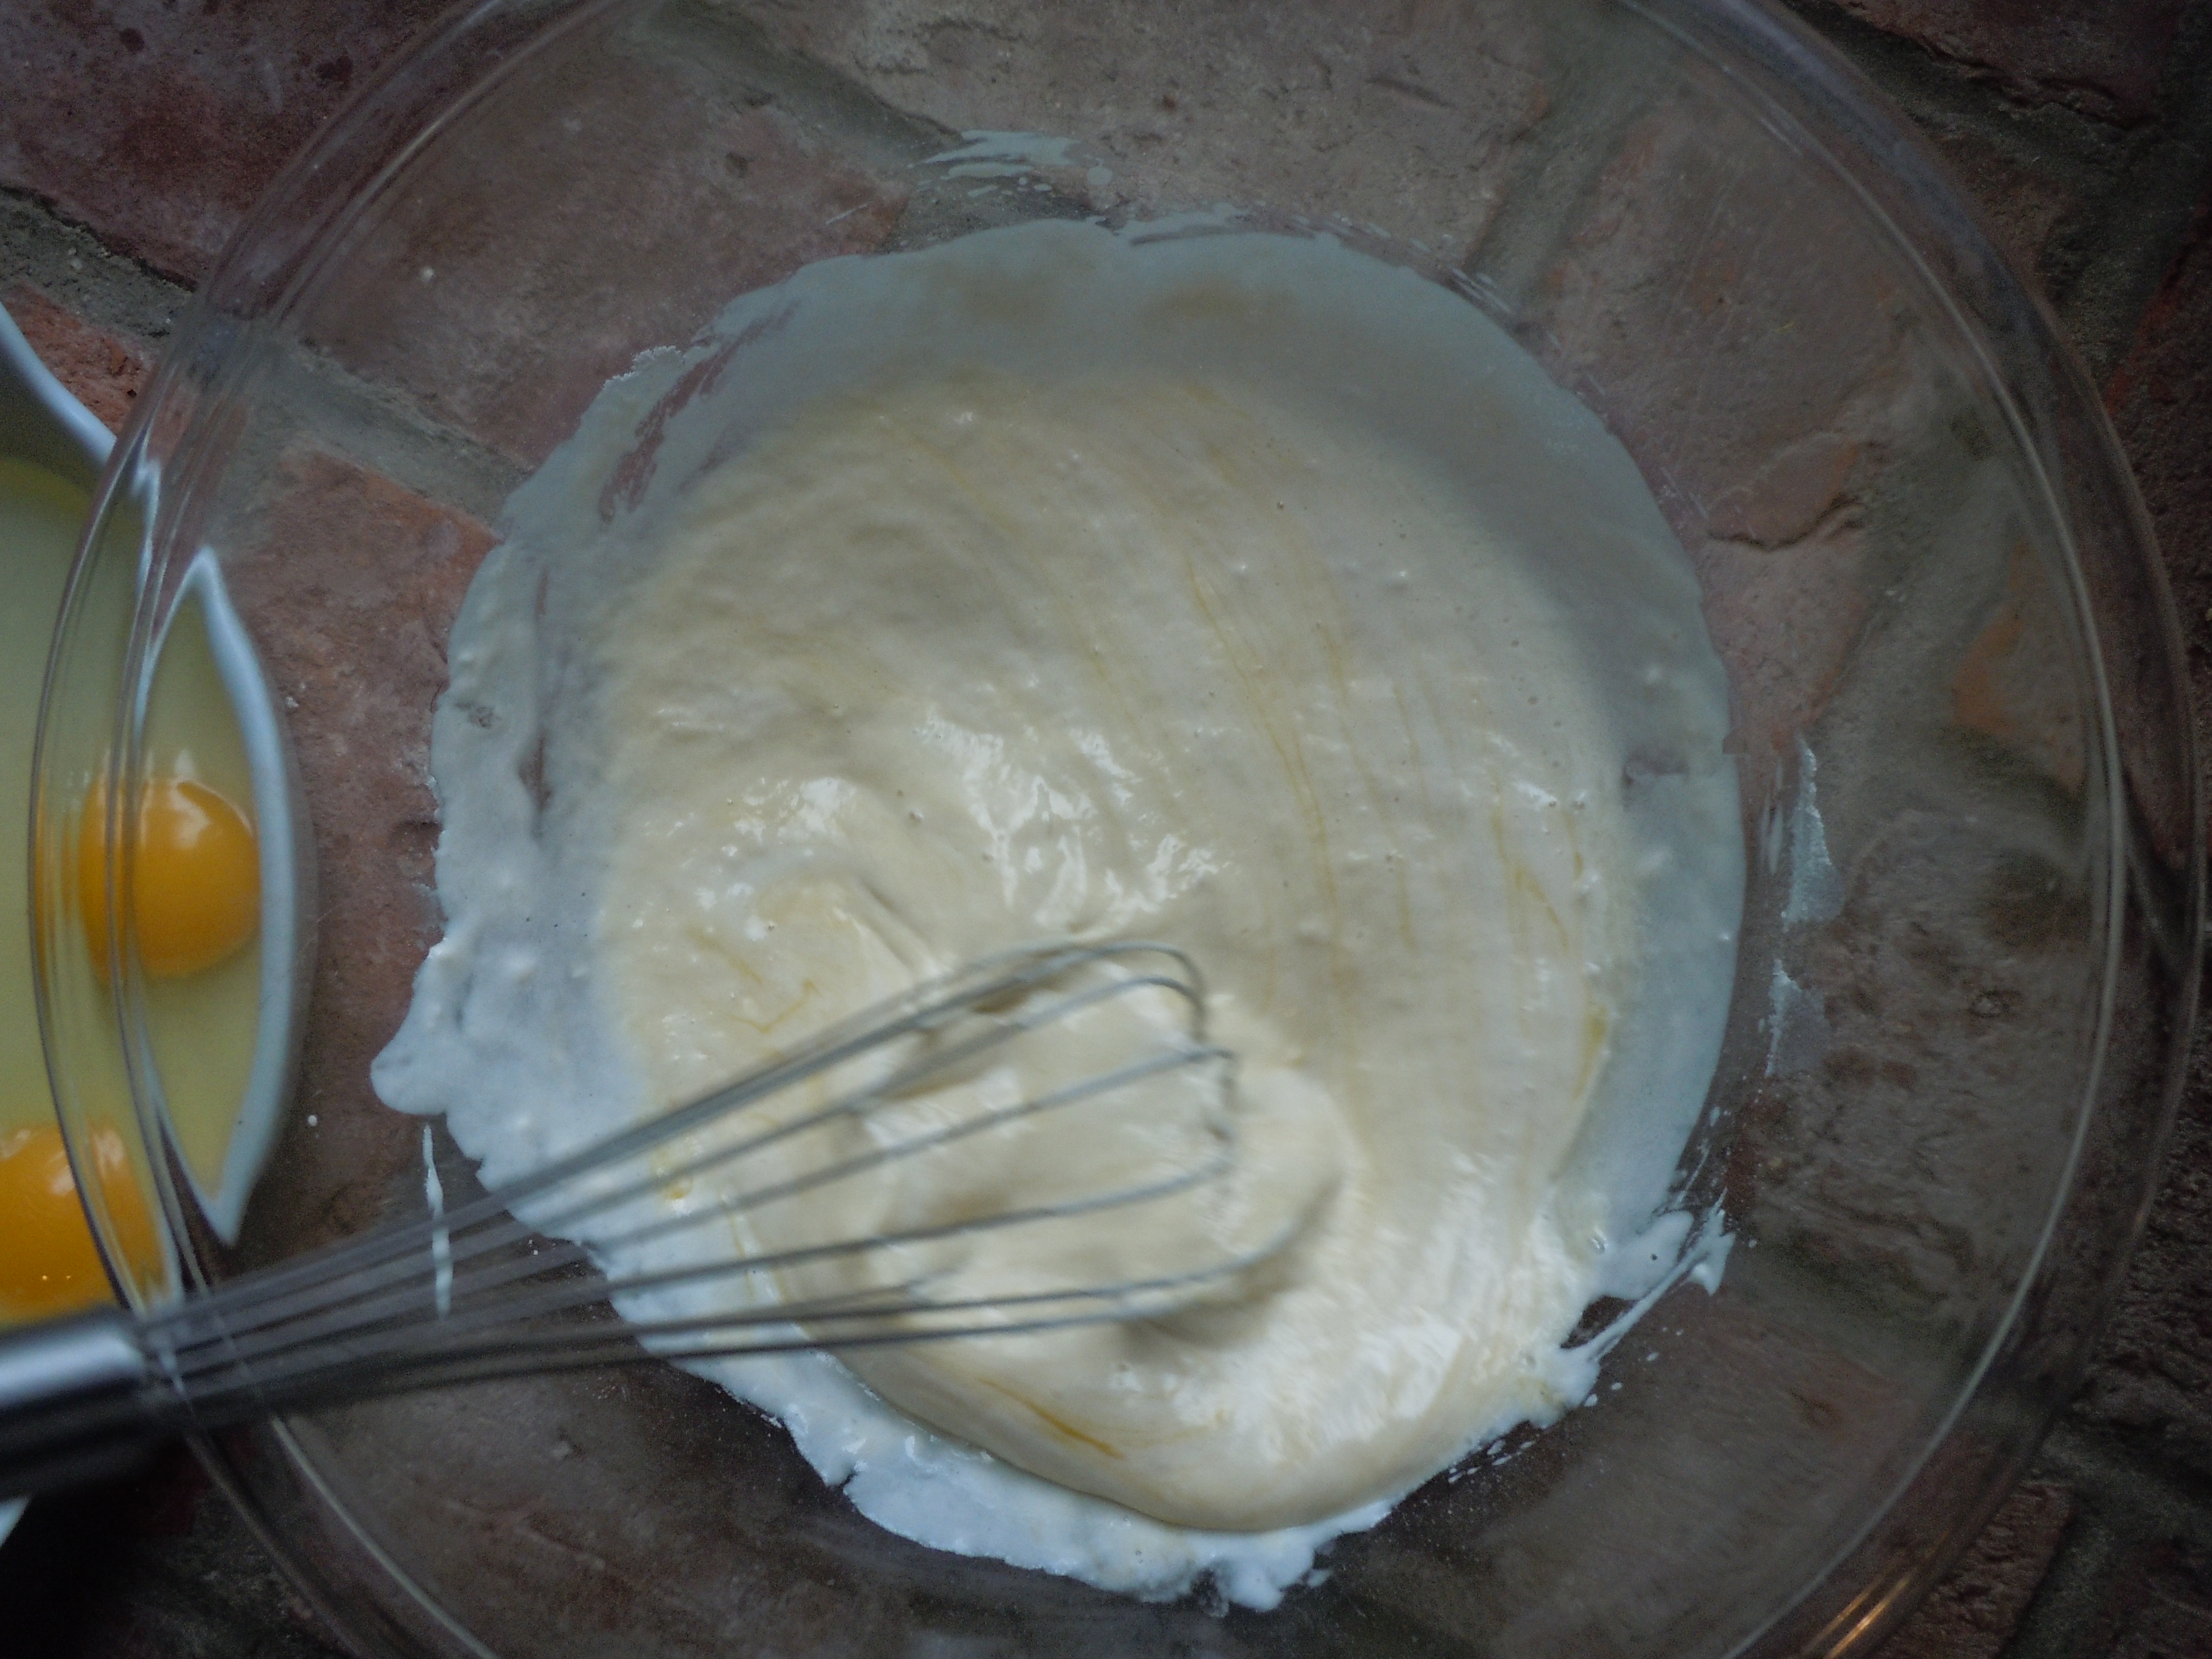
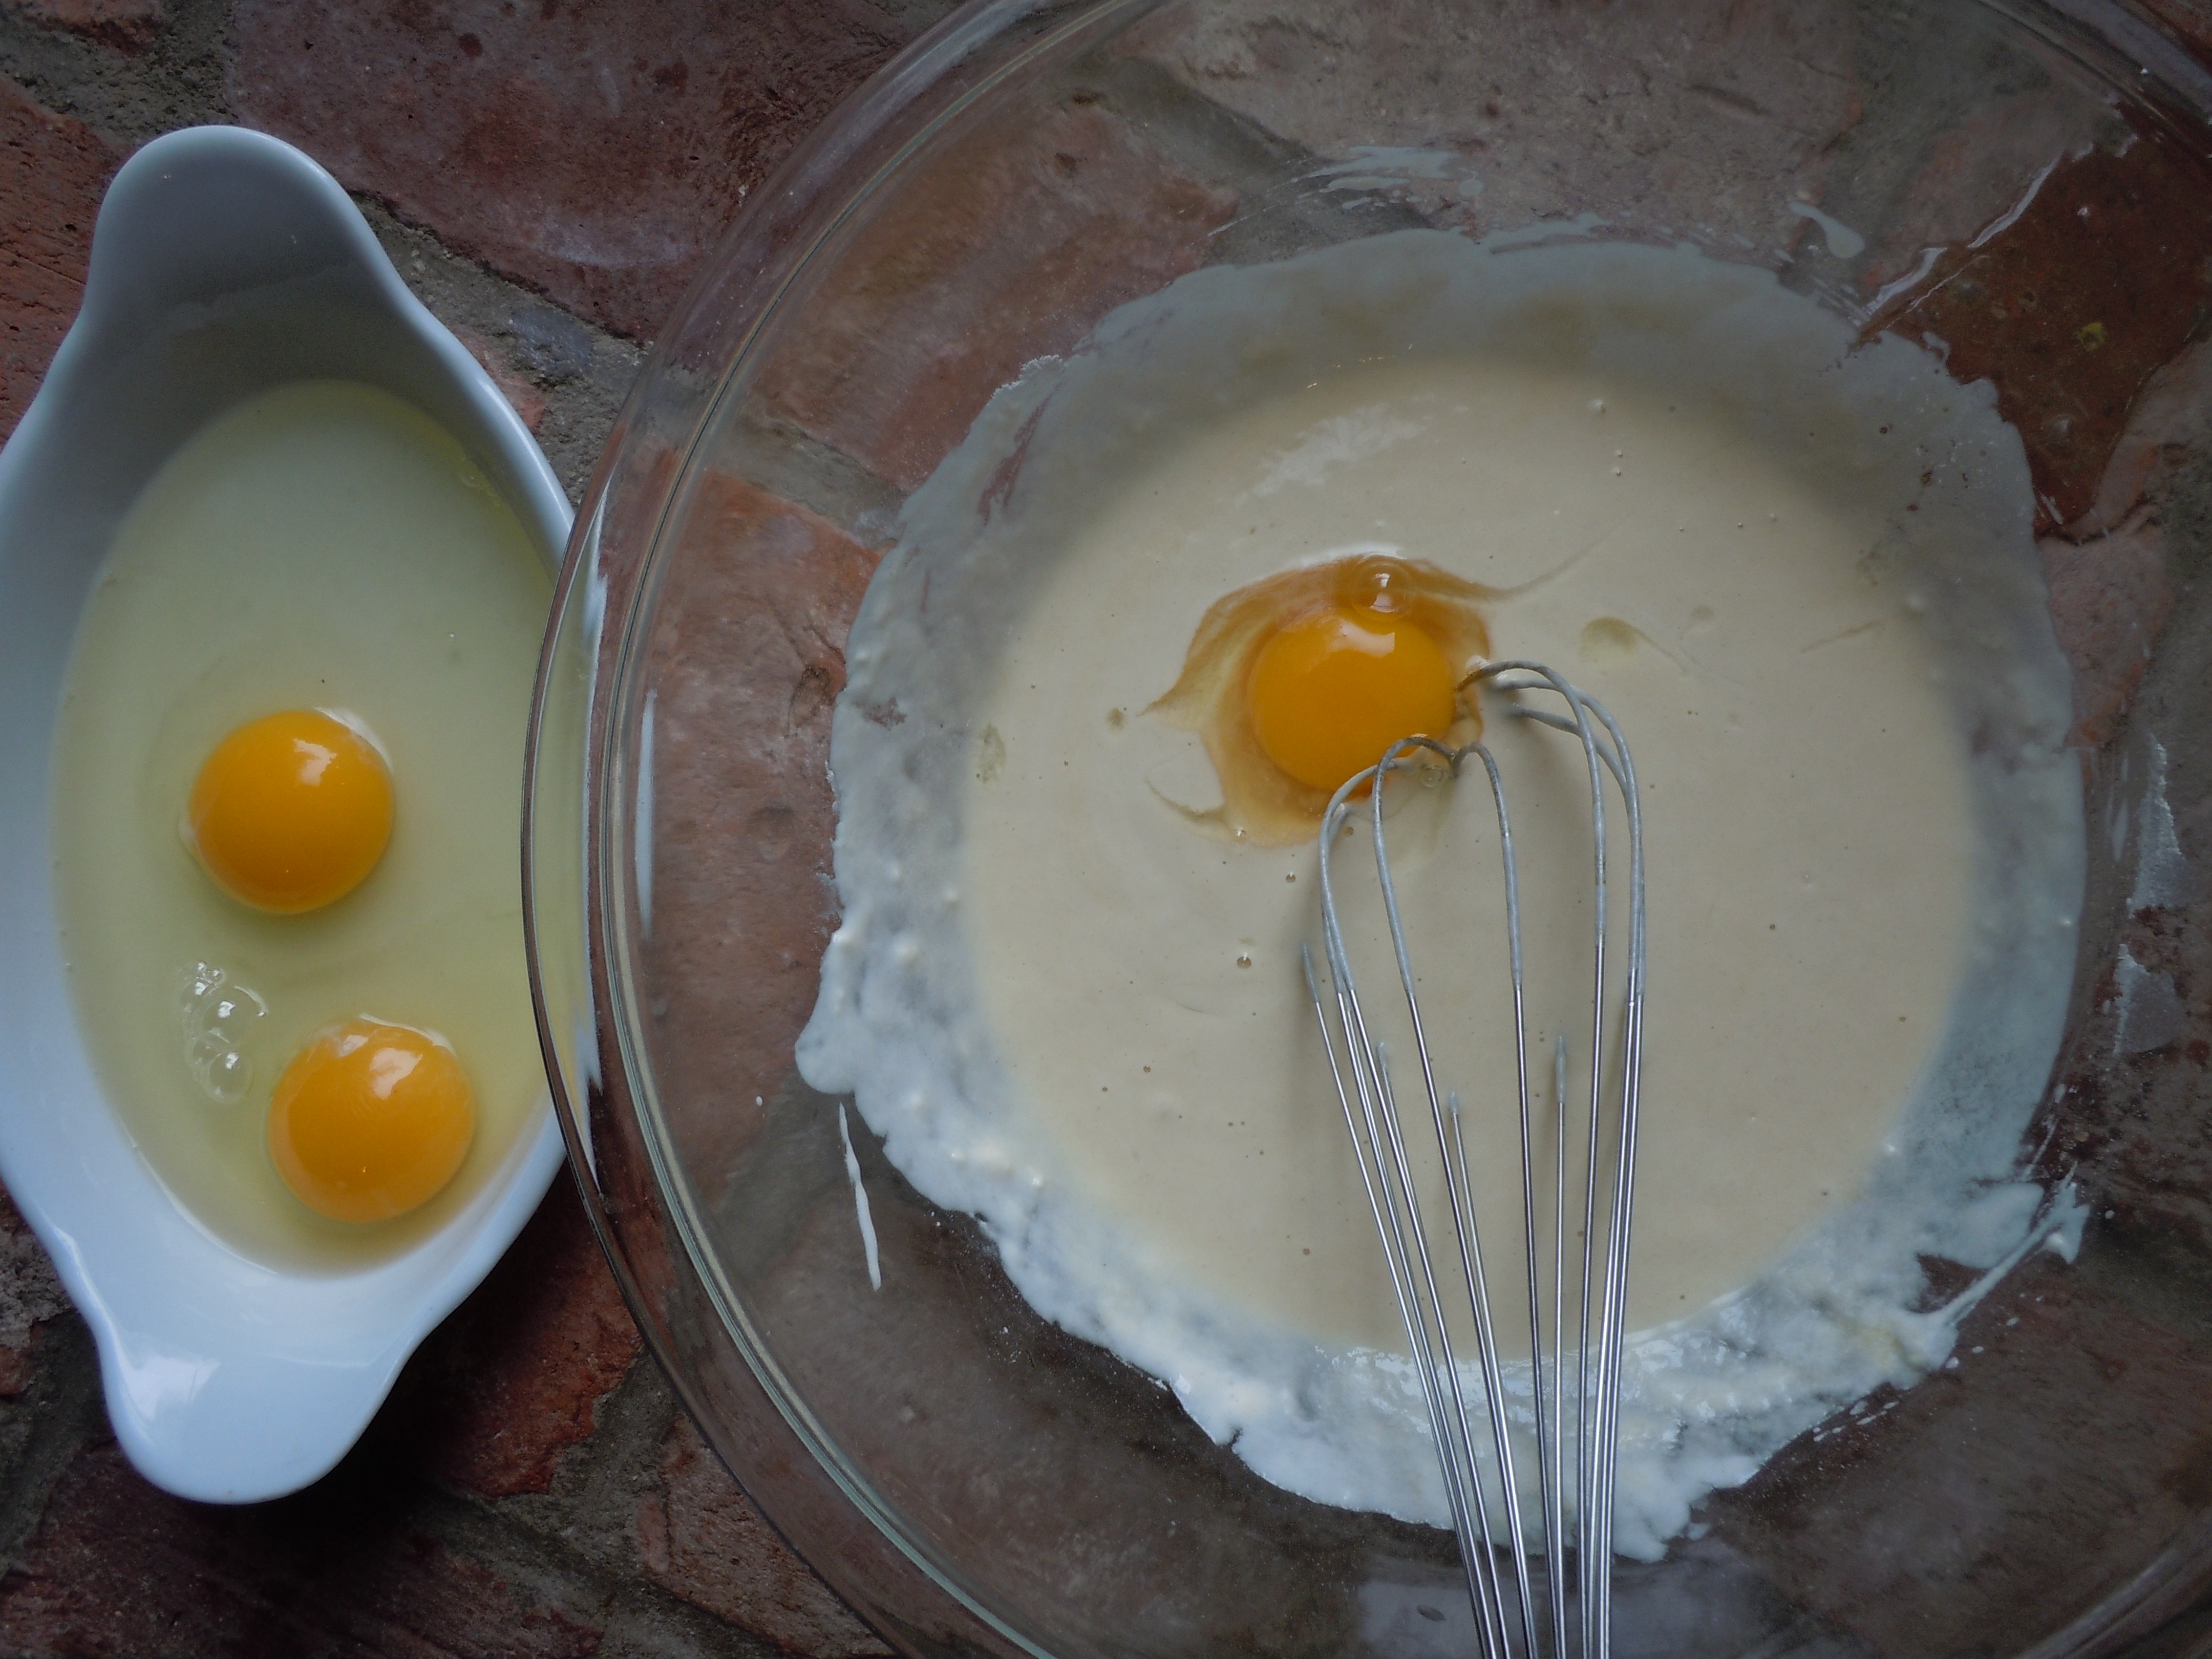
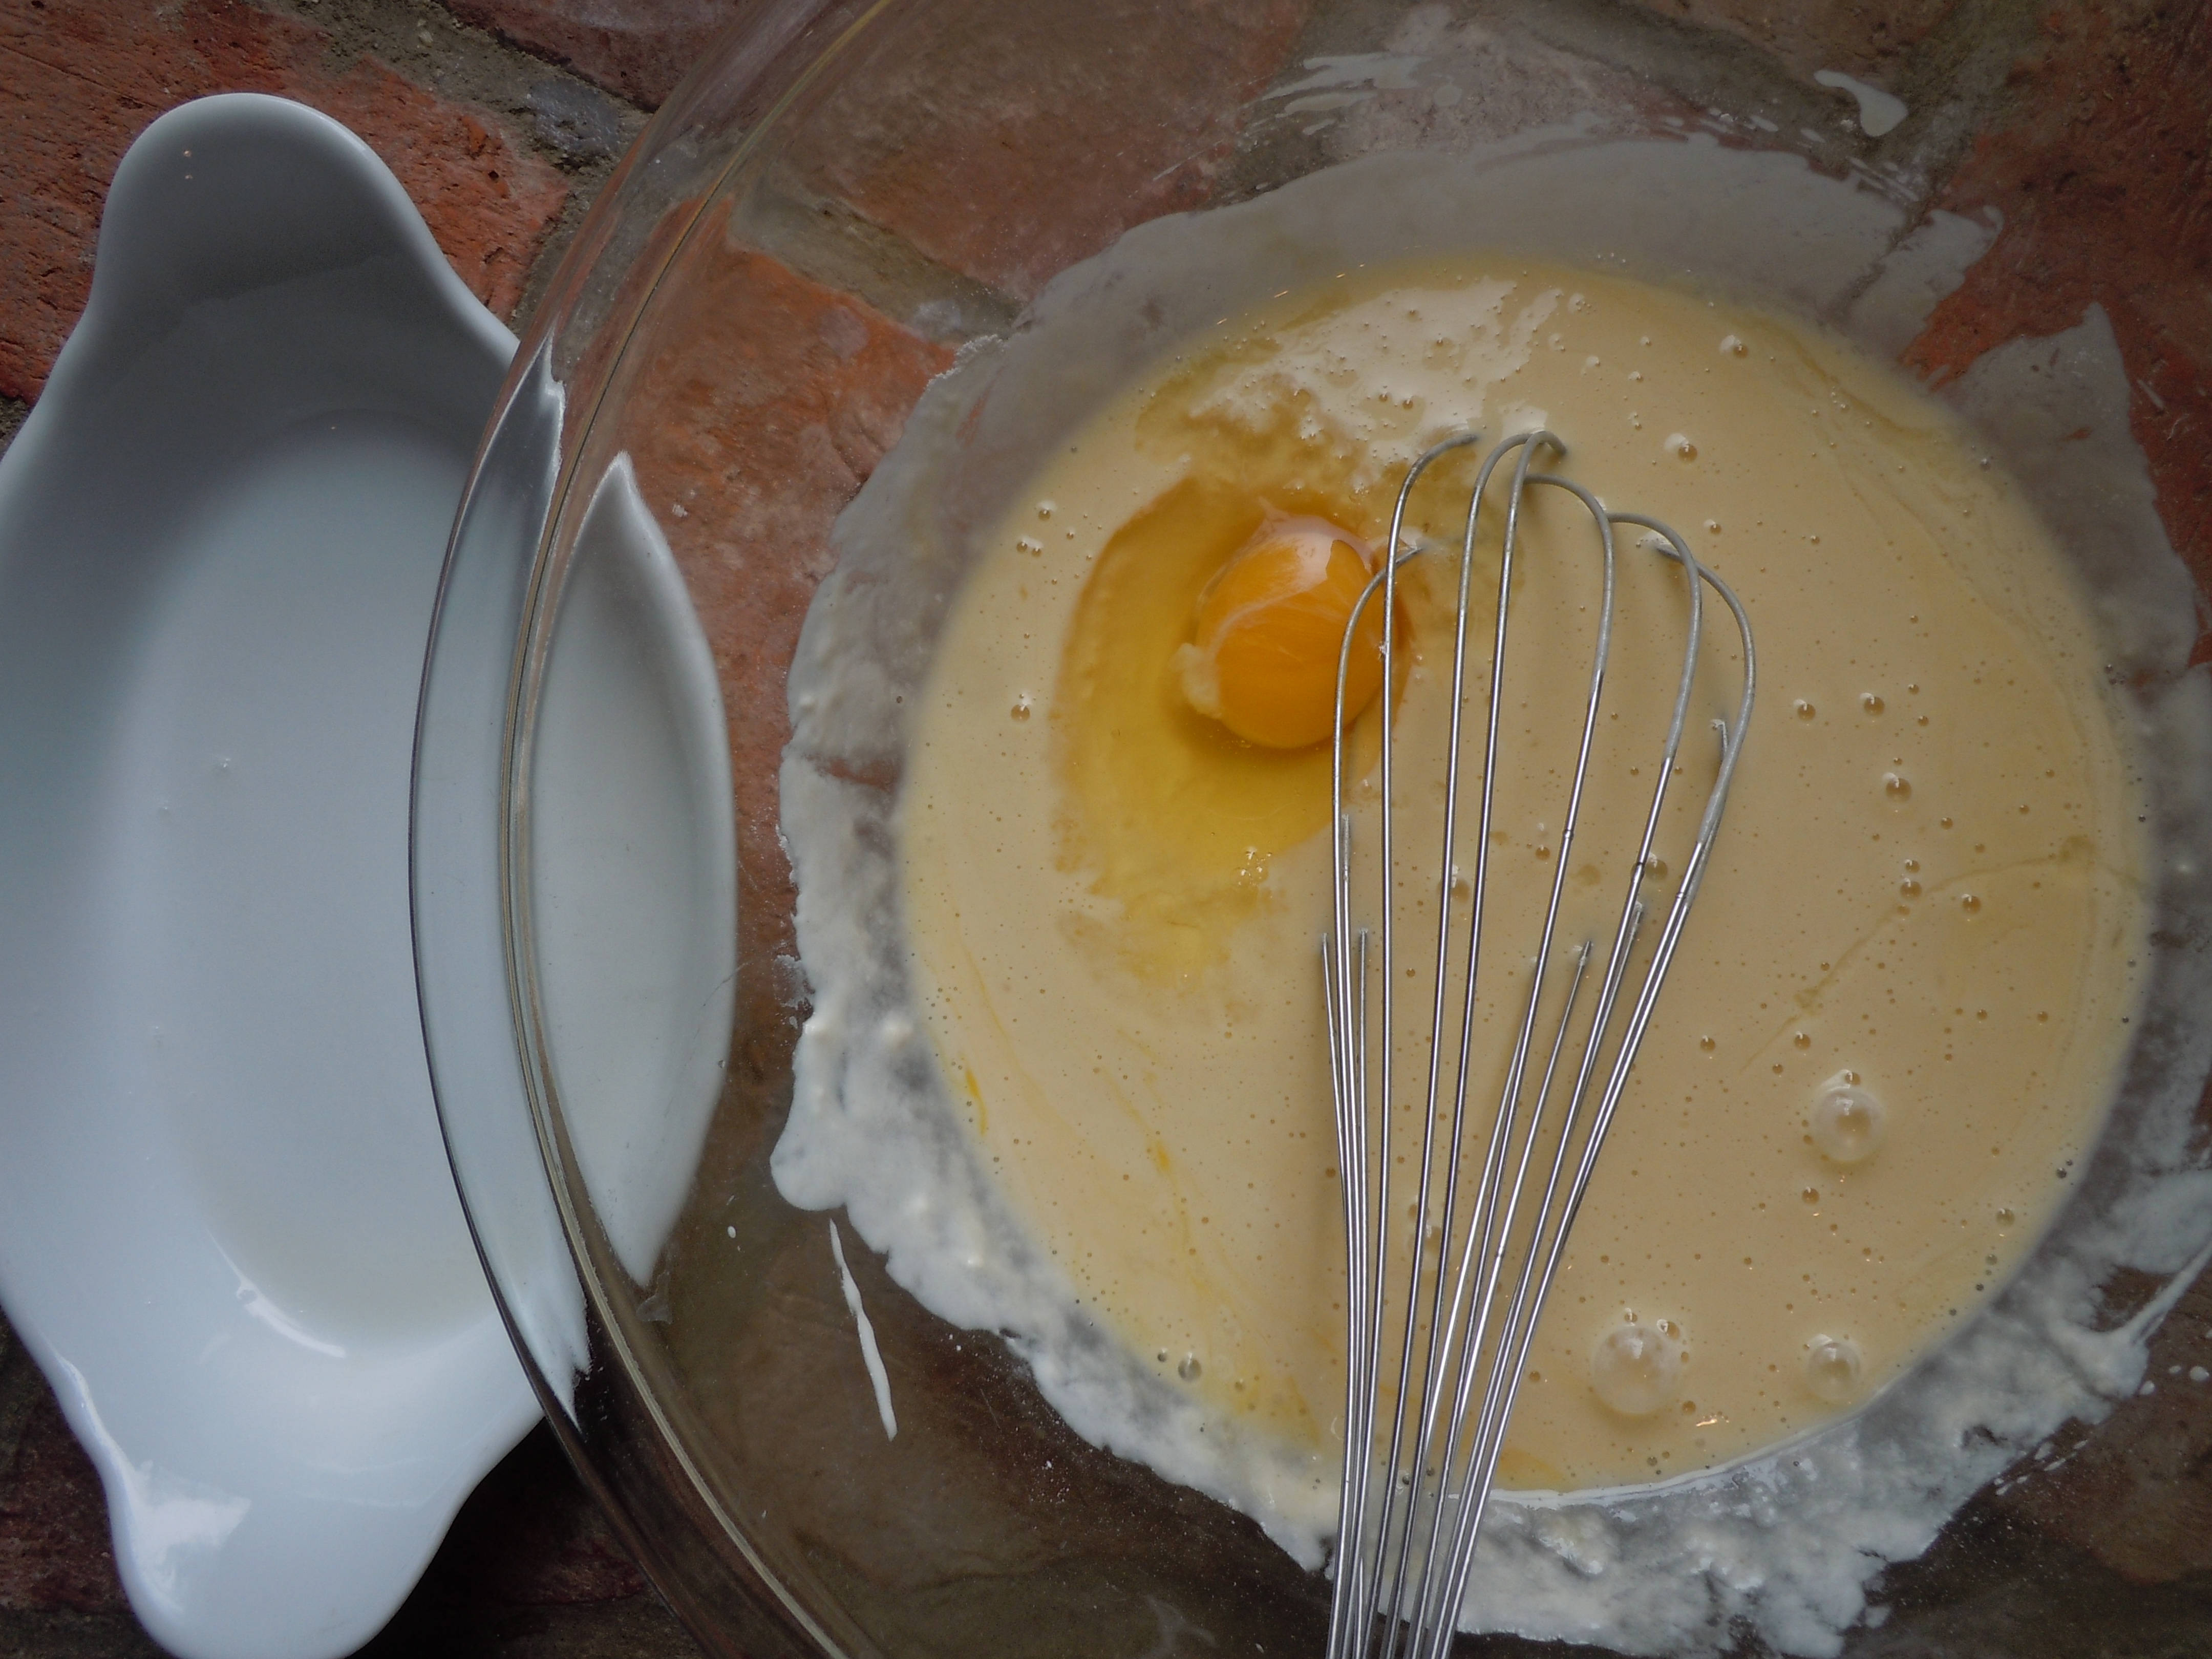
- Separate egg yolk from white and add to glass bowl (EGG YOLK OPTIONAL) and whisk immediately
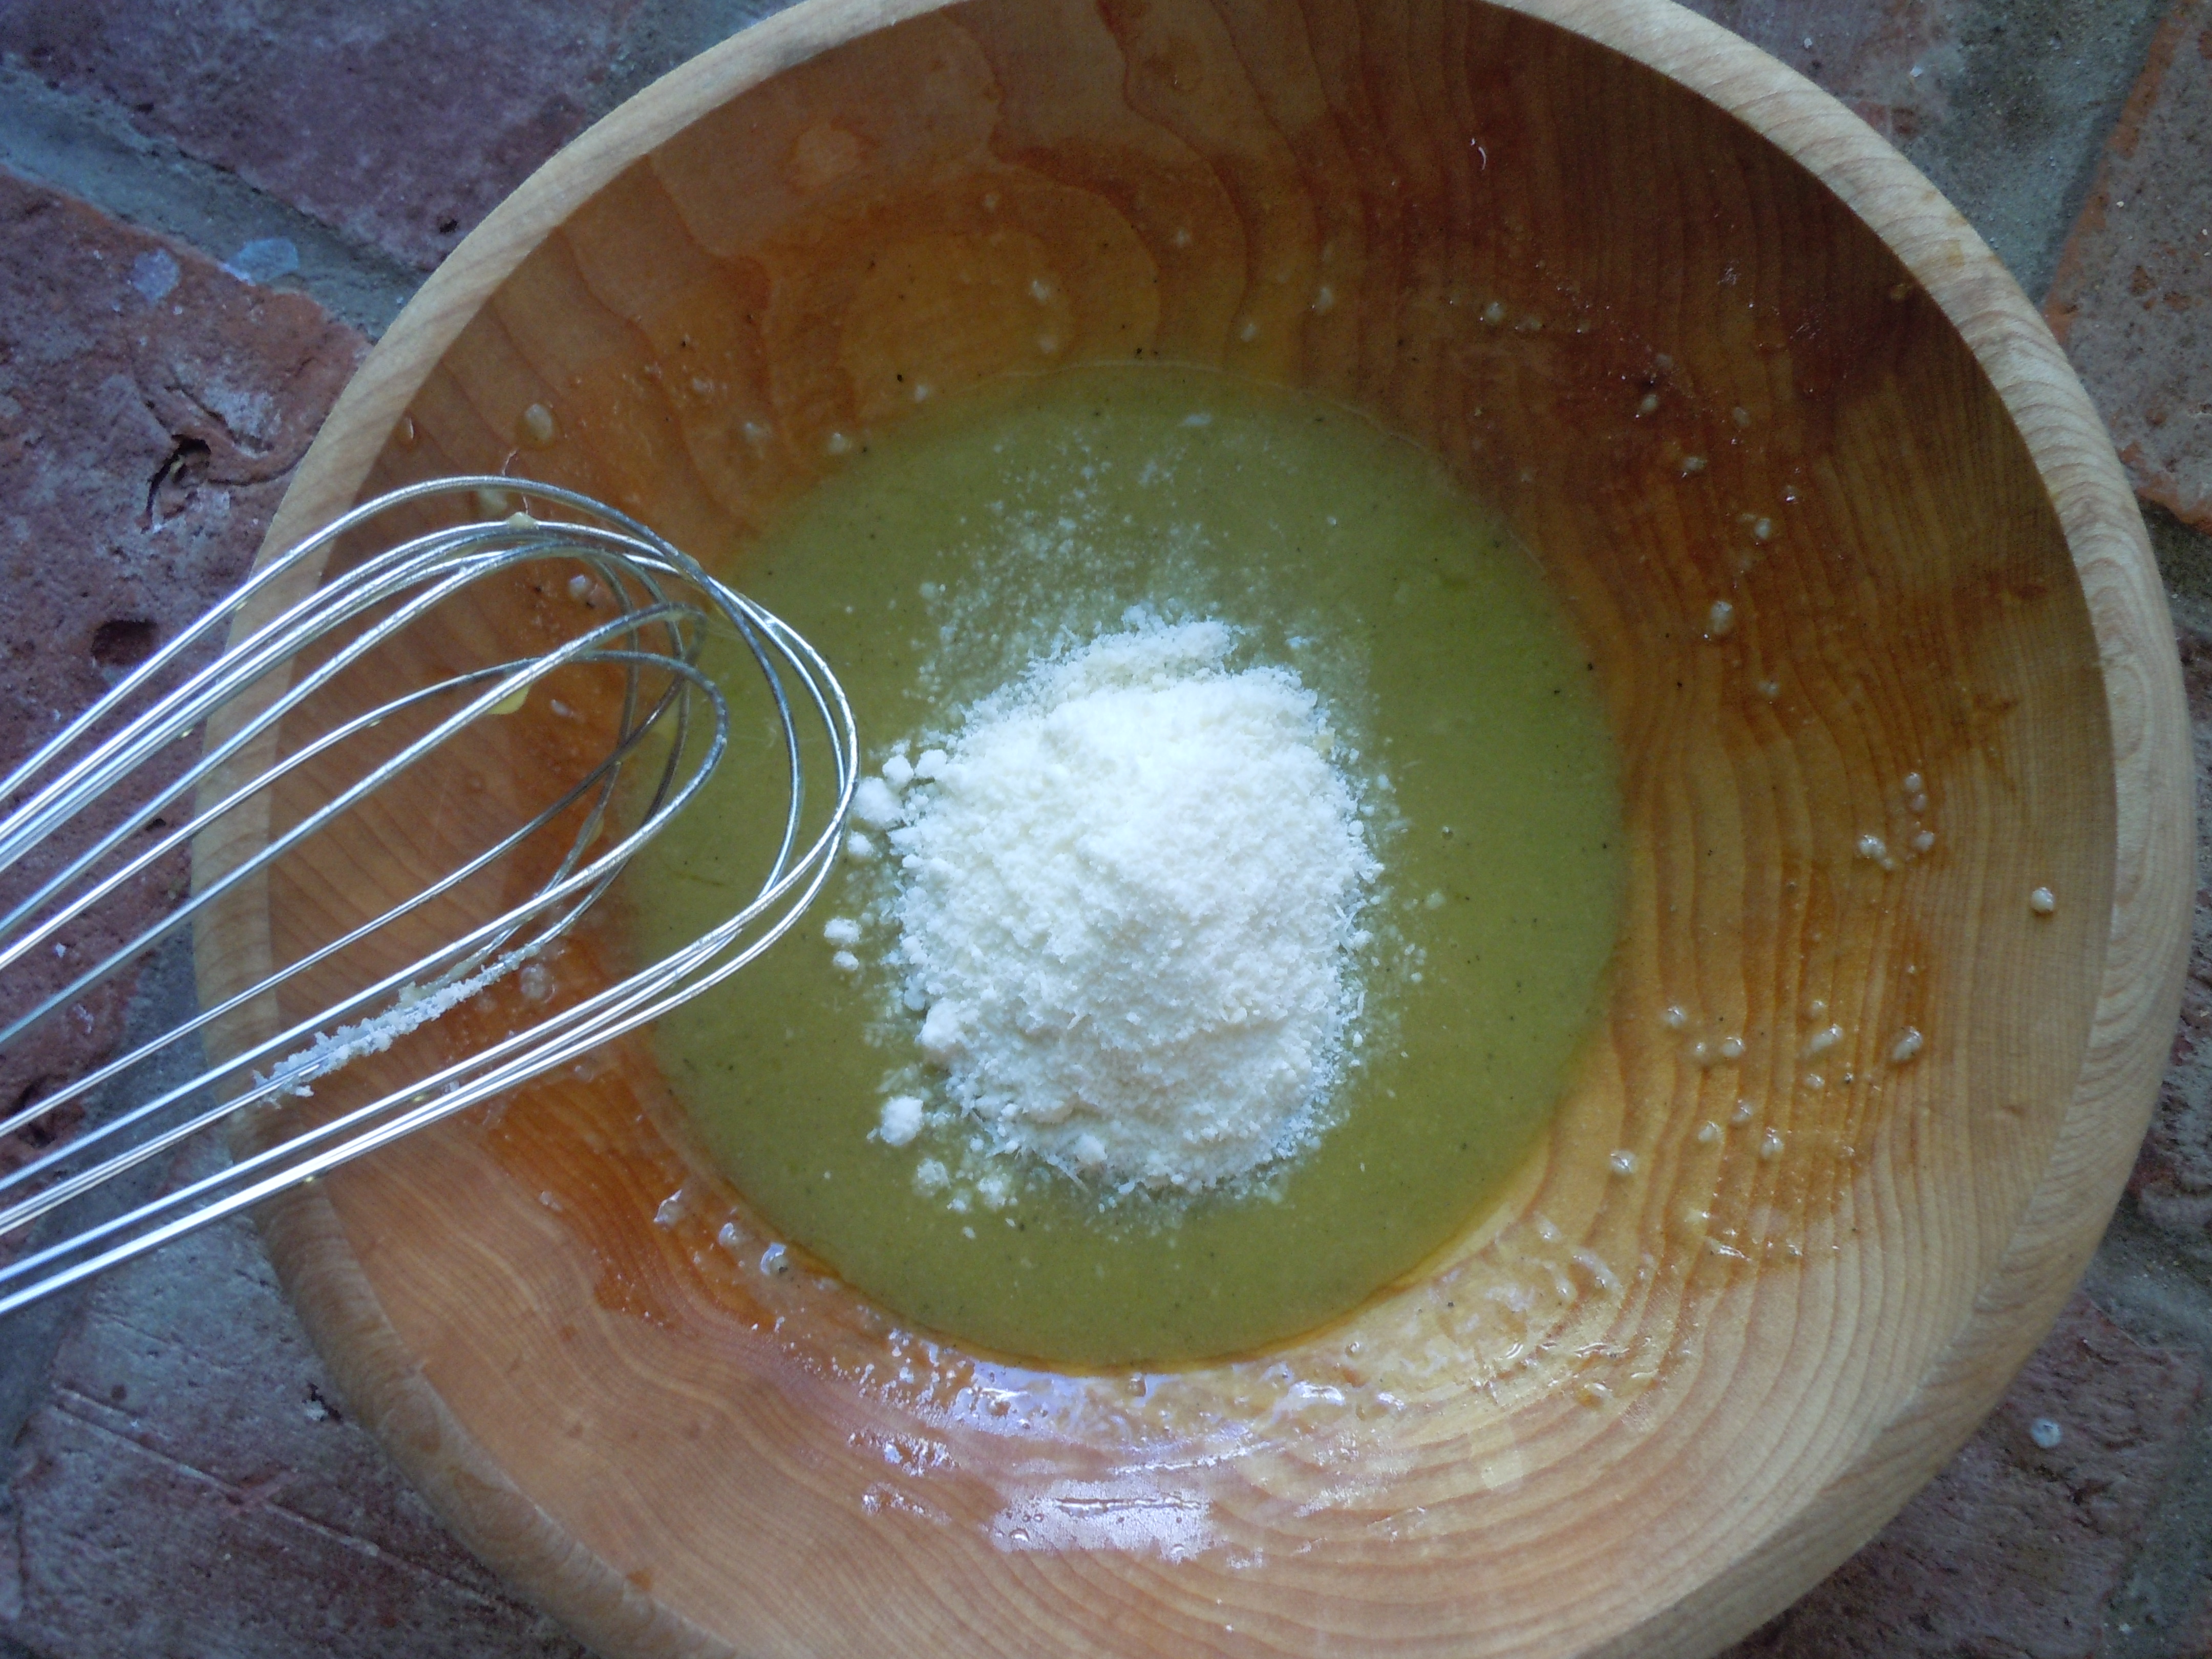
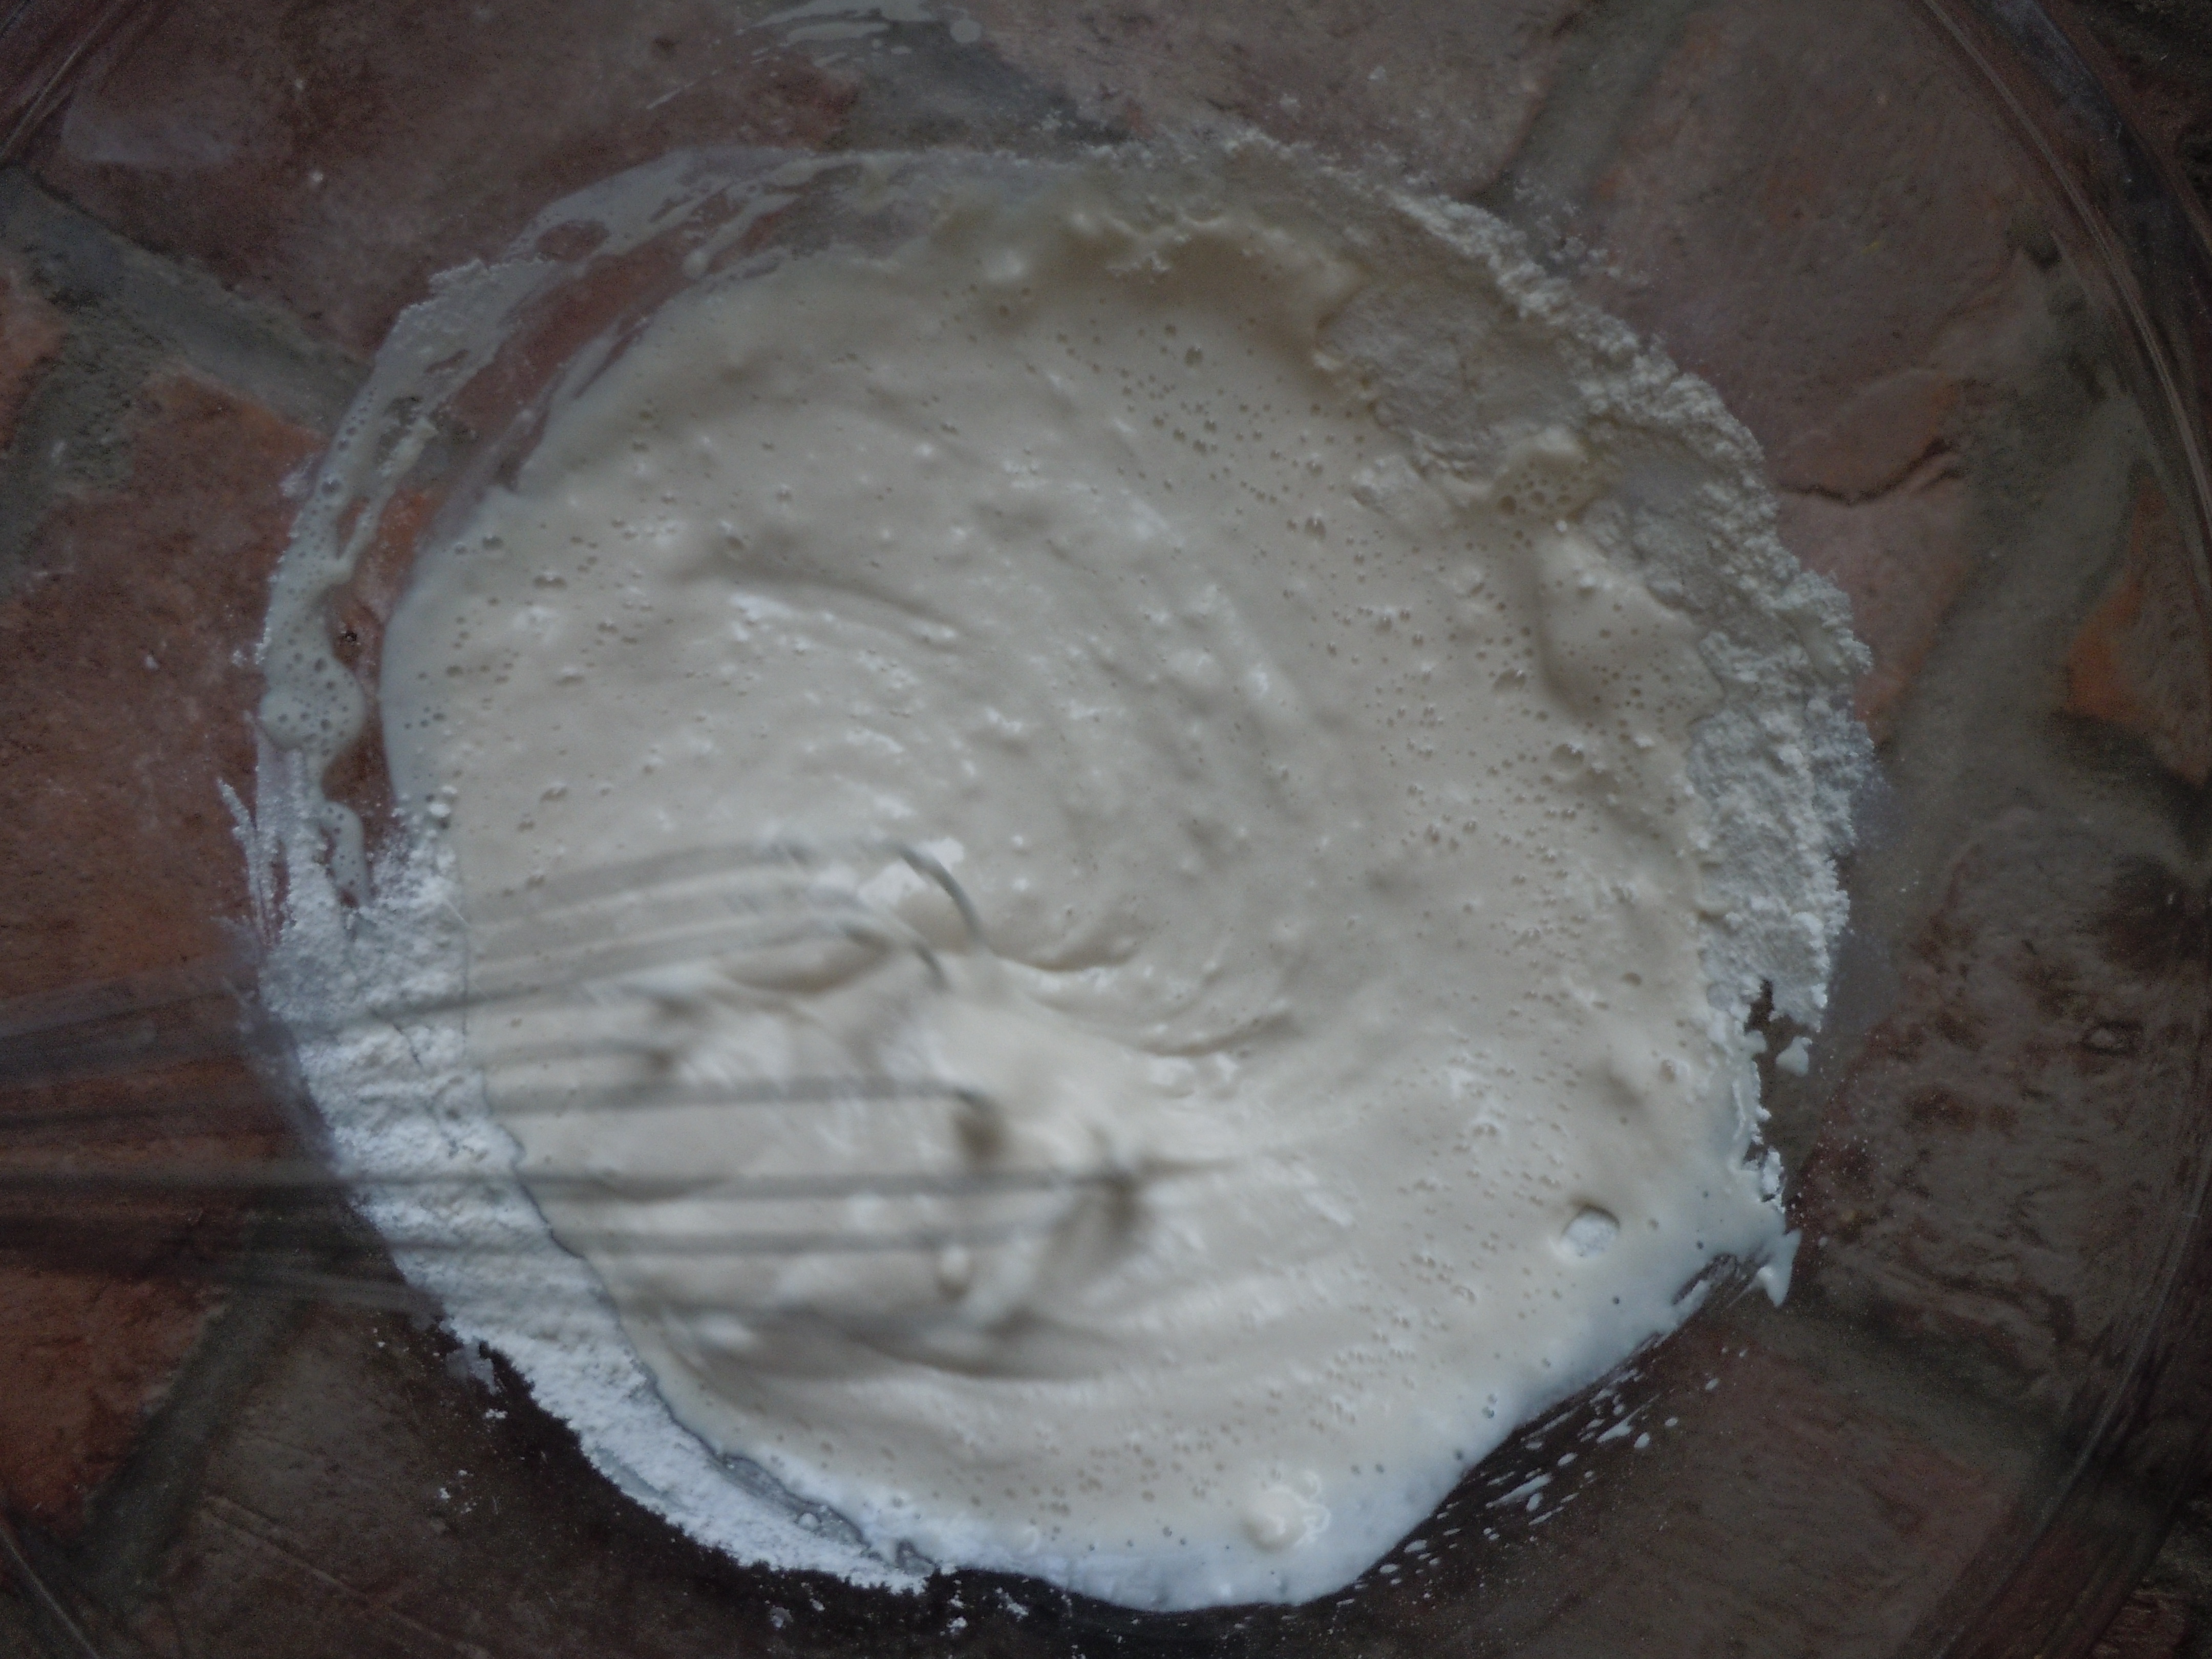
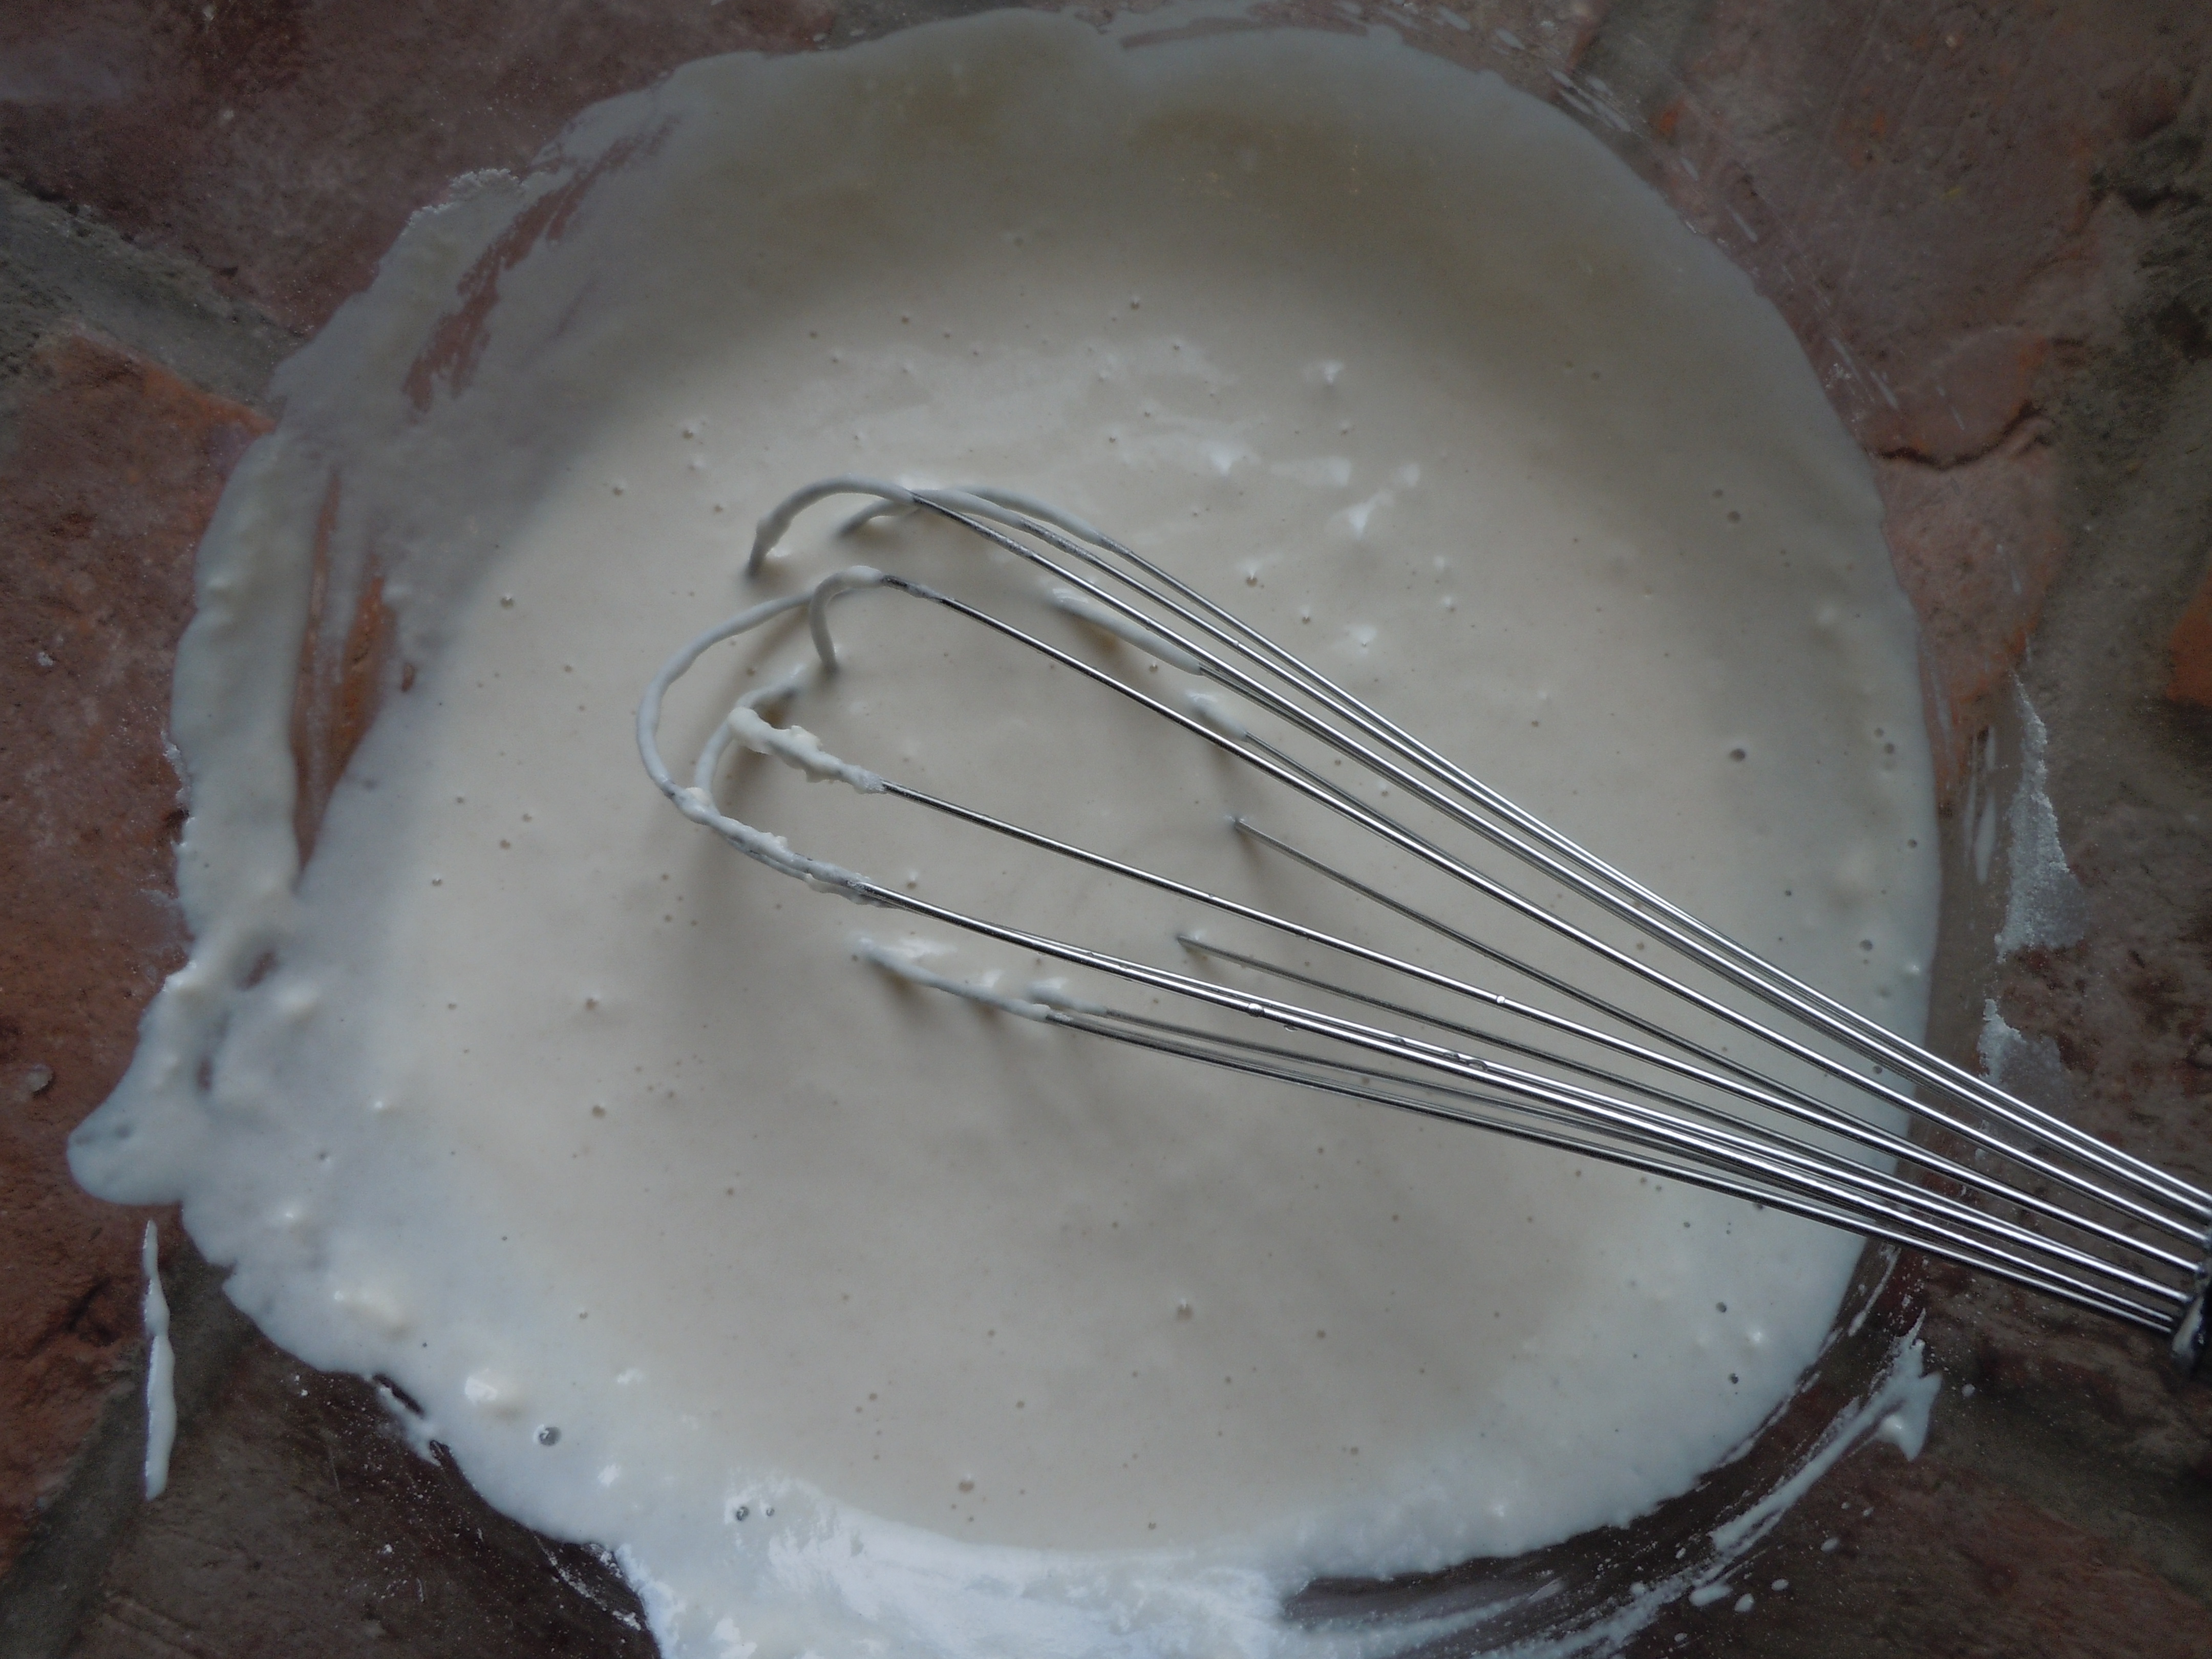
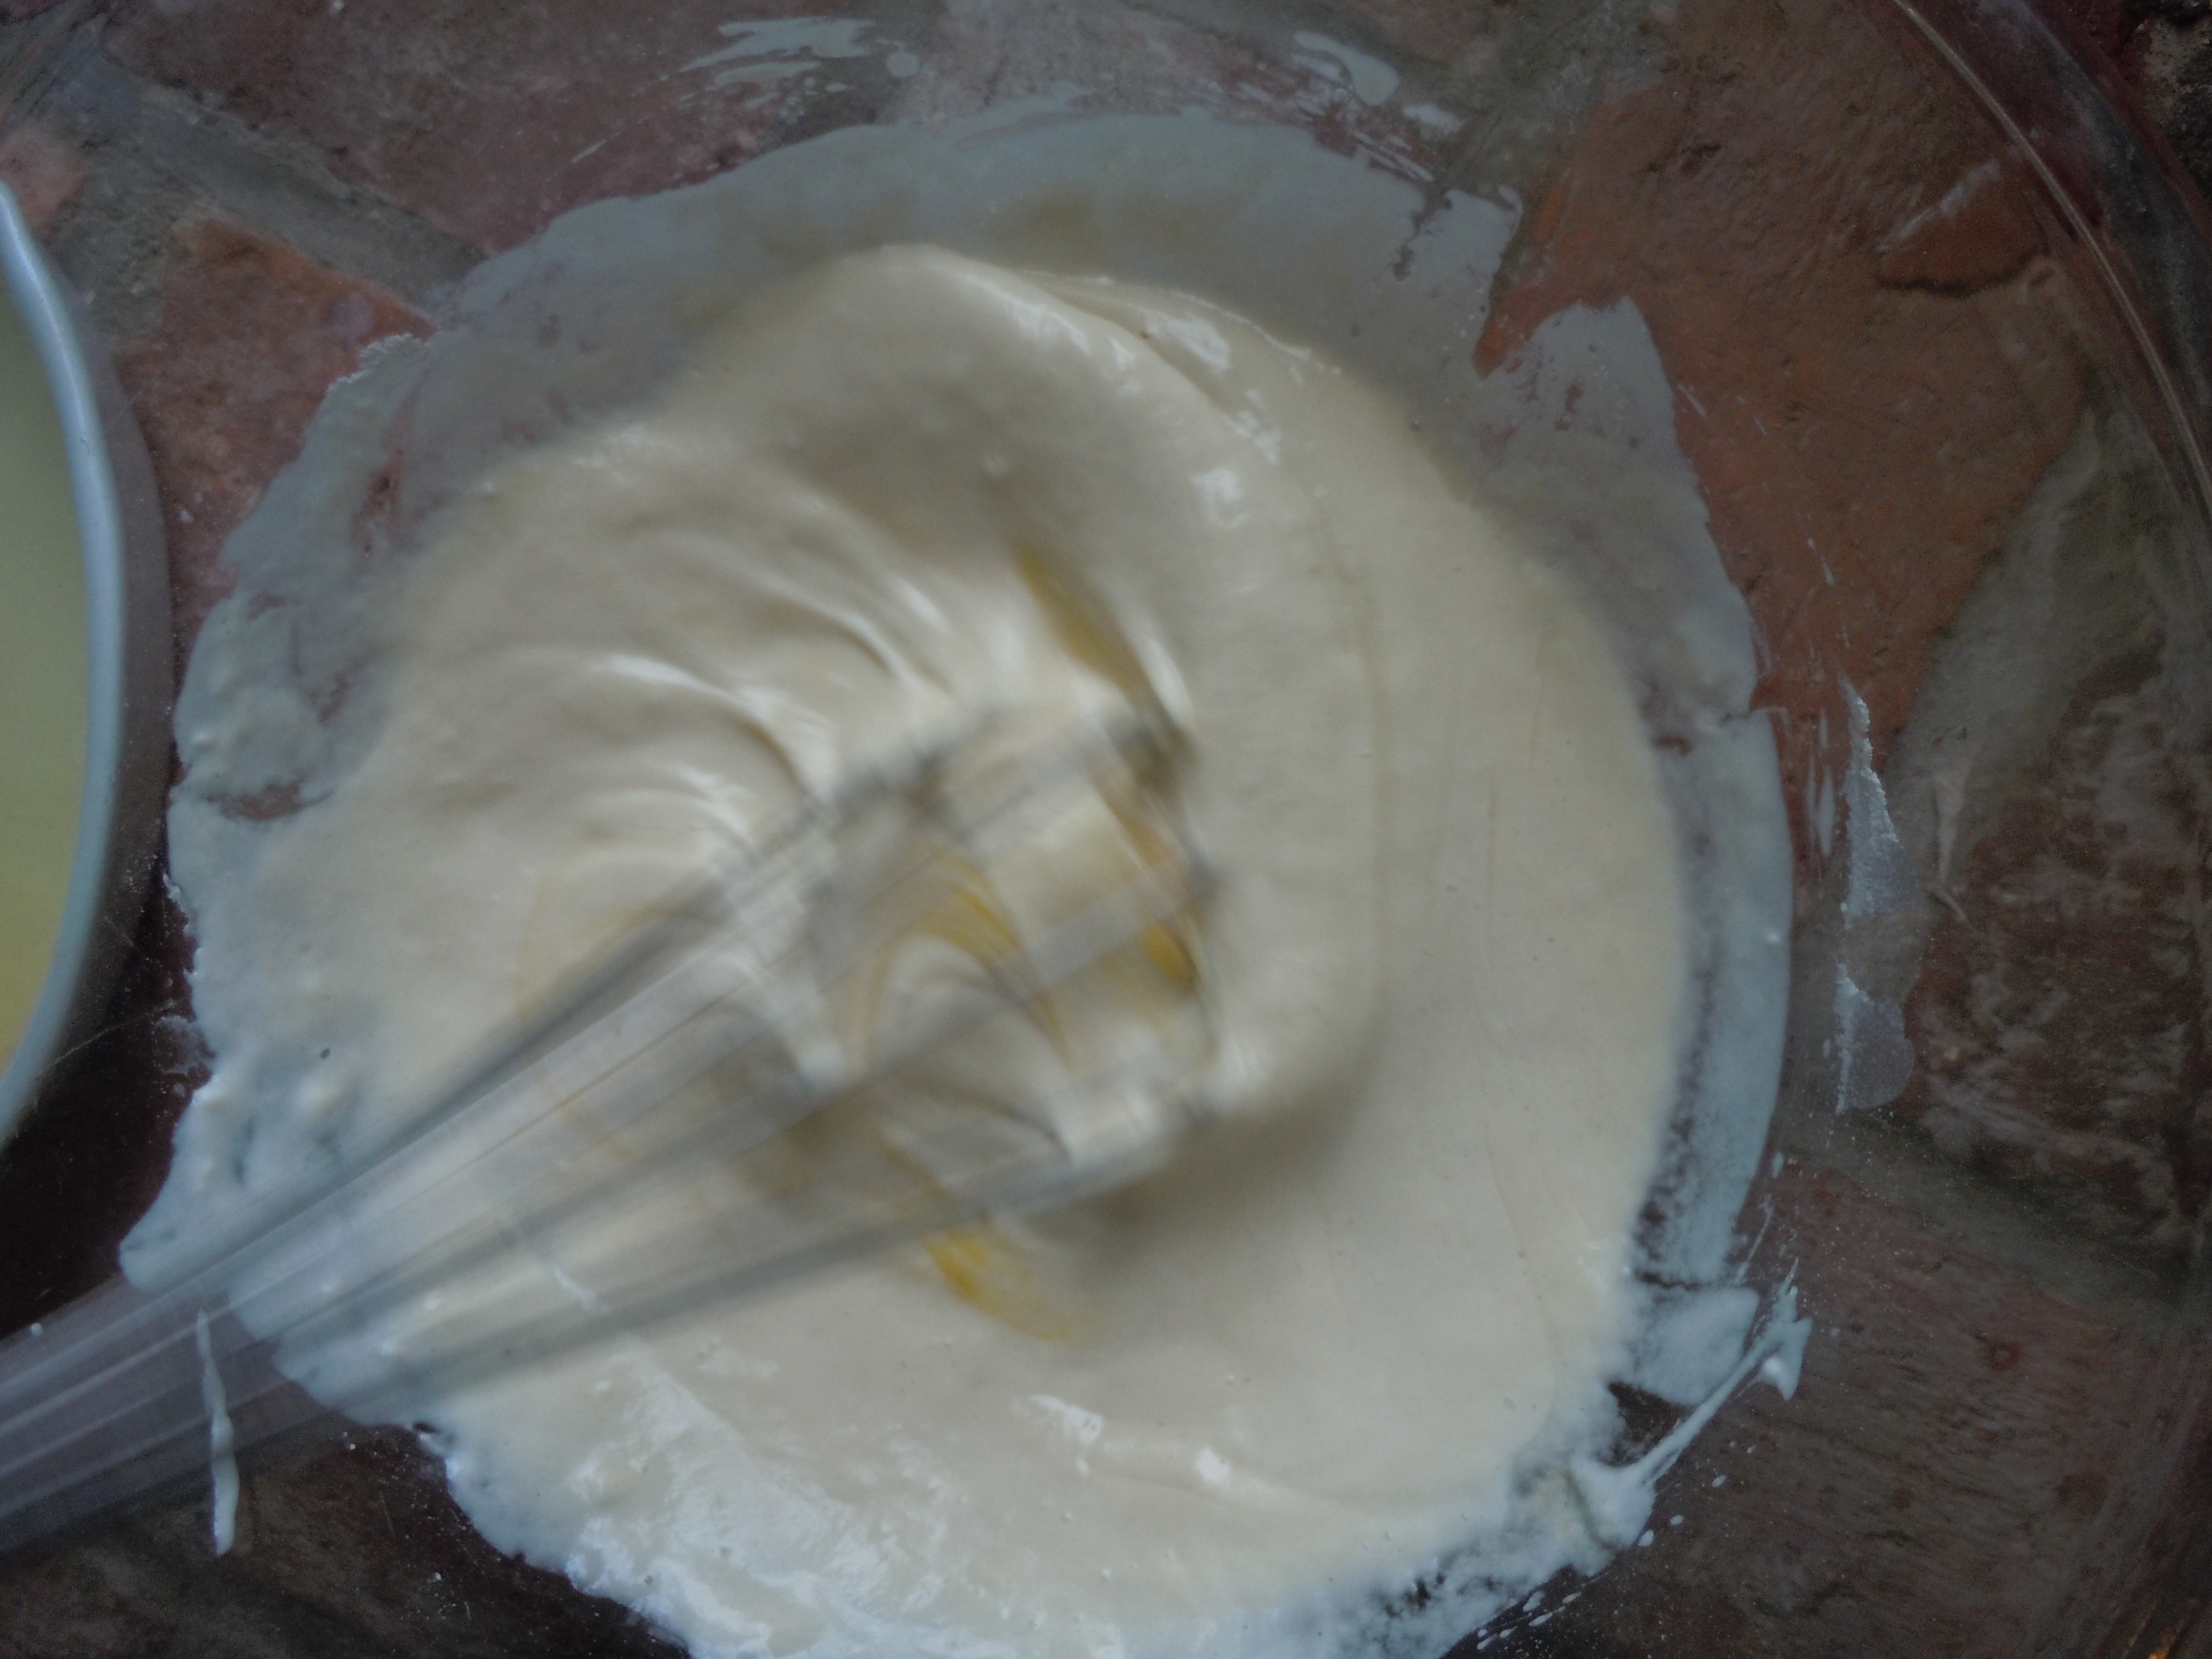
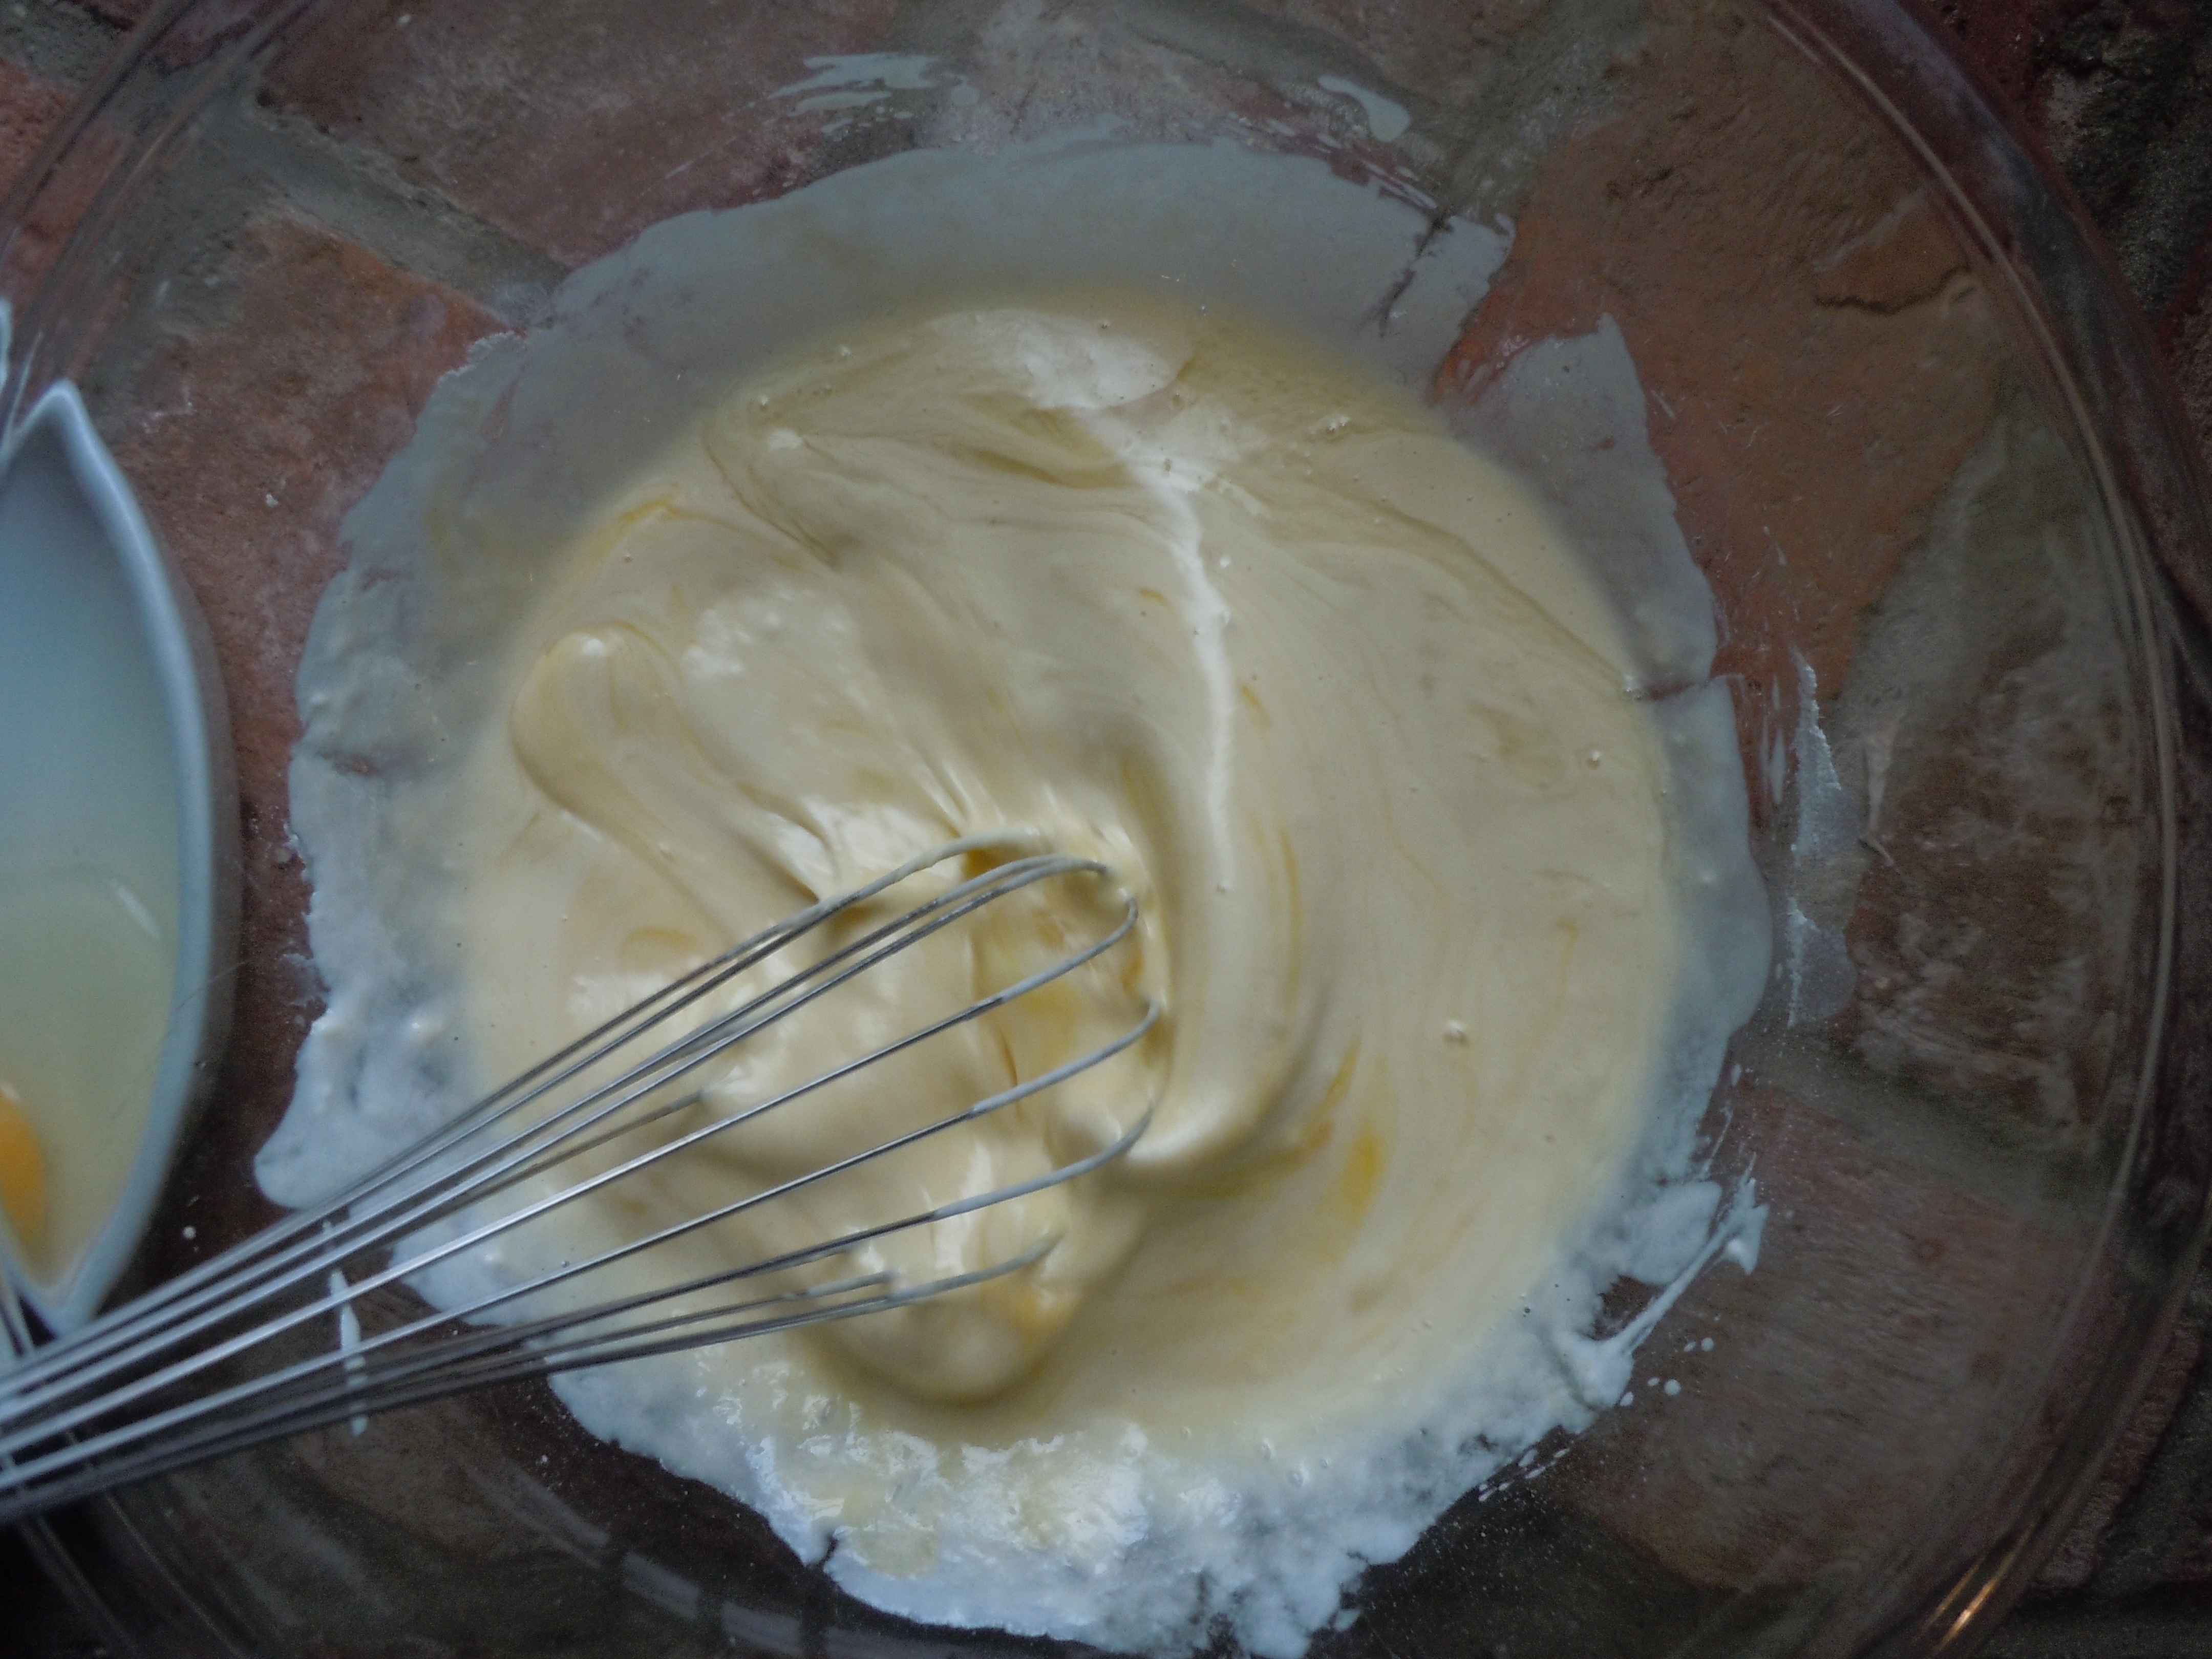
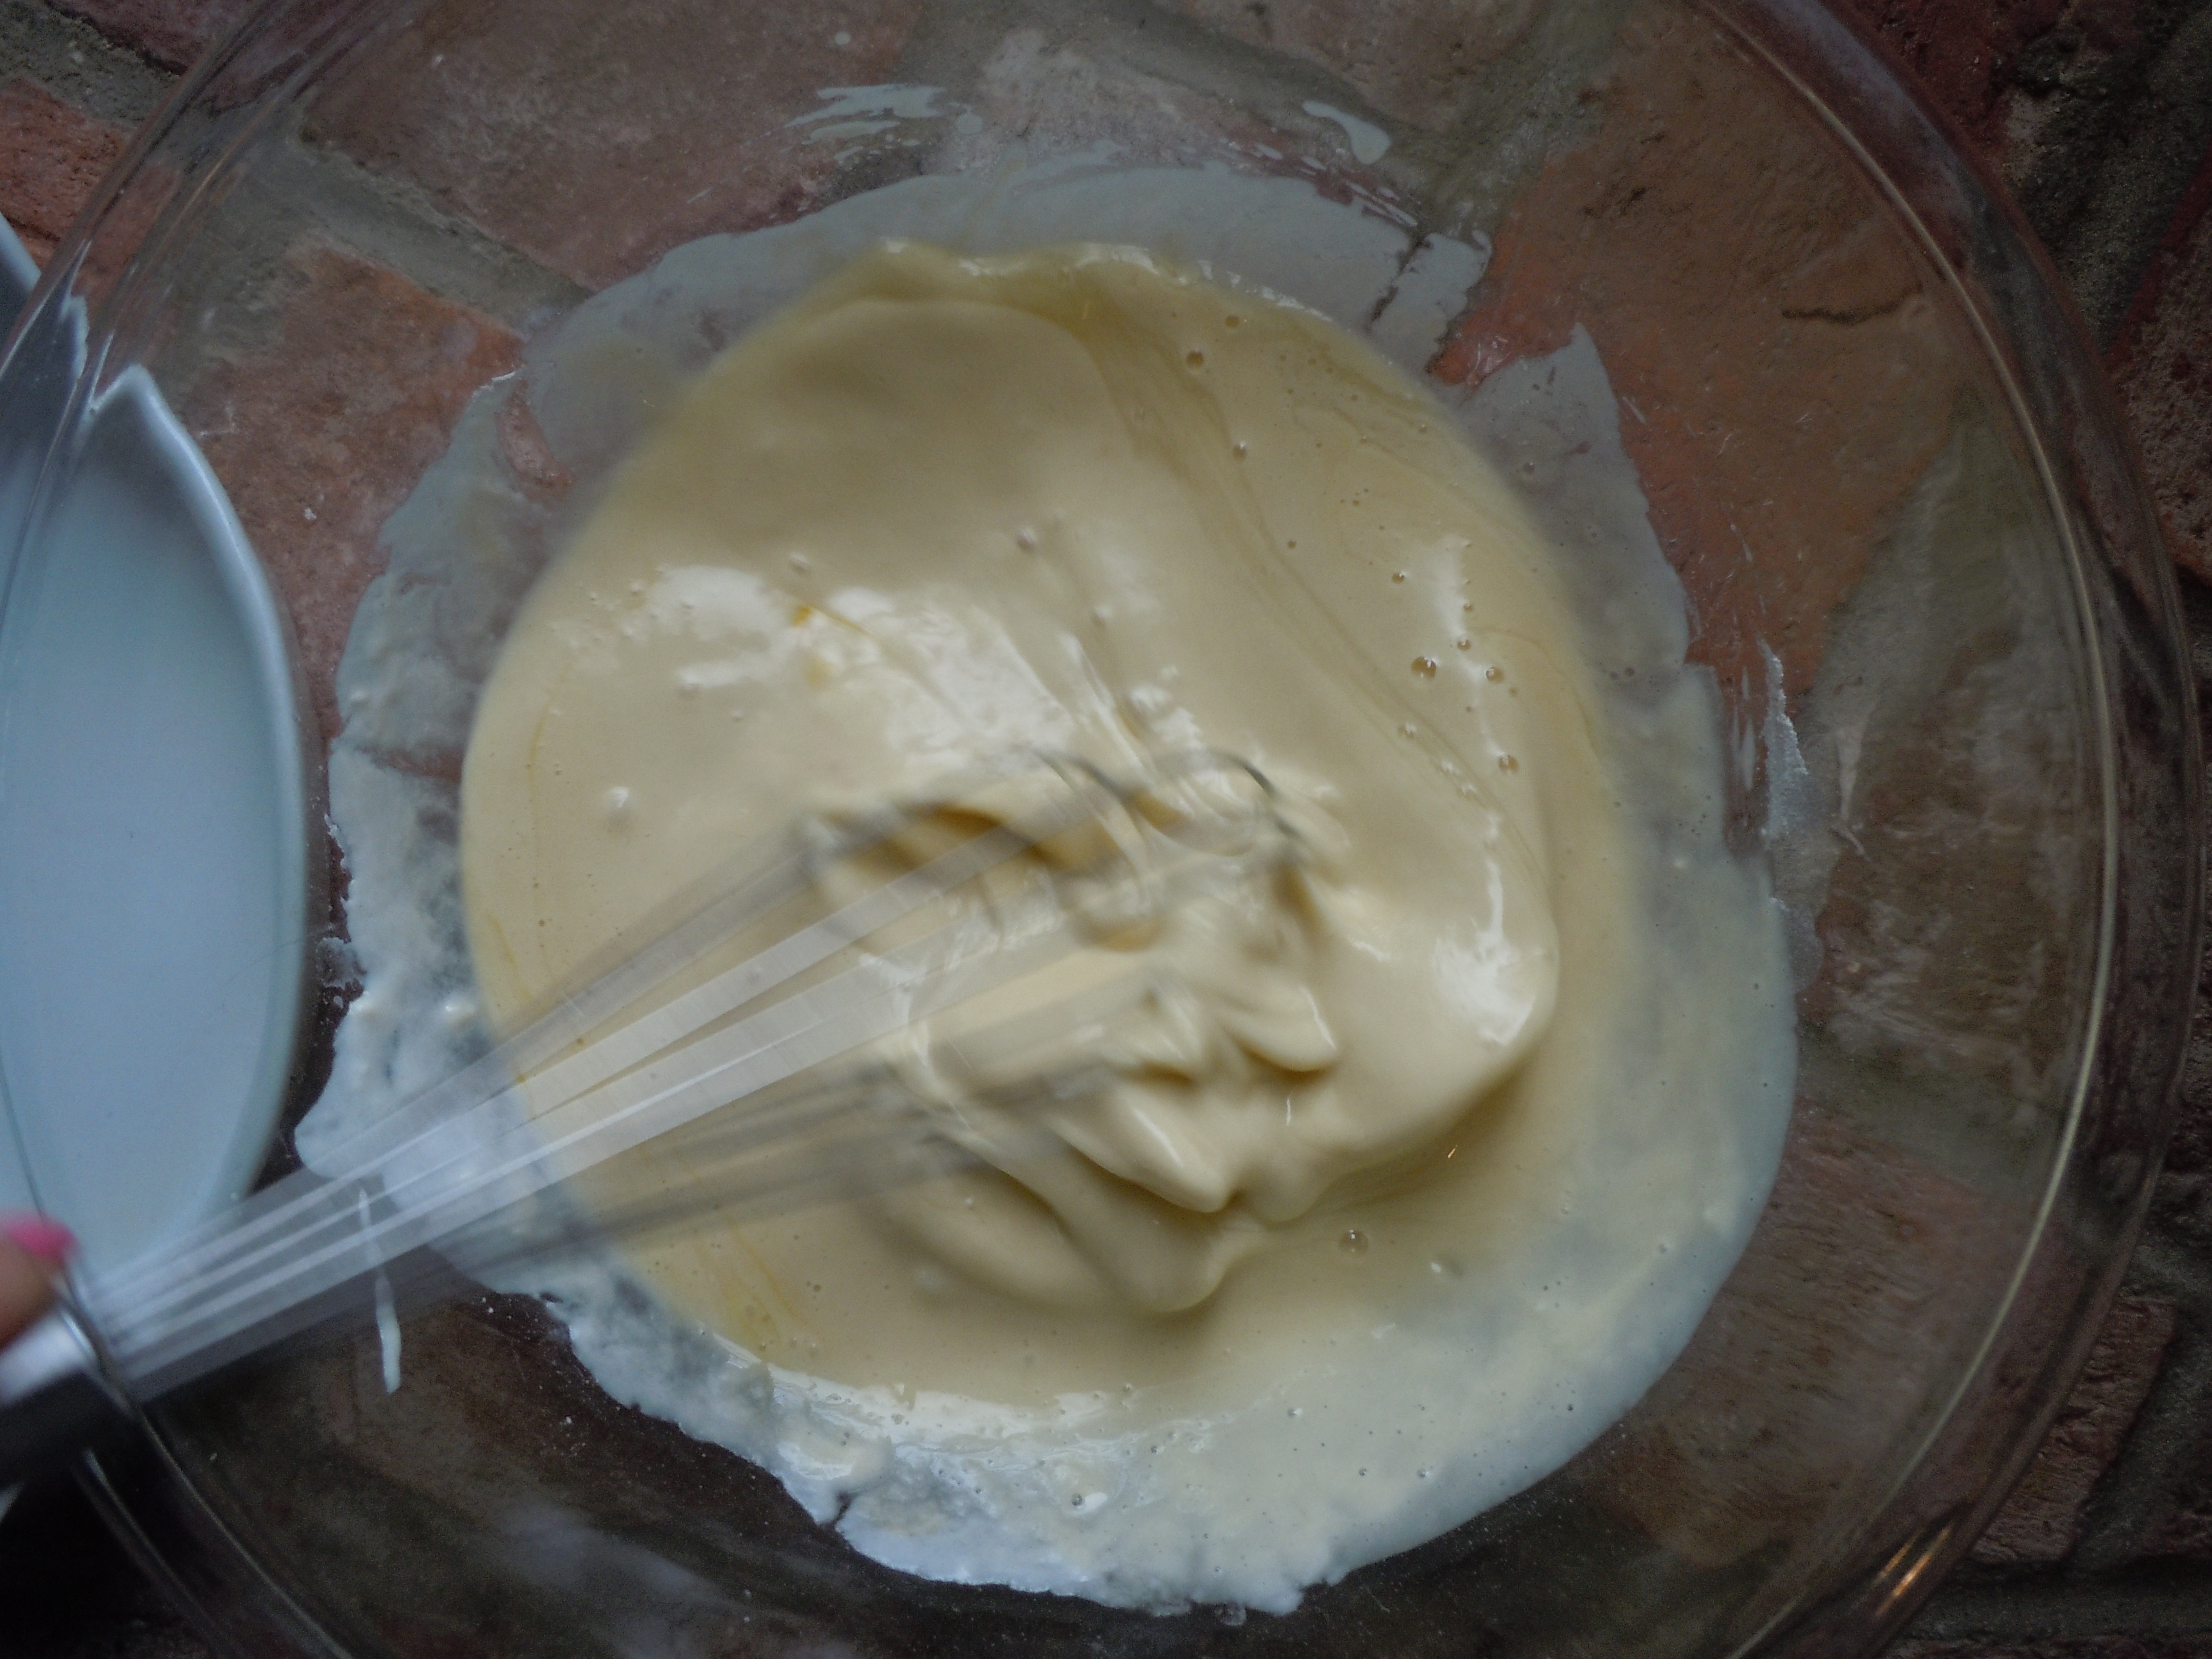
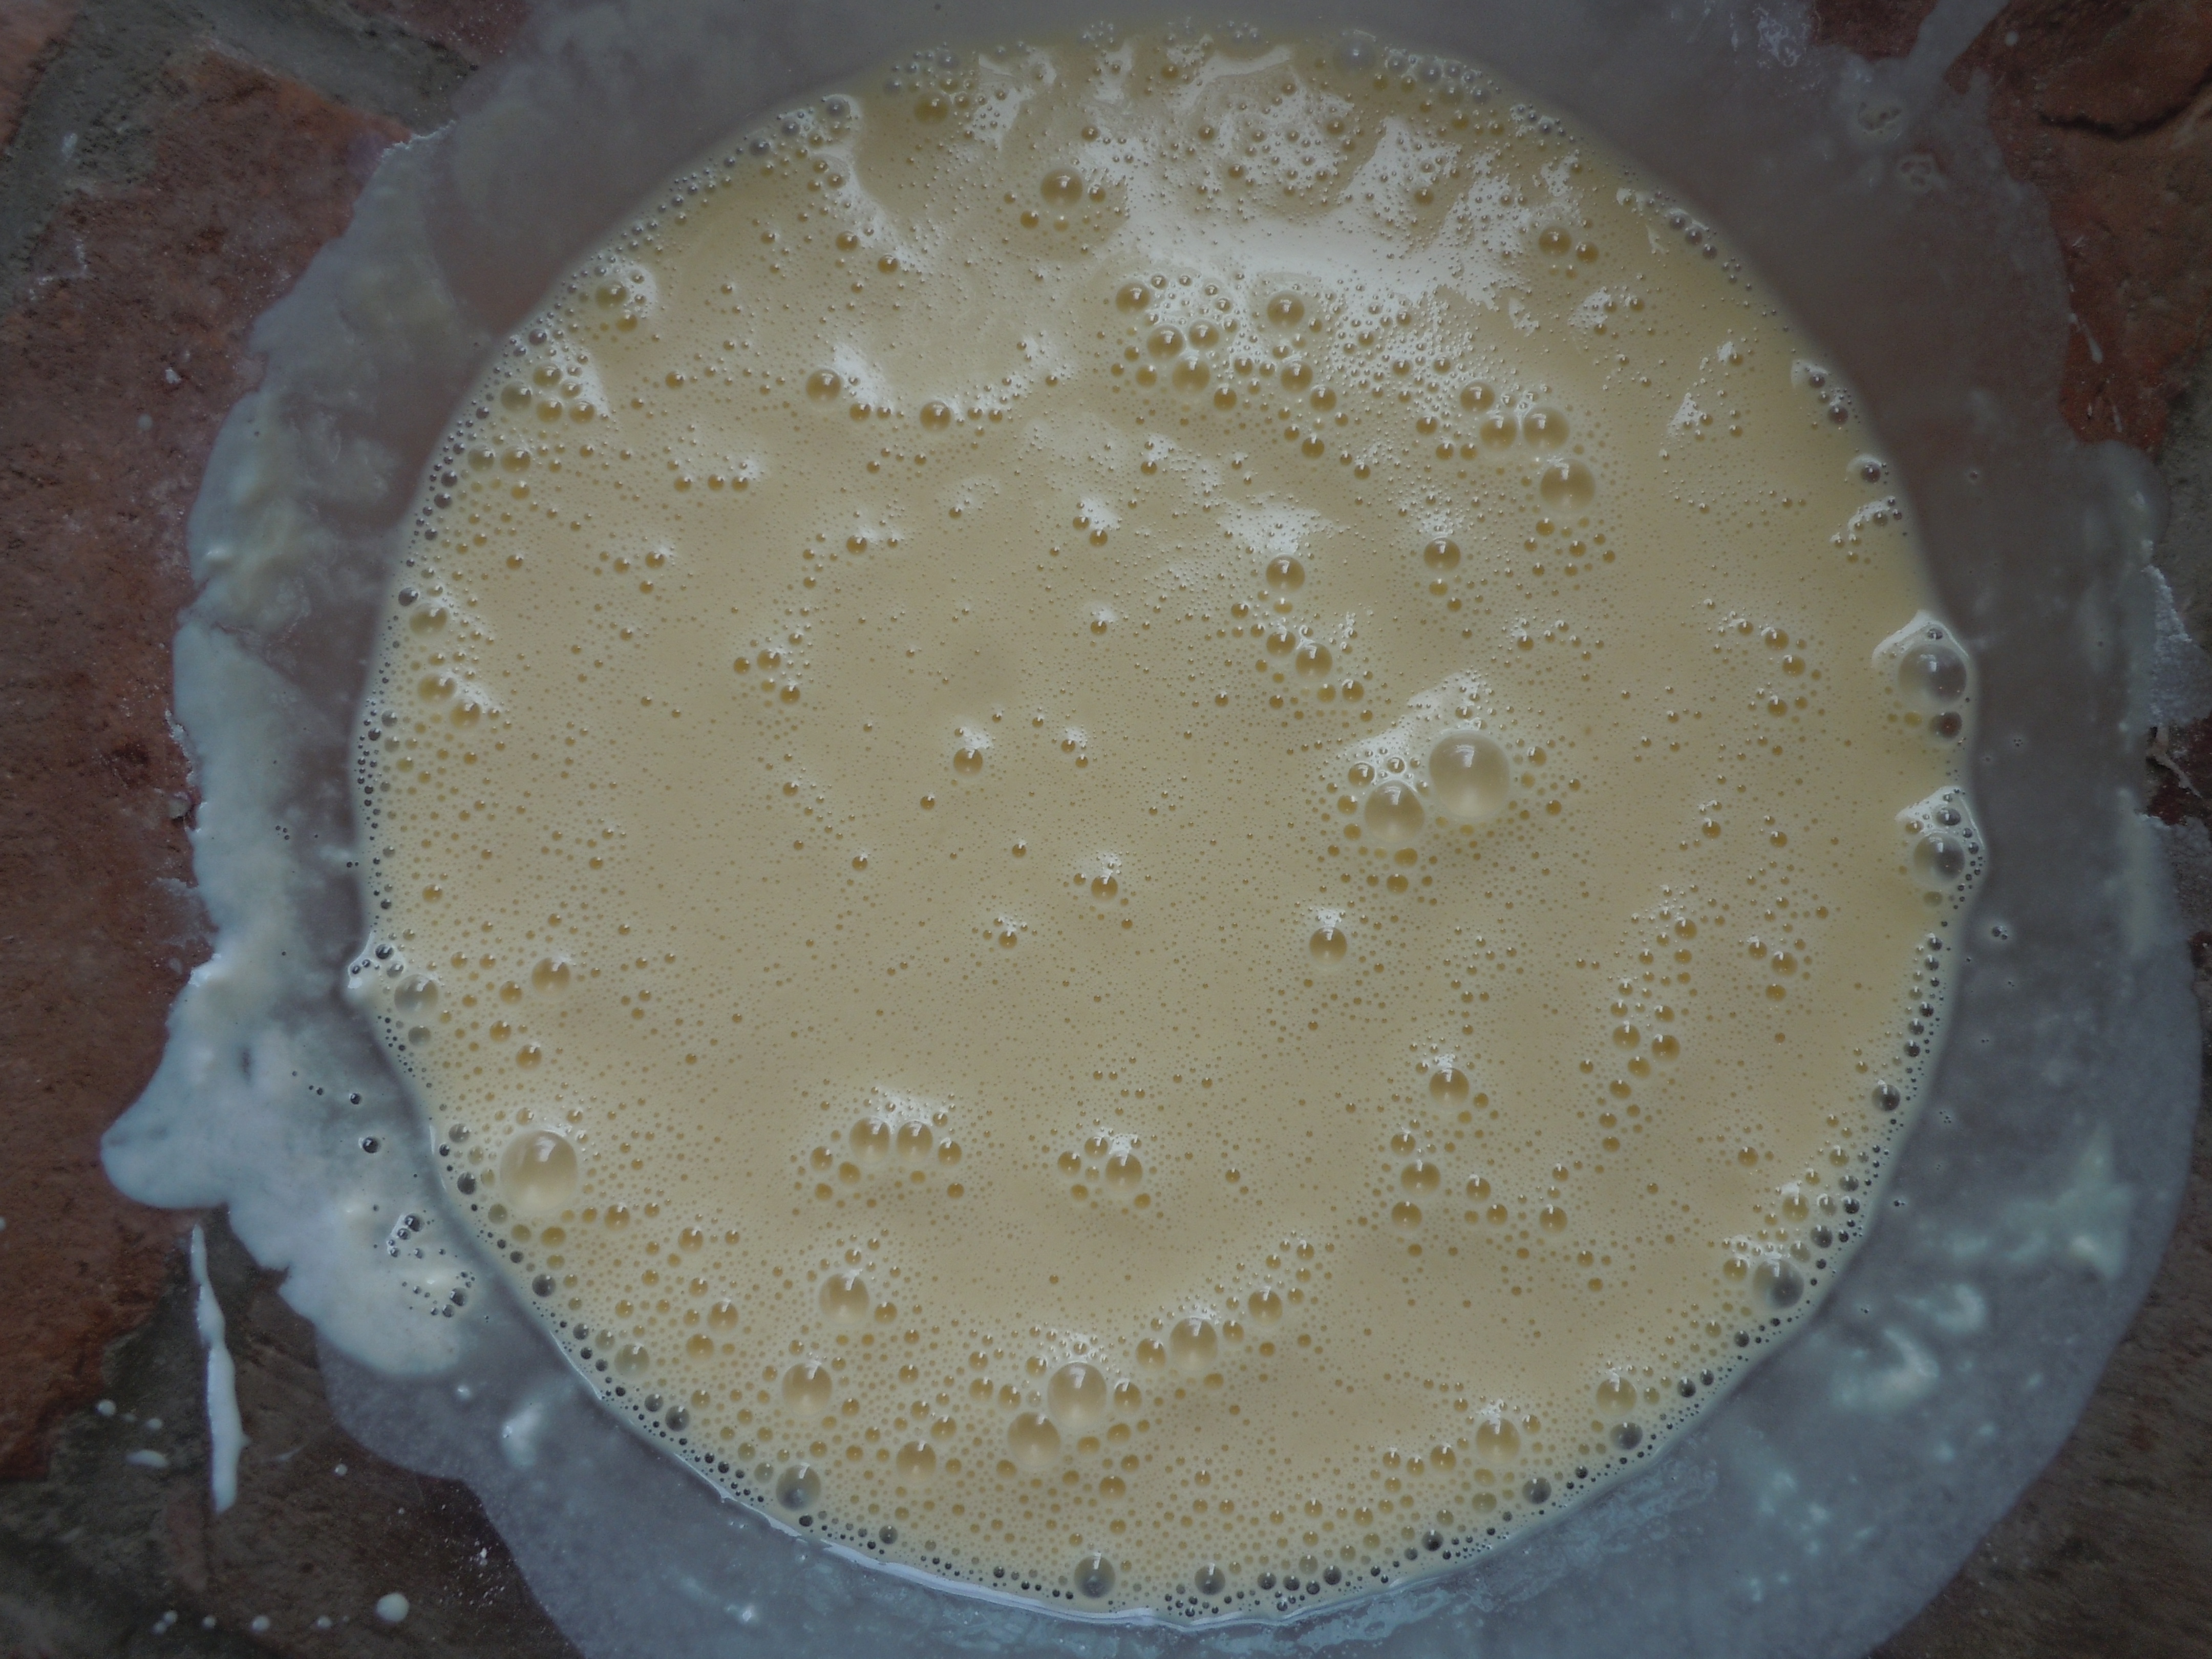
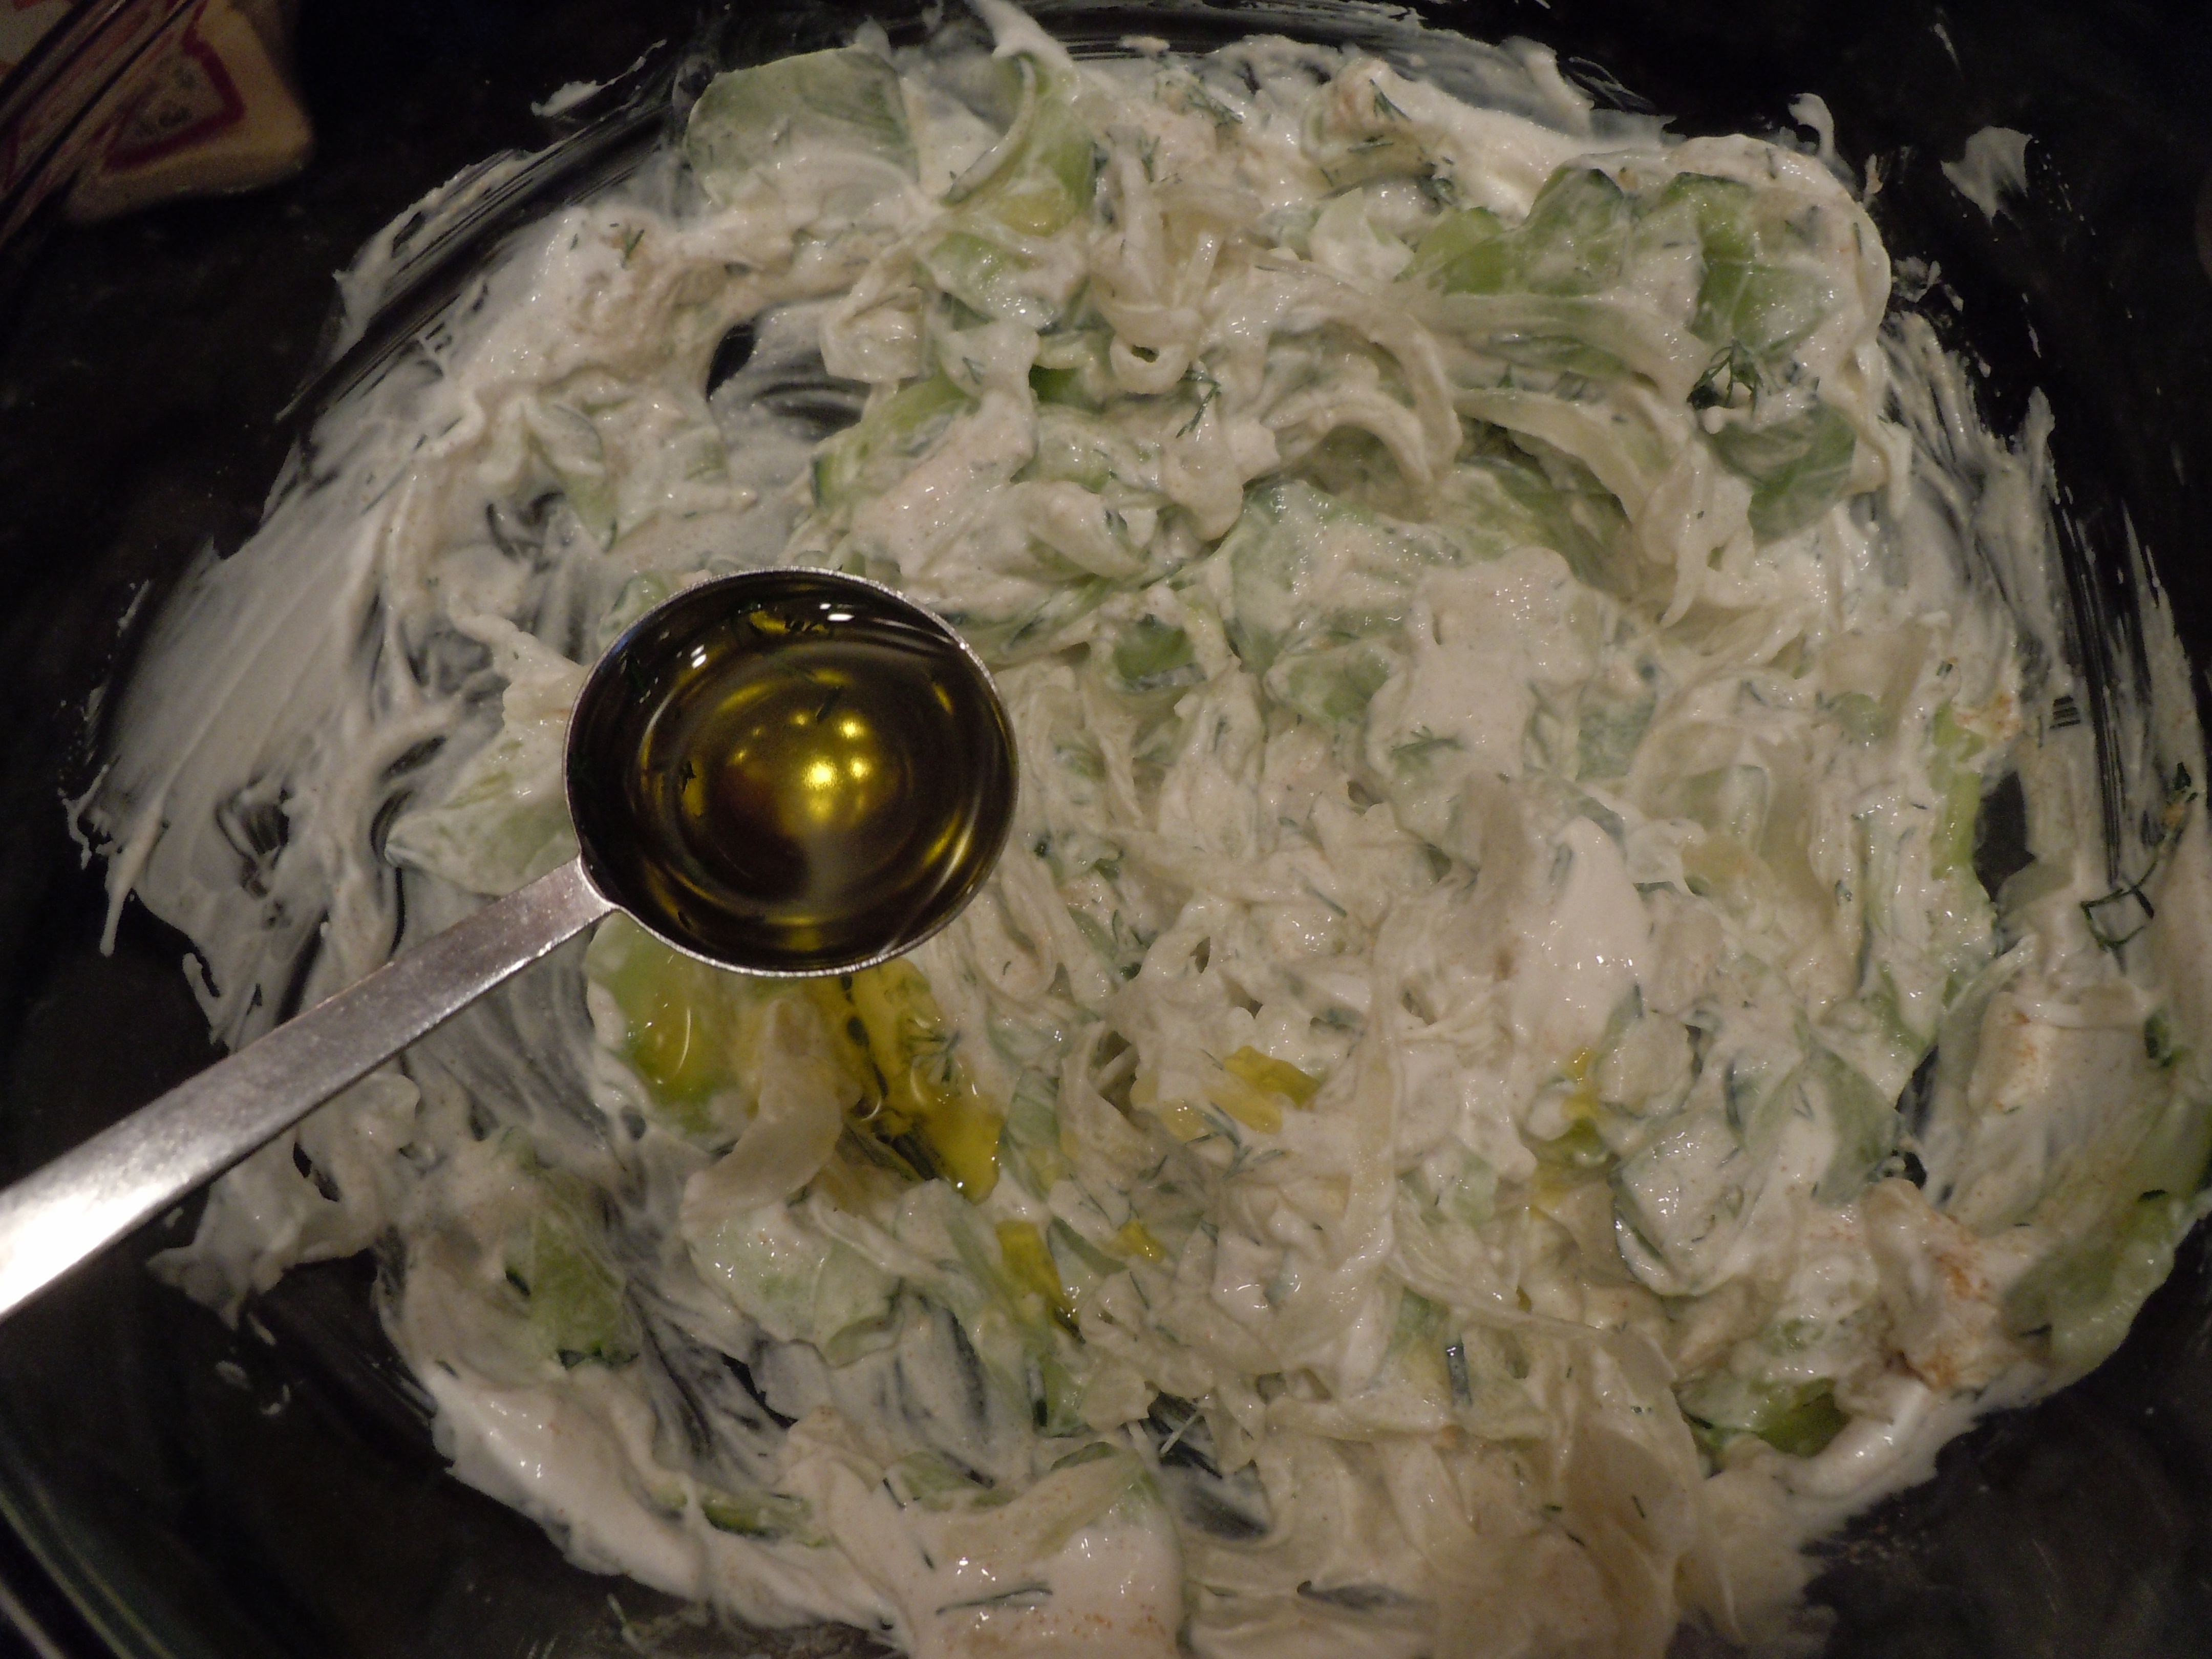
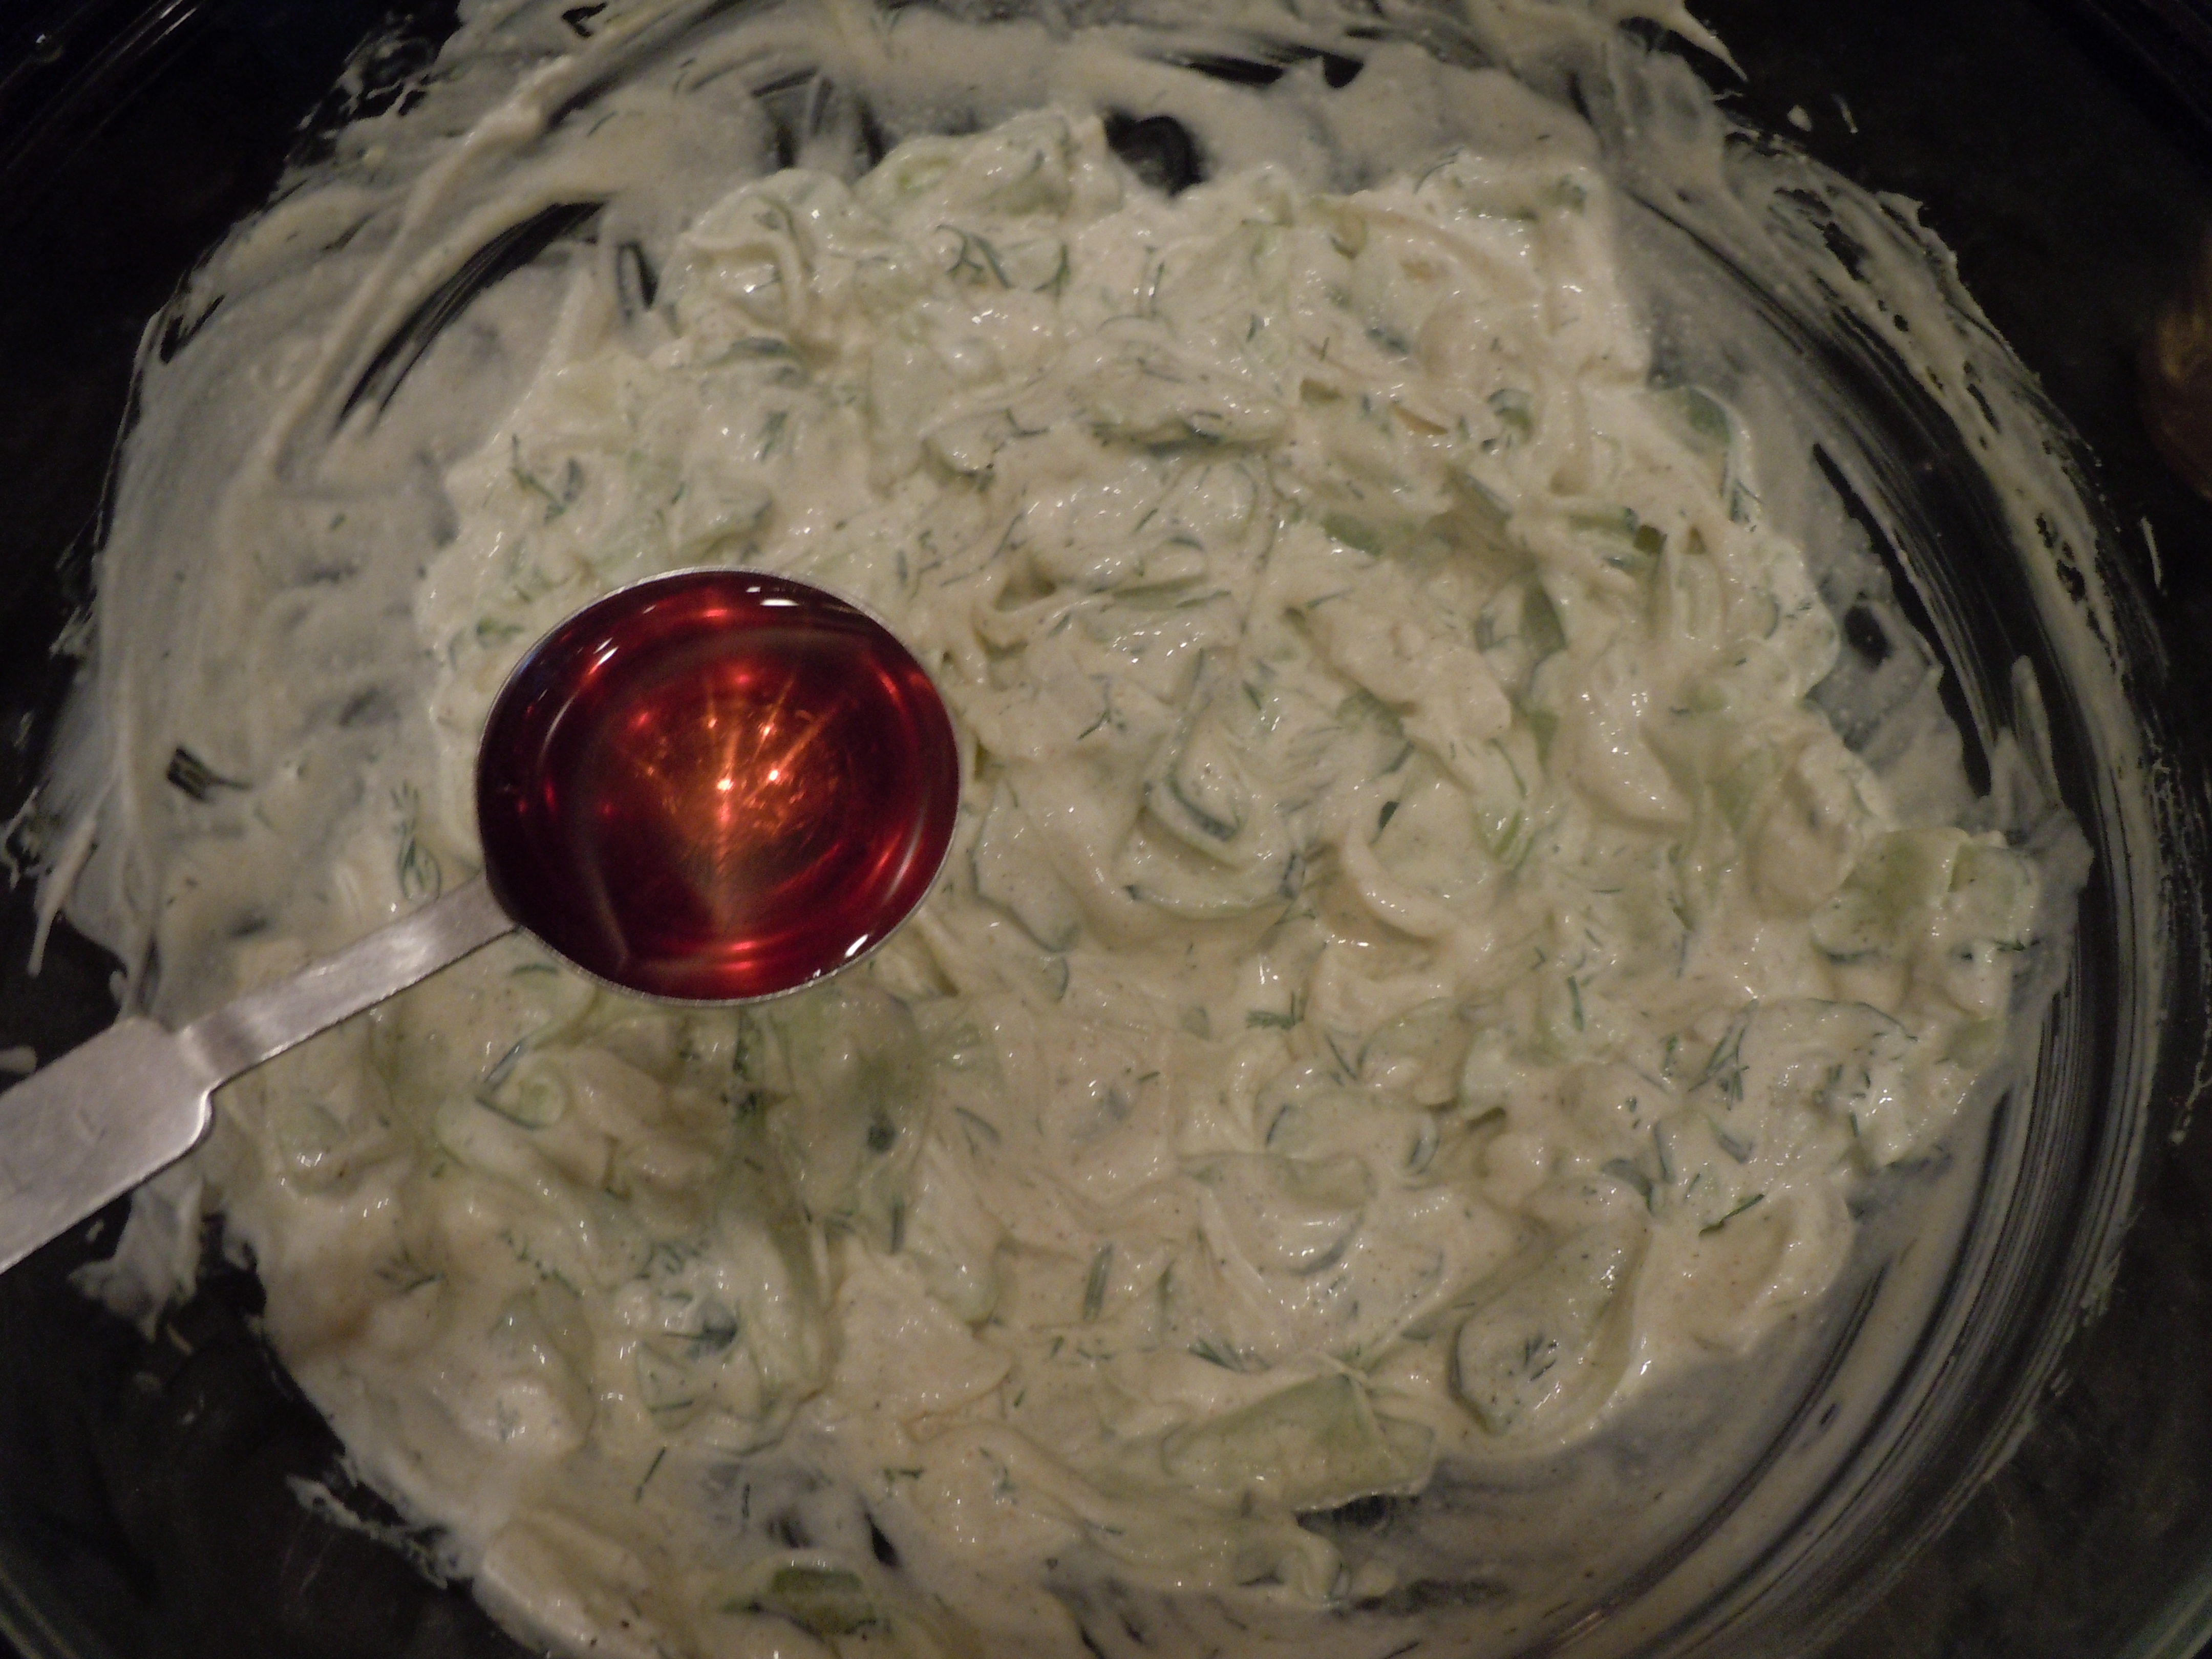
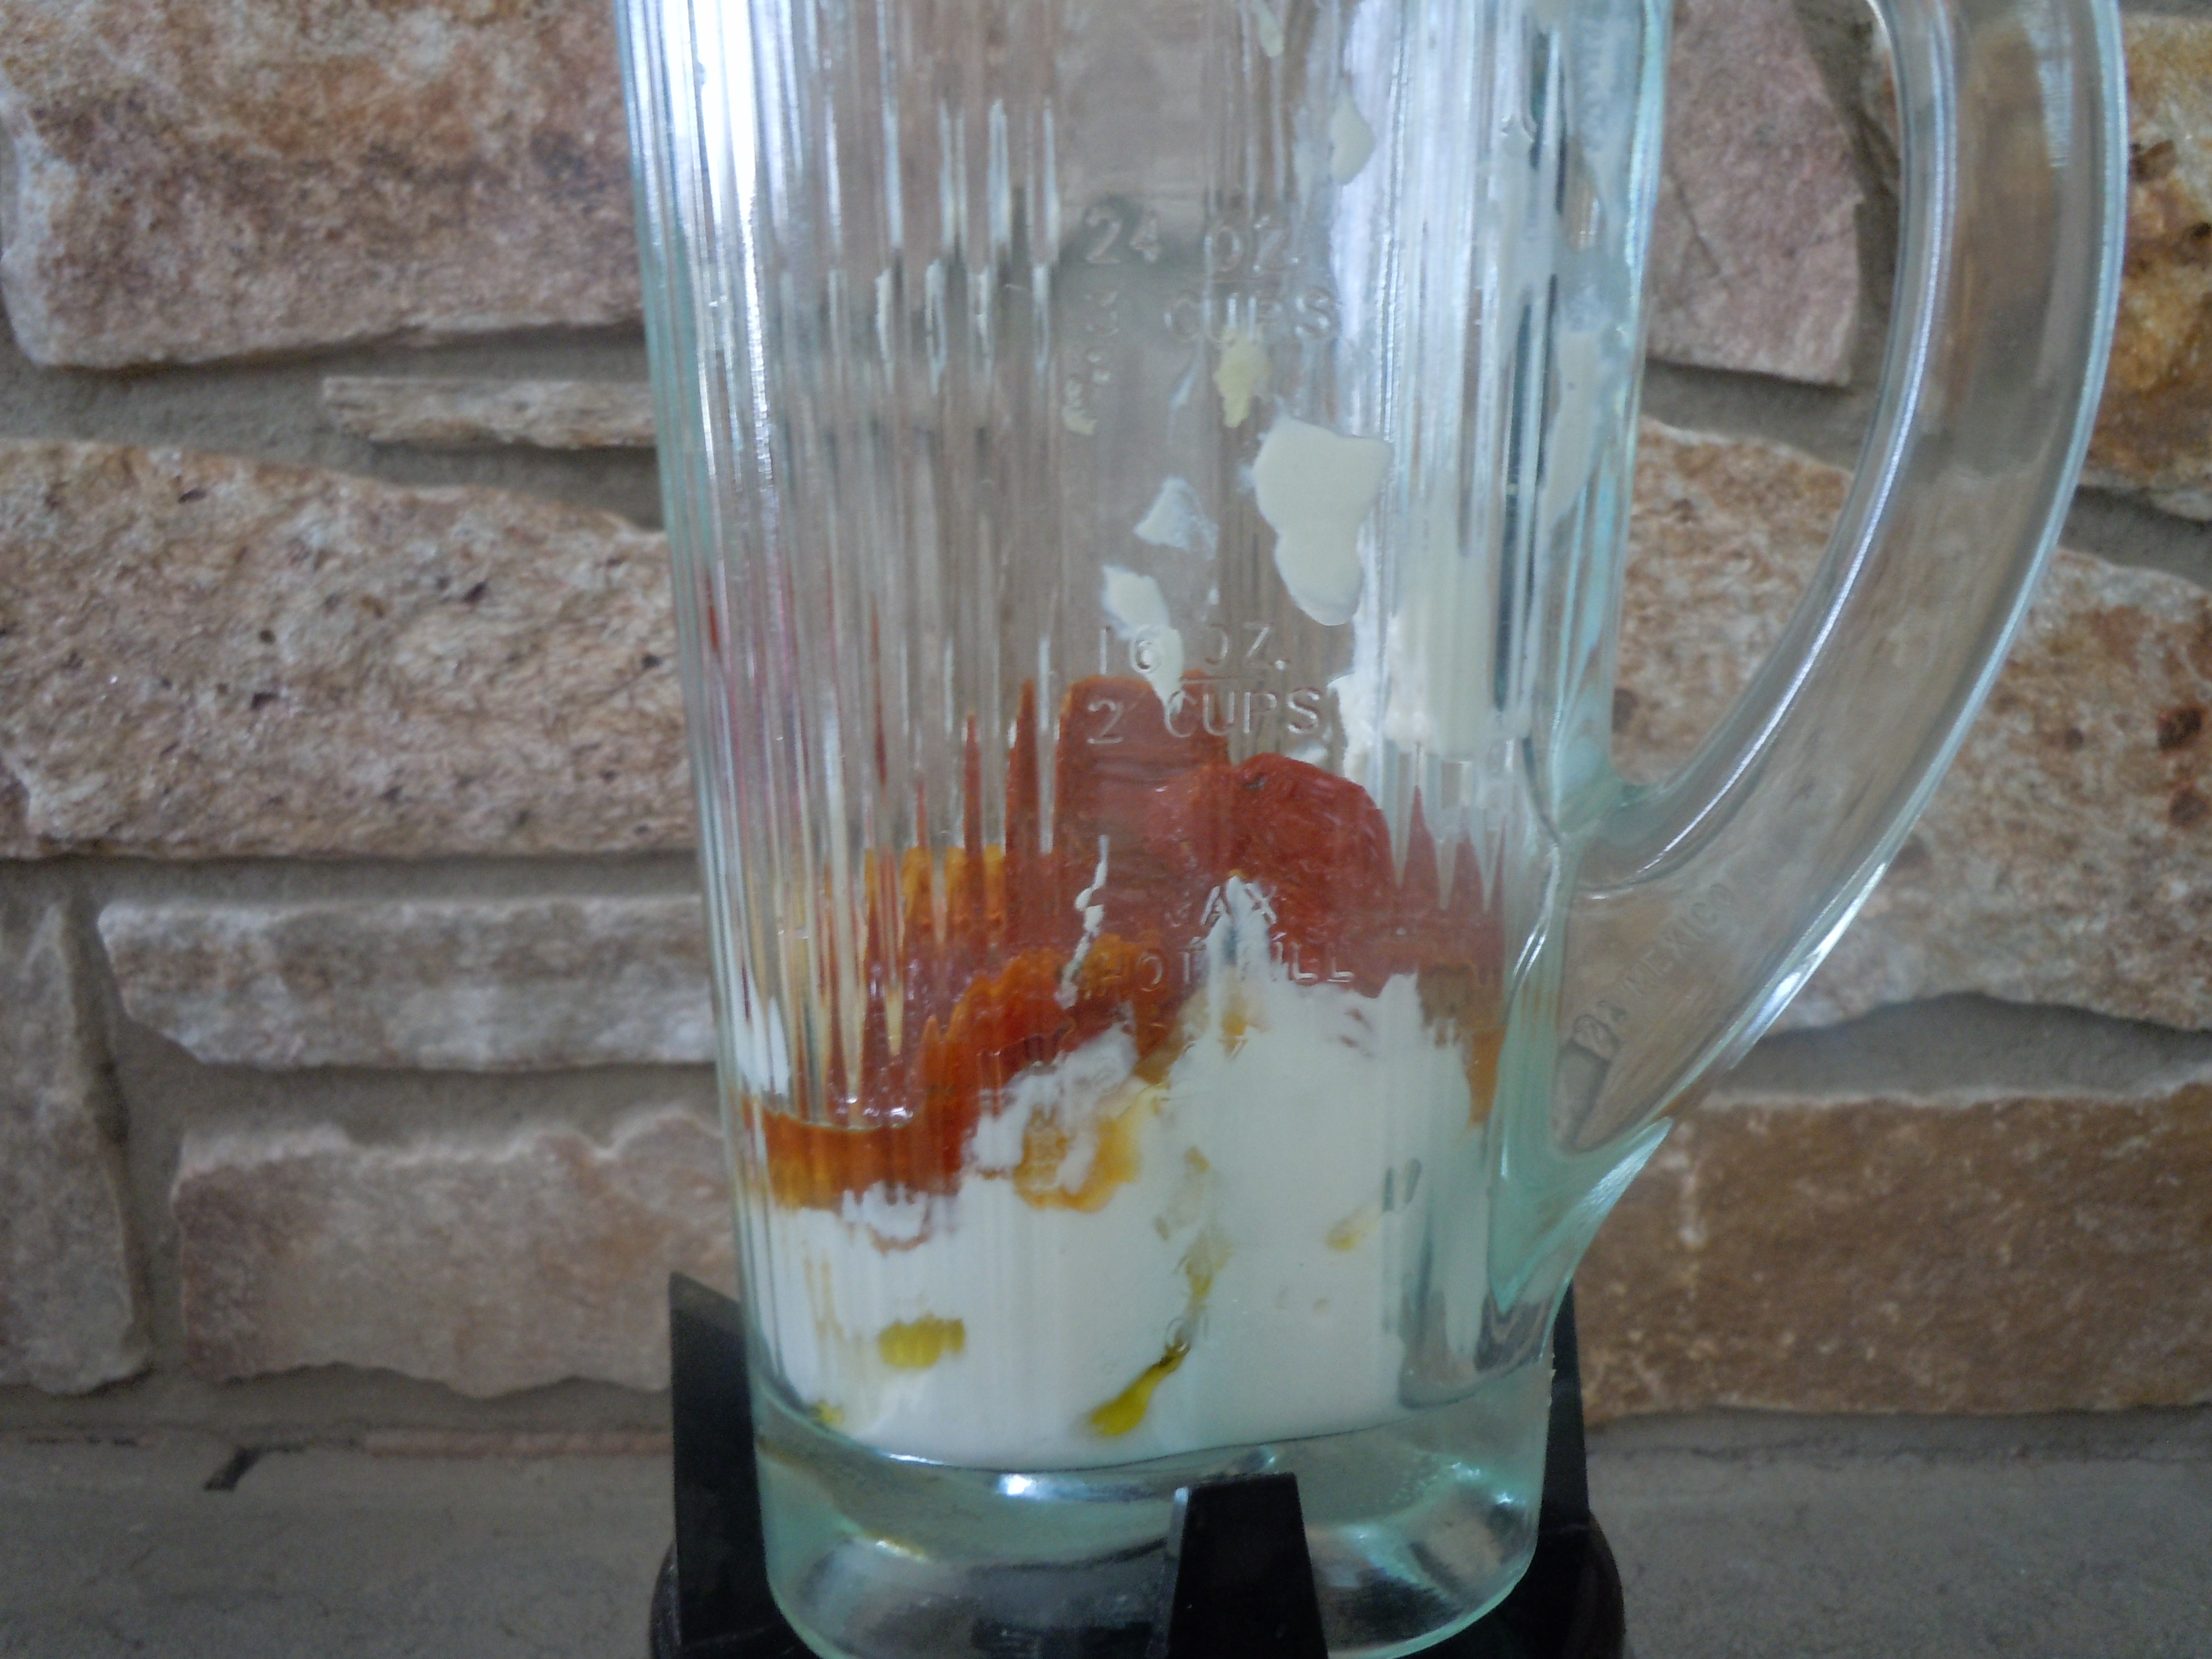
- Then very slowly whisk in olive oil so it emulsifies JUST DRIZZLE IN DROPS AT A TIME or IT WILL NOT EMULSIFY and you will have to start over
- NOTE: Adding in the egg yolk makes it super easy to emulsify the dressing
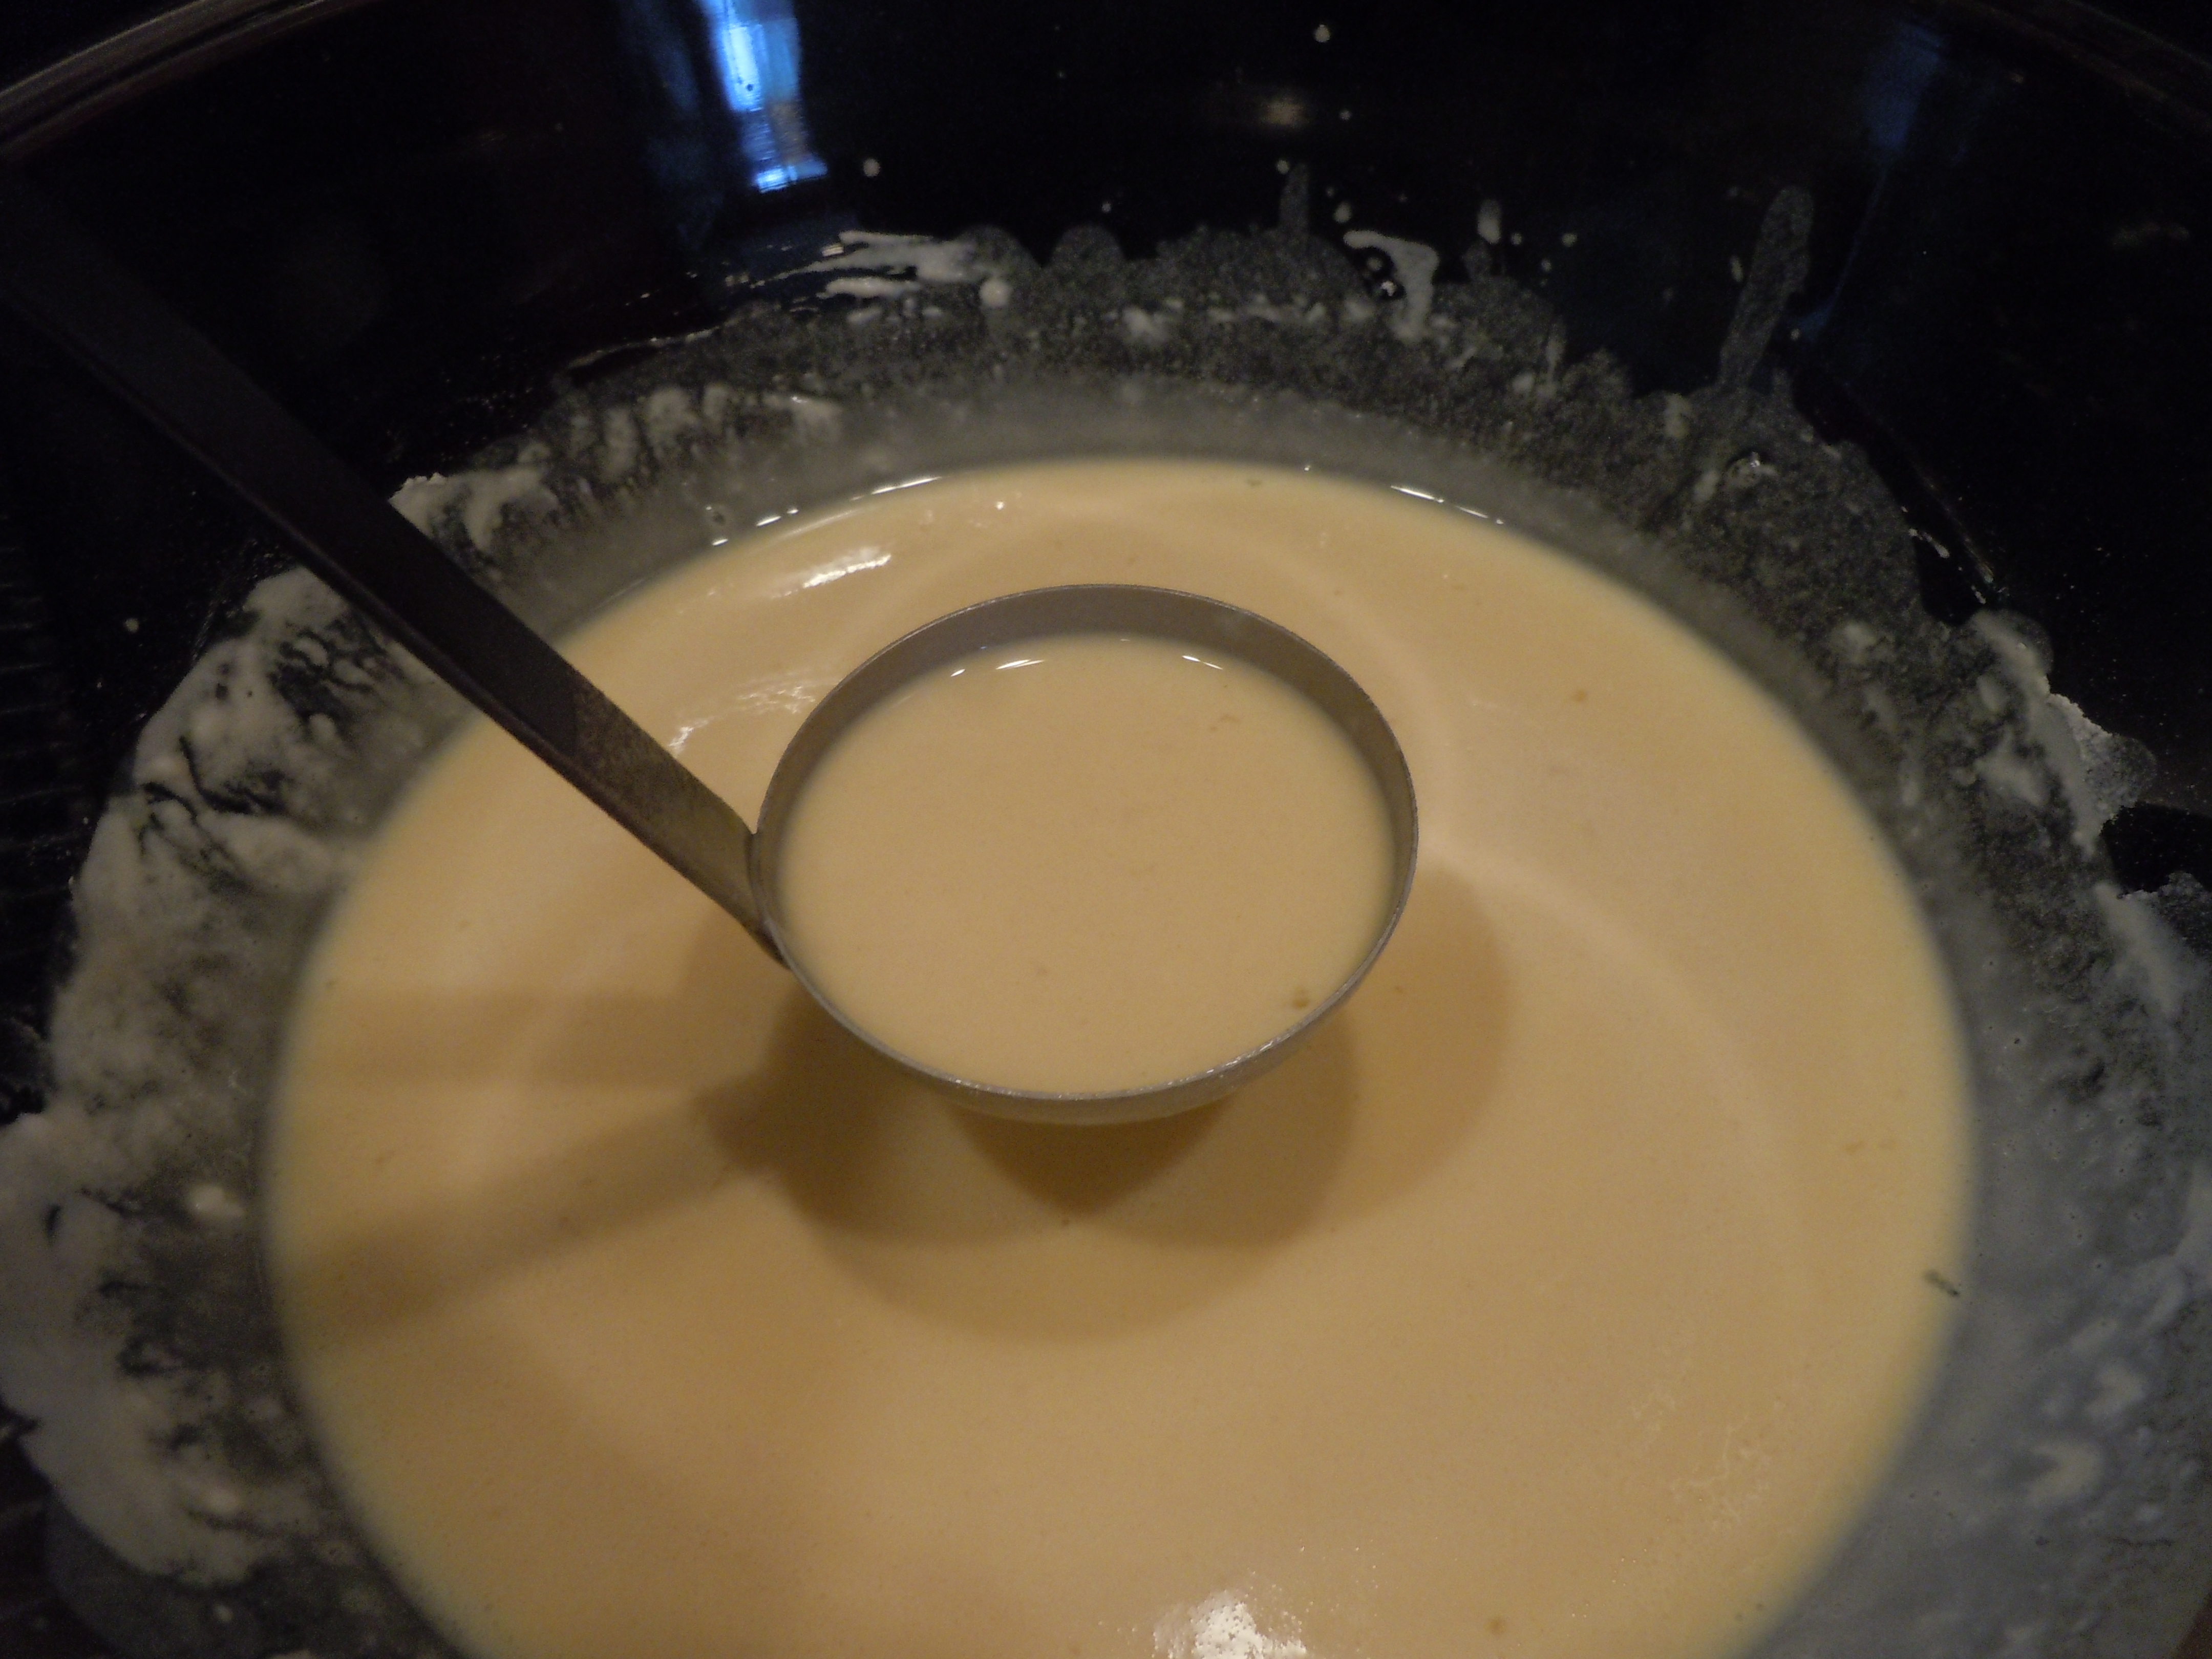
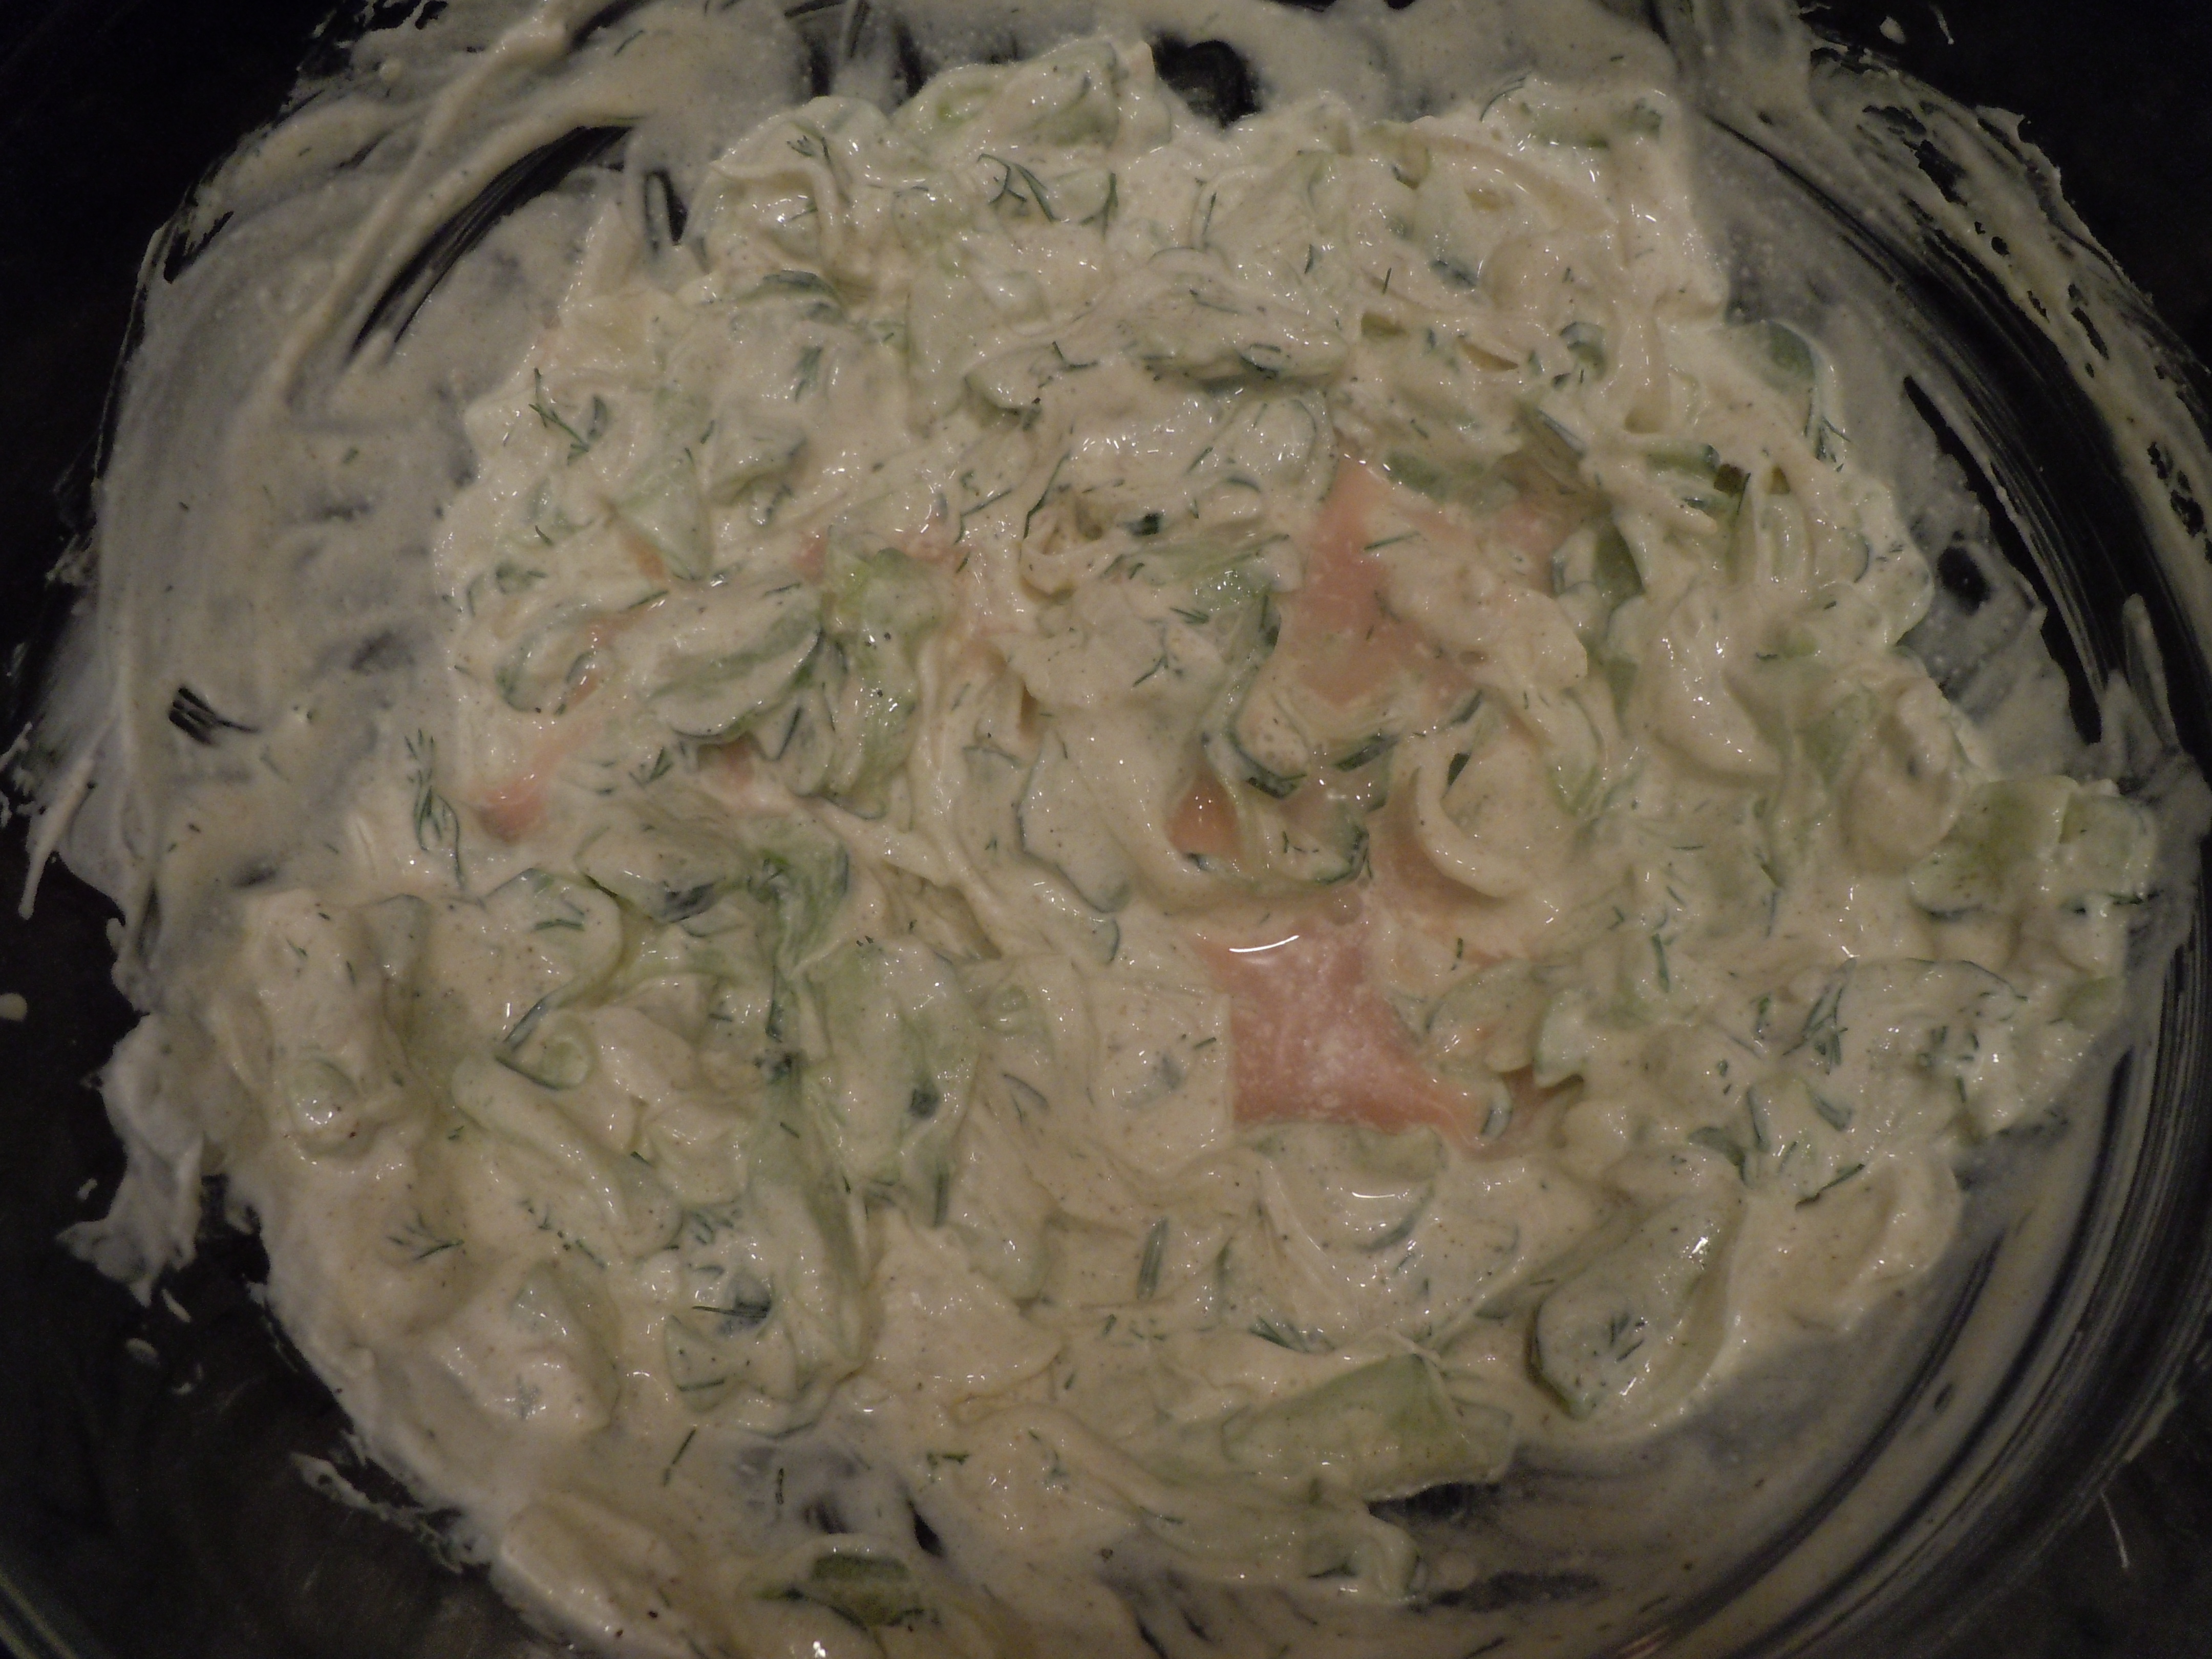
- Lastly, whisk in 1/3 grated Reggiano Parmesan
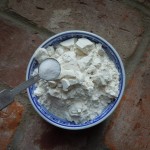
- Put the dressing into a canning jar for ease and pop it into the frig til you are ready to use
- Be sure to take out 30 minutes before you use the dressing so it can come to room temperature
- Will be good for a few days in the frig
DIRECTIONS- for Assembling the Caesar Salad:
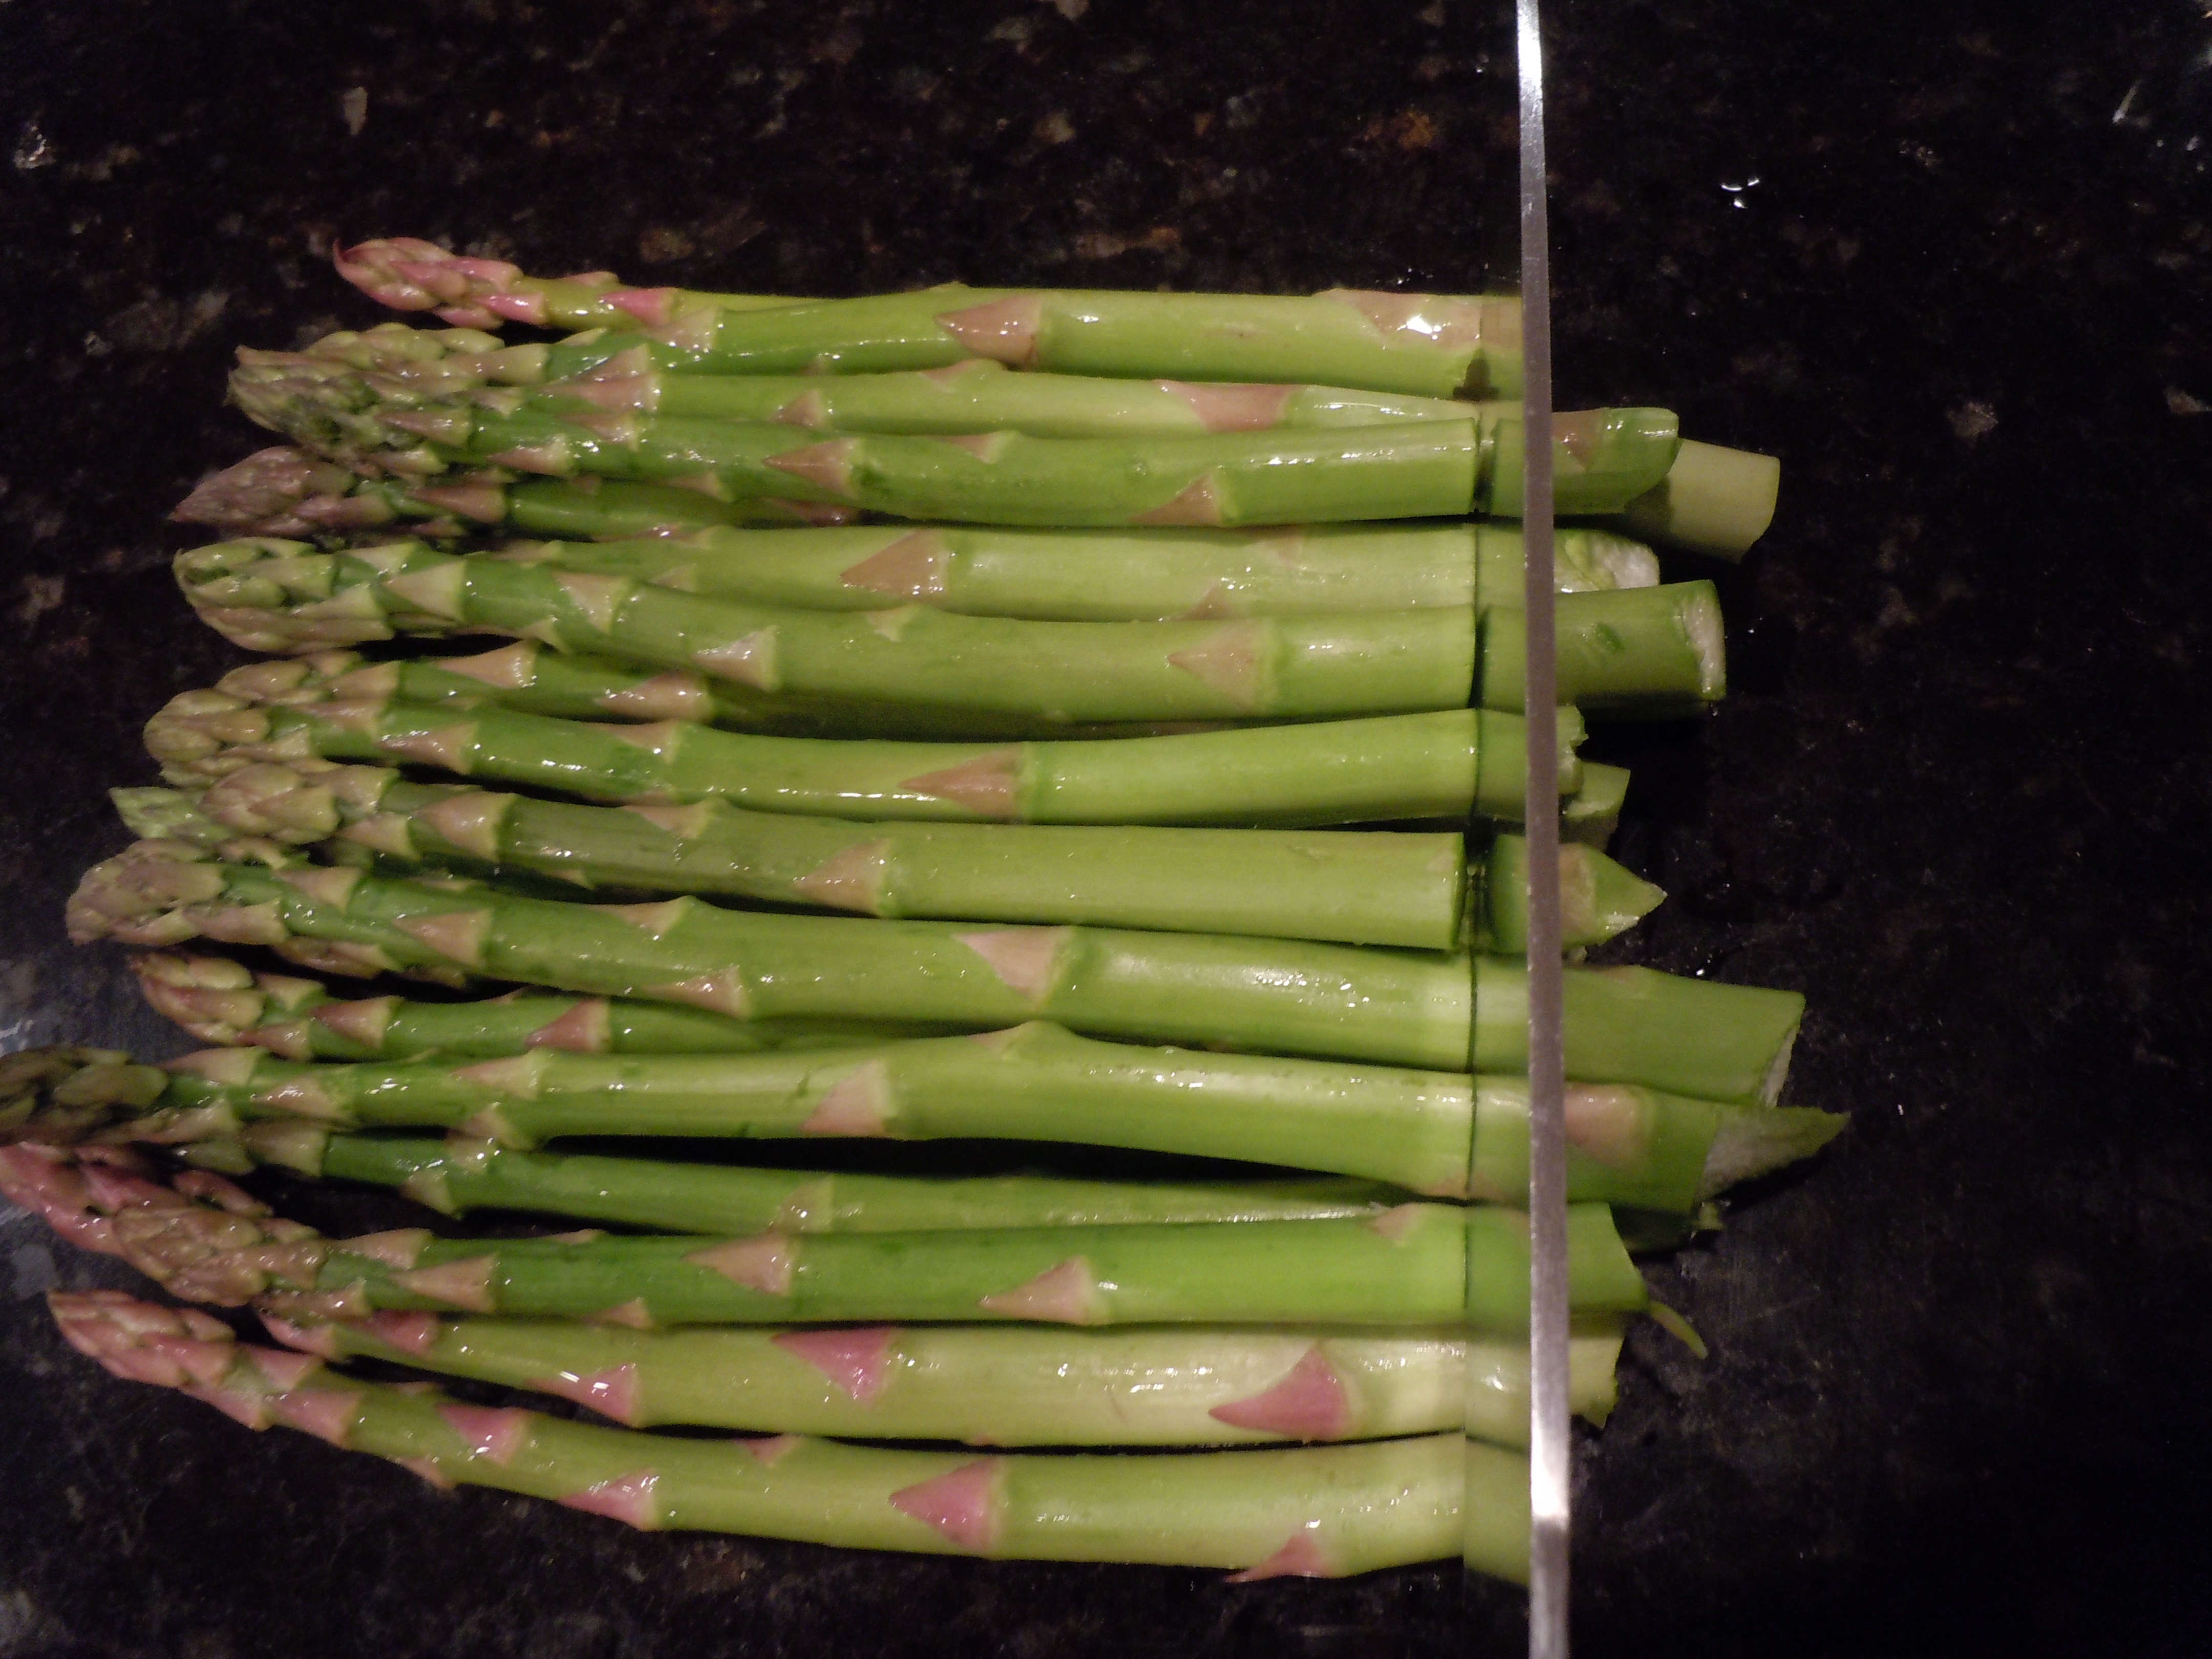
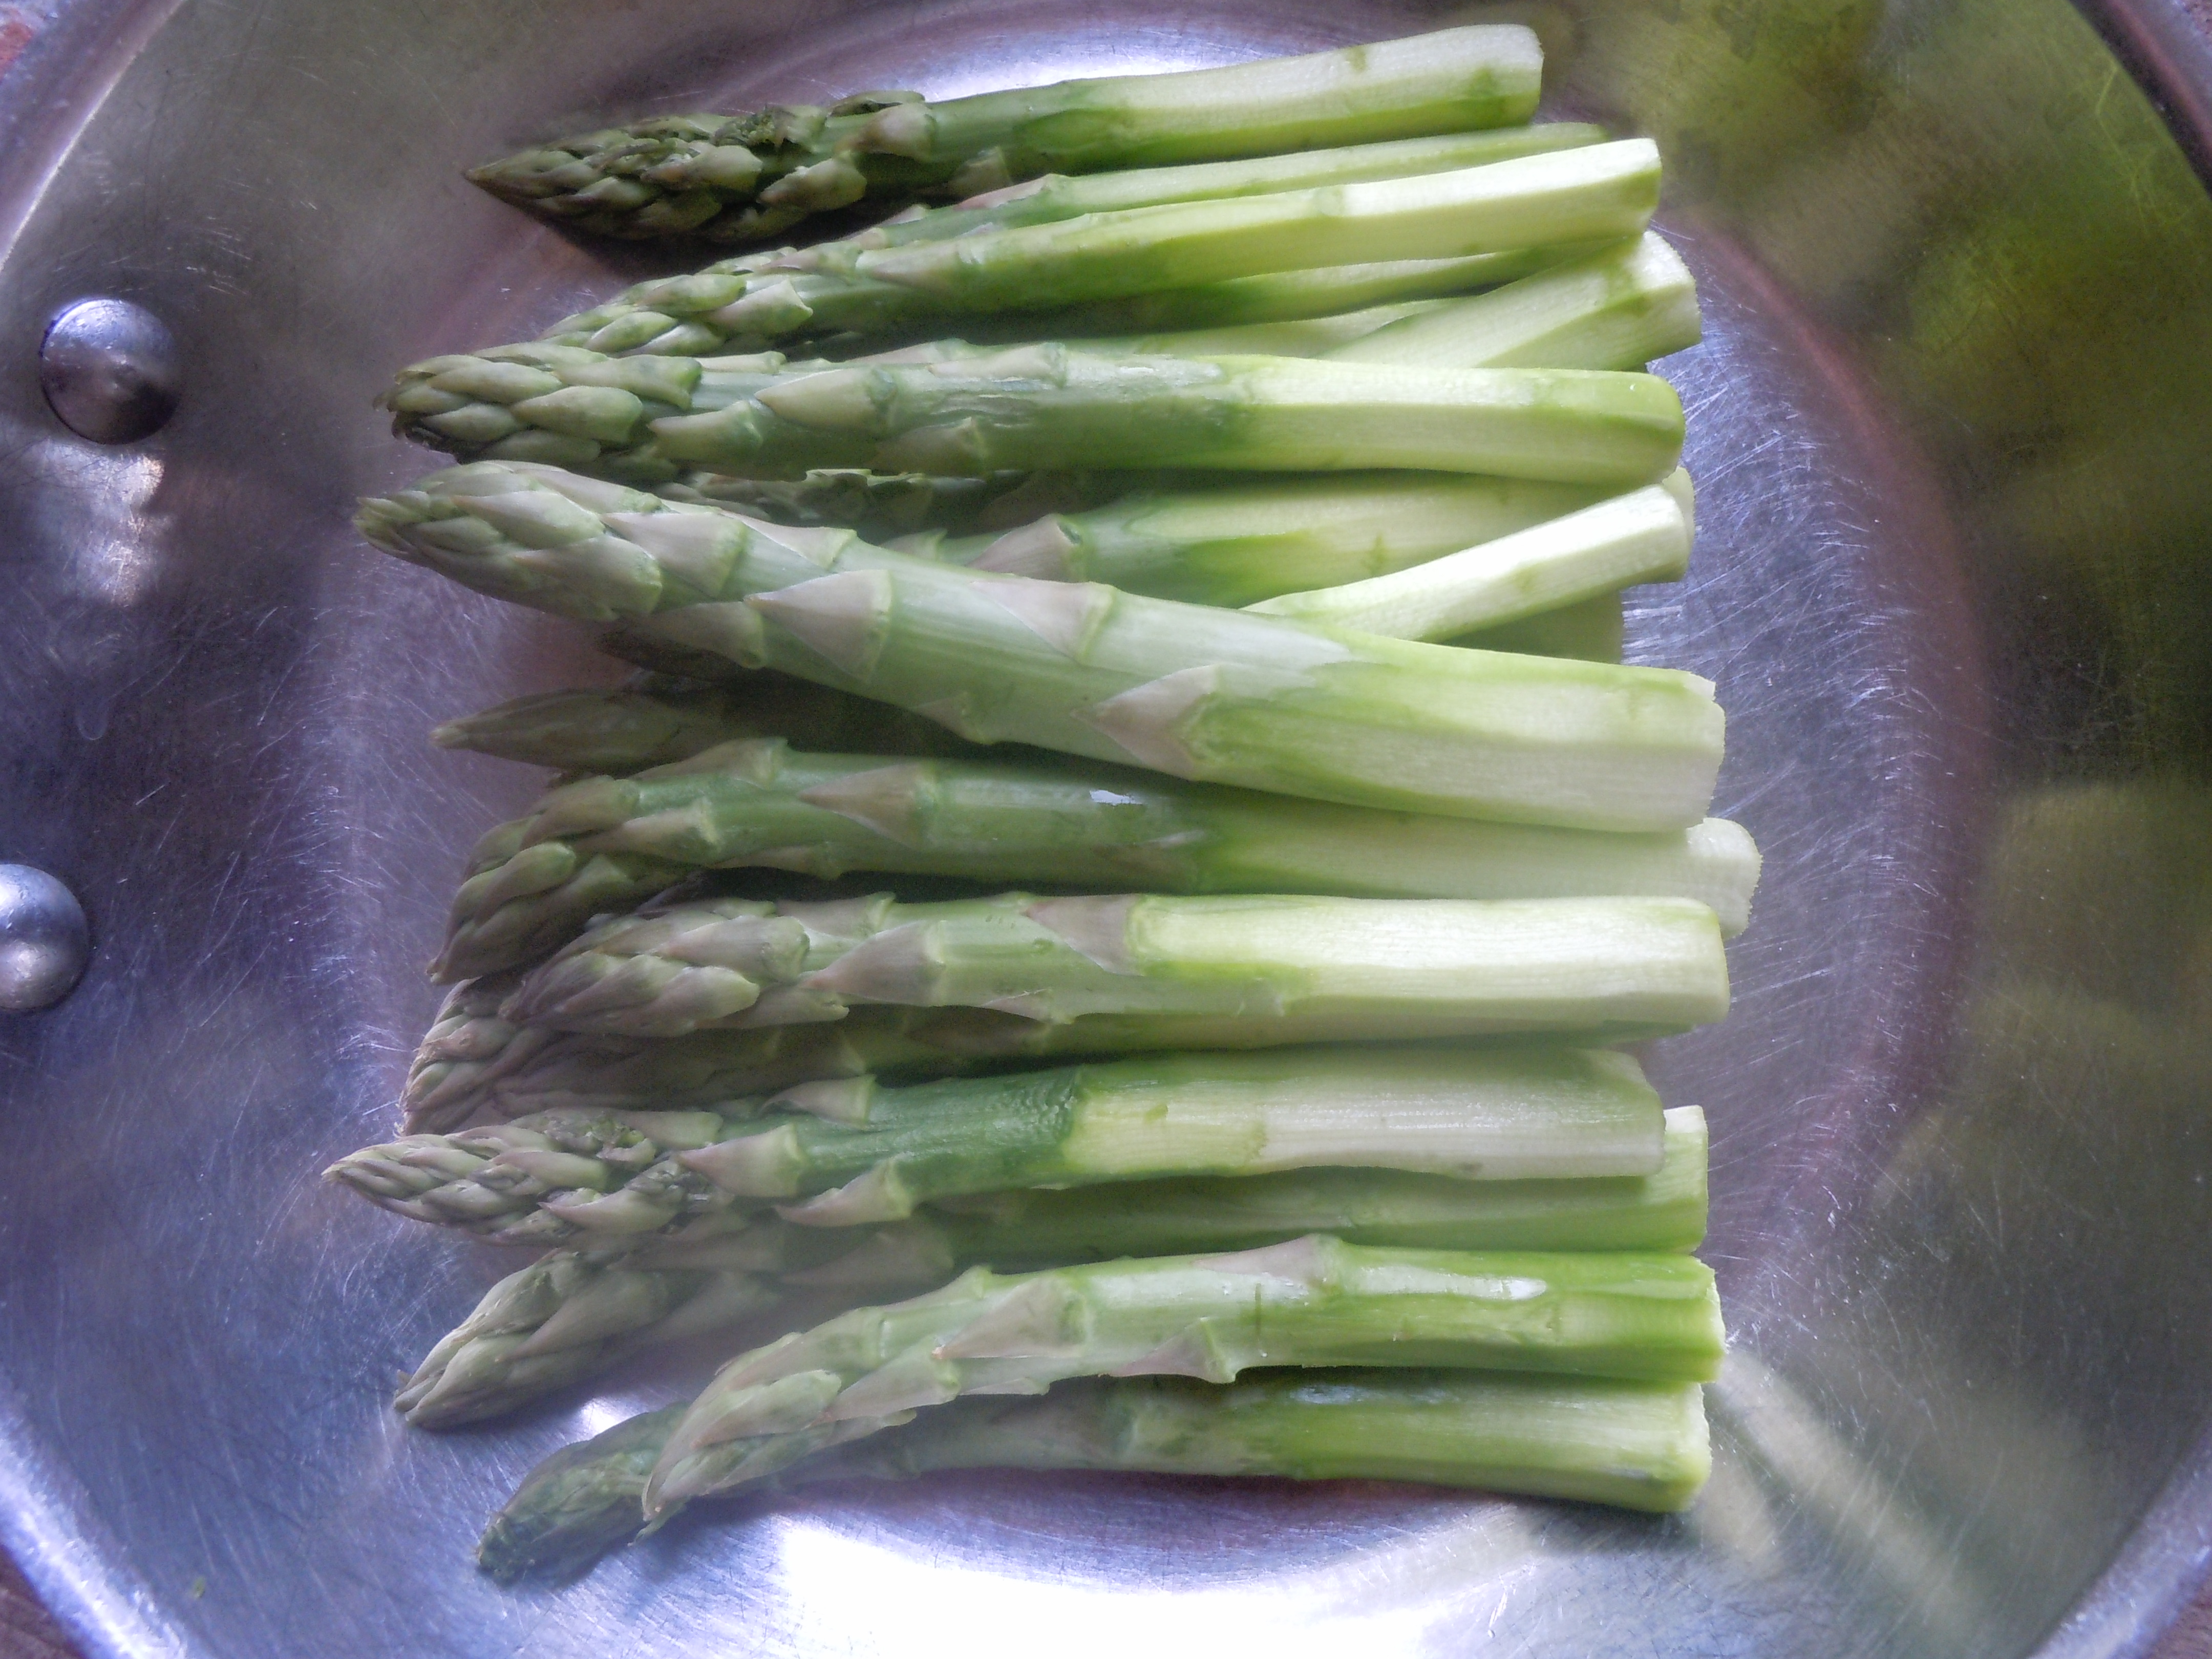
- Cut ends off of romaine hearts then cut them in half length wise
- Wash and spin leaves
- Lay the leaves down on paper towels to catch any additional moisture
- Put 3 or 4 pieces at a time layered on top of one another and slice into 1/2″ strips which make it ideal for a party so there no need for a knife
- Here you can put the cut romaine pieces into large freezer Ziploc baggies and into the frig til you are ready to assemble the Caesar salad OR
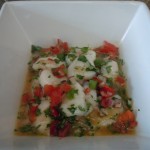
- Put into a large shallow bowl, add dressing, and toss
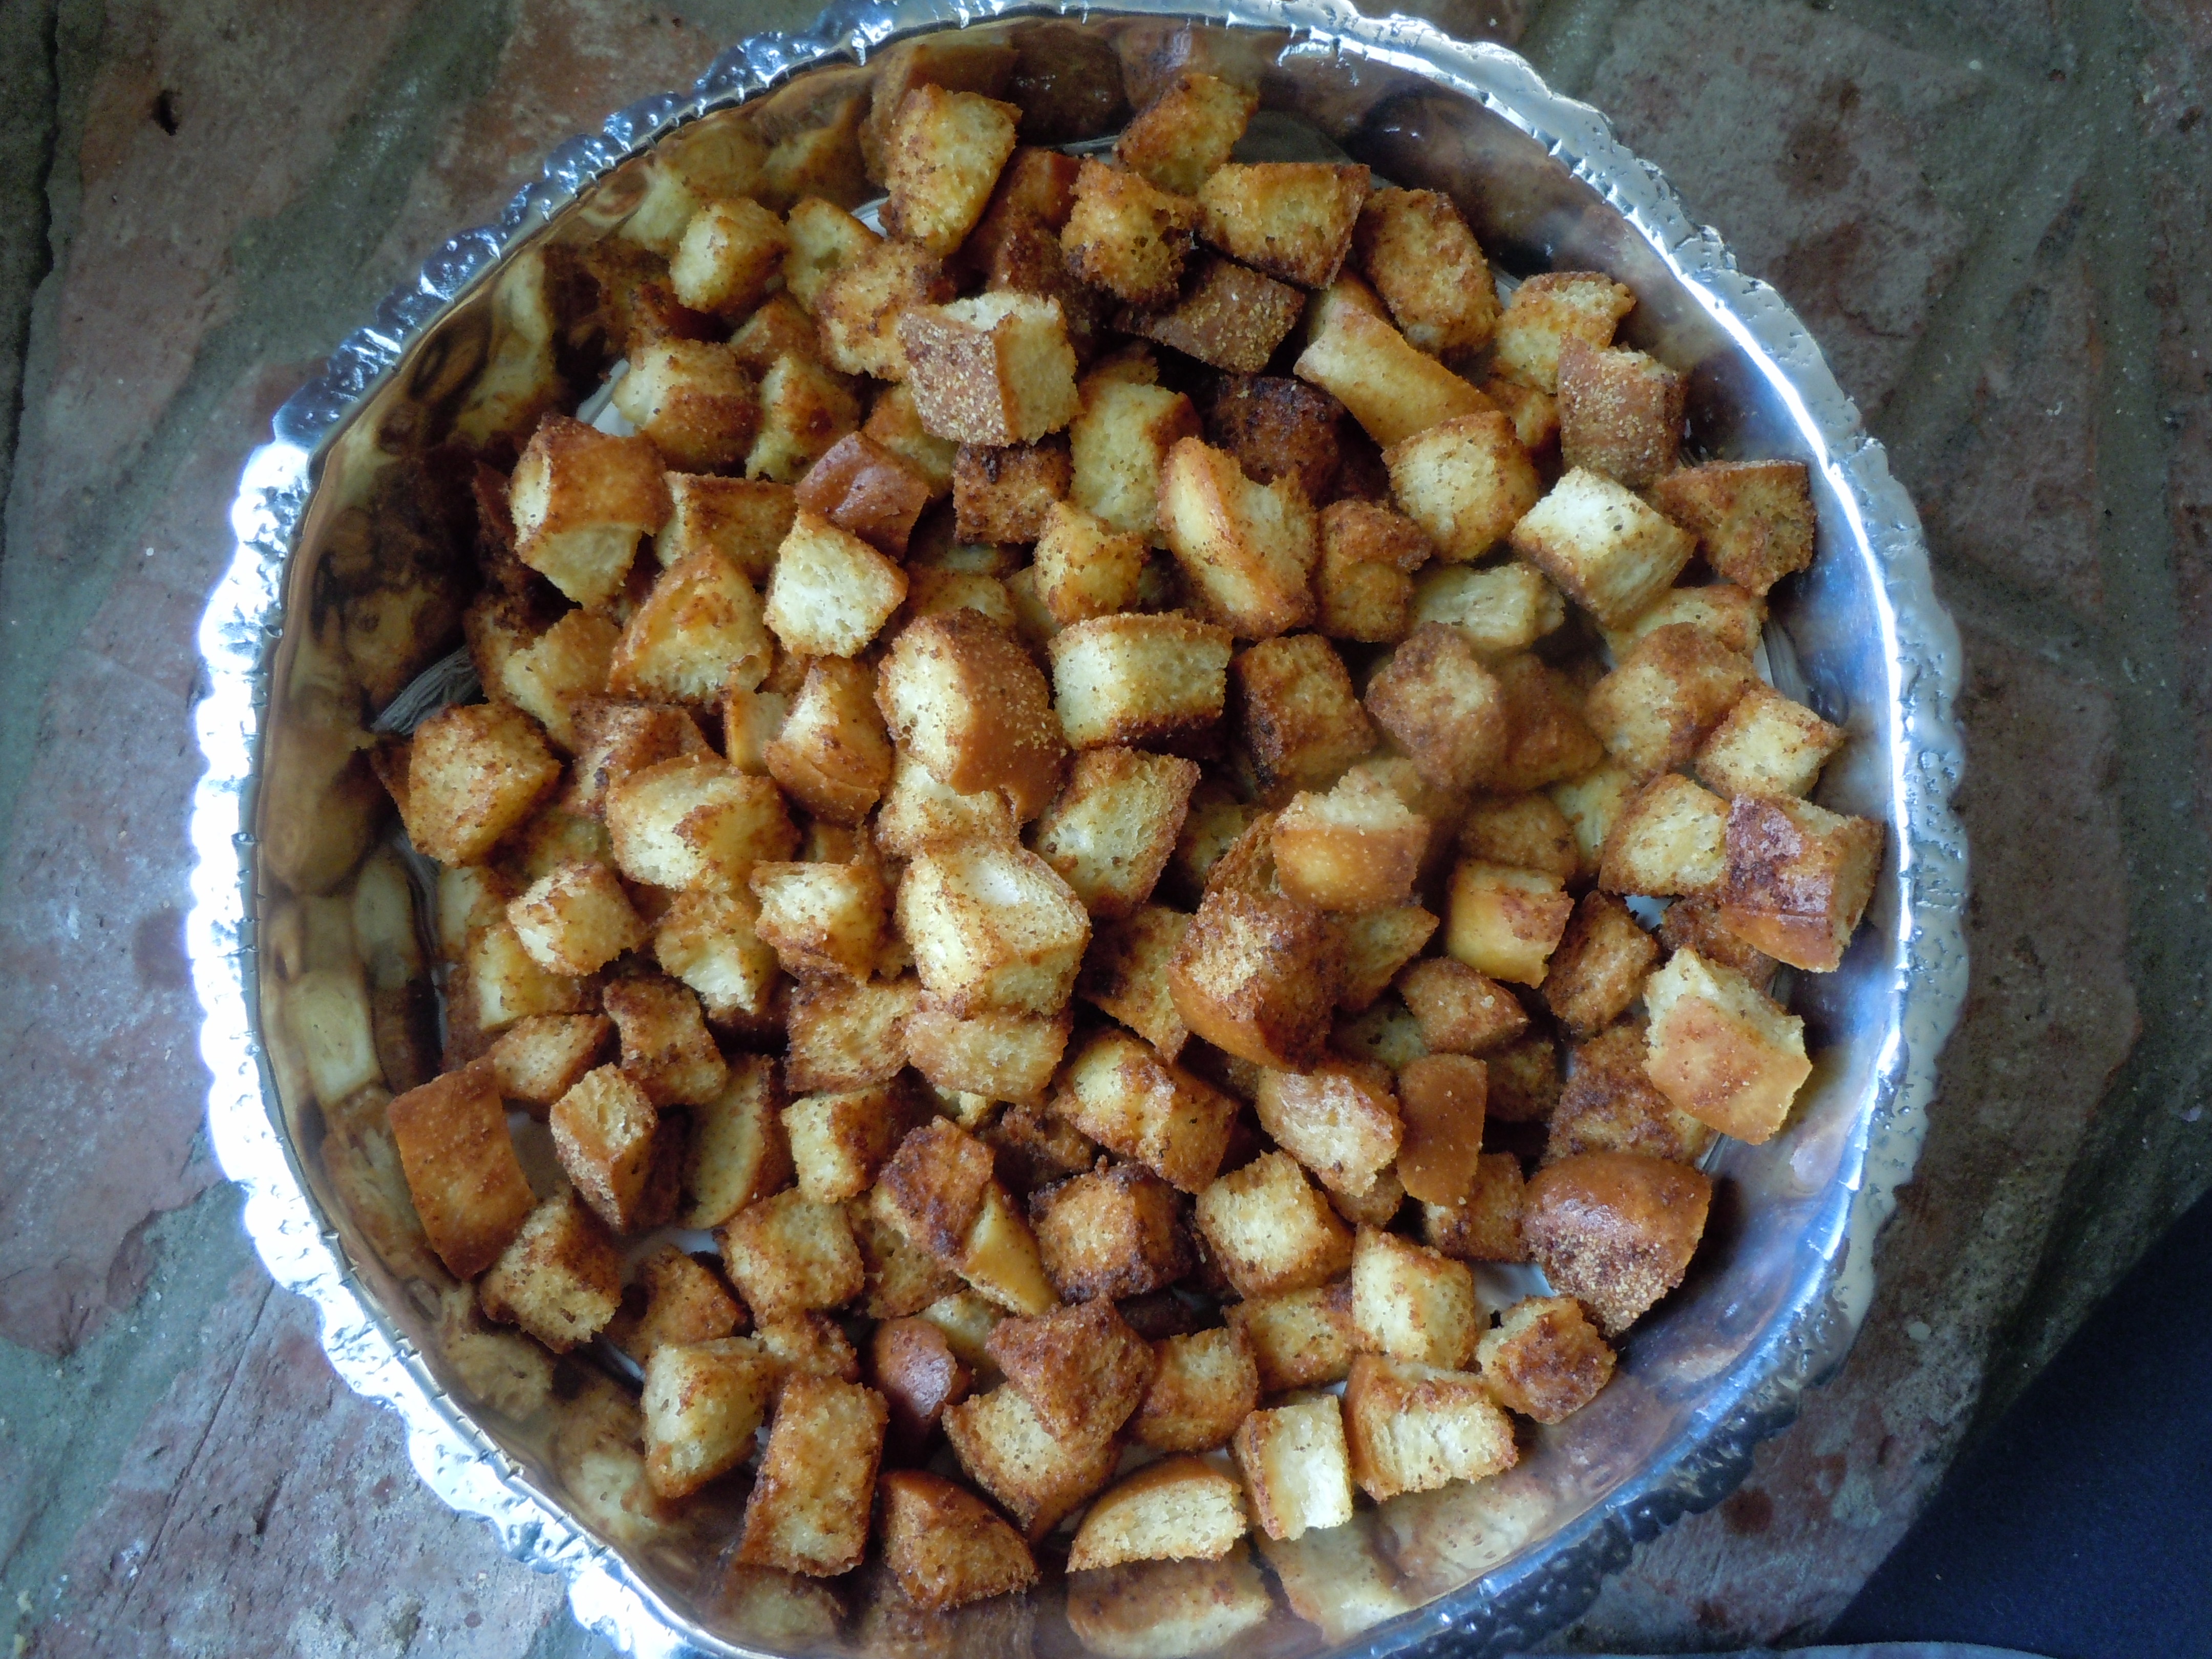
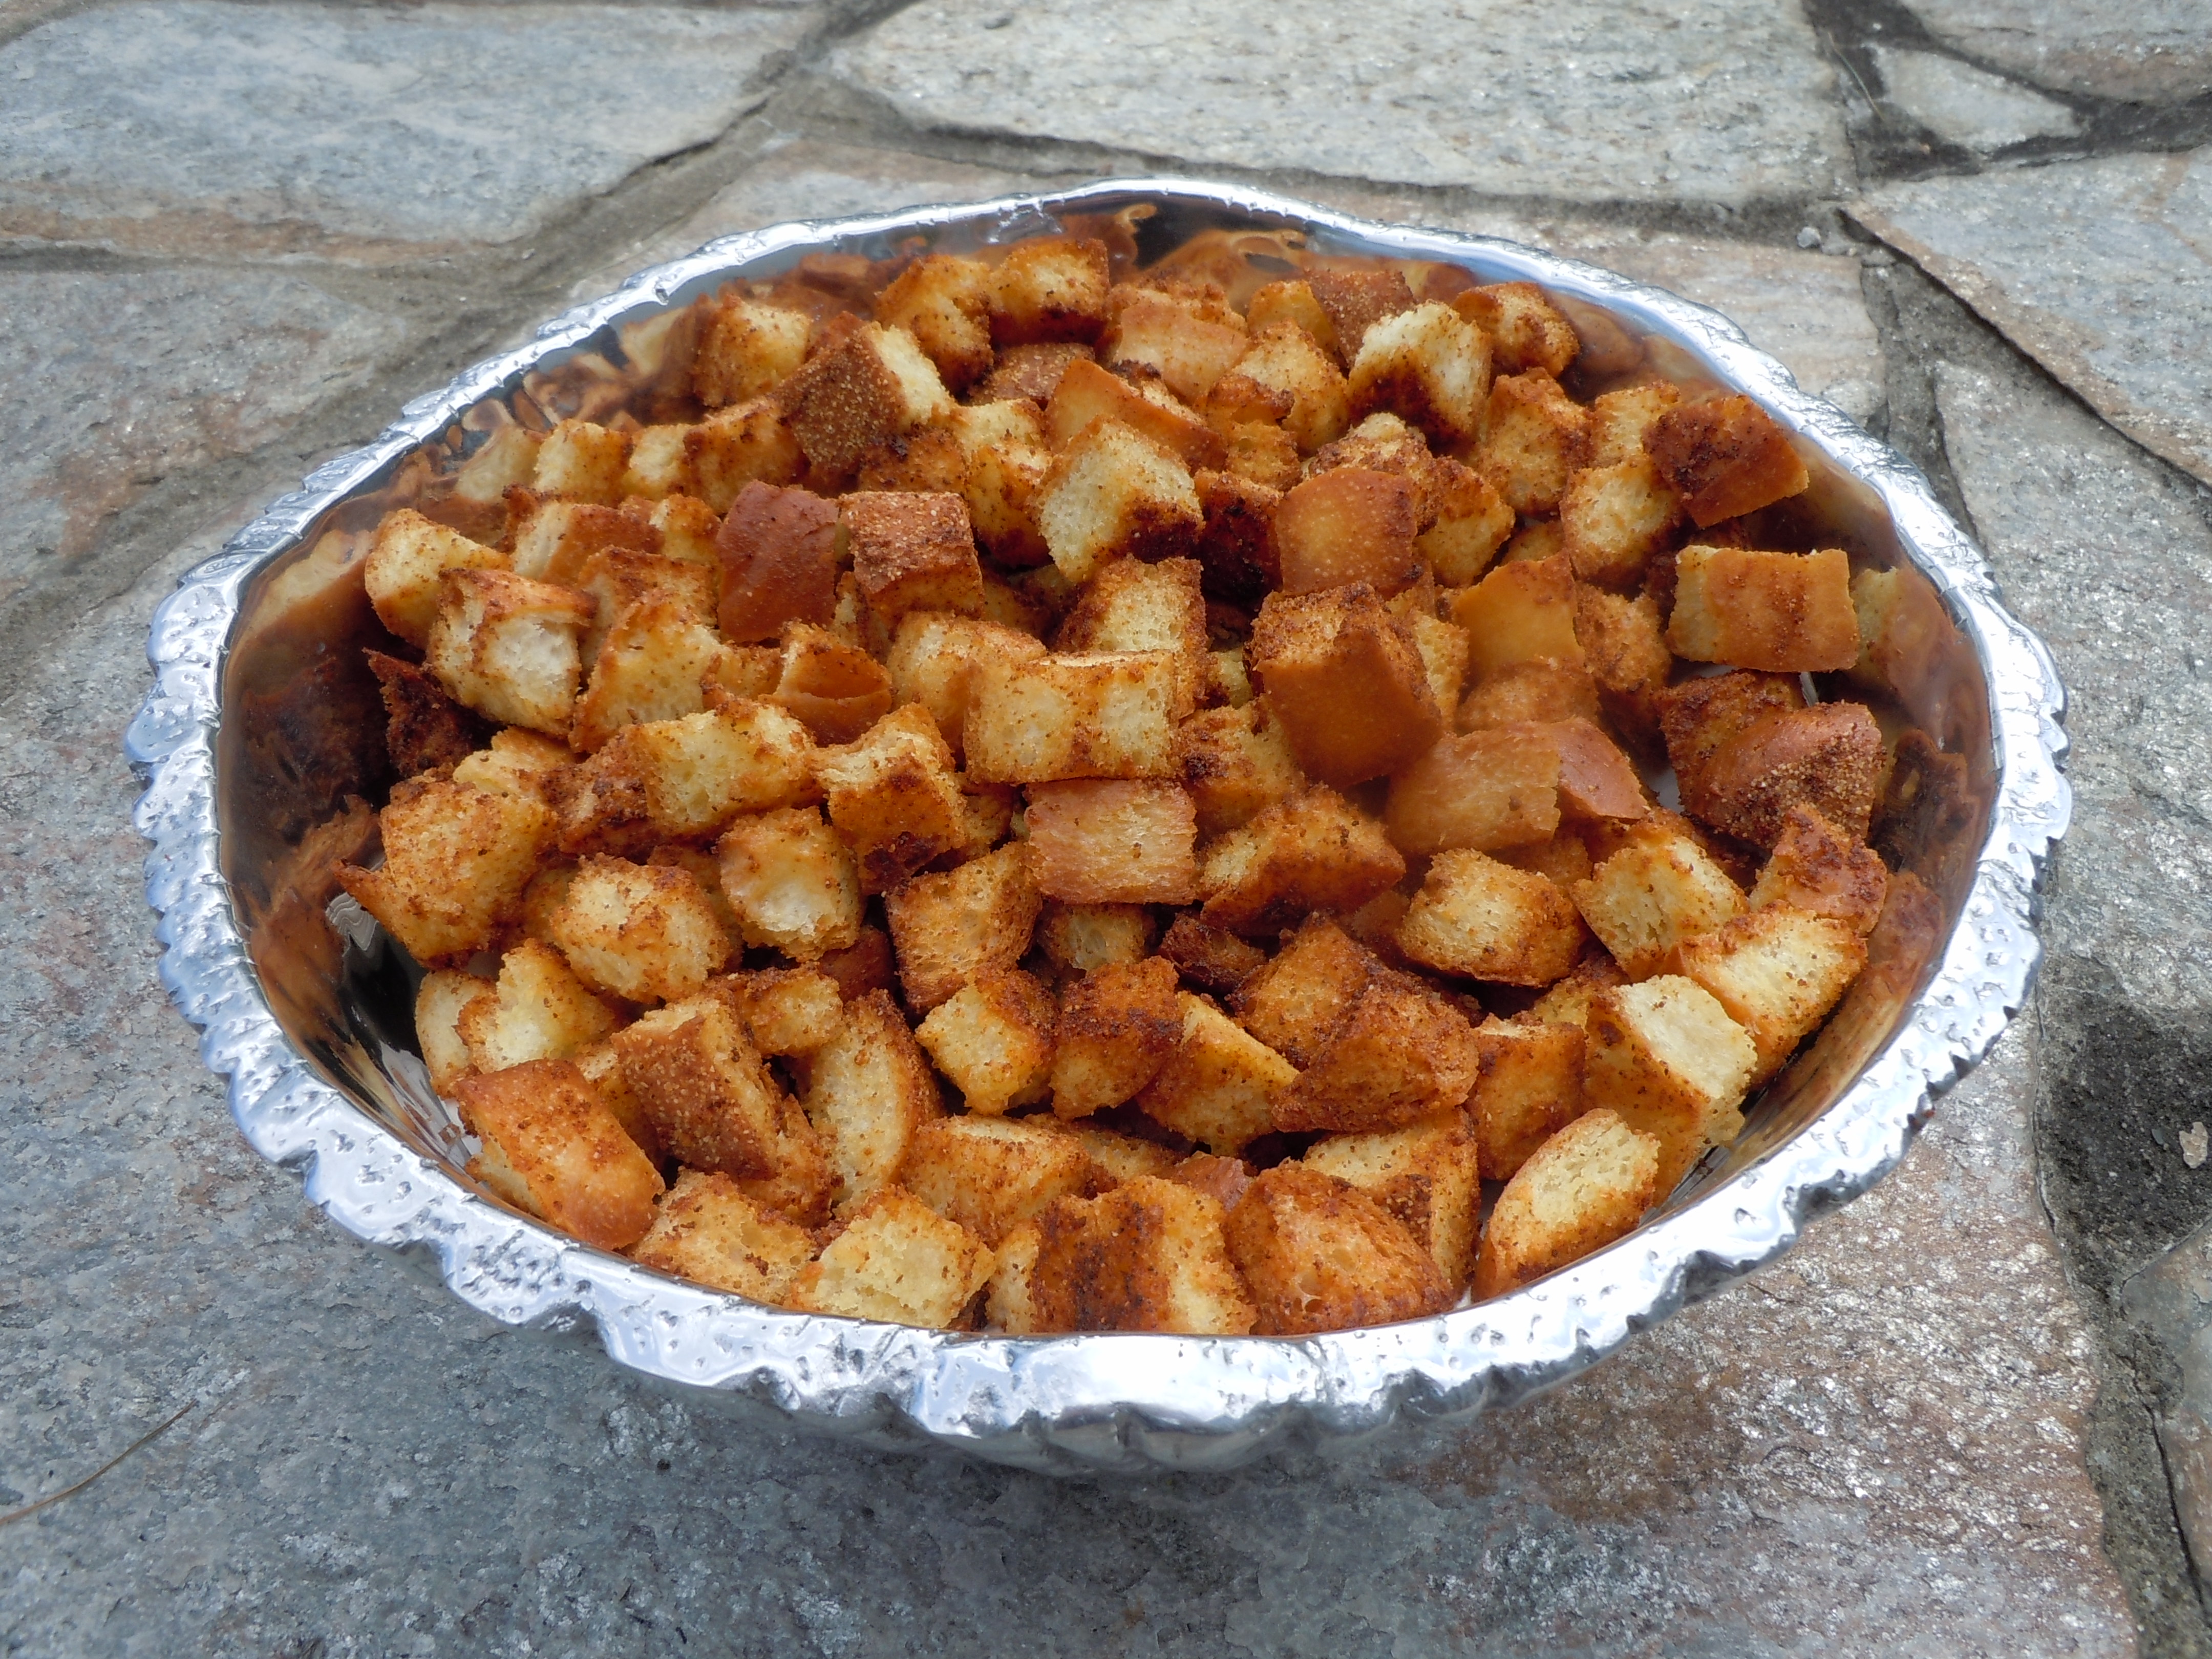
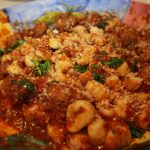
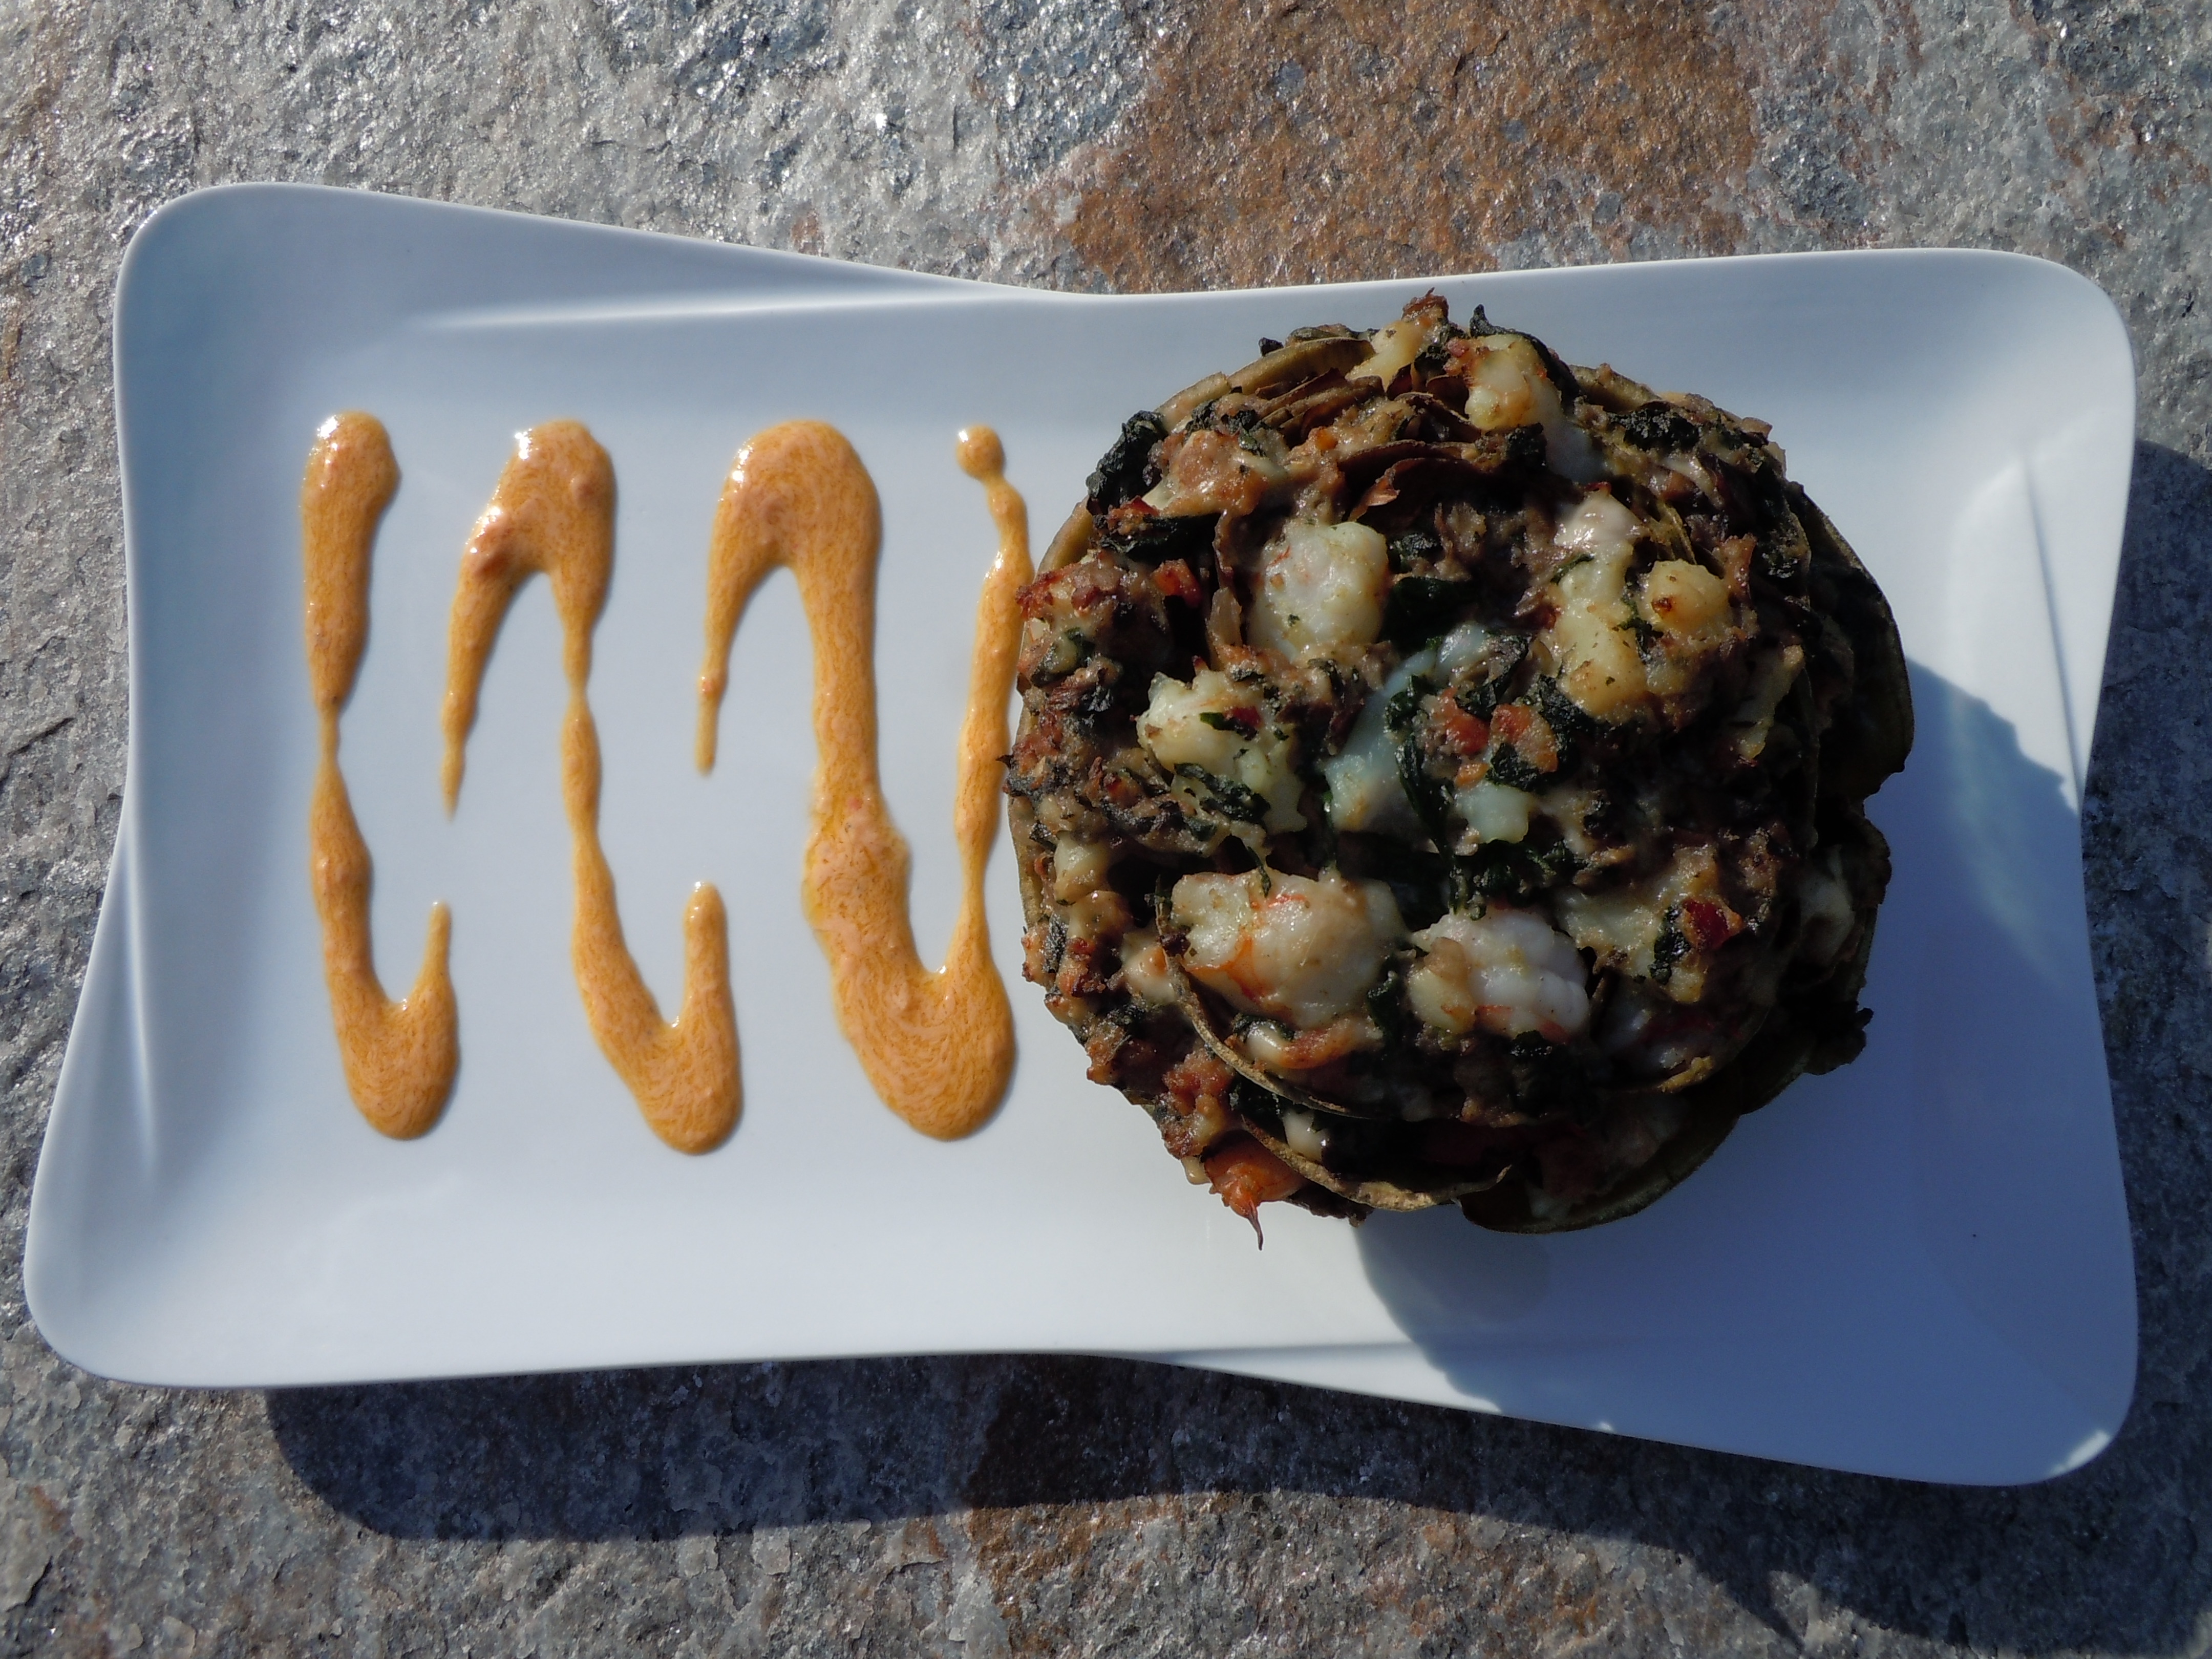
- Top with shredded Parmesan and Italian garlic croutons (shown below) and mangia-mangia!
Garlic Croutons
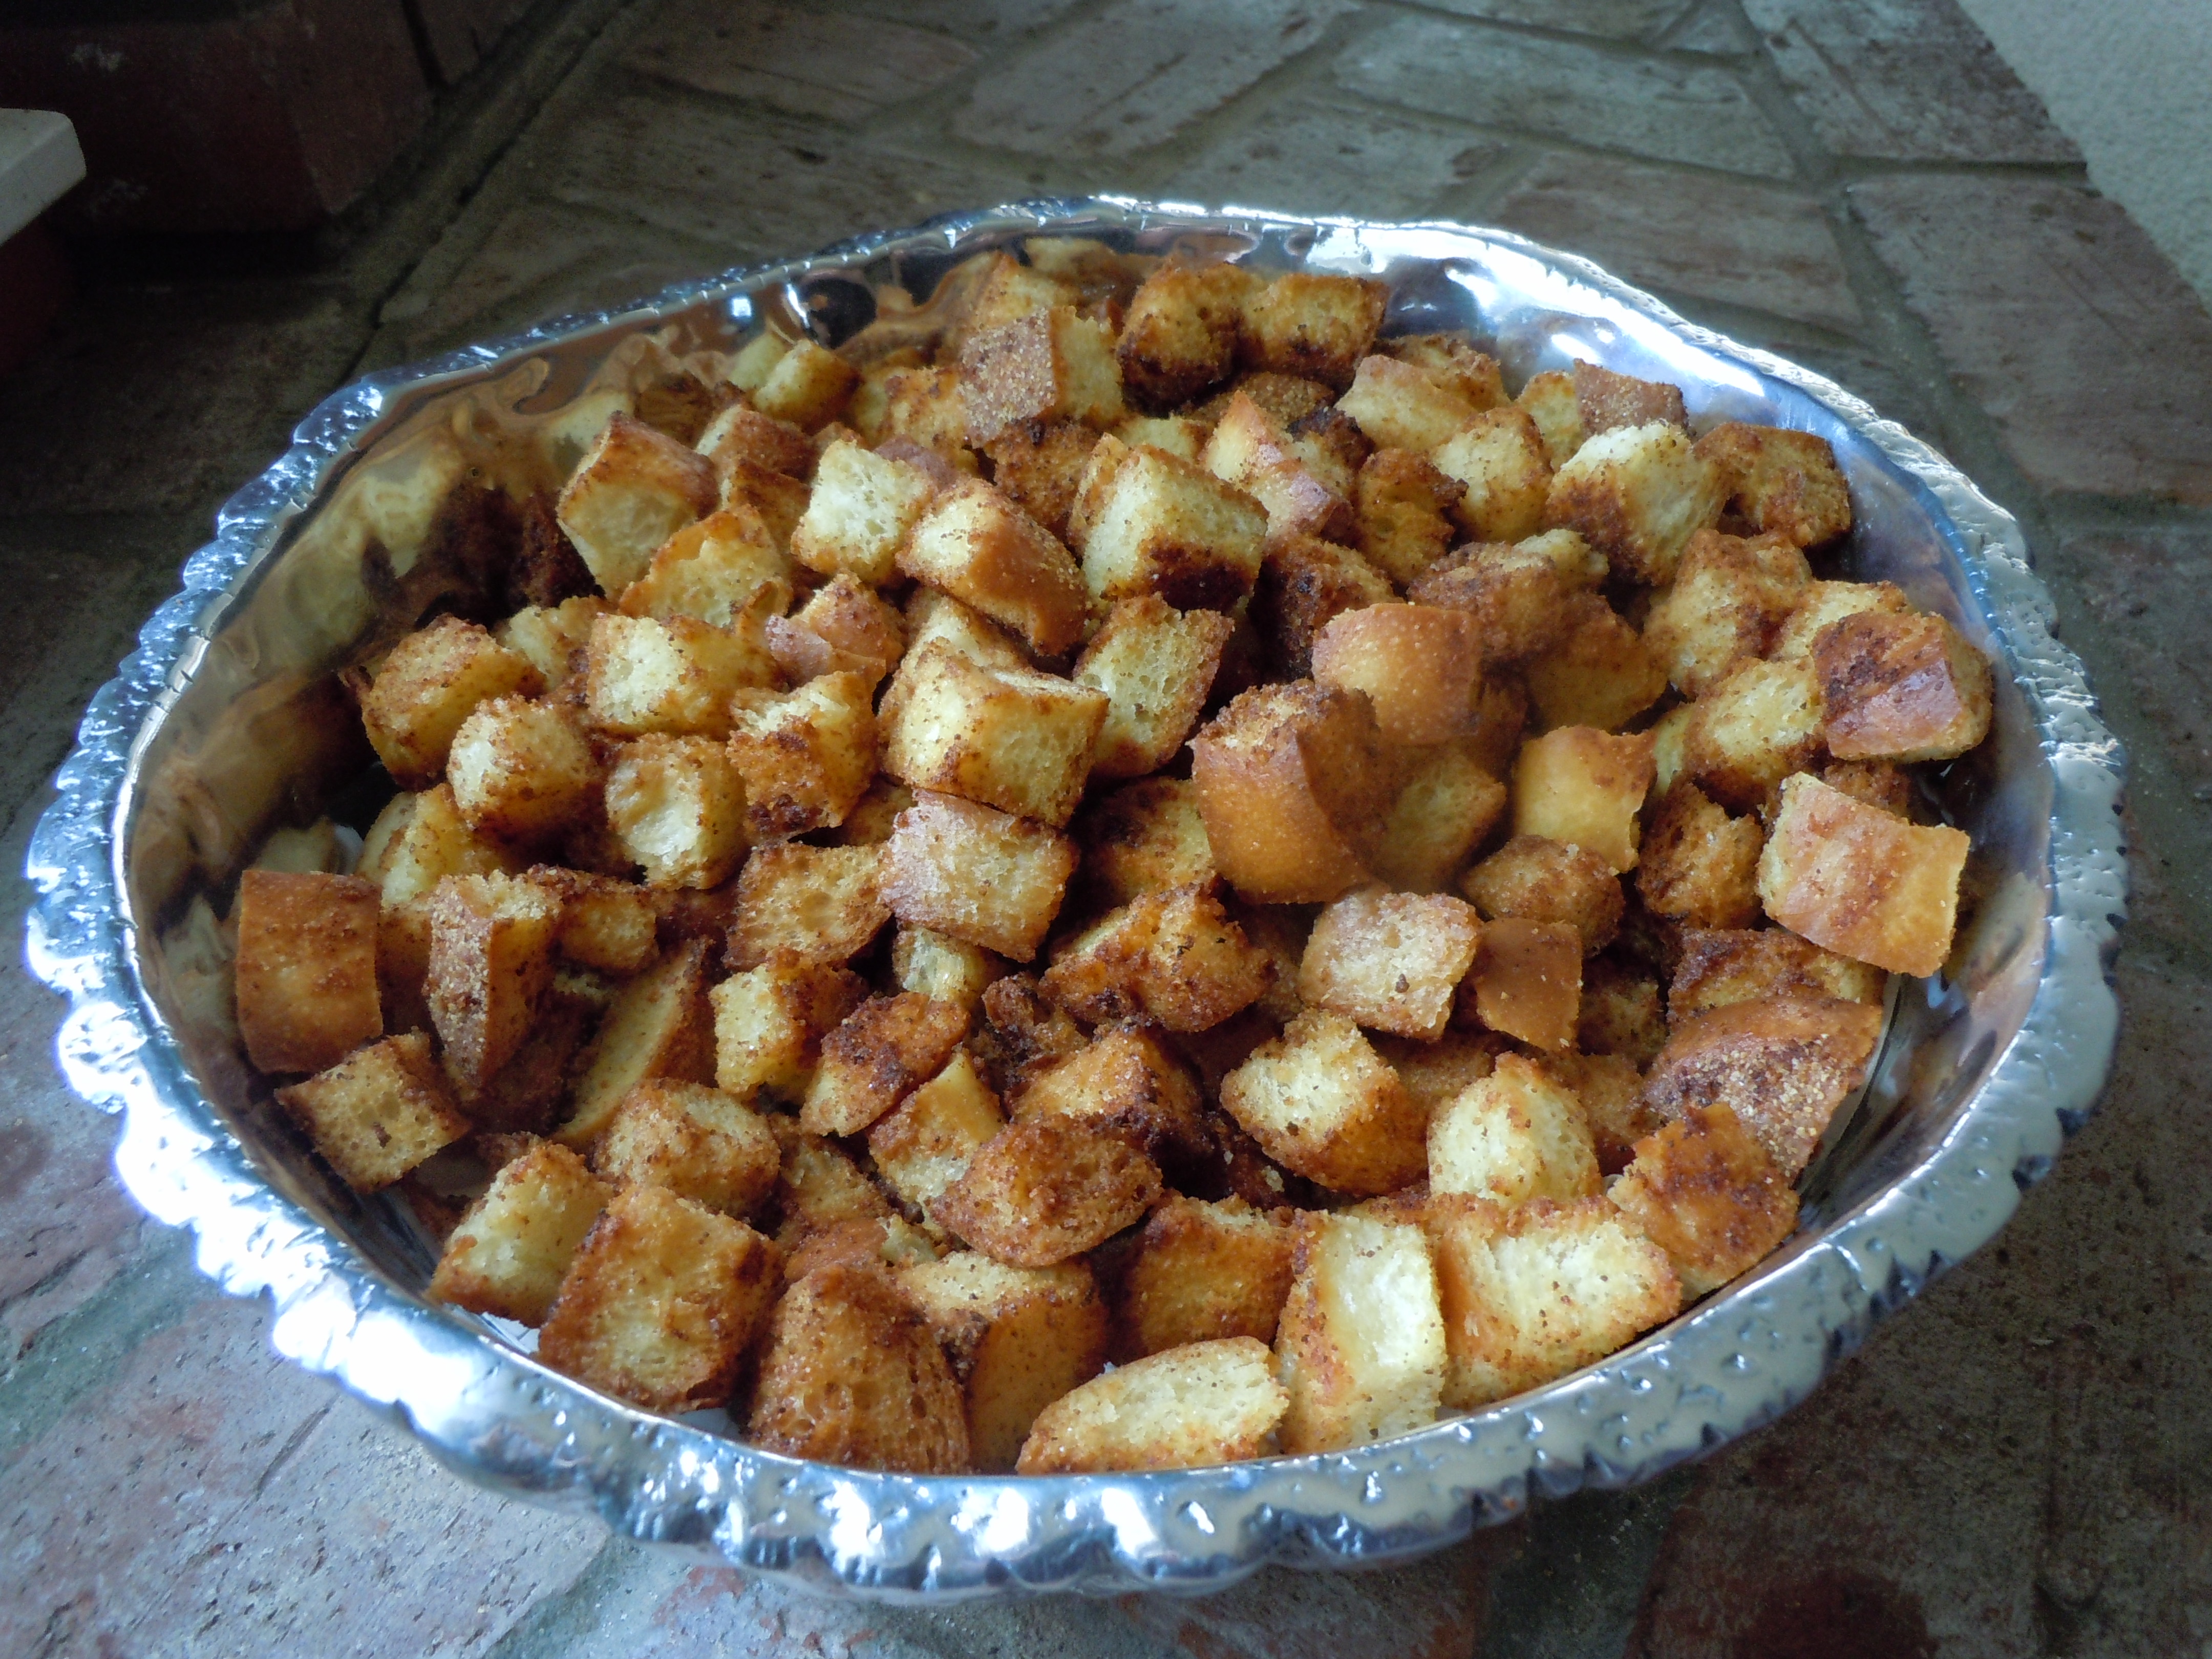
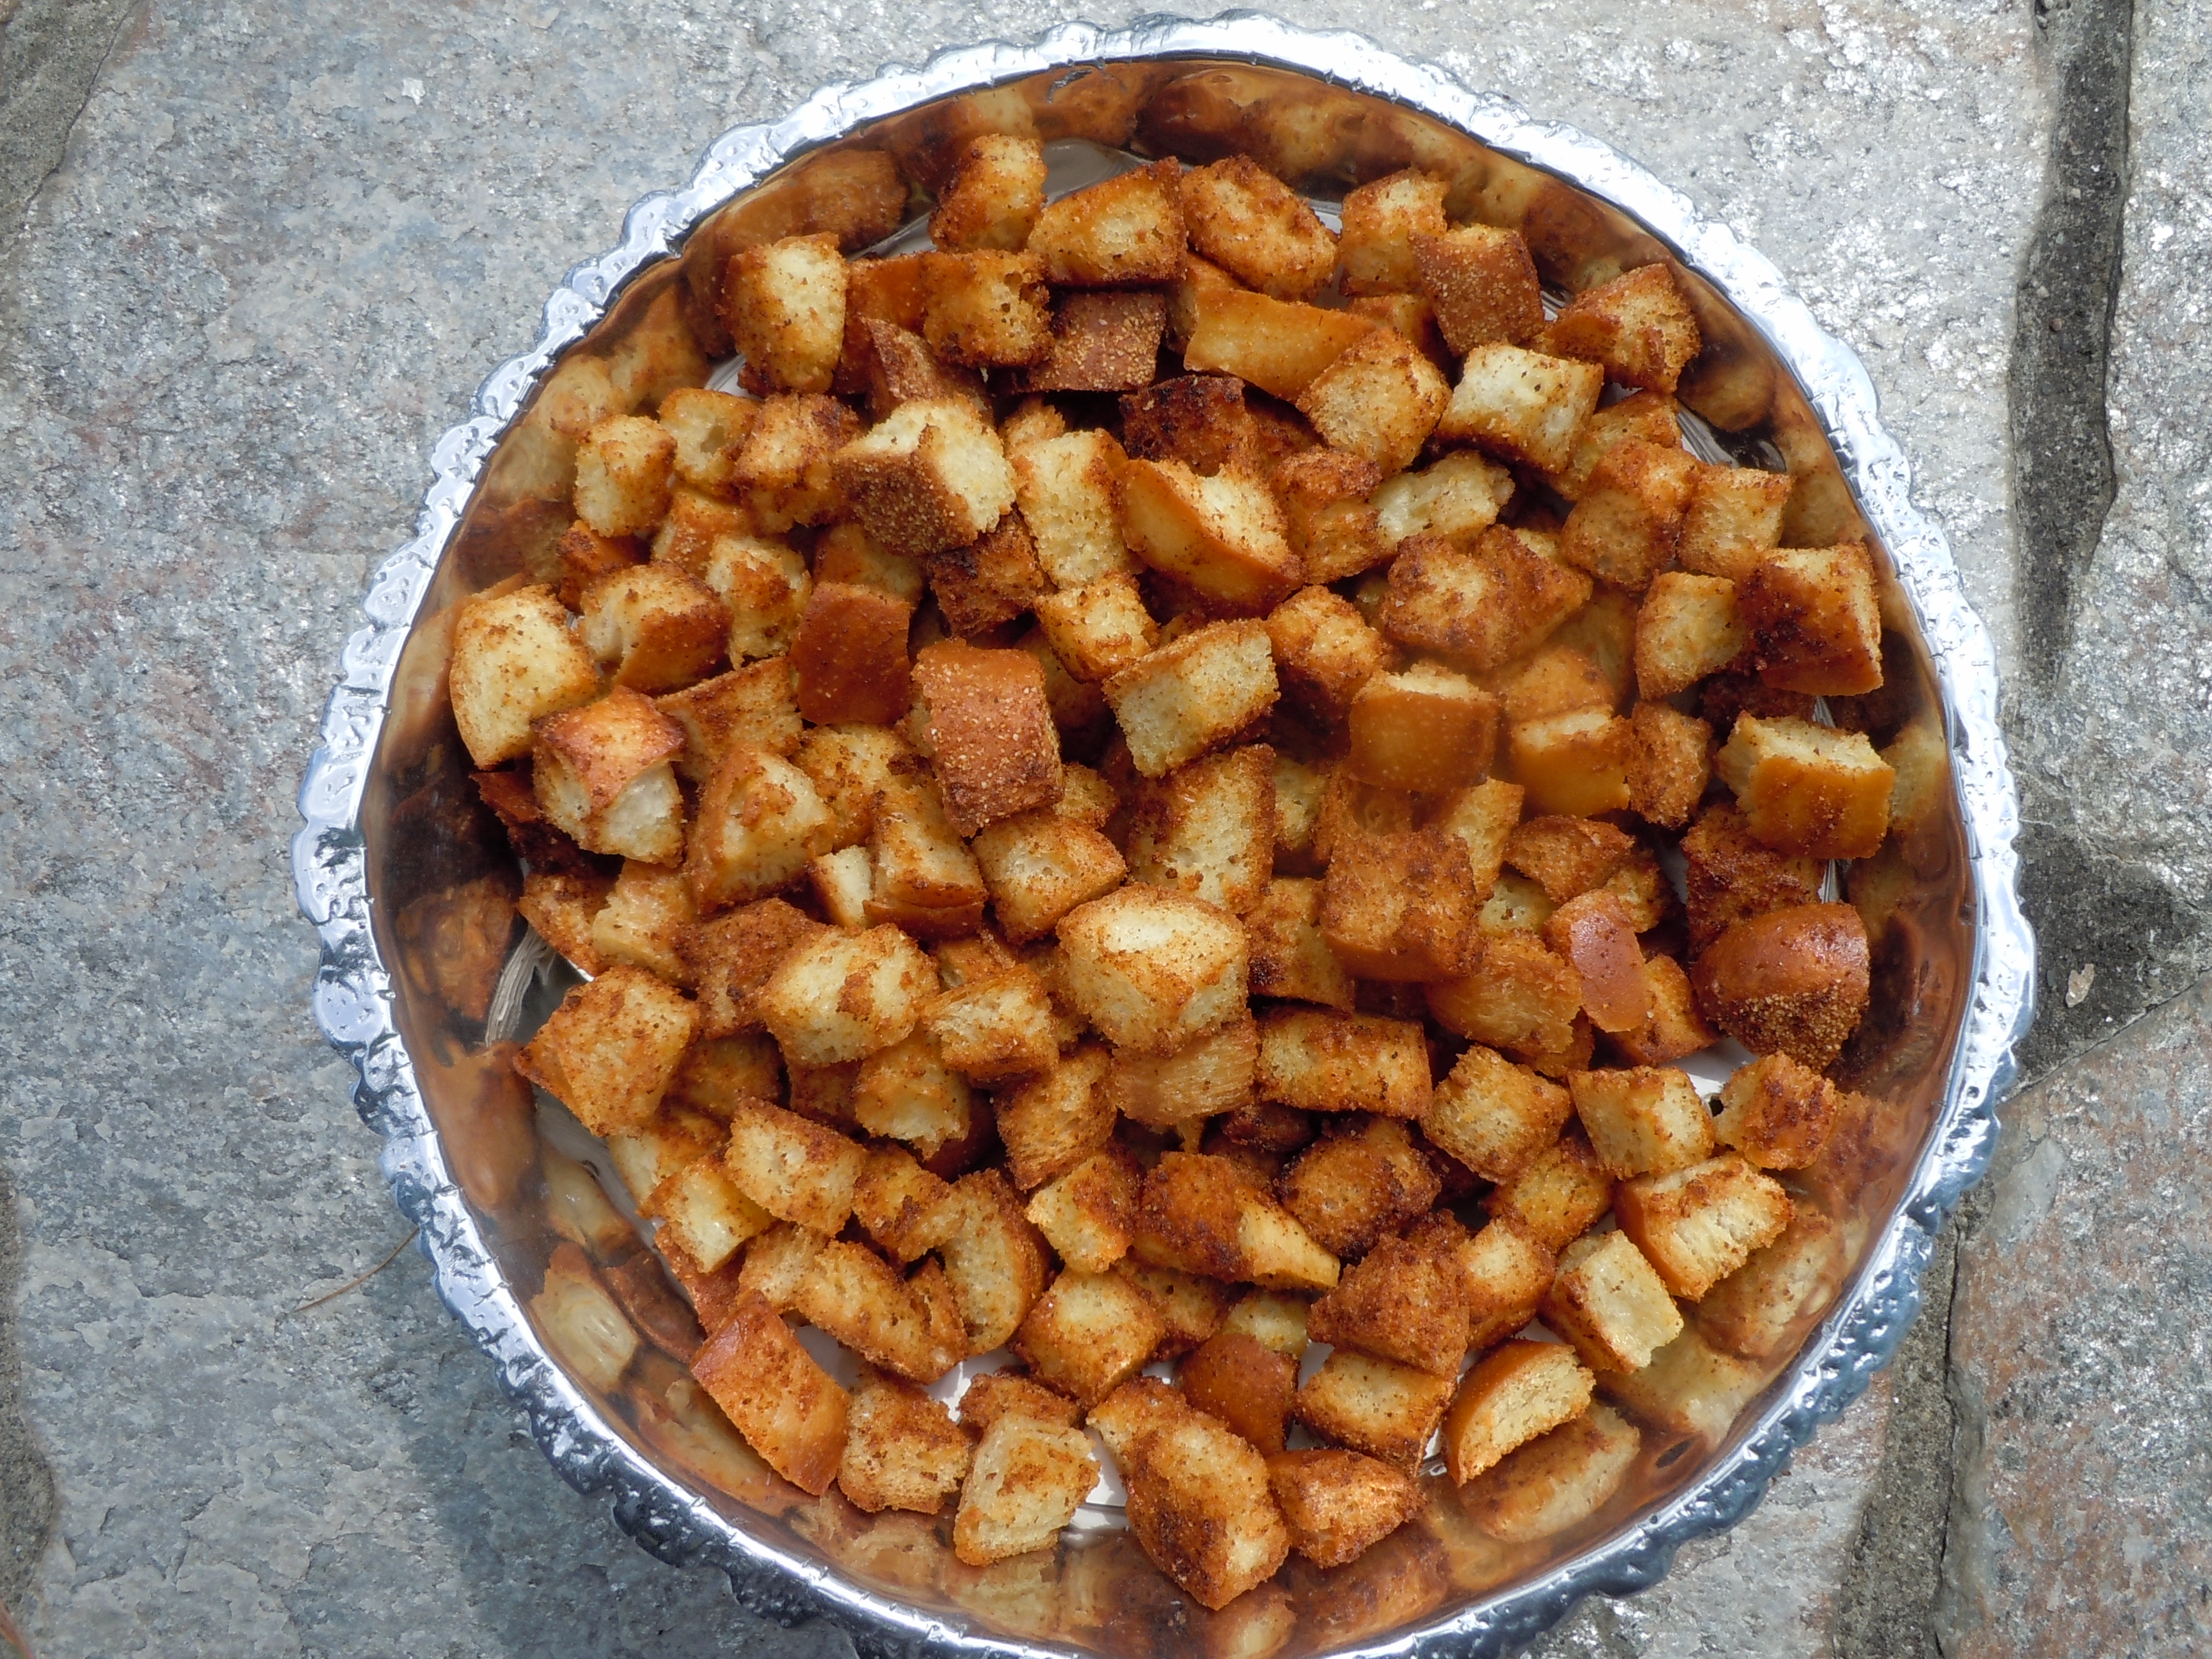
INGREDIENTS FOR GARLIC CROUTONS: Makes 12 -13 cups of Croutons – 1 Ex-Lg Ziploc Freezer Baggie of Croutons:
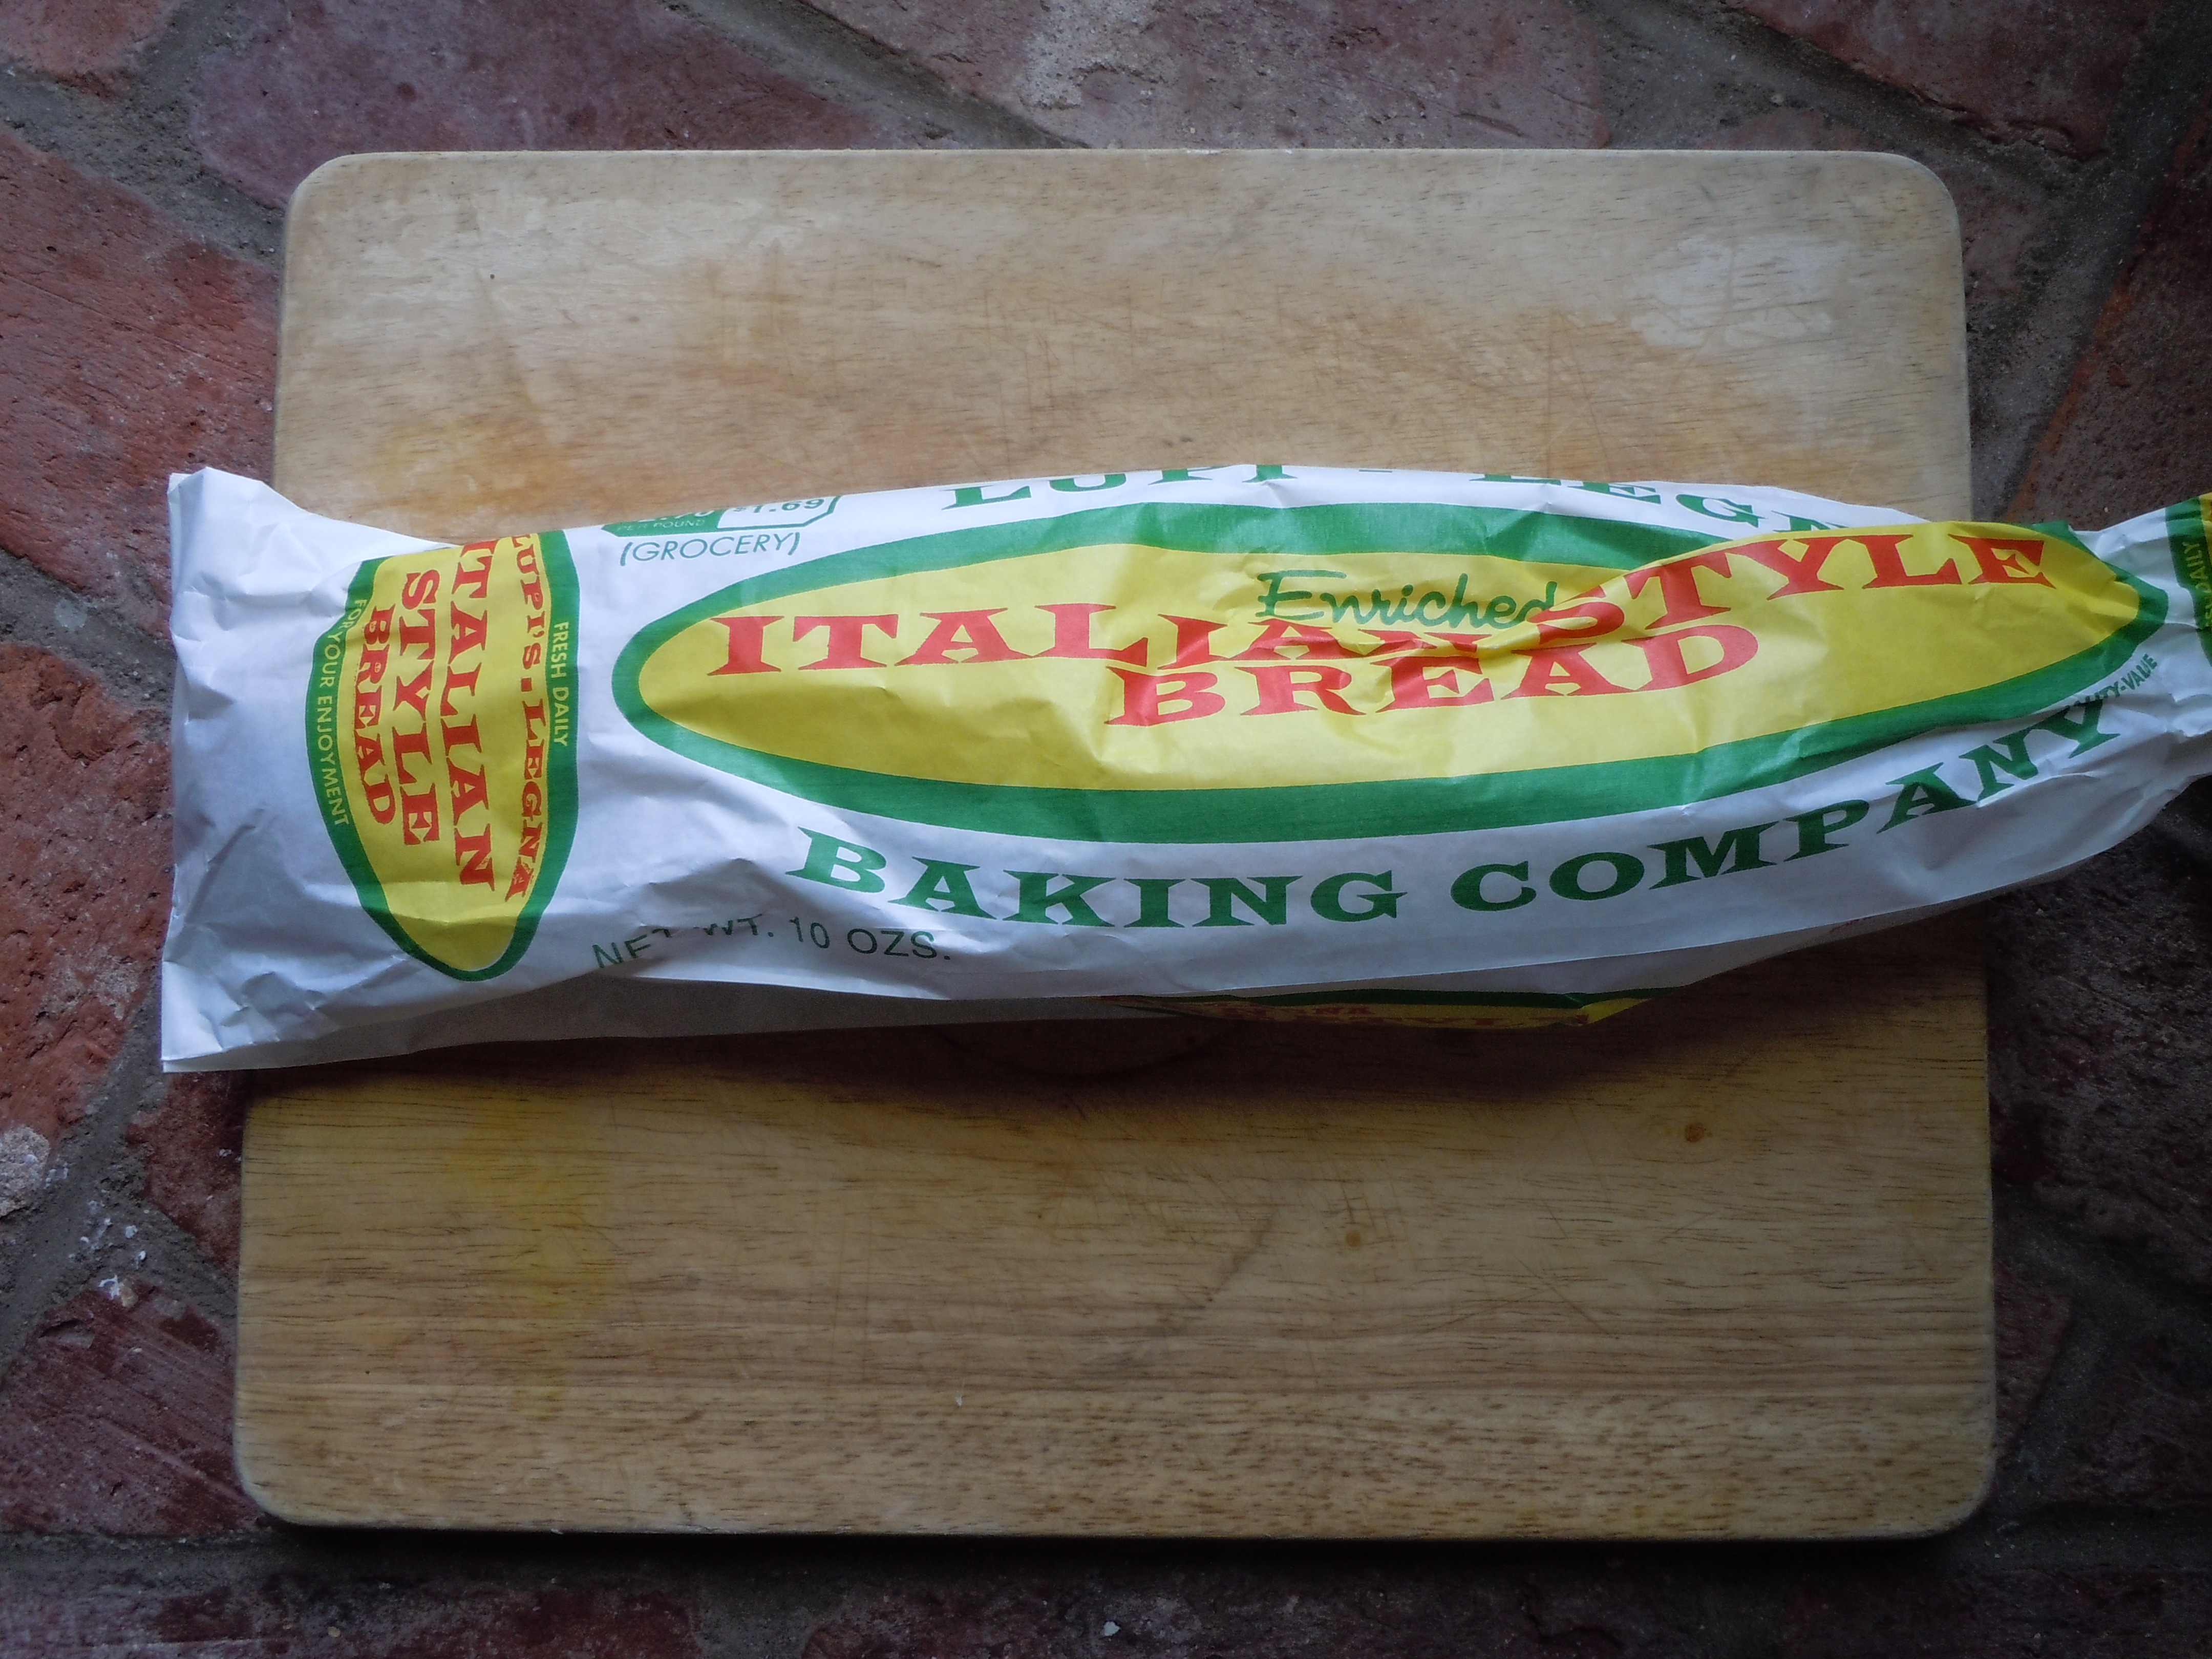
- 1- 1 1/2 large loafs of good Italian bead (14-15 cups croutons-use 1/2 stick butter and 3 tbsp olive oil if you have 10 cup of bread cubes)
-
- 4 large garlic cloves put thru garlic press
- 1/4 cup olive oil
- 3/4 stick butter (salted) melted
- 4 tsp garlic granules (not powder) – Sprinkle 2 tsp per cookie tray
- 1 tsp salt
- A couple dashes of your favorite hot sauce Siracha -you can find this with the other hot sauces at the super market
- 2 cookie trays
DIRECTIONS FOR GARLIC CROUTONS:
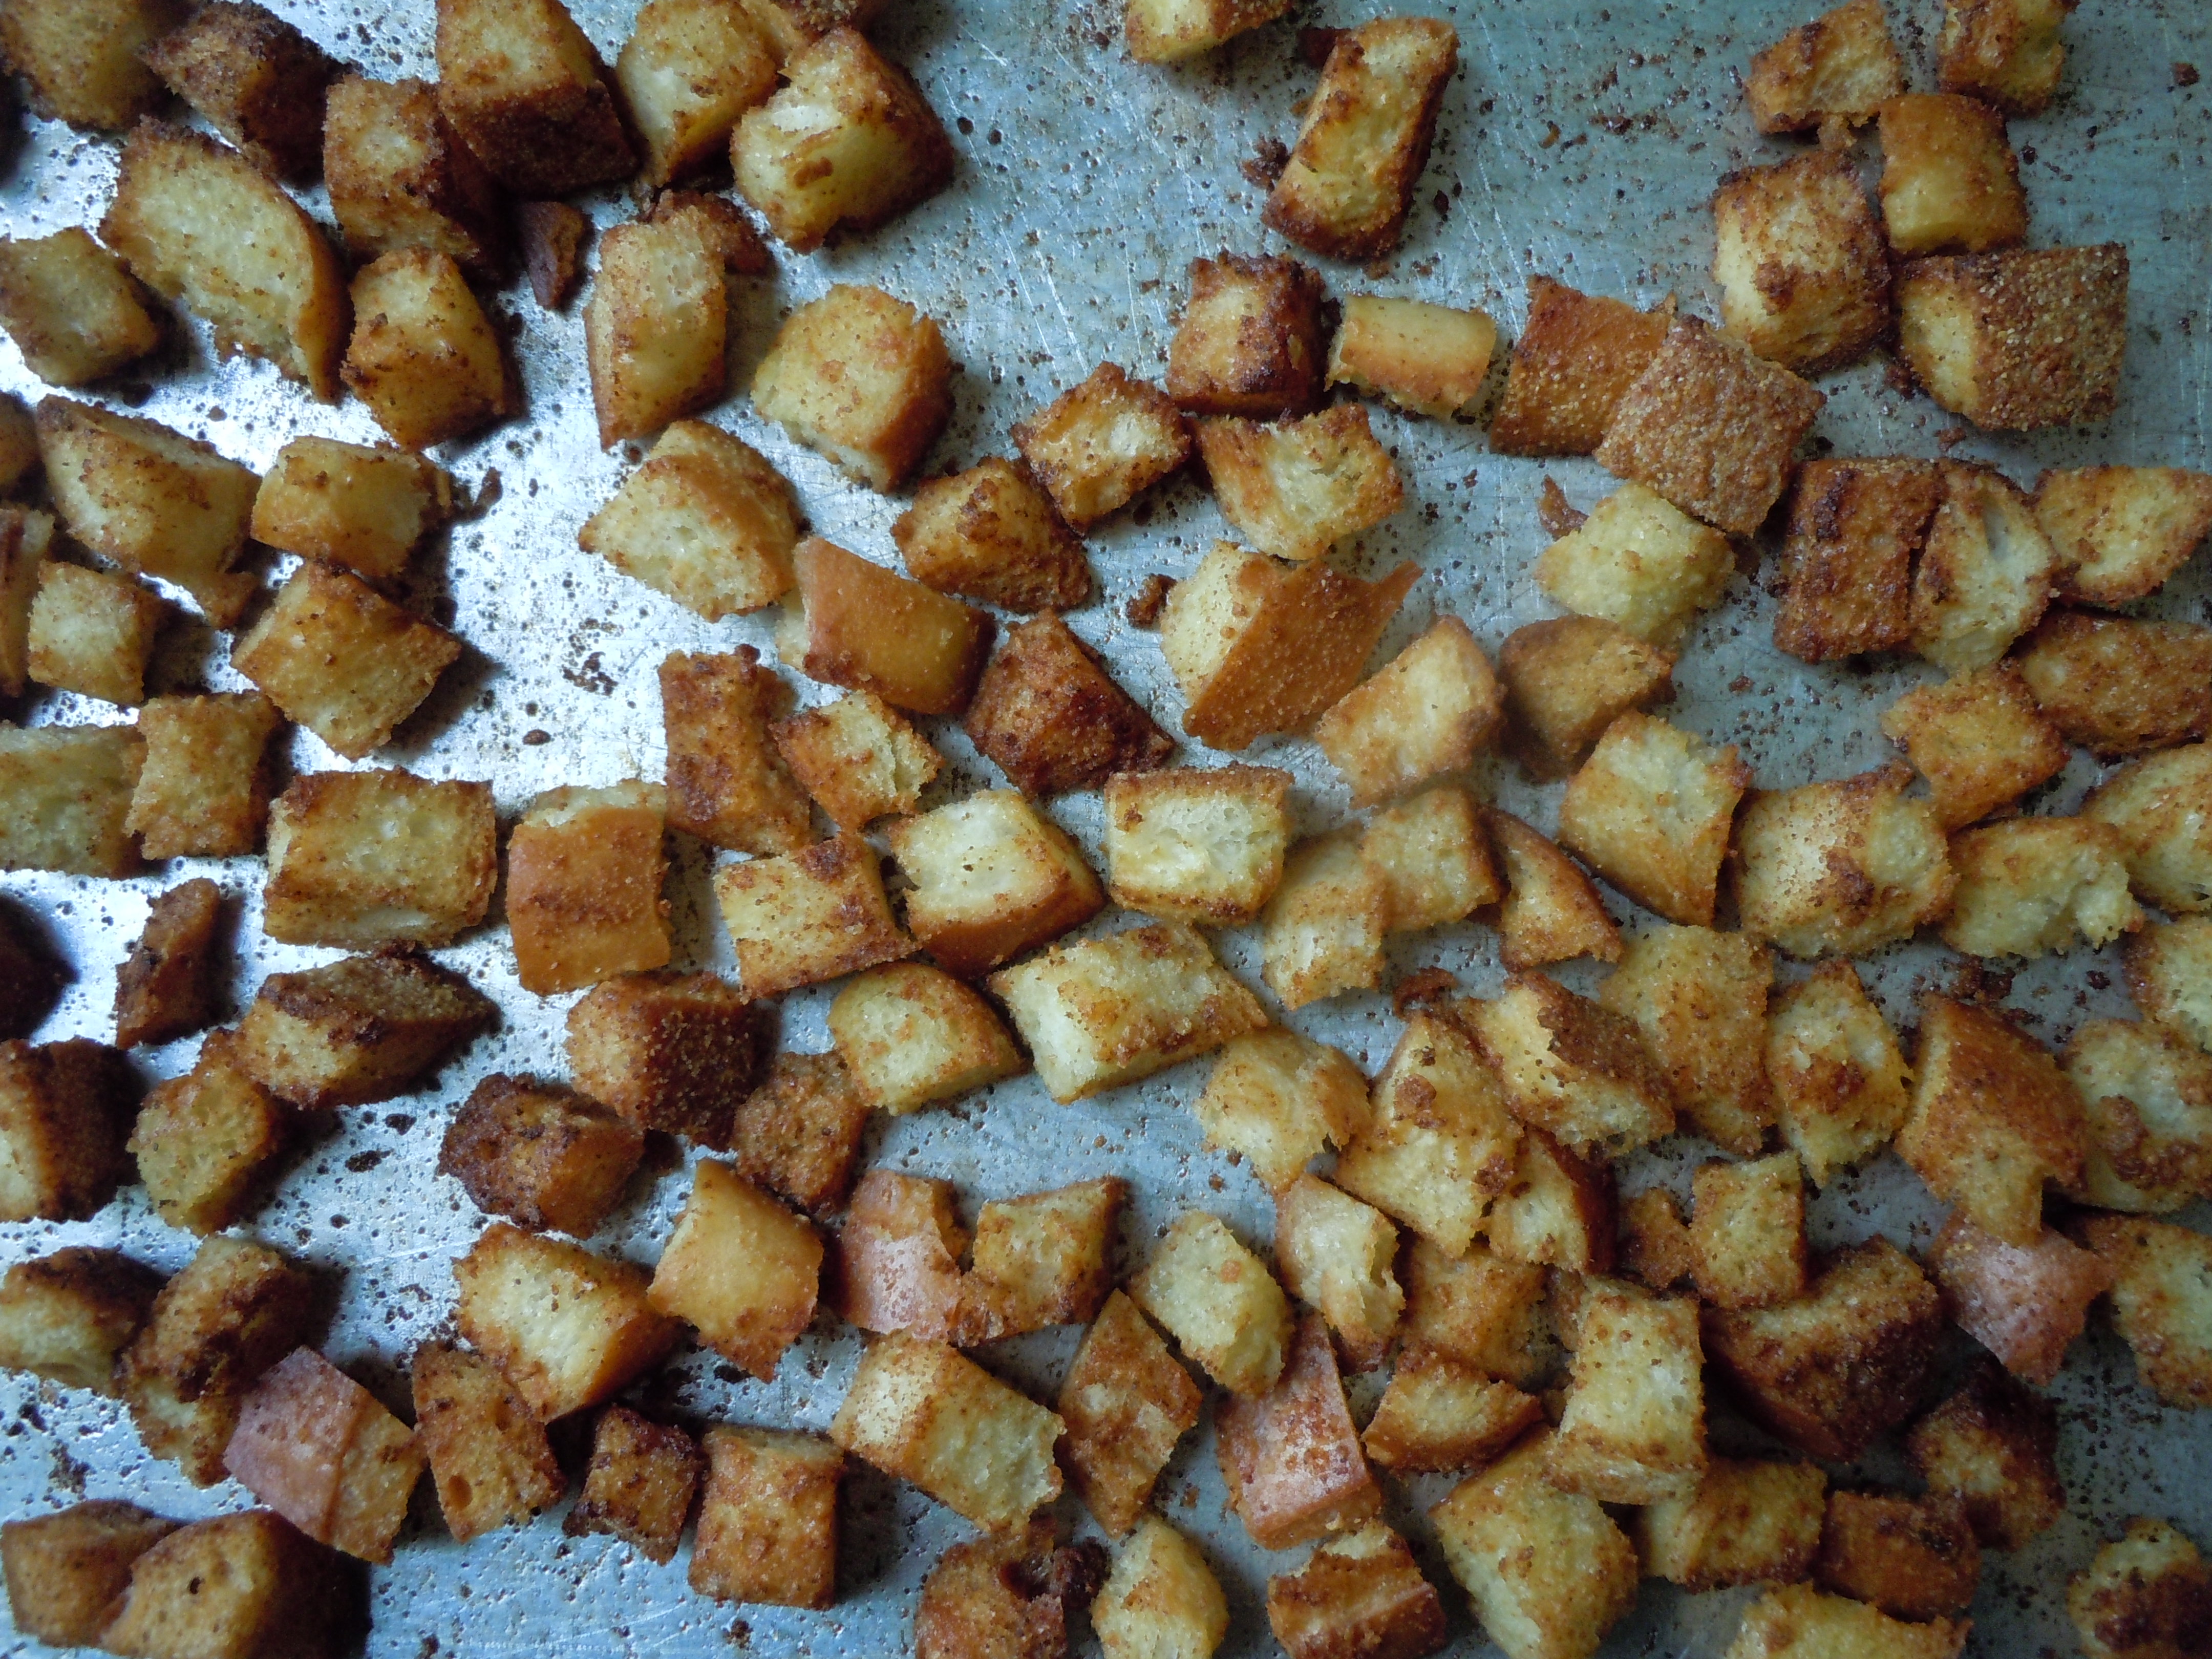
- Pre-heat oven to 400º
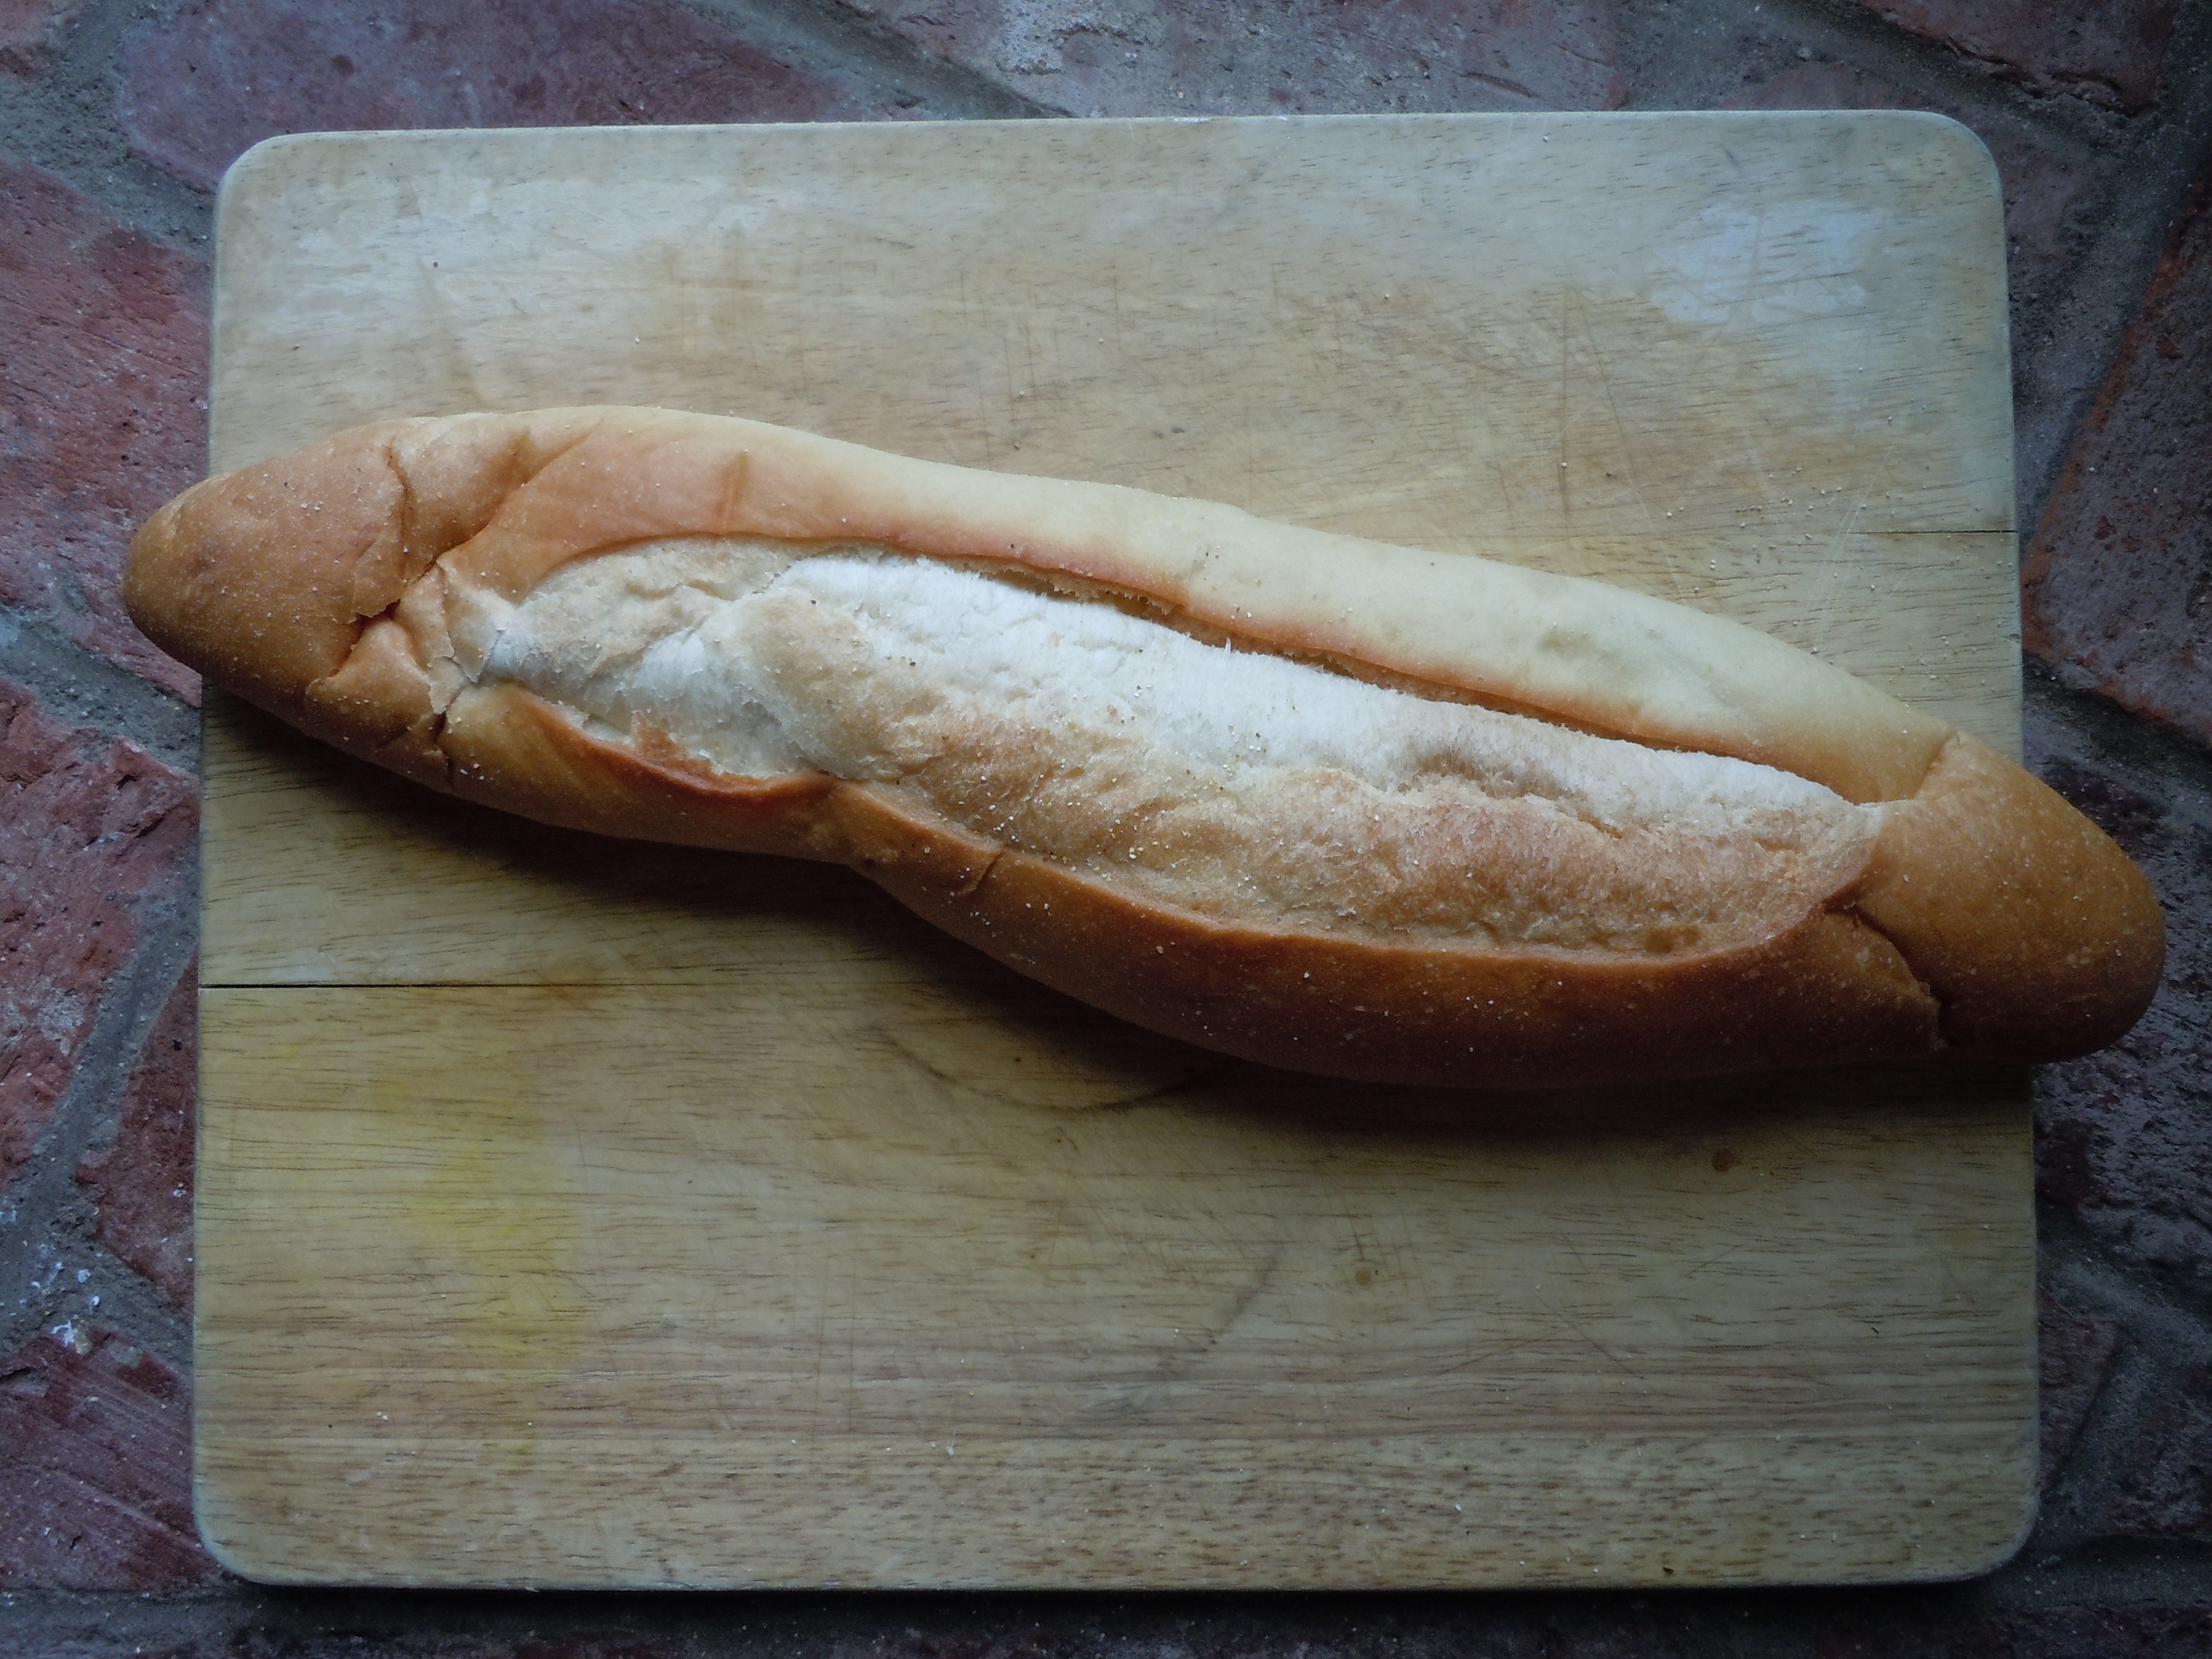
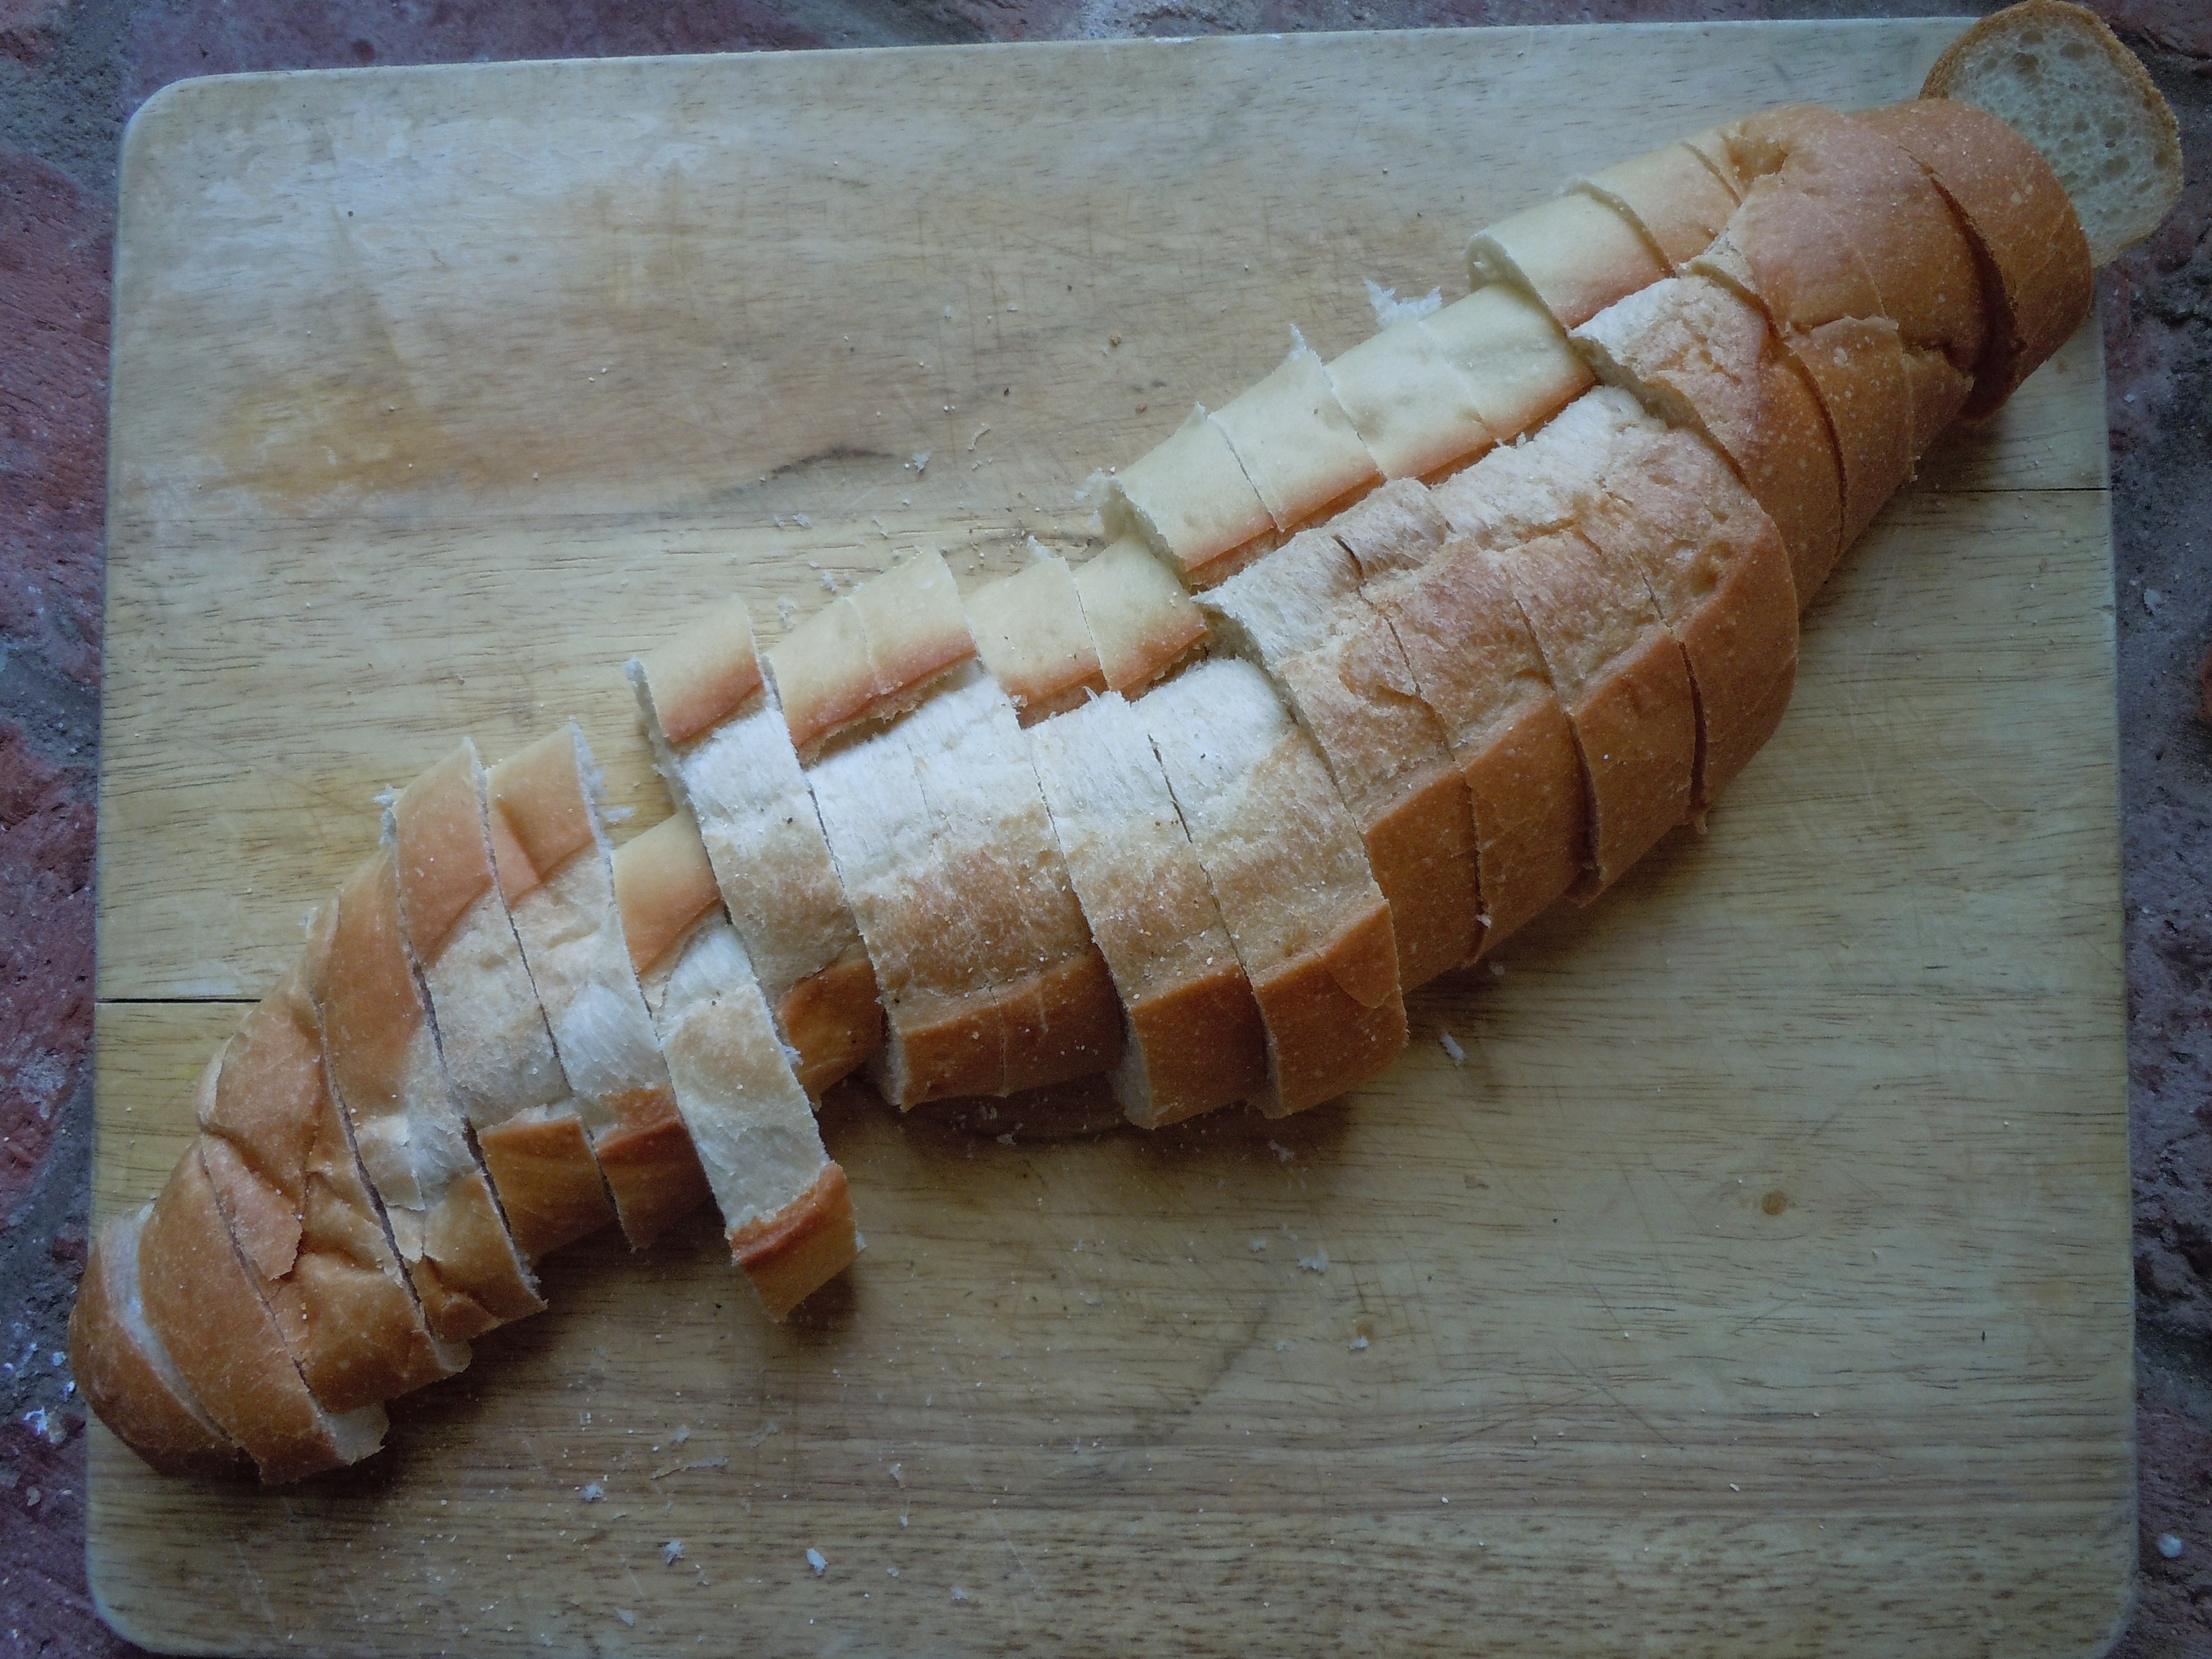
- Slice bread into 3/4″ slices length wise
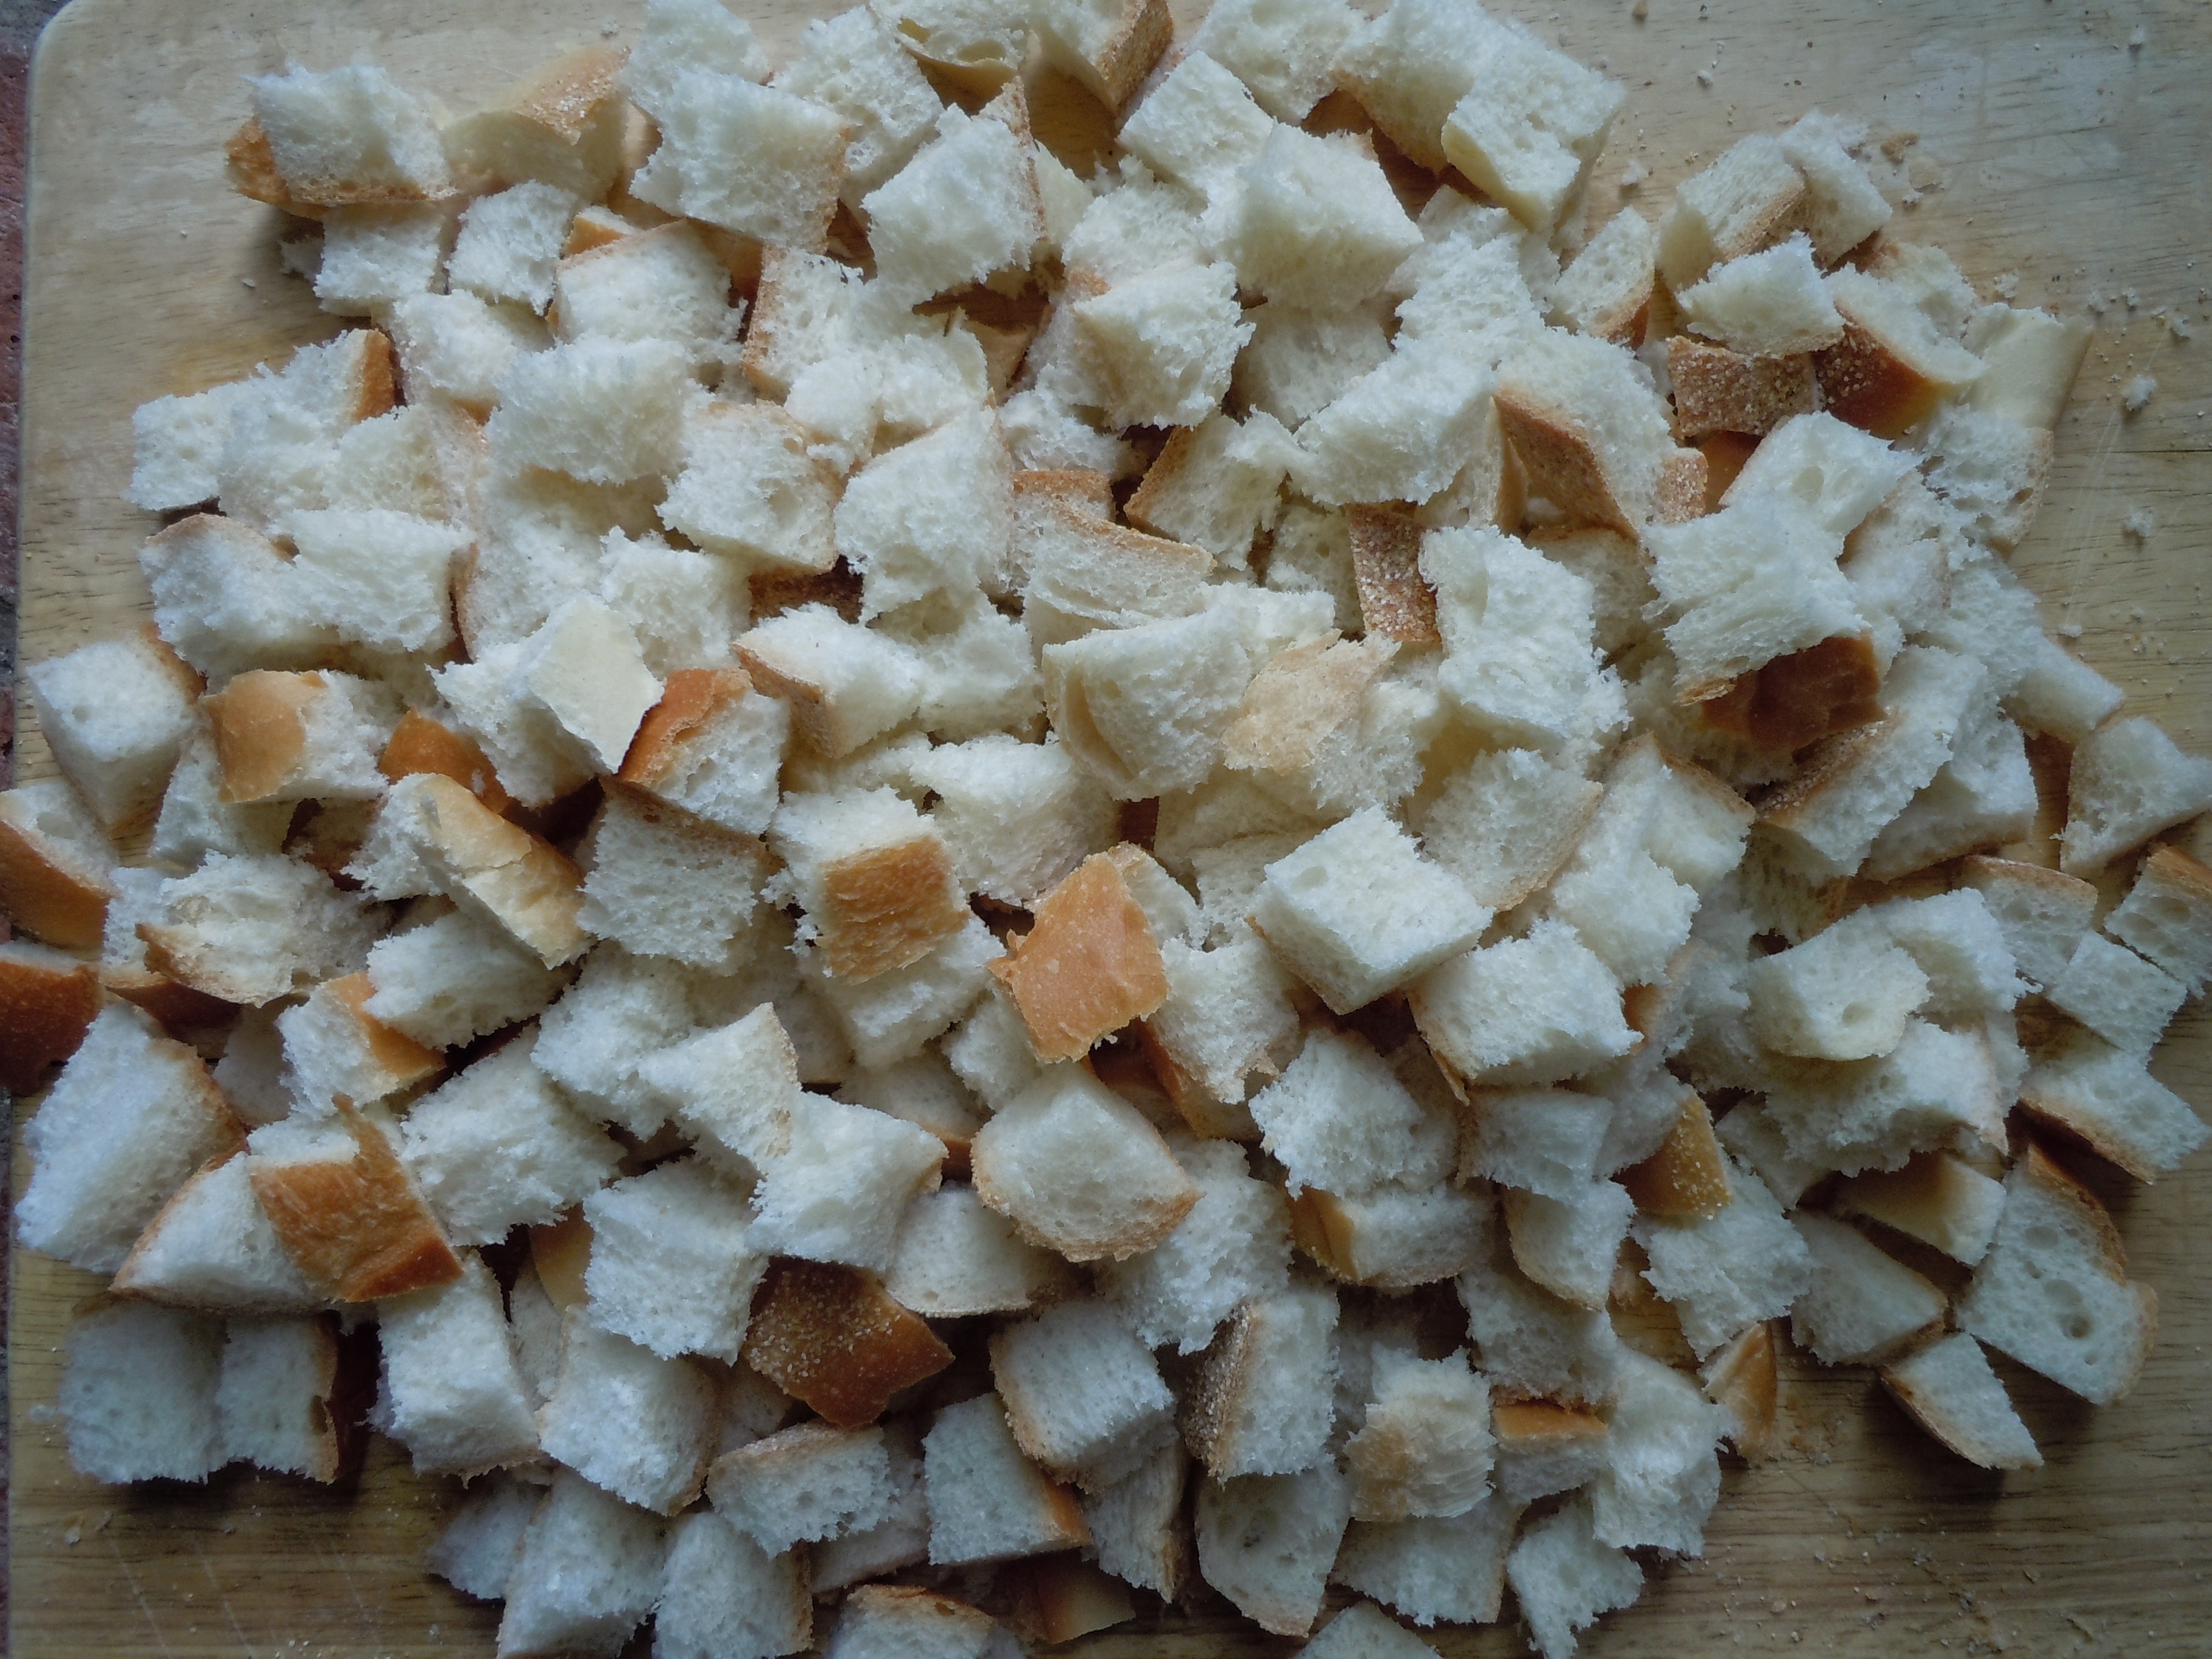
- Then slice into 3/4″ squares, you don’t want them to be perfect – that’s what’s lovely about hand made croutons they don’t look like they came from a box
- Melt 3/4 stick of butter
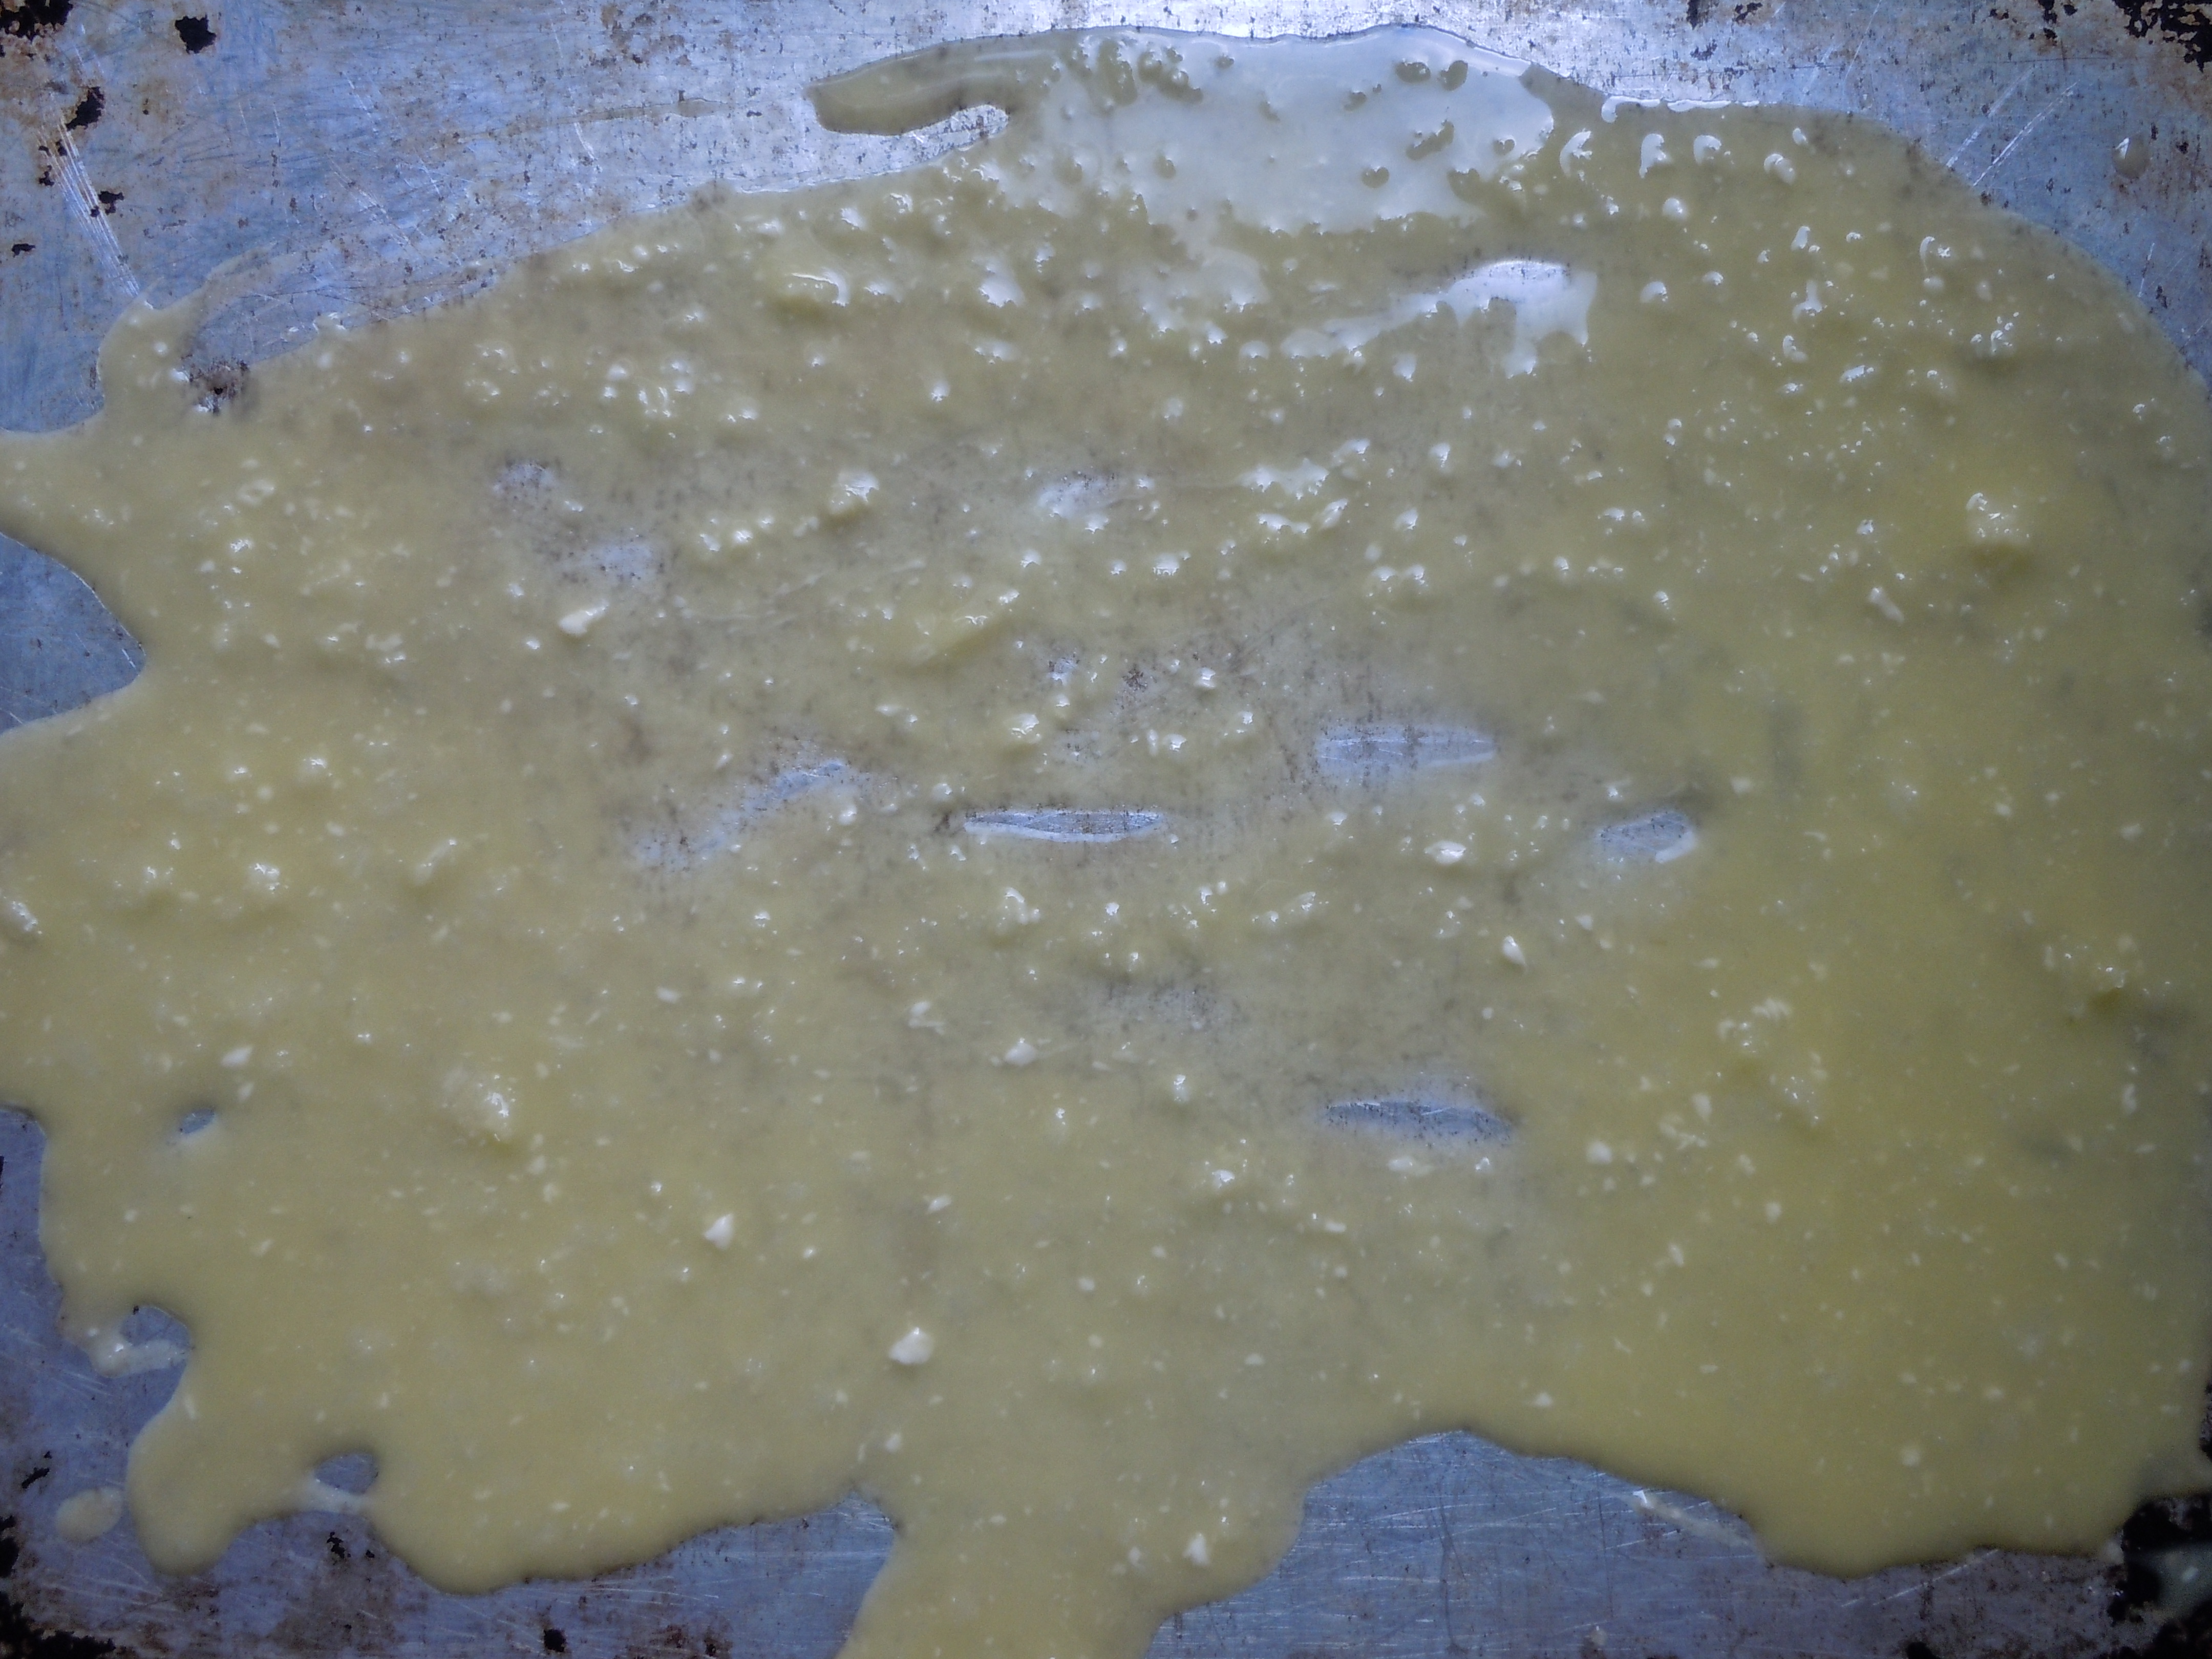
- In a large mixing bowl add 1/4 cup olive oil, 3/4 stick melted butter, 4 garlic cloves thru garlic press, 1 Tsp salt, and whisk to mix
- Divide this mixture into two and pour onto the 2 cookie trays spreading them evenly all over the tray
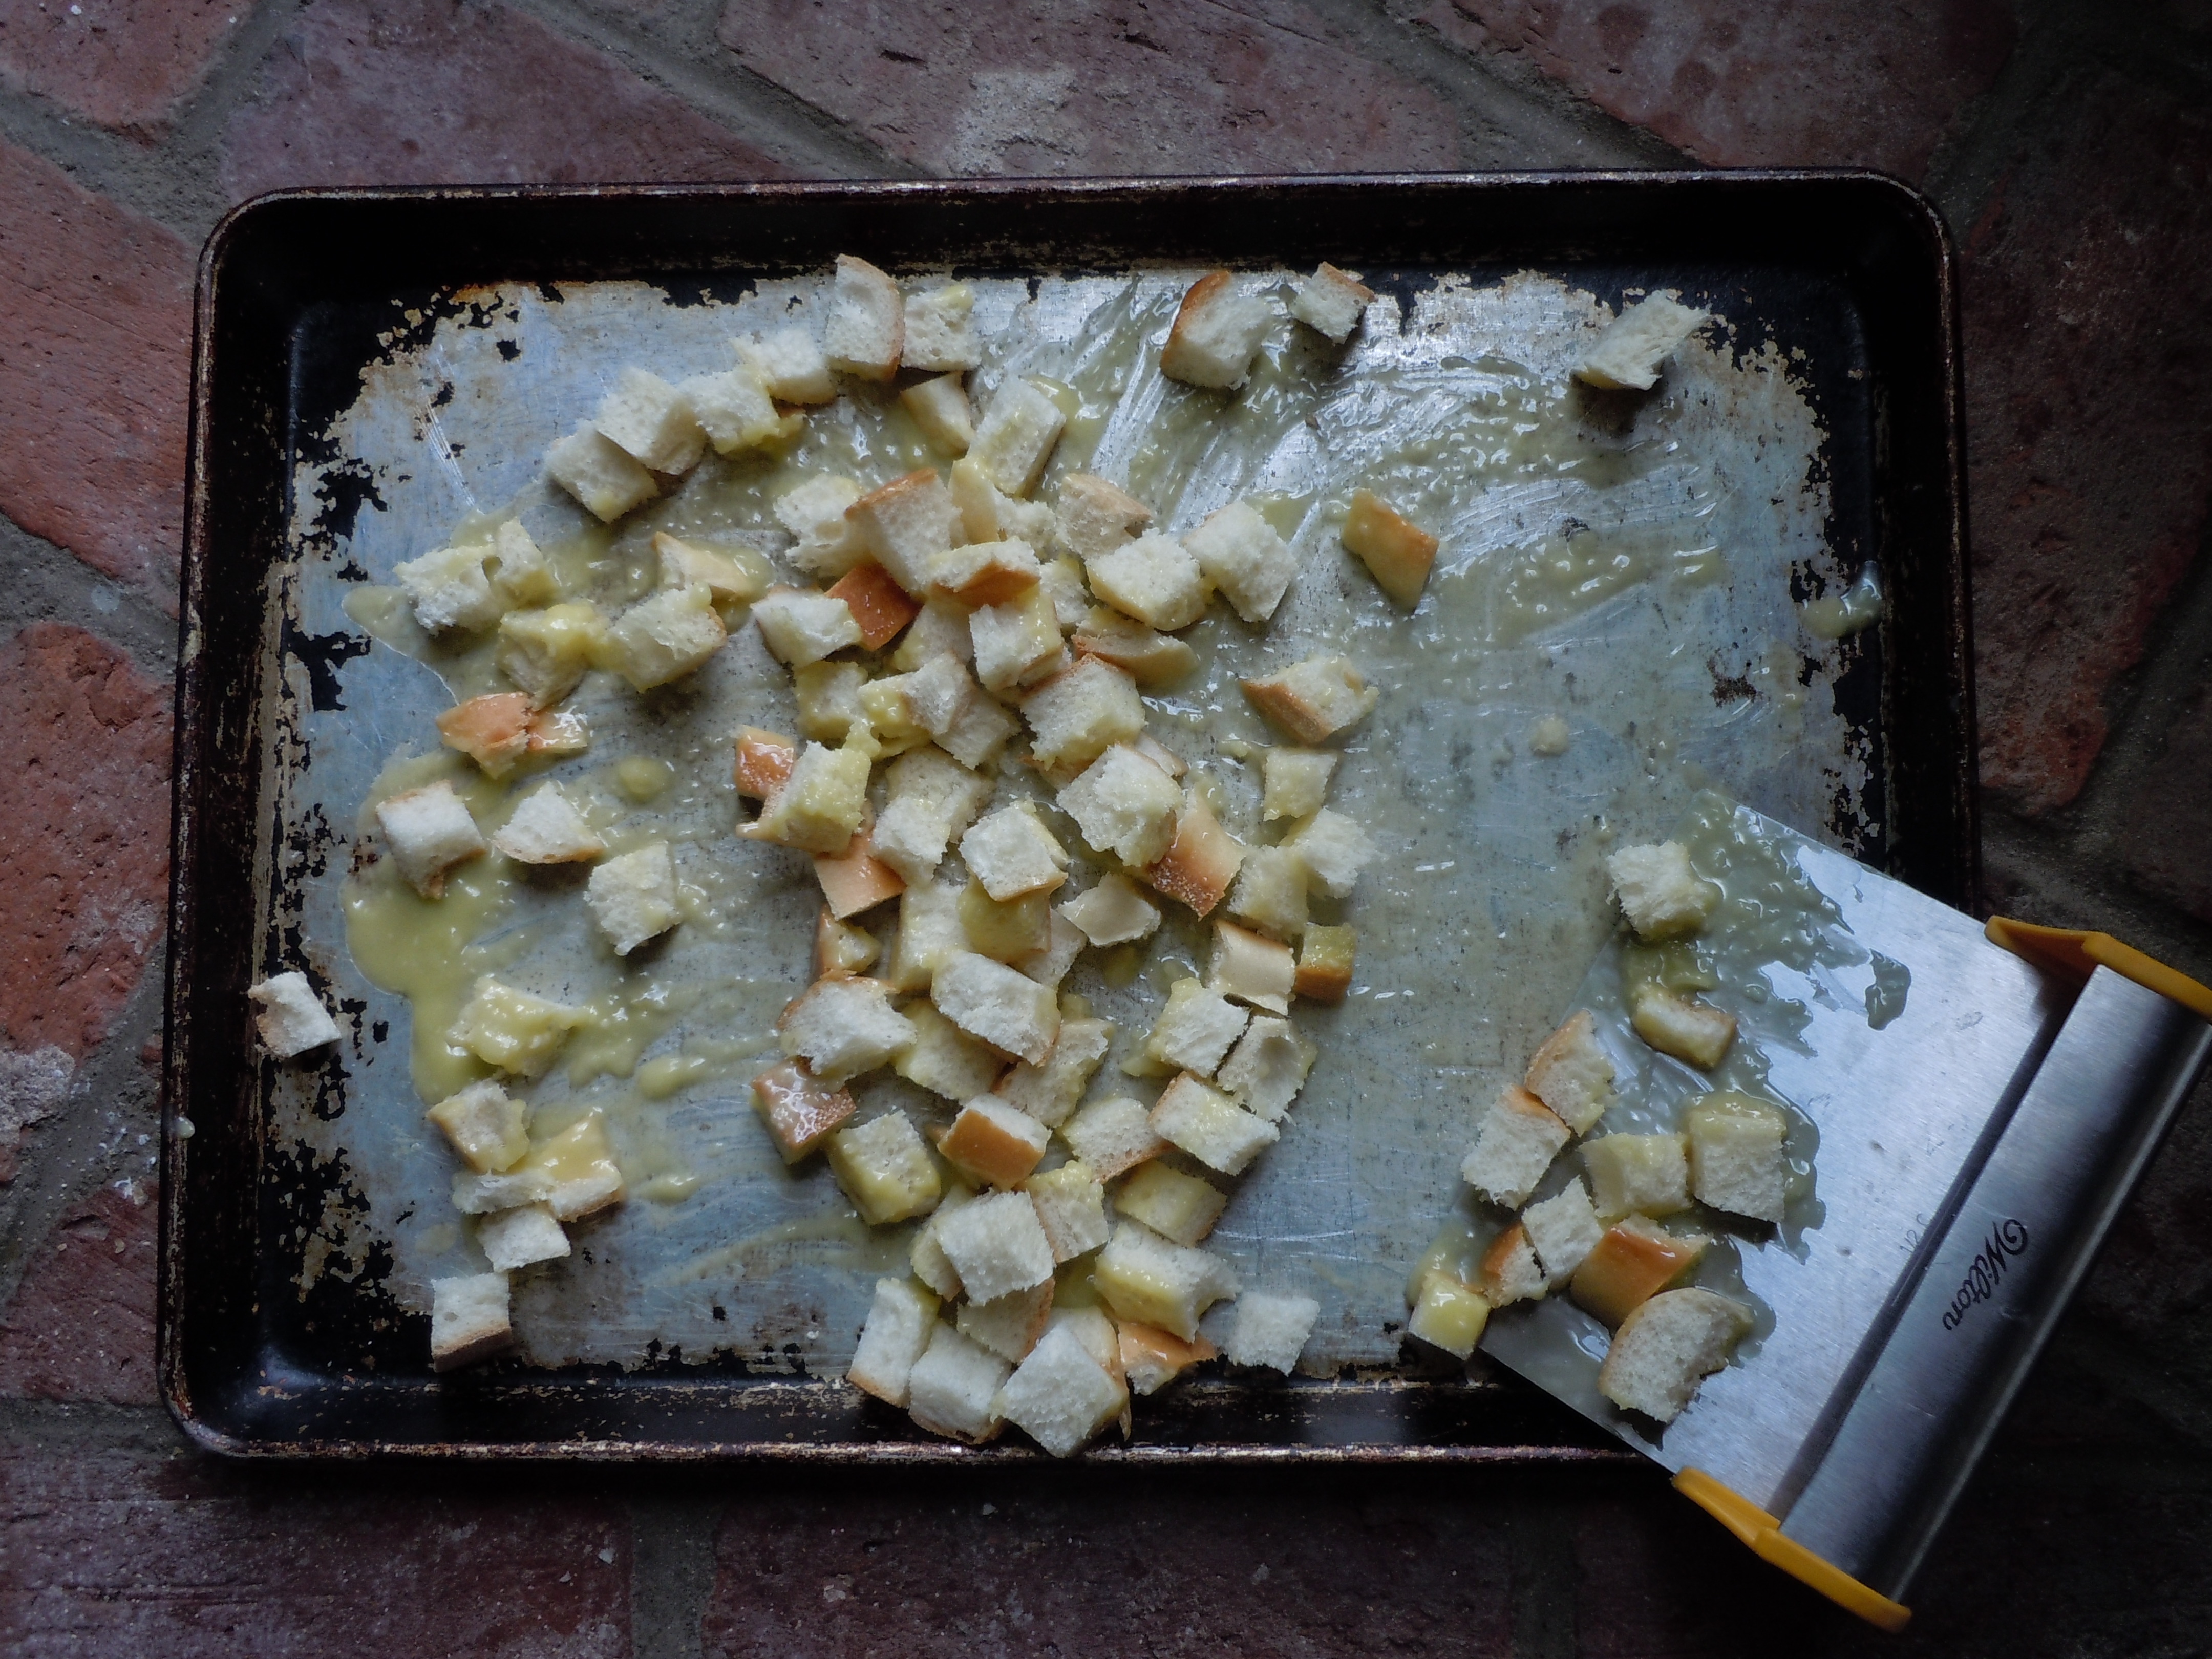
- Divide up Italian bread cubes into 2 and put onto the 2 cookie trays right on the olive oil mixture
- Stir the cut up bread cubes all around the cookie tray to evenly coat and soak up all of the olive oil mixture. I use a pastry scraper (see photo) to do this…a tool which I use a lot!
- NOW sprinkle 2 Tsp of garlic granules on each of the cookie trays filled with Italian garlic croutons
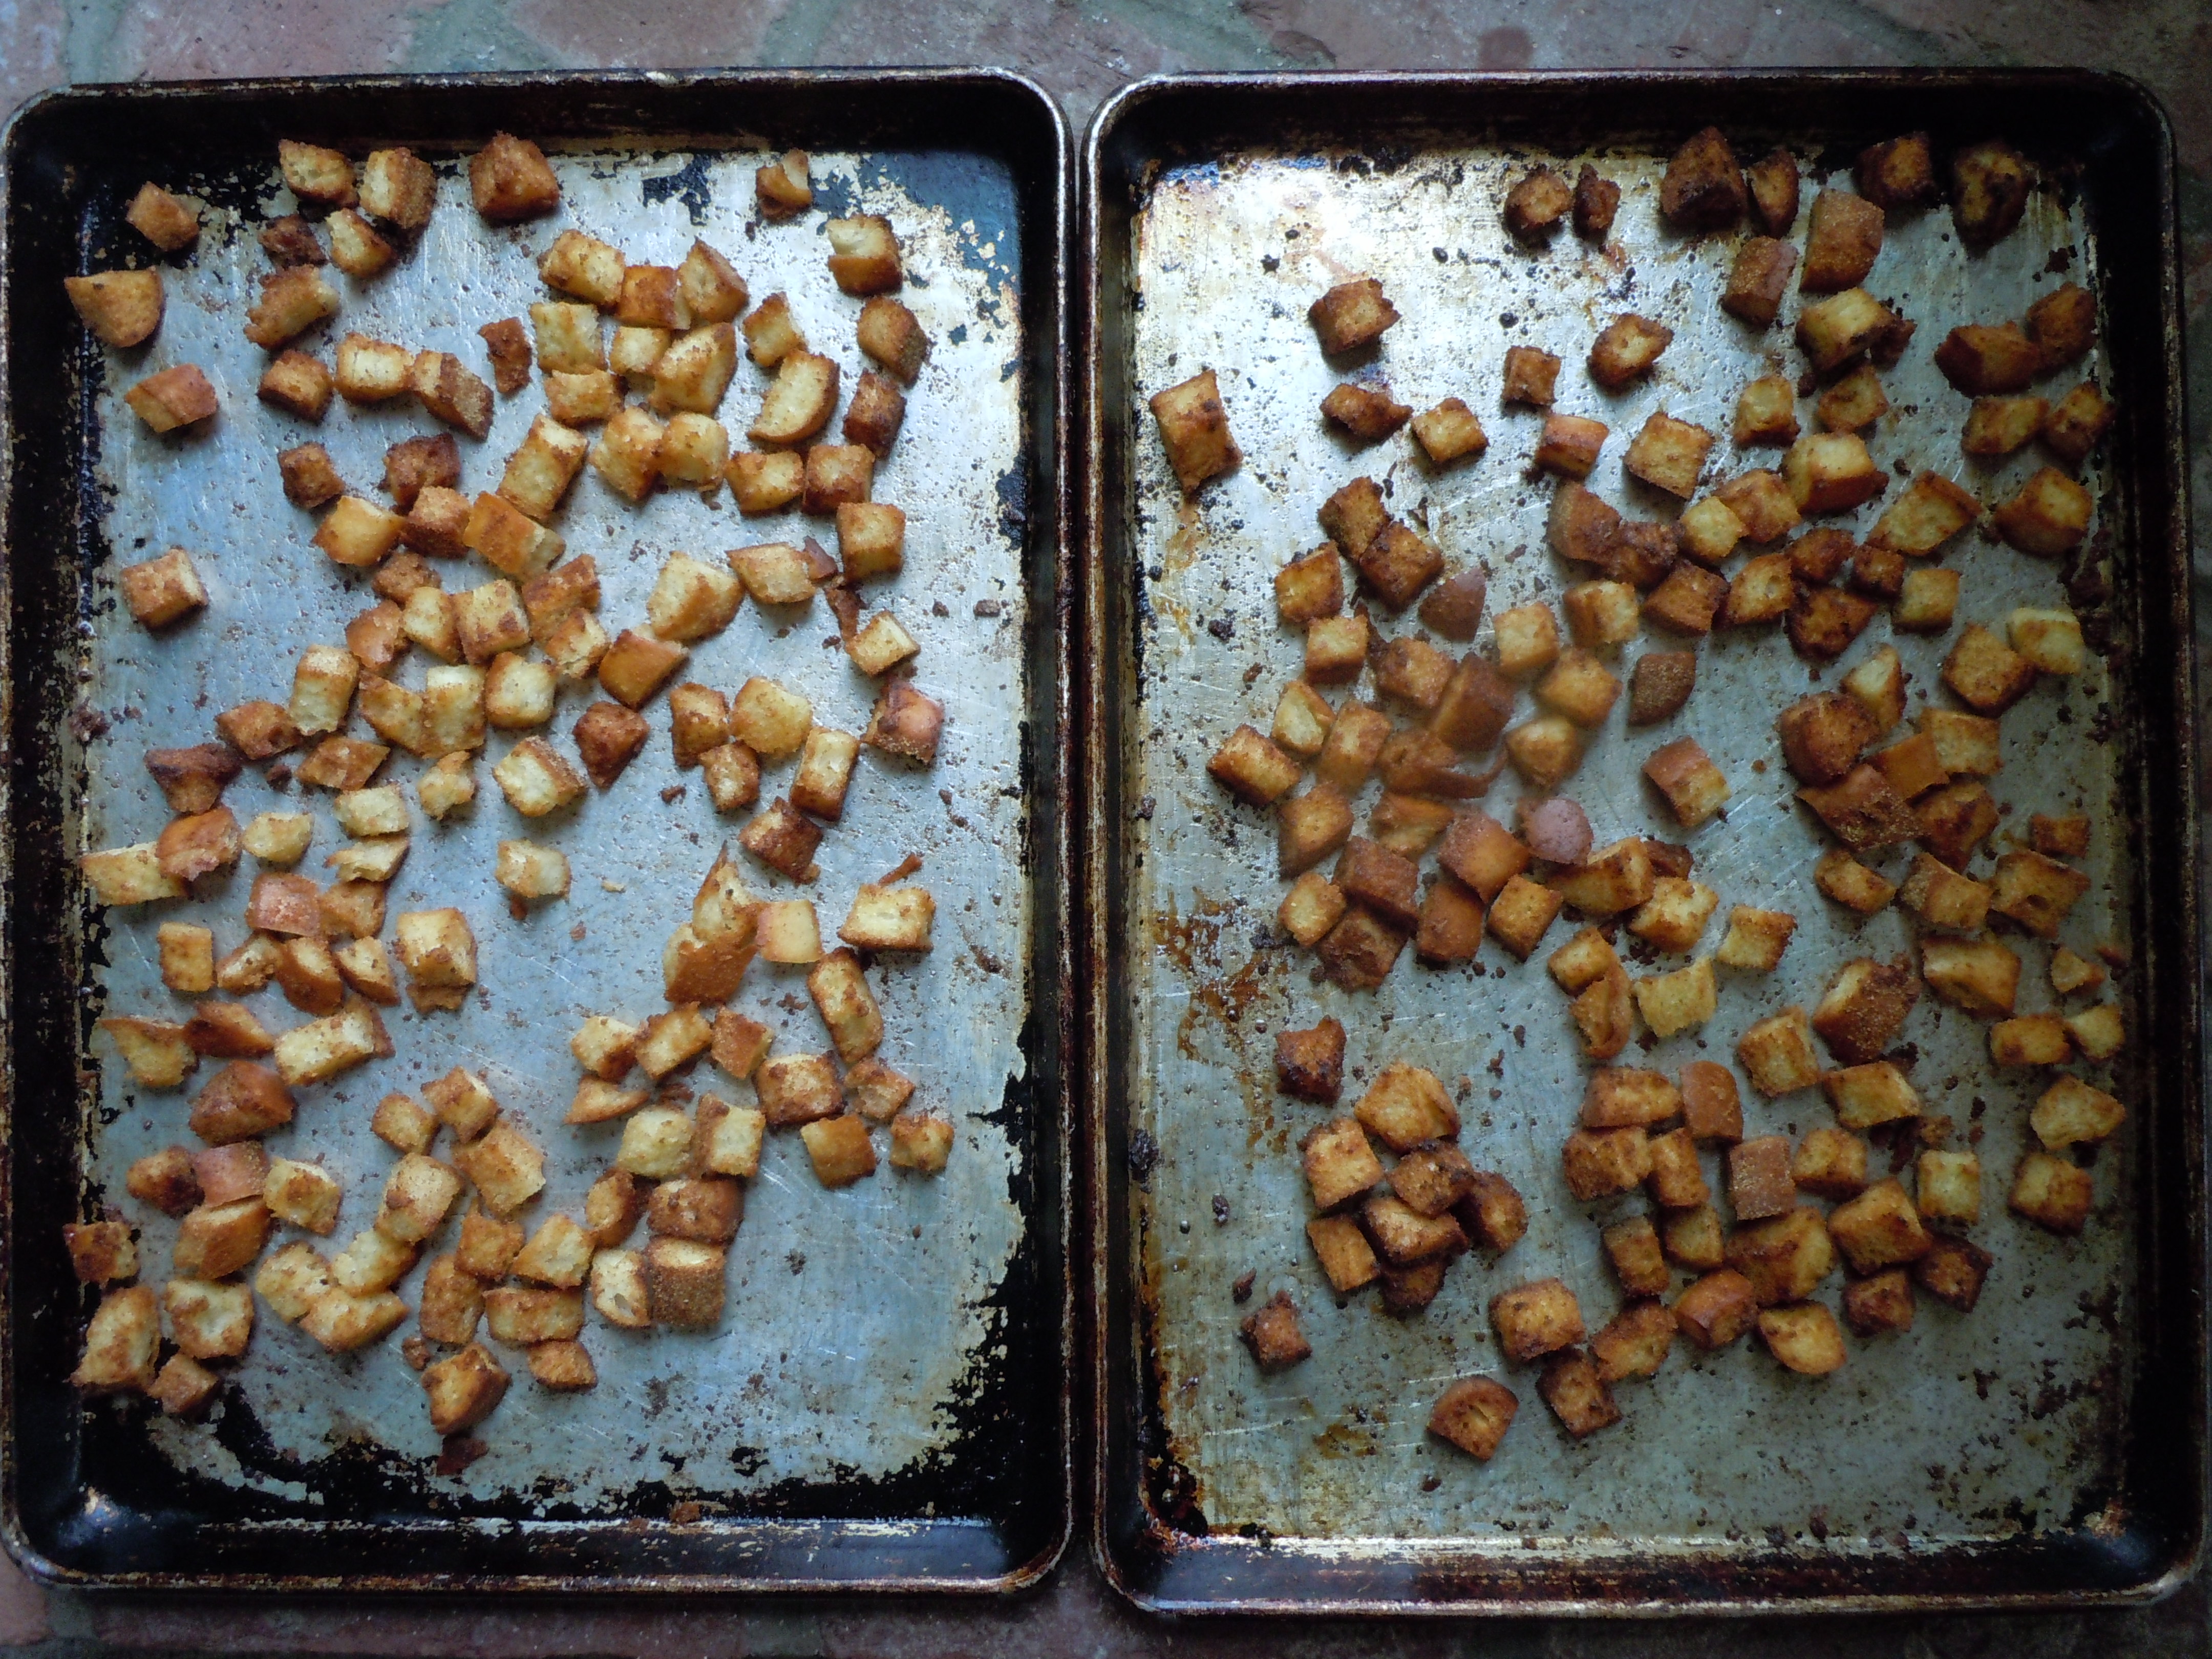
- Put into the oven for 12 minutes til golden
- IMPORTANT – they go quickly at the end so you really need to watch them so they don’t burn
- Let the Italian garlic croutons cool before putting them into a Freezer Ziploc baggie
- I usually keep them on the counter for a few days then throw them into the freezer to store and keep fresh


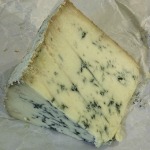
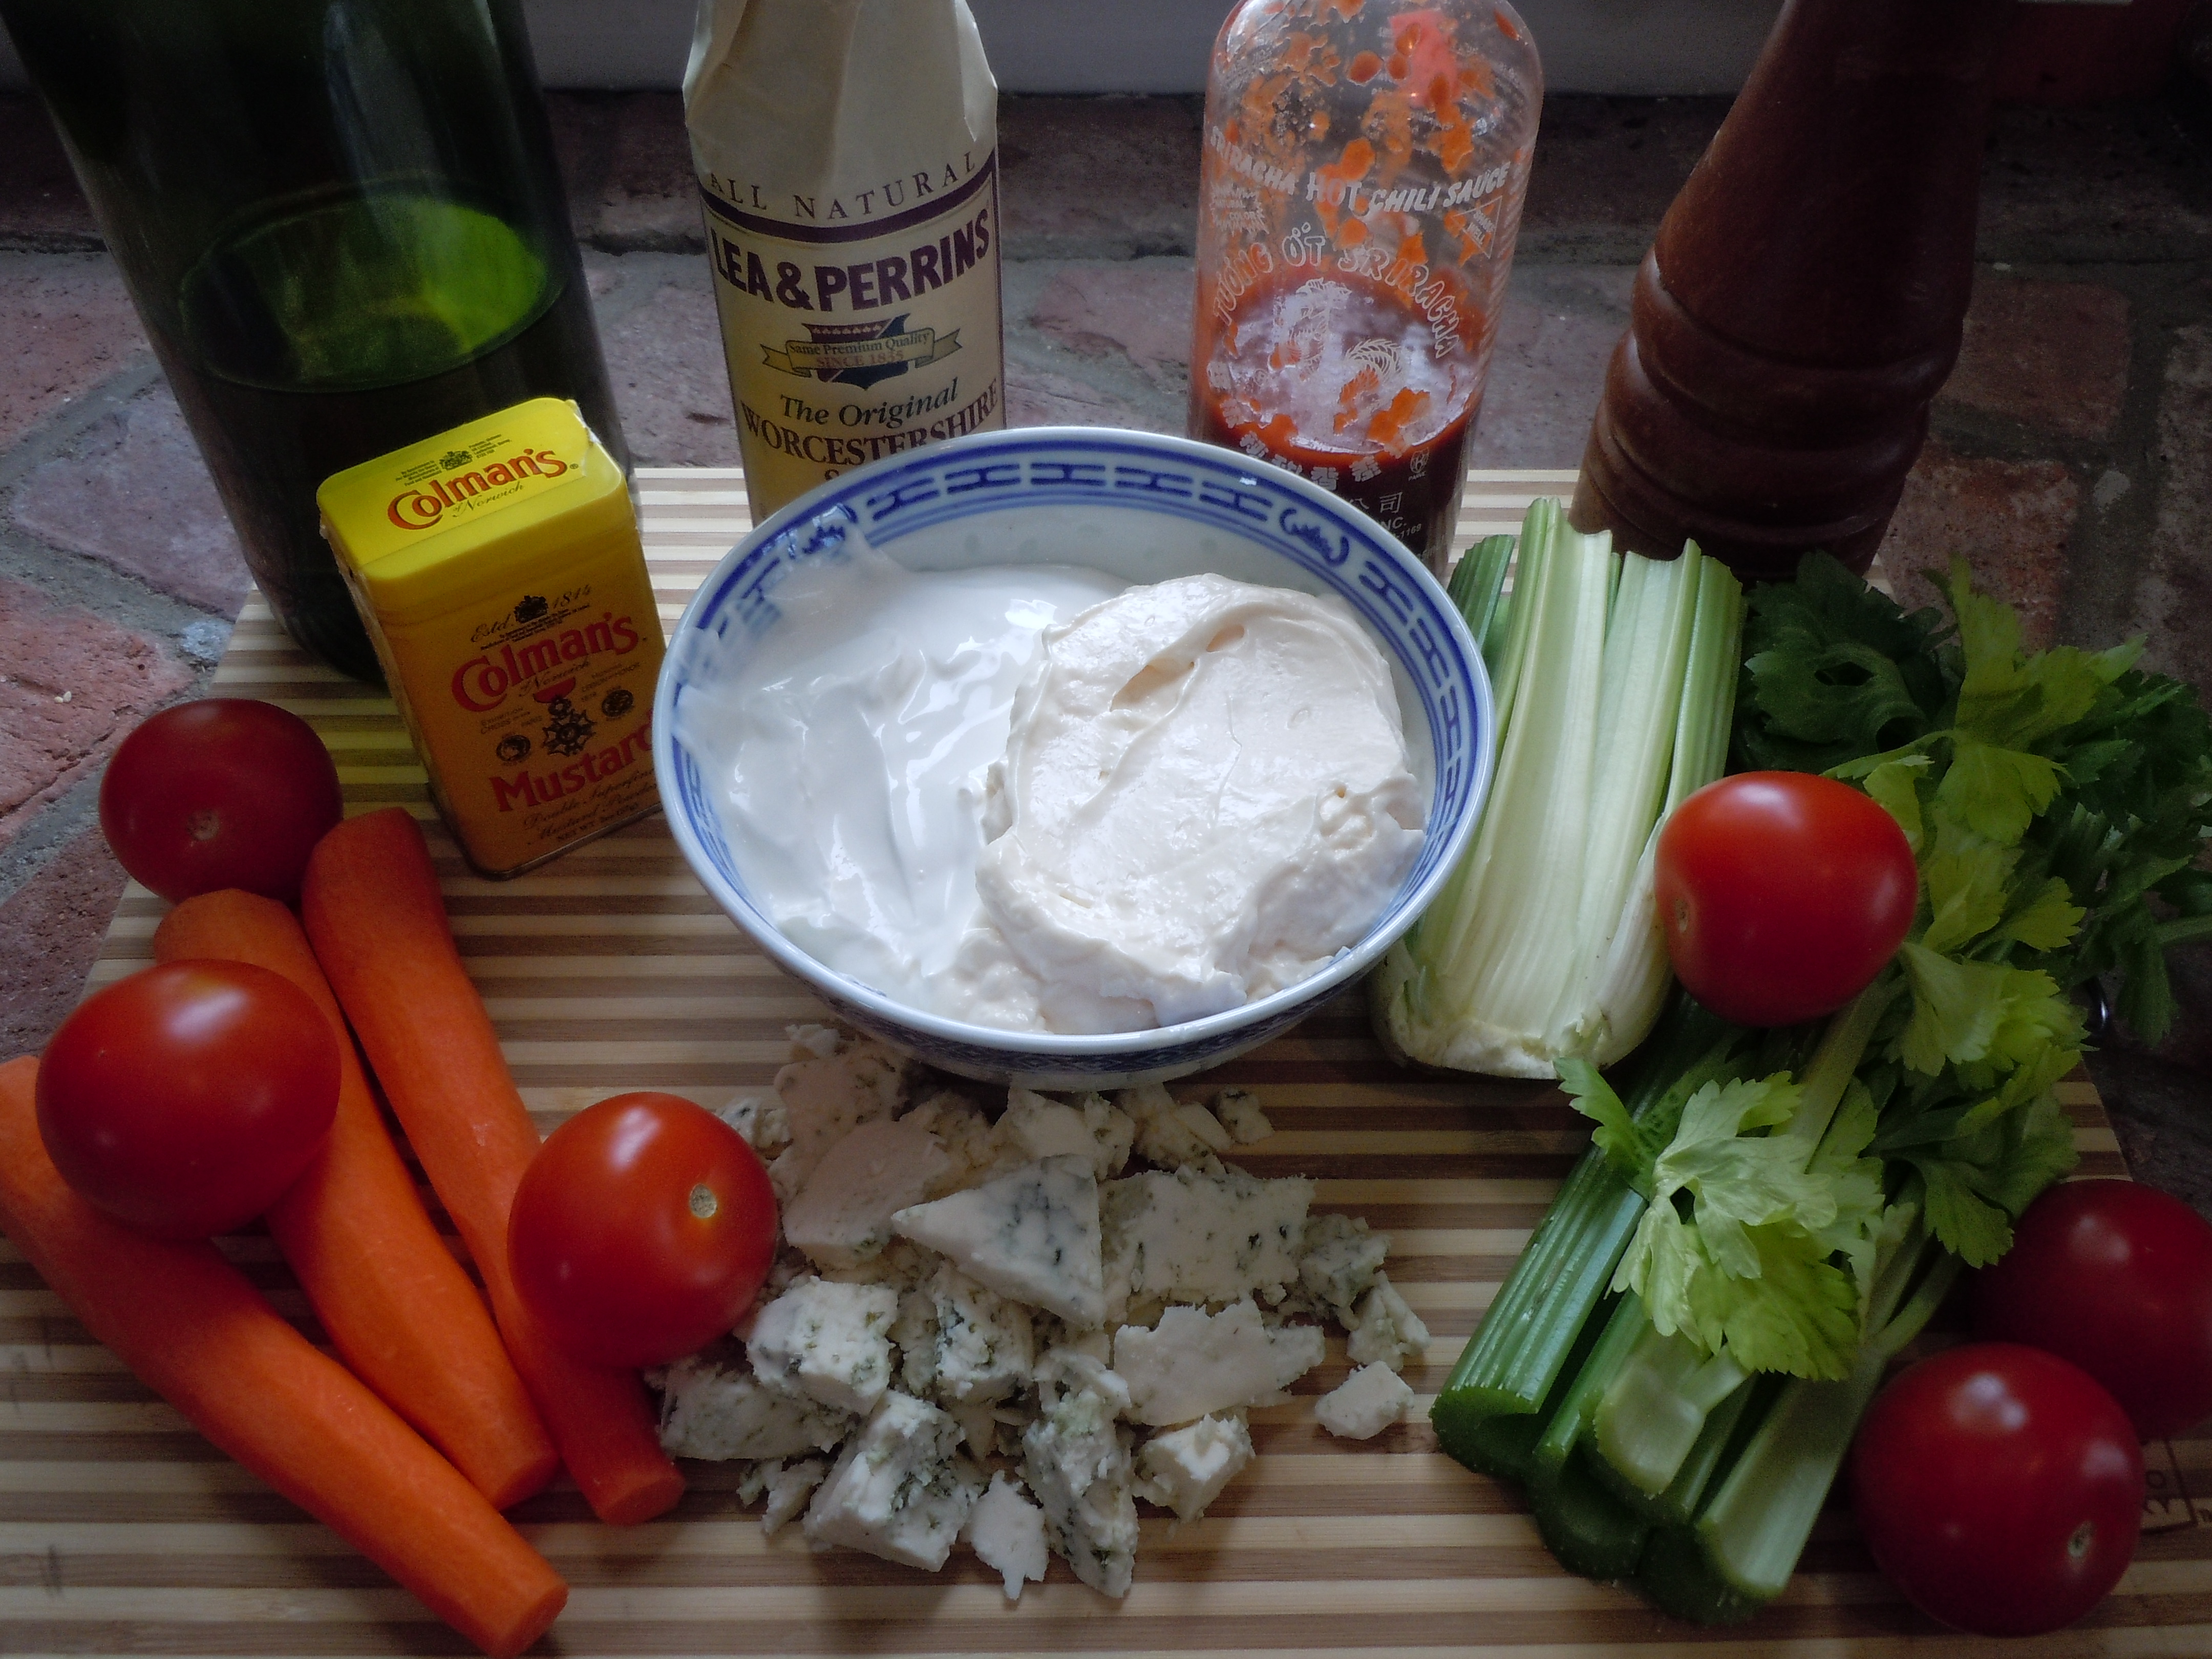
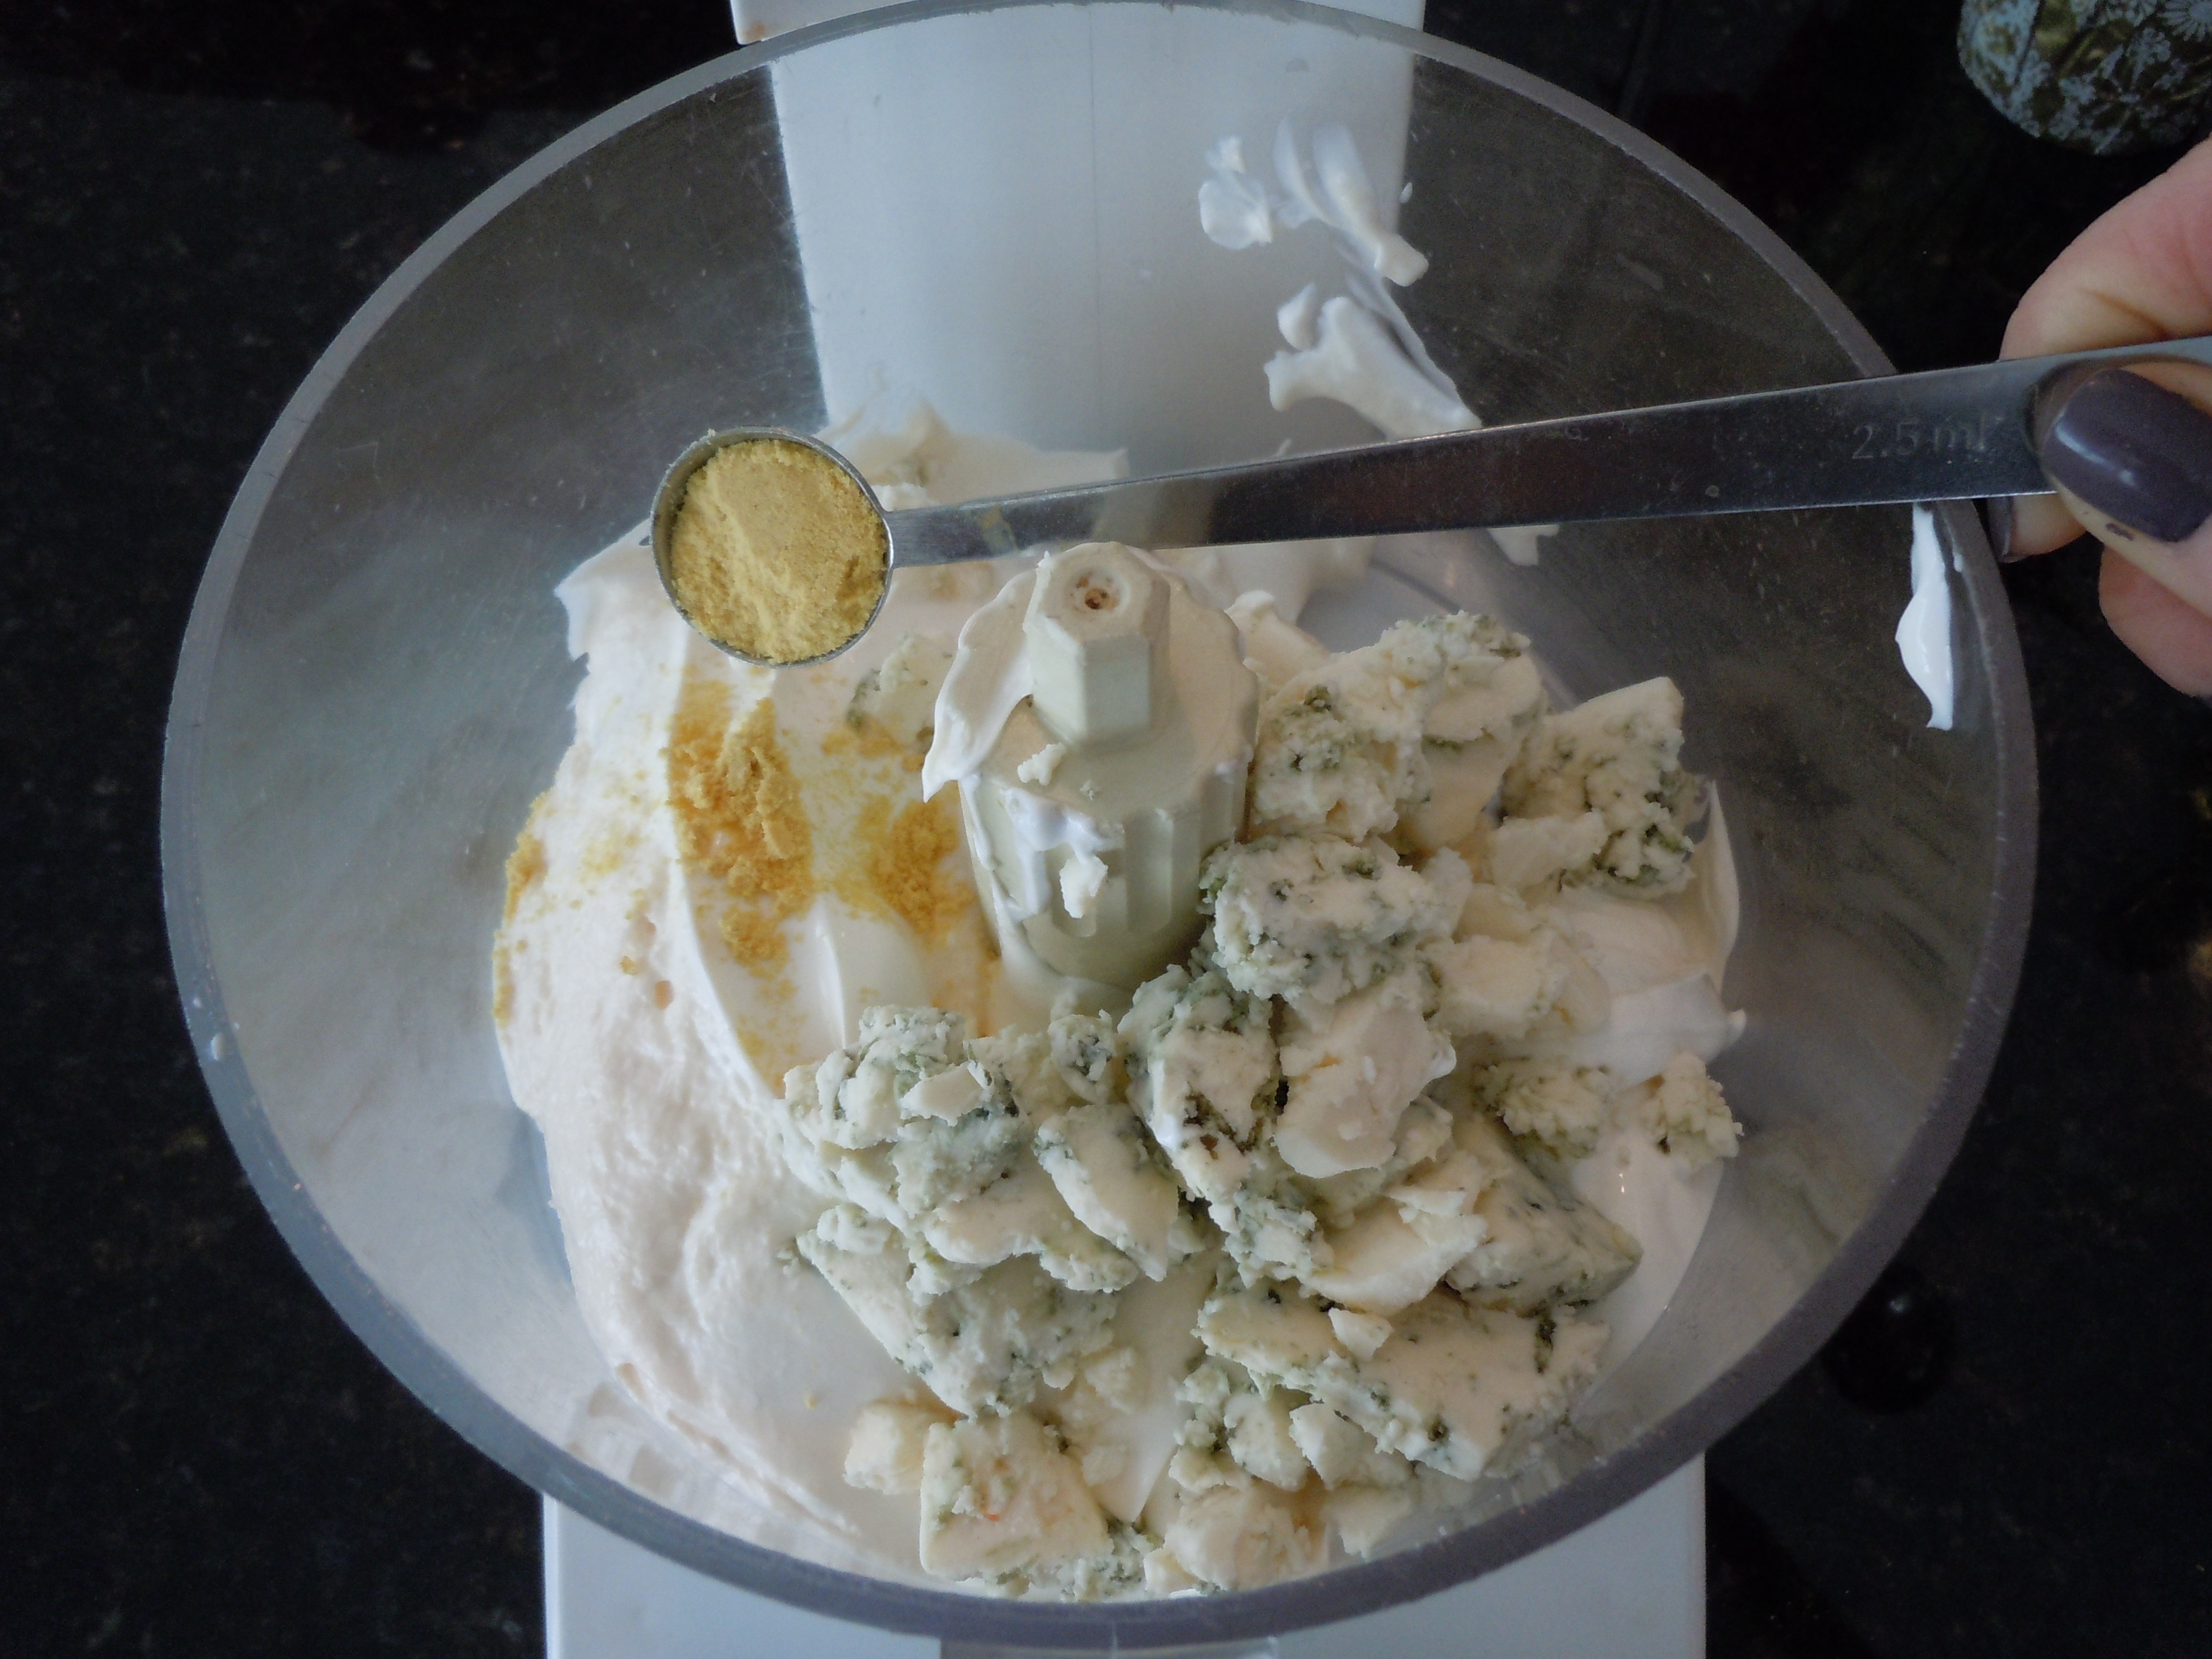
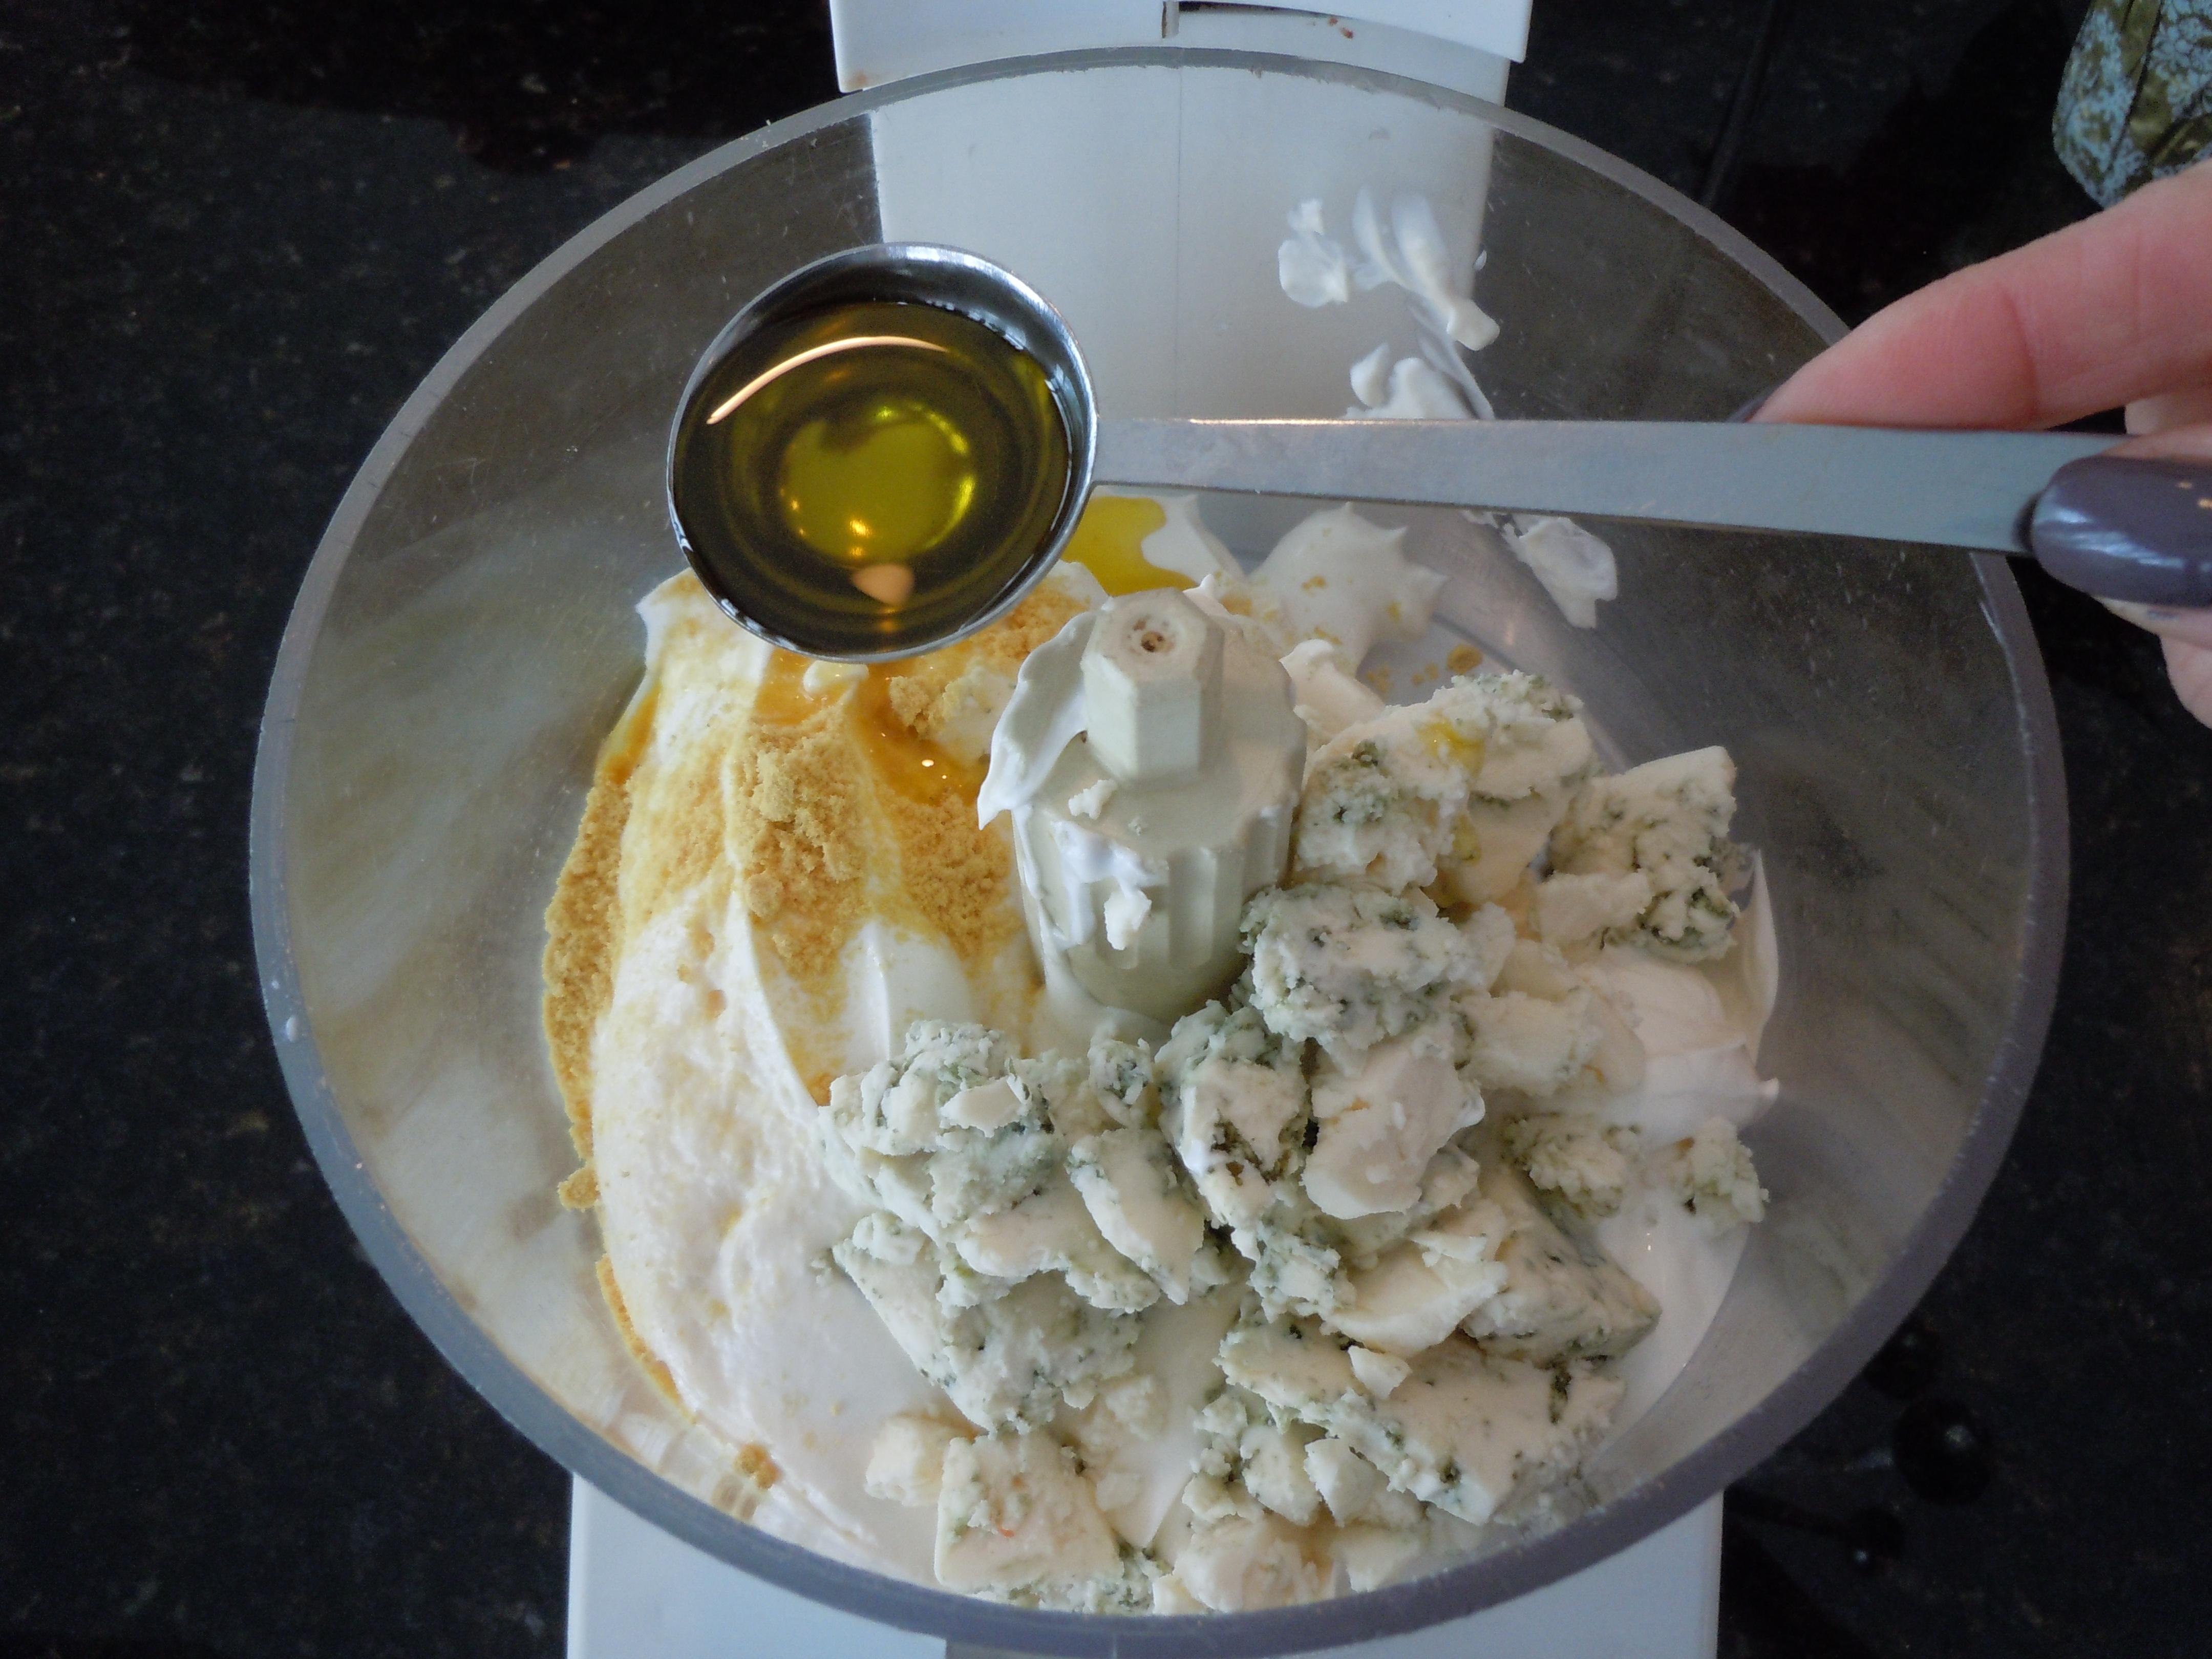
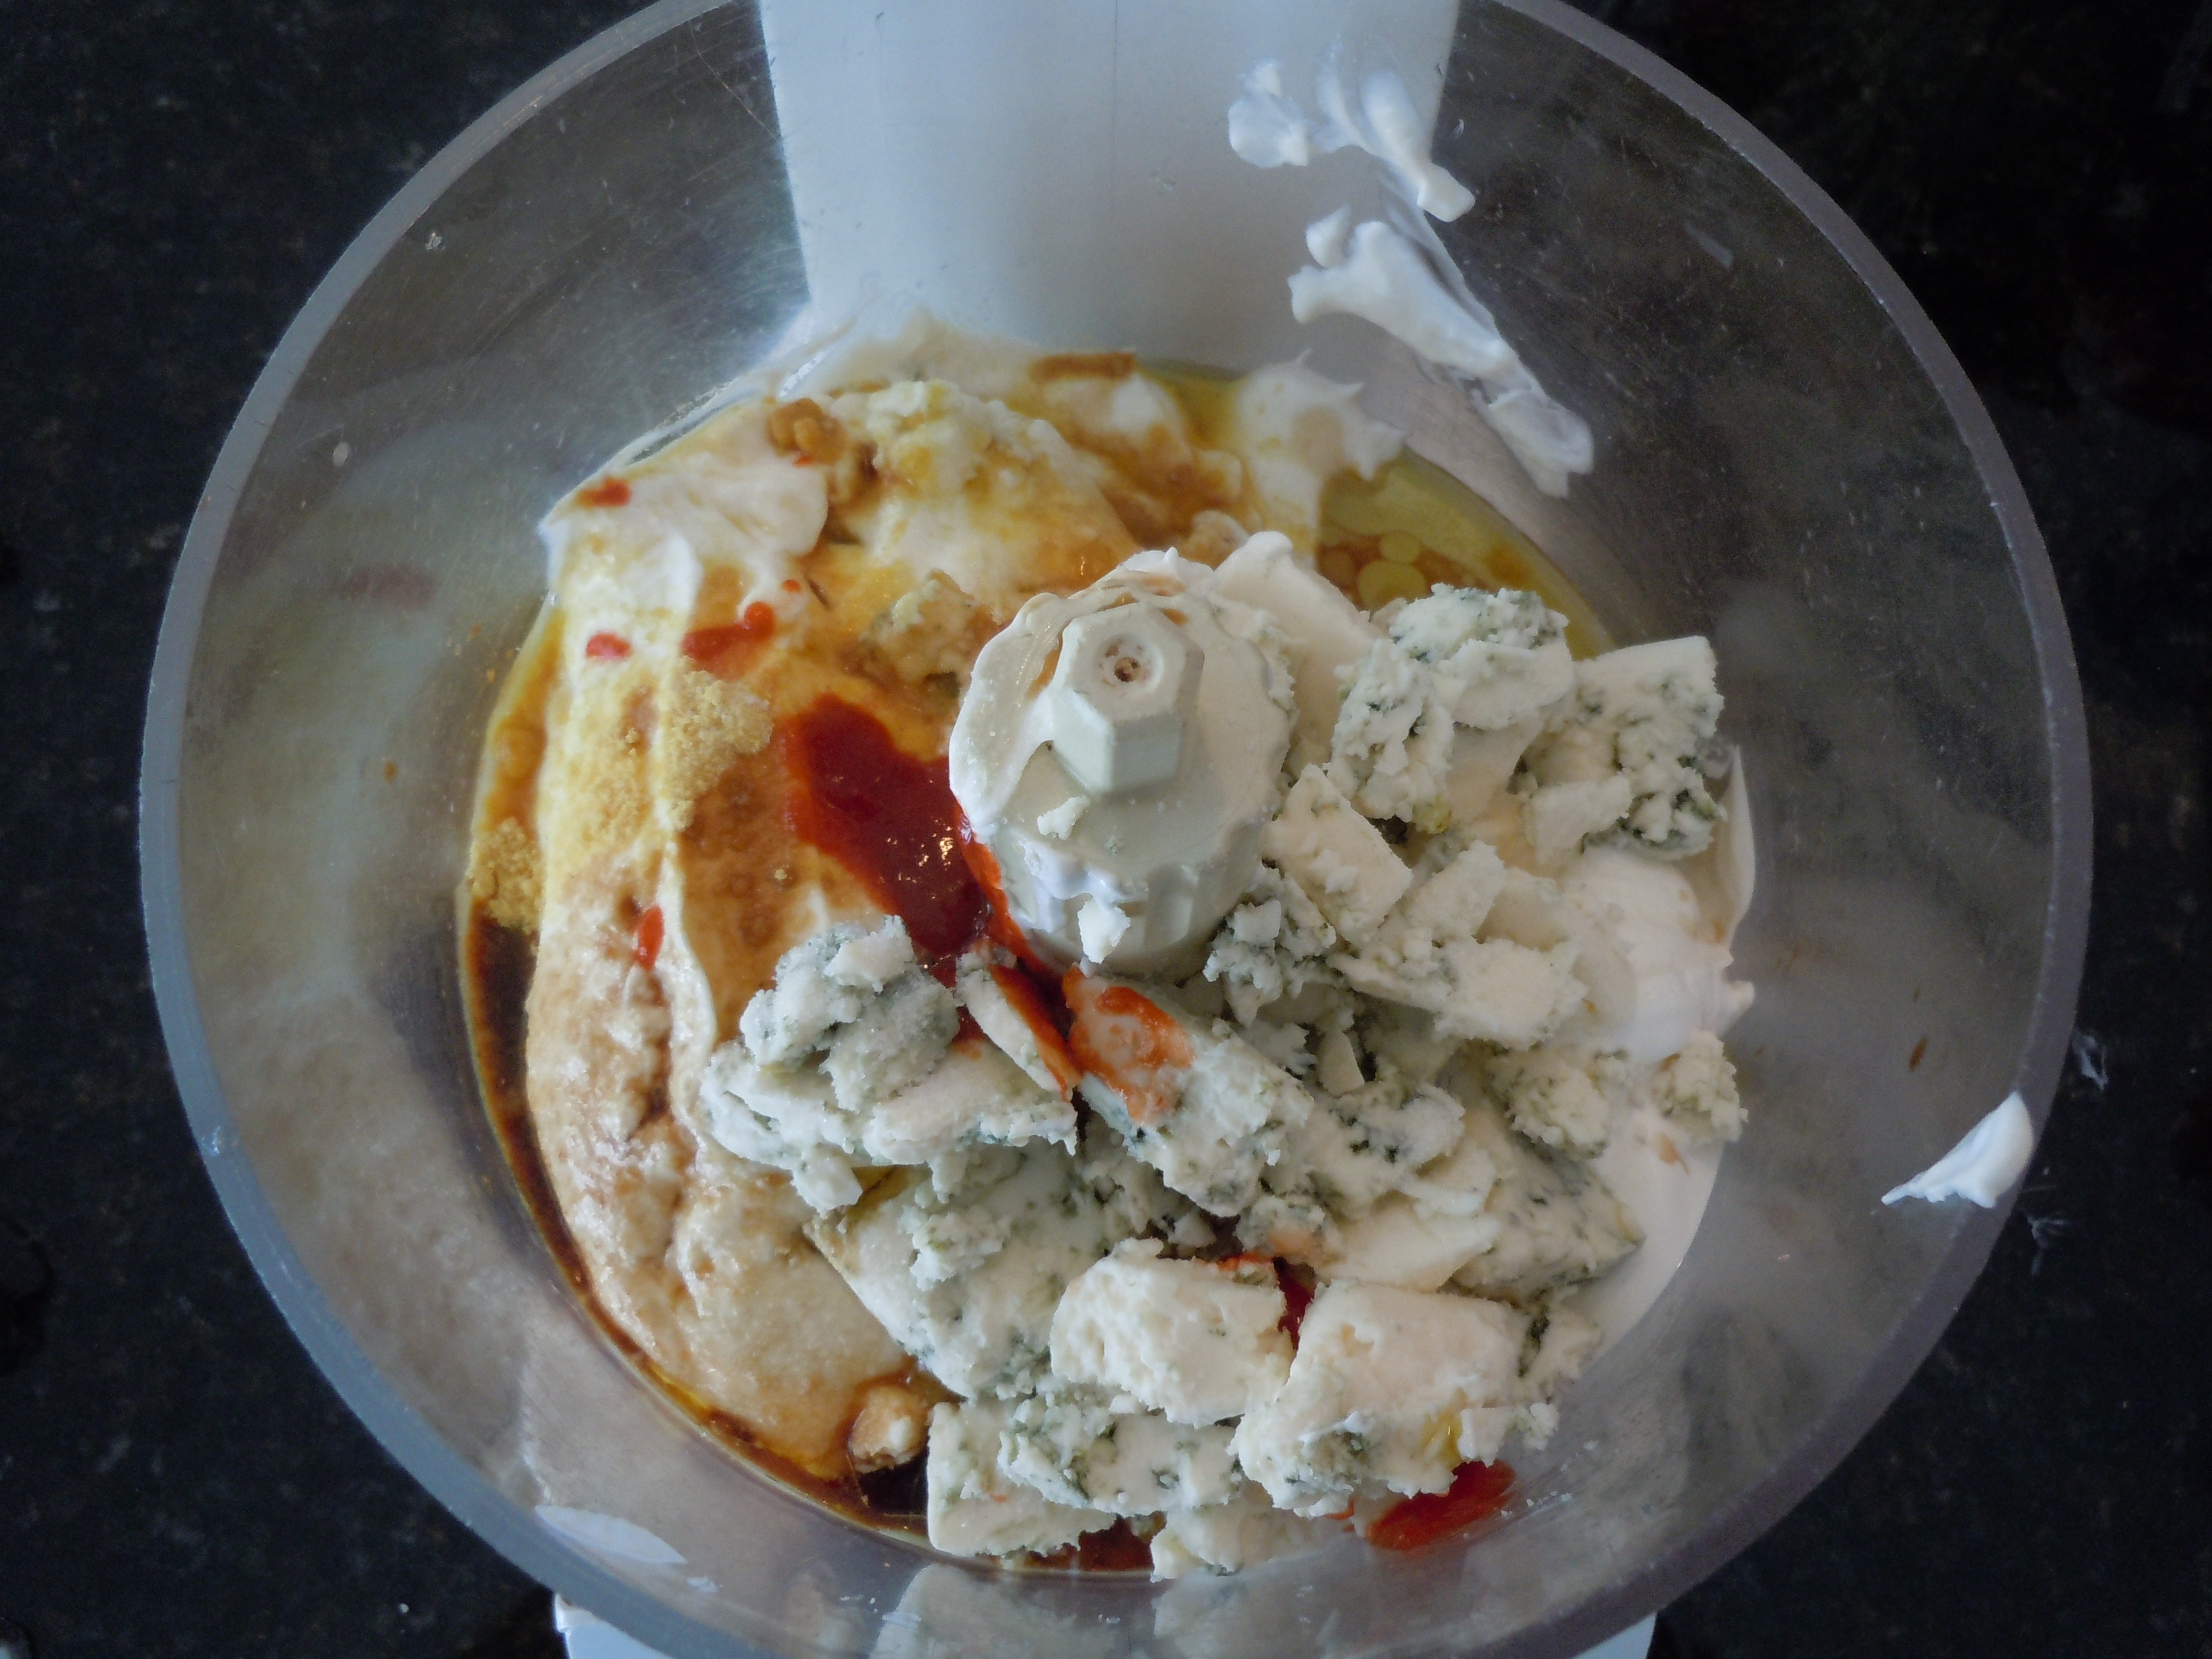
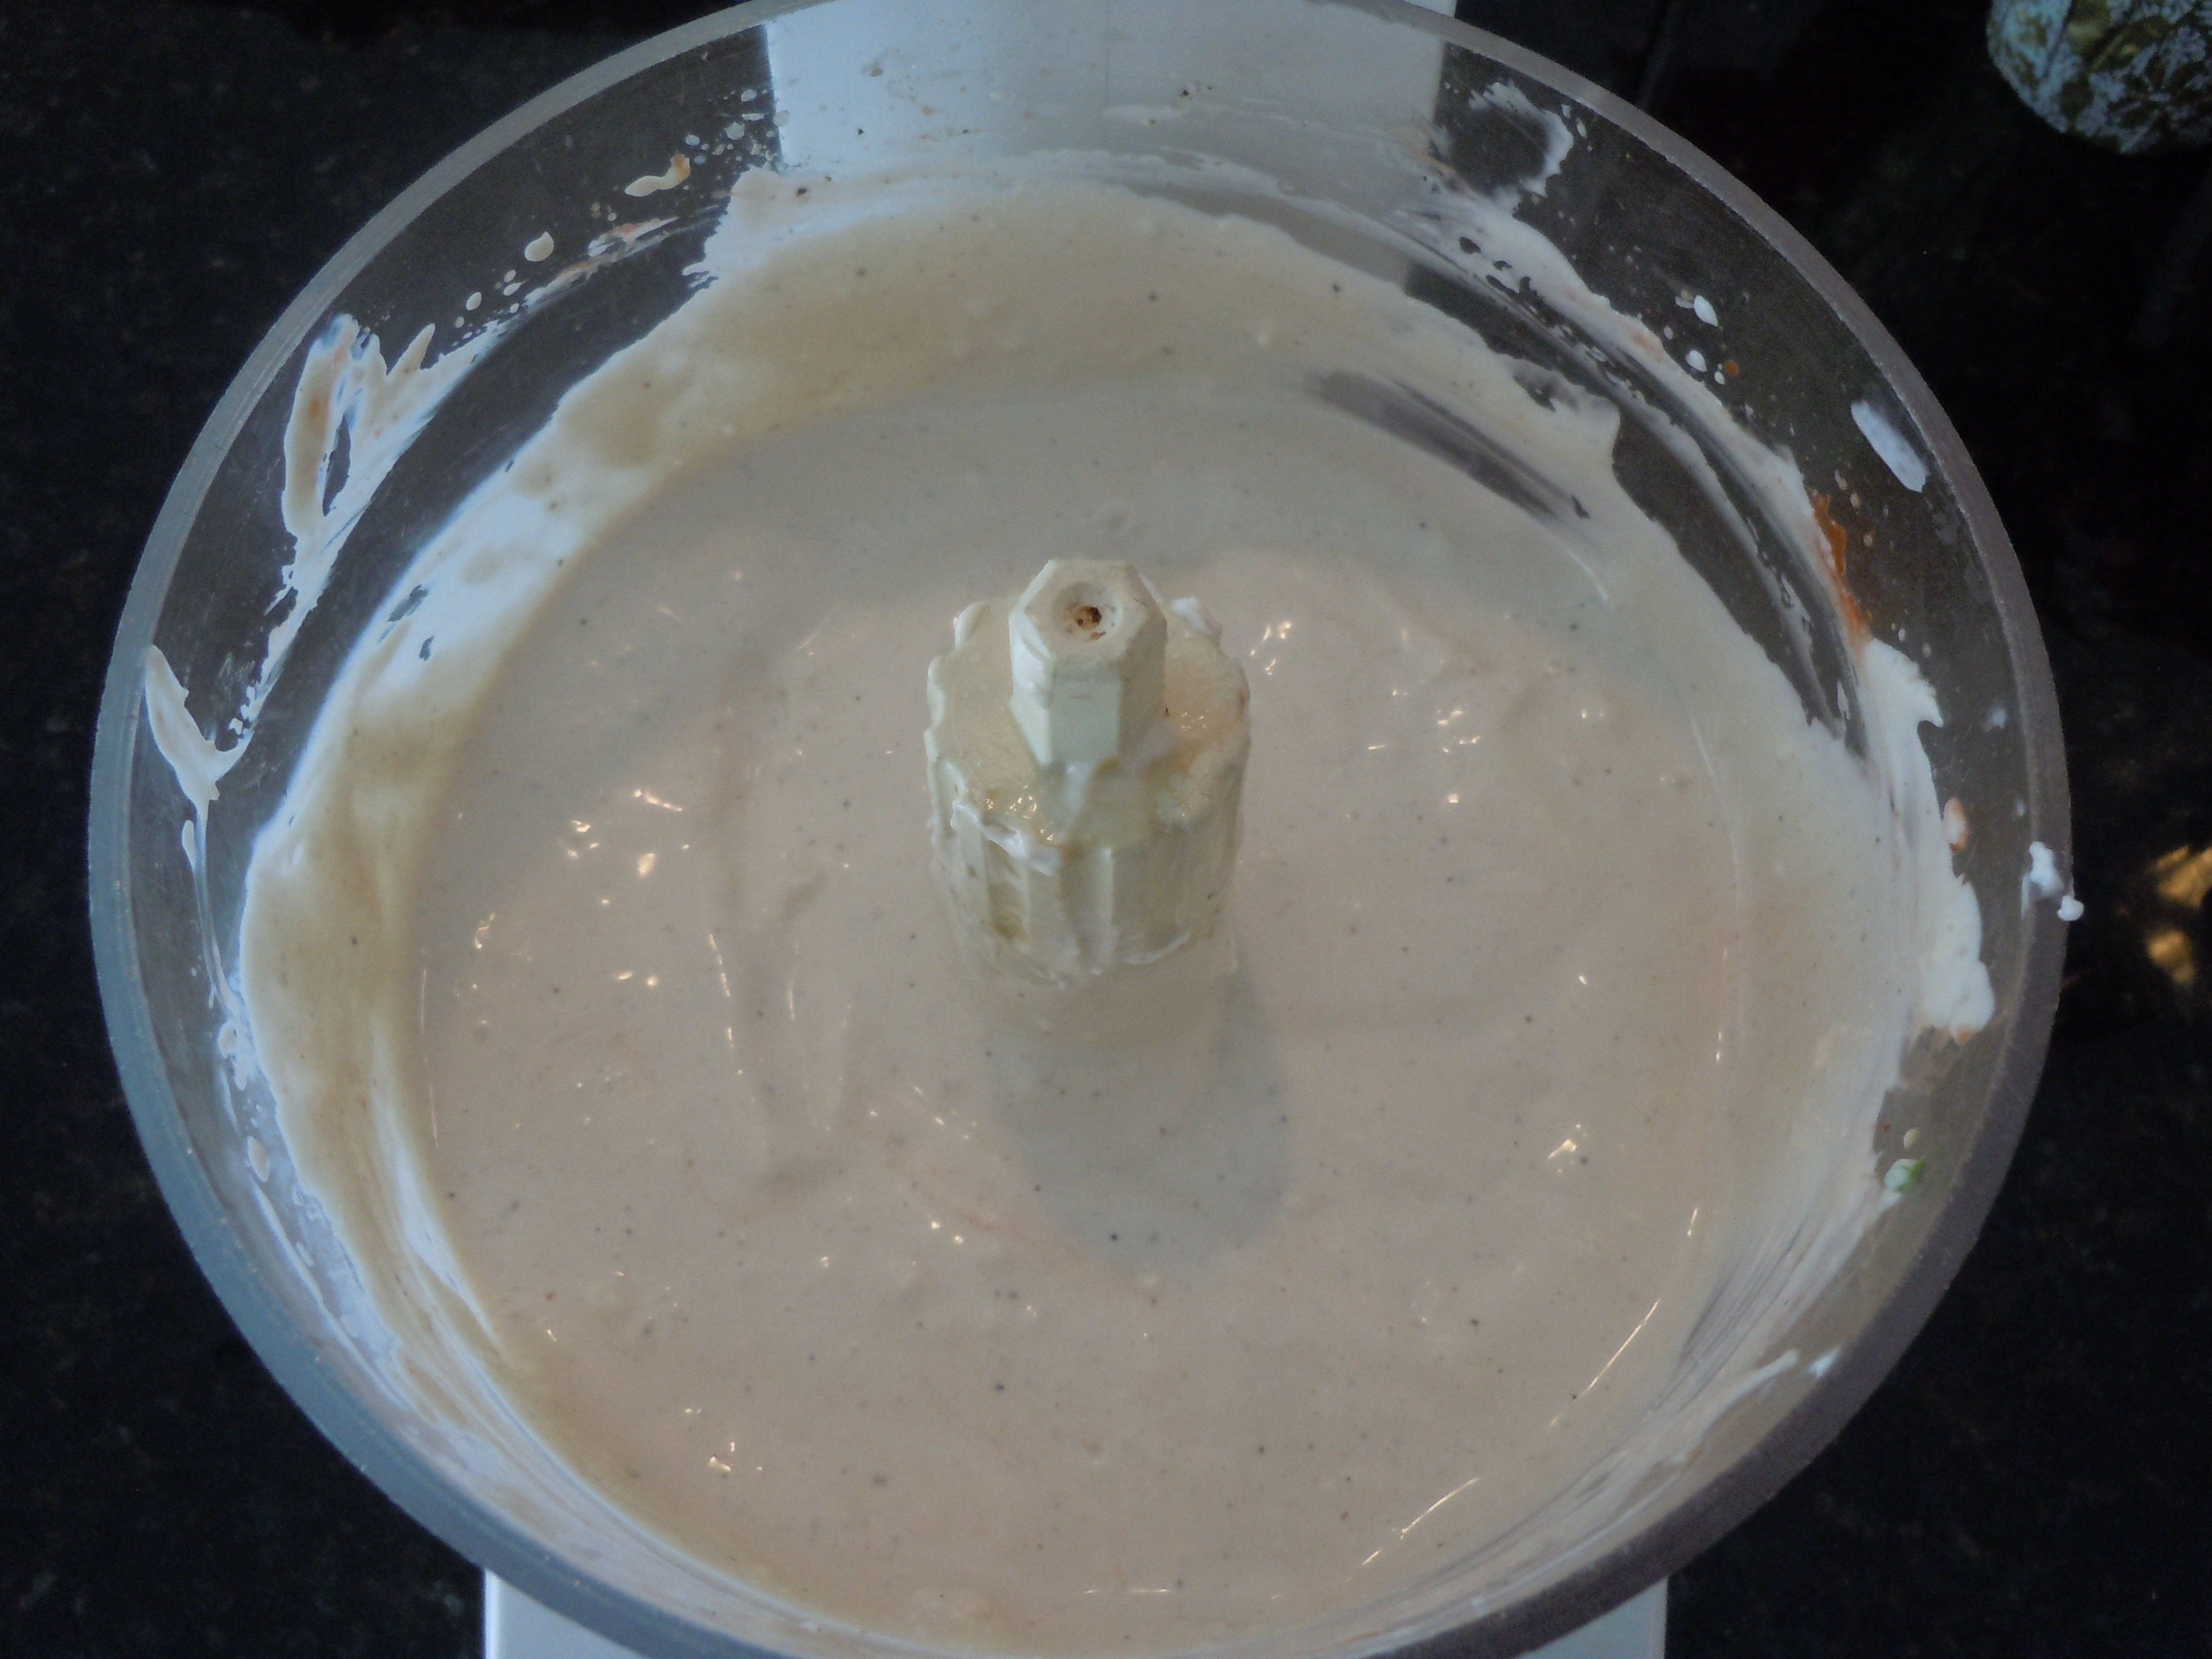
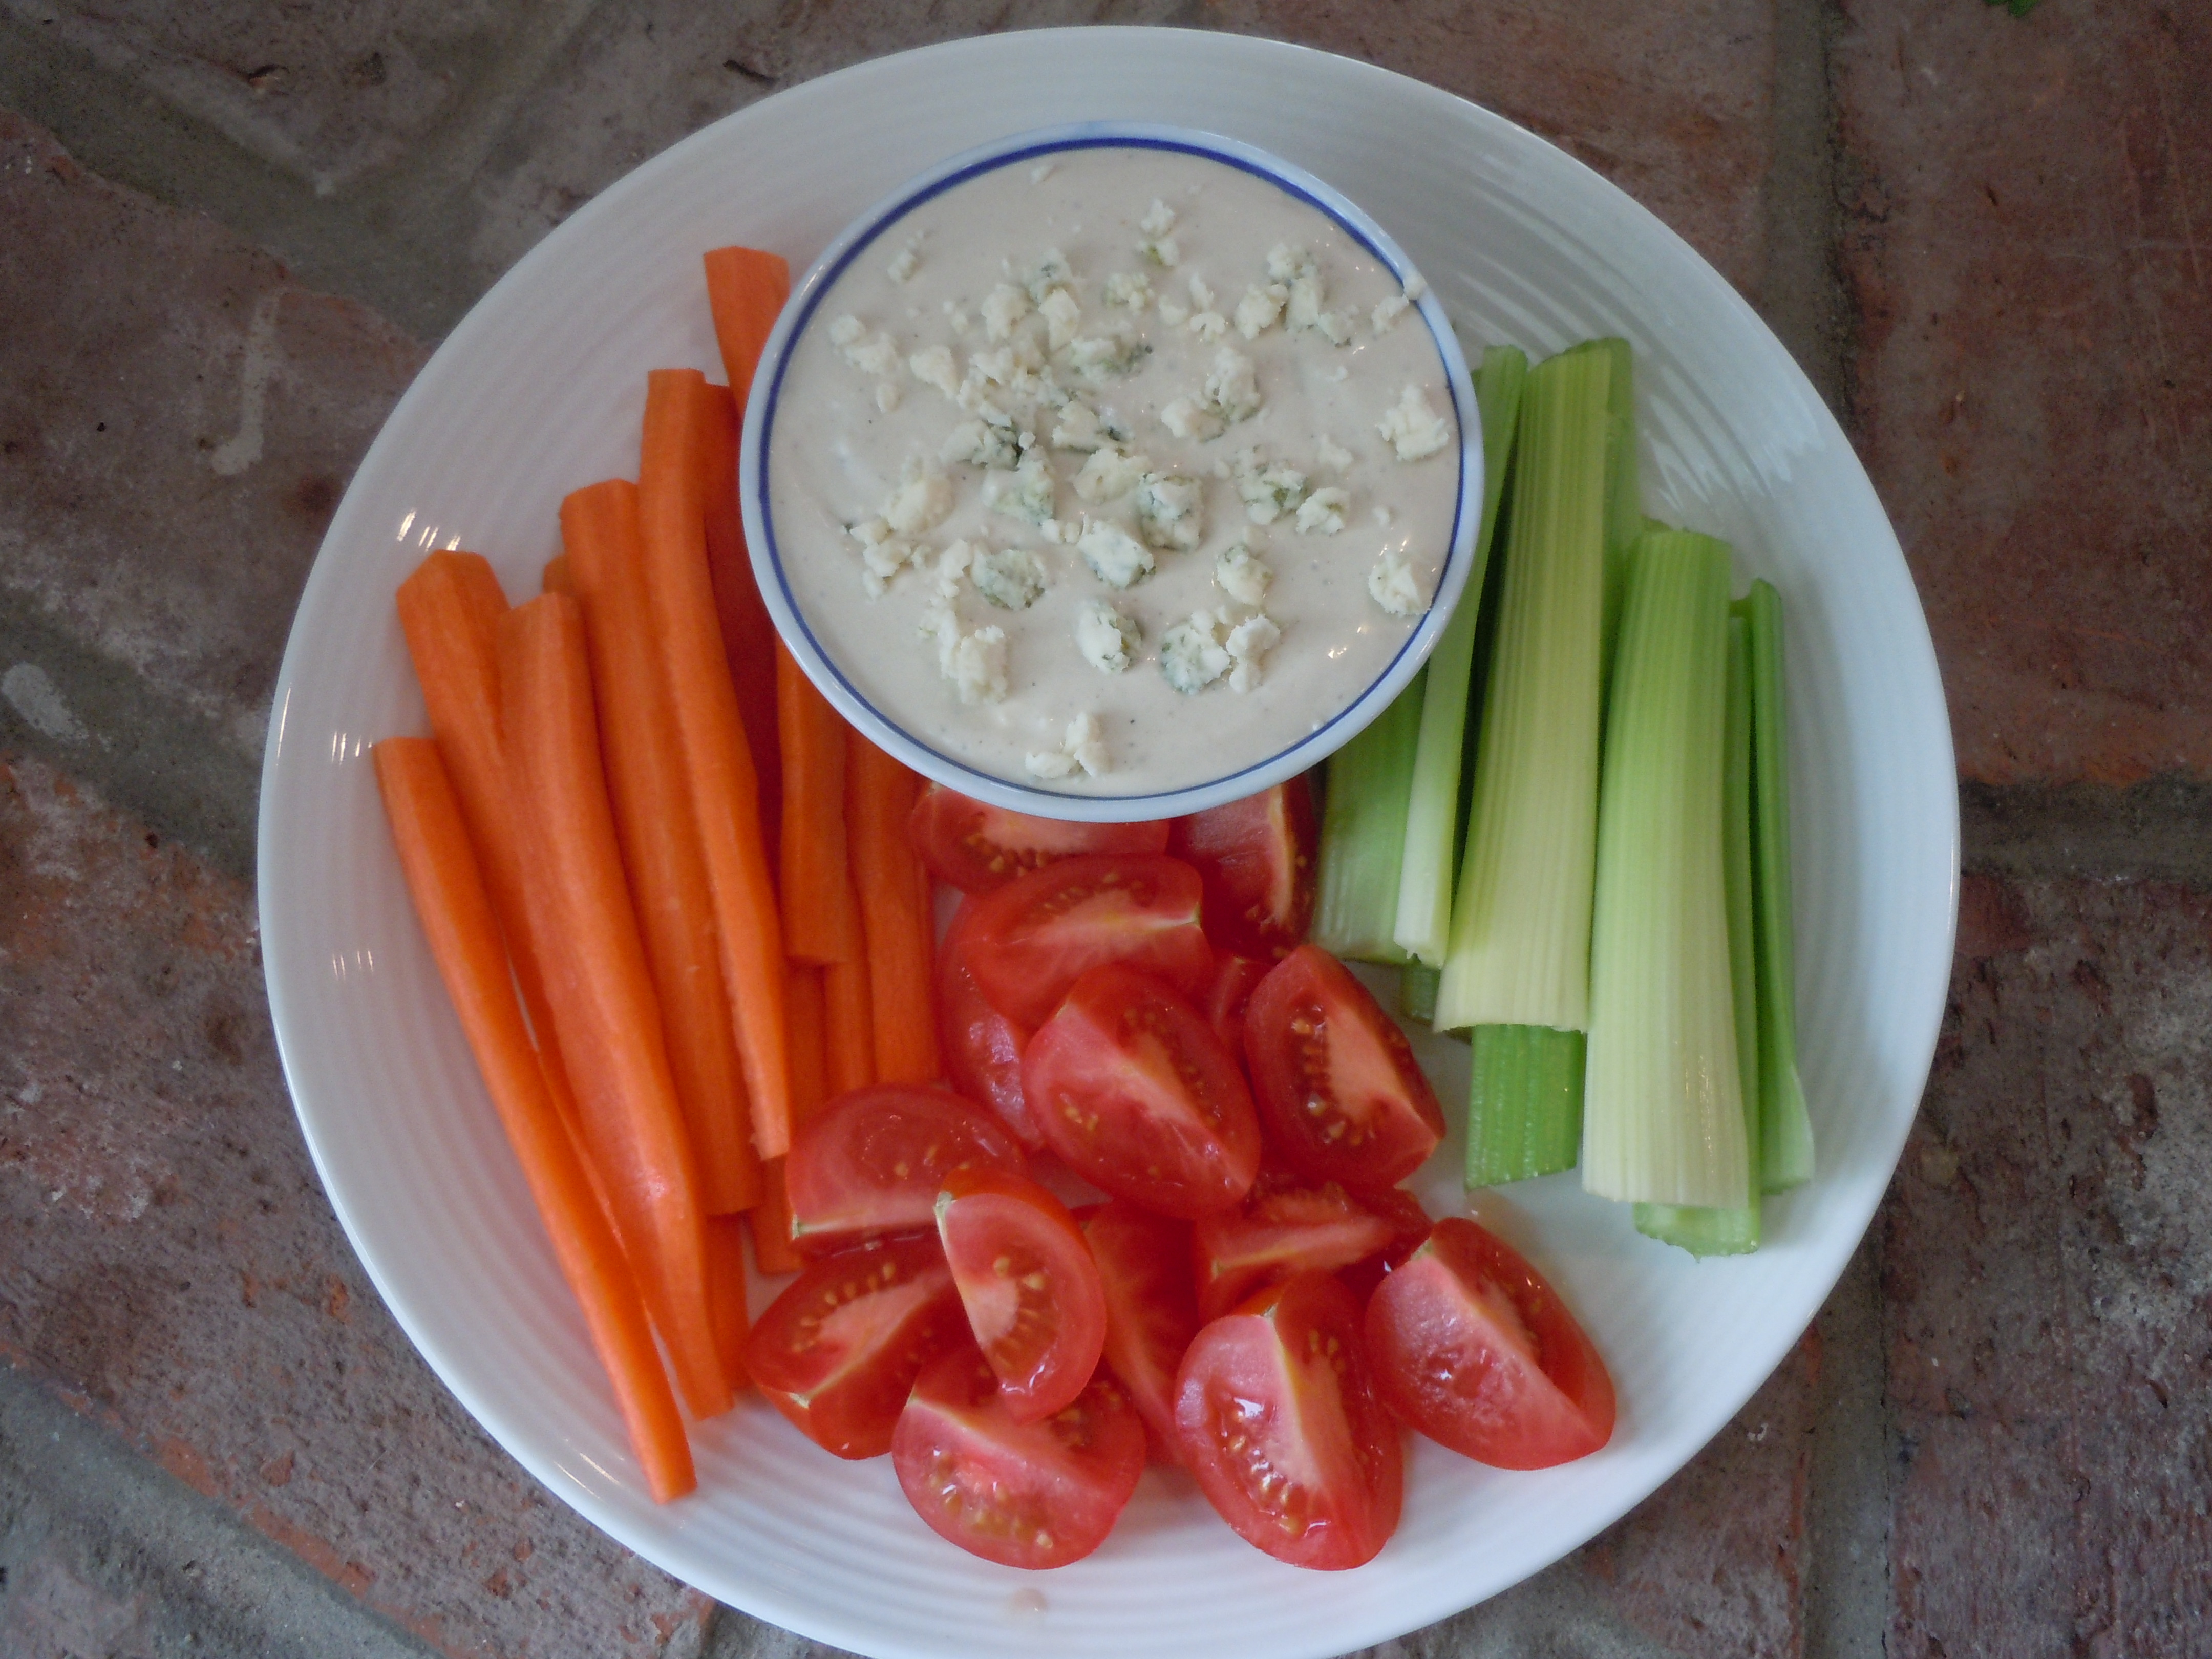
 I always make this dressing when I make my chicken wings or when I buy blue for my
  You may want to add in some other yummy appetizers like


 You may want to try some


