Roasted Beet Salad with Mint & Feta
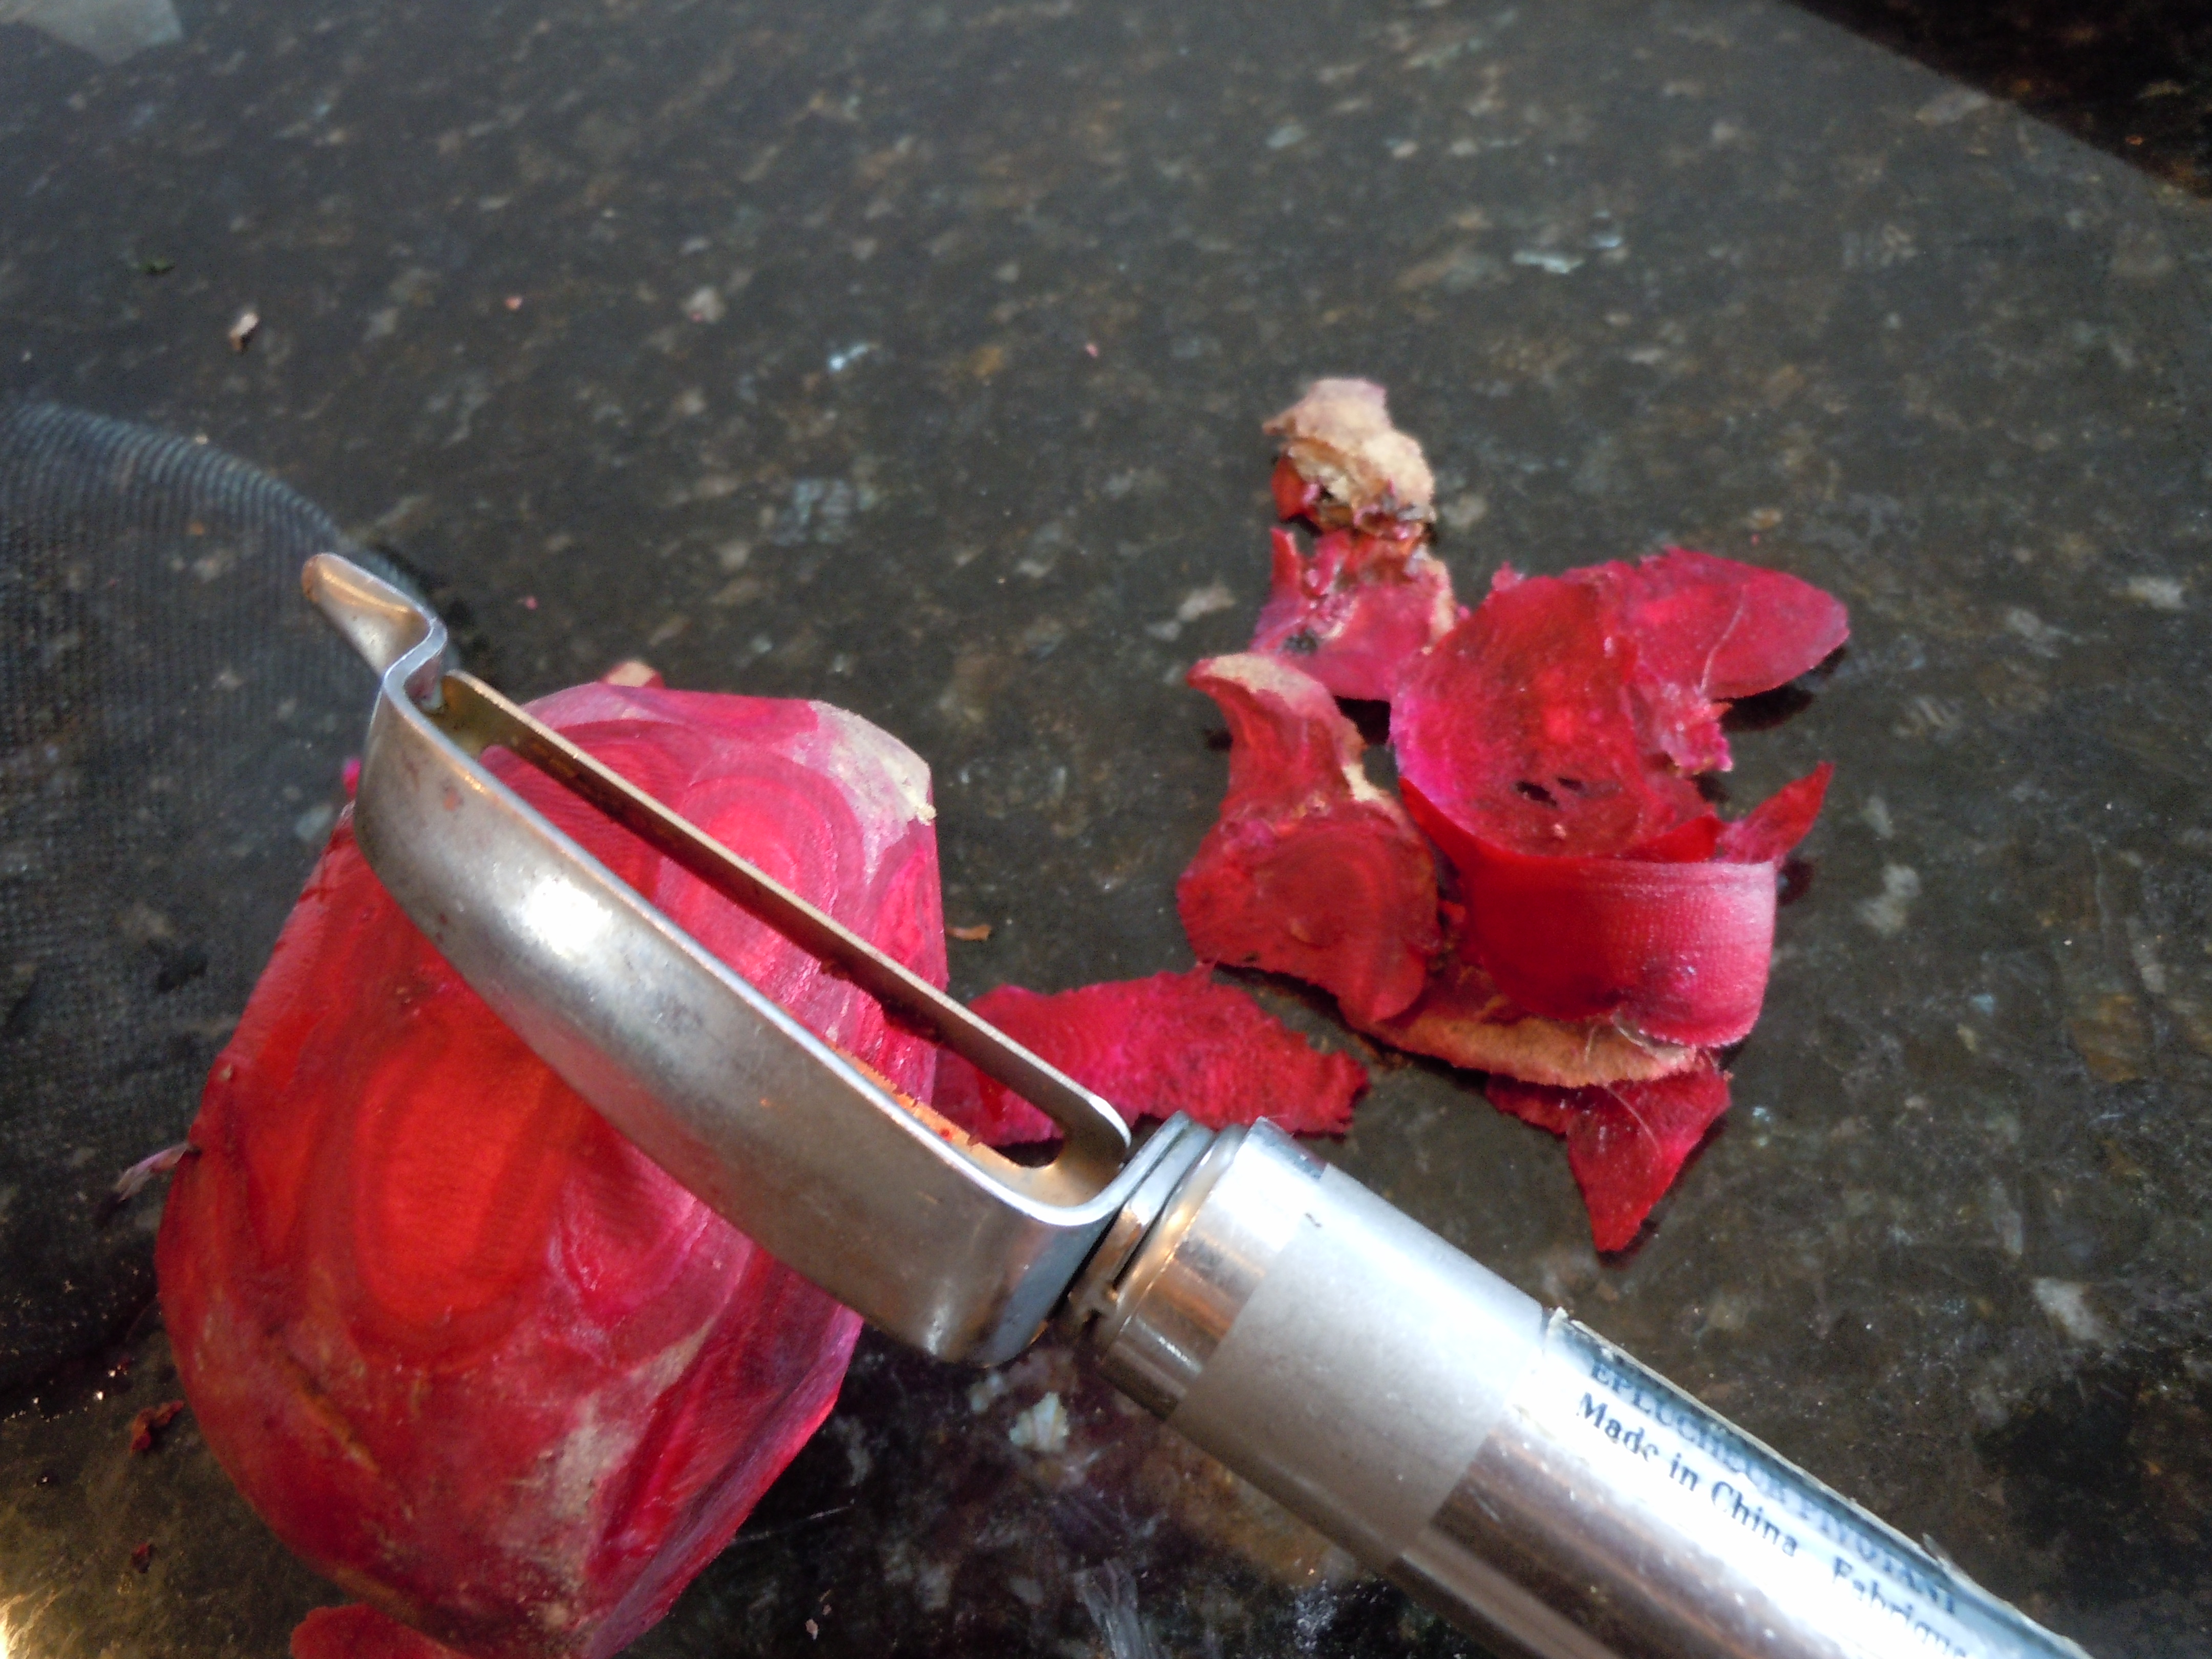
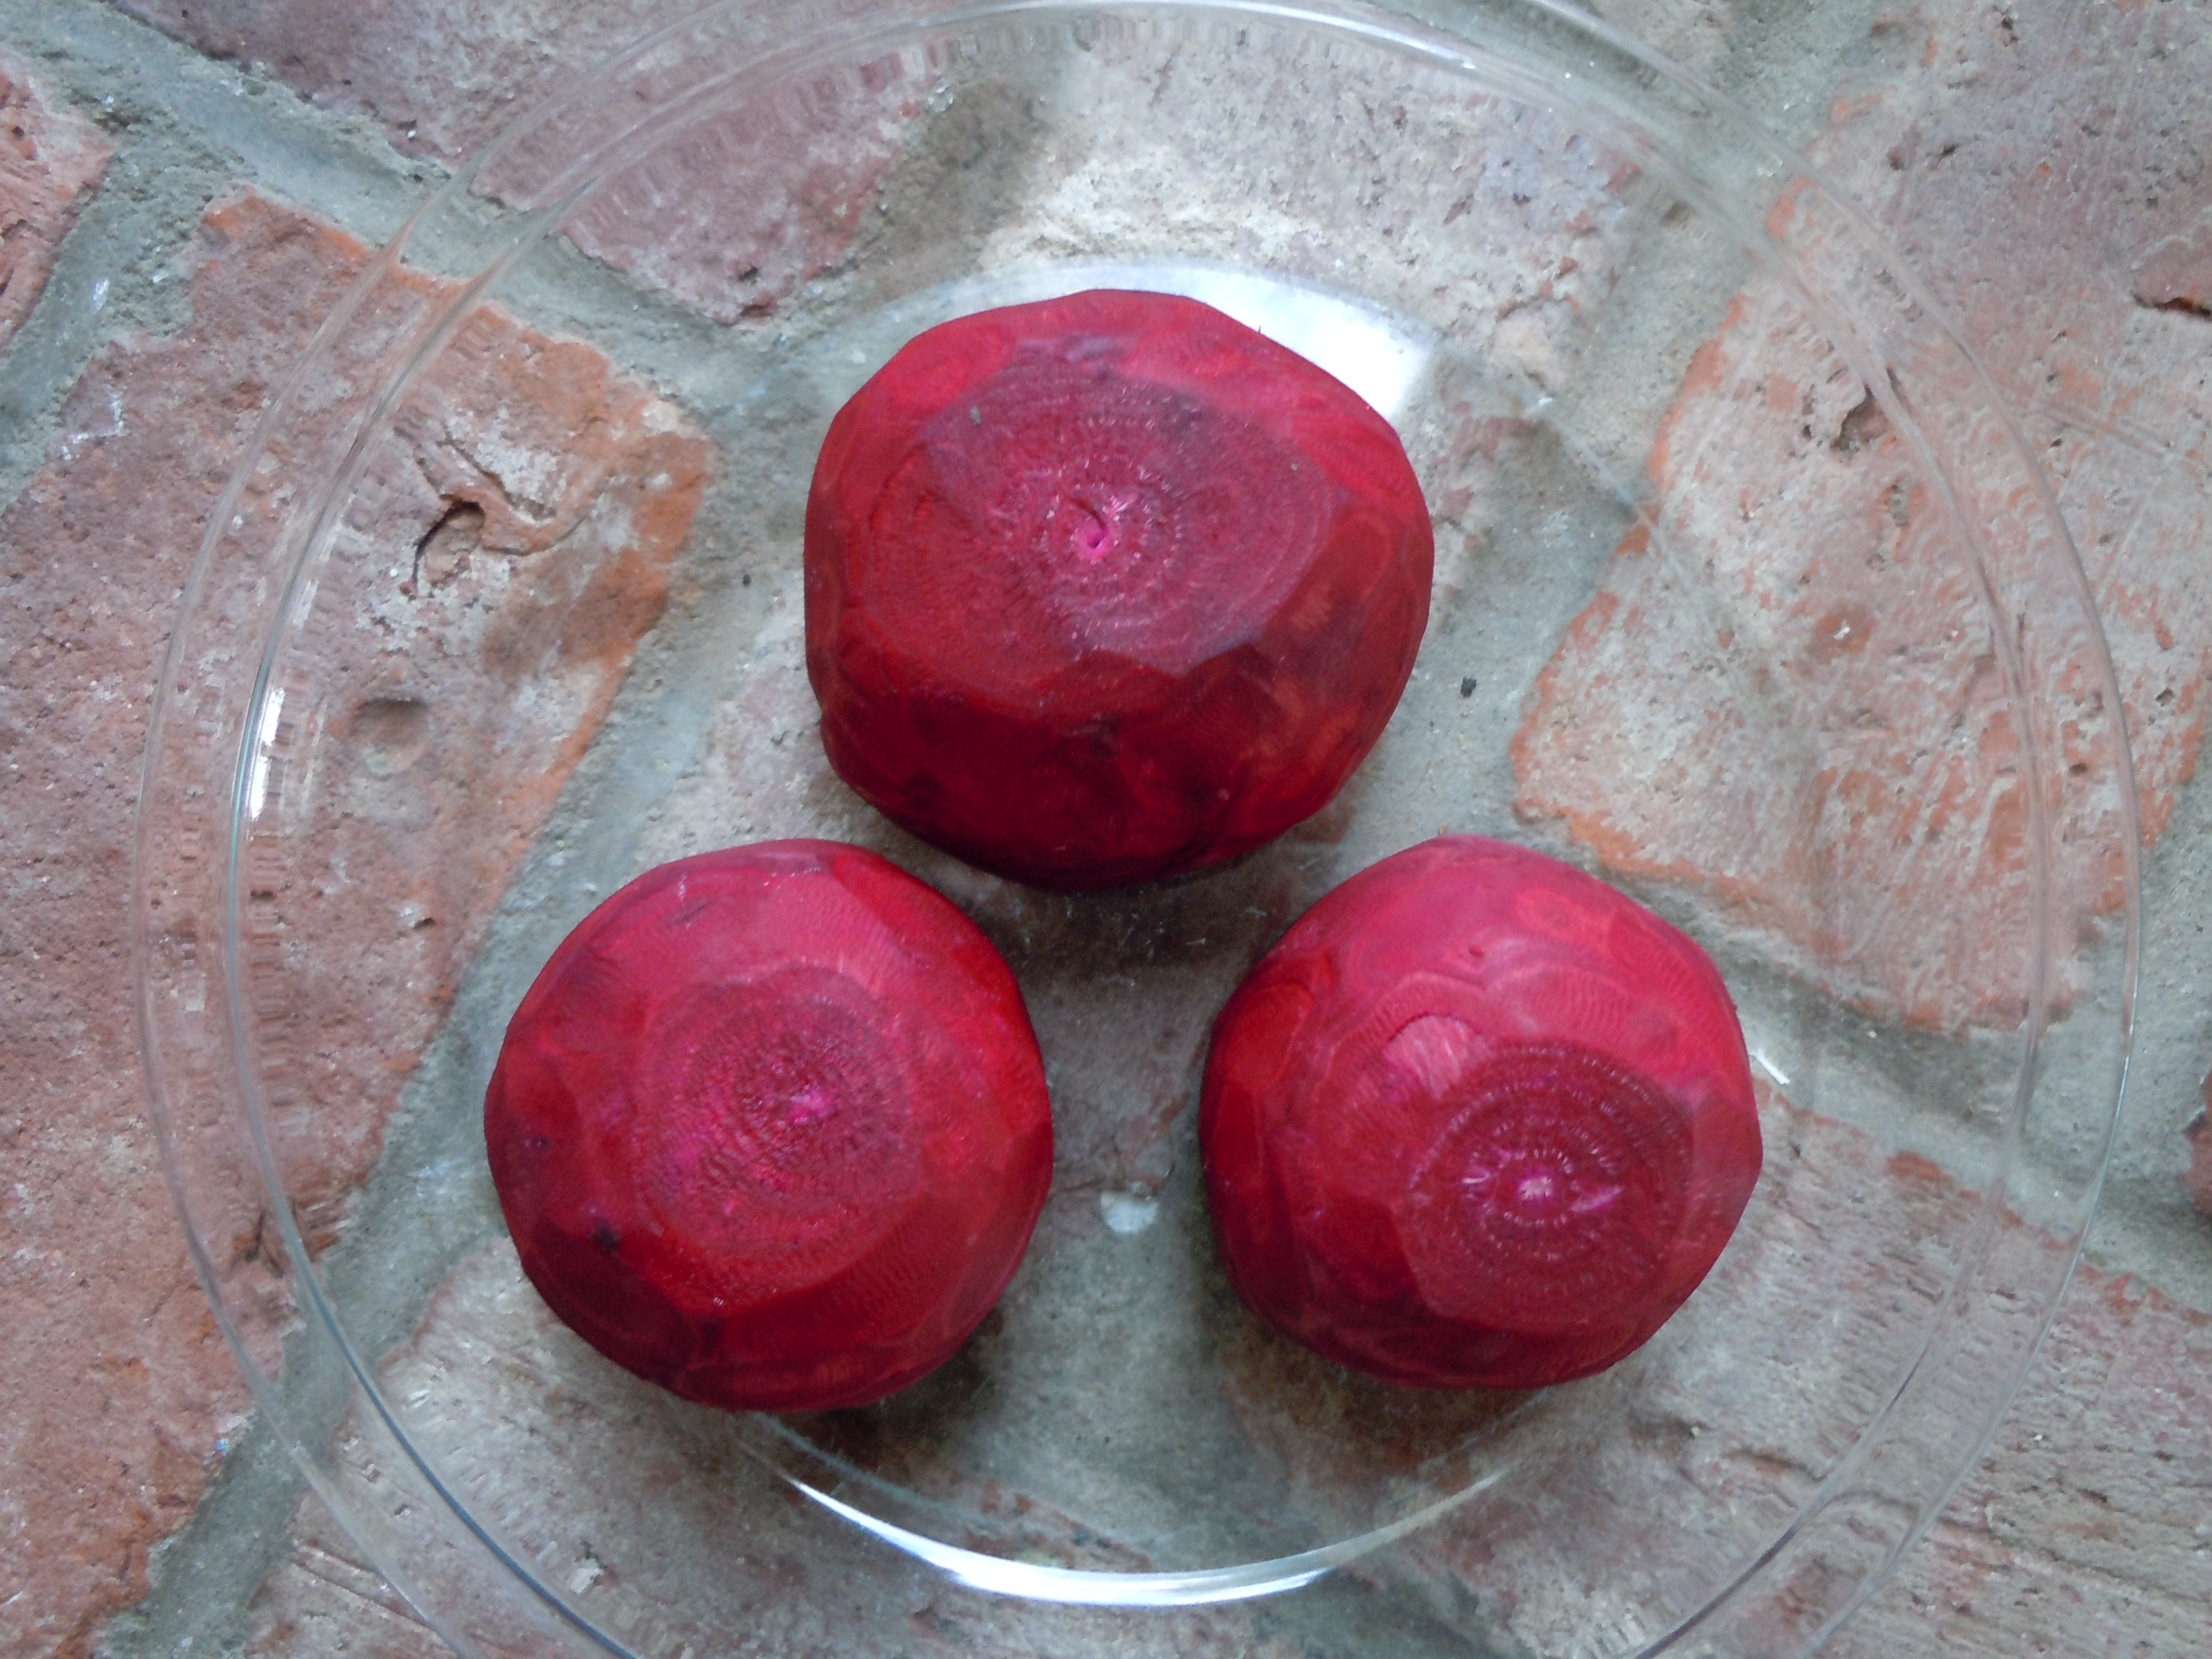
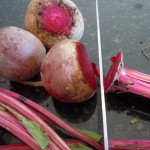
For anyone who loves beets as much as I do and wants an easier way to prepare them this is your answer! In my roasted beet recipe you wash them, peel them with a potato peeler, slice and roast them for 15 minutes…that’s it. You use a potato peeler with the giant size beets because they get such a tough, dirty exterior, but if you have medium to small beets, the younger ones, there is NO NEED to peel them at all!…use a mushroom brush or brand new sponge and rub them under water and you will see how nice the outside of the beet gets cleaned up, slice and roast. Then you let them cool, add some vinegar, mint and feta and you have yourself a sweet beet salad. Now I show you how to stack them in a cylinder for a nice presentation if you are having friends over but if you want to be casual just toss them in a bowl, sprinkle with a mint-feta mixture and serve. You’ll look at beets in a whole new way and you won’t be so apt to procrastinate. If you go into a whole foods for produce they are going to have to prettiest beets you have ever seen. You can get golden beets, sweet naturally stripe beets (called chioggia beets) in pink and golden hues with darker pink or white swirls going around. It will take your beet experience to a whole new level.
I like pretty much all good feta but am partial to sheep’s milk feta because I find it creamy and soft in flavor. You really don’t need that much either on the salad just a sprinkle is good so you don’t loose the taste of the sweet beets. The mint you can pick up anywhere but let me tell you I have peppermint growing wild in my back yard and I love it! You need not pay any attention to it unless you want to try and contain it because mint is a very happy plant that comes back every year and just keeps growing. The aroma is nice and refreshing also to have in your yard.
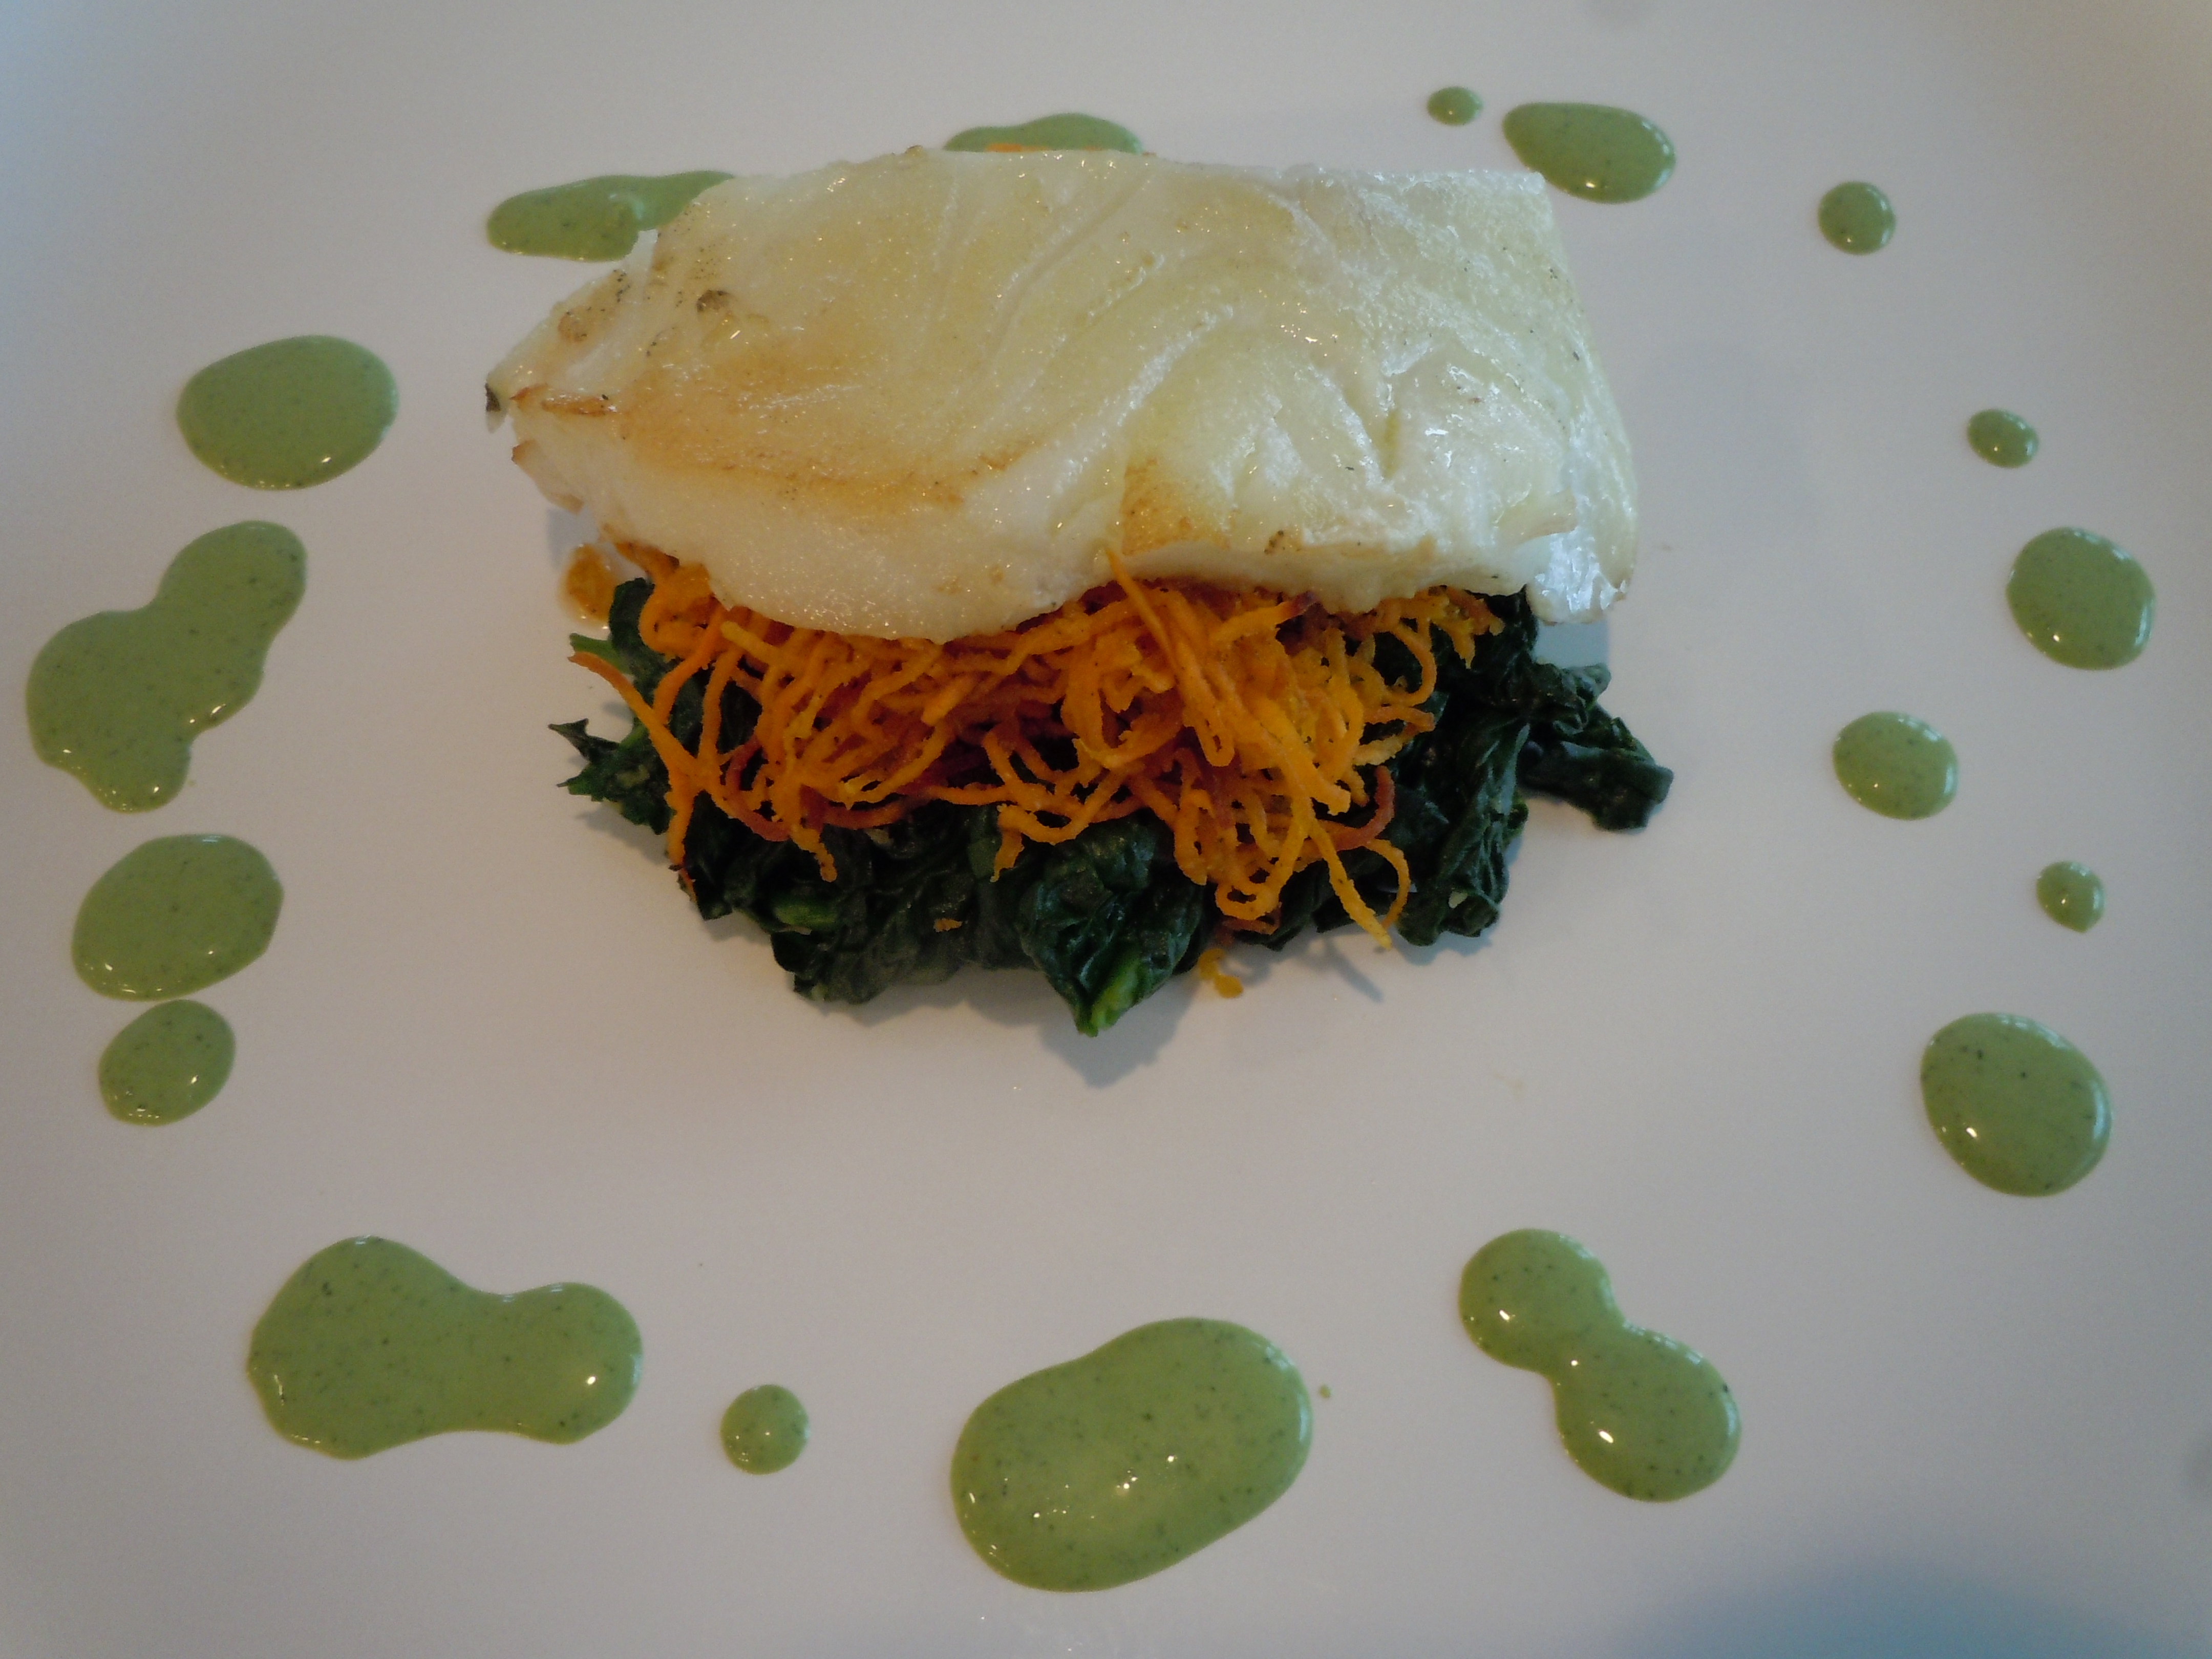
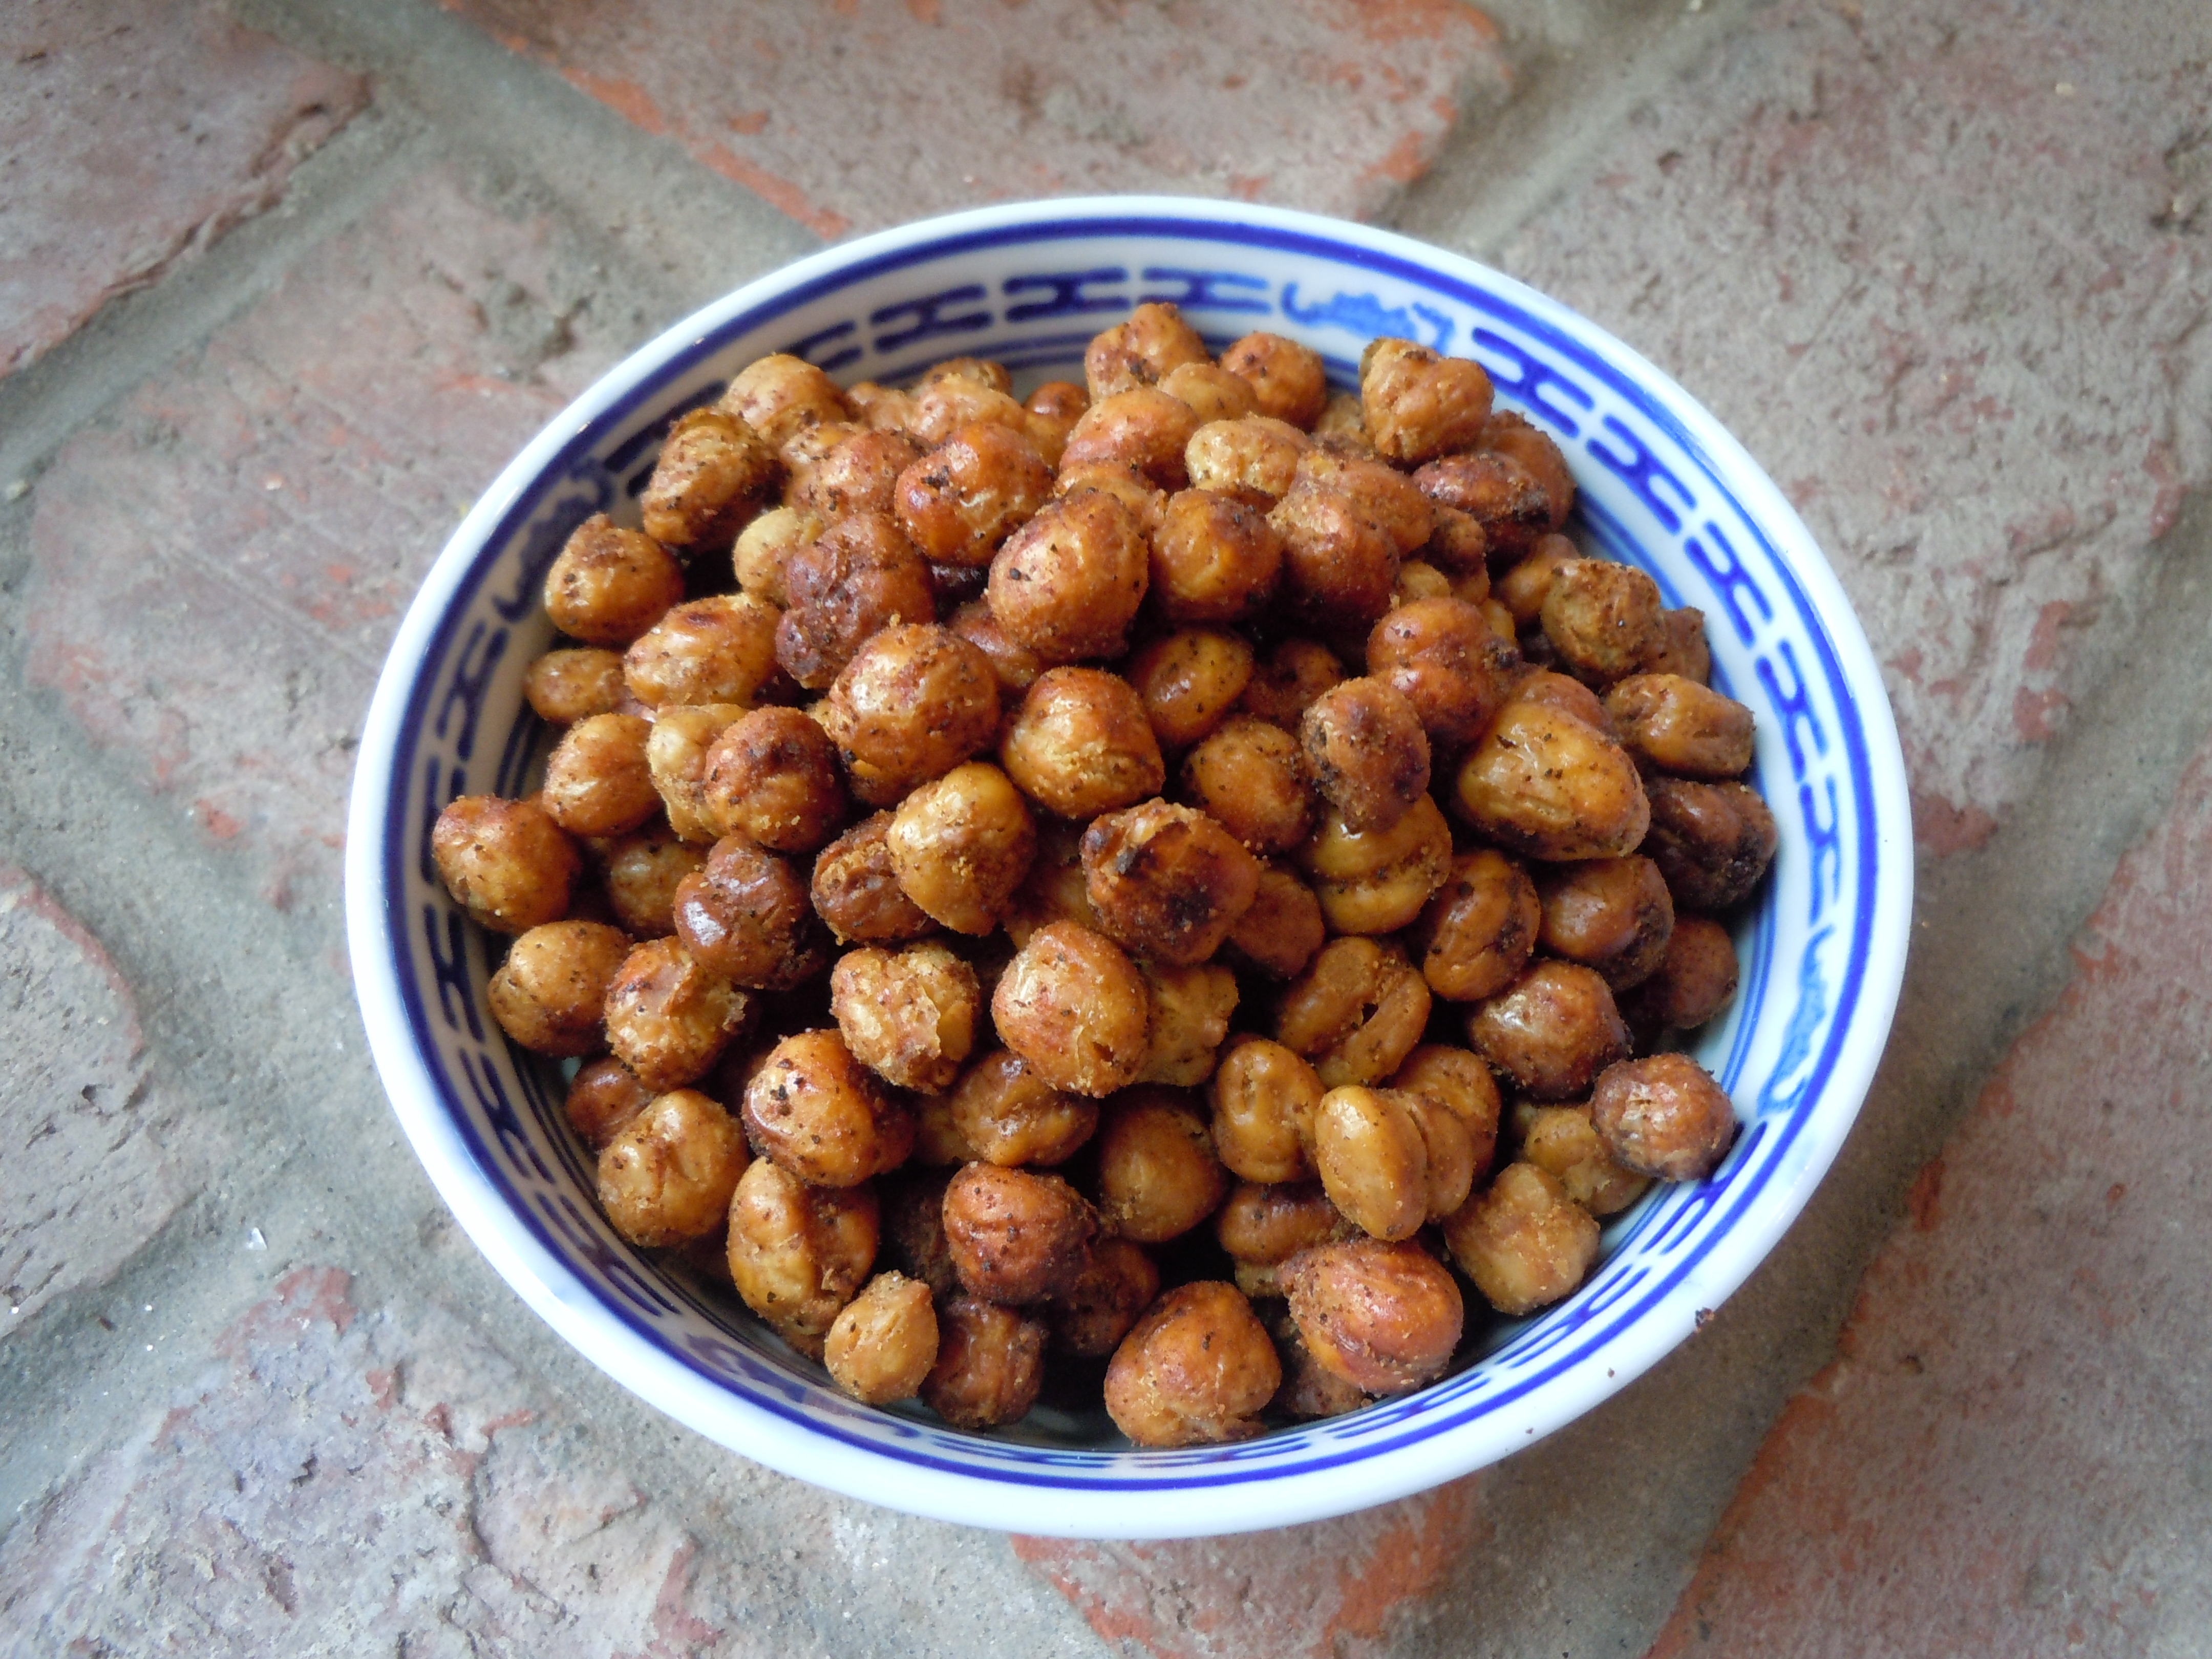
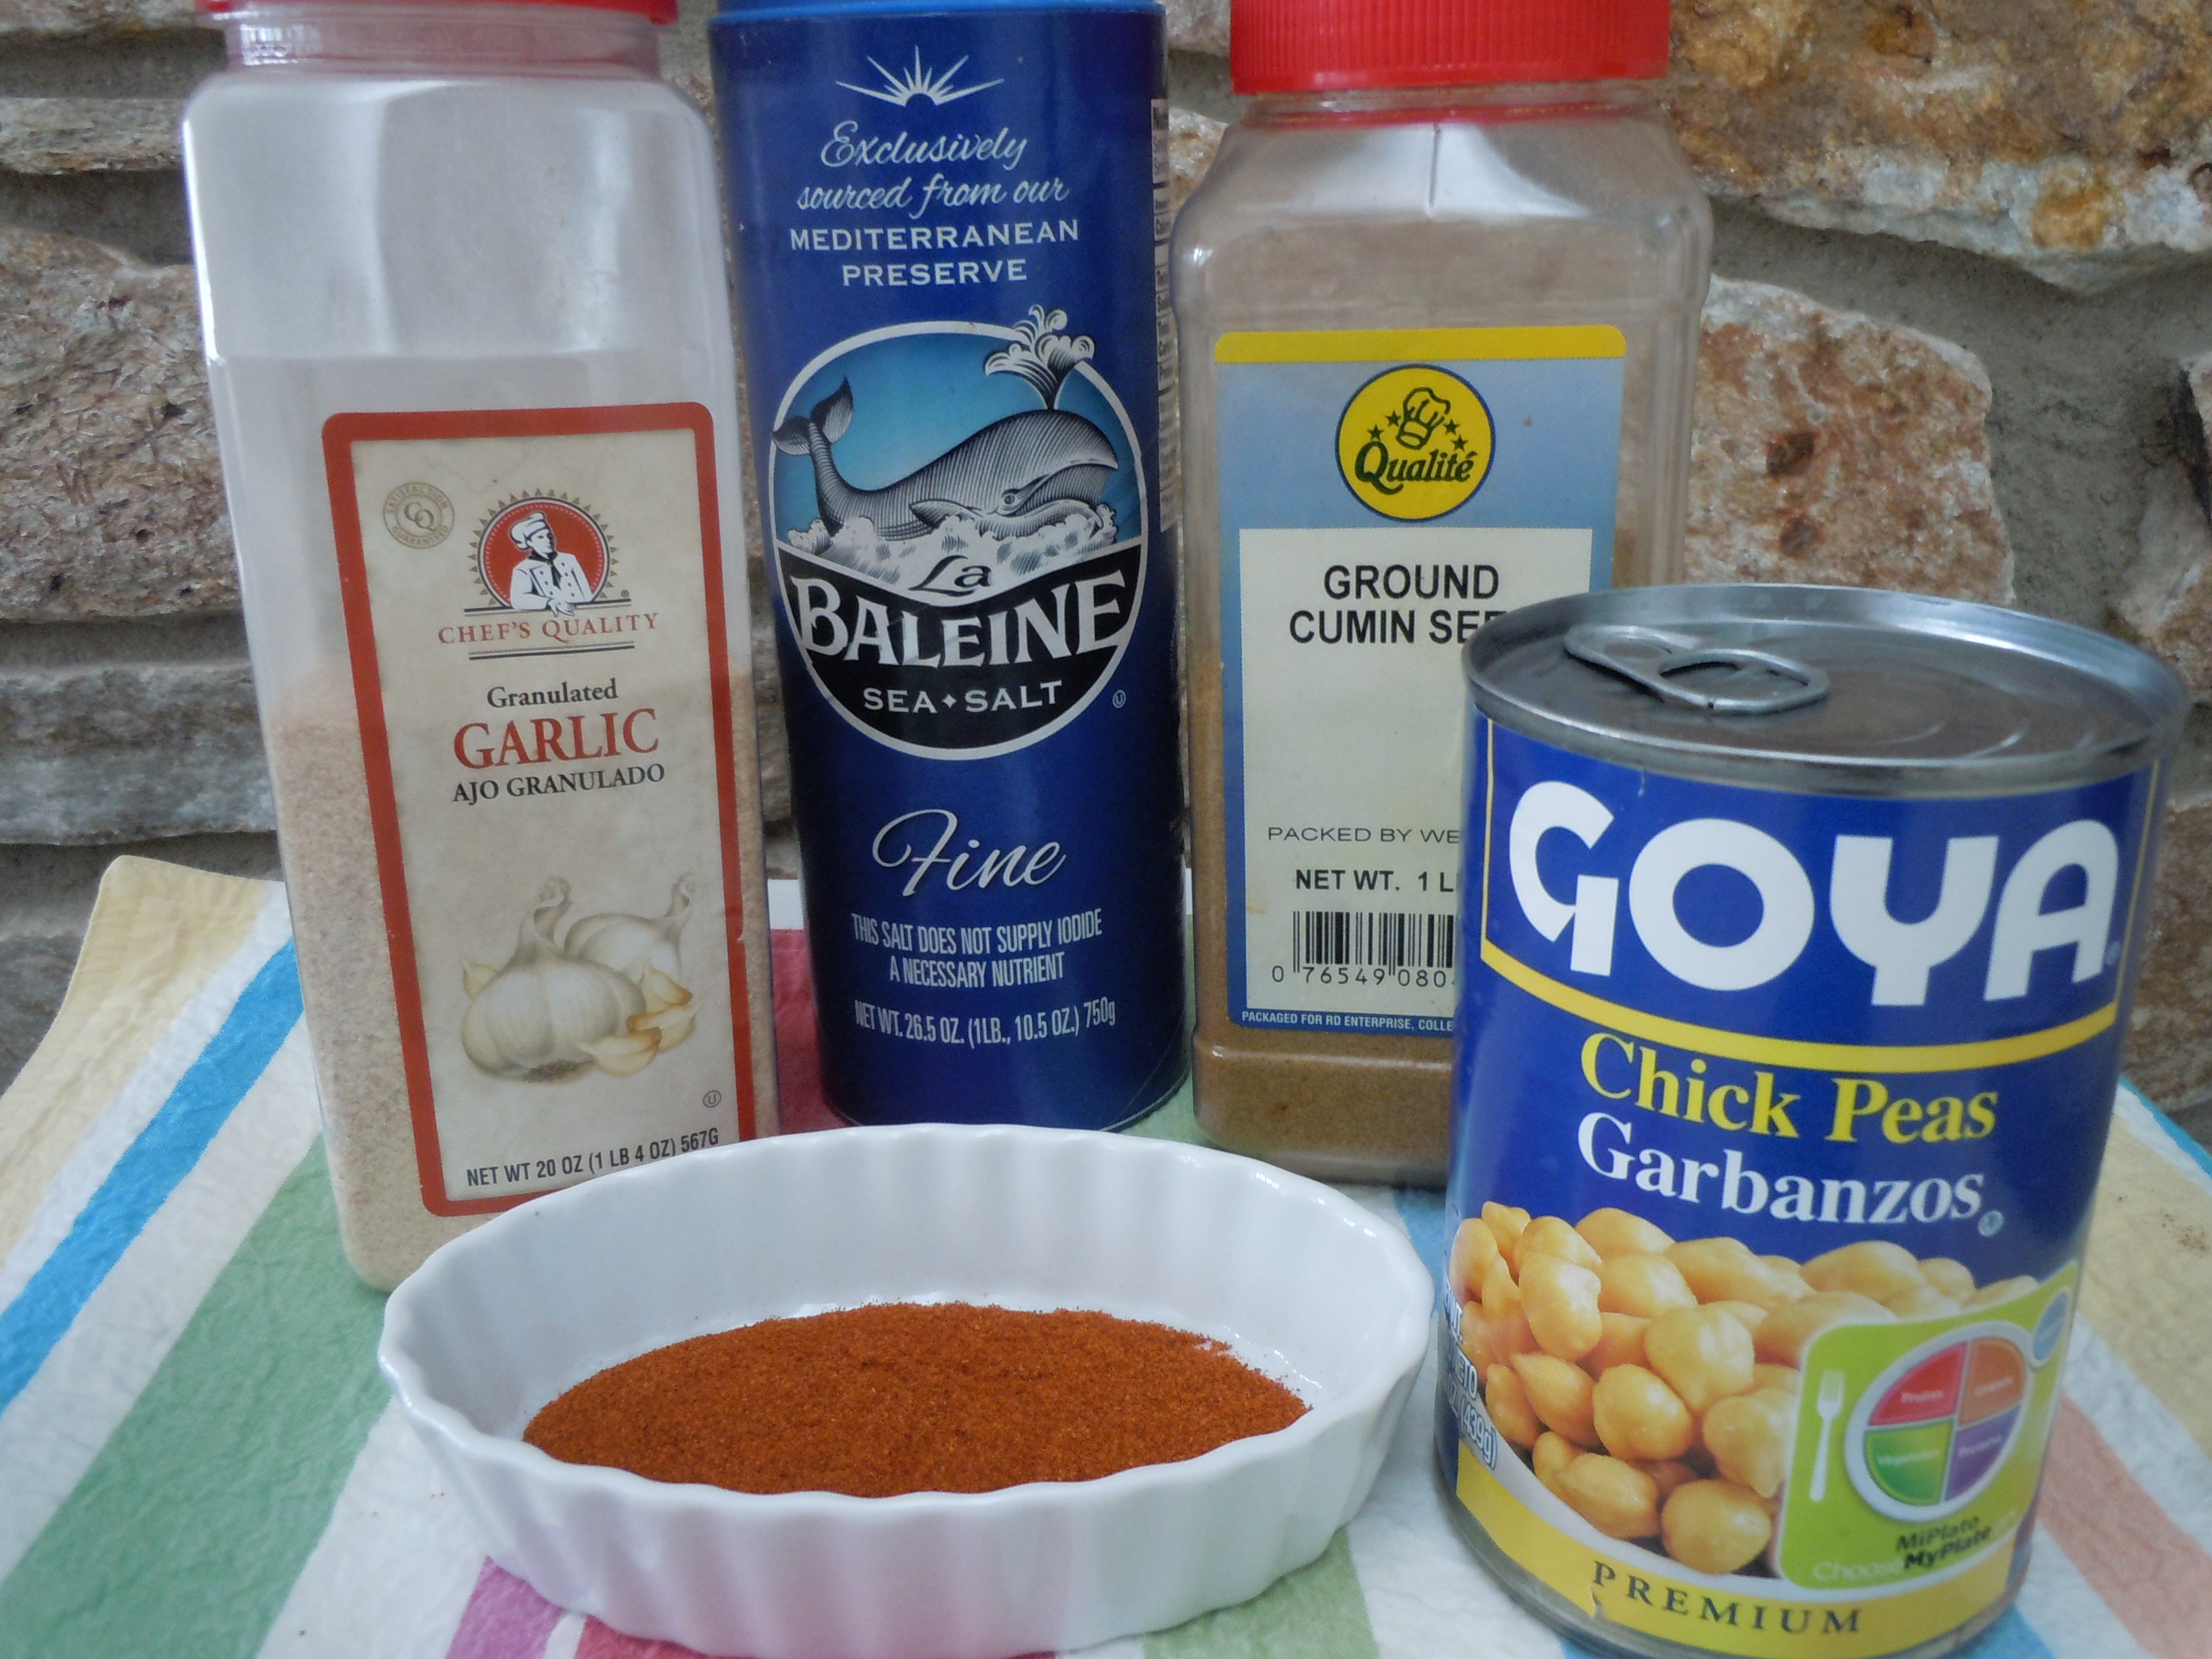
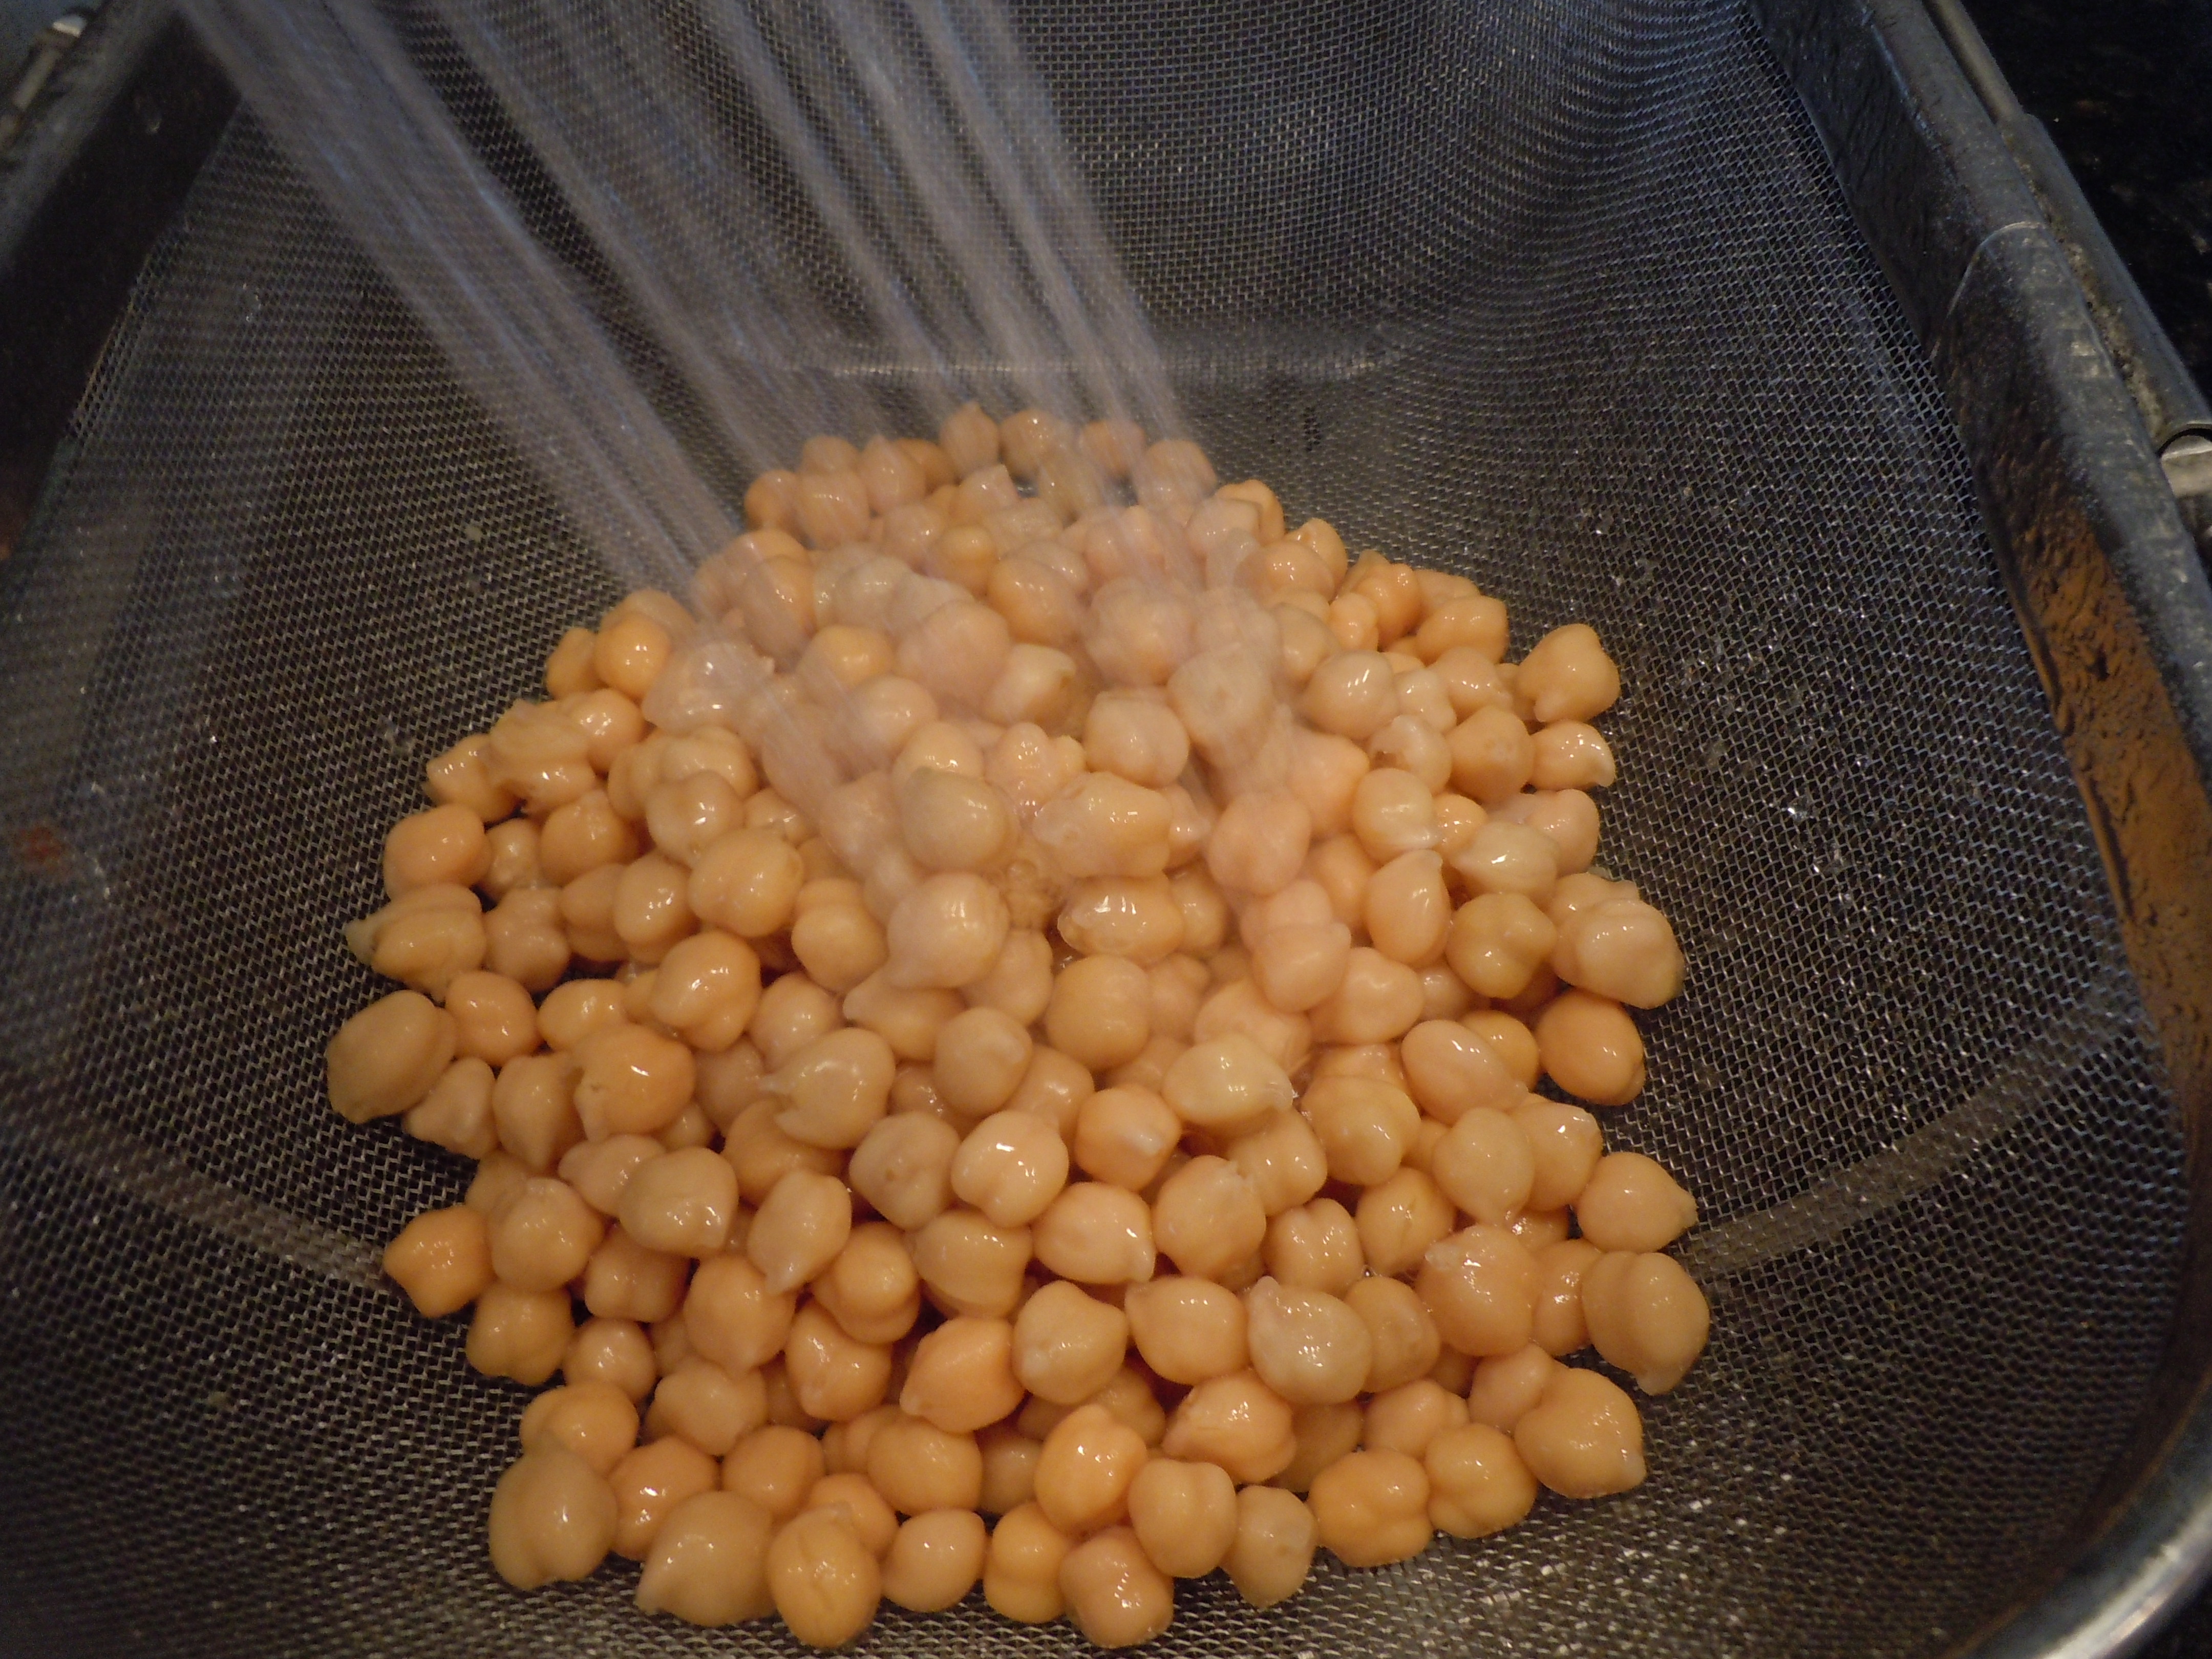
Before you start with this cold roasted beet salad you can offer up warm baked coconut shrimp with a hot pepper jelly, bake asparagus wrapped in Prosciutto, clam puffs, and or some roasted chick peas. And don’t forget about dinner with maybe an Asian shrimp and rice noodle dish or sautéed chicken on a roasted garlic & cannellini bean purée. Finally, there is dessert you know with some chocolate-avocado mousse or Pavlova with fresh fruits which you can totally make ahead so you don’t get too tired to have fun with your dinner guests not to mention you can make any and all of those appetizers in the list above ahead of time also…just need a little planning! …OR you could just put this all on hold and make reservations at one of my restaurant reviews like Chamard Vineyards in Clinton,CT or The Oyster Club in Mystic, CT.
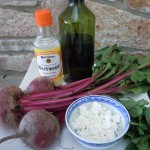


Ingredients – Serves 4 or 5/6 small:
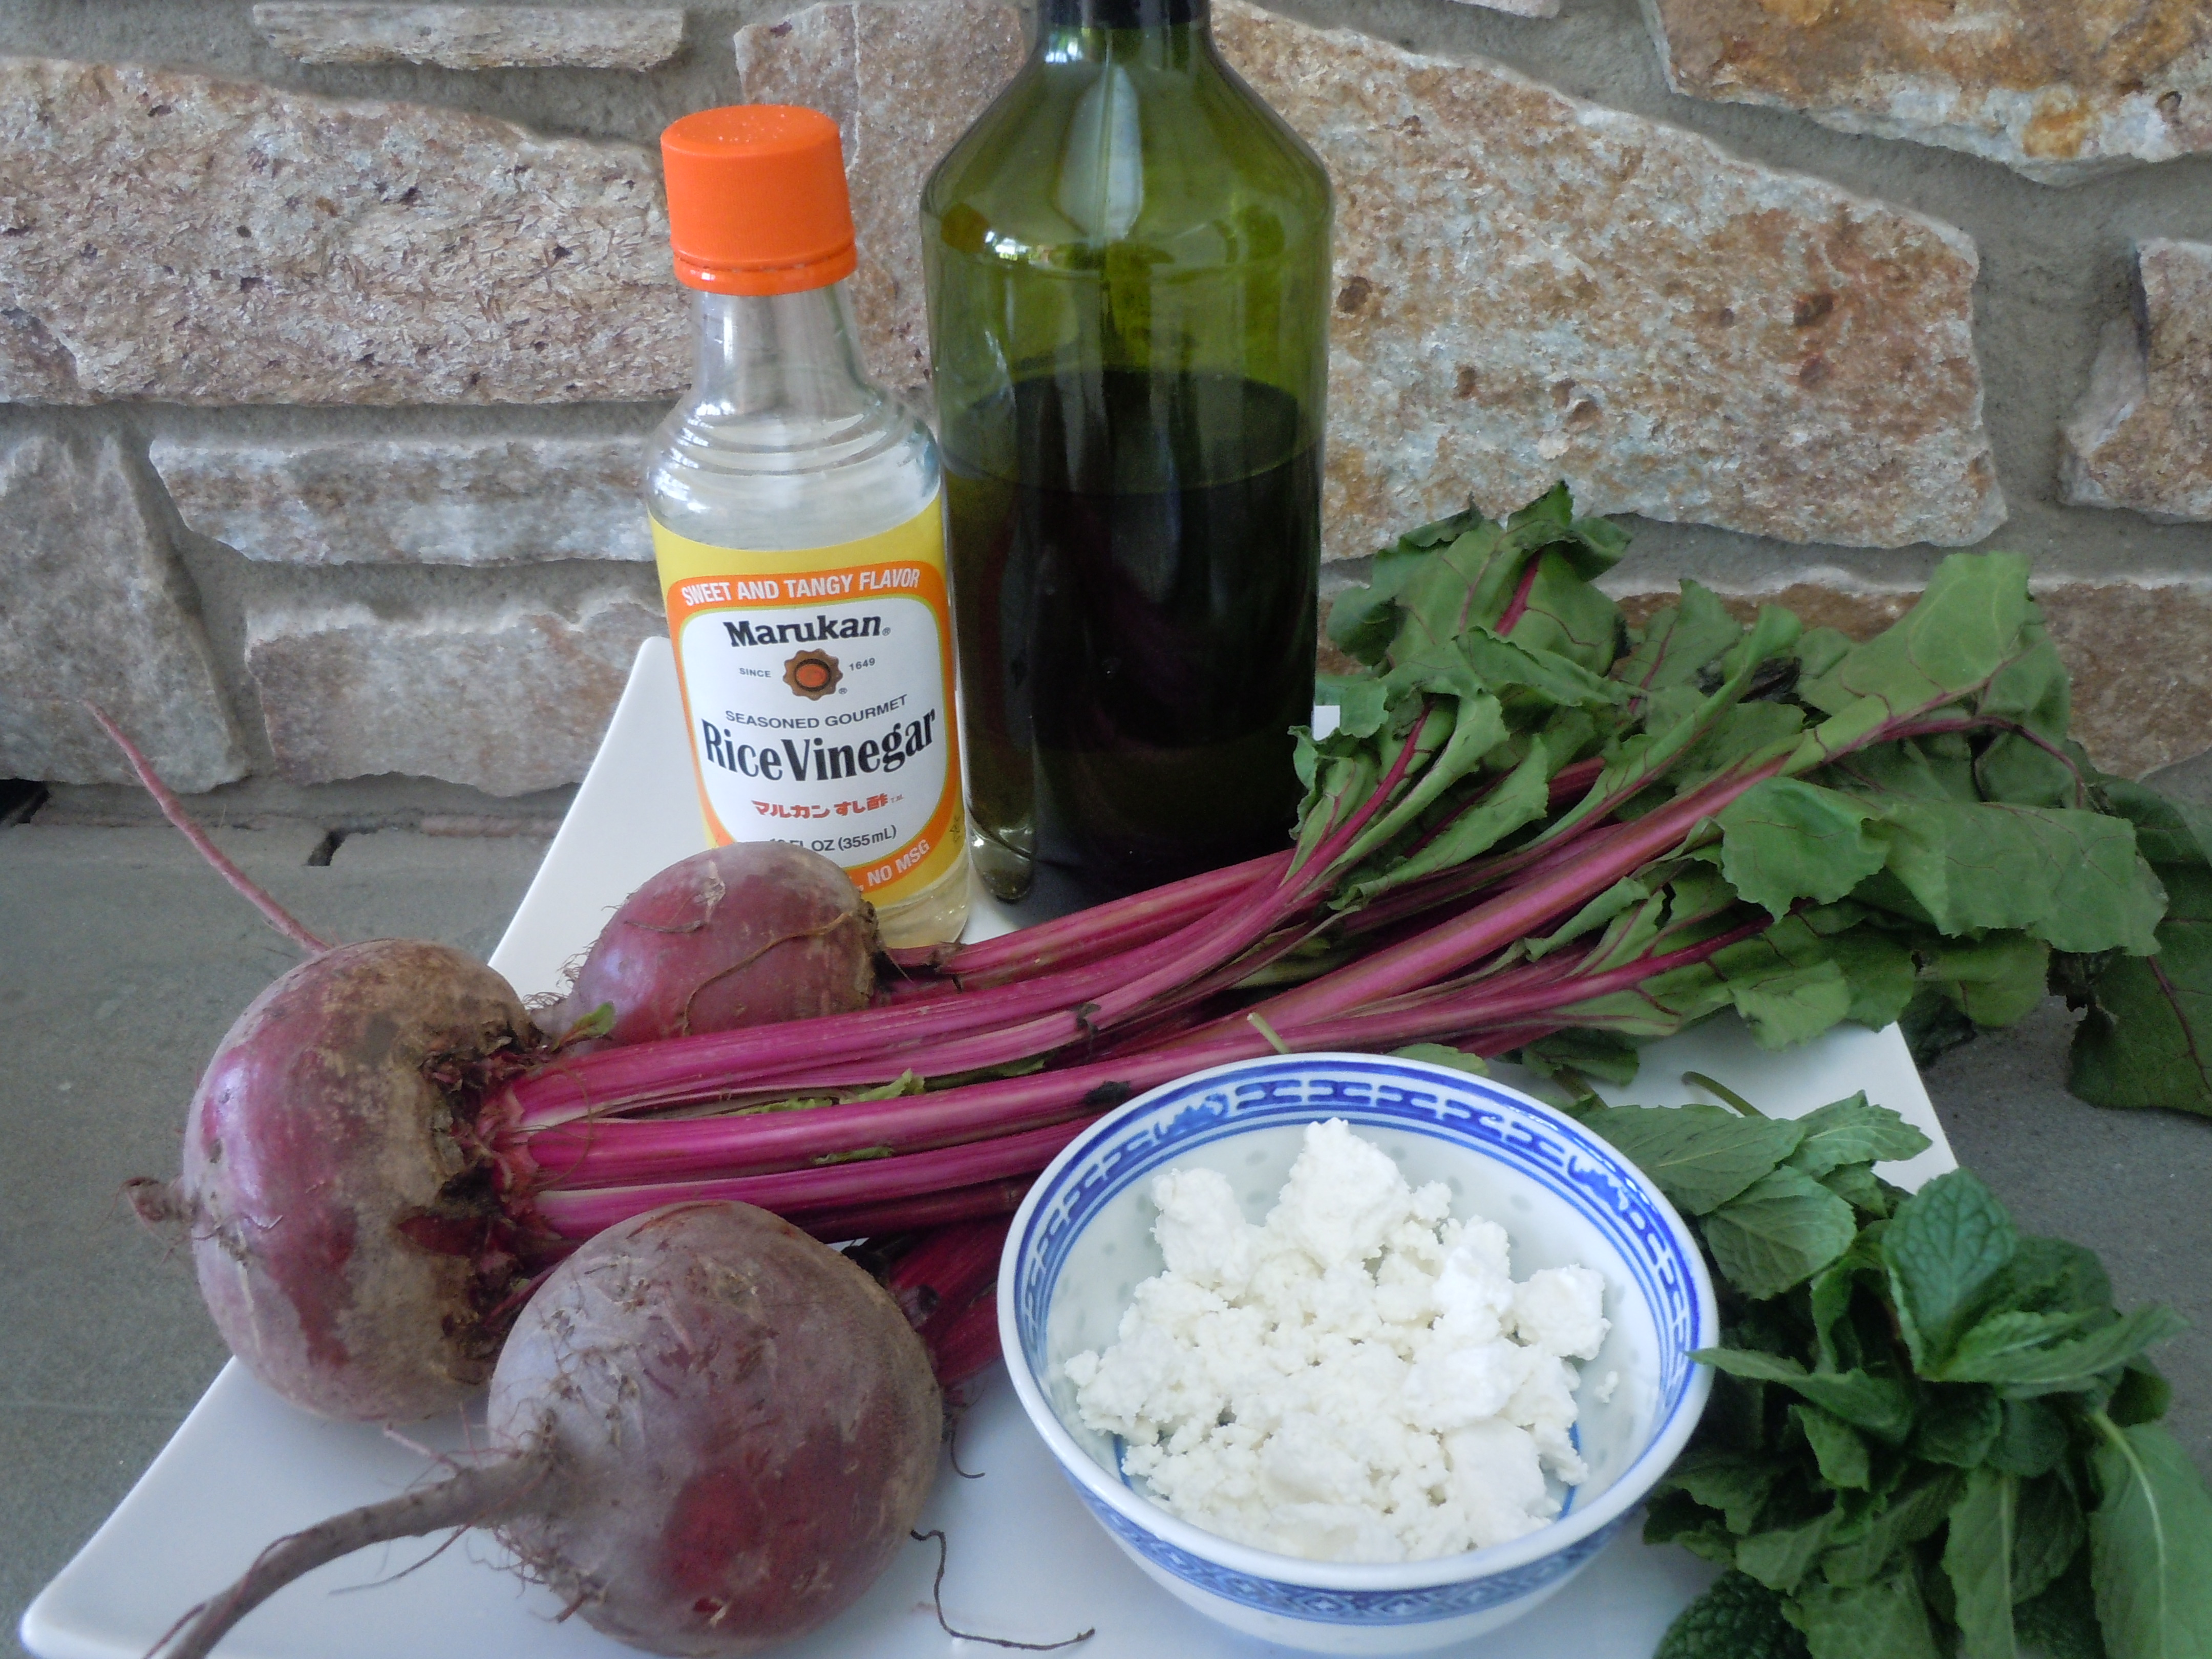
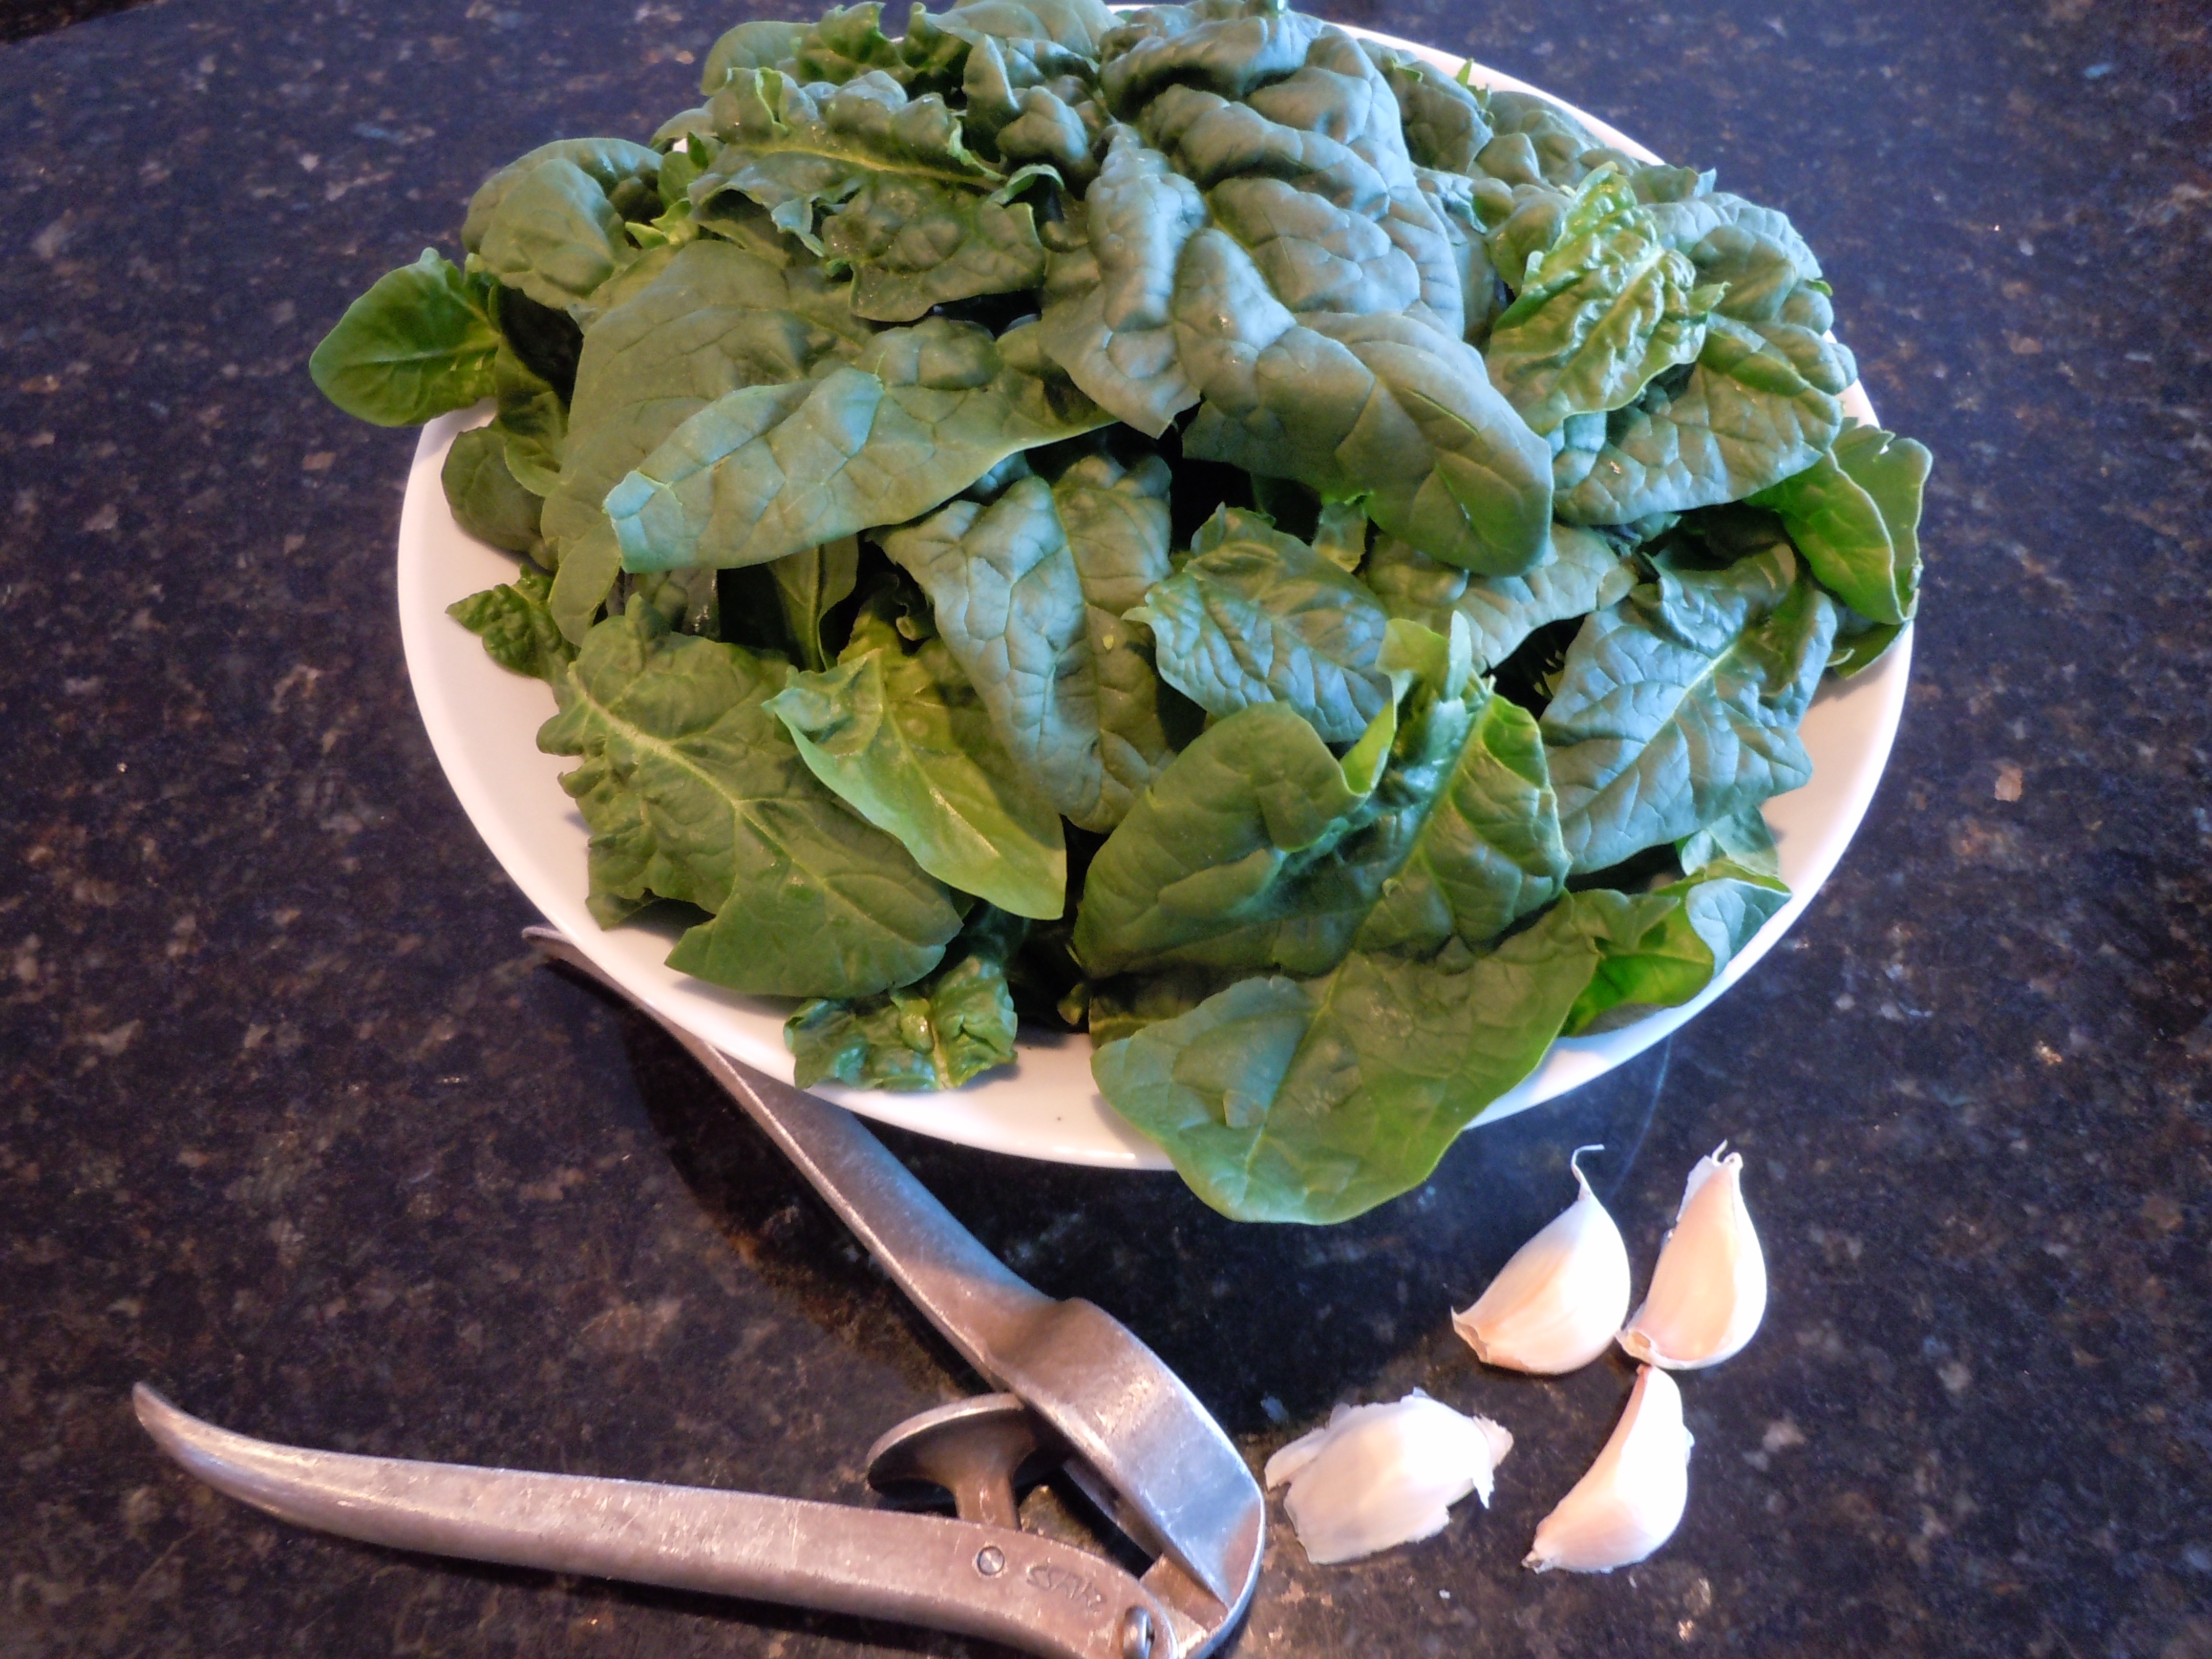
- 1 large bunch of beets (3 large bulbs or 4 small)
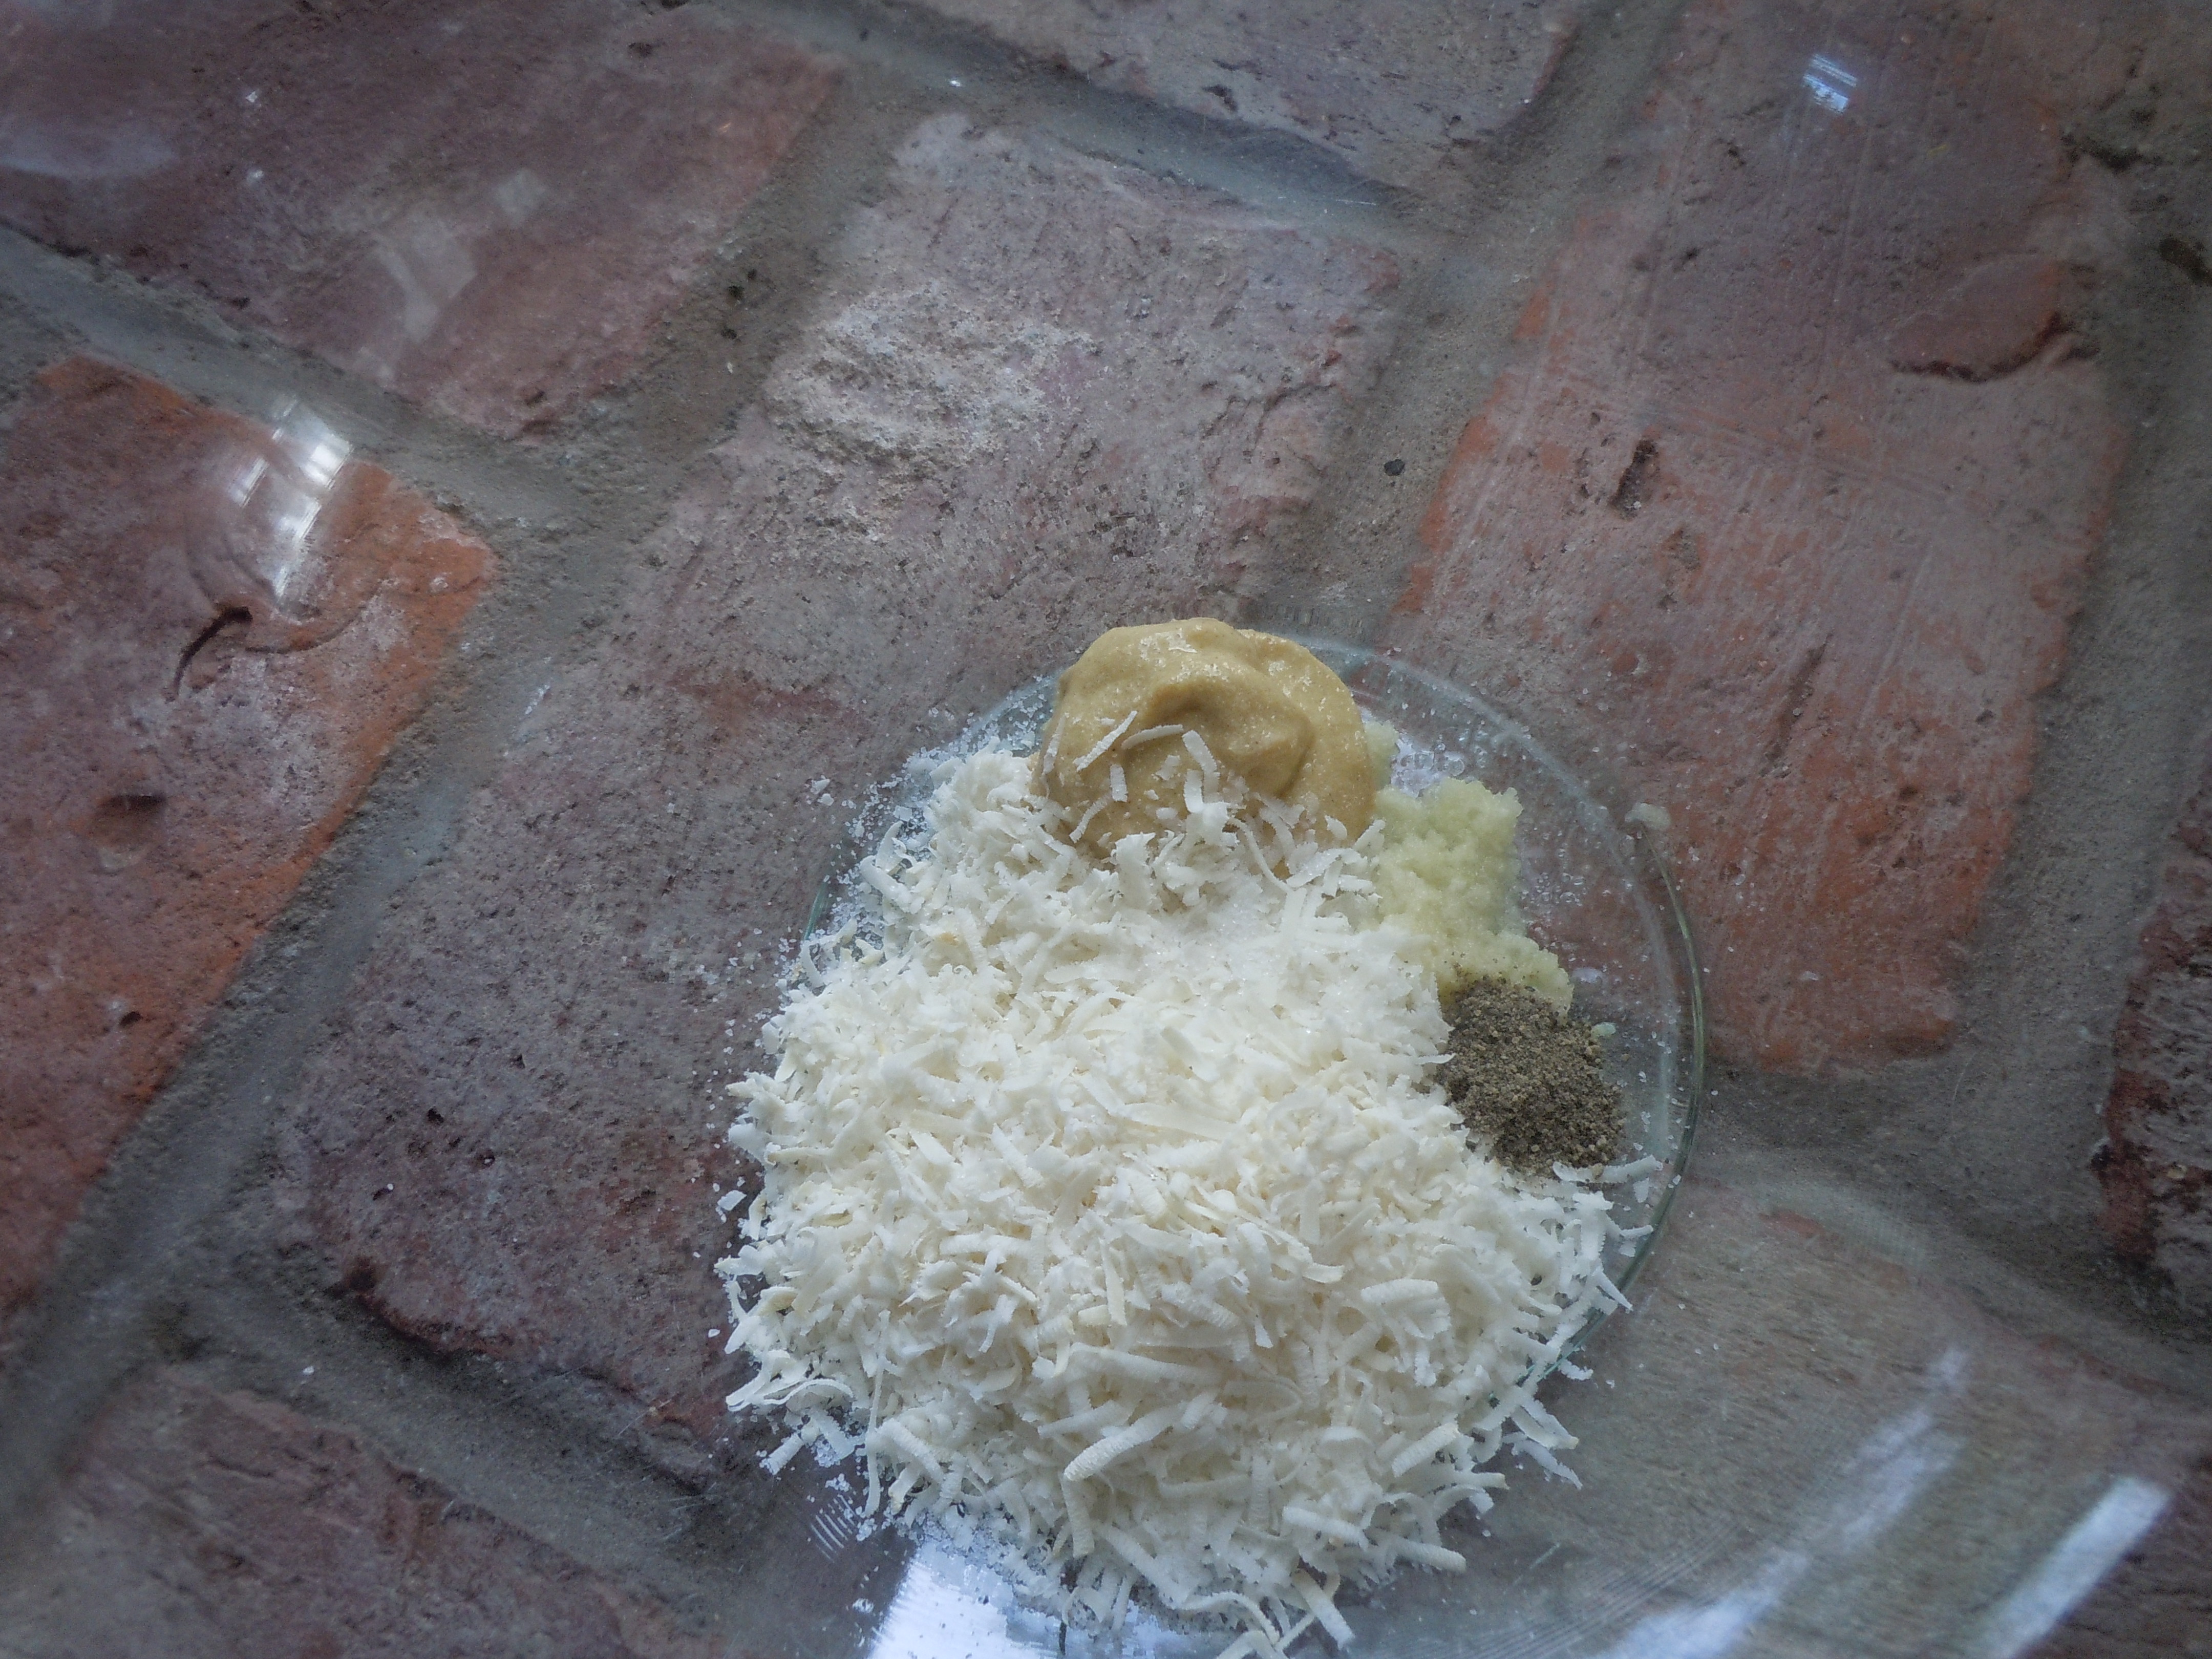
- 1/2 cup feta (I used Castella Bulgarian Feta Cheese – a sheeps milk feta)
- 1/2 Tsp sea salt
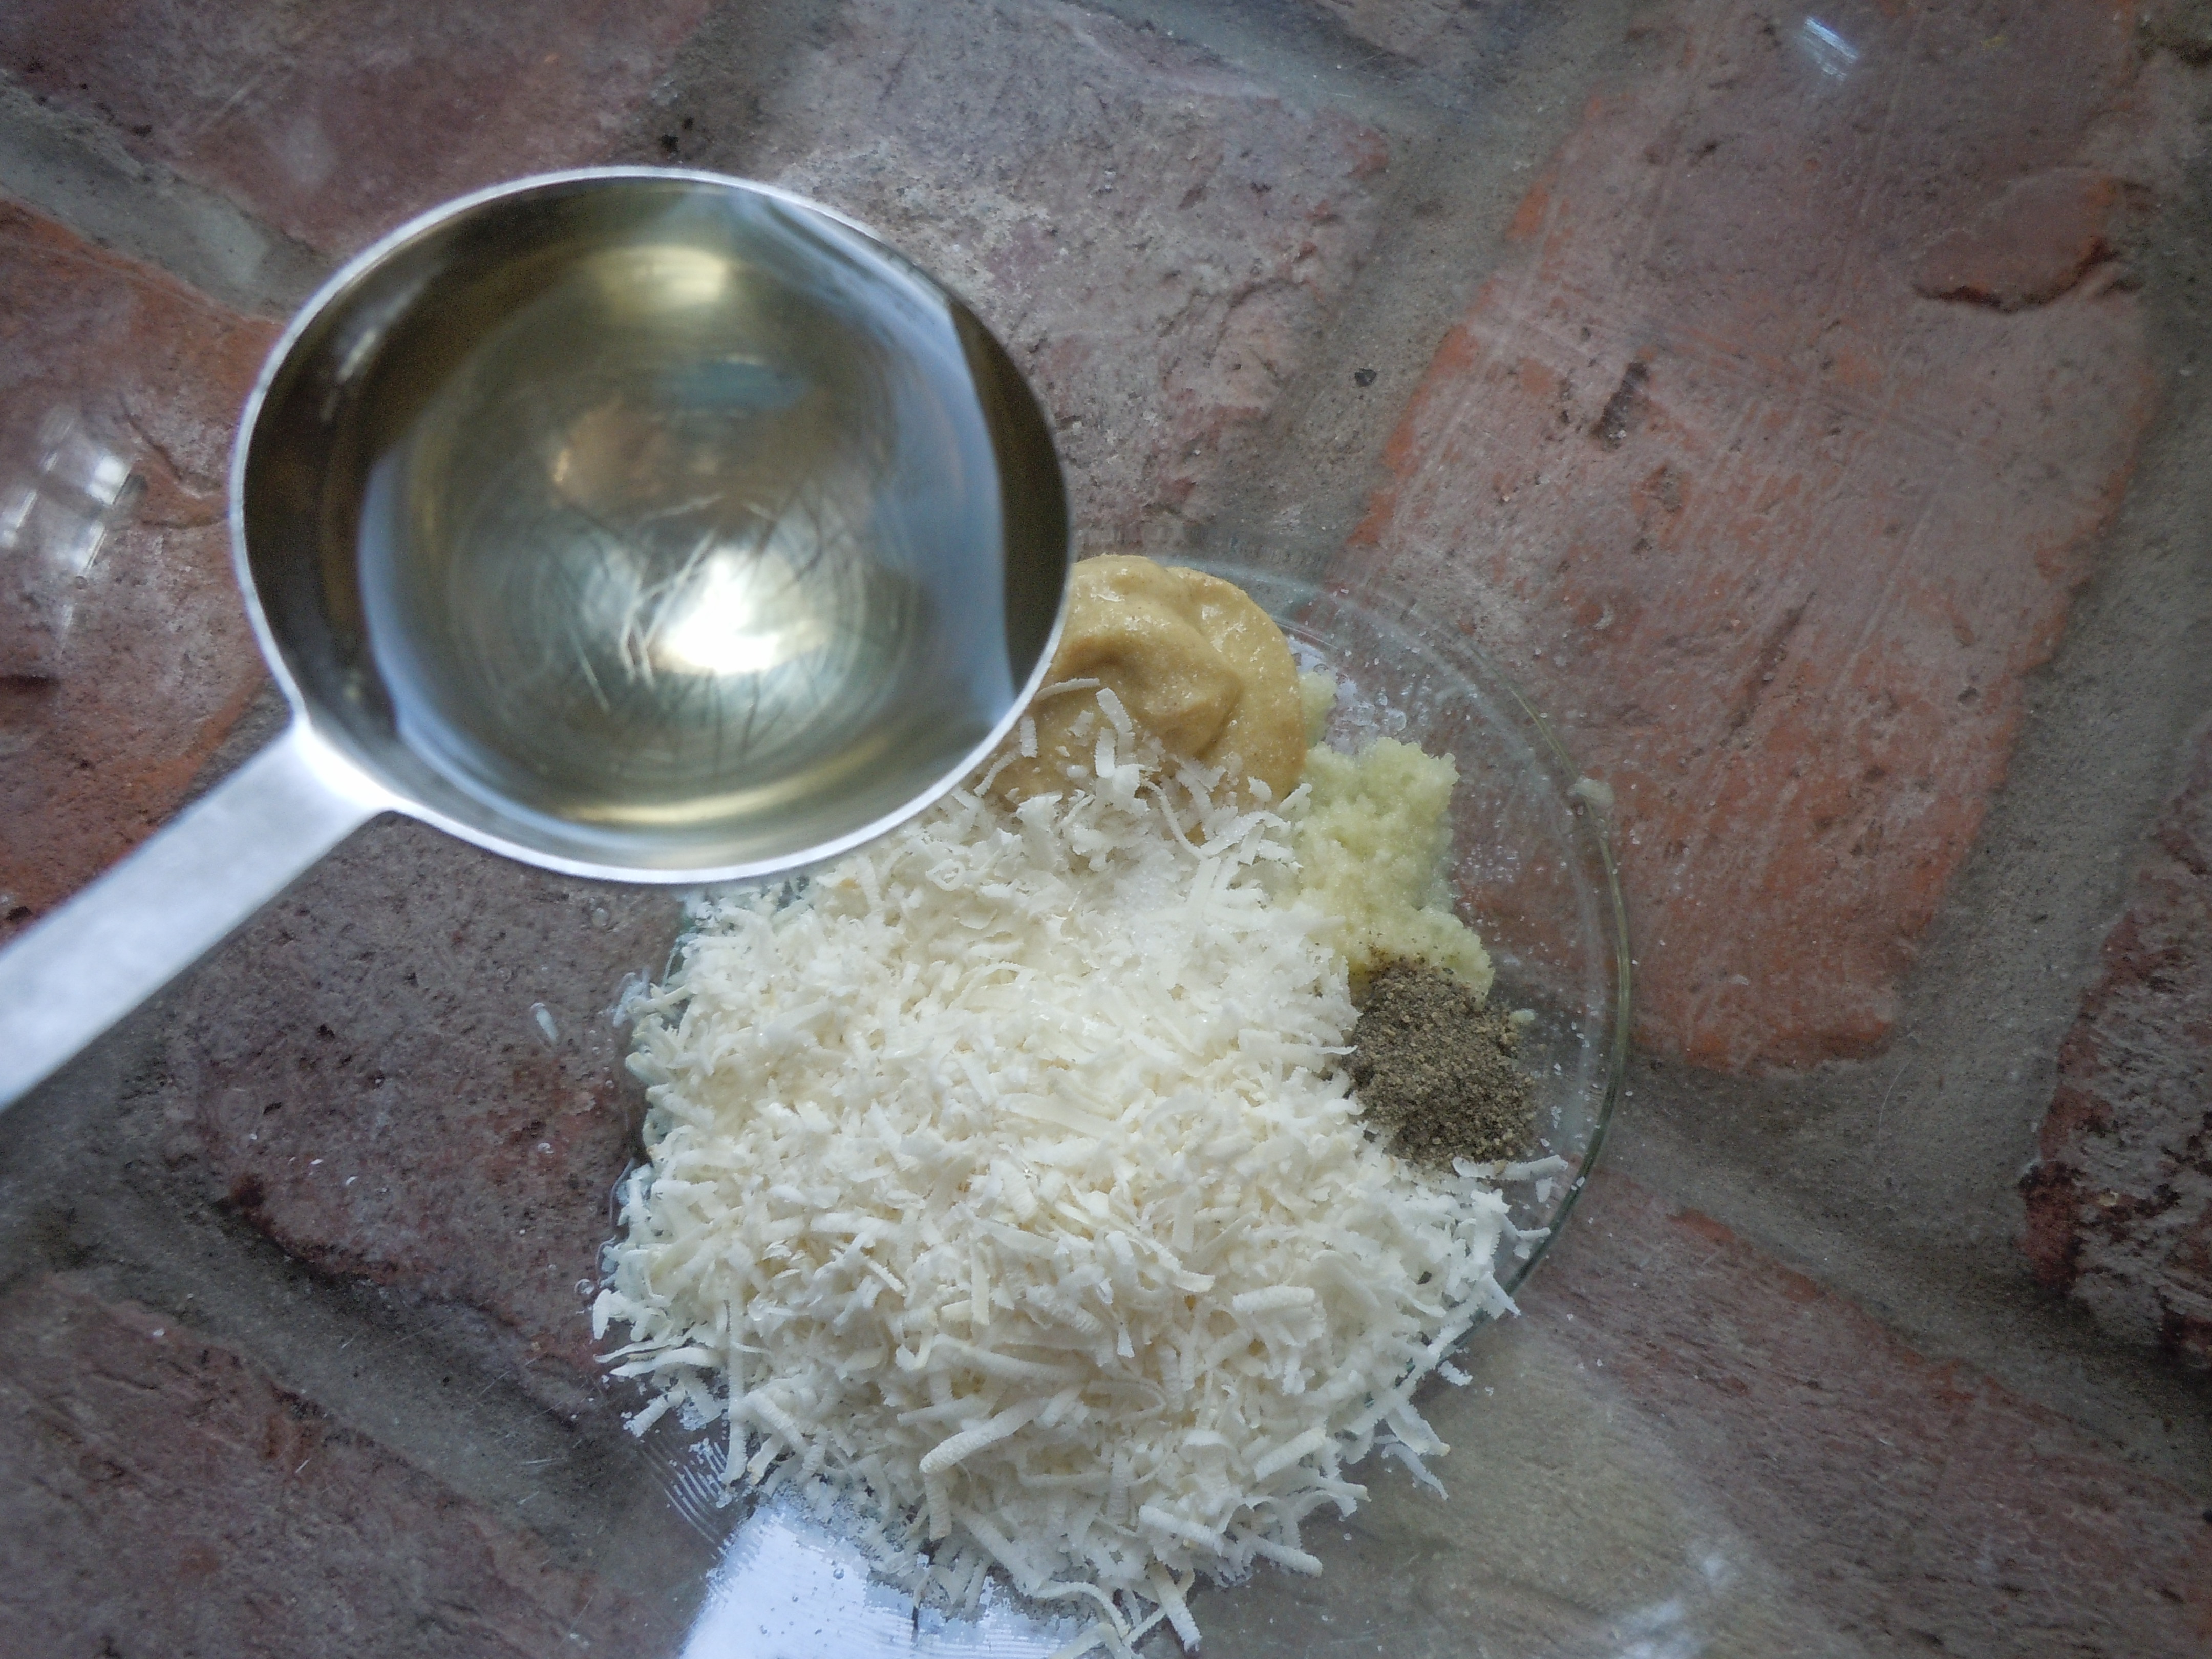
- 3 Tbsp olive oil
- 2 Tbsp rice wine vinegar (i like to use “seasoned” rice wine vinegar)
- 1 Tbsp champagne vinegar to cut the sweet in the “seasoned”
- 2 Tbsp julienned mint leaves and 4 center picks for the middle if you are using a ring mold
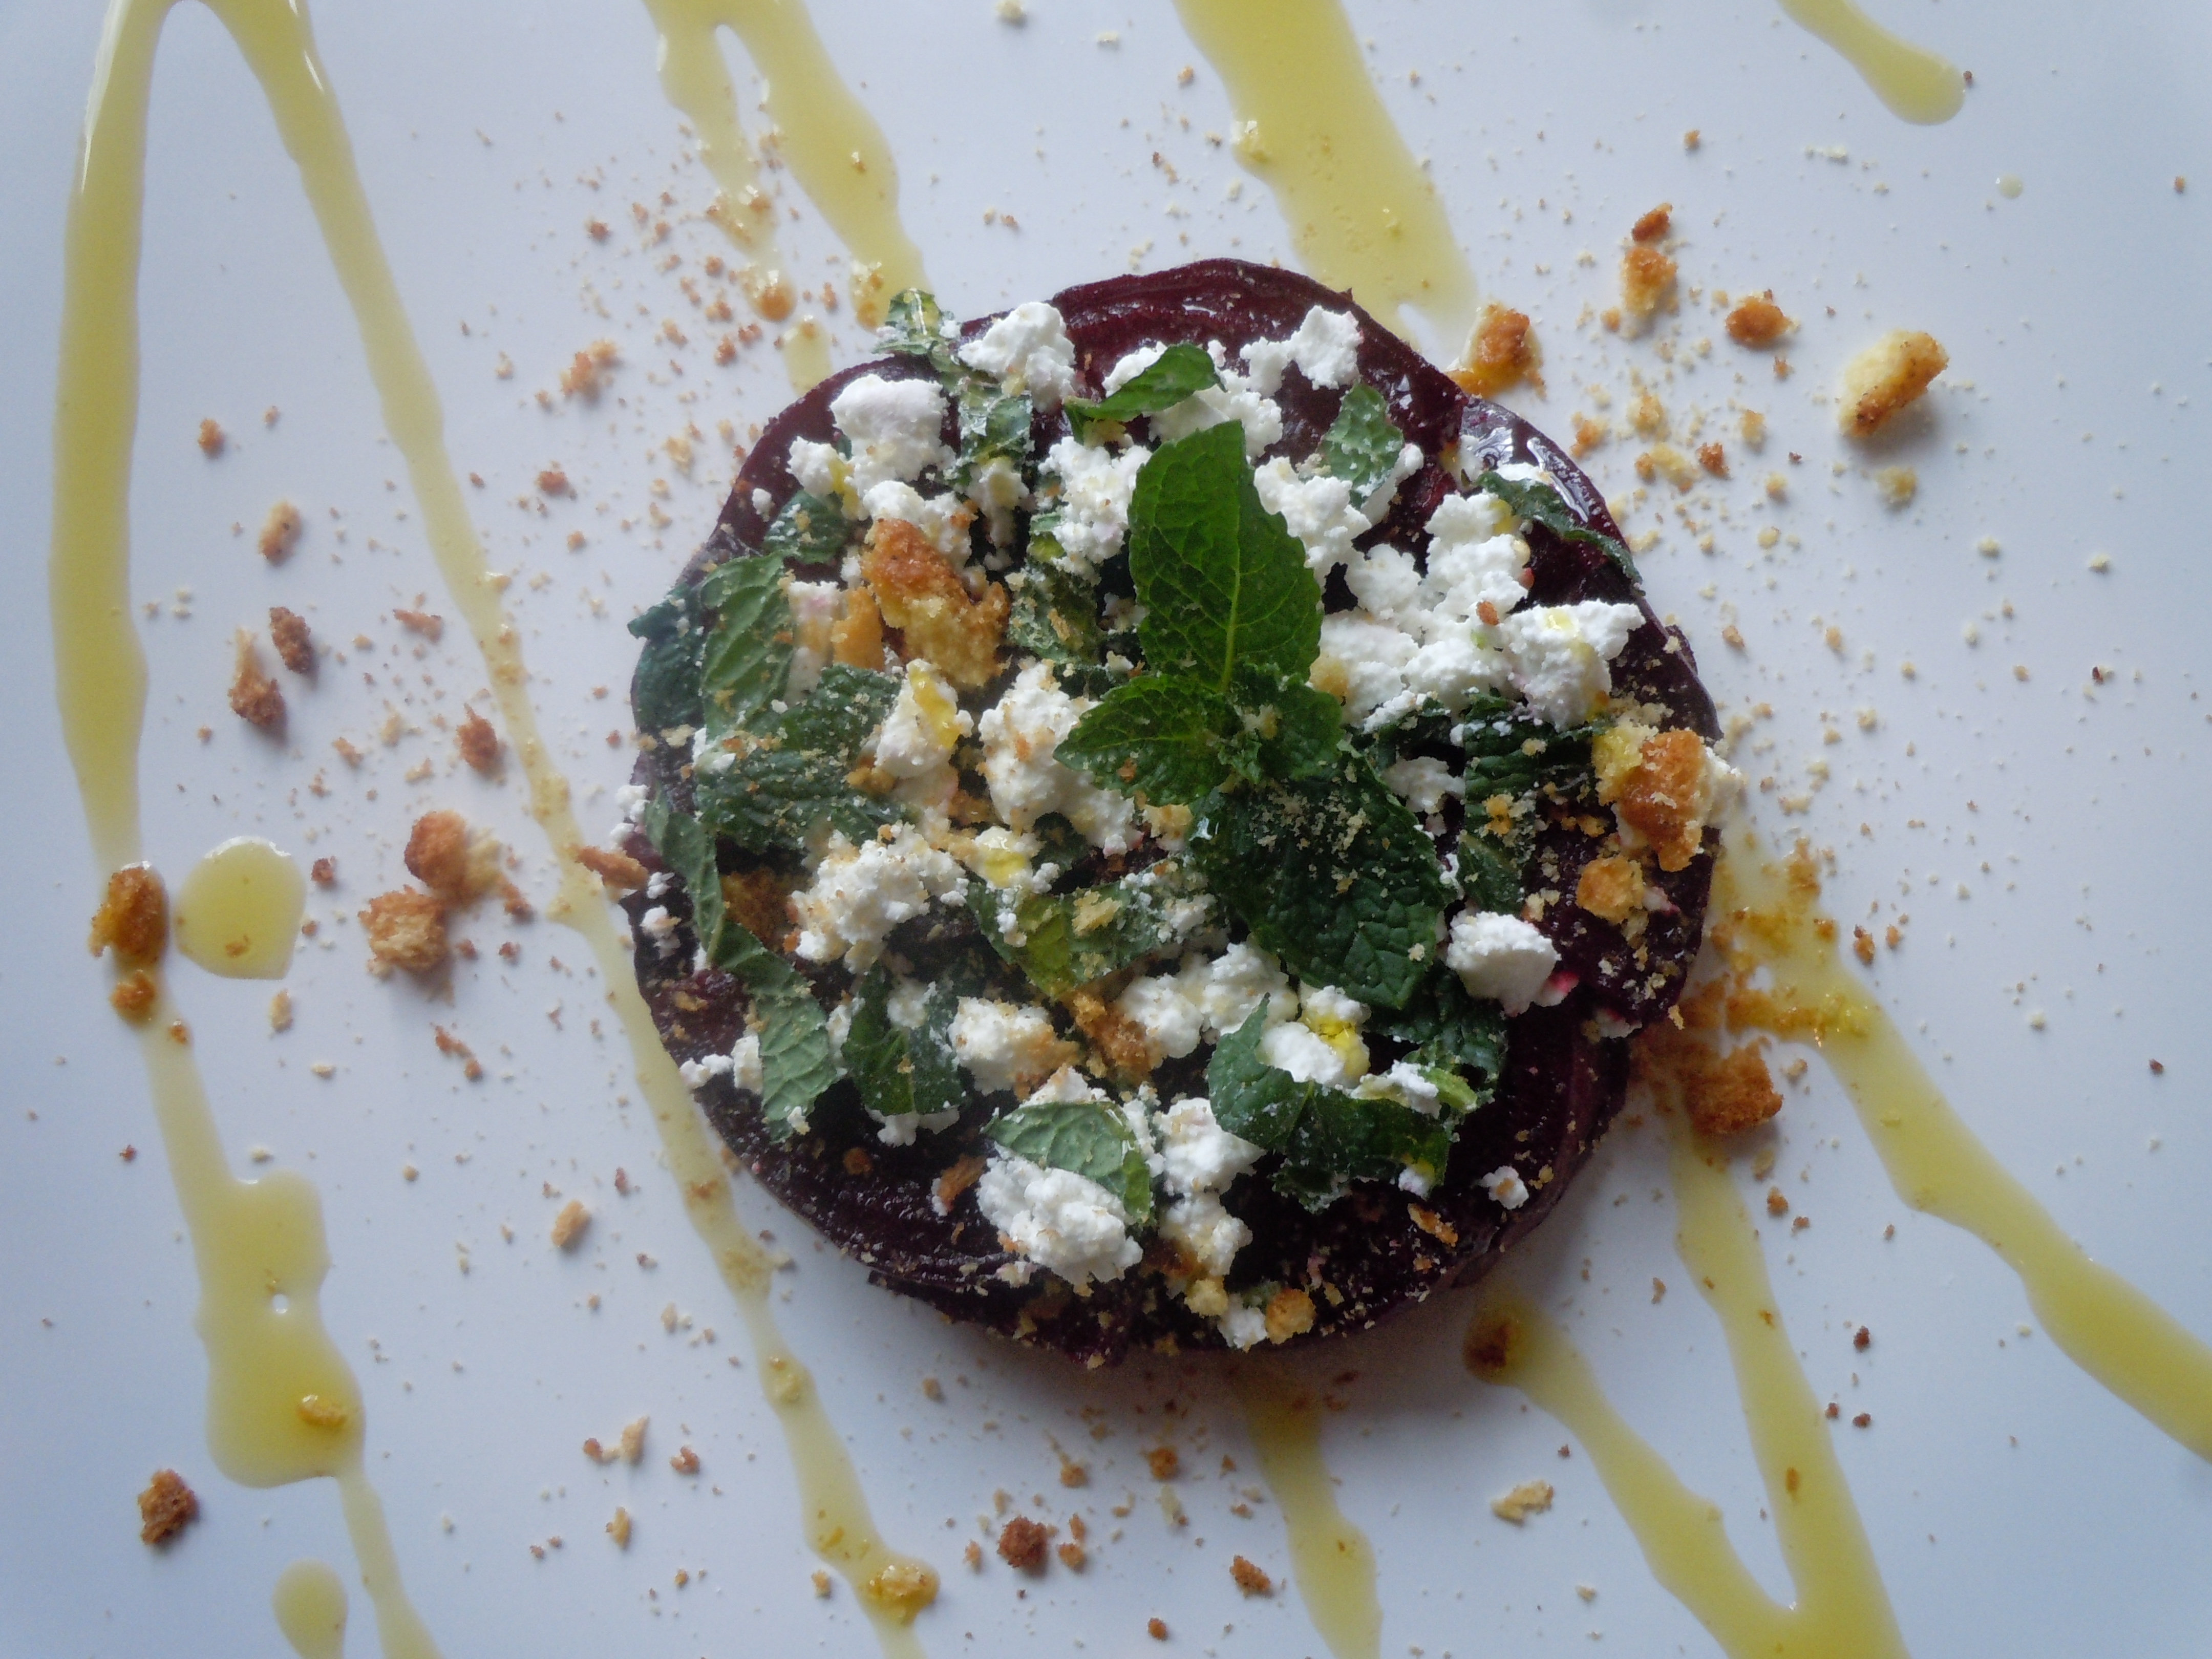
- 1 recipe challah bread garlic croutons (optional)
Directions:
- Pre-heat the oven to 400º
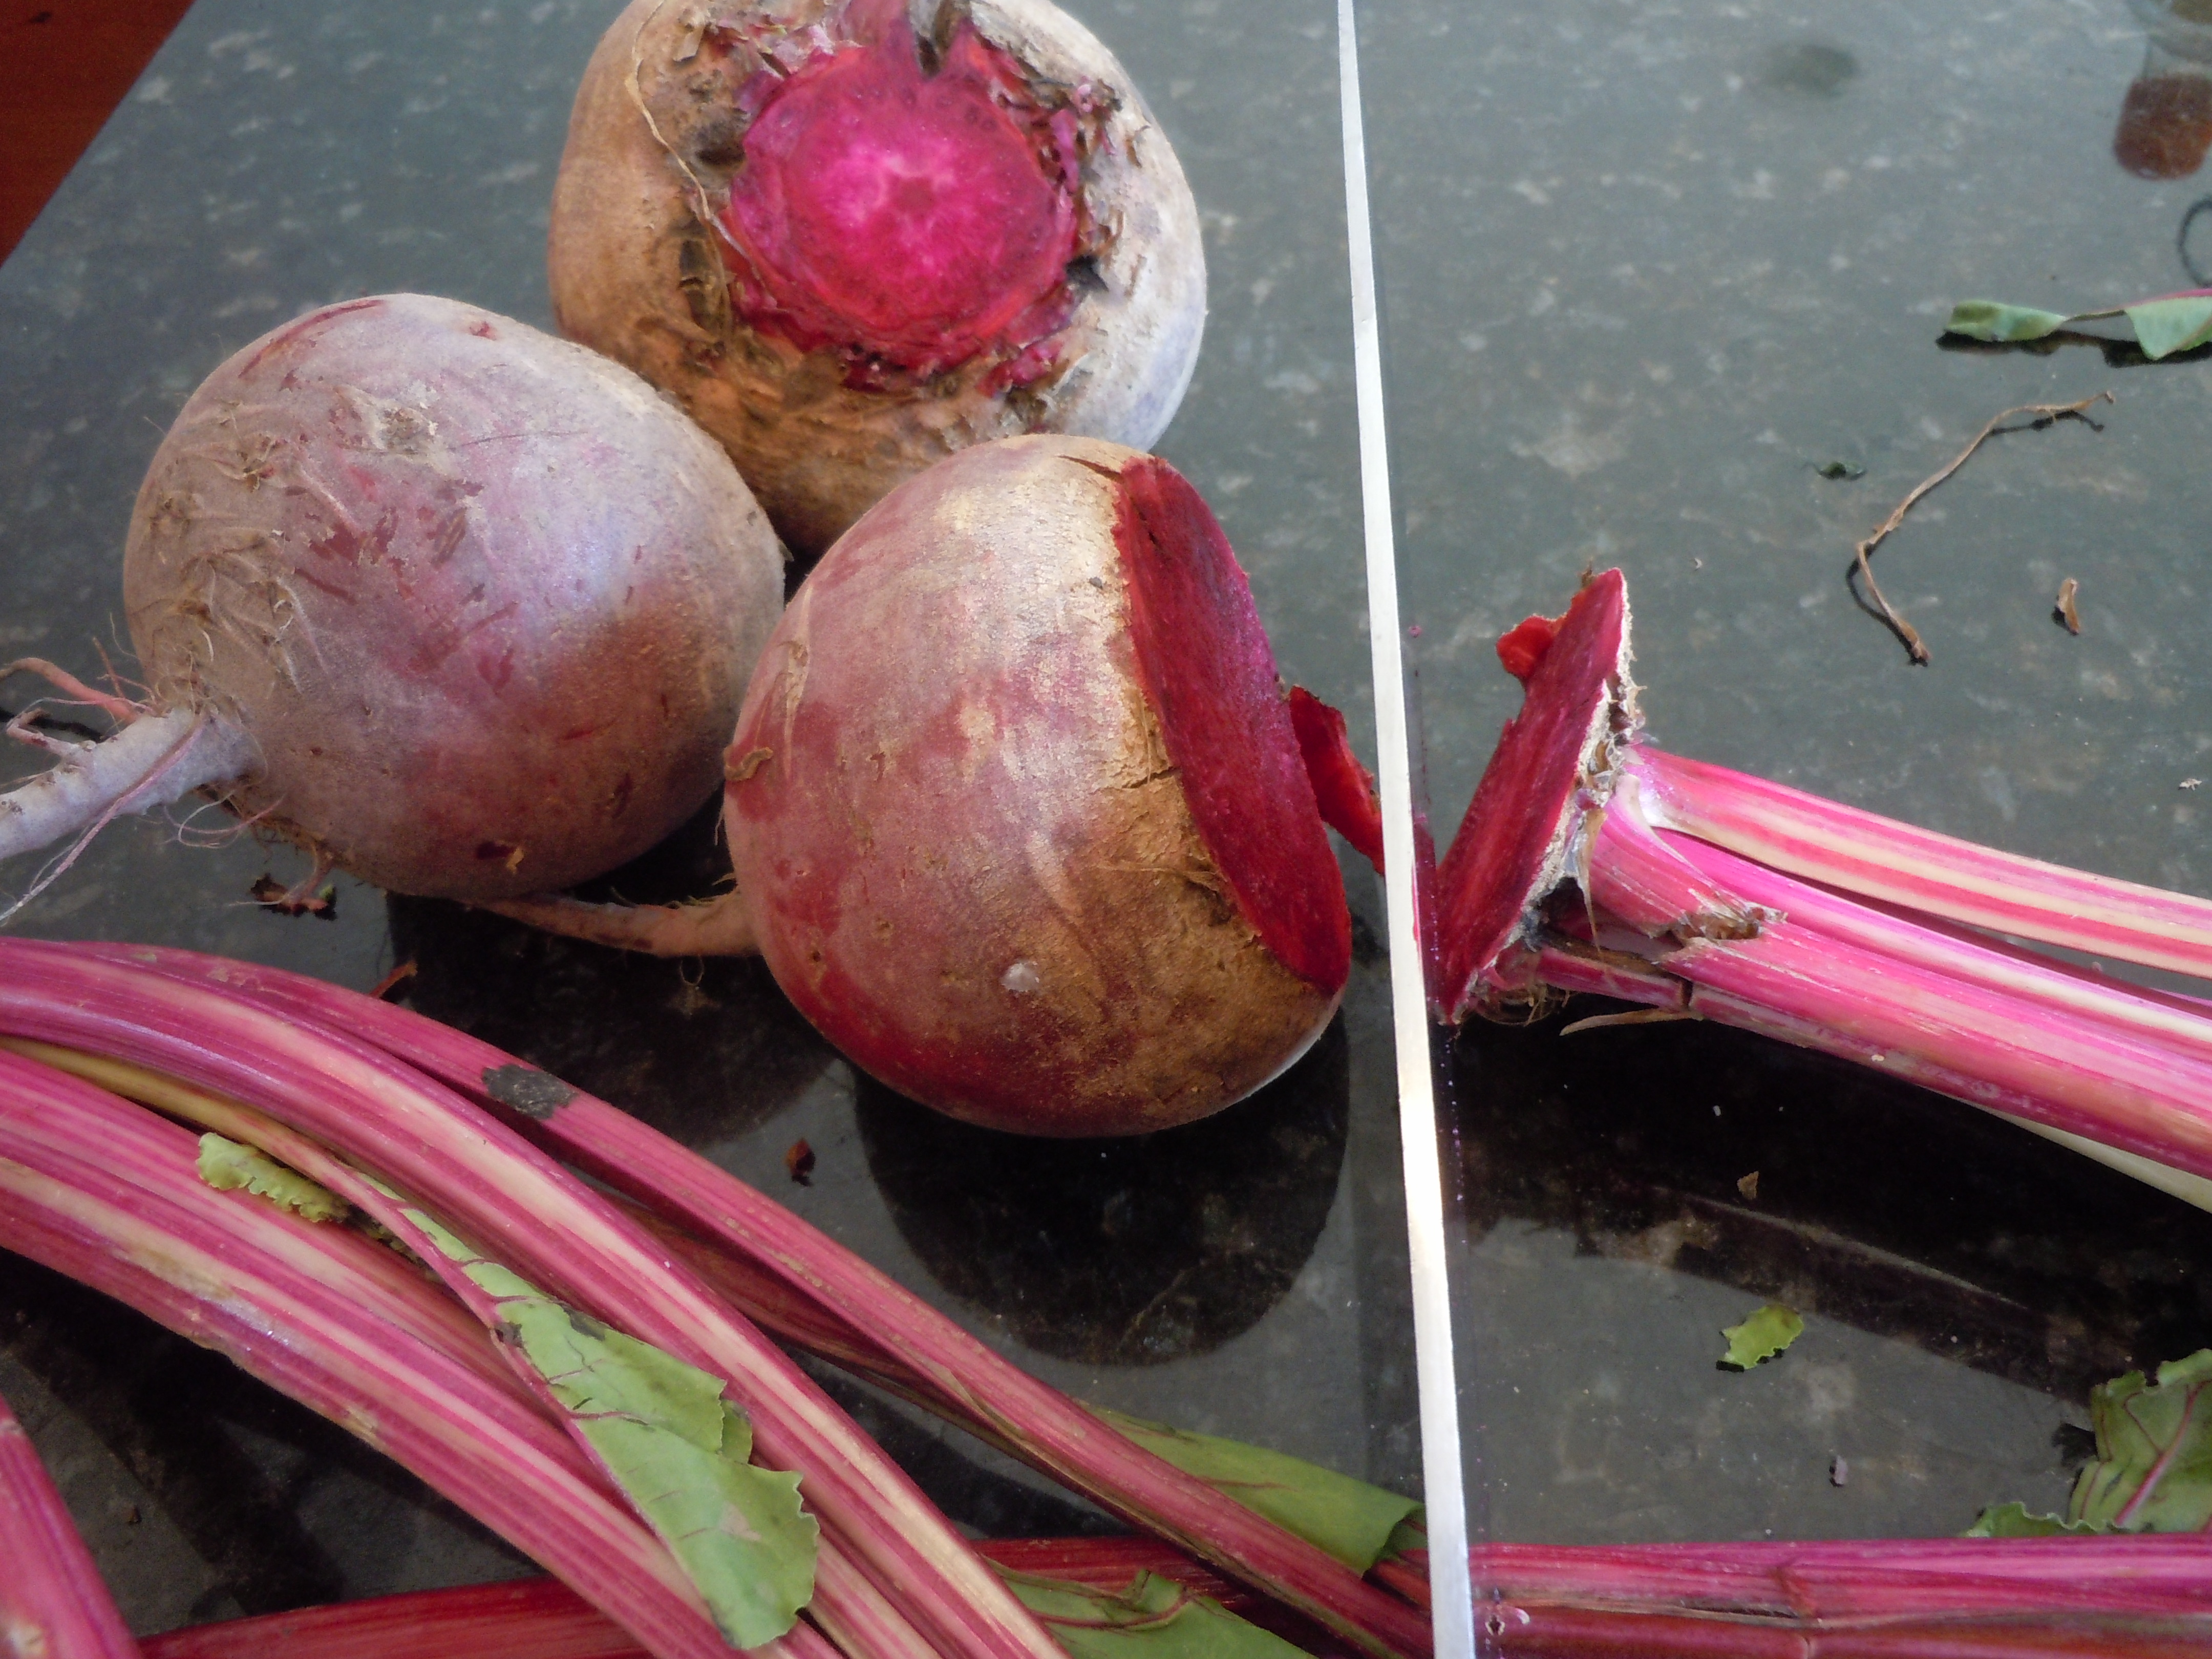
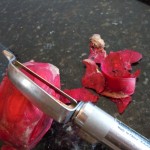
- Cut the stems off the beets
- Cut the ends of the beets
- Then peel the beets with a potato peeler if you have giant size beets but if you have the lovely medium-small beet size NO NEED to peel… just use a mushroom brush or brand new sponge and rub them under water and the skins are ready to go!
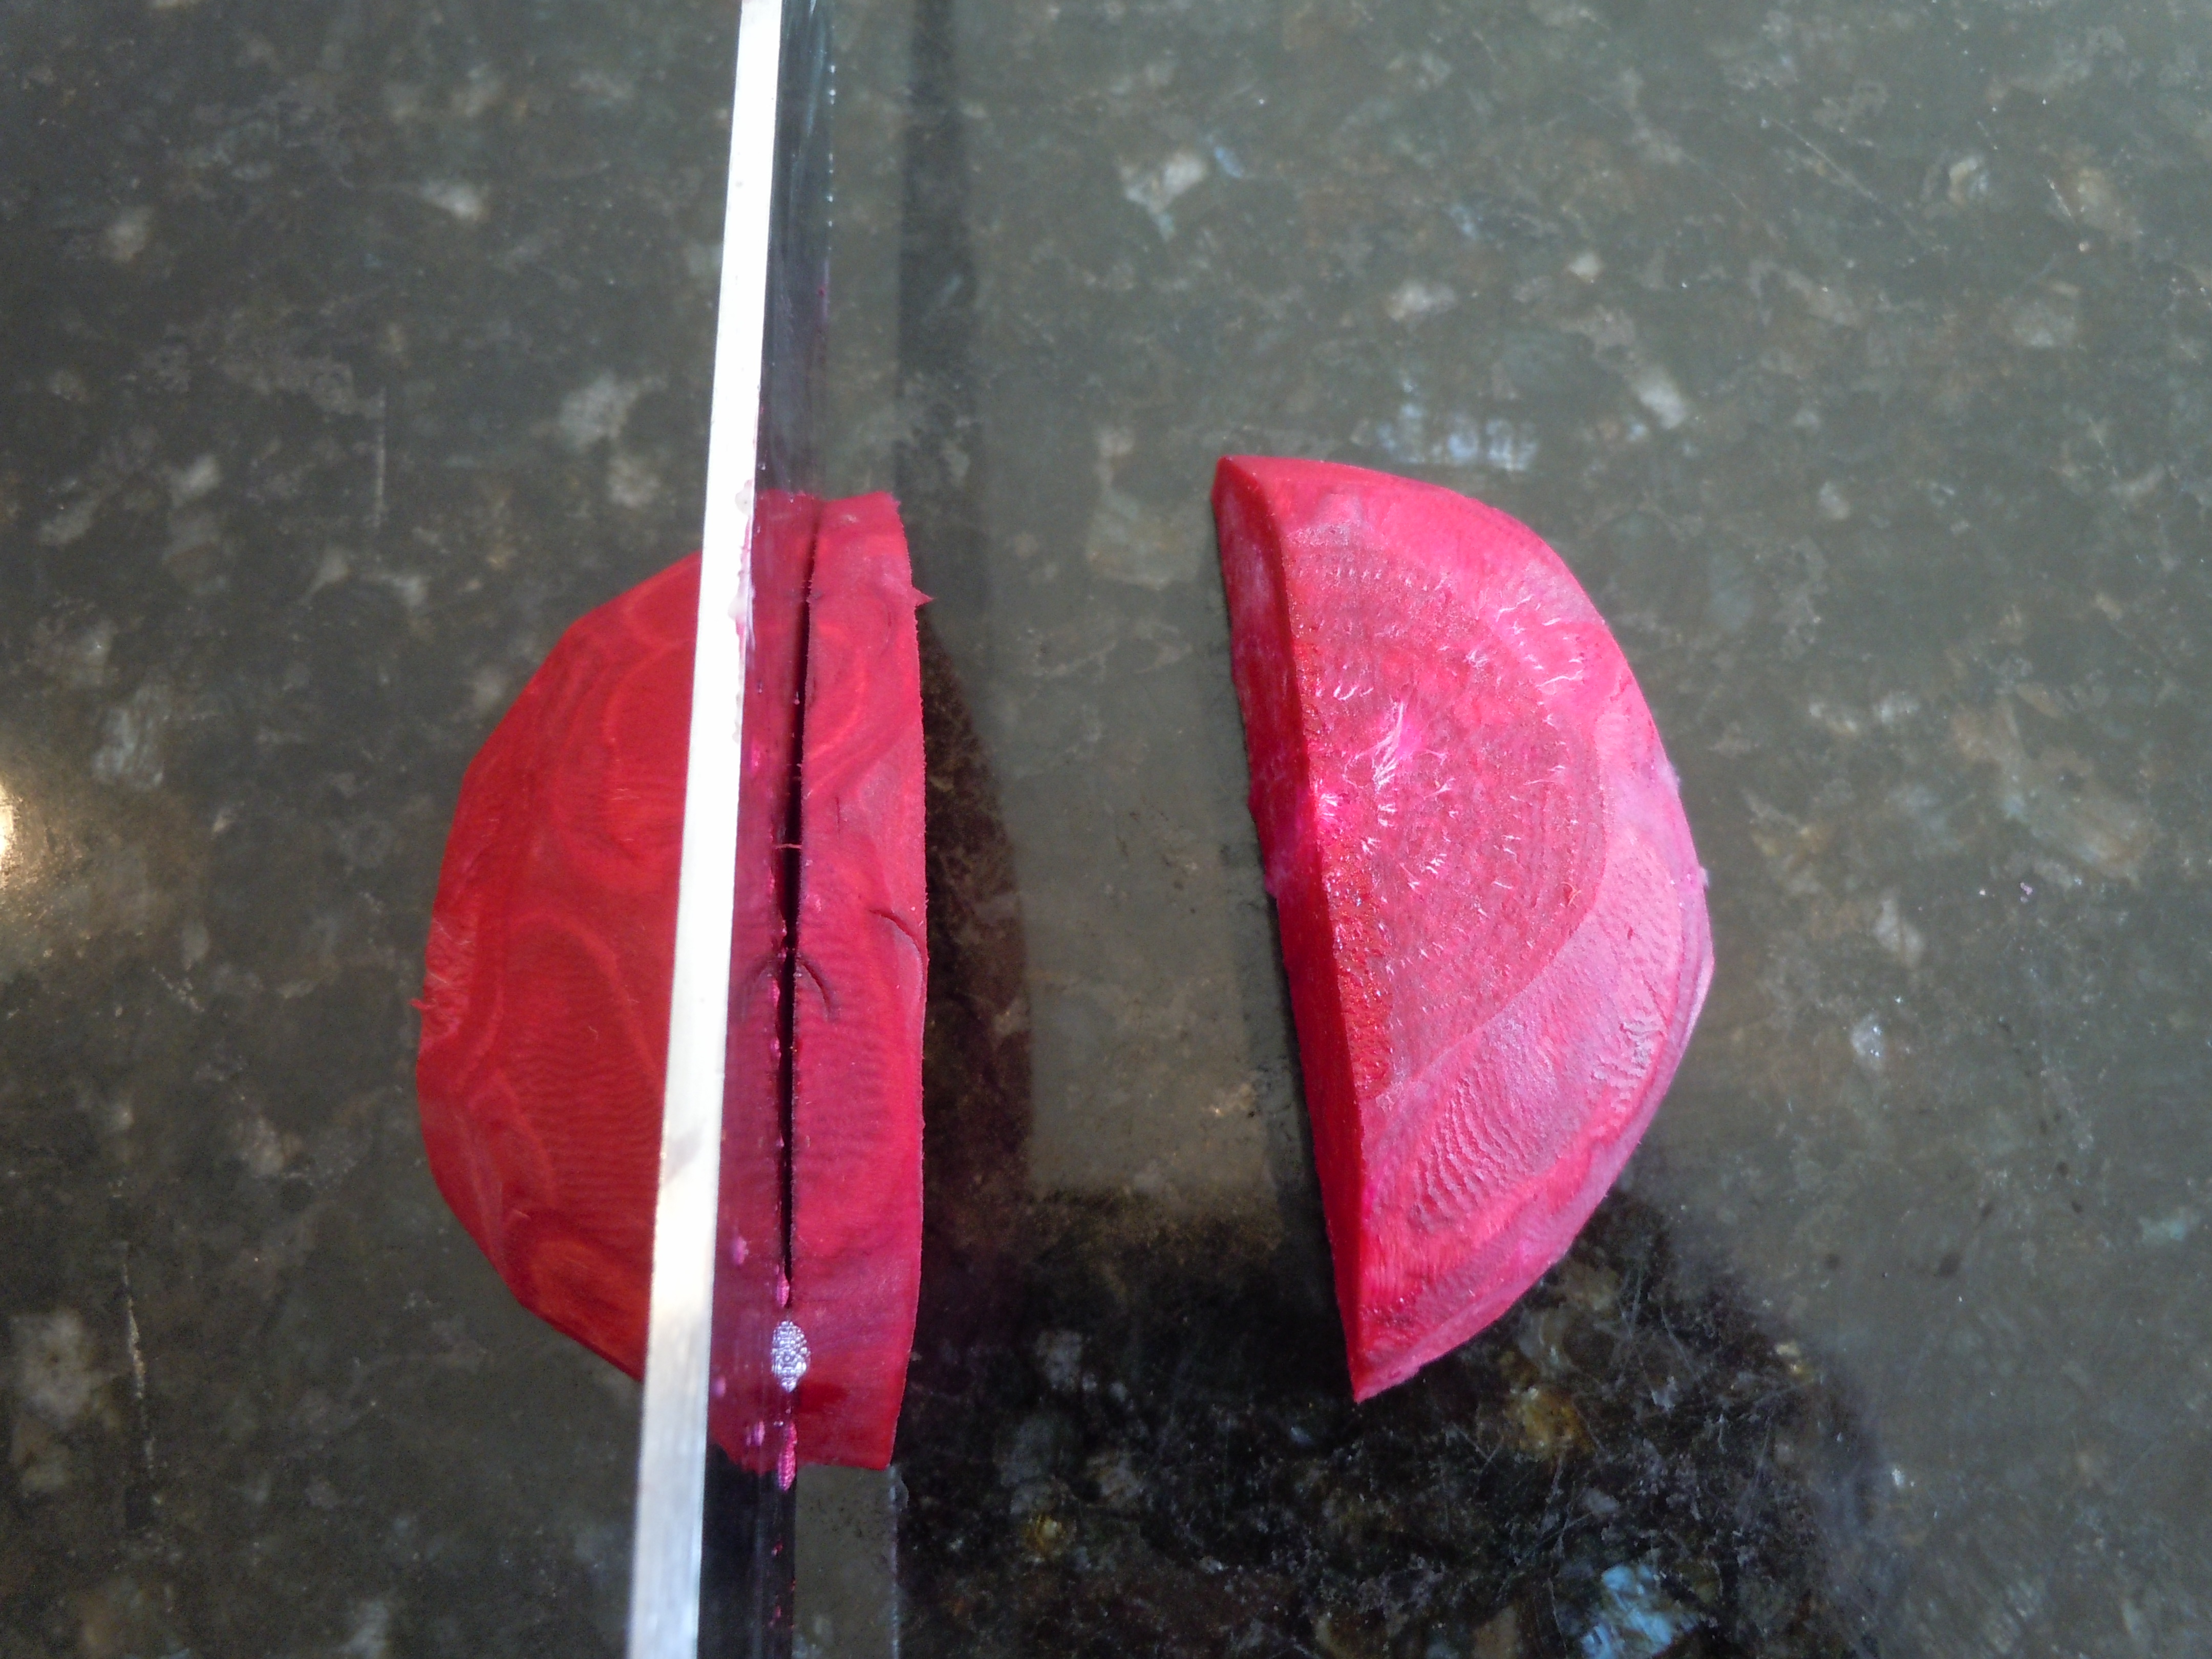
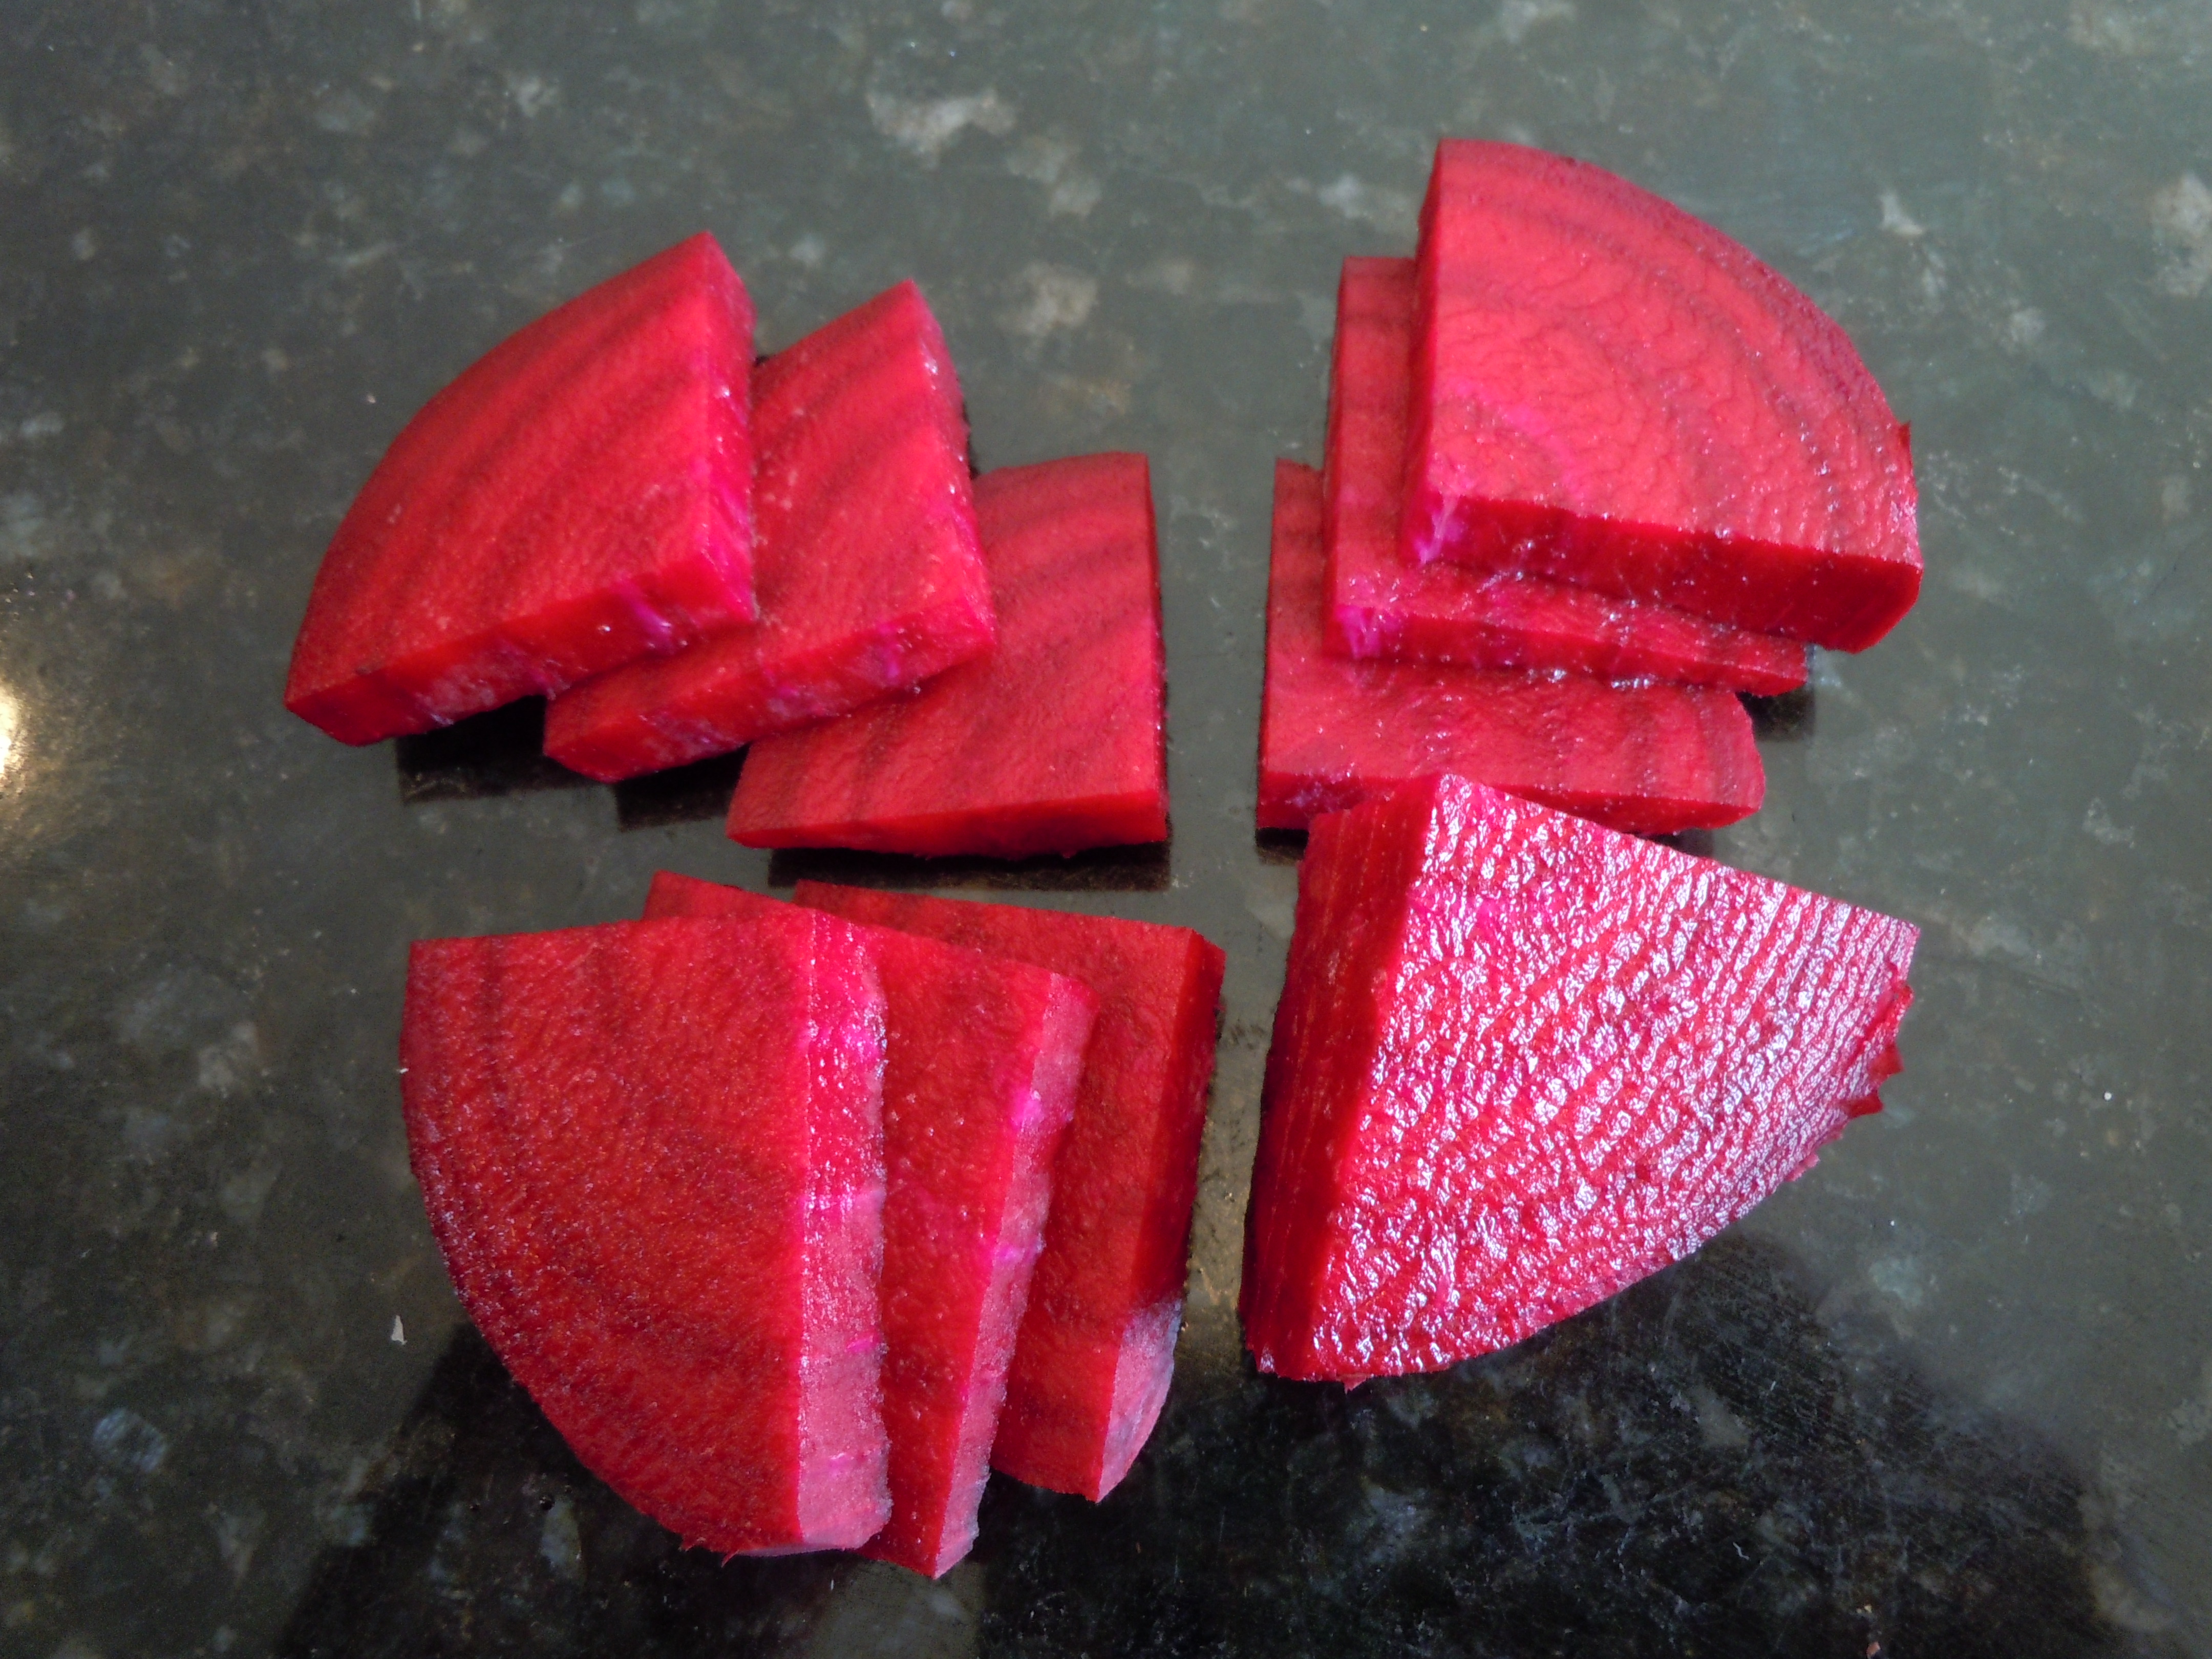
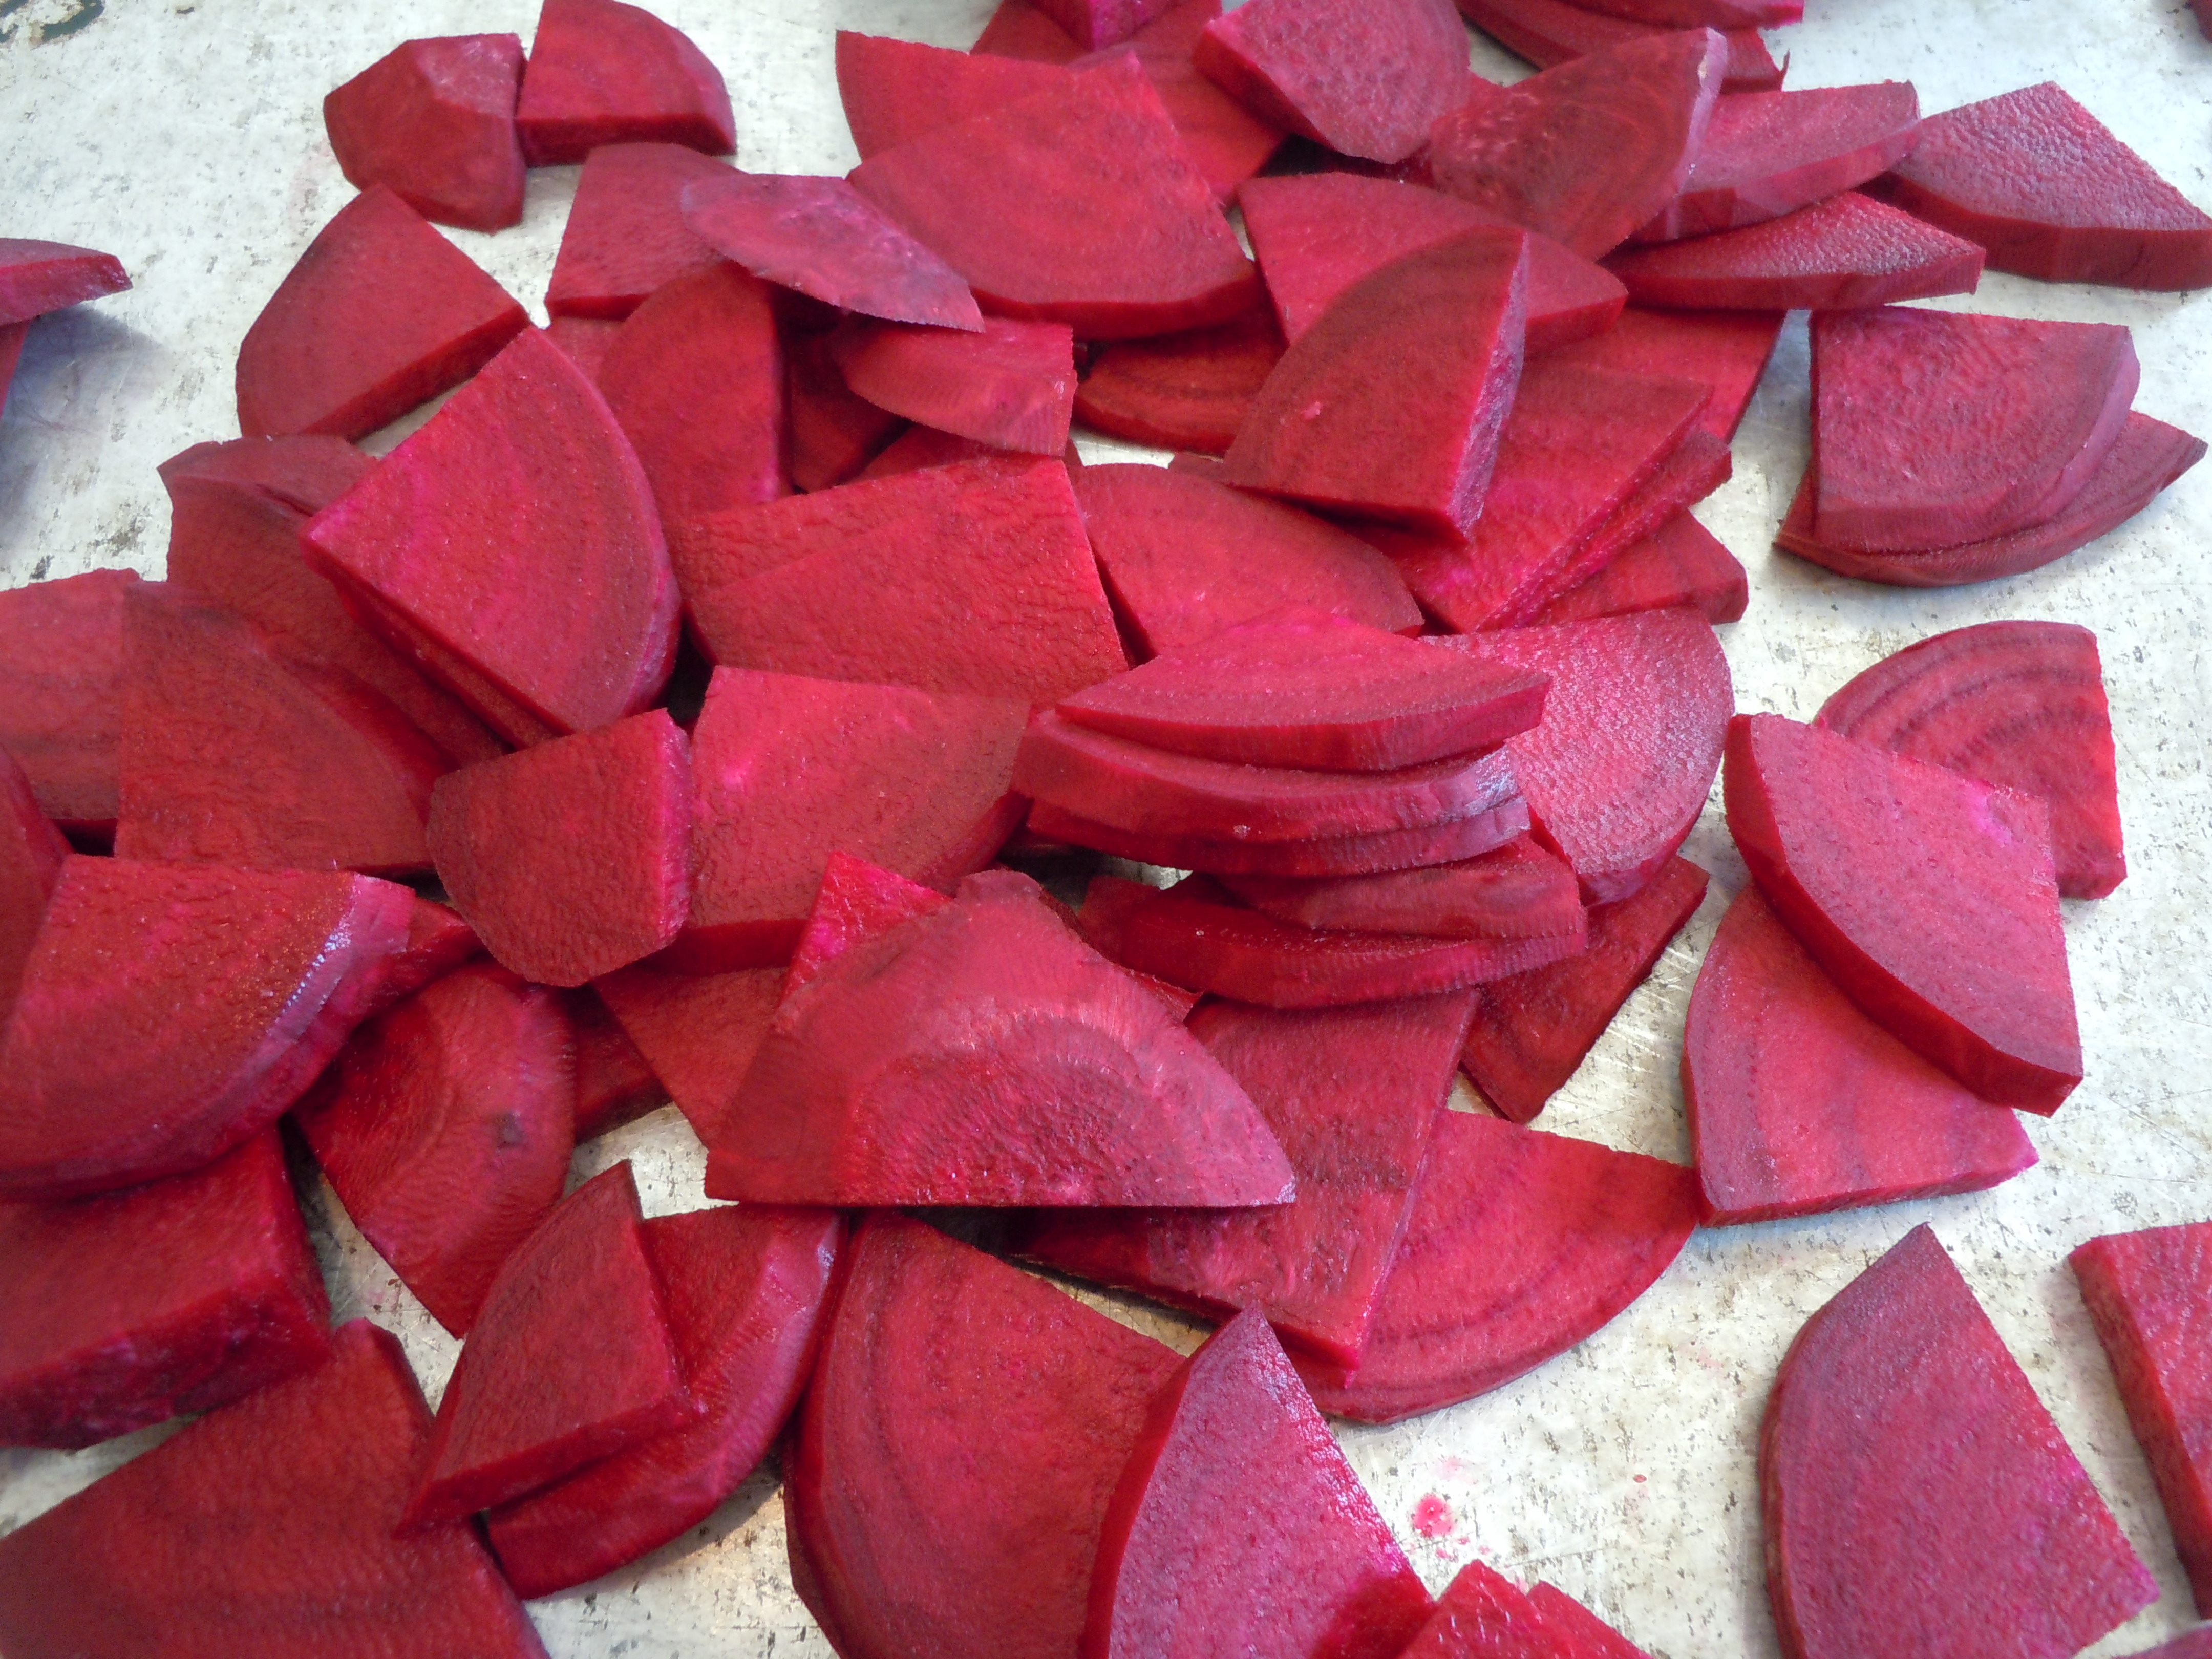
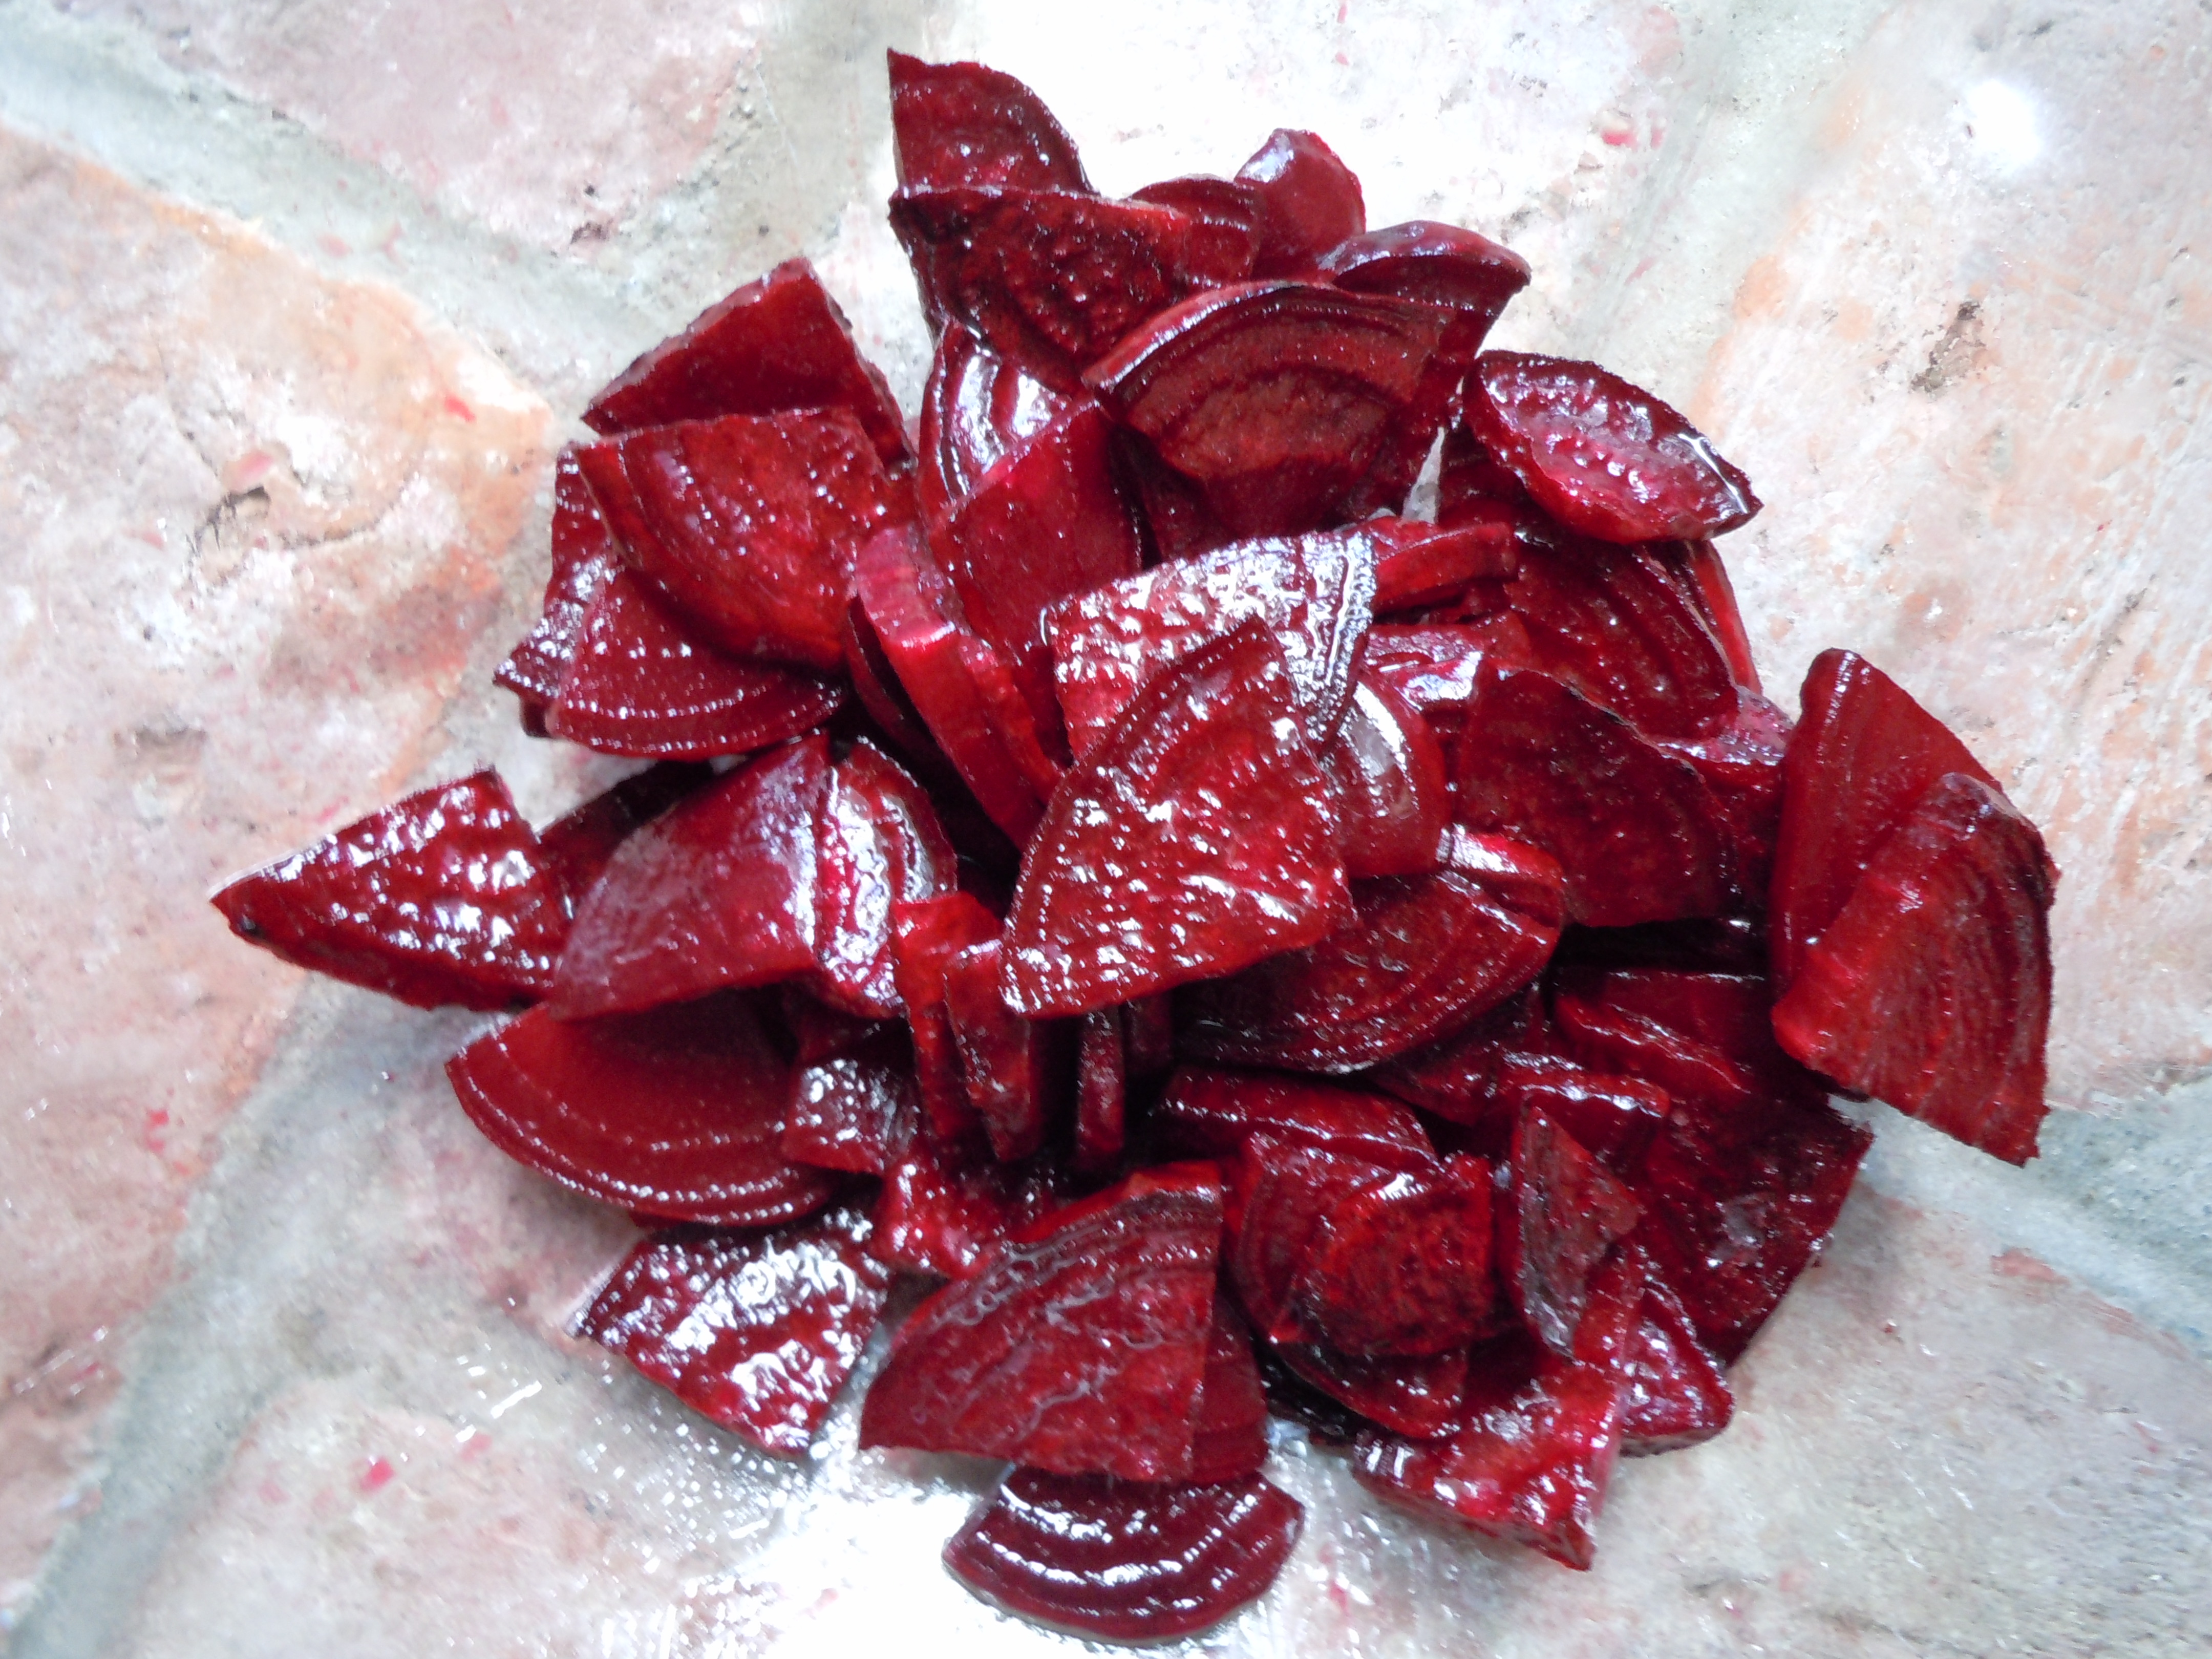
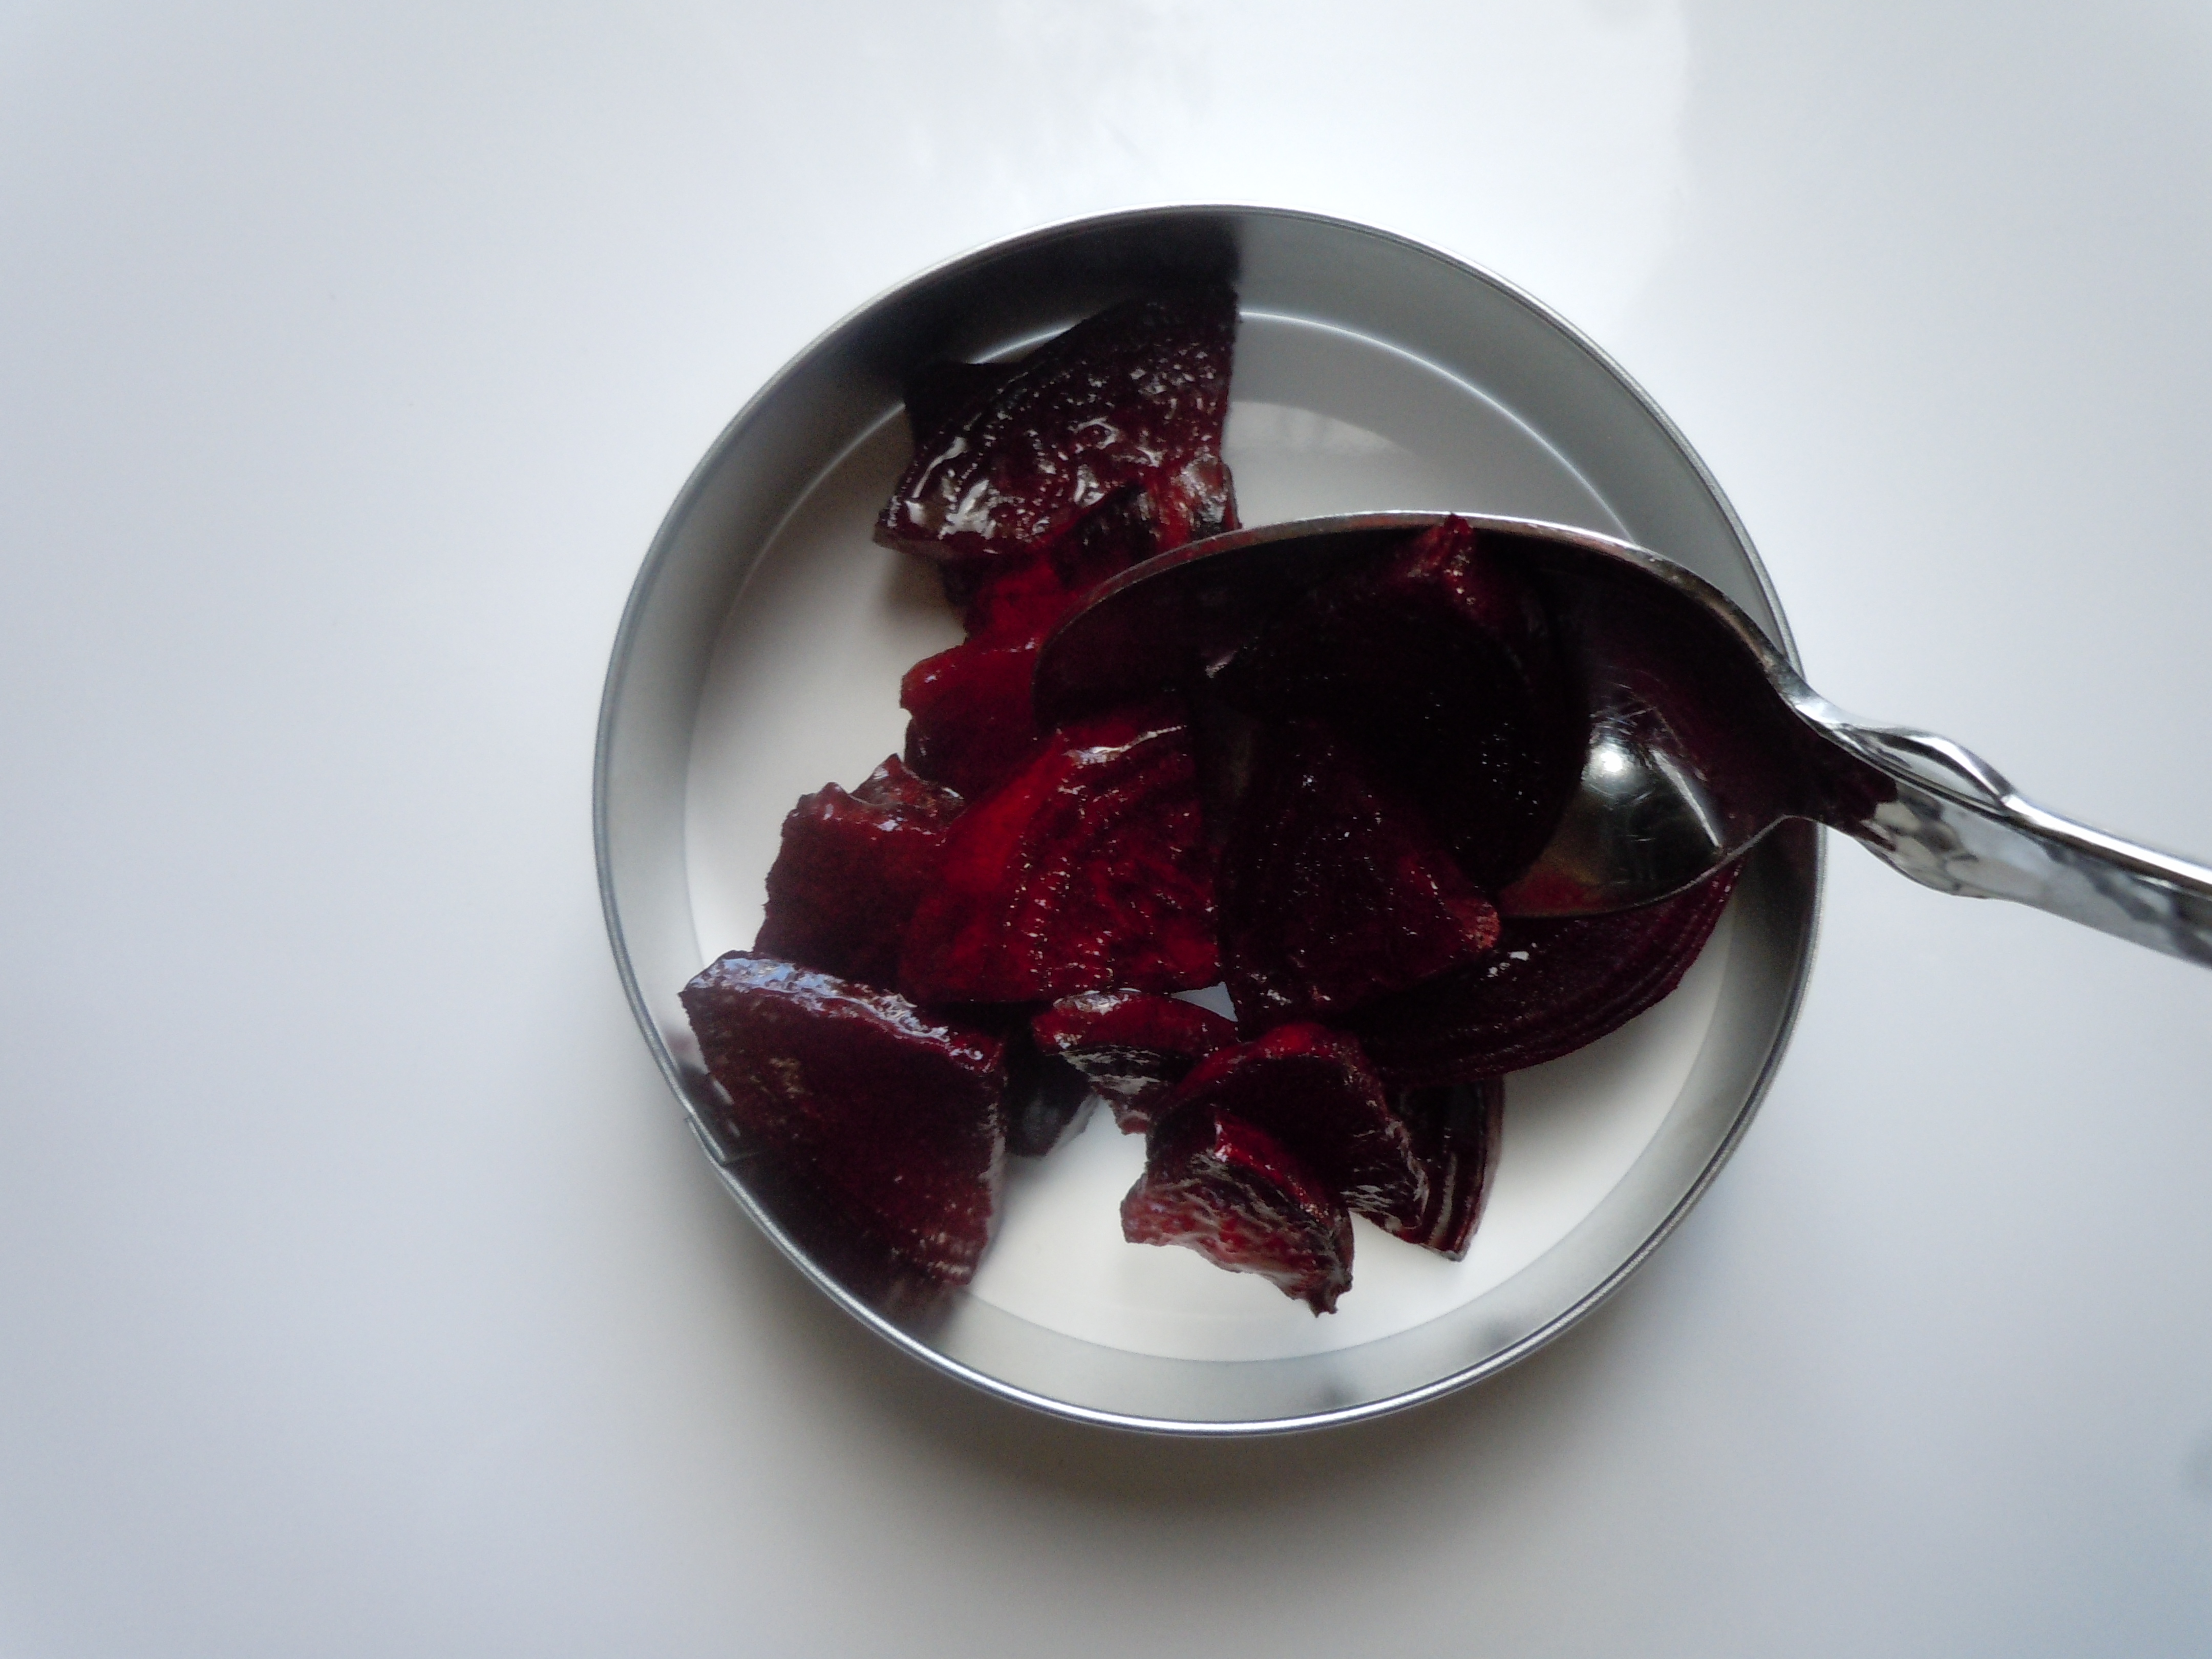
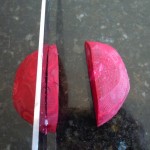
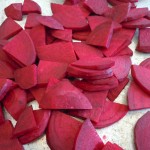
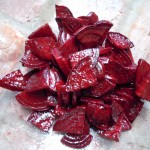
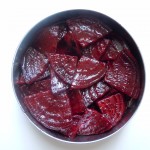
- Slice the beets in 1/2, put the flat side down and begin to slice 1/4″ slice and cut those in 1/2 so you are atually quartering them…see photo
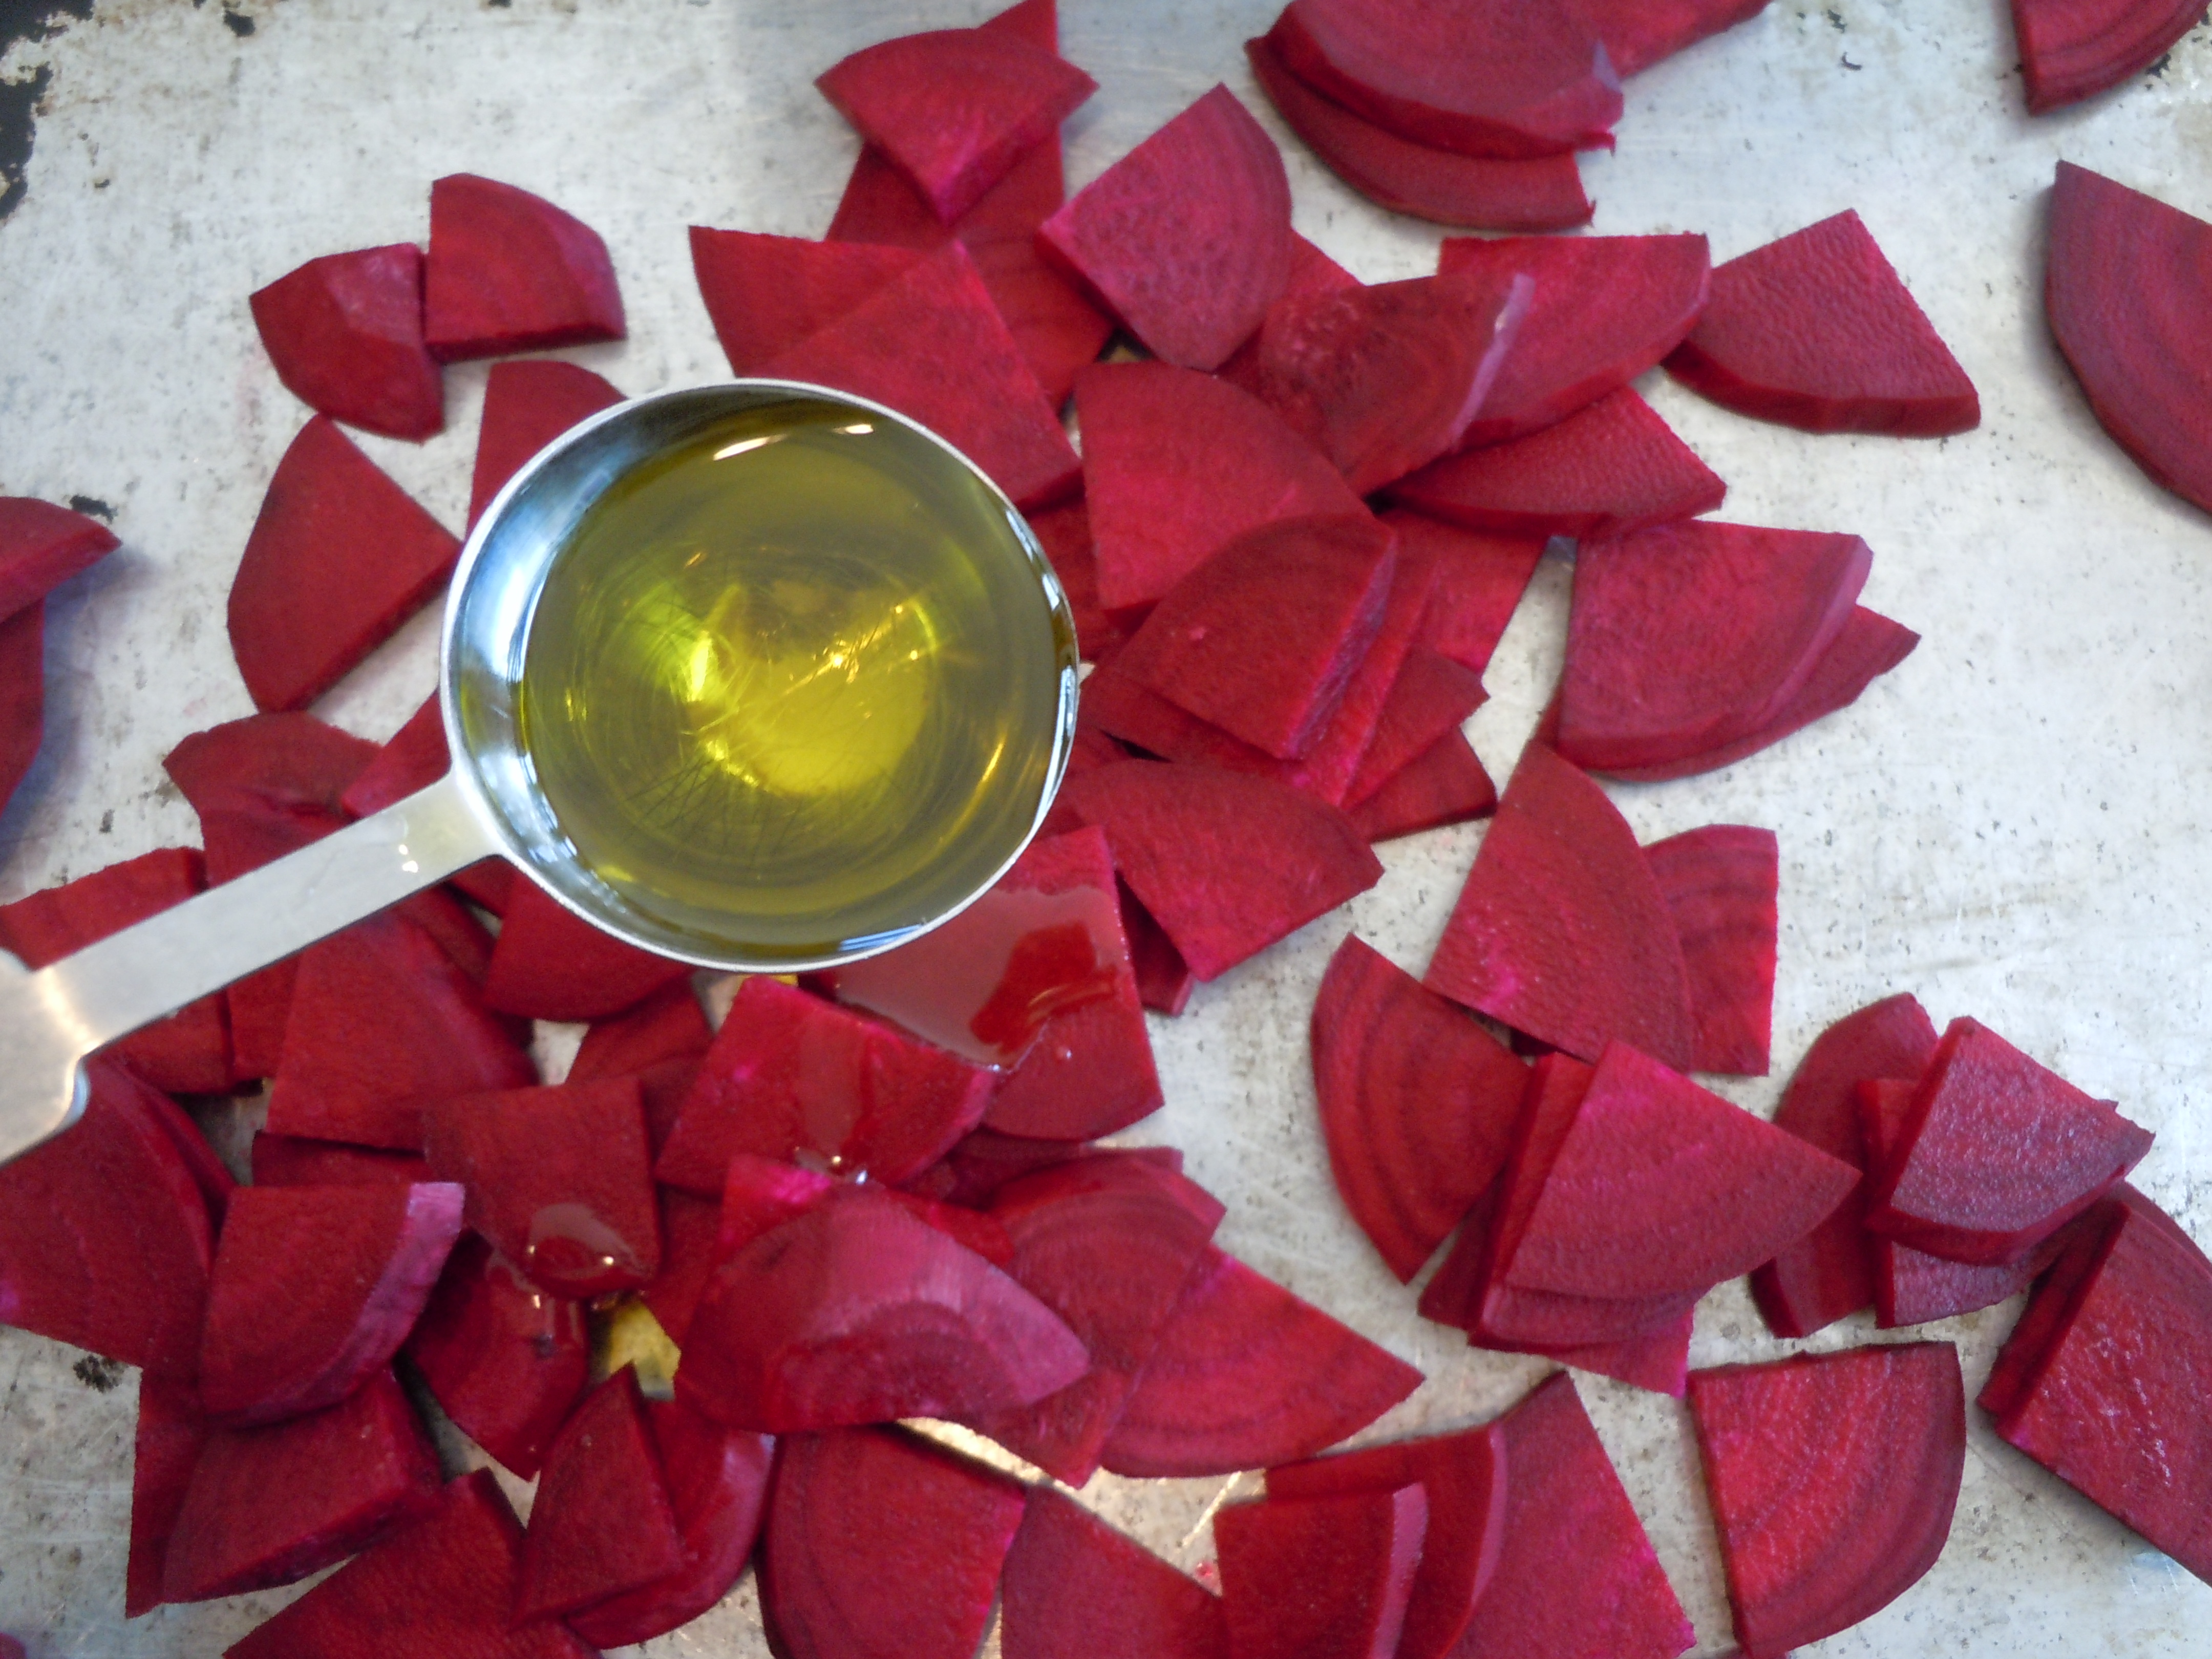
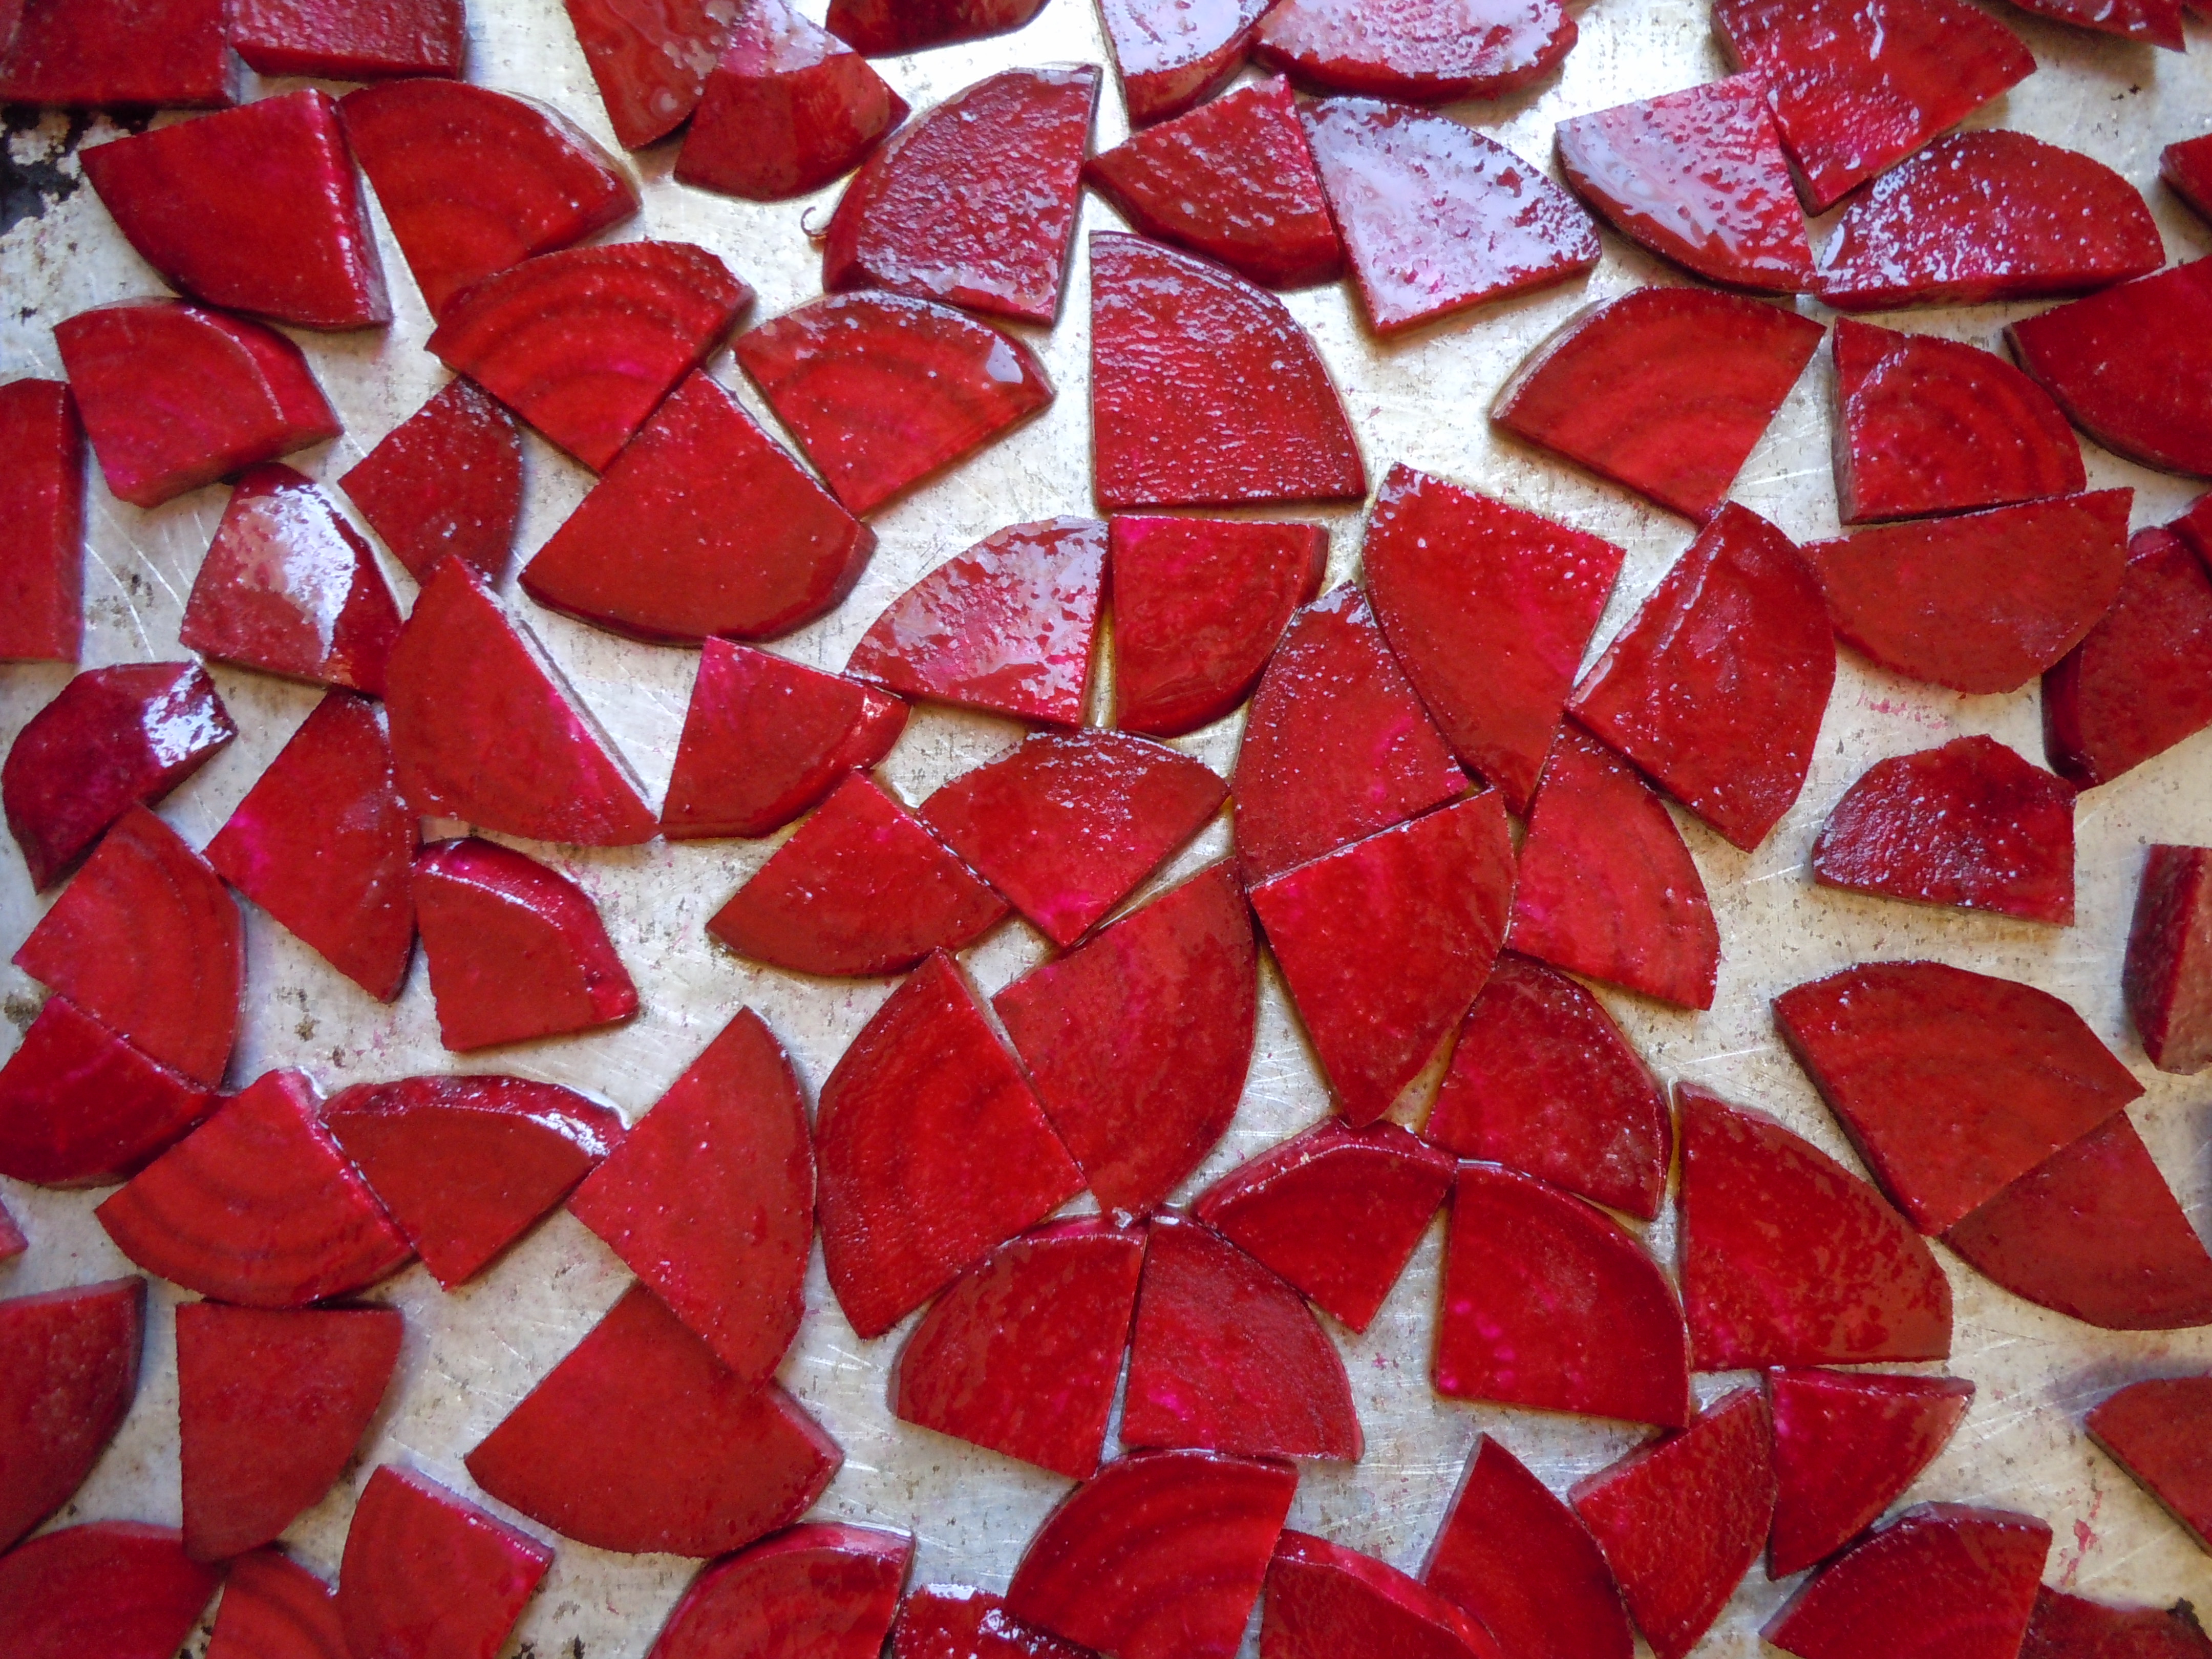
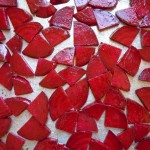
- Put them on a cookie tray and add 3 Tbsp olive oil
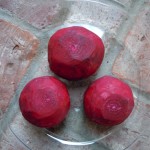
- Sprinkle 1/2 Tsp salt and put them into the oven for 15 minutes
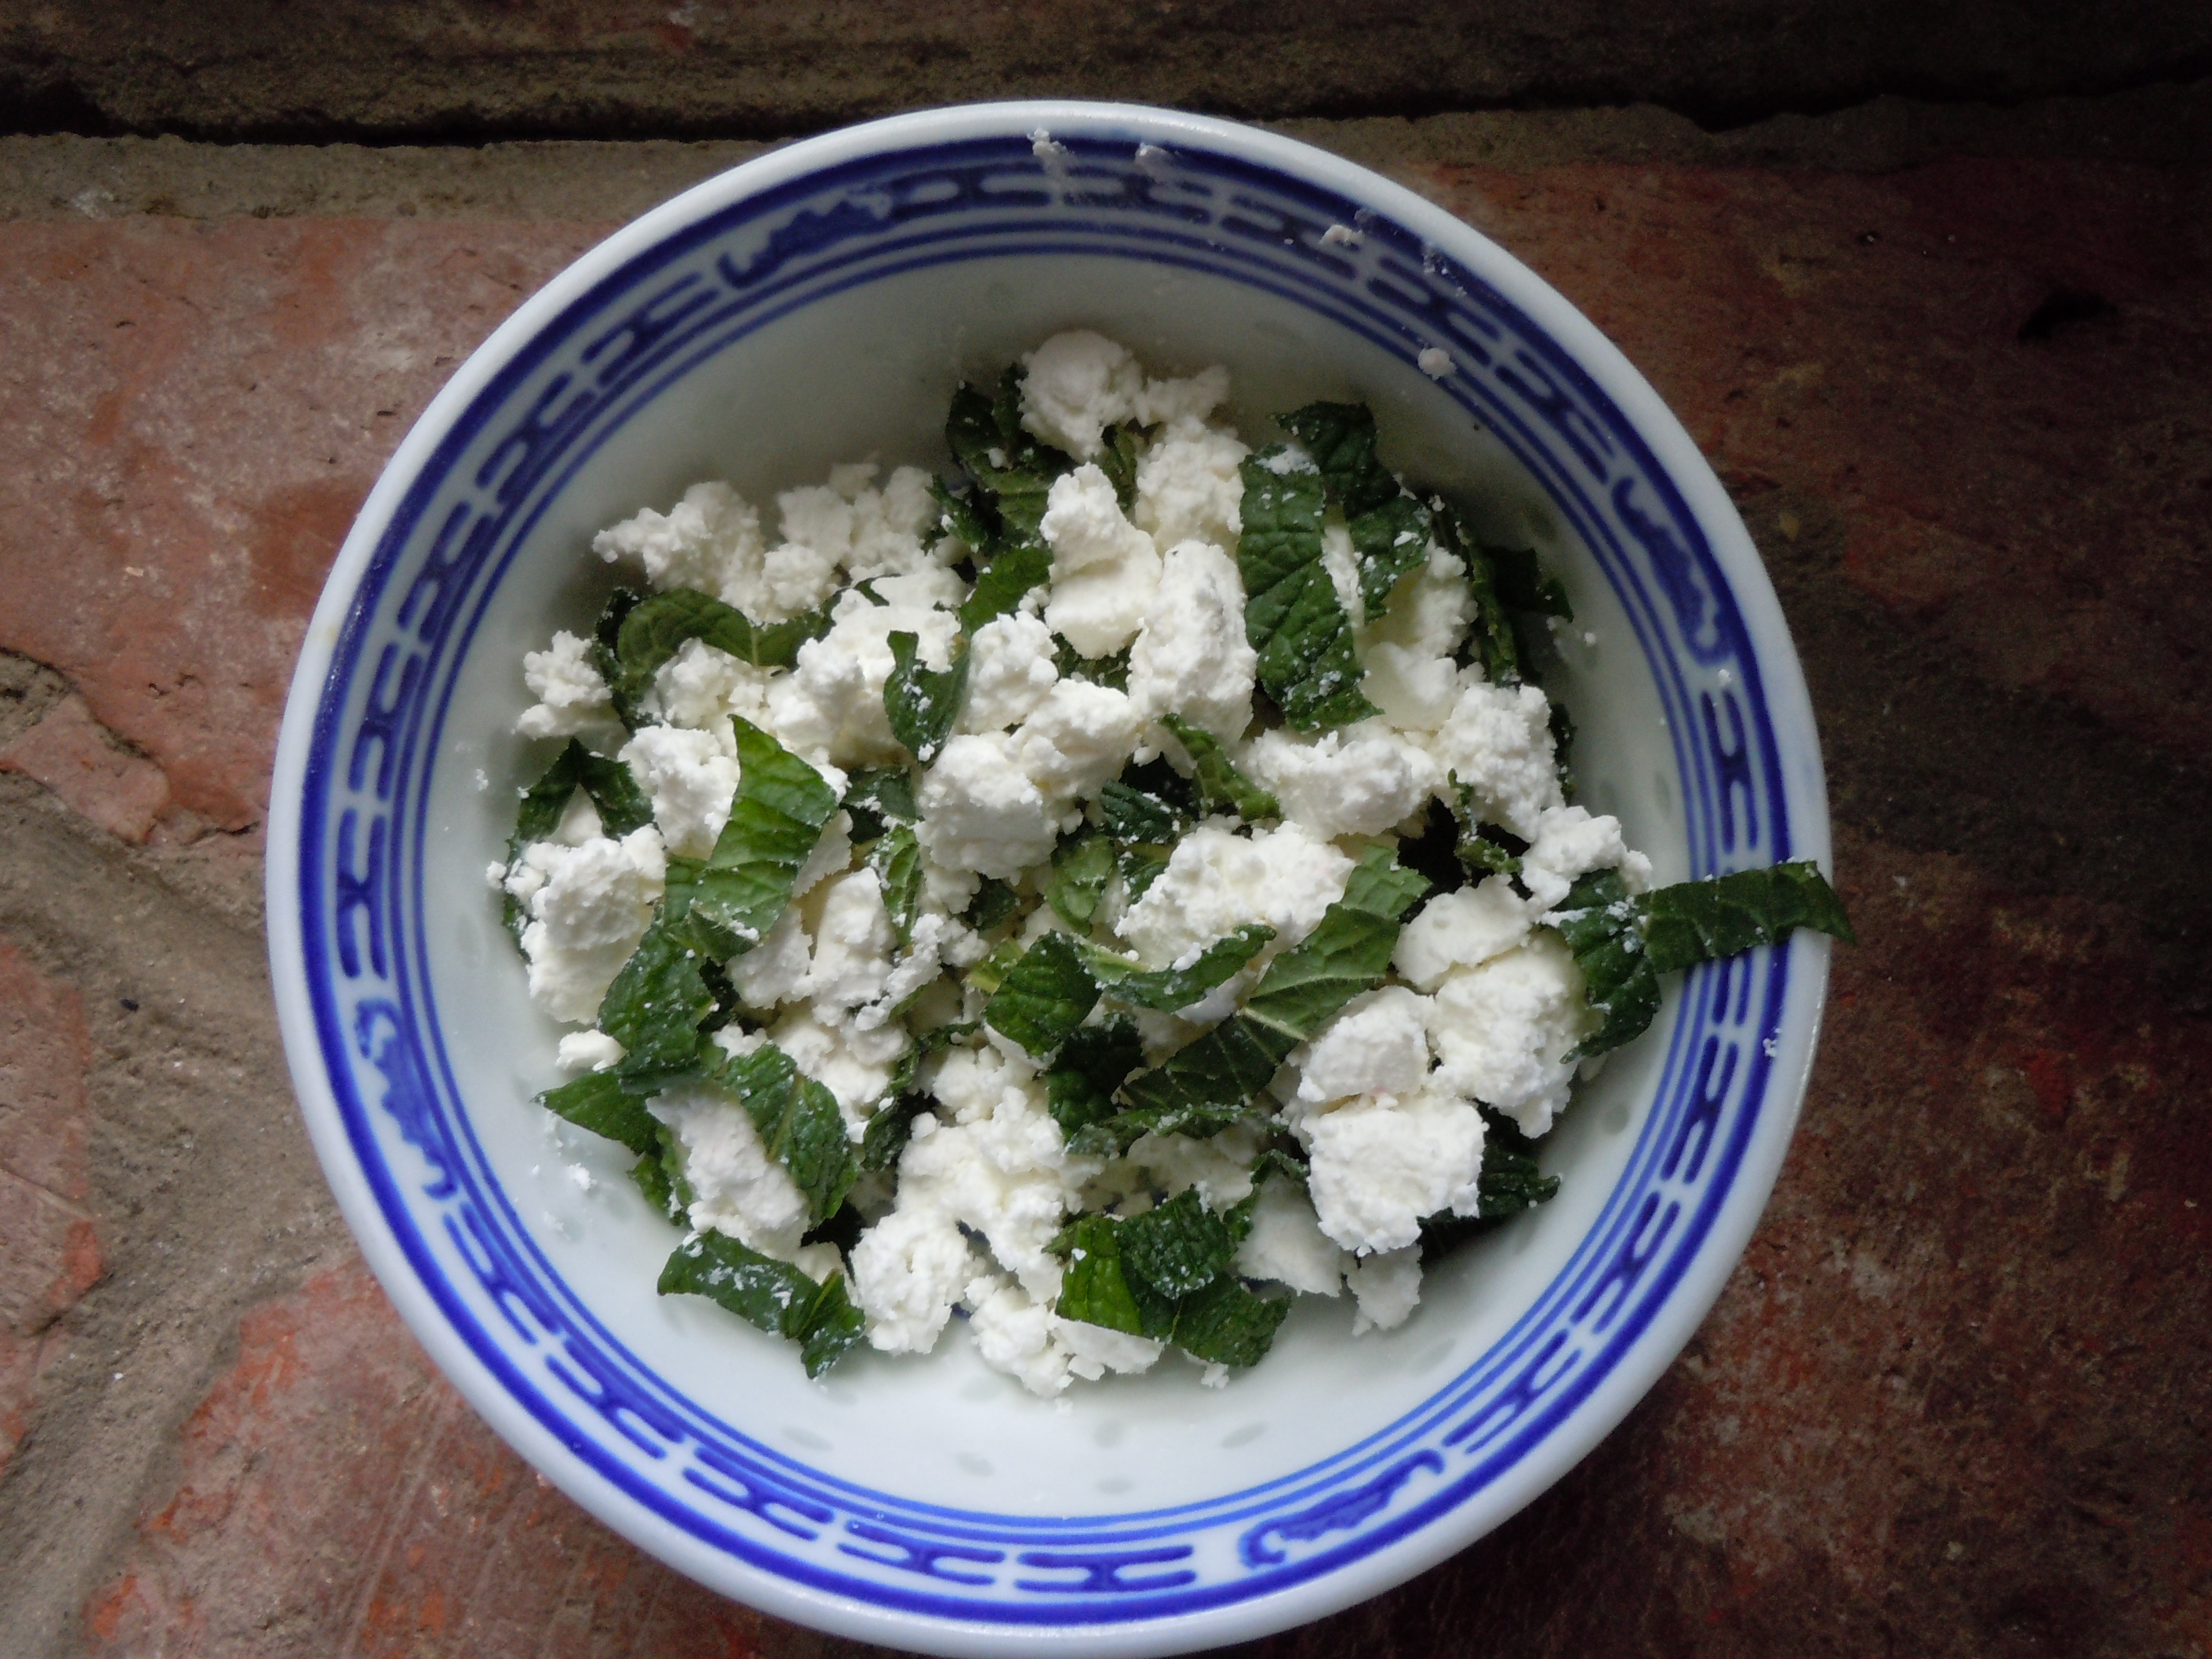
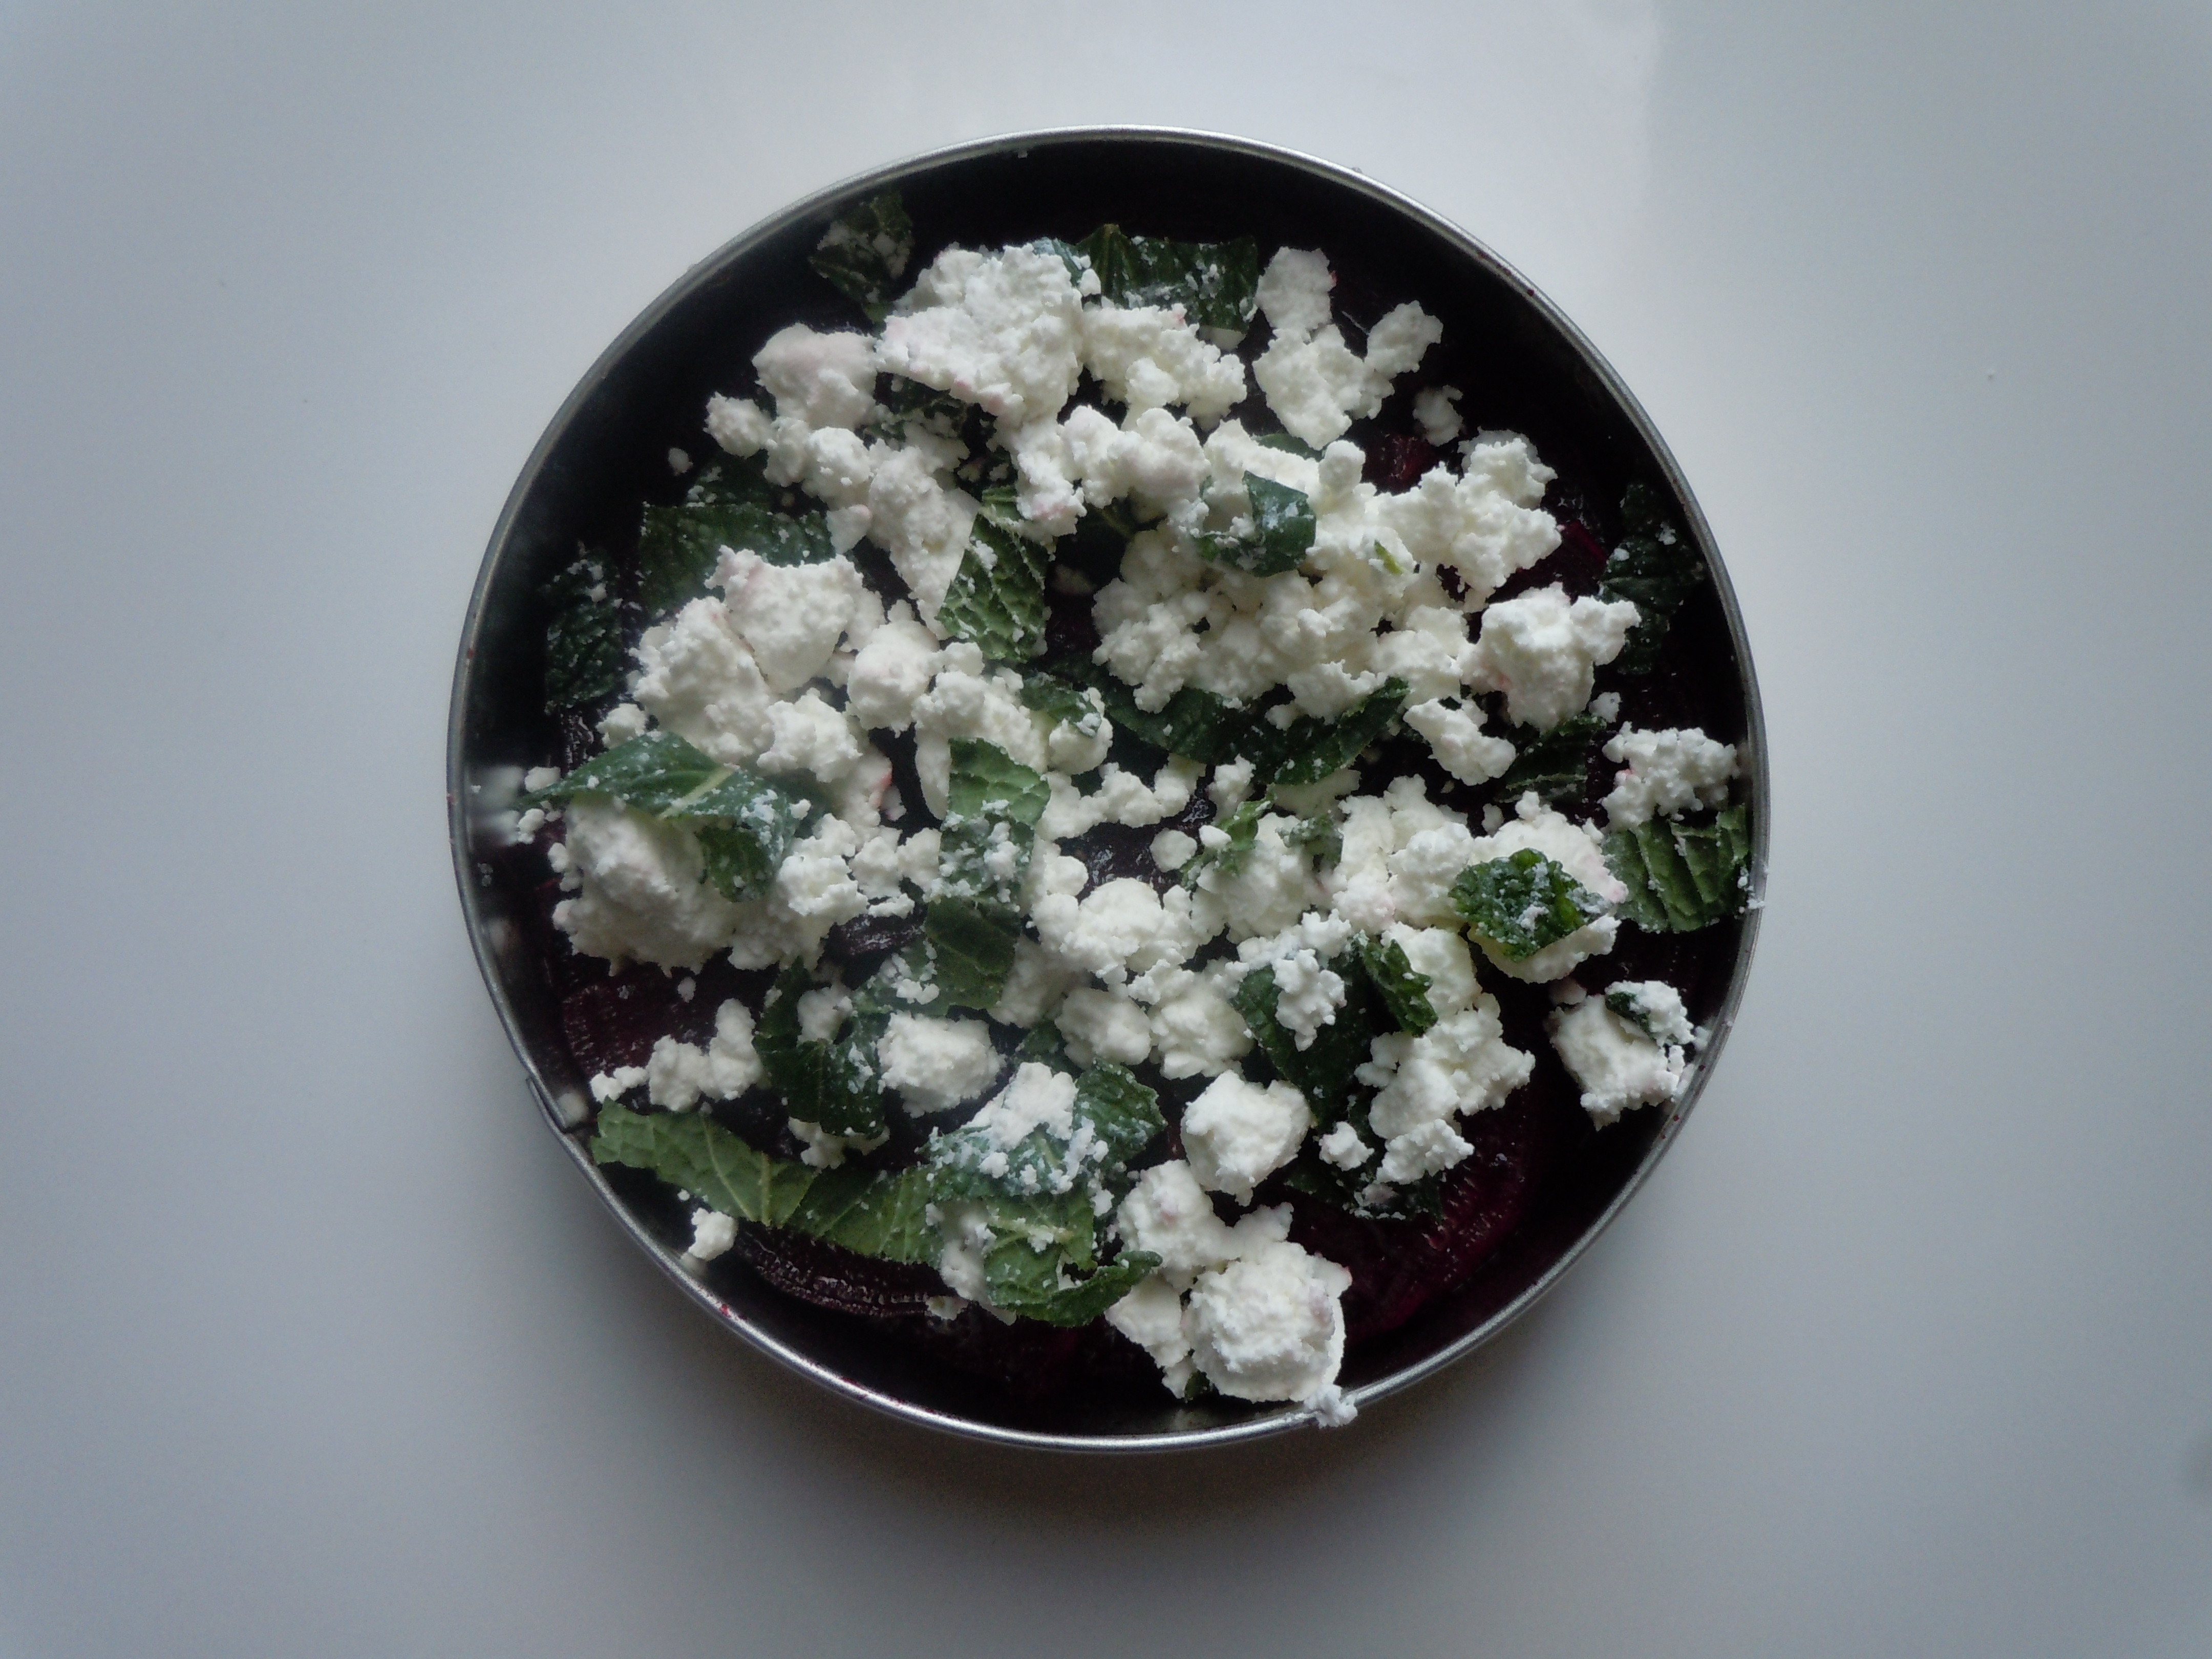
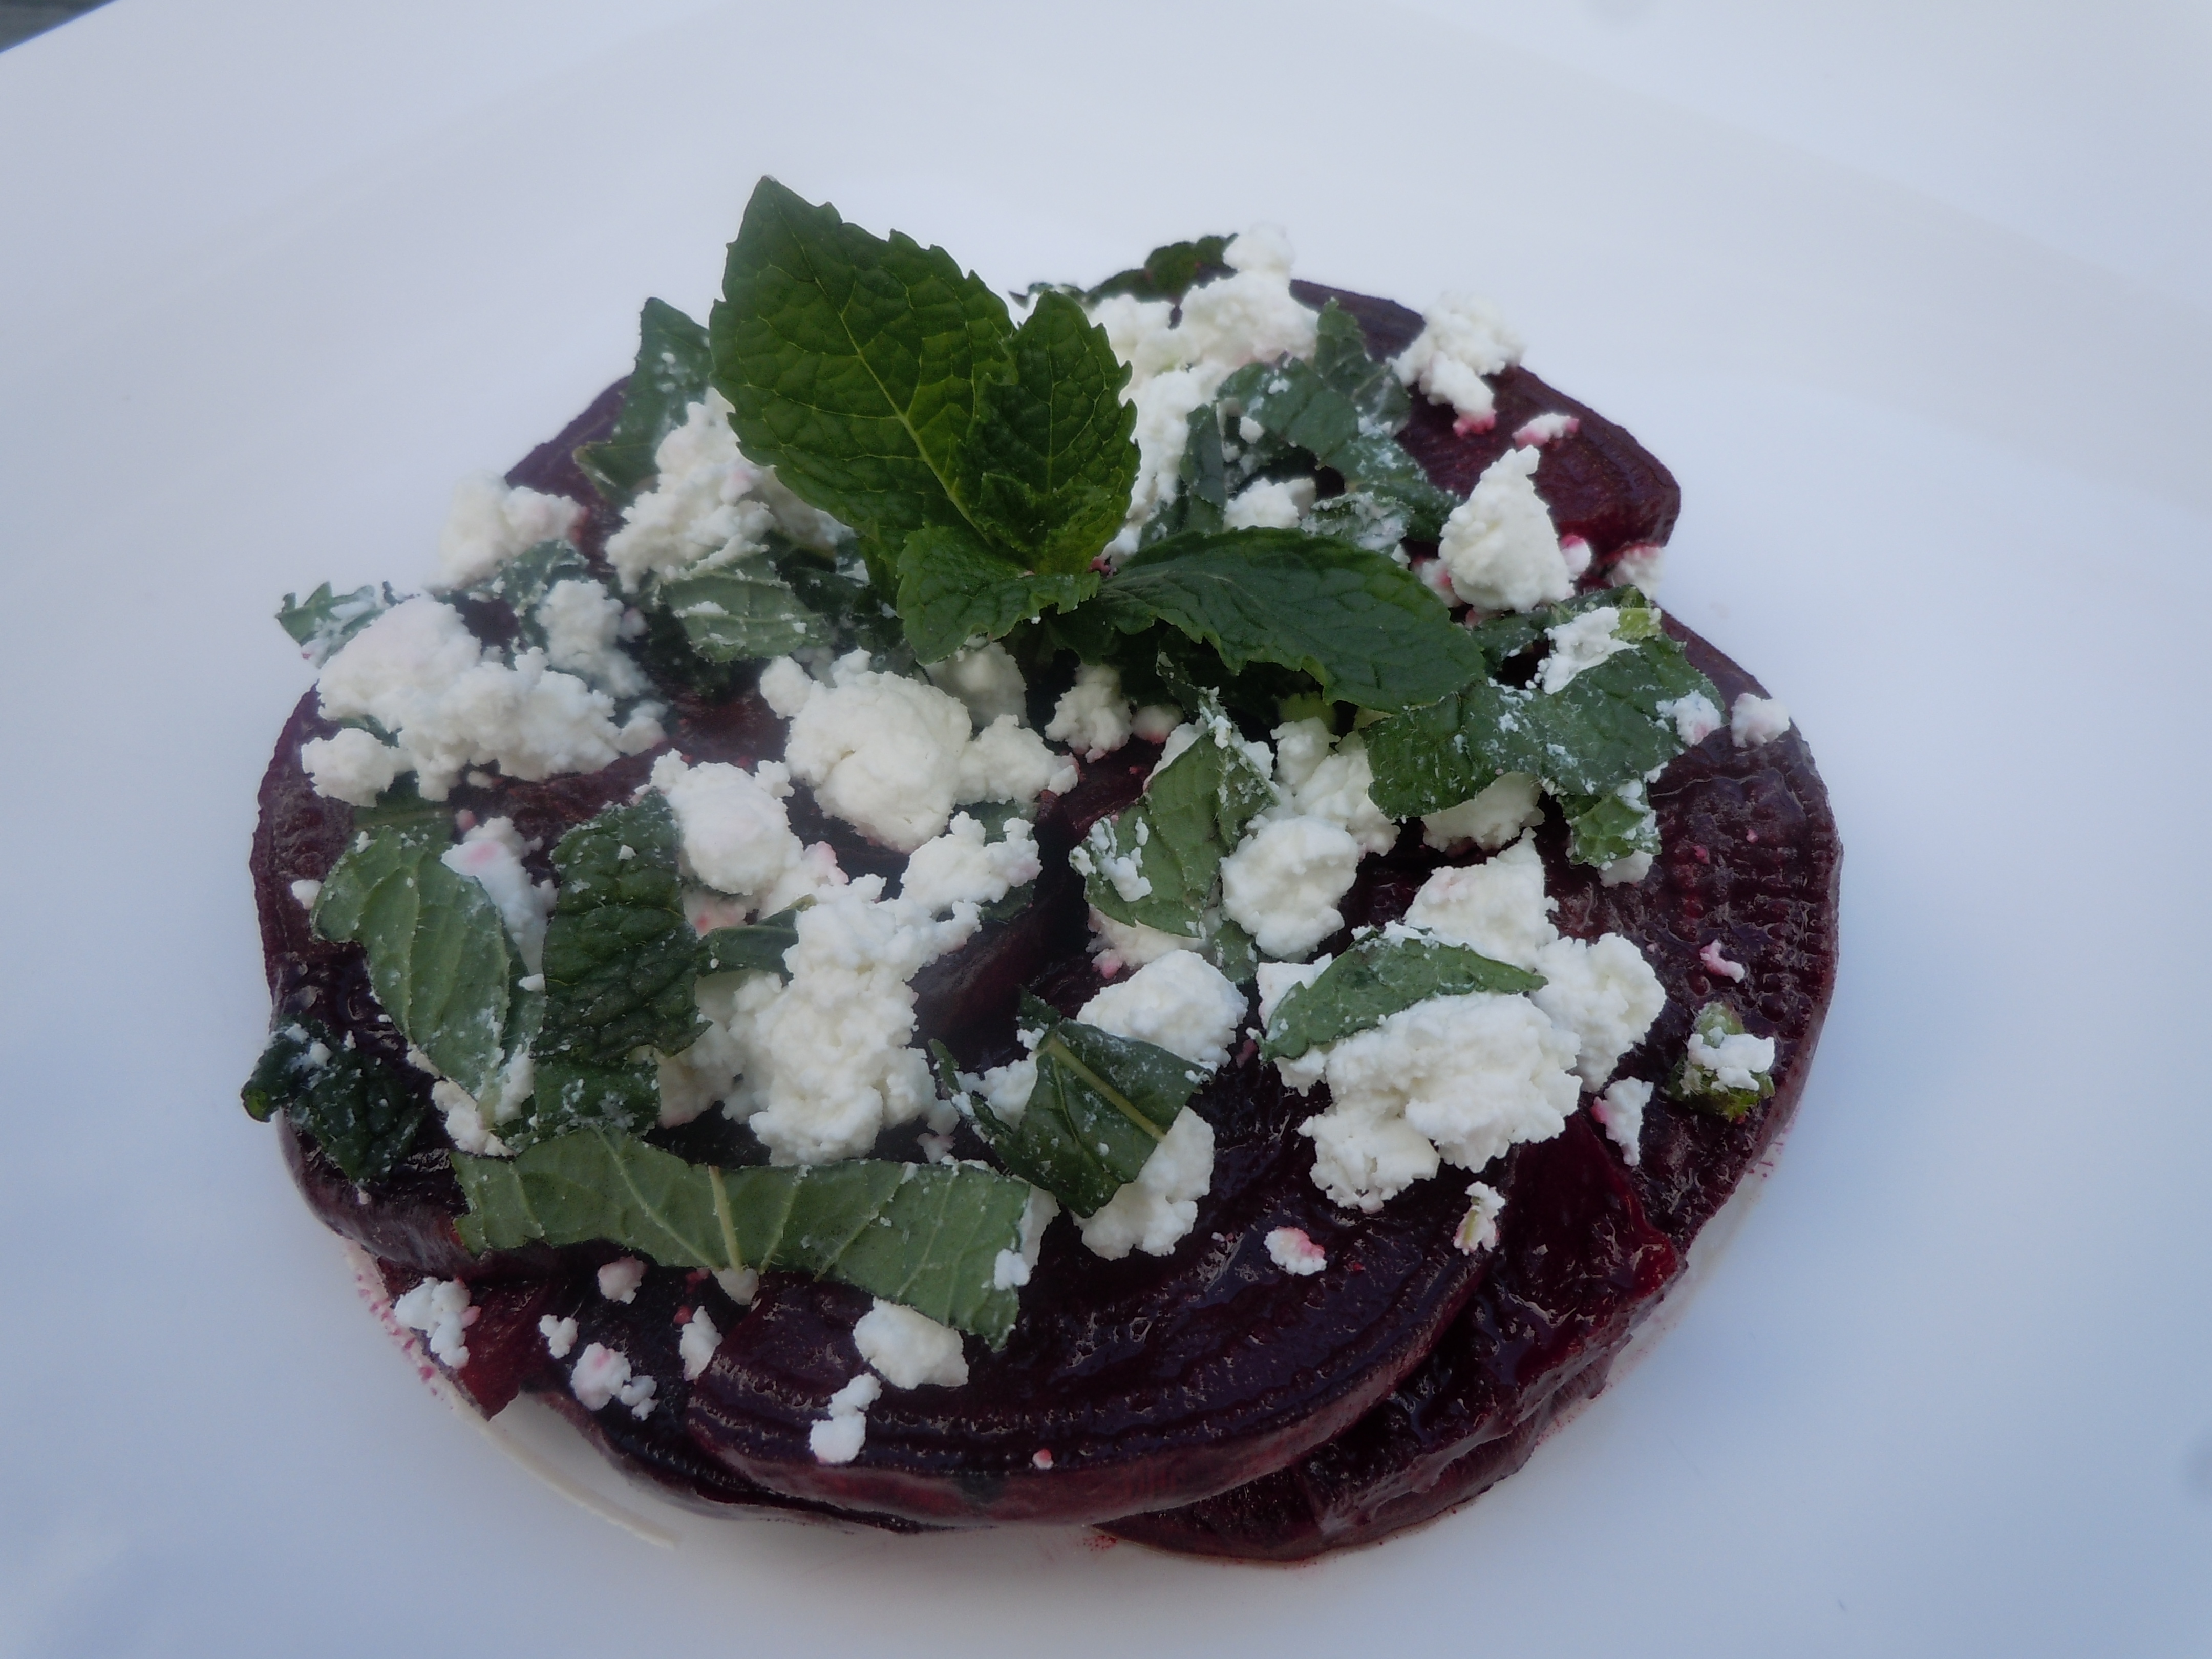
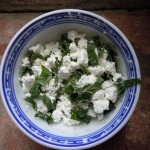
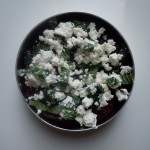
- Crumble feta to measure 1/2 cup
- Julienne mint leaves and add to feta and set aside
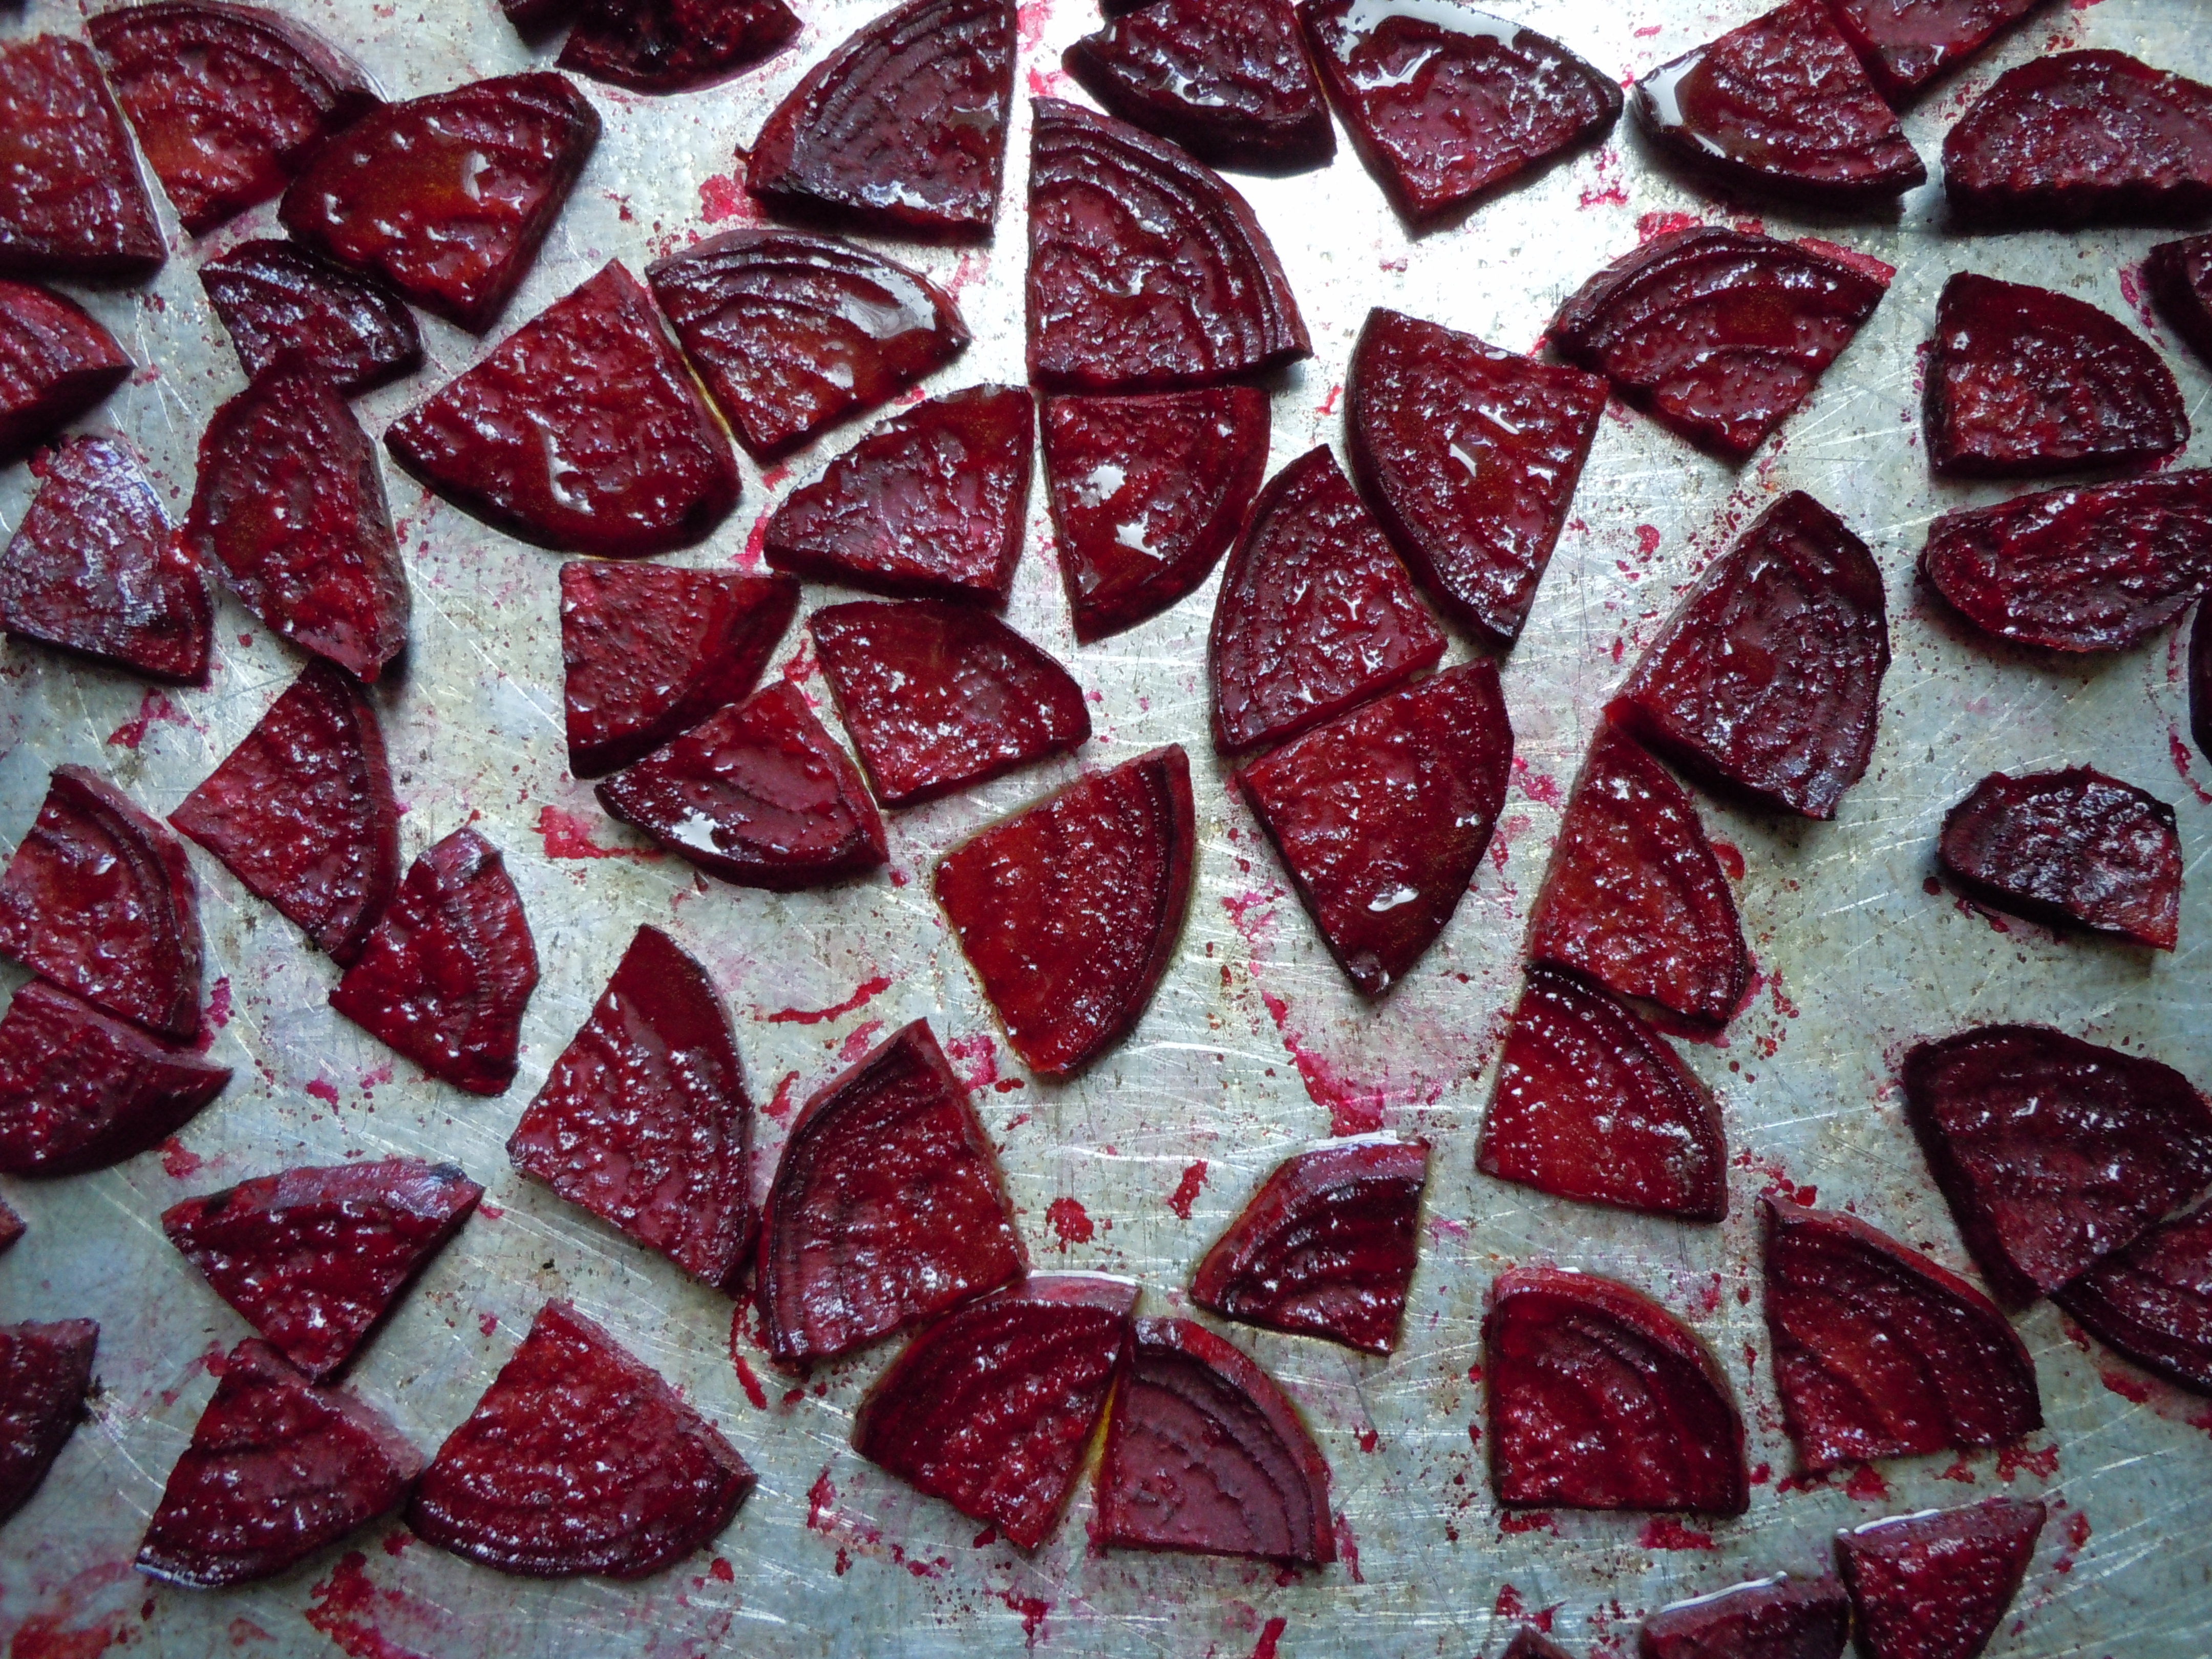
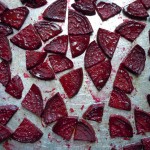
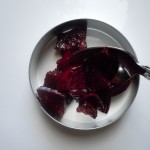
- Take the tray out and let cool for 5 minutes
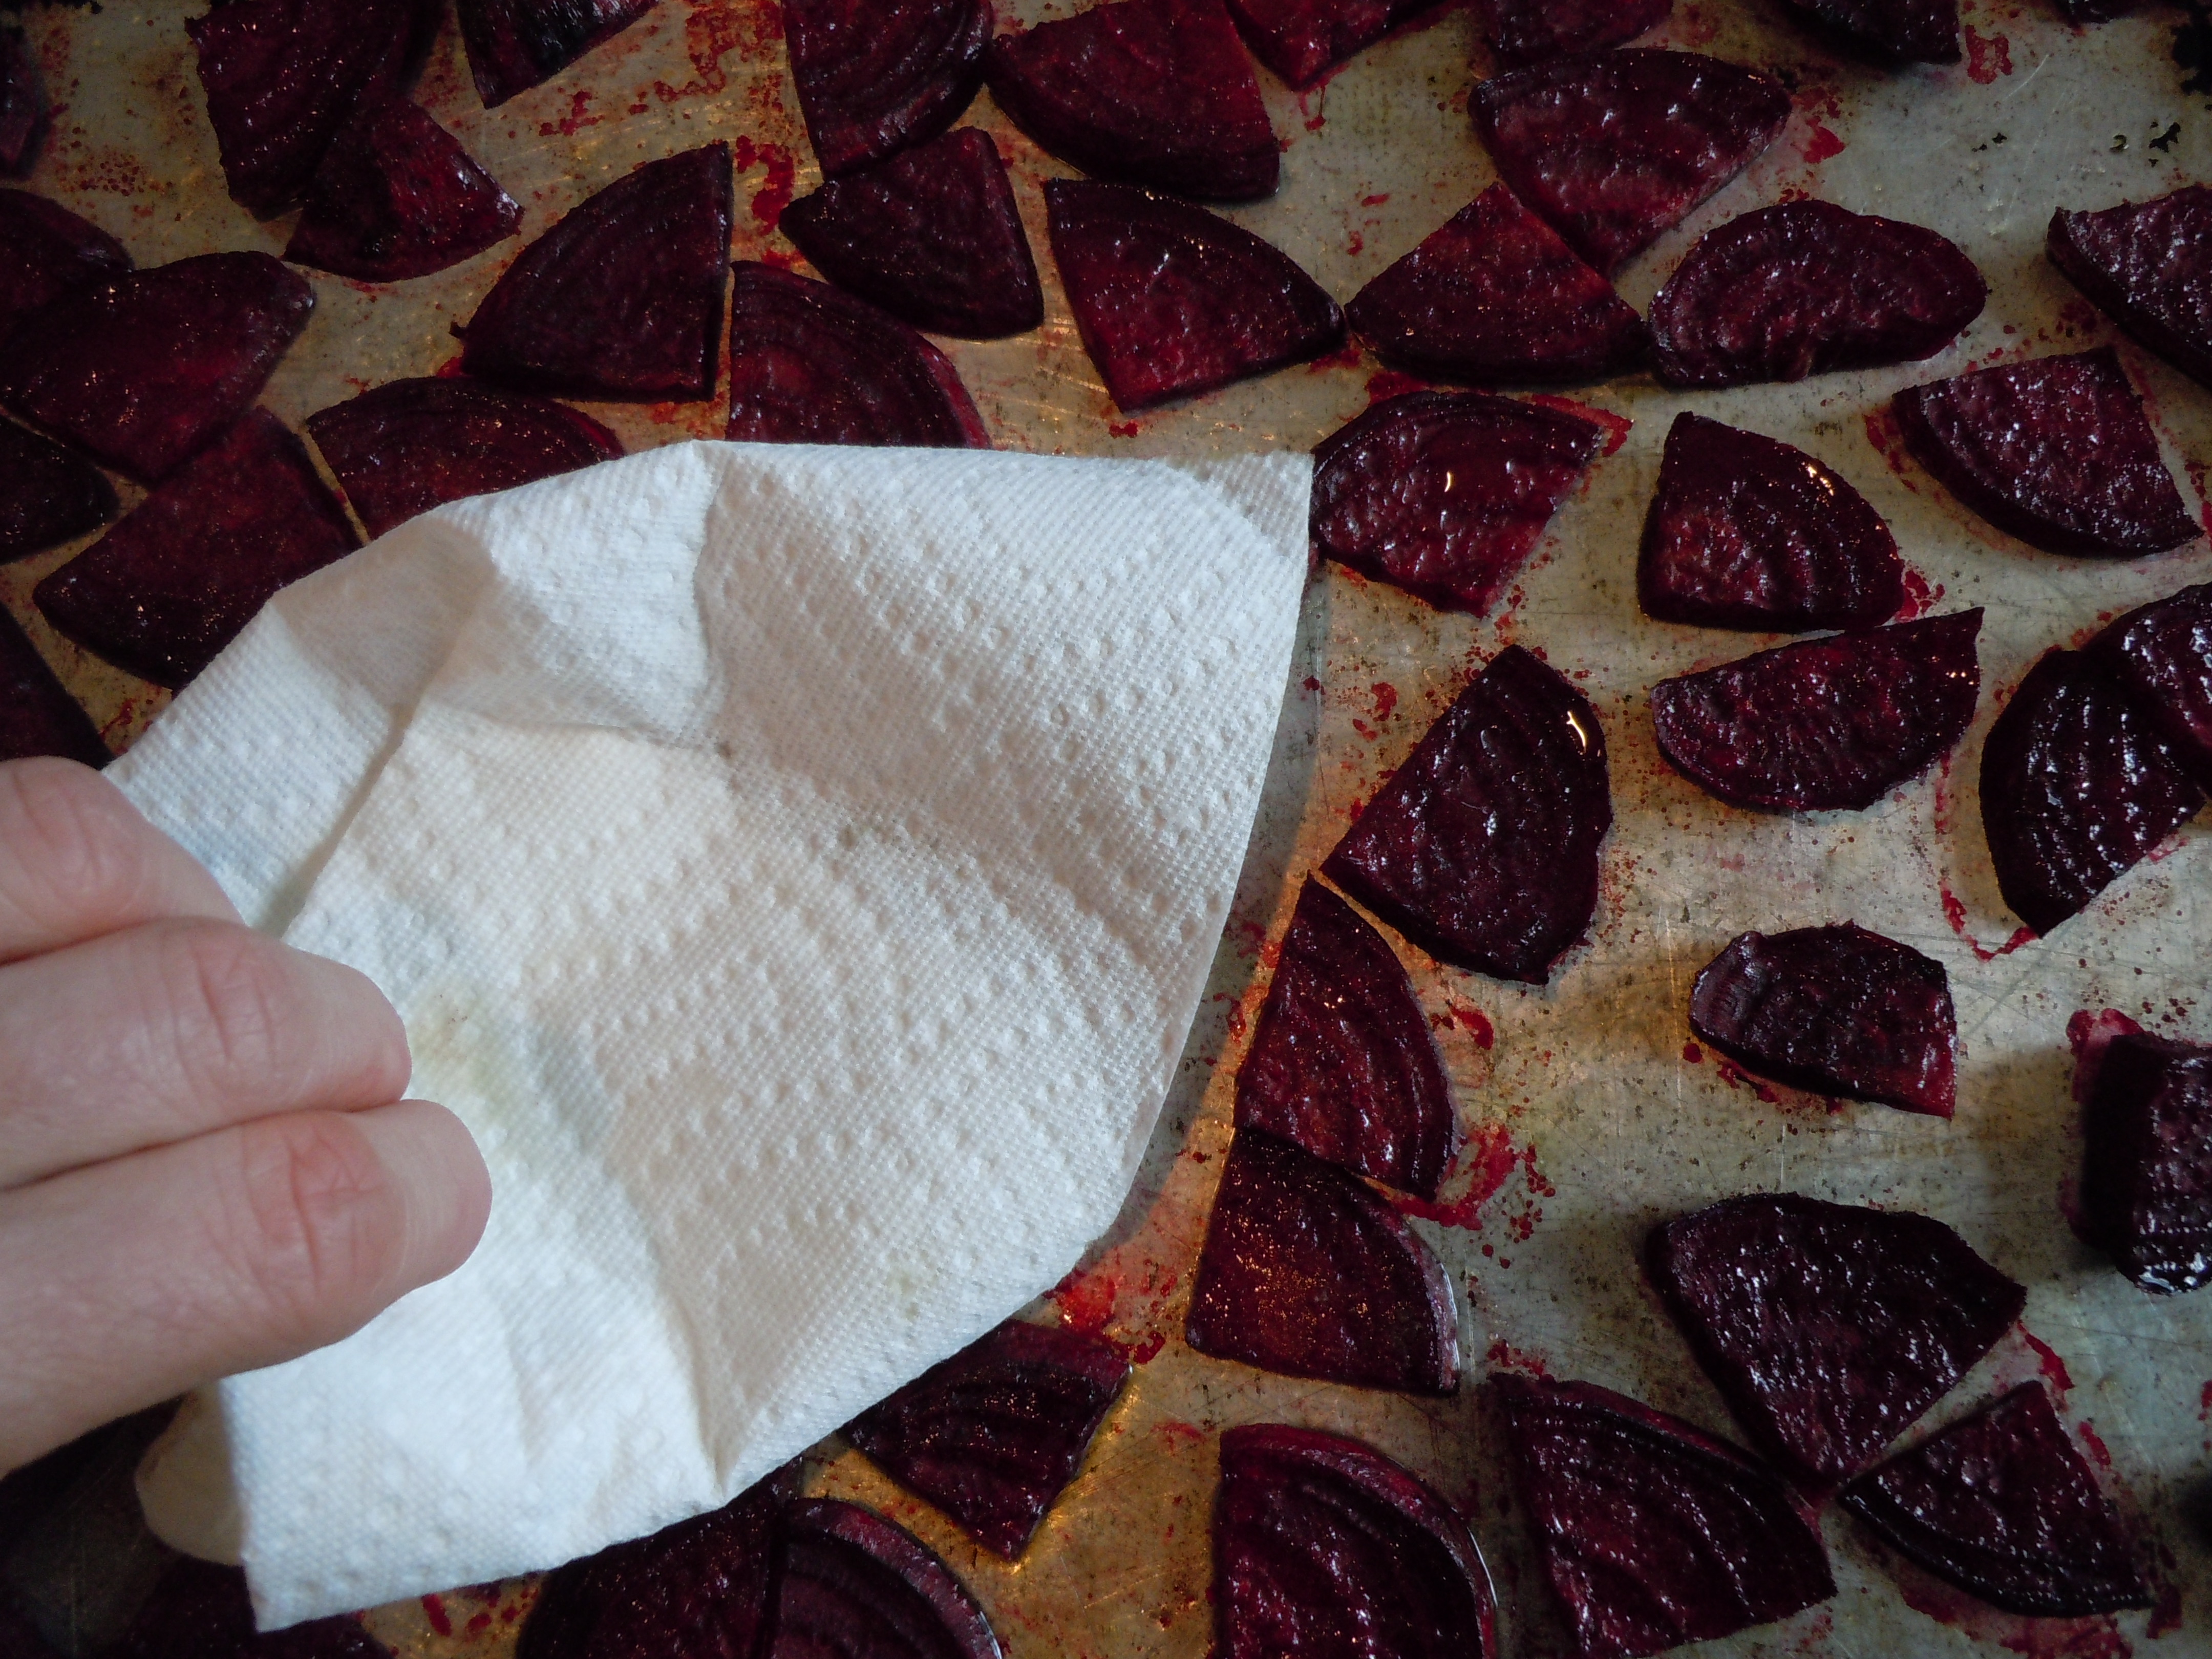
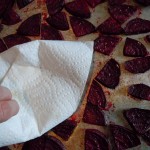
- If you see a little moisture appear on top of the beets while cooling just pat gently with a paper towel
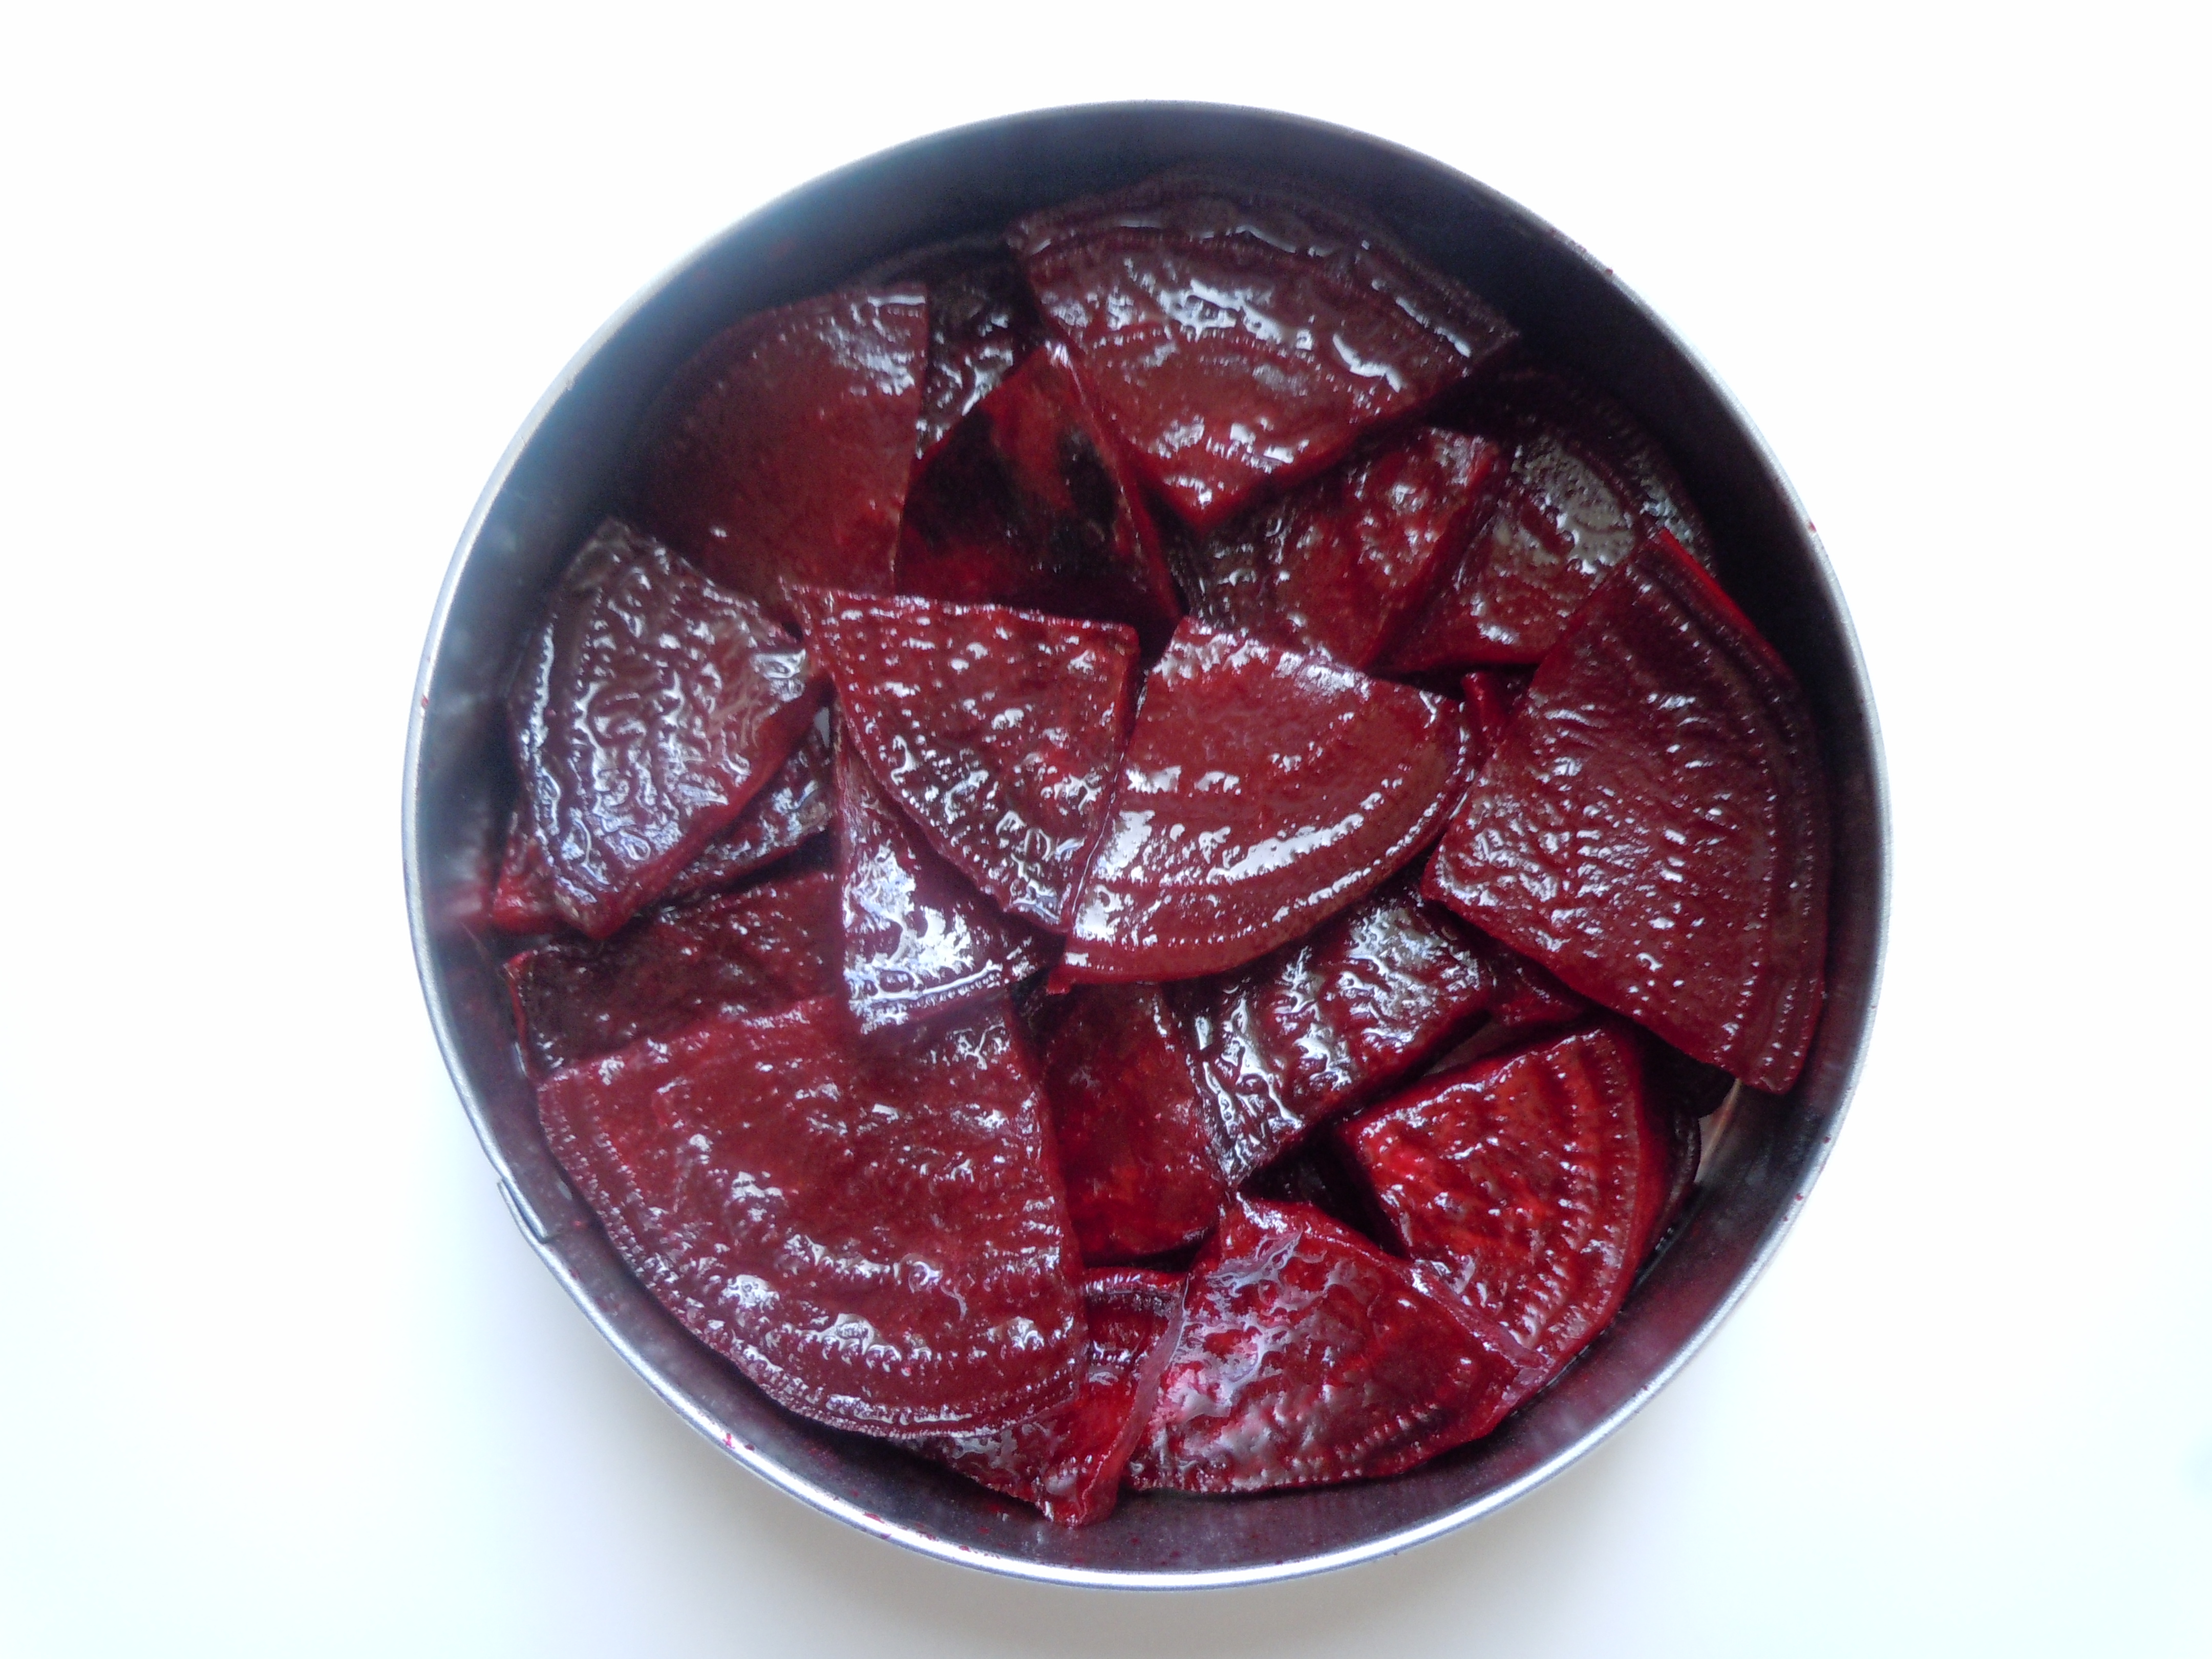
- Using a spatula put them into a medium size bowl and let them cool fully
- When they are cool add 2 Tbsp rice wine vinegar, 1 Tbsp champagne vinegar and toss..that’s it
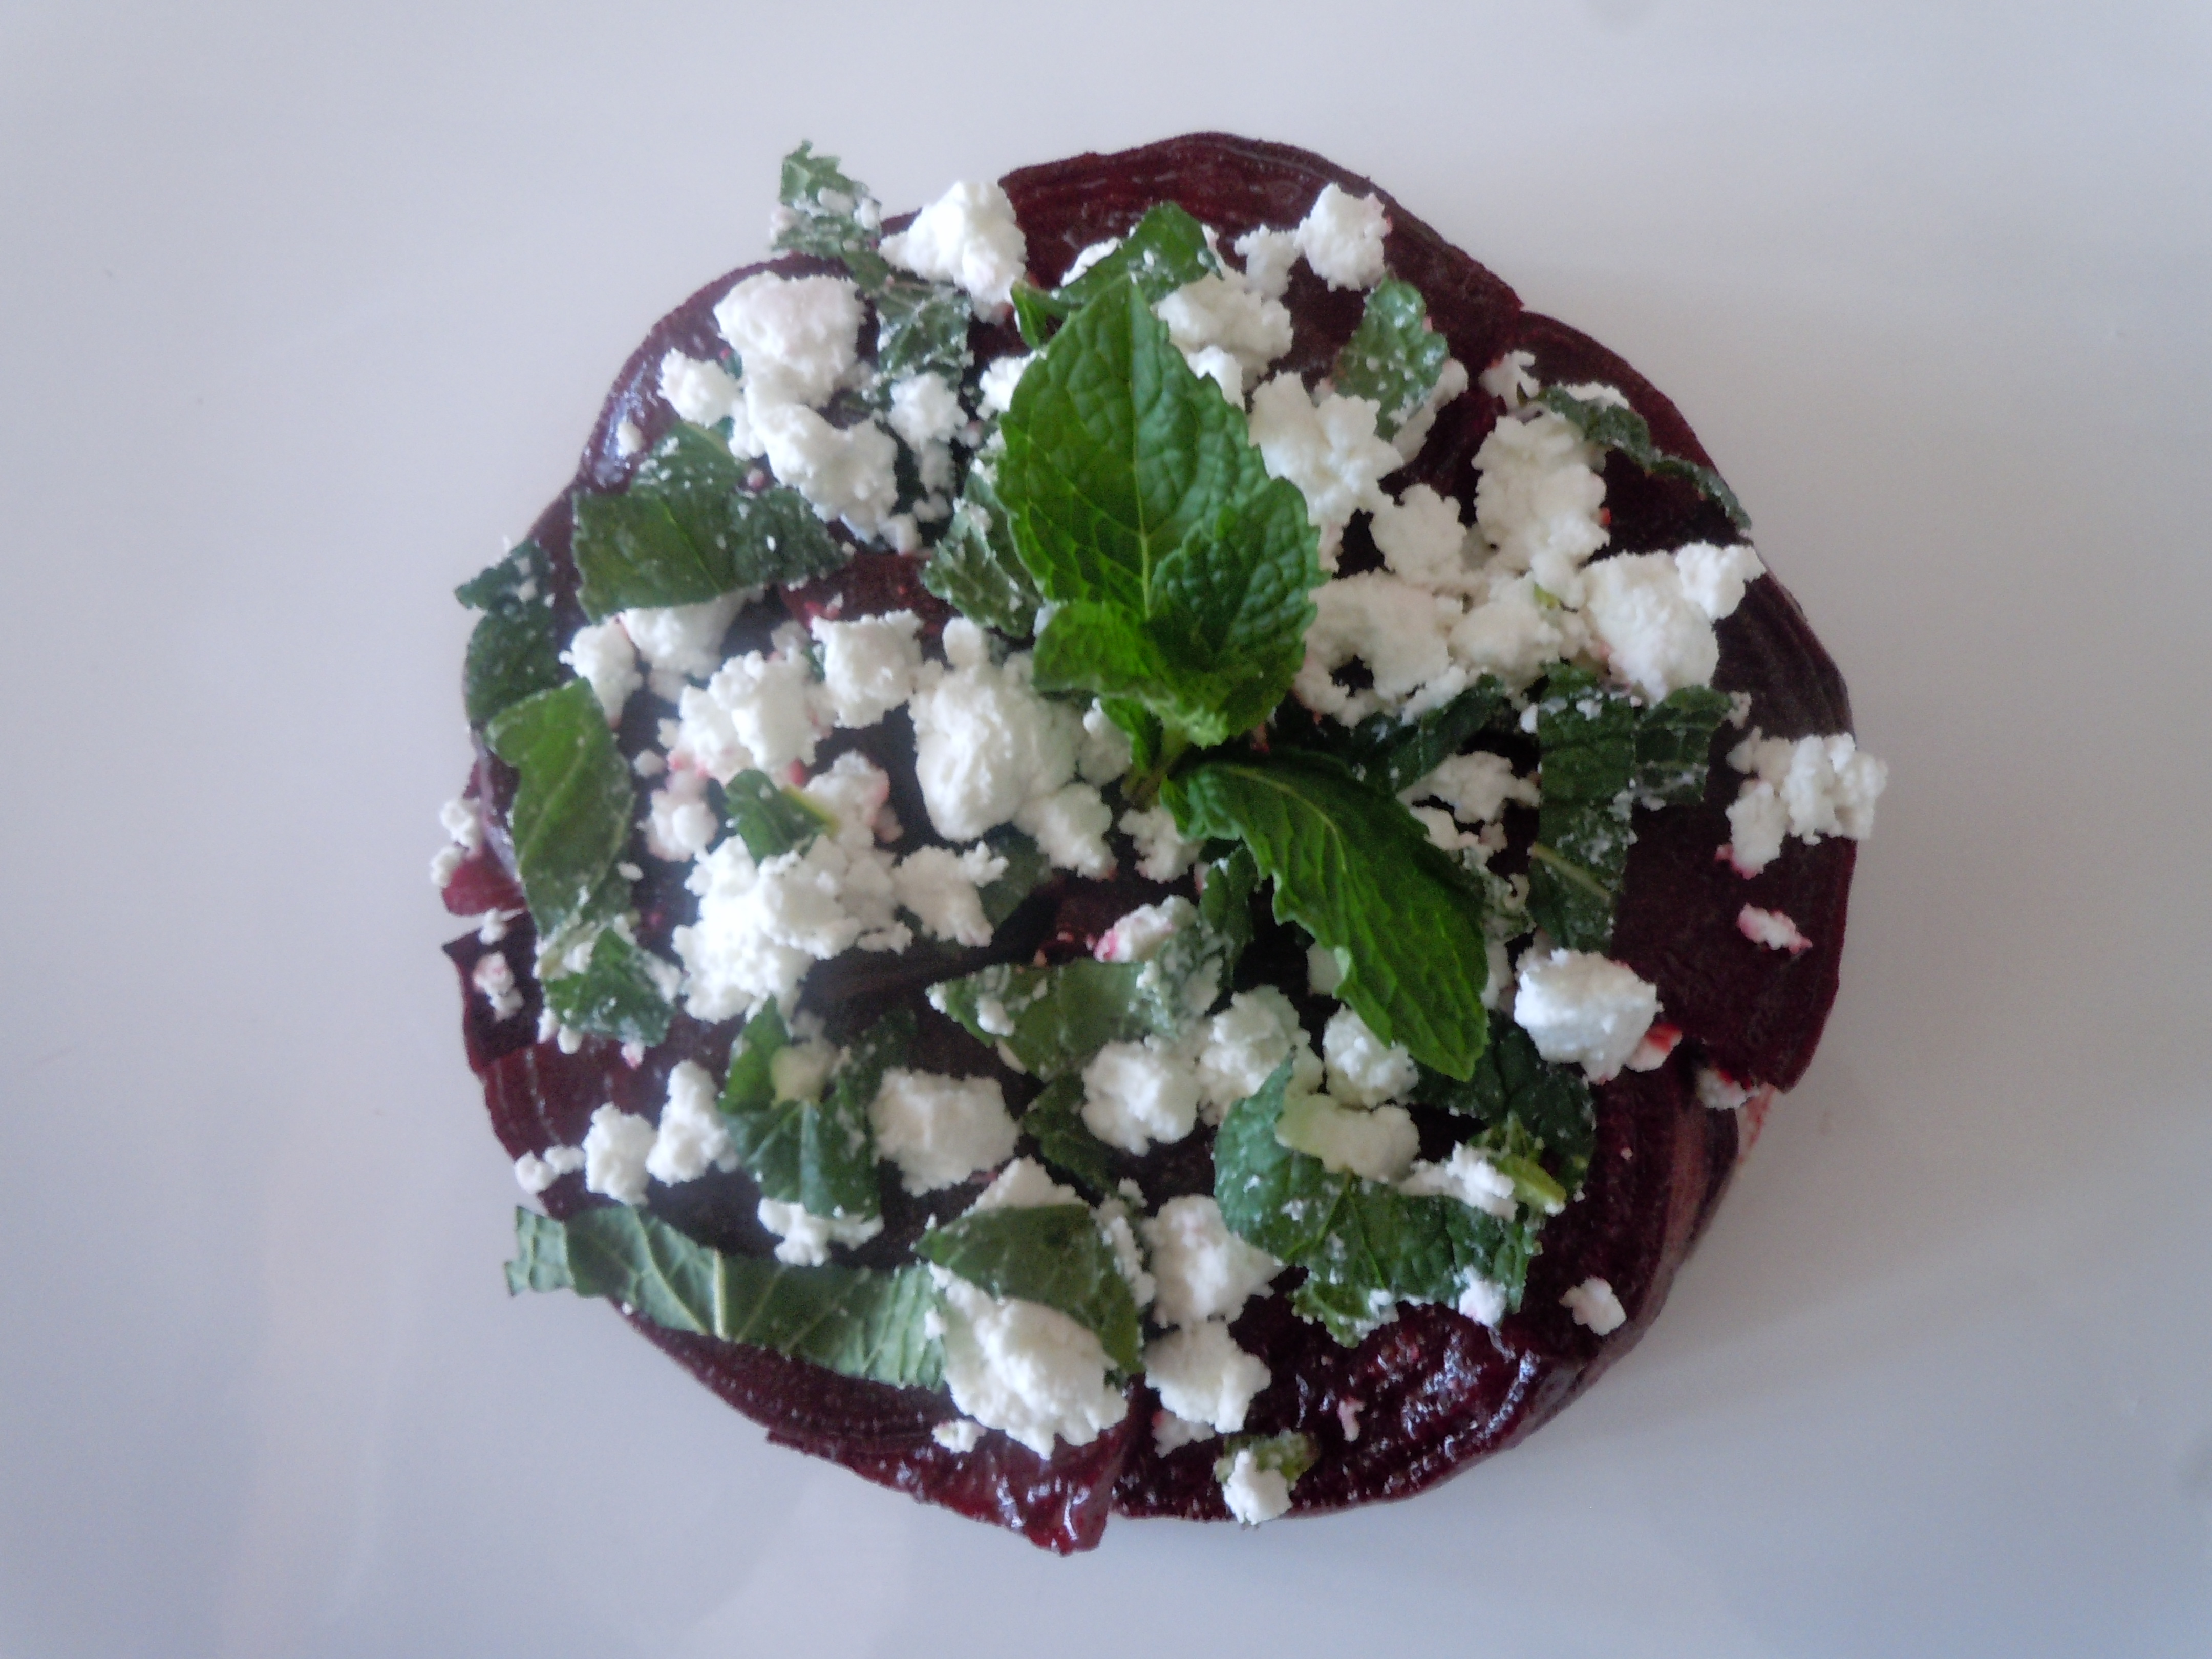
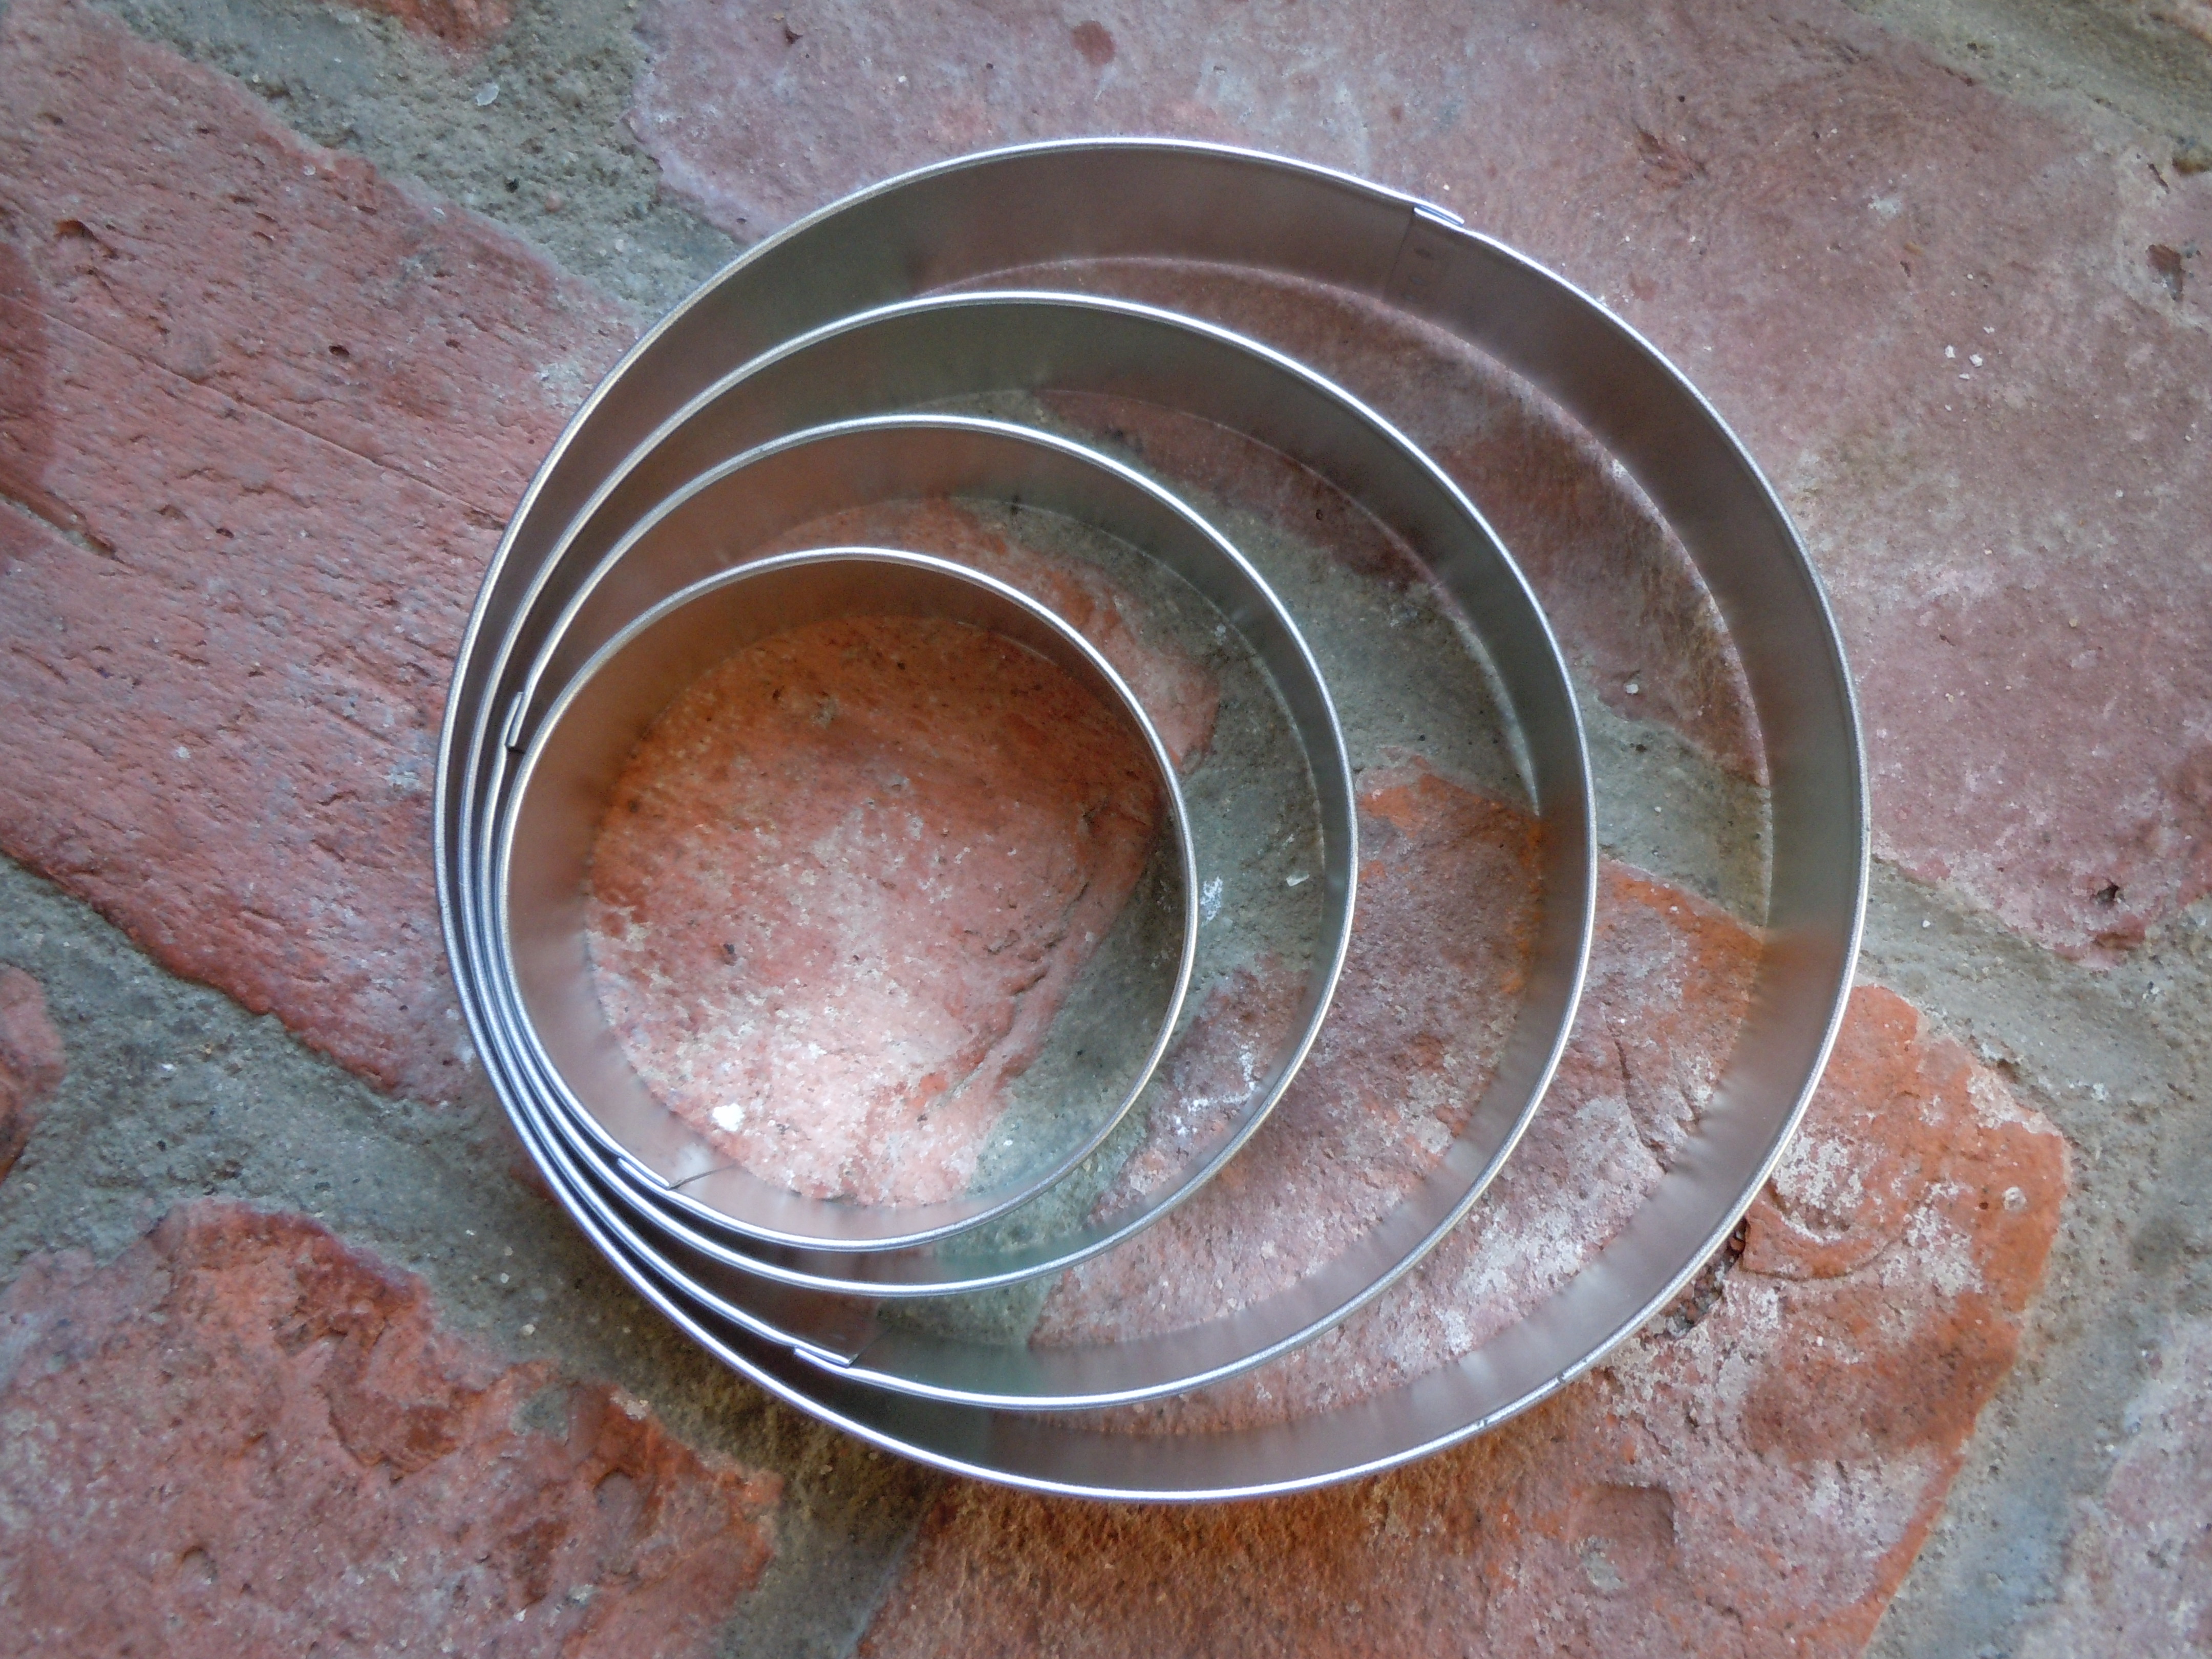
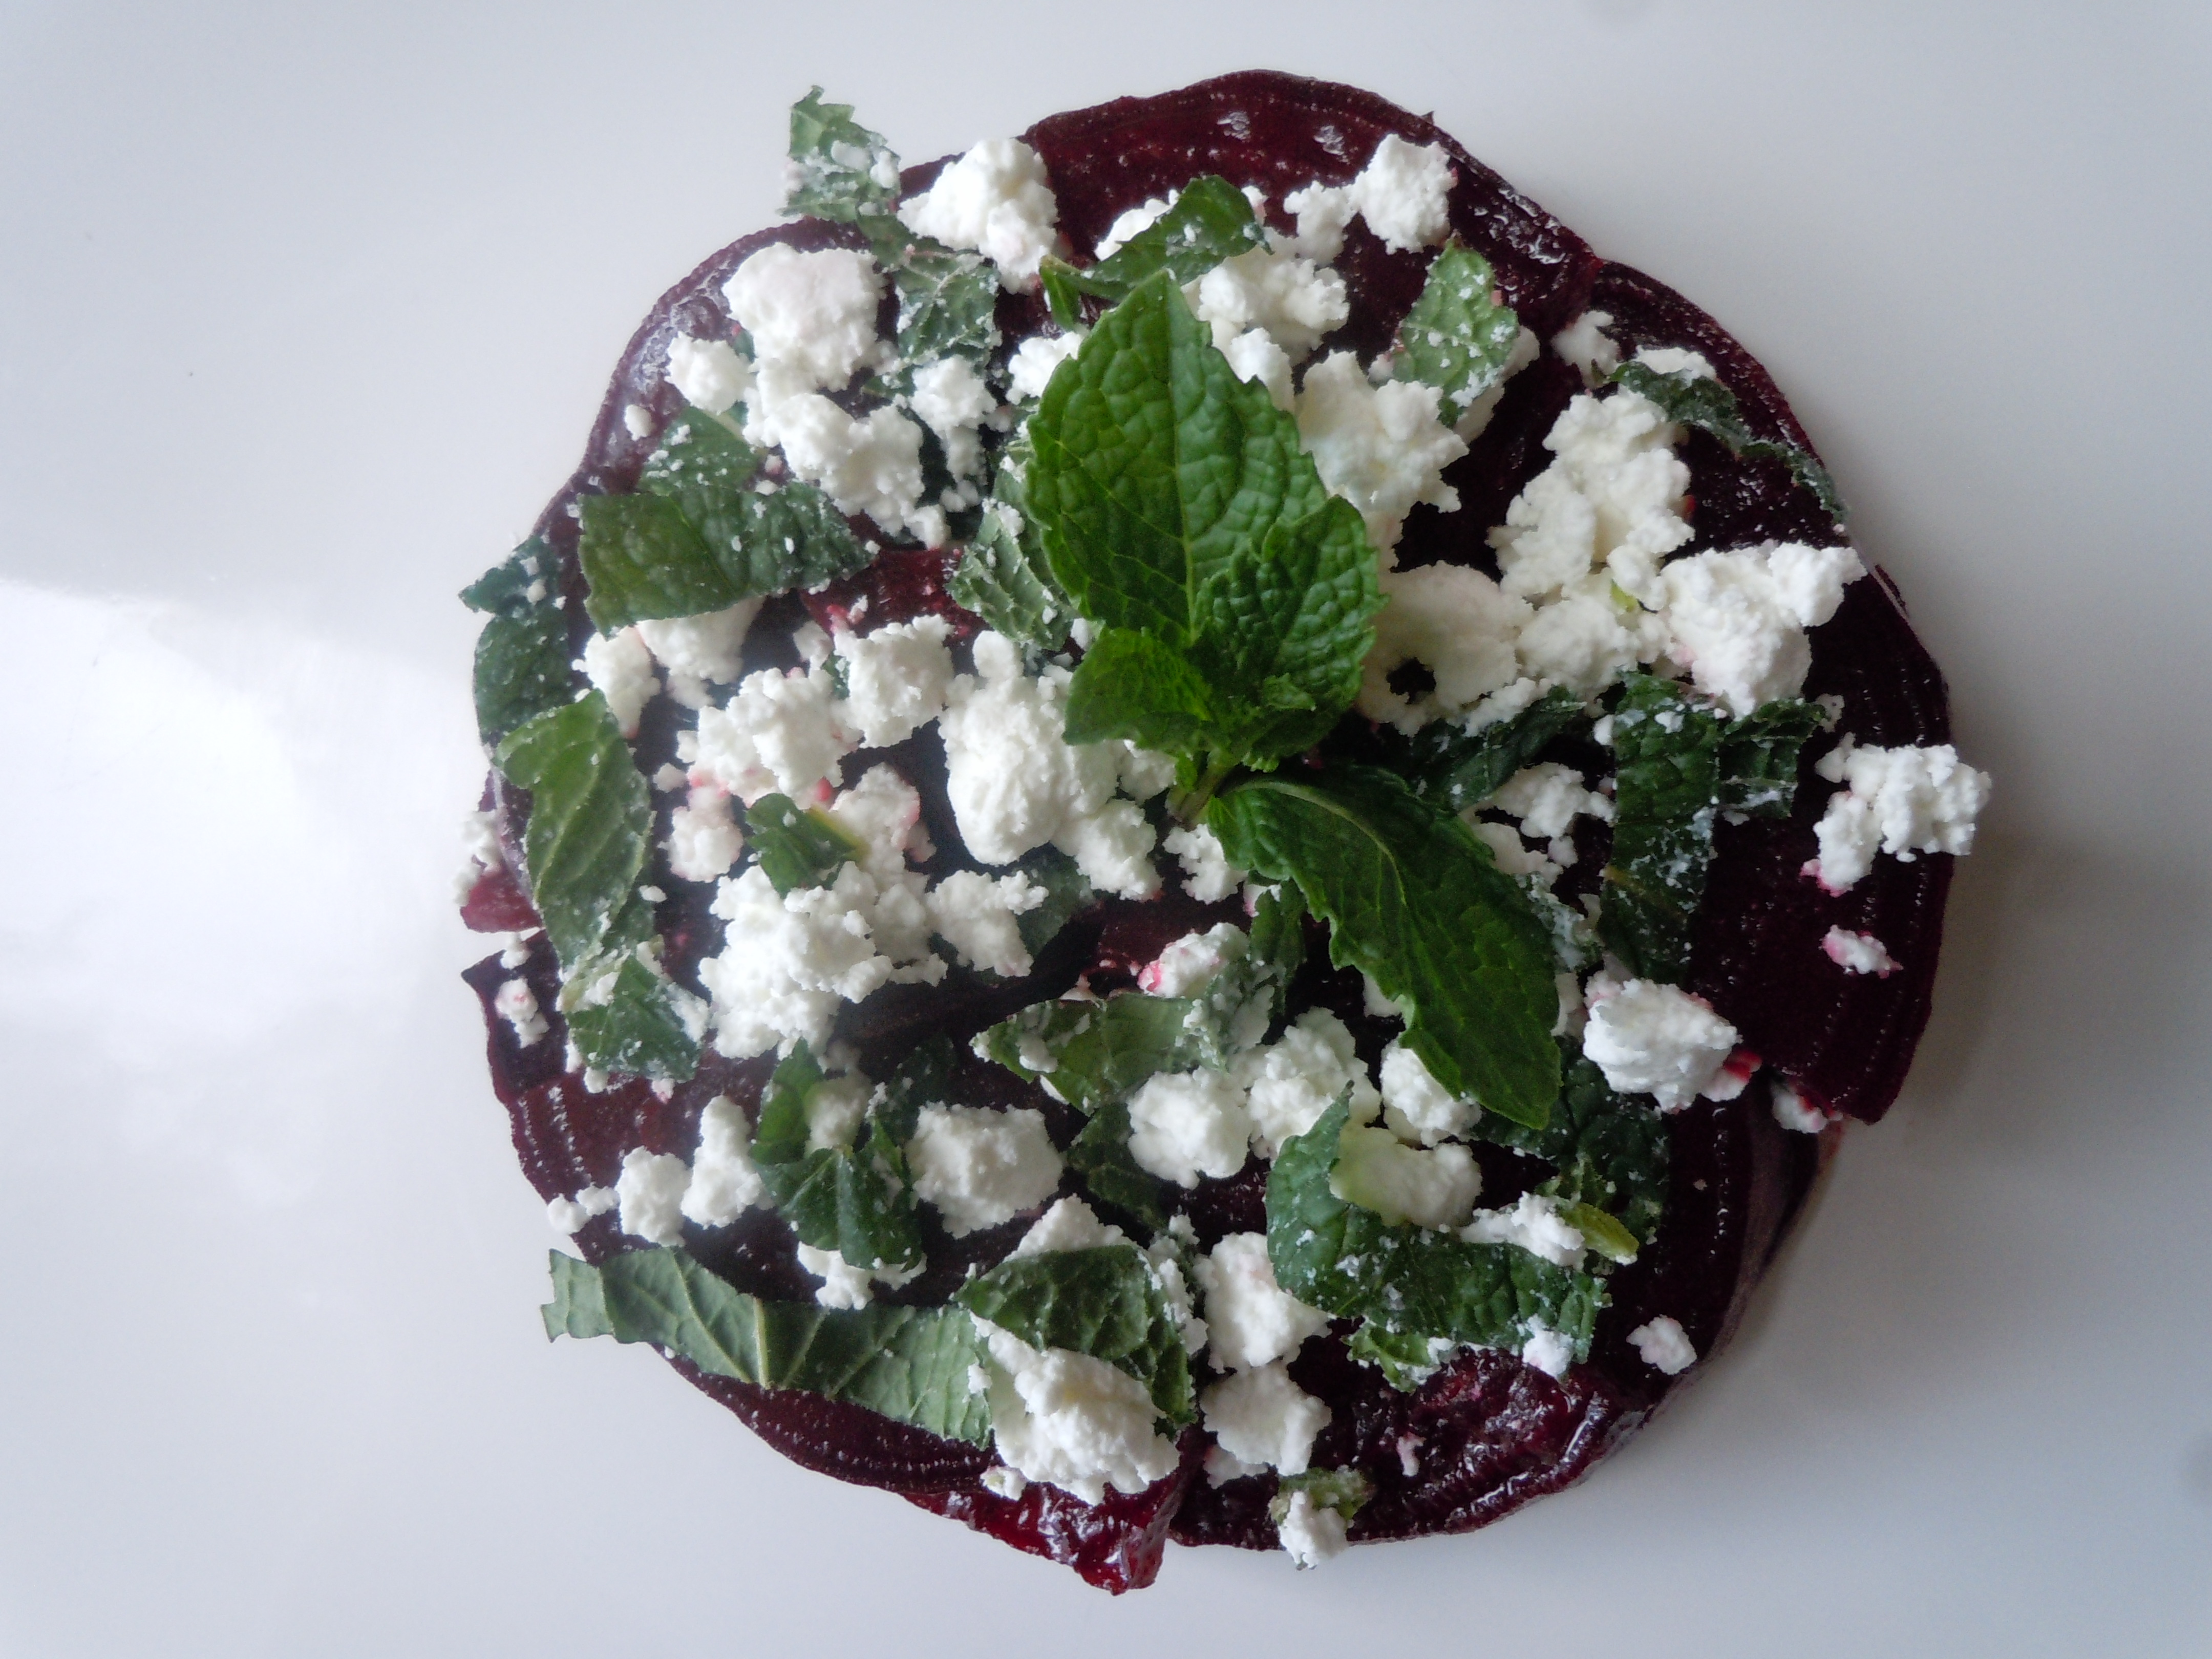
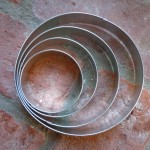
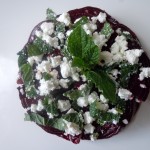
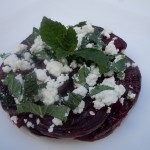
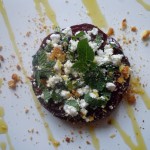
- Now either spoon roasted sliced beets into a cylinder ring to mold…fill only 1/2 way up and sprinkle 1 Tbsp of mint-feta mix on top
- Gently remove ring mold pulling straight up
- You can serve now or drizzle some good extra-virgin olive oil back and forth across the plate (just for presentation)
- You can also crumble challah bread garlic crouton on top of that
- OR put the roasted sweet beets into a bowl and add vinegars and sprinkle with mint-feta mixture and serve…DO NOT toss here because the feta will turn pink from the beets