Homemade Pasta at Vin’s
Homemade pasta is something you have to try at least once in your life! You’ll see how satisfying it is when you taste the tender, slightly chewy texture of the fresh pasta. Making pasta has been a part of my life ever since I was young making homemade manicotti with my mother for the holidays. At my Aunt Pasqualina’s, the counters were always covered with fresh pasta drying out on dish towels.
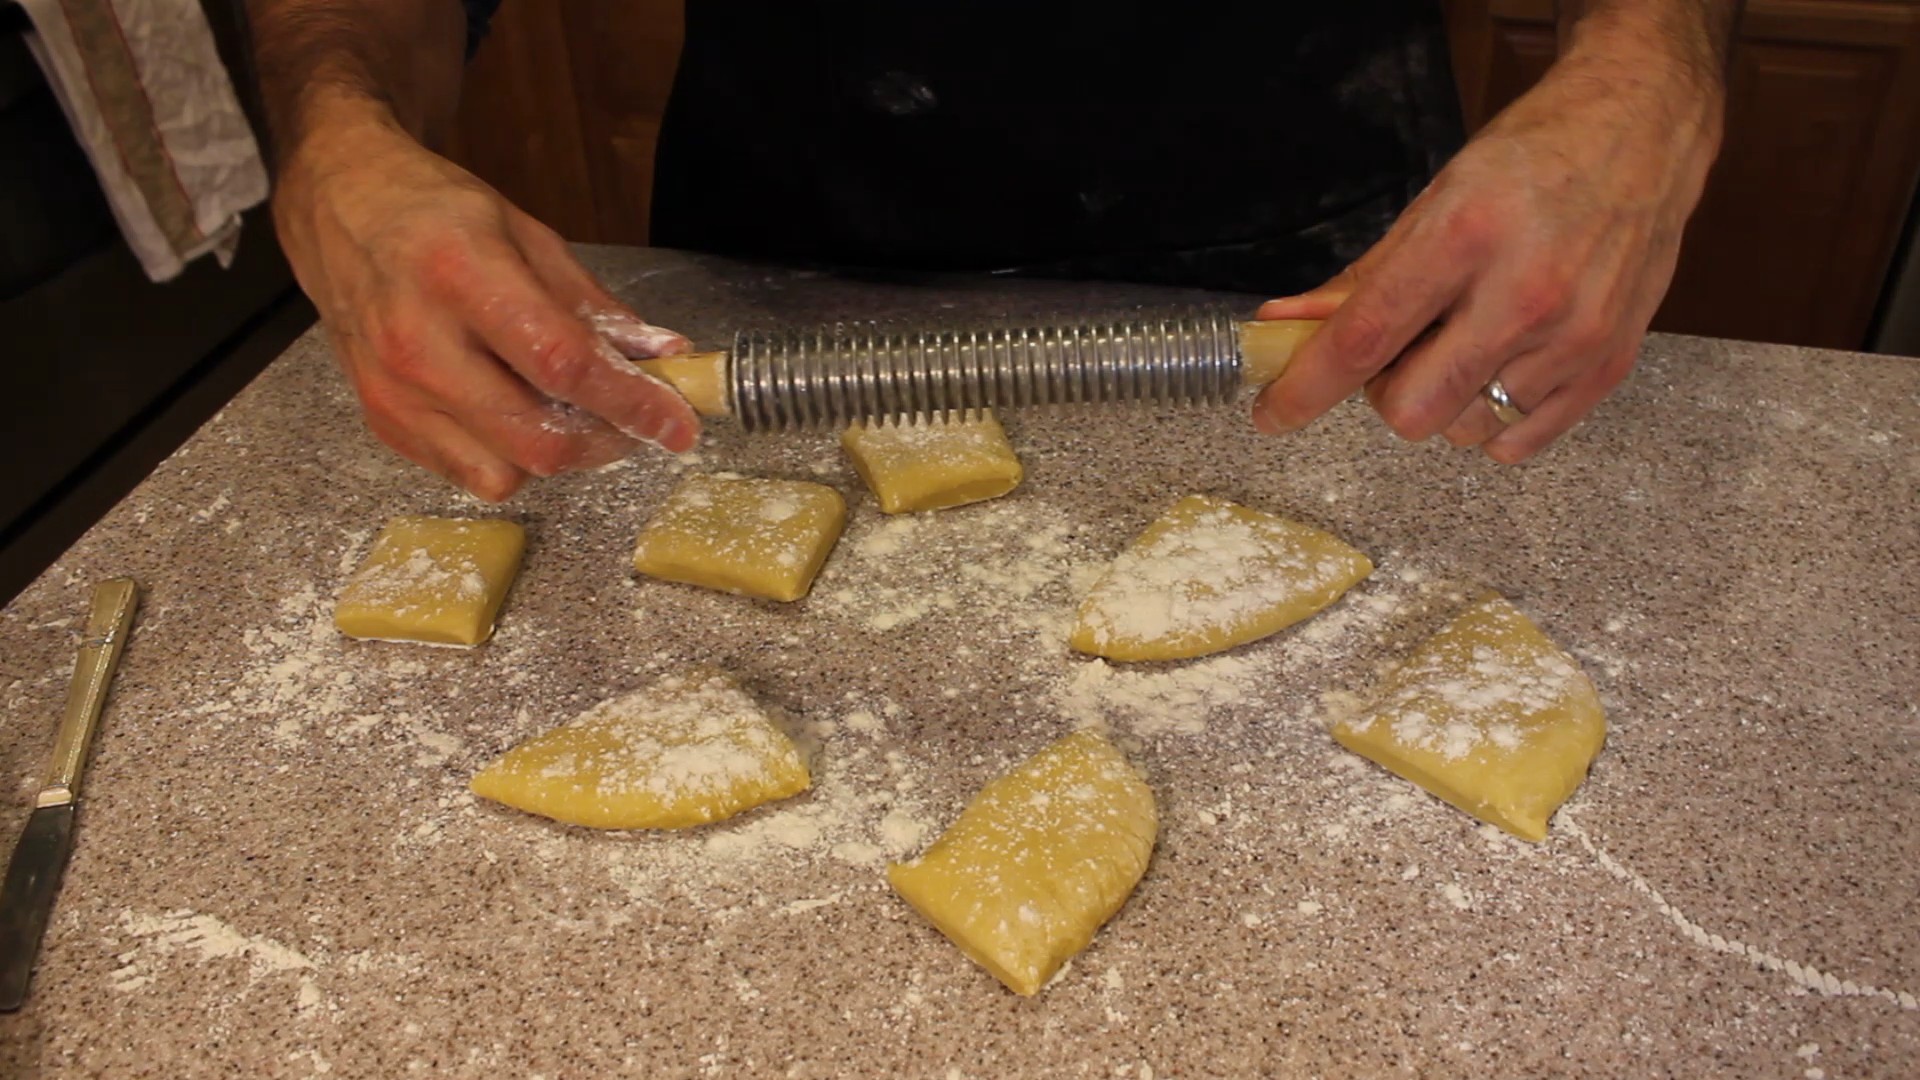
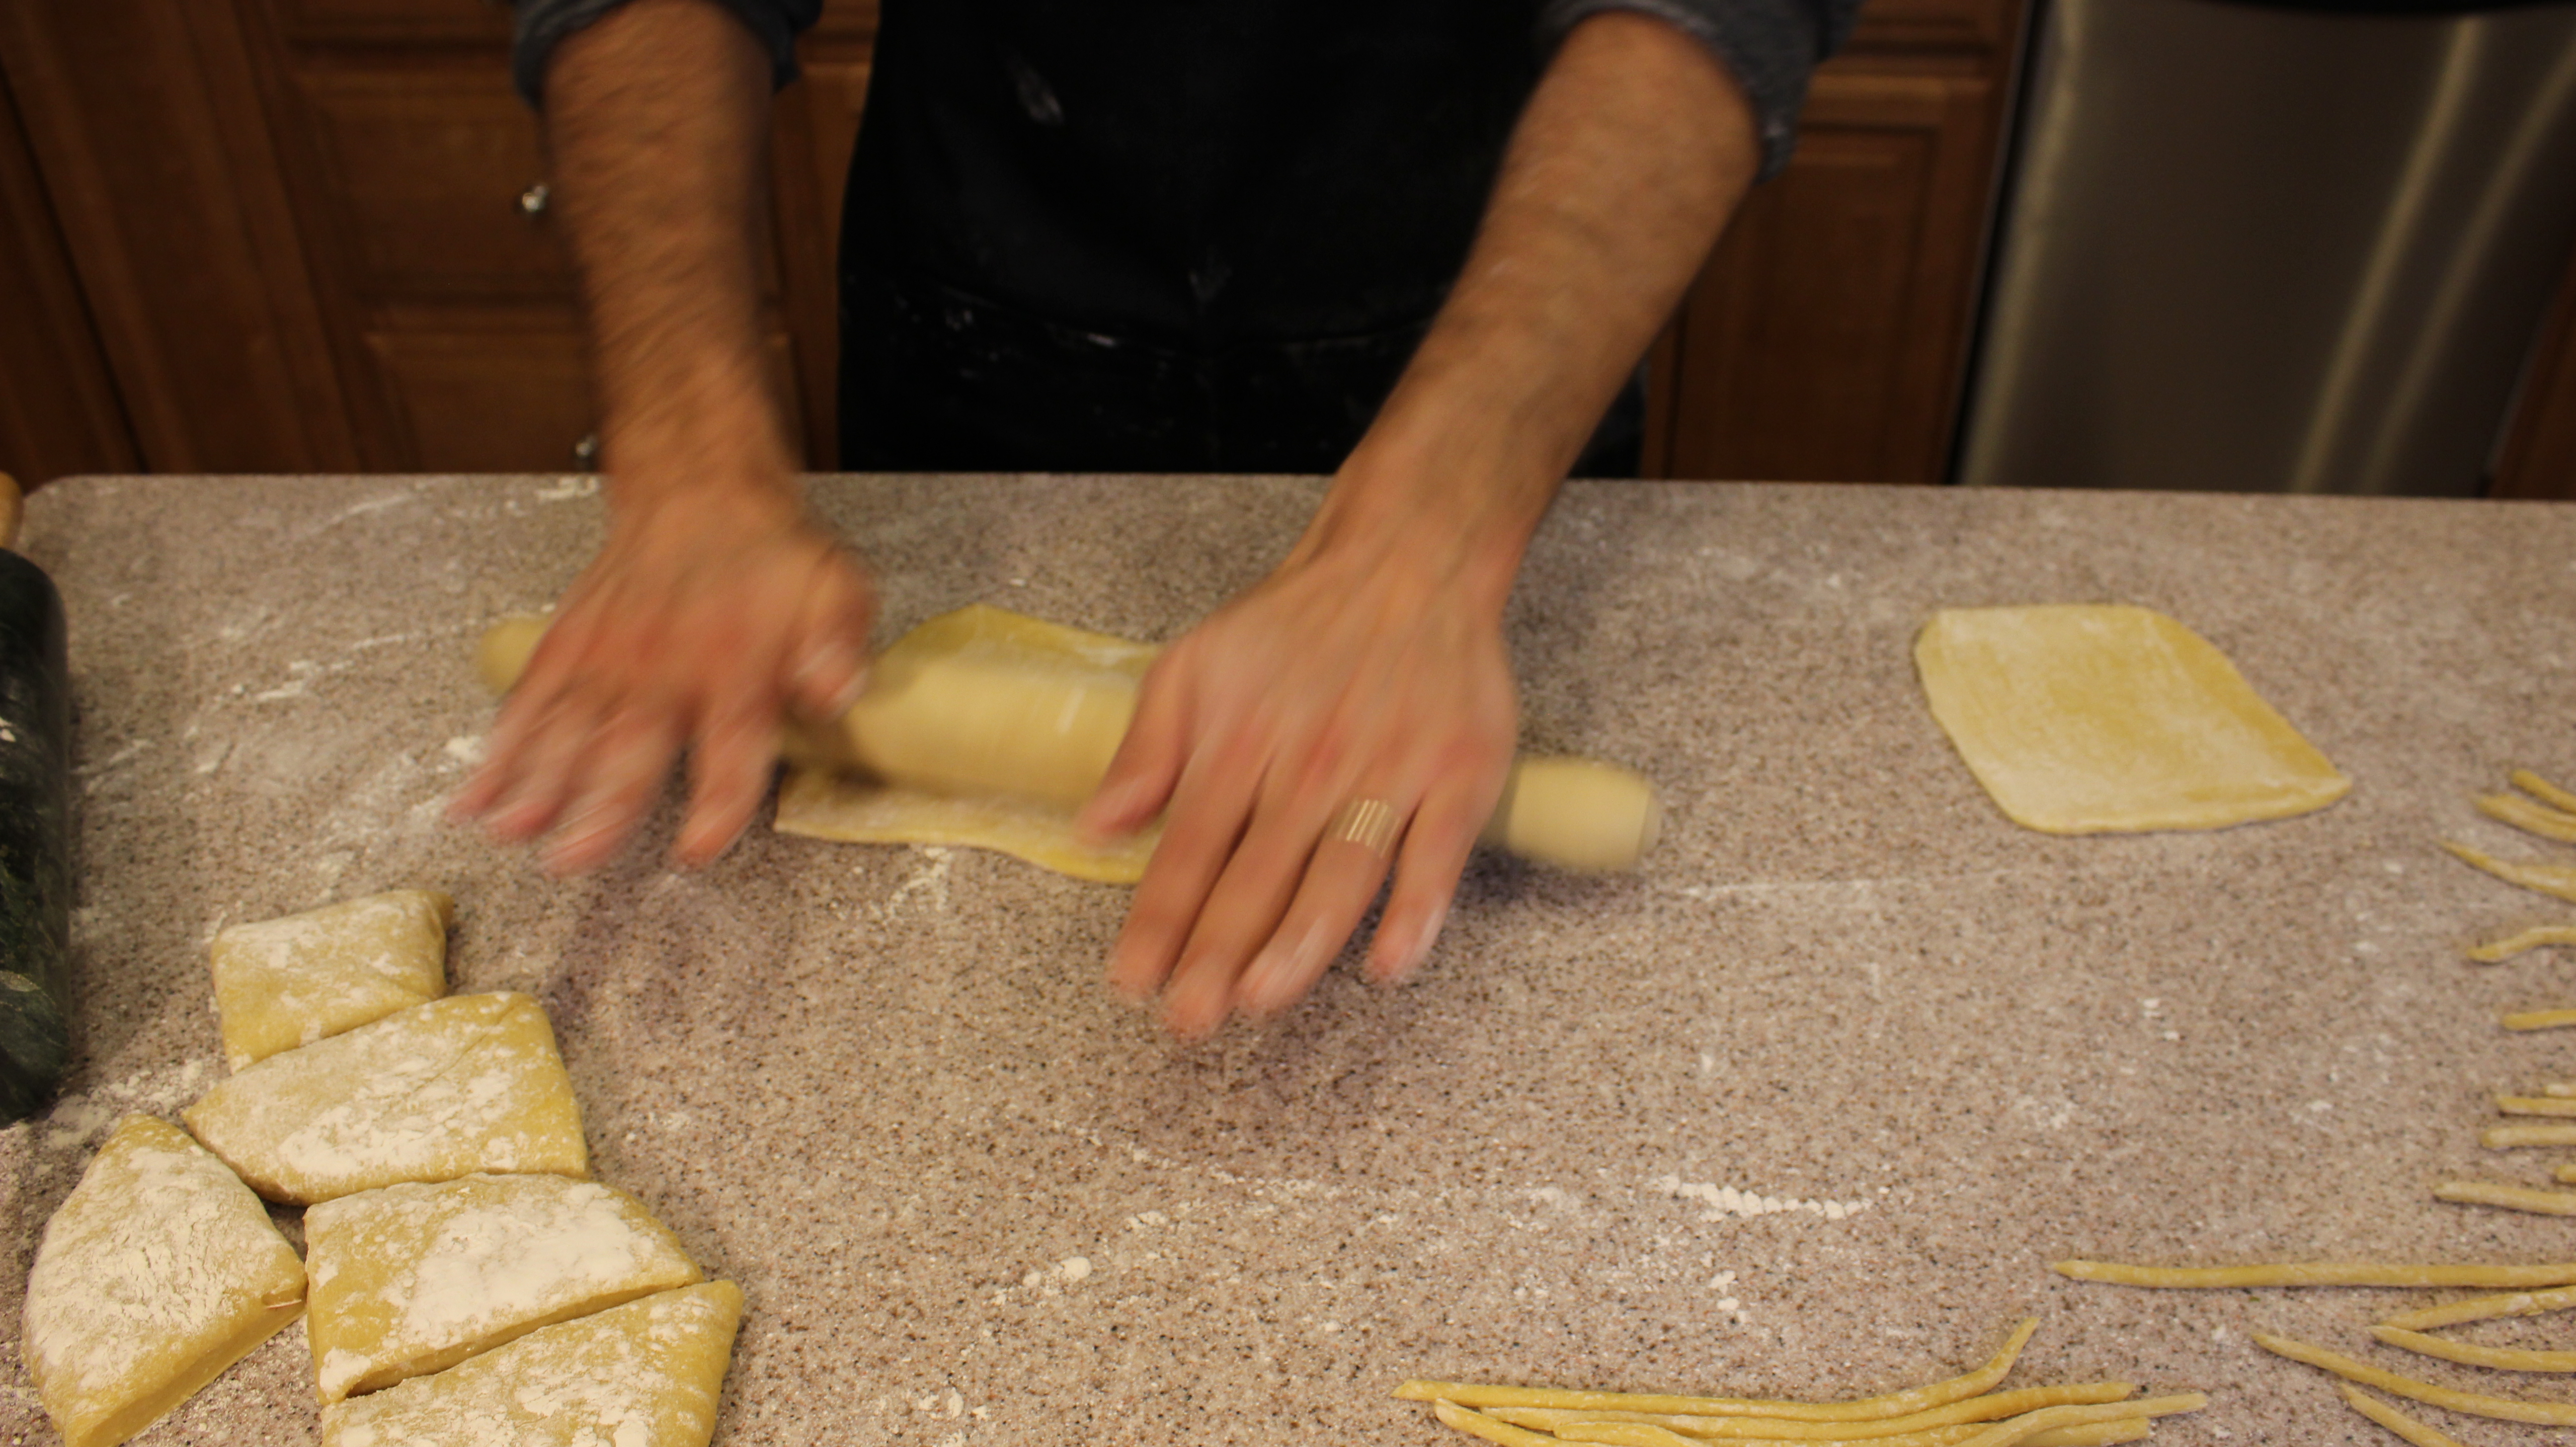
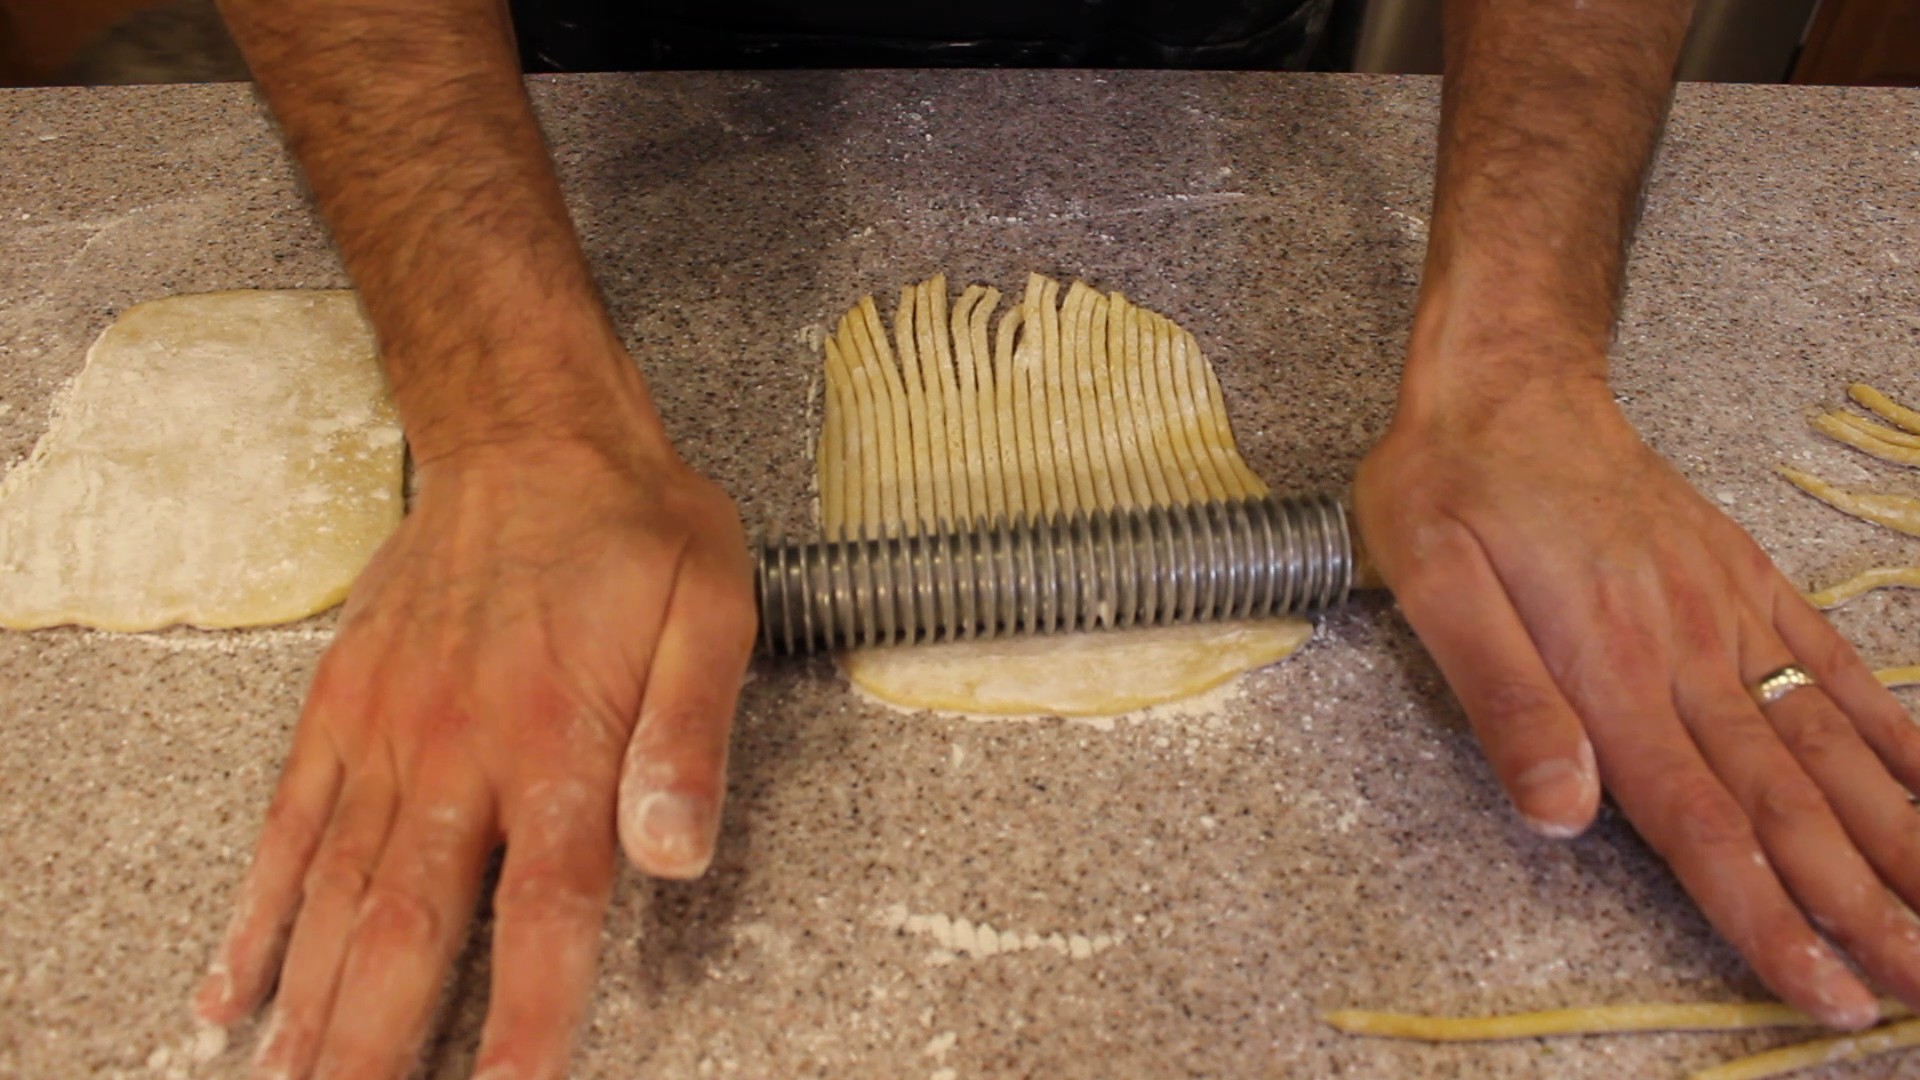
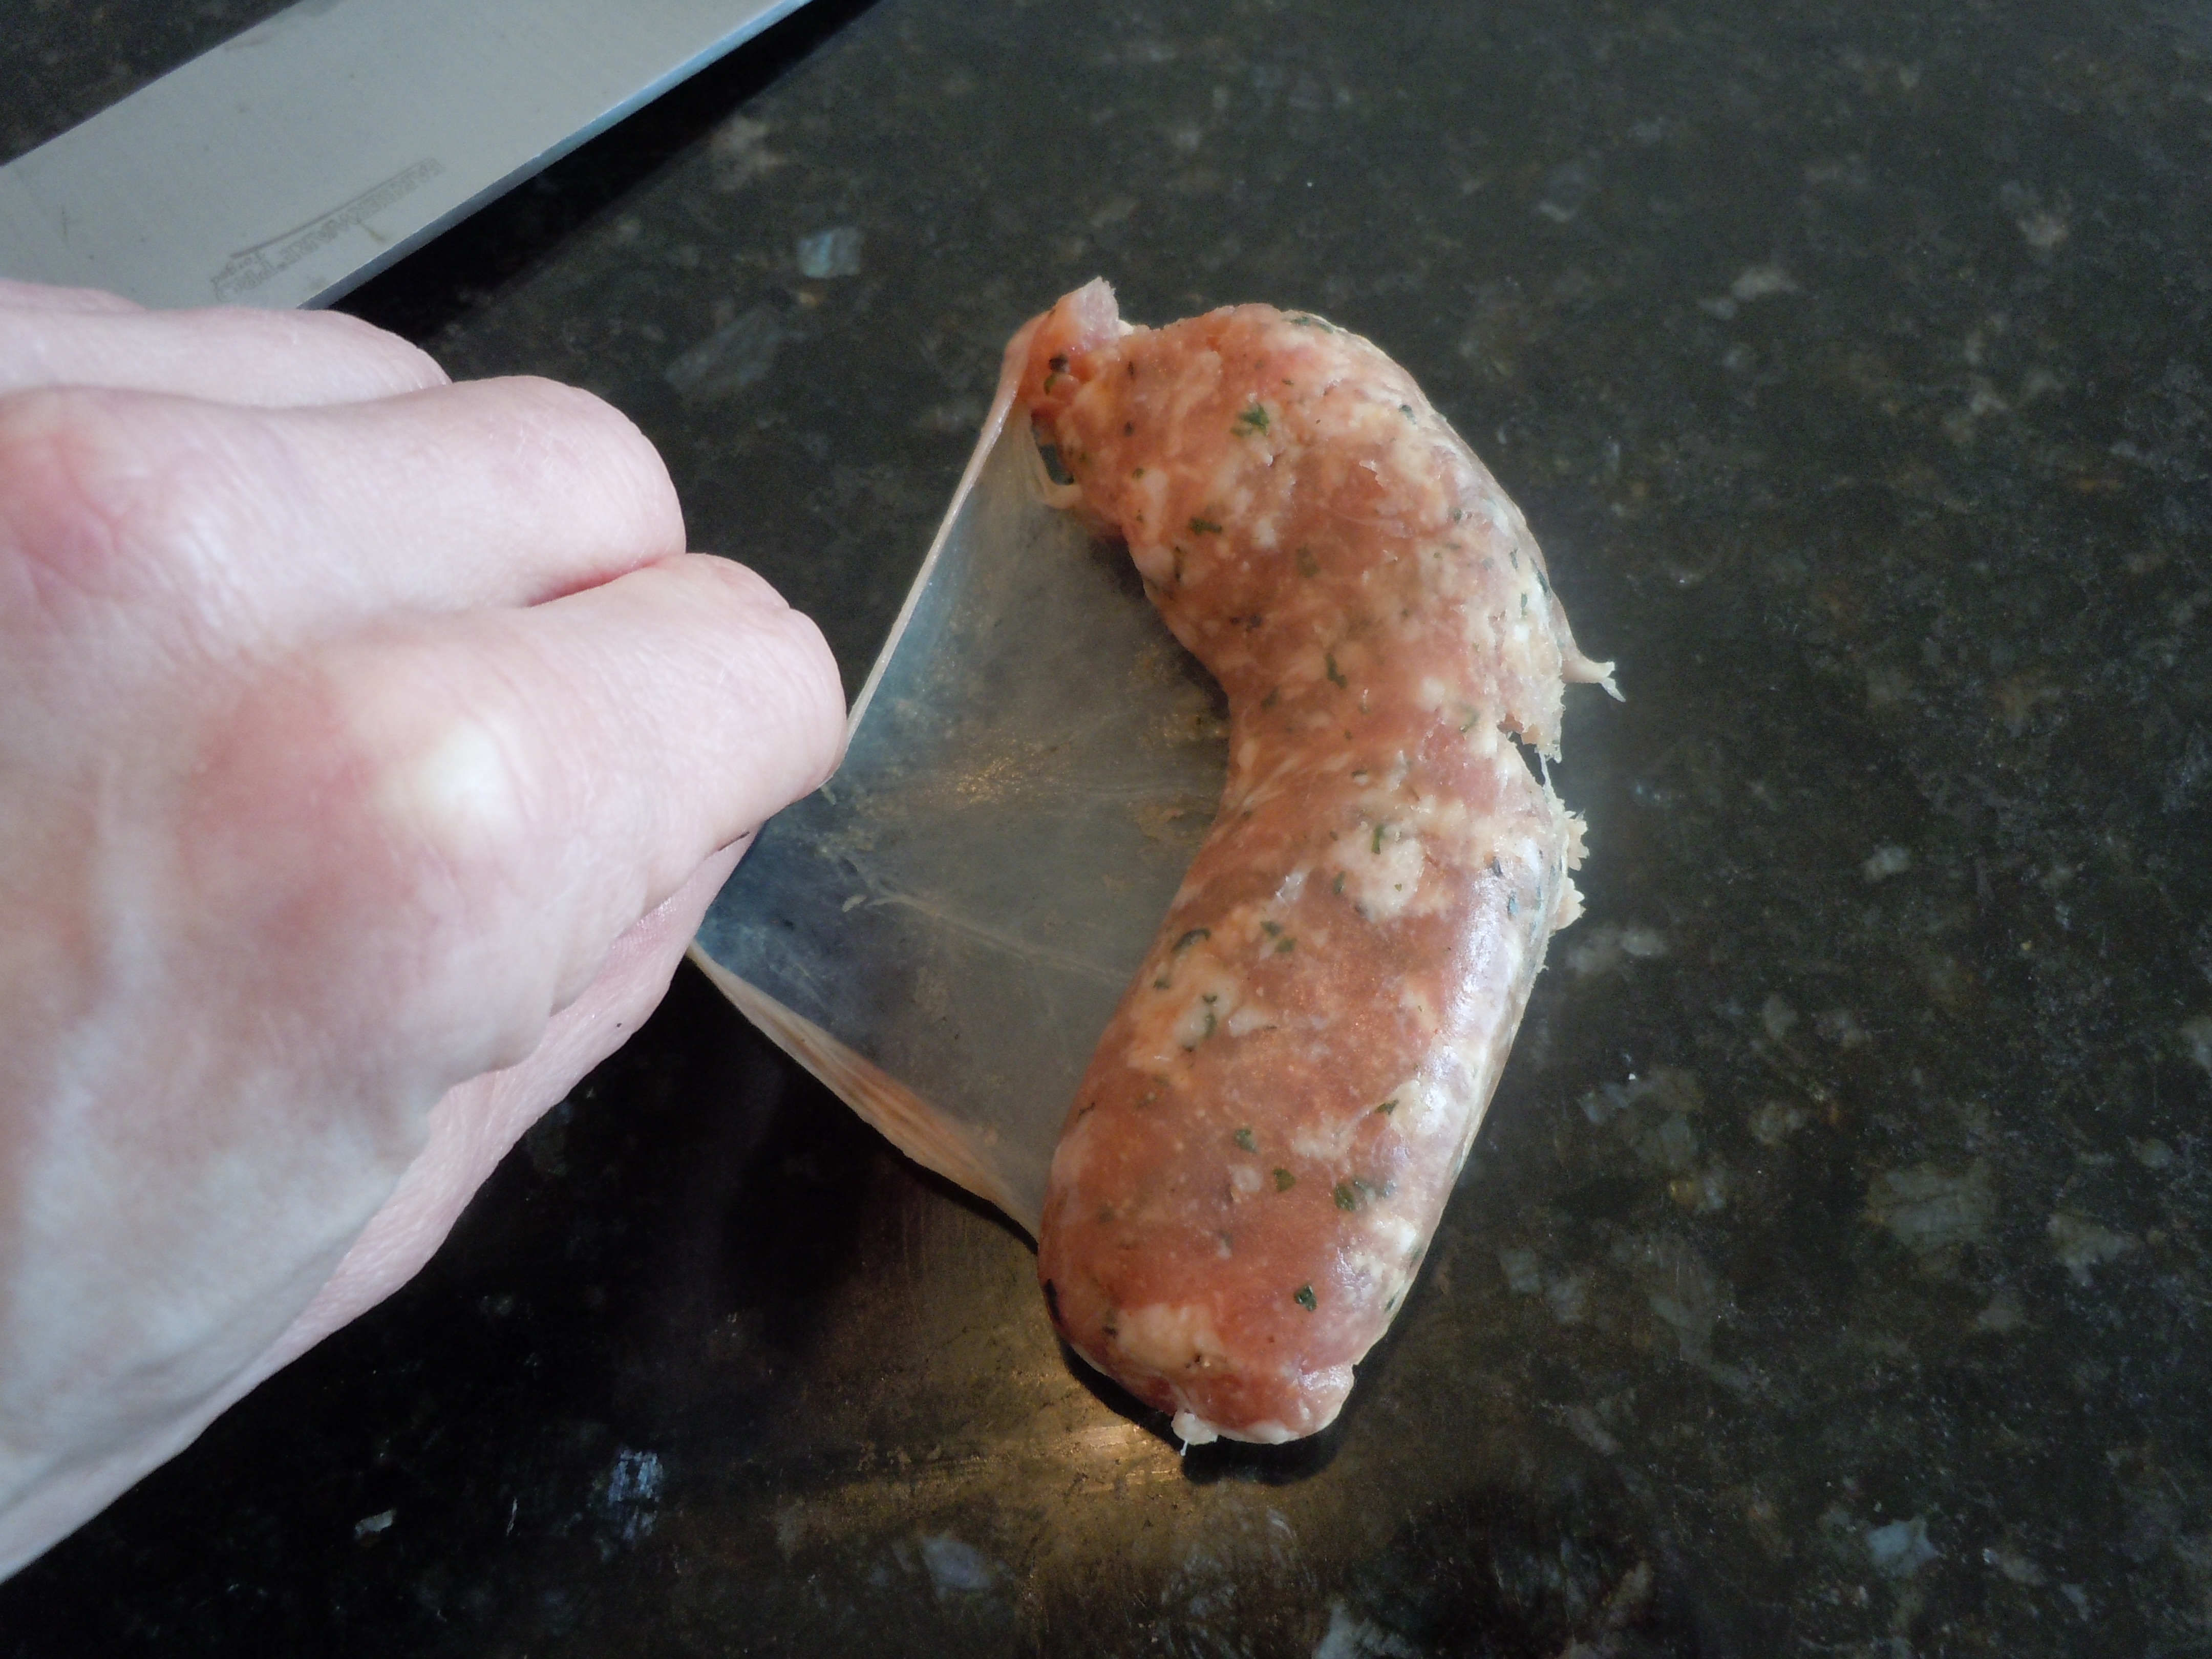
This past weekend, my friends Lisa and Vin, graciously agreed to share their grandfather’s secret family pasta recipe with me. I had the opportunity to try out, first hand, a pasta tool that belonged to Vin’s grandfather which he called the “trucal iron”. It’s a special pasta cutting tool, a roller, made years ago from medal and wood that was eventually passed on down to Vin. The center spiral part of this “trucal Iron”, made of medal, does the cutting as you roll out the pasta. It has Wooden handles which he said his grandfather glued back on a couple of times. Vin also has a newer version of this “trucal iron”, one made of all wood but the wood spirals have begun to chip away from wear and tear. They don’t make some things like they used to. Vinnie also shared some precious memories of his grandfather and father making this homemade pasta for Sunday dinners growing up where his grandfather would creatively hang the pasta noodles from atop the kitchen cabinet doors to dry out.
There’s nothing like an evening with special friends making homemade pasta! This night of homemade pasta making at Lisa and Vin’s reminded me of how much I really love to do this. Everyone has their own way of making pasta and that’s part of what makes this experience so fun. Now as for this “trucal iron”, there are other pasta tools out there that mimic what Vin’s special pasta tool does like the ones below from Amazon. I have to say, I haven’t used any of those tools from Amazon because I use my KitchenAid pasta attachment which is another great option for cutting the kneaded pasta dough. You could even cut your thinly rolled out pasta into strips by hand with a sharp knife to get the stands of fettuccine, spaghetti, or what ever thickness you might like.

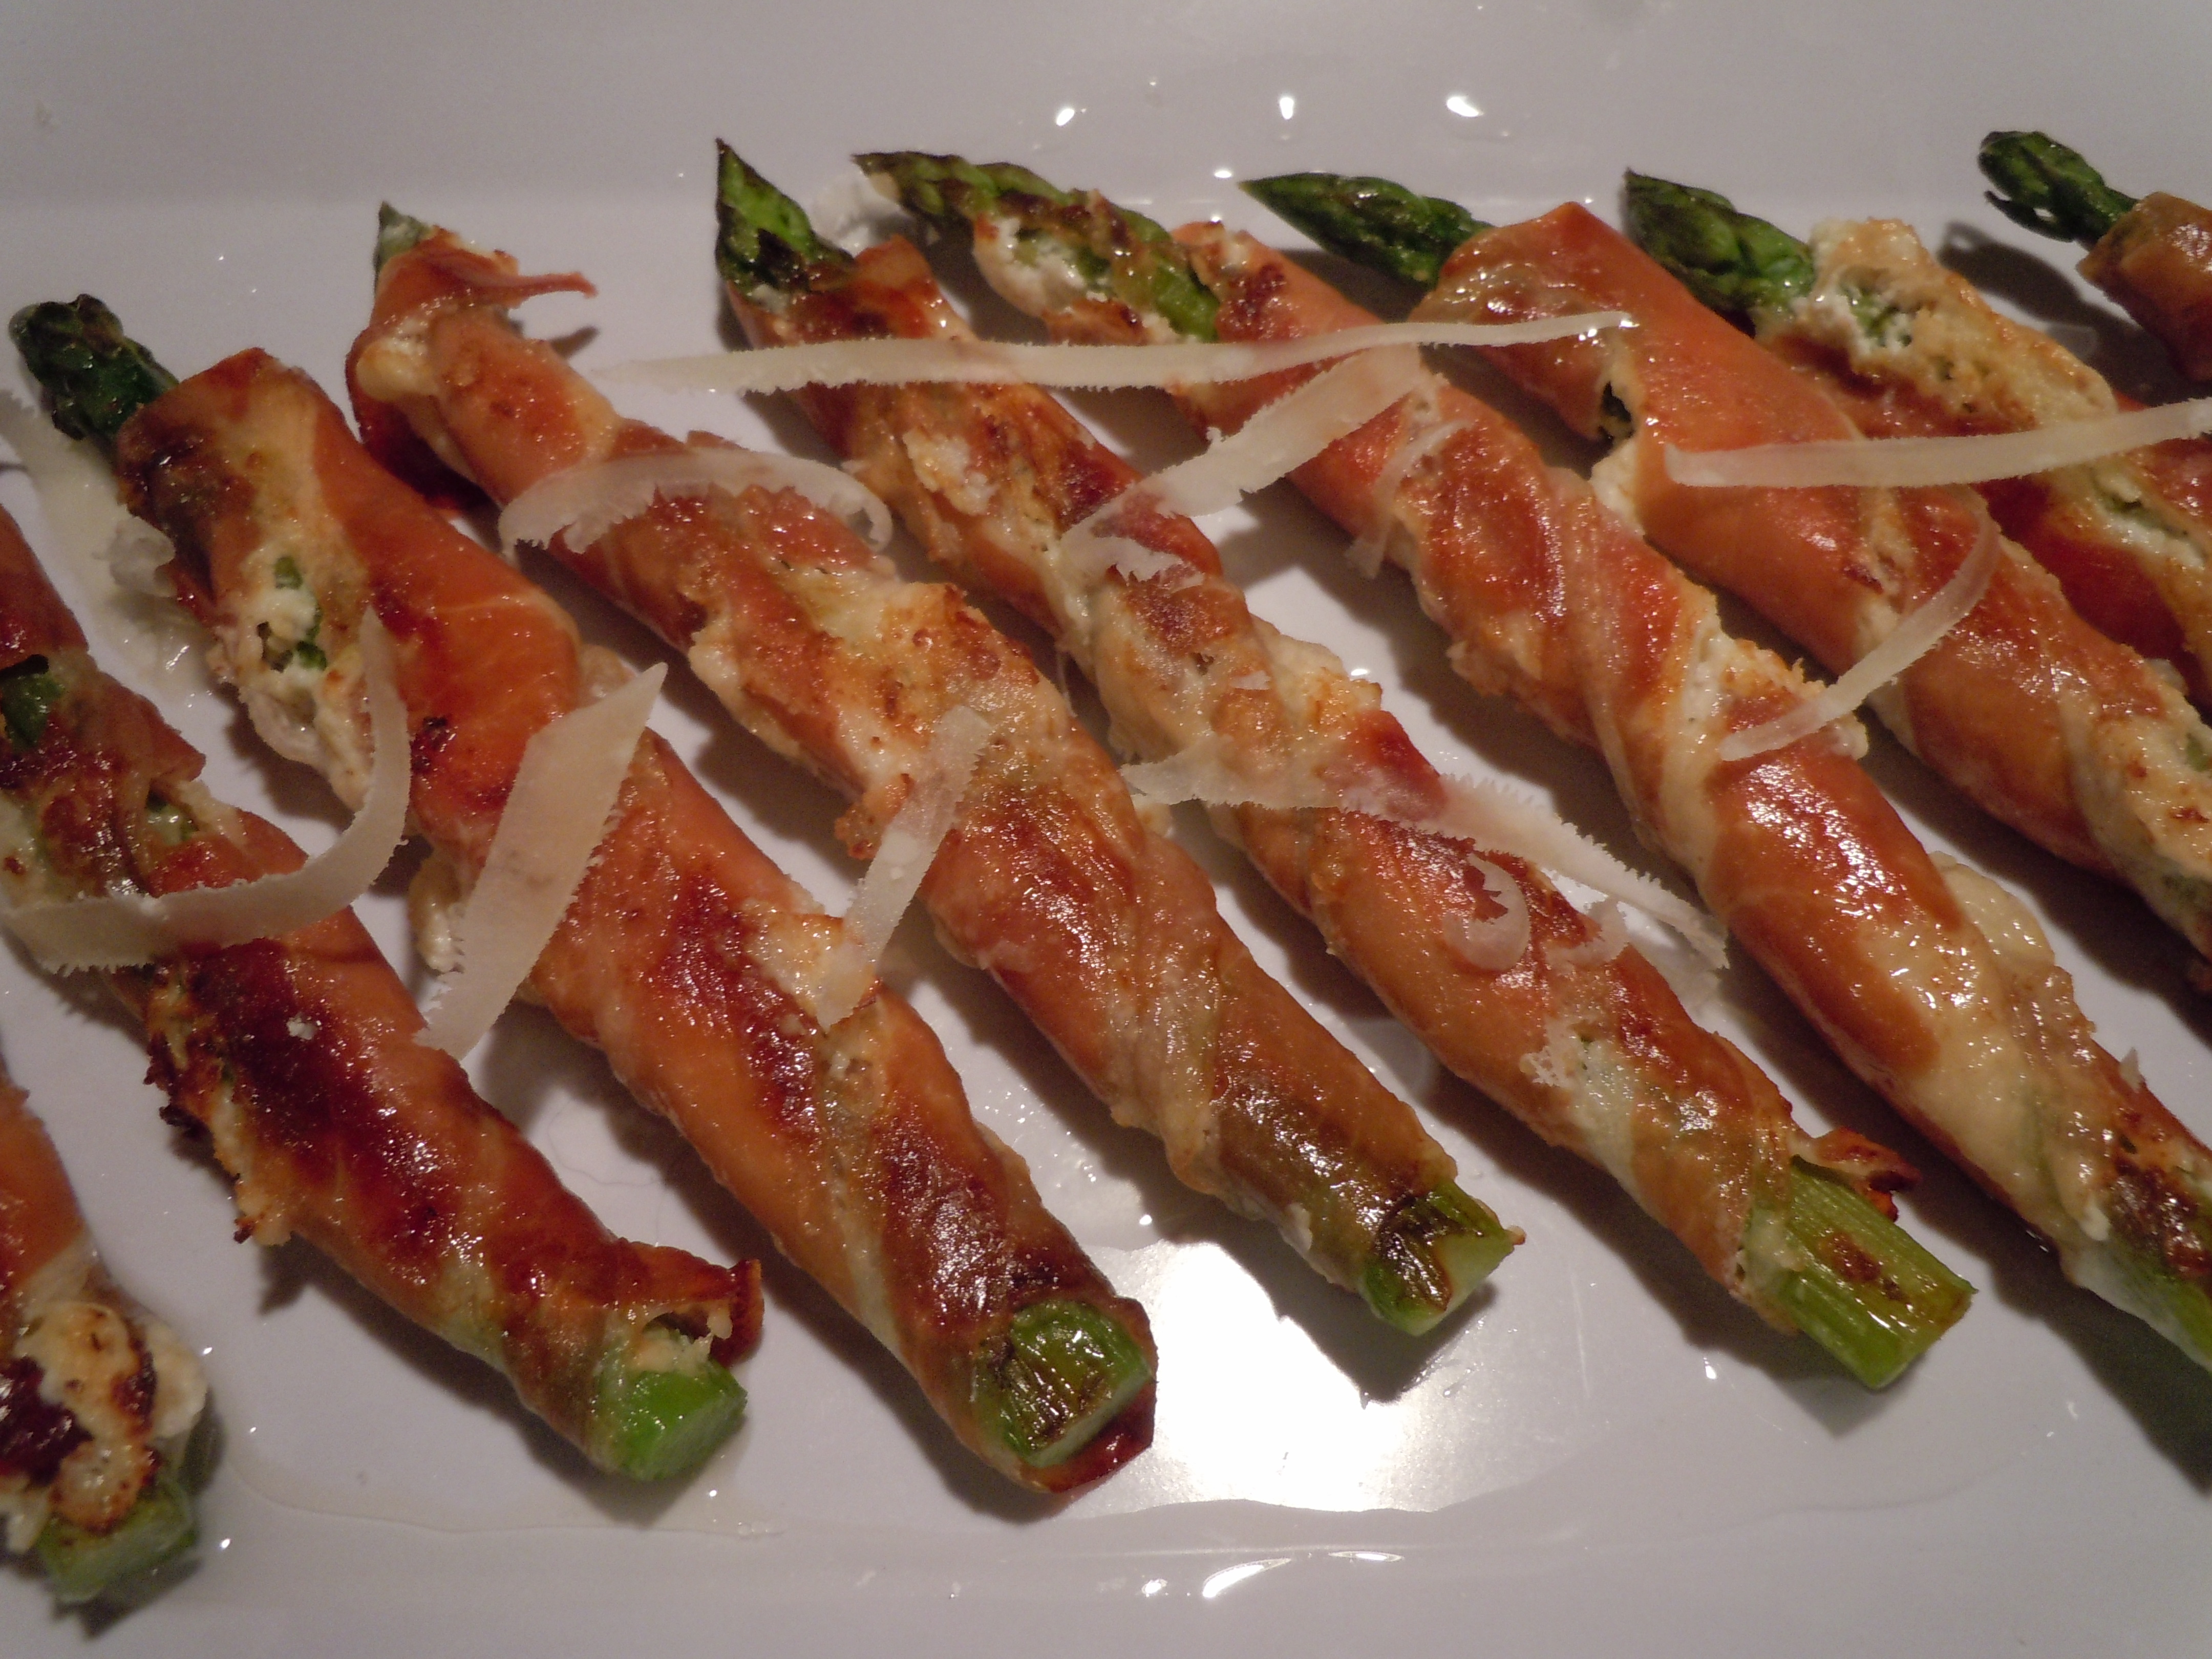


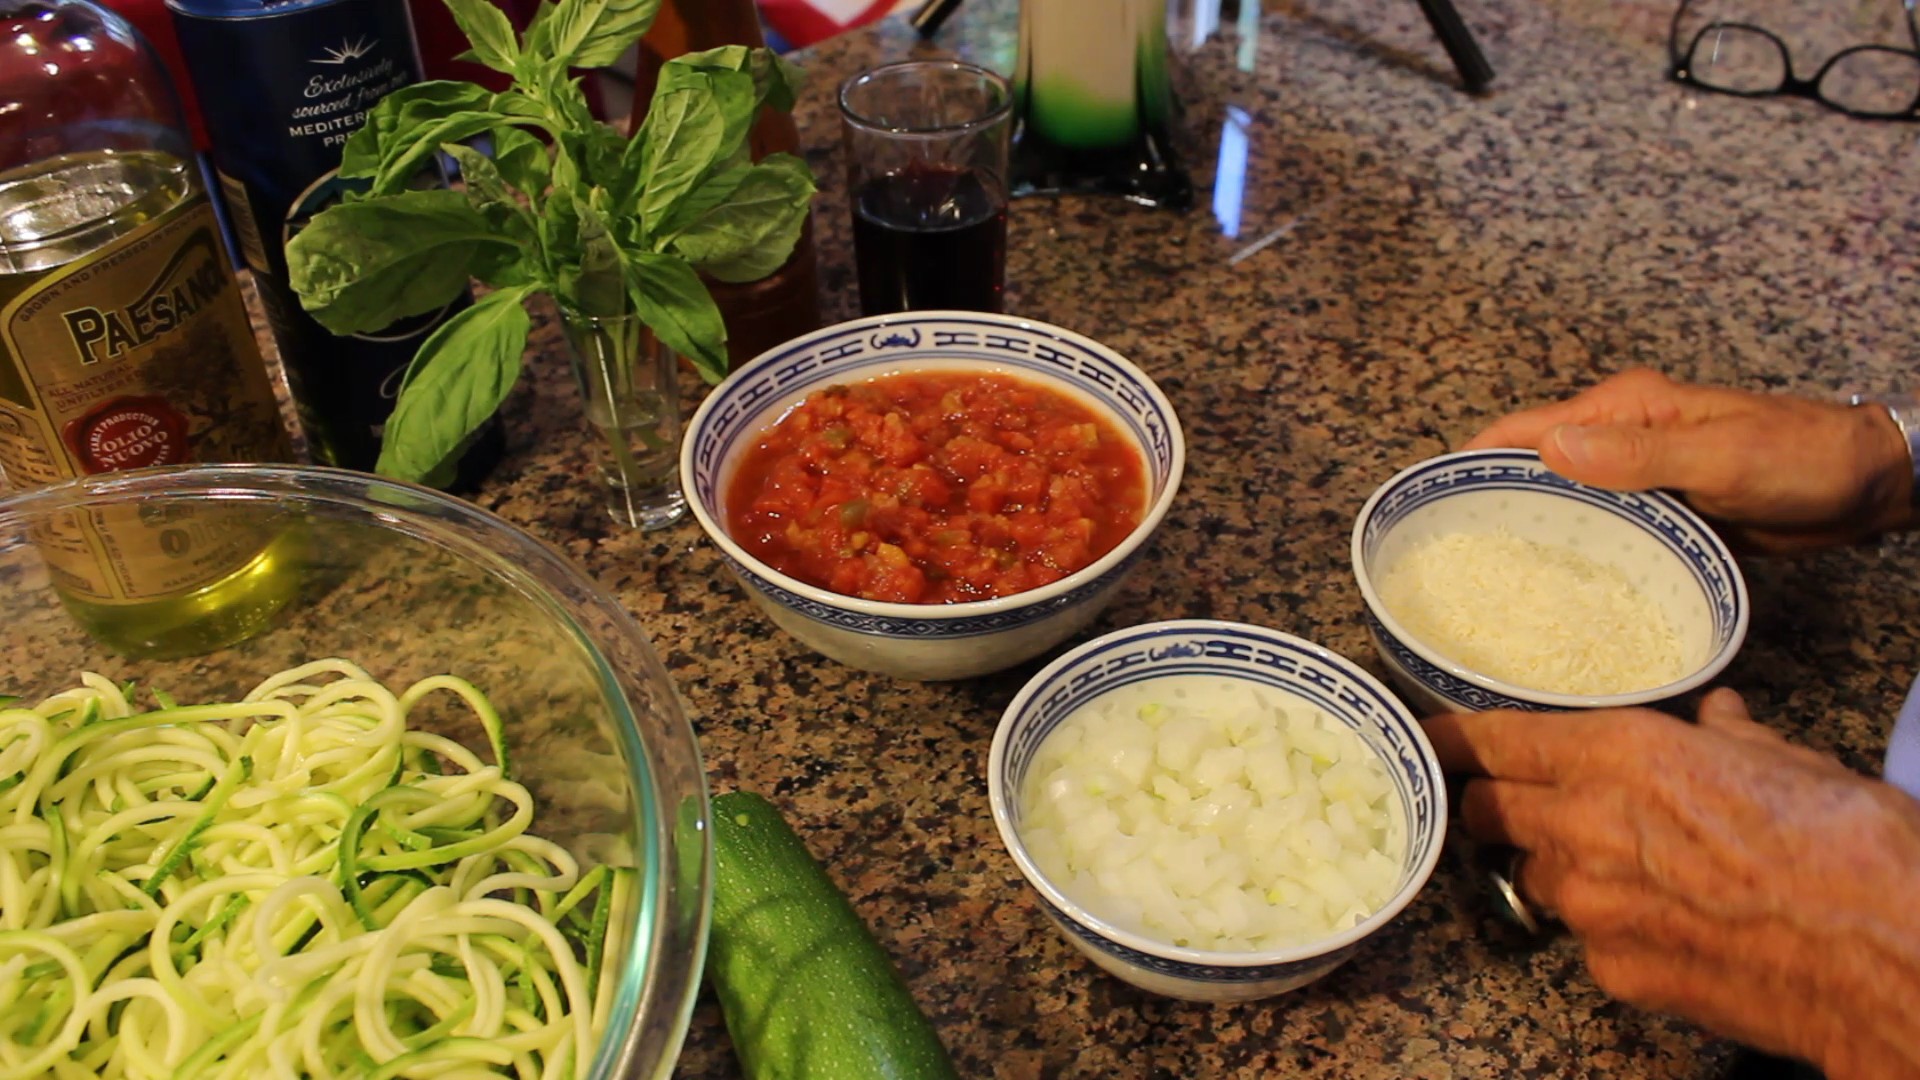
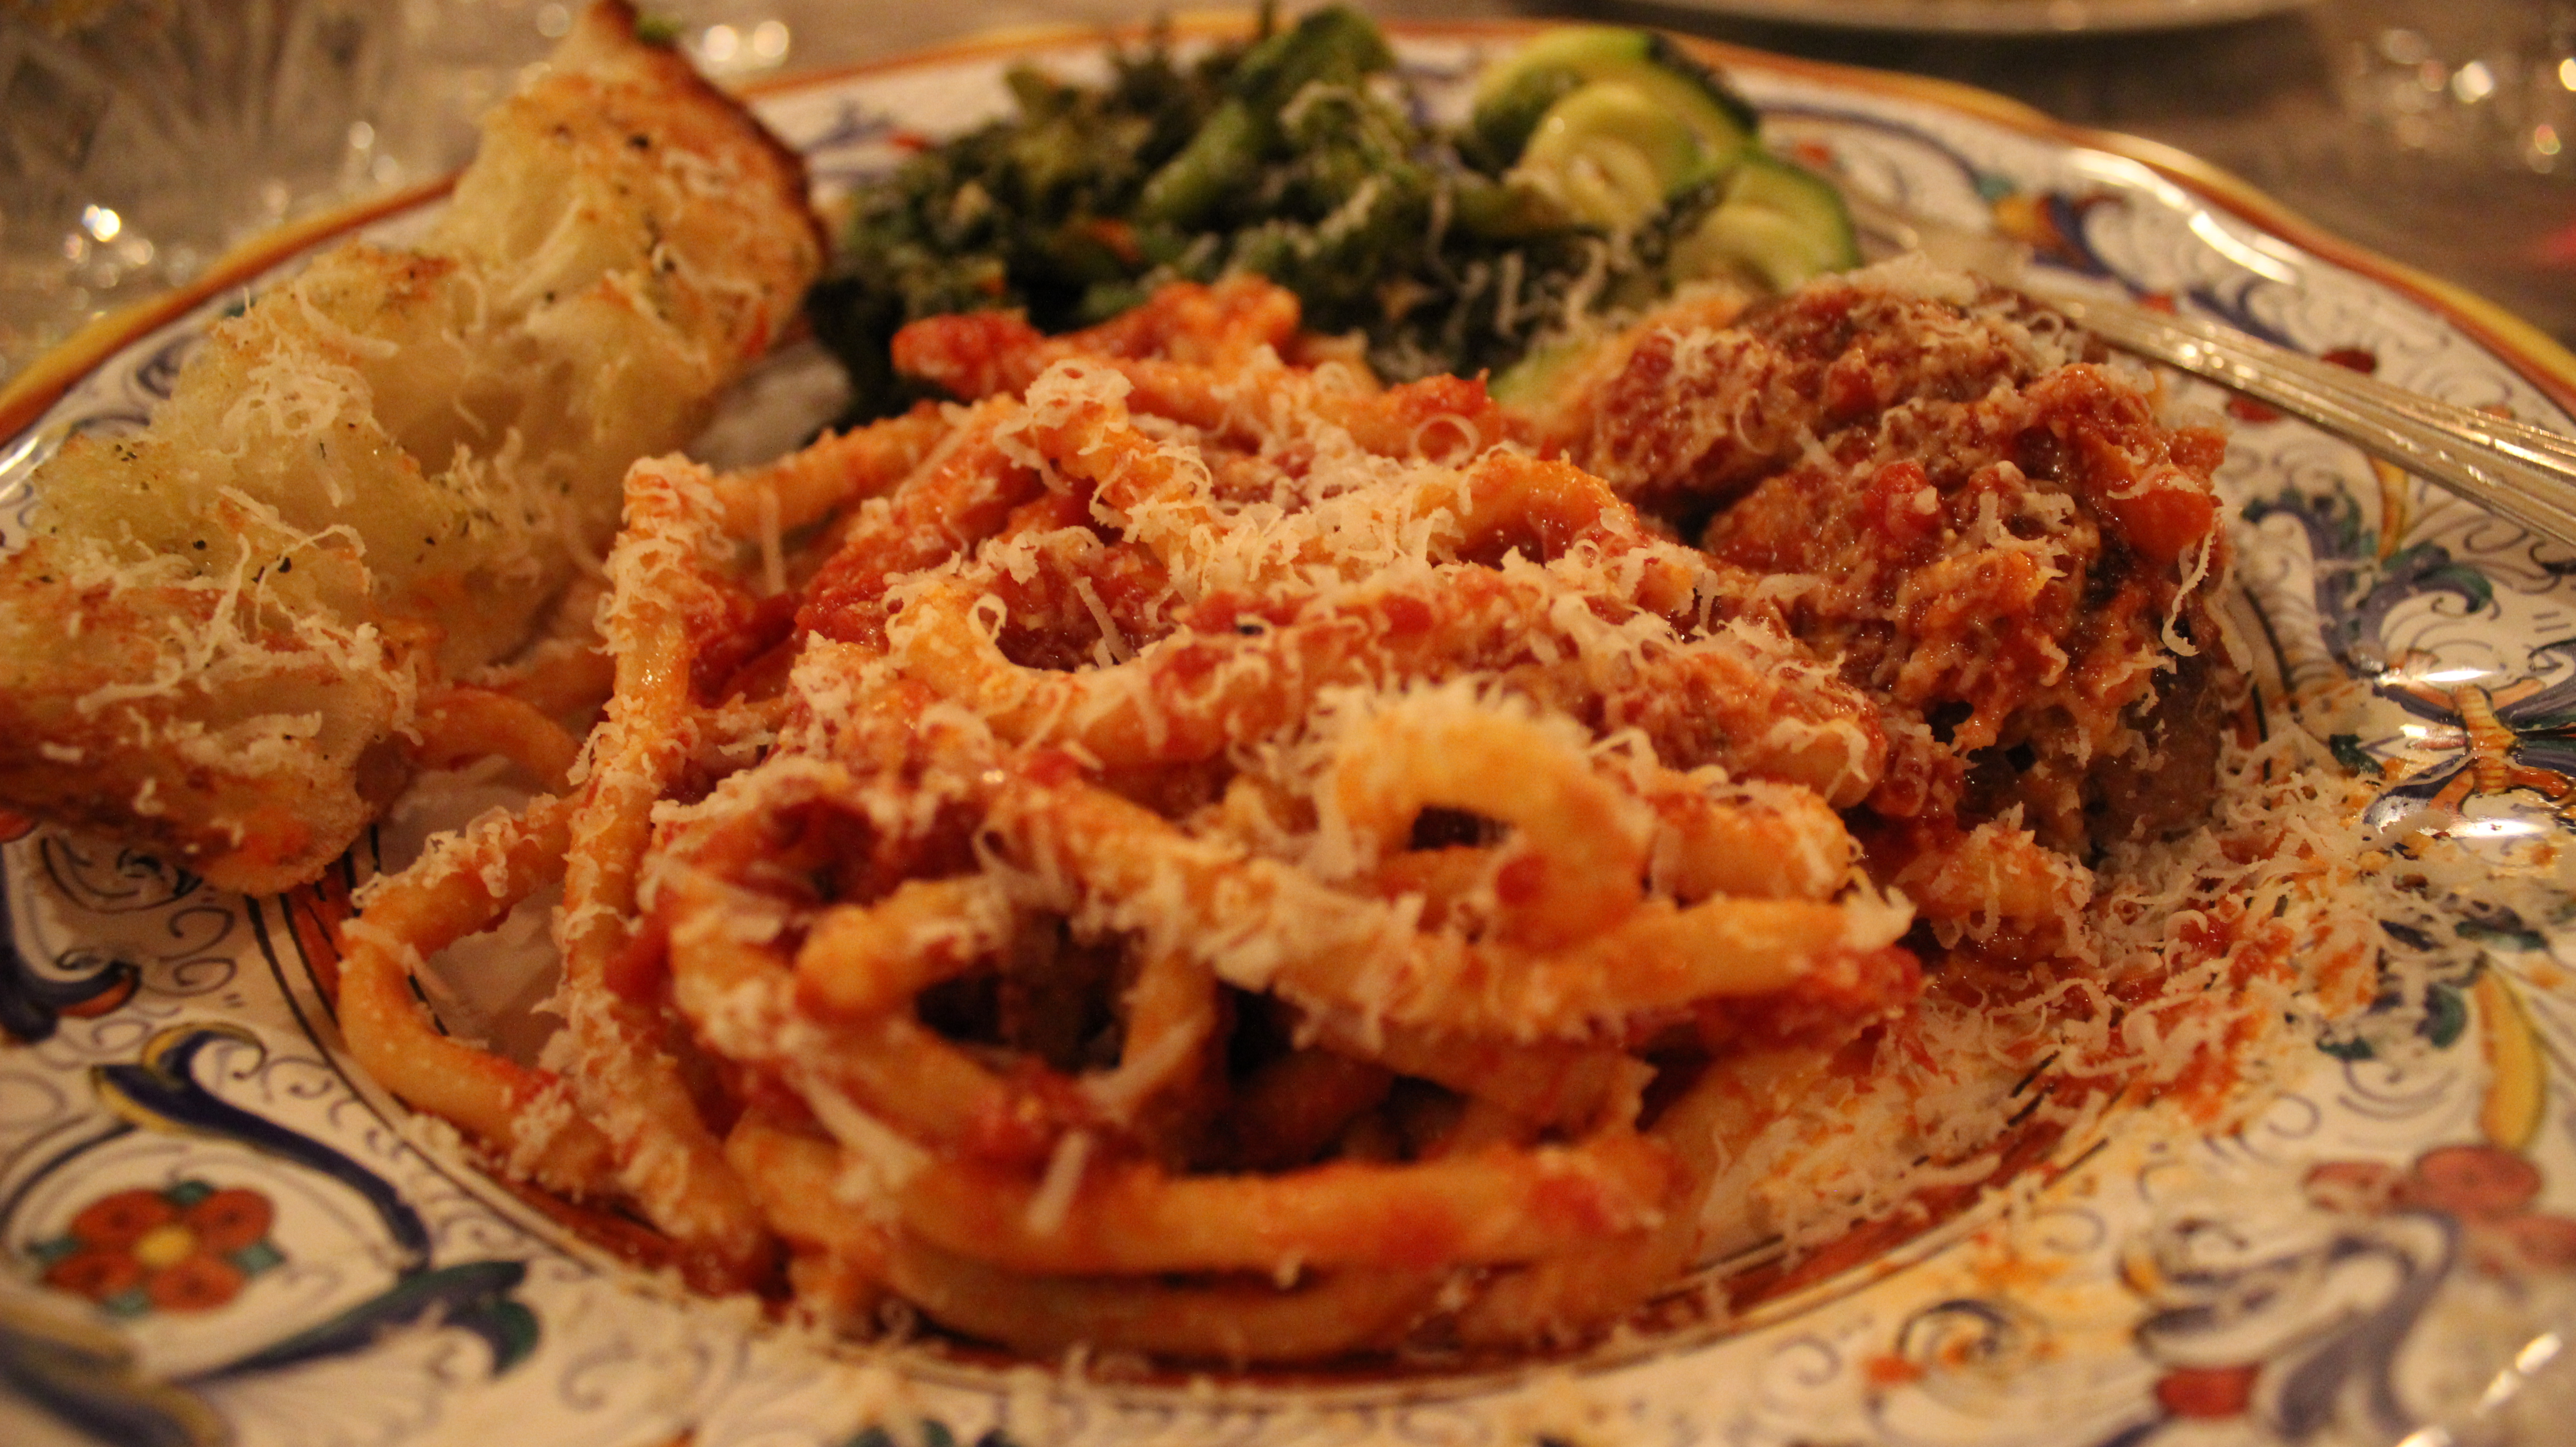
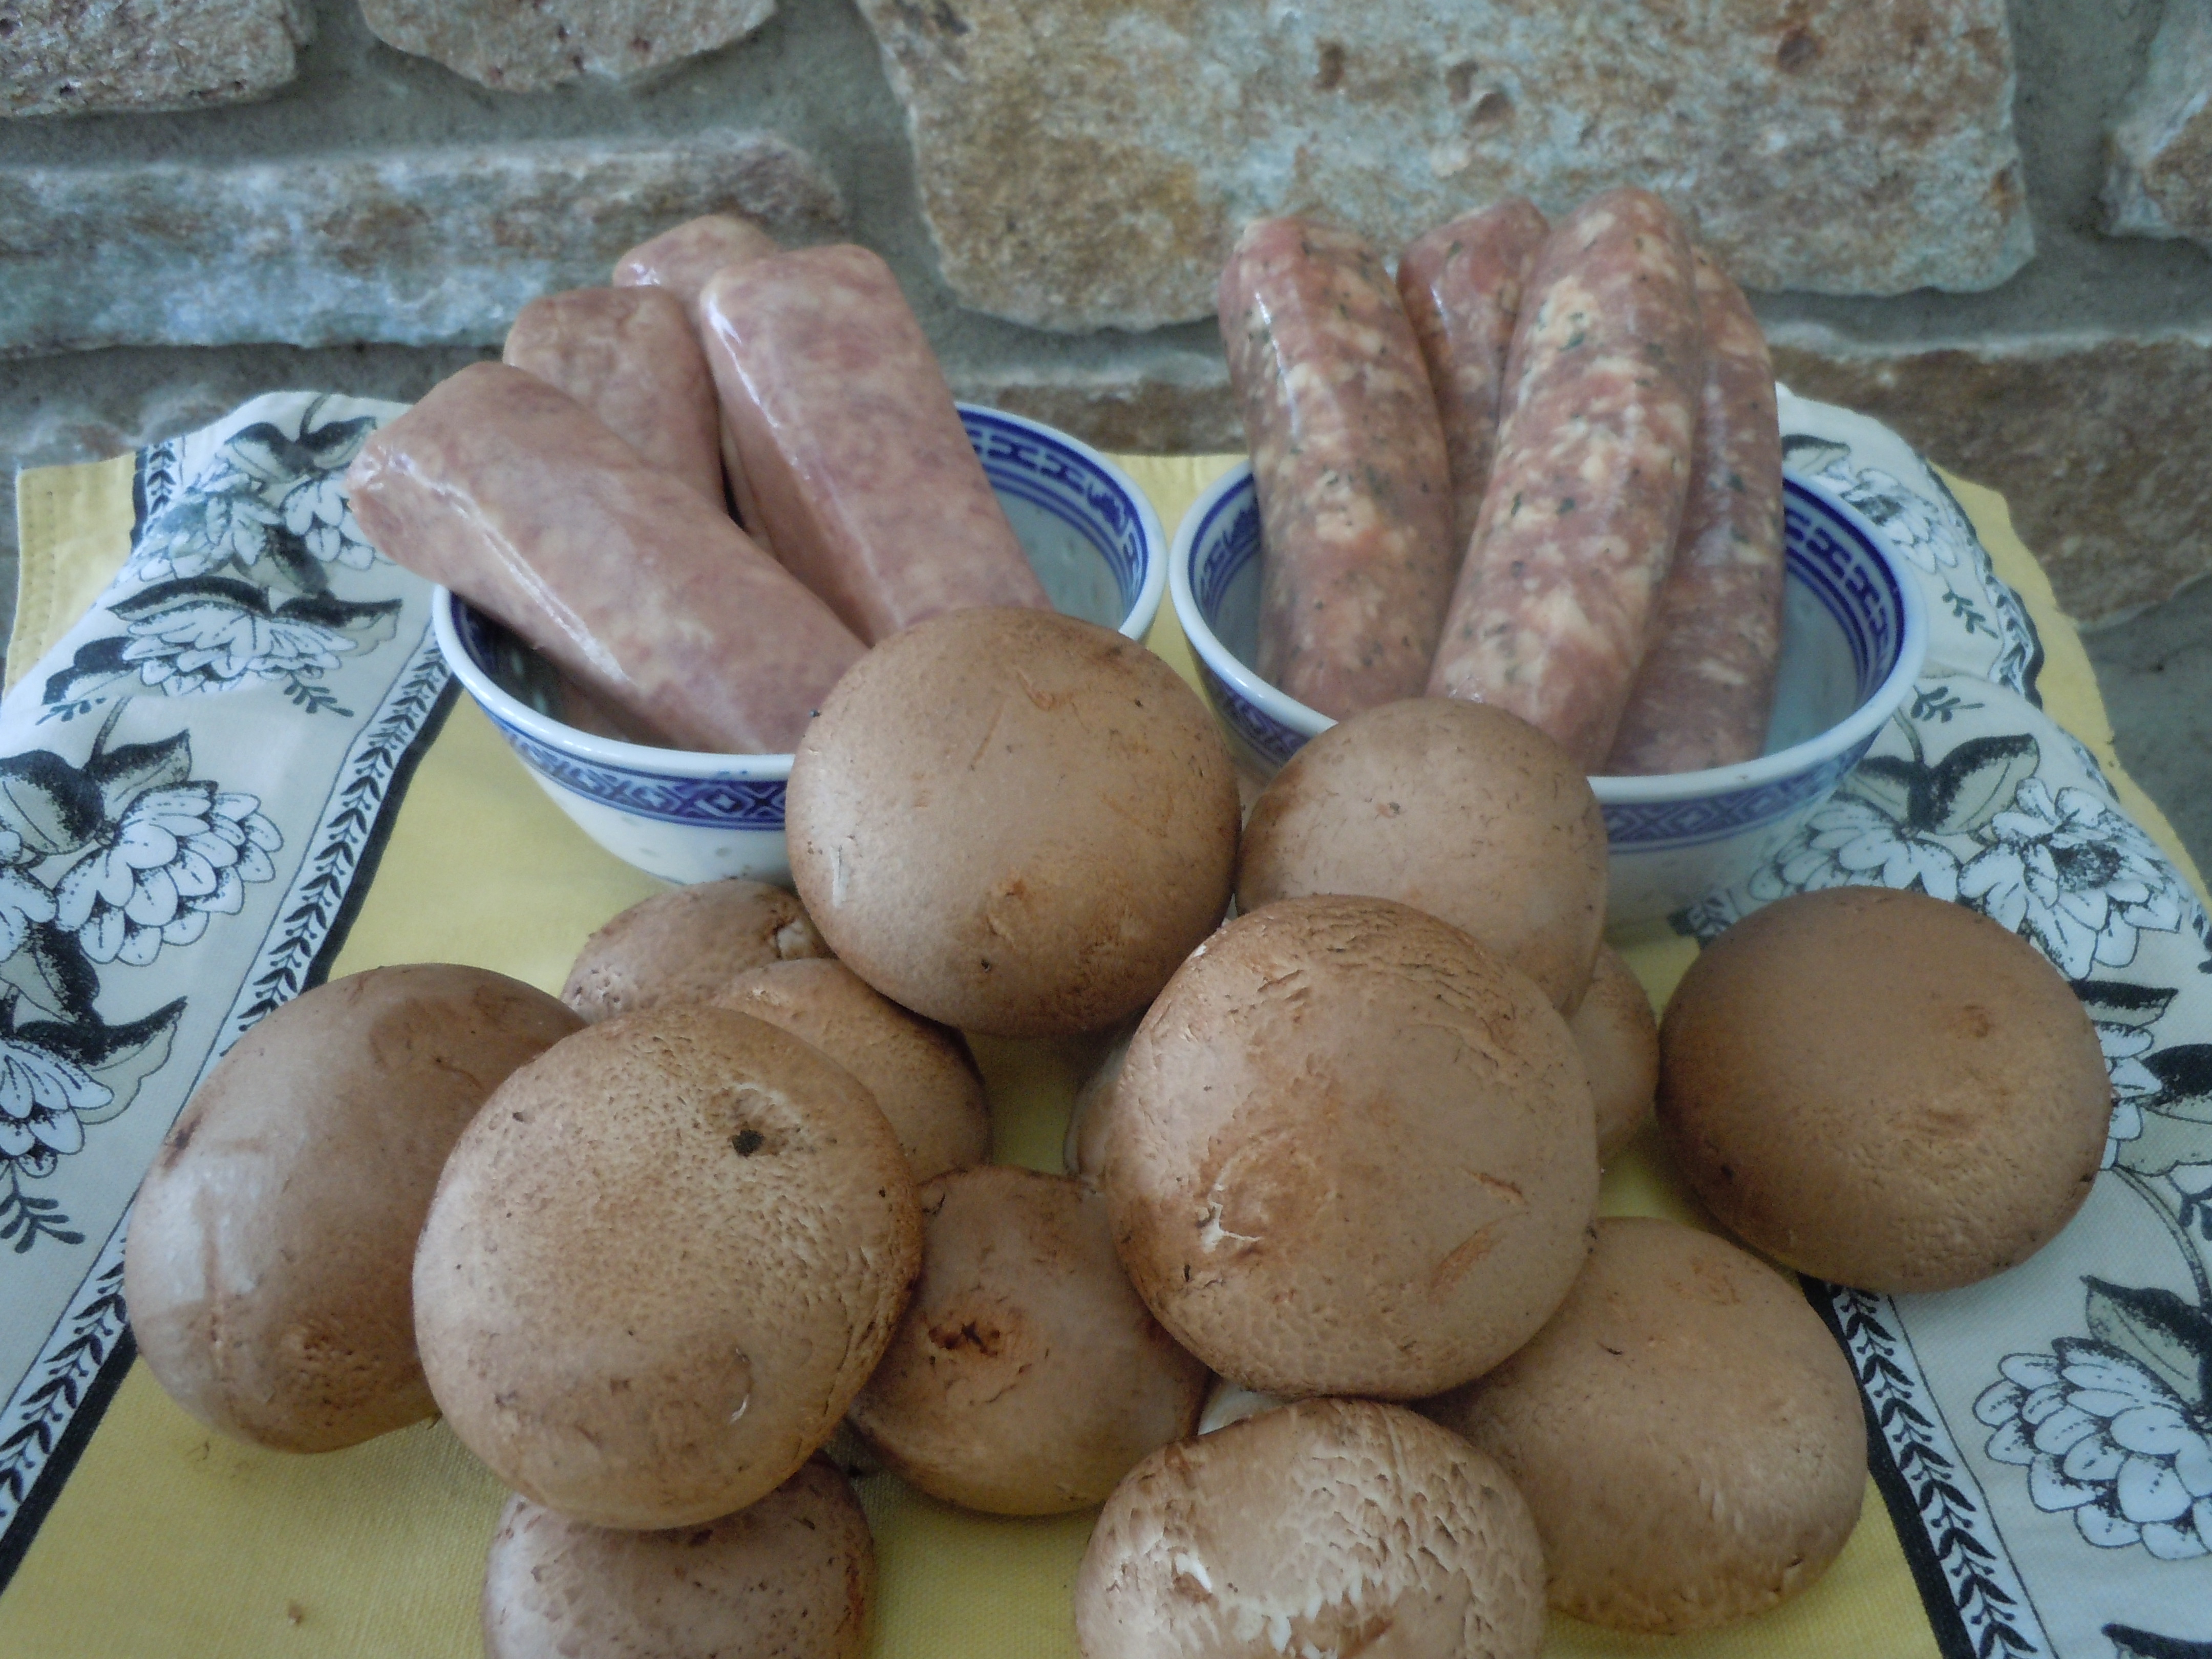
Appetizers like baked coconut shrimp, baked asparagus wrapped in prosciutto, and, or a nice homemade Caesar Salad might be just what you are looking for to go with this homemade pasta of Vin’s! If you are looking for a meat sauce to go on this homemade pasta you should try my bolognese sauce. Of course, there are other options like my Italian beef meatballs, or Italian turkey meatballs. Hope you enjoy the show 😉
INGREDIENTS:
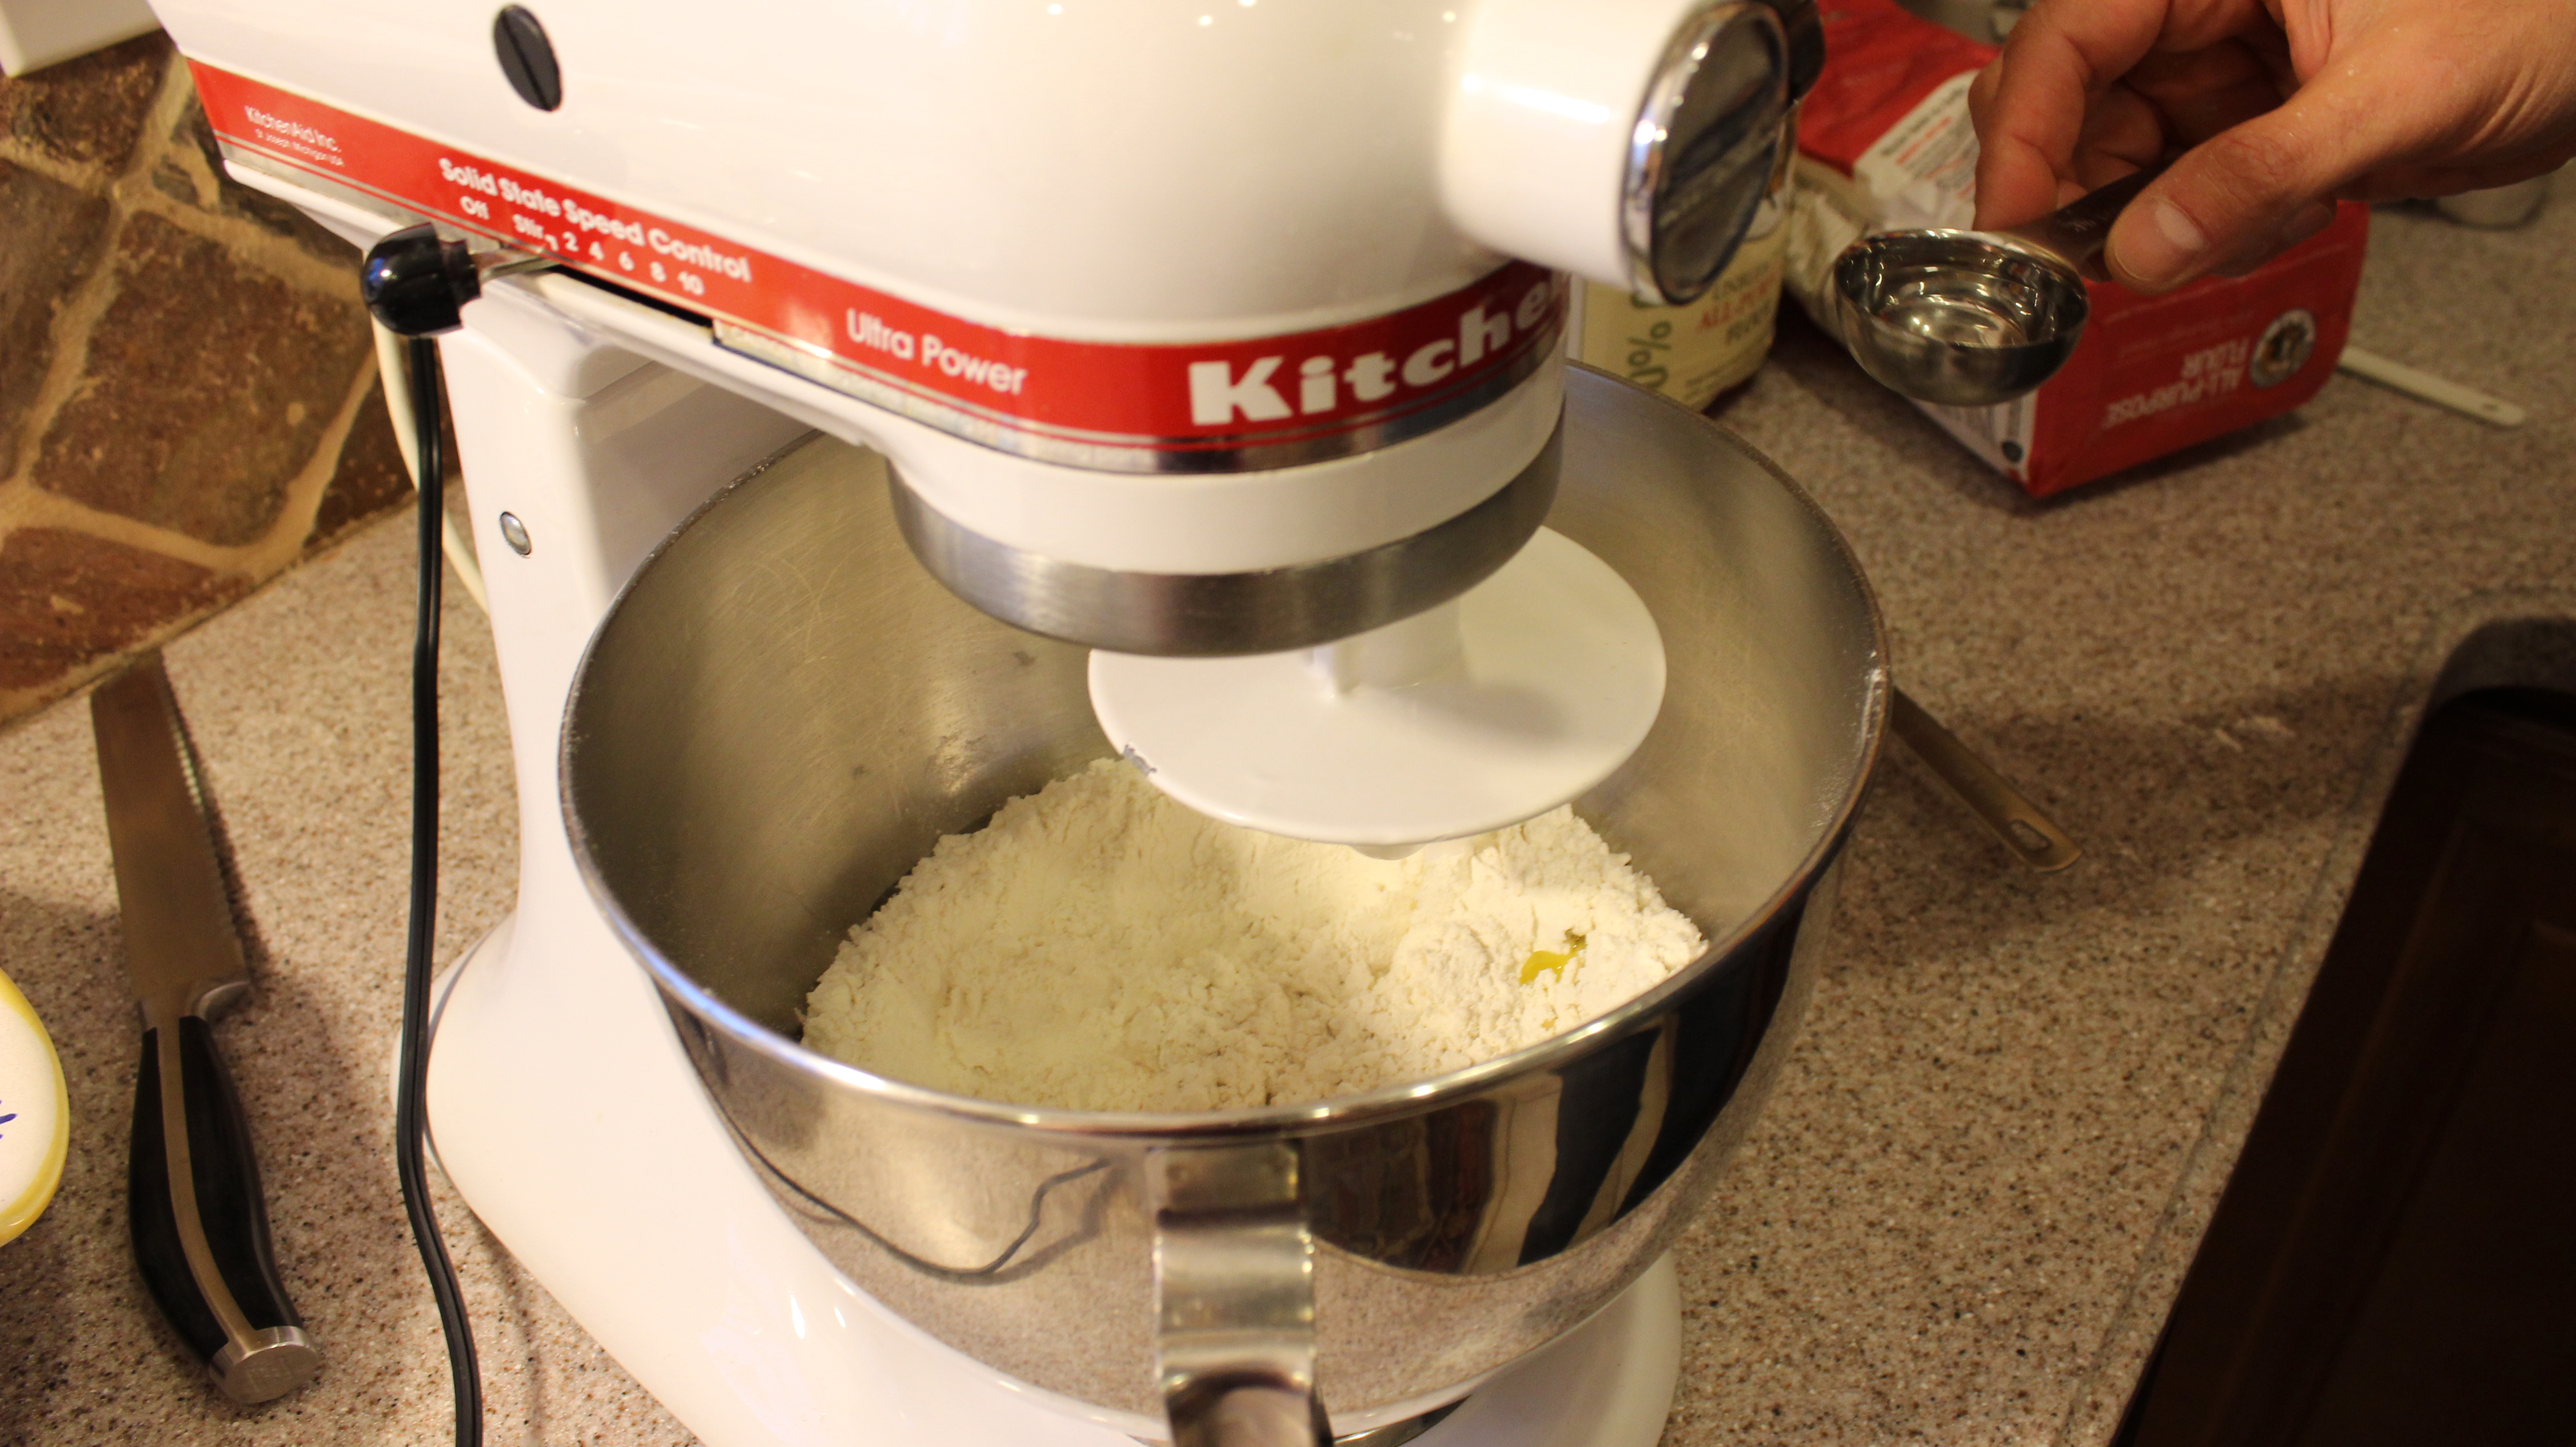
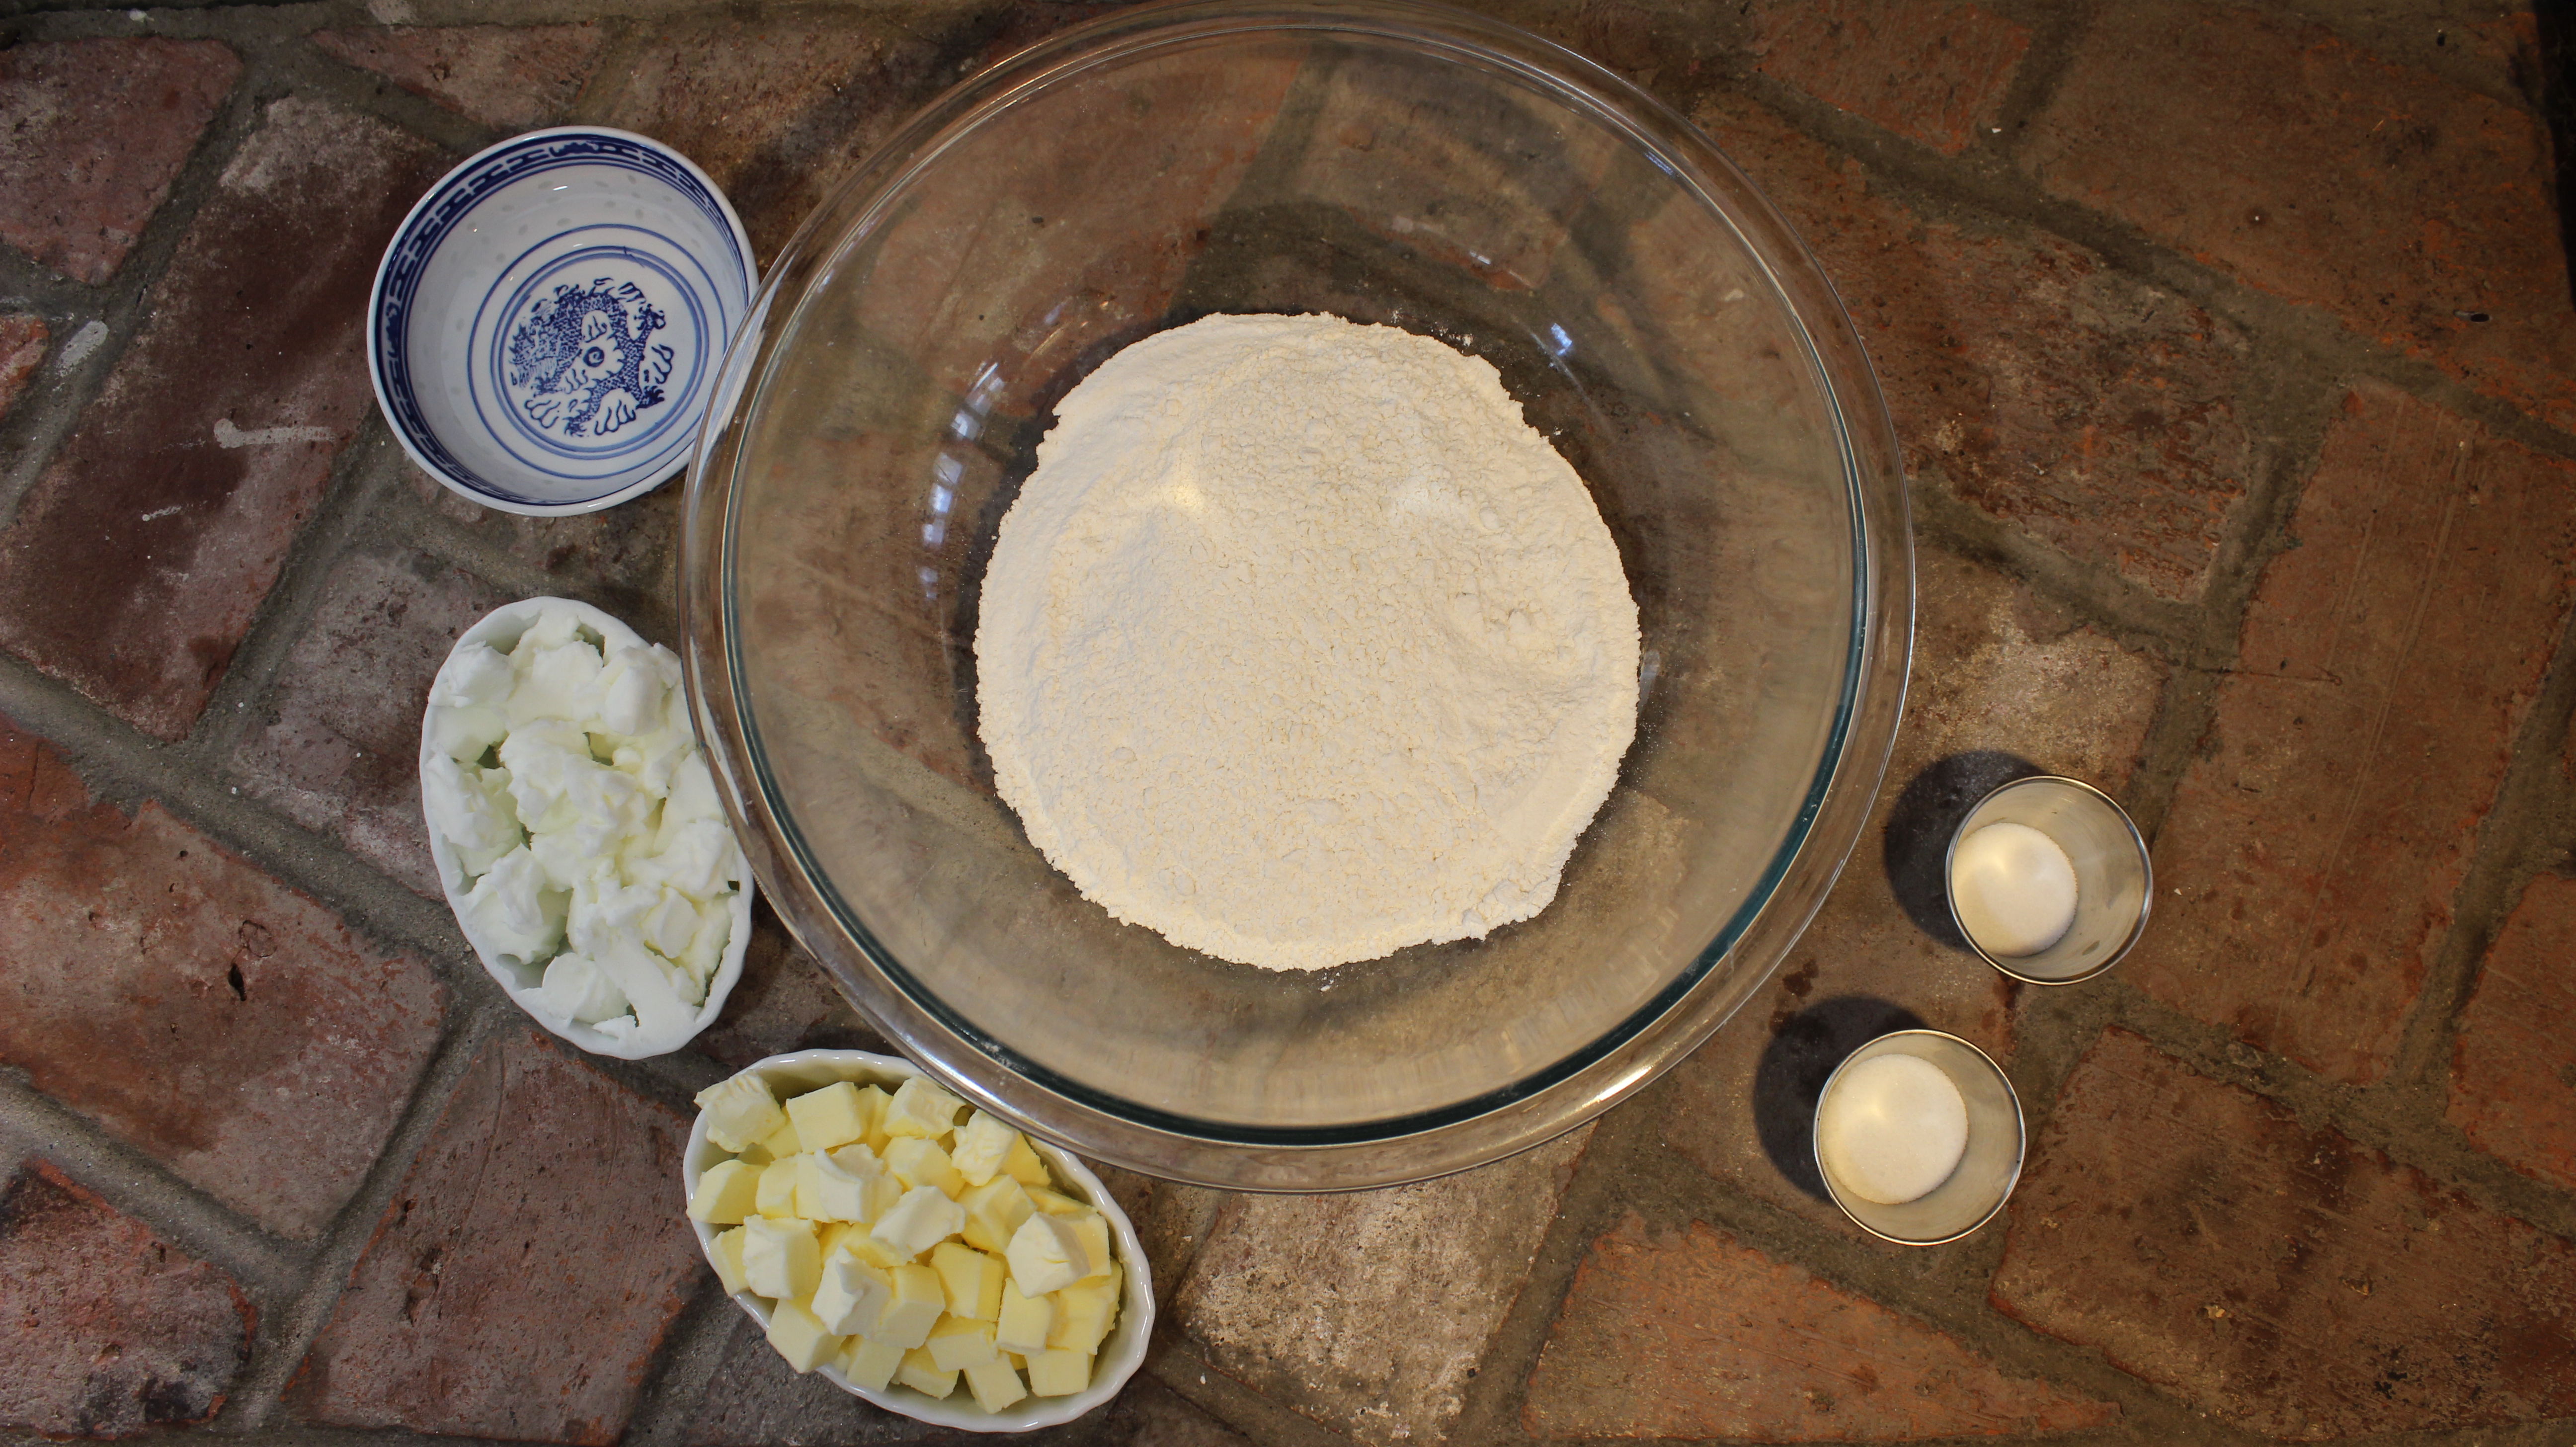
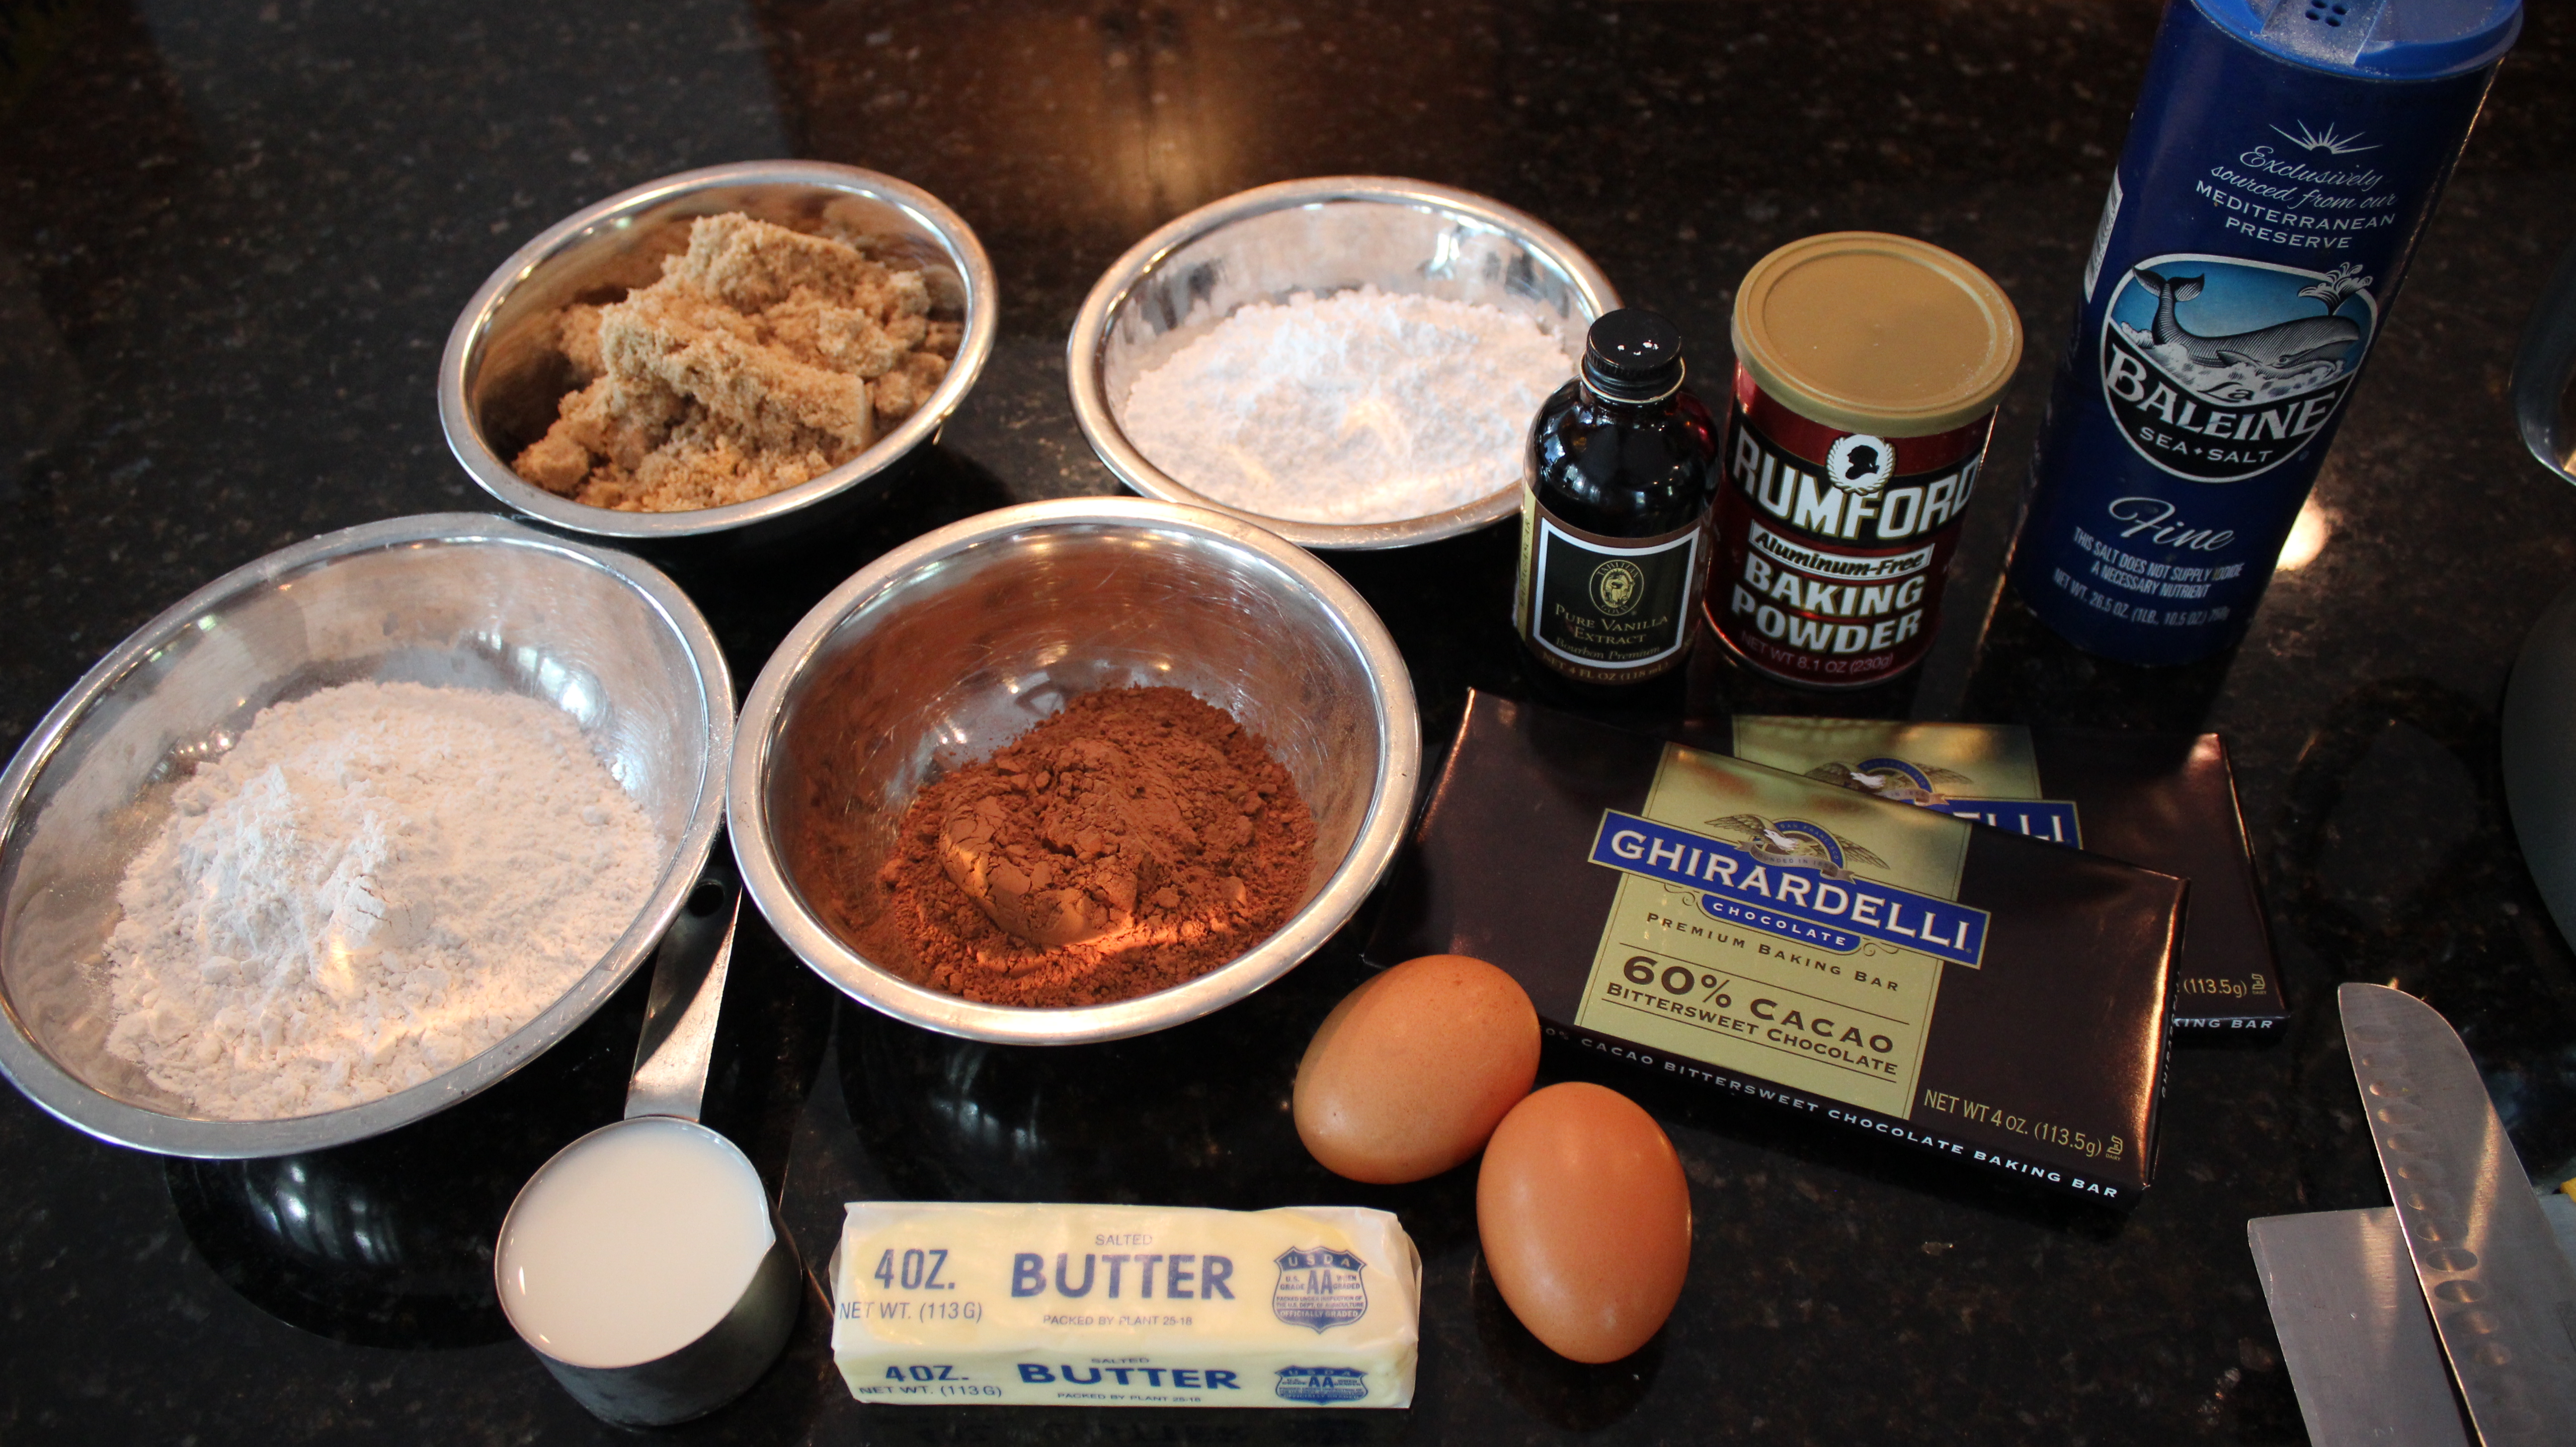
- 2 1/2 cups all purpose flour
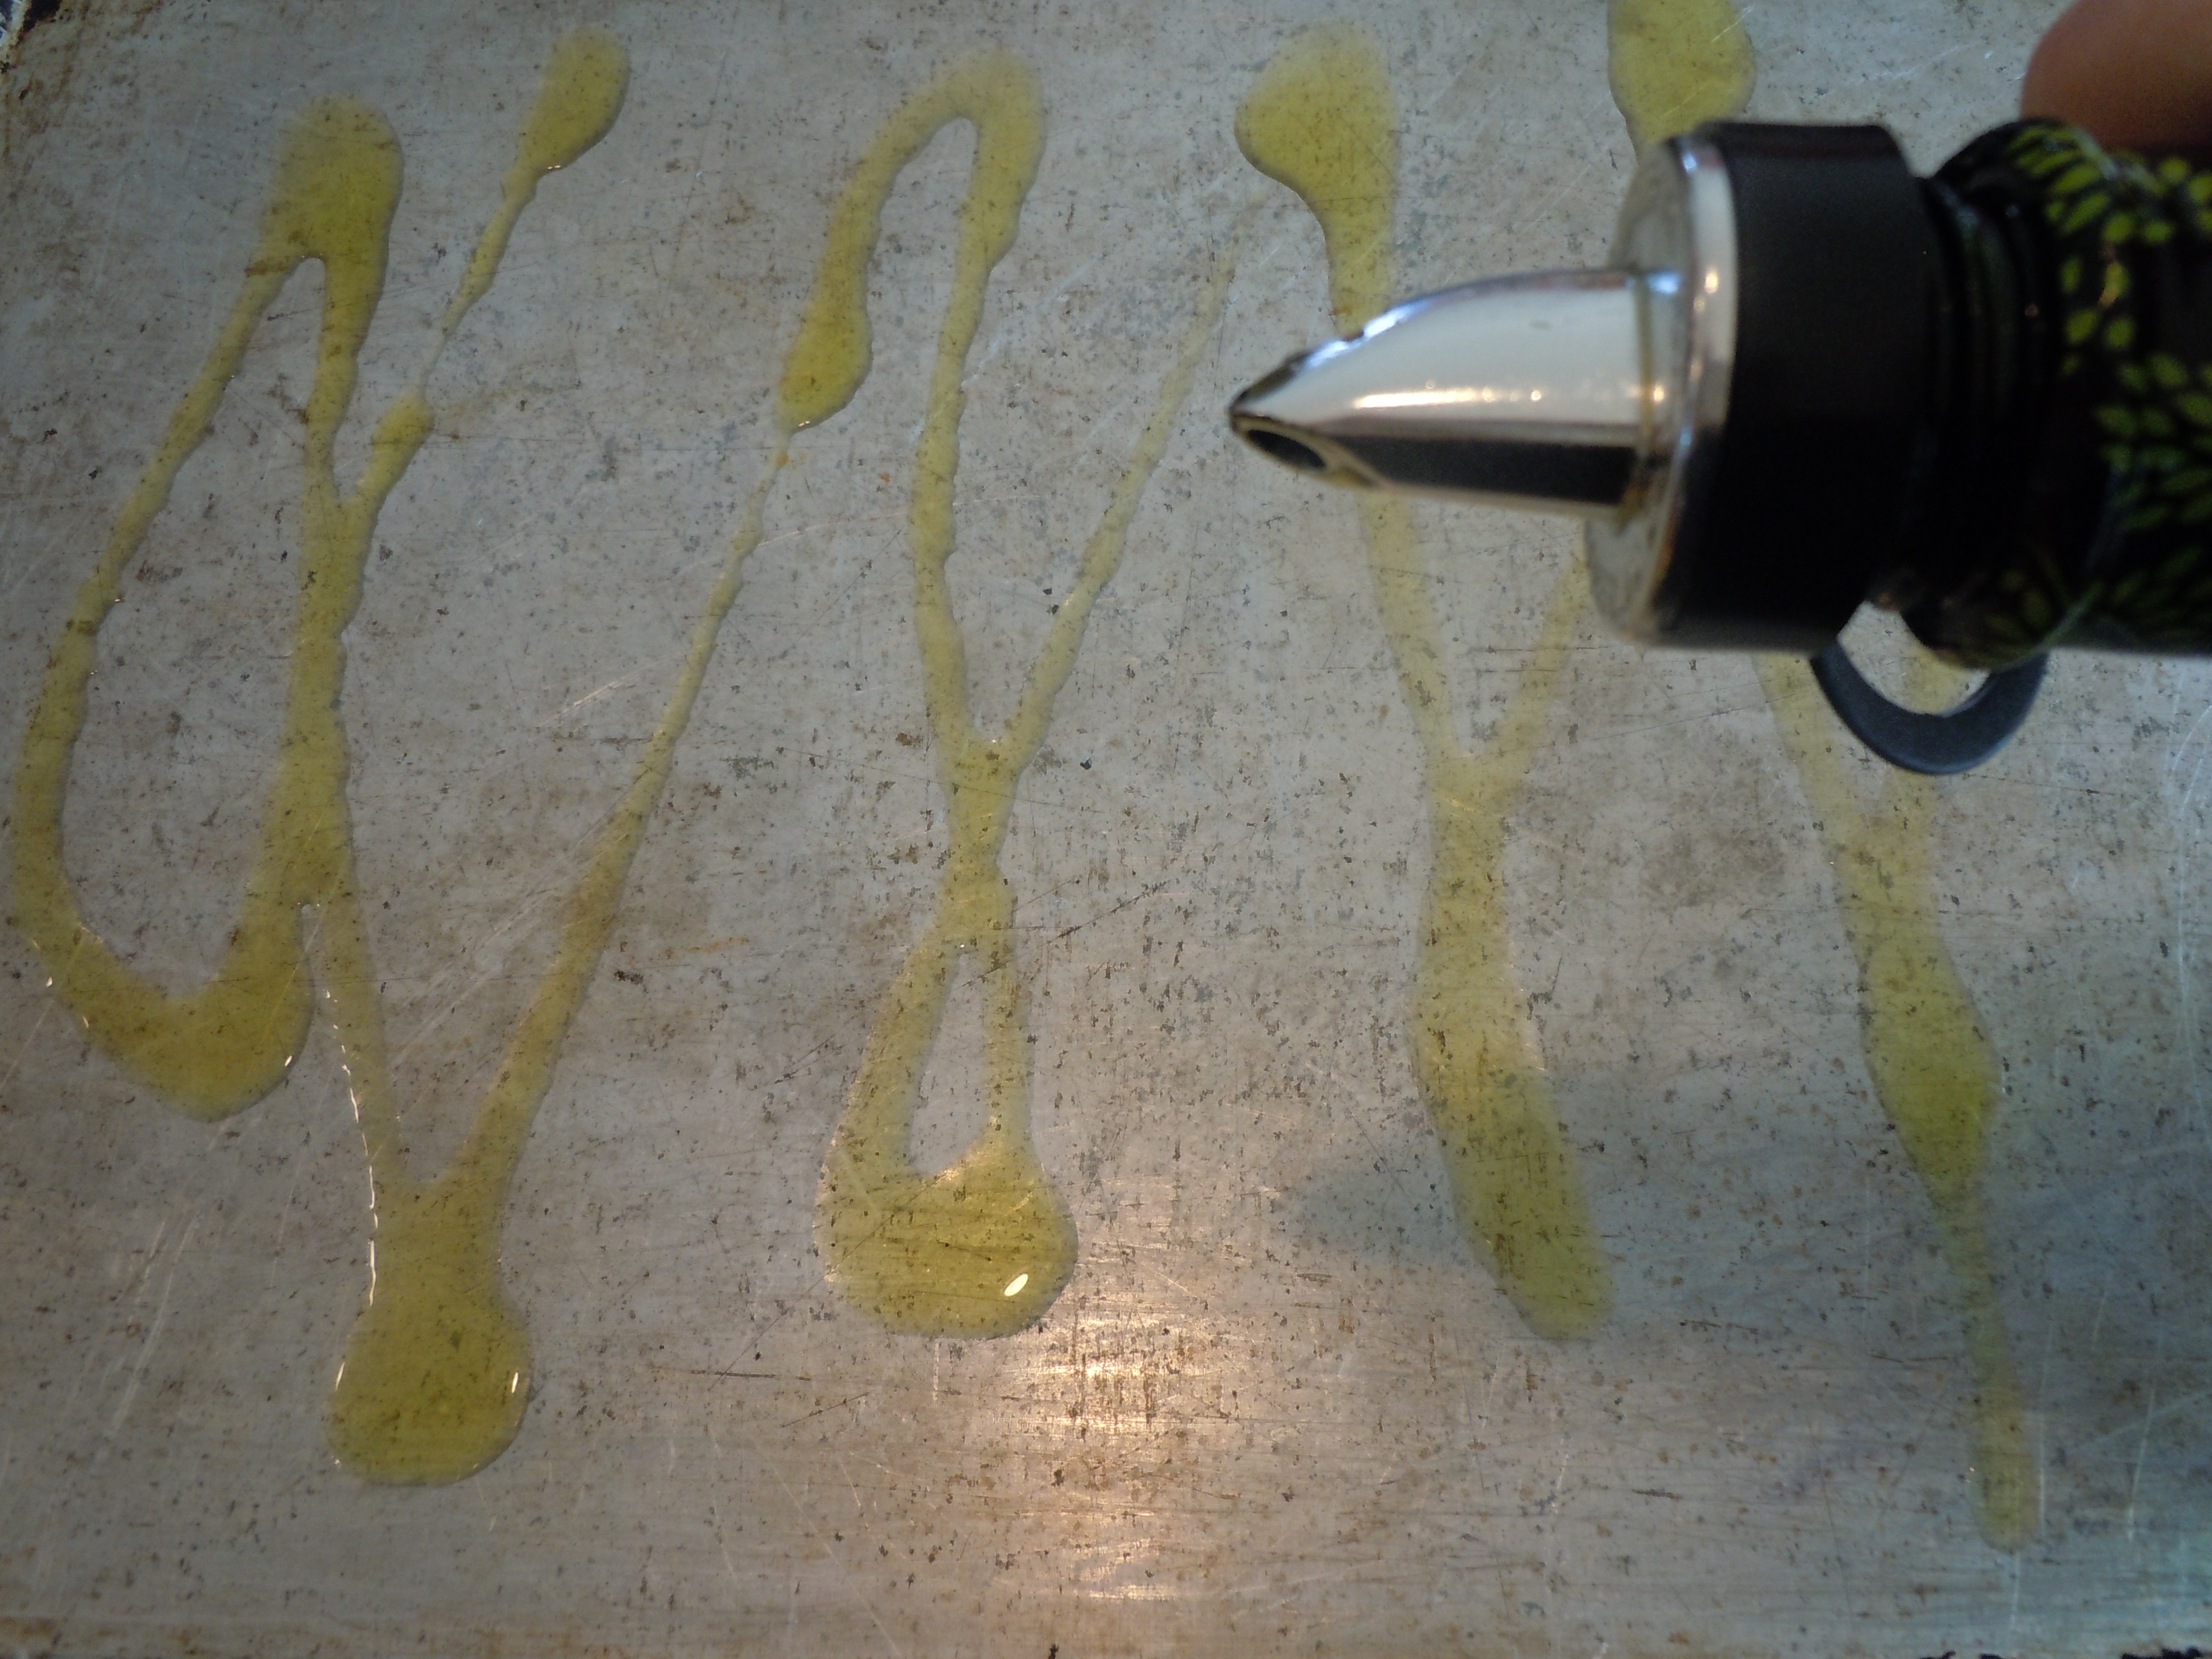
- 1/4 cup olive oil
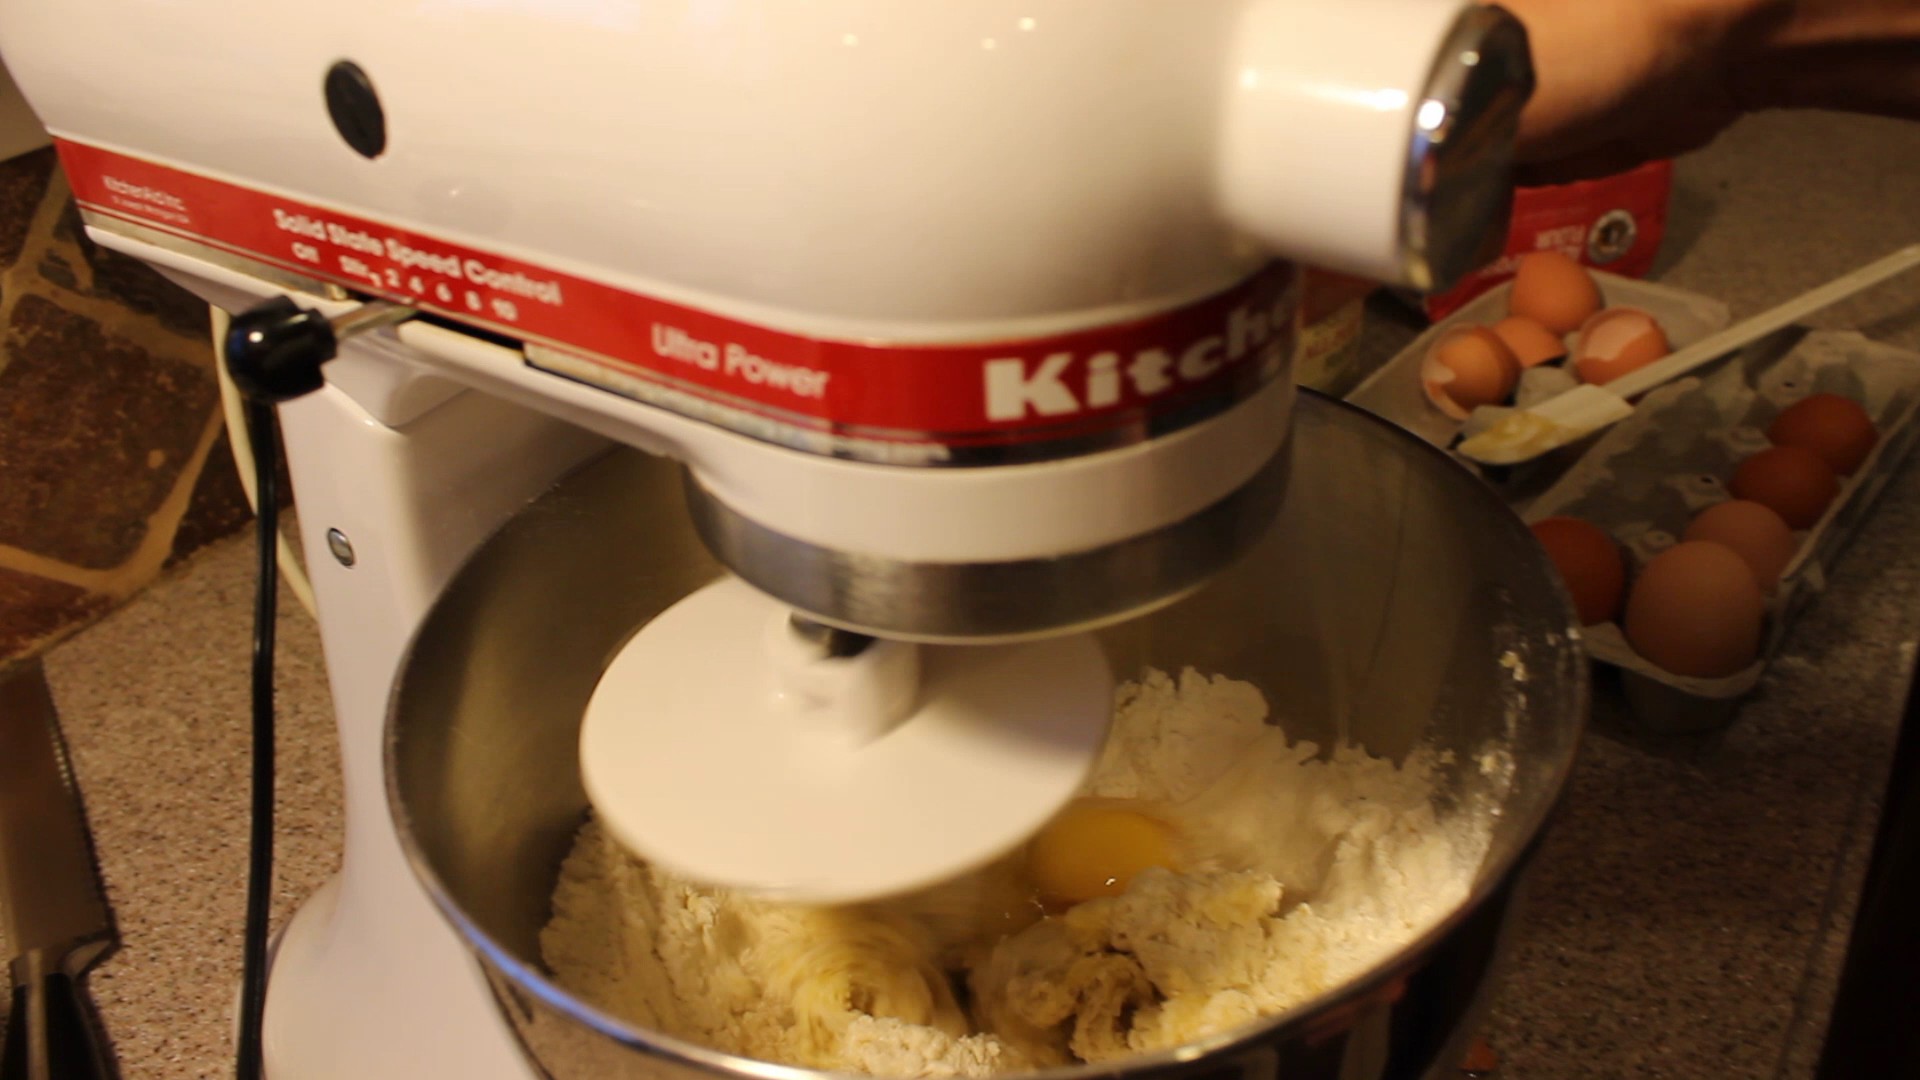
- 4 1/2 – 5 lg eggs
- 1/4 tsp salt
DIRECTIONS:
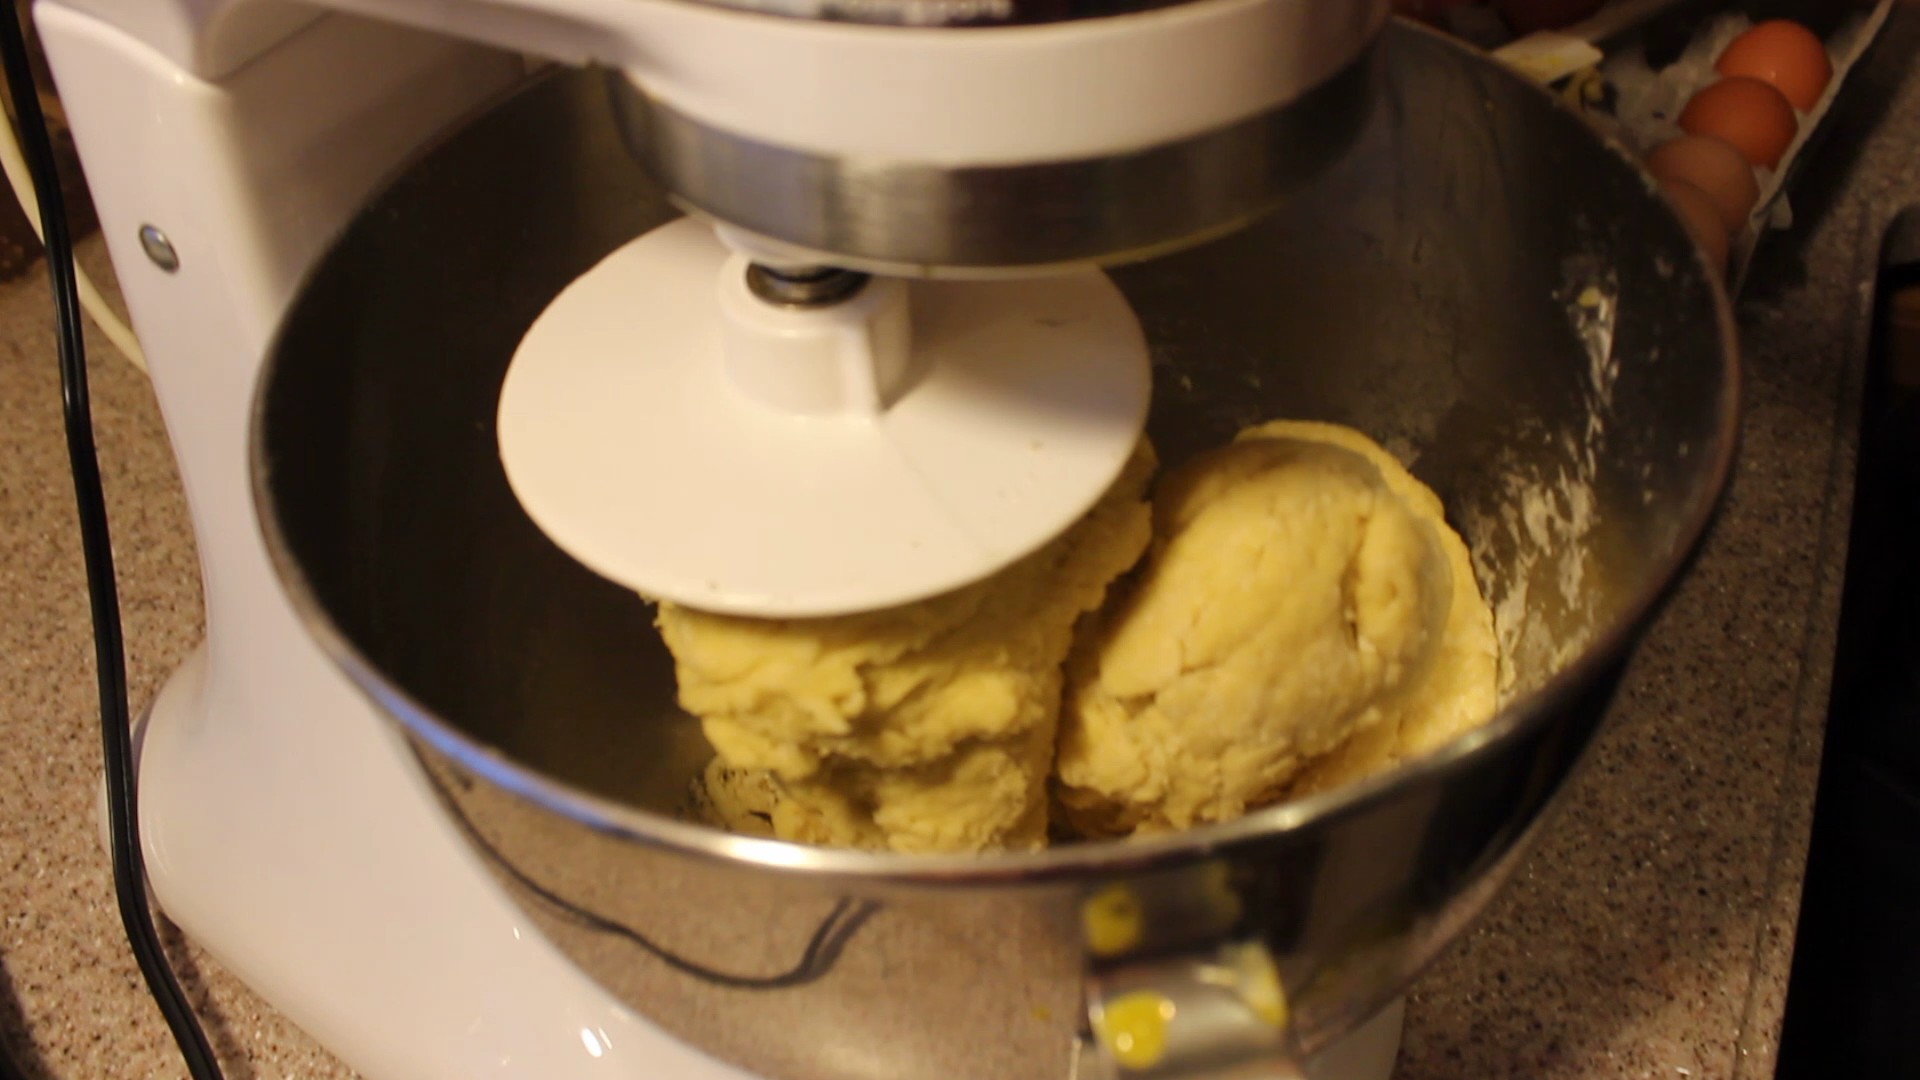
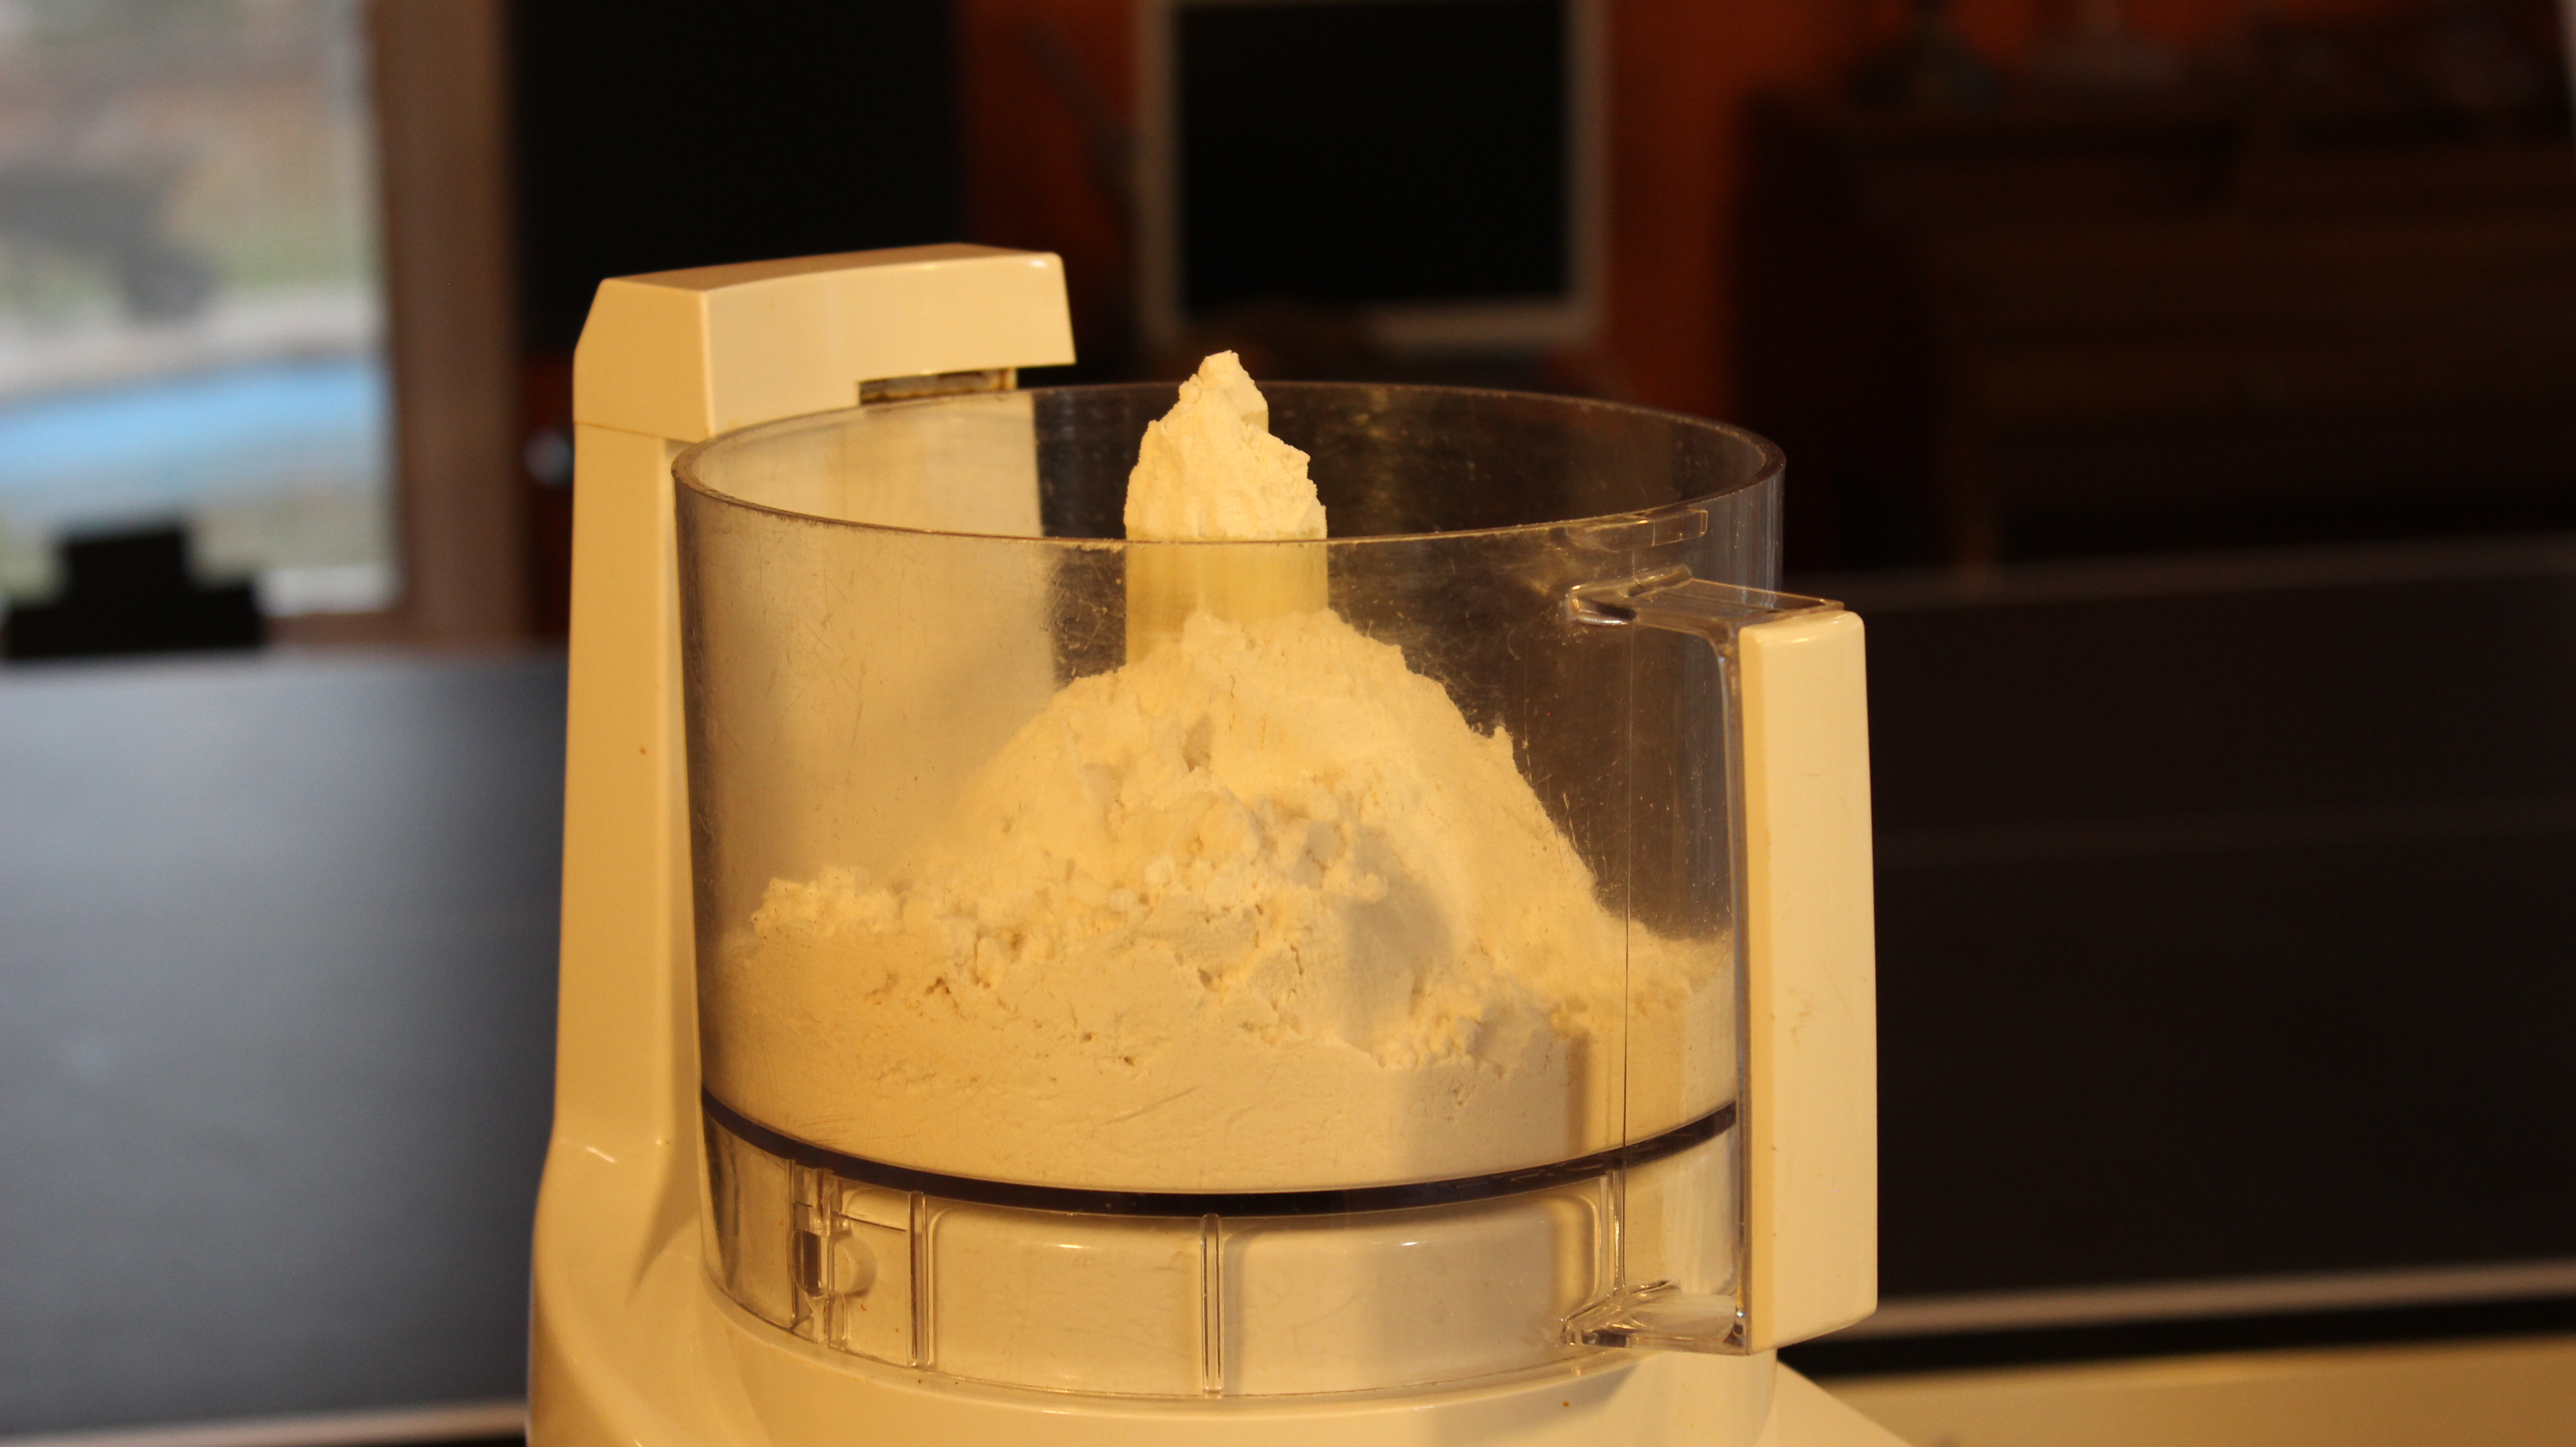
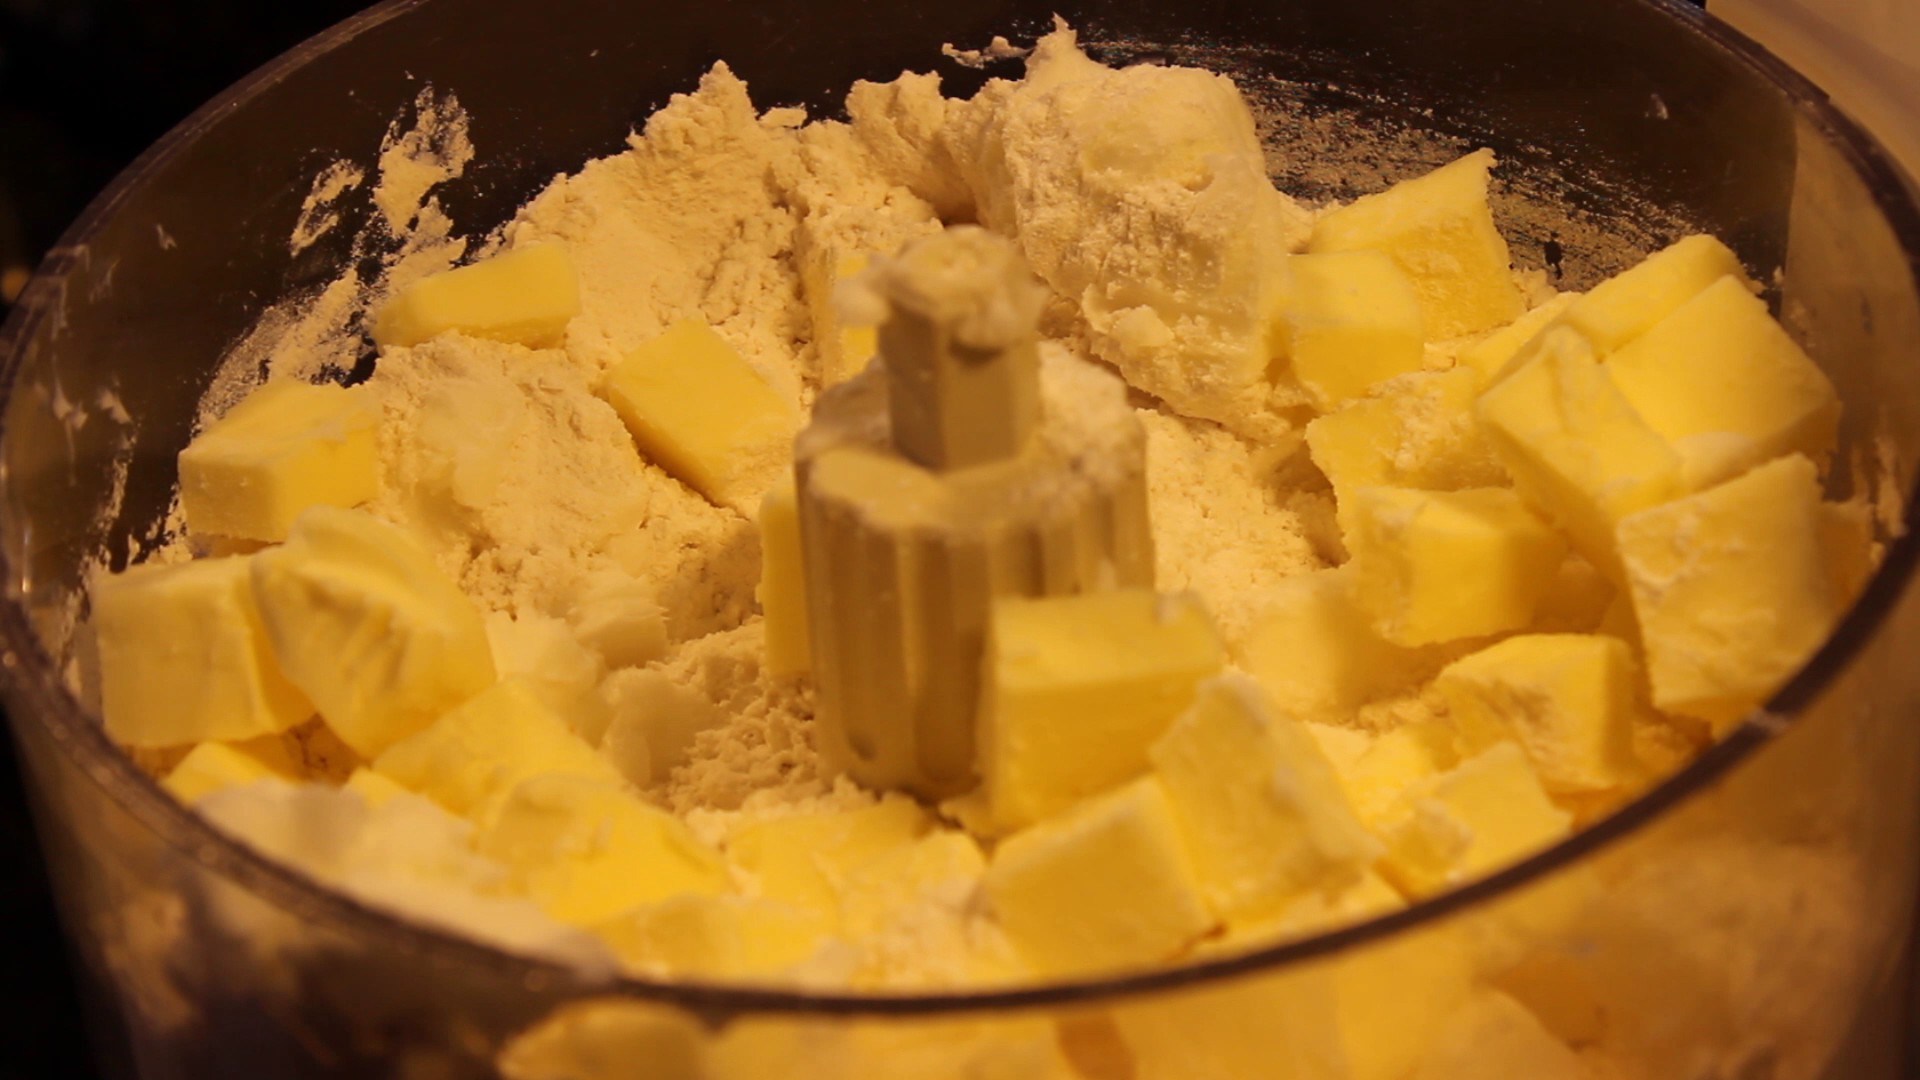
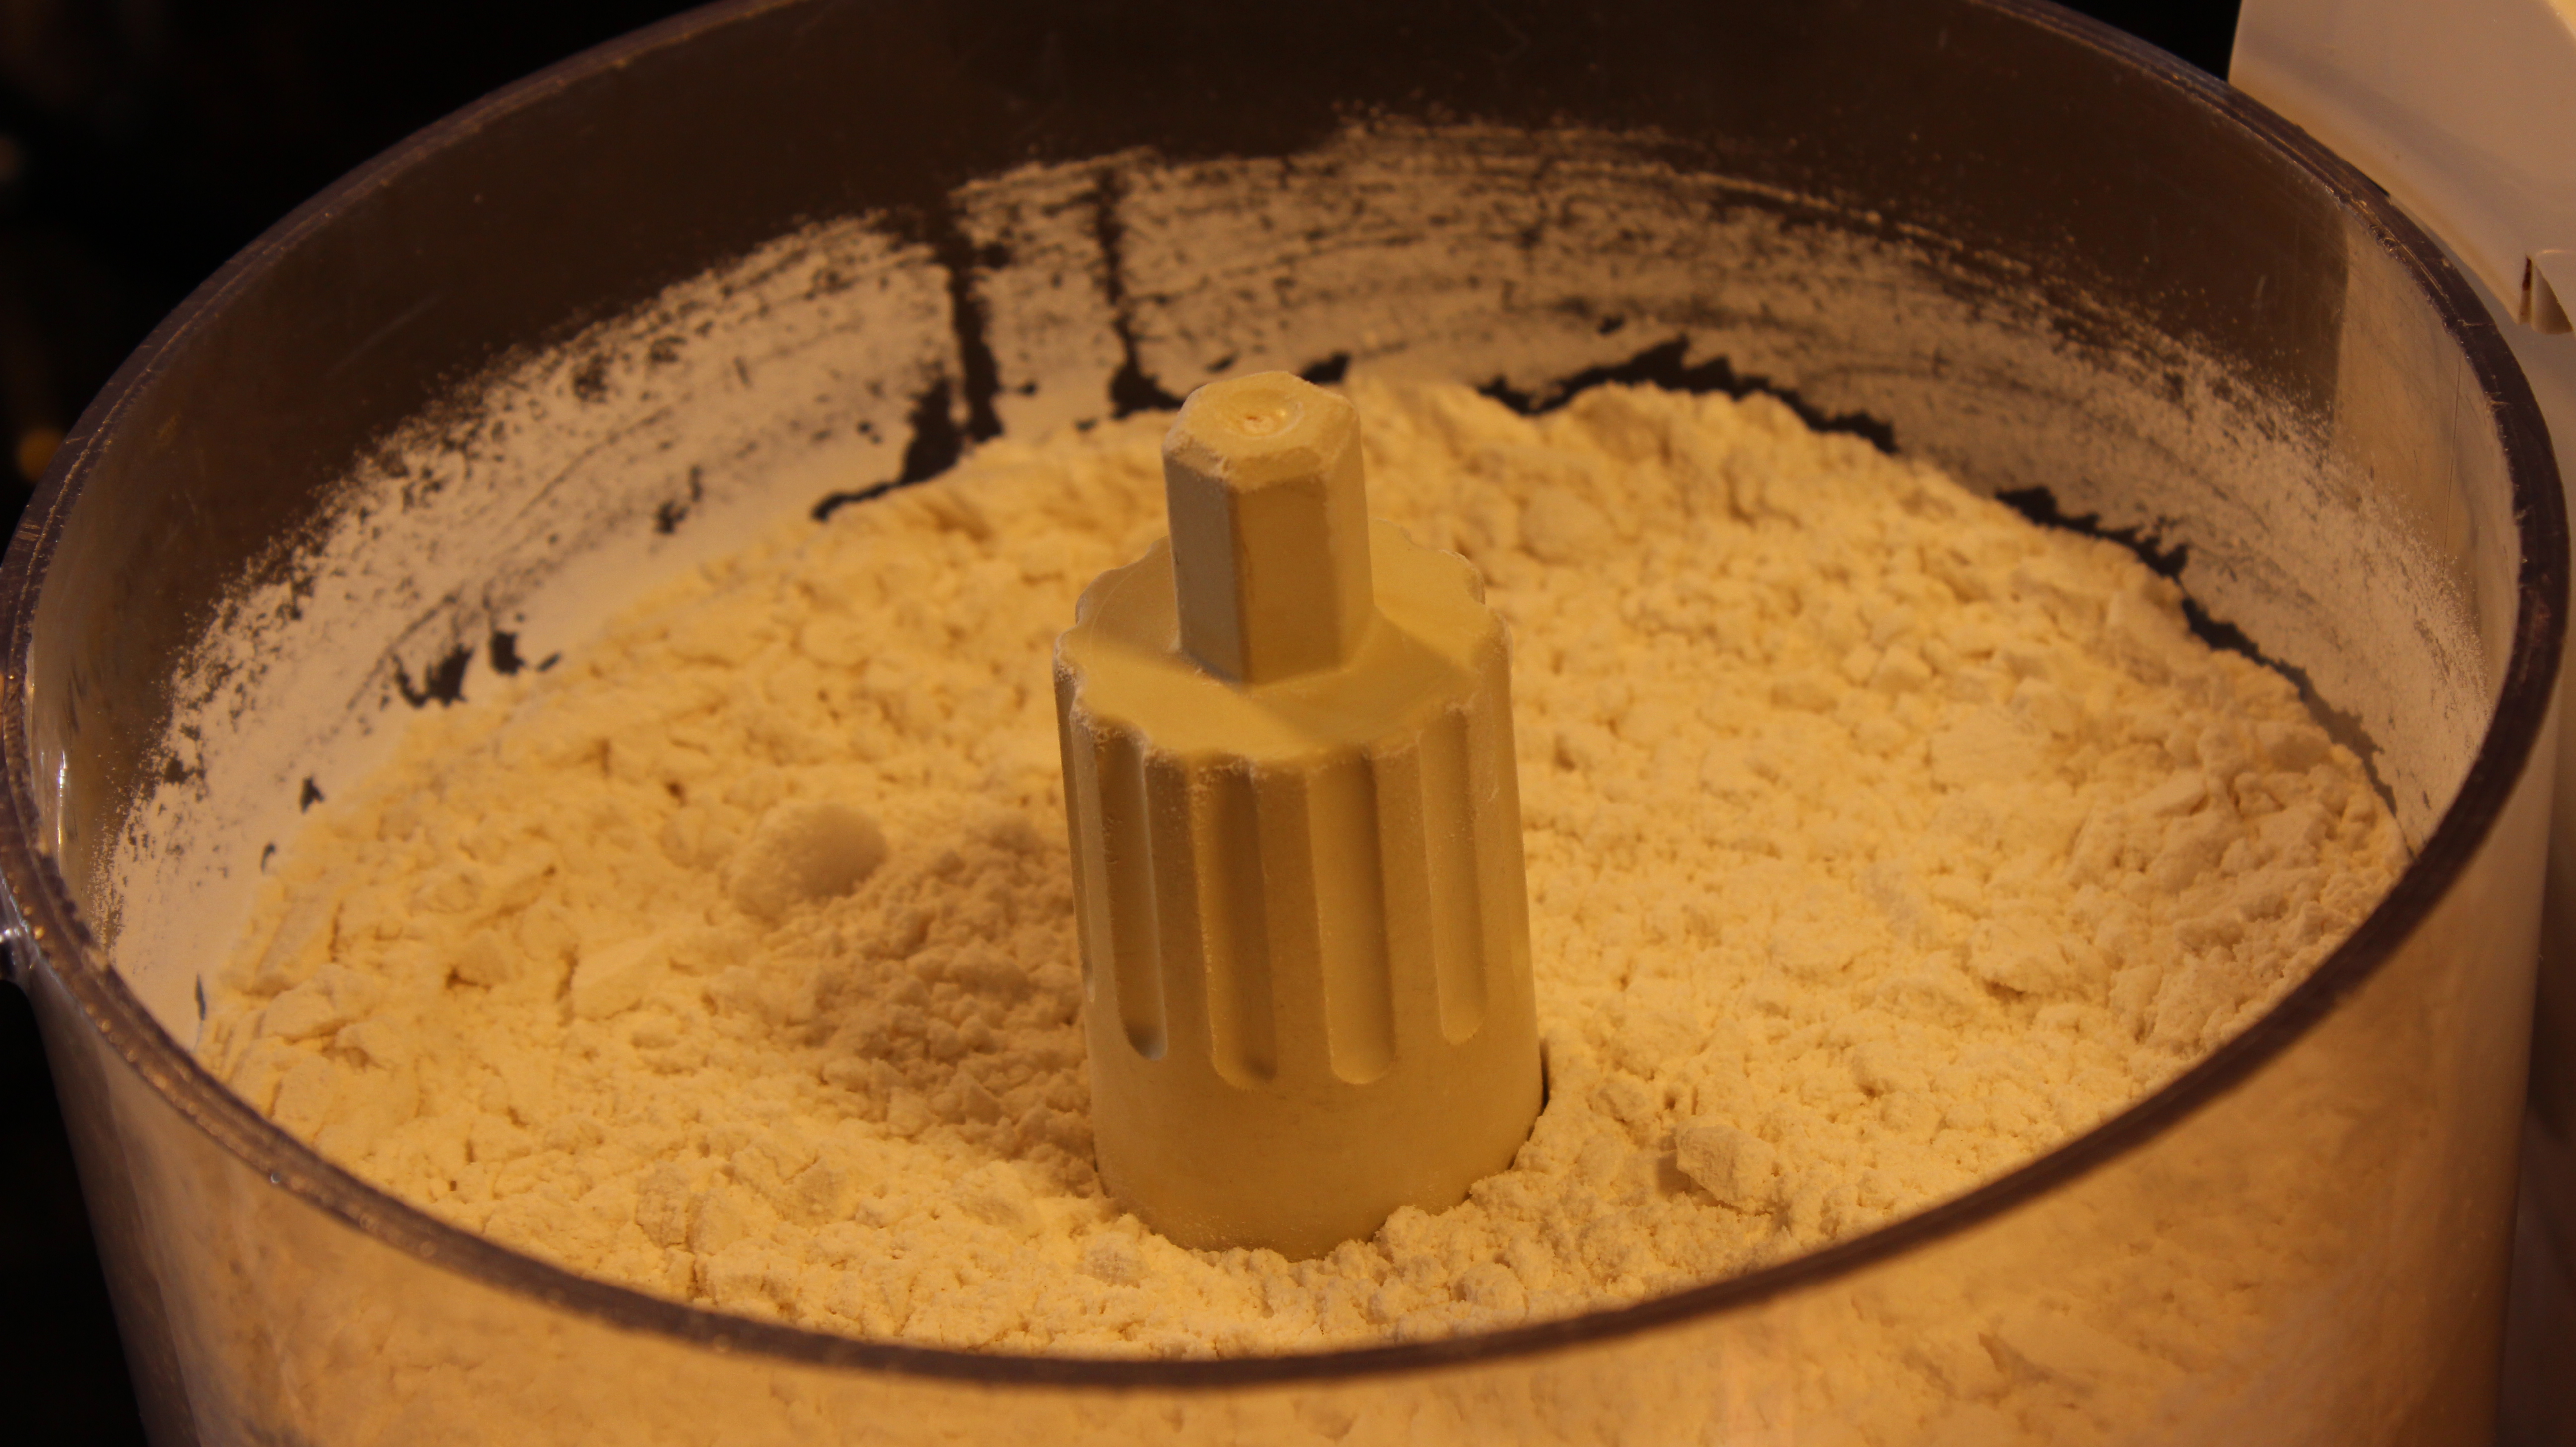
- Put the kneading attachment on your food processor and add the flour
- Add the salt and olive oil
- Turn on the food processor to slow
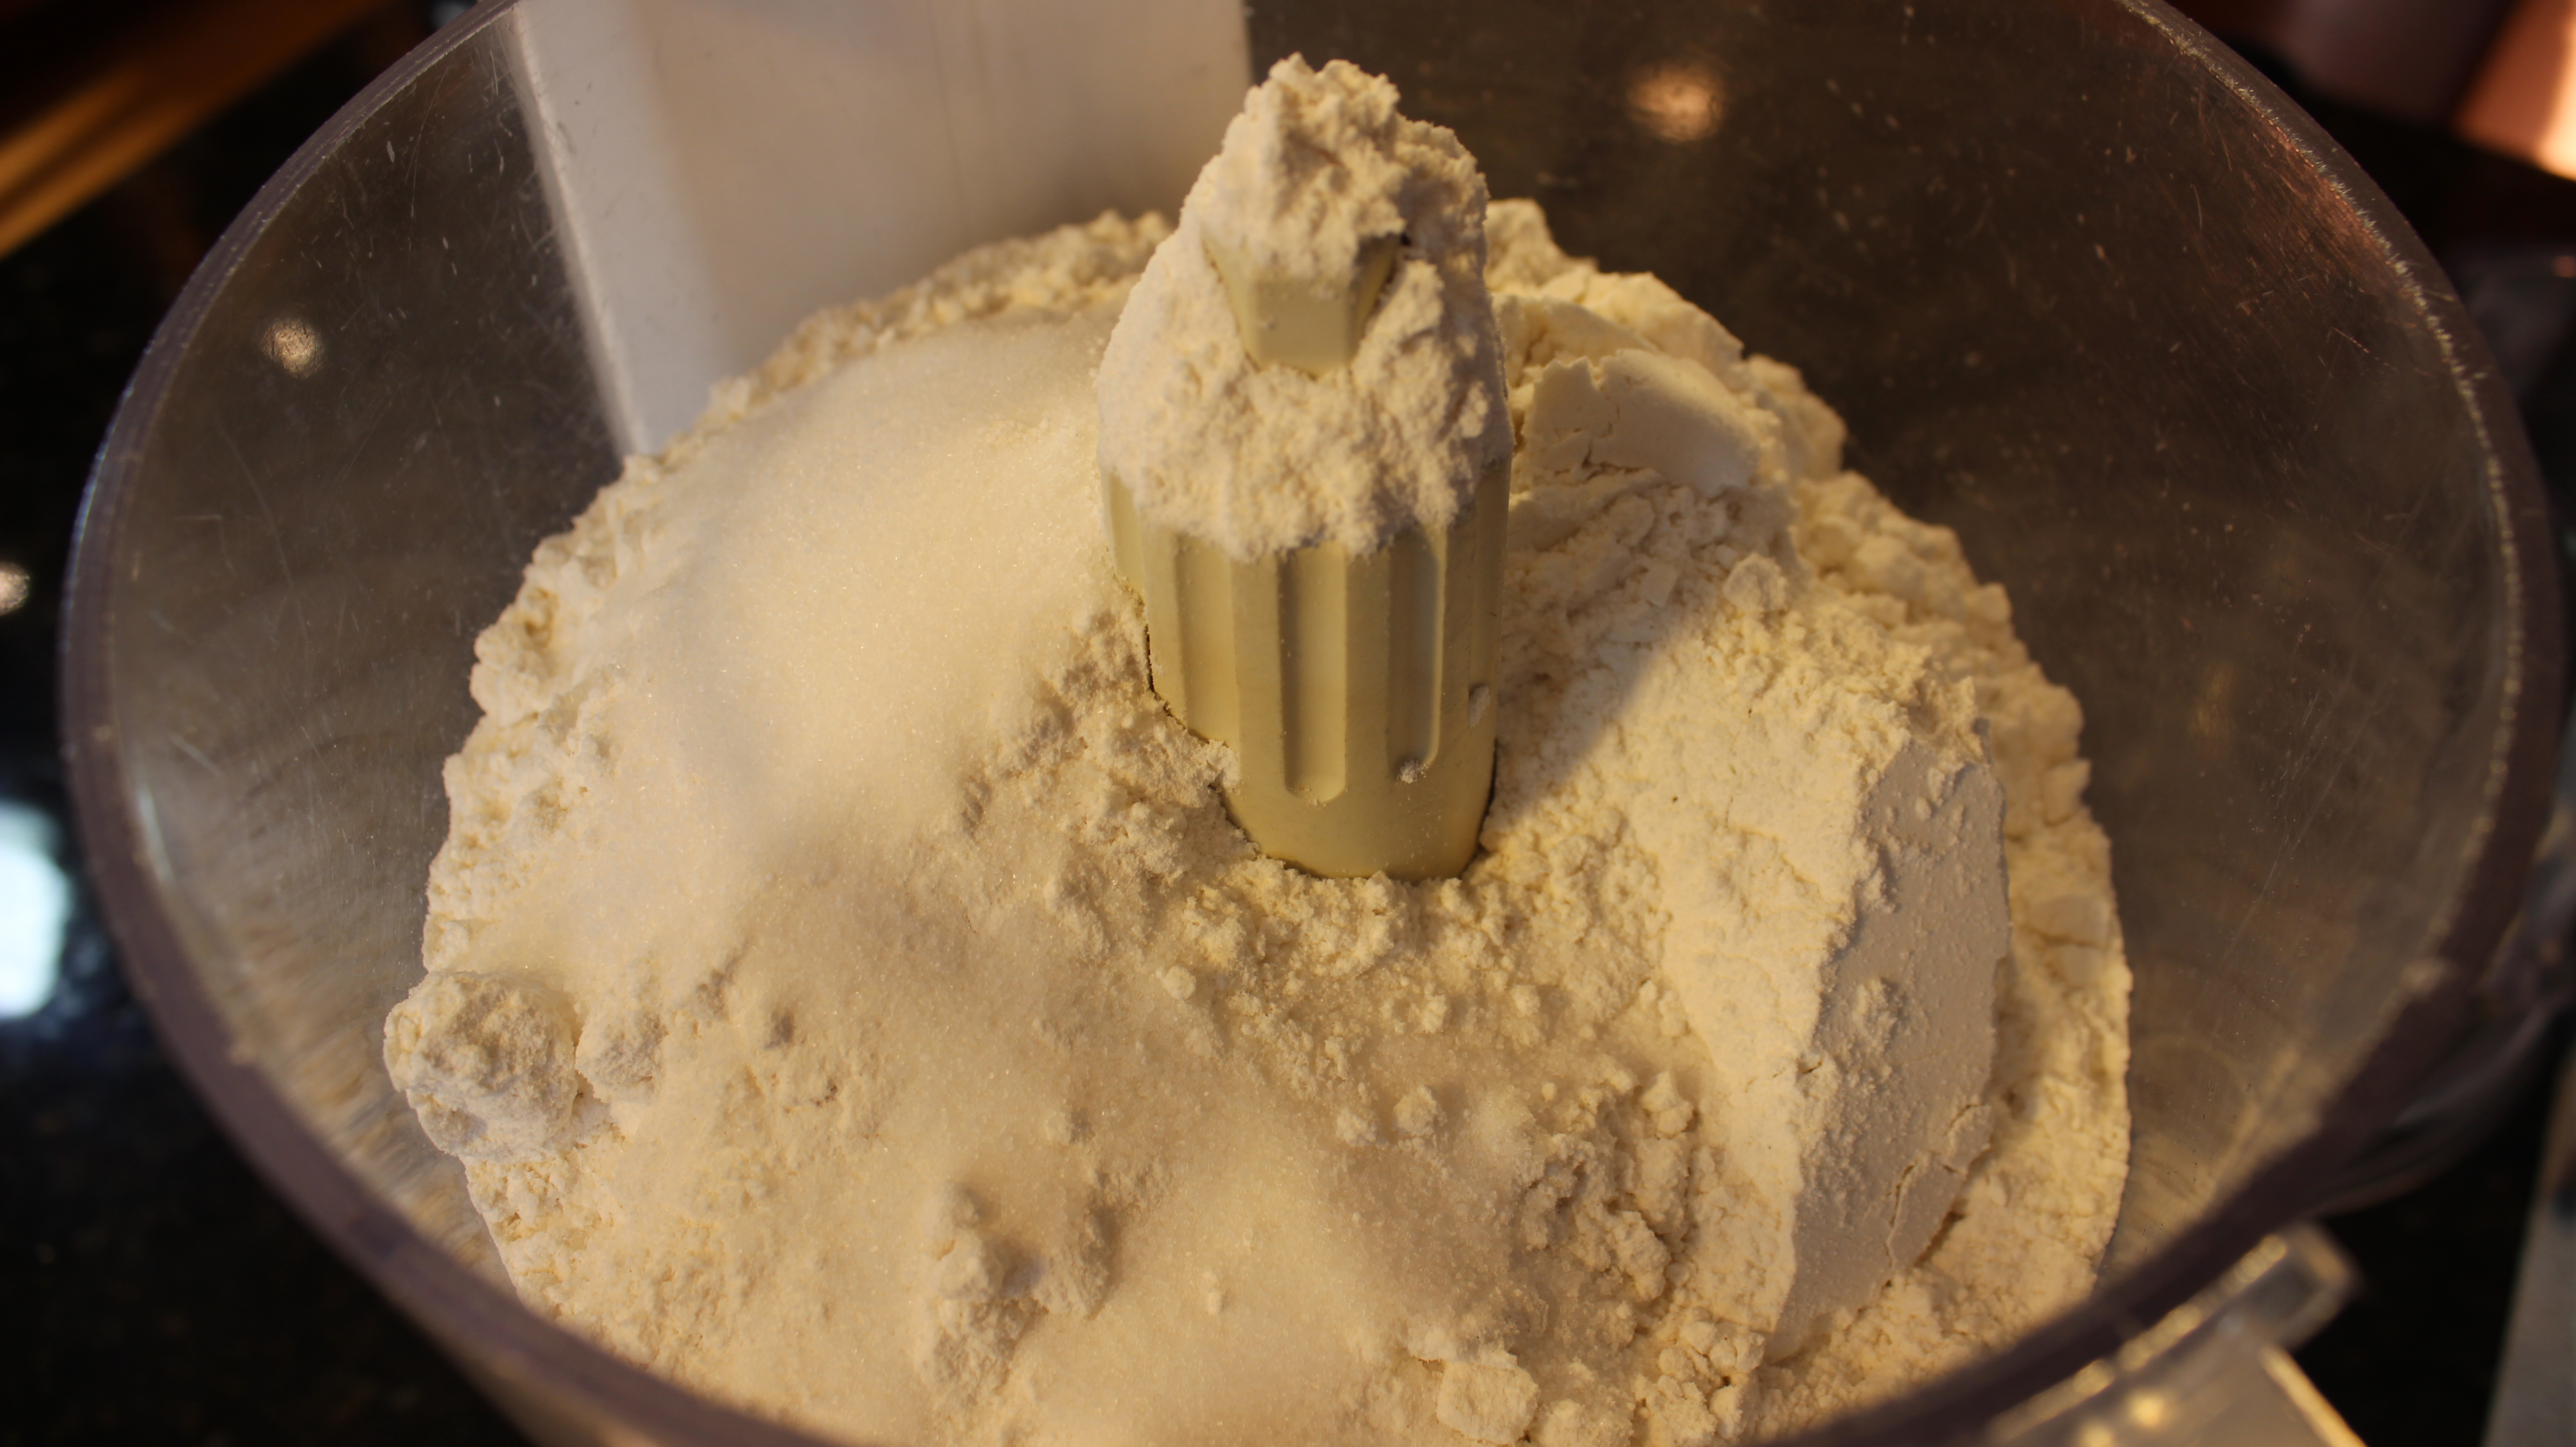
- Add in 1 tbsp of water
- Begin adding in 1 egg at a time with the processor still on slow
- Add in the rest of the eggs
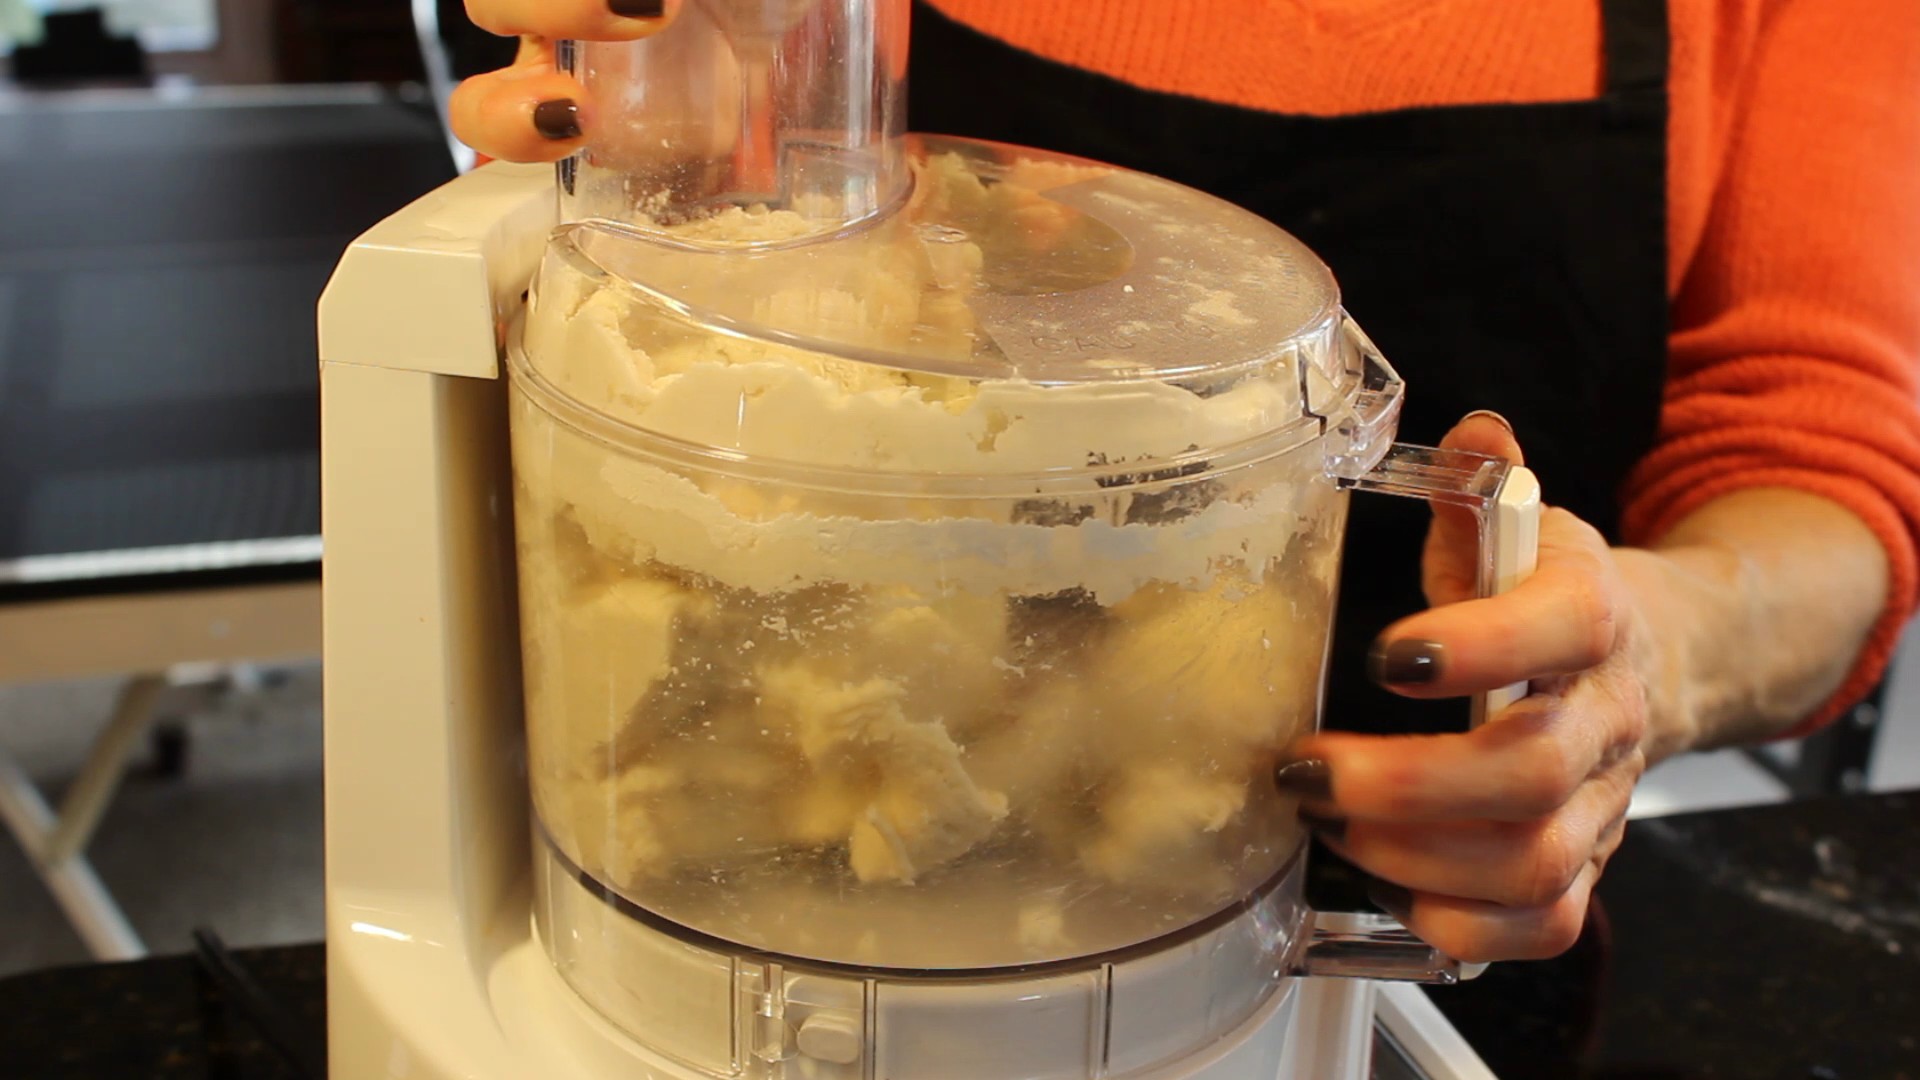
- Keep the food processor going on medium speed to begin kneading the dough
- Let knead for about 8 minutes until the texture turns into a smooth consistency
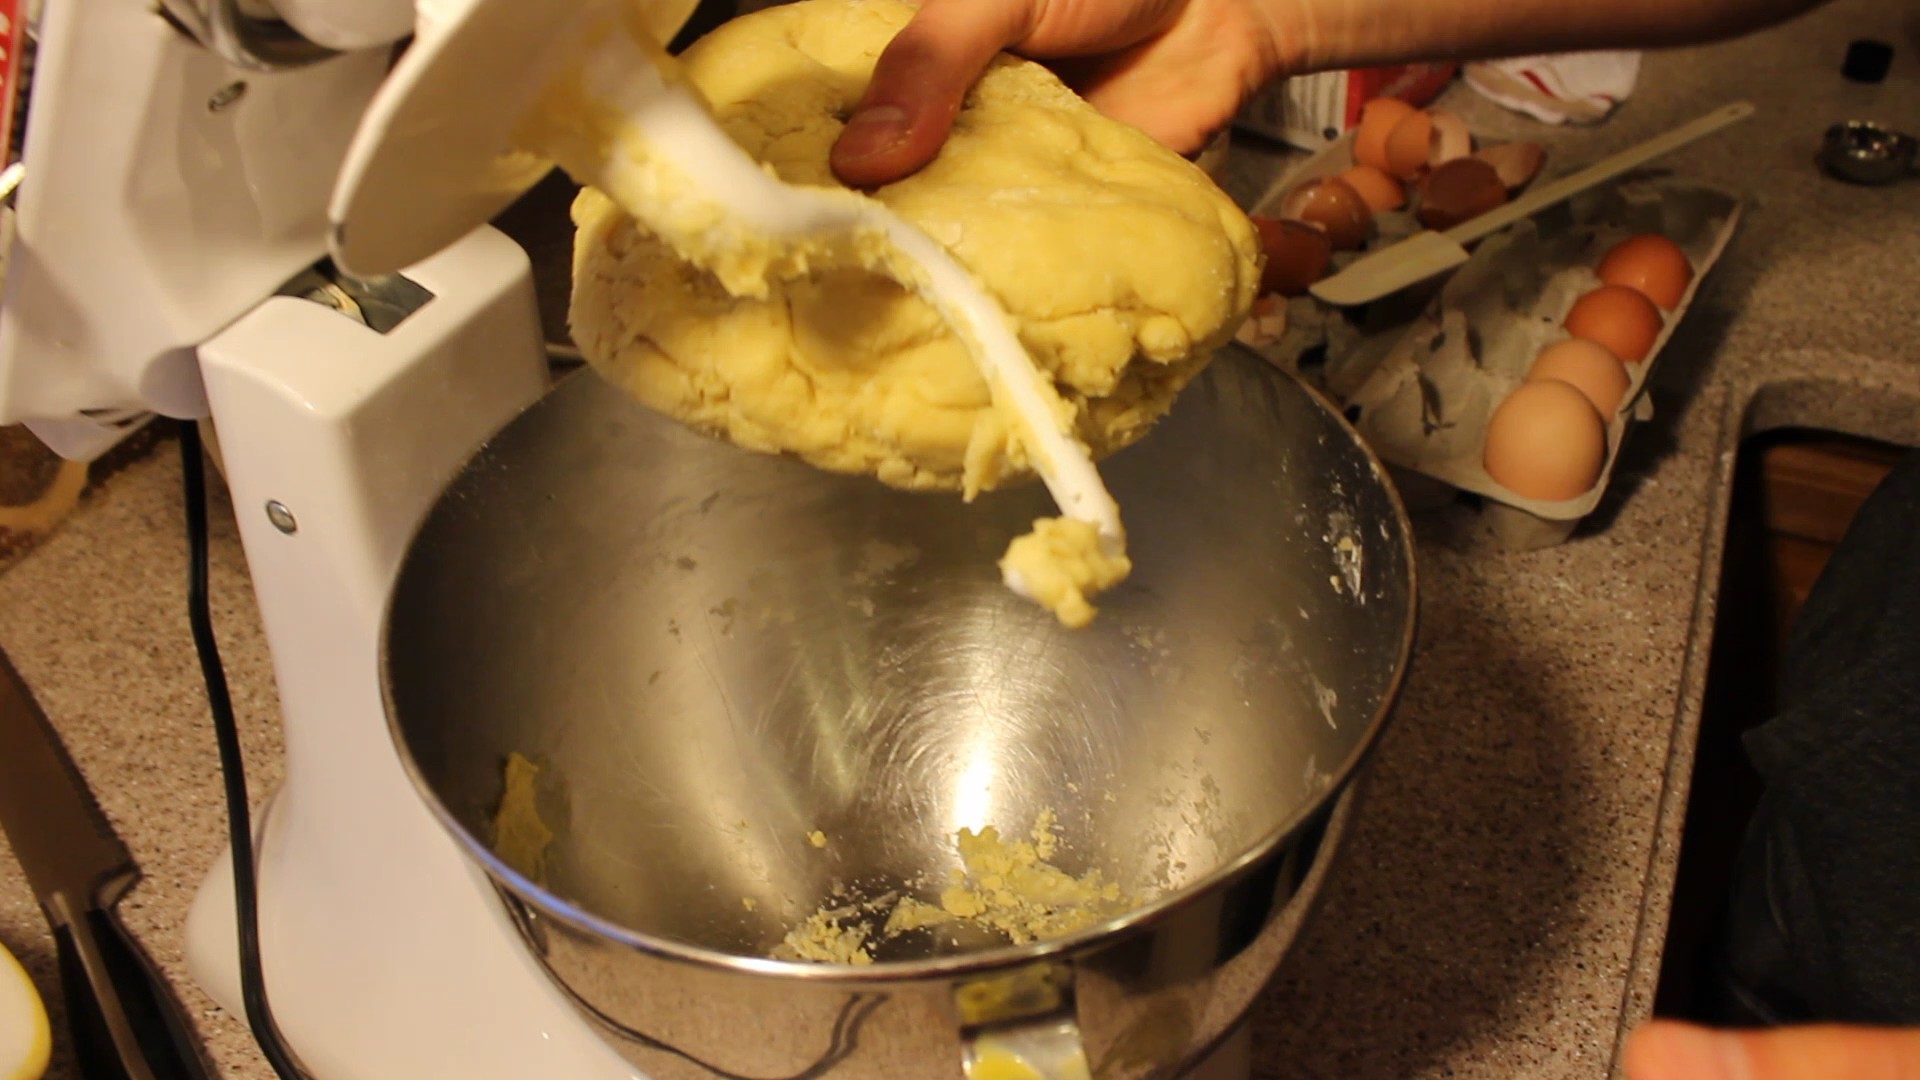
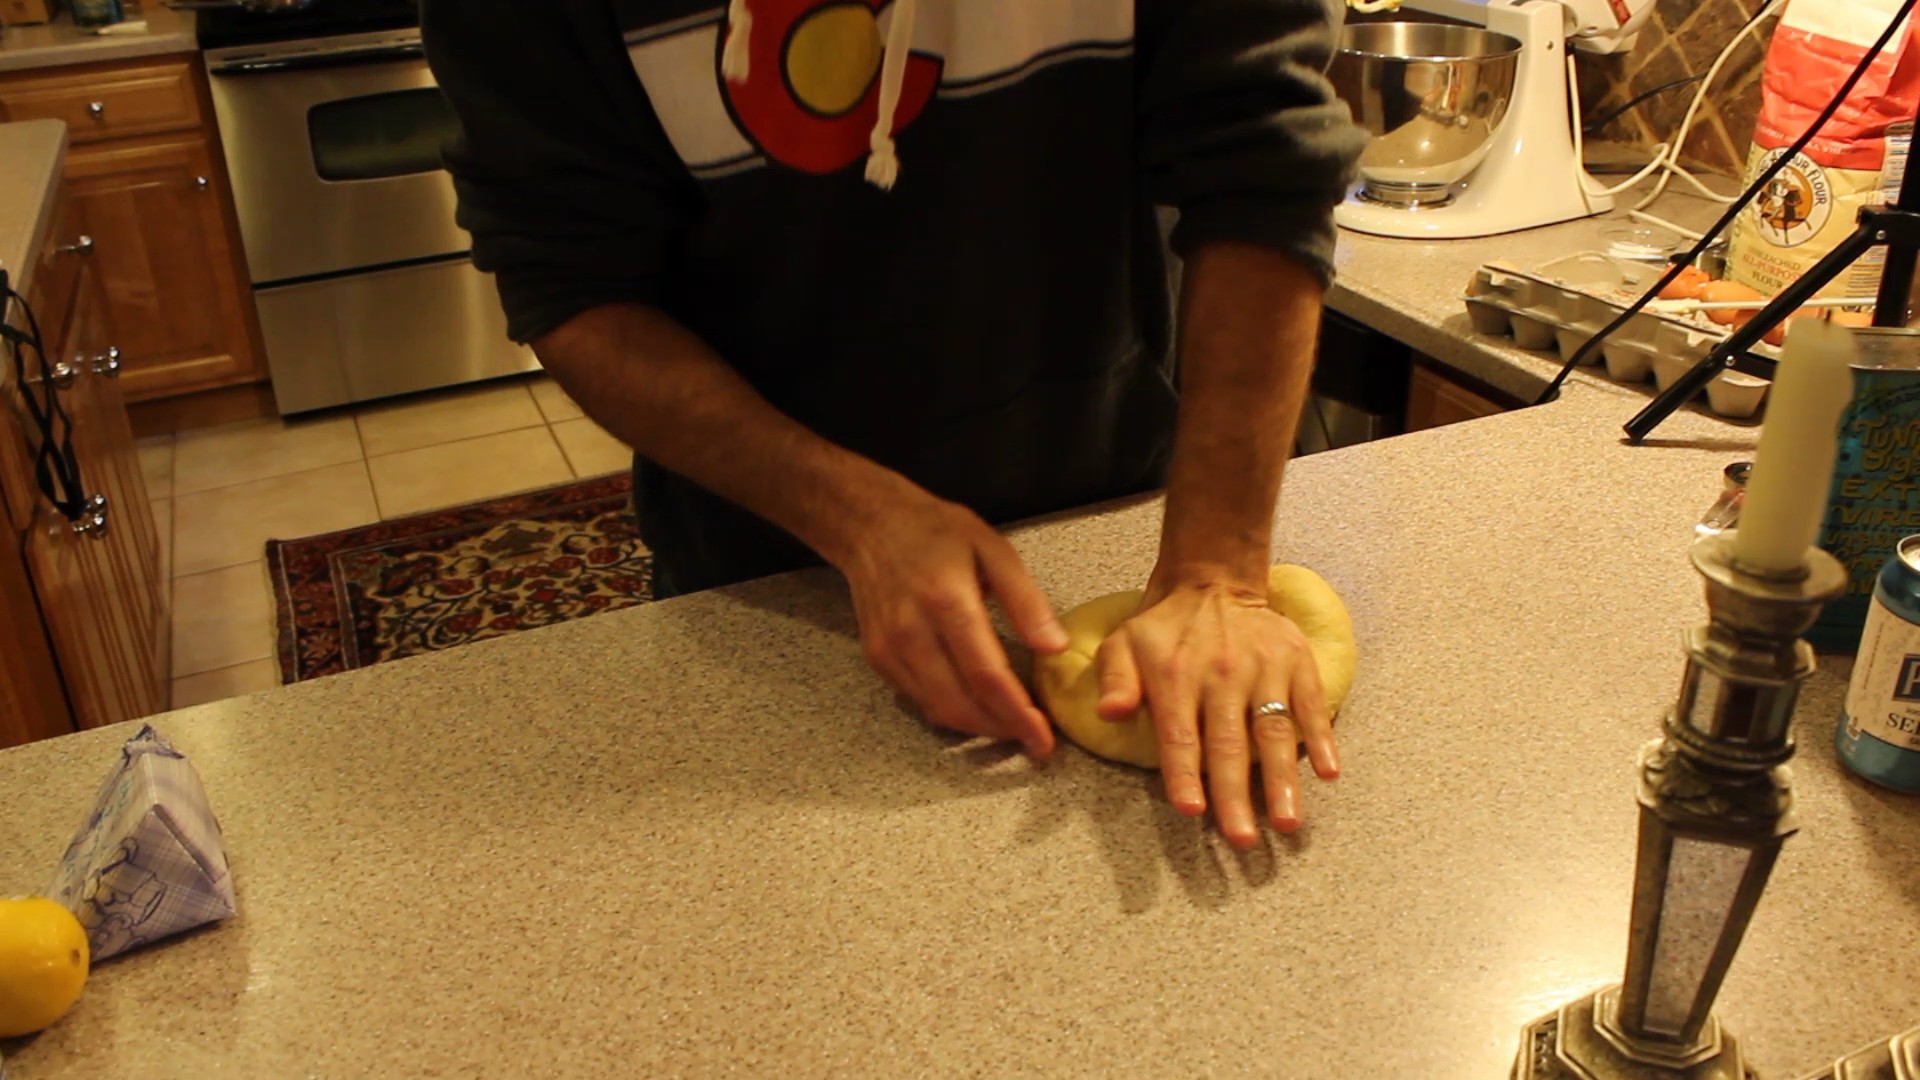
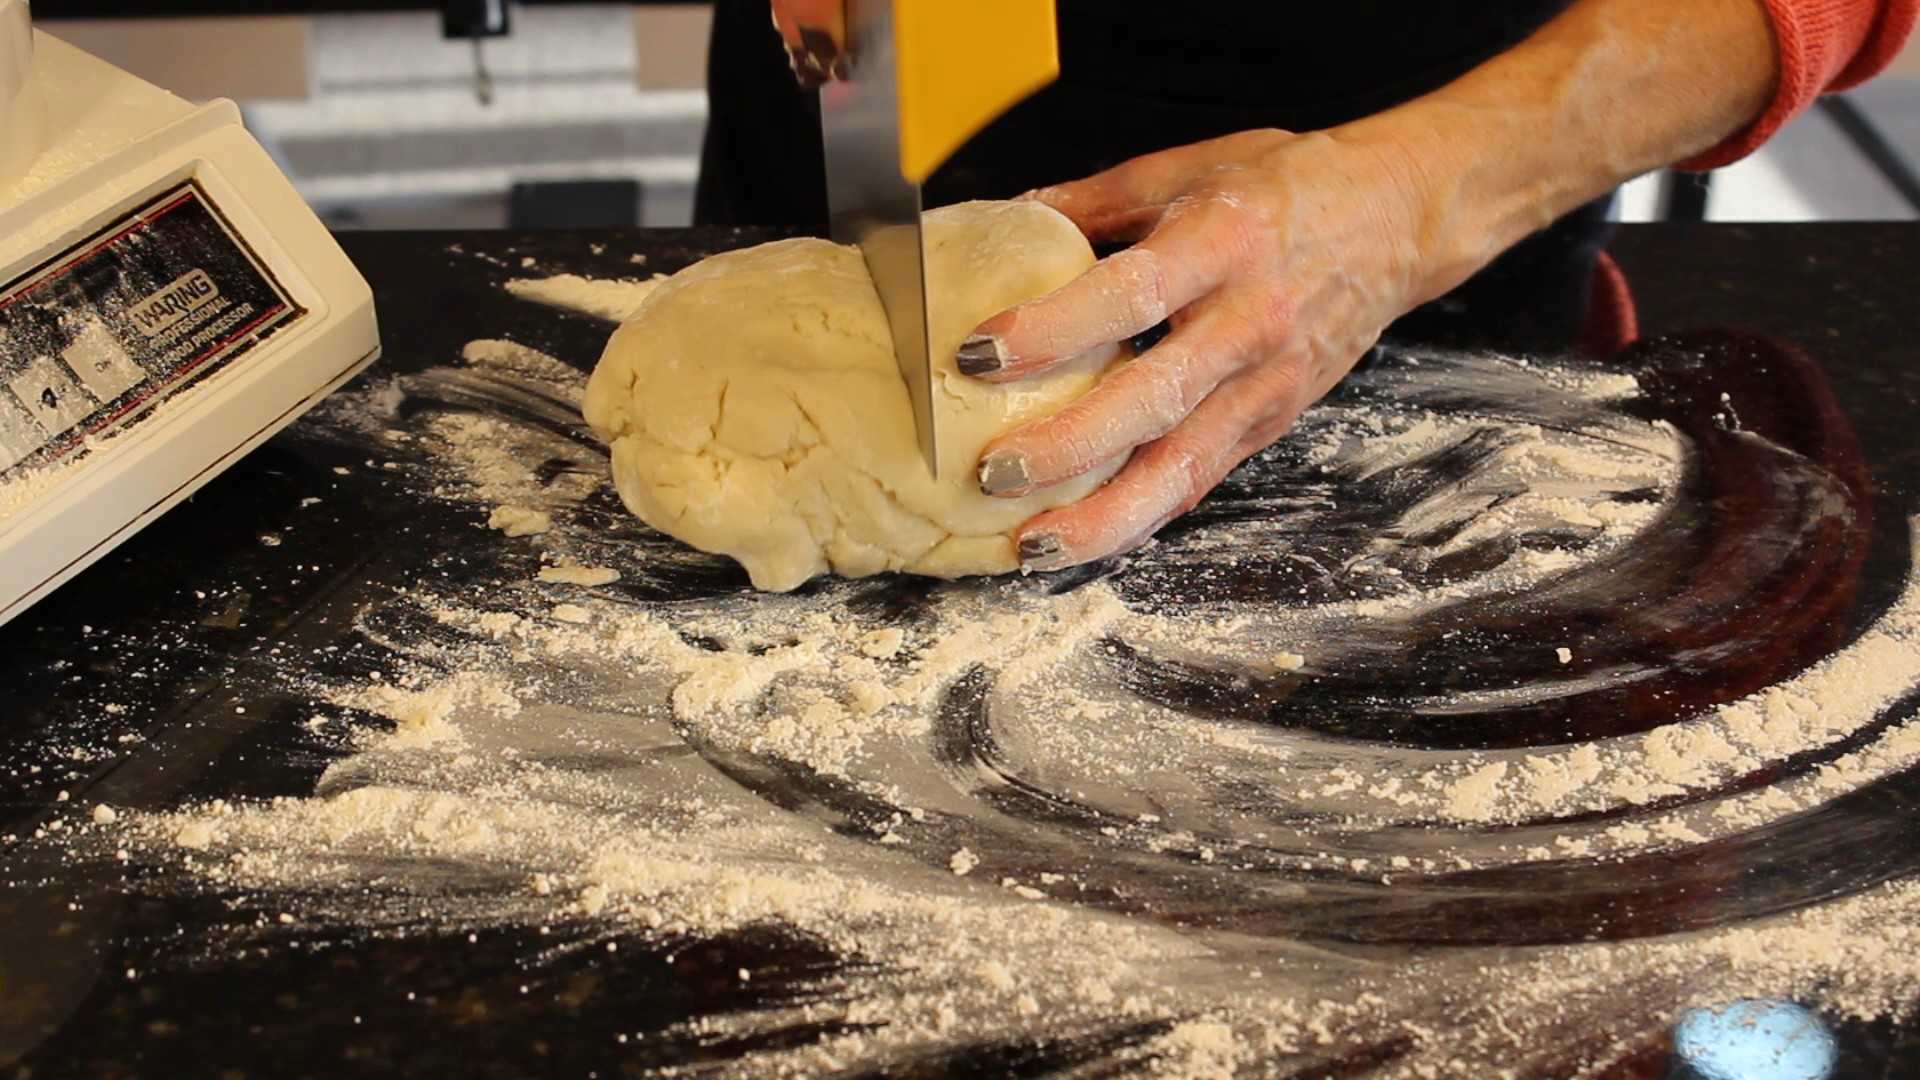
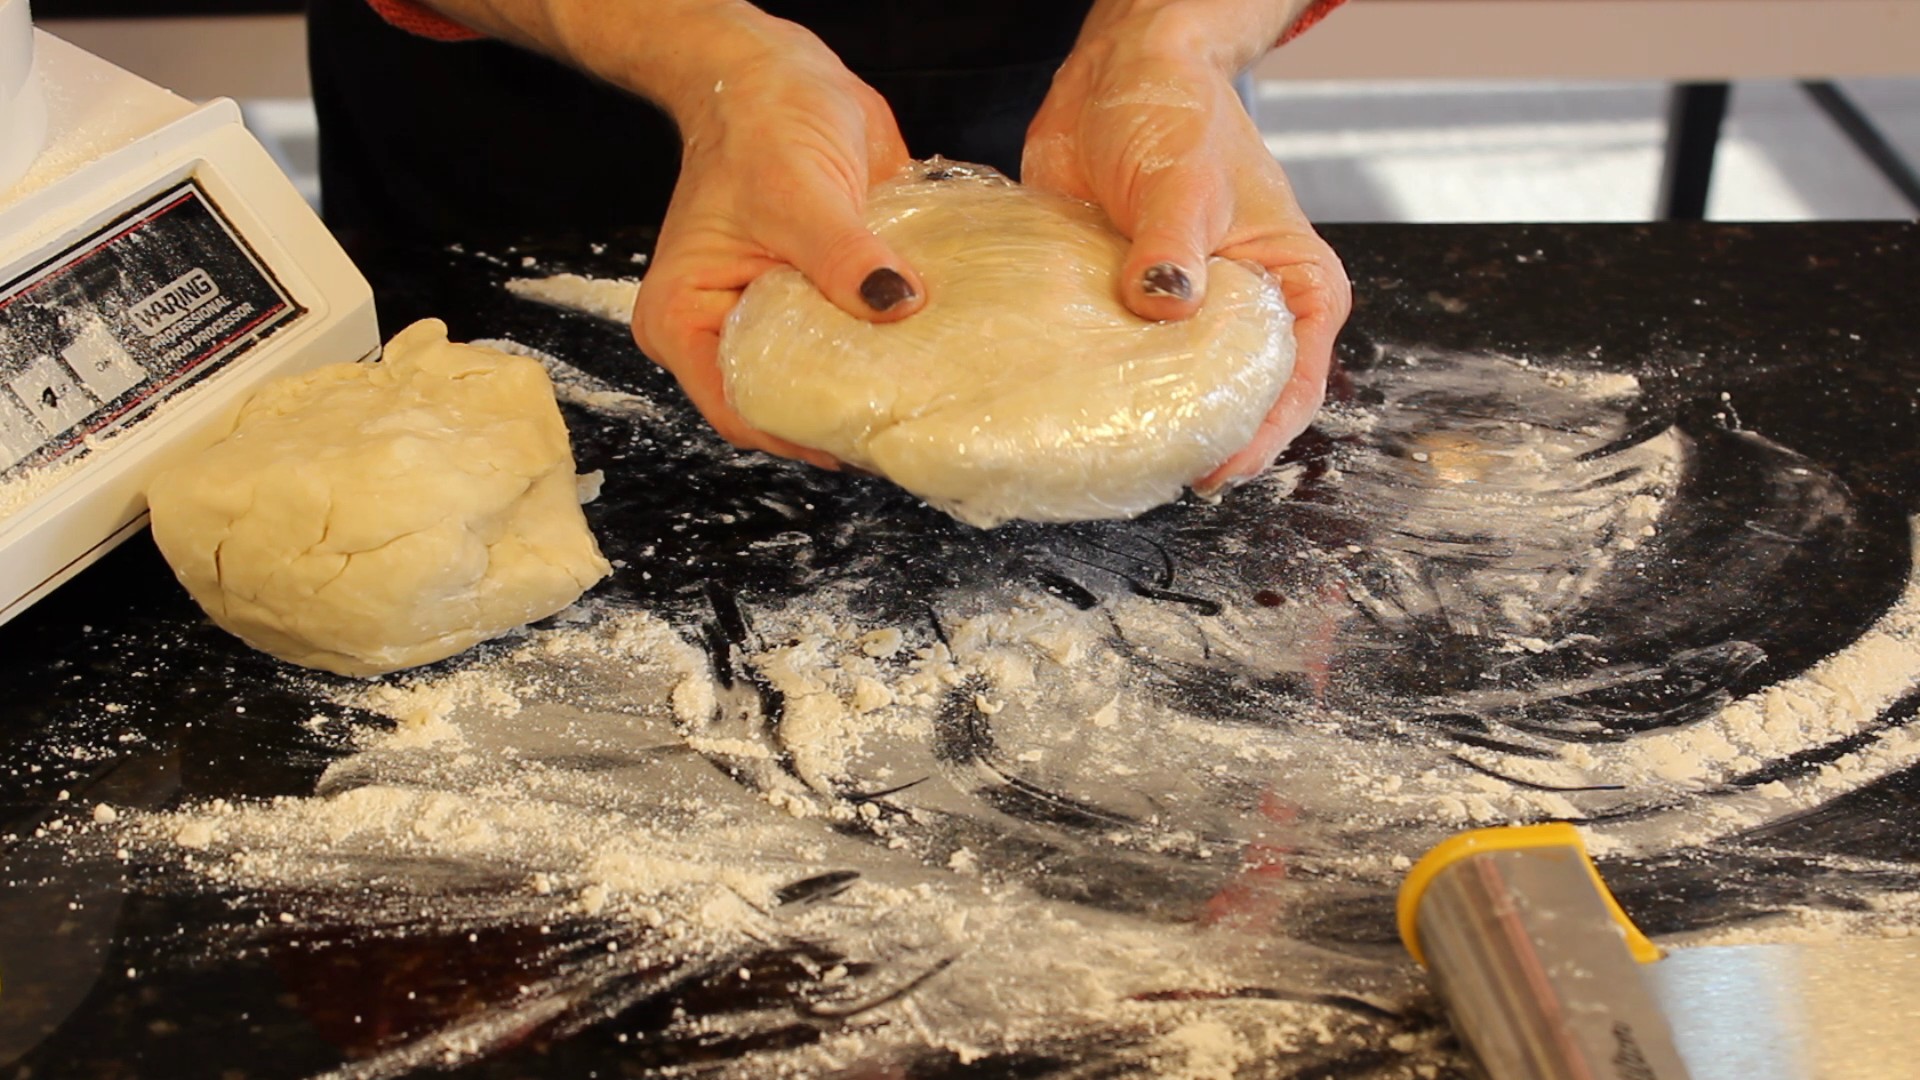
- Remove the pasta dough and place onto the counter
- Knead briefly with your hands and let sit for 1/2 hr.
- NOTE: Vin does not cover his pasta dough while it sits for the 1/2 so it can begin to dry out a little bit
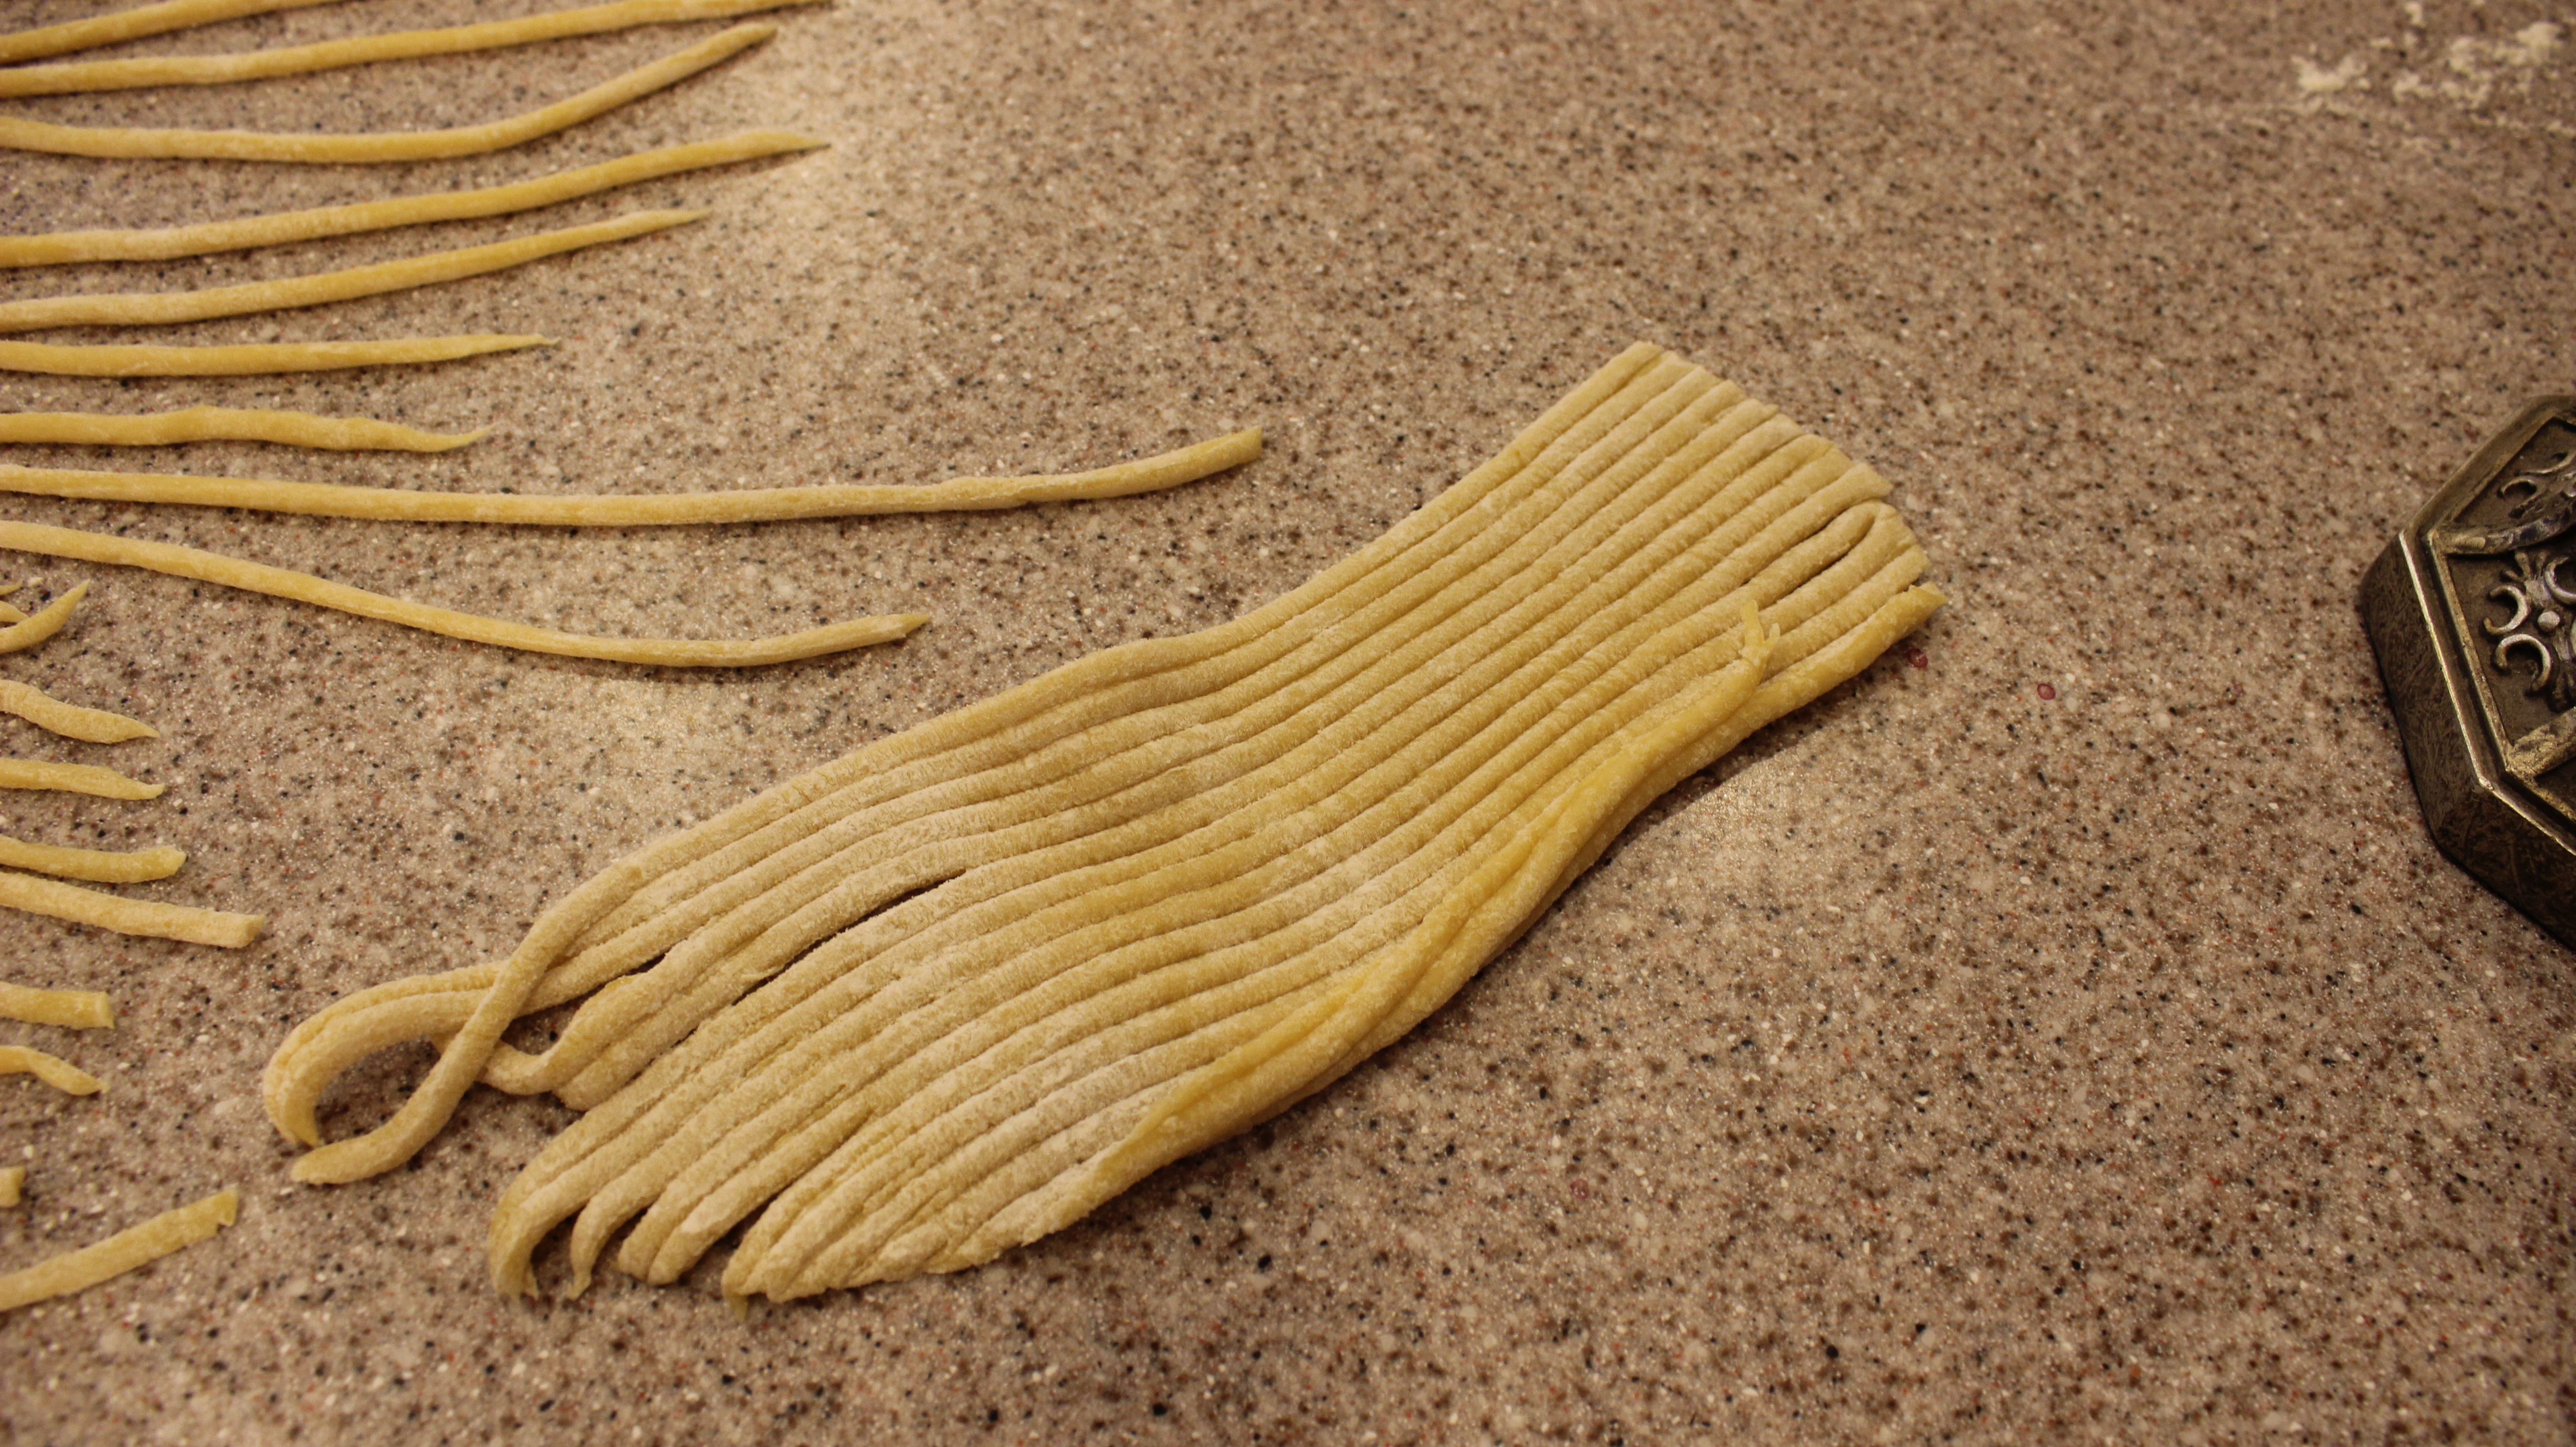
- Sprinkle some flour onto the counter or work surface and cut pasta dough into 8 pieces
- Begin to roll out each piece of dough to your desired thickness
- Sprinkle more flour on top of each thinly rolled out pasta piece and use the roll cutter below or a sharp knife or a KitchenAid Pasta attachment to get desired pasta strips
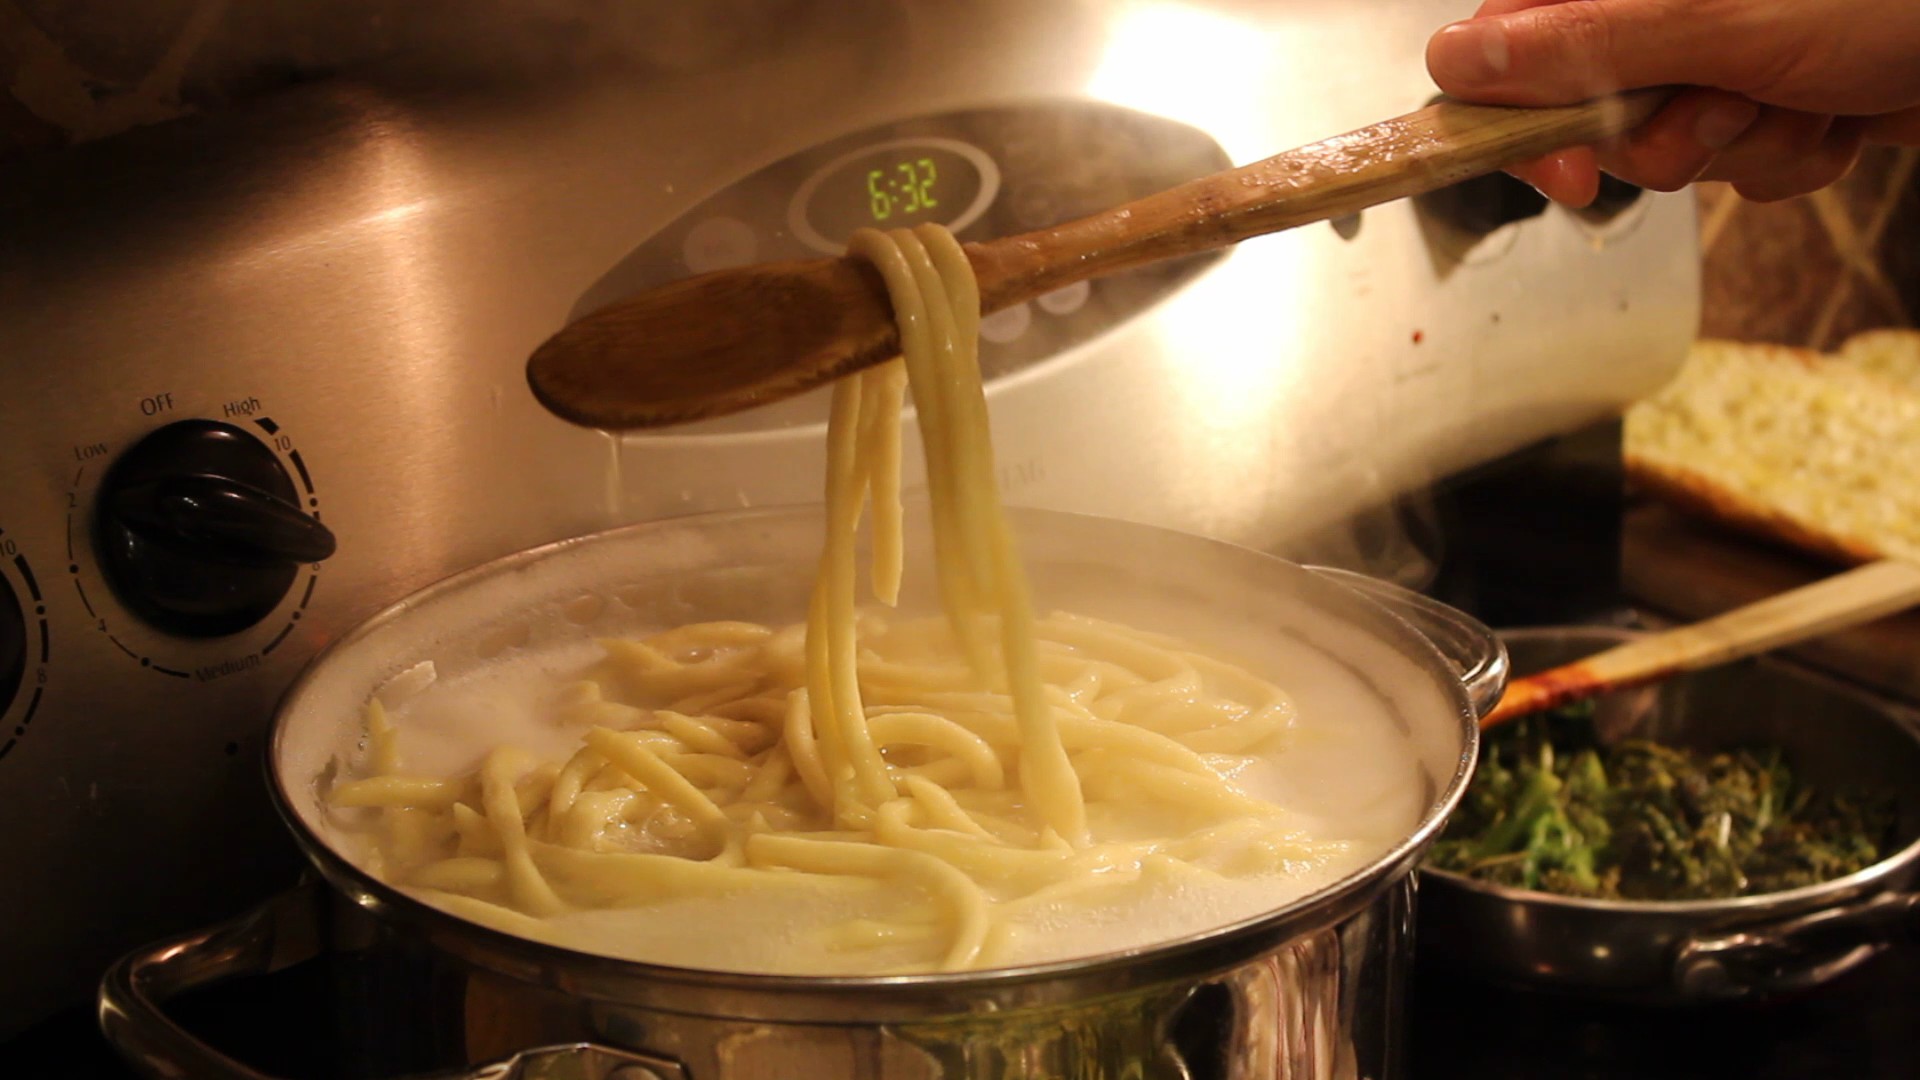
- Bring large pan of salted water to a boil and add fresh pasta
- Depending on the thickness, cook pasta for 4-8 minutes, test pieces of pasta for proper doneness
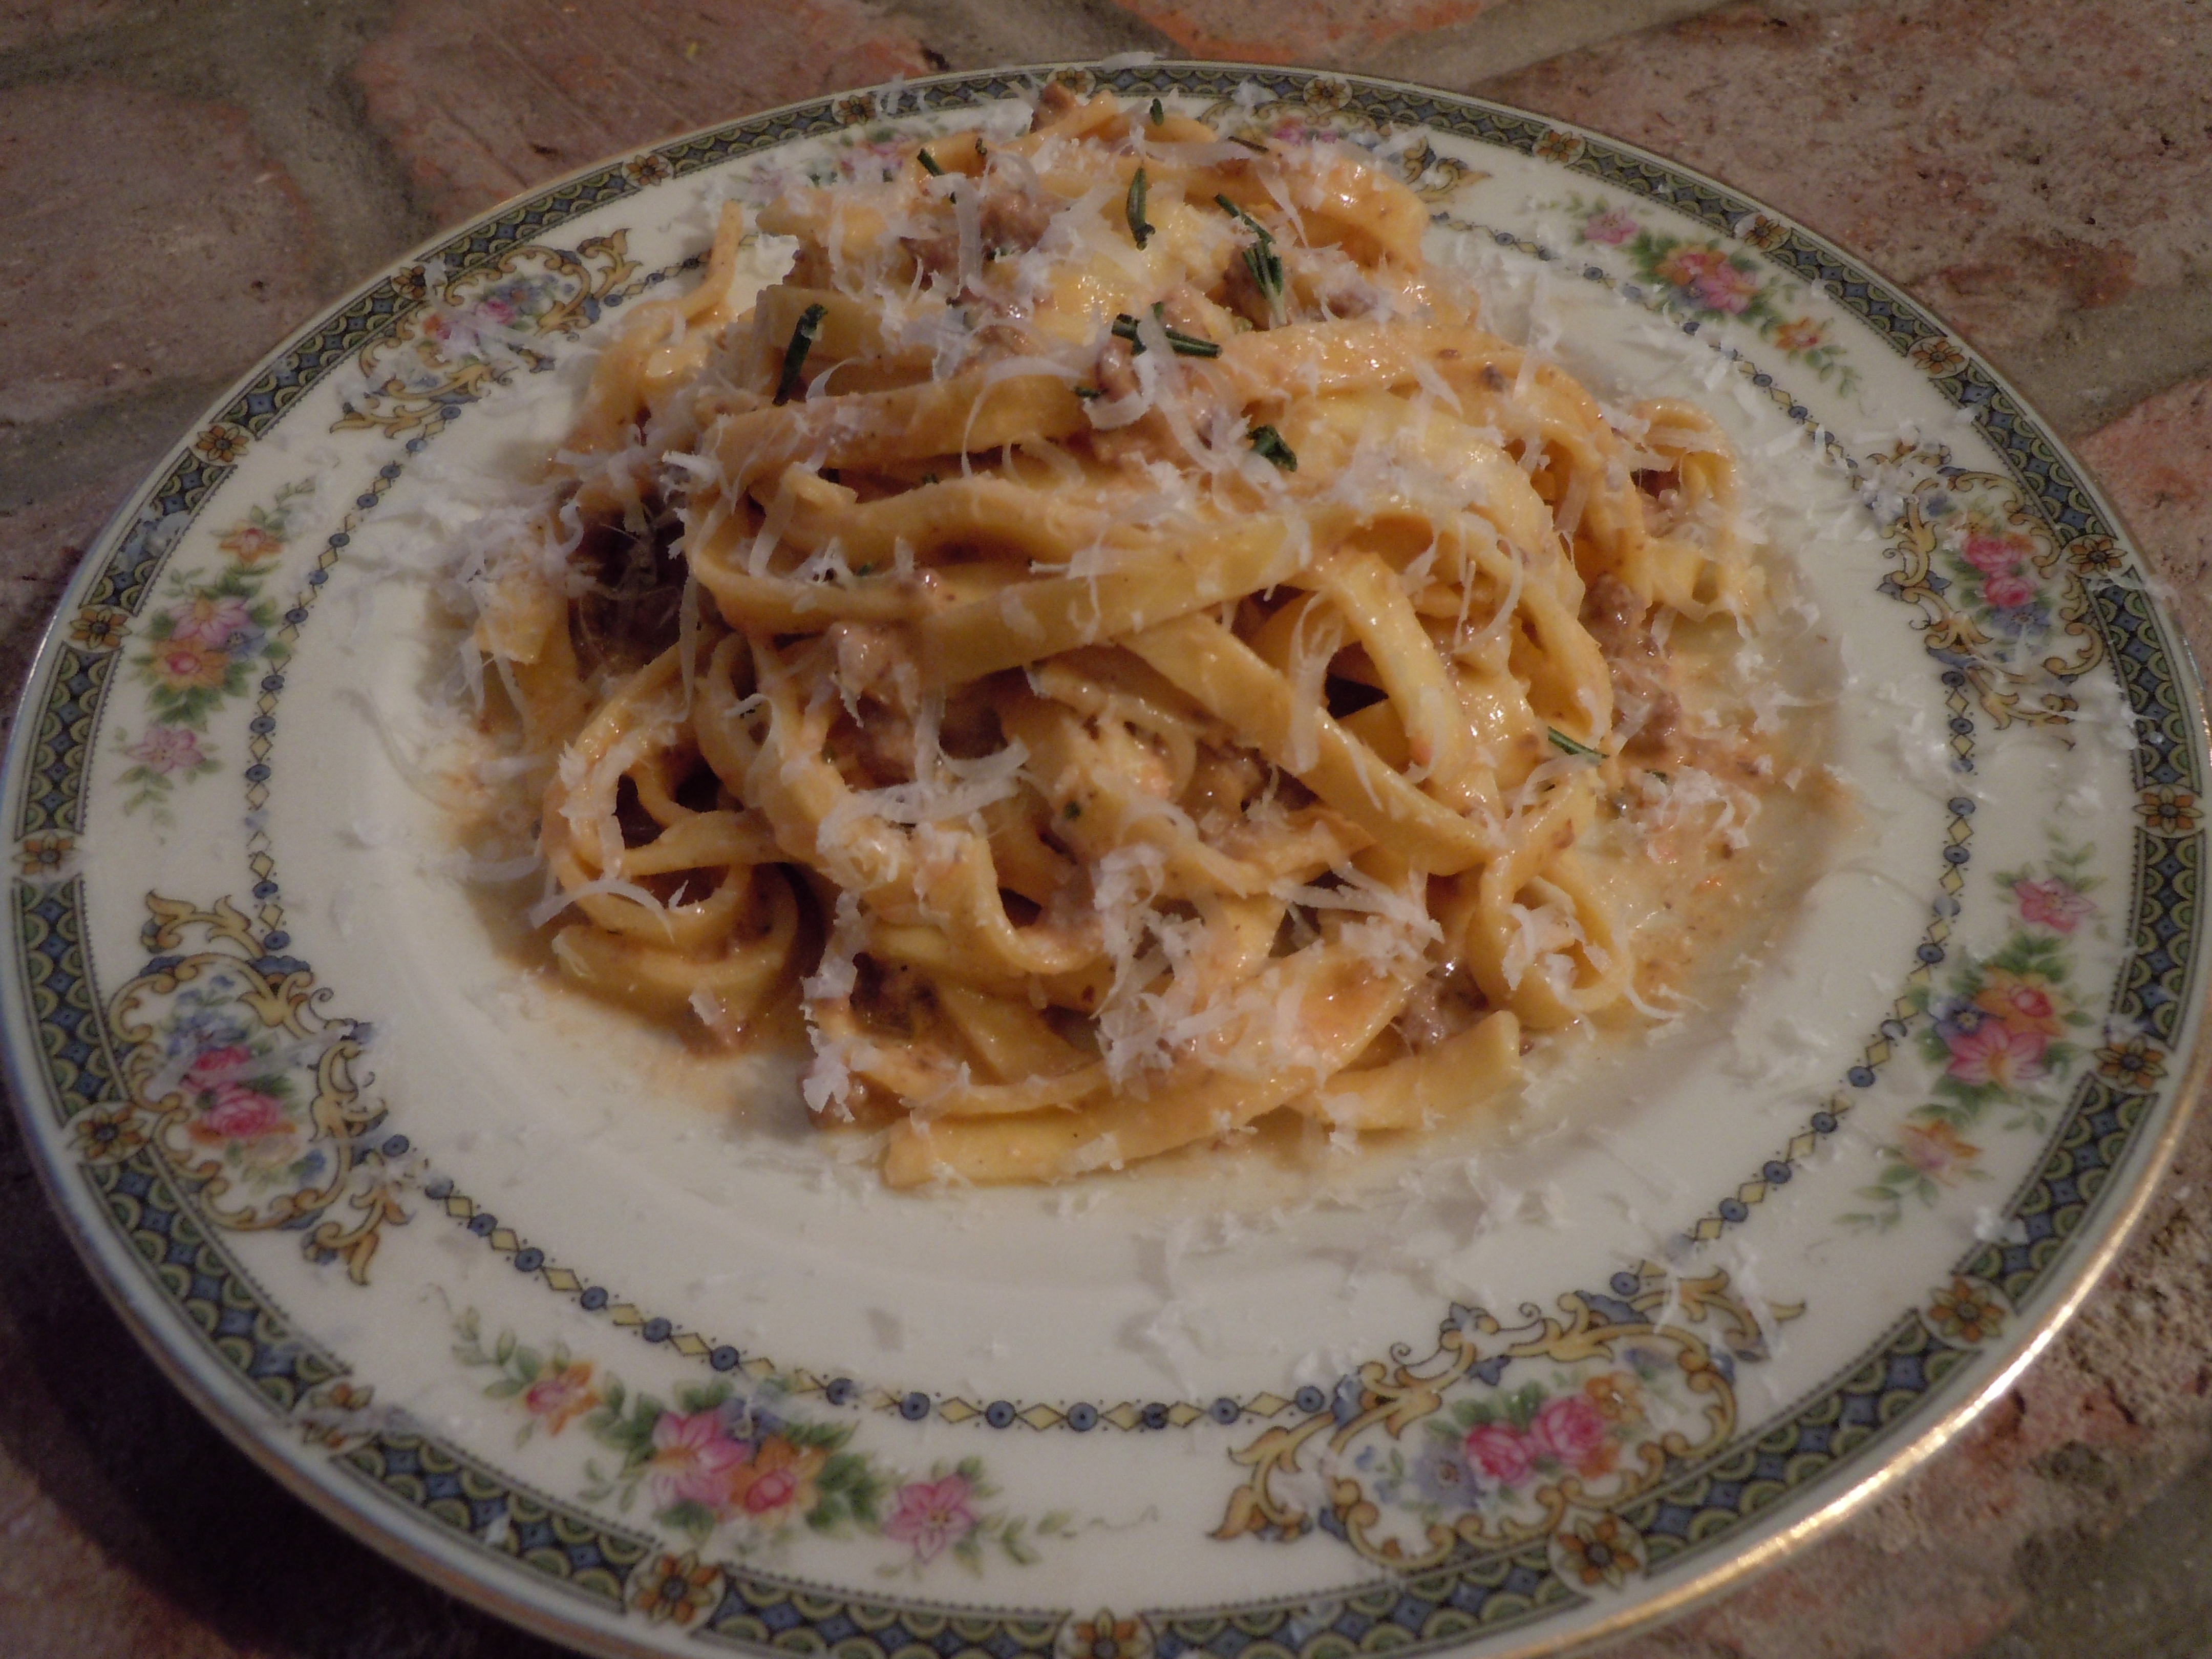
- Serve with sauce and mangia, mangia!

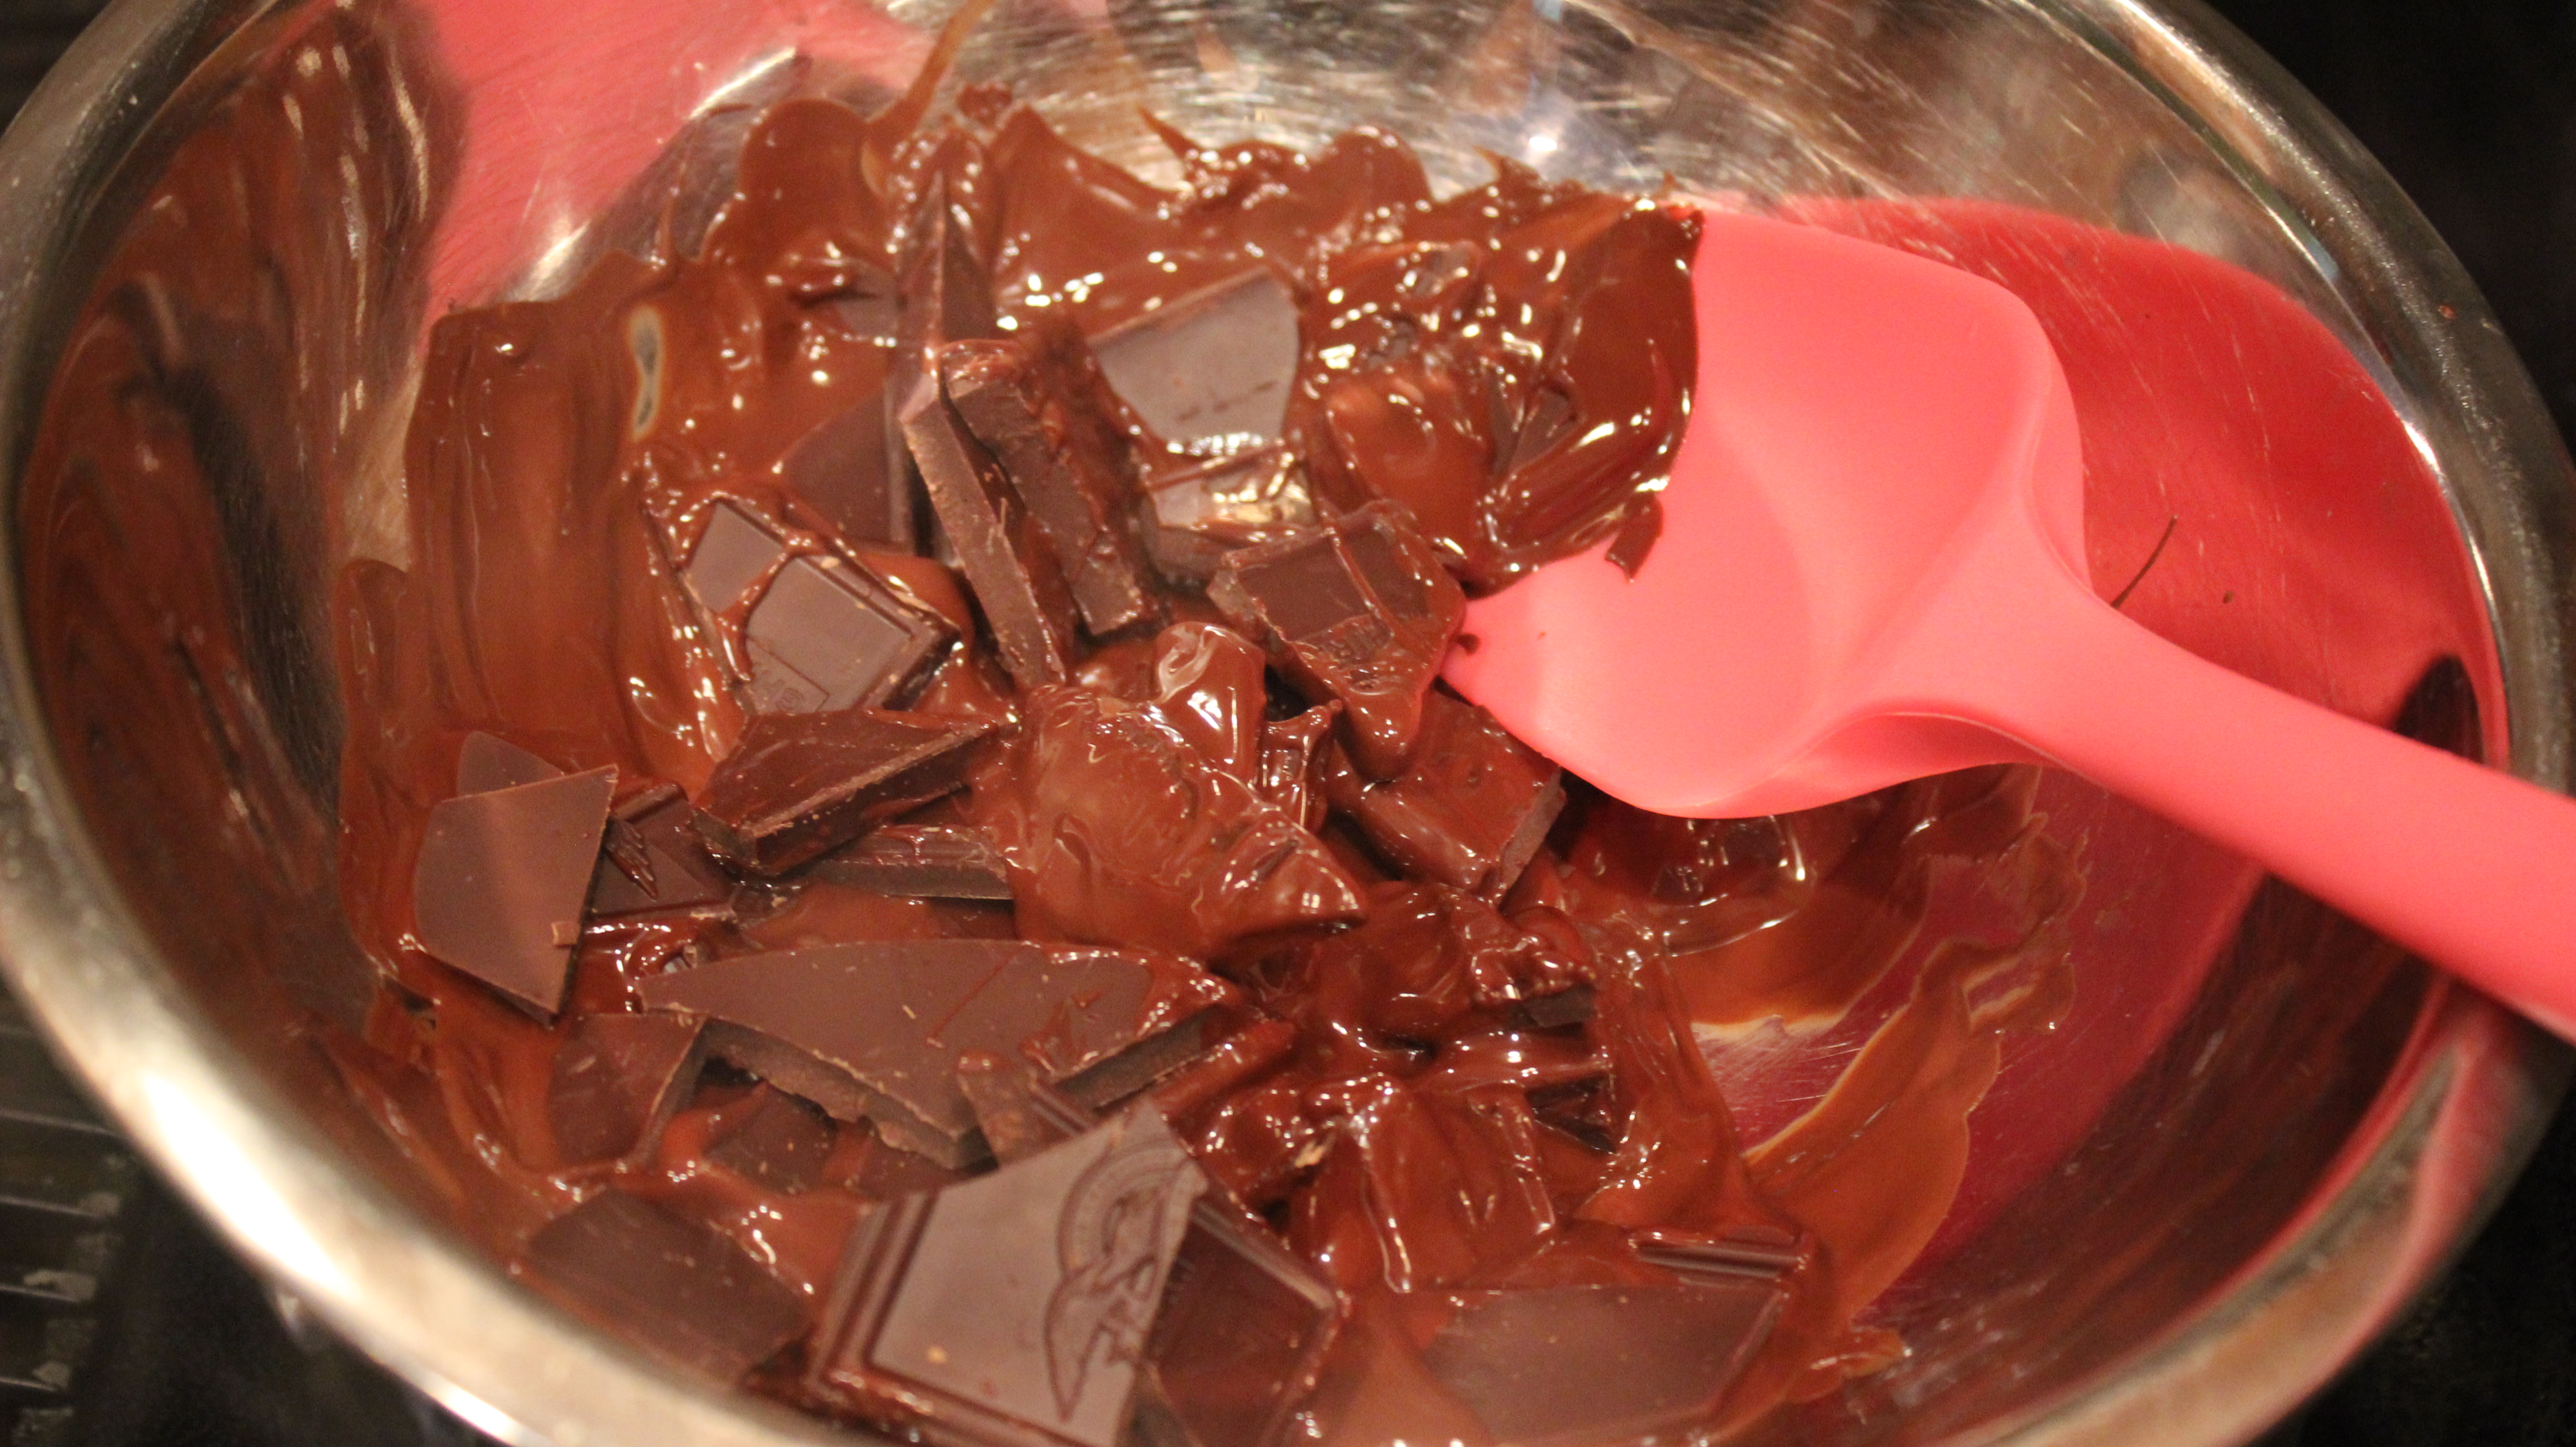
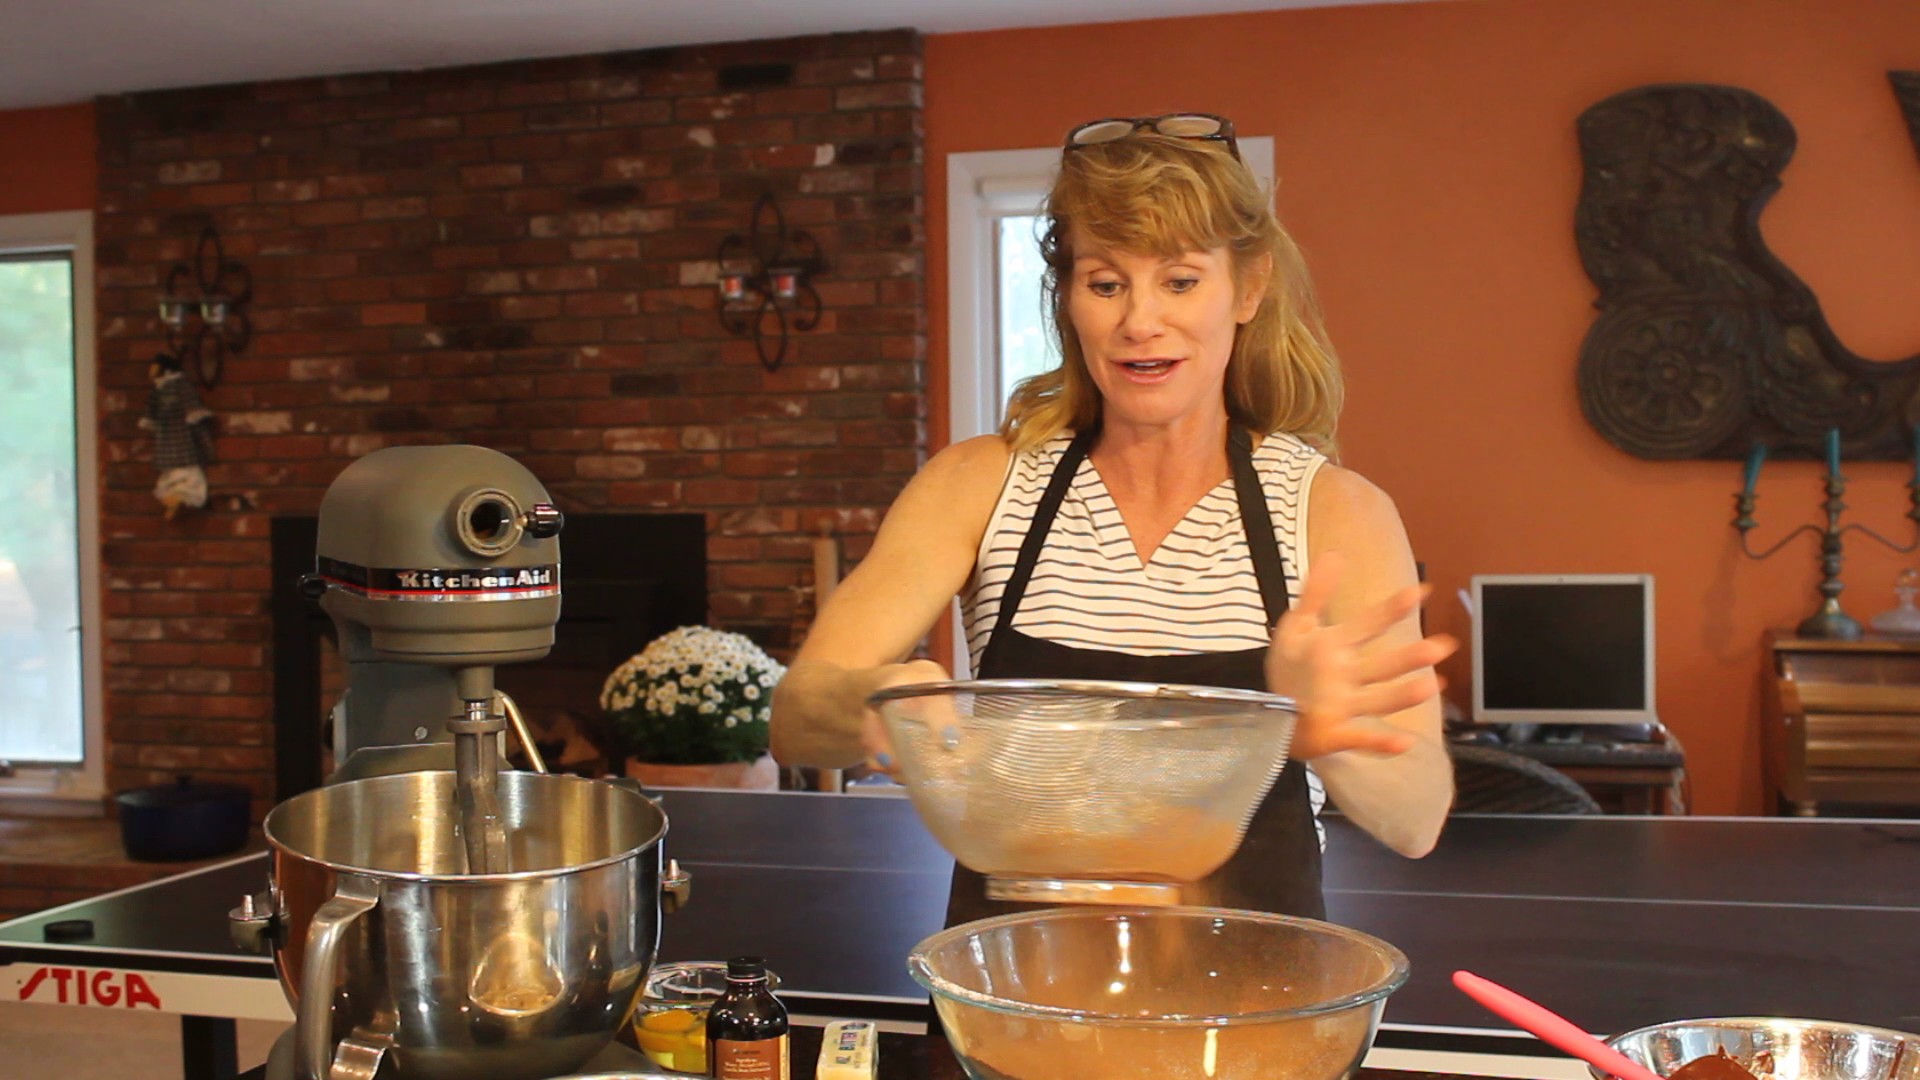
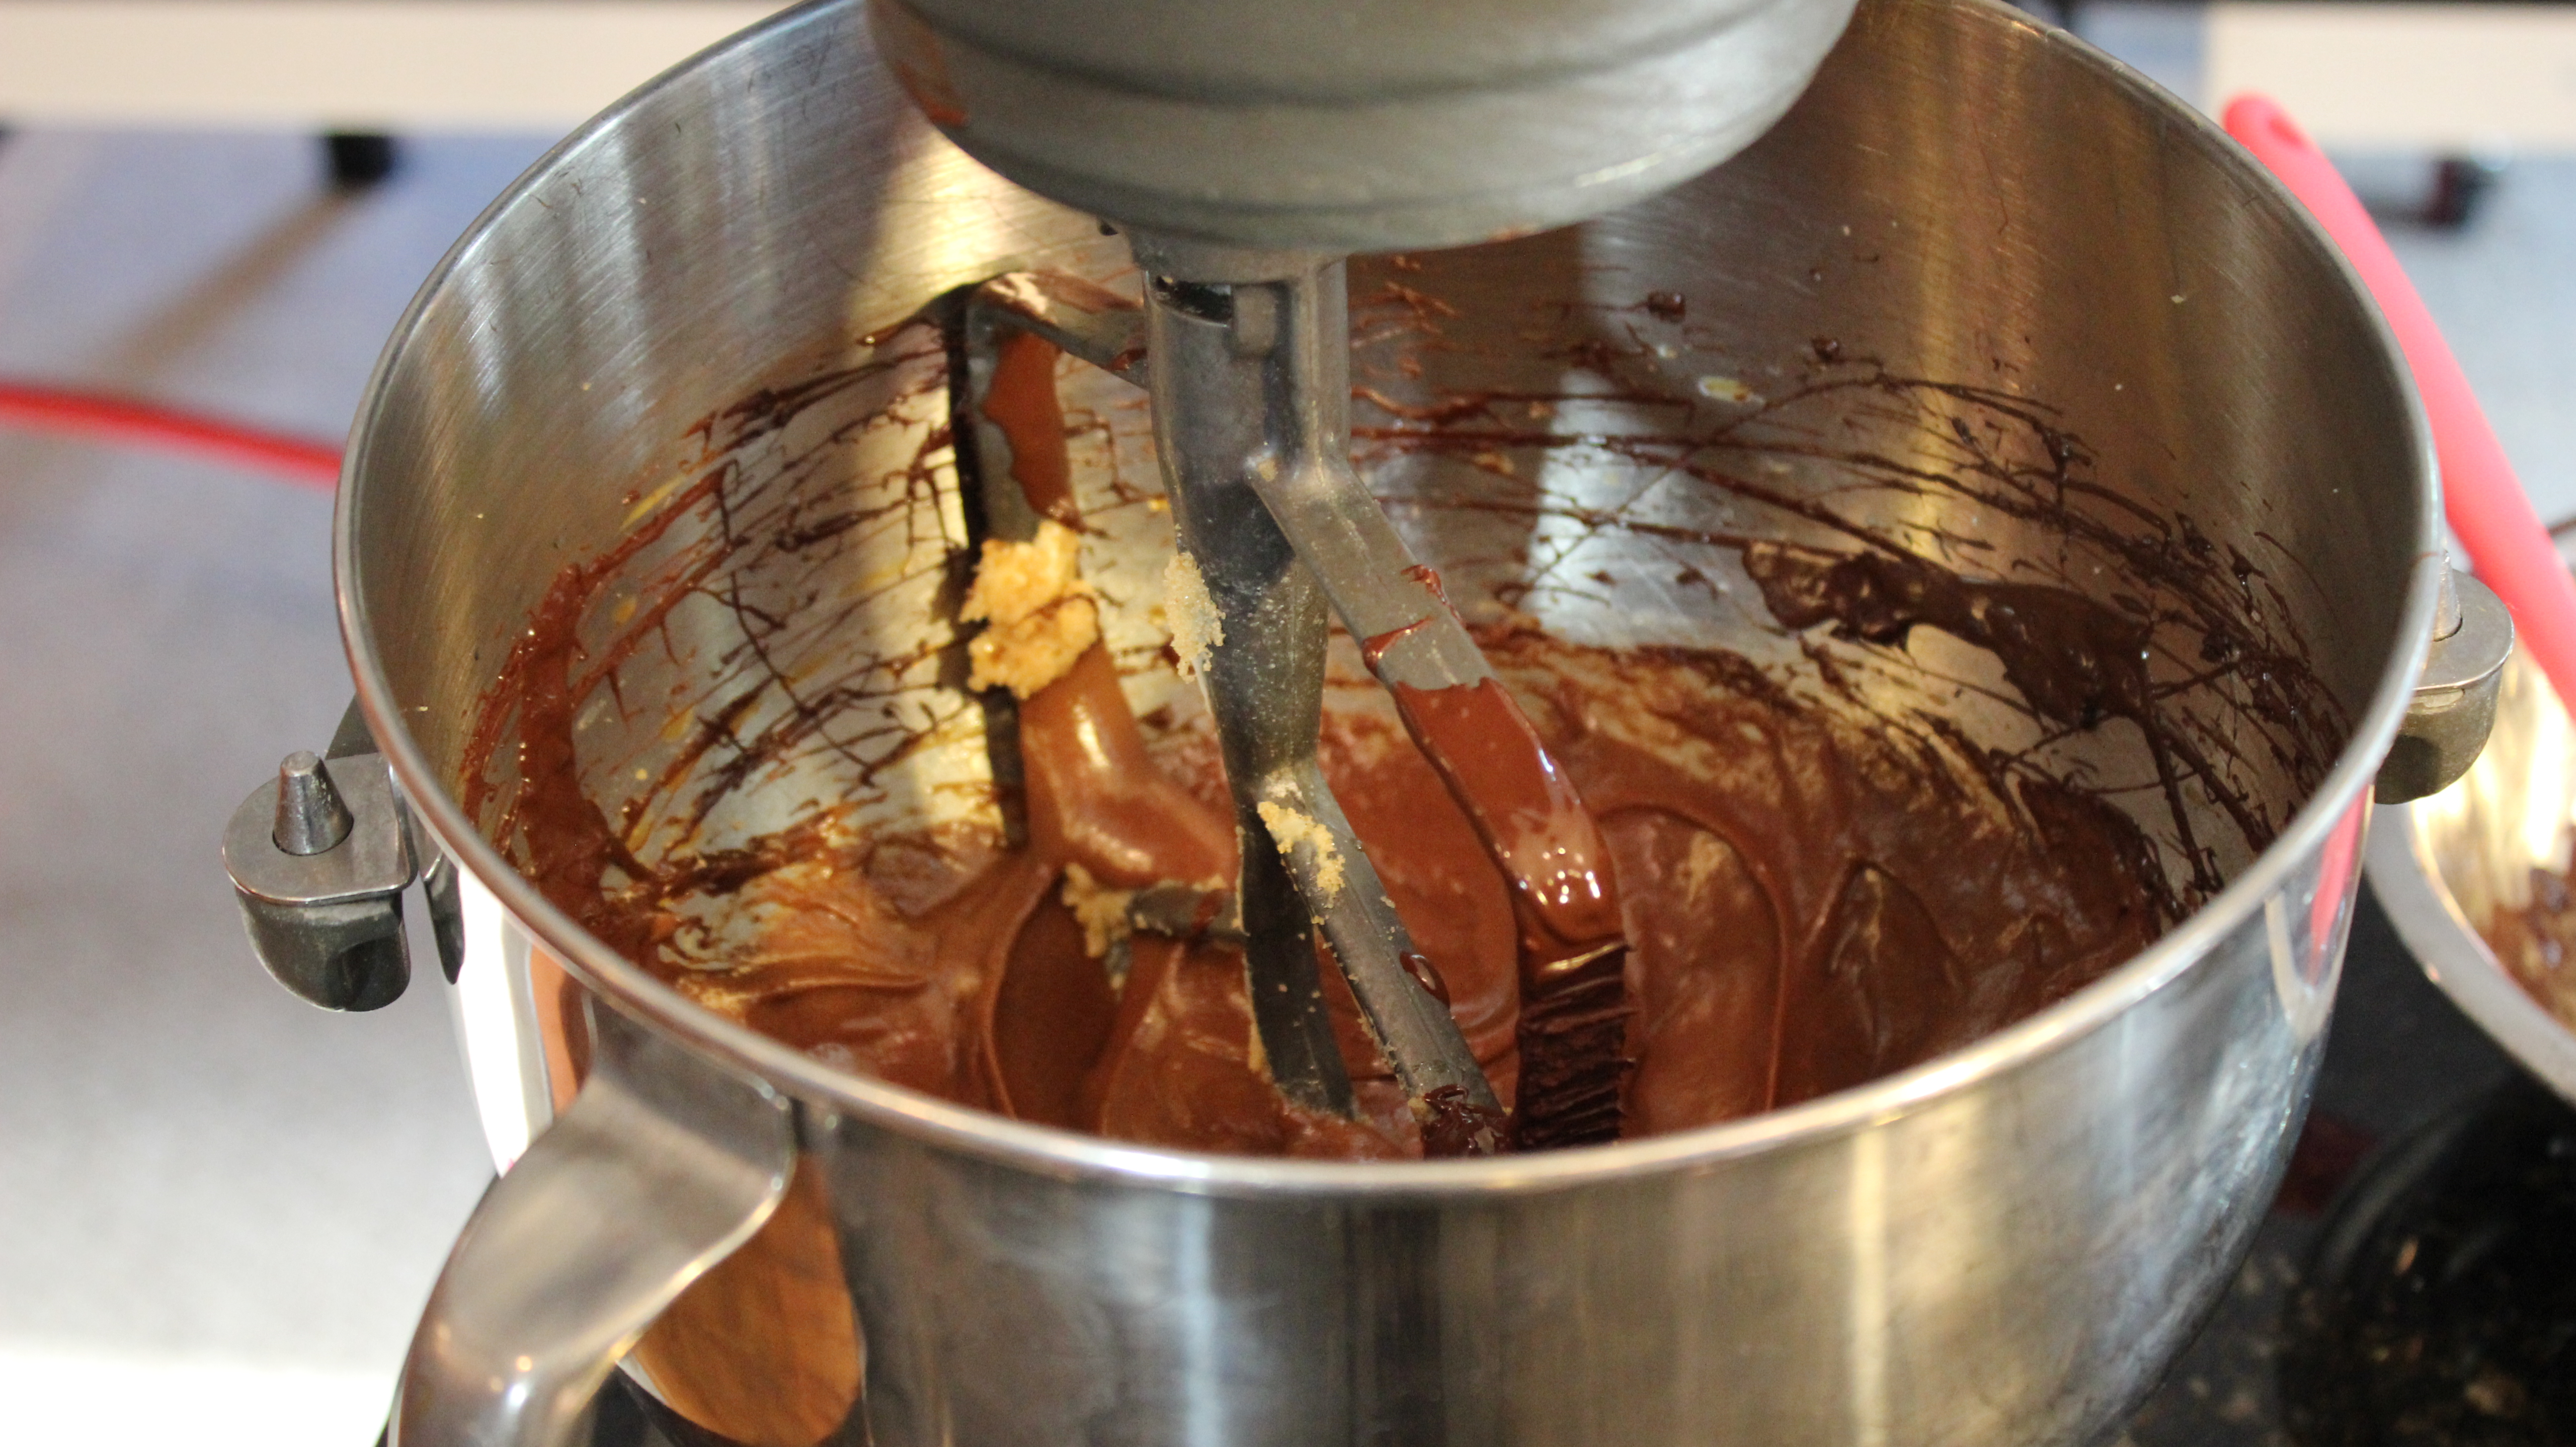


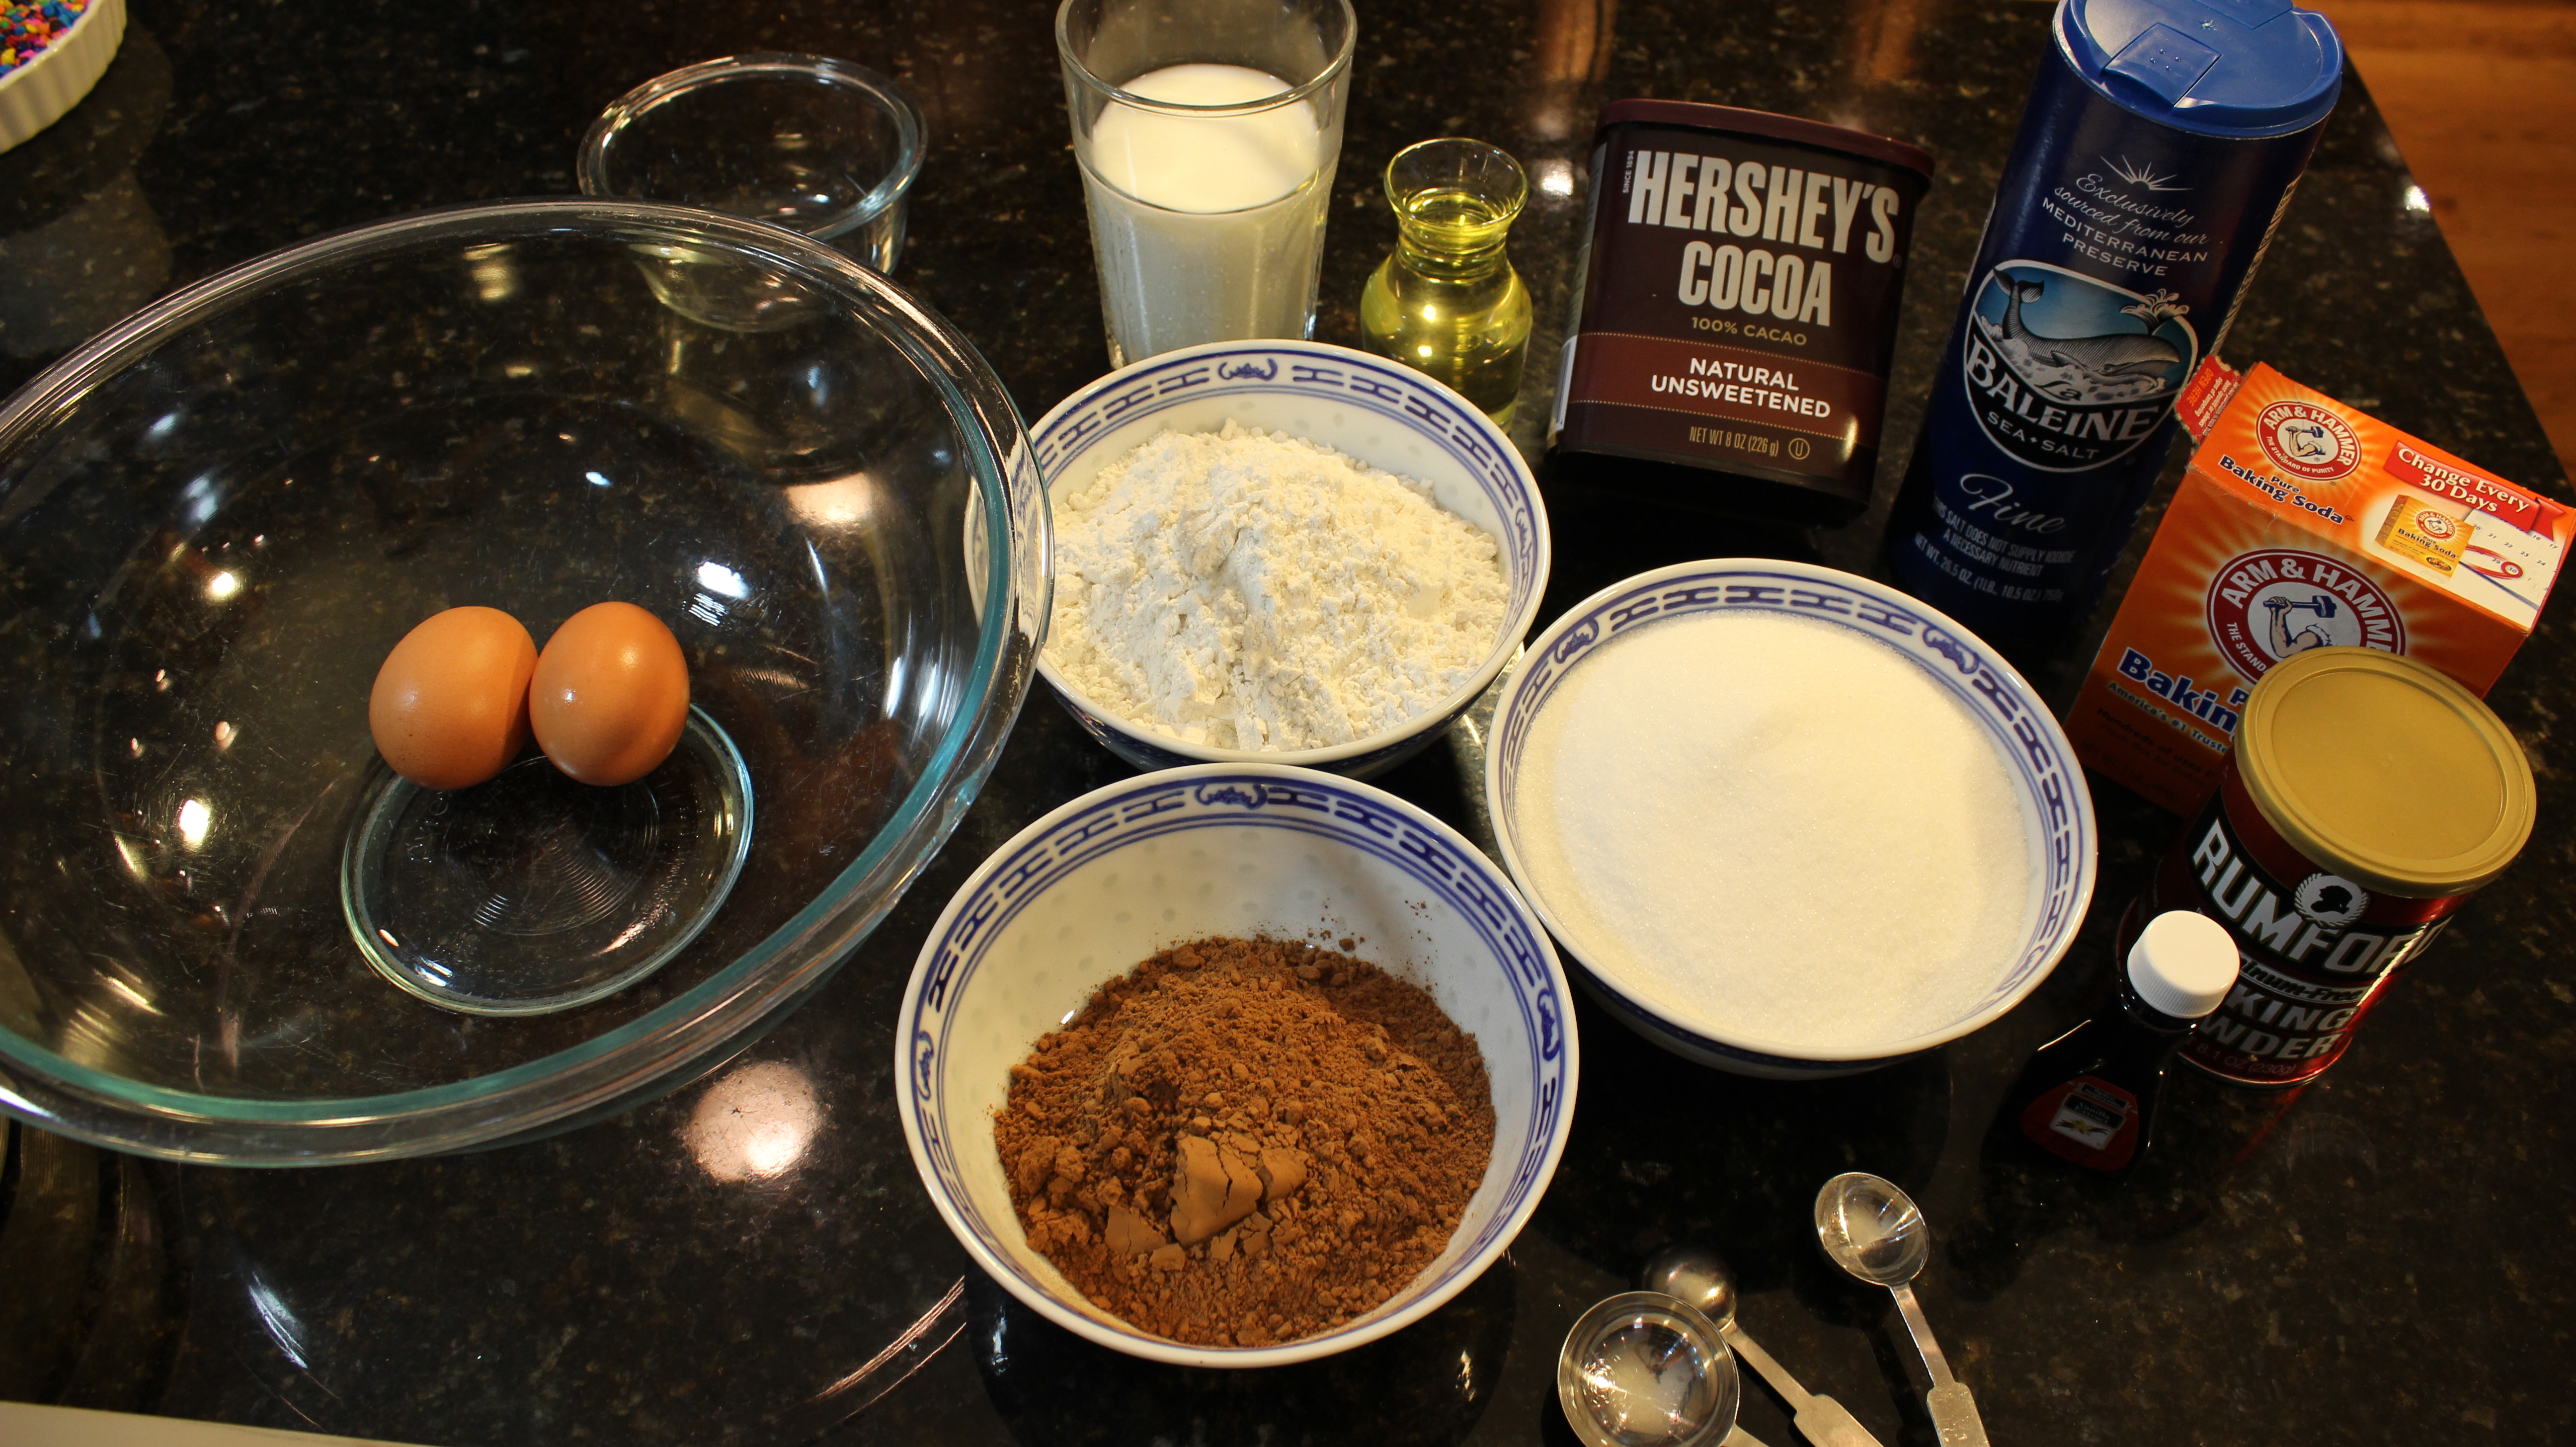
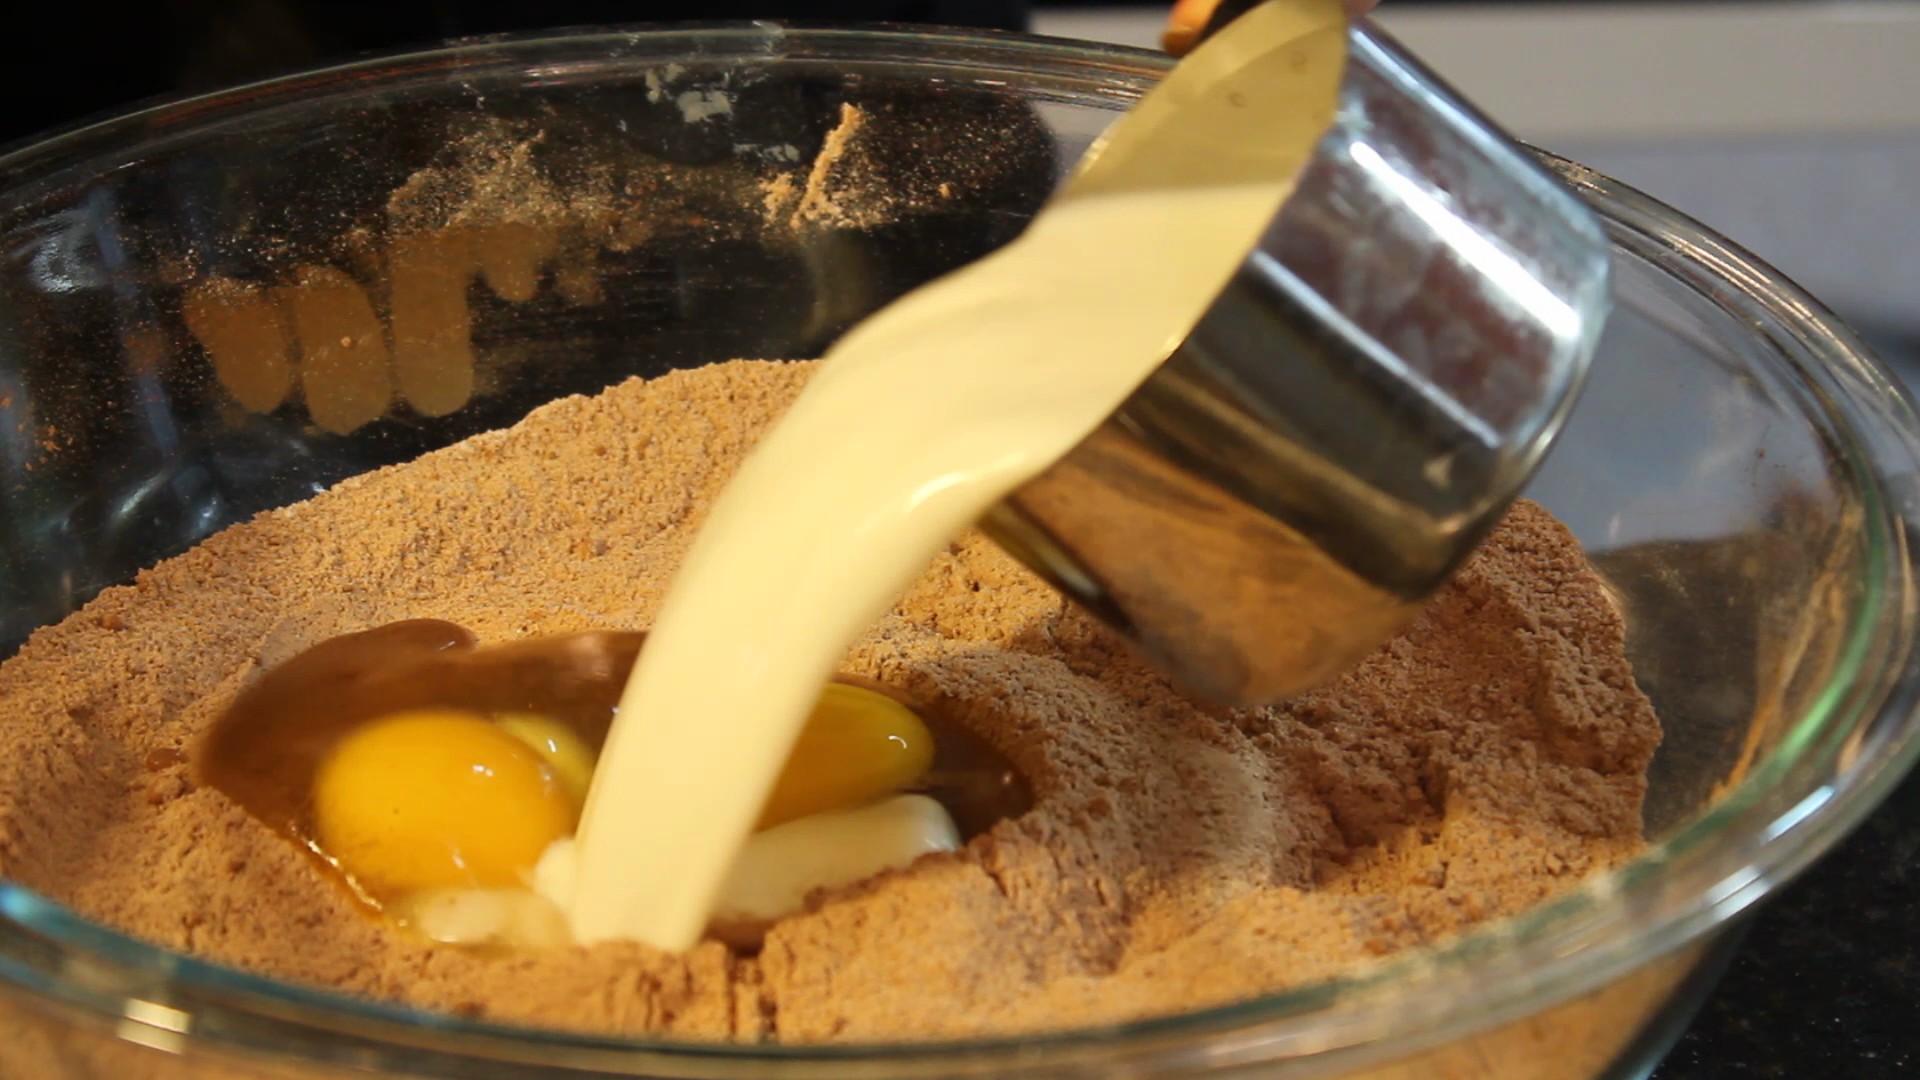
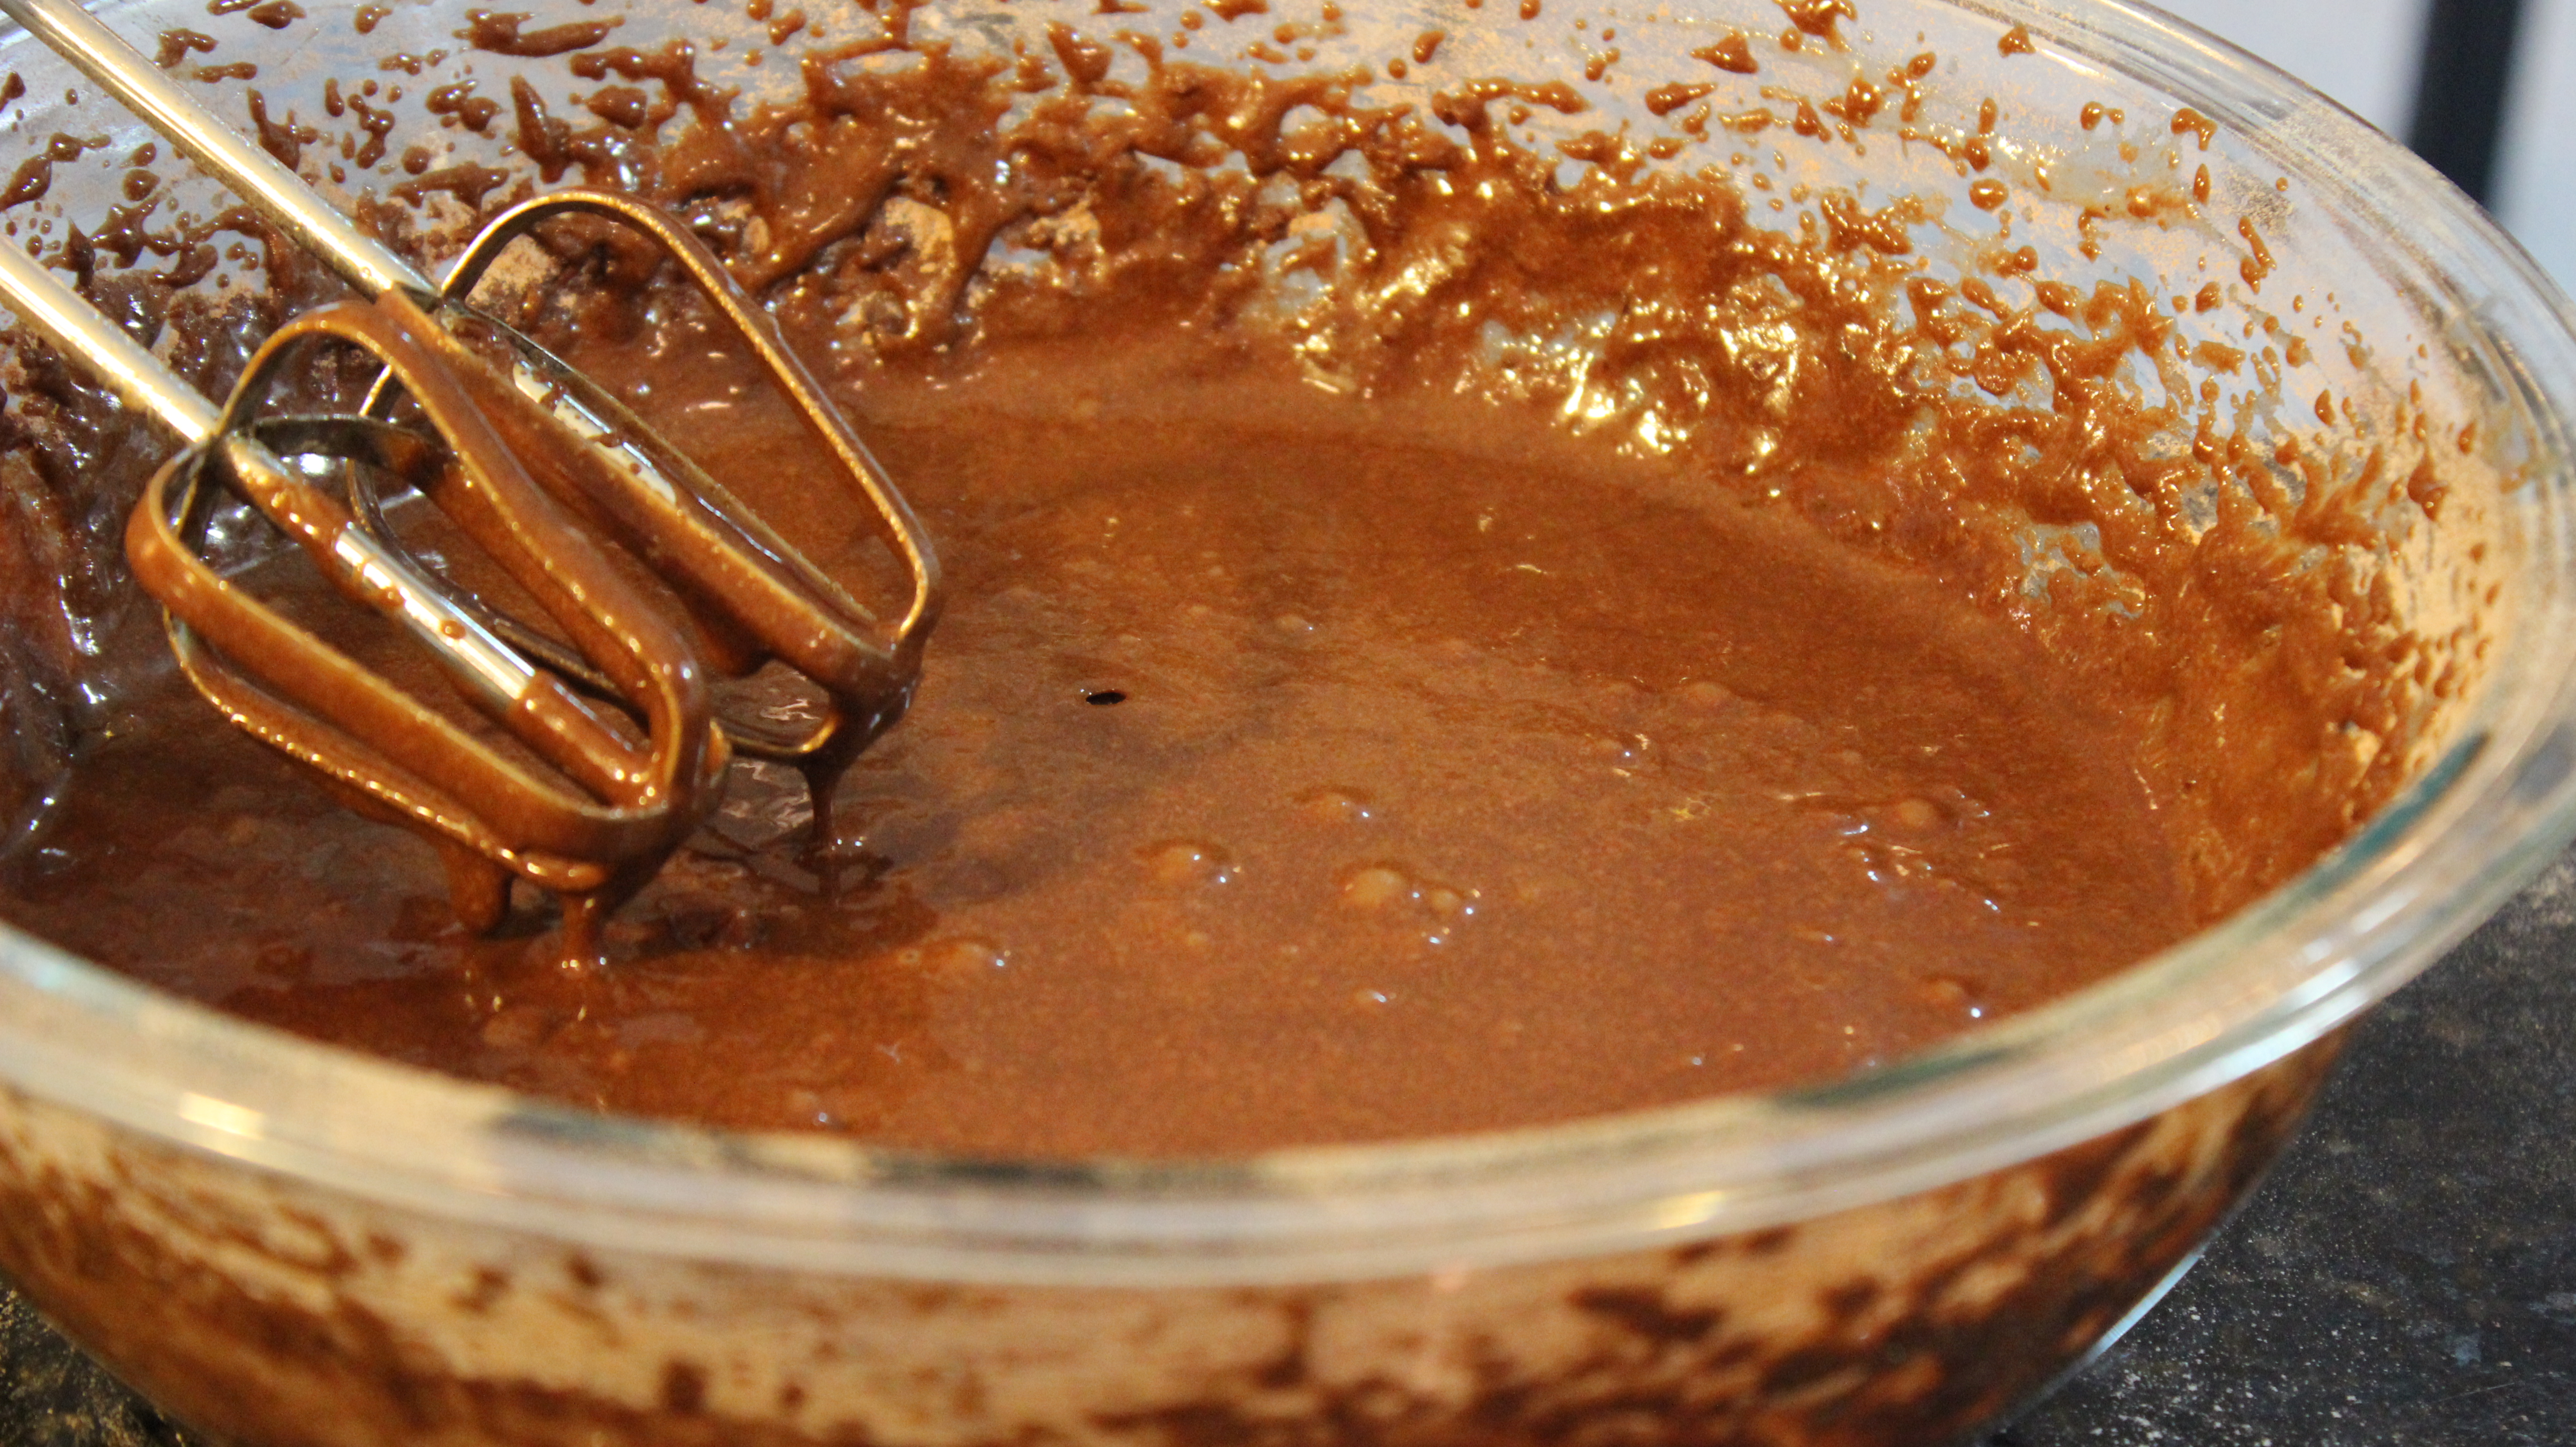
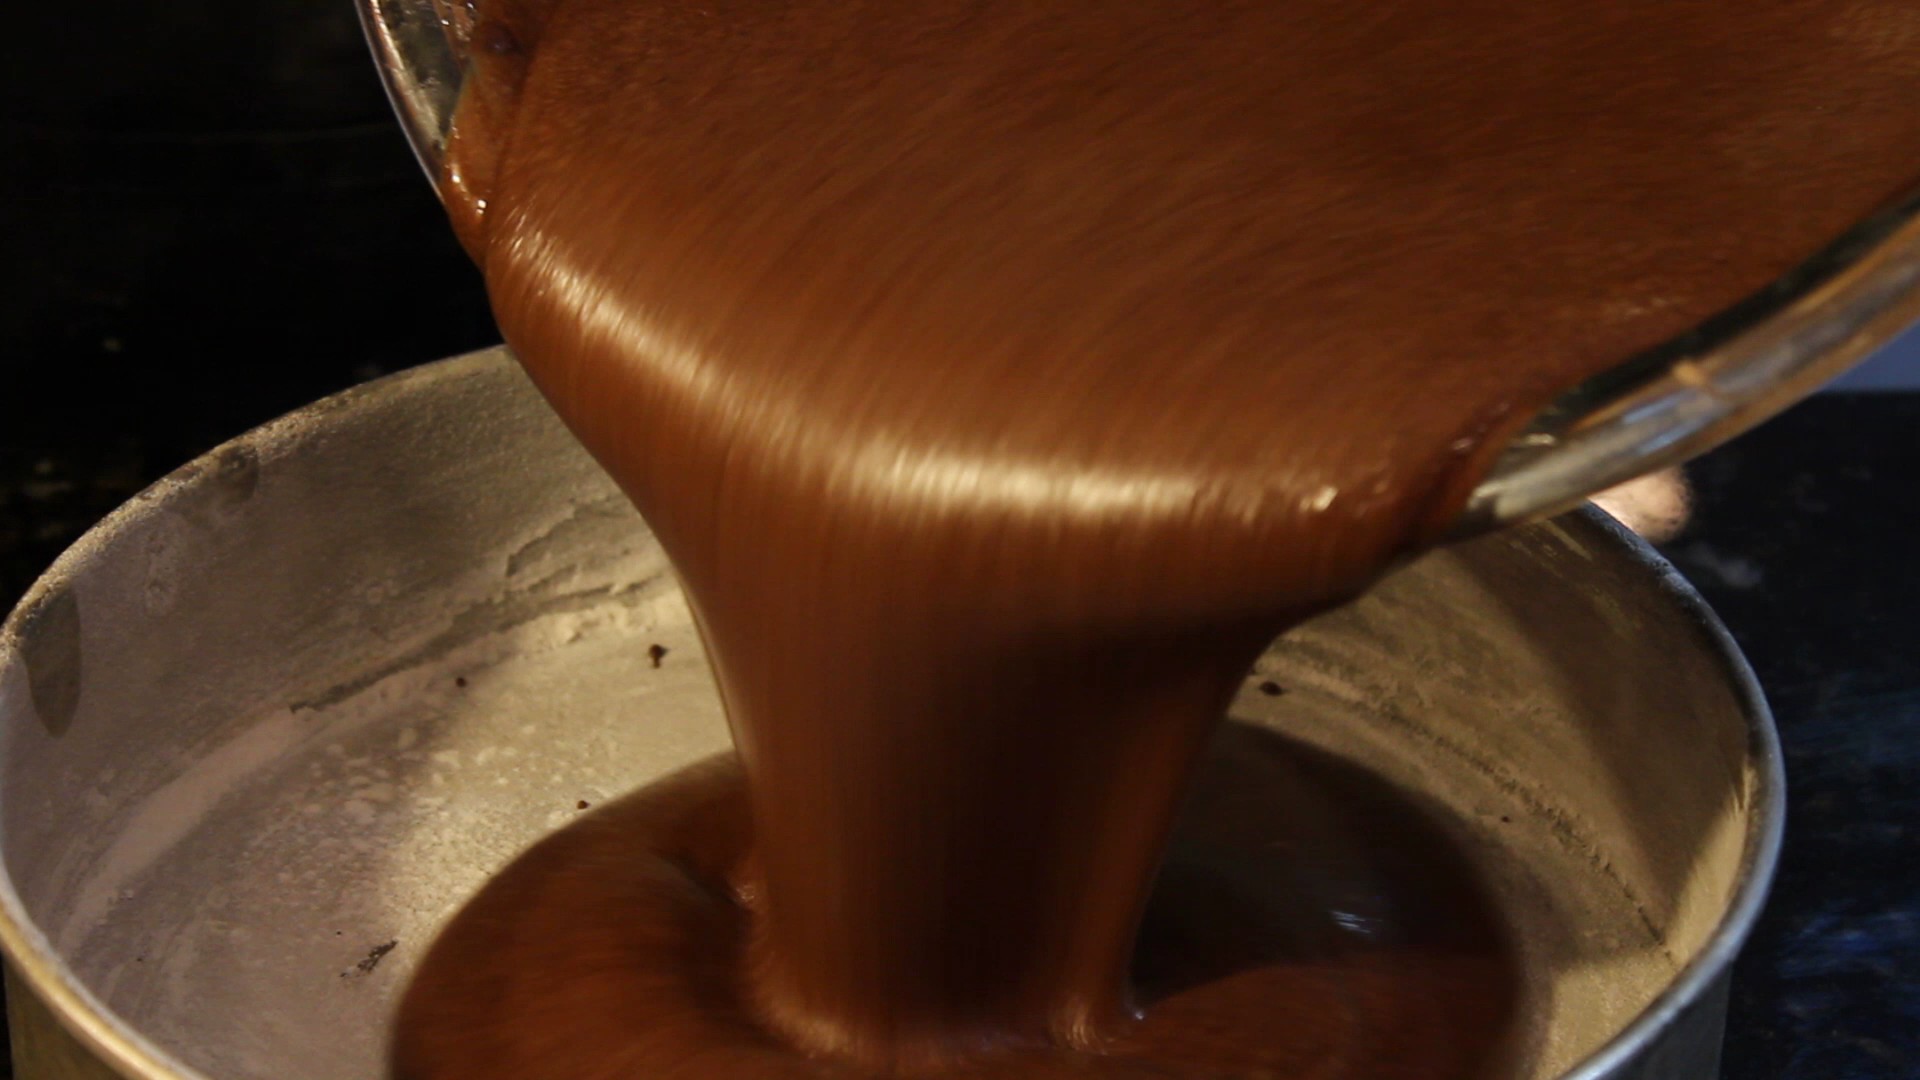
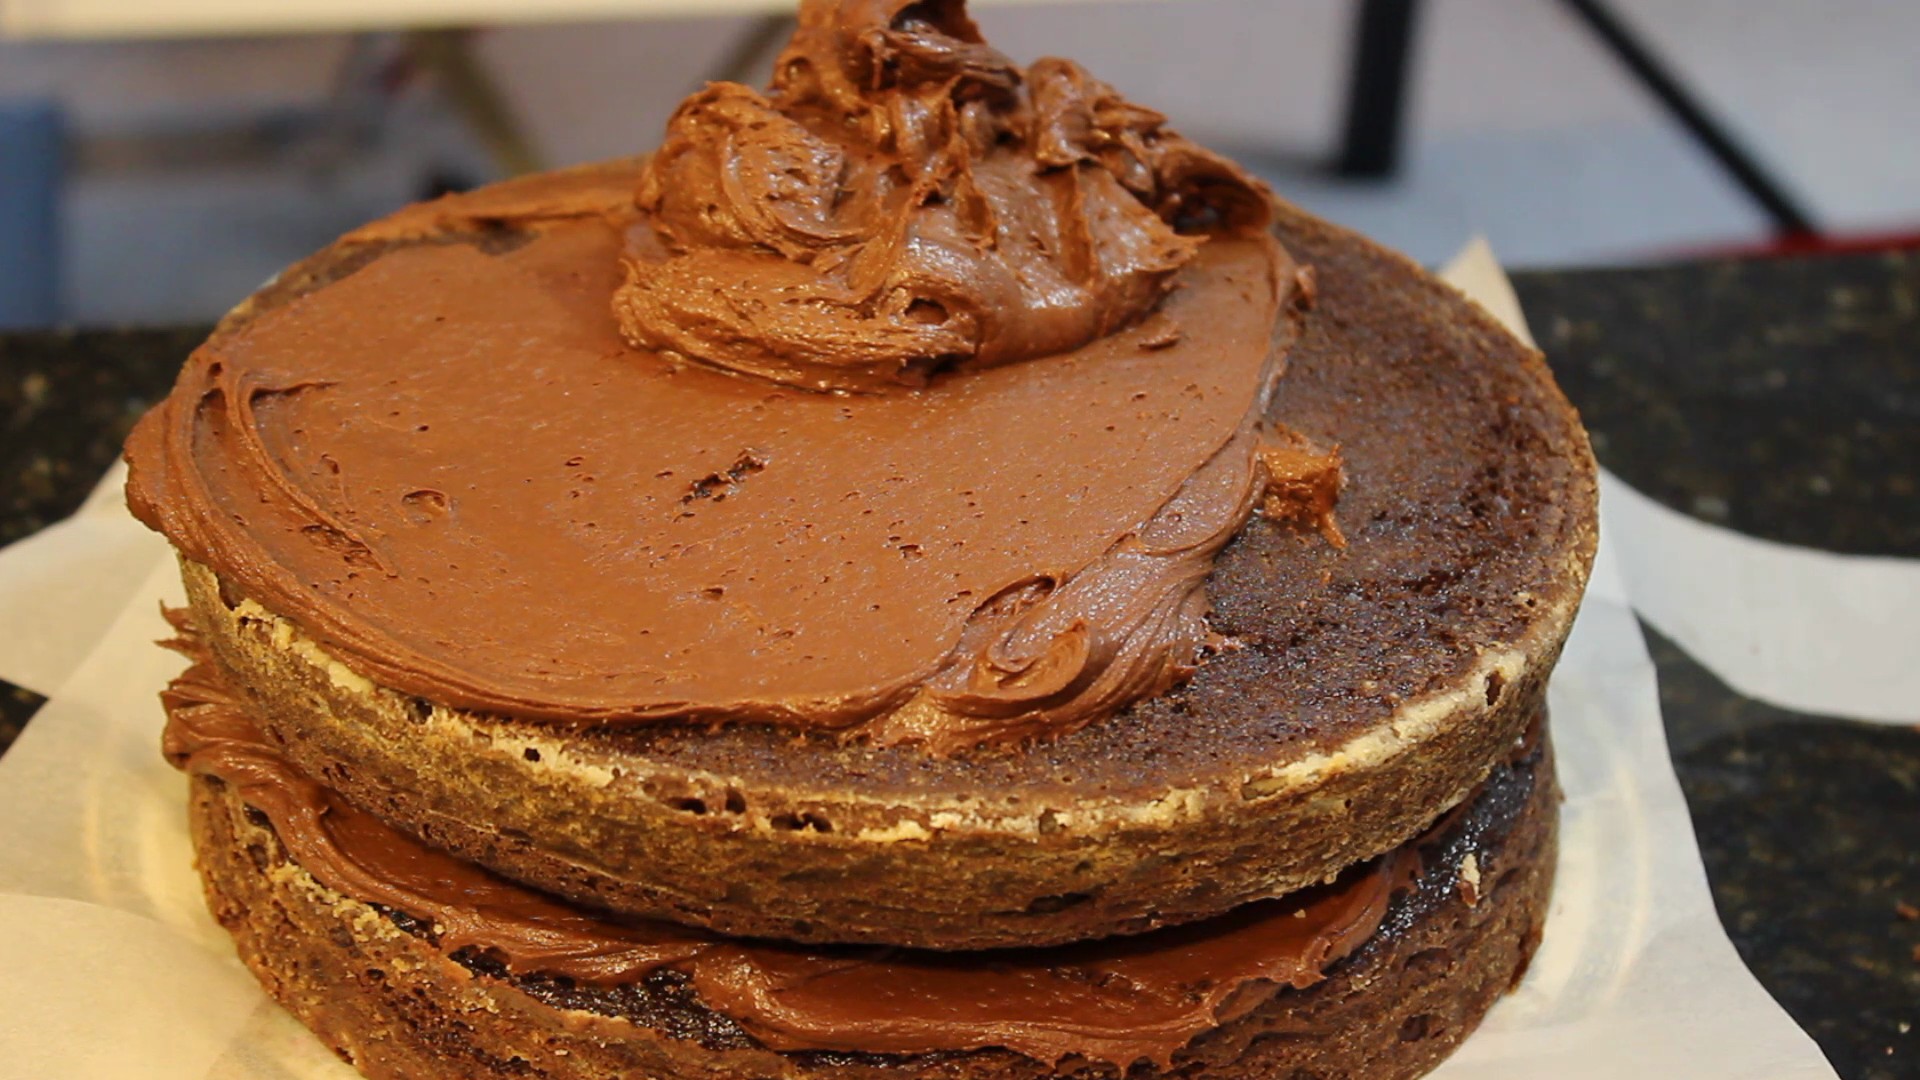
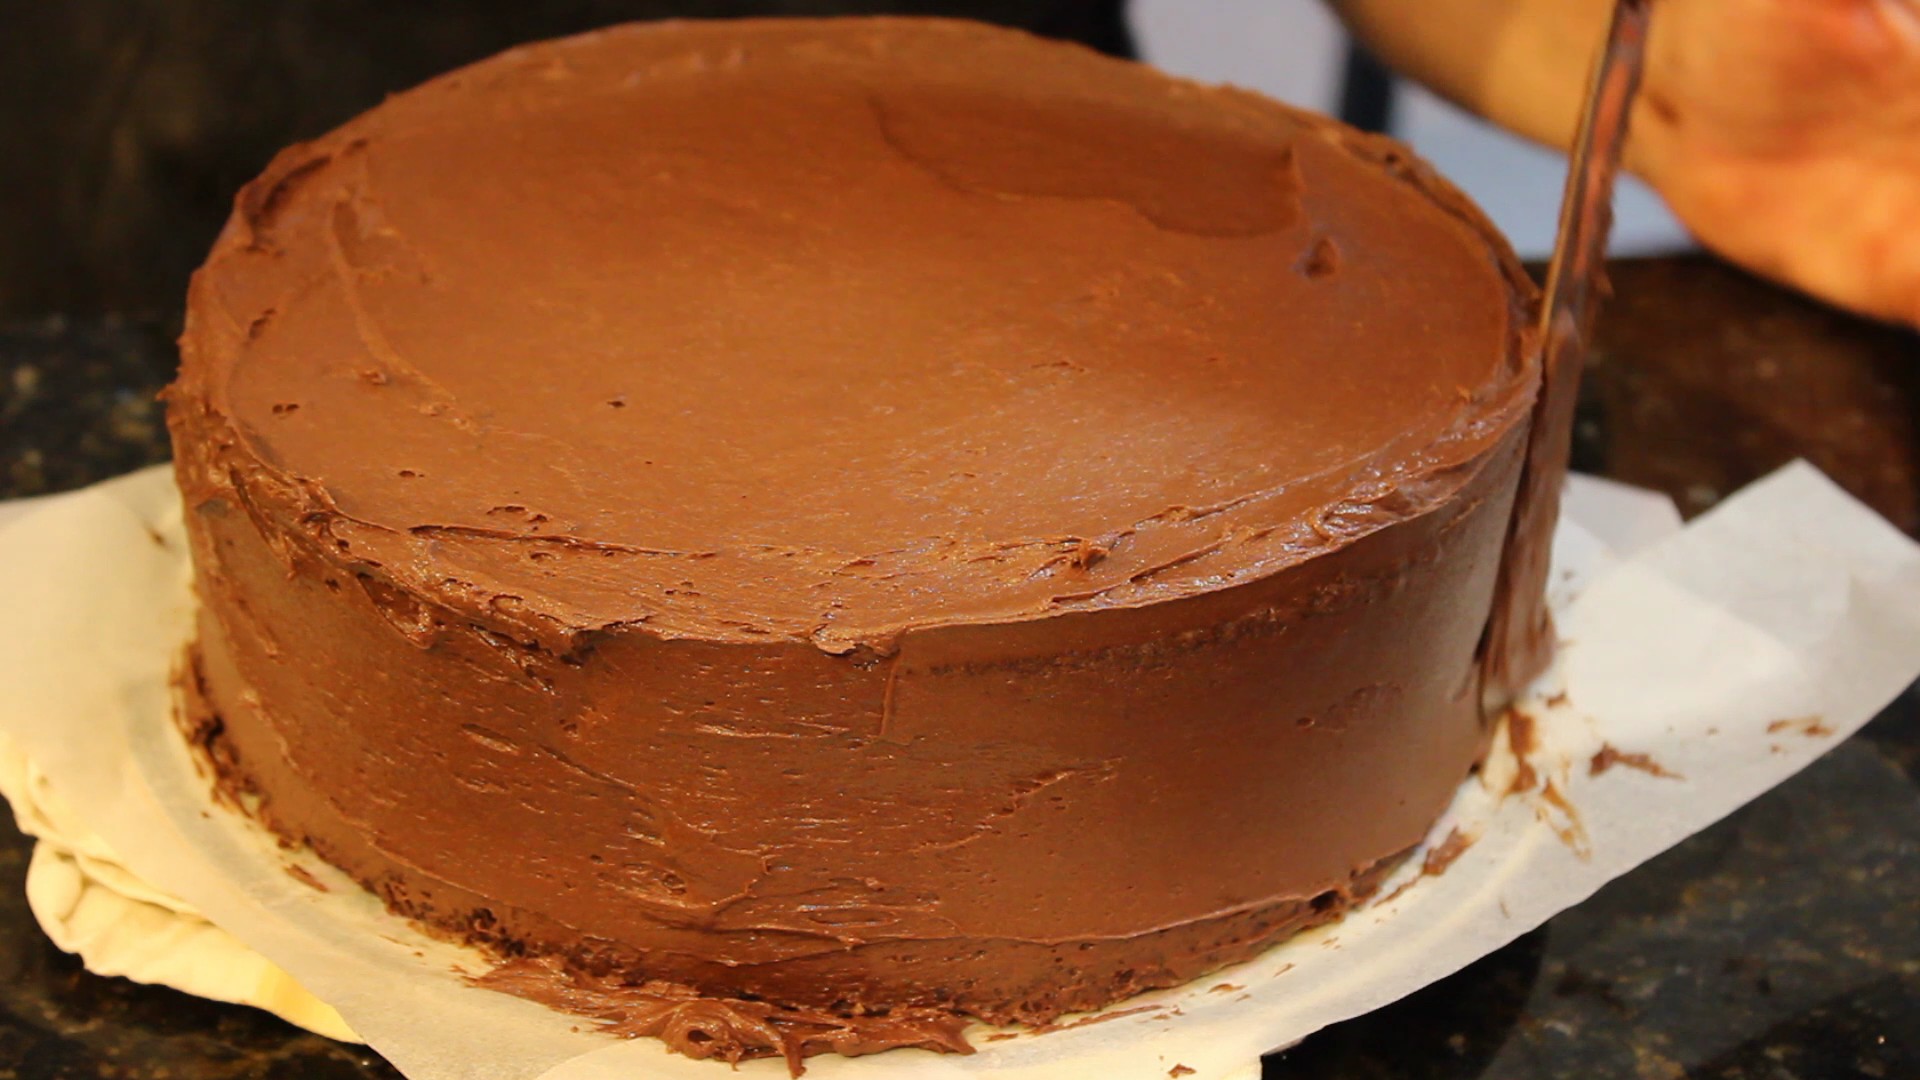
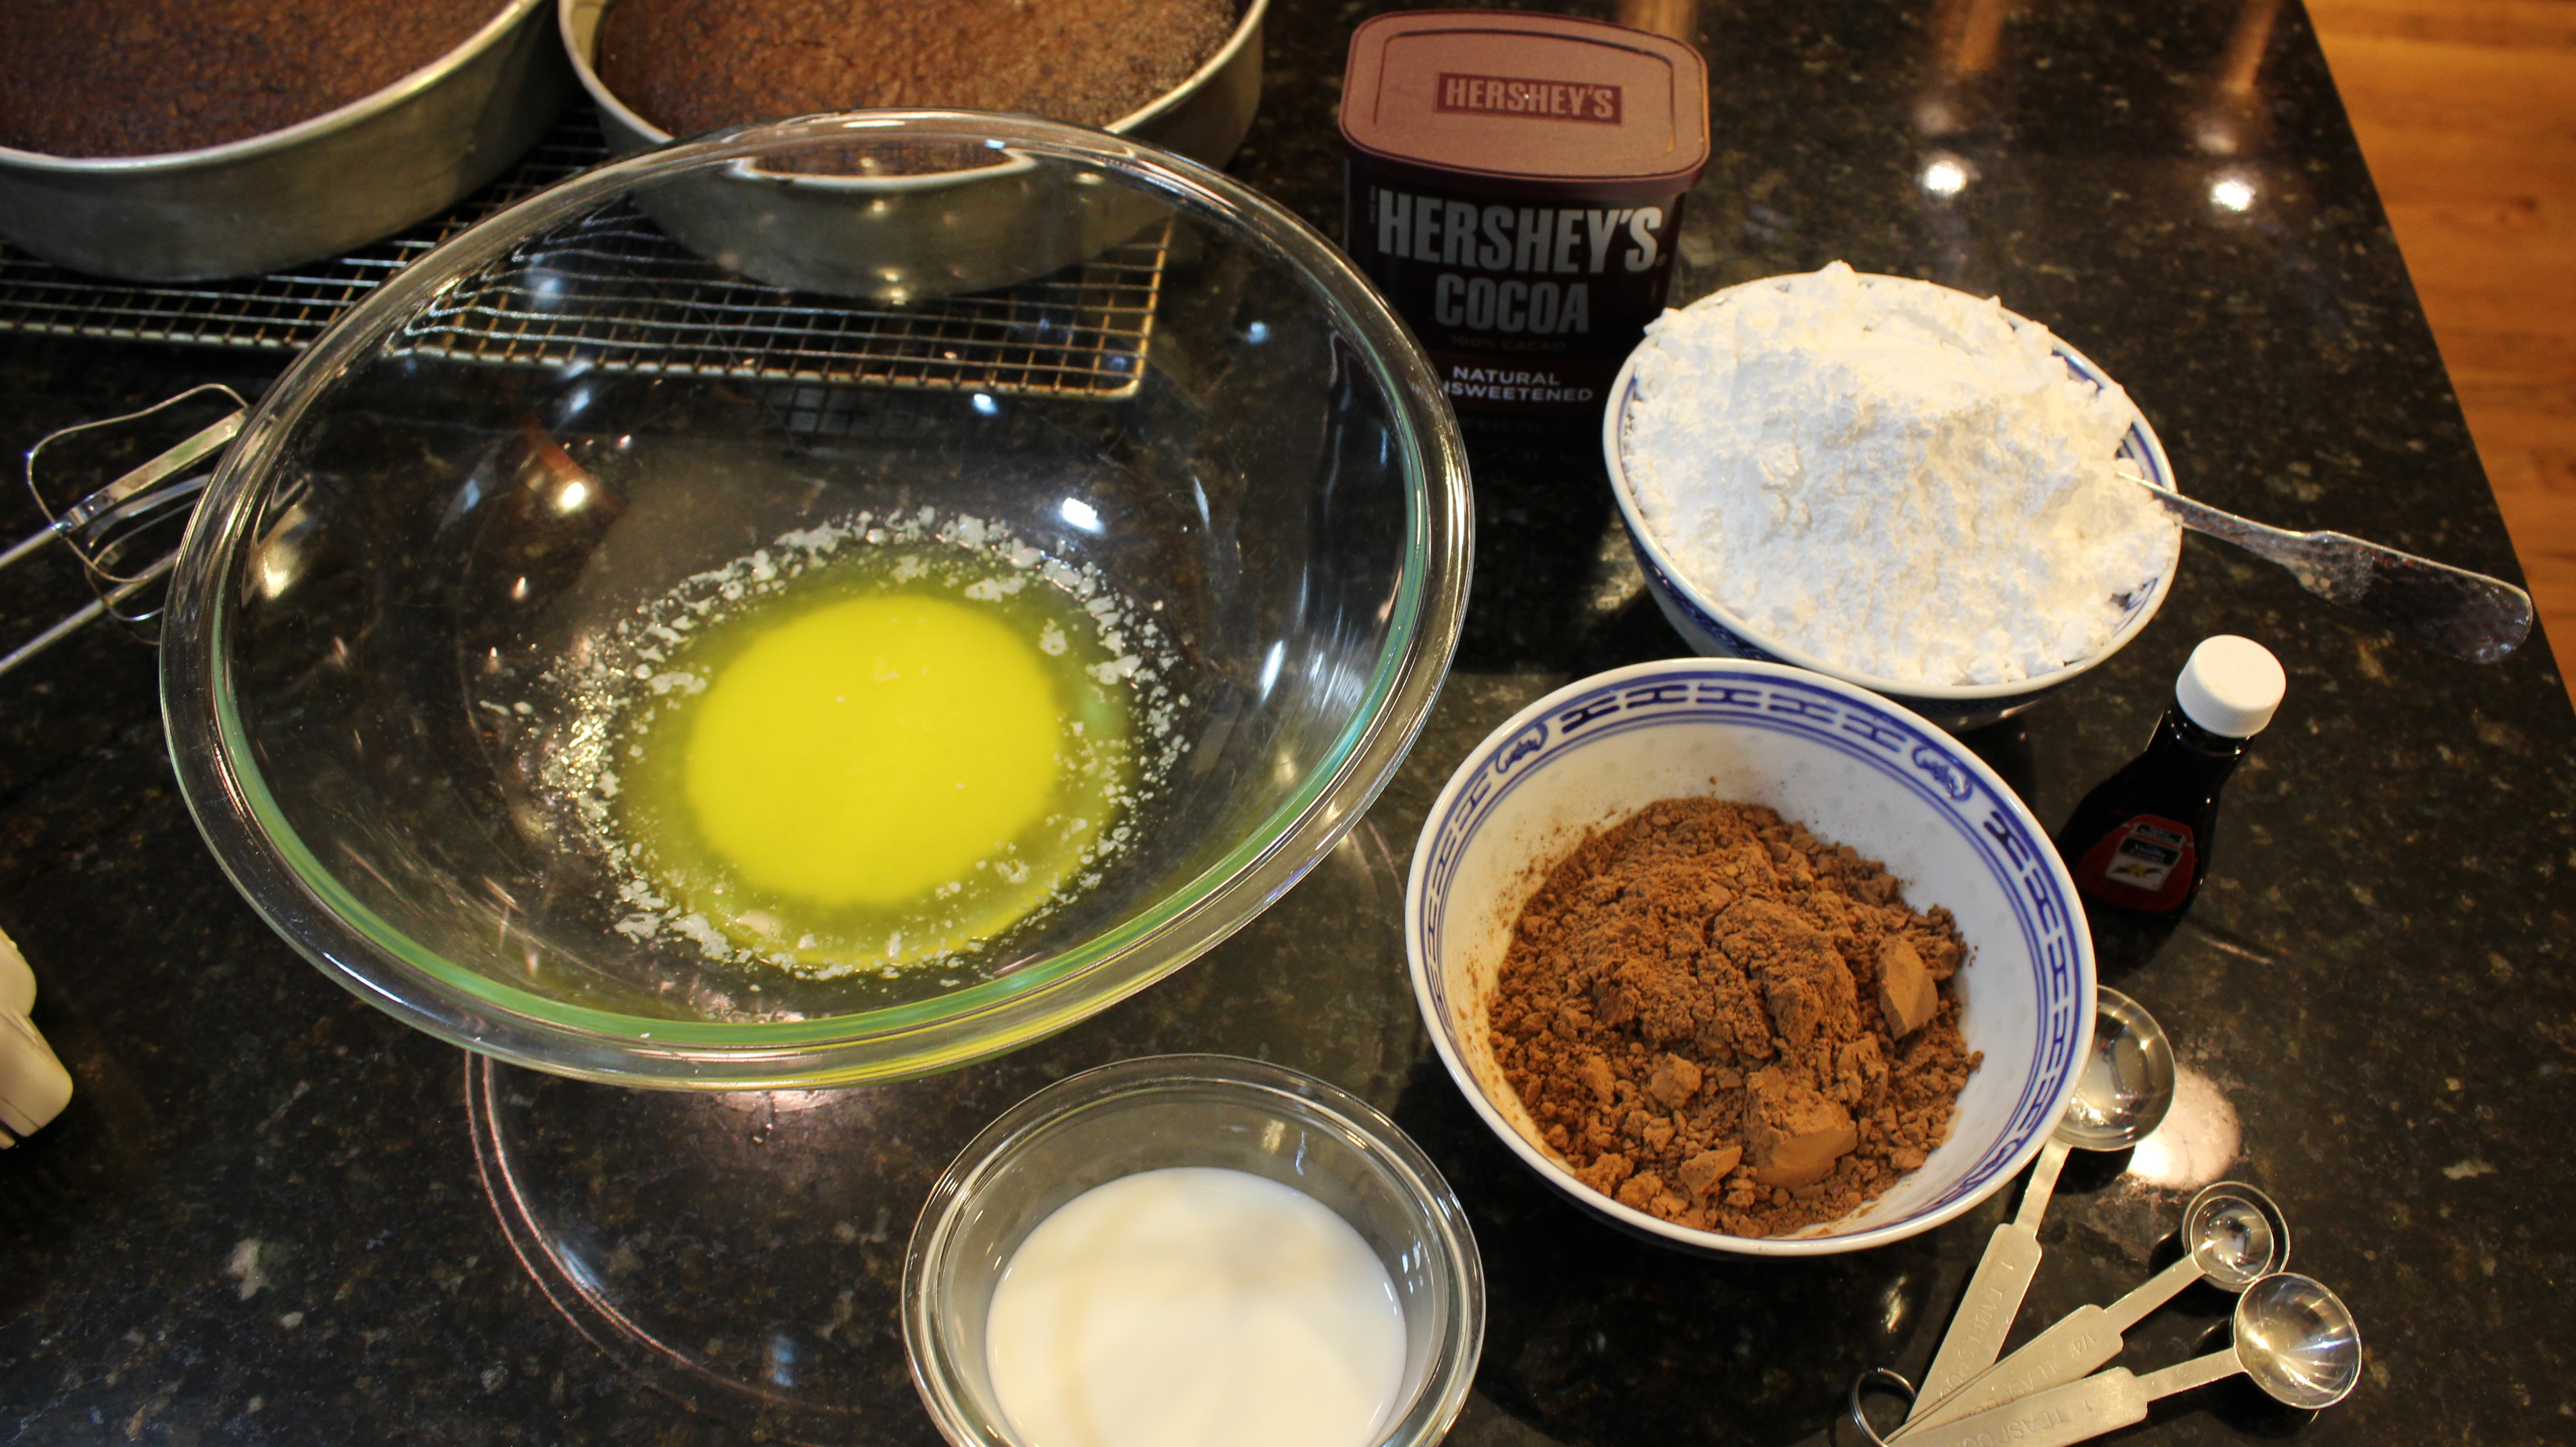
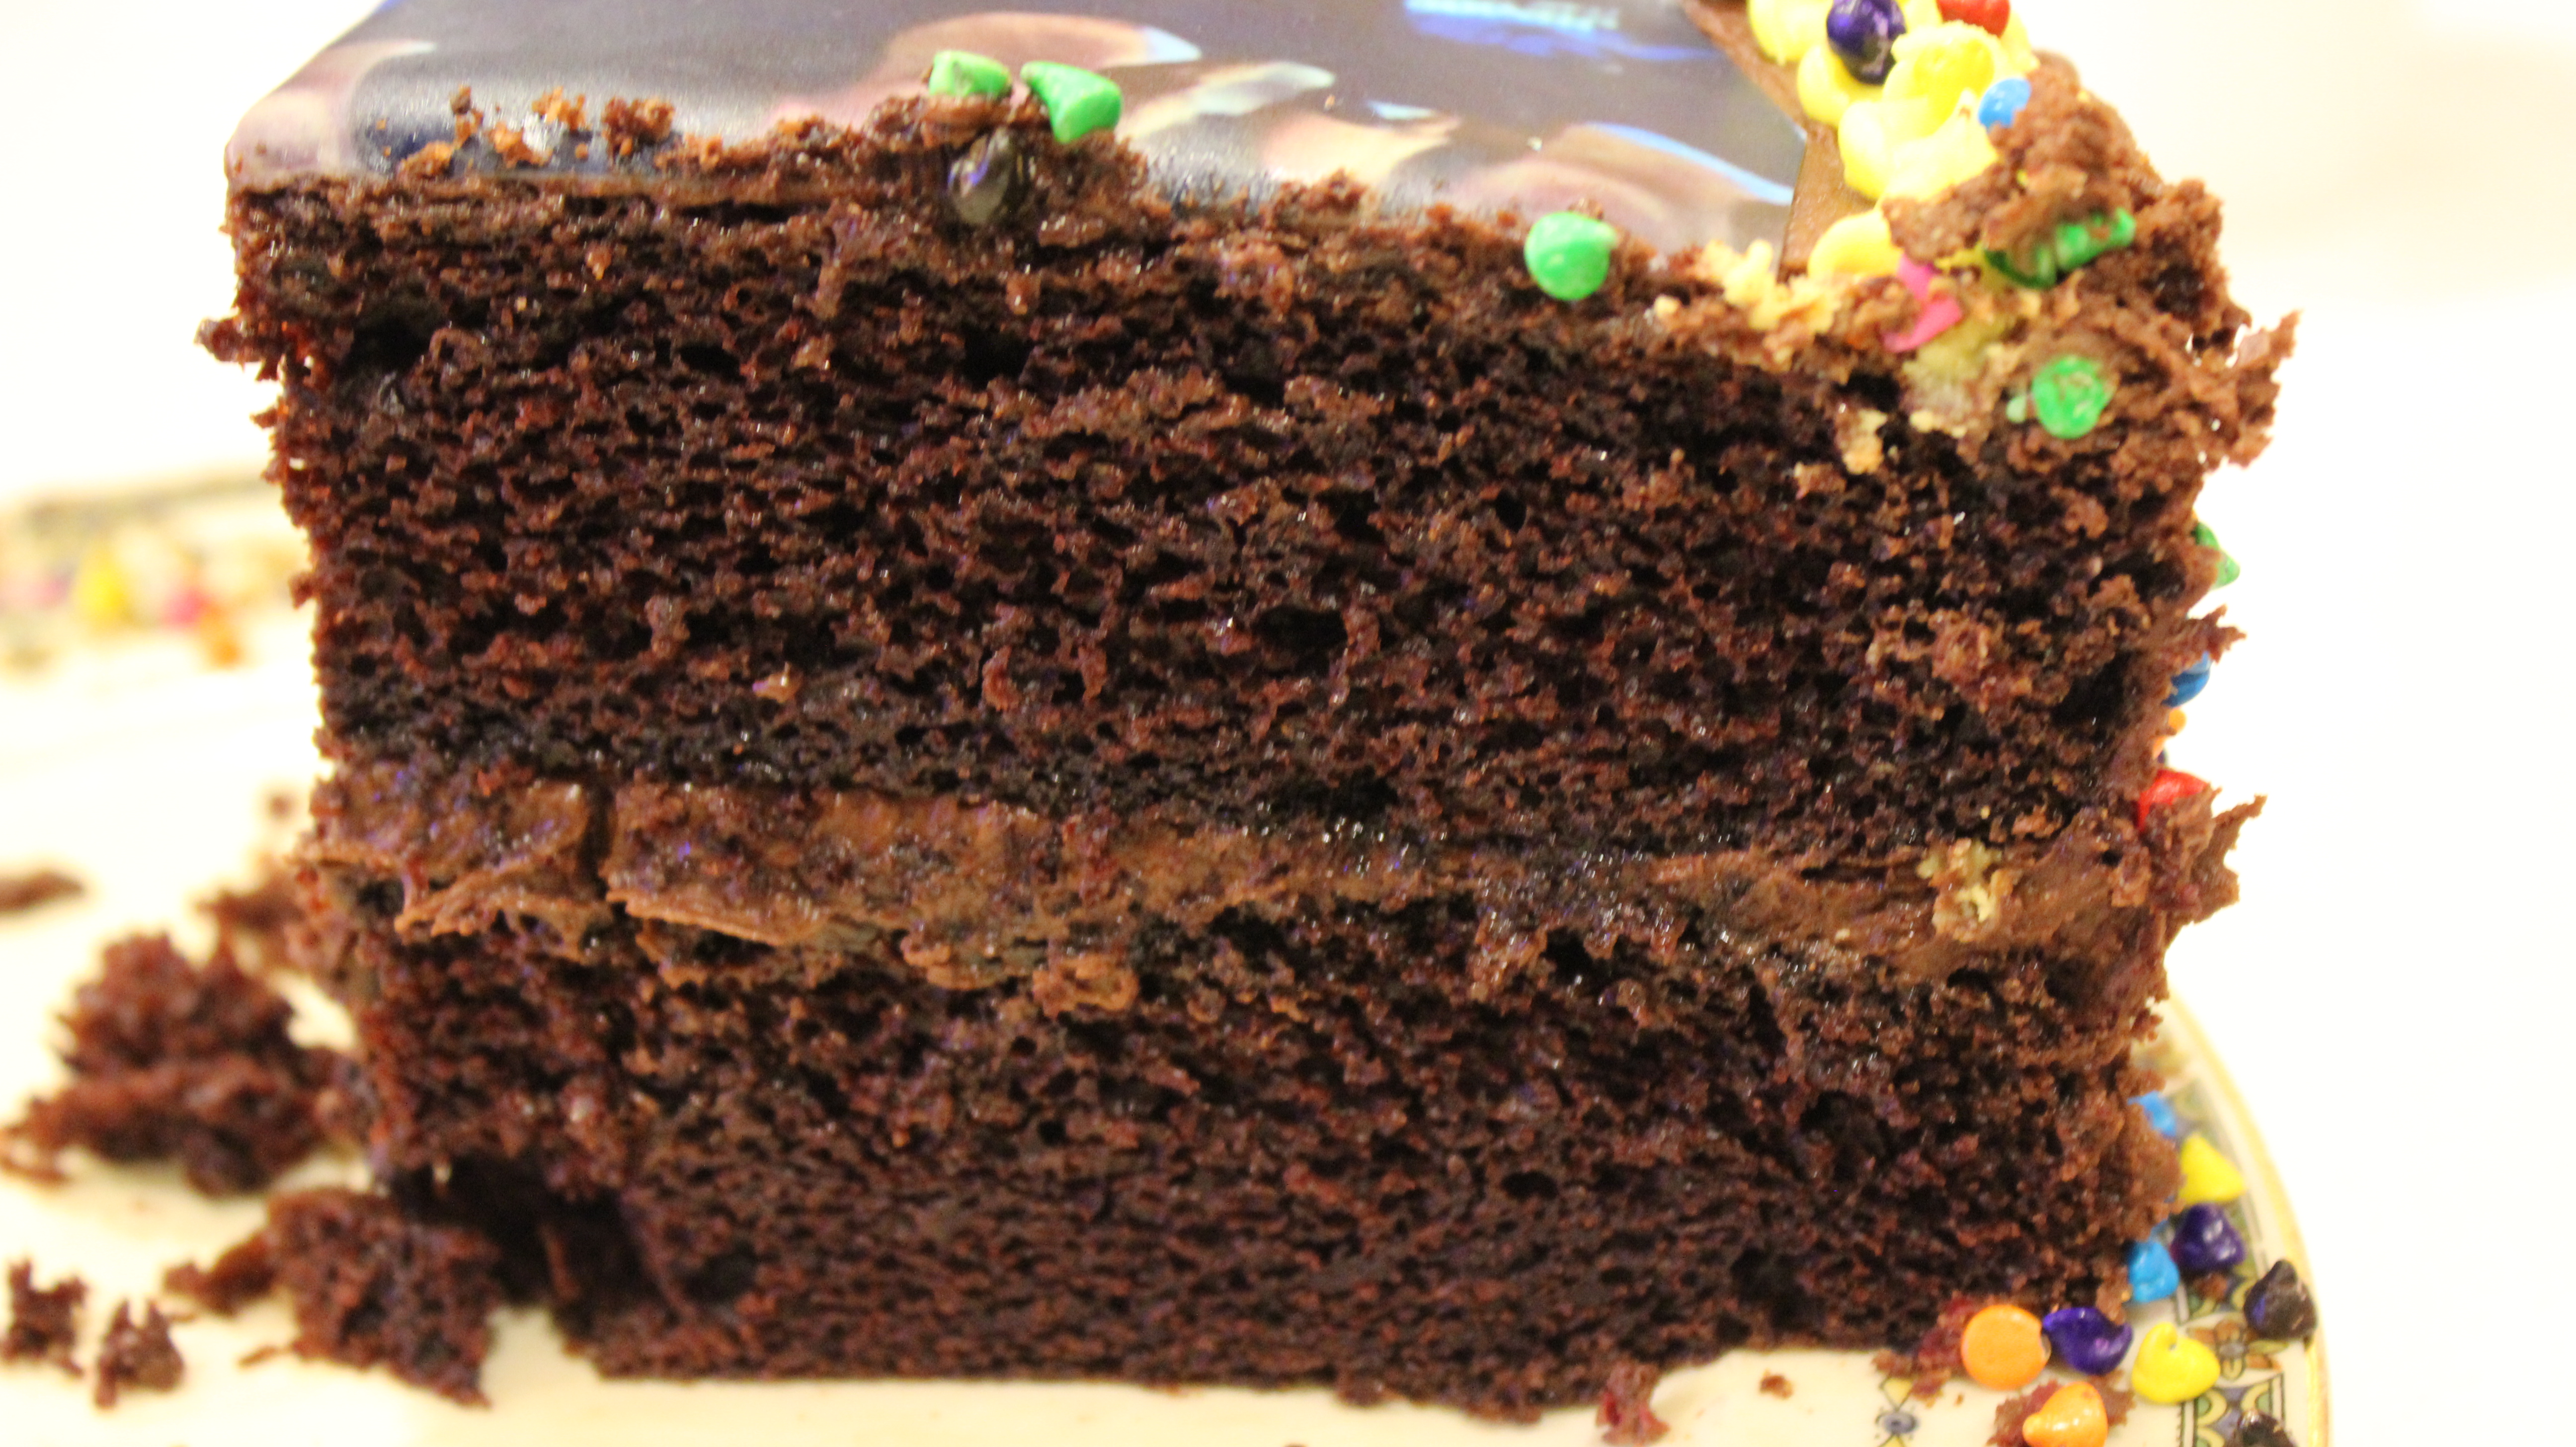
 The name “perfectly chocolate chocolate cake” pretty much sums it up right there although you won’t know how easy it is to make this homemade gourmet chocolaty cake until you give it a go! This incredible cake and frosting made from Hershey’s Cocoa Powder I have been making for almost 20 years now! Once you see how easy it is to make these moist and chocolaty homemade cakes you’ll never go back to the box again! Besides on my blog you can find these recipe’s right on the back of the Hershey’s Cocoa canister.