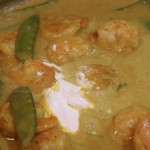
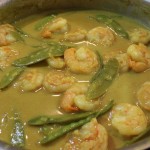
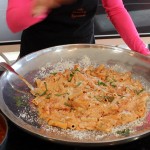
Curry Shrimp & Snow Peas
Curry shrimp & snow peas is a luscious dish with a complex sauce that tastes like you spent all day on it! I serve up this yummy creation with fresh chopped dill and jasmine rice. Basmati is my other go to rice. This curry shrimp dish is made with snow peas, coconut milk, white wine, curry, turmeric, coriander, sour cream, half and half, chicken broth and fresh limes.
For goodness sake, don’t waste your time with an instant rice with no texture or flavor. Making good jasmine or basmati rice couldn’t get any easier just follow the directions on the label. When I make rice I always turn off the stove five minutes early. I then stir the rice and let it sit for ten minutes with the cover on. When you are ready for the rice give it another stir, add a tablespoon or two of butter, a sprinkle of salt and voilà.
One of the best things about making this incredible curry shrimp and snow peas is getting it done in fifteen minutes. A good time saver when cooking with shrimp is to buy already peel and devein shrimp. Make sure to get good, meaty shrimp from your local seafood store where all they sell is seafood. Considering the shrimp takes on a main roll in this curry shrimp and snow peas you better darn well get some decent shrimp and make your efforts worth while!
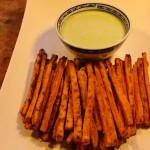
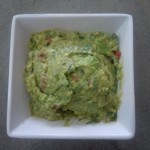
Before serving up this velvety curry shrimp and snow peas you will probably have time to make some appetizer’s like my best guacamole ever, or black bean & mango salsa, or baked sweet potato fries with my green goddess dipping sauce. For dessert, maybe something sweet but on the lighter side you should try fresh berries in a dreamy cream or my fresh berry granita!


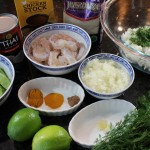


Ingredients for Curry Shrimp & Snow peas -(makes 6 servings):
- 1 lb large good meaty shrimp from your local SEAFOOD store- peel & devein (better results if you don’t use pre-packaged frozen shrimp)
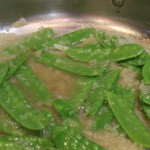
- 1 1/2 cup fresh snow peas
- 1/2 cup finely chopped sweet onion
- 1 clove garlic put through garlic press
- 1 can coconut milk
- 1/2 cup half & half
- 1/2 cup white wine
- 1/4 cup chicken broth
- 3 tbsp sour cream
- juice from 1 1/2 -2 limes
- 1/4 tsp salt
- 1 1/2 tsp curry powder
- 1/2 tsp turmeric powder (if you don’t have turmeric or coriander use 2 1/2 tsp curry)
- 1/2 tsp coriander powder
- 1 tbsp butter
- 1 tbsp coconut oil or olive oil
- 4 cups cooked rice – Jasmine or Basmati rice cooked to directions
- fresh dill – 1/2 cup chopped coarsely added to cooked rice
Directions:
- Remove tail shells from all the shrimp and set aside
- Cook Jasmine rice and set aside
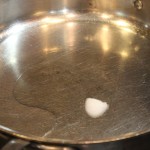
- Add coconut oil or olive oil and chopped onion to a large sauté pan on med/high heat
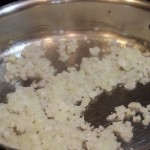
- Add in curry spices, and a sprinkle of salt stirring with onions sautéing for 2 minutes
- NOTE: Adding in curry now with onions will elininate potential of curry becoming grainy
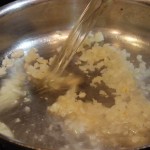
- Add in garlic and stir
- De-glaze with wine
- Simmer and reduce the sauce for 2 minutes
- Add chicken broth and bring back to a simmer
- Add in snow peas and simmer 1 minute
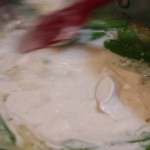
- Add in coconut milk, whisk to mix
- Add in half and half, bring back to a simmer for 2-3 minutes
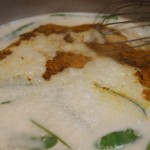
- Add in 1 tbsp butter and all of the raw shrimp simmer for 3 minutes until the shrimp are cooked through
- Whisk in 3 tbsp sour cream and just warm through
- Take off heat and squeeze juice from 1 1/2 fresh limes
- Taste and add sprinkle of salt if needed
- Add fresh chopped dill to Jasmine rice and serve with Curry Shrimp & Snow Peas
- Optional: Add a few dashes of Siracha, Franks Red Hot or Tabasco to heat it up a little


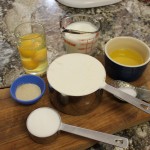
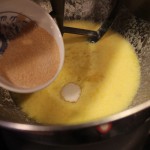
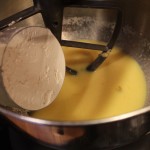
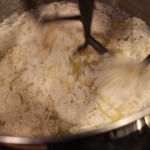
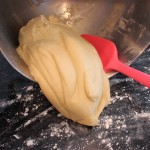
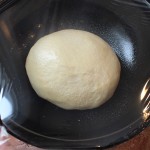
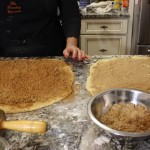
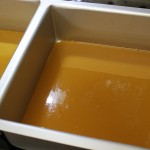
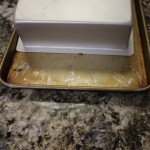
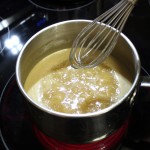
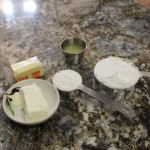
 Wait until you taste these decadent sticky buns first hand! Such an easy recipe to follow making these homemade gourmet sticky buns that melt in you mouth! PERFECT for VALENTINE’S DAY morning or any occasion for that matter. The dough is light and chewy. The glaze is soft and caramel like and the cream cheese icing is the best I have ever had. The cream cheese icing has a tablespoon of lemon juice giving it the perfect balance. If you don’t have lemons you can always substitute the citrus with pineapple juice. It’s nice to have the different options with these two toppings to offer to your family and guests.


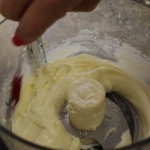

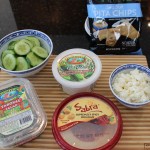
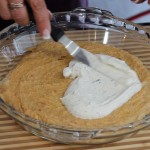
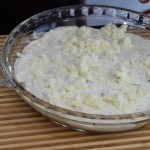
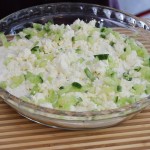
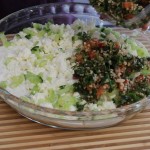
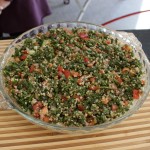
 This Mediterranean dip starts off with a layer of hummus, and continue’s on with layer’s of Tzatziki, crumbled sheep’s milk feta, chopped up European cucumber’s, and finally a layer of Tabouleh. Scoop up this delicious dip with cucumber slice’s, and, or pita chip’s. Granted, if you have a little extra time on your hands you could make one or two of the layers that go into the dip
 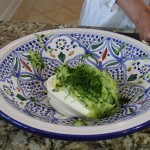 homemade like my