The Traveling Epicurean

Holiday Appetizer’s

Holiday Appetizer’s

iphone pictures 572
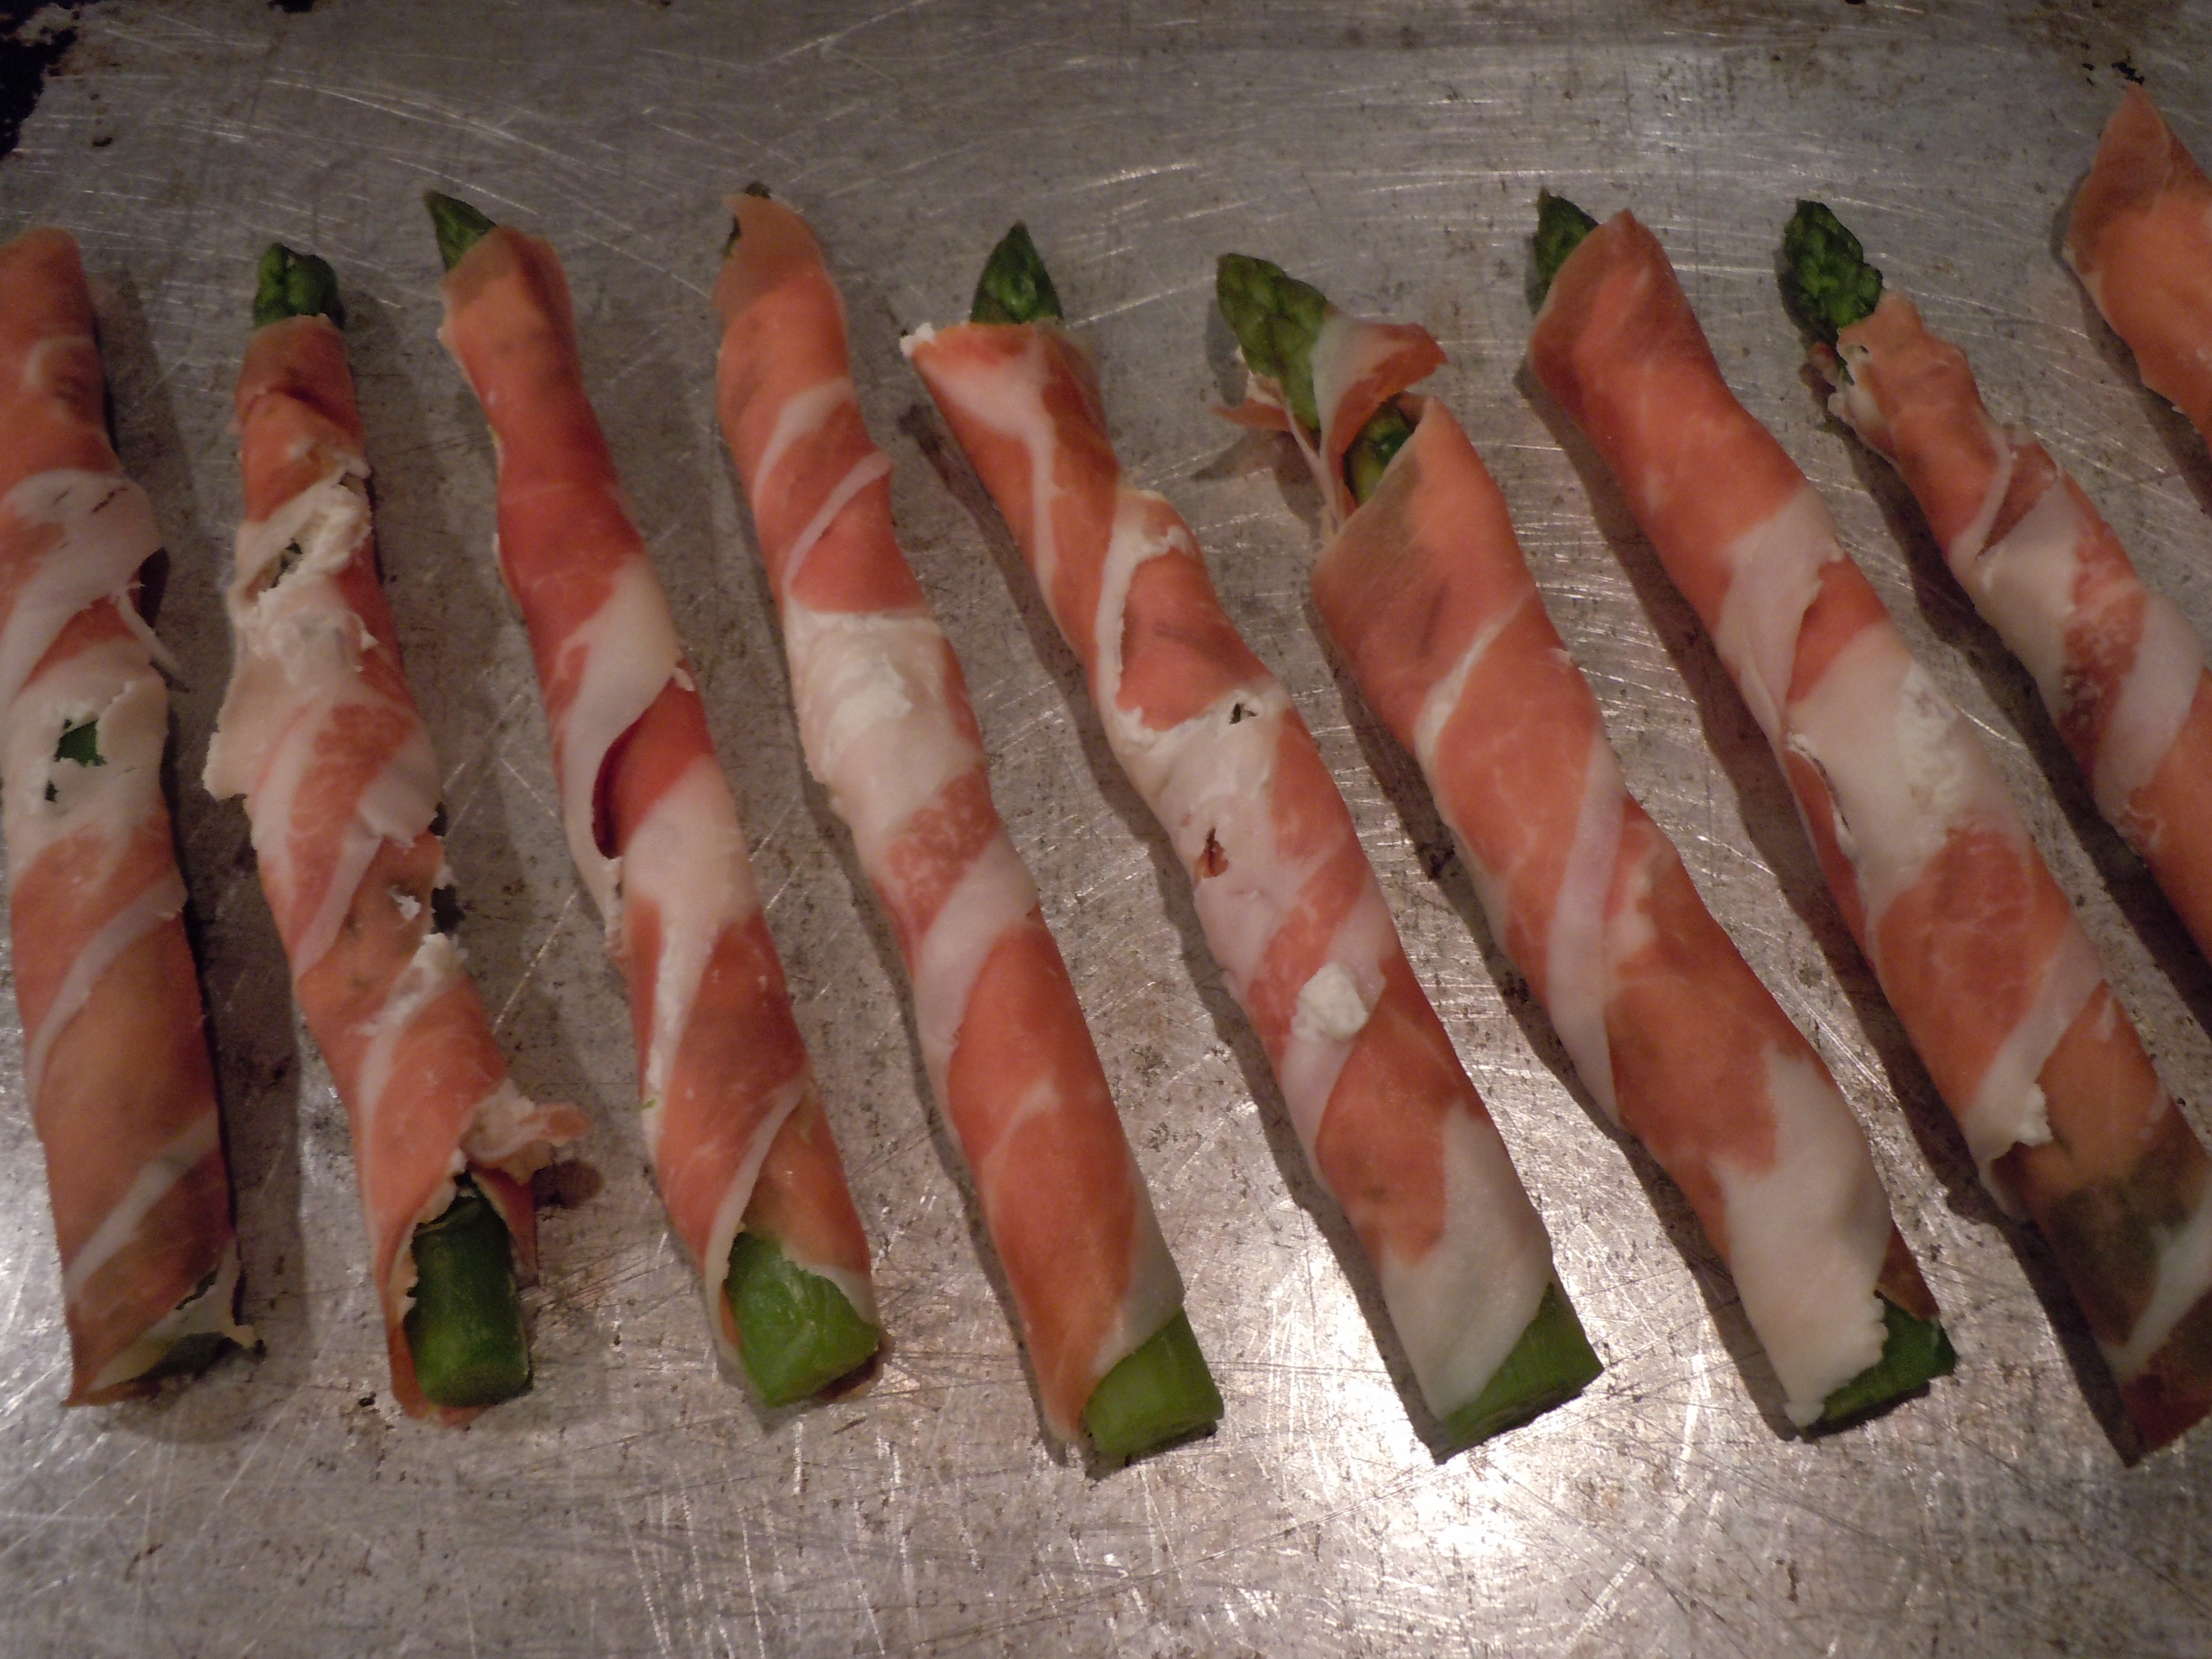
The first holiday appetizer I have for you is my baked asparagus wrapped in Prosciutto that has a smear of a cream cheese, sweet onion and Parmesan spread on the Prosciutto. These Proscuitto wrapped Asparagus are one of my favorite appetizers and can be a topping to a salad or a pretty side vegetable to lunch or dinner. I first had these delicious little bundles at my sister-in-law’s, Anita’s house, twenty years ago.  She is an amazing chef who’s always cooking up a storm. They can totally be made a day ahead, placed on a cookie tray and stored in the frig until you need them. The asparagus is blanched and shocked in an ice bath to stop the cooking and to keep that vibrant green color before they are wrapped with Proscuitto. You want to make sure you buy “Proscuitto di Parma” for this holiday appetizer because it’s the best and most delicate in flavor.  There are other tasty Prosciutto’s out there but they won’t be as tender as the Parma and may get too salty or waxy after baking.

The second quick and easy, gourmet tidbit i have for you are my holiday crostinis with Gorgonzola, fresh chopped tomato, basil and garlic that bakes for seven minutes. These take the same amount of time as the asparagus-Prosciutto appetizer’s. How convenient is that? You can buy already crumbled Gorgonzola at the market in small plastic containers. A little chopping of cherry or grape tomatoes and basil and voilà! The crostinis are beyond simple to make and you can check out that recipe by the hyper-link.

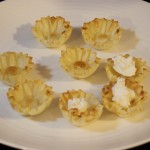
The last wicked easy and delicious holiday appetizer I have for you is something a little sweet. It’s a dollop of goat cheese, fig jam, fresh chopped pear and a mint leave all in a pre-baked fillo shell. Yes, I said pre-baked!!! Can you believe that one? This one you serve at room temperature so all you need to do is thaw the pre-baked shells which takes all of two minutes. It just can’t get any easier than that.

You can totally be flexible with these perfect little holiday appetizer’s too. If you don’t like Gorgonzola switch it out with some cubed up fresh mozzarella to top the crostinis and tomato-basil mixture. As for the pre-baked phylo cups, you can always swap out the goat cheese for a slice of brie if that’s more your taste.

I hope these last minute holiday appetizer’s help you out for your party! I wish you all a joyous New Year! You can certainly swap out or add in other hors d’ oeurves if you are feeling ambitious like baked coconut shrimp, zucchini torta, roasted chick peas, or smoked salmon on crostinis with cream cheese-caper spread. Enjoy 😉

iphone pictures 448

iphone pictures 1063

iphone pictures 970

iphone pictures 777


Baked Asparagus Wrapped in Prosciutto
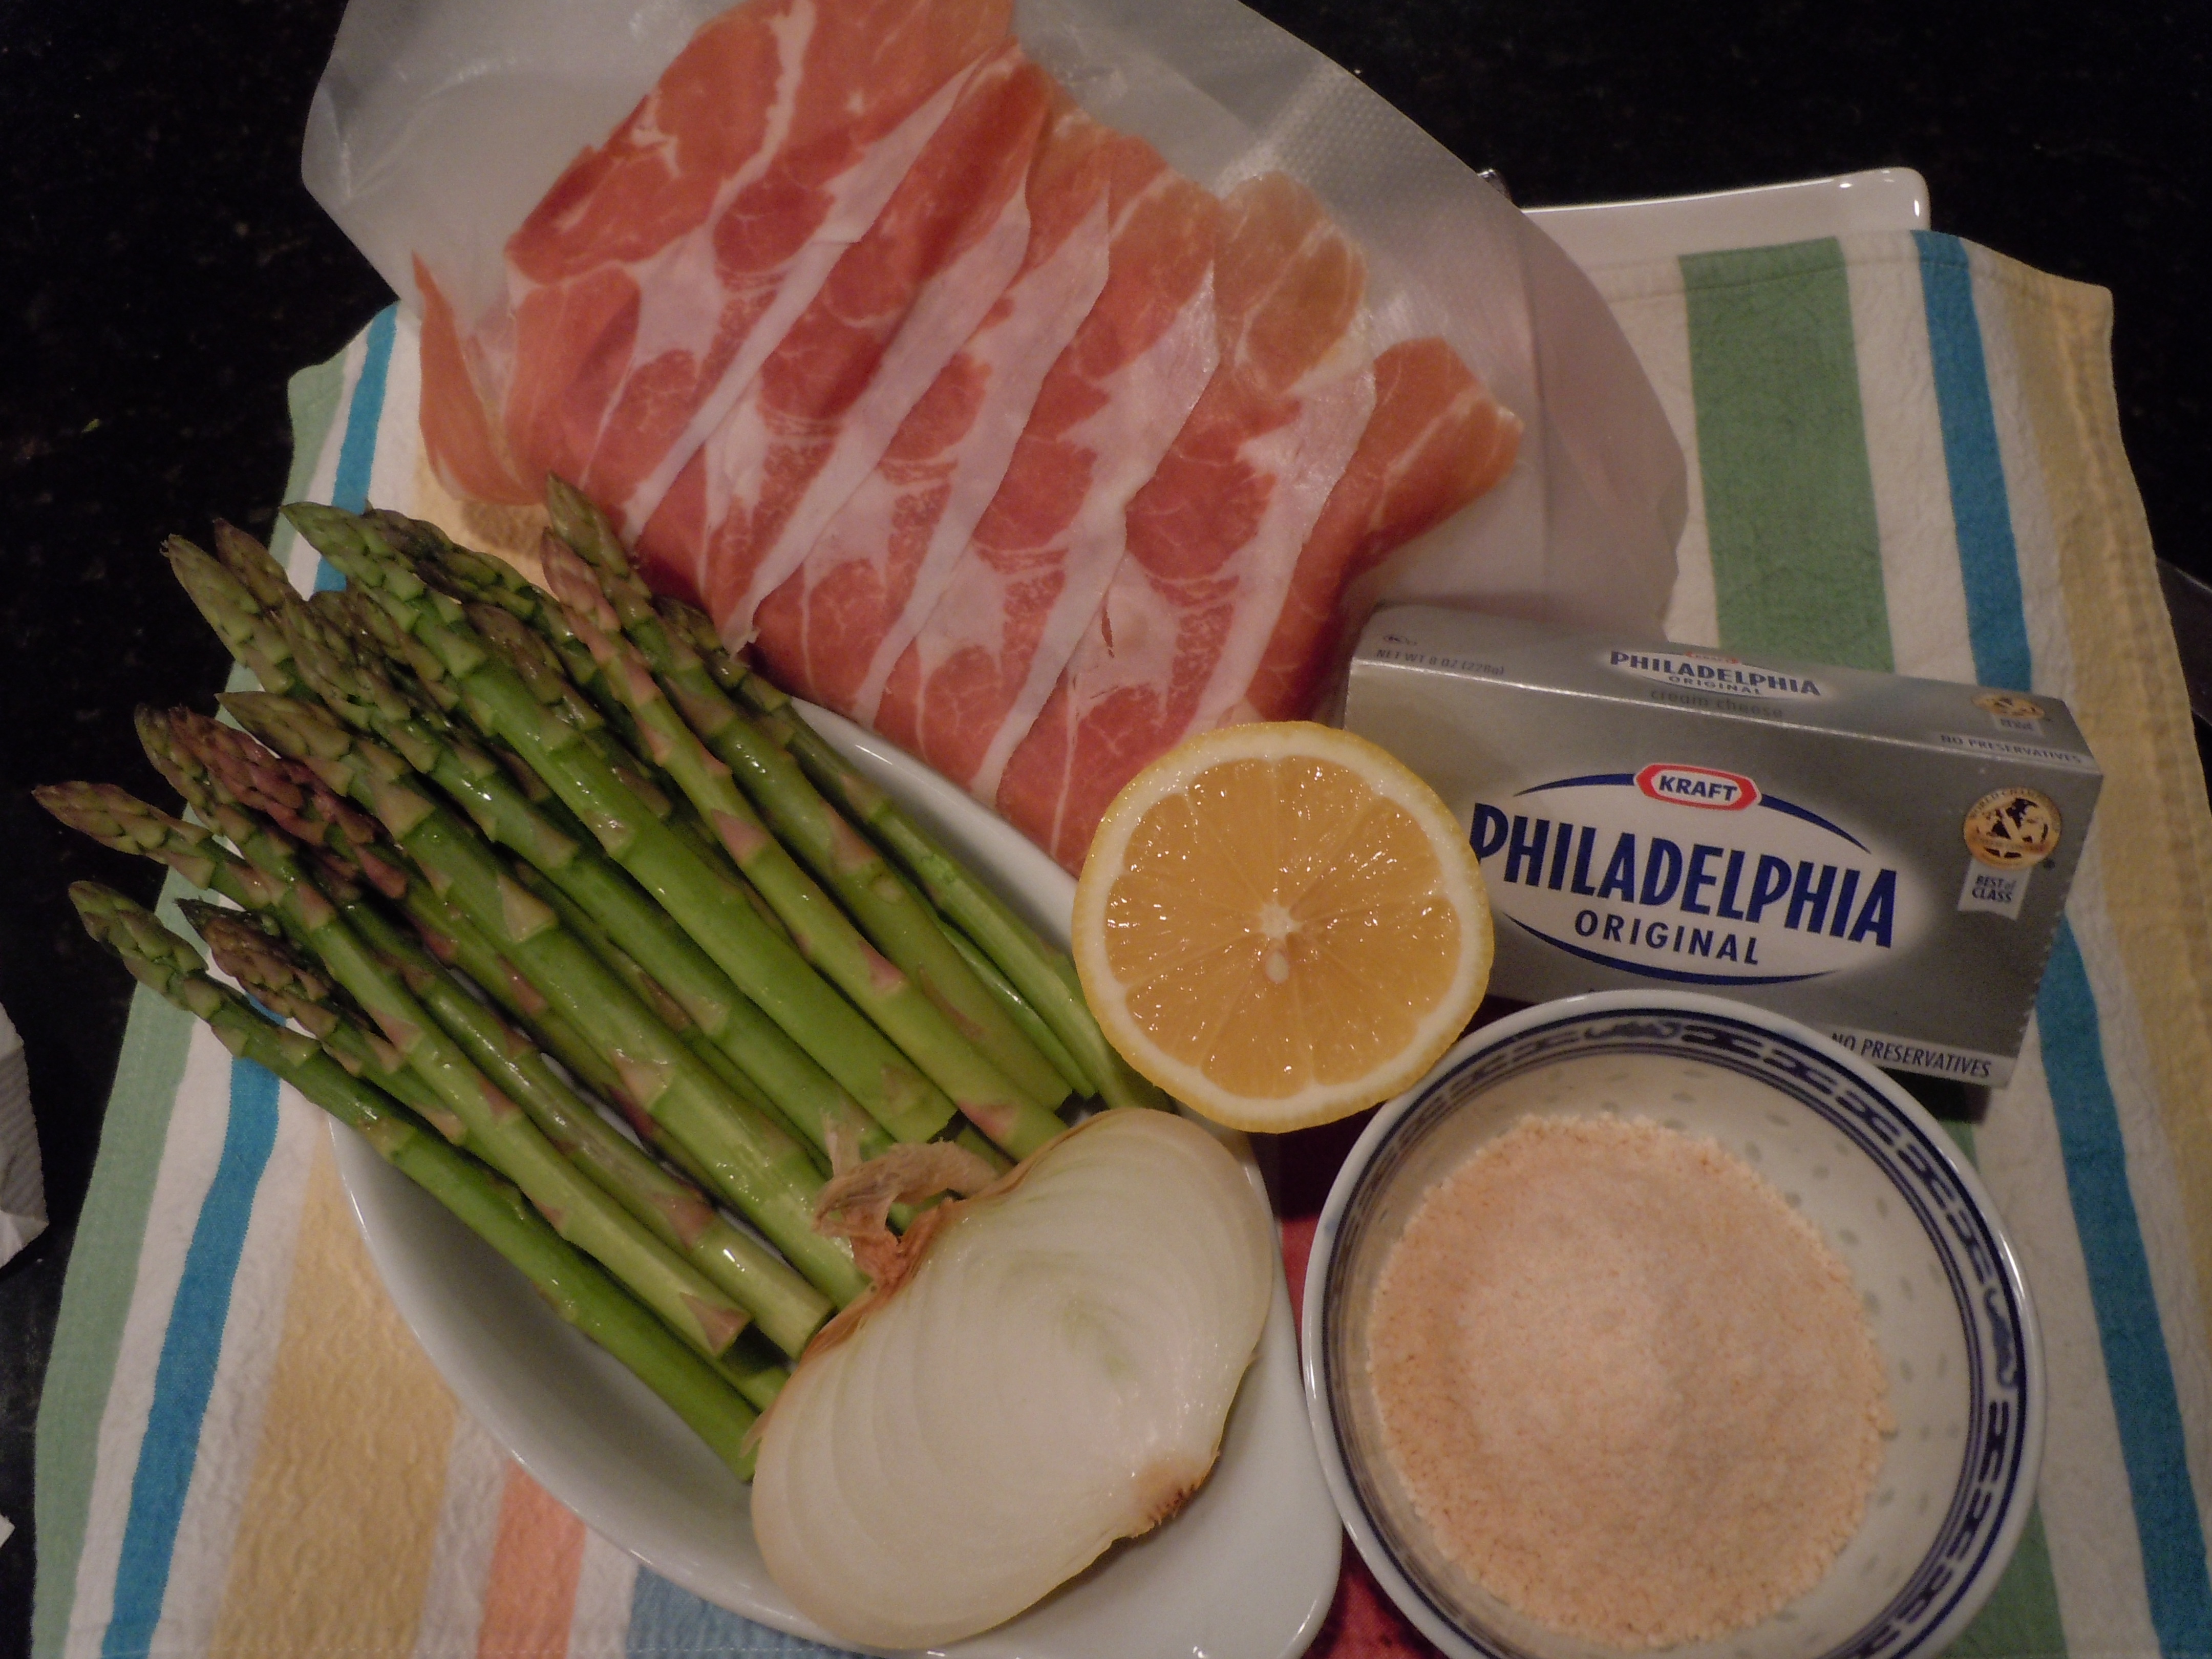
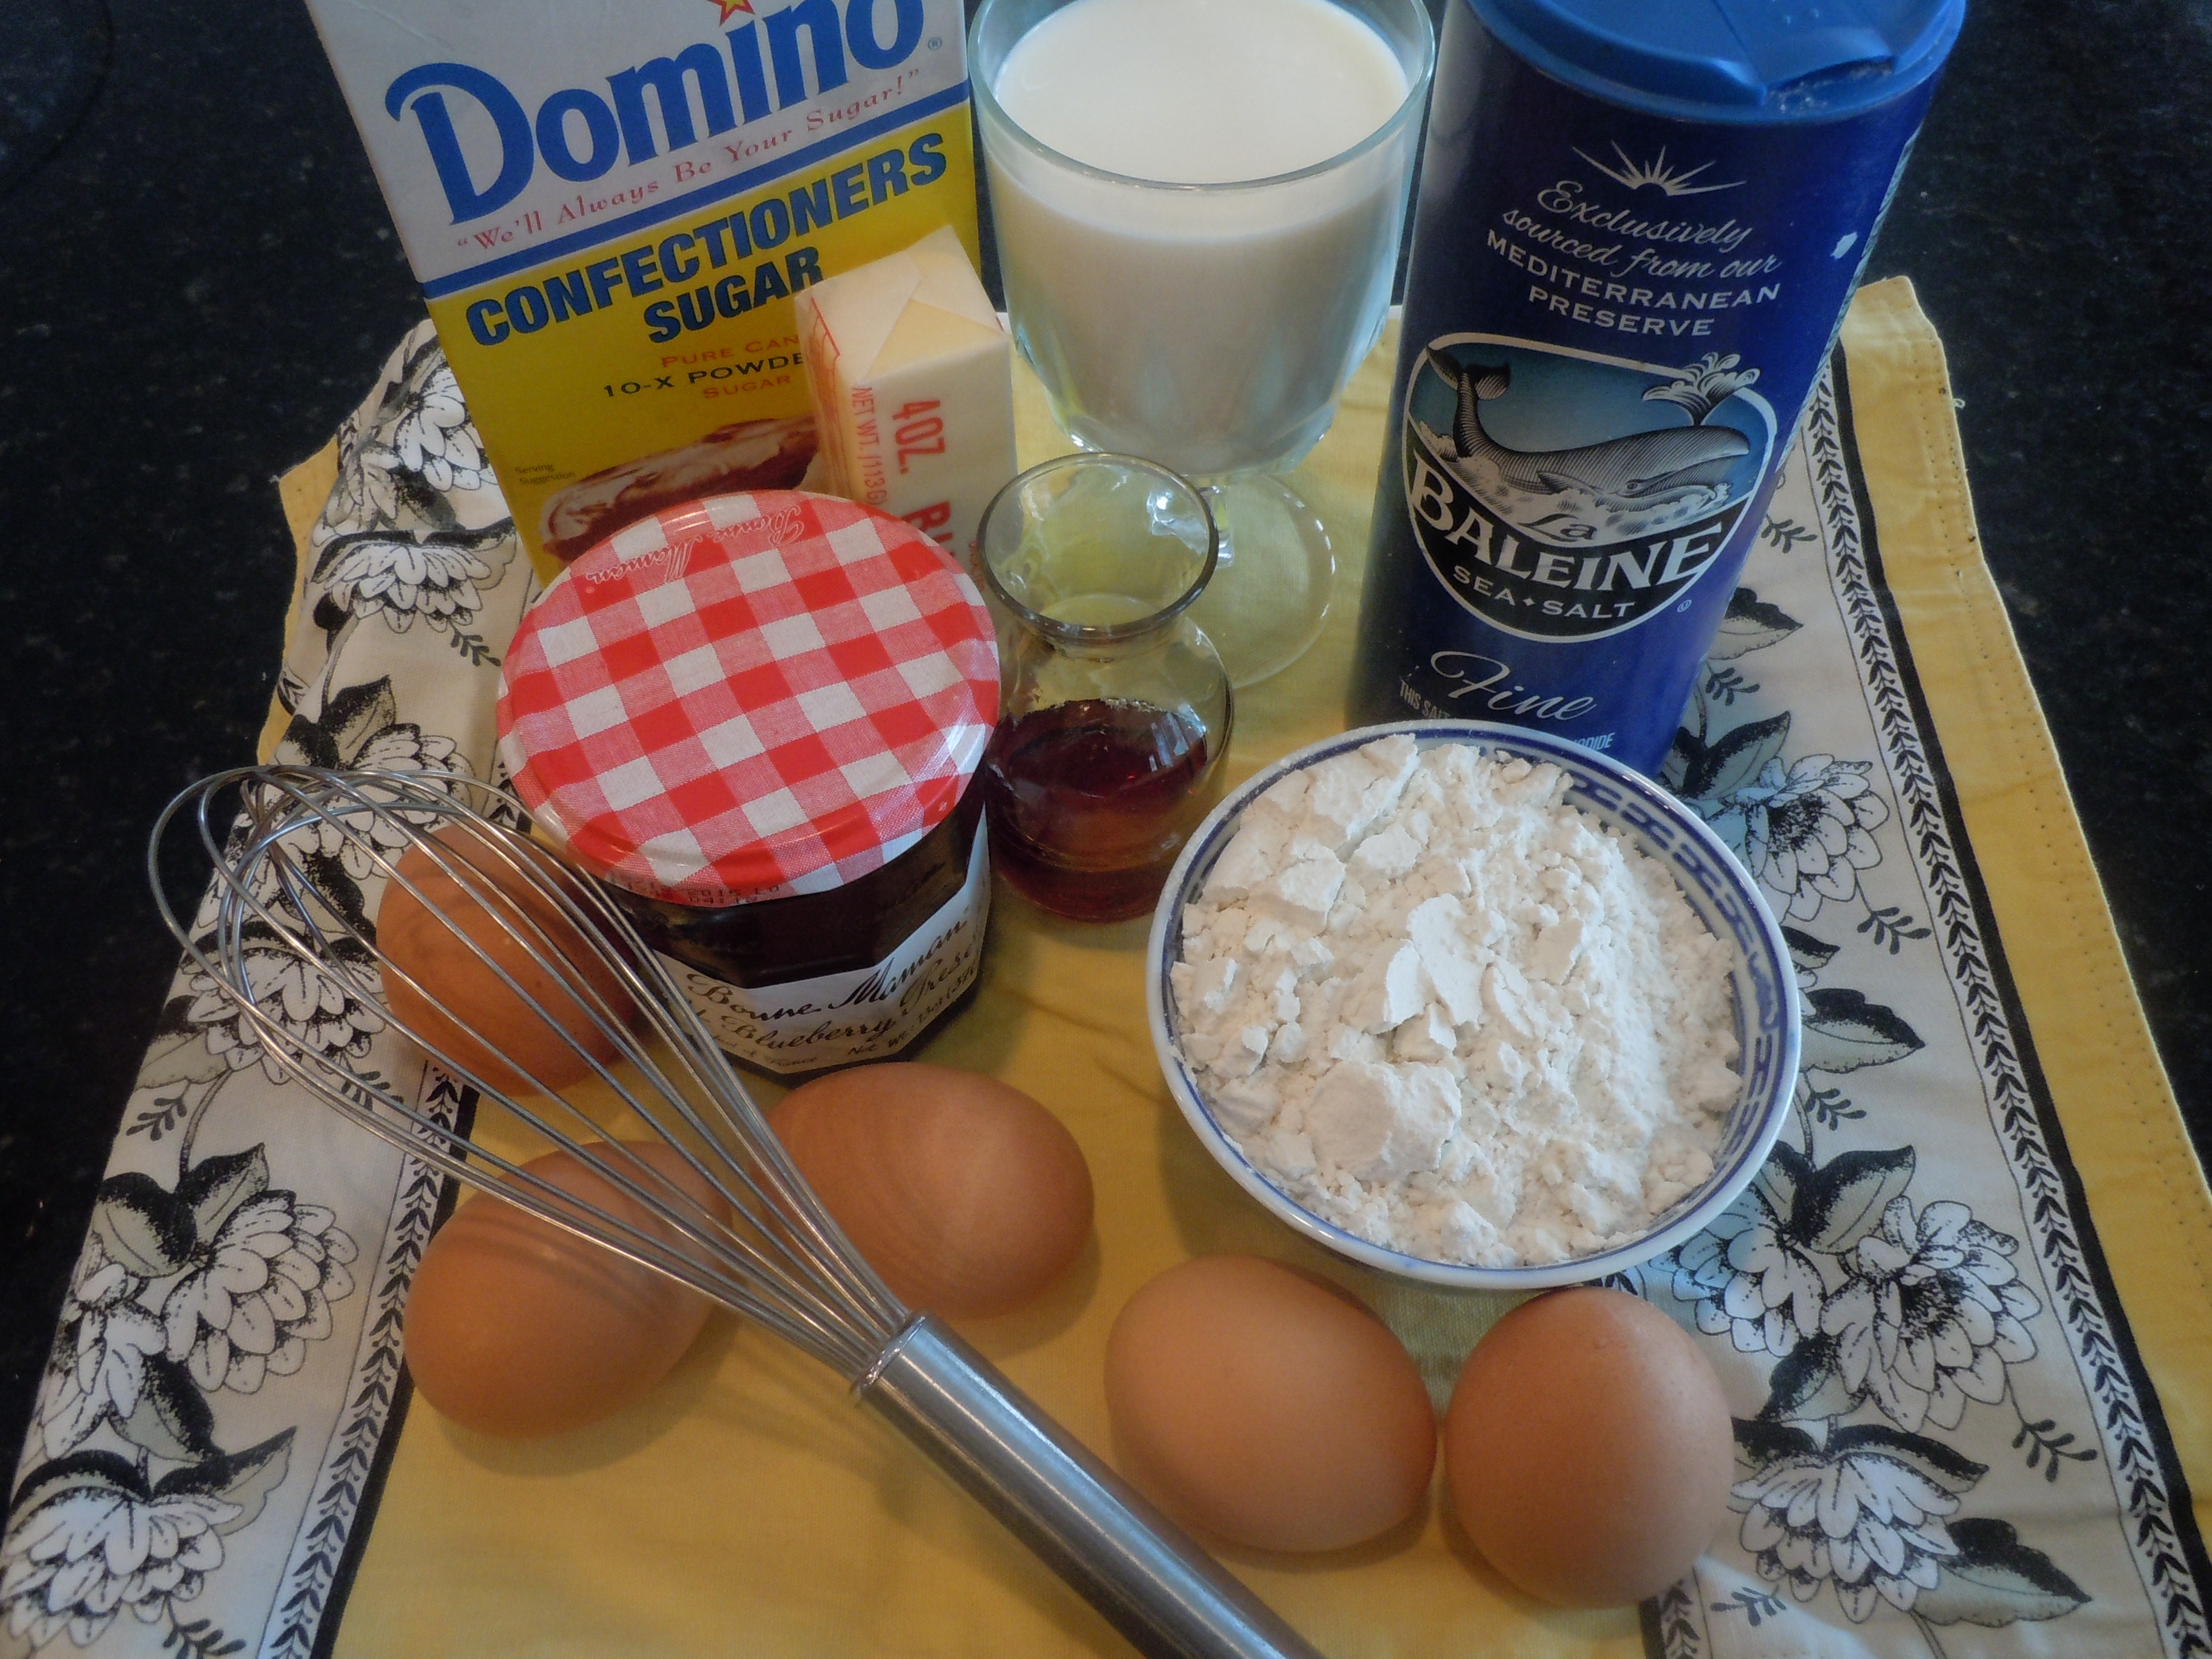
iphone pictures 538 iphone pictures 601 iphone pictures 529

iphone pictures 532 iphone pictures 534 iphone pictures 540

iphone pictures 544 iphone pictures 546 iphone pictures 545

iphone pictures 552 iphone pictures 554 iphone pictures 560

Ingredients:

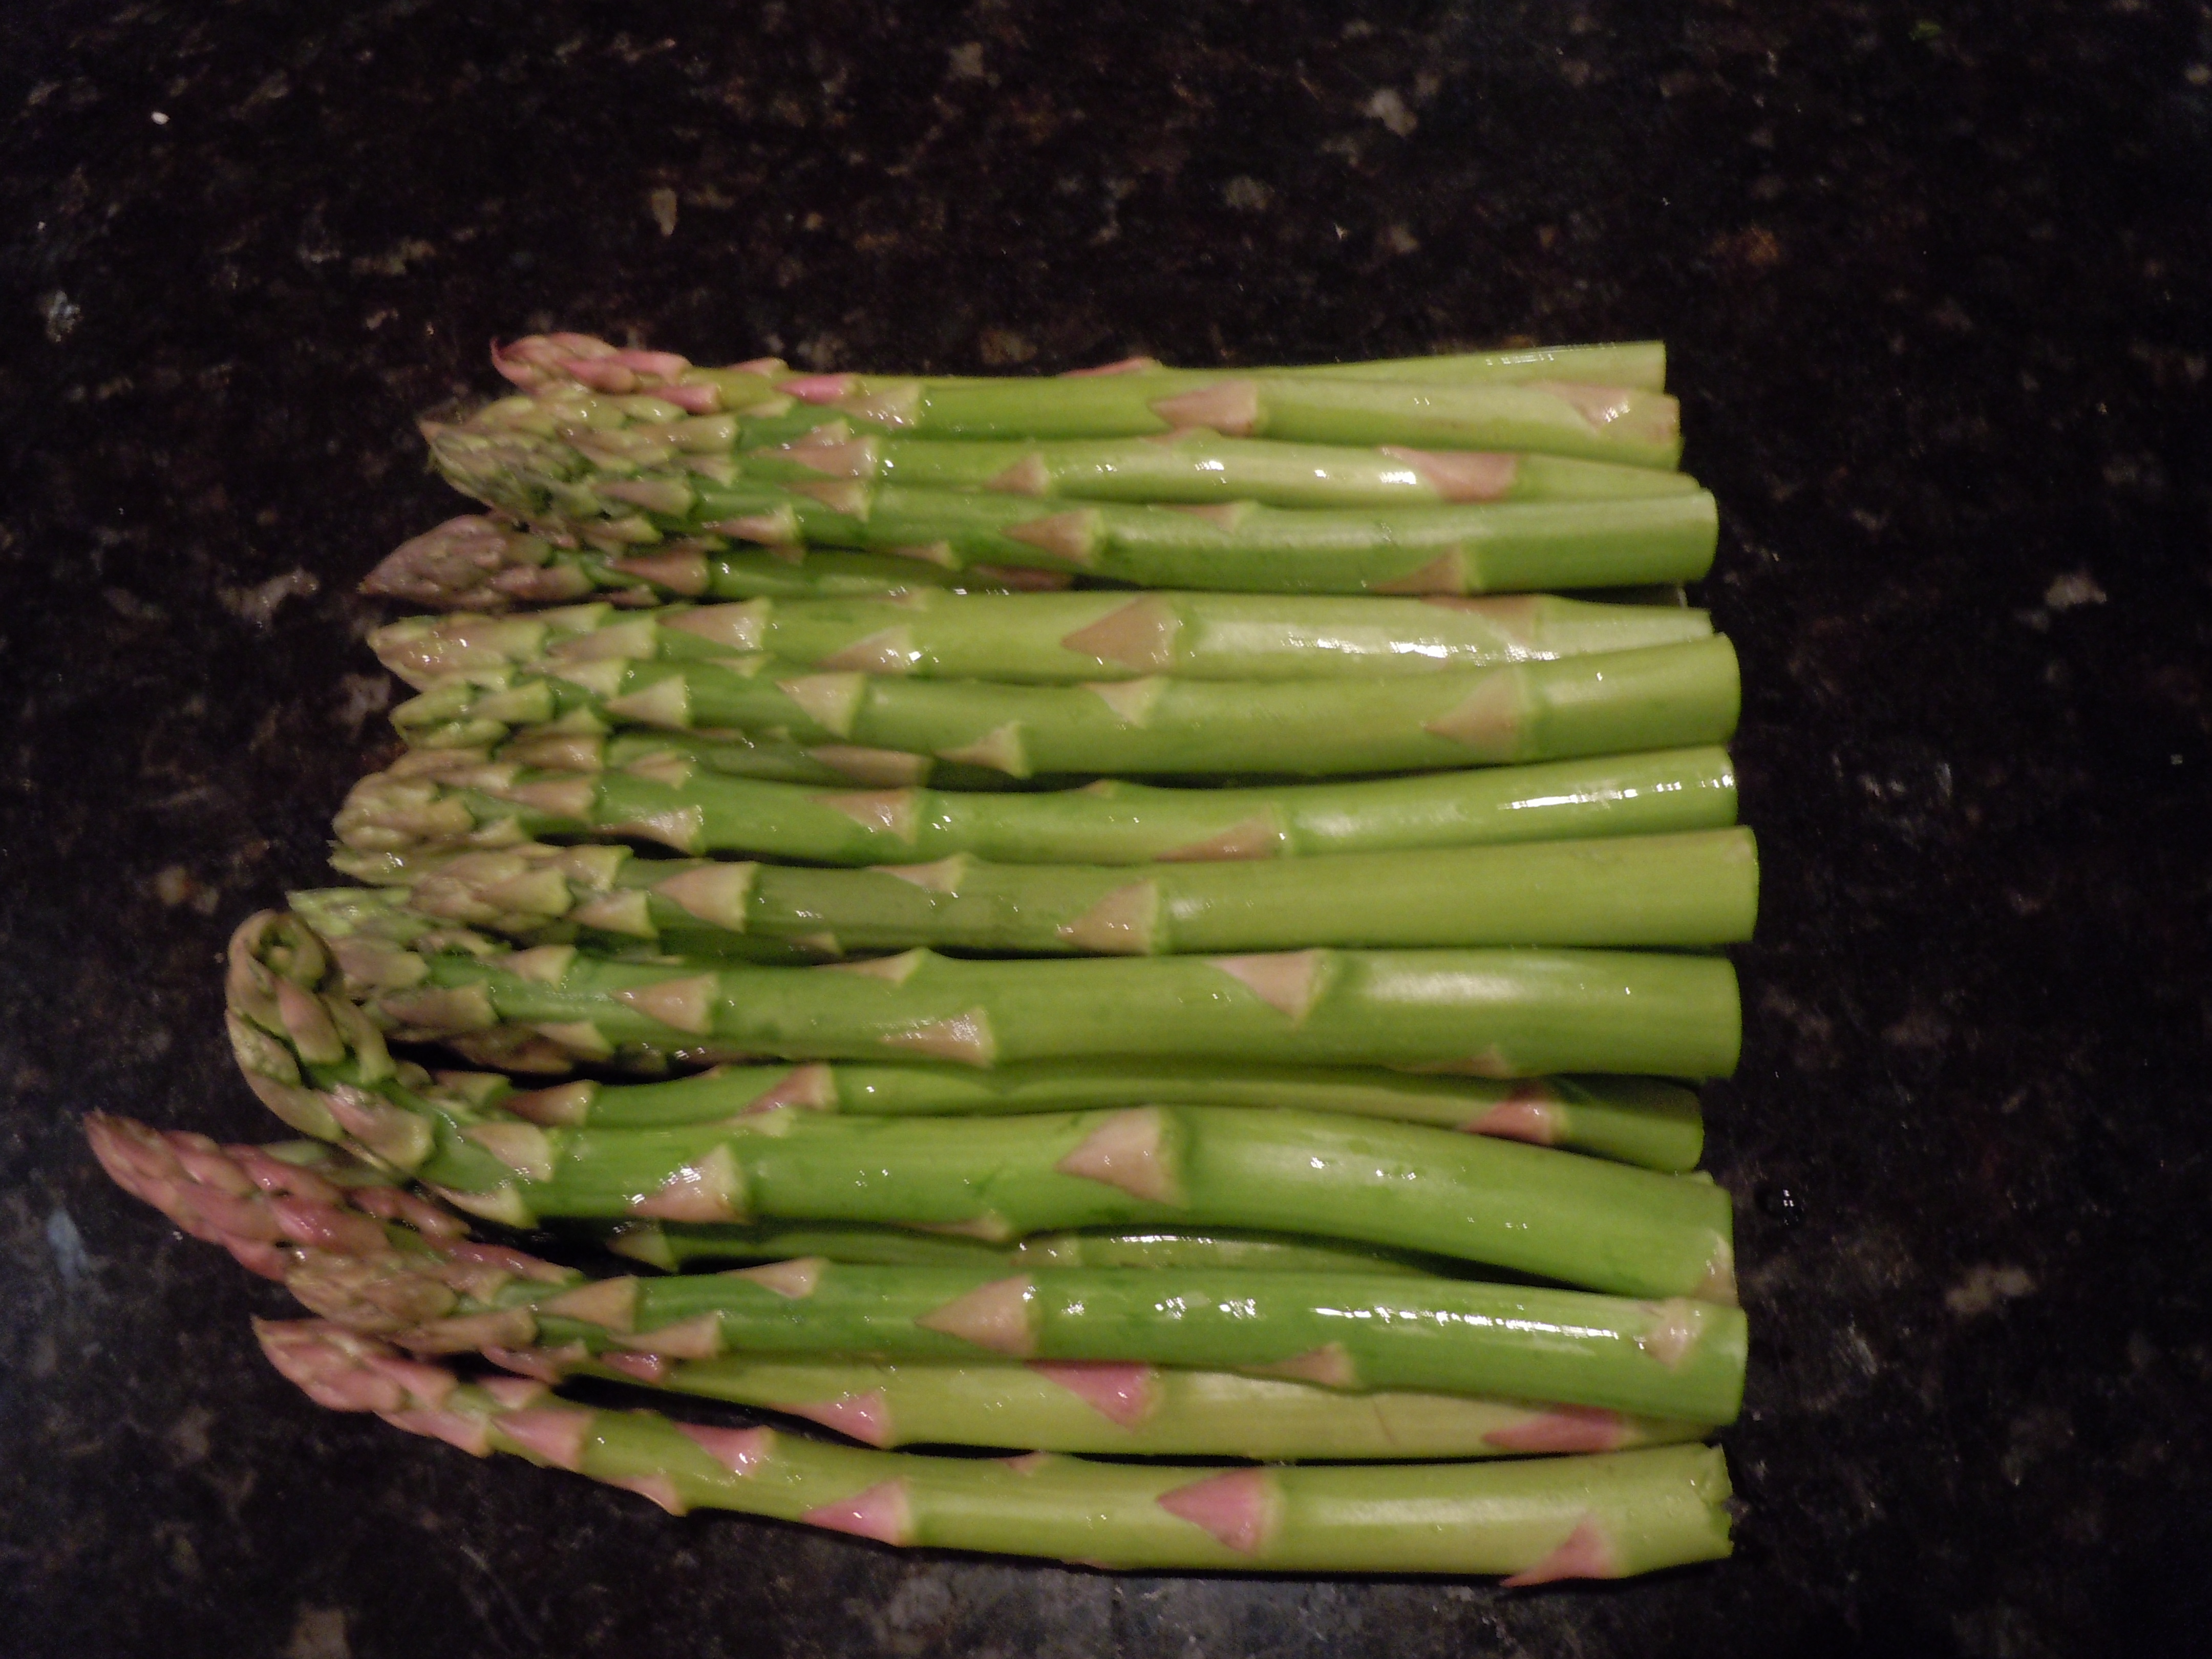
  • 20 large asparagus (the bigger the better)
  • 1/4 lb Prosciutto di Parma sliced thinly
  • 4 oz cream cheese room temp (Philadelphia)
  • 1 Tbsp grated vidalia onion (yellow or white is fine too)
  • 1/2 cup grated Parmesan cheese
  • 1 Tsp fresh lemon juice

Directions:

  1. Pre-heat the oven to 400º.
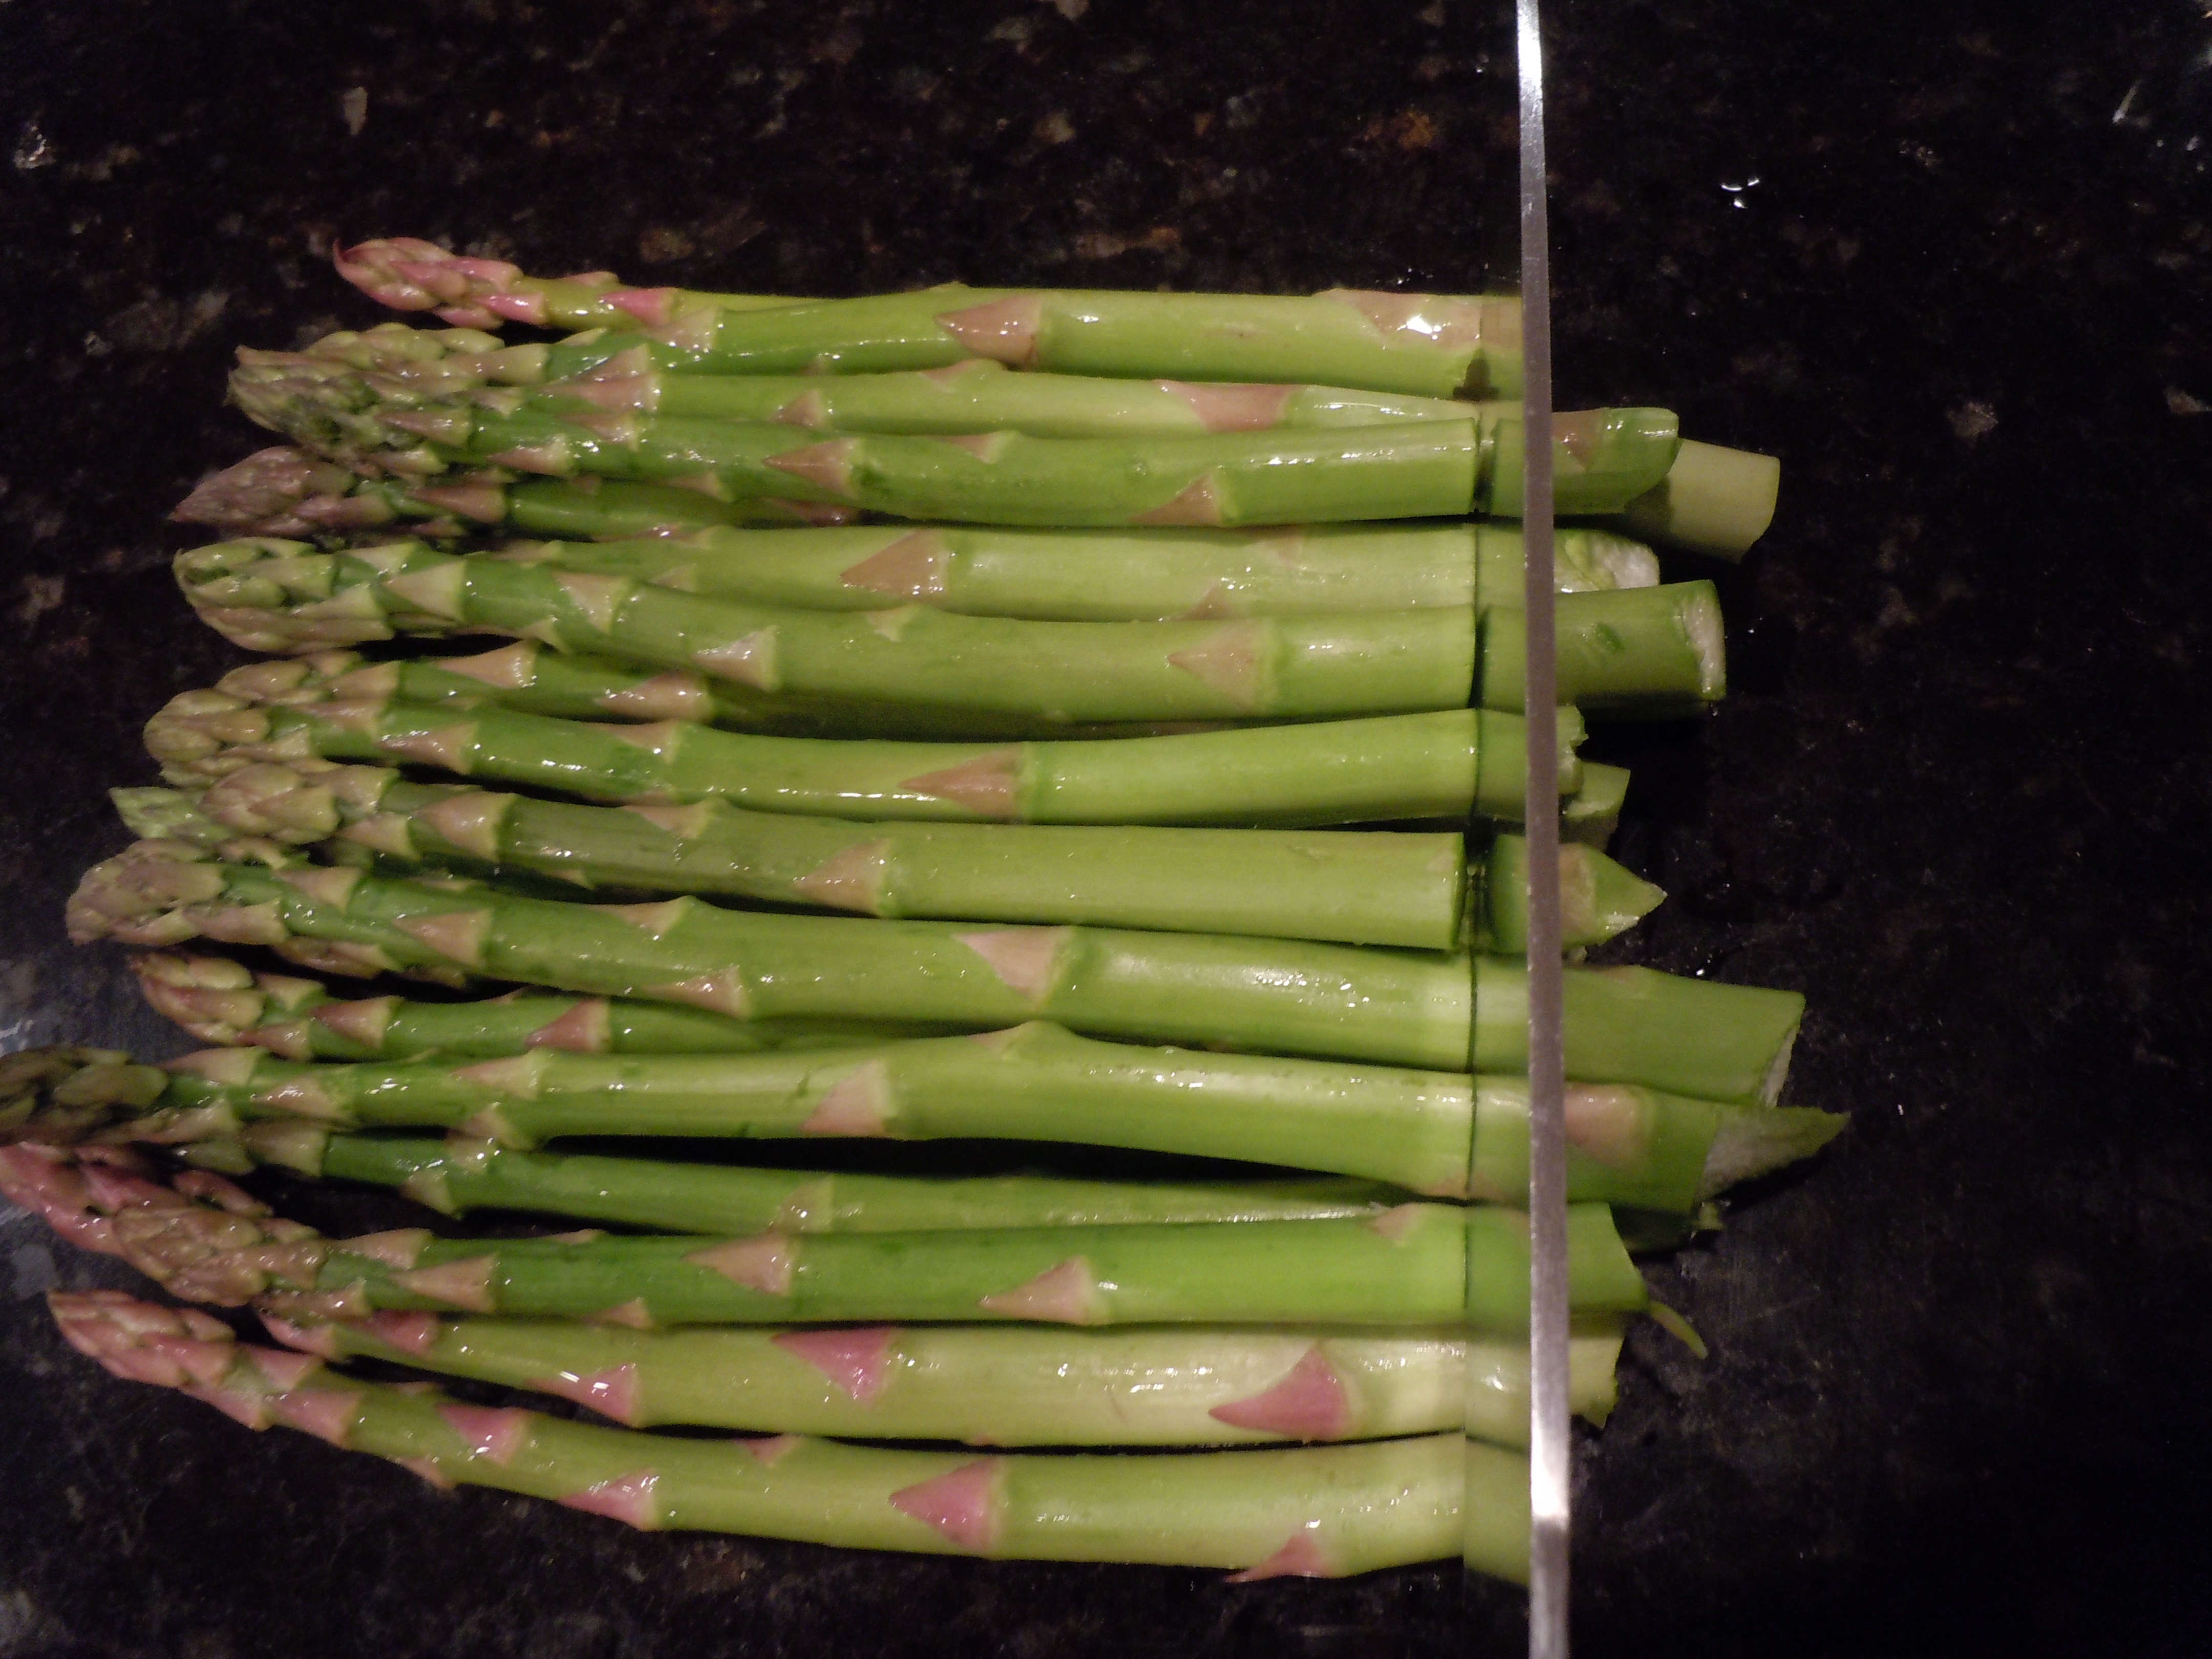
  2. Hold the asparagus with your fingers in the middle and on the end and bend.
  3. The asparagus will break where it’s supposed to.
  4. Line them up and cut evenly across the bottom so they are all at a consistent length.
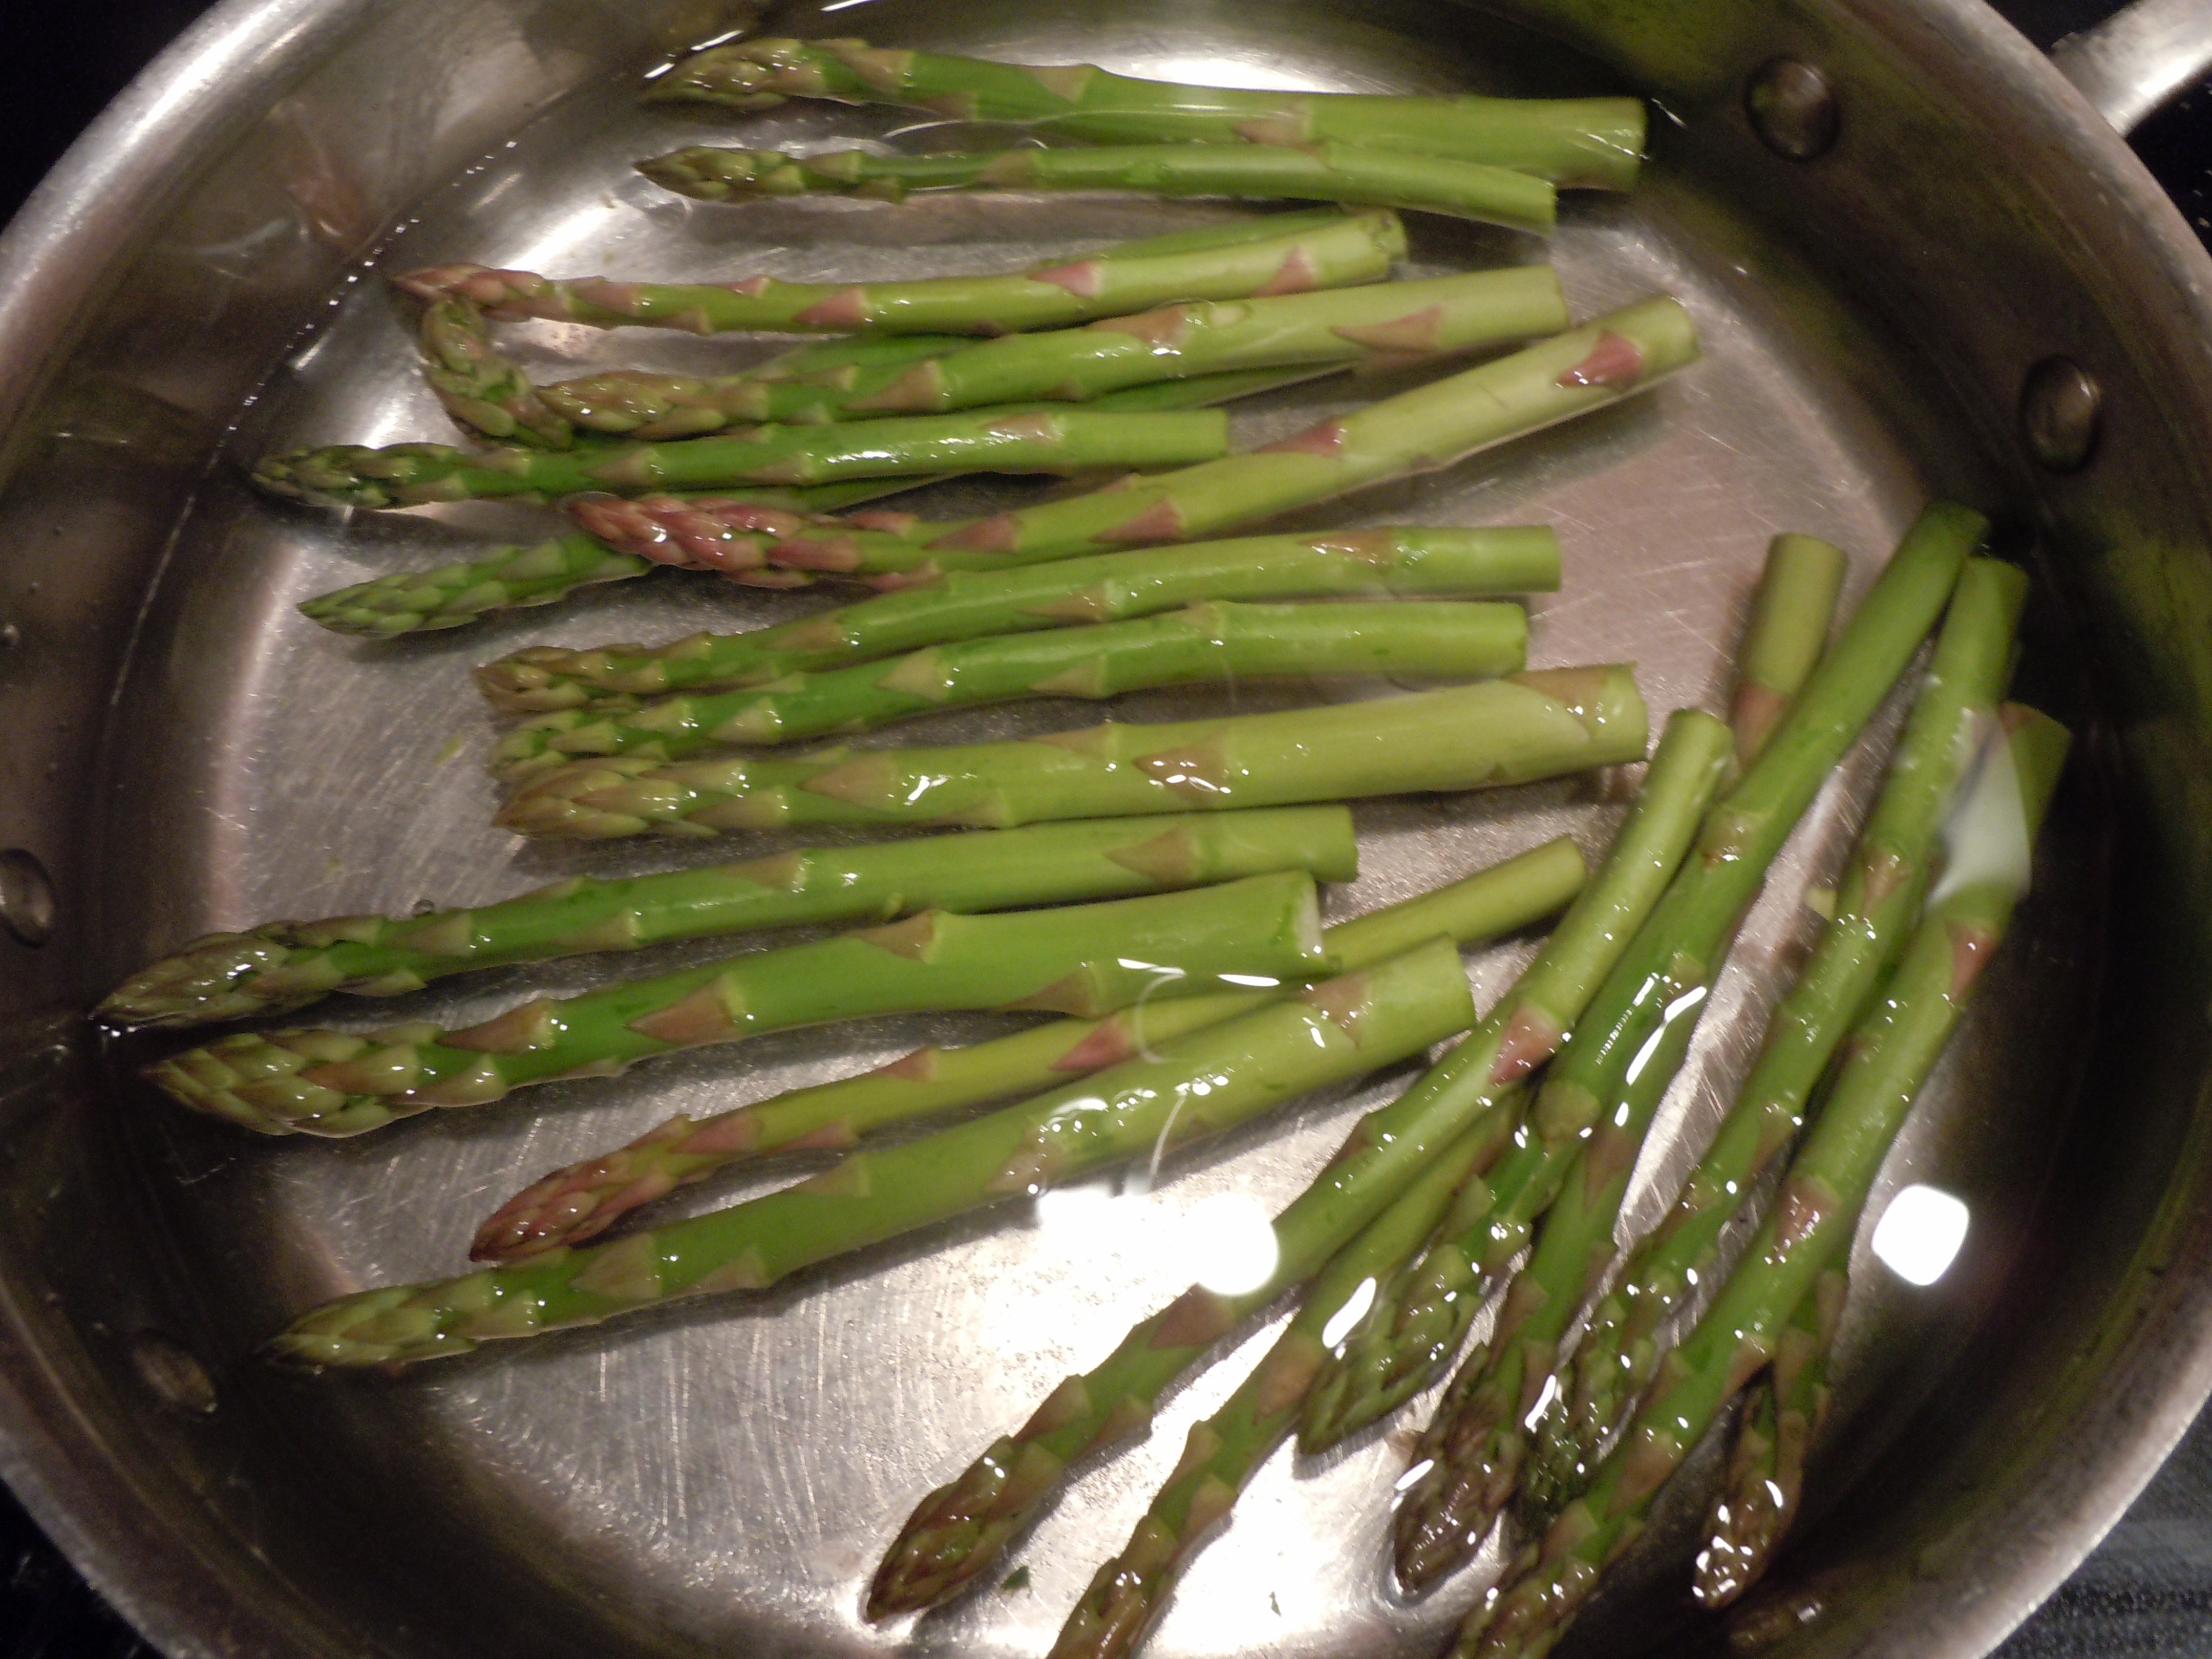
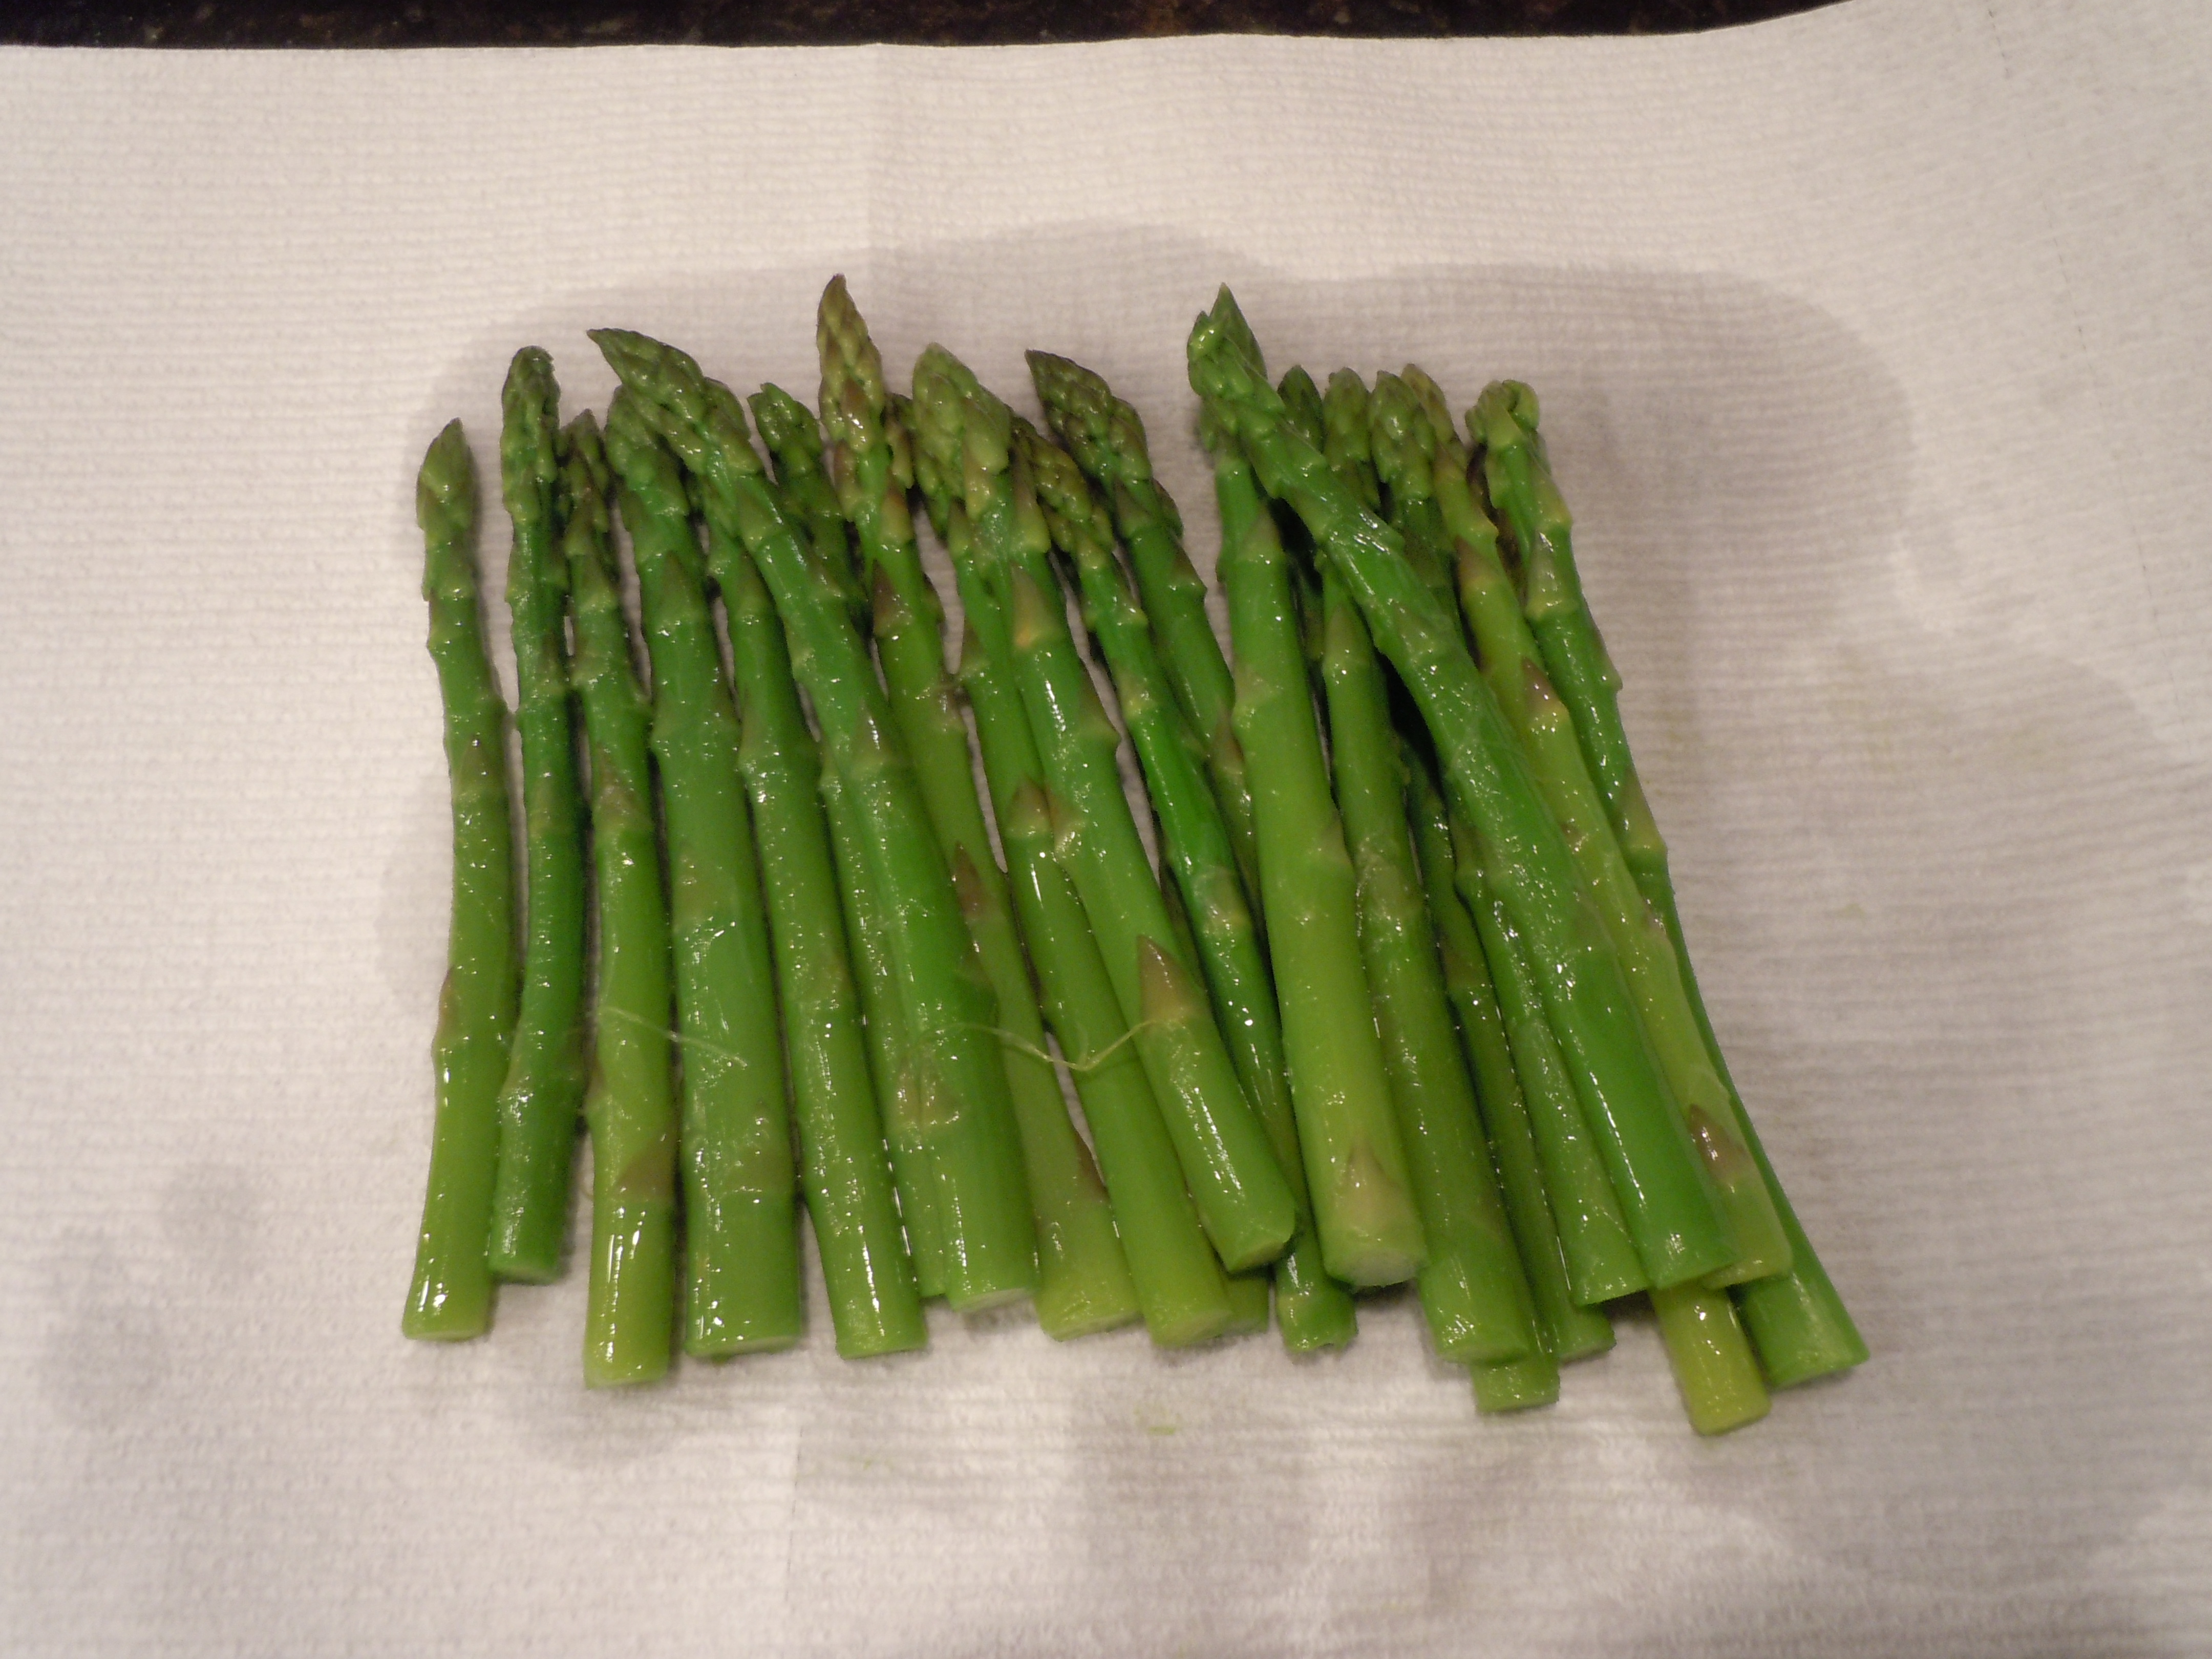
  5. Bring salted water to a boil and add in asparagus …Blanch 2 minutes
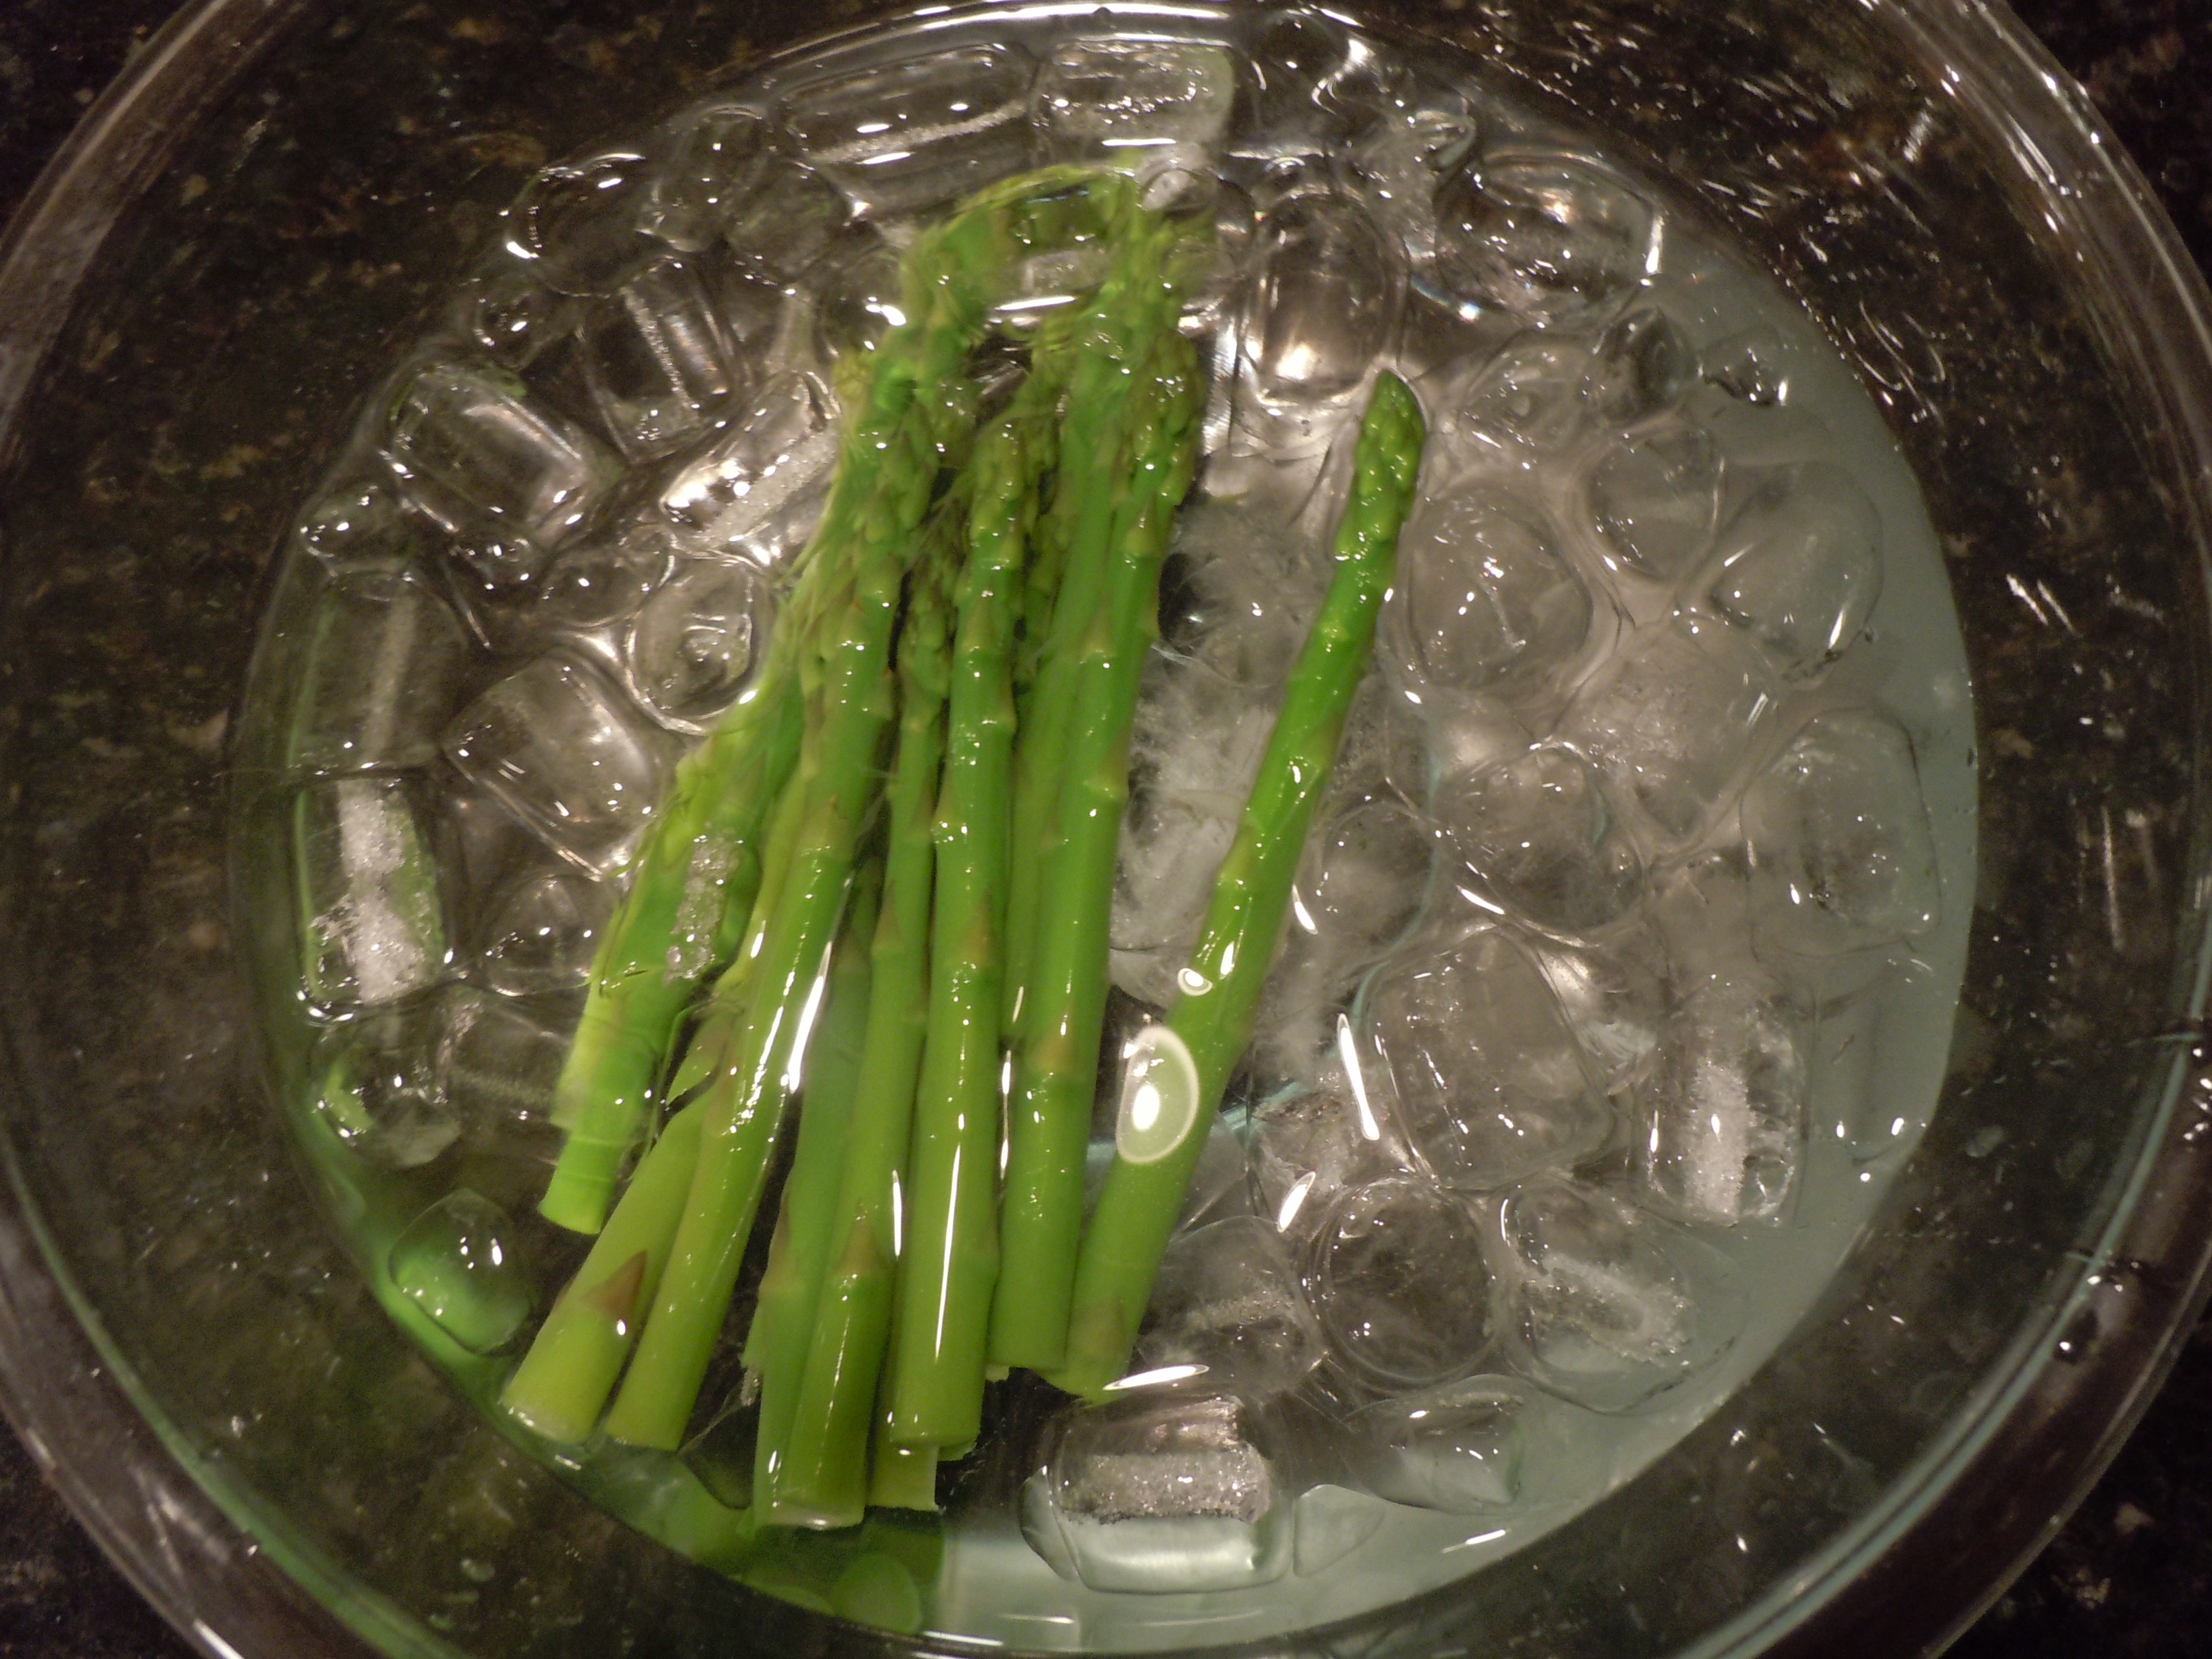
  6. Drain and put into a ice bath.
  7. Dry the asparagus with paper towels.
  8. At this point you can pop them into a zip lock and into the frig until you are ready for them.
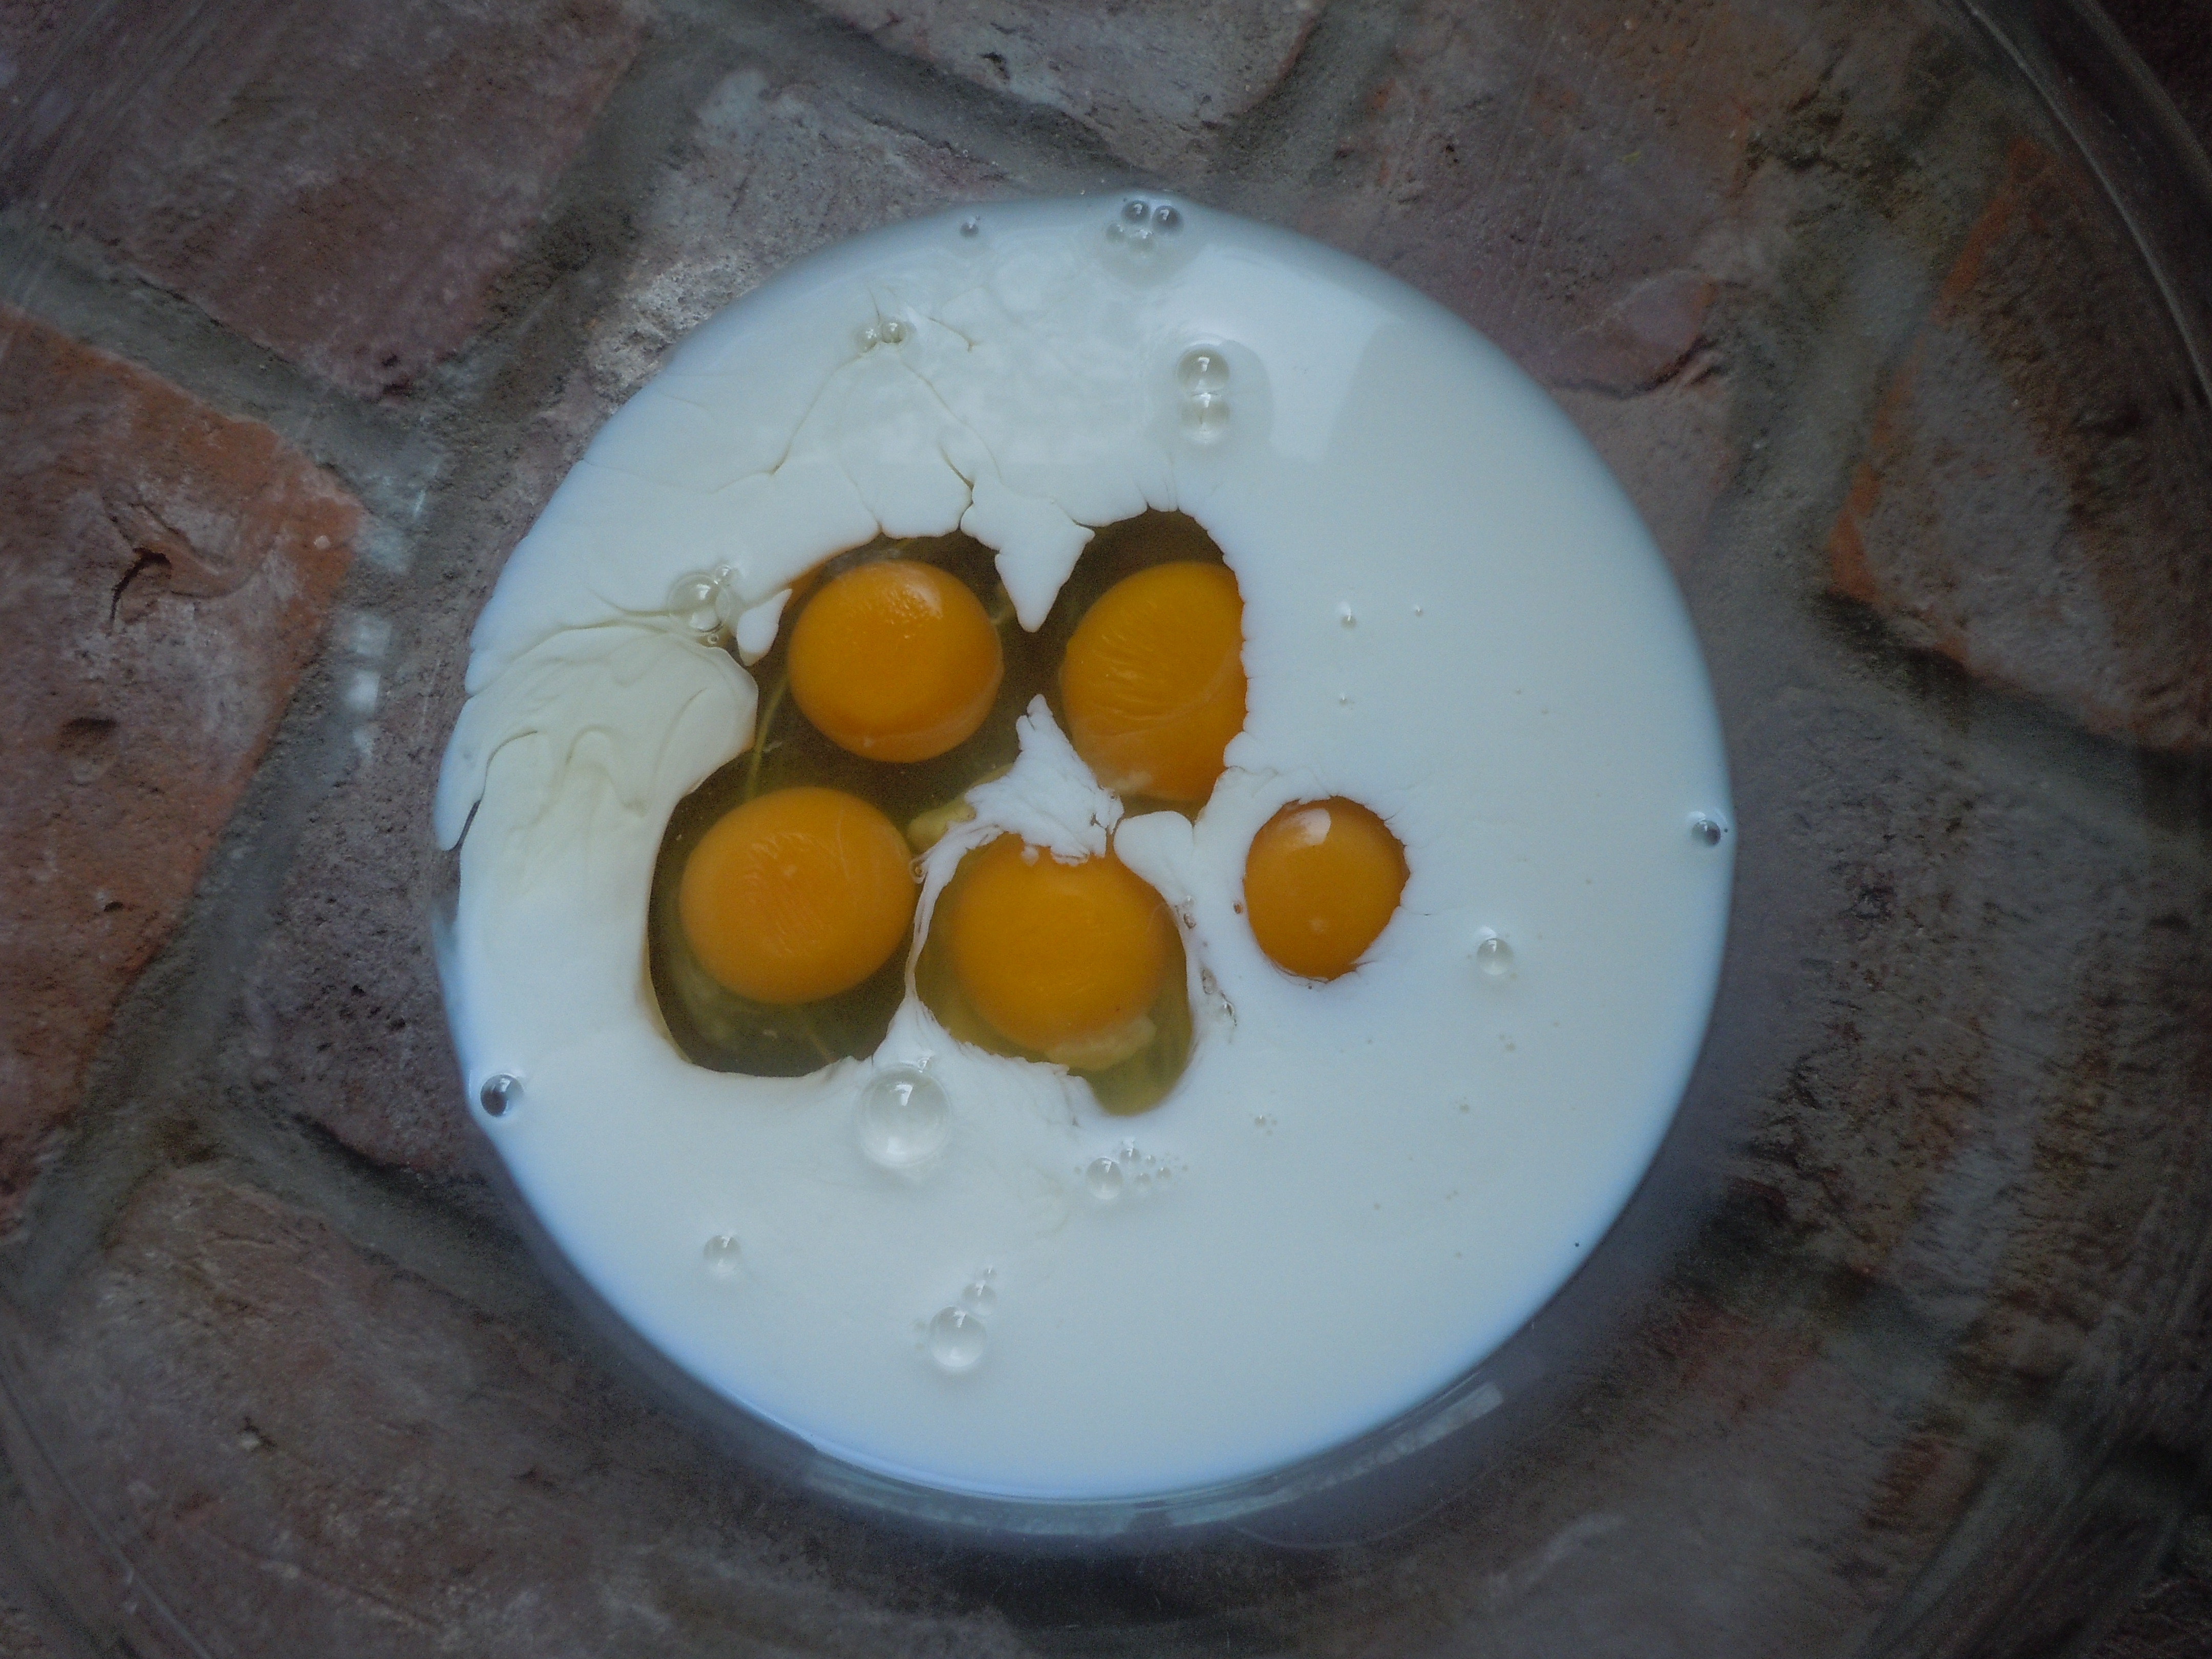
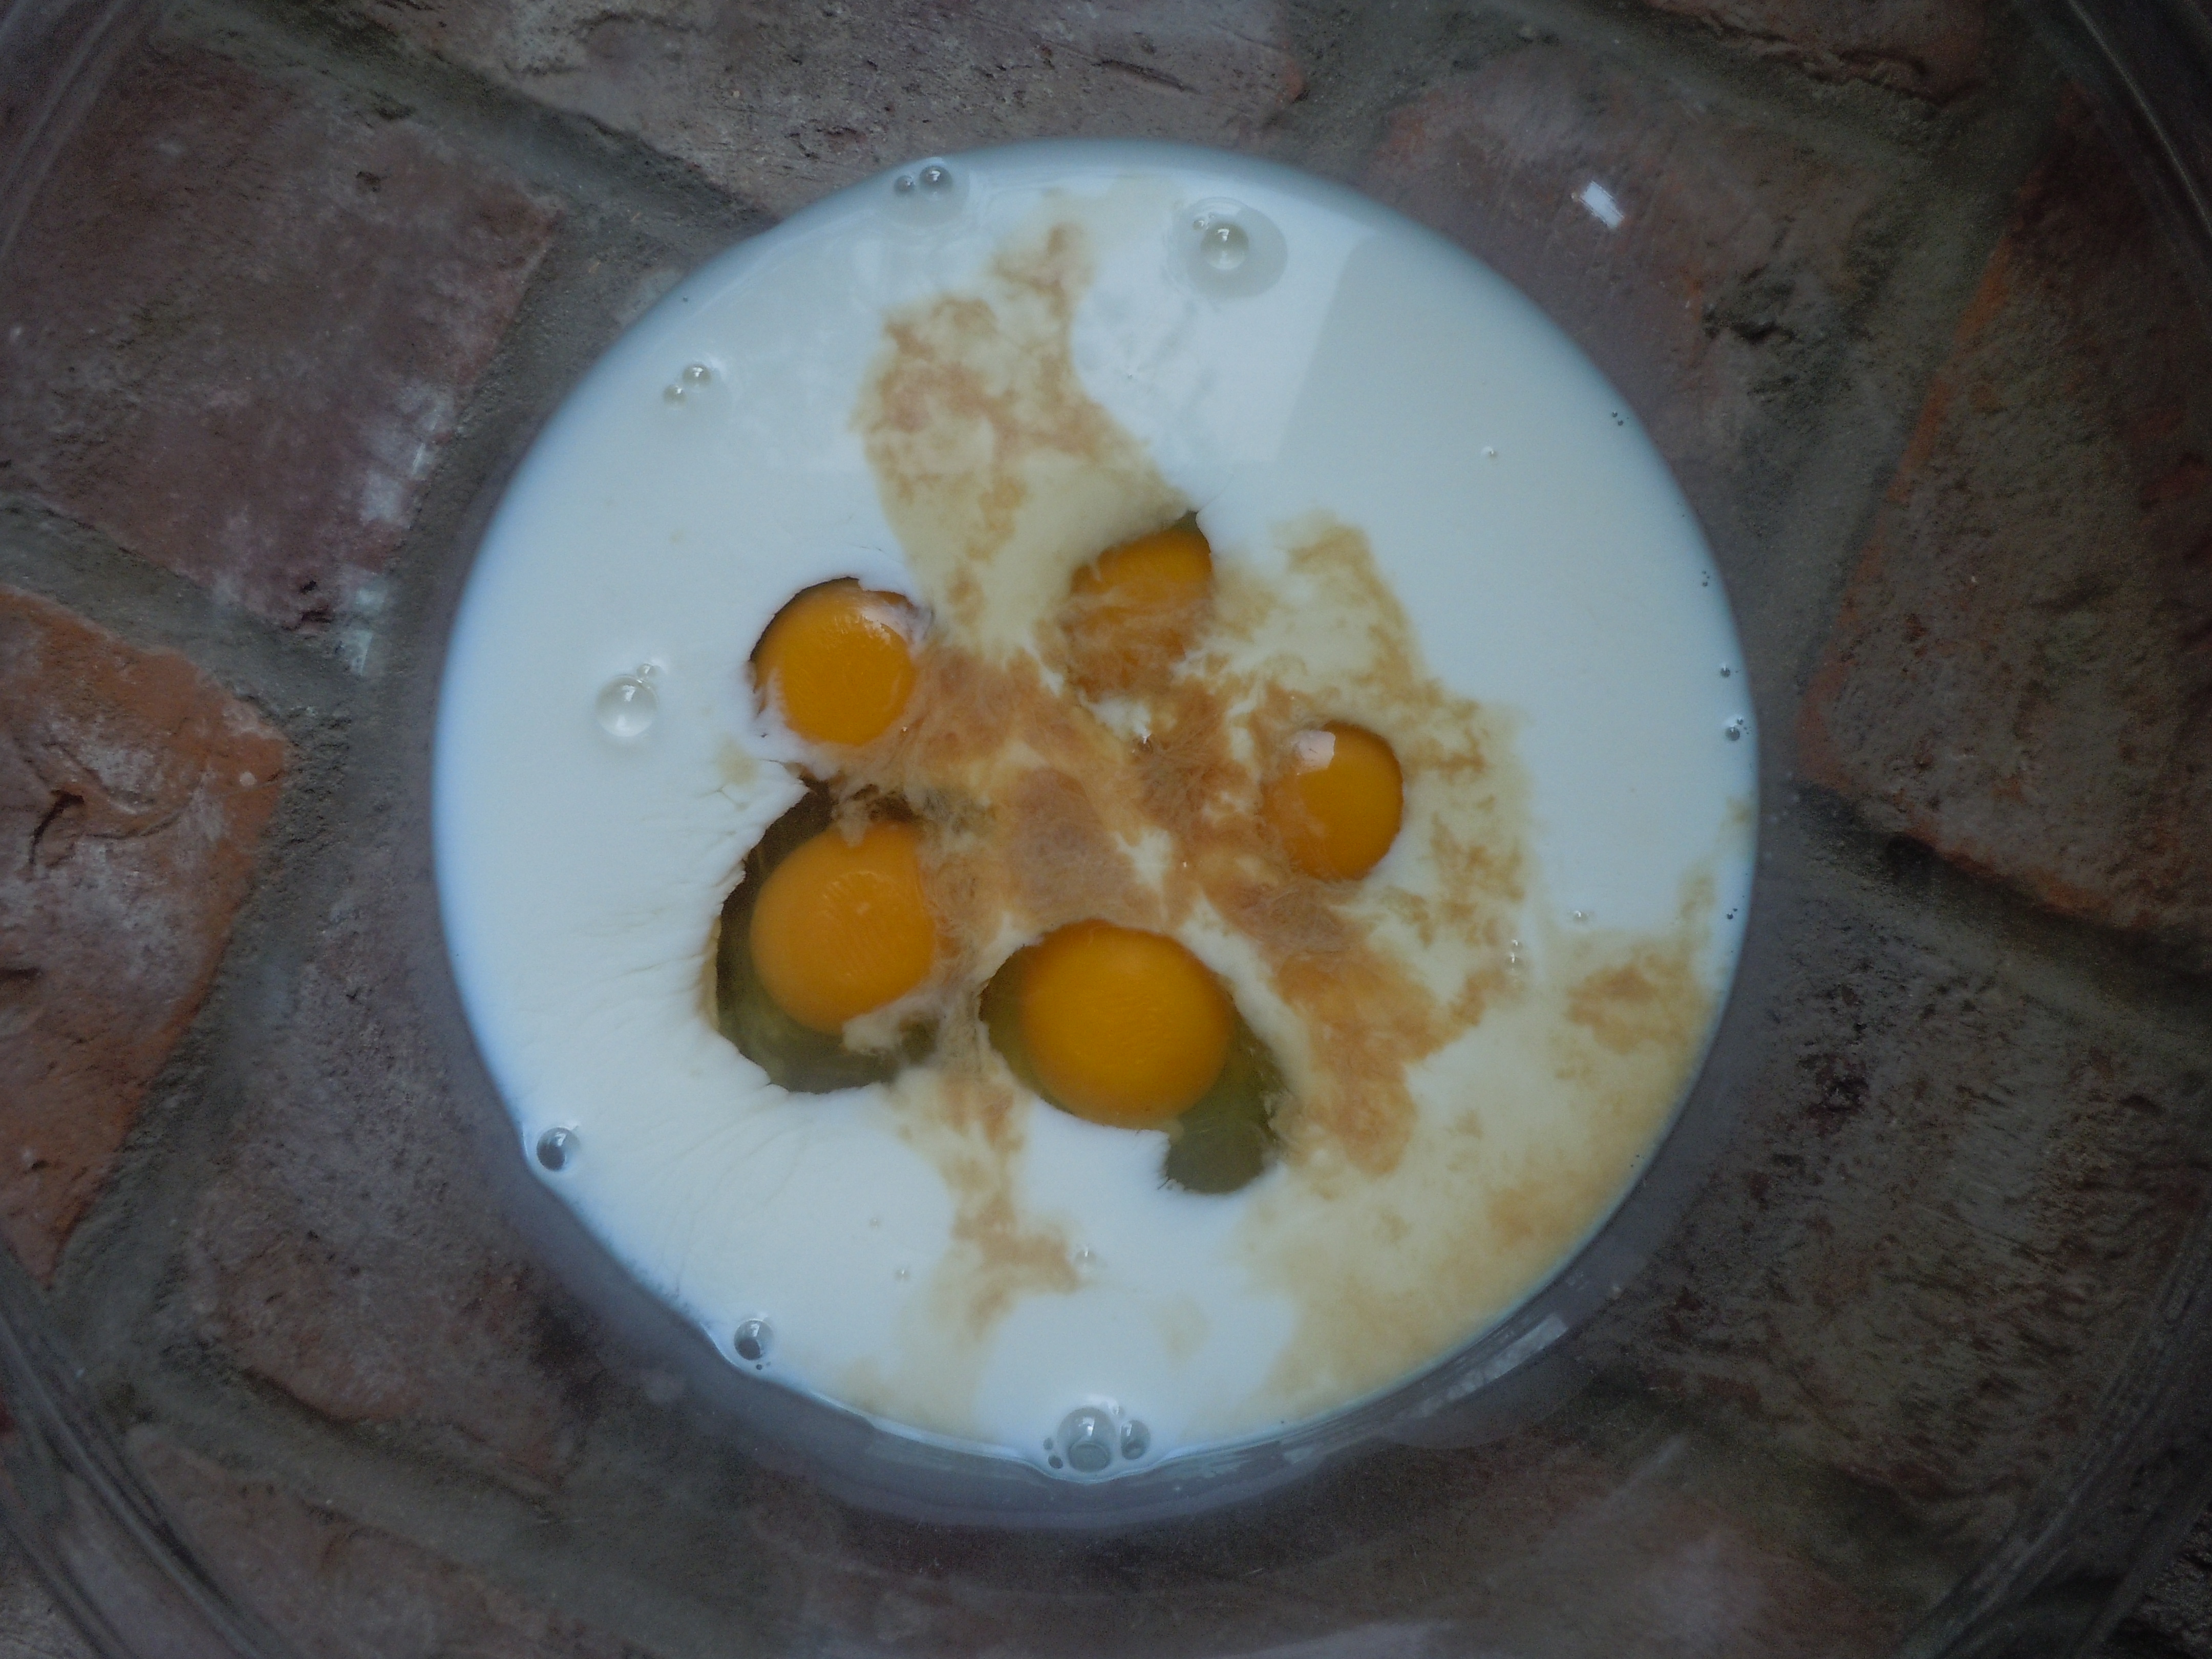
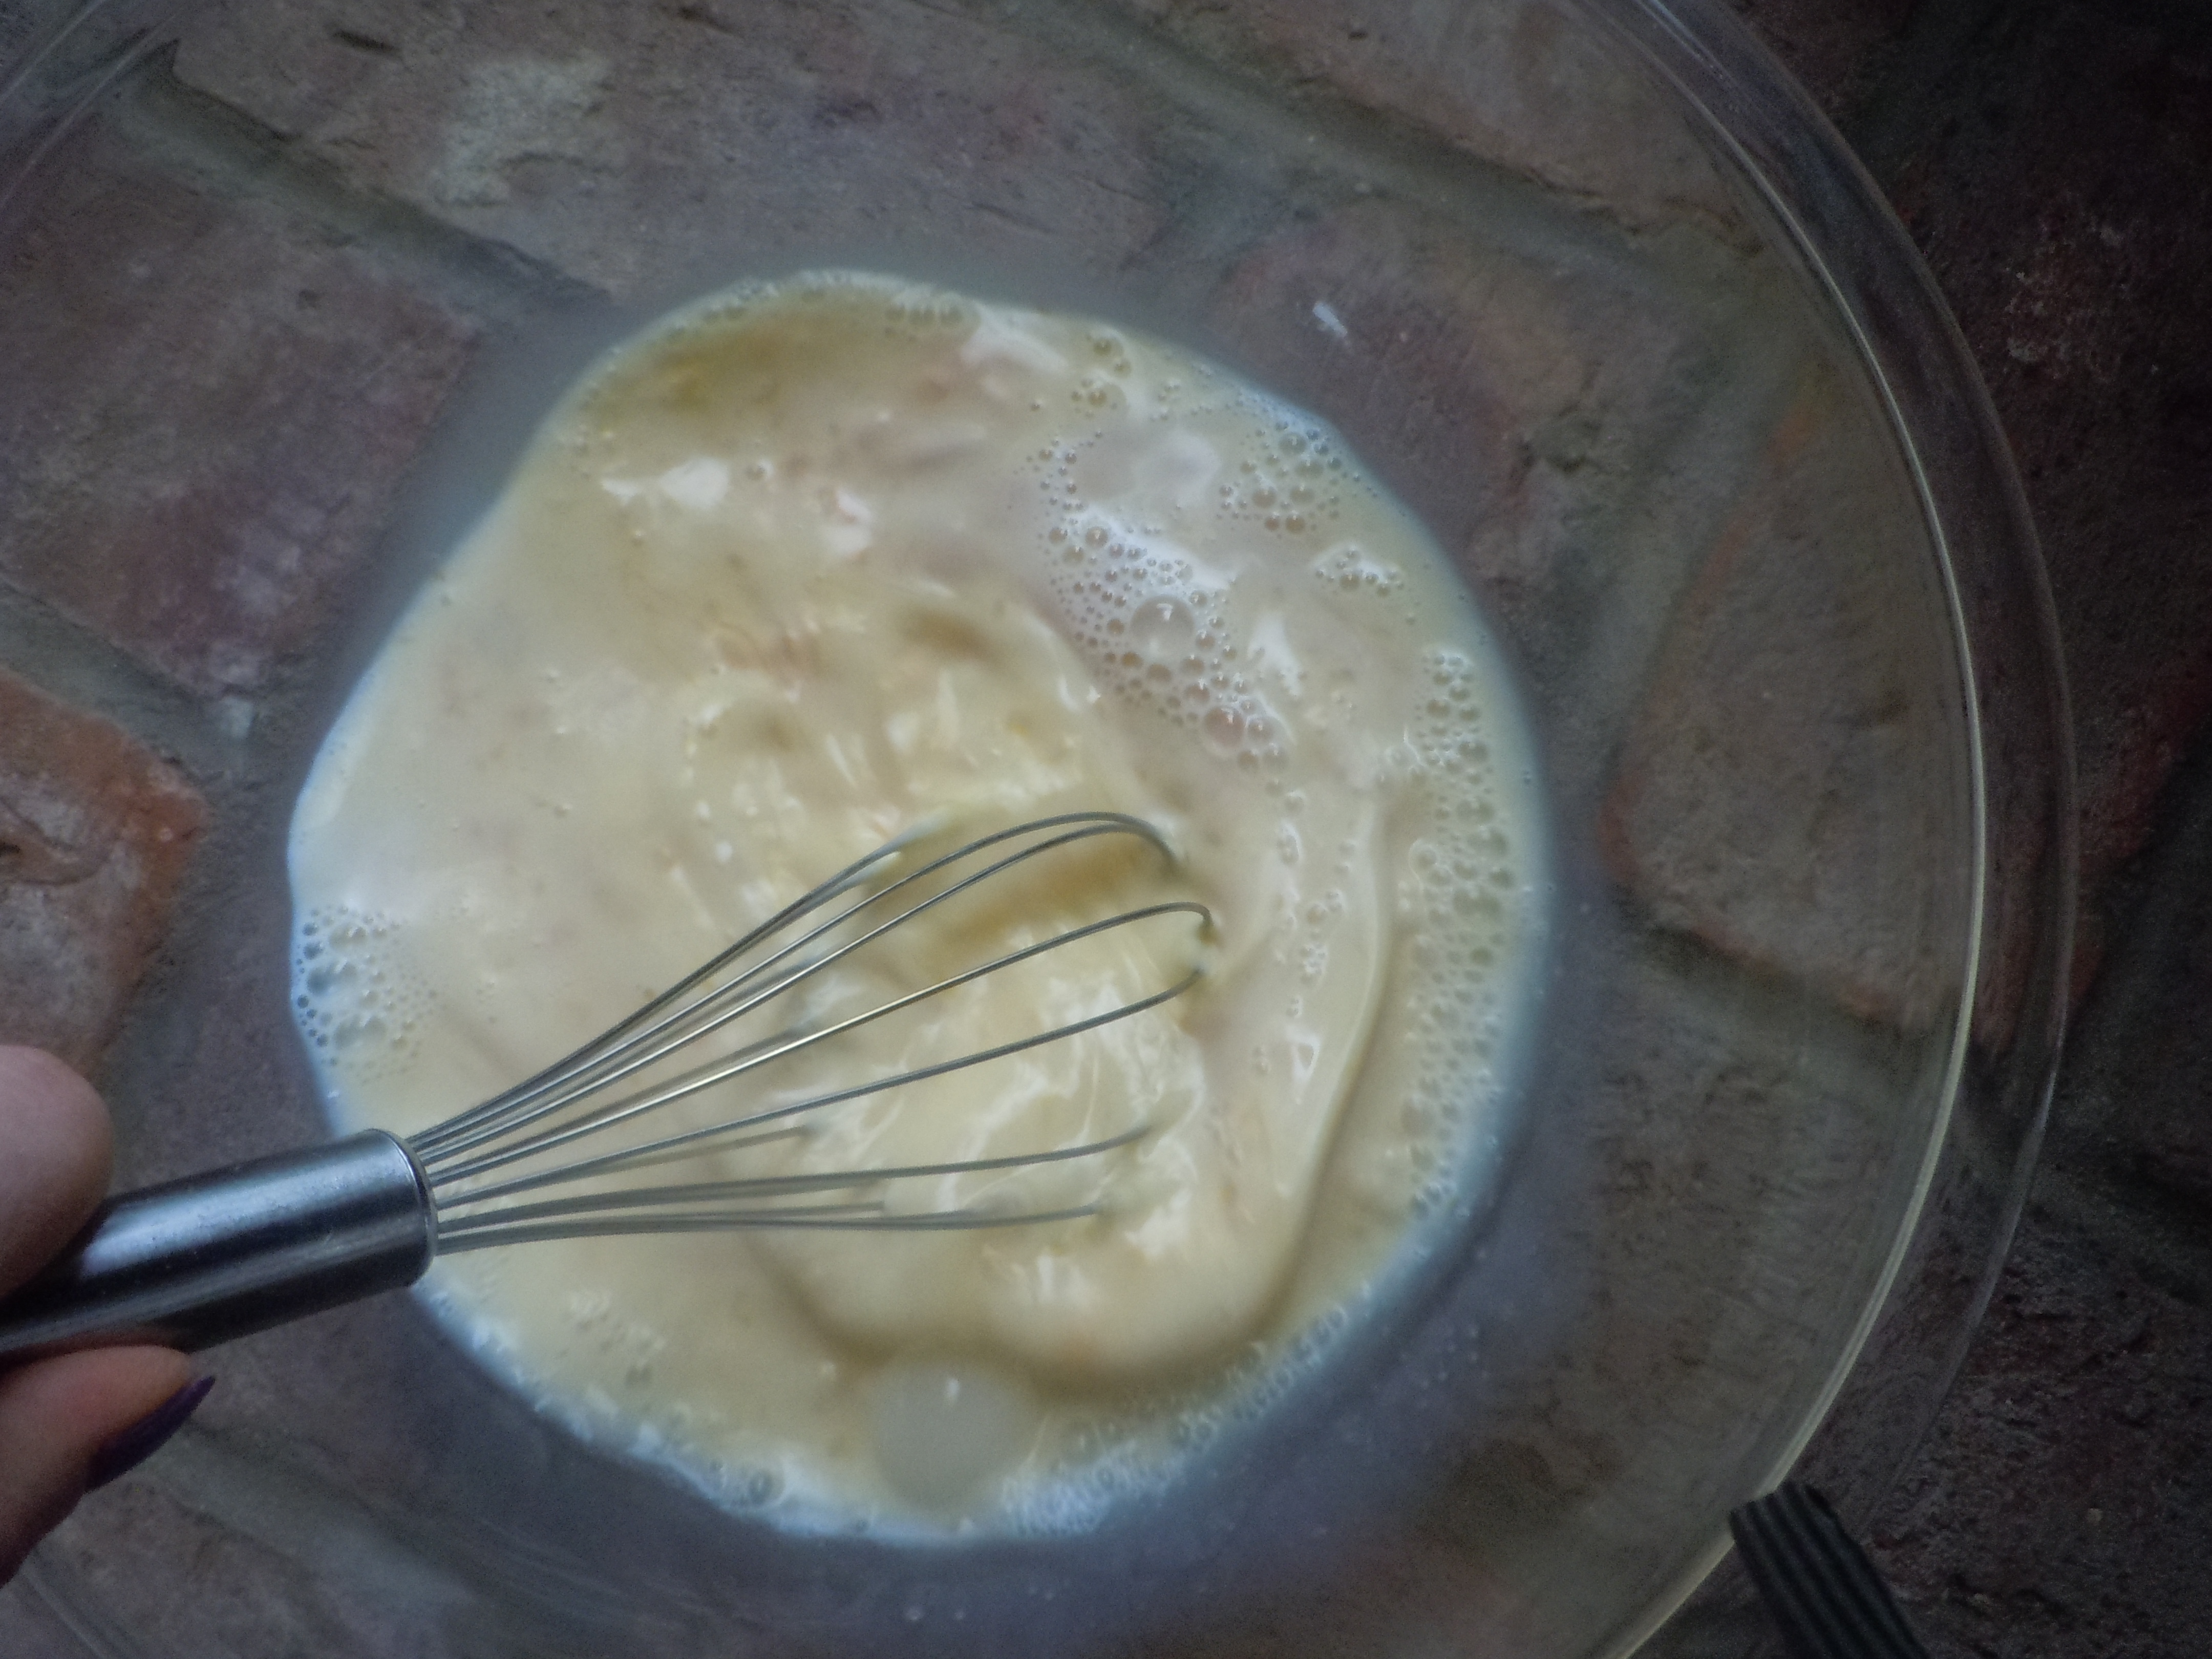
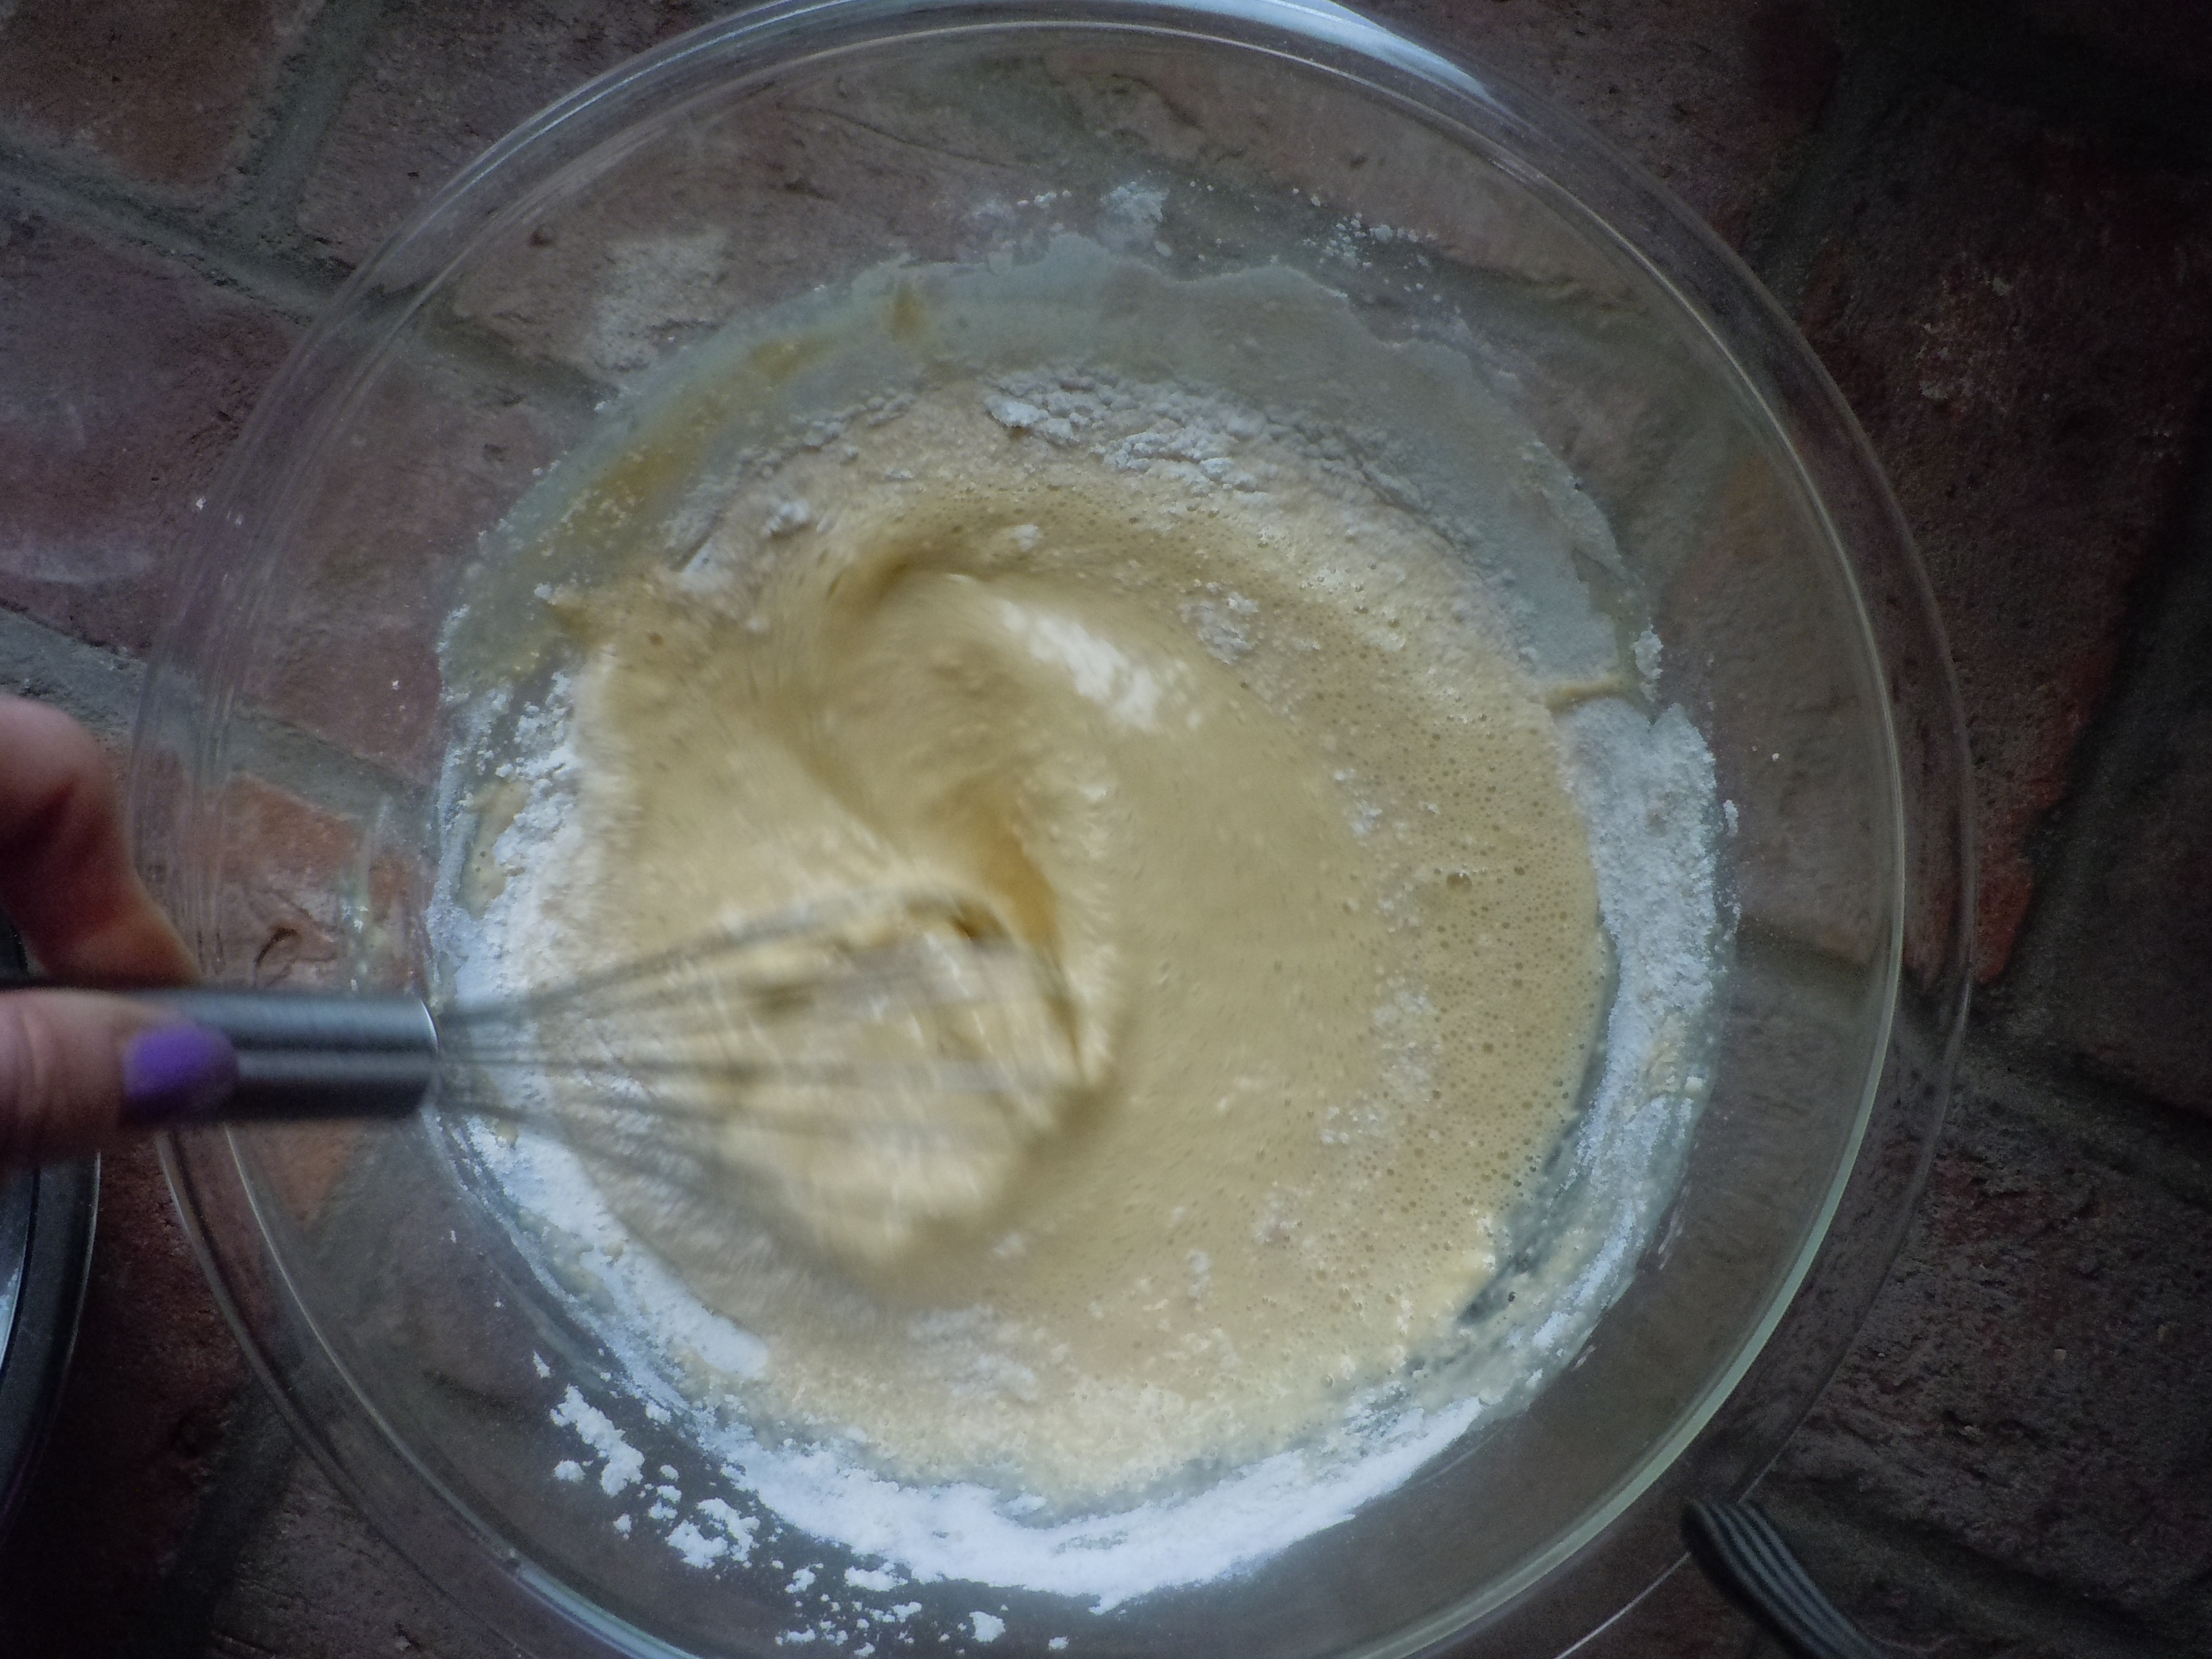
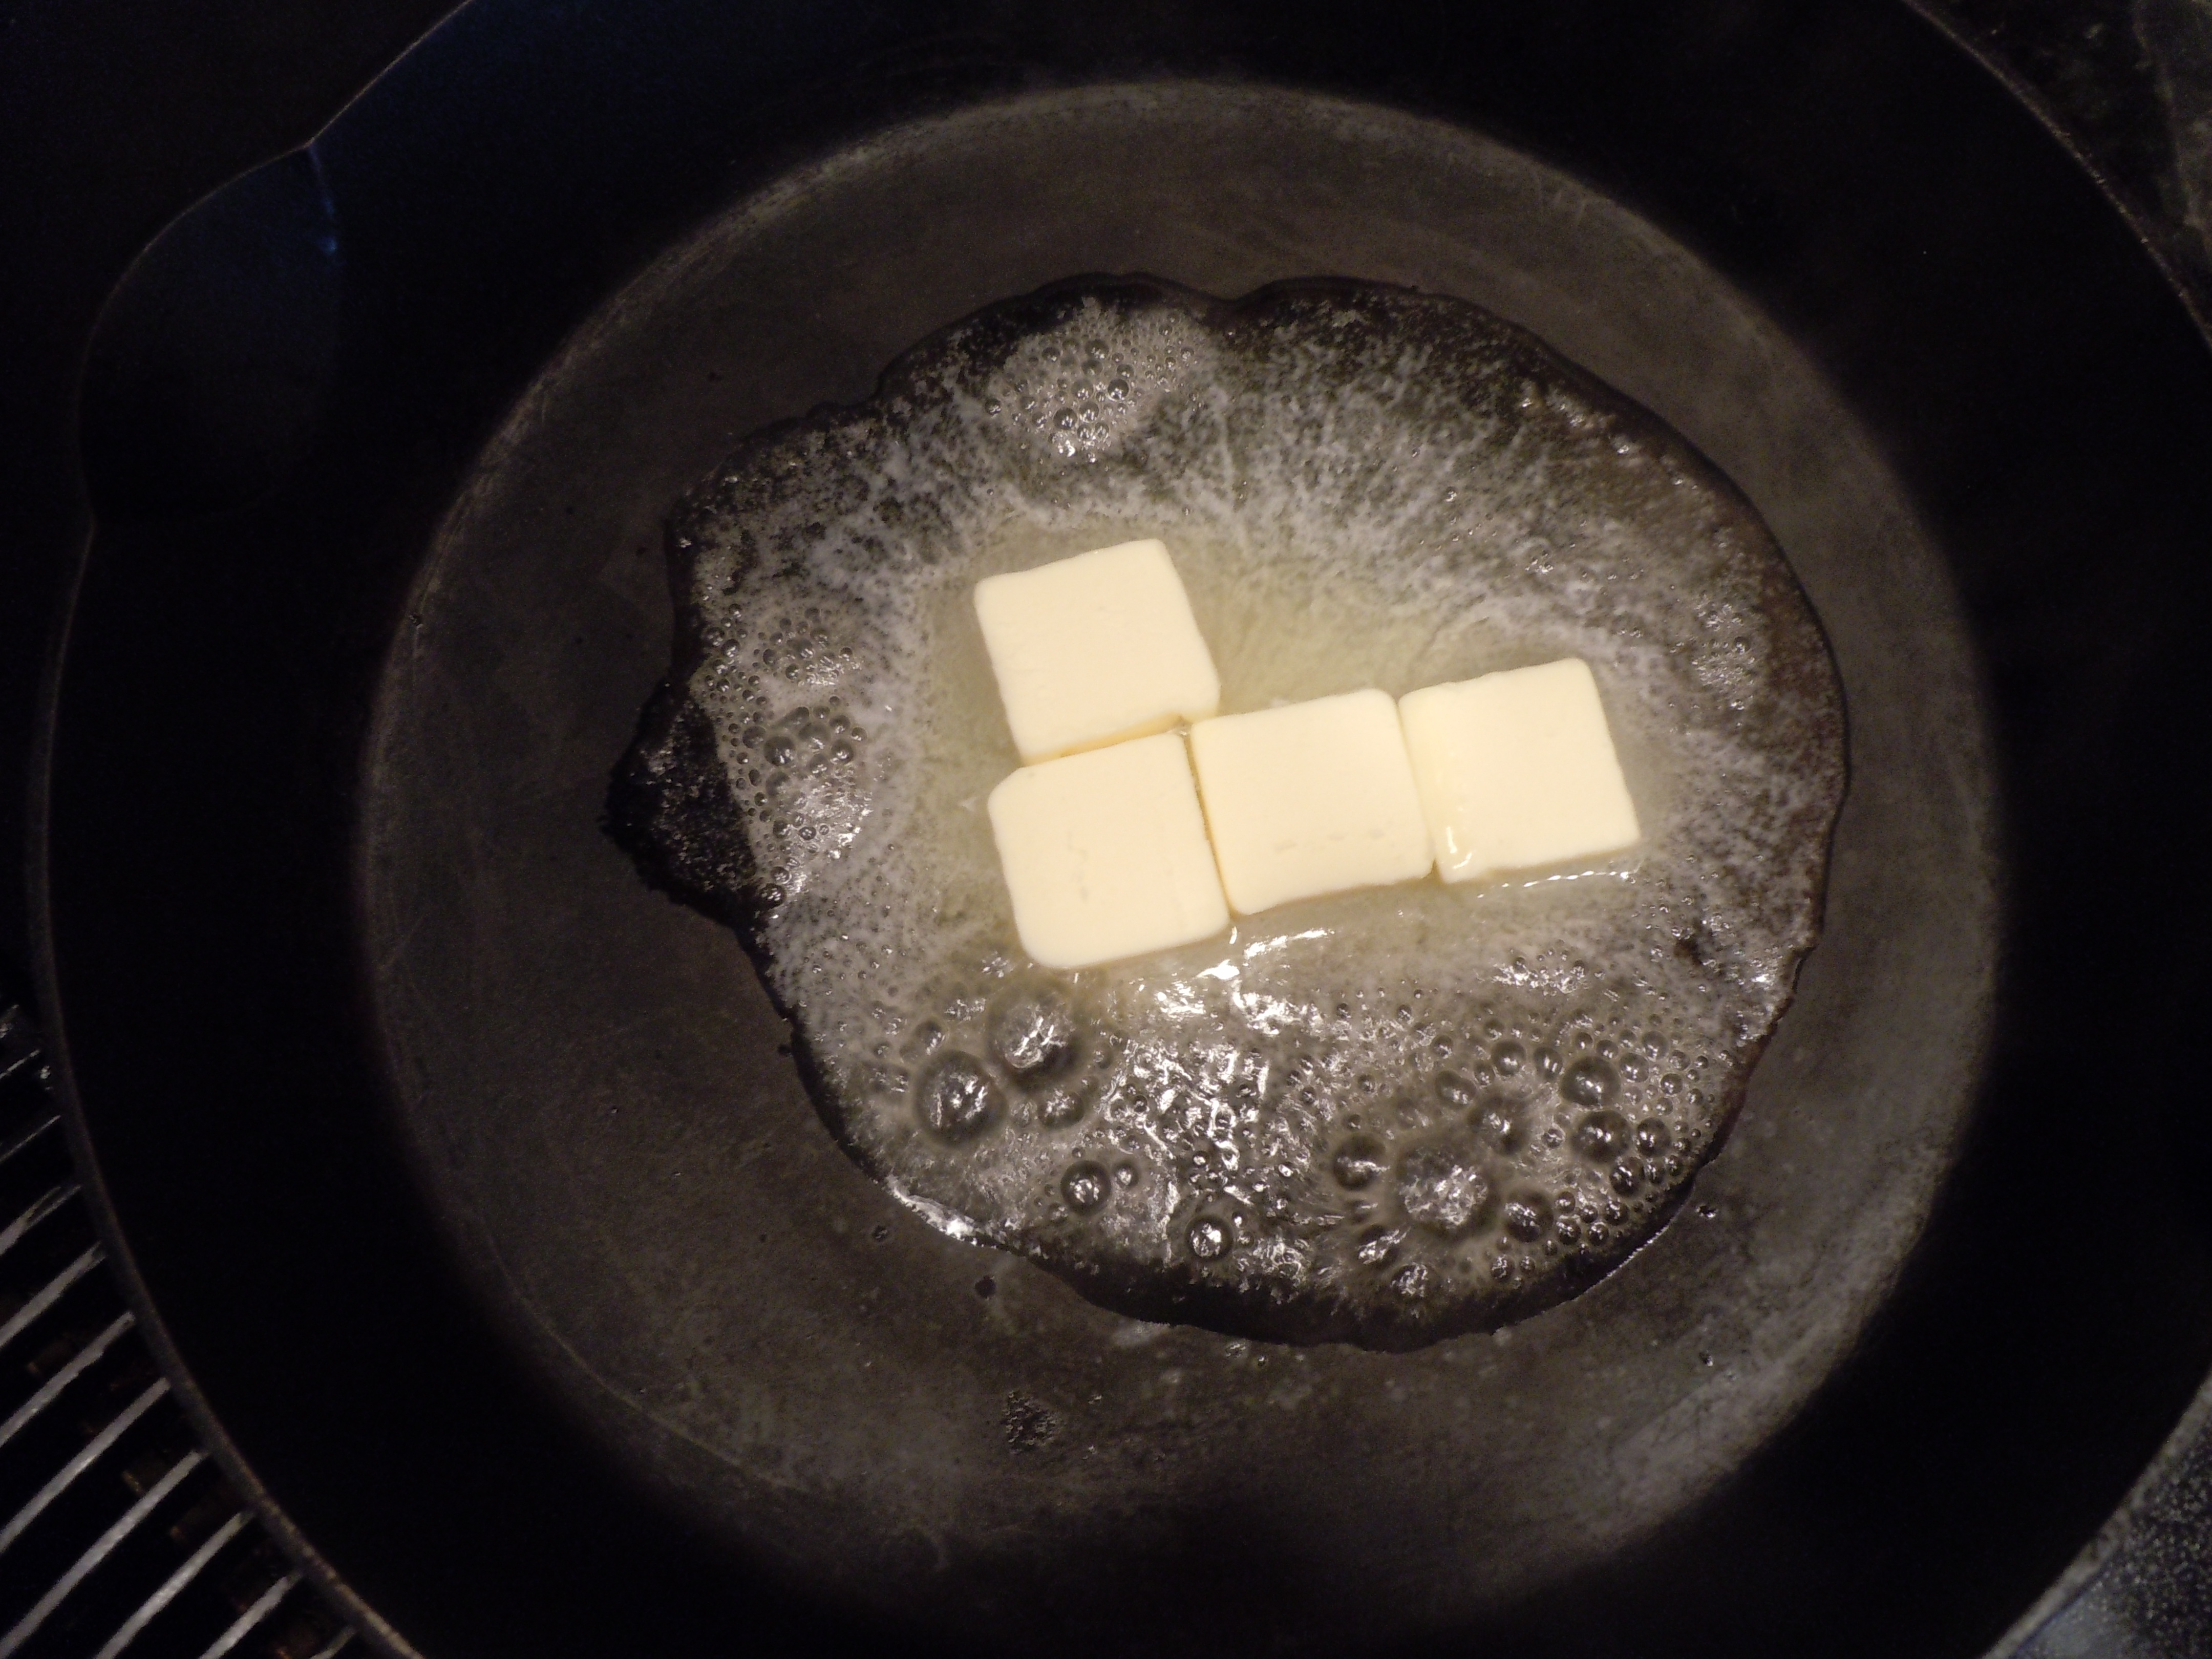
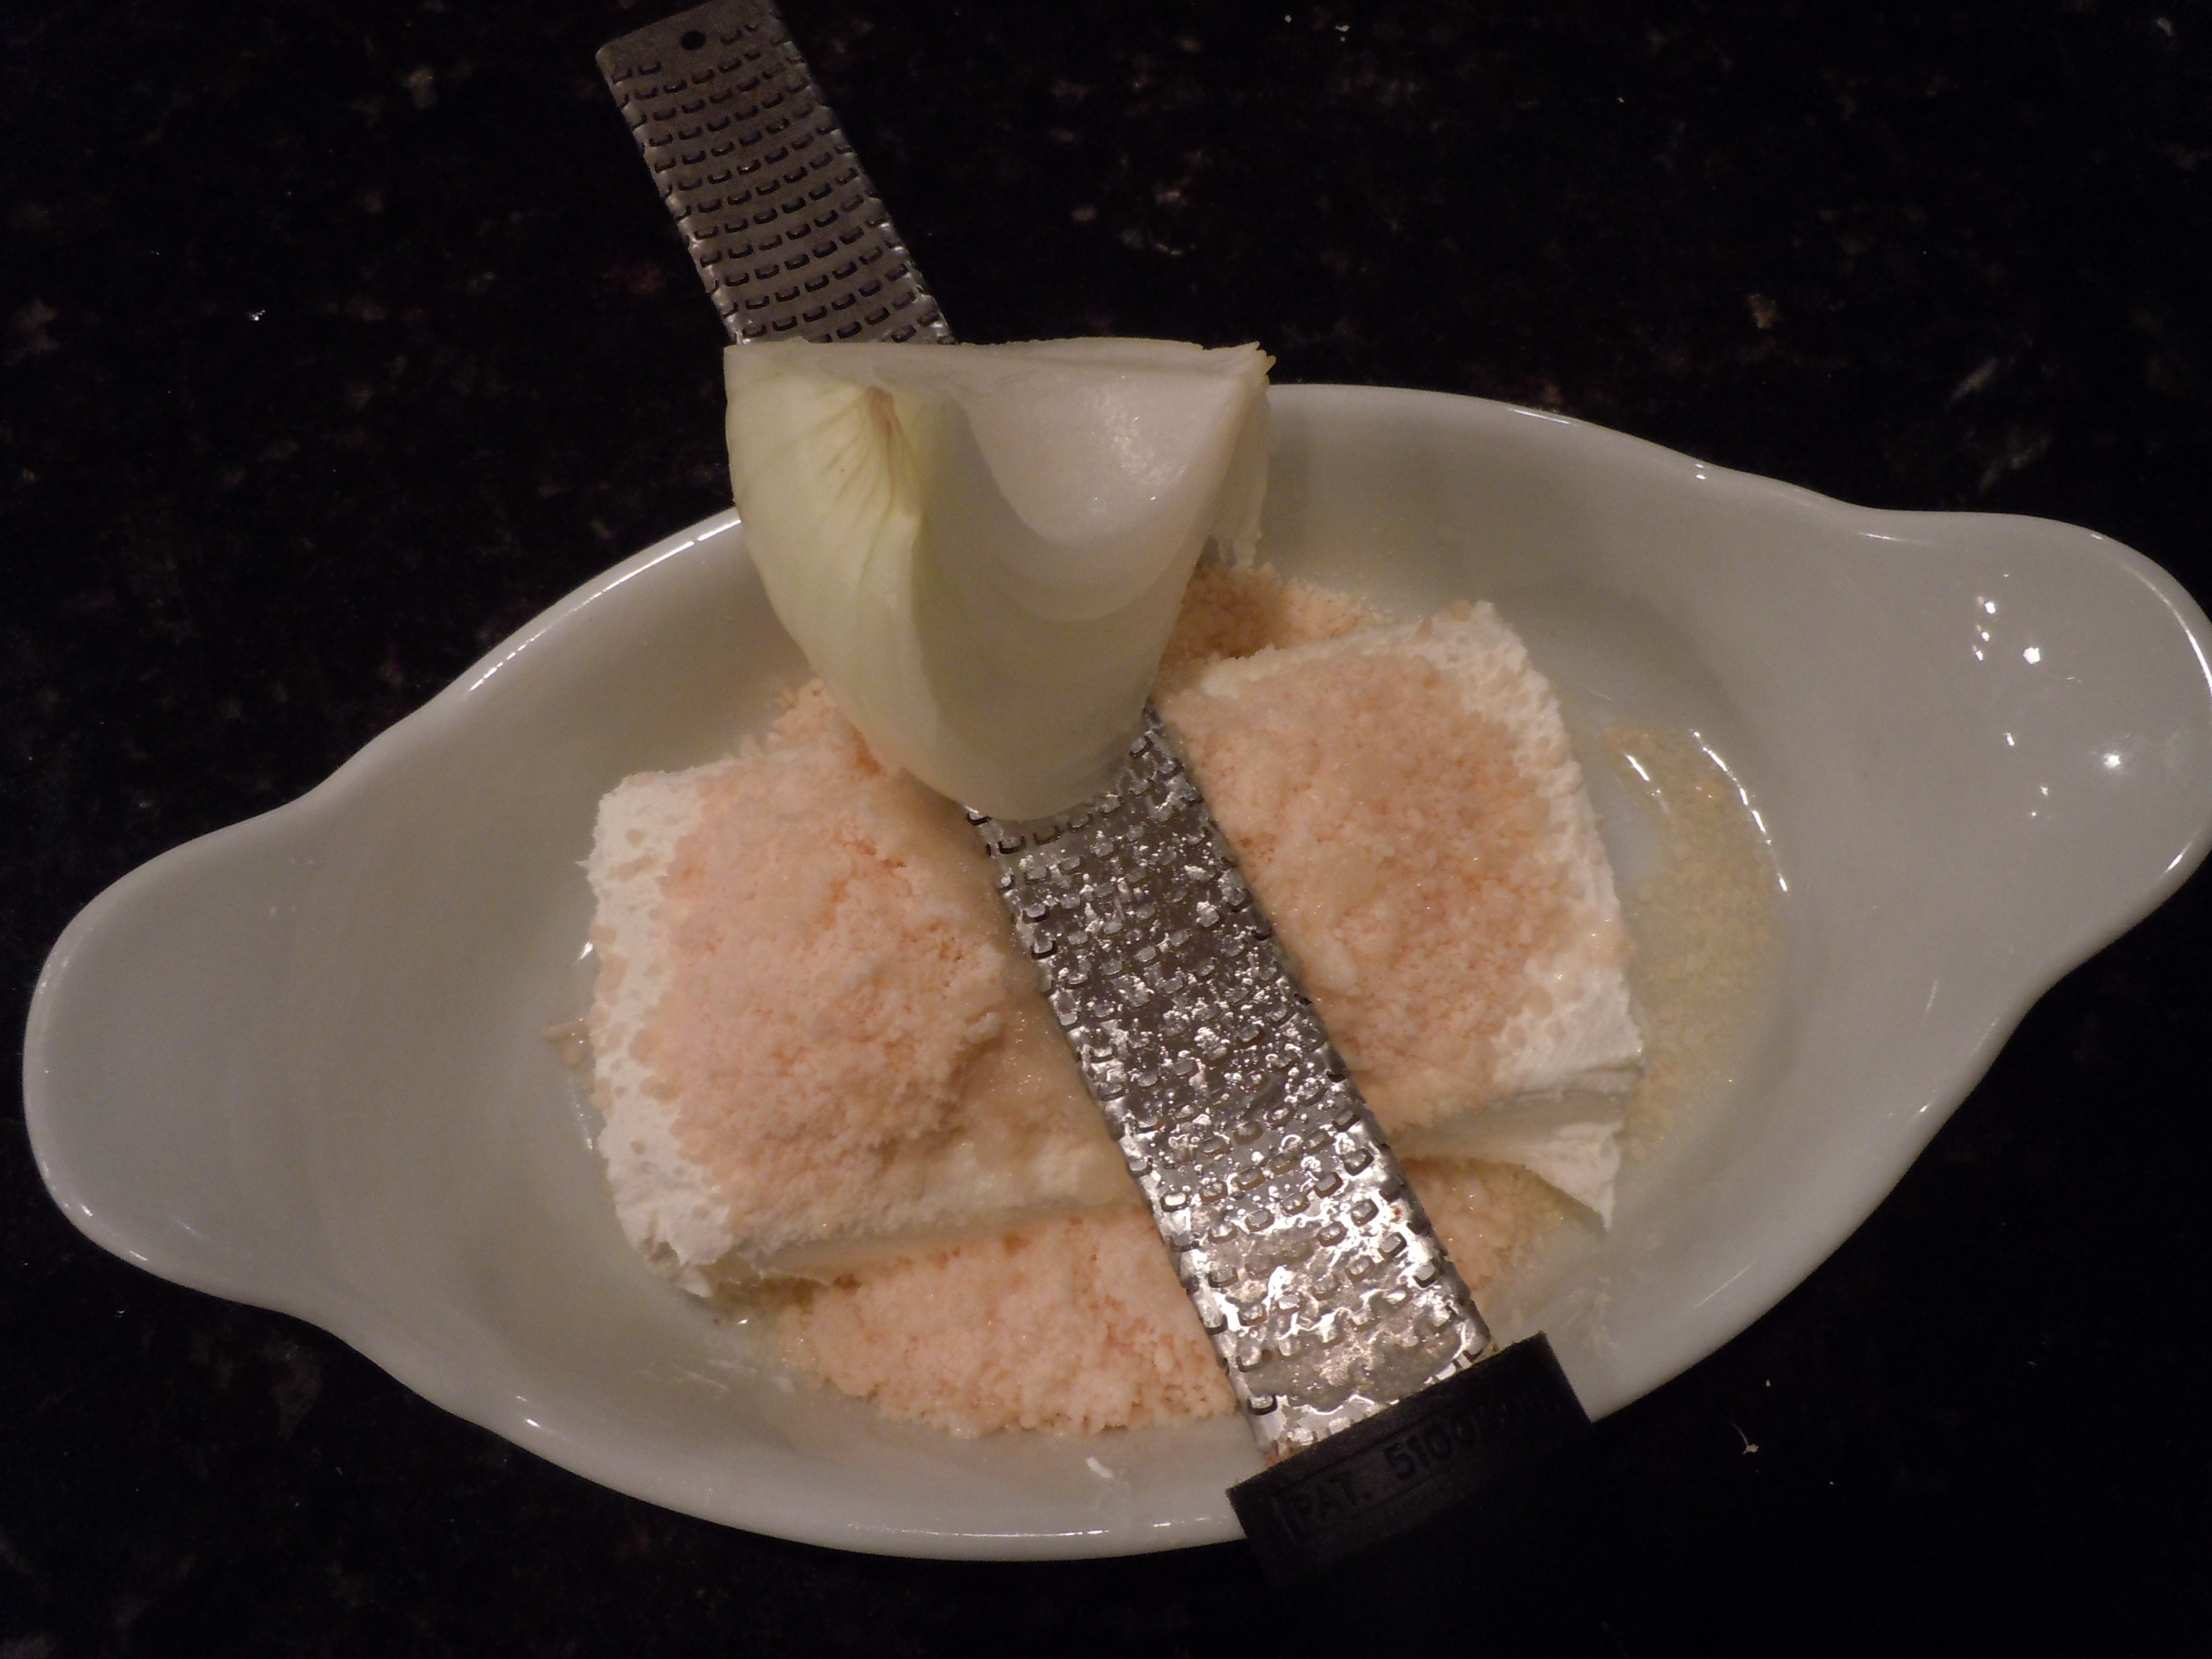
  9. Mix together in a small bowl the room temperature cream cheese, grated onion, Parmesan and lemon juice just til combined
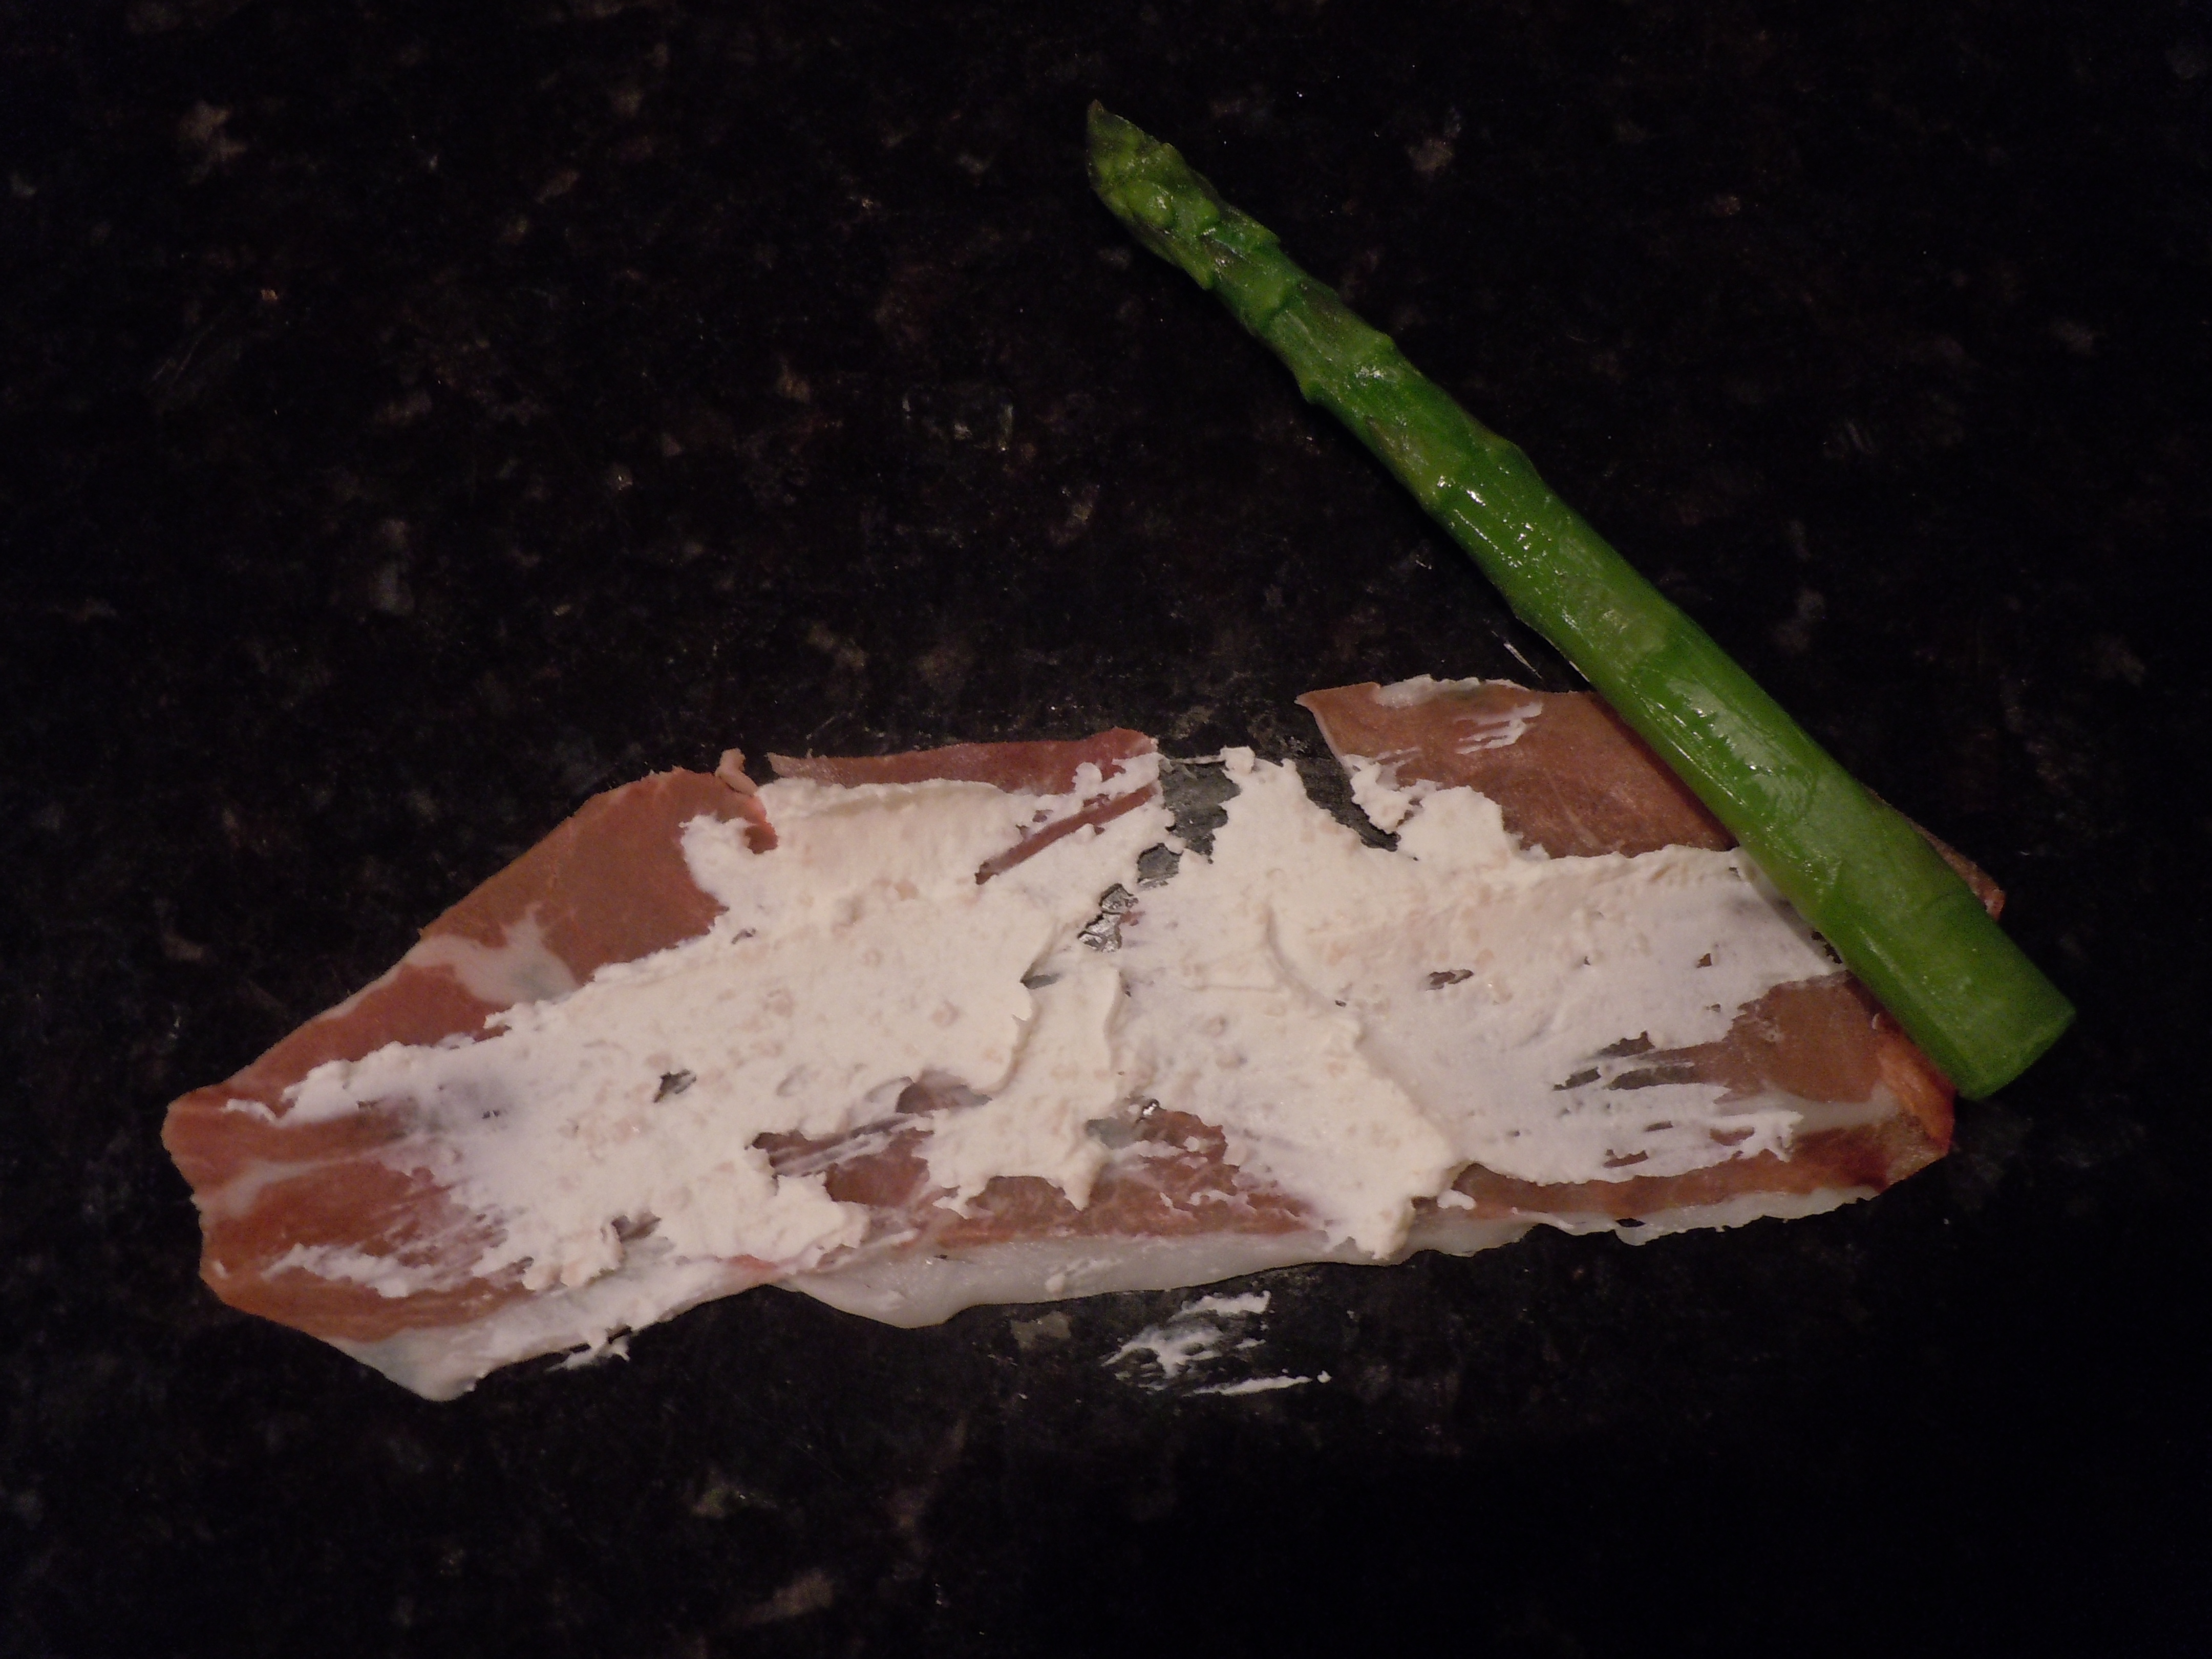
  10. Take a piece of Prosciutto and smear 1 Tbsp of the cream cheese mixture down the length of it.
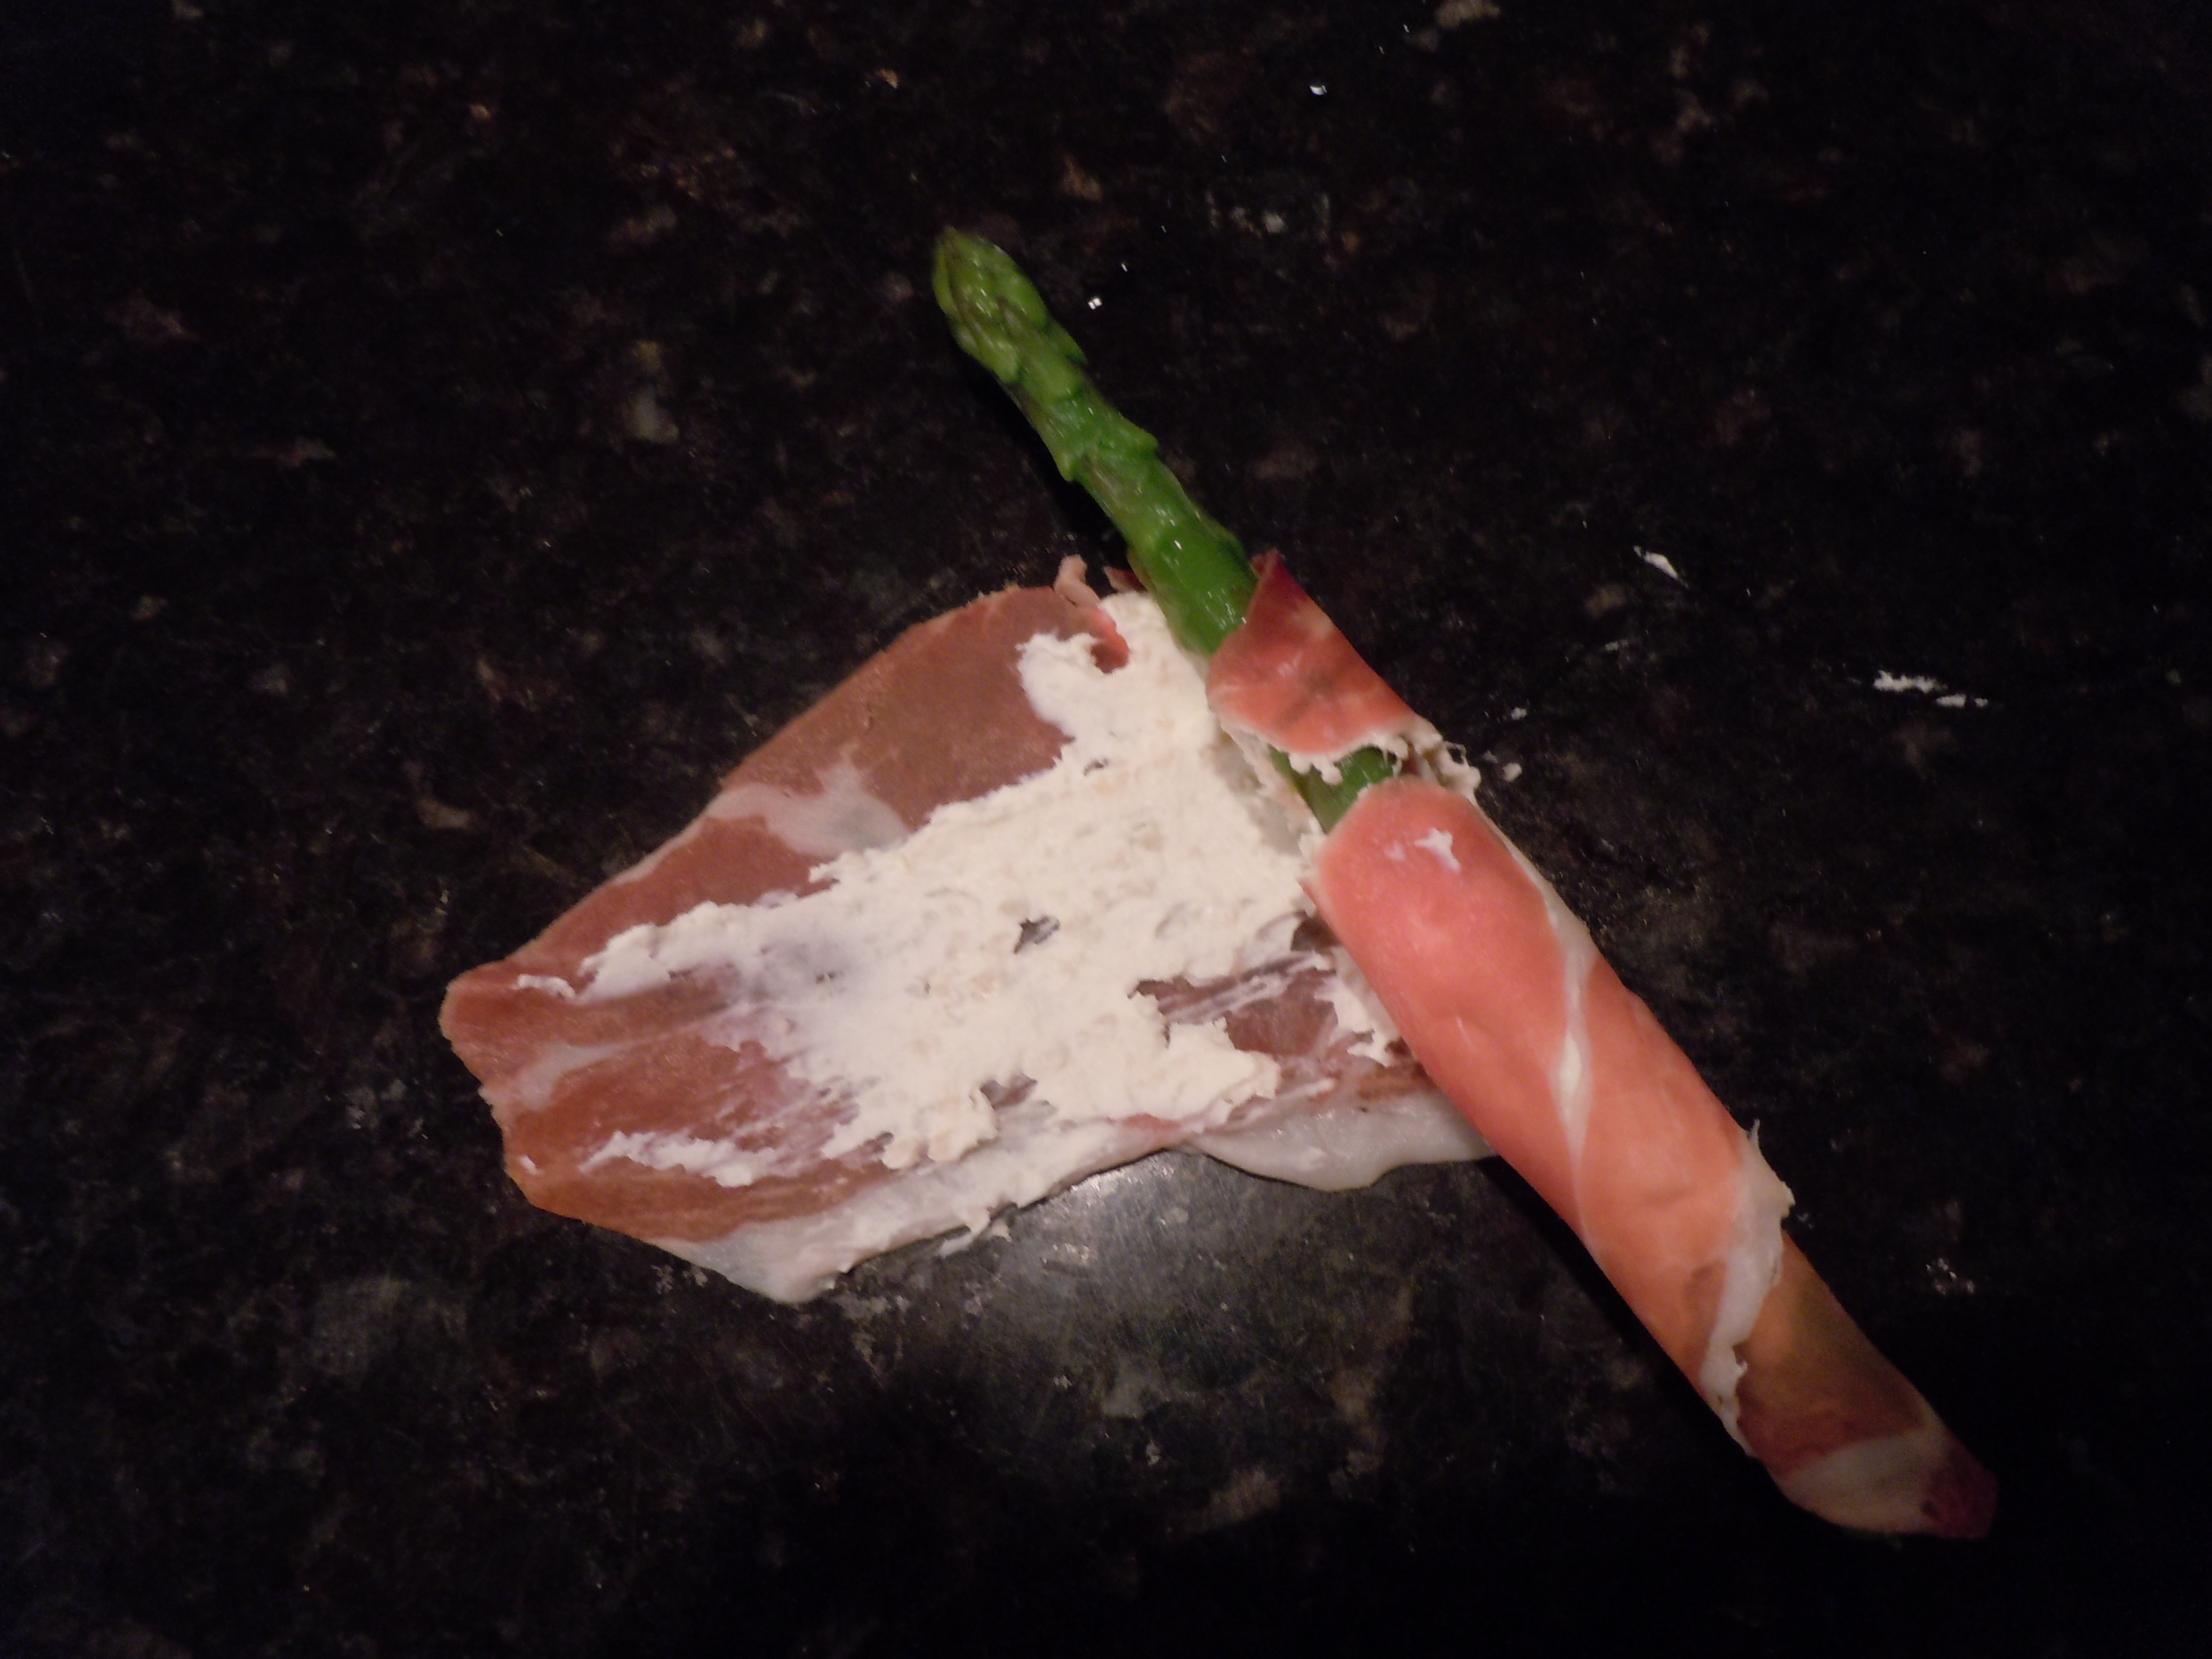
  11. Place the asparagus on a bit of a diagonal (see photo) and roll up.
  12. Place onto an ungreased cookie sheet and bake for 7 minutes – you are heating thru only
  13. Use a spatula to remove from pan and be sure to flip them over when you plate them to see the lovely caramelization on the under side.
  14. Optional: Drizzle a little olive oil, a fresh squeeze of lemon and some shaves of Parmesan on top for a little extra!

iphone pictures 545

 TIP:  Using a micro-plane grater or rasp to grate the onion is a wonderful culinary tool which actually started out back in the day as a wood planer for woodworkers!


Baked Crostinis with Gorgonzola, Fresh Tomato, Basil & Garlic

gorgon mixgorgan crostitoma

withgorg gorgtray IMG_4768

Ingredients:

  • 1 french baguette sliced into 20 – 1/4″ pieces
  • Crostini Recipe
  • 1 cup chopped cherry or grape tomatoes
  • 2 tbsp fresh julienne basil
  • 1 garlic clove put thru garlic press
  • dash salt and pepper
  • 1 small container crumbled Gorgonzola cheese 4 oz. OR diced up fresh Mozzarella

Directions:

  1. Pre-heat oven to 400º
  2. Top crostini with tomato-basil mixture and a tsp of crumbled Gorgonzola OR Mozzarella
  3. Bake for 7 minutes

Goat Cheese, Fig Jam, Fresh Pear and Mint in Pre-Baked Fillo Cups

fillocup withjam endgoat

Ingredients:

  • 1-2 pkg of pre-baked fillo cups (if you can’t find these just buy pre-formed pastry cups that you can quickly bake)
  • 2 oz. goat cheese OR wedge of your favorite dbl cream brie…Saint Albray for example
  • fig jam
  • 1/2 cup fresh chopped pear
  • Wedge of fresh lemon
  • fresh peppermint leaves

Directions:

  1. Chopped the pear and give a squeeze of a wedge of lemon
  2. Thaw the pre-baked fillo cups
  3. Place fresh mint leaf into cups
  4. Place a dollop of goat cheese or slice of brie into the cup
  5. Top with 1/2 tsp of fig jam
  6. Then top with diced fresh pear
  7. Serve room temperature


Easy Icebox Dinner Rolls

Easy Icebox Dinner Rolls

Laura, my loyal friend and follower making the icebox rolls for the holidays!
2014 – Laura, my loyal friend and follower making the icebox rolls for the holidays!

There’s nothing better than the aromas of homemade fresh baked bread, sweet onion and rosemary to wet the appetite! I was thrilled to find this icebox dinner roll recipe about fifteen years ago and have been making them ever since. The recipe card was from “easytobake” and I have tried to access their website but it doesn’t exist anymore. I have made many different bread dough’s in my life, kneading by hand, proofing, kneading again and it can all be exhausting. The whole idea behind icebox dough is that kneading is not necessary. The flavor and soft, tender texture develops as it proofs right in the refrigerator. Once you see how easy it is to make these melt in your mouth icebox dinner rolls you may never pick up store bought rolls again.

Laura making the icebox rolls for her 2015 Thanksgiving!

I have added lots of chopped green onion and fresh rosemary in my rolls but they are just as delicious plain too! It takes all of fifteen minutes to make this dough and can be made up to 4 days ahead. The dough stays in the refrigerator, hence the name “icebox” rolls. You take the dough out of the frig the morning of your dinner party. It get’s formed into dough balls mixing in chopped green onion and fresh rosemary. Then the rolls get lined up on a buttery baking tray and back into the frig.  Two hours before you want to serve the homemade icebox dinner rolls you take them out of the frig and let them rise for an hour and a half to two hours. When they have doubled in size, give them an egg wash for a little shine, then bake.

iphone pictures 1015

150150boeuf

025

IMG_2793

IMG_2283


Hope you enjoy these scrumptious “easy icebox dinner rolls” as much as our family and friends do.  They will be asking you for the recipe for sure! These homemade dinner rolls aren’t just for holidays they are great for any day. Try them with my turkey stuffed peppers where you can dunk them in the sauce and pepper juices, the Au Jus in my Boeuf Bourguignon, or Bolognese Sauce. After all this savoriness you may need a chocolate fix with my perfectly chocolate chocolate cake or for a light and refreshing sweet try this amazing Pavlova!

iphone pictures 683  iphone pictures 686  iphone pictures 687

iphone pictures 688  iphone pictures 641  iphone pictures 643

iphone pictures 646  iphone pictures 692  iphone pictures 693

iphone pictures 694  iphone pictures 695  iphone pictures 697

iphone pictures 701  iphone pictures 702

Ingredients: Makes 24 Dinner Rolls

  • 4 1/2 cups all purpose flour
  • 2 packets active dry yeast (NOT rapid rise)
  • 1 cup warm water (105 -115 degrees)
  • 3 lg eggs (if you use extra large eggs you will need to add a little more flour to compensate)
  • 1/2 cup melted butter
  • 1/2 cup sugar
  • 1 Tsp salt
  • 2 bunches of green onions chopped to 1/8″ pieces -(from white/greenish part to ends)
  • 1/2 cup fresh chopped rosemary
  • 1/3 stick room temp butter to coat the cookie tray or inside of the 10″x 15″ baking dish

Directions:  

  1. Using a KitchenAid mixer OR lg mixing bowl pour in the 2 packets of yeast then add in 1 cup of 105º – 110 º  water.
  2. Then add 1 Tbsp of sugar (from the 1/2 of cup of sugar that you add later) now because it feeds the yeast and really gets it activated.
  3. Let this sit for about 5 minutes and you will see it get foamy.
  4. Add in the eggs, melted butter, sugar, and salt and whisk- make sure the butter is not hot because it can kill the yeast if too hot
  5. Begin to beat in a 1/2 cup of flour at a time using the whisk the whole time until the dough gets too stiff to mix.
  6. Turn the dough out onto a lightly floured surface, place the big ball of dough into a large Ziploc baggy and put it into the refrigerator for 2 hours…. up to 4 days.
  7. When you are ready to make the rolls just cut the dough right out of the zip lock with scissors nice and easy…..then turn out the chilled dough onto a floured work surface and divide equally into 24 pieces with a pastry scraper
  8. Roll each piece into a ball then firmly push into the pile of chopped green onion and freshly chopped rosemary and re-roll into a ball again. You can keep some of the rolls plain.
  9. Coat 4 Tbsp of softened butter all over a cookie tray with 1/2″ sides or a 10″ x 15″ baking dish for taller rolls
  10. Place the dough balls into the buttered baking tray, cover with Saran wrap and let them rise for 1-2 hours depending how warm your kitchen is (they need to dbl in size) OR you can put them back into the frig until 1 1/2 hours before you need them then take them rolls back out of the frig and let them begin to rise and double in size
  11. Pre-Heat the oven to 375º
  12. Whisk 1 whole egg with 1 tbsp water and brush a good coating onto the rolls after they rise and before putting them into the oven
  13. Bake for 13-18 minutes until a dark golden color…it depends how warm the rolls got while rising so you’ll need to peak at them to see if they’re golden yet.

 TIP:   It’s a good idea to warm the stainless steel mixing bowl by running hot water into it before you begin so the cold bowl doesn’t take the necessary temperature of the water down.

Amazing German Pancake!

Amazing German Pancake!

This amazing German pancake is an awesome dish to make for your holiday guests! It’s festive and quite spectacular when your guests see how your pancake has puffed to enormous heights when you take it out of the oven. Not only does it make for a wonderful presentation but it’s made with little effort and can be served for breakfast or as a dessert!

A German pancake is really a giant popover. “Dutch baby” is another name for this pancake and rumor has it that the reason behind this name came about when a chef’s young child couldn’t pronounce the German word for German, “Deutsche”. Supposedly, this mis-pronunciation lead German Pancakes to the alternative name “Dutch Babies”. A couple other names that this German pancake has been called are “Dutch puff” and “Bismark”.

My kids get very excited for that moment when this amazing German pancake comes out of the oven! It has a bit of a custard like texture inside yet very light. We love eating these pancakes and have come to the conclusion that they taste like something in between a pancake, french toast and a crêpe!

My Vermont friends turned me on to this recipe years ago and I have been making them ever since. It’s fun for me to play around with recipes and see what works best so to this recipe I have added another egg, some vanilla and a little cinnamon. You can add grated nutmeg instead if you prefer. Originally, these homemade pancakes were served with lemon and confectioners sugar. I like to served them with confectioners sugar, real maple syrup, fresh blue berries and a dollop of my favorite “Wild Blueberry Preserves” by Bonne Maman, a product of France (sold right in our local market at Stop and Shop). German pancakes are so easy to make, taking on the same amount of time as making ordinary pancakes. The wonderful thing here is you are not glued to the stove pouring batter every few minutes.

Using cast iron is the way to go here because it holds in the heat evenly distributing it throughout the pan but I have made them in other oven proof pans and it comes out great. Some recipes have you pre-heating the pan in the oven, pulling out the rack, pouring in the batter, then pushing the rack back into the oven and in my opinion, this is a disaster waiting to happen since the batter can easily swoosh over the sides causing the oven to smoke ! The easiest way to start these homemade German pancakes is on the stove top and then into the oven for the duration. The finished product will make you will feel like a french pastry chef all day. This could also make for a great dessert to an impressive dinner with entrees like turkey stuffed peppers, pulled beef tacos & mango salsa or yogurt-chicken kabobs & tzatziki. Enjoy!

tur IMG_3234 iphone pictures 387 IMG_1897 IMG_1826

iphone pictures 1093  iphone pictures 1094  iphone pictures 1099

iphone pictures 1102  iphone pictures 1097  iphone pictures 1098

iphone pictures 1108  iphone pictures 1111  iphone pictures 1114

iphone pictures 1155 IMG_4539 iphone pictures 1118

Ingredients for Traditional German Pancake:

  • 5 extra LG eggs (or 6 large)
  • 1 cup Milk – cold
  • 1 cup all purpose flour
  • 1/2 Tsp. salt
  • 1/4 Tsp cinnamon
  • 1 Tsp. vanilla
  • 4 Tbsp butter  -cut up into 4 Tbsp (1/2 stick) COLD

Ingredients for savory German Pancake:

  • 5 extra LG eggs (or 6 large)
  • 1 cup Milk – cold
  • 1 cup all purpose flour
  • 1/2 Tsp. salt
  • 1/2 cup swiss cheese OR cheddar
  • 1/2 cup thin diced ham OR sauteed mushrooms
  • 1/3 cup green onion OR sauteed sweet onion
  • NOTE: If you are going the cheddar, sauteed mushroom & onion route add 1 cup fresh baby spinach too!
  • 4 Tbsp butter  -cut up into 4 Tbsp (1/2 stick) COLD

Directions:  

  1. Pre-heat oven to 425º
  2. In a medium bowl whisk dry ingredients together
  3. Begin to whisk in milk, vanilla and eggs into dry ingredients just until combined …Note : it puffs more if your milk and eggs are cold!
  4. Put 10″-12″ cast iron pan on stove top on low heat for 1 minute –THIS WILL WORK IN ANY 10″-12″ OVEN PROOF PAN –
  5. Turn heat up to high on cast iron pan, wait 1 minute til pan is hot but not smoking, then add 4 Tbsp of cut up cold butter
  6. When the butter gets frothy add the batter, do not stir
  7. Immediately take off heat and put into oven for 22 minutes until golden and puffy
  8. NOTE: if you are doing “SAVORY German Pancake” …after you remove from heat top with your extra ingredients, do not stir, and place into oven for the 22 minutes
  9. When you take it out of the oven transfer to a plate with a spatula and sprinkle with confectioners sugar.
  10. Slice into wedges and serve with maple syrup, warm fresh strawberry jam/sauce (Recipe BELOW) and whipped cream! …mmm!

Ingrediesnts and Directions for EASY STRAWBERRY JAM/SAUCE:

  • 1 lb. hulled and chopped fresh stawberries
  • 1 cup white sugar
  • 1/4 cup fresh sqeezed lemon juice
  1. Finely dice strawberries and add to a wide 8″ sauce pan with 1 cup sugar and lemon juice
  2. Over med/high heat bring to a rolling simmer
  3. Keep an eye on the mixture, keep simmering for 15 min. – make sure it doesn’t boil over
  4. Skim off white foam that accumulates around the edges while simmering as this will make the jam cloudy (its just air bubbles that form in the jamming process)
  5. Remove from heat and serve warm with German pancake
  6. Jar the remaining strawberry sauce and refrigerate as it will thicken into a jam as it cools! It will stay good for 2 weeks in the frig.