The Traveling Epicurean

Korean Beef Bulgogi on CT Style with Teresa Dufour!

Korean Beef Bulgogi on CT Style with Teresa Dufour!

This week I was excited to show you how to make an easy and delicious dish on CT Style for the new year! The marinade for this Korean Beef Bulgogi recipe is so versatile you’ll find yourself going back to it over and over for these luscious flavors.

Cooking with Teresa Dufour on CT Style couldn’t be more fun! She is such a professional in her field, all awhile being her natural down to earth self! When we are going live for the camera’s it feels as though we are just hanging out in one anothers kitchen, laughing and cooking it up.

The marinade for this Beef Bulgogi is delicious on any meat, scrumptious chicken and pork.  Really easy to bring these wonderful flavors of the soy, toasted sesame oil, garlic and green onion to whole pieces of chicken breasts and thighs, beef london broil and ribeye, and pork tenderloin with out all the prep of slicing.

Let’s not forget the sugar in this marinade, a key player working hard as a natural tenderizer! In Korean cooking, sometime’s you’ll find grated asian pear in the ingredient list. An enzyeme in the asian pear called calpain naturally tenderizes the meat while giving it a hint of sweetness.

This marinade alone will make a great addition to your cooking repertoire! Below are a few of my high viewing recipe shows on my YouTube channel that you should check out.  Some are even into the 100,000’s viewing range. Remember to SUBSCRIBE to my YouTube Channel too. Enjoy and lets make this 2020 the best year ever!

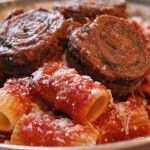
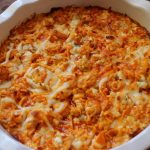
BEST Buffalo Chicken Dip at 144,000 views, my Chewy Chocolate Chip Cookies at 80,000 views, my Braciole at 34,000 views and a recent release already at 14,000 views is my BEST New England Chowder!


INGREDIENTS For Beef Bulgogi

  • 2 lbs. top sirloin or ribeye steak, thinly sliced
  • ¼ c. white sugar
  • ¾ c. low sodium soy sauce
  • ¼ c. sesame oil
  • 2 bunches green onion thinly sliced, saving ½ c. for garnish
  • ¾ c. toasted sesame seeds, ¼ c. for garnish
  • 4 garlic cloves put thru garlic press
  • ¼ c. vegetable oil
  • 2 bunches steamed broccoli
  • 6 c. cooked long grain rice

DIRECTIONS:

  1. Add sugar to sliced meat to begin tenderizing the meat
  2. Mix in a small bowl soy, sesame oil, green onion, crushed garlic and sesame seeds
  3. Add this soy mixture to the meat, cover with plastic wrap and put into the frig for 1 hour to over night
  4. Add 2 tbsp. corn oil to a hot cast iron pan or Korean stove top grill pan and sear in 4 batches so as not to crowd pan
  5. Sear for 4-5 minutes, remove and repeat
  6. When all the beef is cook serve with rice and broccoli, garnish with toasted sesame seeds and sliced green onion
  7. OR serve in lettuce leaf wraps and a Ginger/Soy Dressing for dipping

Easy Icebox Dinner Rolls

Easy Icebox Dinner Rolls

Laura, my loyal friend and follower making the icebox rolls for the holidays!
2014 – Laura, my loyal friend and follower making the icebox rolls for the holidays!

There’s nothing better than the aromas of homemade fresh baked bread, sweet onion and rosemary to wet the appetite! I was thrilled to find this icebox dinner roll recipe about fifteen years ago and have been making them ever since. The recipe card was from “easytobake” and I have tried to access their website but it doesn’t exist anymore. I have made many different bread dough’s in my life, kneading by hand, proofing, kneading again and it can all be exhausting. The whole idea behind icebox dough is that kneading is not necessary. The flavor and soft, tender texture develops as it proofs right in the refrigerator. Once you see how easy it is to make these melt in your mouth icebox dinner rolls you may never pick up store bought rolls again.

Laura making the icebox rolls for her 2015 Thanksgiving!

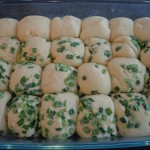
I have added lots of chopped green onion and fresh rosemary in my rolls but they are just as delicious plain too! It takes all of fifteen minutes to make this dough and can be made up to 4 days ahead. The dough stays in the refrigerator, hence the name “icebox” rolls. You take the dough out of the frig the morning of your dinner party. It get’s formed into dough balls mixing in chopped green onion and fresh rosemary. Then the rolls get lined up on a buttery baking tray and back into the frig.  Two hours before you want to serve the homemade icebox dinner rolls you take them out of the frig and let them rise for an hour and a half to two hours. When they have doubled in size, give them an egg wash for a little shine, then bake.

iphone pictures 1015

150150boeuf

025

IMG_2793

IMG_2283


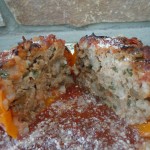
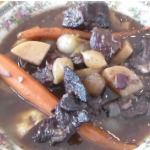
Hope you enjoy these scrumptious “easy icebox dinner rolls” as much as our family and friends do.  They will be asking you for the recipe for sure! These homemade dinner rolls aren’t just for holidays they are great for any day. Try them with my turkey stuffed peppers where you can dunk them in the sauce and pepper juices, the Au Jus in my Boeuf Bourguignon, or Bolognese Sauce. After all this savoriness you may need a chocolate fix with my perfectly chocolate chocolate cake or for a light and refreshing sweet try this amazing Pavlova!

iphone pictures 683  iphone pictures 686  iphone pictures 687

iphone pictures 688  iphone pictures 641  iphone pictures 643

iphone pictures 646  iphone pictures 692  iphone pictures 693

iphone pictures 694  iphone pictures 695  iphone pictures 697

iphone pictures 701  iphone pictures 702

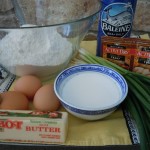
Ingredients: Makes 24 Dinner Rolls

  • 4 1/2 cups all purpose flour
  • 2 packets active dry yeast (NOT rapid rise)
  • 1 cup warm water (105 -115 degrees)
  • 3 lg eggs (if you use extra large eggs you will need to add a little more flour to compensate)
  • 1/2 cup melted butter
  • 1/2 cup sugar
  • 1 Tsp salt
  • 2 bunches of green onions chopped to 1/8″ pieces -(from white/greenish part to ends)
  • 1/2 cup fresh chopped rosemary
  • 1/3 stick room temp butter to coat the cookie tray or inside of the 10″x 15″ baking dish

Directions:  

  1. Using a KitchenAid mixer OR lg mixing bowl pour in the 2 packets of yeast then add in 1 cup of 105º – 110 º  water.
  2. Then add 1 Tbsp of sugar (from the 1/2 of cup of sugar that you add later) now because it feeds the yeast and really gets it activated.
  3. Let this sit for about 5 minutes and you will see it get foamy.
  4. Add in the eggs, melted butter, sugar, and salt and whisk- make sure the butter is not hot because it can kill the yeast if too hot
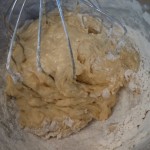
  5. Begin to beat in a 1/2 cup of flour at a time using the whisk the whole time until the dough gets too stiff to mix.
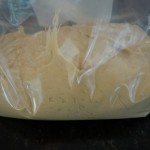
  6. Turn the dough out onto a lightly floured surface, place the big ball of dough into a large Ziploc baggy and put it into the refrigerator for 2 hours…. up to 4 days.
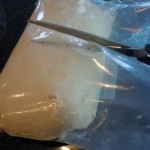
  7. When you are ready to make the rolls just cut the dough right out of the zip lock with scissors nice and easy…..then turn out the chilled dough onto a floured work surface and divide equally into 24 pieces with a pastry scraper
  8. Roll each piece into a ball then firmly push into the pile of chopped green onion and freshly chopped rosemary and re-roll into a ball again. You can keep some of the rolls plain.
  9. Coat 4 Tbsp of softened butter all over a cookie tray with 1/2″ sides or a 10″ x 15″ baking dish for taller rolls
  10. Place the dough balls into the buttered baking tray, cover with Saran wrap and let them rise for 1-2 hours depending how warm your kitchen is (they need to dbl in size) OR you can put them back into the frig until 1 1/2 hours before you need them then take them rolls back out of the frig and let them begin to rise and double in size
  11. Pre-Heat the oven to 375º
  12. Whisk 1 whole egg with 1 tbsp water and brush a good coating onto the rolls after they rise and before putting them into the oven
  13. Bake for 13-18 minutes until a dark golden color…it depends how warm the rolls got while rising so you’ll need to peak at them to see if they’re golden yet.

 TIP:   It’s a good idea to warm the stainless steel mixing bowl by running hot water into it before you begin so the cold bowl doesn’t take the necessary temperature of the water down.

Cold Cucumber Soup

Cold Cucumber Soup

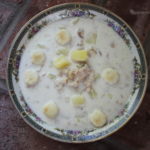
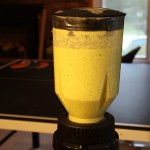
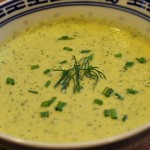
This homemade cold cucumber soup is out of this world! It has texture and flavors that won’t stop! Not one of the flavors in this soup over powers another, it’s the perfect balance. You actually find yourself trying to distinguish between them only because you are aware of all the fresh vegetables and herbs that went into this amazing cold soup.

Being a born and raised East Coaster I have to say I have never been a big “cold soup” kind of person. With our unbearably cold winters we have here I really appreciate a very hot bowl of soup to warm the bones. So when ever I’m making this cold cucumber soup I’m slightly biased going in, not willing to give merit where it is due, until I take my first spoonful and it all changes!

My cold cucumber soup completely stands on it’s own and is very satisfying not to mention the medicinal qualities that cucumbers offer. Cucumber’s can reduce puffiness, help to eliminate toxins in your body and we all know that slice’s of cucumber over your eyes can help to reduce dark circles! Some of the vitamin’s cucumber’s offer are A, C and folic acid and minerals of potassium and magnesium.  All and all this homemade cold cucumber soup is a win win situation.

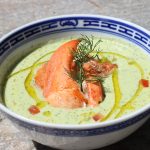
This homemade cold cucumber soup would be great for lunch with a side sandwich or grill up some shrimp like I did in the show. One of my favorite accents to this soup are seared scallops cut in half and placed right in the center on the soup. You can check out in my “Seared Scallop Show” to see exactly how to make the scallops.

King crab meat is also a lovely topping to this cold cucumber soup and was a big hit when I presented this soup this way to the tasting judges at my second MasterChef open casting call in NYC this past March (2016)! All of the MasterChef casting call judges didn’t have any critique for my soup during the tasting phase…they just said “they really, really loved it!” When I made my cucumber soup for the MasterChef casting call I added fresh fennel to the recipe to change it up and give it that je ne sais qua…that extra special something!
This cold cucumber soup is an amazing way to start your dinner party or even have for a luncheon. If you are thinking of other course’s to add to your soup you should check out my stuffed mushrooms, yogurt chicken kabobs, bolognese sauce with homemade pasta and end with my perfect chocolate cake that will rock your world! Enjoy 🙂

mushrooms IMG_1897 025 IMG_4327 IMG_2793

IMG_2859  IMG_2880  blendsoup

pureed  IMG_2902  IMG_7236

IMG_7242 IMG_7223

Ingredients:

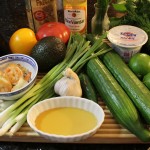
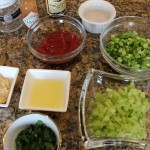
  • 2 European cucumbers peeled and cubed – 4 1/2 cups – you do not need to remove seeds with the European cucumbers
  • If you are using regular cucumbers, peel and slice down the middle and remove the seeds scooping them out with a small spoon and cut into chunks
  • 3 ex-lg green onions or 5 small sliced in 1″ pieces from green tips to whitish green stems
  • 1/4 cup of diced cherry tomatoes OR diced heirloom tomatoes
  • ½ an avocado cut in chunks
  • 1 jalapeño chopped (take out seeds)
  • 1 lg garlic clove put through garlic press
  • 1 cup plus 2 tbsp Greek Yogurt – whole milk
  • 1/3 cup fresh dill
  • 1/4 cup fresh mint leaves
  • 1 Tbsp of honey
  • 1/4 cup of seasoned rice vinegar
  • juice from 1 lime
  • 1/4 cup olive oil
  • 1/2 tsp salt – to taste  – (NOTE: I said 1 tsp in the show but I meant to say 1/2 tsp!)
  • 1/4 tsp finely ground pepper

         -FOR COLD CUCUMBER & FENNEL SOUP …ADD:

  • 1 cup cut up fresh FENNEL  …for a change up try this with the FENNEL – YUM!
  • chopped fresh chives for garnish
  • seared scallops , cooked Lobster, Shrimp, or Crab to top the soup in the center

Directions:

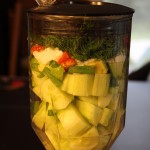
  1. Add all the ingredients in the list above to your blender except olive oil
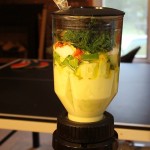
  2. Begin to puree while slowly pouring in olive oil through the opening at the top
  3. Continue to puree for 20-30 seconds
  4. Be patient, all the vegetables in the cucumber soup will begin to slowly puree
  5. Stop and scrape down any herbs or vegetables stuck on the side’s and pulse for 10 more seconds
  6. Chill in the refrigerator for 1 hour
  7. Serve with a sprinkle of dill, finely chopped tomato, cucumber and avocado
  8. Top the center of the soup with seared scallops – room temperature cooked lobster, king crab meat, or shrimp AND then a drizzle of extra virgin olive oil

Bloody Mary Shrimp & Mango-Curry Shrimp At Nancy’s

Bloody Mary Shrimp & Mango-Curry Shrimp At Nancy’s

Bloody Mary Shrimp & Mango-Curry Shrimp in Wonton Cups

These two homemade shrimp appetizer’s are fun and delicious! Bloody Mary Shrimp and Mango-Curry Shrimp in wonton cups will soon be on your go to list for summer appetizers! My good friend Nancy passed these wonderful recipes on to me which she found at epicurious.com. They certainly have a an enormous assortment of recipes there to choose from and sometimes it can be overwhelming finding the ones you like so I feel fortunate to have a fellow foodie pass these on.

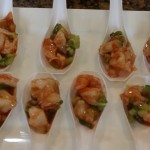
These two shrimp appetizer’s just might be the easiest and most delicious recipes you’ll have this summer. The Bloody Mary shrimp is so flavorful with all the same condiments that make up “the” cocktail including the vodka but in little nibble sizes.  Serving up this appetizer on a spoon makes for a lovely presentation too. You can find these spoons at party stores and sometimes even at Stop & Shop.

The Mango-Curry Shrimp in wonton cups is another winner with a variety of fresh flavors from the green curry sauce to the mango chutney which both come prepared from the specialty section of the grocery store totally saving you time in the prep department …Hallelujah! You know me with the mayo thing … as much as I love my Hellman’s Mayo I do like to cut the mayo with some plain Greek yogurt to give it a little tang and a wonderful fresh texture so I give you that option in the list of ingredients for this appetizer.

It was an enjoyable day shooting this show and having my good friend Nancy share with us a couple of her favorite appetizer’s that she frequently entertains with. We will definitely be back cooking with Nancy this summer and visiting her garden to pick heirloom tomatoes for that scrumptious homemade Tomato Tartan! Hope you enjoy the show and let me know how you like the Bloody Mary Shrimp & Mango-Curry Shrimp appetizer’s.

IMG_1544  IMG_1543  IMG_1567

IMG_1585  IMG_1595  wonyonshrimp_1606

bloodyshrimp  nancy3

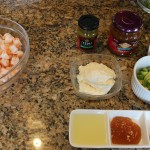
Ingredients For THE BLOODY MARY SHRIMP:

  • 1 pound medium shrimp in shell, peeled and de-veined
  • 1 1/2 cups thinly sliced celery (2 -3 ribs)
  • 1 cup thinly sliced scallions (about 6)

Directions For THE BLOODY MARY SHRIMP:

  1. Bring a large saucepan of salted water (2 tablespoons salt for 2 quarts water) to a boil.
  2. Add shrimp, then remove from heat and let stand in water until cooked through, about 5 minutes.
  3. Drain in a colander and cool to room temperature, about 30 minutes.
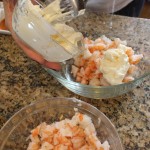
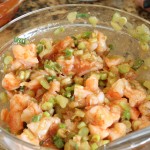
  4. Cut shrimp into thirds and transfer to a large bowl with celery and scallions.

Ingredients For THE SAUCE:

  • 1/2 cup ketchup
  • 1/4 cup vodka (preferably Absolut Peppar)
  • 1/4 cup fresh lemon juice
  • 2 tablespoons bottled horseradish (not drained), or to taste
  • 1 teaspoon Worcestershire sauce
  • 1 teaspoon Tabasco OR Siracha (also found where the tabasco is shelved at the store)
  • S&P to taste

Directions For THE SAUCE:

  1. Whisk together all sauce ingredients
  2. Just before serving, stir sauce into shrimp mixture.
  3. Spoon 2 shrimp pieces with vegetables and sauce into each soup spoon and arrange spoons on a platter.

NOTE: Shrimp can be cooked and tossed with vegetables 4 hours ahead, then chilled in a sealed bag. Sauce can be made 1 day ahead and chilled, covered. Mix the sauce and shrimp right before serving.

Ingredients For THE MANGO-CURRY SHRIMP:

  • 12 wonton wrappers (from one 12-ounce package), each cut into squares
  • Vegetable oil
  • 1/3 cup mayonnaise OR split the 1/3 cup mayo in half with Greek yogurt
  • 2 tablespoons chopped fresh cilantro
  • 5 teaspoons fresh lime juice
  • 2 teaspoons mango chutney
  • 1 teaspoon Thai green curry paste (Thai green curry paste is available at Asian markets and in the Asian foods section of some supermarkets)
  • 12 ounces peeled cooked medium shrimp, coarsely chopped
  • 1 cup Fresh cilantro leaves coarsely chopped

Directions For THE MANGO-CURRY SHRIMP IN WONTON CUPS  – Pre-Heat oven to 325º:

  1. Preheat oven to 325°F.
  2. Place wonton squares on work surface and brush lightly with oil
  3. Press each into miniature muffin cup, oiled side down
  4. Bake until wonton cups are golden brown, about 10 minutes
  5. Cool completely in tins -Can be made 3 days ahead
  6. Remove cups from tins and store airtight at room temperature
  7. Whisk mayonnaise, chopped fresh cilantro, lime juice, chutney, and curry paste in medium bowl to blend
  8. Stir in shrimp. Season salad to taste with salt and pepper. (Salad can be prepared up to 1 day ahead – Cover and refrigerate
  9. Place wonton cups on serving platter
  10. Spoon 1 tbsp shrimp salad into each cup
  11. Garnish with cilantro leaves


Baked Spinach Wrapped Reuben’s

Baked Spinach Wrapped Reuben’s

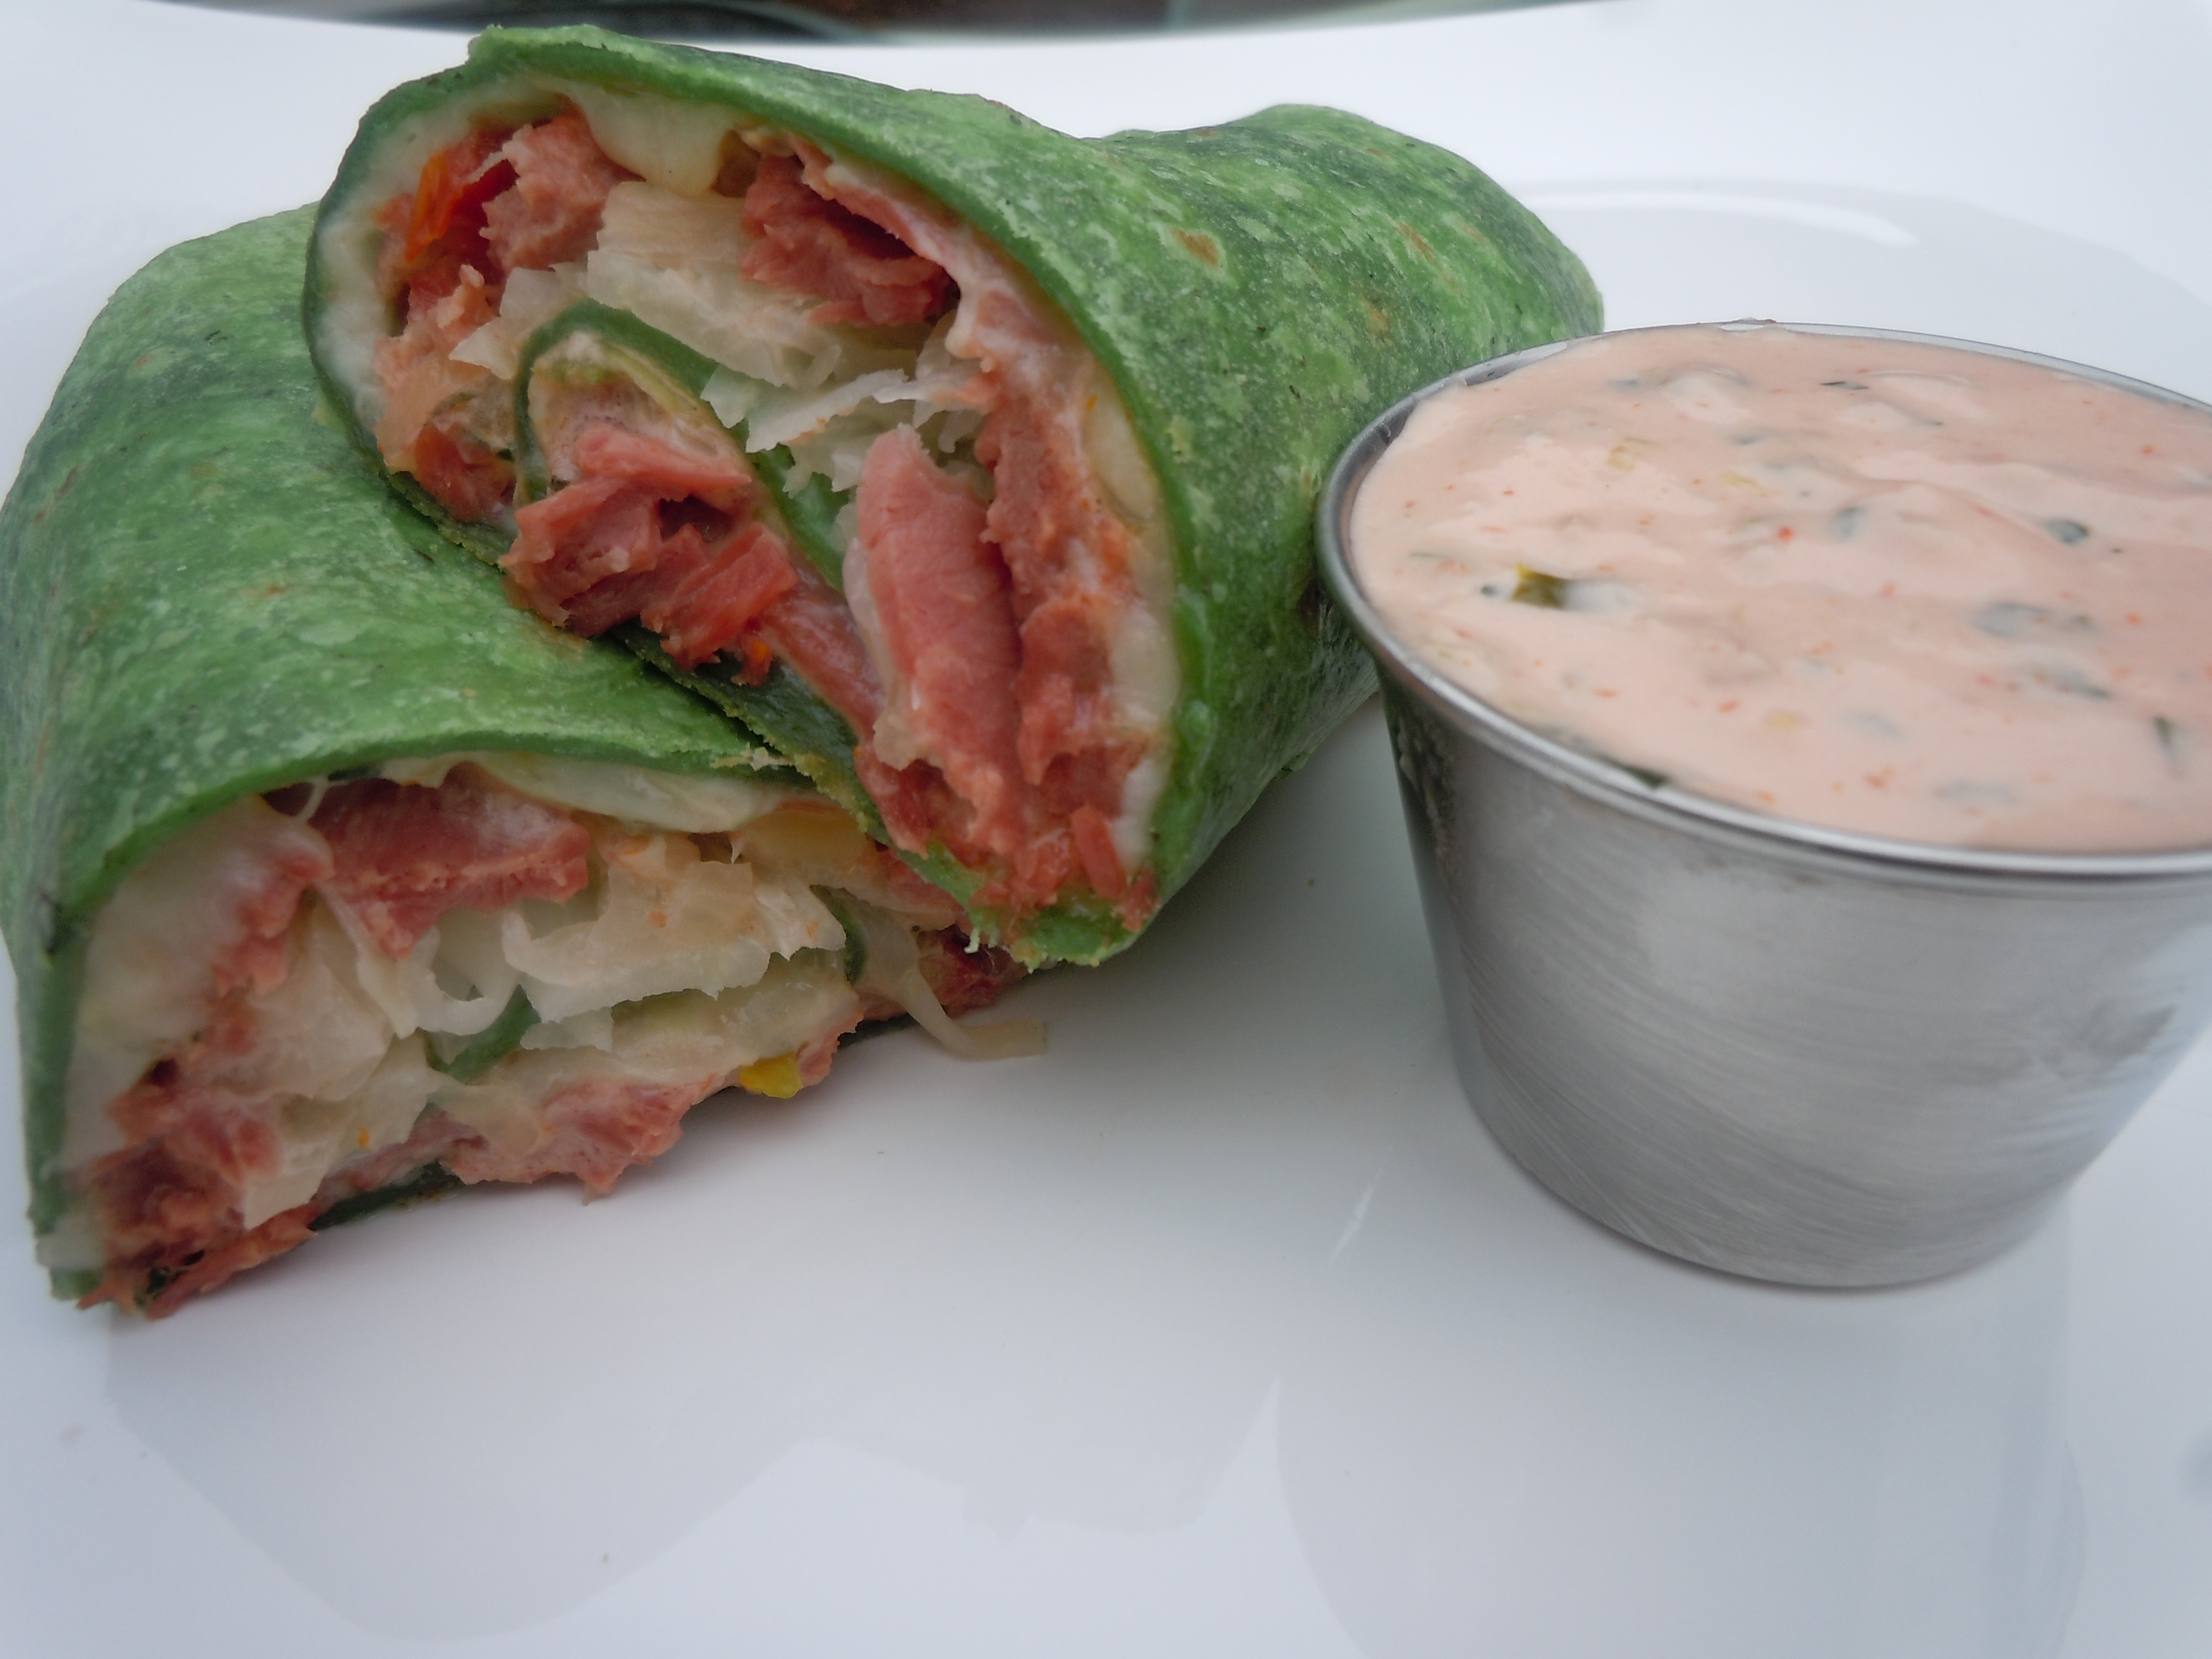
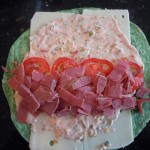
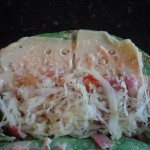
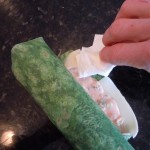
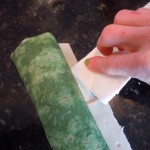
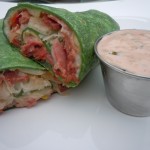
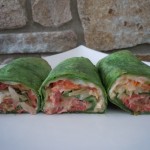
These baked spinach wrapped Reuben’s from St. Patrick’s Day leftovers just melt in your mouth. They are zesty, creamy and tangy made with thousand island dressing  & horseradish, melted Swiss cheese, thinly slice tomatoes and drained sauerkraut. They almost make you want to skip the bland corned beef and cabbage and call it a wrap! In this version of my thousand island dressing I add in prepared horseradish which compliments the corned beef so well, and I substitute 1/2 the mayo for Greek yogurt.  It’s quite good, in fact it would be a great addition to a turkey, roast beef or fish sandwich and it will keep nicely in the frig for several days. These baked spinach wrapped Reuben’s would be delicious with my baked Yukon potato fries and zucchini torta!

iphone pictures 1573 iphone pictures 1511 iphone pictures 1574 iphone pictures 1575iphone pictures 1576 iphone pictures 1579 iphone pictures 1581 iphone pictures 1582iphone pictures 1578 iphone pictures 1571 iphone pictures 1572 iphone pictures 1583iphone pictures 1586 iphone pictures 1588 iphone pictures 1590 iphone pictures 1593iphone pictures 1591 iphone pictures 1596 iphone pictures 1594 iphone pictures 1592iphone pictures 1595 iphone pictures 1605 iphone pictures 1613

Ingredients for Thousand Island Dressing with Horseradish:
(makes 1 3/4 cup of sauce…keeps for several days in frig)

  • 1/2 cup Greek yogurt
  • 1/2 cup mayonnaise (Hellman’s)
  • 1/2 cup ketchup
  • 3 Tbsp prepared hosreradish (Inglehoffer cream style)
  • 1/3 cup drained pickle relish
  • 1/4 cup finely chopped green onions
  • 1 Tbsp finely chopped fresh parsley
  • 1 Tbsp fresh zested or grated spanish onion
  • 1/2 Tsp Tabasco

Directions to Thousand Island with Horseradish:

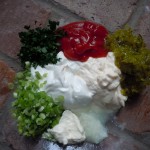
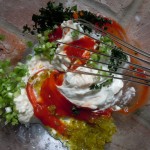
  1. Put all ingredients in a large bowl and whisk, set aside

Ingredients for Baked Spinach Wrapped Reuben’s – makes 4 Wraps:

  • 2 cups thinly sliced and chopped leftover corned beef
  • large spinach wraps
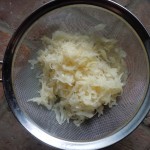
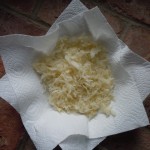
  • 1 cup drained Boar’s Head Sauerkraut
  • Swiss cheese slices
  • 4 small tomatoes thinly sliced (with out juice and seeds)
  • 1 recipe Thousand Island Dressing with Horseradish (above)

Directions for Baked Spinach Wrapped Reuben’s:

  1. Pre-heat oven to 375º
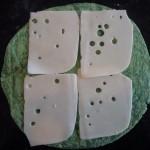
  2. Lay out 4 spinach wraps
  3. Lay down 2-4 pieces of Swiss cheese as the base layer
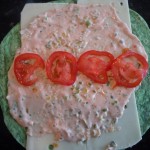
  4. Spread 3 Tbsp Thousand Island Dressing with Horseradish sauce all over each wrap, keeping sauce in 1″ from the edges
  5. Put 3 or 4 slices of tomato down right across the middle
  6. Sprinkle 1/2 cup corned beef next running across middle to bottom…closer to to the bottom edge of the circle
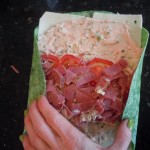
  7. Add in 3 Tbsp drained sauerkraut to the middle of the wrap on top of the tomatoes
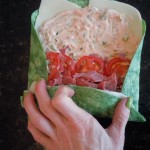
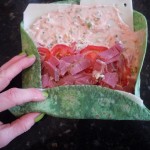
  8. Fold in the sides and begin to roll up from the bottom
  9. Place seem side down on cookie sheet and bake for 15 minutes
  10. A tiny bit of the stuffing will be sizzling out at the ends but that’s ok
  11. Use a spatula to remove spinach wrap and place on serving dish, cut in 1/2 and serve with the homemade thousand island dressing with horseradish and my baked Yukon potato fries and zucchini torta!