Guinness Beef Short Ribs on CT Style!
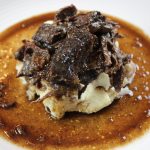
 My favorite part of the live cooking segment on the “CT Style” show might very well be the fun gathering we have afterwards, eating and catching up. It’s just like if I were home having family and friends over except we are in The Bender Kitchen at the WTNH Channel 8 Studio! This is a special group of people that work here. It was also exciting to meet a recent addition to Storm Team 8 yesterday, Ashley Baylor. She is warm, funny and genuine. Ashley came over to have a bite of the Guinness braised beef short ribs with the rest of us and said “It smells so good in here, I was worried I would say it’s raining beef!”
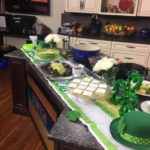 Ferraro’s Meat King contributed to my cooking segment on CT Style with their gorgeous beef short ribs. They offer first class customer service with amazing butchers who will help you to figure out anything you need. You can even call up or order online to be delivered to their Madison location for pick up!
One of the reasons I love making Guinness braised beef short ribs is you can totally get this done the day before. This dish gets even better when you reheat it and now you have more time with your party guests.
The very fun dress I wore for this cooking segment came from  A’s Unique Boutique in Guilford, CT. Their selection of gorgeous dresses is huge and they help you from the moment you walk in to find that perfect dress.
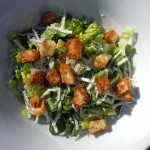
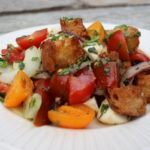
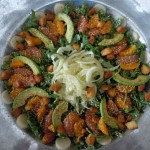
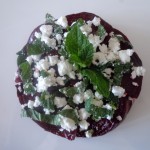
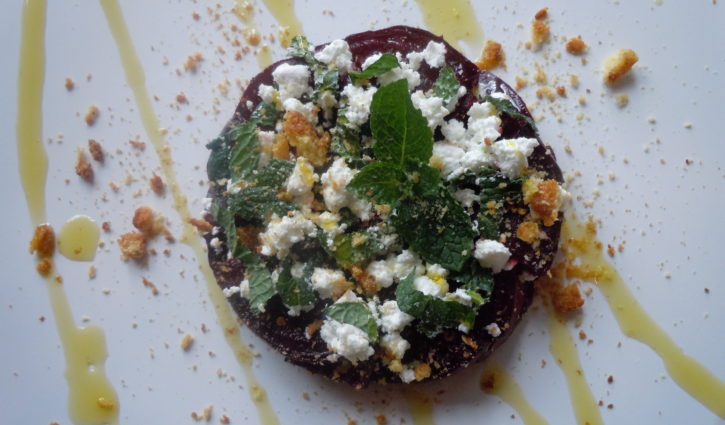
You may want to have some delicious salads to go with you Guinness Braised Beef Short Ribs like my Home Caesar Salad & Croutons, Fennel & Citrus Salad, Roasted Beet & Feta Salad, Thai Quinoa Salad, or the amazing Panzanella Salad!


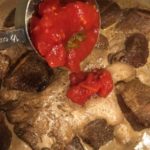
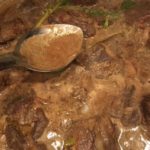
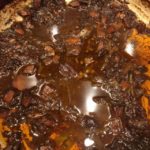
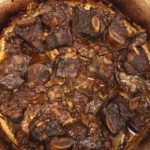
Ingredients:
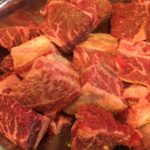
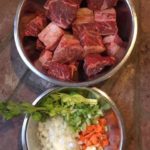
- 5 lbs. Beef short ribs English & Flanken Cut – Half of each cut in 2” pieces
- 2 bottles STOUT
- 1 cup red wine, cabernet and more to add to reduced sauce at the end
- 2 cup beef stock, and more to add to reduced sauce at the end
- ½ cup whole peeled tomatoes
- 2 tbsp. soy sauce
- 1 lg onion coarsely chopped
- 2 celery stalks coarsely chopped
- 1 lg carrot coarsely chopped
- 4 lg garlic cloves coarsely chopped
- 1 leek coarsely chopped
- 1 tsp sea salt, 1/4 tsp pepper
- 1-2 bay leaves
- 1 recipe Yukon Mashed Potatoes, plus 1 sm. head steamed broccoli pureed added to mashed potatoes for St.Pat’s, place the cooked broccoli into the food processor with the cream you would add to the potatoes to help puree smooth, then add to mashed potatoes
DIRECTIONS for Beef Short Ribs:
- Pre-heat oven to 350º
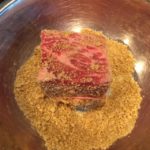
- Rub spice mixture all over ribs and marinate for 30 min.-2 hours
- Pat dry ribs without removing all the spices
- Heat 2 tbsp. olive oil in a large Dutch oven or pan
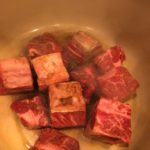
- Begin to sear beef short ribs in pan with olive oil, do this in two batches so you don’t crowd the pan
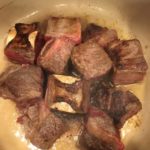
- Sear the ribs 3-4 minutes on each side until browned
- Remove 1st batch of ribs, set aside in a lg bowl and brown 2nd batch of beef short ribs
- Remove 2nd batch of ribs to bowl
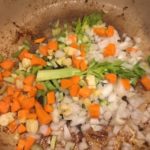
- Then add in mirepoix with 1/2 tsp salt and 1/4 tsp pepper to Dutch oven
- Add all of the beef short ribs back into the Dutch oven
- Add in 2 bottles stout, 1 cup cabernet, 2 cups beef stock, 2 tbsp. soy sauce, 1/2 cup whole peeled tomatoes and 1 bay leaf to Dutch oven- it may seem like a lot but I will reduce considerably while braising
- Bring to a simmer on the stove for 15 minutes and skim off any foam
- Cover Dutch oven and place into a pre-heated (325 convection) 350º oven for 2 ½ -3 hours
- Every 60 minutes check on the ribs to flip over and make sure you don’t need to add more liquid – it shouldn’t be dry (if it is you can add a splash of water, red wine, or more beef broth…all will work great)
- Remove beef and set aside, then begin to remove oil lay from the pan
- Tilt Dutch oven pan to the side to skim oil off the top of braised veggies
- Push all the braised veggies thru a strainer set over a bowl to catch all the juices
- Make sure to scrape juices on bottom of the strainer into the bowl too
- Add the strained gravy juices to a sauce pan and bring to a simmer on low for 5 minutes
- If it gets too thick you can add in a ¼ c. of red wine or beef broth
- Place the Flanken Cut pieces and English Cut short ribs on top of pile of mashed potatoes with a drizzle of gravy and a sprinkle of chives
- NOTE: If you are not eating ribs right away, and want to re-heat add to a heat proof dish, add 1/4-1/2 cup of red wine and beef stock and re-heat on a 350º oven for 30-40 minutes
Spice Rub Ingredients:
- 2 tbsp light brown sugar
- 1 tsp garlic granuales
- 1 tsp onion granuales
- 1/2 tsp cumin
- 1/4 tsp five spice
- 2 tsp sea salt
- 1/2 tsp blk pepper



![DSCN4452[1]](https://thetravelingepicurean.com/wp-content/uploads/2014/04/DSCN445211-725x425.jpg)
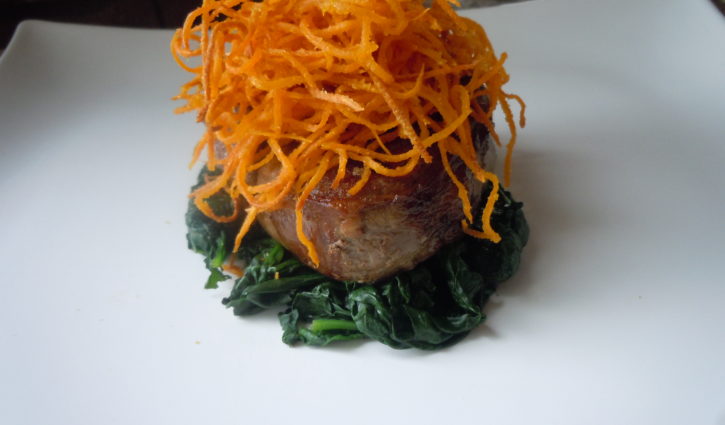

















































 Making Mini Beef Wellington’s for the Oscar’s on CT Style yesterday was a blast! What’s more fun then cooking in the kitchen with friends and family? Well, that’s how it is with Ryan Kristafer and Teresa Dufour! I feel like I’m with my siblings, me being the elder of the trio, as we joke and banter back and forth. I can’t describe to good feeling I get when I leave the WTNH studio at Channel 8. Every single one of them are such great people.
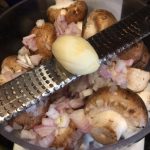
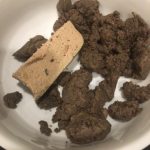
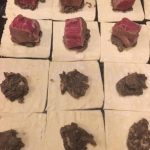
 This Mini Beef Wellington recipe is very easy to make and tastes like a bite of heaven! A piece of filet mignon topped with a mushroom reduction, called Duxelles


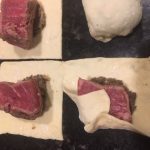


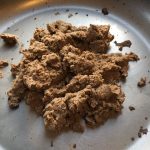
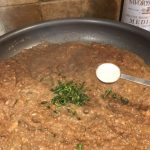
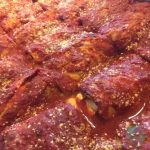 This Eggplant rollatini recipe that I demoed at
  As always, it’s so much fun at the Page Hardware food demo’s. We had a large crowd this past weekend who were very attentive and excited to sample my eggplant rollatini. There weren’t any left overs! We had regulars at the demo and some new faces too. Page is having a huge red-tag sale with 75% off so we all went into the store before the demo began to see some of the great deals. Every 3rd Saturday of the month, from 12-2, you can come and sample delicious foods at Page Hardware while I demo how they’re made. There is a Traveling Epicurean calendar on the home-page side bar of this website so you won’t miss out on up and coming events. See you next on Saturday, 16th of March!
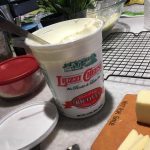 I used to watch my mother fry eggplant when I was little and have been frying eggplant now for over 30 years. Eggplant rollatini is one of those delicious Italian comfort foods and is always better the next day when re-heated. It is a little bit of a process but if you just organize yourself like I’ve shown you in the photo’s below you’ll get it down to a science.
![DSCN4361[1]](https://thetravelingepicurean.com/wp-content/uploads/2014/04/DSCN43611-150x150.jpg)
![DSCN4362[1]](https://thetravelingepicurean.com/wp-content/uploads/2014/04/DSCN43621-150x150.jpg)
![DSCN4372[1]](https://thetravelingepicurean.com/wp-content/uploads/2014/04/DSCN43721-150x150.jpg)
![DSCN4365[1]](https://thetravelingepicurean.com/wp-content/uploads/2014/04/DSCN43651-150x150.jpg)
![DSCN4376[1]](https://thetravelingepicurean.com/wp-content/uploads/2014/04/DSCN43761-150x150.jpg)
![DSCN4367[1]](https://thetravelingepicurean.com/wp-content/uploads/2014/04/DSCN43671-150x150.jpg)
![DSCN4374[1]](https://thetravelingepicurean.com/wp-content/uploads/2014/04/DSCN43741-150x150.jpg)
![DSCN4395[1]](https://thetravelingepicurean.com/wp-content/uploads/2014/04/DSCN43951-150x150.jpg)
![DSCN4386[1]](https://thetravelingepicurean.com/wp-content/uploads/2014/04/DSCN43861-150x150.jpg)
![DSCN4385[1]](https://thetravelingepicurean.com/wp-content/uploads/2014/04/DSCN43851-150x150.jpg)
![DSCN4399[1]](https://thetravelingepicurean.com/wp-content/uploads/2014/04/DSCN43991-150x150.jpg)
![DSCN4408[1]](https://thetravelingepicurean.com/wp-content/uploads/2014/04/DSCN44081-150x150.jpg)
![DSCN4405[1]](https://thetravelingepicurean.com/wp-content/uploads/2014/04/DSCN44051-150x150.jpg)
![DSCN4415[1]](https://thetravelingepicurean.com/wp-content/uploads/2014/04/DSCN44151-150x150.jpg)
![DSCN4409[1]](https://thetravelingepicurean.com/wp-content/uploads/2014/04/DSCN44091-150x150.jpg)
![DSCN4429[1]](https://thetravelingepicurean.com/wp-content/uploads/2014/04/DSCN44291-150x150.jpg)
![DSCN4417[1]](https://thetravelingepicurean.com/wp-content/uploads/2014/04/DSCN44171-150x150.jpg)
![DSCN4441[1]](https://thetravelingepicurean.com/wp-content/uploads/2014/04/DSCN44411-150x150.jpg)
![DSCN4444[1]](https://thetravelingepicurean.com/wp-content/uploads/2014/04/DSCN44441-150x150.jpg)
![DSCN4420[1]](https://thetravelingepicurean.com/wp-content/uploads/2014/04/DSCN44201-150x150.jpg)
![DSCN4421[1]](https://thetravelingepicurean.com/wp-content/uploads/2014/04/DSCN44211-150x150.jpg)
 Planning for a Fat Tuesday celebration with this 1 pot dish of Shrimp & Sausage Jambalaya was the theme of my cooking segment on CT Style recently! As usual, I love cooking for everyone at the Channel 8 studio. They are all such great foodies and enjoy eating what ever I’m cooking up not to mention all the fun I have with Ryan and Teresa, it’s never a dull moment! How lucky I am to be a part of this duo that brings CT Style to life every day! Teresa is a firecracker and Ryan with his boundless good energy…priceless!
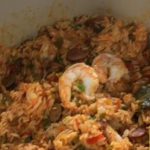 This shrimp & sausage Jambalaya is a rice based dish made Creole style which means it’s has tomatoes. I use 2 different smoked sausages, Andouille and a smoked kielbasa. There’s extra large shrimp, chicken stock, peppers, onions, garlic, fresh herbs and Creole spices! Oh my goodness, there’s flavor bursting out from every where! My last but not least favorite part about this amazing Jambalaya recipe is using only 1 pot!


 4 batches of Turkey Chili were eaten during my Food Demo at Page Hardware in Guilford, CT last Saturday! That’s a lot of chili! This chili has the right amount of spice so as not to be too spicy or too bland but packed with tons of flavor. I do like my chili extra hot but I kept the amount of spice to a minimum so all could enjoy it.
 gives it a warm, underlying flavor that your guests won’t be able to figure out. I test a lot of recipes in terms of spice quantities and this recipe has the perfect combination of smokiness and heat! I think it may become your “go to recipe” once you give it a try. Food for thought, If you were to have any leftovers, highly unlikely that is, it freezes really well.
  a win-win no matter how you look at it…free sampling foods and free demo on how to make the dish! I am there every 3rd Saturday of the month. If you haven’t become a regular yet I don’t know what you’re waiting for. We have so much fun during these demo’s you and you get to eat all the delicious dishes while I am demonstrating how they’re made. Can’t wait to see you next month! You can call Page Hardware to confirm the dates or look on my
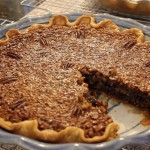
  After this chili you may want something a little sweet for dessert like


 What an exciting day at the WTNH studio with Ryan, Teresa and my daughter Bella! Bella and her TV Studio class came in as guests to watch my cooking segment. Ryan, himself, gave them a tour making their experience extra special! It was a busy day in the studio so Bella’s class got to see a lot of action. Ryan and Teresa then invited them on camera for the finally of my segment! It was so nice to share what I do with my daughter and have her there first hand.
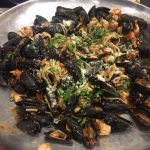 Zuppa di Pesce or The Feast of 7 Fishes was the theme of this cooking segment. I know we are already planning for the next holidays so wanted to share this really delicious Italian Christmas Eve tradition with you. Many families cook up a variety of fish and some have a specfic number to which there is a significant religious meaning. For example, the number 7 is the most frequently used number in the Bible, Earth was created is 7 days, there are 7 deadly sins, 7 sacraments or it could represent the 7 hills that surround
  Rome. Some families have 10 fishes for the 10 stations of the cross, and some have 13 fishes to represent the 12 Apostles and Jesus. What ever the number of fish you have it is supposed to serve as a lighter fare the night before the feast on Christmas day
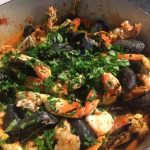 sauce base is the same between the two dishes but the fish are different. Cioppino has Dungeness crab and Zuppa di Pesce has the lobster. Basically, you use what ever fish is native to your area.




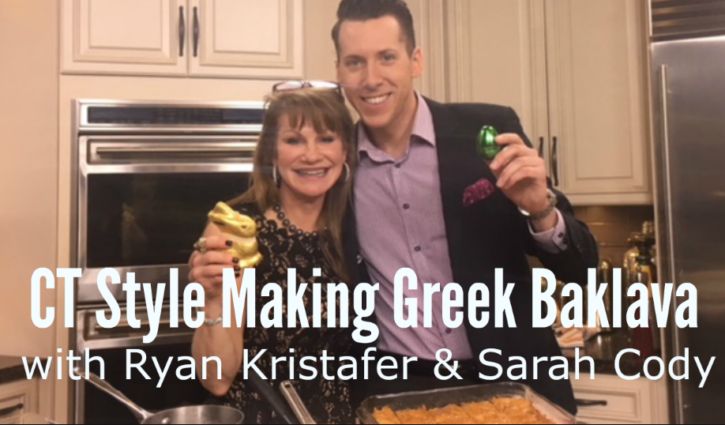
 These special people (in the photo to the left) are the heart beat of the “CT Style” show here at WTNH Channel 8 in New Haven, CT. I feel so fortunate to be a part of this amazing family, 2 1/2 years running! There’s always lots of excitement in the studio shooting the live CT Style show and this time around we also had a birthday celebration afterwards for our wonderful producer, Joyce Ogirri!
 day my


 Wow! I can’t even begin to tell how much I look forward to doing The Traveling Epicurean cooking segments on “CT Style” at WTNH, Channel 8 in New Haven, Connecticut! Everyone down at the studio is really wonderful and it’s always exciting cooking with Ryan Kristafer and Teresa Dufour! Being in the Bender Kitchen with them is so natural, everything seems to fall in place. The improv conversation, the banter back and forth and the laughs are undeniably my favorite. That’s what cooking should be all about. That’s what The Traveling Epicurean is all about, sharing family recipes in the kitchen, working together and enjoying each others company!
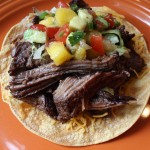
 I came up with this “Pulled Pork While Sleep” recipe because I’m usually juggling my time during the week with all the different events and obligations going on between my kids and I. You coat the pork butt with a brown sugar and spice mixture, lay it on a bed of sliced onions and celery, add 2 cups of Coke, cover tightly with foil and bake at 275º for 8 hours, in the oven at 11:00pm and out at 7:00am! Violà!
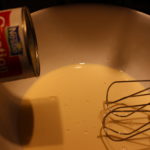
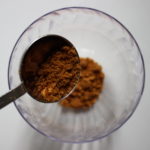
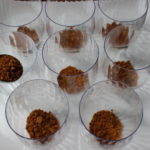
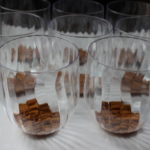
 Making Lemon Mousse Cups with Ginger Cookie Crumble on CT Style this week with Ryan Kristafer and Teresa Dufour was the perfect way to bring in the weekend! Ryan loved this dessert so much last month when I had it on the show as a side feature I knew it had to be the star attraction this time around so everyone would know how to make it. It’s light, luscious and refreshing all at the same time and the crumbled ginger cookie gives it that extra special something.
