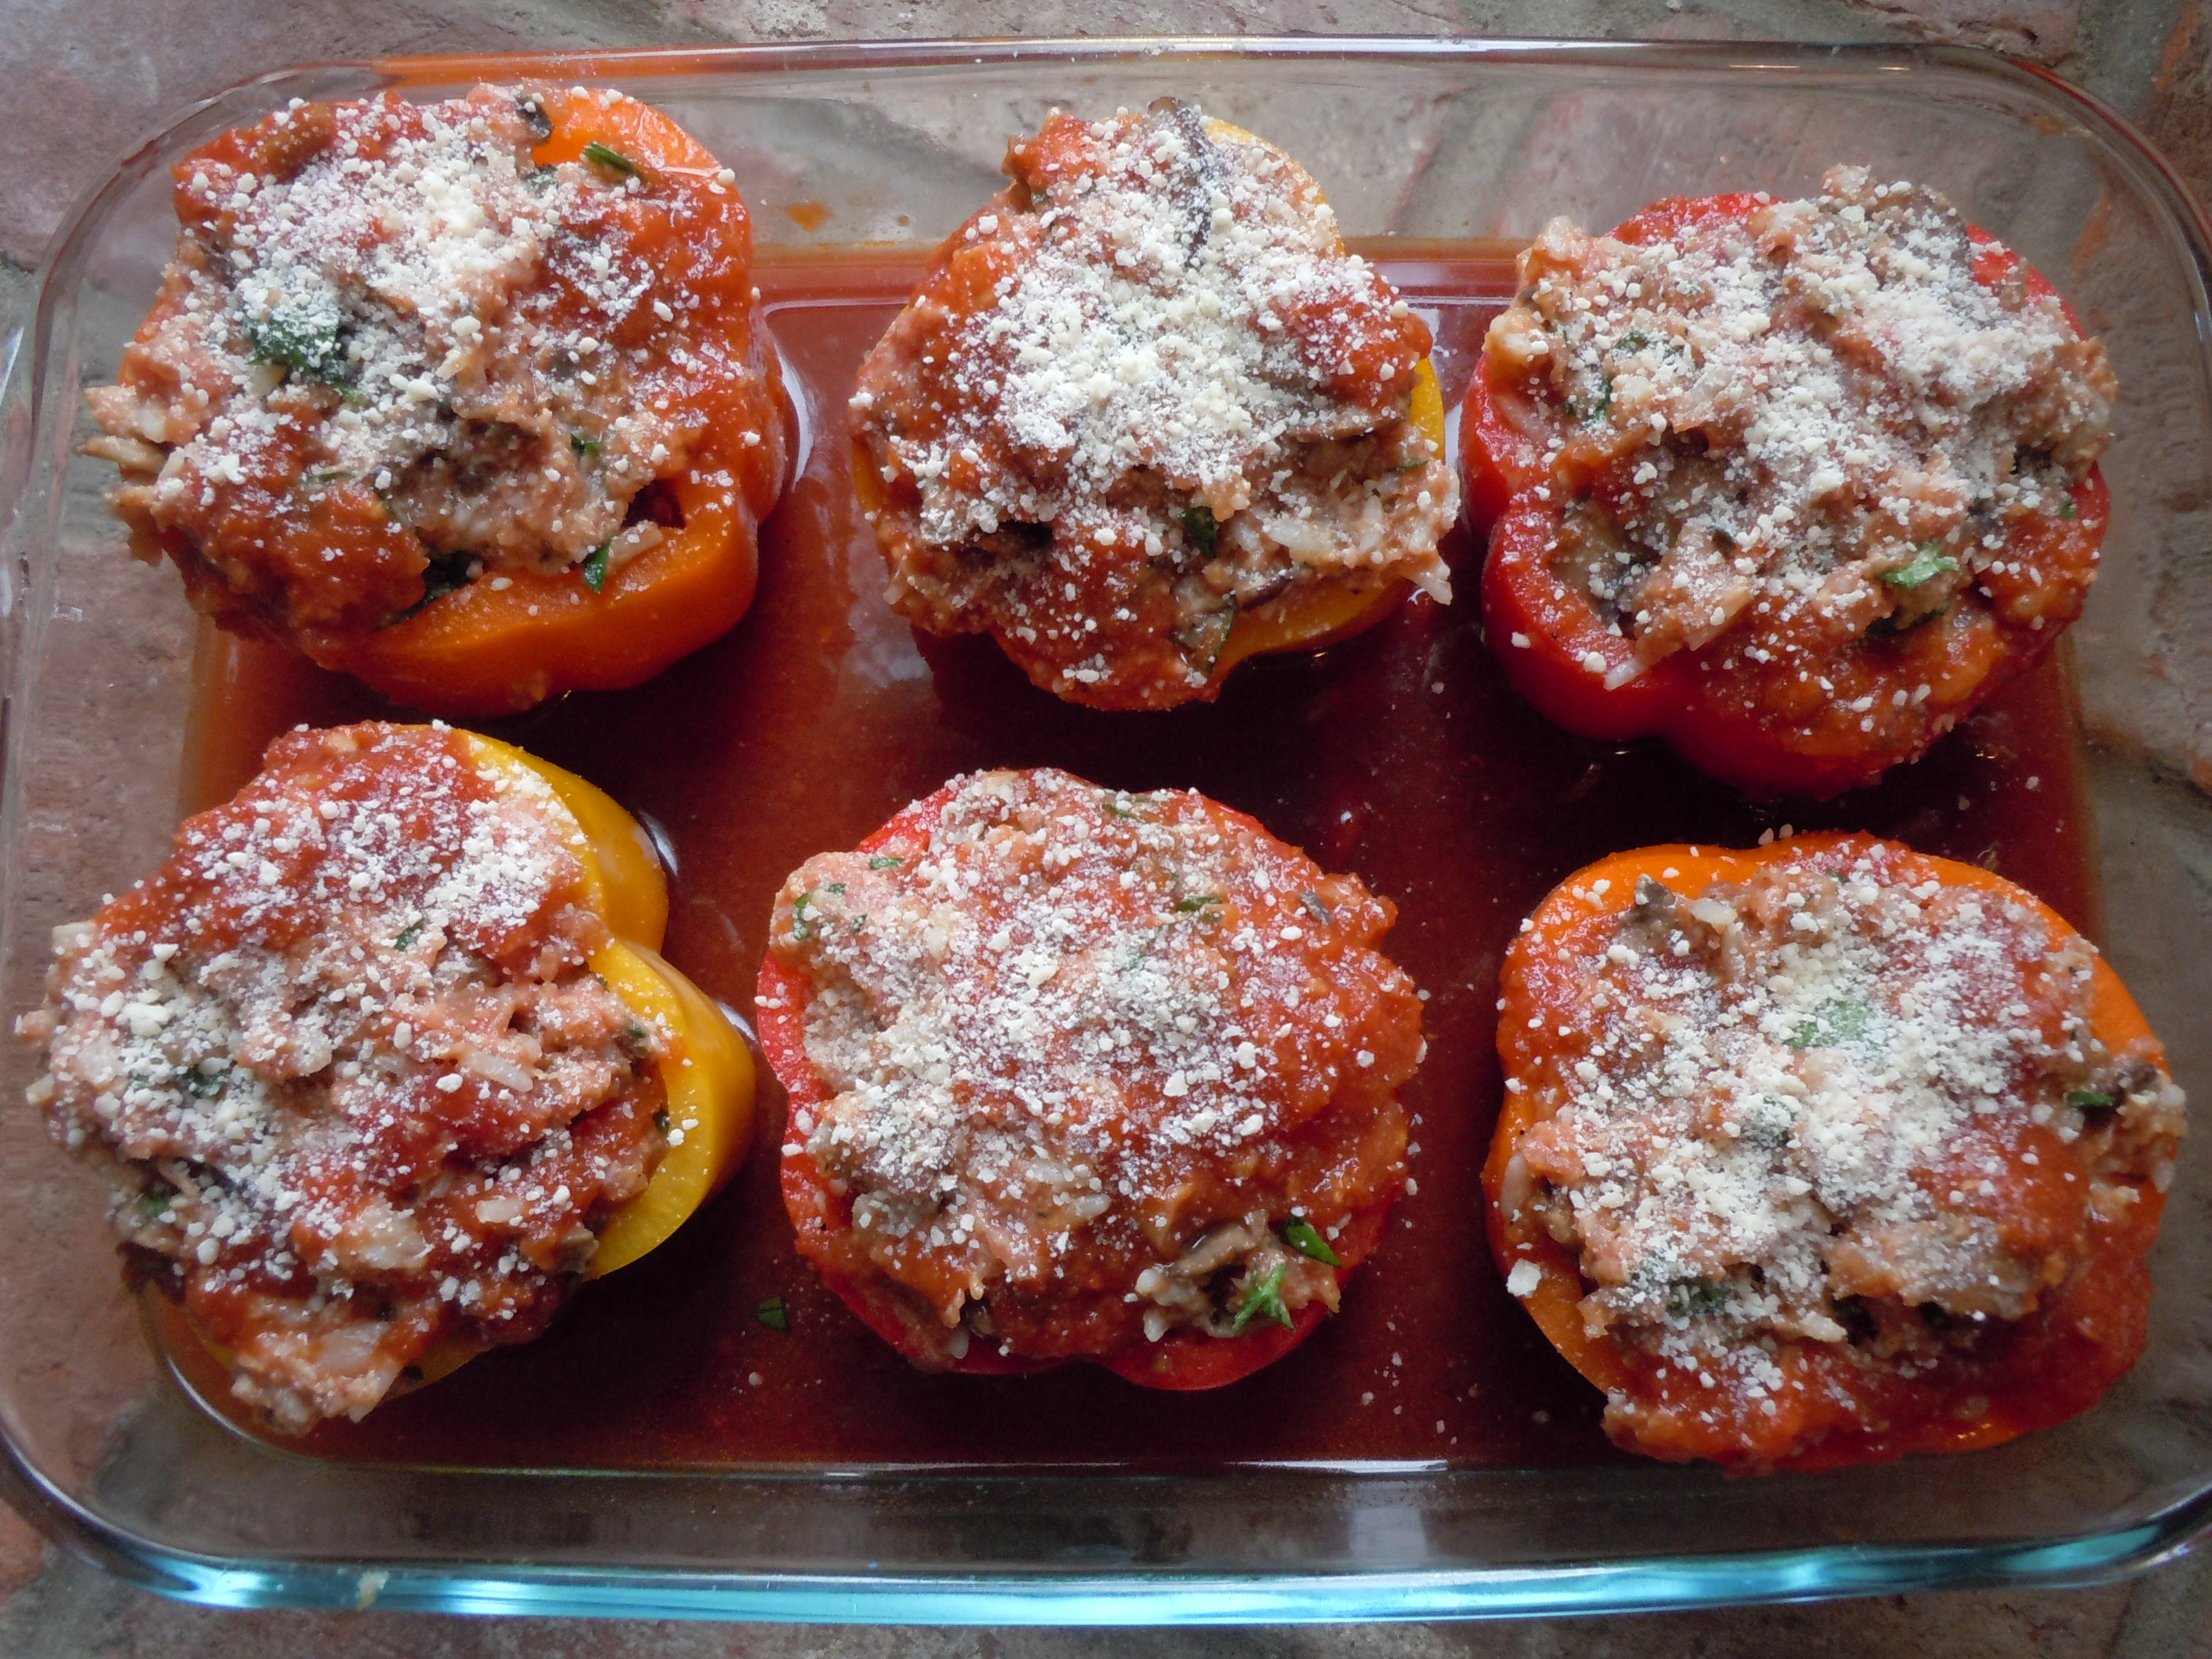
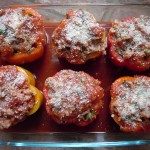
Turkey Stuffed Peppers
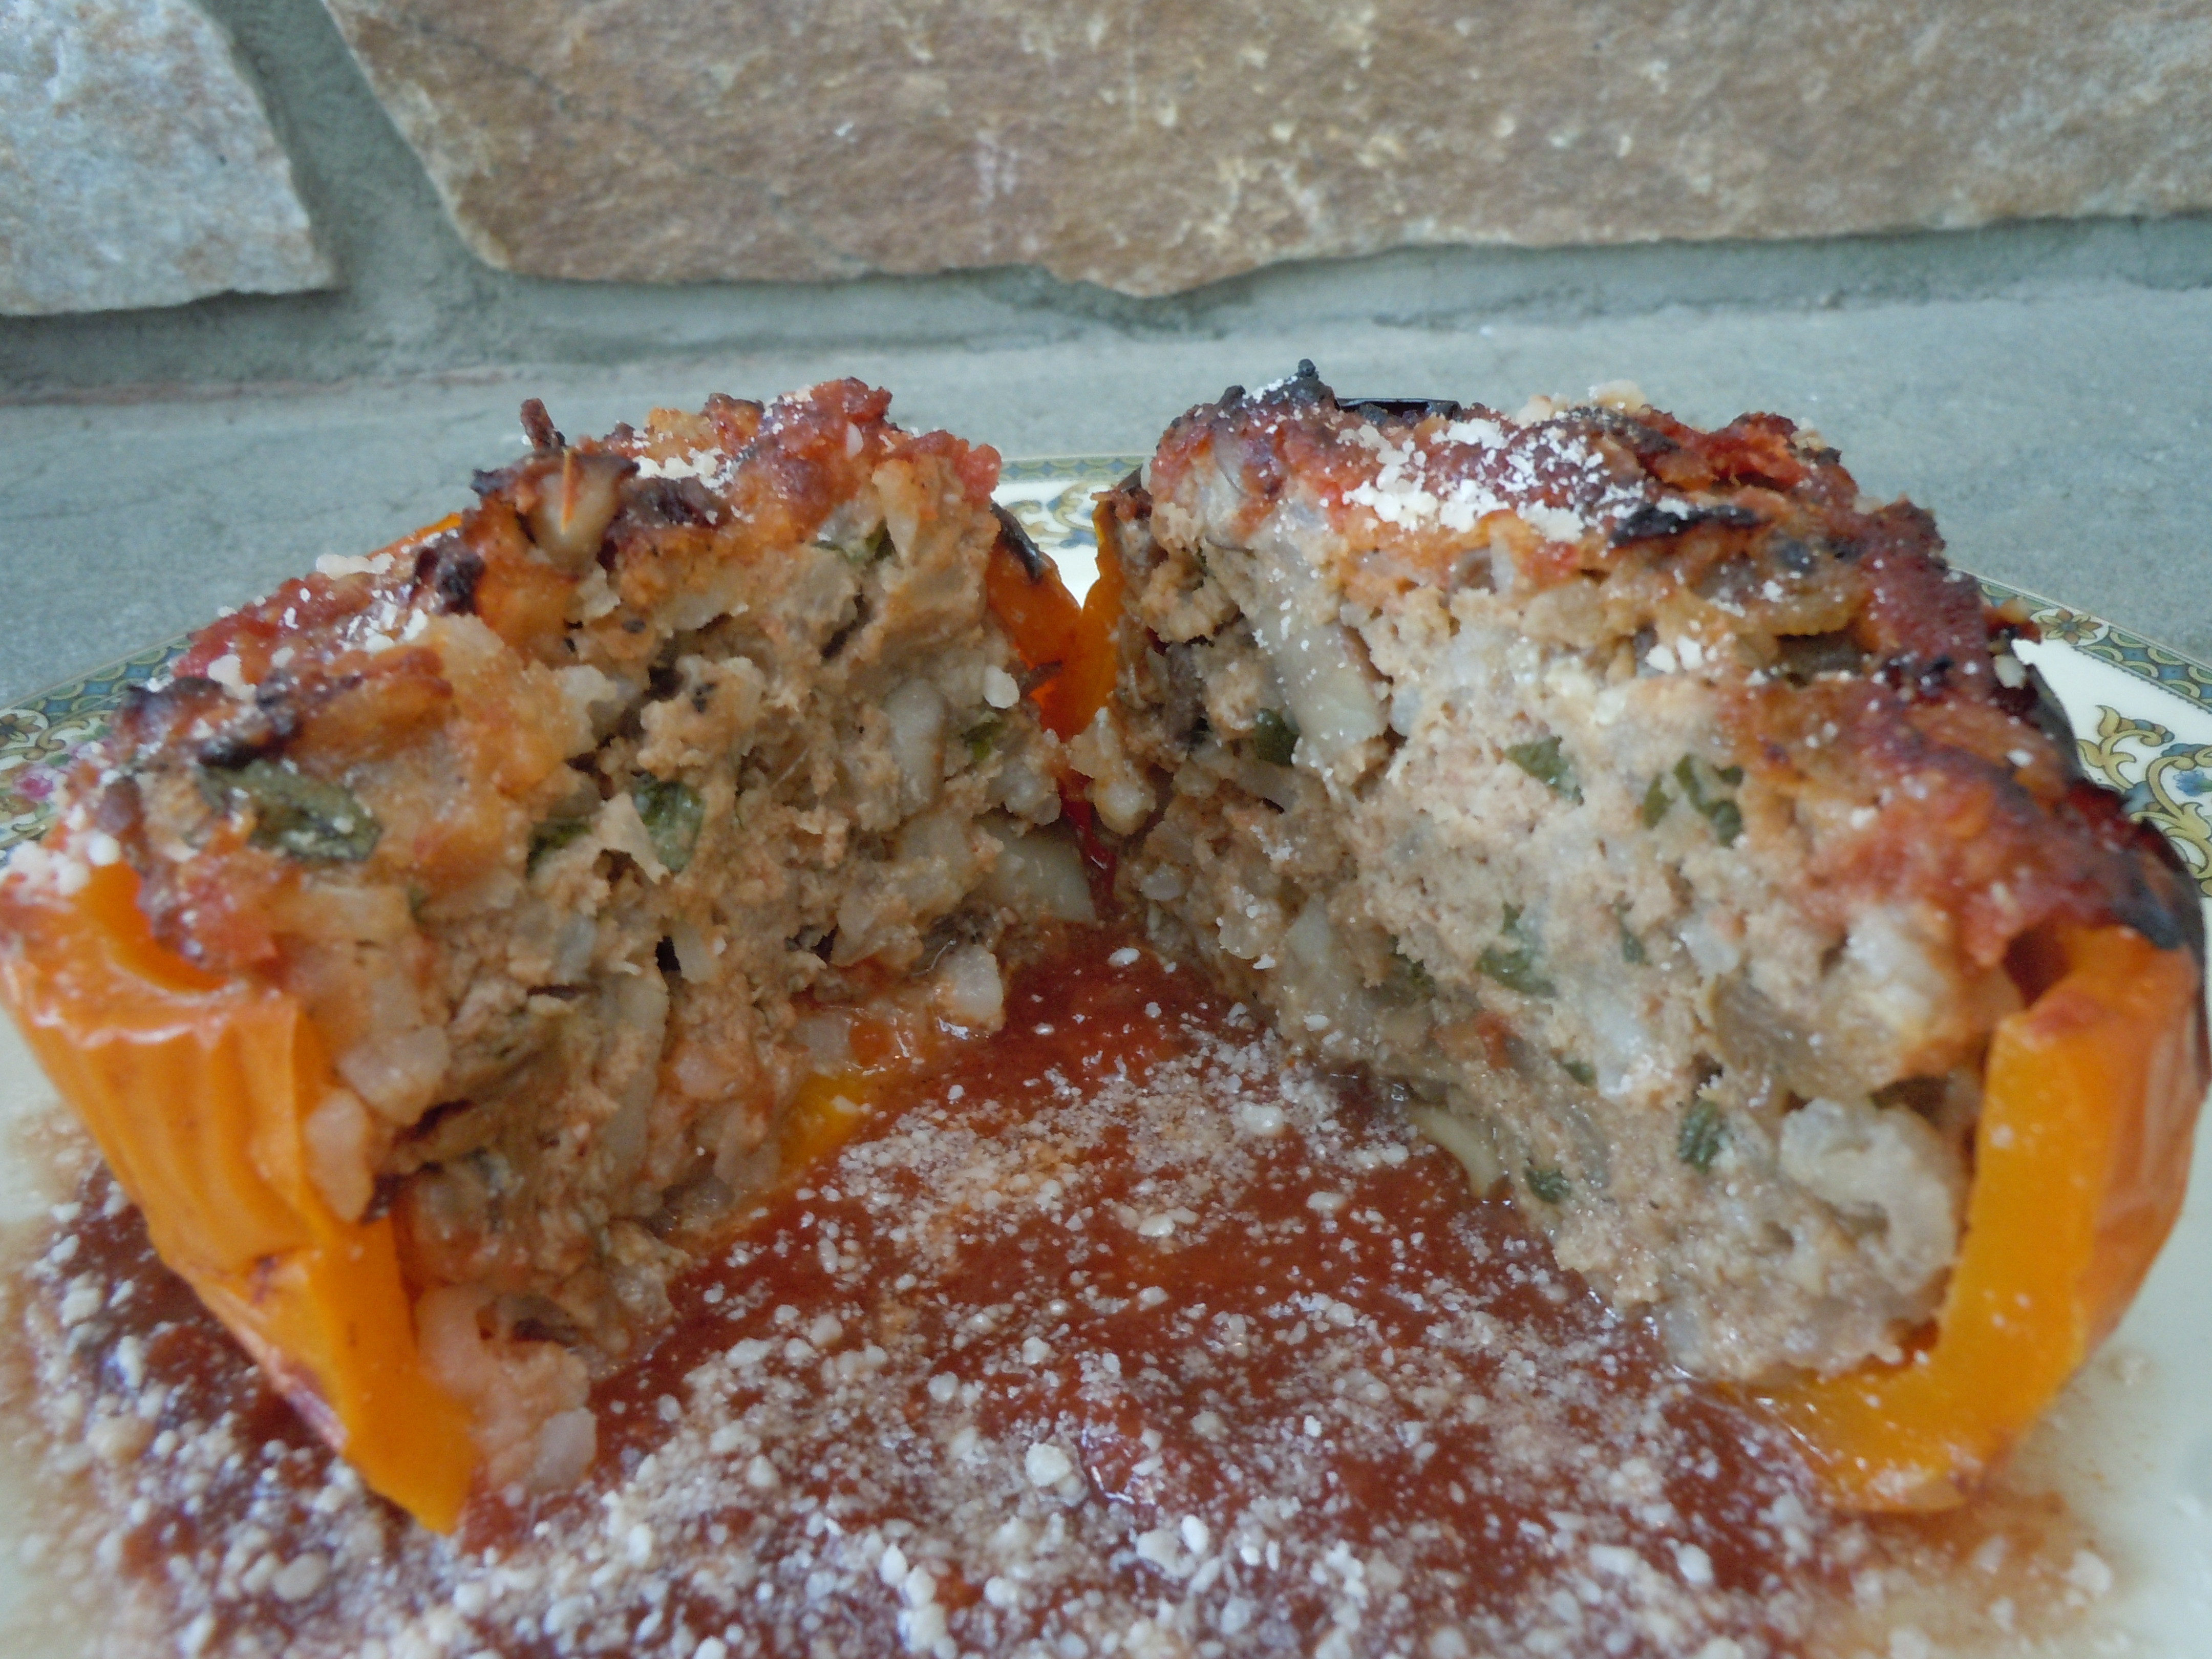
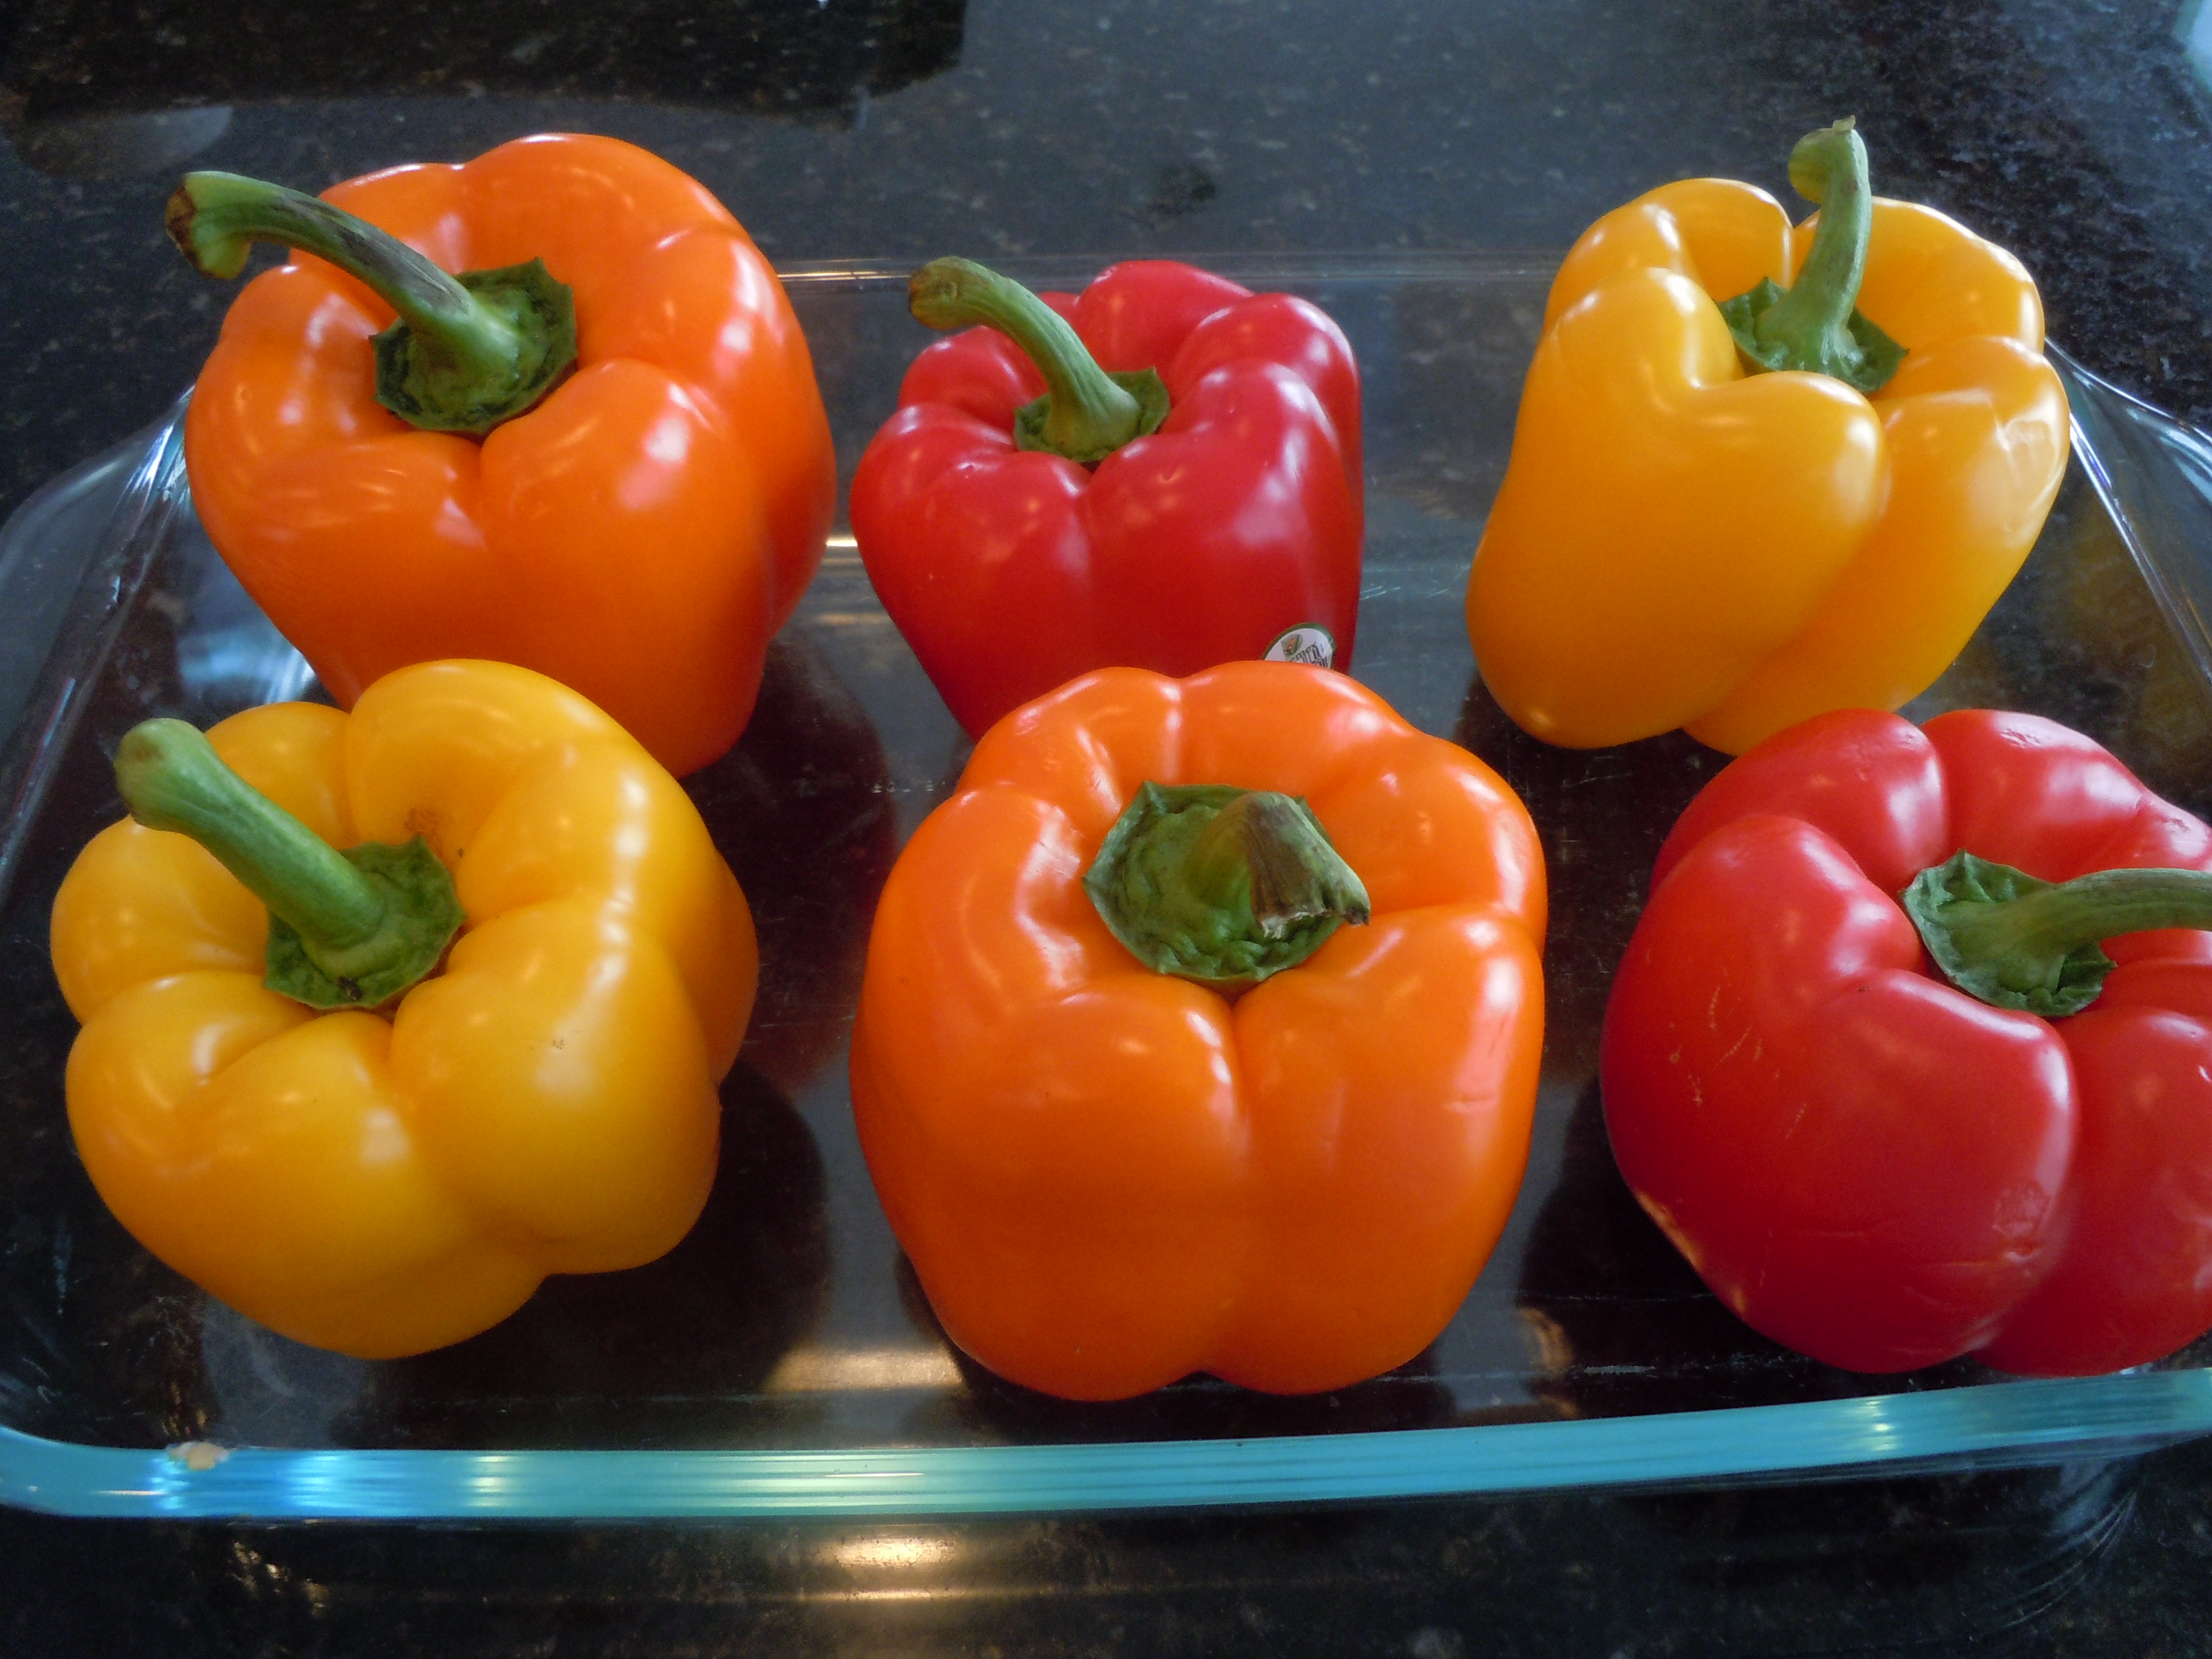
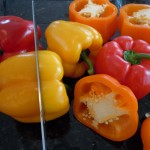
Usually I make these stuffed peppers with beef but a good friend has me converting to turkey and I am really loving it. I don’t even wish for the flavor of beef in the stuffing because the turkey hold its own! These peppers are juicy, tender and sweet made with sautéed mushrooms, onions, fresh chopped parsley, rice, grated Reggiano Parmesan, pinot noir and a porcini red sauce. My porcini sauce gives this recipe a really nice flavor but if you don’t have time for it you shouldn’t let that stop you from making these savory stuffed peppers. You can buy a favorite store sauce for convenience or use one of your own. I have you slice the mushrooms paper thin here and then cut those in 1/2 and that keeps the flavor delicate and the mushrooms very tender not chewy …. they almost melt into the stuffing when baking. The onions are finely chopped so I love to use my vegetablehand chopper because it saves a ton of time when you are doing all this prep work unless you have a sous chef that is. Now you of course can use any color pepper you like. I like using the green ones because I like the strong flavor they render, but here I went with the pretty colors and the peppers are a little sweeter when you go to the reds, oranges, and yellows. I don’t believe in using “instant rice” ever because it doesn’t have a great texture. Making rice is a simple process …see “TIP” below. These stuffed peppers are a few step process so it’s a good idea to get some of the work done the day before like making the porcini red sauce and the rice. This dish is so worth the effort …. It just may become your go to Sunday dinner and you can even end this delicious dinner with a bang making a quick and easy German pancake recipe or chocolate-avocado mousse!
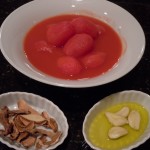

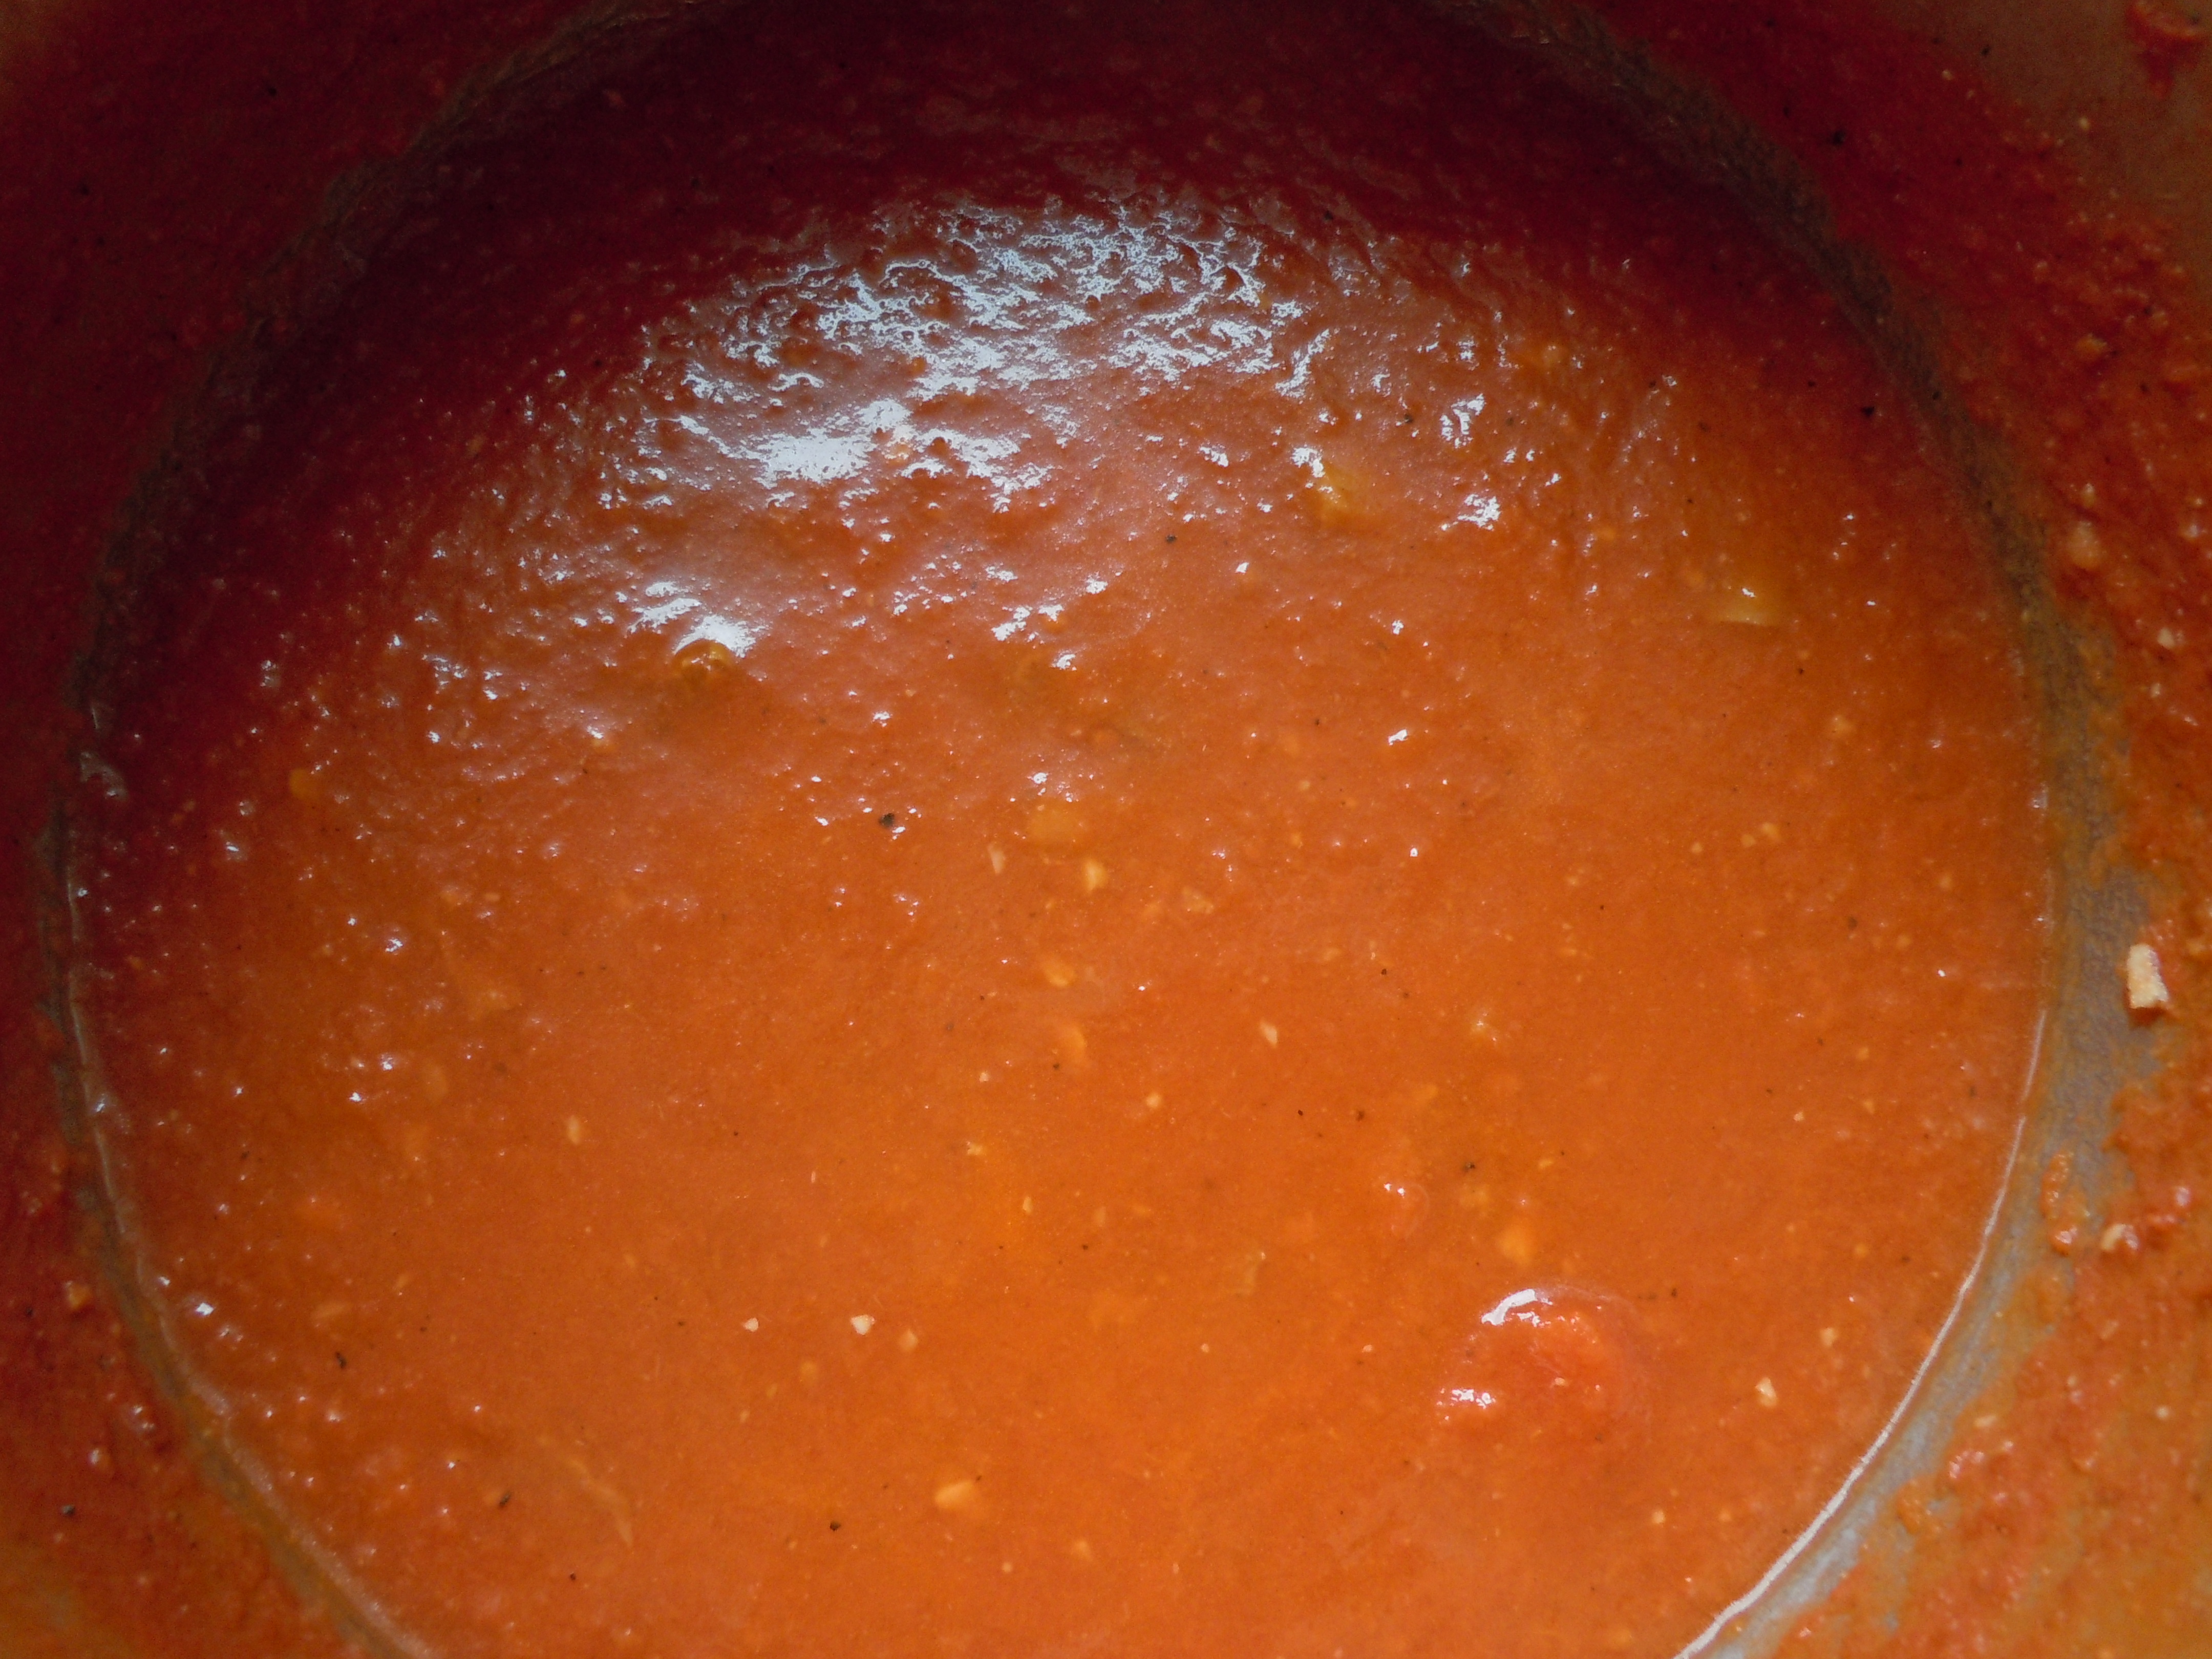
Ingredients: For Porcini Red Sauce:
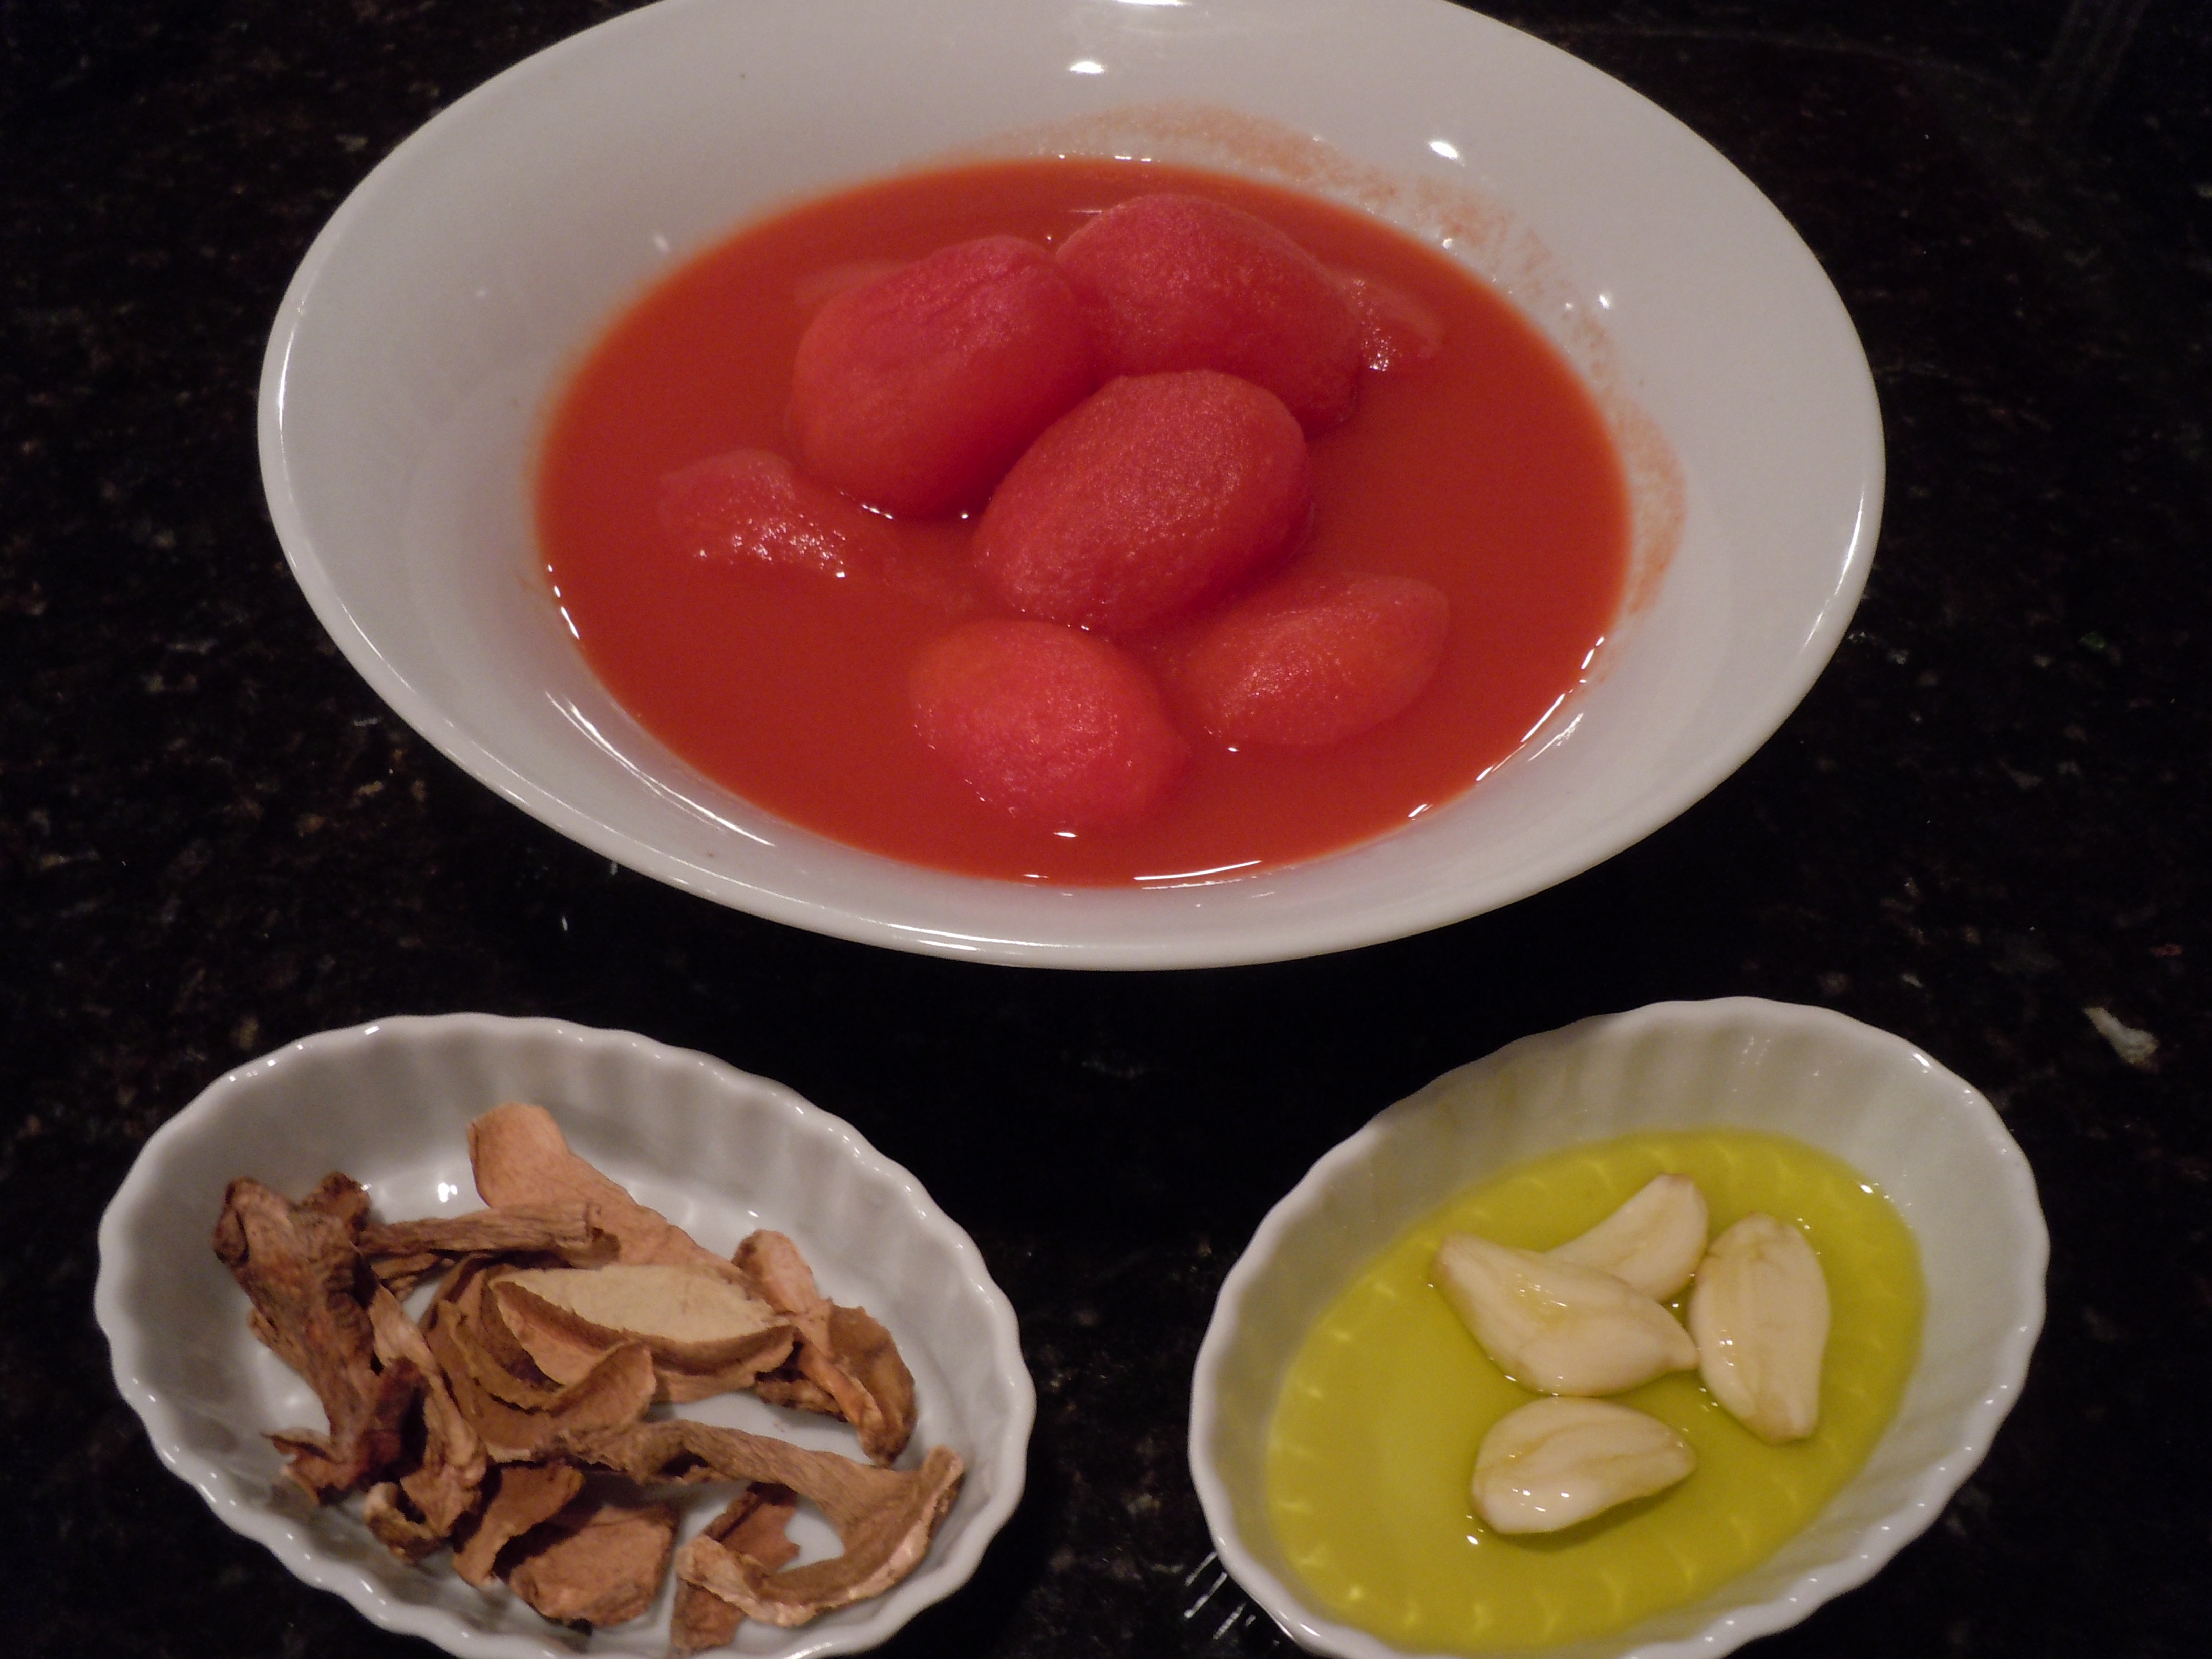
- 1 large can whole peeled tomatoes (I use Sclafani)
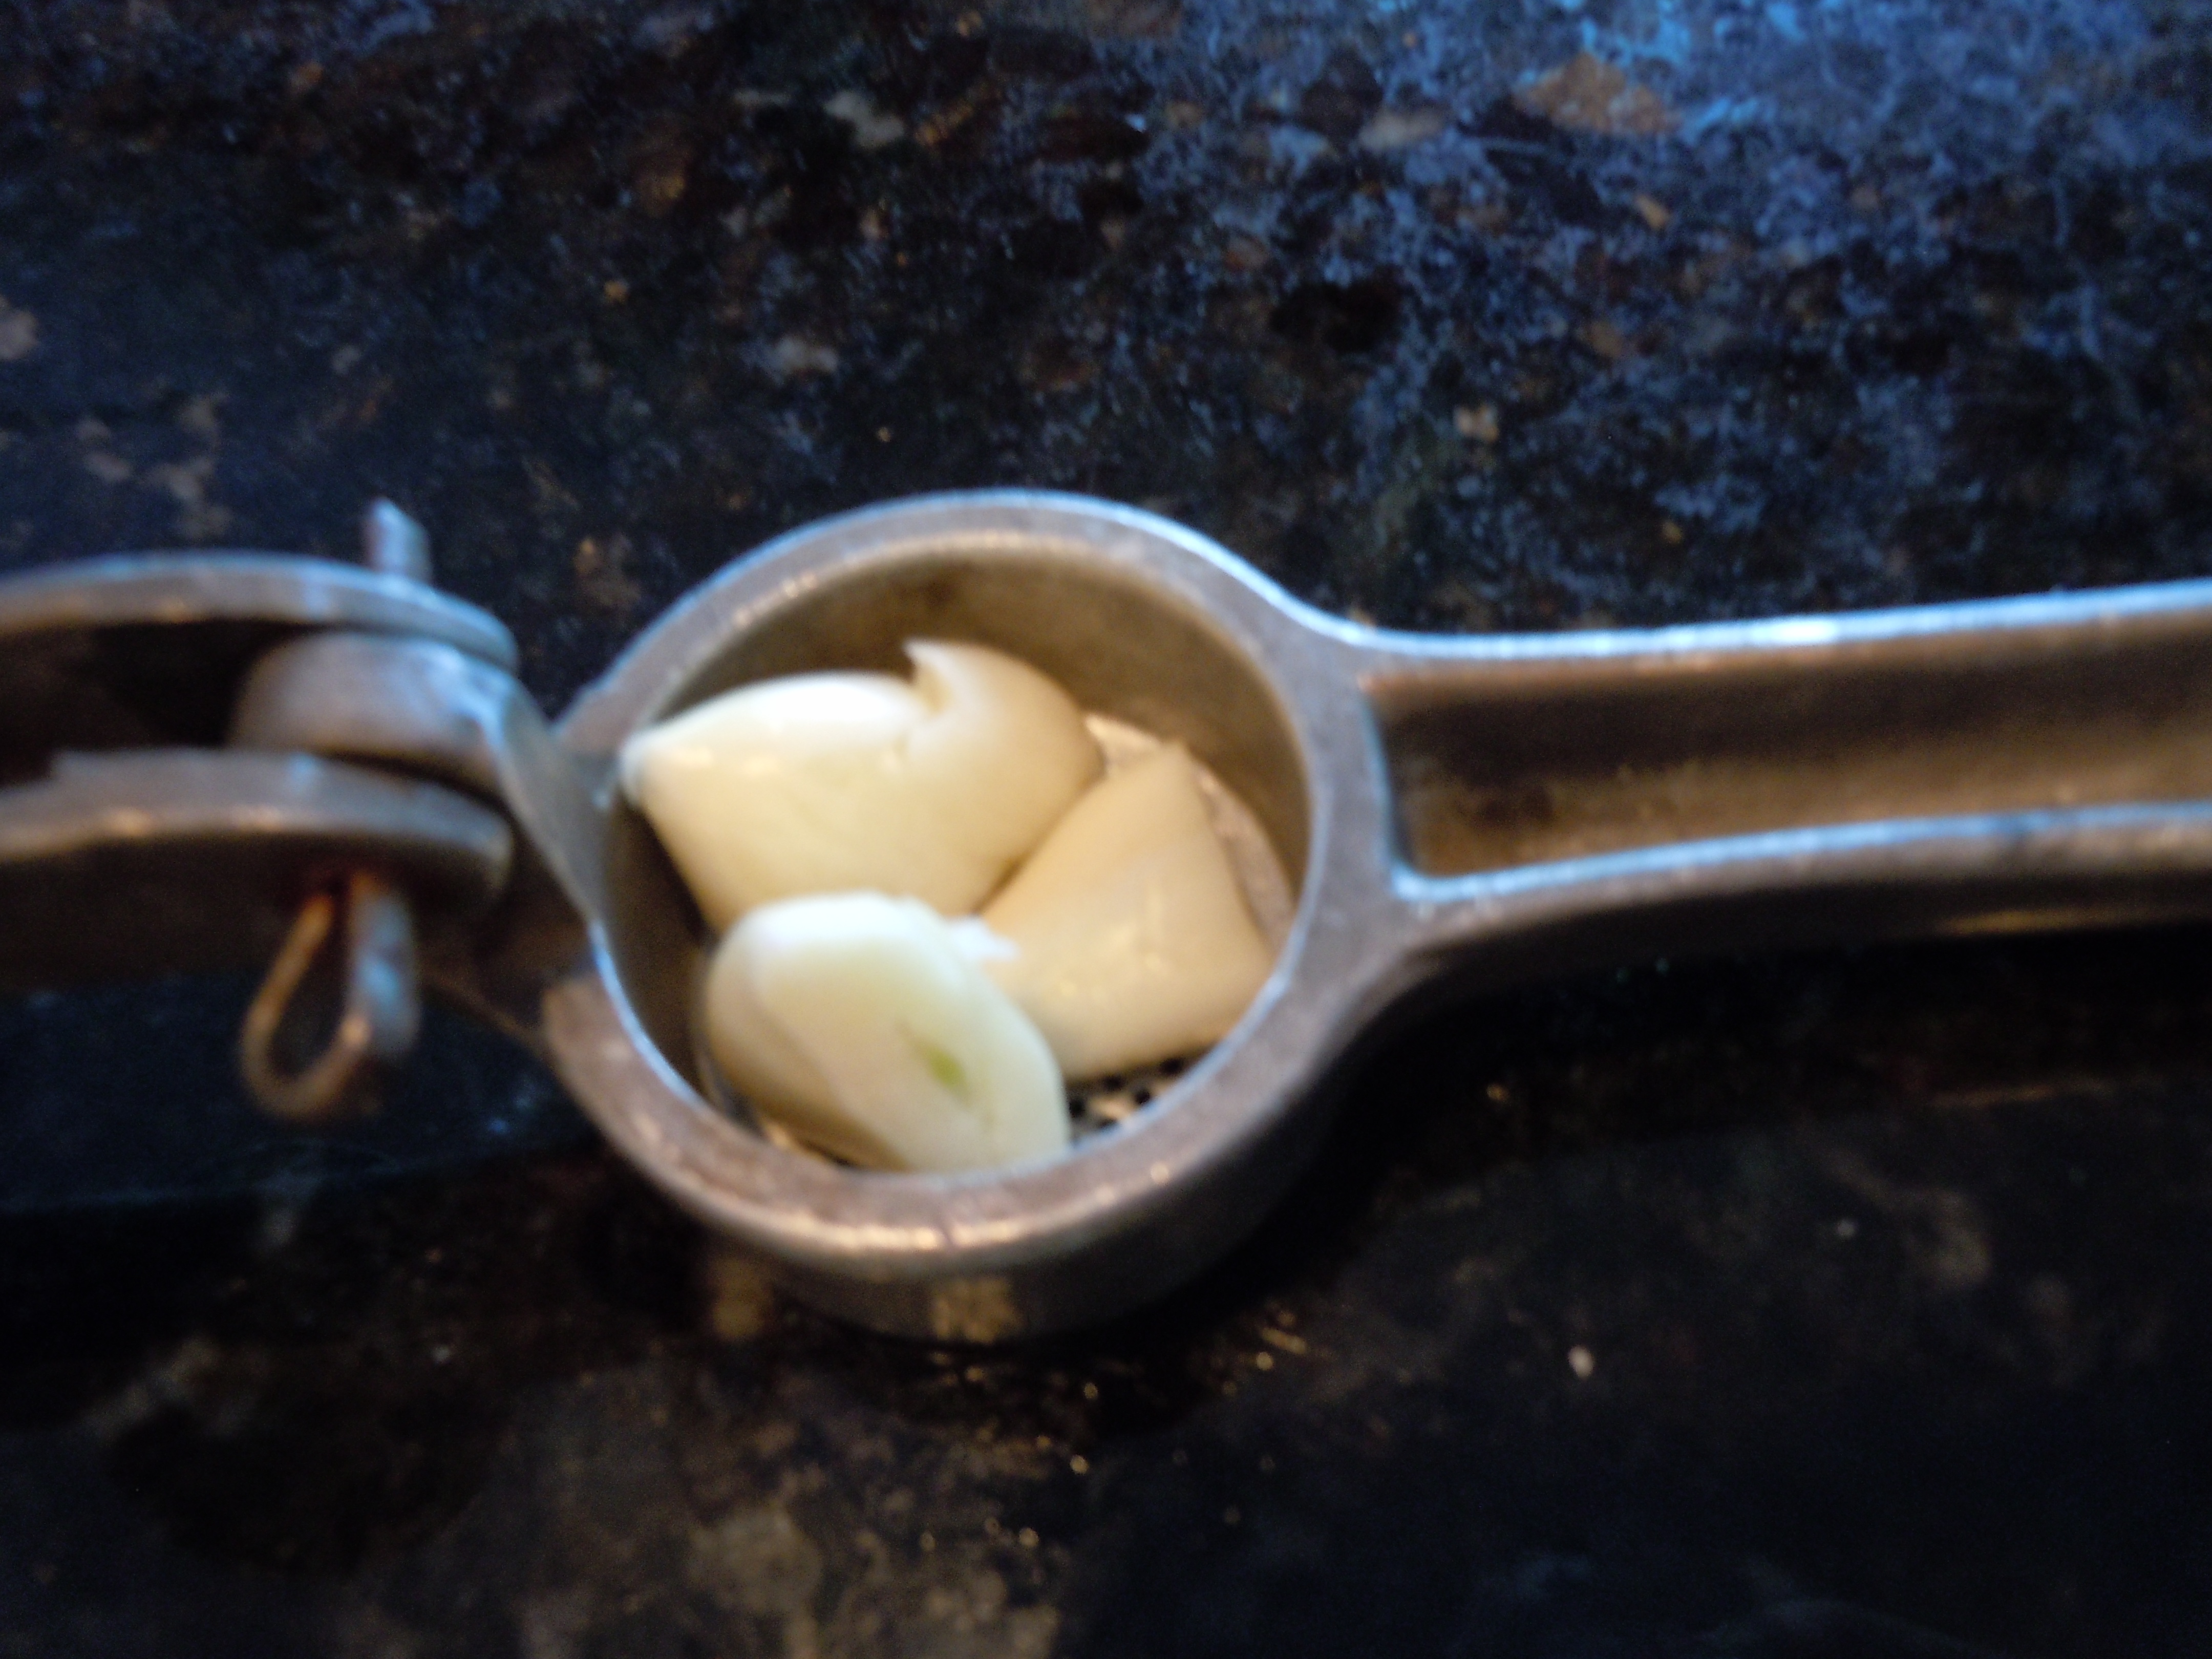
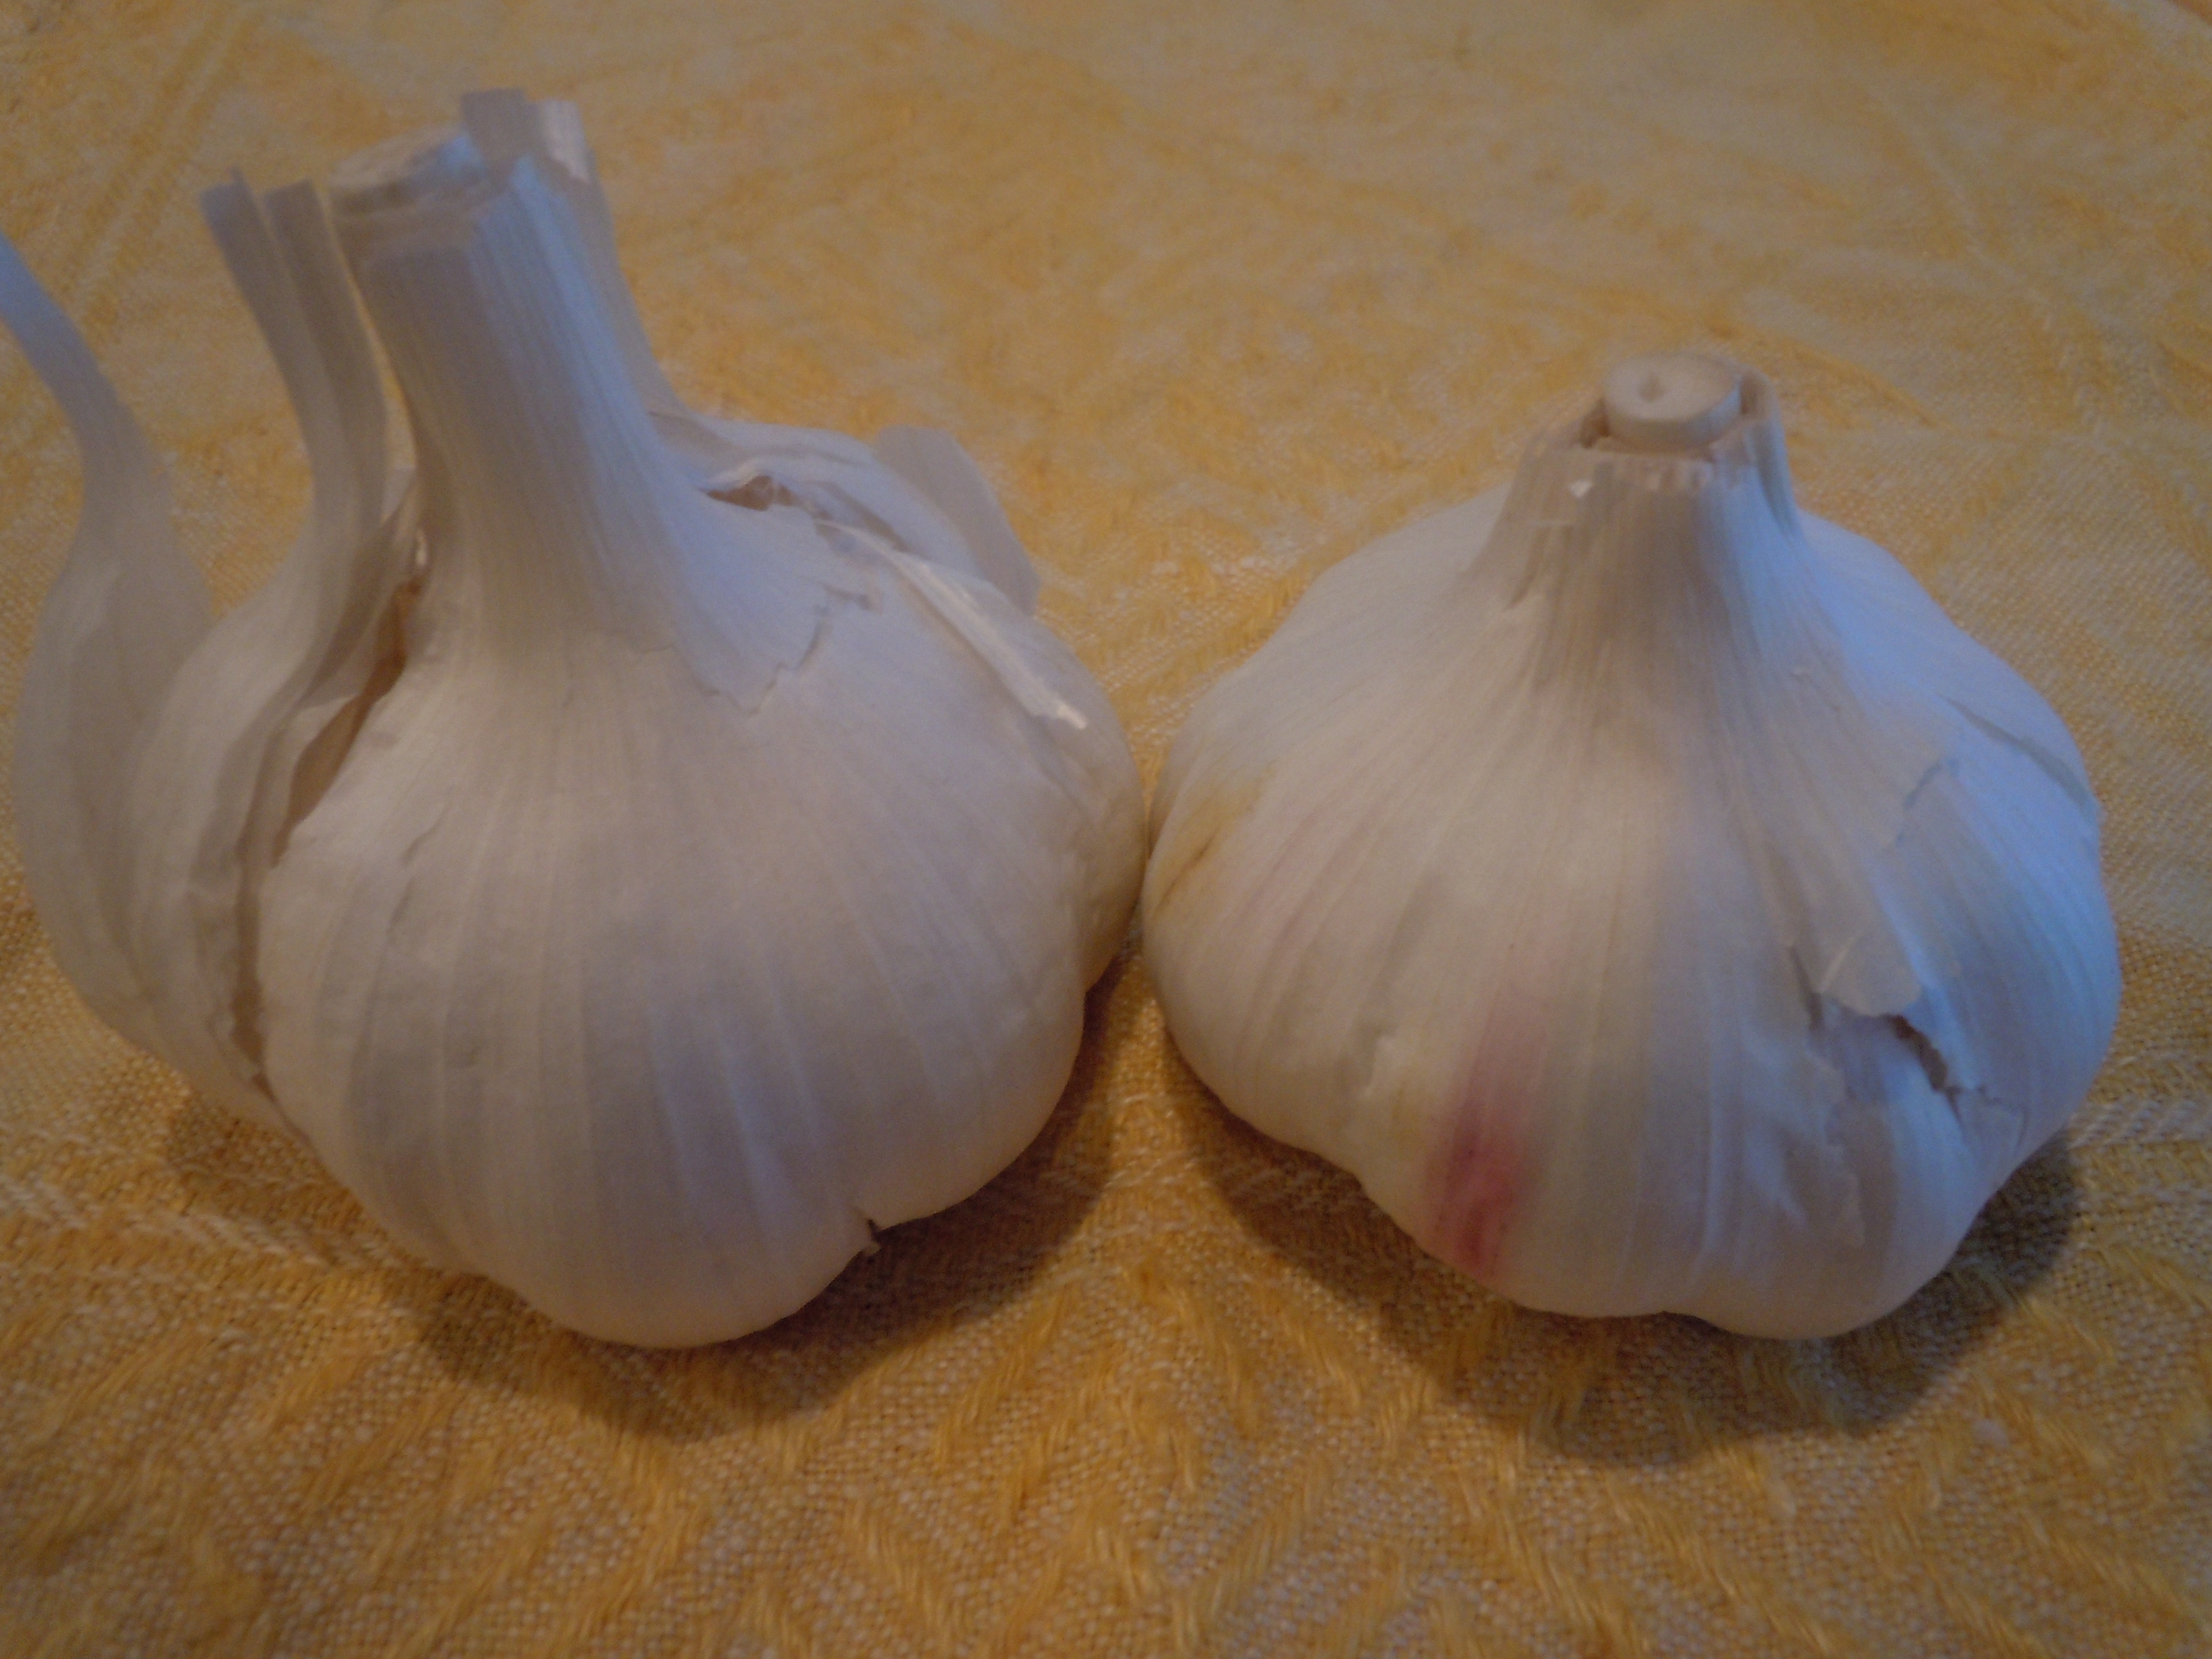
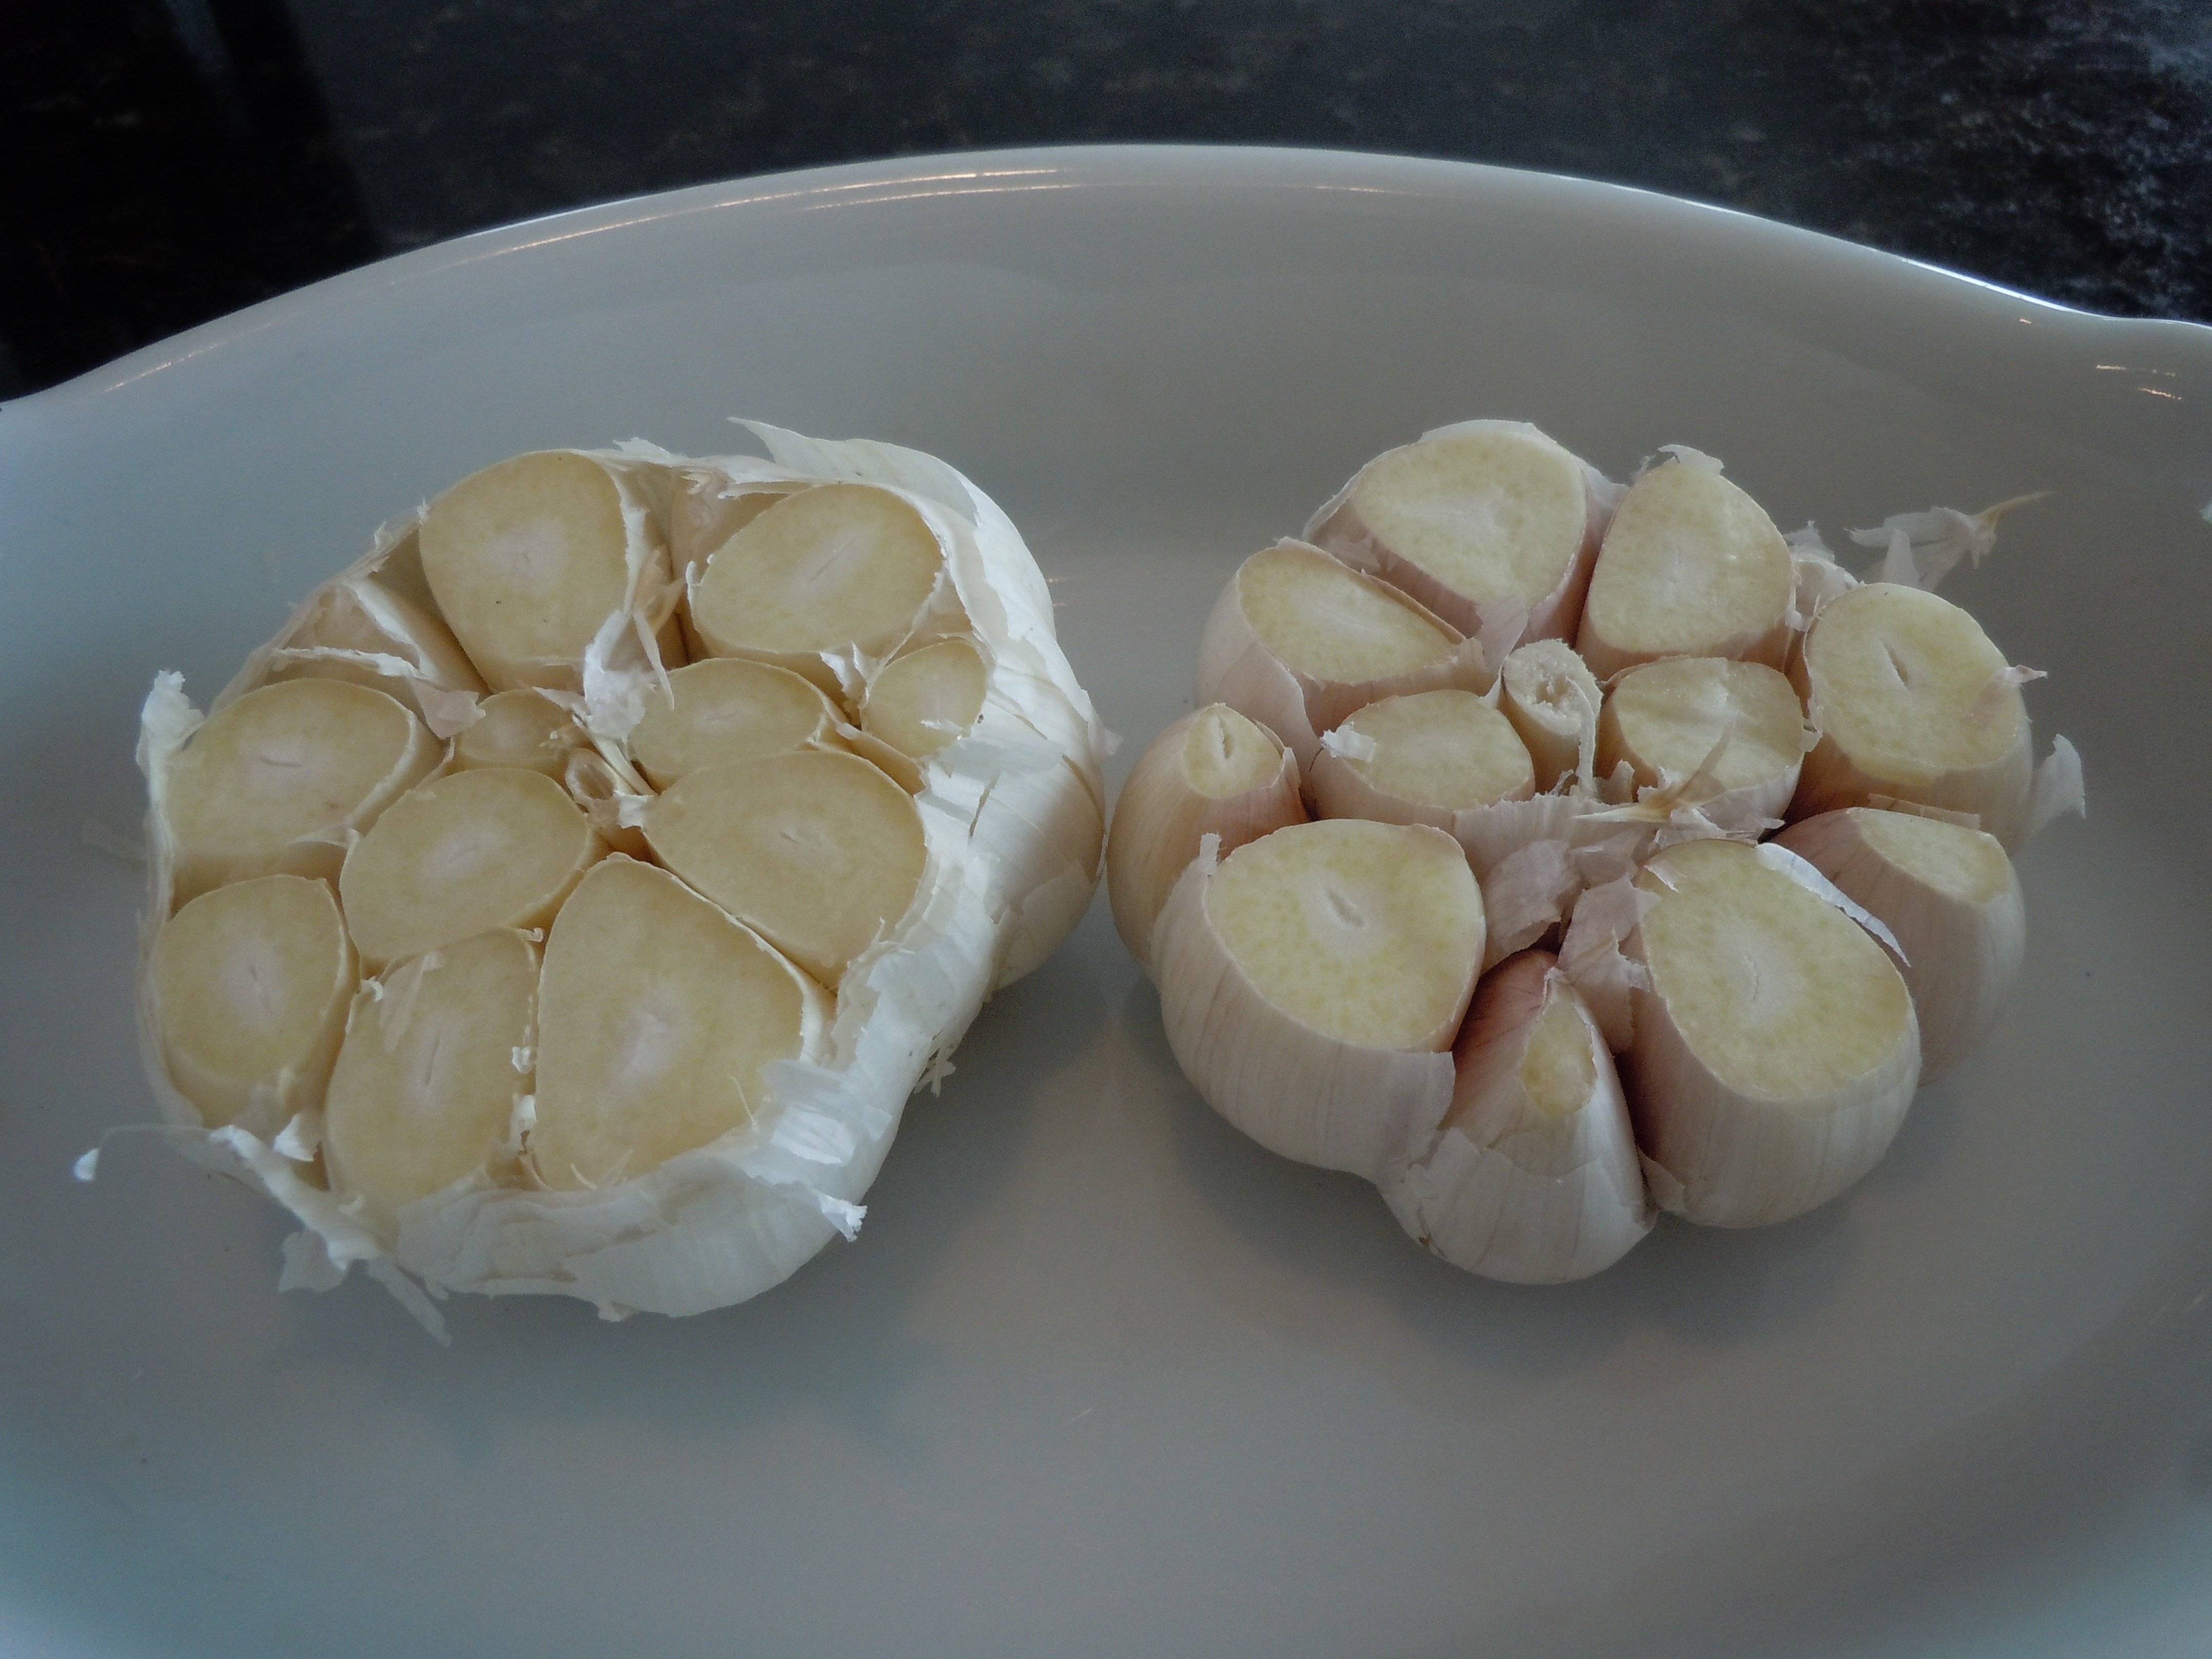
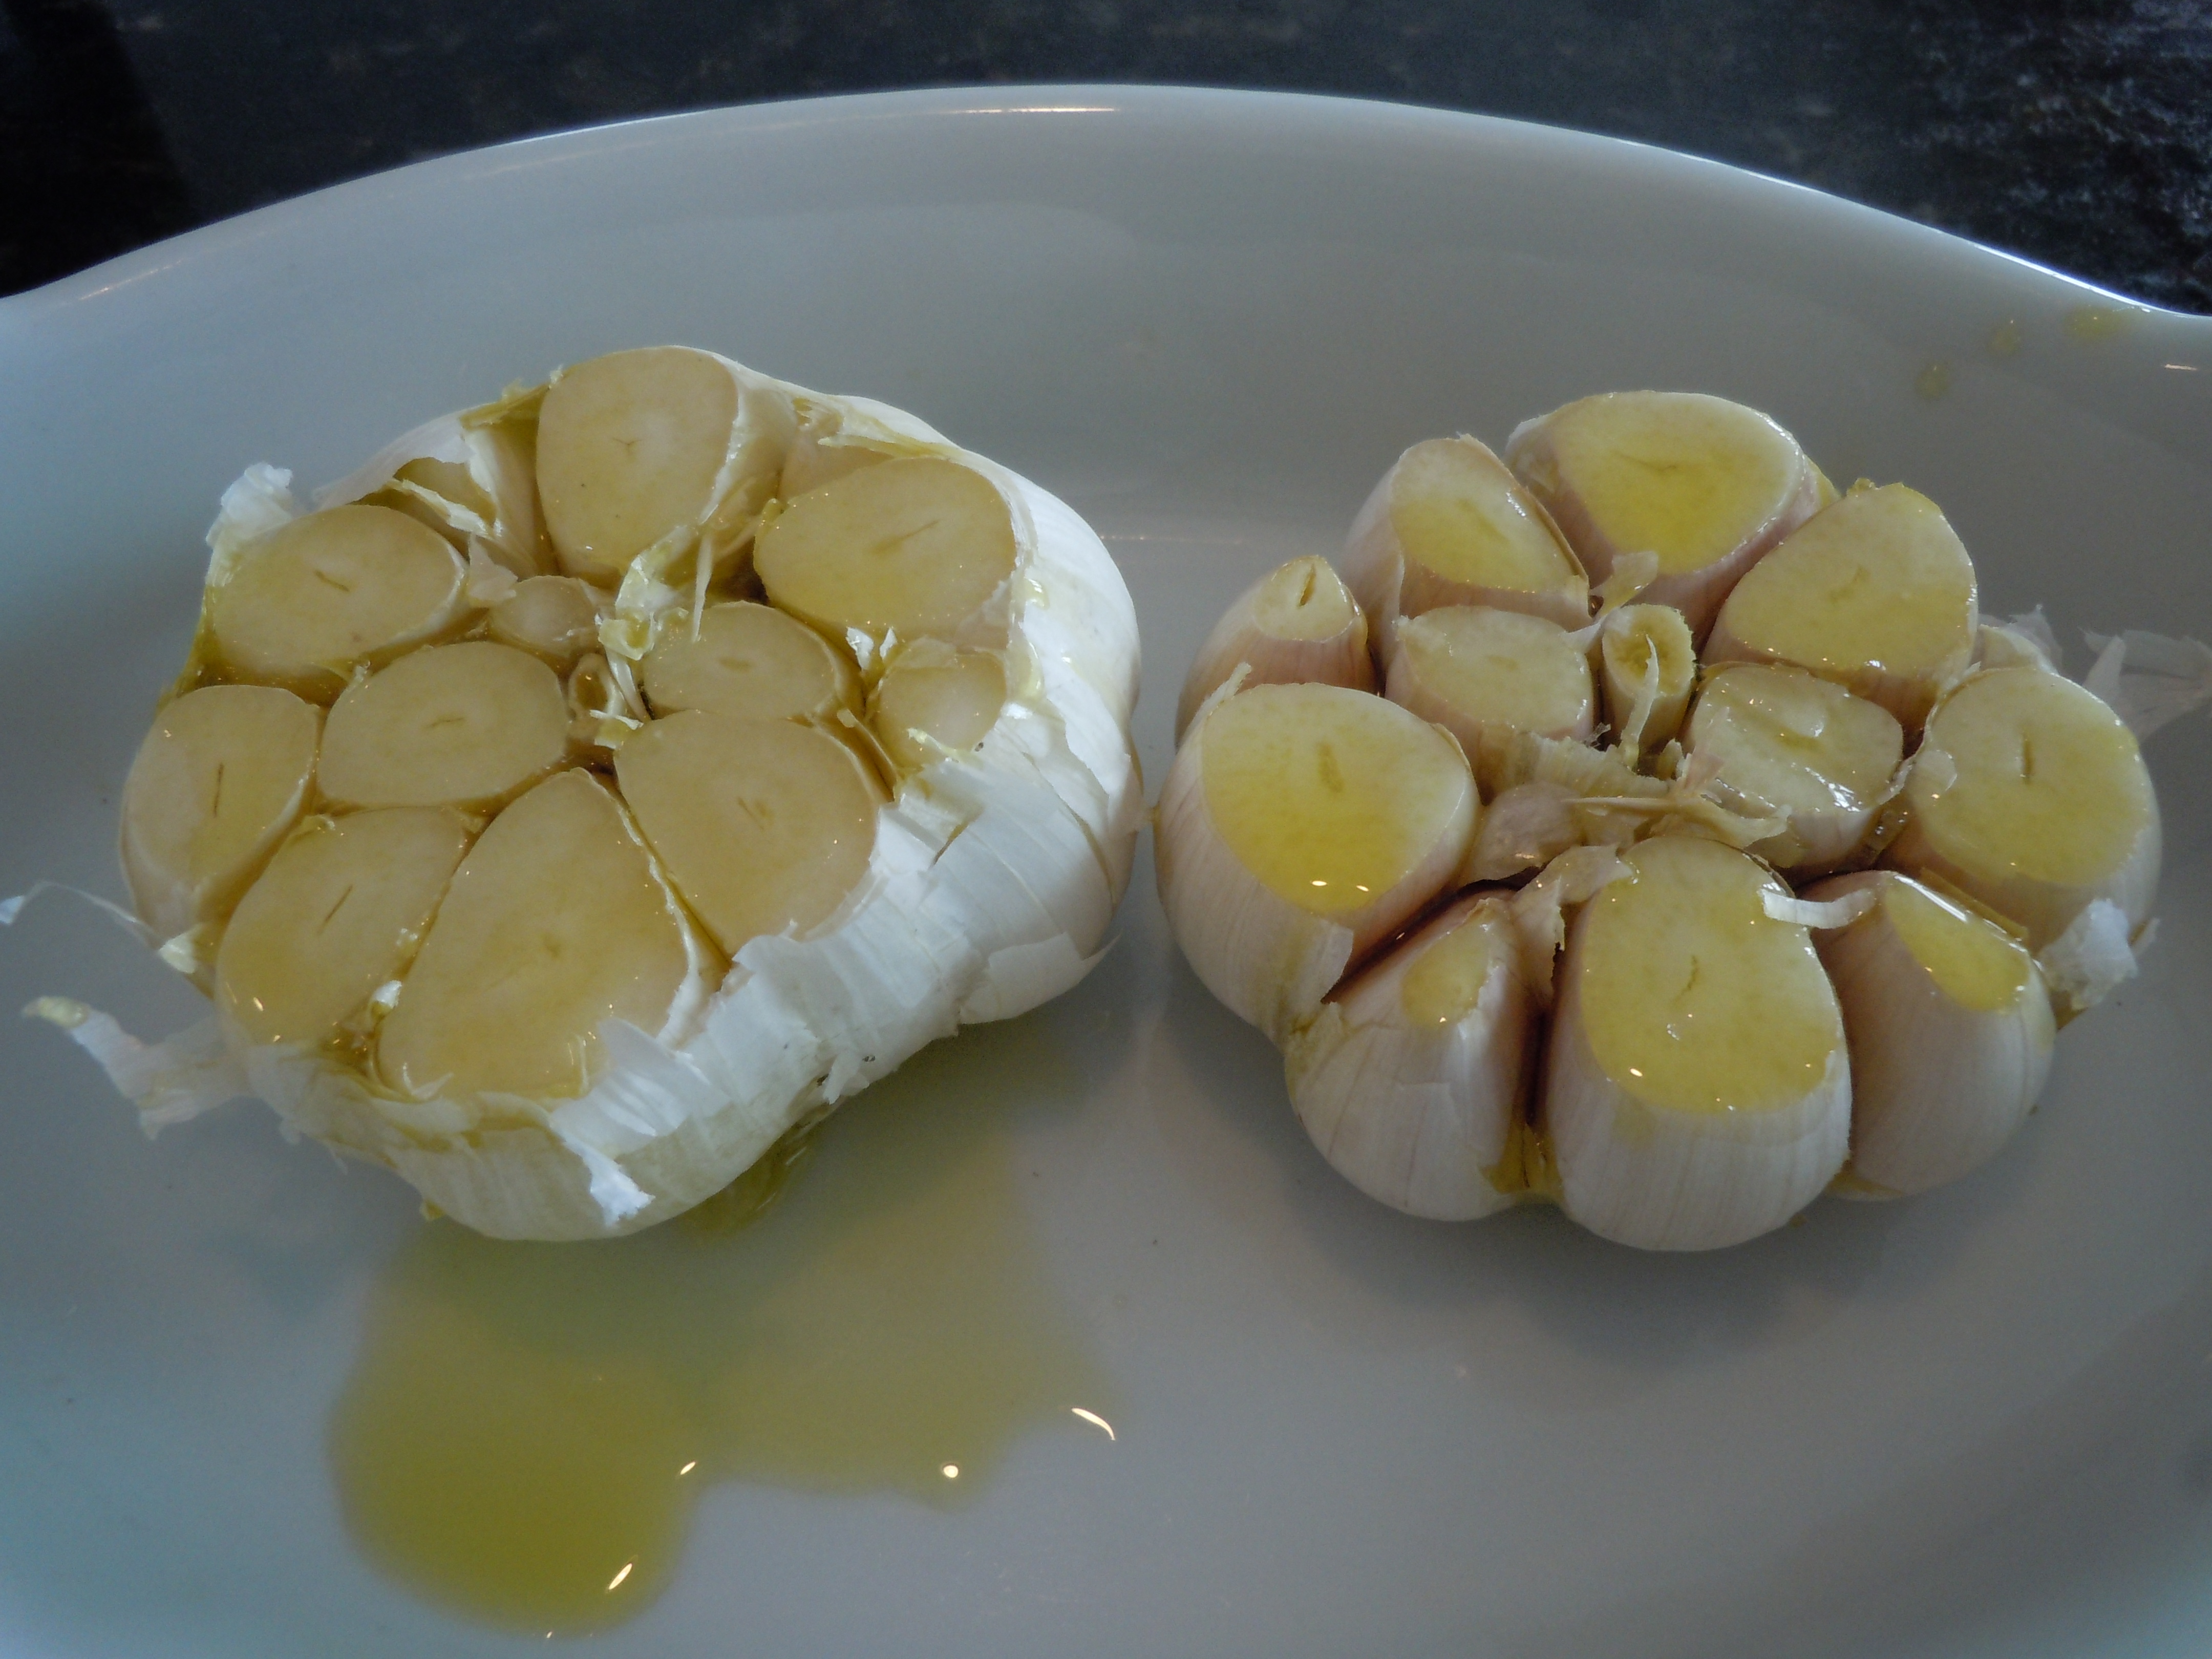
- 4 large garlic cloves
- 1/4 cup dried porcini mushrooms
- 1/4 cup water for the porcini mushrooms
- 1/3 cup pinot noir wine
- 1 Tbsp olive oil
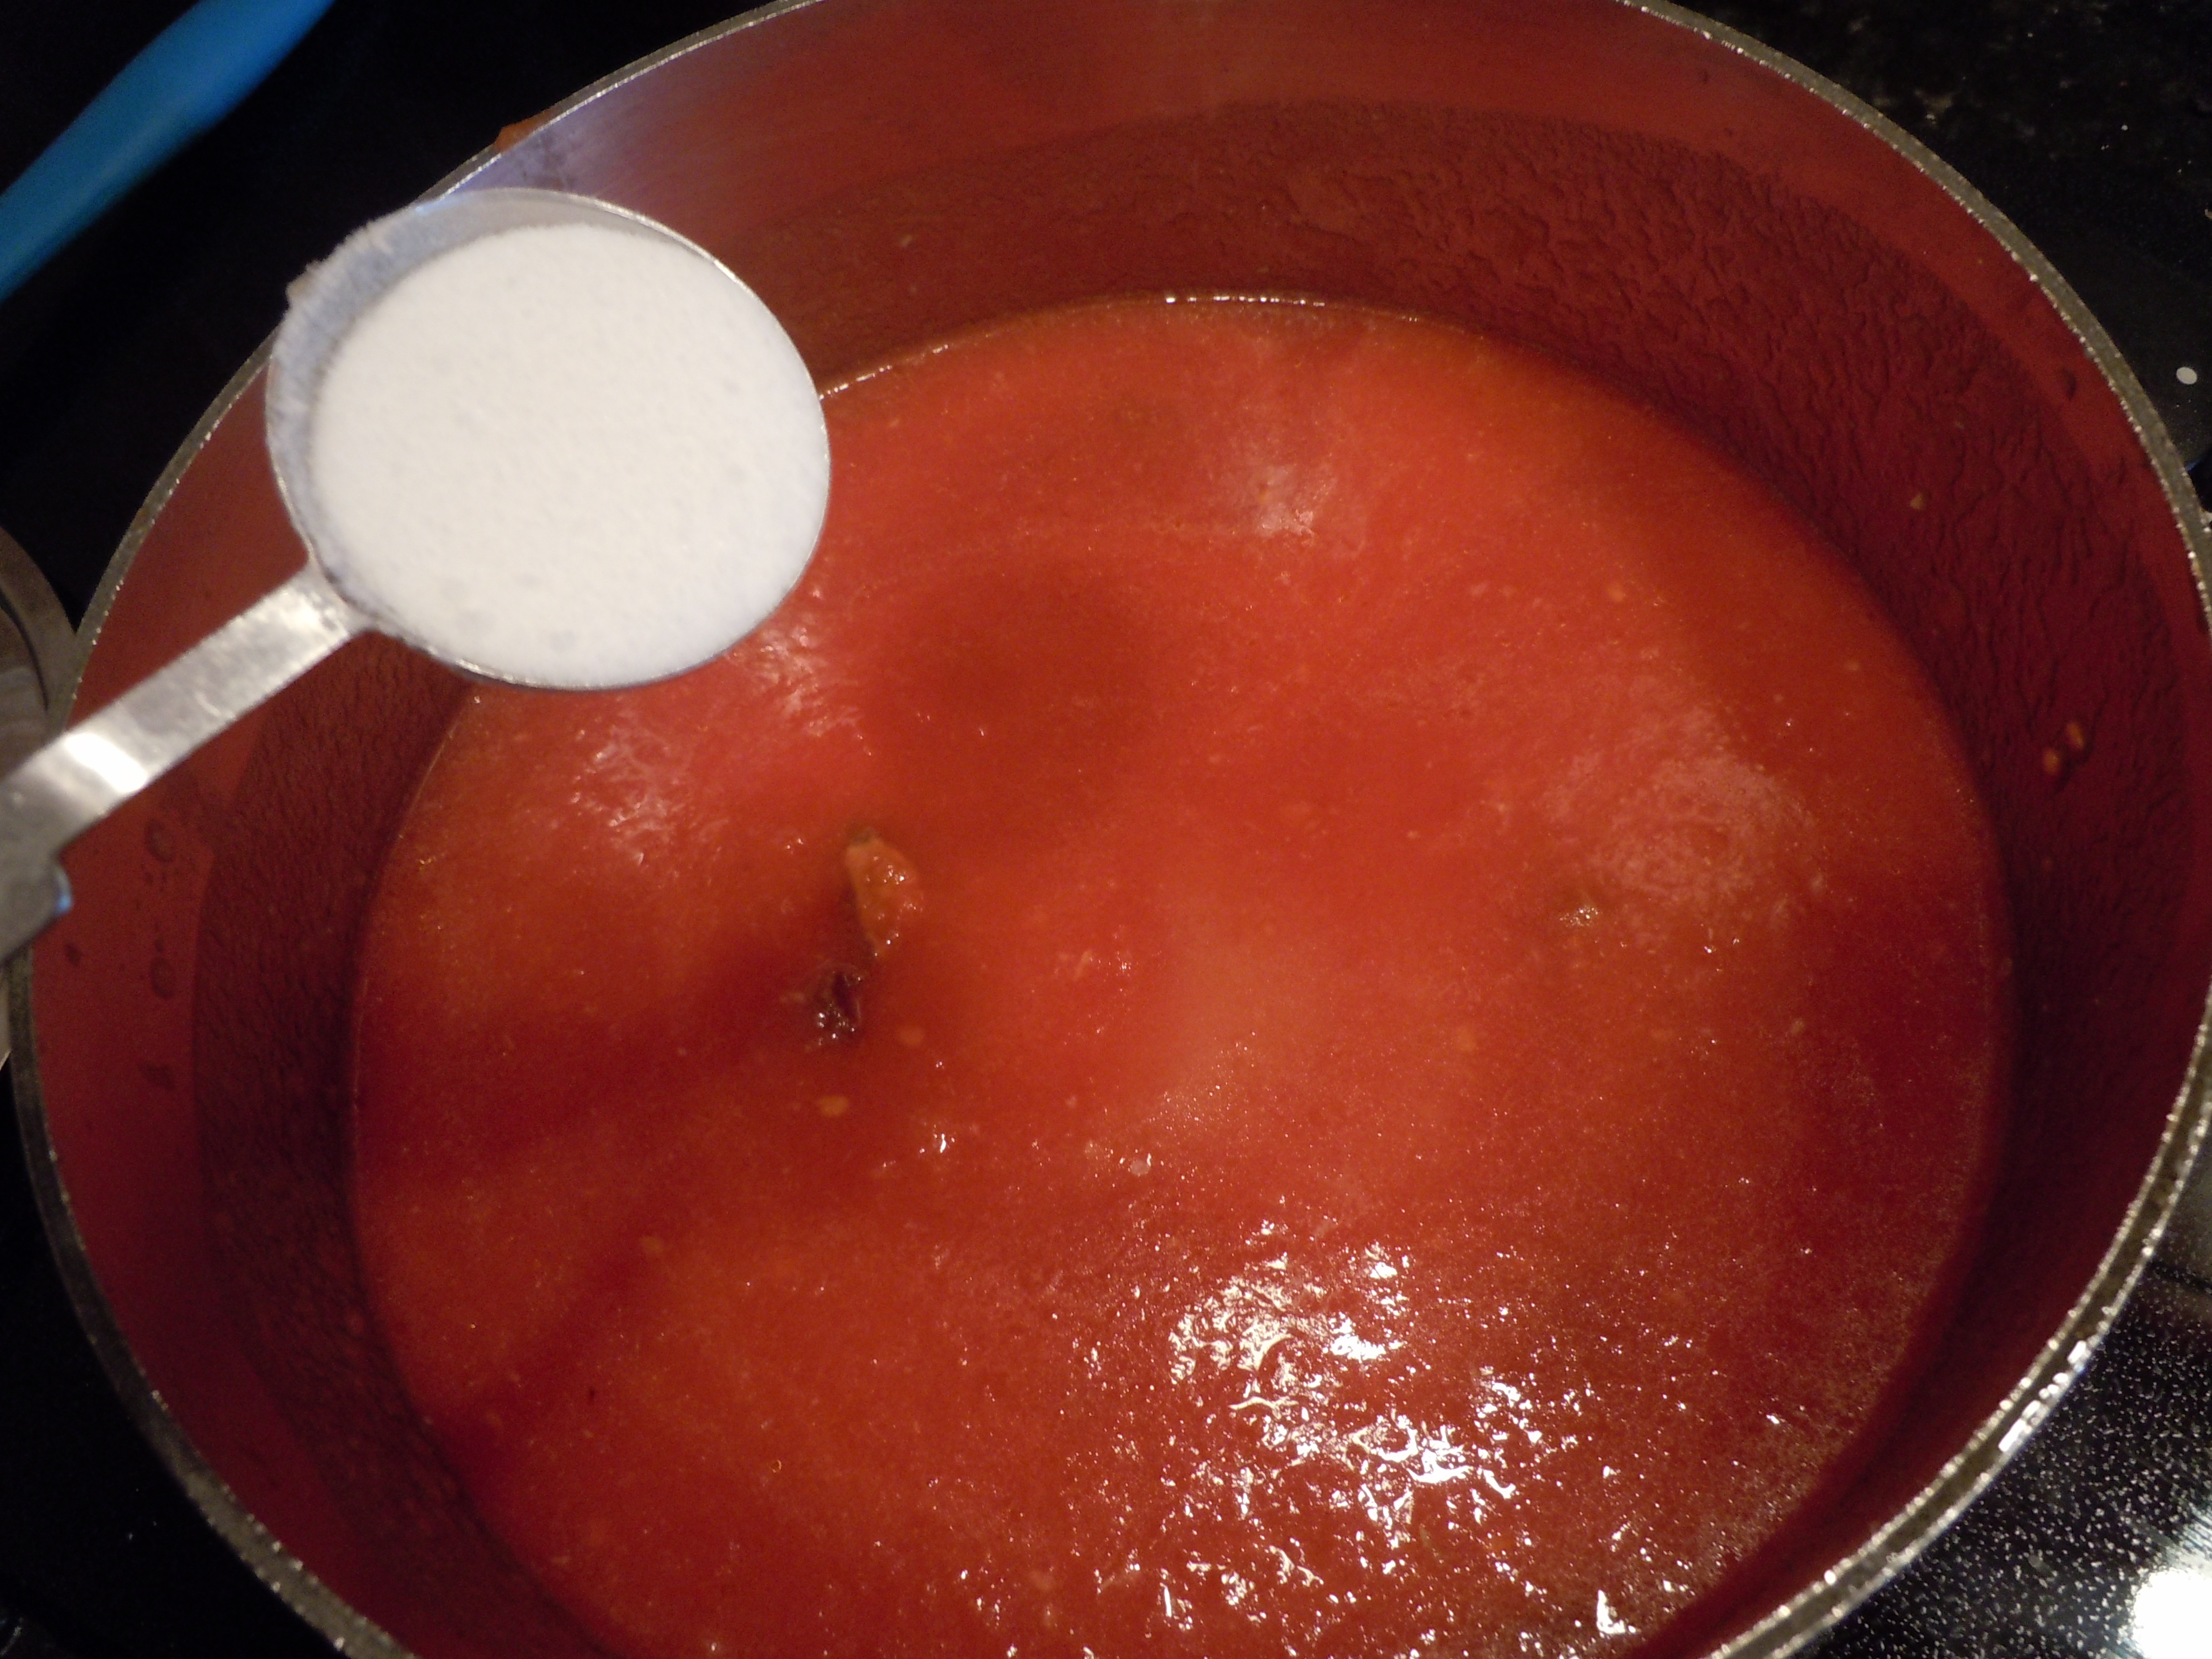
- 1 Tsp salt
- 1 Tsp pepper
- 1 Tbsp sugar
Directions:
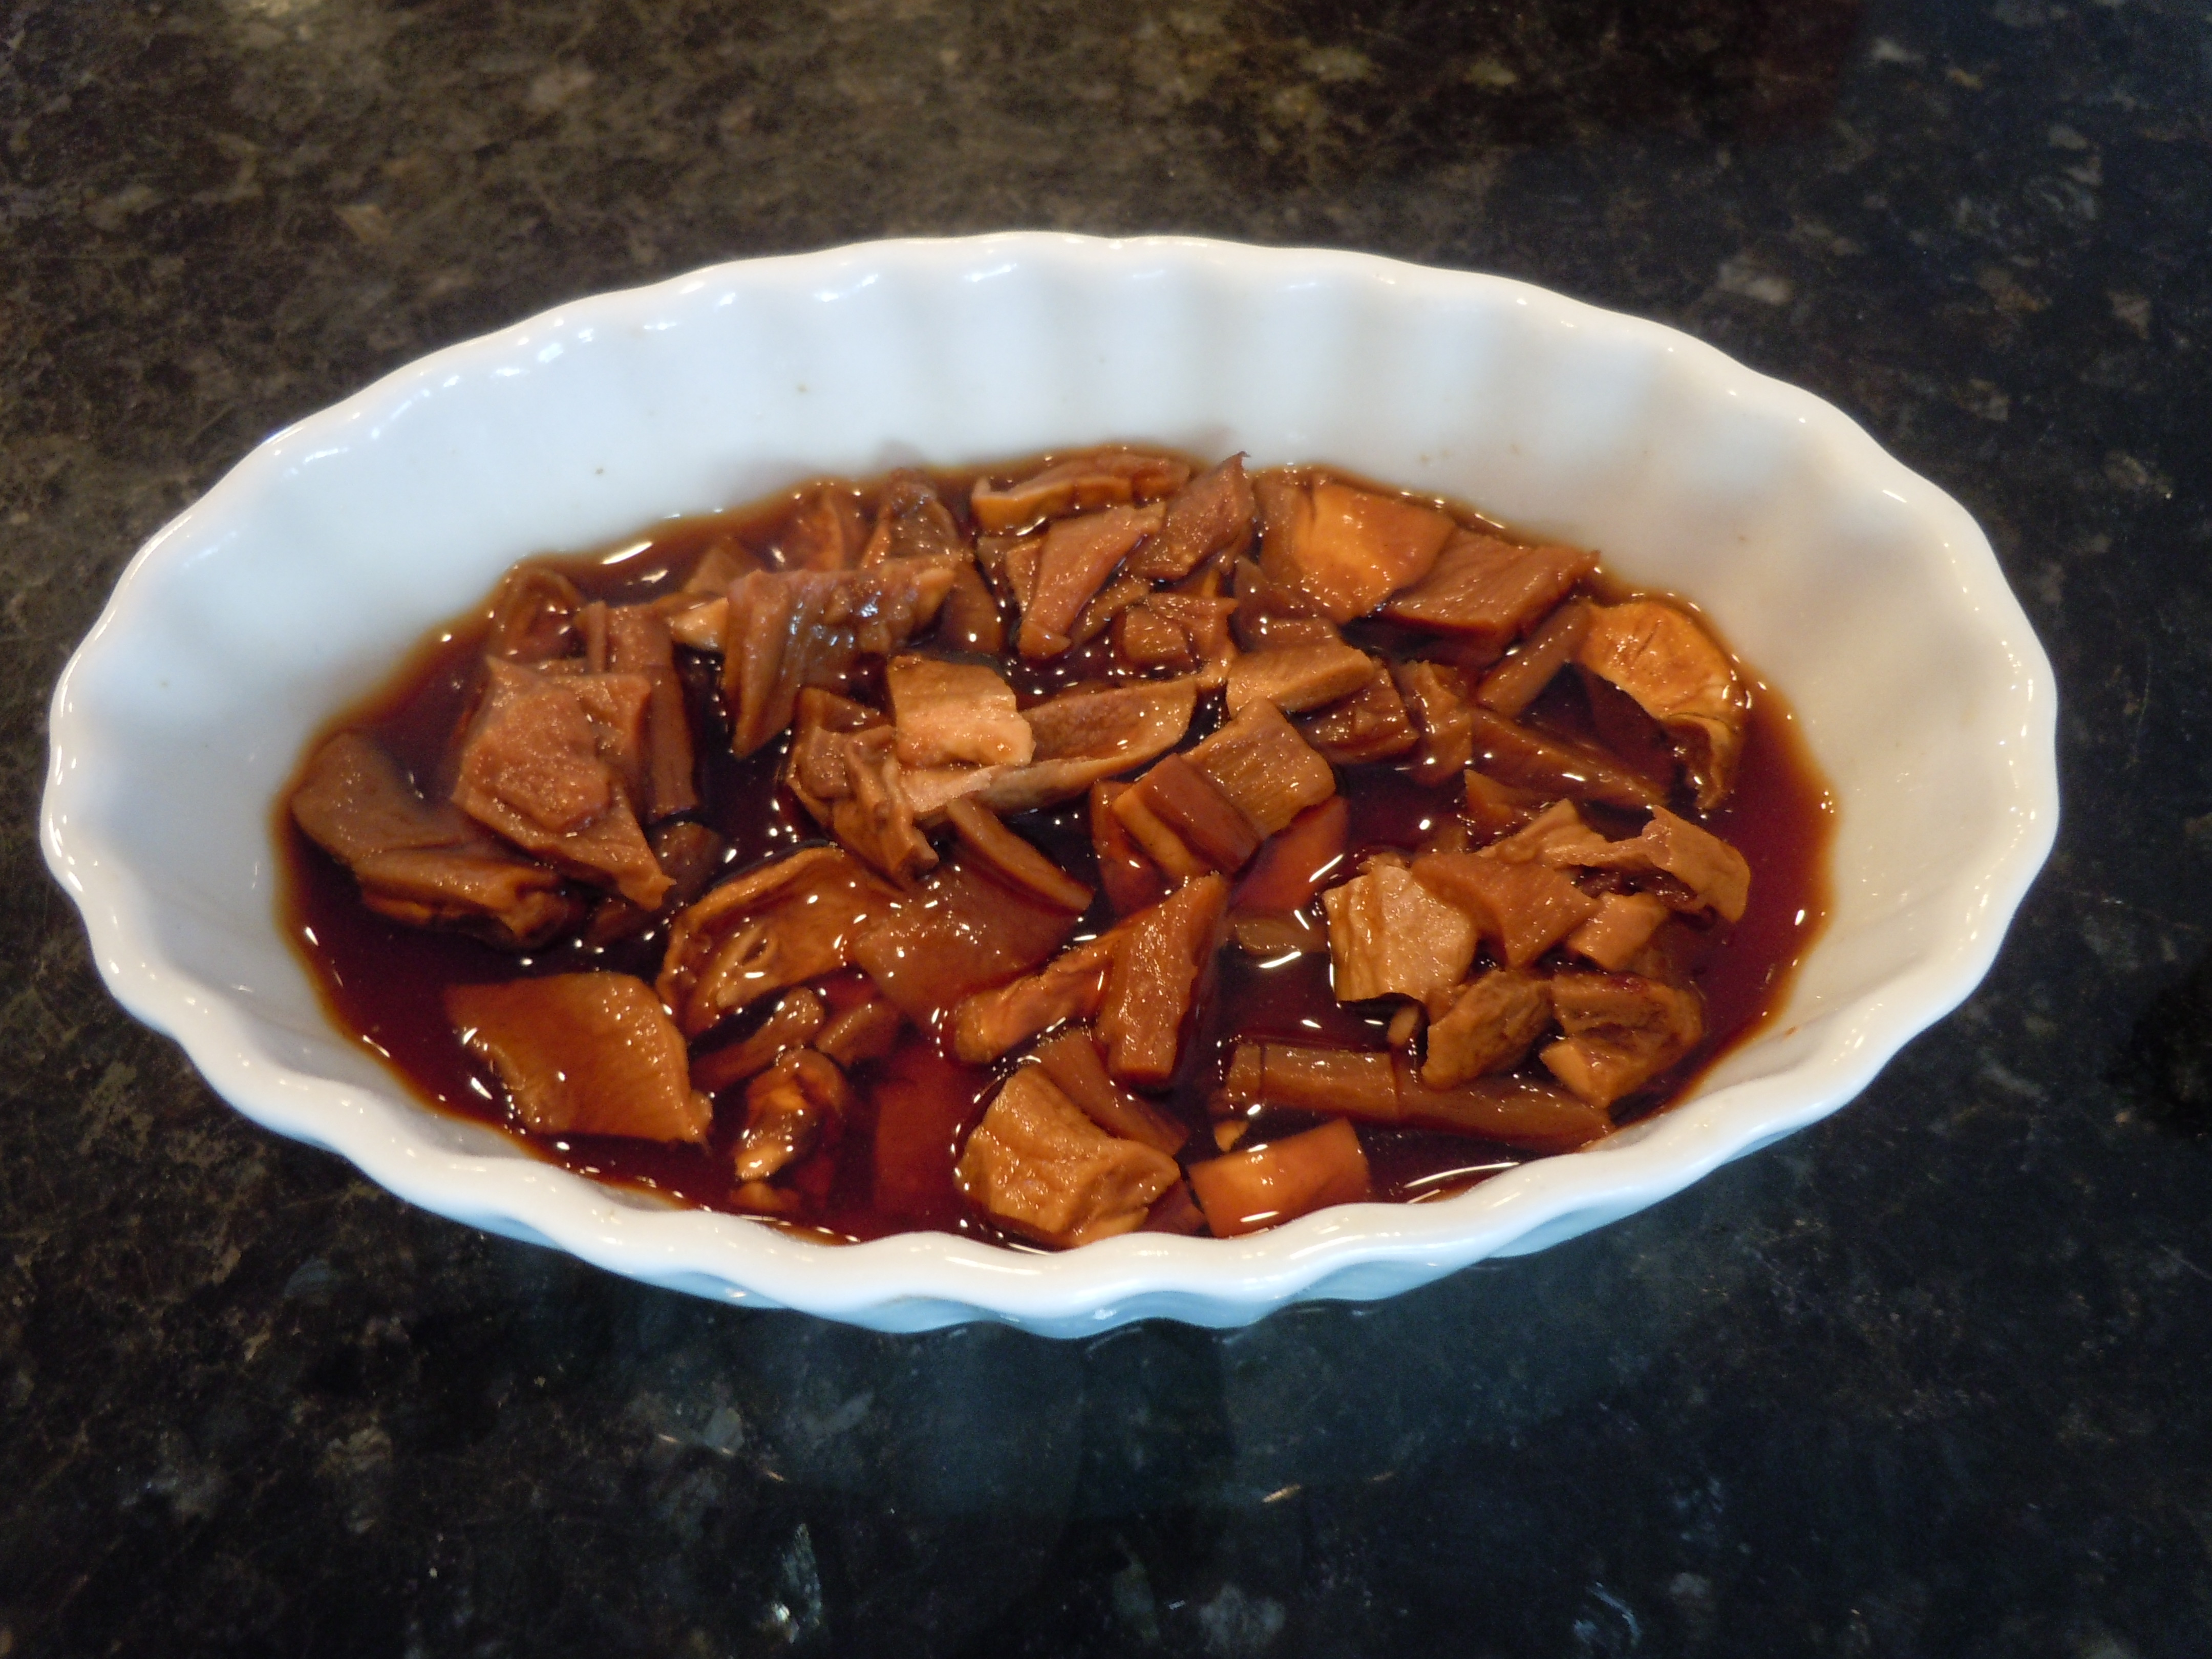
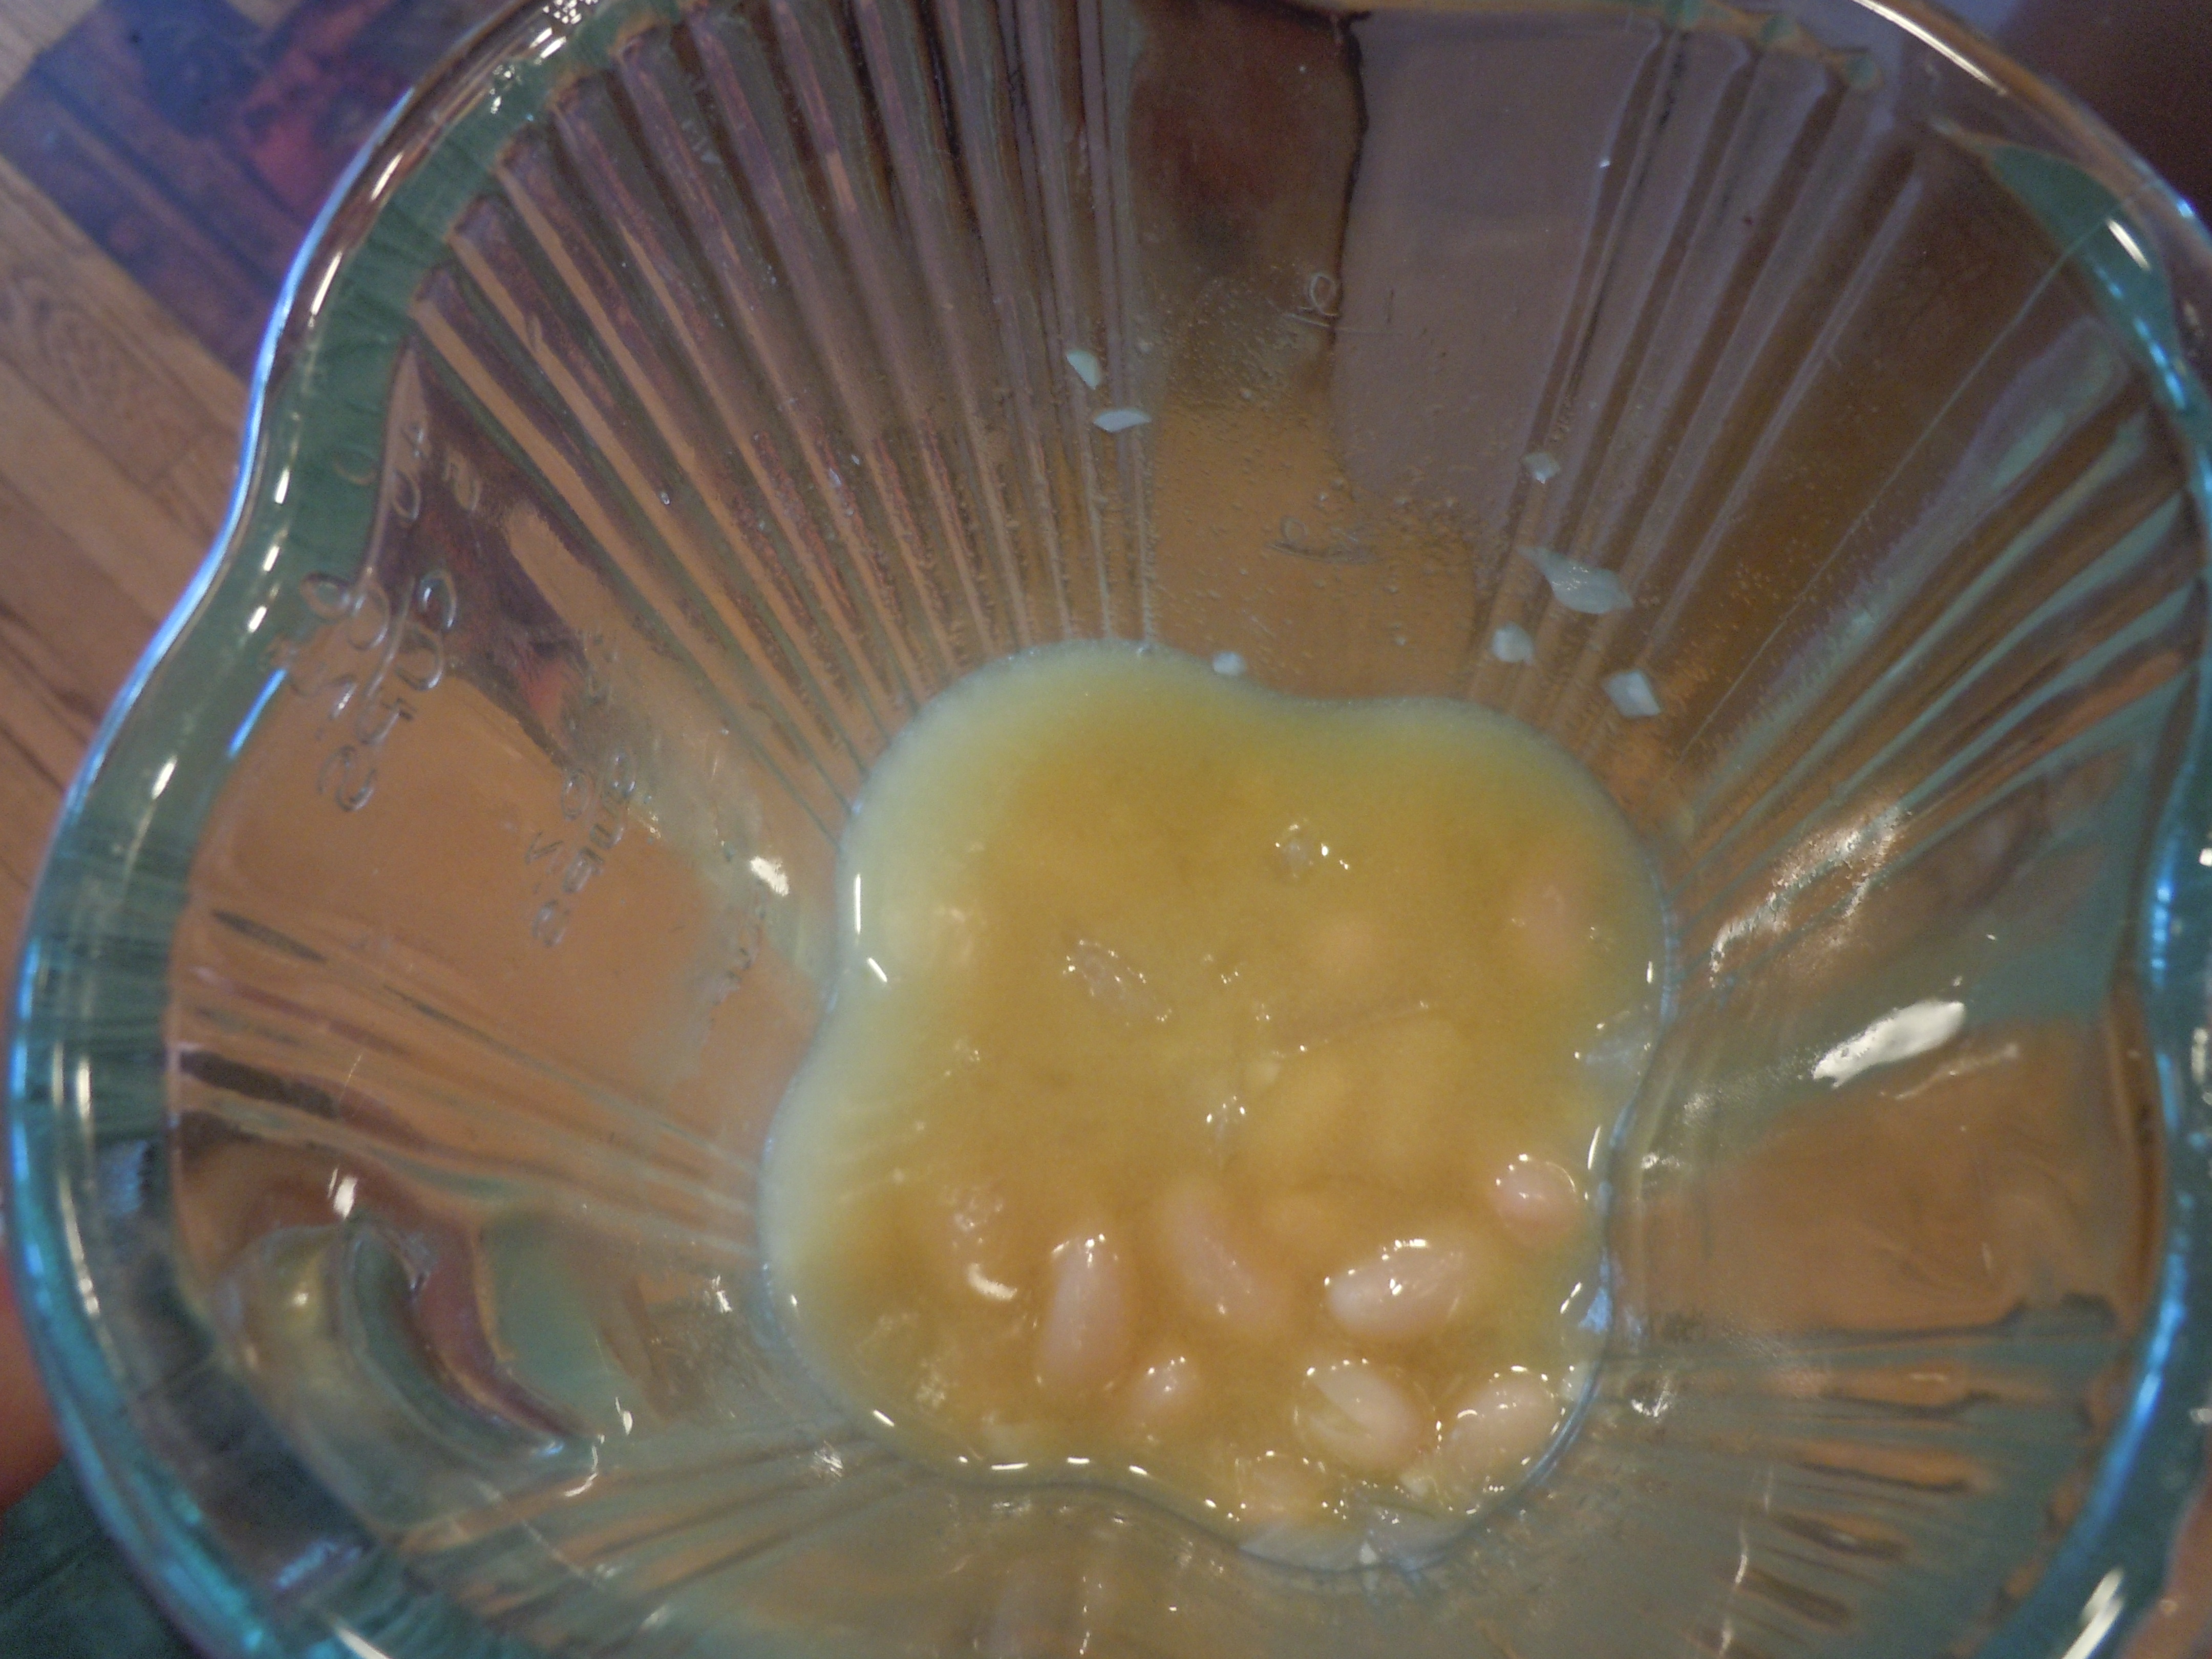
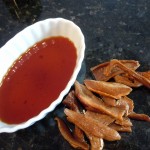
- Put the dried porcini mushrooms in 1/4 cup water and let sit for 1/2 hour.
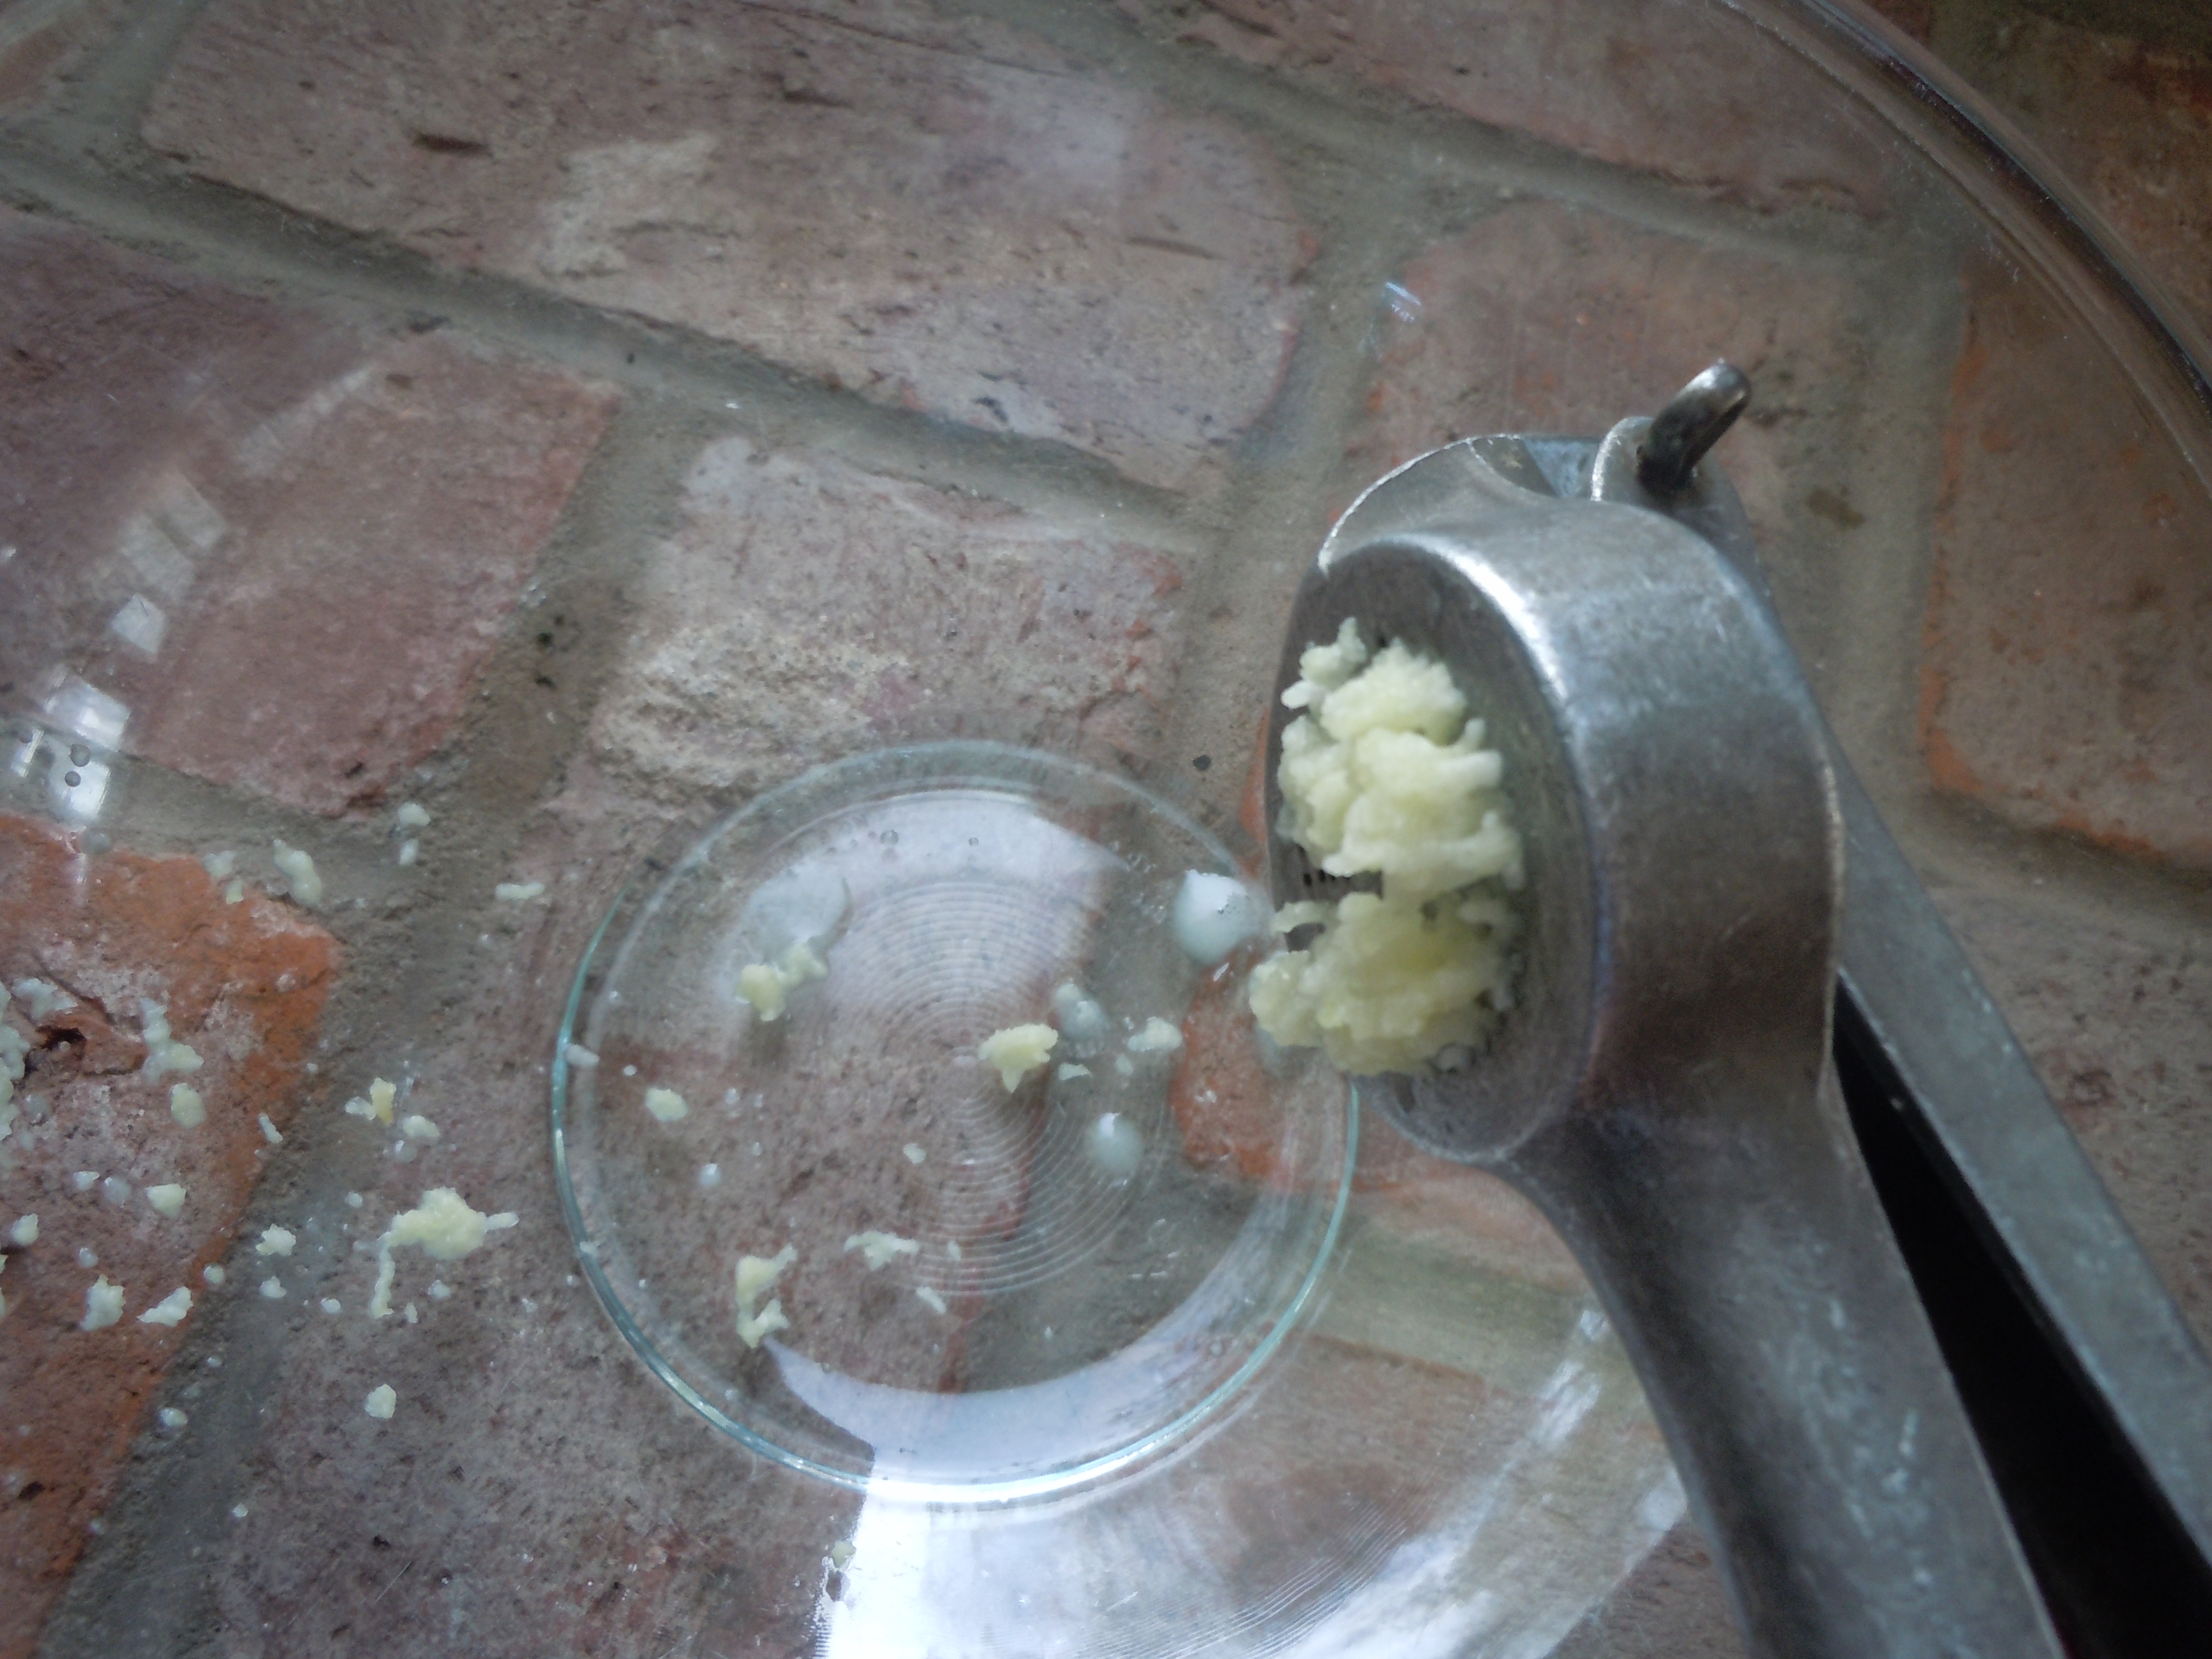
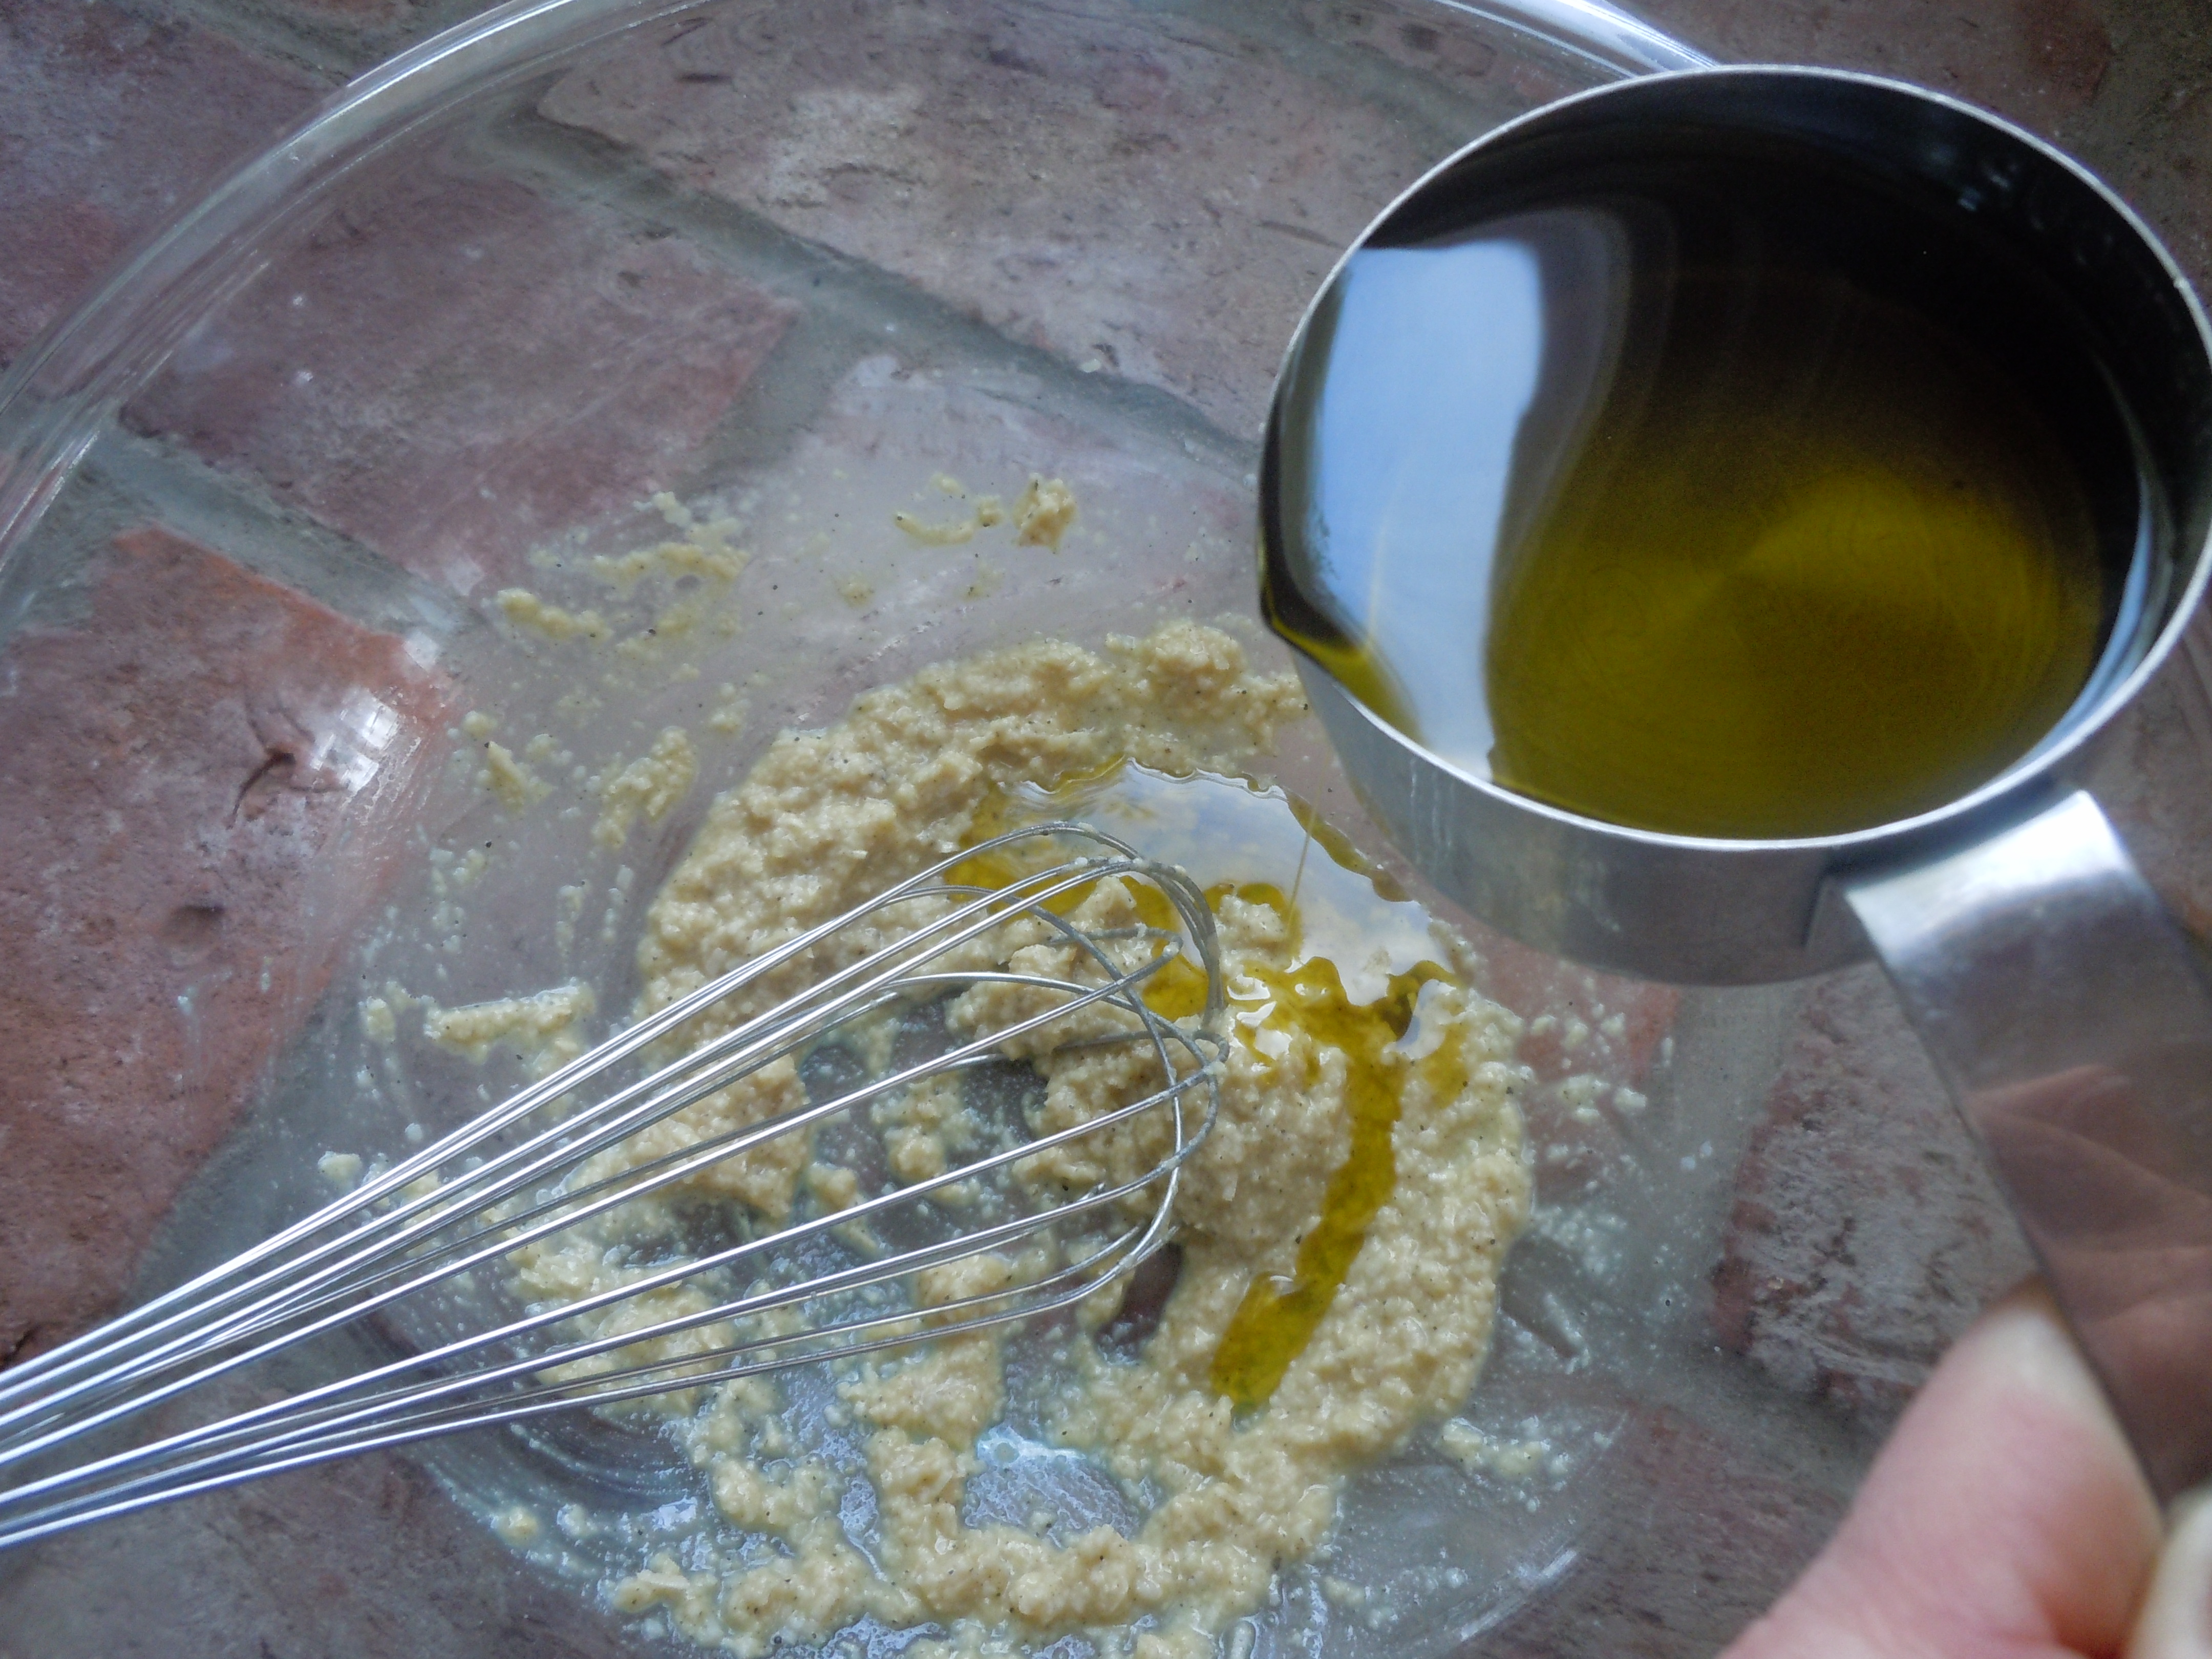
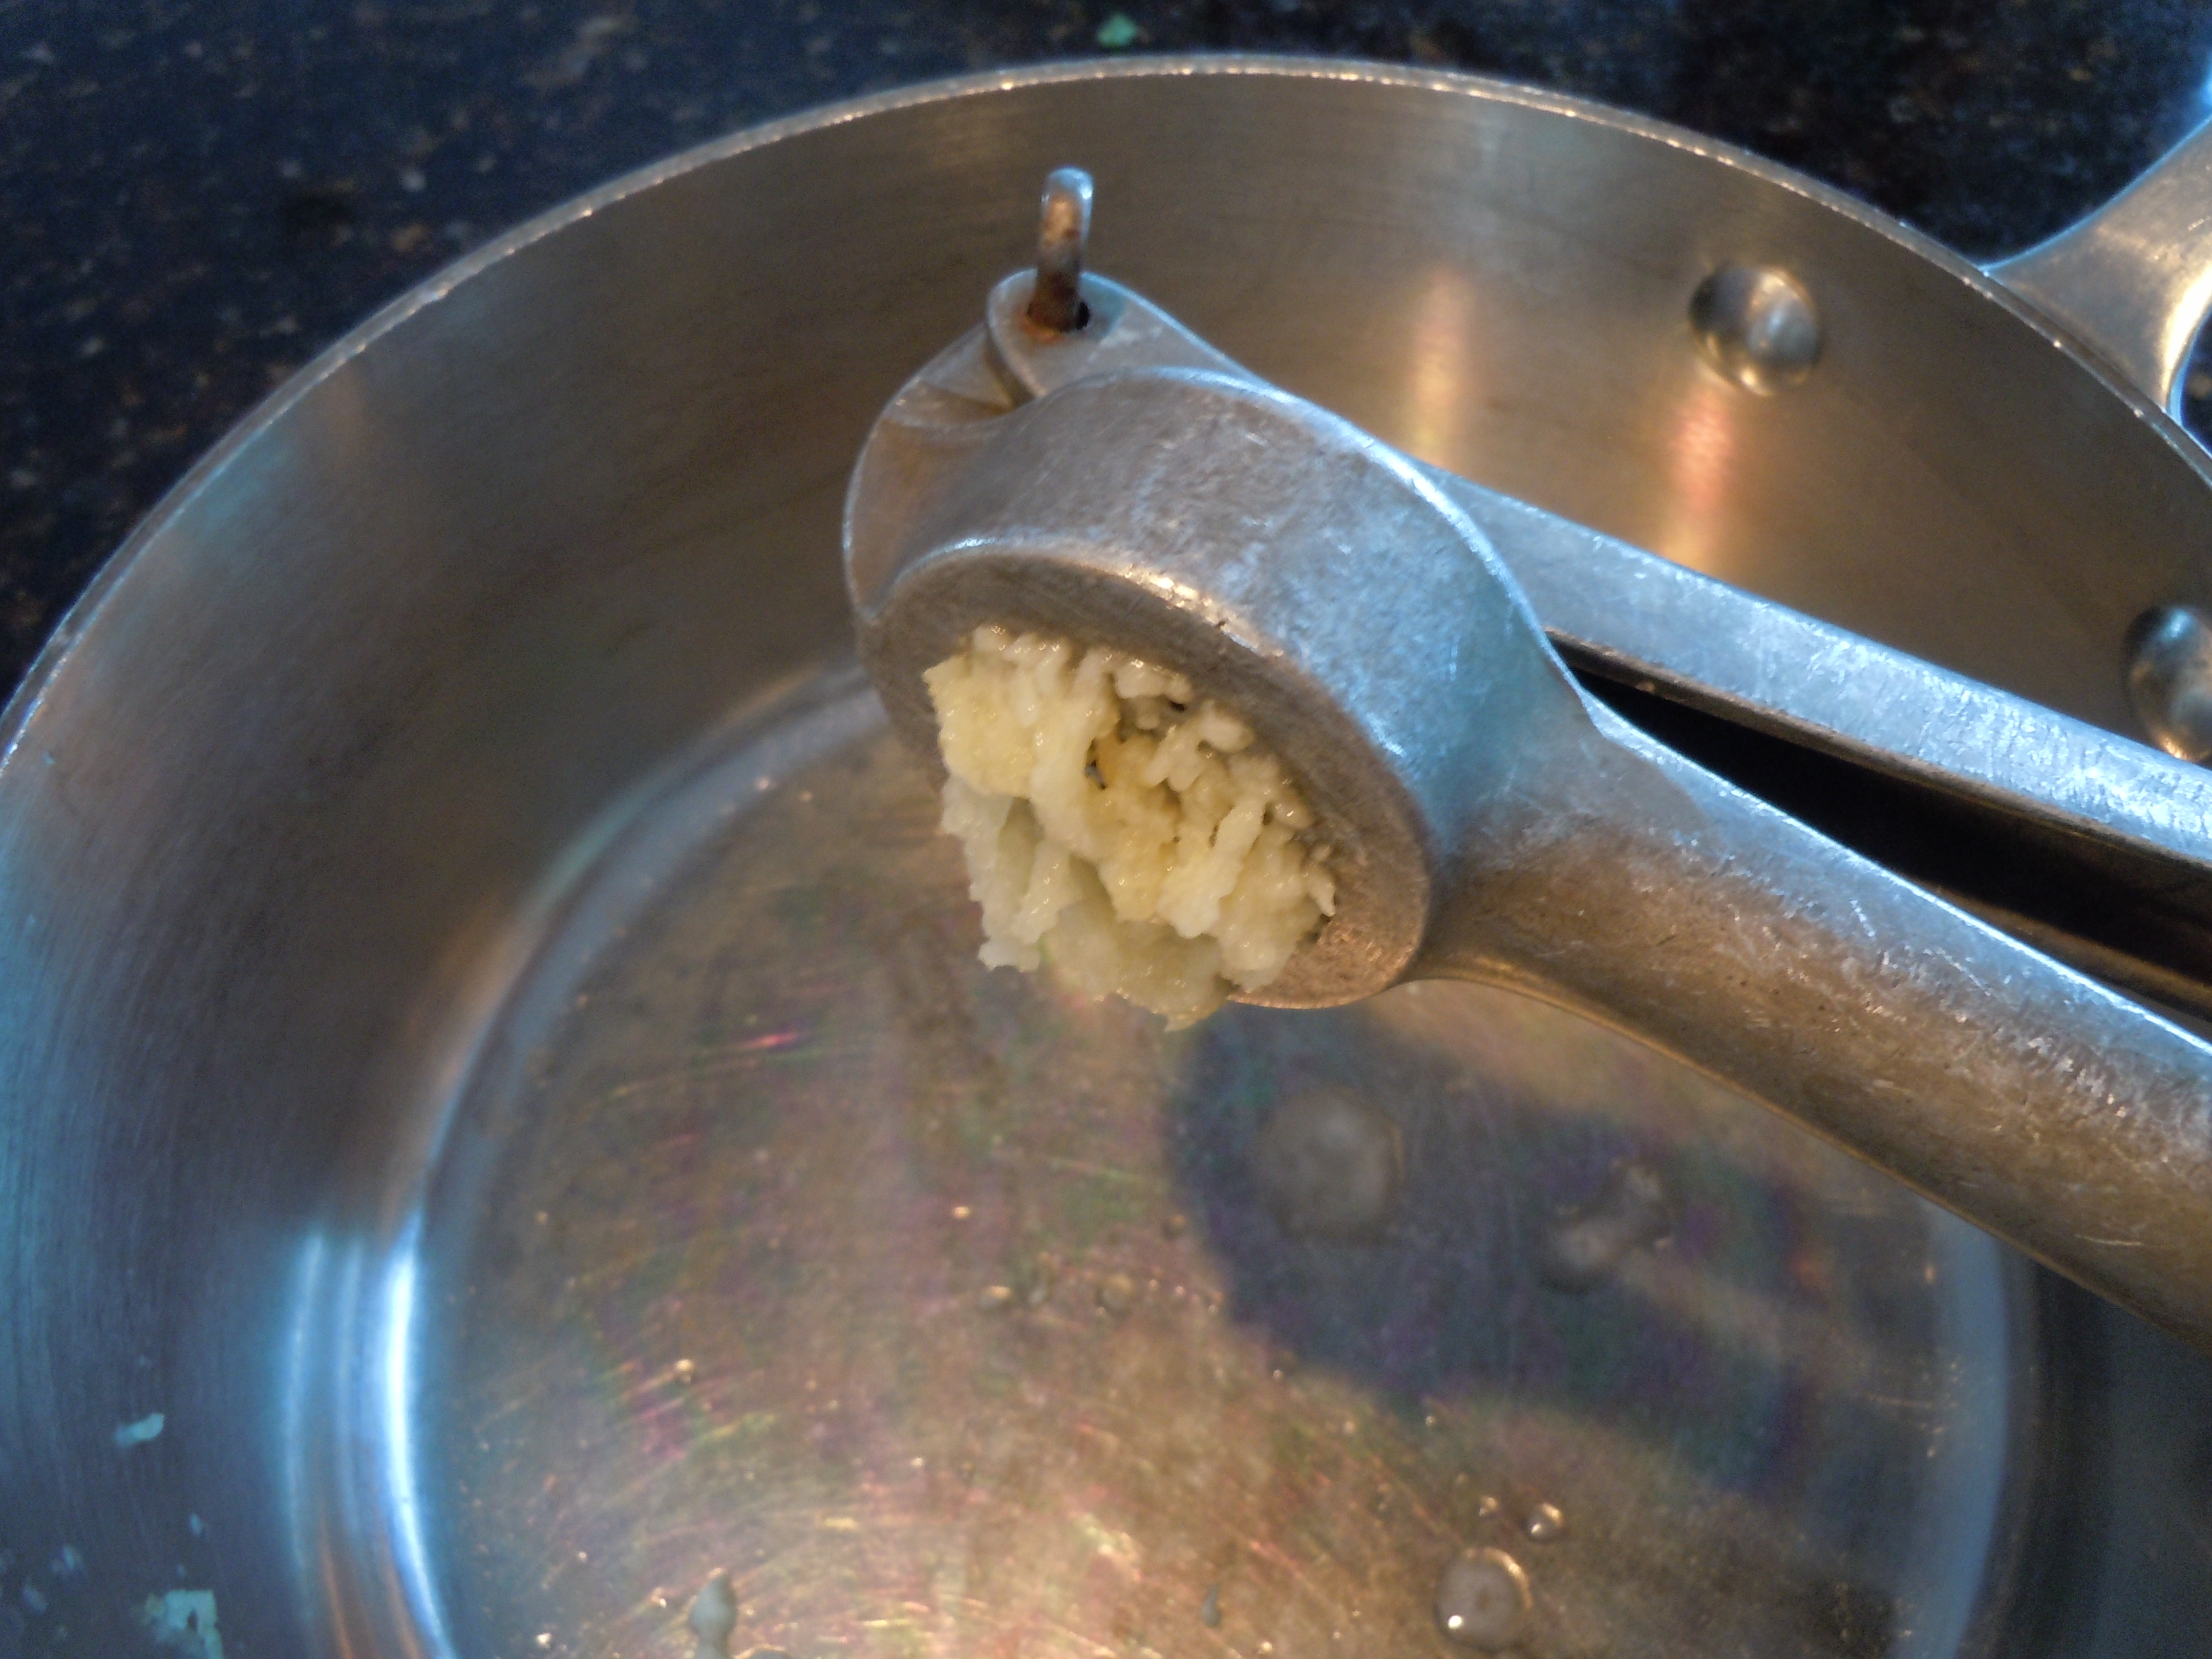
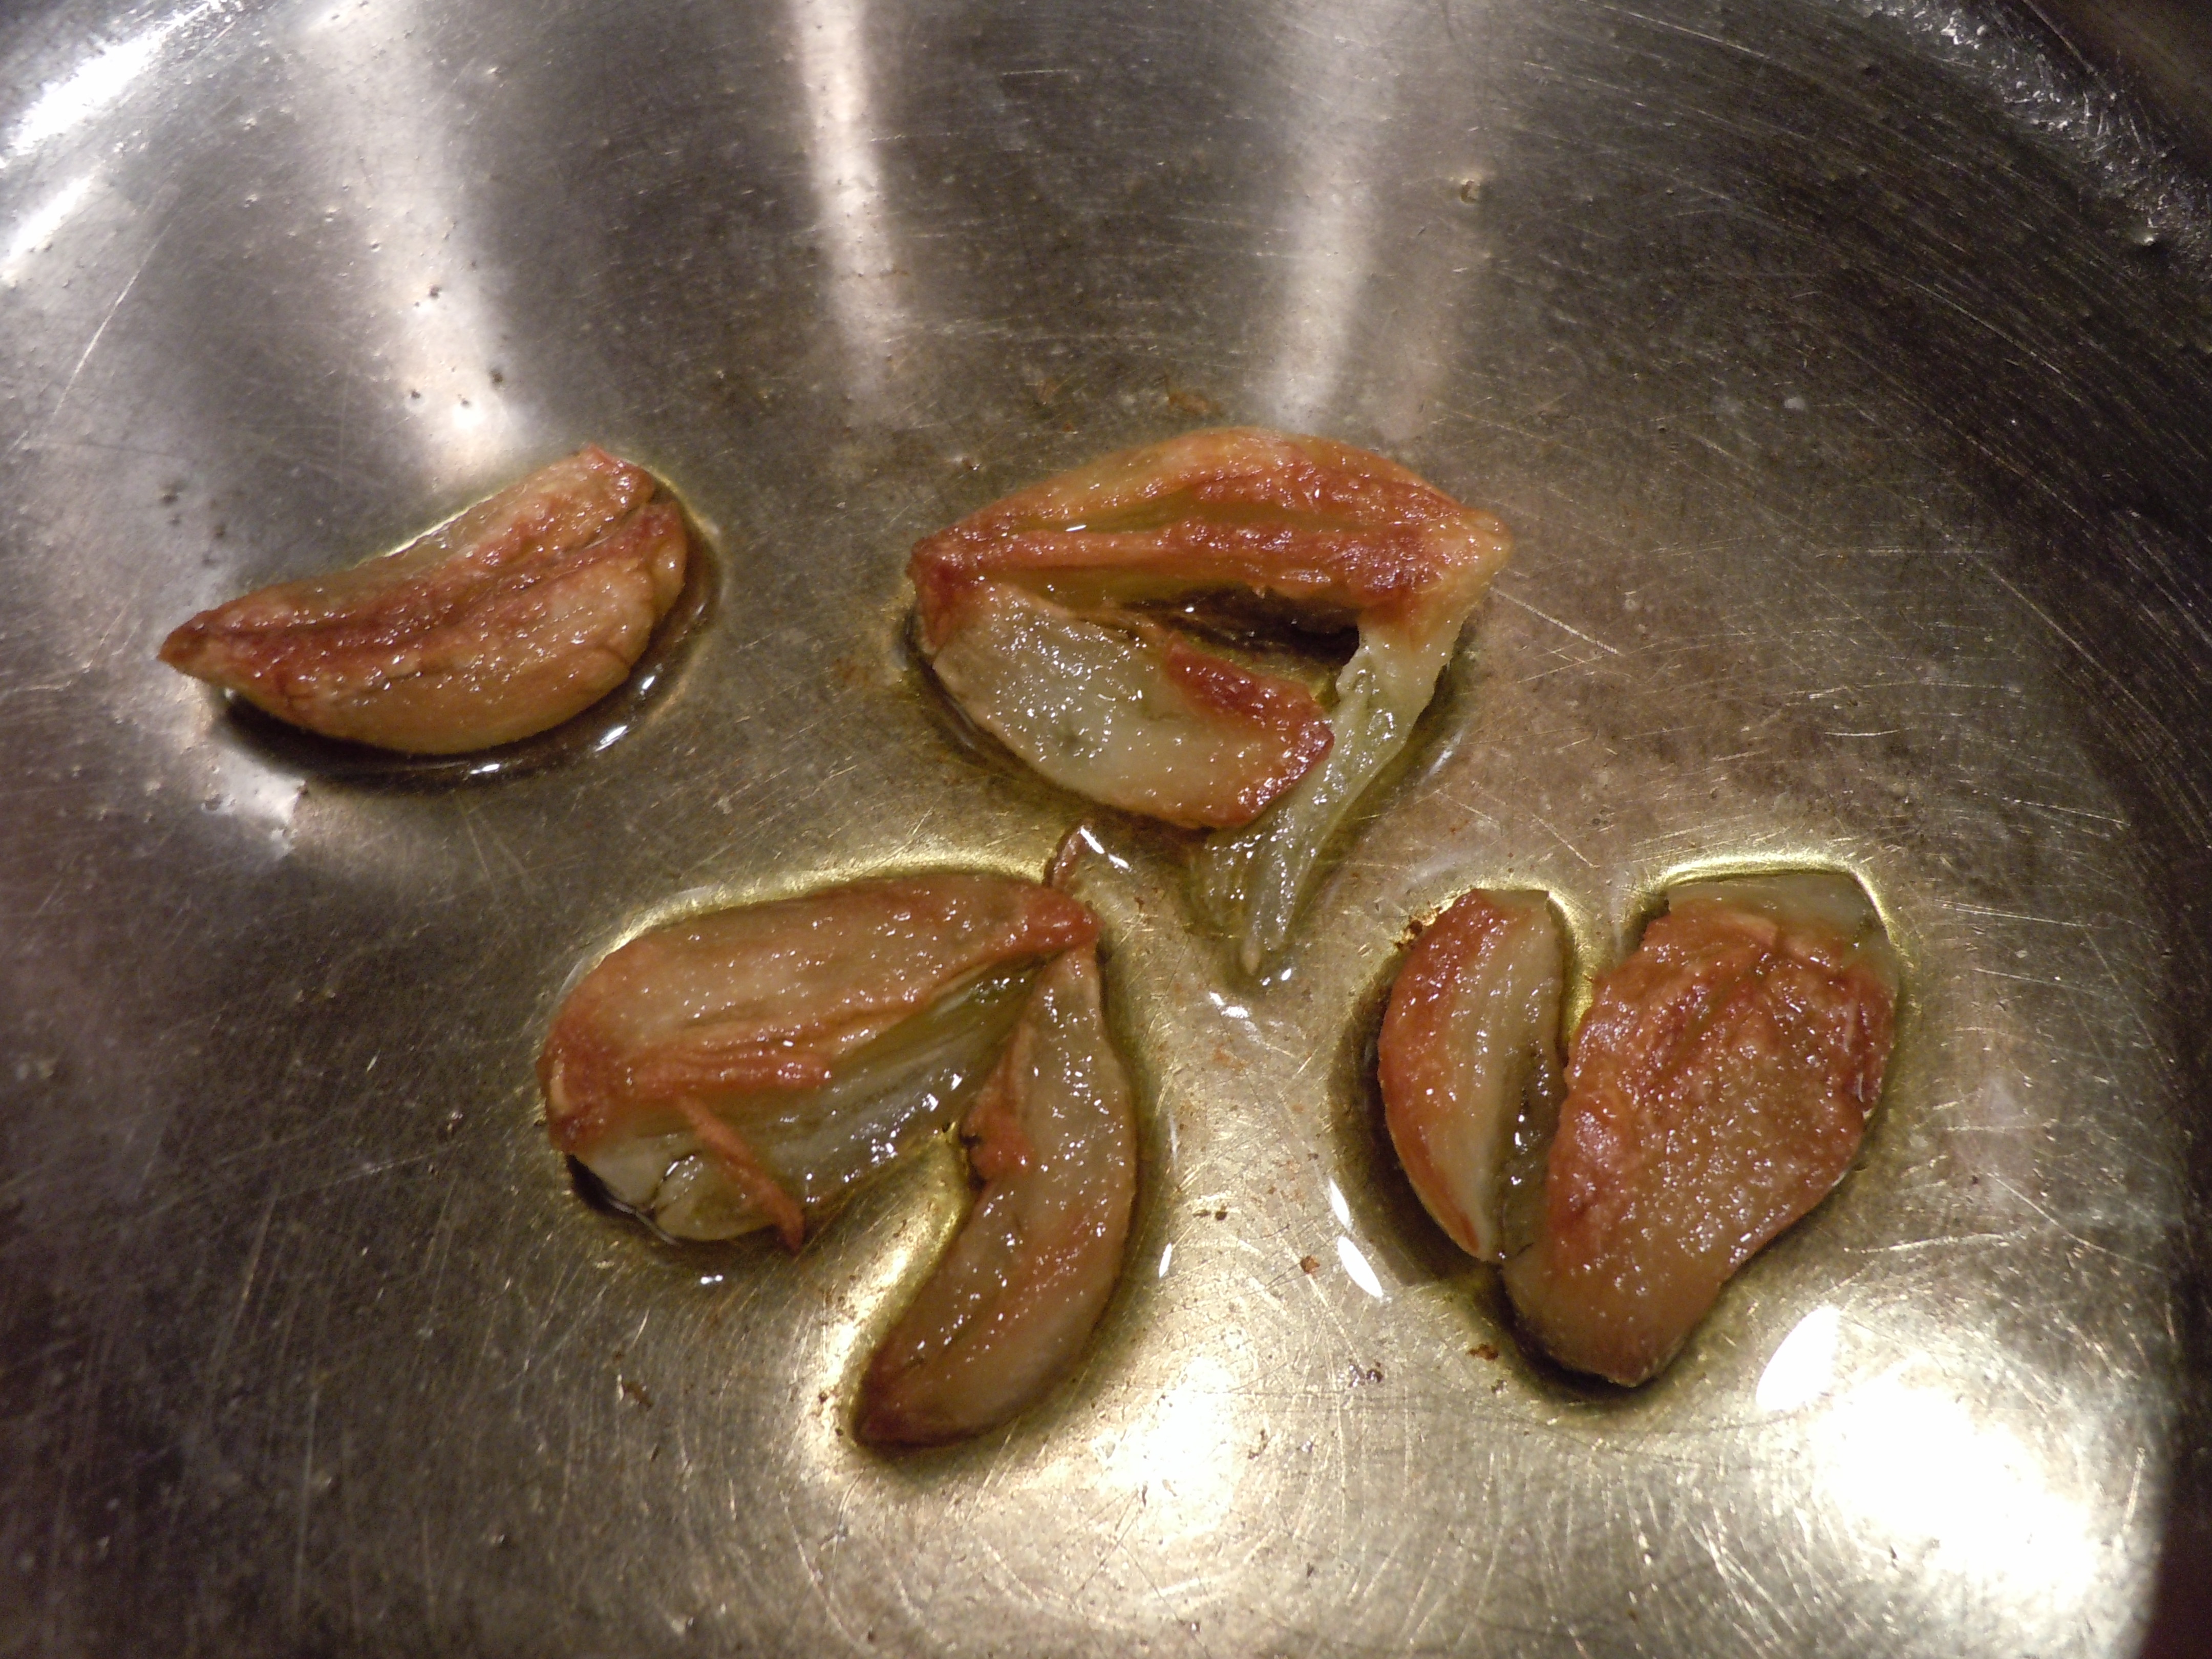
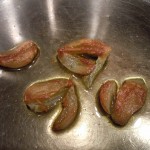
- Sauté 4 large garlic cloves in 1 tbsp olive oil in a medium sauce pan until golden.
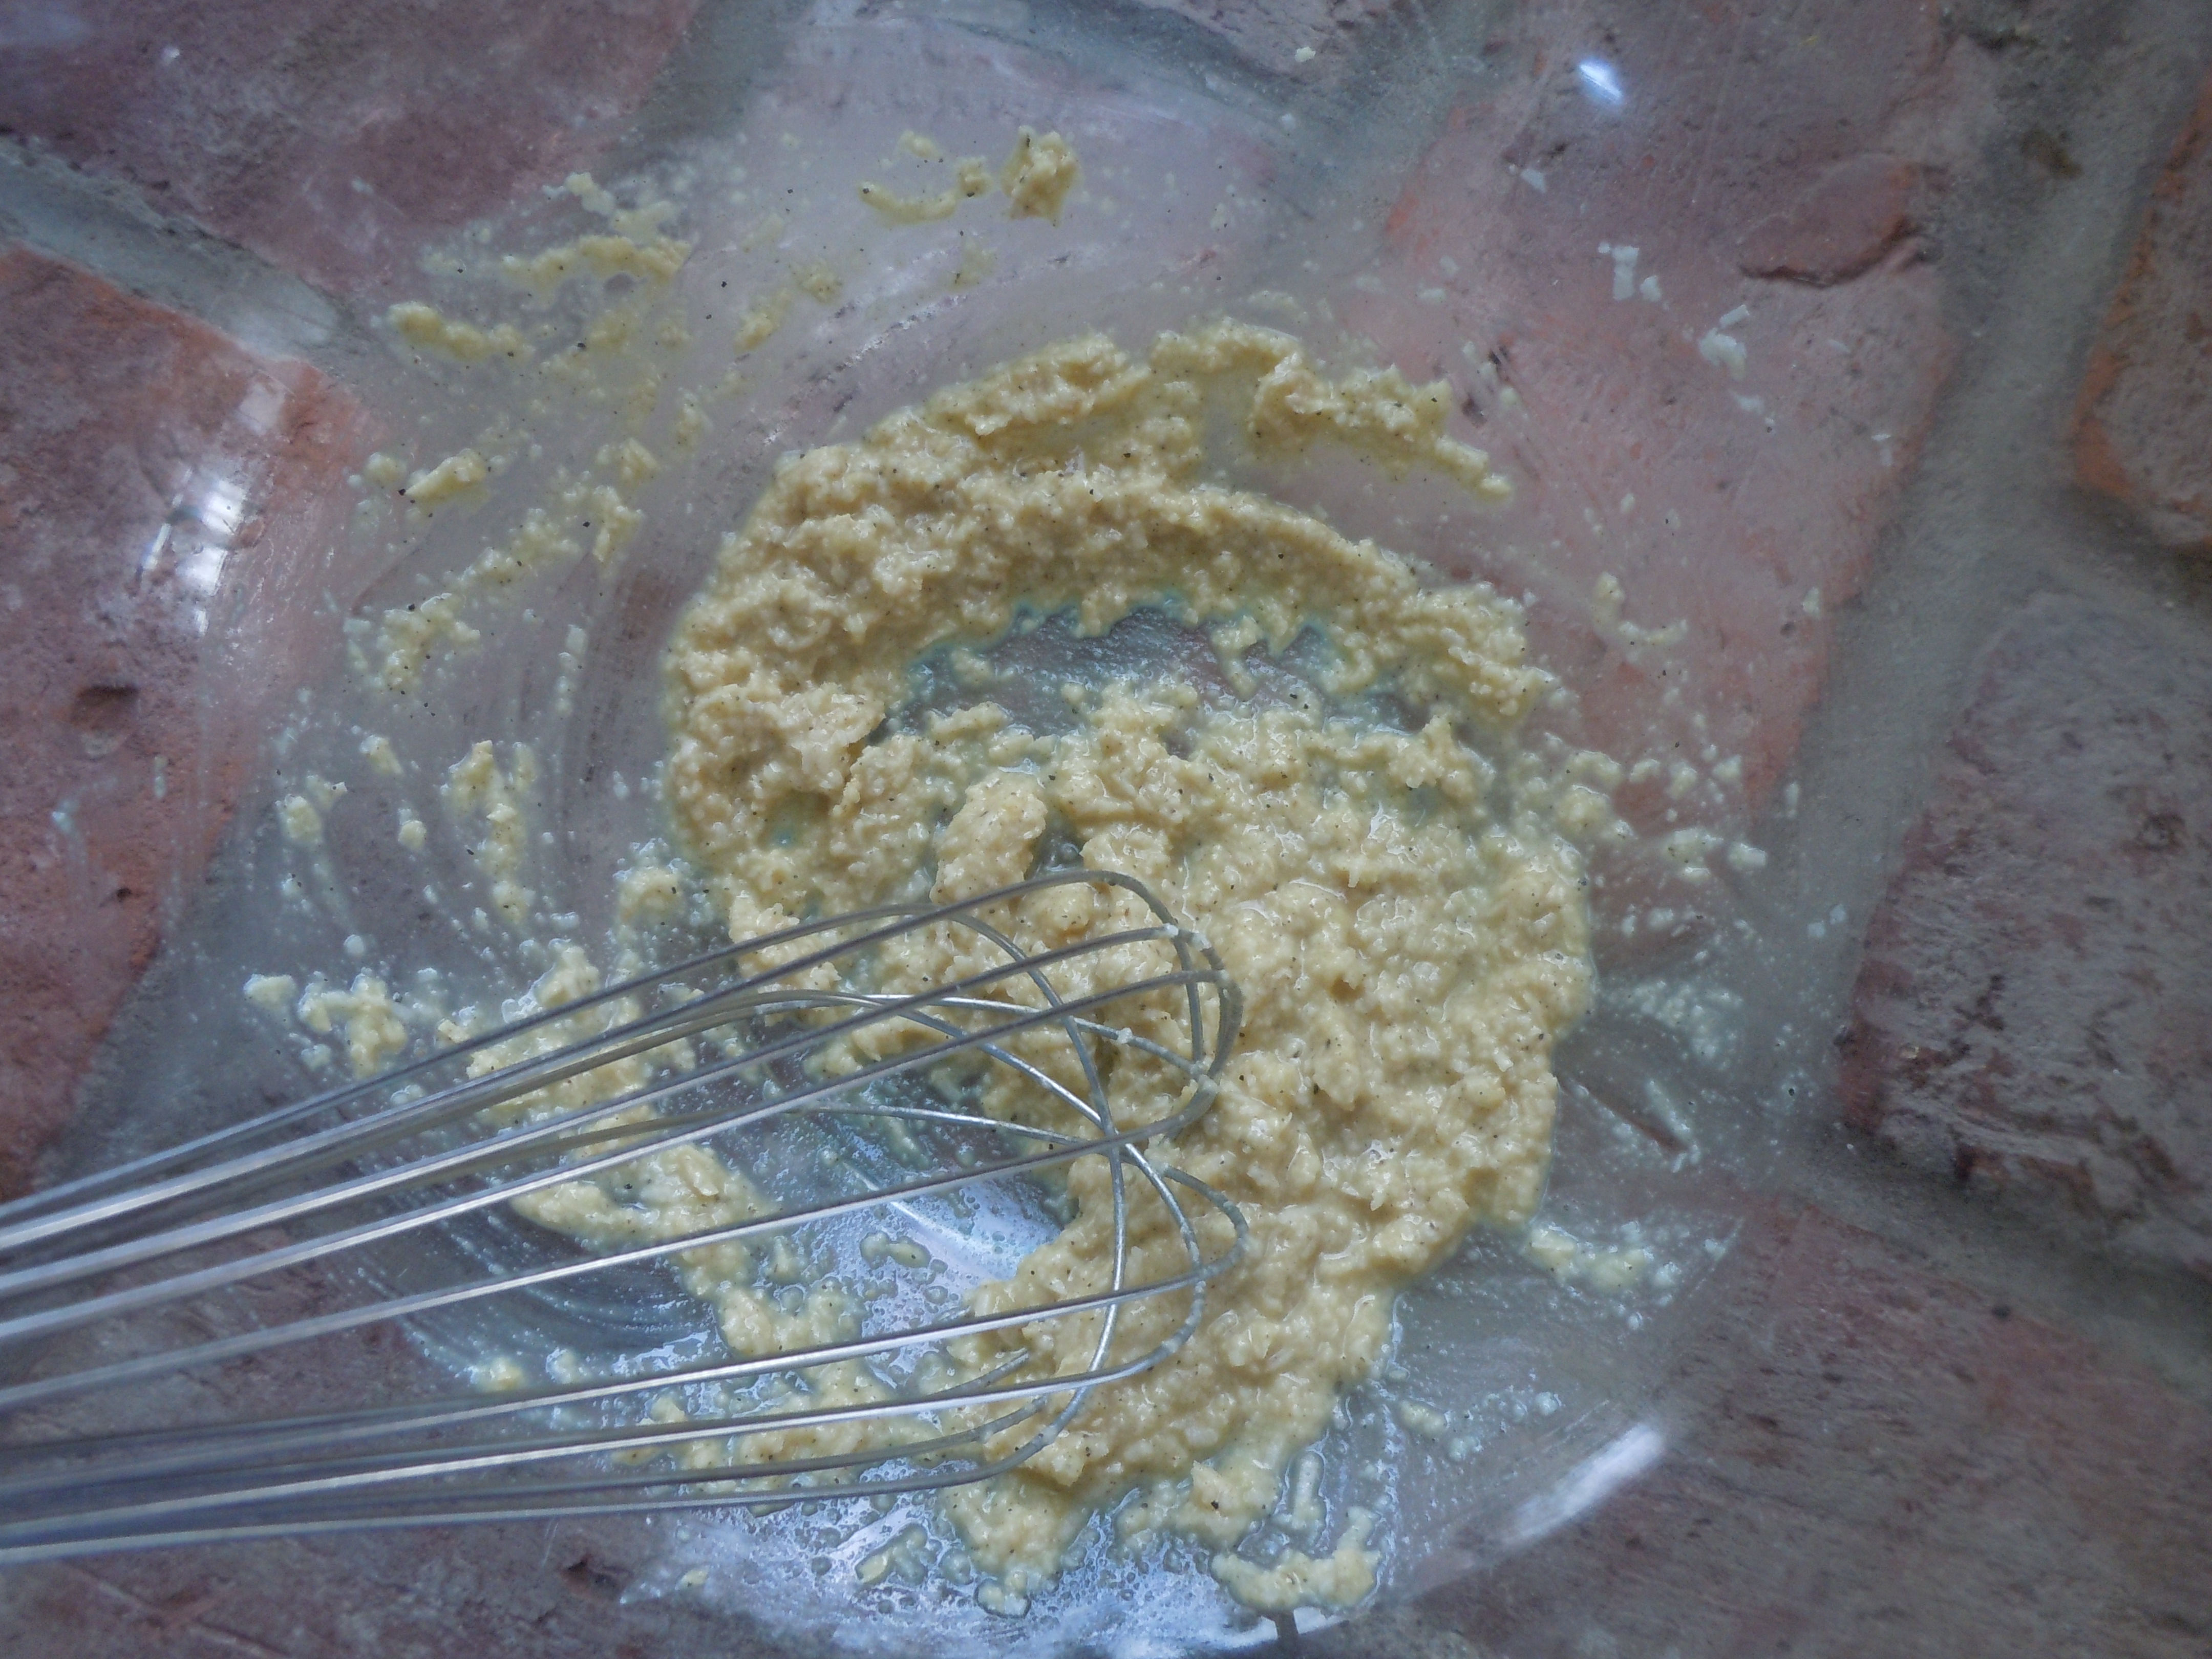
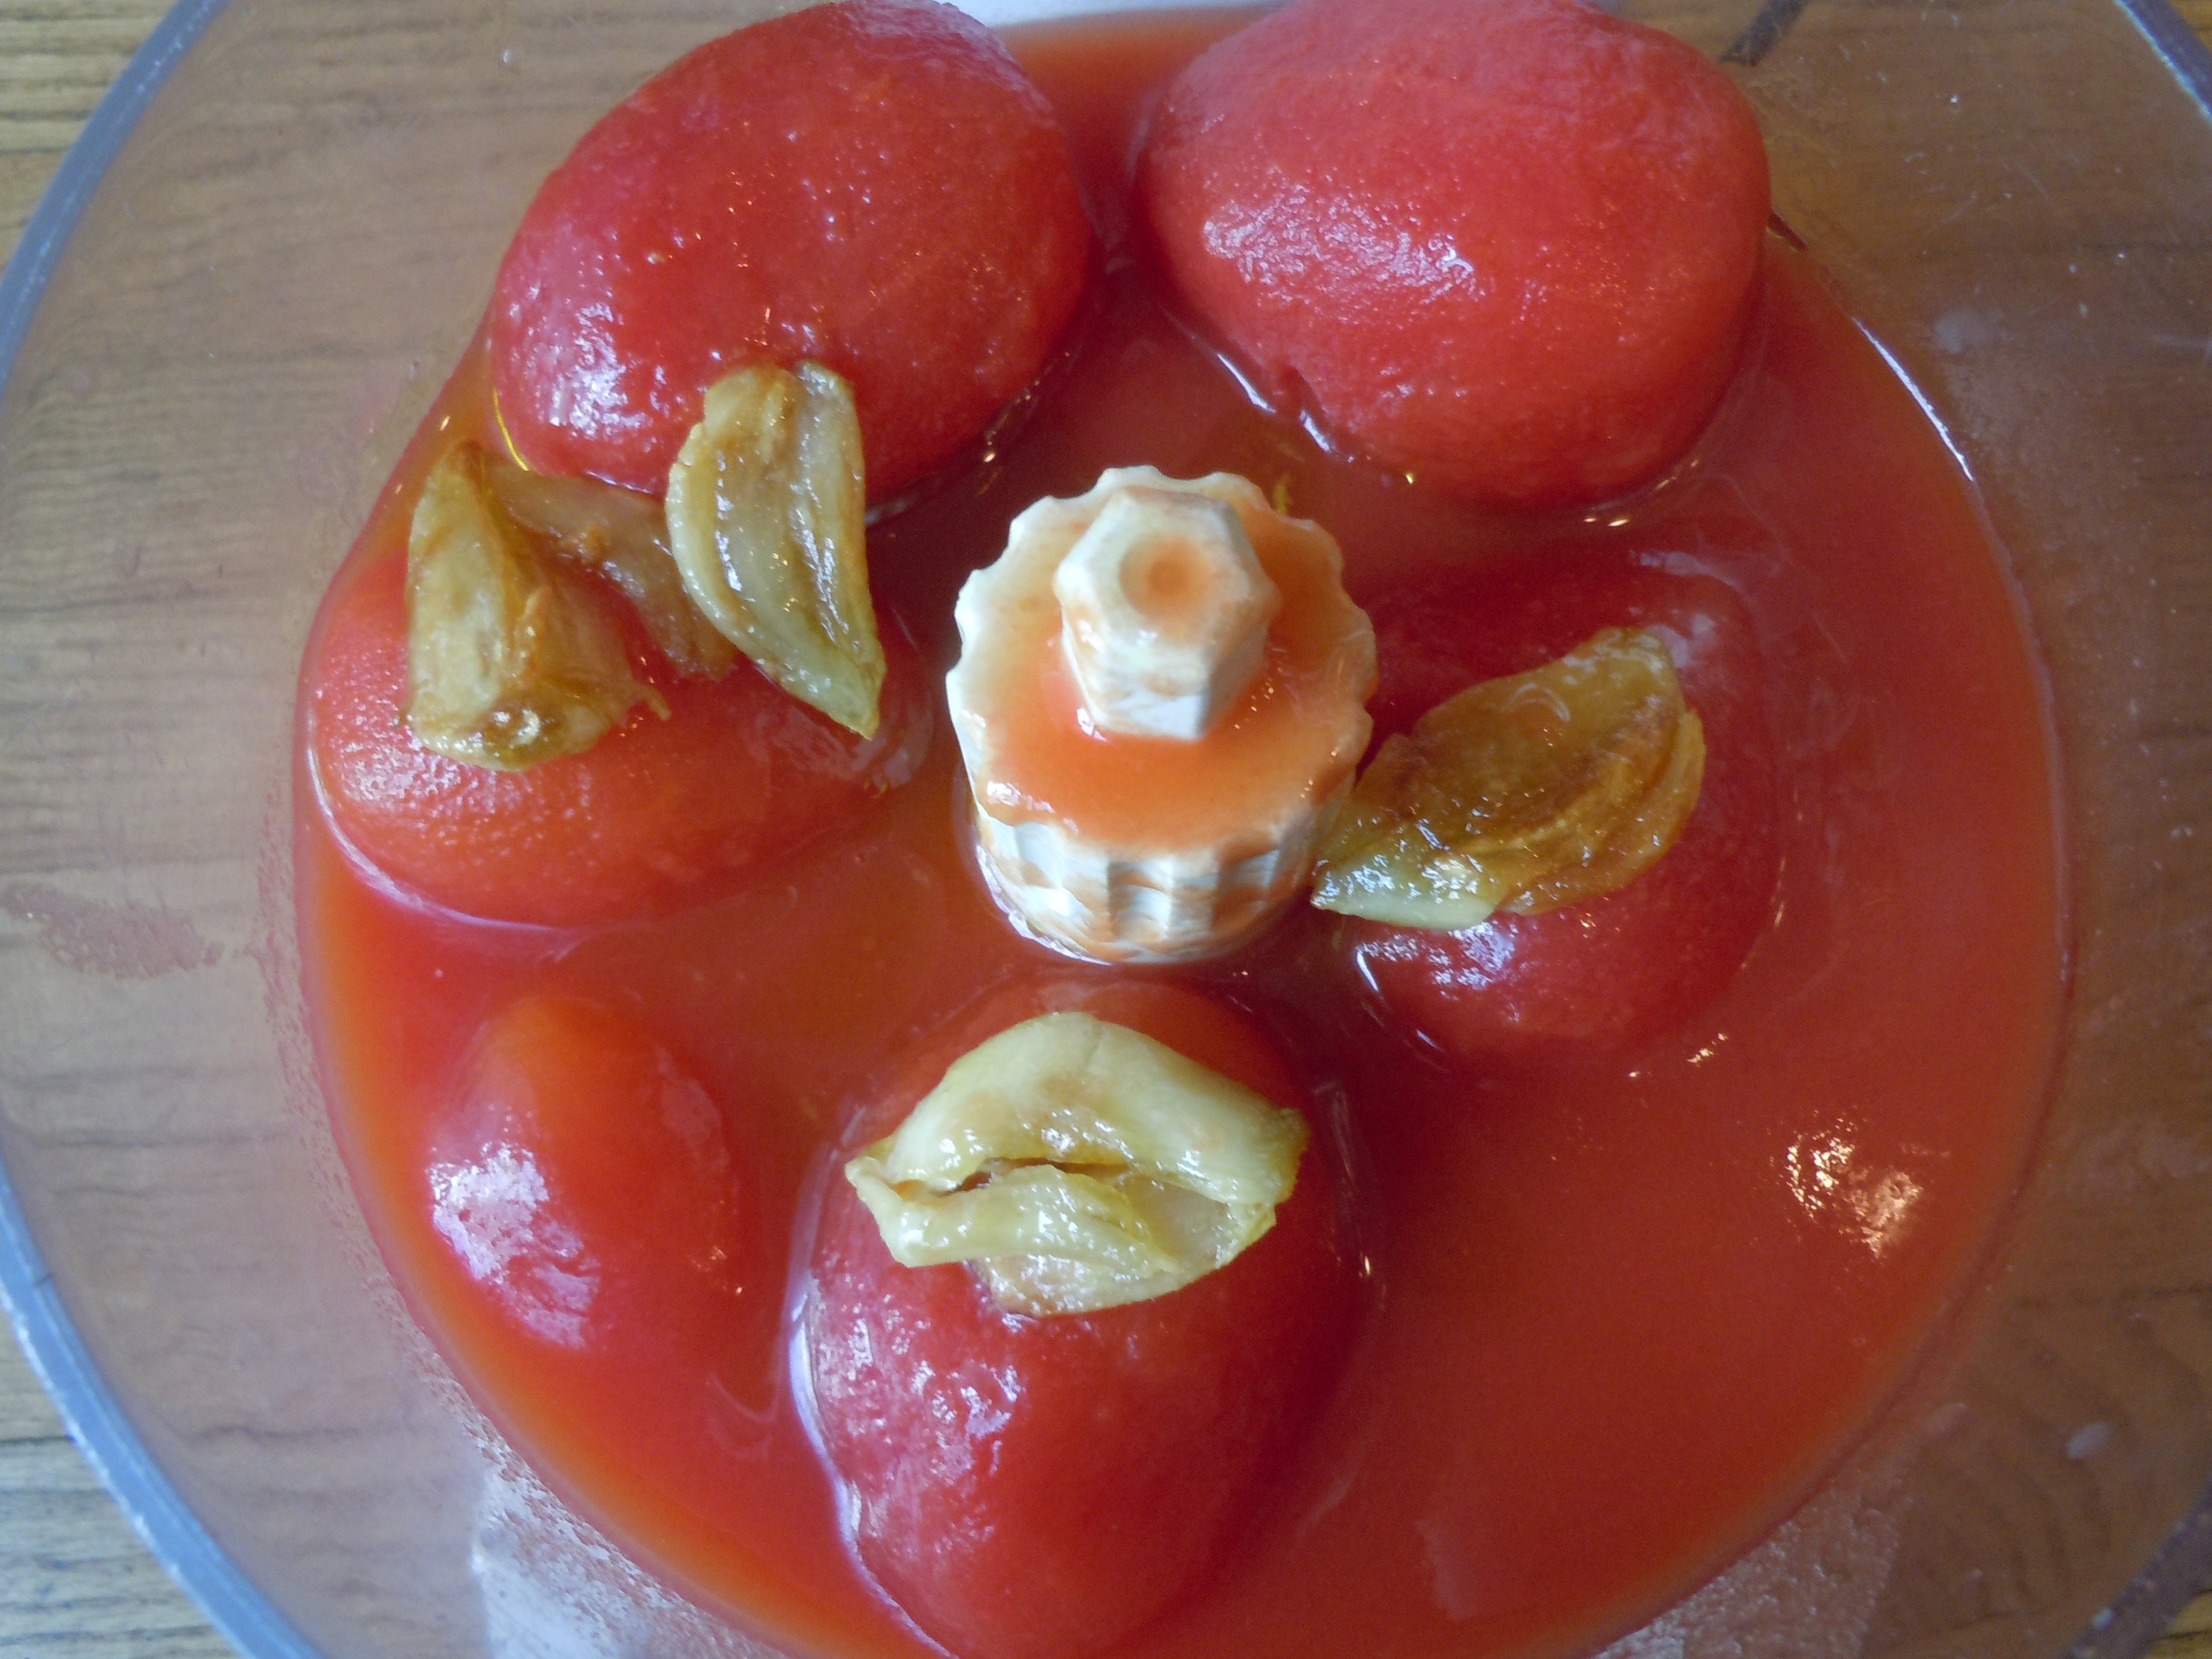
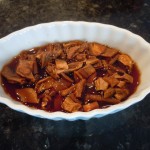
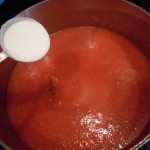
- Add whole tomatoes and golden garlic cloves to food processor and purée for 1 minute.
- Add this back to the pan.
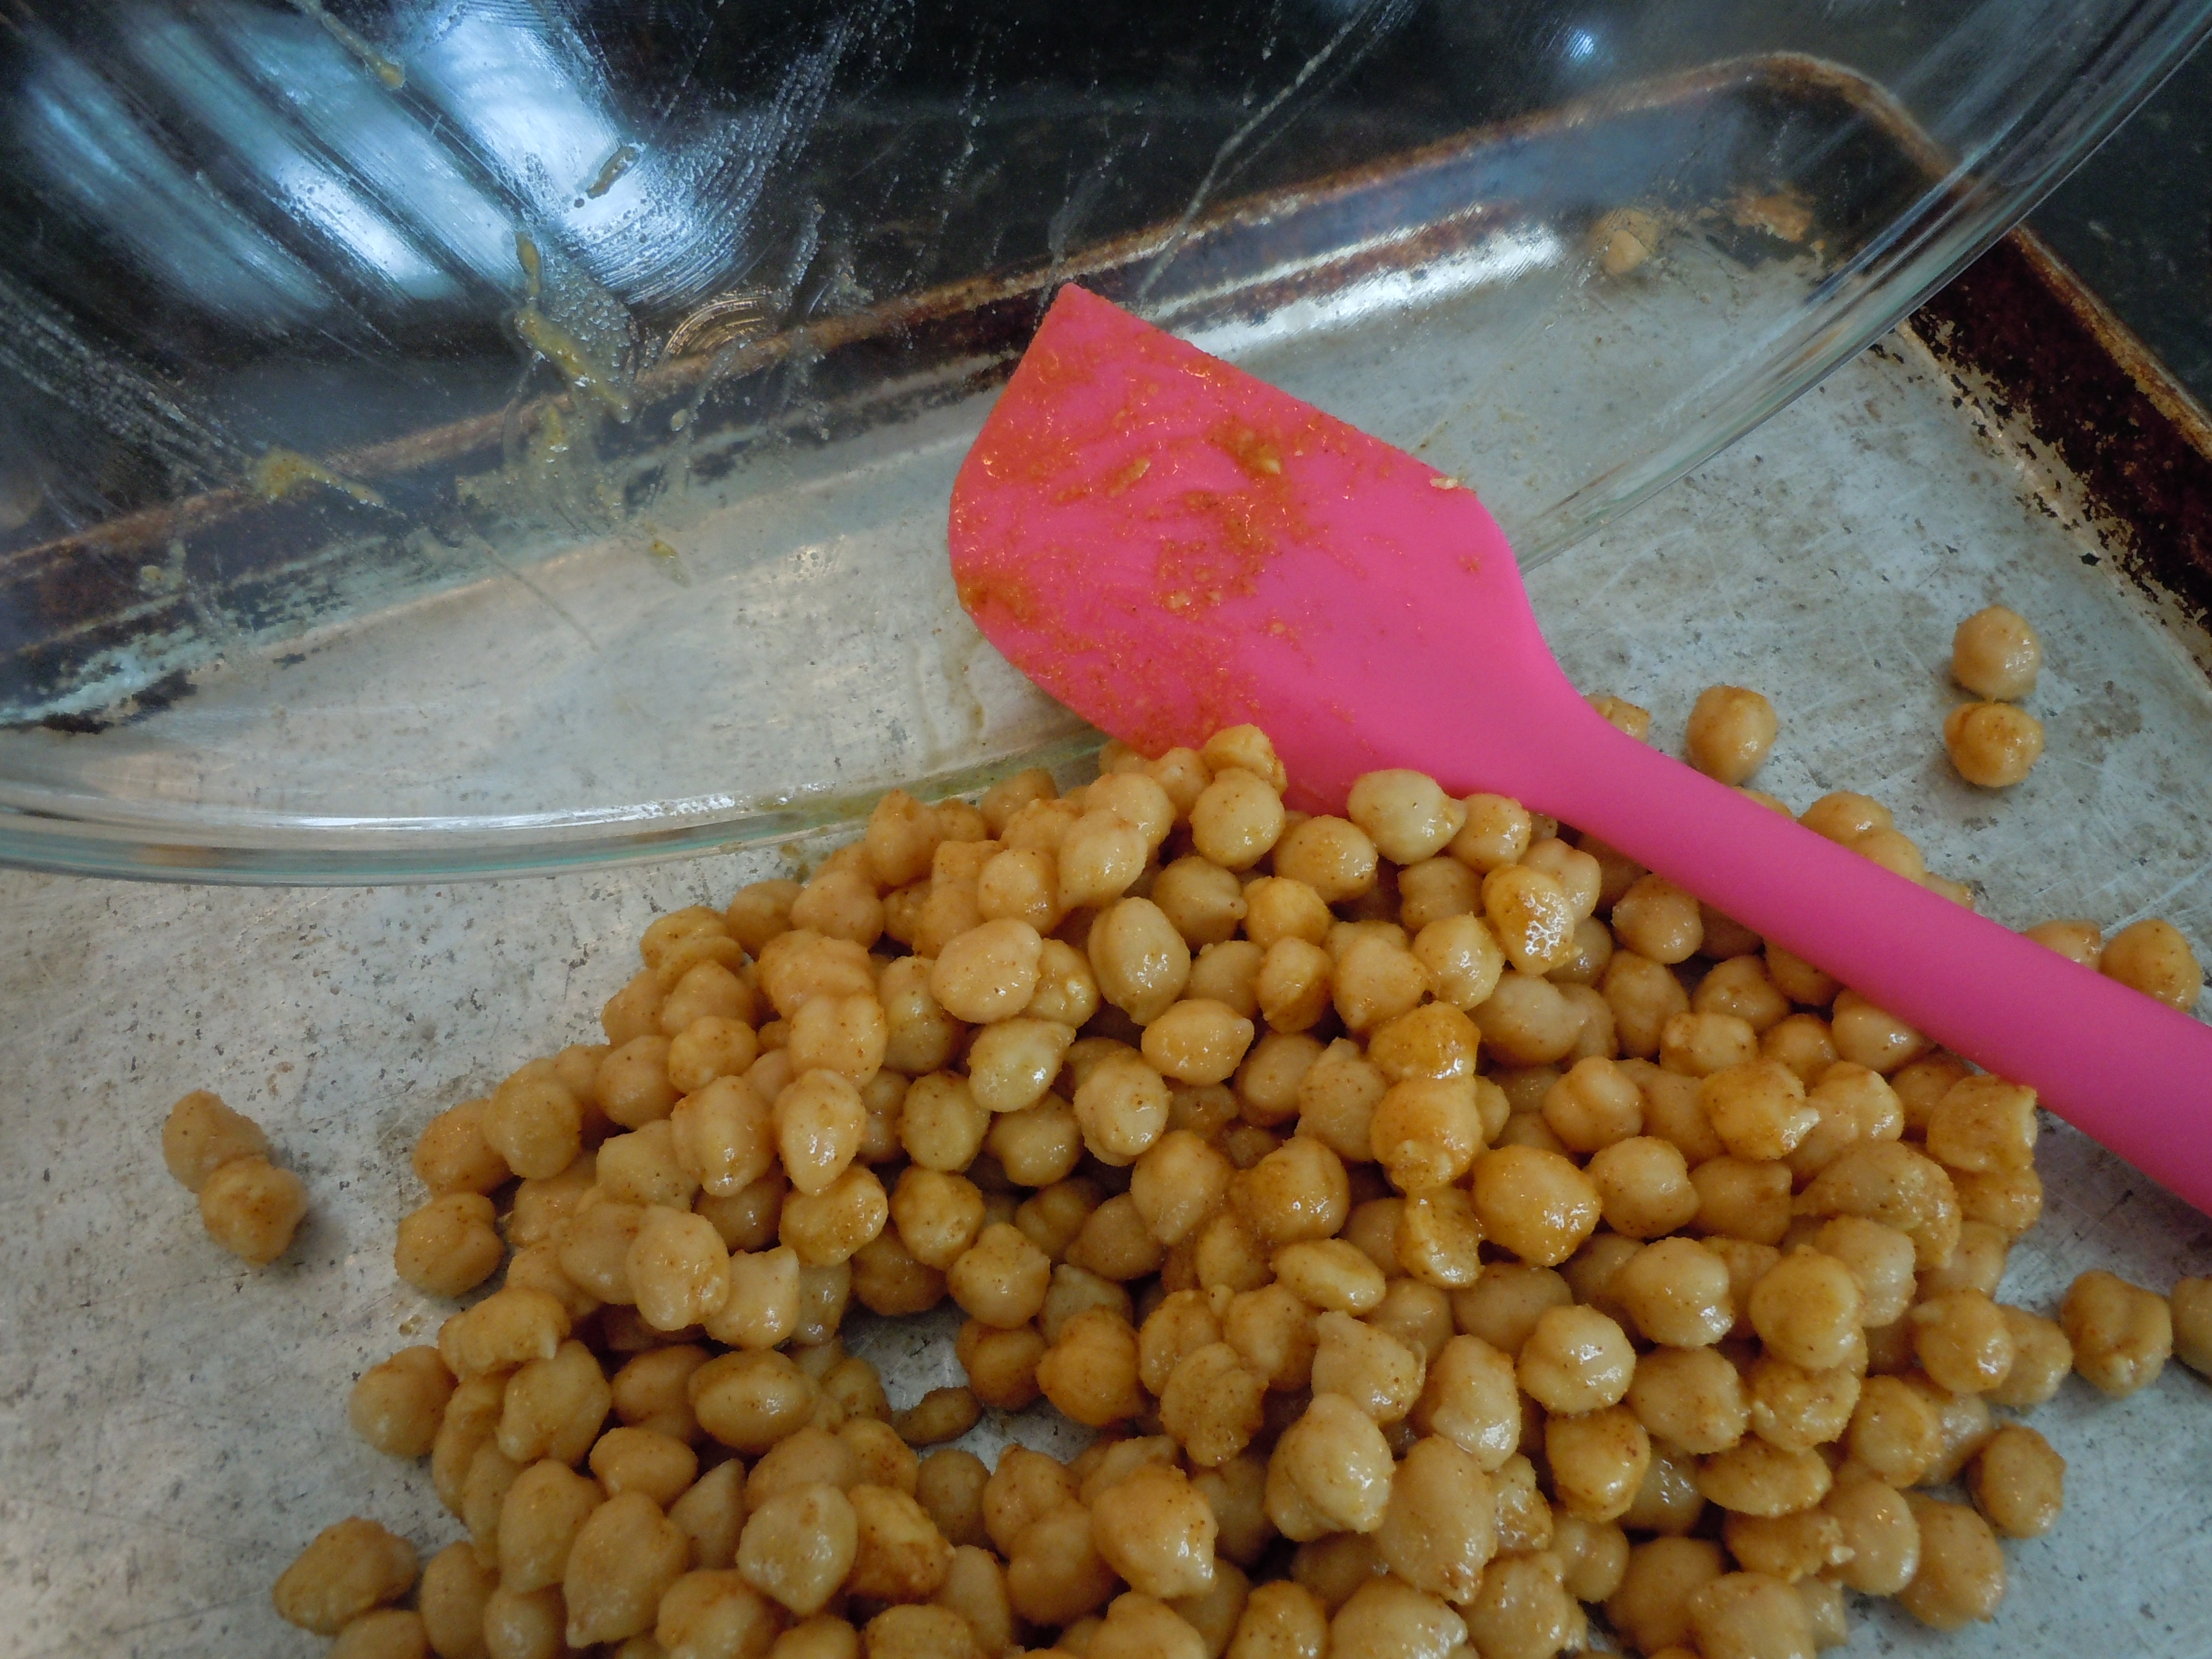
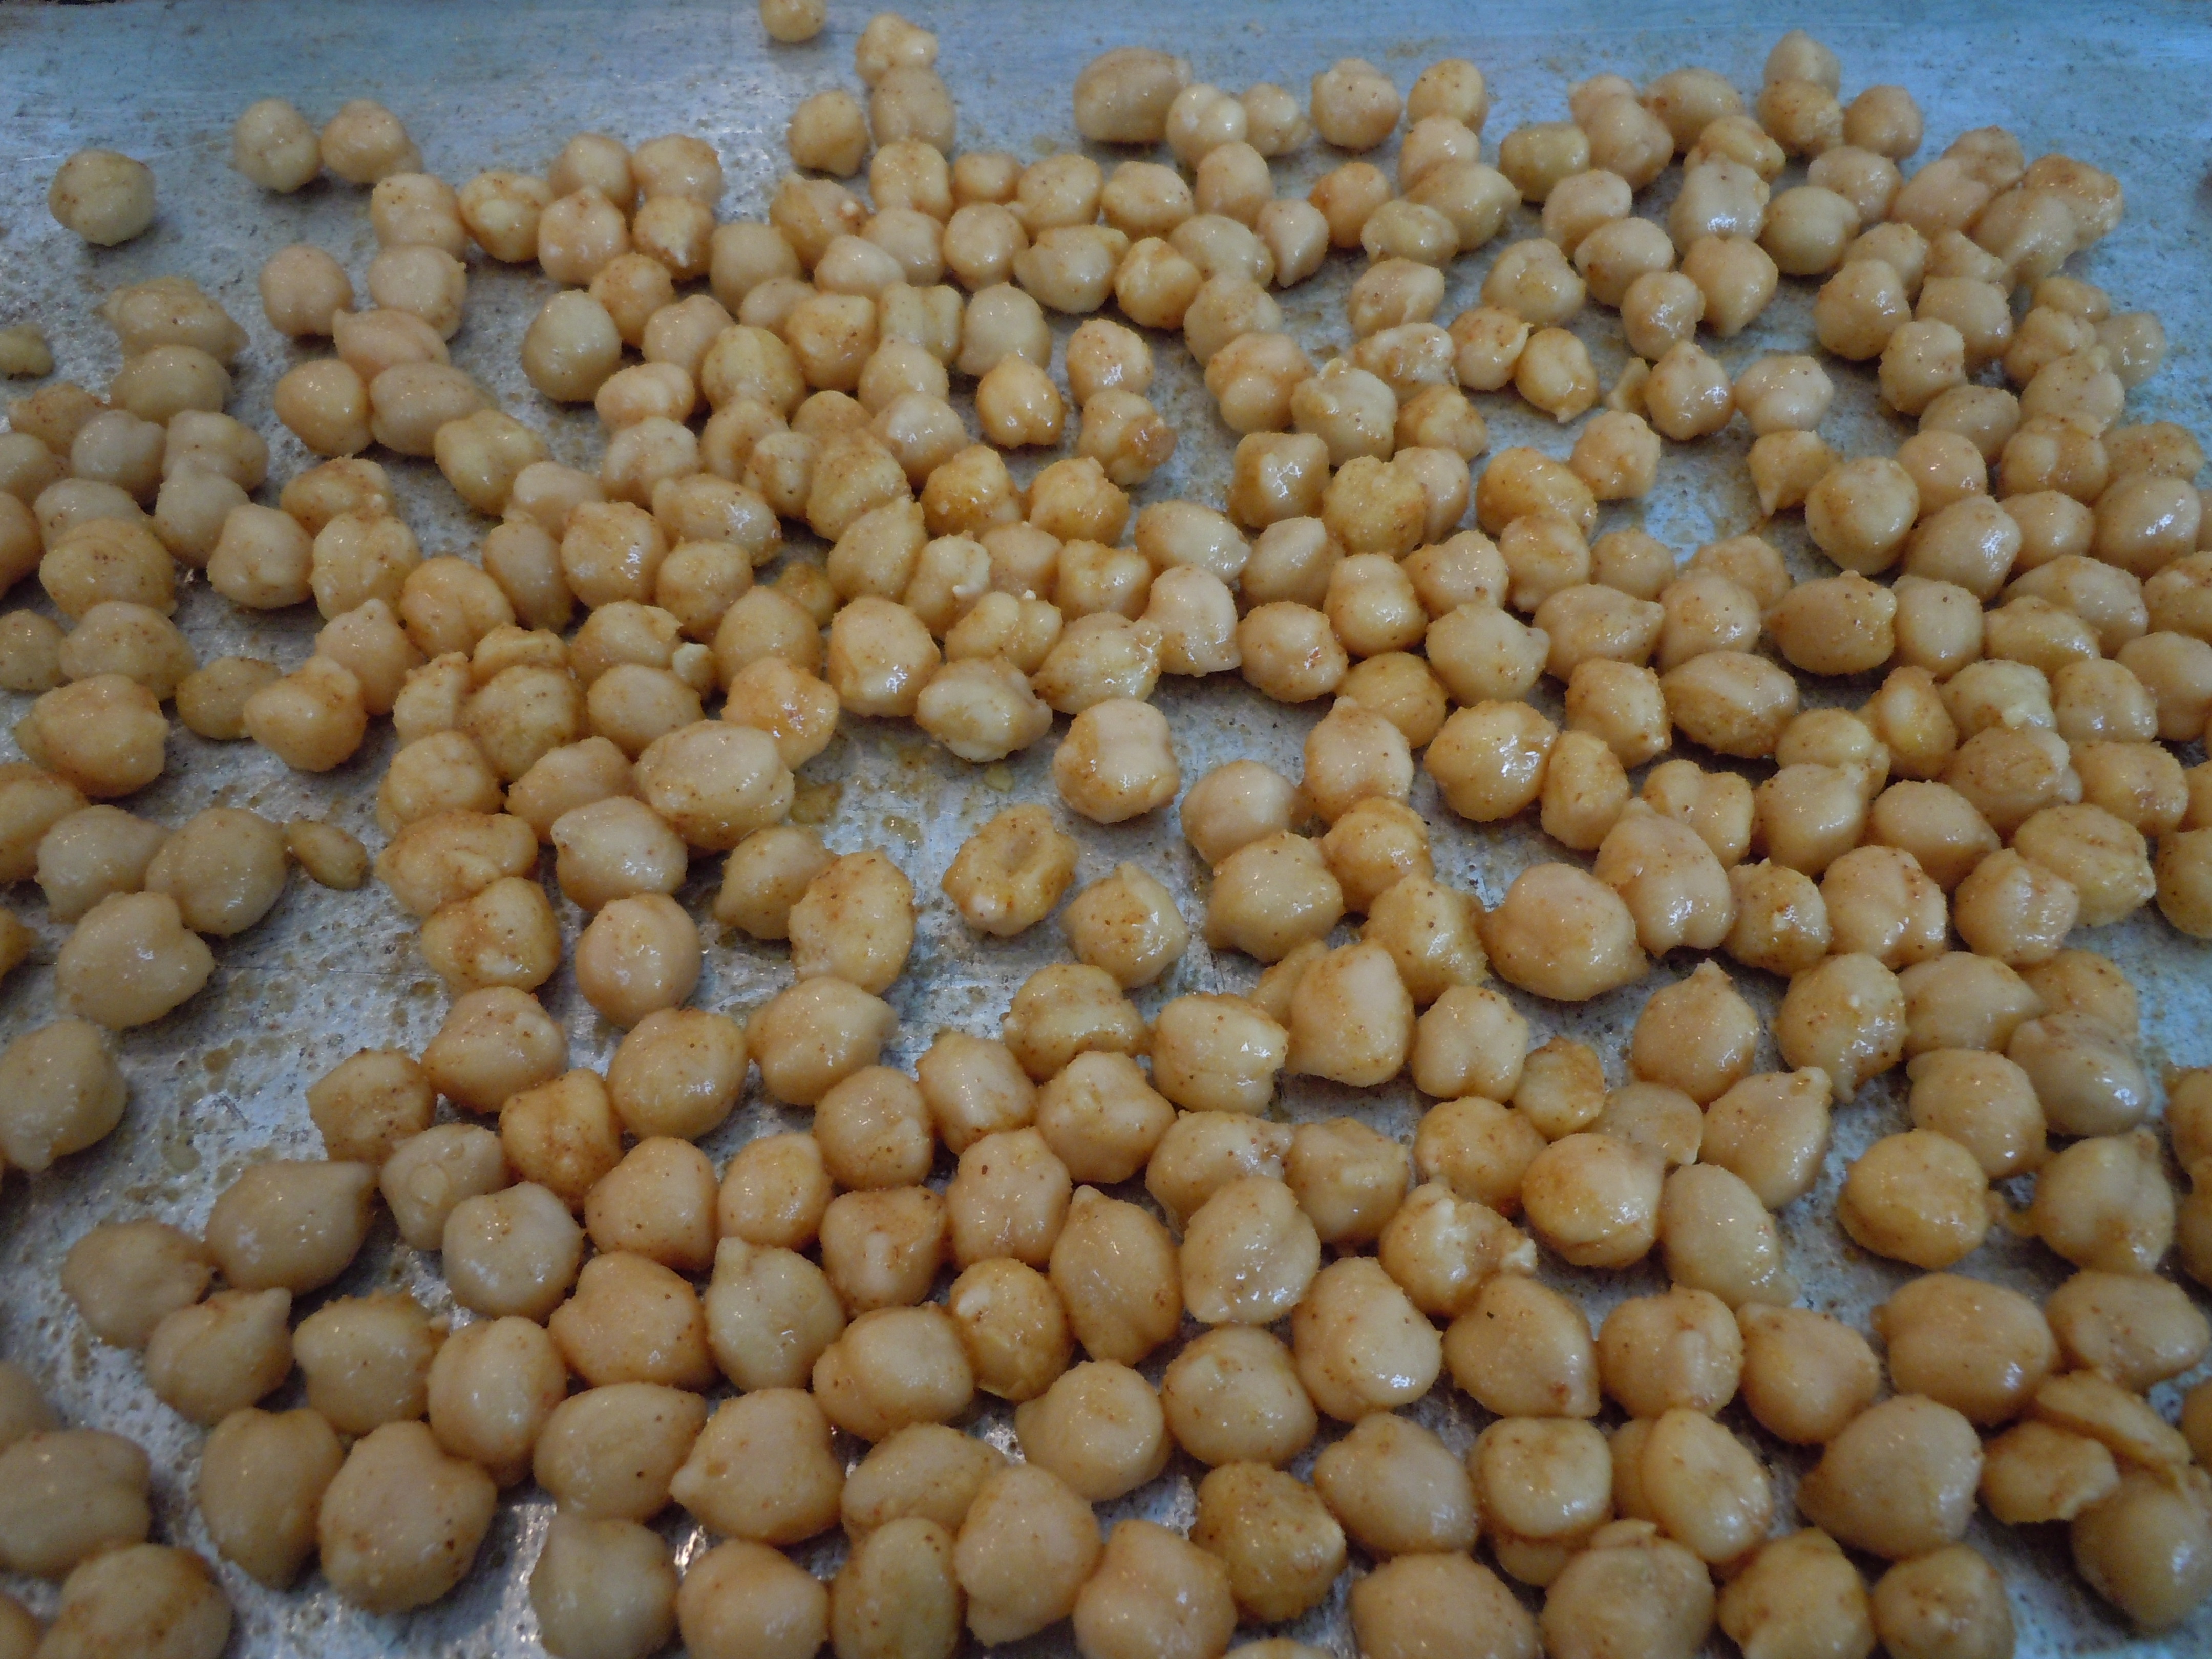
- Take the soaked, softened porcini’s out of the water and coarsely chop.
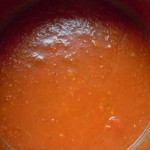
- Add the porcini’s and their juice to the sauce pan along with 1/4 cup pinot, salt, pepper and sugar.
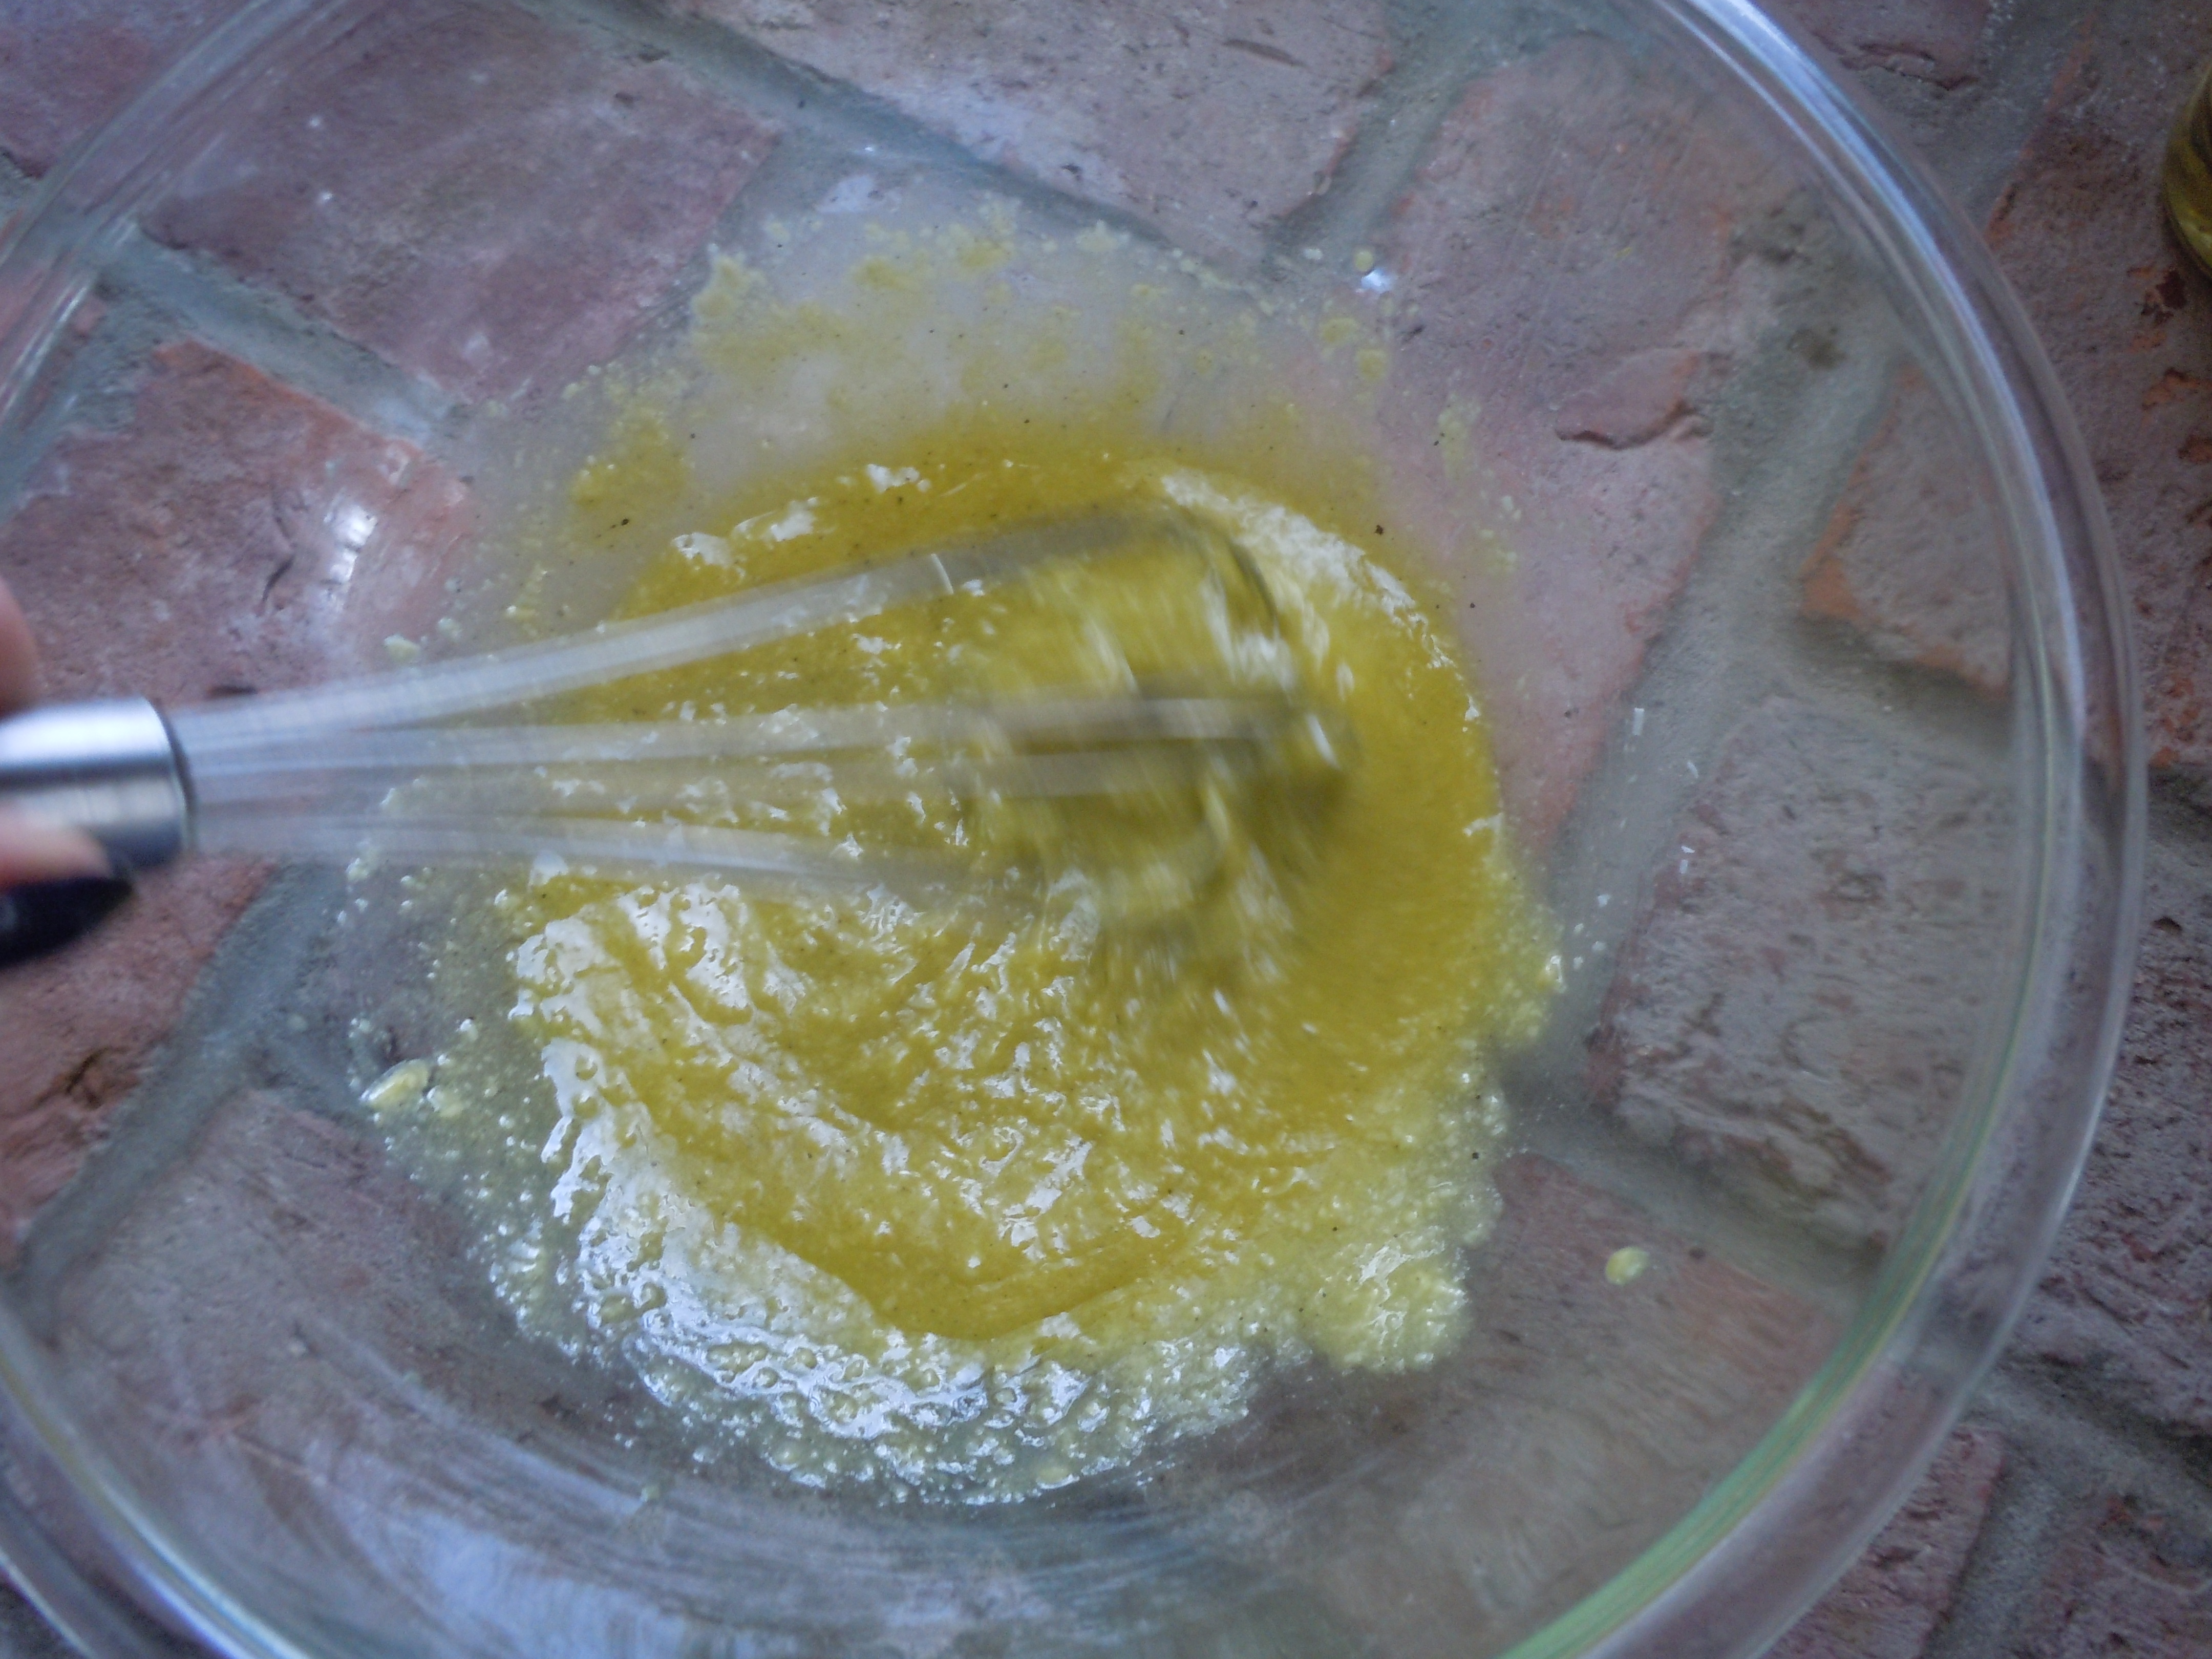
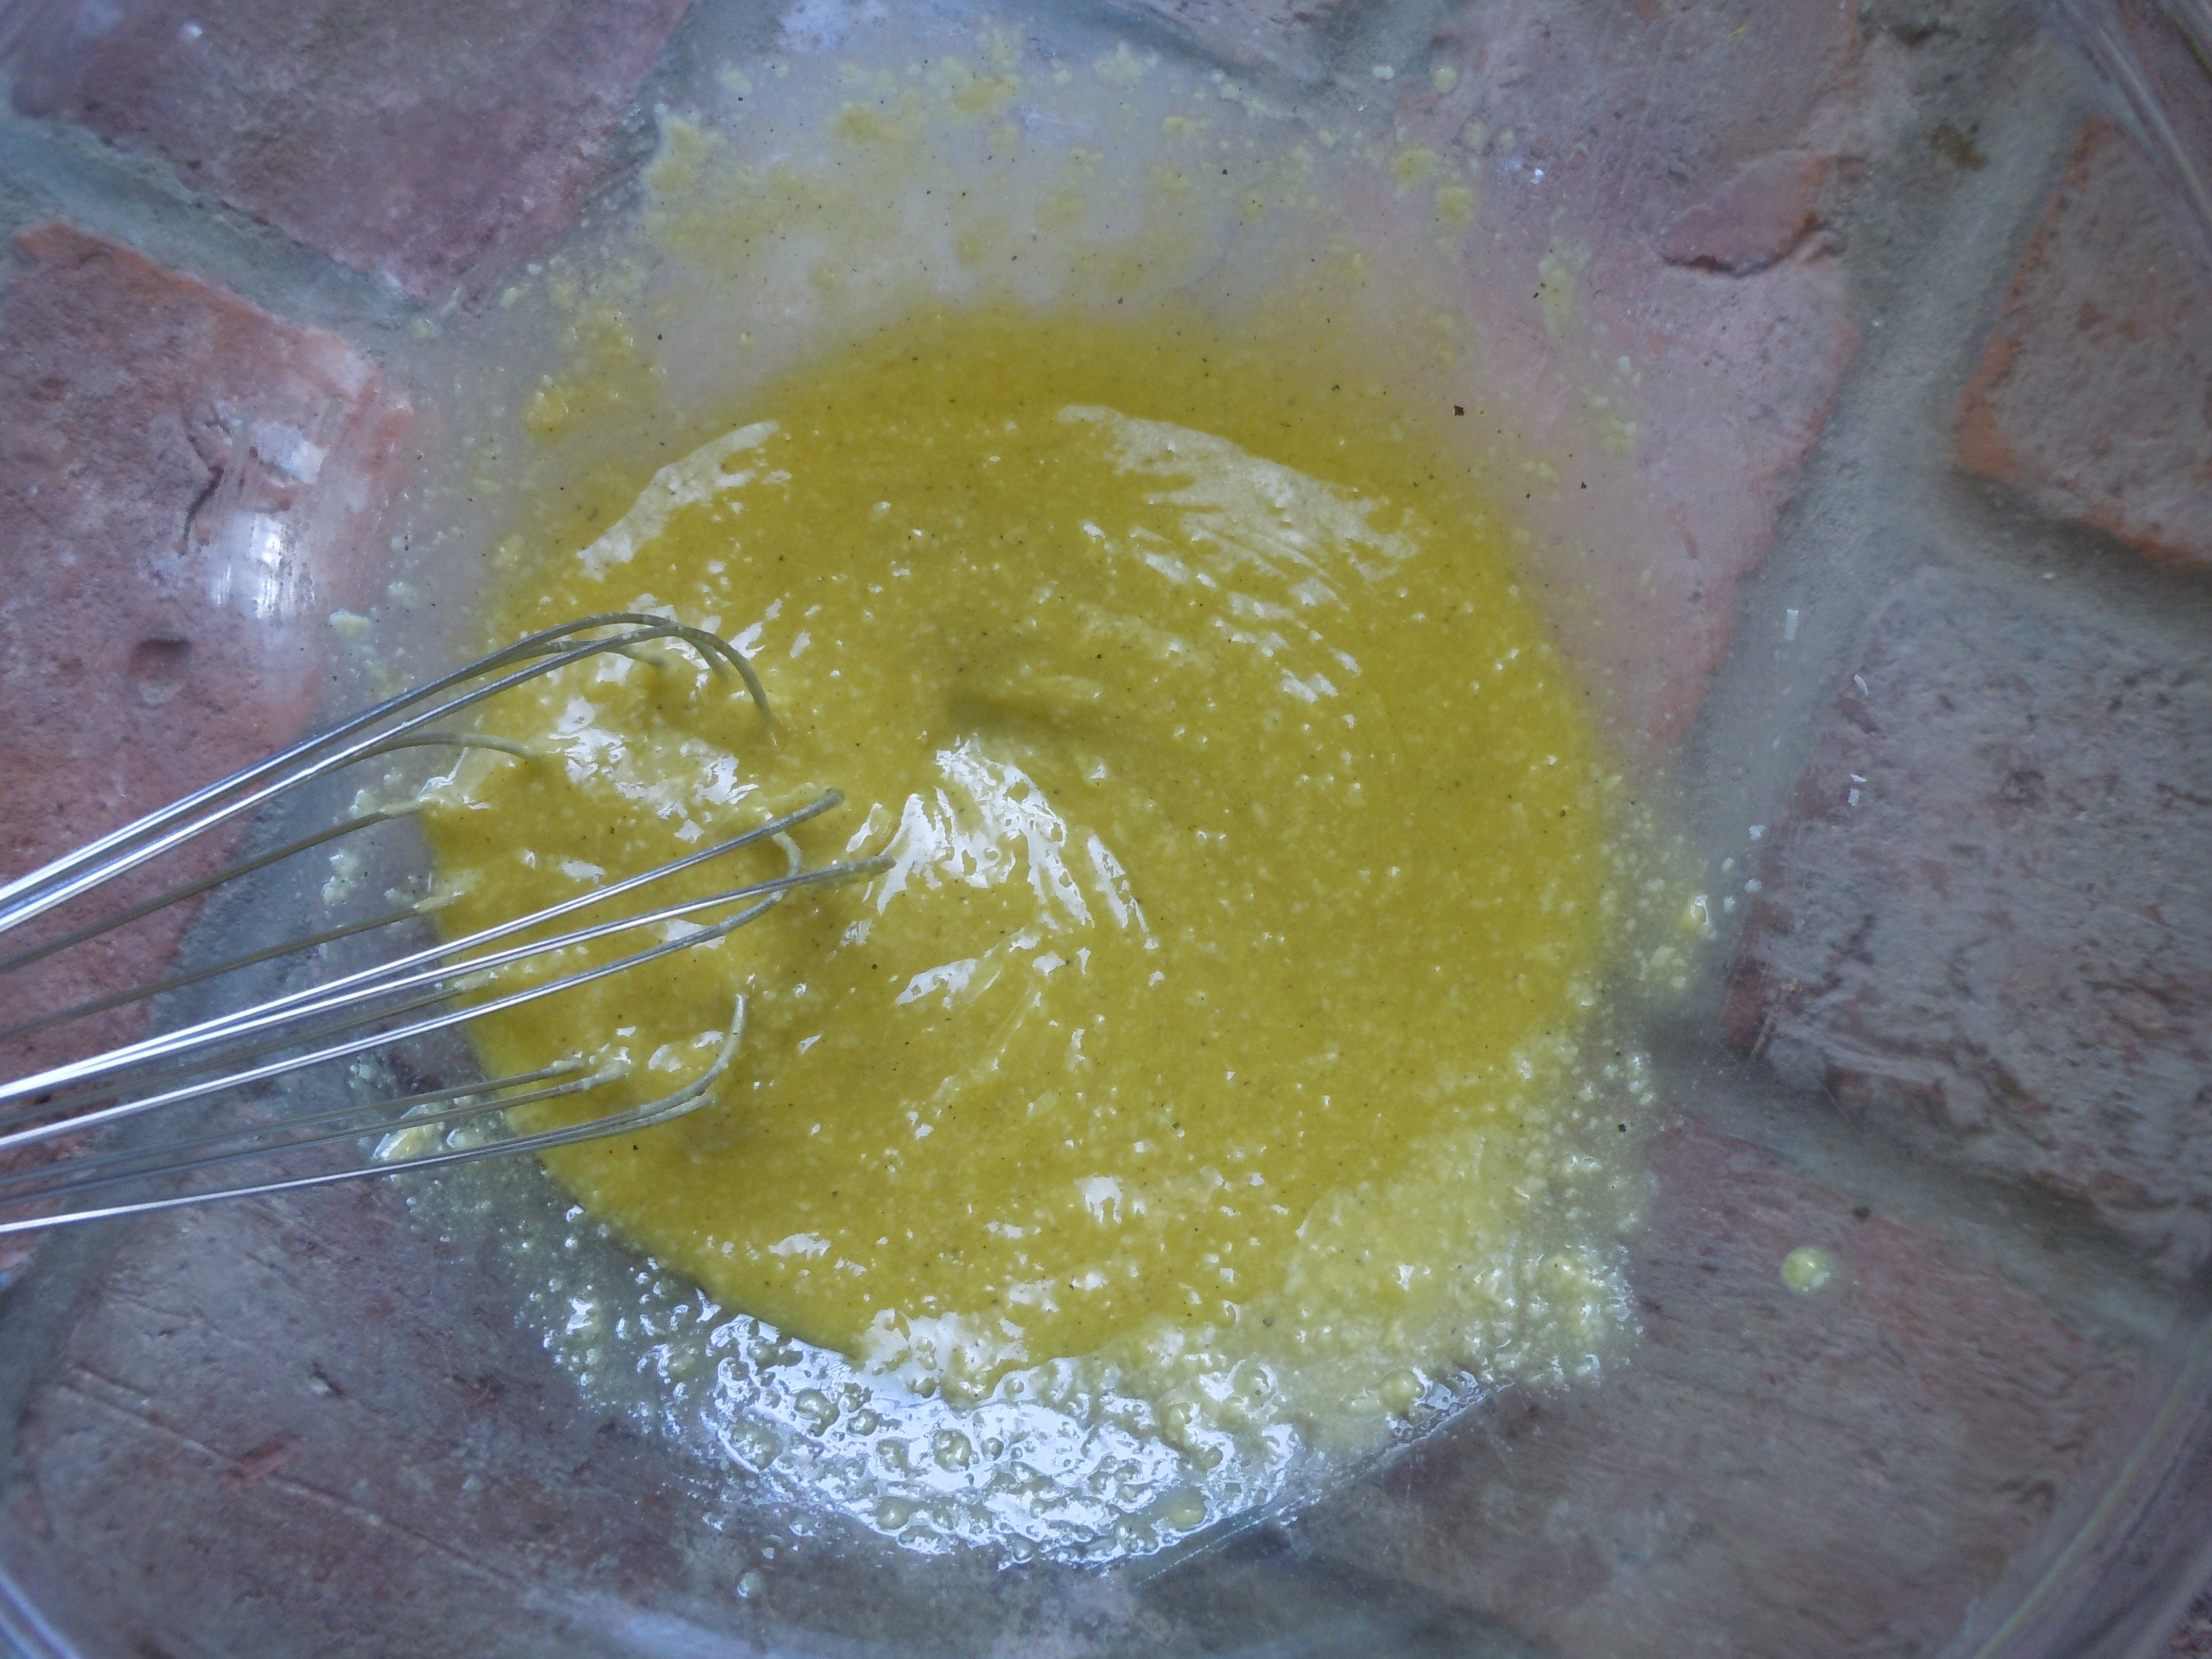
- Bring to a simmer, lower heat and keep simmering for 1/2 hour.
- Remove from the stove and cool.
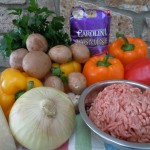


Ingredients – For Stuffed Peppers – Serves 6 people:
- 1 lb. ground turkey
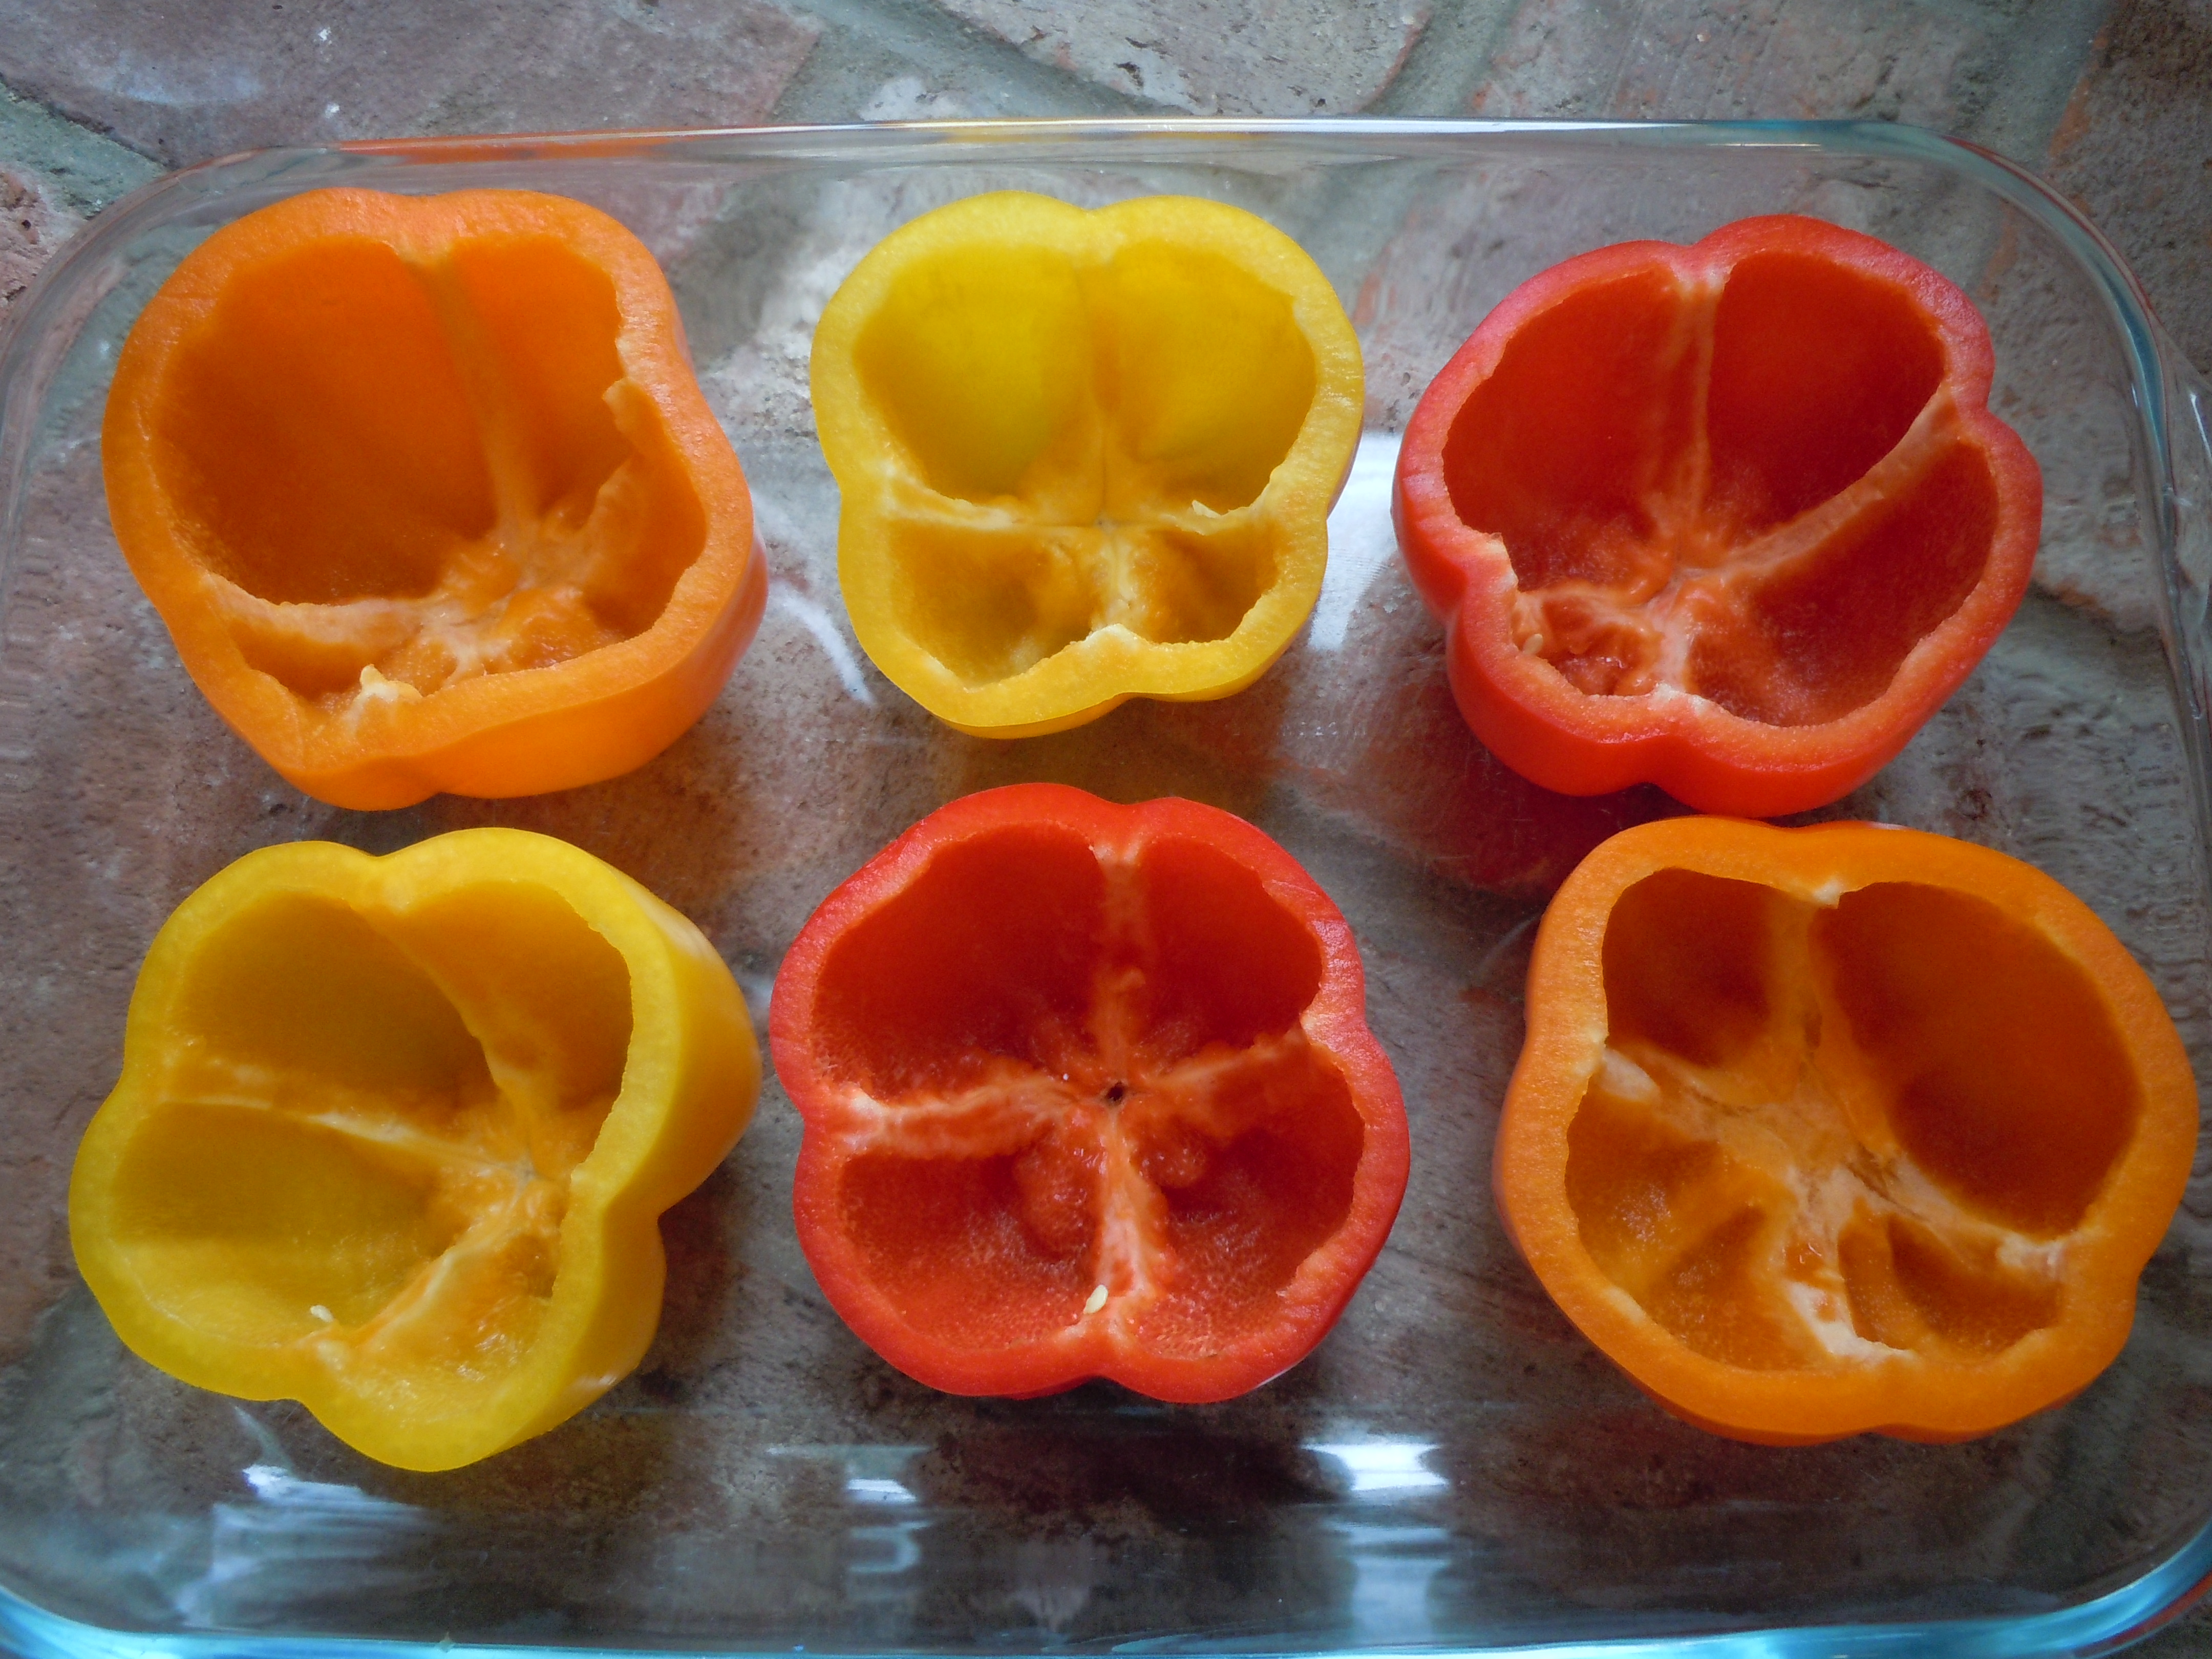
- 6 large bell peppers, 2 red, 2 orange, 2 yellow
- 2 1/4 cups porcini red sauce (1 c. in the stuffing, 2 1/4 c. in the bottom of baking dish)
- 1 cup cooked Basmati or Jasmine long grain rice
- 1 cup grated Reggiano Parmesan
- 1/3 cup coarsely chopped flat leaf parsley
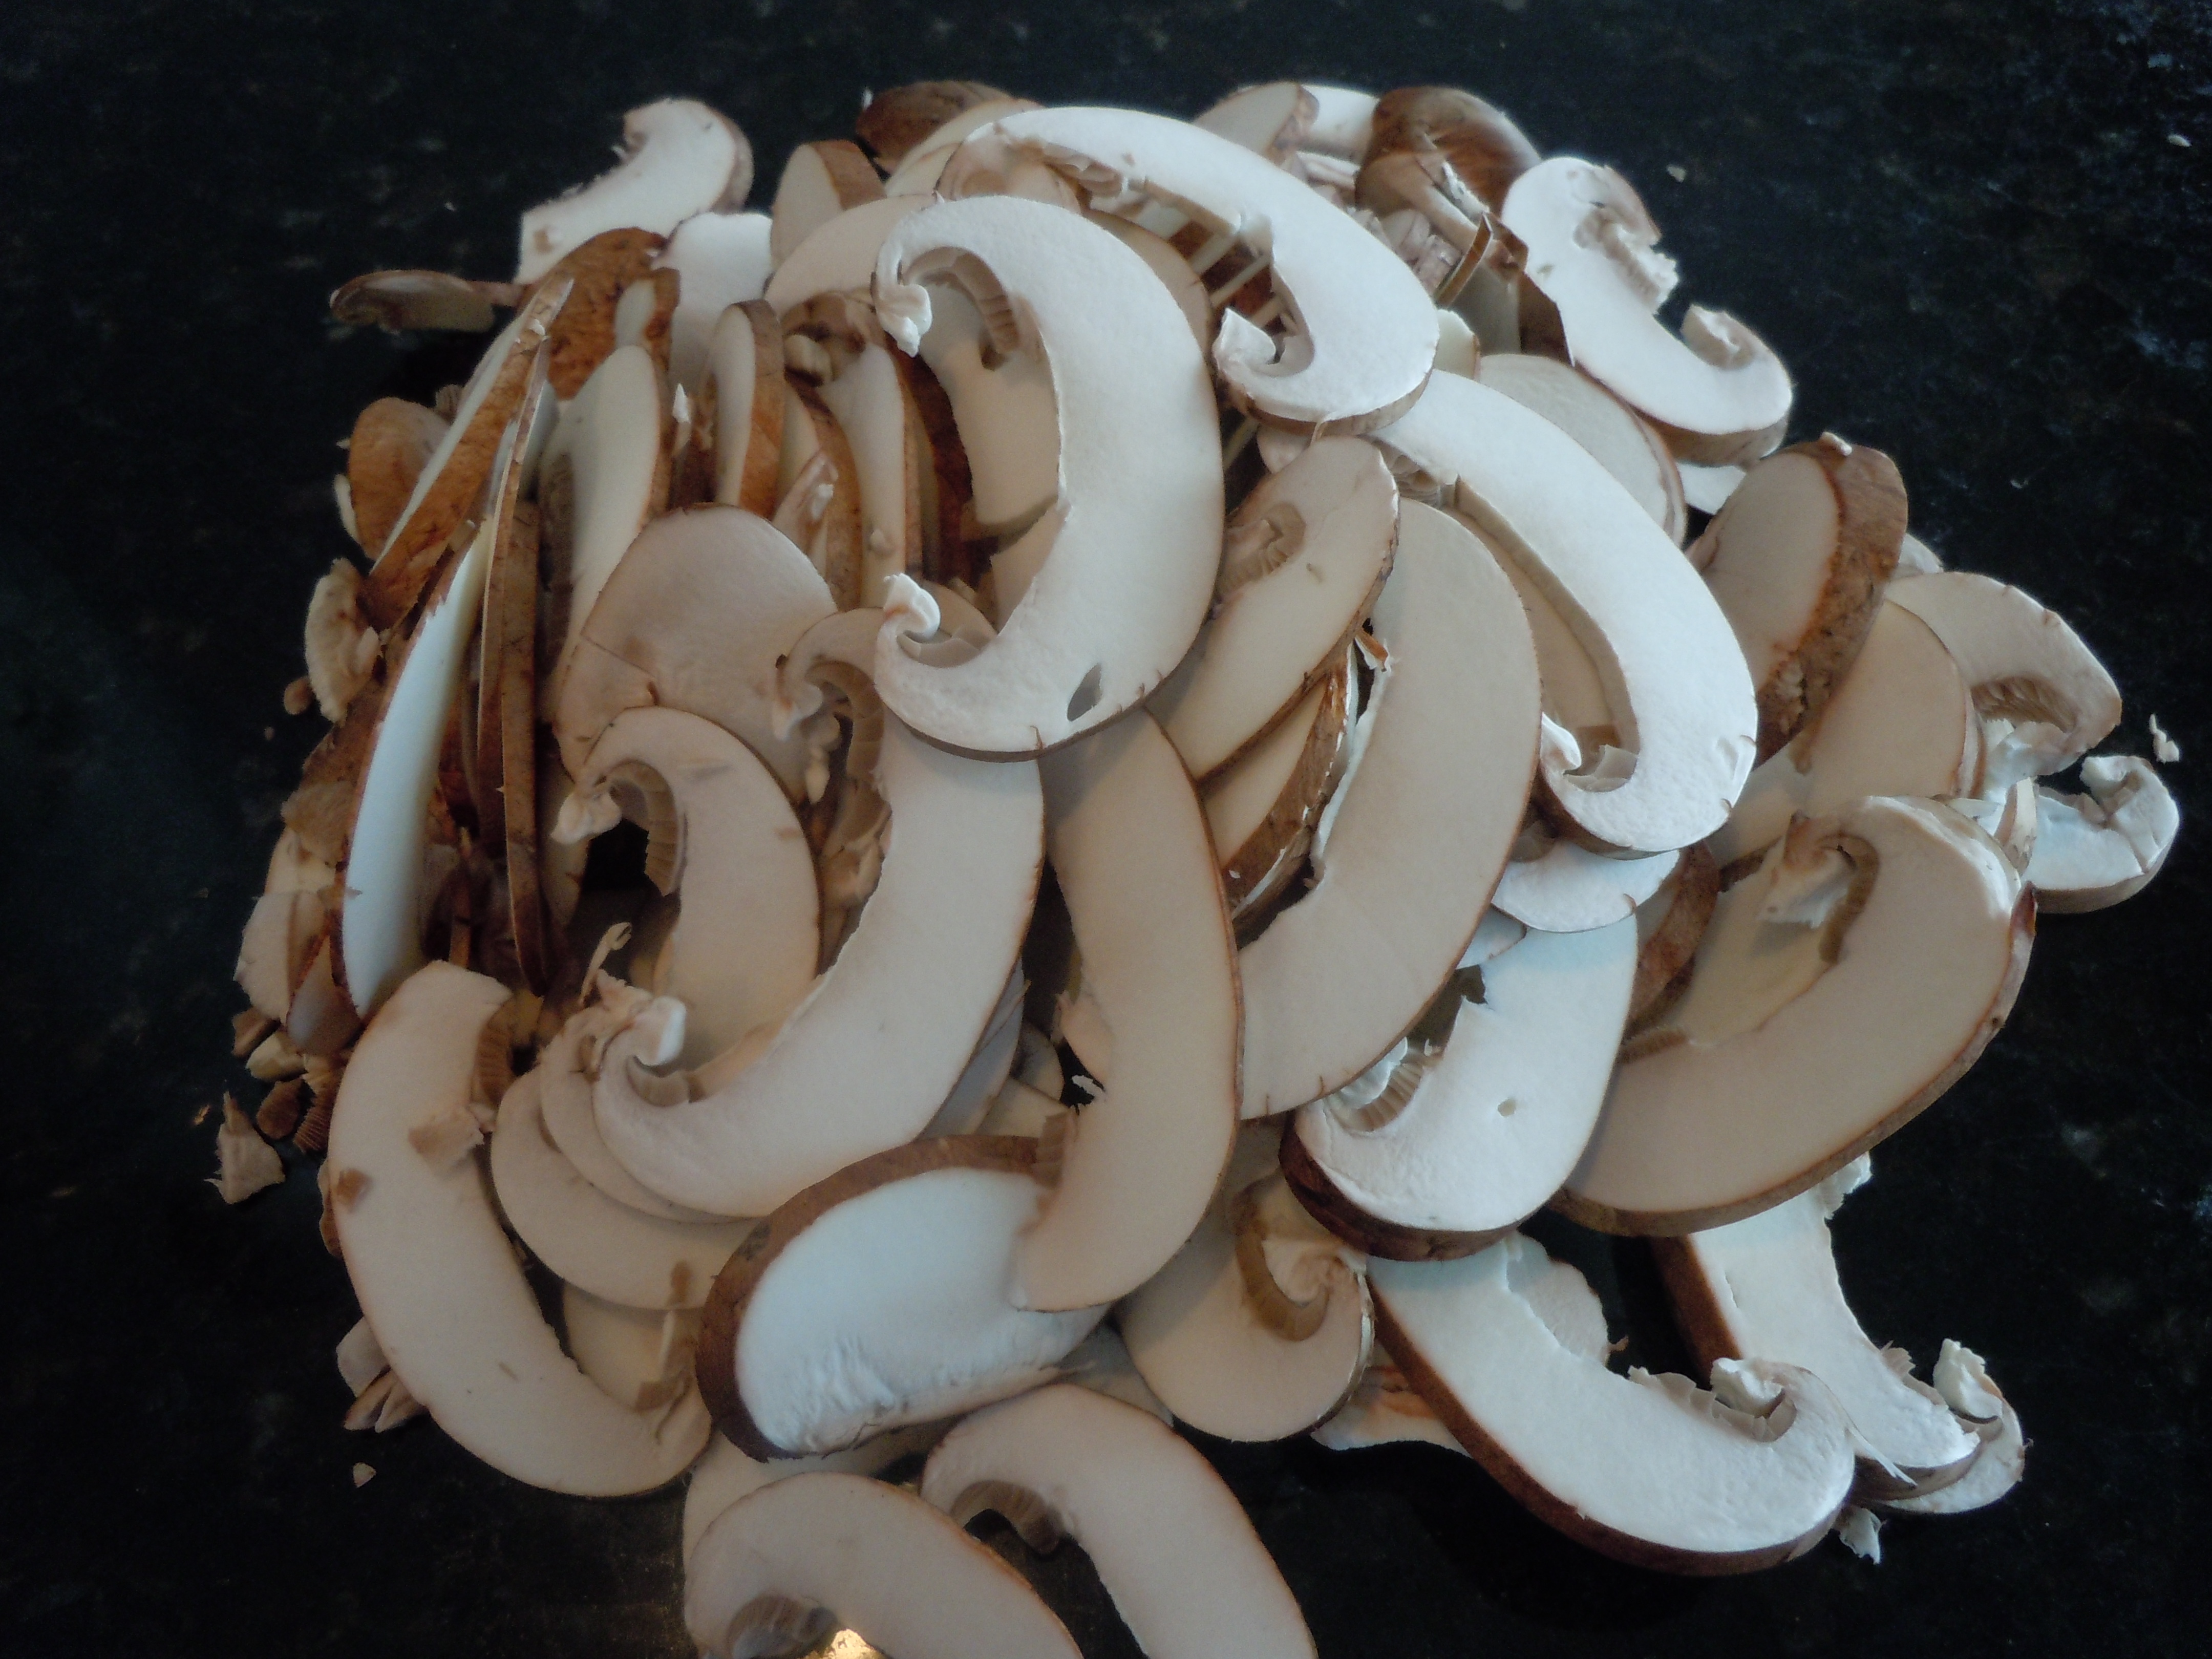
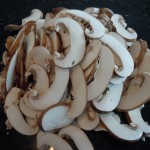
- 8oz. pkg of baby bella brown mushrooms (finely sliced)
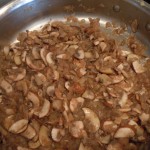
- 1 large spanish onion FINELY chopped
- 1 1/4 cup pinot noir (1/4 c. for mushroom/onion mixture, 1 c. for baking dish)
- 1/2 cup boiling water
- 1/4 Tsp salt
- 1/4 Tsp pepper
- 2 Tbsp live oil (for sautéing)
Directions:
- Pre-heat oven to 350º.
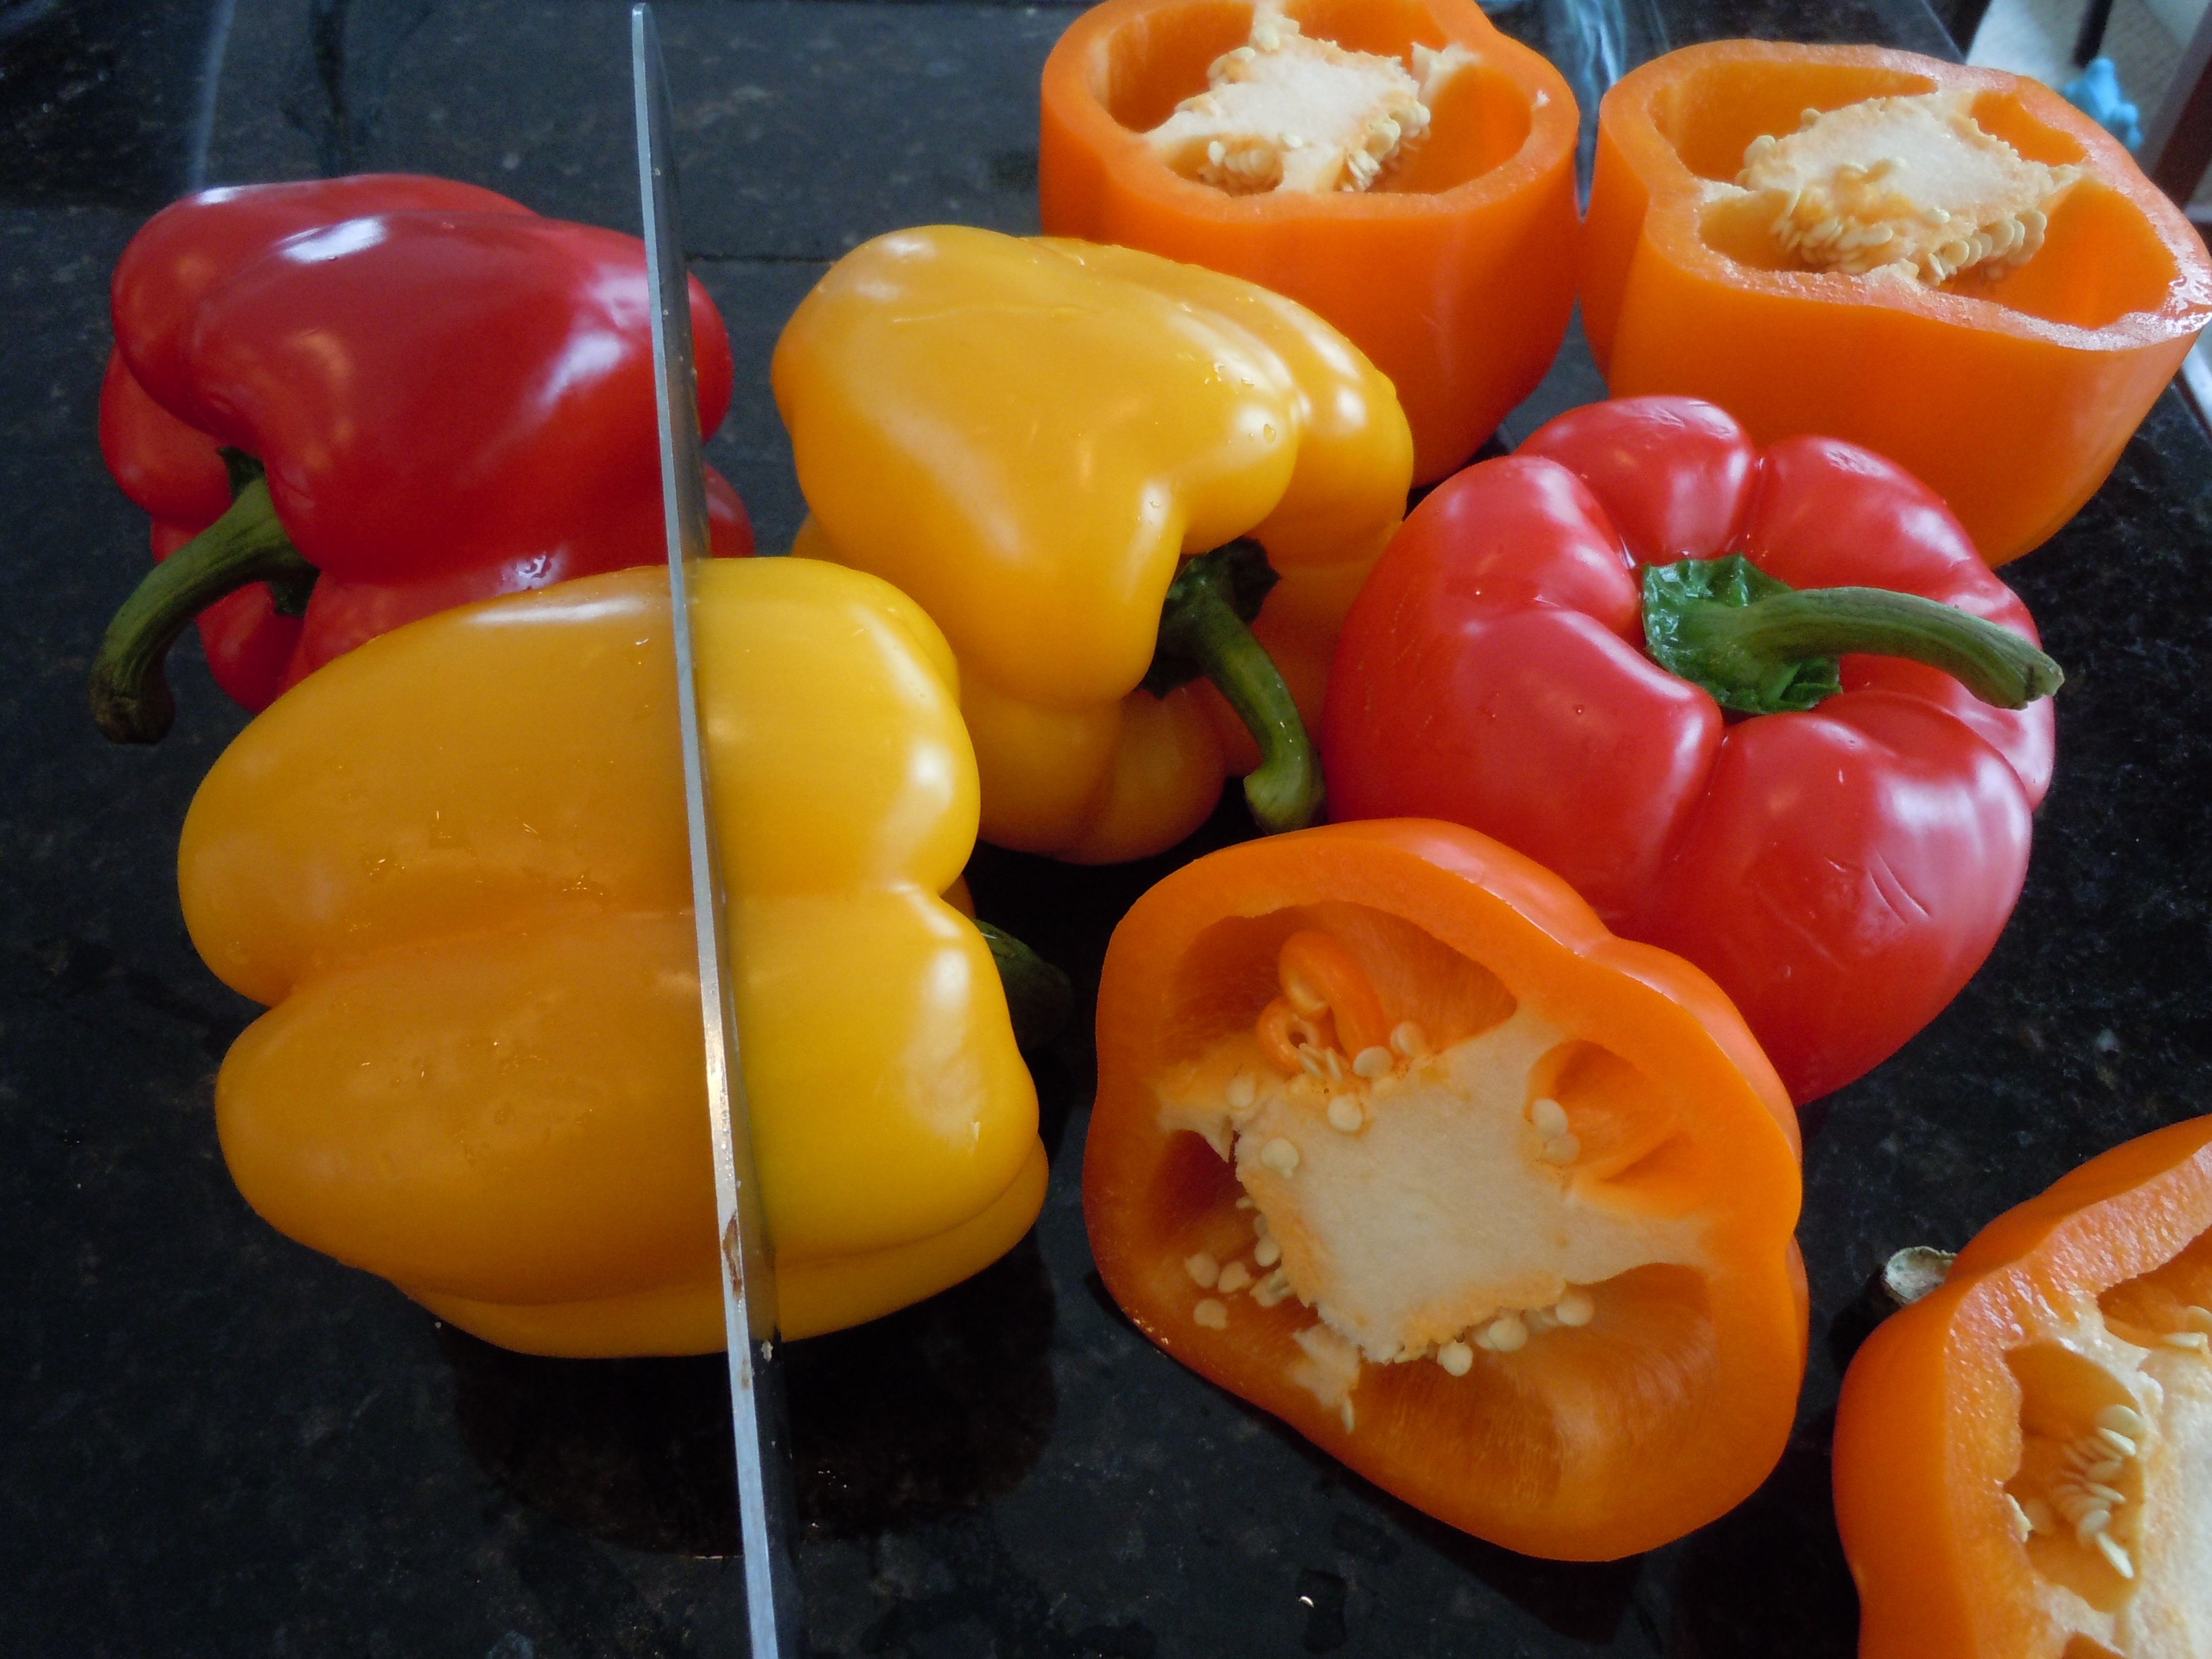
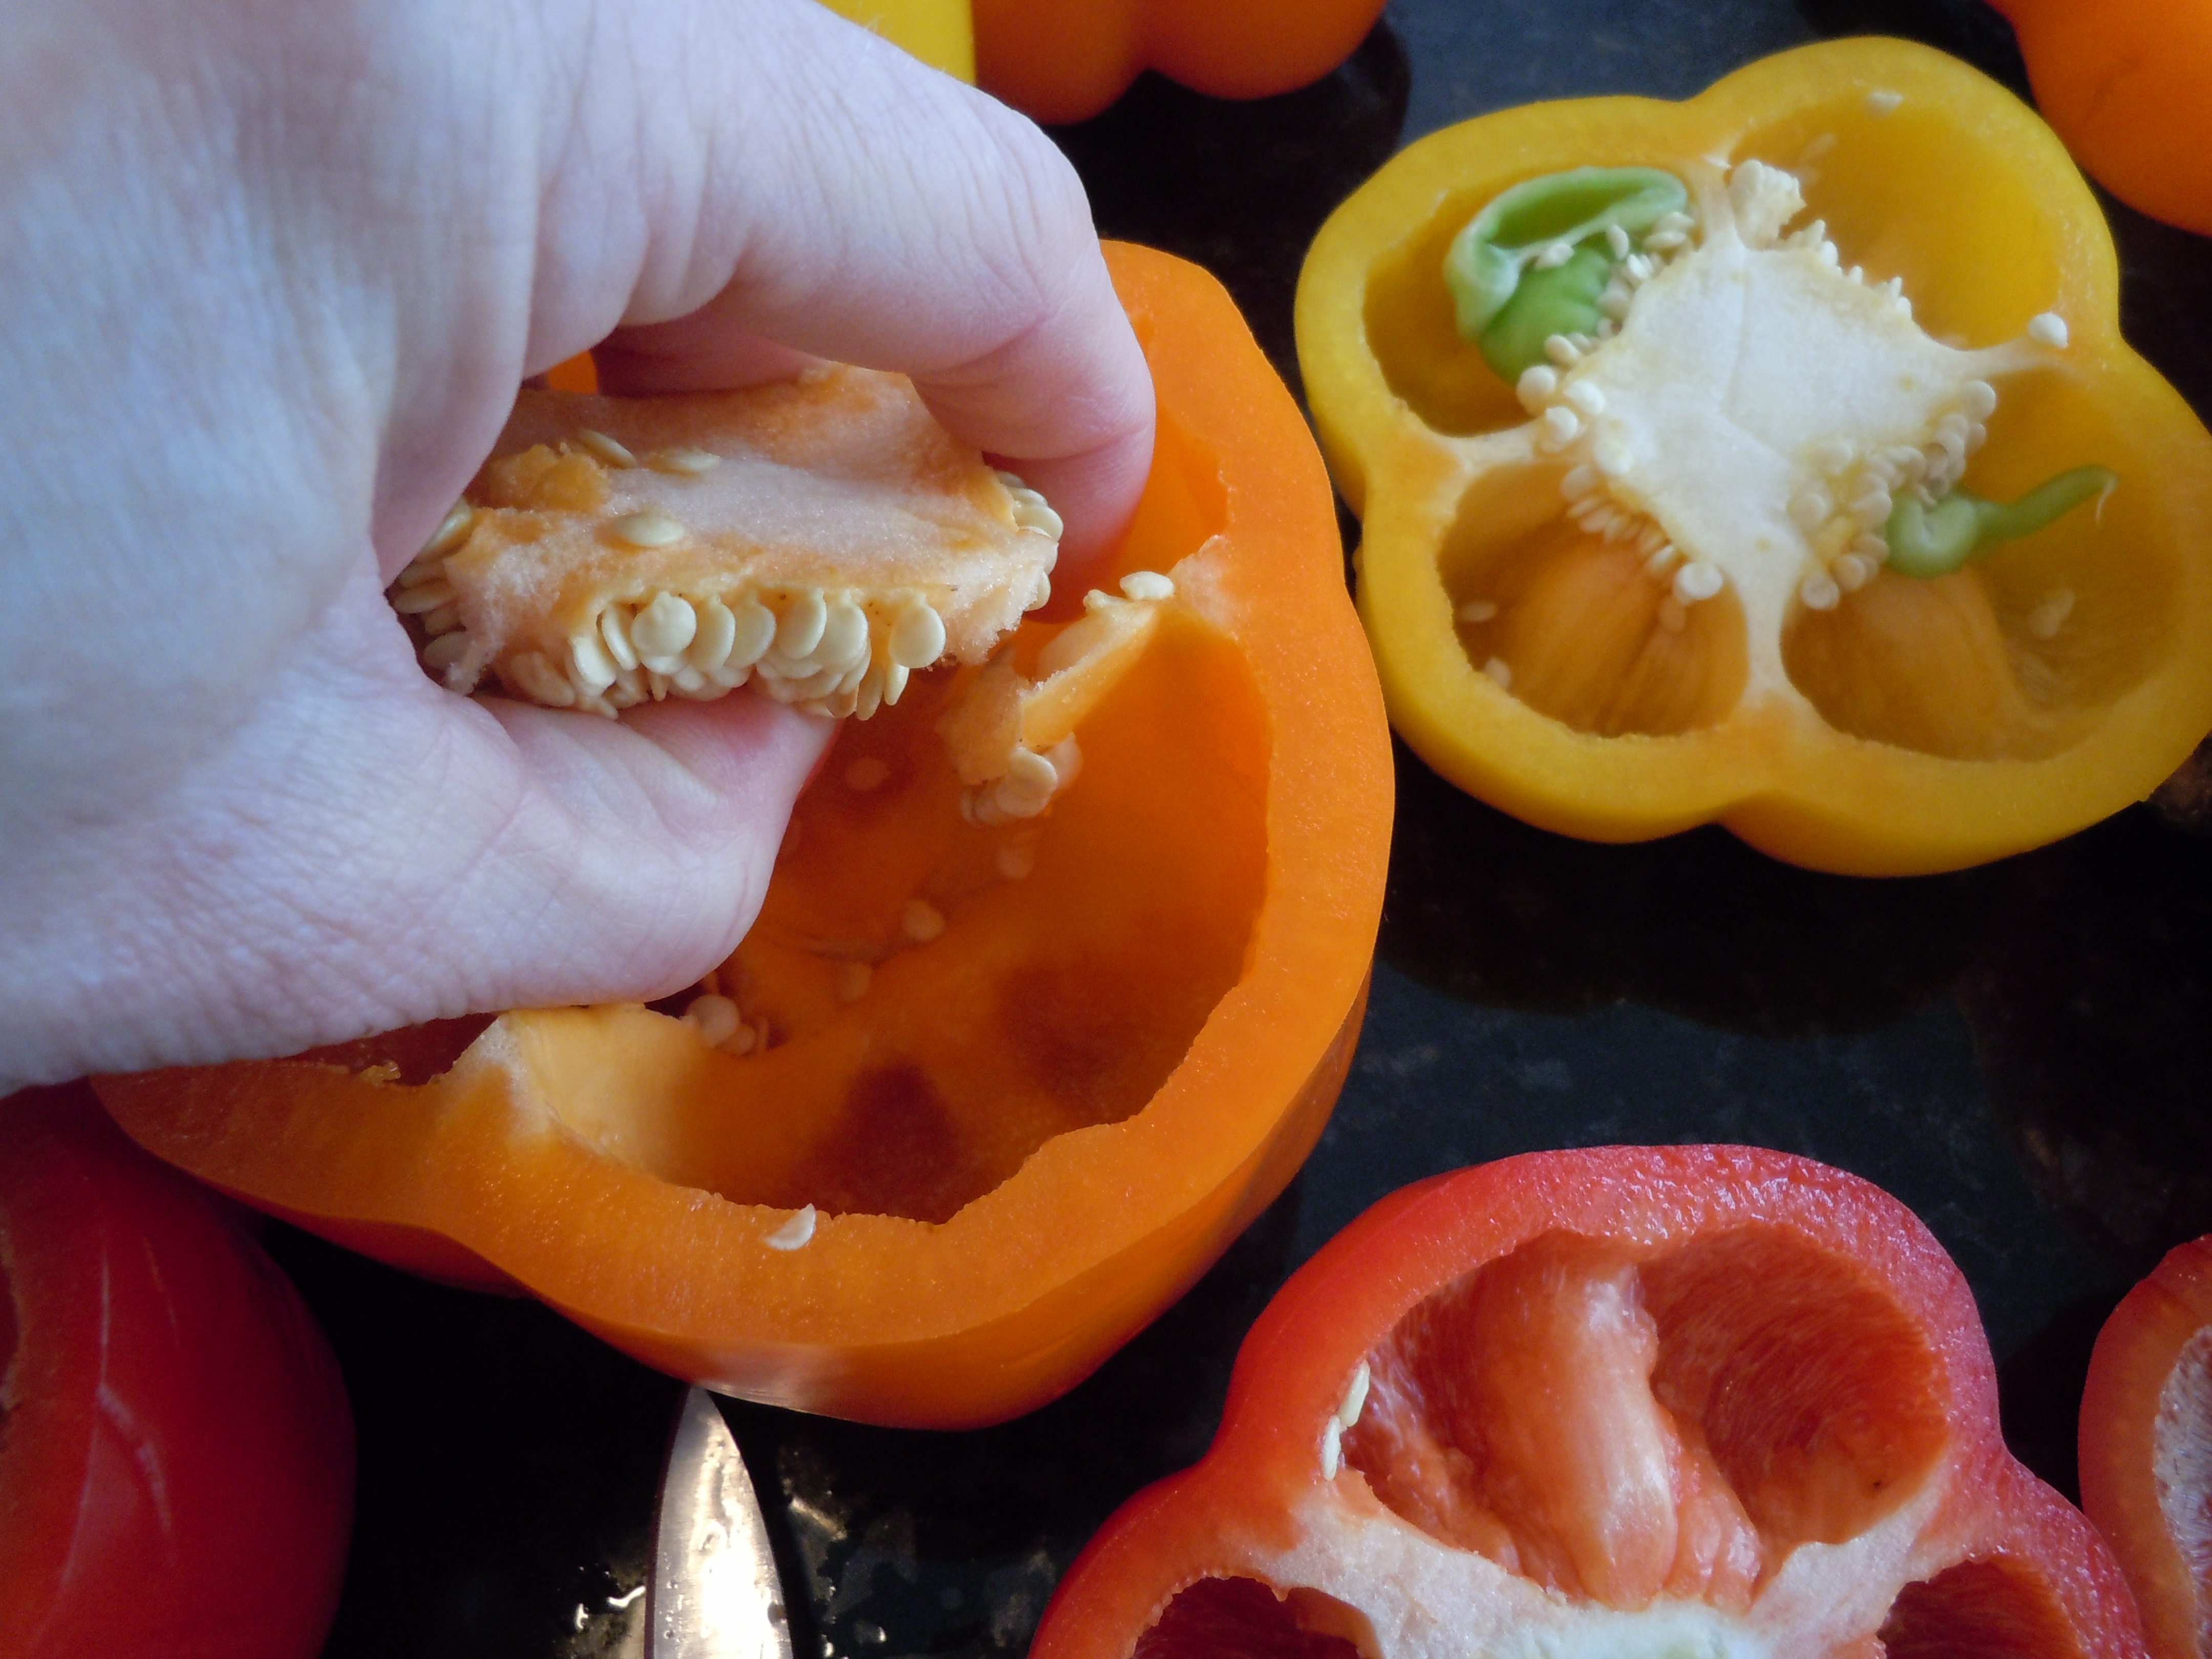
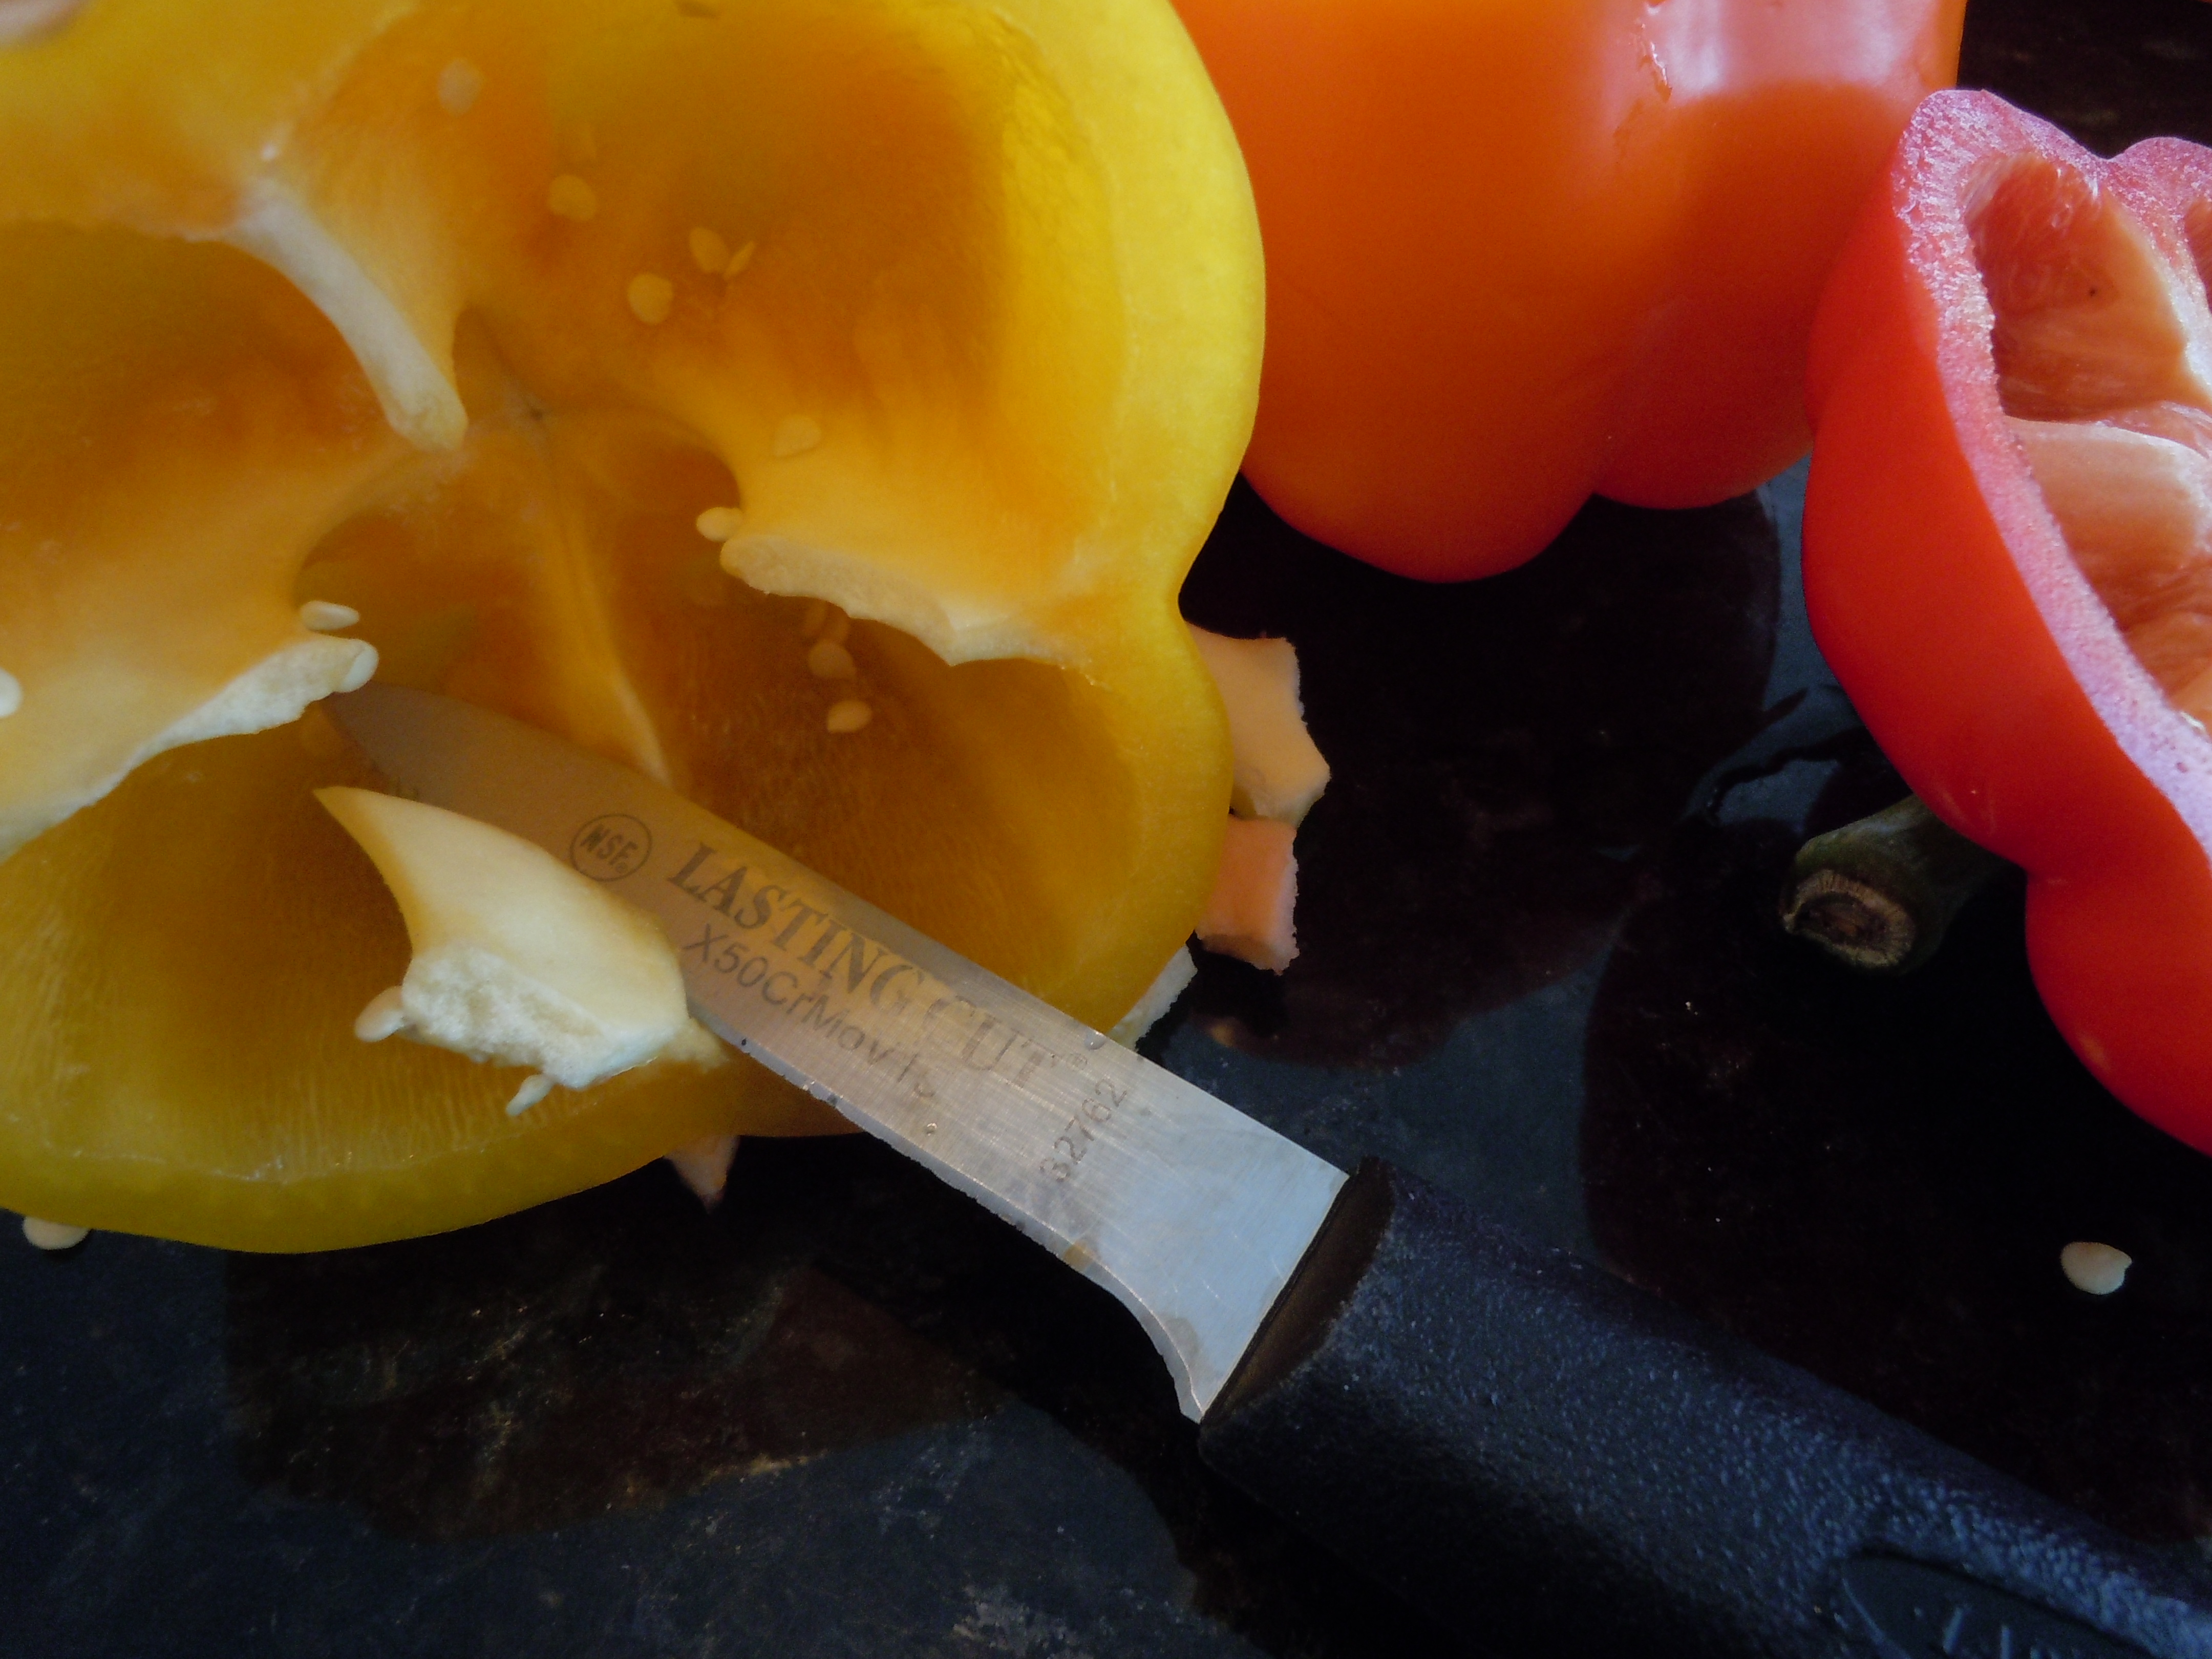
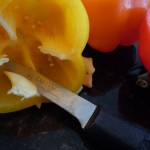
- Cut 1″ off of the top of the peppers, pull out the centers with your hands and clean out the inside white part of the pepper.
- Place into baking dish.
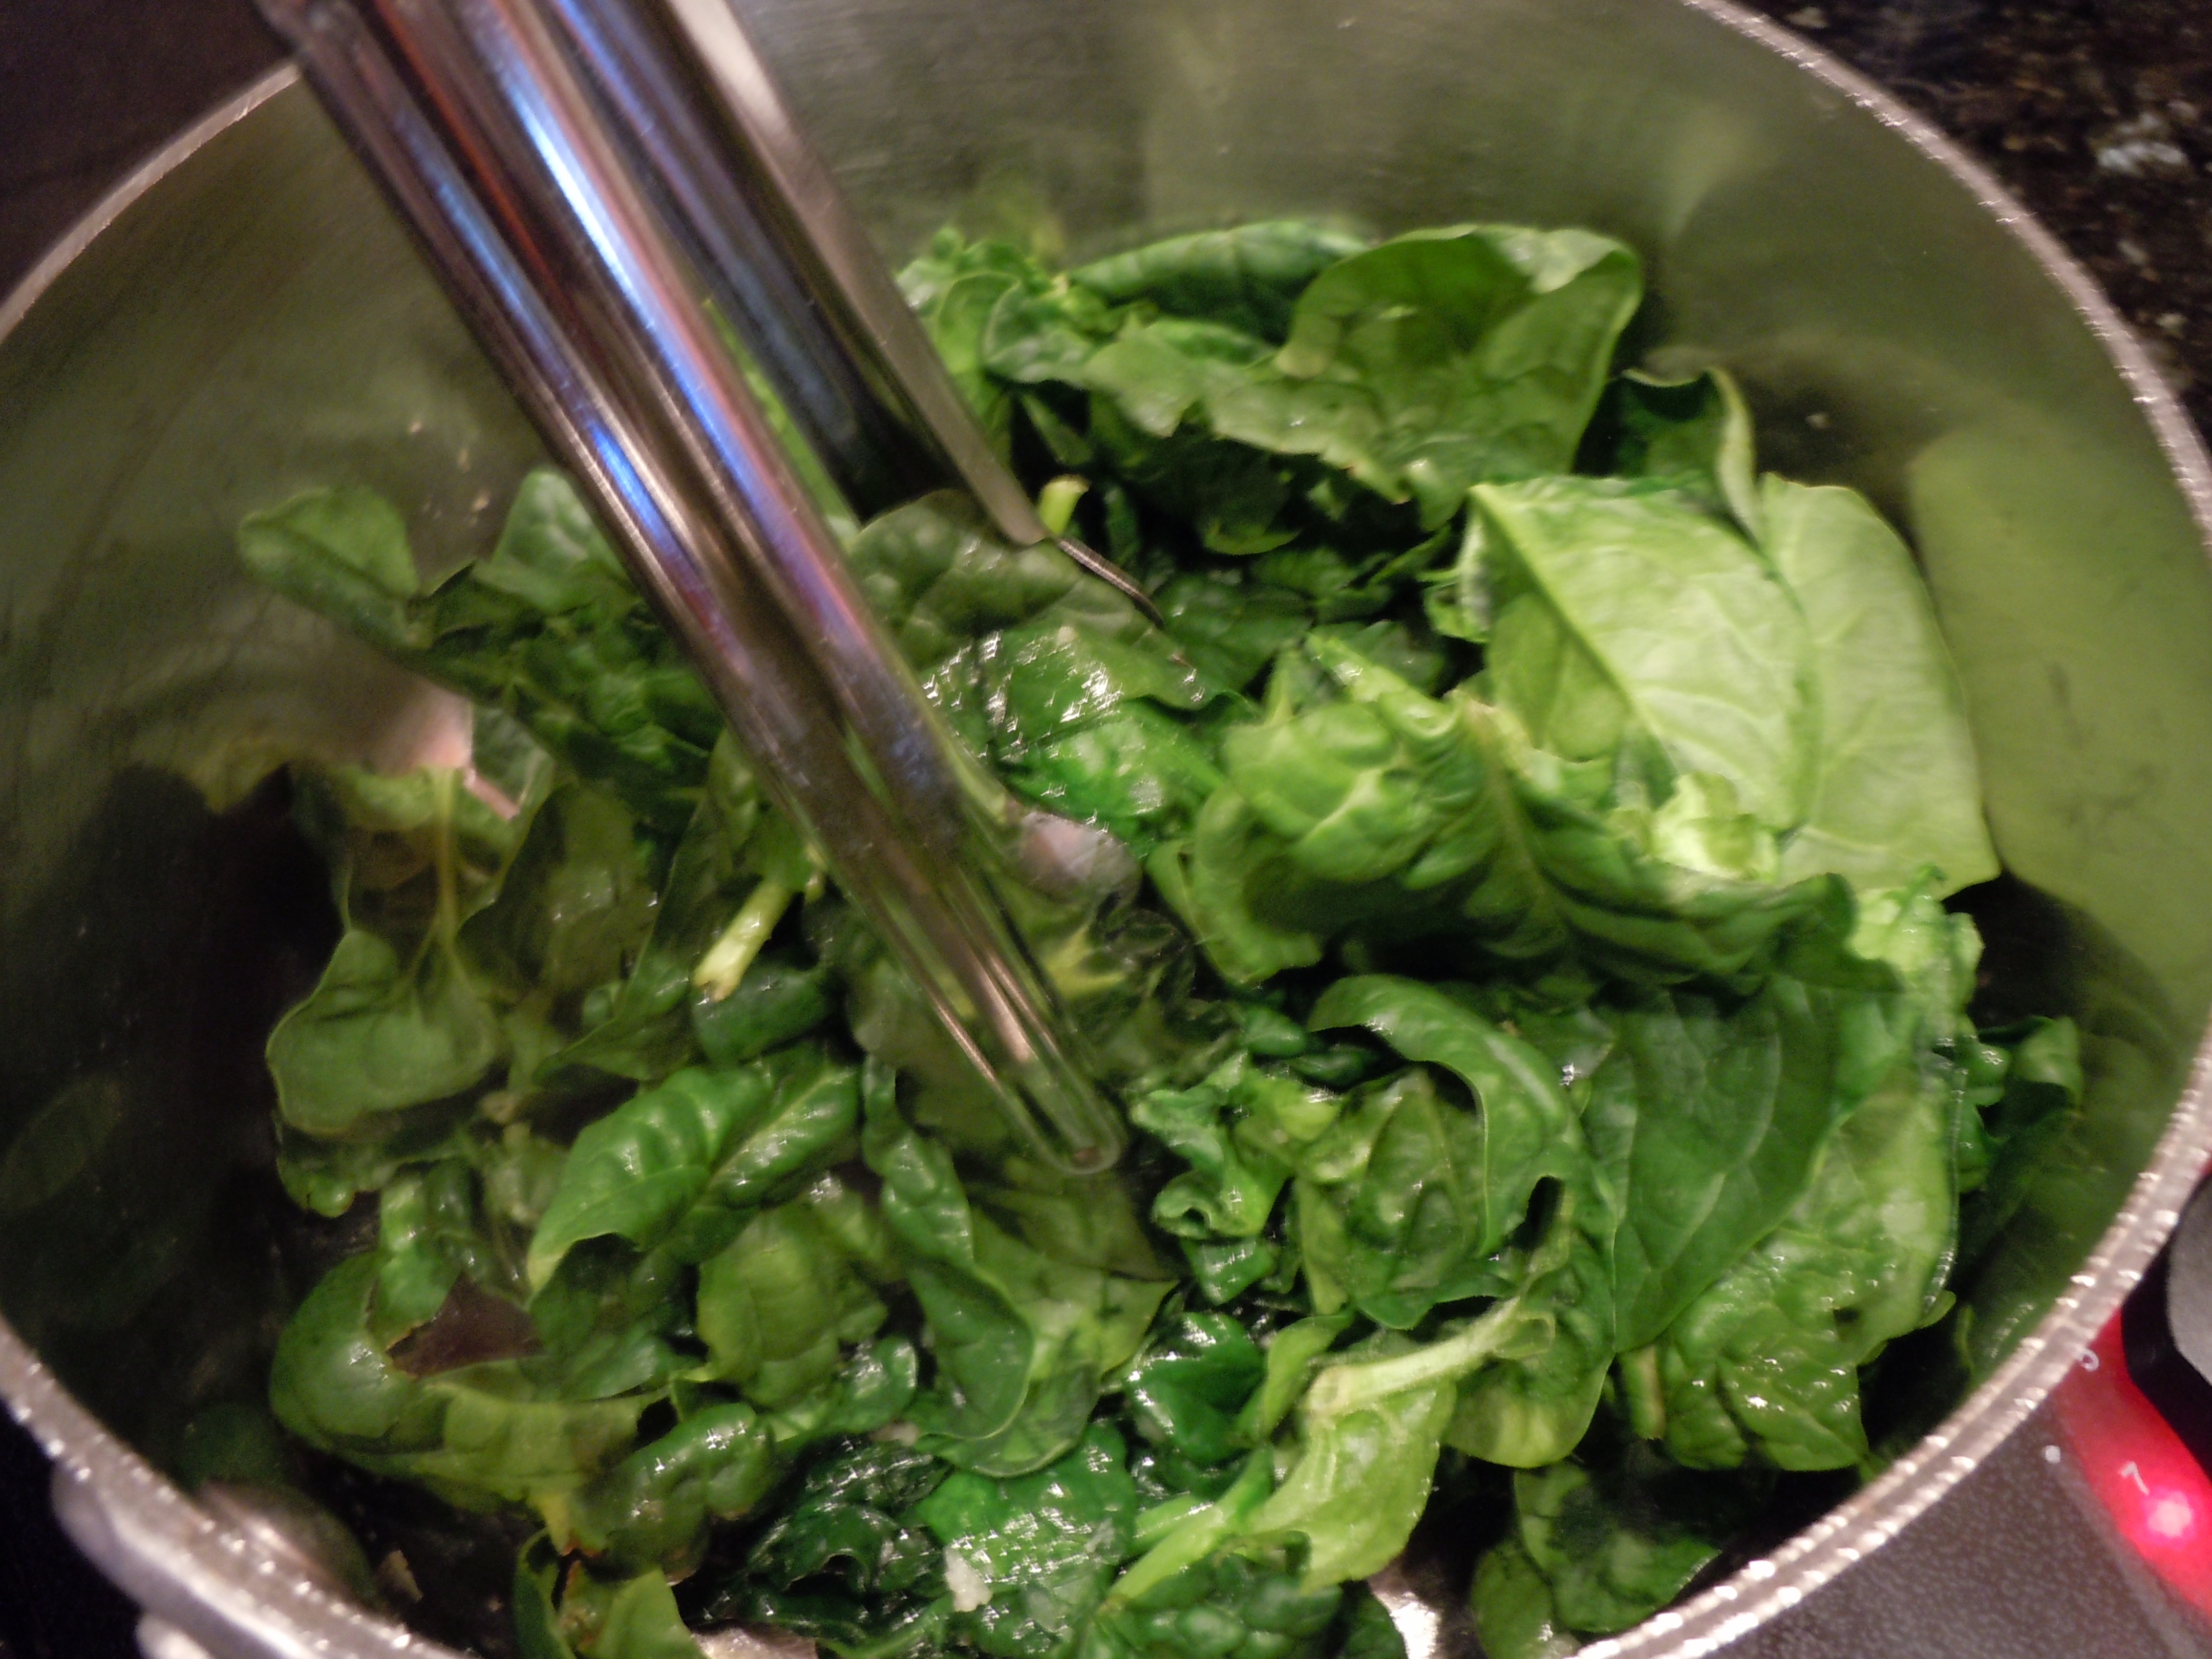
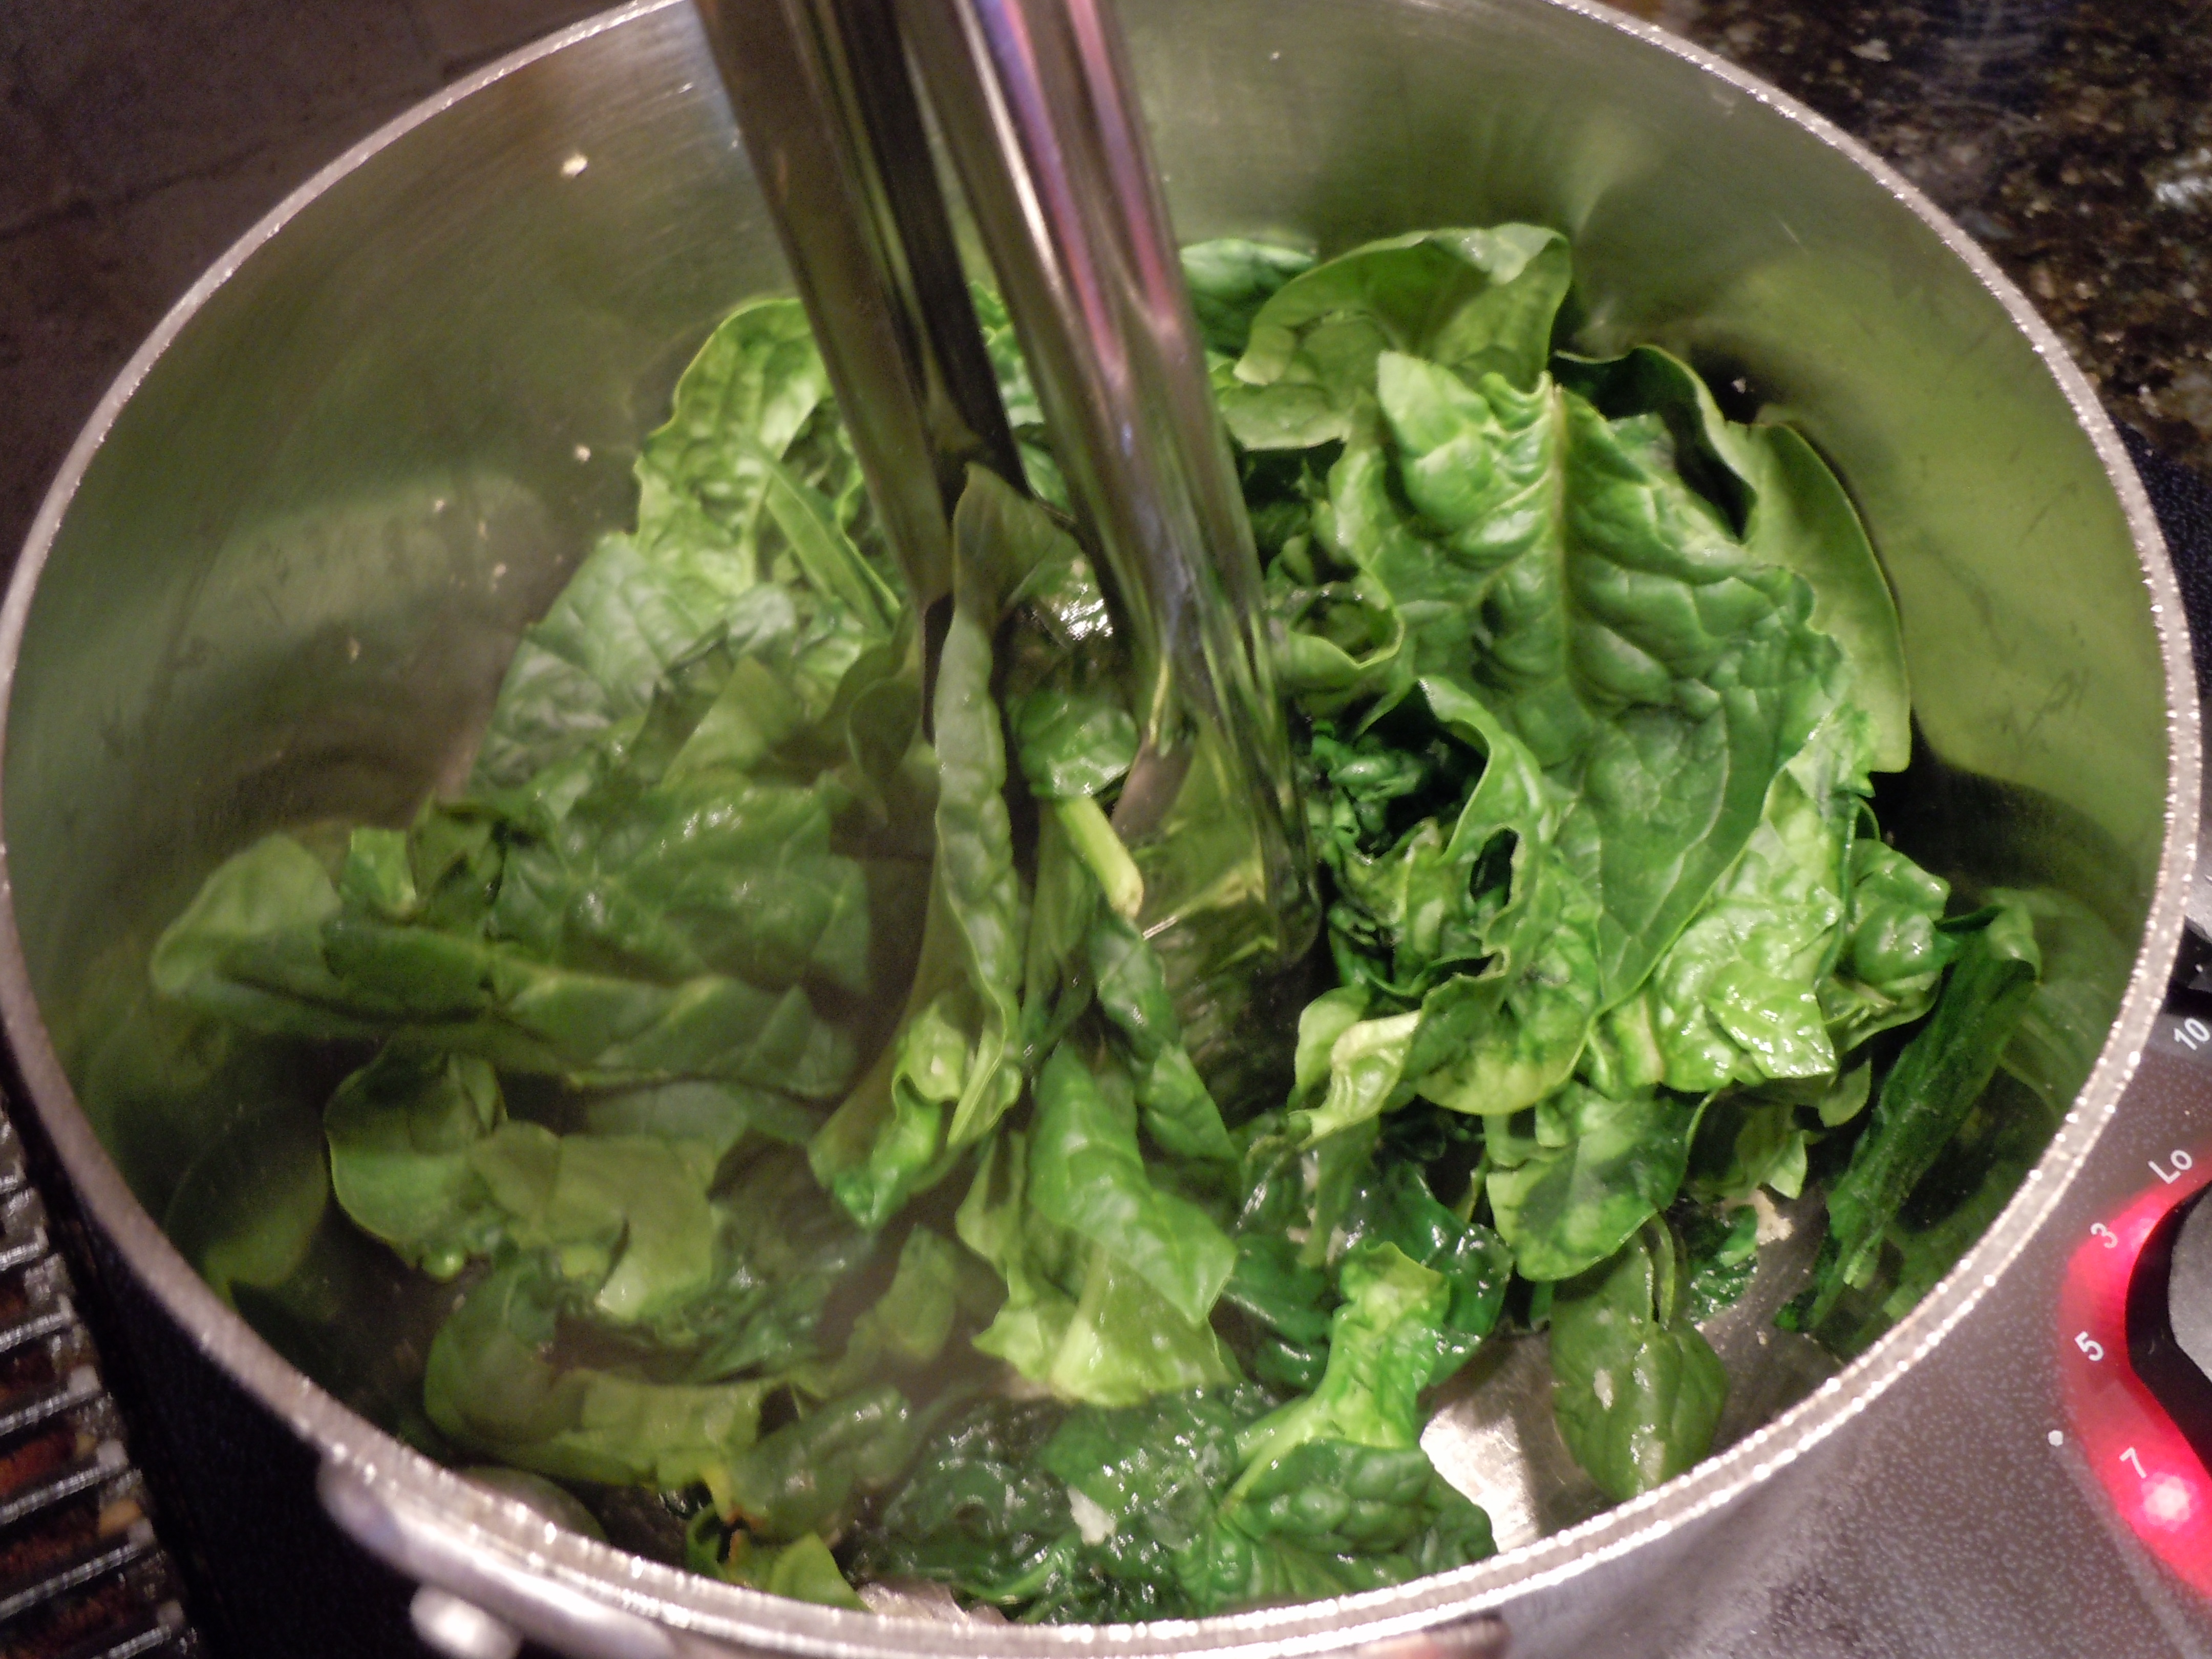
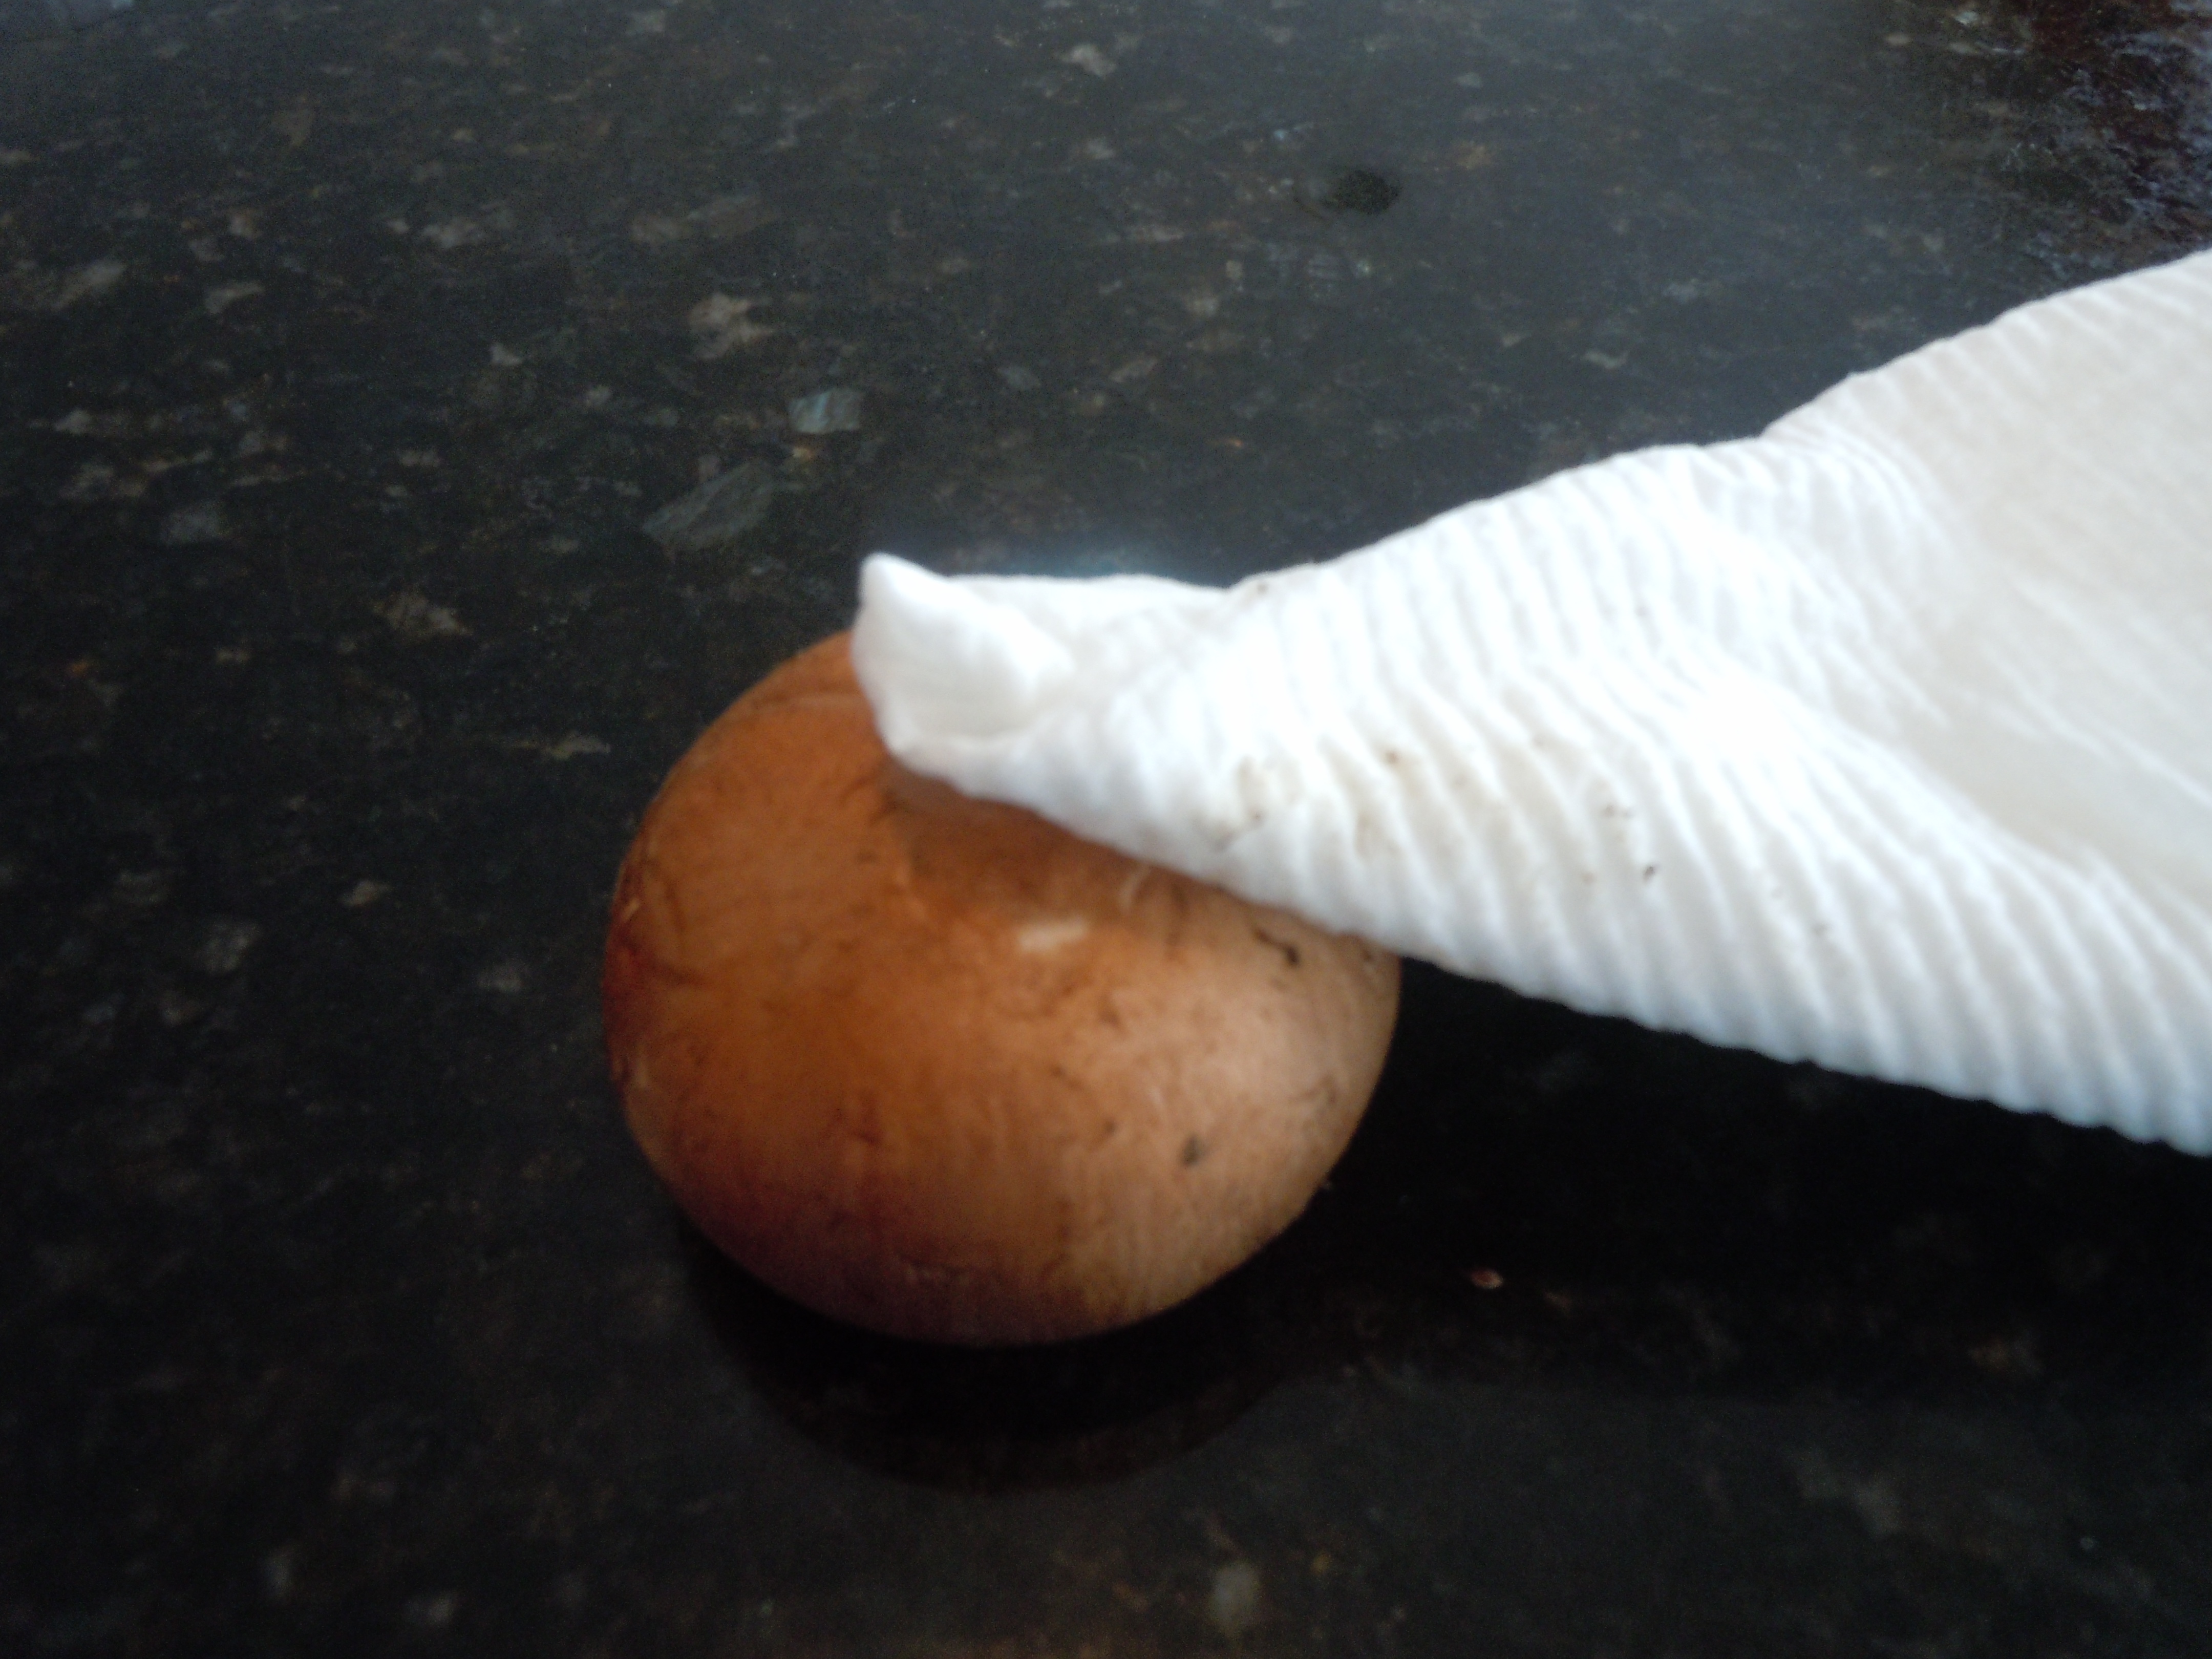
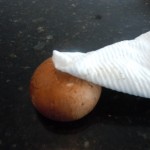
- Clean your mushrooms with either a damp paper towel or a mushroom brush … you should NEVER wash your mushrooms or submerse them in water because mushrooms are porous.
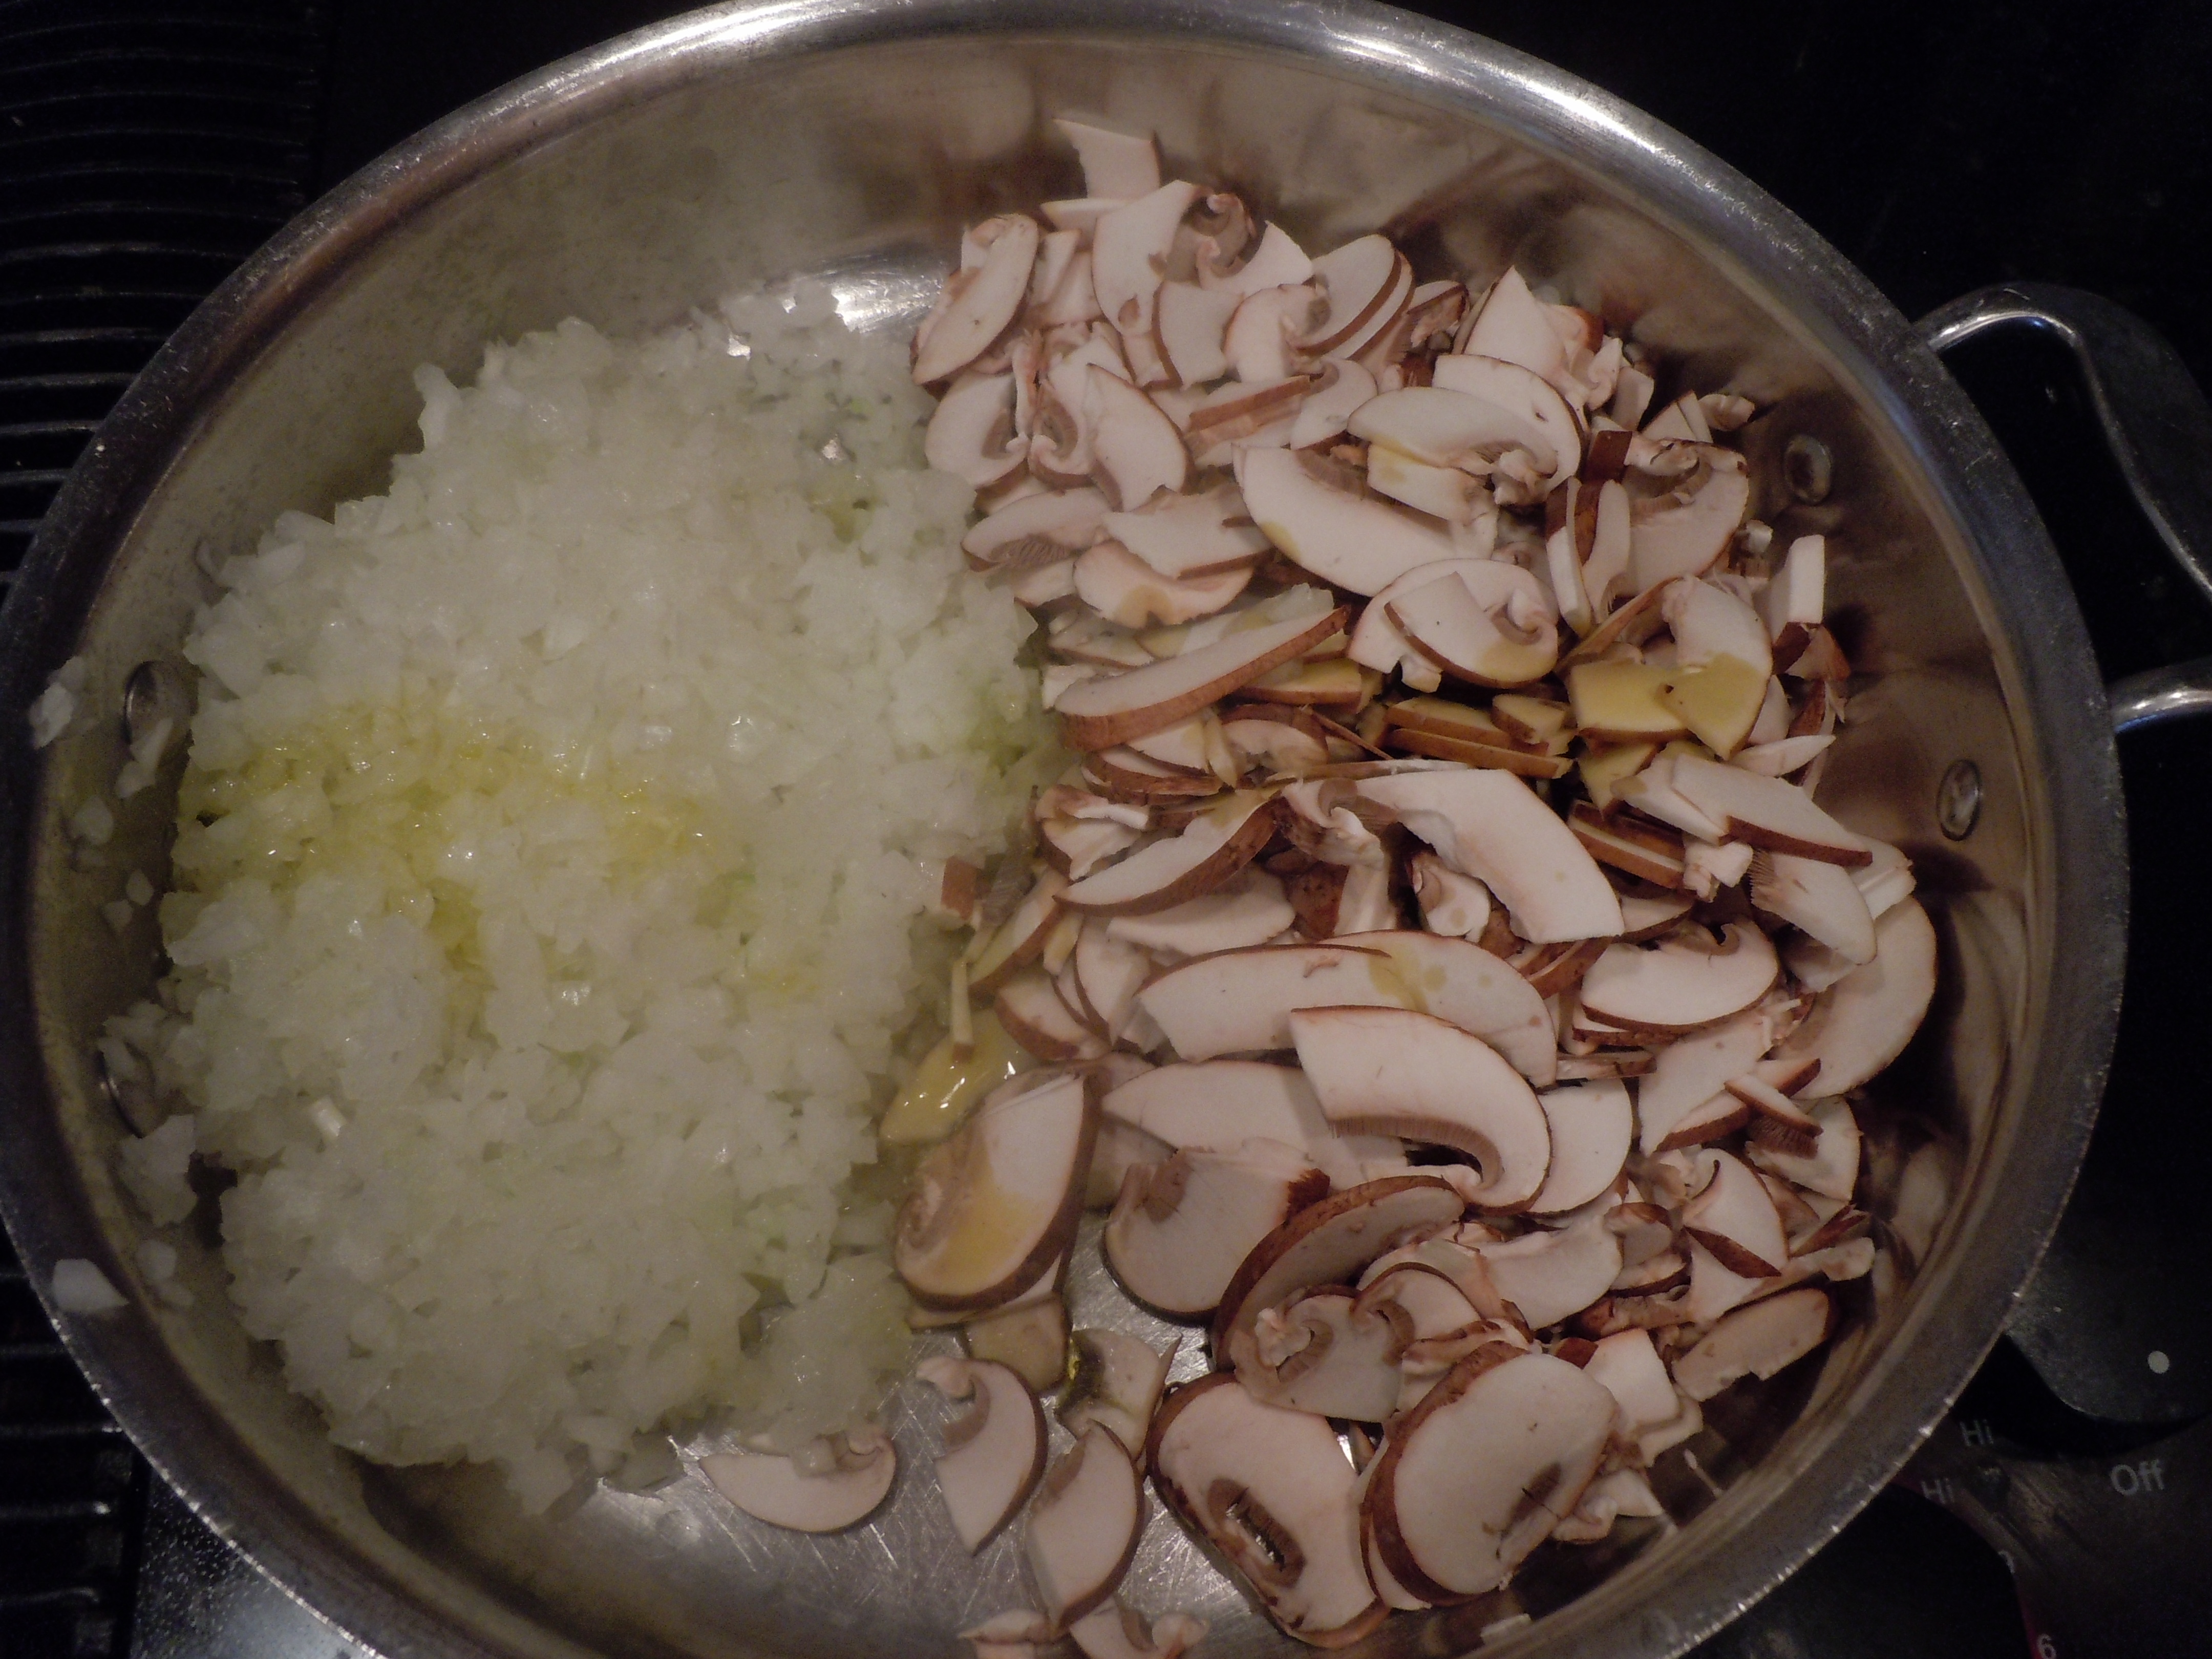
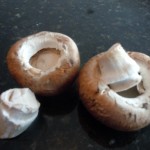
- Pop out the mushroom stem and finely slice them and then slice that pile in 1/2…don’t need to be neat about it.
- Finely chop a large spanish onion…I’m all for using one of those choppers for this!
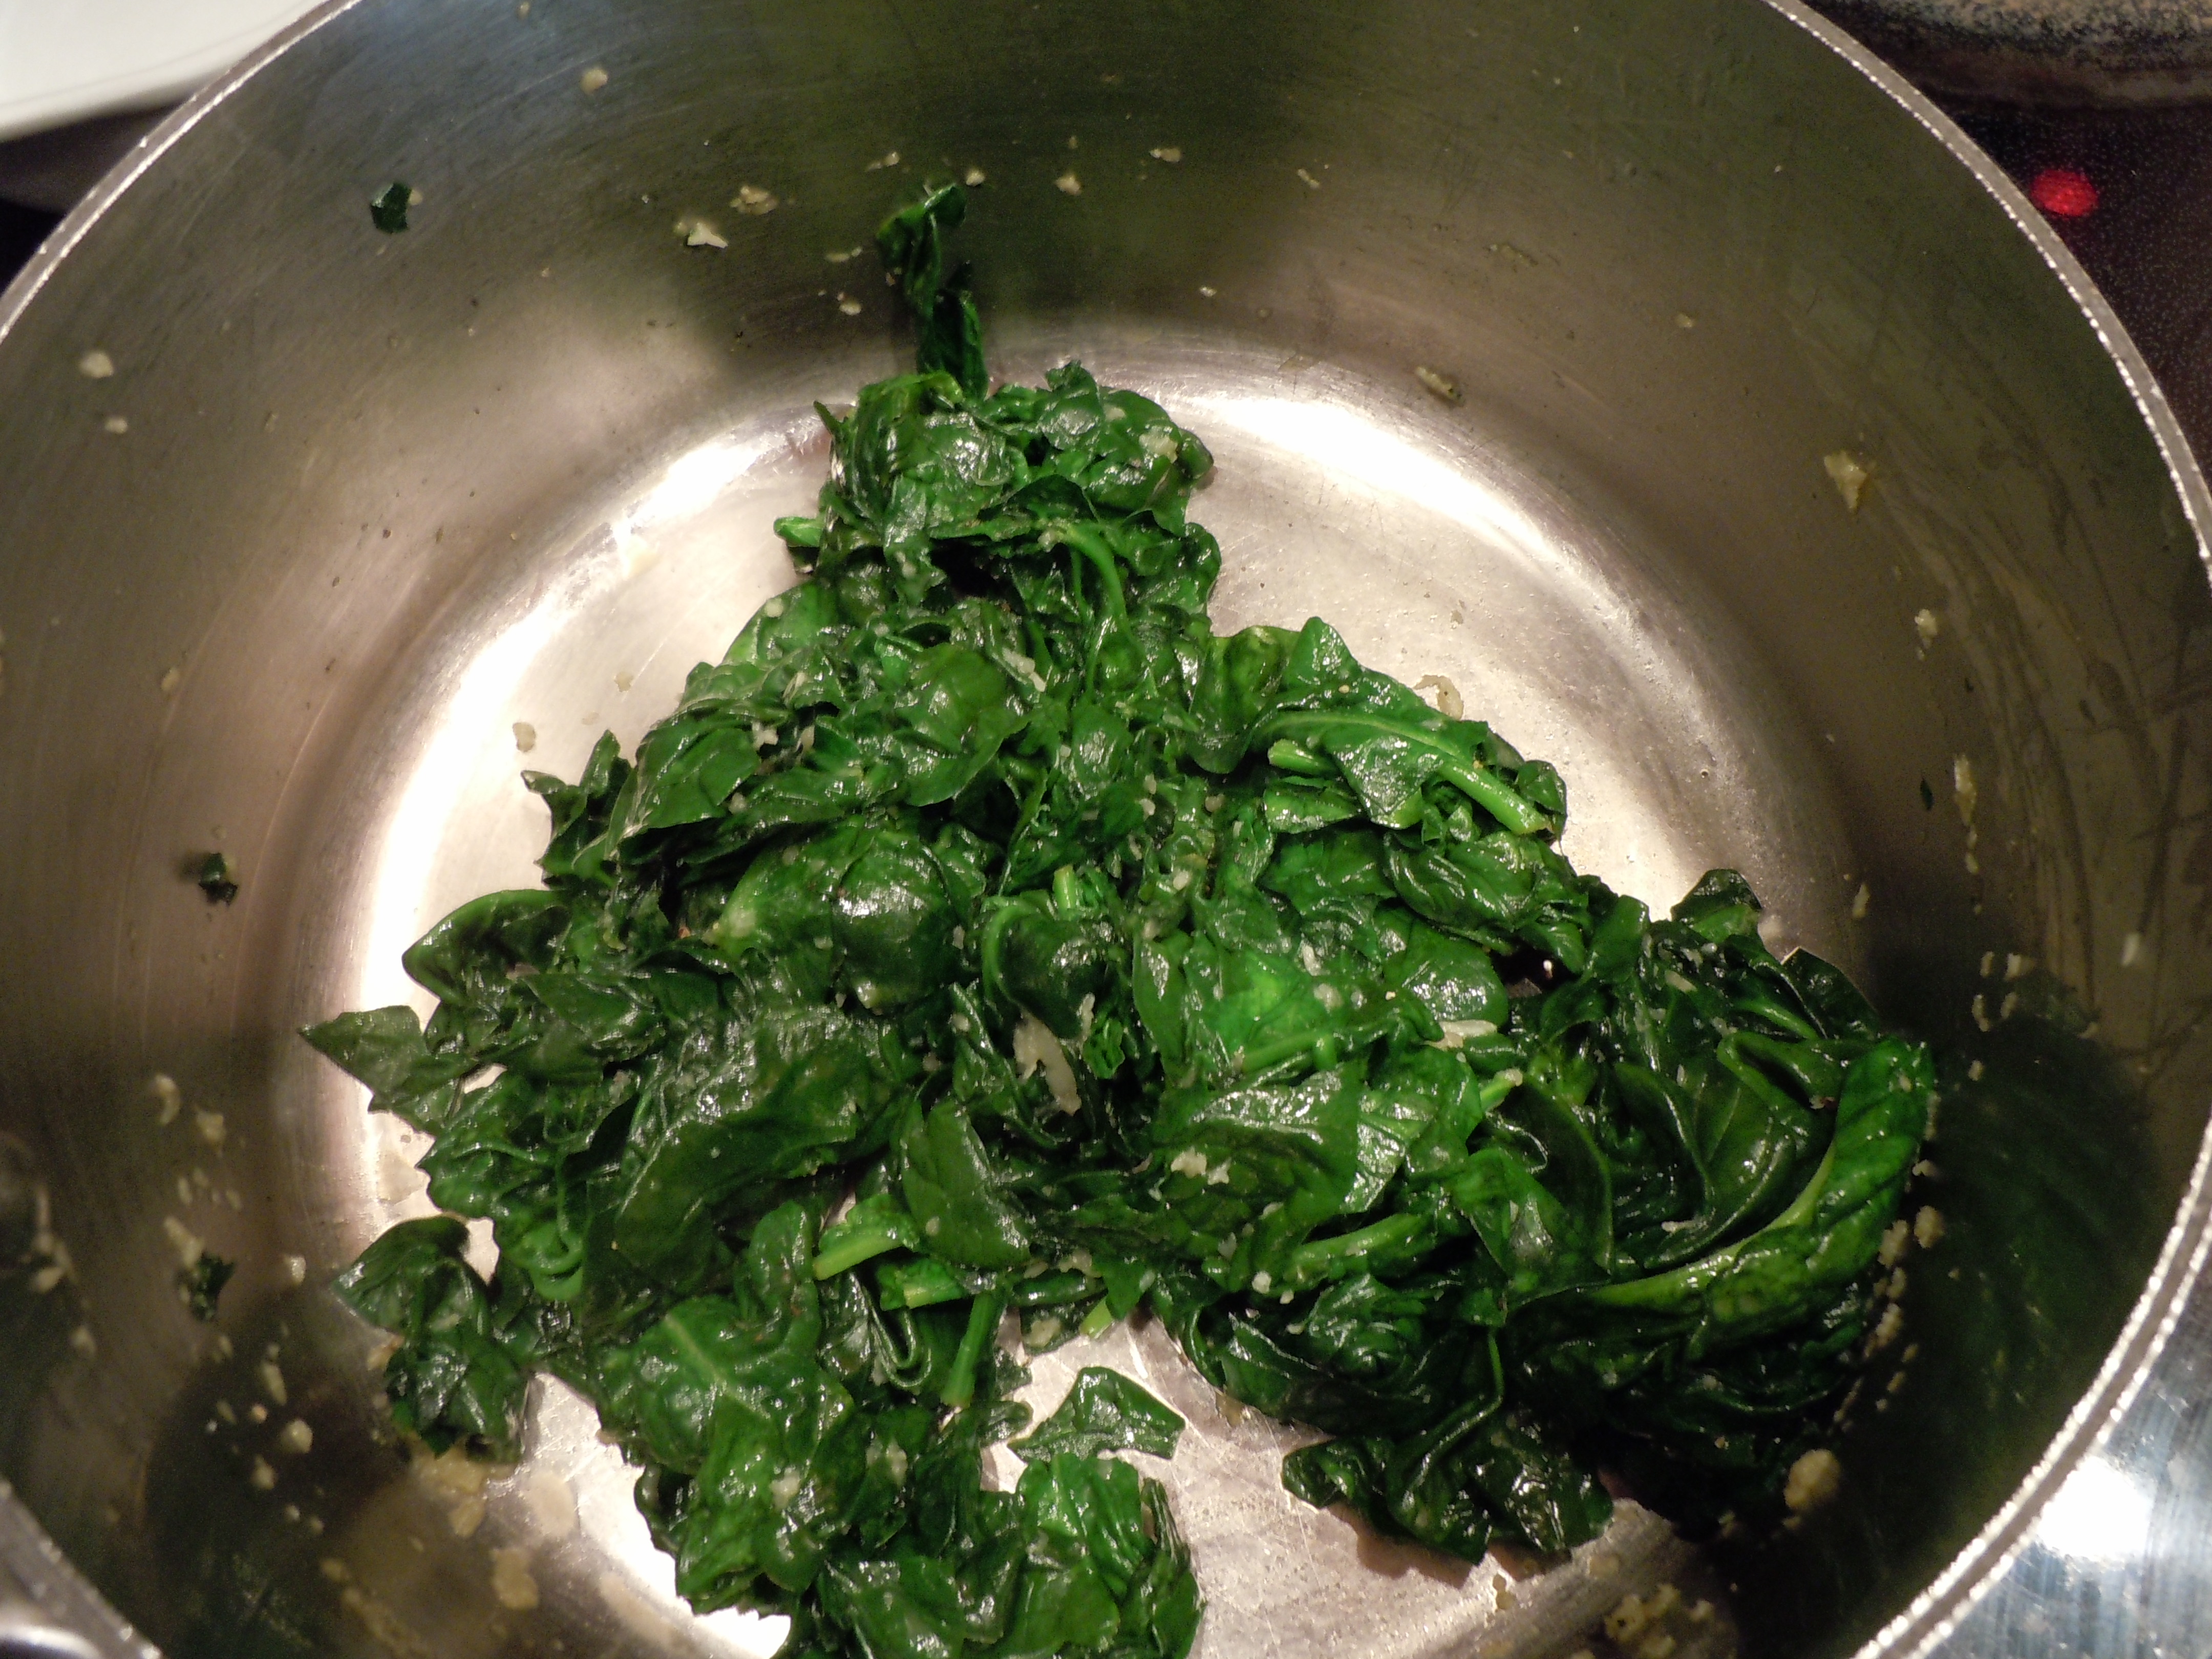
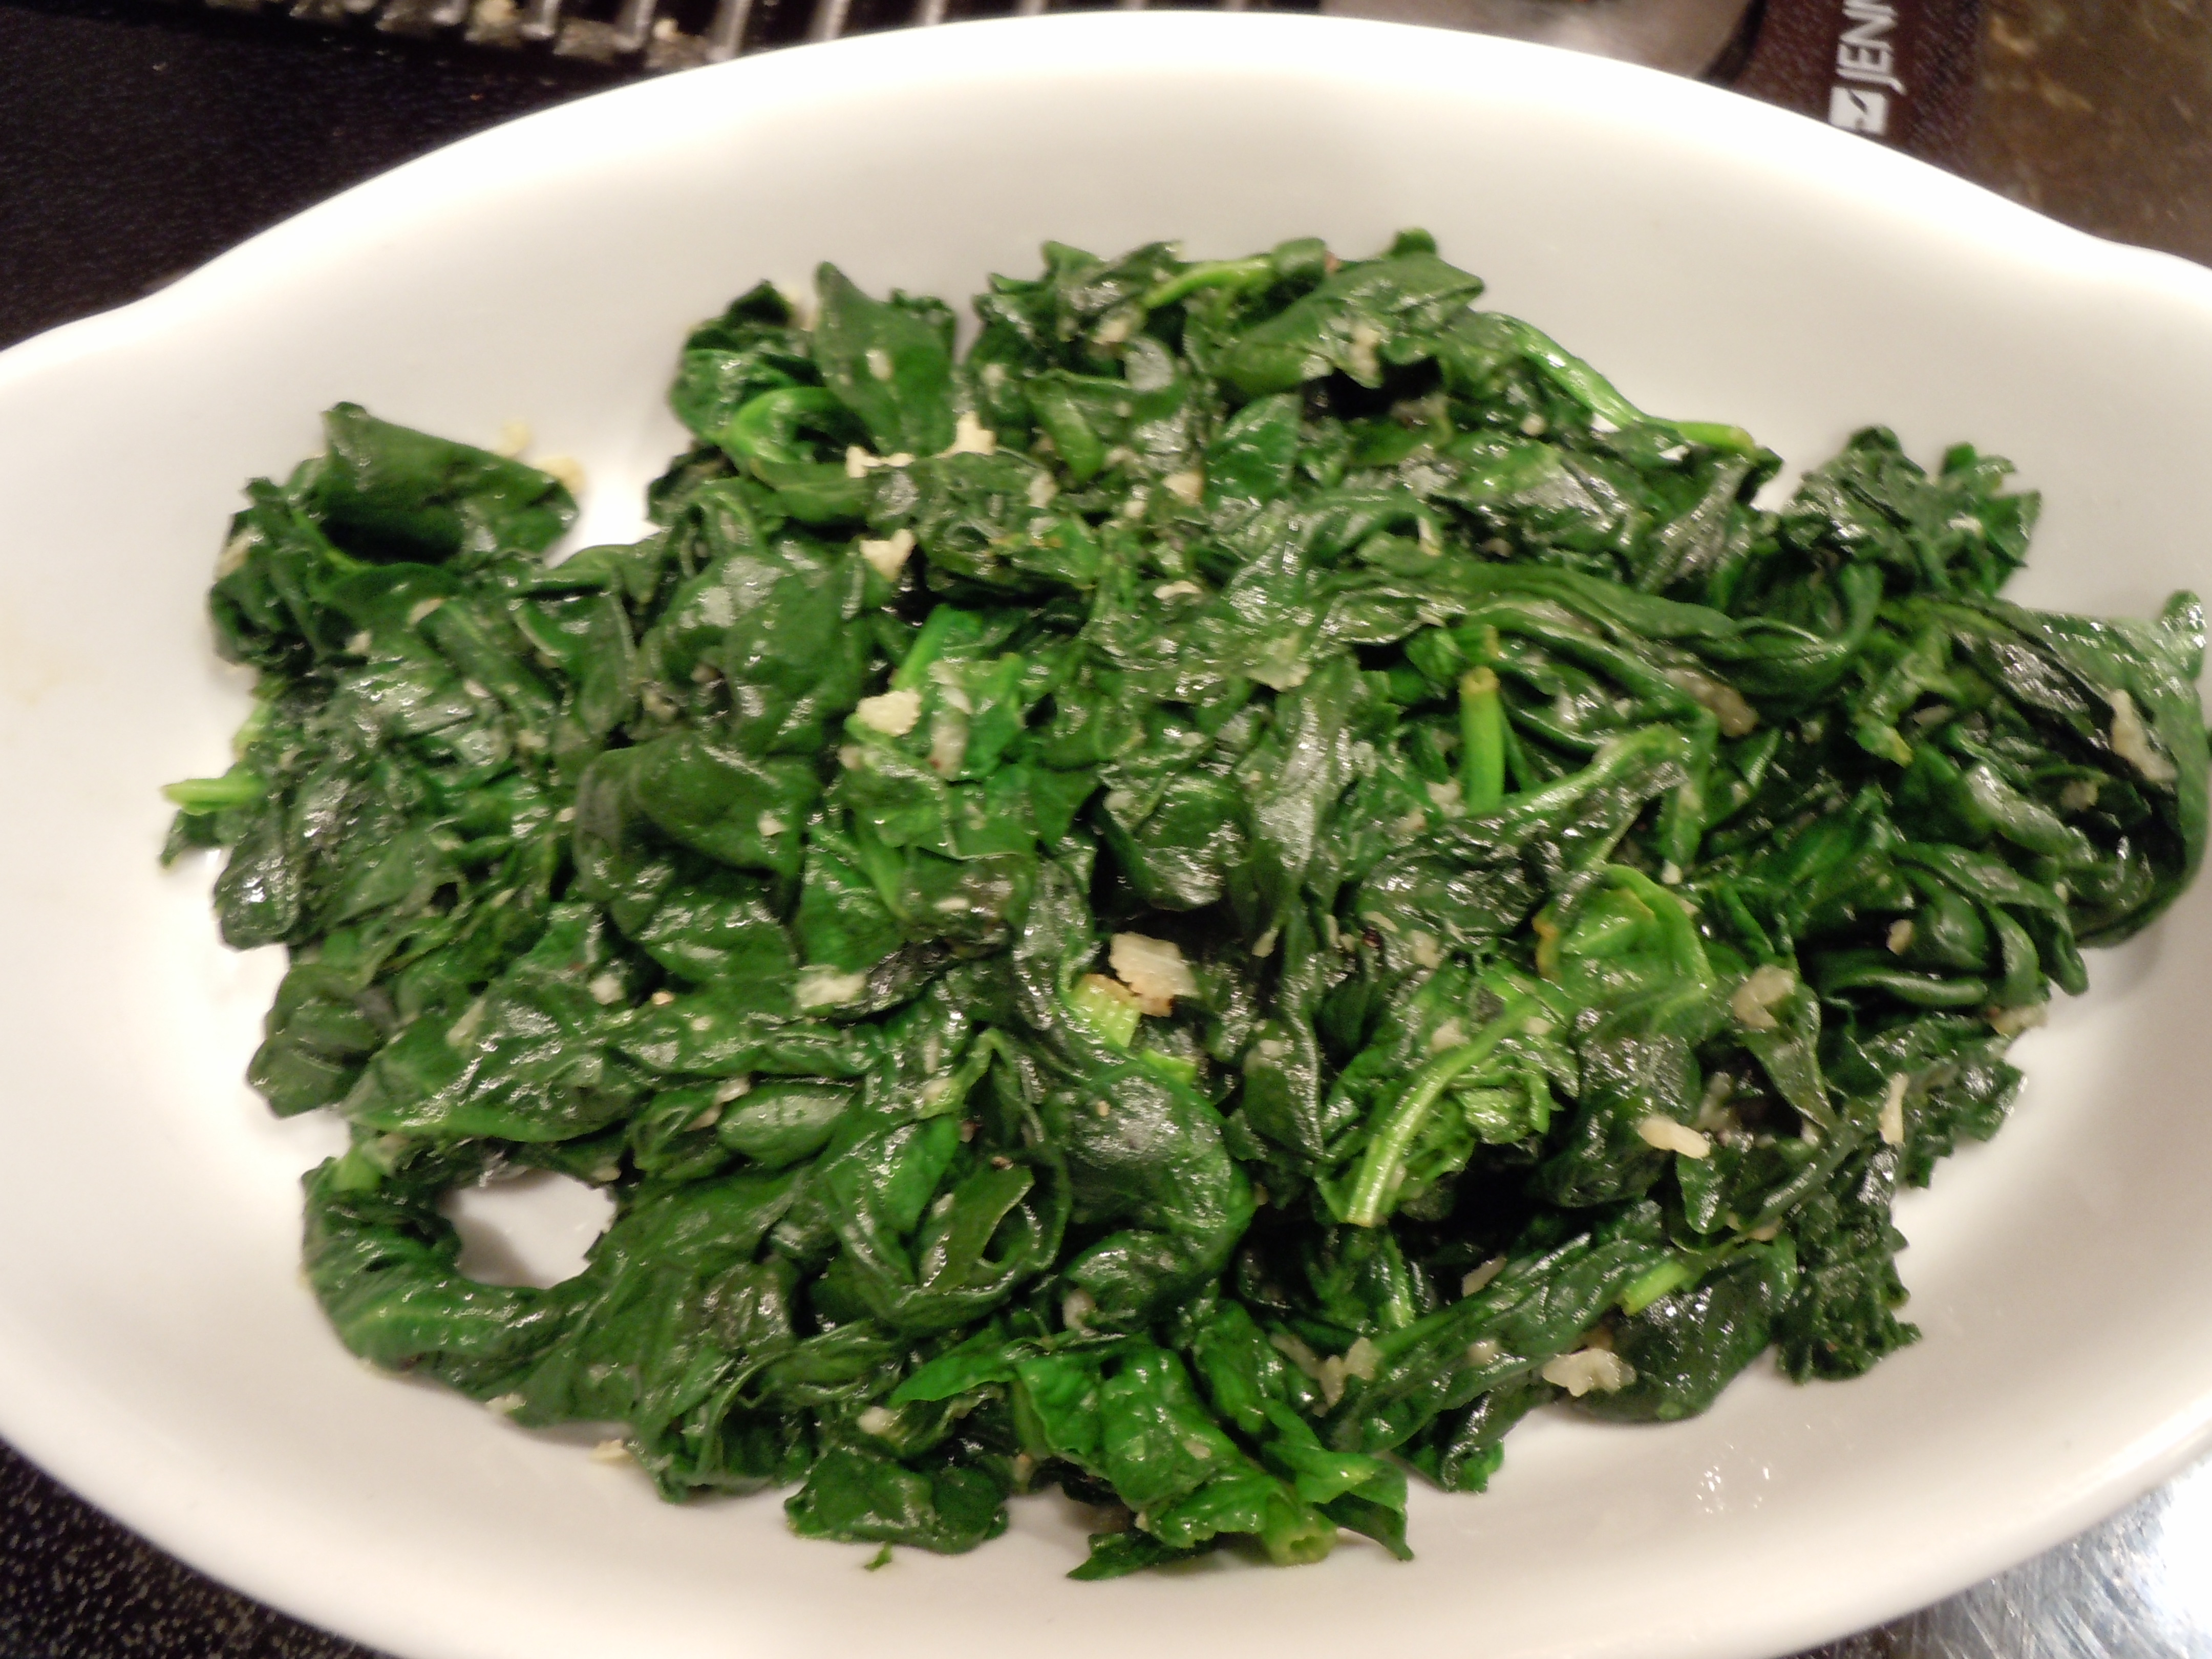
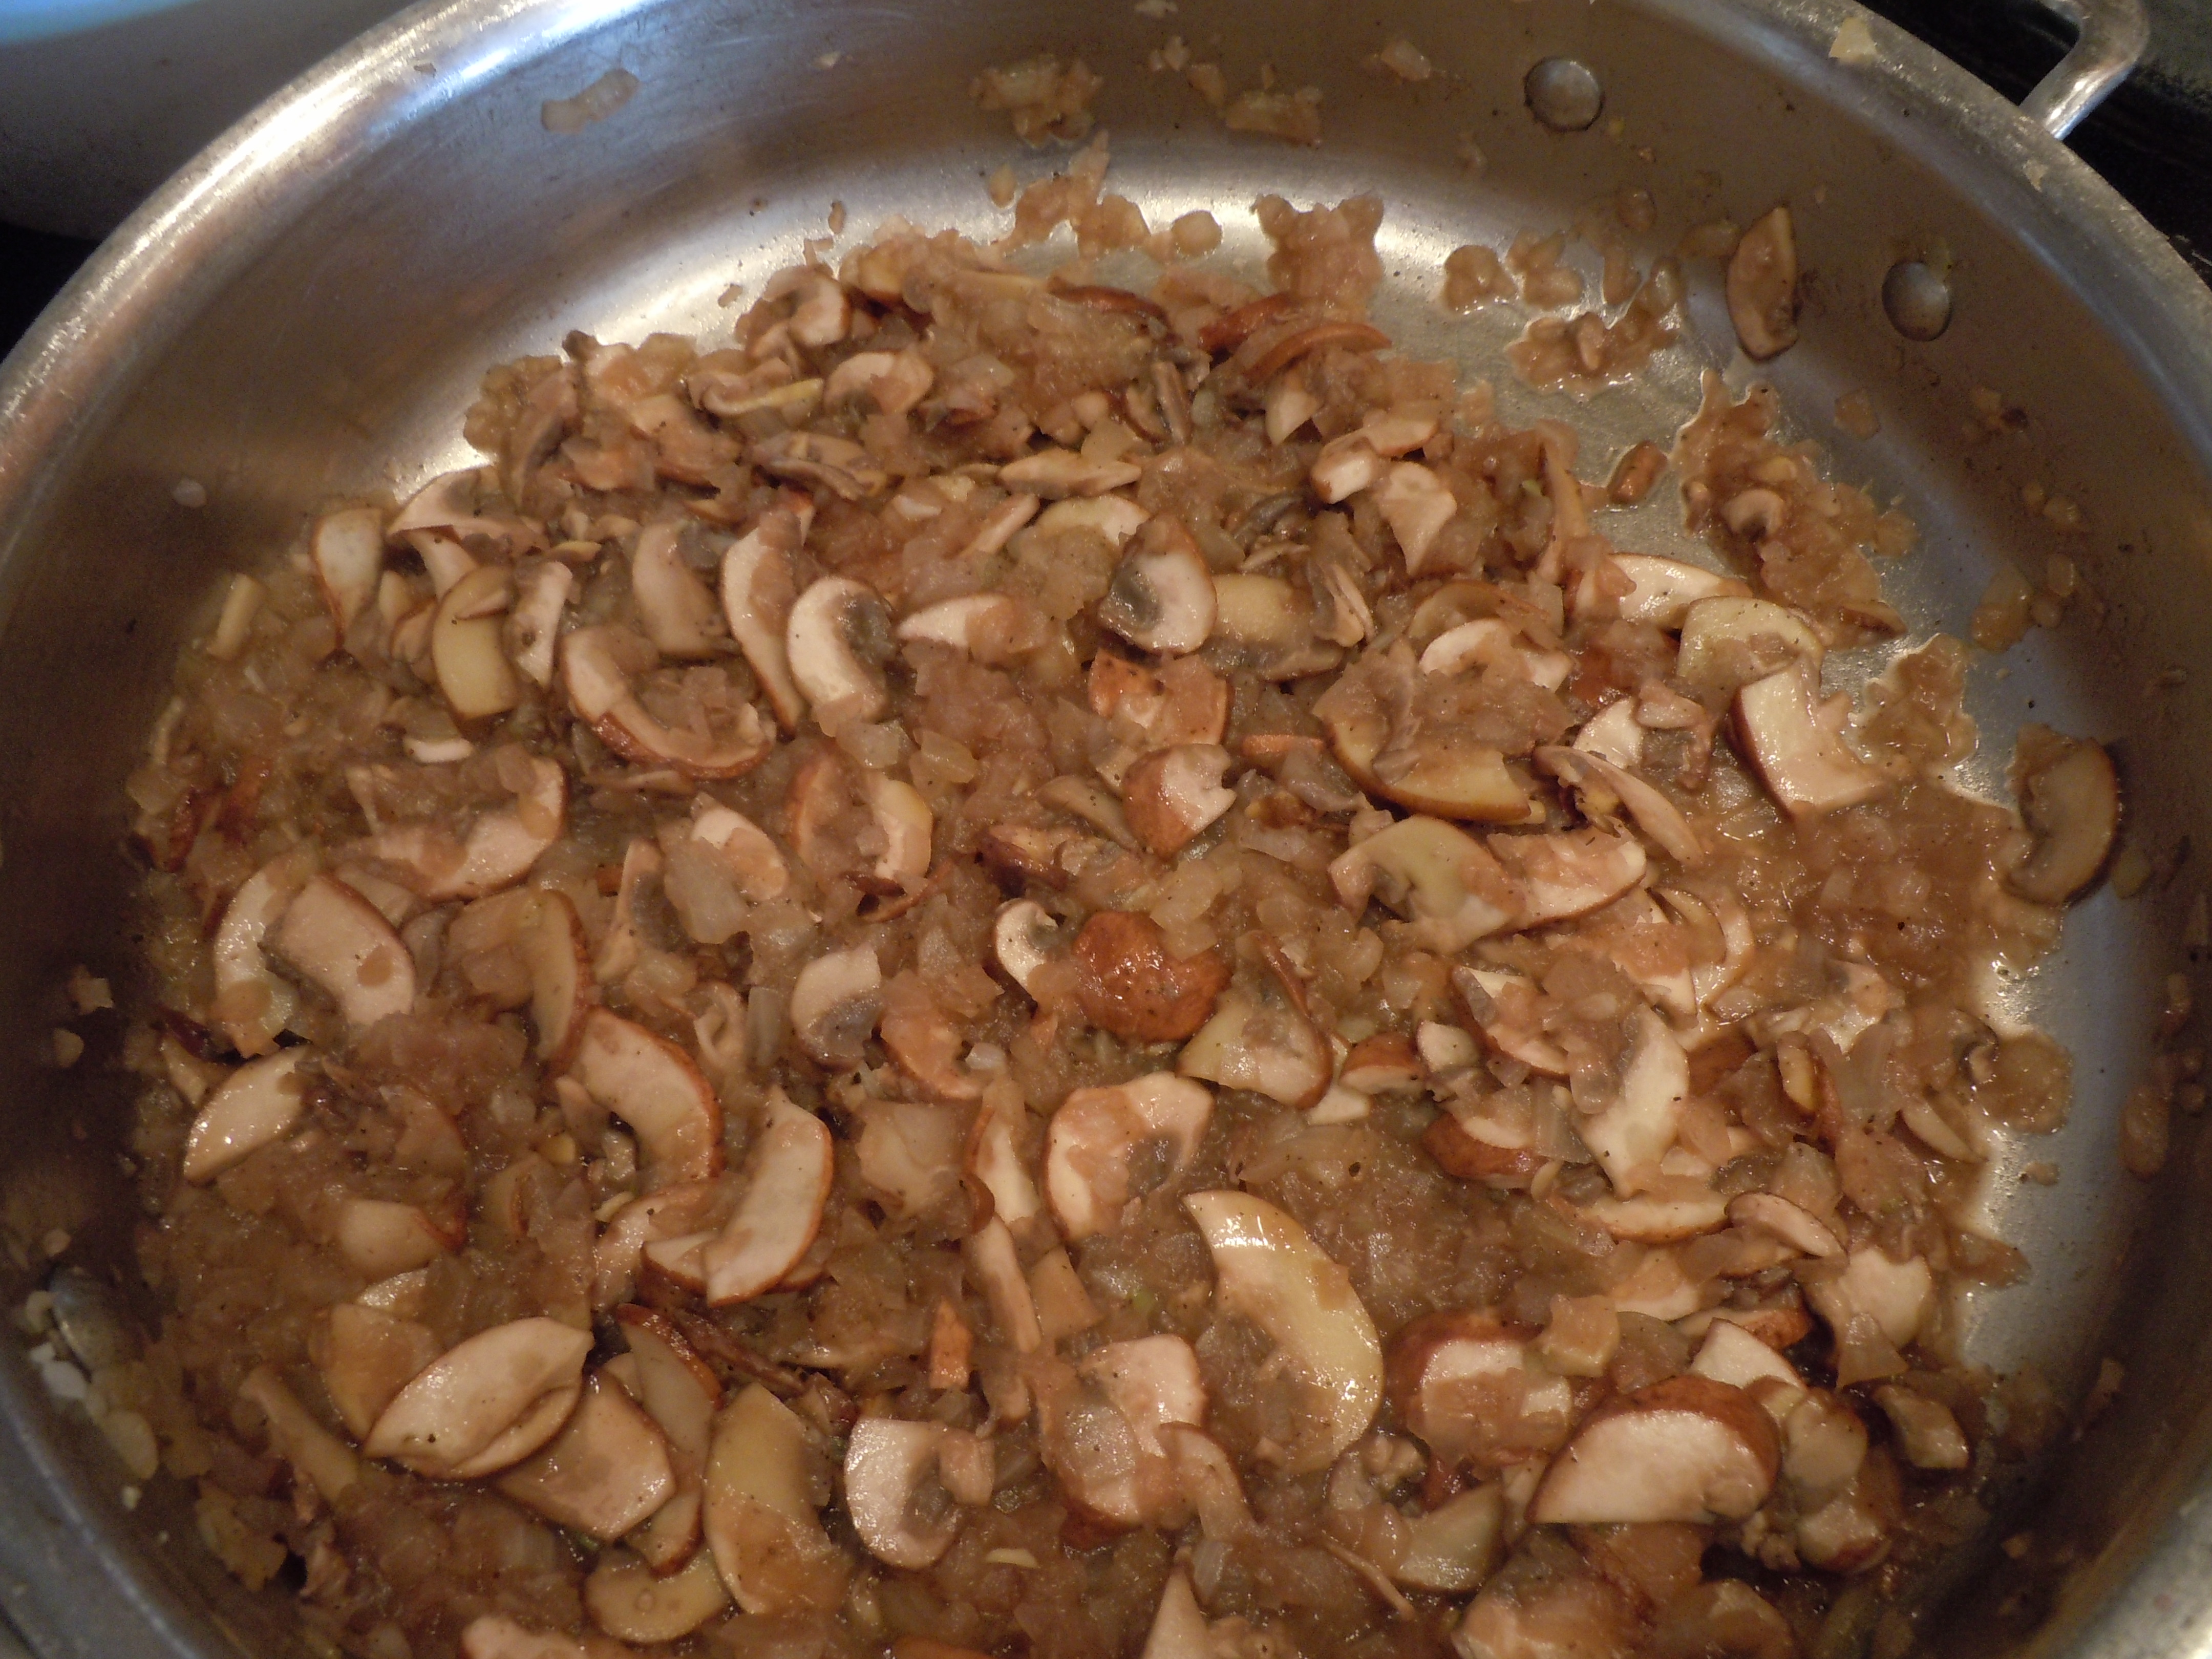
- Add onion and mushrooms to 2 Tbsp olive oil and sauté on medium heat for 10 minutes…add 1/4 cup pinot, let evaporate.
- Remove from the stove and let cool.
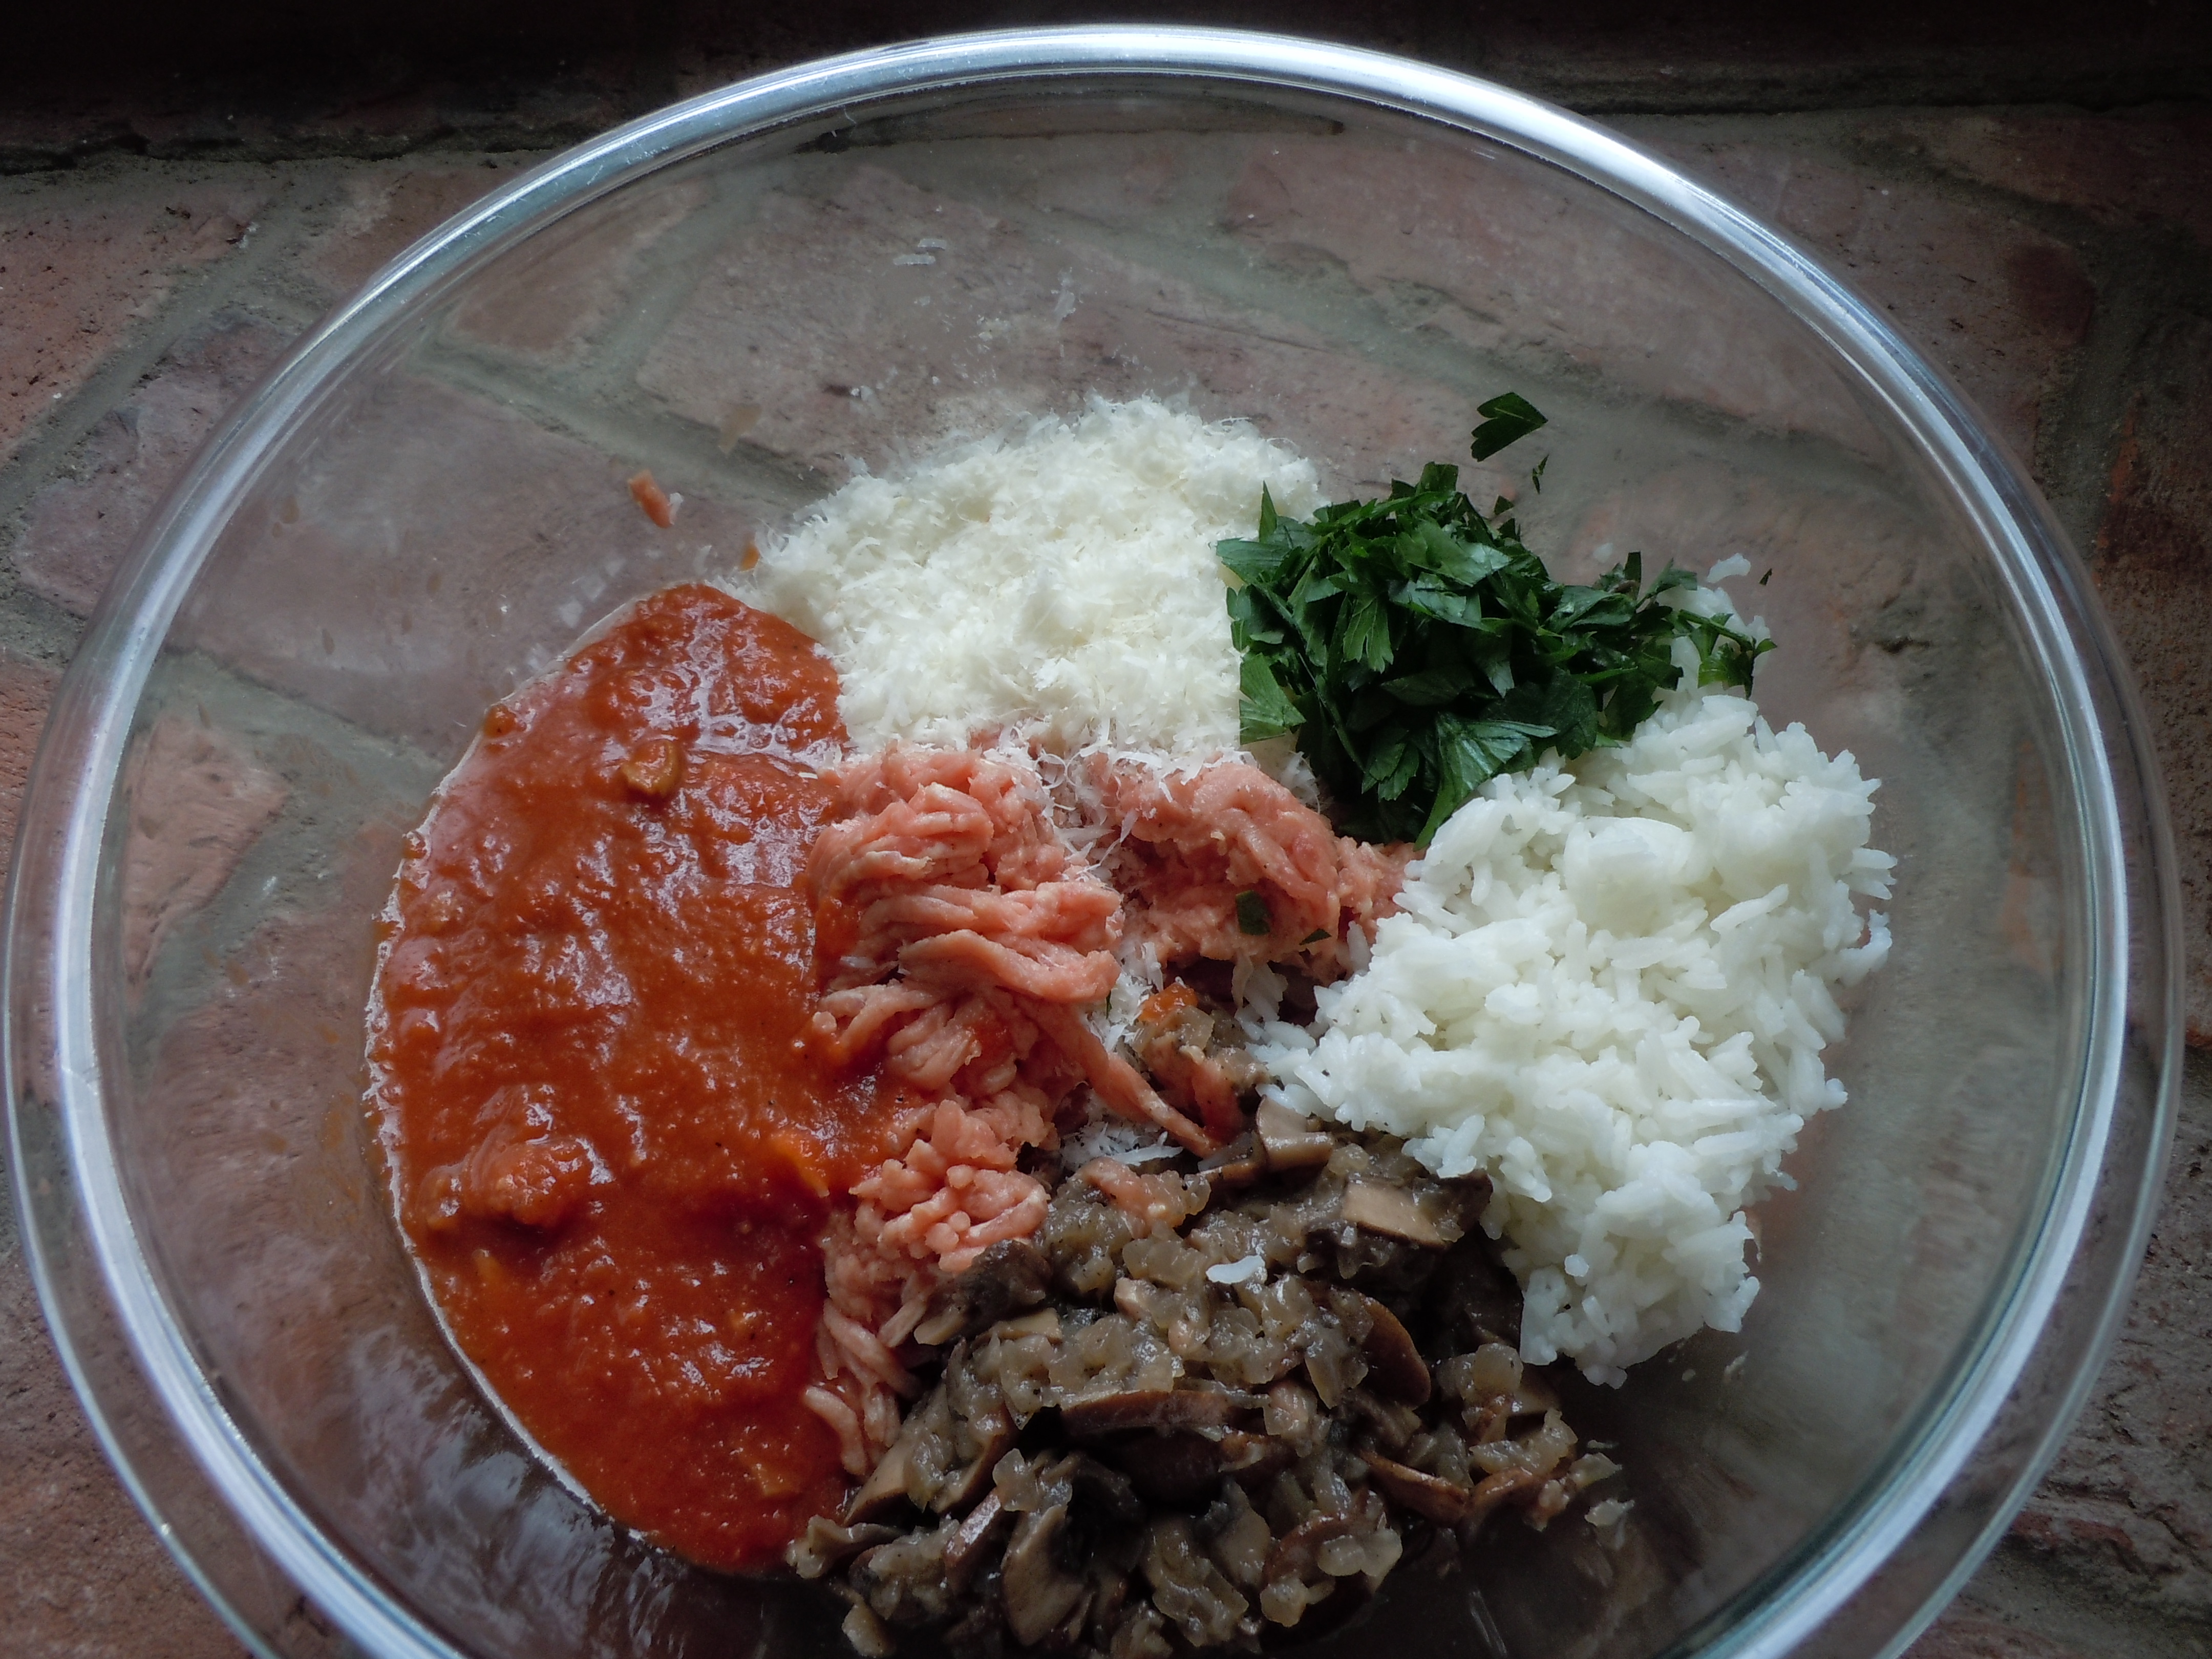
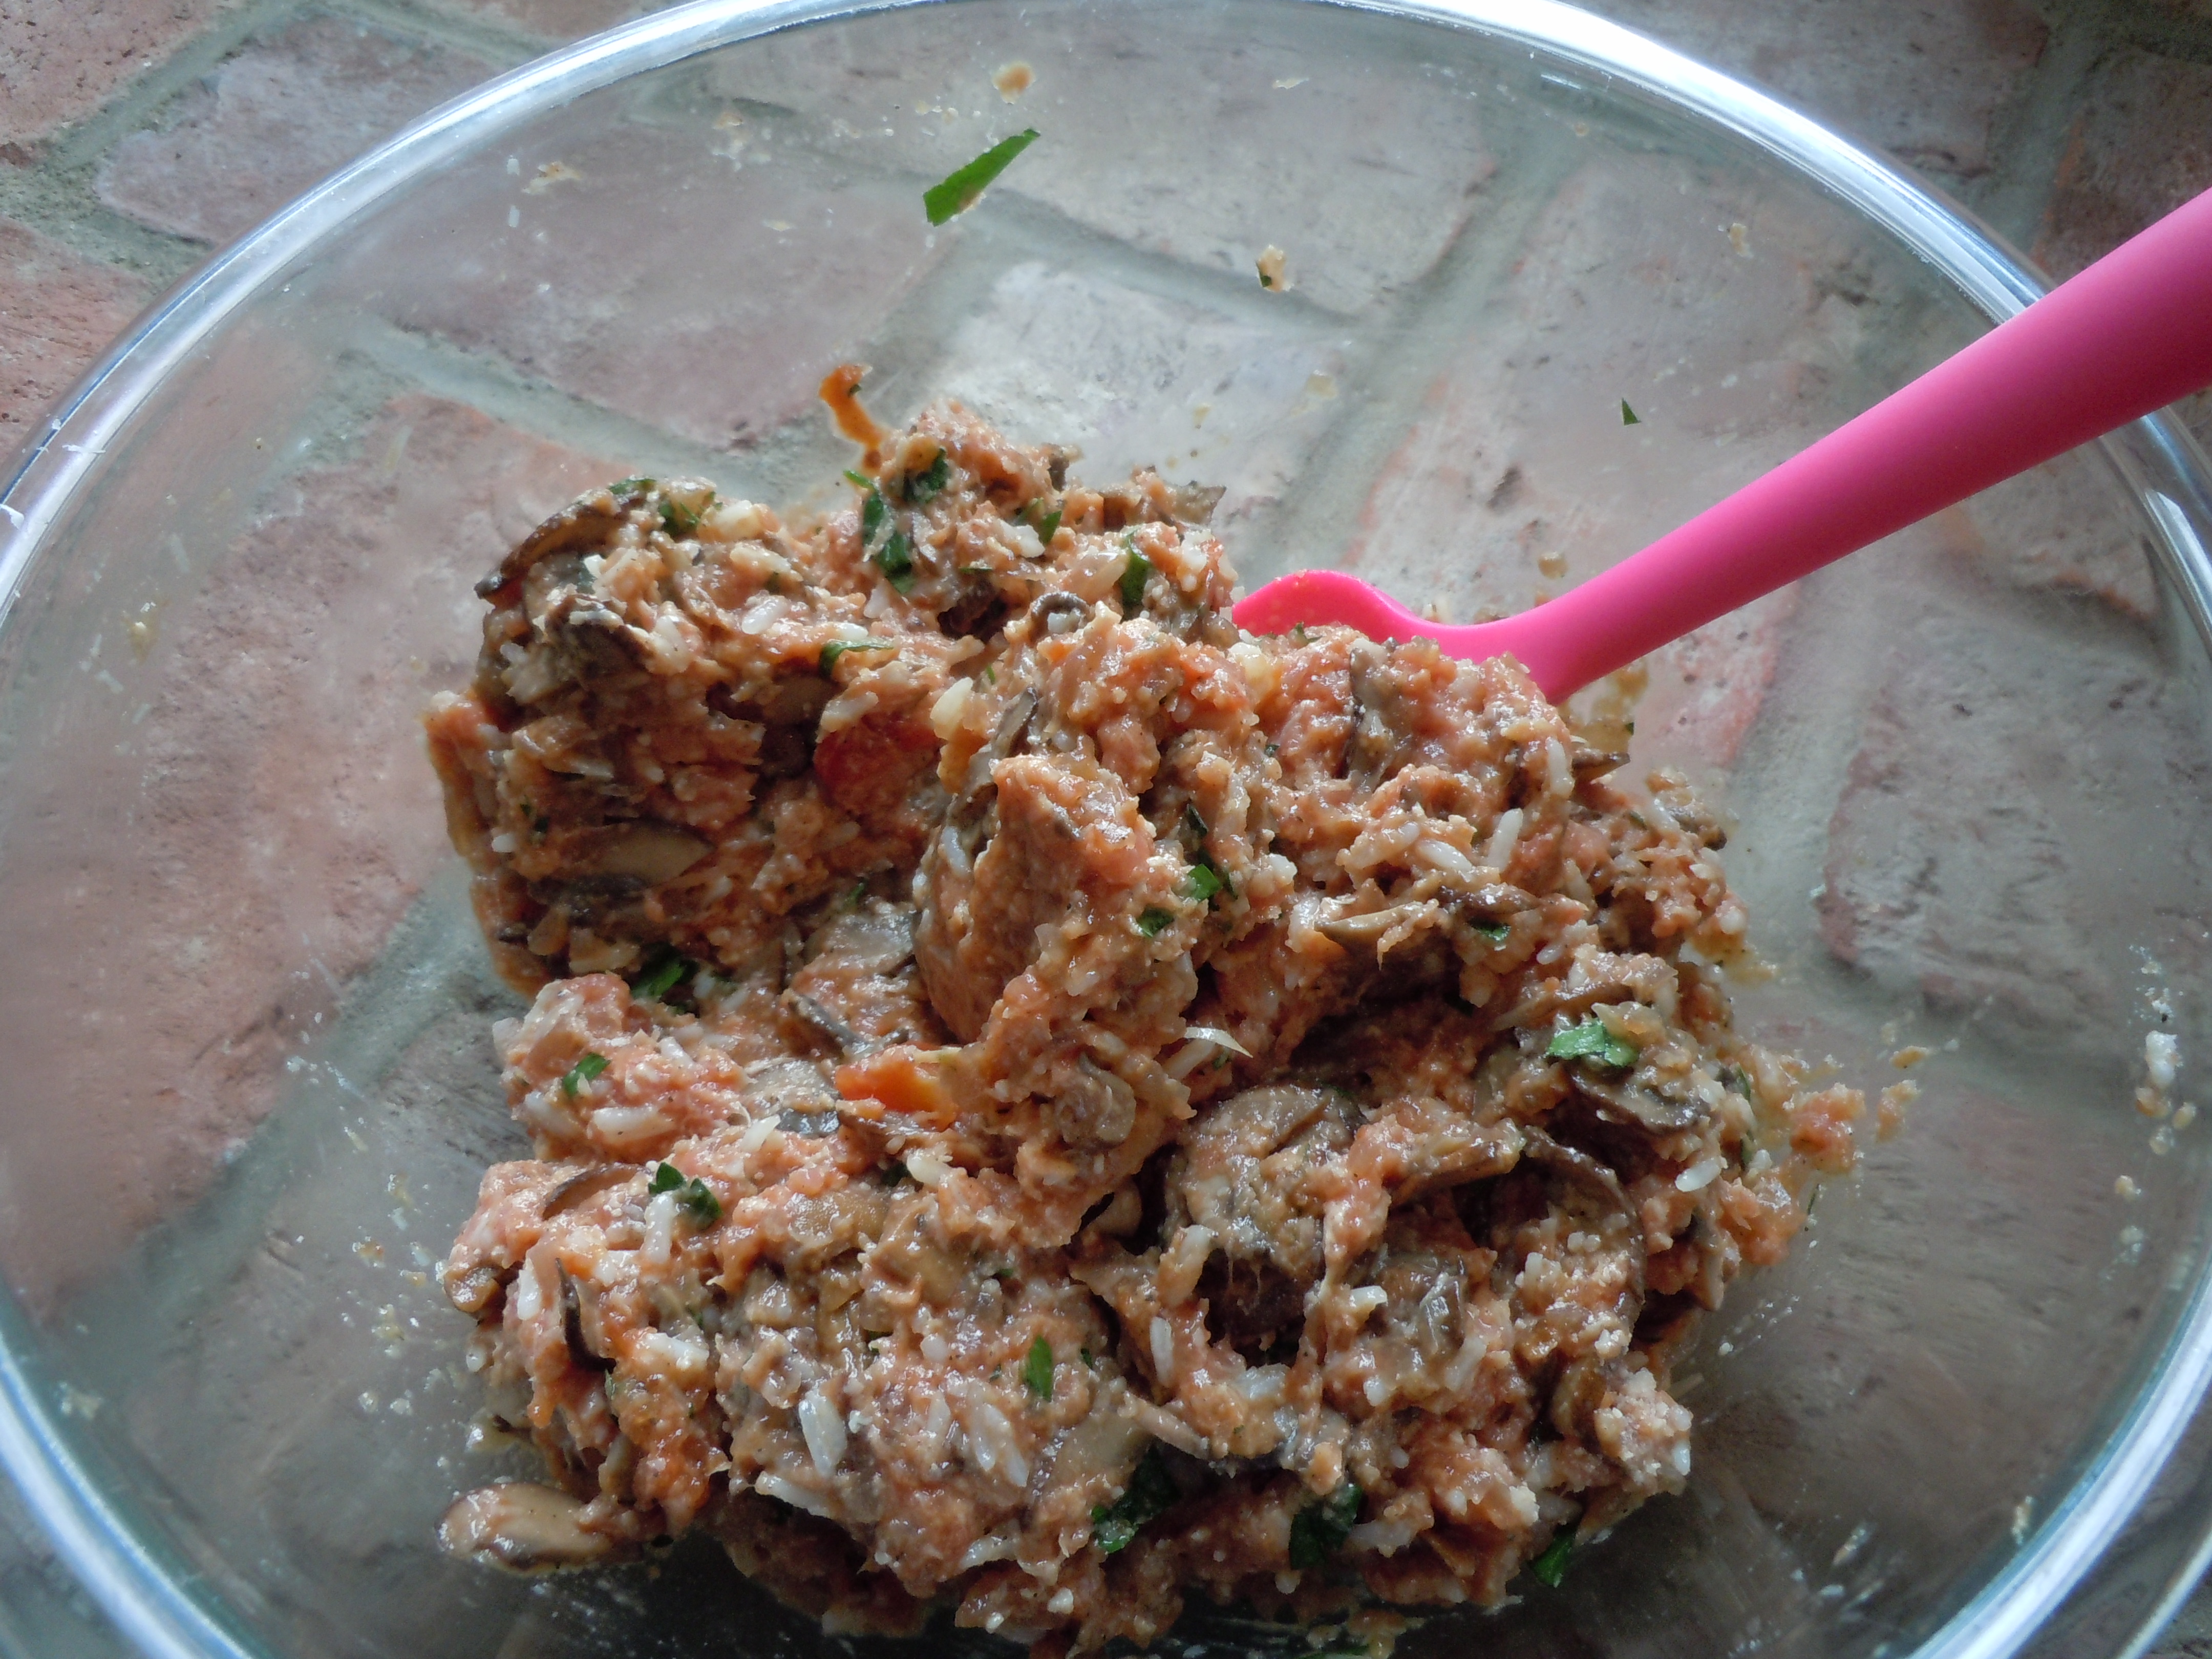
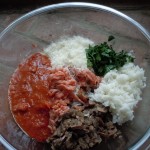
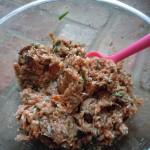
- Add Turkey, grated cheese, 1 cup cooled sauce, 1/3 cup pasley, and all of cooled mushroom/onion mixture to a large bowl and gently mix.
- Fill the peppers gently with the stuffing, don’t pack it down.
- Add the rest of the porcini sauce (approx. 2 1/4 cups), 1 cup pinot, and 1/2 cup boiling water to the bottom of the baking dish.
- NOTE: If the porcini sauce was refrigerated you should warm it a little to room temperature so it doesn’t prolong the cooking process of the stuffed peppers.
- Sprinkle with a little Parmesan, cover with foil and bake at 350º for 1 hr.
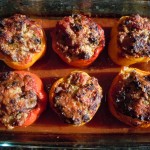
- Remove the foil after 1 hour and continue for another 15 minutes at 350º (check the tenderness of the pepper… You don’t want them mushy just tender).
- Then up the heat to 400º for another 20 minutes uncovered
- Keep an eye on it at this point so the tops don’t blacken too much (everyone’s oven is a little different)
- Total cooking time approx. 1 hour/ 35 minutes
- Take the peppers out of the oven, cover back up with foil and let them sit for 10 minutes.
TIP: RICE- To make Basmati or Jasmine rice measure 1 cup rice and put into medium pan. Run cold water over rice and drain using your hand to hold back the rice. Then add 2 cups water (1:2 ratio or water level is 1 knuckle over rice), cover and bring to a boil, turn down heat IMMEDIATELY to low and simmer for 20 minutes. Remove from the heat and keep covered letting it sit for another 10 minutes and voilà. Fluff with a fork