


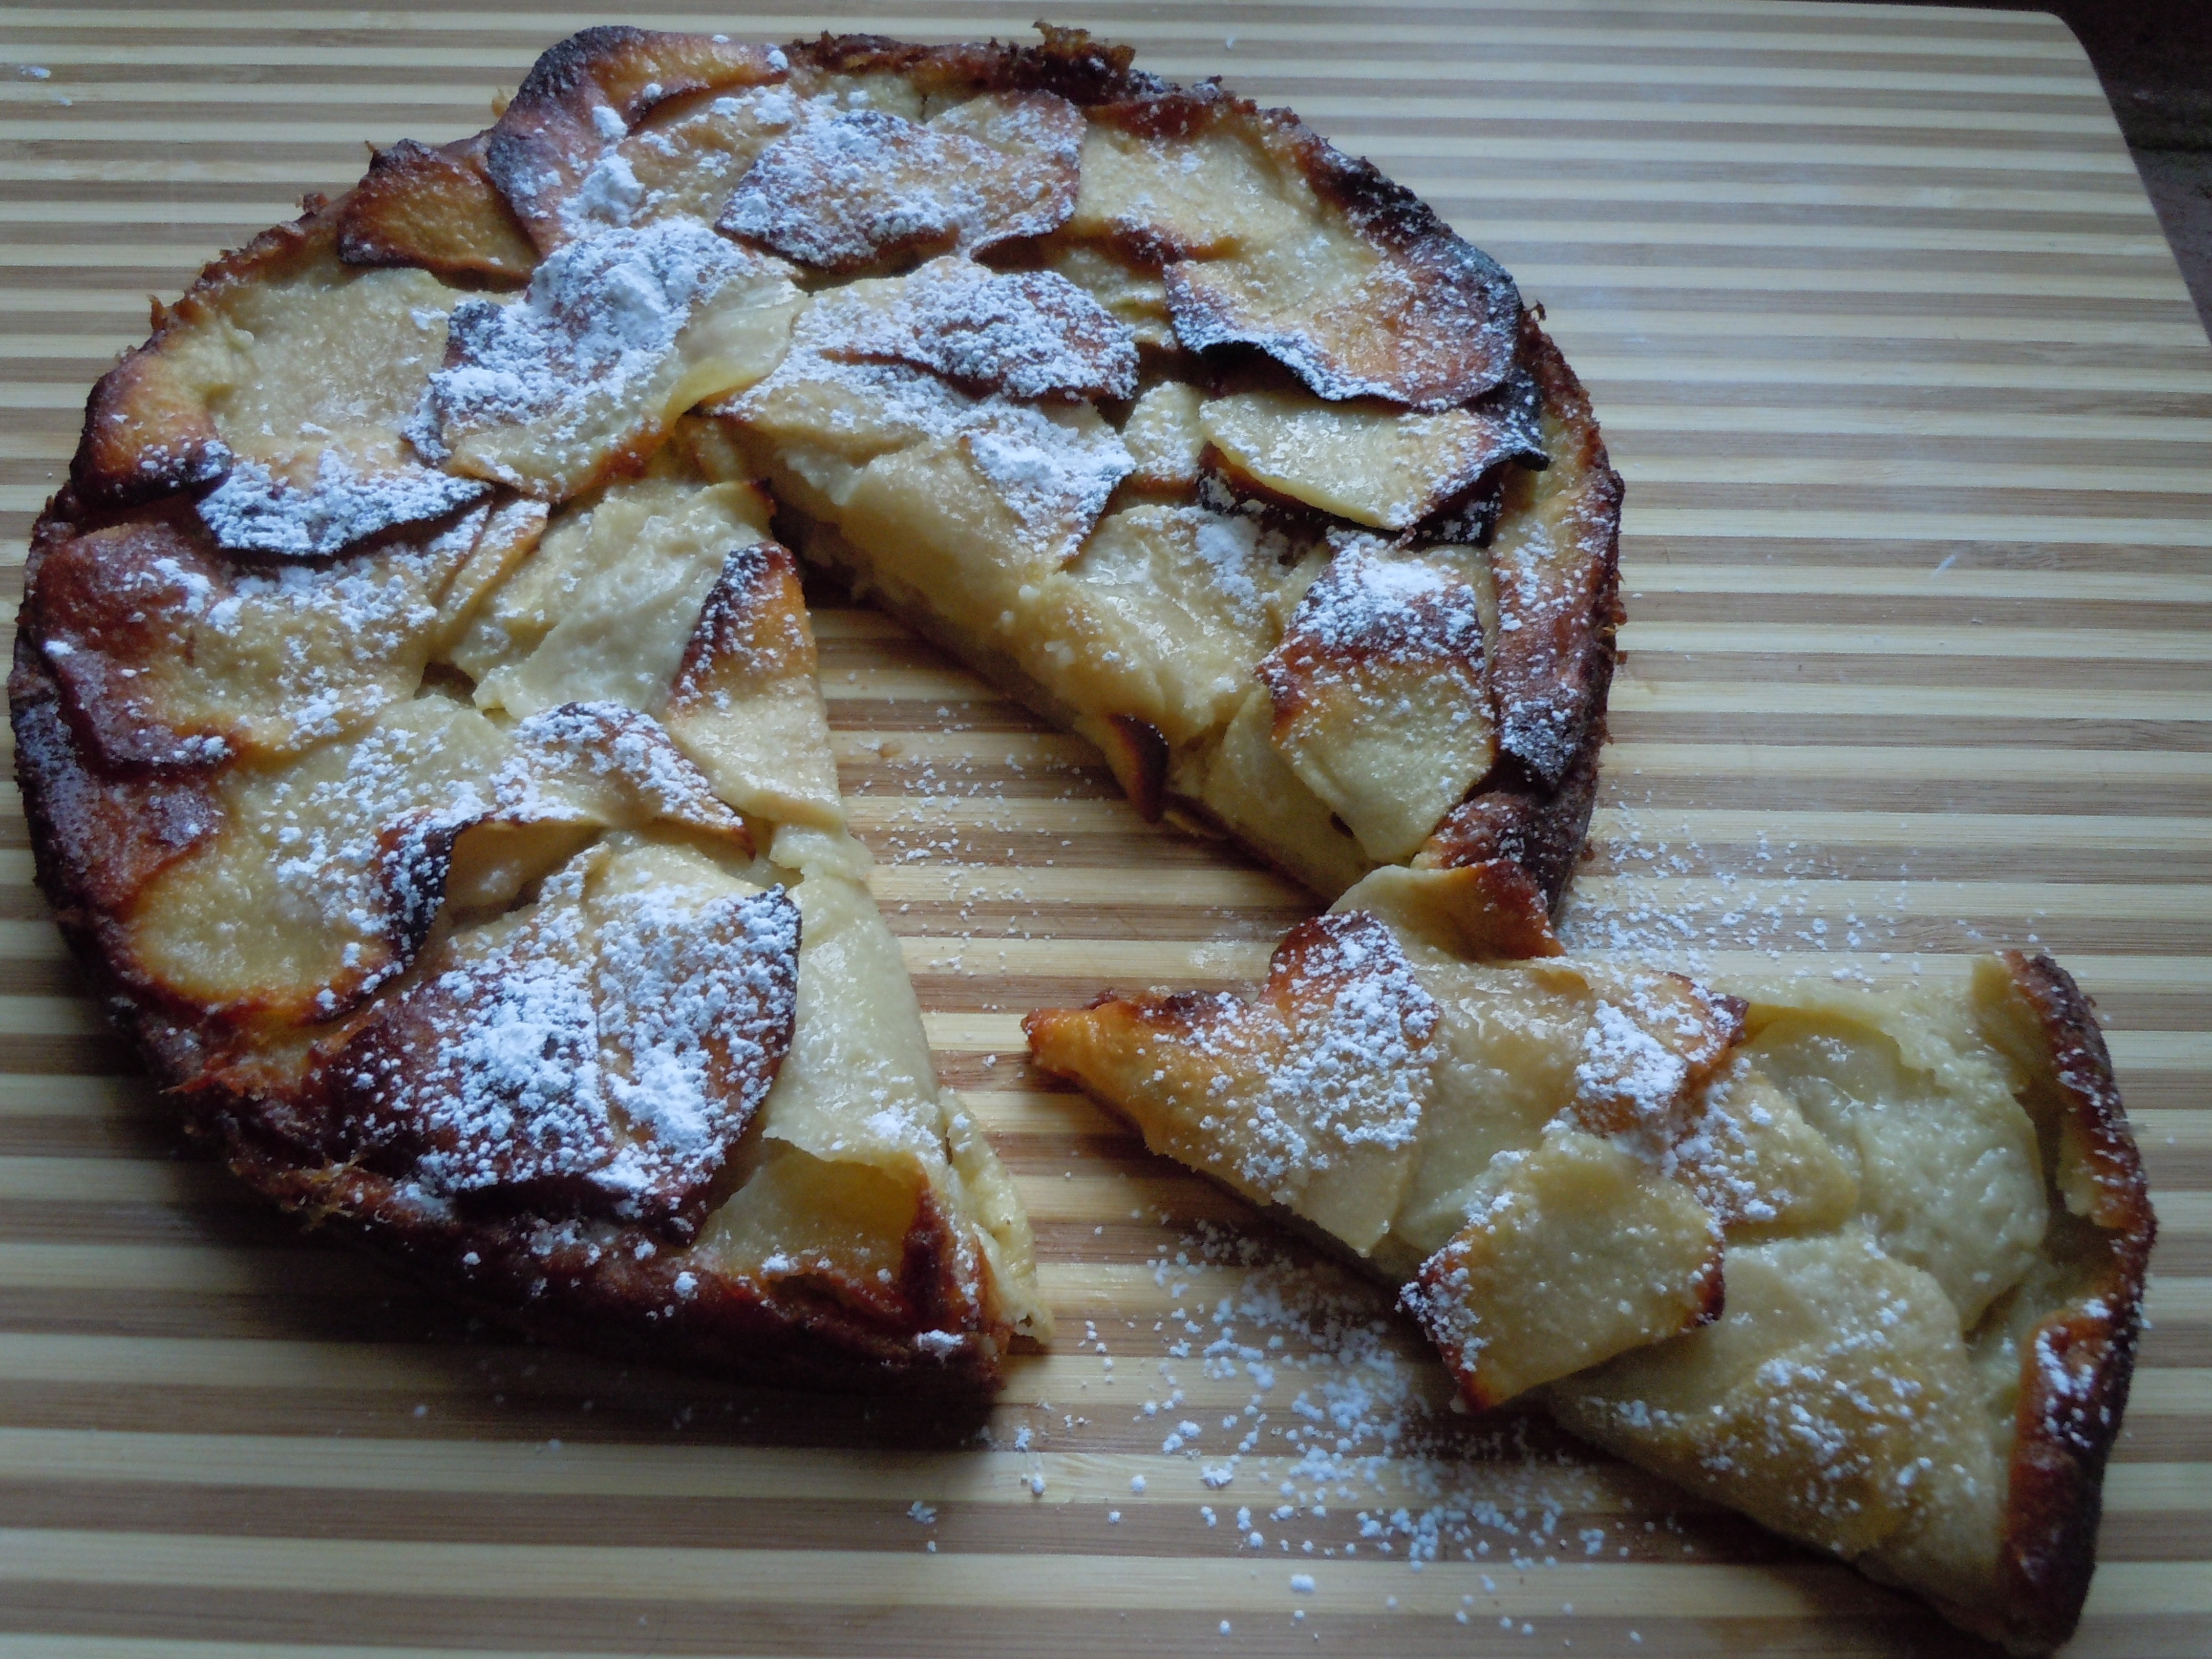
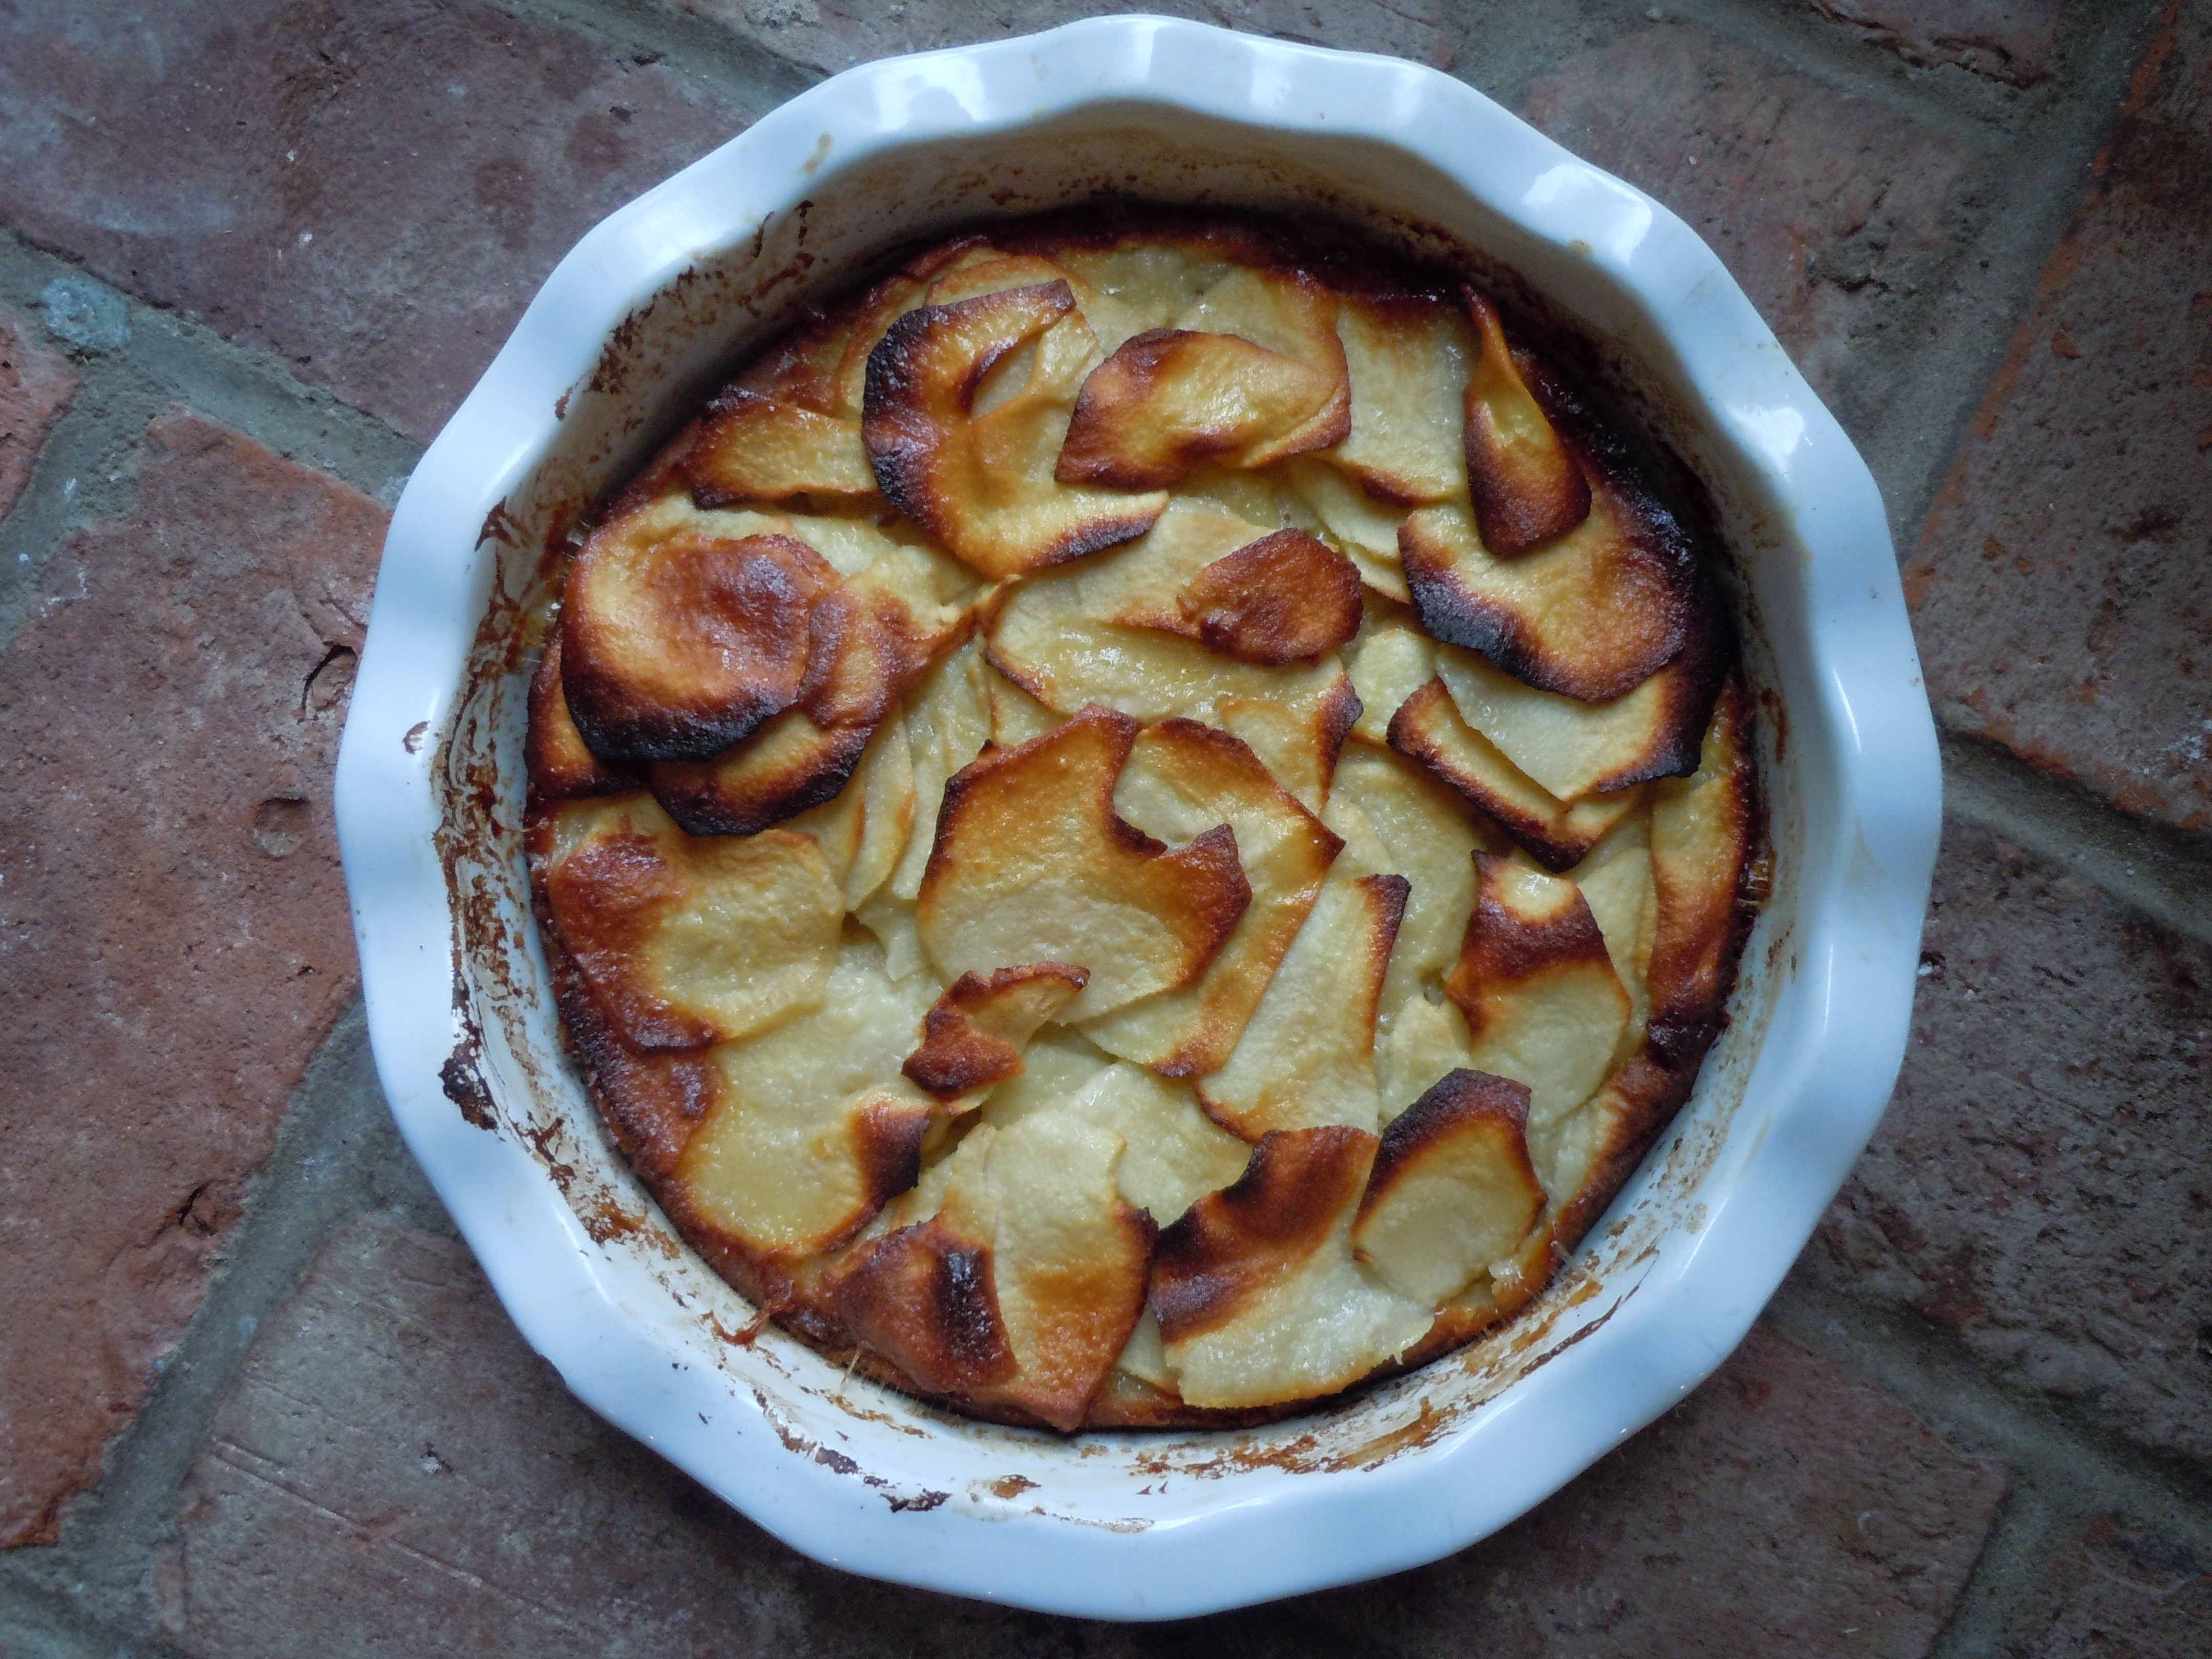
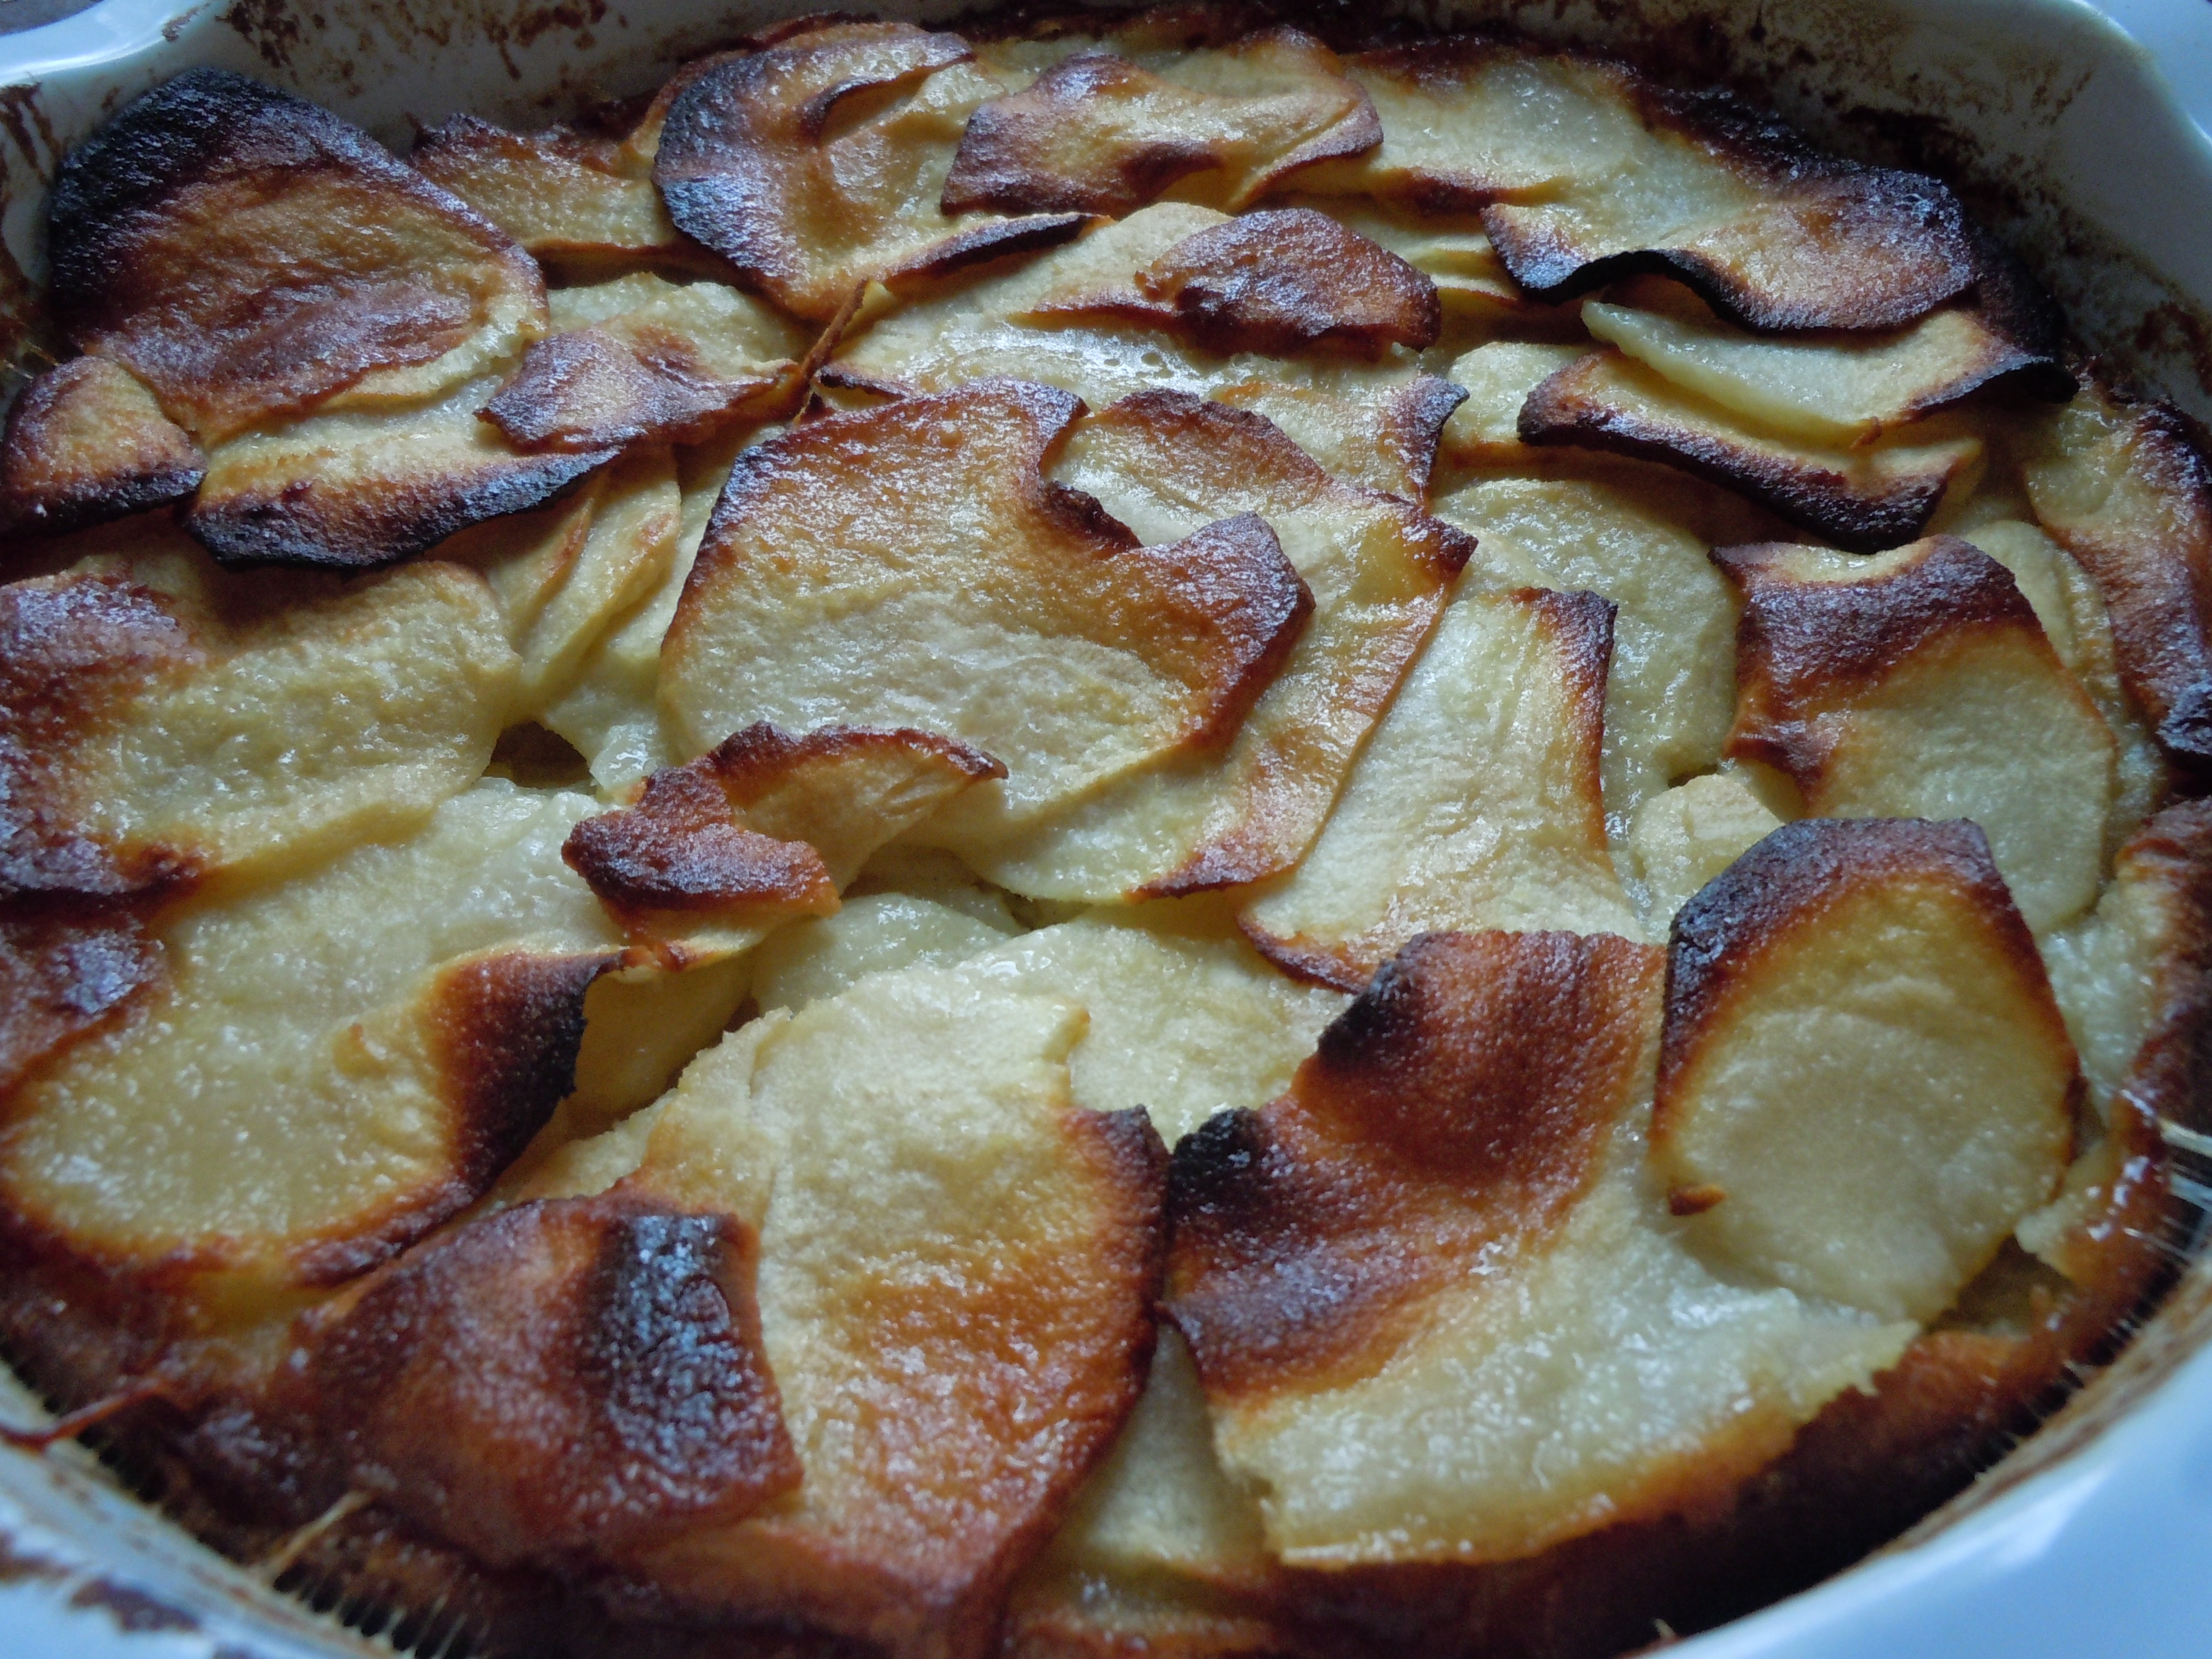
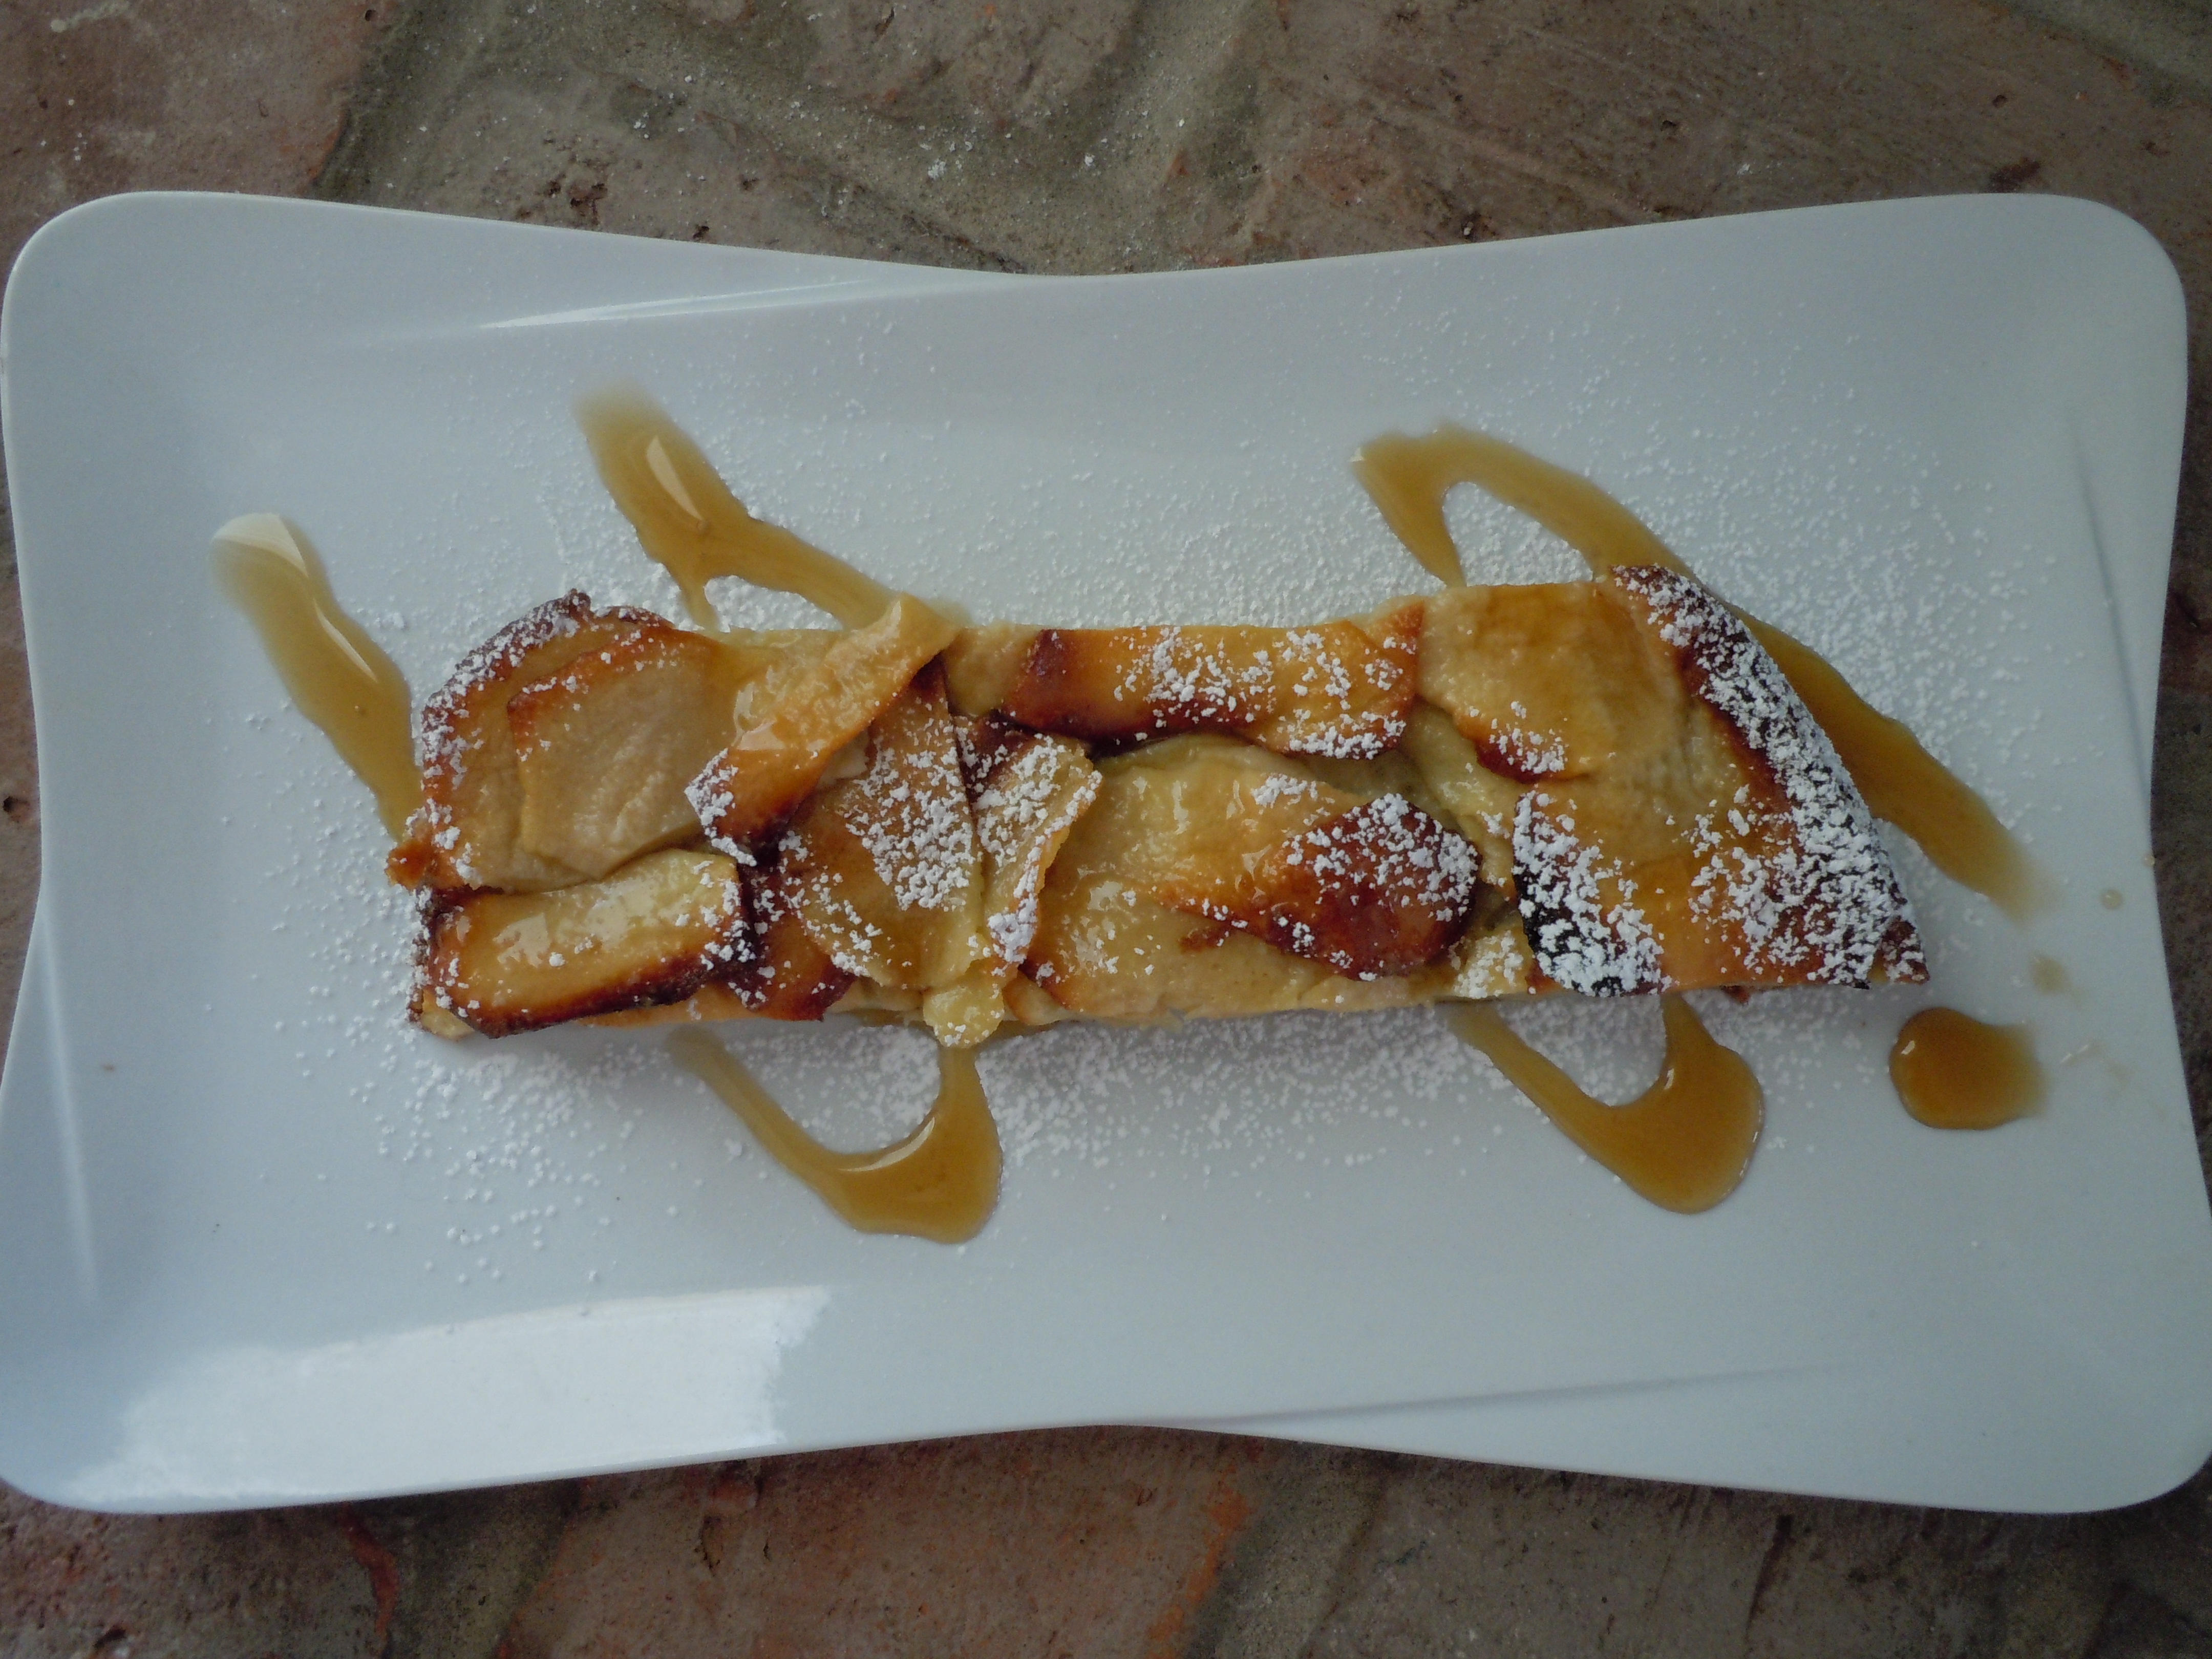
Custardy Apple Squares

Custardy Apple Squares is quick and simple using ingredients we already have in our kitchens. There’s no precise way of layering the apples like in a tart. Here they just end up looking lovely right out of the oven. I like having this as a breakfast item, warm for sure and I think maple syrup makes a wonderful addition to the flavors of these custardy apple squares. You get a creaminess from the custardy filling and outer layers that remind you of crêpes … add in some maple syrup to close the deal and you’ll be in for a heavenly treat.
I saw this book at our Madison library and new I had to check it out and in fact I was shocked that I didn’t already own it. Dorie Greenspan is an inspiration to baking for all us. She shares her recipes and experiences that she has gathered from chefs and friends while living in france for two decades …a gal after my own heart. It was such a good feeling when I saw and read the preface to her new release Chez Moi because it reminded me of why I started my blog. Being inspired by people from different backgrounds, places, and cultures sharing recipes and experiencing new boundaries in culinary cuisine.
I think you will be very happy with how easy this recipe is using such uncomplicated ingredients to boot! And if you are not a big maple syrup fan you can always dress up these custardy apple squares when they come out of the oven by spreading a thin layer of apple jelly that you warm in to the microwave with a pastry brush.
This cook book Chez Moi is a definite must for your cooking library! Dorie Greenspan shows you how elegant French baking can be accomplished effortlessly. It’s really a “go to” baking guide with so many wonderful recipes offering you everything from cannelles, eclairs, chocolate sauces and profiteroles (cream puffs) to cookies and cakes! She was also inducted into the James Beard Foundation’s Who’s Who of Food and Beverage in America. And for all you locals Dorie Greenspan lives part time in our neck of the woods in Westbrook, CT along with NYC and Paris of course. I am so happy to share this cook book with you in the hopes that you too will enjoy it as much as I have.
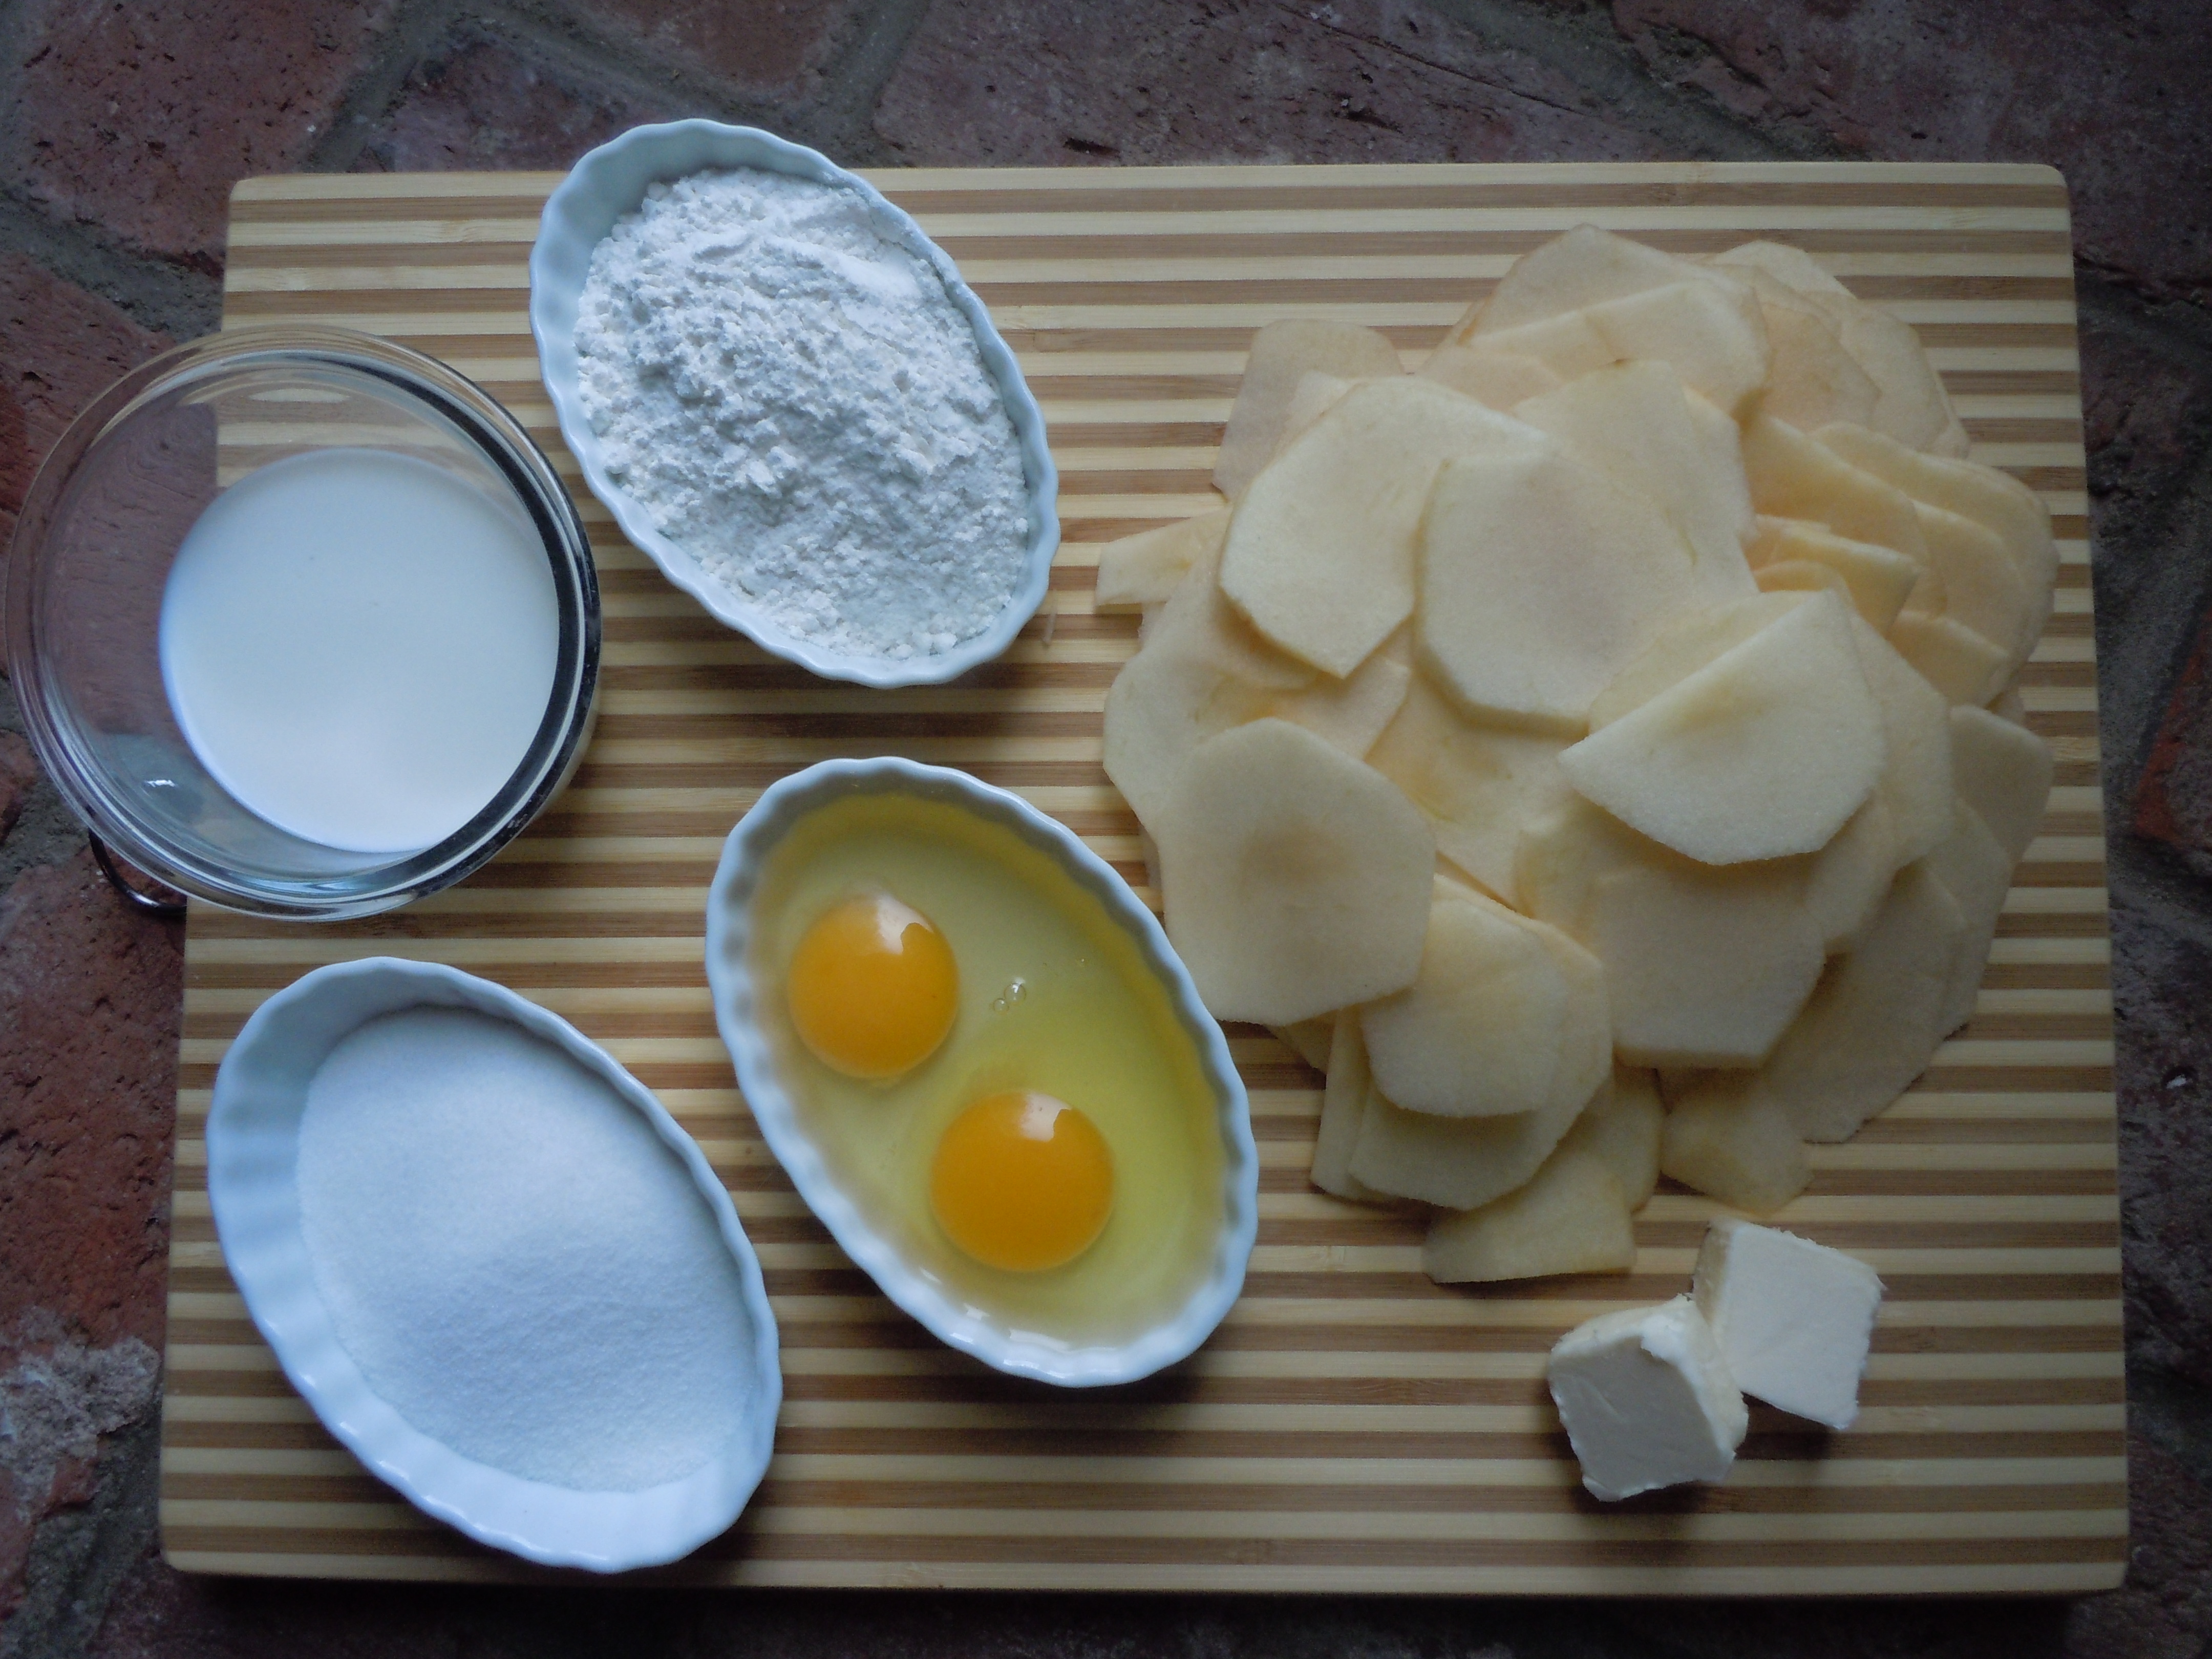

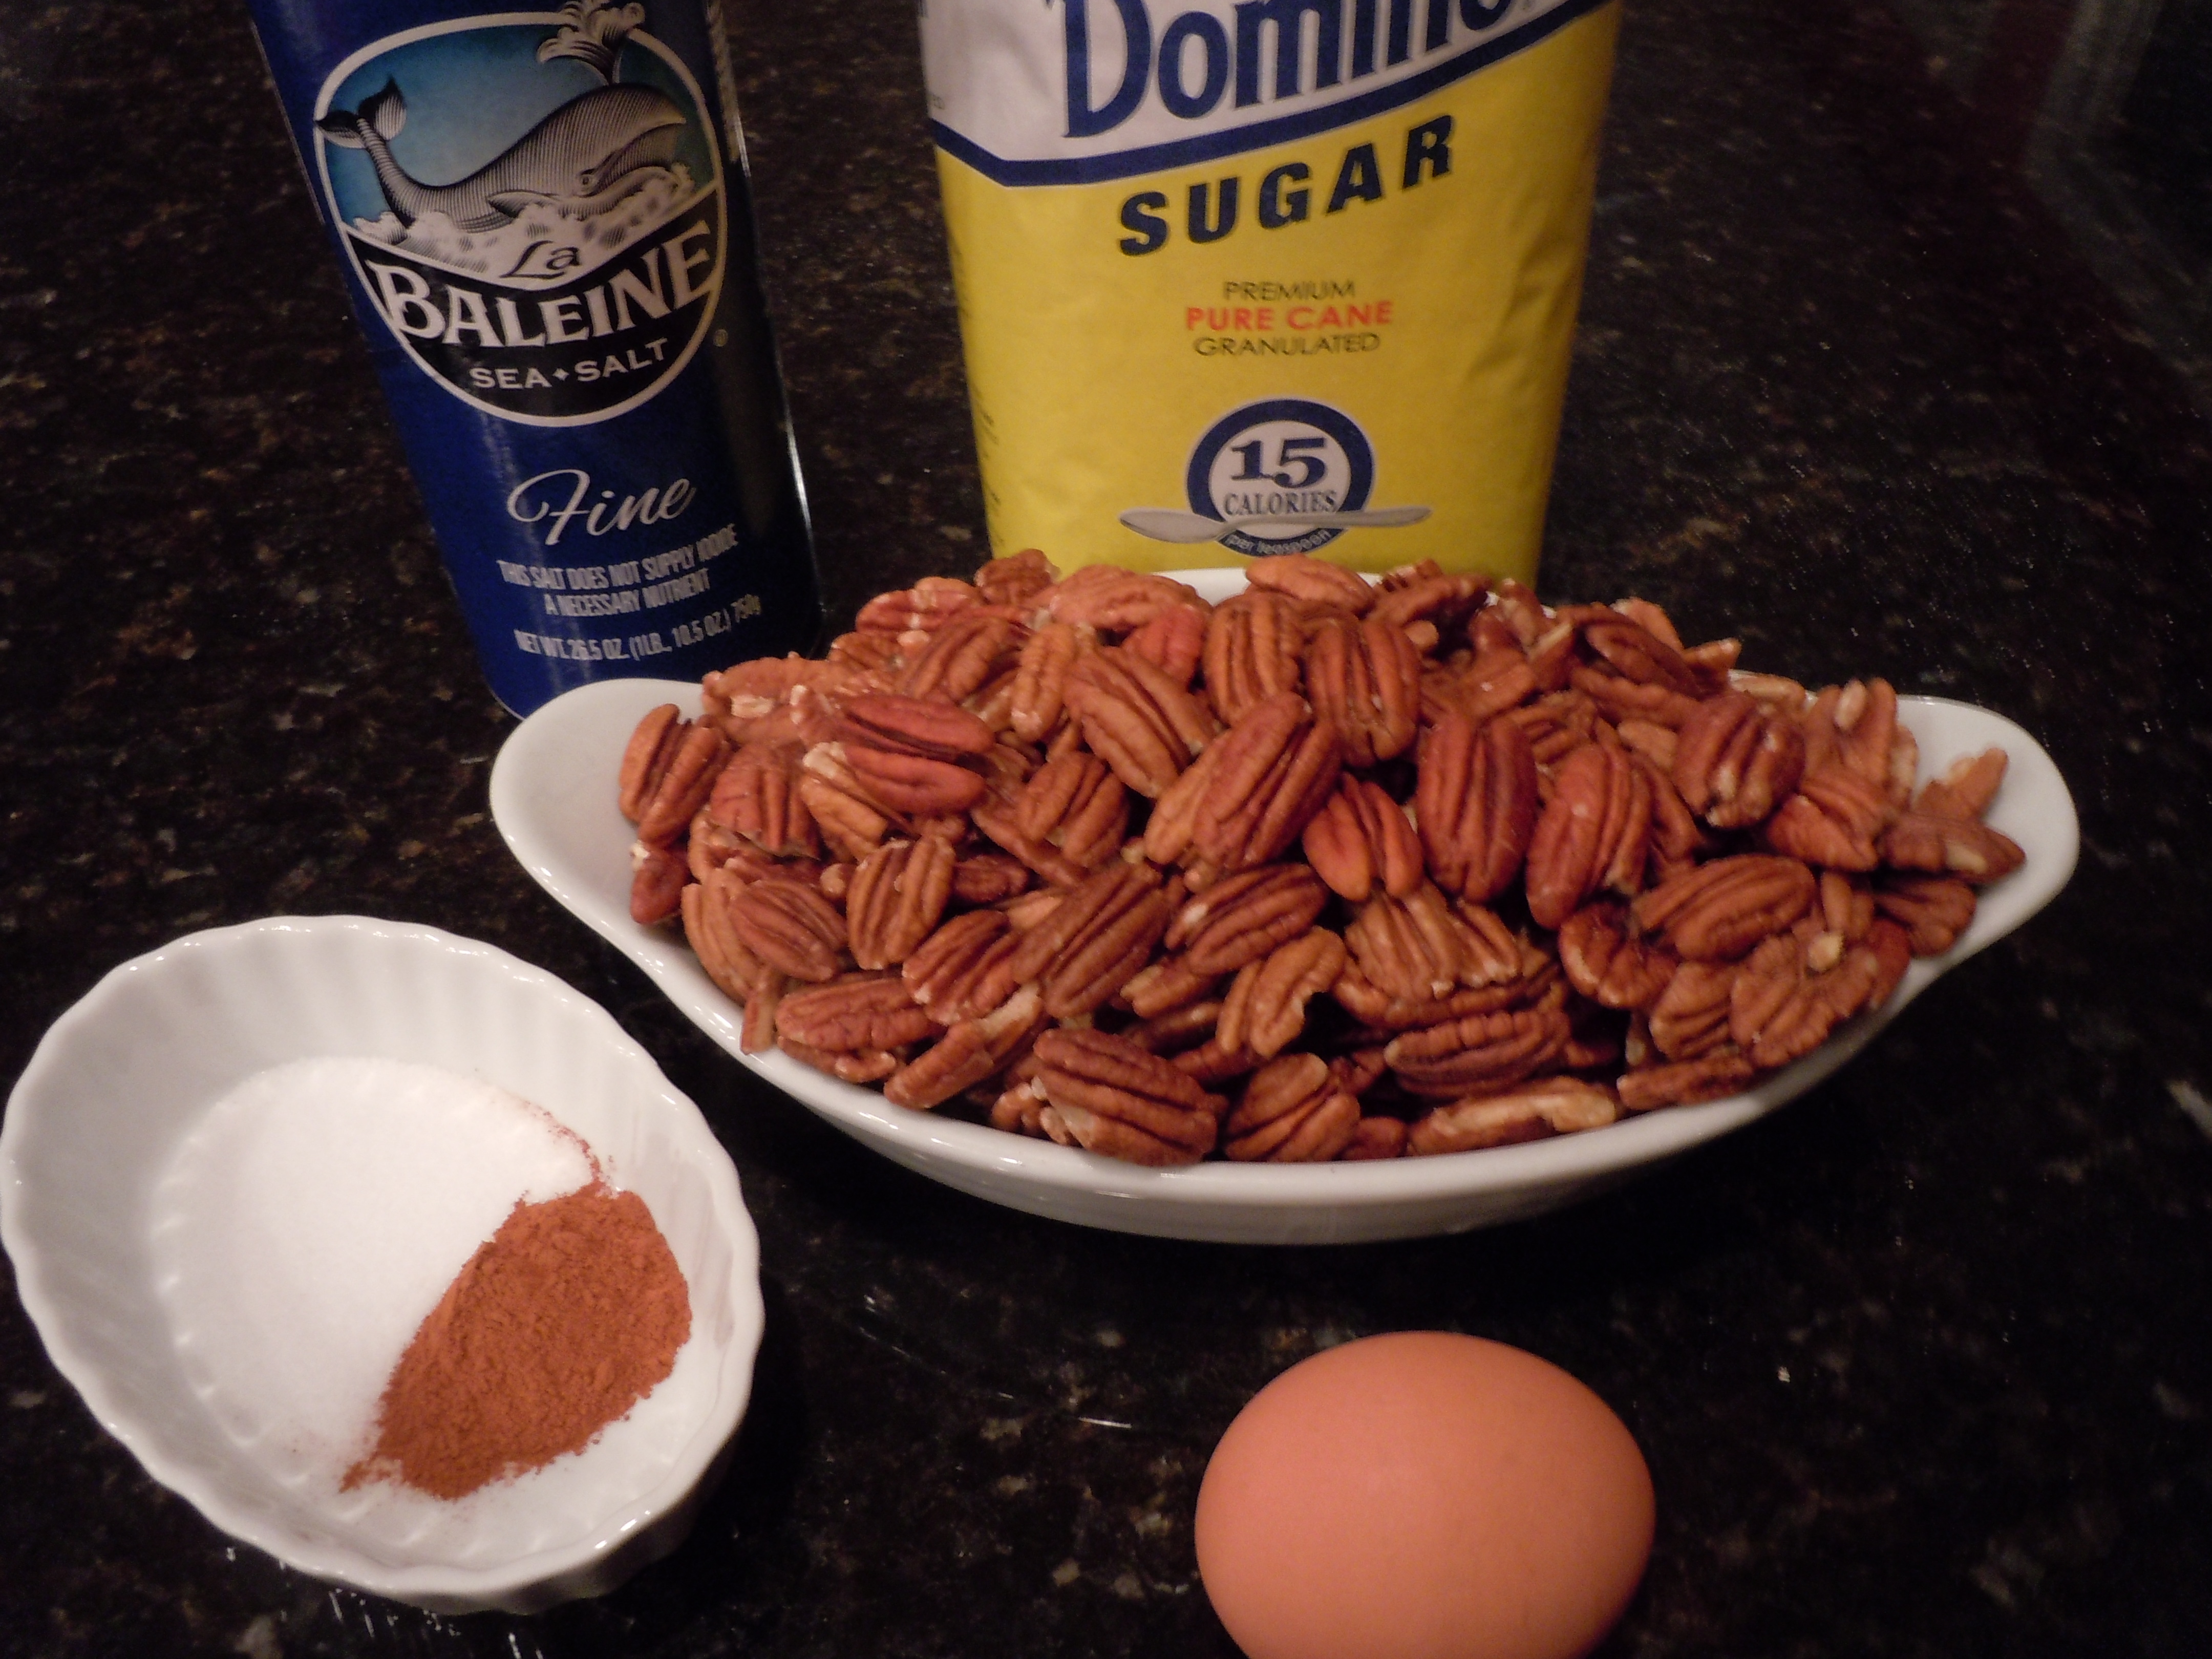
INGREDIENTS:
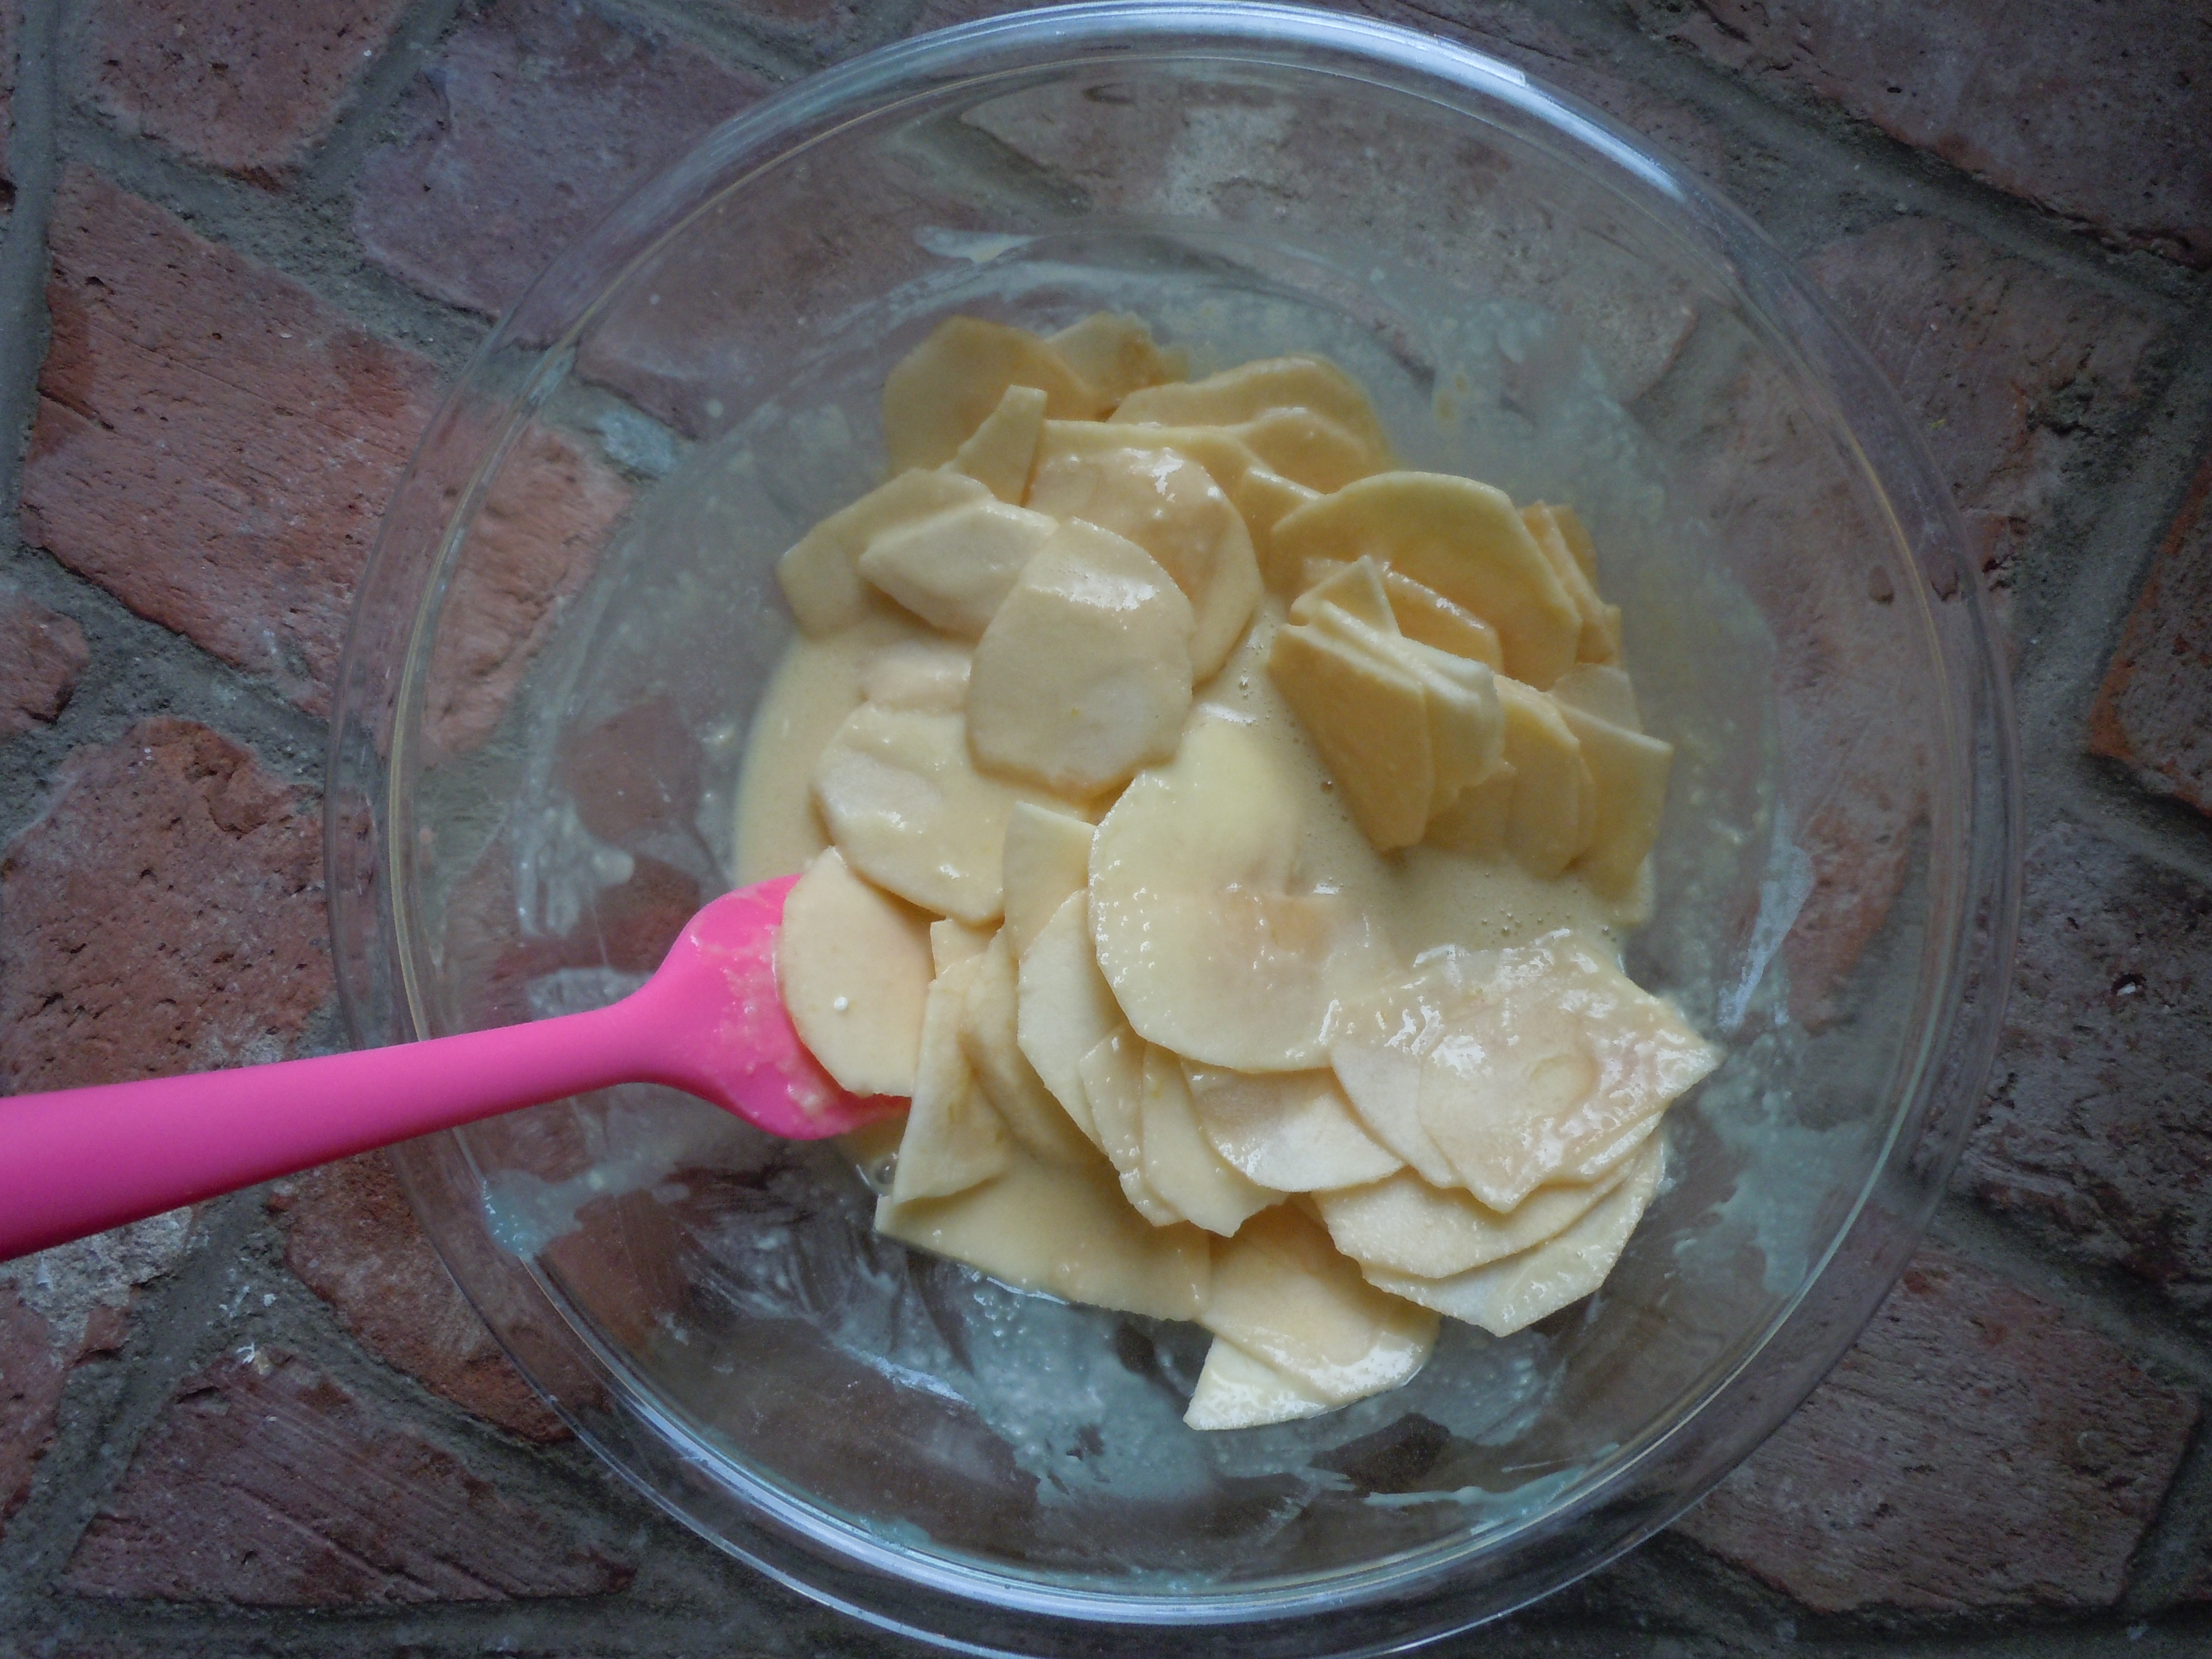
- 3 Fuji apples – Fuji or Gala peeled and thinly sliced to 1/16″ on mandolin
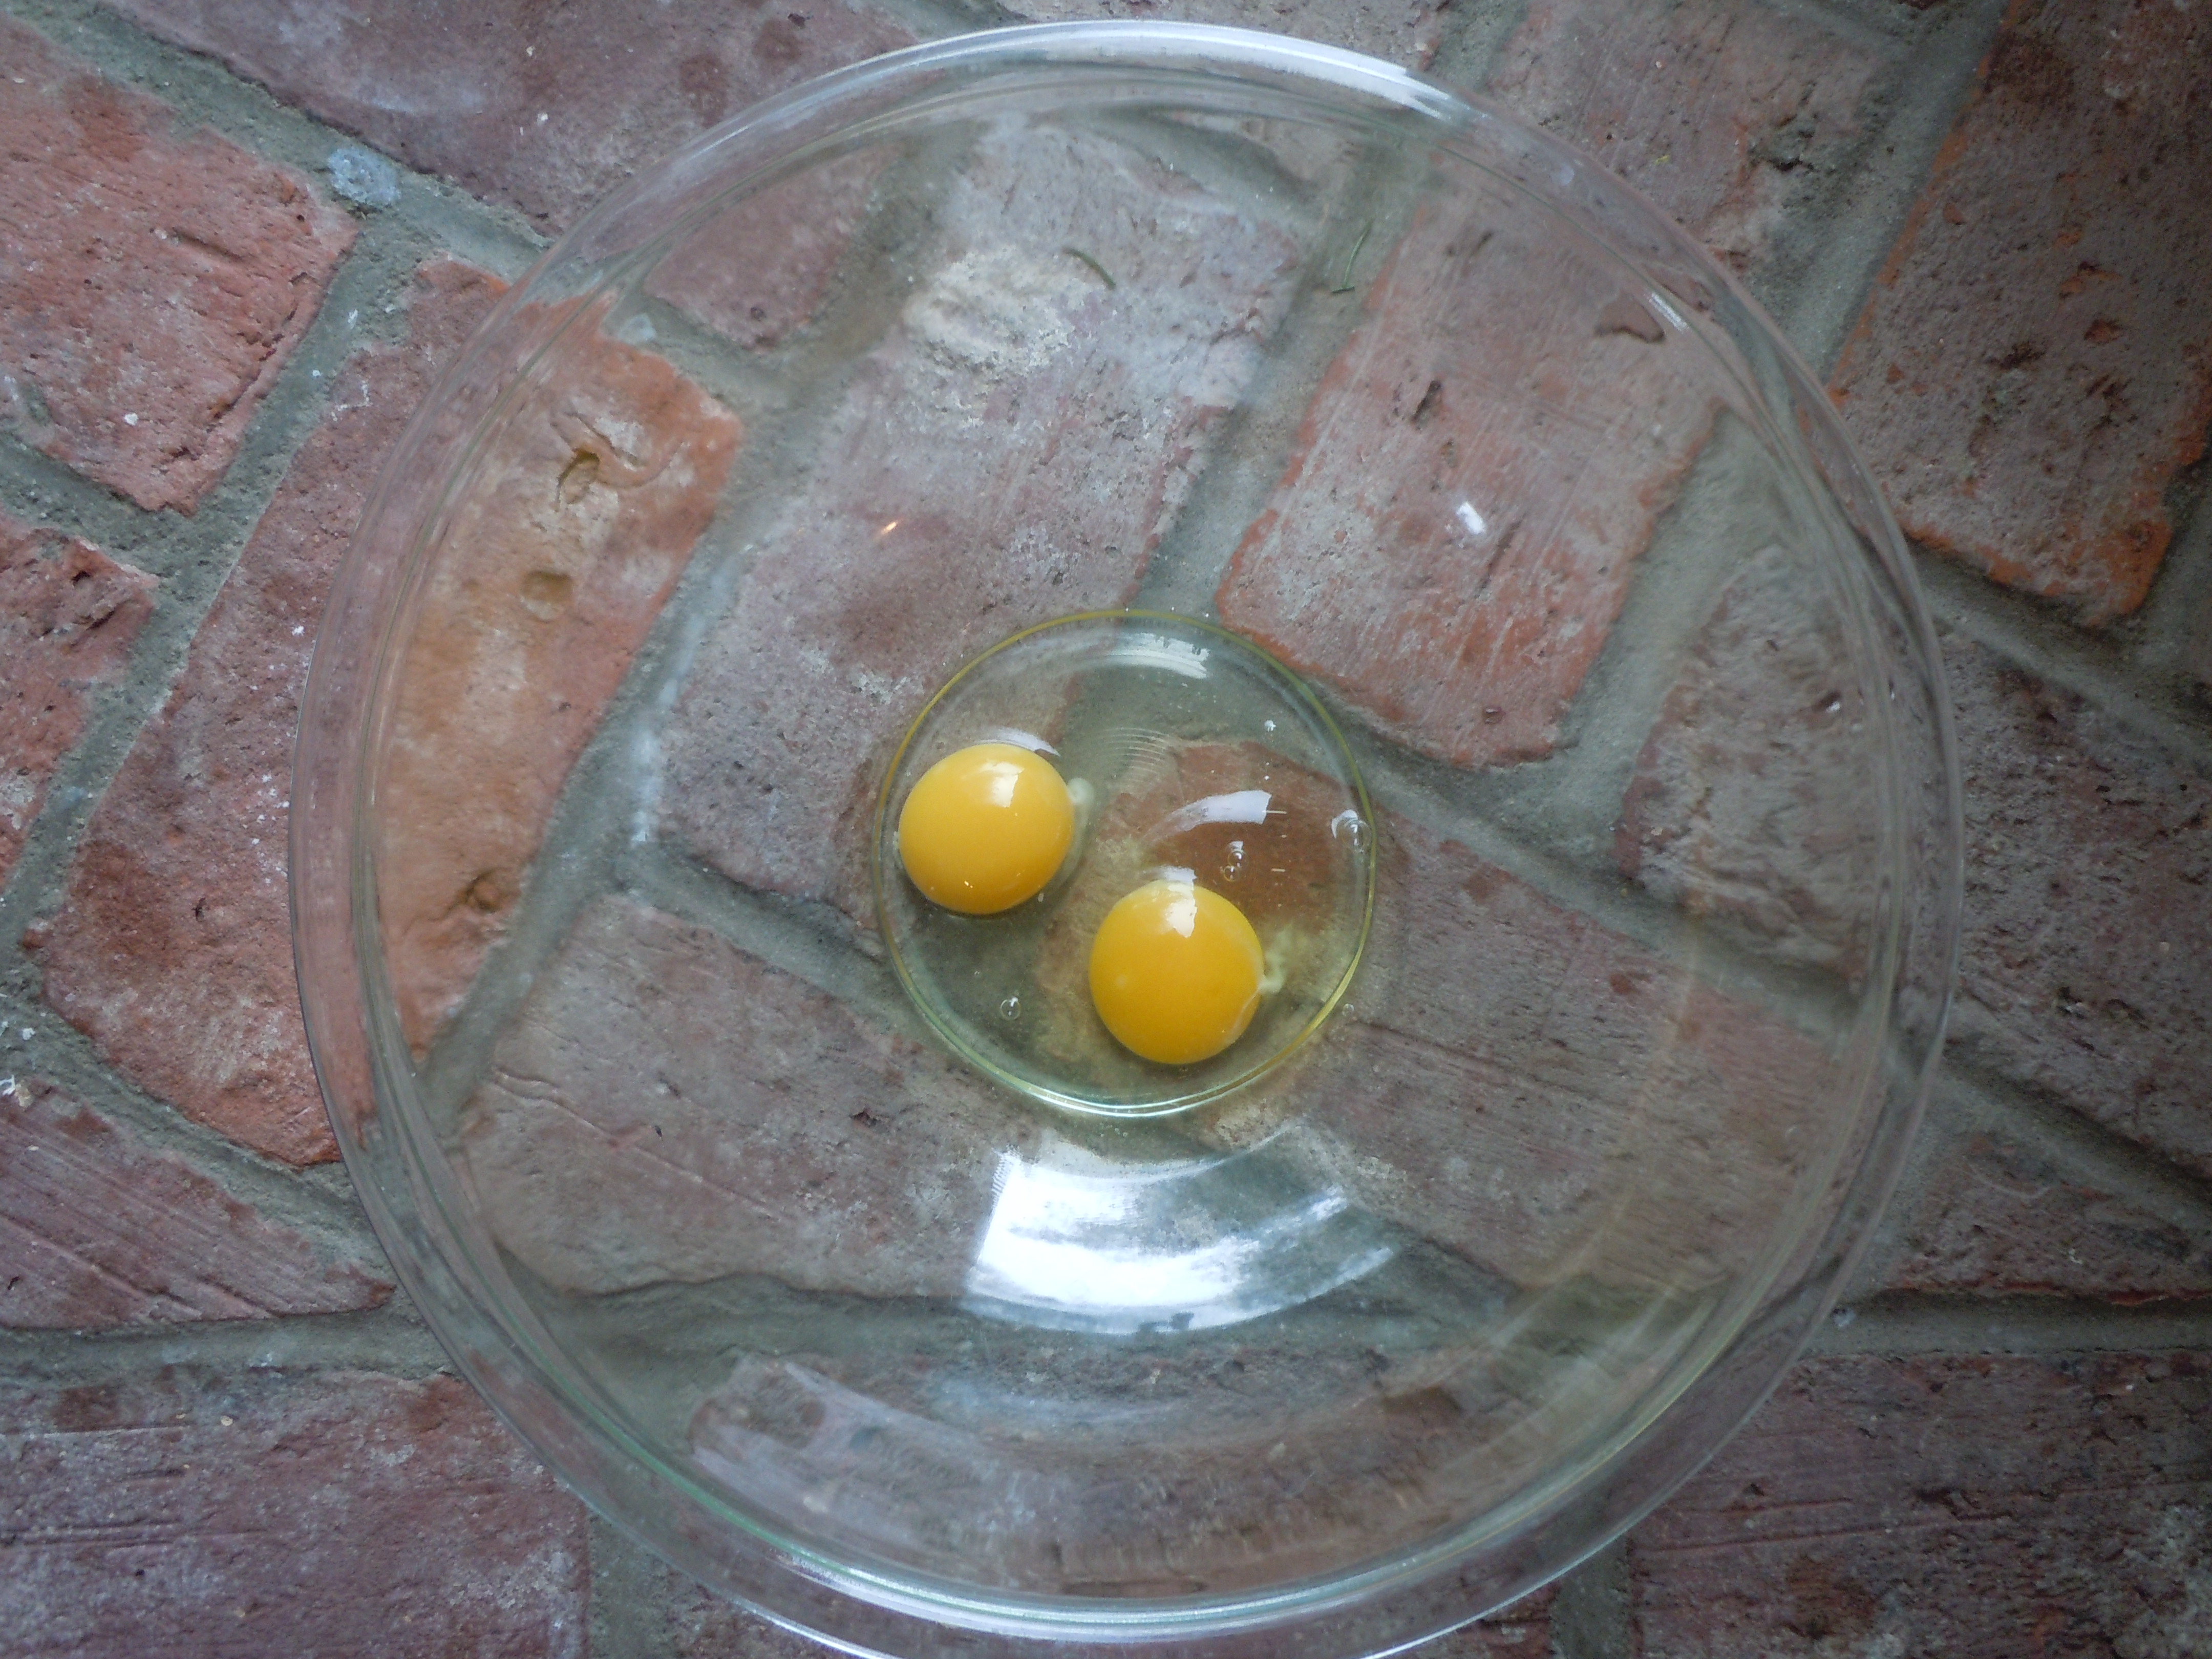
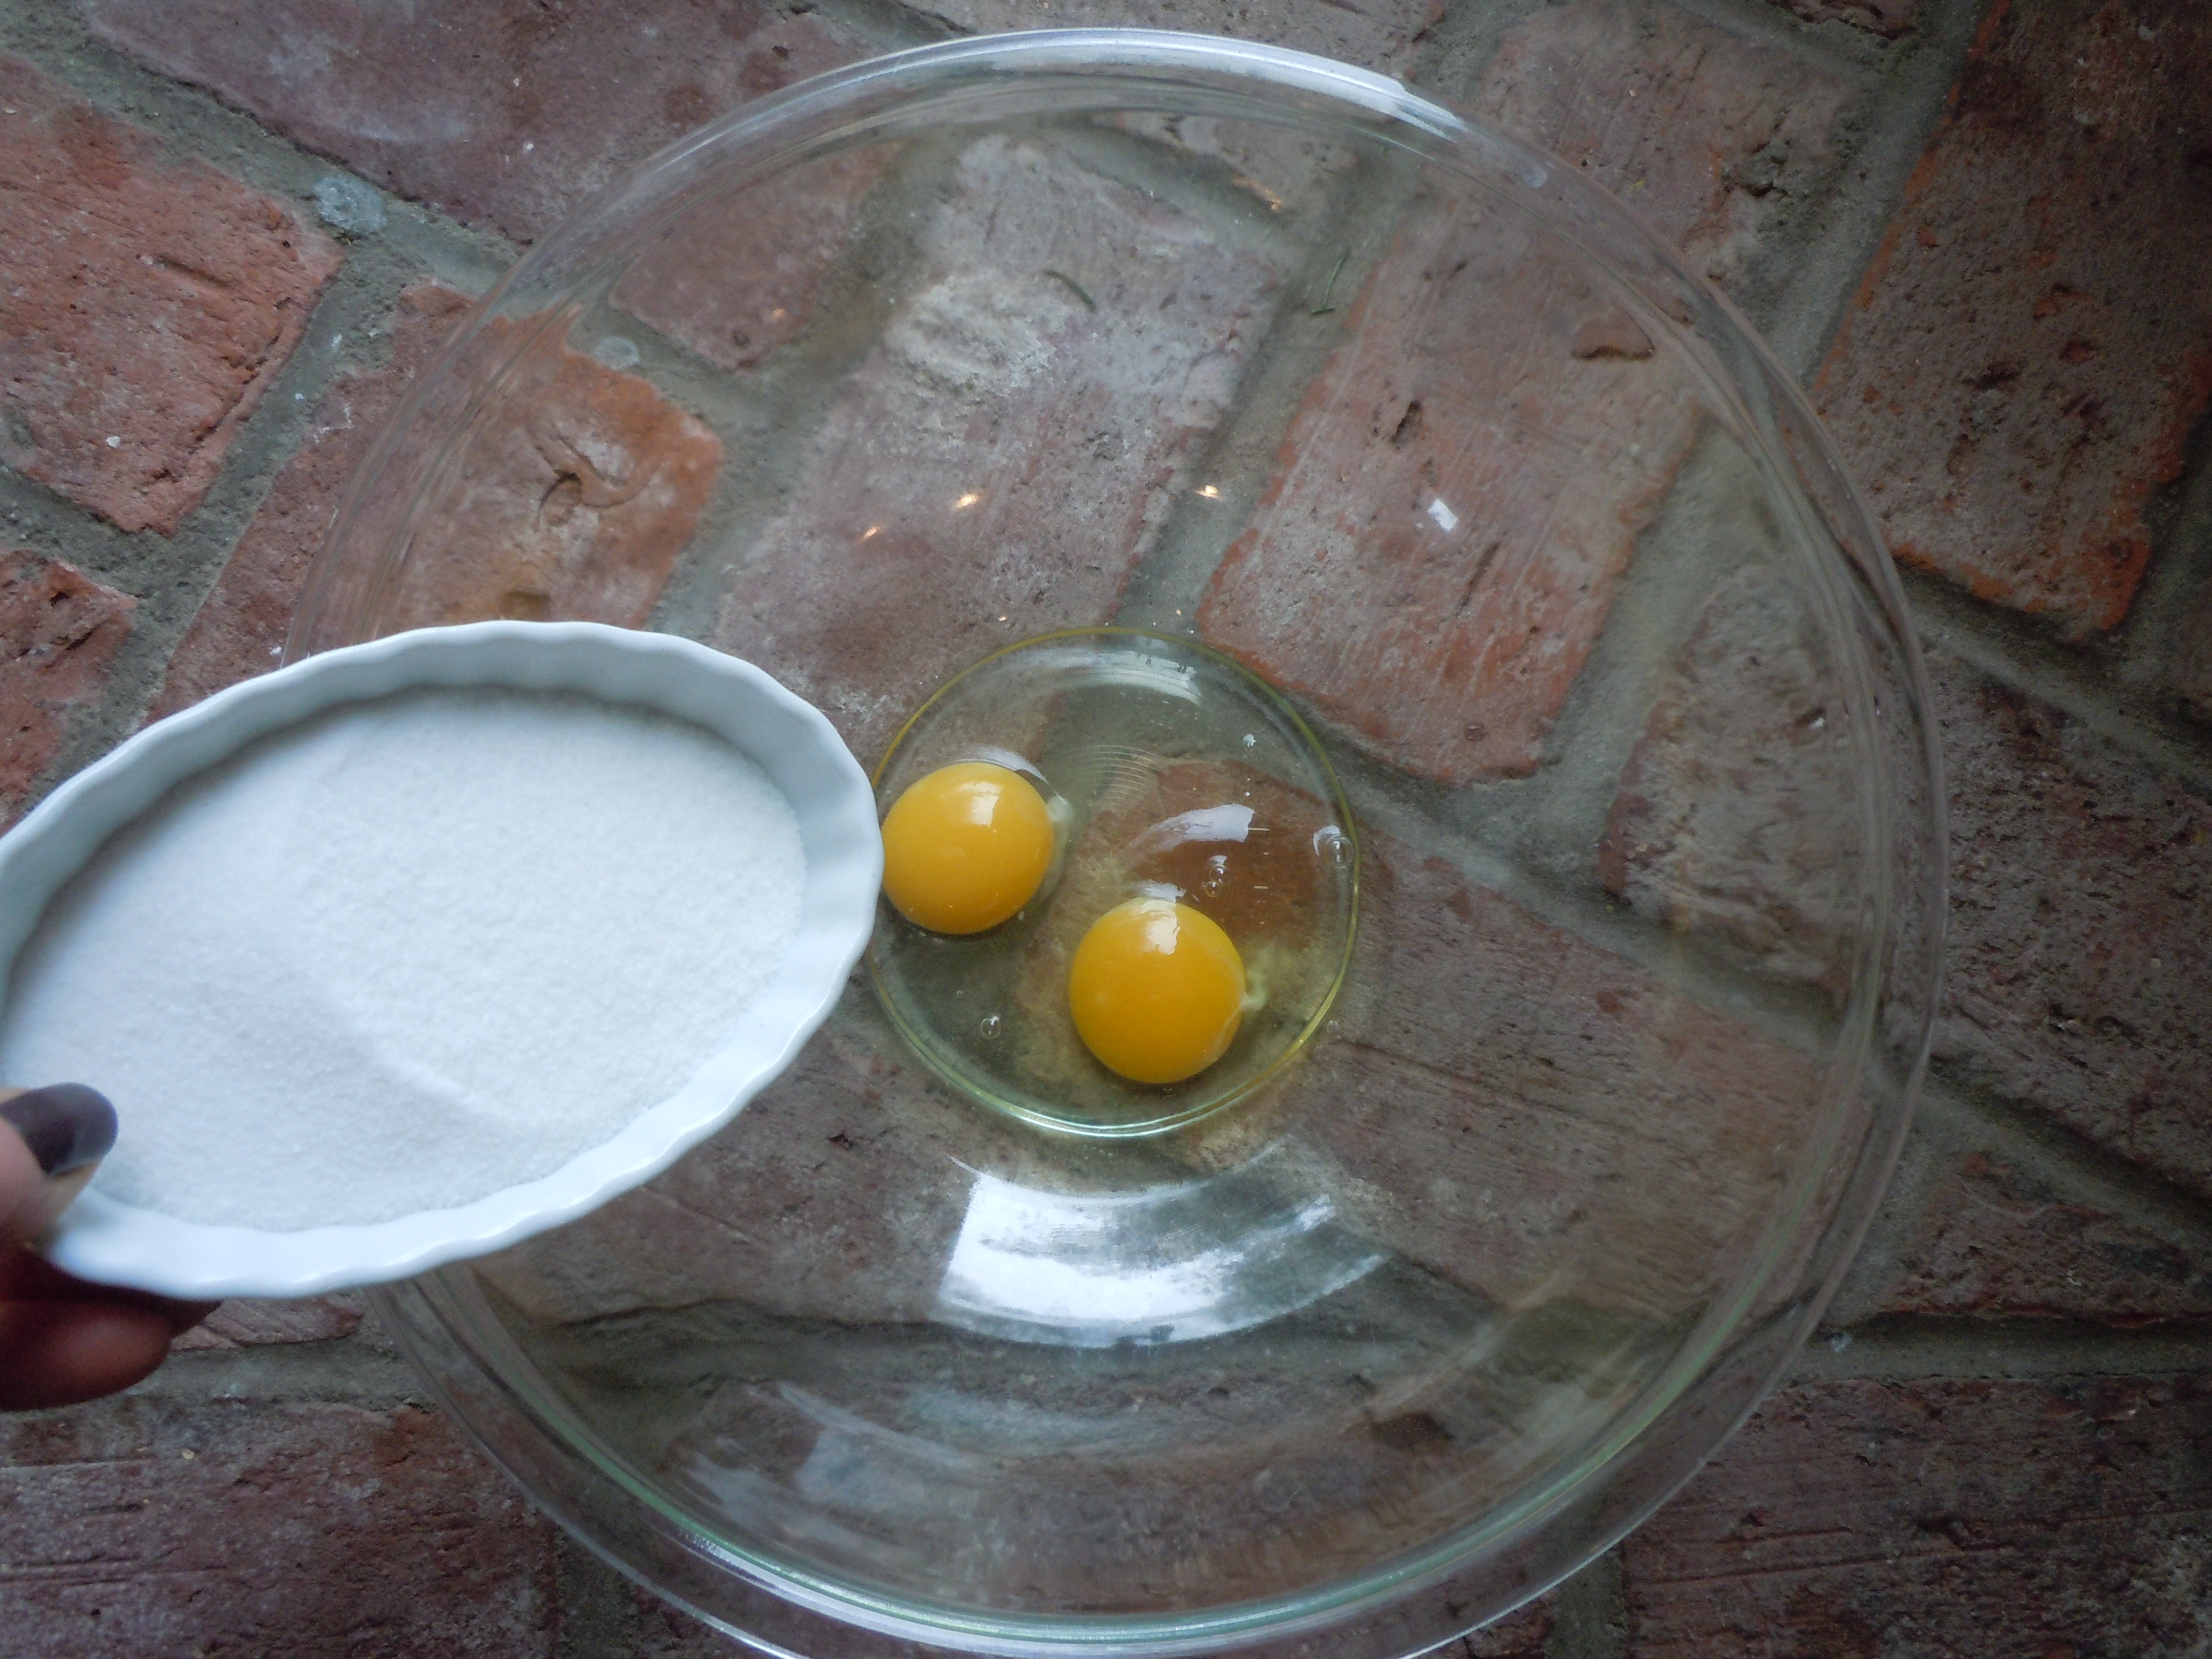
- 2 eggs room temp
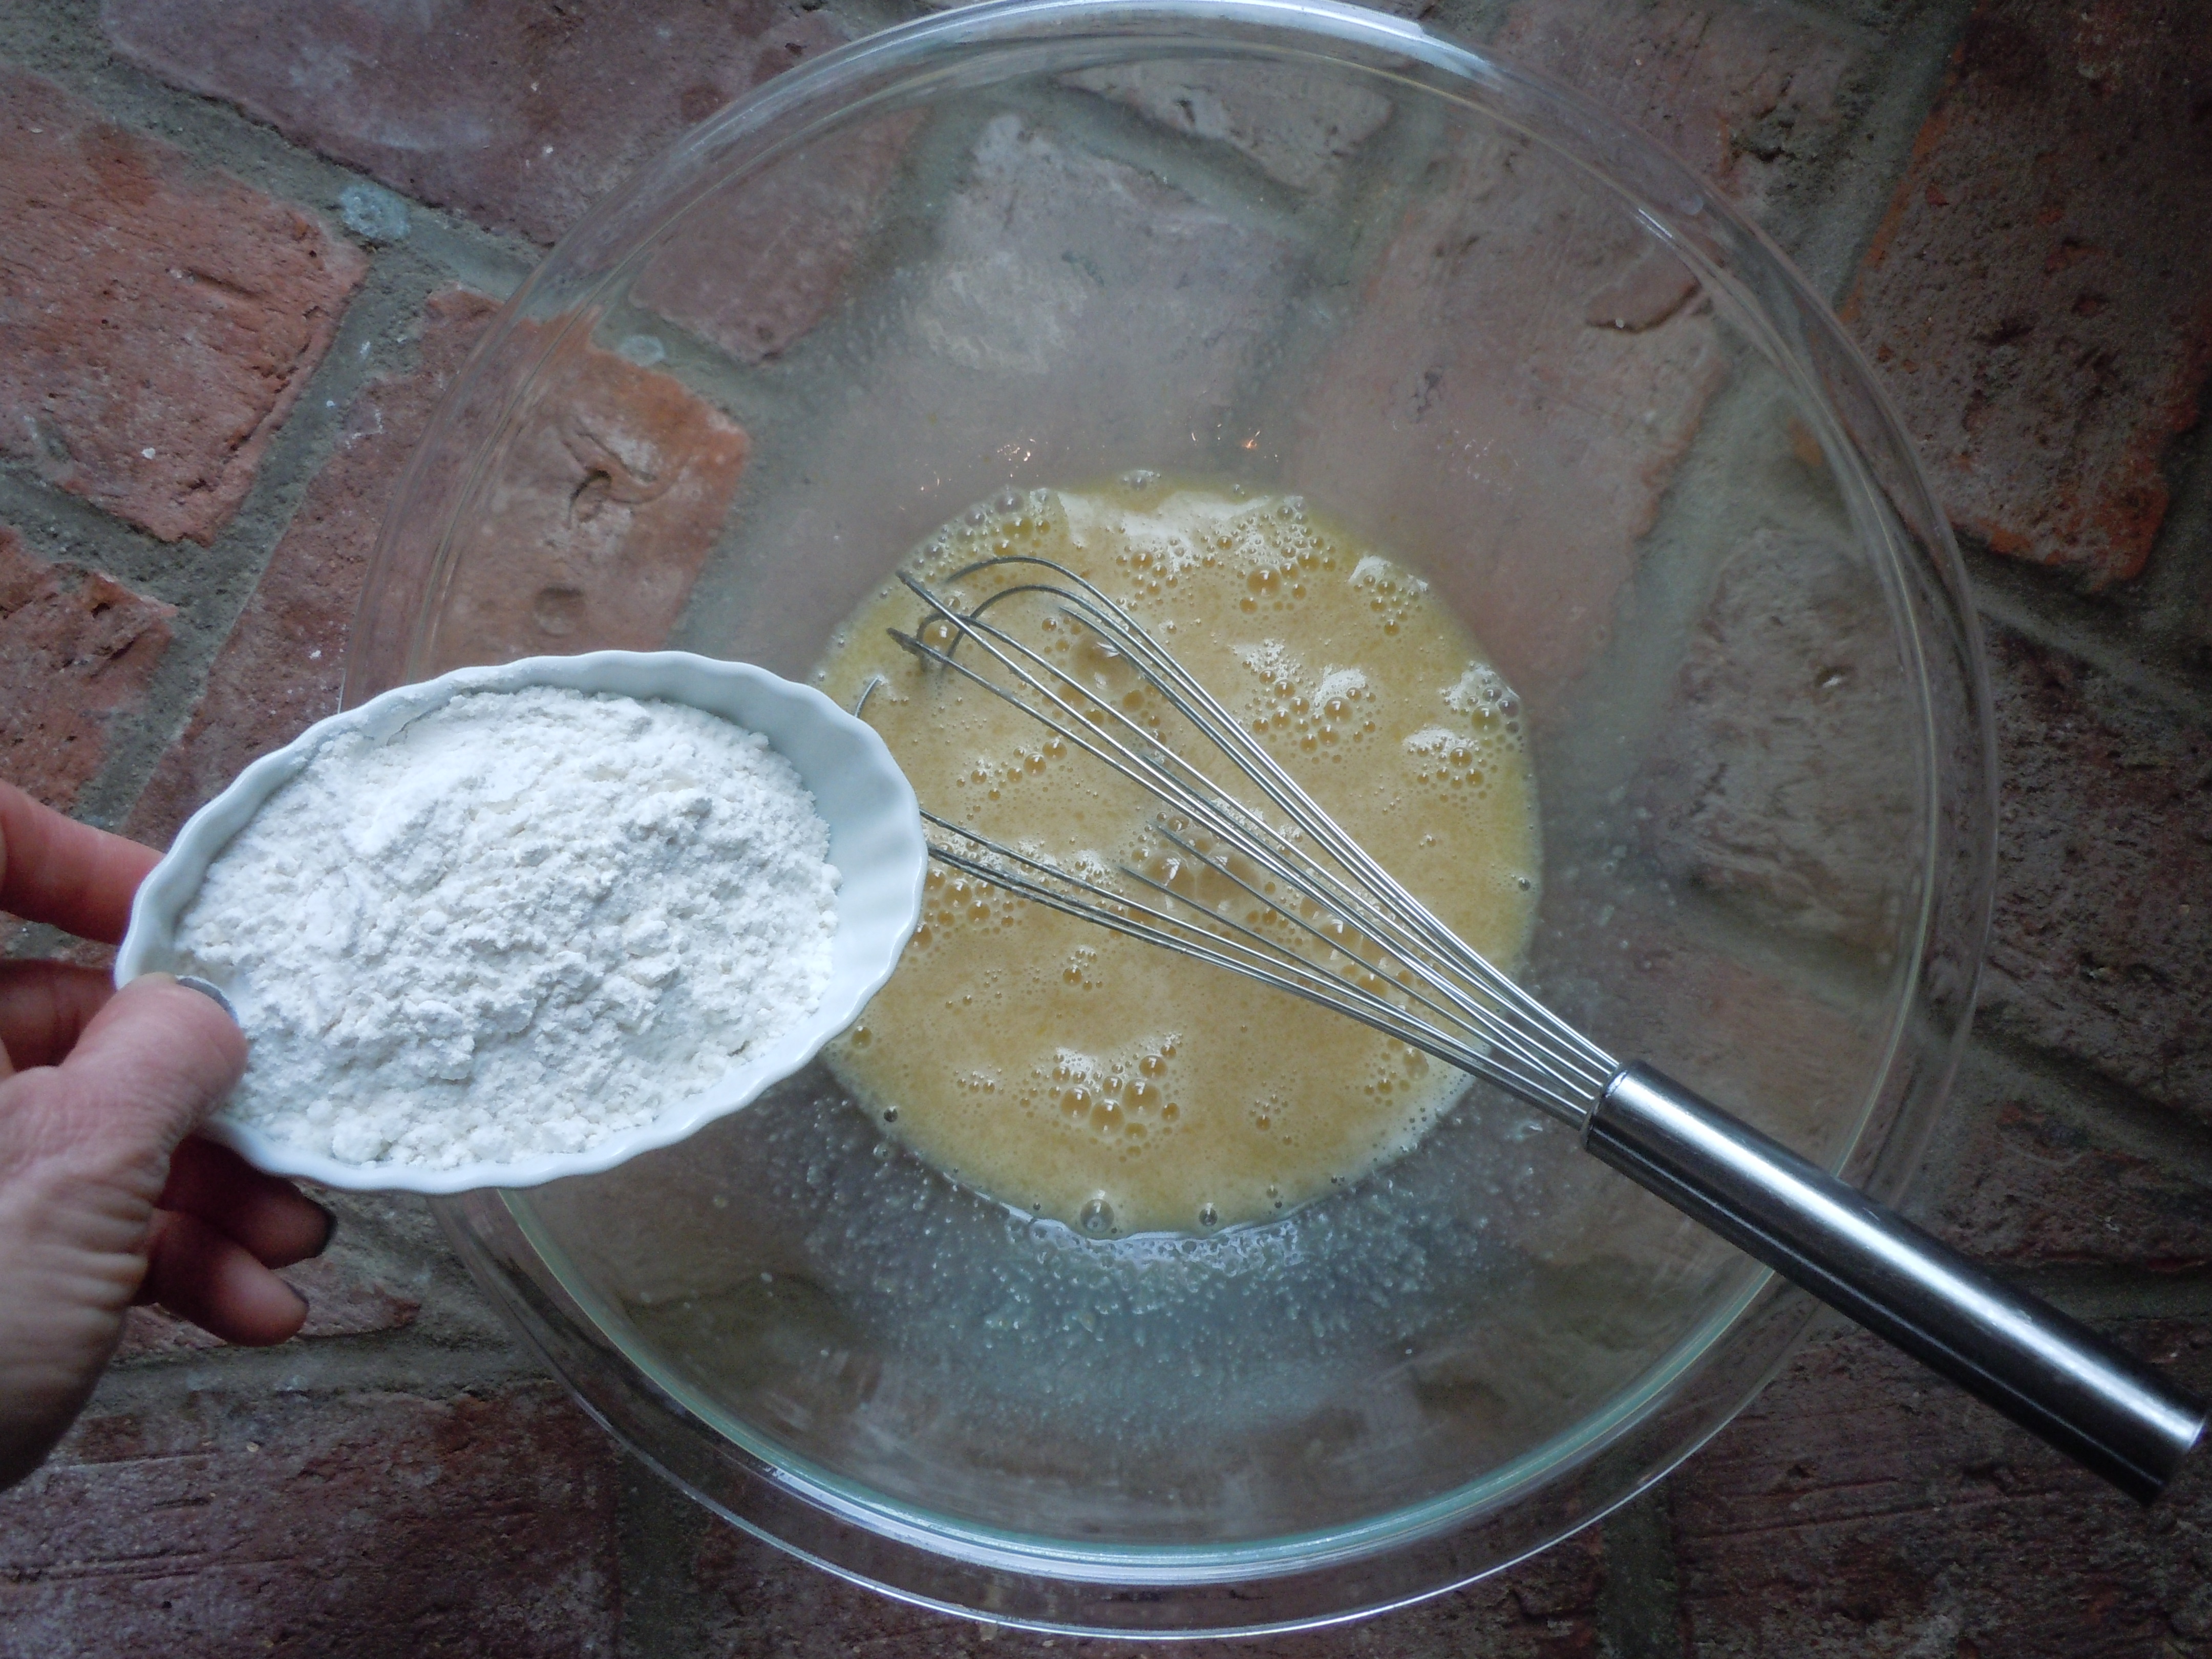
- 1/2 cup flour
- 1 tsp baking powder
- 1/3 cup sugar
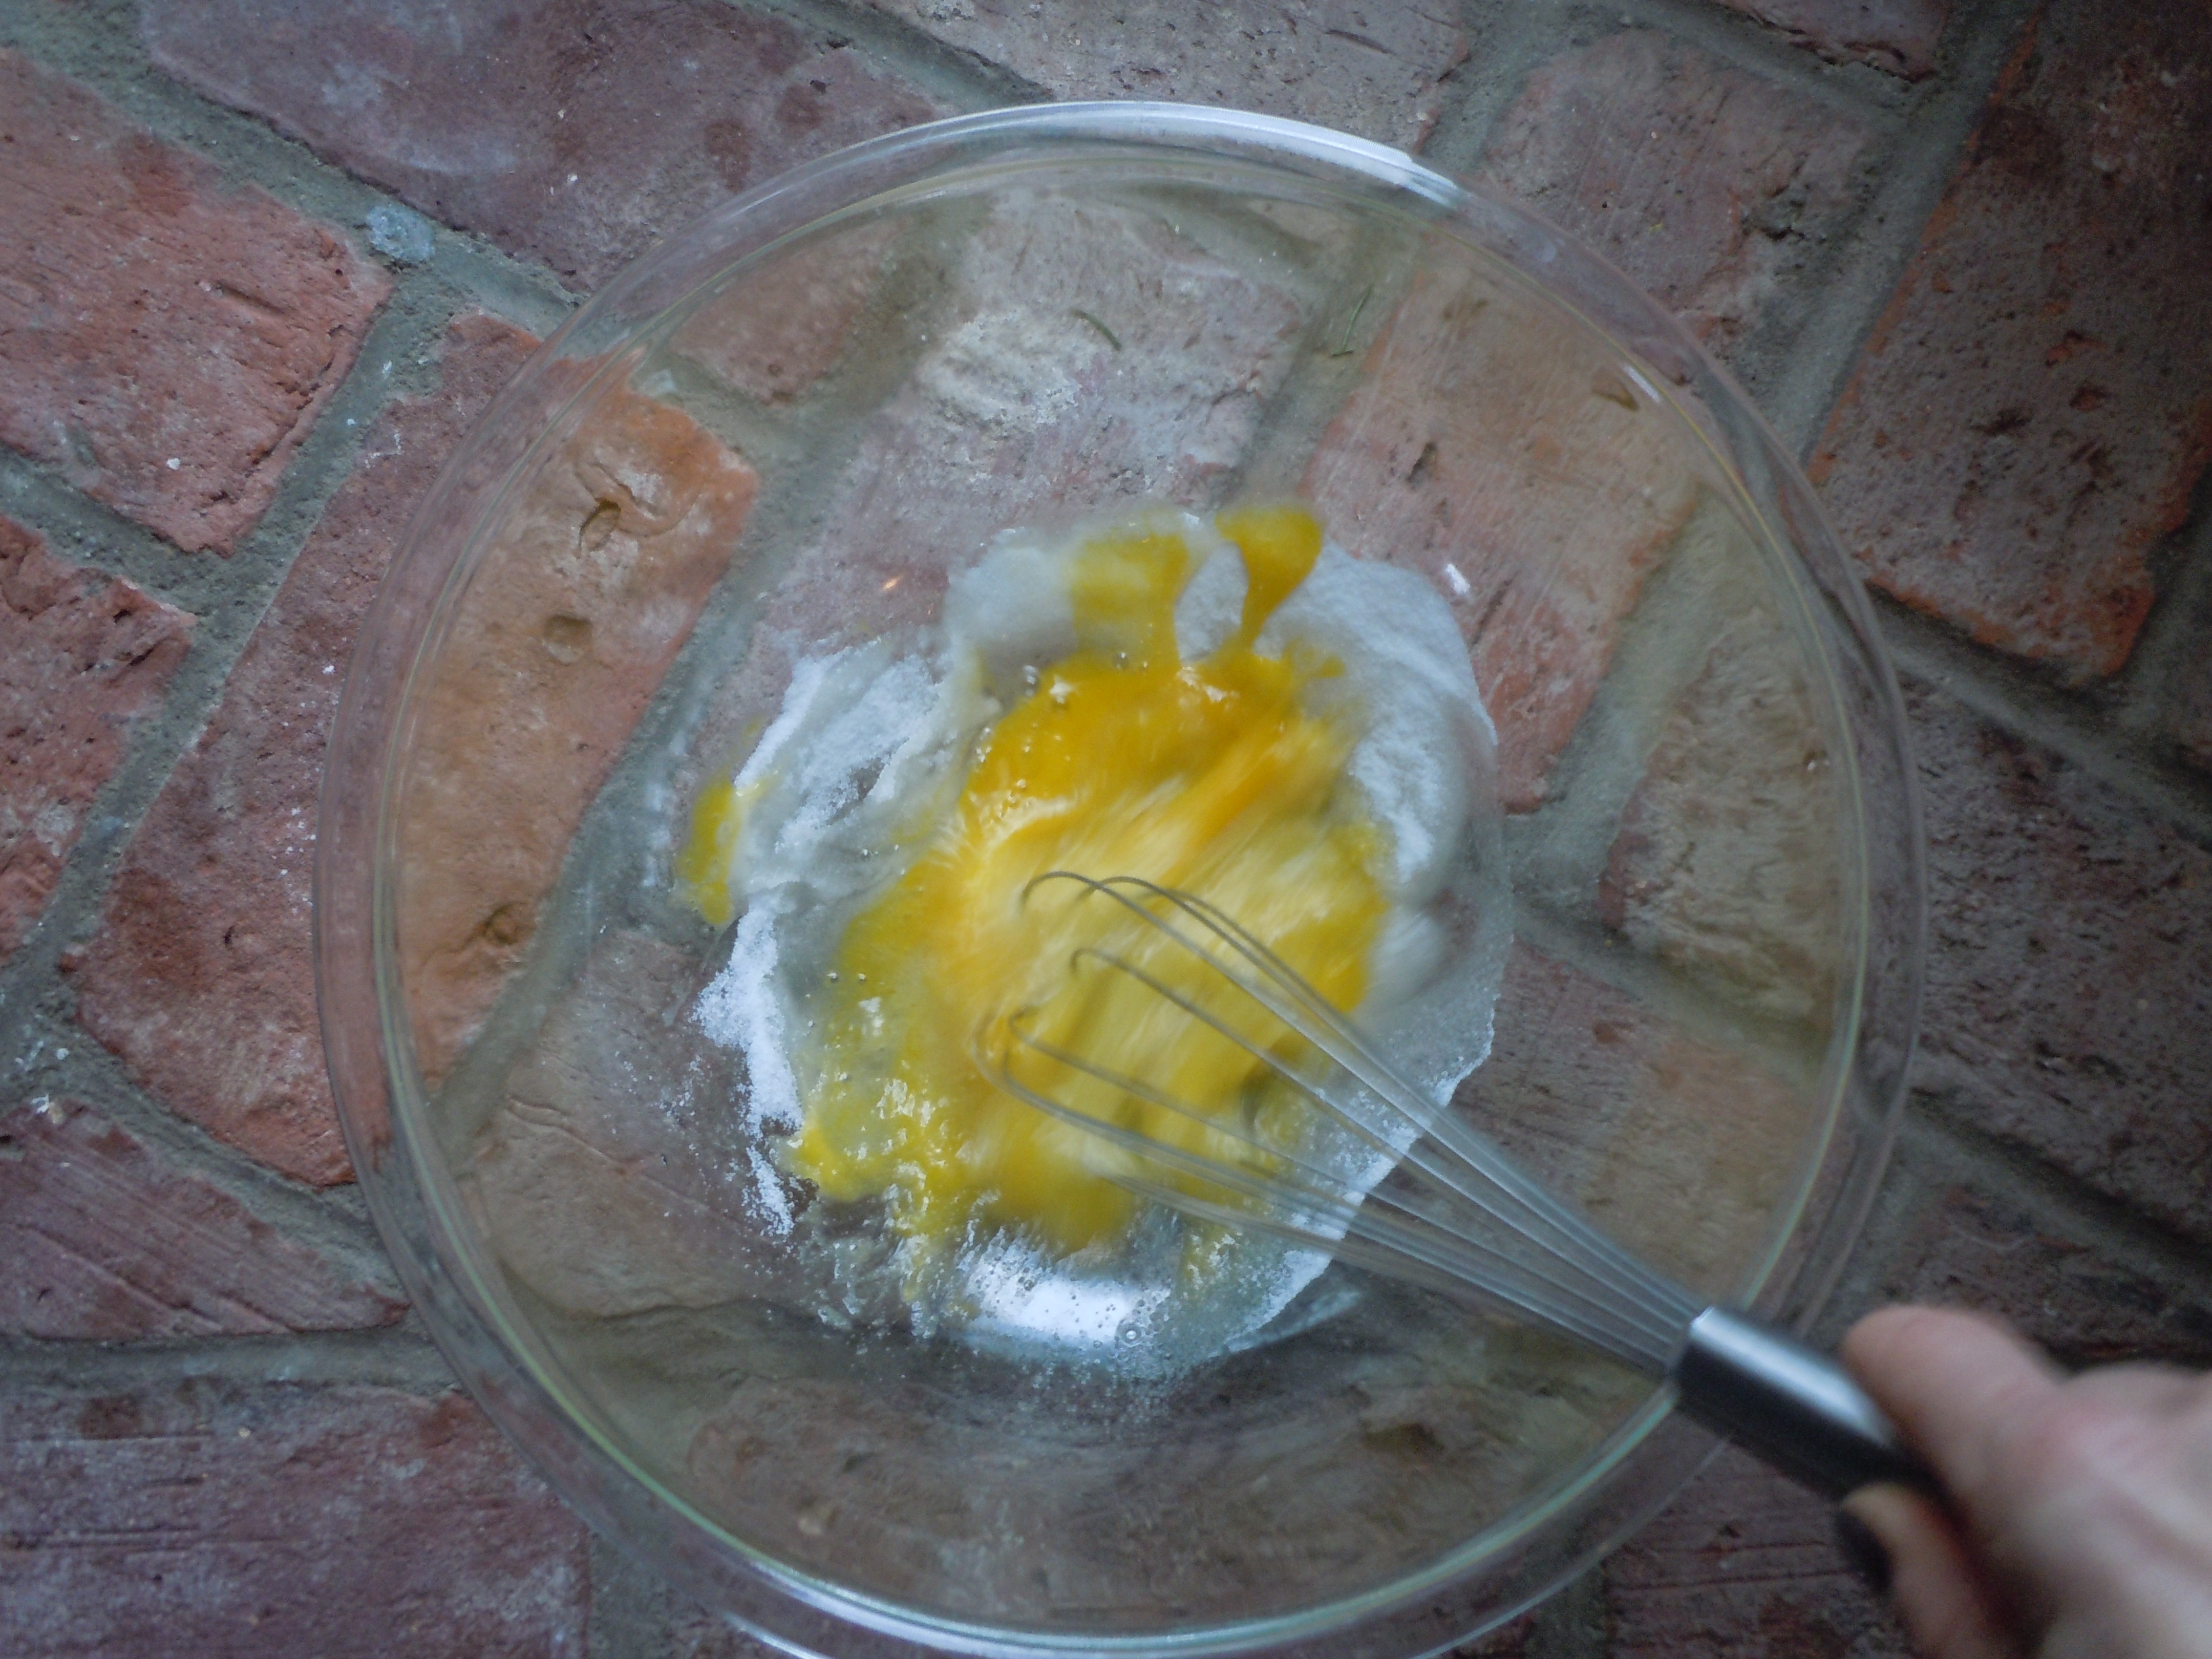
- 1/4 tsp salt
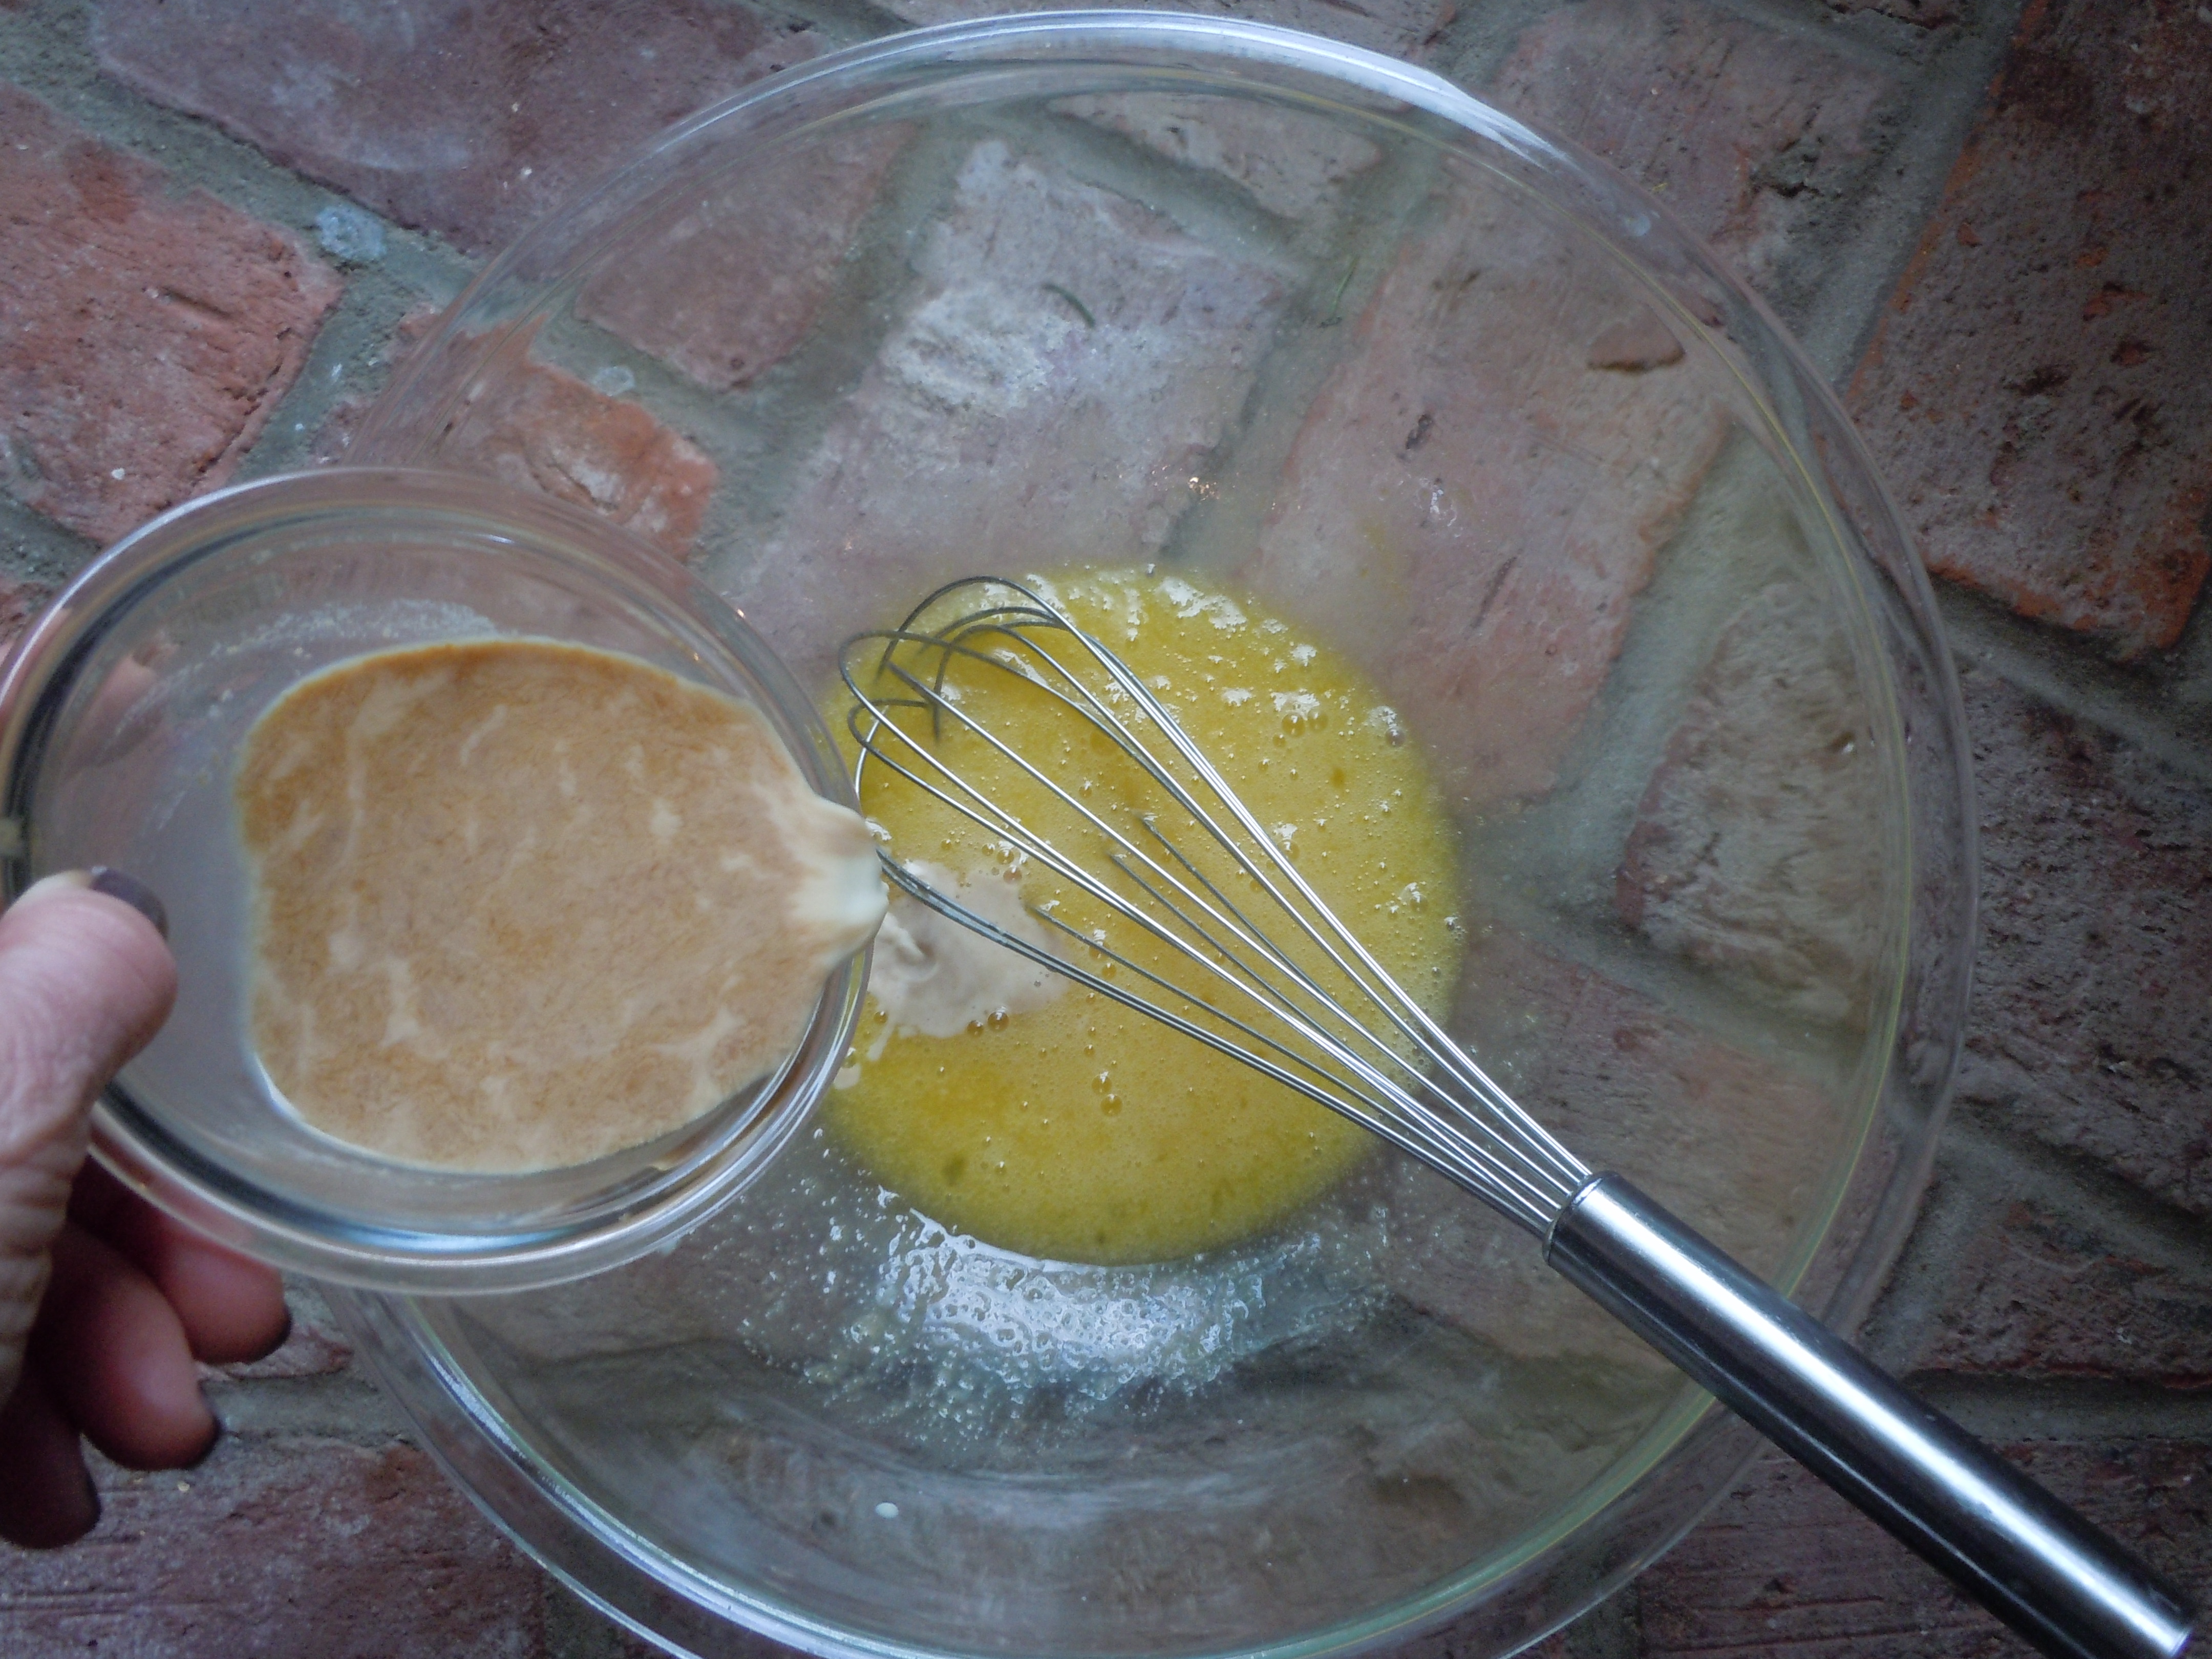
- 2 tsp pure vanilla extract
- 1/4 cup PLUS 2 Tbsp whole milk
- 2 Tbsp unsalted butter melted and cooled
- Confectioner’s sugar
- Maple syrup OR store bought apple jelly
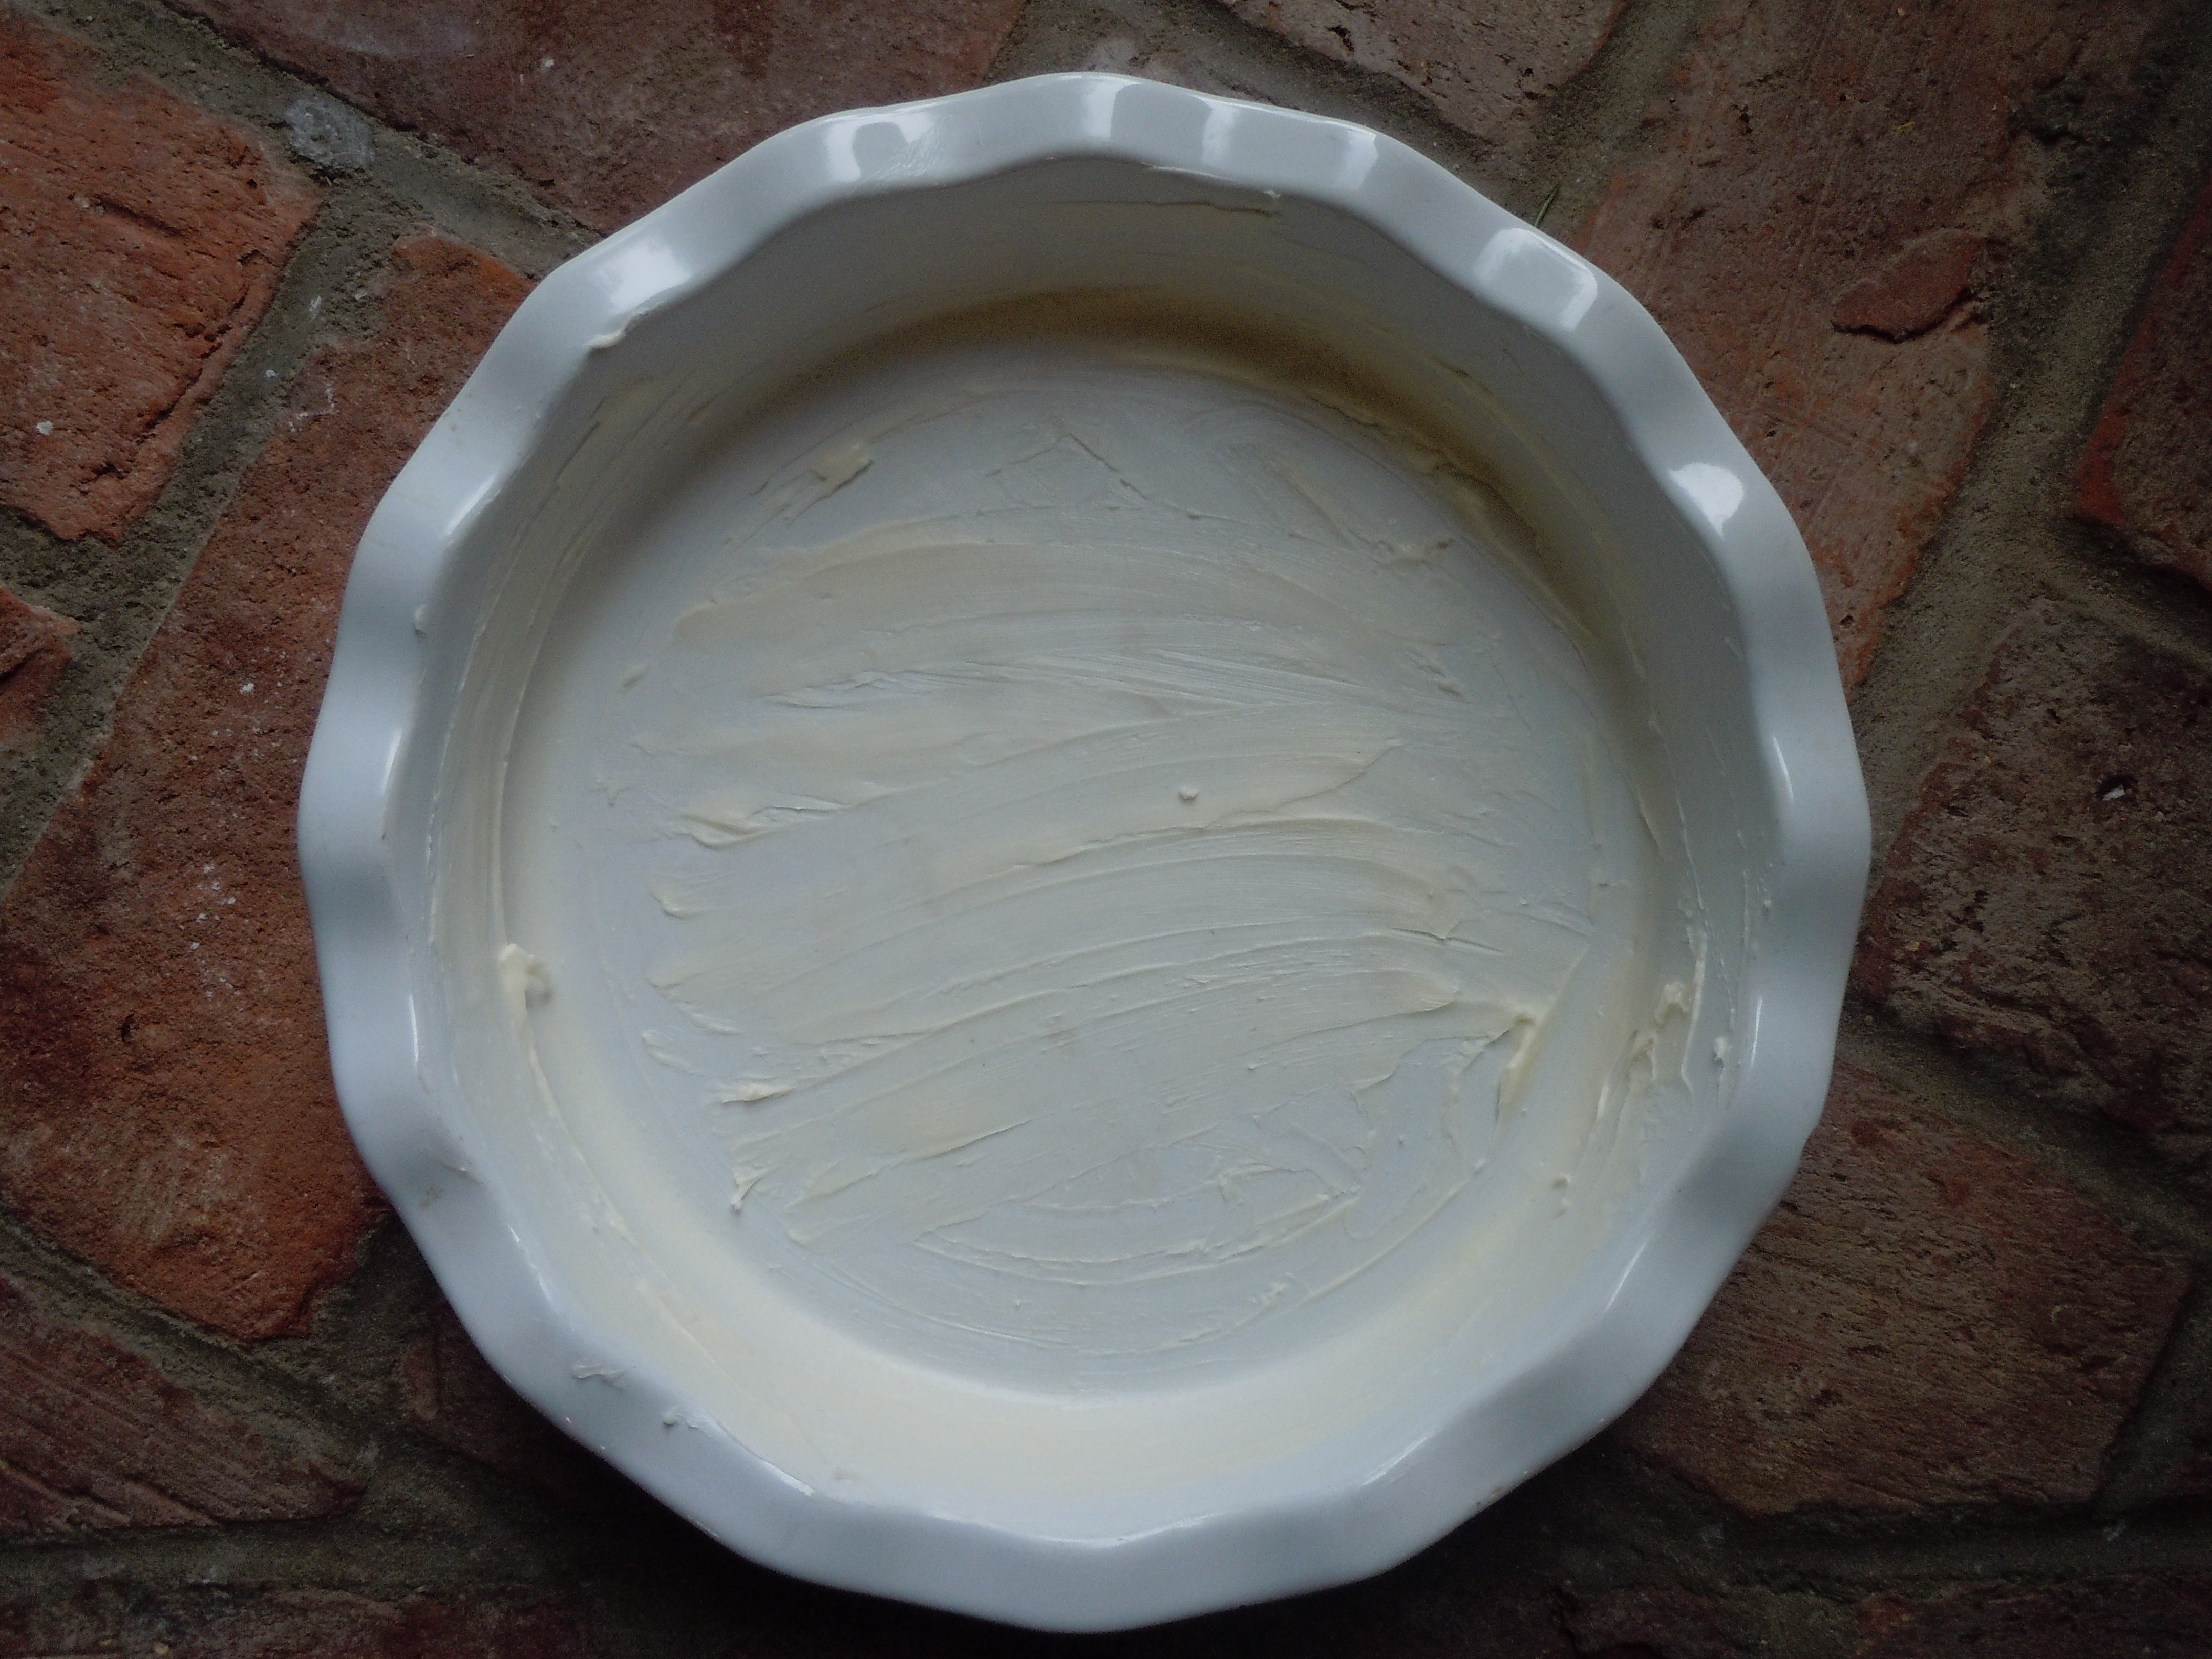
DIRECTIONS: Pre-Heat oven to 400º
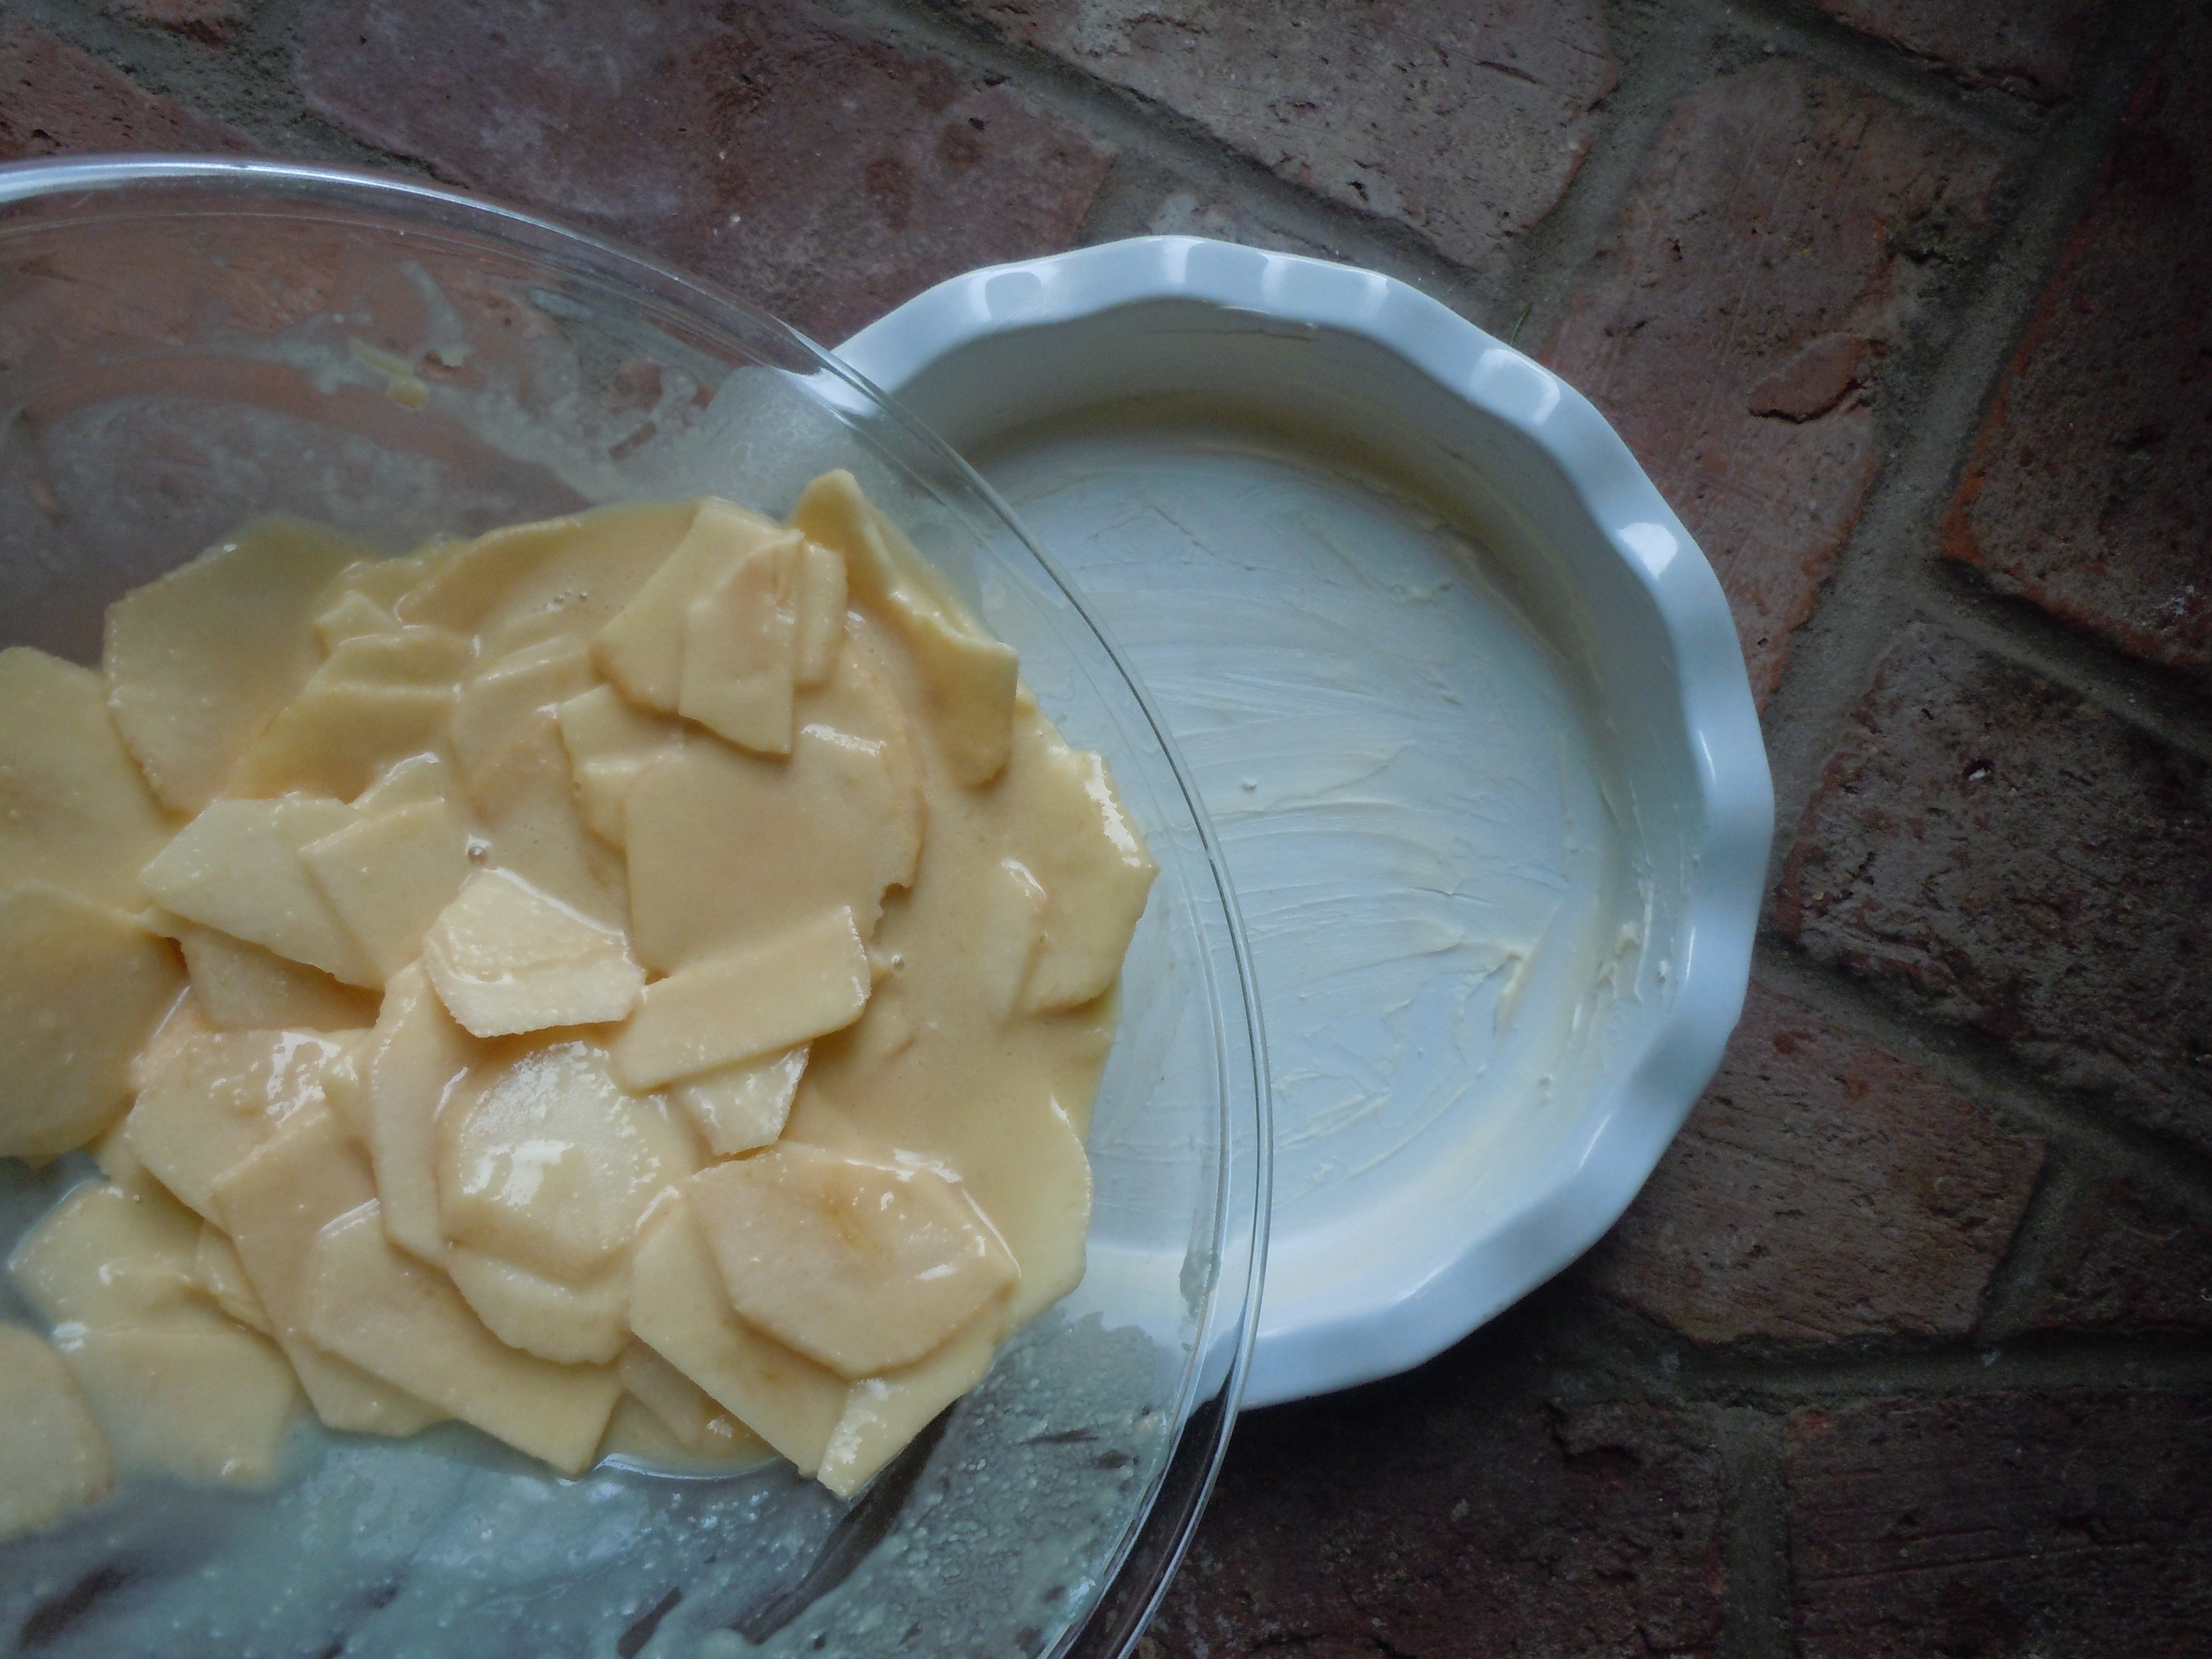
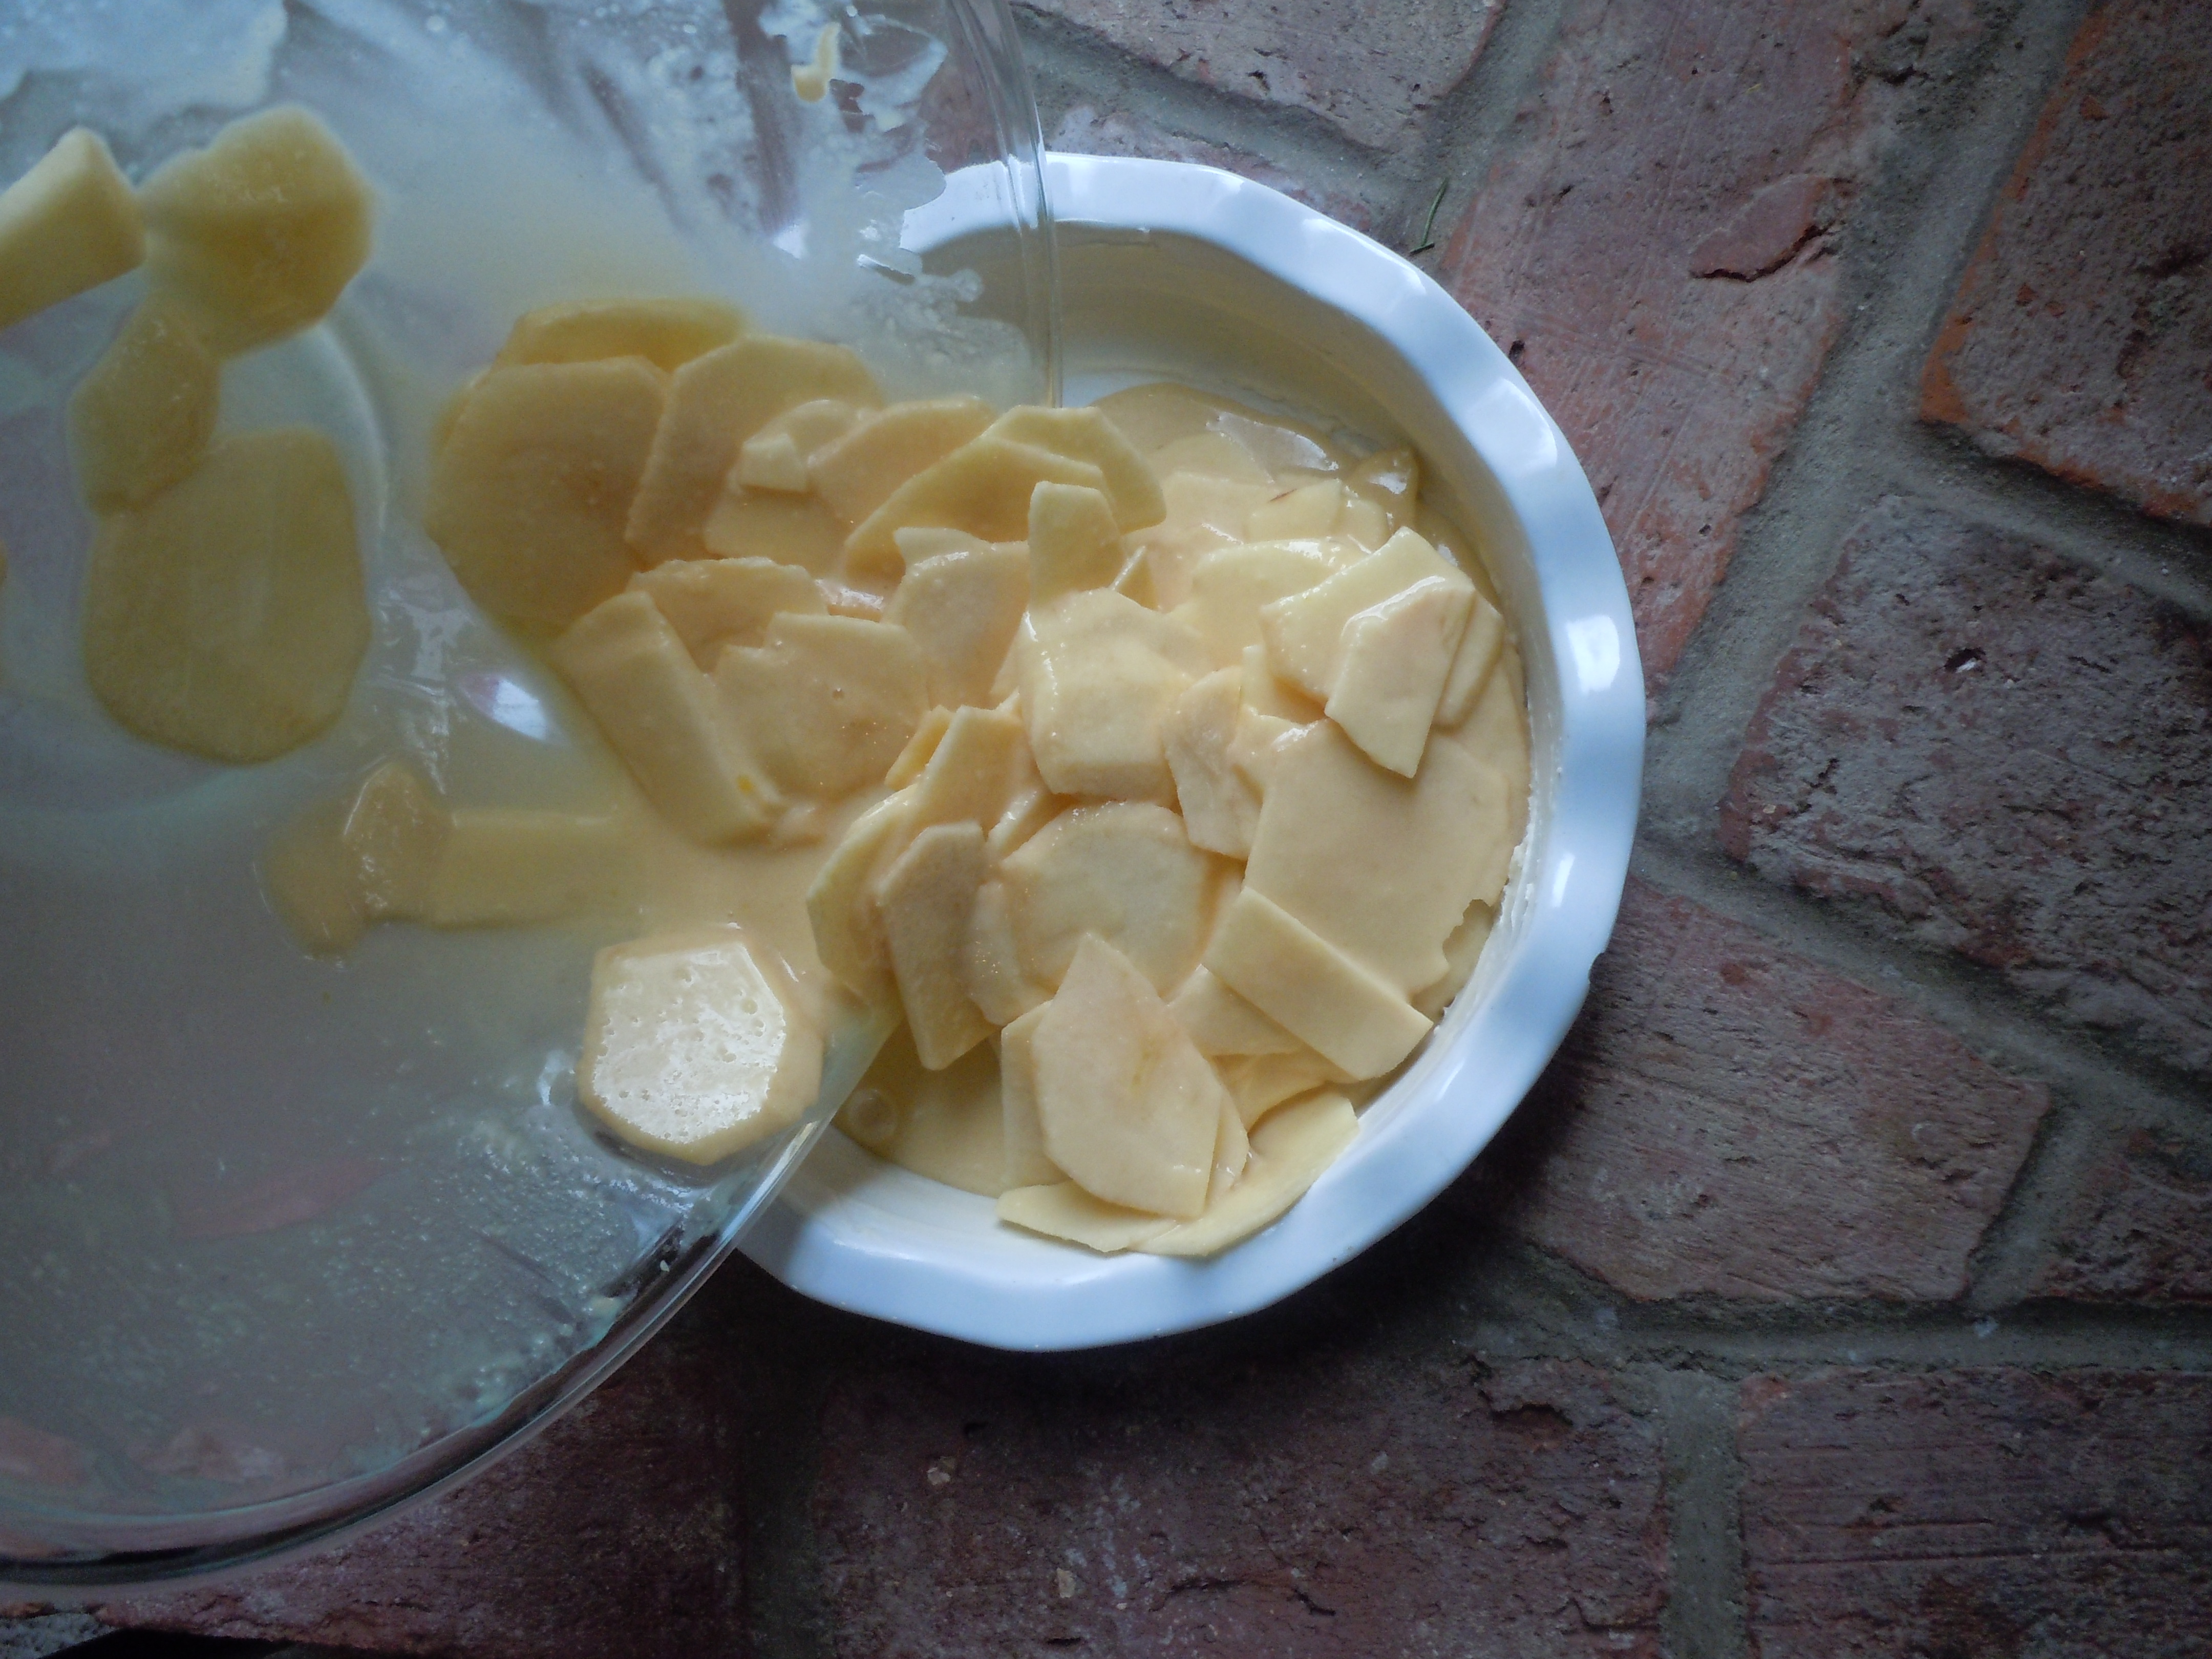
- Butter 8 x 8 pan (you can line also with parchment if you want to unmold to a serving platter
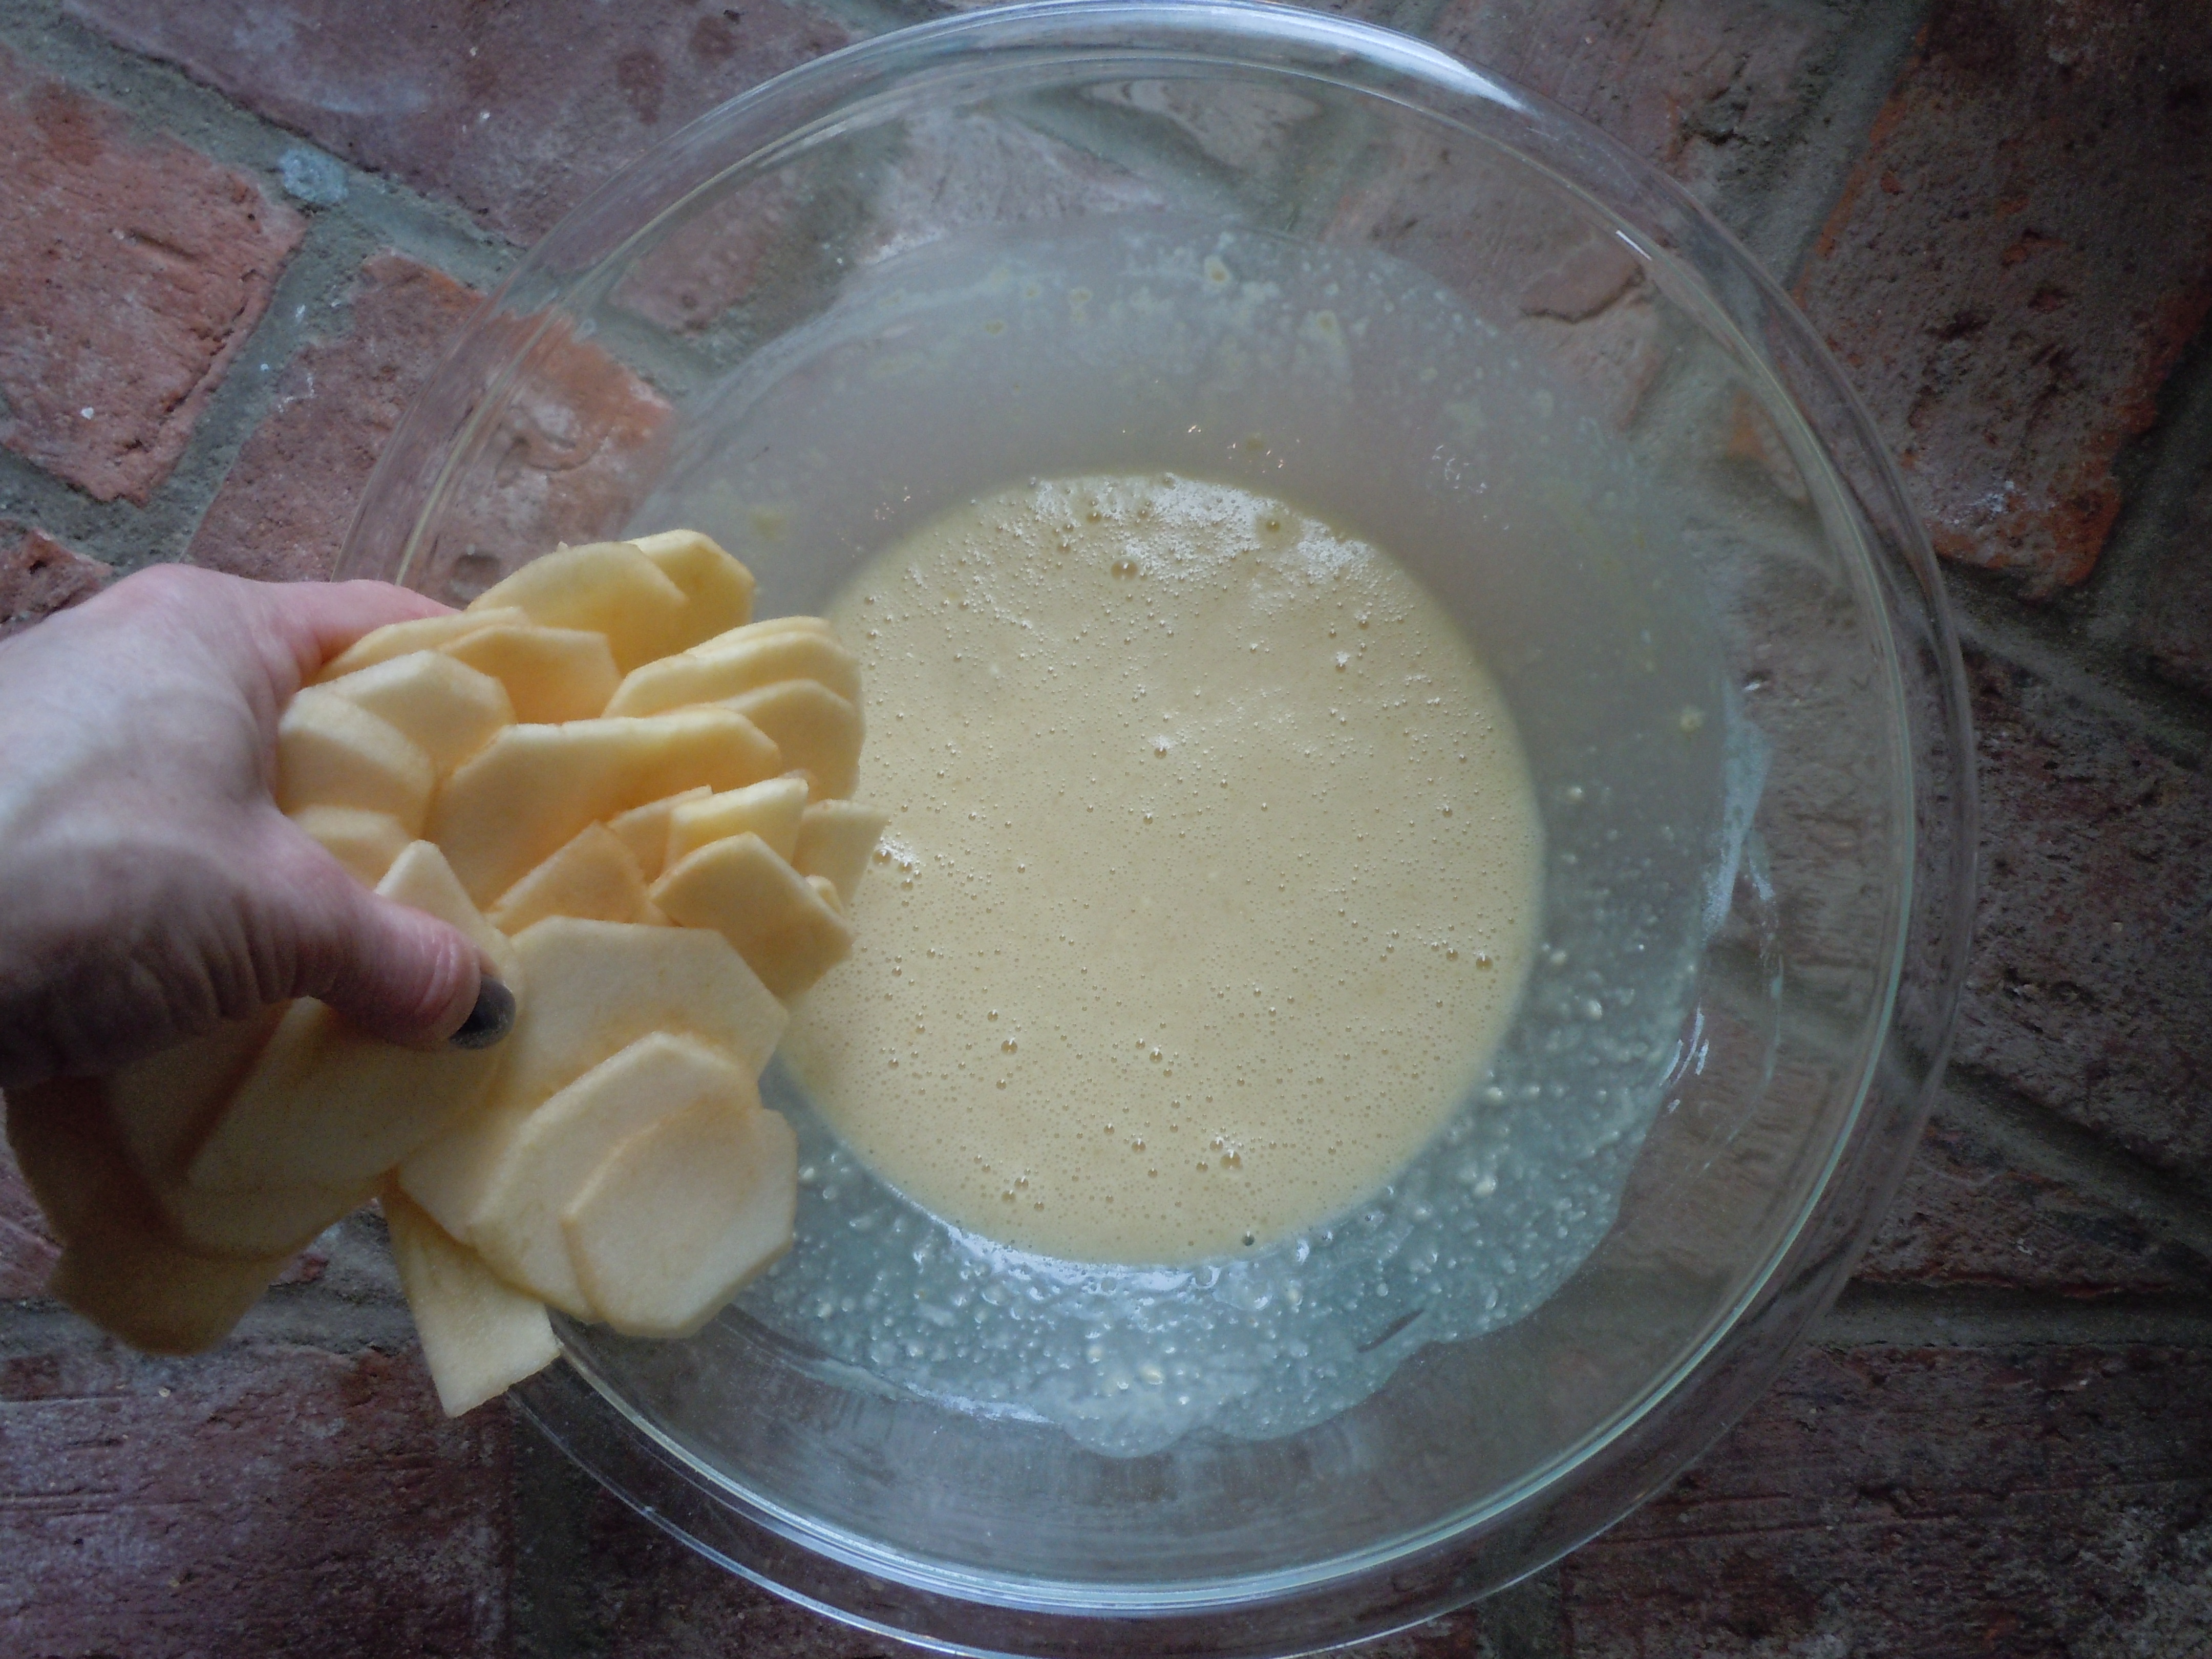
- Peel and slice apples on mandolin 1/16″ thick
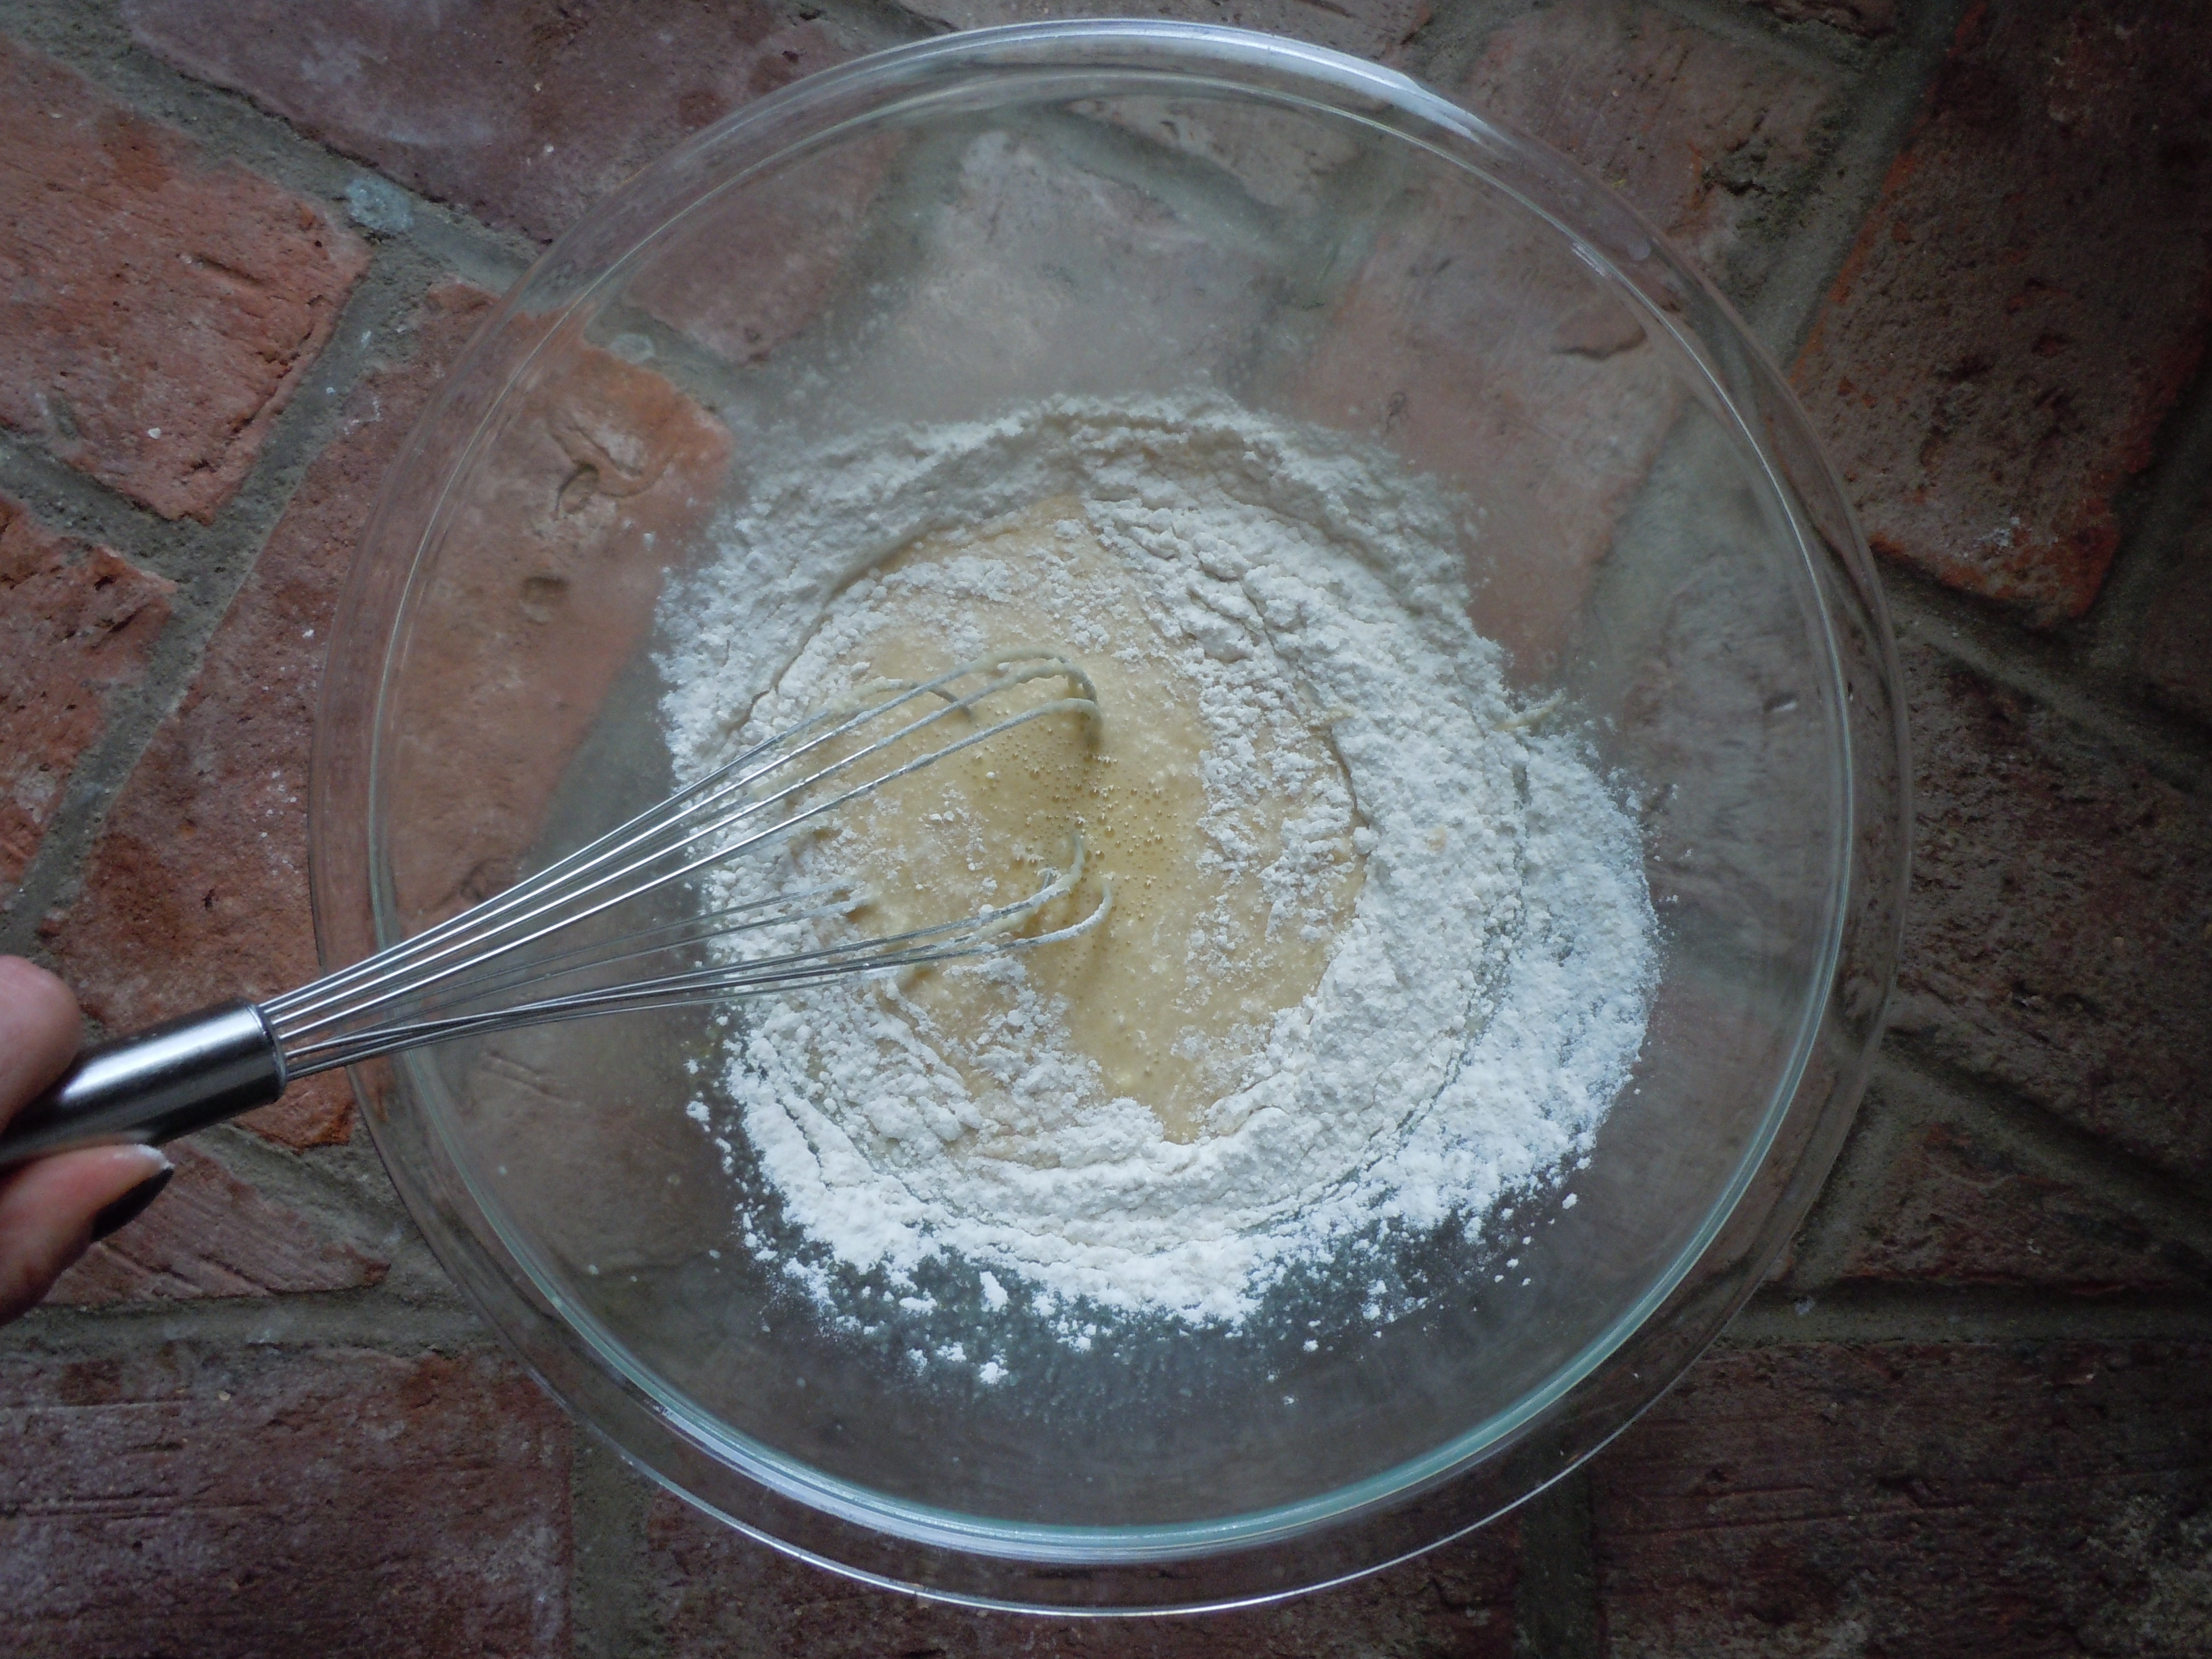
- Whisk in flour/baking powder mixture in a small bowl
- Whisk eggs
- In a large bowl add sugar and salt and whisk immediately for about a minute until the sugar dissolves and the eggs are pale
- Whisk in the milk and vanilla to this egg mixture
- Then whisk in melted butter
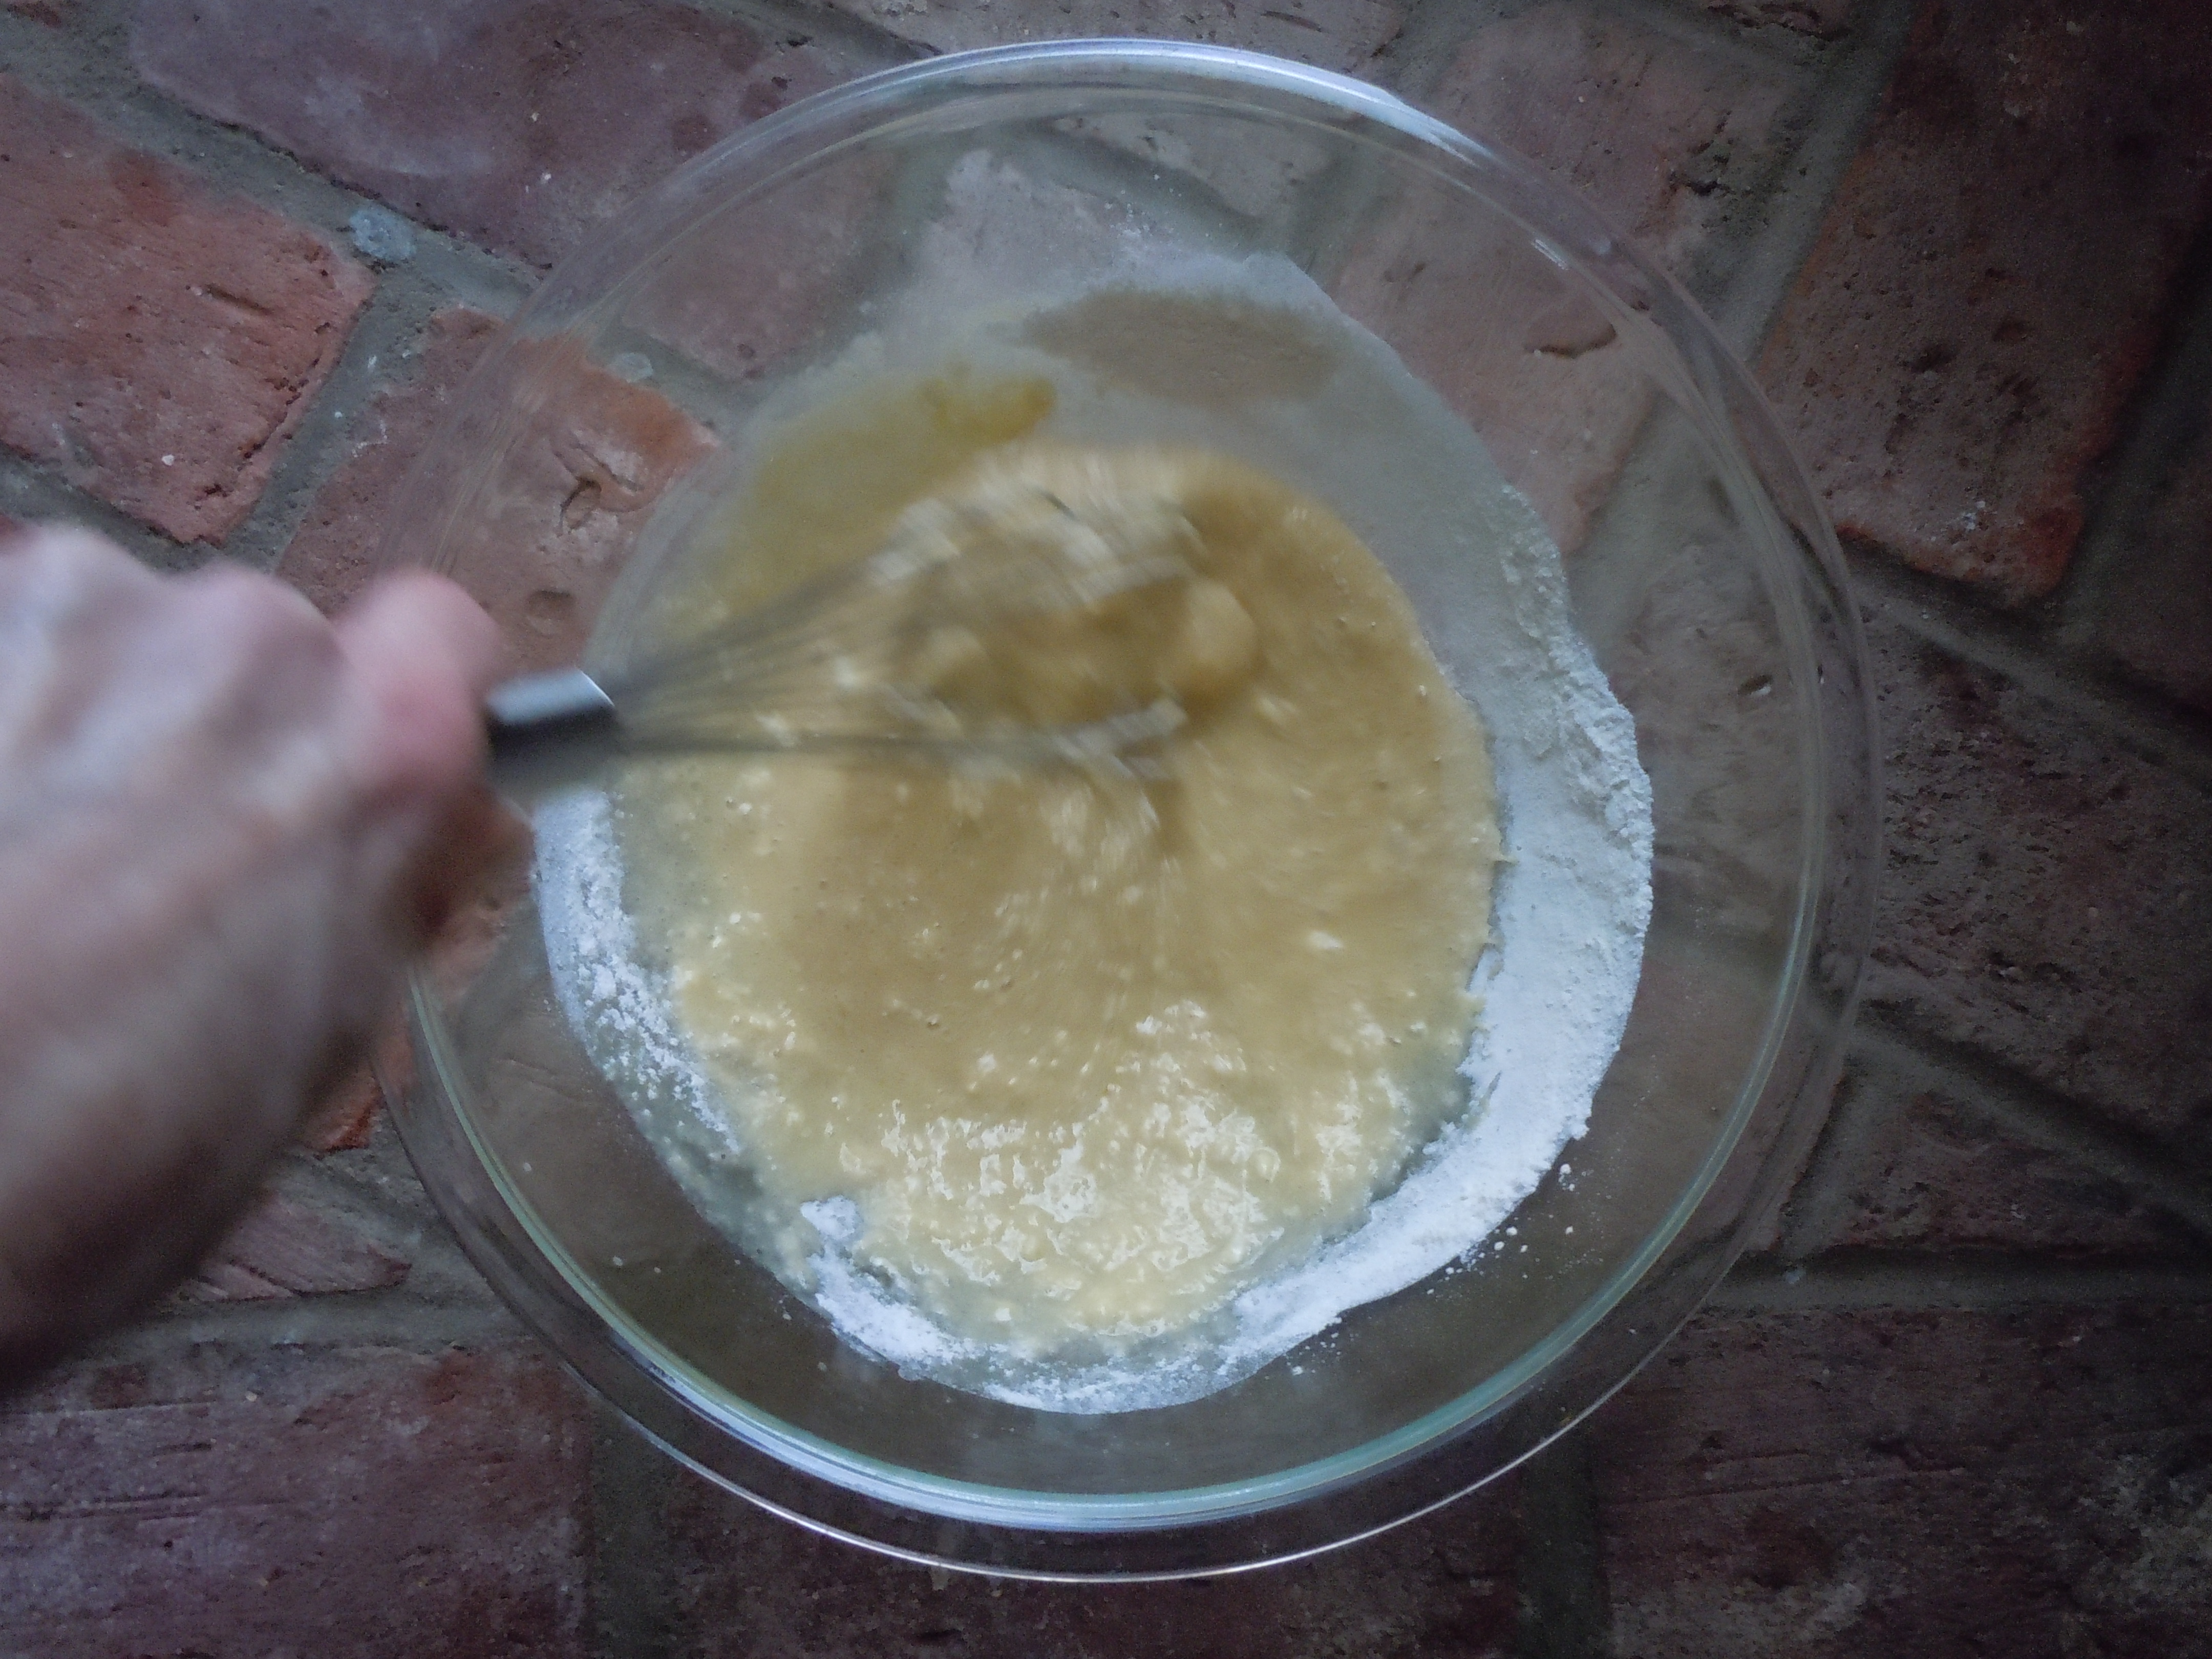
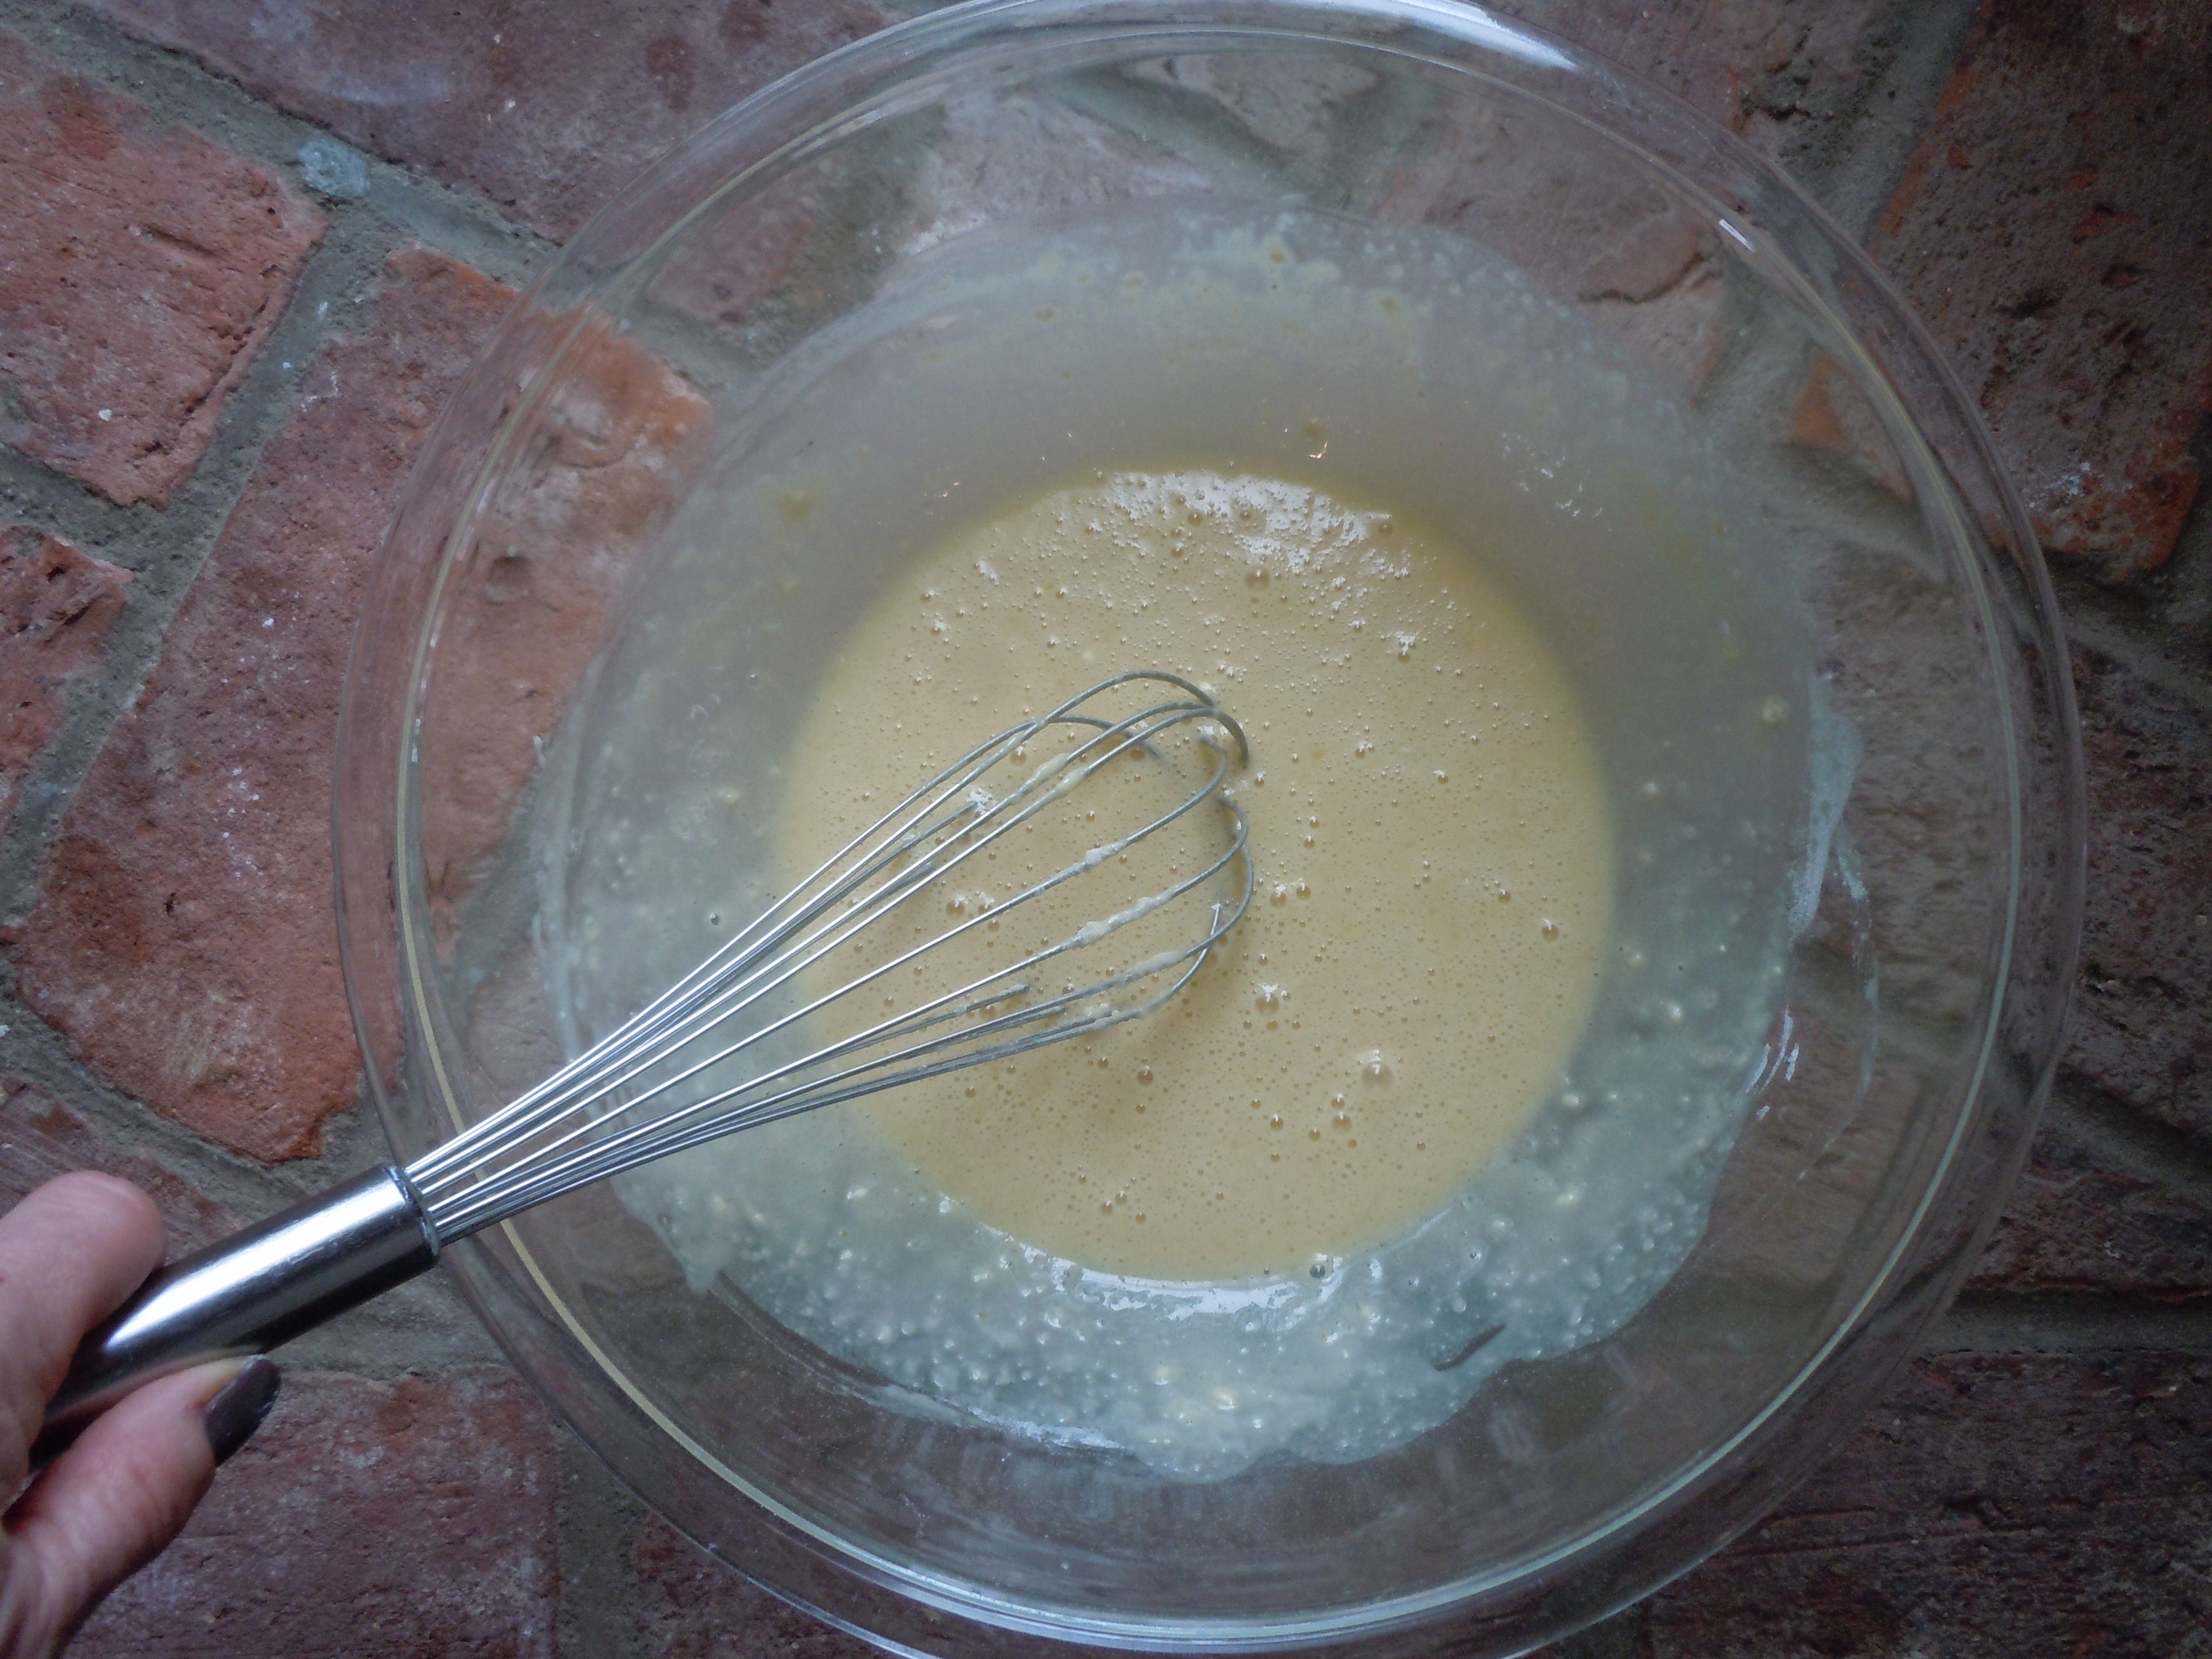
- Now pour in the dry flour/baking soda mixture and whisk til batter is smooth
- Using a spatula add in sliced apples and mix to coat only but making sure all sides of the apples are coated with the batter
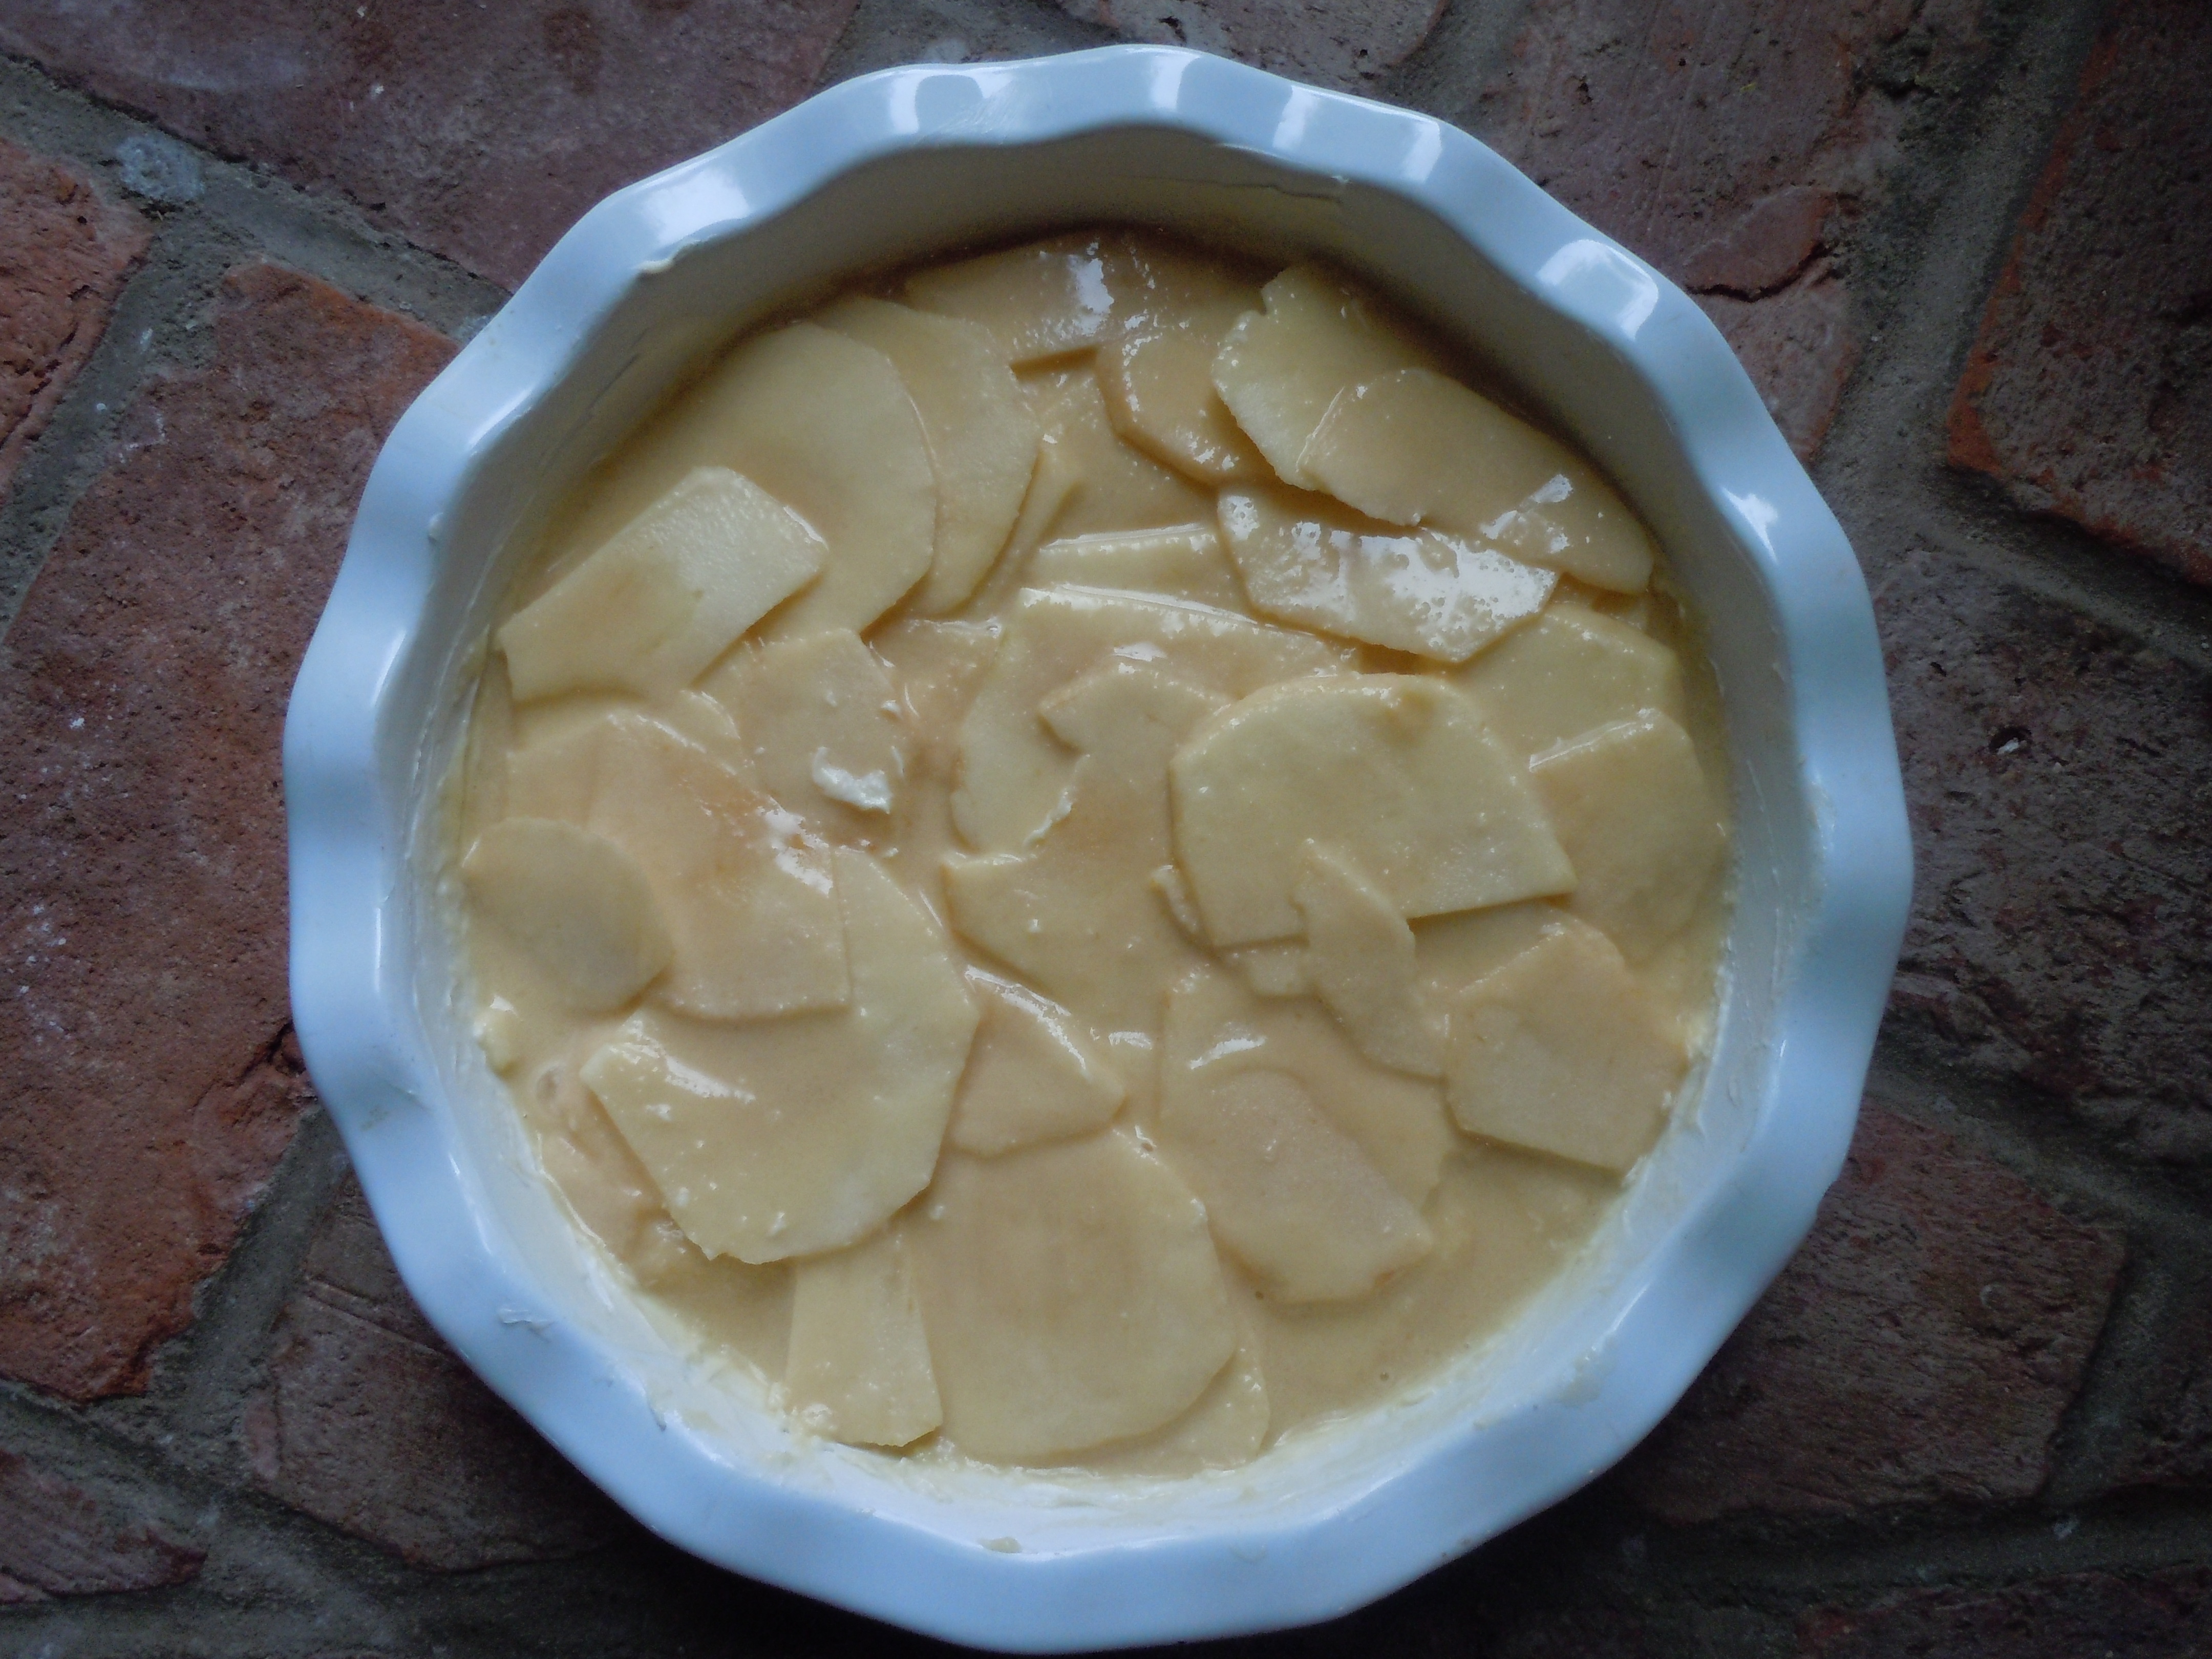
- Pour this apple -batter mixture into the buttered baking dish and bake til golden on top about 40 minutes
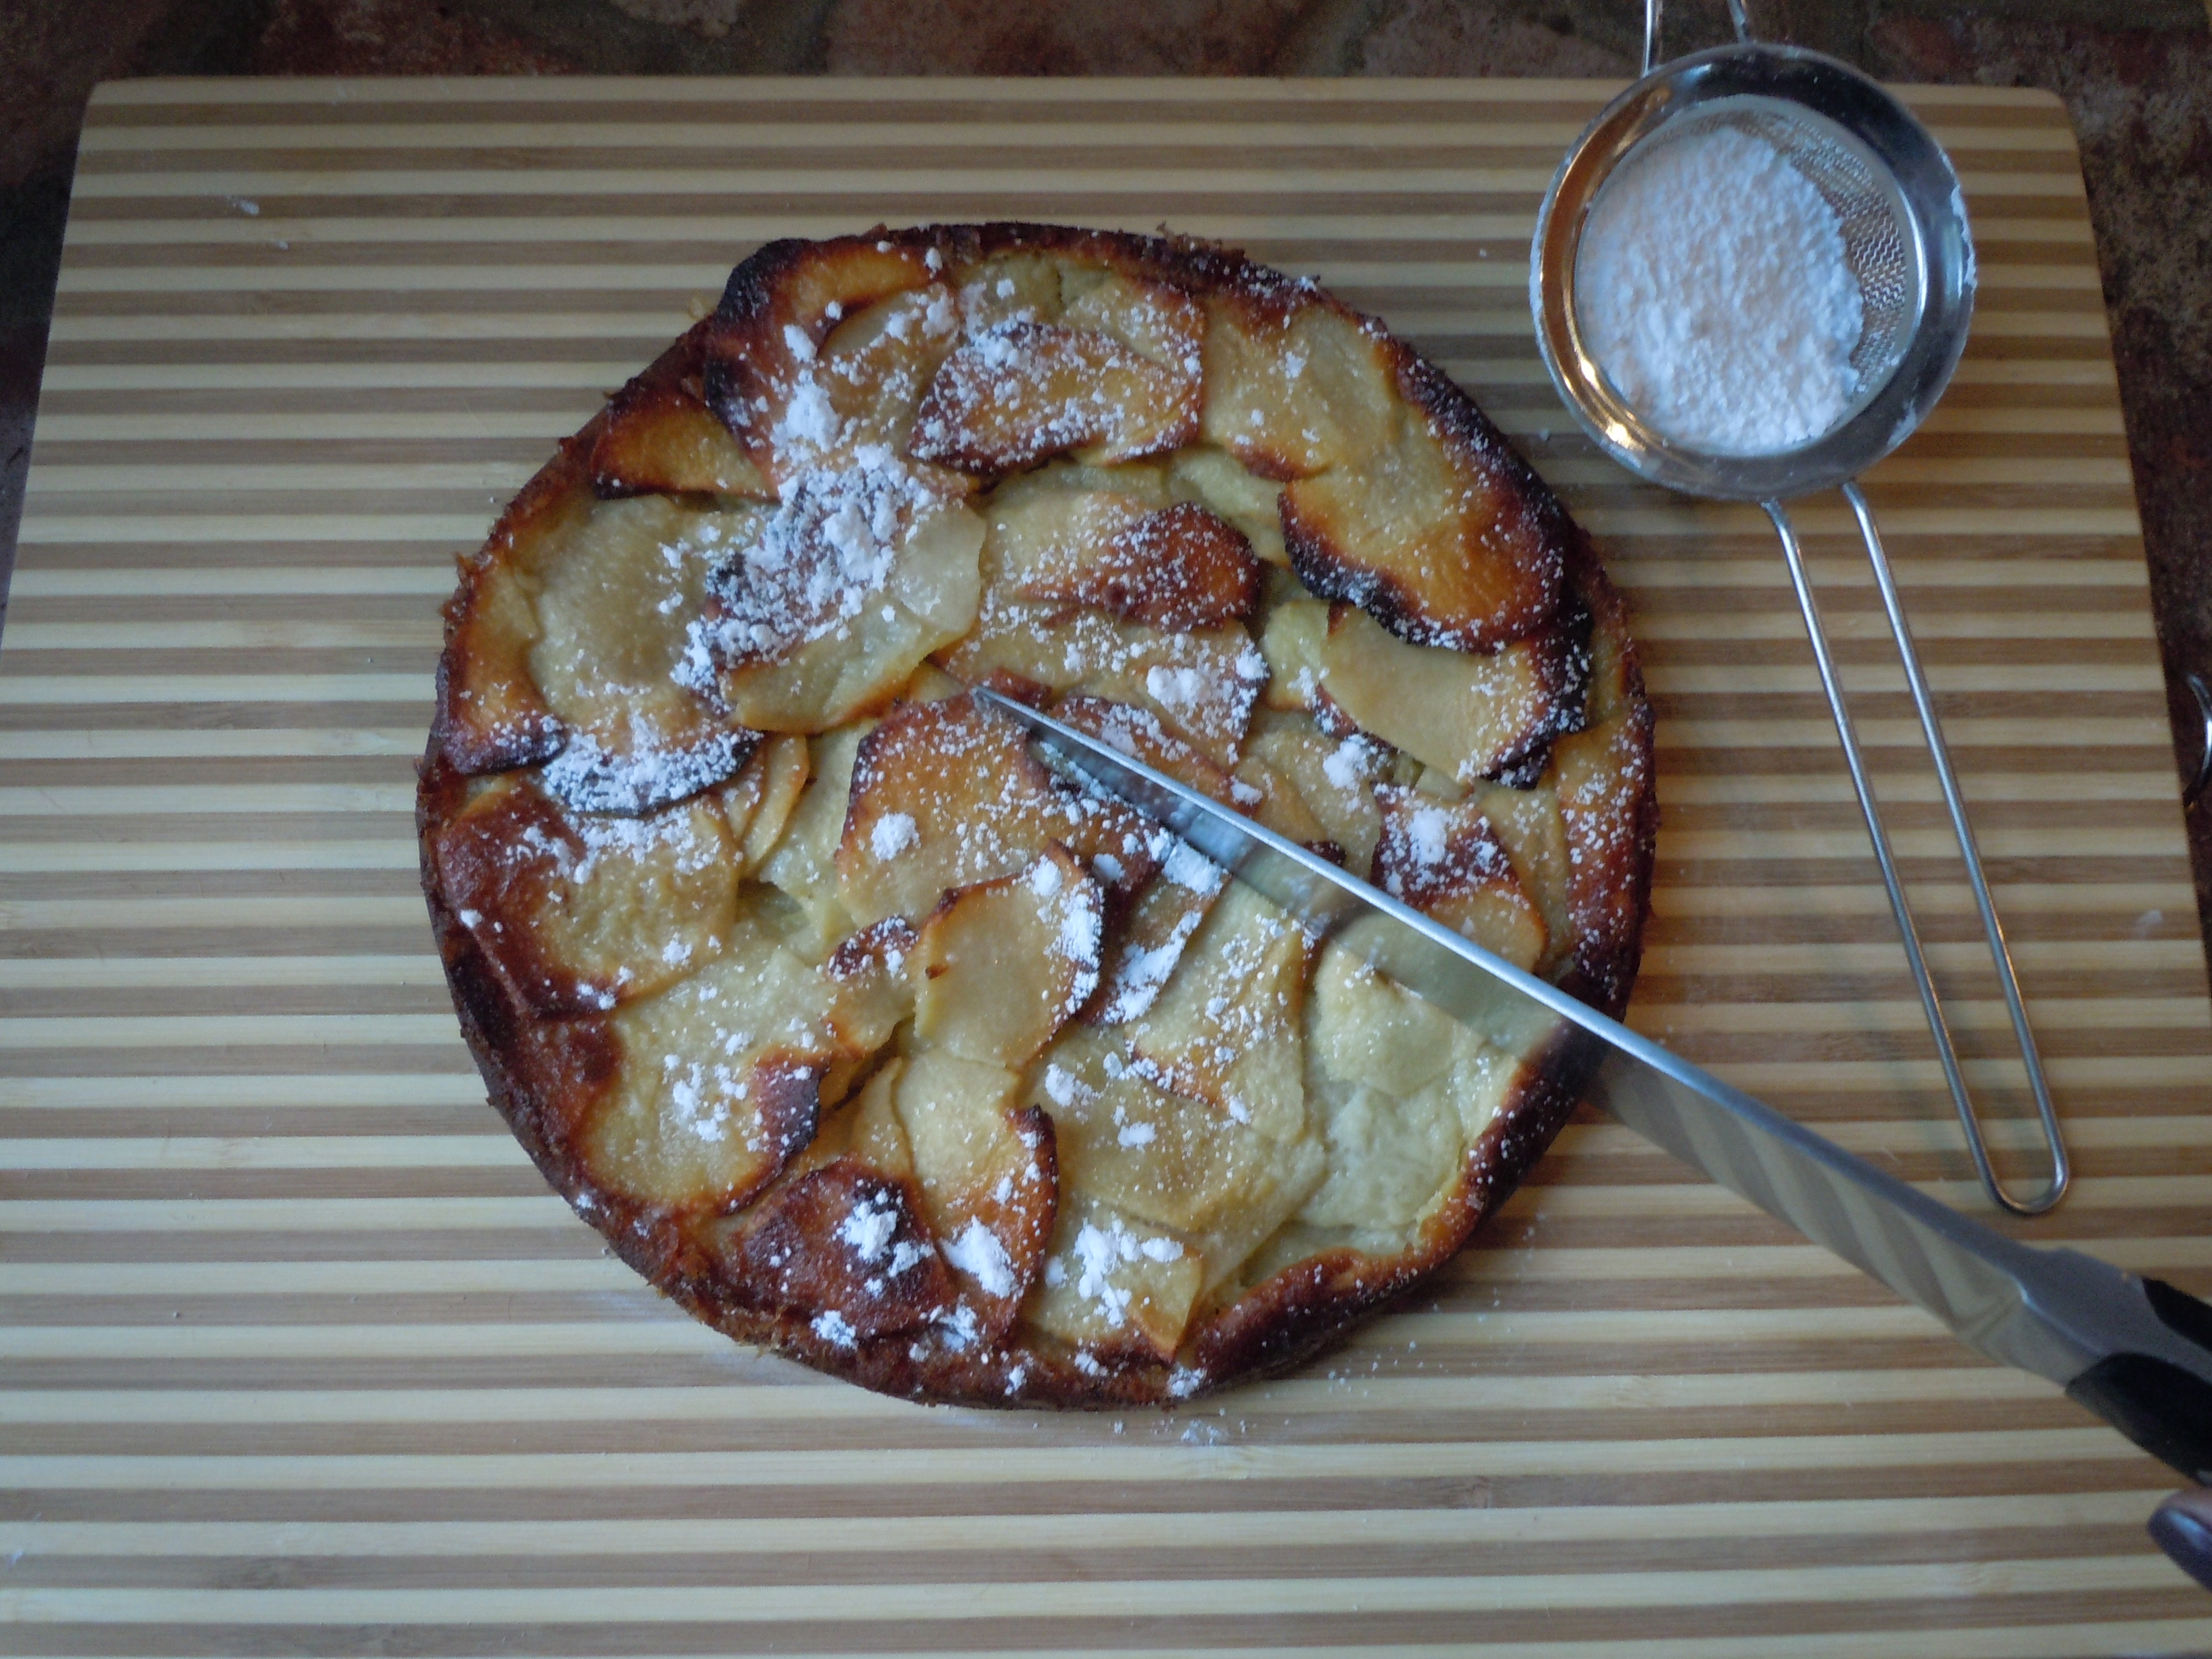
- Take out and allow slightly puffed apple cake to cool for 15 minutes then slice and serve or turn out onto serving dish if you are using parchment
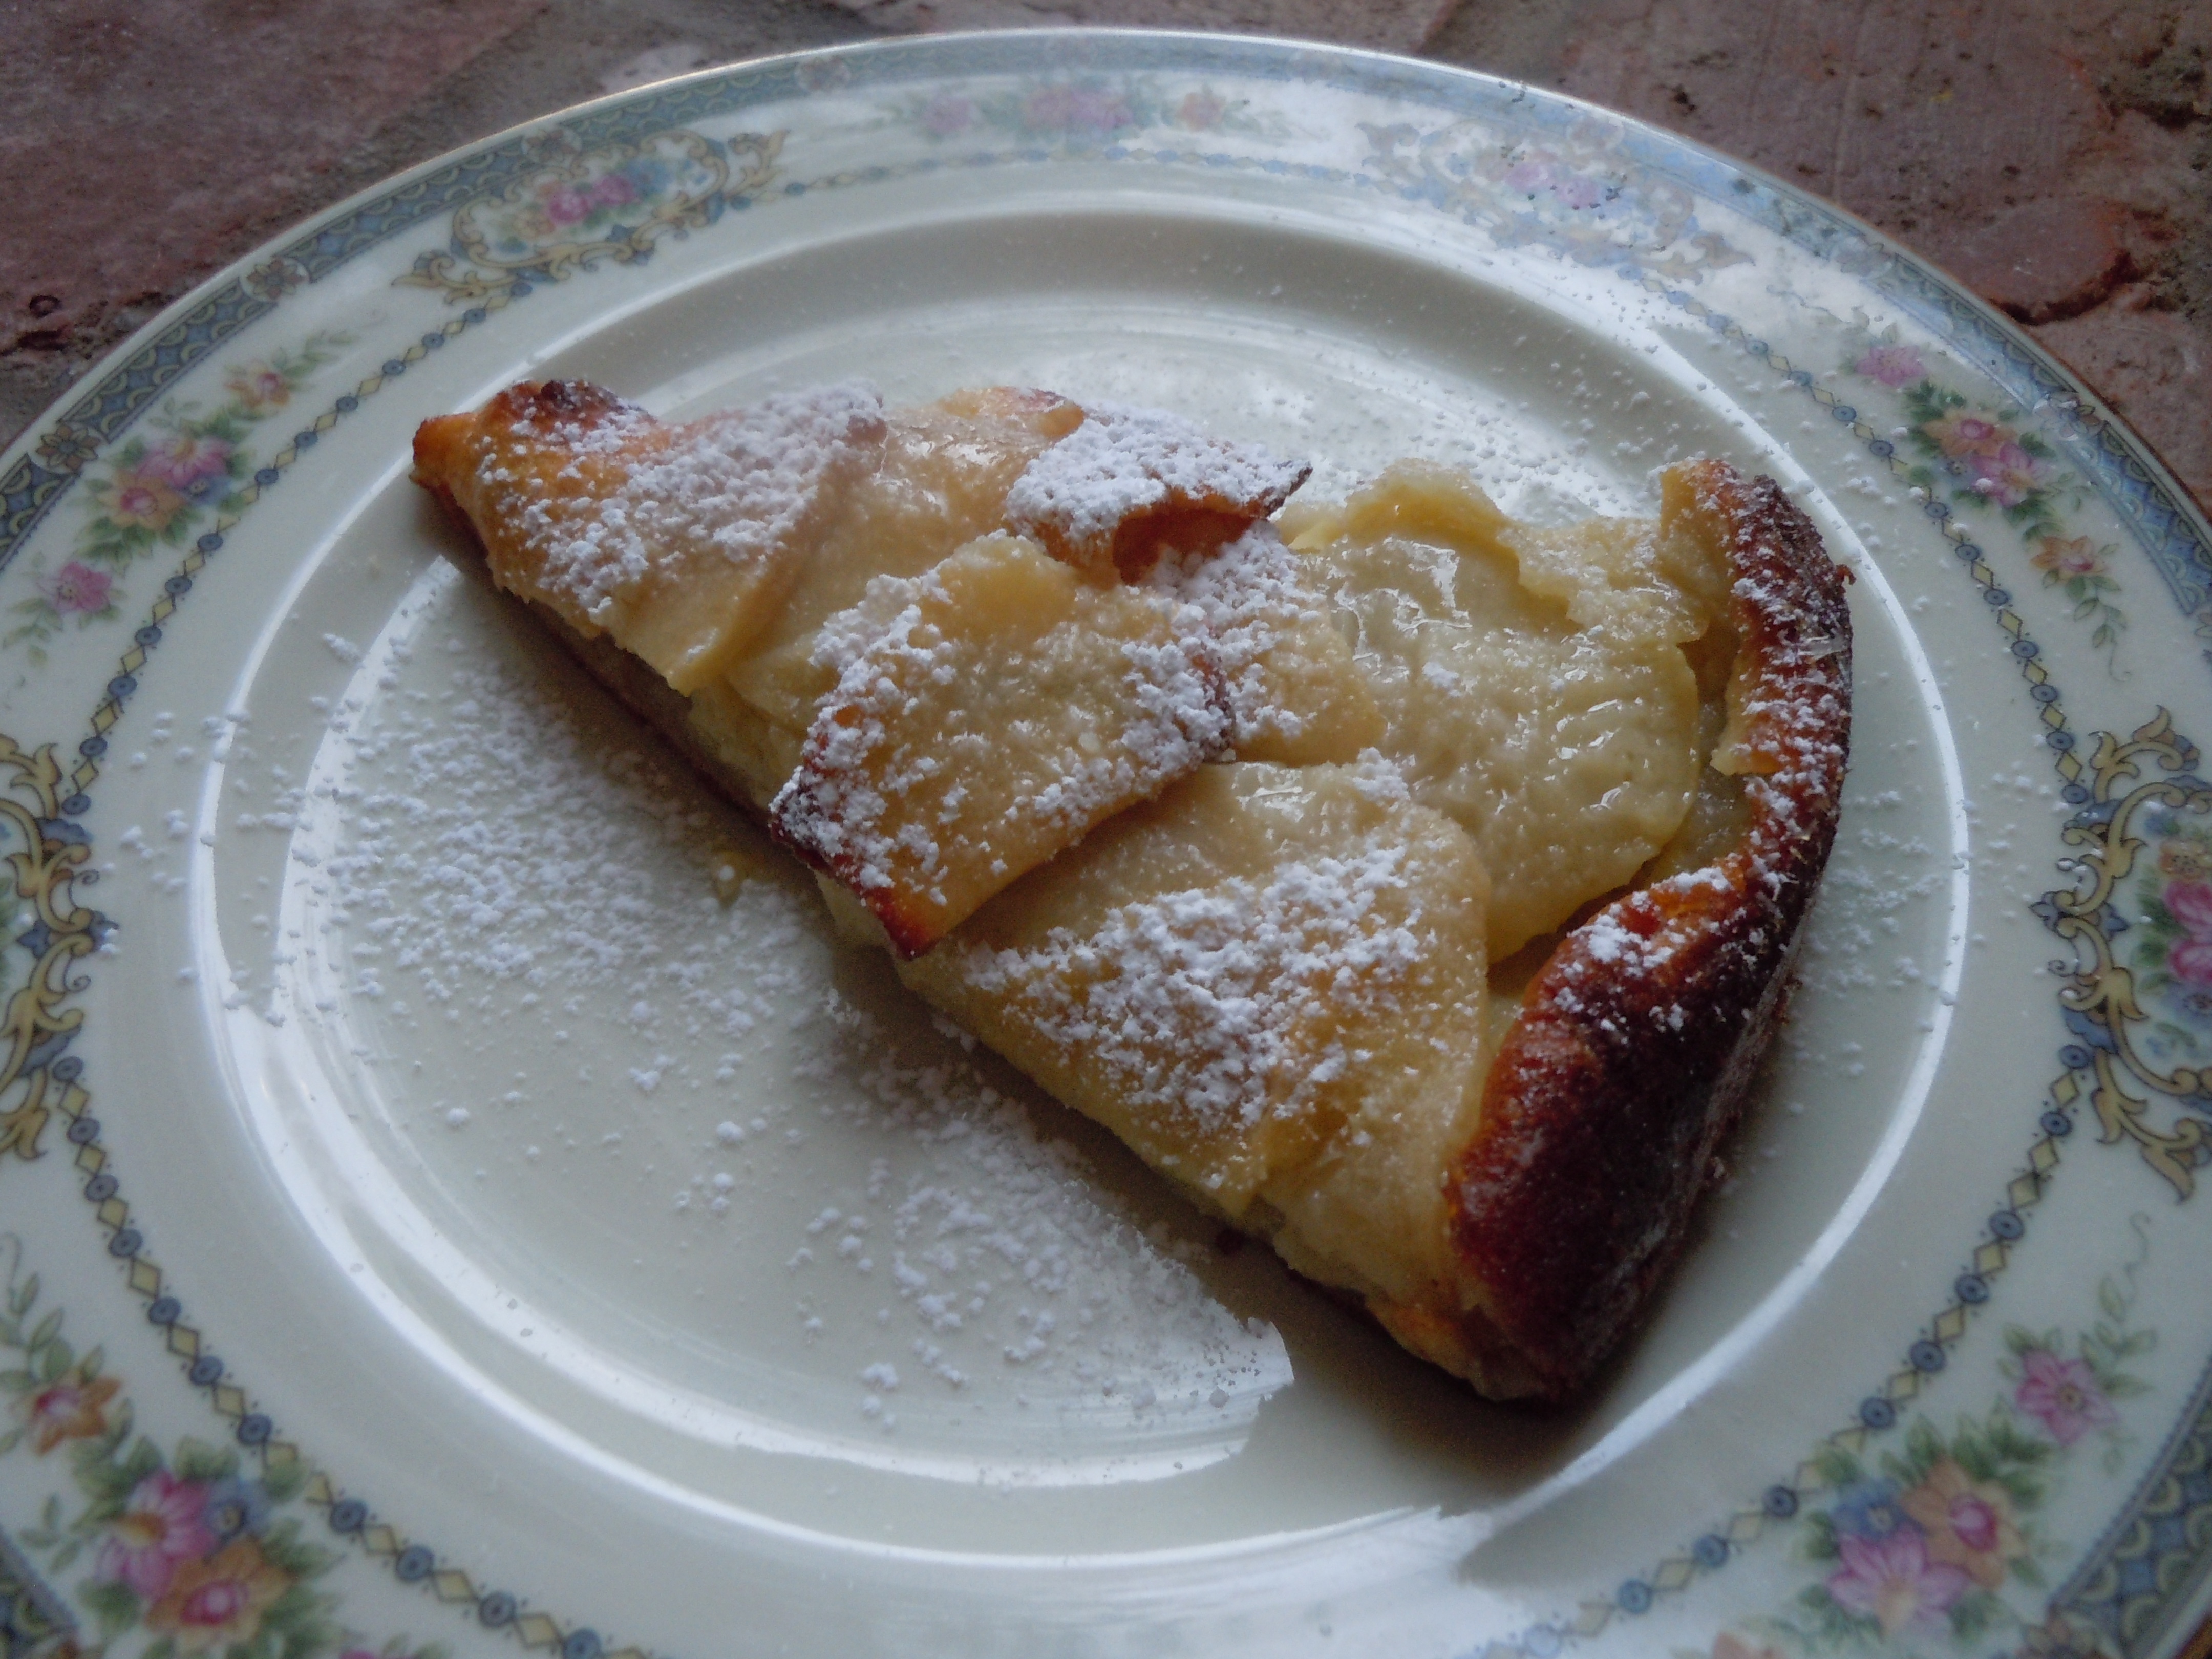
- When plating a slice sprinkle with confectioners sugar
- Drizzle with maple syrup OR top with vanilla ice cream to make more like a dessert then a breakfast item! Either way…YUM!
- Best eaten same day if it lasts that long and even better warm out of the oven : )


