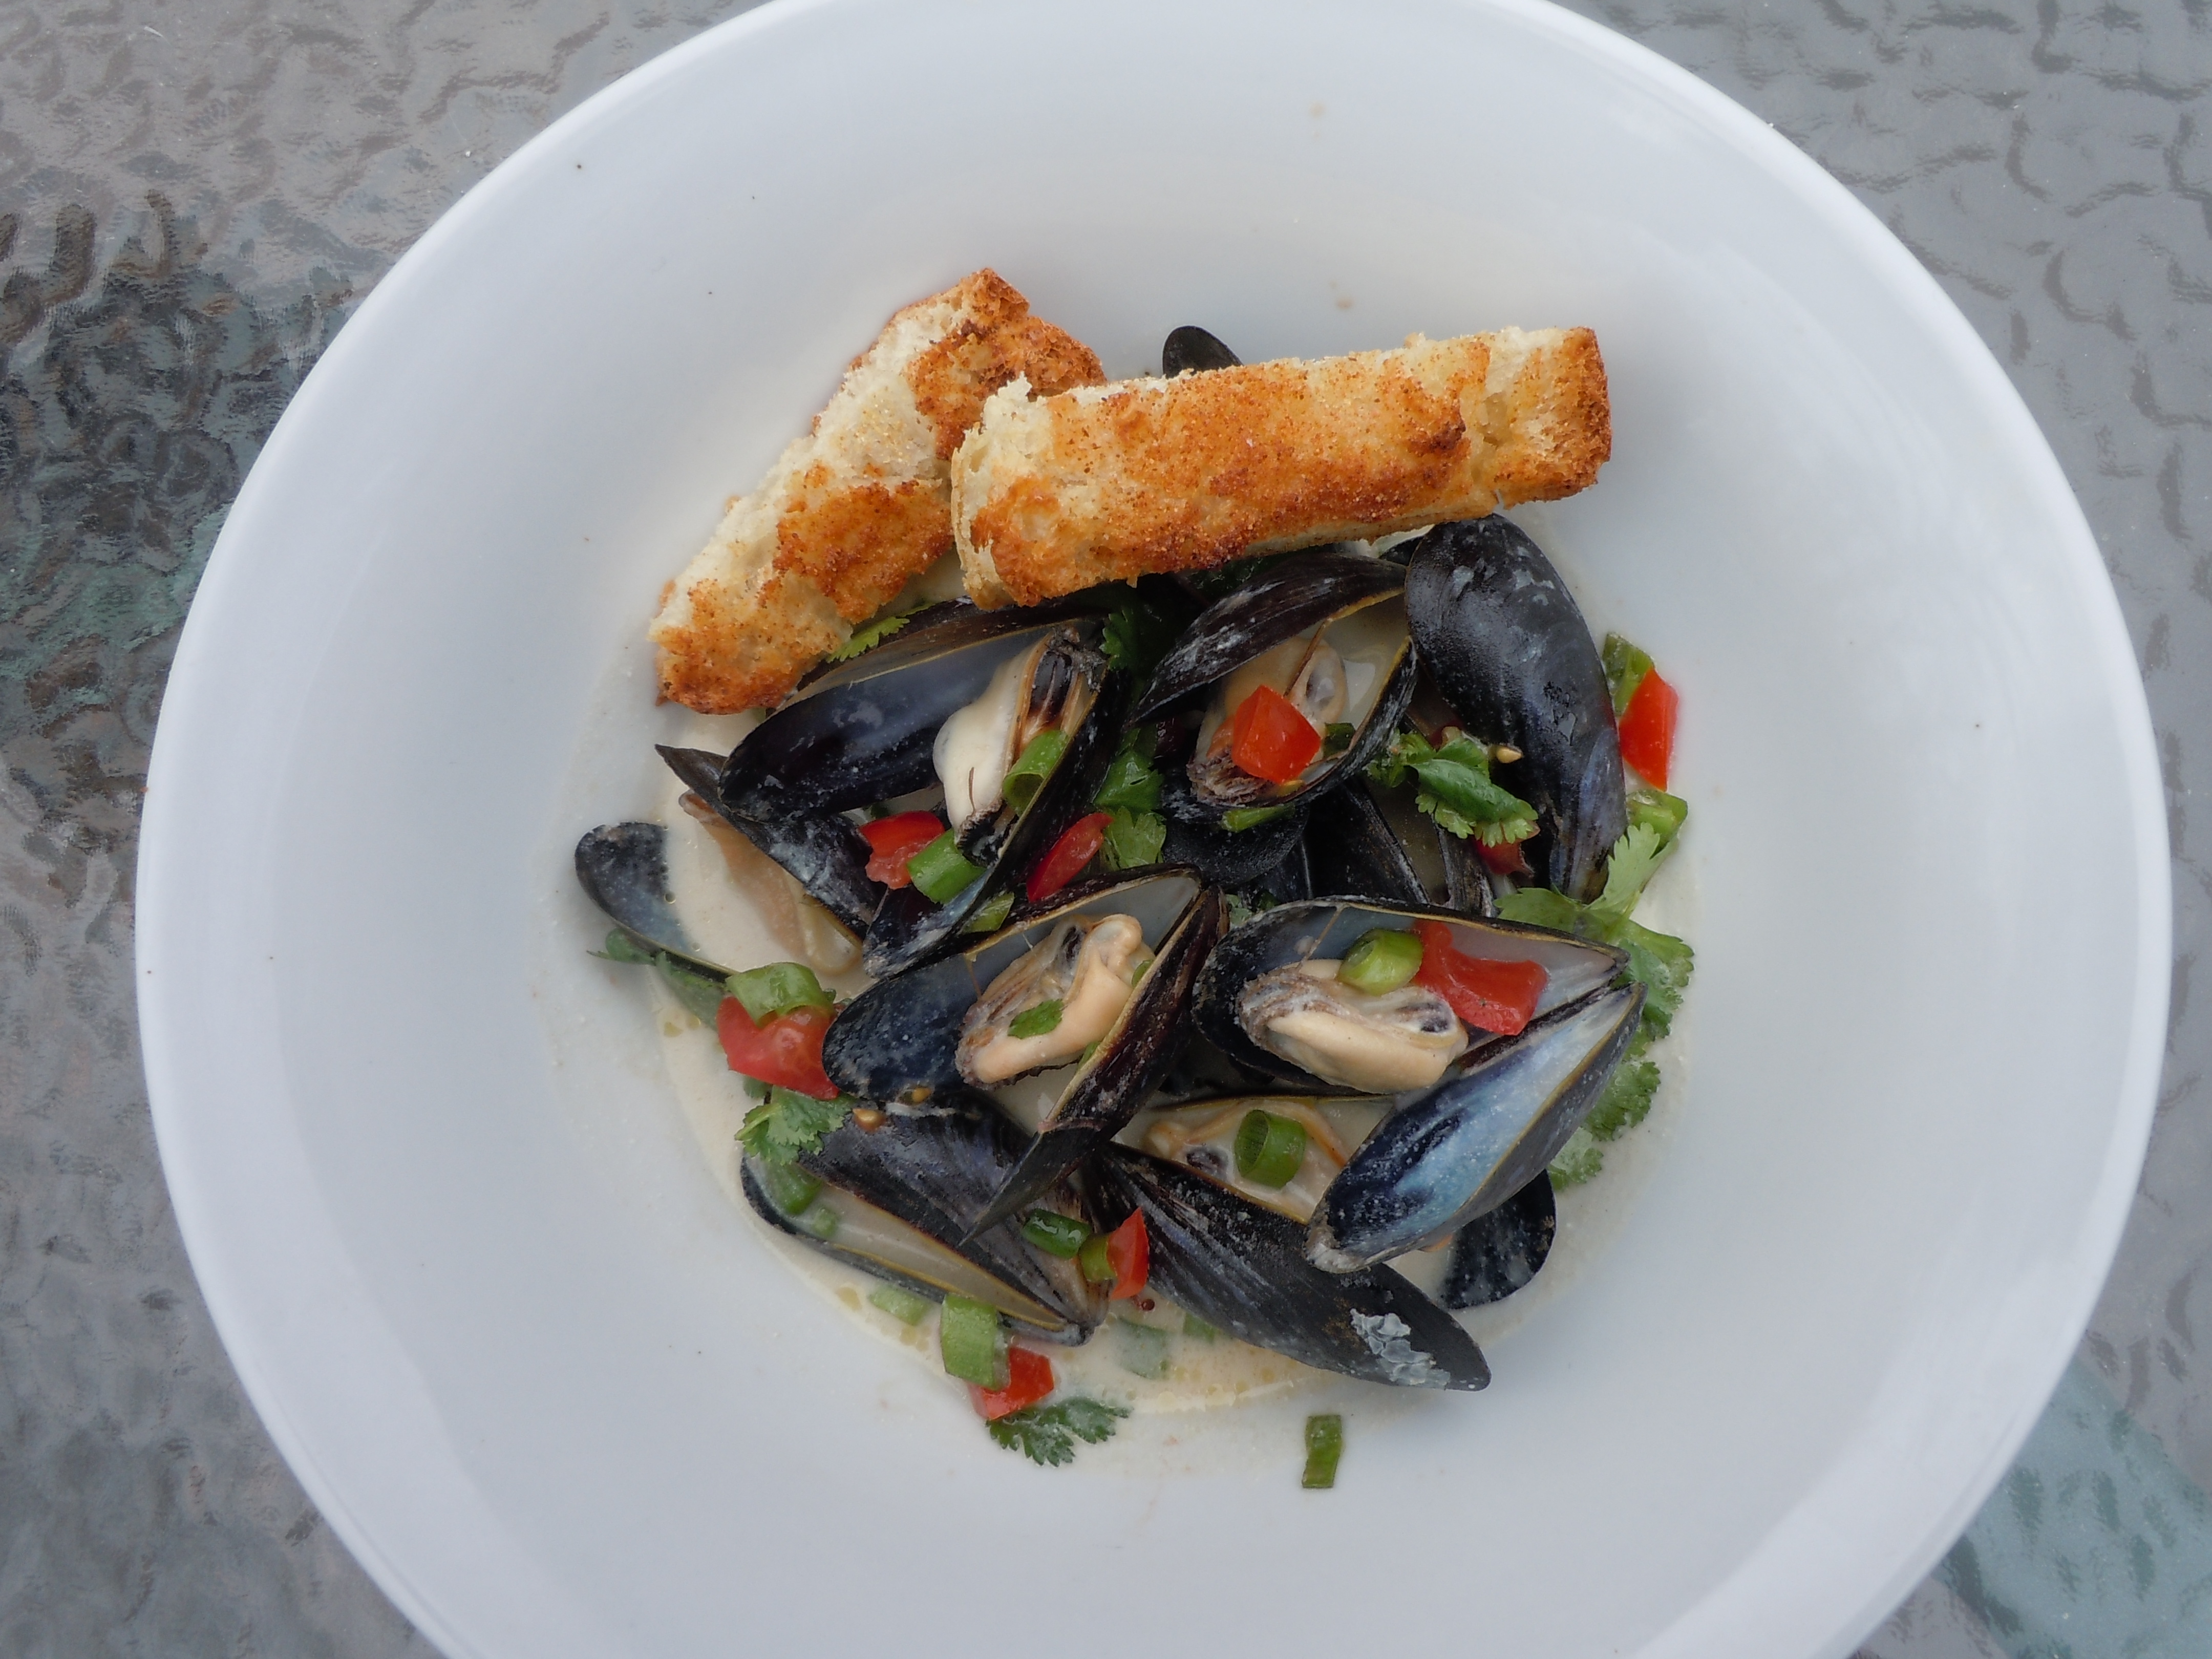
Mussels in a Lemongrass-Fennel Sauce
Steaming Mussels in a lemongrass-fennel and coconut milk sauce is an amazing flavor you will love and it’s simple to make. Mussels are an inexpensive shellfish to buy and they are delicate and delicious. I like infusing a fennel flavor into the broth of the coconut milk and lemongrass because it reminds me of this amazing dish I had in New Orleans years ago, oysters in Pernod sauce that rocked my world. In my Italian-American family we ate raw fennel often, in fact I have probably been eating fennel since I was little kid. It has a delicate anise flavor when cooked and is very refreshing when raw which I love thinly sliced in salads. It is actually considered to be a palate cleanser although I think we just ate it because we loved the flavor.
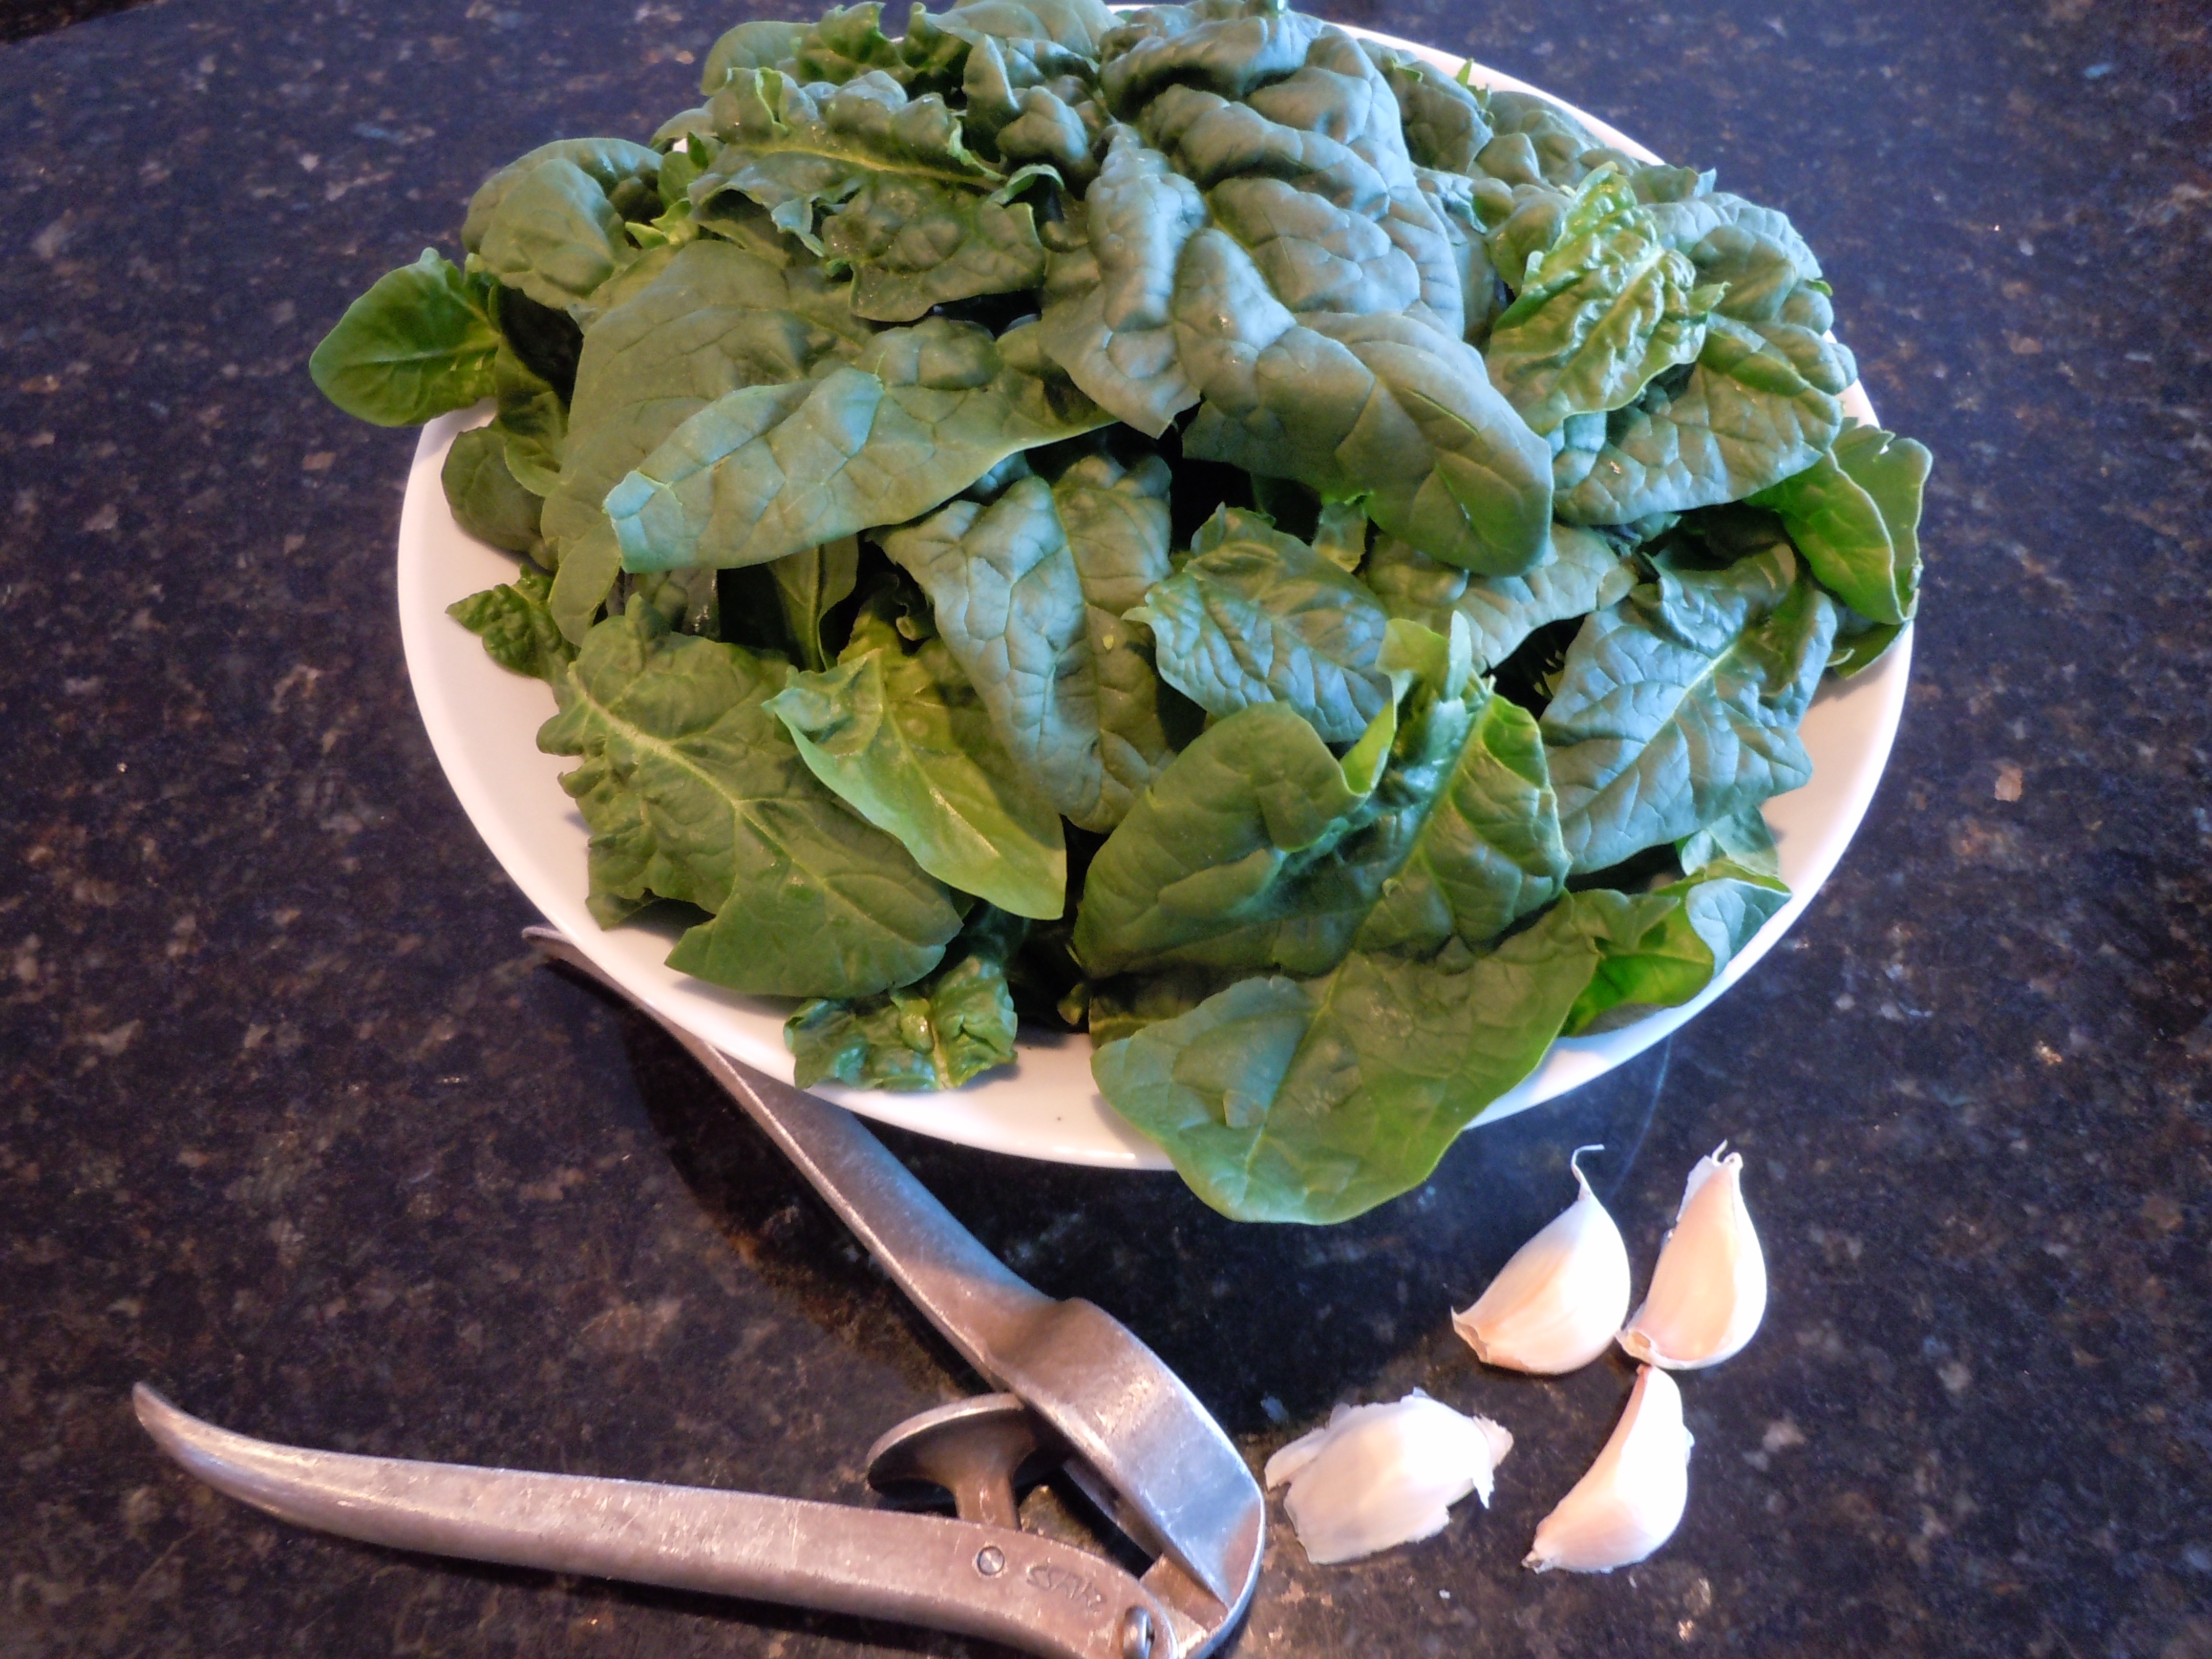
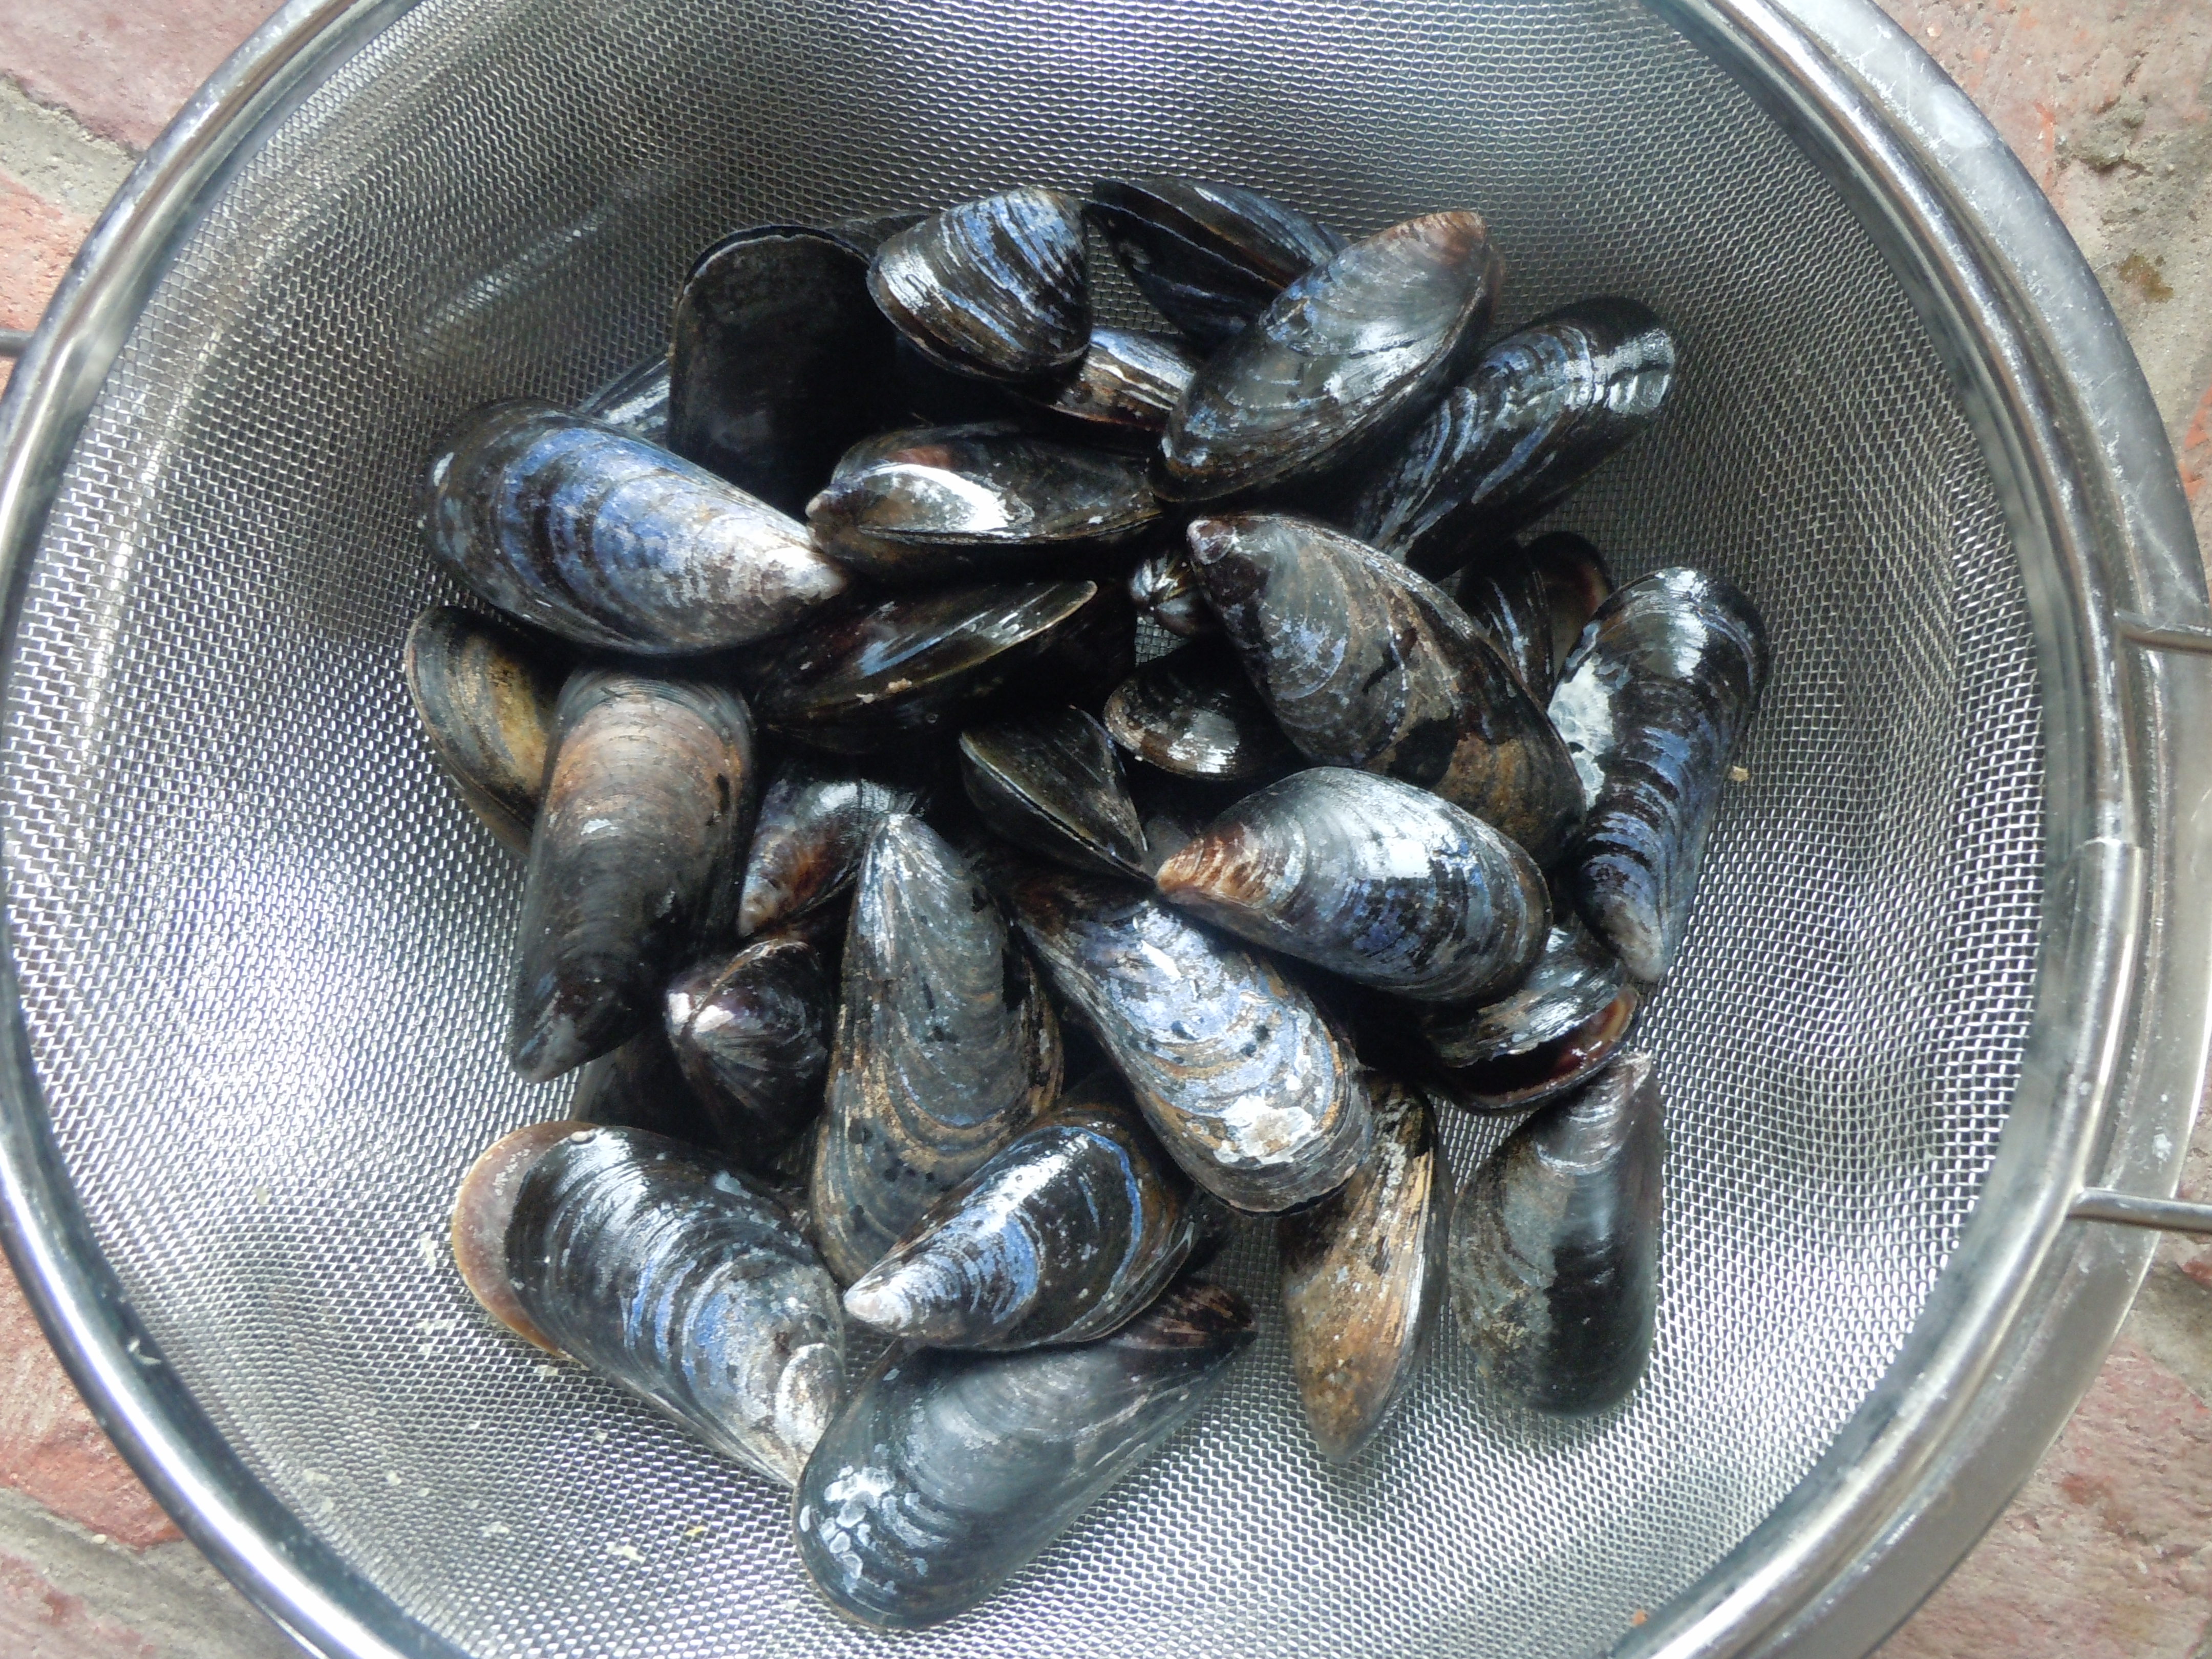
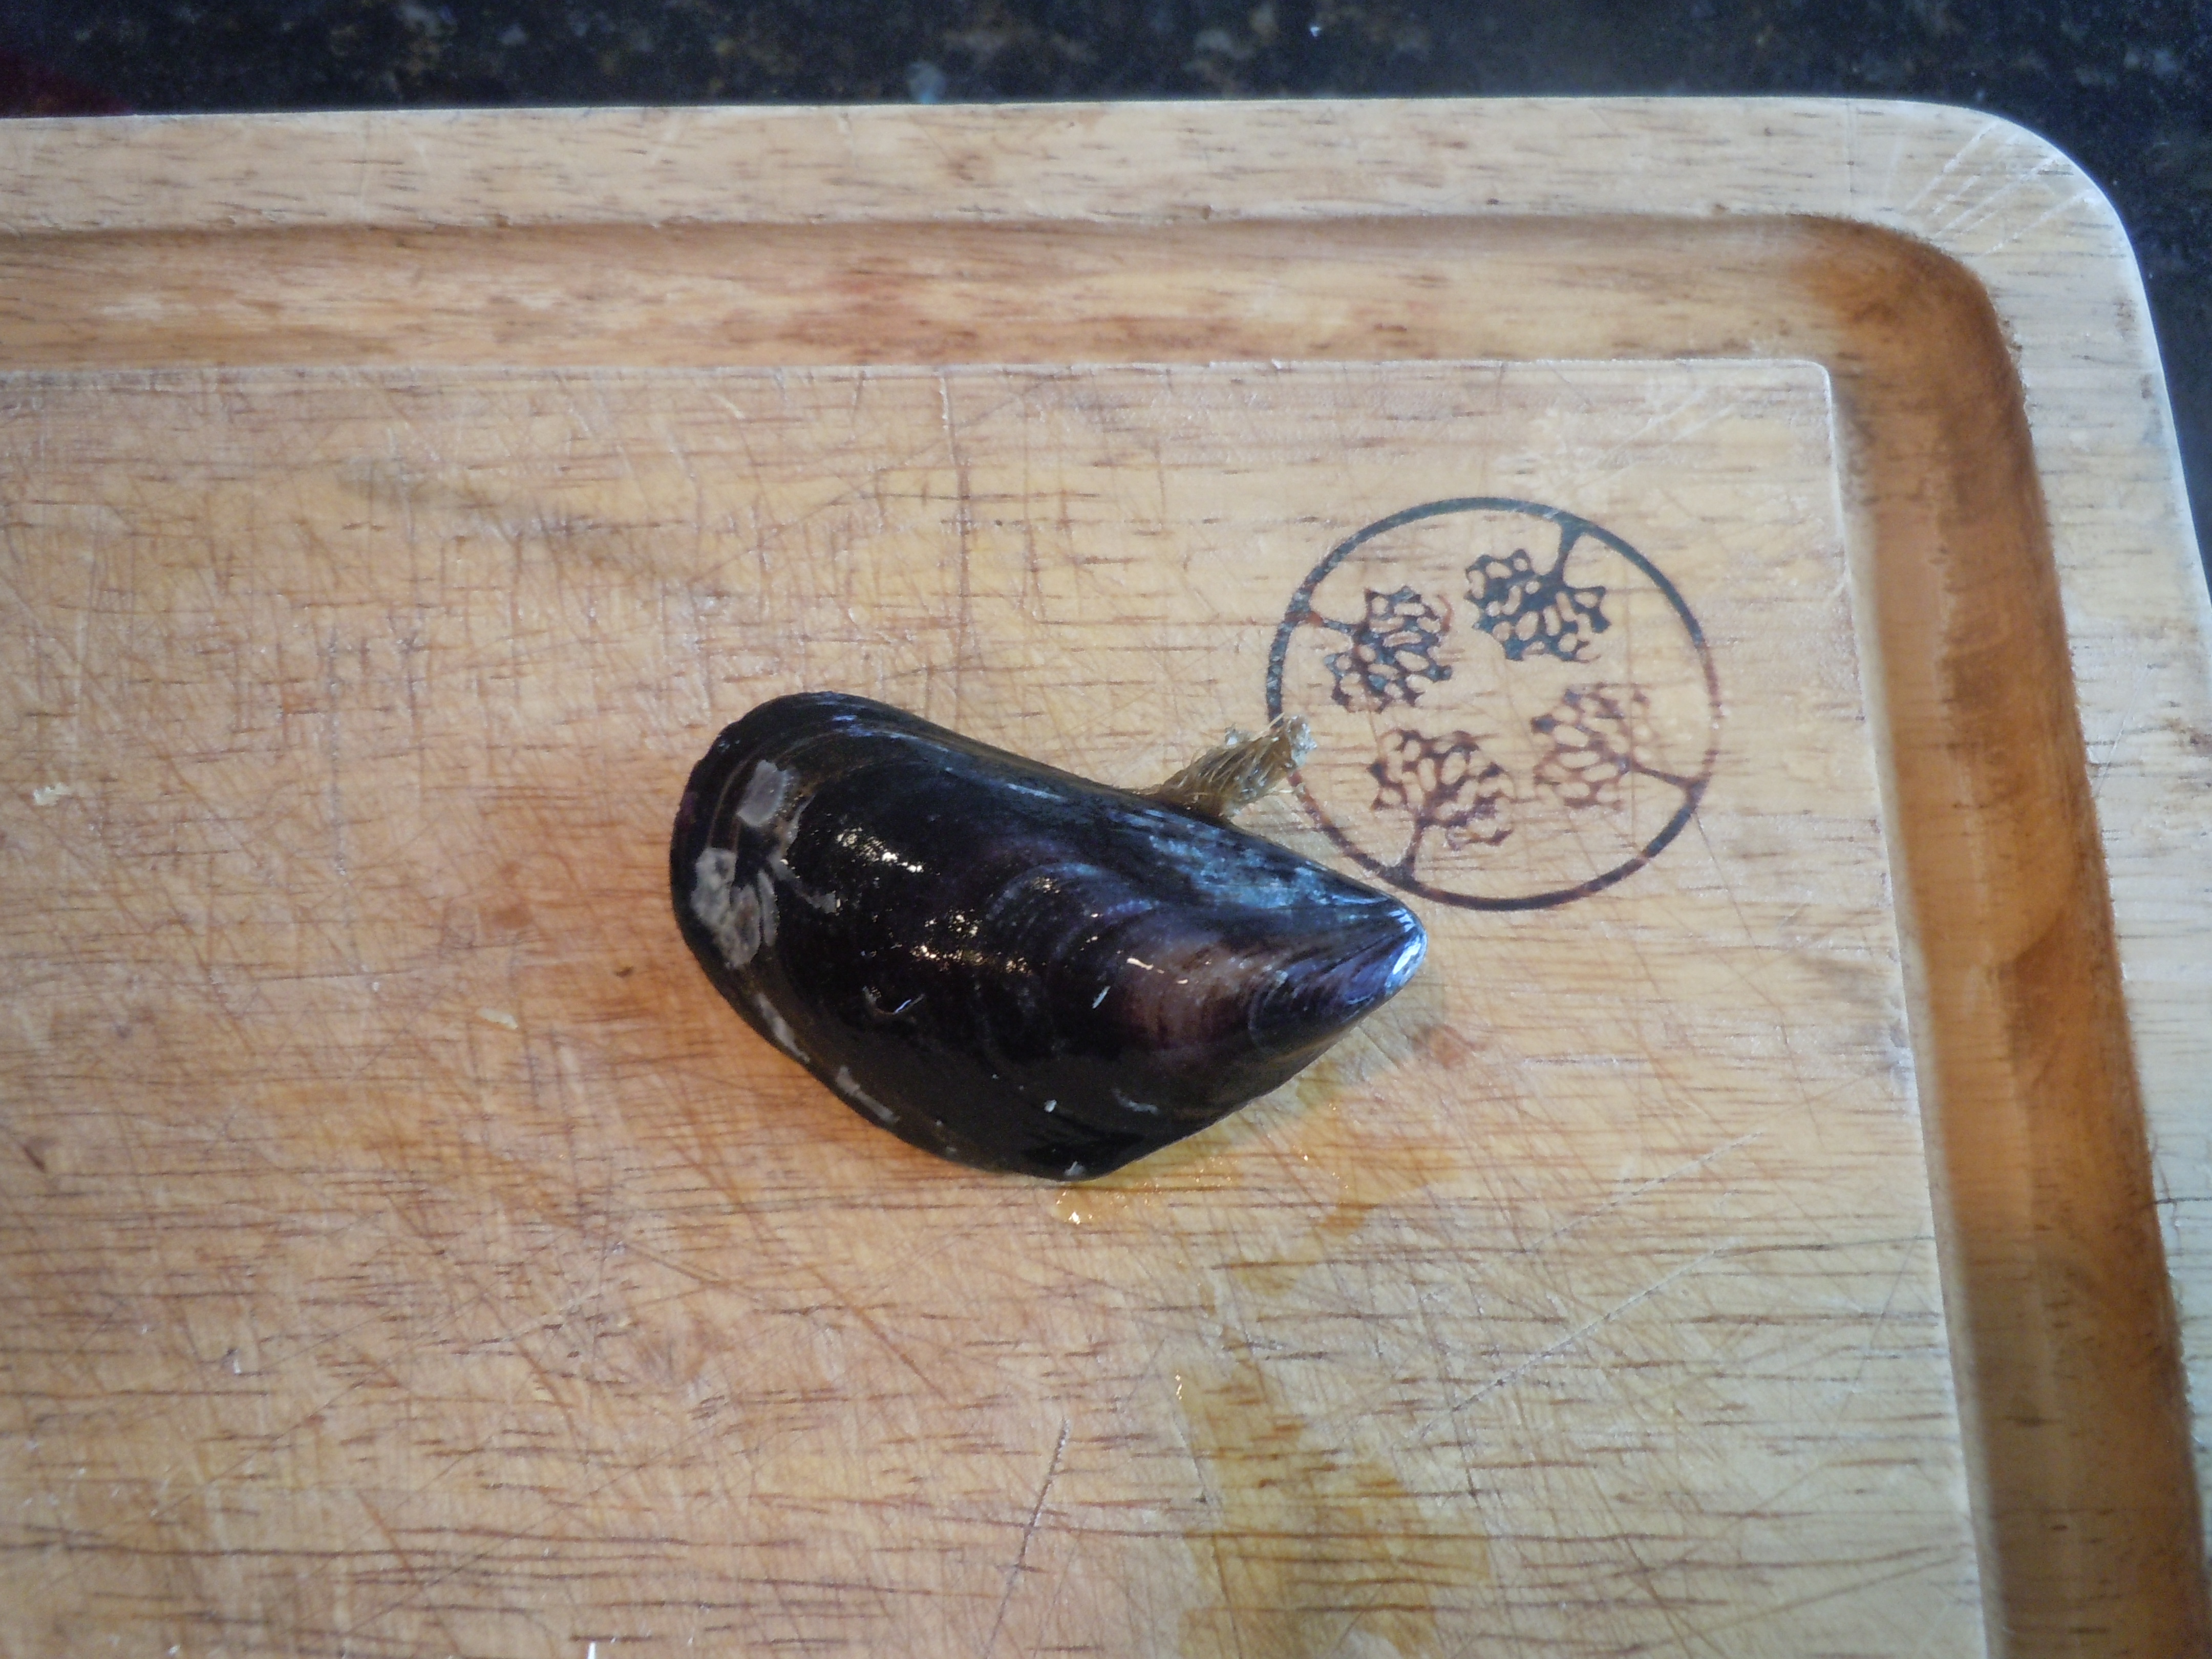
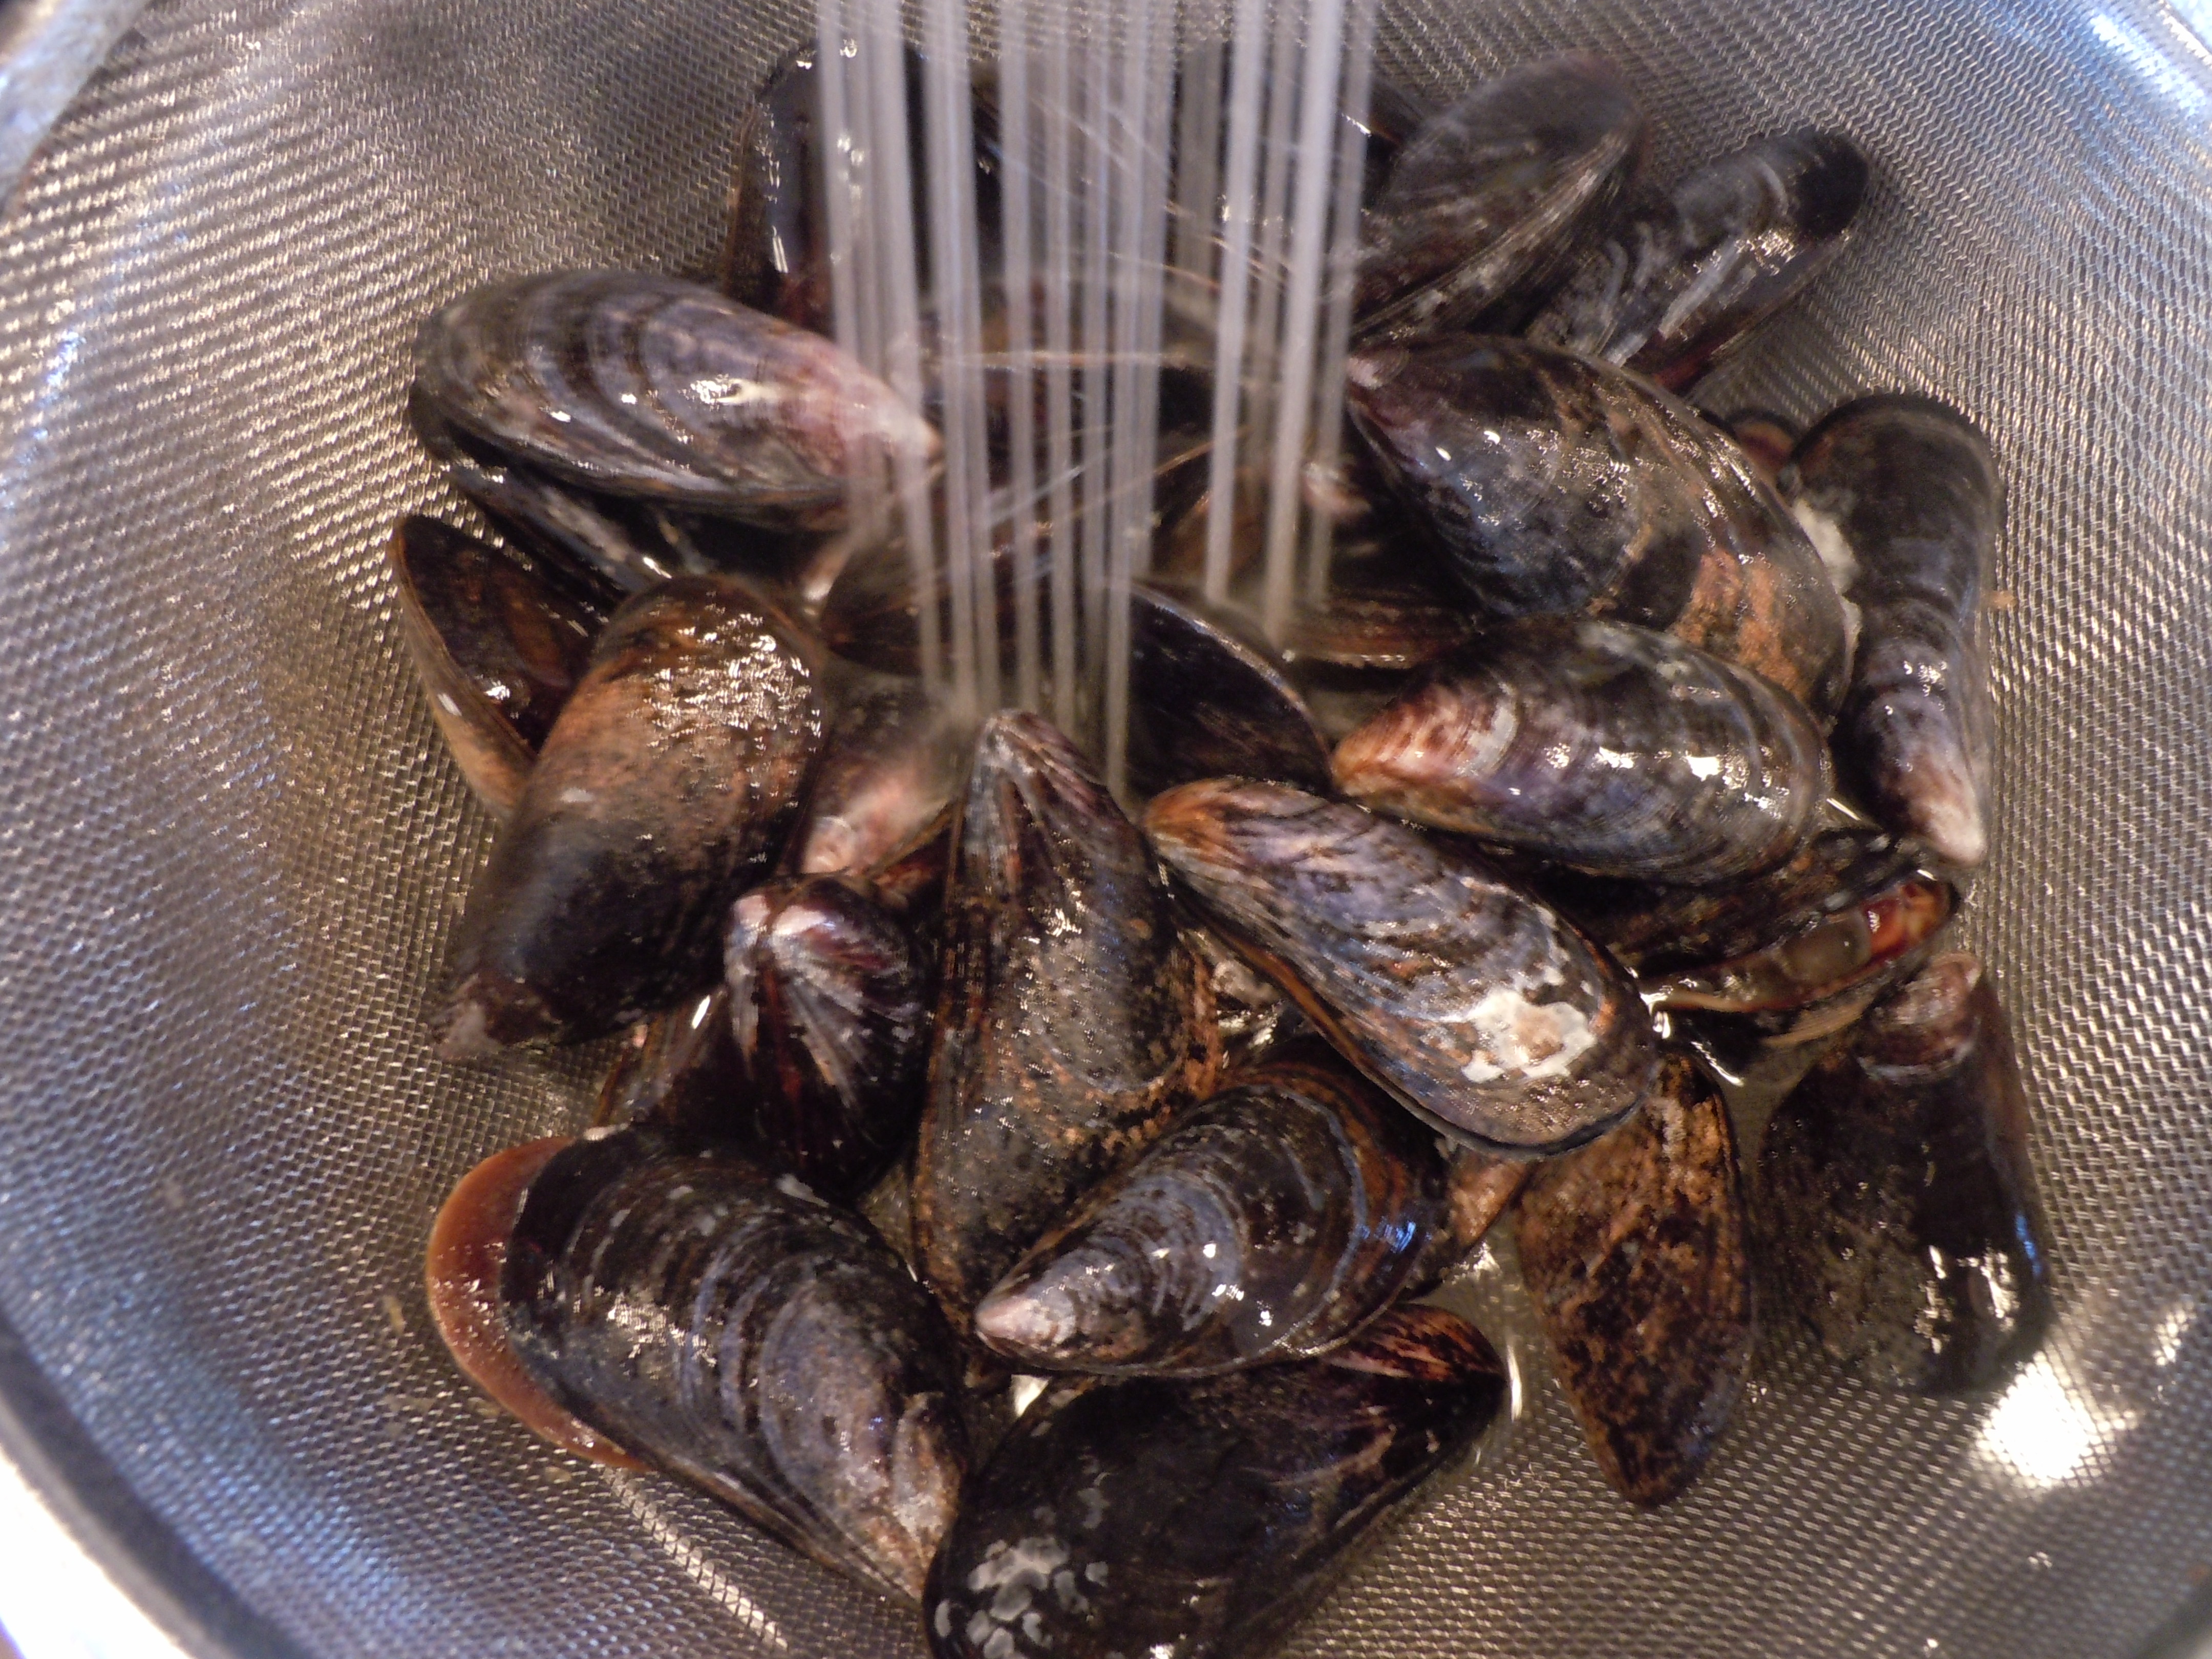
Now there really isn’t any science to keeping mussels fresh in the frig …just try and cook them the same day you buy them. DO NOT put them on ice because the cubes will melt and there won’t be enough oxygen to keep them alive once they end up submerged in the water. Put the bag of mussels in a bowl so any liquid from the mussels doesn’t leak in your frig and keep the bag open at the top. Any mussels that are open and don’t close when you squeeze them are bad…they are dead so toss them, you must NOT eat them! Some mussels have a filament on them or a beard that you need to pull off but don’t do this until you are ready to wash and cook them because this kills them.
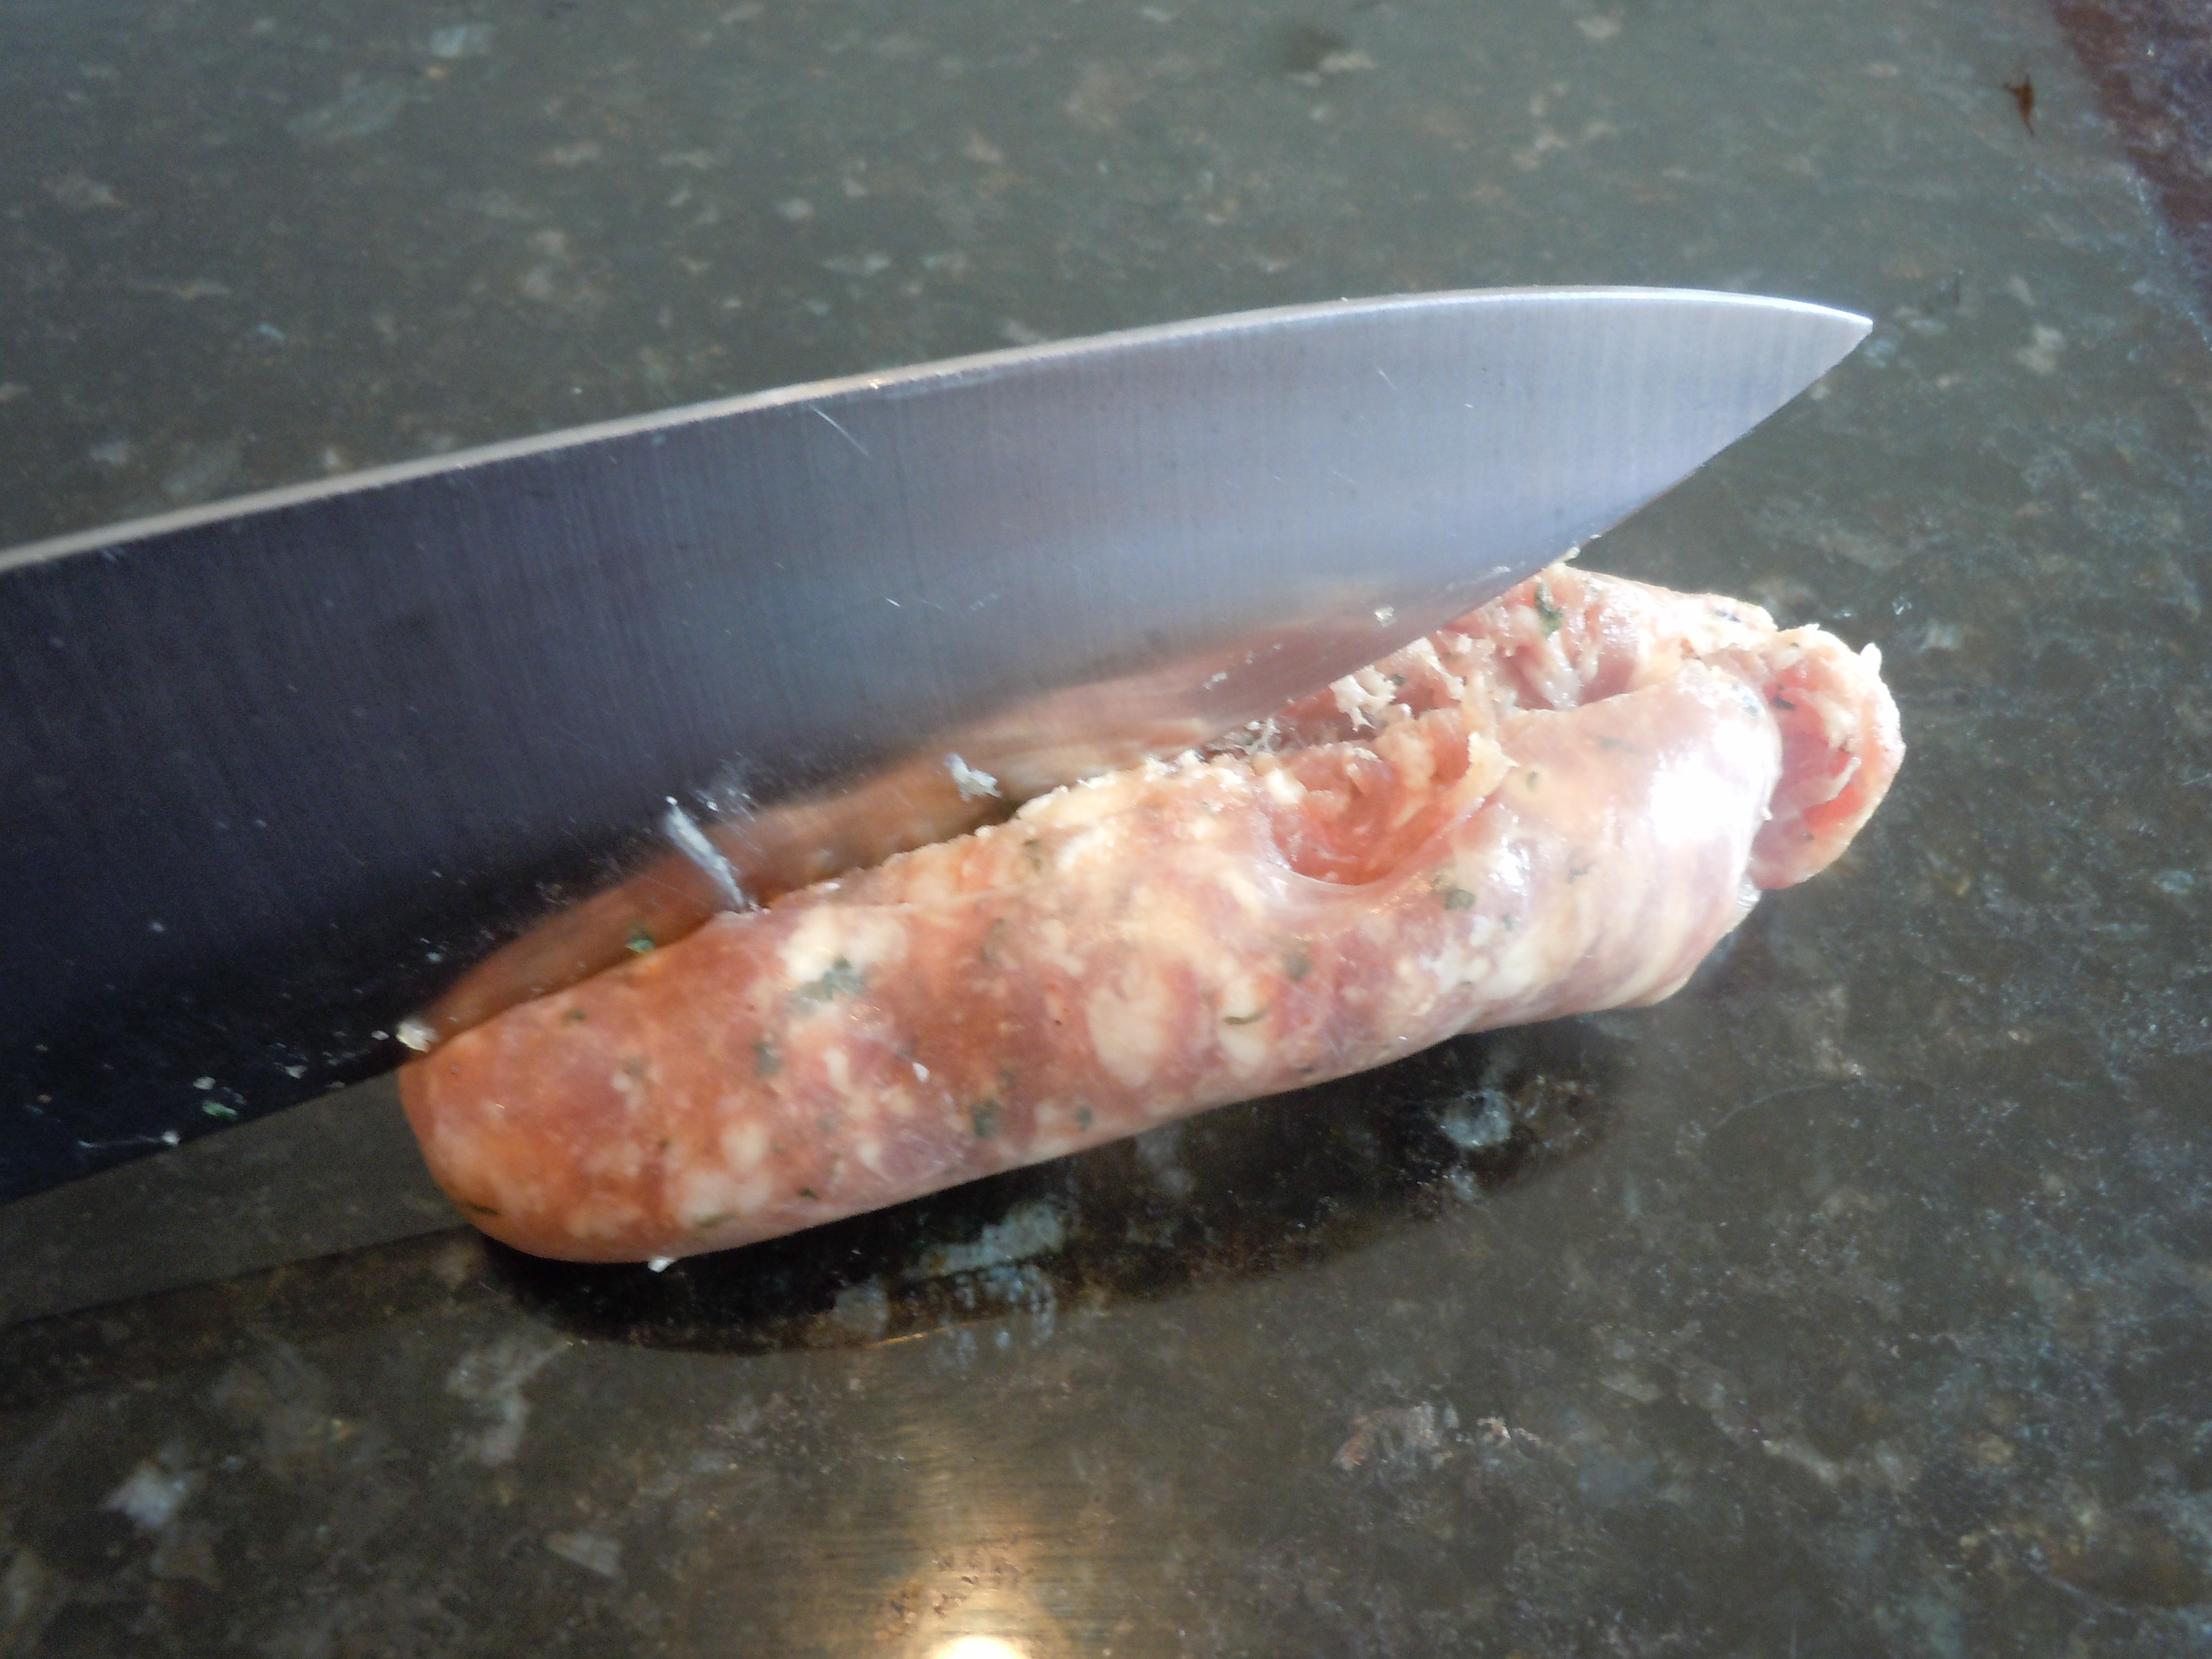
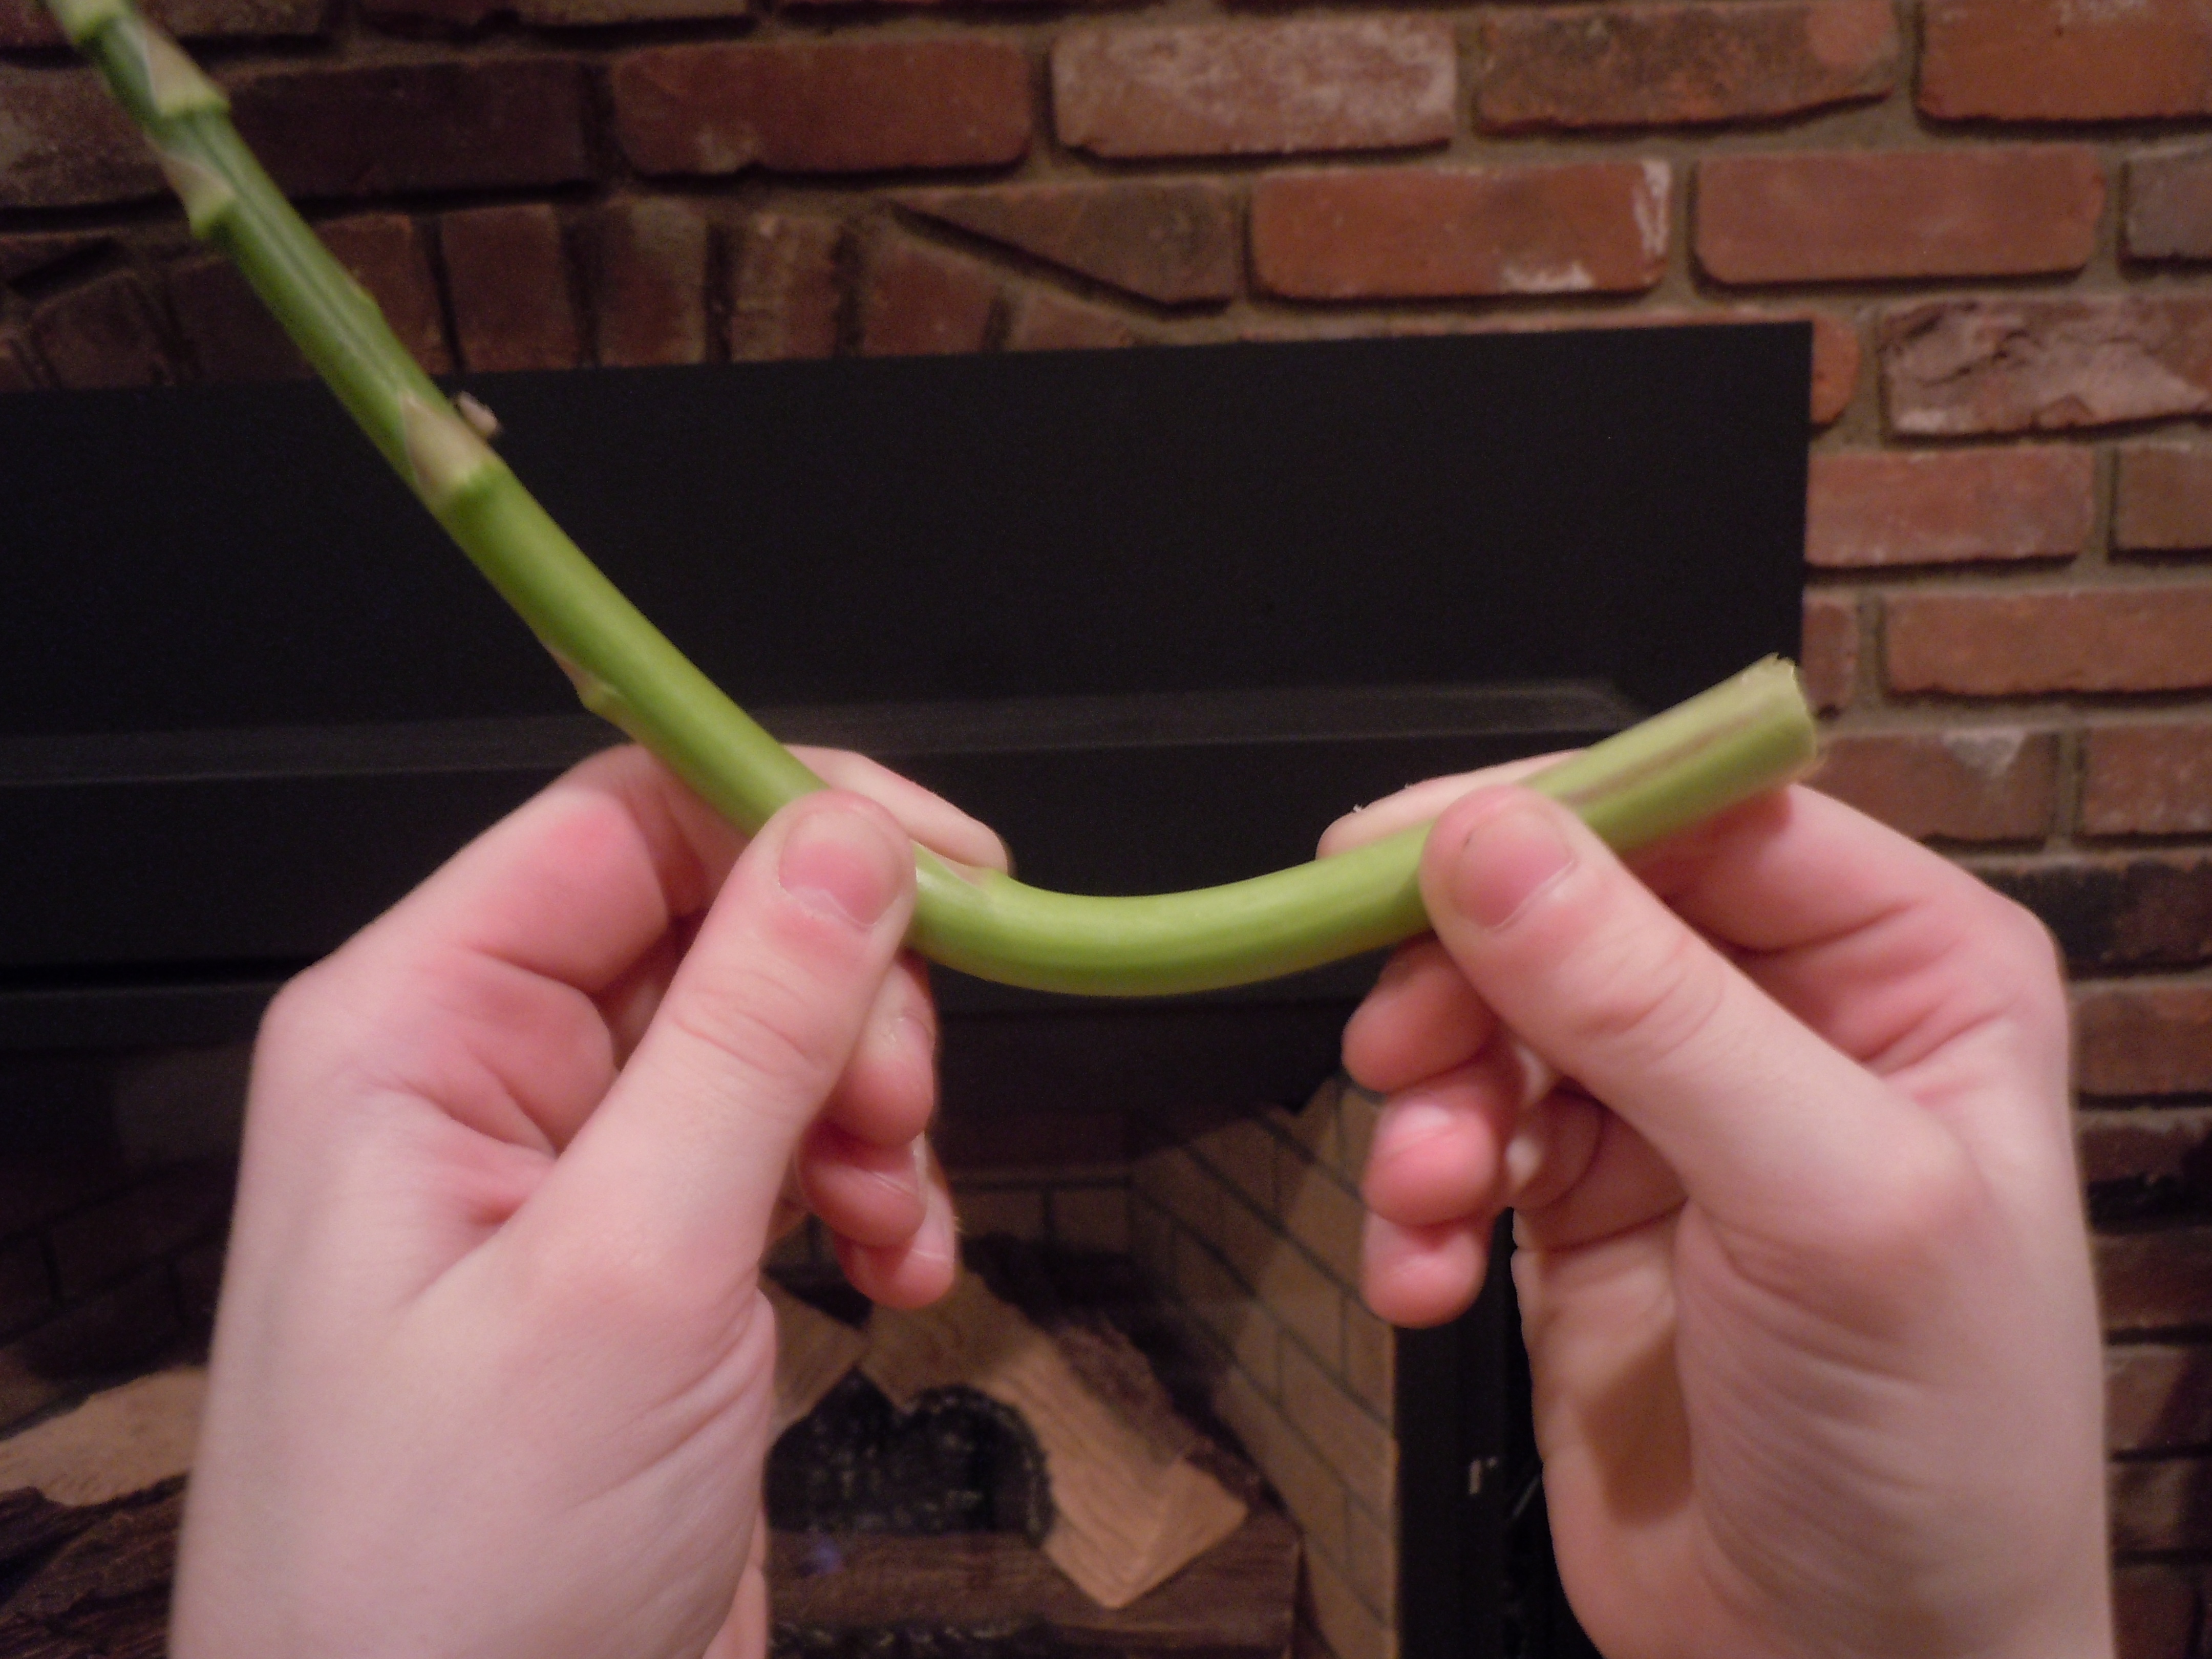
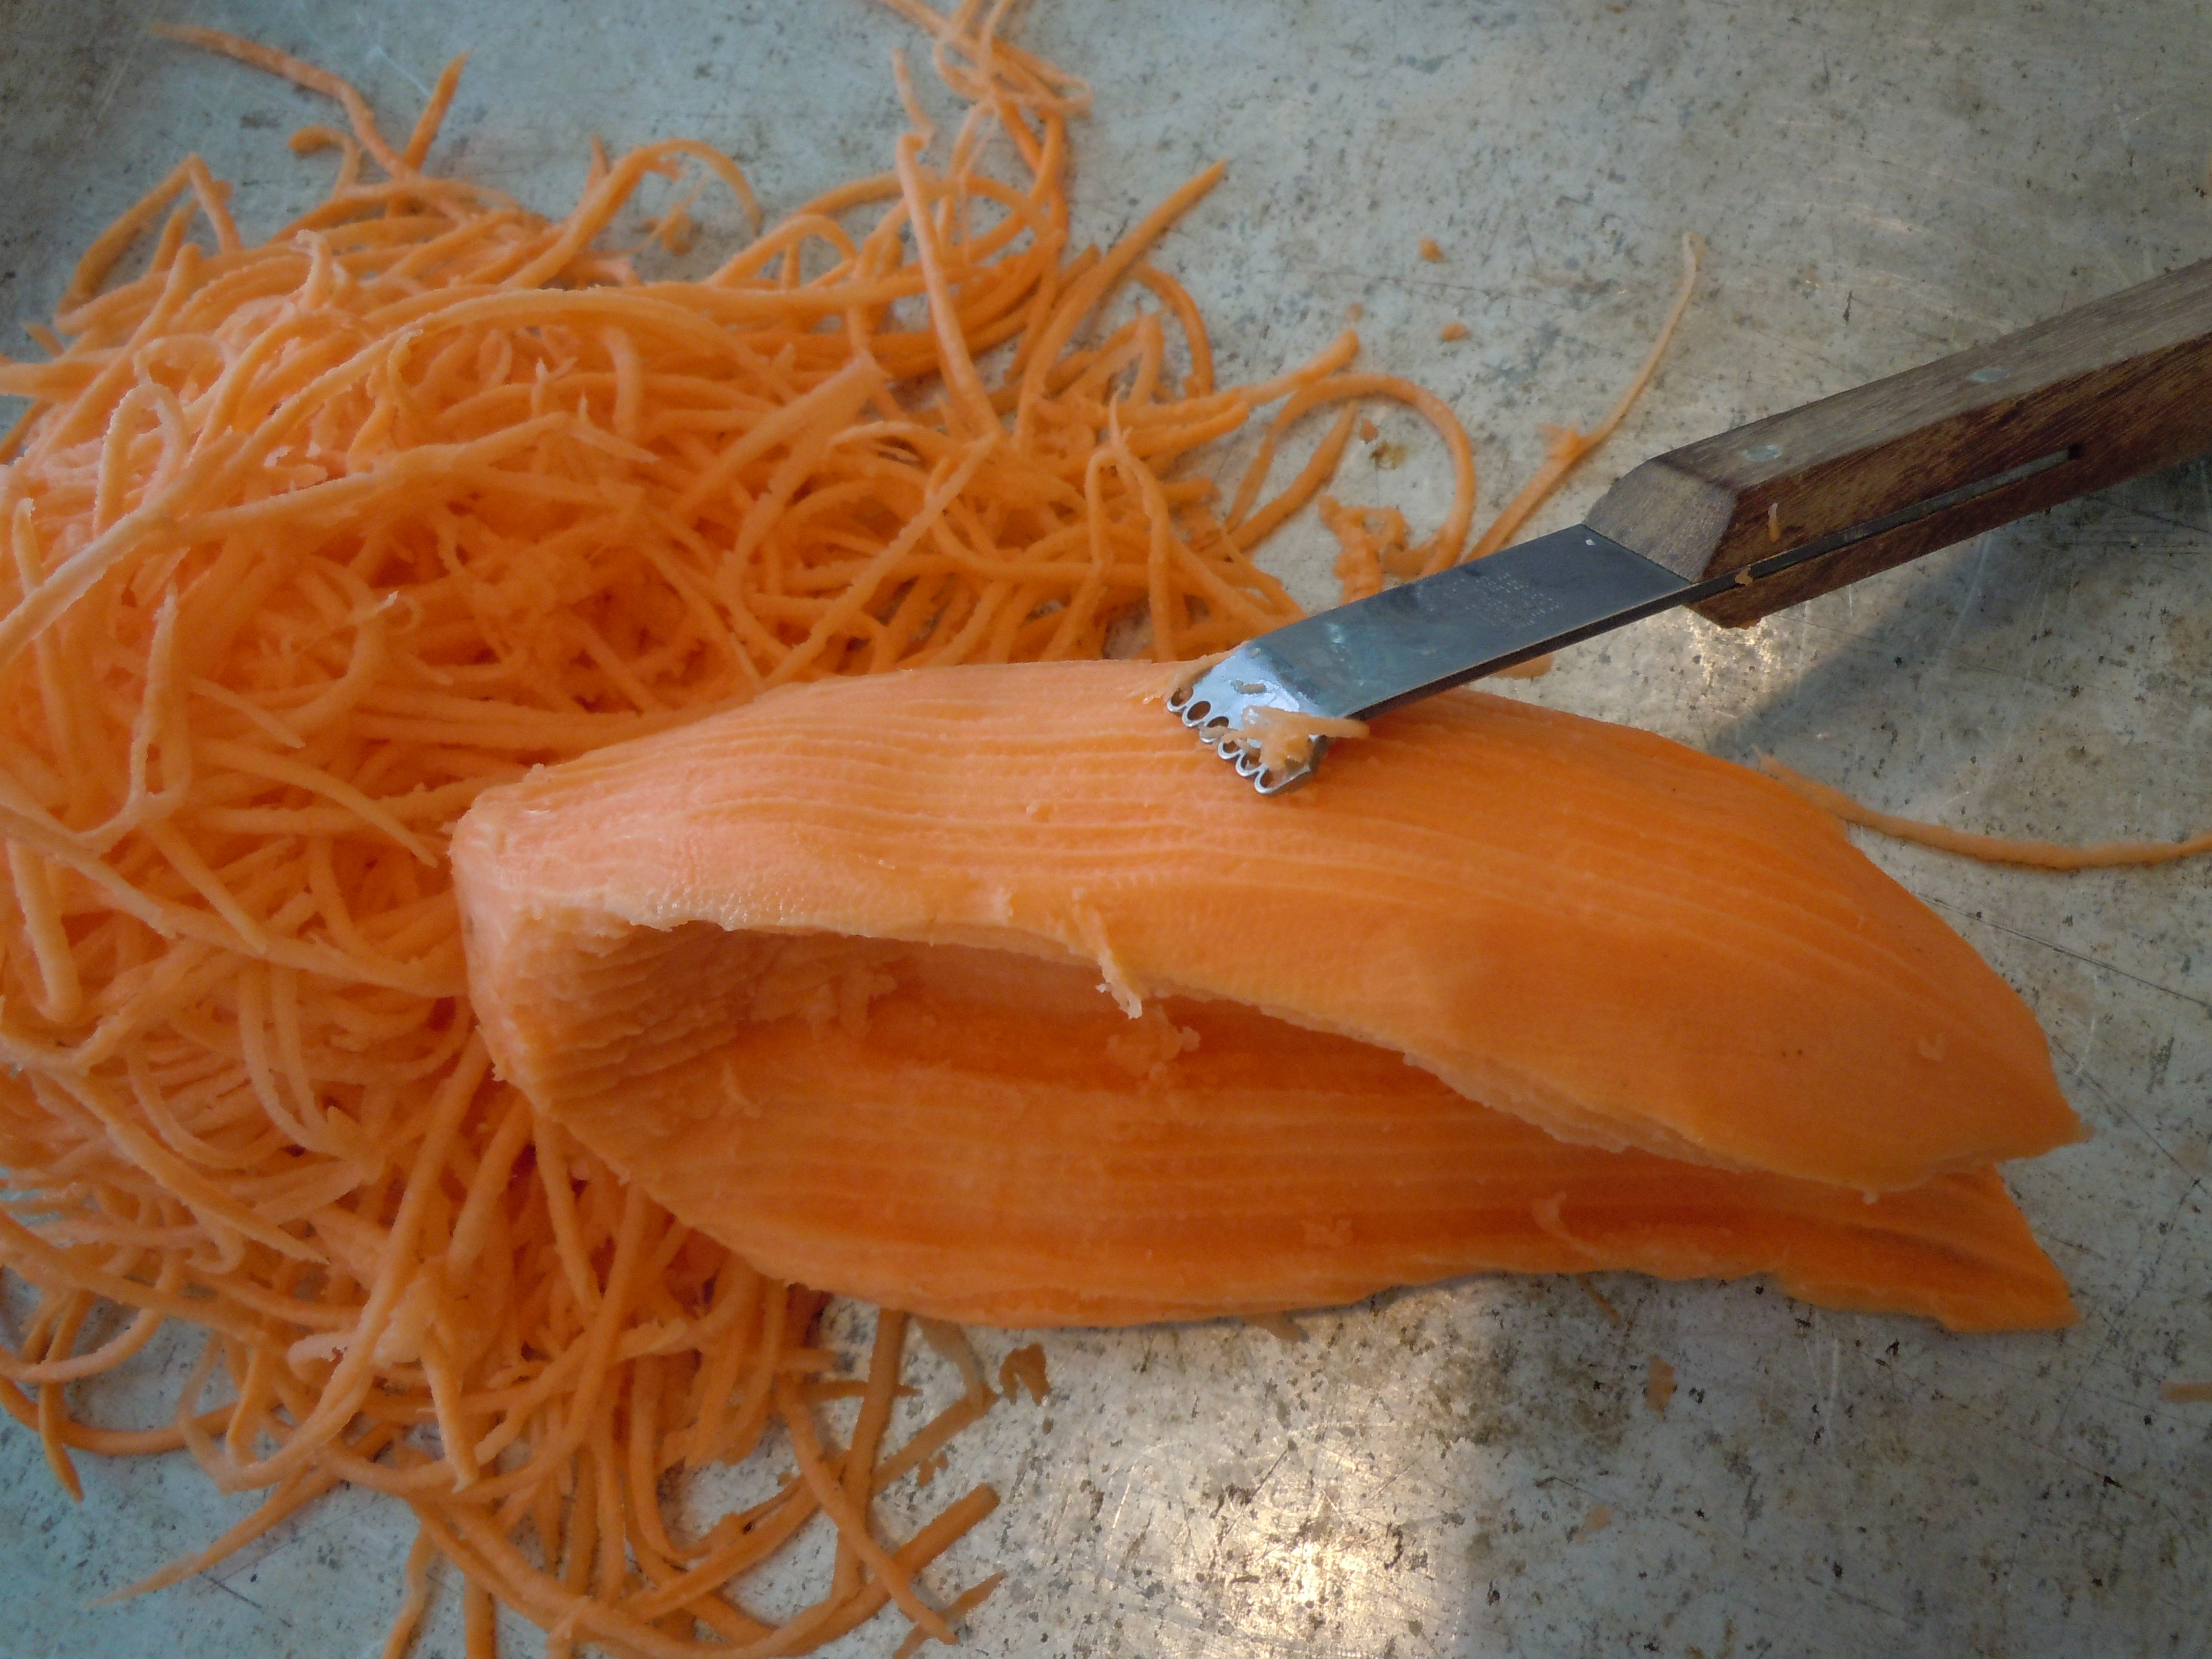
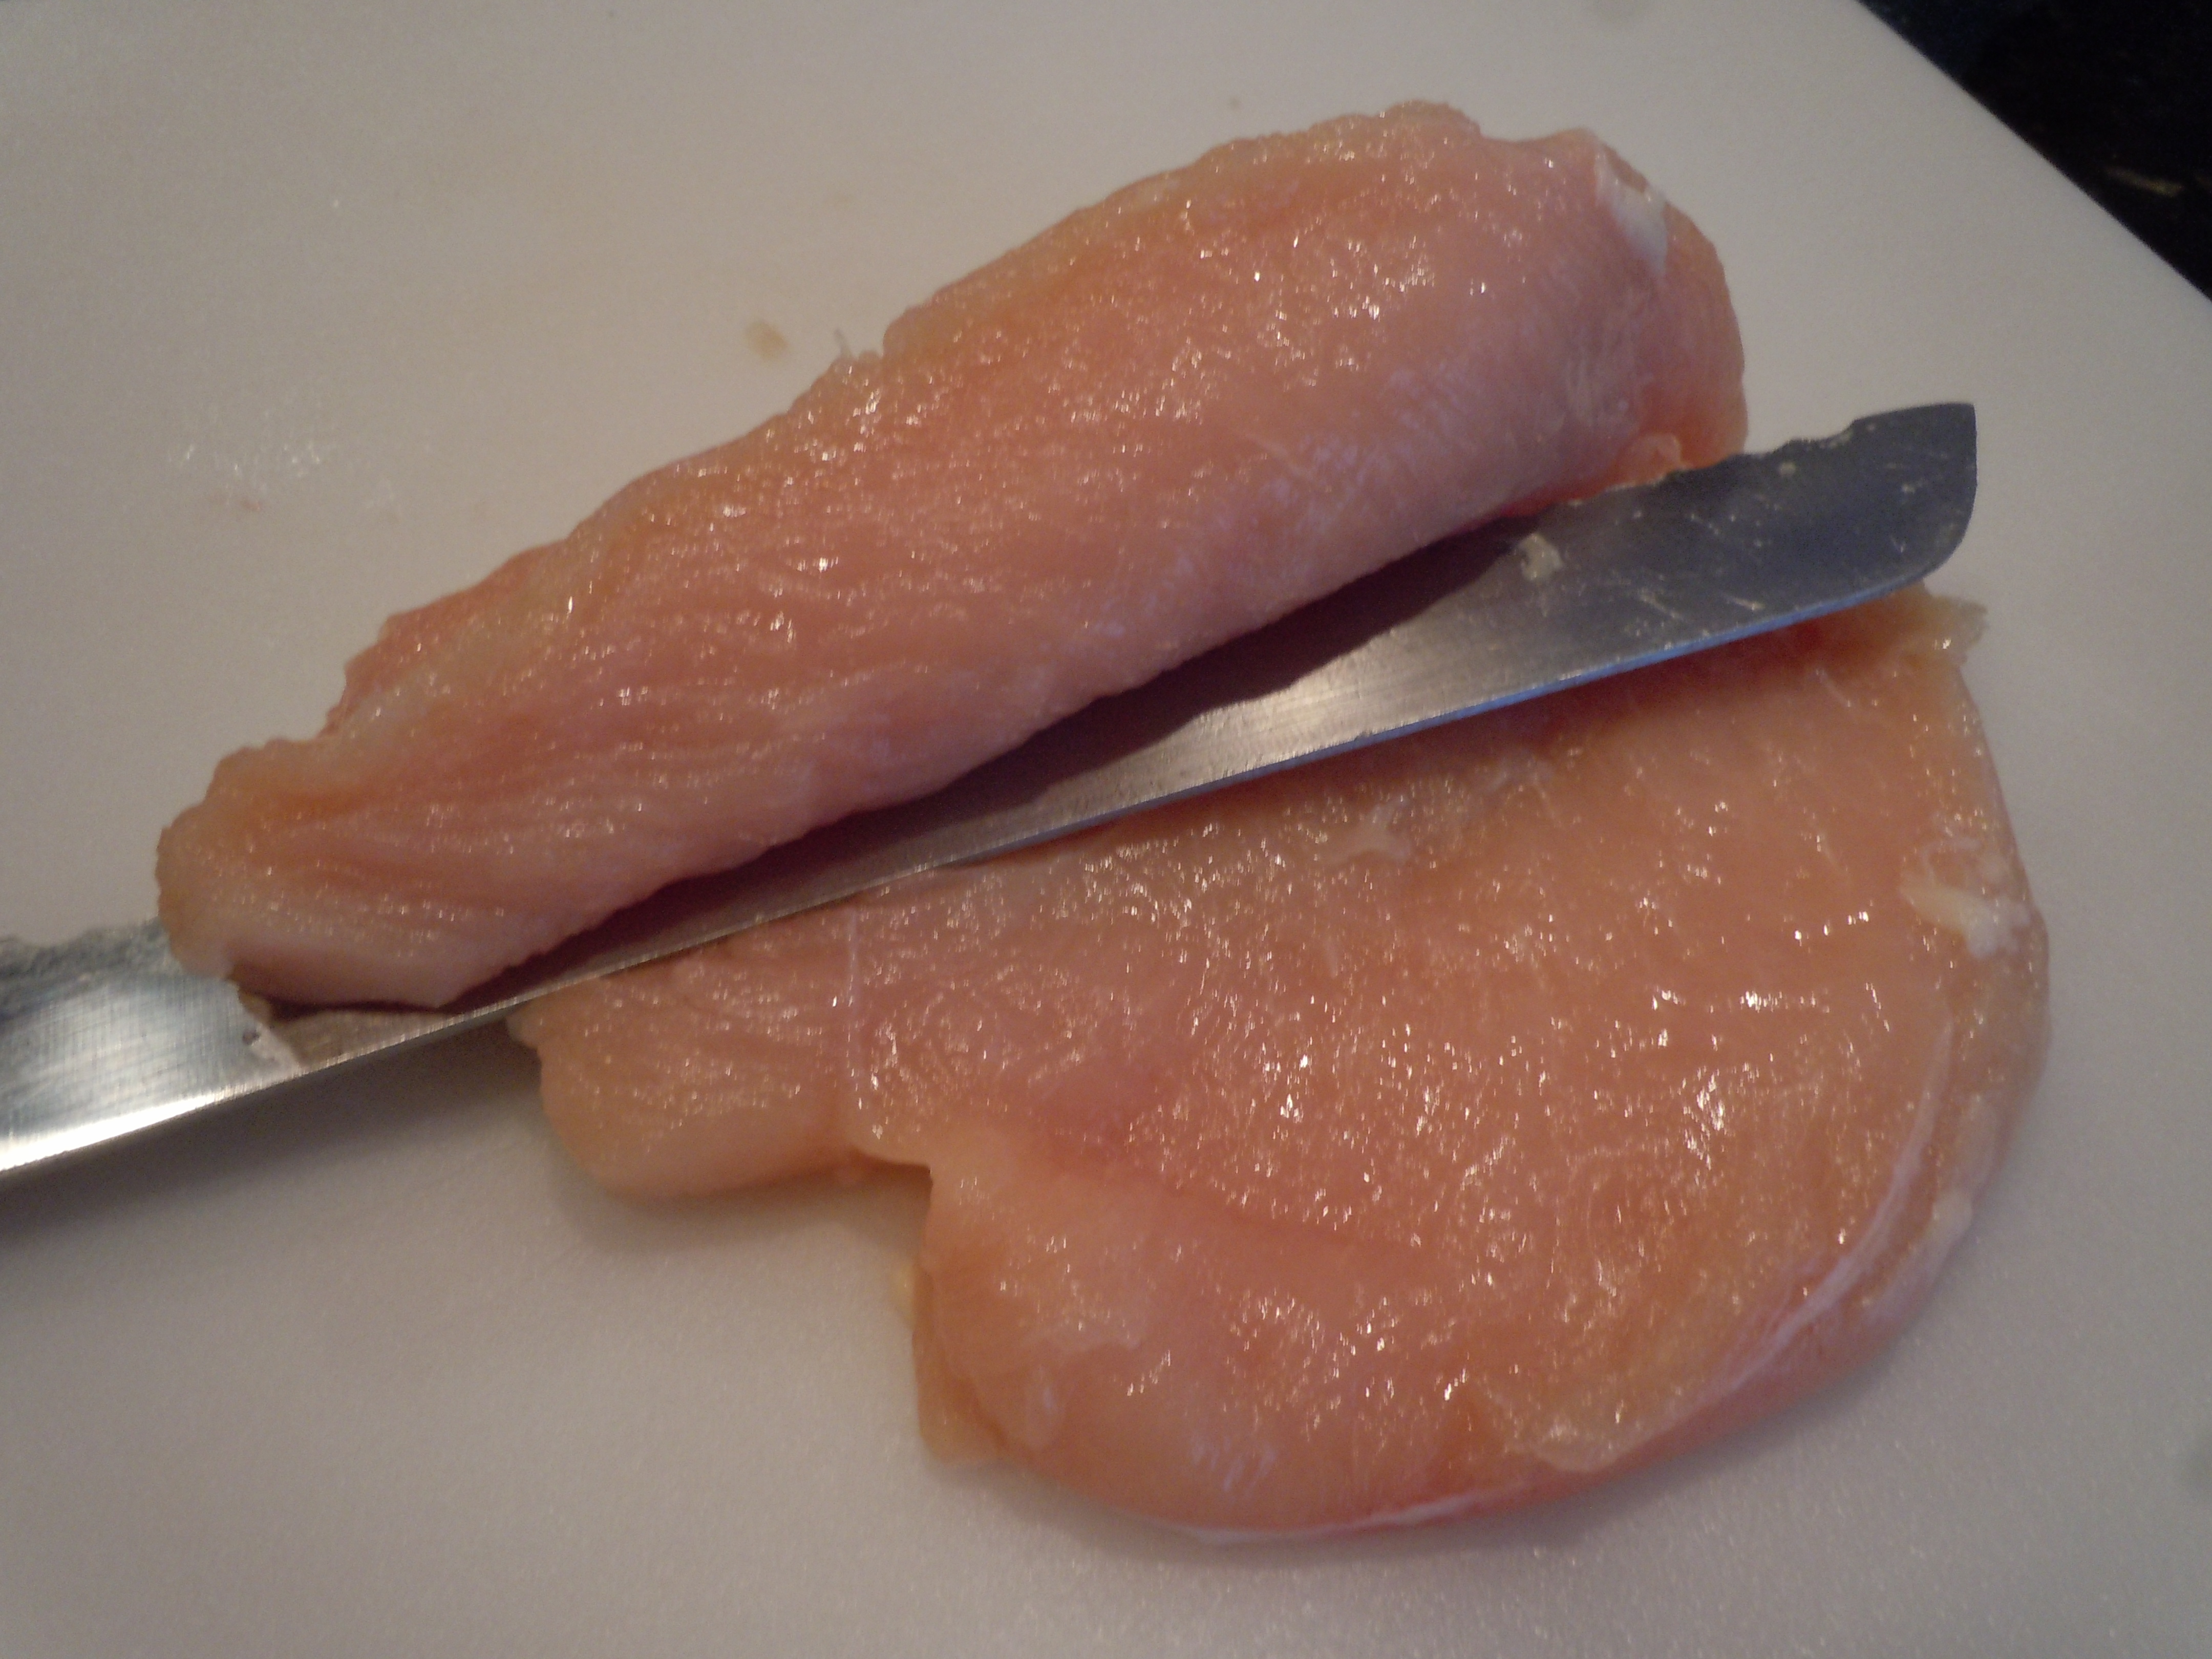
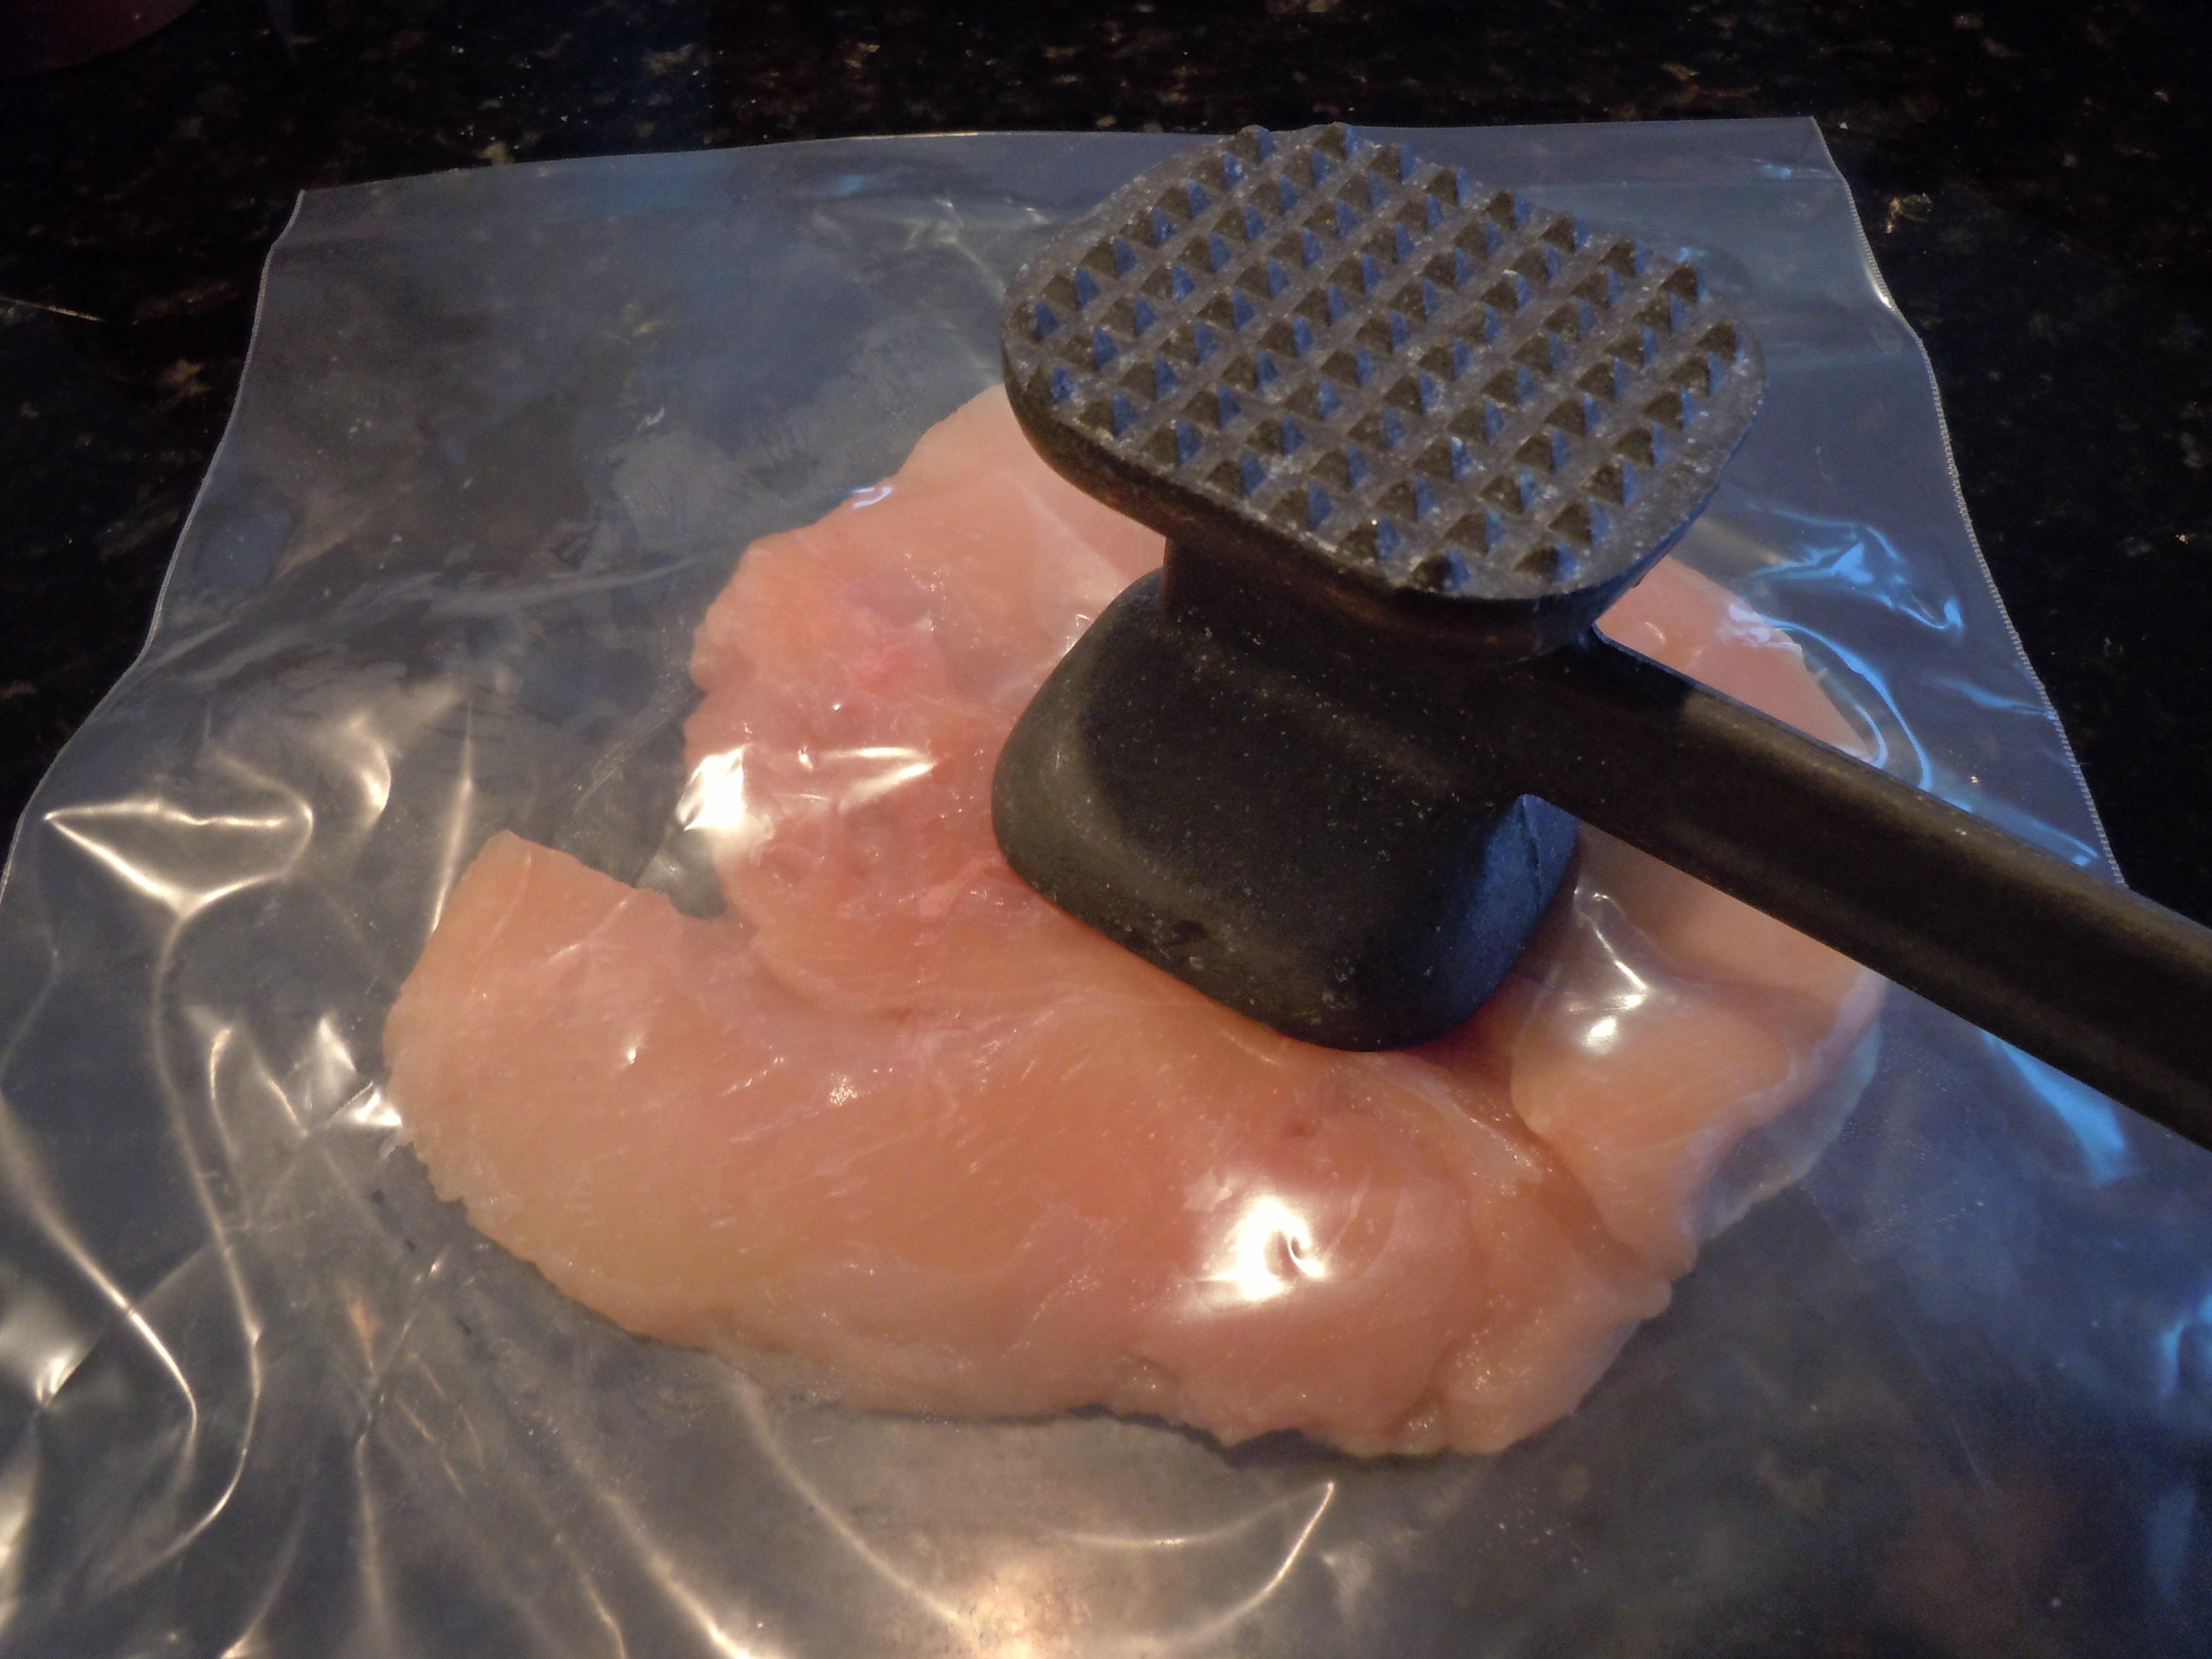
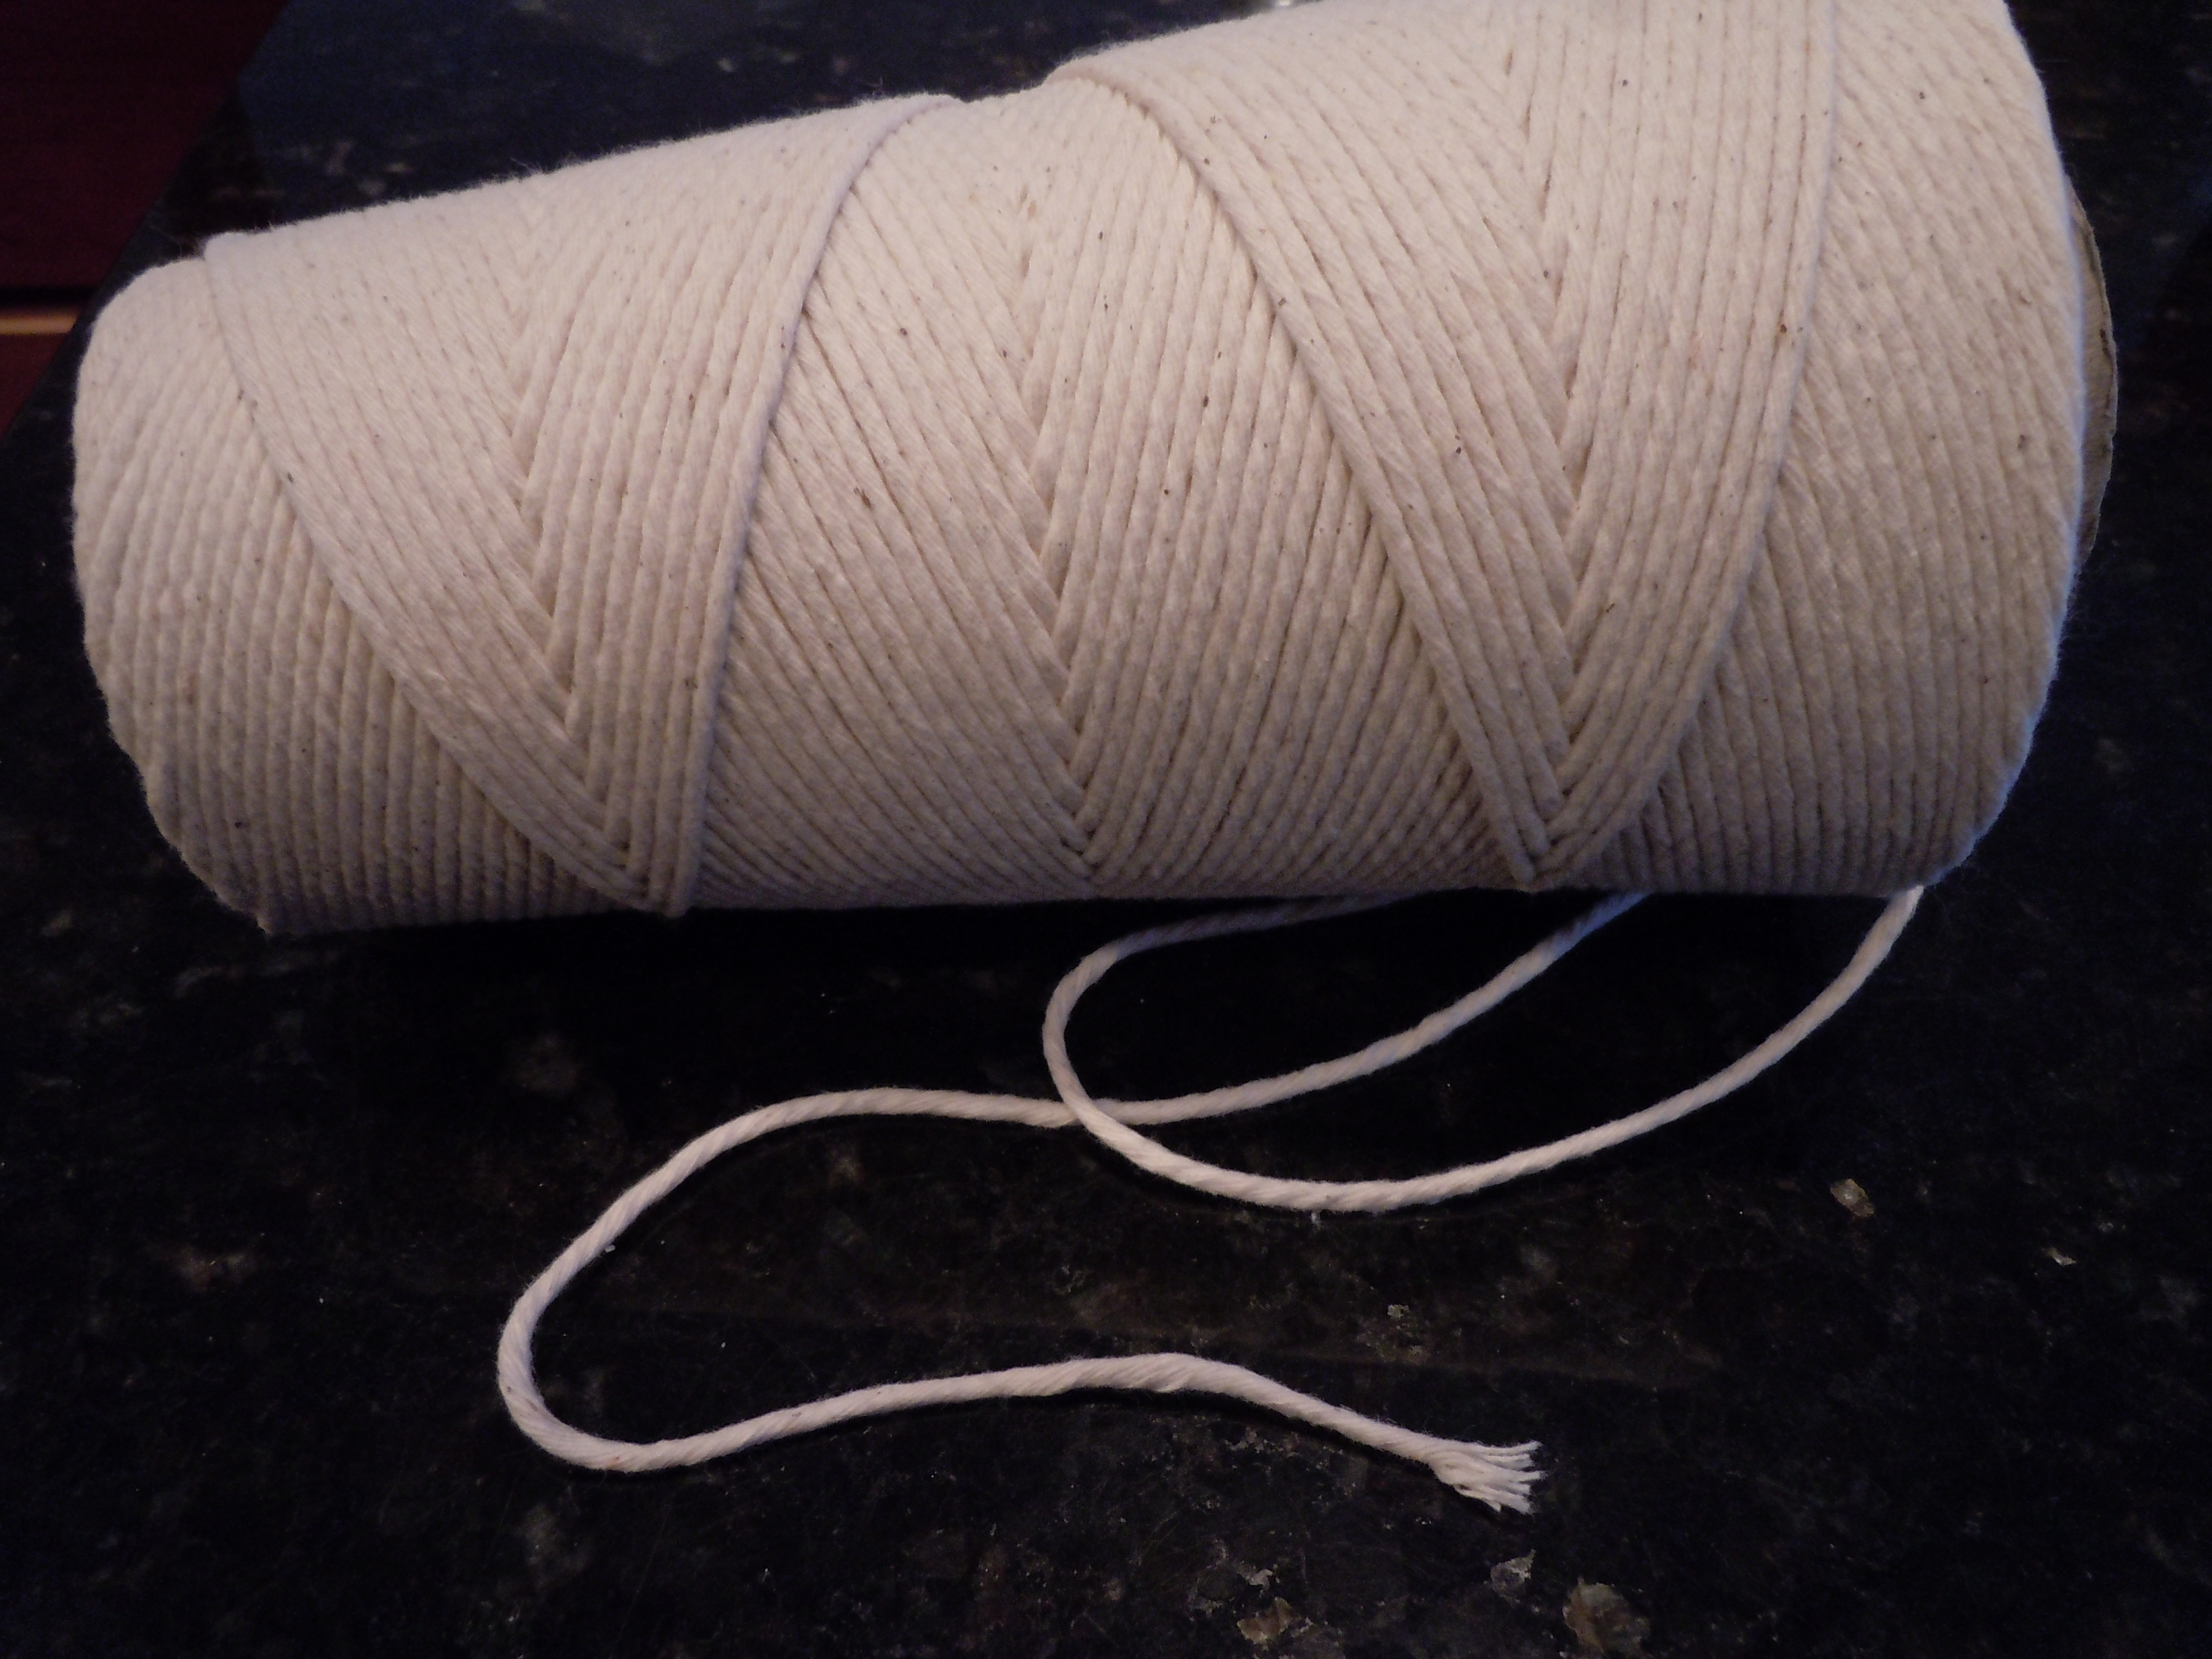
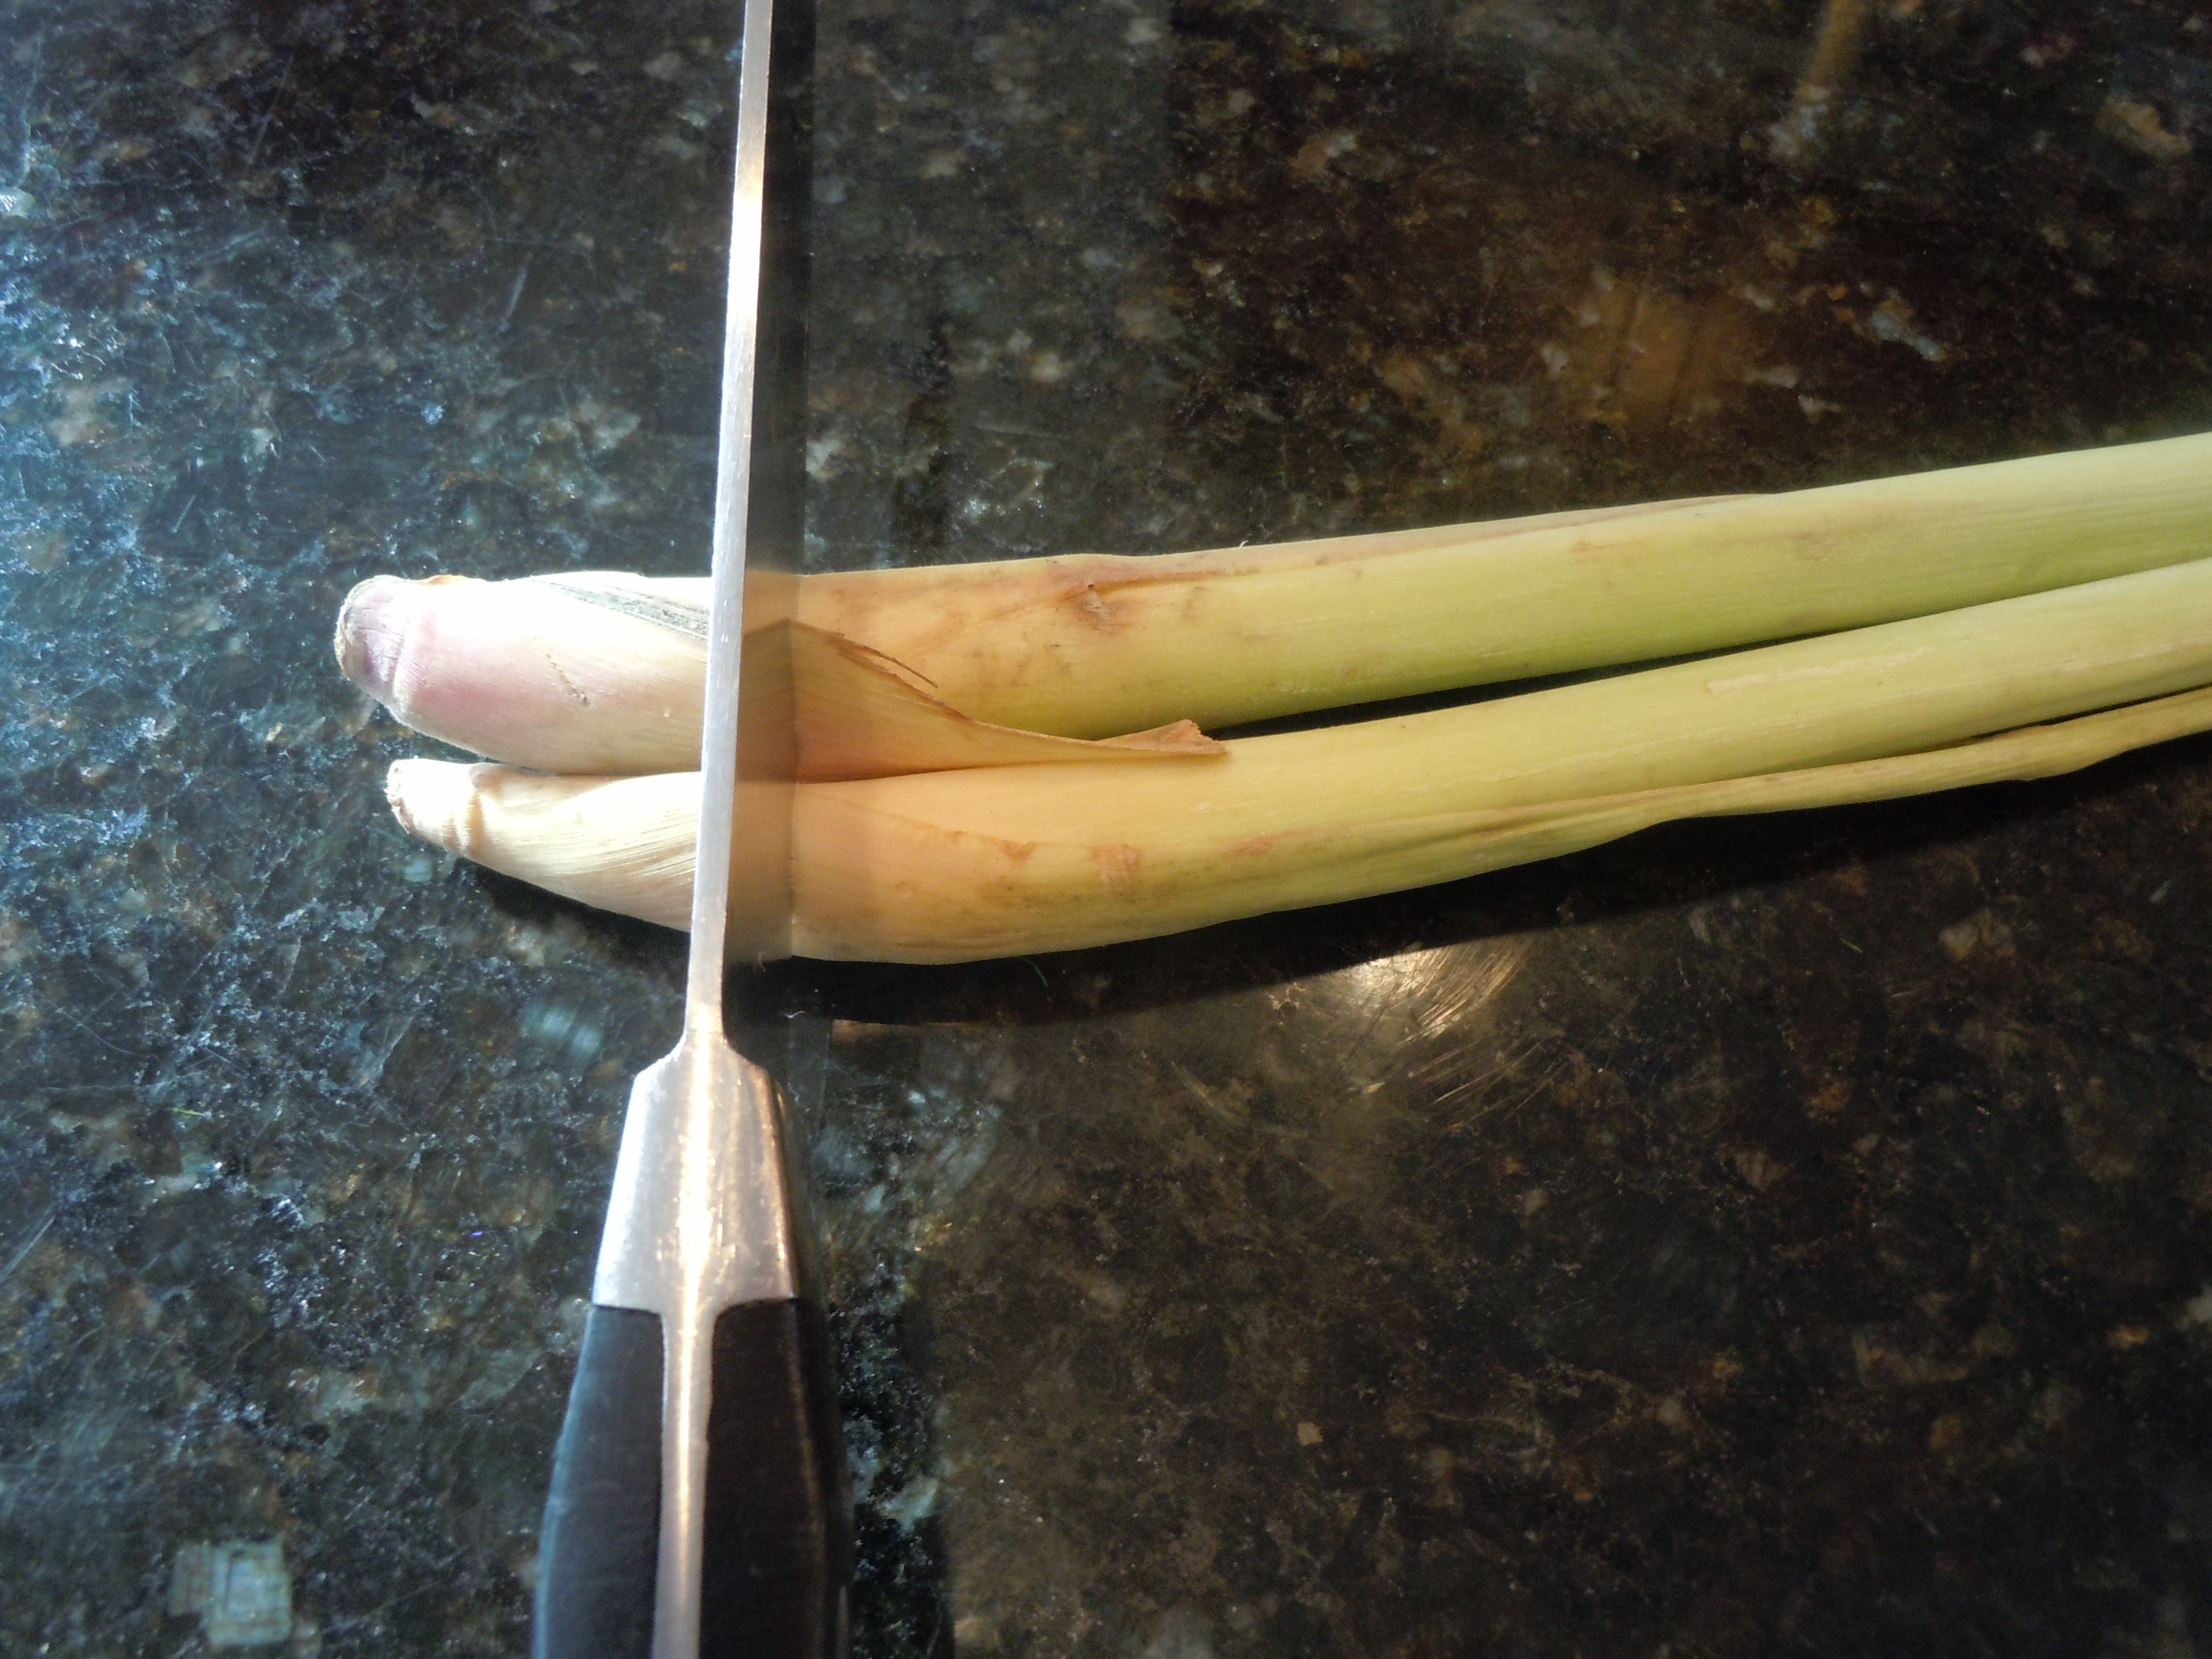
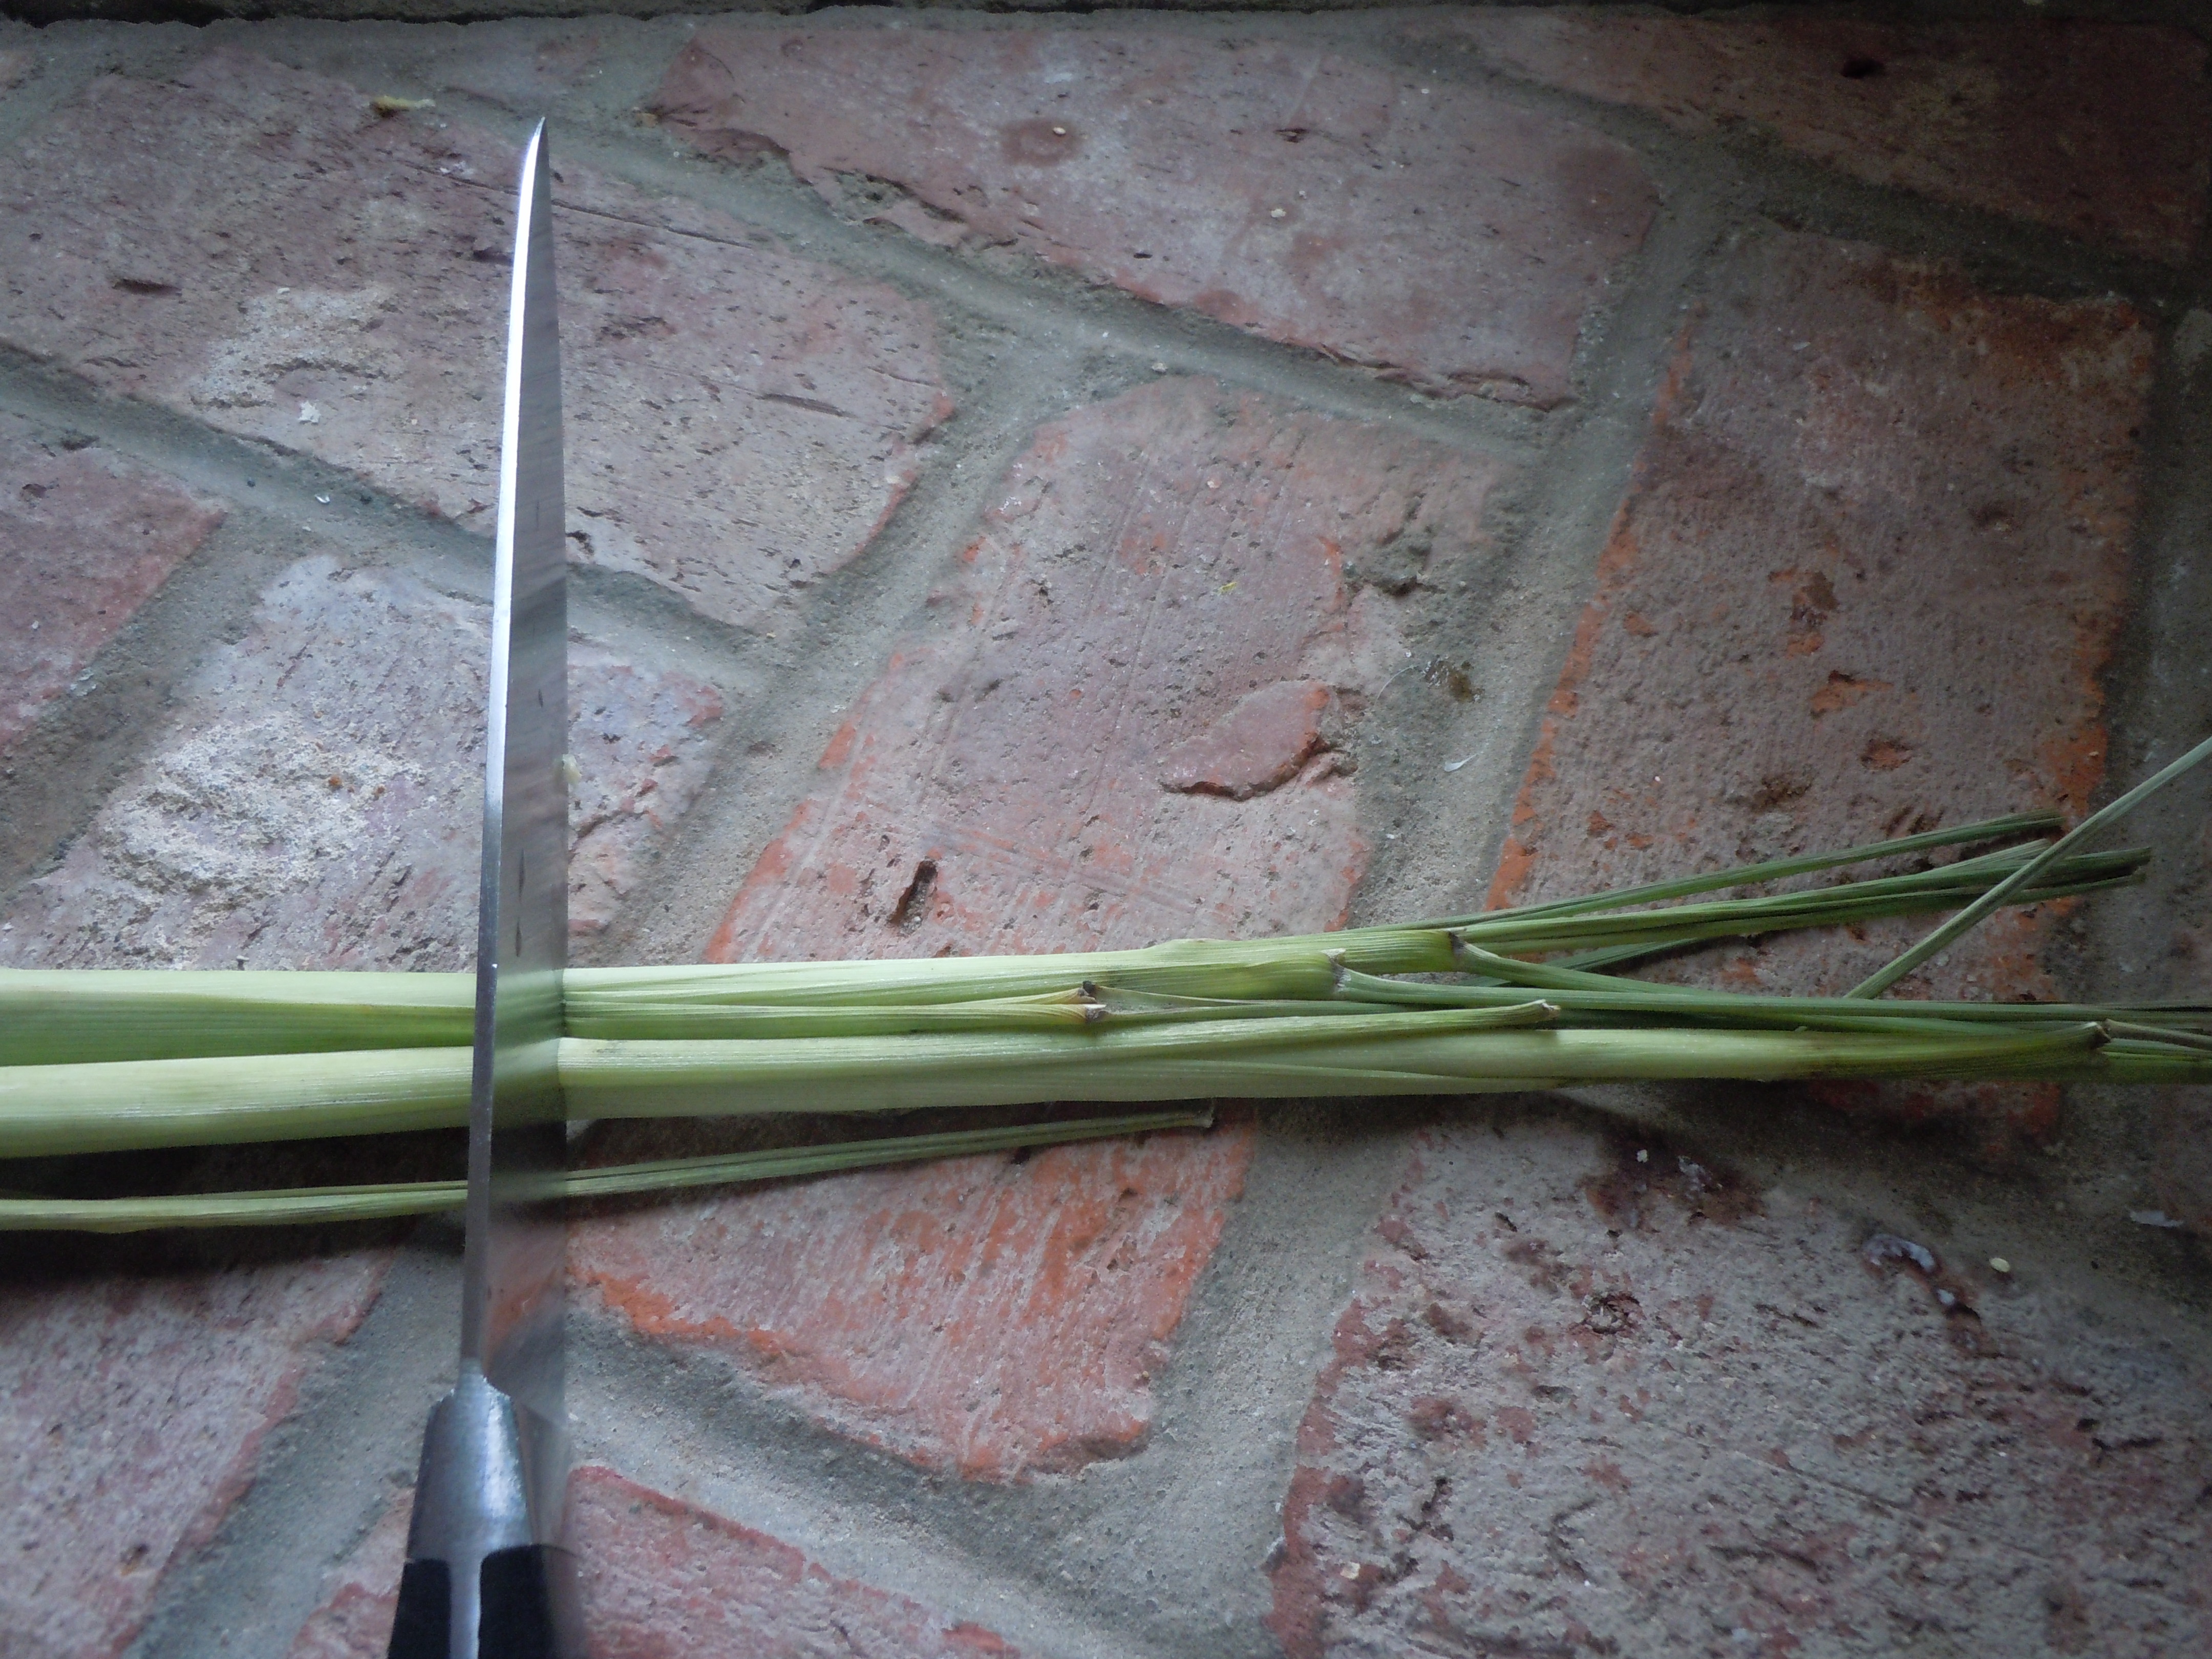
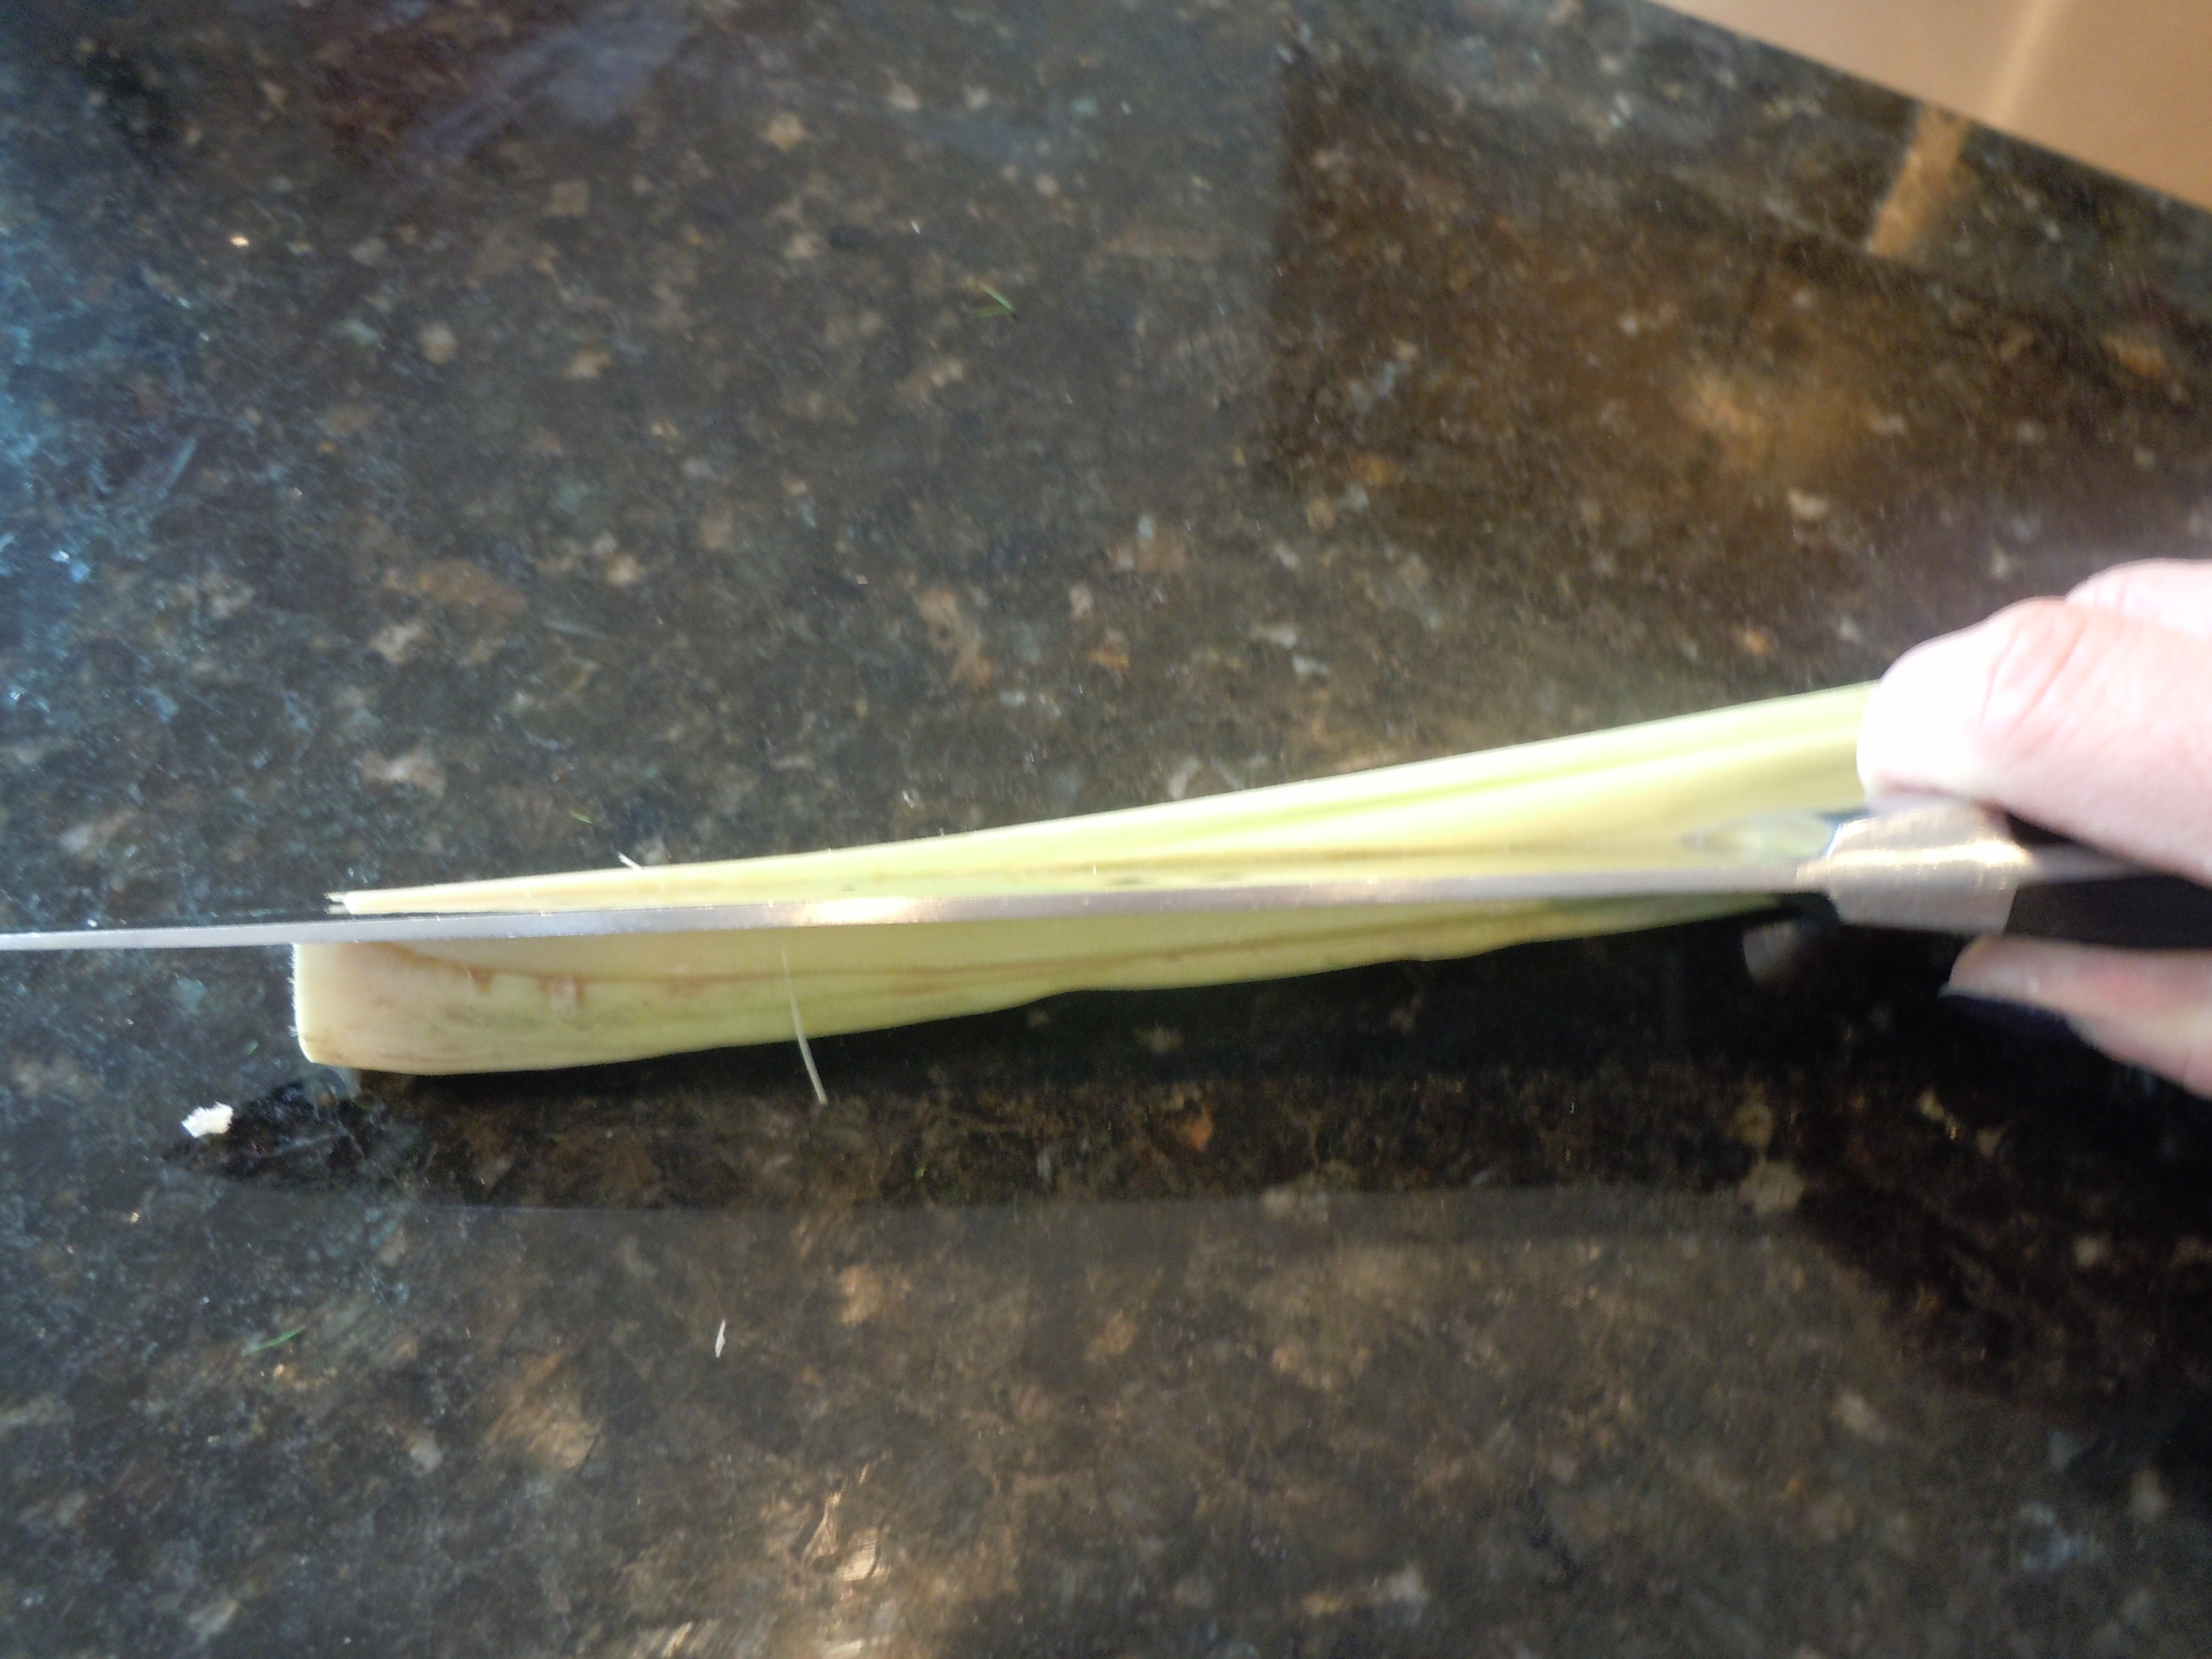
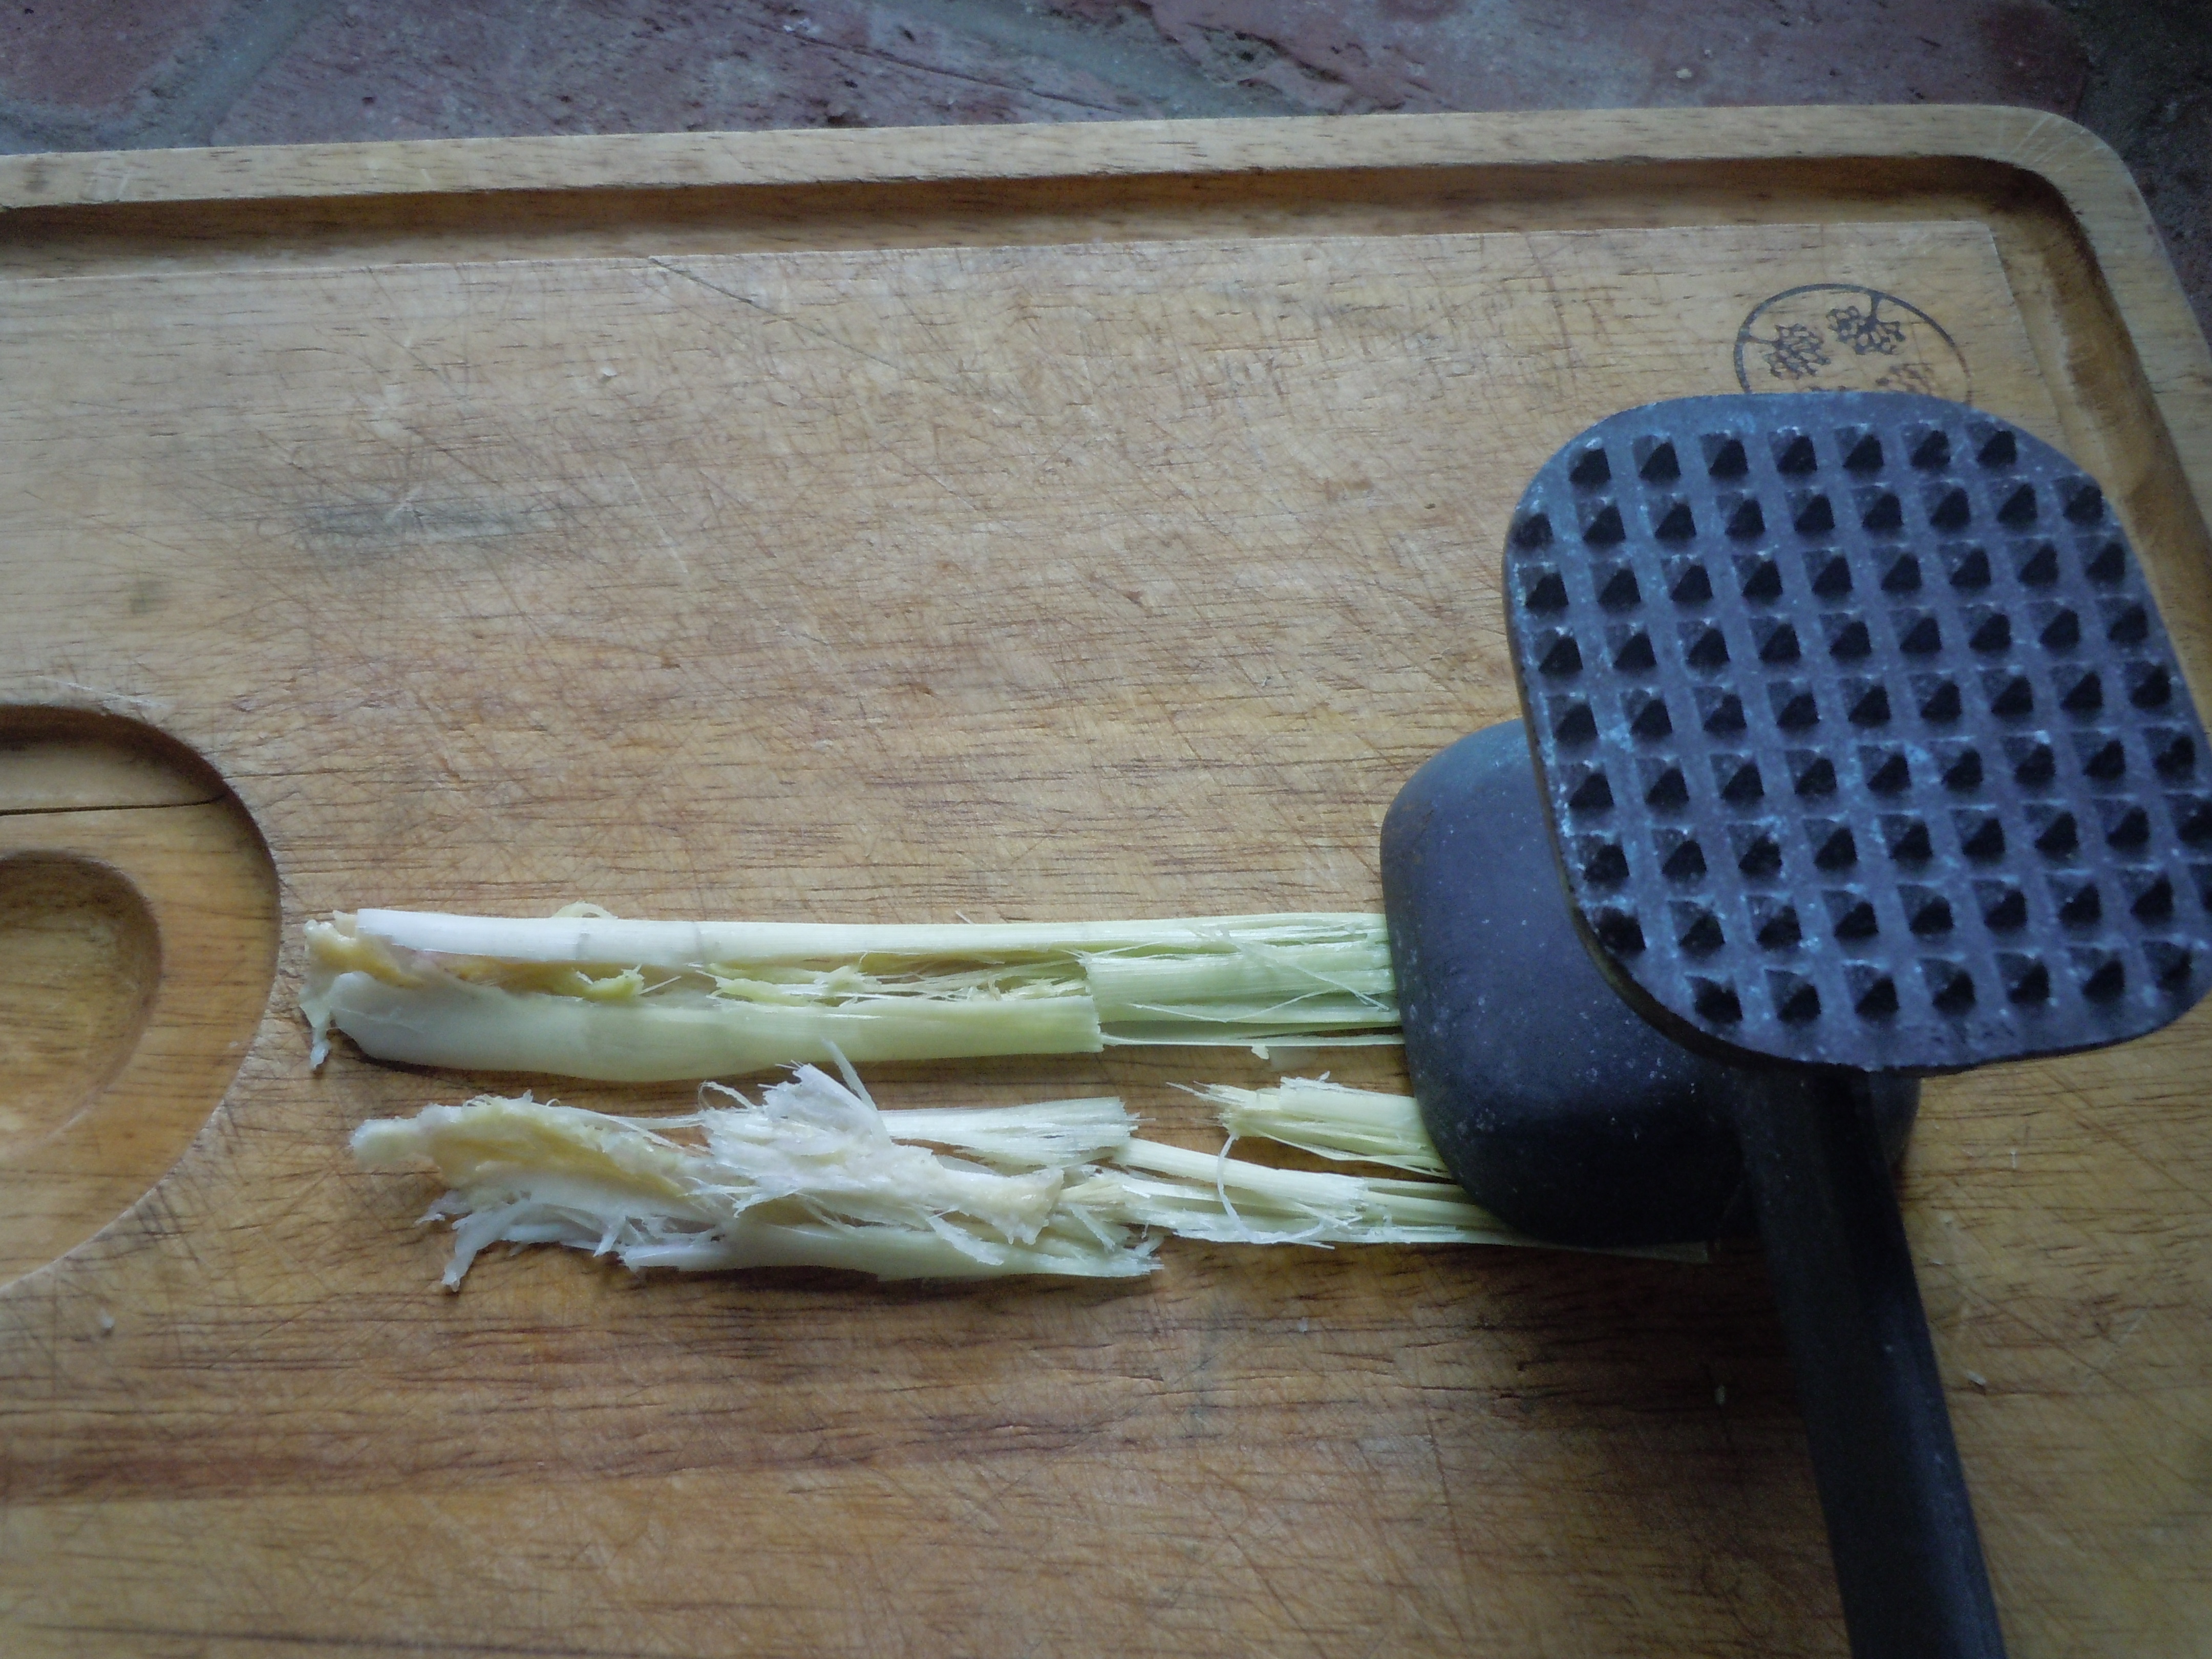
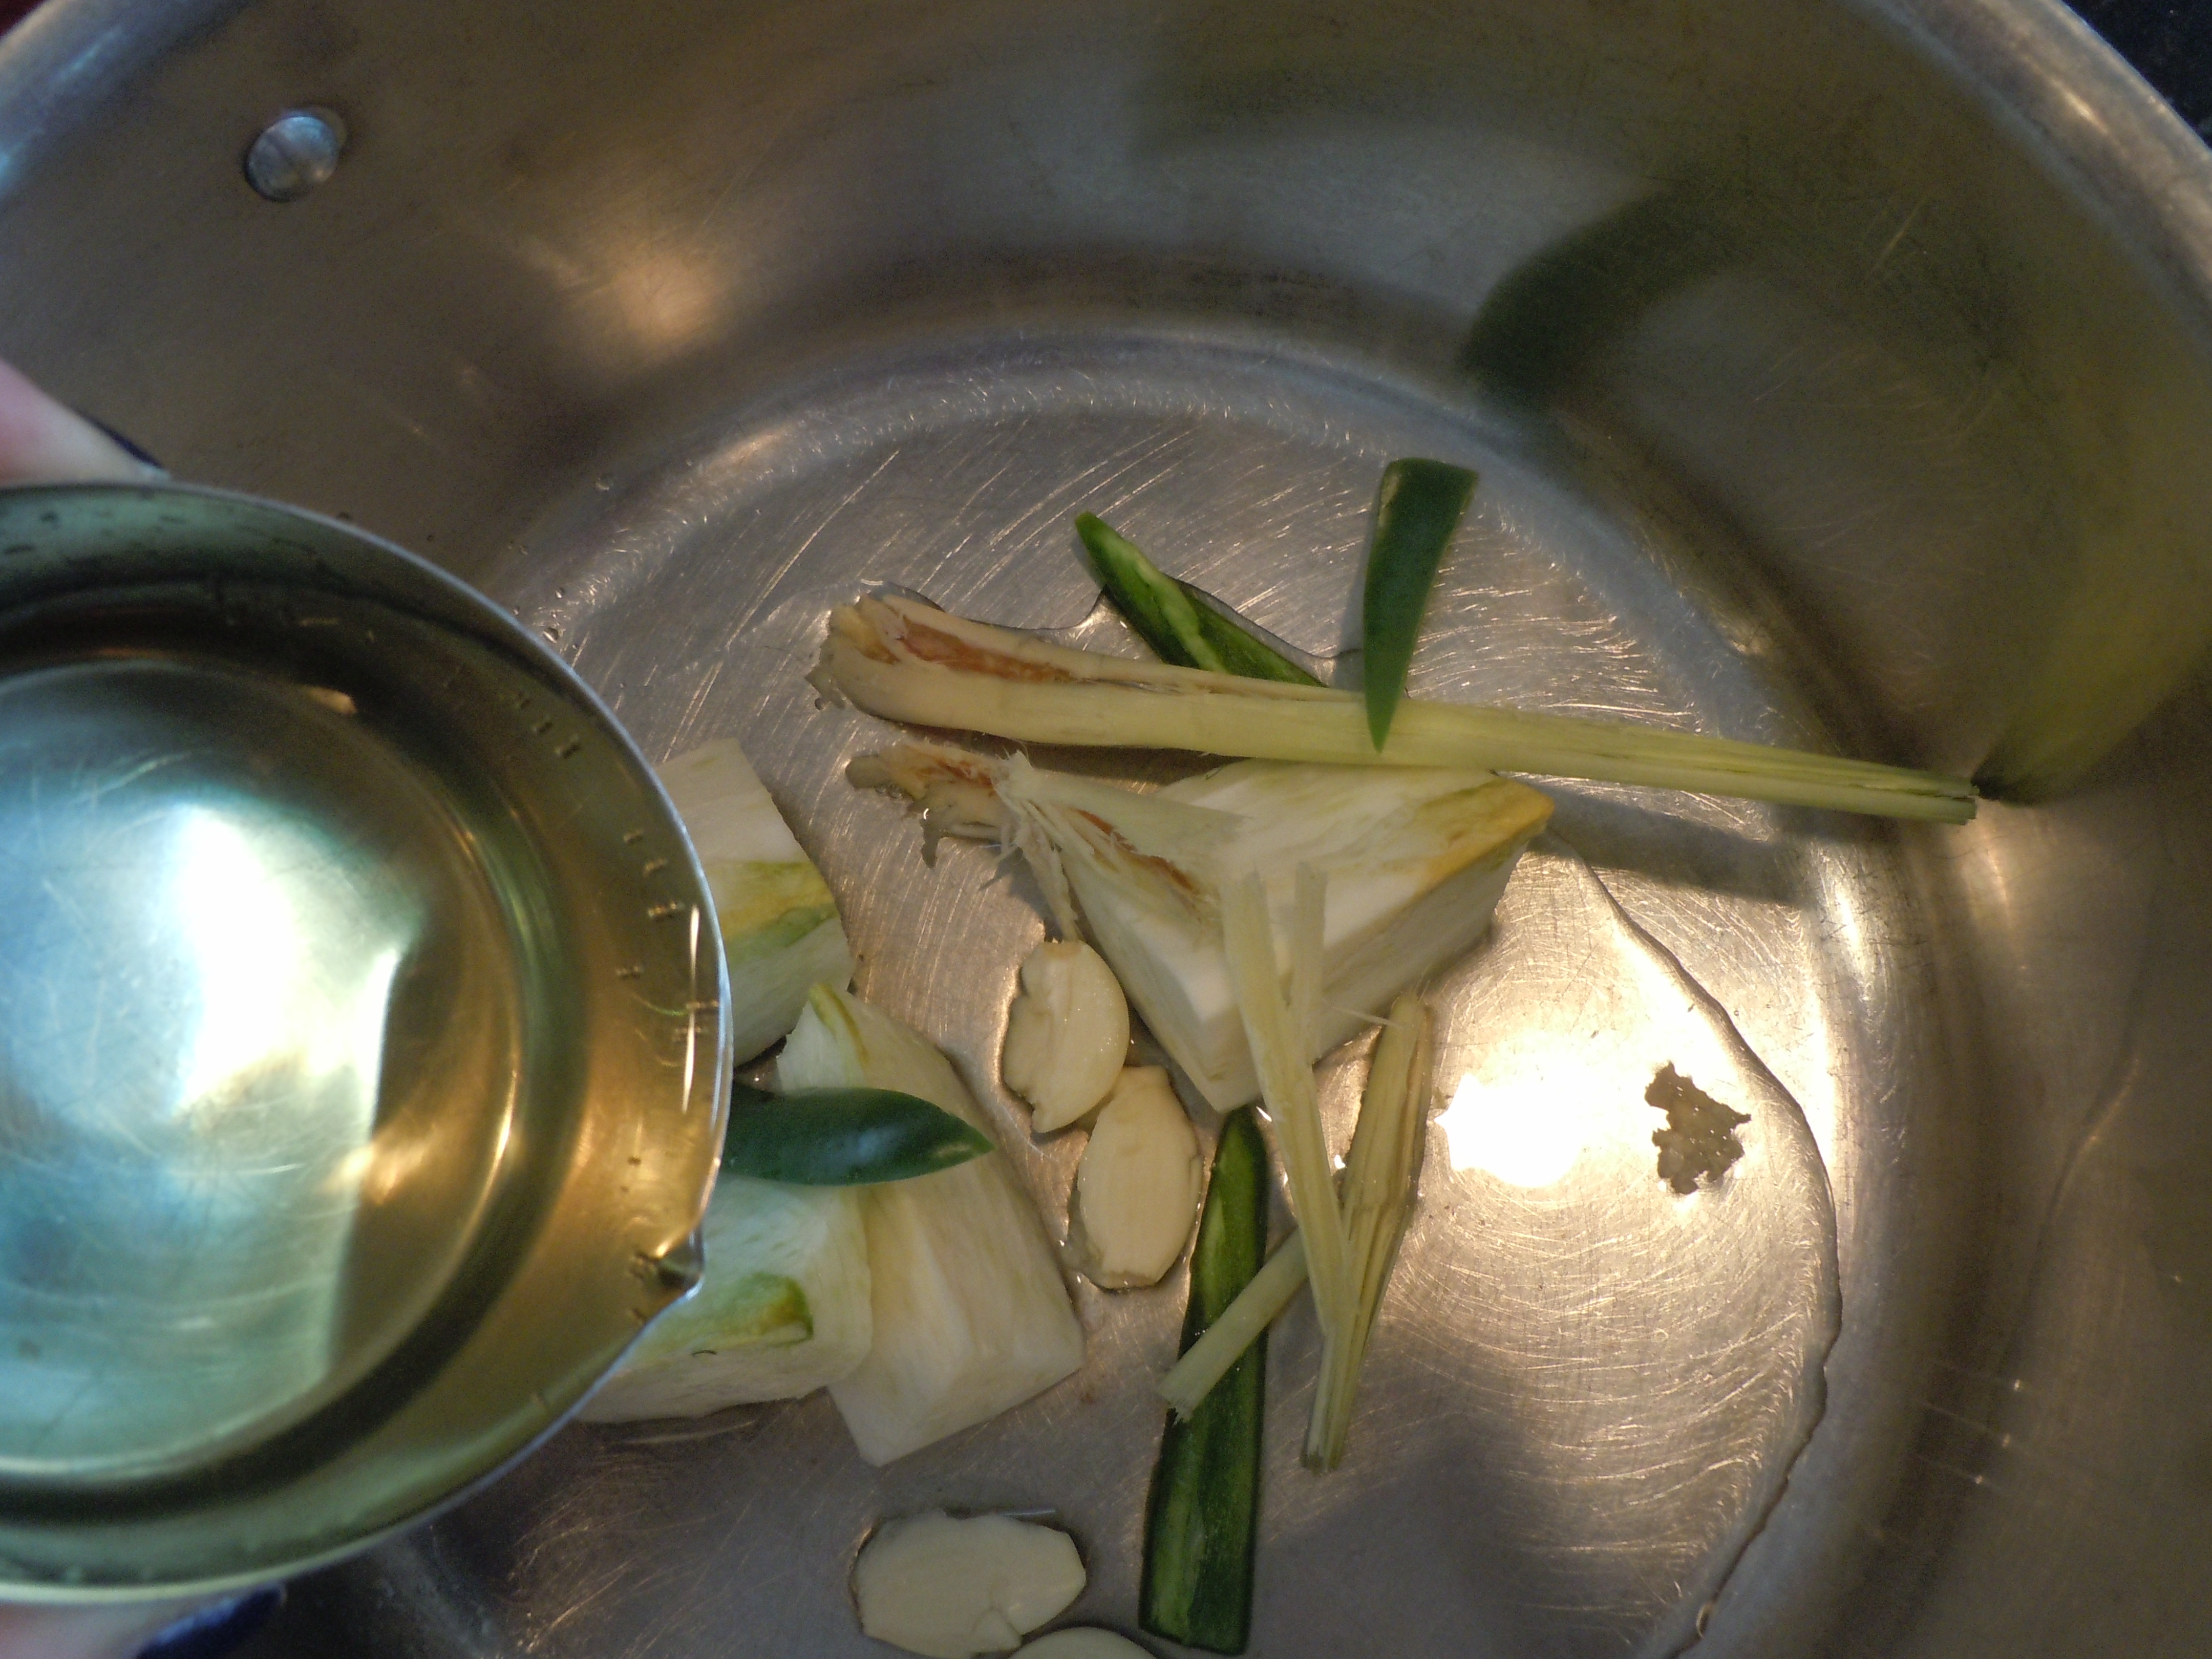
Cooking with lemongrass gives you a subtle lemony-citrus flavor with out the acidity of using an actual lemon. It’s used a lot in Asian dishes and now even available at your local Stop & Shop. When you cook with lemongrass it does require a little prep but don’t be intimidated because it’s quick and easy. You need to start by cutting off the ends, slicing down the middle to peel away the tough exterior layers reaching a very thin yet flavorful strip that you need to bruise with a meat mallet to release those incredible lemongrass oils…see that wasn’t so bad!
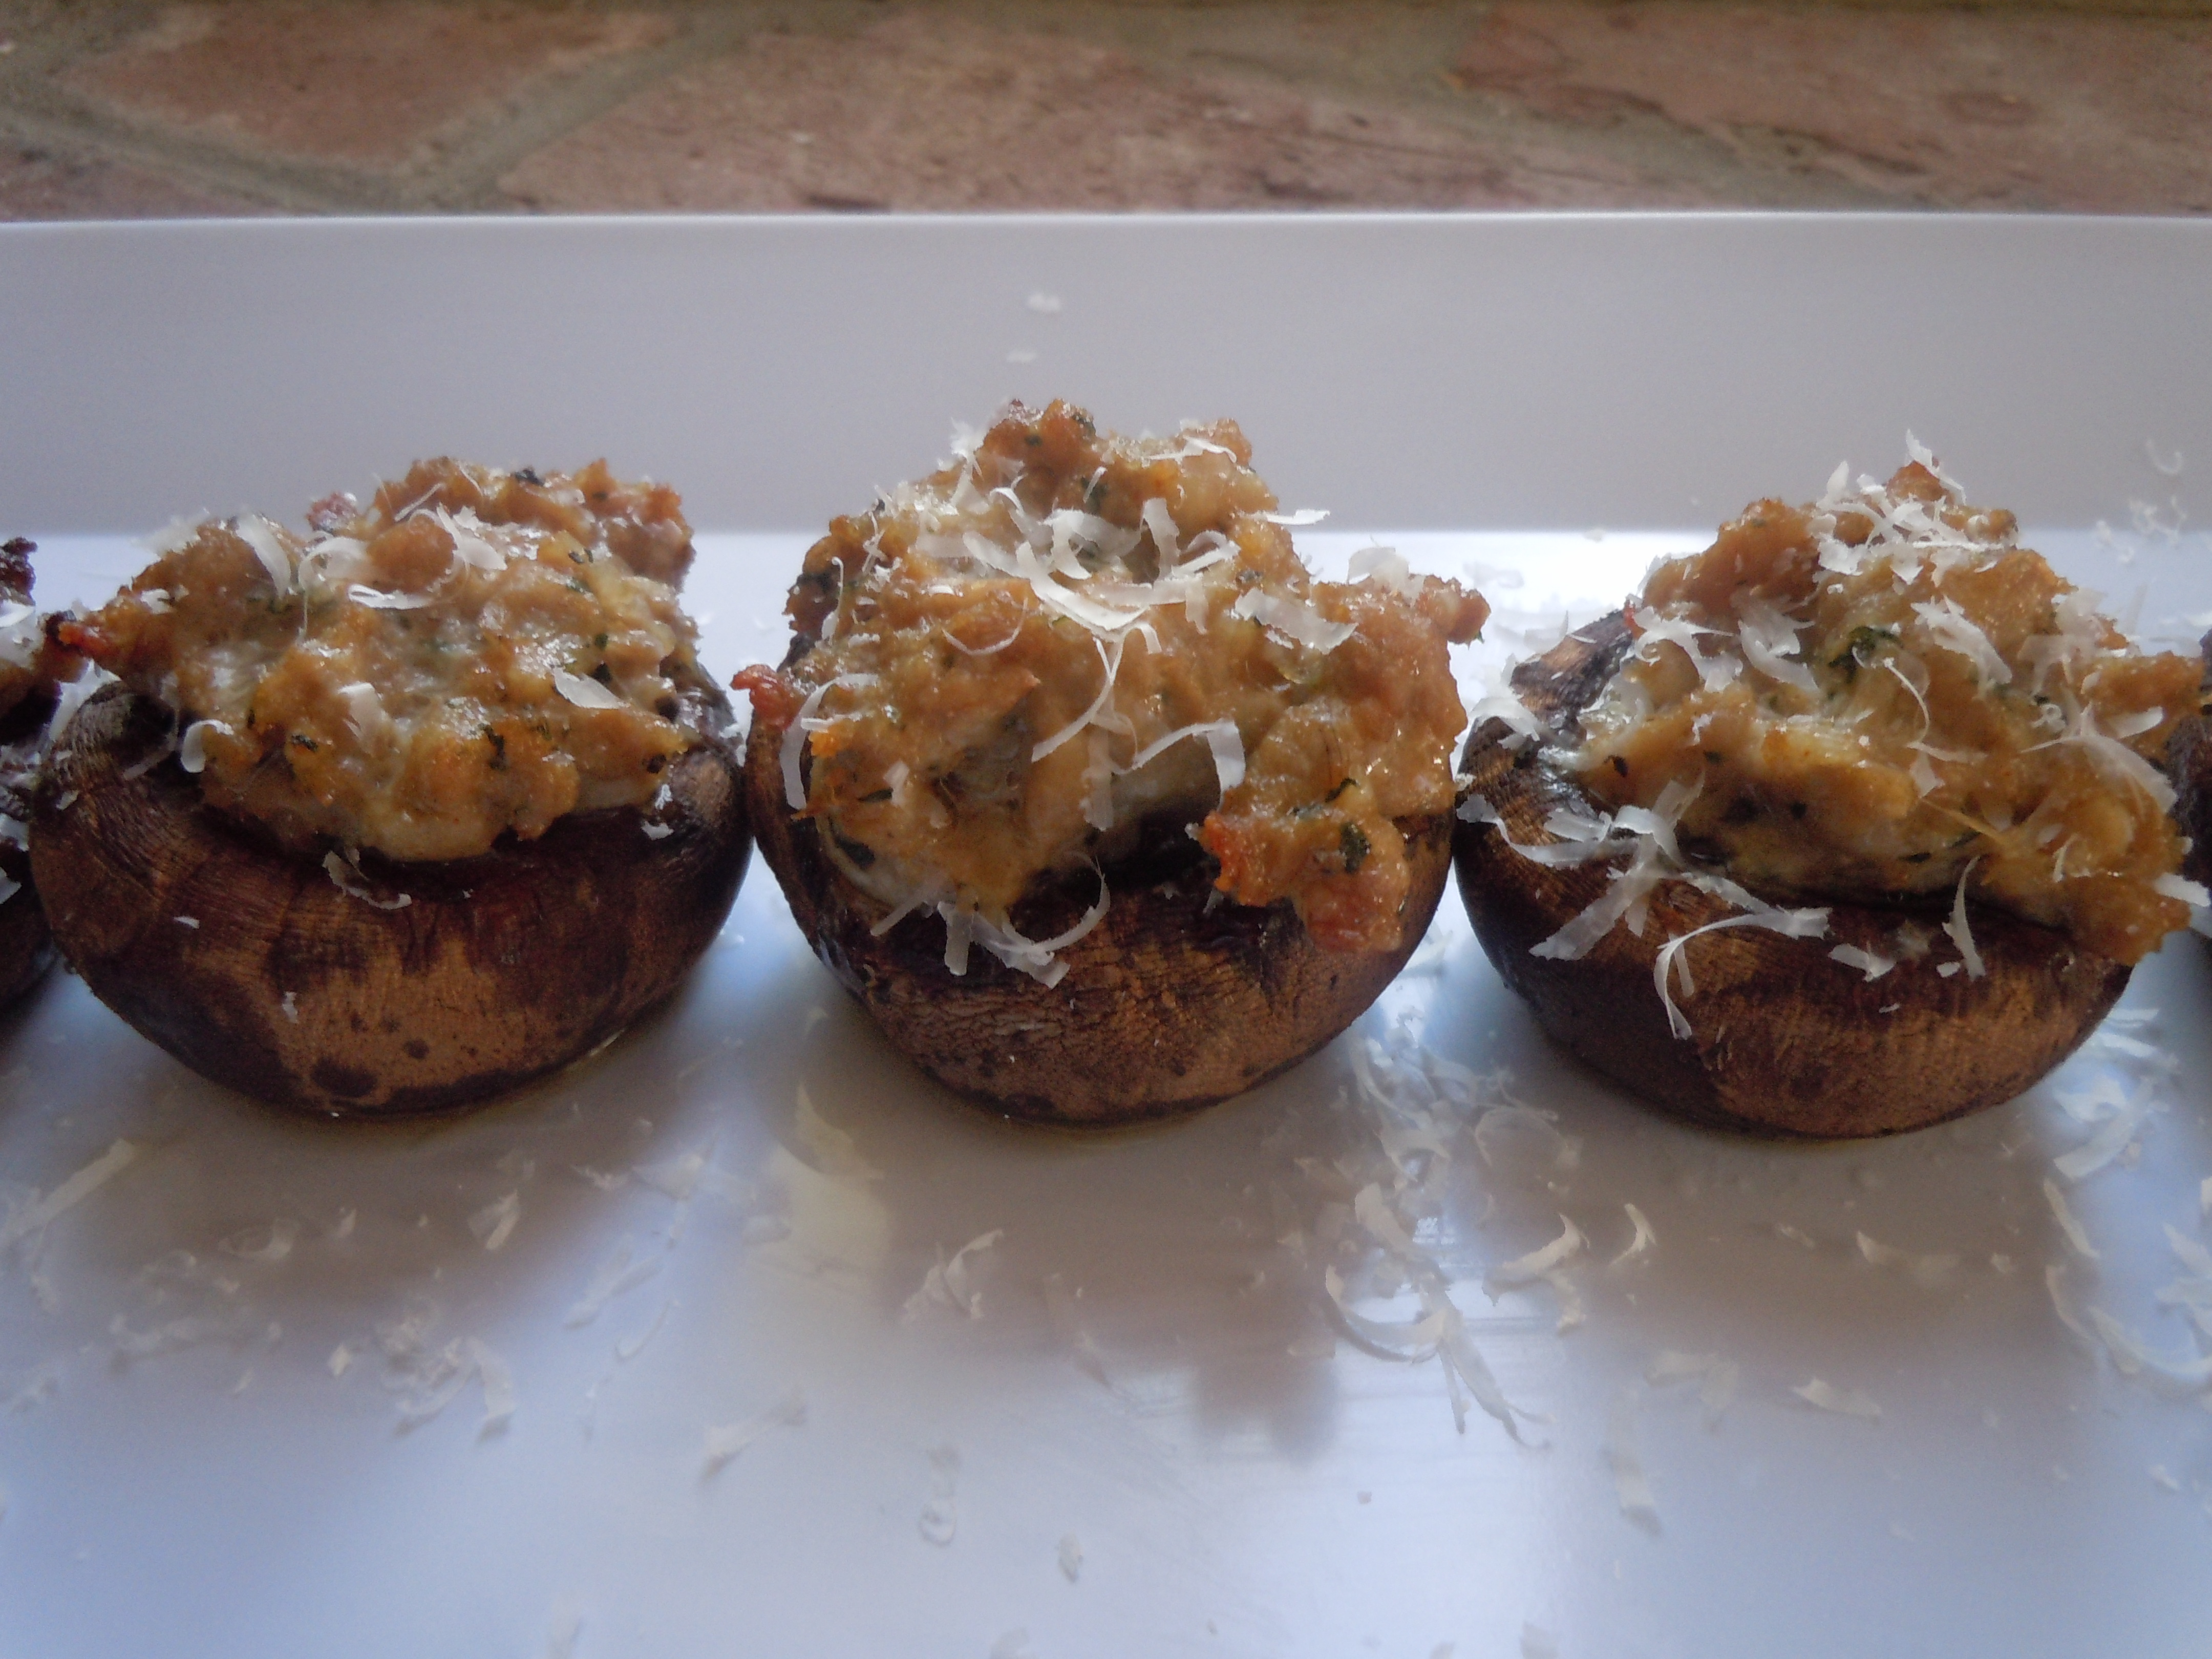
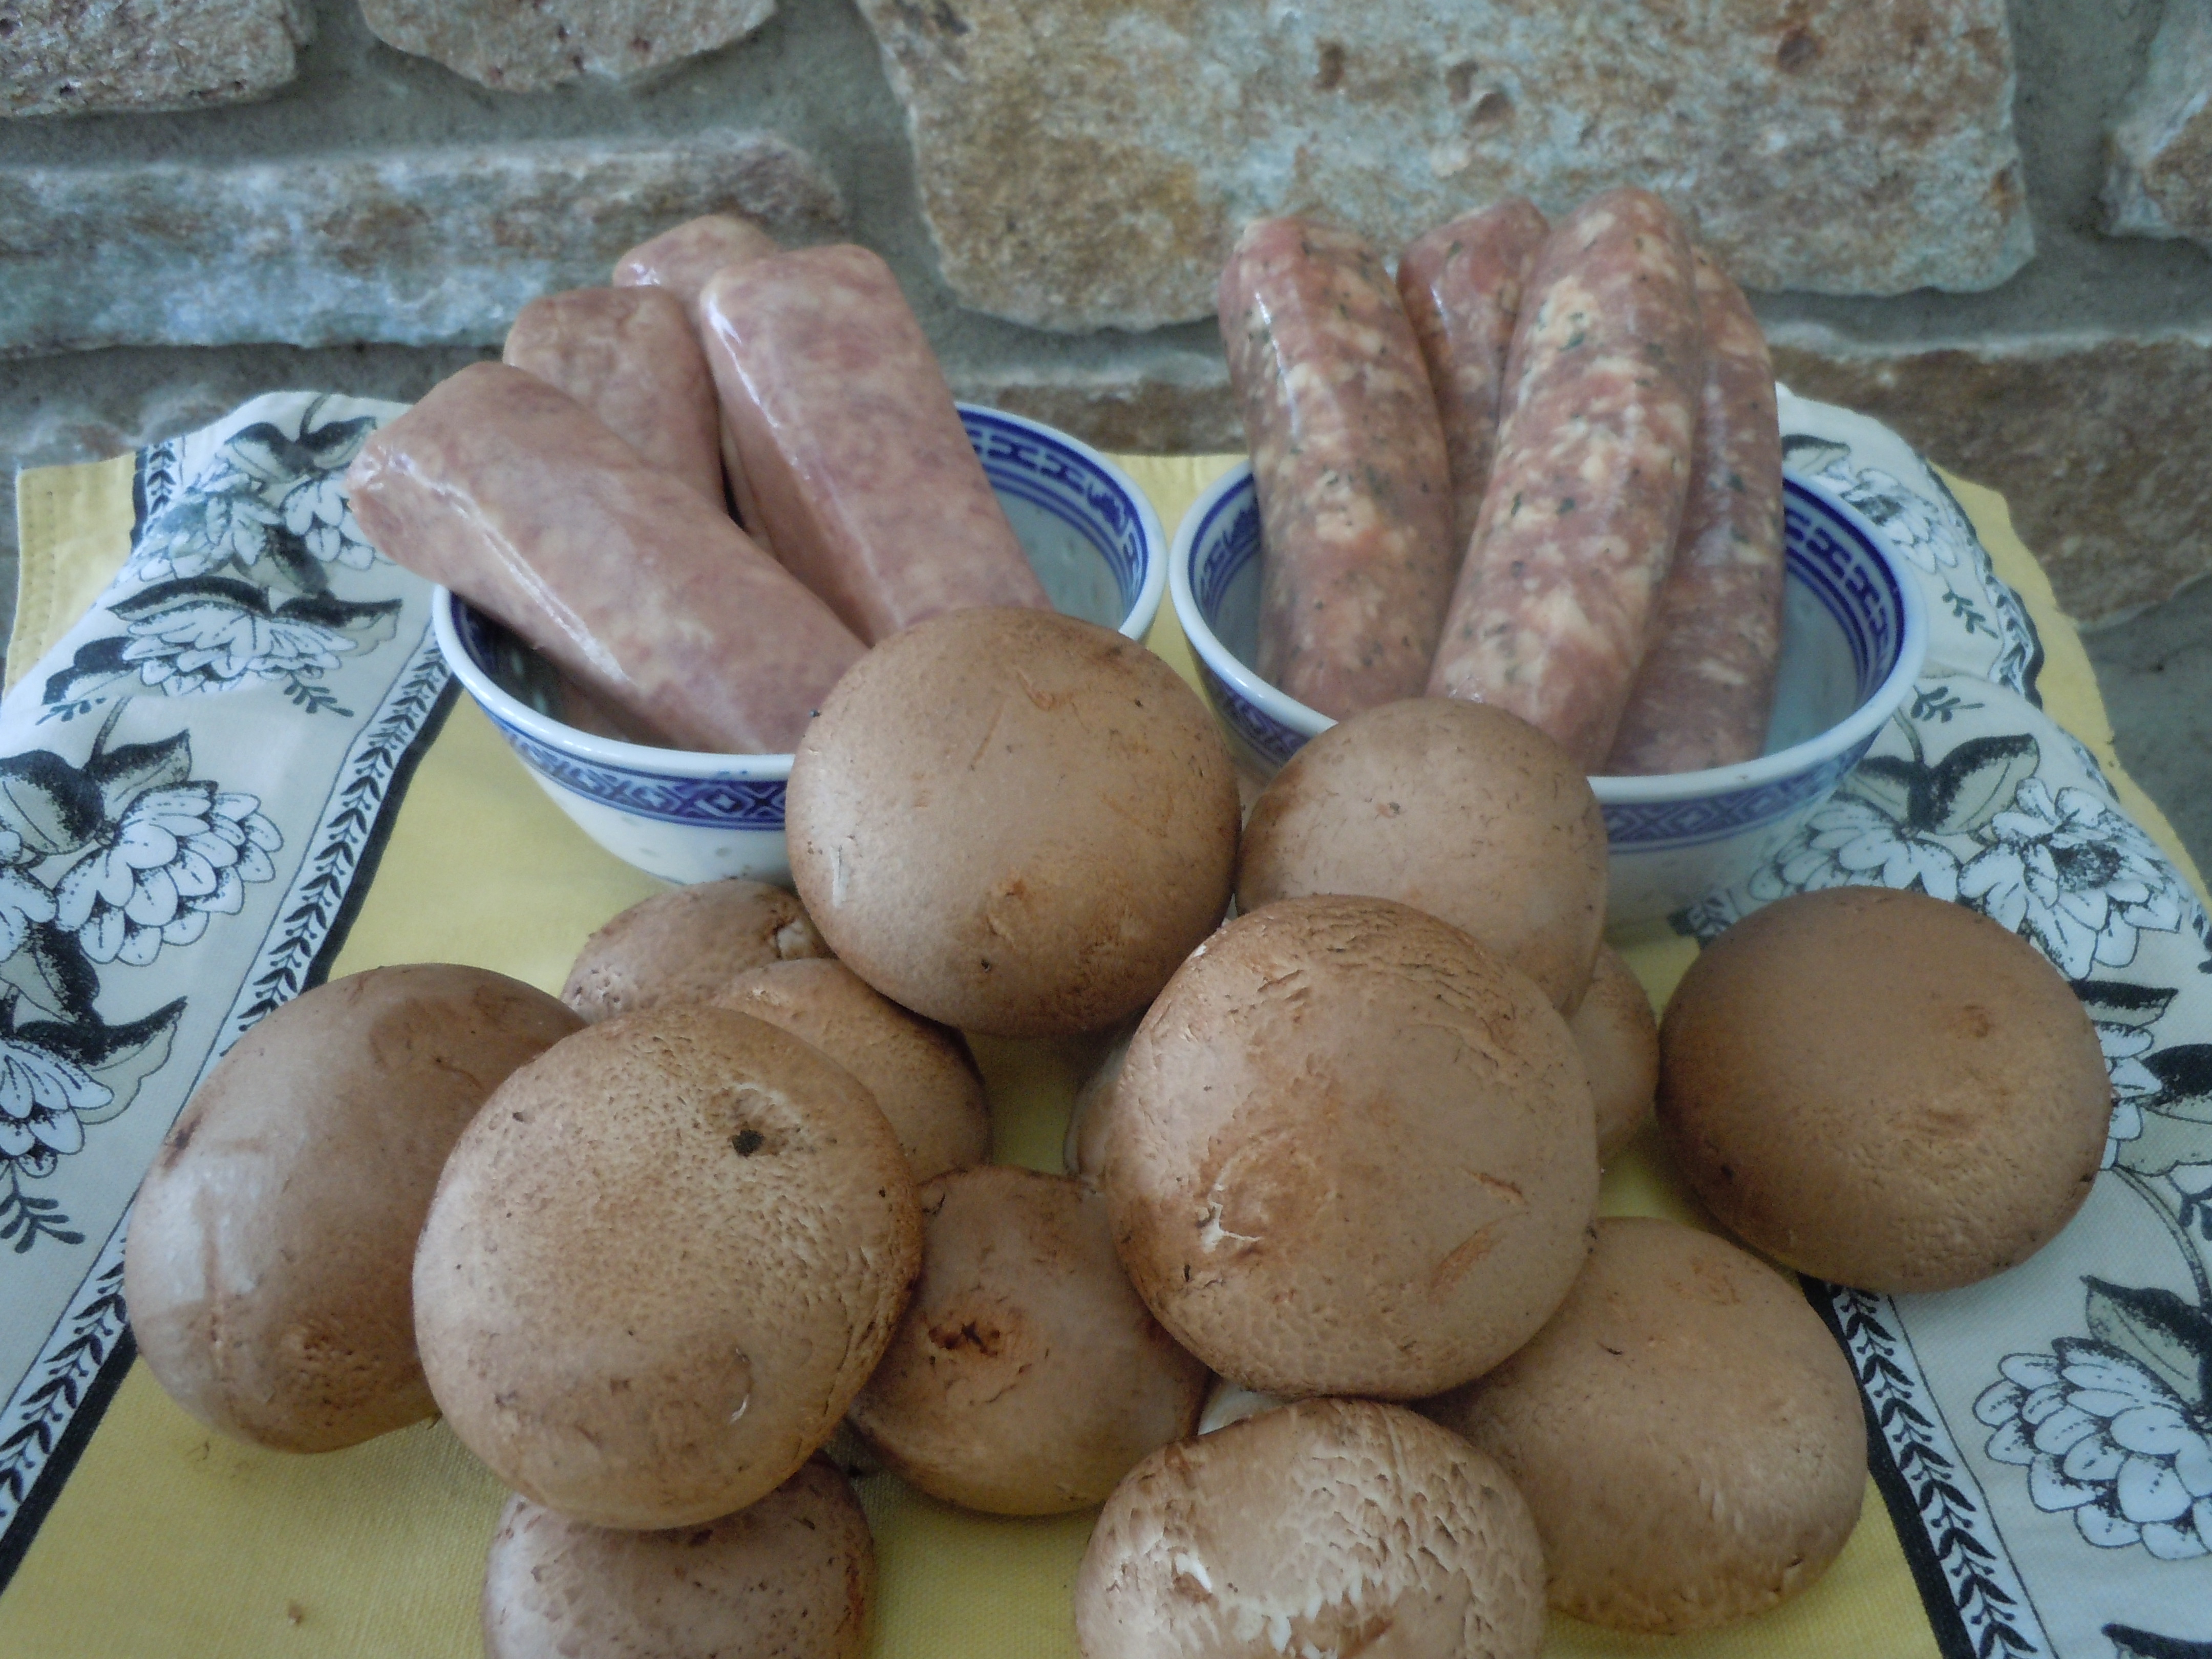
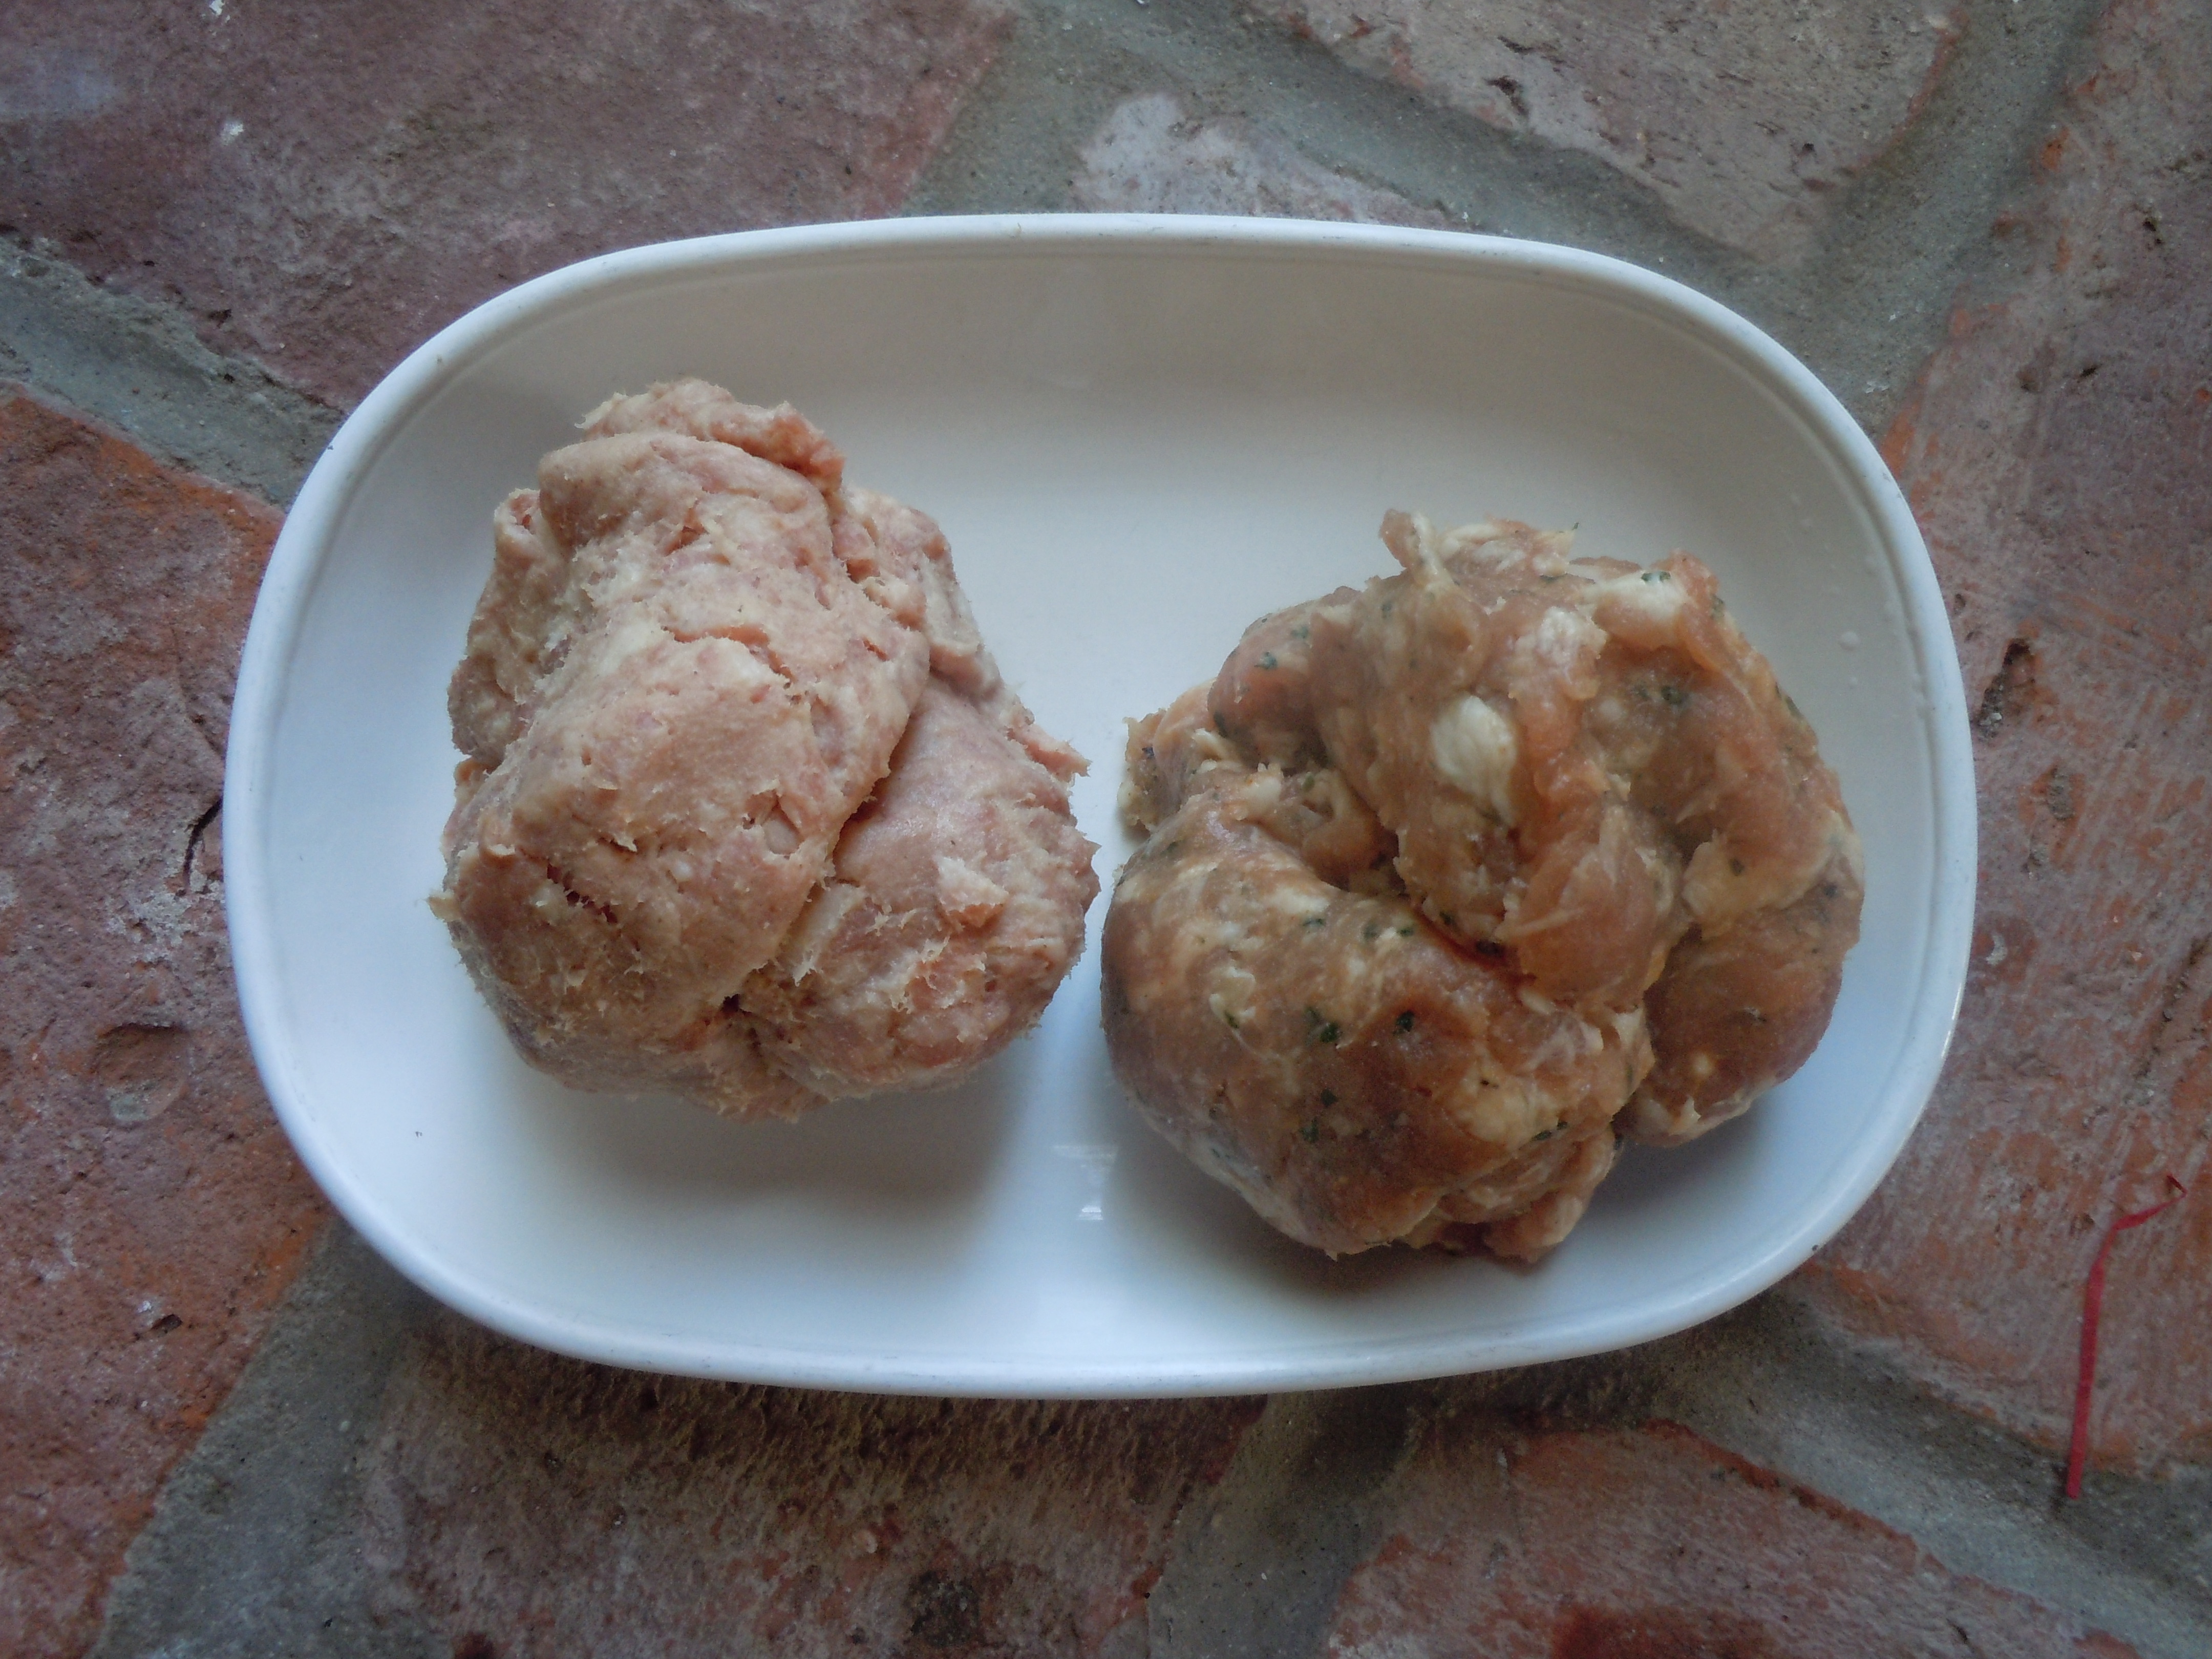
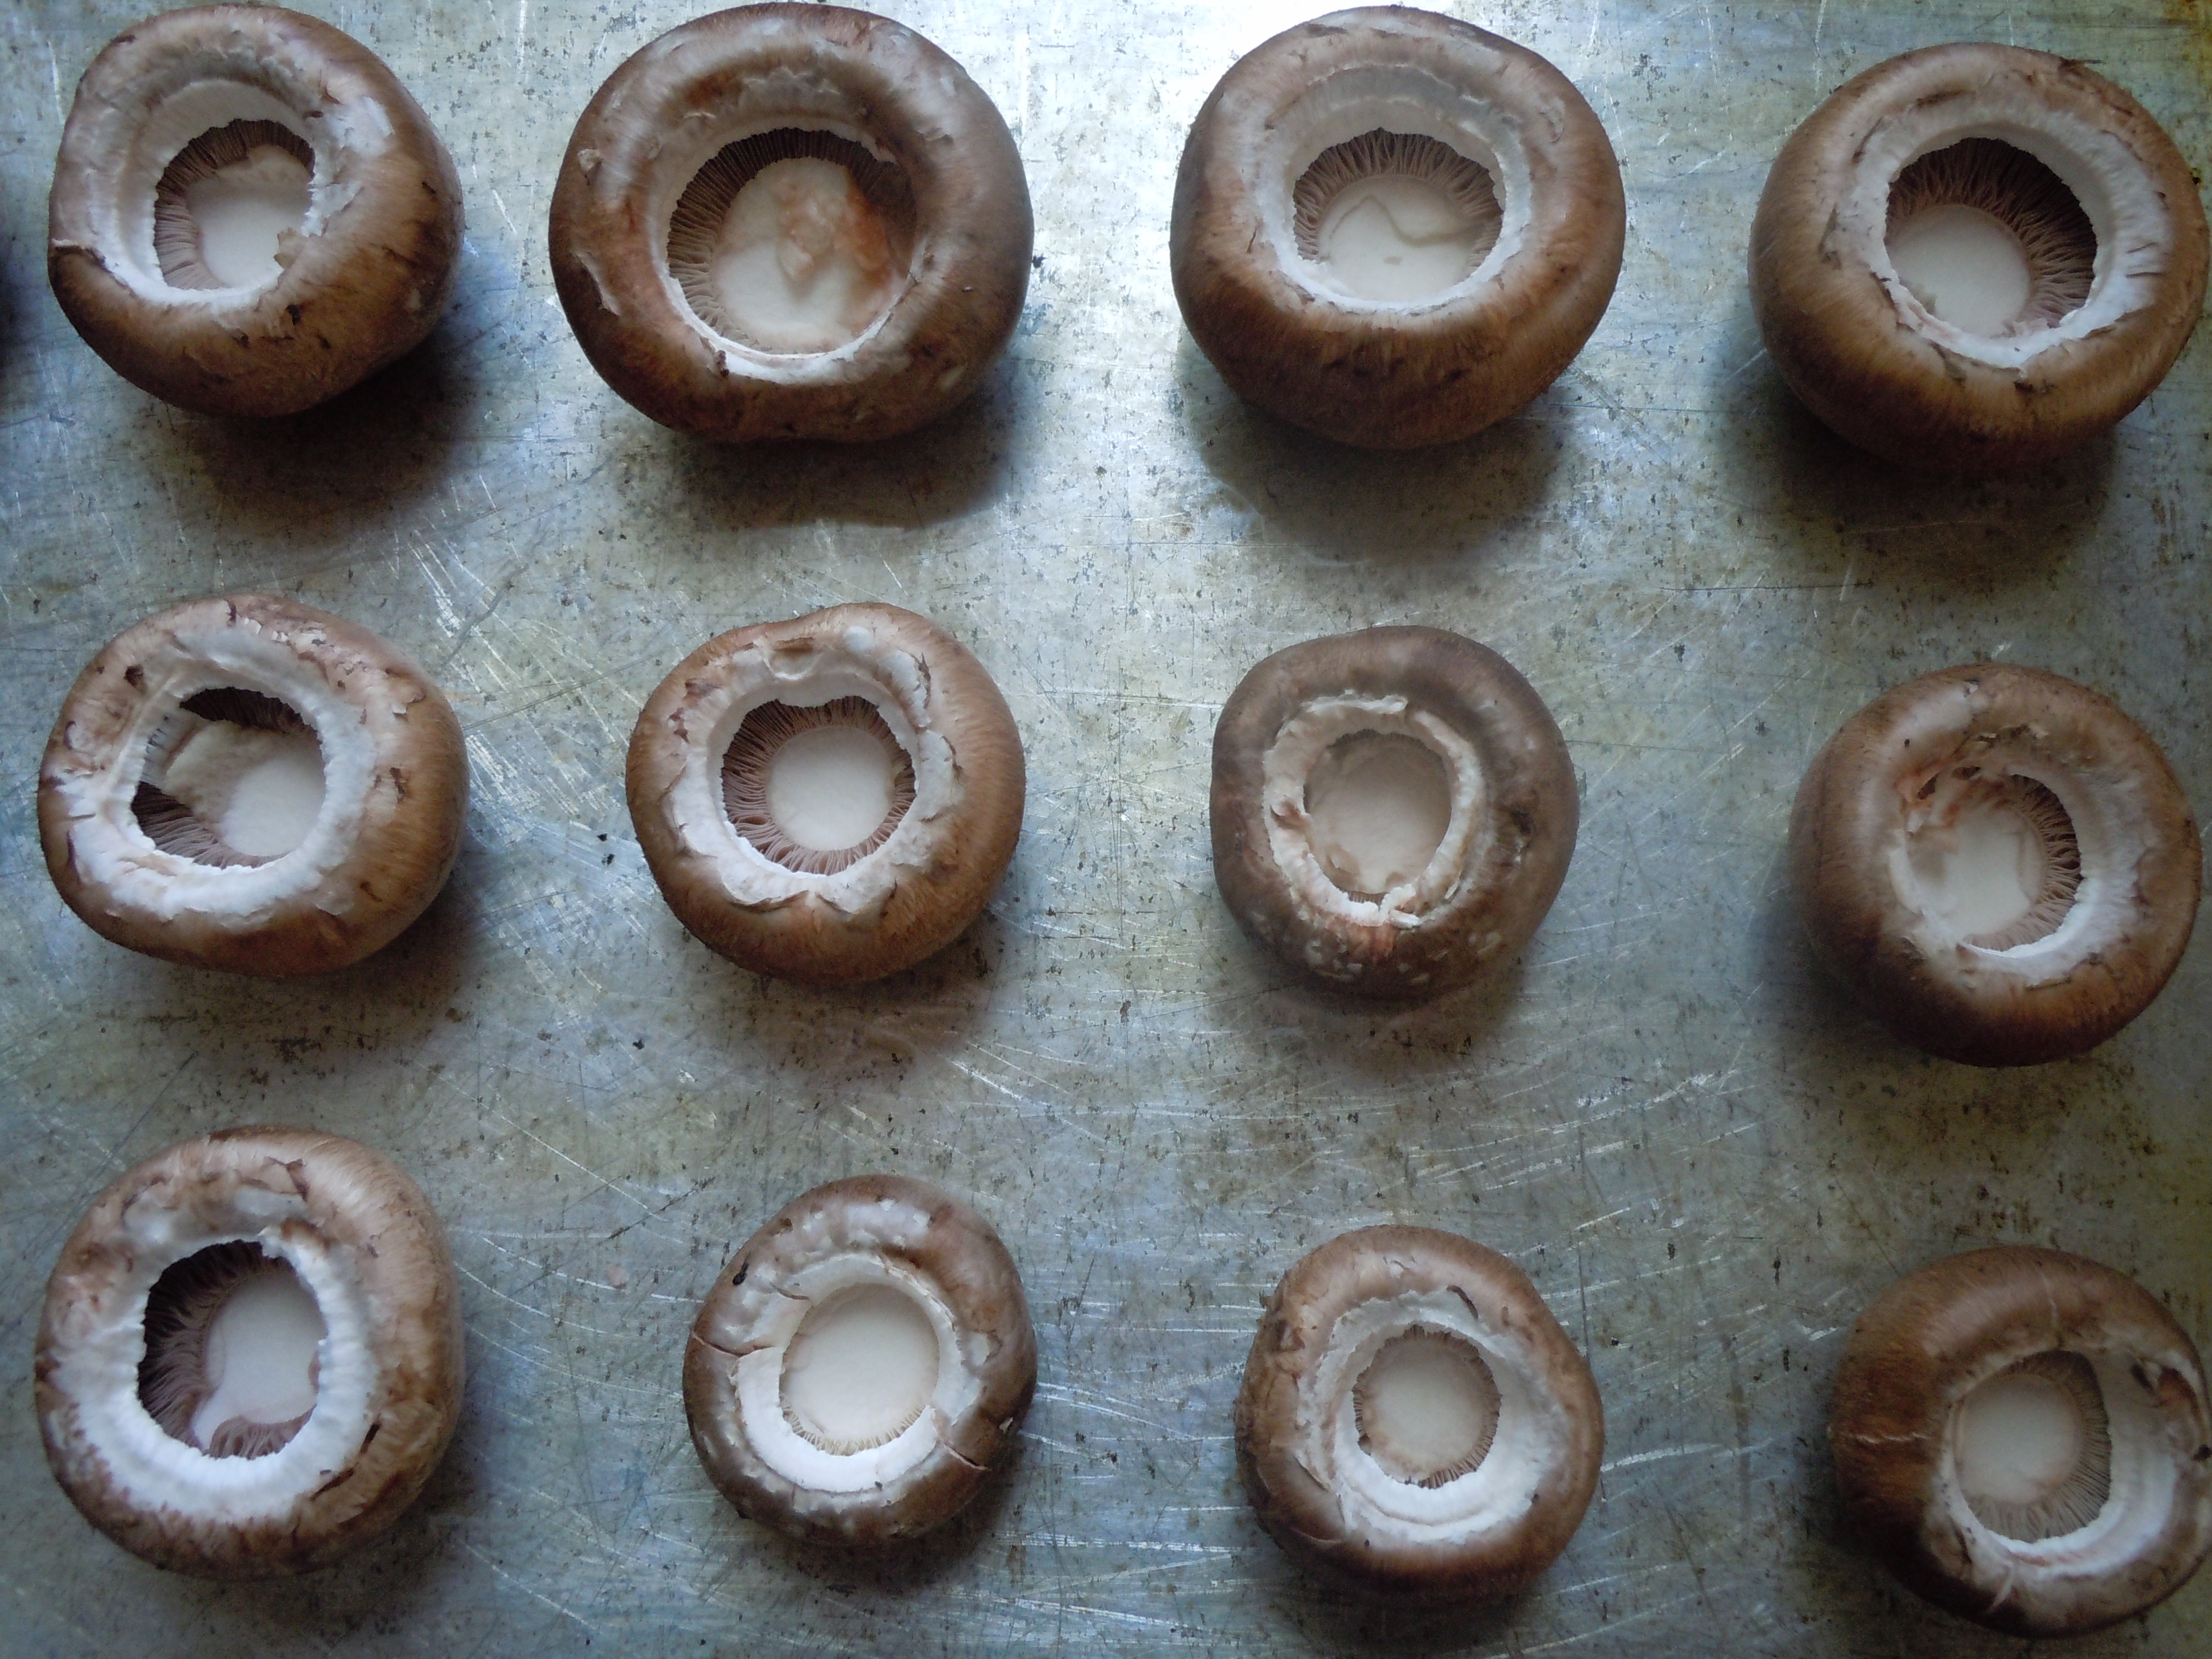
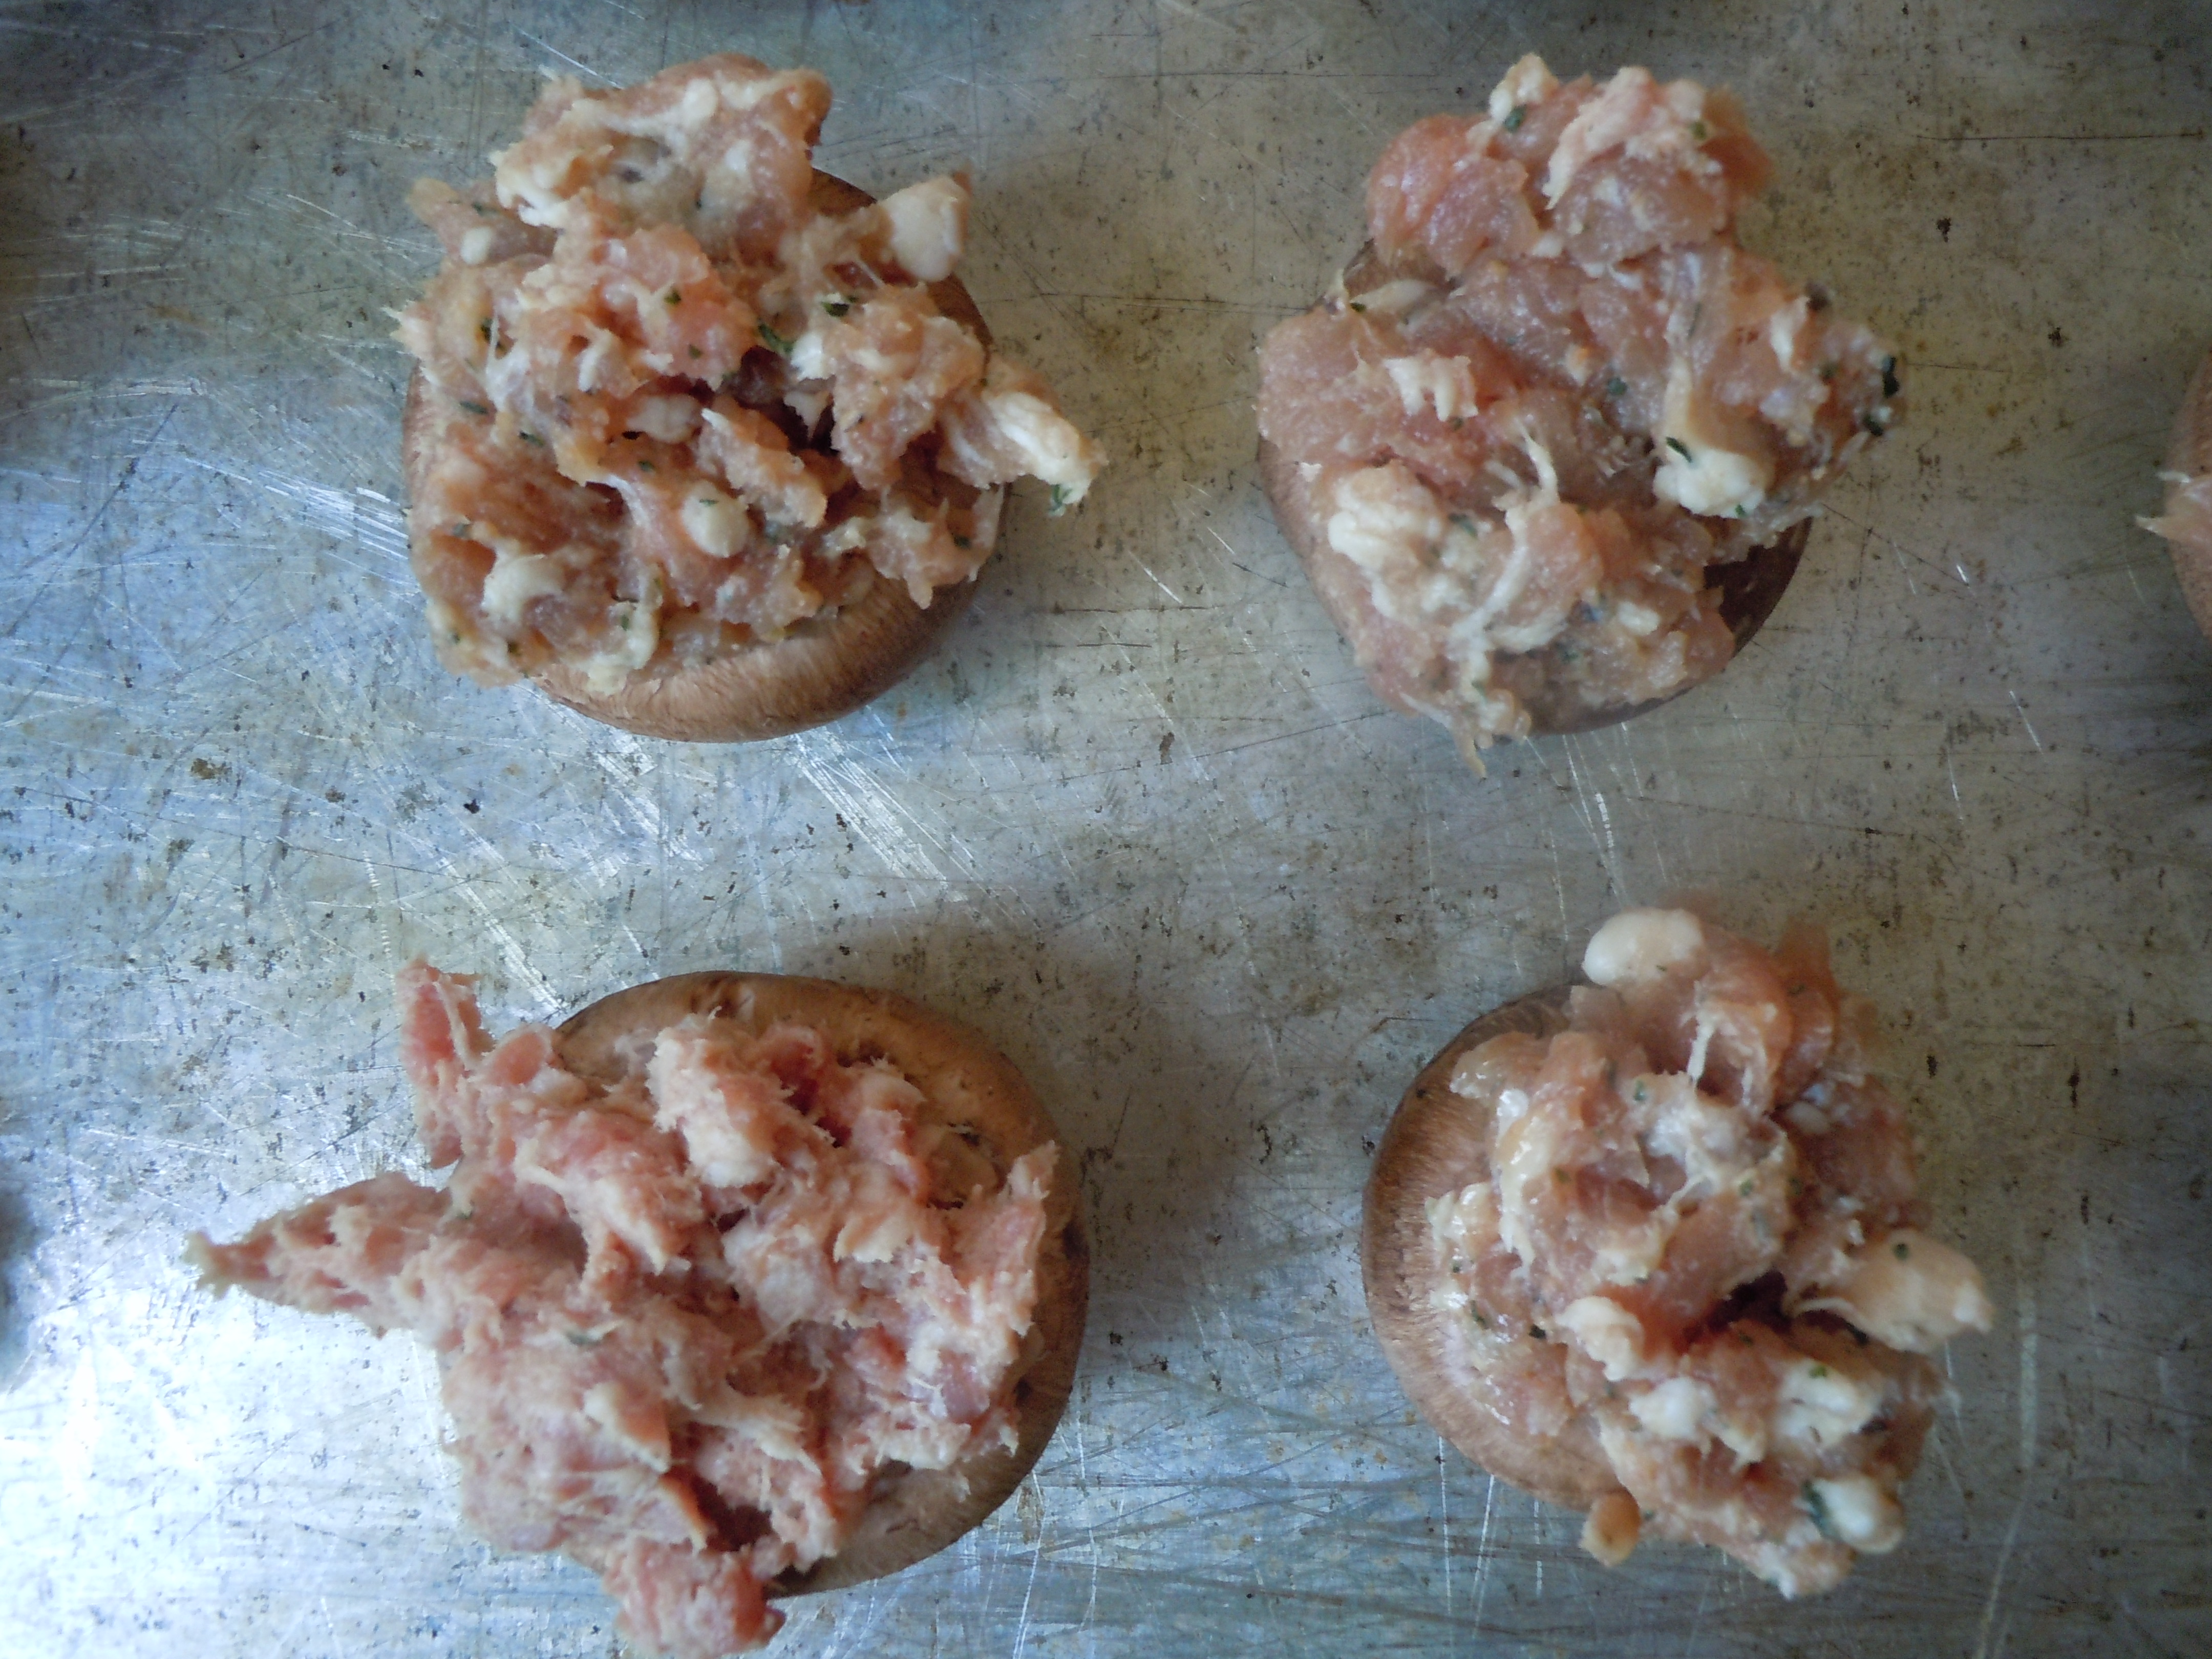
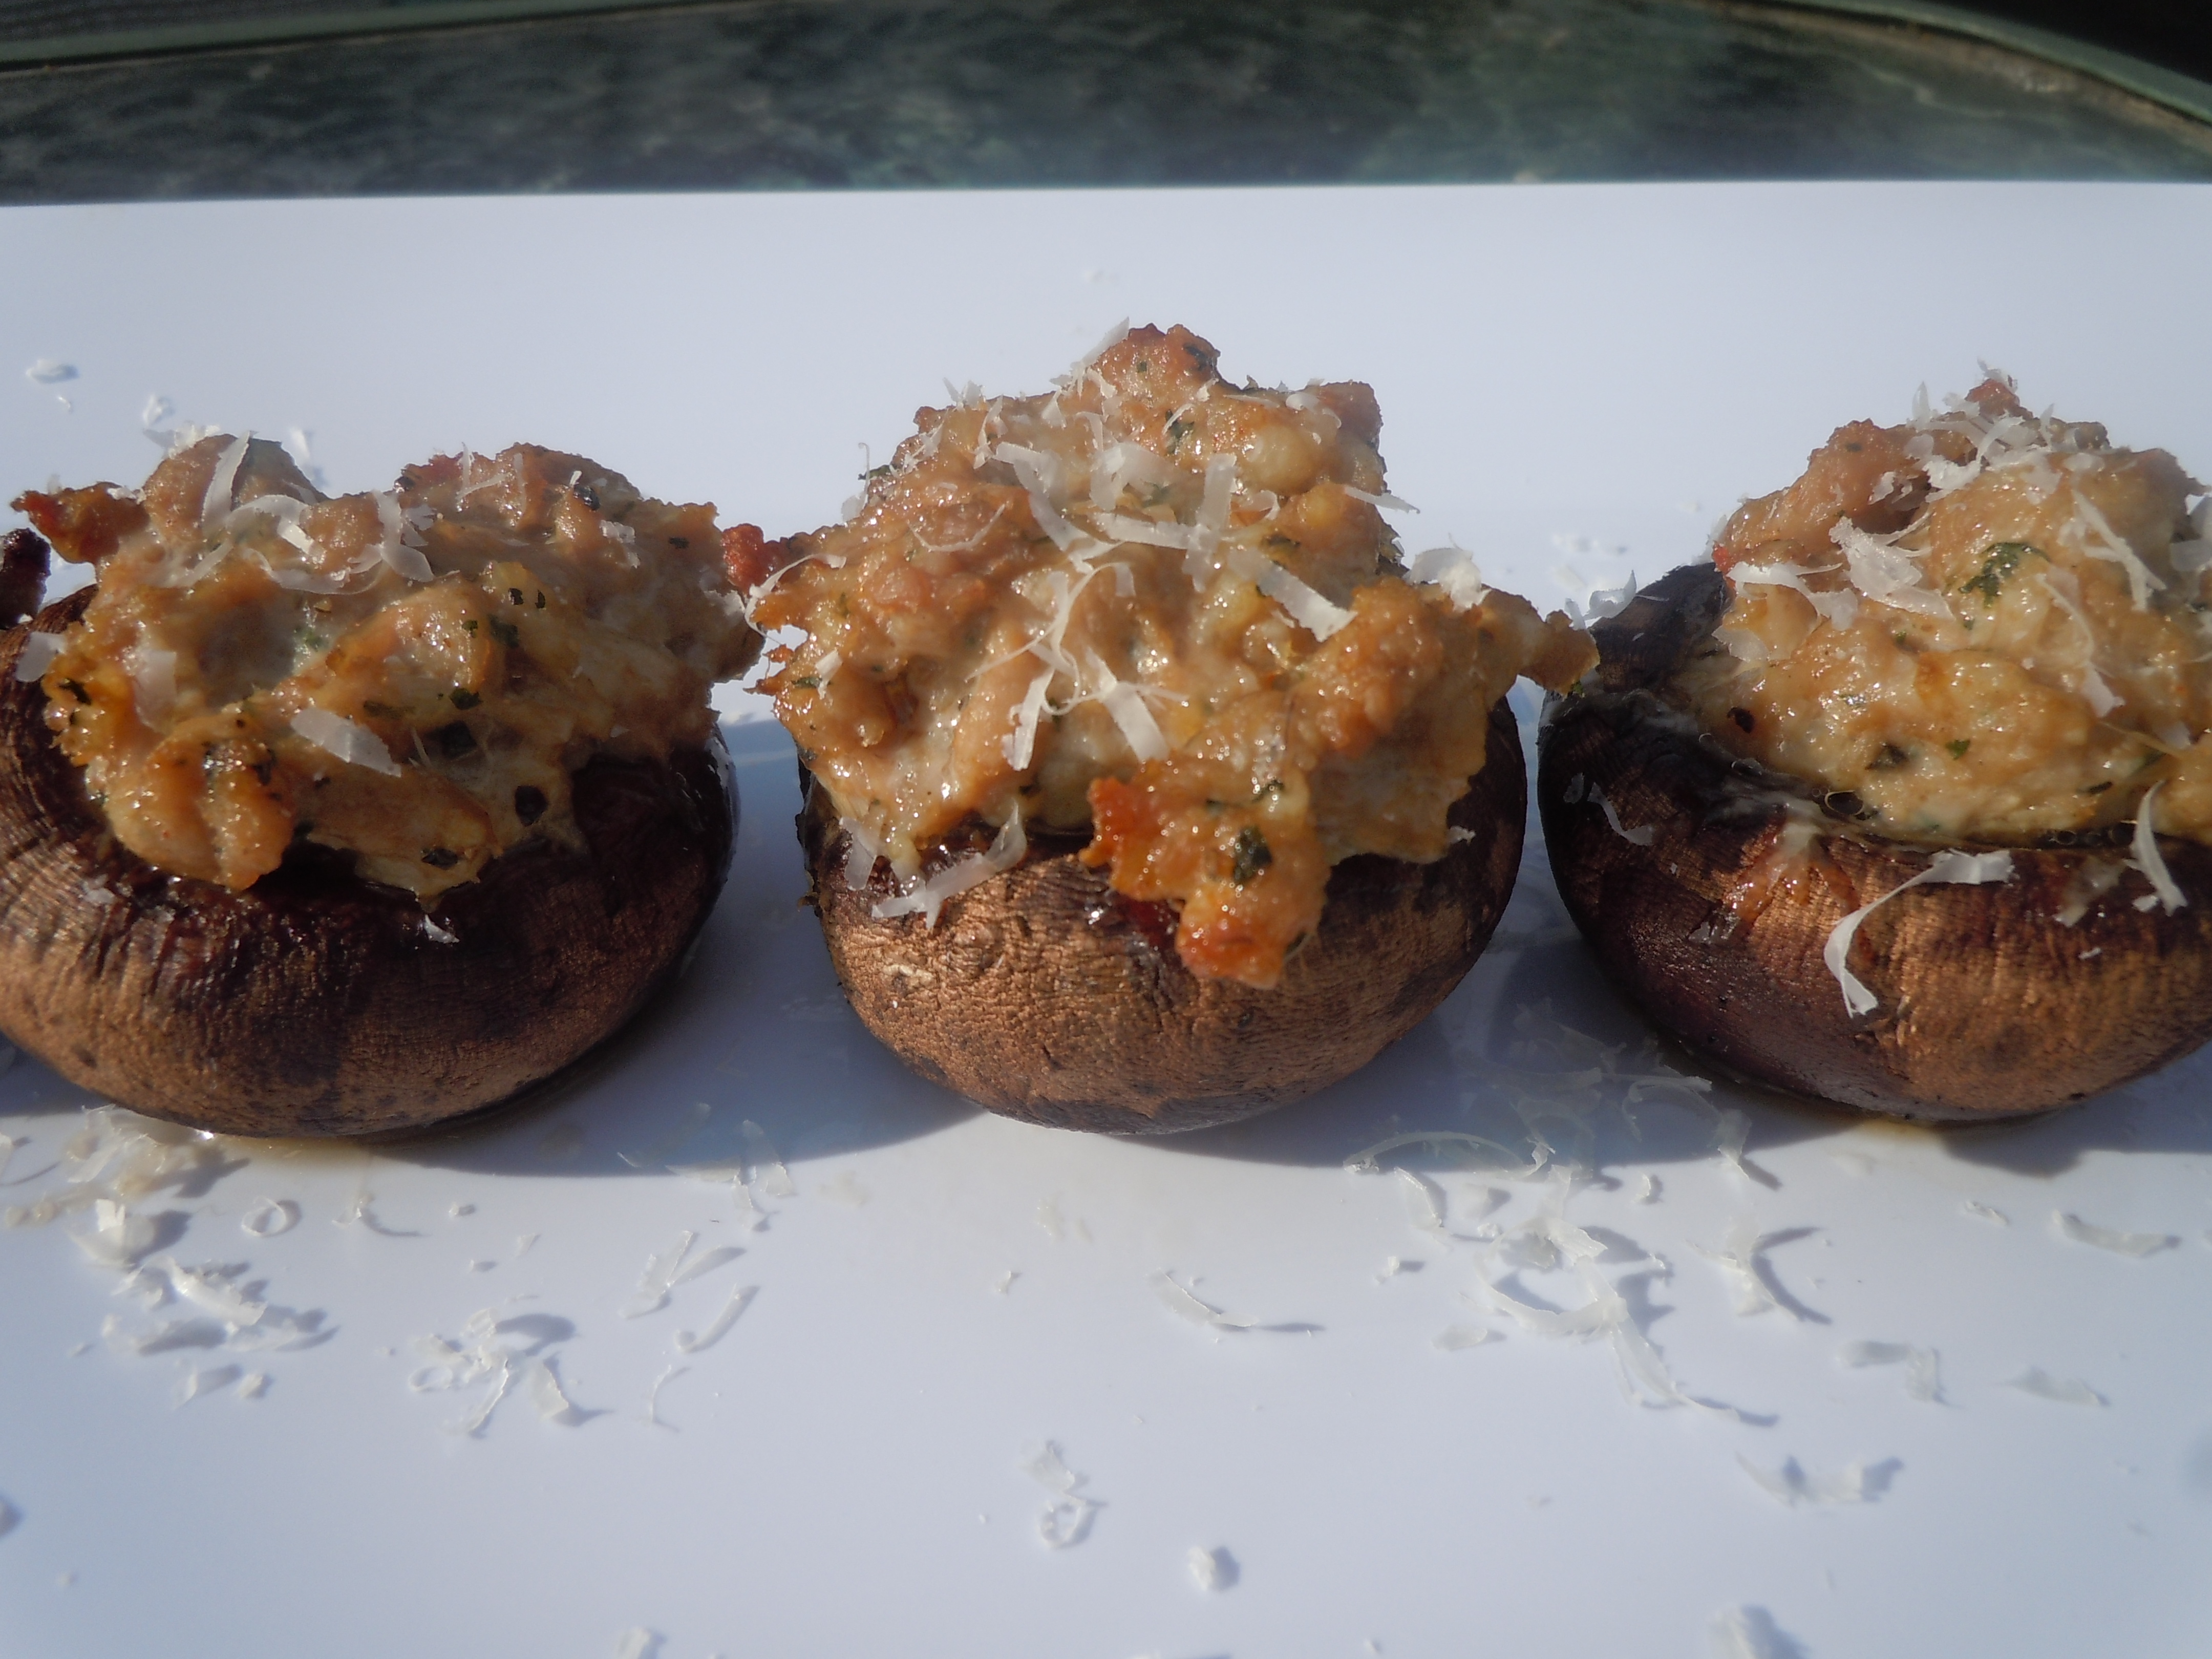
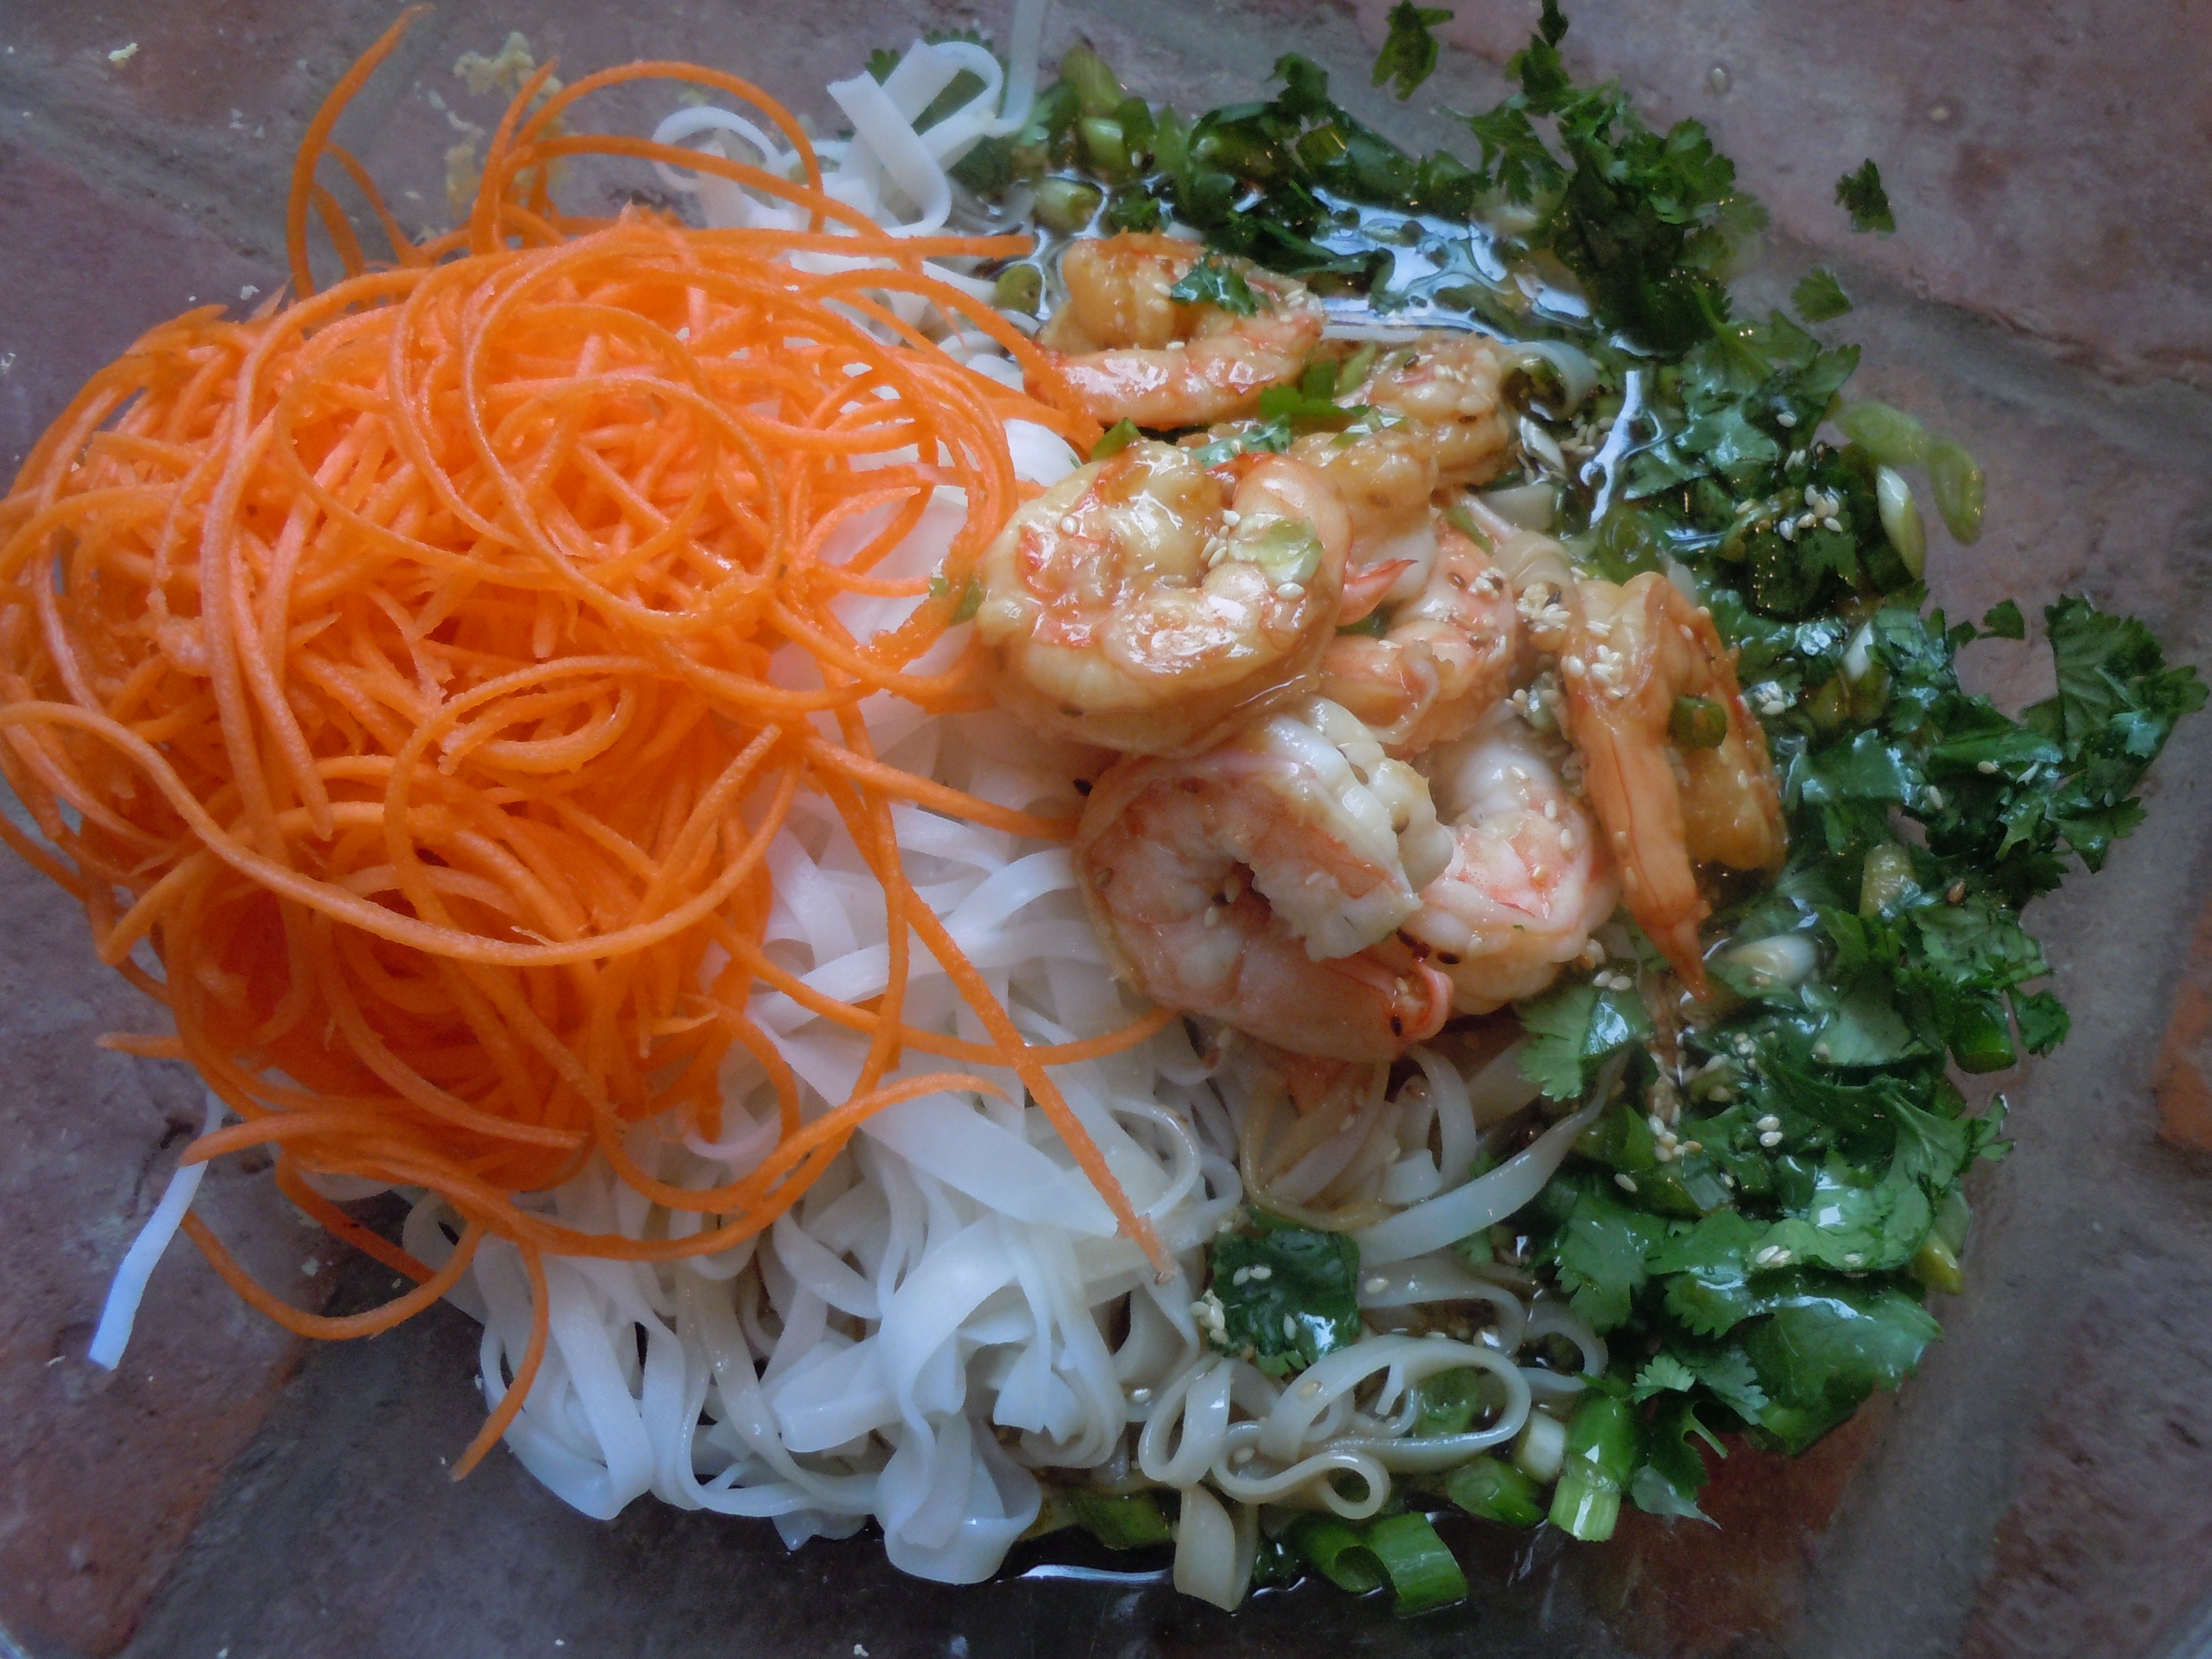
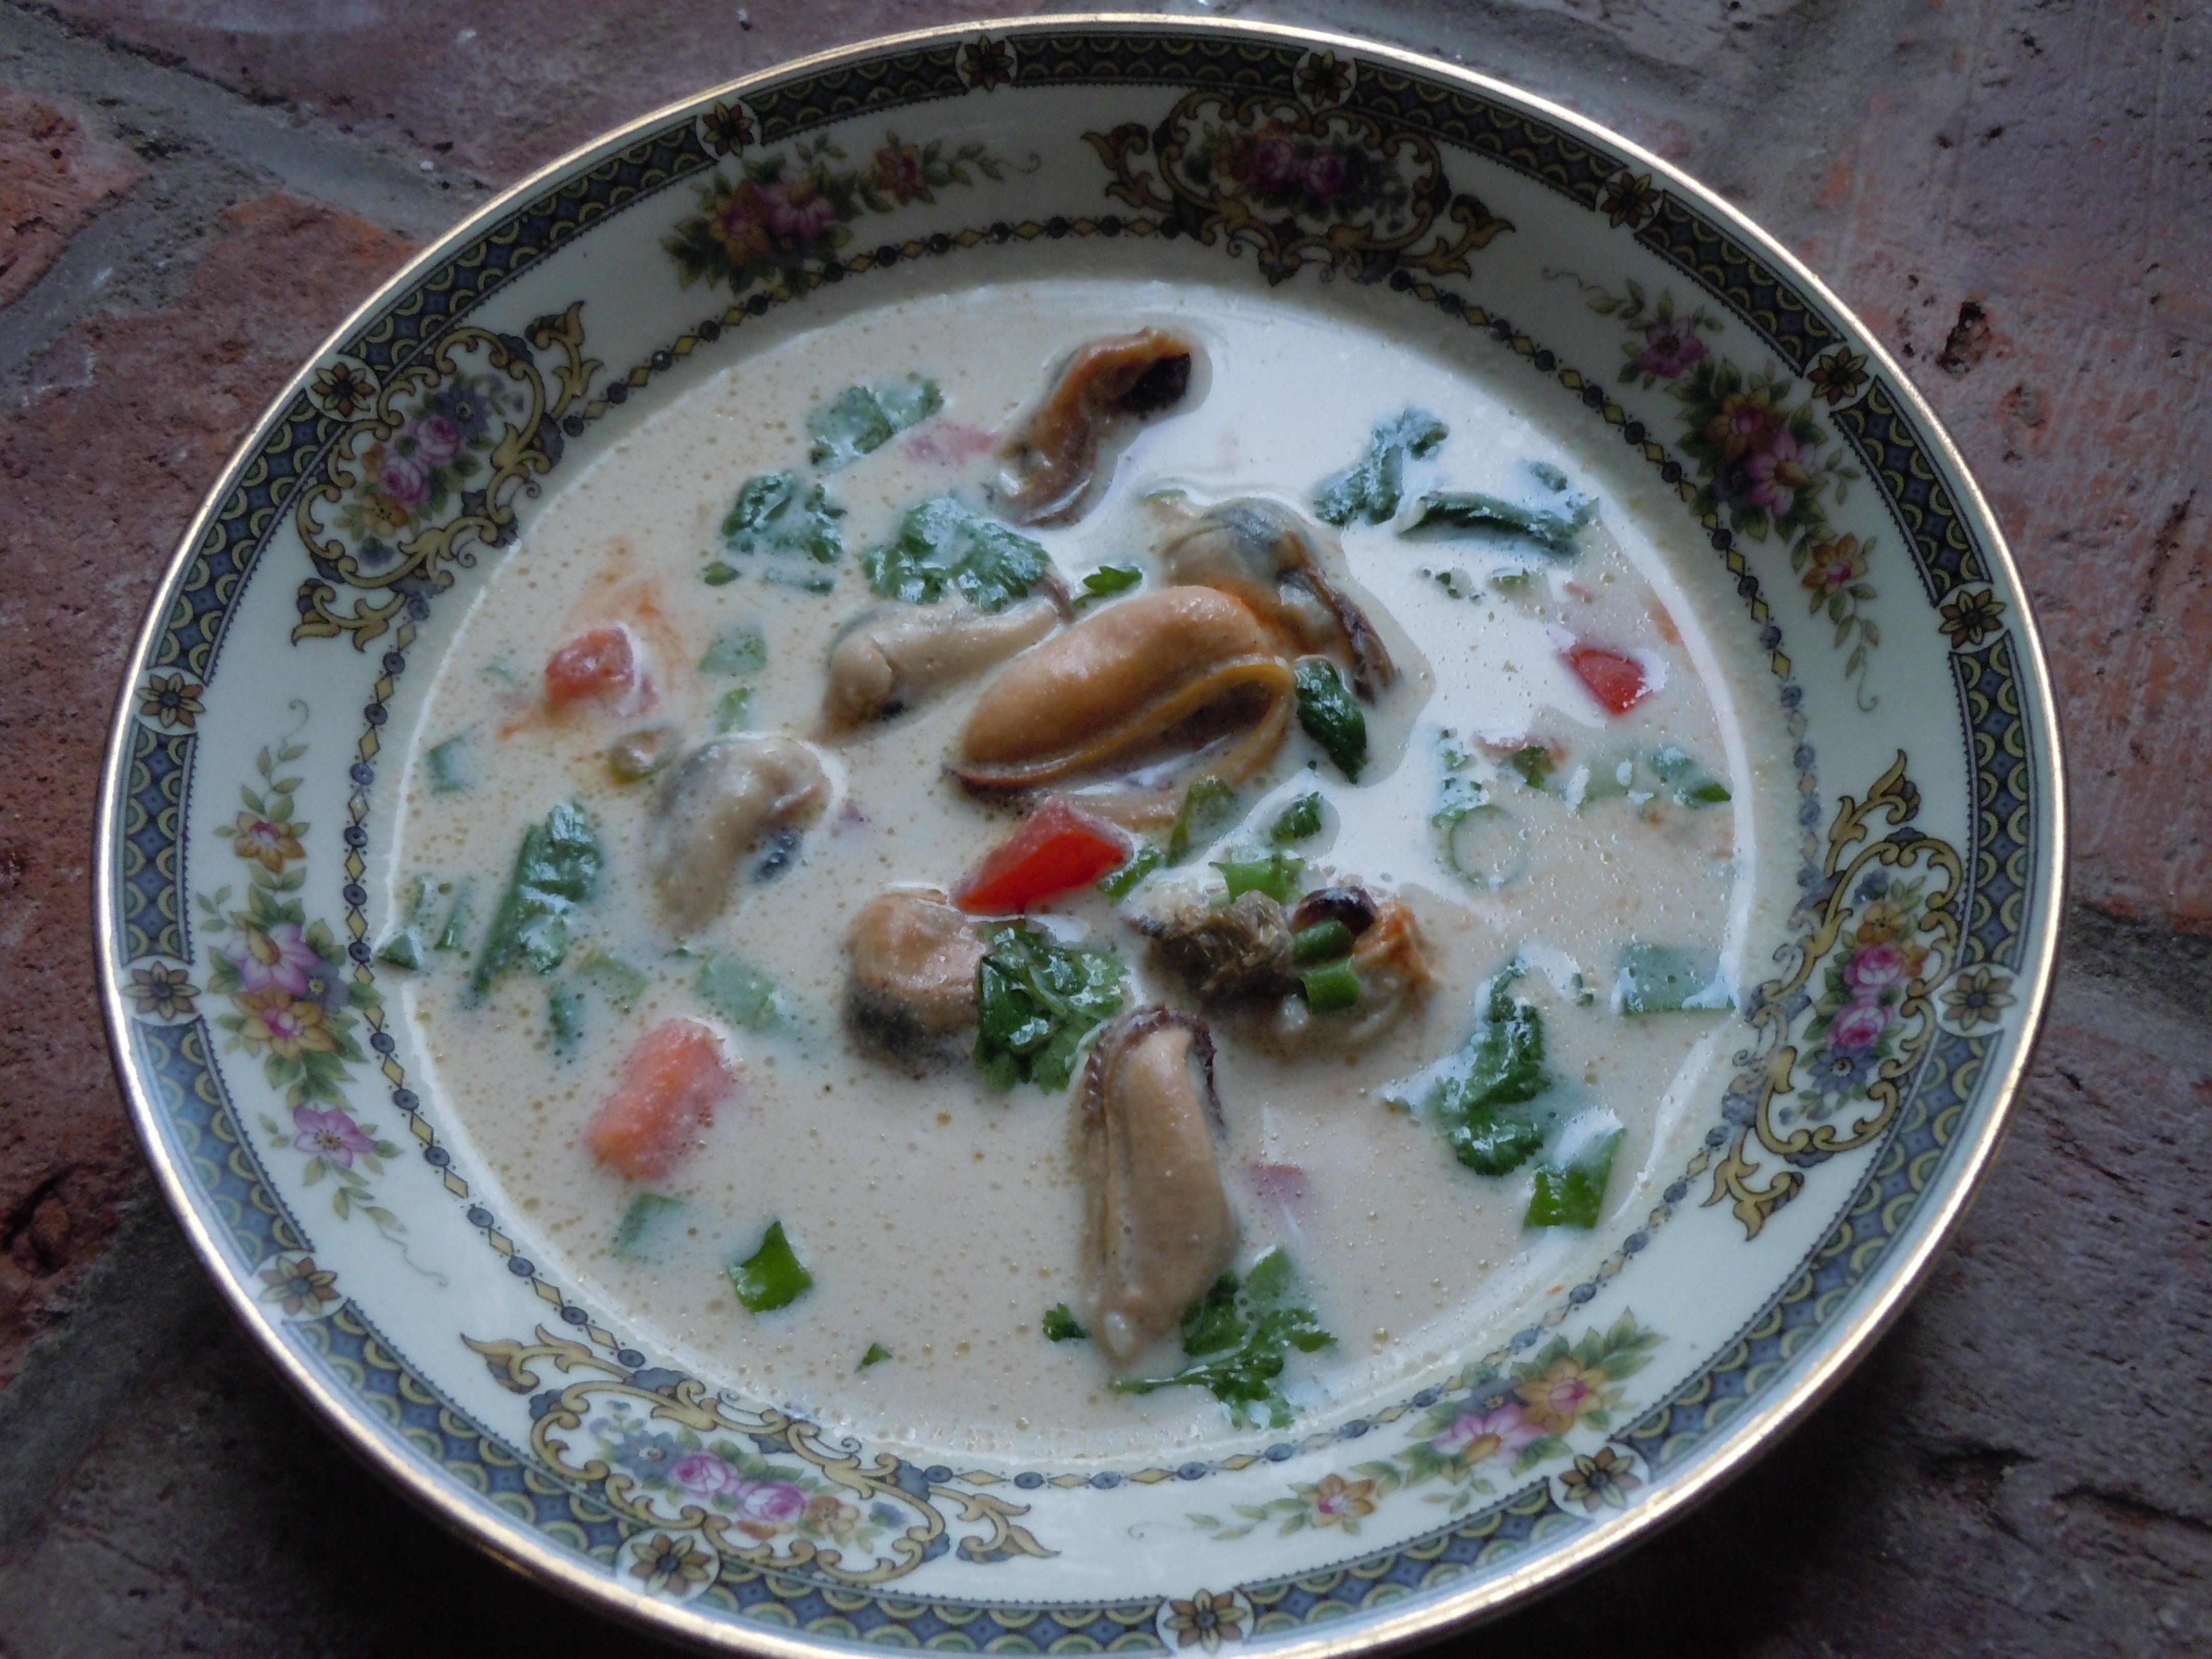
You can add cooked rice noodles to these mussels in a lemongrass-fennel sauce to make it more of a meal and of course don’t forget the garlic bread toasts for dunking. You can be versatile with this dish and turn it into chowder by shelling all of the mussels and evenly distributing the broth and mussels into bowls and don’t forget to serve with Tabasco, of course. If you do make this a meal it always nice to finish off a fish dish with something chocolatey like chocolate-avocado mousse. If you keep it as an appetizer you might want to start off with some other non-fish appetizers as well like baked asparagus wrapped in Prosciutto, sausage stuffed mushrooms, or zucchini torta.
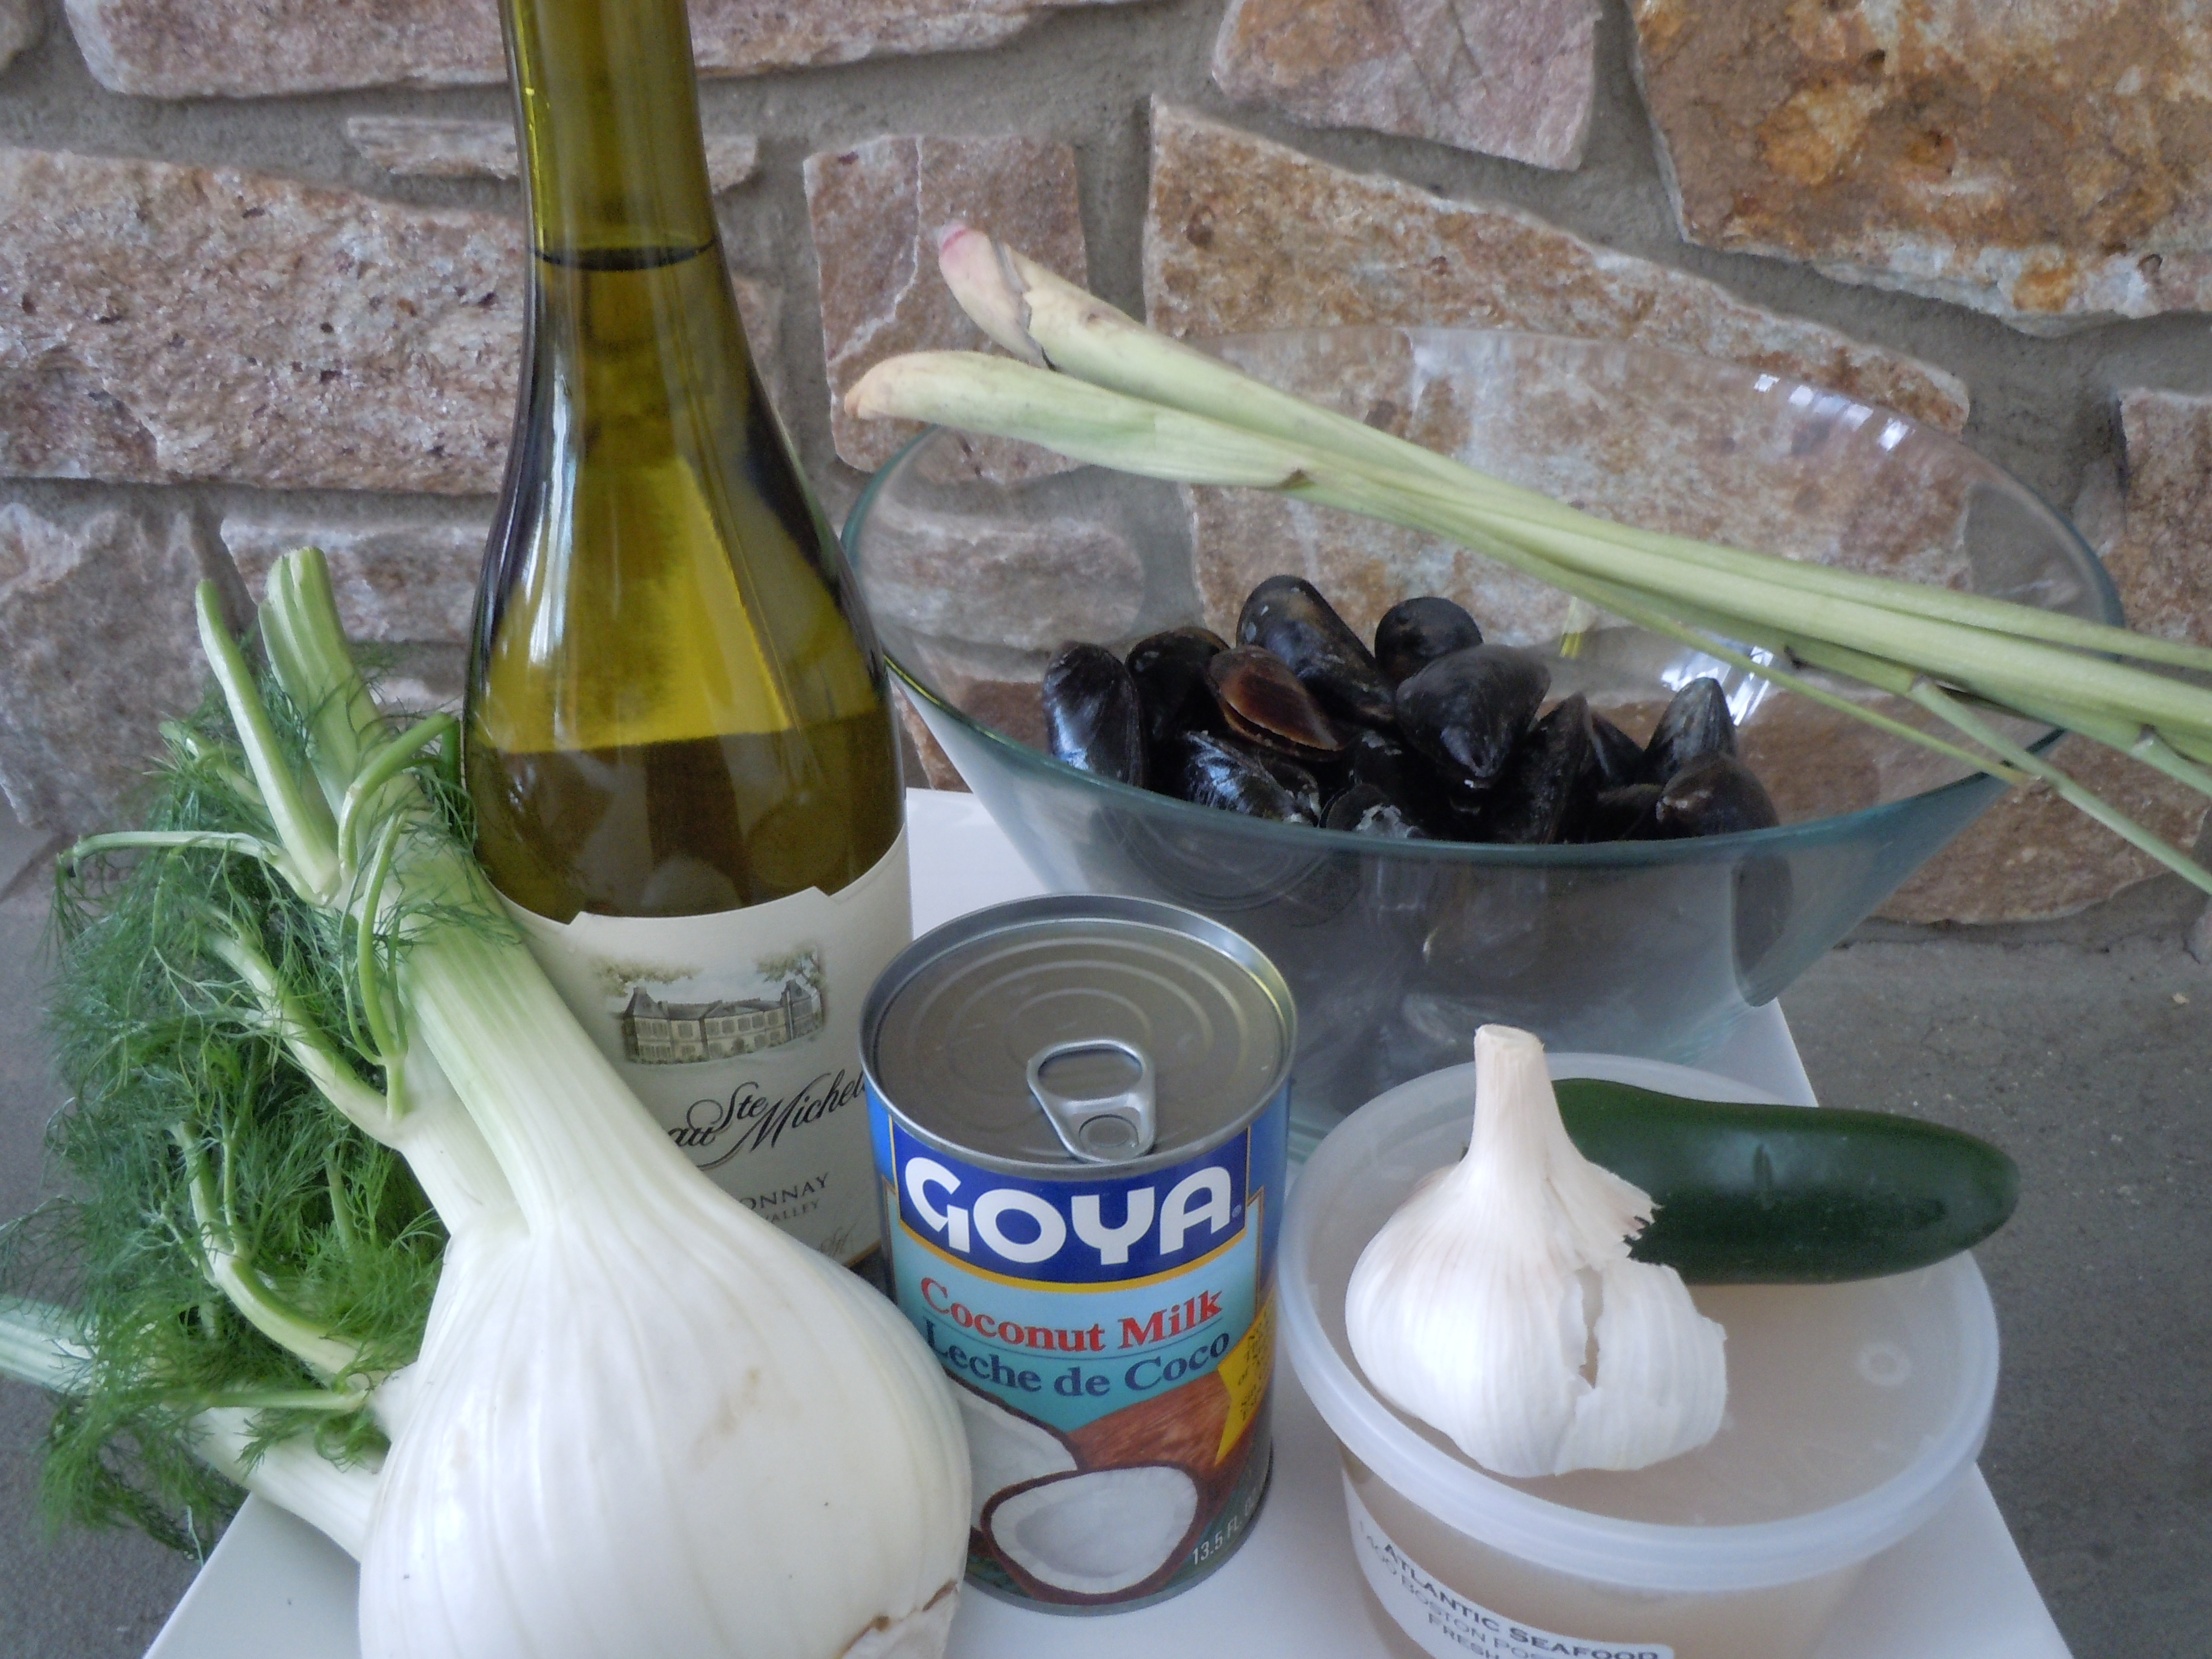


Ingredients – Makes 4 appetizer servings (there are about 22 mussels per lb. so it’s approx 13 mussels per person)
– To make into 4 meals add 3/4 lb cooked rice noodles:
- 2 1/2 lb of mussels
- 1 1/2 cups coconut milk
- 1 cup clam broth
- 1 cup white wine
- 3/4 cup heavy cream
- 2/3 fennel bulb with fronds (green tops)
- 1/2 sweet Spanish onion cut into lg wedges (can leave the peel on)
- 1/2 jalapeño sliced
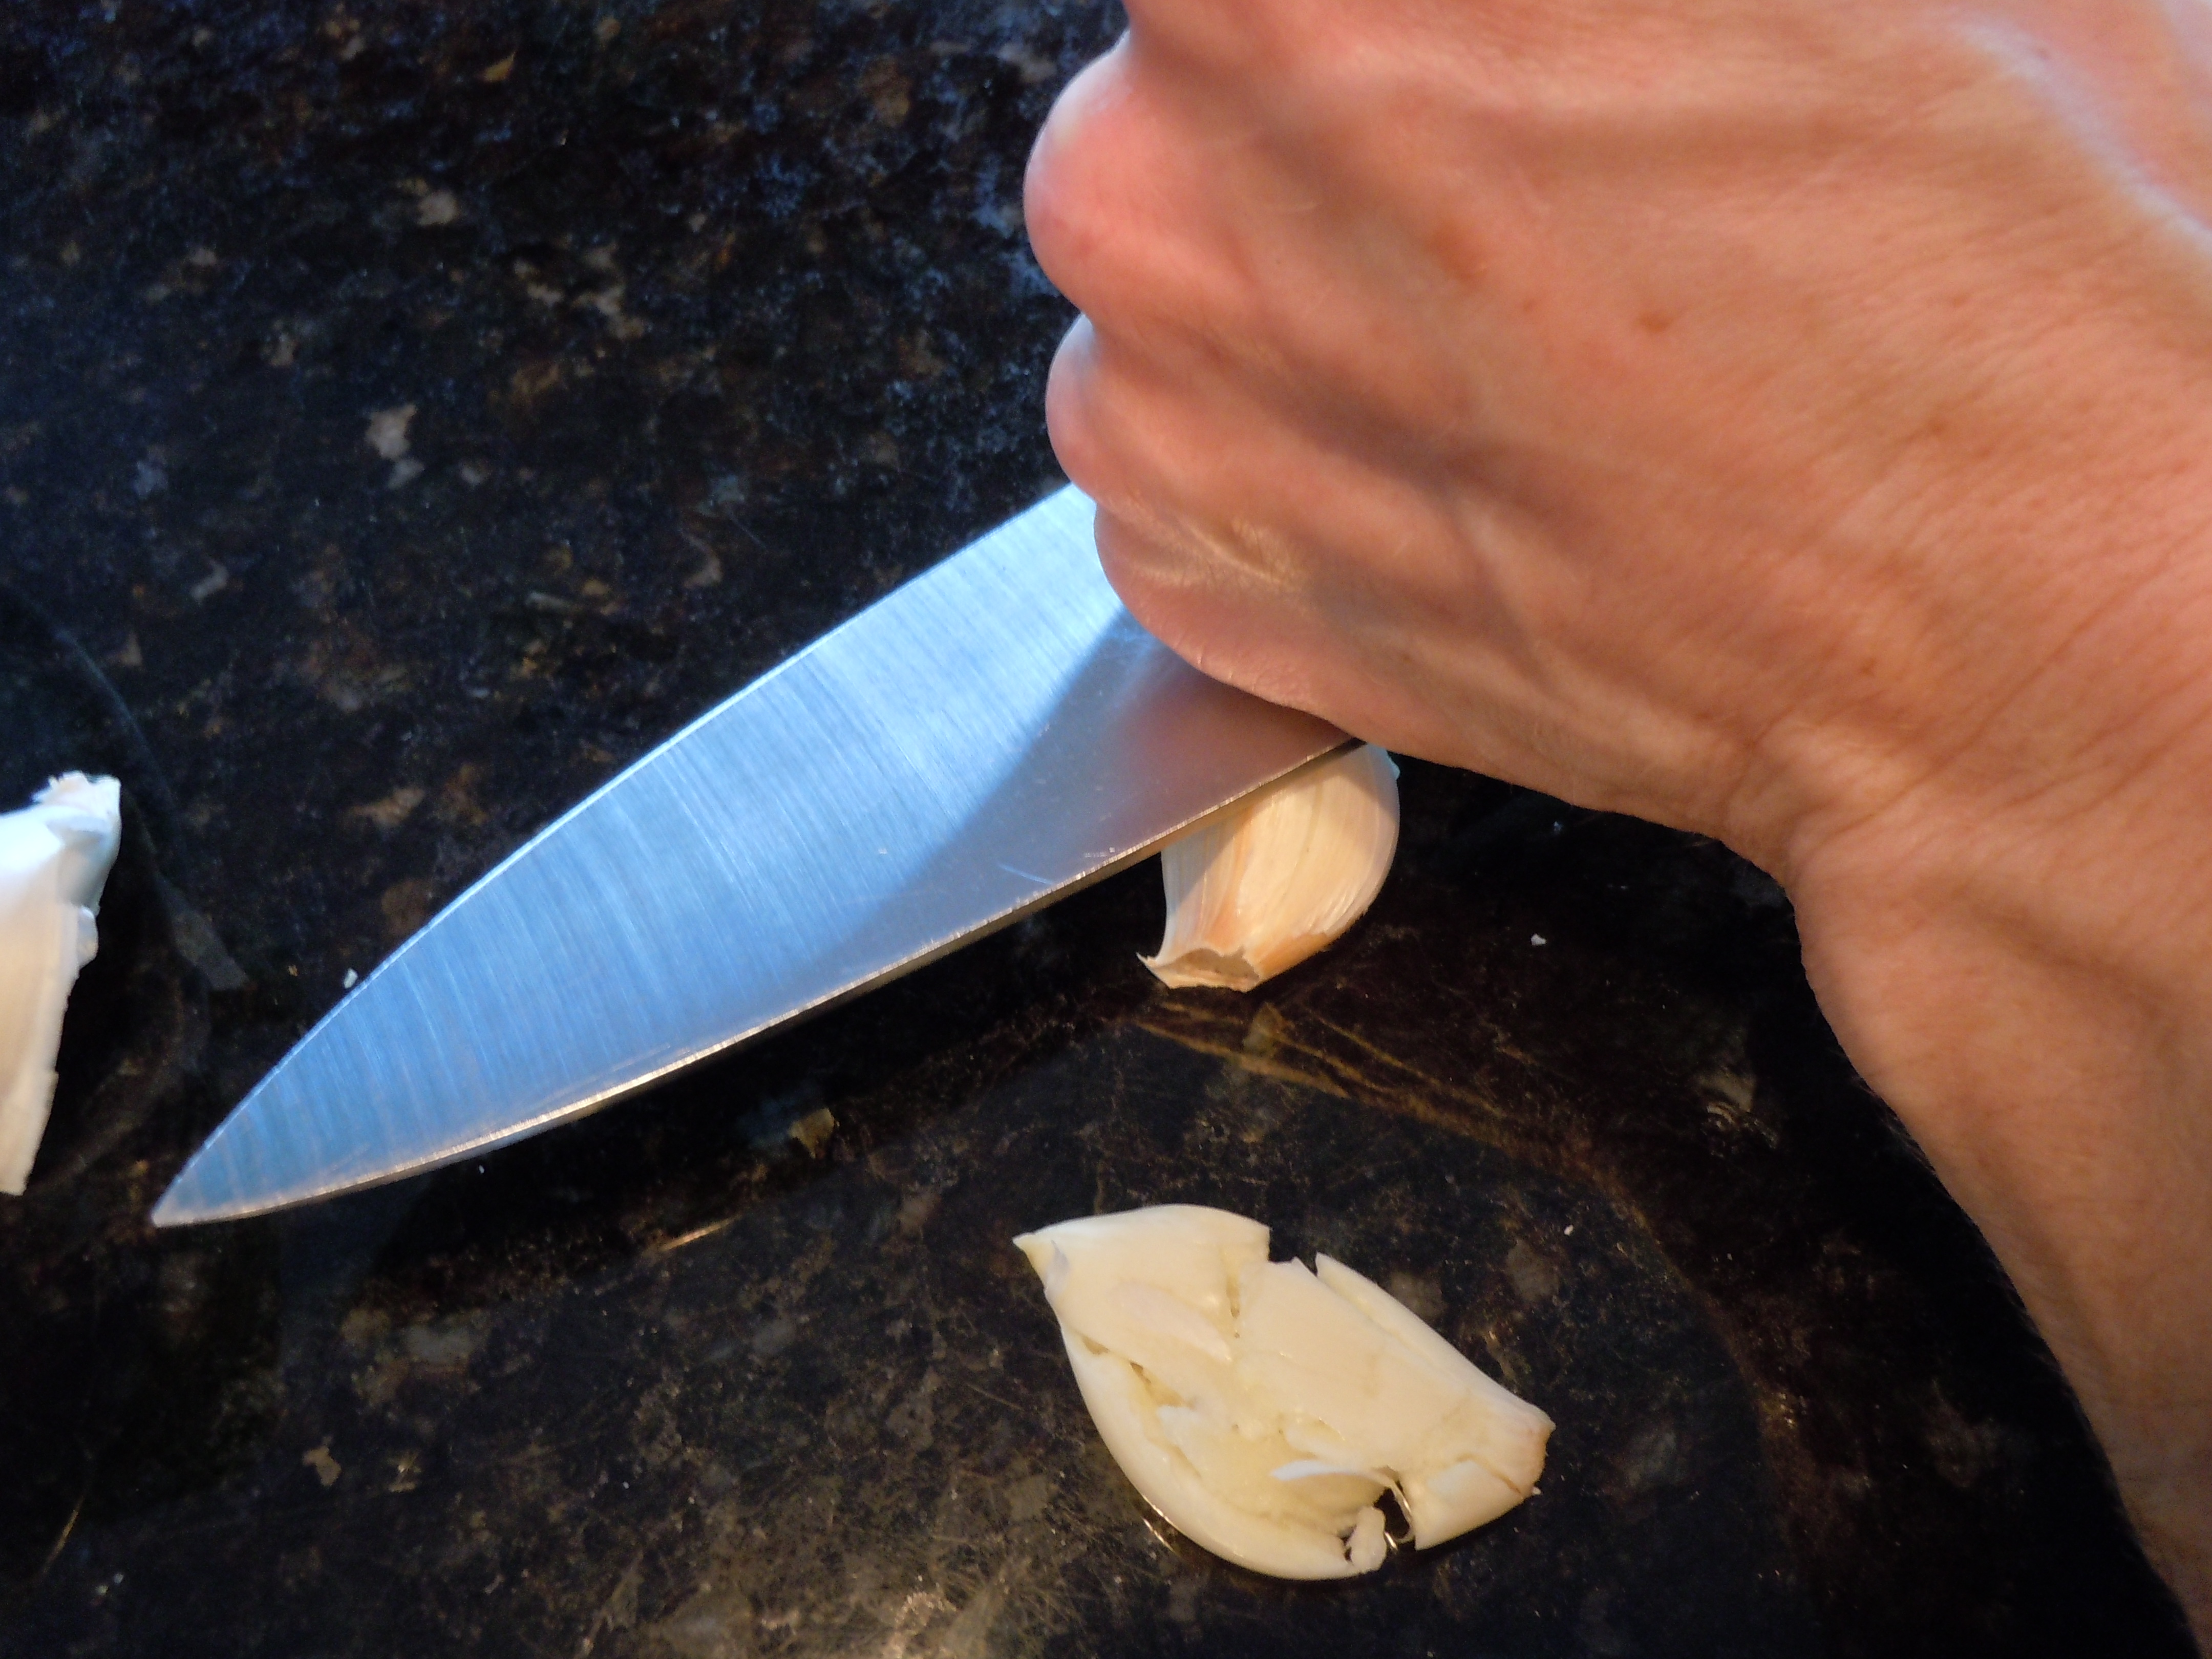
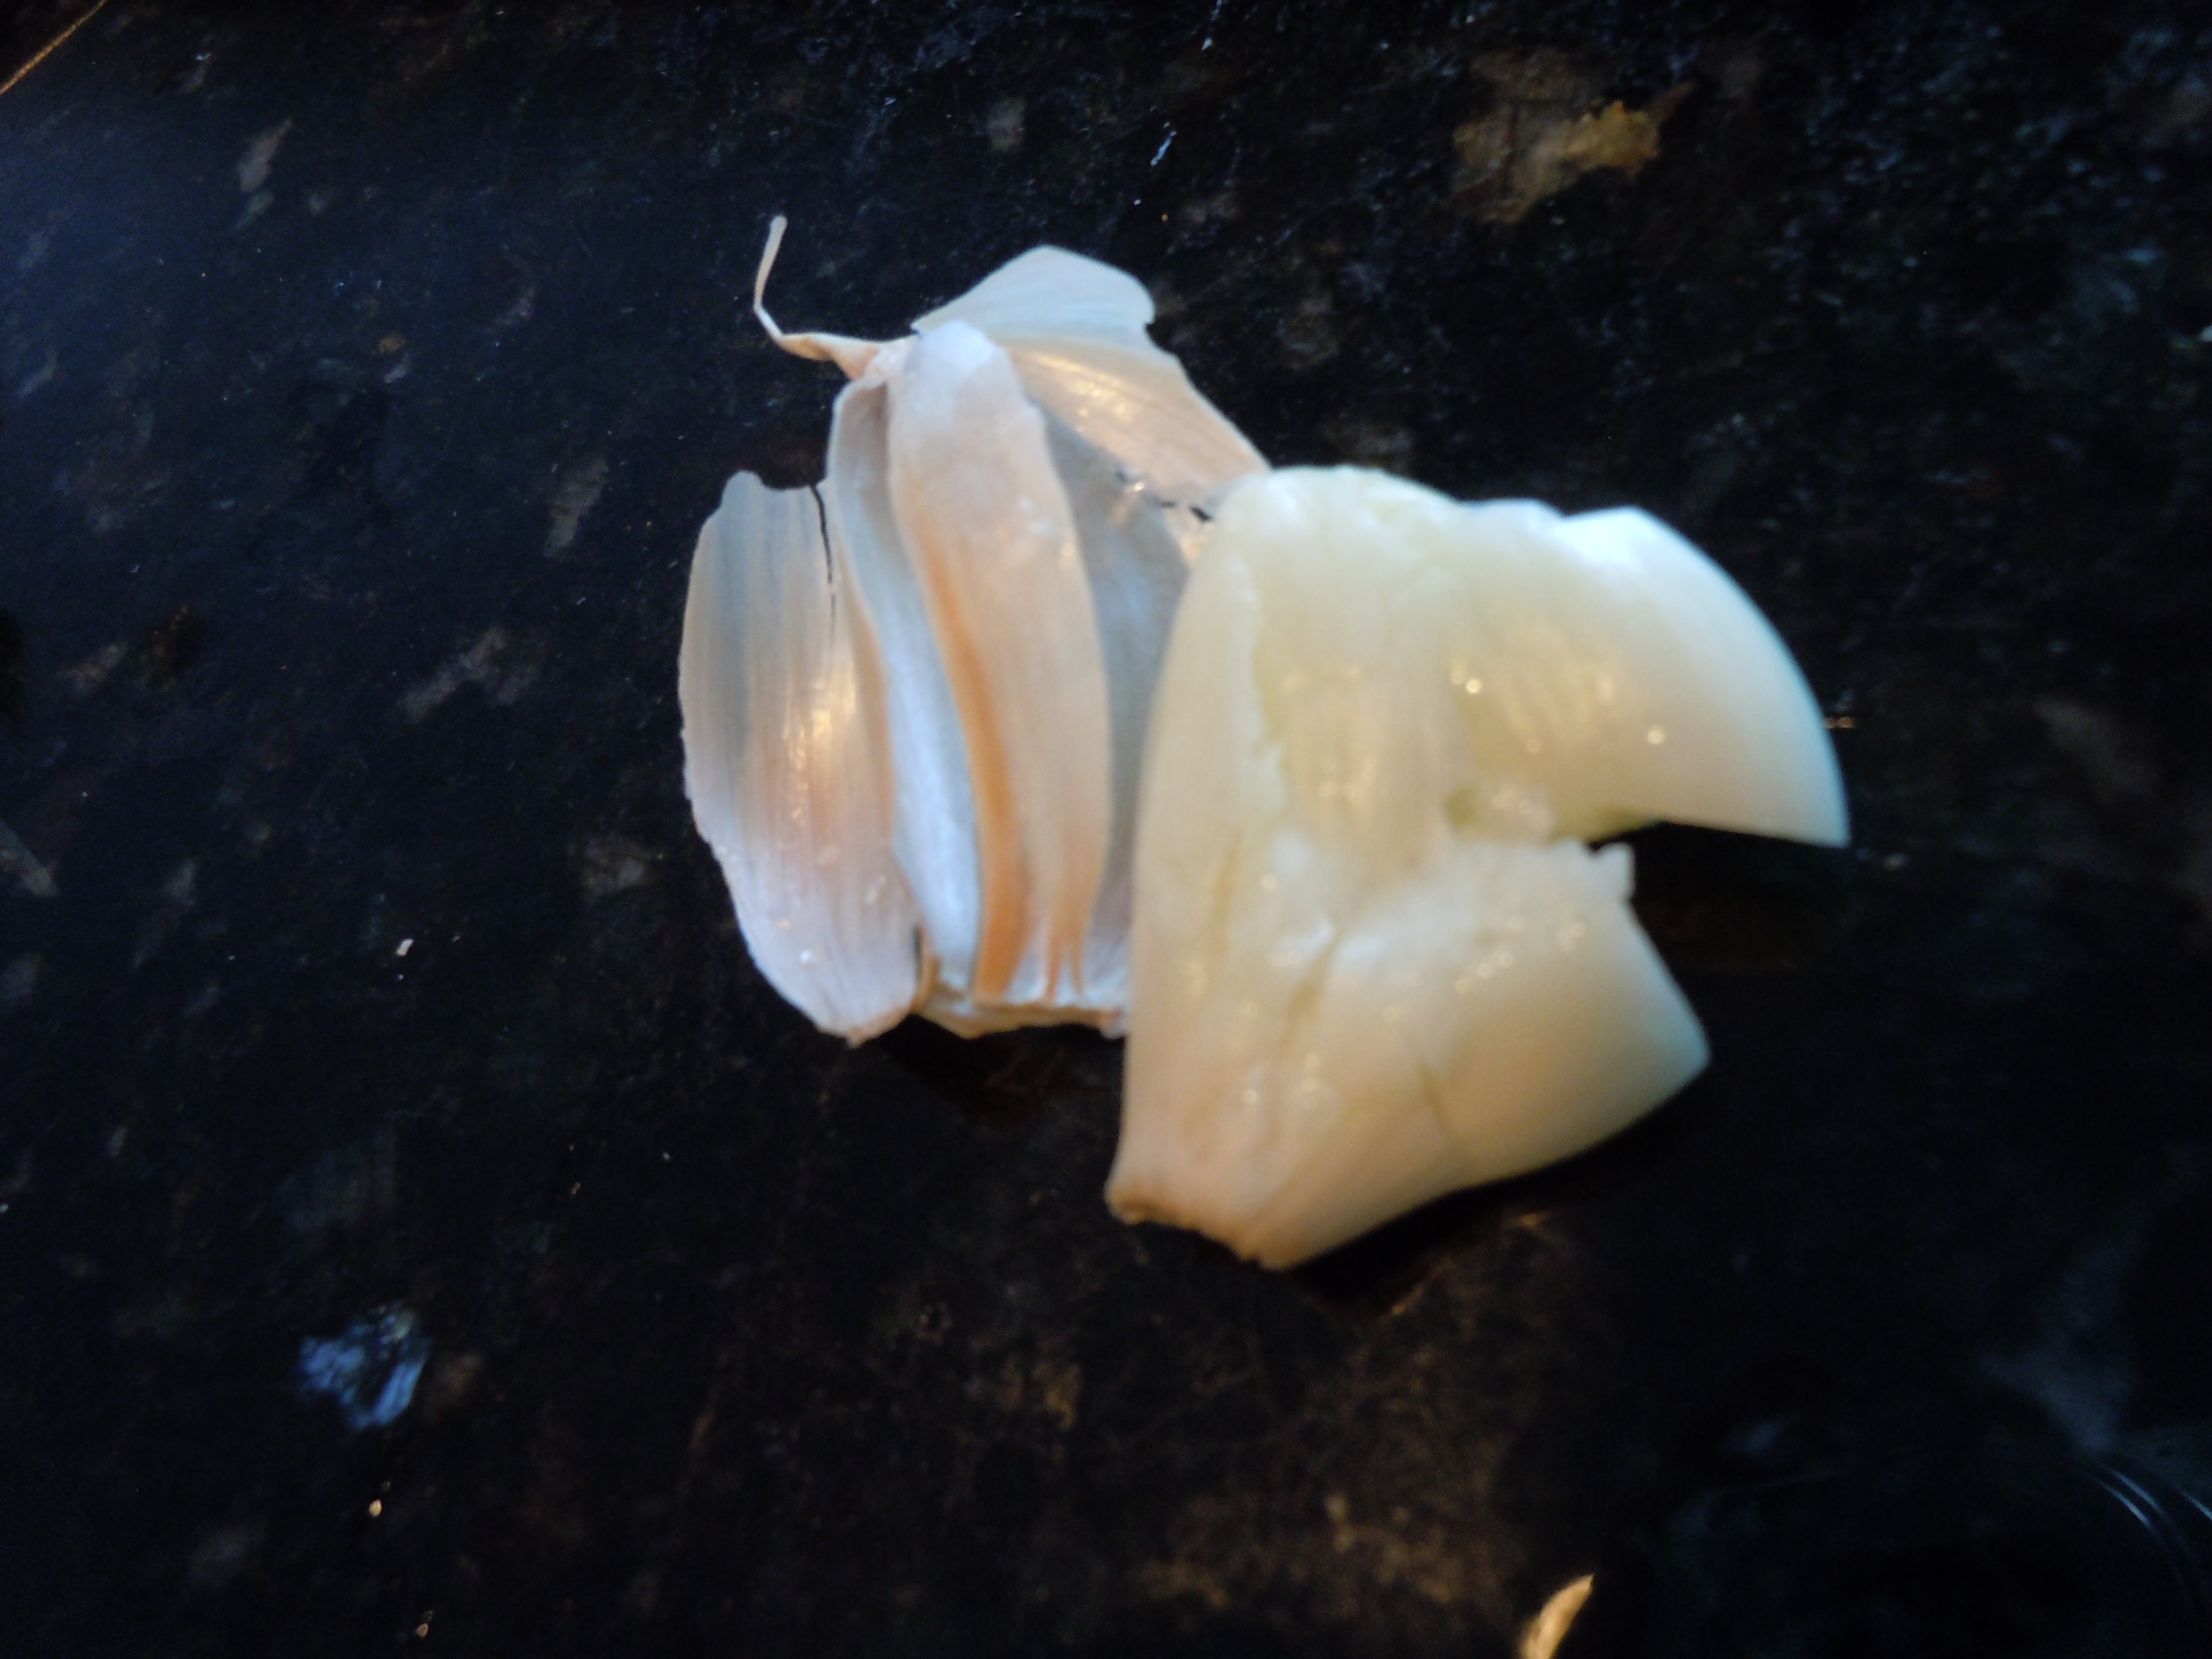
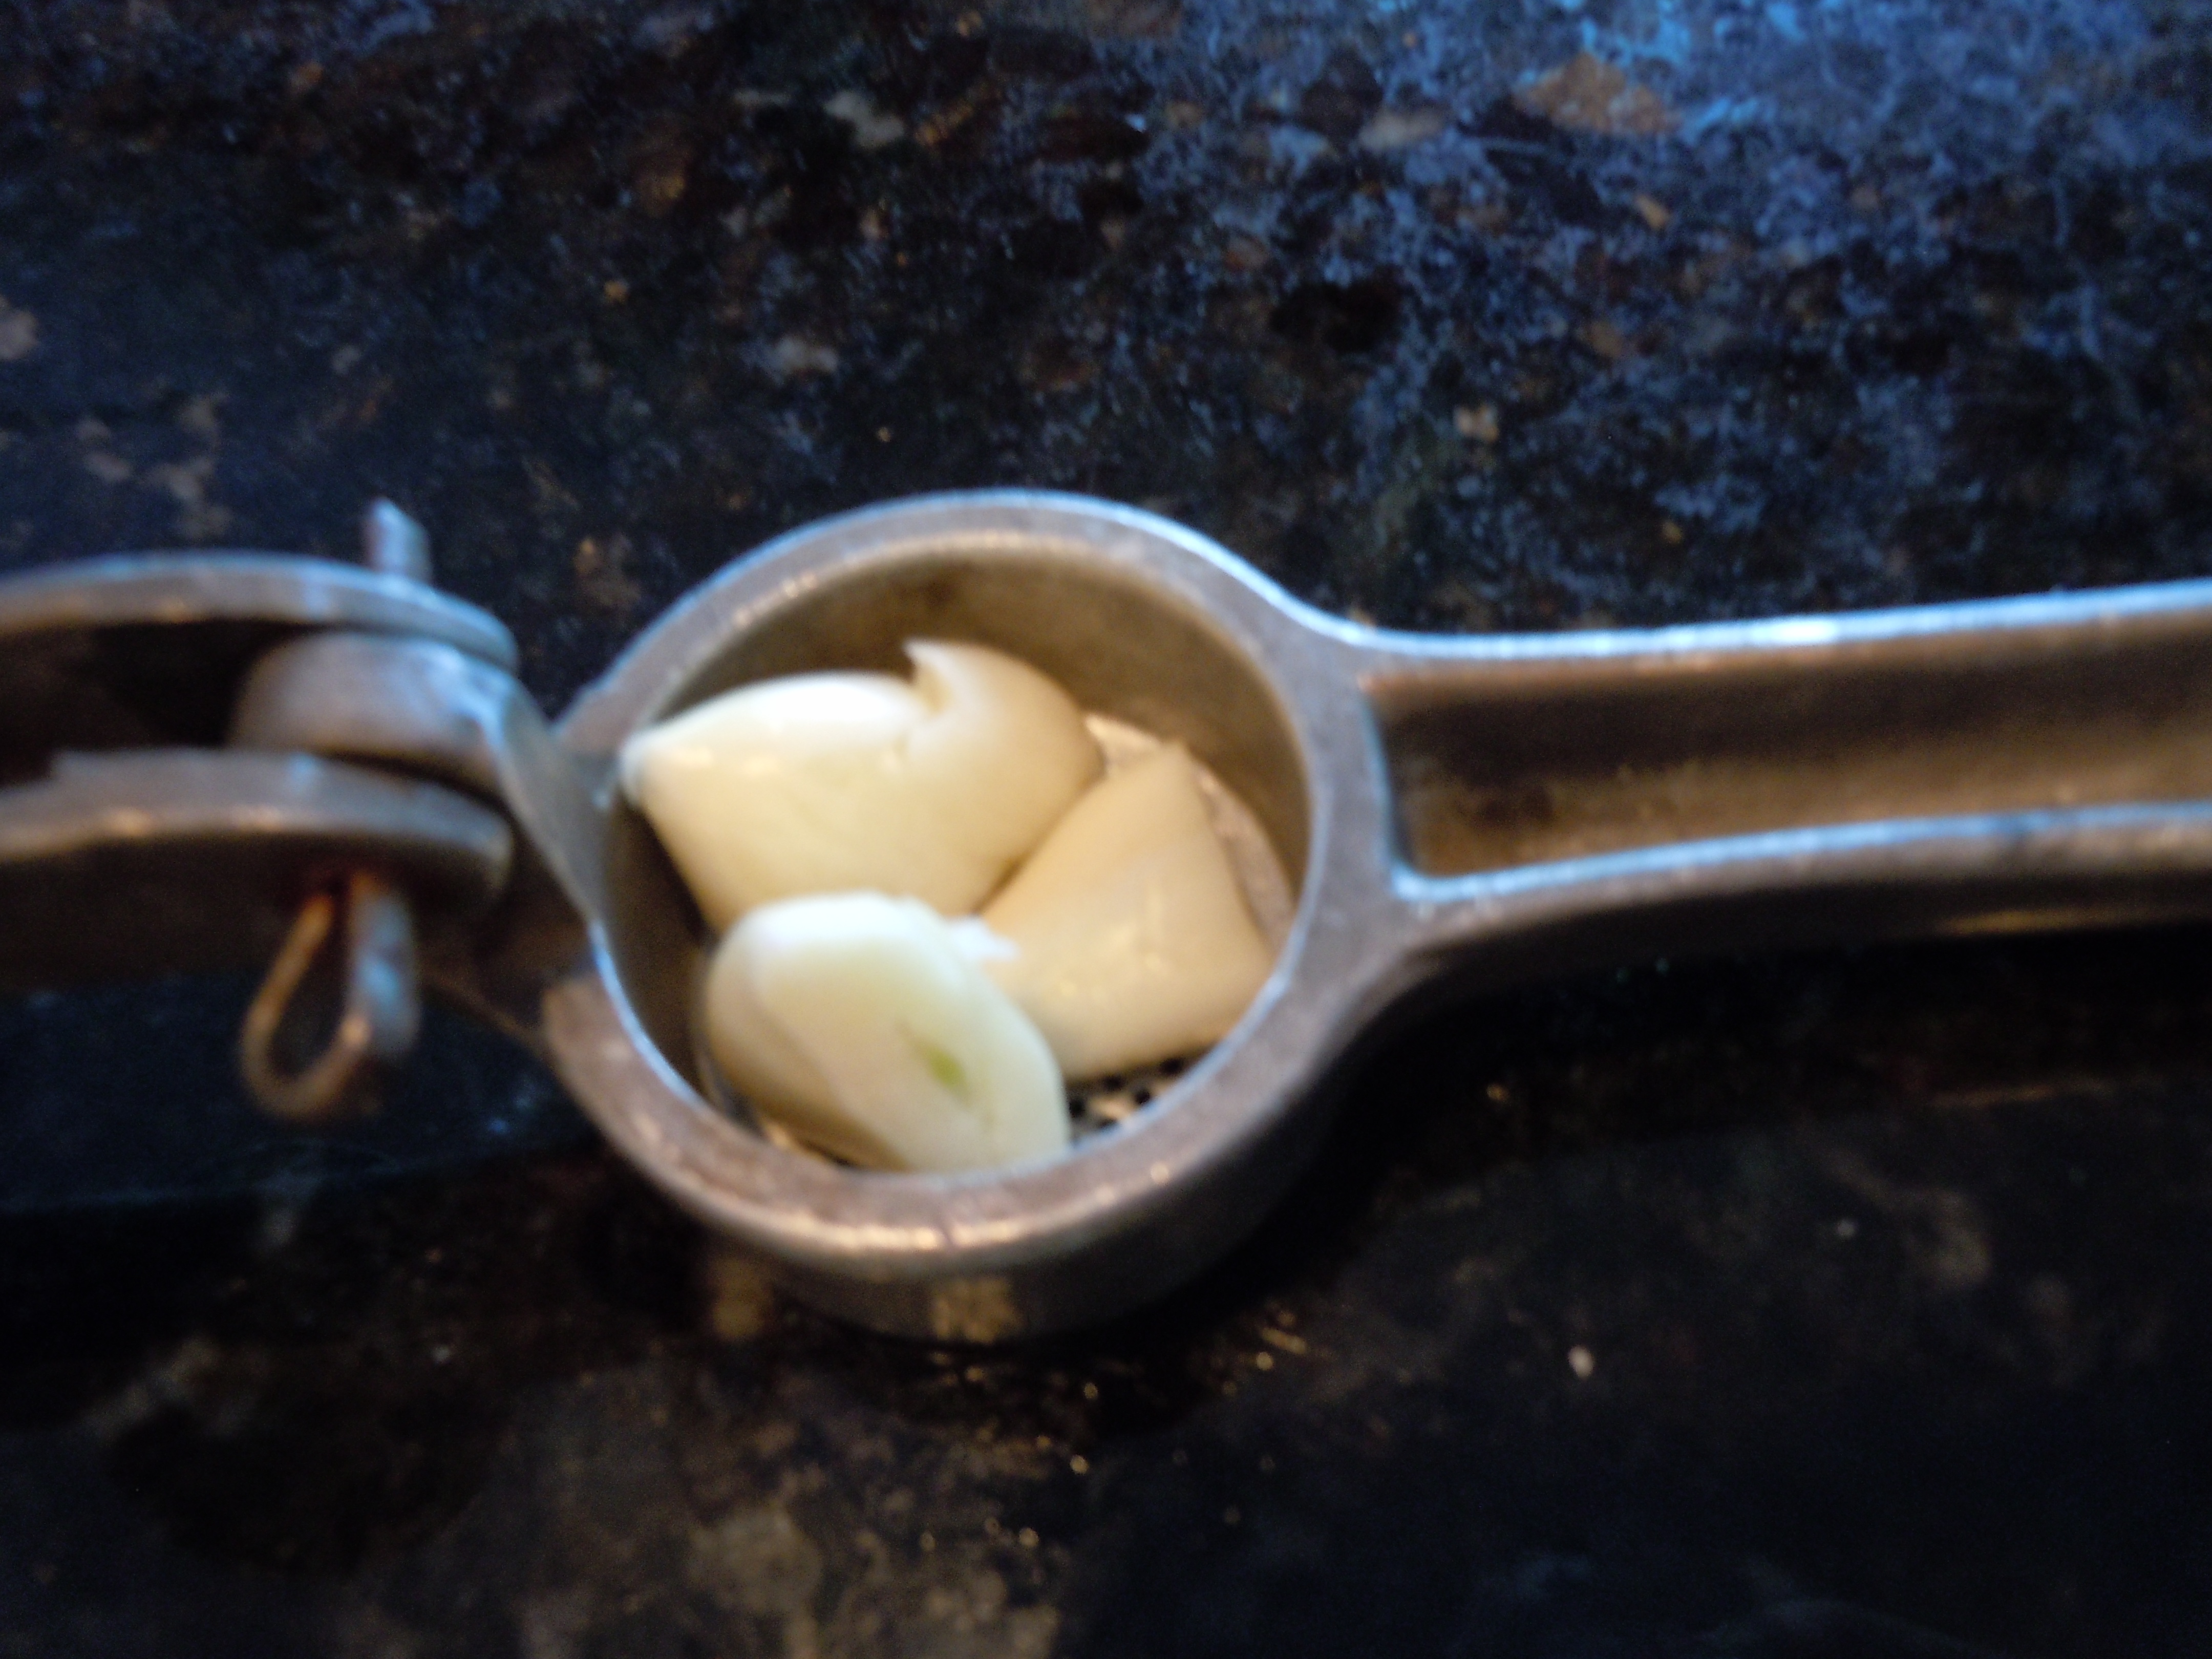
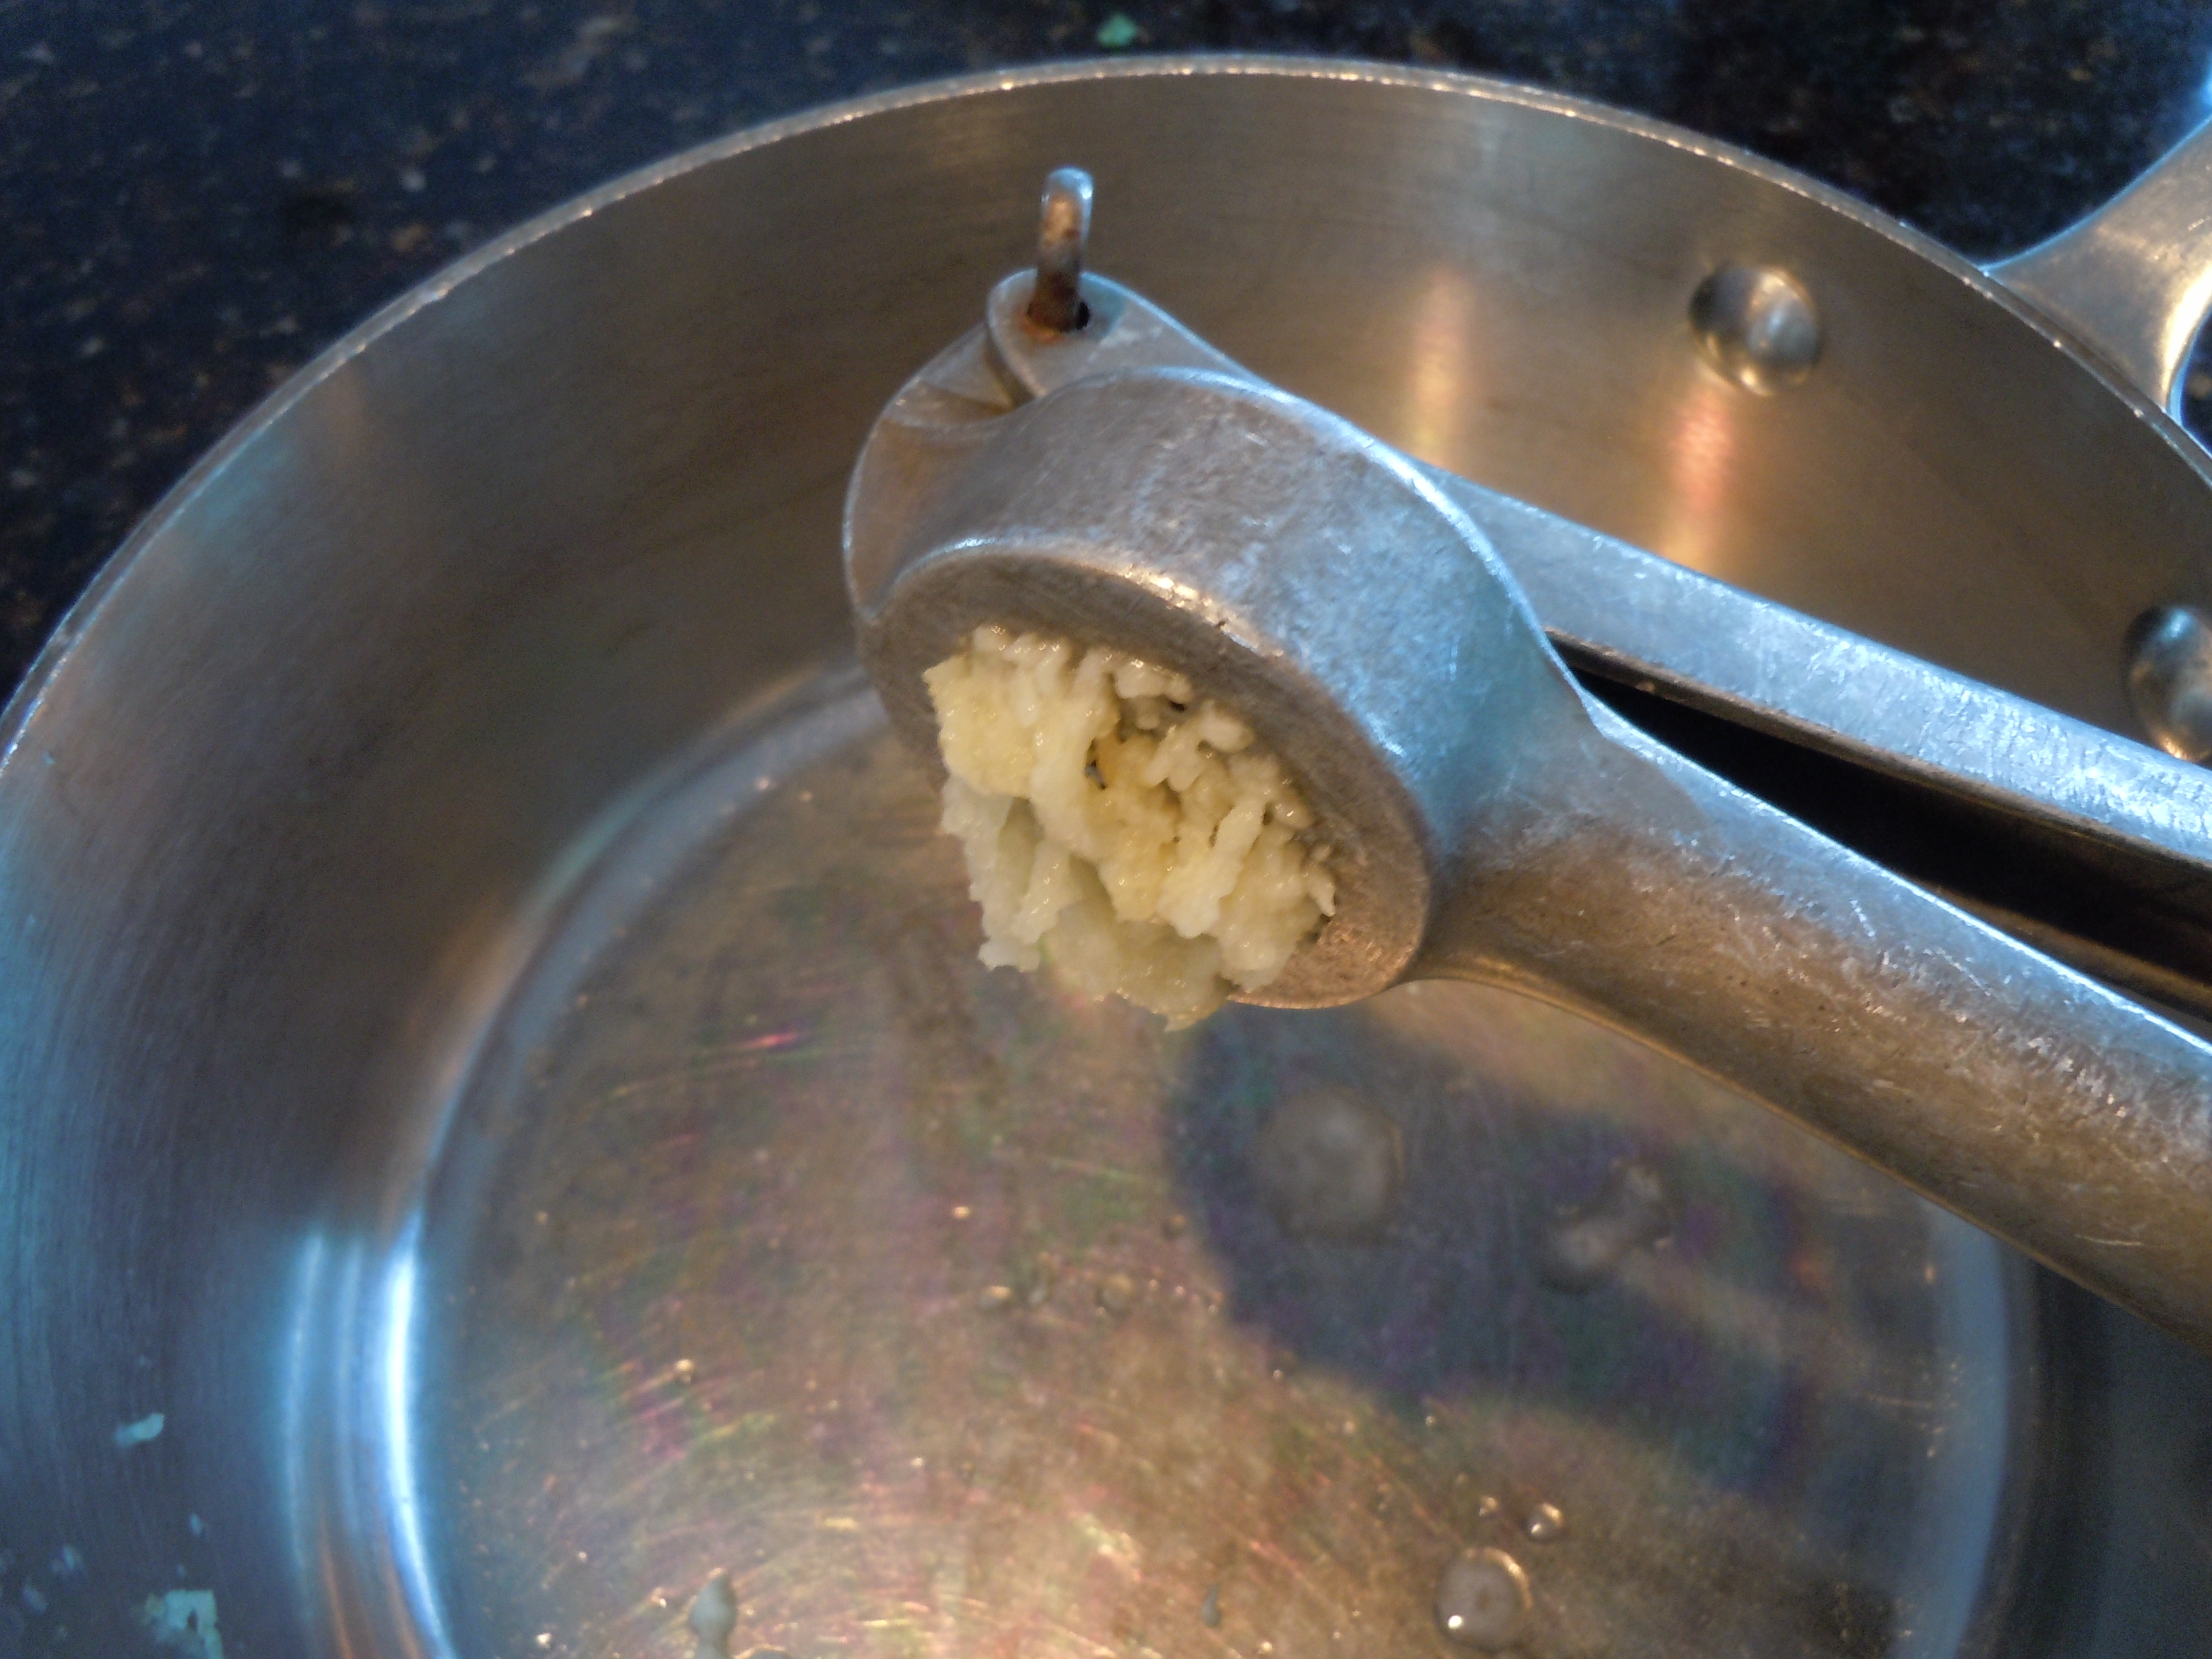
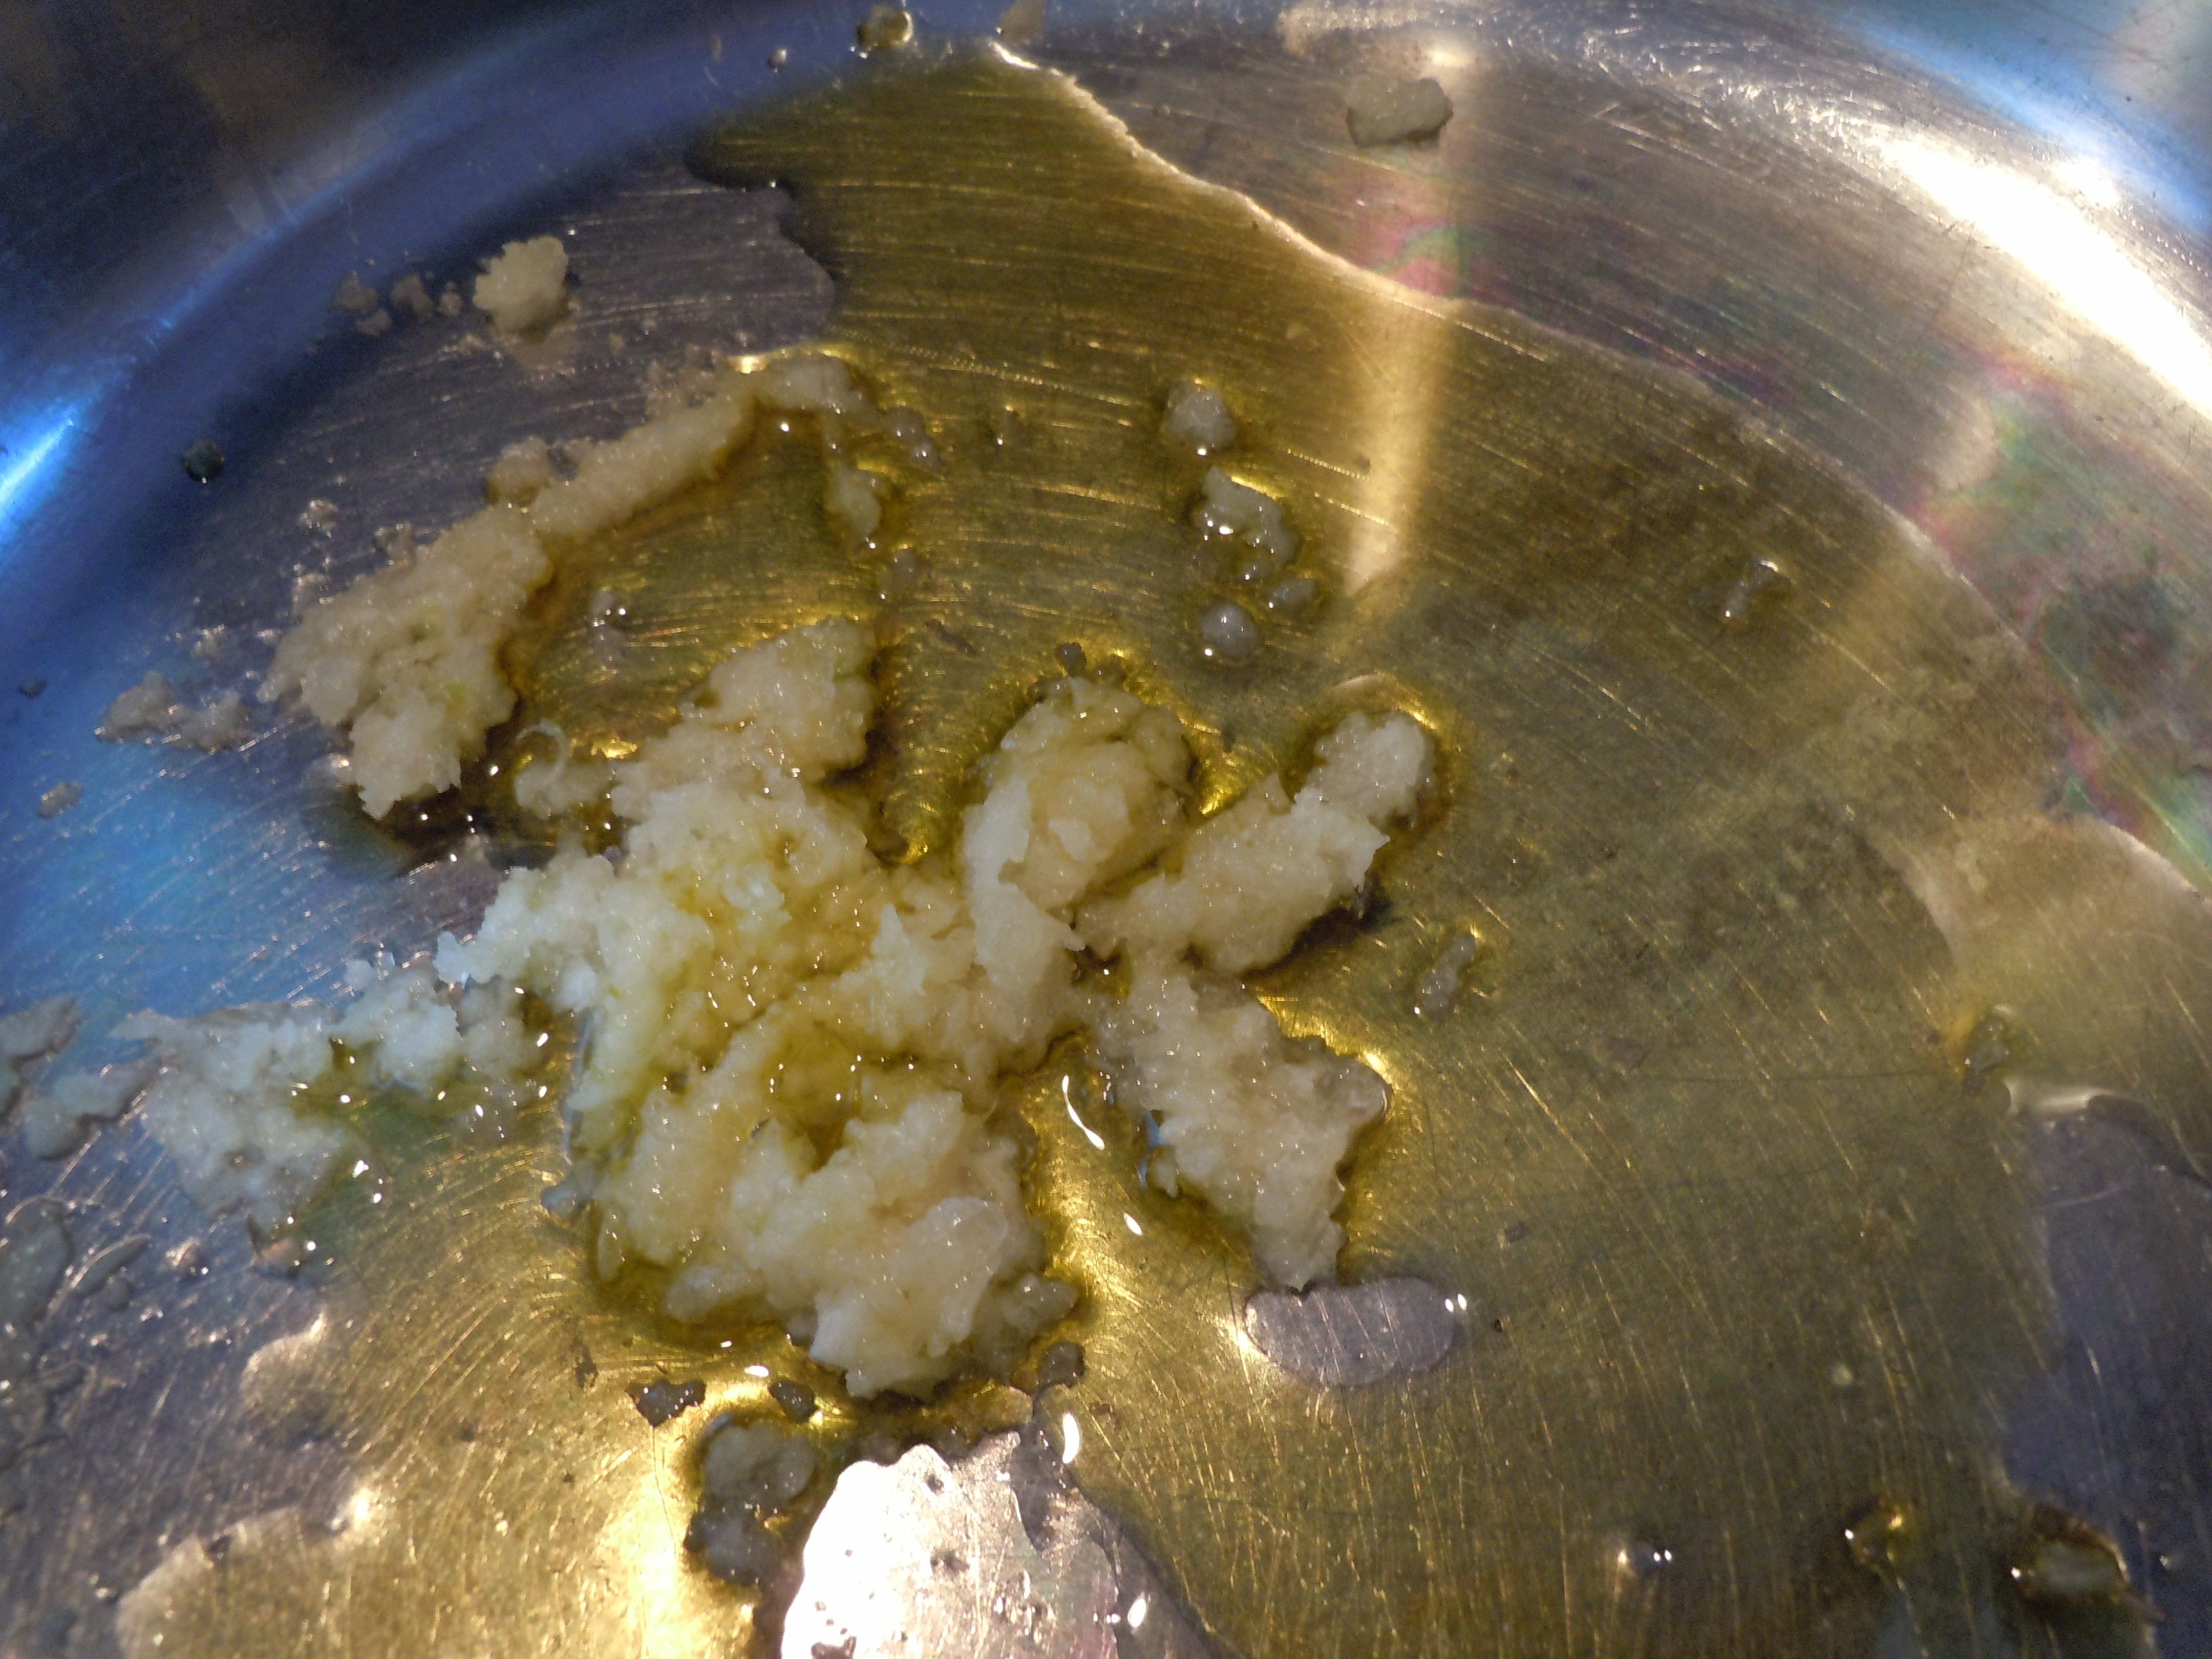
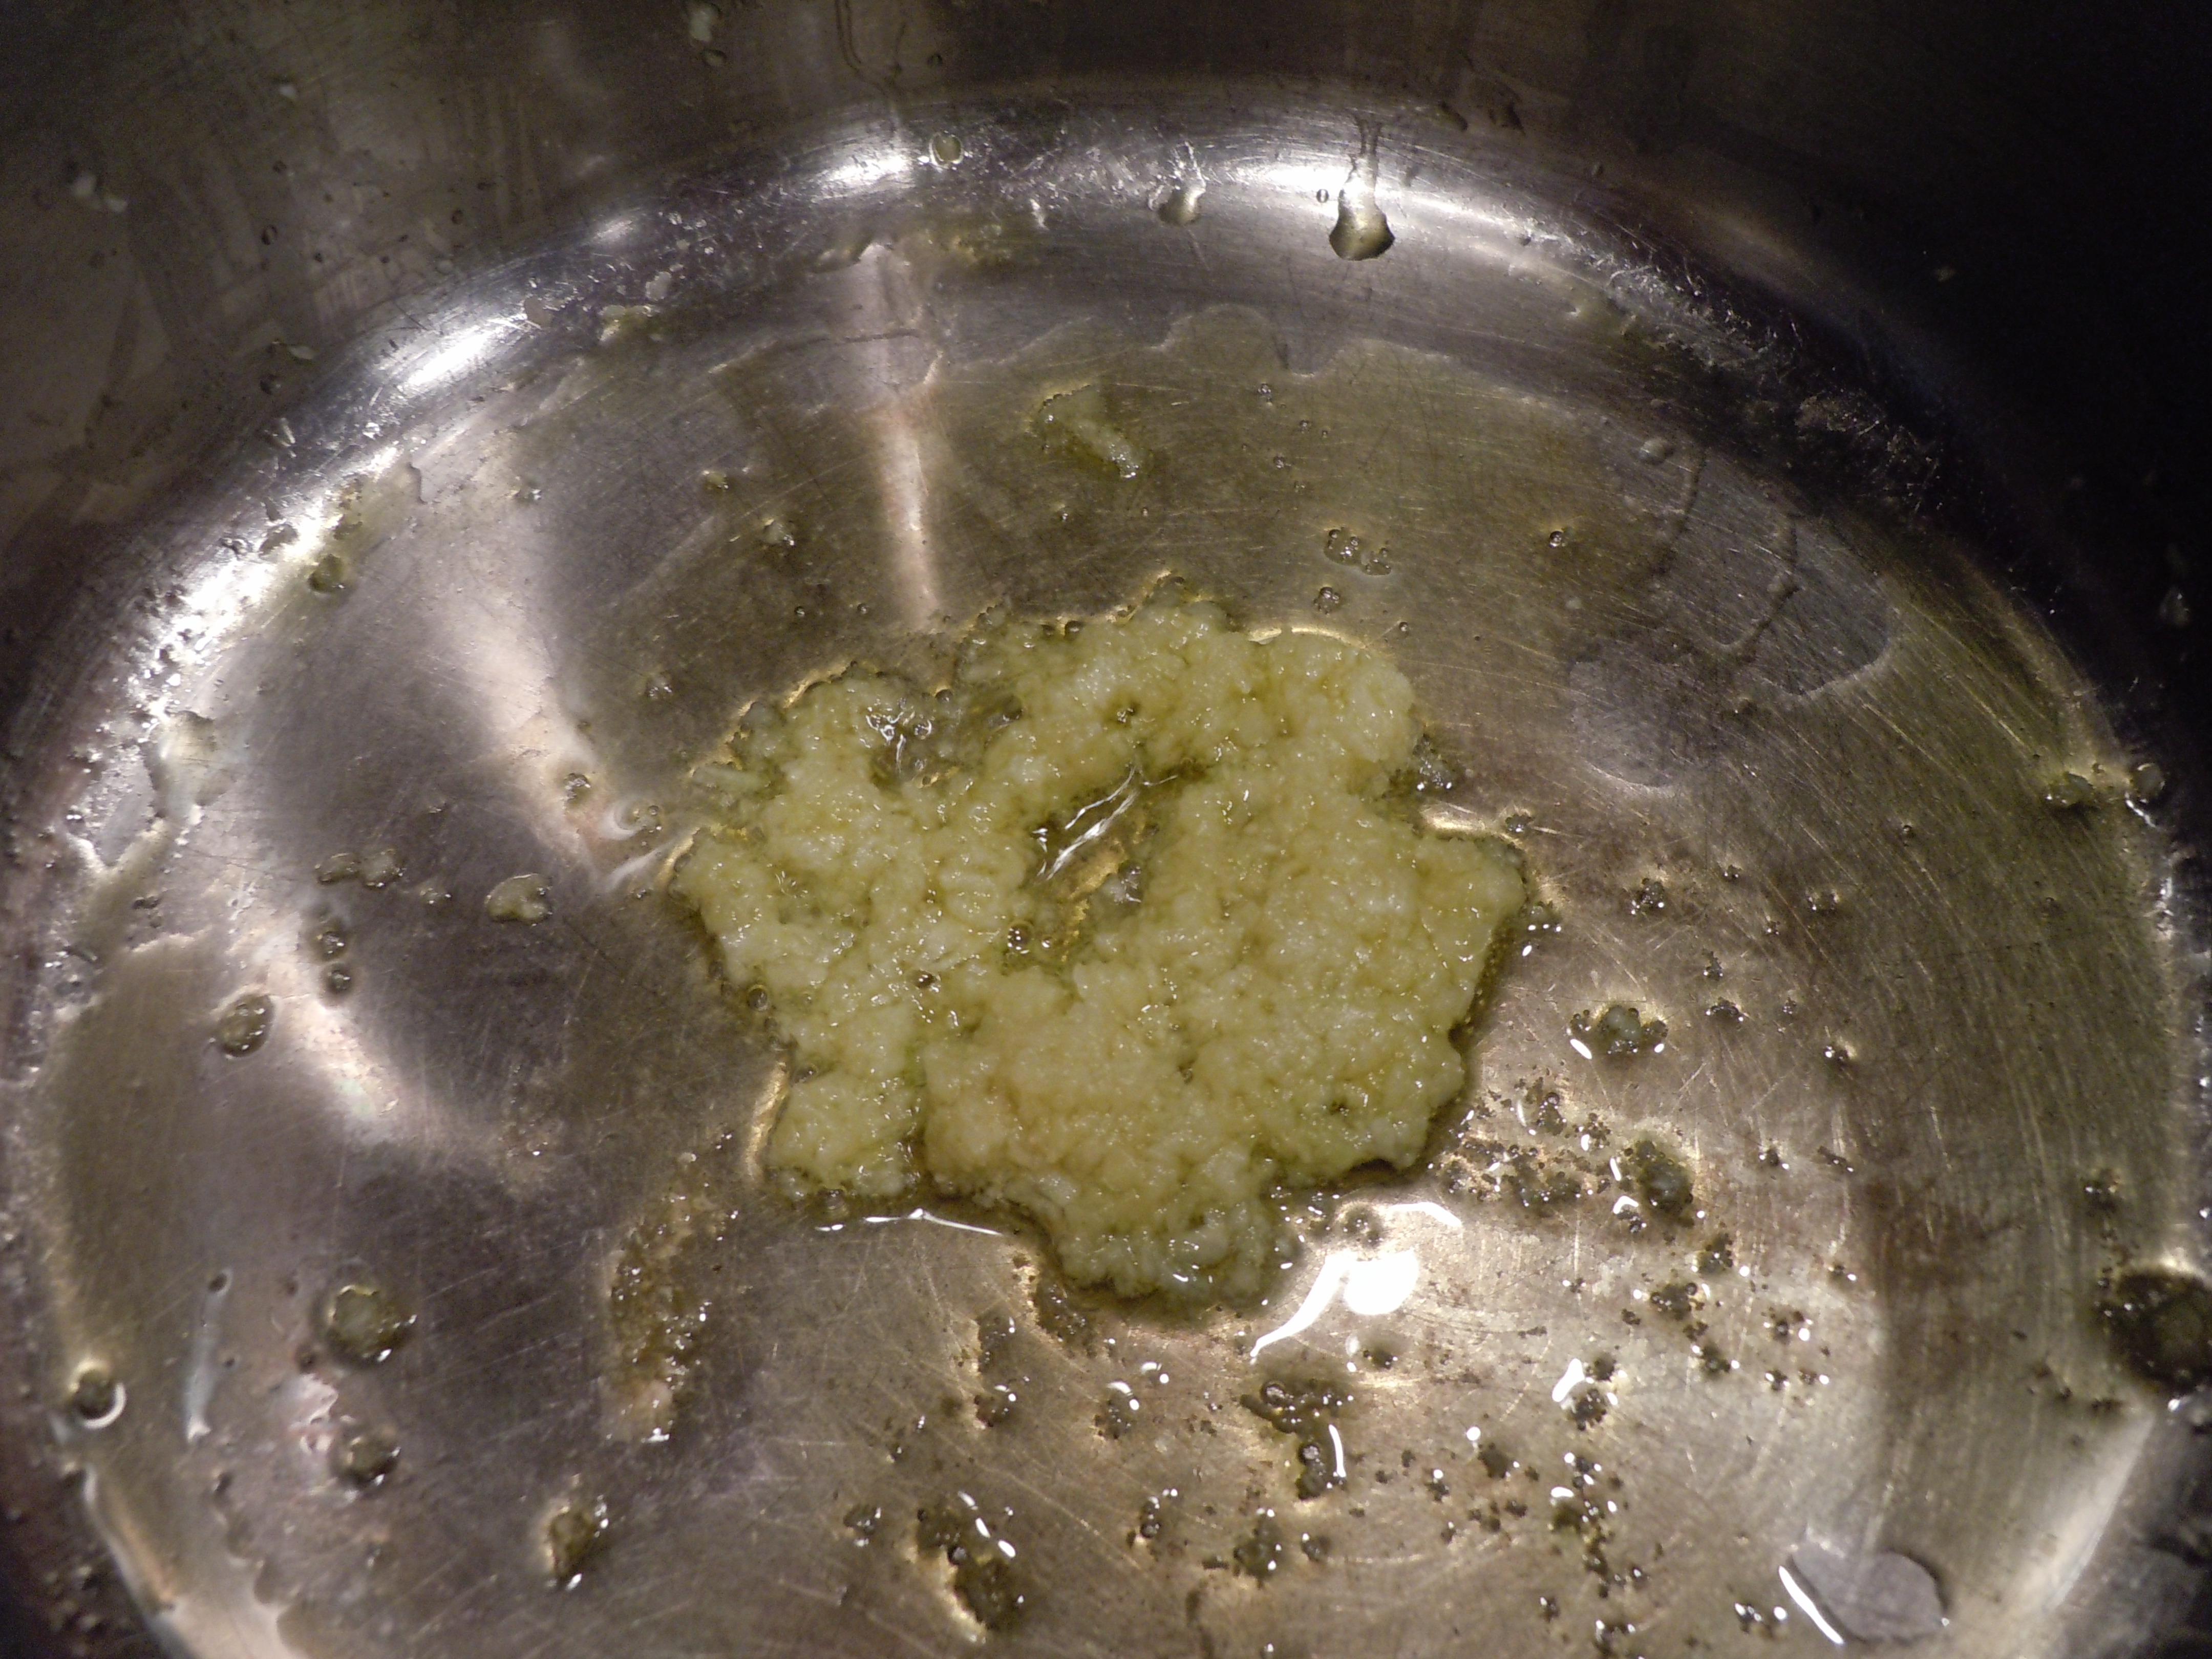
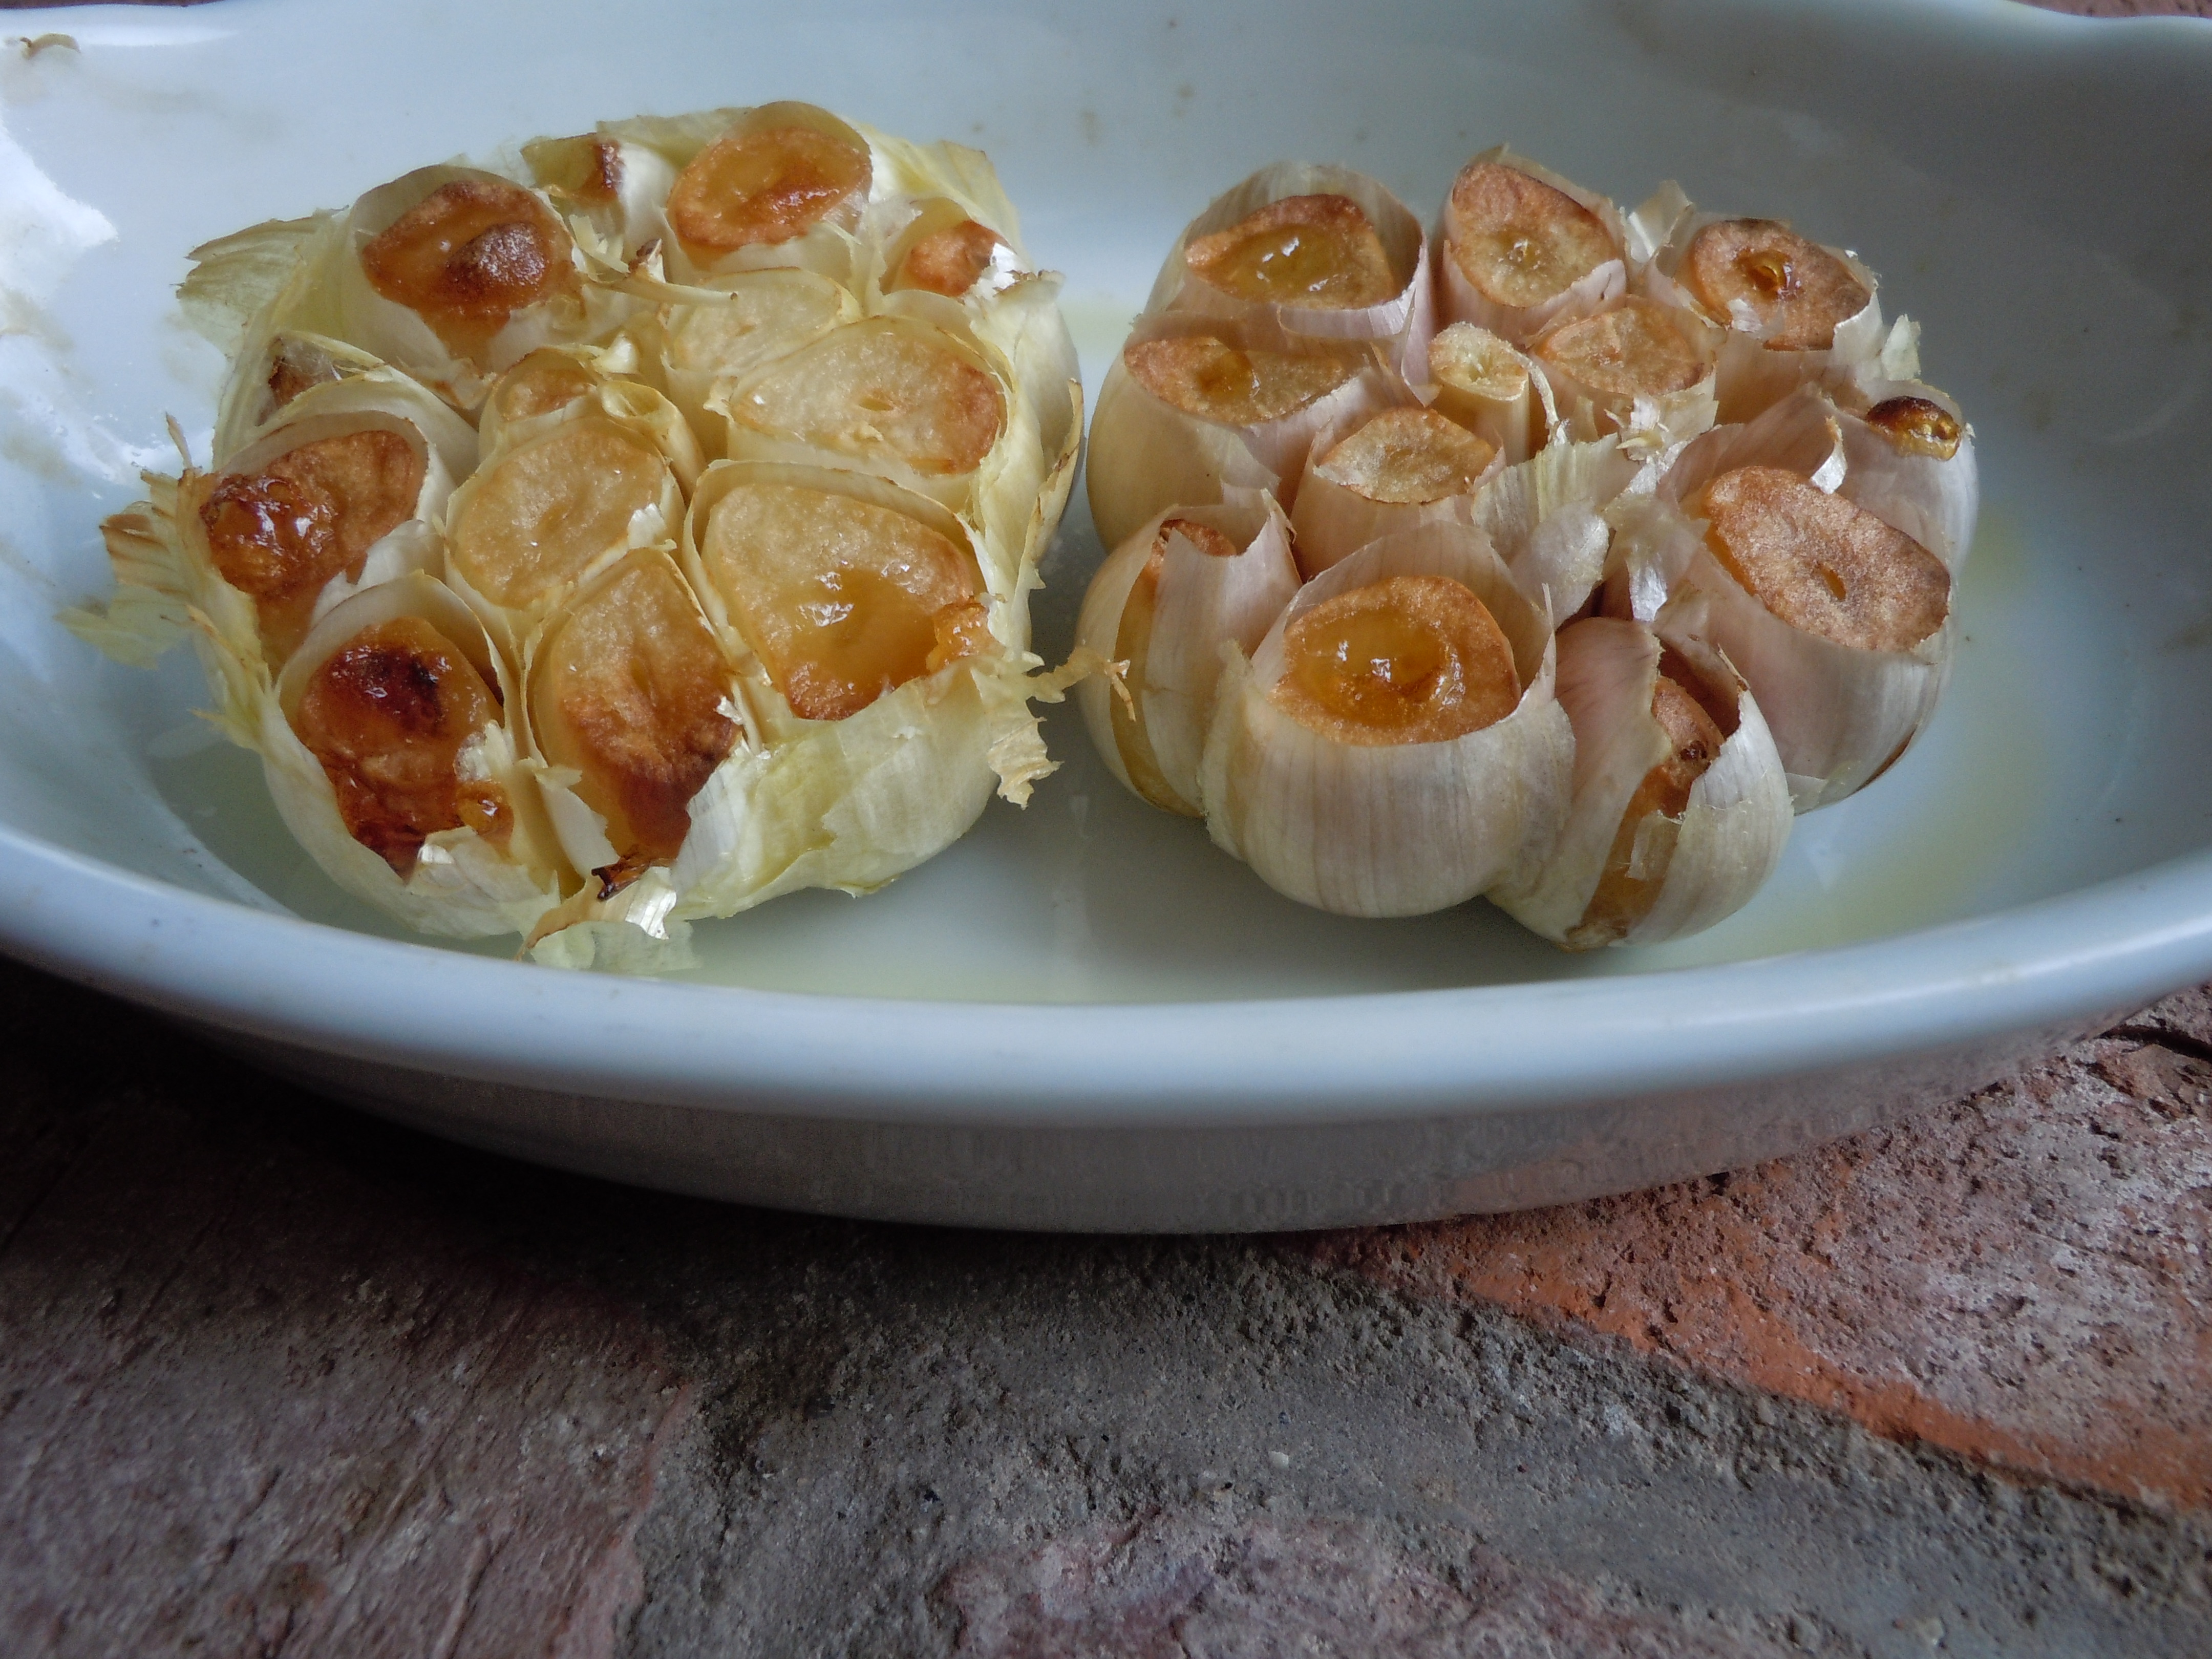
- 2 garlic cloves – smashed
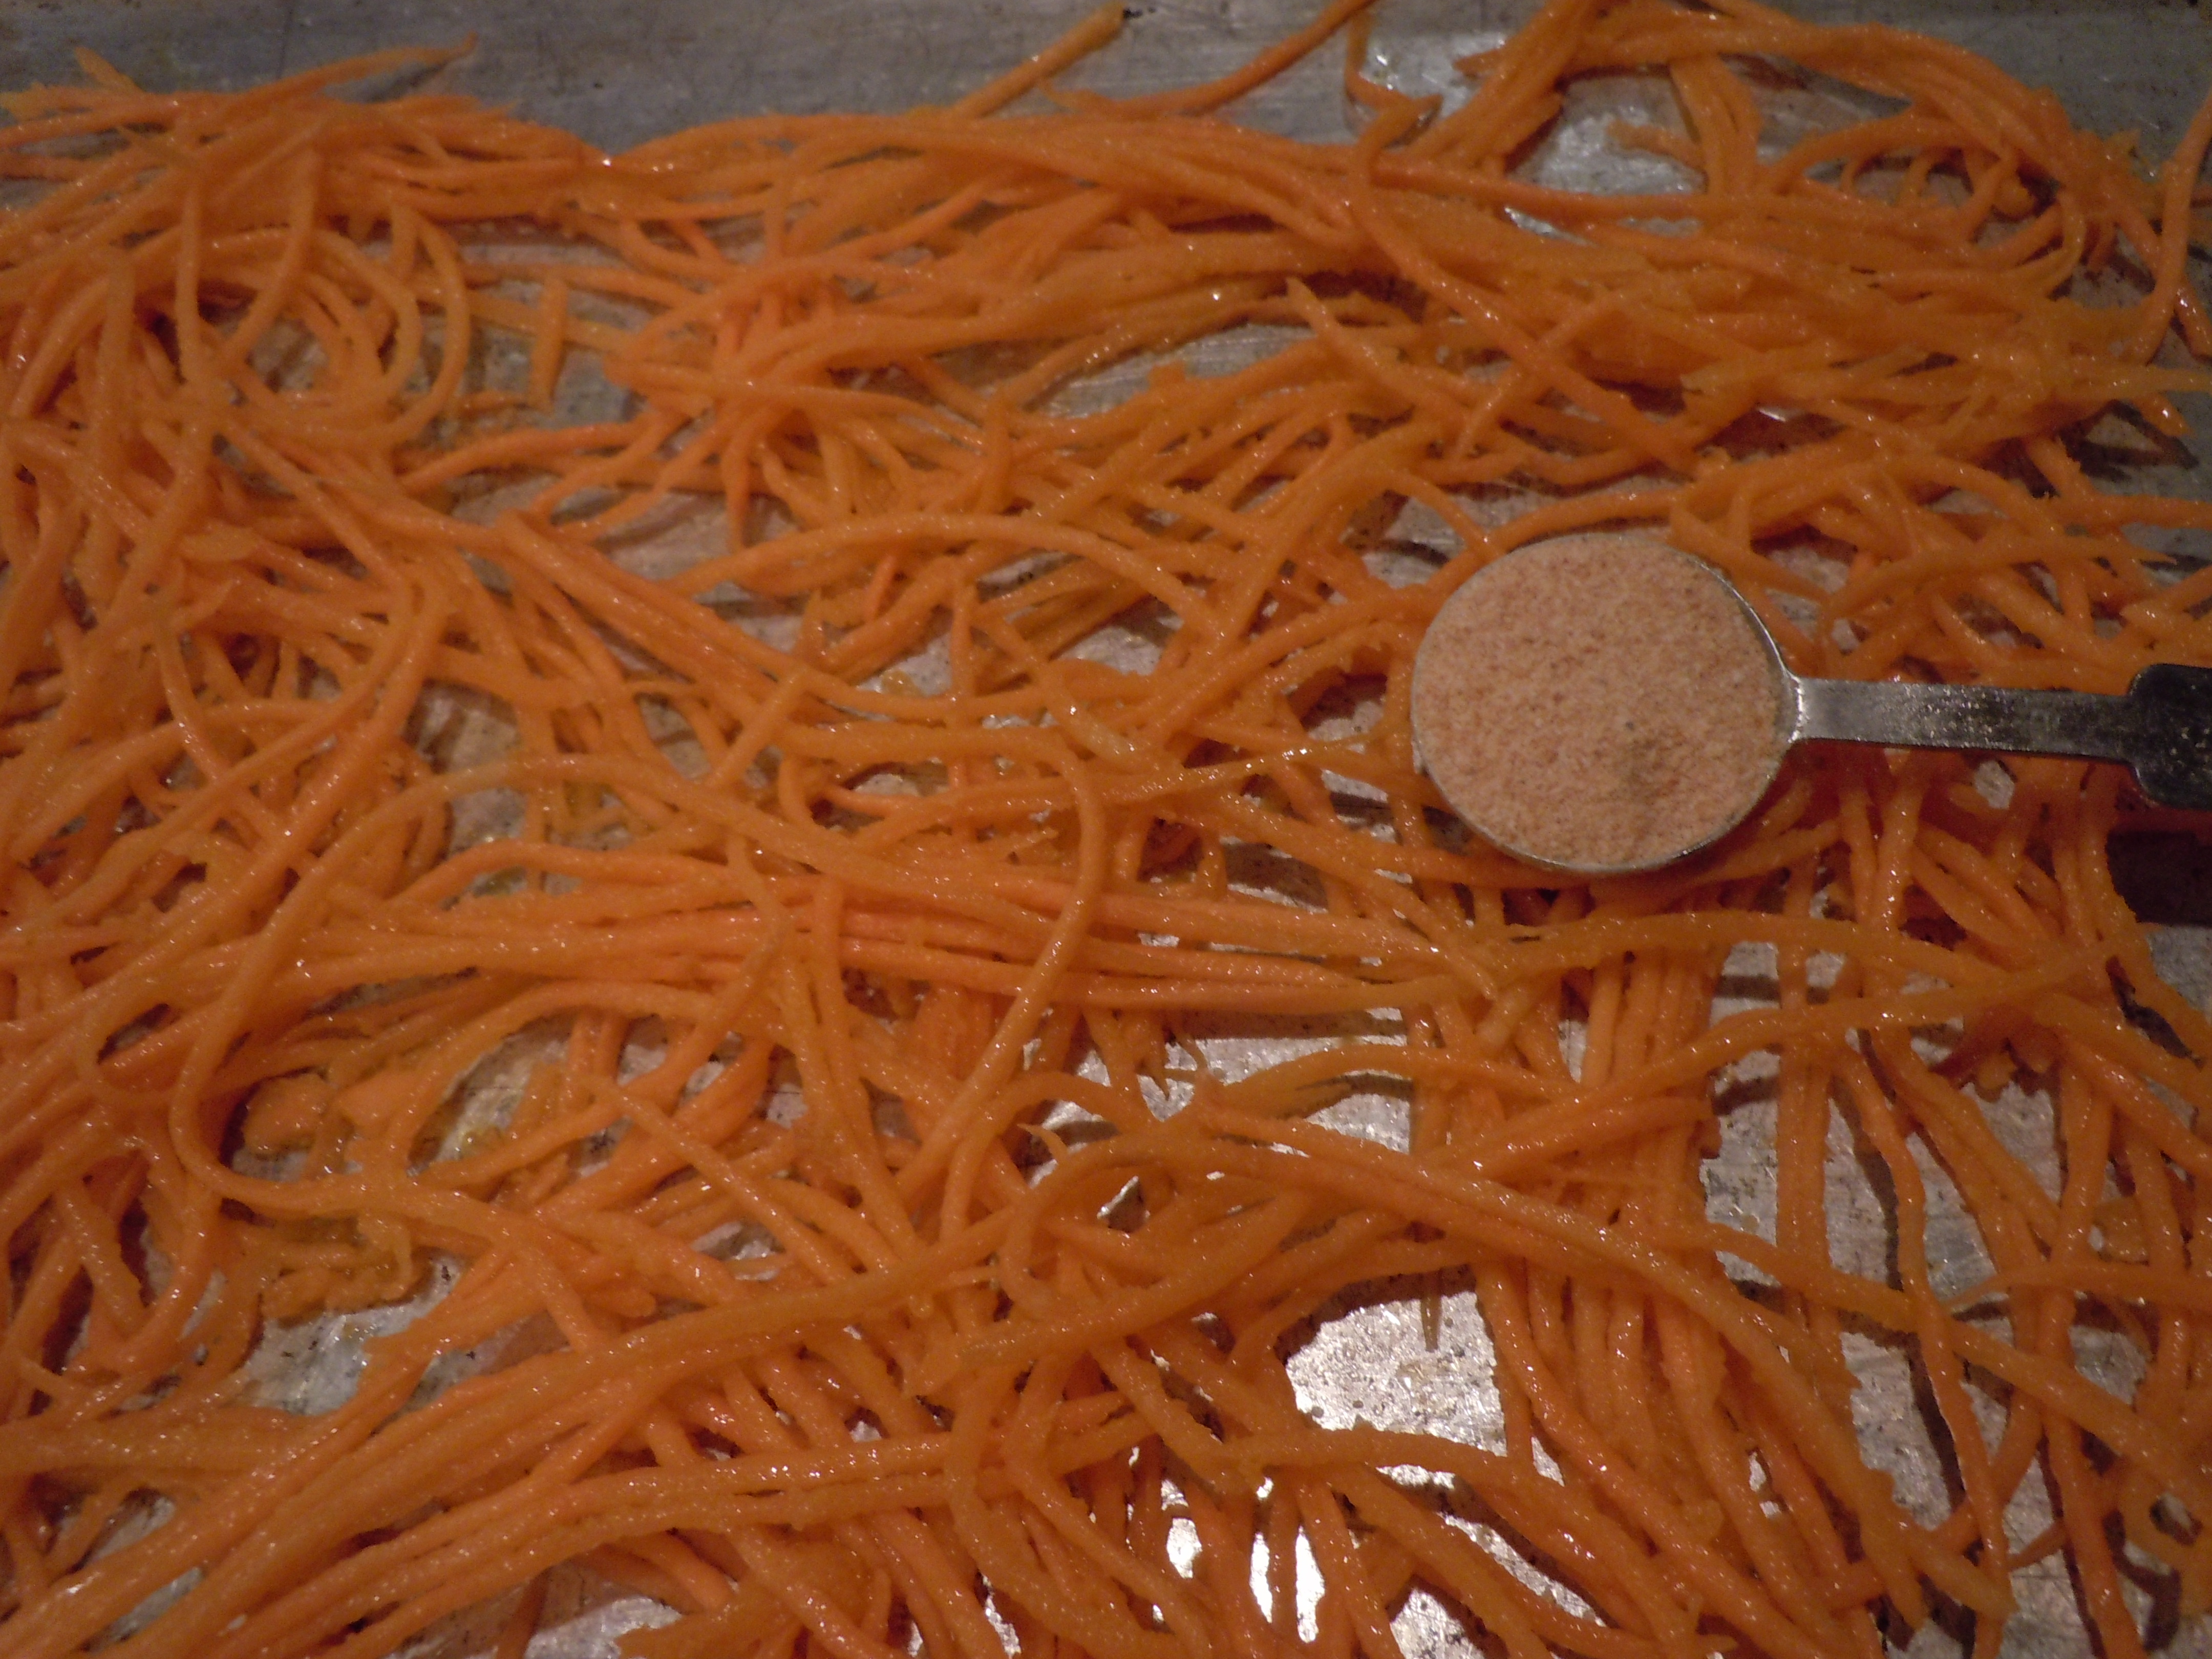
- 1 Tsp sugar
- 1/2 Tsp salt
- Dashes of Tabasco
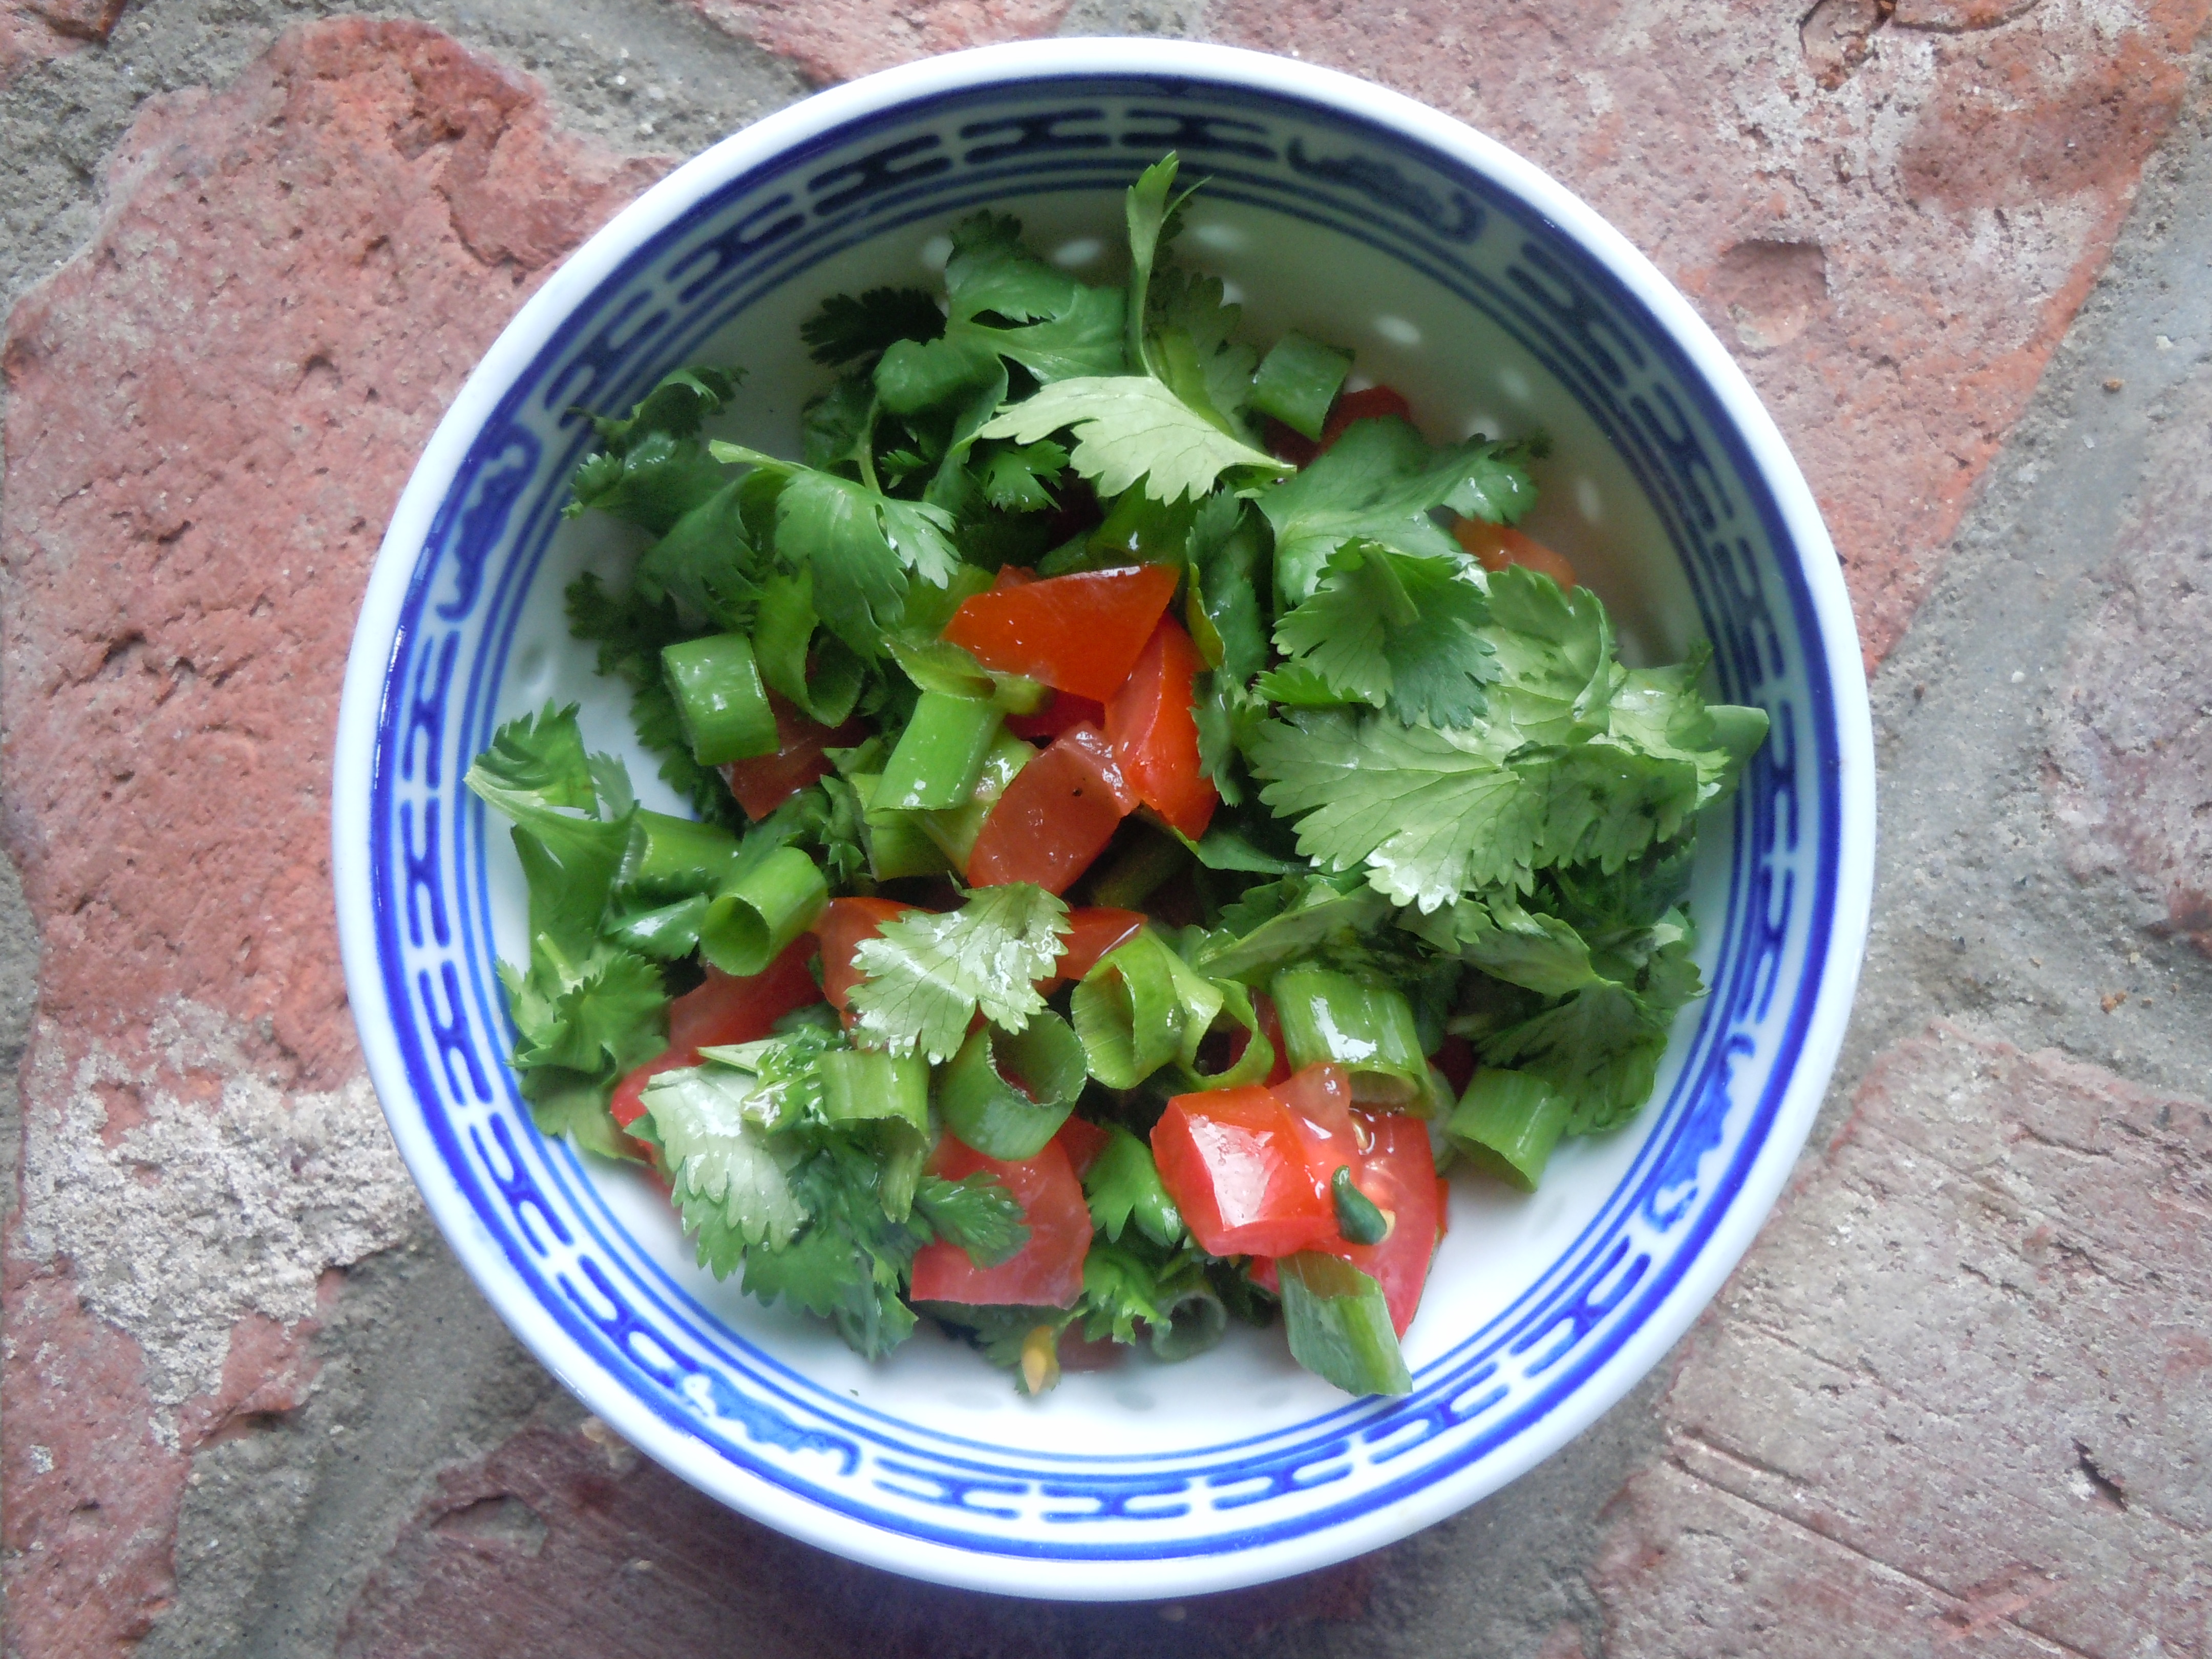
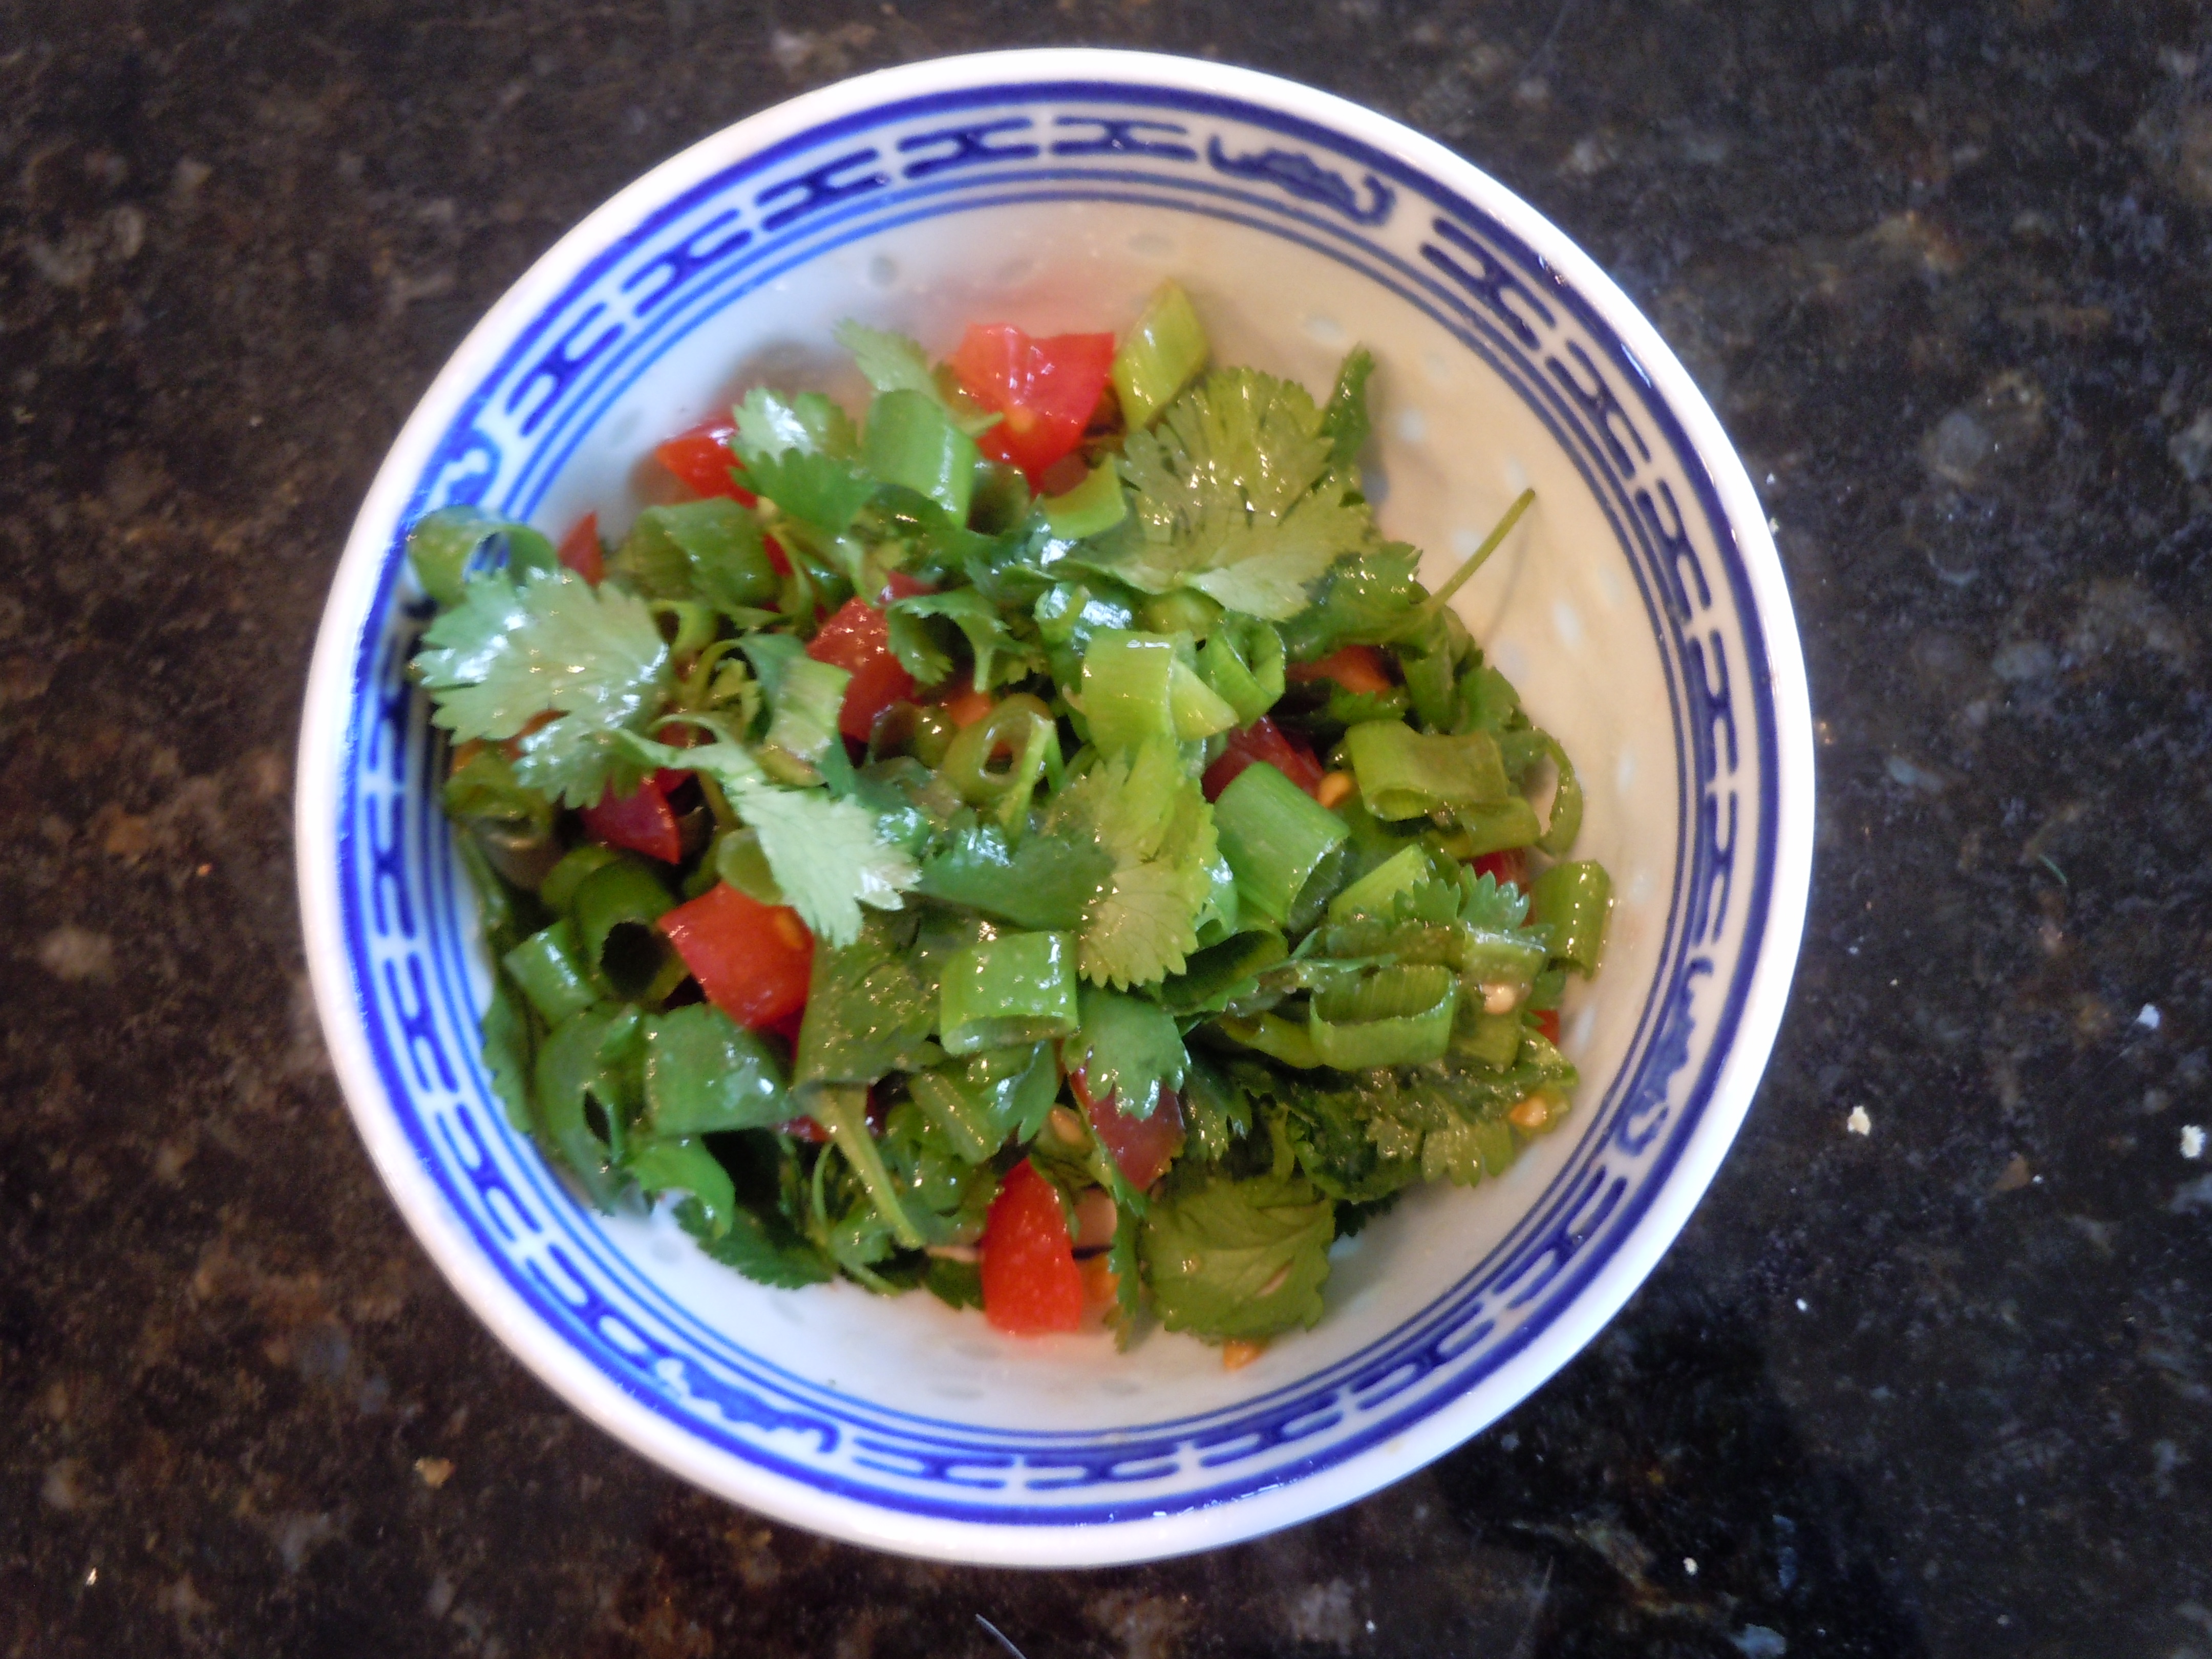
- 8 cherry tomatoes (garnish) chopped
- 1 cup cilantro (garnish) chopped
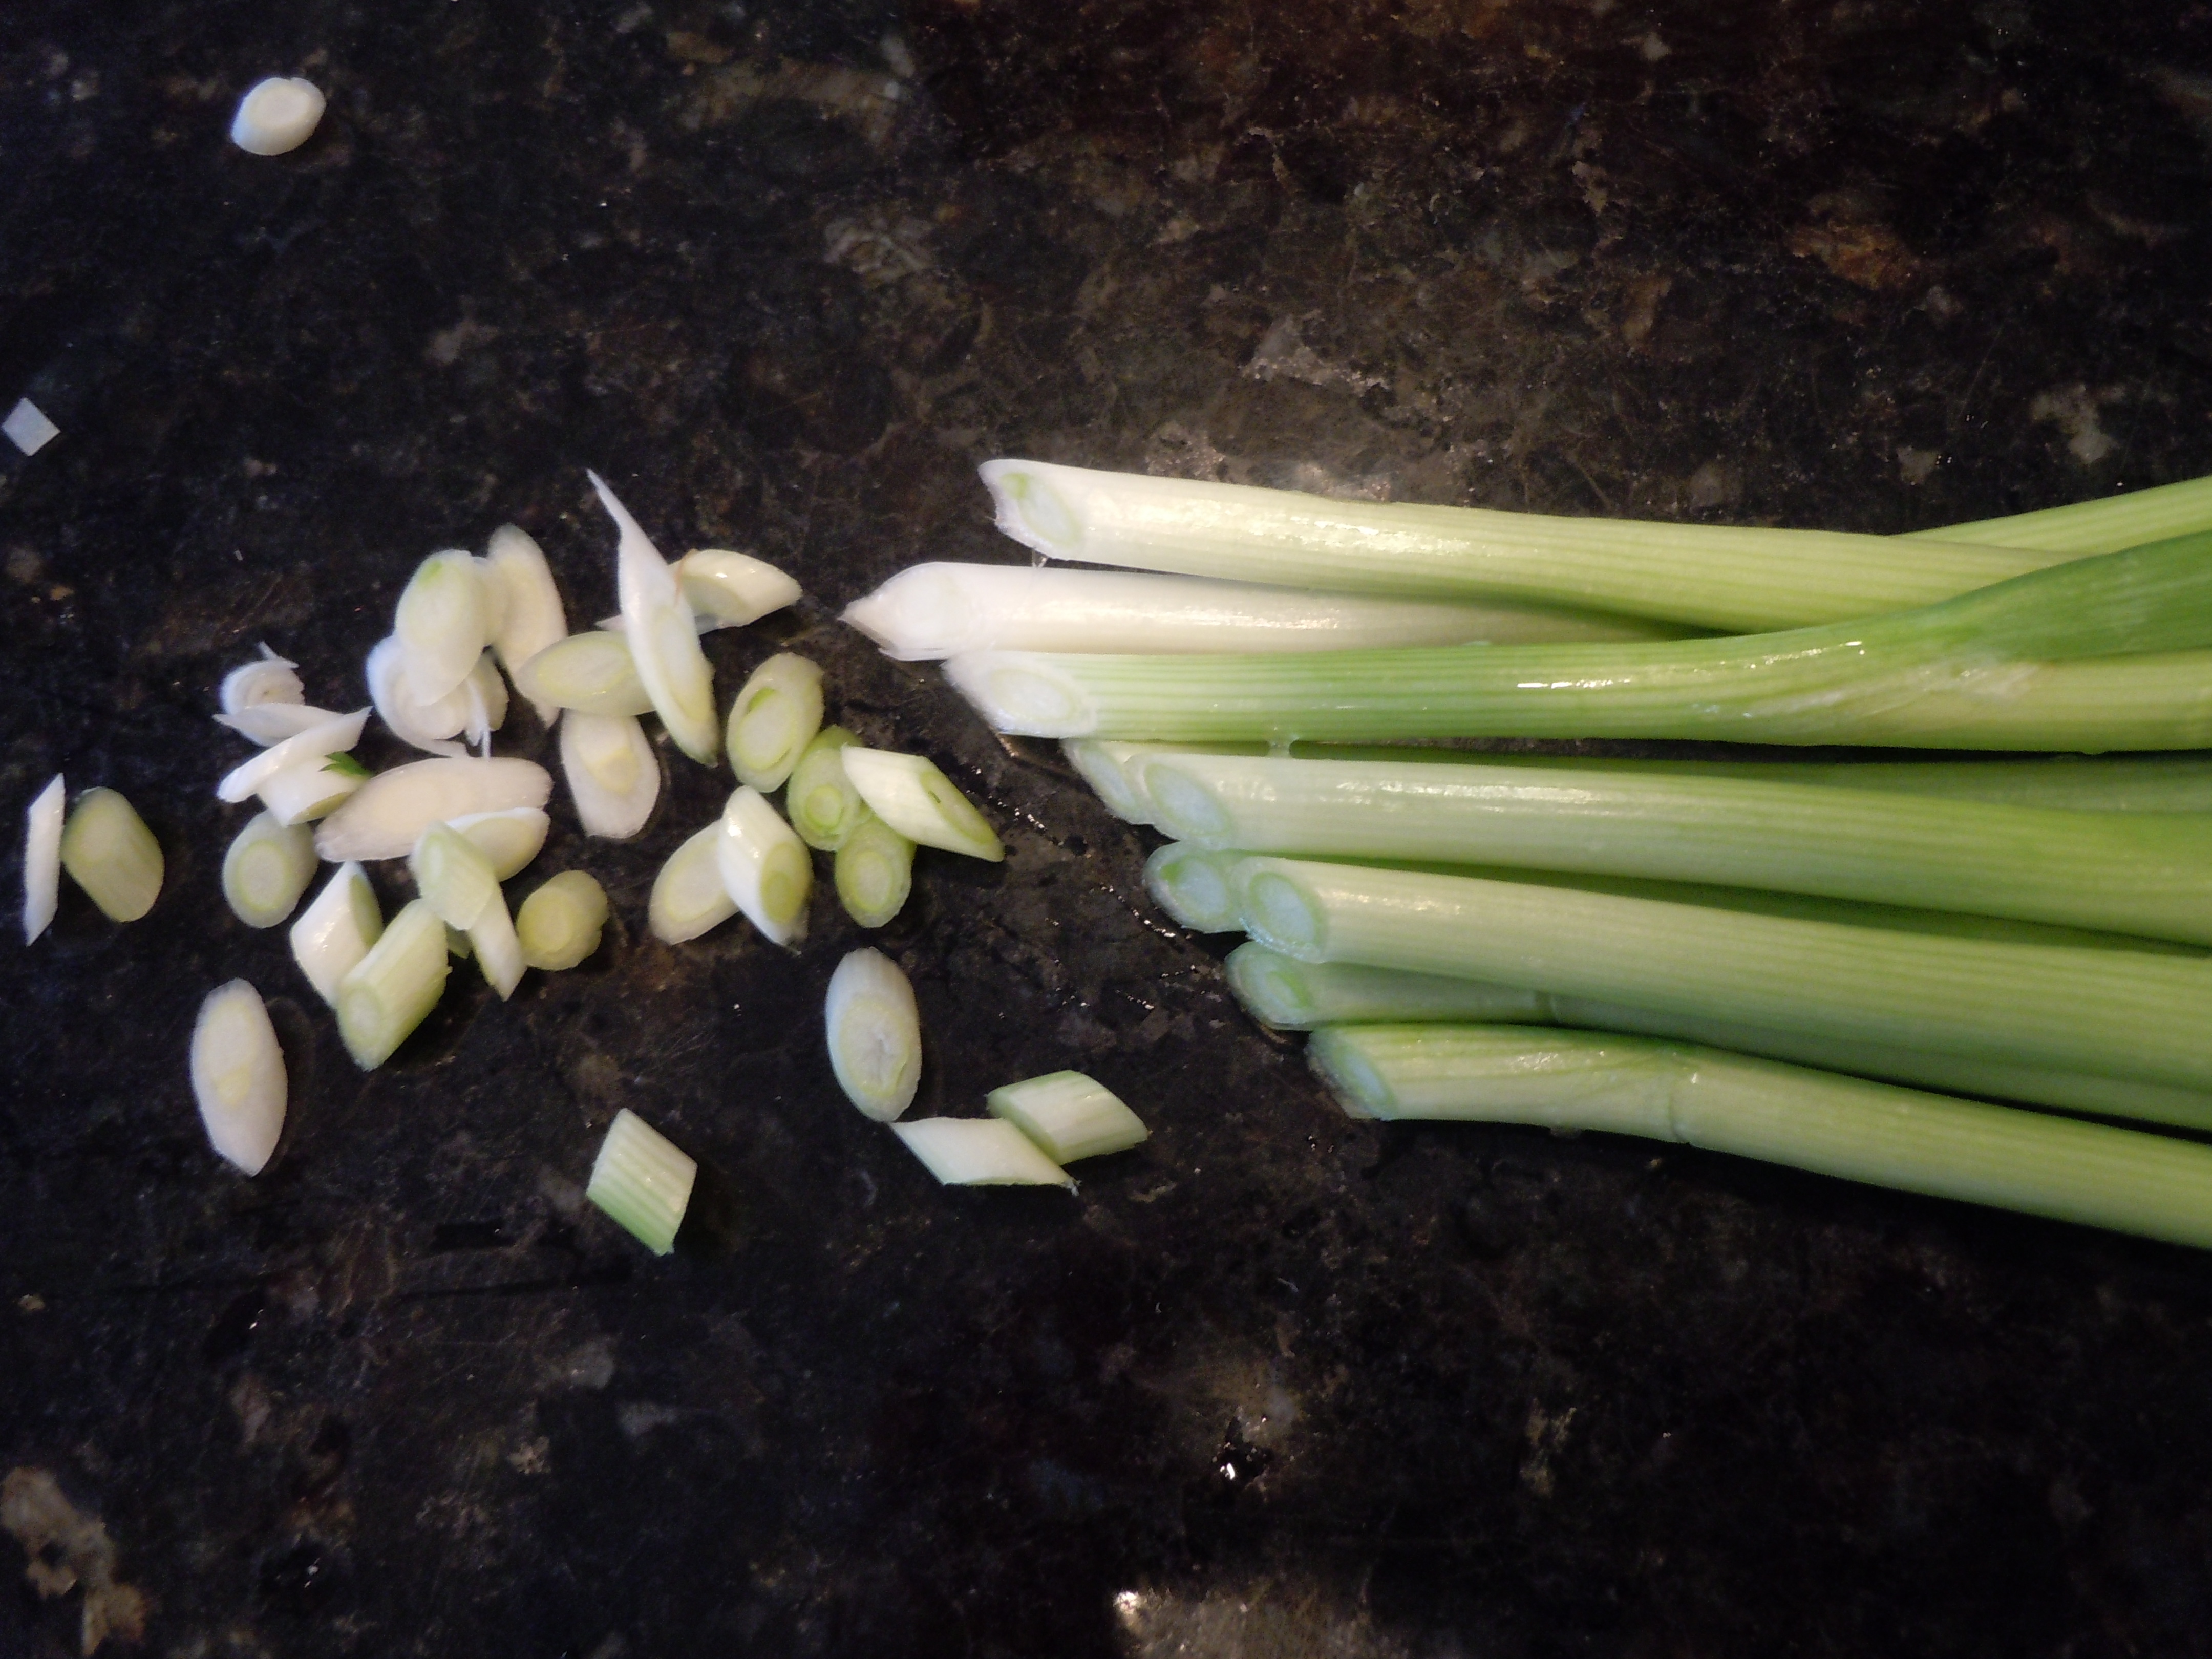
- 3 diced green onion stalk (garnish) thinly sliced
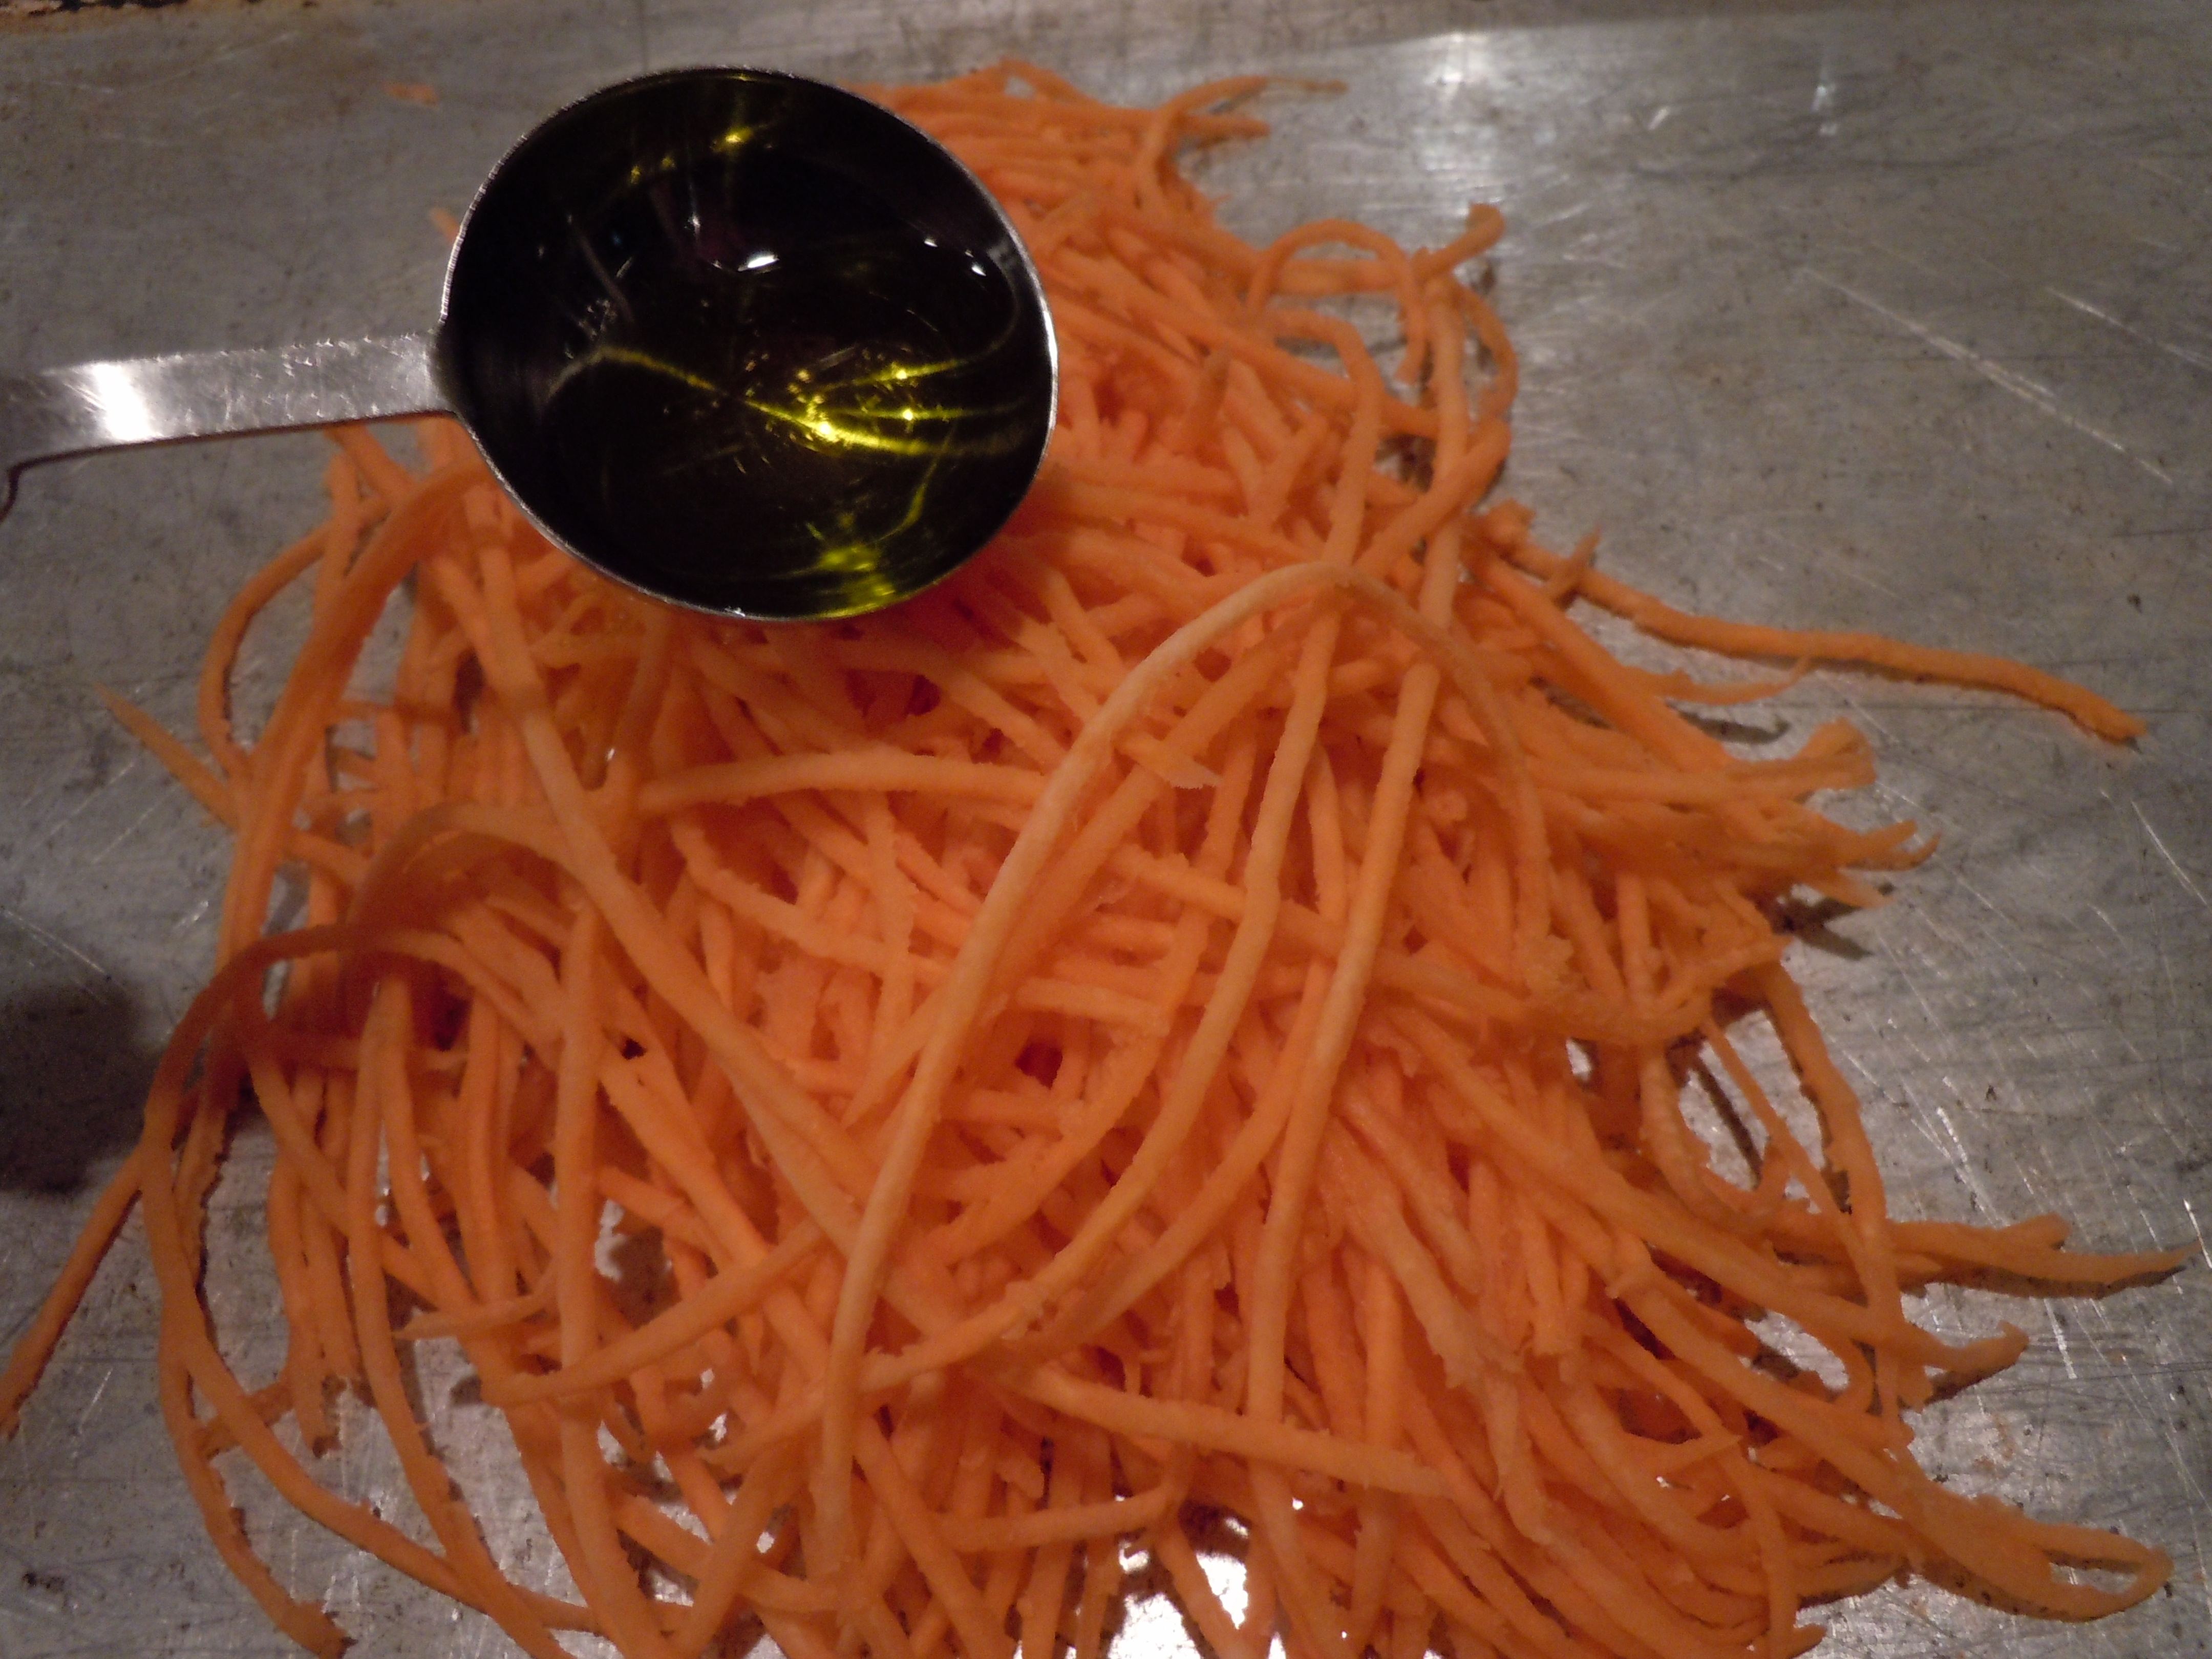
- 1 Tbsp olive oil (garnish)
Directions for Mussels in a lemongrass-fennel sauce:
- Chop cherry tomatoes, green onion and cilantro
- Add these together in a small bowl with 1 Tbsp olive oil…set aside for garnish later
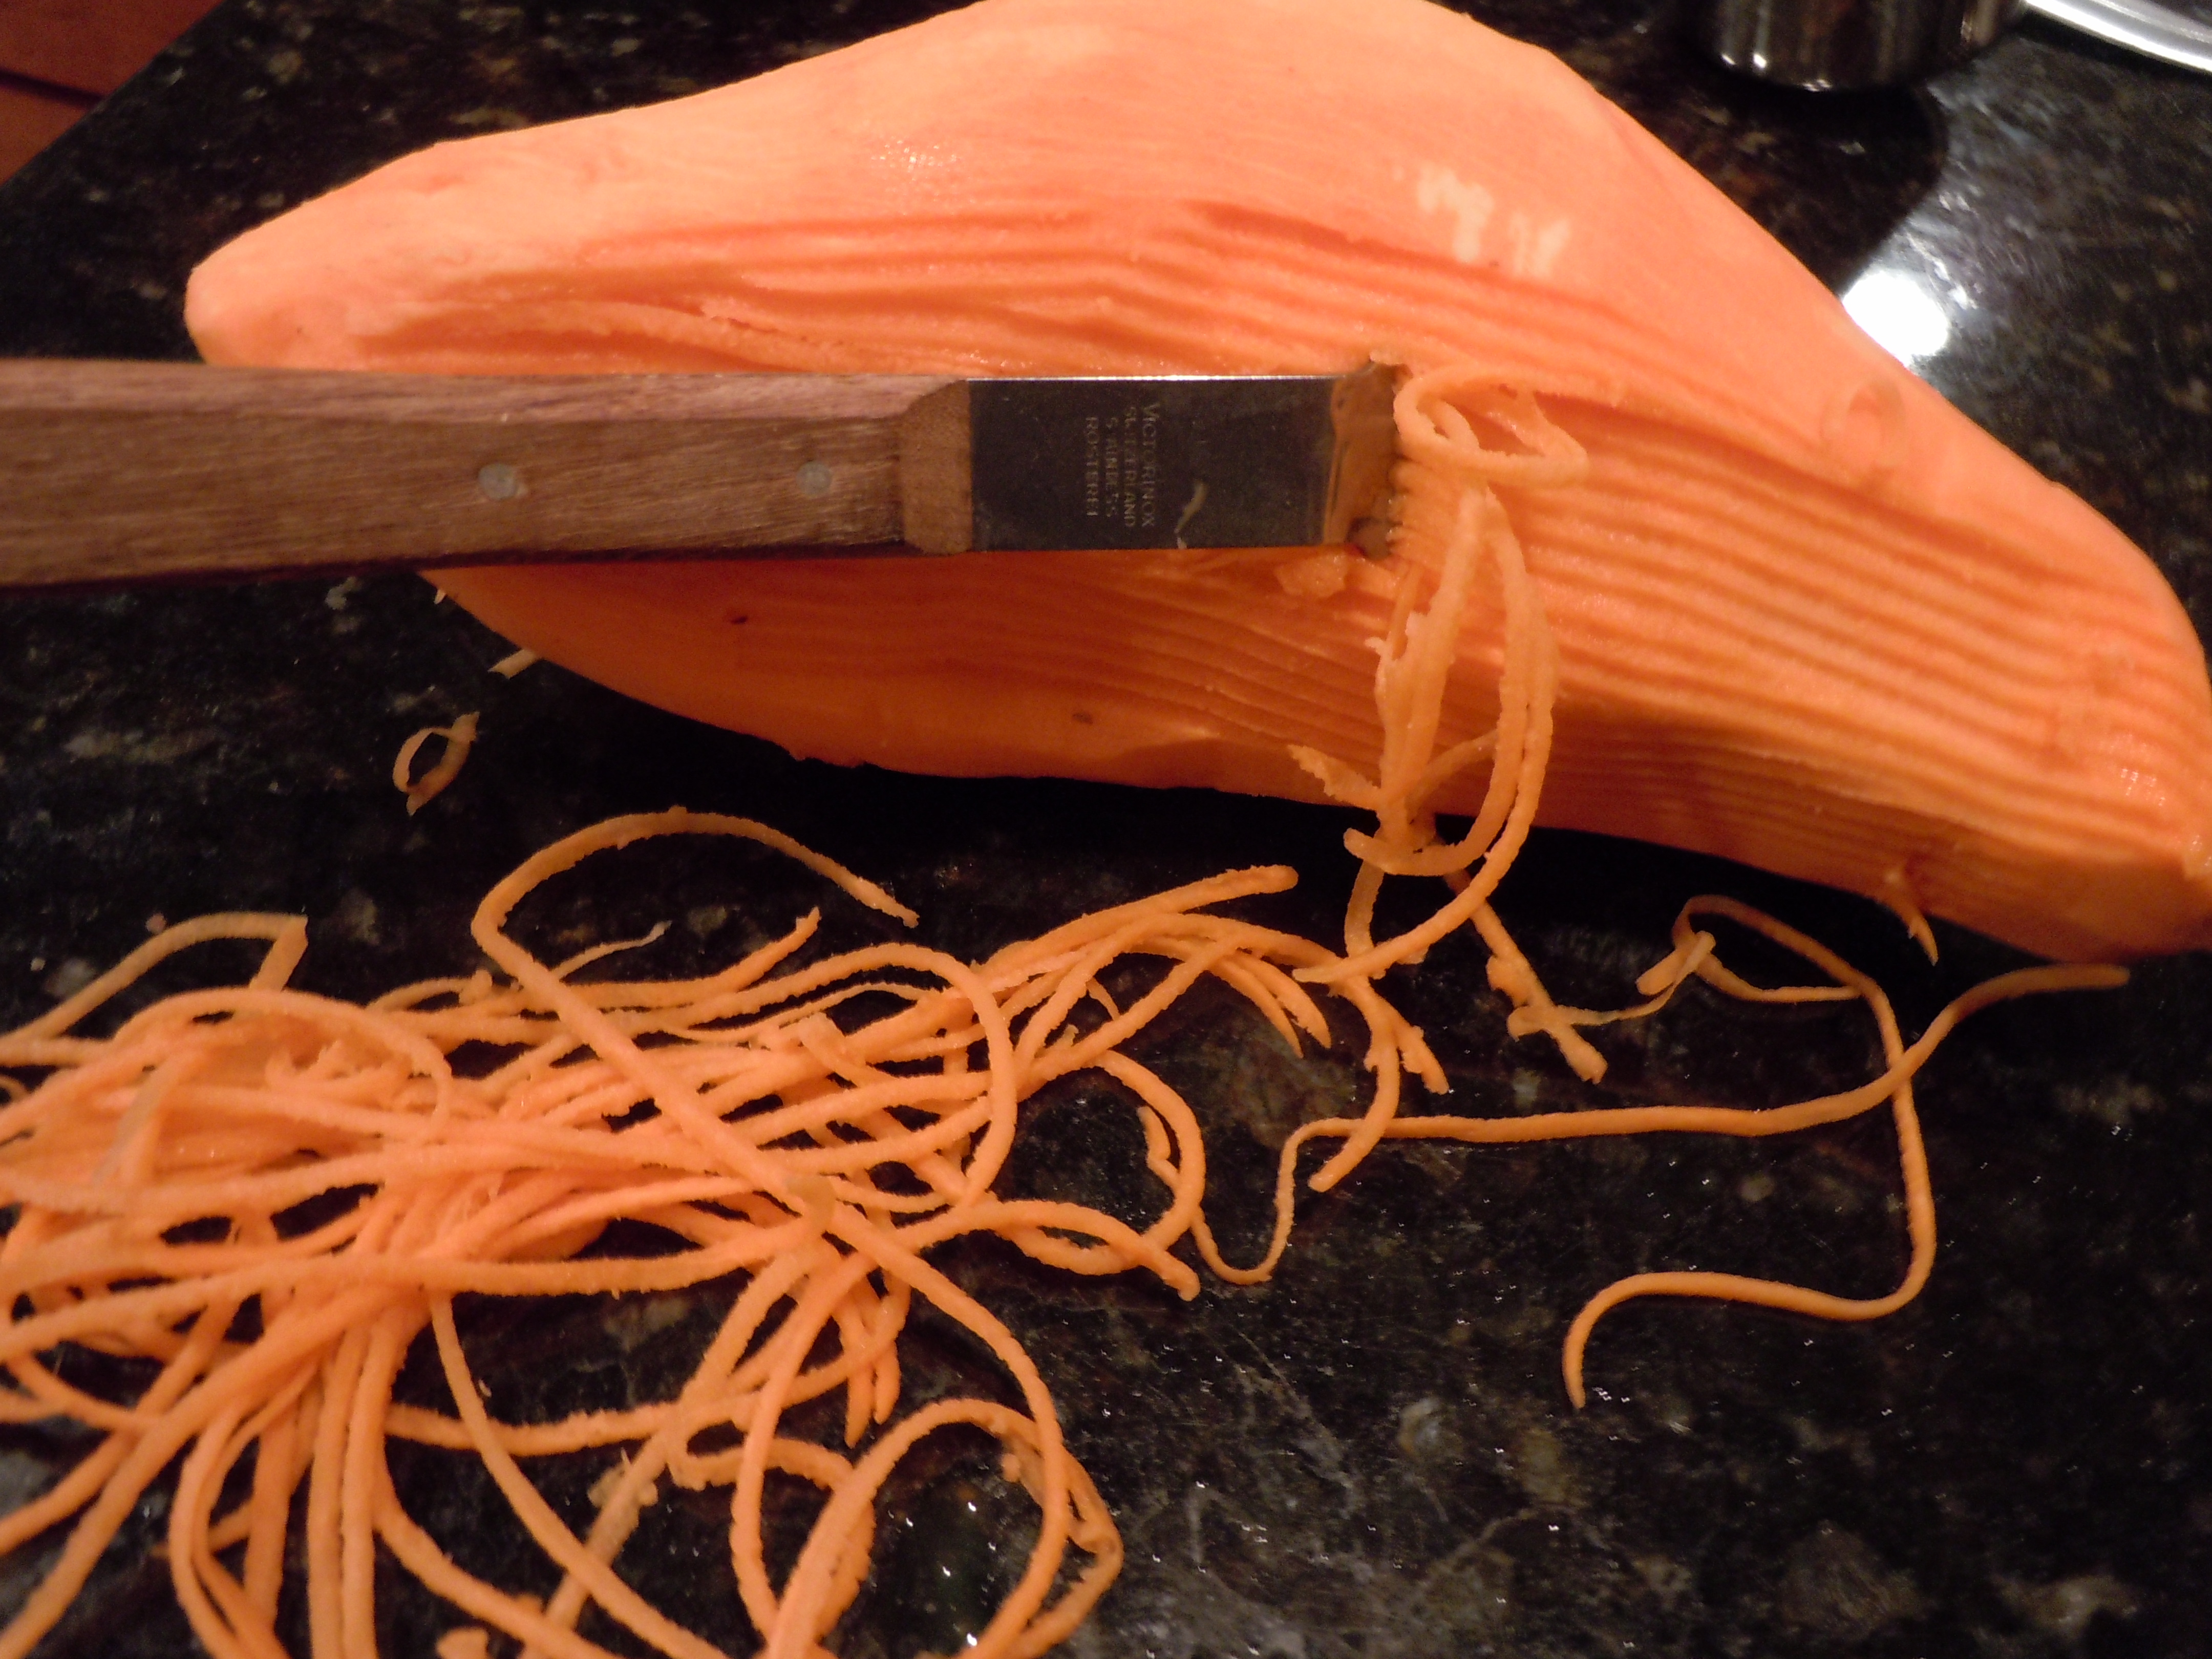
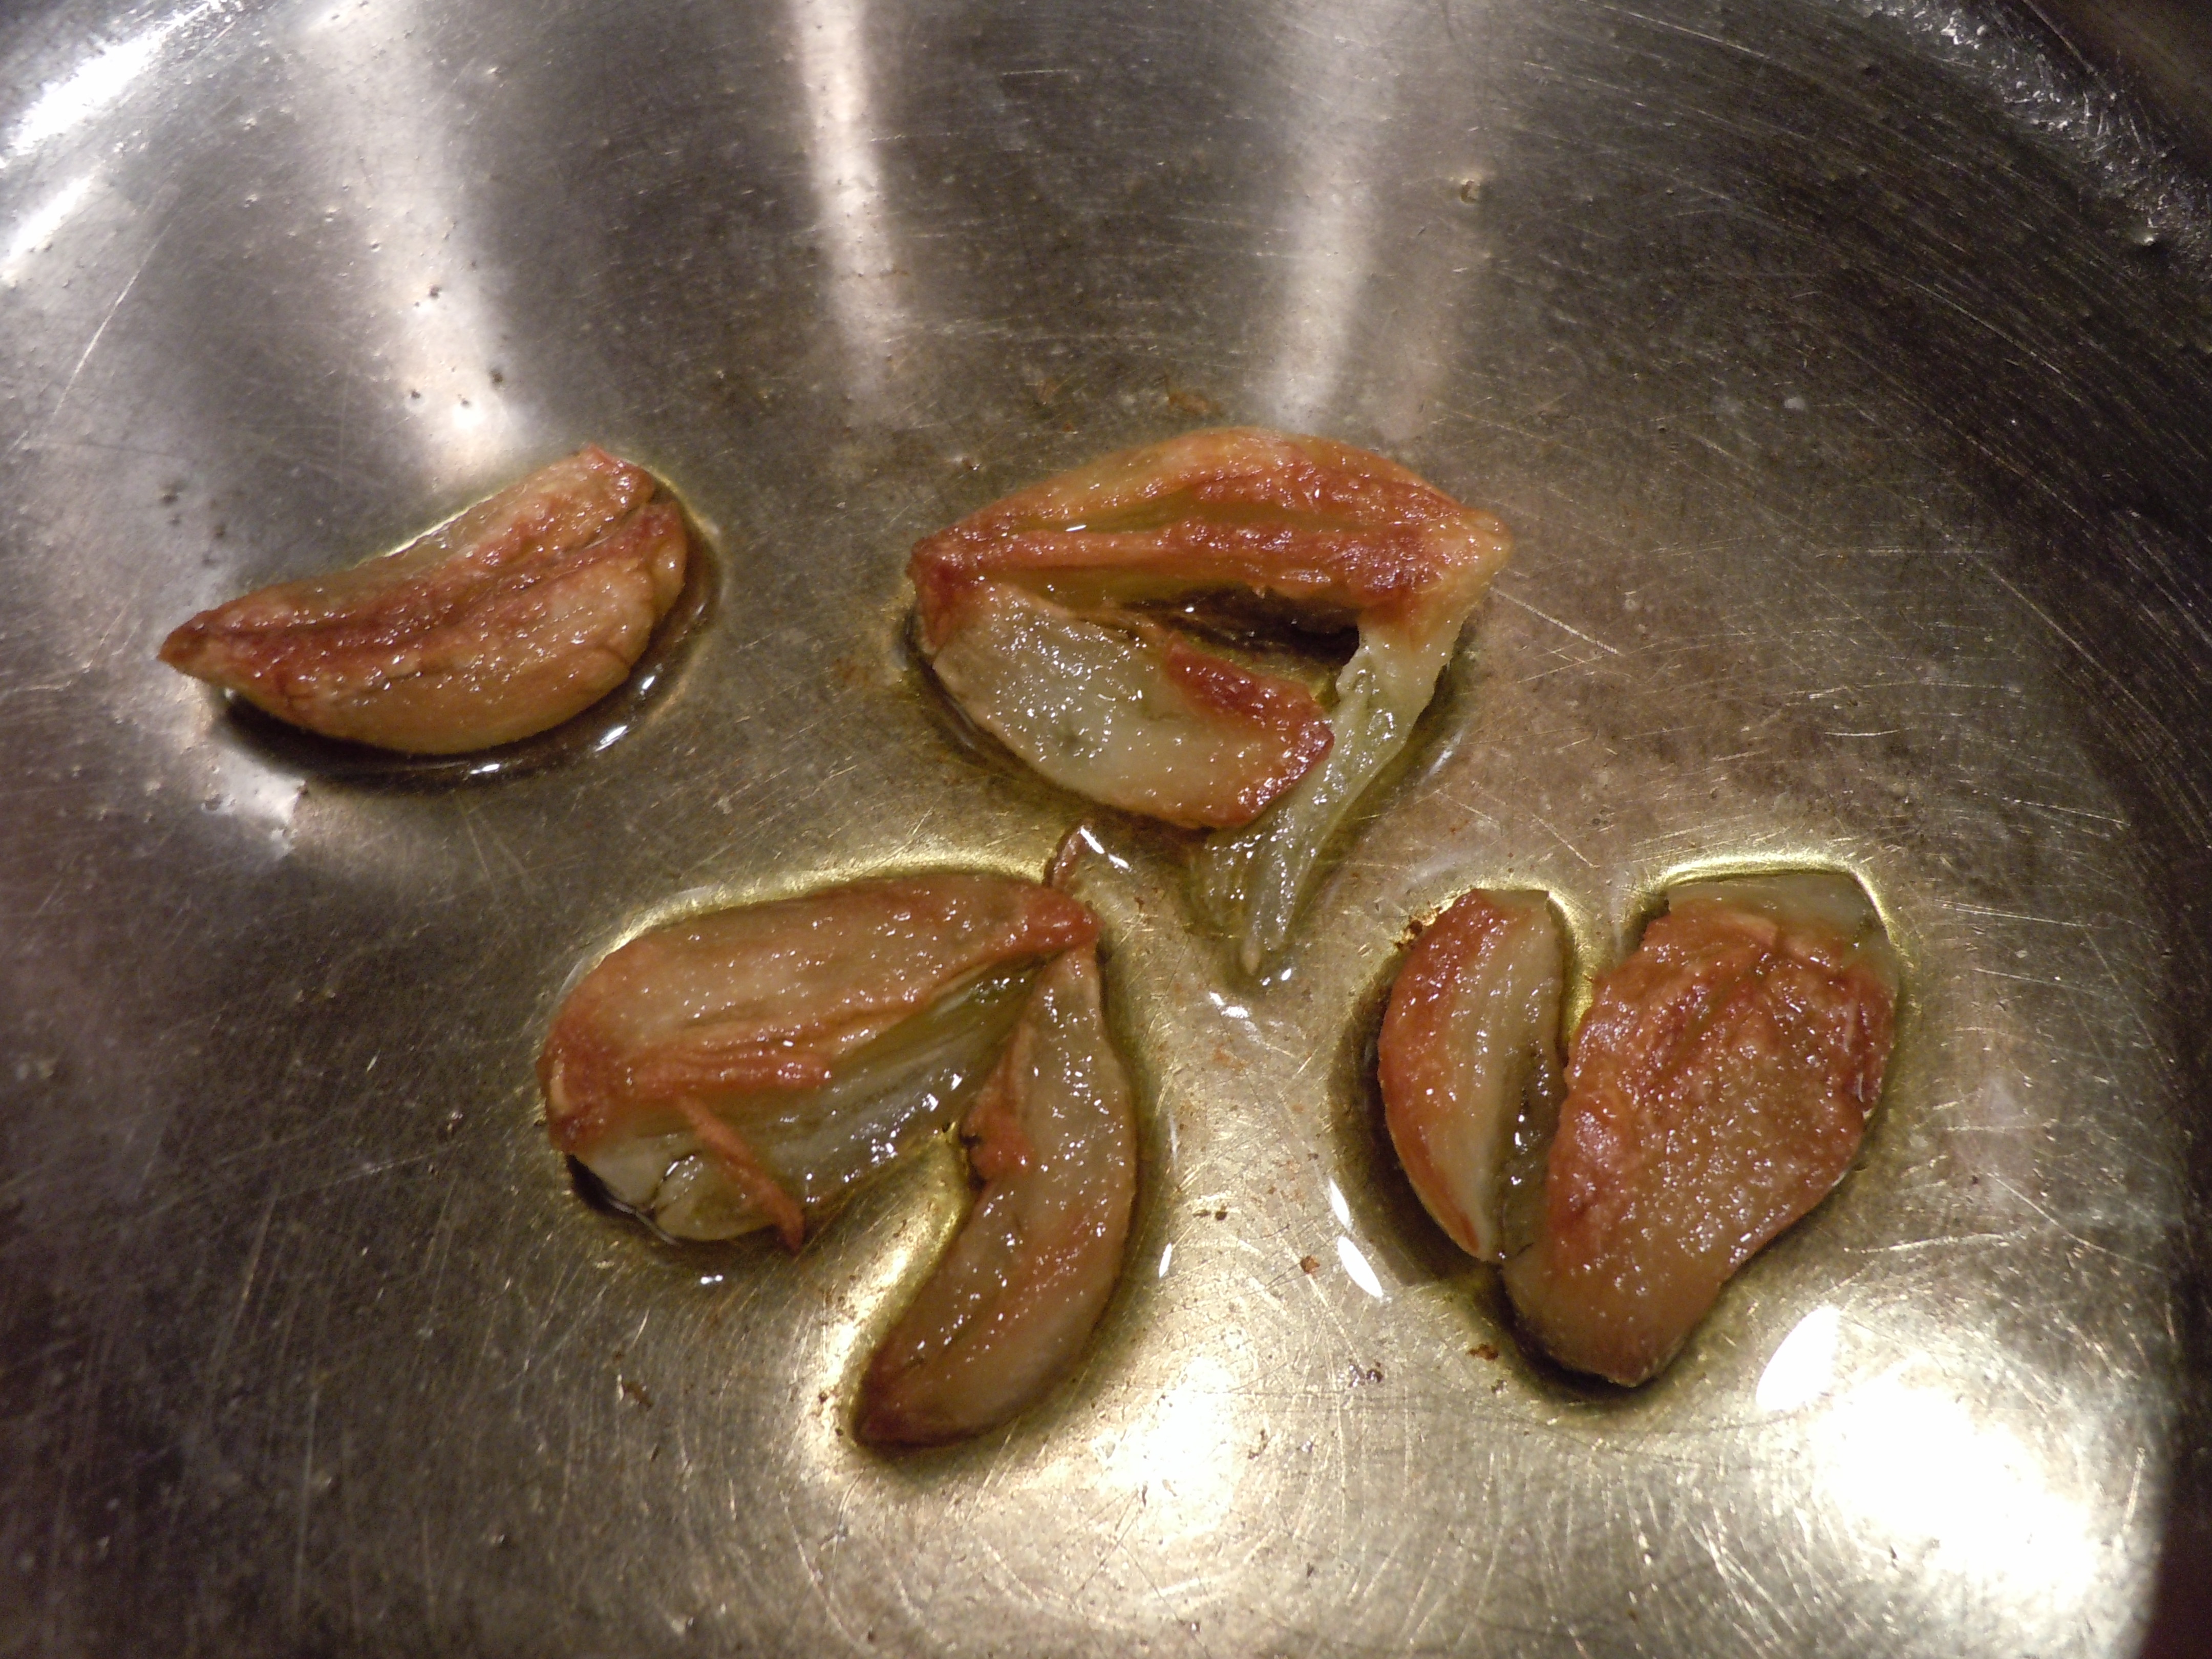
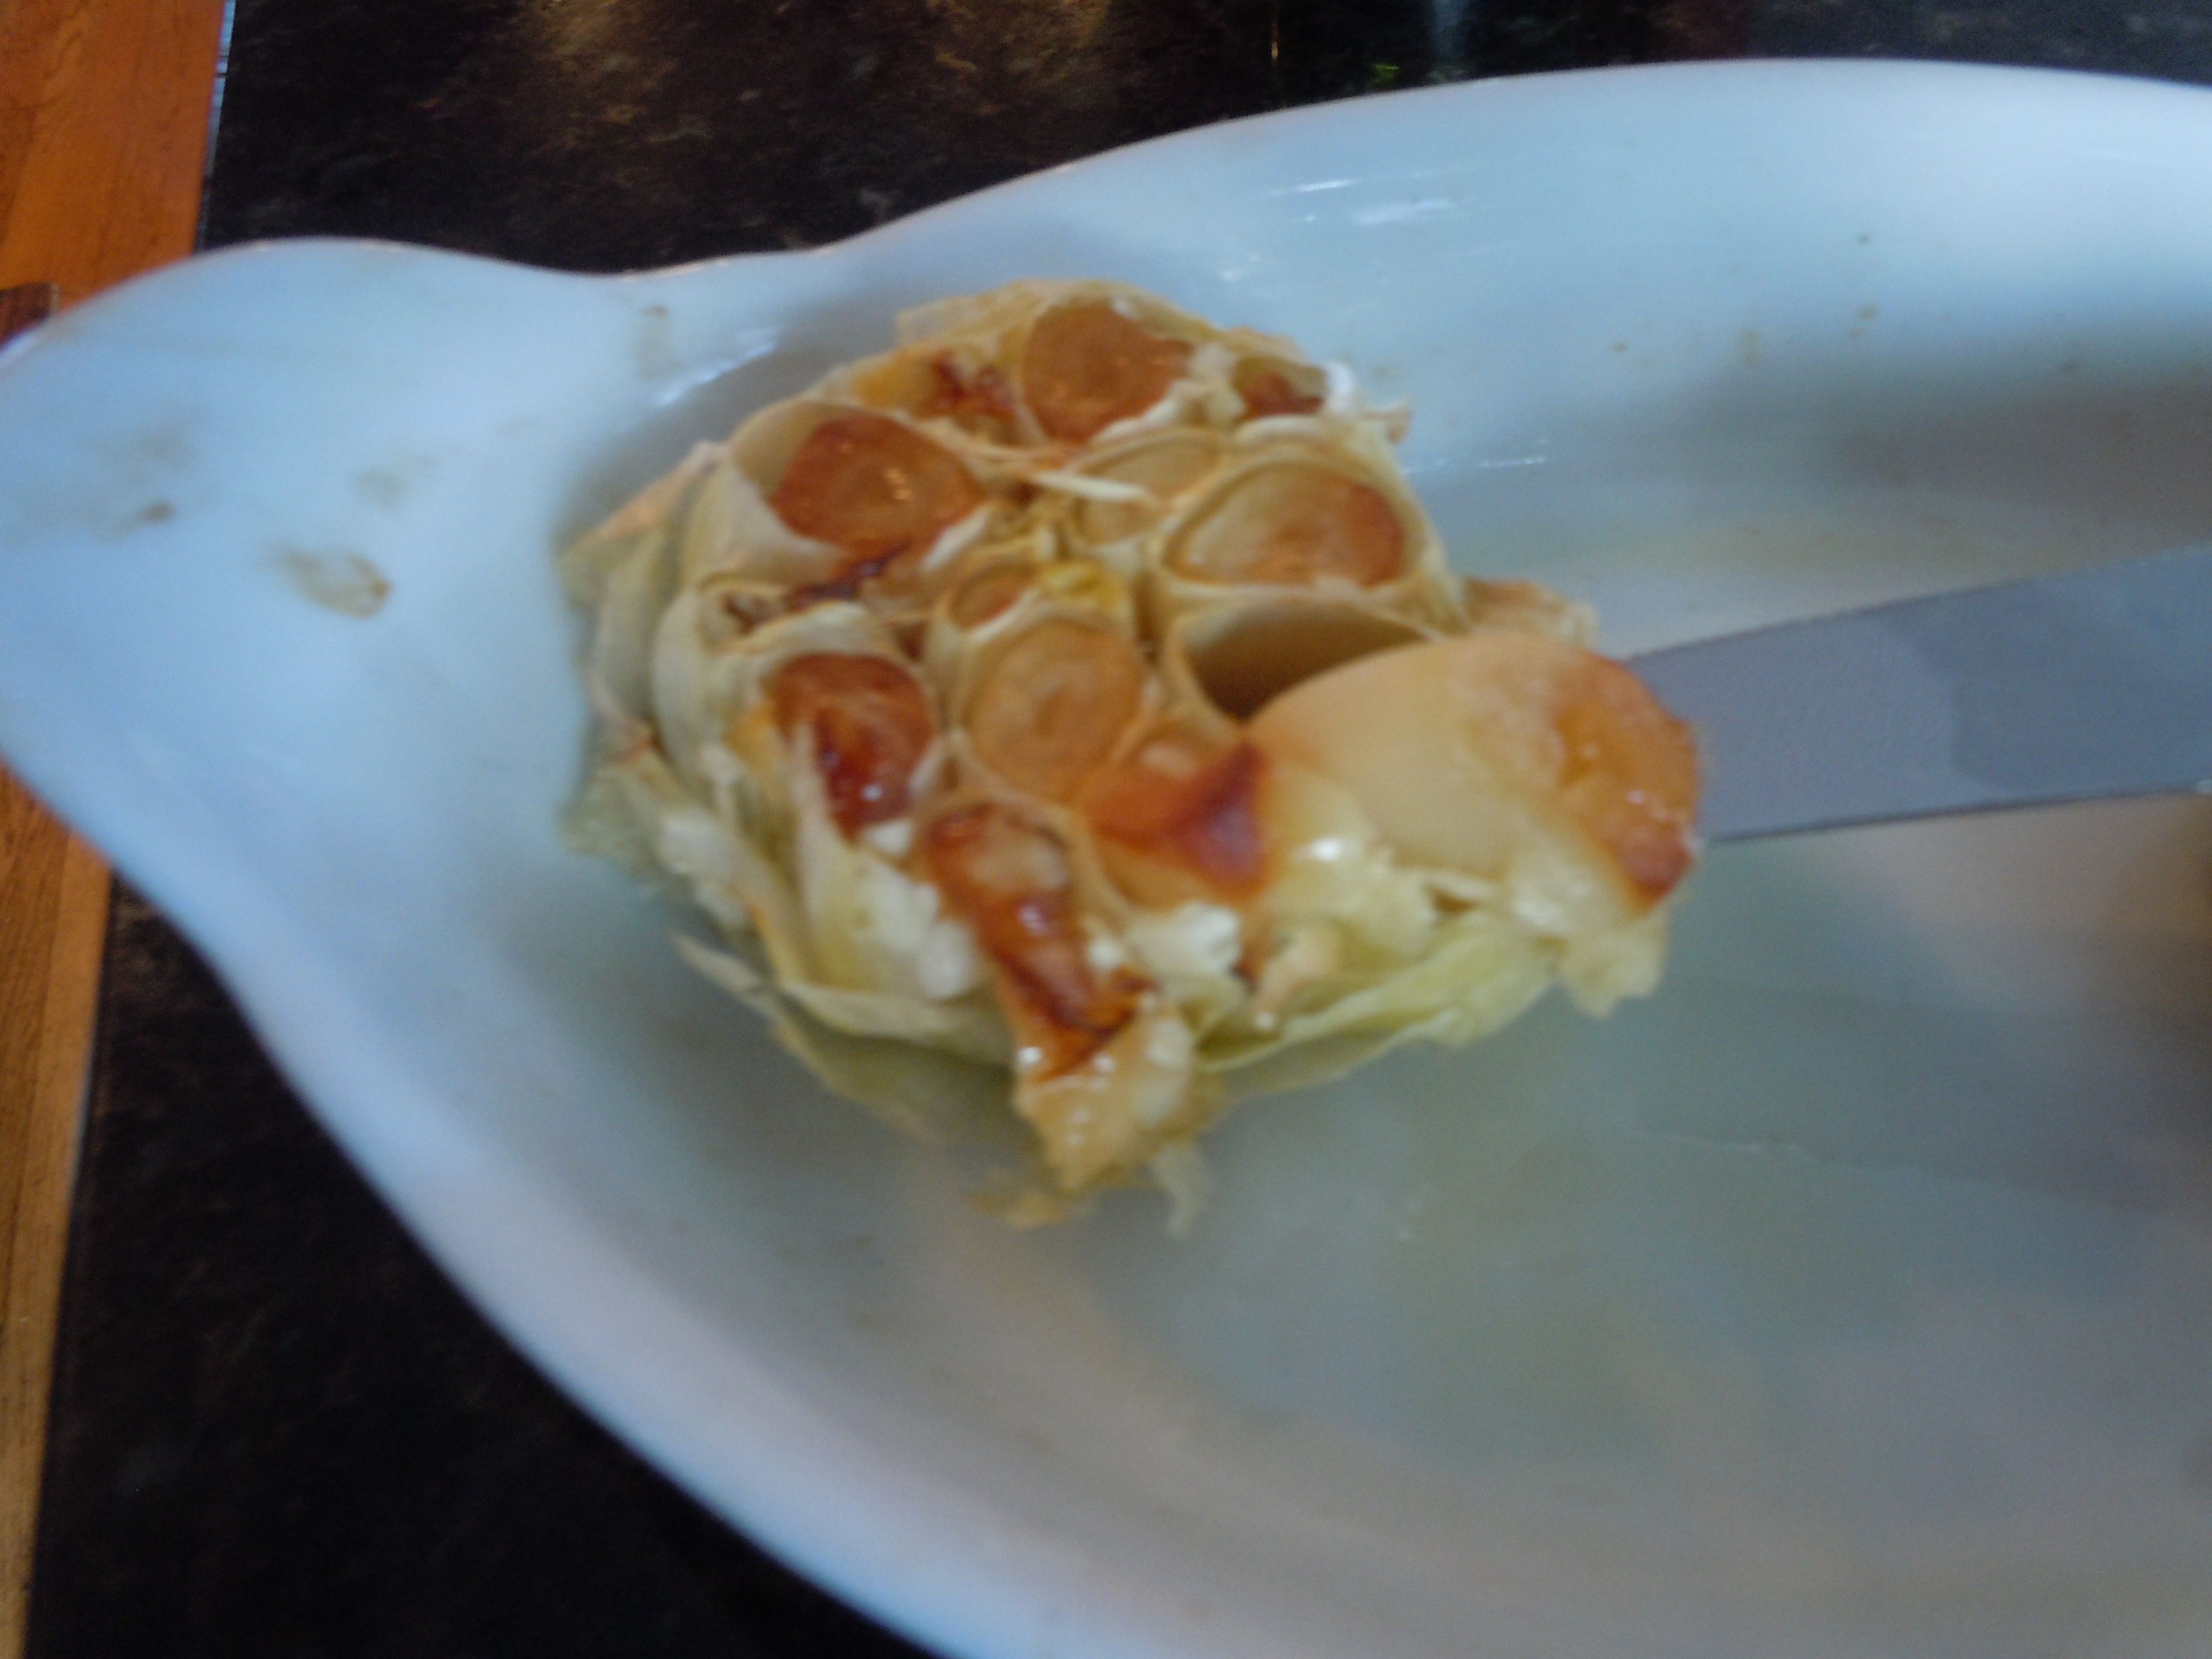
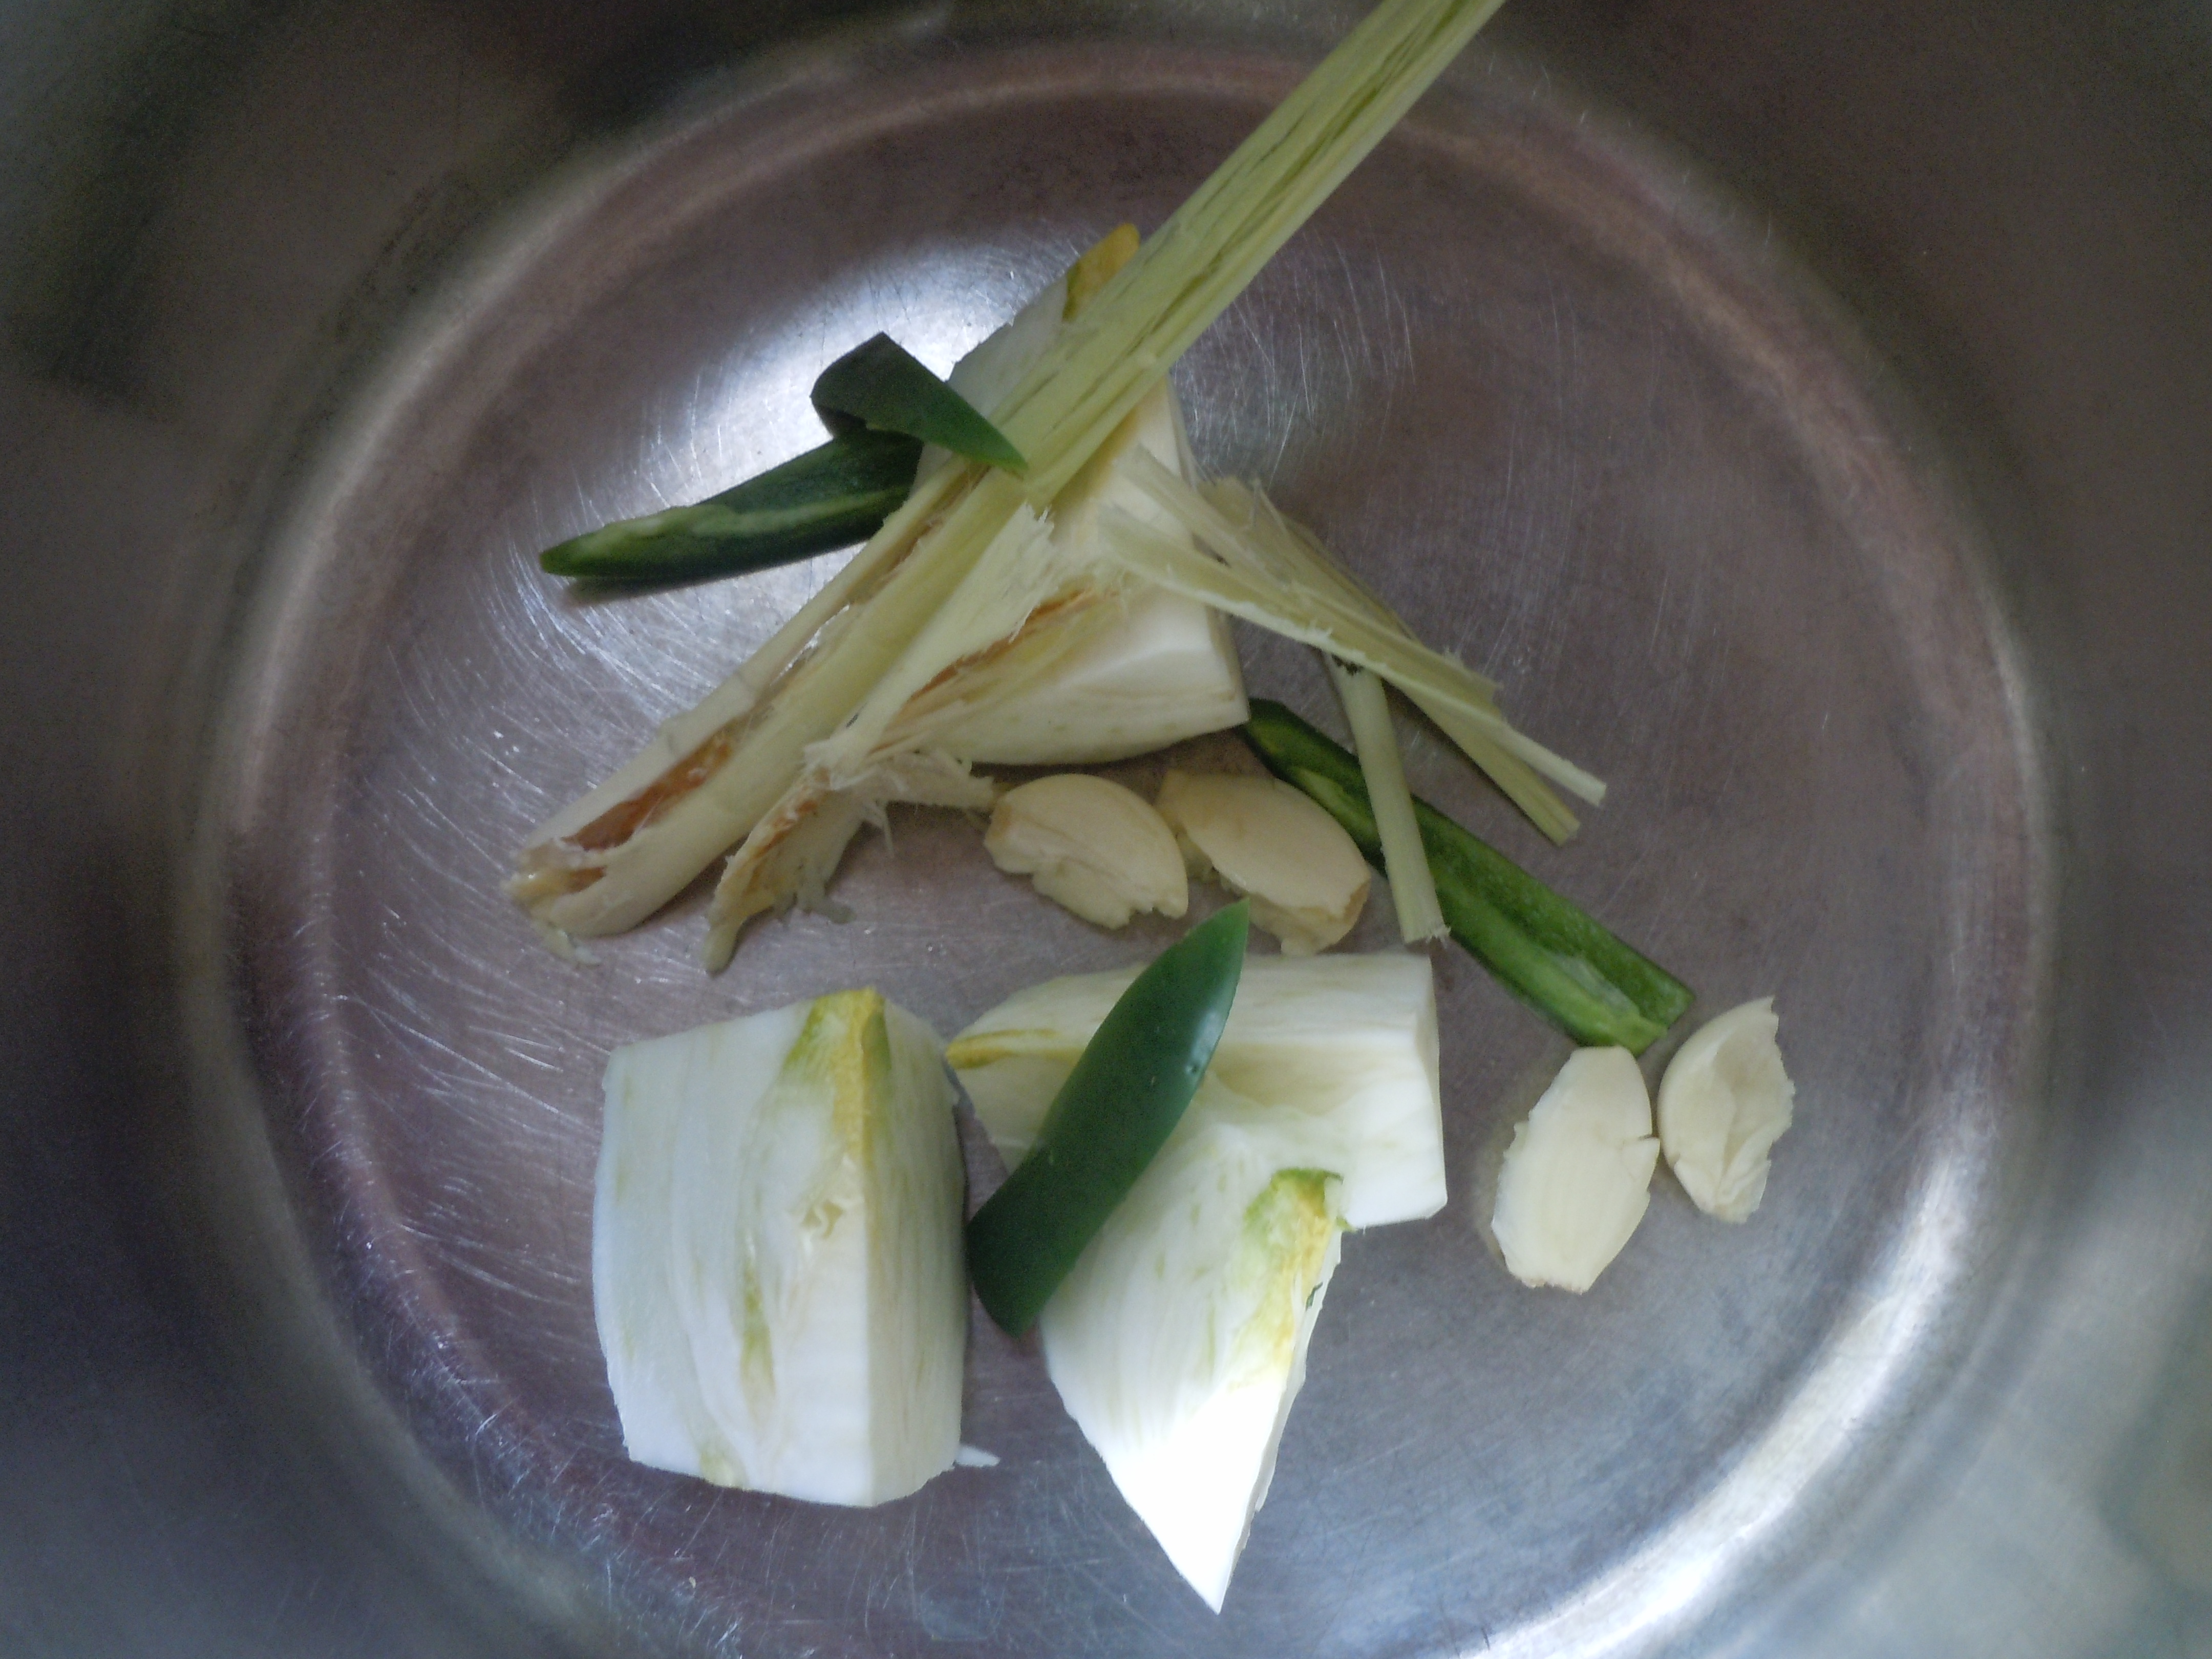
- Cut off the ends of the lemongrass stalks see photo above – one end cut in 1 1/2 ” and at the thin end come in about 6″ and cut
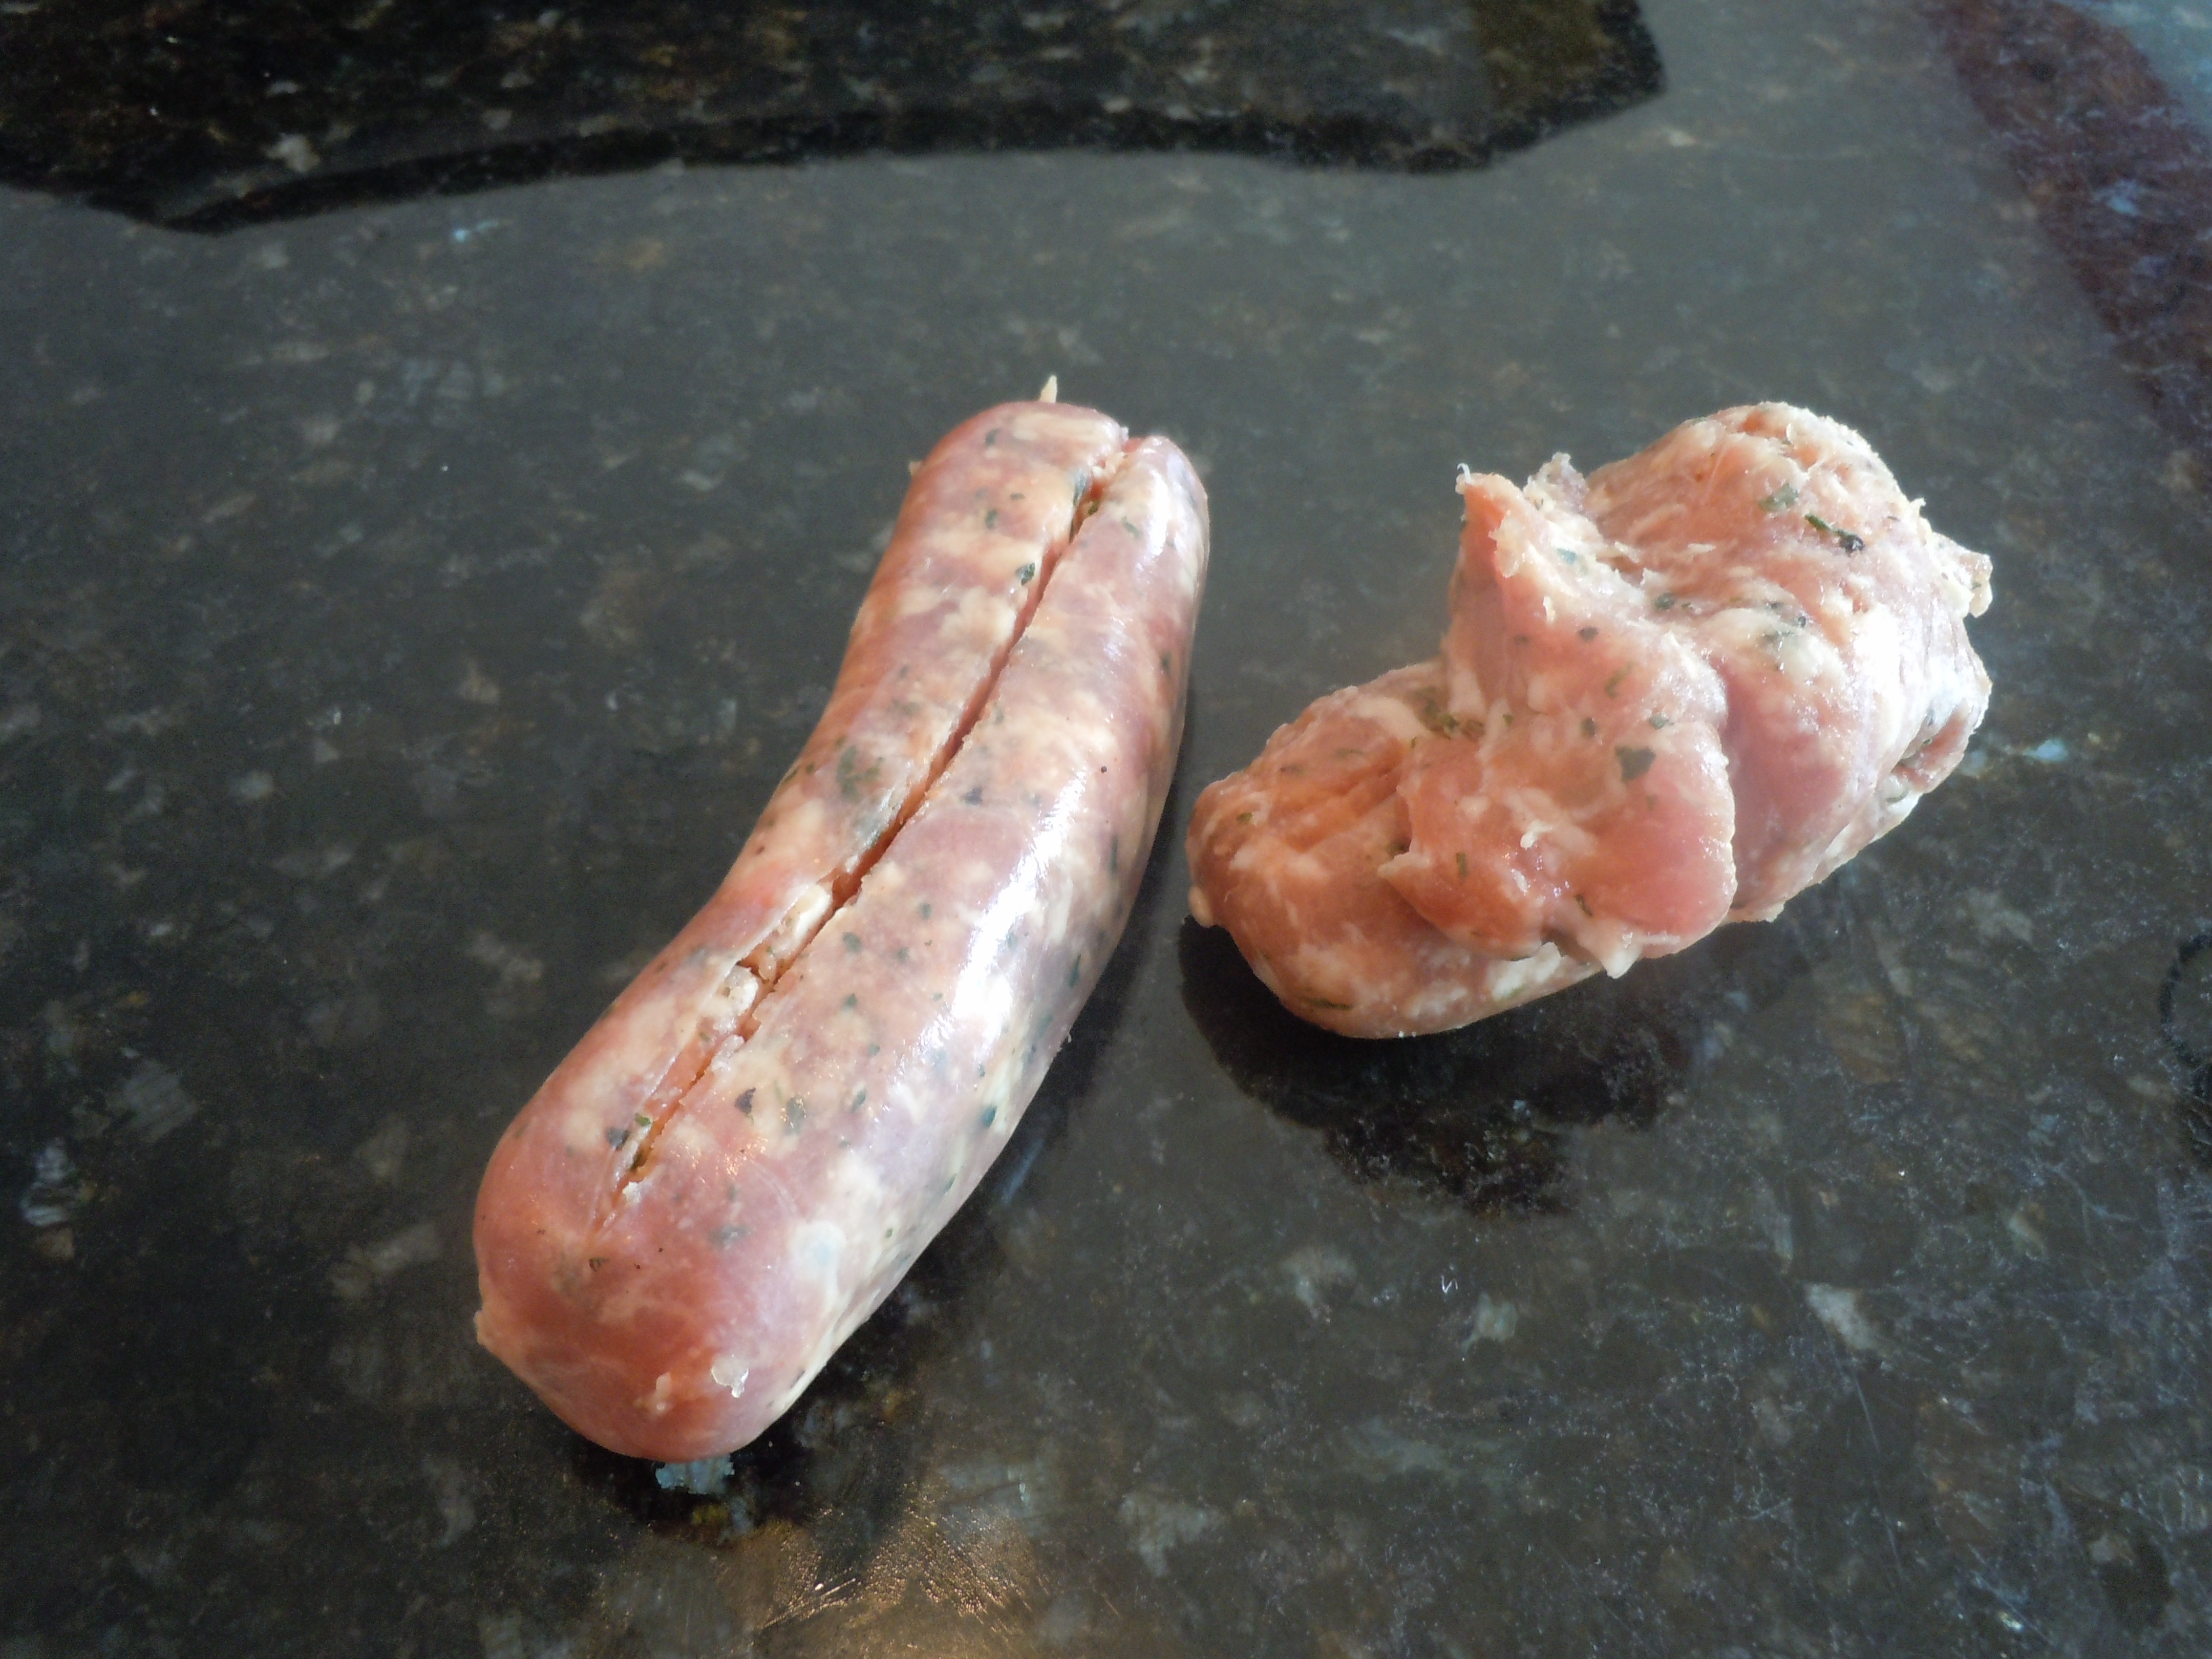
- Slice down the middle of the stalks and peel away the tough exterior layers reaching very thin strips
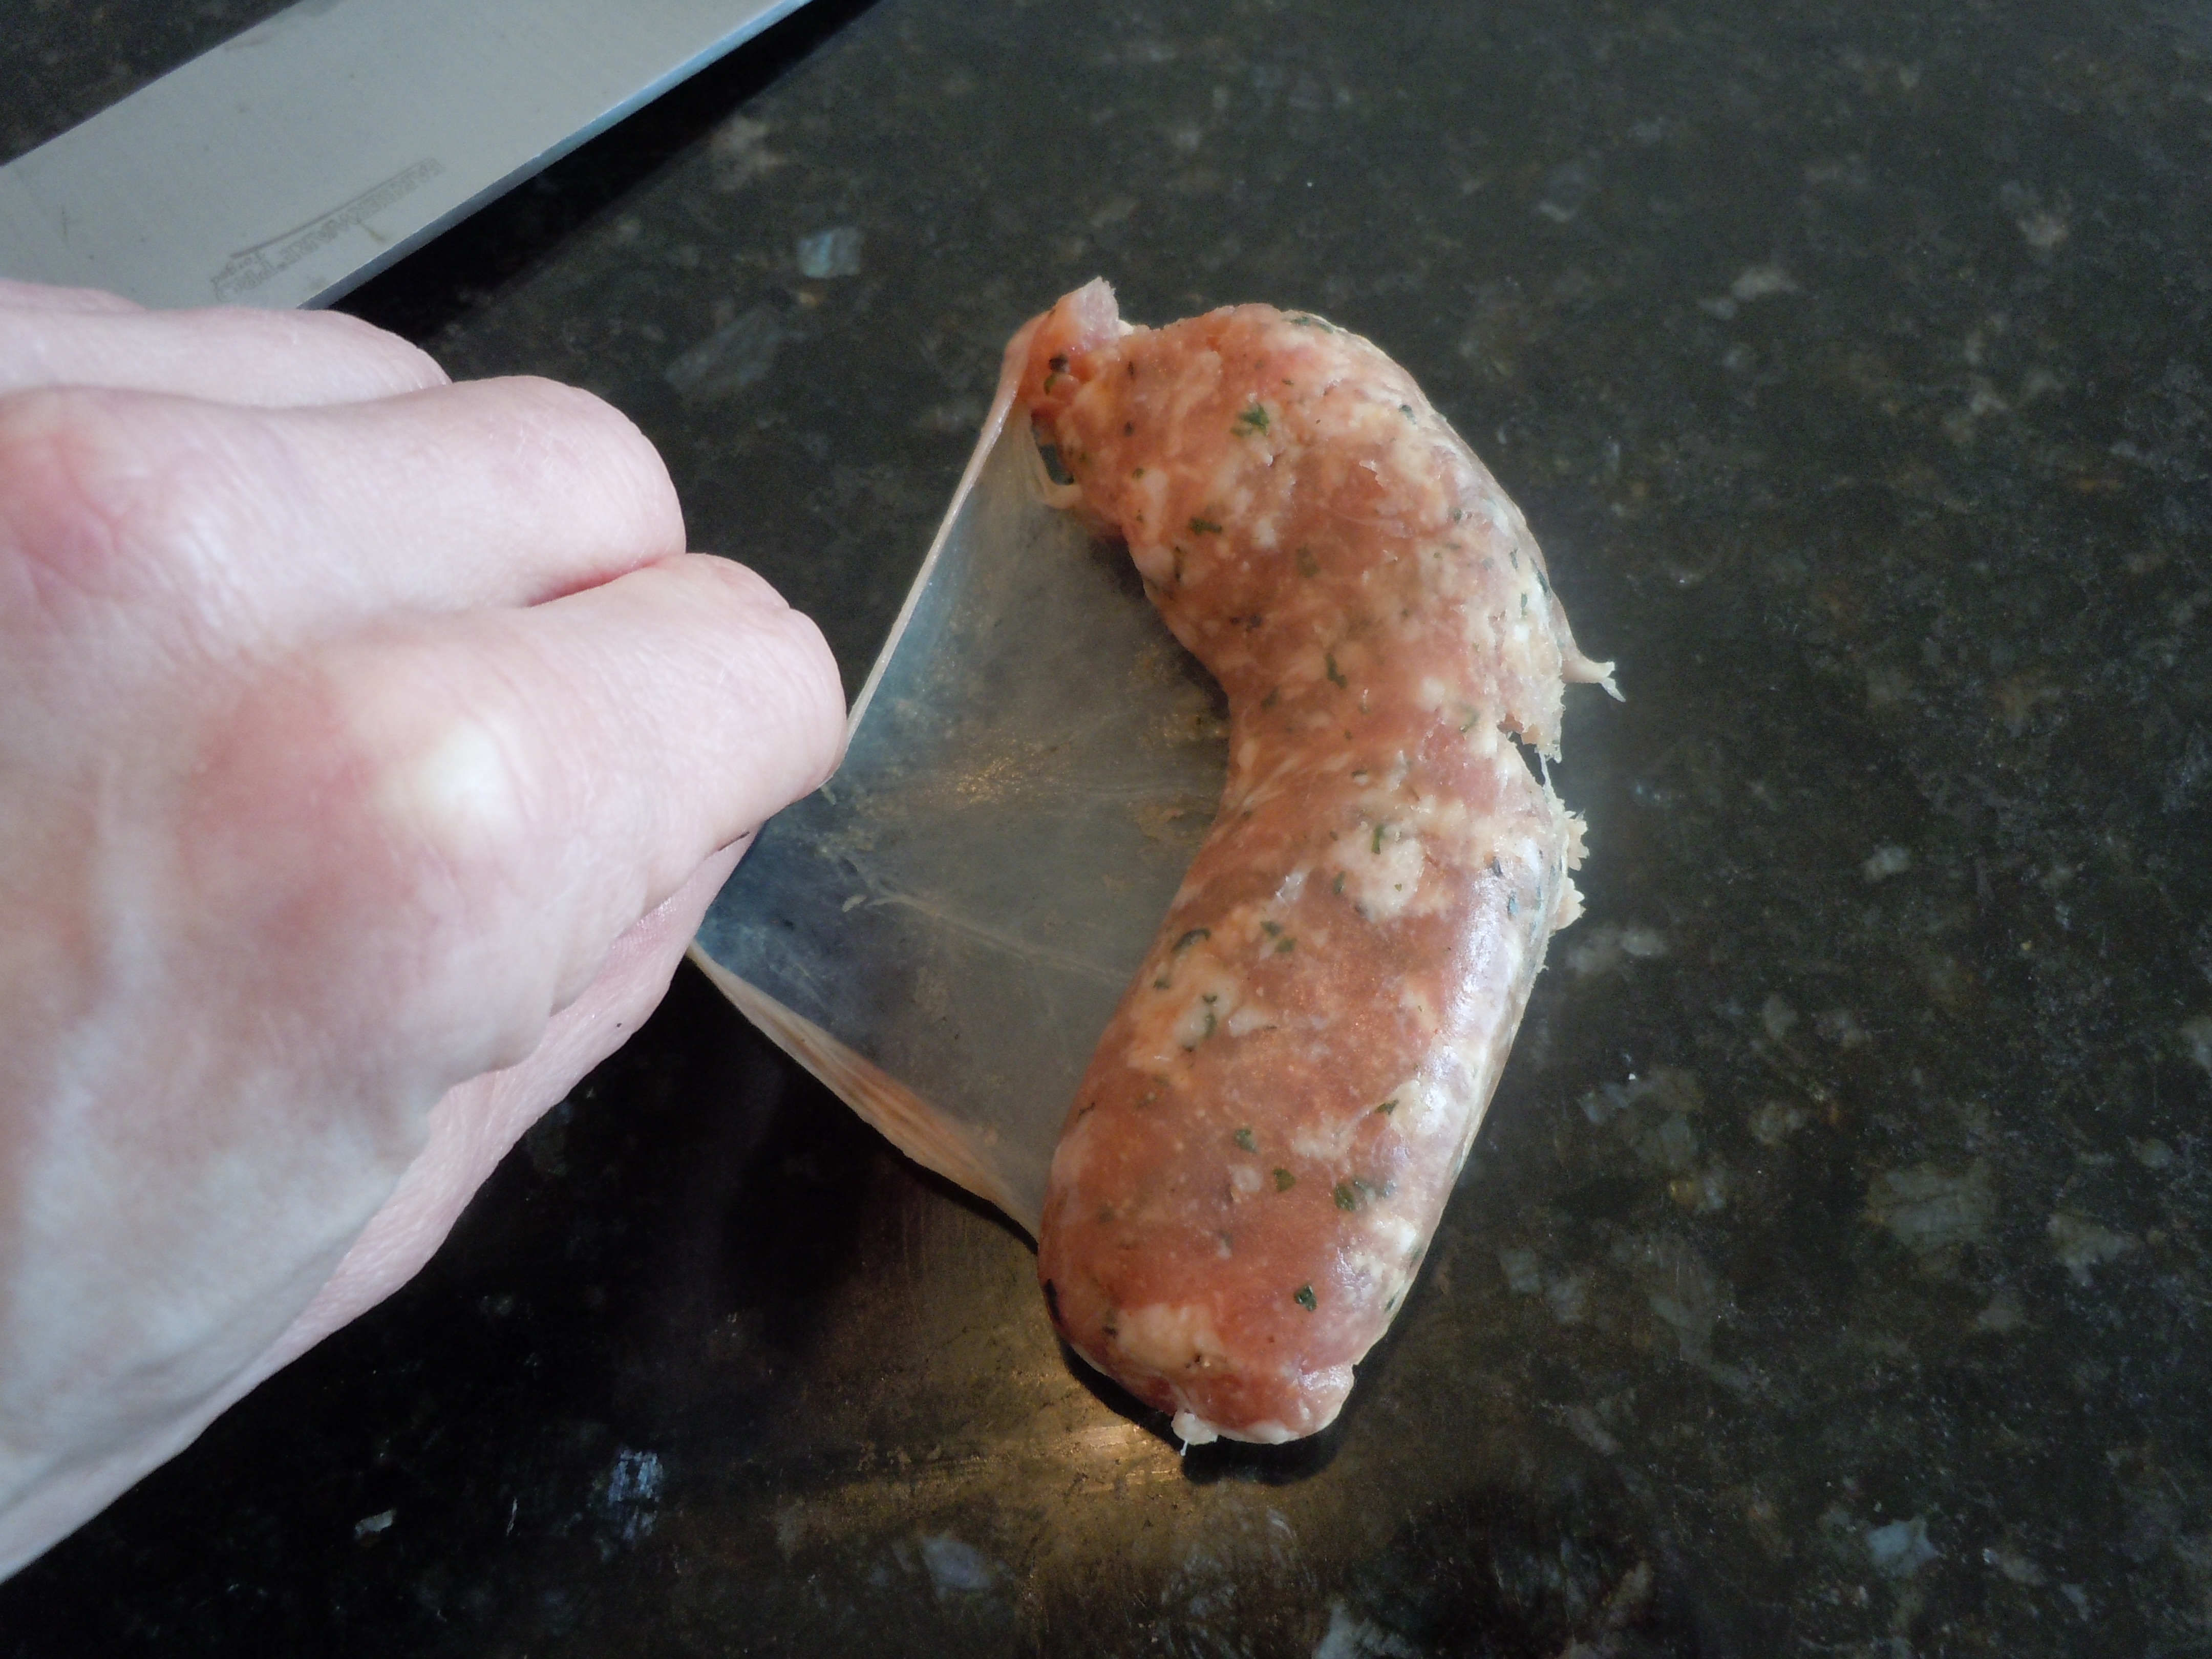
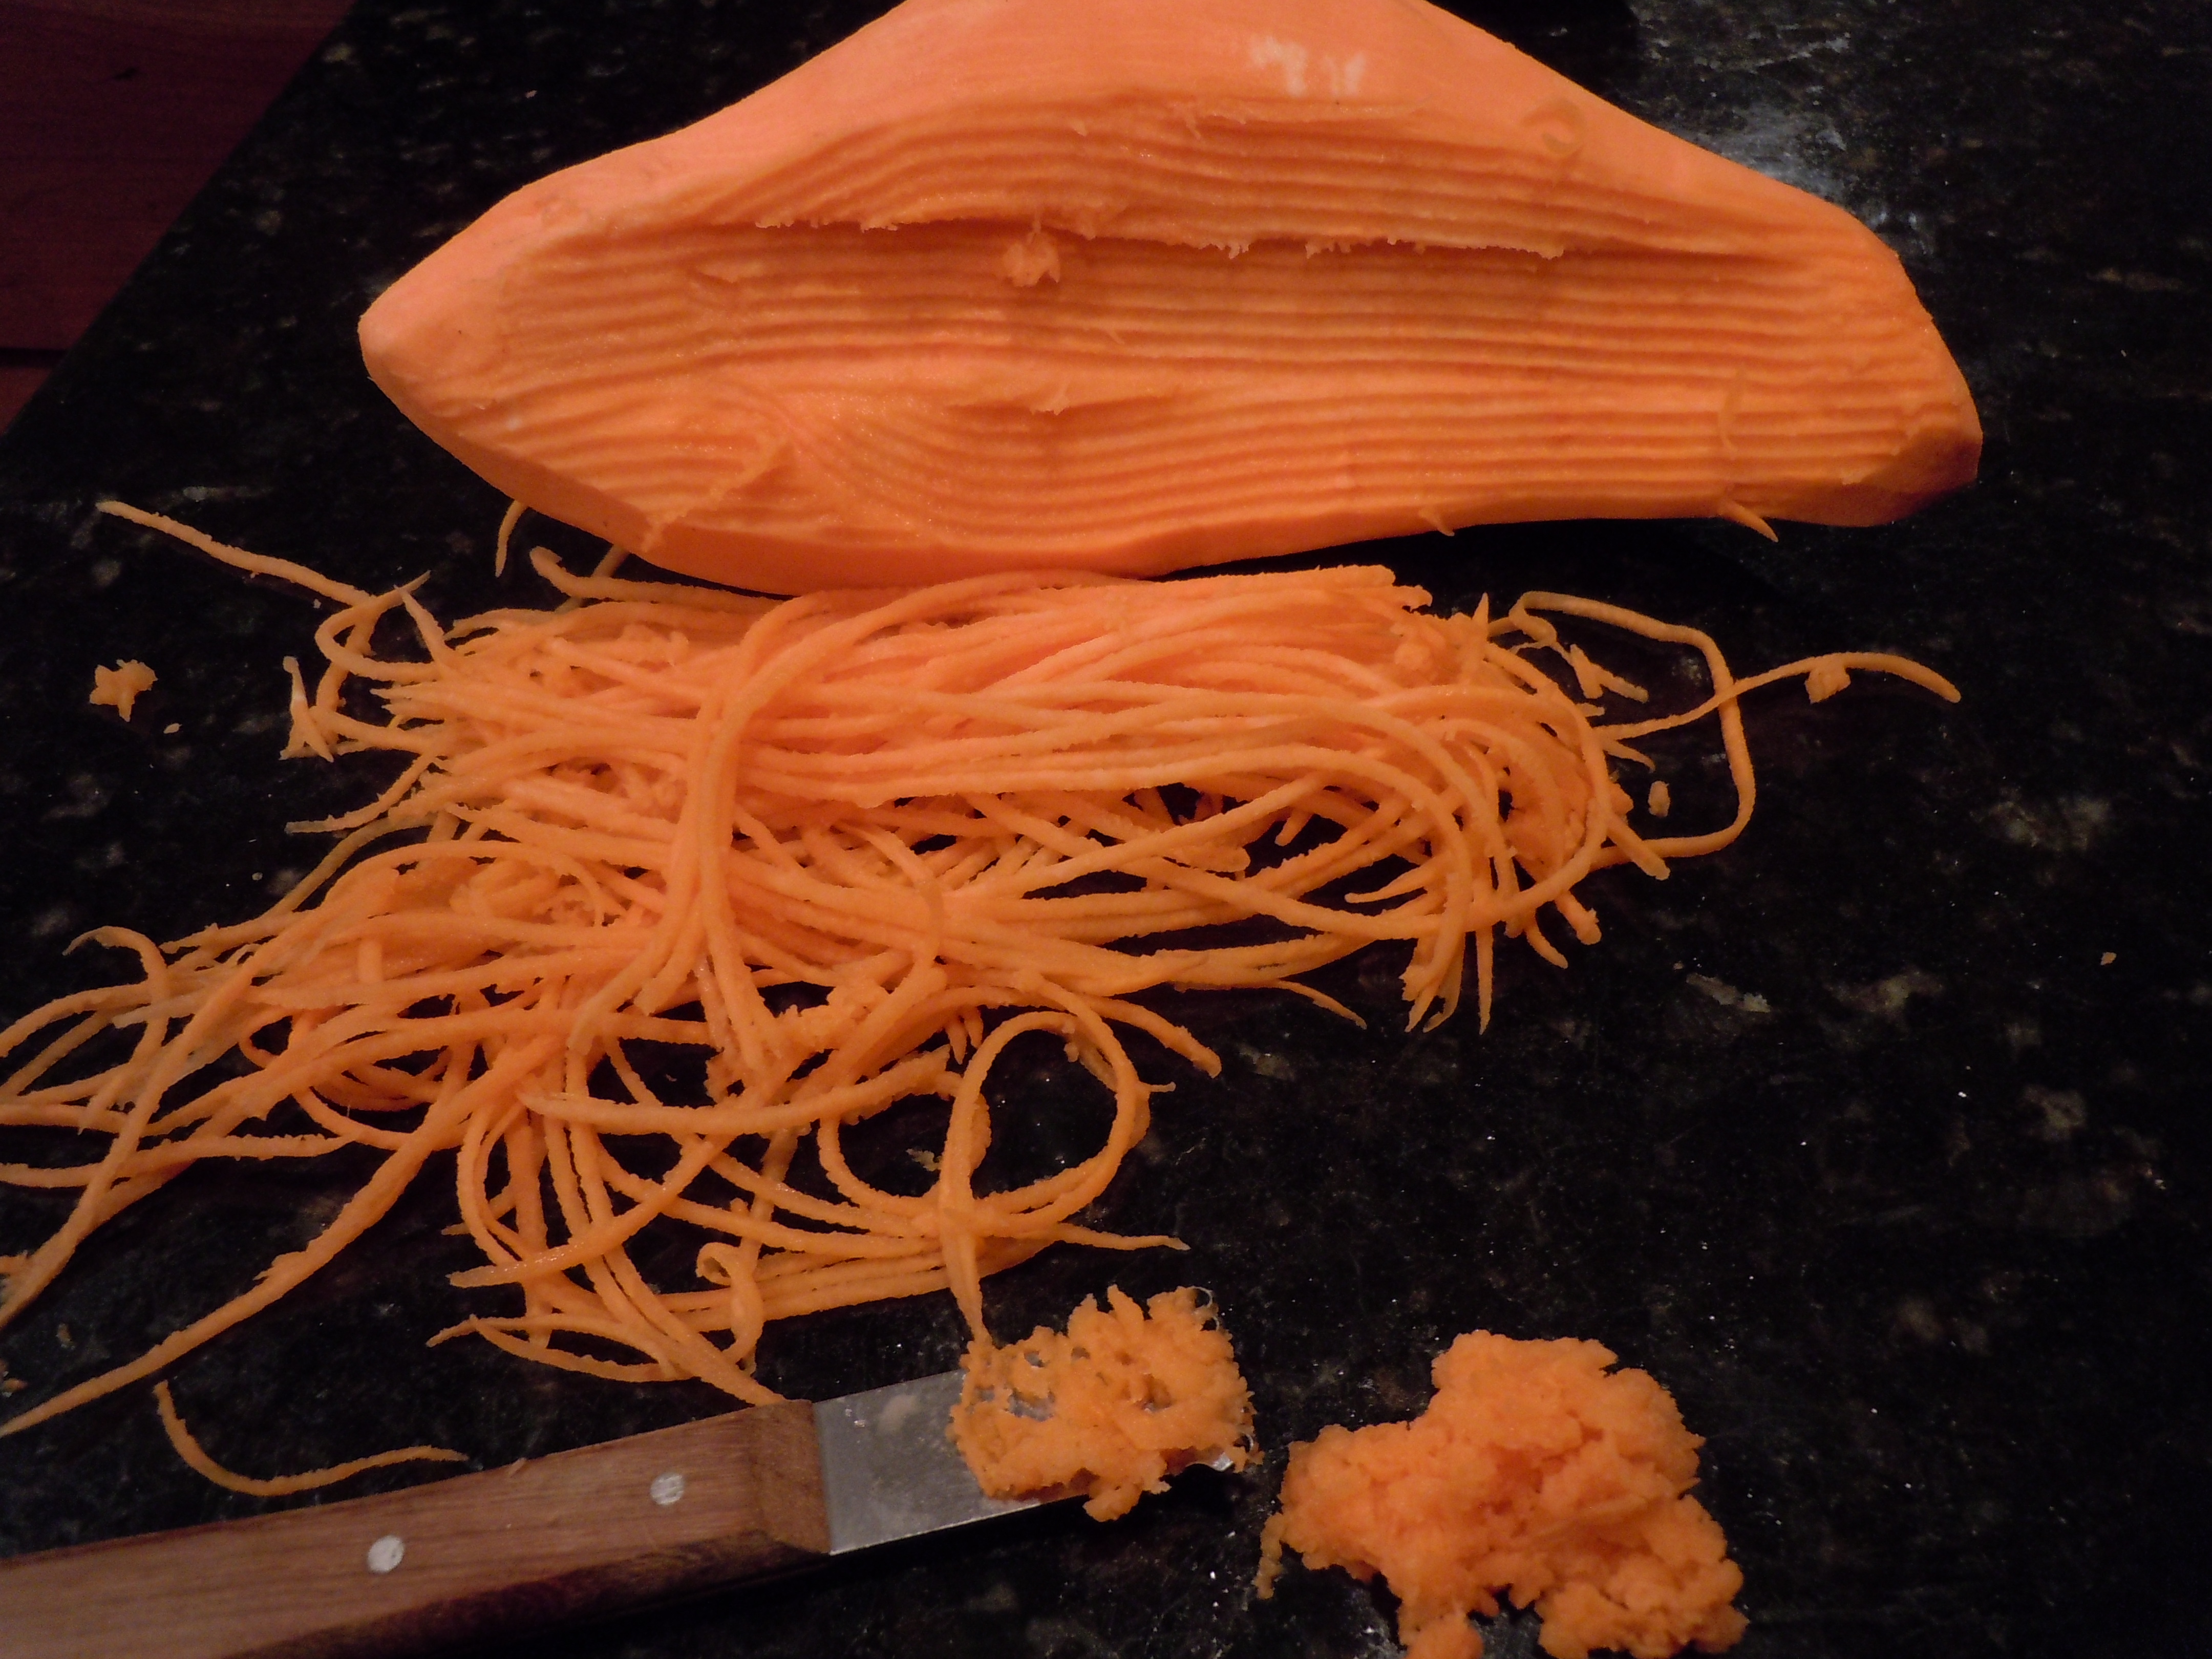
- You need to bruise these inner strips with a meat mallet to release those incredible lemongrass oils then put them into a large sauce pan
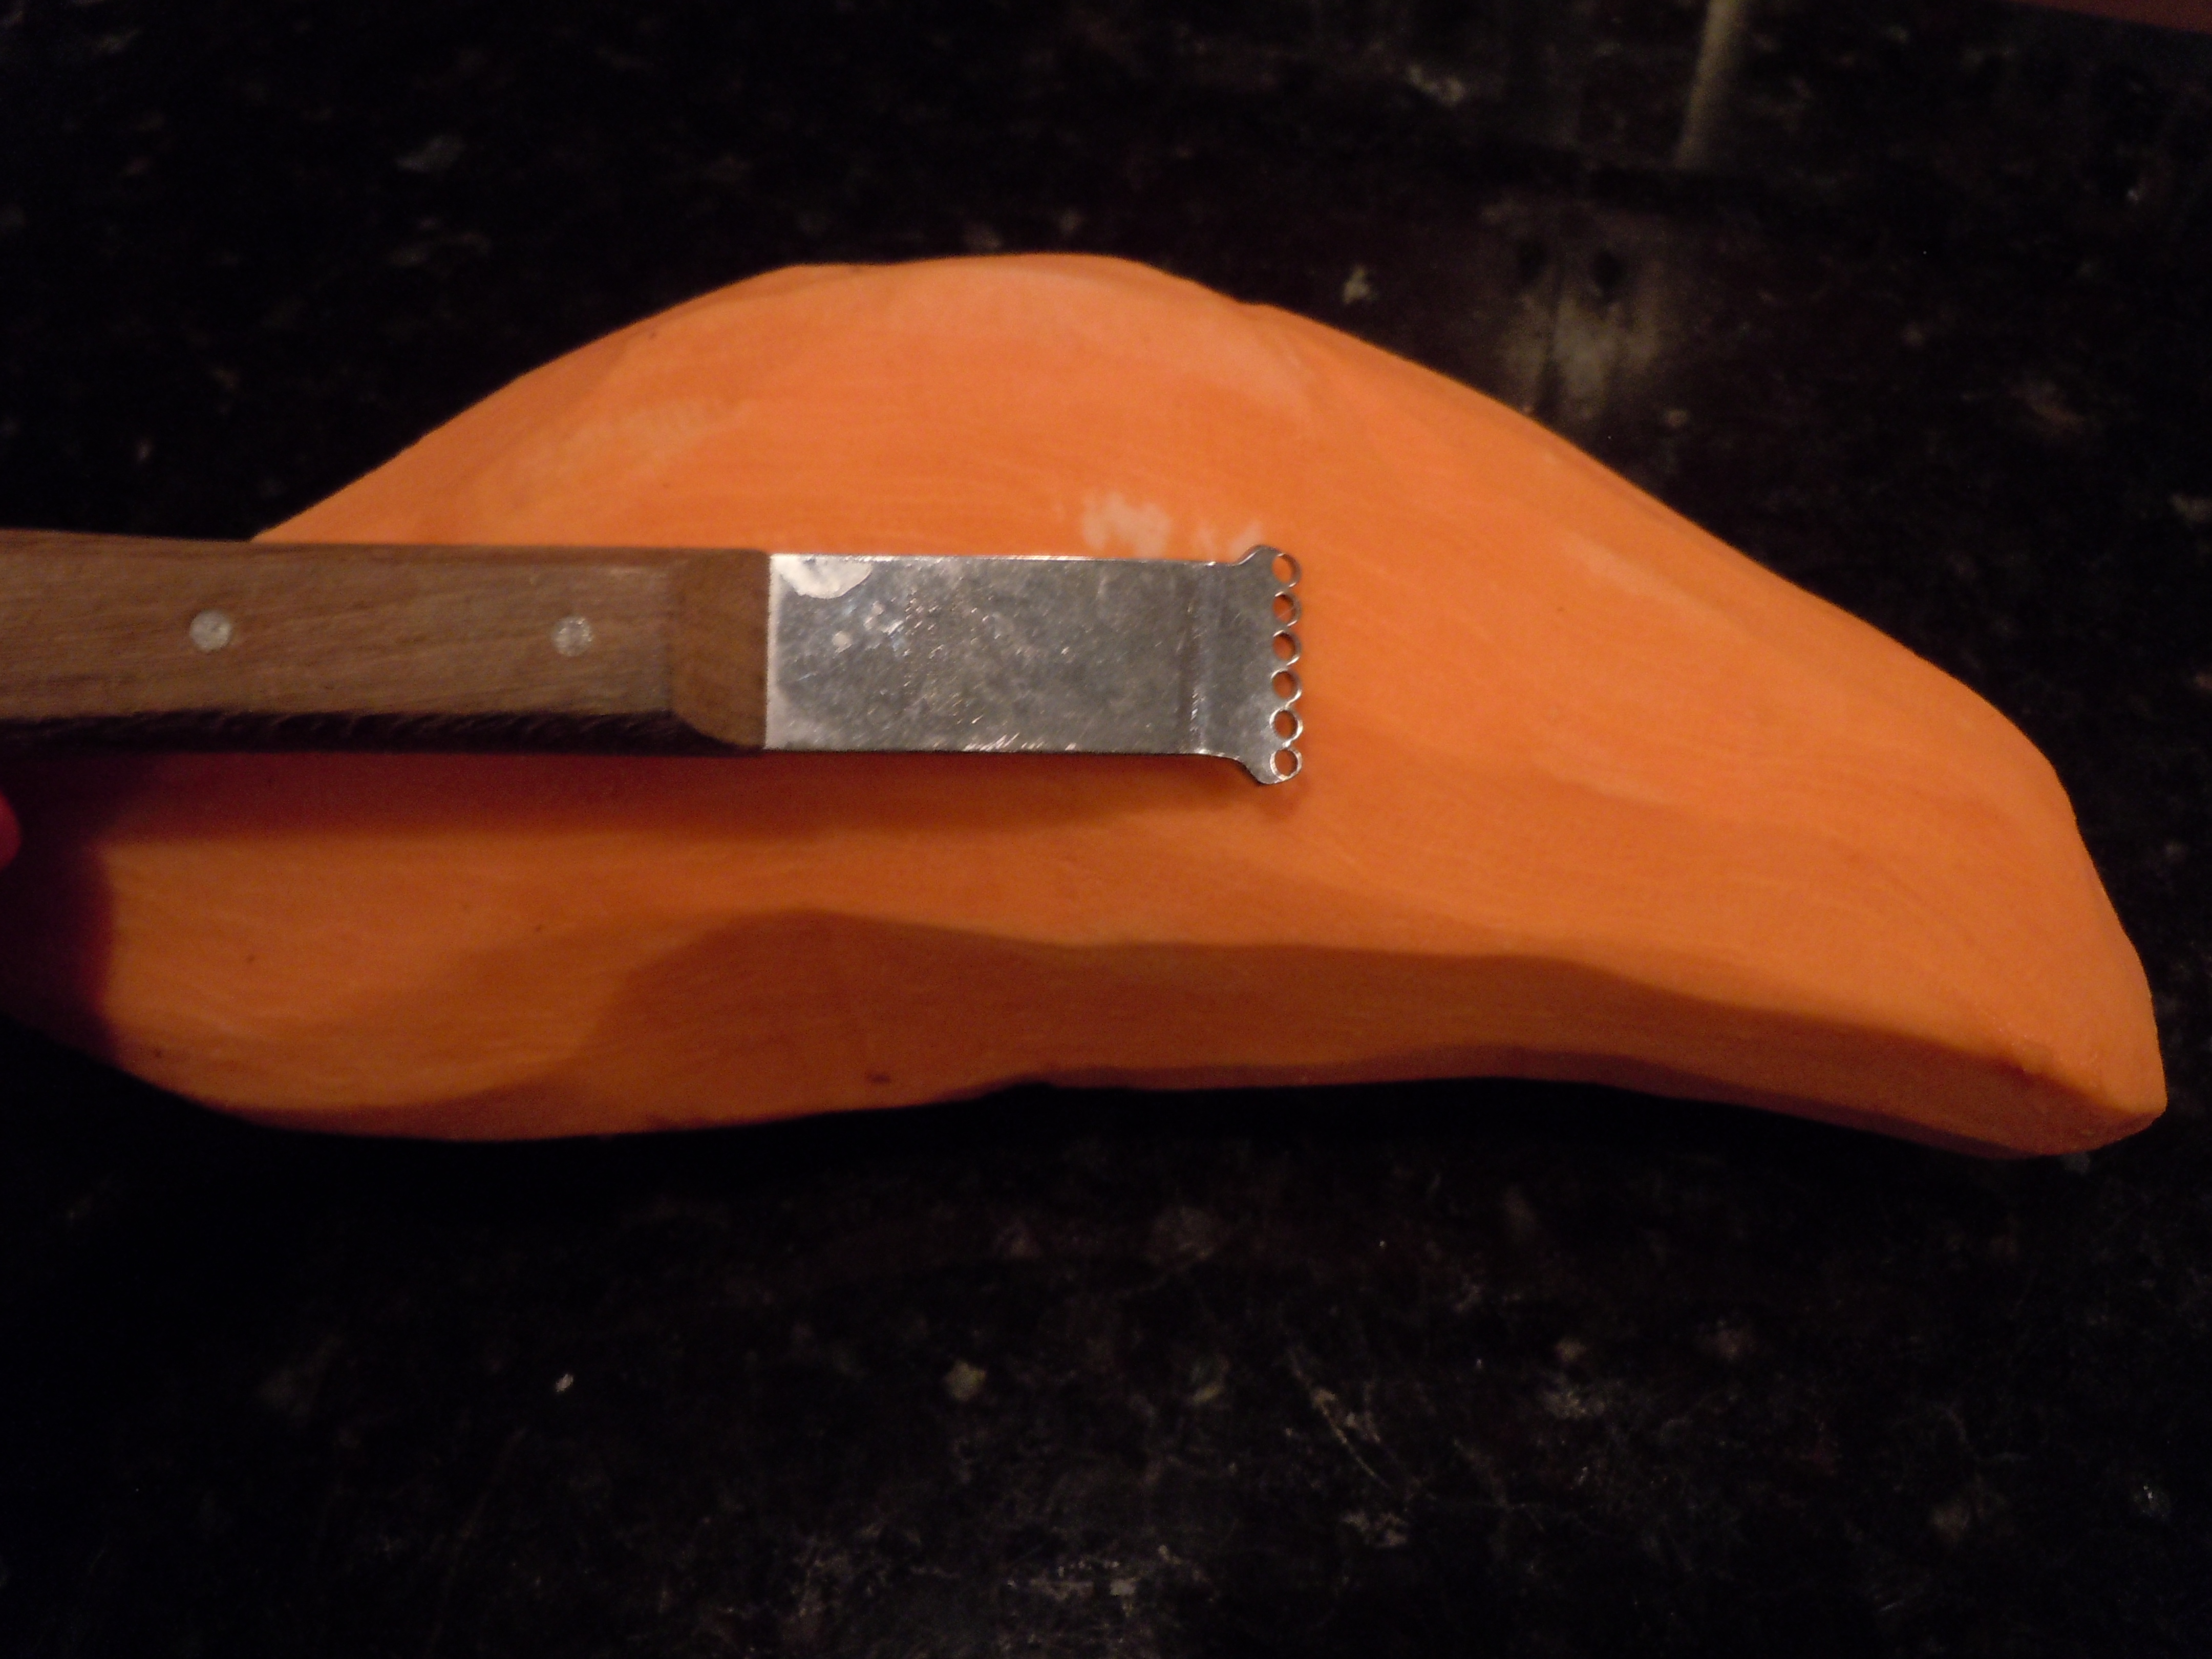
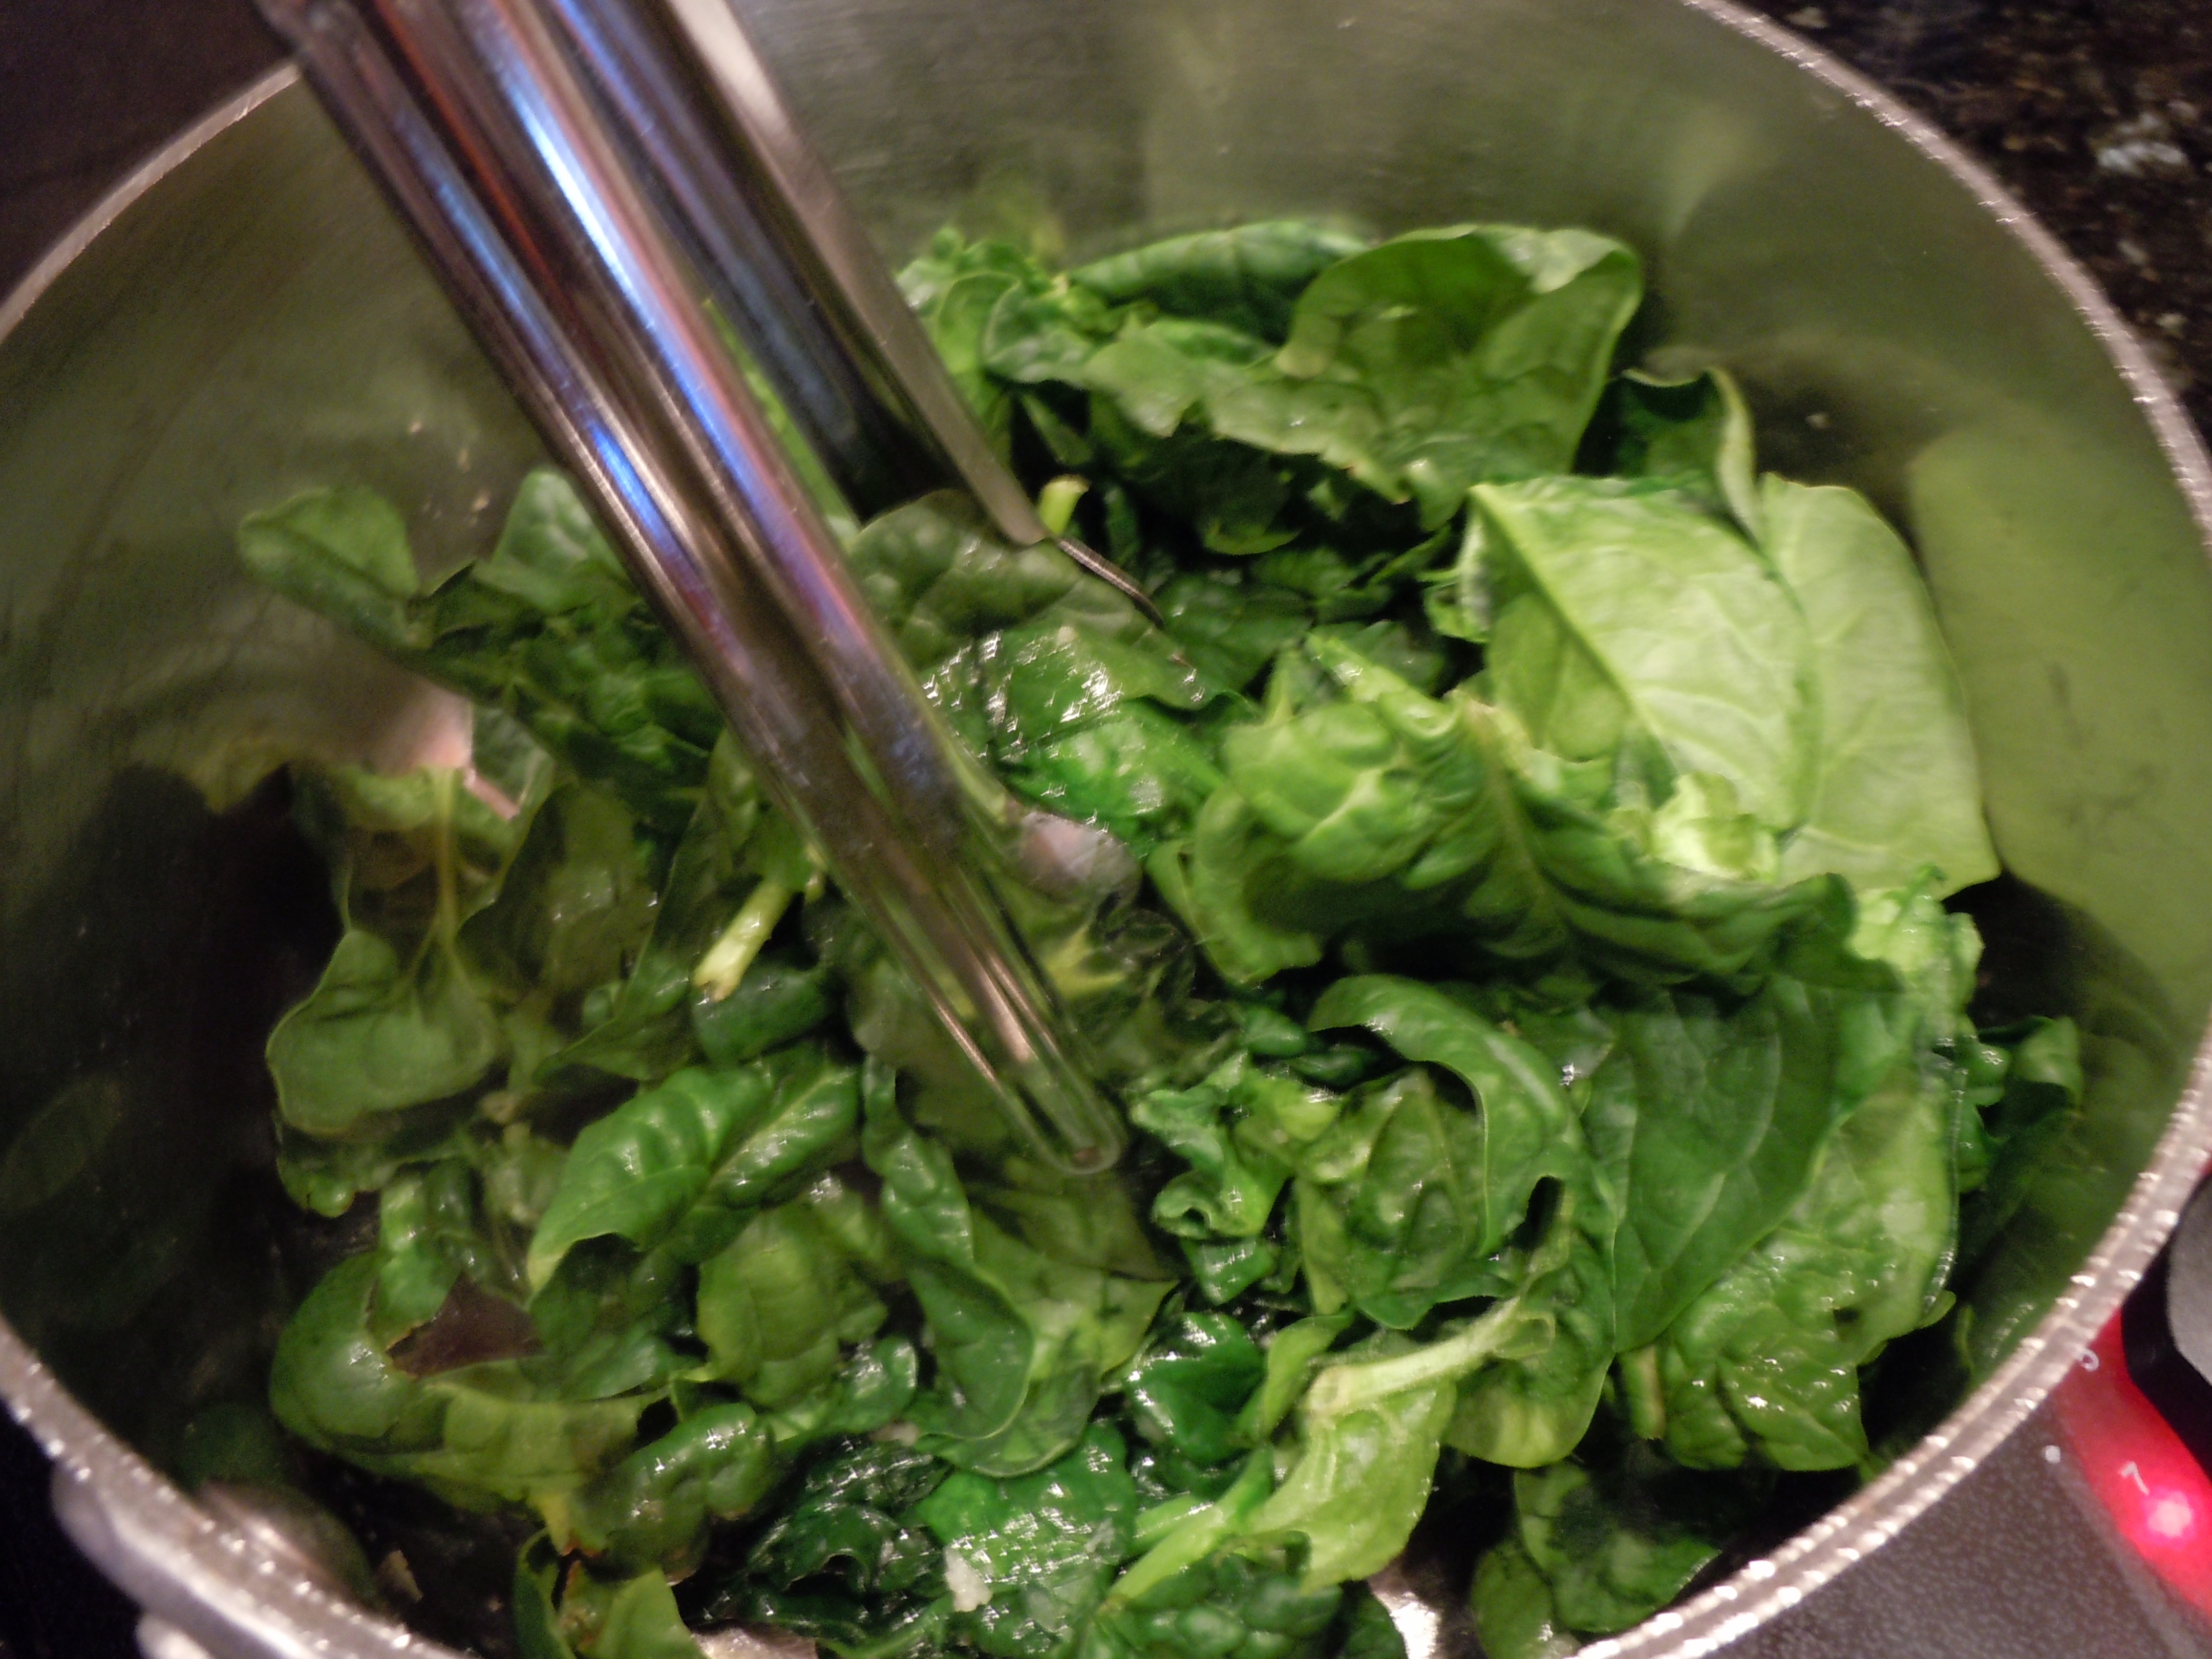
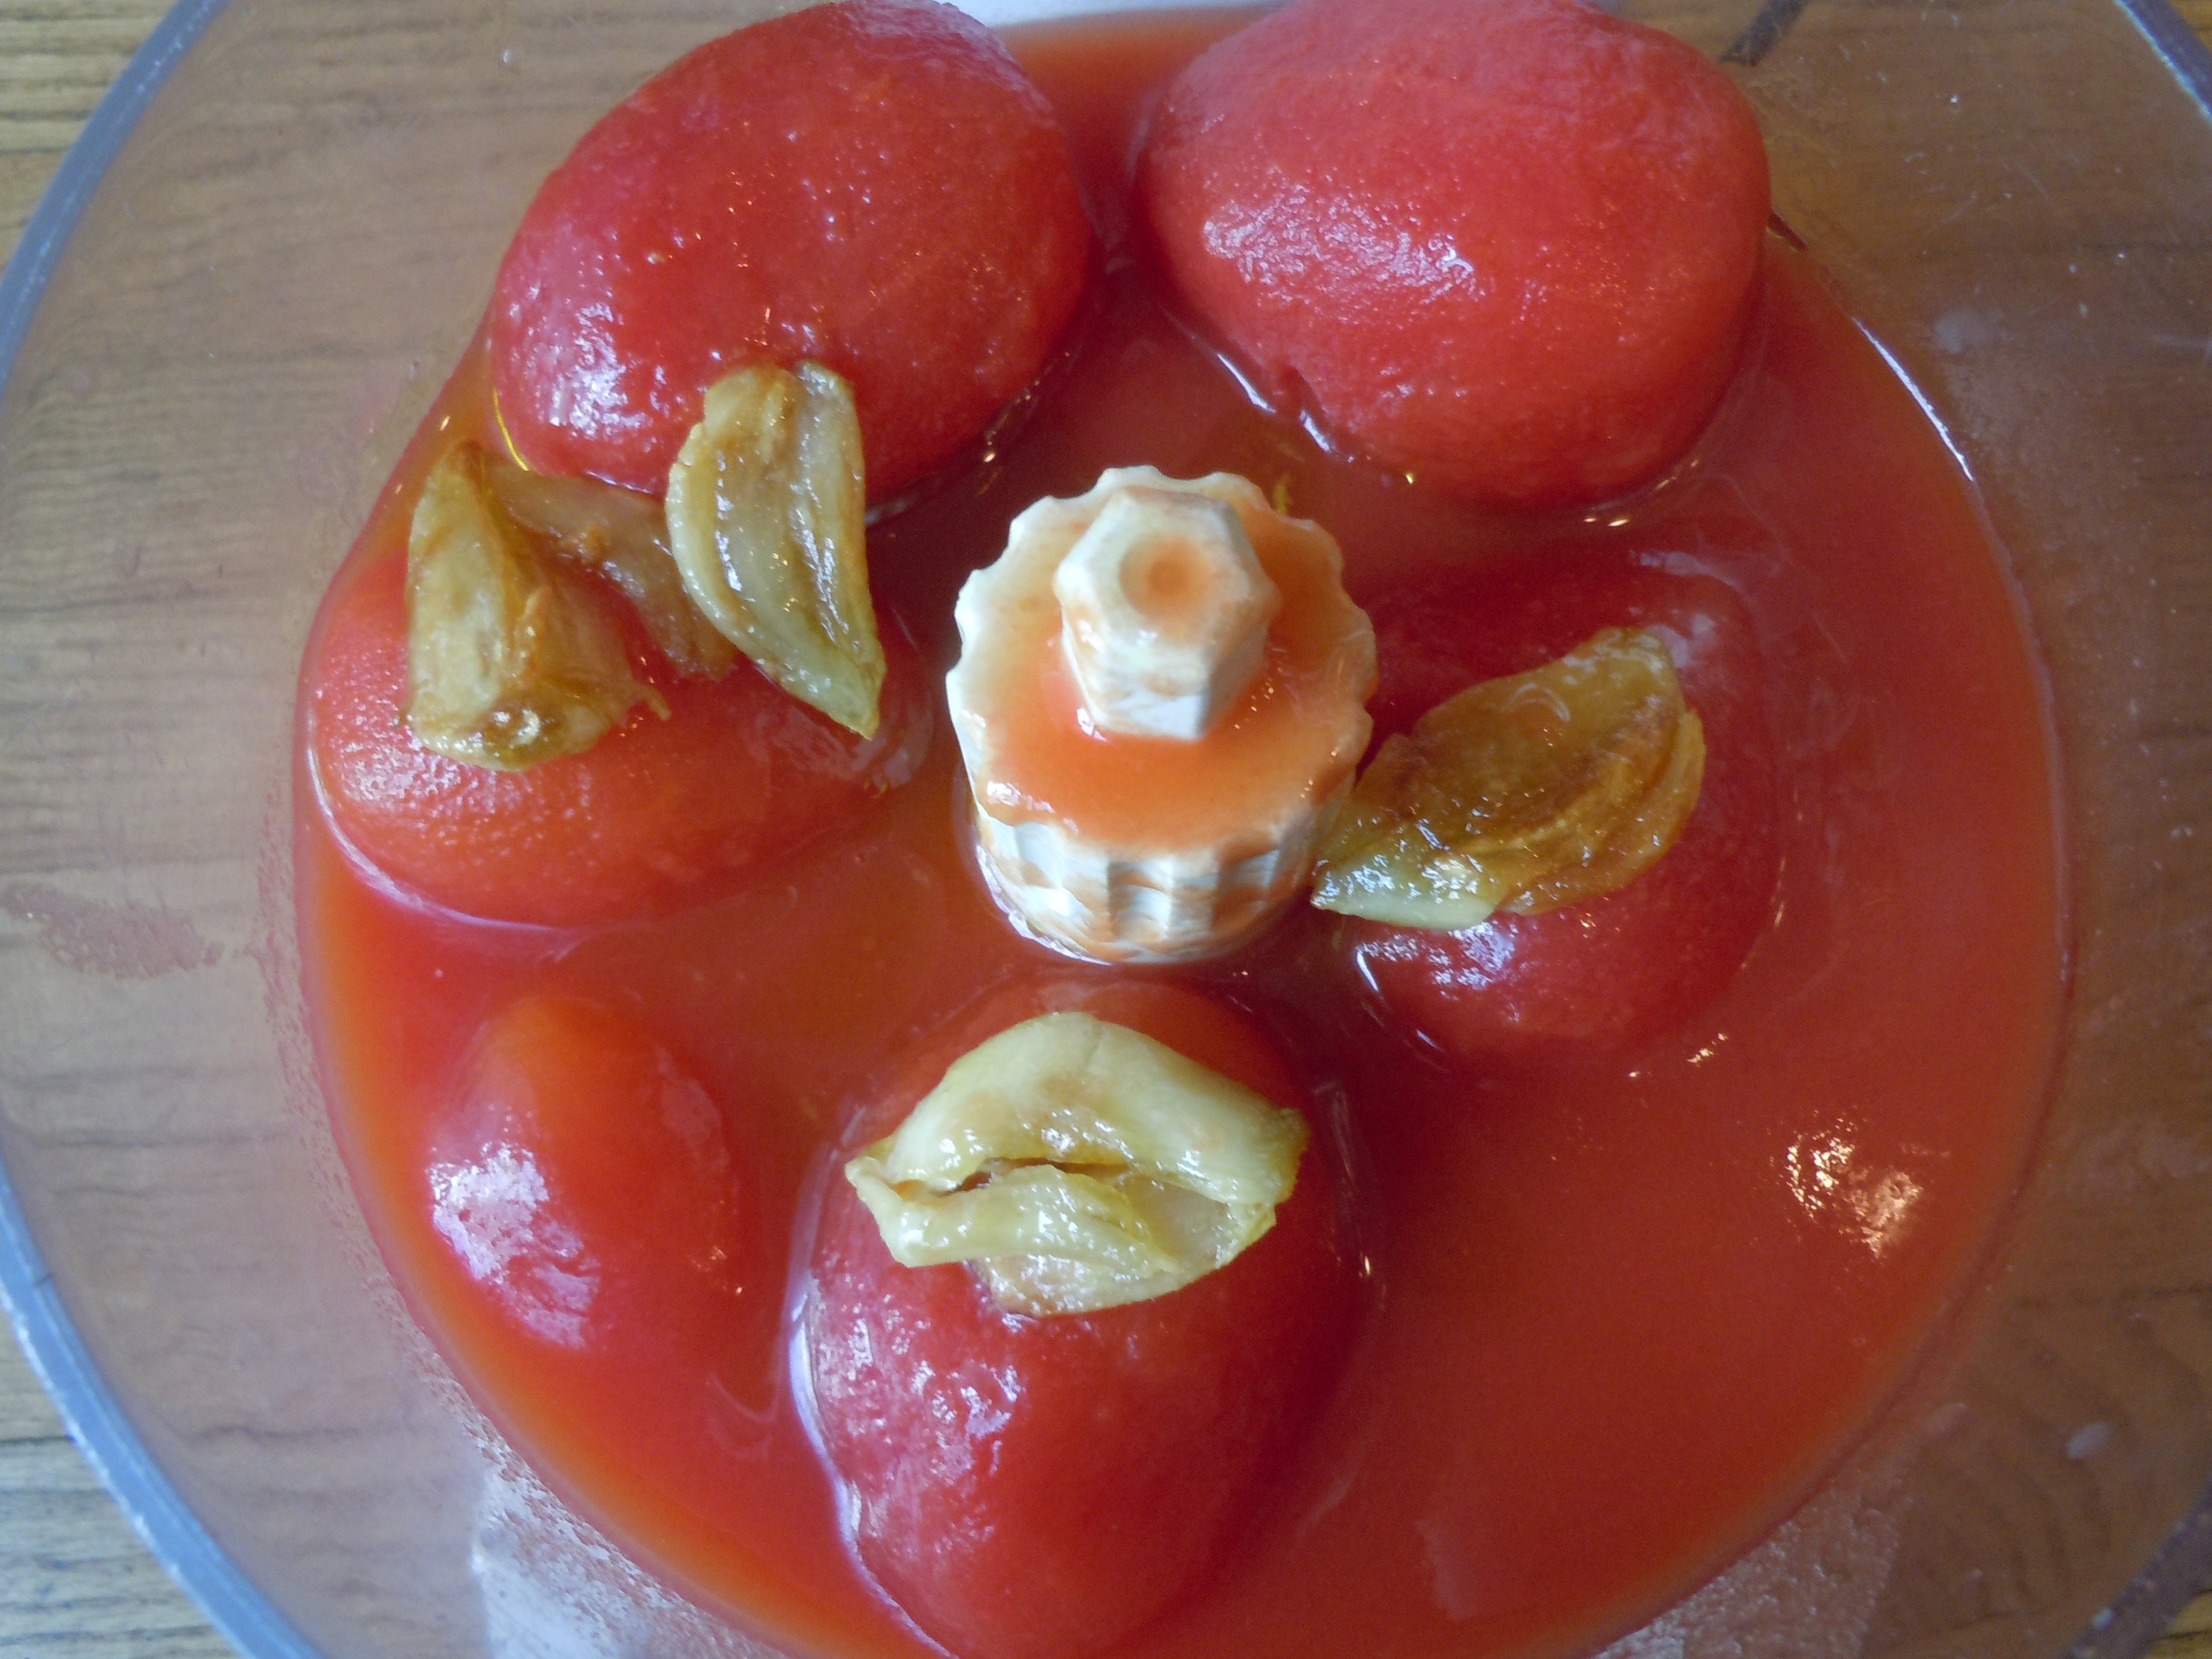
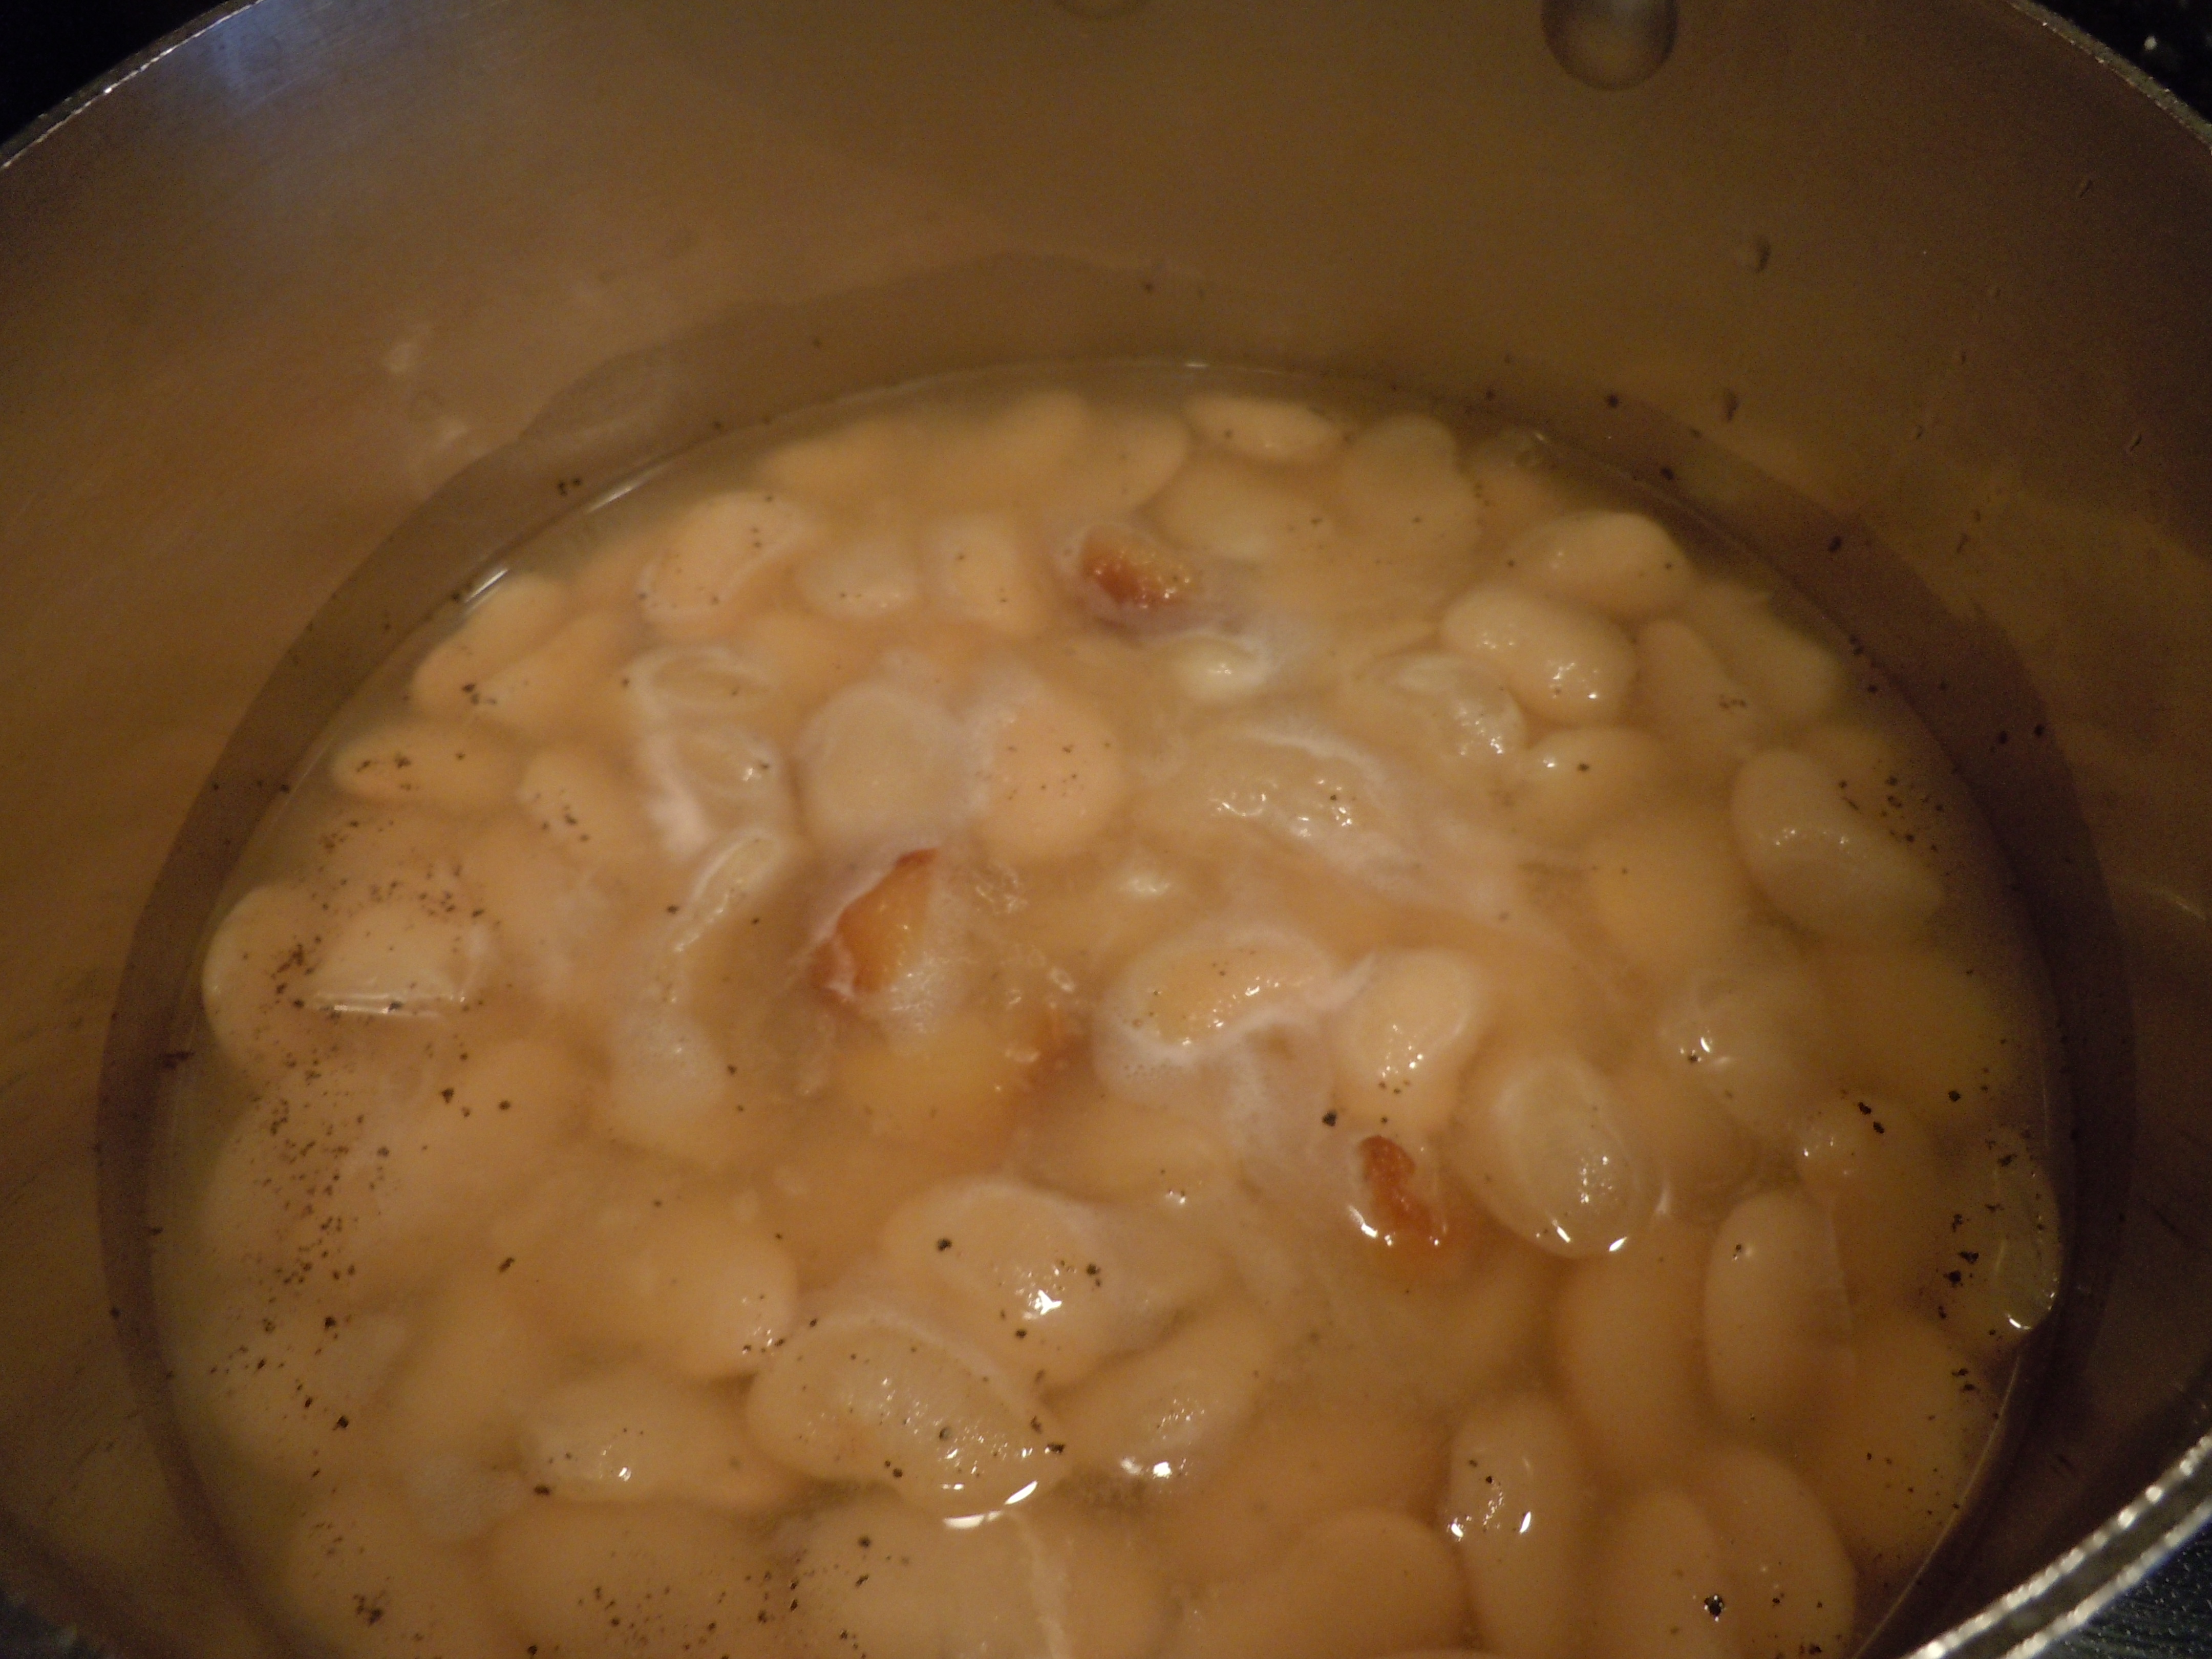
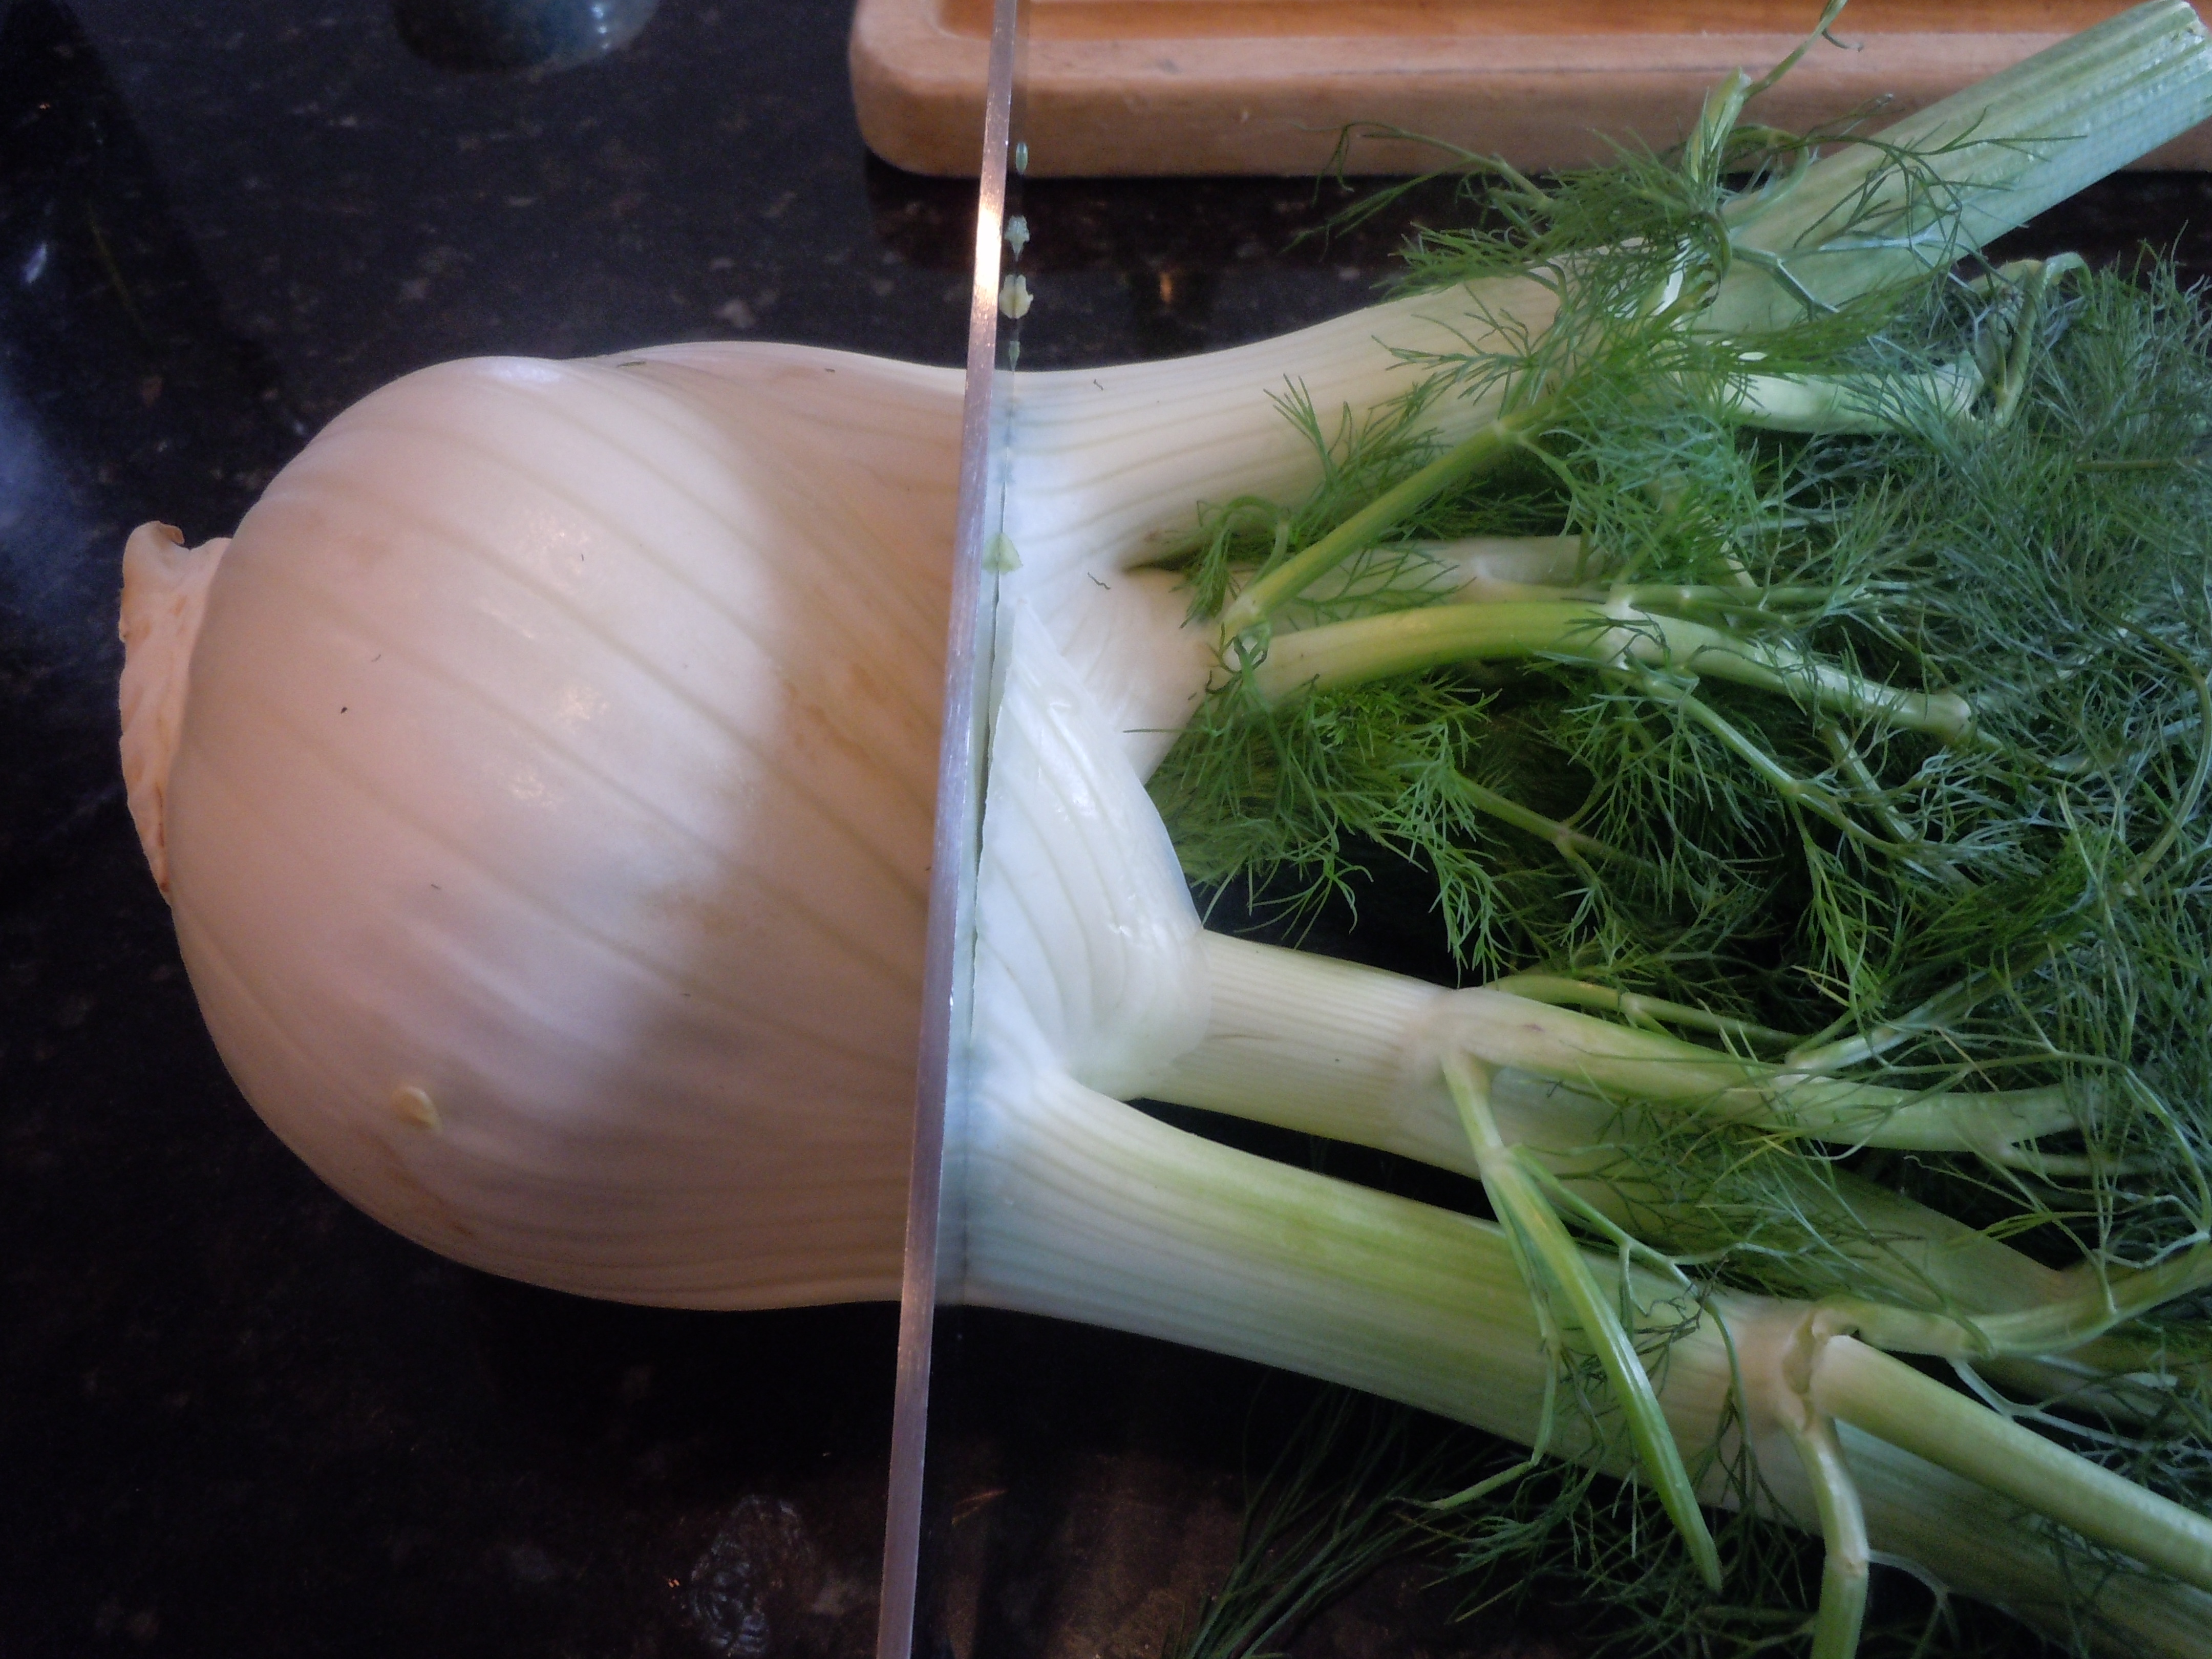
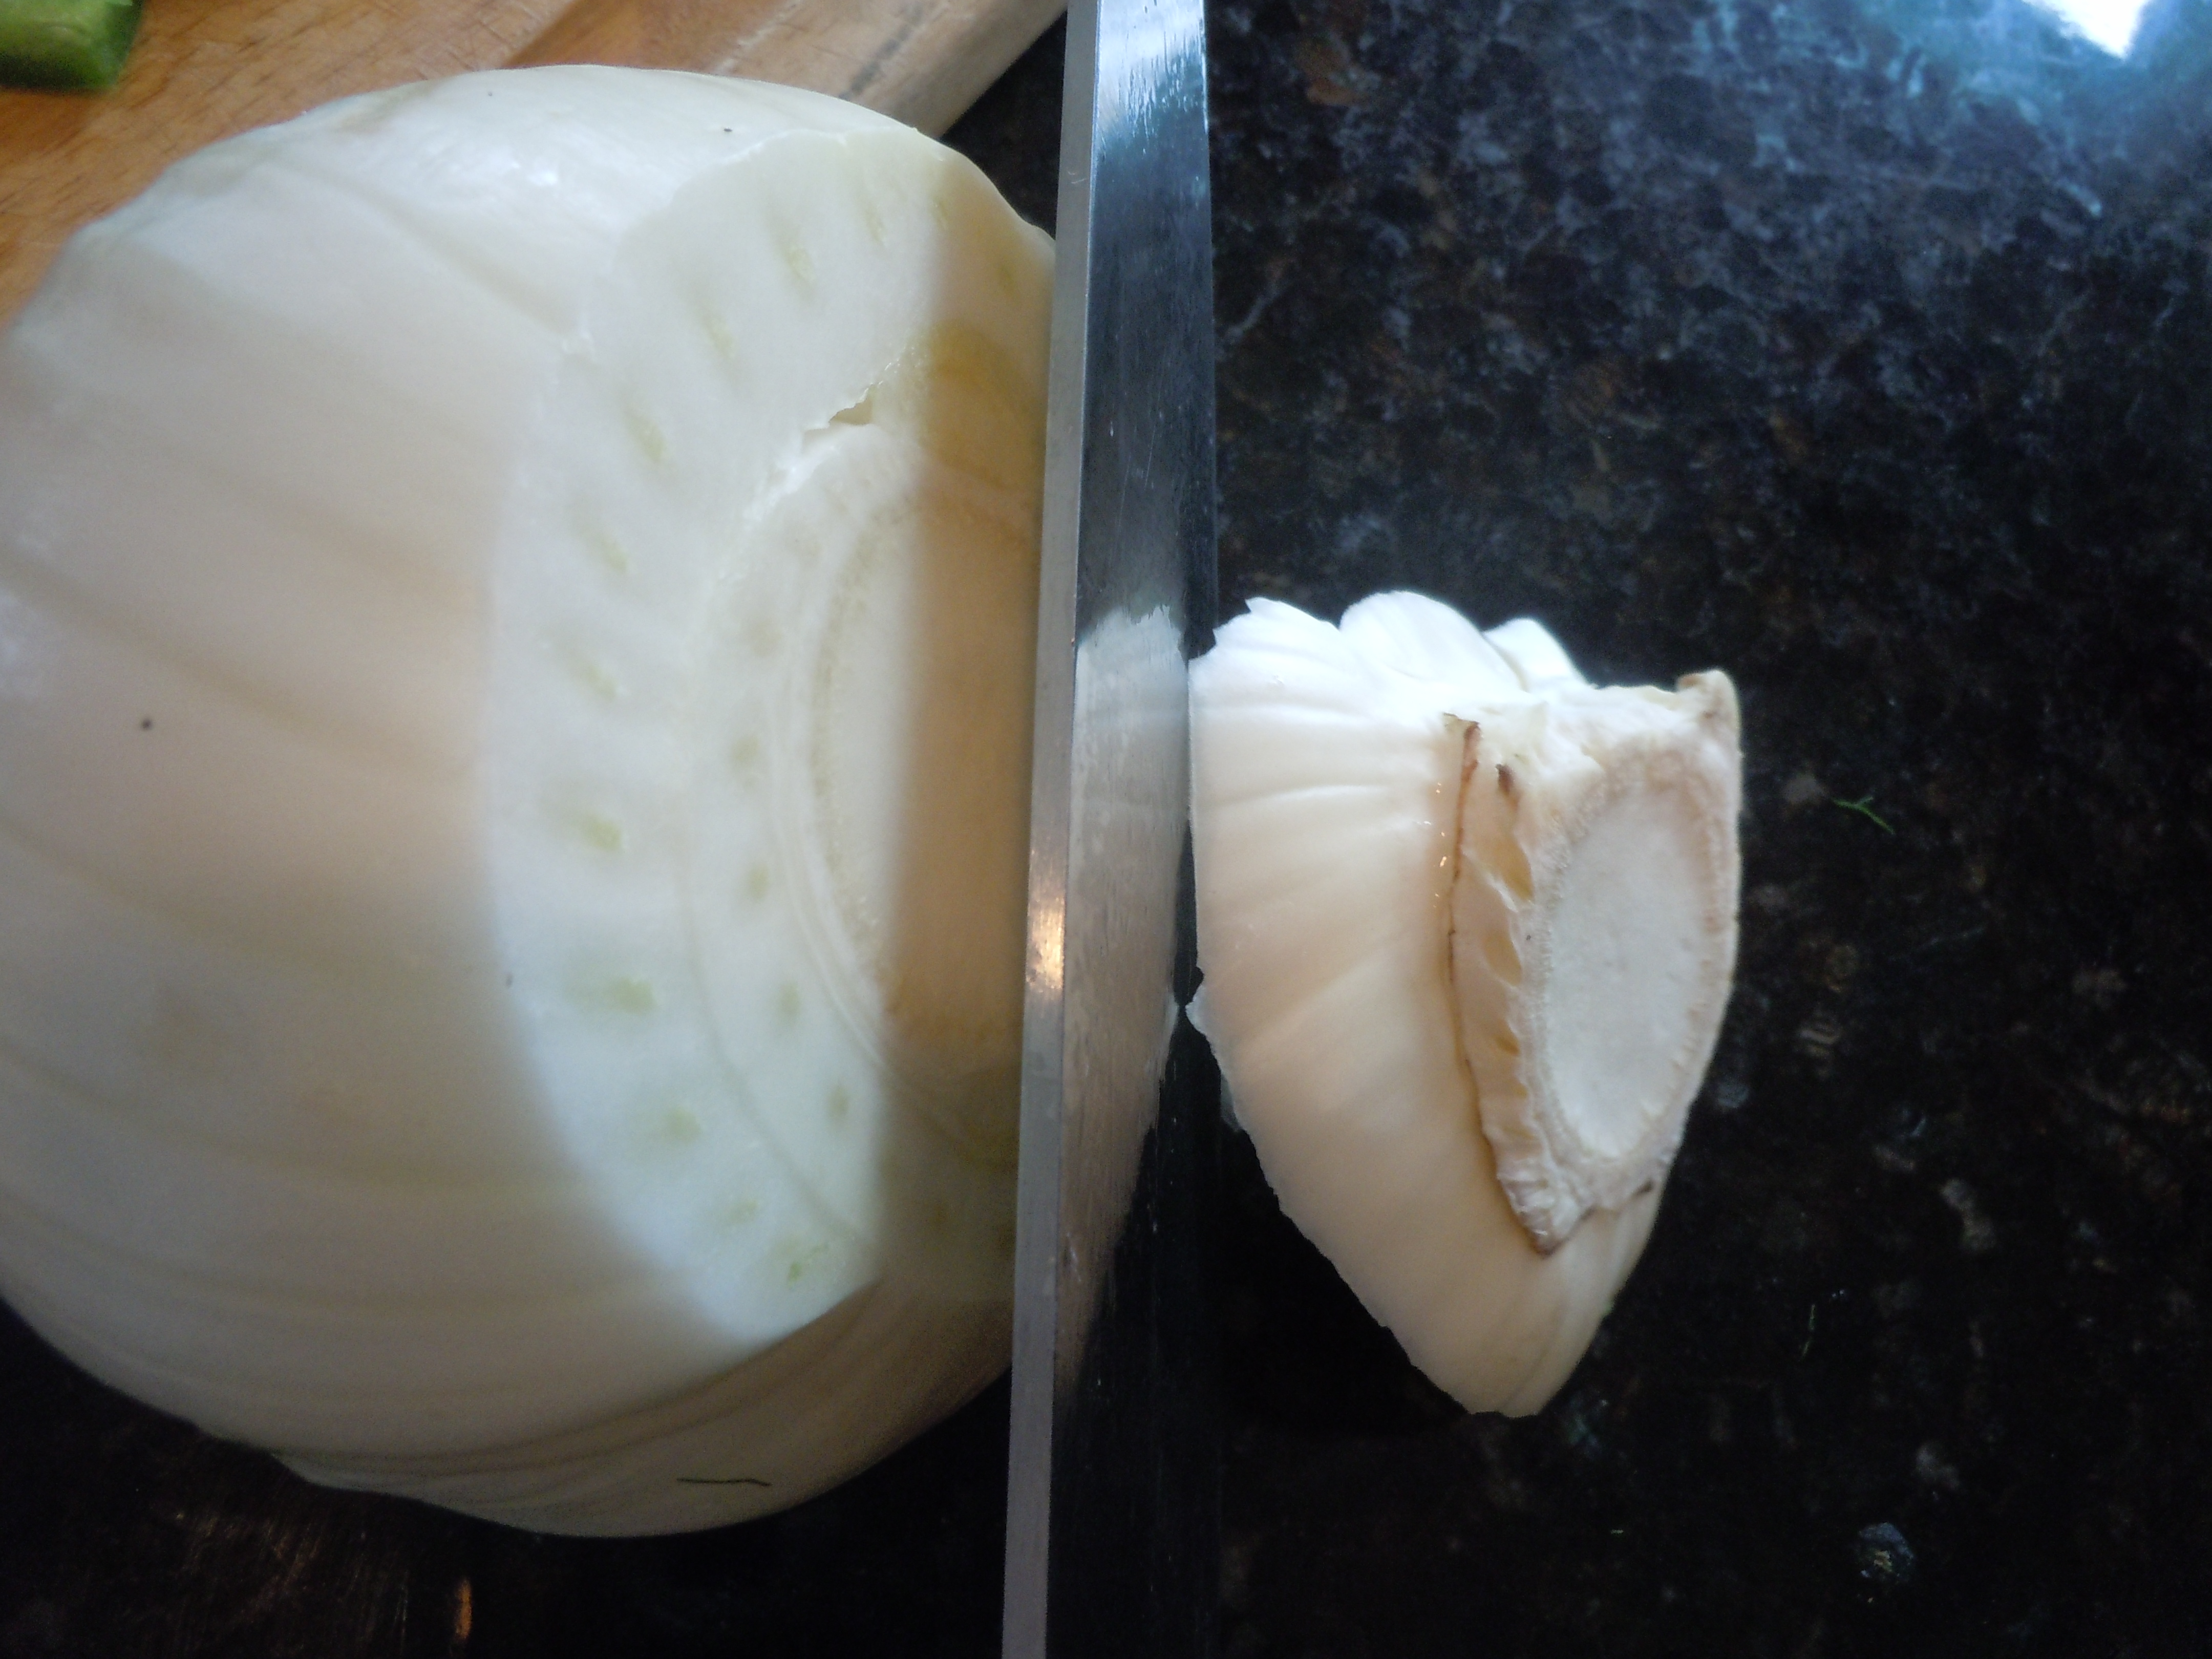
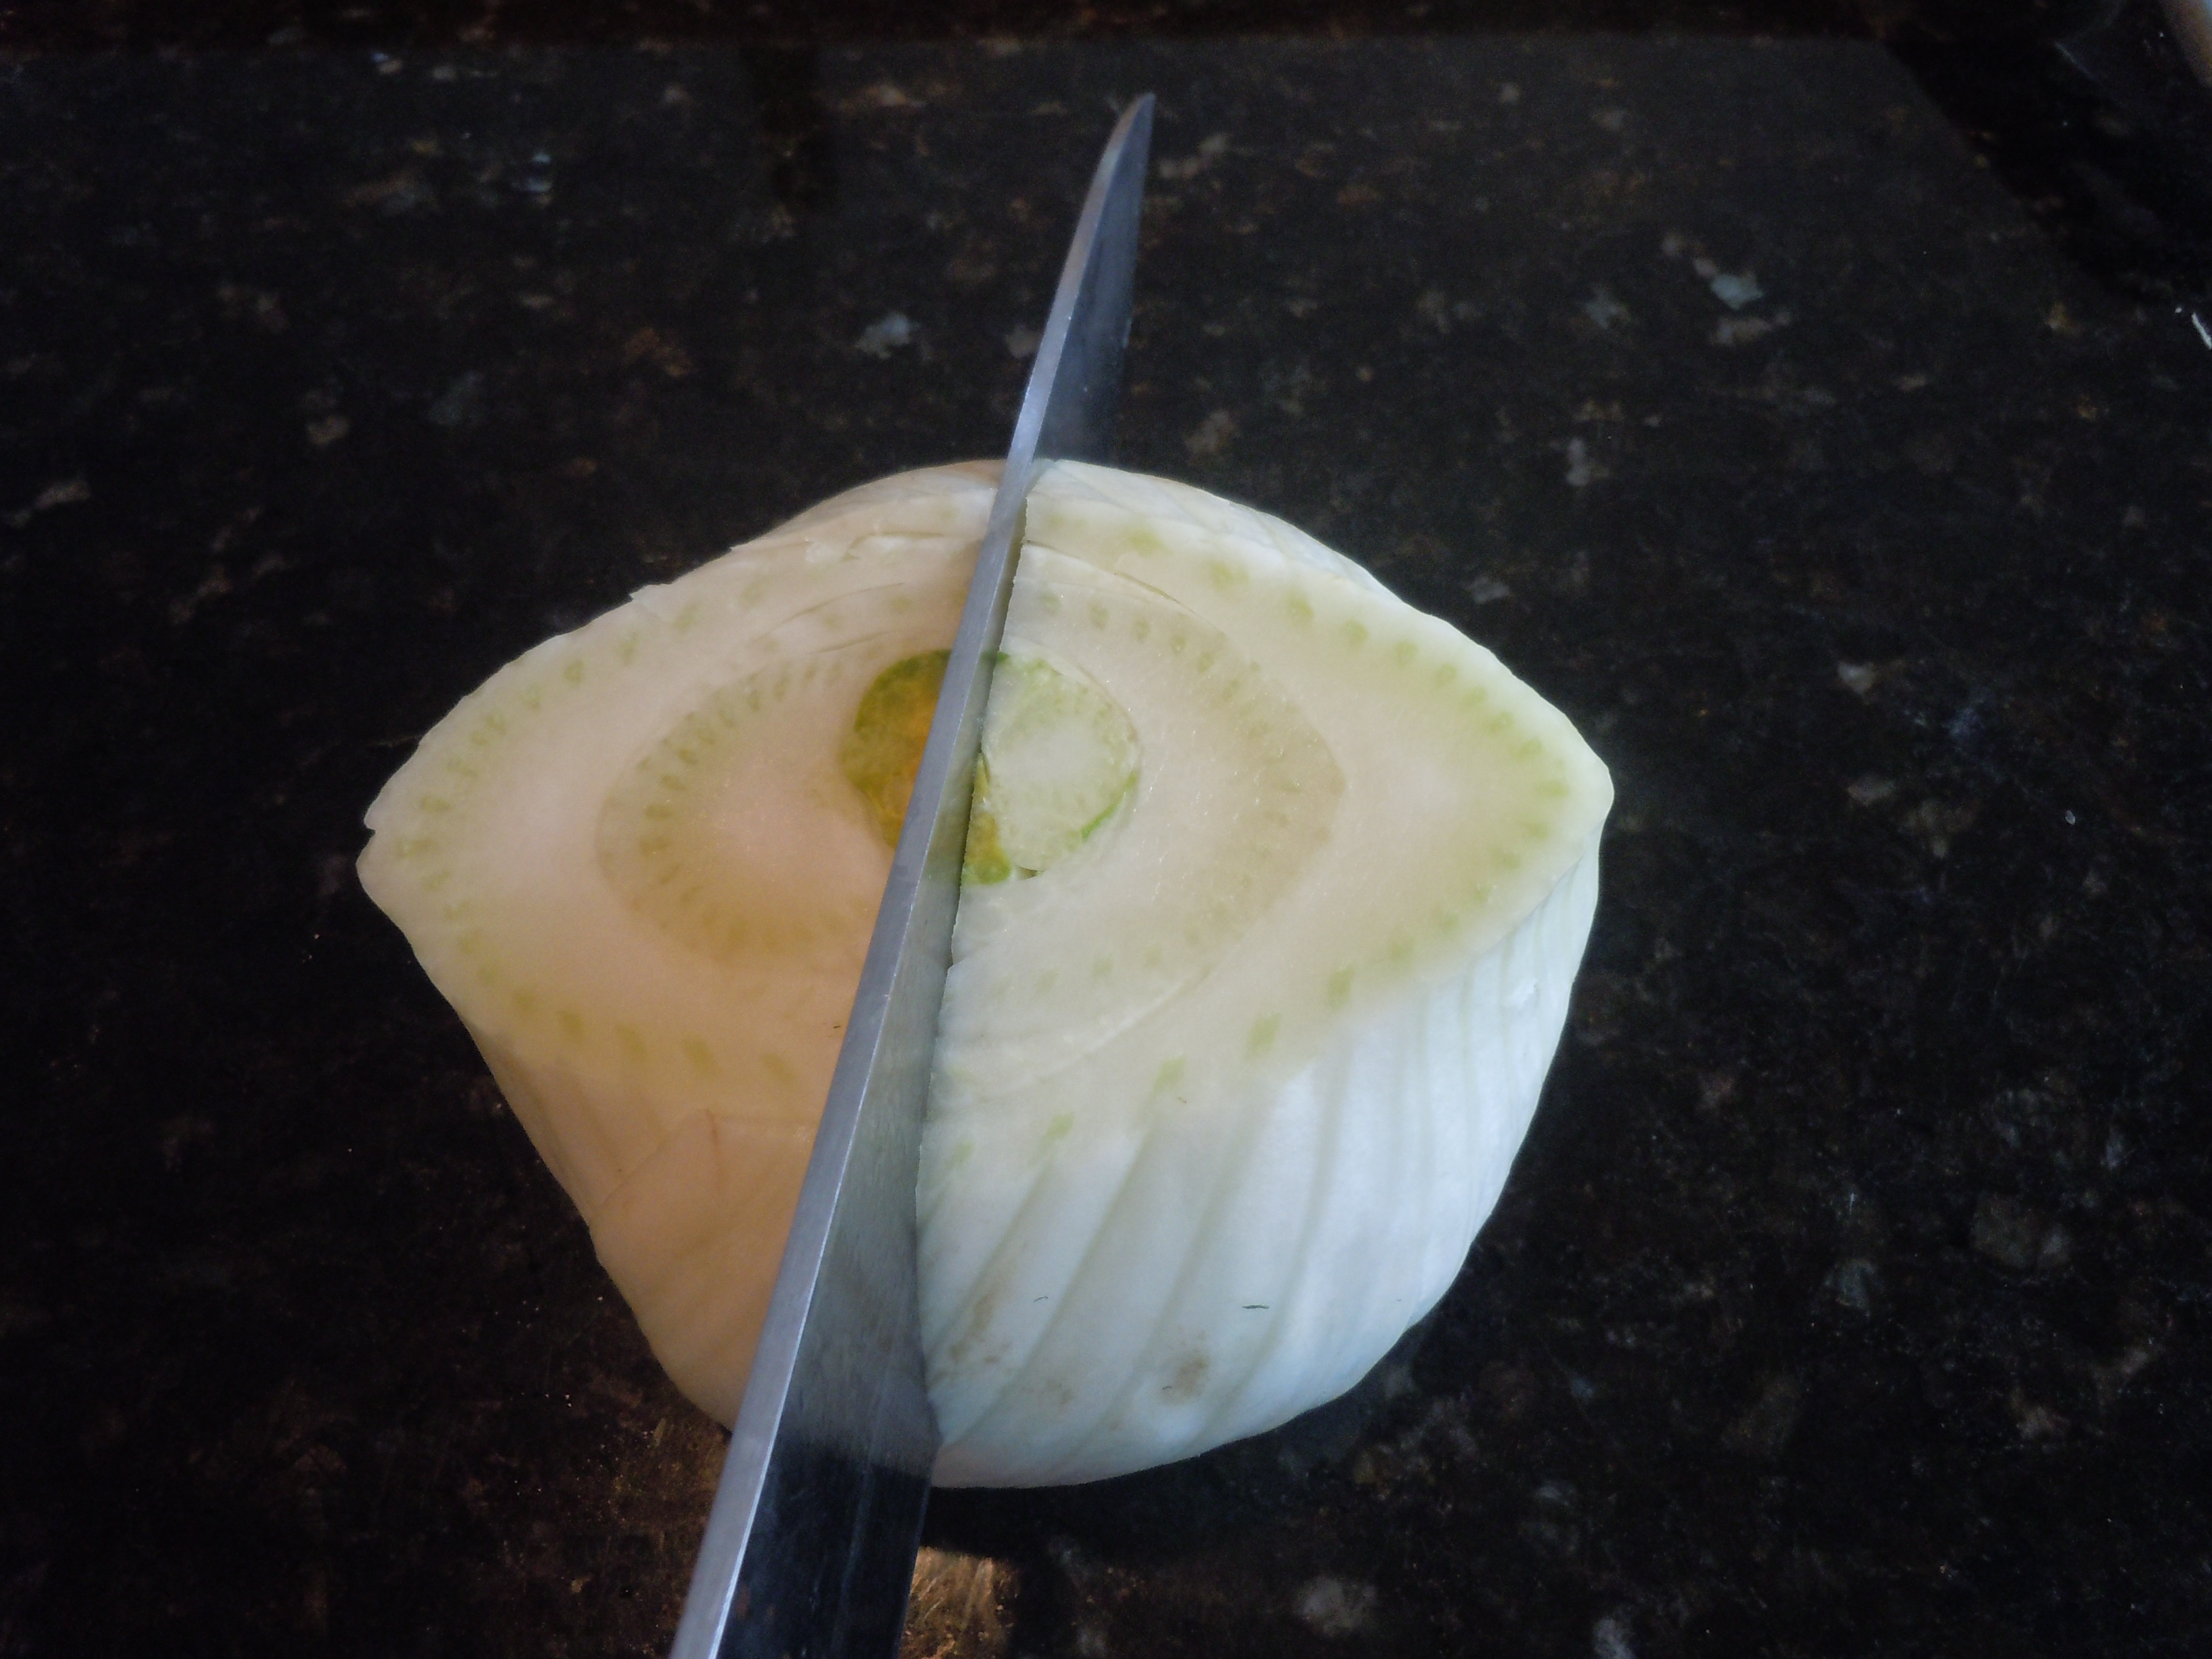
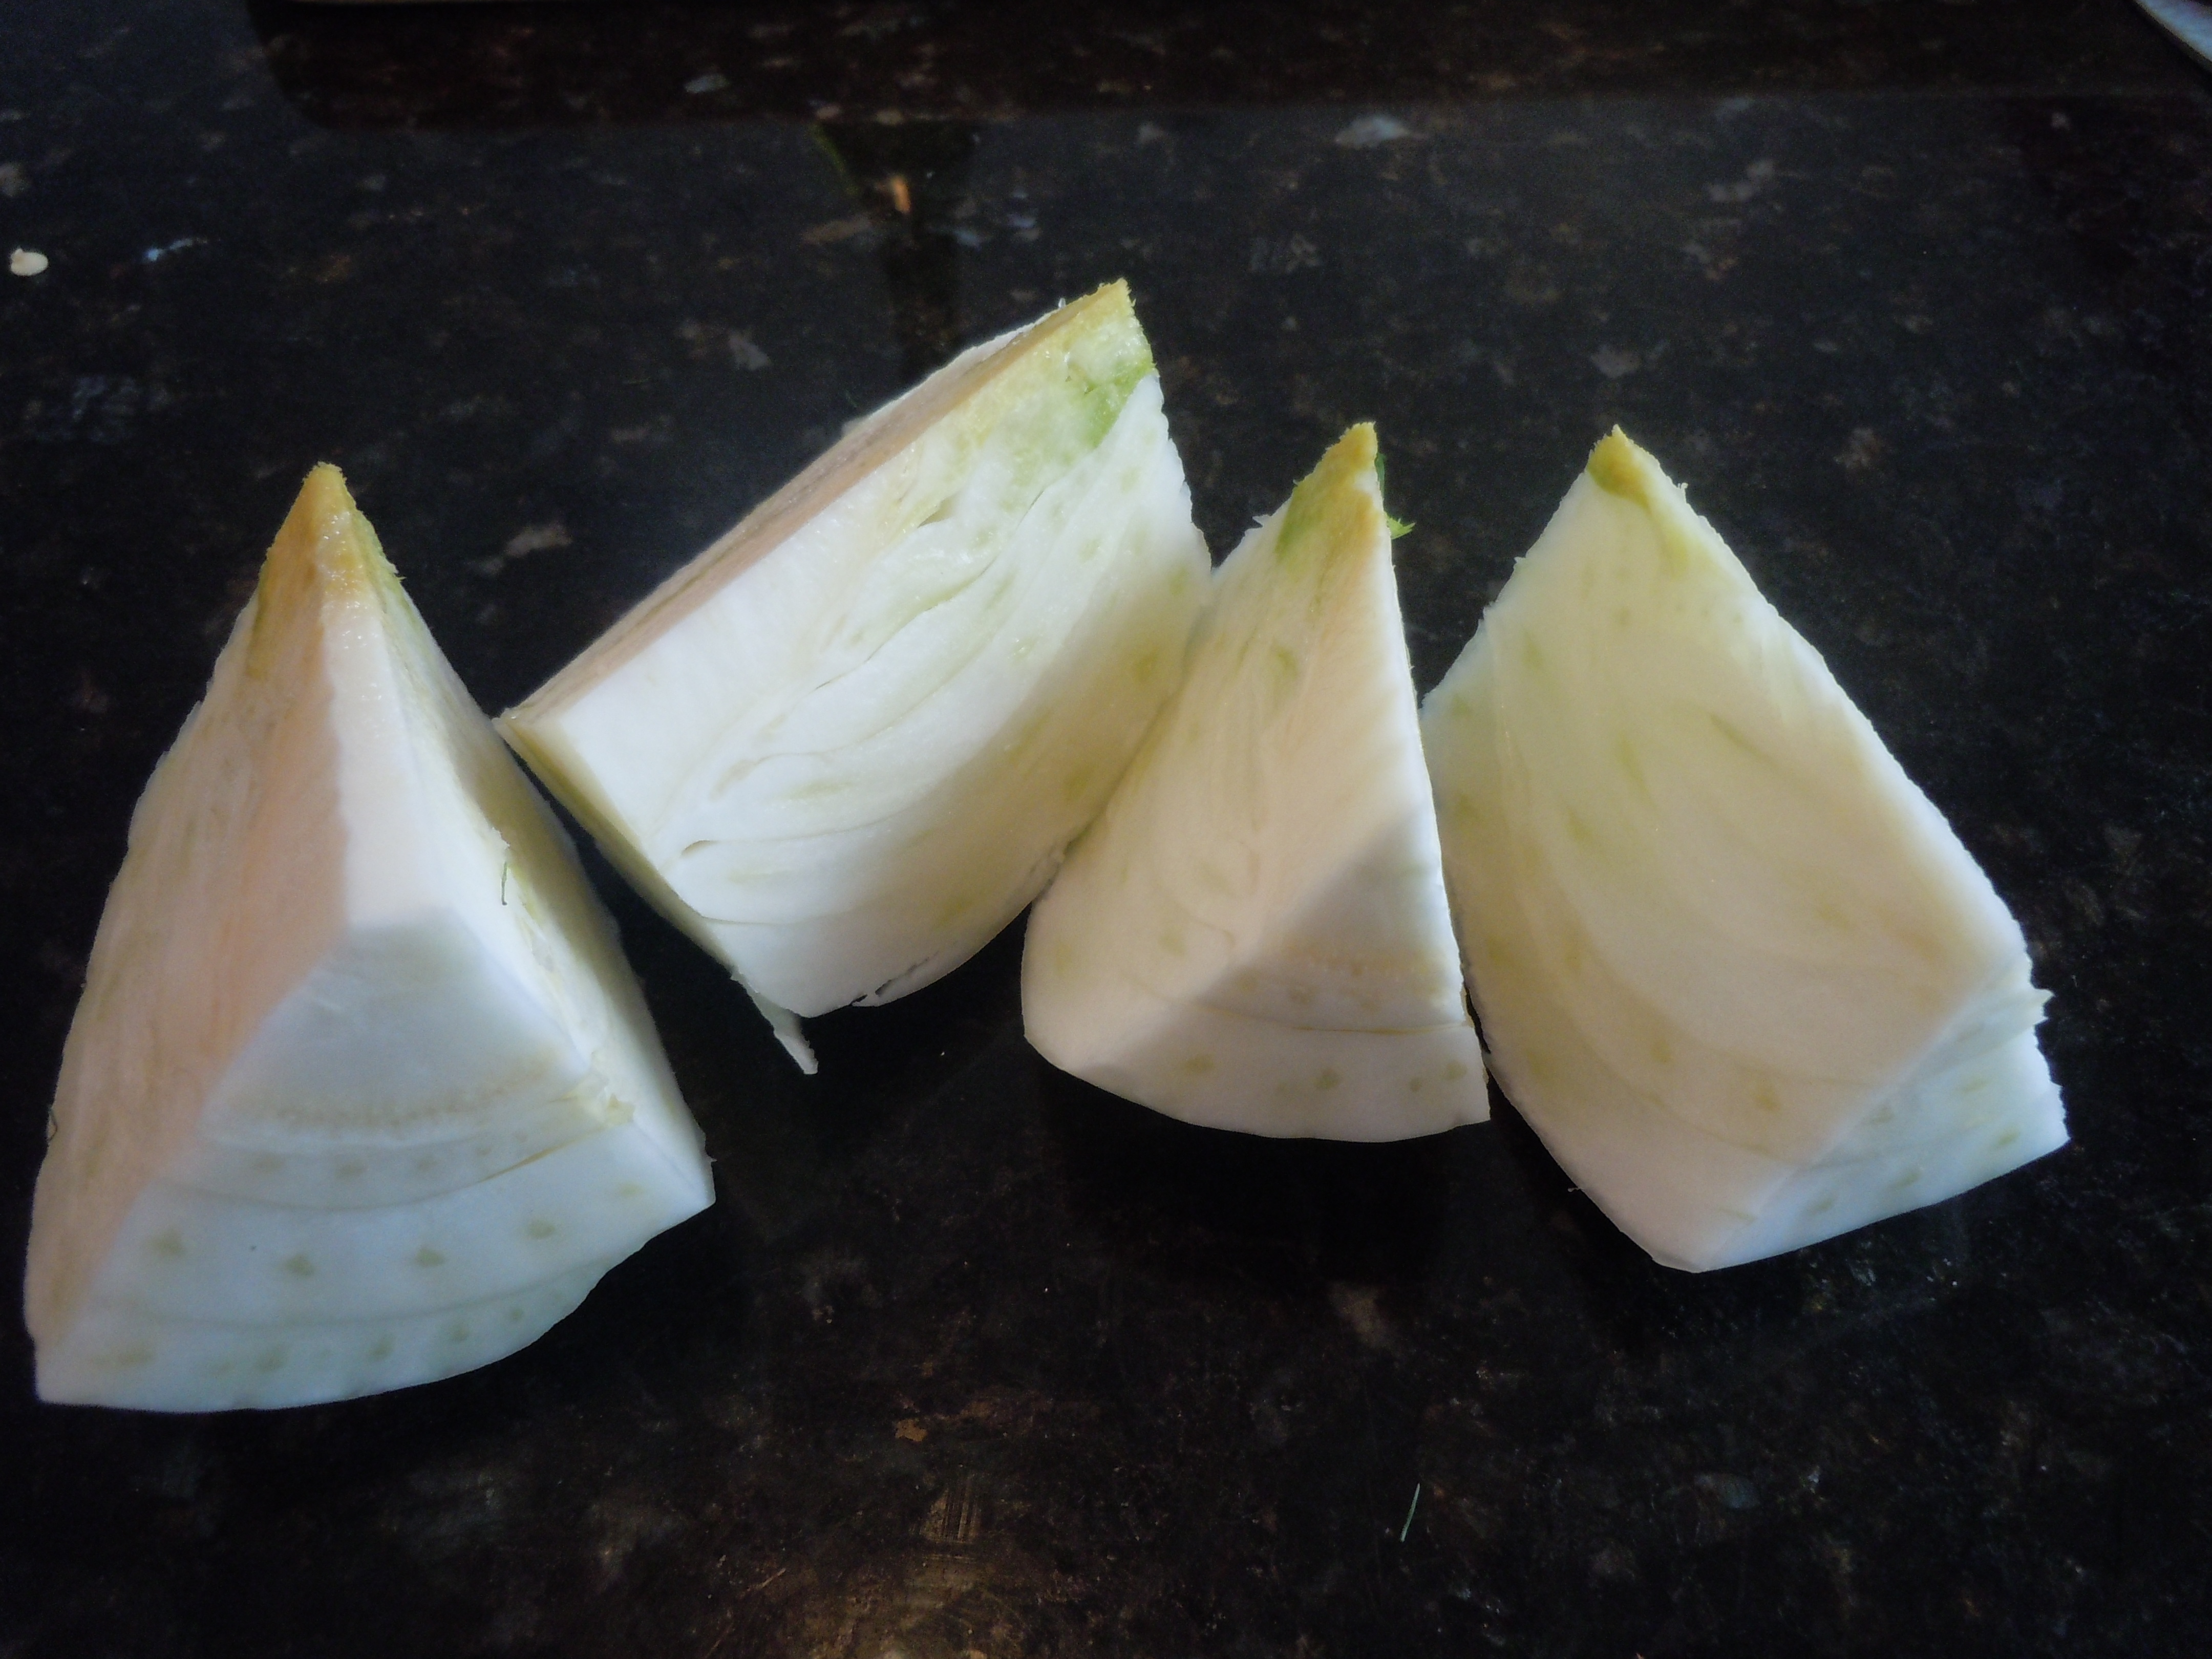
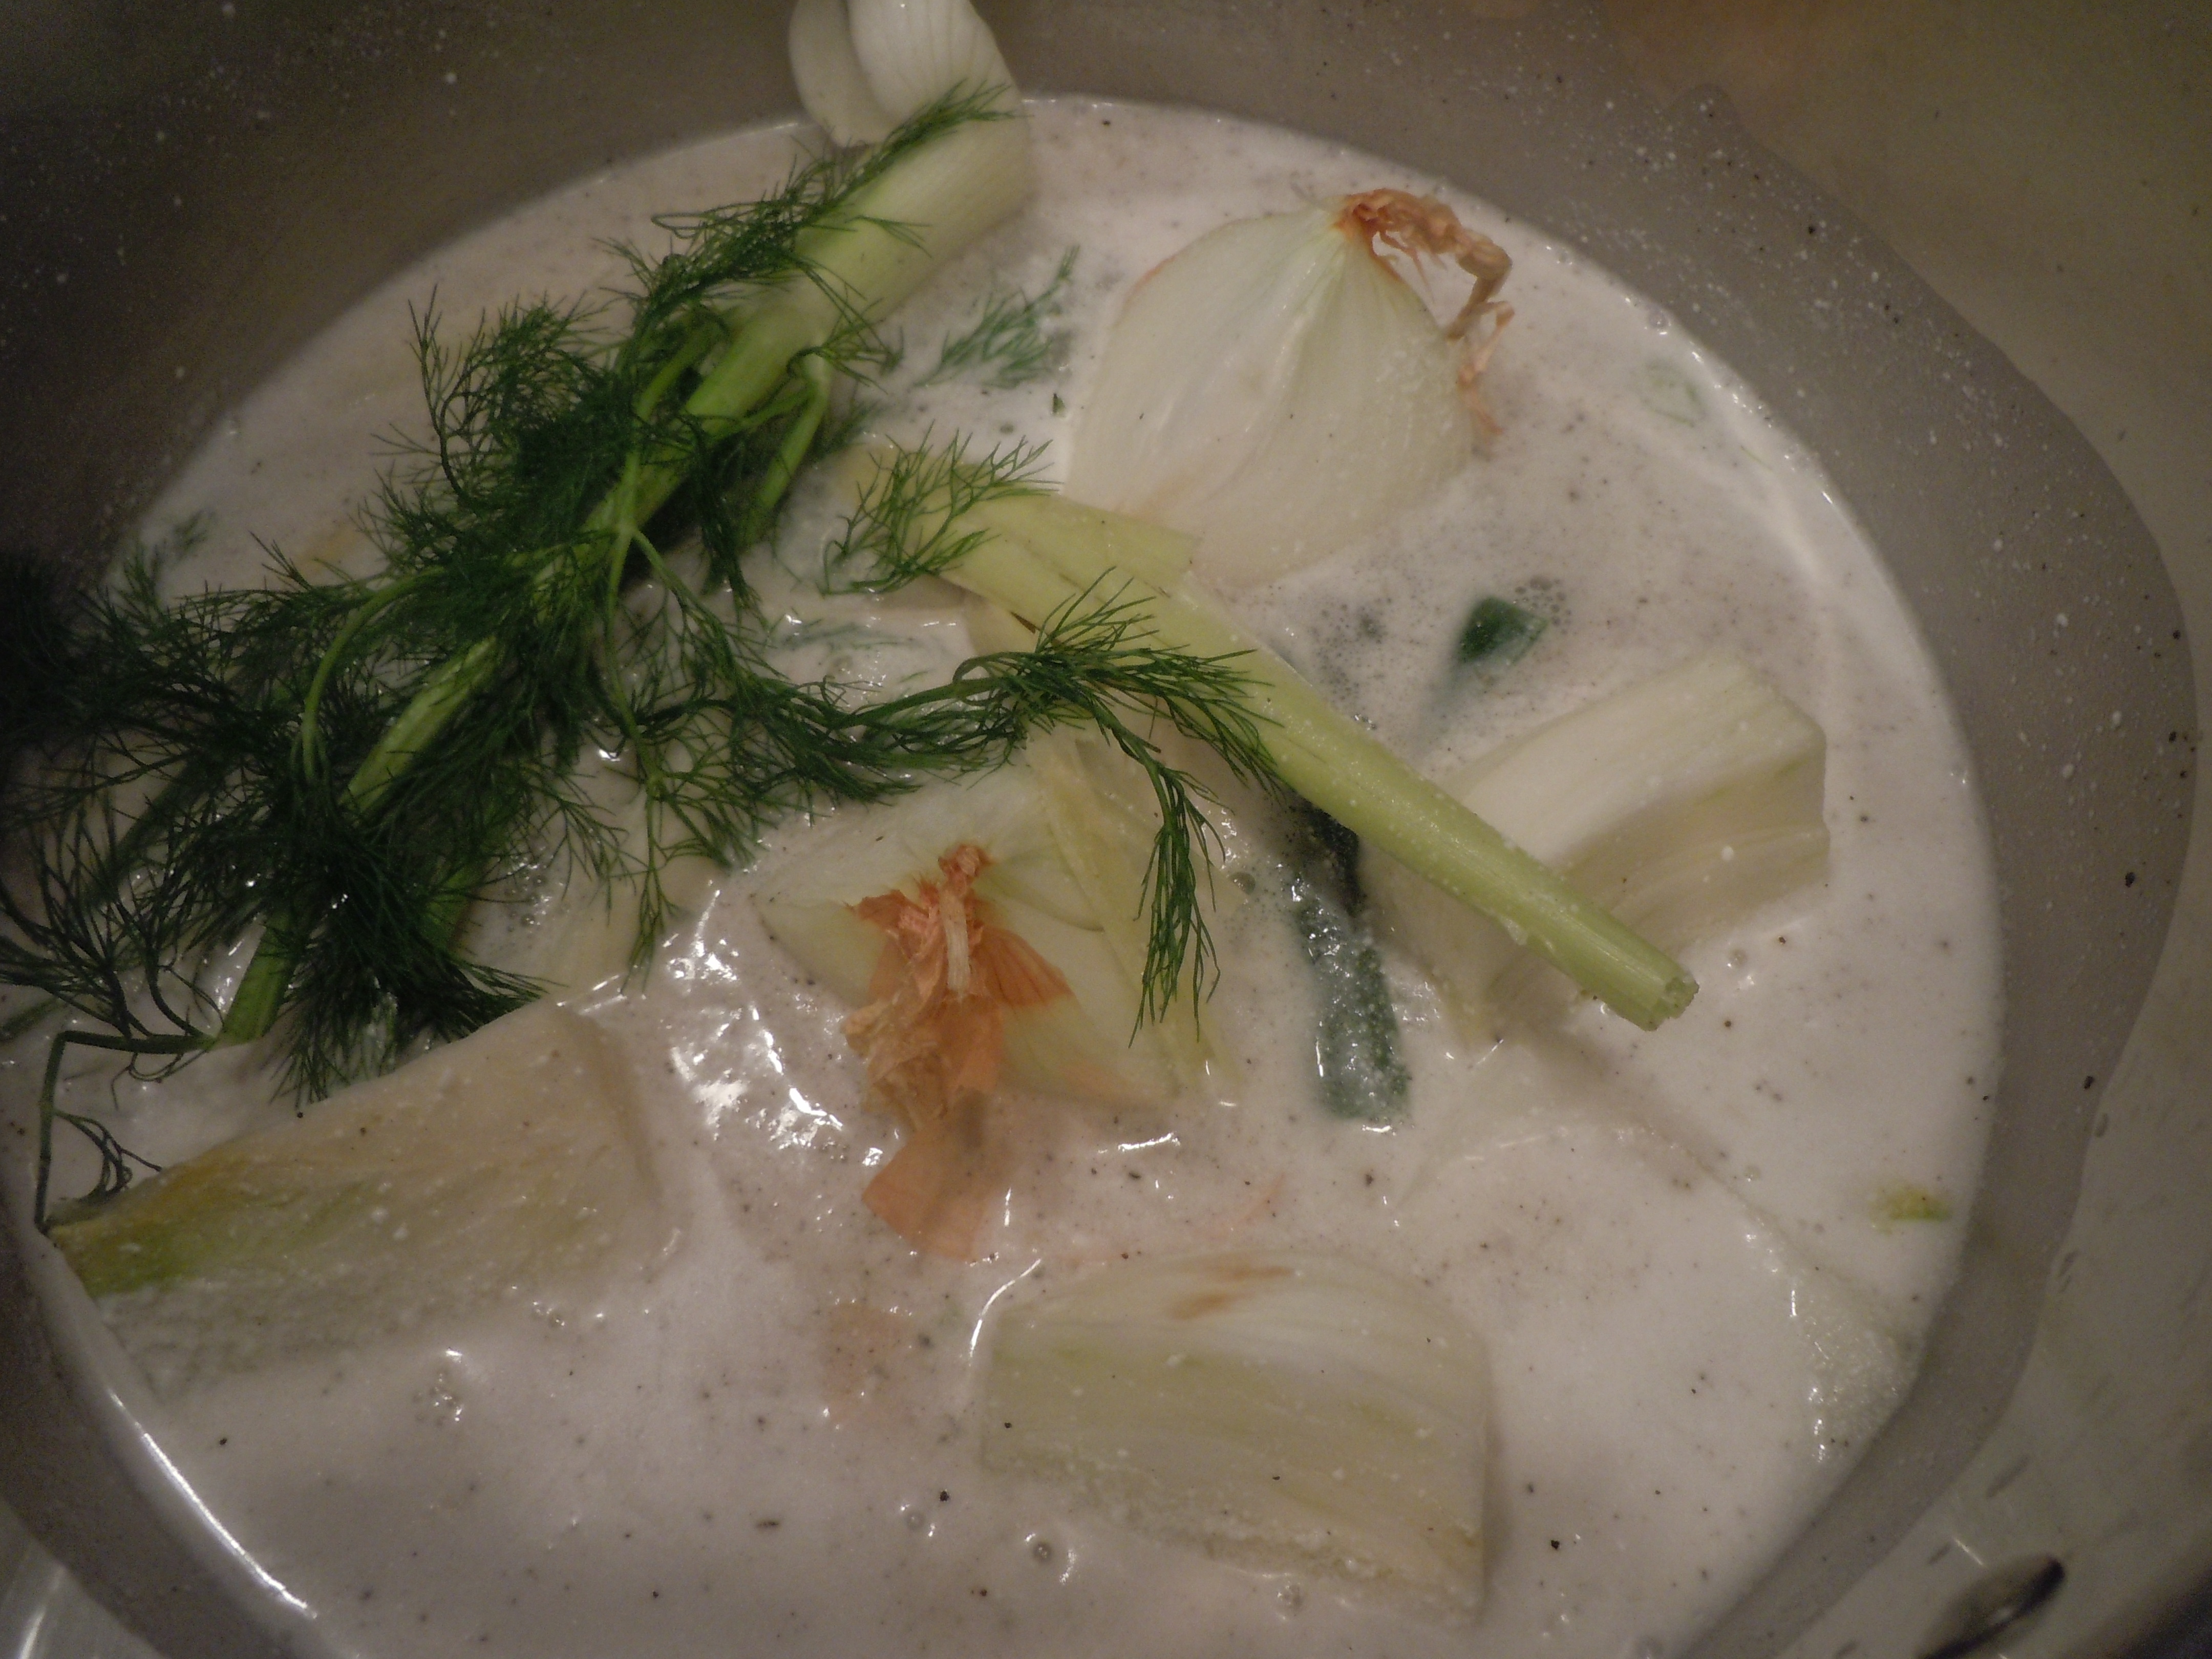
- Cut the ends off of the fennel bulb as shown in the photo above and slice 2/3 of it into wedges and add to the sauce pan with some of the fronds (green fennel tops) and the lemongrass
- Add sliced jalapeño, onion wedges, smashed garlic cloves, coconut milk, clam broth, white wine, heavy cream, salt, and sugar all to the large sauce pan with fennel and lemongrass and bring to a boil
- Turn heat down and simmer for 30 minutes so all the vegetables and herbs can infuse the broths and creams
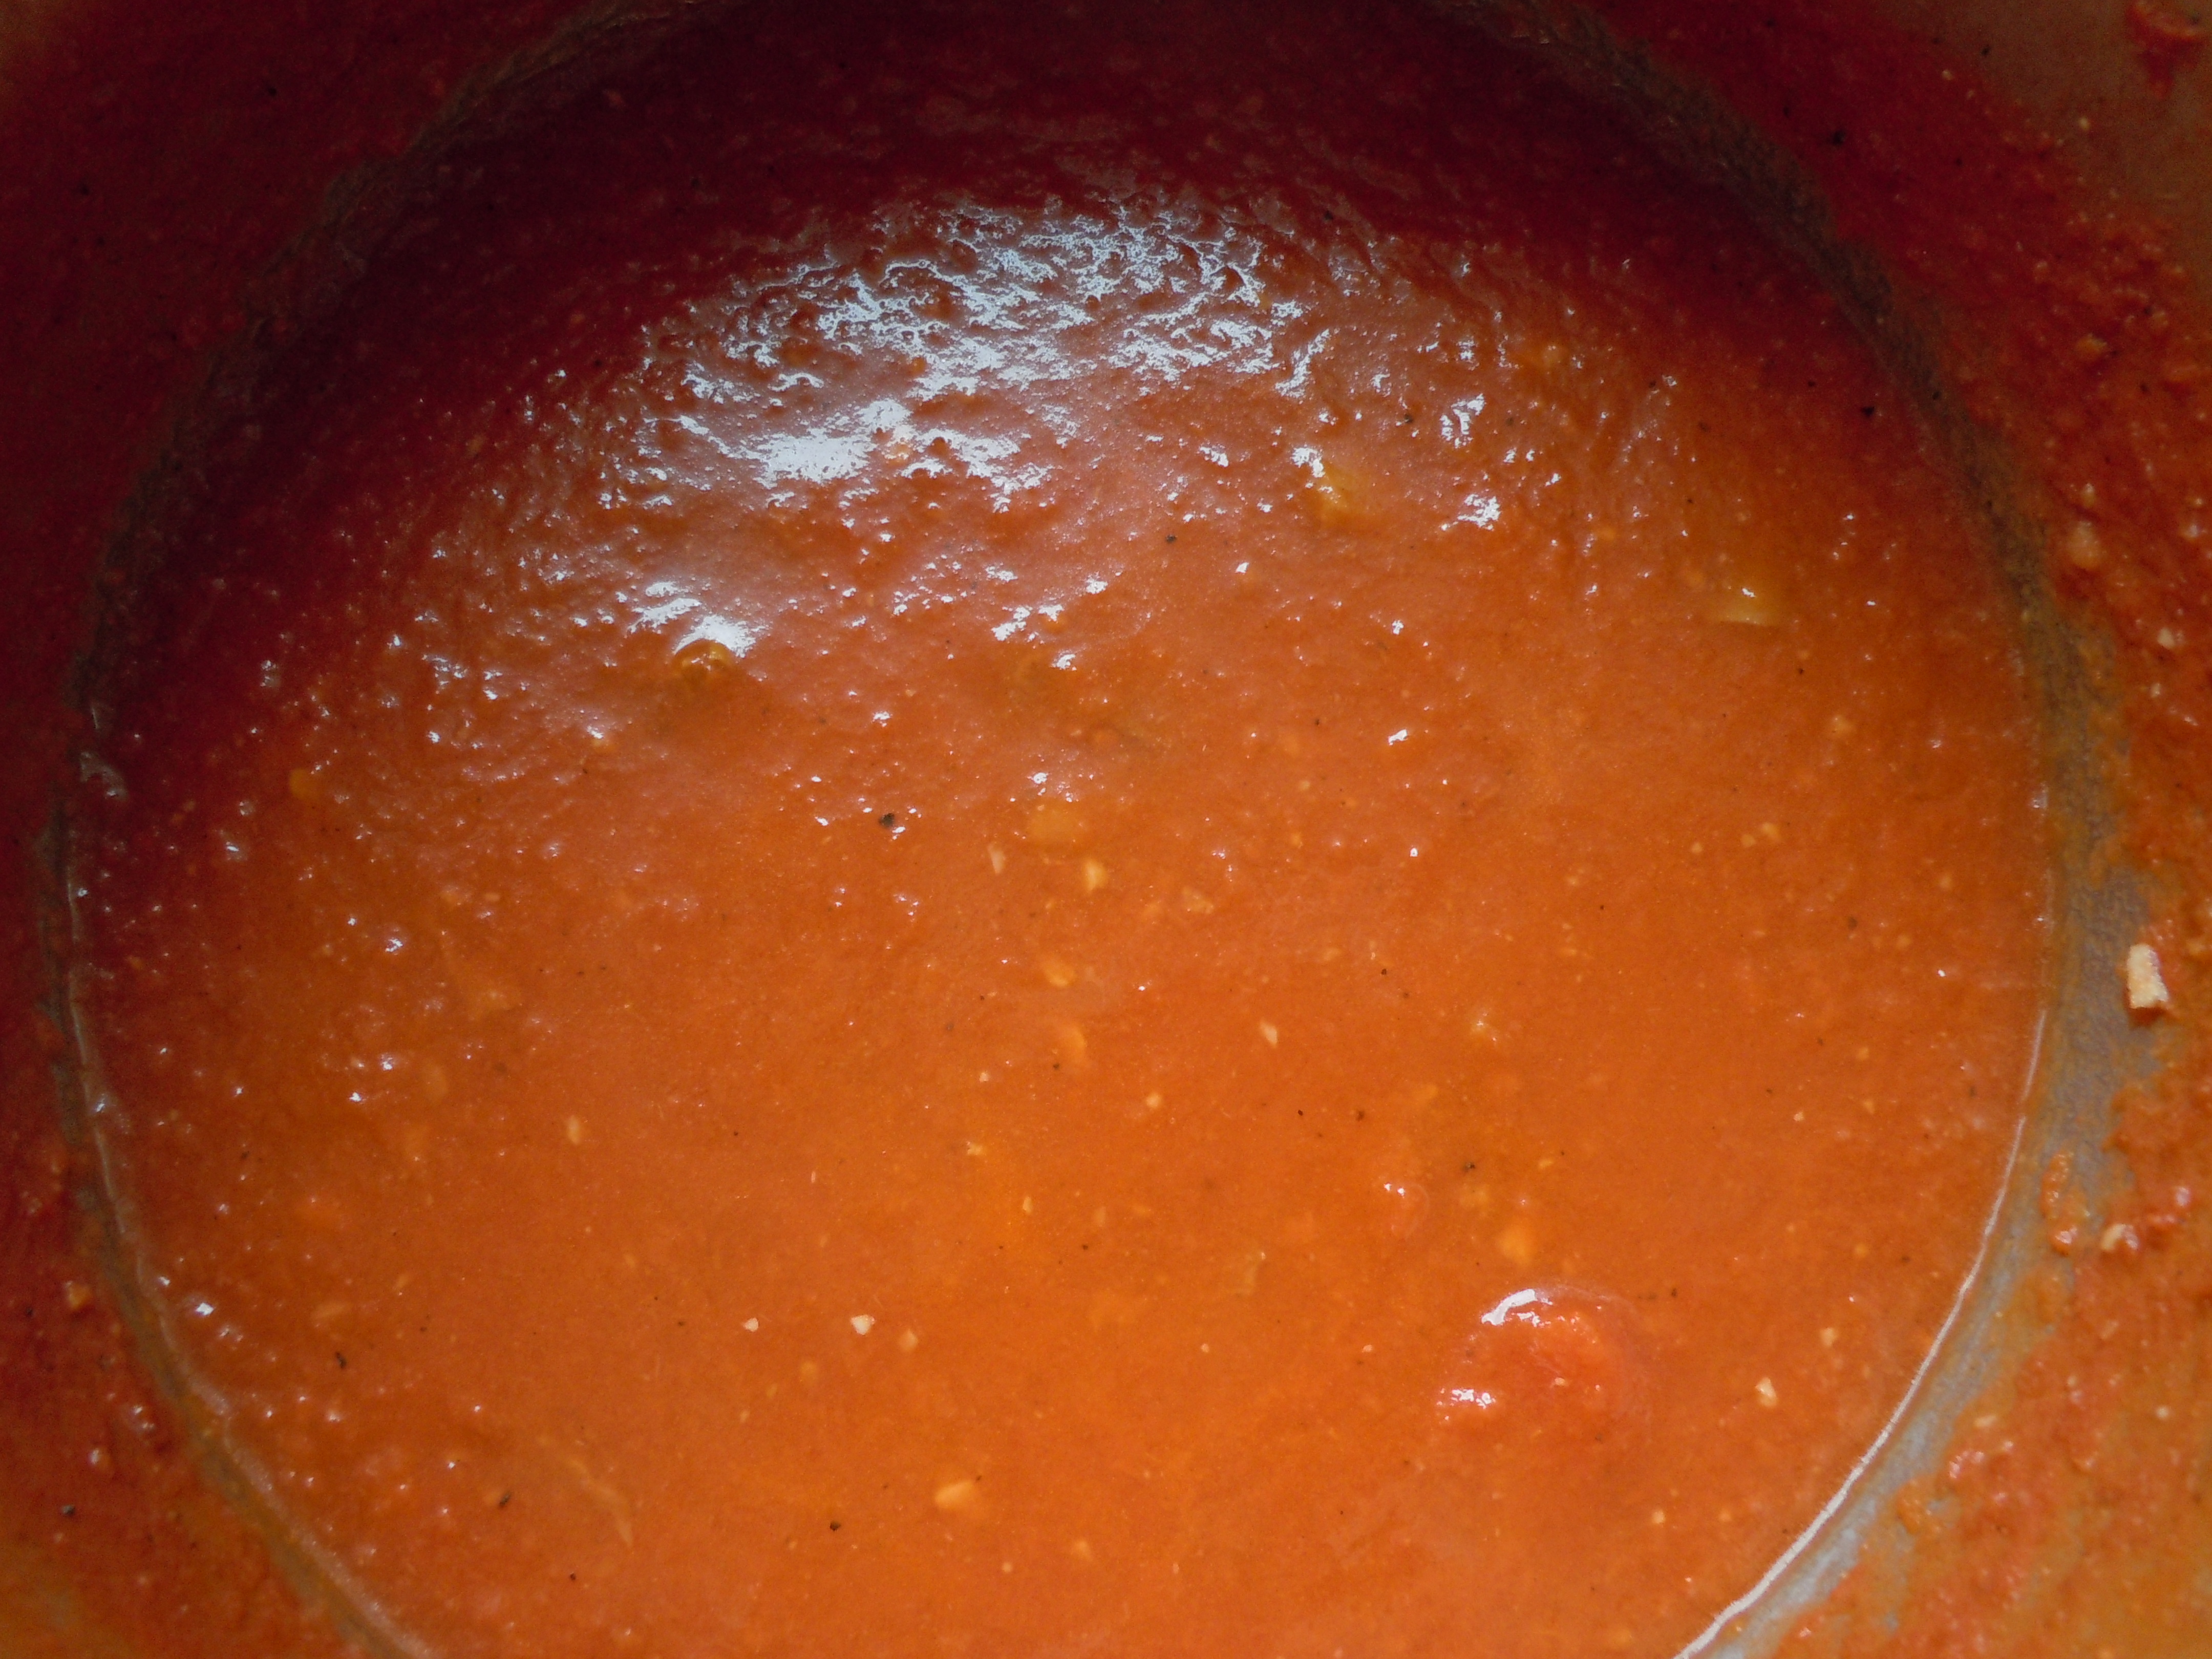
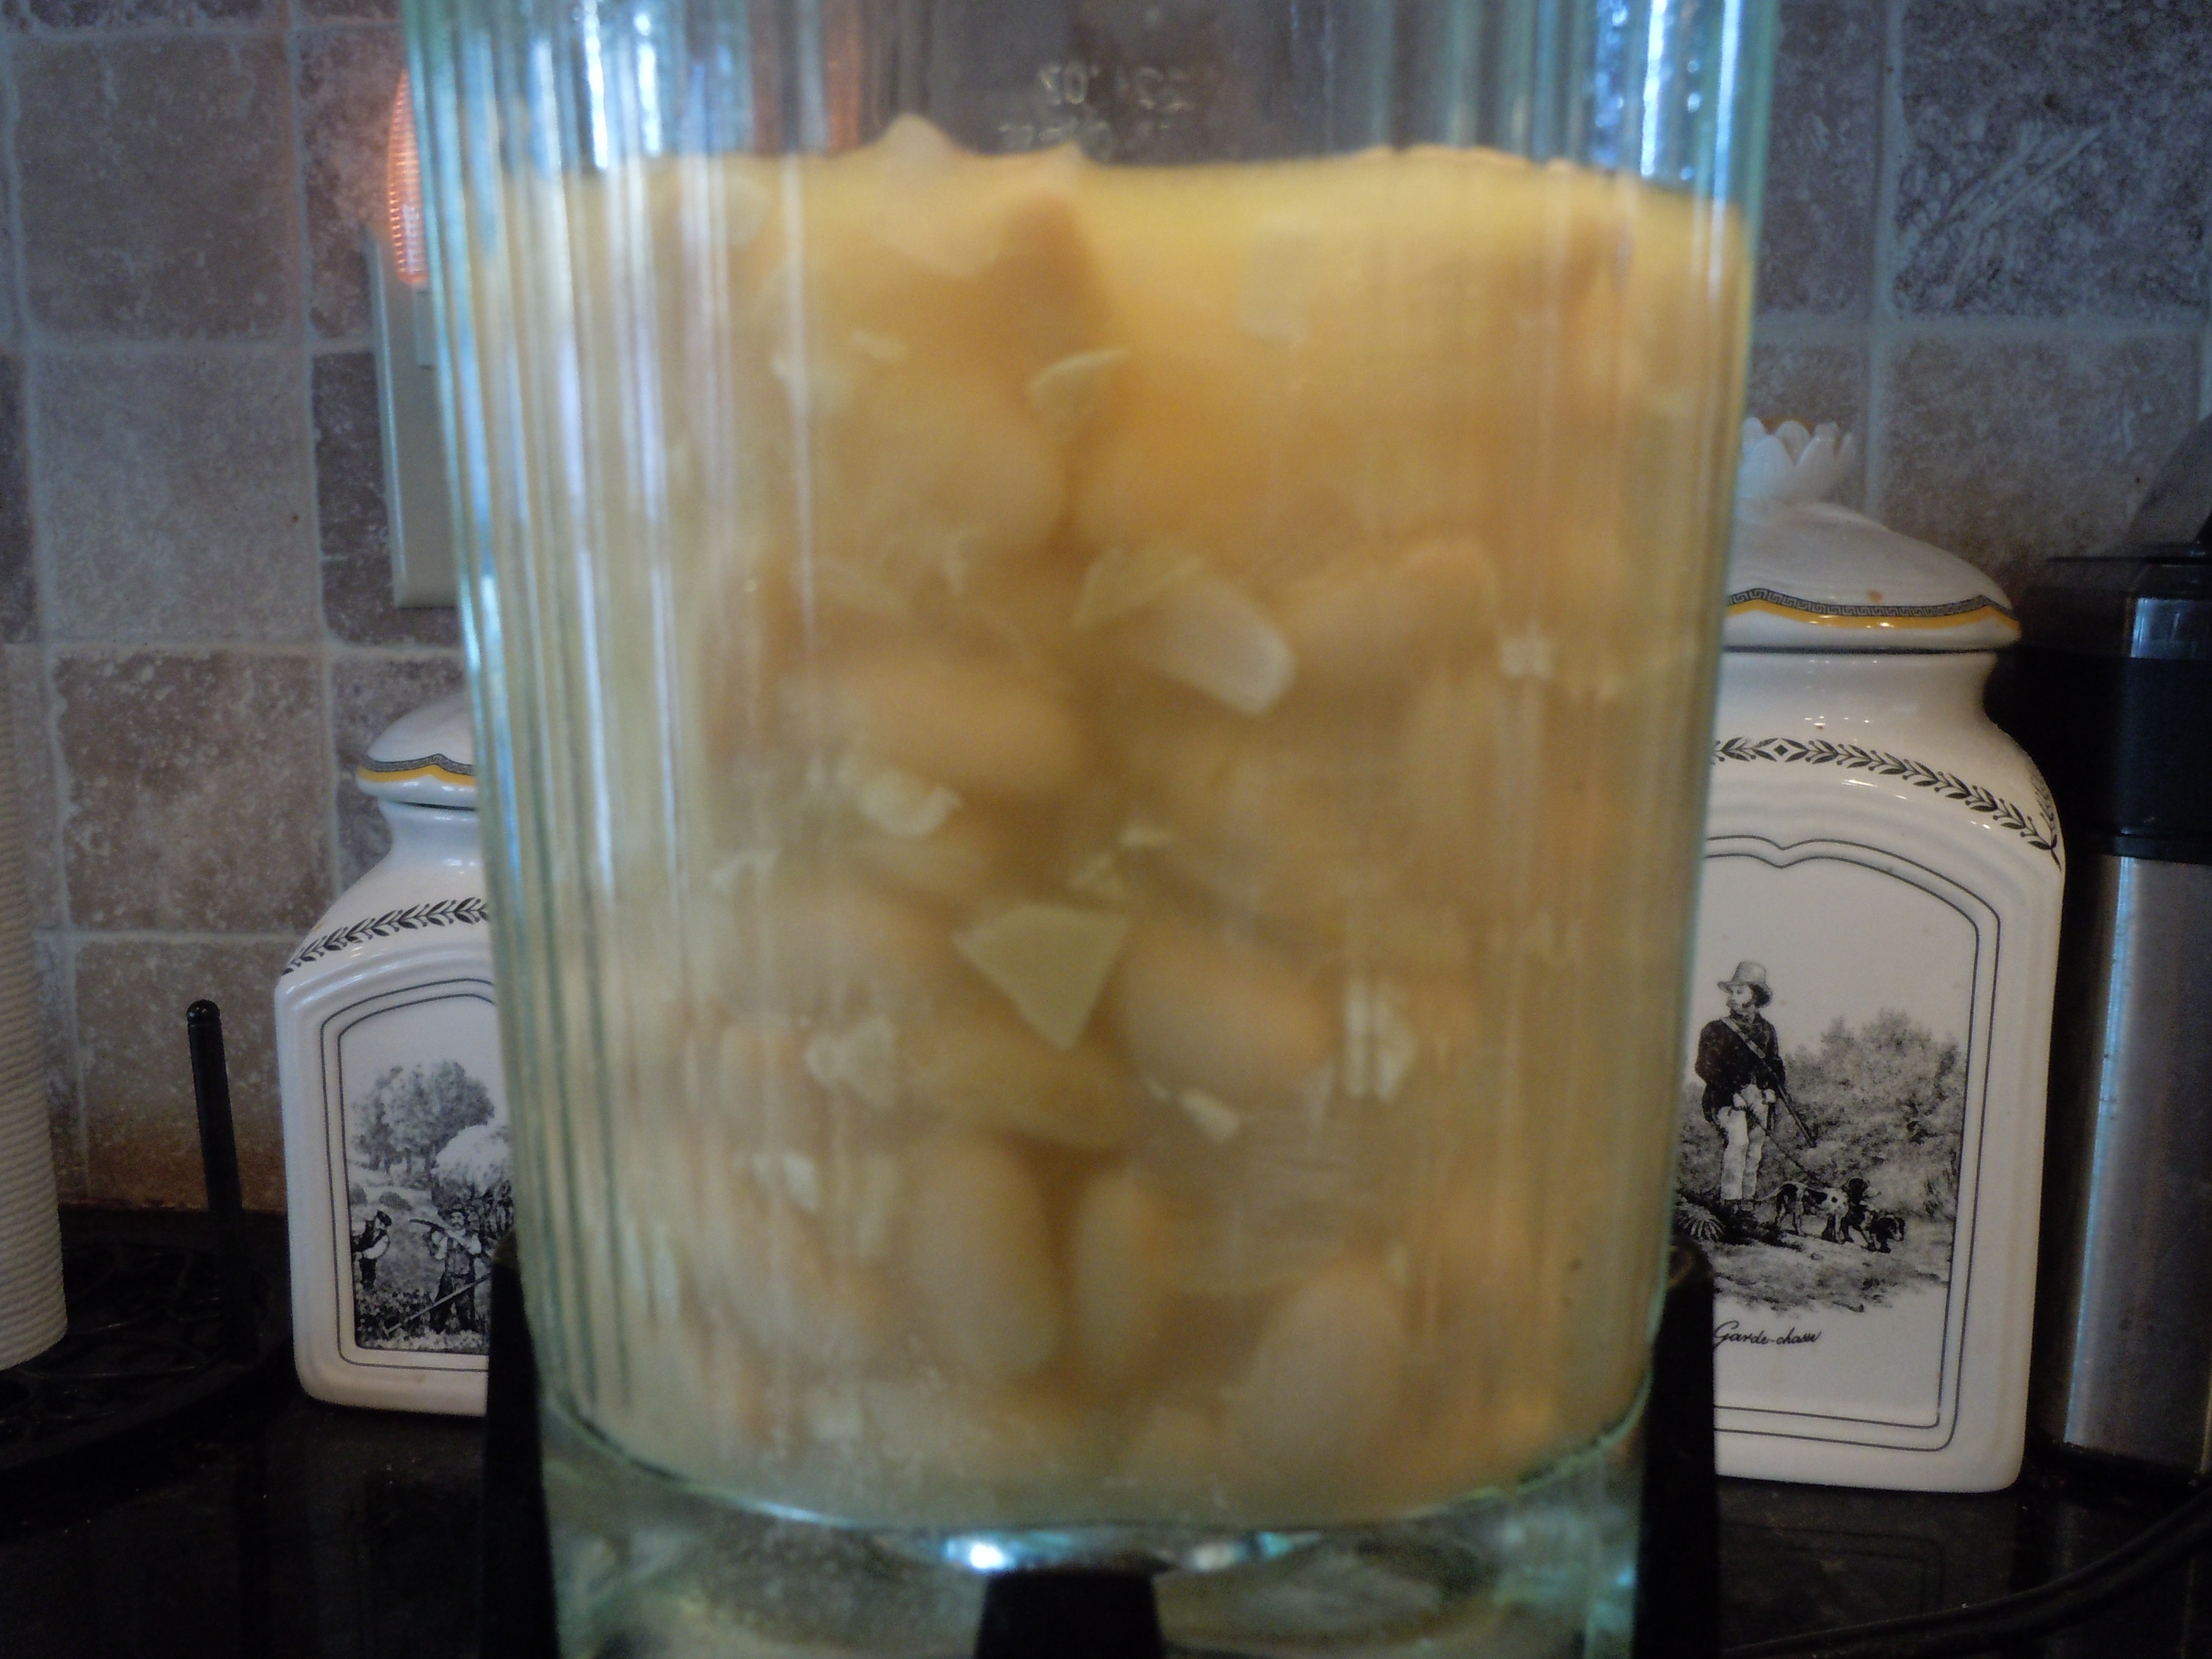
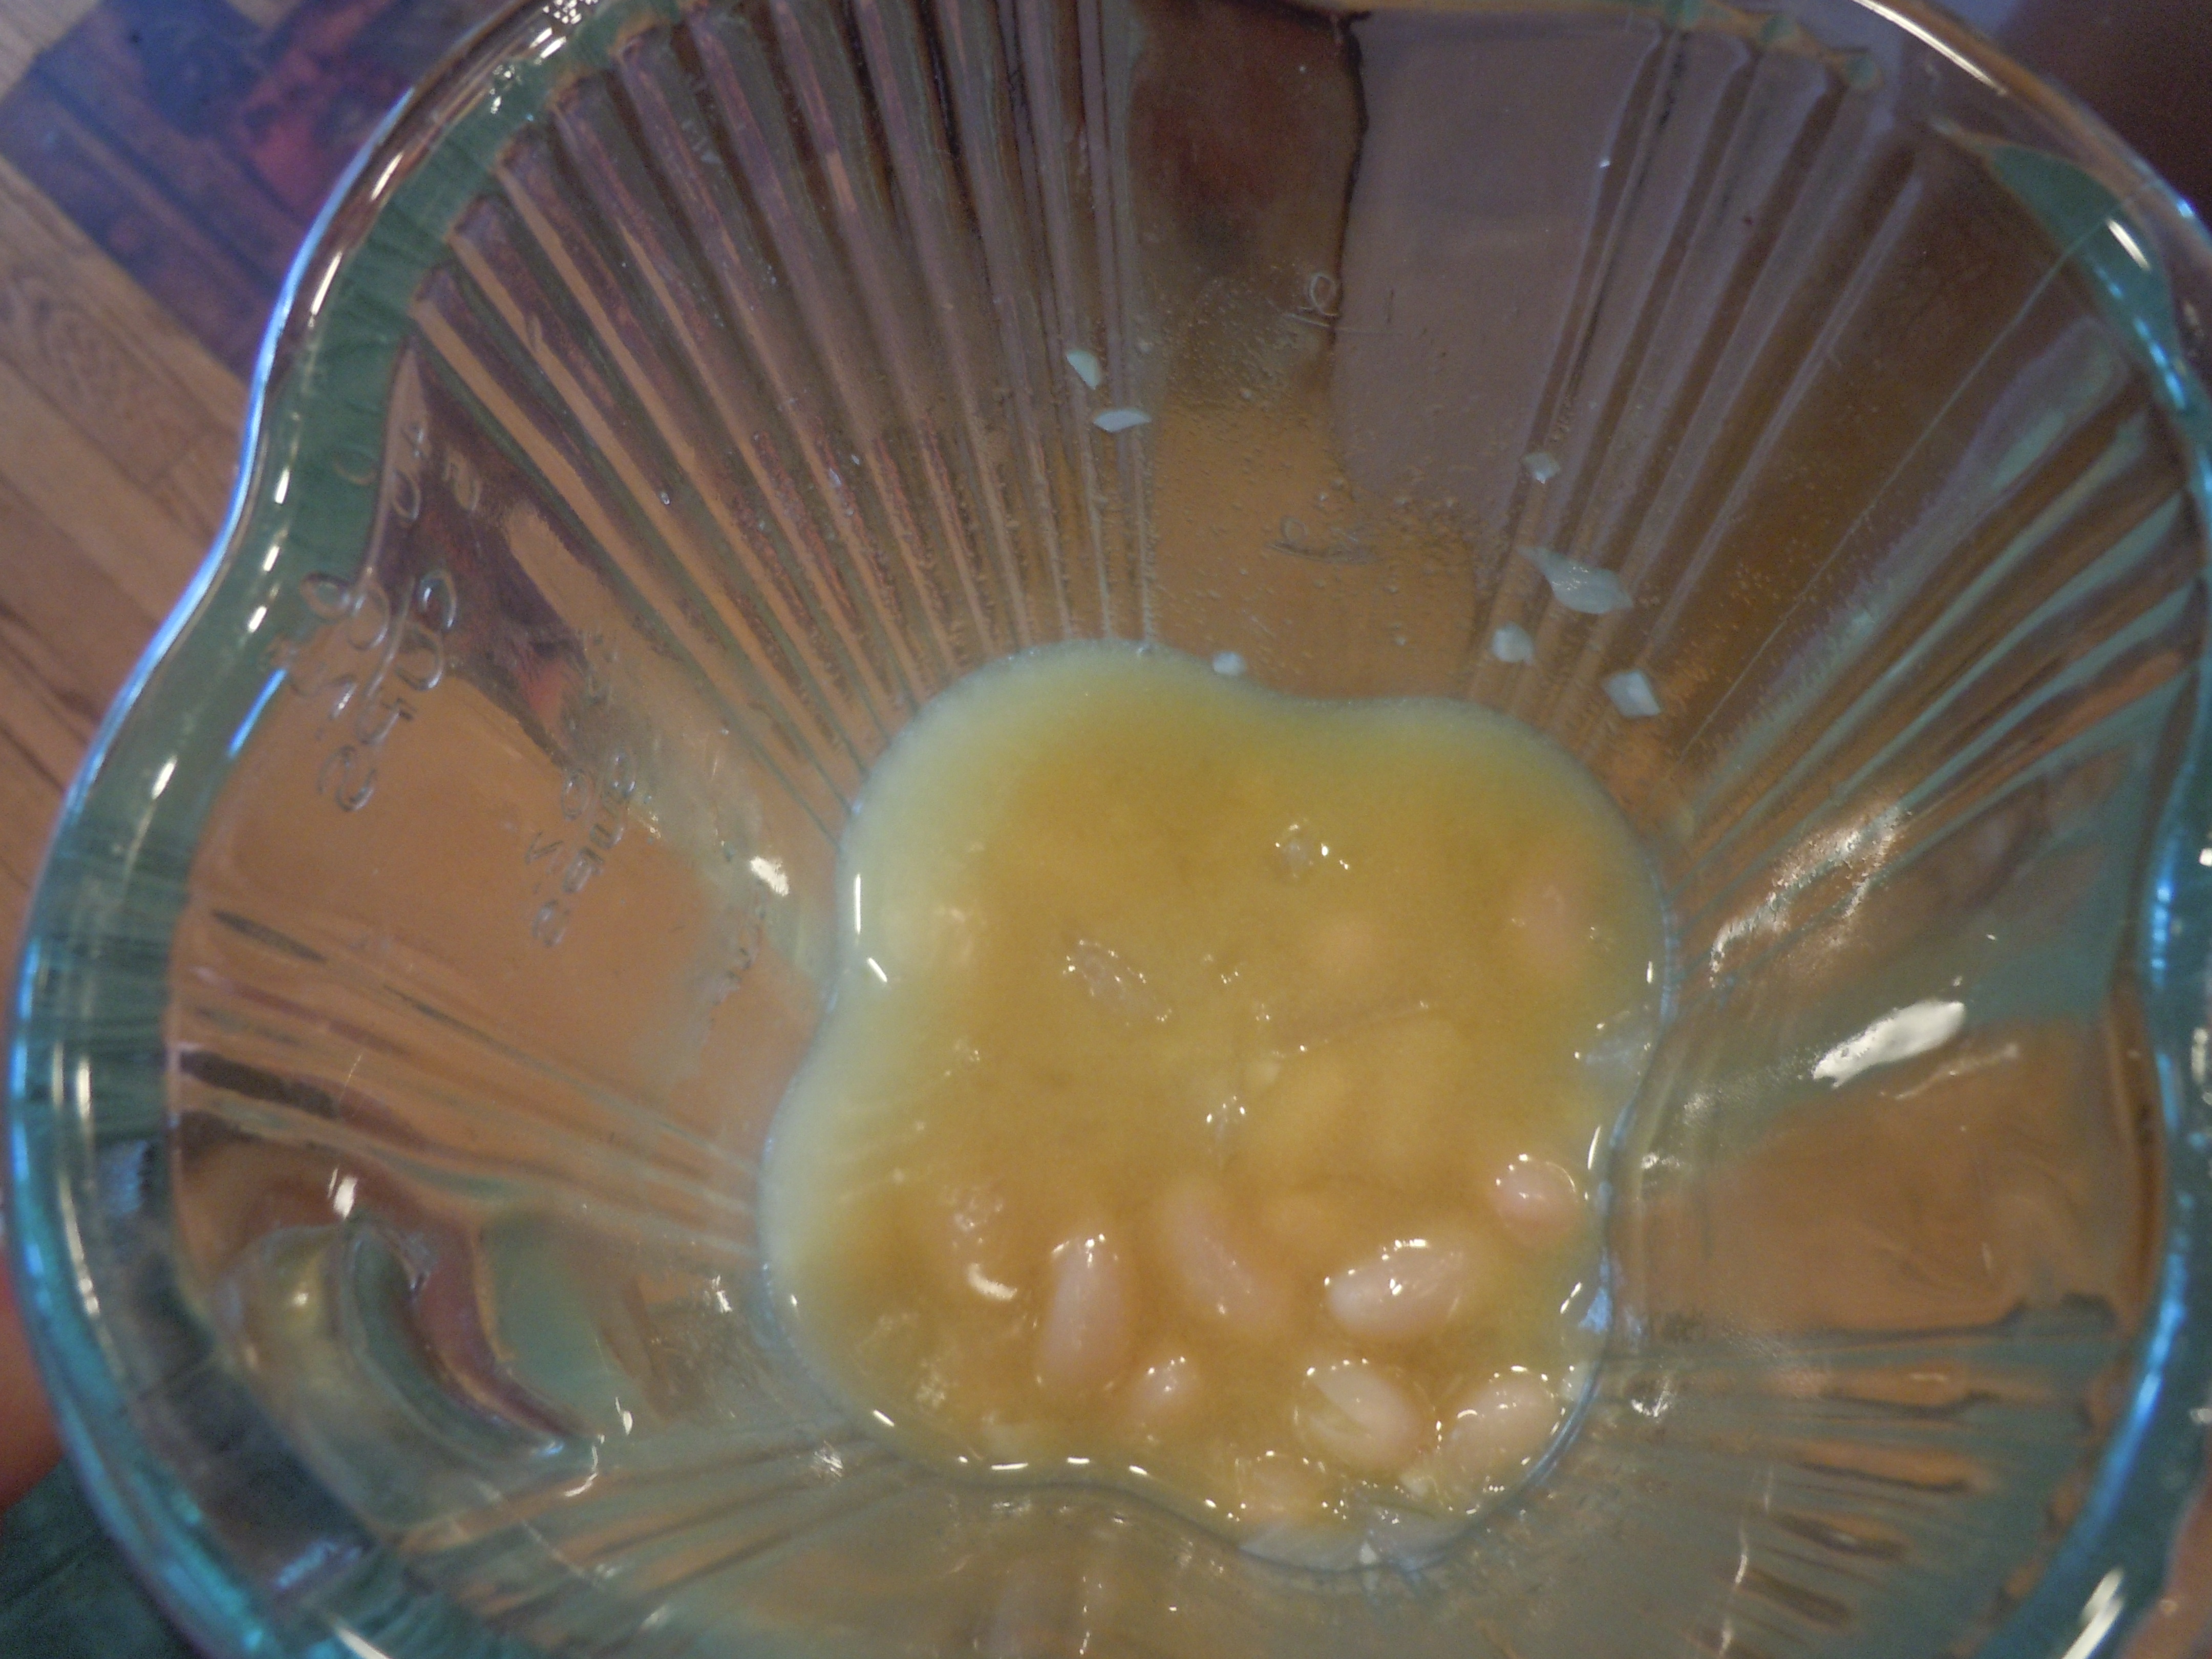
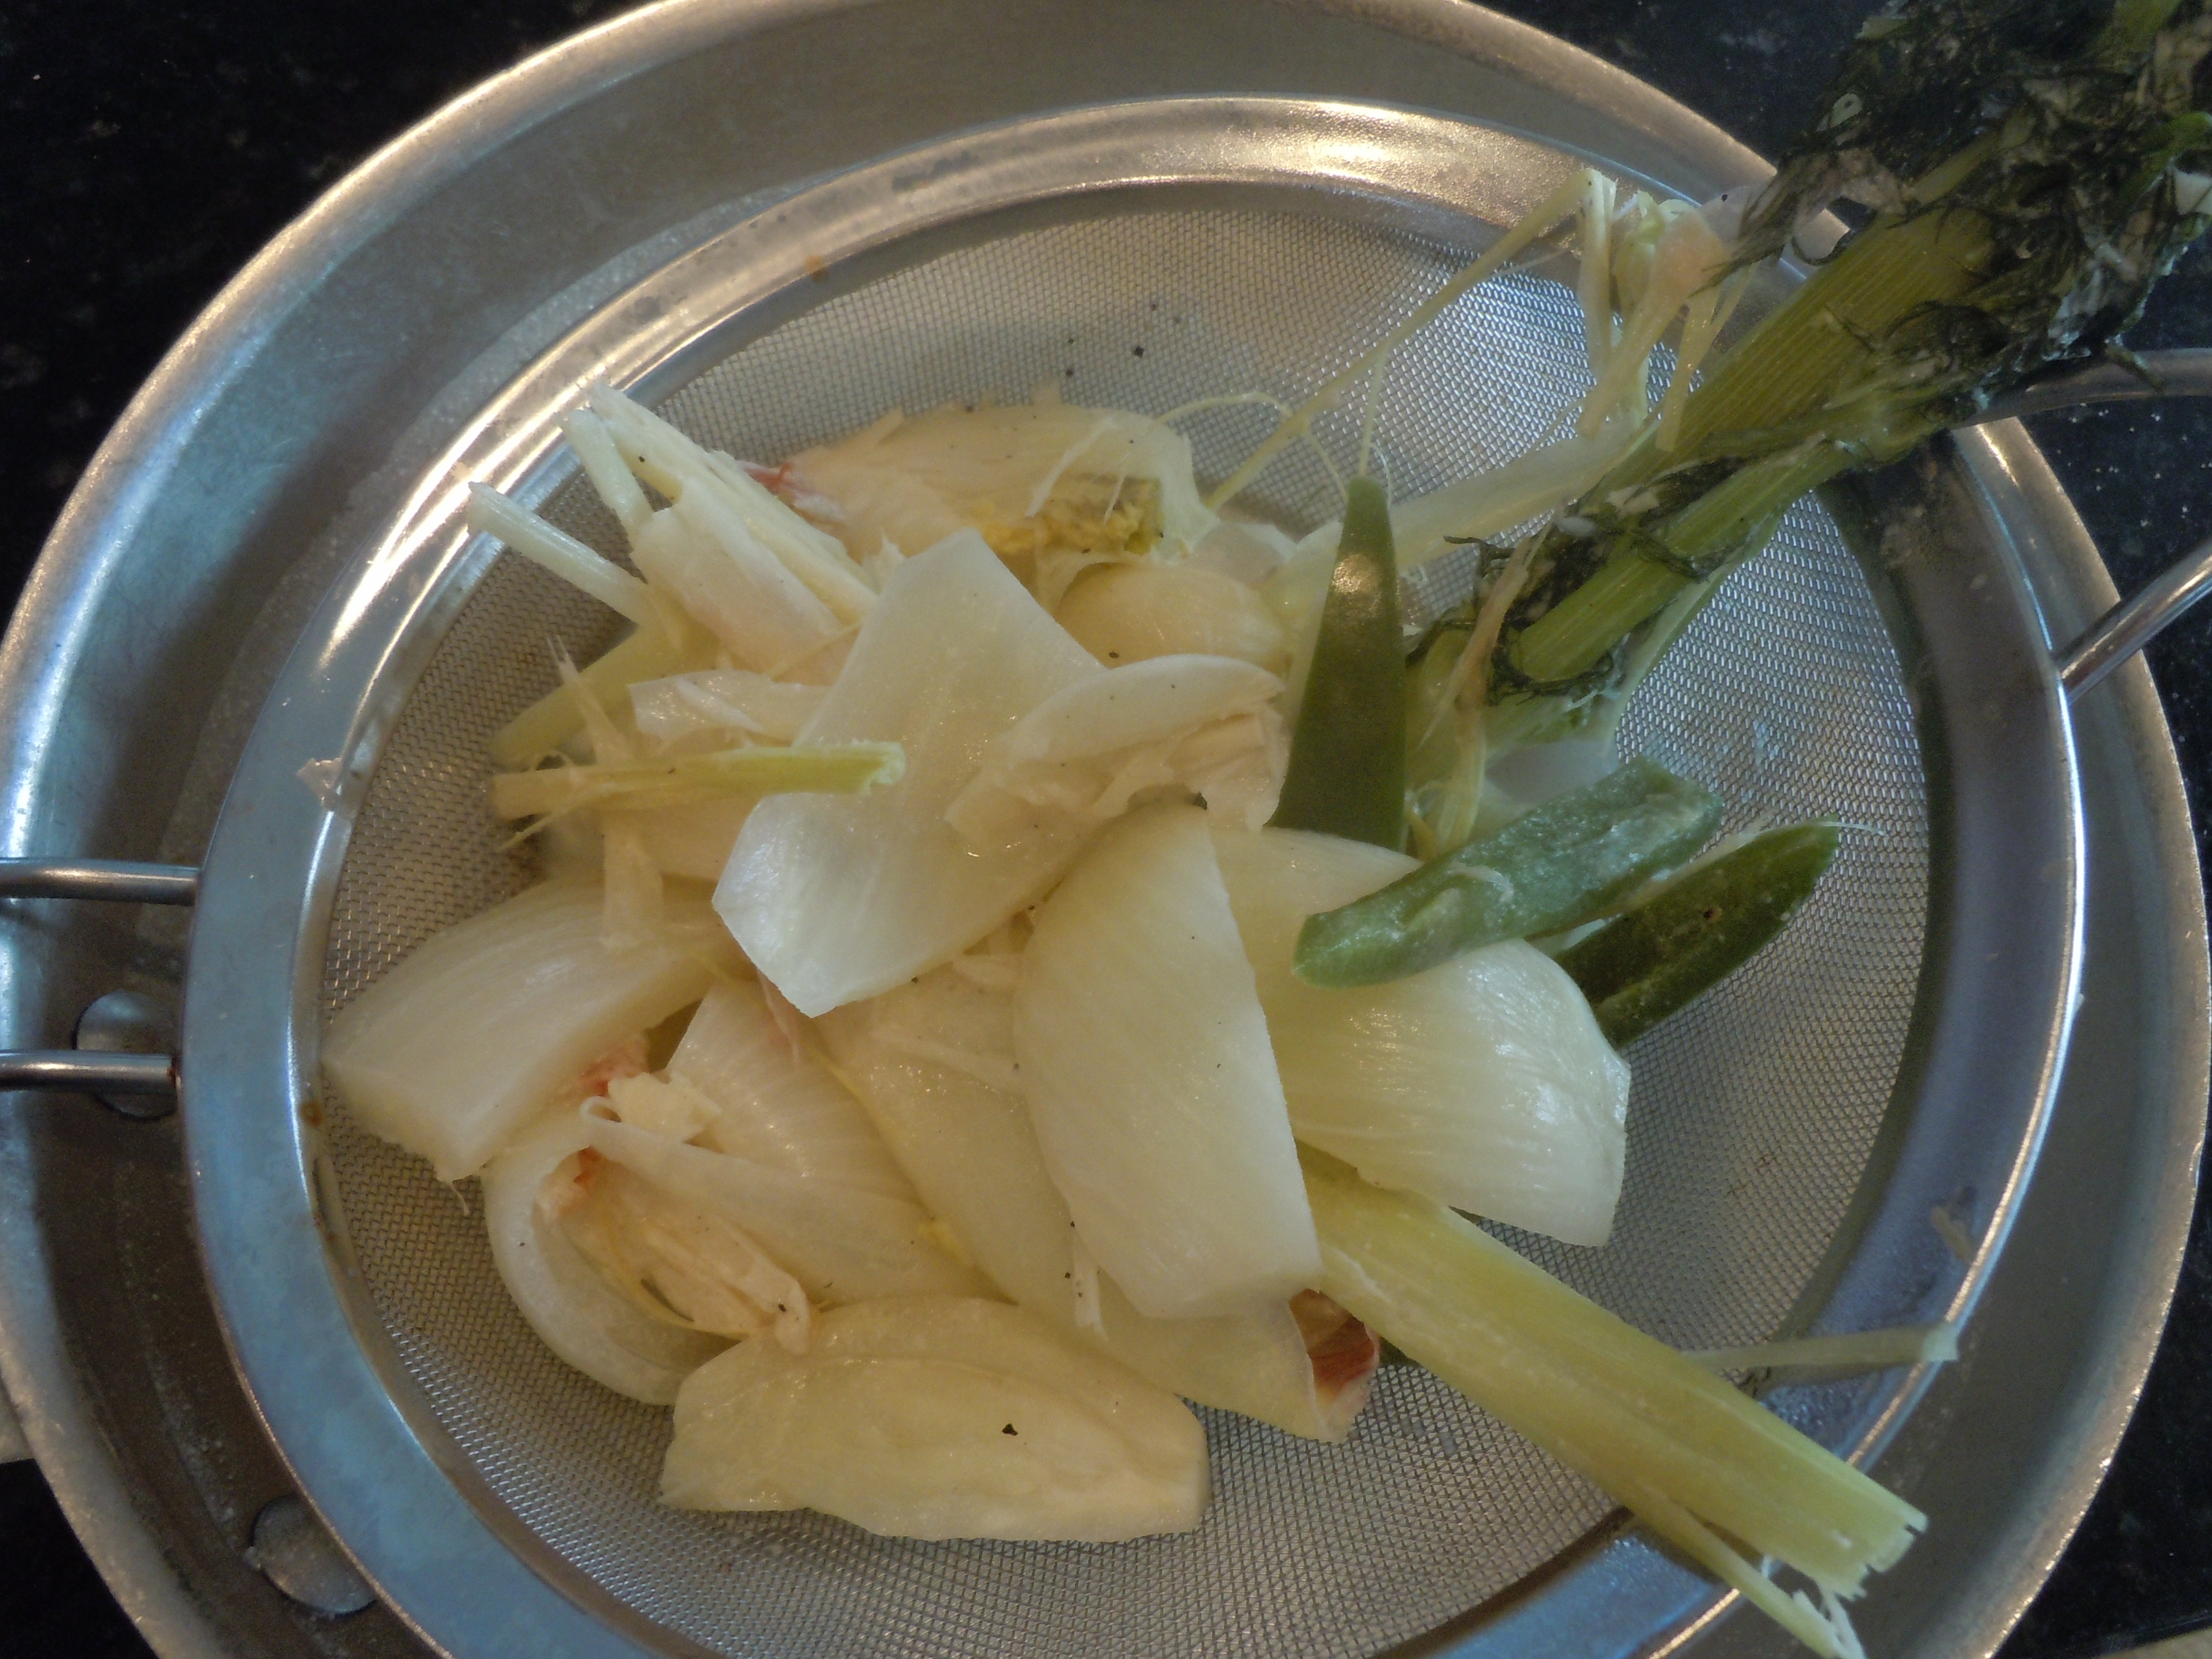
- Drain this mixture and place back into the same large sauce pan and simmer for 5-8 more minutes …you want to taste sauce at this point to see if you need to add any Tabasco to spice it up more
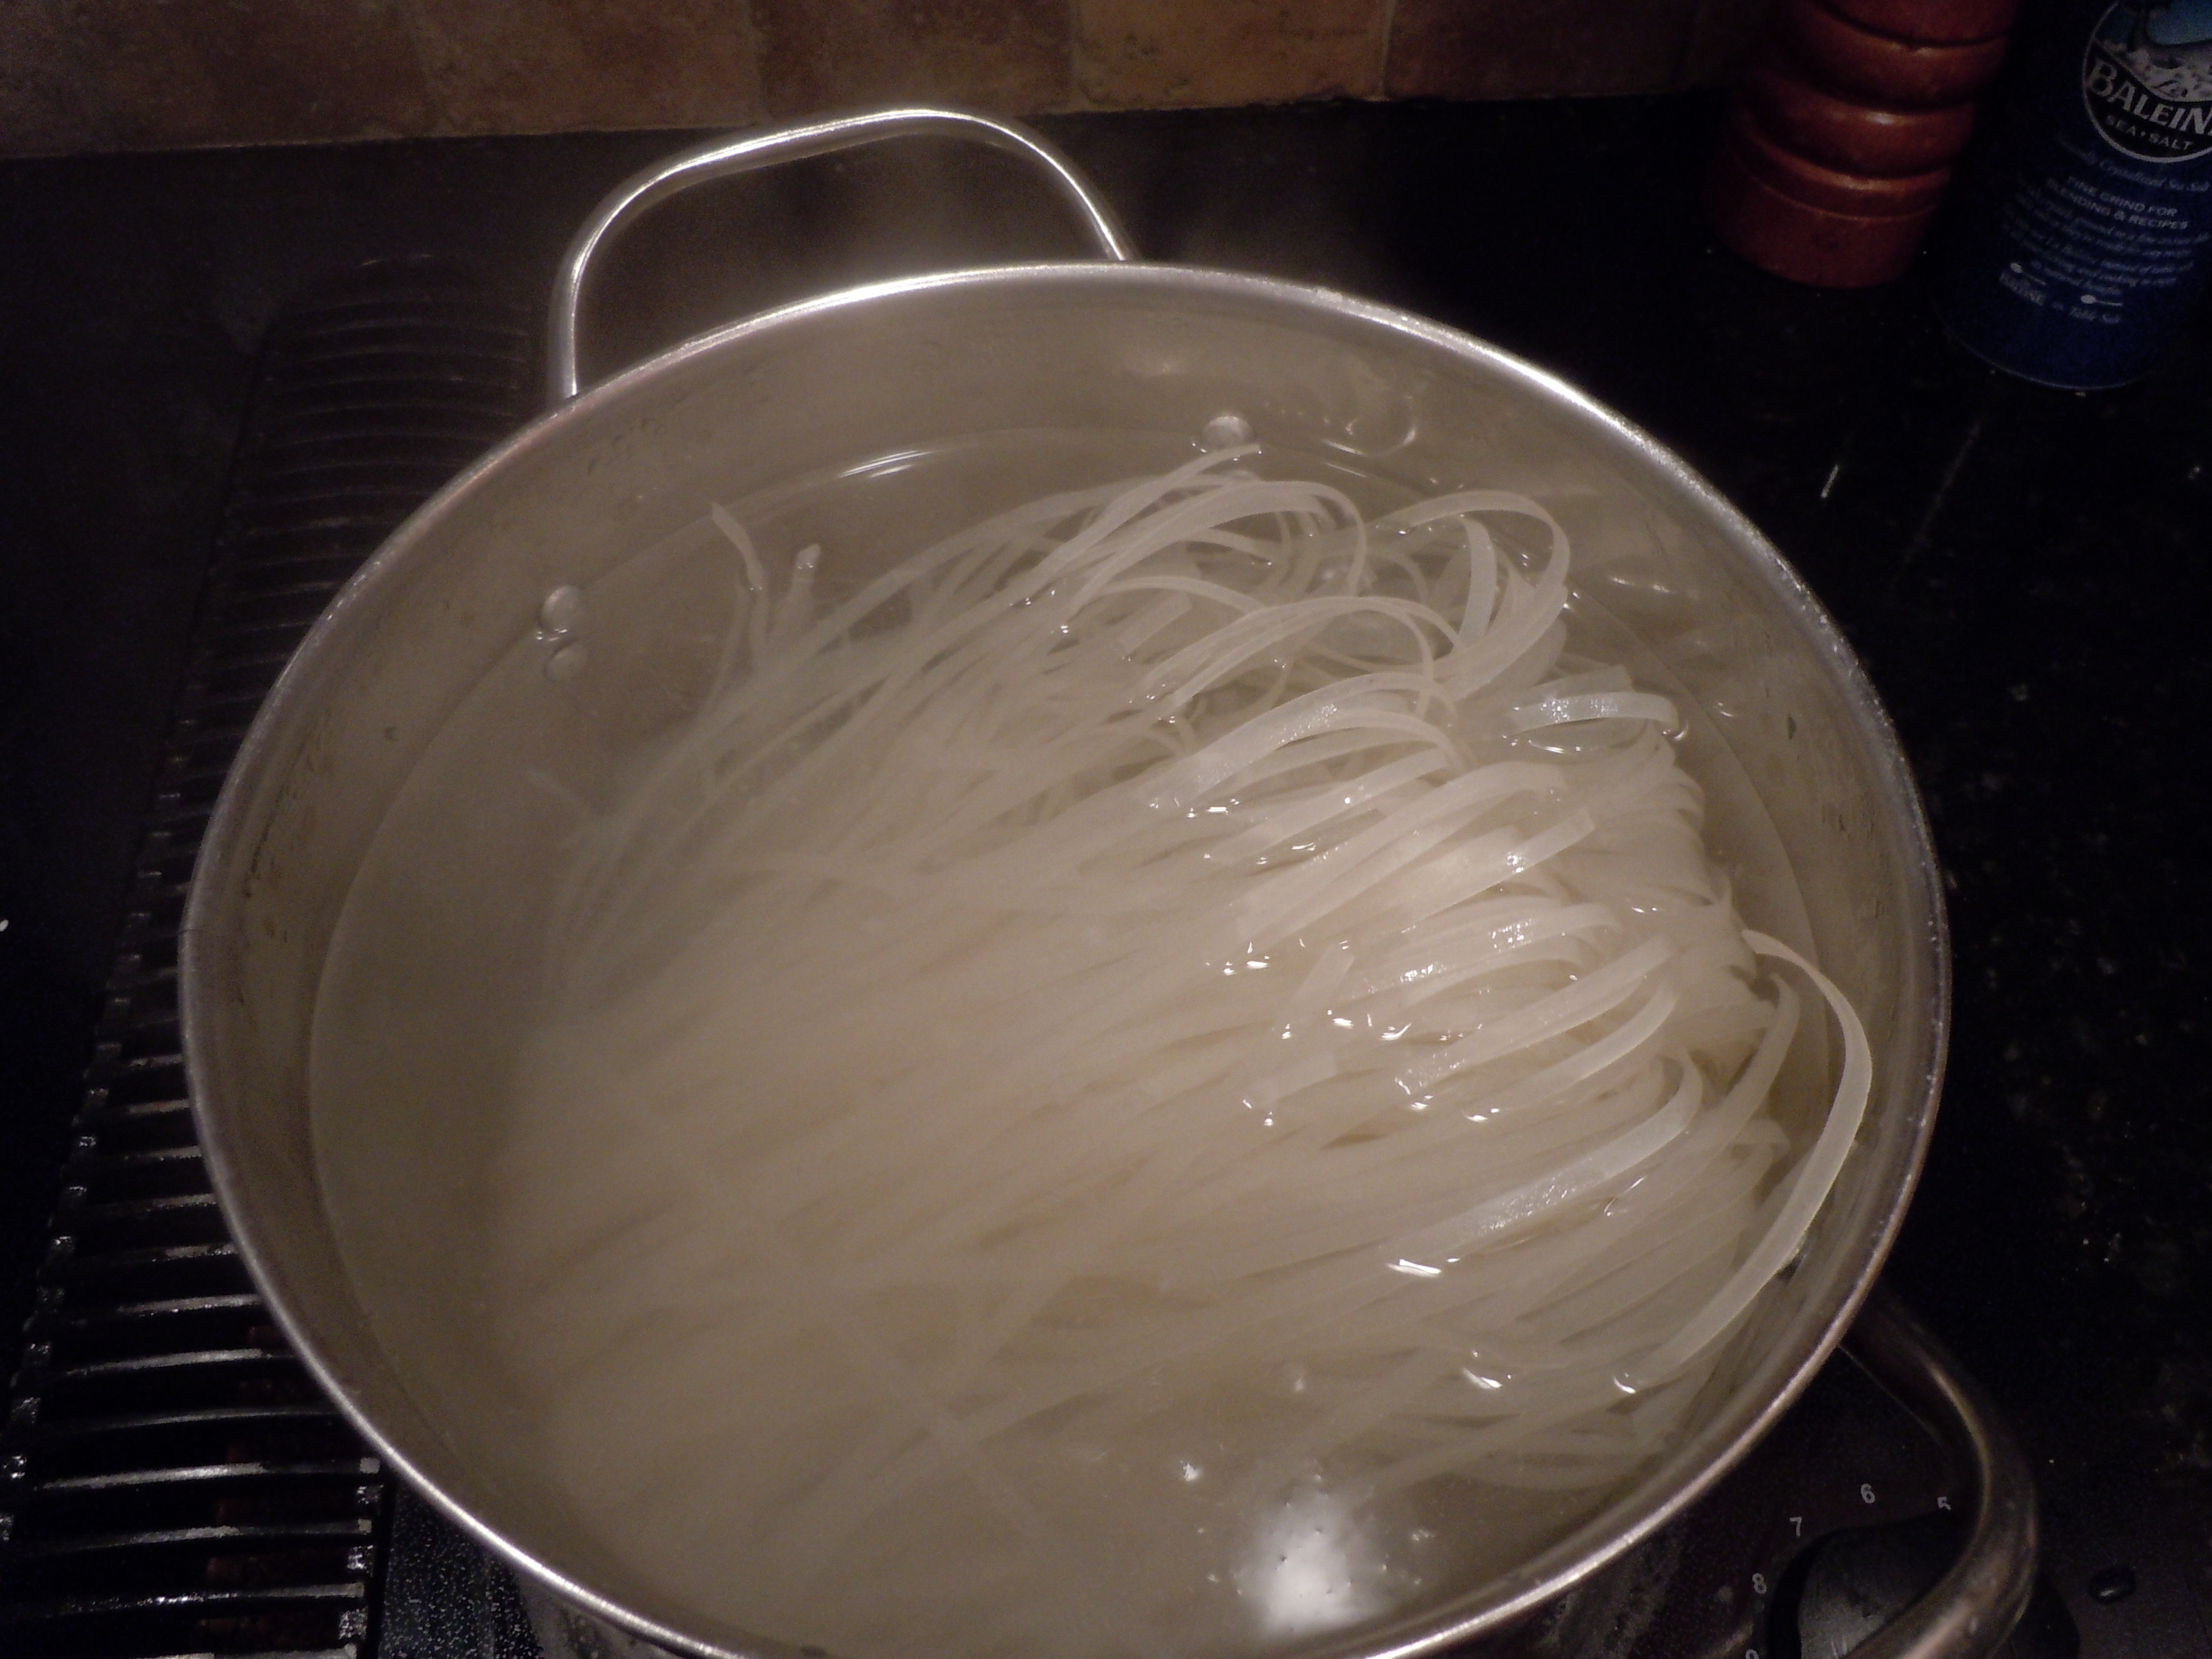
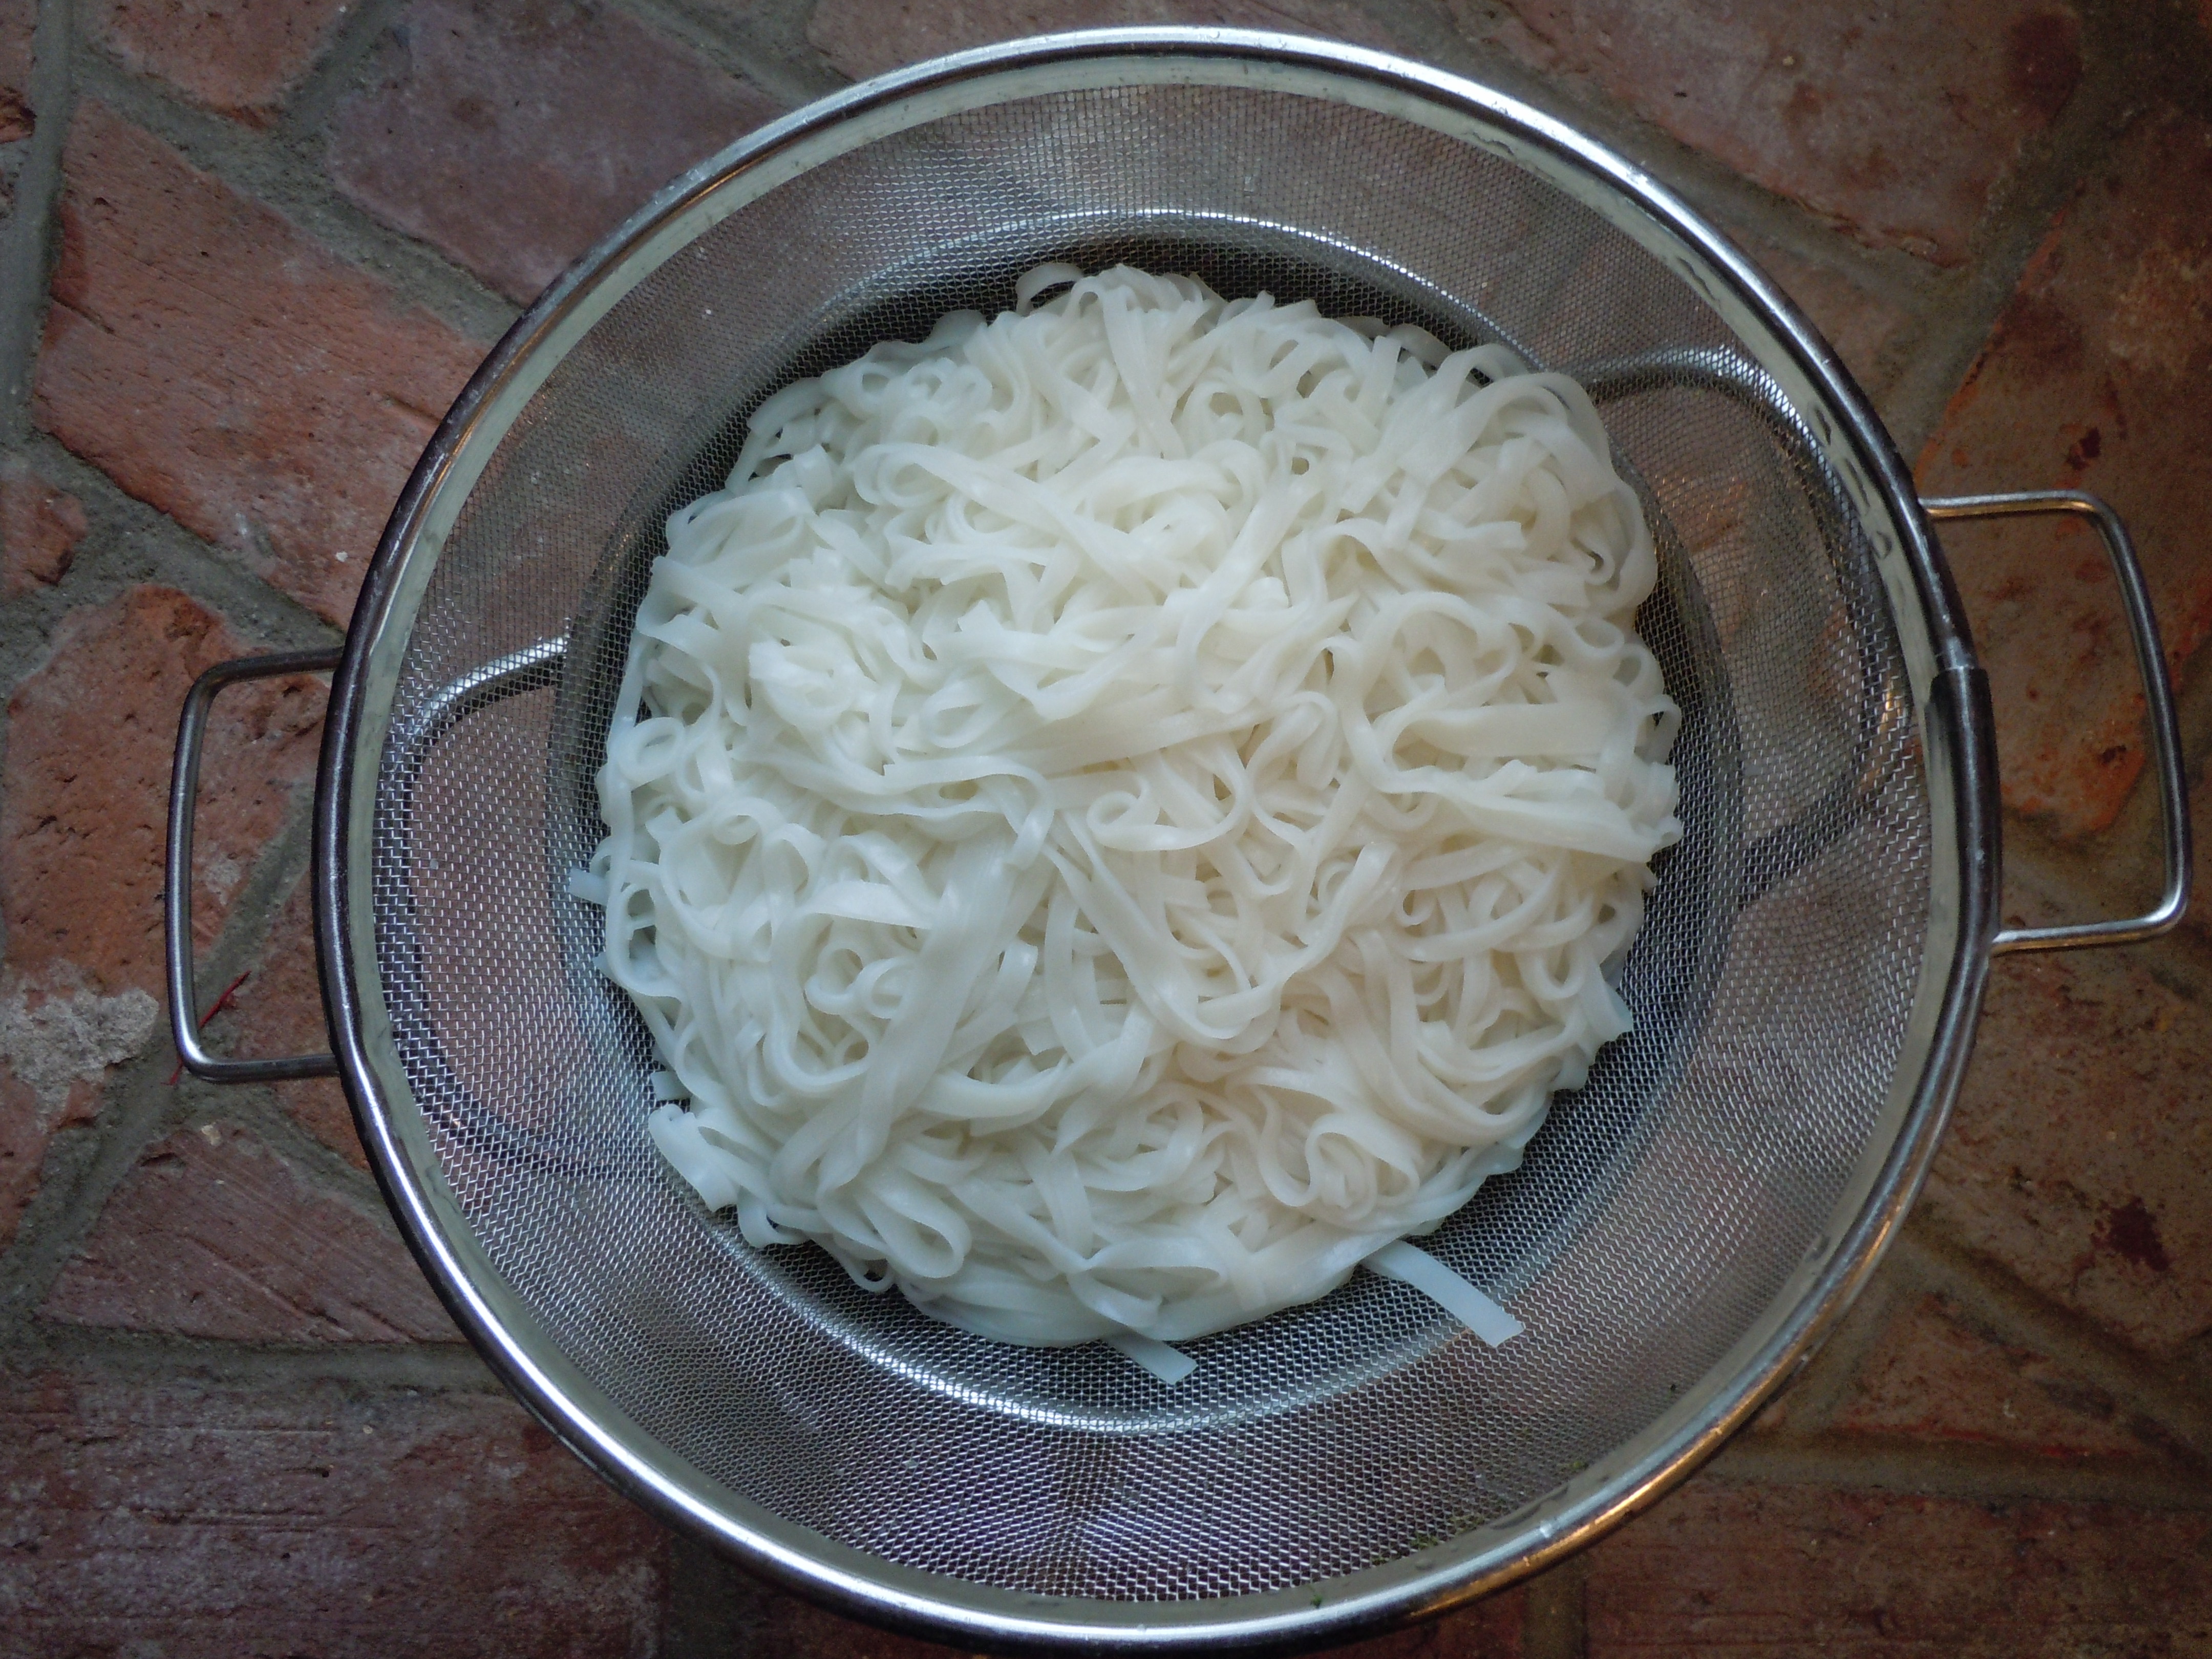
- (If you are making this into a meal with rice noodles cook 3/4 lb of rice noodles now, drain and set aside)
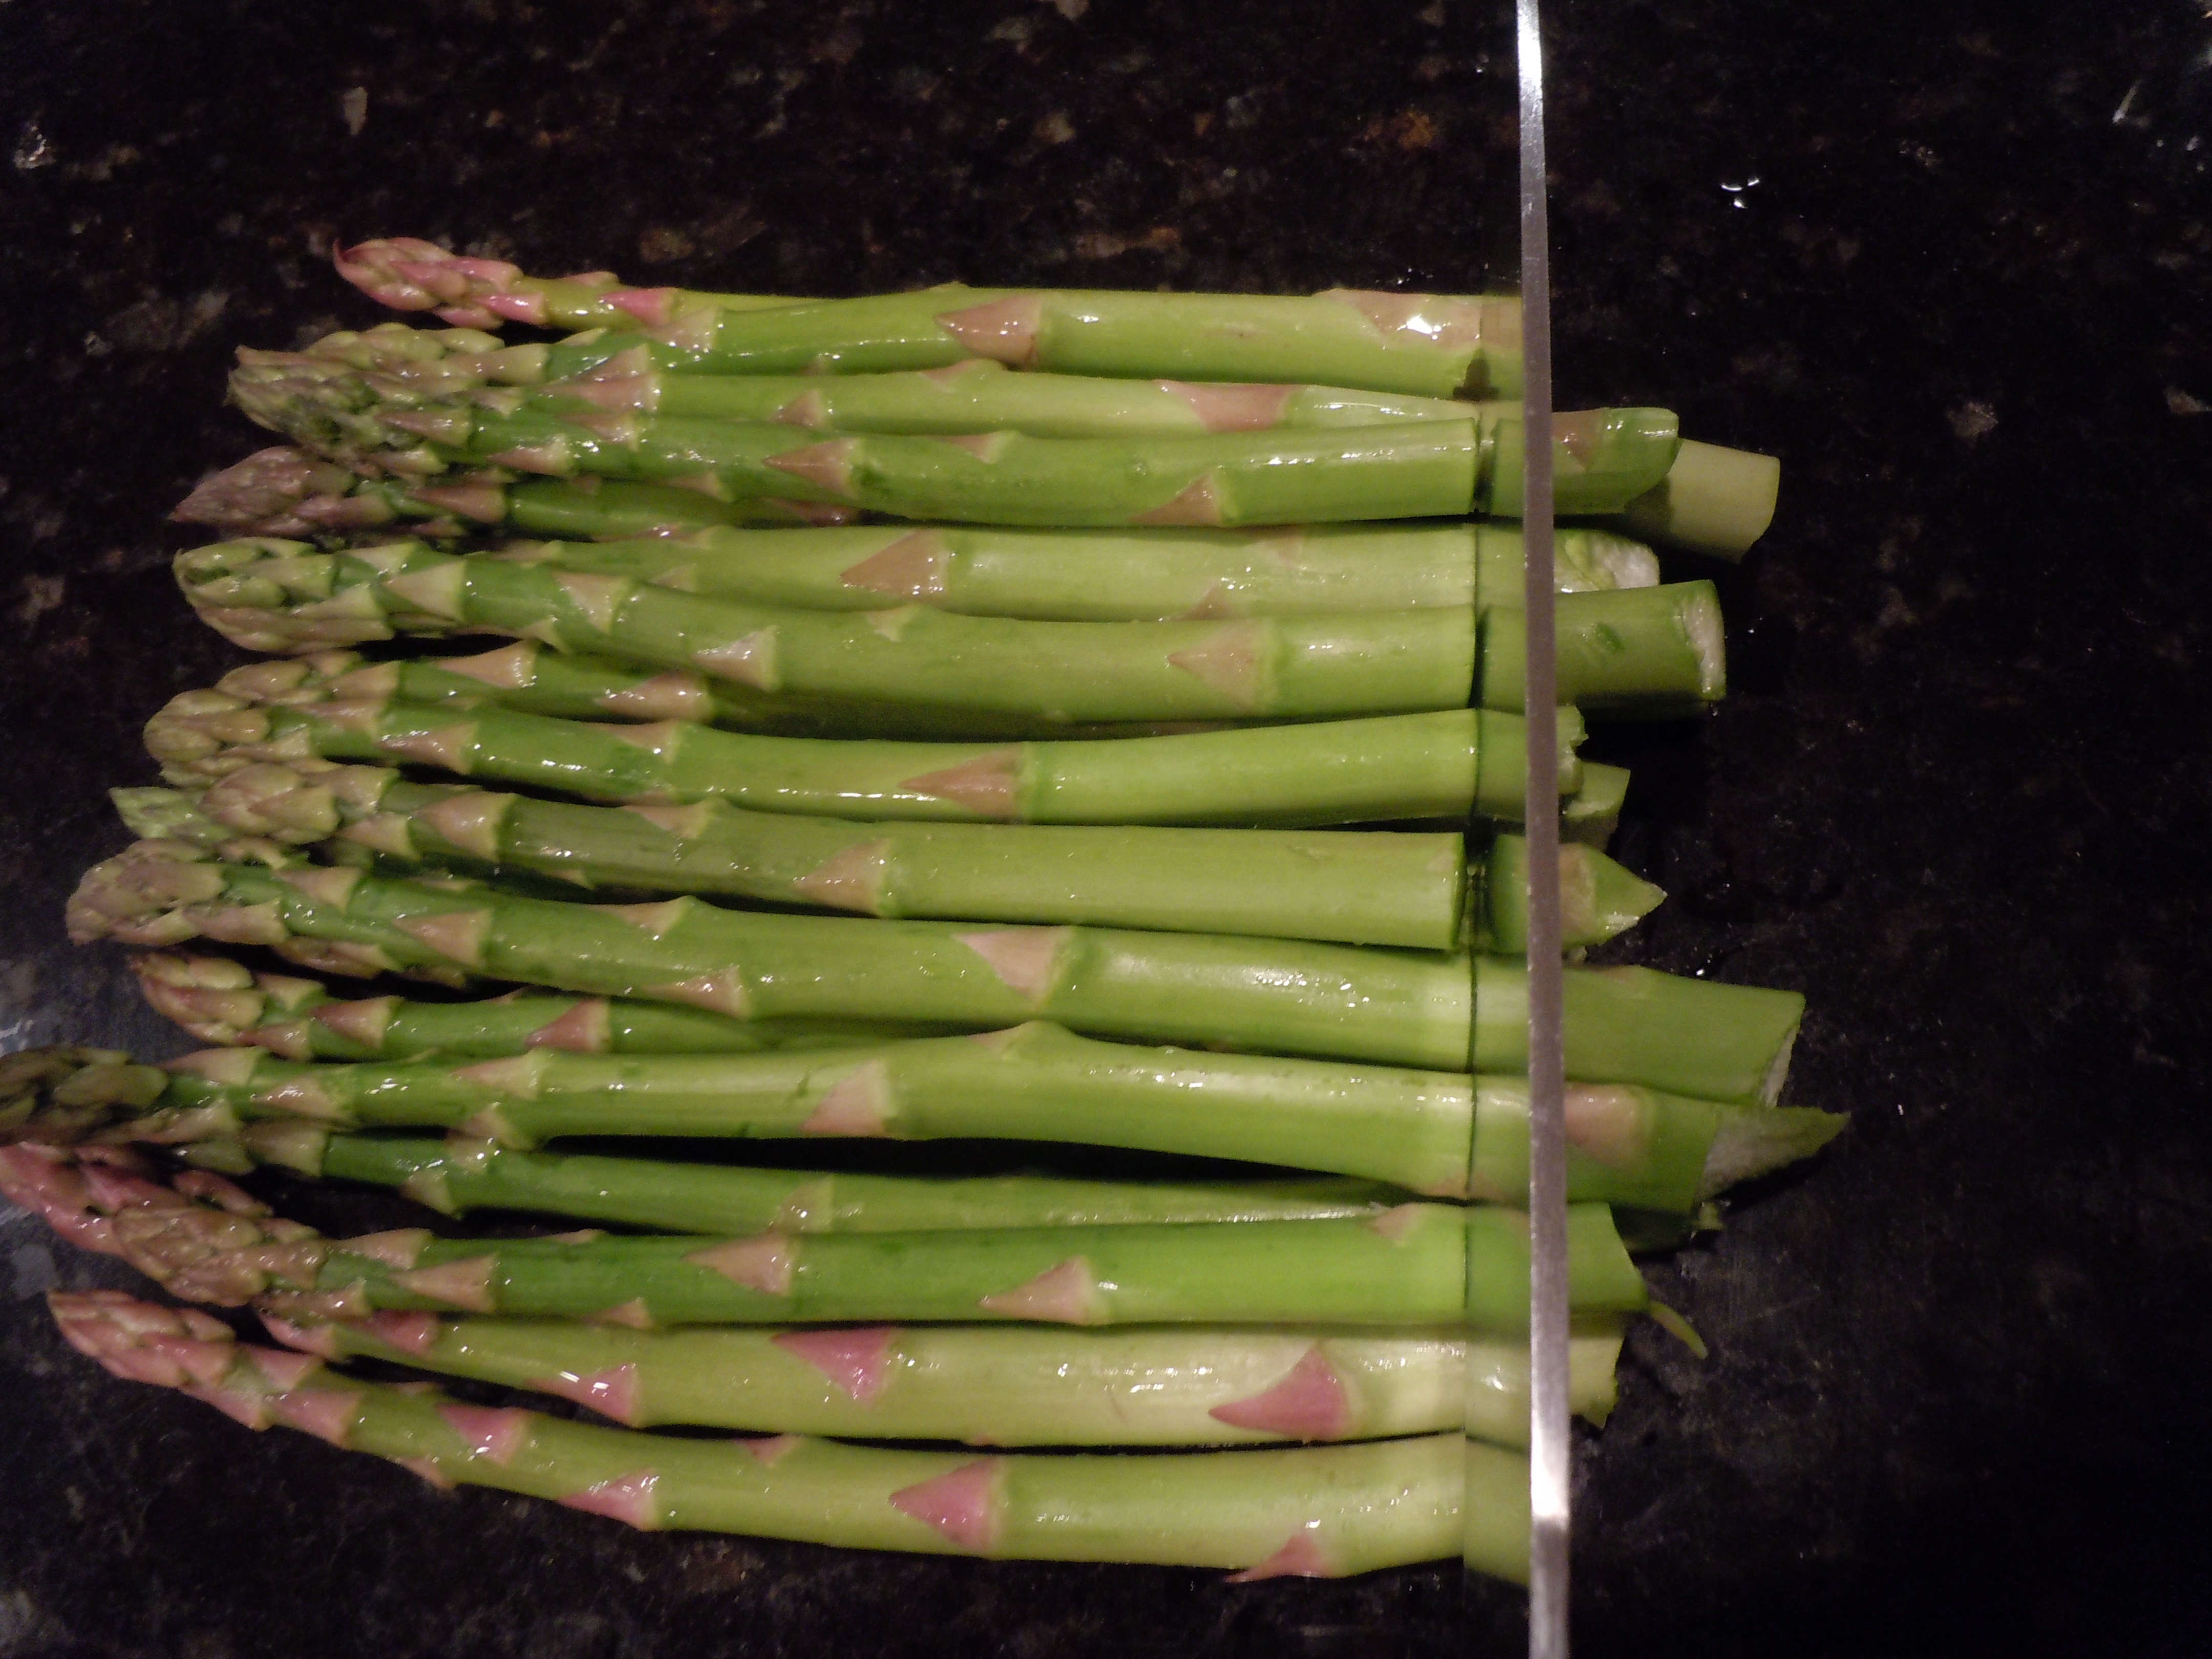
- Rinse the mussels going through each one to make sure it closes when you squeeze it with you finger tips and throw out the ones that remain open…these are dead
- After washing and sorting thru each and every mussel pull off any beards that may be attached to them…pulling down towards the bottom end (you are just pulling this filament out of the mussel)
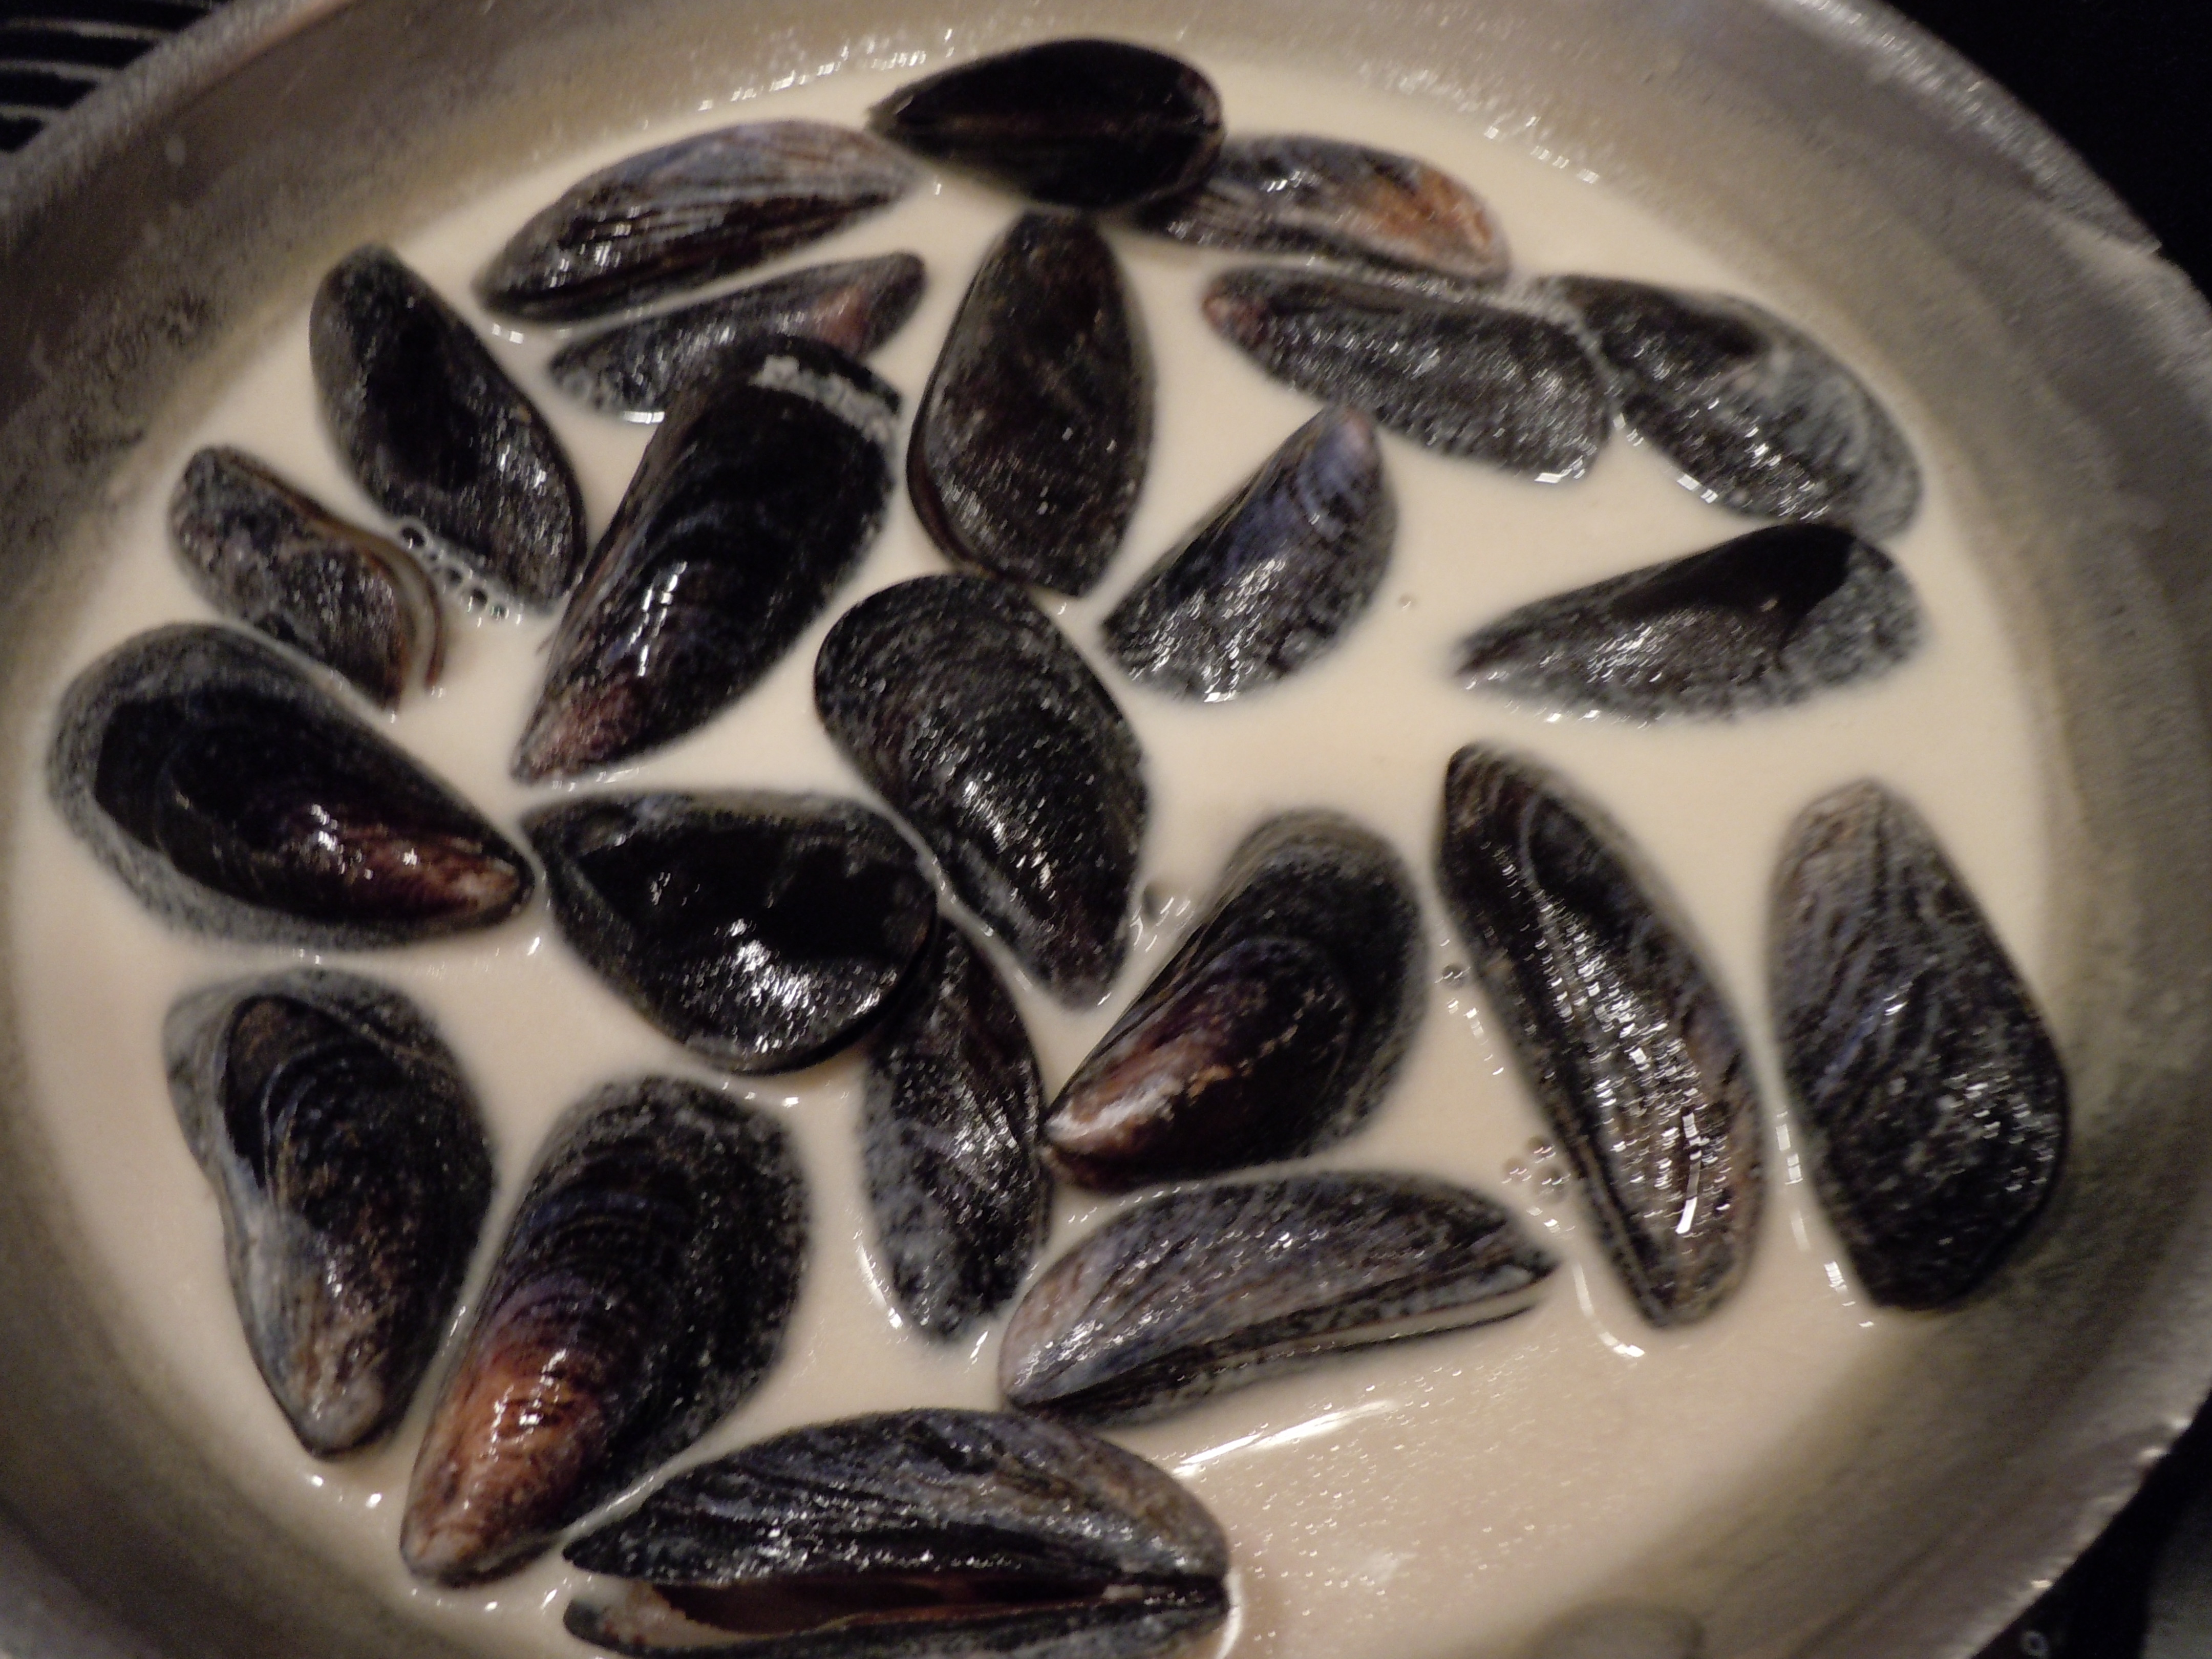
- Add all of these cleaned and de-beared mussels to the simmering lemongrass-fennel sauce and cover with a lid
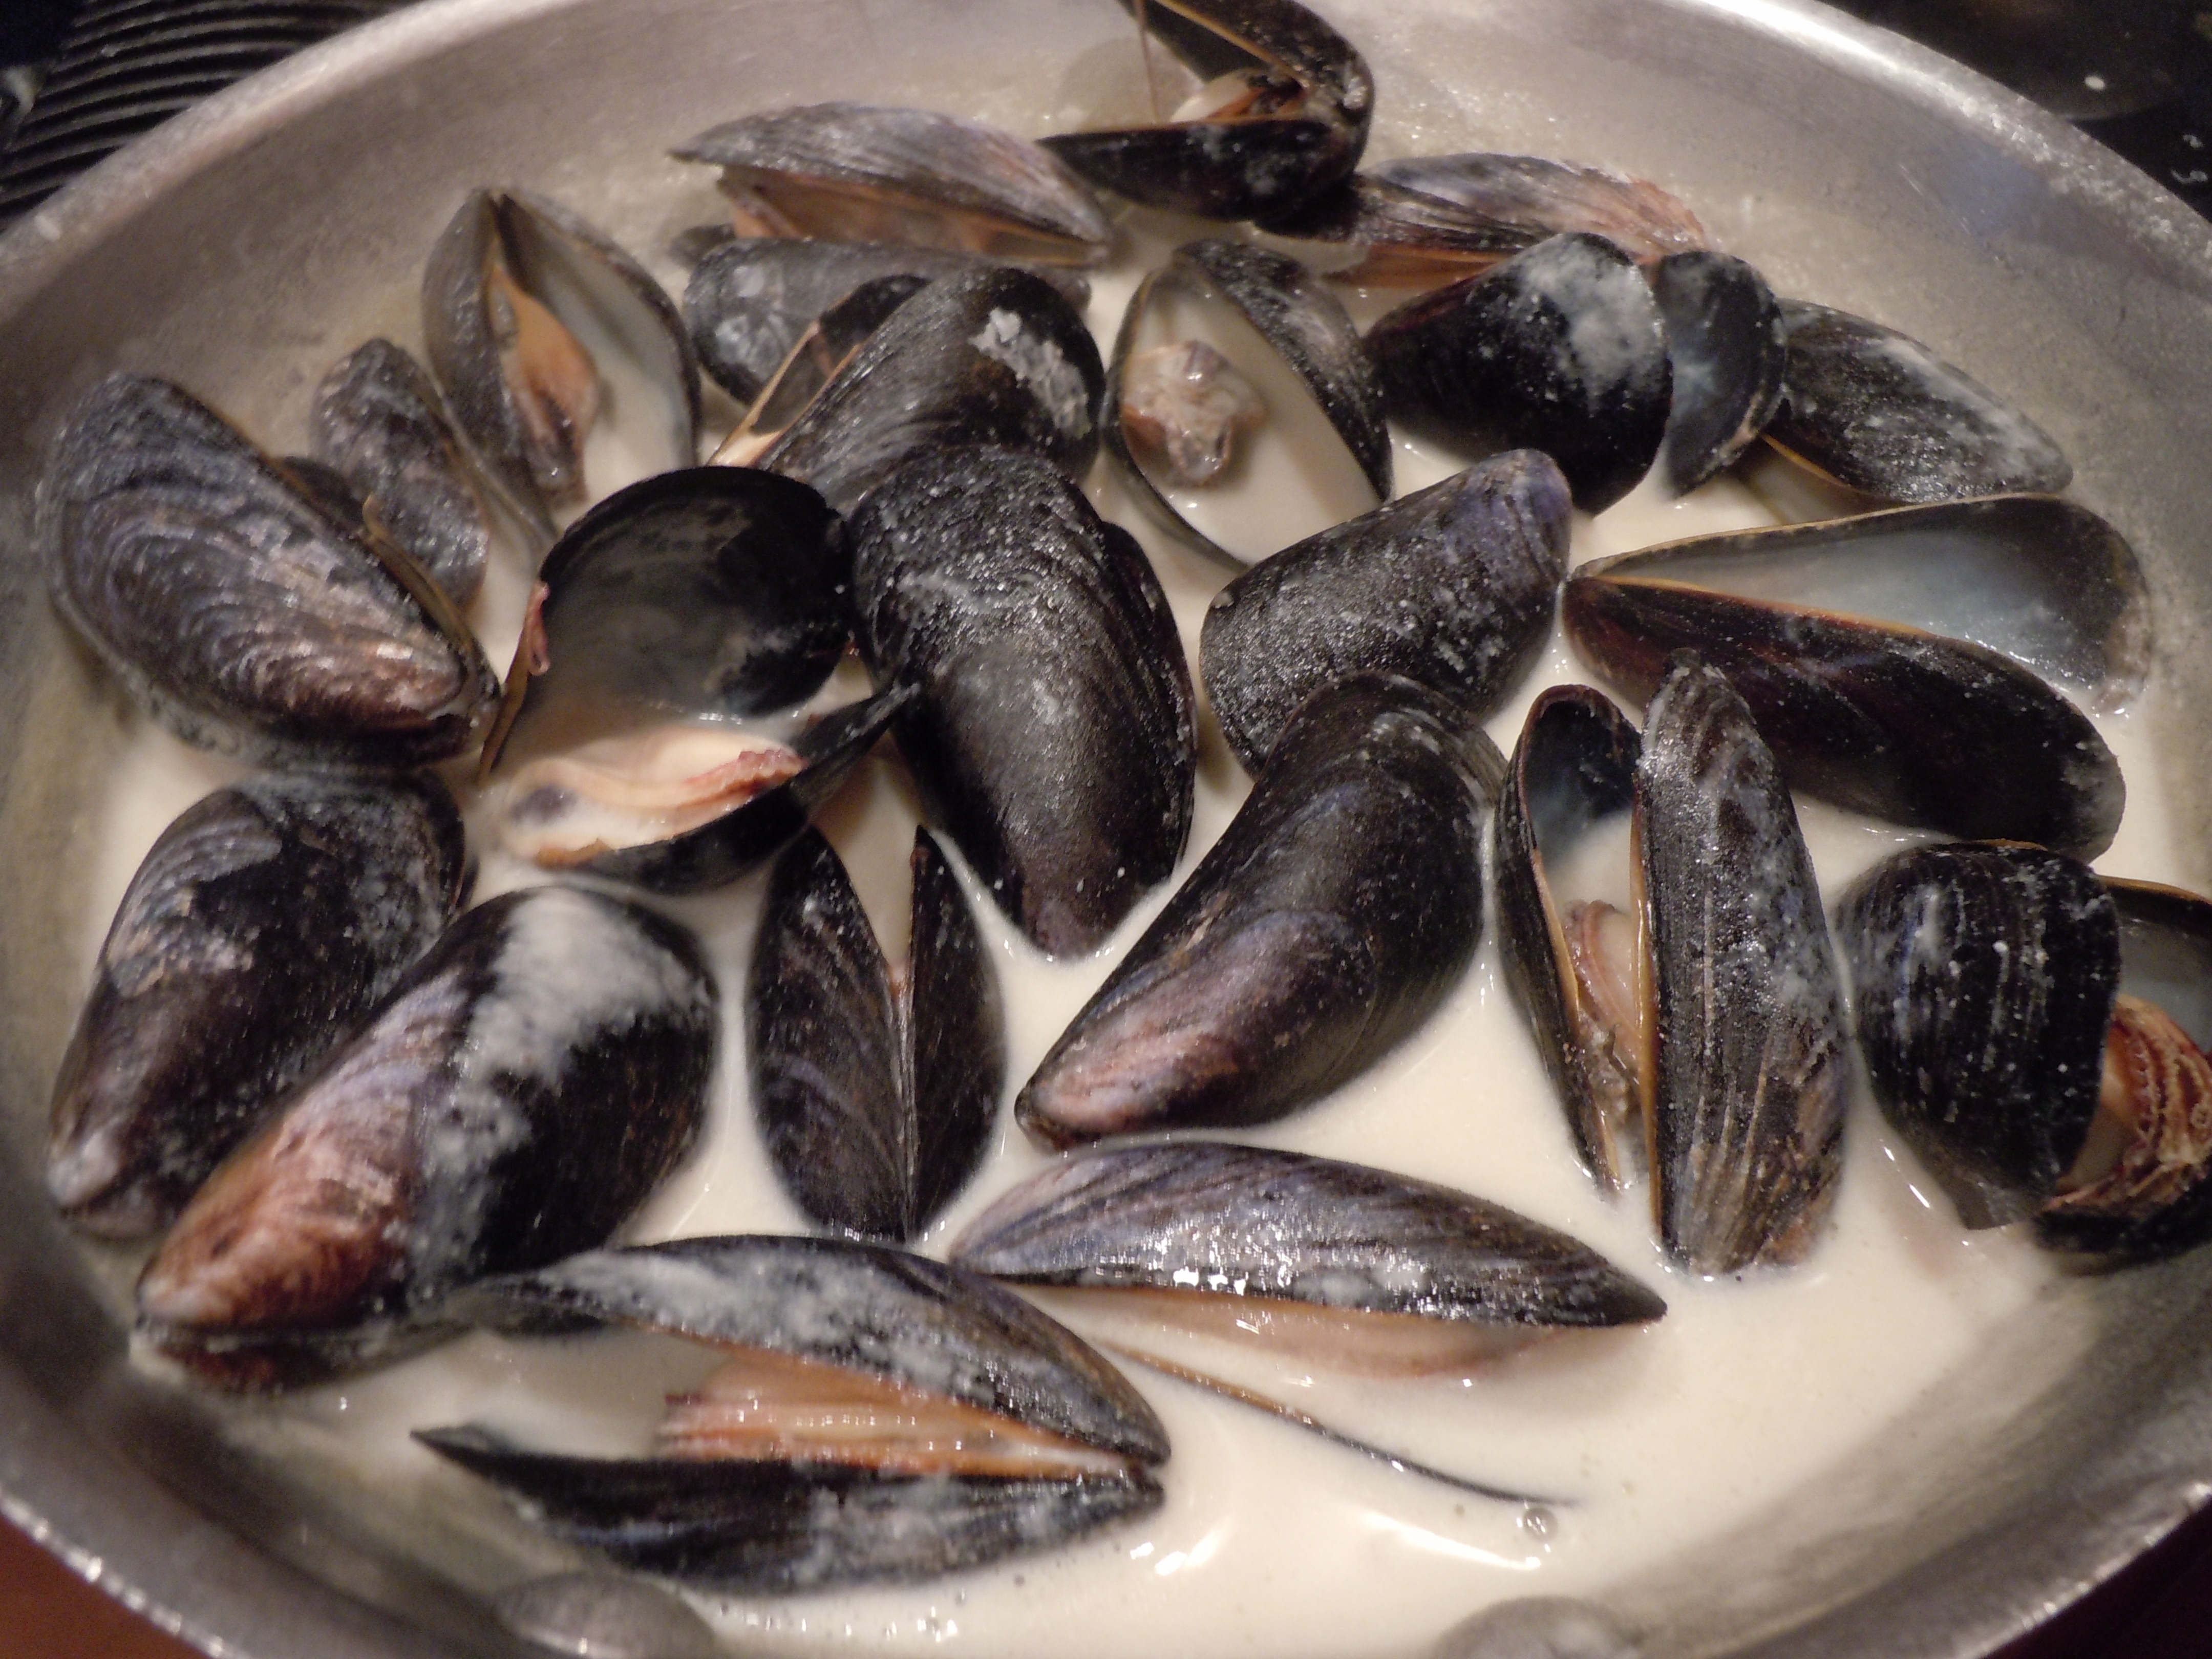
- They mussels will open in a matter of minutes …like 1-3 minutes so don’t go far
- As soon as they open immediately remove from the stove
- (If serving rice noodles add them to bowls and evenly distribute mussels and broth)
- Evenly spoon mussels and broth into bowls and sprinkle each with some fresh cherry tomato, cilantro, and green onion mixture
- NOTE: If any of the mussels do not open when you are cooking them…TOSS them they are bad