
CT Style Making Watermelon Gazpacho with Teresa Dufour and Scott McDonnell!
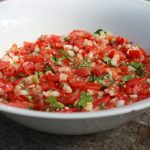
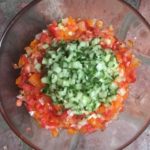
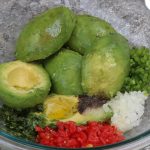
 This Watermelon Gazpacho is perfect for these hot summer days! This past Thursday, on “CT Style”, Teresa Dufour, Scott McDonnell and I had some fun showing you how to make watermelon gazpacho! What a refreshing, healthy and delicious cold soup recipe this is. It’s made with tomatoes, watermelon, cucumbers, Vidalia onions, jalapeno, garlic, lime juice and fresh herbs like basil and dill. I like to top this watermelon gazpacho with some watermelon cubes, Valbreso Sheep’s Milk feta, fresh dill sprigs, basil and crushed garlic croutons for texture and flavor.
Nothing better then a refreshing cold soup on a hot sultry night then Watermelon Gazpacho. I really love planning ahead for this cold soup and getting all the chopping done at your convenience a day or two before makes all the difference in the world. You can even buy chopped veggies at the market and then give them a finer chop when you get home to save some time. This soup will last for a few days in the frig so leftovers are perfect for those surprise guests. For this reason I would suggest only topping each serving of cold  watermelon gazpacho soup with feta, dill, and crushed croutons instead of all of the soup as one.
Other refreshing summer dishes you should try are Panzanella, Salsa 101, Mango salsa, Cold Cucumber Soup with Seared Scallops and some Berry Granita for dessert!


INGREDIENTS Watermelon Gazpacho (for approx 6 people)
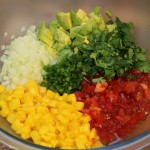
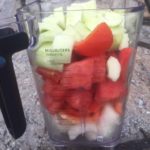
- 3 1/2 cups seedless watermelon, 2 c. coarse cut, 1/2 c. fine dice to go back into finished purée, 1 c. small cubes for garnish
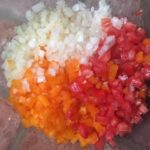
- 8 medium ripe stem tomatoes, 7 seeded and coarse cut, 1 seeded & fine dice to go back into finished purée
- 1 lg cucumber peeled and seeded & coarse cut
- 1/2 European cucumber, with skins on, all fine dice to go back into finished purée
- 1 1/2 red pepper, 1 pepper seeded & coarse cut, 1/2 fine dice to go back into finished purée
- 1/2 orange pepper, all fine dice to go into finished purée
- 1 lg jalapeño, without seeds, 1/2 coarse cut, 1/2 fine dice to go back into finished purée
- 1 1/2 med. Vidalia onions, 1 onion coarse cut, 1/2 fine dice to go back into finished purée
- 1 lg garlic clove put thru garlic press
- 2 basil leaves goes into blender
- 1 bunch fresh dill, 2 tbsp goes into blender, the rest for garnish
- 1/2 cup Greek Feta, good creamy feta crumbled for garnish (I use Valbreso Sheep’s Milk French Feta)
- Juice from 2 limes
- 1/4 cup, plus 2 tbsp extra virgin olive oil
- 1/4 cup red wine vinegar, plus 1 tbsp
- 1 tbsp seasoned rice vinegar
- 1 tsp honey
- 1 tsp salt
- 1 /4 tsp black pepper
- 1 cup crushed Garlic Croutons for garnish
DIRECTIONS:
- Prepare the coarse cut veggies for the blender:
- Slice tomatoes in half, then into 6ths making it easier to remove all seeds with a spoon or your hands
- Place seeded tomatoes into blender or food processor and purée with olive oil
- Poor into a large bowl and set a side
- Place 2 tbsp dill, 2 fresh basil leaves plus 2 c. cut up watermelon, cut up Vadalia onion, cucumber and red pepper into blender, and purée with red vinegar, and rice wine vinegar
- Add this purée to the lg bowl with the tomato puree and mix together
- Taste for seasoning, add salt, pepper and honey and all the “fine diced” tomatoes, English cucumber, orange, red peppers and jalapeño
- If possible, let sit in refrigerator for 2 hours to allow spices and veggies to marry
- Ladle watermelon gazpacho into bowls, top with drizzle of evoo, diced watermelon, crumbled feta, fresh dill sprigs and 1 tsp crushed garlic croutons


 Love, love, love cooking live on “CT Style”! Truly an exceptional group of people that work here at WTNH, Channel 8. I feel very fortunate to be able to come here and share creative and delicious recipes with all of you on a regular basis! “CT Style” is such an informative platform while entertaining us all at the same time. This time around I had double the fun with both Teresa Dufour and Sarah Cody. Ryan Kristafer, was away handling the Travelers Championship coverage at TPC River Highlands in Cromwell, CT.
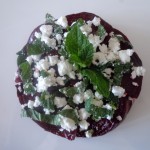
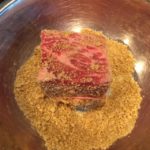
 One of my pet peeves with salad dressing is being served bottled blue cheese when I’m out at a restaurant when it’s a really easy thing to whip up! Making blue cheese dressing is one of my favorite things to make and my recipe couldn’t be any easier. It’s luscious and mild all at the same, it will rock your world! Roasting the creamy blue cheese makes it more flavorful and that much easier to whisk by hand.
 While these Roasted Blue Cheese, Candied Bacon & Garlicky Crouton recipes will be perfect for your next pool party you might want some delicious summer appetizers to go along with them like


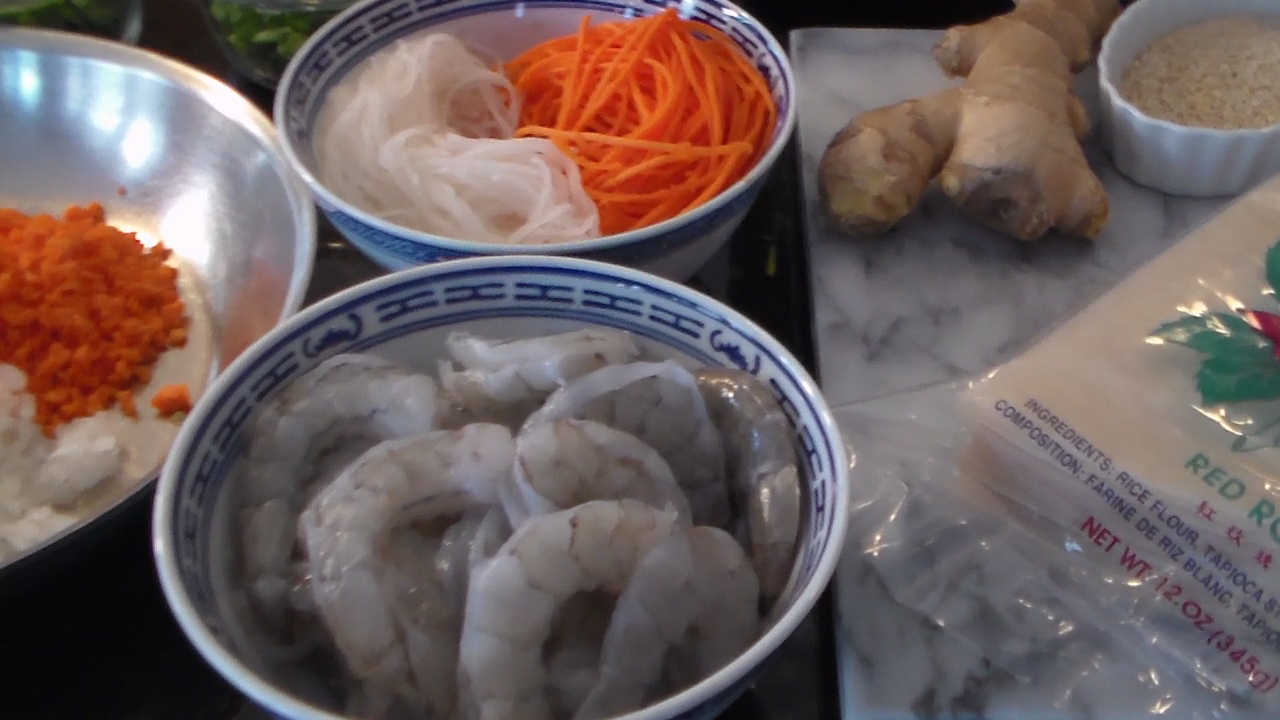
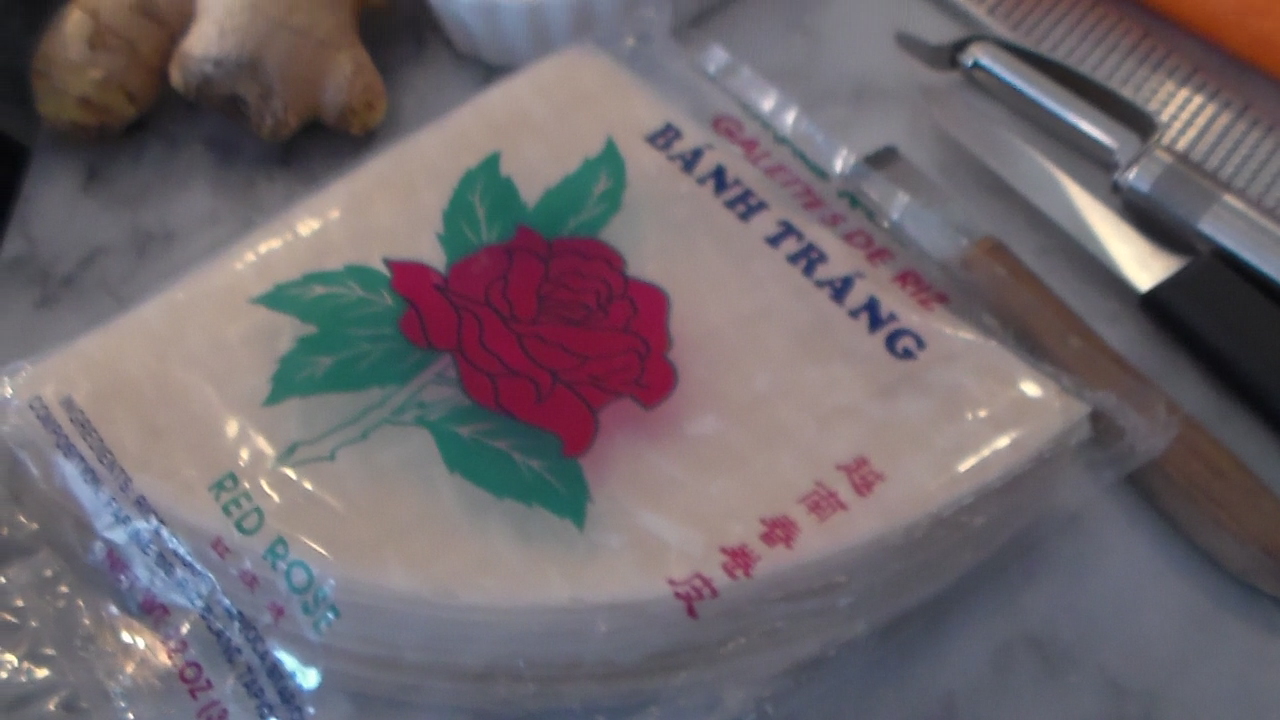
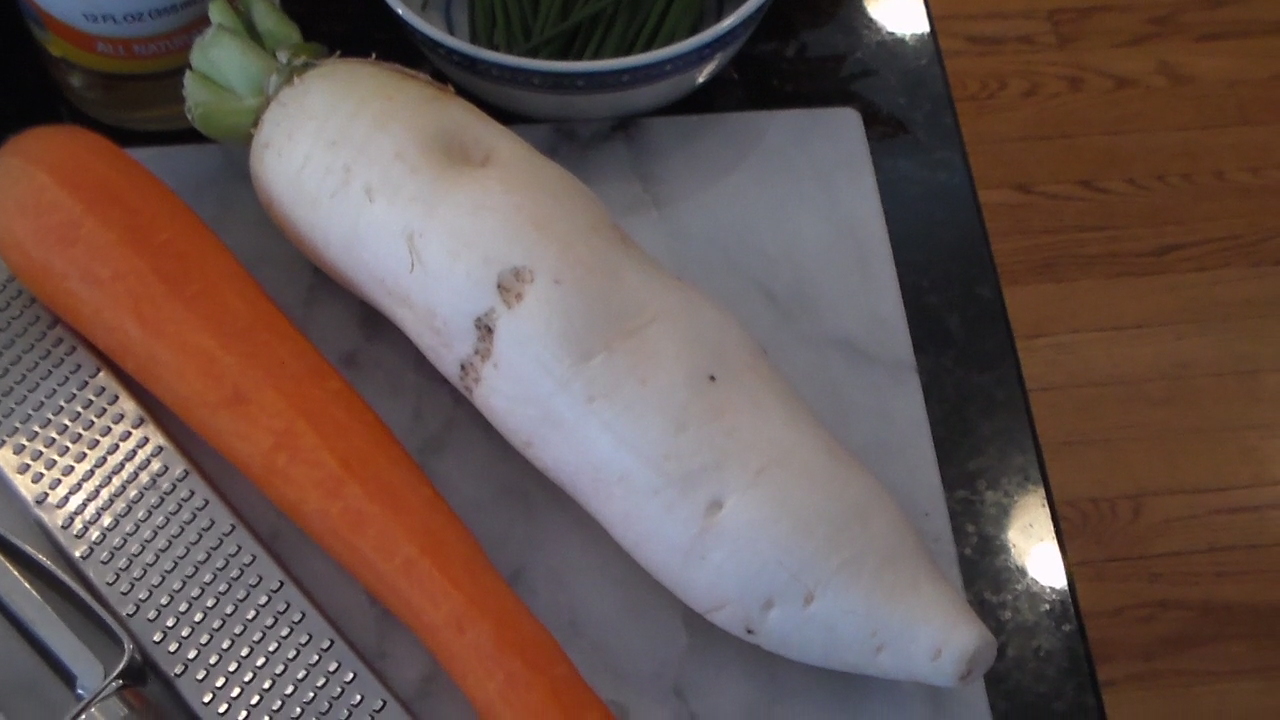
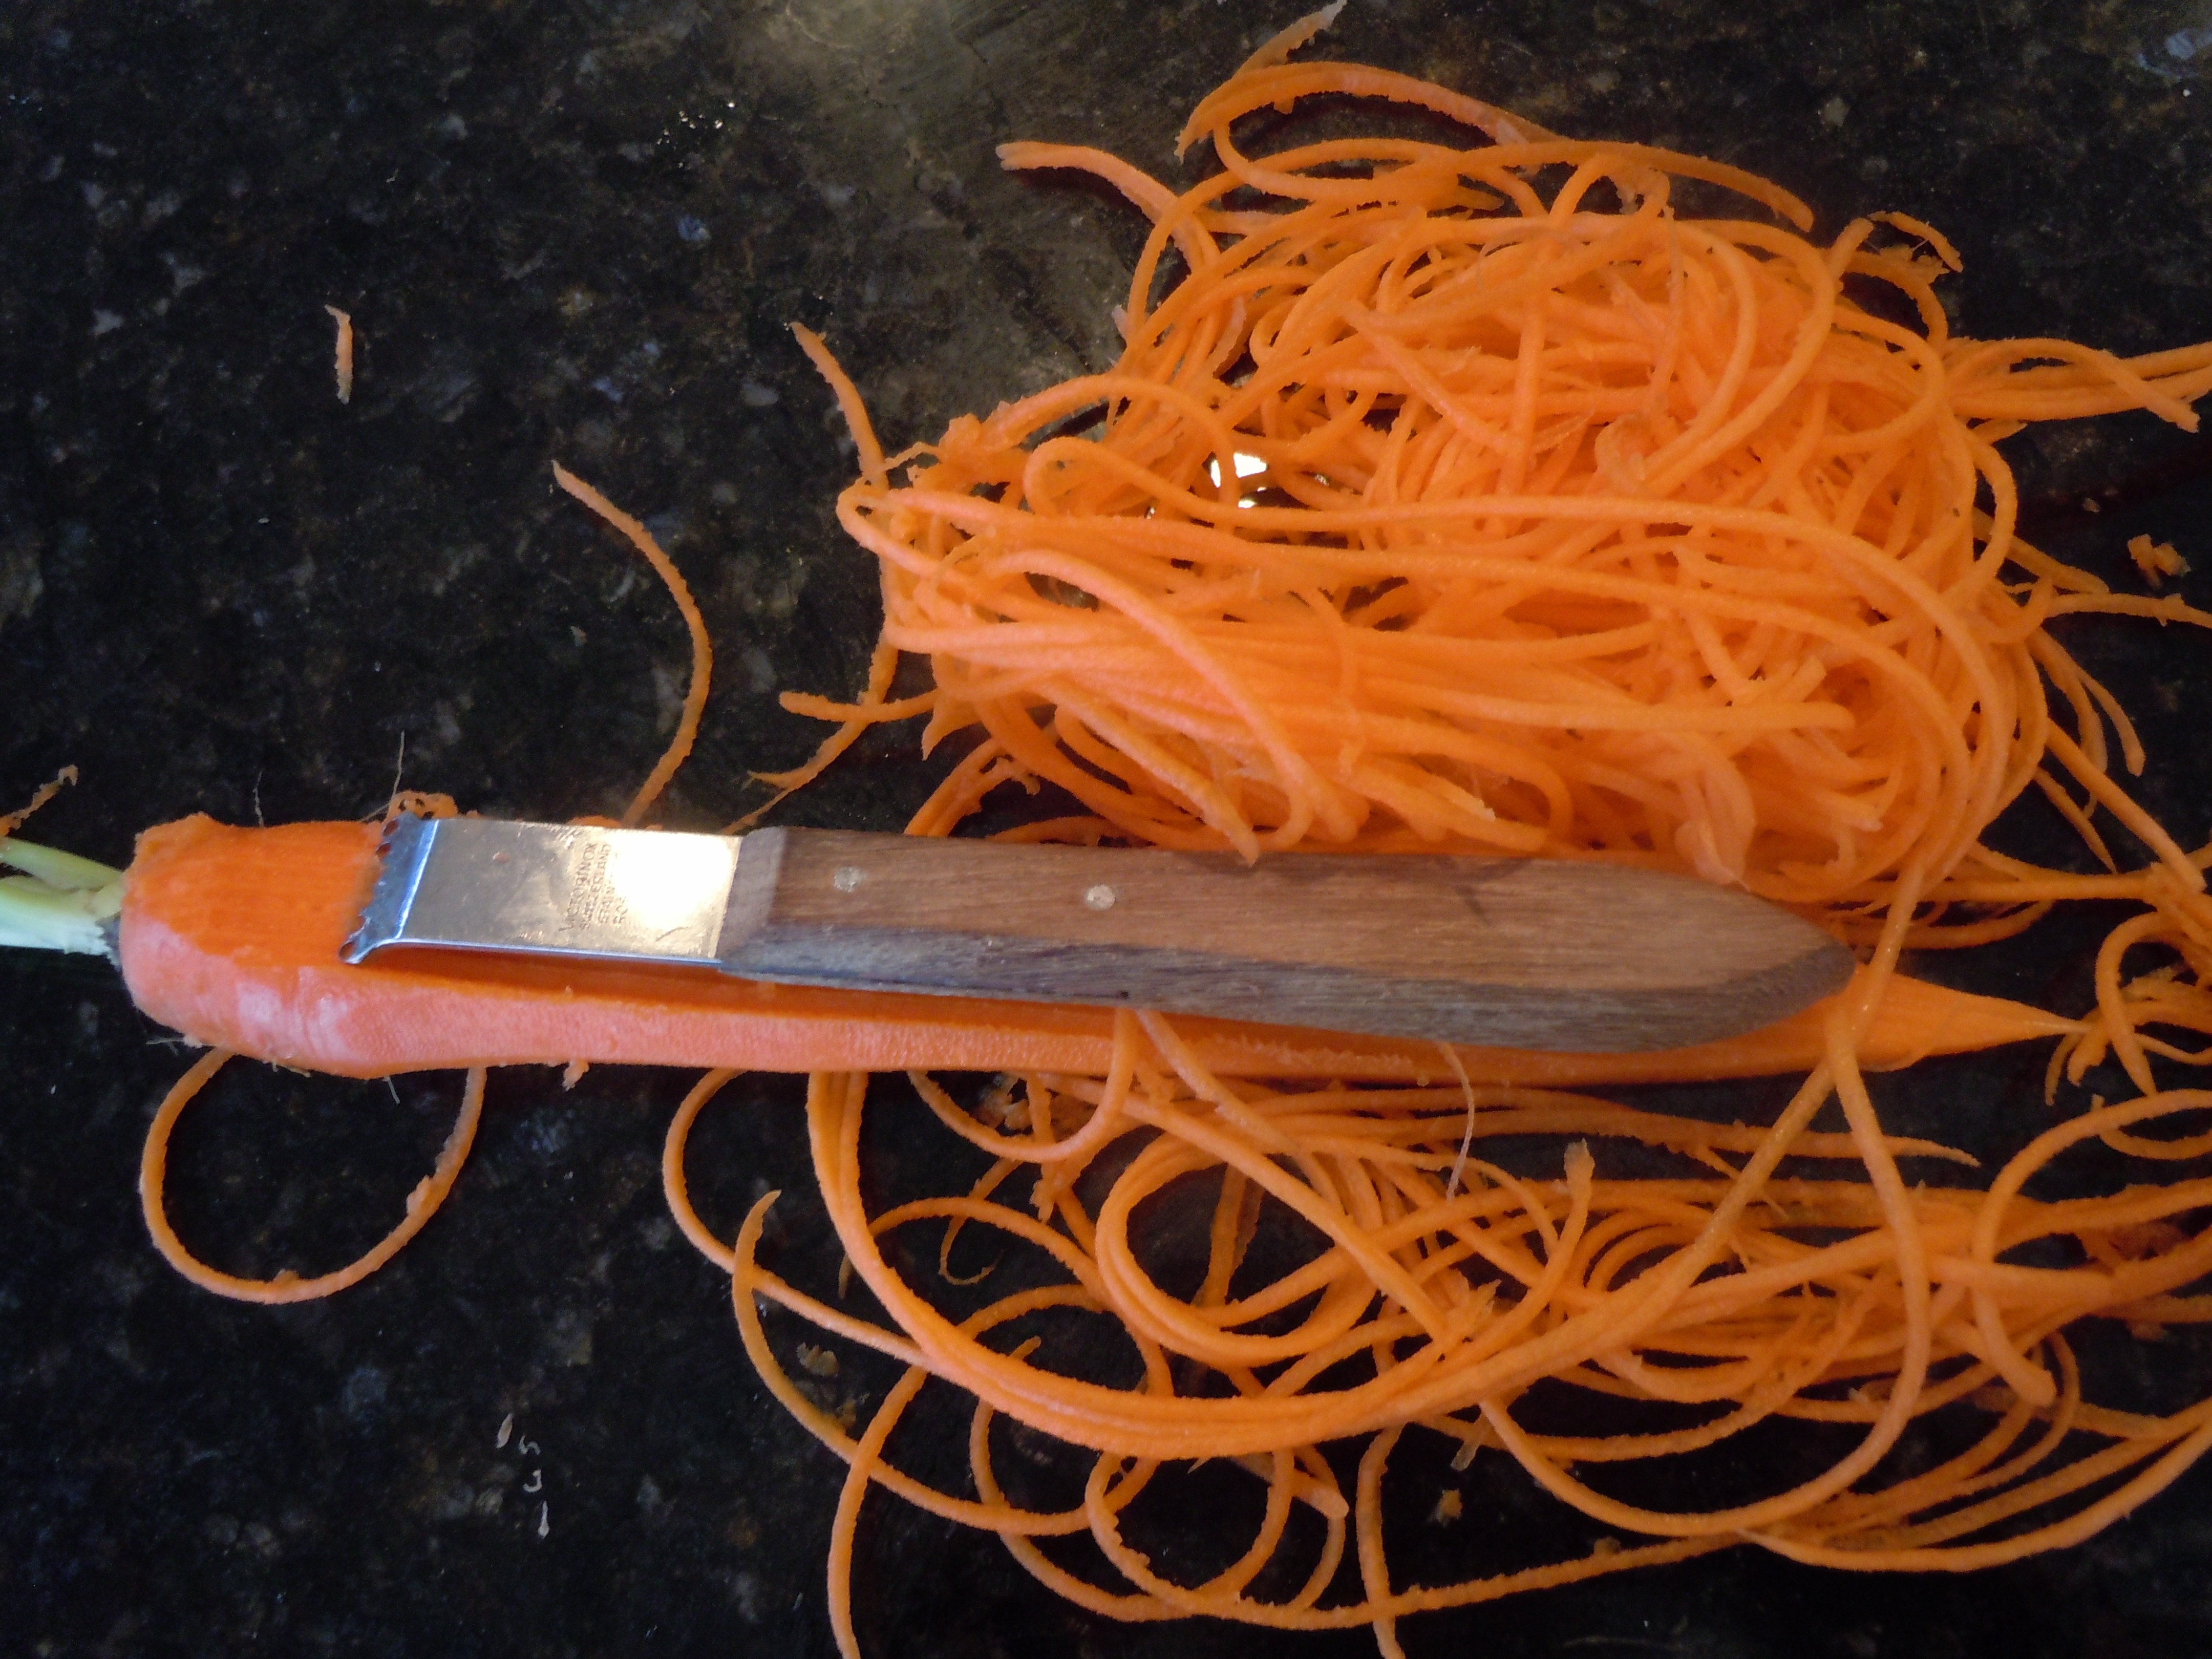
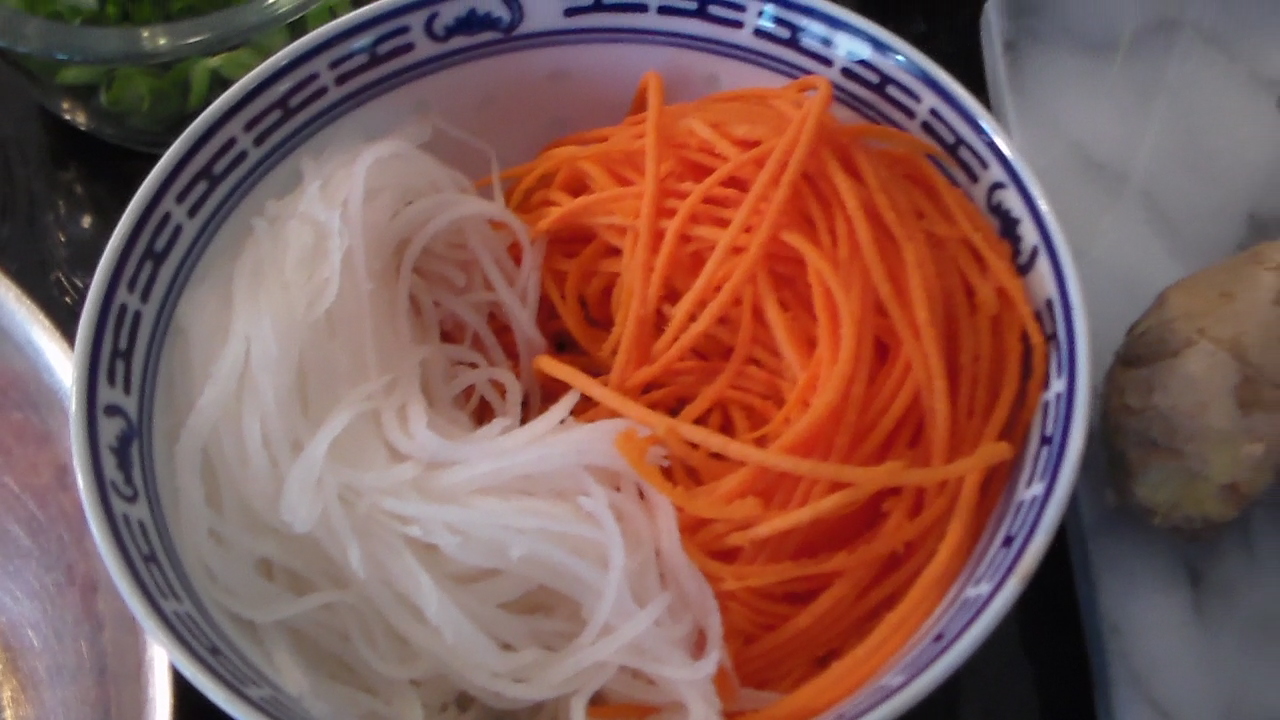
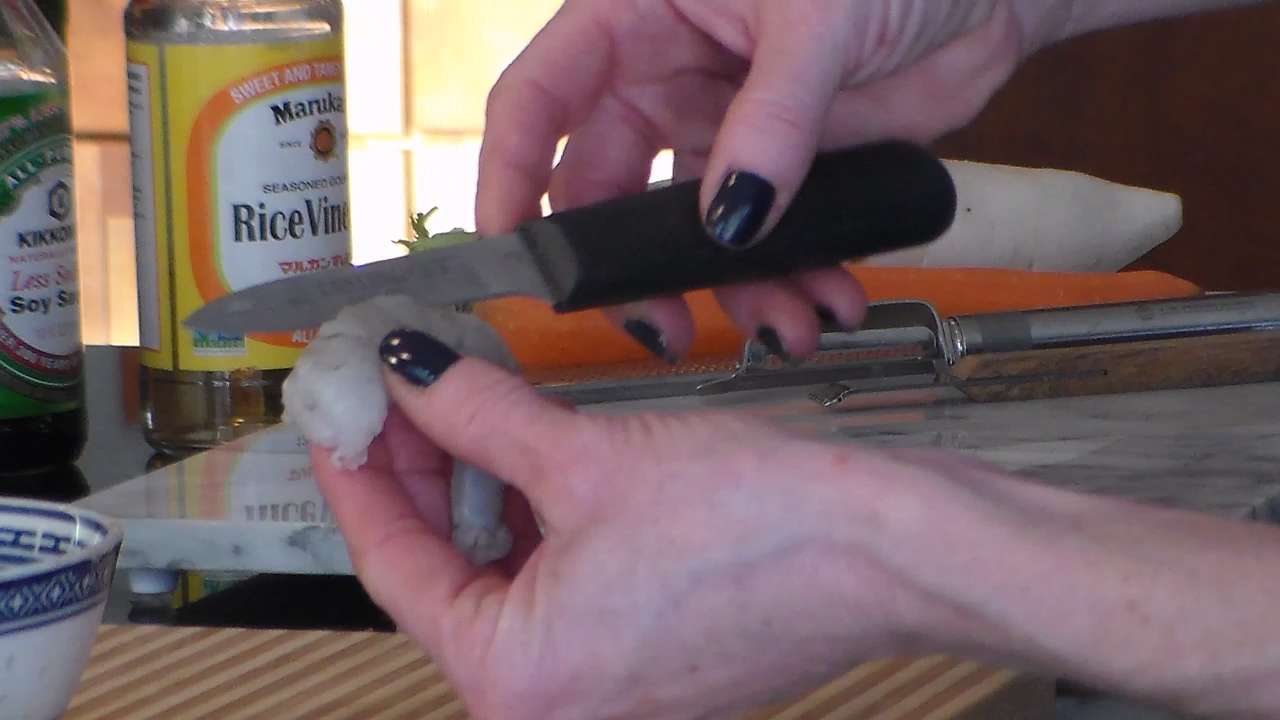
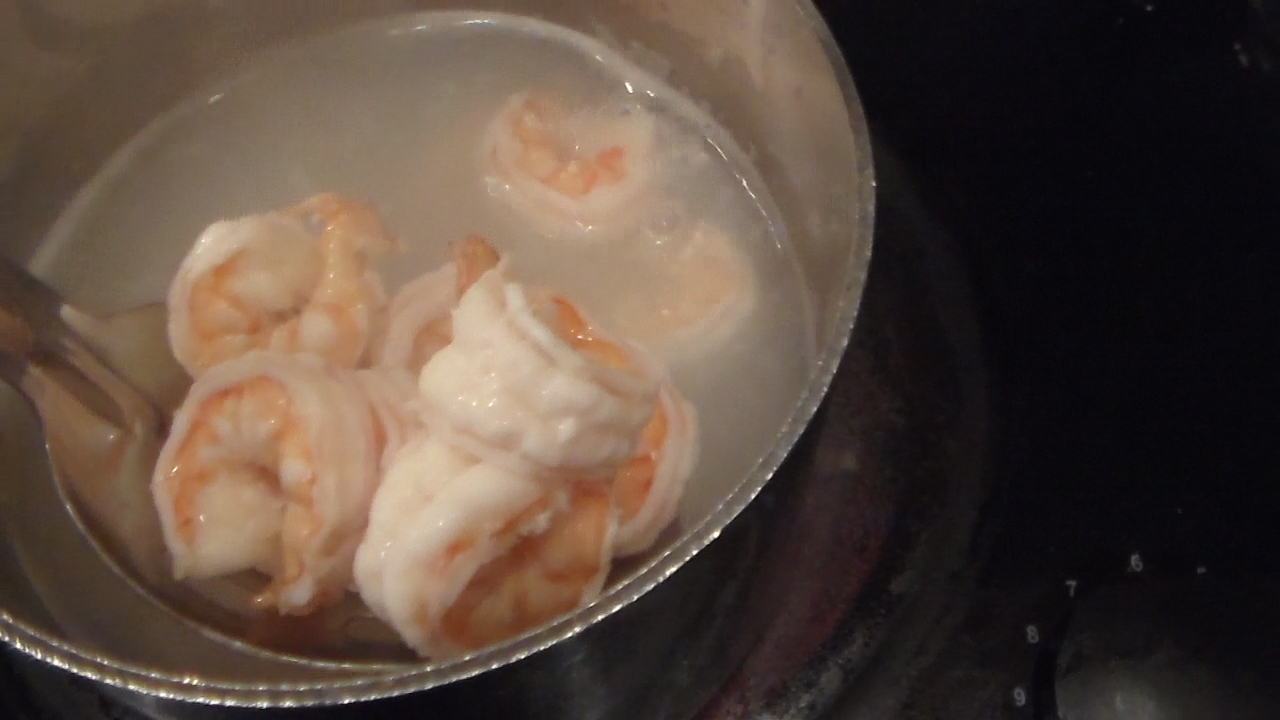
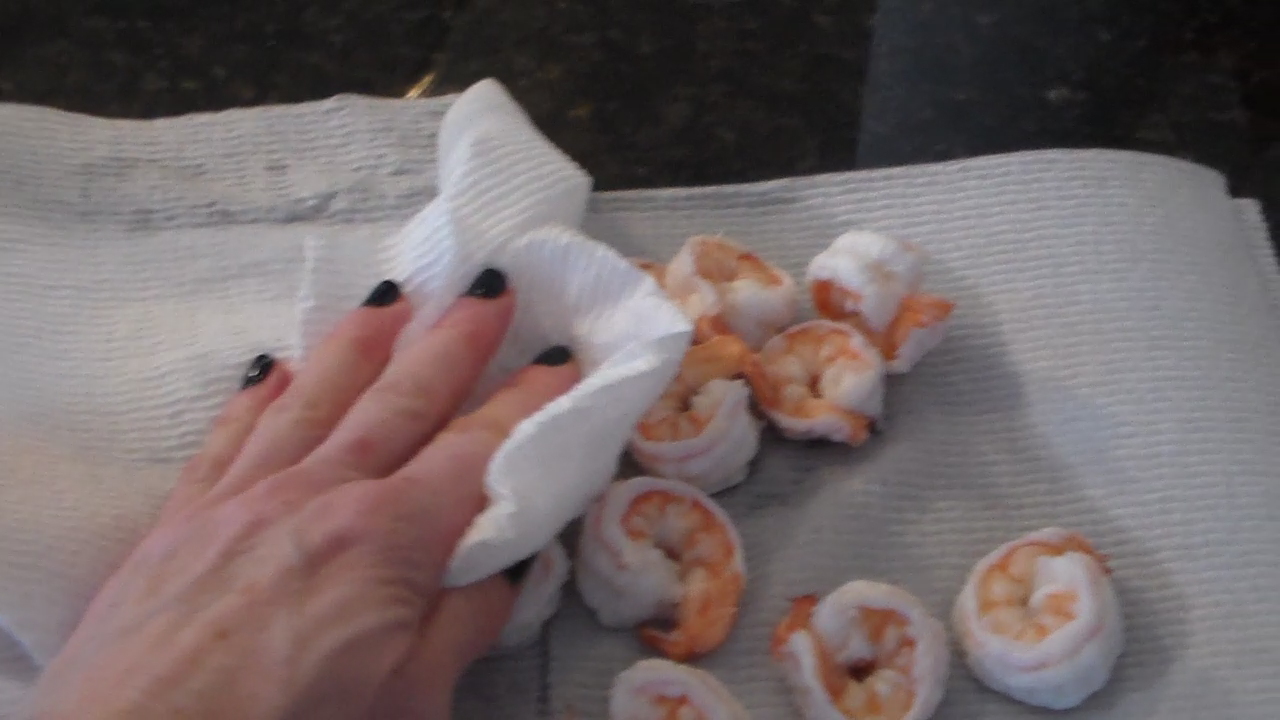
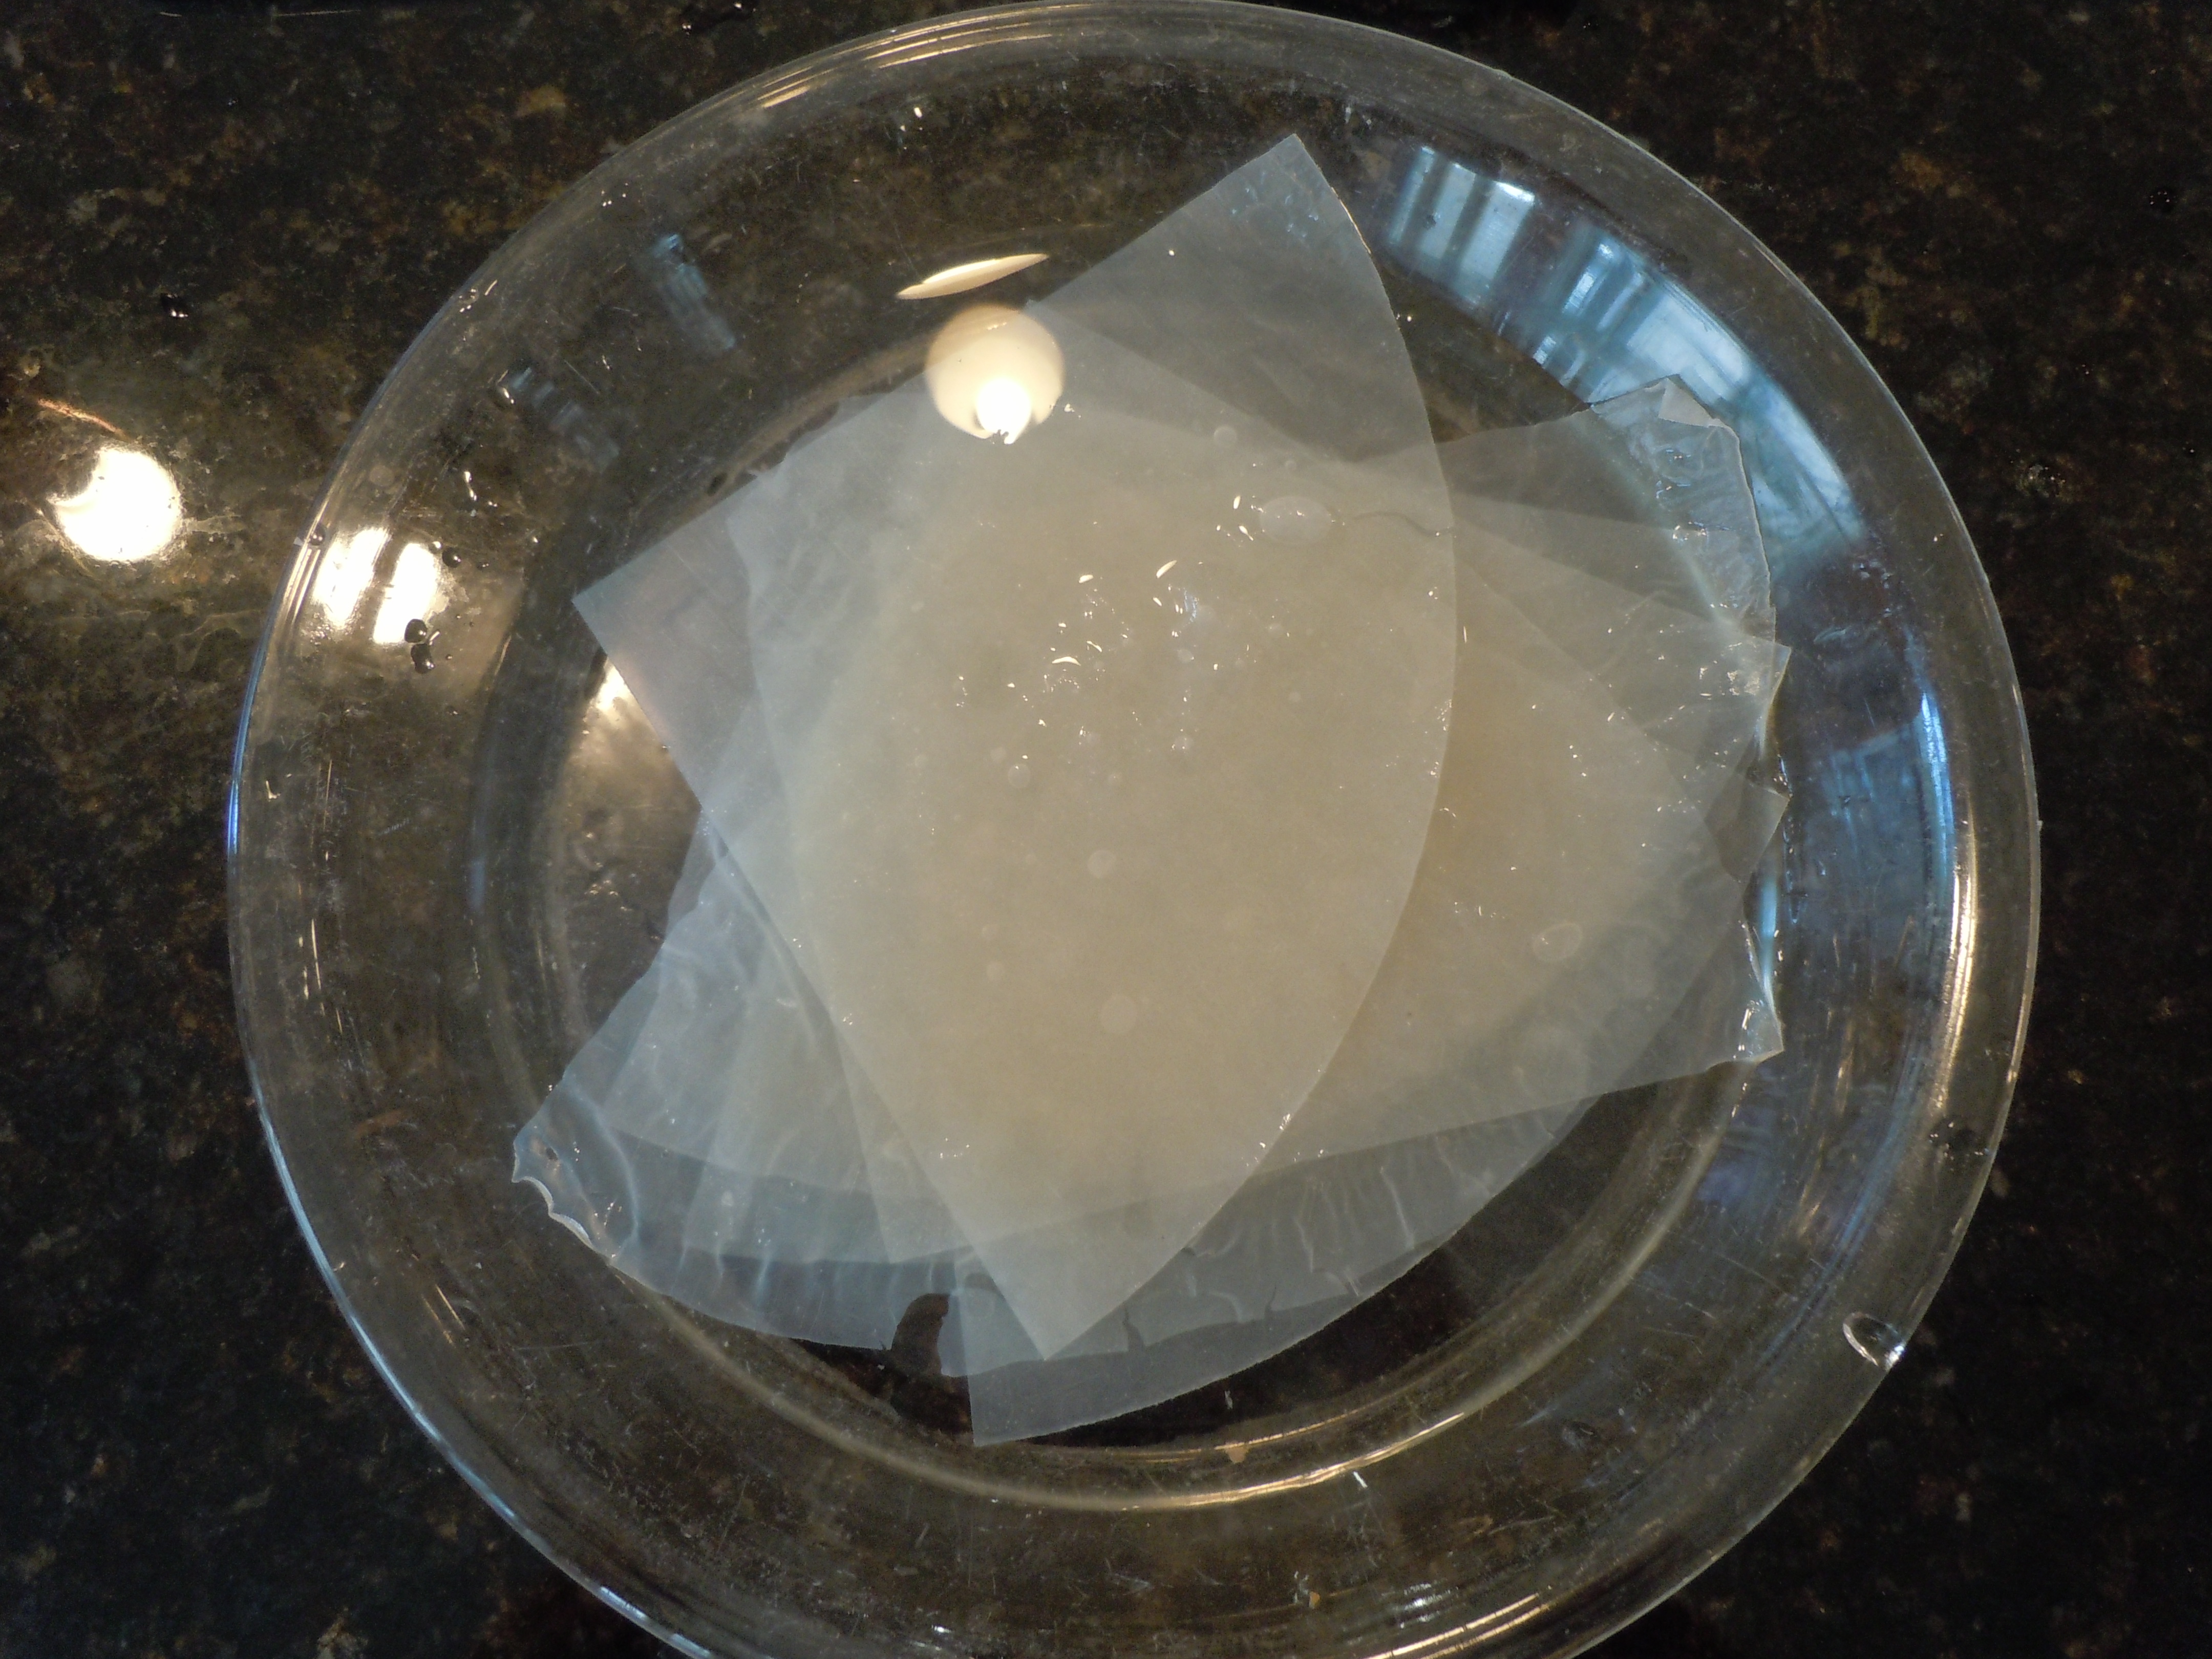
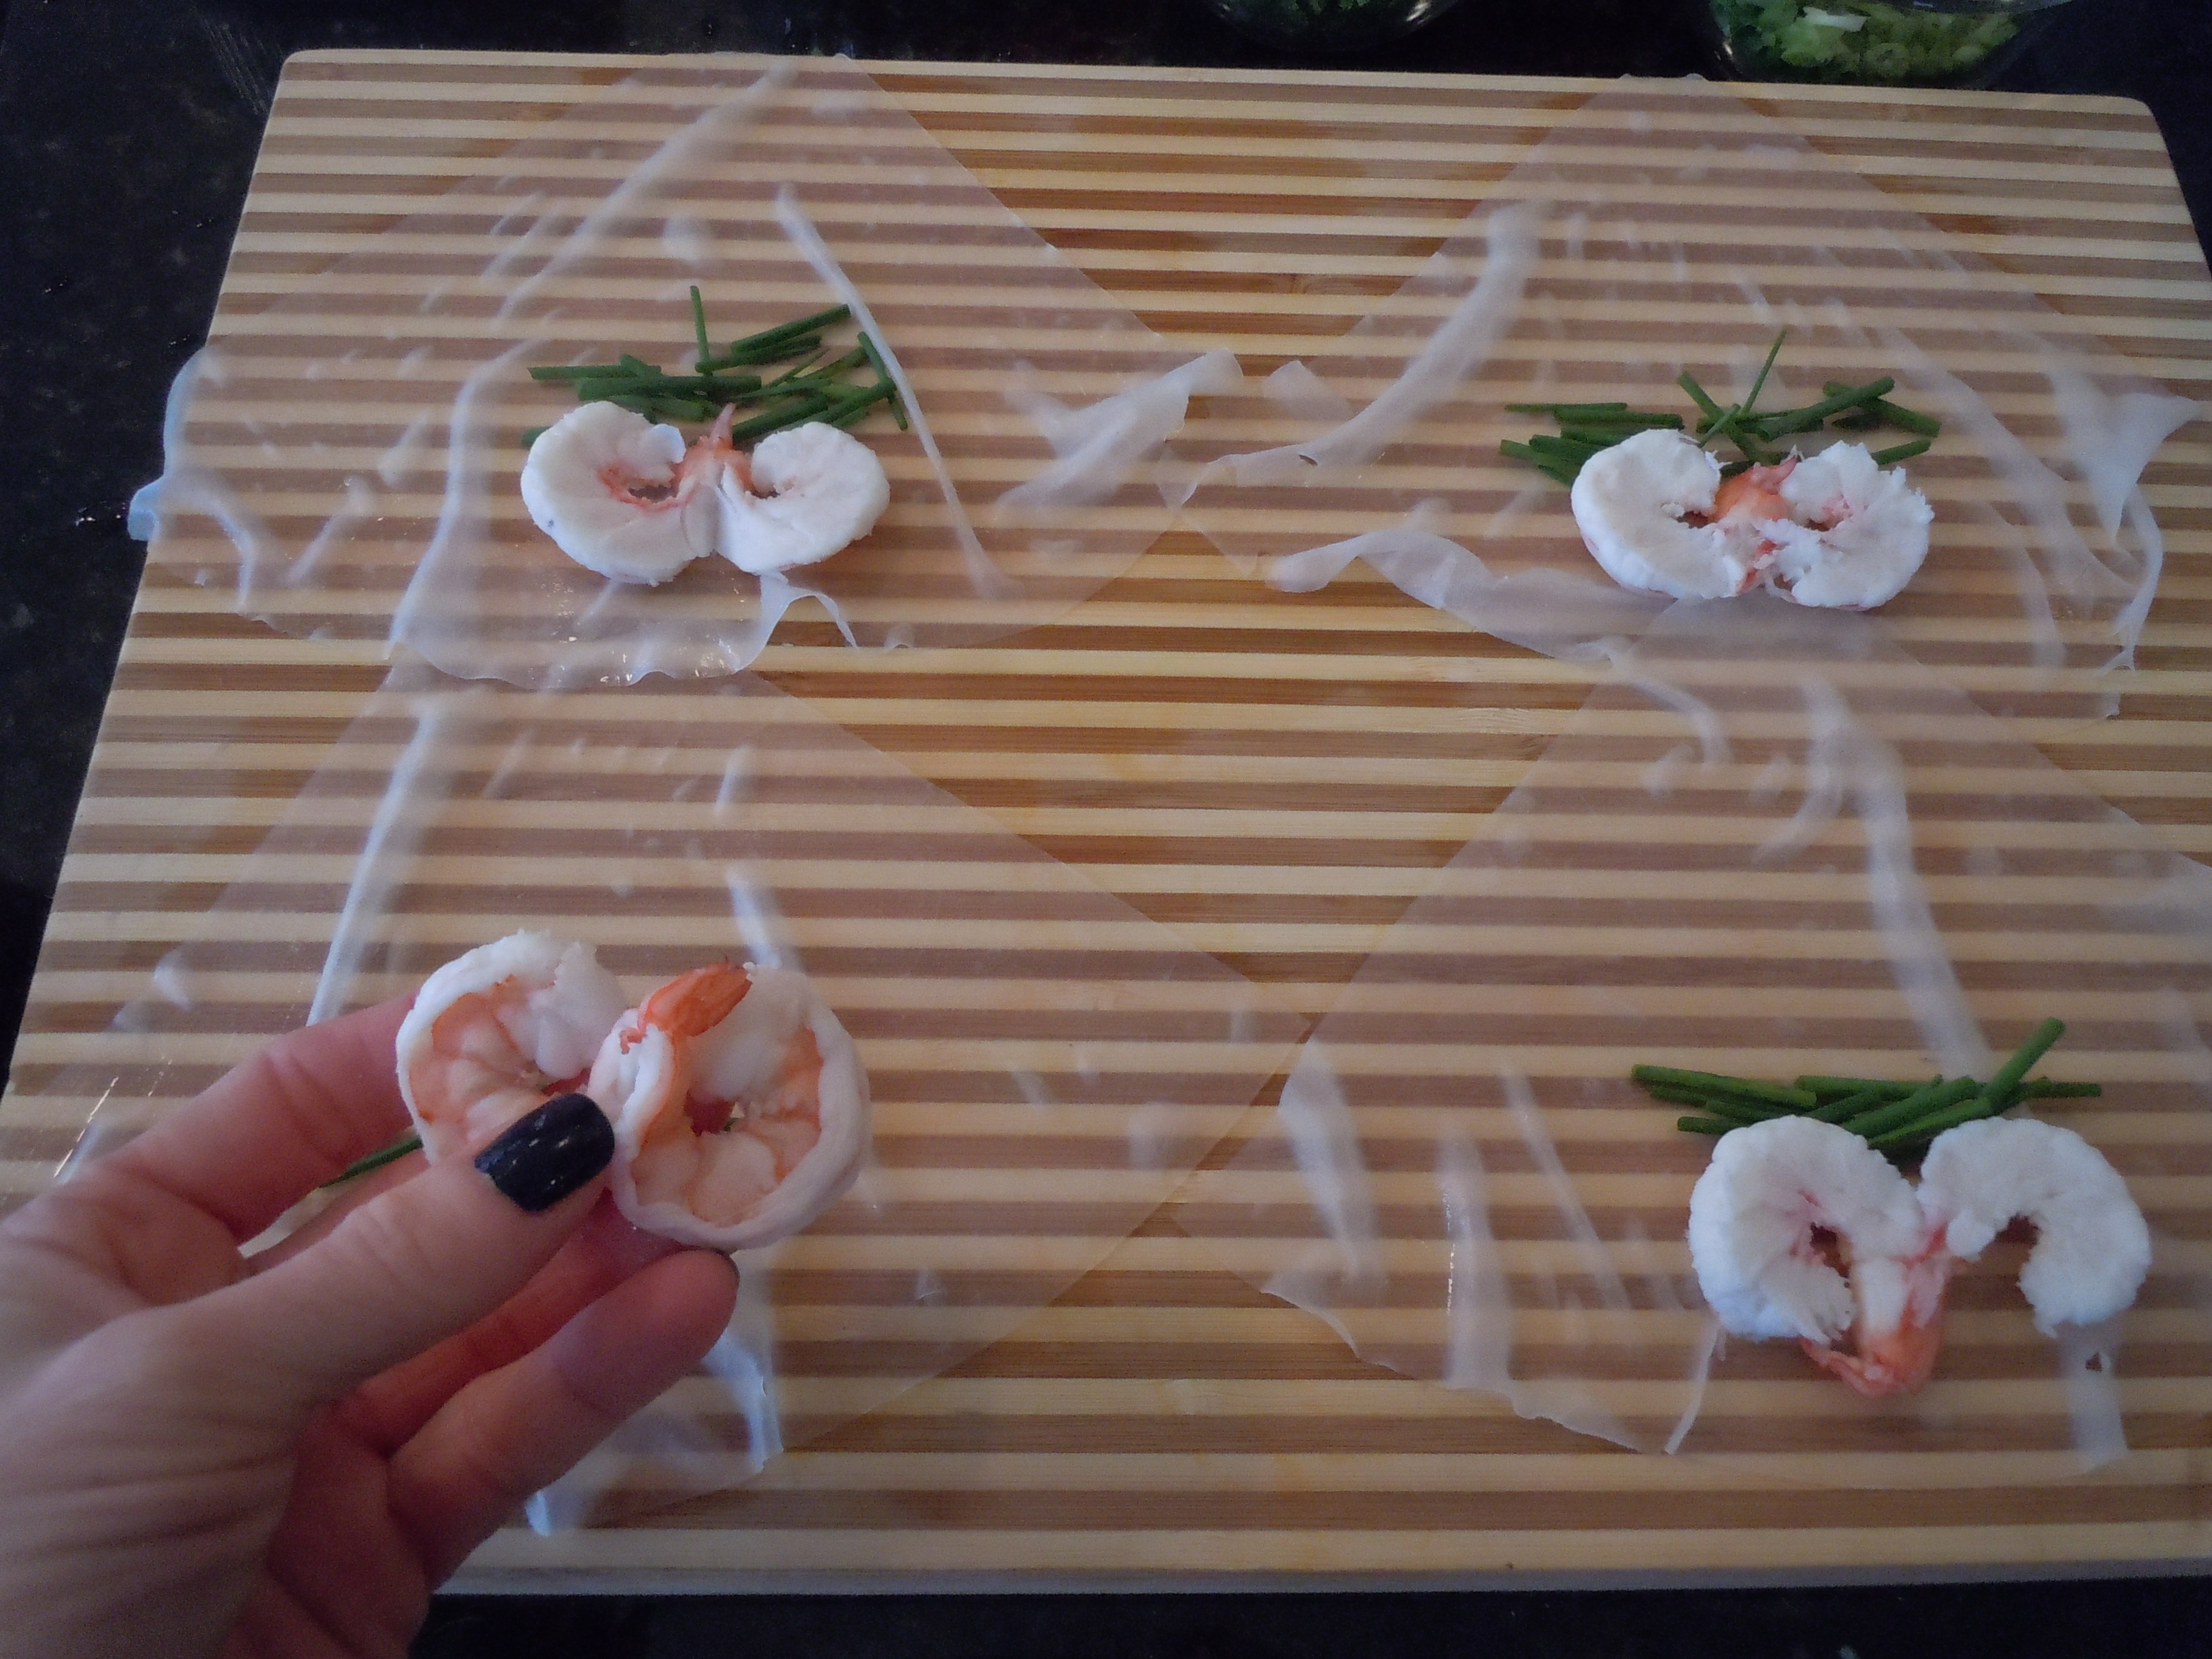
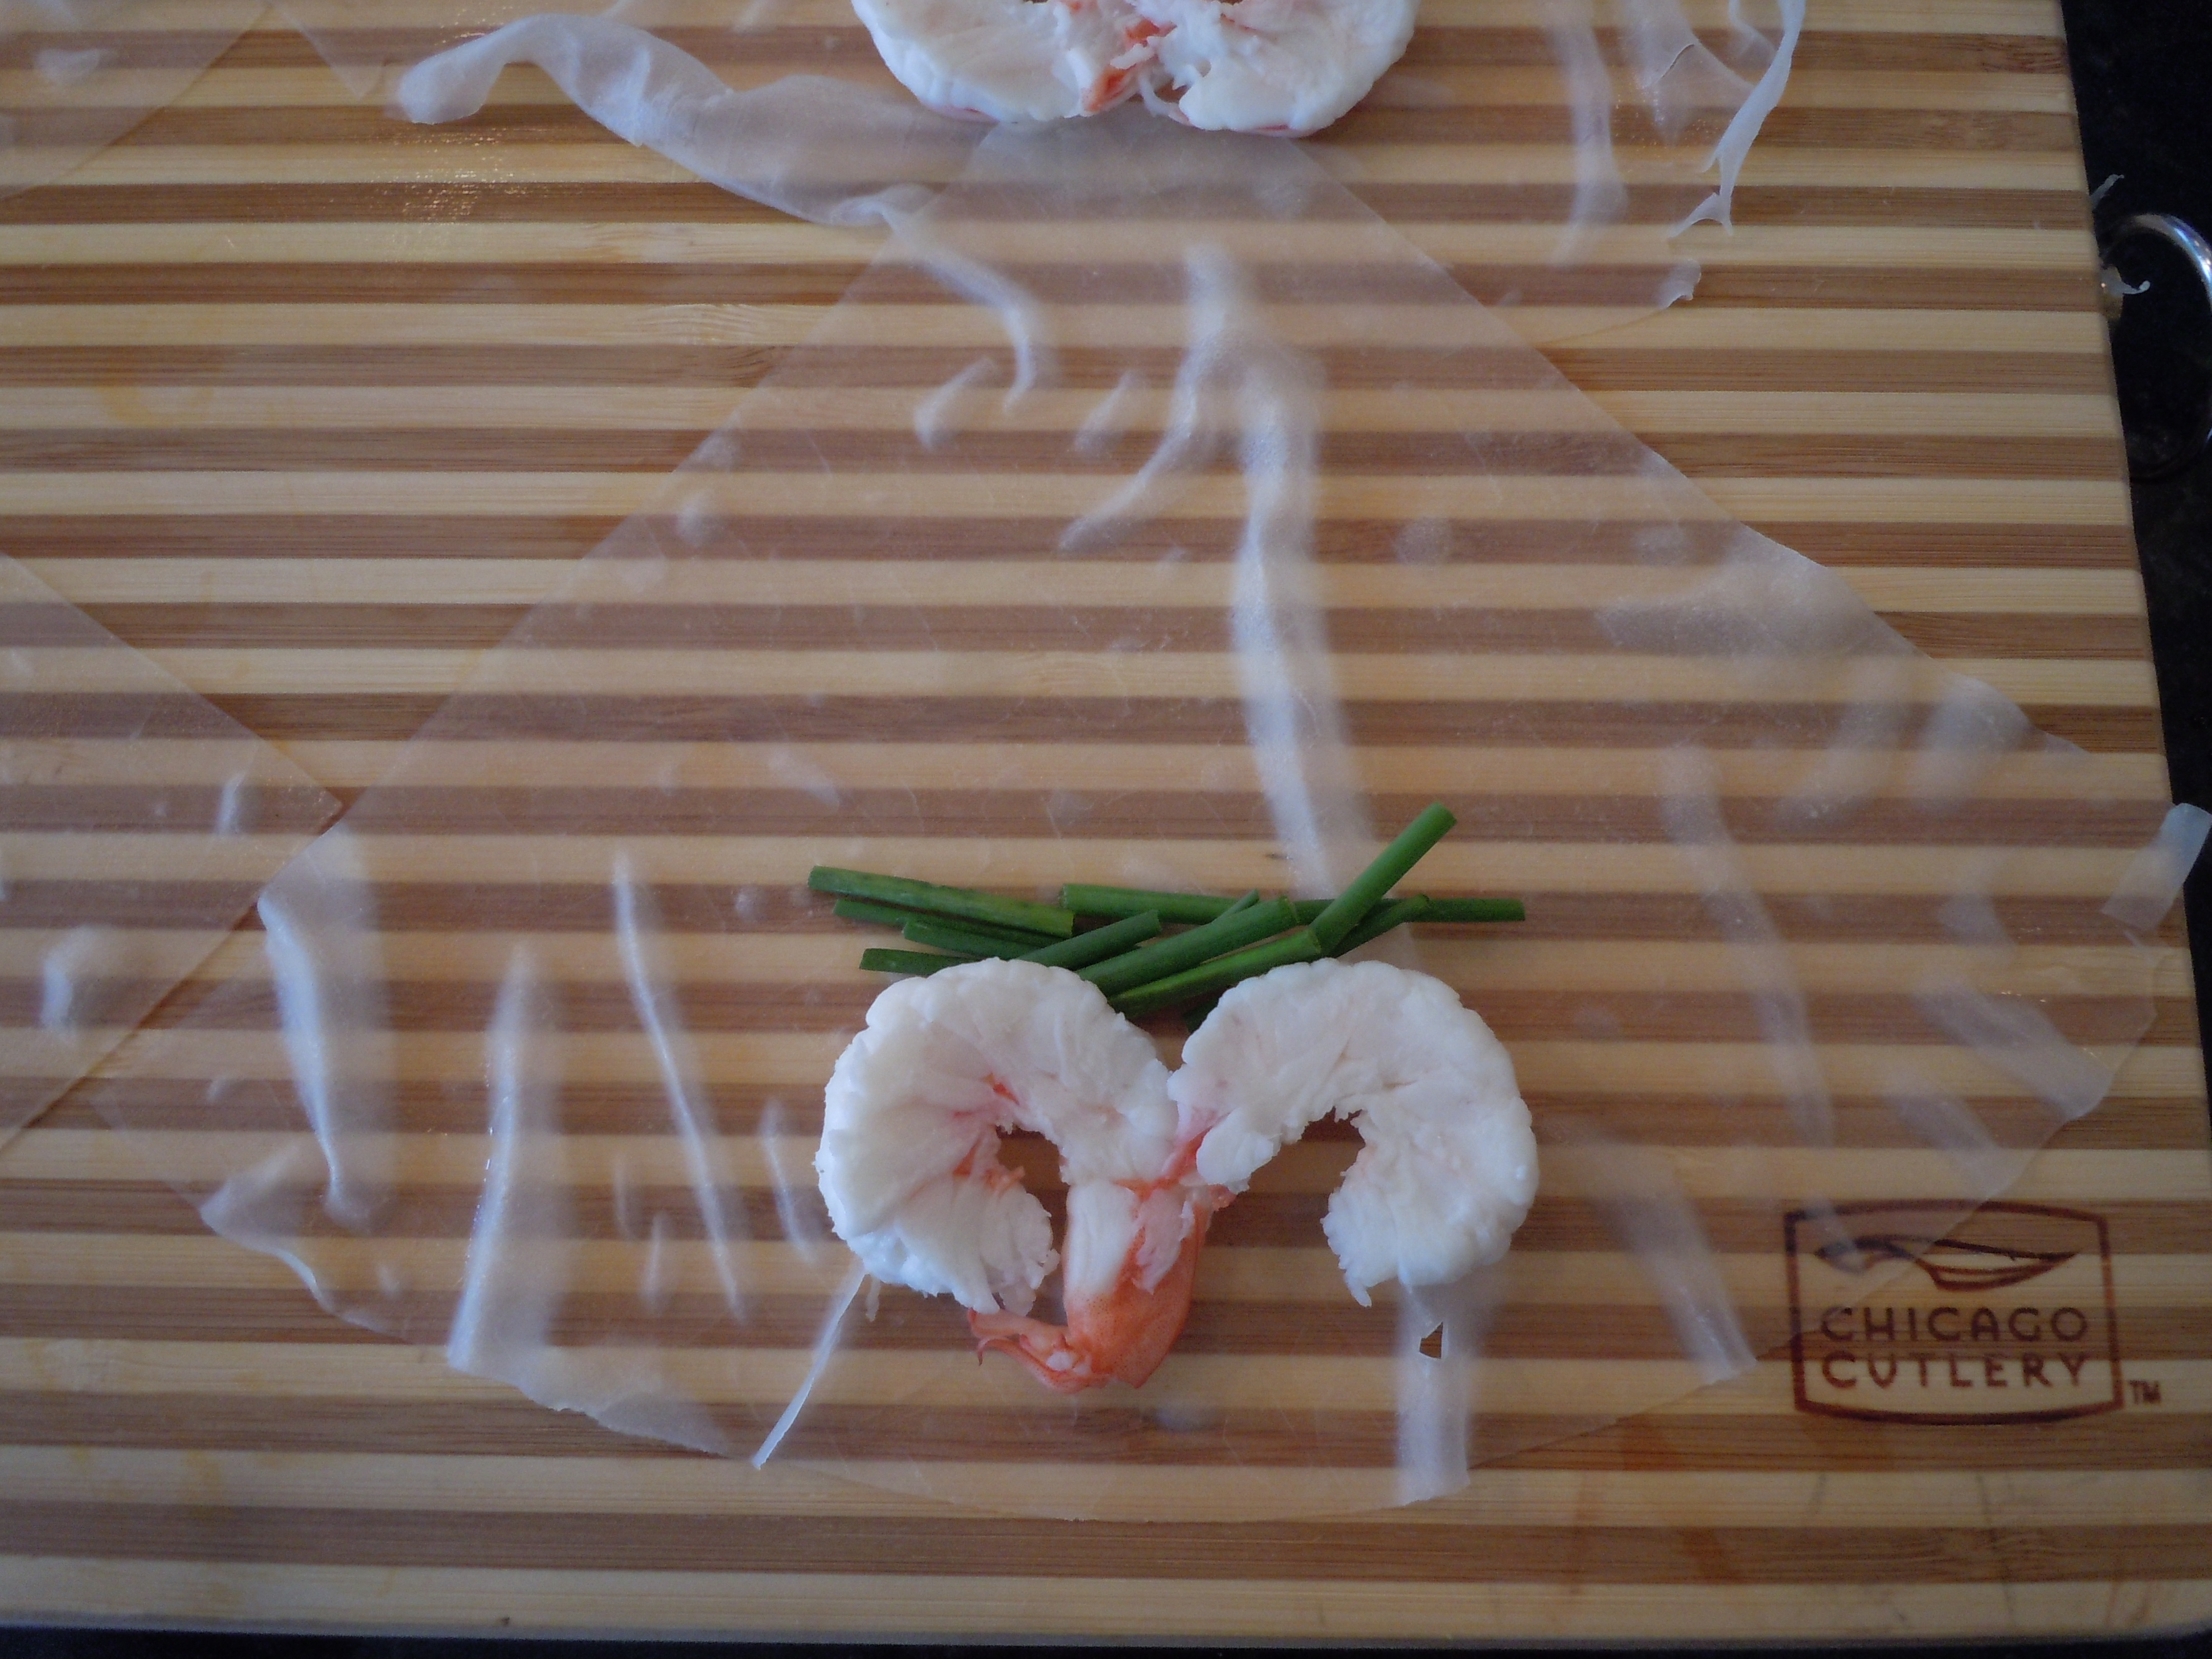
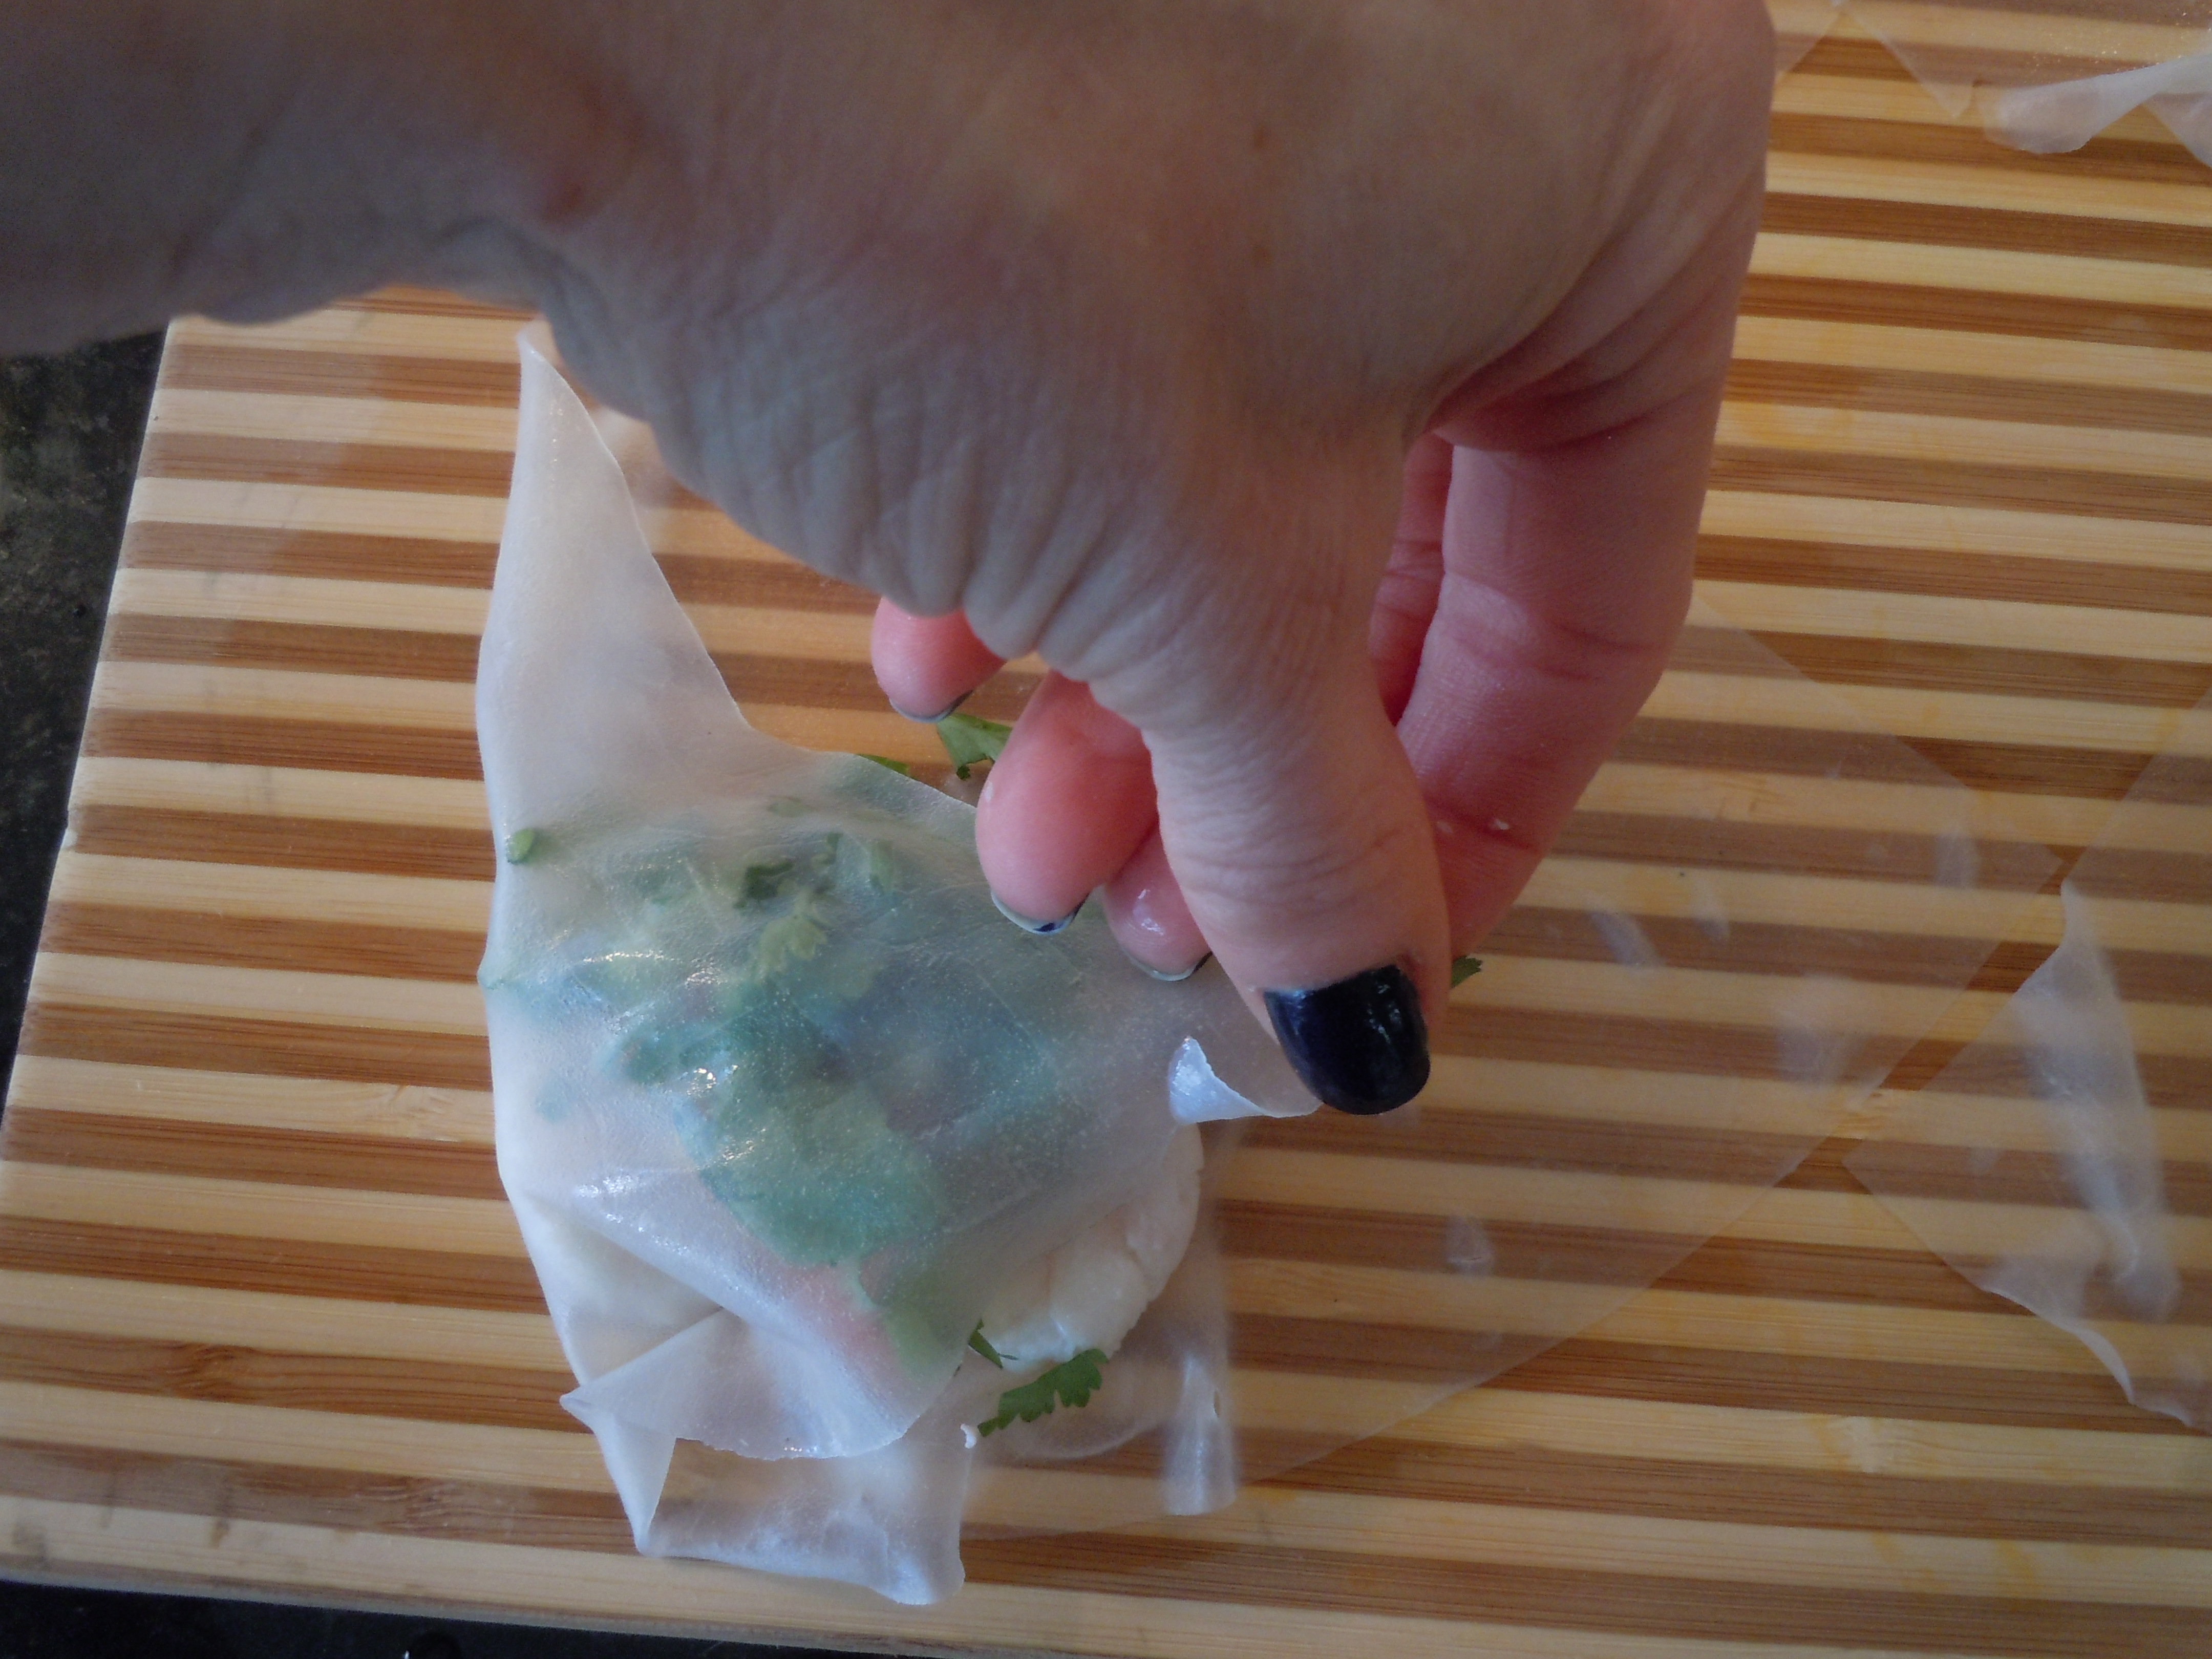
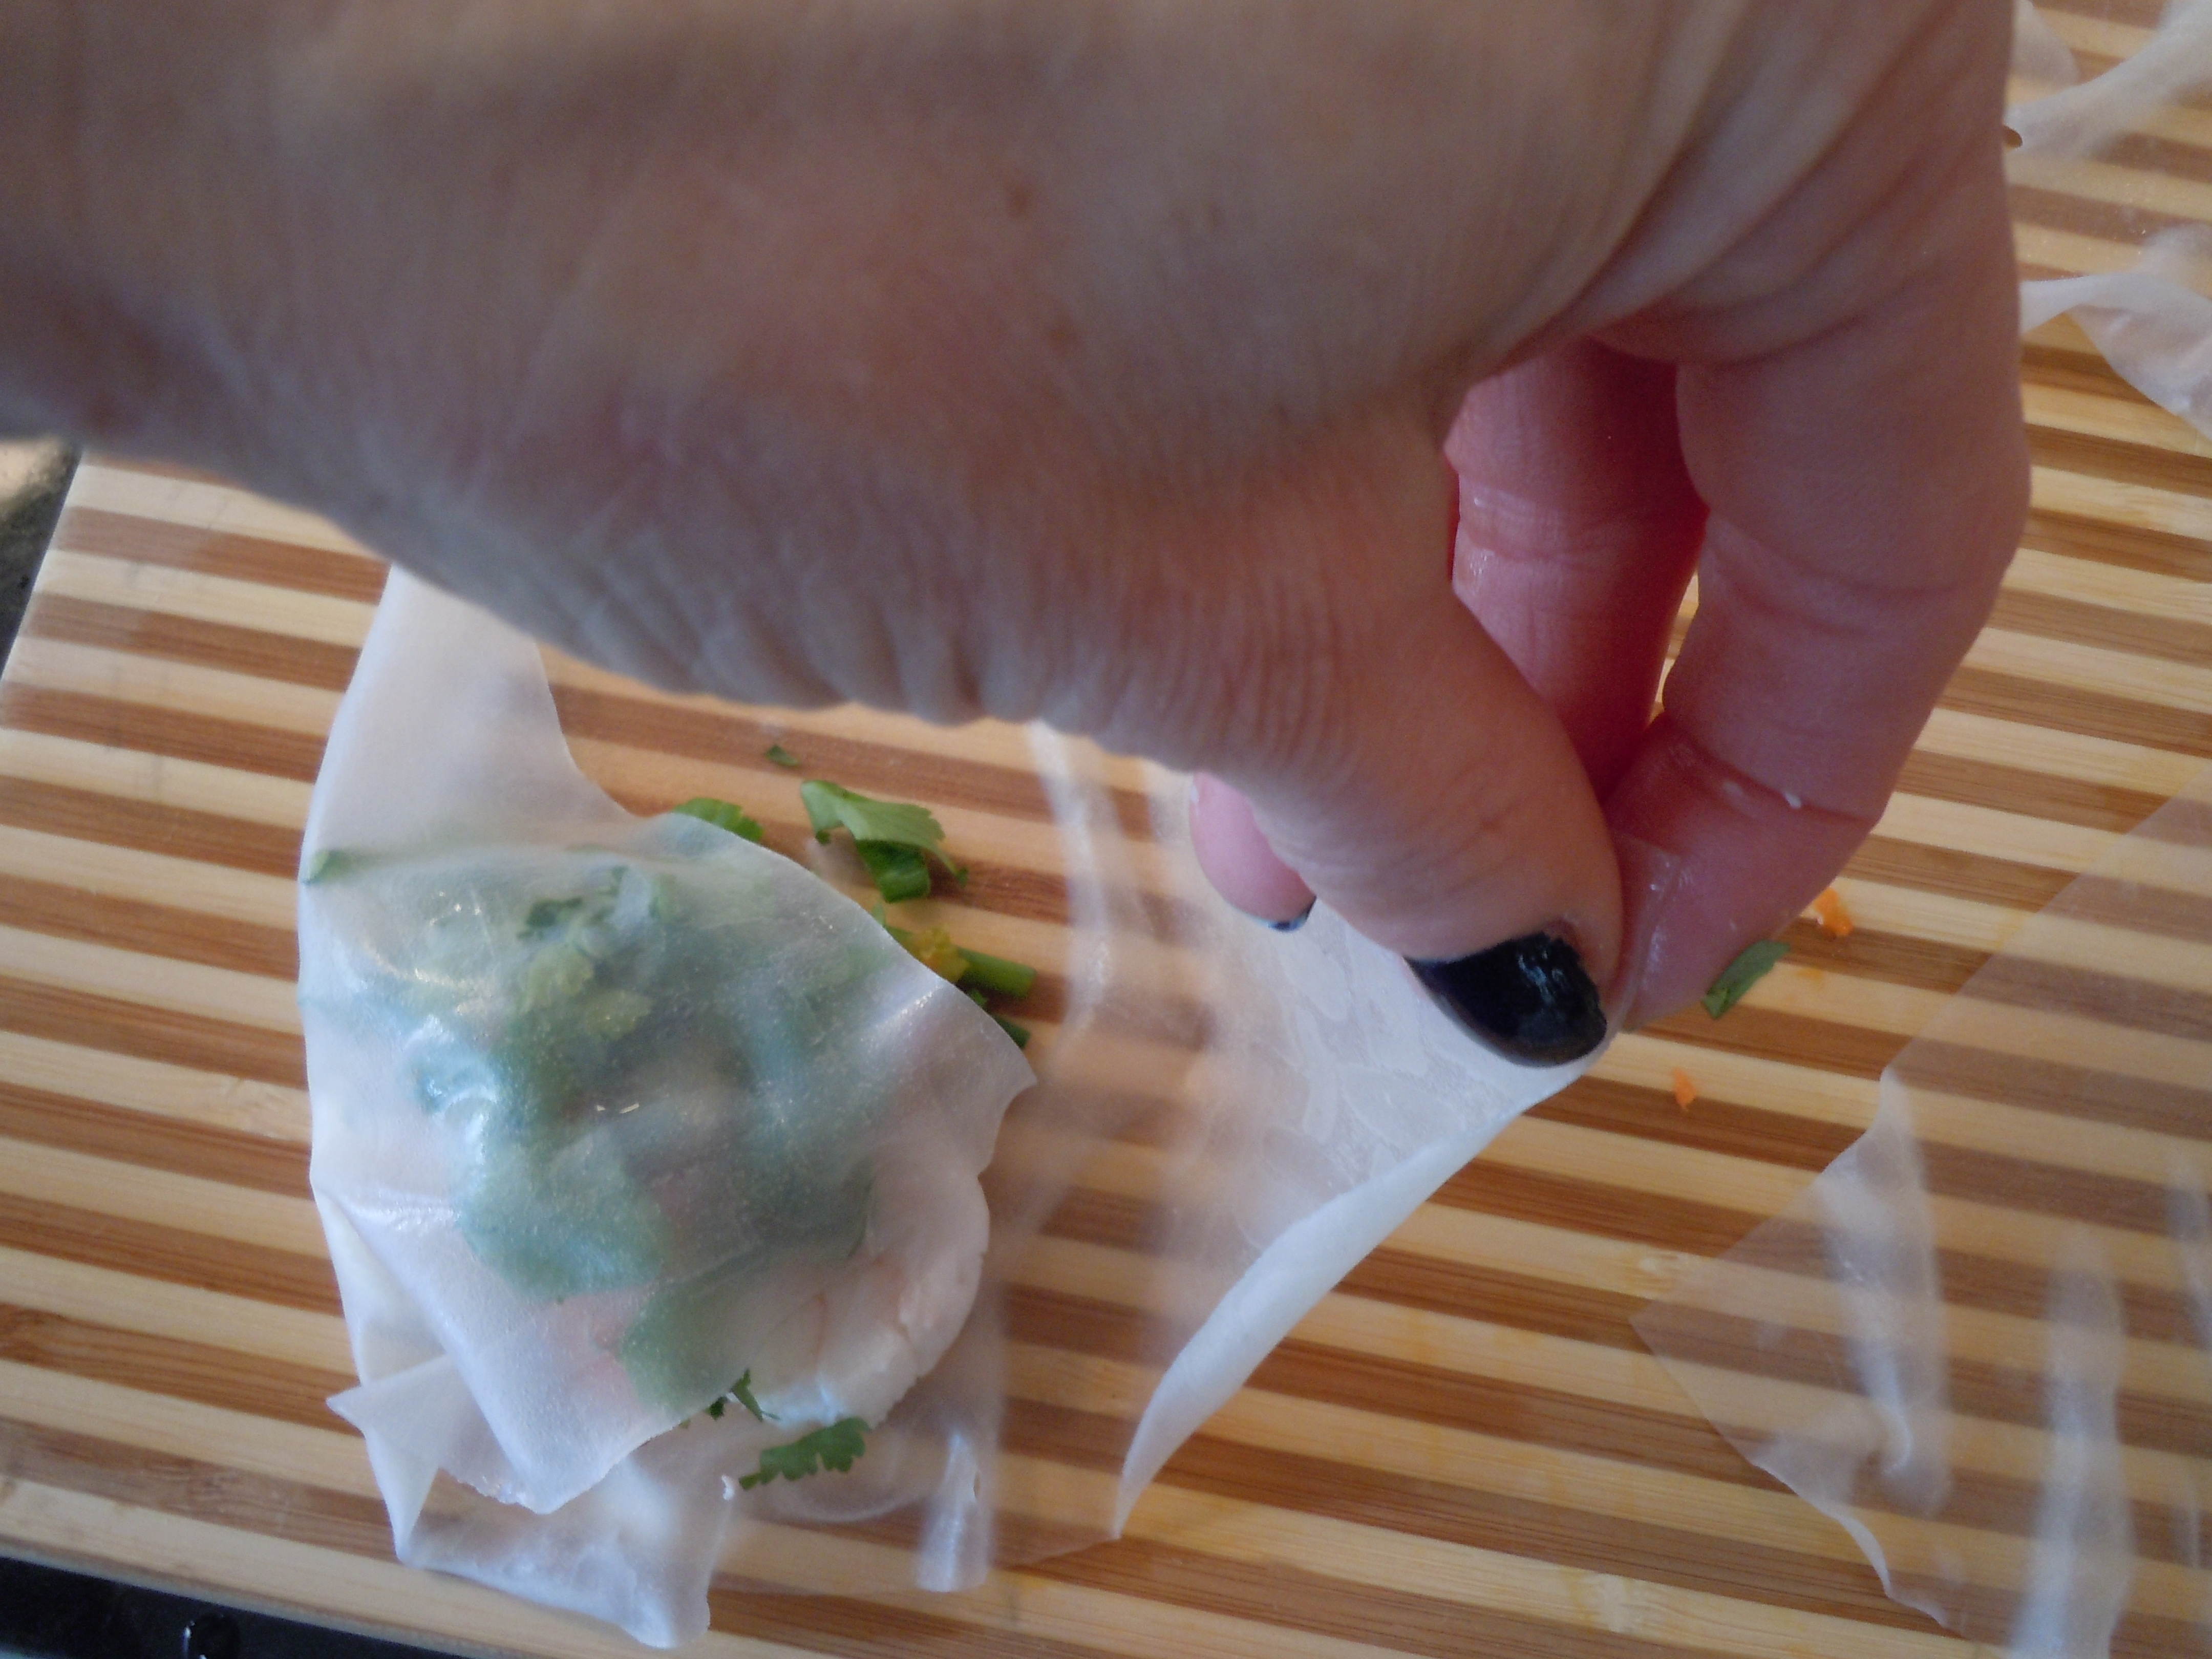
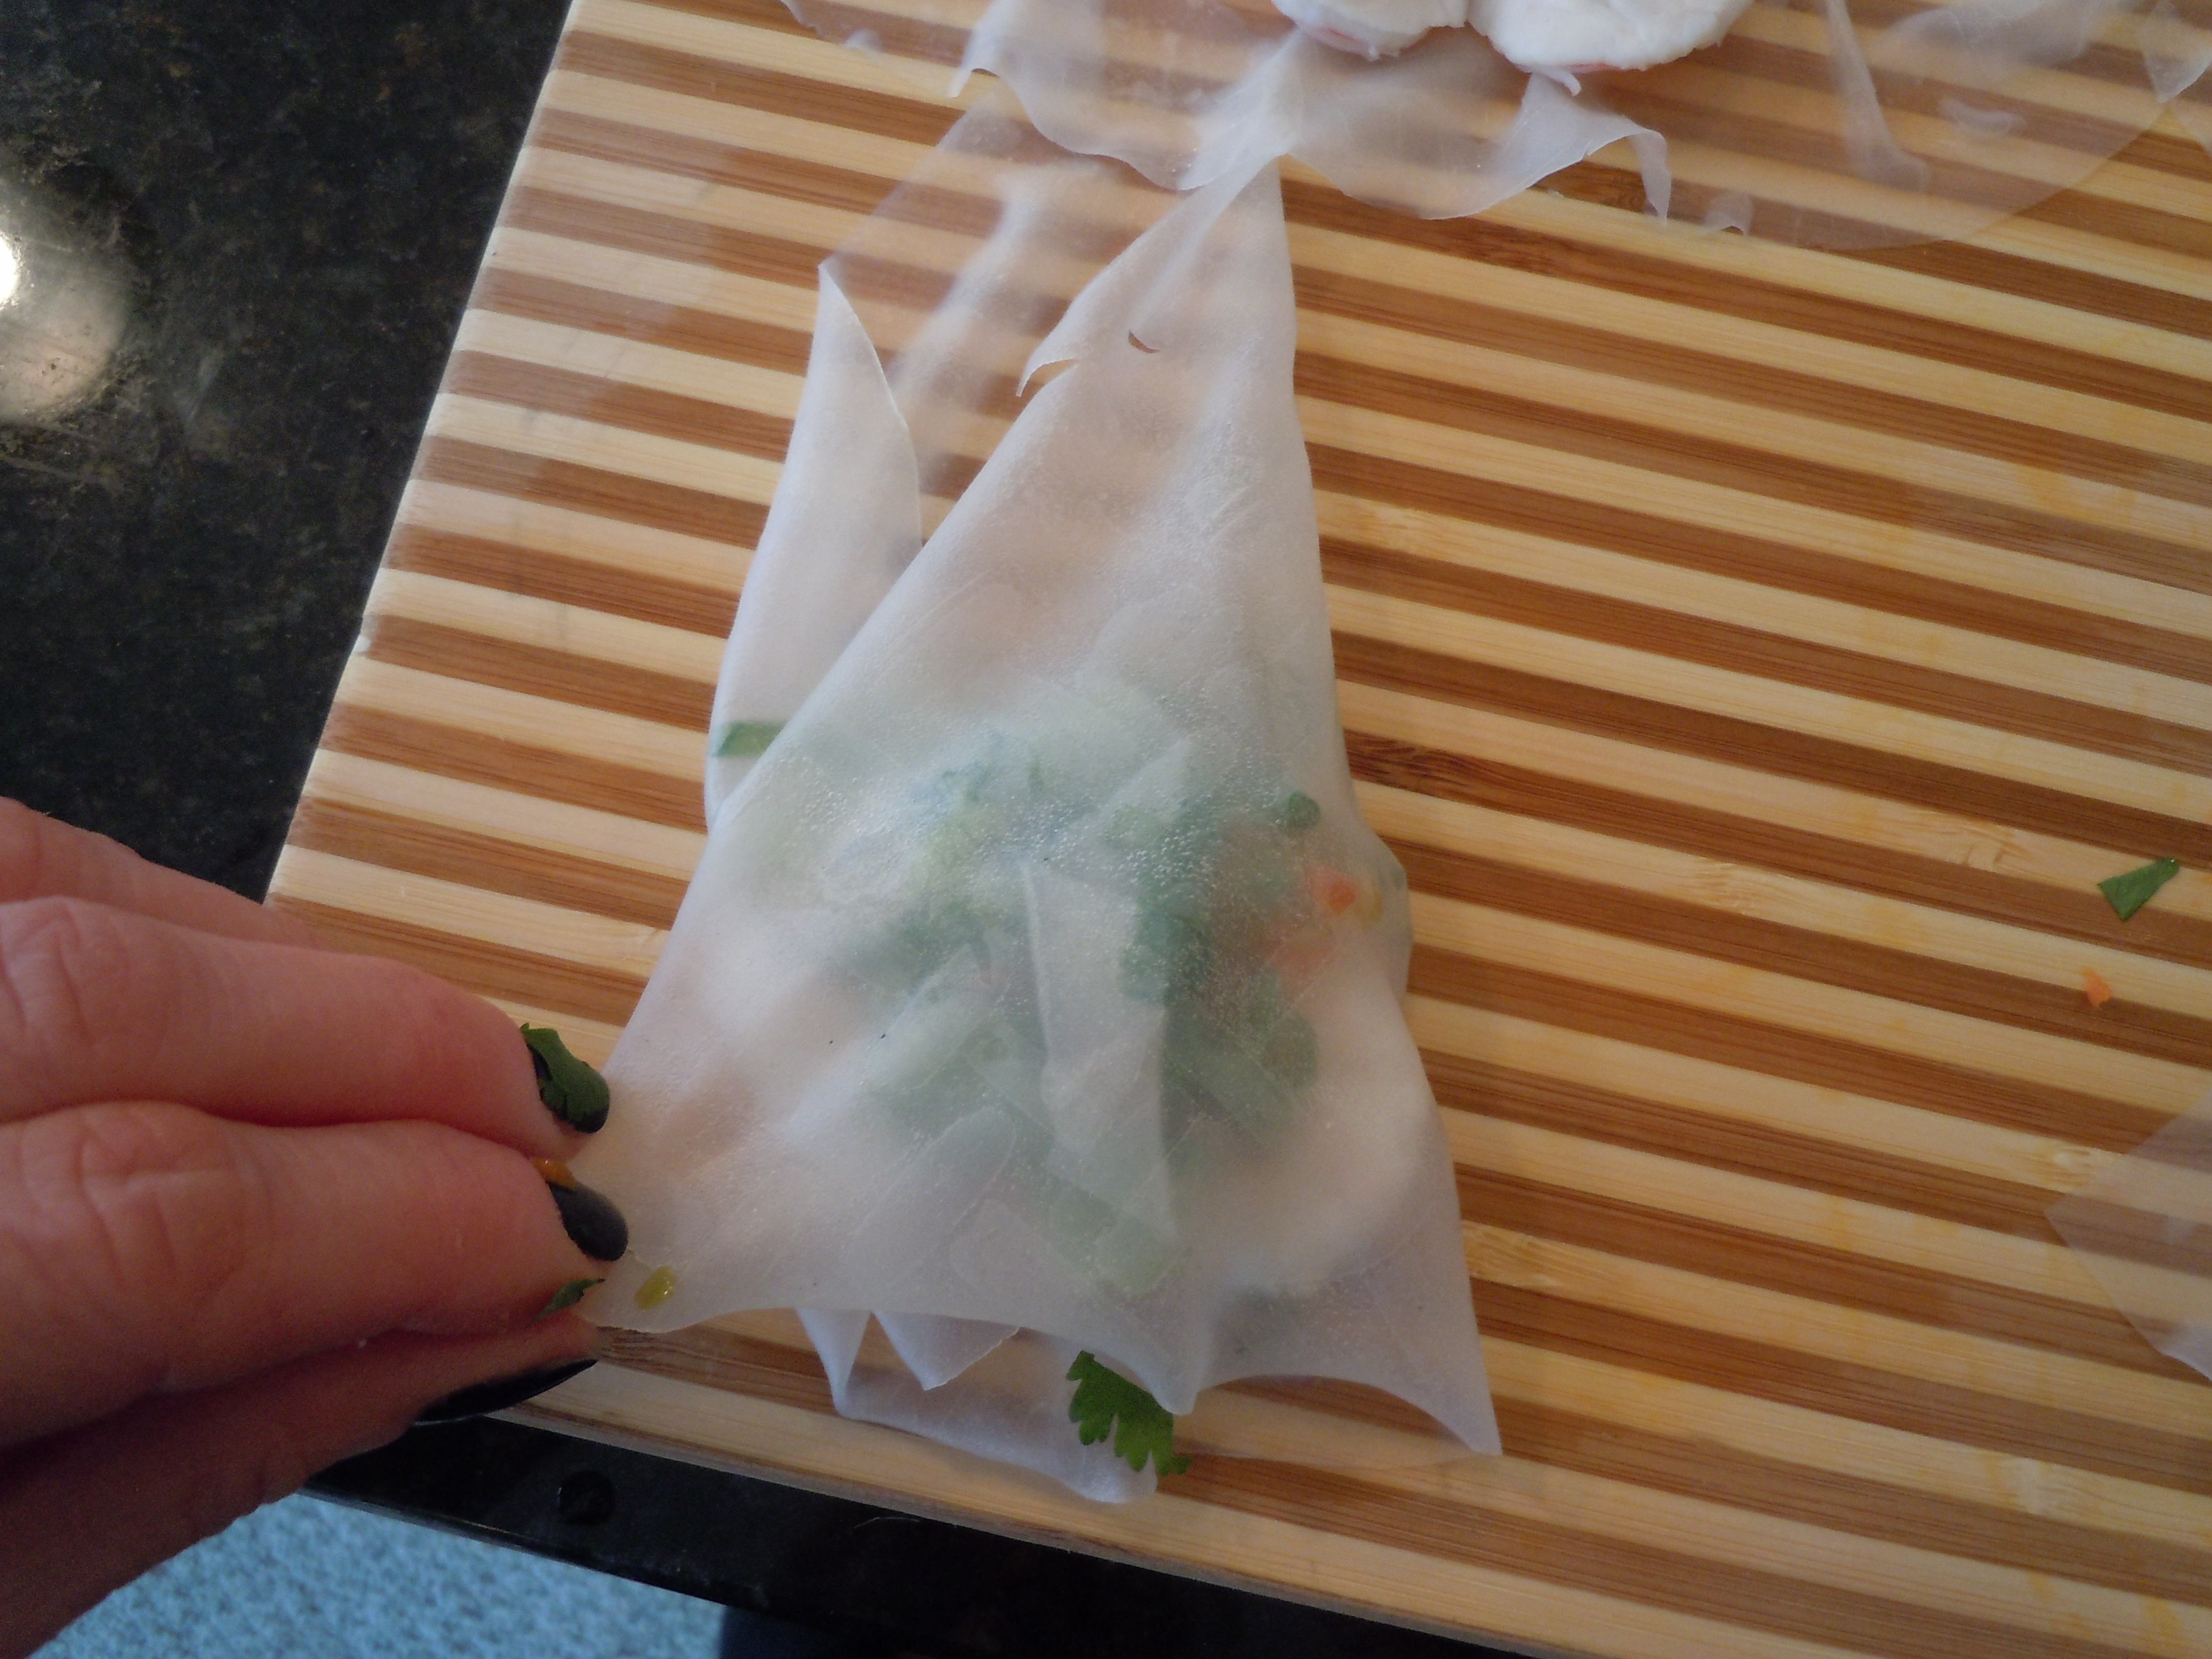
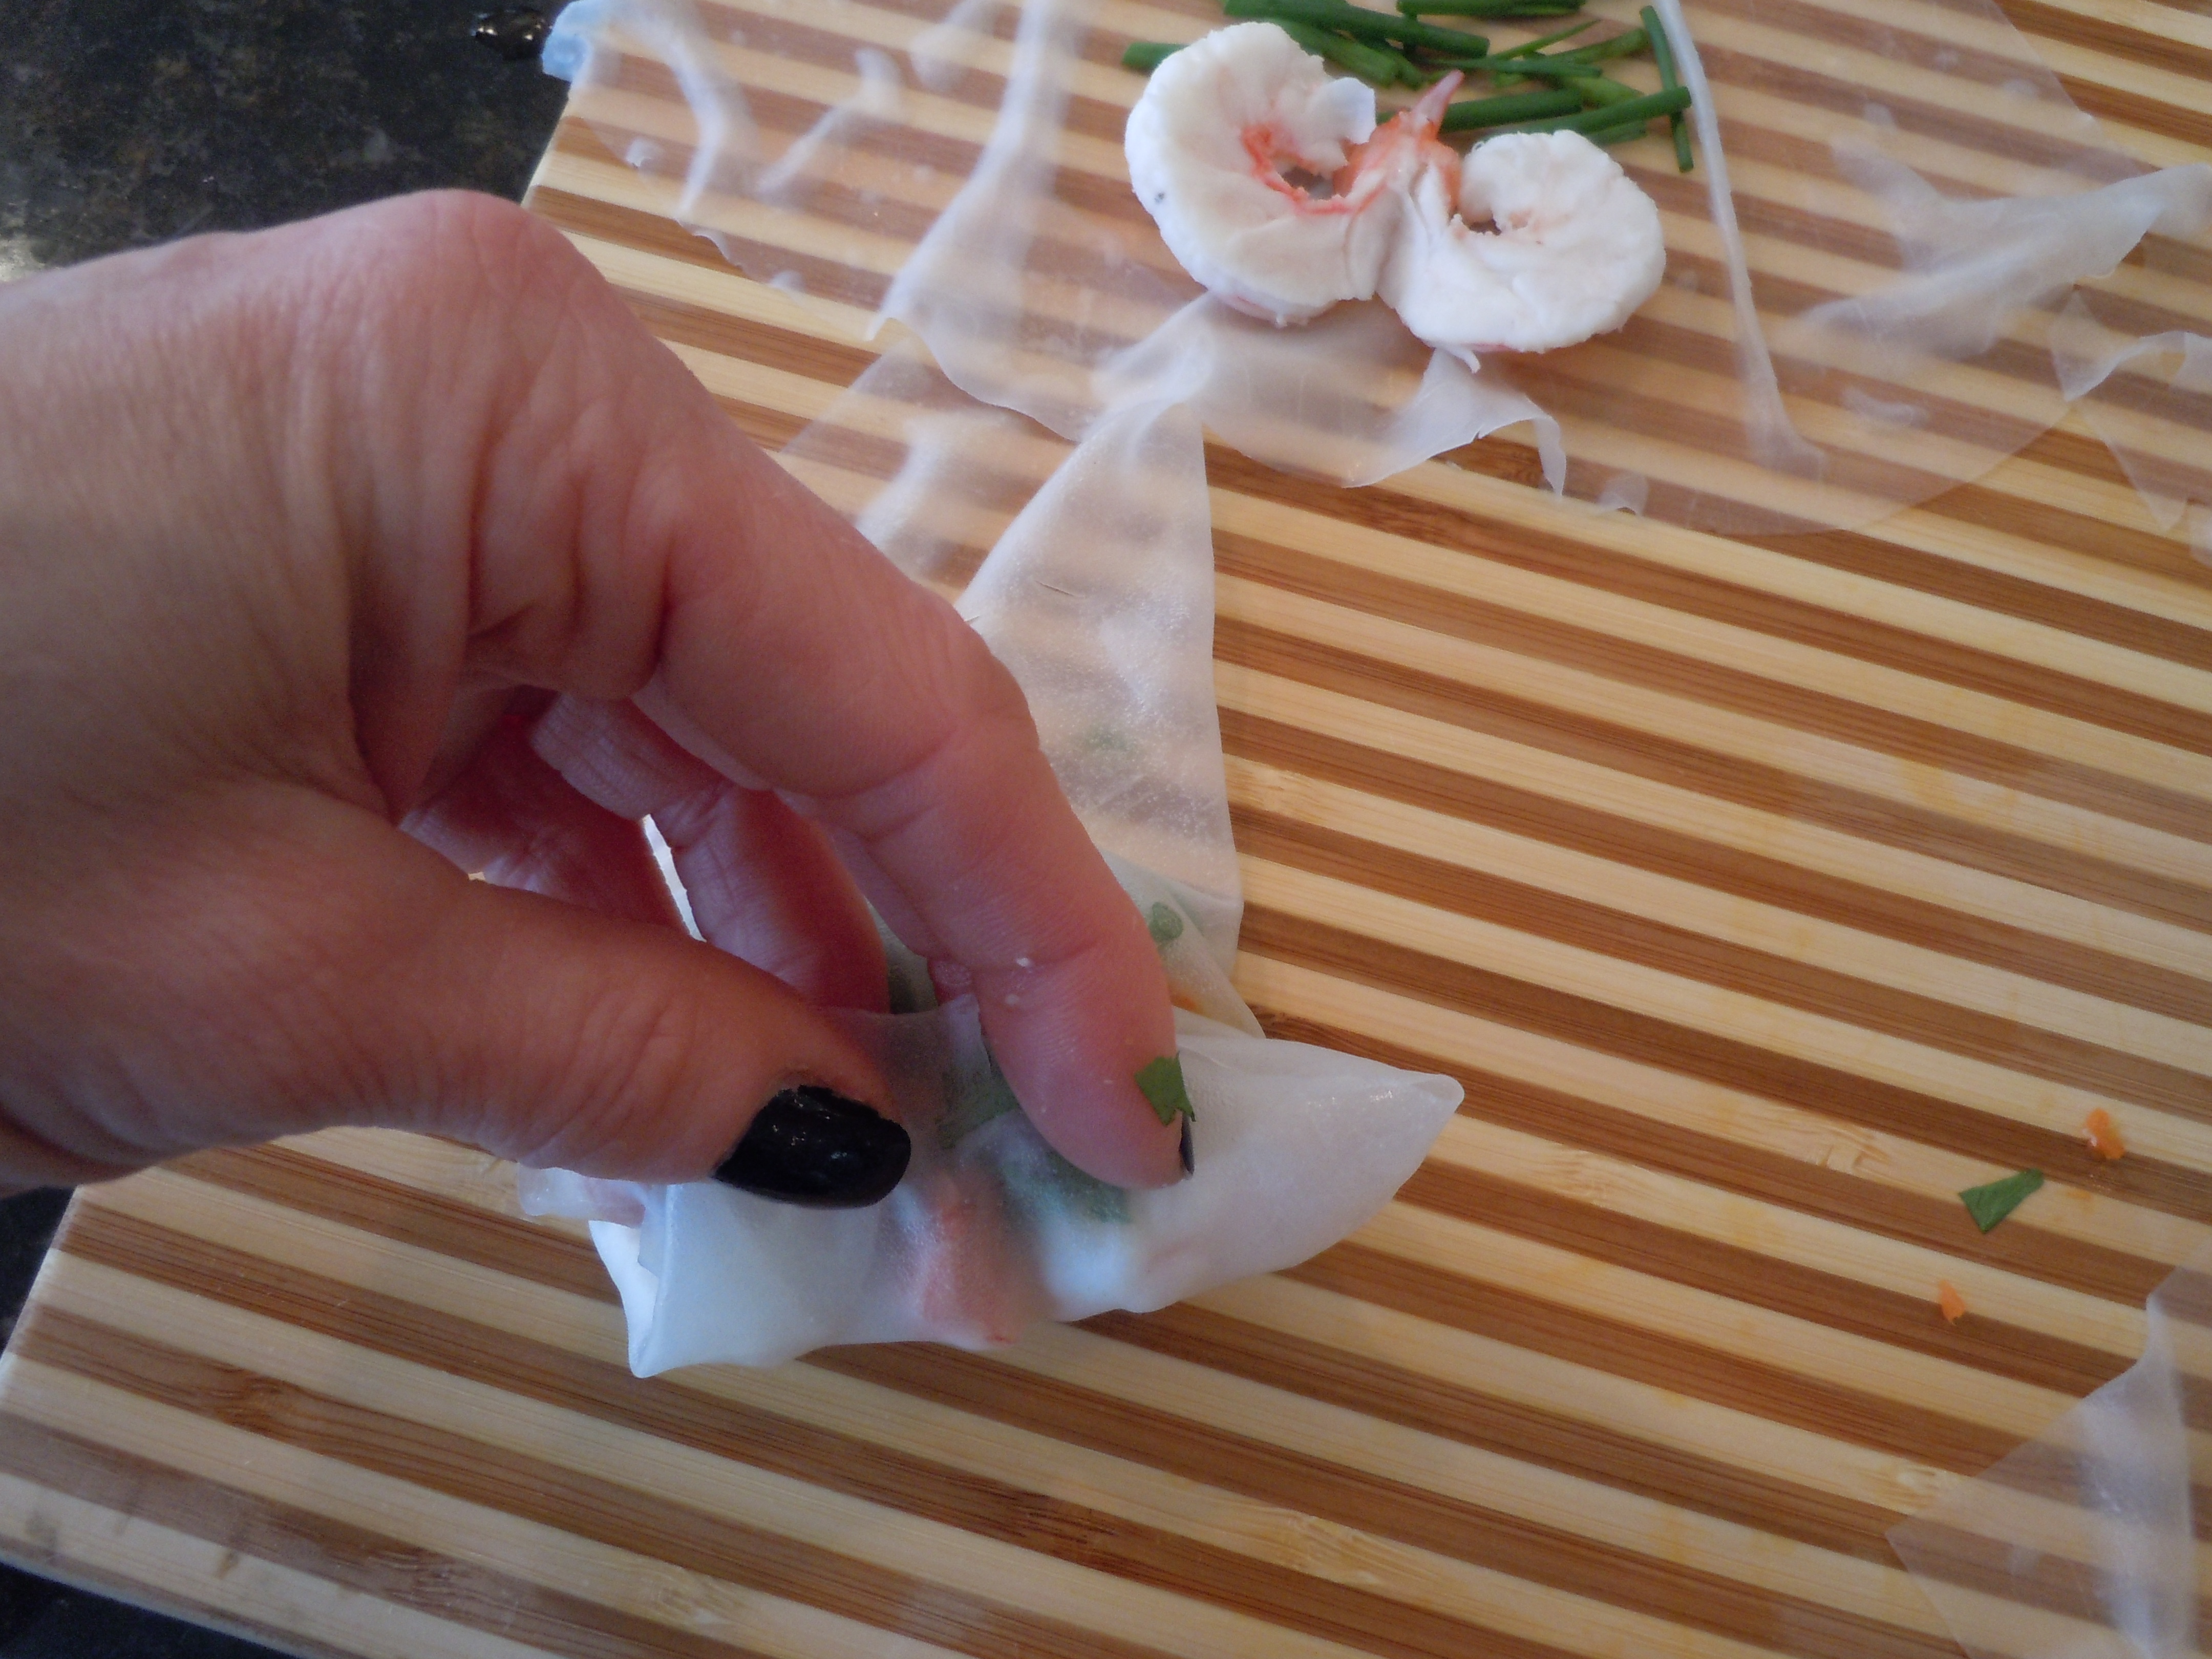
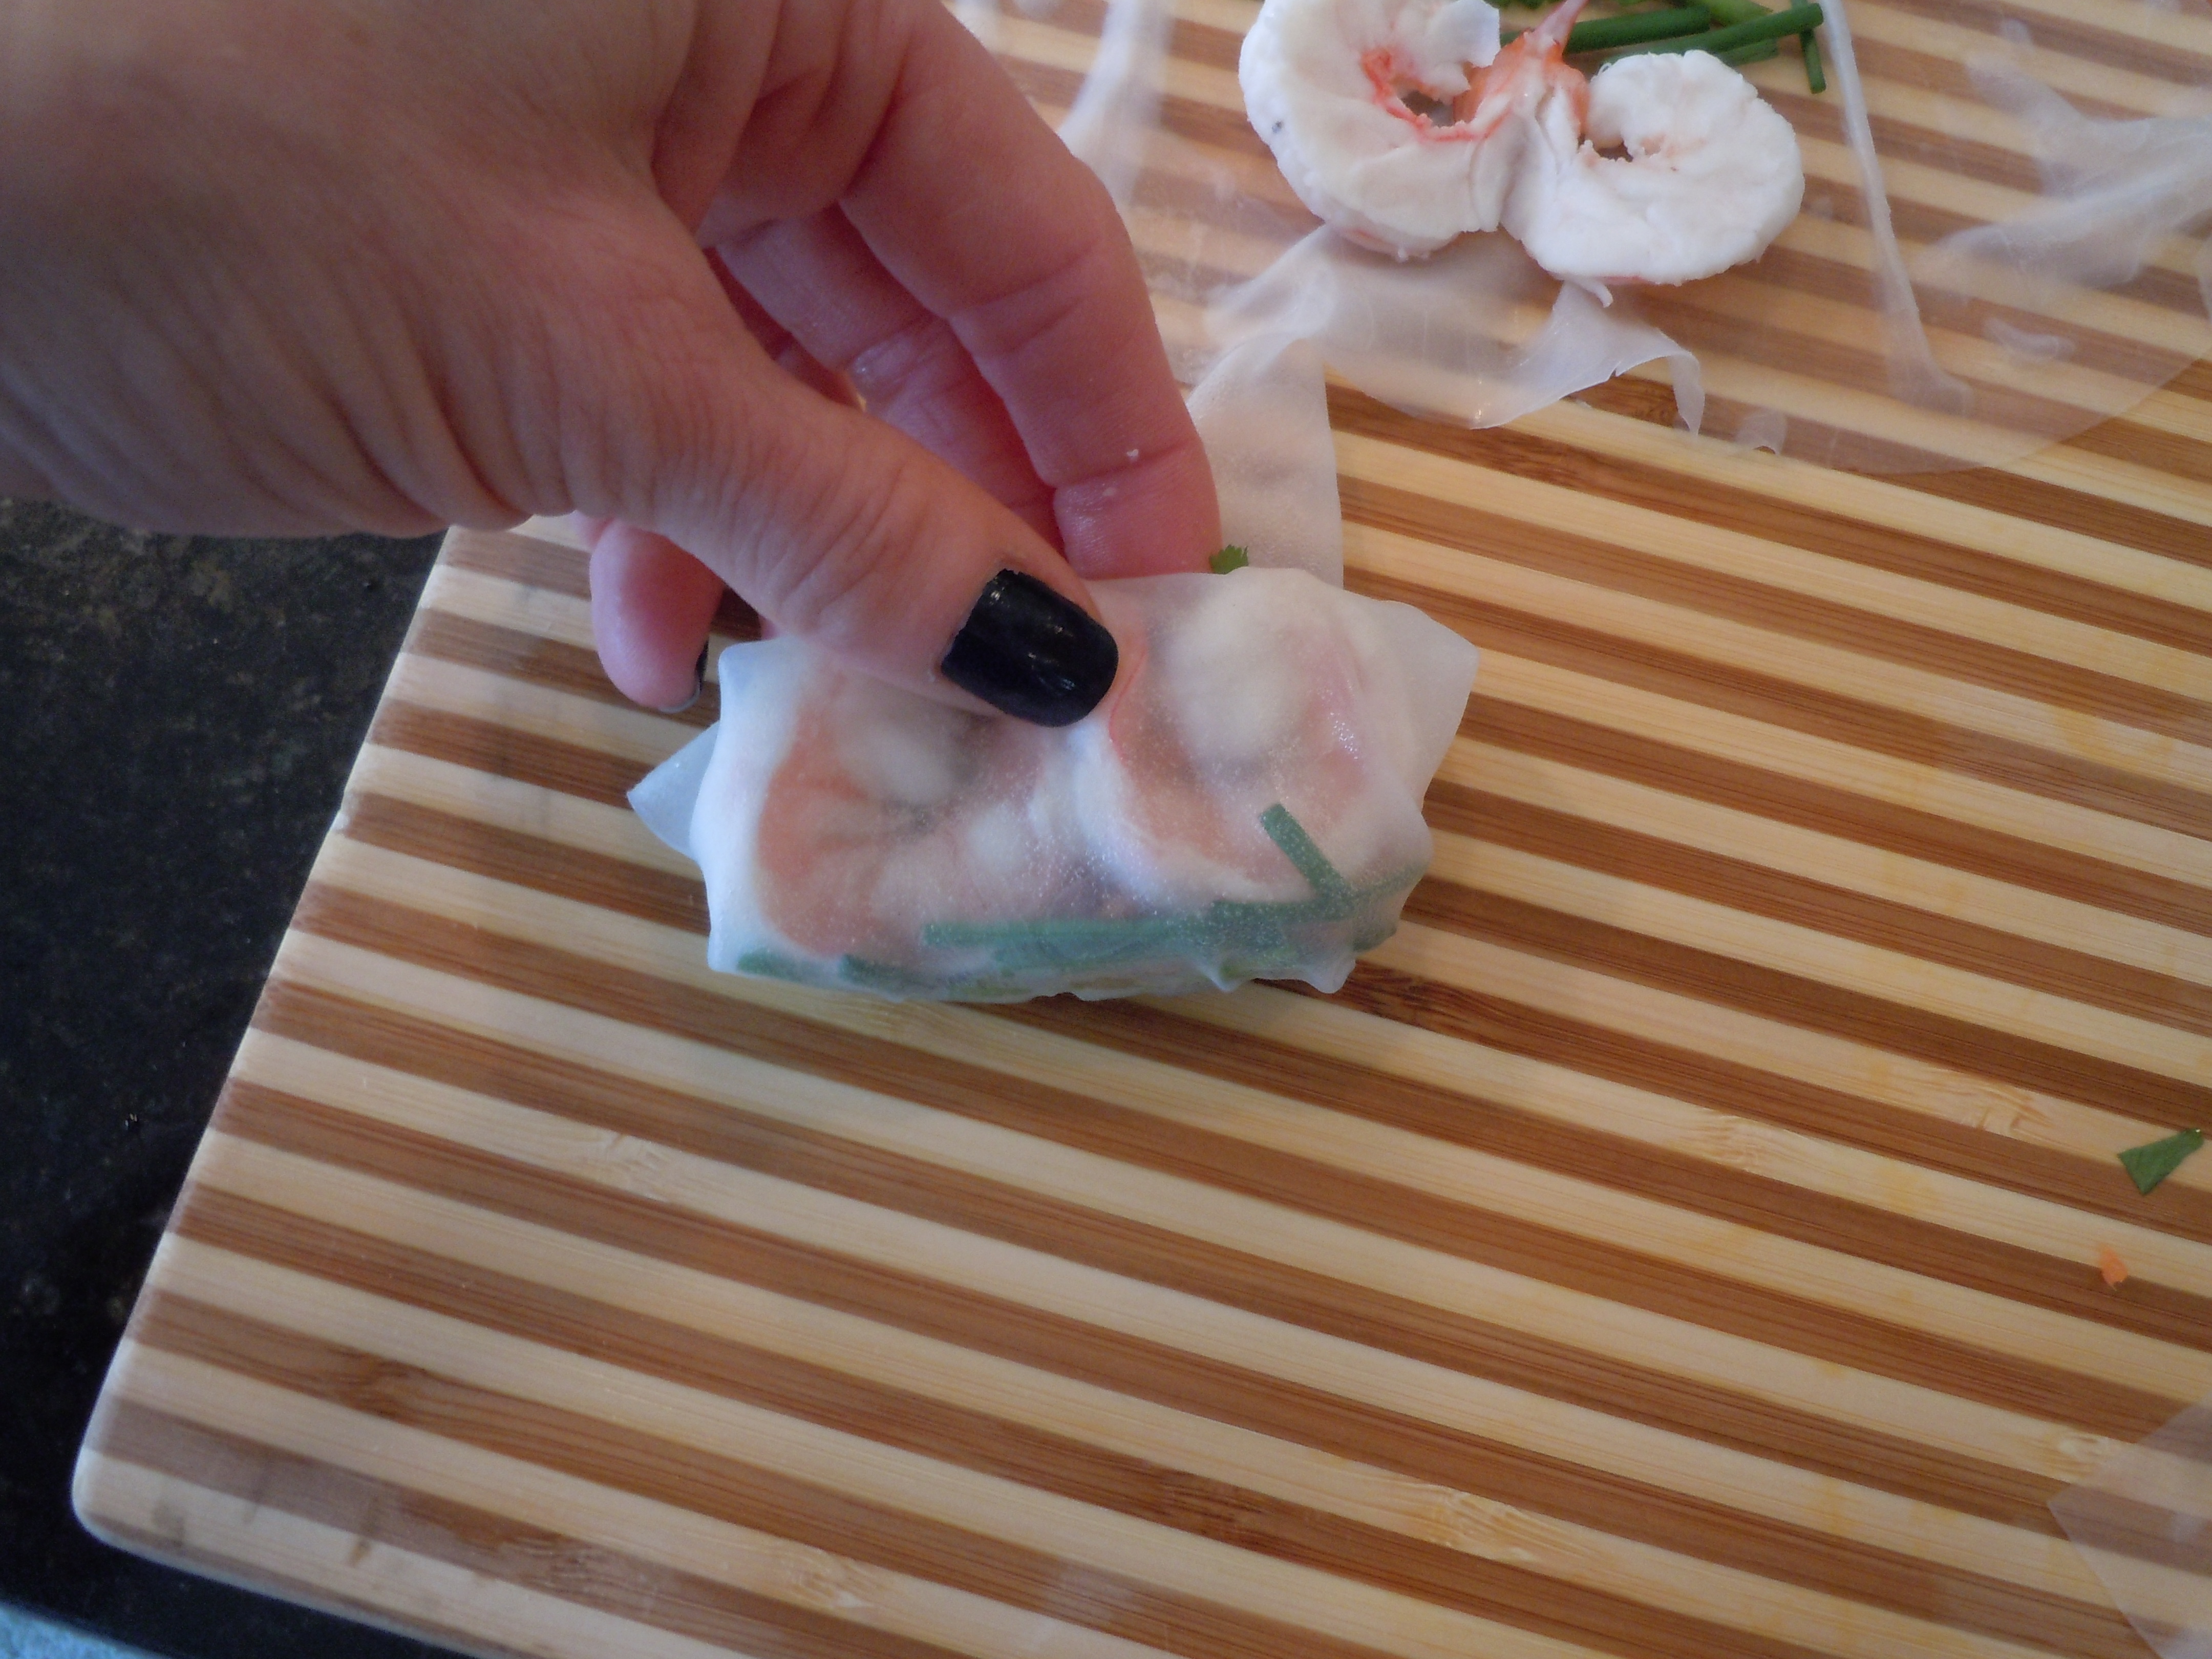
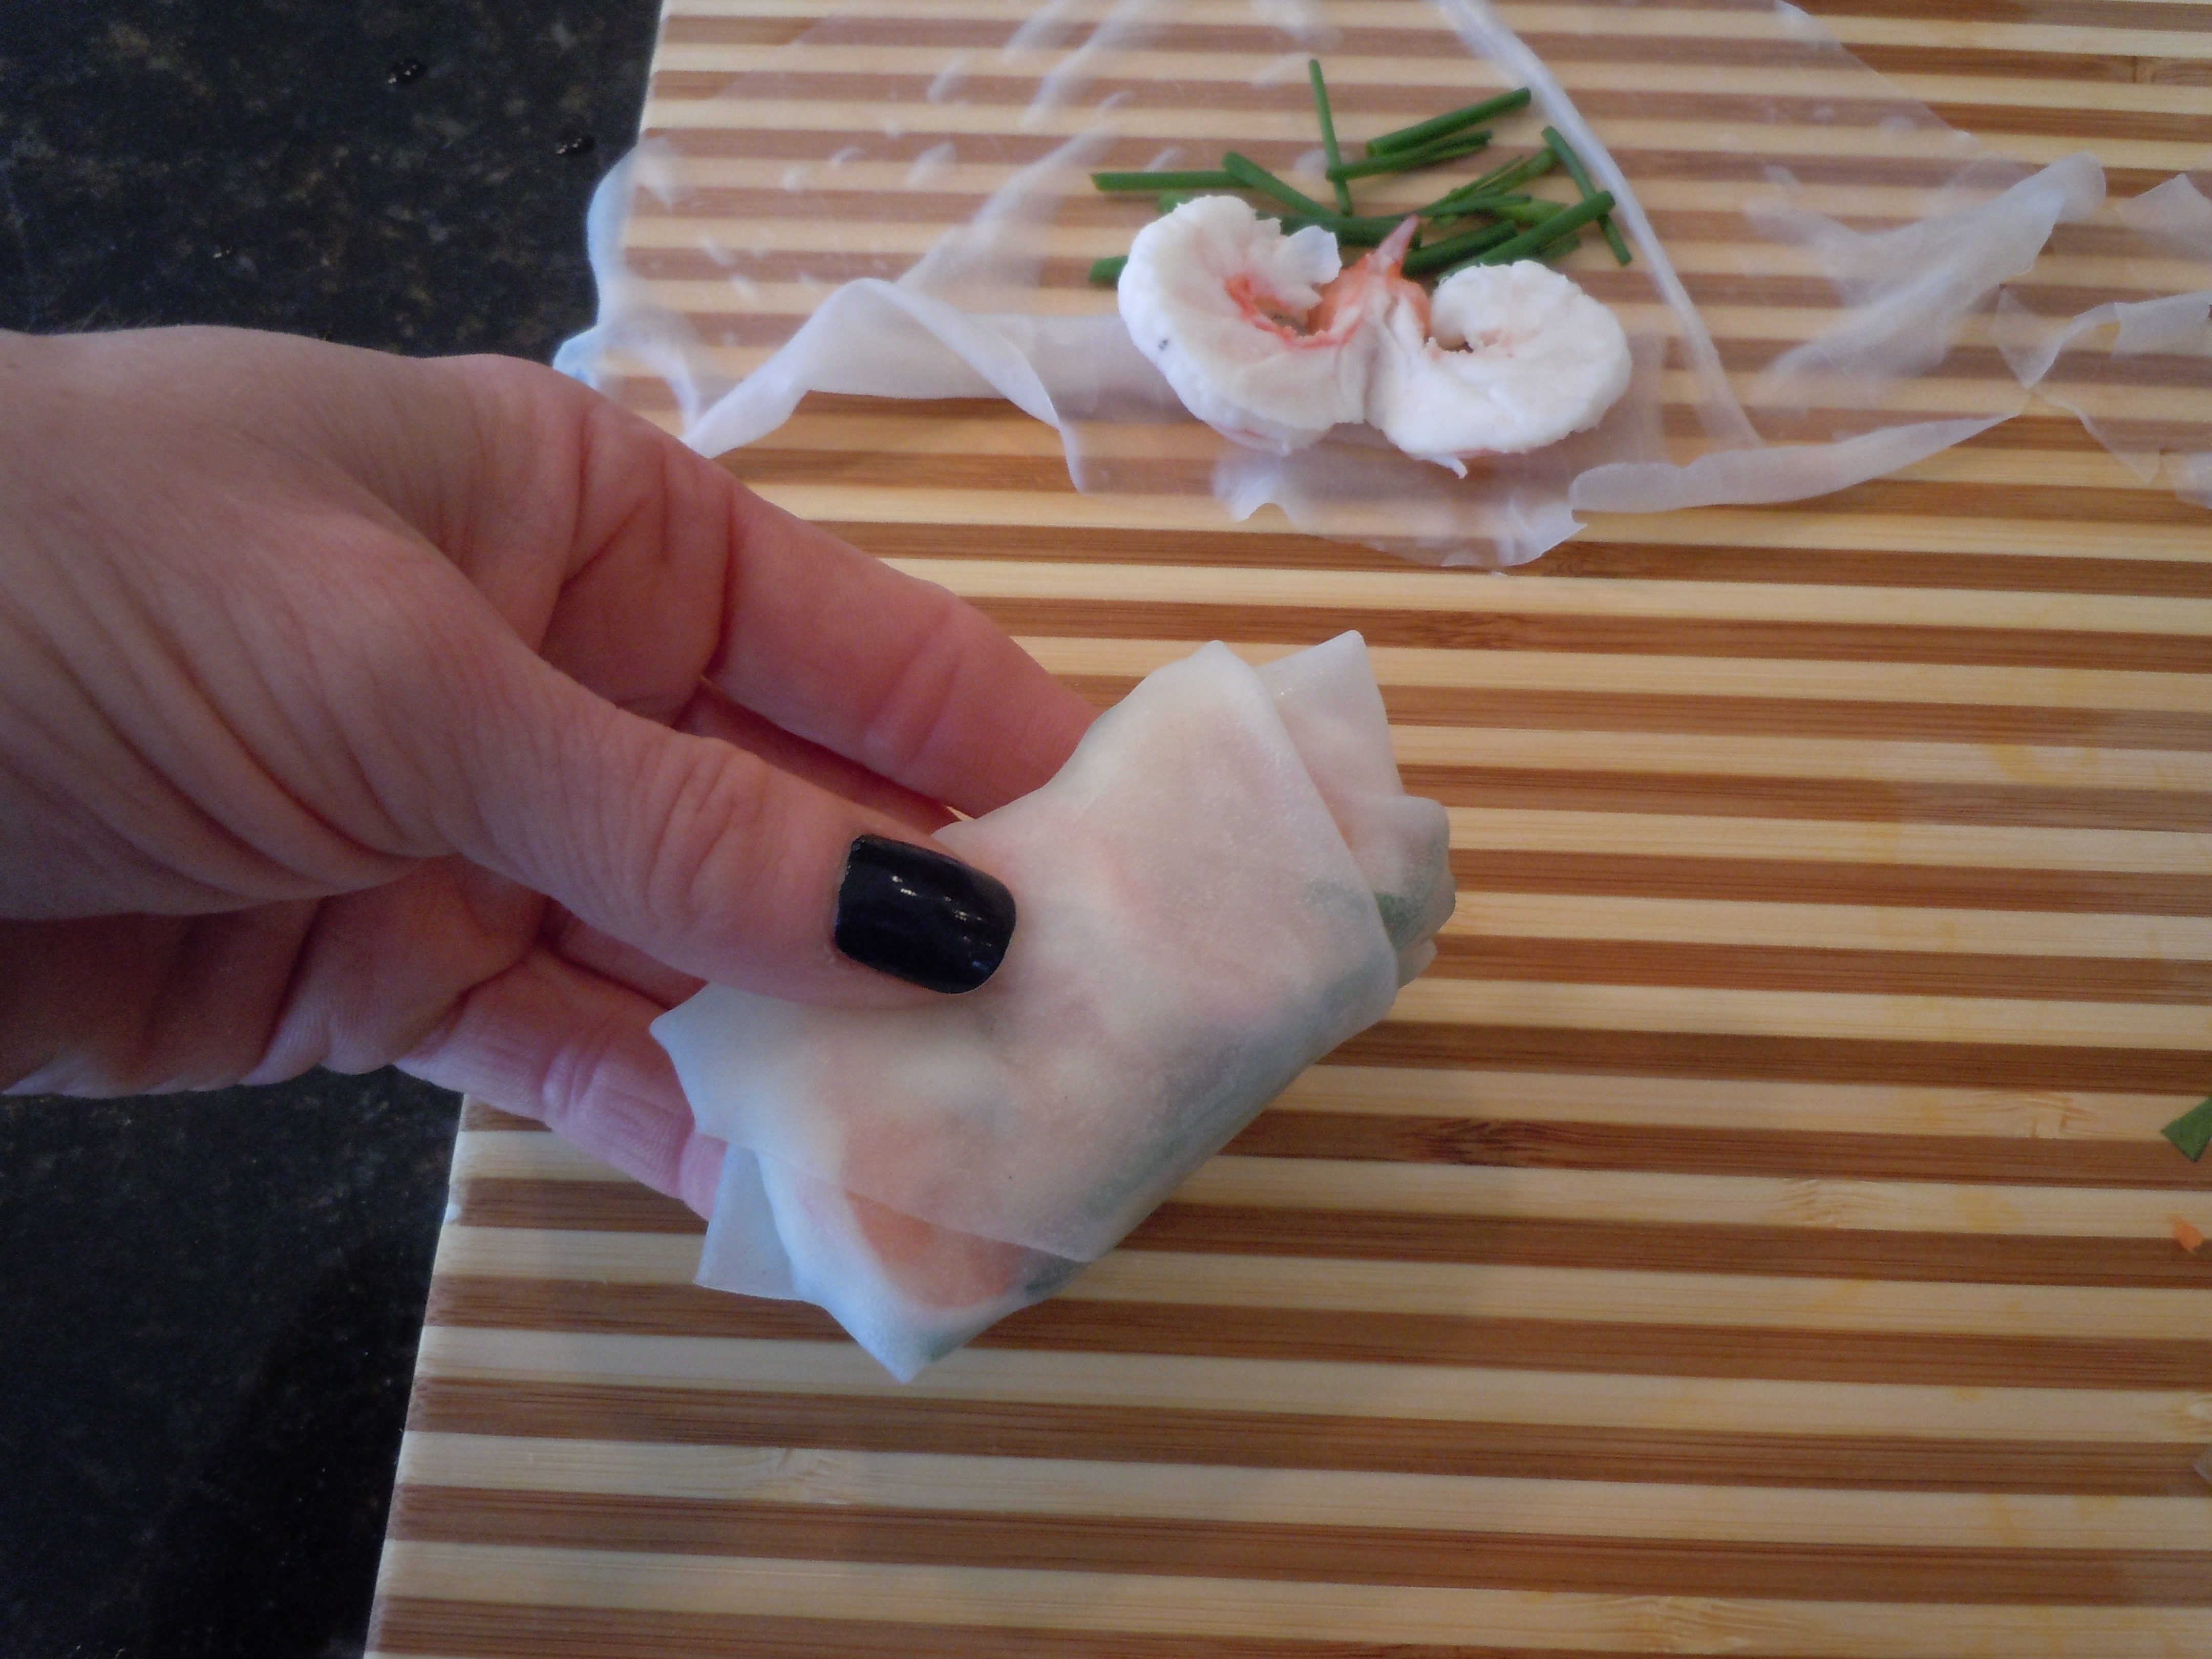
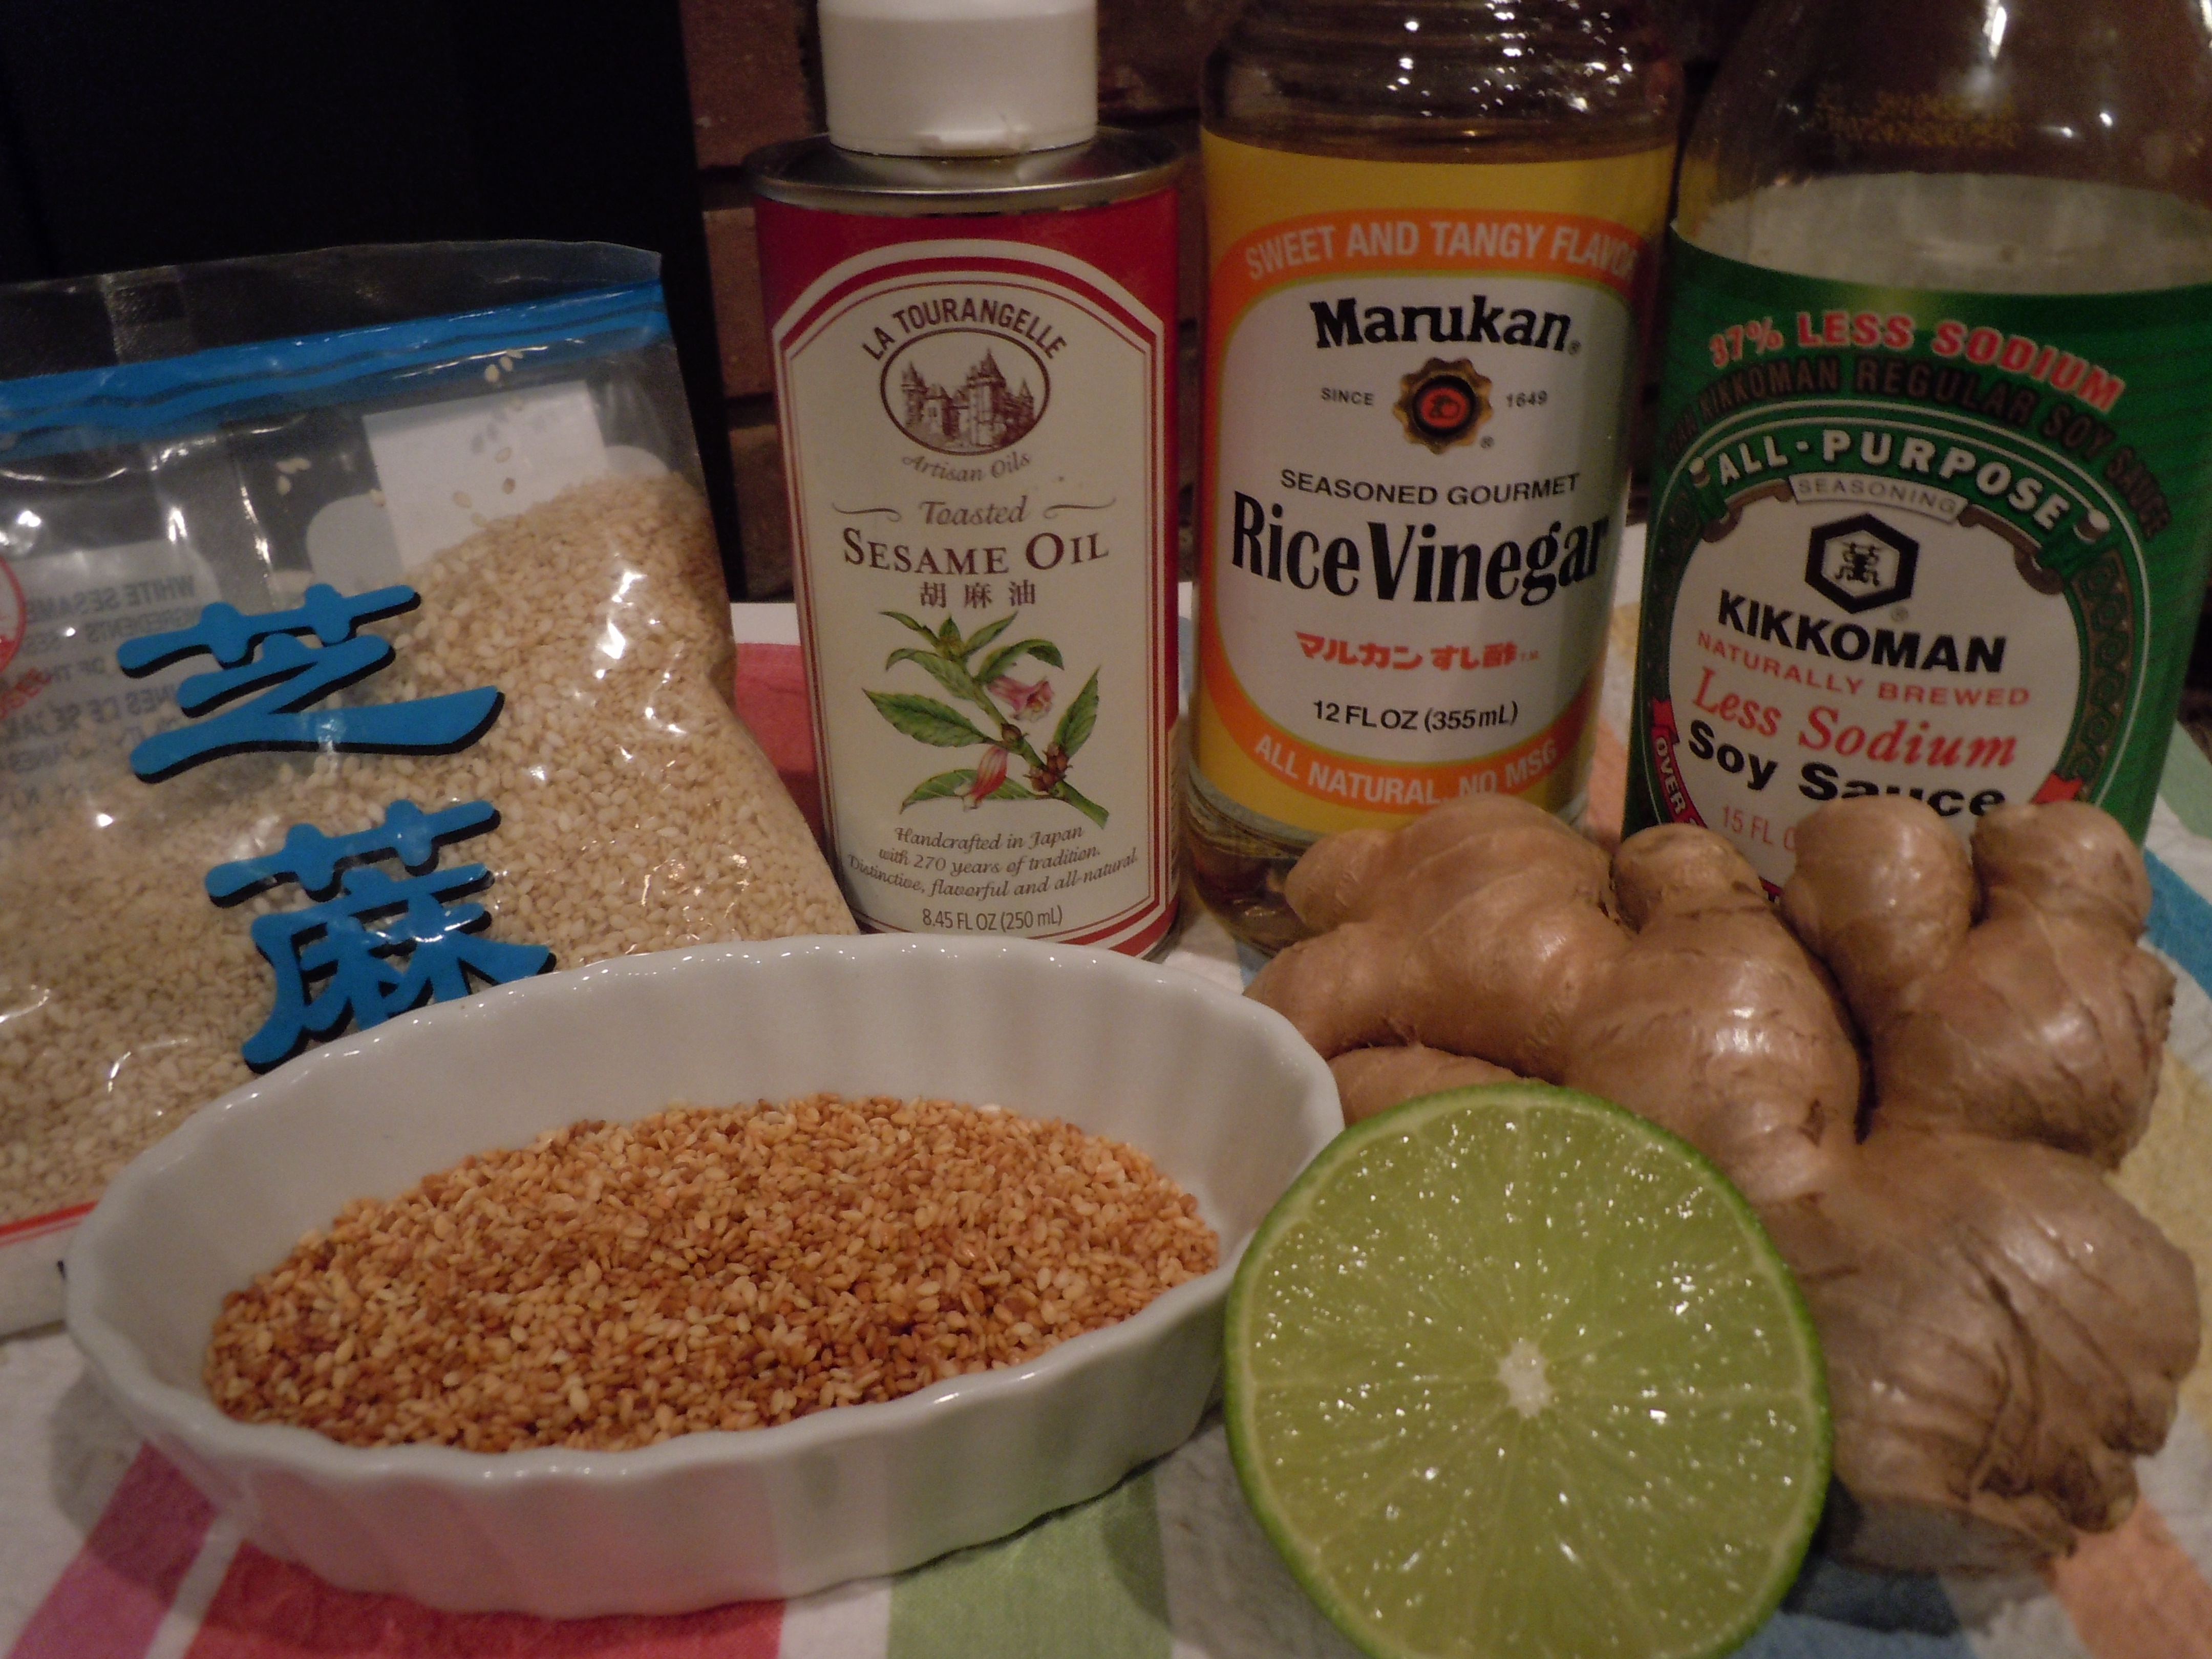
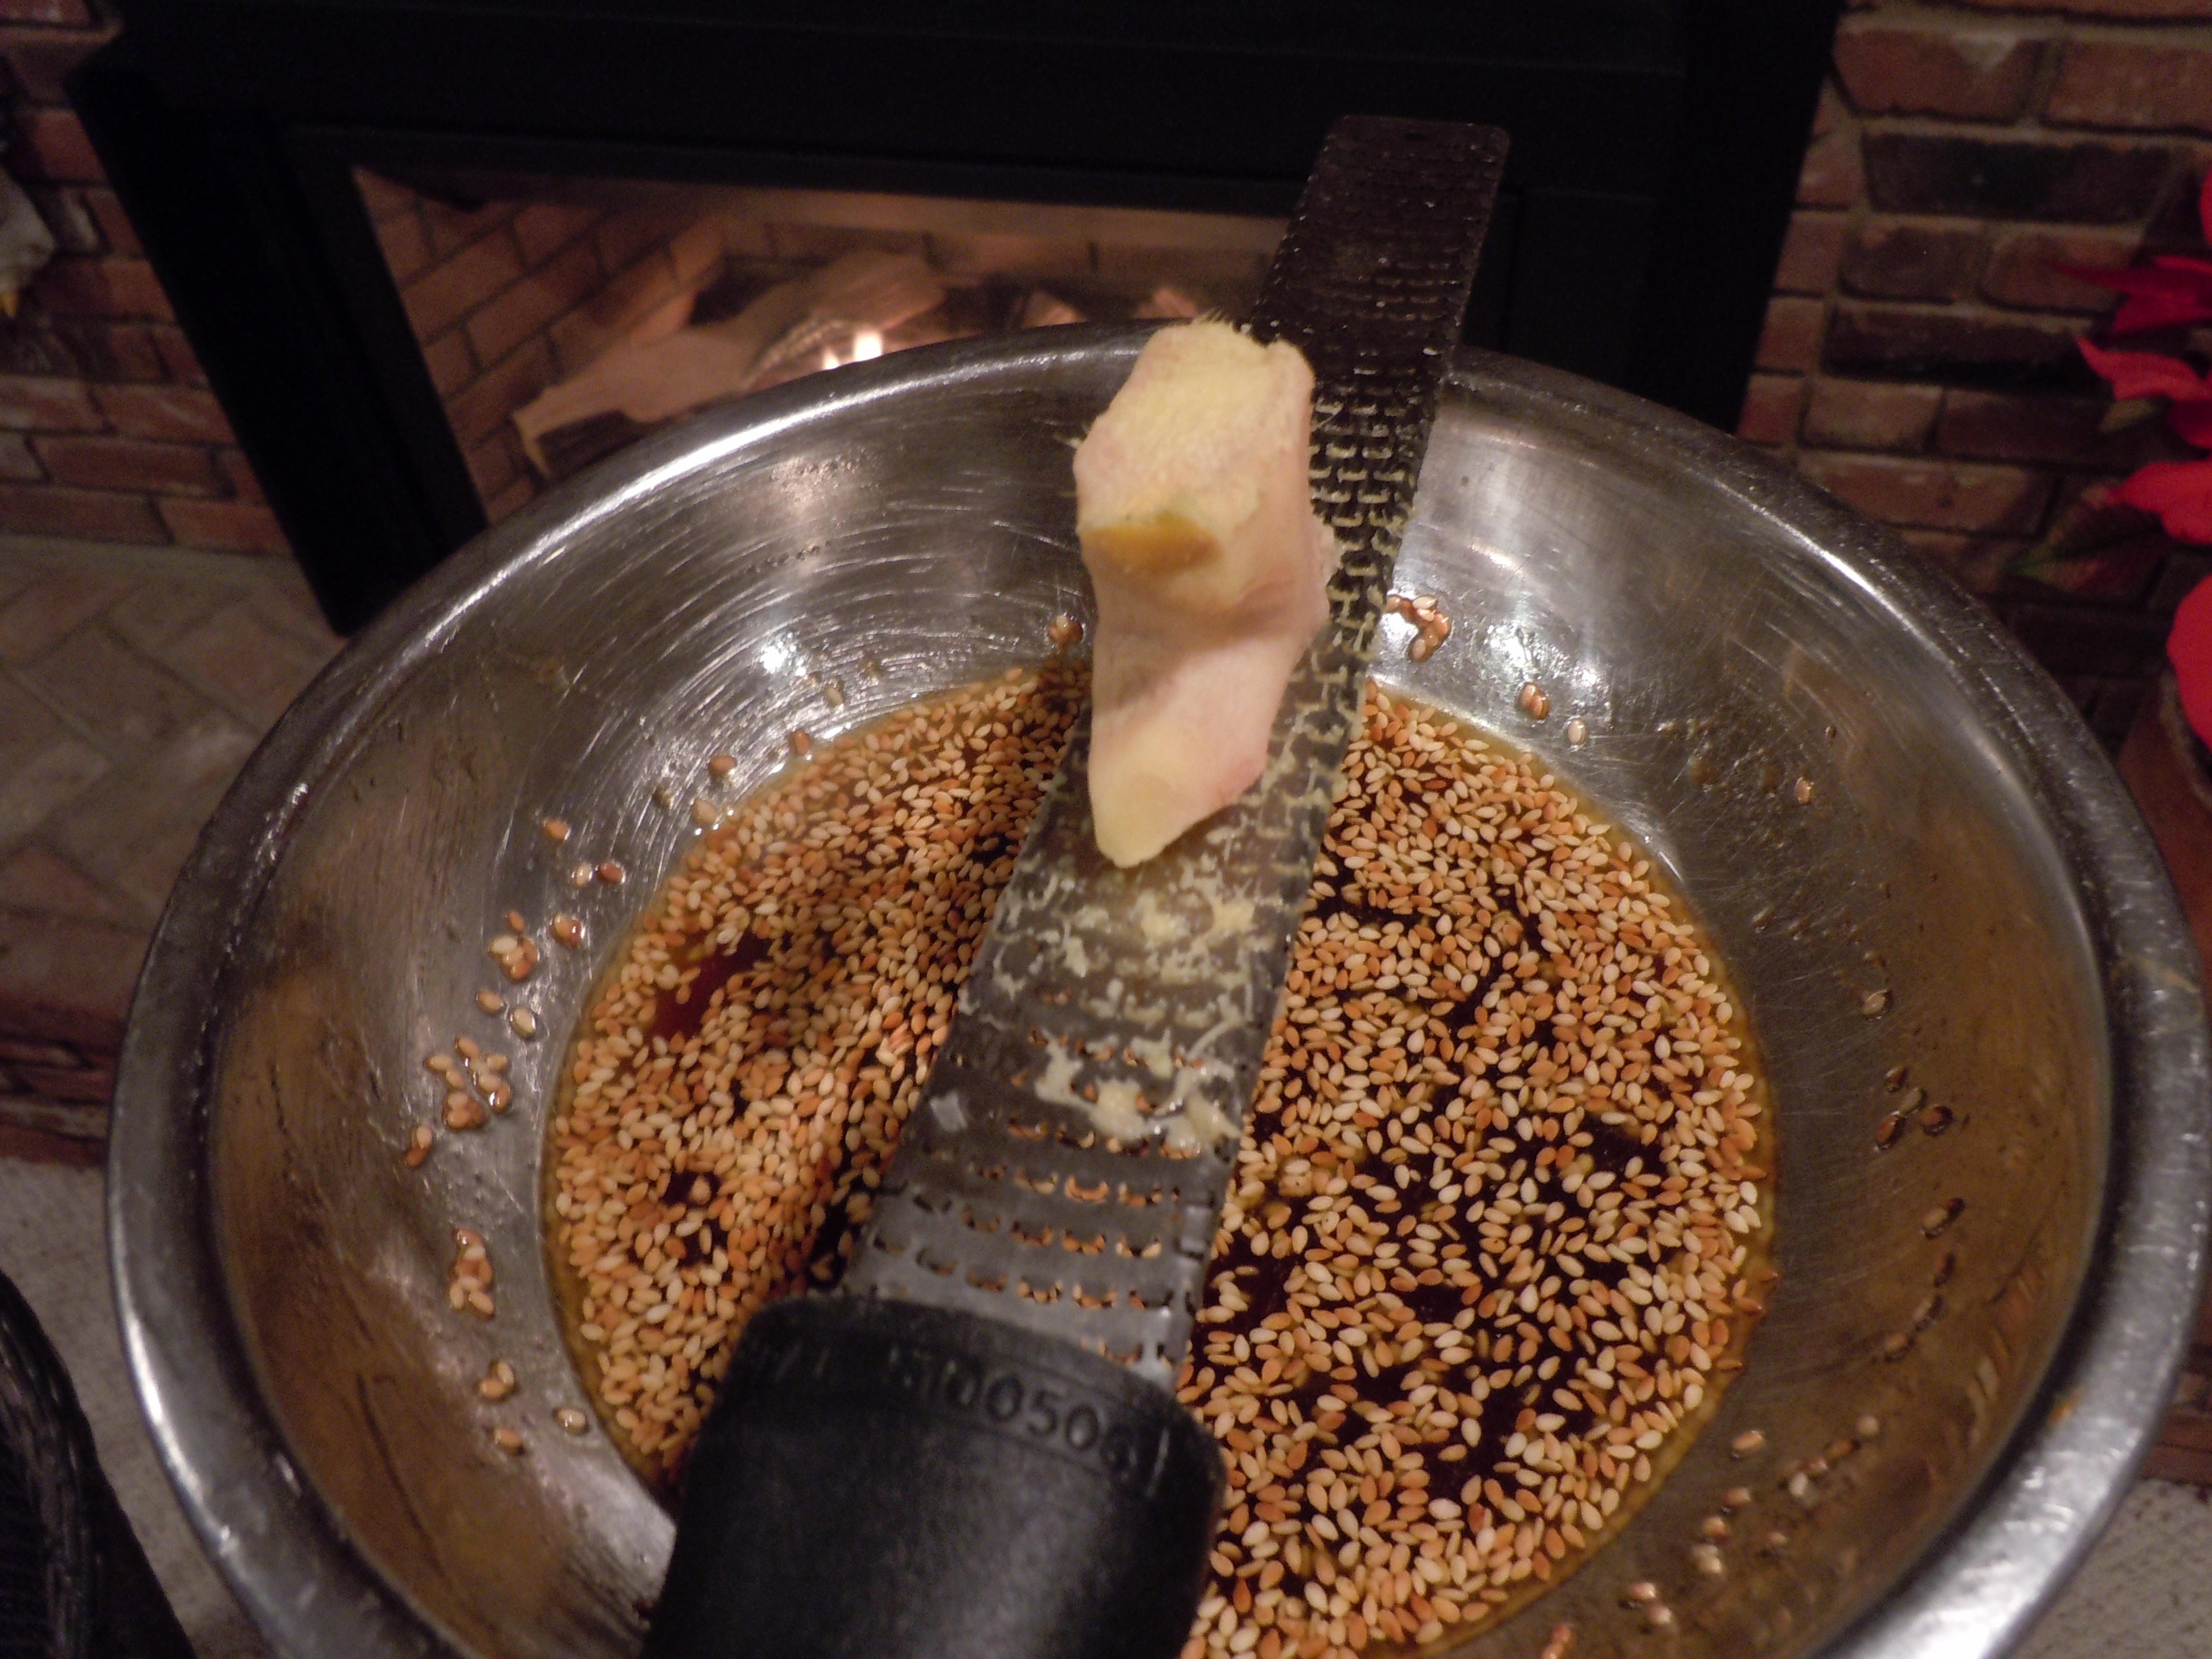
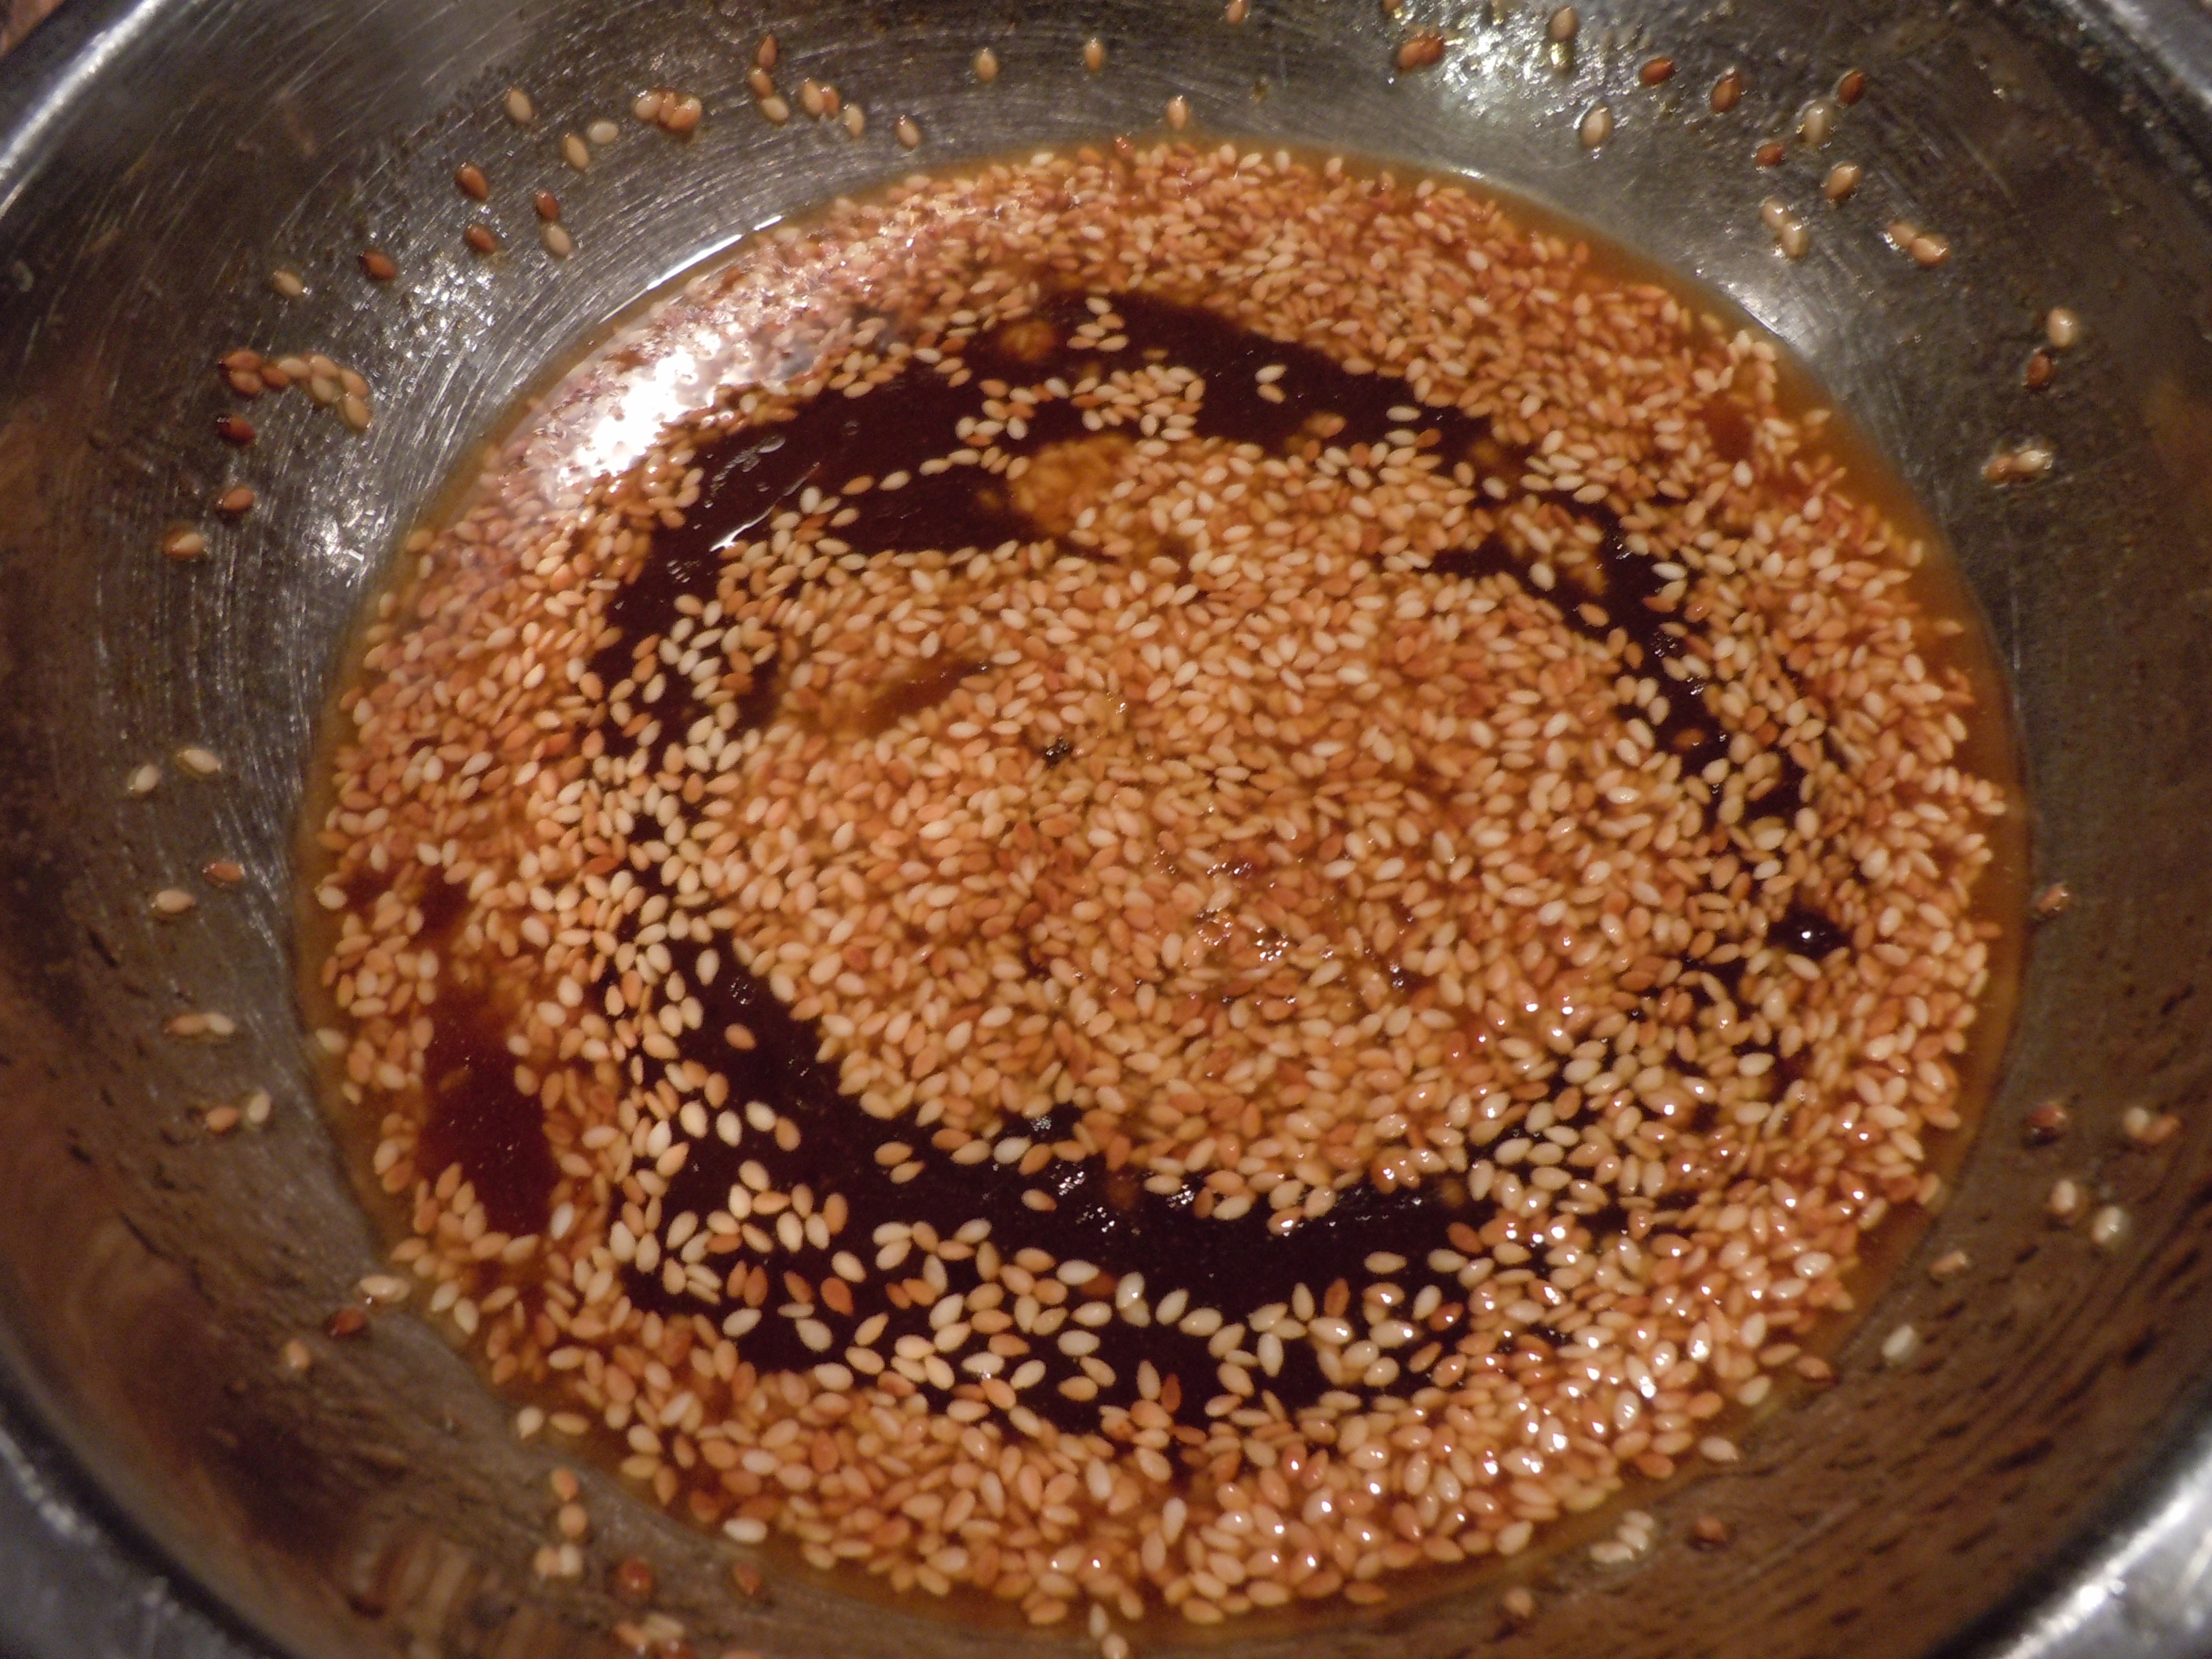
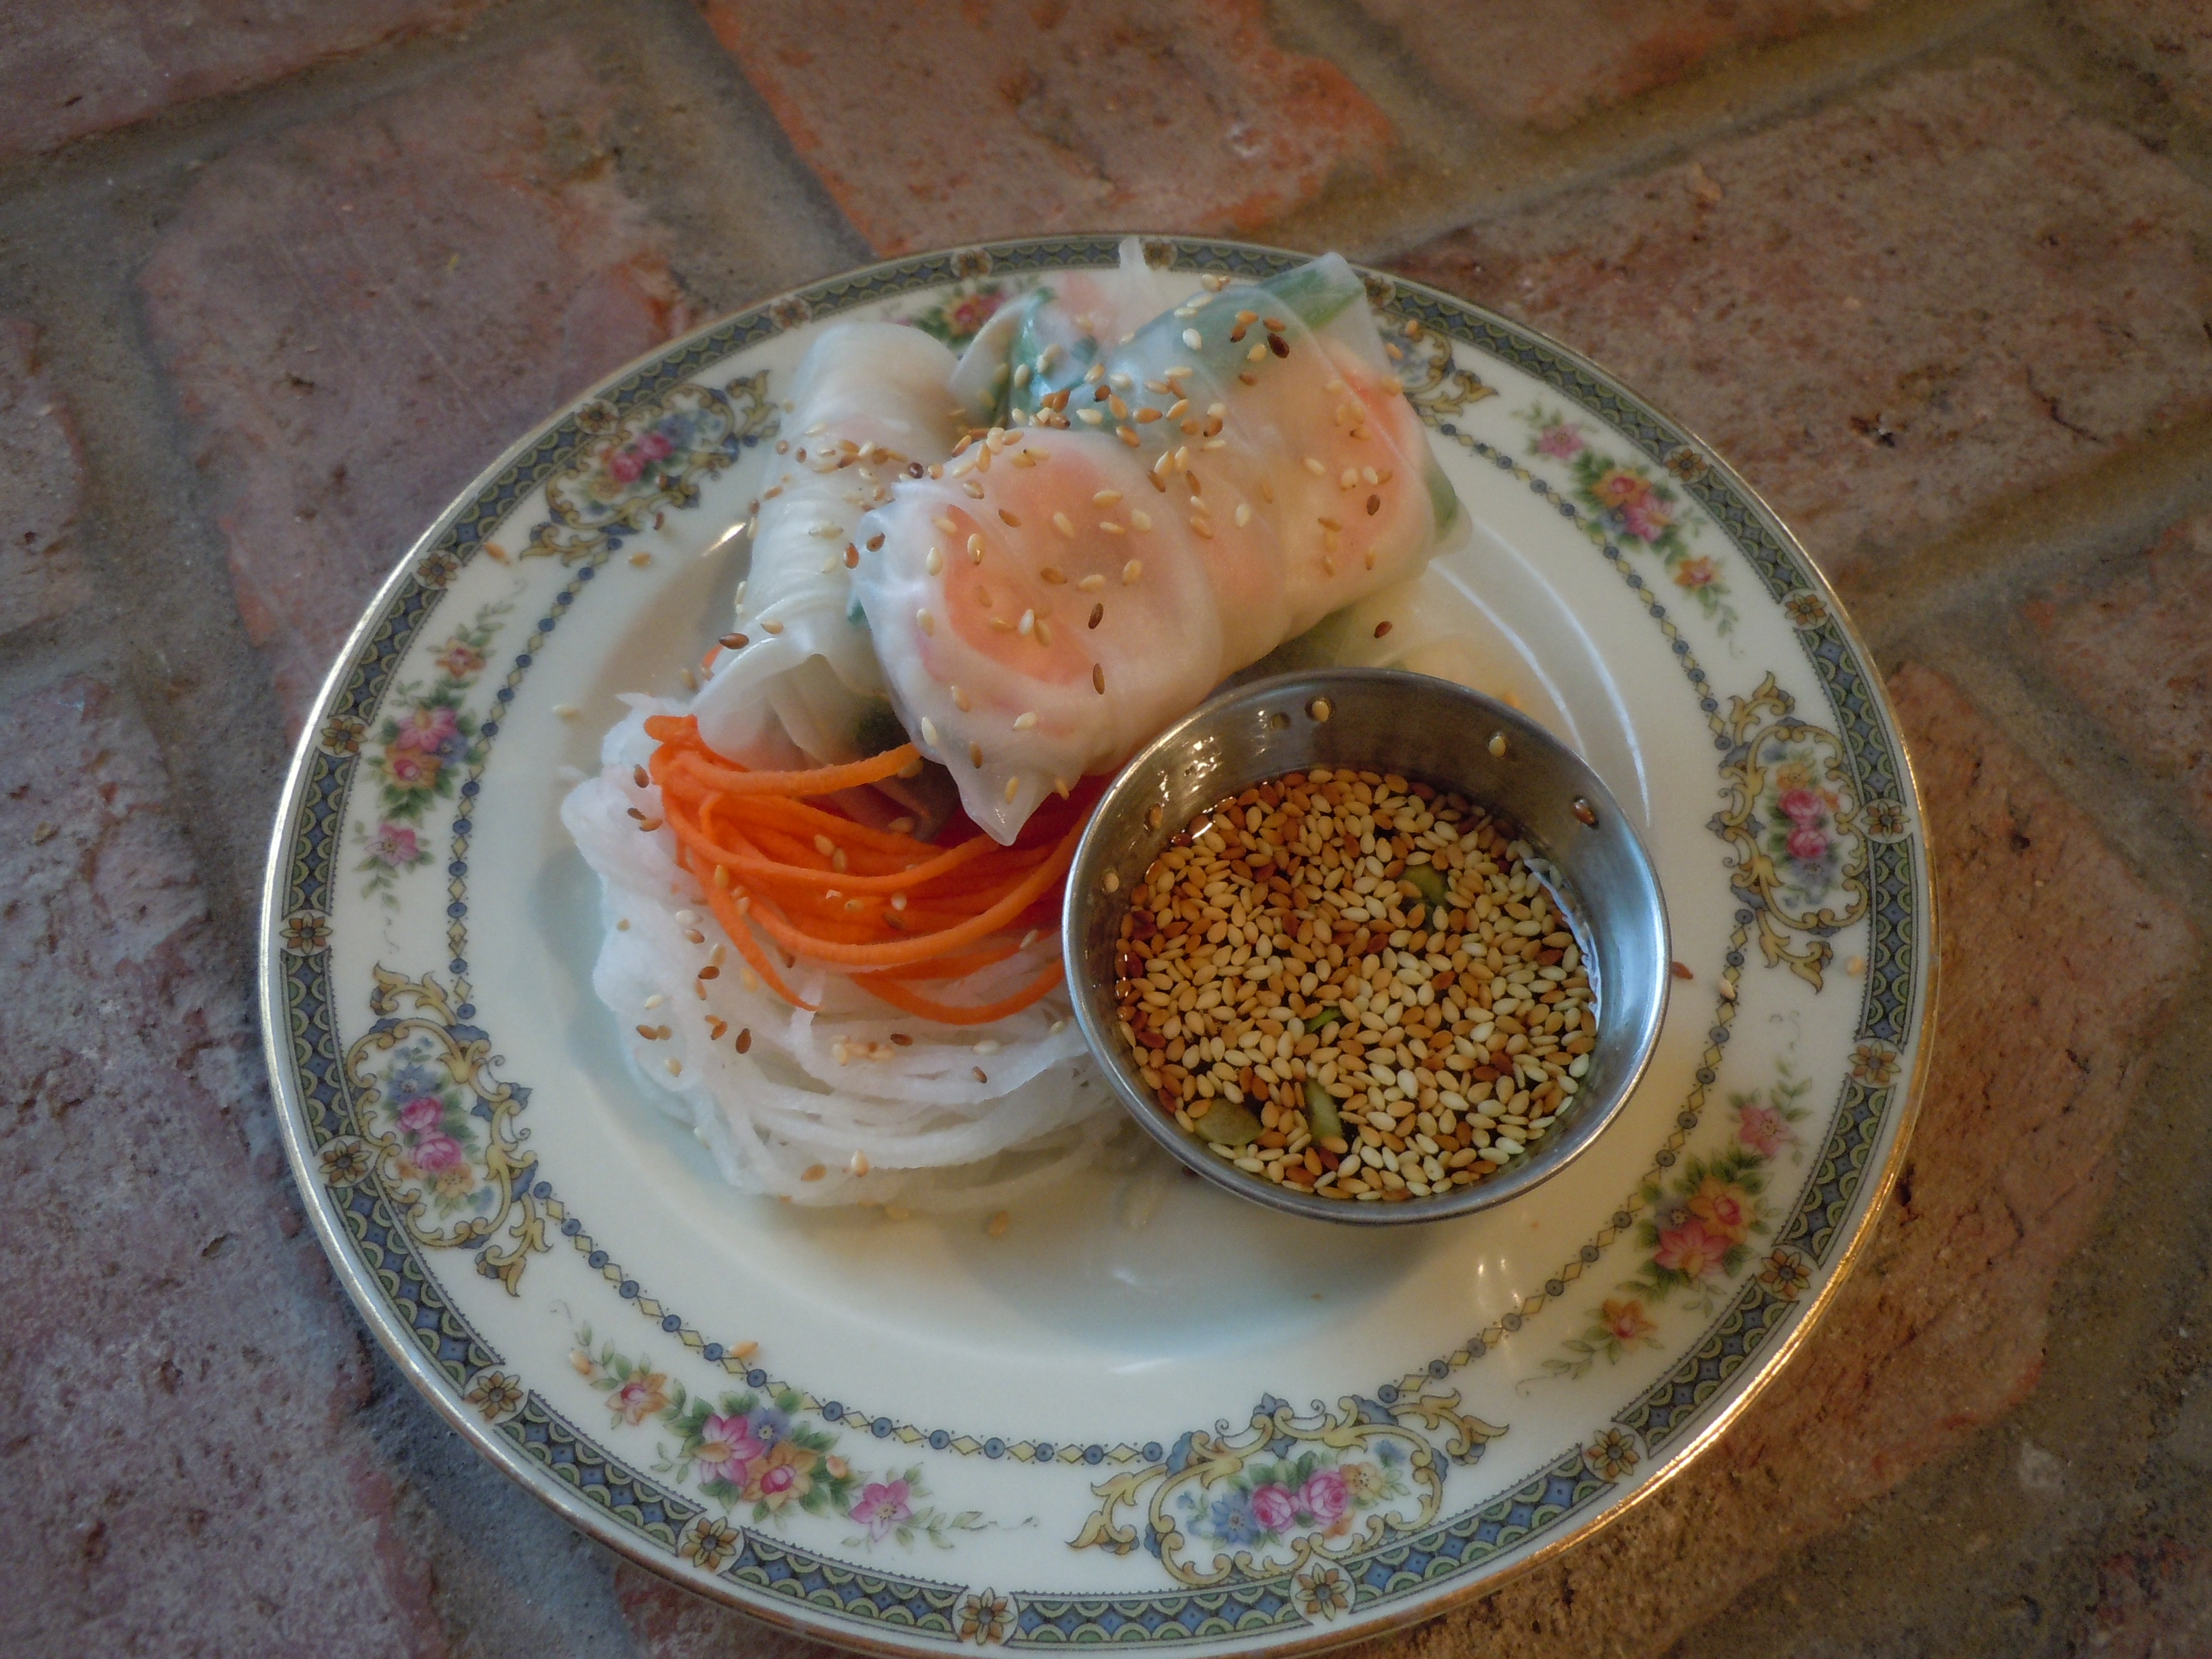
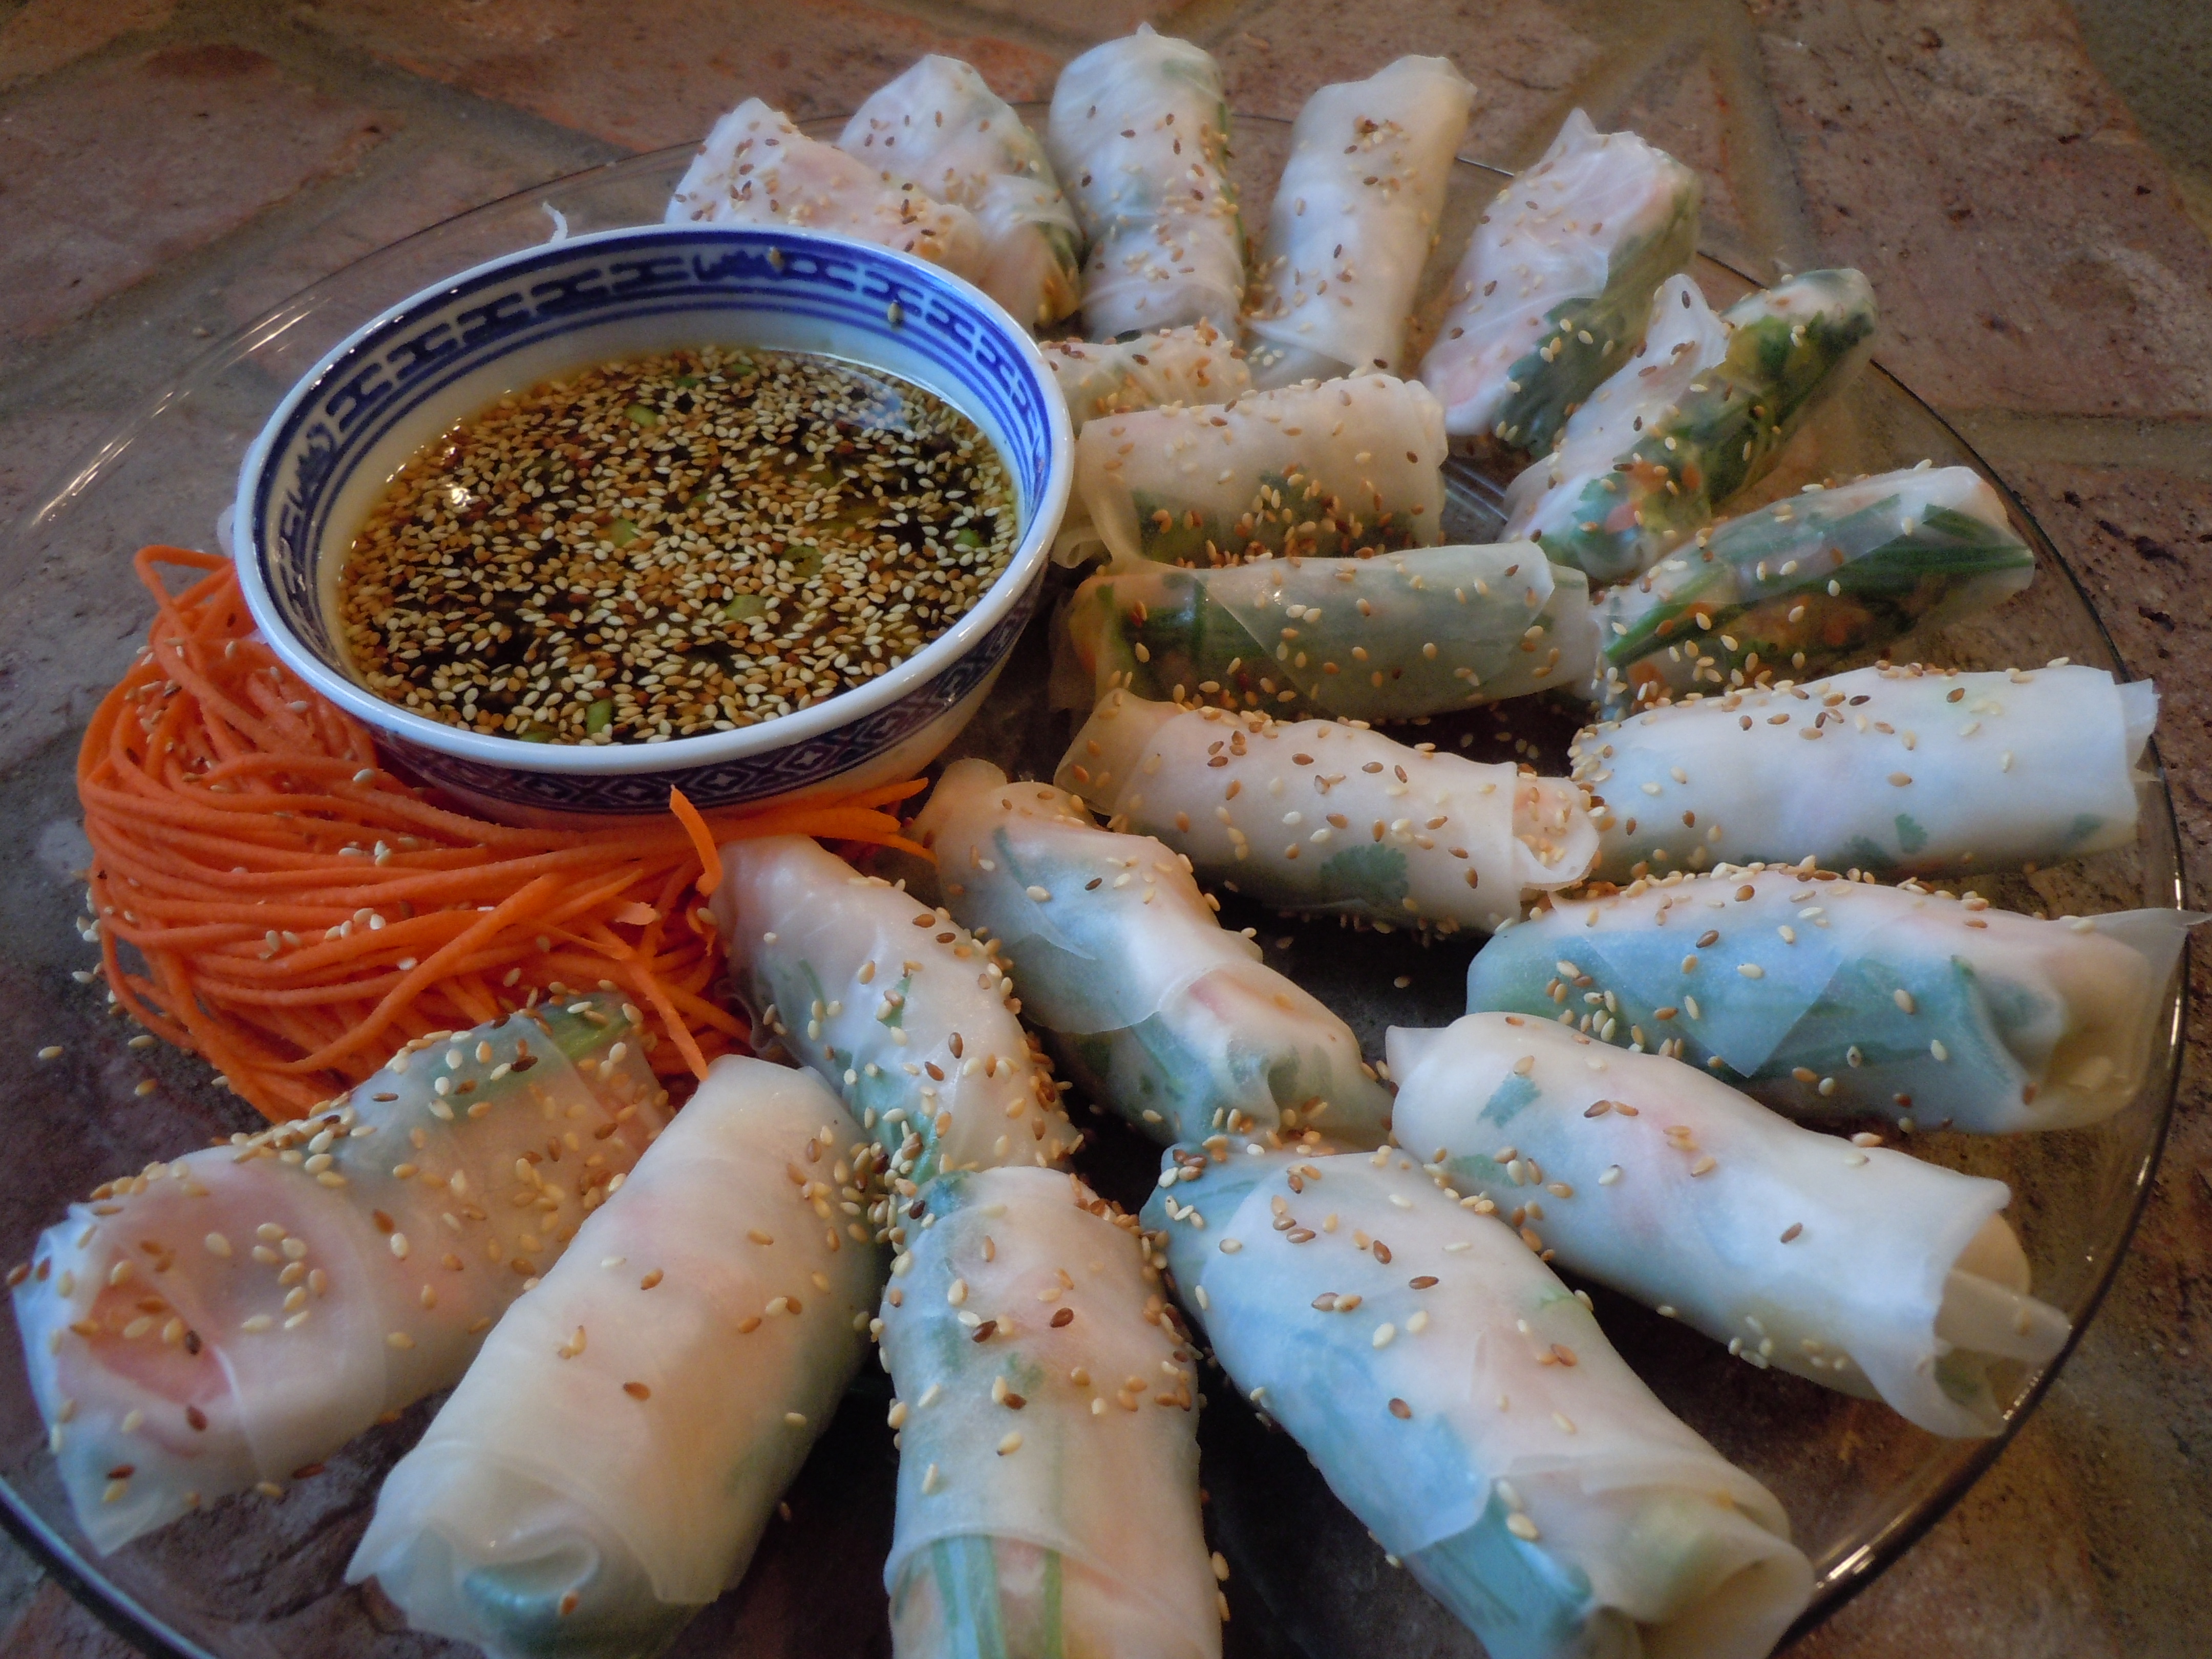
 Making fresh shrimp and chive rolls with Ryan and Teresa was a blast yesterday on CT Style! When Teresa walked into the studio at WTNH, Channel 8 with a pink and blue dress on I couldn’t believe my eyes. Teresa, Ryan and I were color coordinated in our pink dresses and Ryan in his blue and pink tie and we hadn’t planned any of it!
 with the toasted sesame oil is a go to Asian dressing/dipping sauce you will want to keep in your cooking repertoire. This dressing makes a wonderful cold asparagus side dish!


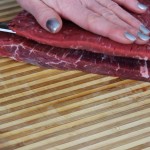
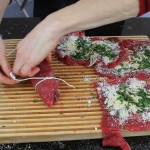
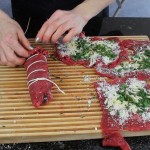
 Spring is in the air and family gatherings for graduations are right around the corner so I wanted to share my recipe for
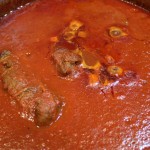
  Italian Braciole is traditionally made with flank steak but you can also use top round or bottom sliced thinly and pounded out a little. Simmering these beef bundles in Tomato-Basil Sauce for a couple of hours makes for a very tender and flavorful braciole. I like to serve them with rigatoni pasta and a dollop of ricotta. I’m certain that Italian Braciole will become one of your favorite dishes too!


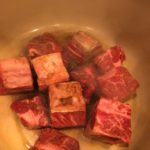
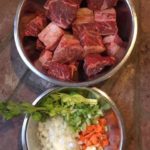
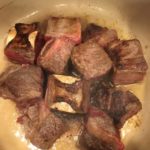
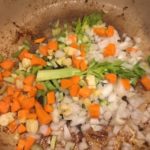
 My favorite part of the live cooking segment on the “CT Style” show might very well be the fun gathering we have afterwards, eating and catching up. It’s just like if I were home having family and friends over except we are in The Bender Kitchen at the WTNH Channel 8 Studio! This is a special group of people that work here. It was also exciting to meet a recent addition to Storm Team 8 yesterday, Ashley Baylor. She is warm, funny and genuine. Ashley came over to have a bite of the Guinness braised beef short ribs with the rest of us and said “It smells so good in here, I was worried I would say it’s raining beef!”
 Ferraro’s Meat King


 Making Mini Beef Wellington’s for the Oscar’s on CT Style yesterday was a blast! What’s more fun then cooking in the kitchen with friends and family? Well, that’s how it is with Ryan Kristafer and Teresa Dufour! I feel like I’m with my siblings, me being the elder of the trio, as we joke and banter back and forth. I can’t describe to good feeling I get when I leave the WTNH studio at Channel 8. Every single one of them are such great people.
 This Mini Beef Wellington recipe is very easy to make and tastes like a bite of heaven! A piece of filet mignon topped with a mushroom reduction, called Duxelles


 This Eggplant rollatini recipe that I demoed at
  As always, it’s so much fun at the Page Hardware food demo’s. We had a large crowd this past weekend who were very attentive and excited to sample my eggplant rollatini. There weren’t any left overs! We had regulars at the demo and some new faces too. Page is having a huge red-tag sale with 75% off so we all went into the store before the demo began to see some of the great deals. Every 3rd Saturday of the month, from 12-2, you can come and sample delicious foods at Page Hardware while I demo how they’re made. There is a Traveling Epicurean calendar on the home-page side bar of this website so you won’t miss out on up and coming events. See you next on Saturday, 16th of March!
 I used to watch my mother fry eggplant when I was little and have been frying eggplant now for over 30 years. Eggplant rollatini is one of those delicious Italian comfort foods and is always better the next day when re-heated. It is a little bit of a process but if you just organize yourself like I’ve shown you in the photo’s below you’ll get it down to a science.
![DSCN4361[1]](https://thetravelingepicurean.com/wp-content/uploads/2014/04/DSCN43611.jpg)
![DSCN4362[1]](https://thetravelingepicurean.com/wp-content/uploads/2014/04/DSCN43621.jpg)
![DSCN4372[1]](https://thetravelingepicurean.com/wp-content/uploads/2014/04/DSCN43721.jpg)
![DSCN4365[1]](https://thetravelingepicurean.com/wp-content/uploads/2014/04/DSCN43651.jpg)
![DSCN4376[1]](https://thetravelingepicurean.com/wp-content/uploads/2014/04/DSCN43761.jpg)
![DSCN4367[1]](https://thetravelingepicurean.com/wp-content/uploads/2014/04/DSCN43671.jpg)
![DSCN4374[1]](https://thetravelingepicurean.com/wp-content/uploads/2014/04/DSCN43741.jpg)
![DSCN4395[1]](https://thetravelingepicurean.com/wp-content/uploads/2014/04/DSCN43951.jpg)
![DSCN4386[1]](https://thetravelingepicurean.com/wp-content/uploads/2014/04/DSCN43861.jpg)
![DSCN4385[1]](https://thetravelingepicurean.com/wp-content/uploads/2014/04/DSCN43851.jpg)
![DSCN4399[1]](https://thetravelingepicurean.com/wp-content/uploads/2014/04/DSCN43991.jpg)
![DSCN4408[1]](https://thetravelingepicurean.com/wp-content/uploads/2014/04/DSCN44081.jpg)
![DSCN4405[1]](https://thetravelingepicurean.com/wp-content/uploads/2014/04/DSCN44051.jpg)
![DSCN4415[1]](https://thetravelingepicurean.com/wp-content/uploads/2014/04/DSCN44151.jpg)
![DSCN4409[1]](https://thetravelingepicurean.com/wp-content/uploads/2014/04/DSCN44091.jpg)
![DSCN4429[1]](https://thetravelingepicurean.com/wp-content/uploads/2014/04/DSCN44291.jpg)
![DSCN4417[1]](https://thetravelingepicurean.com/wp-content/uploads/2014/04/DSCN44171.jpg)
![DSCN4441[1]](https://thetravelingepicurean.com/wp-content/uploads/2014/04/DSCN44411.jpg)
![DSCN4444[1]](https://thetravelingepicurean.com/wp-content/uploads/2014/04/DSCN44441.jpg)
![DSCN4420[1]](https://thetravelingepicurean.com/wp-content/uploads/2014/04/DSCN44201.jpg)
![DSCN4421[1]](https://thetravelingepicurean.com/wp-content/uploads/2014/04/DSCN44211.jpg)
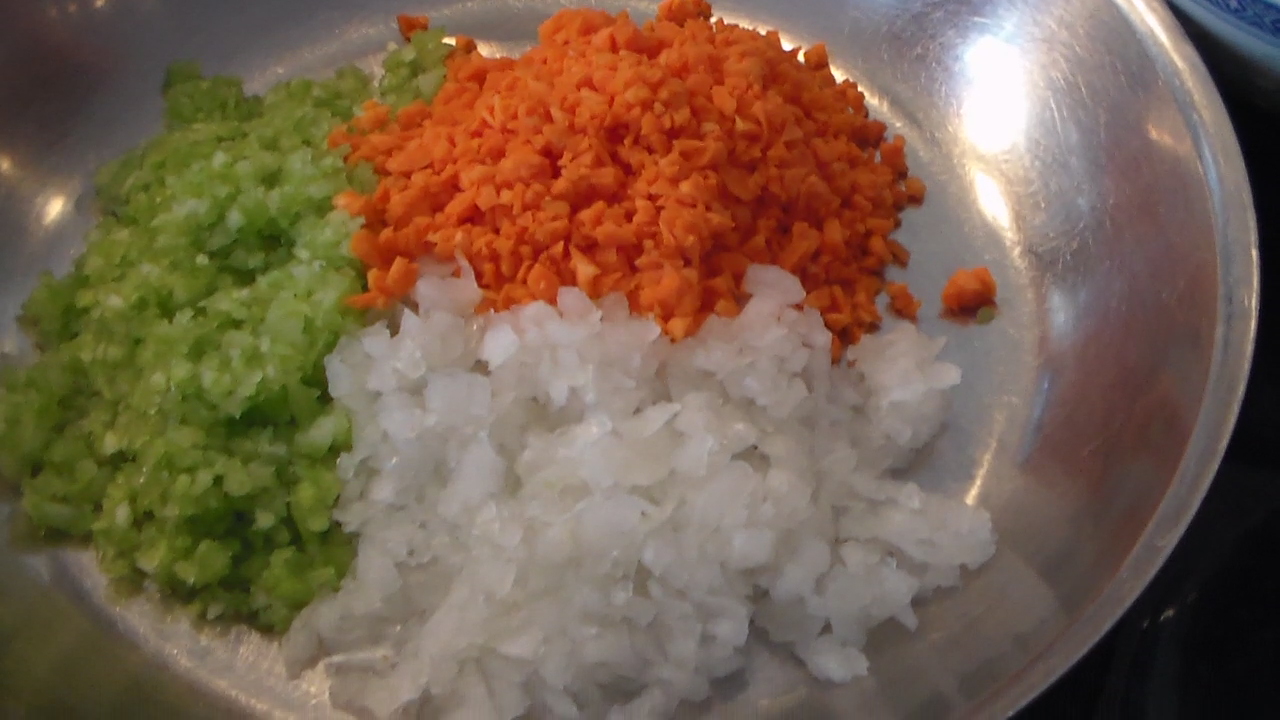
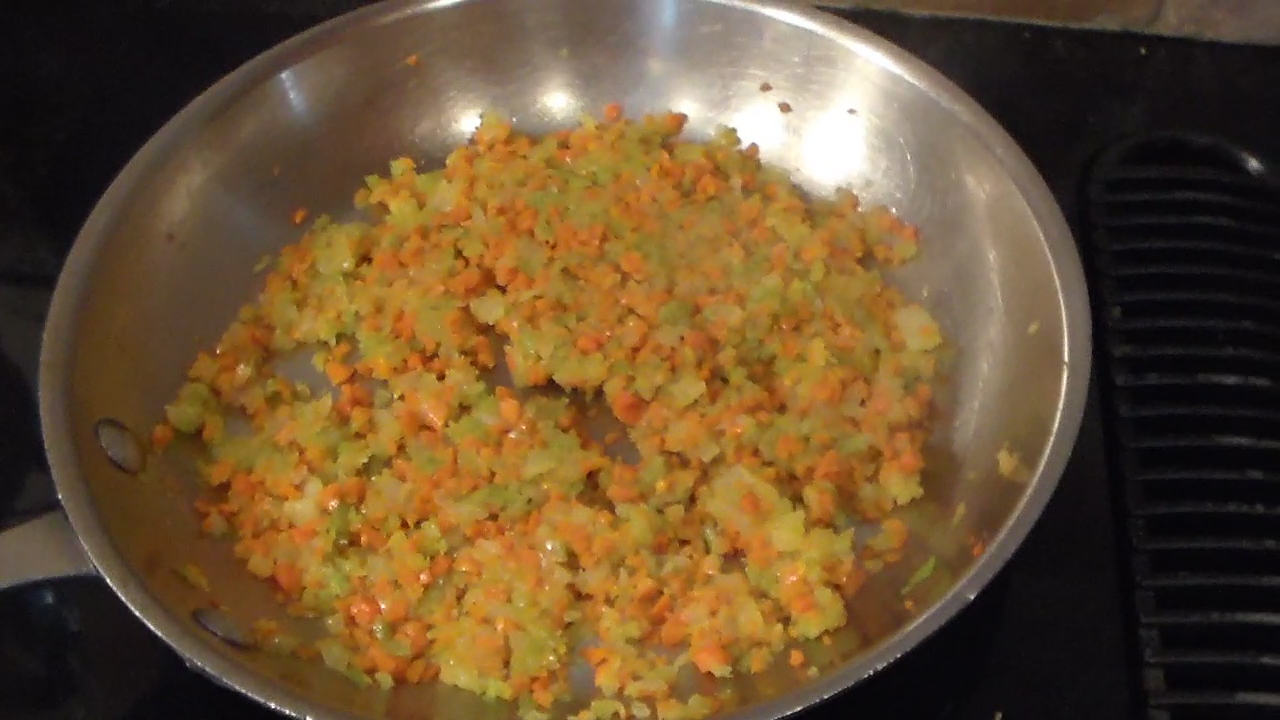
 Planning for a Fat Tuesday celebration with this 1 pot dish of Shrimp & Sausage Jambalaya was the theme of my cooking segment on CT Style recently! As usual, I love cooking for everyone at the Channel 8 studio. They are all such great foodies and enjoy eating what ever I’m cooking up not to mention all the fun I have with Ryan and Teresa, it’s never a dull moment! How lucky I am to be a part of this duo that brings CT Style to life every day! Teresa is a firecracker and Ryan with his boundless good energy…priceless!
 This shrimp & sausage Jambalaya is a rice based dish made Creole style which means it’s has tomatoes. I use 2 different smoked sausages, Andouille and a smoked kielbasa. There’s extra large shrimp, chicken stock, peppers, onions, garlic, fresh herbs and Creole spices! Oh my goodness, there’s flavor bursting out from every where! My last but not least favorite part about this amazing Jambalaya recipe is using only 1 pot!

 4 batches of Turkey Chili were eaten during my Food Demo at Page Hardware in Guilford, CT last Saturday! That’s a lot of chili! This chili has the right amount of spice so as not to be too spicy or too bland but packed with tons of flavor. I do like my chili extra hot but I kept the amount of spice to a minimum so all could enjoy it.
 gives it a warm, underlying flavor that your guests won’t be able to figure out. I test a lot of recipes in terms of spice quantities and this recipe has the perfect combination of smokiness and heat! I think it may become your “go to recipe” once you give it a try. Food for thought, If you were to have any leftovers, highly unlikely that is, it freezes really well.
  a win-win no matter how you look at it…free sampling foods and free demo on how to make the dish! I am there every 3rd Saturday of the month. If you haven’t become a regular yet I don’t know what you’re waiting for. We have so much fun during these demo’s you and you get to eat all the delicious dishes while I am demonstrating how they’re made. Can’t wait to see you next month! You can call Page Hardware to confirm the dates or look on my
