The Traveling Epicurean

Best Baked Beans! – Show 101

Best Baked Beans! – Show 101

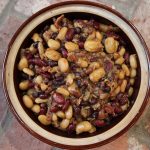
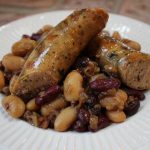
Every time there’s a get together in my neighborhood the first thing that comes to mind, “I hope Linda brings her baked beans!” That’s how good these baked beans are! My friend and neighbor, Linda, graciously offered up her recipe so that I may share it with all of you. Linda titles the recipe “Sue’s Baked Beans” because she got the recipe from her sister Sue who got the recipe from their mom! No matter what the title it’s one great family recipe.

Just the thought of bacon, sauteéd onions and creamy beans and you’ve got my attention. These are a few of the ingredients that go into this Best Baked Beans recipe. Other key ingredients are brown sugar, honey mustard, garlic granules, and to balance out the whole dish  apple cider vinegar, of course.

It’s really fairly simple especially since the recipe calls for canned beans. Shhhh …no one has to know that, lol! These beans, in my opinion, taste like they are made from scratch. Our time is very valuable and if you can make baked beans that taste like this you’re one step ahead of the game. These best beaked beans are creamy, flavorful, and a wonderful balance between sweet and tangy making a great addition to grilled fish, chicken, pulled pork or sausages. These will become your go to baked bean recipe once you taste them!
For some other fun BBQ ideas, Homemade BBQ Sauce, Grilled-Marinated Steak on Skewers, Seared Sea Scallops or Stout Braised Pulled Beef Short Ribs and don’t forget to end the meal with some Homemade Hersheys Perfectly Chocolate Chocolate Cake topped with GHOST Peeps!
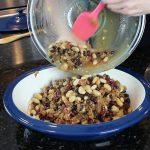
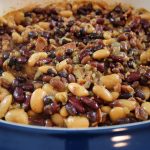


Ingredients:

  • Bush Beans – Vegetarian (large can undrained)
  • Black beans- 15 oz. can (drained and rinsed)
  • Kidney beans – 15 oz. can (drained and rinsed)
  • Butter beans – 15 oz. can (drained and rinsed)
  • Cannelloni beans – 15 oz. can (drained and rinsed)
  • Bacon – 8 slices Boars Head
  • 2 to 3 onions (chopped)
  • ½ cup cider vinegar (add more if you like tangy vs. sweet)
  • 2 to 3 tbls. honey mustard
  • ¾ cup brown sugar
  • ½ tsp. garlic powder
  • Ground pepper to taste

Directions:

  1. Add the 5 cans of beans to a large mixing bowl
  2. Cook bacon in skillet until crisp, drain on paper towels and then crumble into small pieces–save 2 tbls grease
  3. In the same skillet cook chopped onions in the 2 tbls bacon grease until soft
  4. Then add in the crumbled bacon, cider vinegar, brown sugar, honey mustard, garlic powder, and ground pepper and simmer for 10-15 minutes
  5. Pour this mixture over beans and mix well.
  6. Pour into baking crock or dish and bake at 350 degrees for one hour….delicious!


BBQ Sauce – BEST Homemade Sweet & Tangy!

BBQ Sauce – BEST Homemade Sweet & Tangy!

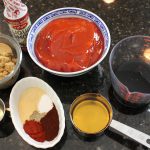
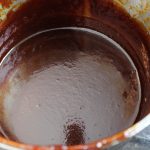
It’s like BBQ sauce candy! My Homemade BBQ Sauce is the perfect balance of sweet, tangy and a little spicy! This recipe is one of my versions of a classic “Kansas City” style sauce, meaning it is a tomato based sauce with a sweetener and a vinegar. Ketchup, dark Molasses, brown sugar, cider vinegar and spices are the core ingredient’s that make up this delicious blend of barbecue sauciness. It’s not too sweet or too tangy and it has just a pinch of heat to remind you that it’s a BBQ sauce. It really can’t get any easier to make BBQ sauce then this here recipe. It will definitely make it hard for you to go back to the bottle stuff with the high fructose corn syrup. In fact, I guarantee that you will find yourself dipping that spoon back into the pot to get one more lick of this homemade sassy sauce!

One of my favorite things to do with this sauce is adding a couple tablespoons of bourbon in the last 5 minutes of simmering.  Everyone will be asking you for the recipe for sure! If you have a mix of adults and children spilt the sauce into 2 portions, keeping one with bourbon and one with out.

Using the liquid smoke, which is simple to find at your local grocer now a days, is ideal for emulating that smokiness you would get with outdoor barbecuing. I have you adding in chipolte chile powder and a Spanish smoked paprika too which gives off a delicate flavor to the sauce without being too overbearing.

The 3 basic BBQ sauce type’s out there are a tomato based, a vinegar based and a mustard based. Believe it or not, there actually is a mayo based as well. The “Kansas City” style is the tomato based and probably the most popular through out the U.S. There’s a “Memphis” style similar to Kansas City with the tomato base but a thinner, more vinegar type sauce. The actual vinegar and mustard type sauce’s are quintessential to the Carolina’s. South Carolina being partial to the mustard type sauce and North Carolina to the vinegar type sauce. Then there’s that white BBQ sauce that’s mayo based, a signature sauce of Big Bob Gibson out of Alabama.

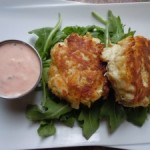
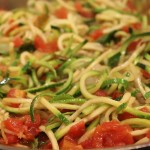
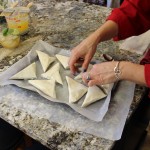
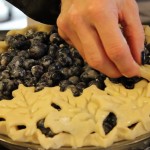
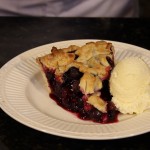
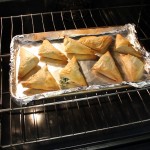
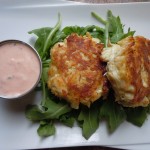
Once you see how easy it is to make your own delicious, sassy BBQ sauce I have a feeling there will be no stopping you! Enjoy your summer with this introductory BBQ sauce recipe! You might want to tag team all this barbecuing with some crab cakes, zucchini spaghetti, or spanakopita, and end with my amazing blueberry pie made with my perfect pie crust in 5 minutes!!

DSCN45211-300x225

zucspaghetti

IMG_5156

blupie

blueberrypie


IMG_7047

bbqspices

IMG_7069


IMG_7071

IMG_7092

IMG_7091


Ingredients:

  • 2 cups Ketchup
  • 2/3 cup light brown sugar
  • 1/2 cup dark molasses
  • 1/2 cup cider vinegar
  • 2 tbsp canola oil
  • 2 tsp liquid smoke
  • 1/2 tsp garlic granules
  • 1/2 tsp onion granules
  • 1/2 tsp chipolte chile powder (If you can’t find “chipolte” chile powder just use chile powder it will still be wonderful)
  • 1/2 tsp Spanish smoked paprika
  • 1/2 tsp salt
  • 1/4 tsp finely ground black pepper
  • 2 dashes of Wocestershire sauce
  • 2 tbsp of Bourbon – If you are a party of adults …it’s AMAZING!

Directions:

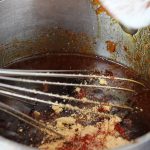
  1. Put all above ingredients into medium sauce pan and whisk to combine
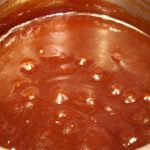
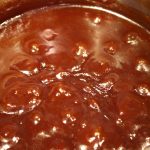
  2. Bring to a low simmer 20 minutes
  3. The sauce will be delicious in only 5 minutes – delvelops more depth of flavor by simmering longer!
  4. Basting your grilling meats in the last 3-5 minutes with BBQ is deal so as not to burn and oven cooking meats in the last 10 minutes (the sugars in the BBQ Sauce will burn if you put it on too early)


Lobster Mac & Cheese at David & Eileen’s

Lobster Mac & Cheese at David & Eileen’s

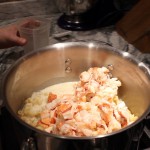
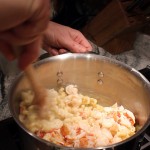
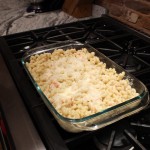
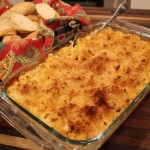
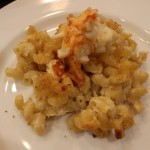
With this homemade gourmet lobster mac & cheese at David & Eileen’s you get the best of both worlds! Two of my very favorite things to eat all in the same dish! What more could you ask for? What, did someone say “smoked Gouda, please”? The Lobster goes with out saying and for those of you who appreciate that slightly salty, yet sweet and rich in every meaty bite know what I’m talking about. Then to add this succulent lobster to pasta that’s covered in a delicate, smokey, cheesy sauce put’s it right over the top!

When my dear friends David and Eileen suggested making lobster mac & cheese for my cooking show it was like bells went off. I thought it was a great idea. David had discussed the idea with our other foodie friend, Marco, who offered up his recipe to David. Marco and his wife, Sheryl, own an Inn near by called Lathrop Manor where Marco cooks up a five course gourmet breakfast if you’re a guest there.  Marco was also the chef in my “Salmon BLT Sliders at Marco’s Show” from this past summer. Needless to say, our group here loves to cook, eat and have fun. Even frequenting the Farm and Vine Dinner’s at The Ocean House together. 

Sharing family recipes, like Dave and Laurie did with their yummy “Caruso Salad” and the amazing lobster mac & cheese recipe between Marco and David is what brings friends together. Cooking, eating, laughing and enjoying each other’s company is the foundation of life in all cultures around the world . I am grateful to have such wonderful family and friends to do this with.

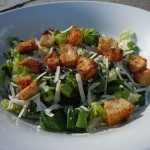
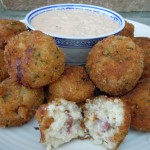
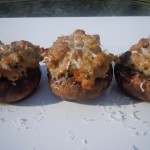
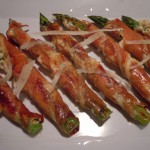
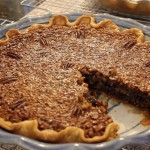
I hope you enjoy this homemade “Lobster Mac & Cheese at David & Eileen’s” show as much as we did making it! Have fun with this recipe. You may also want to check out my Caesar Salad for a side dish or some Arancini Reuben Balls, stuffed mushrooms ,or baked asparagus wrapped in Prosciutto for an appetizer. Although , we don’t have David’s incredible chocolate meringue pie recipe yet, you could check out a chocolate pecan pie recipe that’s to die for.

DSCN4575 030 iphone pictures 1441 iphone pictures 572 wholepiepecan

ingredlob IMG_5287 IMG_5289

IMG_5291 thumbsauce IMG_5304

lobmac lastthumbolb IMG_5305

IMG_5309 IMG_5314 IMG_5317

baked IMG_5373

Ingredients for Lobster Mac & Cheese at David and Eileen’s:

  • 2 Lobsters – meat from 2 – 1 1/2 lb. steamed lobsters
  • 3 tbsp butter
  • 3 tbsp flour
  • 2 small onion finely chopped (1/2 cup)
  • 3 1/2 cups whole milk
  • 2 cups heavy cream
  • 1/4 cup Dry Sherry -OPTIONAL
  • 2 tsp lobster base OR Lobster SHELLS- OPTIONAL it gives a wonderful flavor to the dish… we did forget to add the base in the show and the lobster mac & cheese was still delicioso!
  • 2 bay leaves
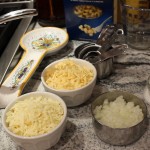
  • 1 1/2 cups smoked Gouda
  • 1 1/2 cups white Cabot cheddar
  • 1 cup mozzarella (I added in the mozzarella)
  • 1/4 cup grated Parmesan
  • 1 lb. cellentani pasta or elbow
  • s&p
  • 2 tbsp rm temp butter for coating the baking dish

Topping Ingredients:

  • 1/4 cup panko breadcrumbs
  • 1/2 cup grated Parmesan
  • 1/4 tsp garlic granules
  • 1/4 tsp onion granules
  • 1 tbsp olive oil
  • 1 tbsp melted butter
  • 4 pieces cooked and chopped bacon – Bacon OPTIONAL  (DO NOT use Maple Flavored Bacon)

Directions for Lobster Mac & Cheese at David and Eileen’s:

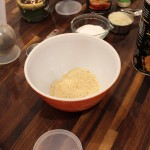
  1. Per-Heat oven to 350º on CONVECTION (convection helps to toast the bread crumbs without overbaking and curdling the cheese sauce)
  2. Coat the baking dish with 2 tbsp rm temp butter and set aside
  3. Cook Pasta til firm in salted water, al-dente, 5 minutes
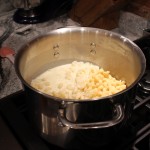
  4. Drain and rinse to cool pasta and set back in the same pan
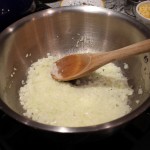
  5. Melt butter in sauté pan
  6. Sauté the chopped onion until soft and translucent
  7. Add a s&p
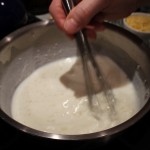
  8. Add flour to onions to make a roux
  9. Continue on stove stirring mixture for 1 minute to cook out raw flour flavor
  10. Slowly add milk & cream to roux while continuing to whisk so as not to get lumps
  11. Add in bay leaves
  12. Cook over medium heat while stirring until sauce thickens
  13. Taste here to see if you need more salt and pepper
  14. Add in 1/4 cup Dry Sherry
  15. OPTIONAL:  Add in lobster base OR LOBSTER SHELLS and simmer for 10 minutes
  16. Remove the shells if you added them and discard
  17. Turn heat to low and add in smoked Gouda, cheddar & mozzarella while whisking for 30 seconds ONLY, then remove from heat immediately and continue to whisk until all the cheese is melted
  18. Sauce should have consistency of heavy cream
  19. Stir lobster meat into the sauce to infuse flavors
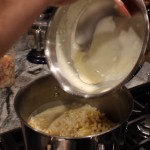
  20. Then pour lobster sauce over al-dente pasta and mix until combined
  21. Transfer to an oven safe baking dish
  22. Sprinkle in 1/4 cup Parmesan and mix gently
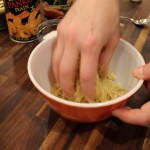
  23. Make the breadcrumbs by combining breadcrumbs, parmesan, onion and garlic granules, olive oil & butter and bacon
  24. Mix with your hands or a spoon and sprinkle evenly over the lobster mac & cheese
  25. Bake in a 350º oven for 25-30 minutes until slightly bubbly on the edges
  26. NOTE: DO NOT OVER BAKED OR CHEESE SAUCE WILL CURDLE!!!!
  27. NOTE: The pasta will absorb a lot of liquid in the beginning when you first mix it, AND then when you bake it, AND as it sits, AND then as it cools, so it’s a good thing to have a little extra sauce in the beginning …it will keep absorbing -you don’t want a dry lobster mac and cheese sauce 🙂

Happy Roasted Chic Peas!

Happy Roasted Chic Peas!

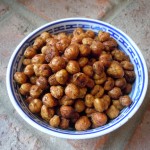
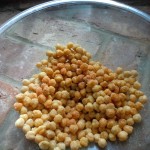
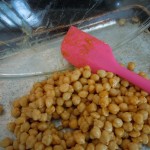
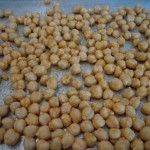
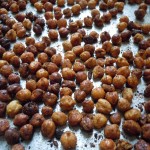
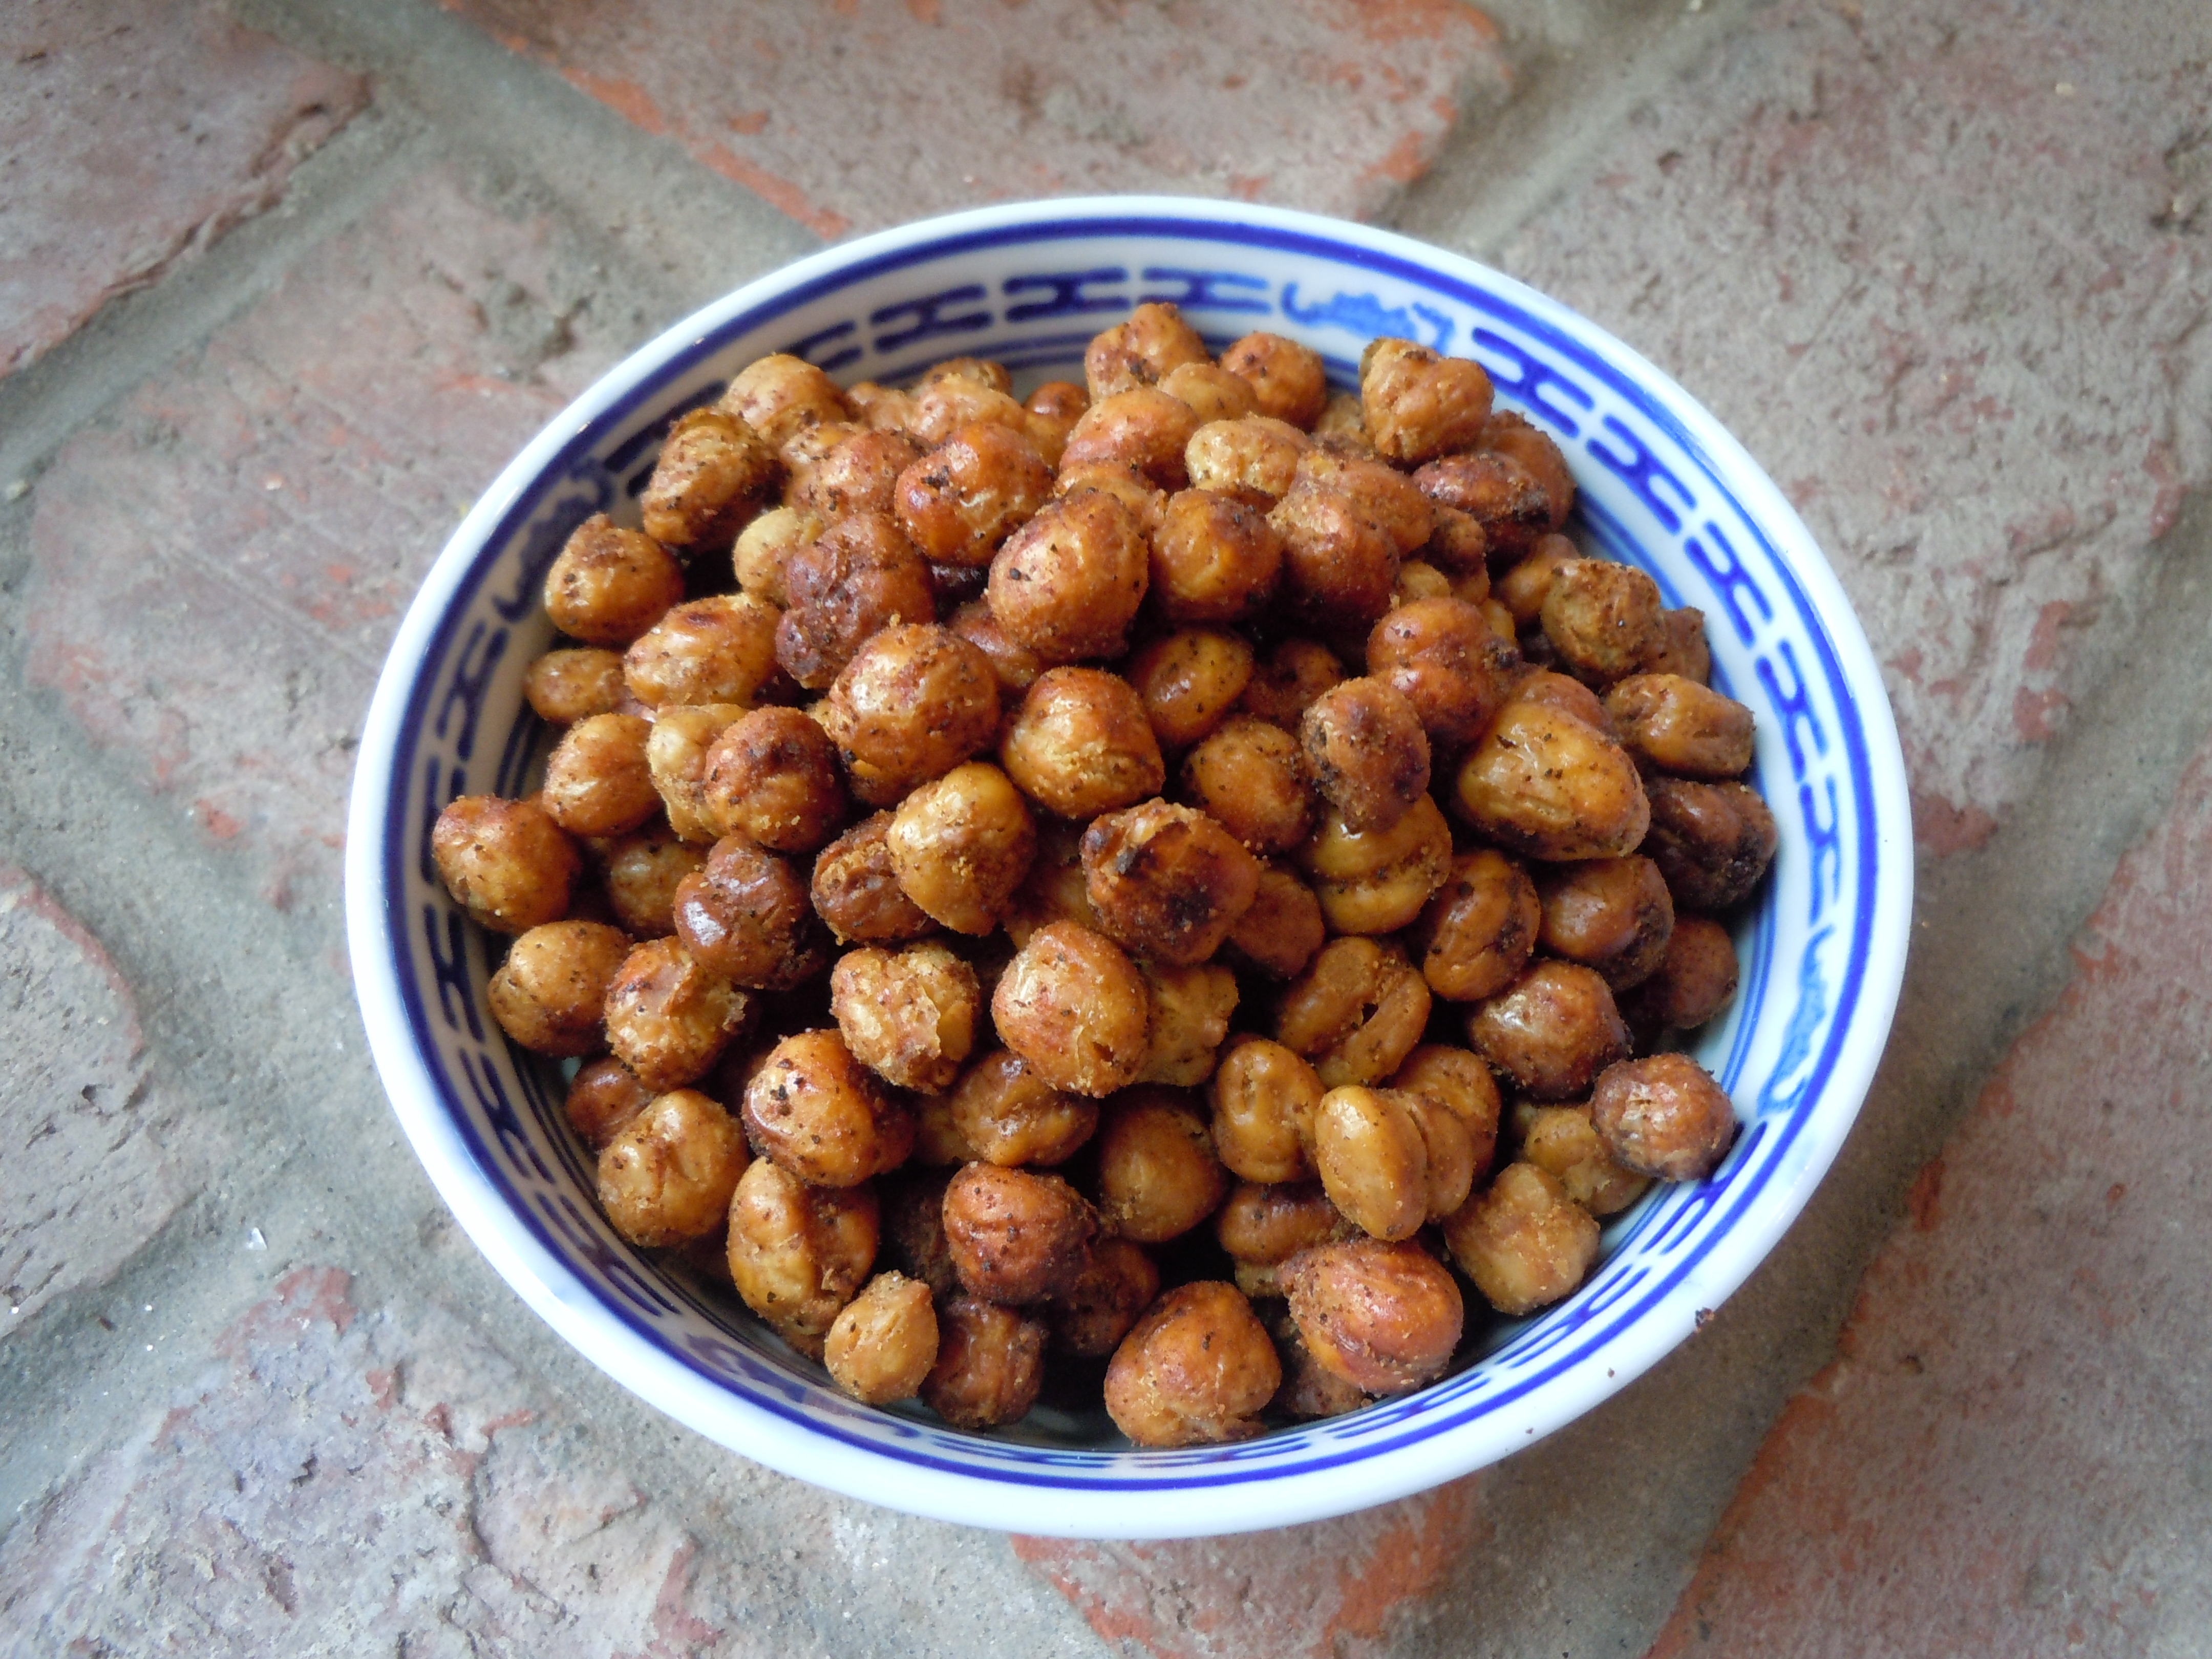
iphone pictures 970These roasted chick peas are a tasty and healthy treat that will definitely put a smile on your face. My daughter, Bella, thought it only logical that the name should be “happy” roasted chic peas if they make you smile like that and “because they are just happy”… lol
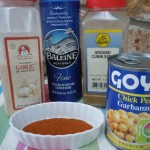
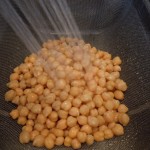
It’s amazing how this creamy bean can turn into this delicious crunchy snack. You are going to love them as much as I do. After being pleasantly surprised by the full flavored crunch you get with this roasted bean you’ll be back for seconds! A golfing friend of mine, Lisa, turned me on to these roasted chick peas a few years back. I’ve been happily making them ever since.

These roasted chic peas are wicked easy to make and a great on the go healthy snack. What’s so fun about making these happy roasted chic peas is you can totally change up the spices making them as spicy and flavorful as you want. Add in a 1/4 tsp of smoked paprika, chipotle pepper, or go for some Indian spices like a coriander/cumin combo, or one of my all time favorite spice’s garam masala. Garam masala differs depending on what region it’s from but basically it’s a combination of black pepper, mace, cinnamon, cloves, cardamons and nutmeg so you’ll get a big burst of flavor from that one alone!

After you happily roast these chic peas you may find yourself wanting to make my baked asparagus wrapped in prosciutto, zucchini torta or even some baked coconut shrimp.

iphone pictures  iphone pictures 953  iphone pictures 954

iphone pictures 956  iphone pictures 957  iphone pictures 958

iphone pictures 959  iphone pictures 960  iphone pictures 968

Ingredients:

  • 2 cans chick peas
  • 3 Tbsp olive oil
  • 1/2 tsp garlic granules
  • 1/2 tsp onion granules
  • 1/4 tsp cayenne pepper OR 1/4 tsp finely ground blk pepper for flavorful but not spicy
  • 1/4 tsp cumin
  • OPTIONAL: a few dashes of Siracha for a little extra spice
  • 1/2 tsp fine sea salt -1/4 before baking and 1/4 after they are roasted

Directions:

  1. Pre-heat oven to 450º.
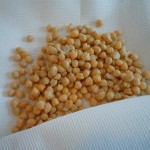
  2. Drain and rinse 2 cans of chick peas.
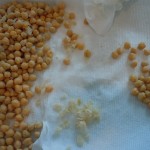
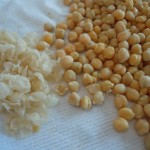
  3. Gently rub and pat dry with paper towels.
  4. This action will loosen the skins off of the chick peas (you don’t have to get off every single chick peas skin..this just naturally happens as you are patting them dry).
  5. Put the chick peas into a medium bowl and add olive oil and spices.
  6. Mix and turn out onto a cookie sheet.
  7. Put them into the oven and bake for approx. 35 minutes.
  8. Shake the pan rolling around the chick peas every 10 minutes…at 25 minutes, 15 minutes and DEFINITELY at 5 minutes
  9. They will burn quickly at the end so you need to keep an eye on them especially during the last 5 minutes.
  10. Remove the chic peas from the oven and sprinkle with the other 1/4 tsp salt and let cool on tray

Sweet Potato Fries & Green Goddess Dip lll

Sweet Potato Fries & Green Goddess Dip lll

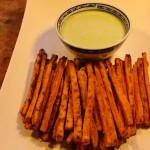
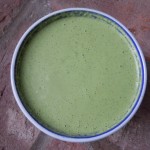
IMG_3827The colors orange and green were stuck in my head for this Halloween episode and that’s why I decided to share my sweet potato fries & green goddess dip recipes with you! These baked sweet potato fries are so delicious all on their own but wait until you dip them into the green goddess sauce you’ll want to put green goddess dip on EVERYTHING! I make this dipping sauce when I cook up swordfish, shrimp, tuna, chicken and steaks also. Being able to make a homemade gourmet sauce like this in 5 minutes, in a blender is basically a no-brainer for me. I can’t wait until you taste this sauce. And here I go again, making my dipping sauce with Greek yogurt to balance out the mayo giving it yet another layer of flavor and tangy richness.  I do this also with my pink remoulade sauce too.
Baking the sweet potato fries is definitely healthier then frying and a lot less work!  Now if you don’t have cornstarch in the cabinets don’t let it keep you from making these fries because they will still be delicious. Dusting the raw sweet potatoes fries with a couple of tablespoons of cornstarch helps with the moisture content and gives them a little extra crunch.

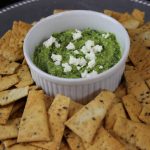
I hope you enjoy making the sweet potato fries and green goddess dipping sauce and that they will become part of your go to appetizer list. You may want to venture off and some other appetizer’s like my Feta-Basil Pesto Dip,  Crab CakesSpanakopita Triangle’s, or some yummy Homemade Hummus! You can end with my Chewy ChocolateChip Cookies!

img_8565 cookedspan IMG_5076 IMG_6064 DSCN4521

IMG_3880 IMG_3943  IMG_3885

IMG_3895  IMG_3966  IMG_3862

iphone pictures 1167  iphone pictures 1156  iphone pictures 1169

IMG_3806  IMG_3808  IMG_3827

Ingredients and Directions for Sweet Potato Fries:

  • 3 extra lg sweet potatoes ONLY need 2 but I like to have an extra just in case
  • 1/4 cup extra virgin olive oil
  • 1/2 tsp salt
  • 2 tbsp corn starch
  • 1 tsp garlic granules
  • 1 tsp onion granules
  1. Pre-heat the oven to 425º.
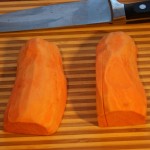
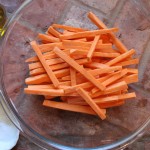
  2. Peel and Slice sweet potatoes in 1/4″ sticks -CUT ENDS FLAT so they don’t burn
  3. Dab with paper towels to dry excess sweet potato moisture
  4. Drizzle with 1/4 cup olive oil and sprinkle with 1 tsp garlic granules,  1 tsp onion granules  and 1/2 tsp salt
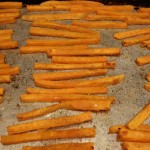
  5. Mixed with hands and then spread out into even layer on cookie sheet
  6. Bake for 15 minutes then flip and back into the oven for 8-10 more minutes
  7. BE SURE TO keep an eye on them at this point so they don’t BURN 🙂

Ingredients and Directions for Green Goddess Dip lll:

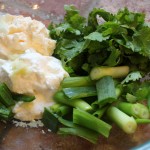
  • 3/4 cup Greek yogurt
  • 1/3 cup mayo (I use Hellmans)
  • 1 cup fresh cilantro
  • 1 garlic clove put thru press
  • 1/2 jalapeño diced
  • 4 green onion stalks
  • 1 tsp. grated vadalia onion ( or yellow onion)
  • 1 tbsp ( 1/2) fresh lime juice
  • 1 tbsp “seasoned” rice wine vinegar ( “oops” – I accidentally said red wine vinegar in the show but it’s rice wine vinegar)
  • s & p
  • Optional: dash of Siracha (Siracha is a hot chili sauce sold next to Tabasco at the store)
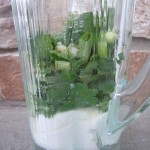
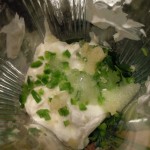
  1. Place all of the ingredients into a blender an purée and you will probably need to stop and stir everything a couple of times to get it going but do not add any more liquid (you will see that once it gets going it will be just right).
  2. You can make this ahead of time and keep sauce in a plastic container and refrigerate.  It  gets thicker as it sits in the fridge chilling and stays nice for a few days…  Yum!

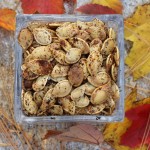
Ingredients and Directions for Roasted Pumpkin Seeds:

  • Pumpkin Seeds for 2 pumkins
  • 1 tsp garlic granules
  • 1 tsp onion granules
  • 1/2 sea salt (plus a sprinkle at the end for a pinch more seasoning)
  • 2 tbsp olive oil
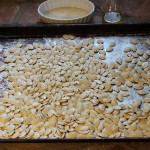
  1. Pre-heat oven at 425º.
  2. Wash pumpkins seeds to remove pulp.
  3. Dry between paper towels and leave on cookie tray to dry further over night (can roast right away if you don’t have time – just by sure to completely dry seeds)
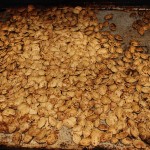
  4. Drizzle olive oil over seeds and sprinkle all of seasonings and toss to evenly mix
  5. NOTE: you can add in cumin, cayenne, chili powder … add your favorite seasonings
  6. Roast for 10 minutes, take out and stir seeds, put back in oven for approx. 4 more minutes – Keep an eye on them at this point so they don’t burn


Cucumber Salad

Cucumber Salad

This homemade cucumber salad is my version of tzatziki sauce which is a Greek cucumber yogurt dip except I use 1/2 Greek yogurt and 1/2 sour cream. My mother has been making this dish since I was little although mine is a somewhat different version. You can have it as a side with lunch or dinner or even jazz up chicken and steak sandwiches or vegetarian dishes with humus and mango salsa and or guacamole…YUM! . It’s really refreshing and bright on your palate. The Vadalia onion, which is the sweetest, is a wonderful addition to a Tzatziki sauce and fresh dill is always best. The cucumber and onion can be grated instead of sliced to make it more of a sauce then a side dish.

I use thinly sliced cucumbers instead of grating here, garlic, onion and cumin granules in this gourmet sauce which really develop nicely in flavor as you let them sit for a bit. This homemade cucumber salad is certainly not for summer only! I promise you will be delighted with my cucumber salad  recipe…let me know what you think. Enjoy.

029  022  026

028  015  035

036  037  040

041  046  049

Ingredients:

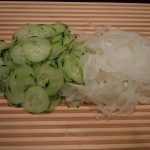
  • 2 cucumbers peeled with thin stripes left on them (only 3 – 1/4 ” stripes) AND sliced PAPER thin on Mandolin or carefully with a knife
  • 1 lg Vadalia onion sliced paper thin with mandolin or sharp knife
  • 1/2 c. Greek yugurt
  • 1/2 c. sour cream
  • 3 tbsp olive oil
  • 2 tbsp seasoned rice wine vinegar
  • 1 tbsp red wine vinegar
  • 1 tsp garlic granules
  • 1 tsp onion granules
  • 1 tsp ground cumin
  • 1/2 tsp salt to release water from cucumbers and onions
  • s&p to taste at the end

Directions:

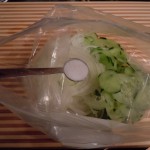
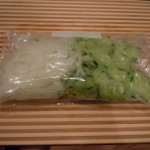
  1. Put sliced cucumbers and onion into a lg Ziploc with 1/2 tsp salt and let sit for 1-2 hrs. or over night
  2. Gently squeeze cucumber-onion mixture and drain liquid from Ziploc
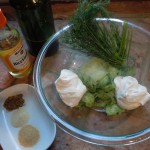
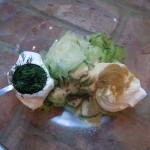
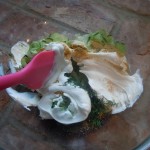
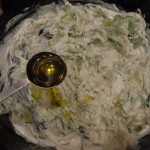
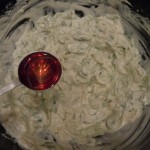
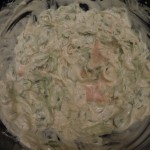
  3. Put into a lg mixing bowl with the next 8 ingredients like in photos
  4. Mix with spatula
  5. Add desired s&p
  6. Can chill and serve or serve immediately …mangia mangia

Roasted Chick Peas


Roasted Chick Peas

Wow! These roasted chick peas are a crunchy, tasty and healthy treat.  You are going to love them as much as I do!  You definitely won’t be able to have just one little handful…you will be back for more. My good friend Lisa turned me on to these roasted chick peas and I’m so glad she did because they are wicked easy to make and a great on the go snack or even in an appetizer assortment along with baked asparagus wrapped in prosciutto, zucchini torta or baked coconut shrimp.

iphone picturesiphone pictures 953iphone pictures 954


iphone pictures 956iphone pictures 957iphone pictures 958


iphone pictures 959

iphone pictures 960

iphone pictures 968


Ingredients:

  • 2 cans chick peas
  • 3 Tbsp olive oil
  • 1/2 tsp garlic granules
  • 1/2 tsp onion granules
  • 1/4 tsp cayenne pepper OR 1/4 tsp finely ground blk pepper for a mild flavor (I did the blk pepper in the show for really flavorful chic peas and not spicy)
  • 1/4 tsp cumin
  • OPTIONAL: a few dashes of Siracha to really spice it up!
  • 1/2 tsp fine sea salt -1/4 before baking and 1/4 after they are roasted

Directions:

  1. Pre-heat oven to 450º.
  2. Drain and rinse 2 cans of chick peas.
  3. Gently rub and pat dry with paper towels.
  4. This action will loosen the skins off of the chick peas (you don’t have to get off every single chick peas skin..this just naturally happens as you are patting them dry).
  5. Put the chick peas into a medium bowl and add olive oil and spices.
  6. Mix and turn out onto a cookie sheet.
  7. Put them into the oven and bake for approx. 35 minutes.
  8. Shake the pan rolling around the chick peas every 10 minutes…at 25 minutes, 15 minutes and DEFINITELY at 5 minutes
  9. They will burn quickly at the end so you need to keep an eye on them especially during the last 5 minutes.
  10. Remove the chic peas from the oven and sprinkle with the other 1/4 tsp salt and let cool on tray