
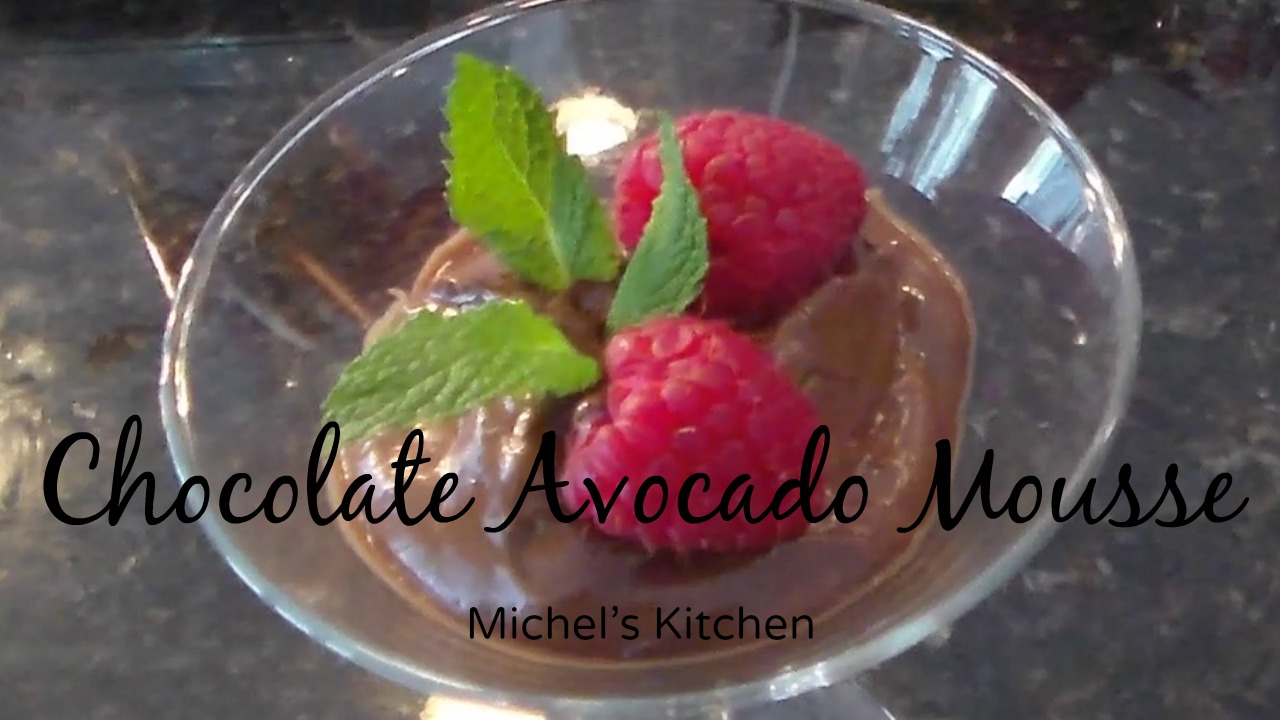
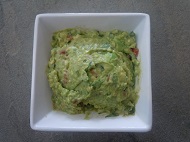
Chocolate Avocado Mousse
Chocolate-Avocado Mousse
You will be amazed how this fruit can be transformed into a creamy, chocolaty mousse! Yes, an avocado is actually a fruit from an avocado tree. I read through so many recipes that it took a bit to figure out which chef inspired me here but I finally got it done. Some recipes have you grinding chia seeds to thicken the mousse but the avocado is already thick and creamy so I find that step unnecessary. Others have honey or a man-made “all natural” sweetener added in but I think the agave nectar is the best option.
This recipe is from Giada De Laurentis’ team except I change it up by adding a little more chocolate and by using Perugina “milk“ chocolate bars (Italian) or Ghirdelli milk chocolate chips instead of the Ghiradelli semi sweet chips. This mousse is pretty rich so using the creamy milk chocolate bars lightens it up a bit and another reason being I wanted to get my two children to eat the mousse …they love the milk chocolate. Yes, that would be the kids who don’t eat anything green. I told you I would get them to eat something green sooner or later. I just left out the part that one of their favorite desserts, chocolate mousse, was made with avocado’s when serving it up to them…needless to say they LOVED it! They will thank me some day.
Make sure to watch my YouTube cooking show that goes with this recipe and don’t forget to SUBSCRIBE on my YouTube channel so that you can receive my latest cooking show releases!
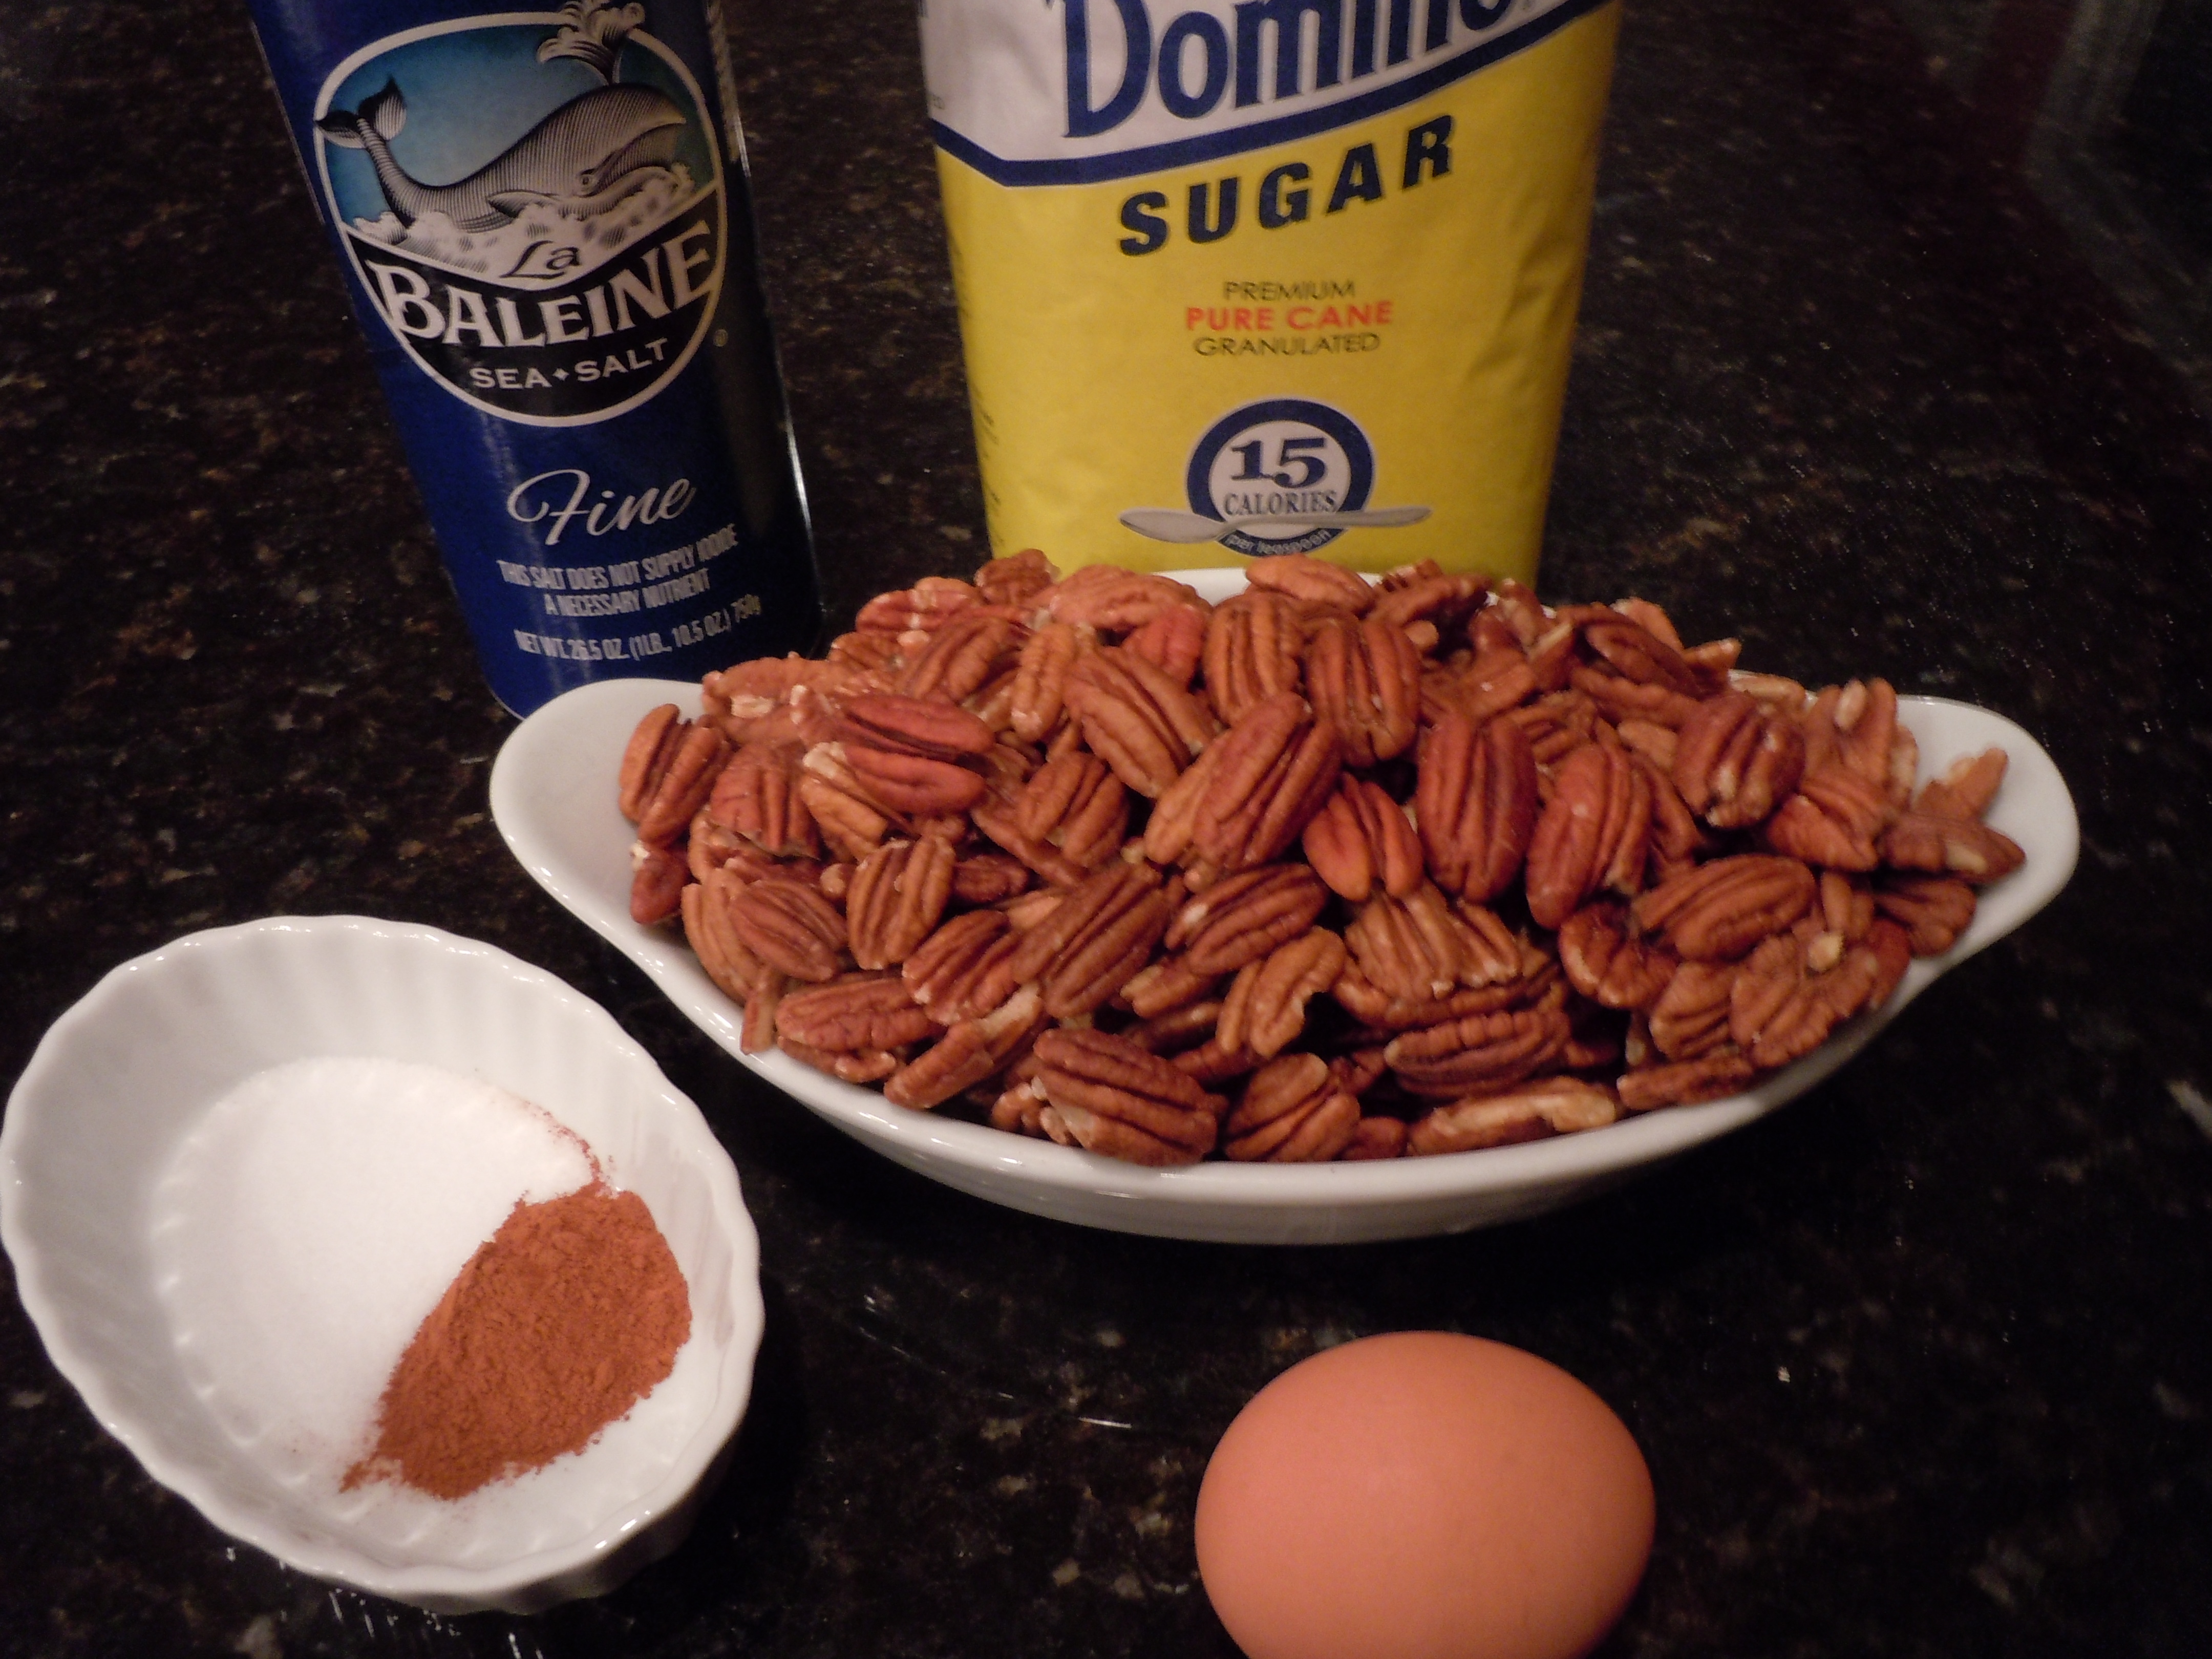
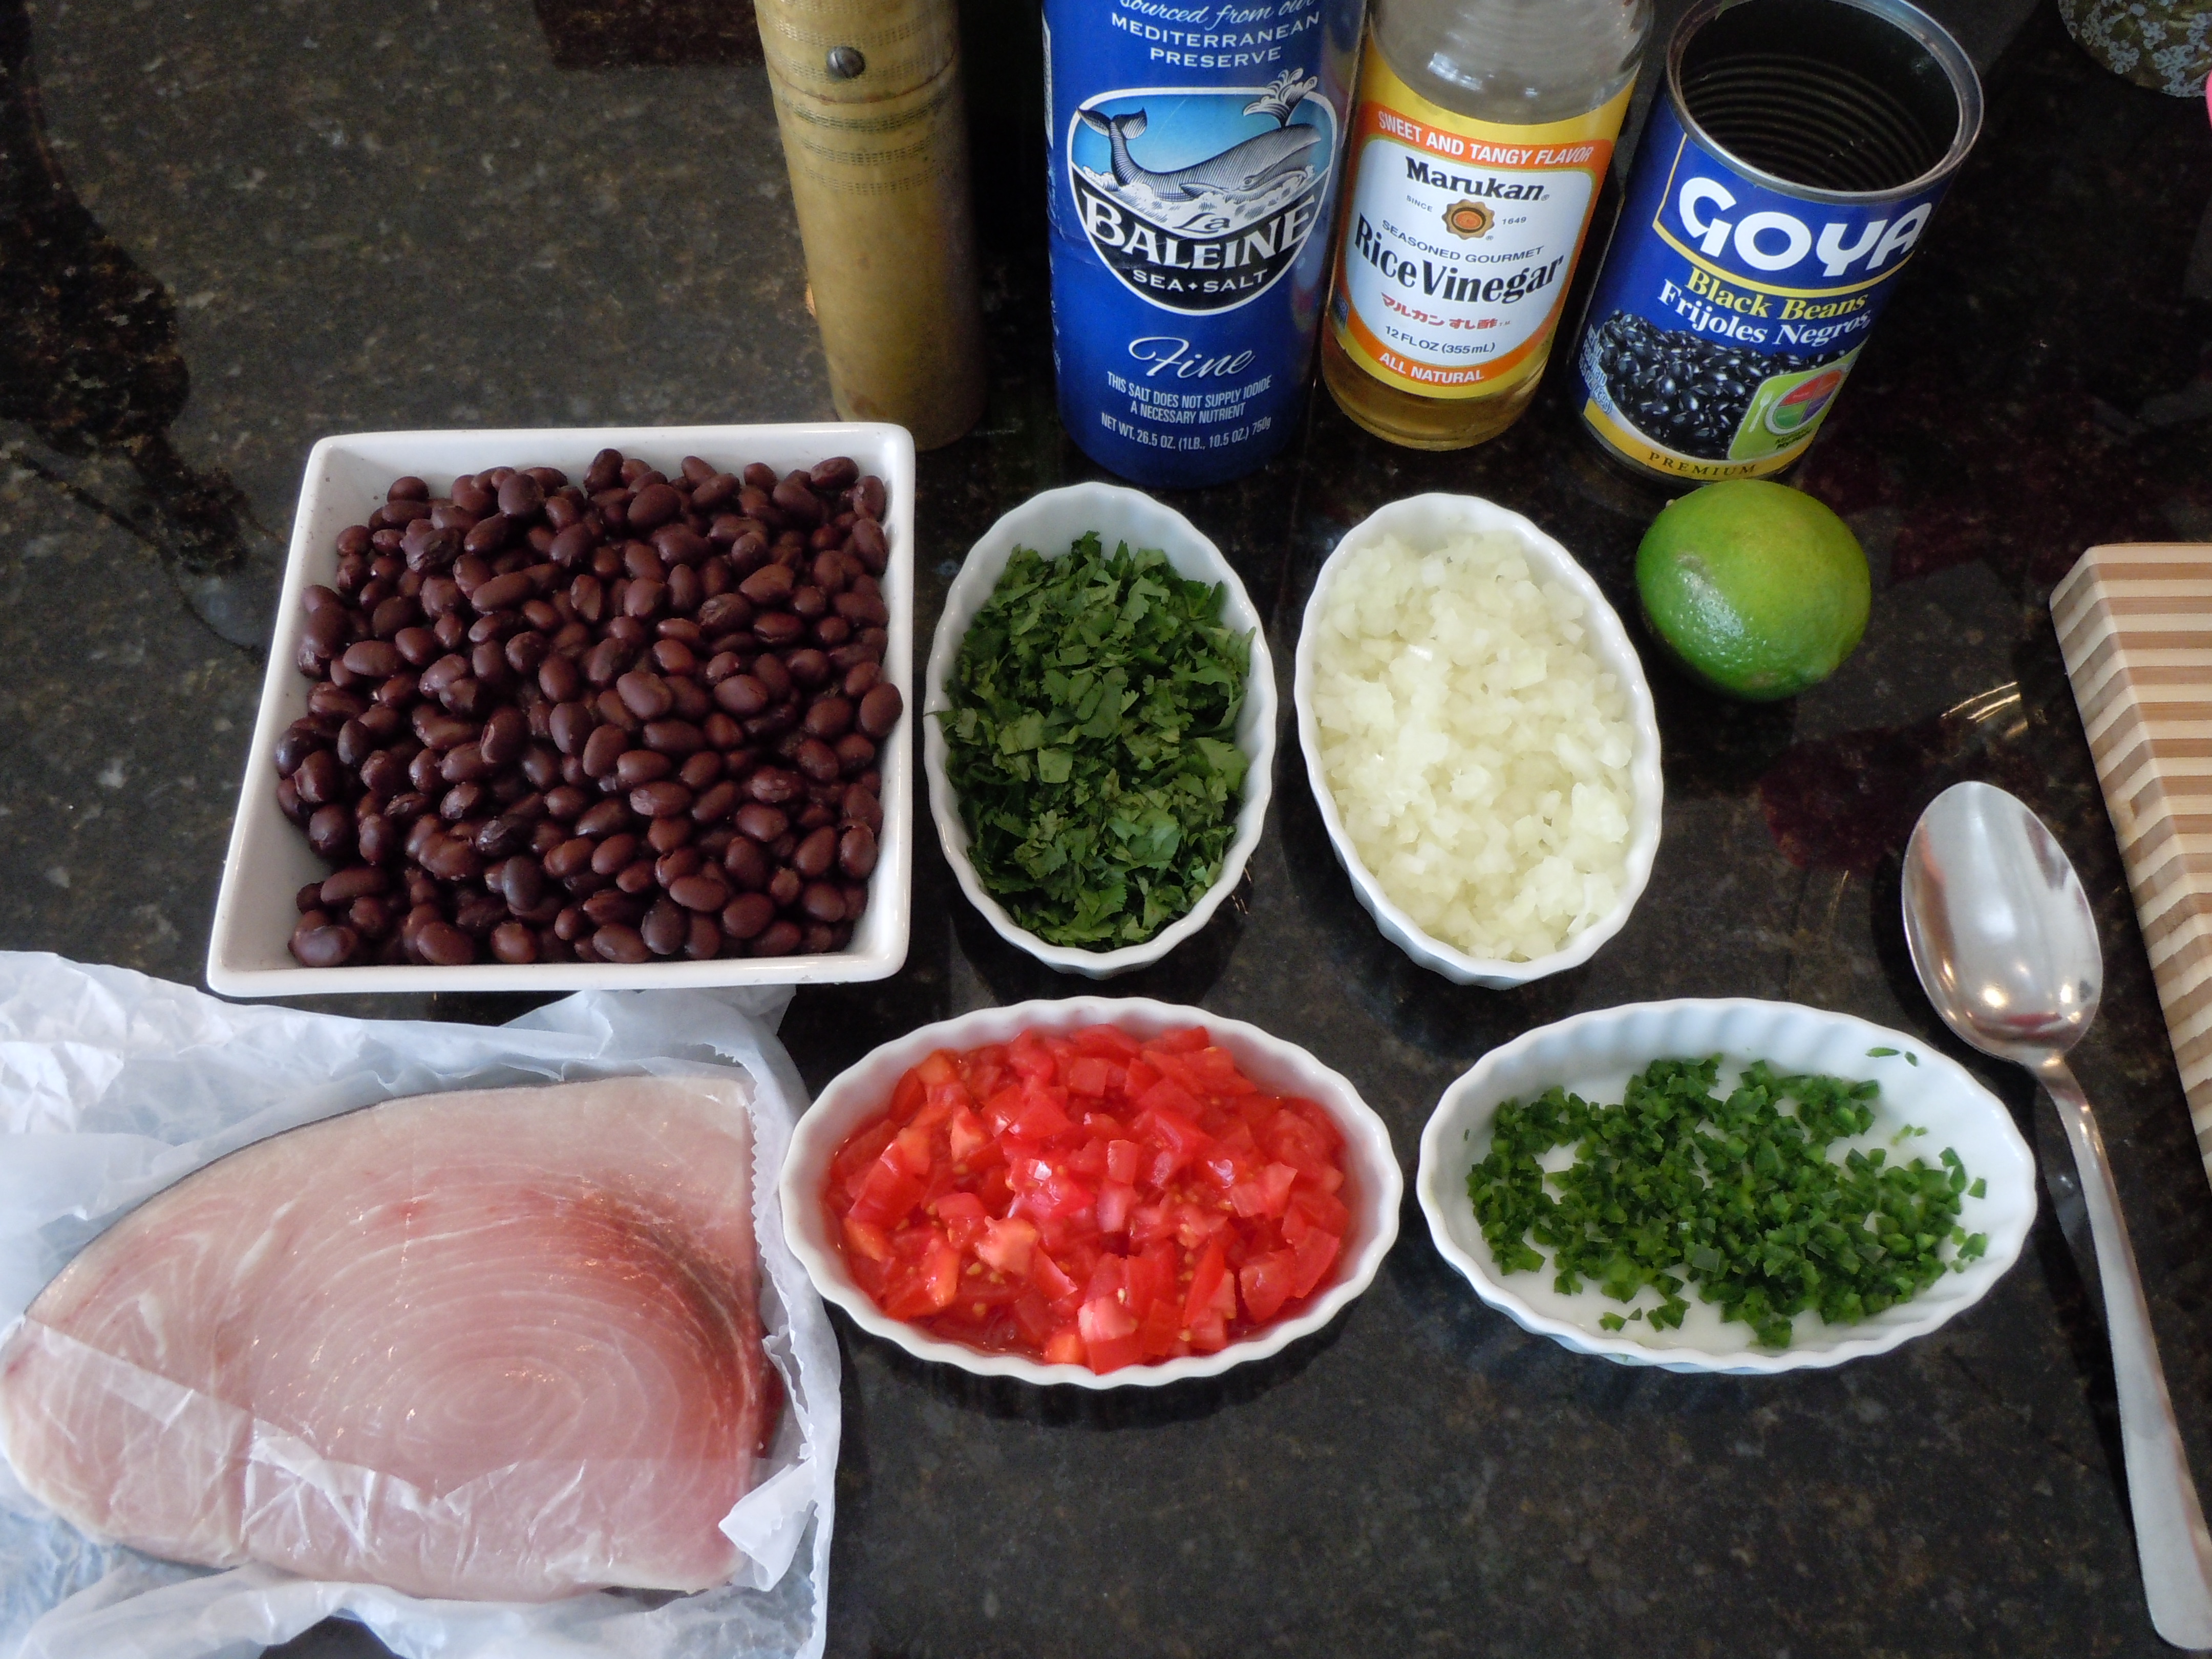
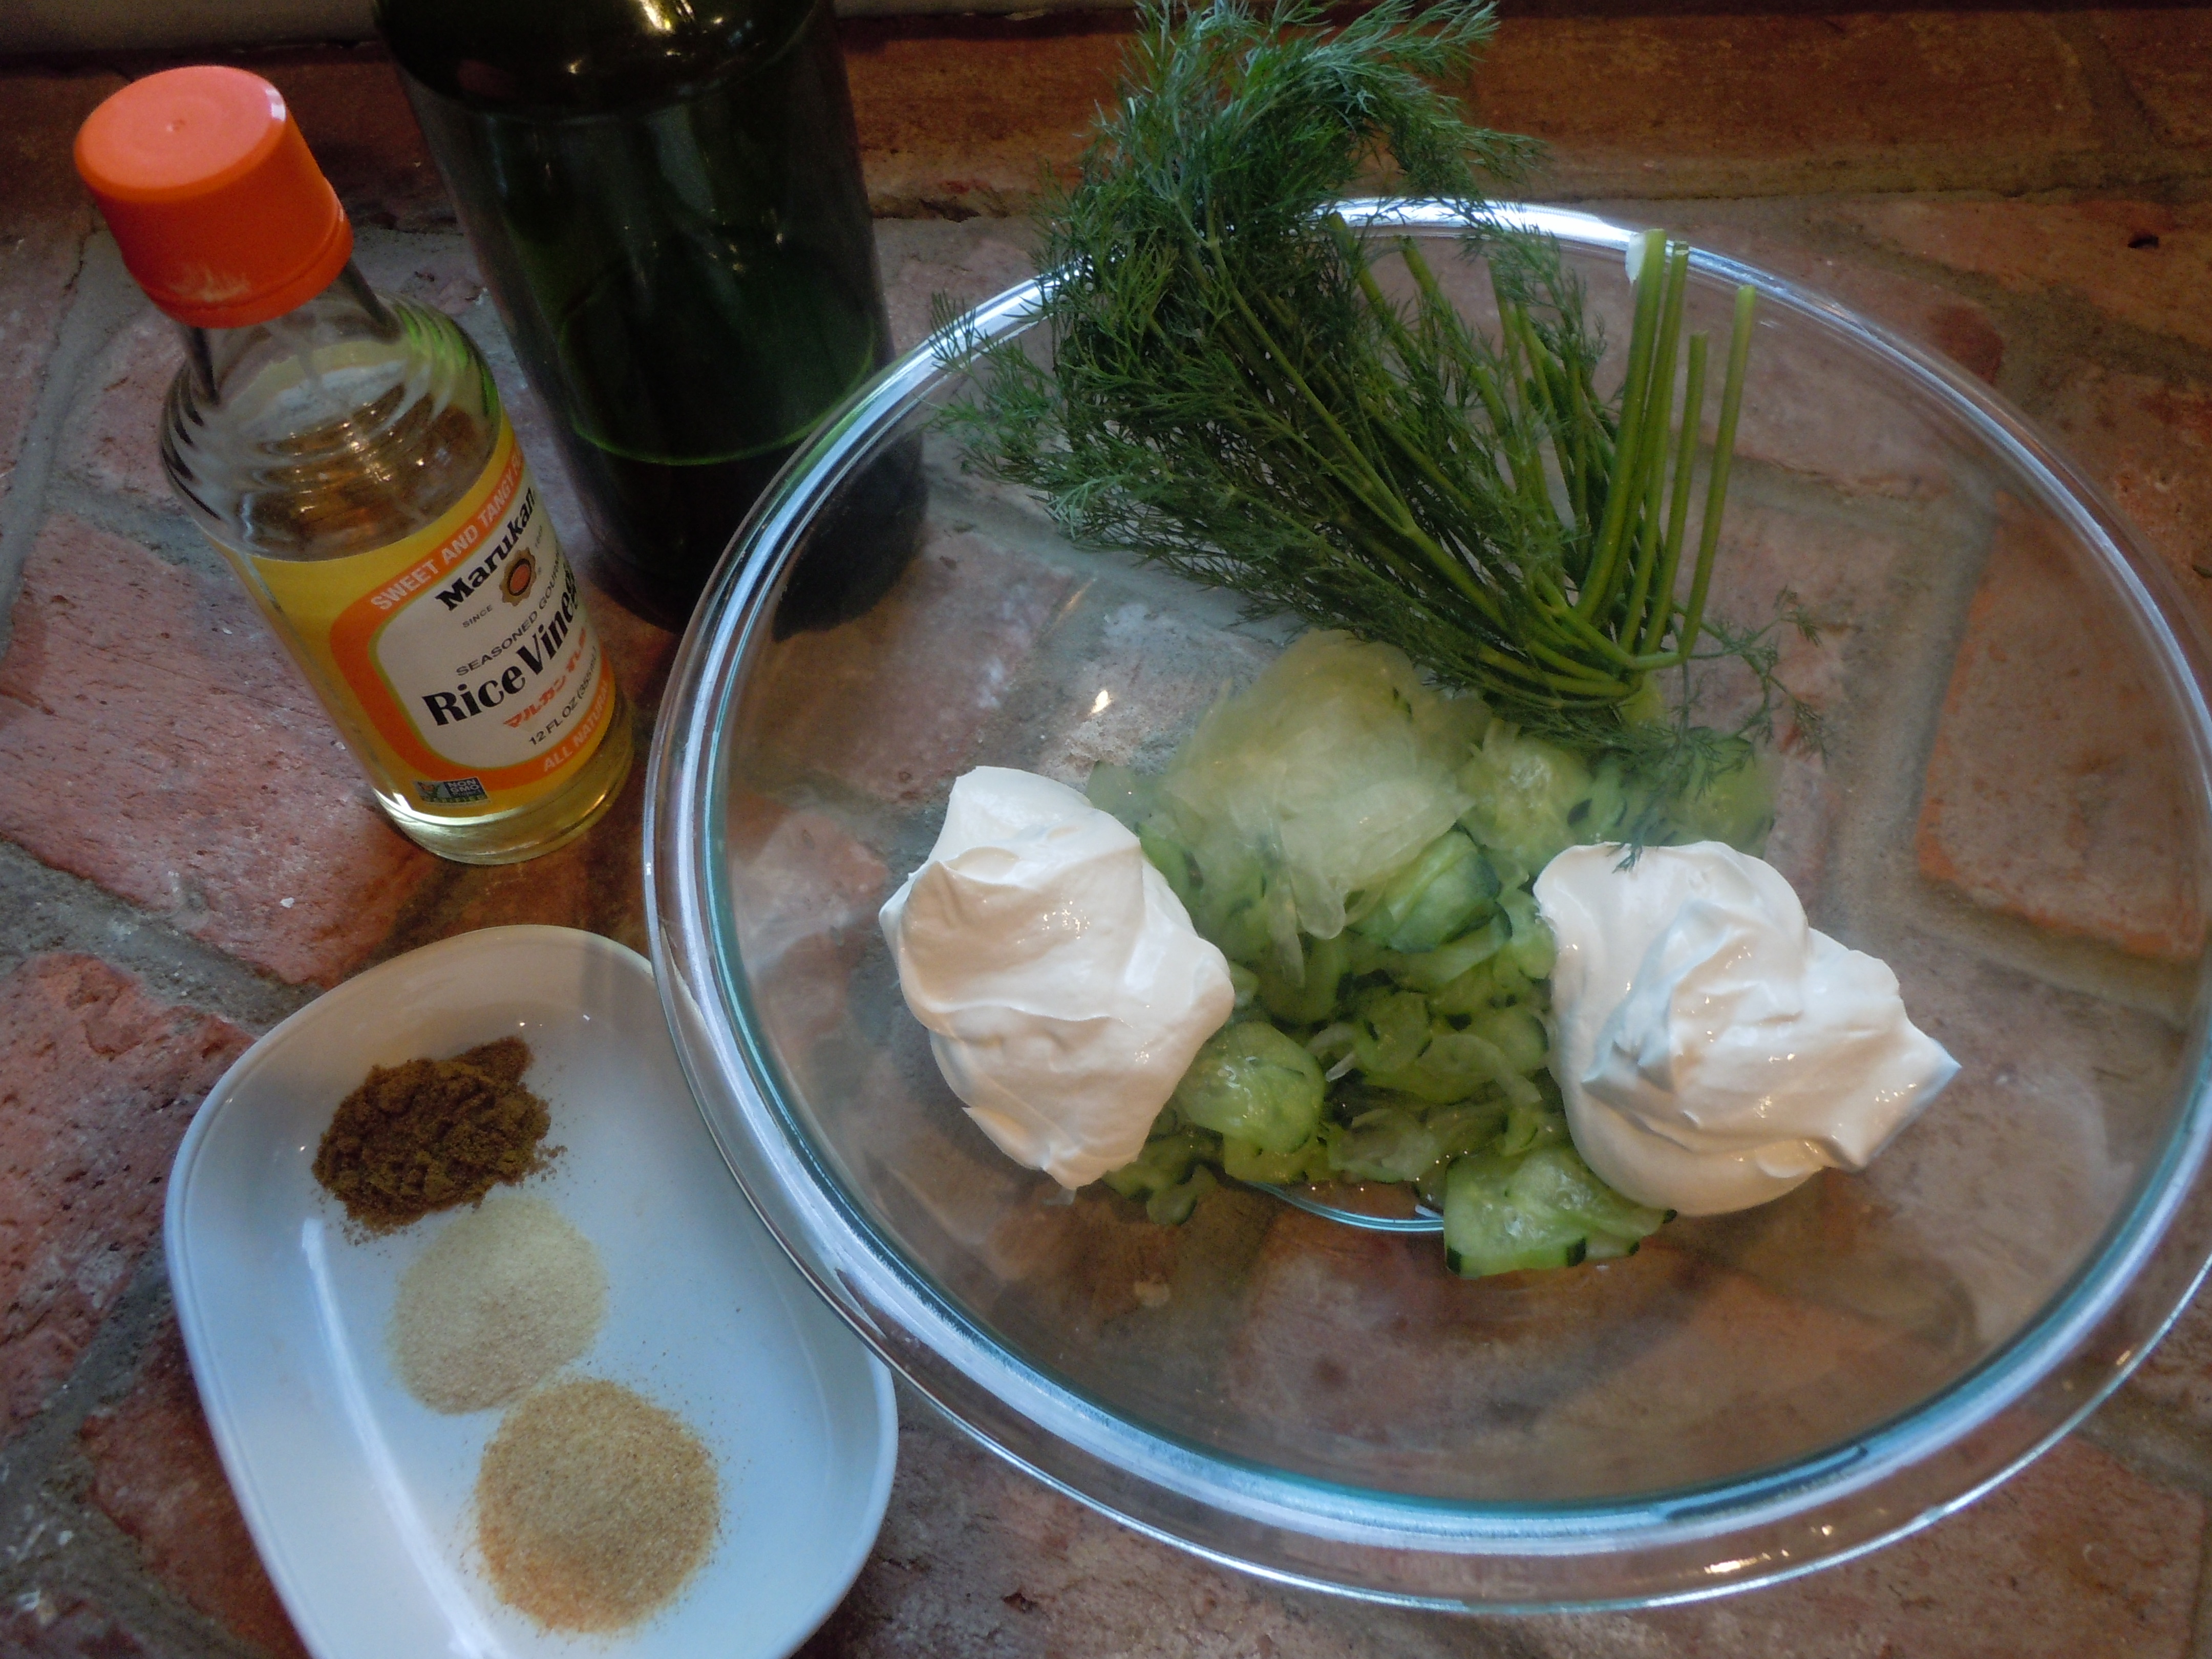
Ingredients:
- 4 VERY RIPE-California avocado’s (SOFT not TOO MUSHY because they get brown inside)
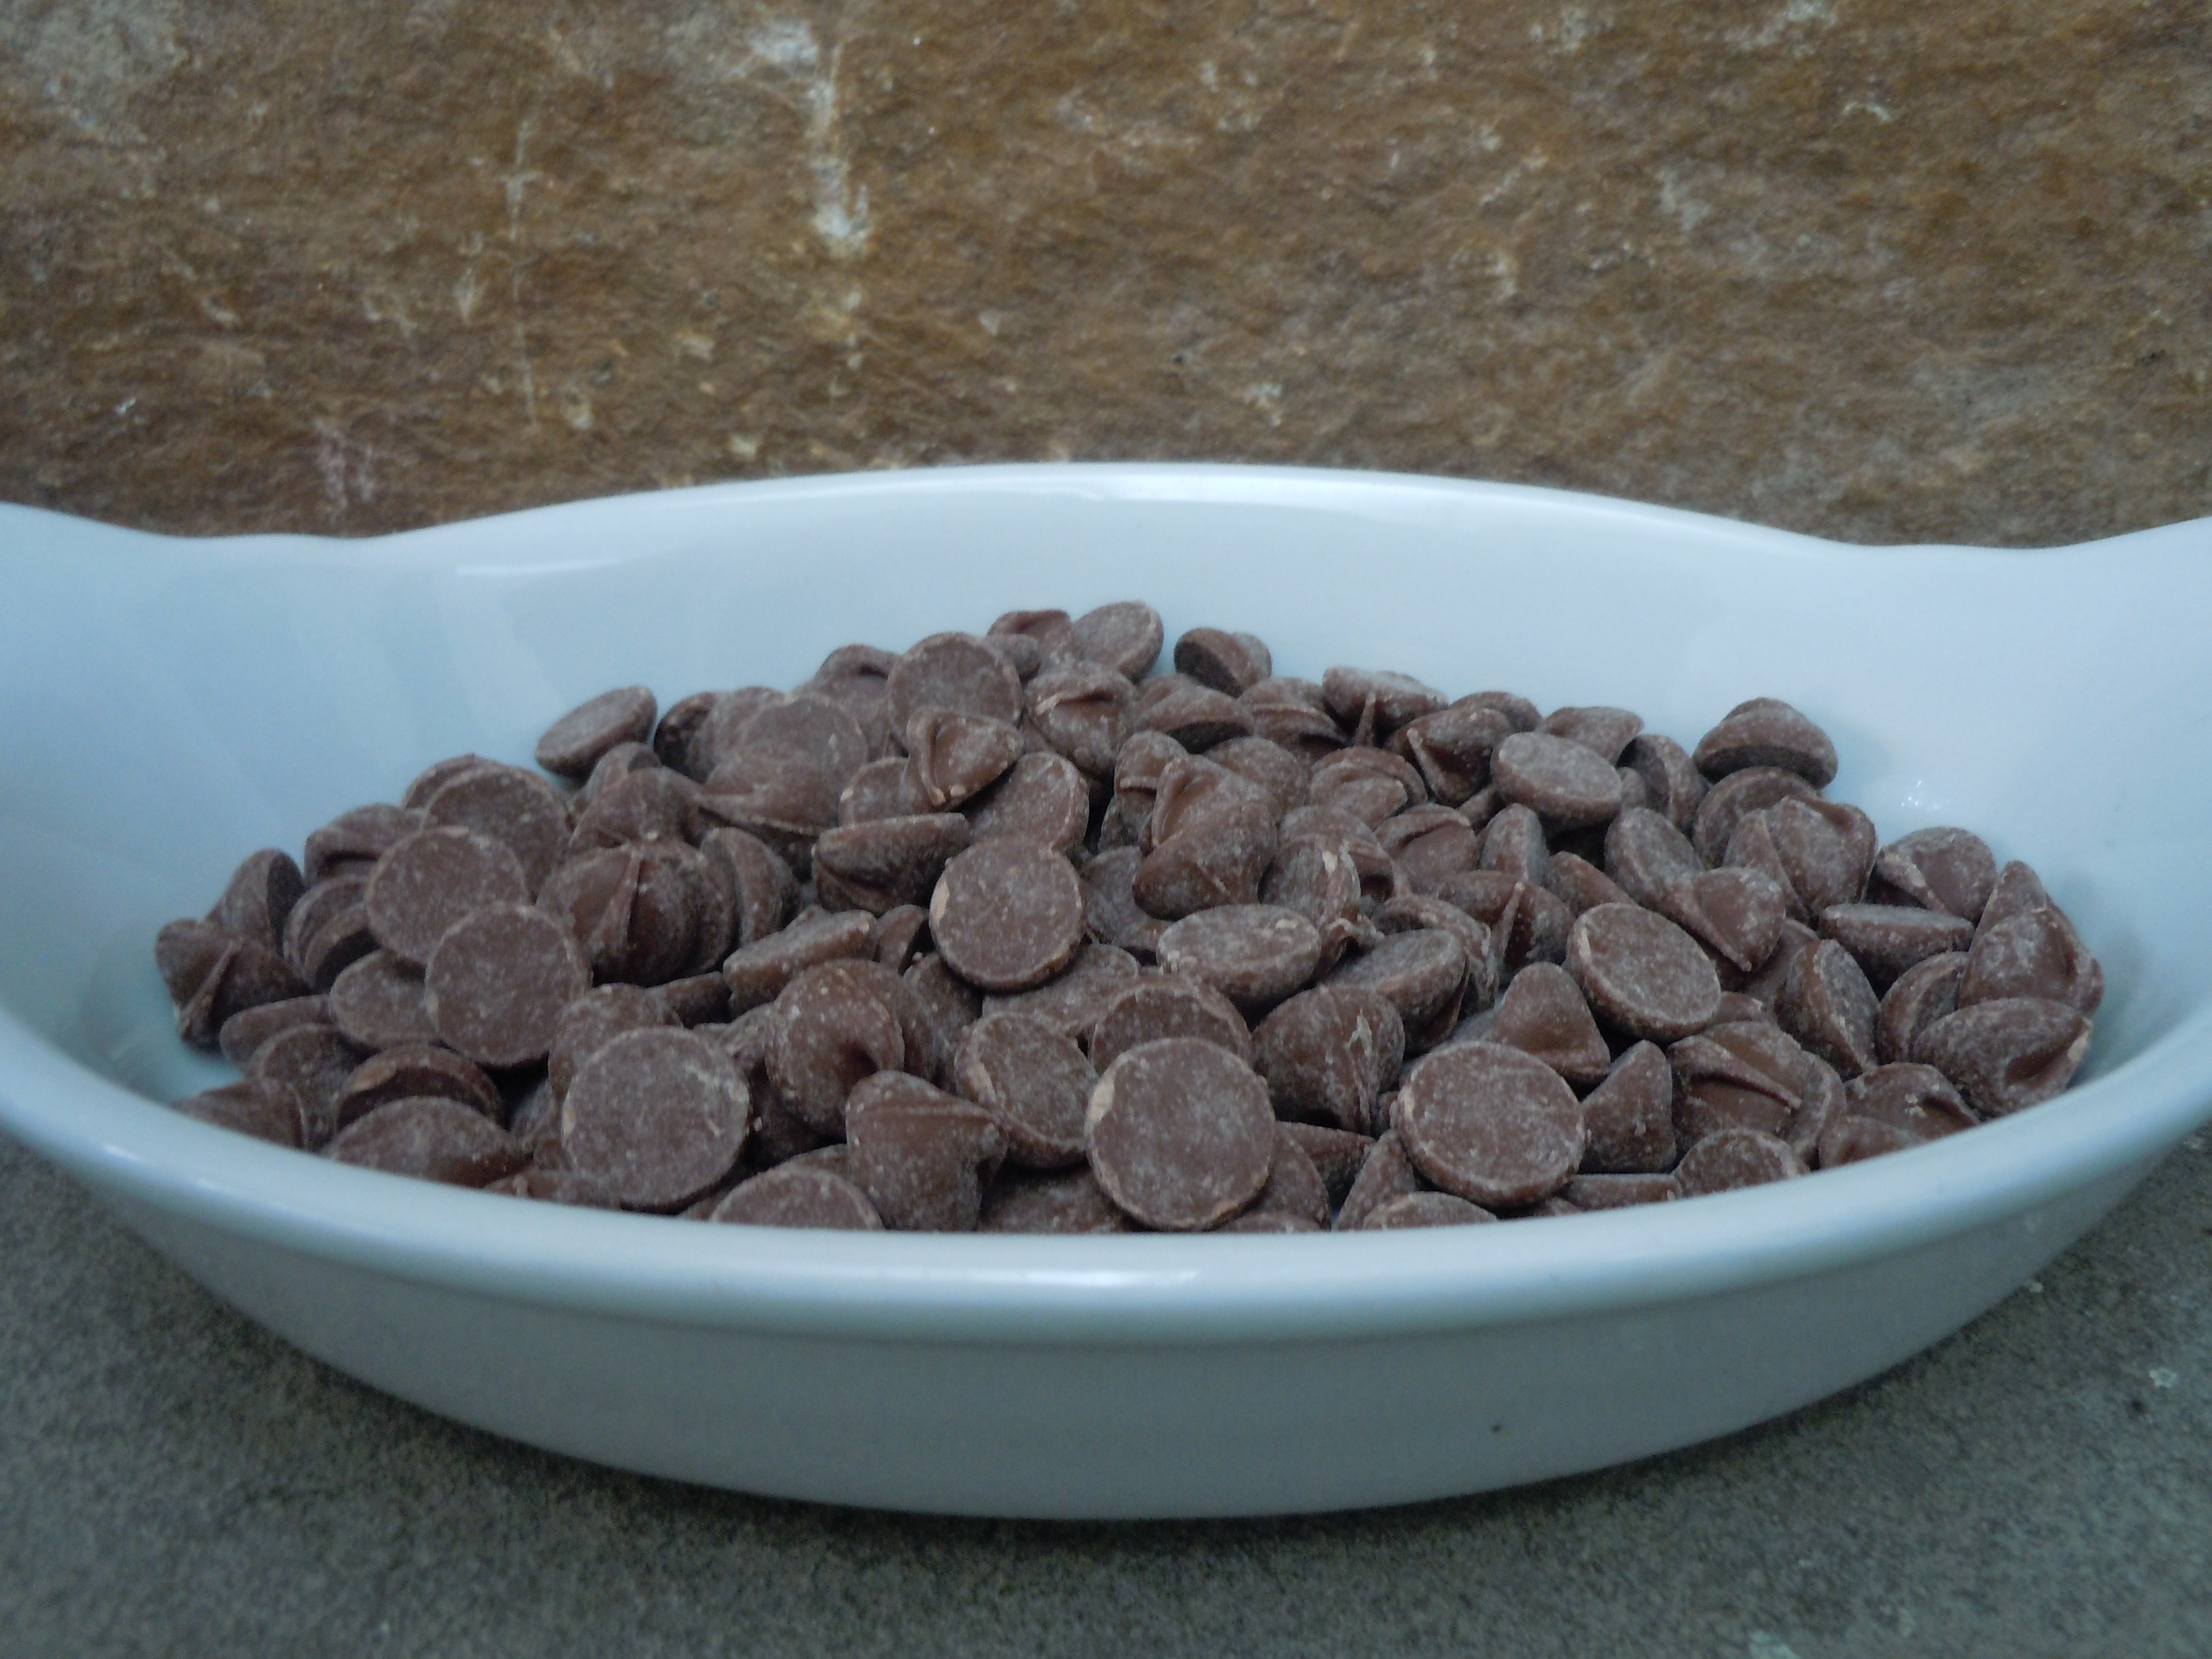
- 7 oz. Perugina milk chocolate bars chopped up ( 2- 3.5 oz bars)
- 1/2 cup unsweetened cocoa powder (Hershey)
- 1/2 cup agave nectar
- 1/3 cup almond milk
- 2 Tbsp pure vanilla extract
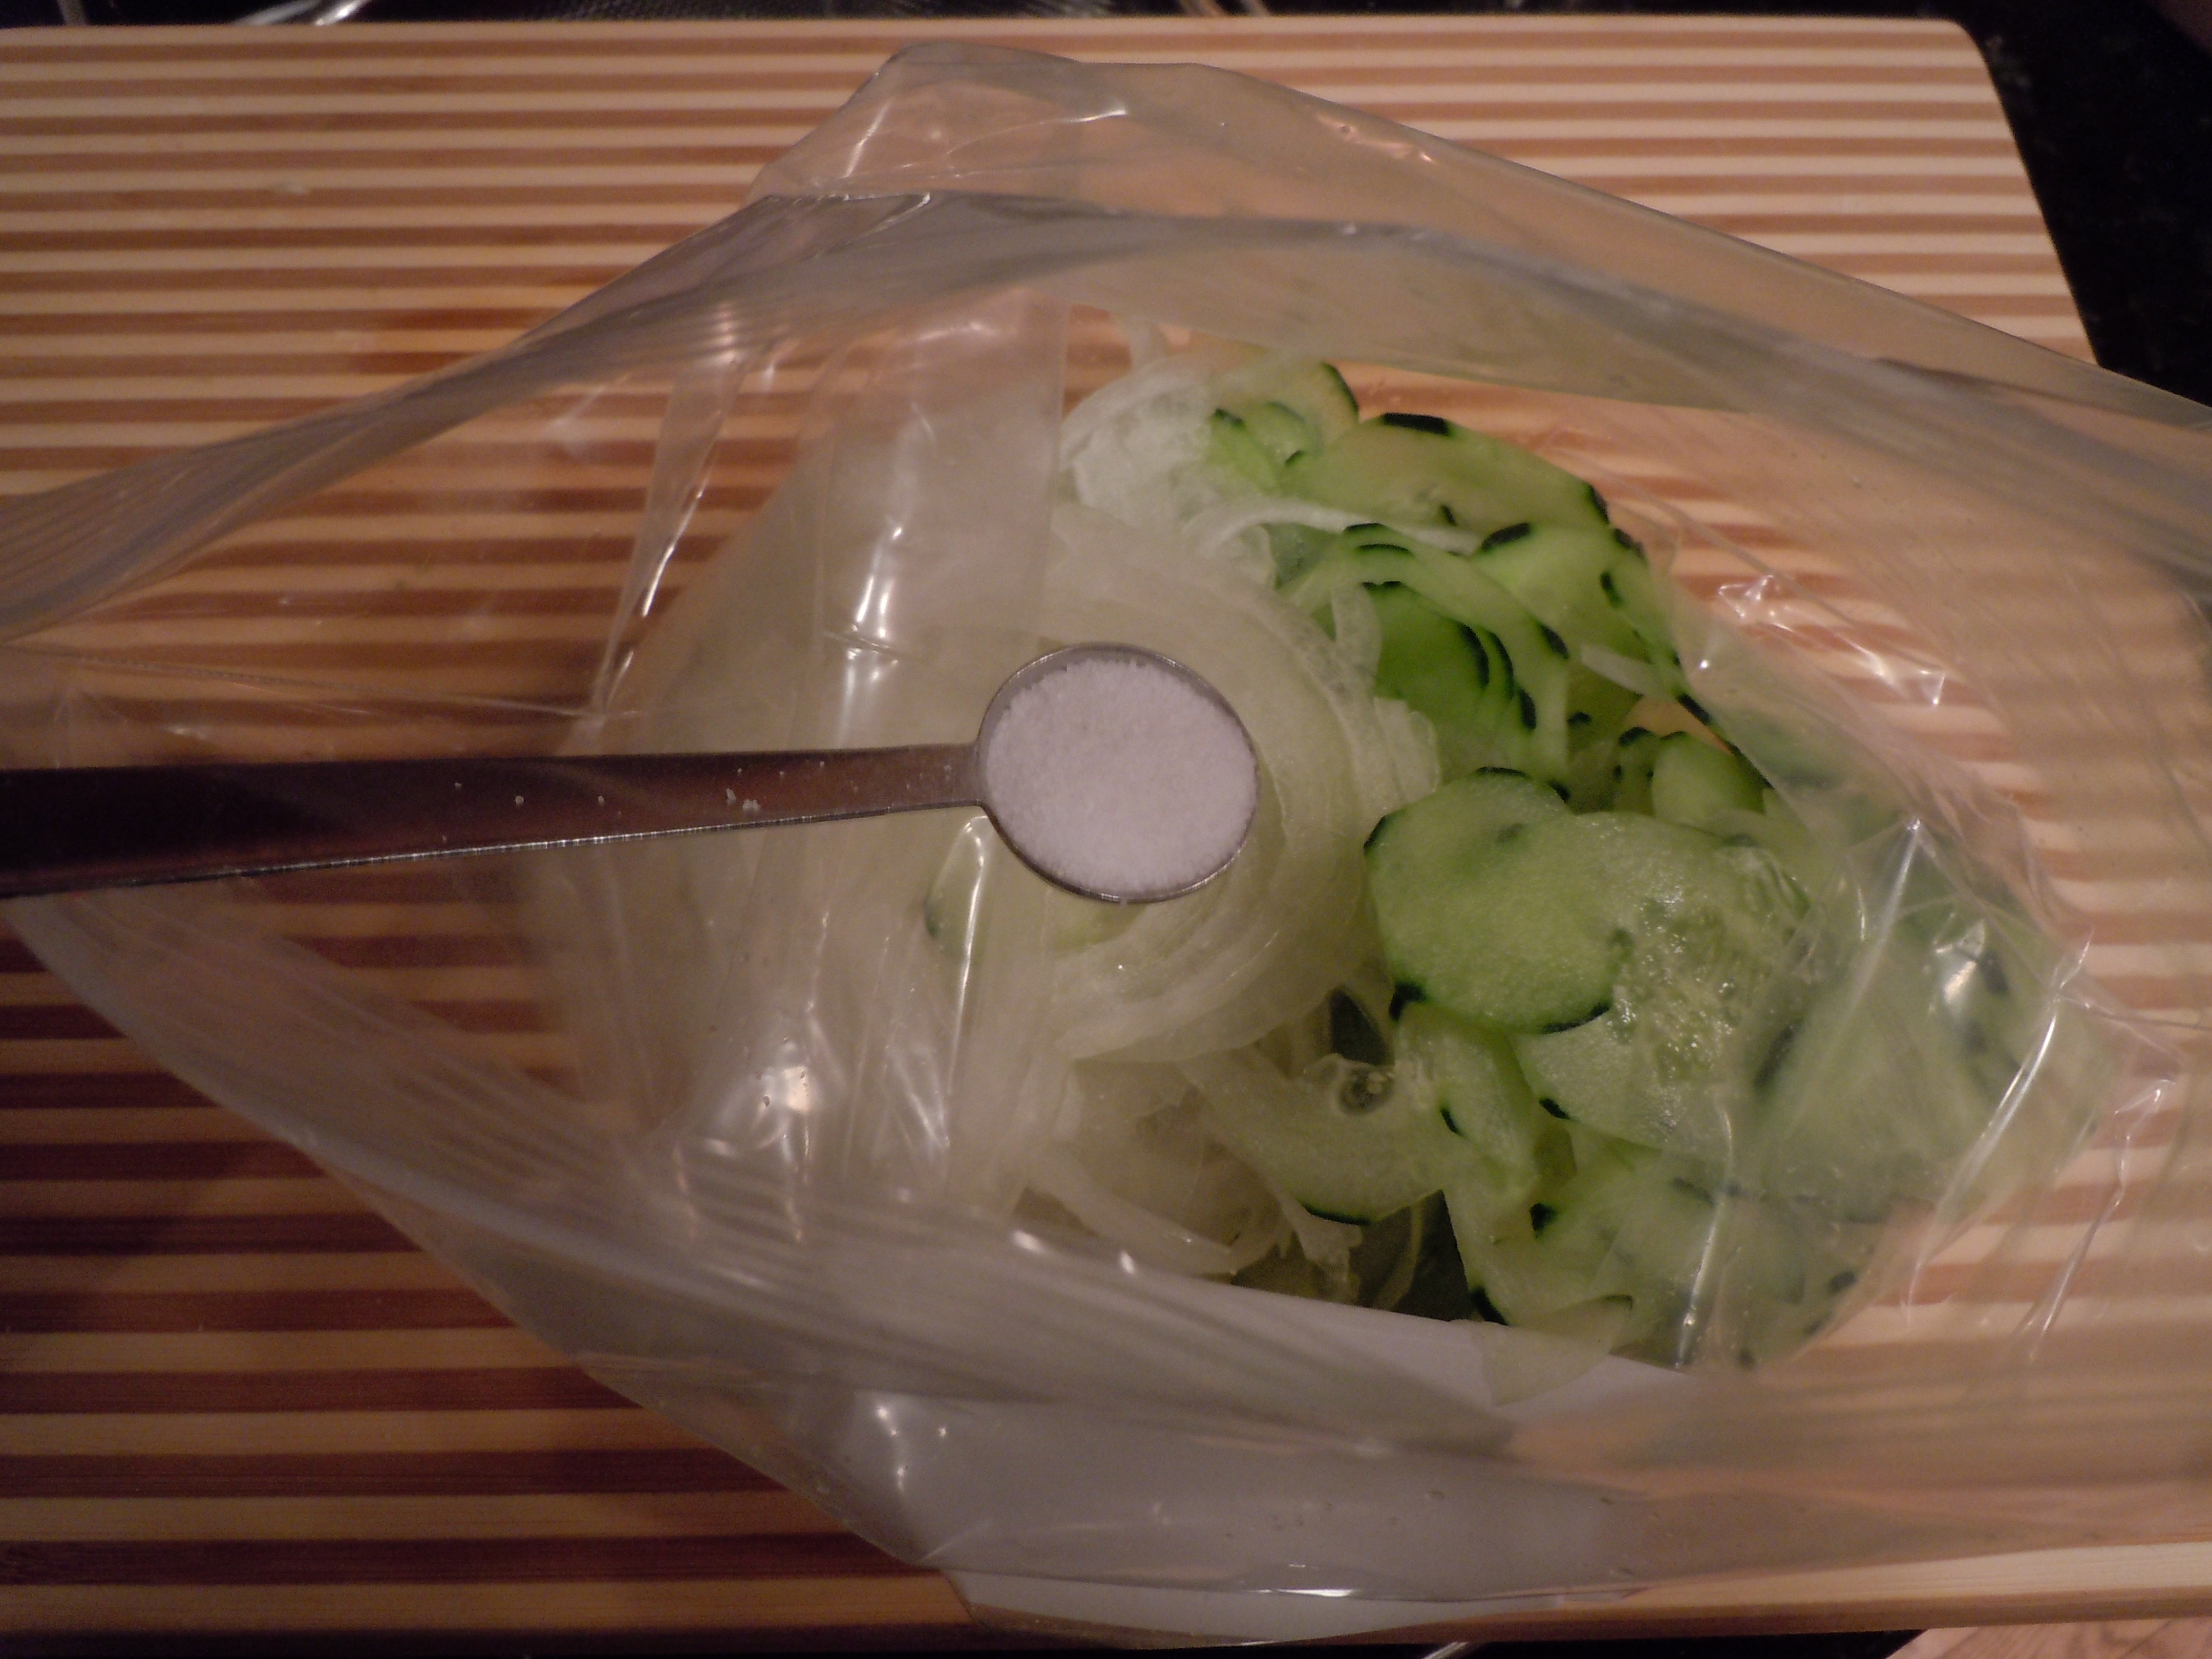
- 1/4 Tsp fine salt
- fresh raspberries and whipped cream for garnish-optional
- Fresh mint
Directions:
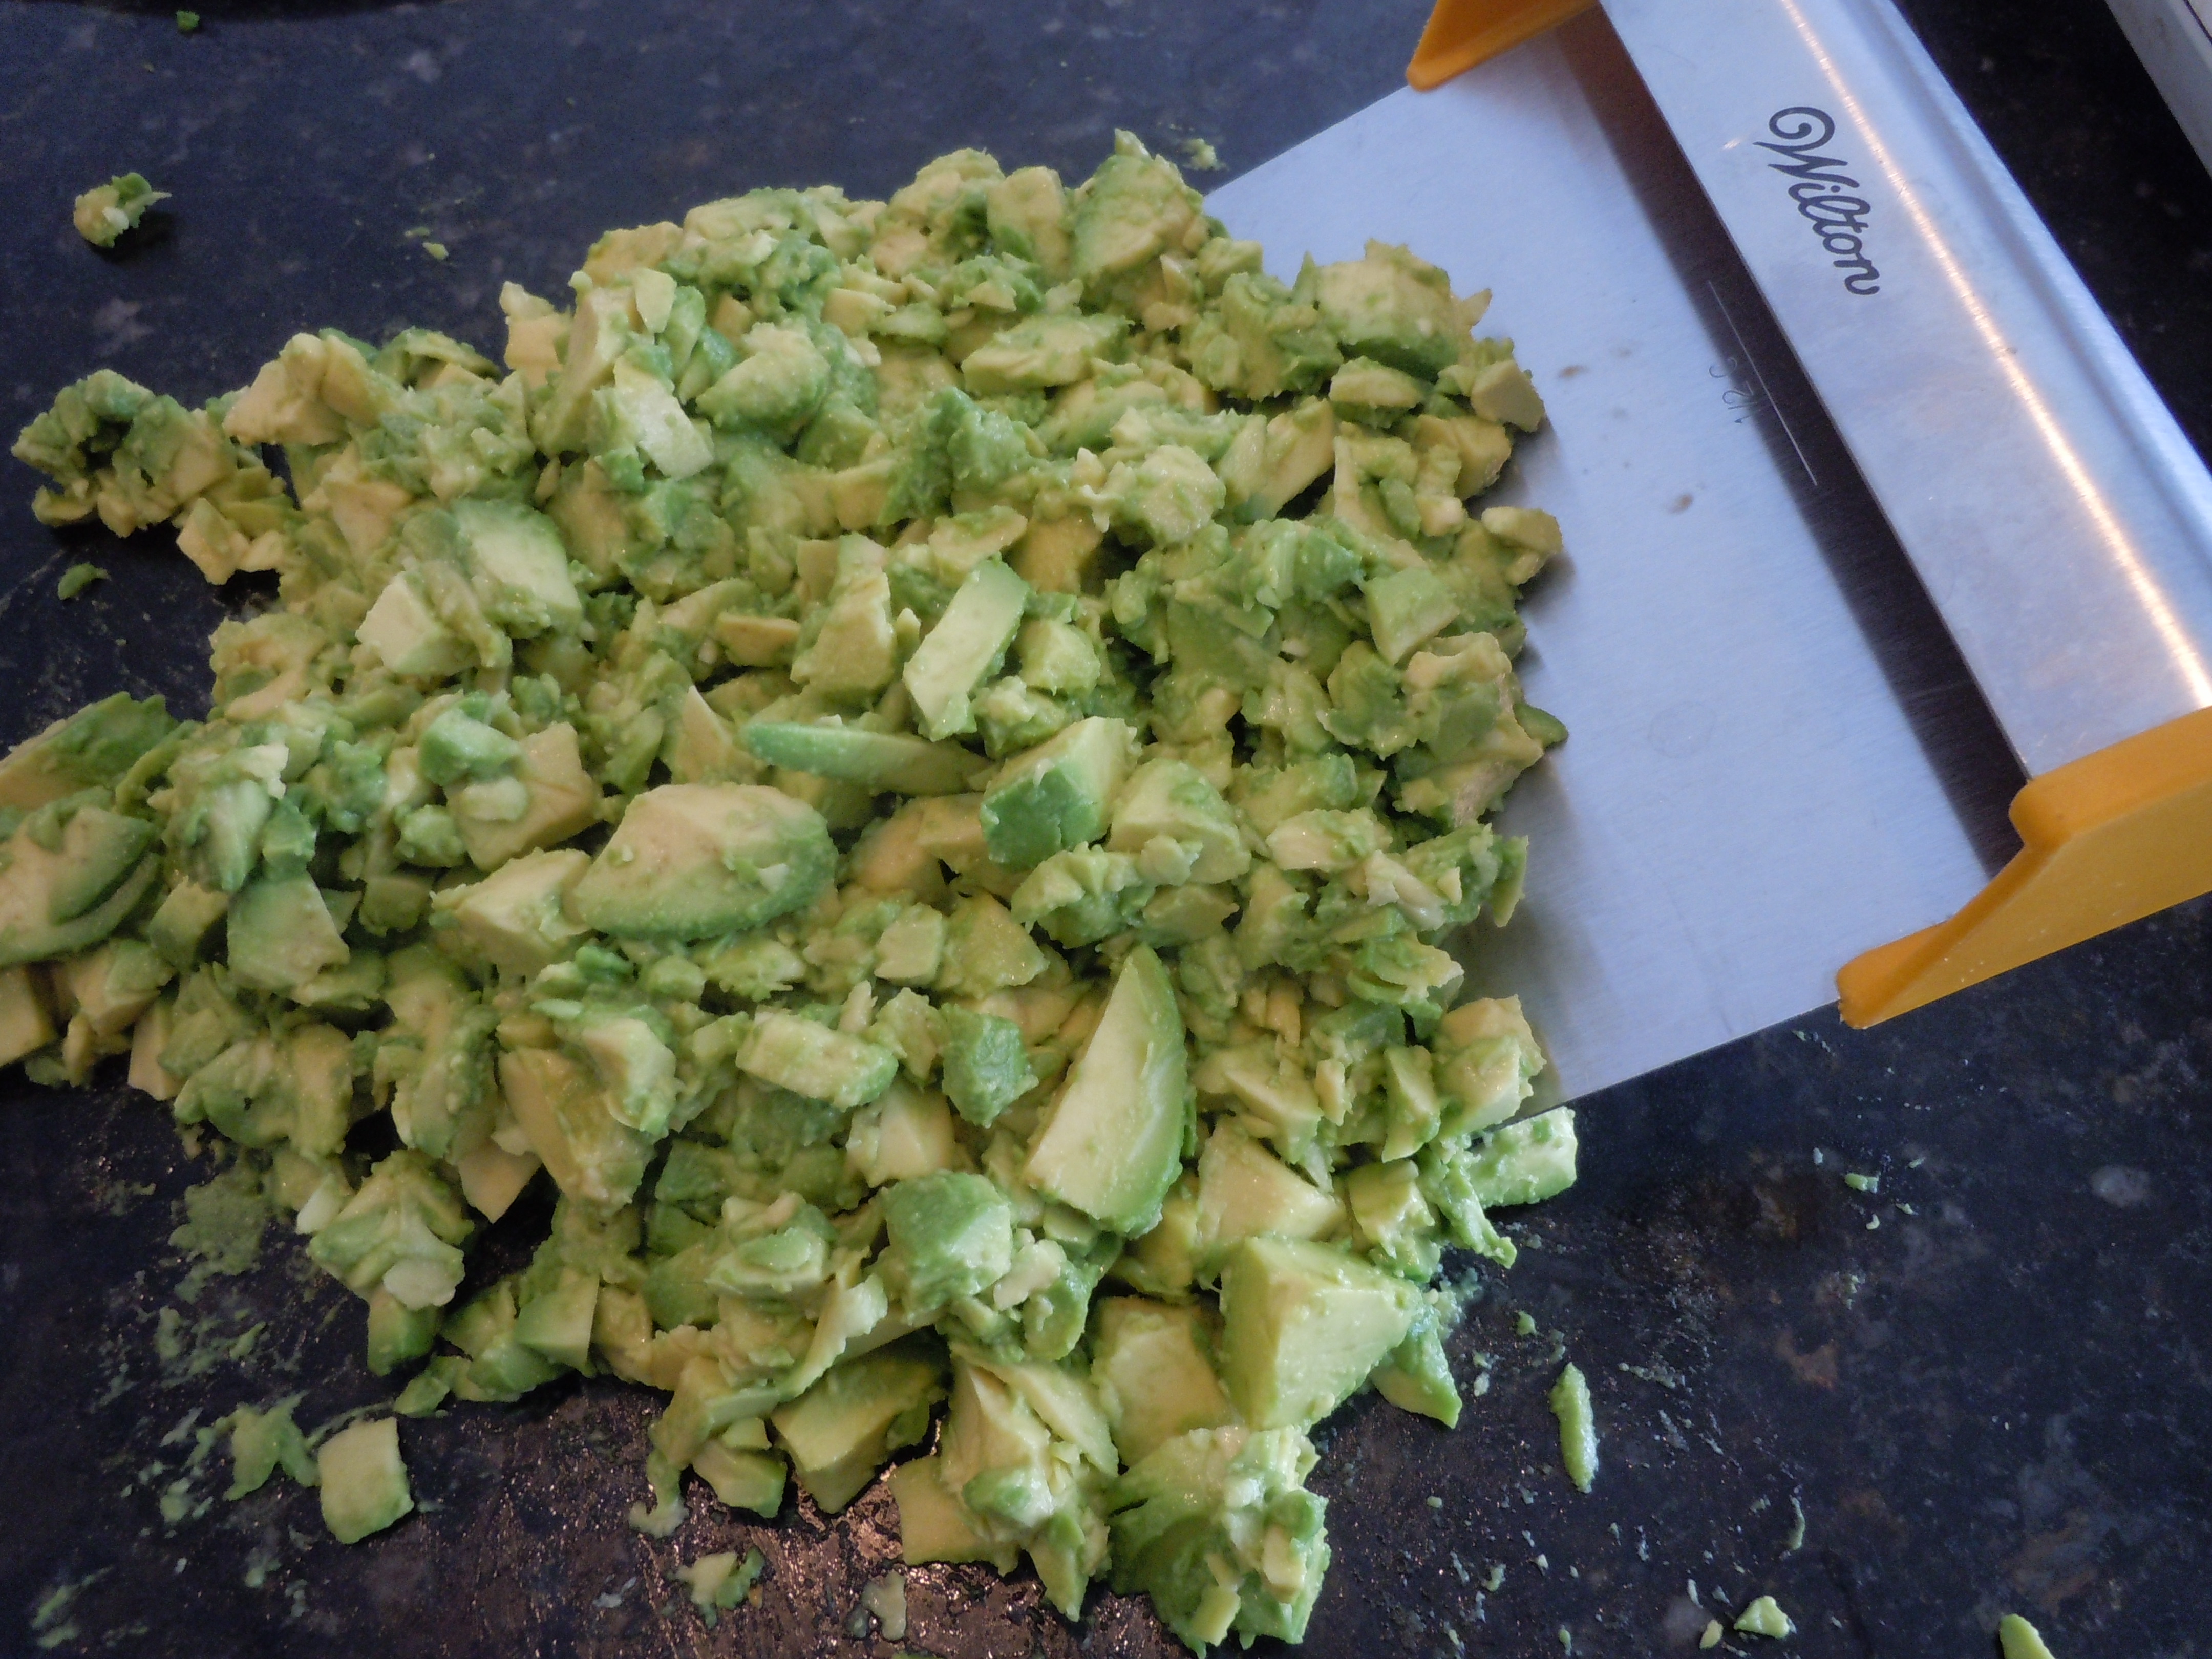
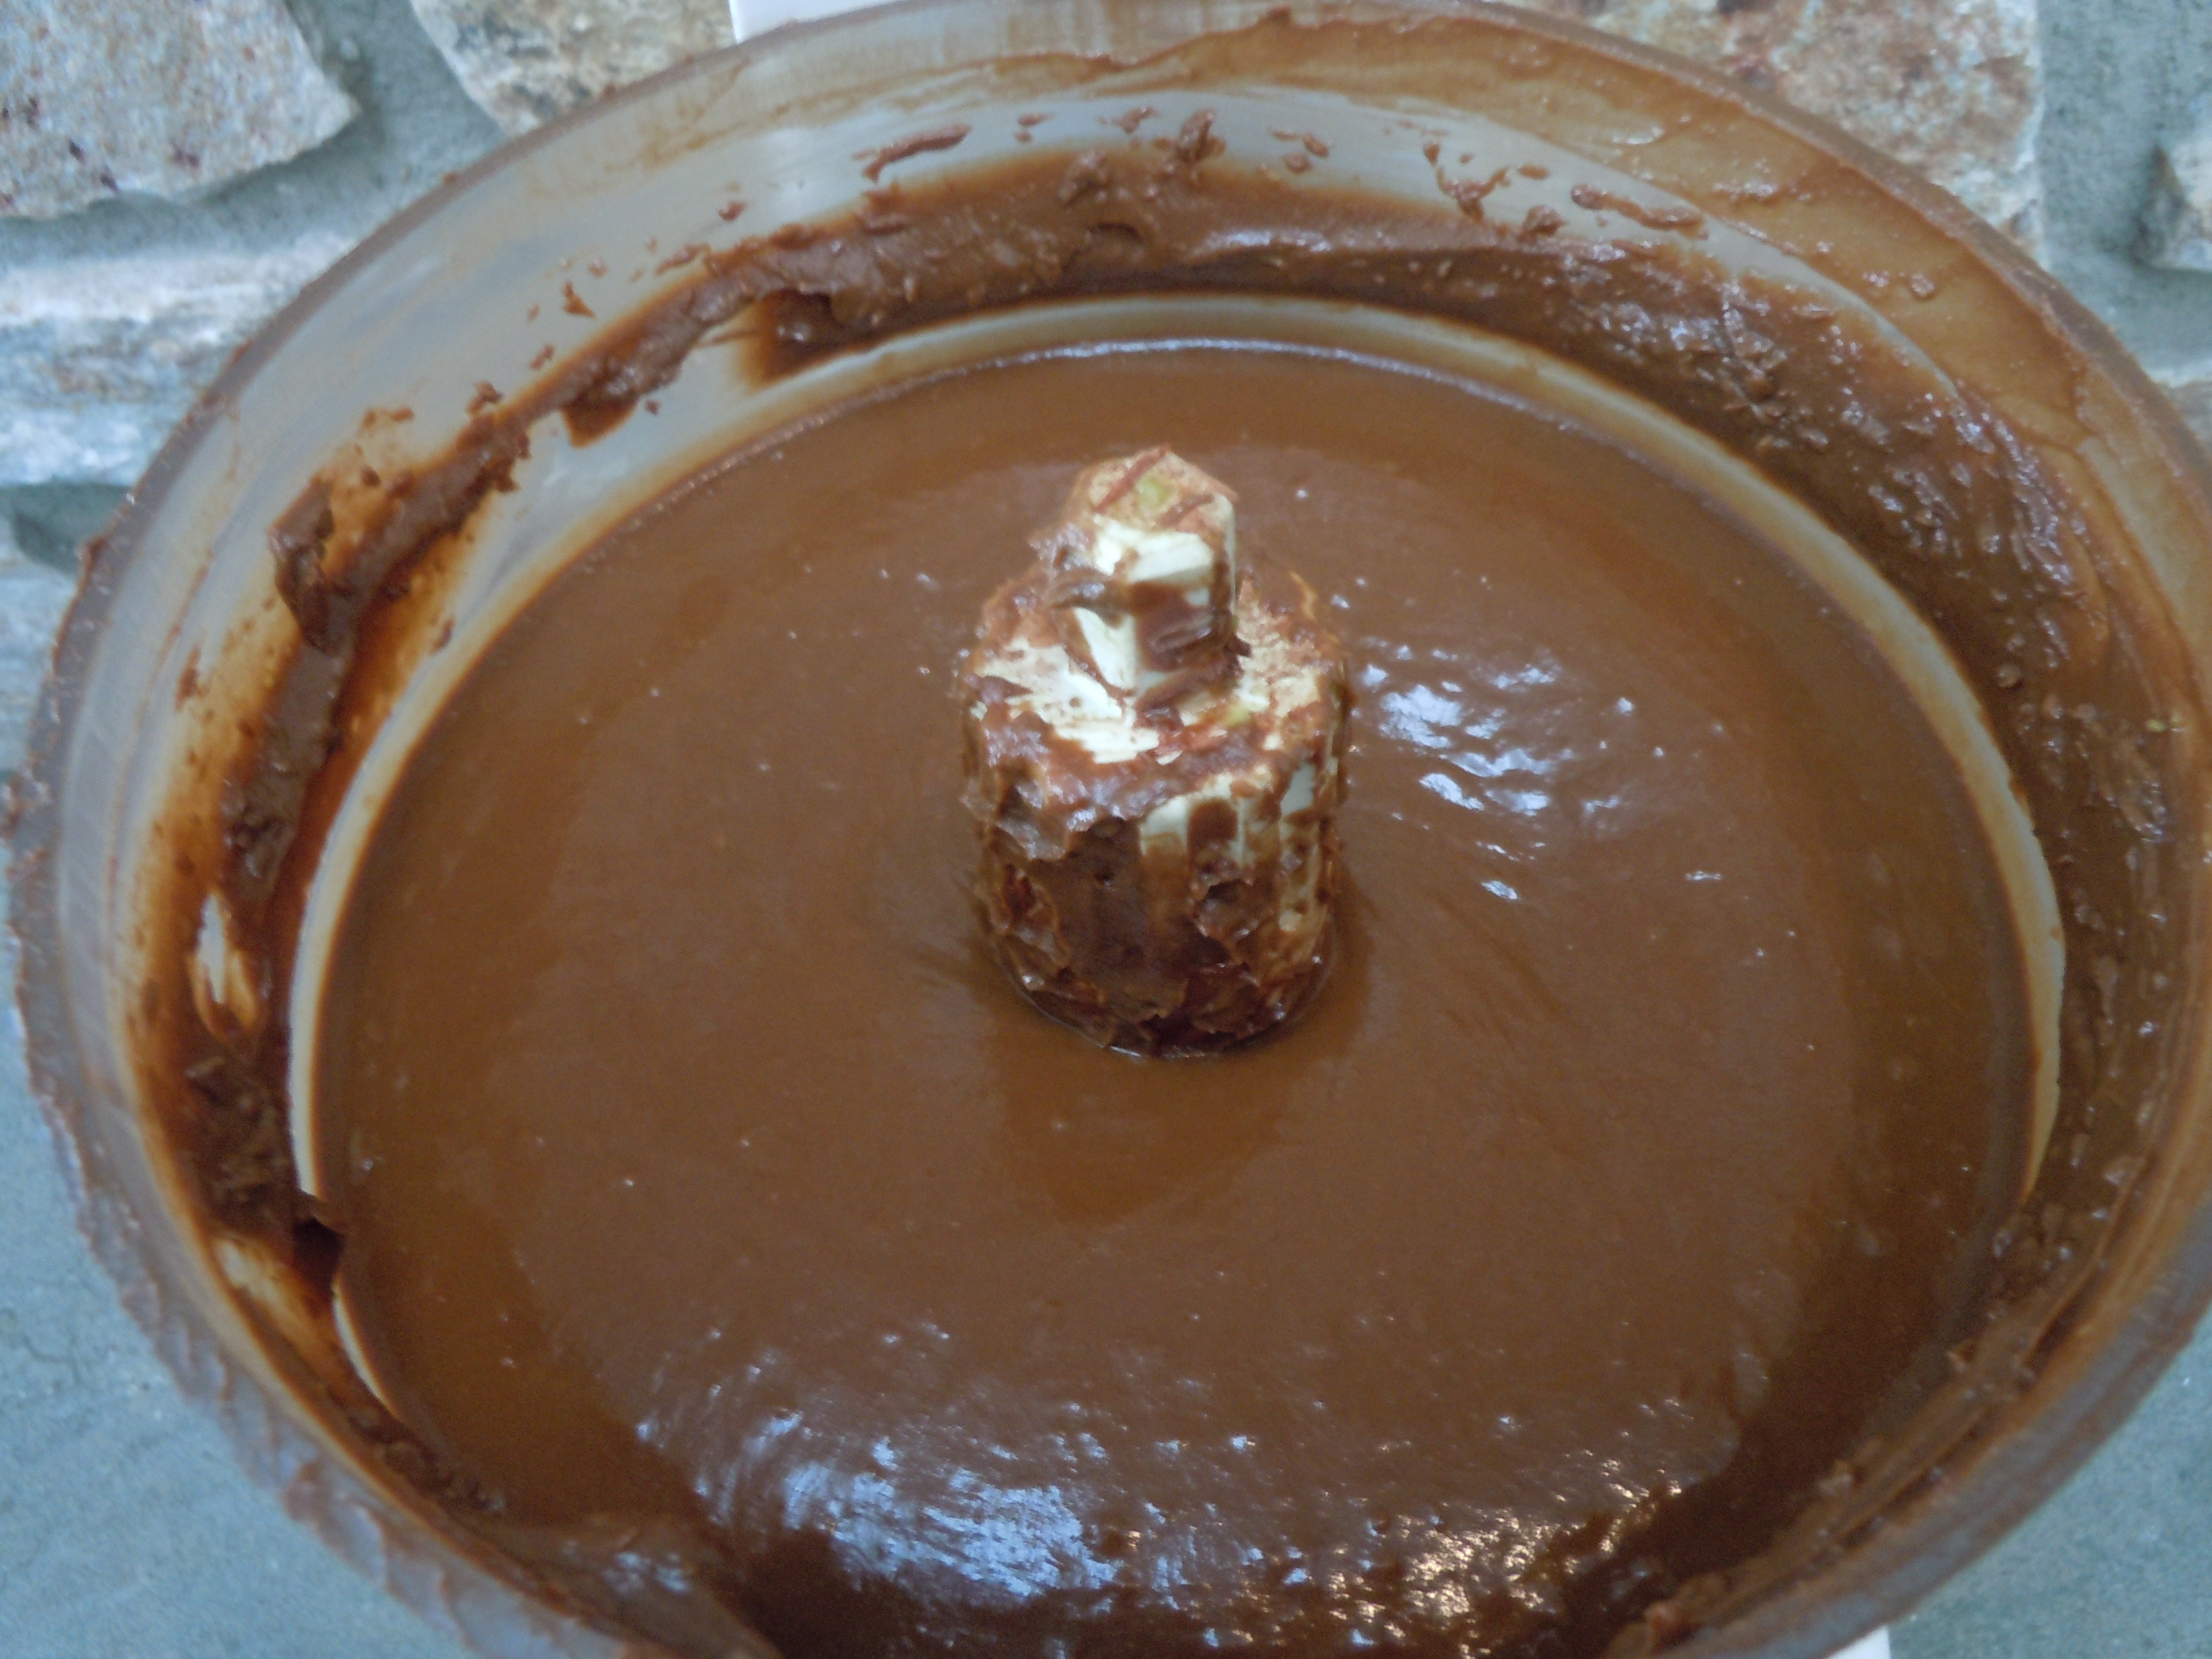
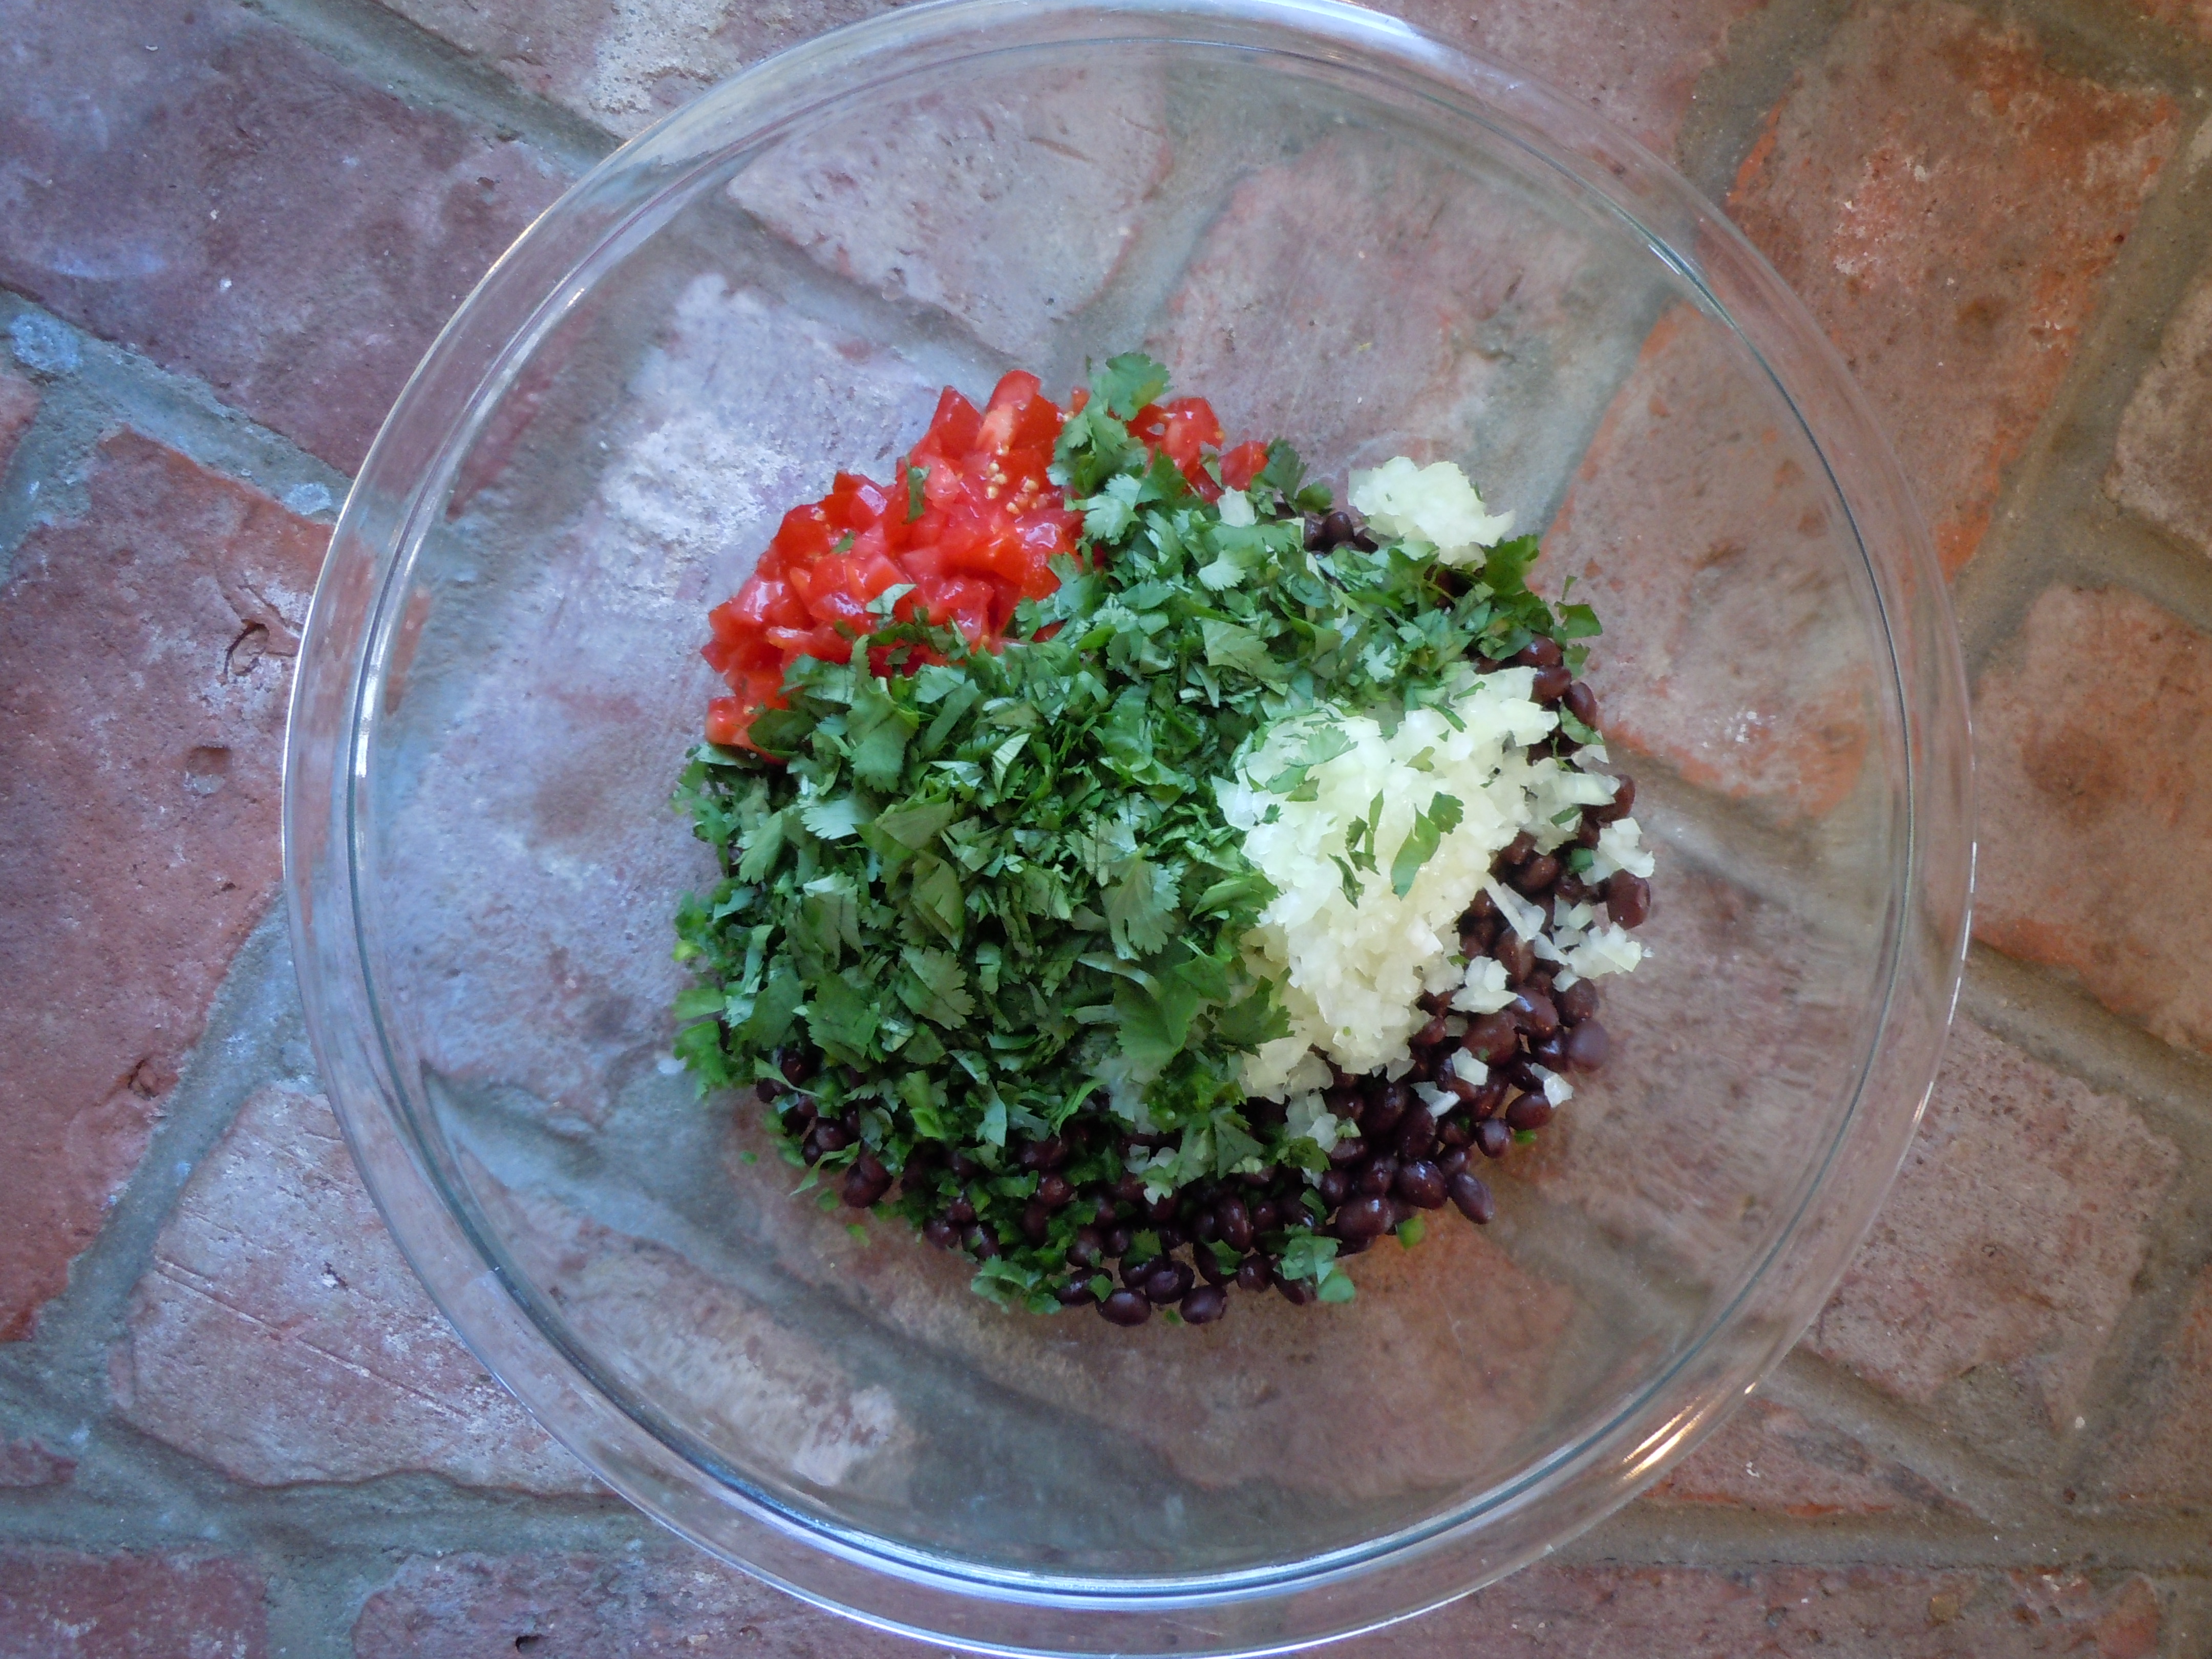
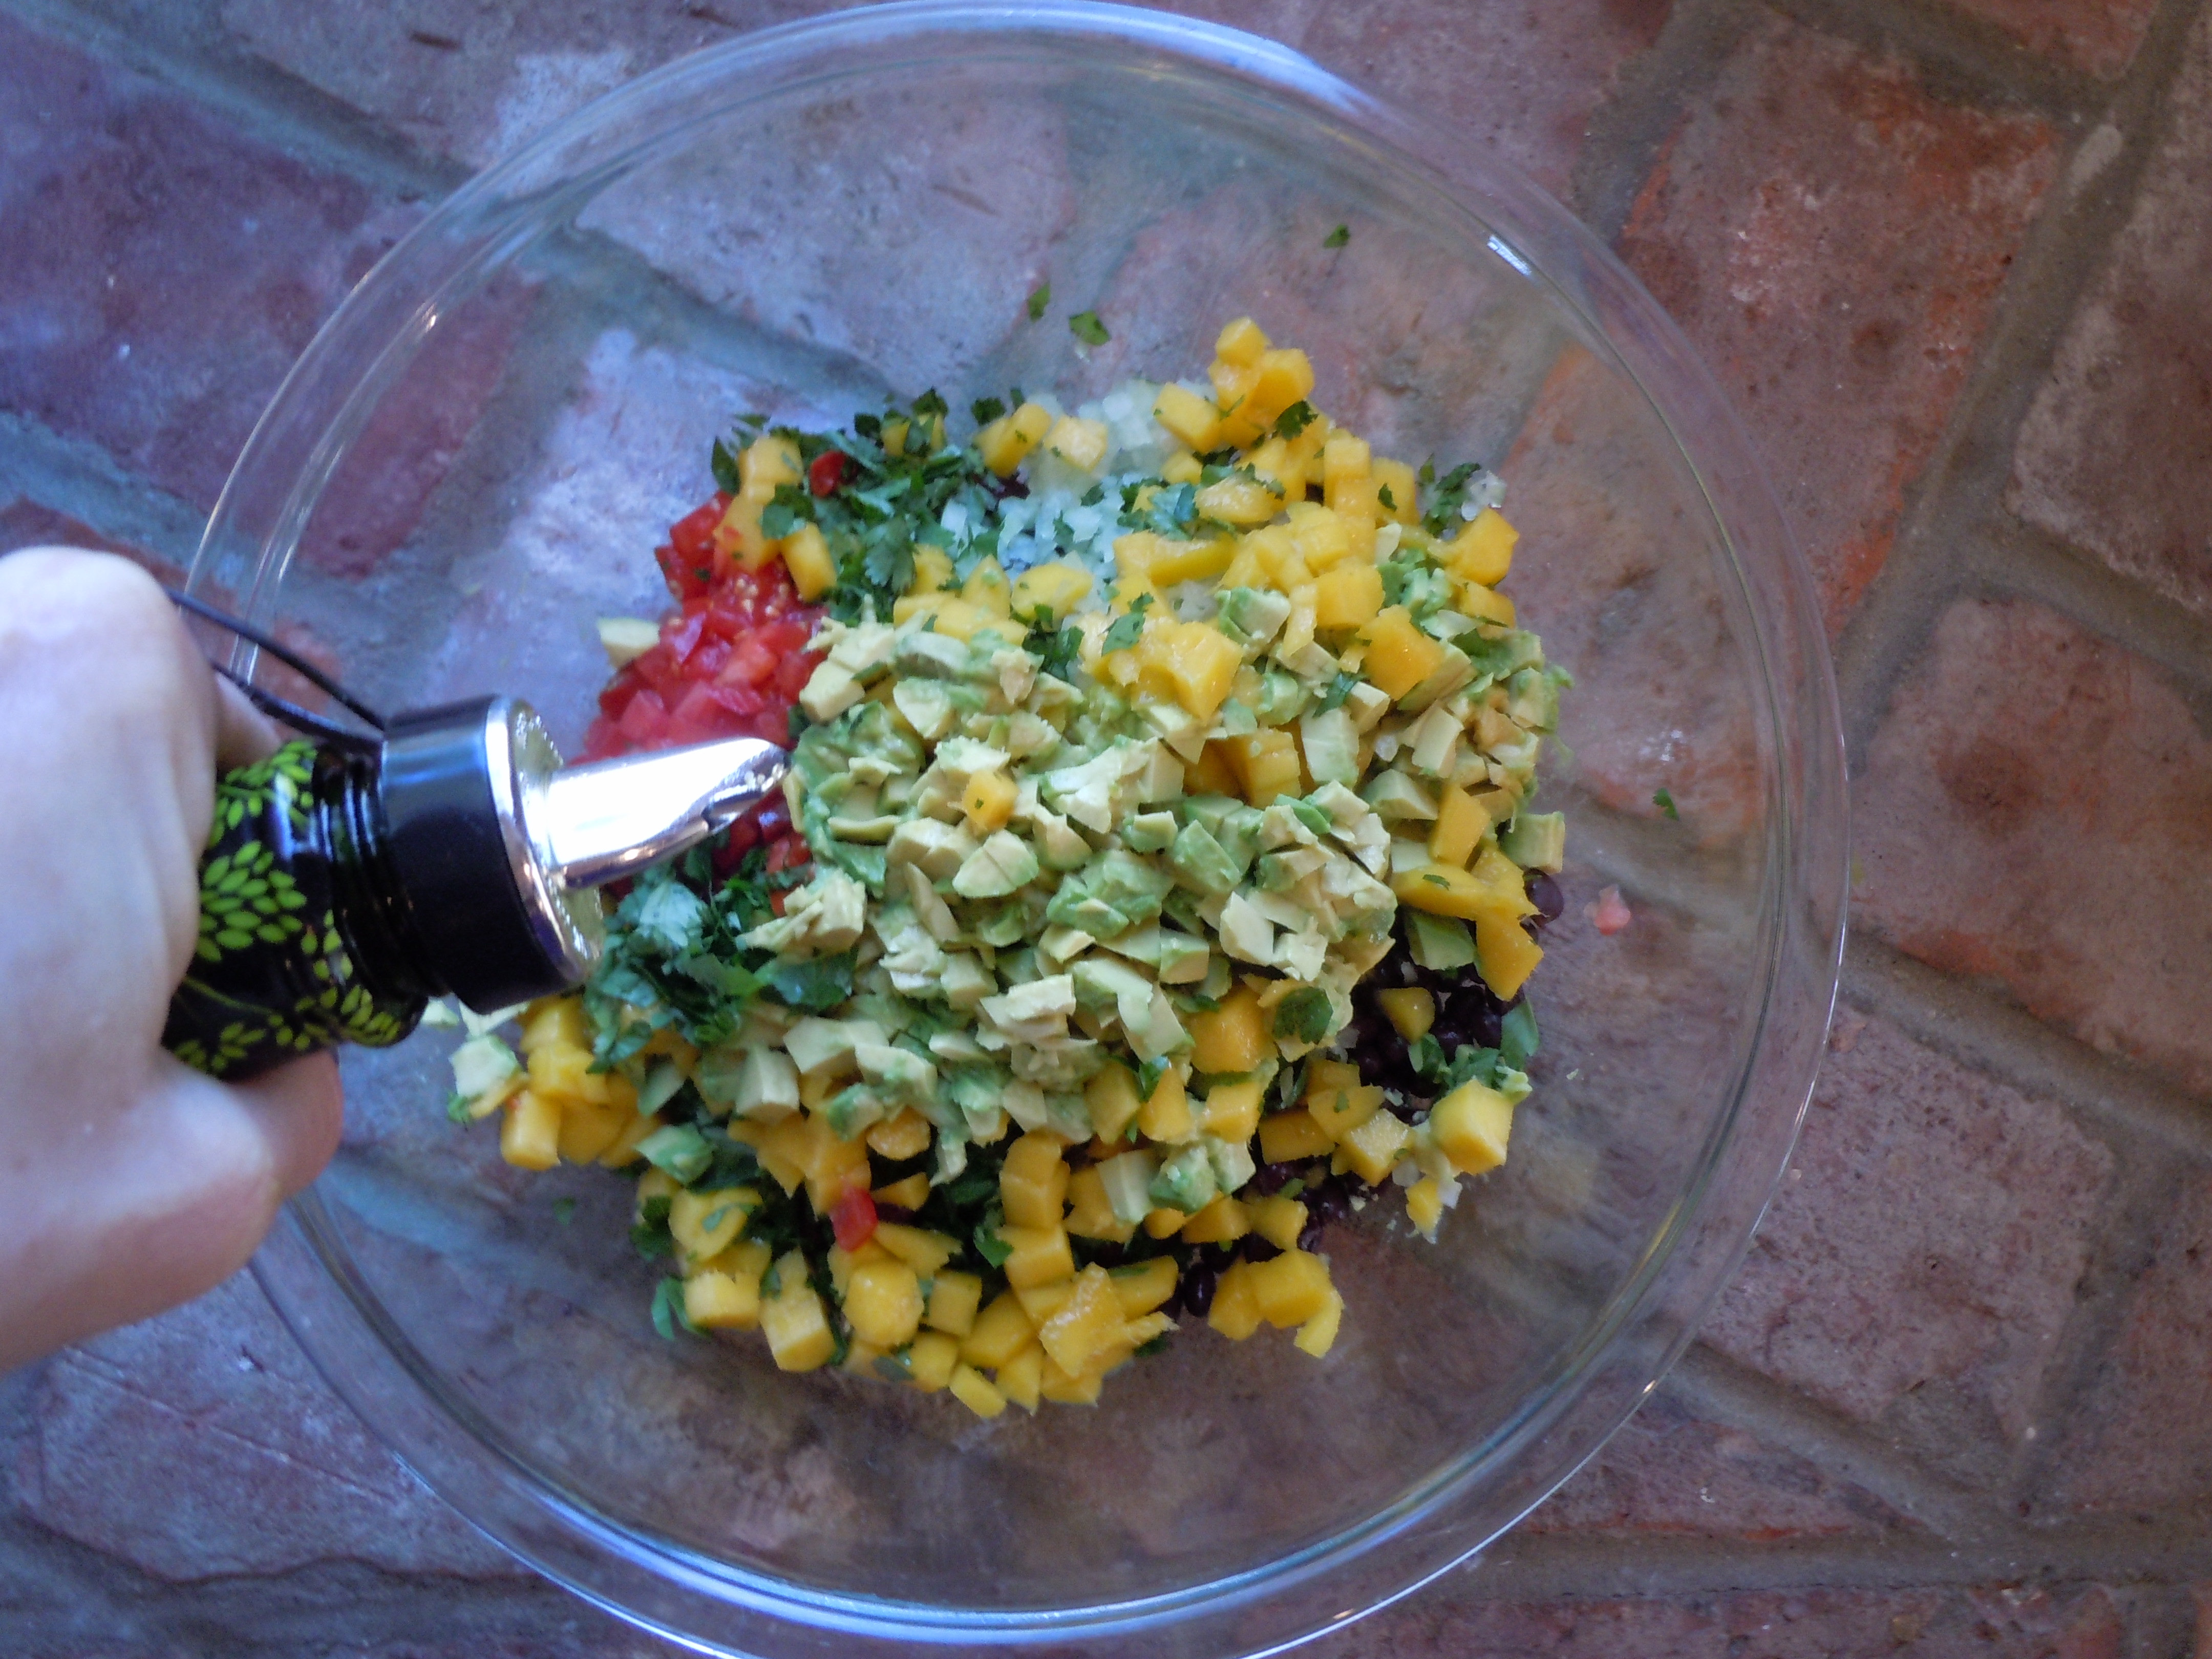
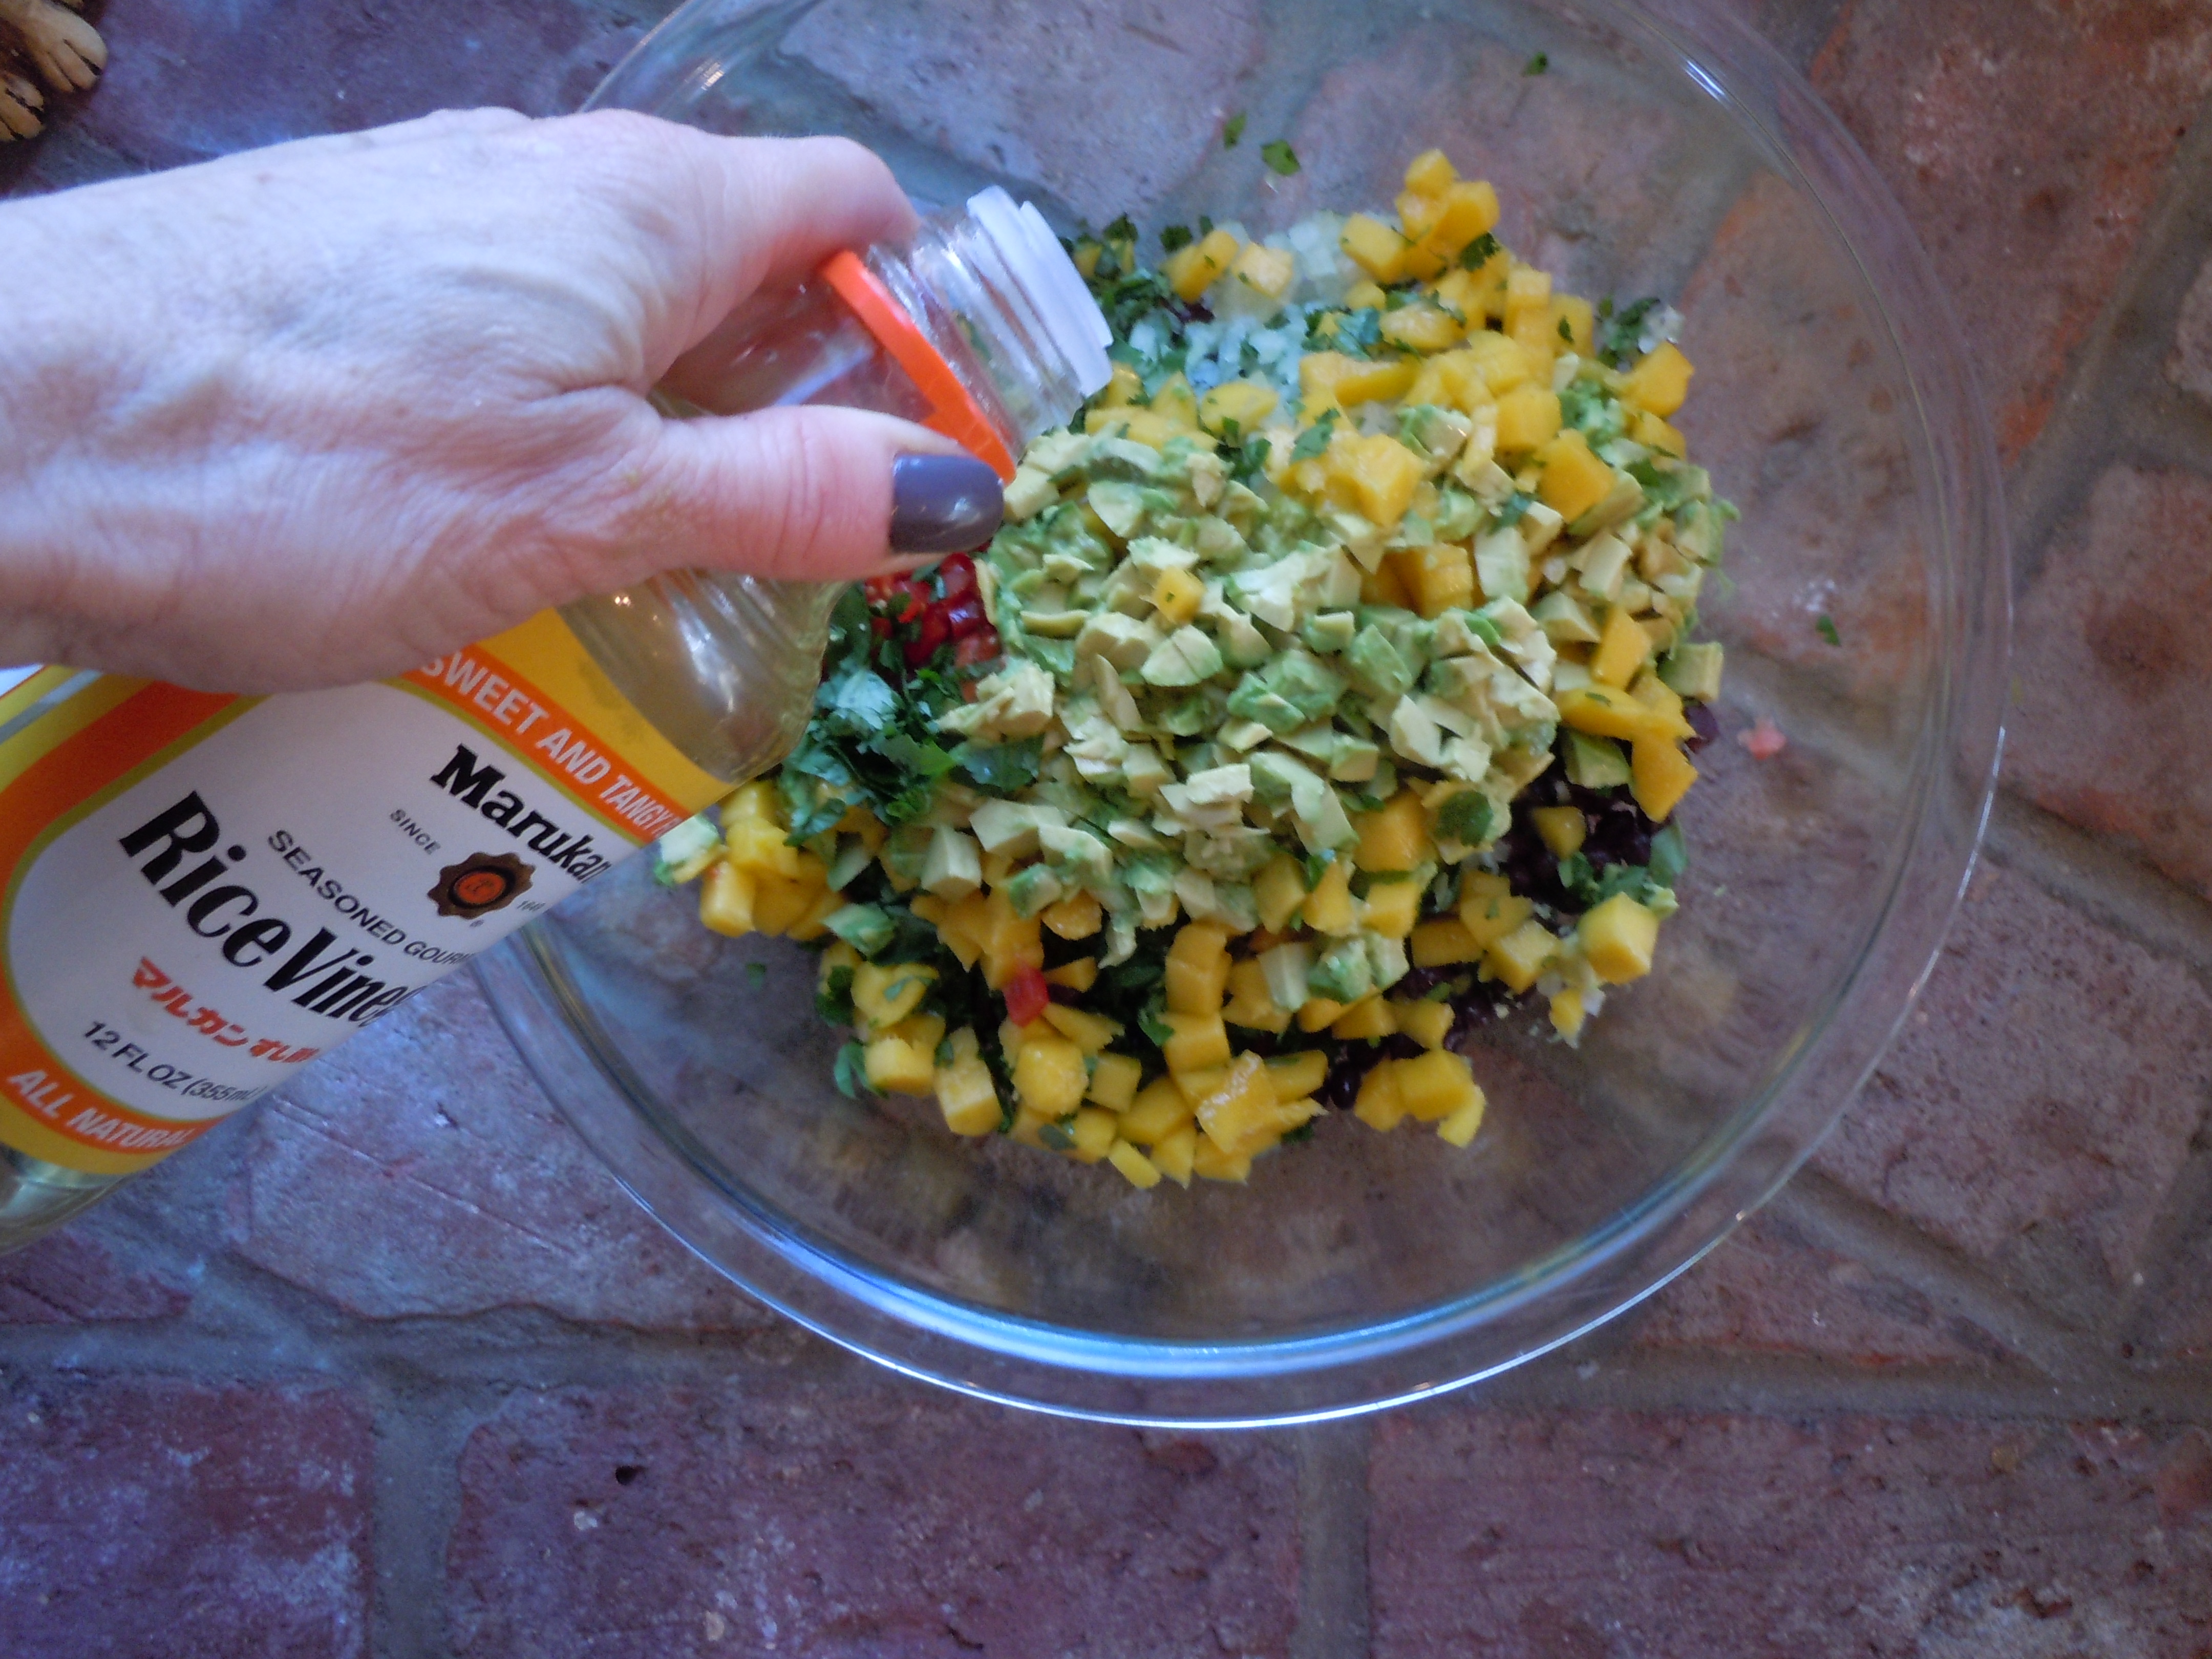
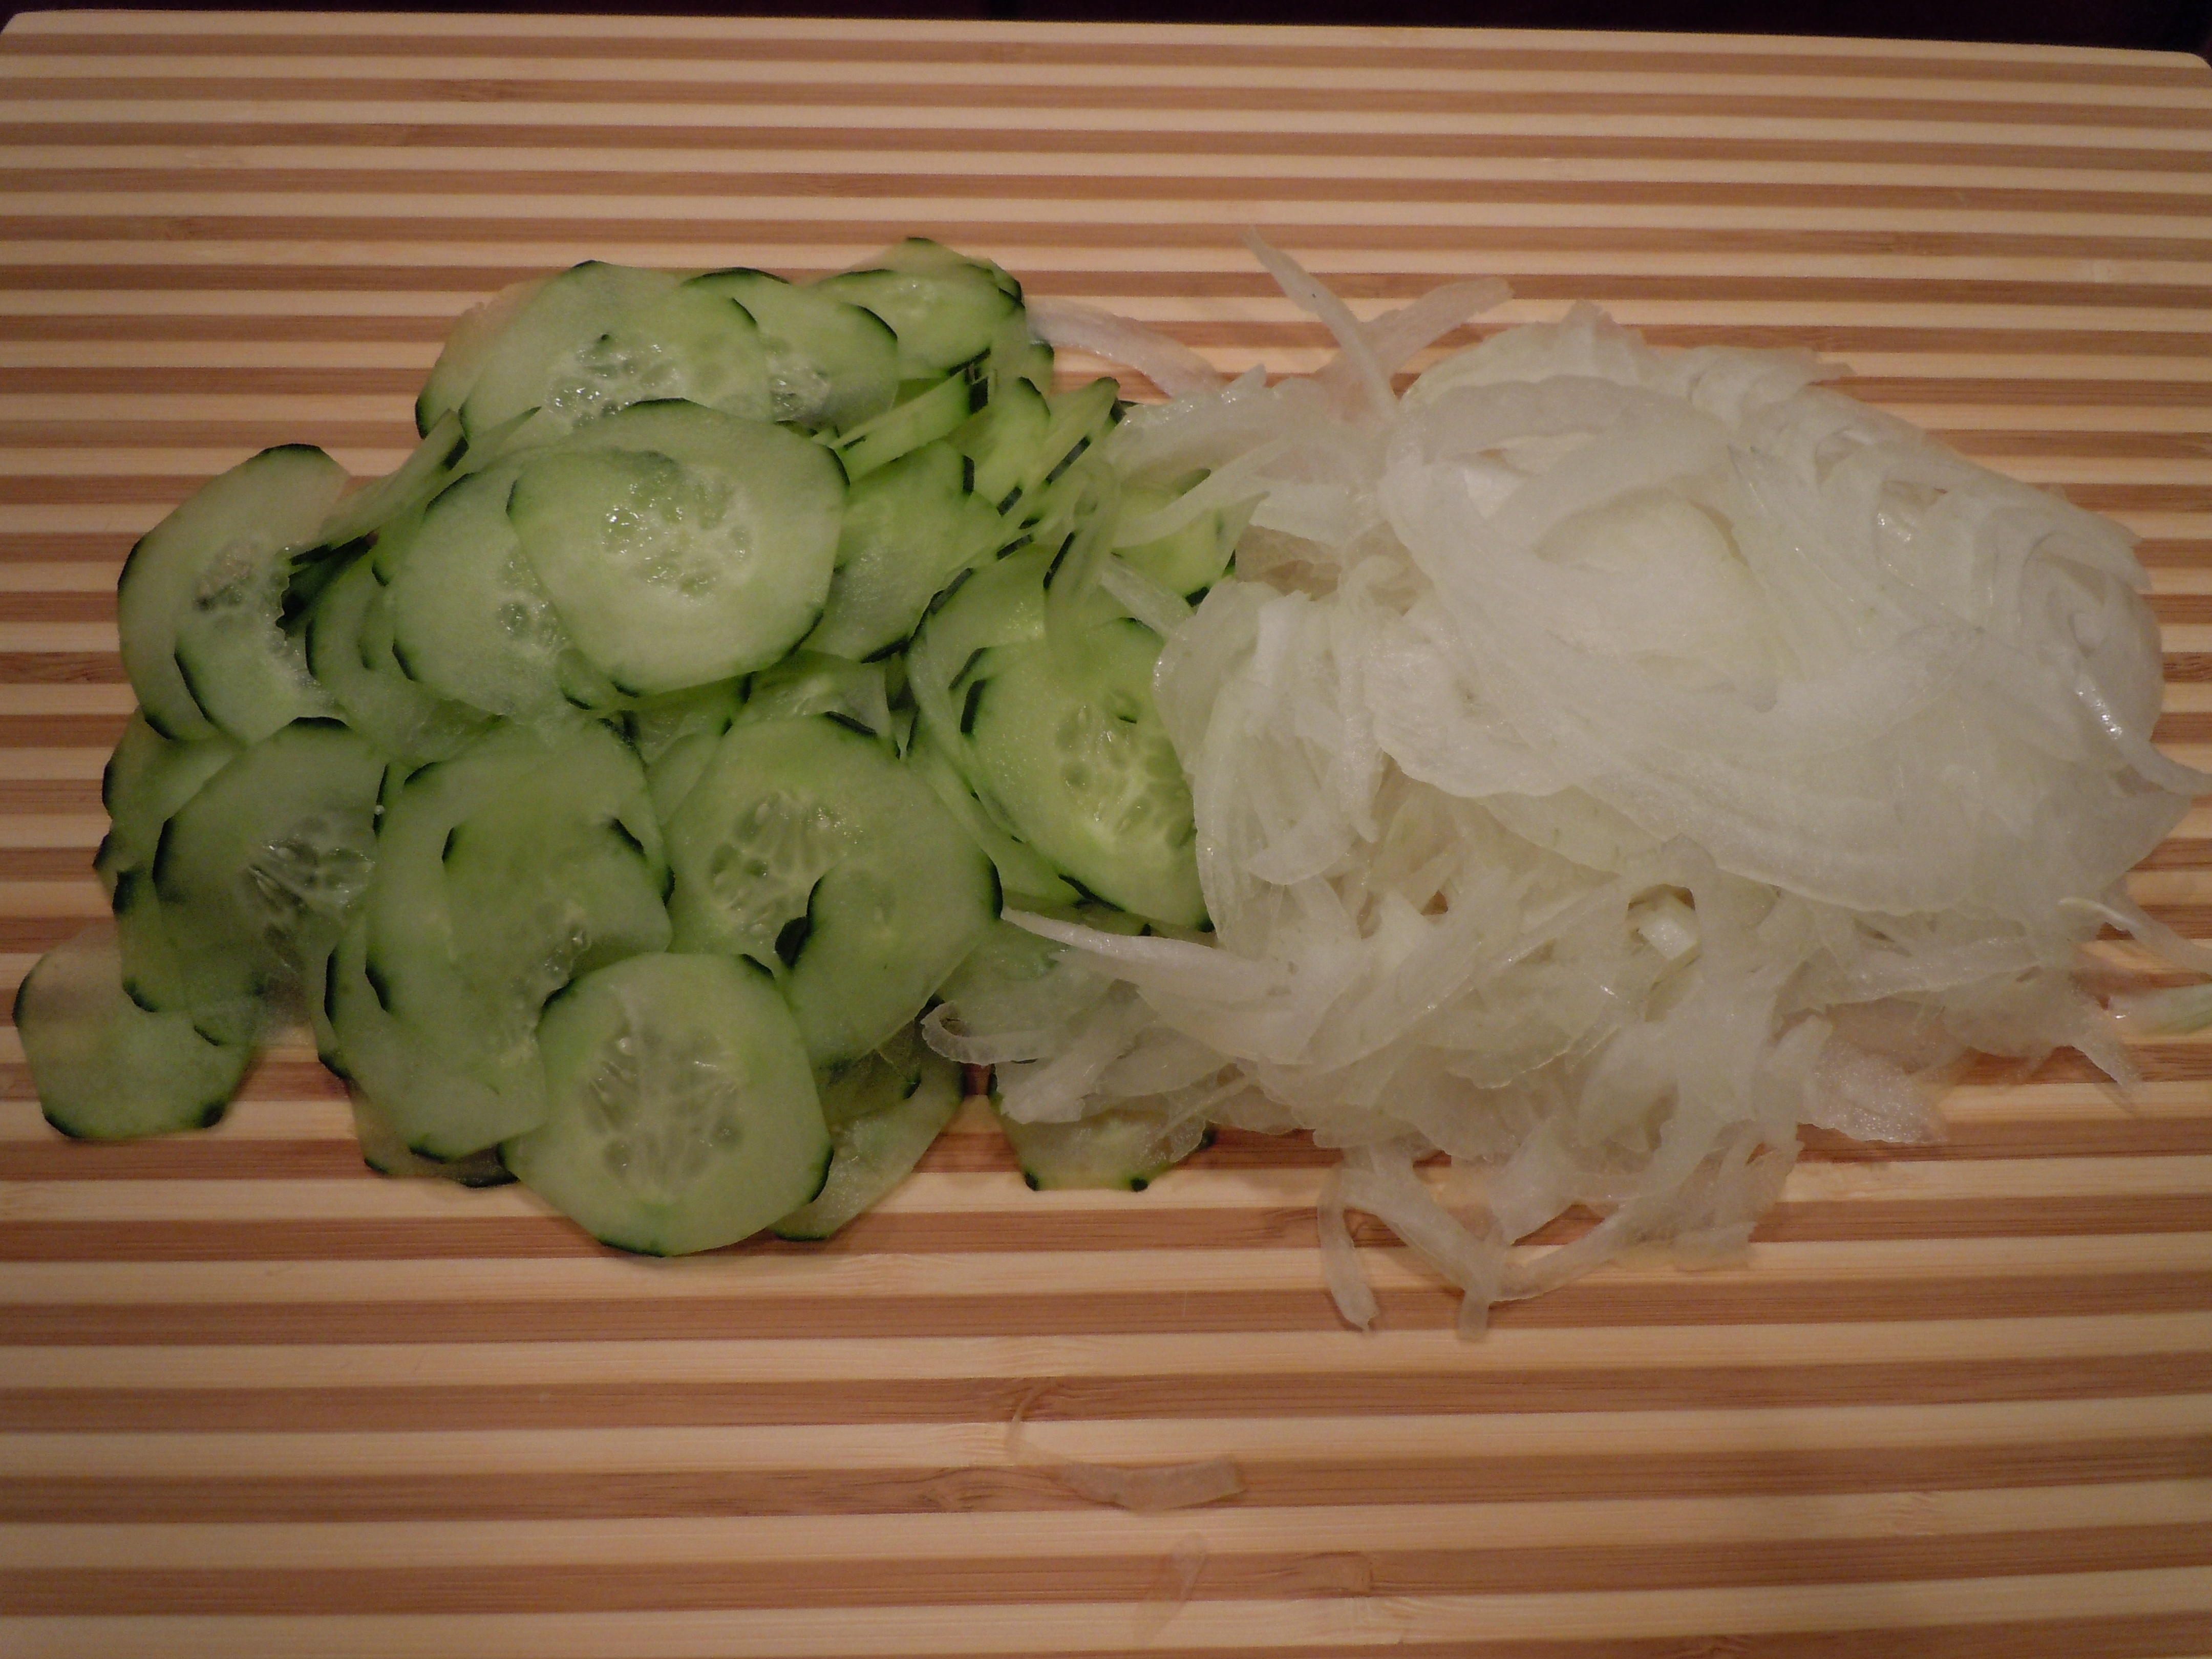
- Chop up all the avocado’s and put them into the food processor.
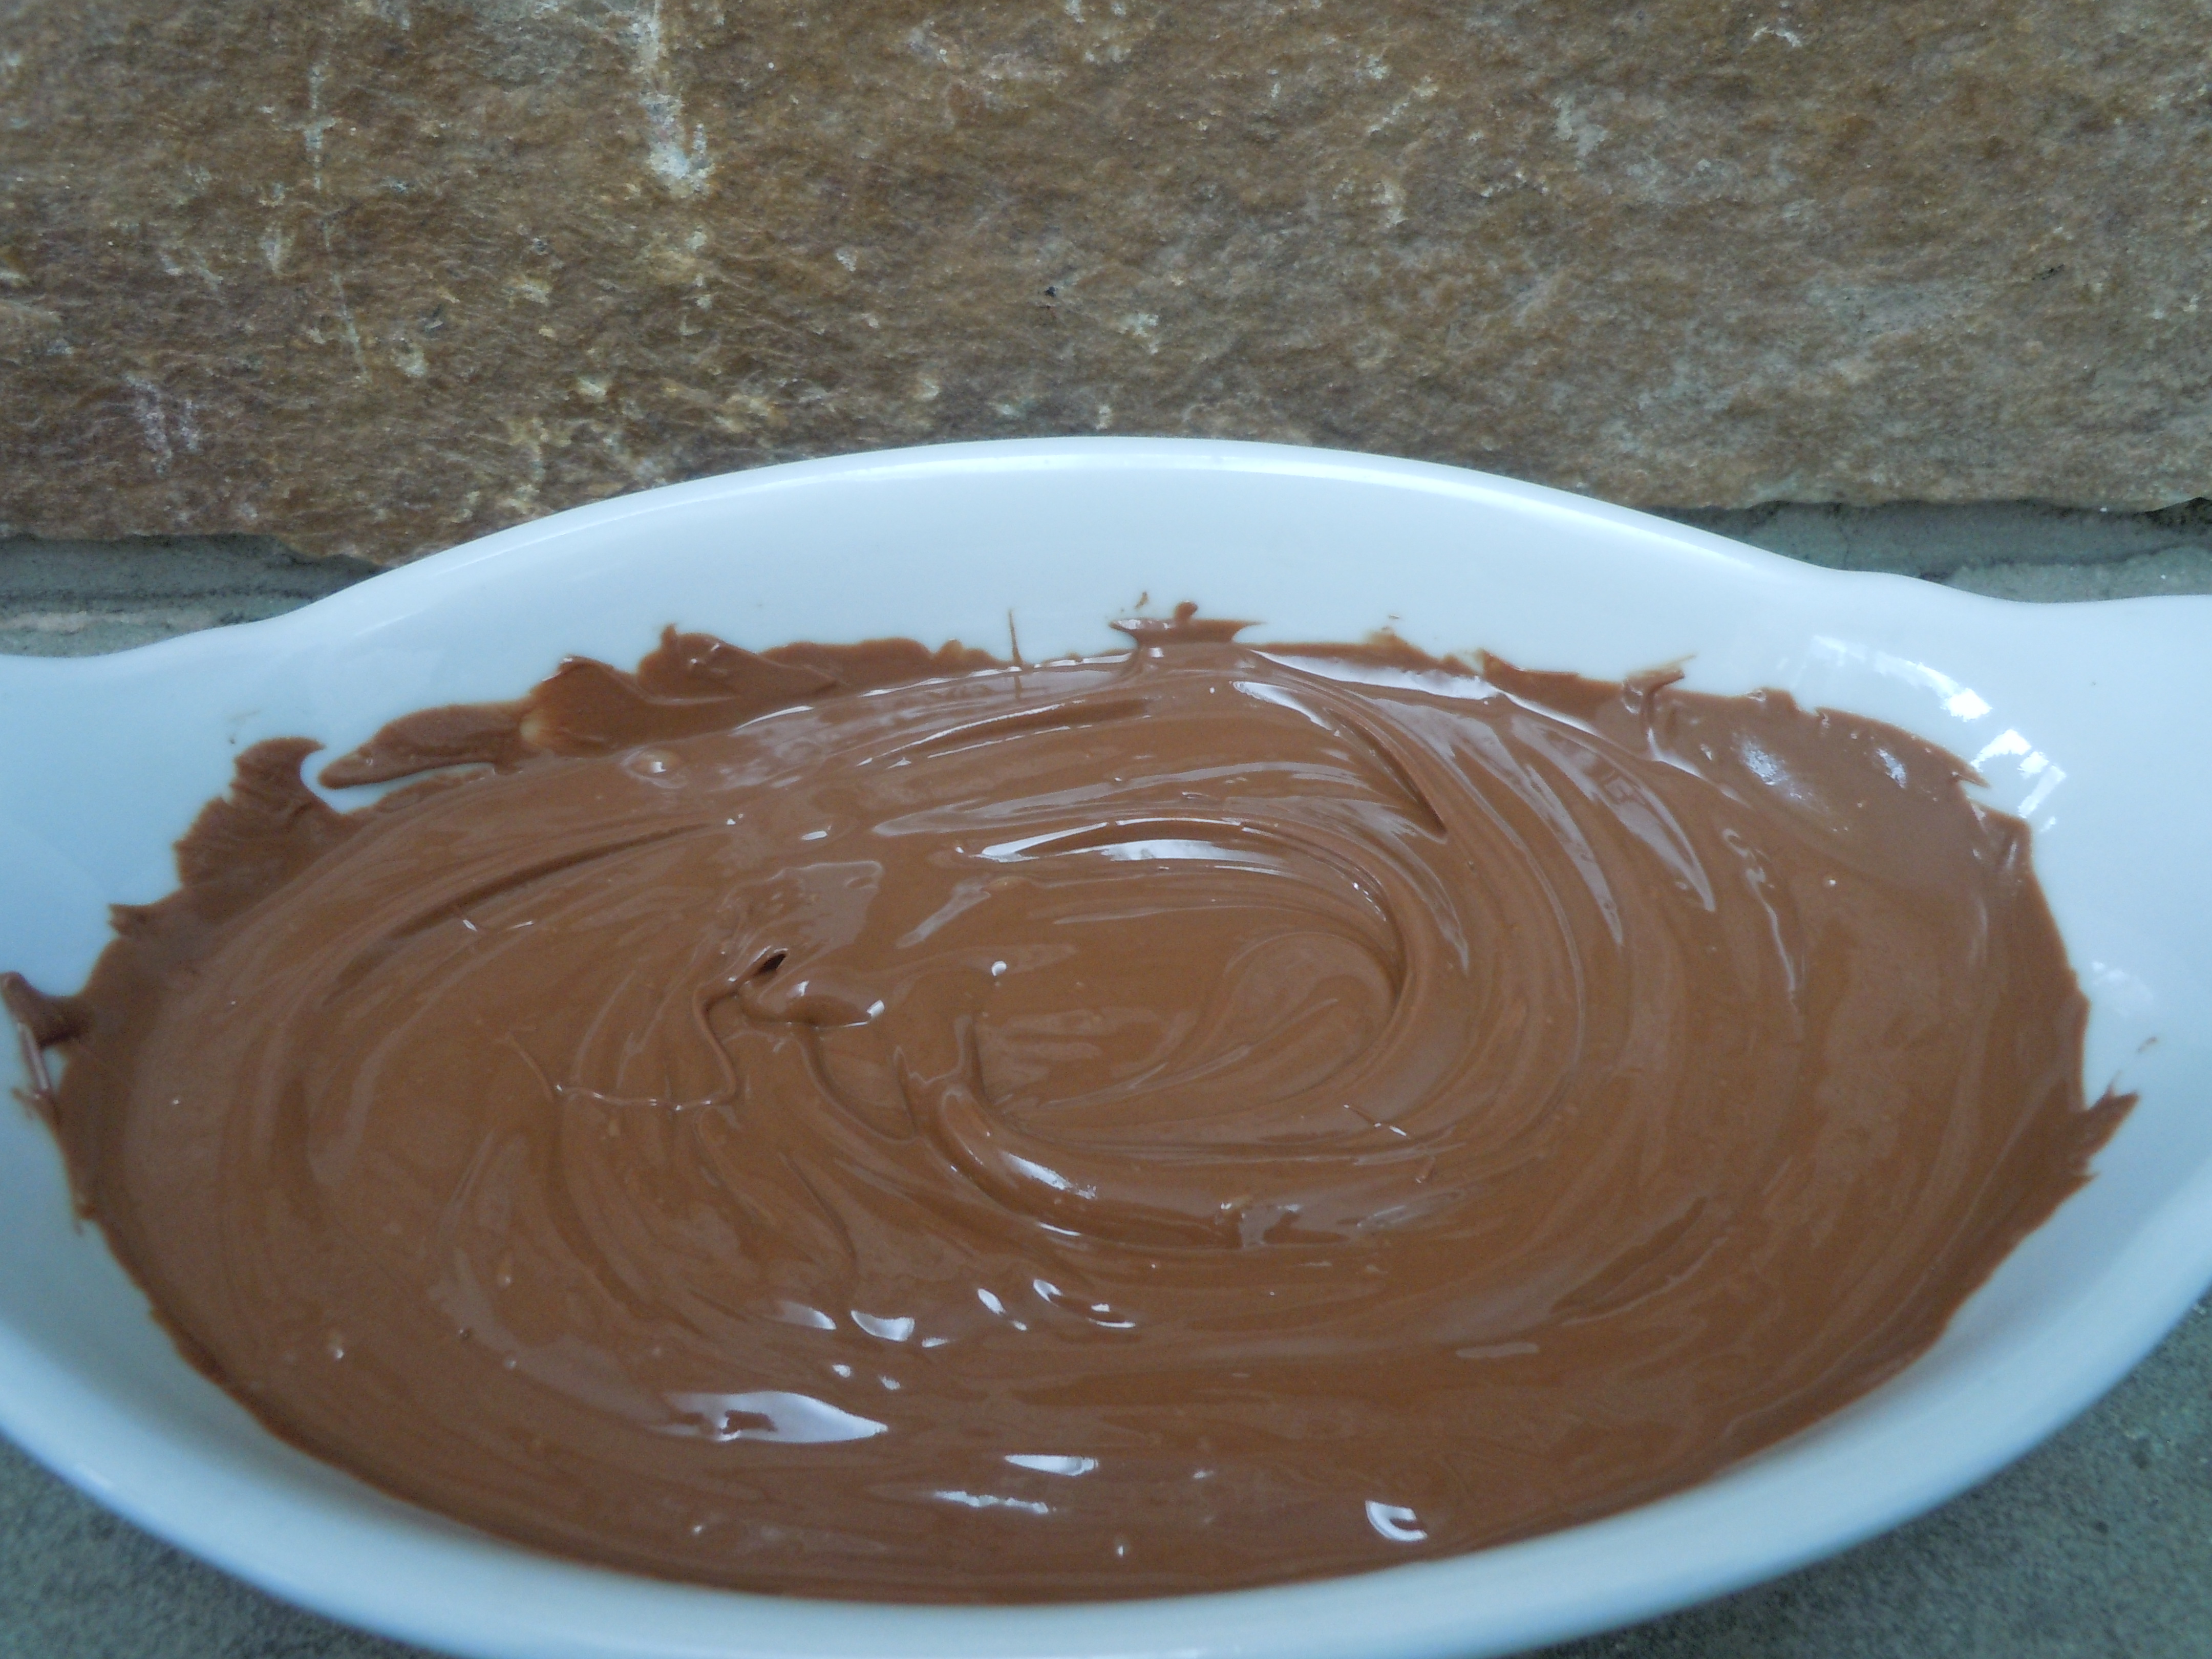
- In a small bowl melt the chocolate chips or chopped up chocolate bar in the microwave for 30 seconds x3 stirring at each interval…..WATCH so as not to BURN the chocolate (everyone’s microwave is a little different).
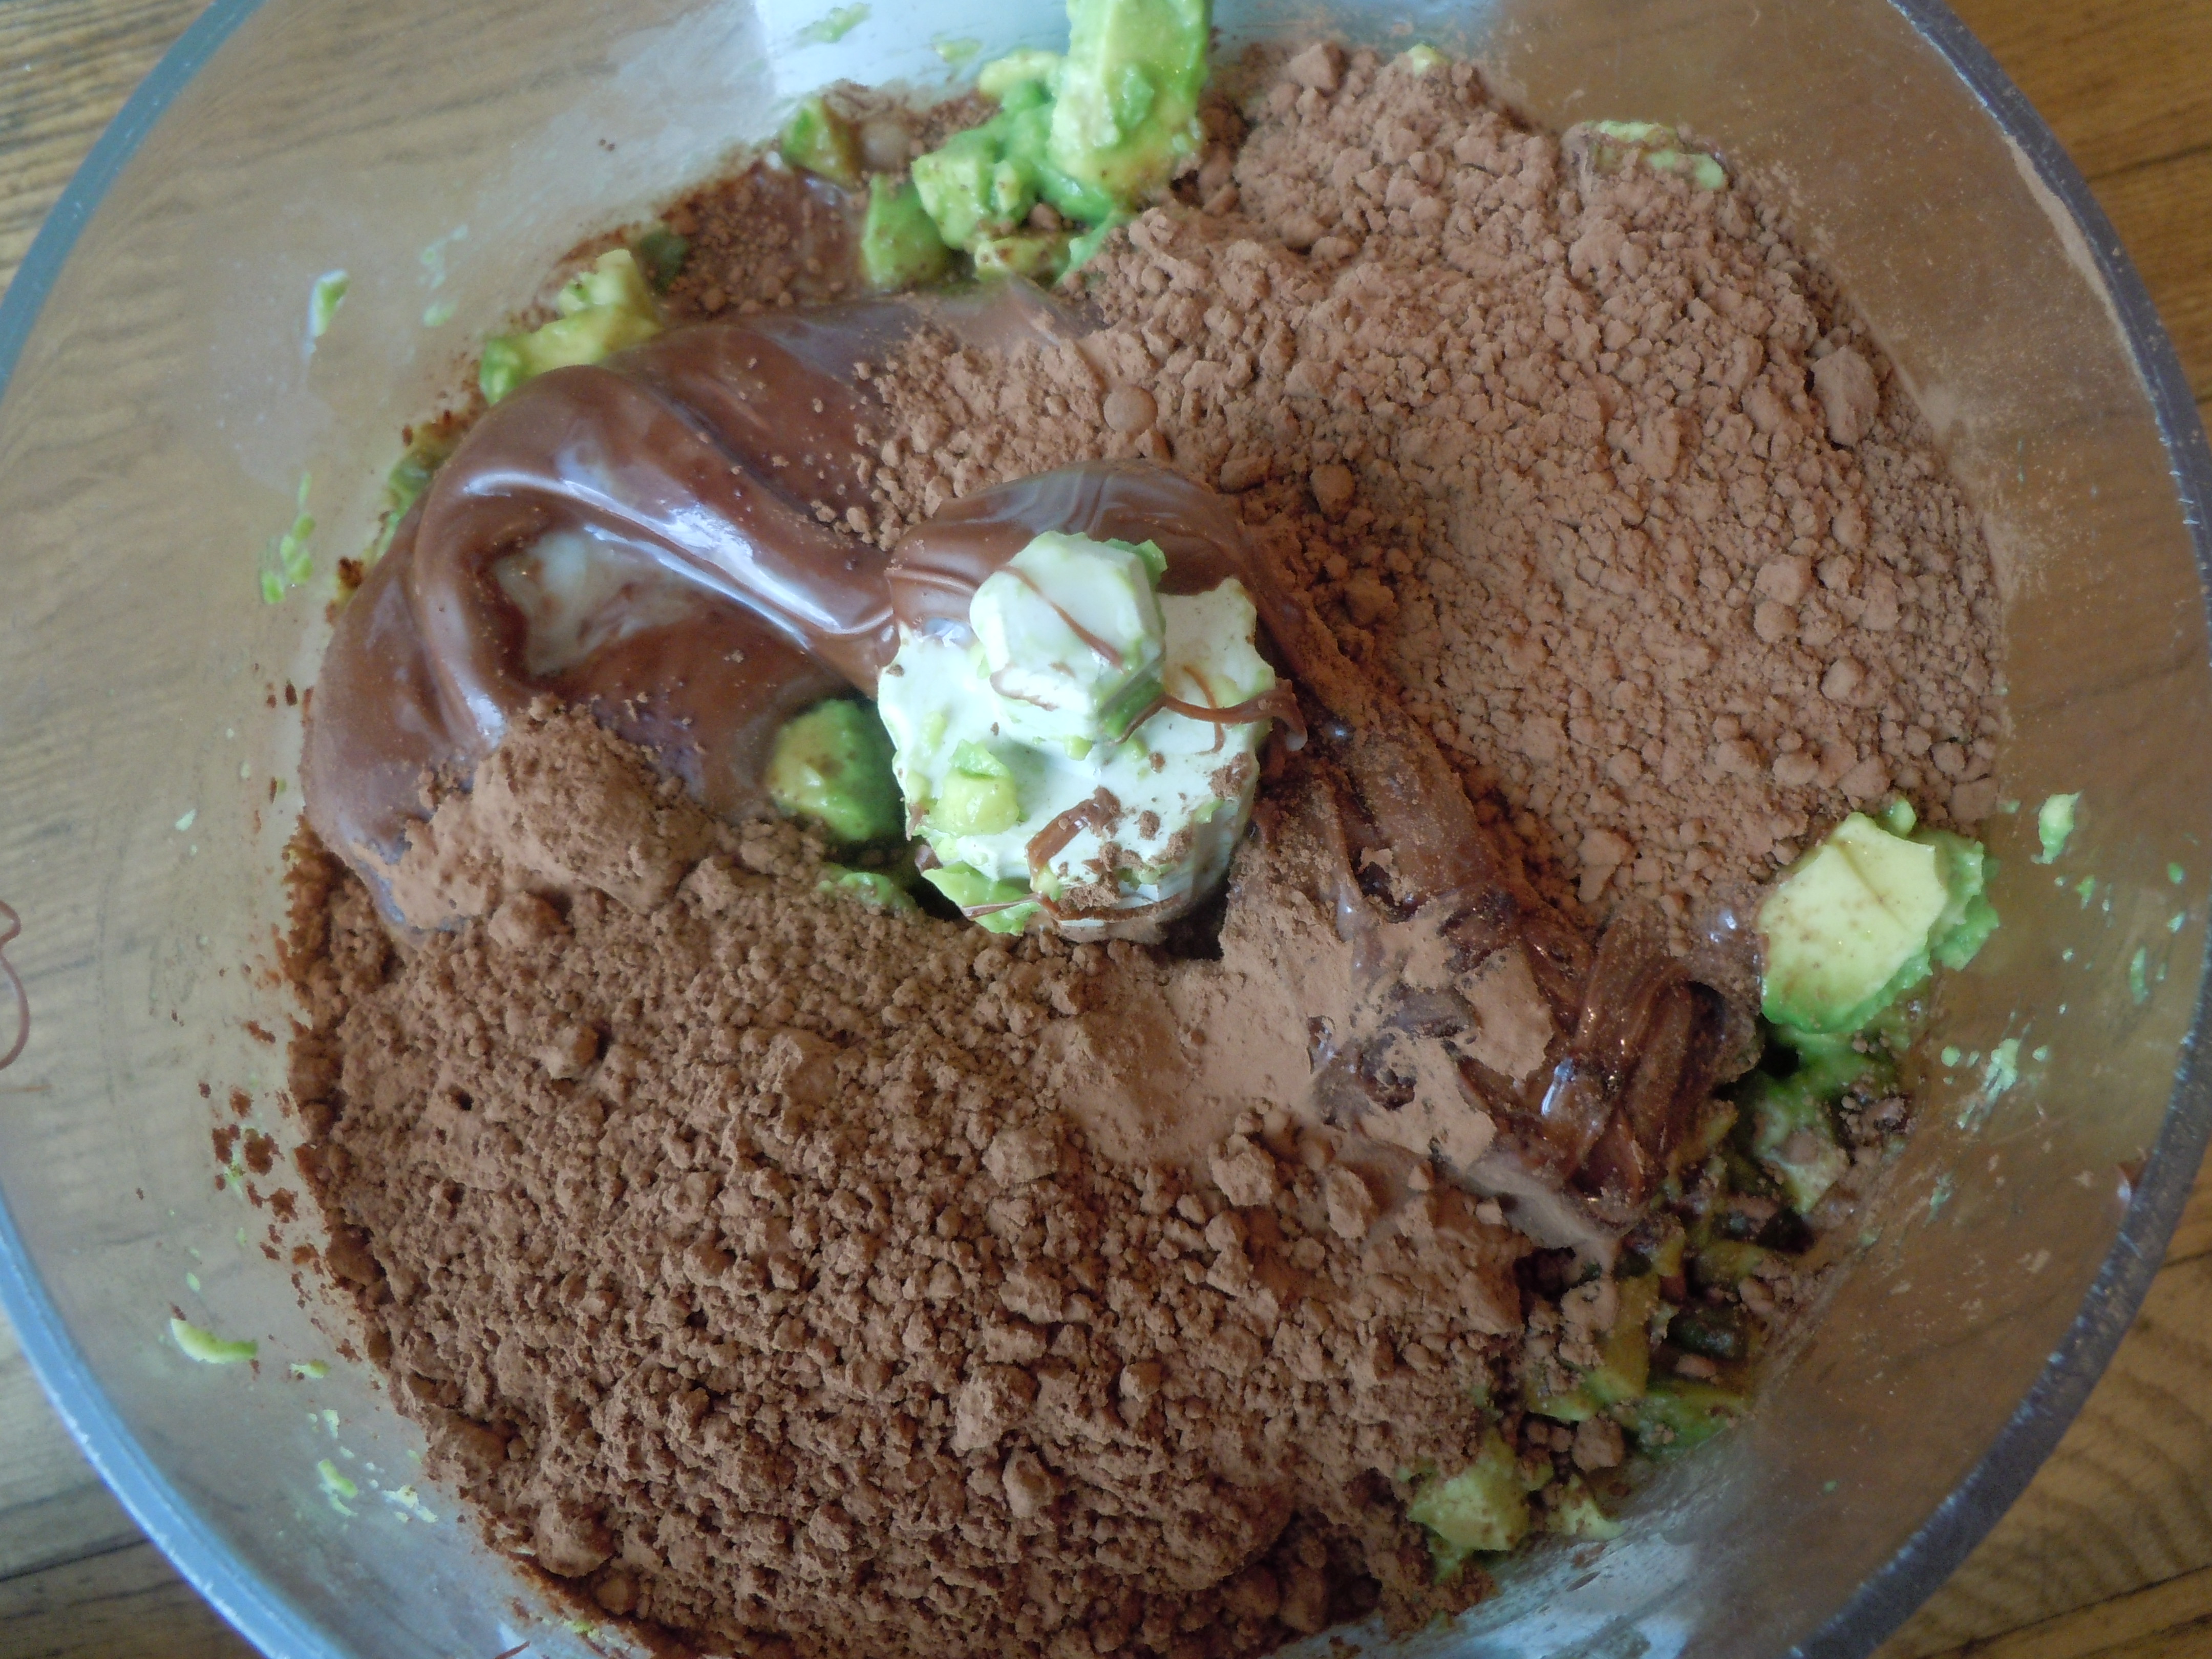
- Add the melted chocolate, and the next 5 ingredients to the food processor and purée for 30 seconds, stop to scrape the sides, then purée for 1-2 minutes, stop to scrape the sides and purée for 10-20 seconds more.
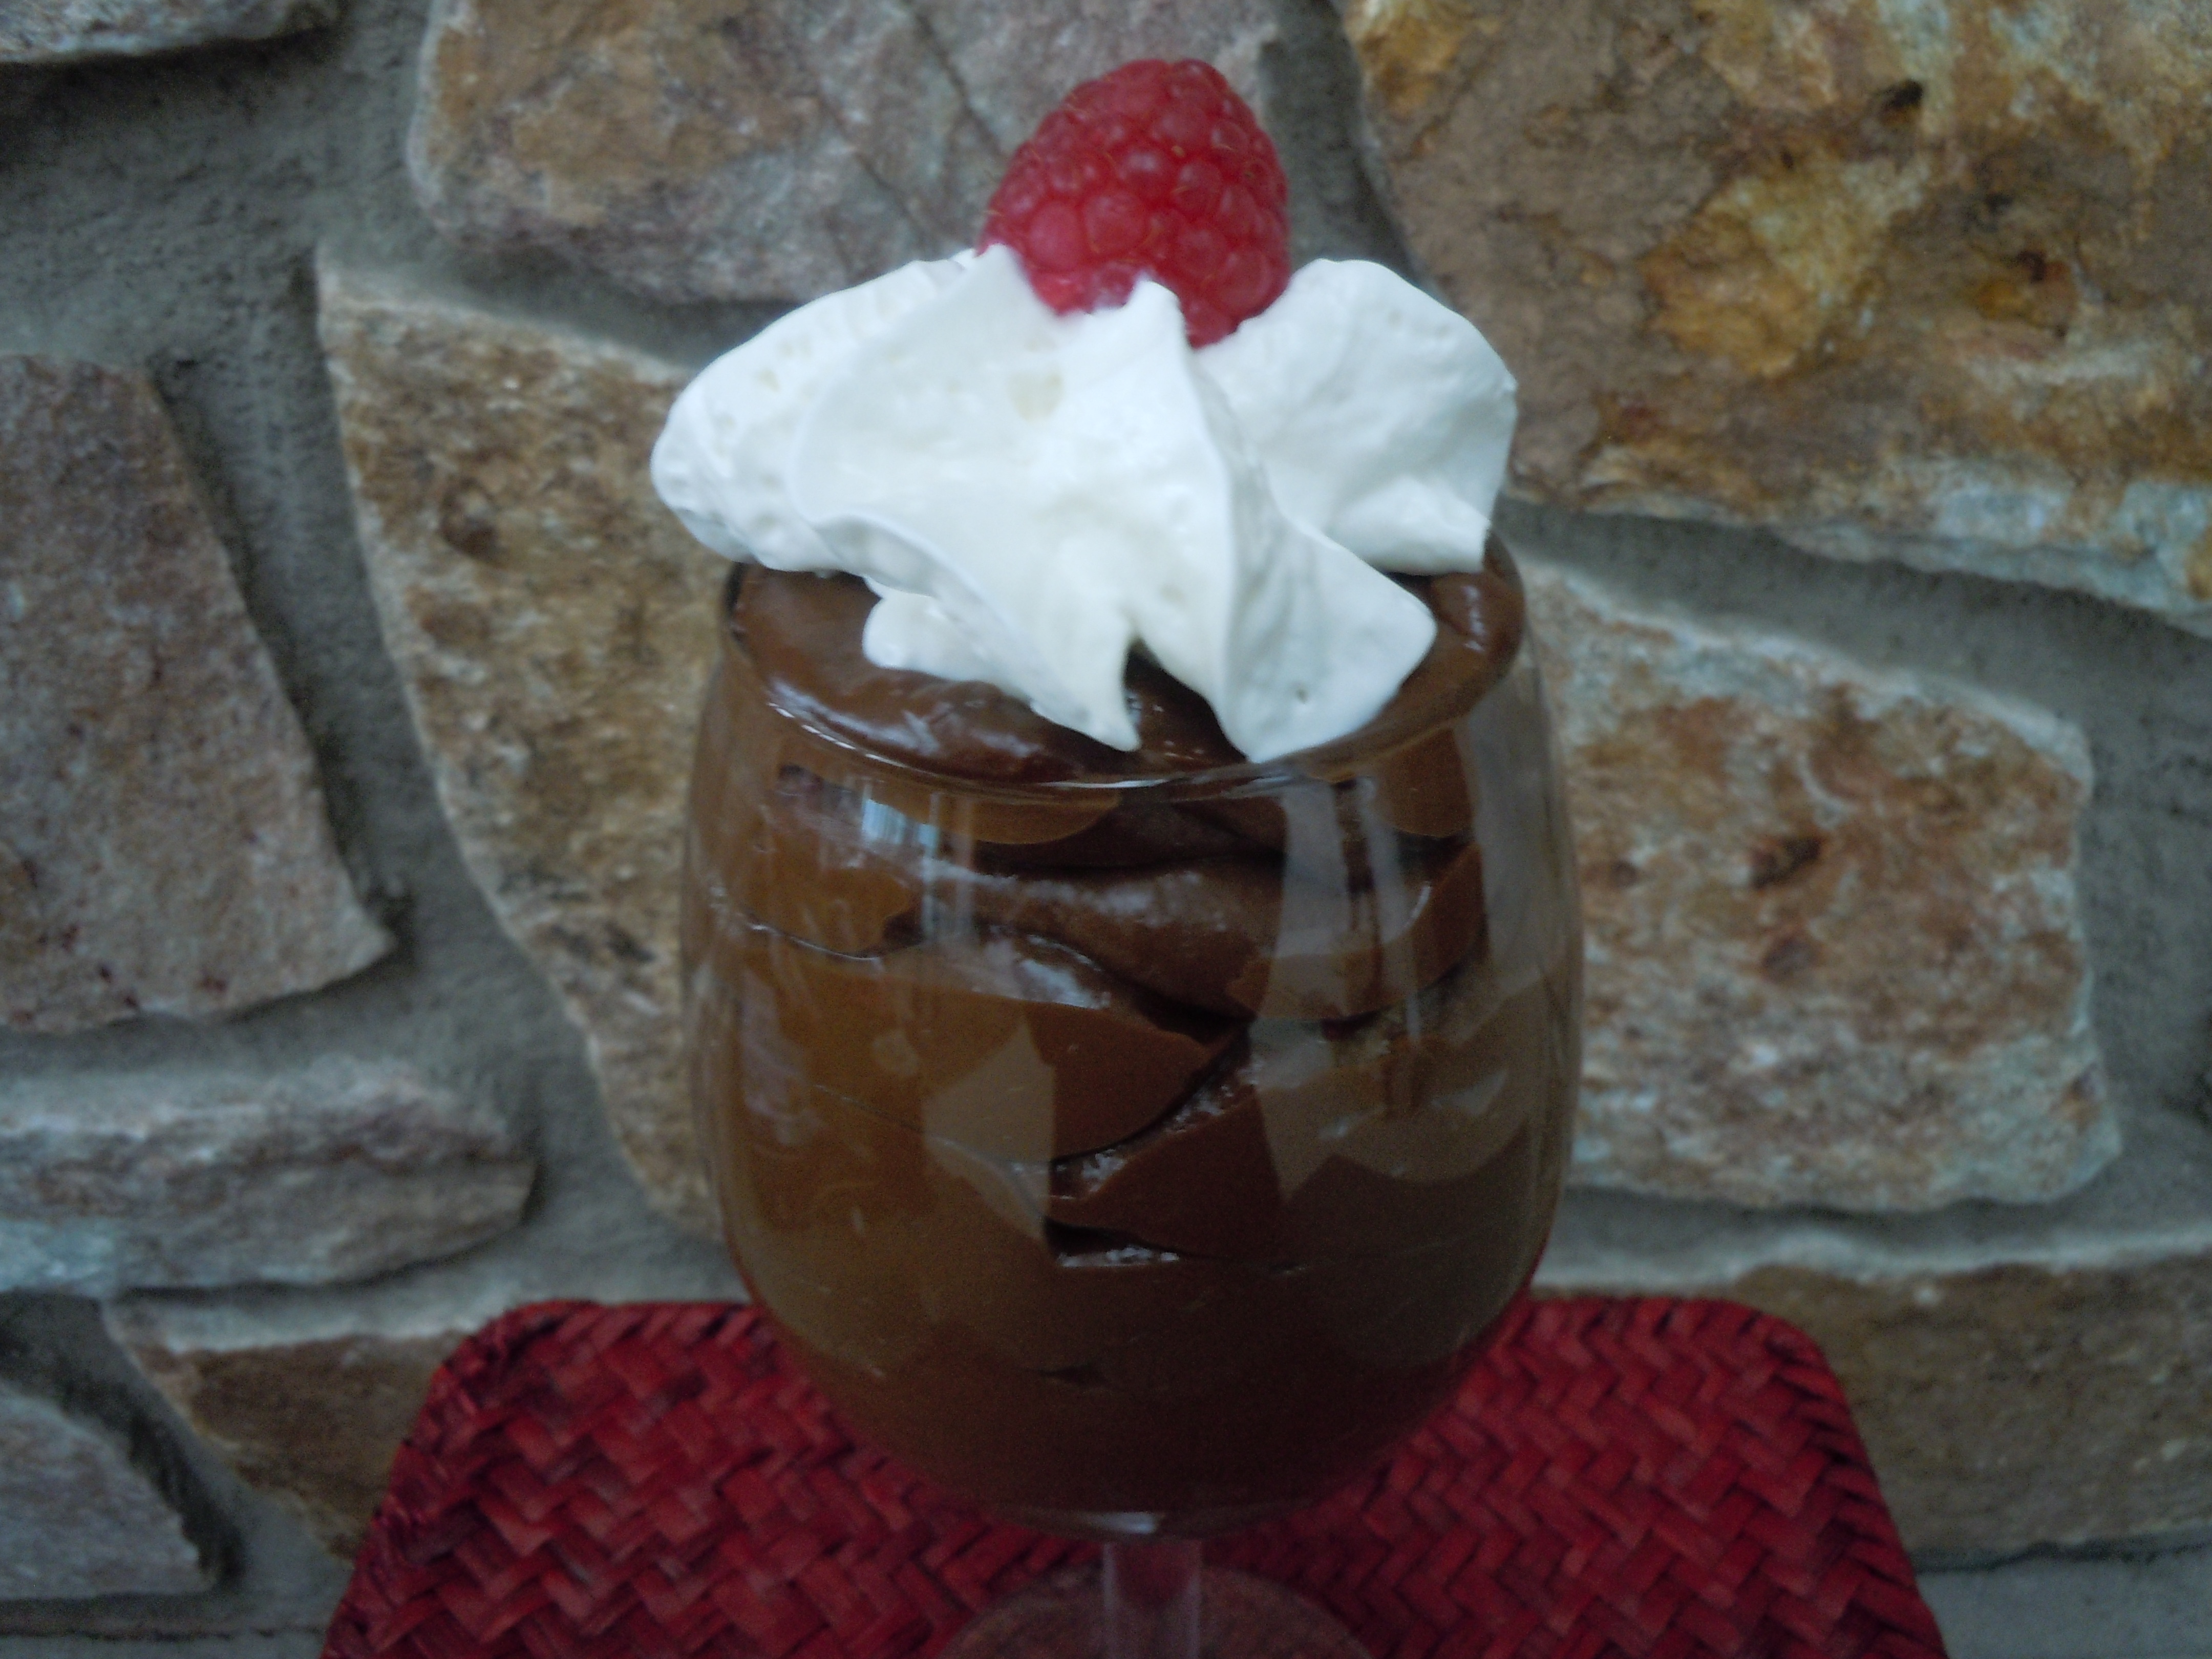
- Scoop out the avocado mousse into your favorite glasses or bowls.
- The mousse will be slightly warm from the food processor so put the glasses or bowls into the refrigerator for 2 hours to chill before serving.
- Garnish with whipped cream and raspberries…Yum!
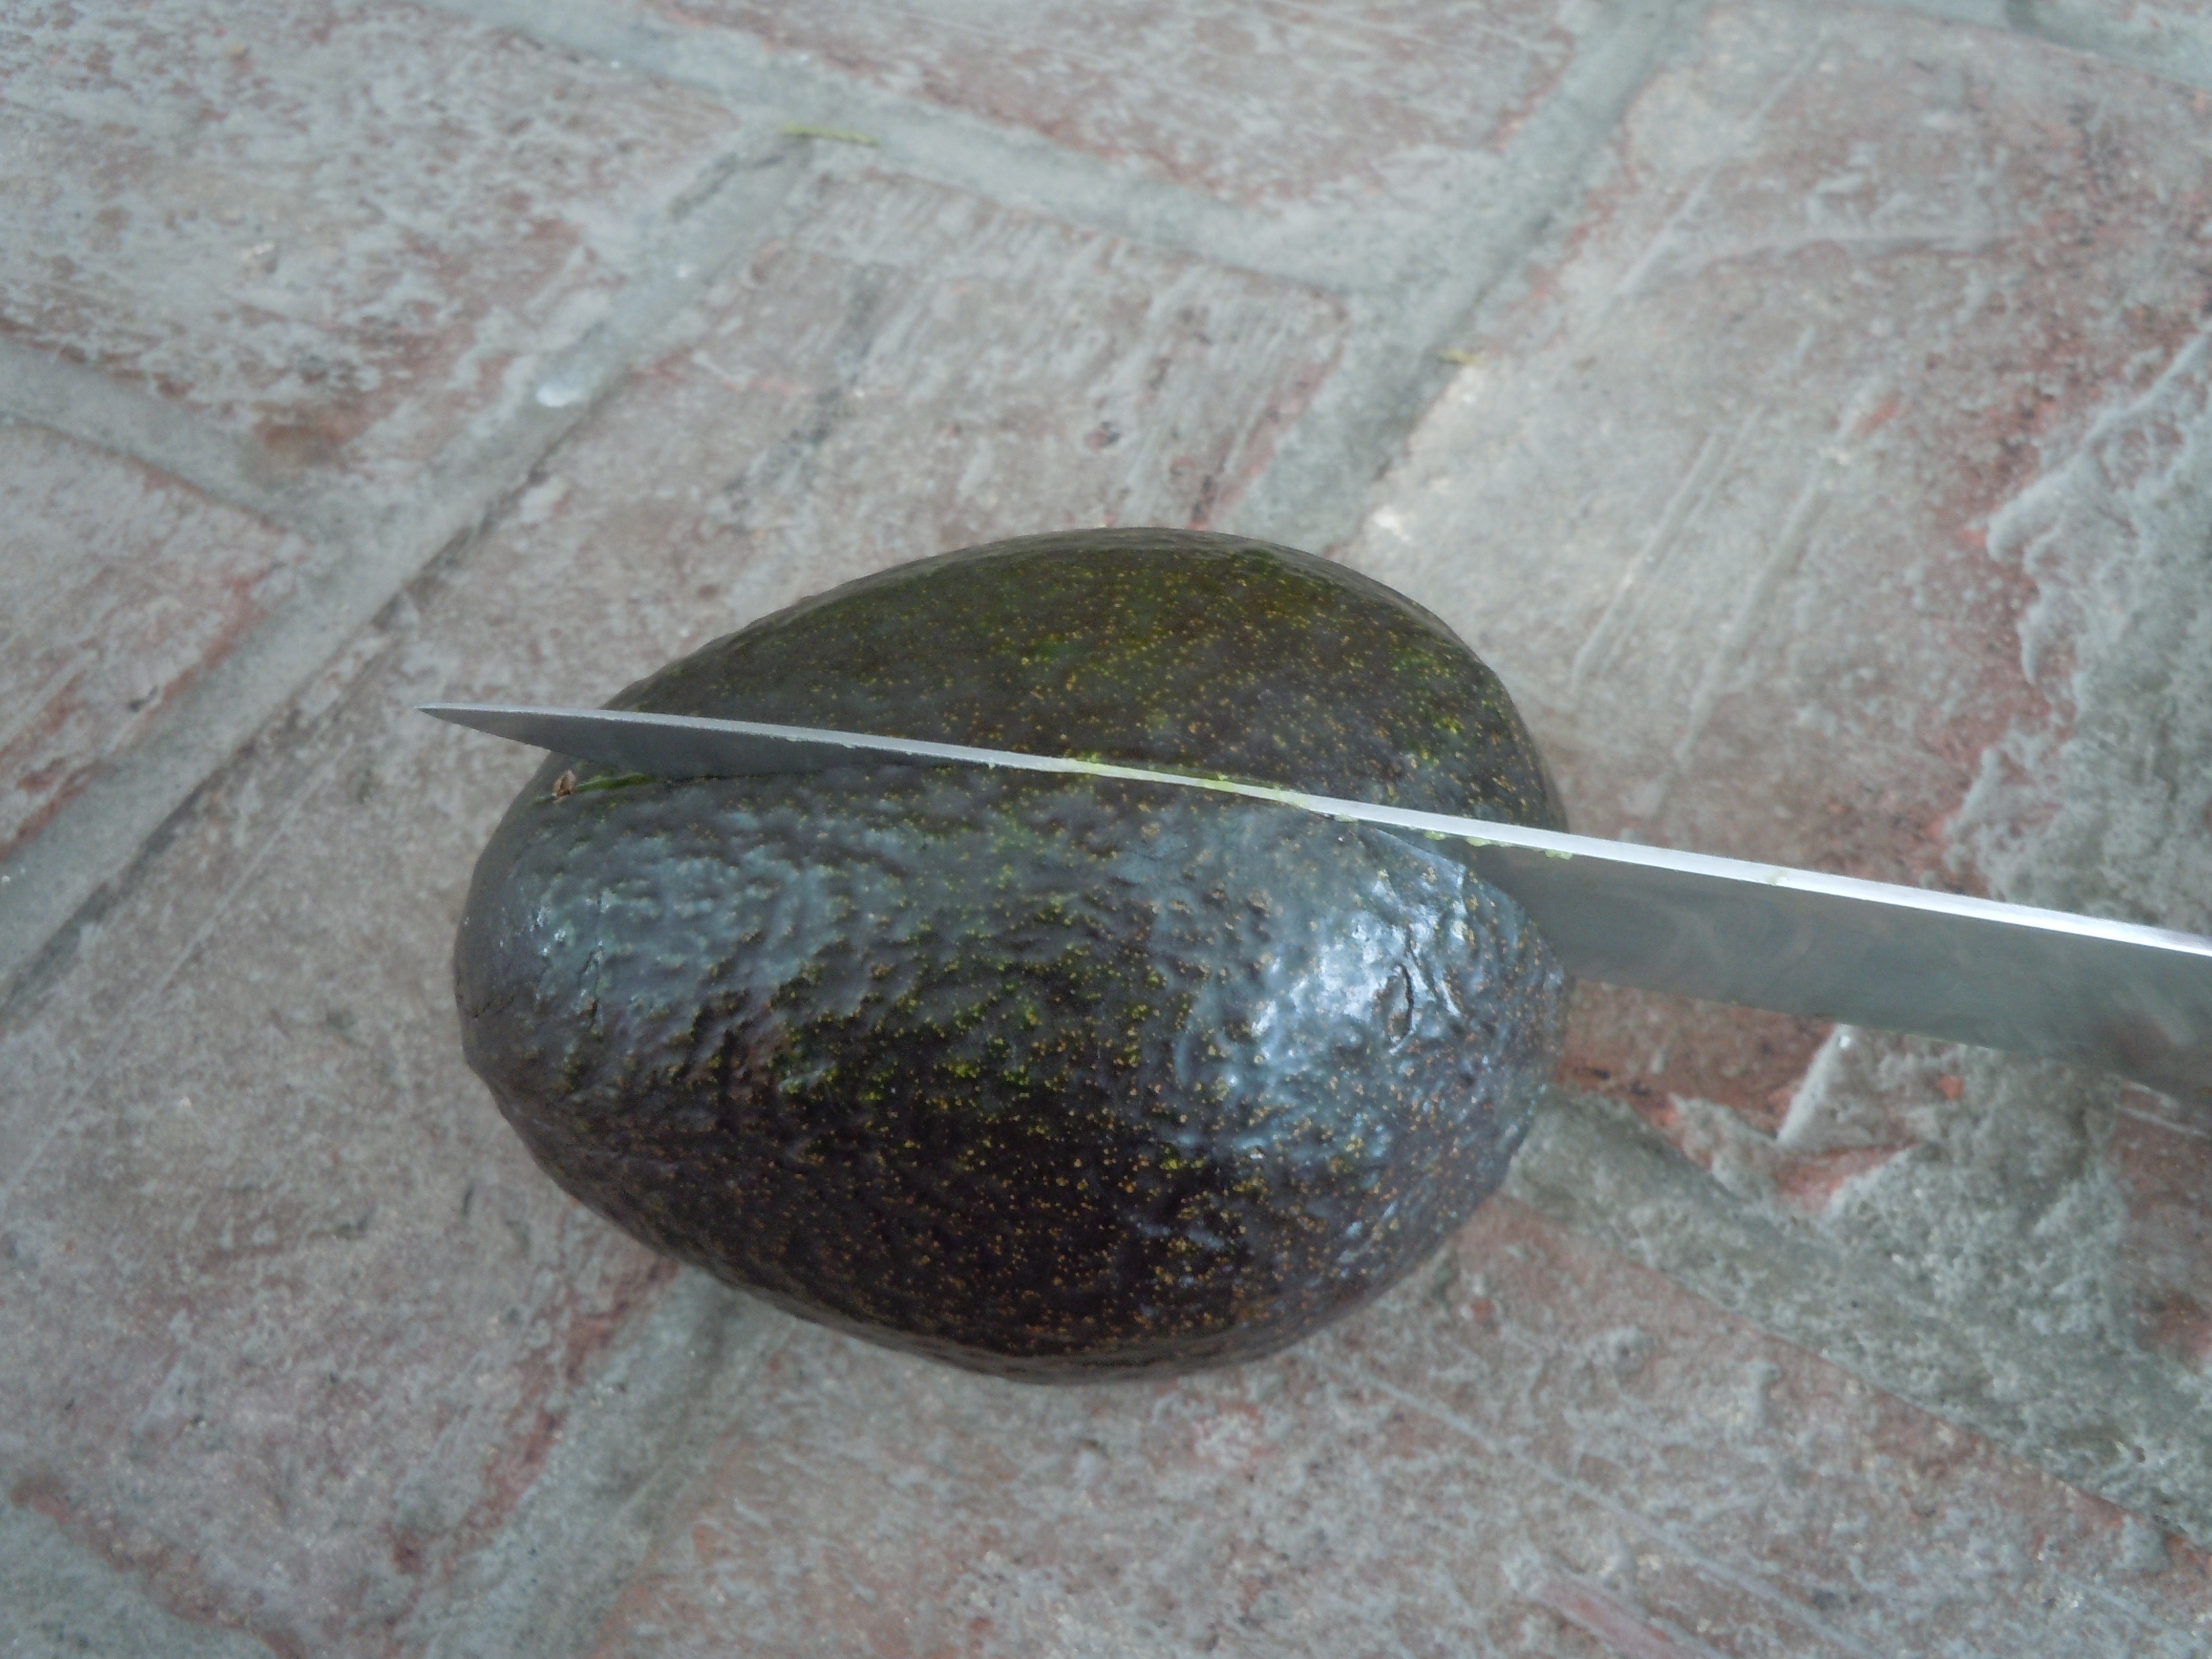
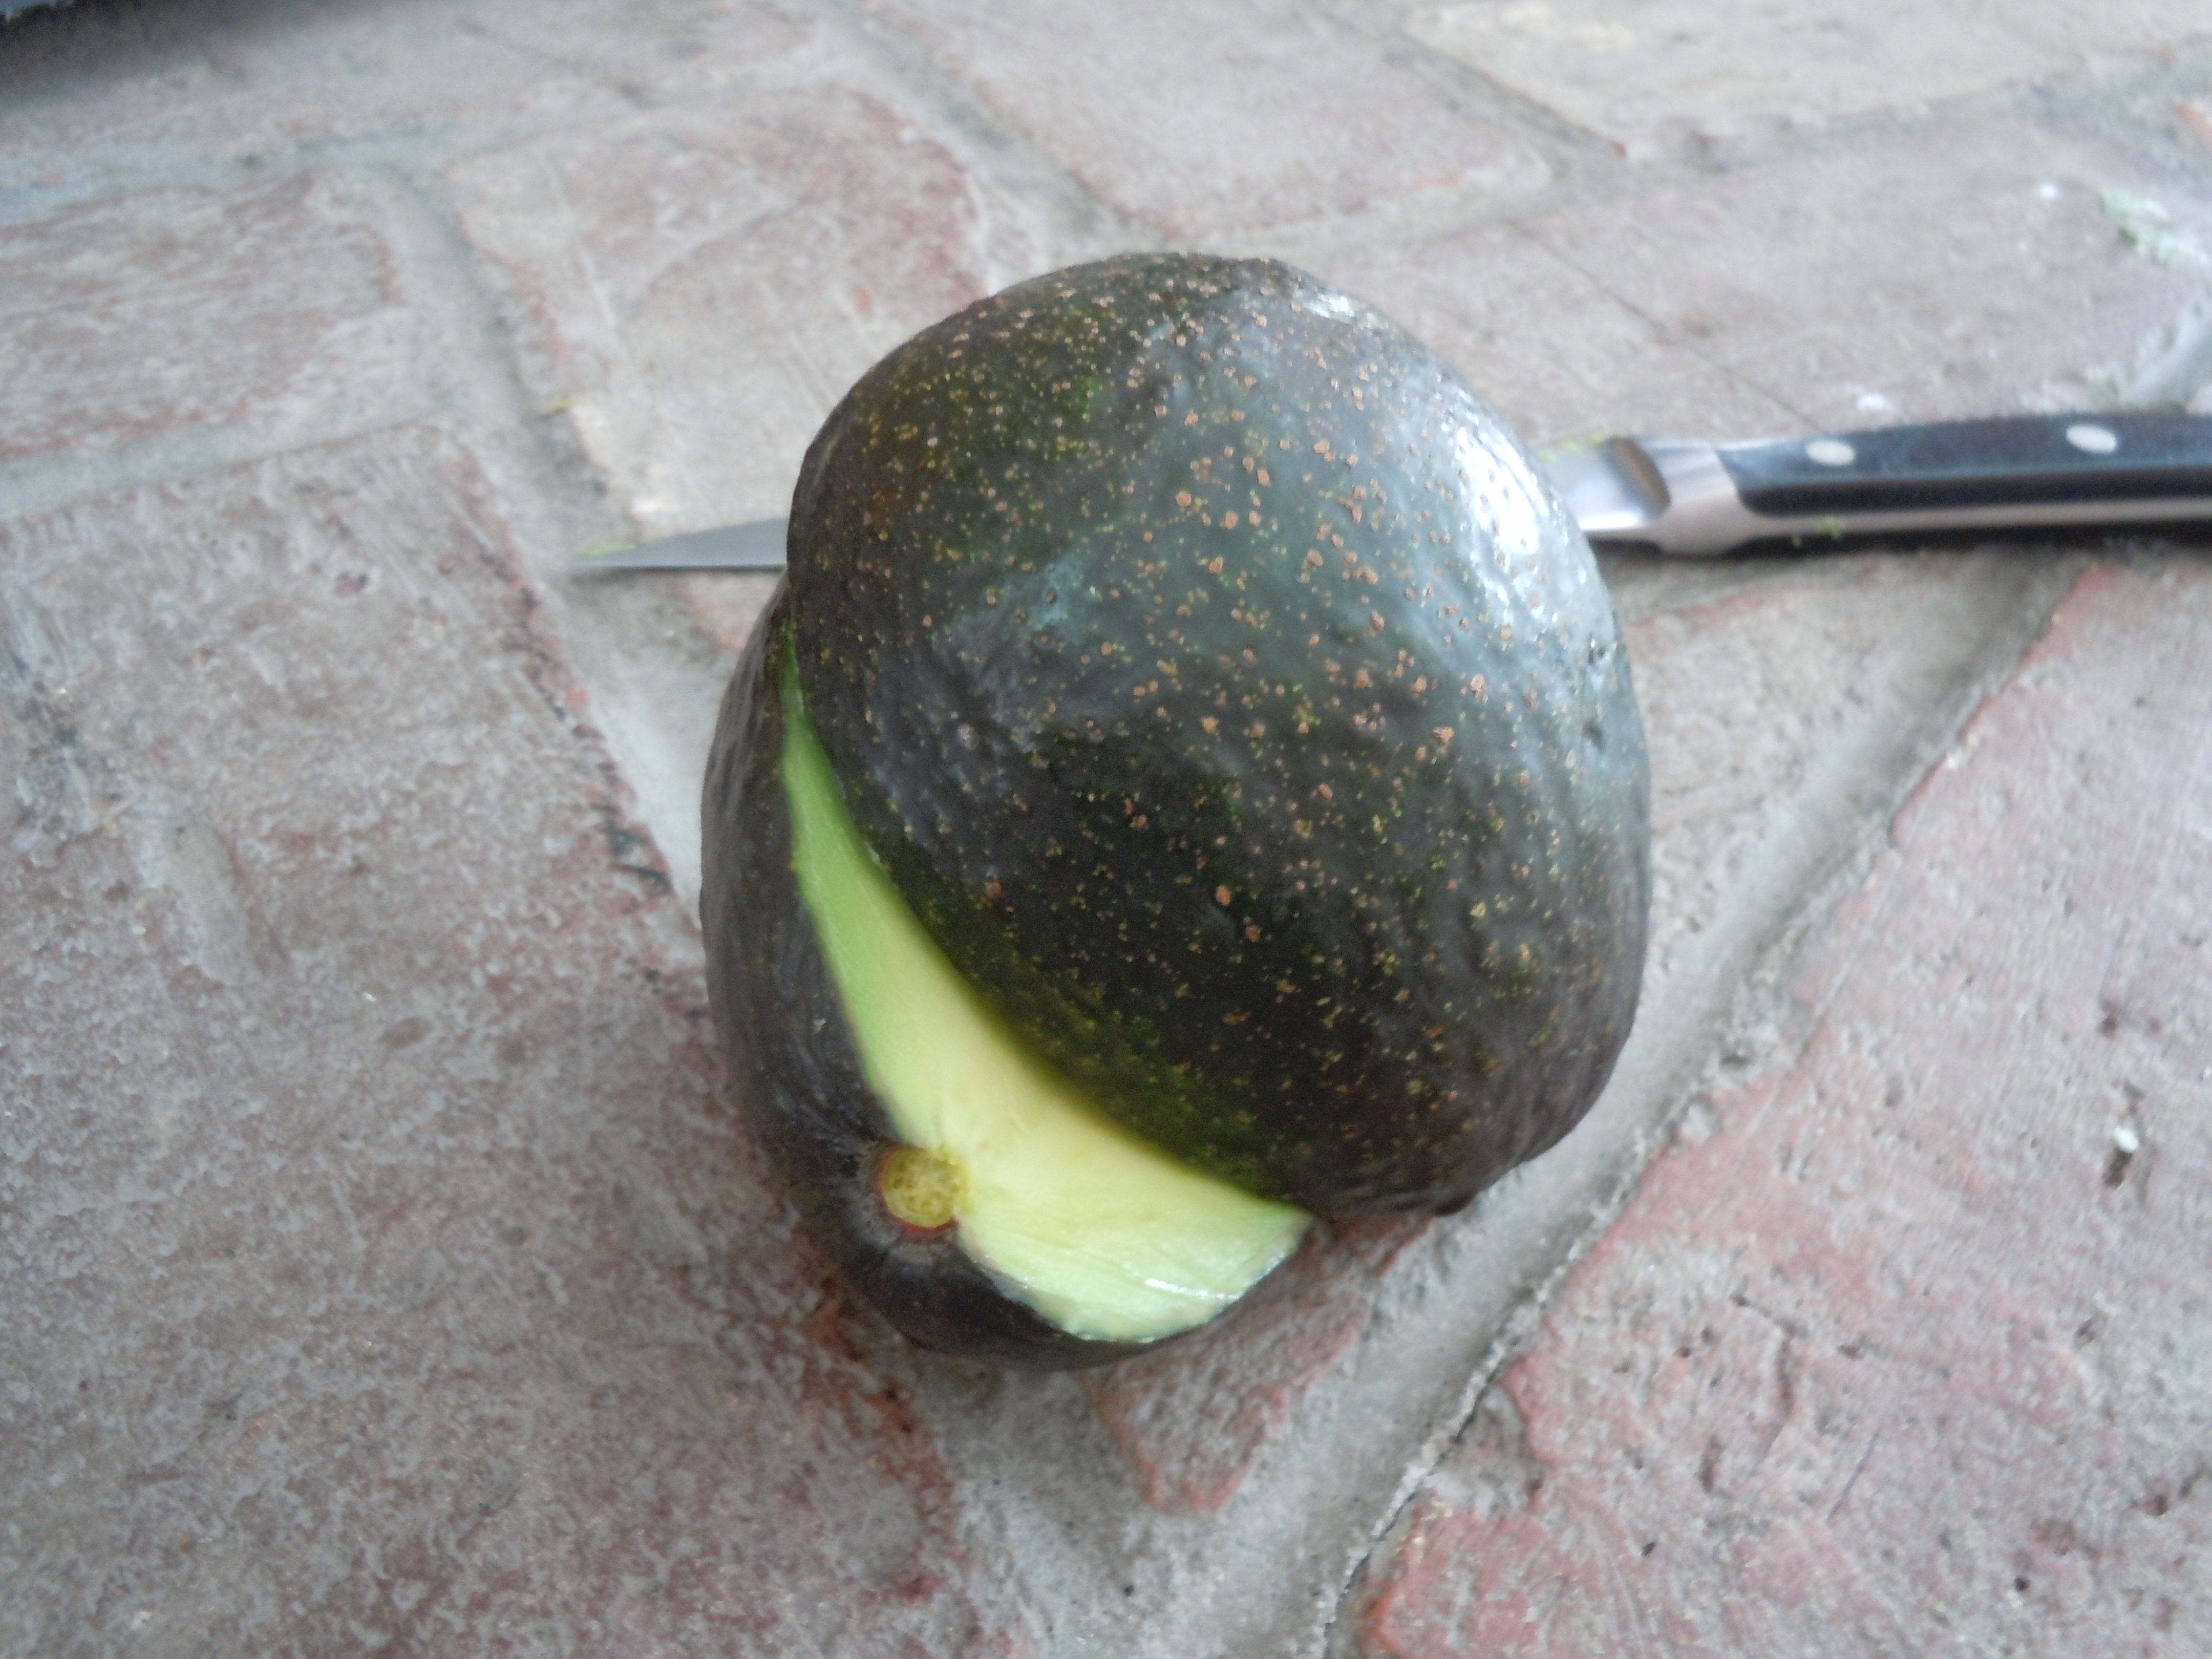
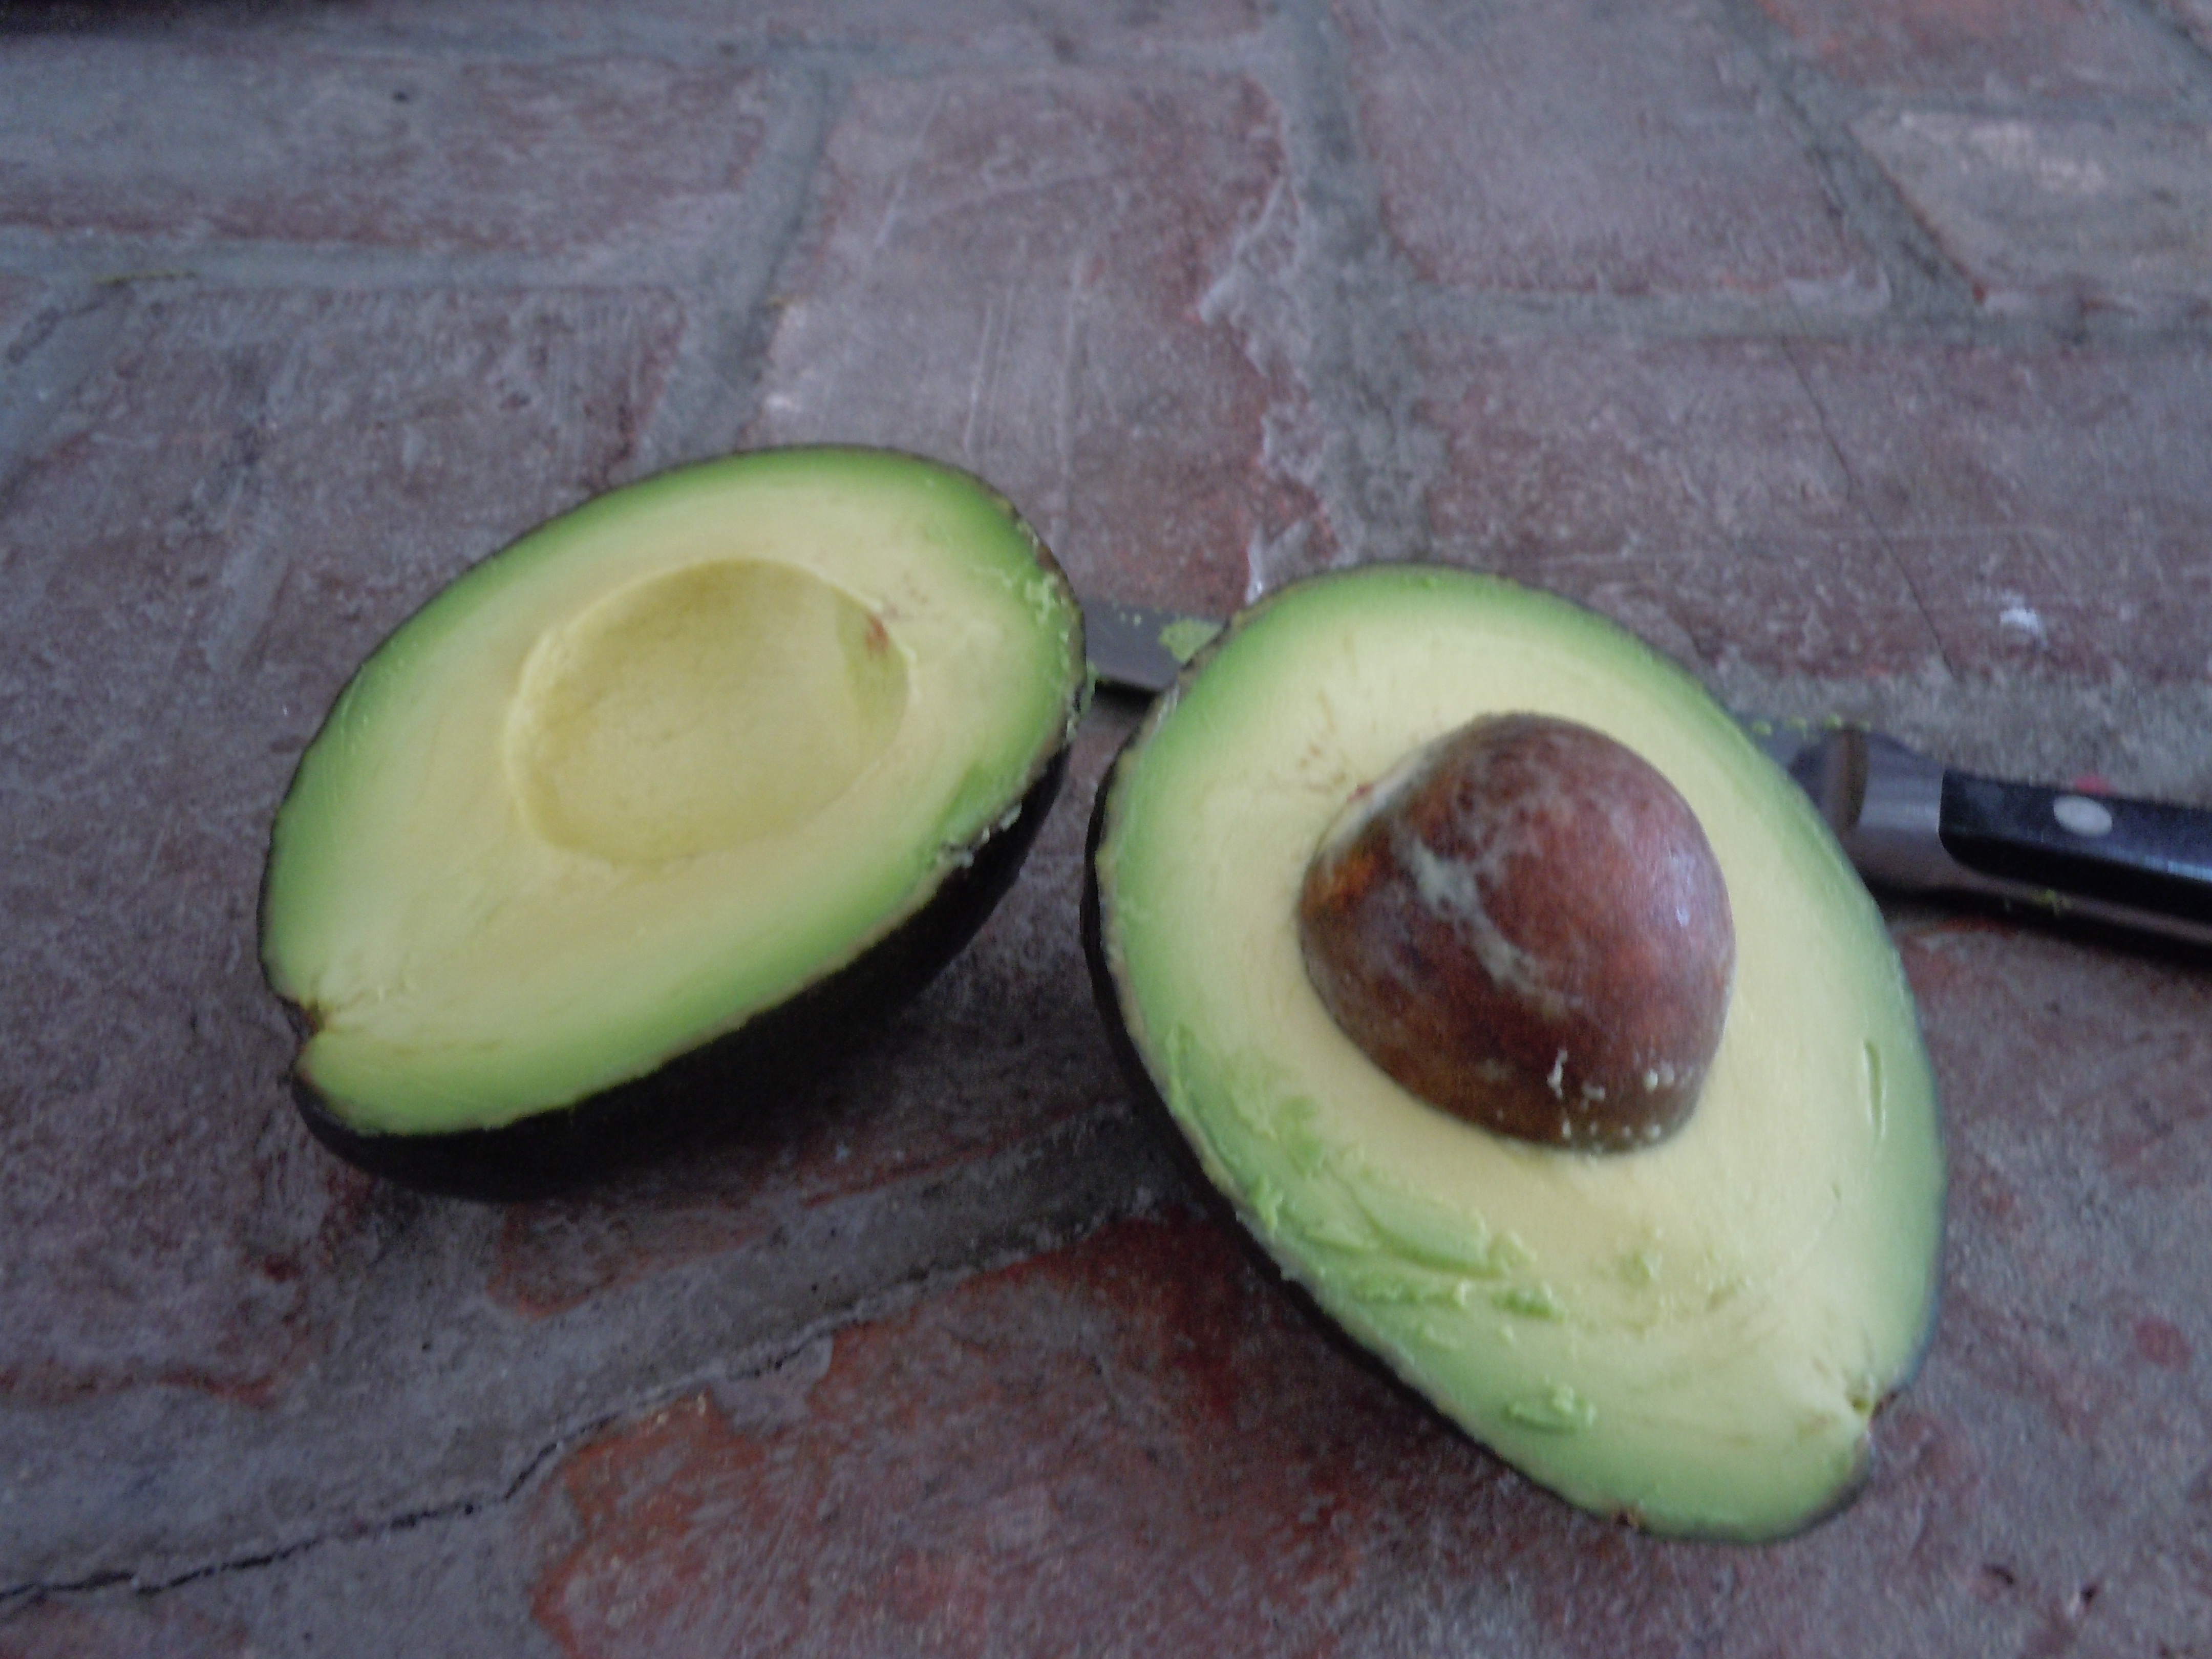
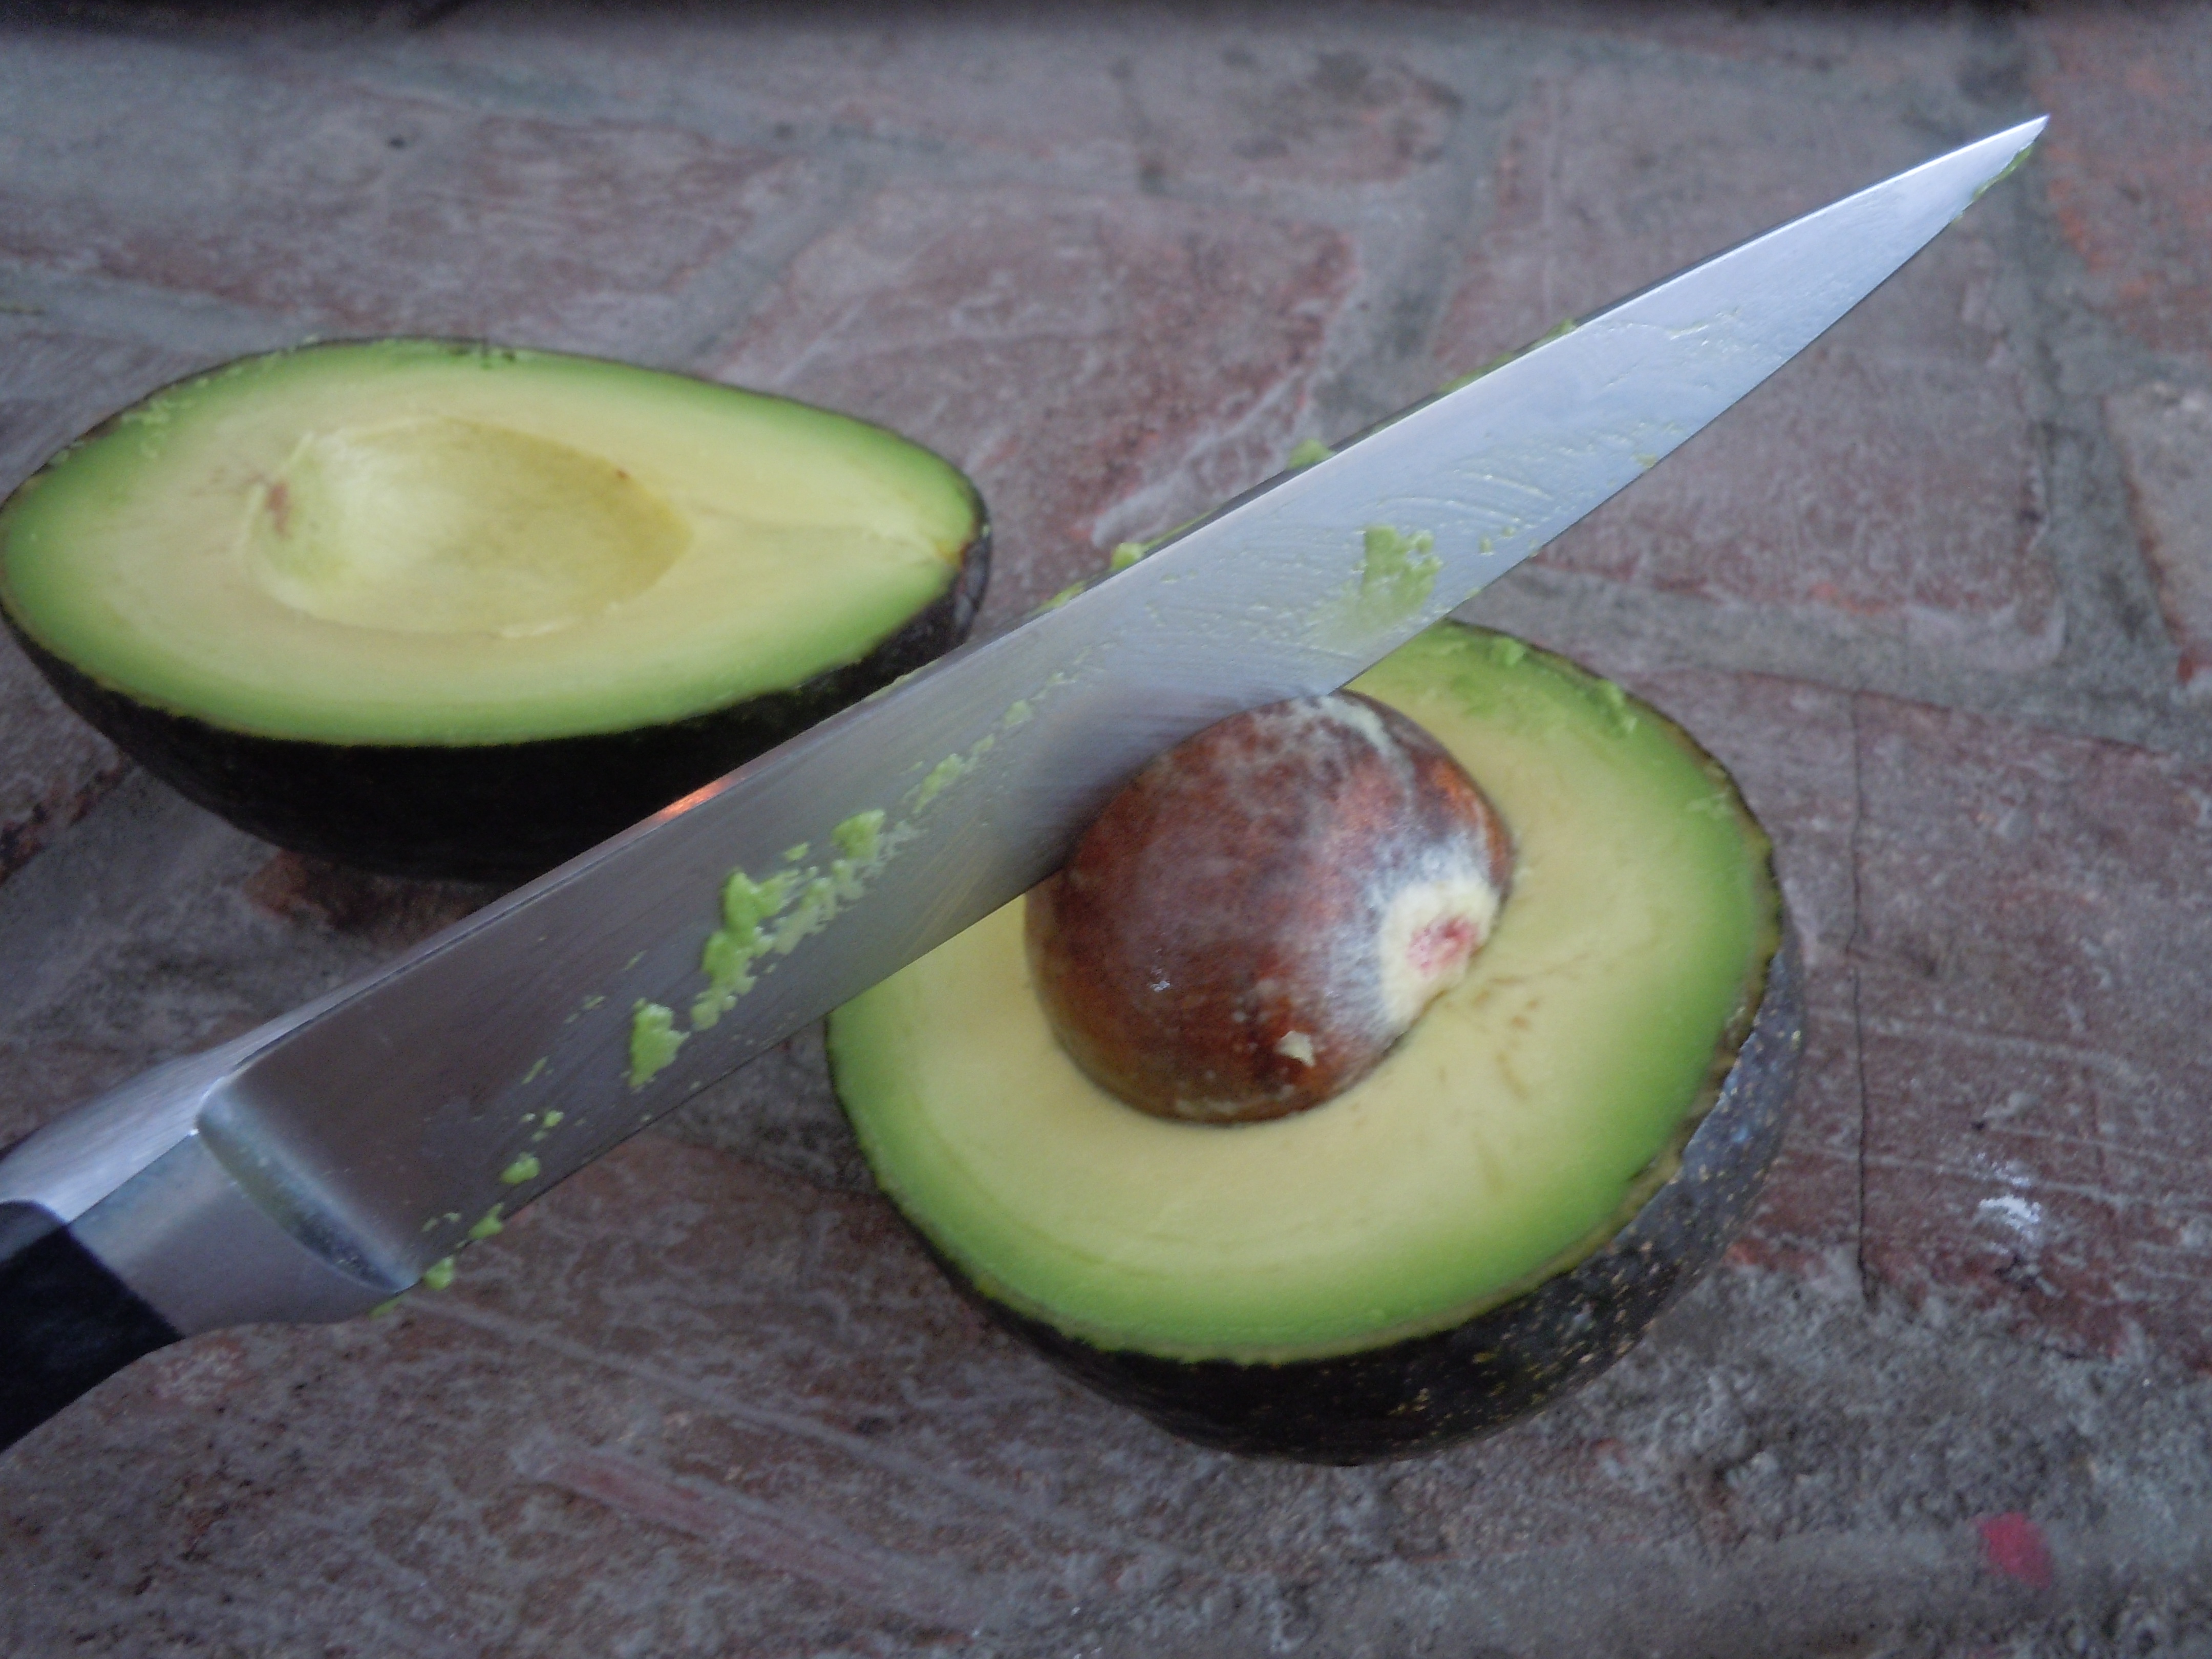
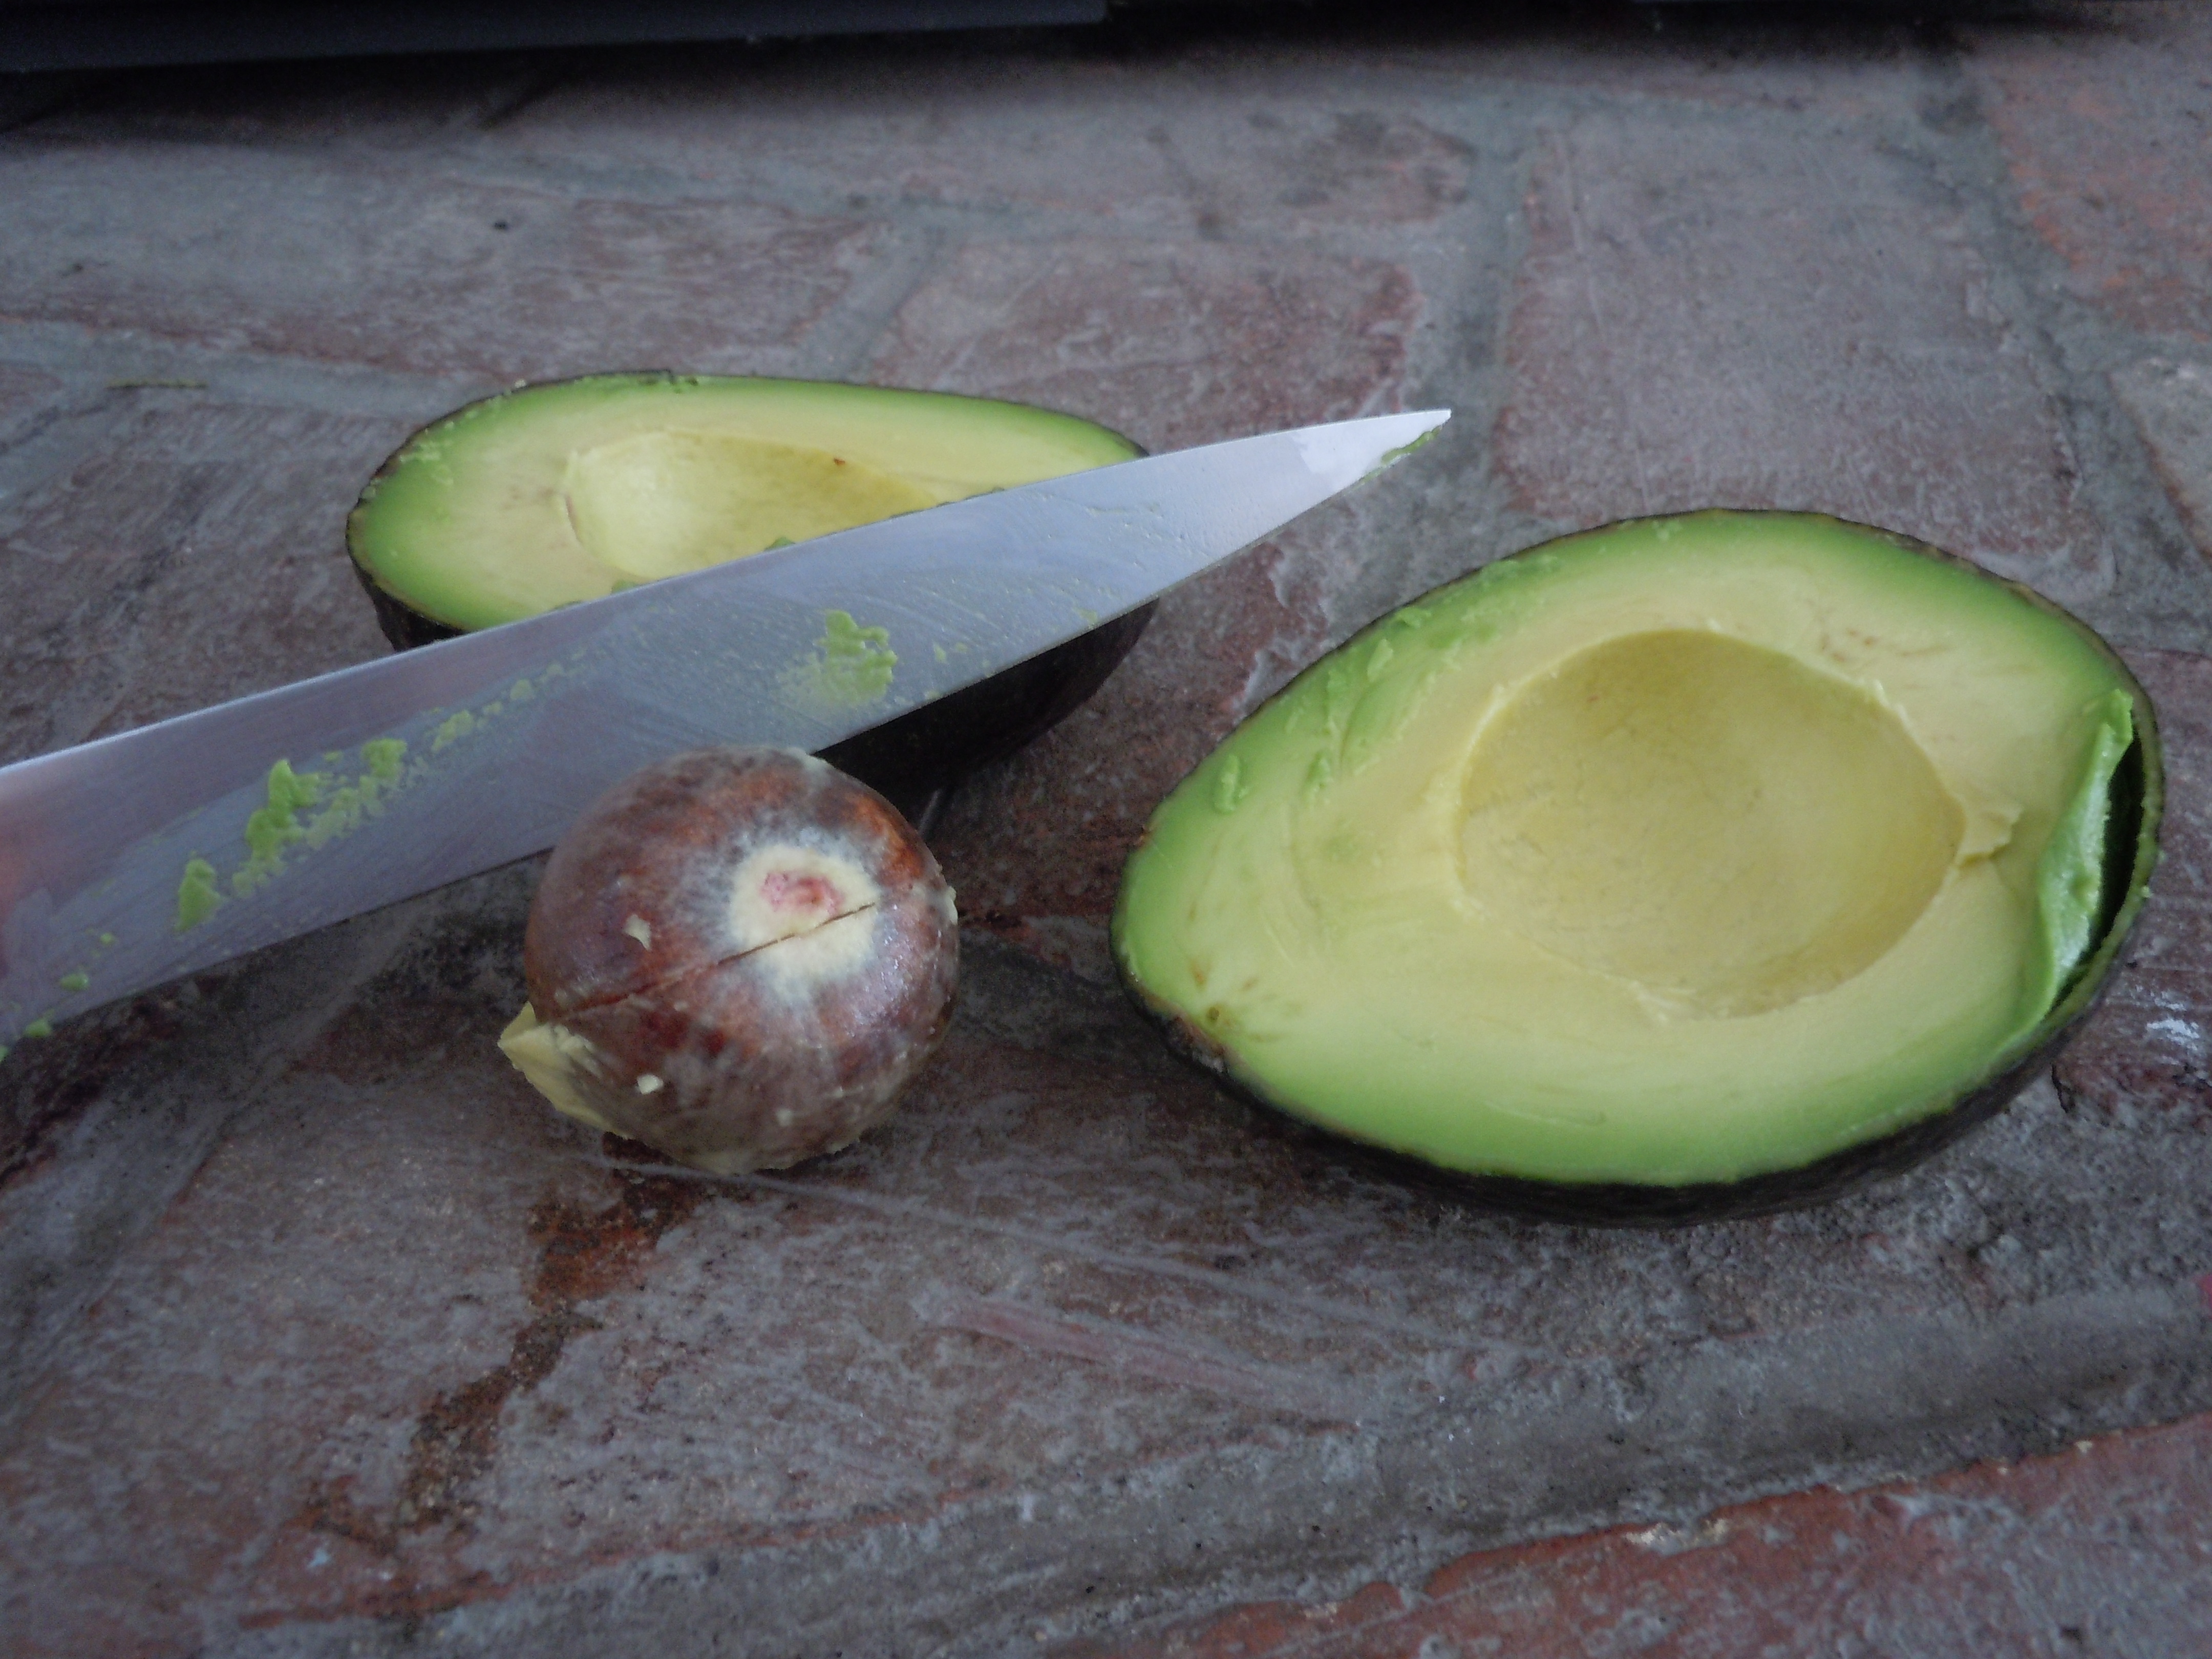
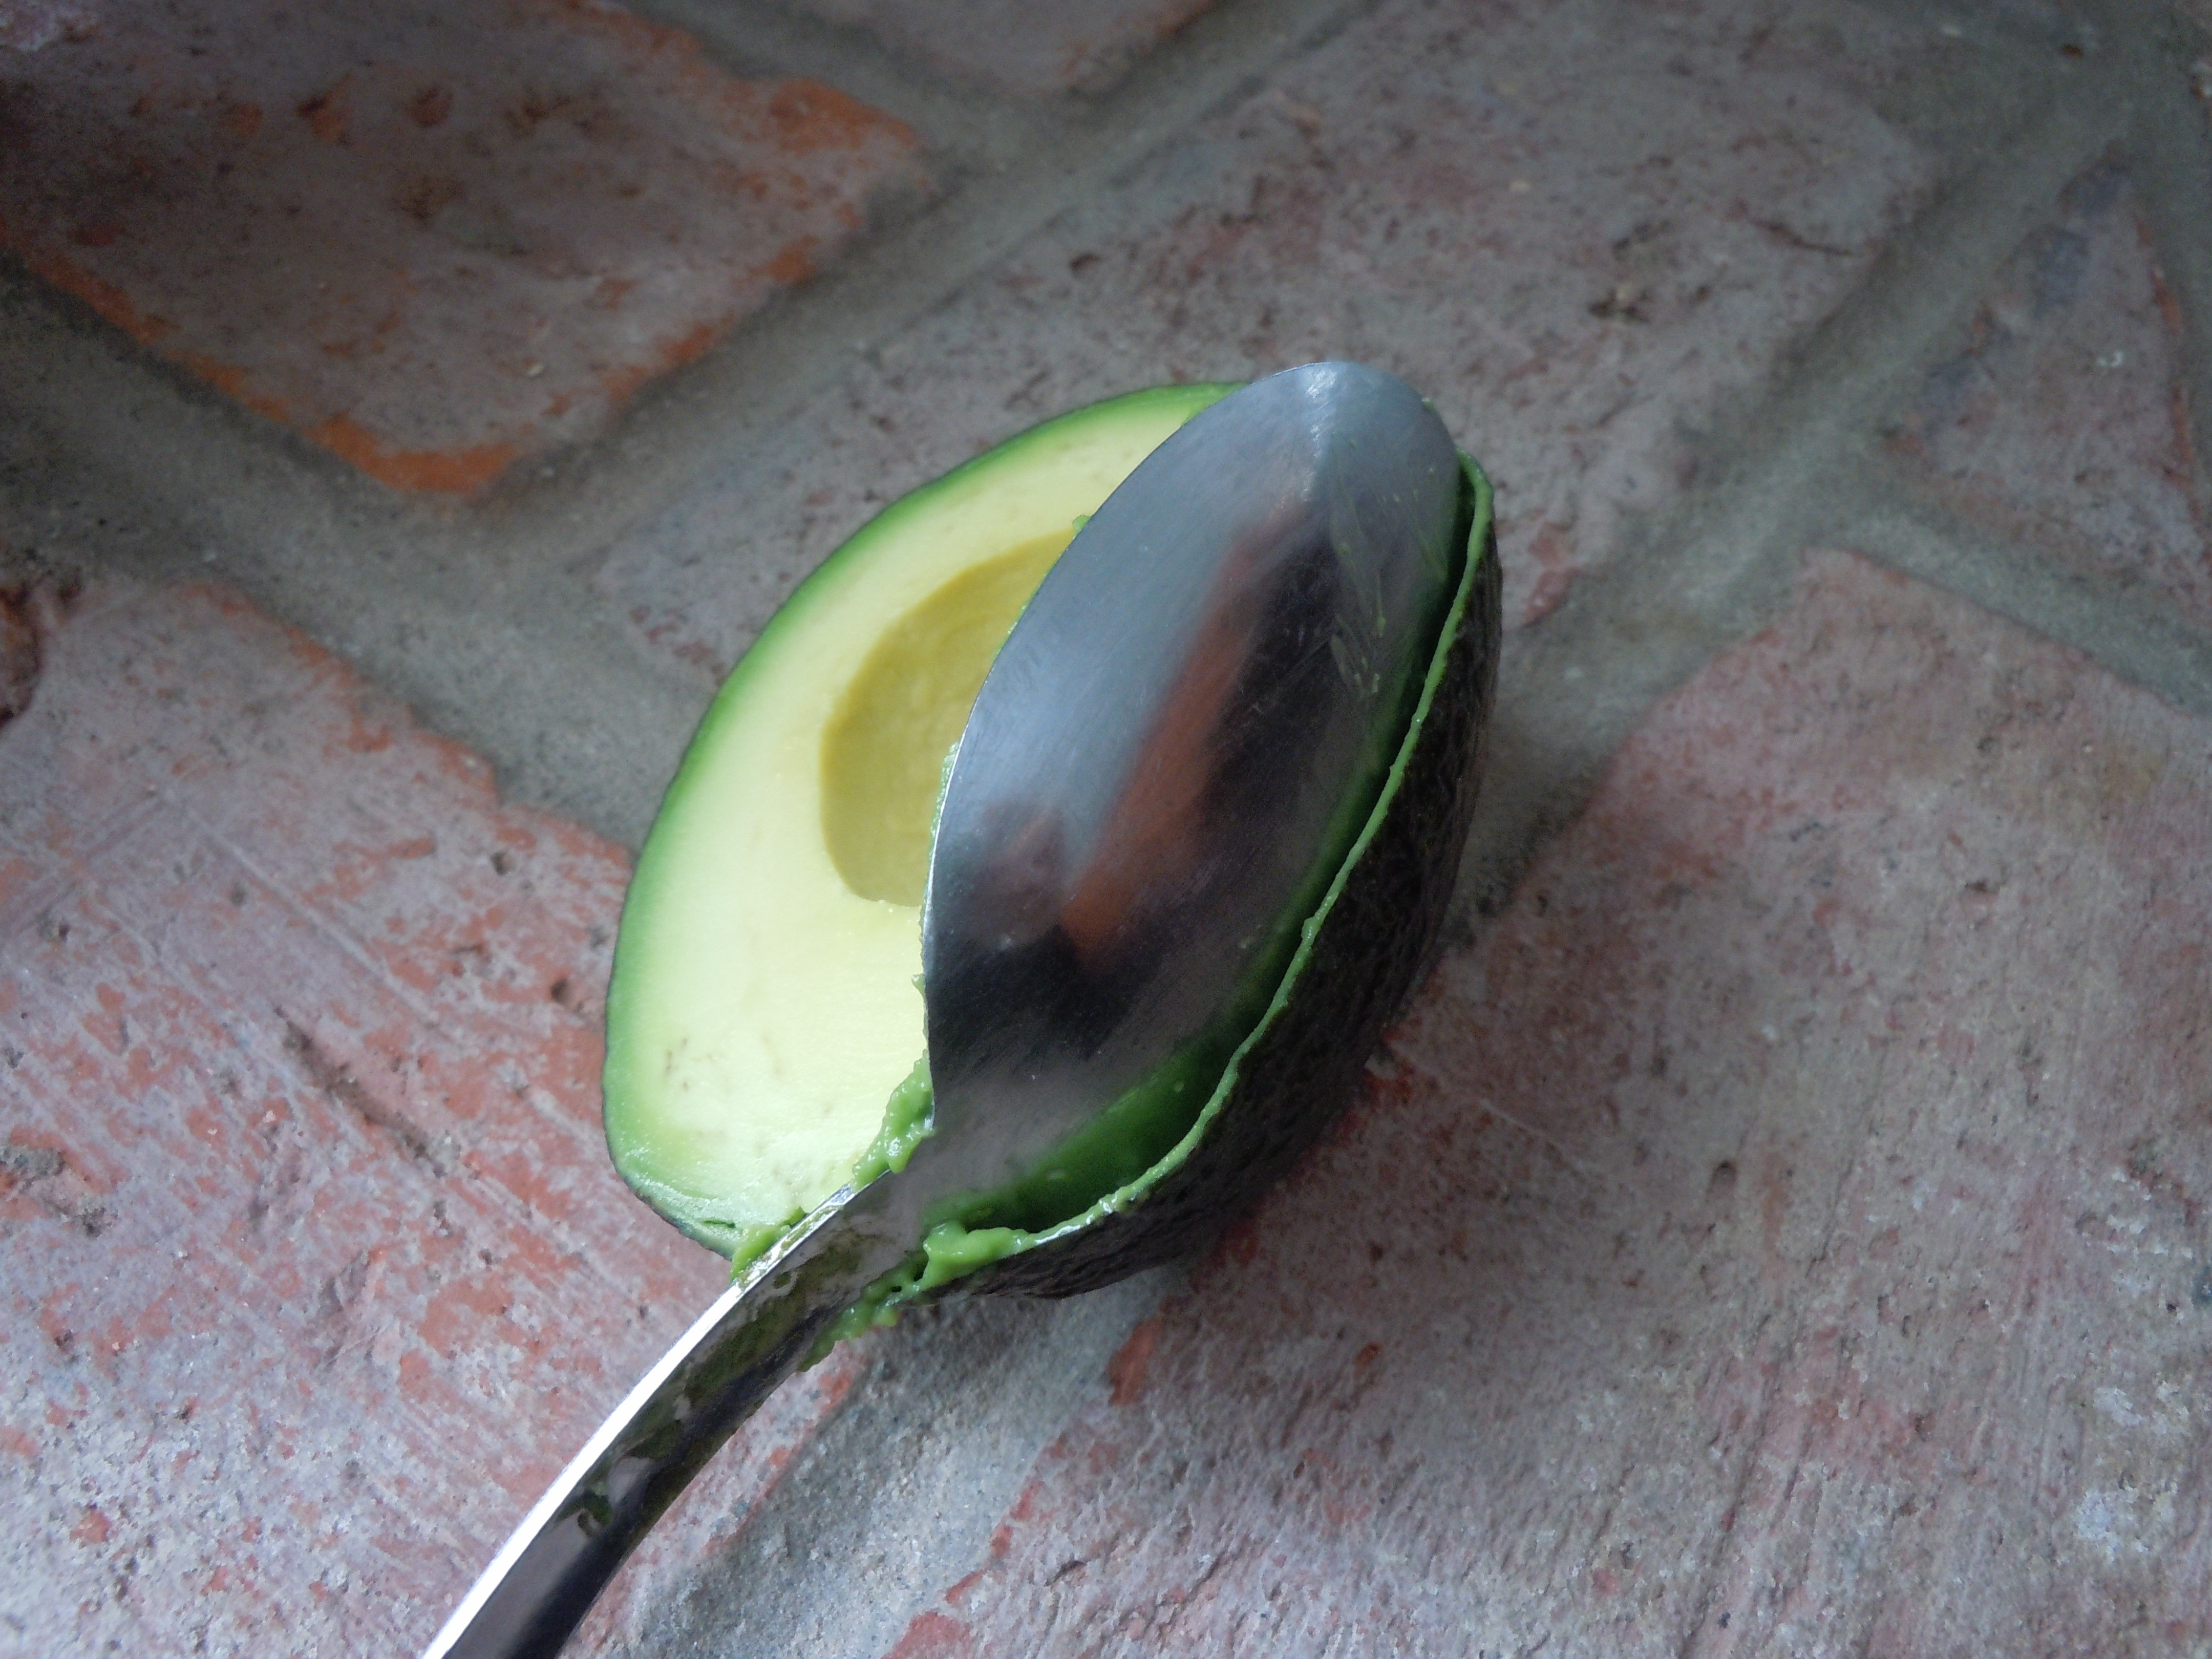
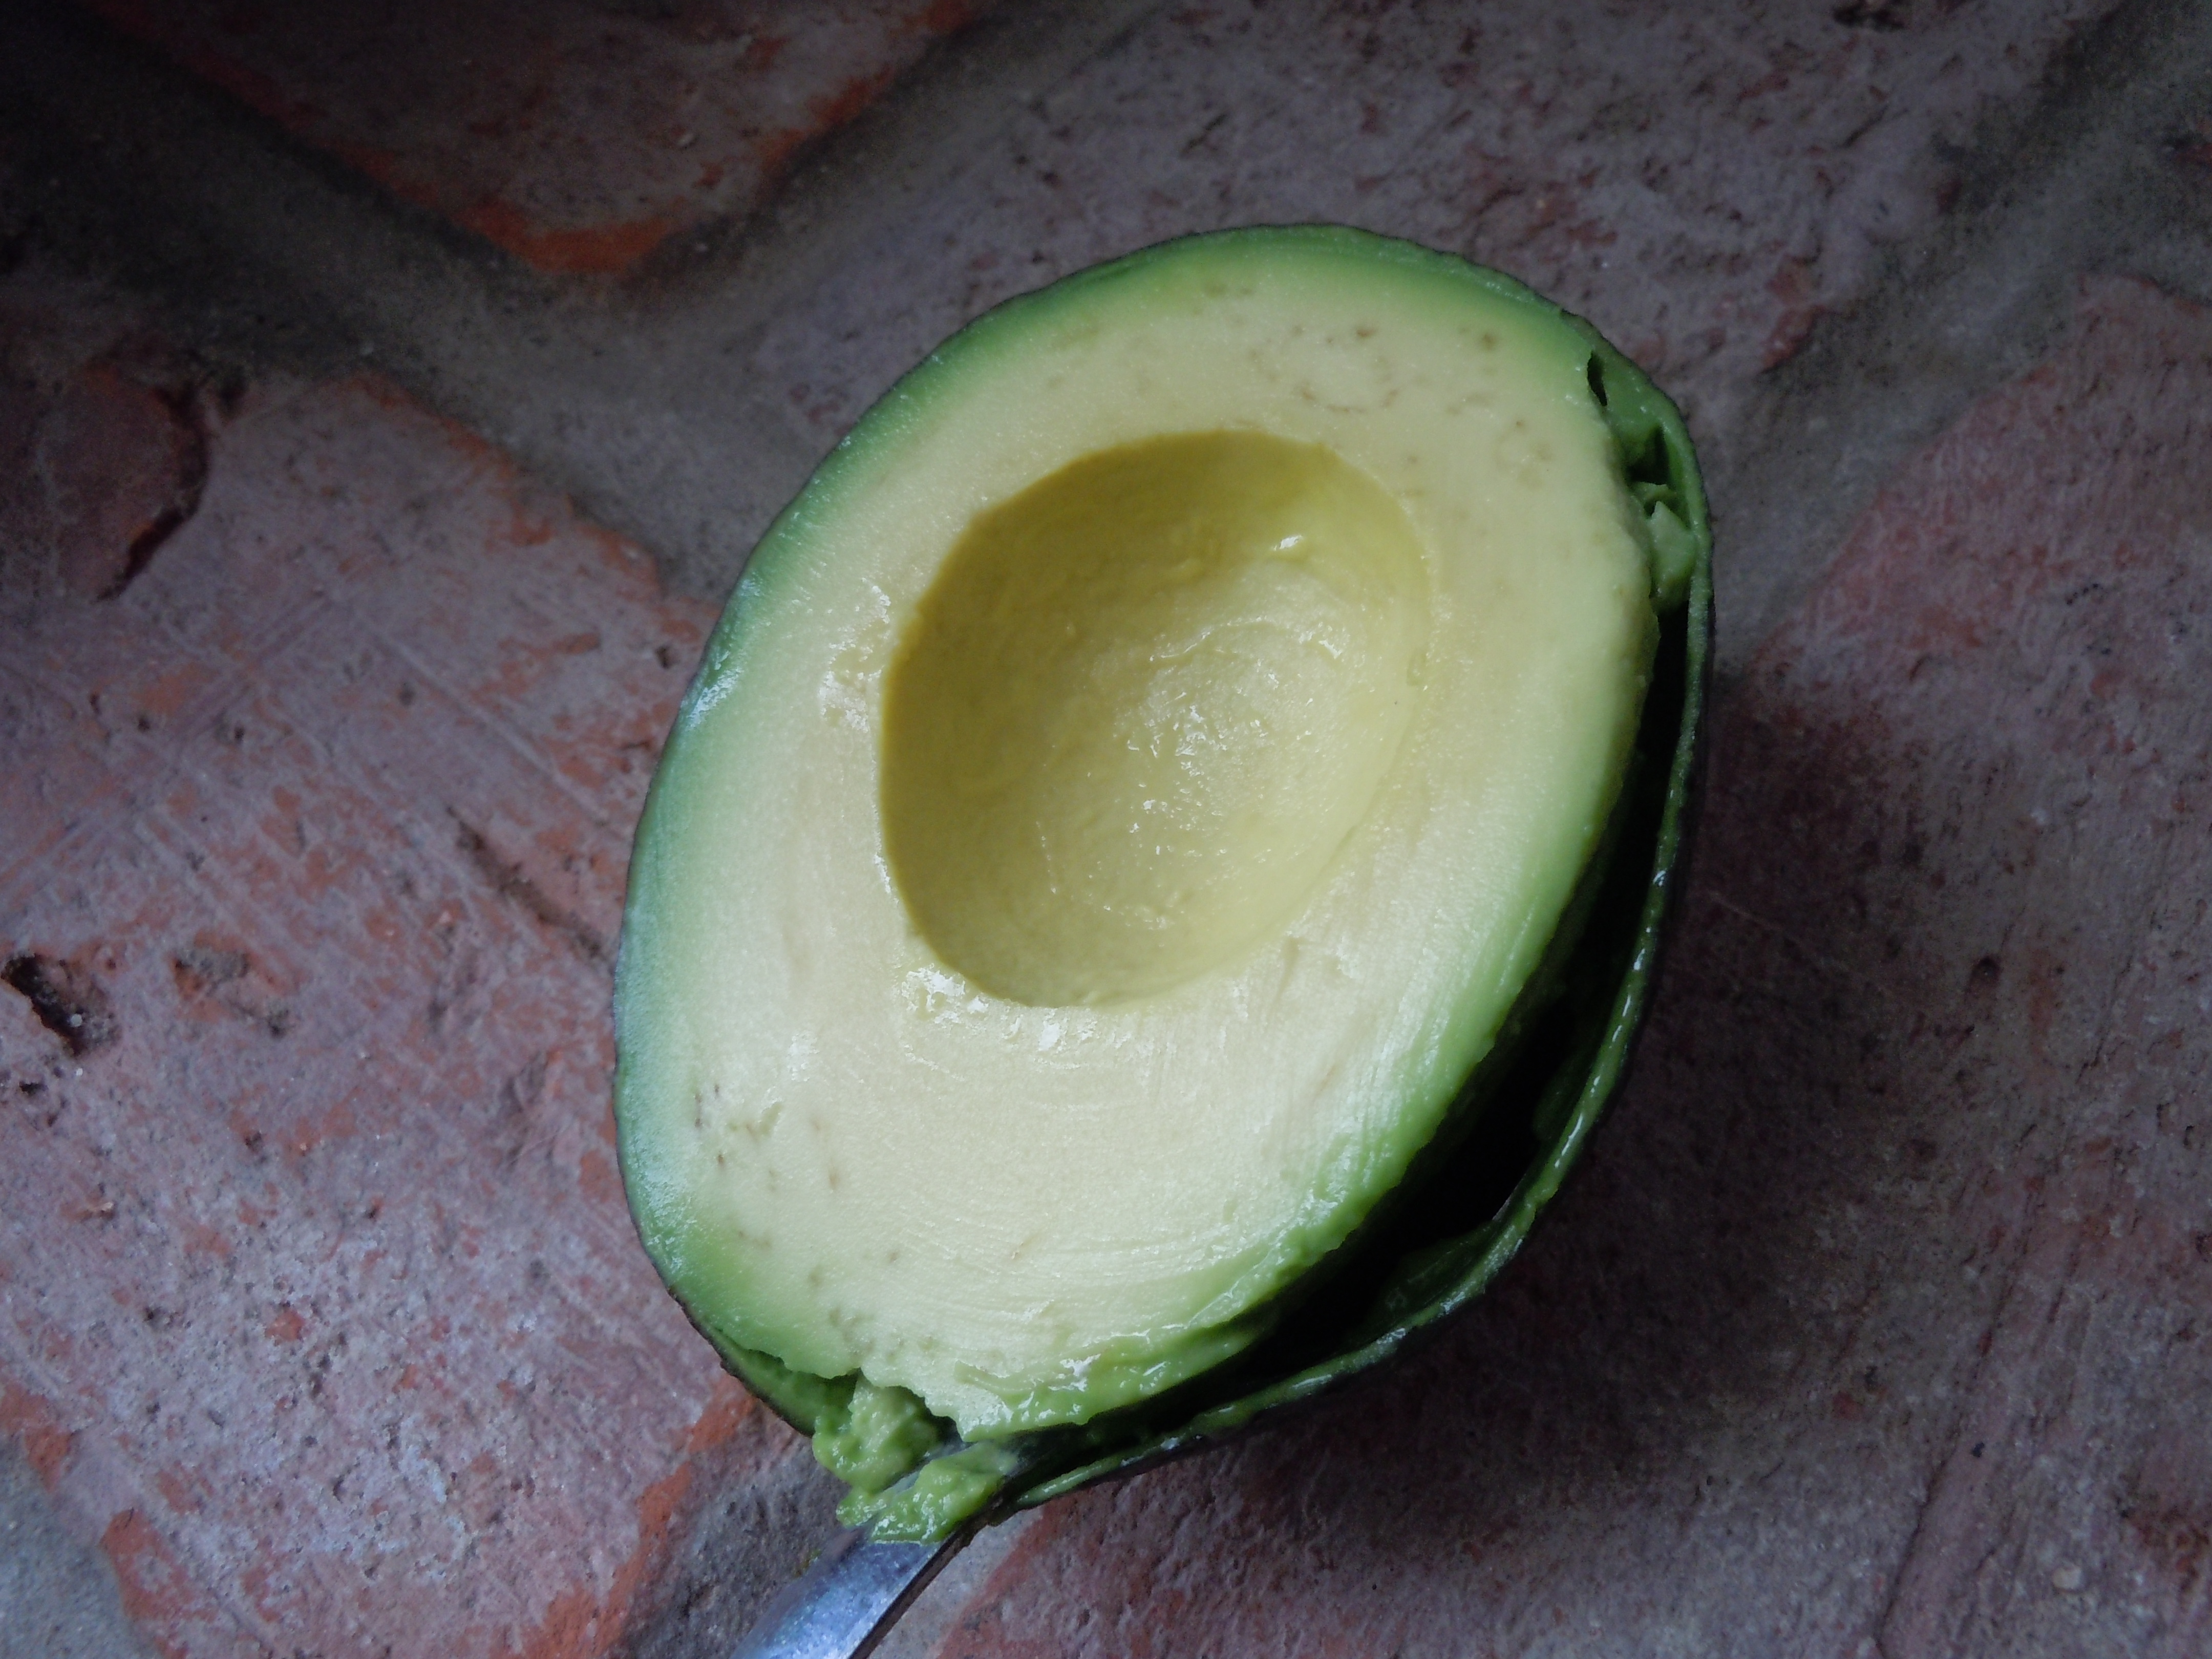
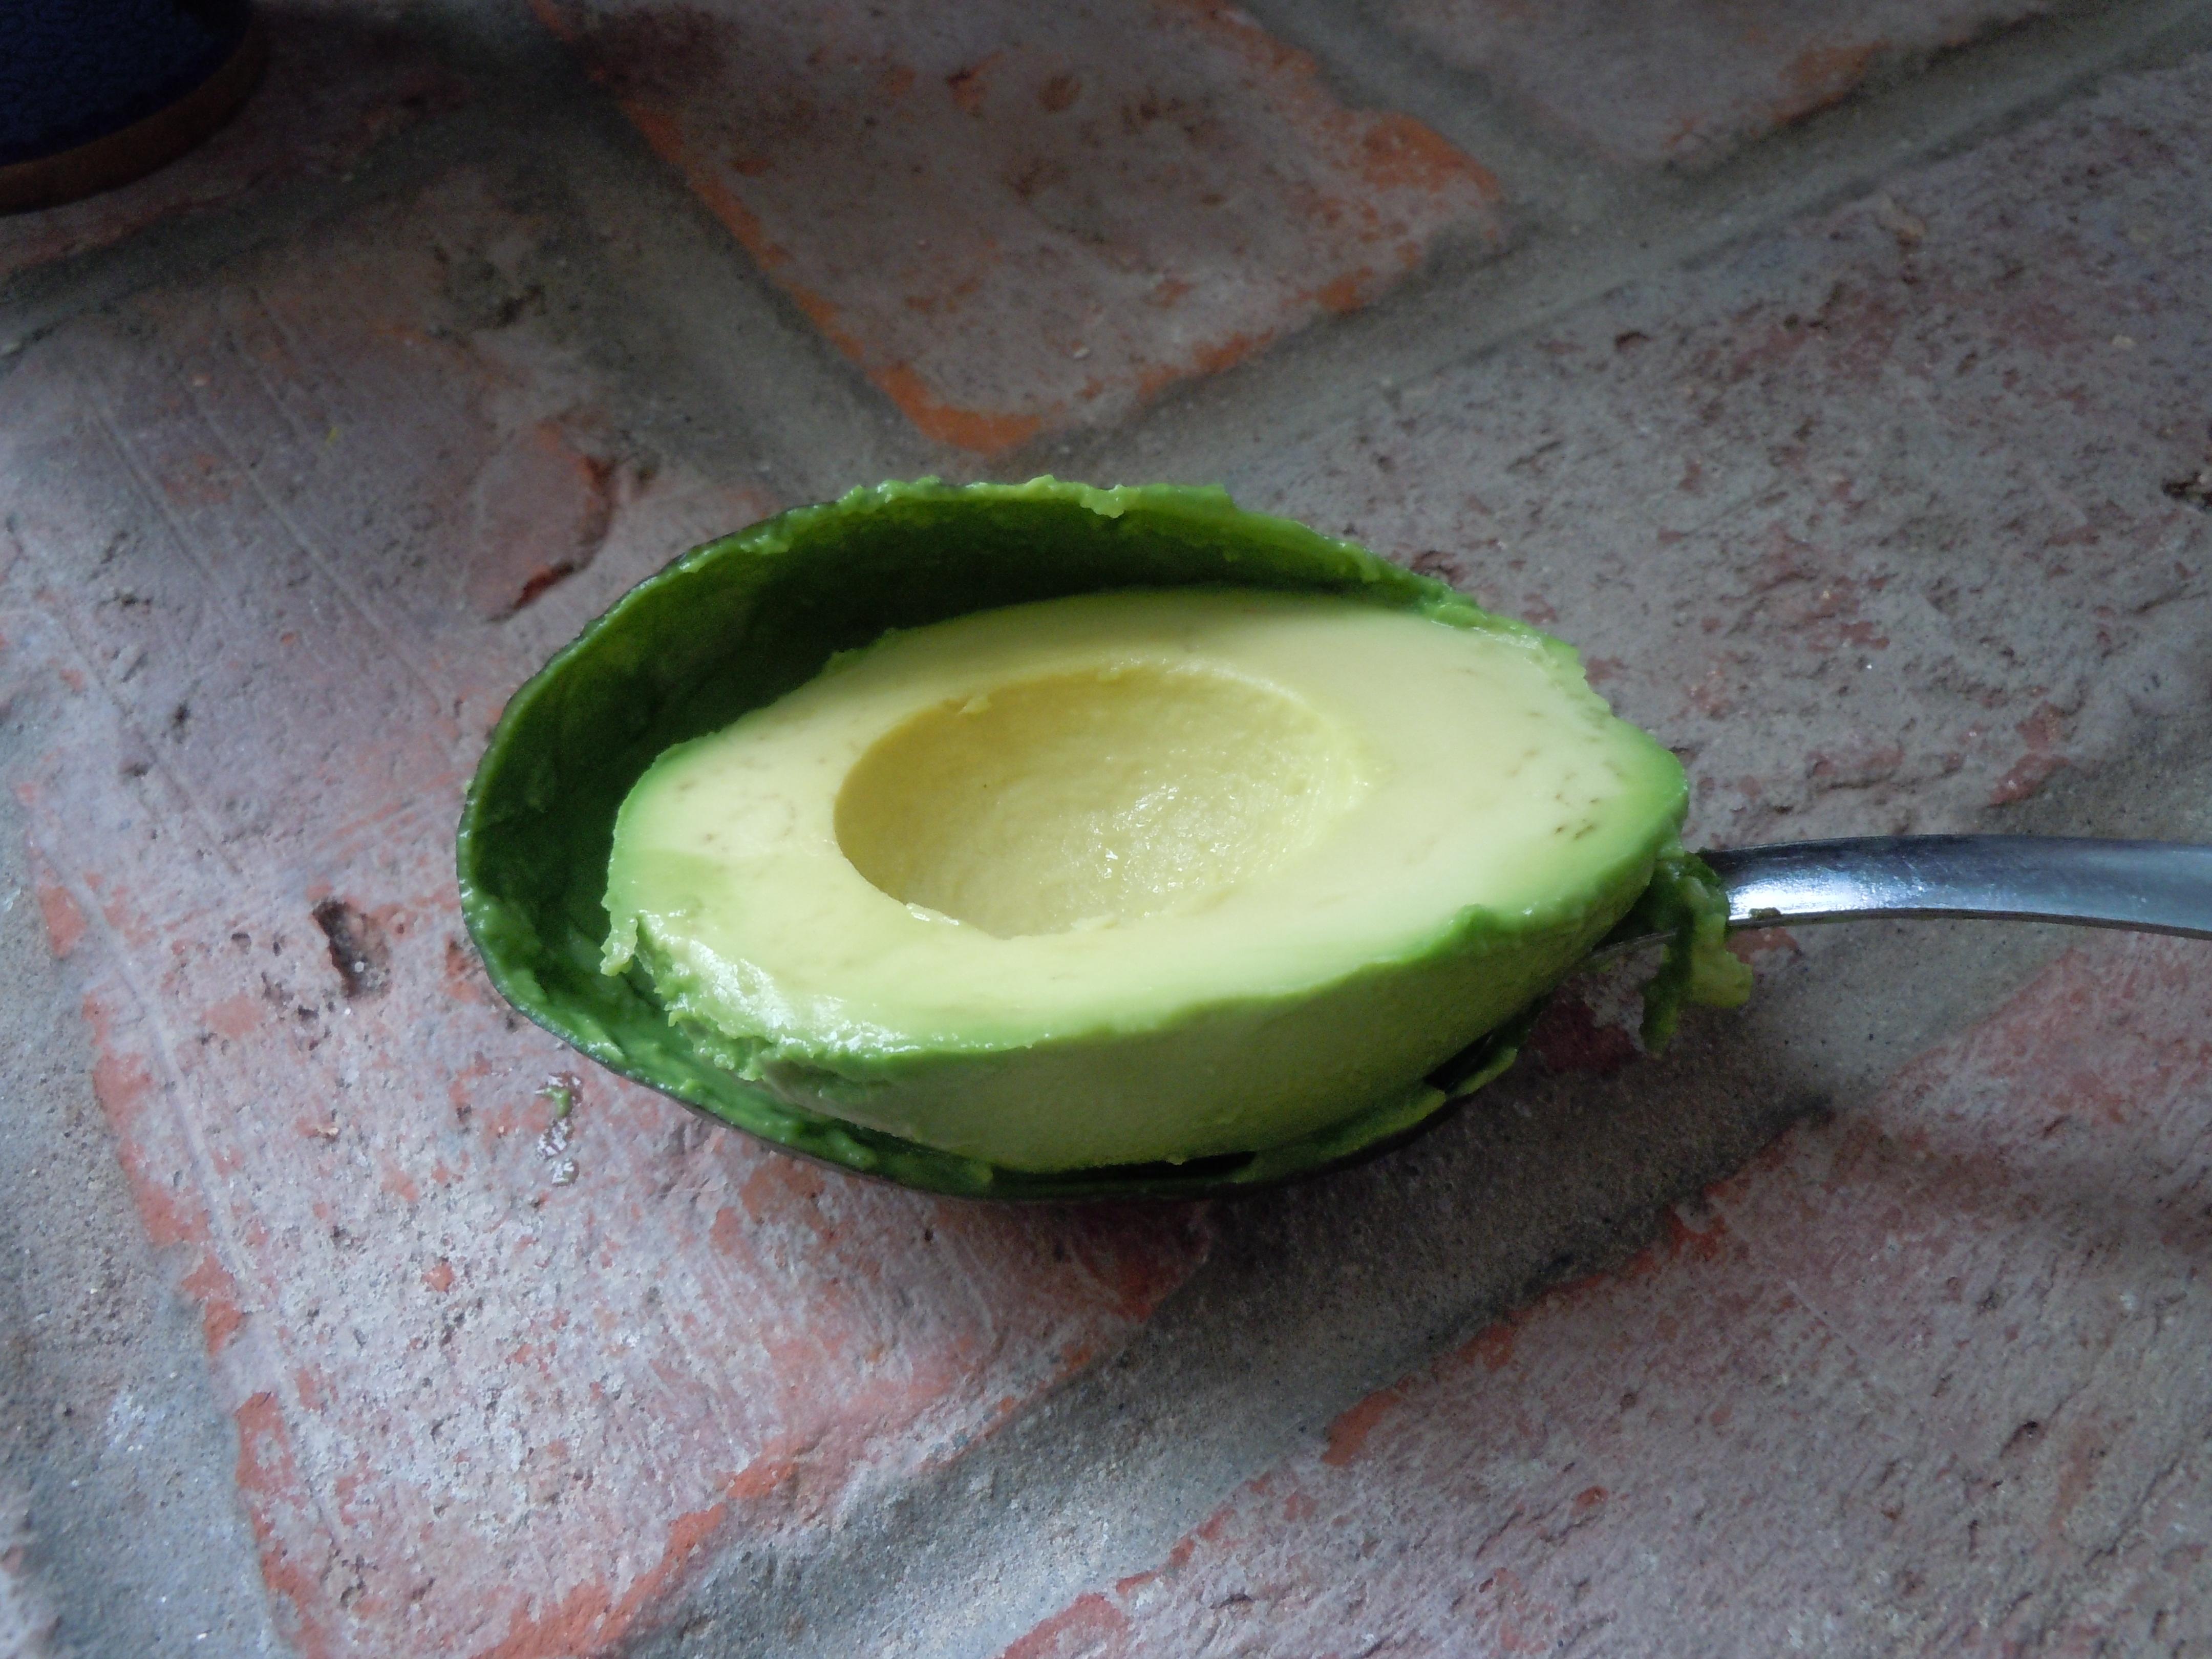
TIP: There is an easy way to get the pit out of a avocado which I have displayed in the pictures above. After running the knife around the flesh of the avocado against the edges of the inside pit… put the knife down and twist the avocado halves and pull apart. Then stick the knife into the pit and do the same thing holding on to the knife with one hand and carefully twist the avocado pit and it will pop right out. Then knock the pit off onto the board away from your hands. This can be a little tricky the first time so I would advise that this would be for an adult to try. Finally, Insert a large spoon and scoop the avocado along the edge of the avocado skin to remove avocado flesh.
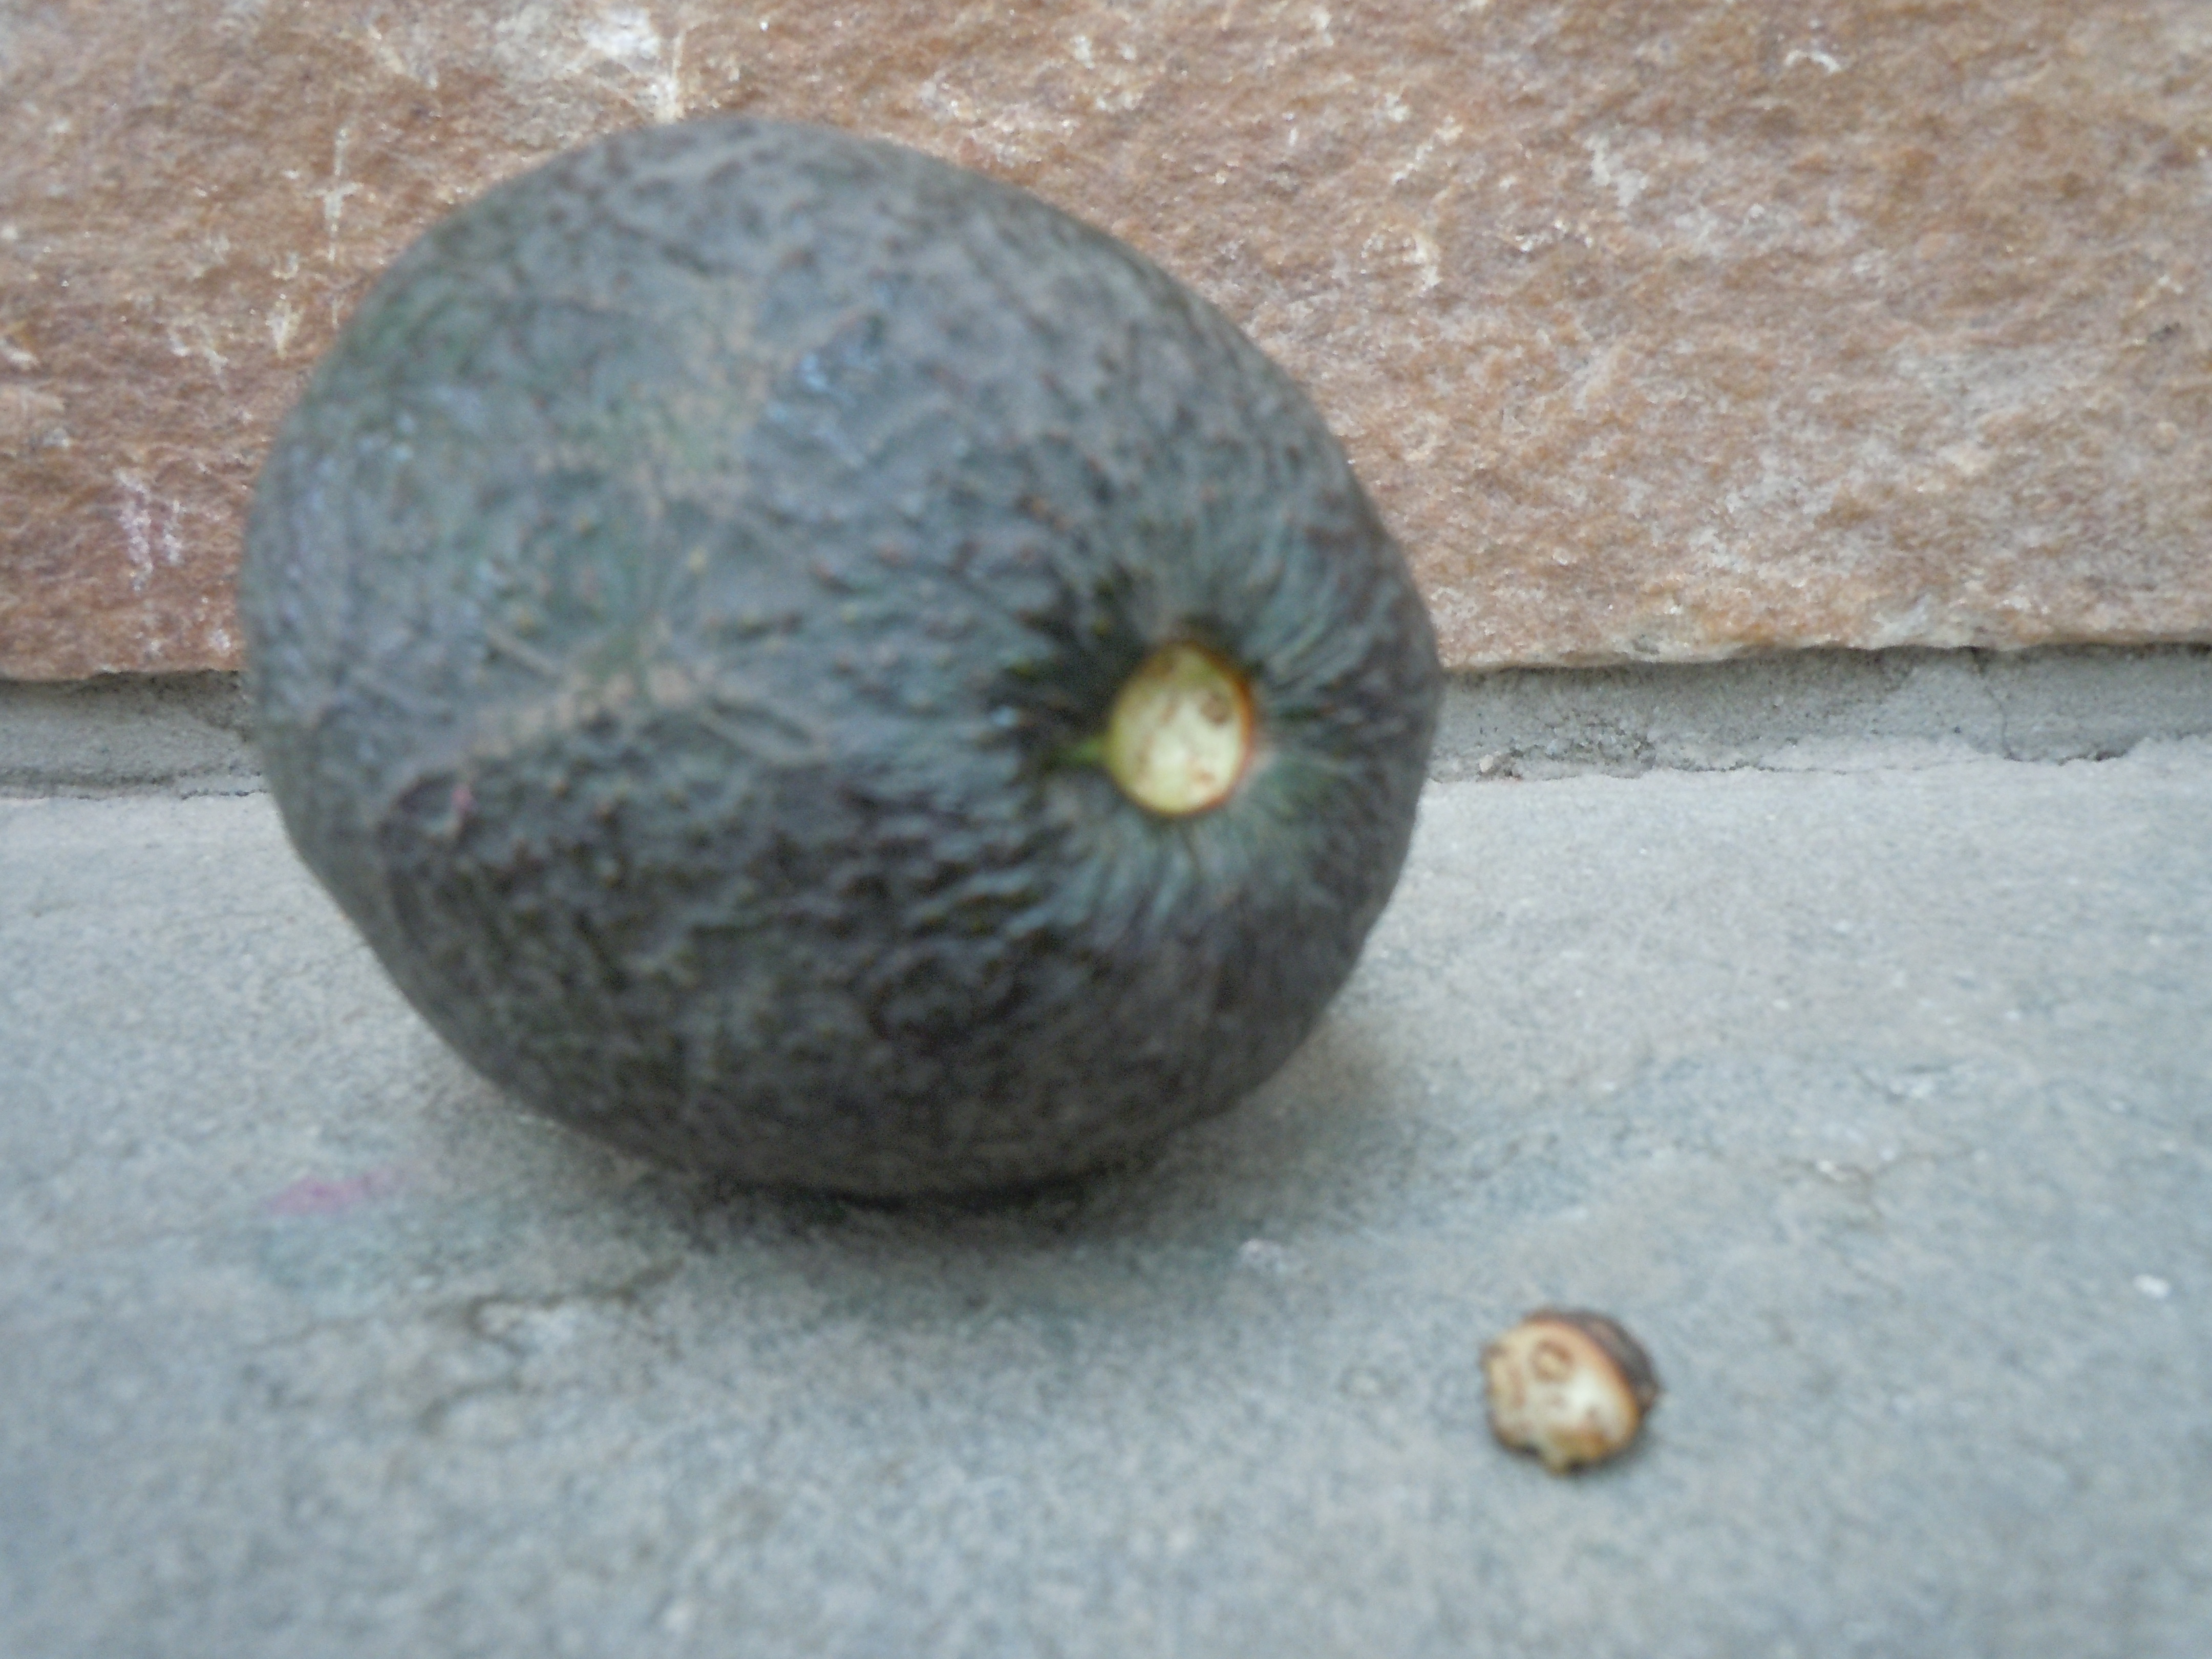
TIP: VERY IMPORTANT….it is wise to remove this end stem off the avocado because it would taste extremely bitter if it were to accidentally get into the mousse.


