The Traveling Epicurean

Roasted Chick Peas


Roasted Chick Peas

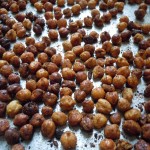
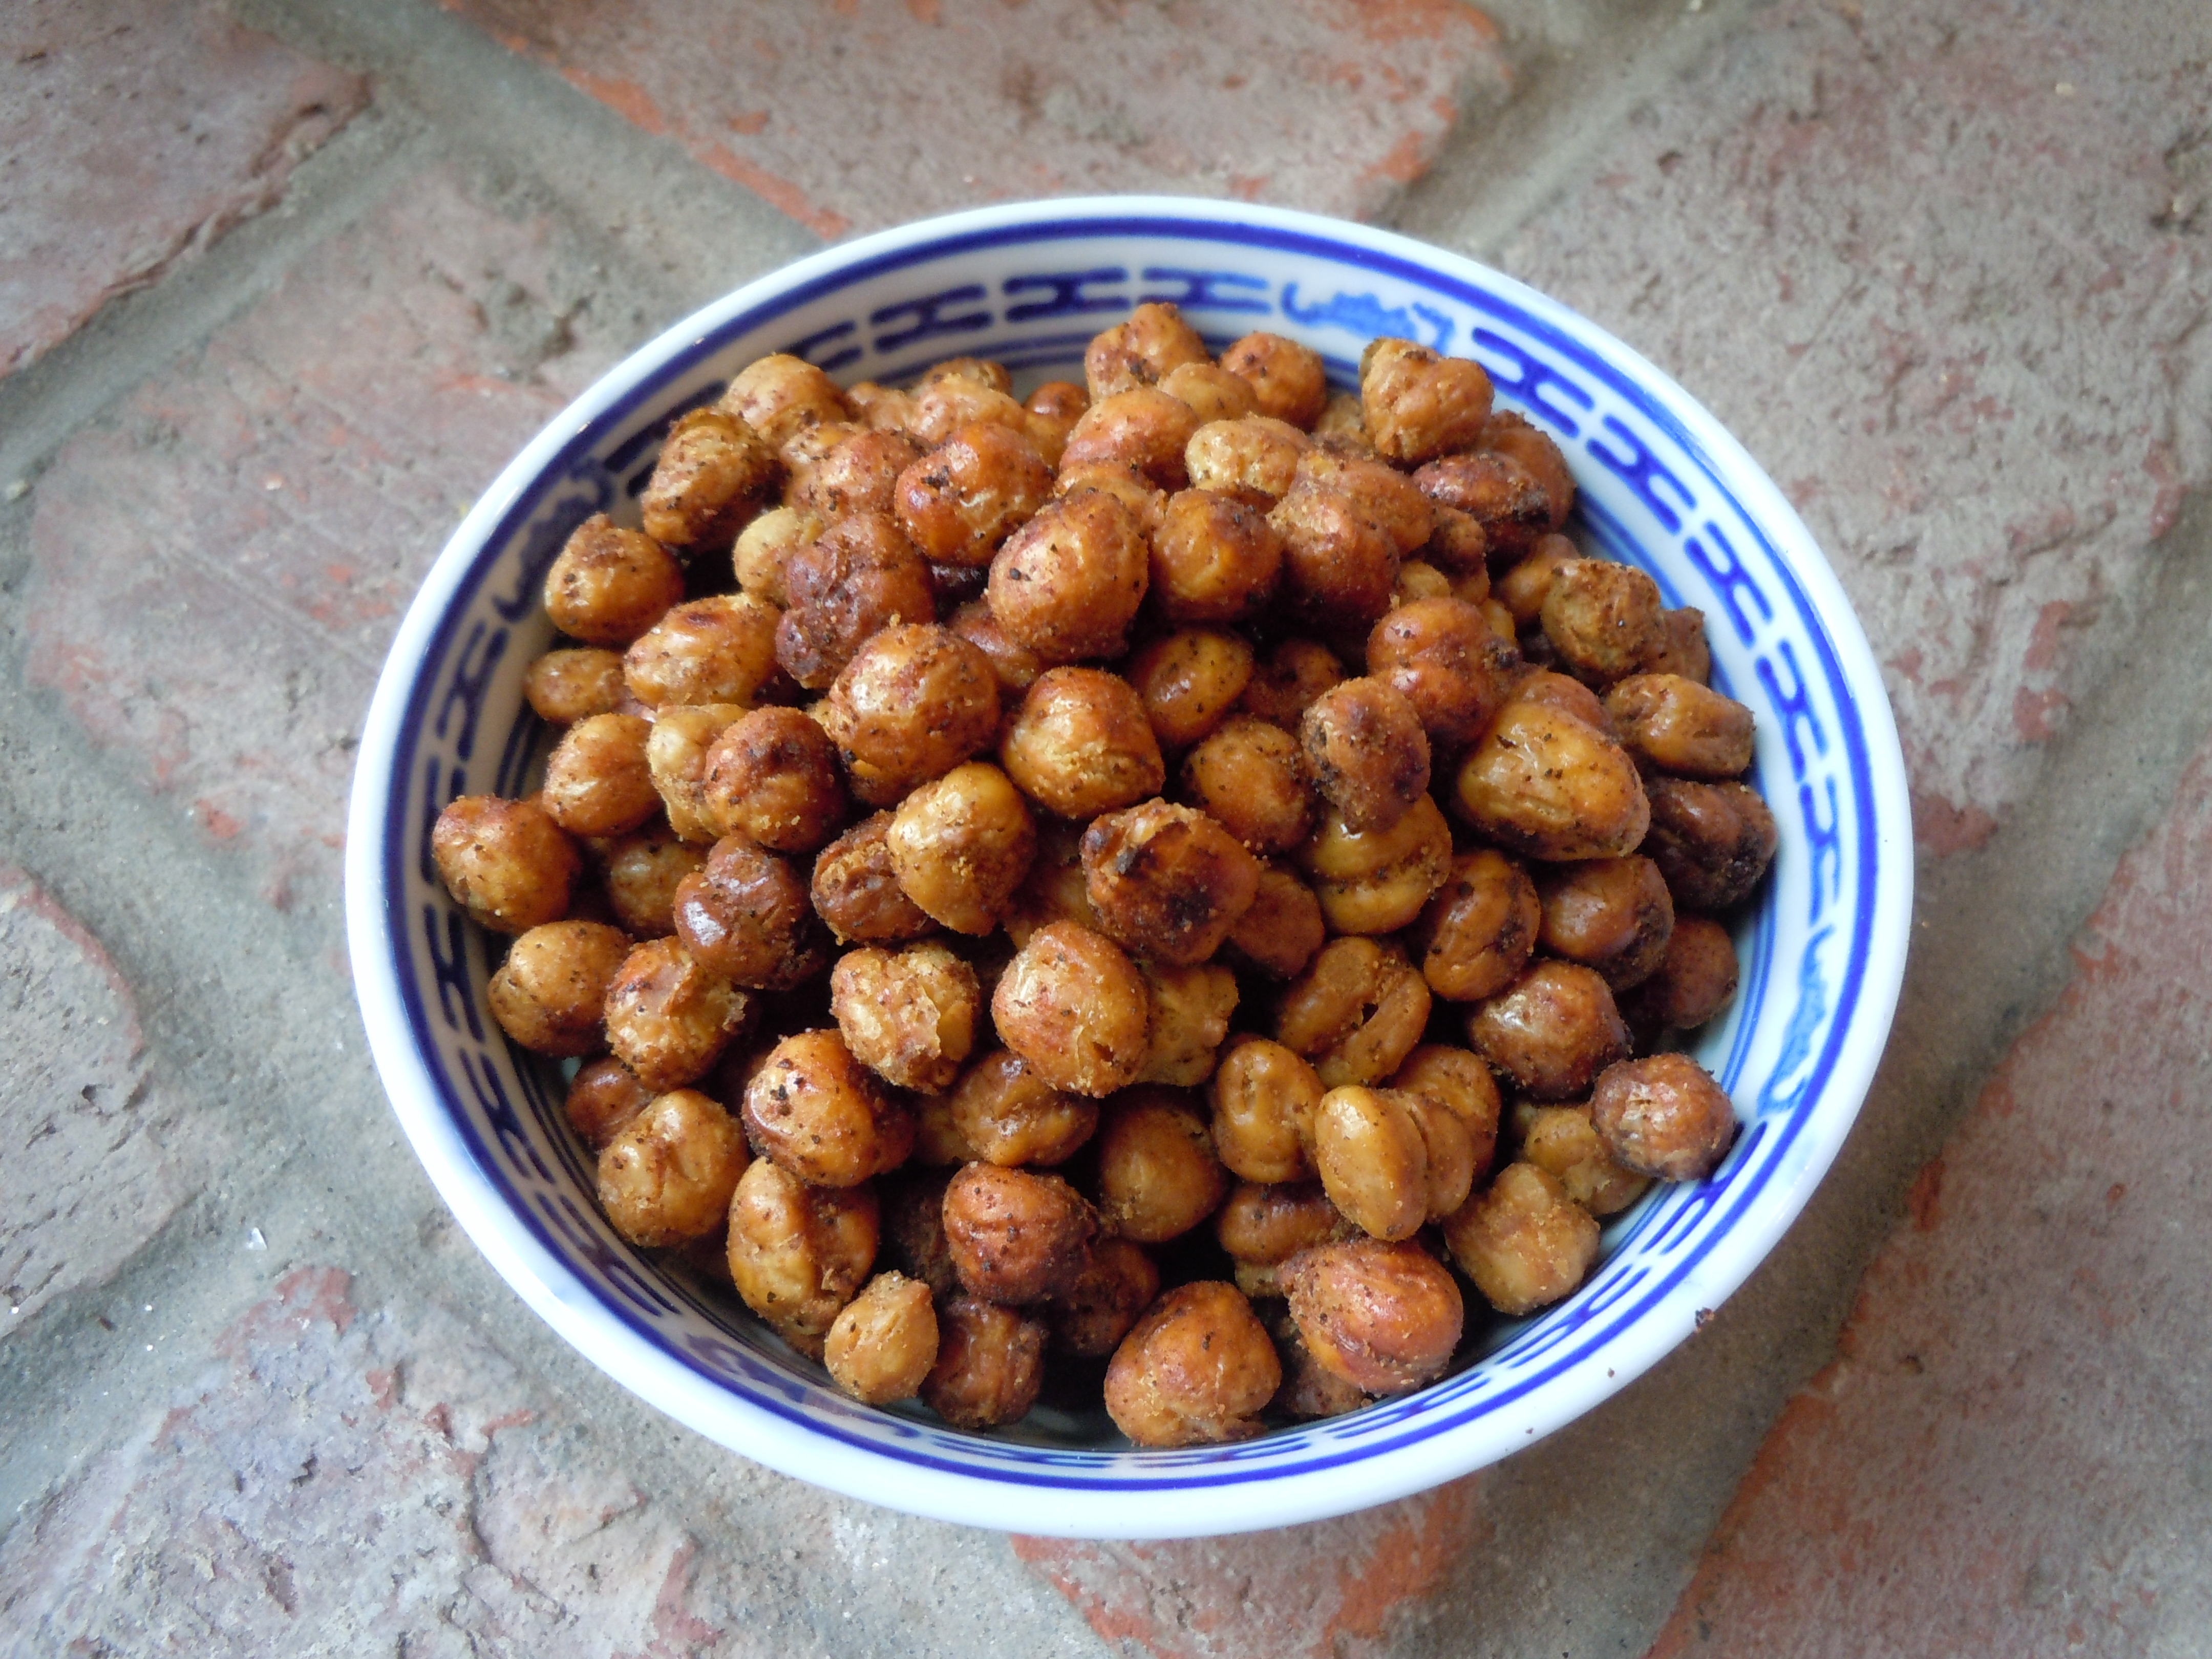
Wow! These roasted chick peas are a crunchy, tasty and healthy treat.  You are going to love them as much as I do!  You definitely won’t be able to have just one little handful…you will be back for more. My good friend Lisa turned me on to these roasted chick peas and I’m so glad she did because they are wicked easy to make and a great on the go snack or even in an appetizer assortment along with baked asparagus wrapped in prosciutto, zucchini torta or baked coconut shrimp.

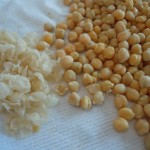
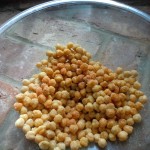
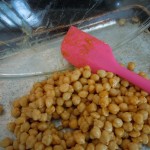
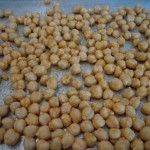
iphone picturesiphone pictures 953iphone pictures 954


iphone pictures 956iphone pictures 957iphone pictures 958


iphone pictures 959

iphone pictures 960

iphone pictures 968


Ingredients:

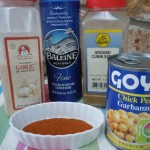
  • 2 cans chick peas
  • 3 Tbsp olive oil
  • 1/2 tsp garlic granules
  • 1/2 tsp onion granules
  • 1/4 tsp cayenne pepper OR 1/4 tsp finely ground blk pepper for a mild flavor (I did the blk pepper in the show for really flavorful chic peas and not spicy)
  • 1/4 tsp cumin
  • OPTIONAL: a few dashes of Siracha to really spice it up!
  • 1/2 tsp fine sea salt -1/4 before baking and 1/4 after they are roasted

Directions:

  1. Pre-heat oven to 450º.
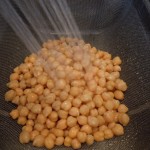
  2. Drain and rinse 2 cans of chick peas.
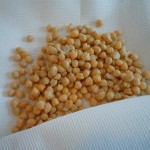
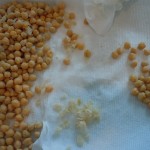
  3. Gently rub and pat dry with paper towels.
  4. This action will loosen the skins off of the chick peas (you don’t have to get off every single chick peas skin..this just naturally happens as you are patting them dry).
  5. Put the chick peas into a medium bowl and add olive oil and spices.
  6. Mix and turn out onto a cookie sheet.
  7. Put them into the oven and bake for approx. 35 minutes.
  8. Shake the pan rolling around the chick peas every 10 minutes…at 25 minutes, 15 minutes and DEFINITELY at 5 minutes
  9. They will burn quickly at the end so you need to keep an eye on them especially during the last 5 minutes.
  10. Remove the chic peas from the oven and sprinkle with the other 1/4 tsp salt and let cool on tray

Turkey Stuffed Peppers

Turkey Stuffed Peppers

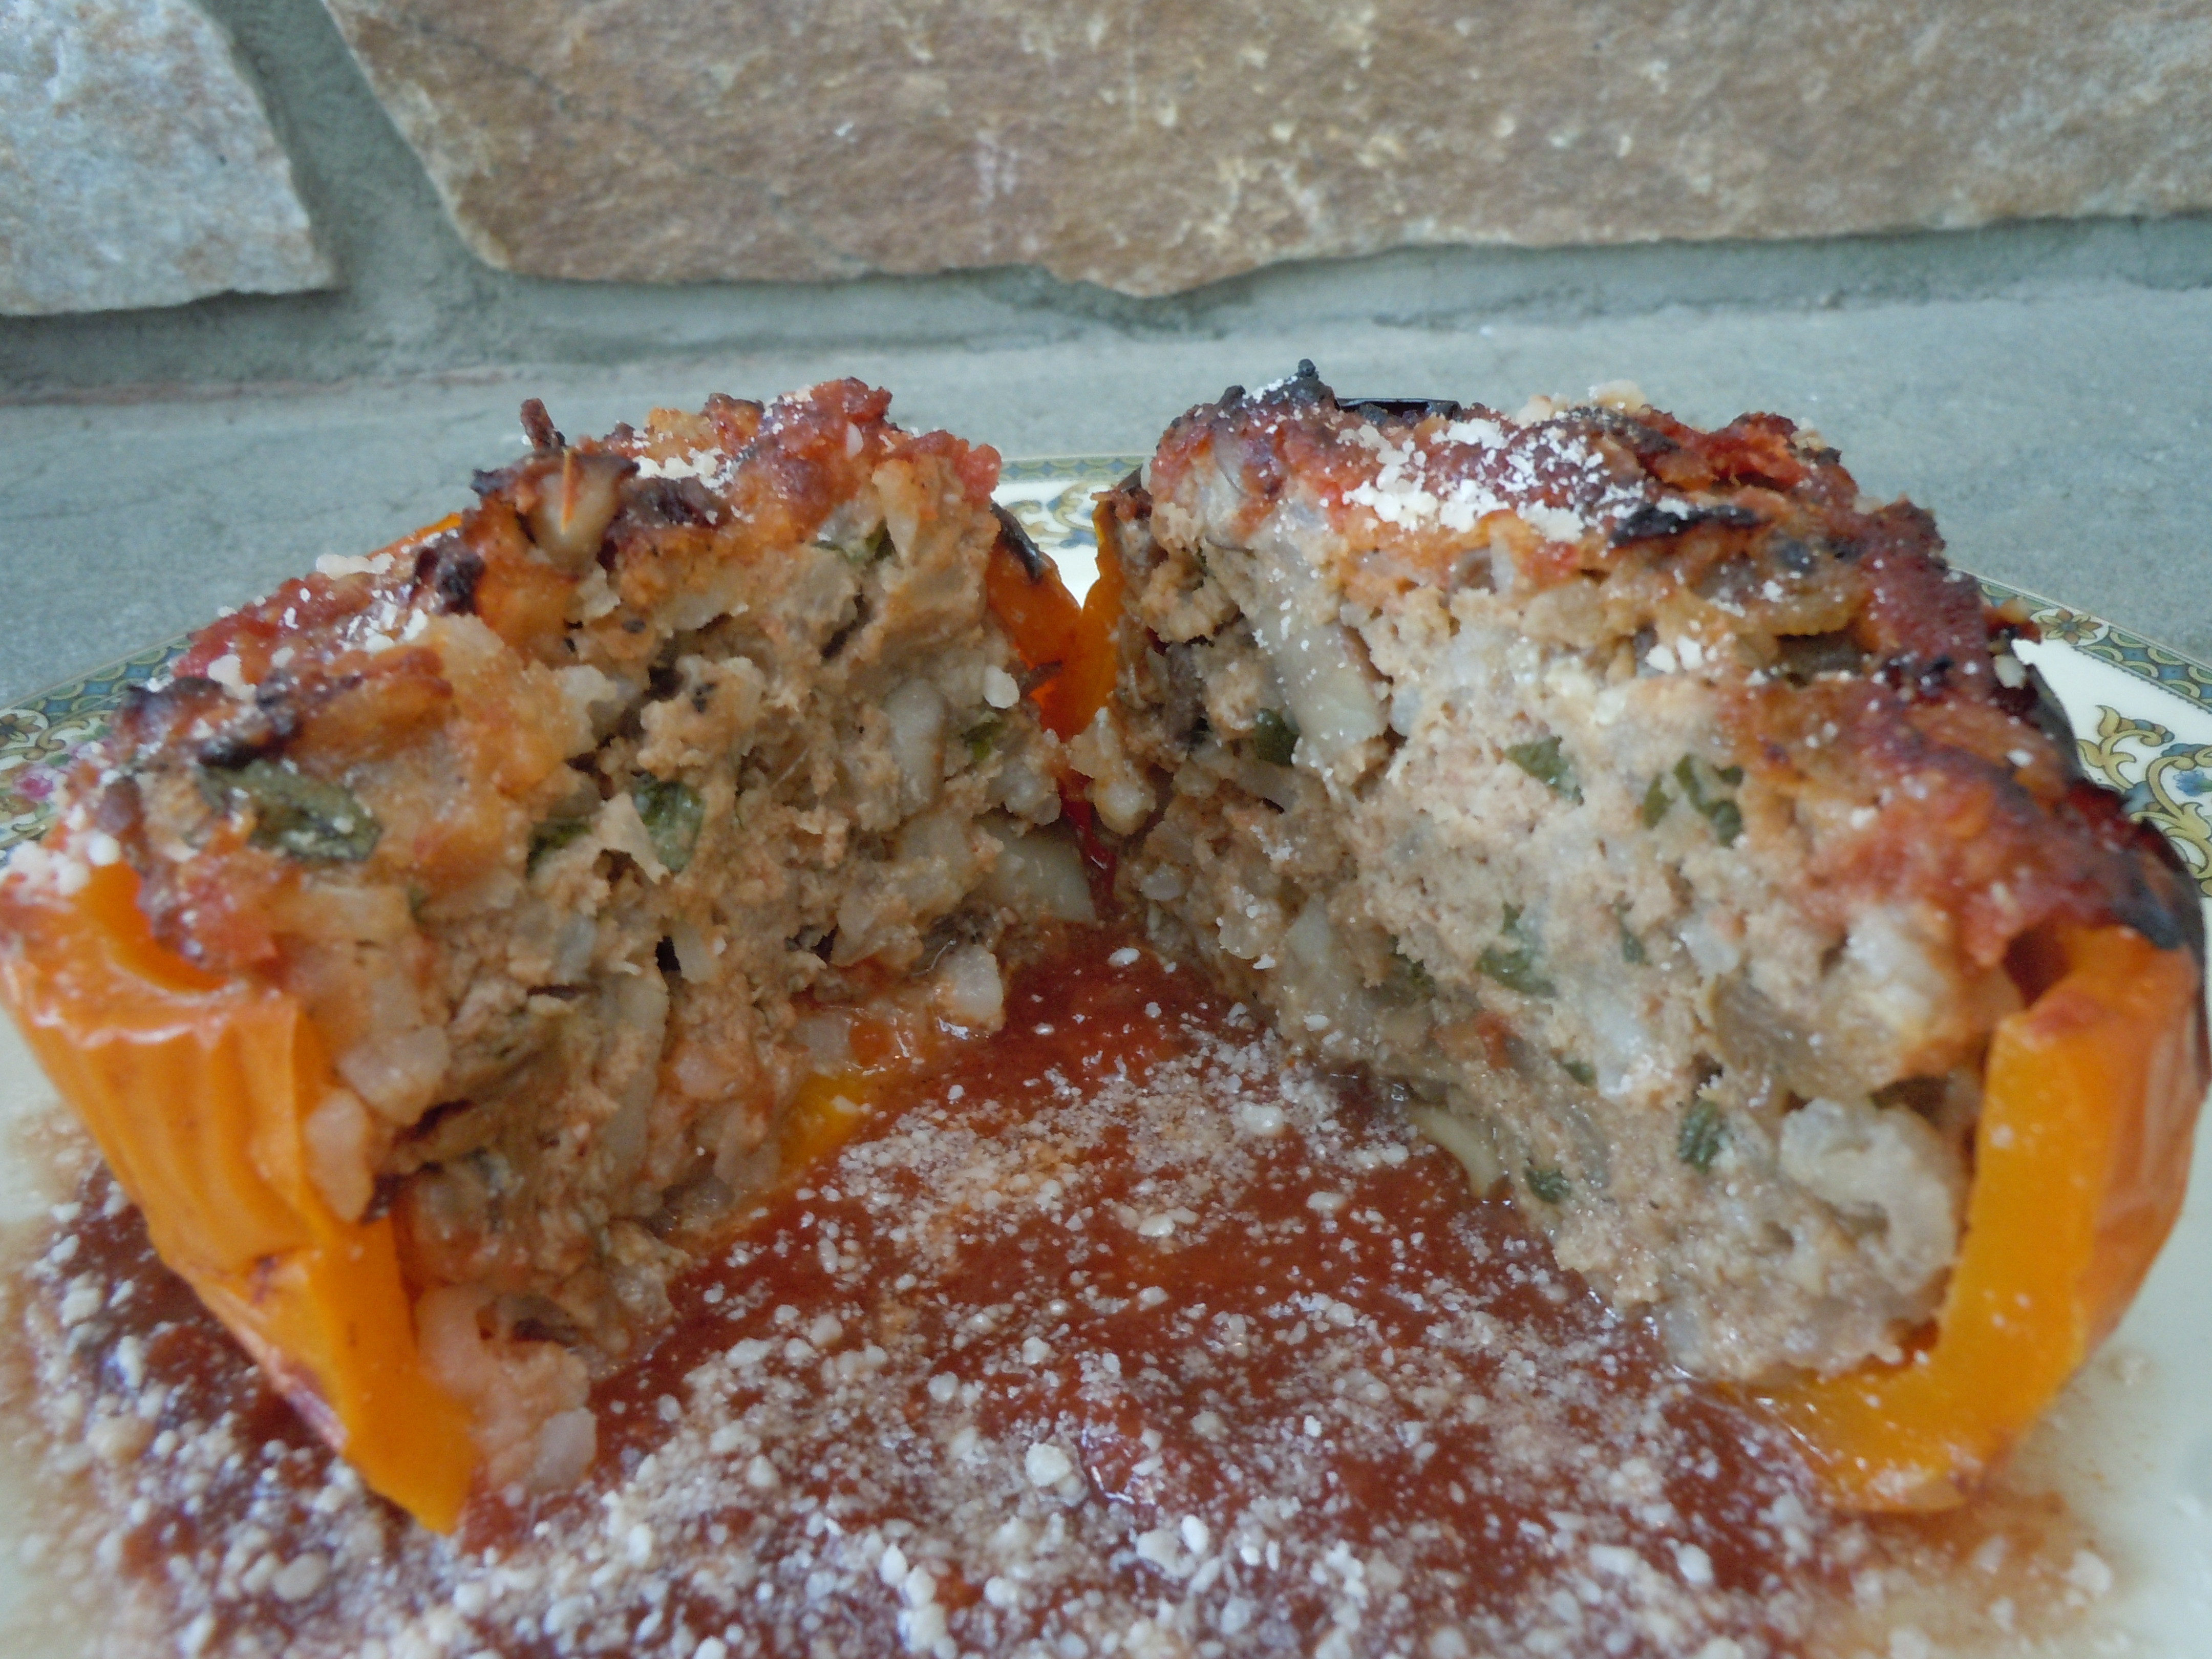
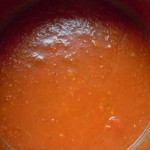
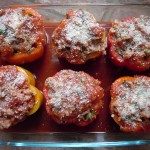
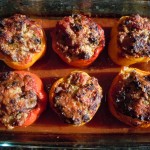
Usually I make these stuffed peppers with beef but a good friend has me converting to turkey and I am really loving it. I don’t even wish for the flavor of beef in the stuffing because the turkey hold its own!  These peppers are juicy, tender and sweet made with sautéed mushrooms, onions, fresh chopped parsley, rice, grated Reggiano Parmesan, pinot noir and a porcini red sauce.  My porcini sauce gives this recipe a really nice flavor but if you don’t have time for it you shouldn’t let that stop you from making these savory stuffed peppers.  You can buy a favorite store sauce for convenience or use one of your own.  I have you slice the mushrooms paper thin here and then cut those in 1/2 and that keeps the flavor delicate and the mushrooms very tender not chewy …. they almost melt into the stuffing when baking. The onions are finely chopped so I love to use my vegetablehand chopper because it saves a ton of time when you are doing all this prep work unless you have a sous chef that is. Now you of course can use any color pepper you like. I like using the green ones because I like the strong flavor they render, but here I went with the pretty colors and the peppers are a little sweeter when you go to the reds, oranges, and yellows.  I don’t believe in using “instant rice” ever because it doesn’t have a great texture. Making rice is a simple process …see “TIP” below.    These stuffed peppers are a few step process so it’s a good idea to get some of the work done the day before like making the porcini red sauce and the rice.  This dish  is so worth the effort …. It just may become your go to Sunday dinner and you can even end this delicious dinner with a bang making a quick and easy German pancake recipe or chocolate-avocado mousse!

iphone pictures 924iphone pictures 910iphone pictures 912


iphone pictures 928

iphone pictures 914

iphone pictures 916


iphone pictures 967


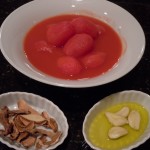
Ingredients: For Porcini Red Sauce:

  • 1 large can whole peeled tomatoes (I use Sclafani)
  • 4 large garlic cloves
  • 1/4 cup dried porcini mushrooms
  • 1/4 cup water for the porcini mushrooms
  • 1/3 cup pinot noir wine
  • 1 Tbsp olive oil
  • 1 Tsp salt
  • 1 Tsp pepper
  • 1 Tbsp sugar

Directions: 

  1. Put the dried porcini mushrooms in 1/4 cup water and let sit for 1/2 hour.
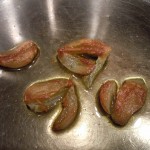
  2. Sauté 4 large garlic cloves in 1 tbsp olive oil in a medium sauce pan until golden.
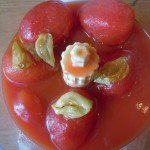
  3. Add whole tomatoes and golden garlic cloves to food processor and purée for 1 minute.
  4. Add this back to the pan.
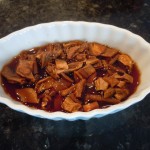
  5. Take the soaked, softened porcini’s out of the water and coarsely chop.
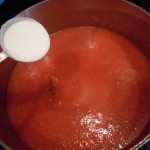
  6. Add the porcini’s and their juice to the sauce pan along with 1/4 cup pinot, salt, pepper and sugar.
  7. Bring to a simmer, lower heat and keep simmering for 1/2 hour.
  8. Remove from the stove and cool.

iphone pictures 929

iphone pictures 950

iphone pictures 961


iphone pictures 963

iphone pictures 964

iphone pictures 965


iphone pictures 940

iphone pictures 941

iphone pictures 942


iphone pictures 945

iphone pictures 947

iphone pictures 972


iphone pictures 975

iphone pictures 976

iphone pictures 990


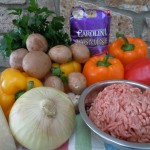
Ingredients – For Stuffed Peppers – Serves 6 people:

  • 1 lb. ground turkey
  • 6 large bell peppers, 2 red, 2 orange, 2 yellow
  • 2 1/4 cups porcini red sauce (1 c. in the stuffing, 2 1/4 c. in the bottom of baking dish)
  • 1 cup cooked Basmati or Jasmine long grain rice
  • 1 cup grated Reggiano Parmesan
  • 1/3 cup coarsely chopped flat leaf parsley
  • 8oz. pkg of baby bella brown mushrooms (finely sliced)
  • 1 large spanish onion FINELY chopped
  • 1 1/4 cup pinot noir (1/4 c. for mushroom/onion mixture, 1 c. for baking dish)
  • 1/2 cup boiling water
  • 1/4 Tsp salt
  • 1/4 Tsp pepper
  • 2 Tbsp live oil (for sautéing)

Directions: 

  1. Pre-heat oven to 350º.
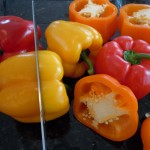
  2. Cut 1″ off of the top of the peppers, pull out the centers with your hands and clean out the inside white part of the pepper.
  3. Place into baking dish.
  4. Clean your mushrooms with either a damp paper towel or a mushroom brush … you should NEVER wash your mushrooms or submerse them in water because mushrooms are porous.
  5. Pop out the mushroom stem and finely slice them and then slice that pile in 1/2…don’t need to be neat about it.
  6. Finely chop a large spanish onion…I’m all for using one of those choppers for this!
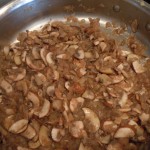
  7. Add onion and mushrooms to 2 Tbsp olive oil and sauté on medium heat for 10 minutes…add 1/4 cup pinot, let evaporate.
  8. Remove from the stove and let cool.
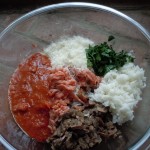
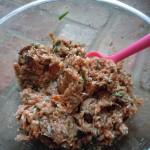
  9. Add Turkey, grated cheese, 1 cup cooled sauce, 1/3 cup pasley, and all of cooled mushroom/onion mixture to a large bowl and gently mix.
  10. Fill the peppers gently with the stuffing, don’t pack it down.
  11. Add the rest of the porcini sauce (approx. 2 1/4 cups), 1 cup pinot, and 1/2 cup boiling water to the bottom of the baking dish.
  12. NOTE:  If the porcini sauce was refrigerated you should warm it a little to room temperature so it doesn’t prolong the cooking process of the stuffed peppers.
  13. Sprinkle with a little Parmesan, cover with foil and bake at 350º for 1 hr.
  14. Remove the foil after 1 hour and continue for another 15 minutes at 350º (check the tenderness of the pepper… You don’t want them mushy just tender).
  15. Then up the heat to 400º for another 20 minutes uncovered
  16. Keep an eye on it at this point so the tops don’t blacken too much (everyone’s oven is a little different)
  17. Total cooking time approx. 1 hour/ 35 minutes
  18. Take the peppers out of the oven, cover back up with foil and let them sit for 10 minutes.

TIP:  RICE- To make Basmati or Jasmine rice measure 1 cup rice and put into medium pan. Run cold water over rice and drain using your hand to hold back the rice.  Then add 2 cups water (1:2 ratio or water level is 1 knuckle over rice), cover and bring to a boil, turn down heat IMMEDIATELY to low and simmer for 20 minutes.  Remove from the heat and keep covered letting it sit for another 10 minutes and voilà.  Fluff with a fork


Stuffed Roulades of Chicken

Stuffed Roulades of Chicken

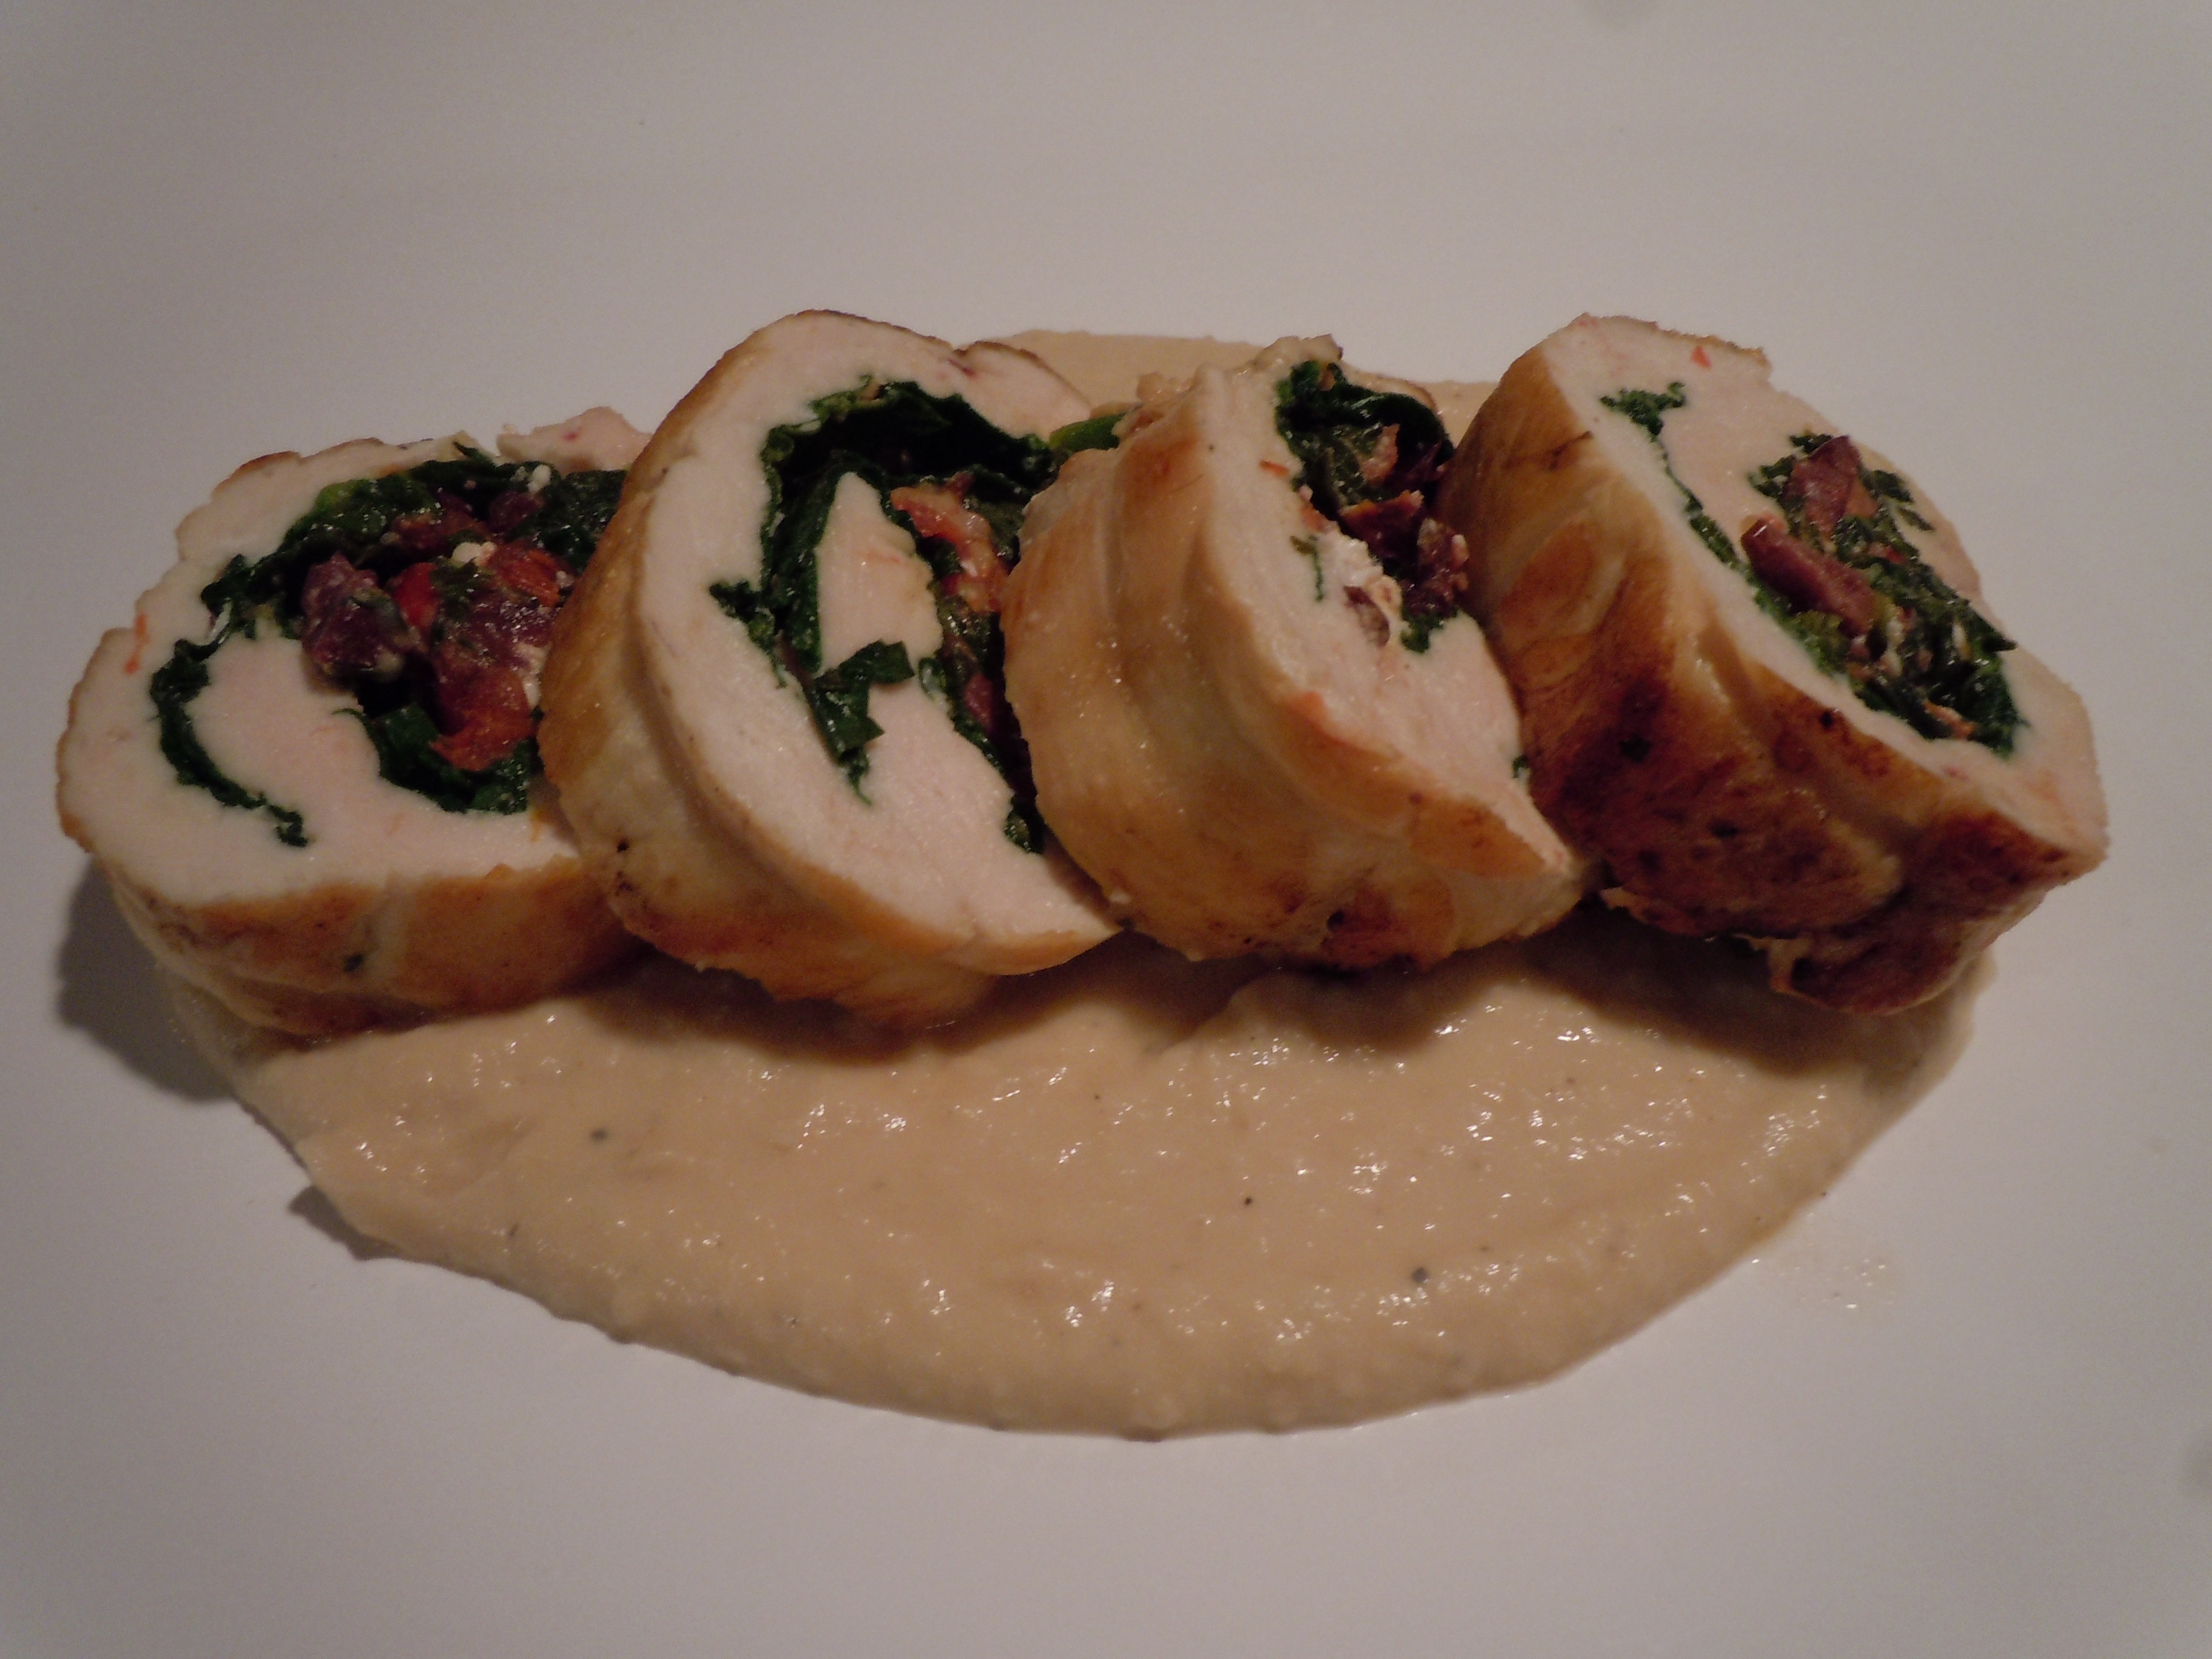
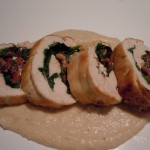
I serve these stuffed roulades of chicken sliced up on top of a roasted garlic and cannellini bean purée…the flavors are amazing together!  Stuffing meats with vegetables and herbs makes a great presentation and people will think you worked a lot harder than you did.  The stuffing in these chicken roulades is especially wonderful because the ingredients are all raw there isn’t any sautéing, .  If you don’t like one of the ingredients in the stuffing you can easily substitute for something you do like.  For instance, cilantro instead of basil, or diced artichoke hearts instead of olives or maybe swiss cheese instead of feta. 

iphone pictures 797

iphone pictures 809

iphone pictures 810


iphone pictures 812iphone pictures 817iphone pictures 818


iphone pictures 821iphone pictures 822iphone pictures 824


iphone pictures 825iphone pictures 826iphone pictures 828


iphone pictures 835


Ingredients:

  • 2 large boneless chicken breasts (butterflied)
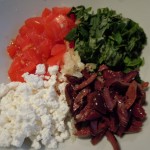
  • 1/2 cup diced cherry tomatoes
  • 1/4 cup diced kalamata olives
  • 1/4 cup crumbled feta cheese
  • 1/4 cup chopped basil
  • 1 garlic clove thru garlic press
  • 1 Tbsp olive oil (for stuffing)
  • 1 Tsp rice wine vinegar-“Seasoned” (comes “original” or “seasoned”-I always get the seasoned cause I like the flavor… it has a hint of sweet)
  • fresh spinach leaves (flat leaf is easier to use in stuffing then curly)
  • 2 Tbsp olive oil for sautéing roulades
  • 1/2 cup chicken broth
  • 1/2 cup white wine (Pinot Grigio or Sauvignon Blanc … your favorite white drinking wine)
  • salt and pepper
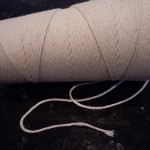
  • 4 pieces of 20-24″ cotton string

Directions:

  1. Pre-heat the oven to 350º.
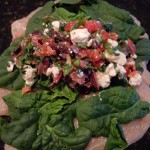
  2. In a small bowl mix together diced tomaotes, olives, feta, basil and garlic with 1 Tbsp olive oil and 1 Tsp rice wine vinegar and set aside (this is the stuffing).
  3. Butterfly chicken breasts slicing them open like a book keeping them in 1 piece.
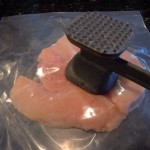
  4. Place the breasts in a large Ziplock Baggie and pound them out to 1/4″ (if they rip no worries because the spinach leaves will cover that and then you’ll be tying them with string).
  5. Put the breasts on a work surface smooth breast side down so the length is going vertically.
  6. Sprinkle with salt and pepper and put down a layer of spinach leaves on top of the breasts.
  7. Divide the stuffing into 2 and place each 1/2 onto the center of the breasts (right on top of the spinach leaves).
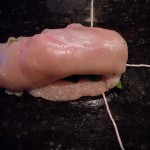
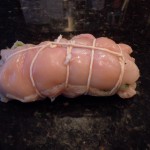
  8. Roll up the breasts tucking in sides as best as possible. Slide two pieces of string under the breast rolls crisscross like in the photo.
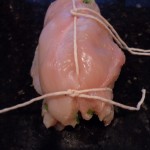
  9. Begin to tie off from each end knotting the first wrap so it doesn’t move then keep wrapping around the chicken without tying til you get to the other end. You can slide string under the other rows as you go.
  10. When you get to the other end you should end with a knot.
  11. Don’t need to get fancy or crazy about this …. it’s only to help hold in place until you can get the roulades in a hot pan to sauté where everything will firm up and stay together.
  12. Add 2 Tbsp olive oil to a medium sauce pan on medium/high heat.
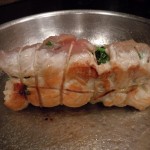
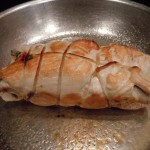
  13. When the pan is hot add the tied up roulades and sauté for 2 minutes on each side total of 8 minutes.
  14. Add the wine, and then the broth to the chicken (be careful of the steam when add the liquids) and place into the oven for 15 minutes.
  15. Take the chicken out of the oven and cover it with foil.
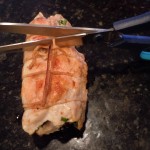
  16. Let it sit for 5 minutes and then simply cut the string with a clean pair of scissors (or kitchen scissors).
  17. Slice up the roulades and serve on top of roasted garlic and cannellini bean purée. 
  18. The great thing about this dish is you can make the roasted garlic and bean purée the day before!

iphone pictures 813


TIP: I like to buy a giant roll of cotton string from the hardware store and keep it in a Ziplock Baggie on the spice shelf so no one can get to it and dirty it up.


iphone pictures 816


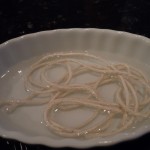
TIP:  It’s a good idea to soak the cotton string in water for 10 minutes before you use it otherwise it will dry out in the oven and become brittle.

Roasted Garlic & Cannellini Bean Purée

Roasted Garlic & Cannellini Bean Purée

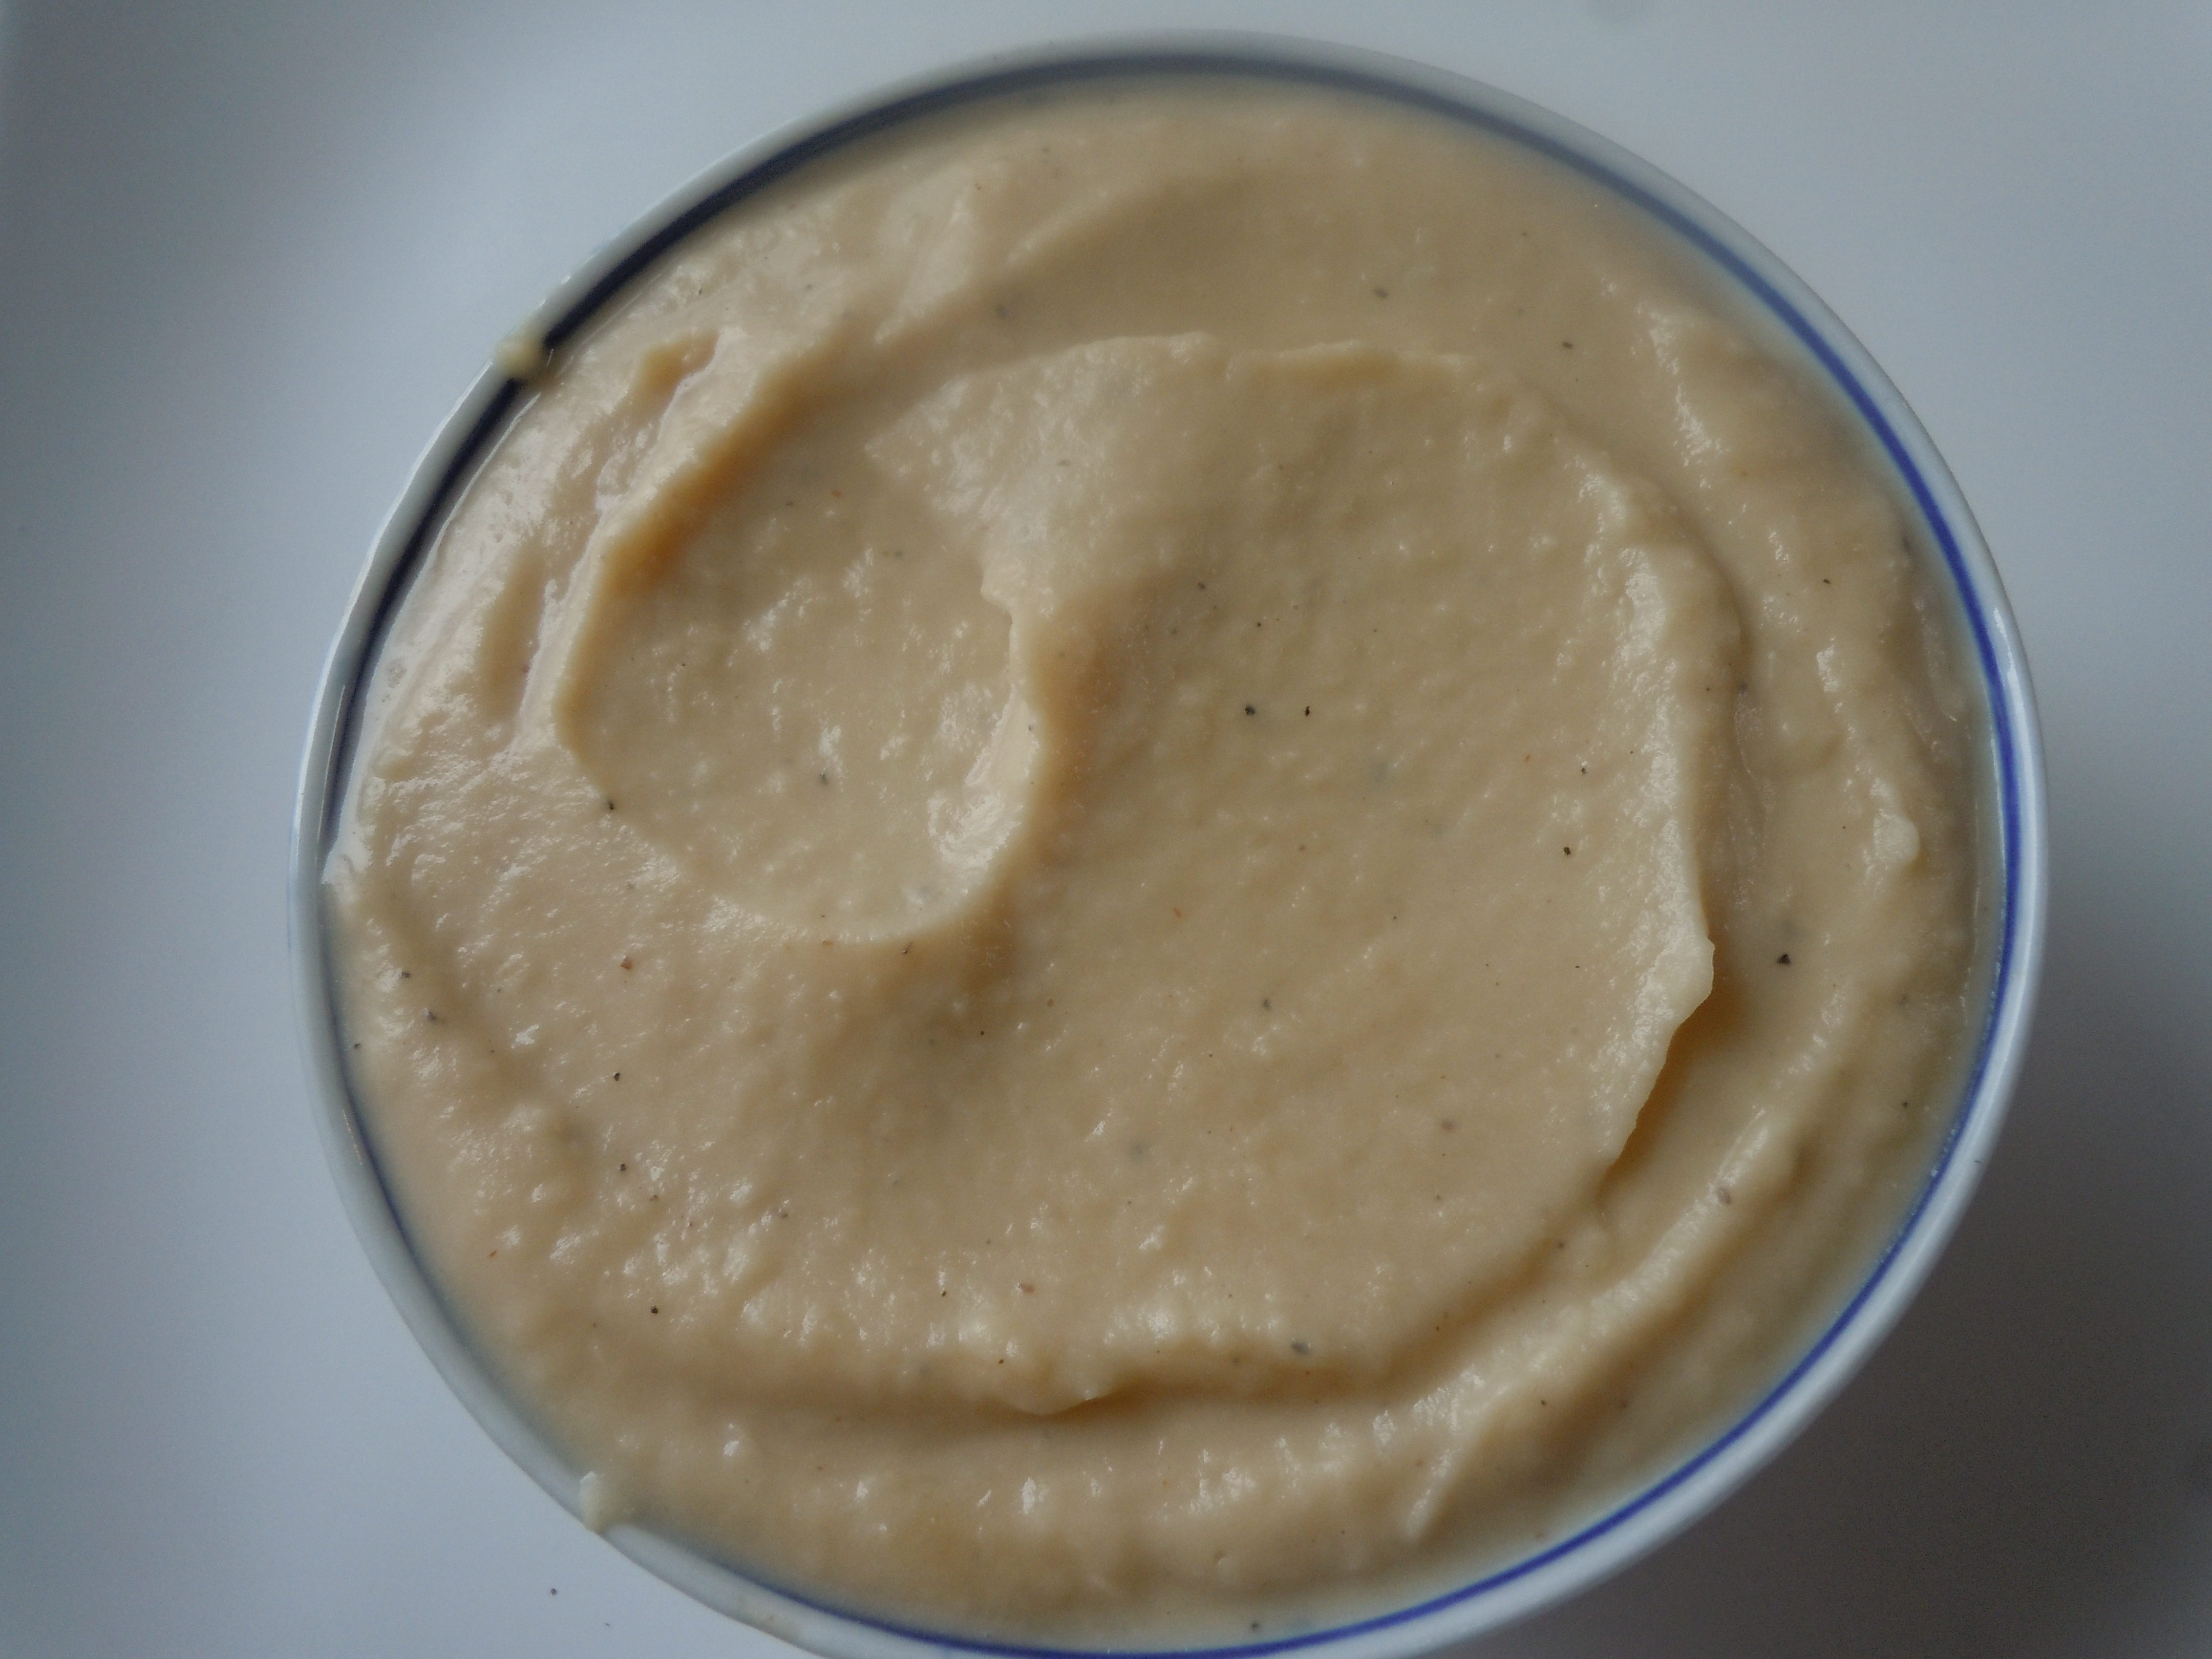
This roasted garlic and cannellini bean purée has a luscious creamy texture and makes a great side dish or even a dip served with some pita’s chips on the side not to mention the nutritional value.  The garlic turning soft and creamy becomes sweet when roasted.  It makes a great presentation as a base layer on a plate when topping with sliced chicken, pork beef, fish or vegetables.  I really like drizzling truffle oil on and around it bringing out the smokey flavors if serving with a rack of lamb or a beef tenderloin.  Try the stuffed roulades of chicken, or sautéed chicken breasts recipes to go with this delicious purée.  For such complex flavors it’s amazing how easy it is to make.  I came up with this recipe because I like sauces and I wanted something with that creamy texture feel yet healthy for you and here it is.

iphone pictures 921iphone pictures 920

iphone pictures 784


iphone pictures 419iphone pictures 420iphone pictures 845


iphone pictures 835


Ingredients:

  • 1 can cannellini beans (butter beans are great too)
  • 4 lg roasted garlic cloves
  • 1/2 cup chicken broth
  • 1/2 cup white wine (pinot grigio, sauvignon blanc …what ever you favorite wine is just not a sweet one)
  • salt and pepper to taste
  • a dash of Tabasco for a kick

Directions:

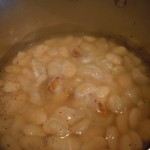
  1. Rinse cannellini beans and place in a medium sauce pan with 4 roasted garlic cloves, broth and wine on medium/high heat.
  2. Bring to a simmer and turn heat to low and simmer for 7 minutes more.
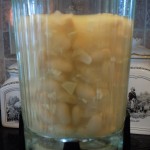
  3. Add the beans to a blender and purée.
  4. You may need to stop and stir and purée again because it is a thick mixture in a blender, and if you really need to loosen it up add 1-2 Tbsp of water or milk.
  5. It’s as simple as that.

Roasted Garlic

Roasted Garlic

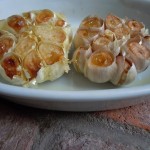
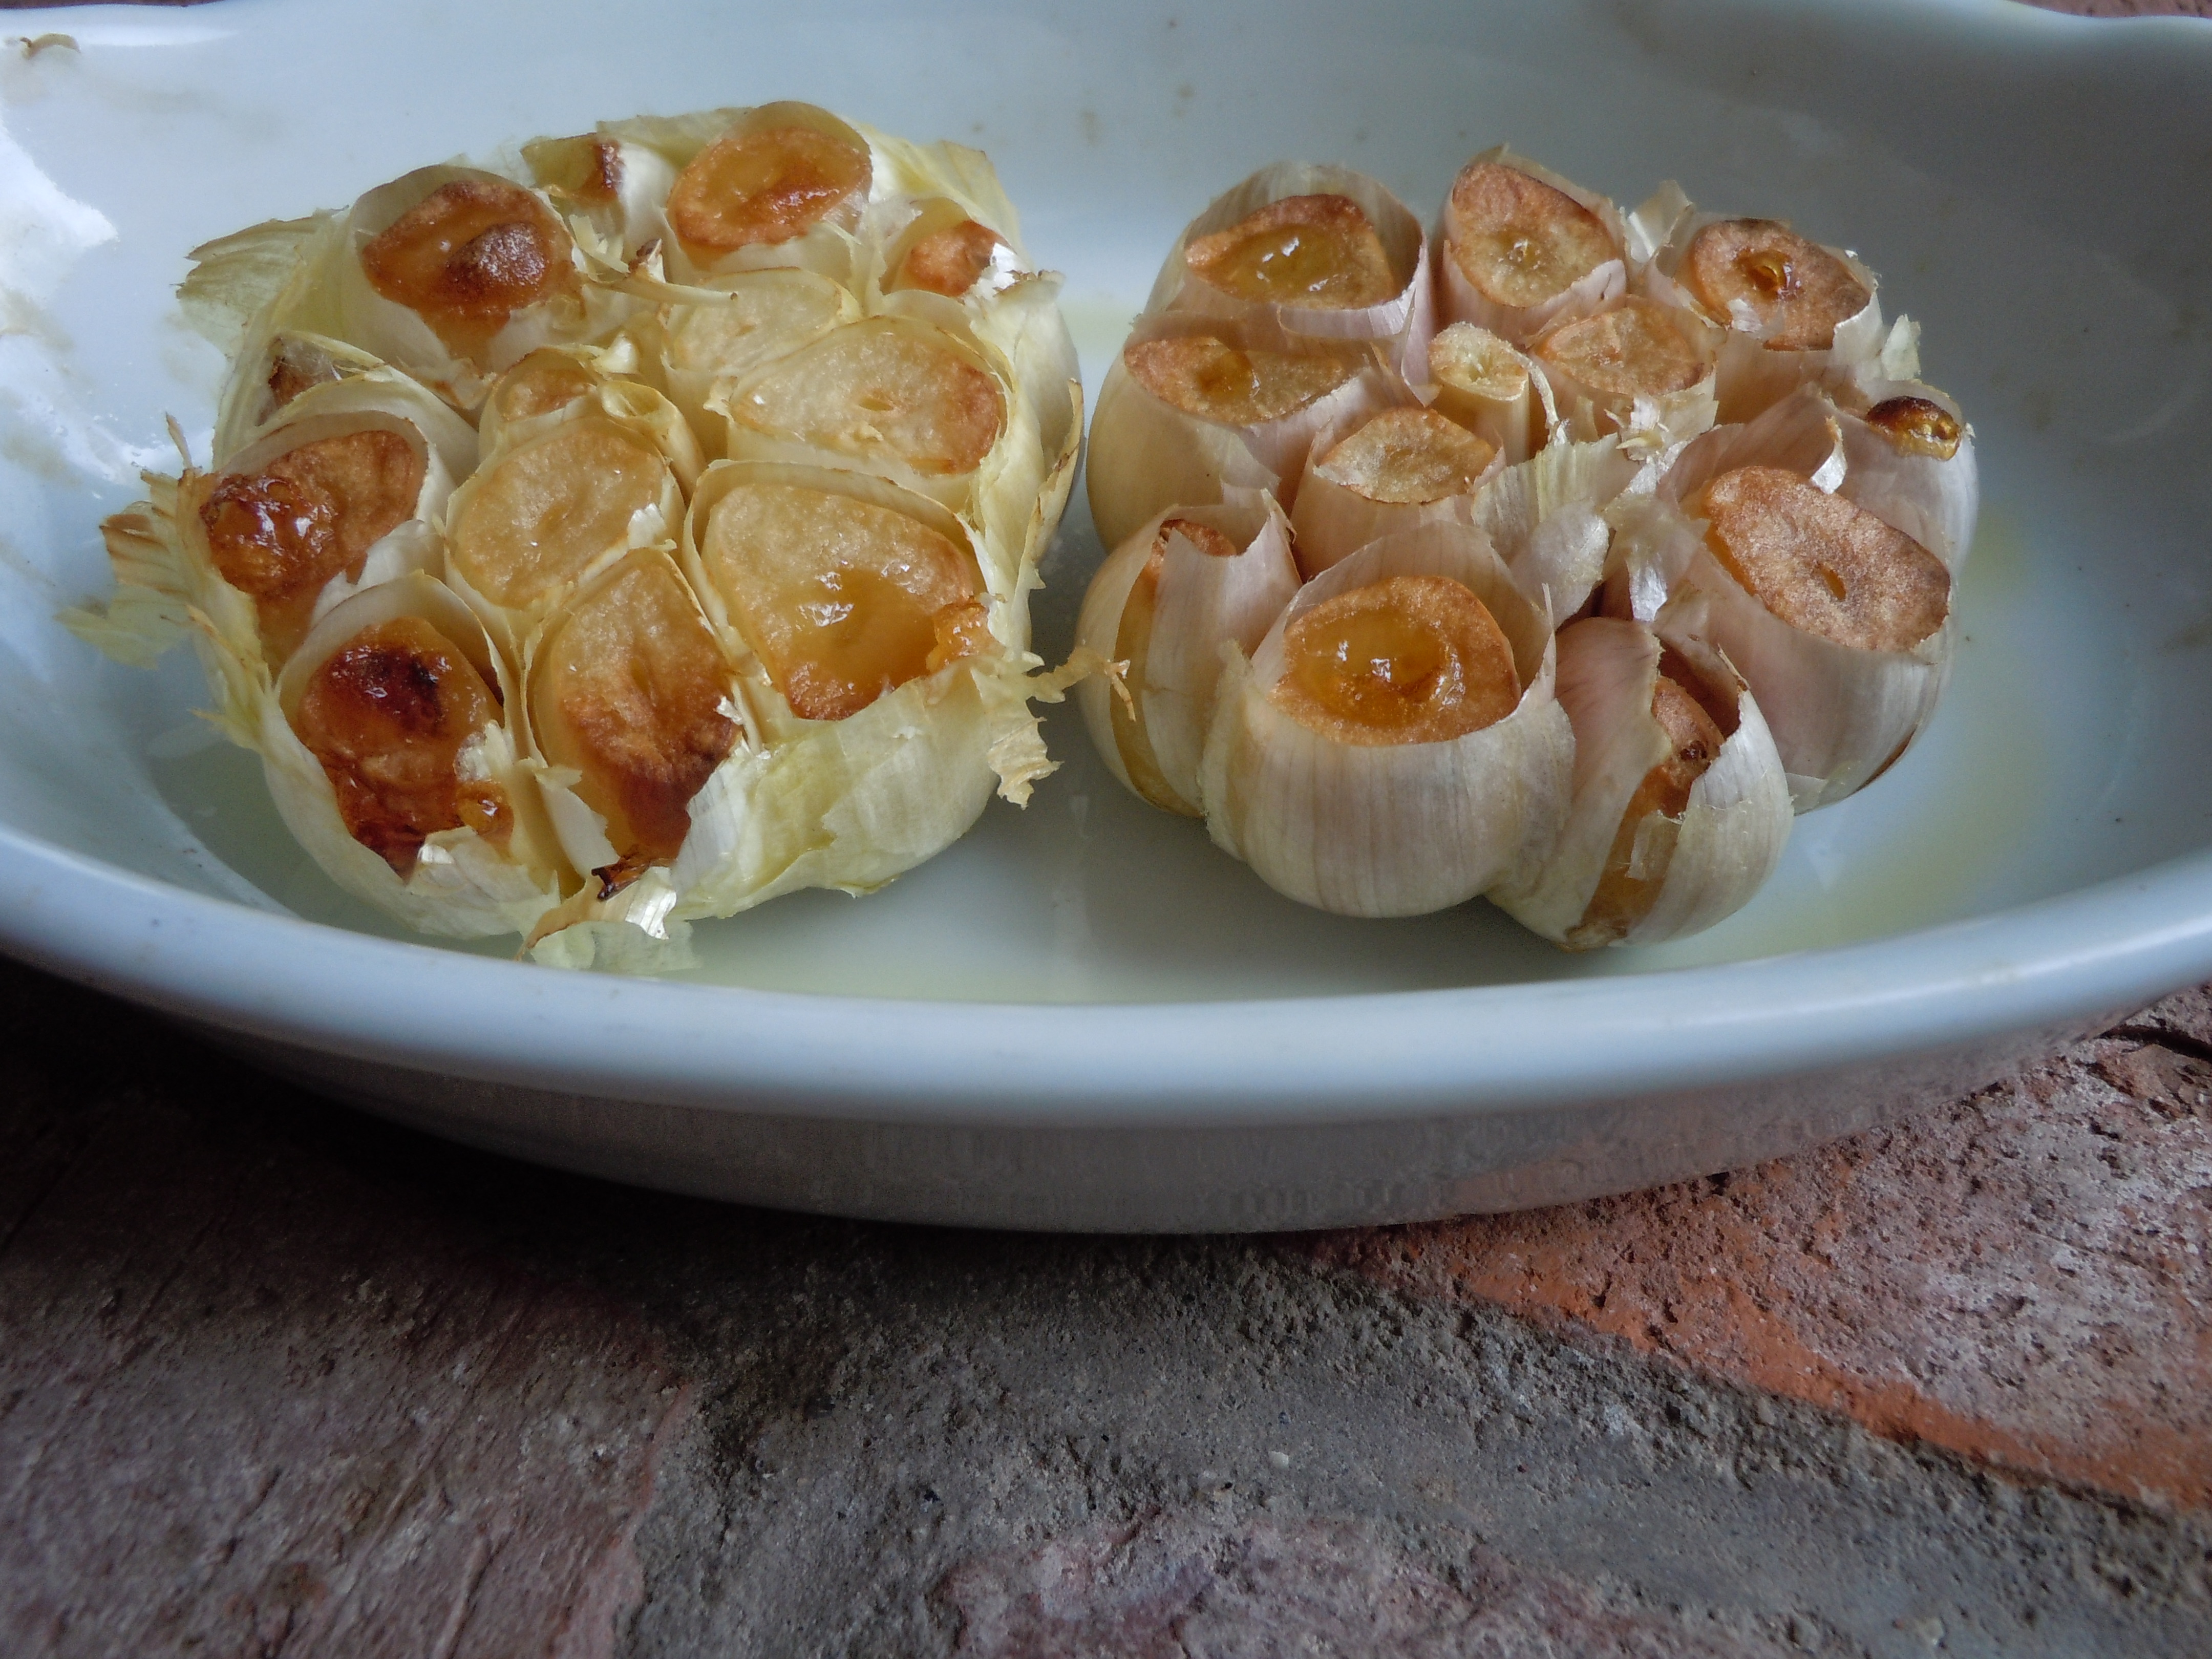
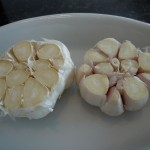
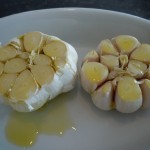
Roasting garlic couldn’t get any easier and what a soft, creamy and sweet texture you get from roasting…really takes the garlic to another level.  I make garlic bread with the roasted garlic cloves and my kids eat it up!  The roasted garlic cloves really bring out the sweet flavor in my roasted garlic and cannellini bean purée, and that purée makes a great addition to the stuffed roulades of chicken.

iphone pictures 836

iphone pictures 901iphone pictures 902


iphone pictures 921

iphone pictures 920

iphone pictures 845


Ingredients:

  • 2 large heads of garlic
  • 2 Tsp olive oil

Directions:  

  1. Pre-heat oven to 400º.
  2. Cut the tops off of the garlic bulbs, about 1/2″ off and drizzle 1 tsp. of olive oil on each of the cut off tops.
  3. Cover with foil for the first 20 minutes and then remove the foil for the next 20 minutes.
  4. Bake for a total of 40 minutes or until golden on top…not too dark because it gets bitter.
  5. Cover the garlic back up with foil when you take them out of the oven to cool a little before handling the hot cloves and this keeps them nice and moist.

Mouth-Watering Prime Rib Sandwich at Walt’s

Mouth-Watering Prime Rib Sandwich at Walt’s

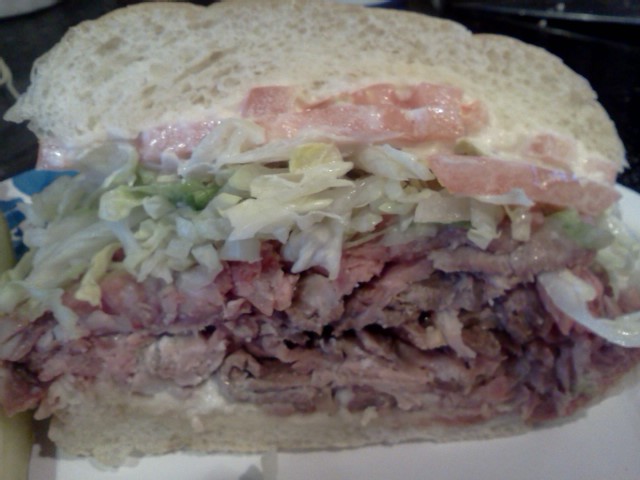
Restaurants aren’t the only place to go to get a gourmet sandwich for lunch.  I frequent a great food market right here on the Connecticut shoreline in Old Saybrook called Walt’s Food Market (right on the main road in town). There’s nothing like having that old school butcher shop feel when buy your meats and receive caring customer service from a team of very friendly employees, a lost art form nowadays. Walts has specialty items like their own in house kielbasa which also comes in hot dog size…yum, and you can find smoked fish that’s moist and bursting with flavor yet not overly smoked…it’s amazing! I picked up some smoked wild salmon over the holidays and served it as an appetizer on top of crostinis smeared with a cream cheese, caper, and red onion spread on Christmas for my family.  My favorite “sandwich special” at Walt’s is their mouth-watering prime rib sandwich, tender prime rib slices, horseradish sauce, piled high with crisp lettuce and tomato on a fresh baked hard roll and of course served with a snappy pickle!  Prepared meals, homemade pies and soups, my kids favorite chicken cutlets and the goody list there goes on not to mention their own baked dog bones which our King Charles loves. And they just celebrated their 50th anniversary so get yourself over there and see for yourself …..an old school butcher shop with great customer service and gourmet food. They can be reached at Waltsfoodmarket.com.  And don’t forget to try my crostinis, smoked salmon & cream cheese-caper spread recipe from The Traveling Epicurean’s recipe index.

Crostinis, Smoked Salmon & Cream Cheese-Caper Spread

Crostinis, Smoked Salmon & Cream Cheese-Caper Spread

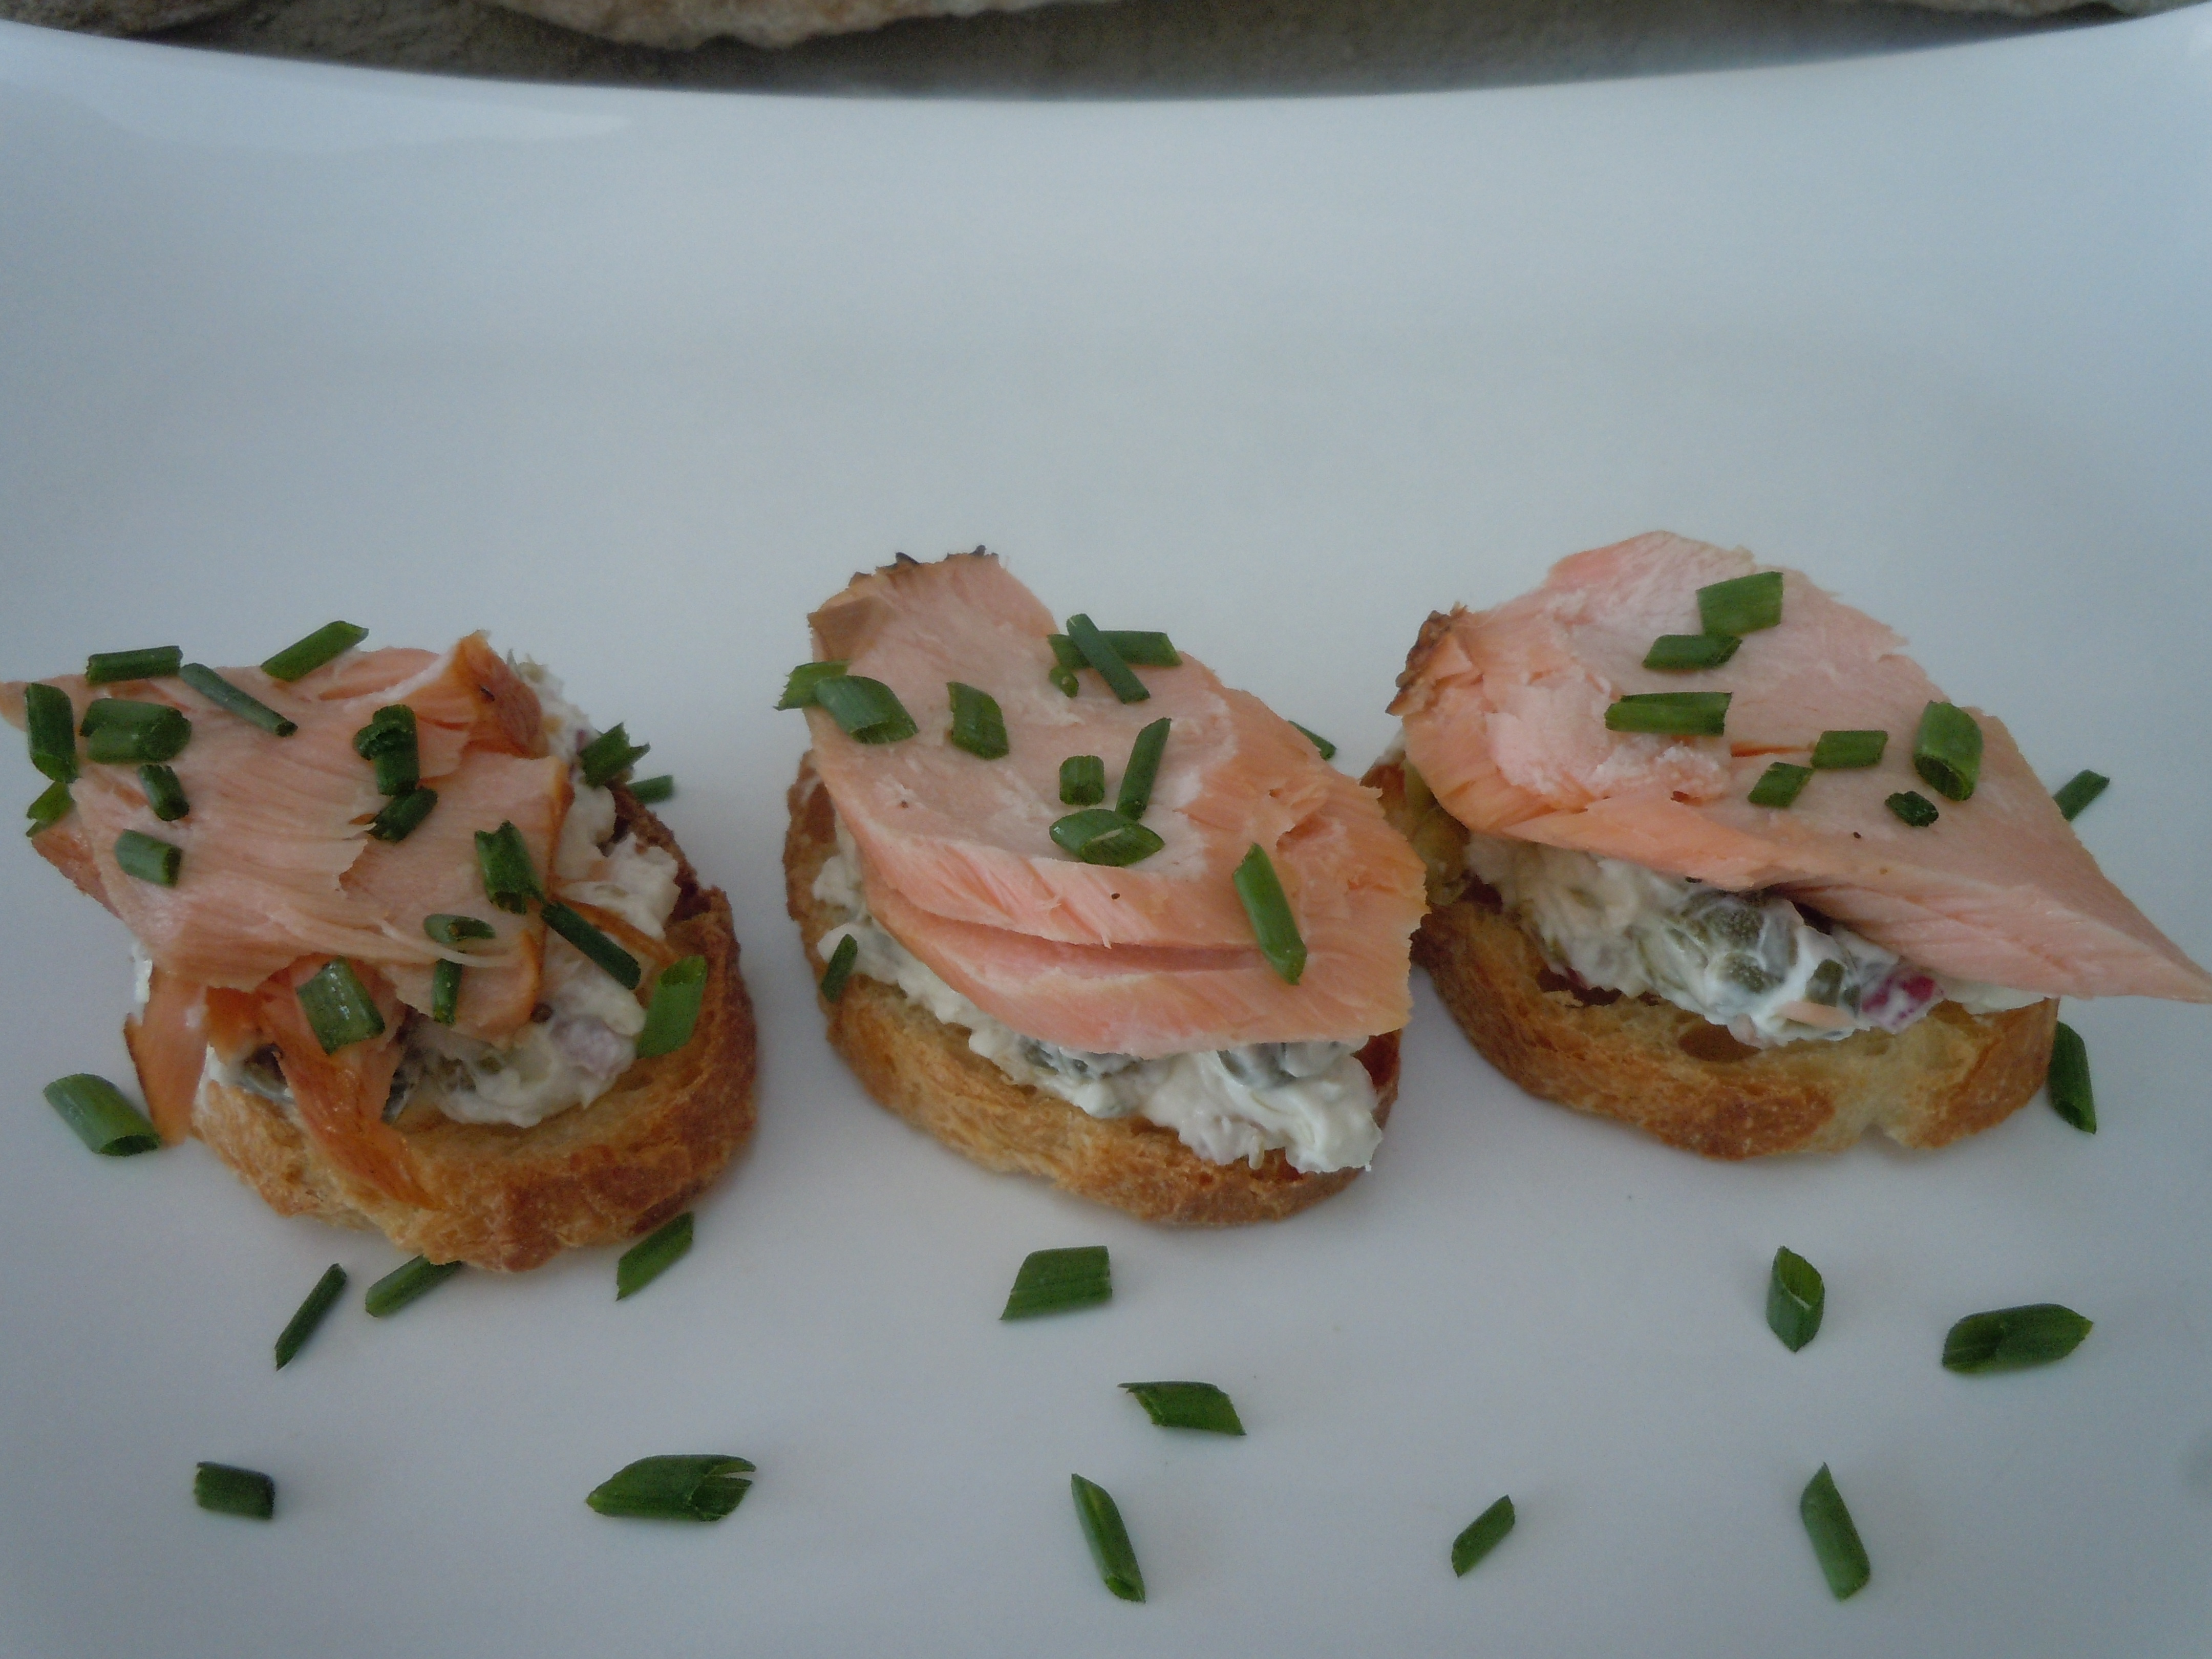
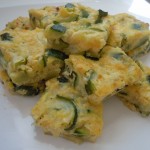
This appetizer is tastes fresh, smokey, moist, and creamy with a hint of tart from the capers that compliments the fish.   It’s not just for holidays but really for any time and it’s such an easy thing to make.  Smoking salmon definitely involves time and work so leave it up to the professionals this round and buy it at your favorite small town market or a fish store where they make it in house!  All you have to do is make the crostinis, and the spread consisting of cream cheese or Neufchatel cheese (1/3 less fat if you prefer) chopped capers and red onions.  Smoked Salmon is a hardy fish with intense flavor and a filling appetizer while at the same time making for a lovely presentation. You can mix it up with other hor d’ oeuvres like Mediterranean Layered Dipbaked asparagus wrapped in prosciutto, zucchini torta or fresh mozzarella, pesto and roasted tomatoes on crostinis and don’t forget a little spicy crunch with some roasted chick peas.

IMG_5437

IMG_4768


iphone pictures 1063

iphone pictures 492

iphone pictures 970


iphone pictures 764

iphone pictures 766iphone pictures 768


iphone pictures 769iphone pictures 773


Ingredients:

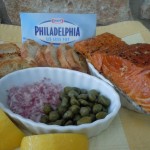
  • 1/2 lb Smoked salmon
  • 4 oz. cream cheese or Neufchatel cheese (has 1/3 less fat) -(end results taste the same)-Philadelphia brand
  • 3 Tbsp coarsely chopped capers if large, if very small no need to chop
  • 2 Tbsp finely chopped red onion
  • 2 Tsp fresh lemon juice
  • 1/2 bunch chopped chives for garnish
  • Crostinis recipe

Directions:

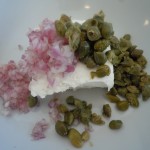
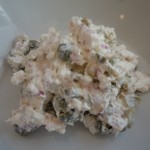
  1. Combine the cream cheese, capers, red onion and lemon juice just lightly.
  2. You don’t want to completely mash the spread…you want to see the capers and onions.
  3. Spread 1 Tbsp of this mixture onto each crostini.
  4. Gently break apart smoked salmon layers with your hands in decent size chunks.
  5. Top each crostini with a piece of smoked salmon, plate and sprinkle with chopped chives….yum!

.

Chocolate-Avocado Mousse Recipe

Chocolate-Avocado Mousse

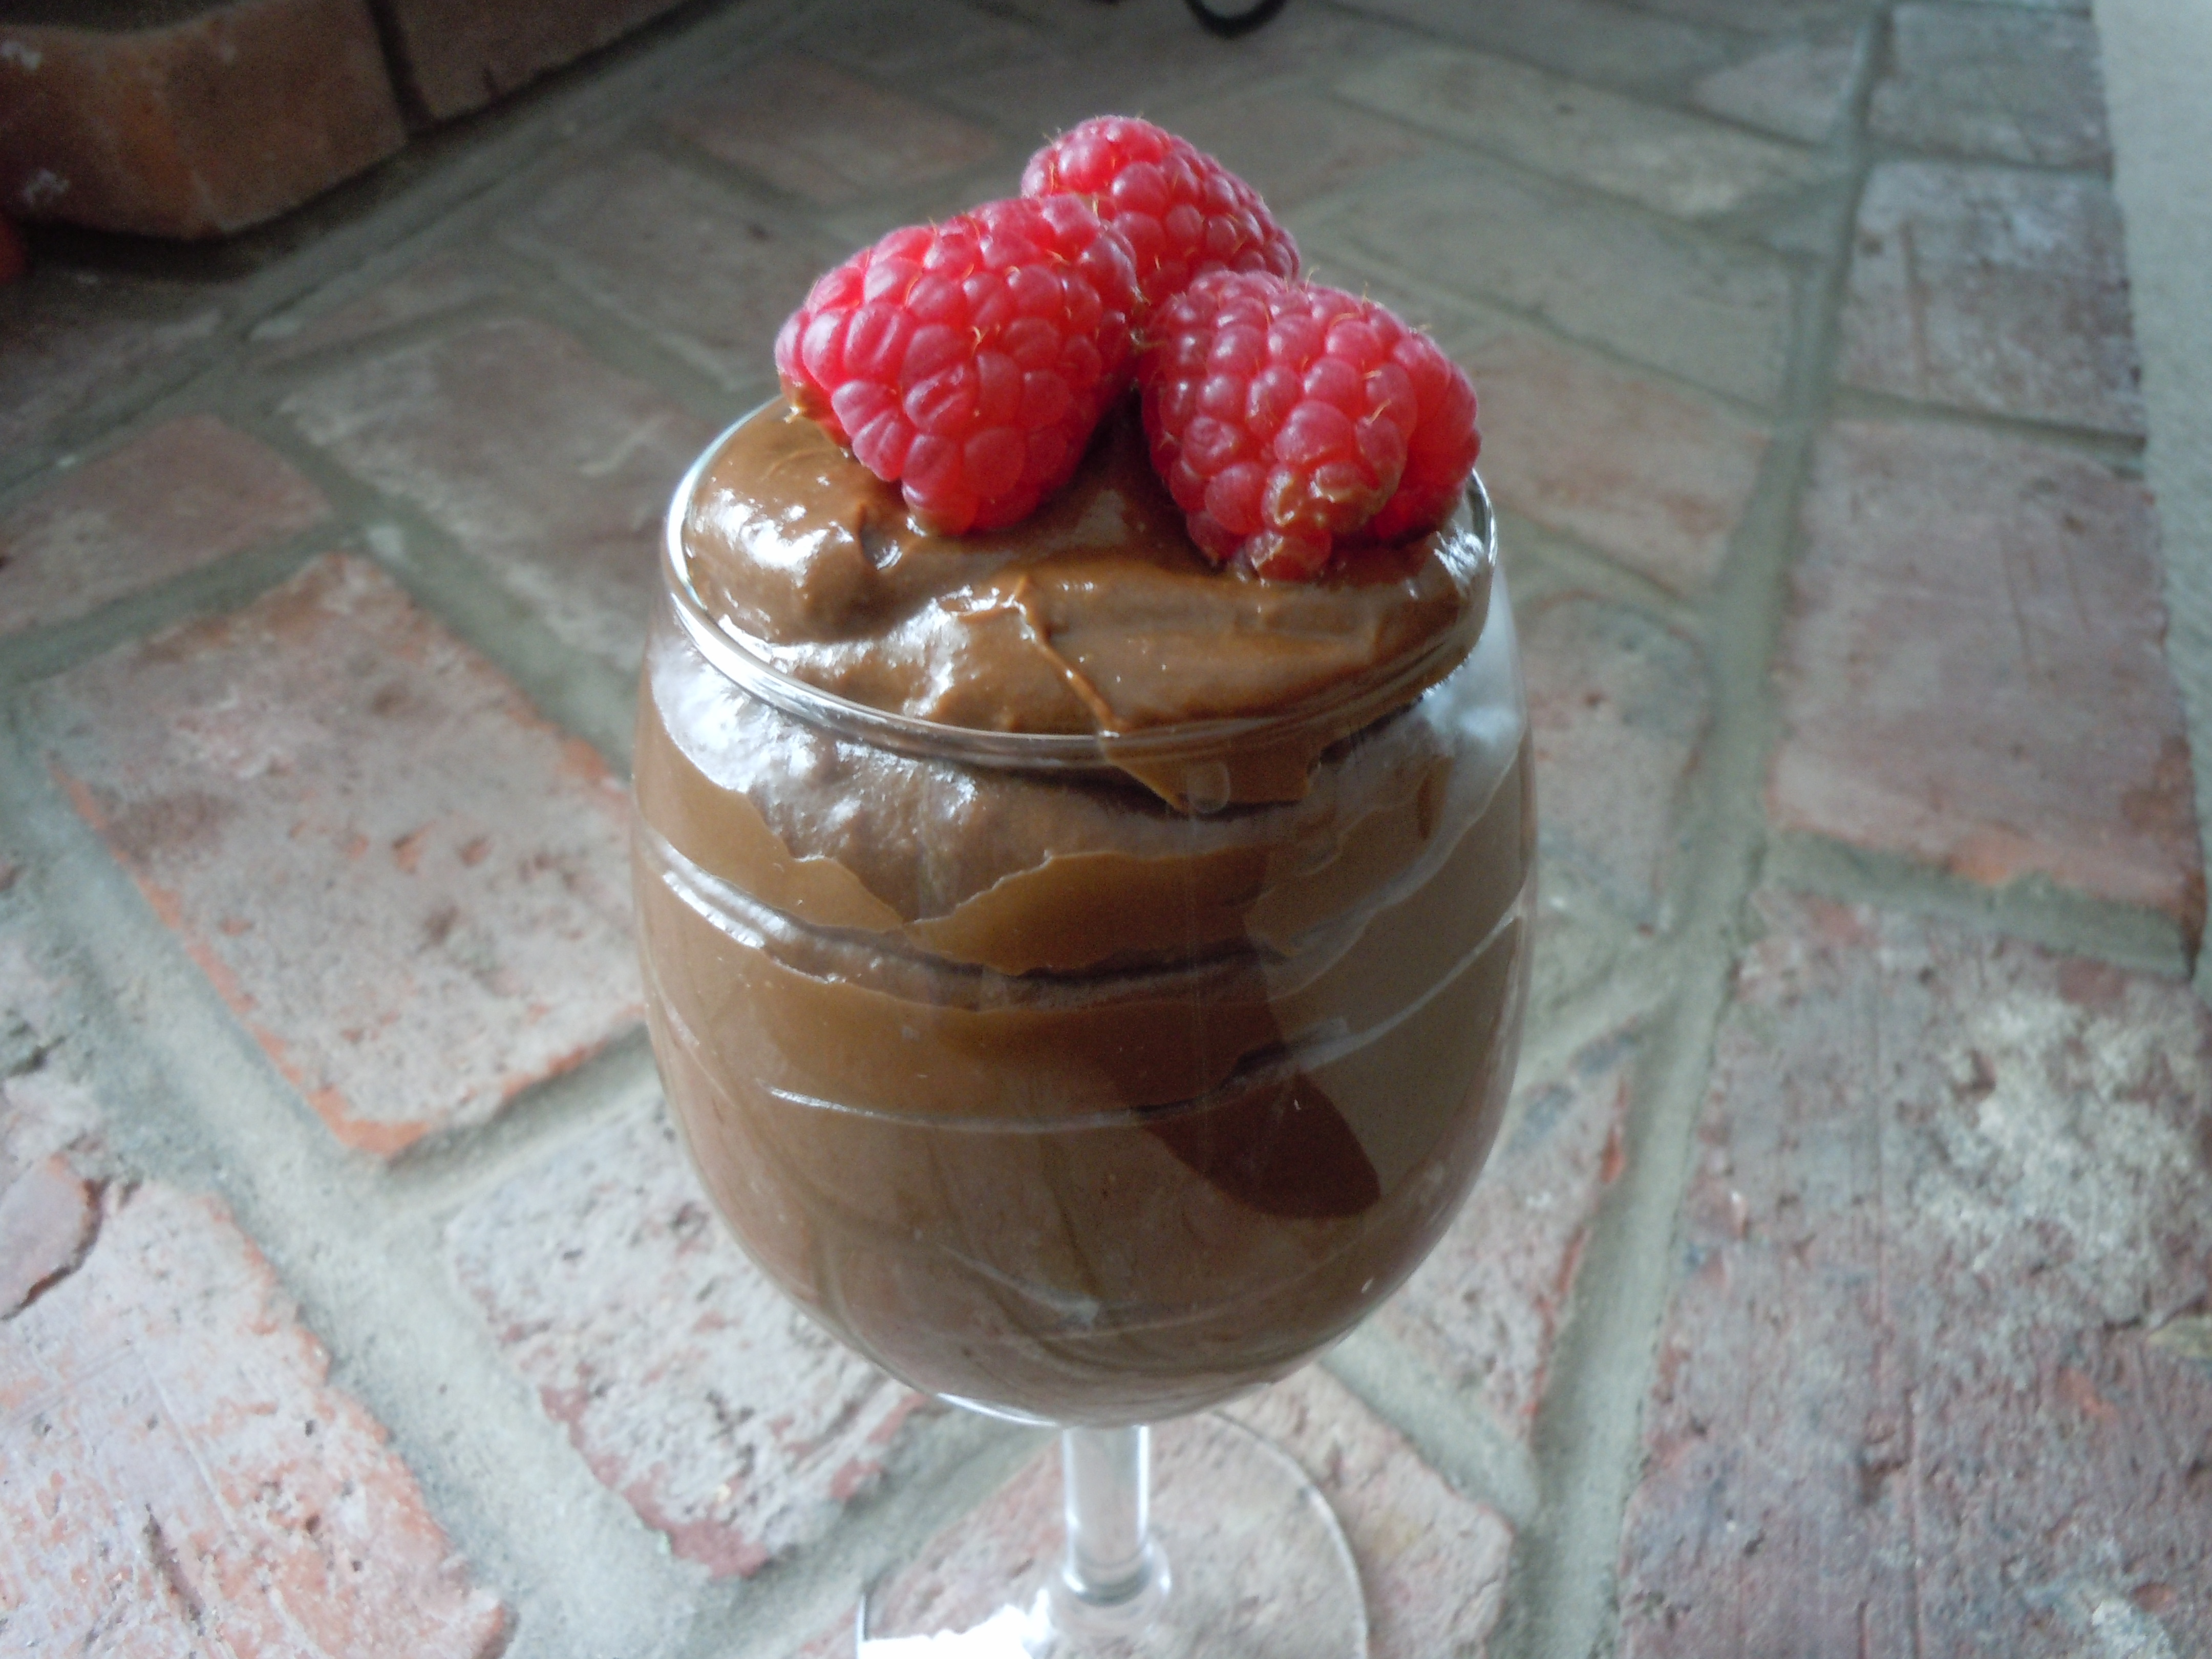
You will be amazed how this fruit can be transformed into a creamy, chocolatey mousse! Yes, an avocado is actually a fruit from an avocado tree. I read through so many recipes that it took a bit to figure out which chef inspired me here but I finally got it done. Some recipes have you grinding chia seeds to thicken the mousse but the avocado is already thick and creamy so I find that step unnecessary. Others have honey or a man-made “all natural” sweetener added in but I think the agave nectar is the best option.

This recipe is from Giada De Laurentis’ team except I change it up by adding a little more chocolate and by using Perugina “milk chocolate bars (Italian) or Ghirdelli milk chocolate chips instead of the Ghiradelli semi sweet chips.  This mousse is pretty rich so using the creamy milk chocolate bars lightens it up a bit and another reason being I wanted to get my two children to eat the mousse …they love the milk chocolate. Yes, that would be the kids who don’t eat anything green. I told you I would get them to eat something green sooner or later. I just left out the part that one of their favorite desserts, chocolate mousse, was made with avocado’s when serving it up to them…needless to say they LOVED it! They will thank me some day.

Make sure to watch my YouTube cooking show that goes with this recipe and don’t forget to SUBSCRIBE on my YouTube channel so that you can receive my latest cooking show releases!
iphone pictures 730iphone pictures 731iphone pictures 741


iphone pictures 743

iphone pictures 745

iphone pictures 755


Ingredients:  

  • 4  VERY RIPE-California avocado’s (SOFT not TOO MUSHY because they get brown inside)
  • 7 oz. Perugina milk chocolate bars chopped up ( 2- 3.5 oz bars)
  • 1/2 cup unsweetened cocoa powder (Hershey)
  • 1/2 cup agave nectar
  • 1/3 cup almond milk
  • 2 Tbsp pure vanilla extract
  • 1/4 Tsp fine salt
  • fresh raspberries and whipped cream for garnish-optional
  • Fresh mint

Directions:

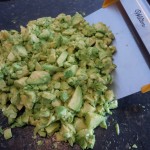
  1. Chop up all the avocado’s and put them into the food processor.
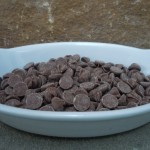
  2. In a small bowl melt the chocolate chips or chopped up chocolate bar in the microwave for 30 seconds x3 stirring at each interval…..WATCH so as not to BURN the chocolate (everyone’s microwave is a little different).
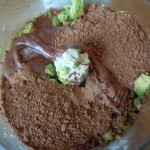
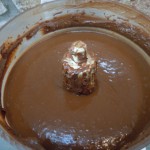
  3. Add the melted chocolate, and the next 5 ingredients to the food processor and purée for 30 seconds, stop to scrape the sides, then purée for 1-2 minutes, stop to scrape the sides and purée for 10-20 seconds more.
  4. Scoop out the avocado mousse into your favorite glasses or bowls.
  5. The mousse will be slightly warm from the food processor so put the glasses or bowls into the refrigerator for 2 hours to chill before serving.
  6. Garnish with whipped cream and raspberries…Yum!
iphone pictures 718

iphone pictures 732

iphone pictures 721


iphone pictures 722iphone pictures 724iphone pictures 738


iphone pictures 739

iphone pictures 740


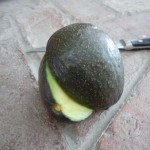
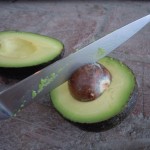
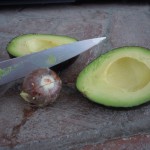
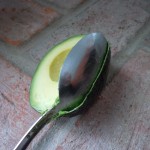
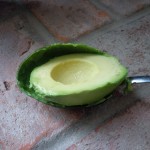
TIP:  There is an easy way to get the pit out of a avocado which I have displayed in the pictures above.  After running the knife around the flesh of the avocado against the edges of the inside pit… put the knife down and twist the avocado halves and pull apart. Then stick the knife into the pit and do the same thing holding on to the knife with one hand and carefully twist the avocado pit and it will pop right out.  Then knock the pit off onto the board away from your hands.  This can be a little tricky the first time so I would advise that this would be for an adult to try.   Finally, Insert a large spoon and scoop the avocado along the edge of the avocado skin to remove avocado flesh.

iphone pictures 761


TIP:  VERY IMPORTANT….it is wise to remove this end stem off the avocado because it would taste extremely bitter if it were to accidentally get into the mousse.

Baked Asparagus wrapped in Proscuitto

Baked Asparagus wrapped in Proscuitto

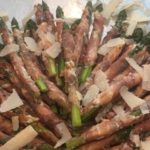
iphone-pictures-572-300x225I first had these delicious little bundles at my sister-in-law Anita’s seventeen years ago.  She is an amazing chef is always cooking up a storm. These Proscuitto wrapped Asparagus are one of my favorite appetizers and can be a topping to a salad or a pretty side vegetable to lunch or dinner. What’s great about this appetizer is it can totally be made ahead of time (the day before preferably) placed on a cookie tray and into the frig until you need to put them in the oven.  The asparagus is blanched before they are wrapped with Proscuitto and shocked into an ice bath to stop the cooking and to keep that vibrant green color.   When buying the prosciutto you want to make sure it’s Proscuitto di Parma because it’s the best and has the most delicate flavor.  There are other tasty Proscuitto’s but they are not as tender as the Parma and may get too salty or waxy after baking.  The slices of the Proscuitto will vary in size and usually large enough where you can cut a piece right down the middle vertically and get 2 out if it . You can add in other hors d’ oeurves if you are having a party like baked coconut shrimp, zucchini torta, roasted chick peas, or smoked salmon on crostinis with cream cheese-caper spread.

iphone pictures 538 iphone pictures 529iphone pictures 601


iphone pictures 532

iphone pictures 534iphone pictures 540


iphone pictures 544

iphone pictures 546

iphone pictures 545


iphone pictures 554

iphone pictures 560


Ingredients:

  • 20 large asparagus (the bigger the better)
  • 1/4 lb Proscuitto di Parma sliced thinly
  • 4 oz cream cheese room temp (Philadelphia)
  • 1 Tbsp grated vidalia onion (yellow or white is fine too)
  • 1/4-1/2 cup grated Parmesan cheese
  • 1 Tbsp fresh lemon juice

Directions:

  1. Pre-heat the oven to 400º.
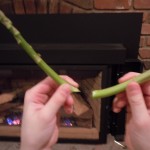
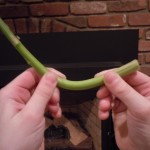
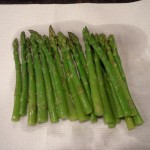
  2. Hold the asparagus with your fingers in the middle and on the end and bend.
  3. The asparagus will break where it’s supposed to.
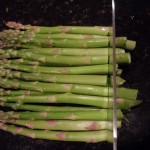
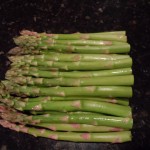
  4. Line them up and cut evenly across the bottom so they are all at a consistent length.
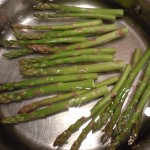
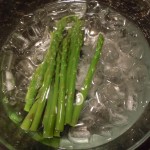
  5. Put them into a pan of water with 1 Tsp salt and bring to a simmer approx 5 min only (DO NOT OVER COOK). Drain and put into a ice bath.
  6. Dry the asparagus with paper towels.
  7. At this point you can pop them into a zip lock and into the frig until you are ready for them.
  8. Mix together in a small bowl the room temperature cream cheese, grated onion, Parmesan and lemon juice just til combined
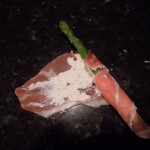
  9. Take a piece of Prosciutto and smear 1 Tbsp of the cream cheese mixture down the length of it.
  10. Place the asparagus on a bit of a diagonal (see photo) and roll up.
  11. Place onto an ungreased cookie sheet and bake for 7 minutes.
  12. Use a spatula to remove from pan and be sure to flip them over when you plate them to see the lovely caramelization on the under side.
  13. Drizzle a little olive oil, a fresh squeeze of lemon and some shaves of Parmesan on top for a little extra!
iphone pictures 545


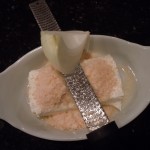
 TIPS:  Using a micoplane grater or rasp to grate the onion is a wonderful culinary tool which actually started out back in the day as a wood planer for woodworkers!


iphone pictures 544


Tips: Shocking the asparagus or any vegetable for the matter into a ice bath will stop the cooking and keep the vibrant green color.

Clam Puffs

Clam Puffs

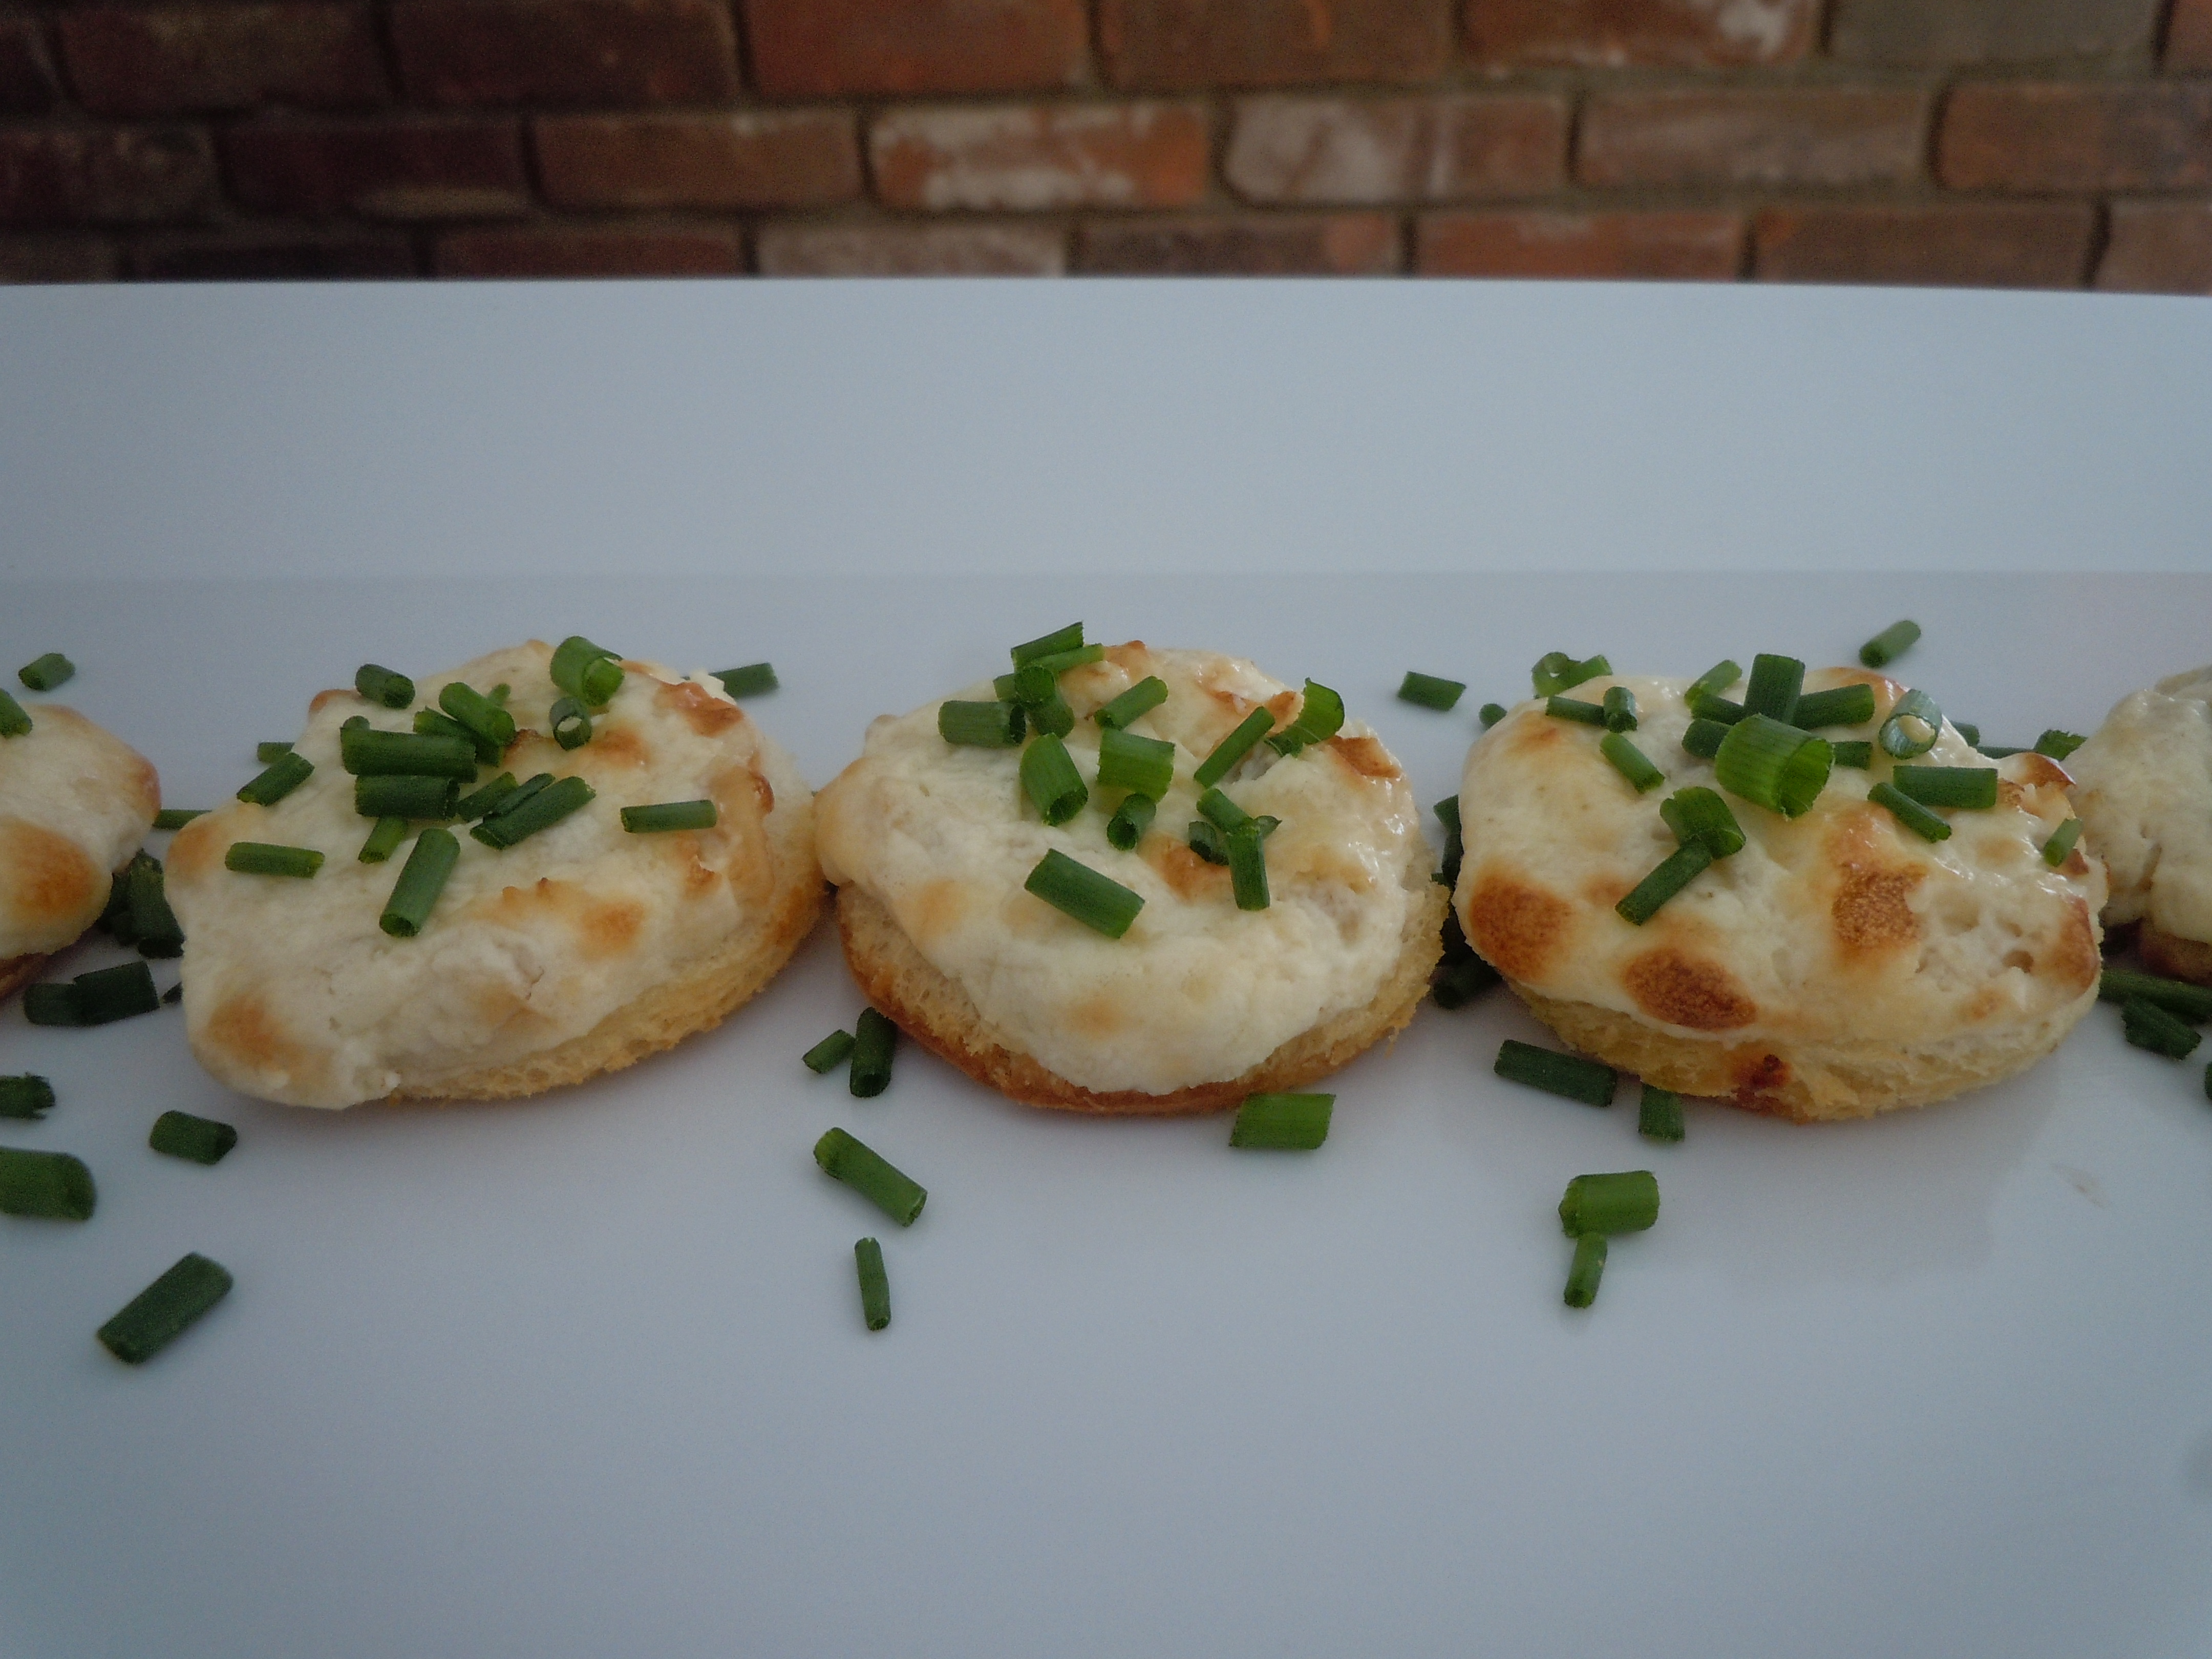
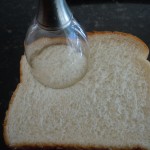
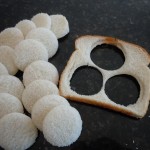
These Clam Puffs are a take on a Traders Vic’s recipe yet different.  I remember having these at my mother-in-law Louise’s many years ago and thinking how elegant they looked ……and scrumptious they were (and still are). What an uncomplicated appetizer to make.   You can whip up the mixture in a matter of minutes and cut out little bread rounds a day or two before keeping them in a Ziploc baggie.  Then when you are ready butter the bottoms and place on a cookie tray and top the rounds right before baking with the clam mixture, which only takes 5 minutes.   You can use cookie cut outs for making the bread rounds or as I have shown you here it’s really easy to use a glass if you prefer a certain size.

iphone pictures 651iphone pictures 652iphone pictures 654


iphone pictures 655iphone pictures 656iphone pictures 661


iphone pictures 657iphone pictures 663iphone pictures 669


Ingredients:

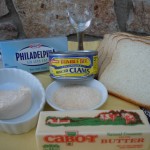
  • 1 can minced clams-DRAINED
  • 24 bread rounds from a loaf of Wonder bread-8 pieces of white bread
  • 4 oz. cream cheese room temp. (either reg. or 1/3 less fat – Philadephia)
  • 1/4 cup mayo (Hellman’s)
  • 3 Tbsp grated Parmesean cheese
  • 1 Tbsp grated vidalia onion with microplaner (yellow or white is good too)
  • 1 Tbsp fresh lemon juice
  • 1/4 stick melted butter
  • fresh chives finely chopped

Directions: 

  1. Pre-heat oven to 375º.
  2. Cut out 1 3/4″ bread rounds.
  3. You should get 3 per slice.
  4. Add the remaining ingredients in the list to a small bowl and mix together.
  5. Melt the butter for the bottoms of the bread rounds and begin to dunk the bottoms in only…this helps to get a delicate and tasty crust on the bottom of the rounds once you bake them.
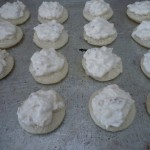
  6. Place all the buttered rounds onto the cookie tray and begin to top with 1 Tbsp of mixture per round.
  7. Put into the oven for approx. 12 min.
  8. LIGHTLY GOLDEN ONLY keep an eye on them so they don’t burn.
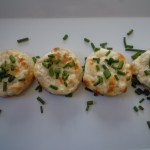
  9. Plate and top with chopped chives.