


BEST Manicotti Ever Recipe
Yes, I am giving up the good’s on this one and I know you will appreciate it because this is one of my very favorite secret recipes that has been in our family for generations! My mother Maria taught me how to make these homemade gourmet manicotti when I was young and now I am thrilled to pass this very special dish on to you.
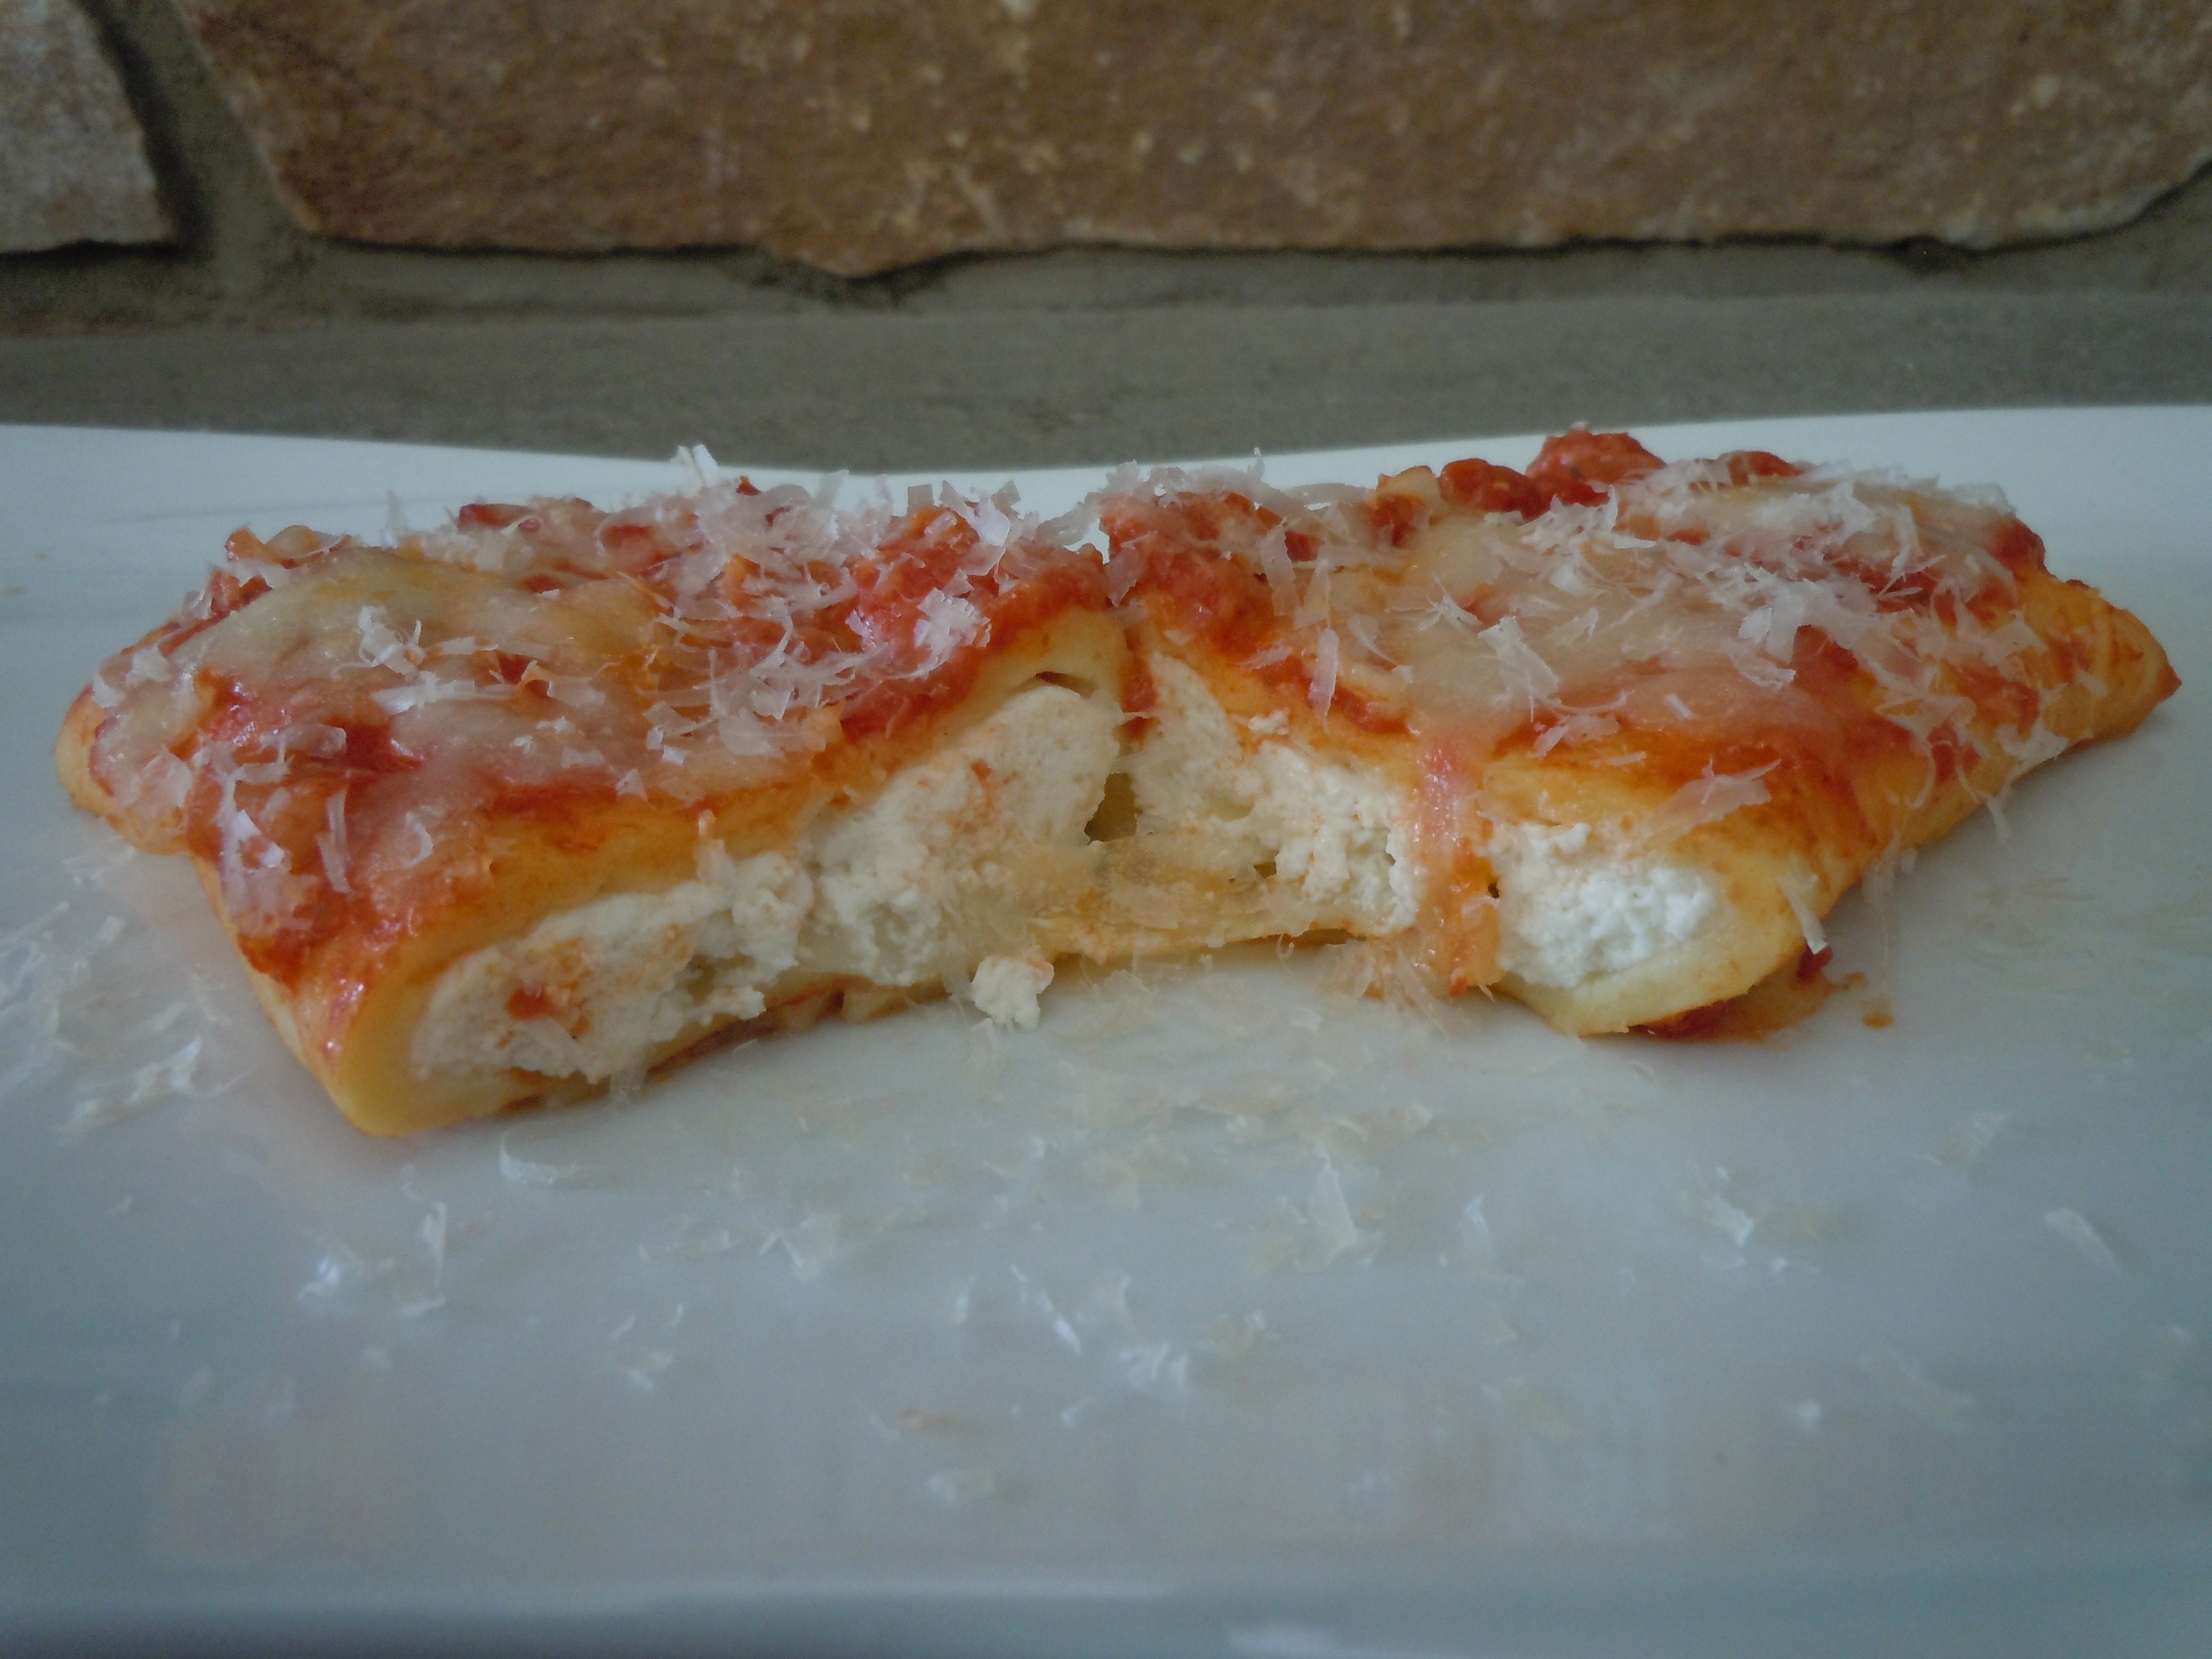
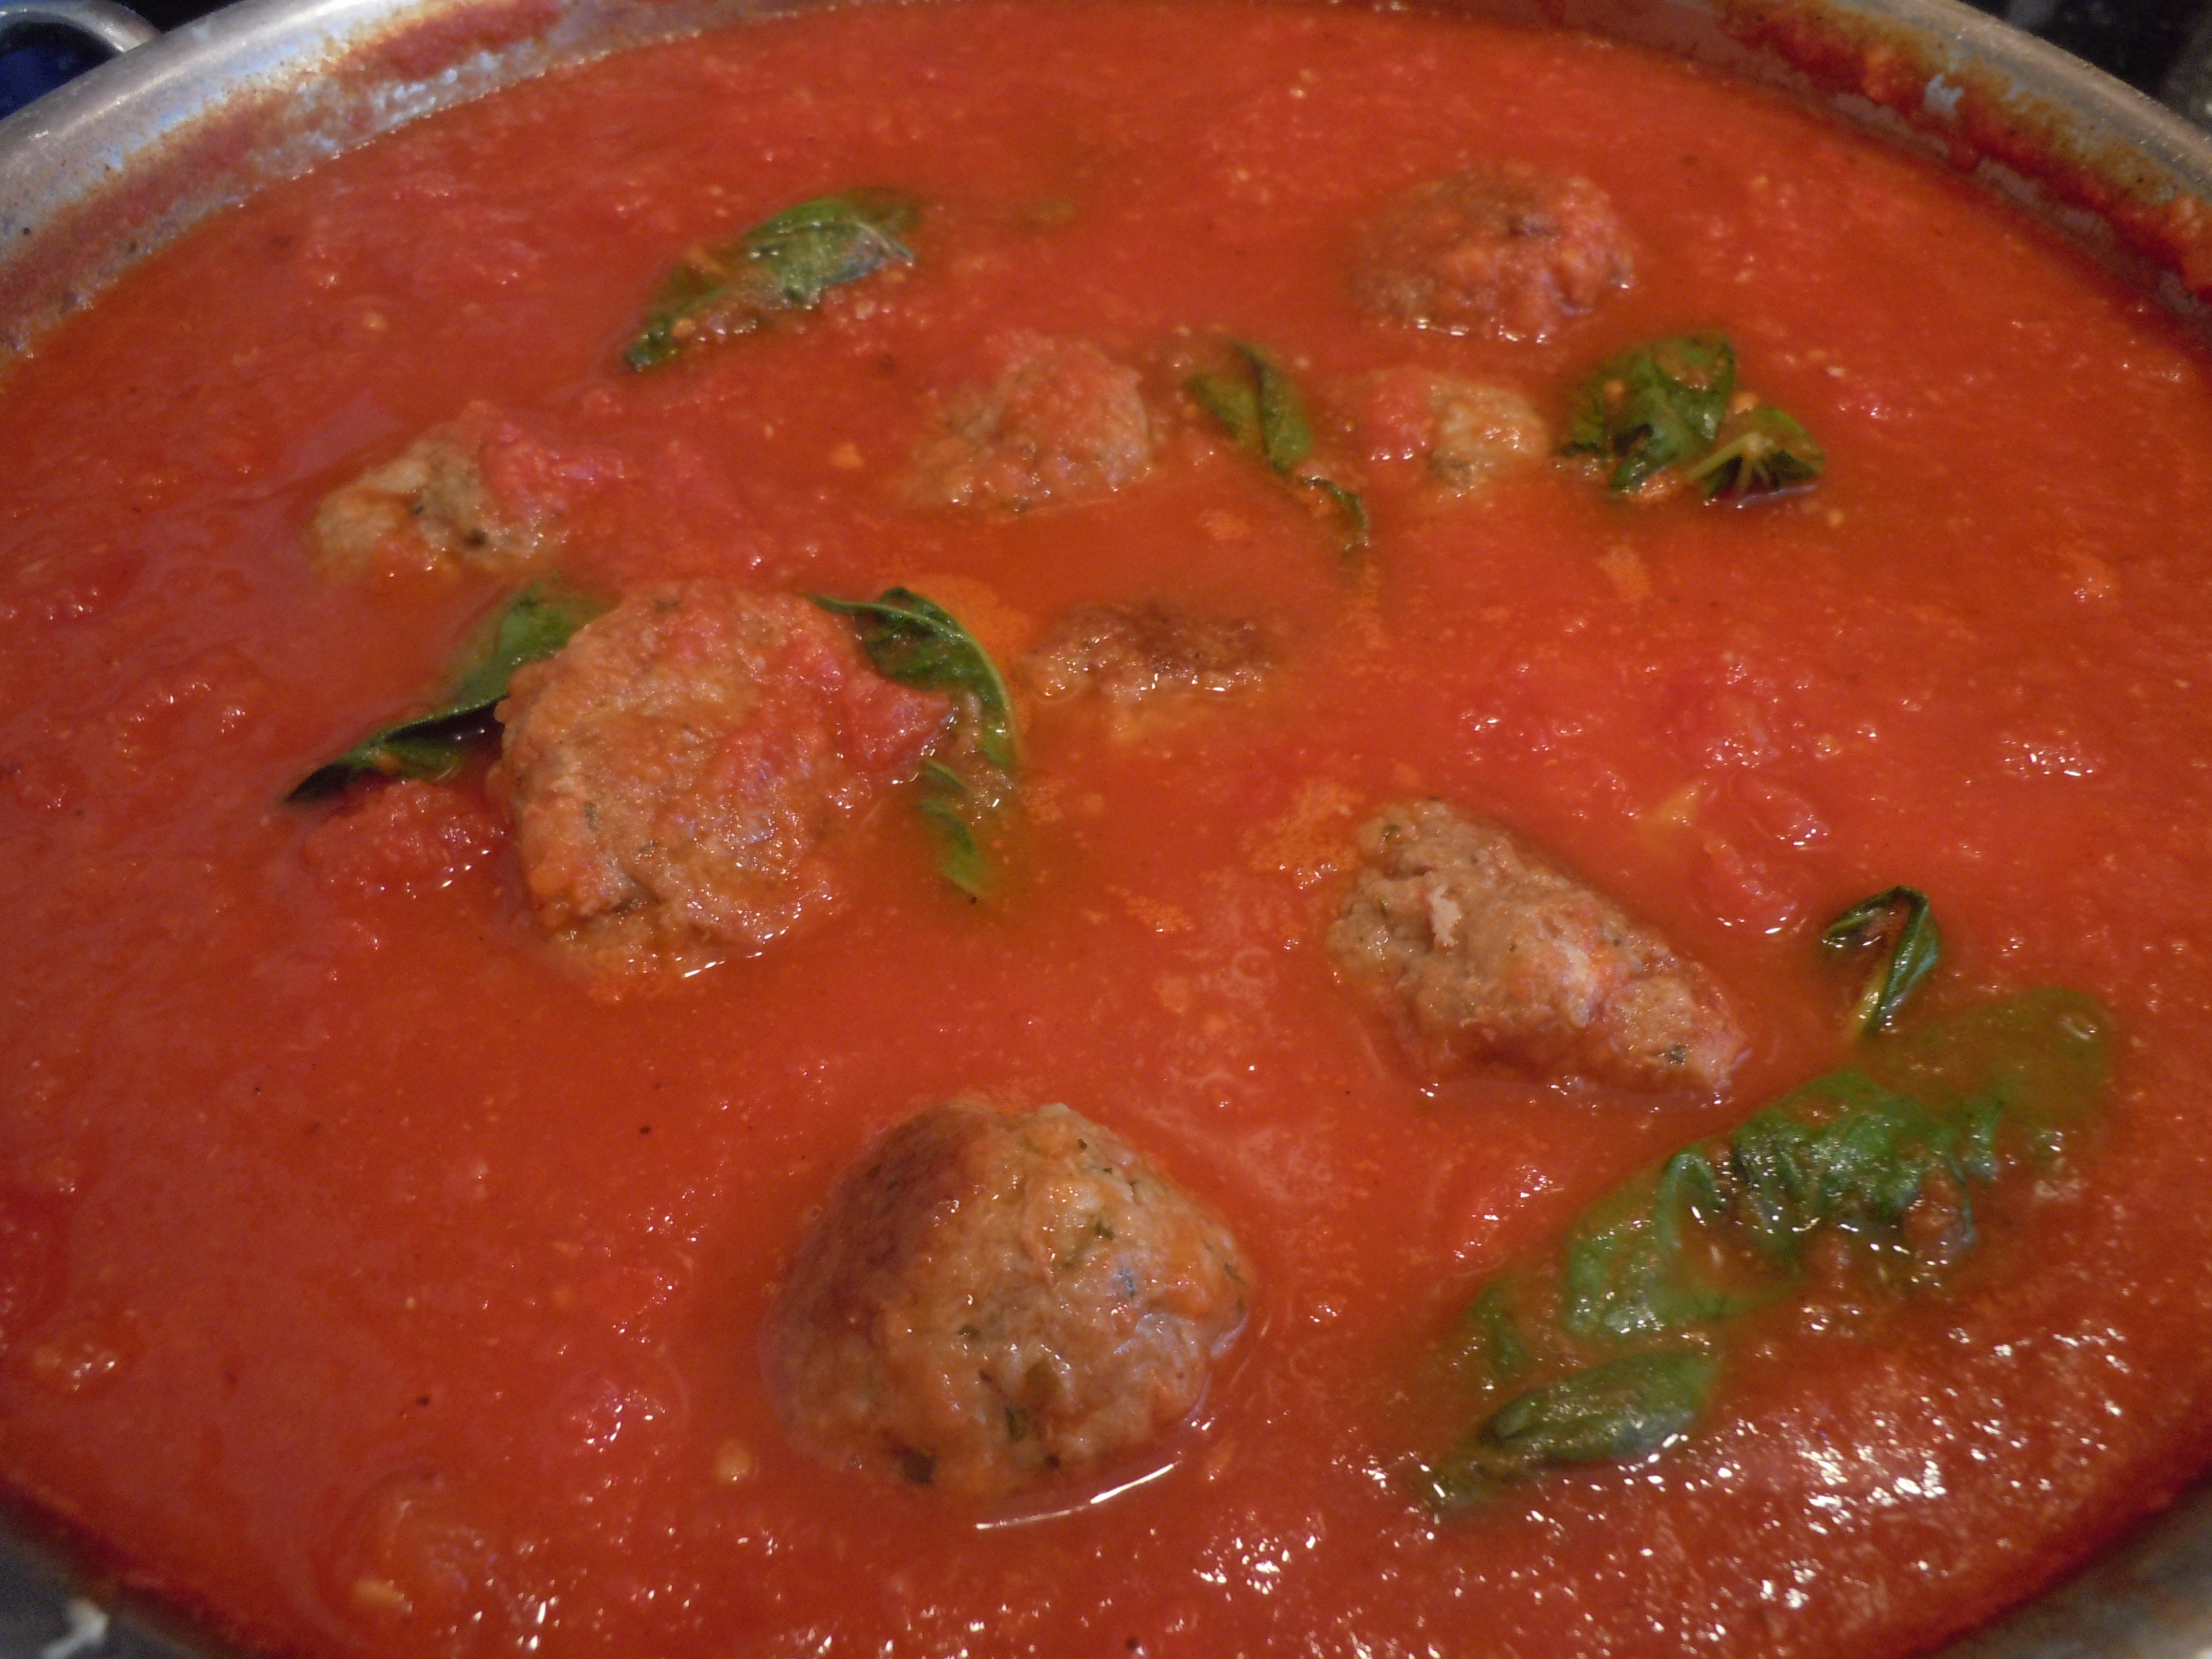
These are the BEST homemade manicotti I have EVER tasted and I know you will love them too. They are a poured pasta, a crêpe so to speak and are light and fluffy. I’m partial to Liuzzi’s homemade whole milk ricotta, and I user a mix of mozzarella’s from Scamorza, which is a slightly salted/dryer mozzarella to whole milk and skim milk mozzarella. I start off with either my tomato-basil pasta sauce or my pasta sauce 101 for the homemade manicotti. These are an especially festive and a special dish to make for the holidays.
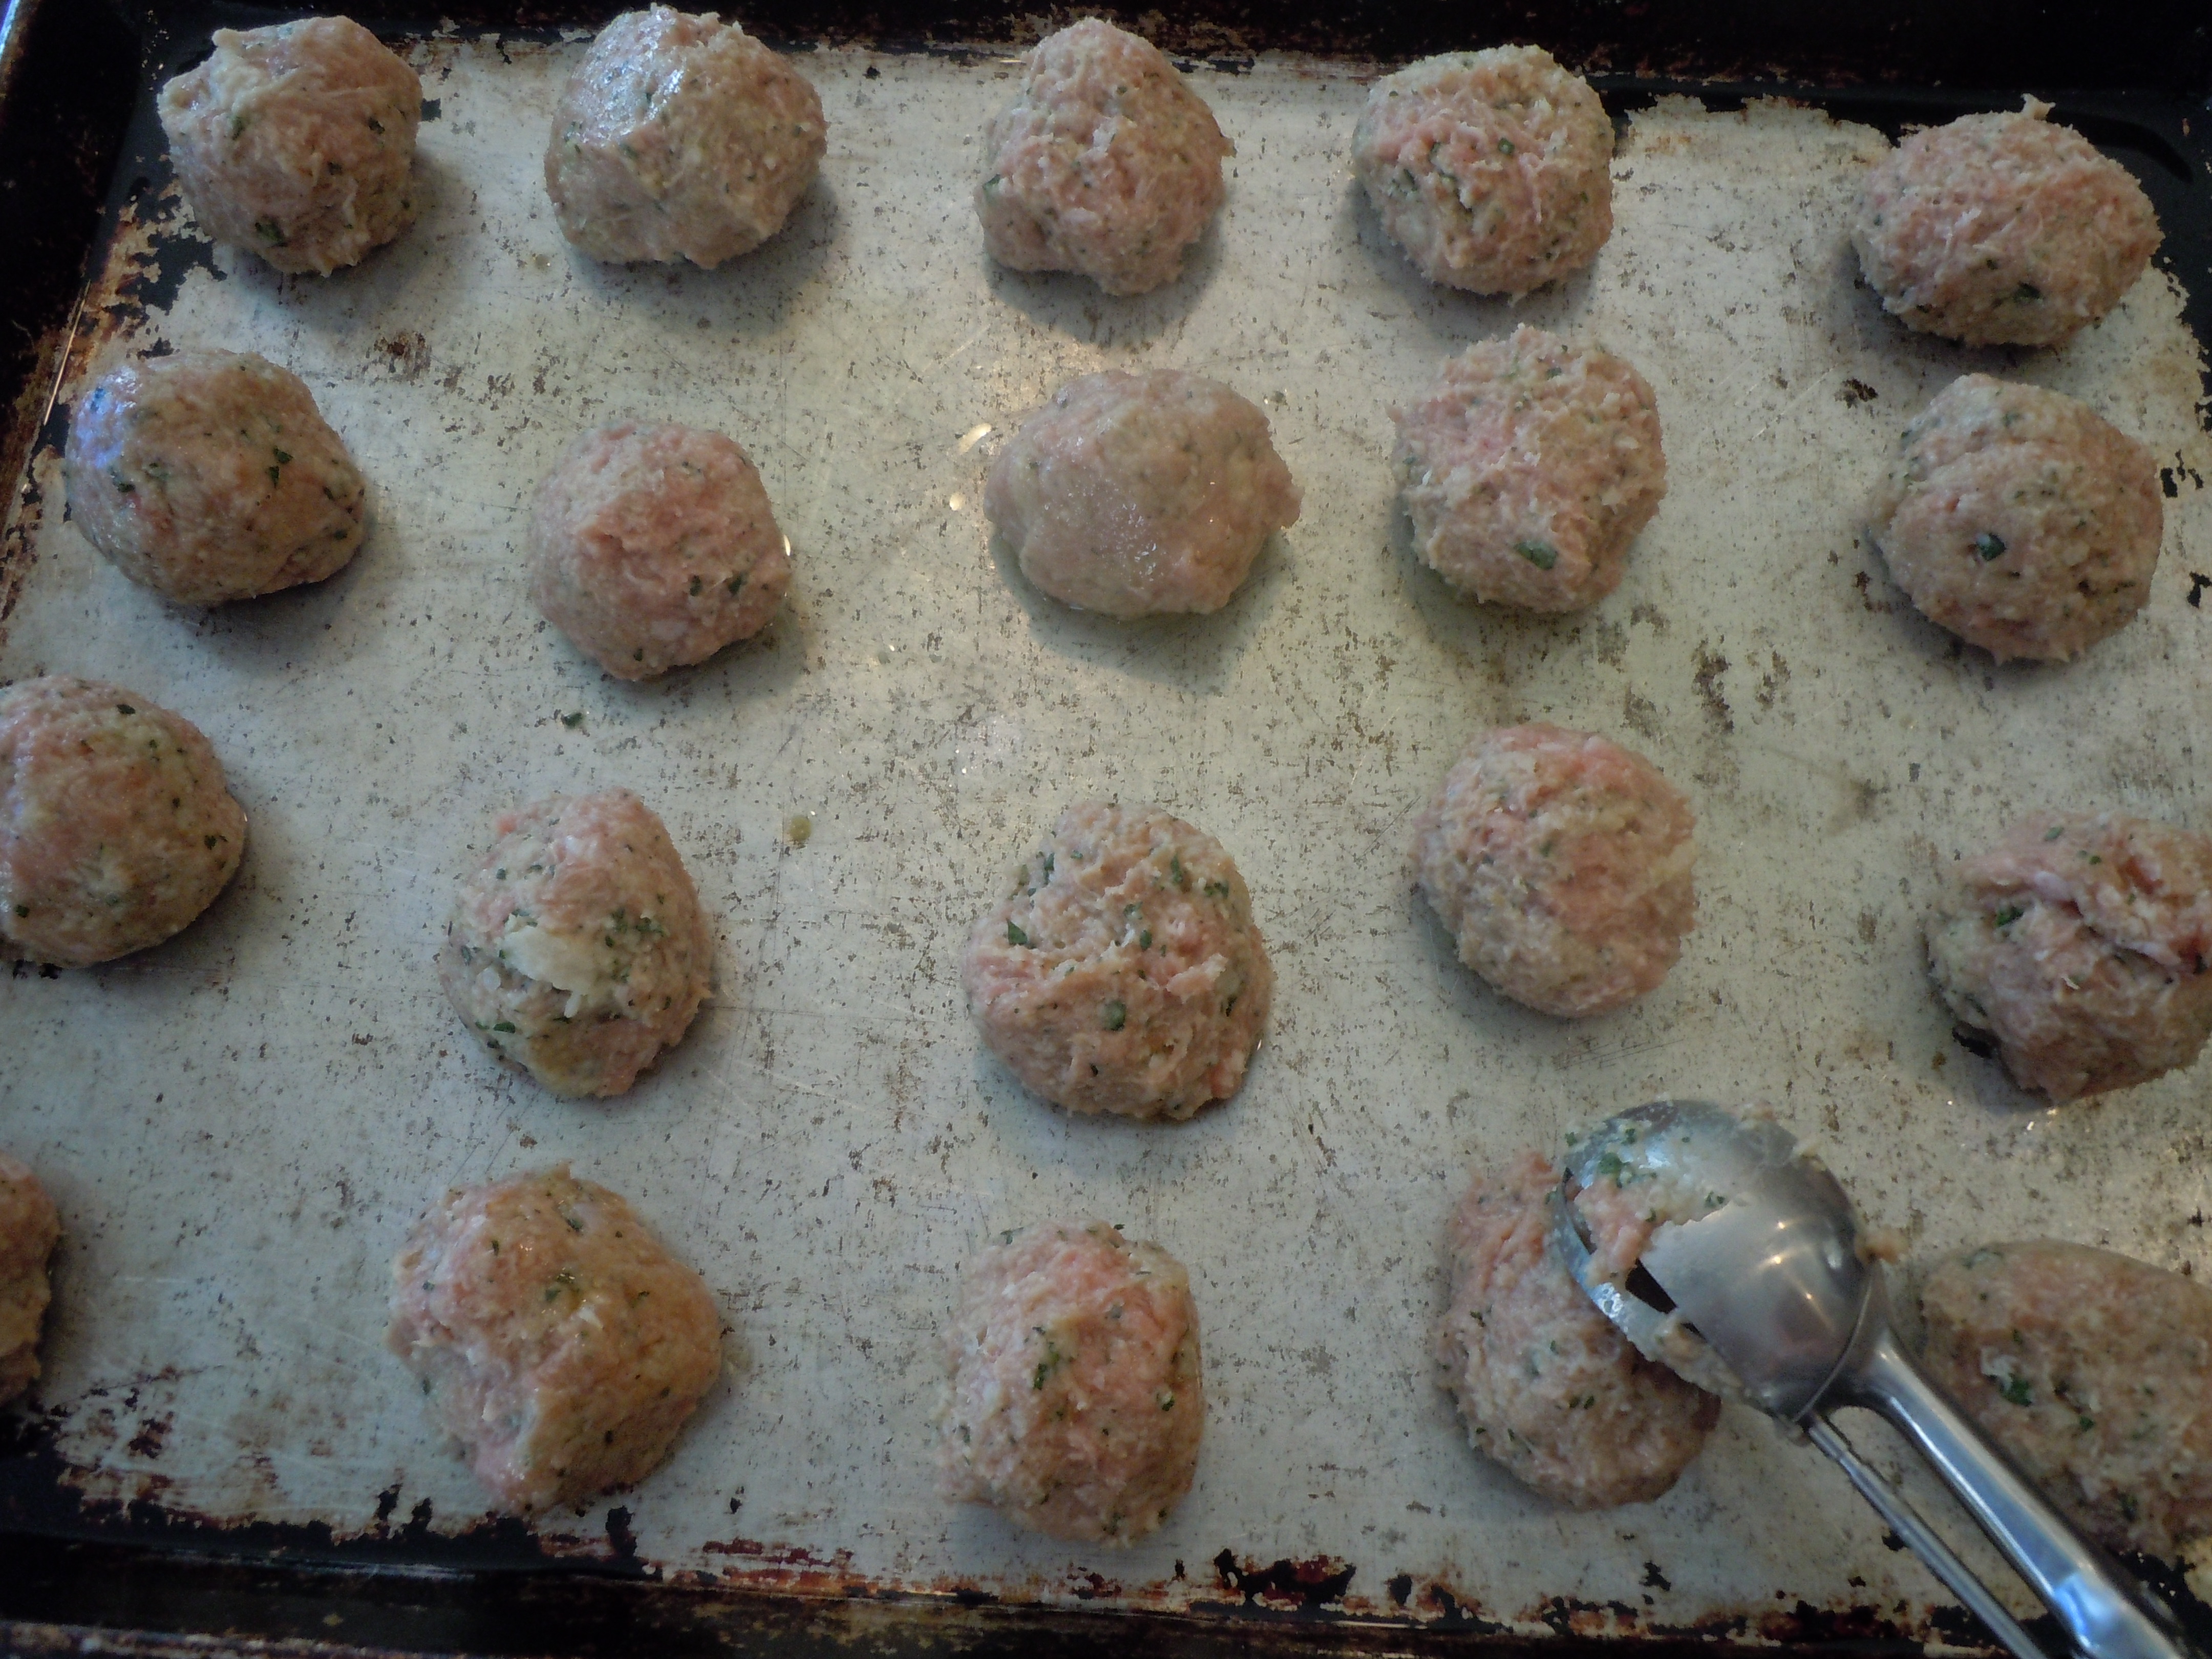
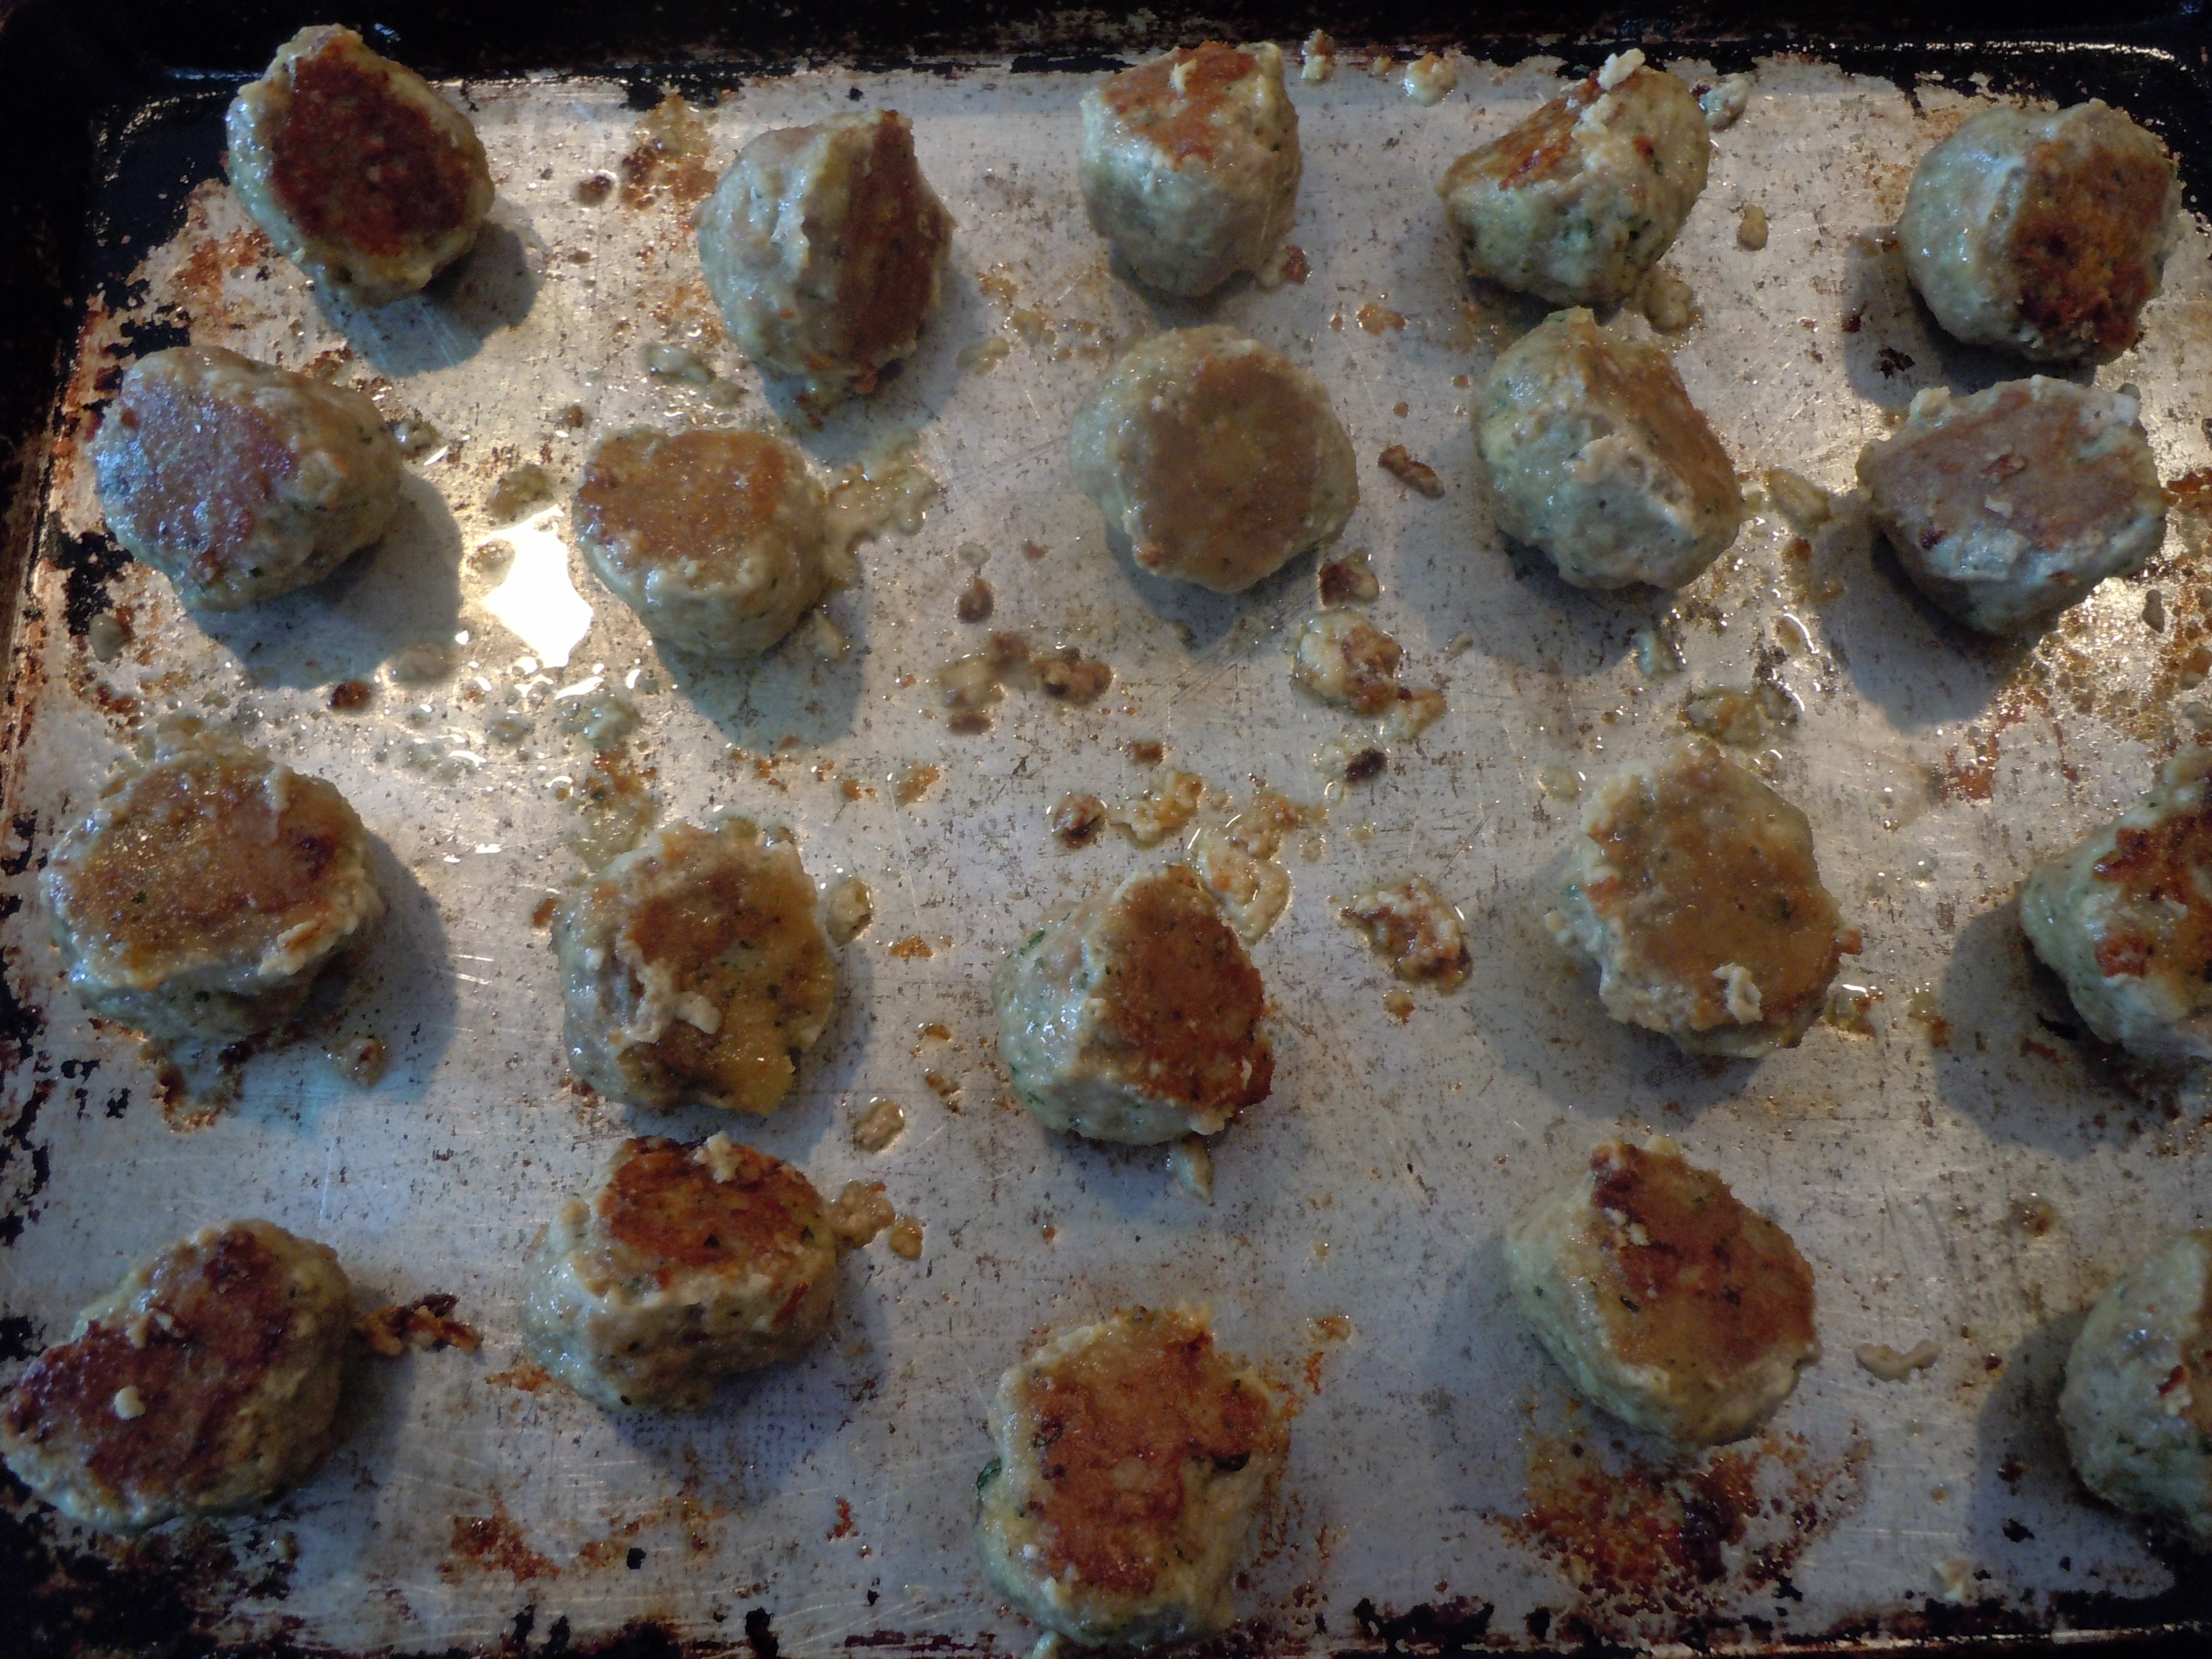
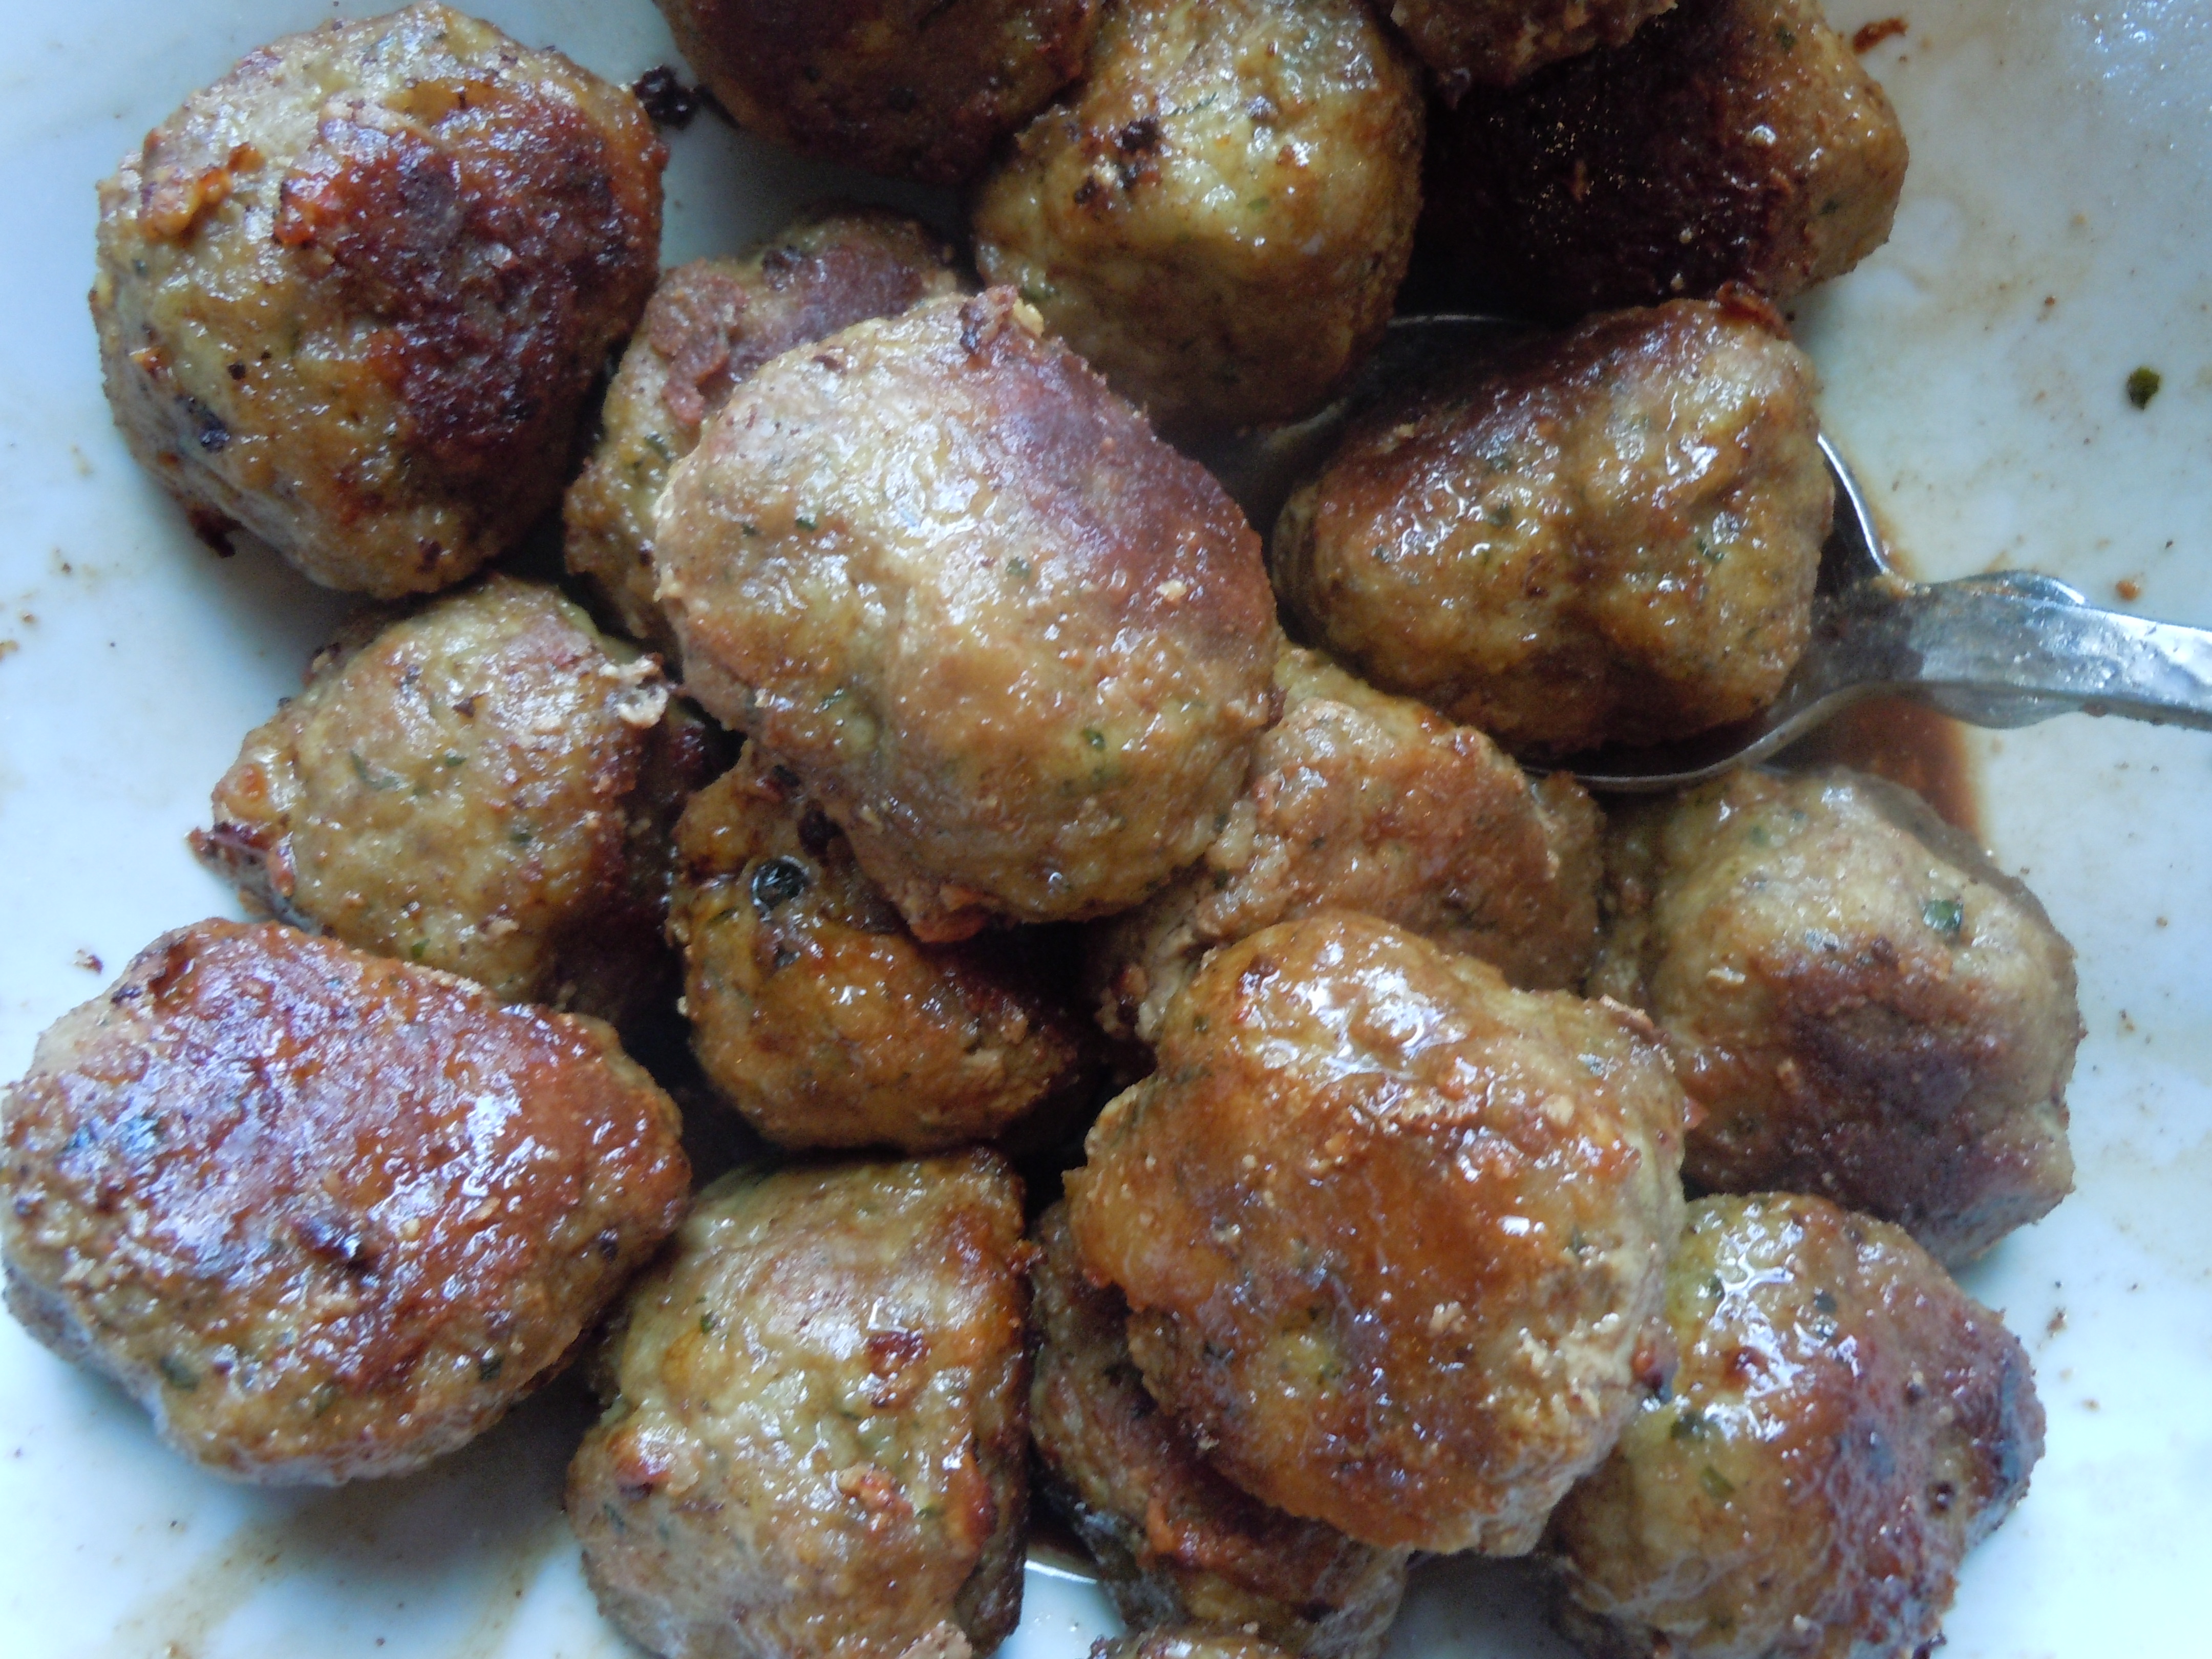
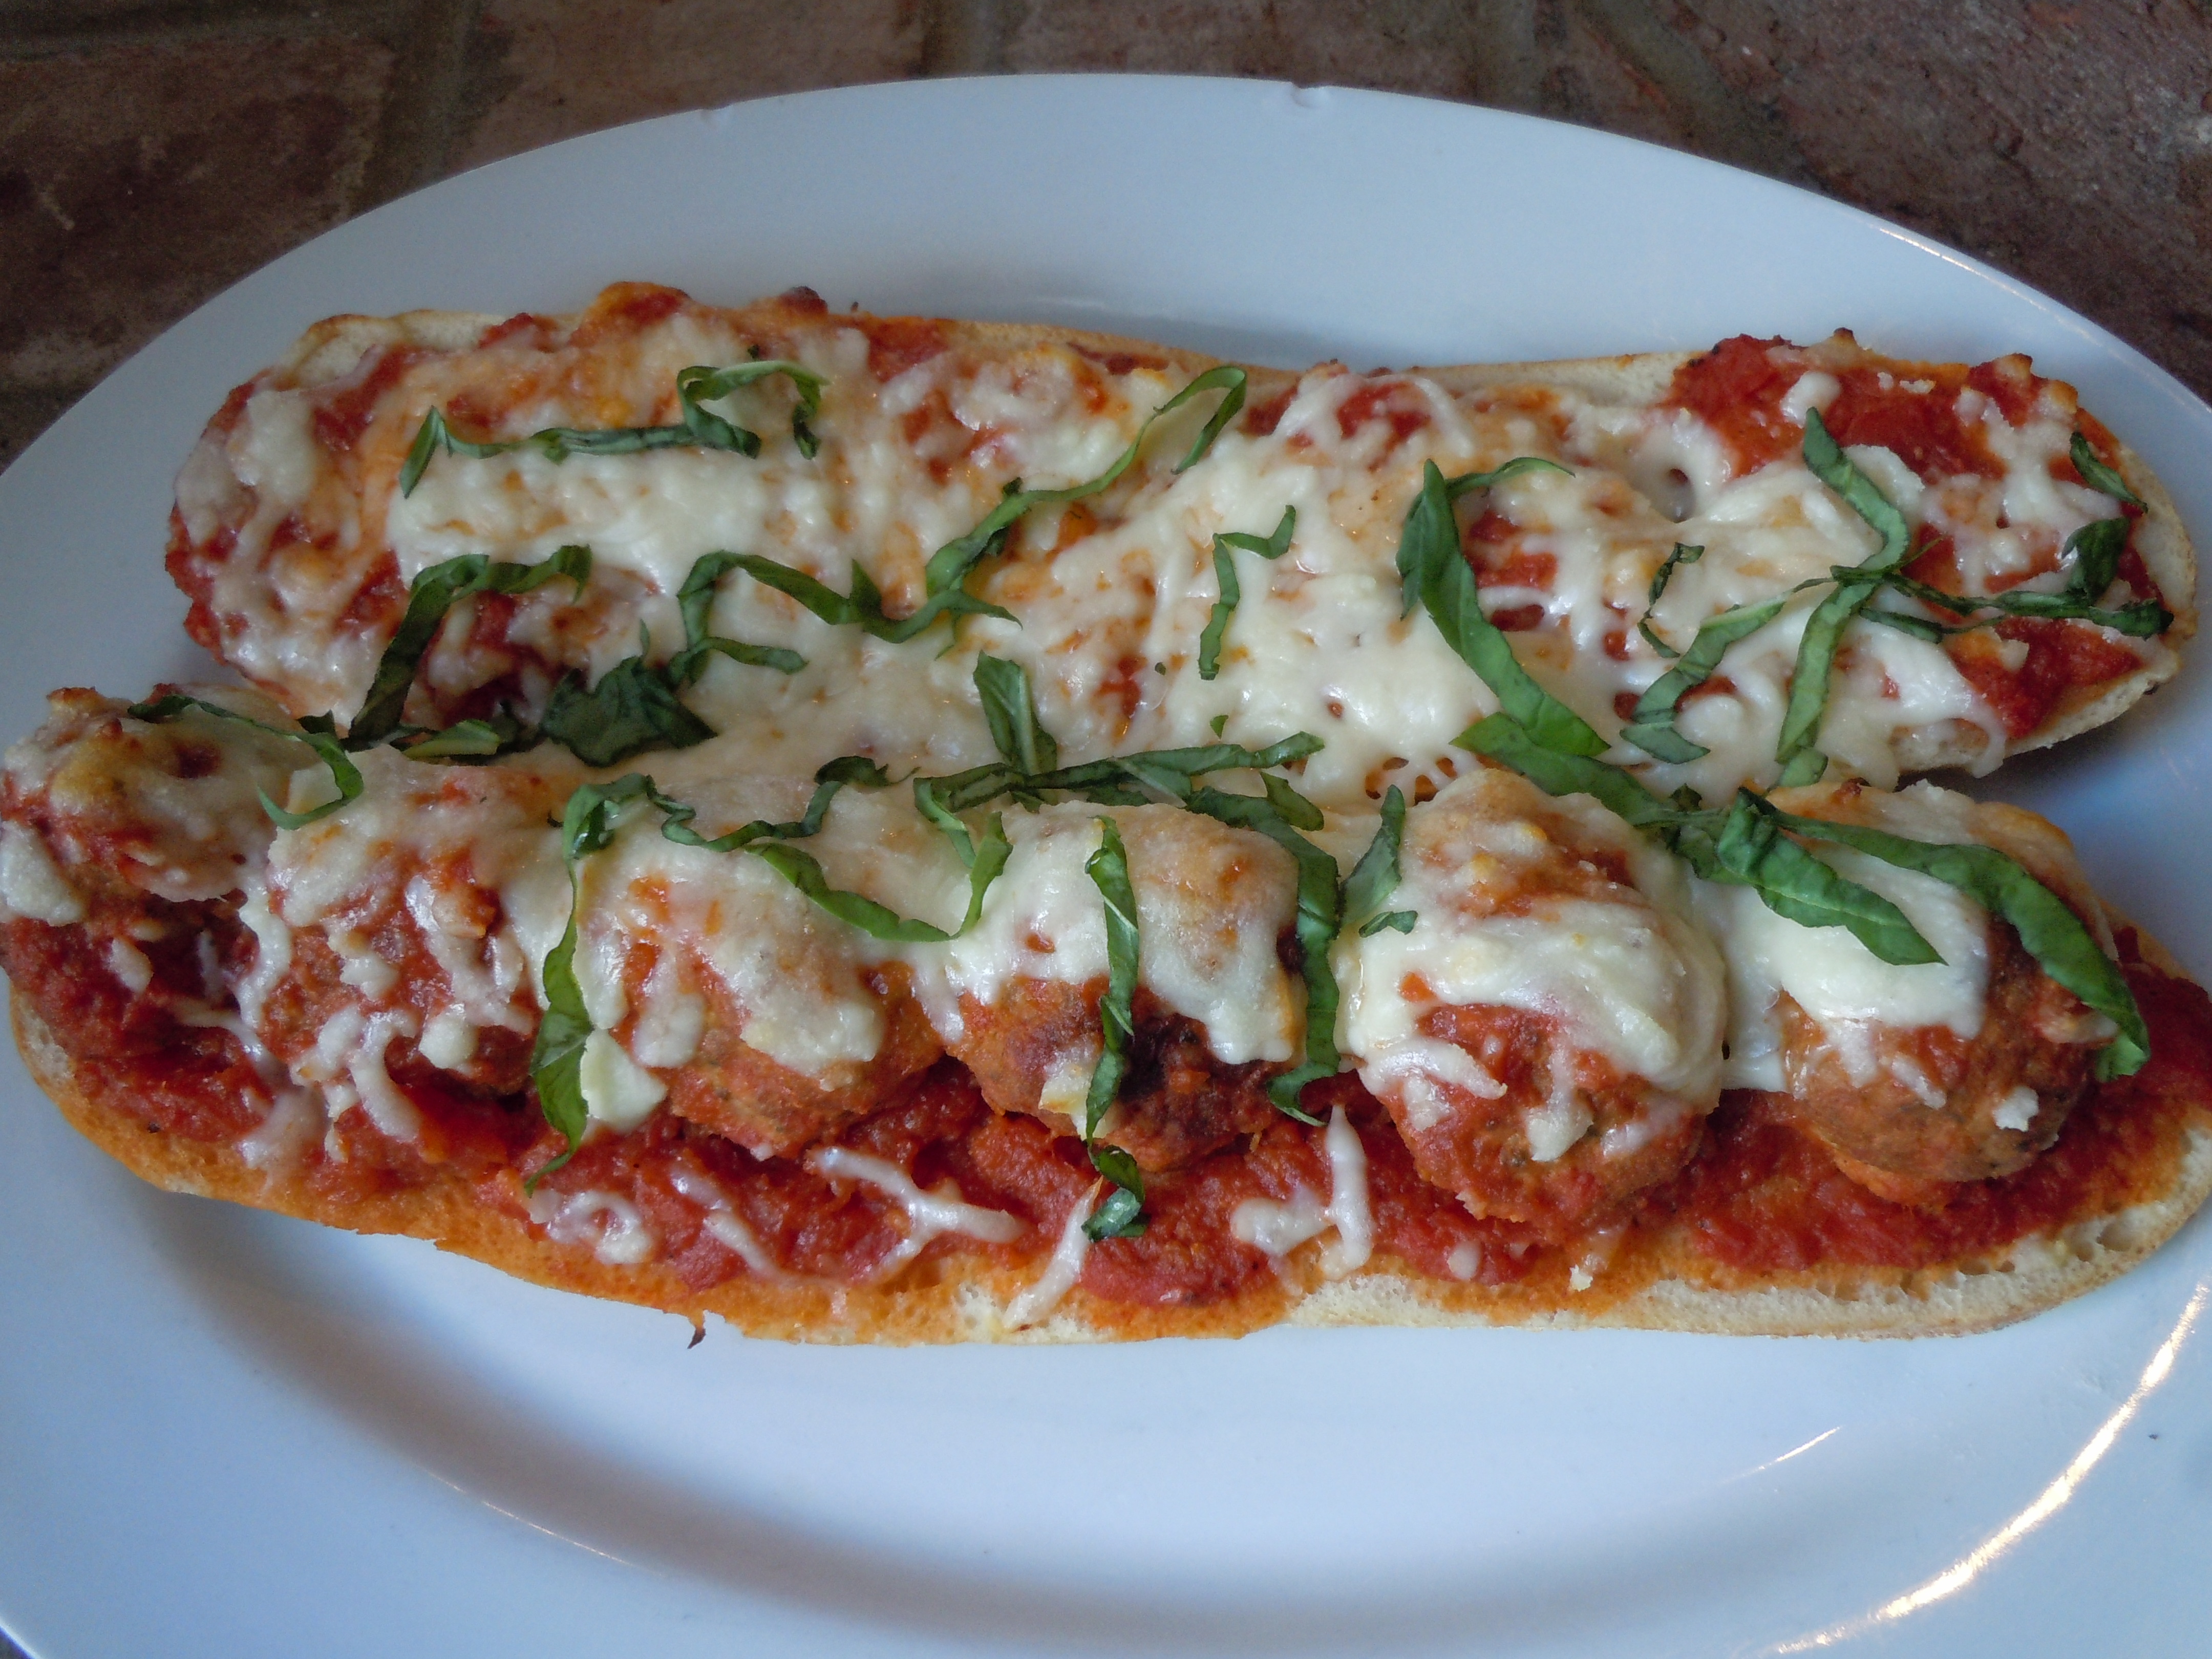
This manicotti batter is poured like a crêpe. It’s light and airy like a crepe but definitely different in texture. The texture of the crêpe is a pasta texture, creamy and soft. These manicotti shells (crêpes) are truly gourmet and you’ll will appreciate how delicate a dish this really is when you make them for your own family and friends. My turkey meatballs would go great with this holiday dish also. A spread of spiral ham or roasted lamb with gourmet manicotti and turkey meatballs …who’s better than you?!
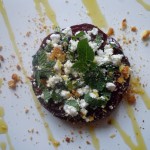
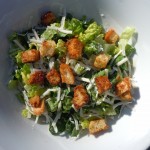
It’s nice to serve a refreshing salad with pasta like my Caesar Salad then maybe an appetizer like crab cakes and sides like Roasted Beet Salad with Mint and Feta or Yogurt Chicken Kabobs. A light pavlova dessert with fresh pineapple and berries would make the perfect end for this manicotti dinner.


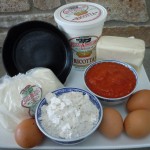


Ingredients:
-
- 1 cup all purpose flour
- 1 cup water
- 1/4 Tsp salt
- 4 extra large eggs
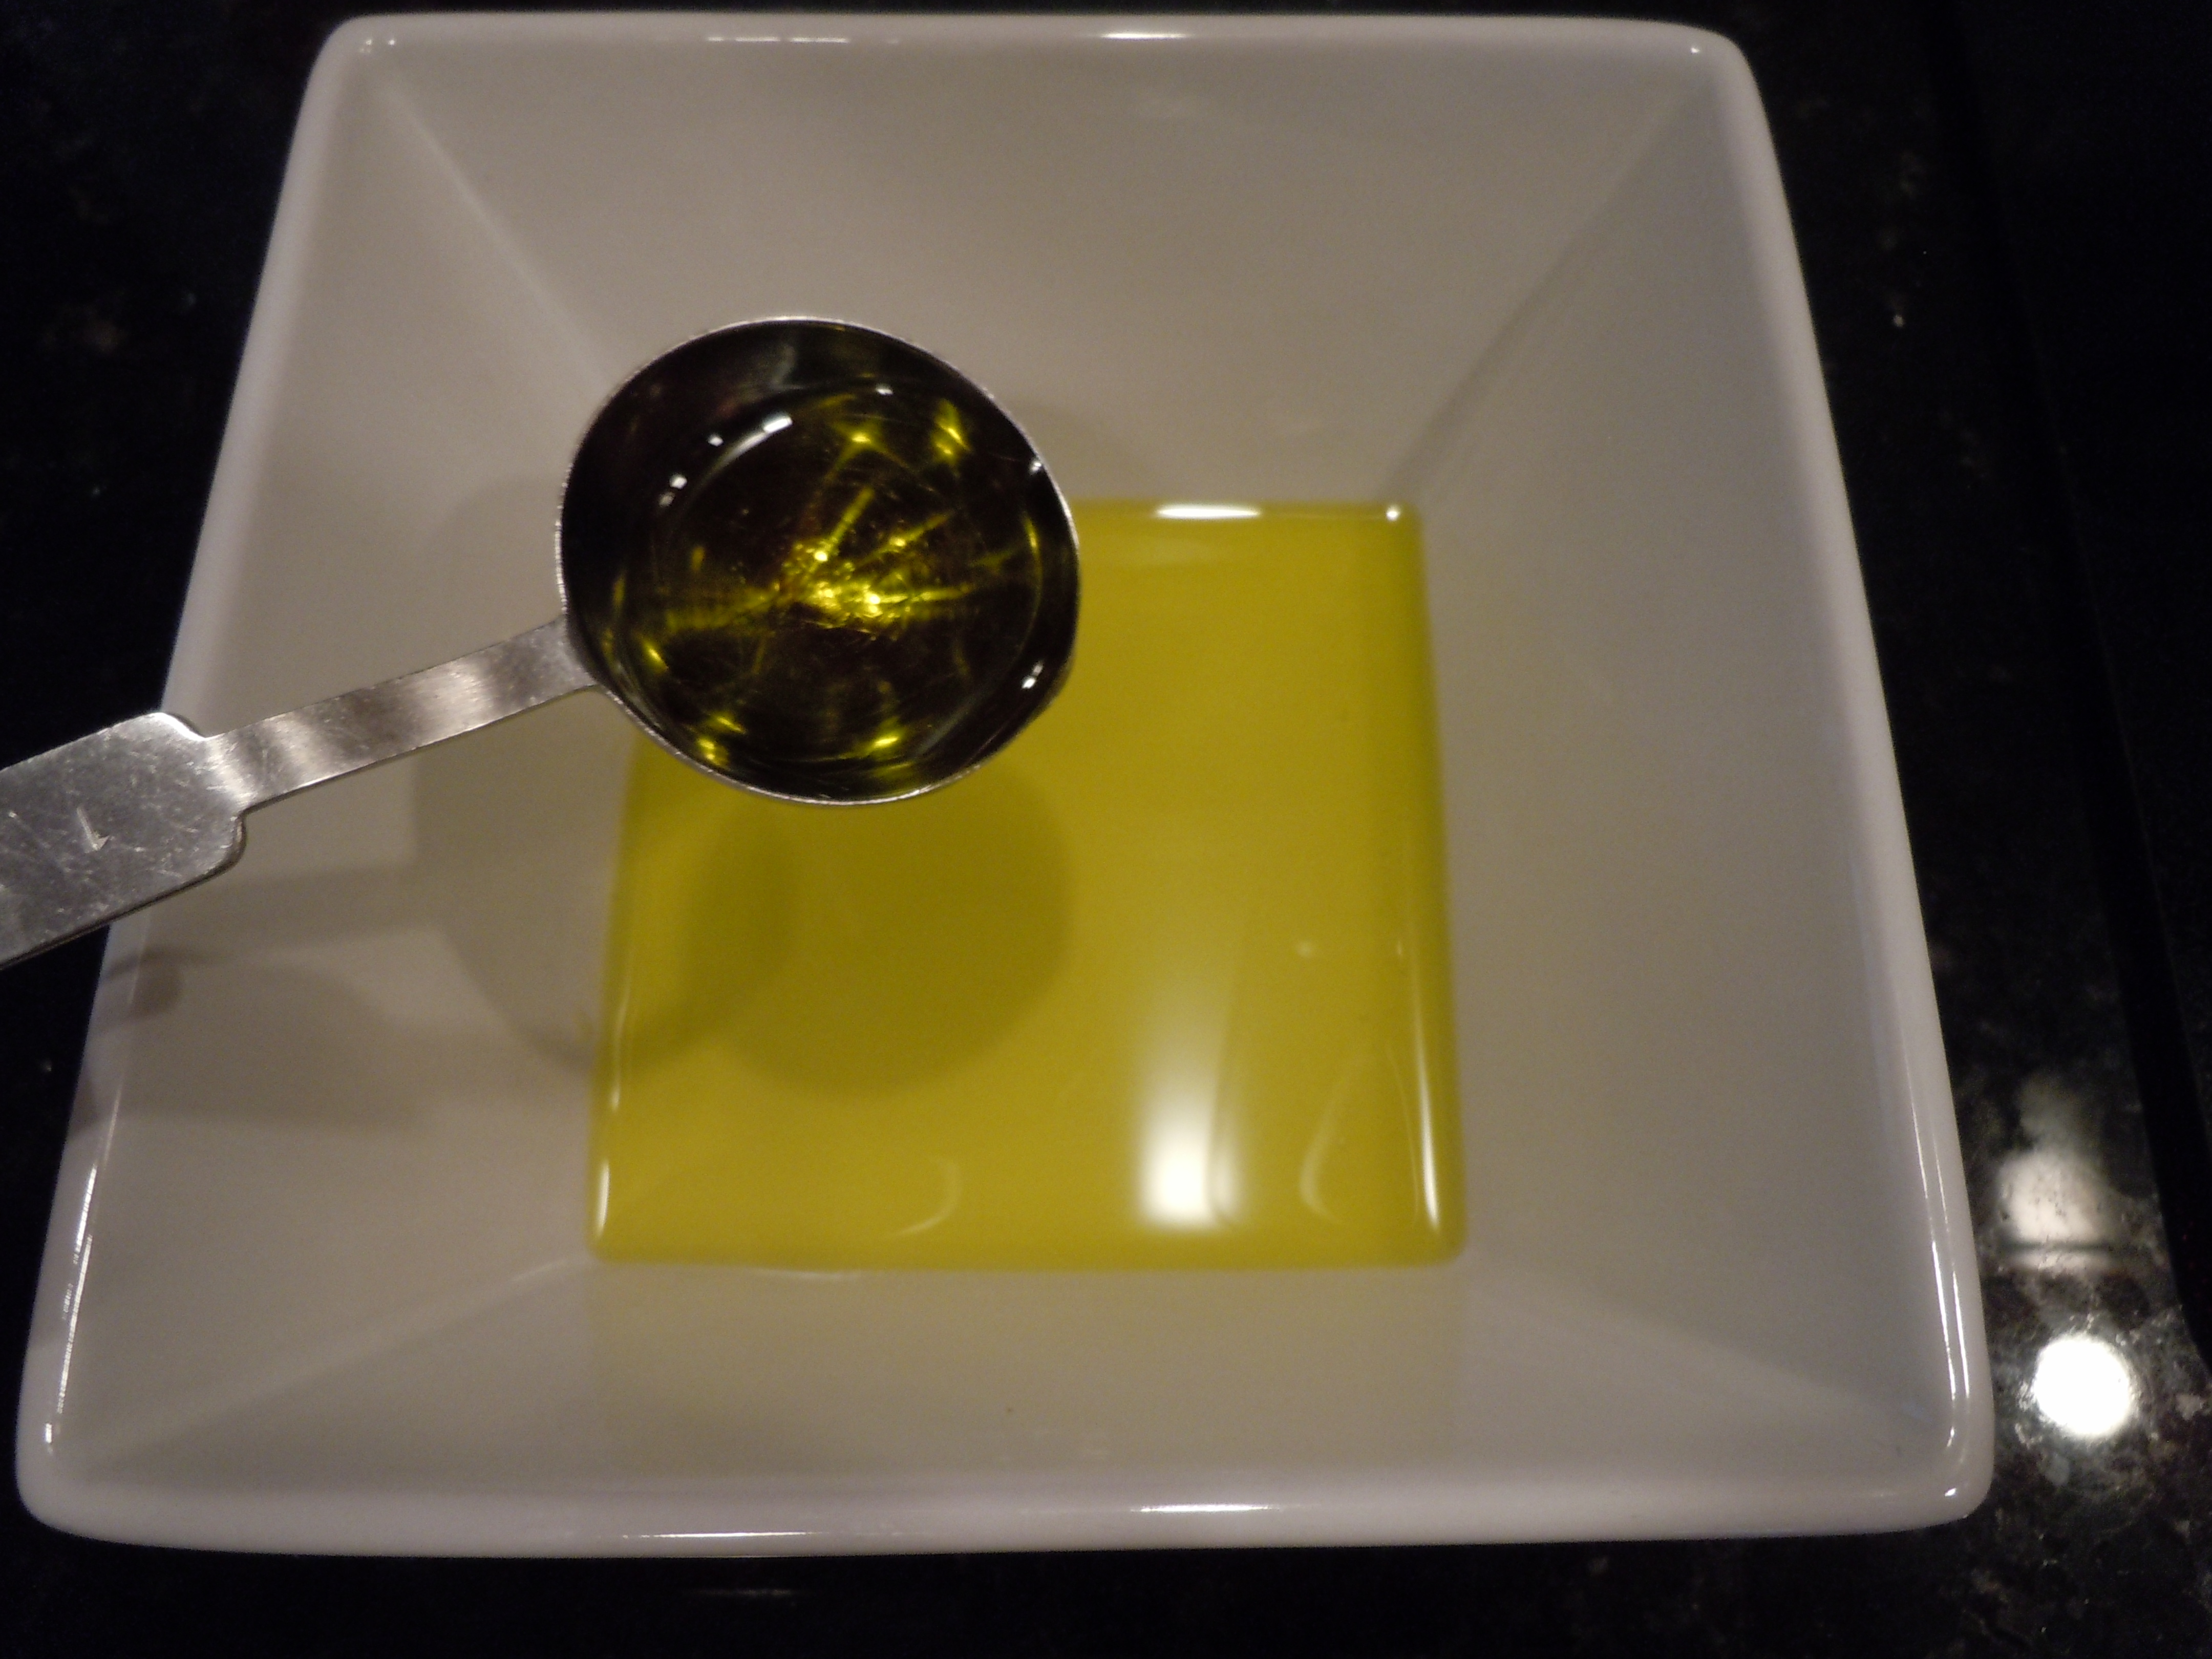
- 2-3 Tbsp olive oil
- 3 lbs. Liuzzi whole milk or “fina style” (a finer ricotta), or your favorite
- 5 0z. shredded whole milk, 5 oz. park skim and 5 oz. Scamorza mozzarella mixed together
- (you can also do 8 oz. whole milk and 8 oz. part skim shedded and mixed)
- 5″ cast iron pan or 5″ non-stick pan
- Baking pan approx. 11″ x 16″
- Recipe for Tomato-Basil Pasta Sauce Recipe starting the sauce off by sautéing pork chops with or with out the bone…bone adds more flavor. (Tomato-Basil Pasta Sauce recipe is a 20-30 minute simmer but for manicotti simmer sauce for 1-2 hours if possible)
- You could also use my slow cooked Pasta Sauce 101 recipe instead
Directions:
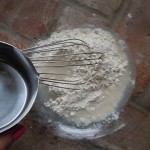
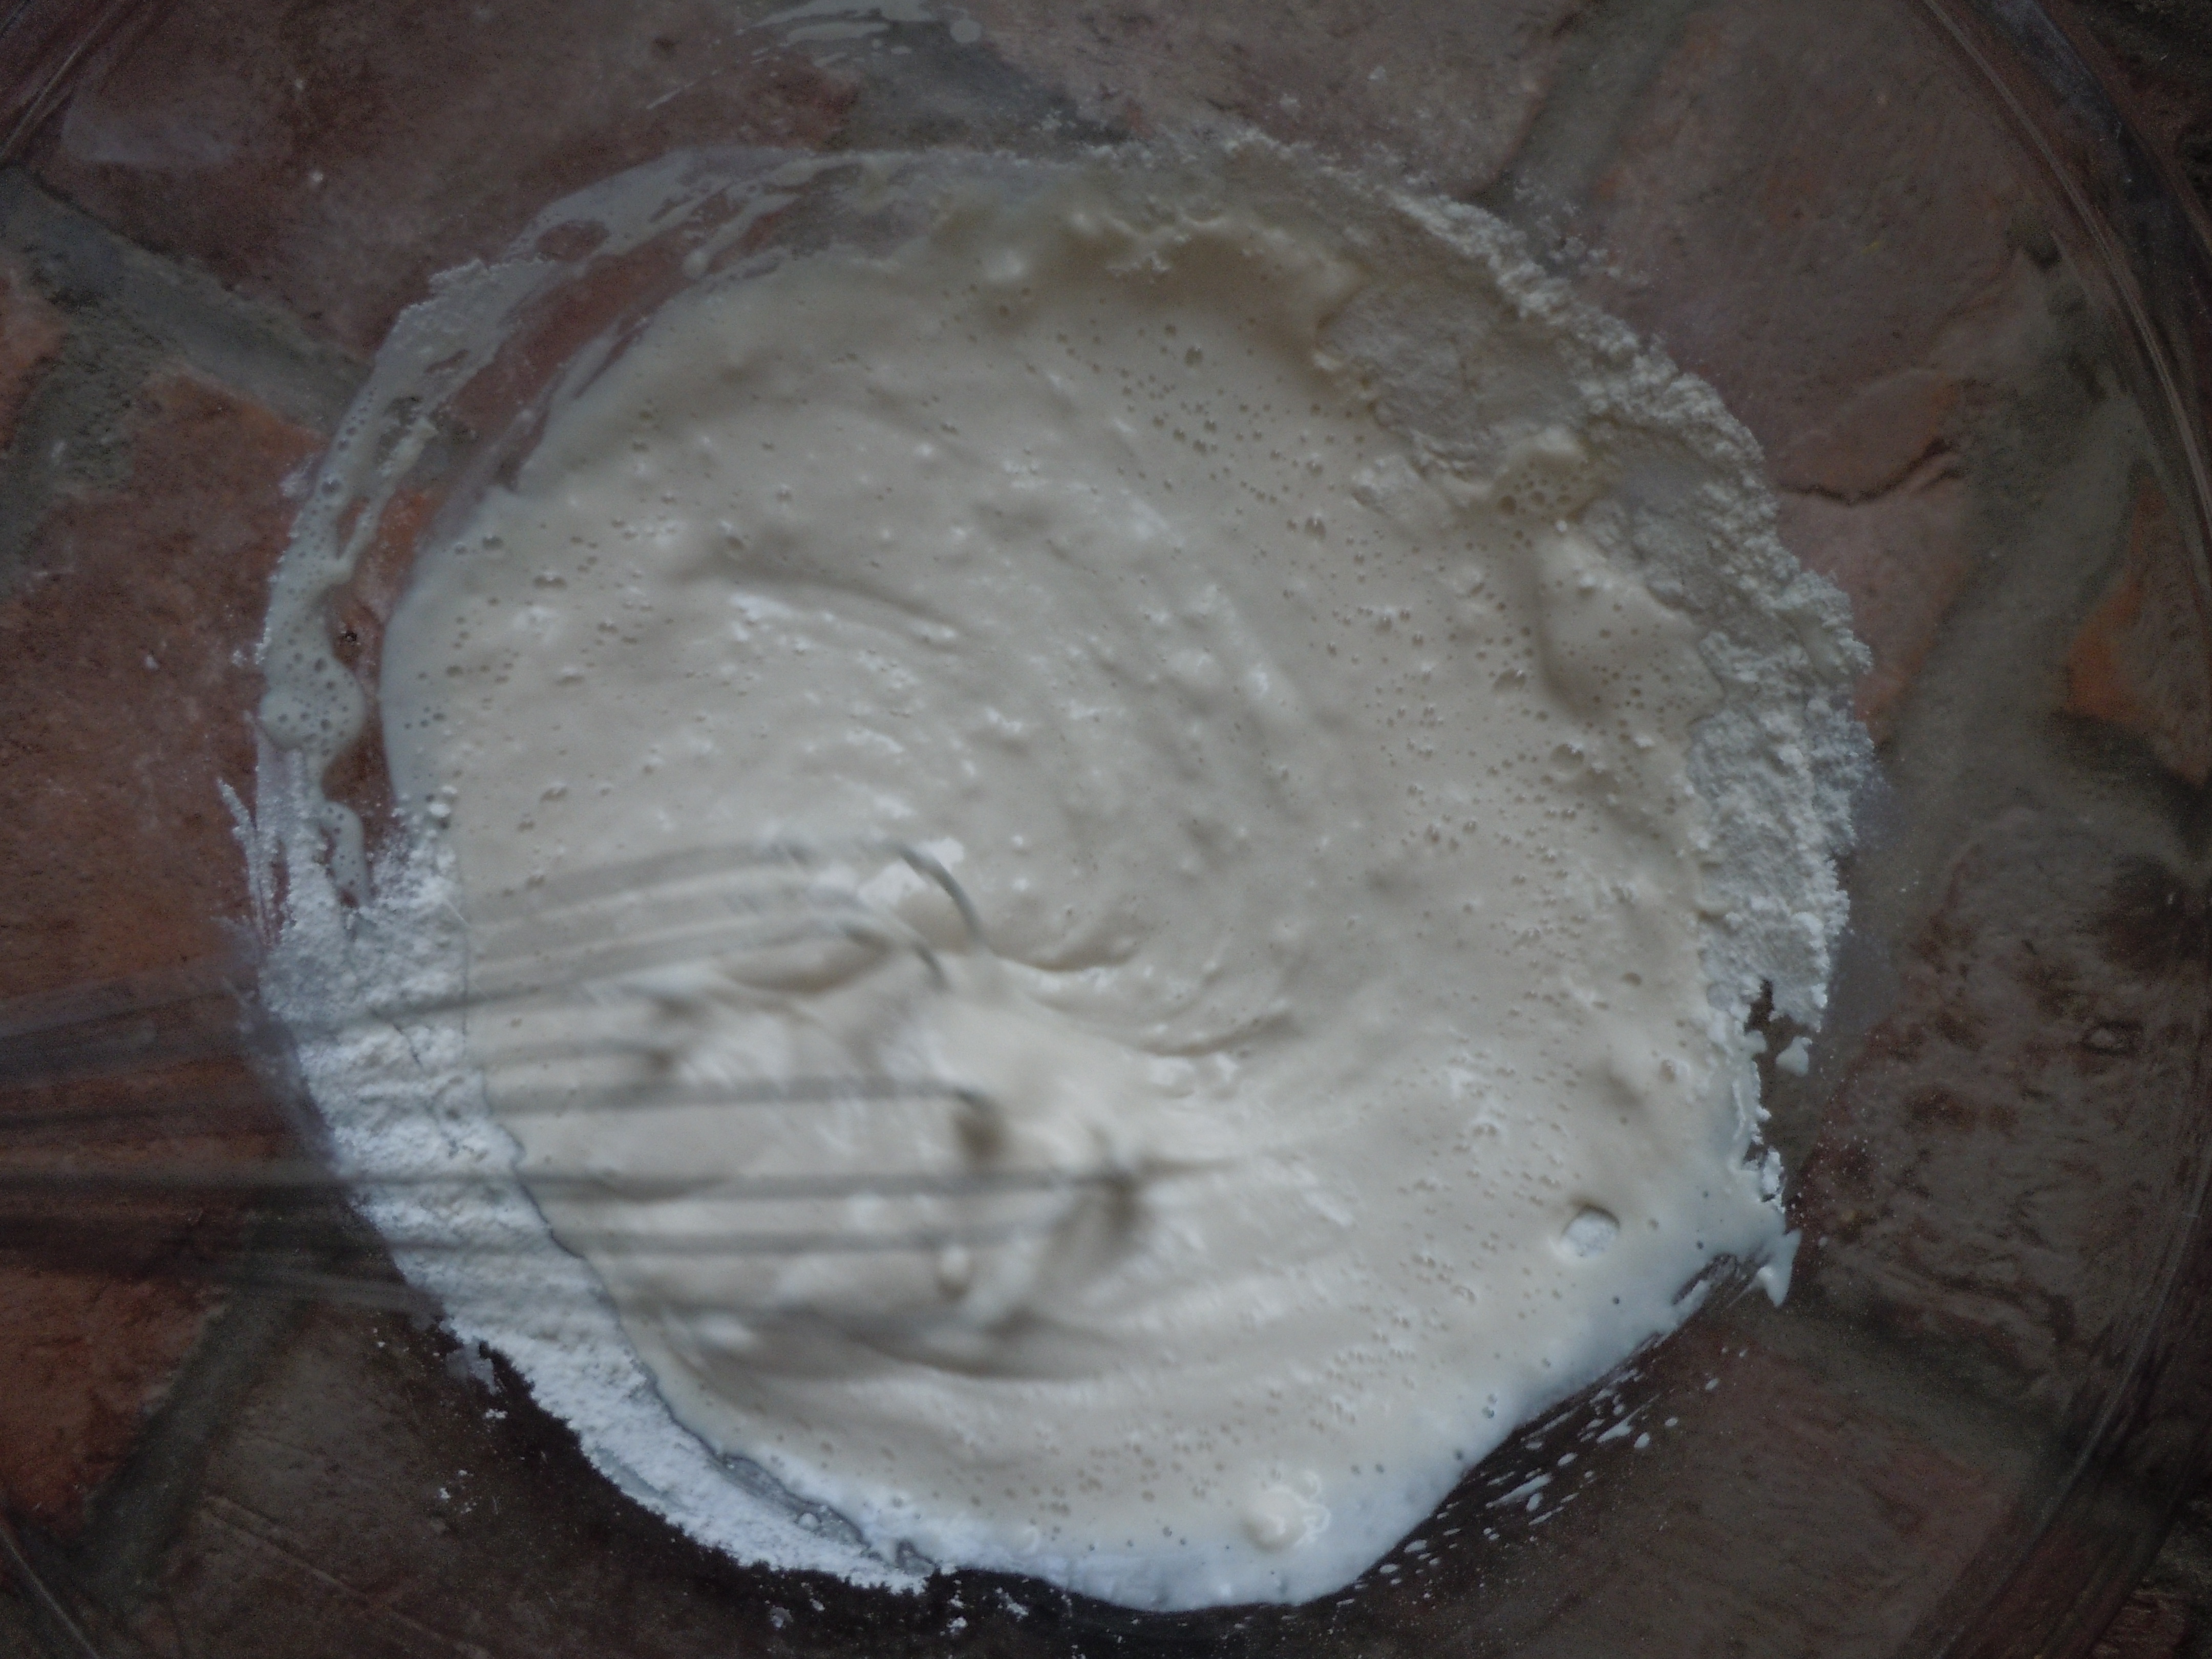
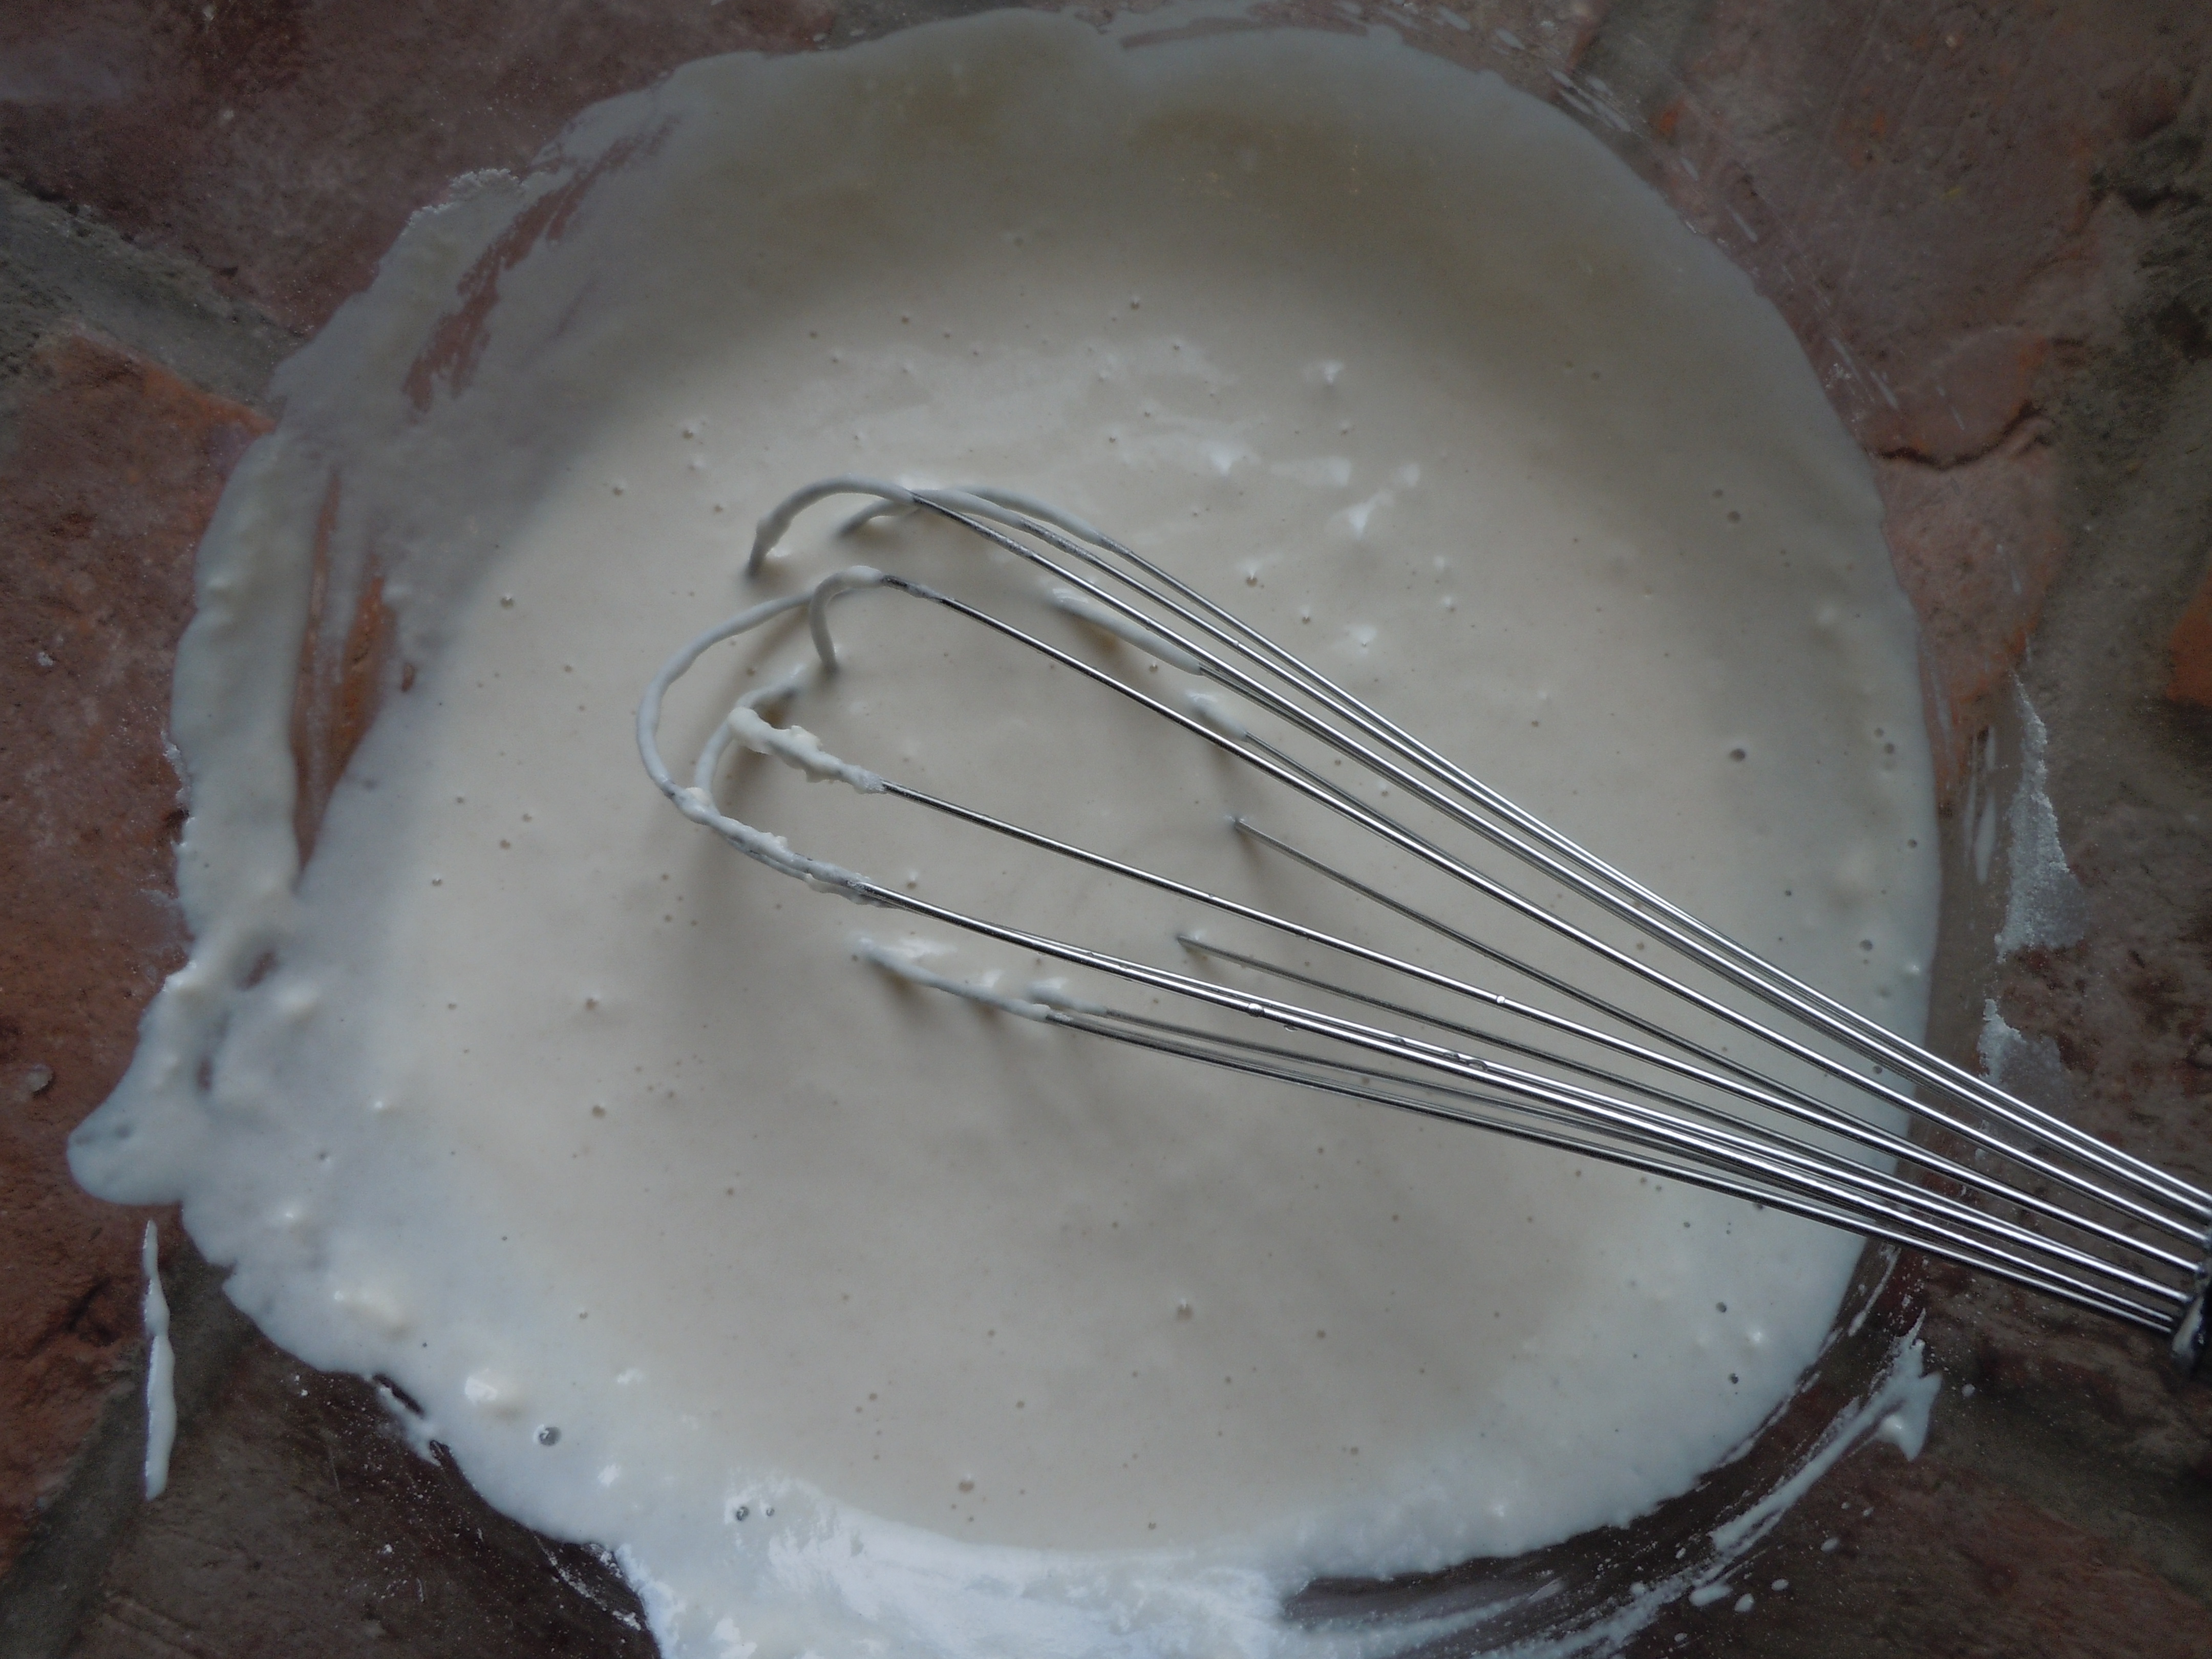
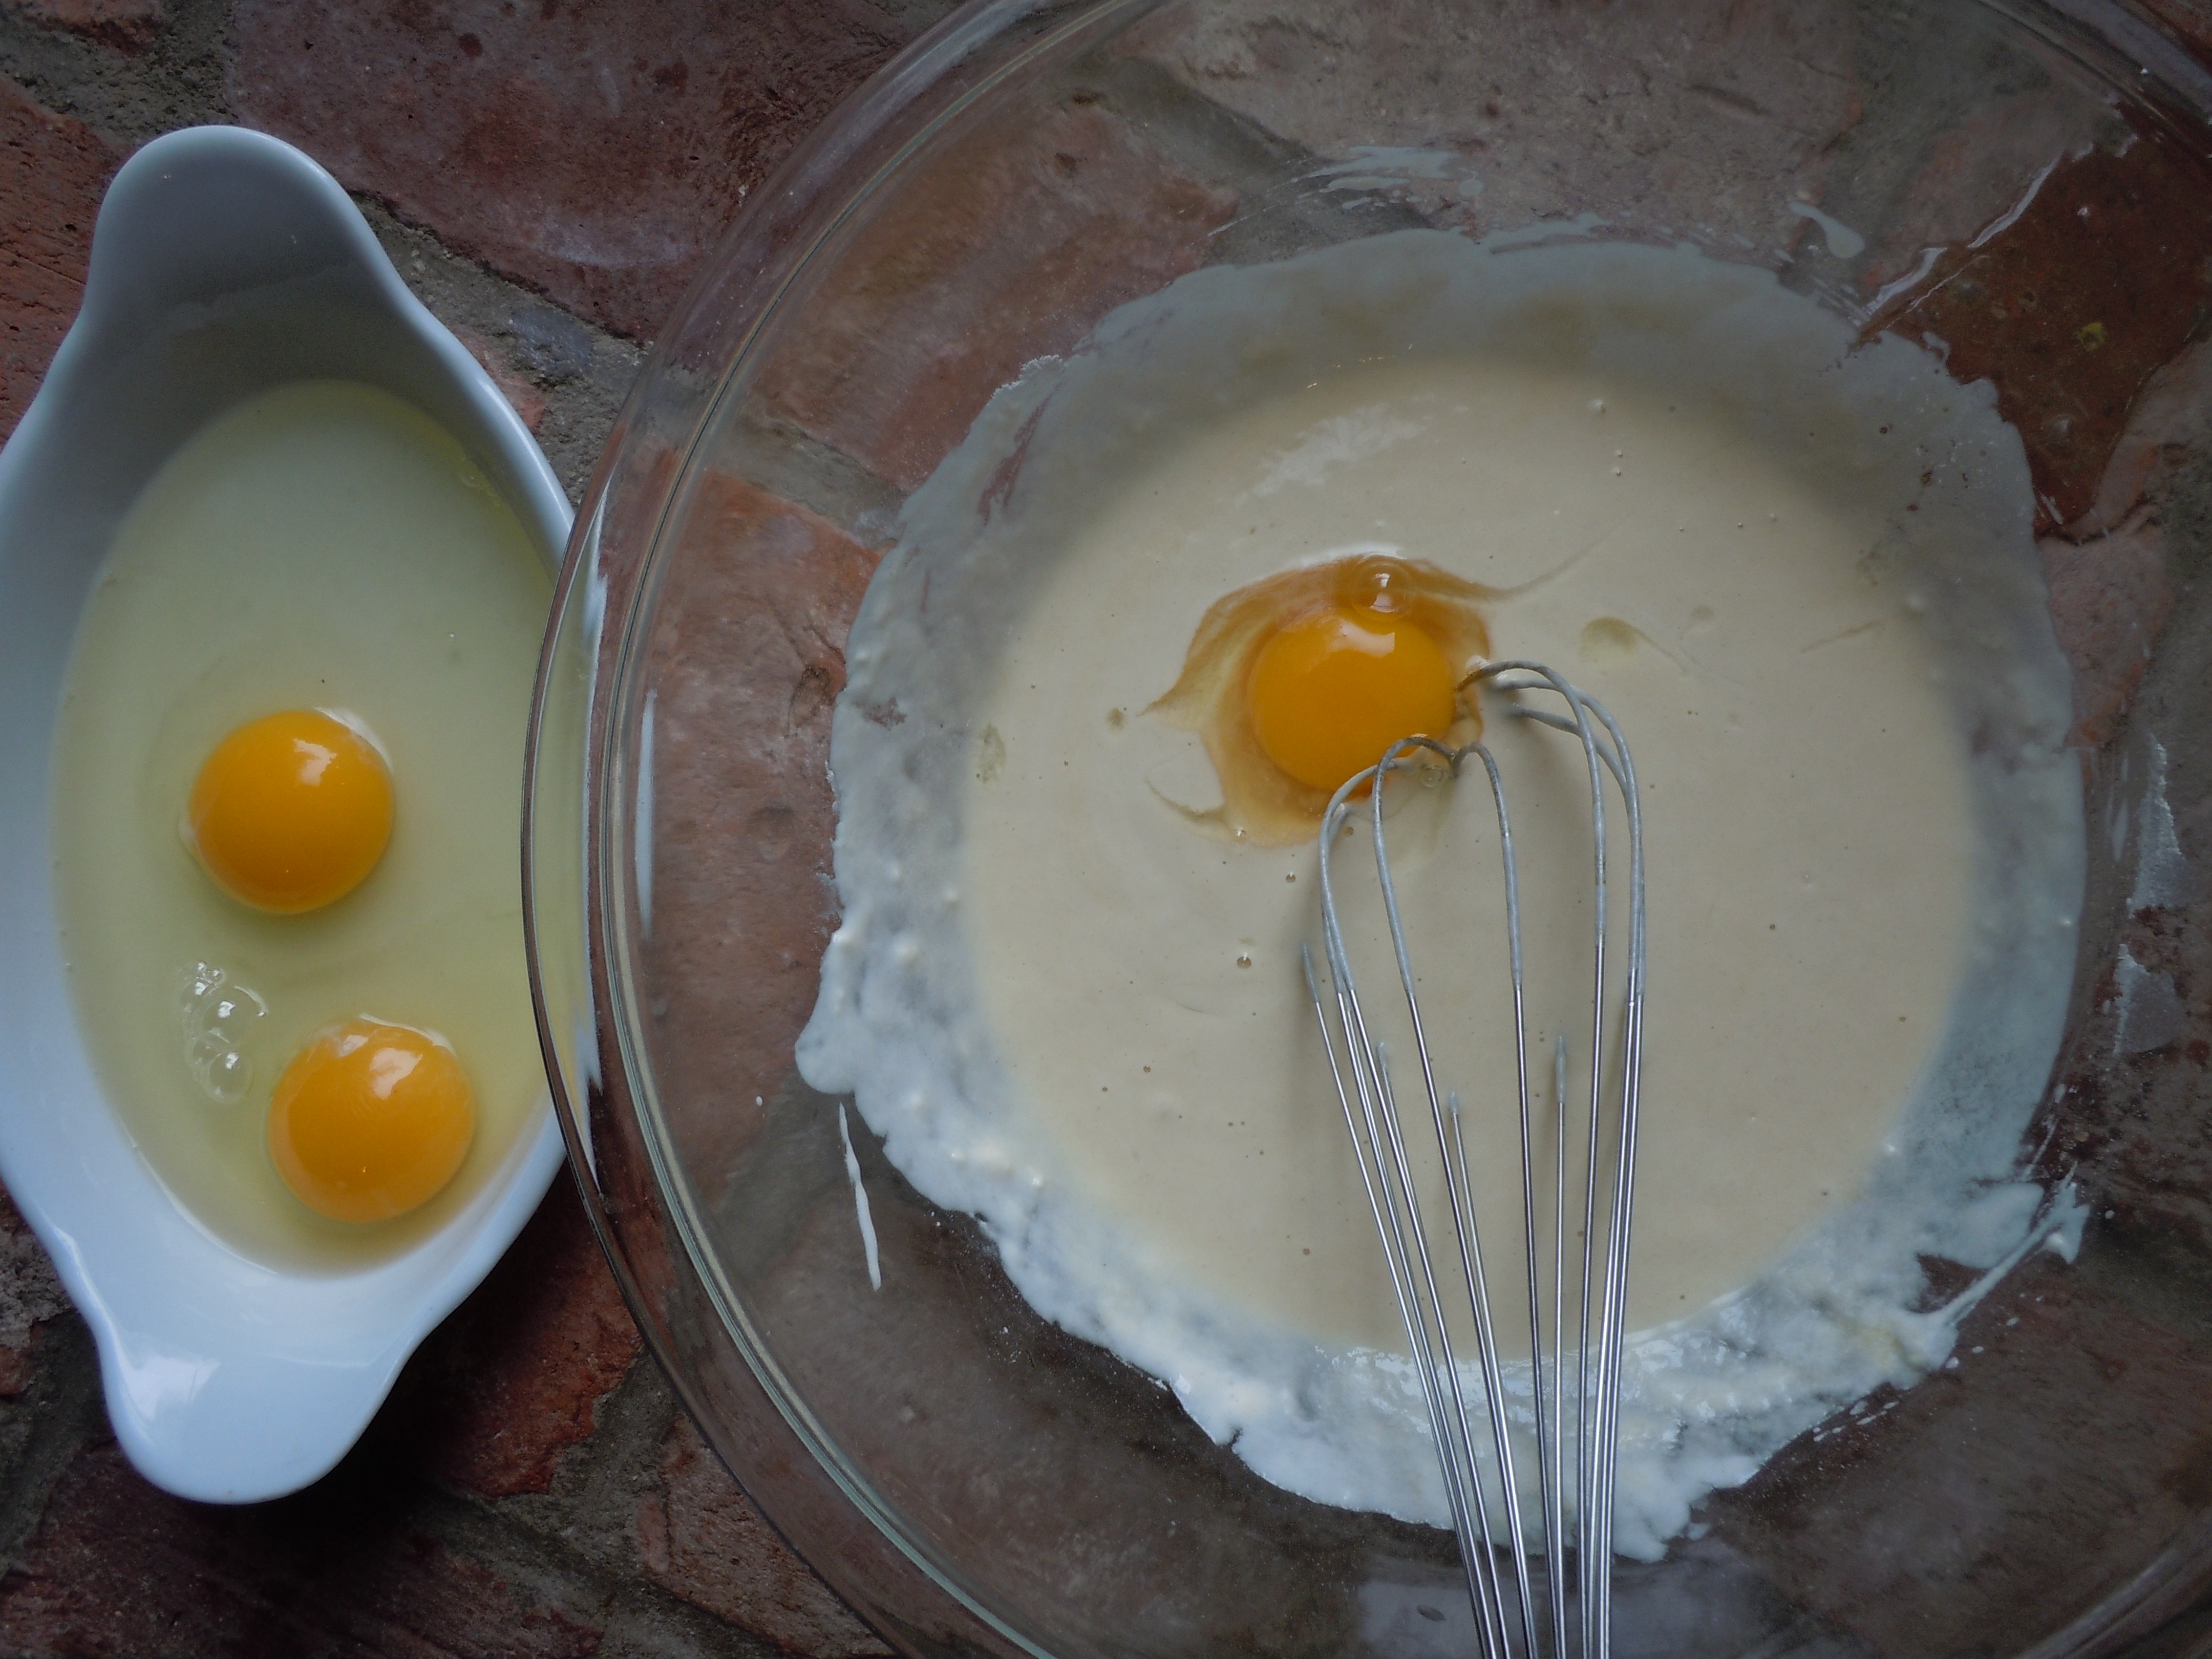
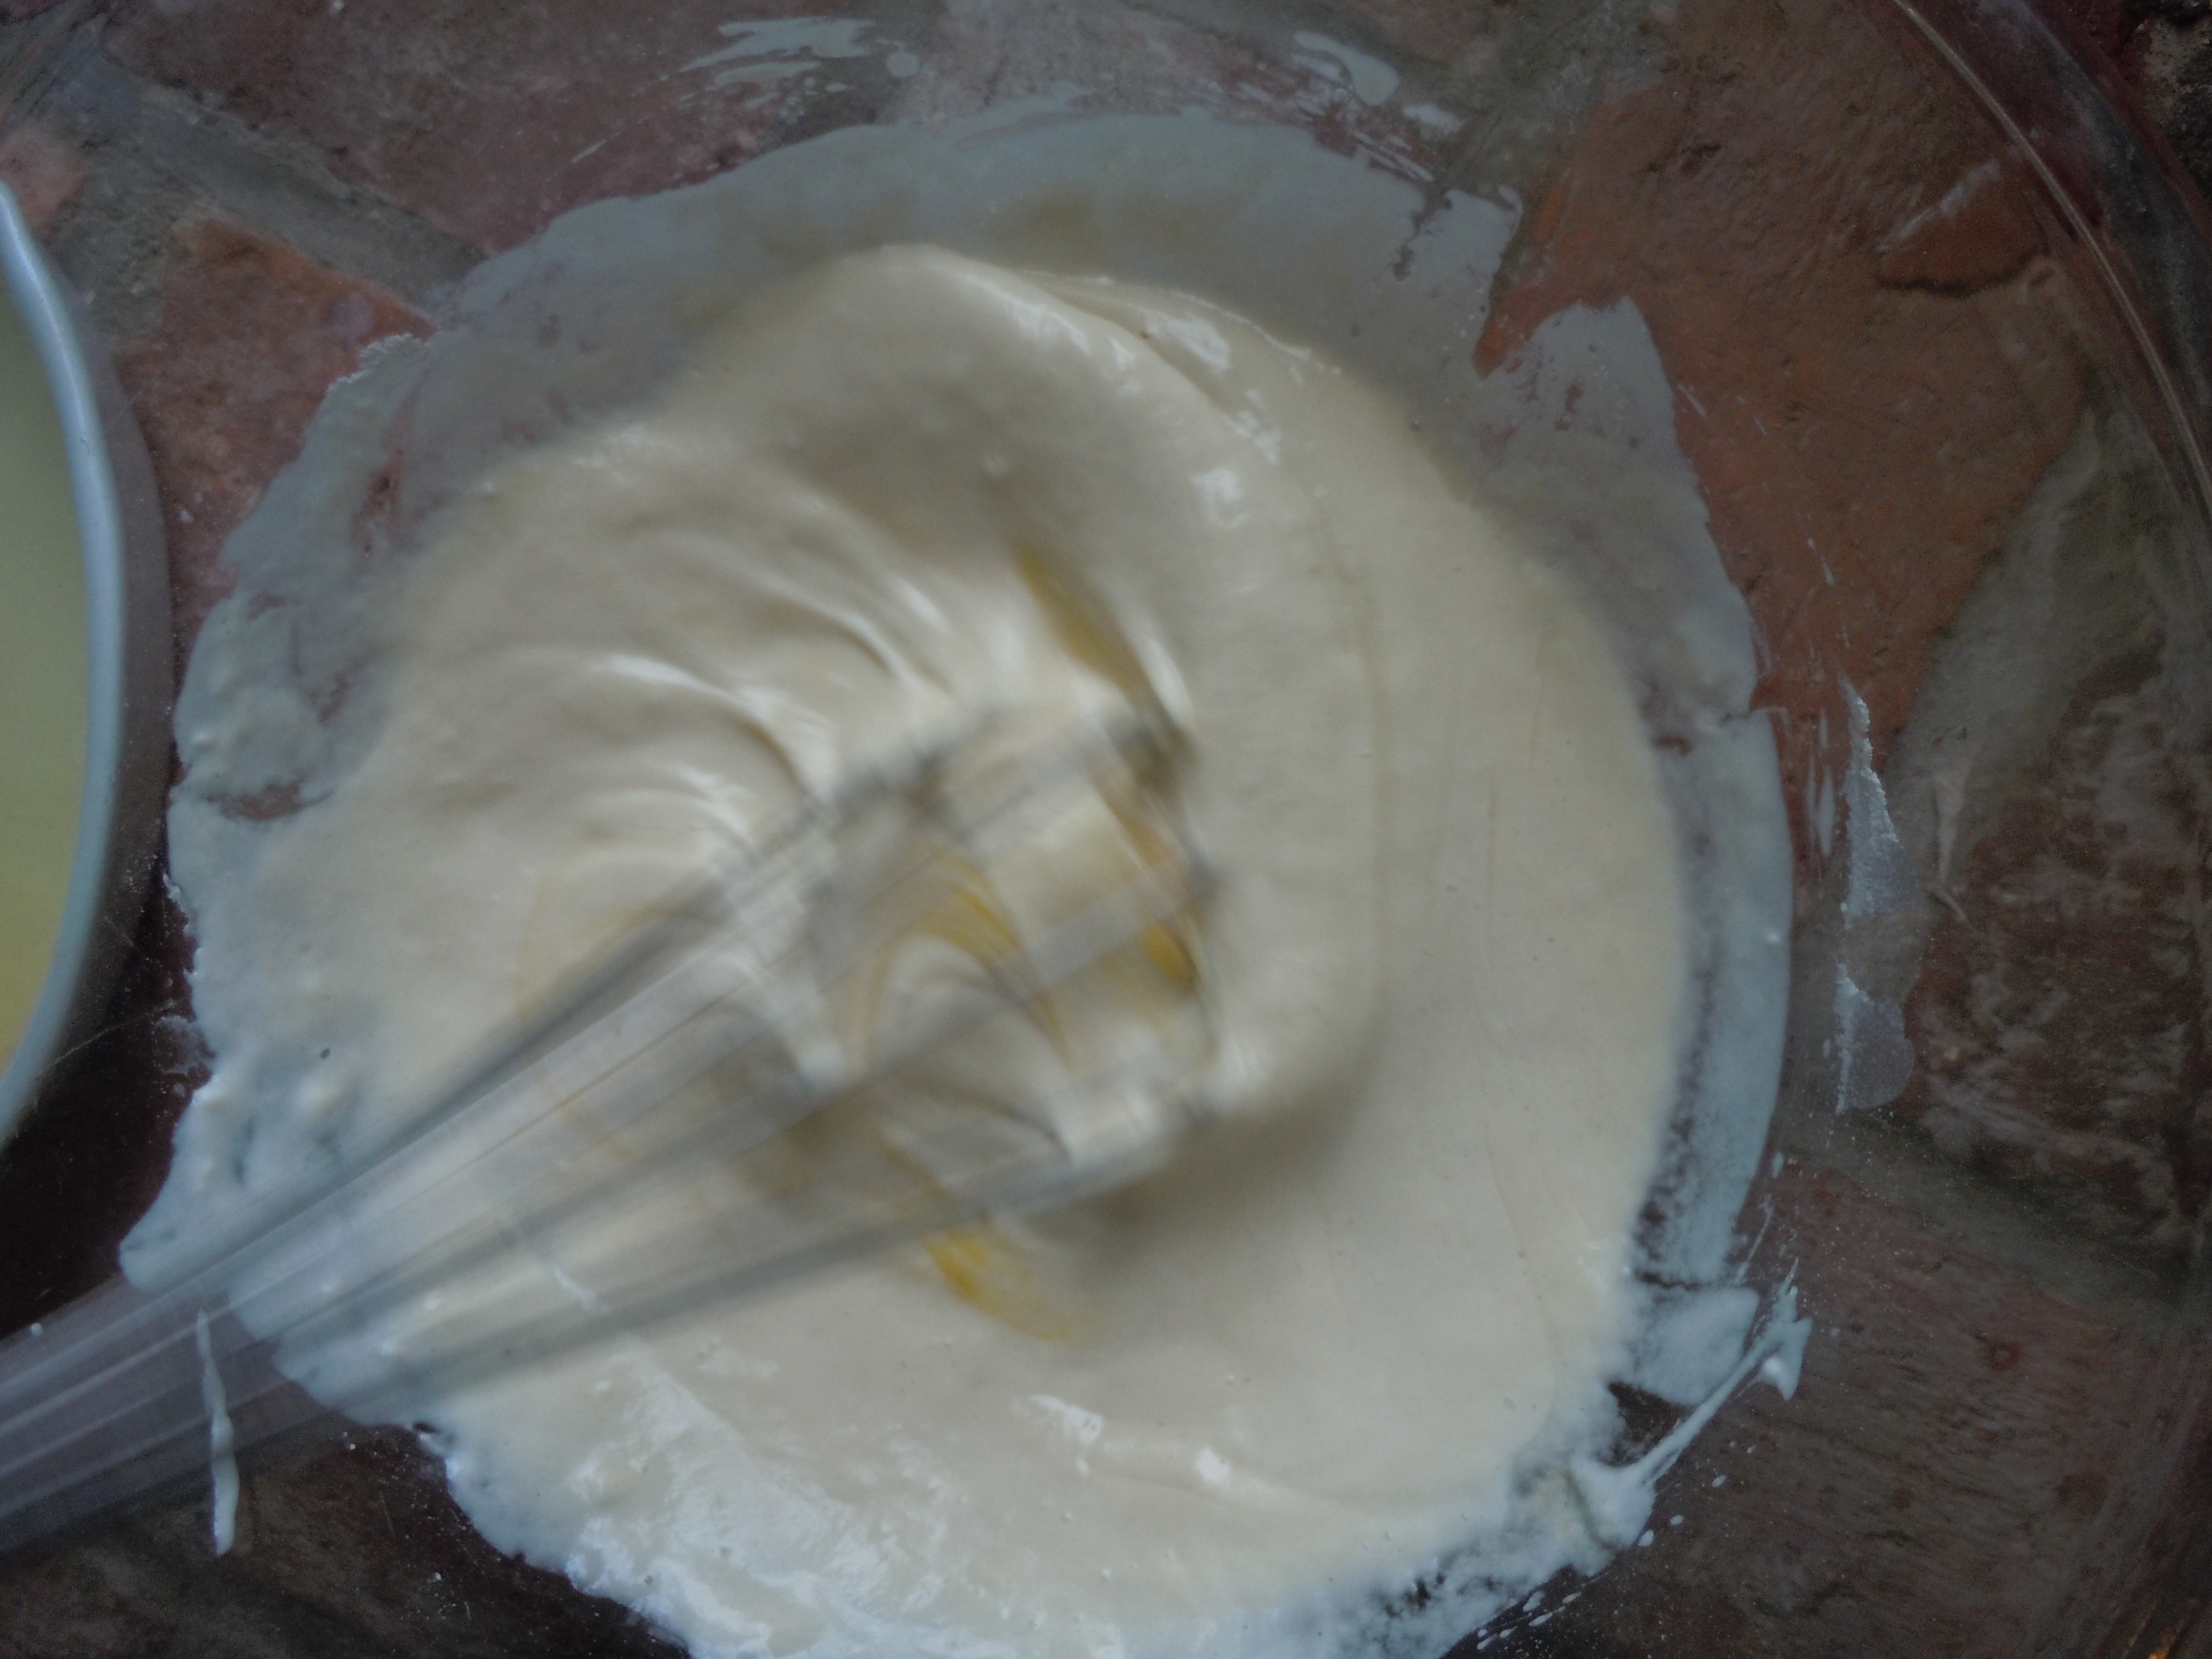
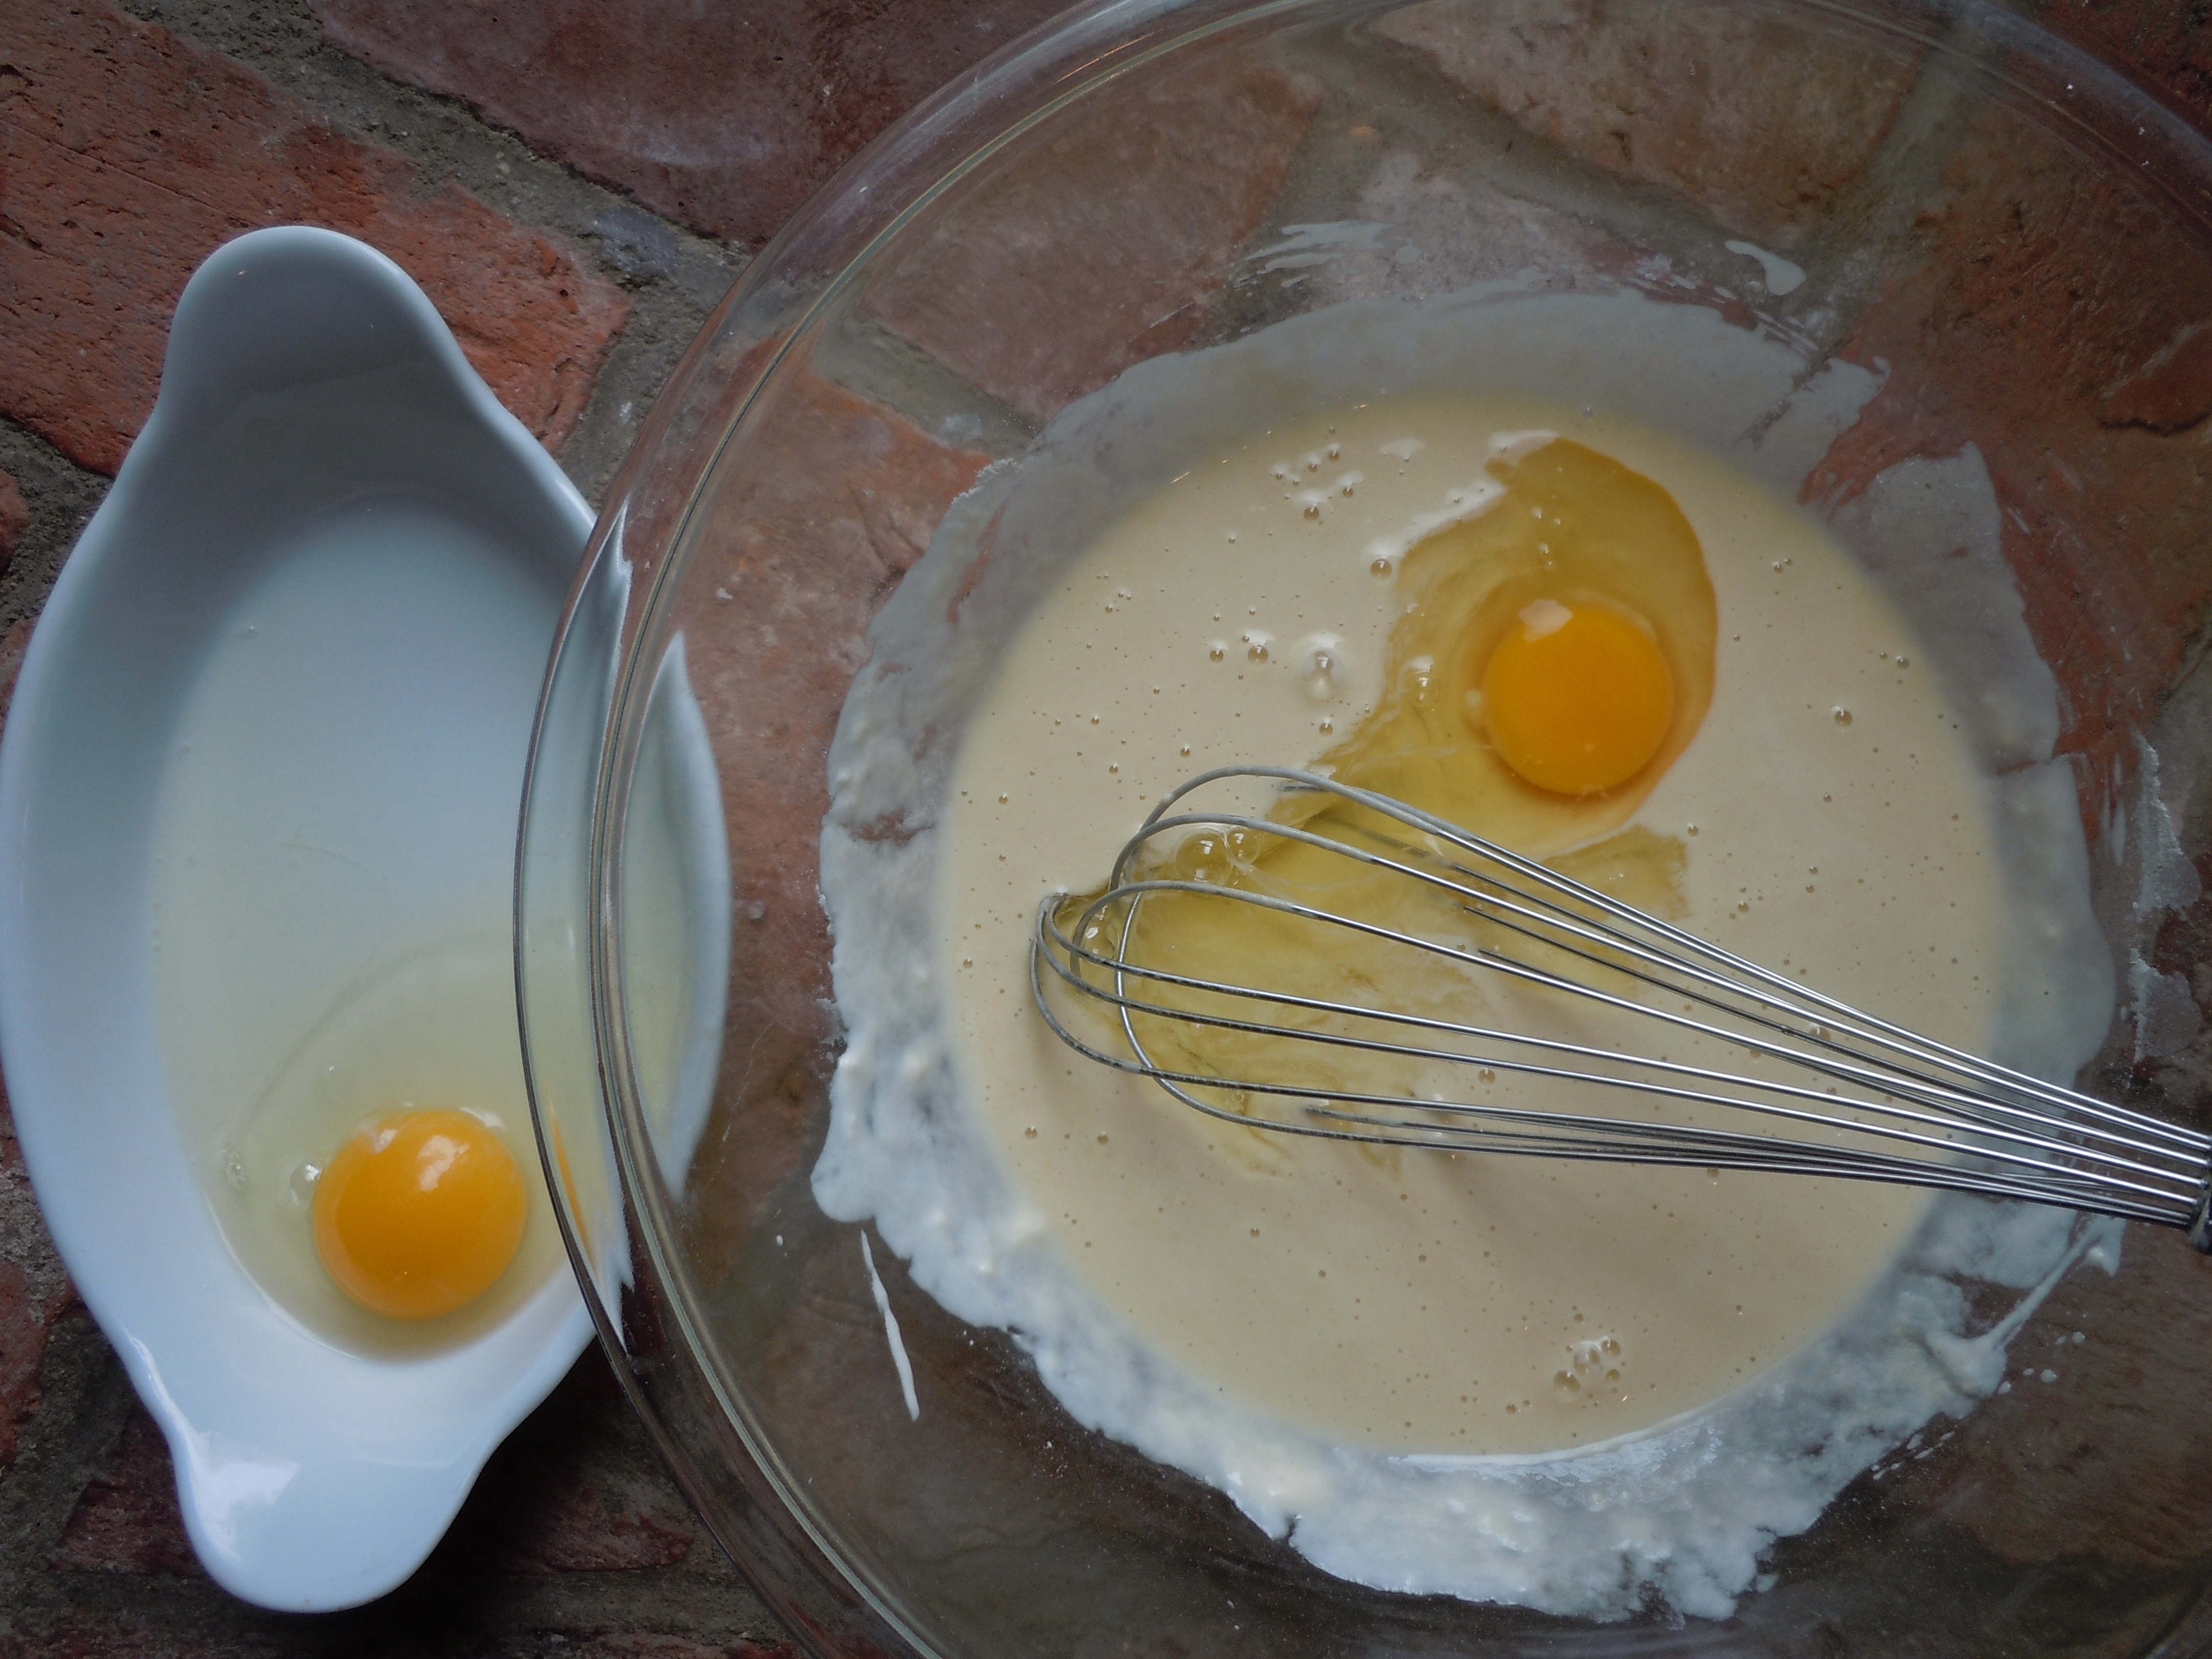
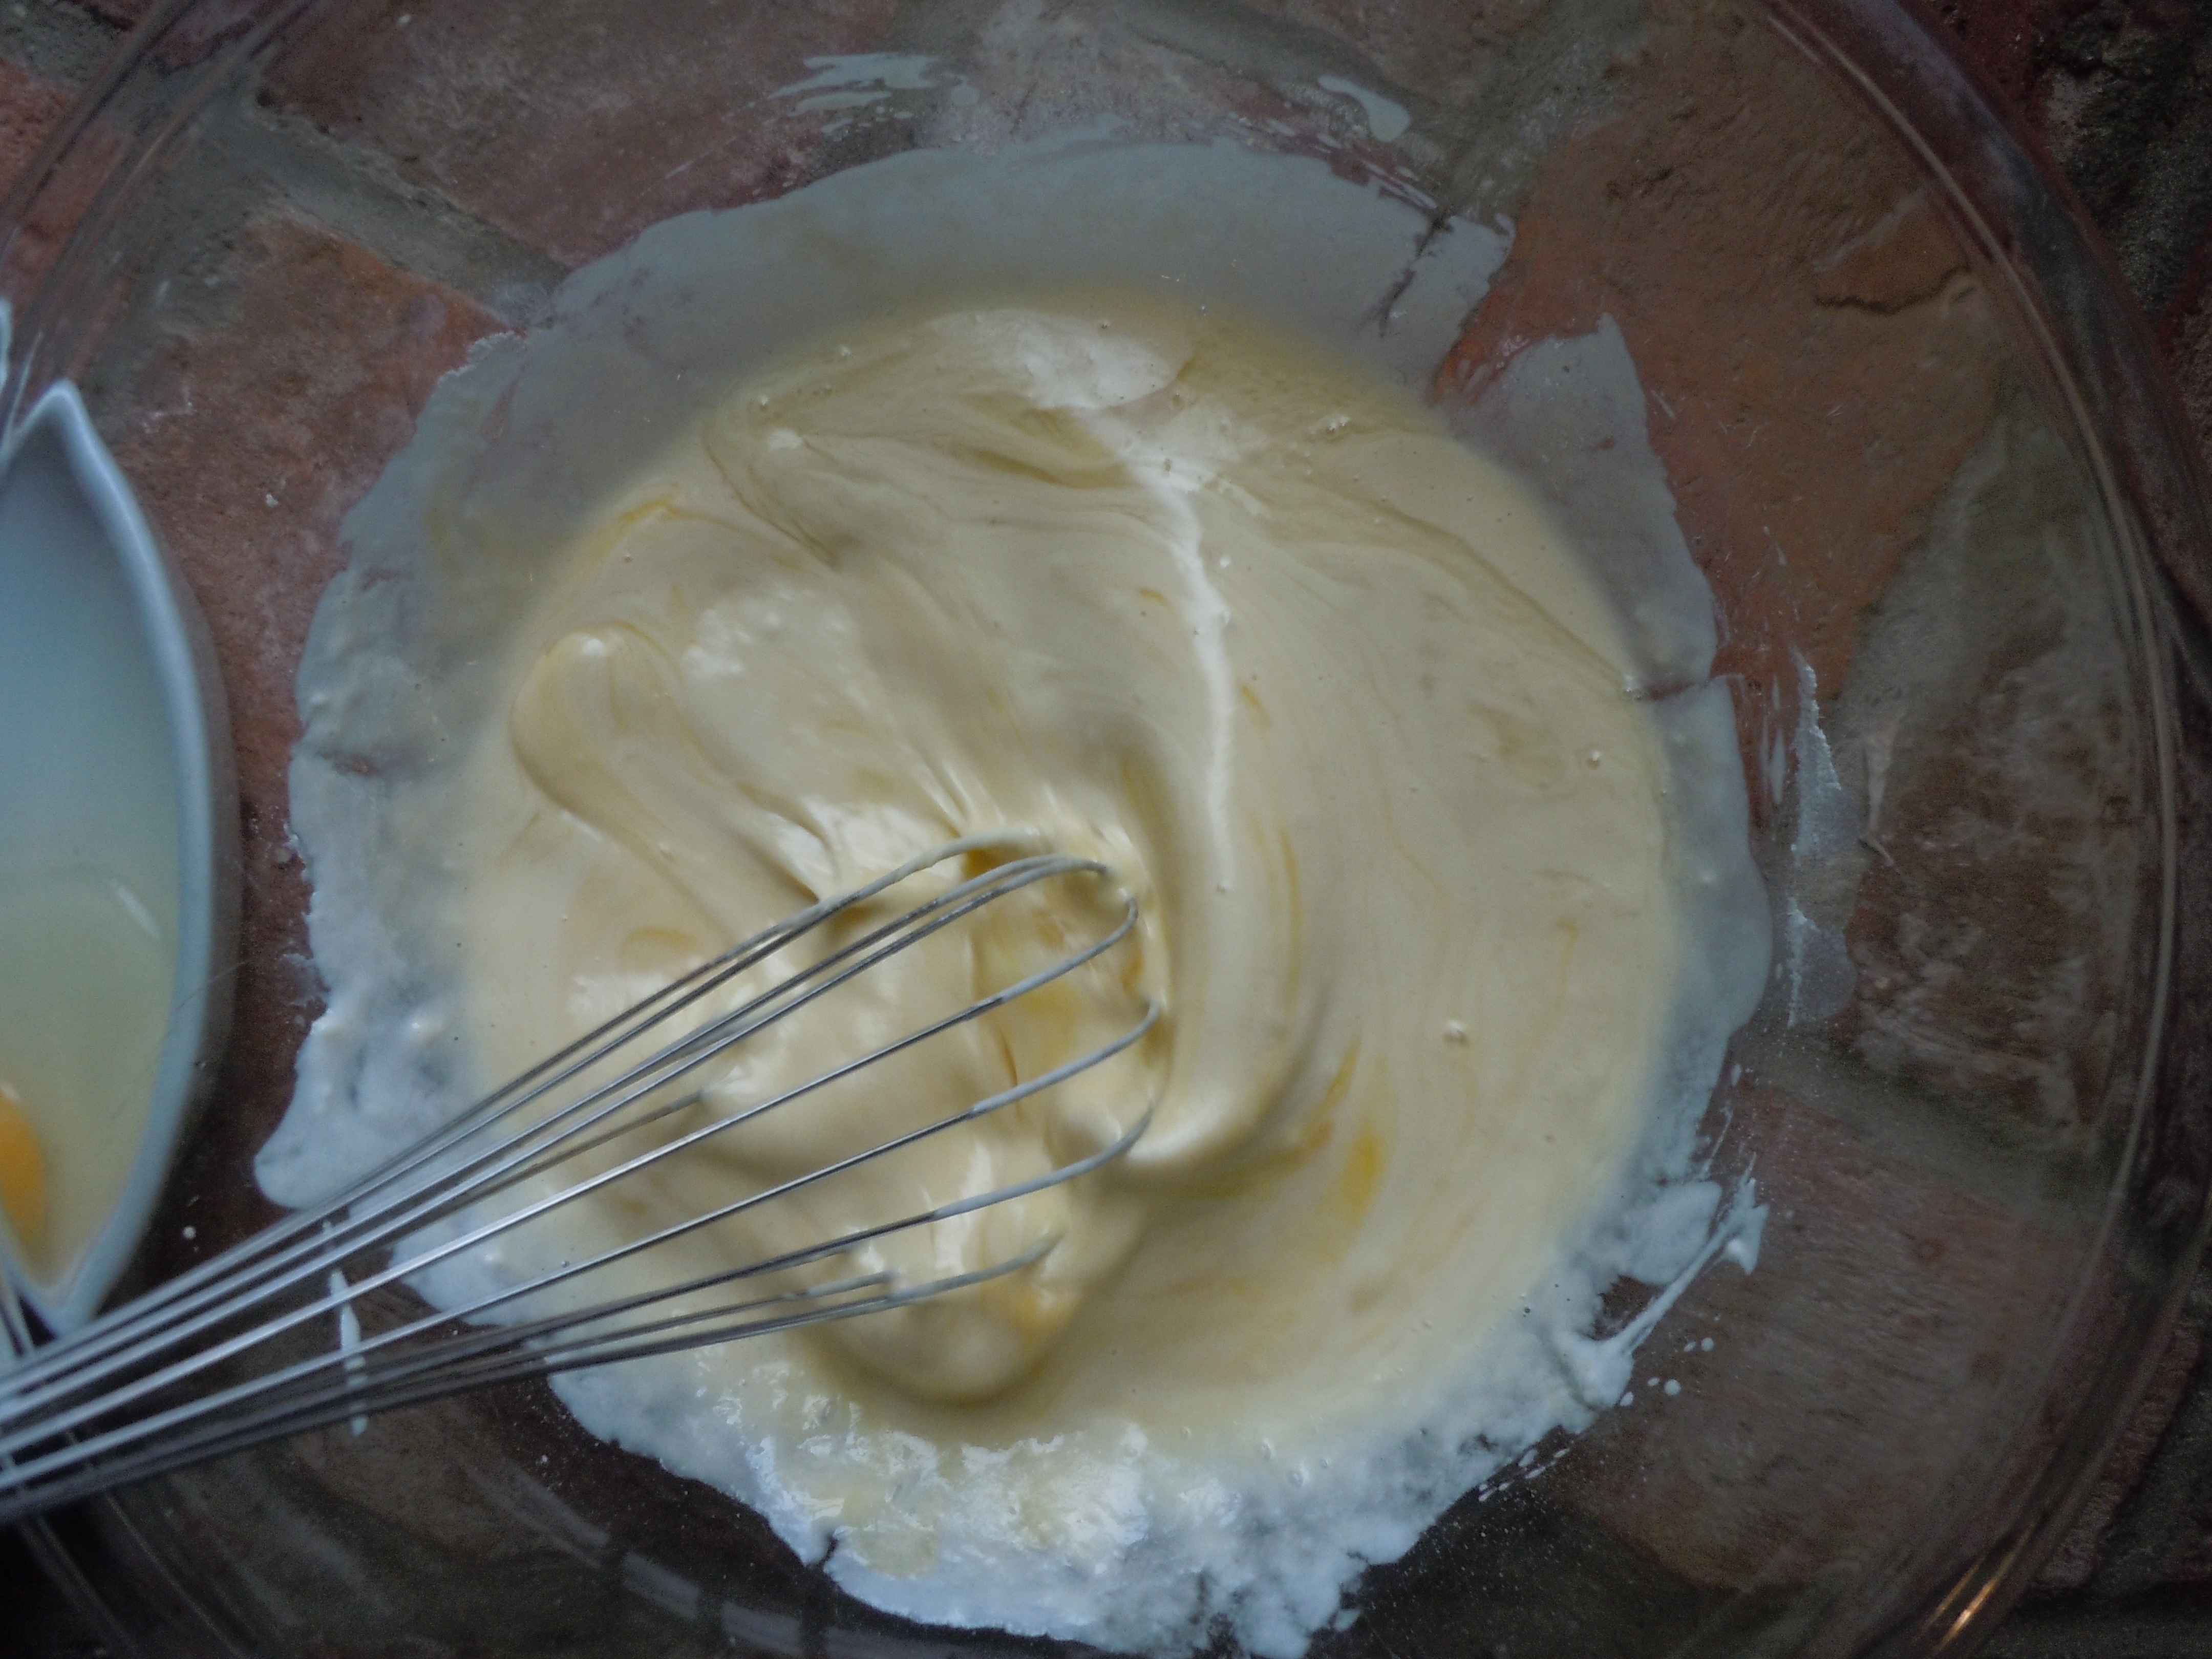
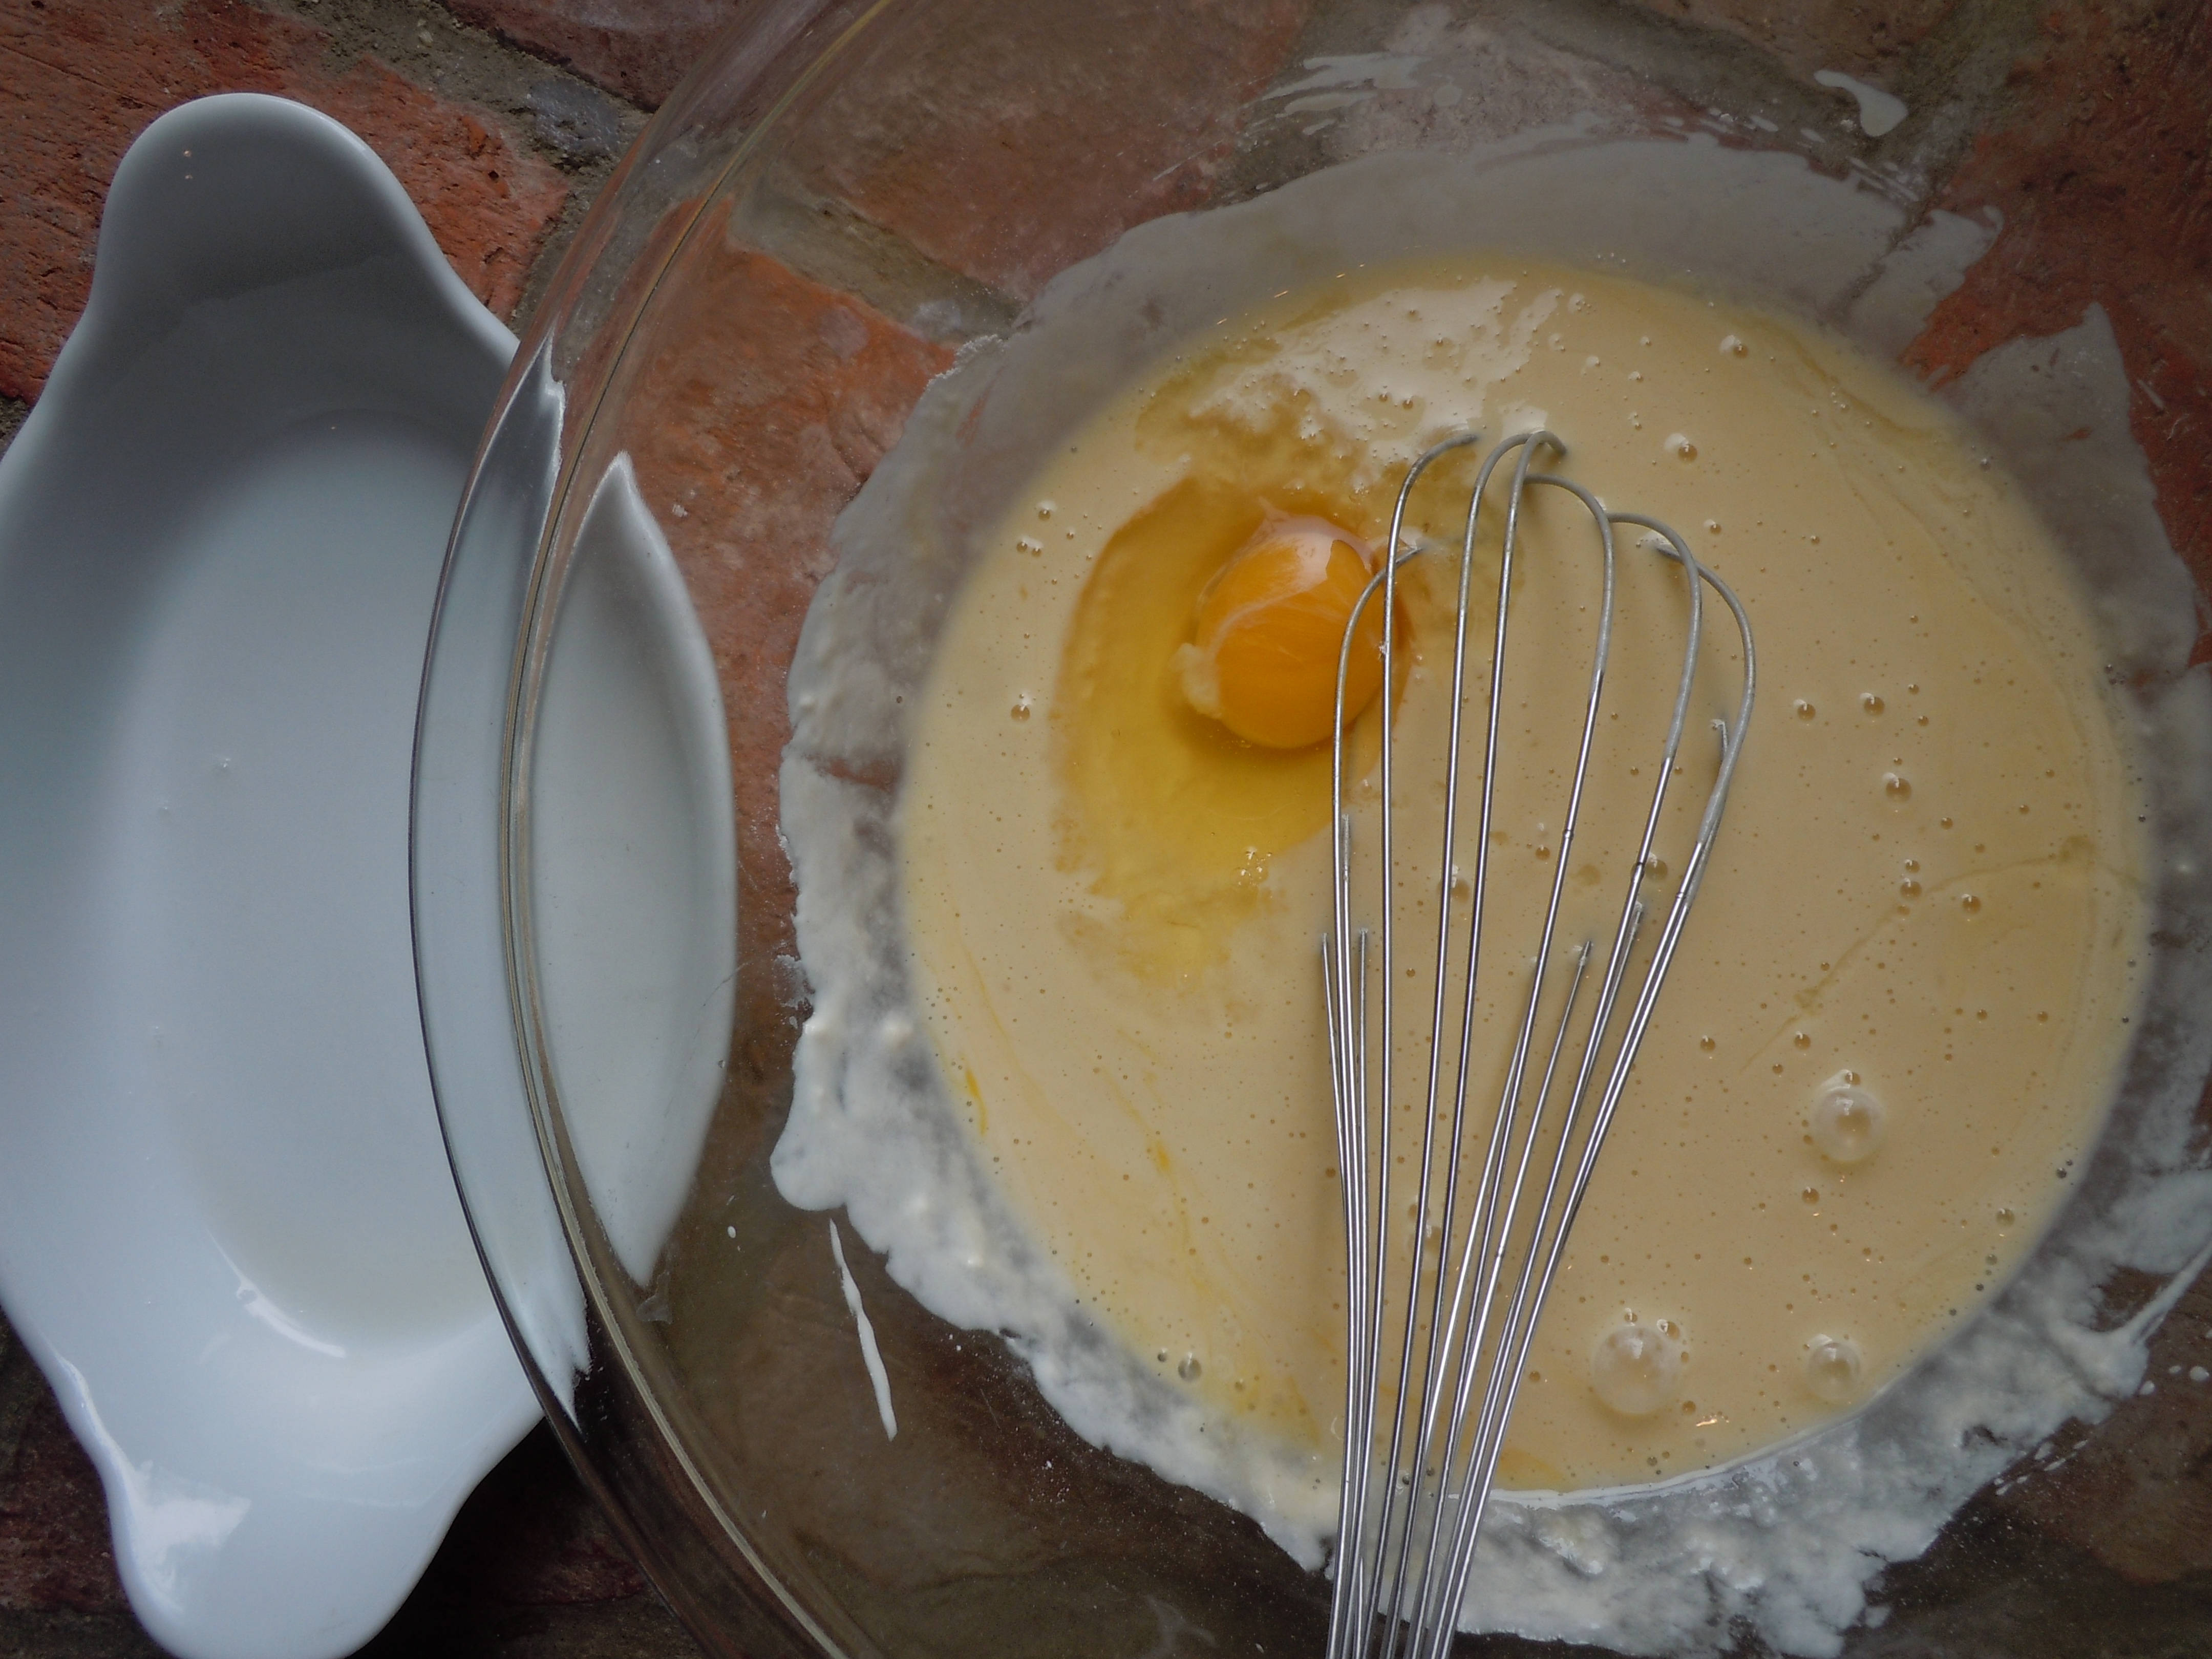
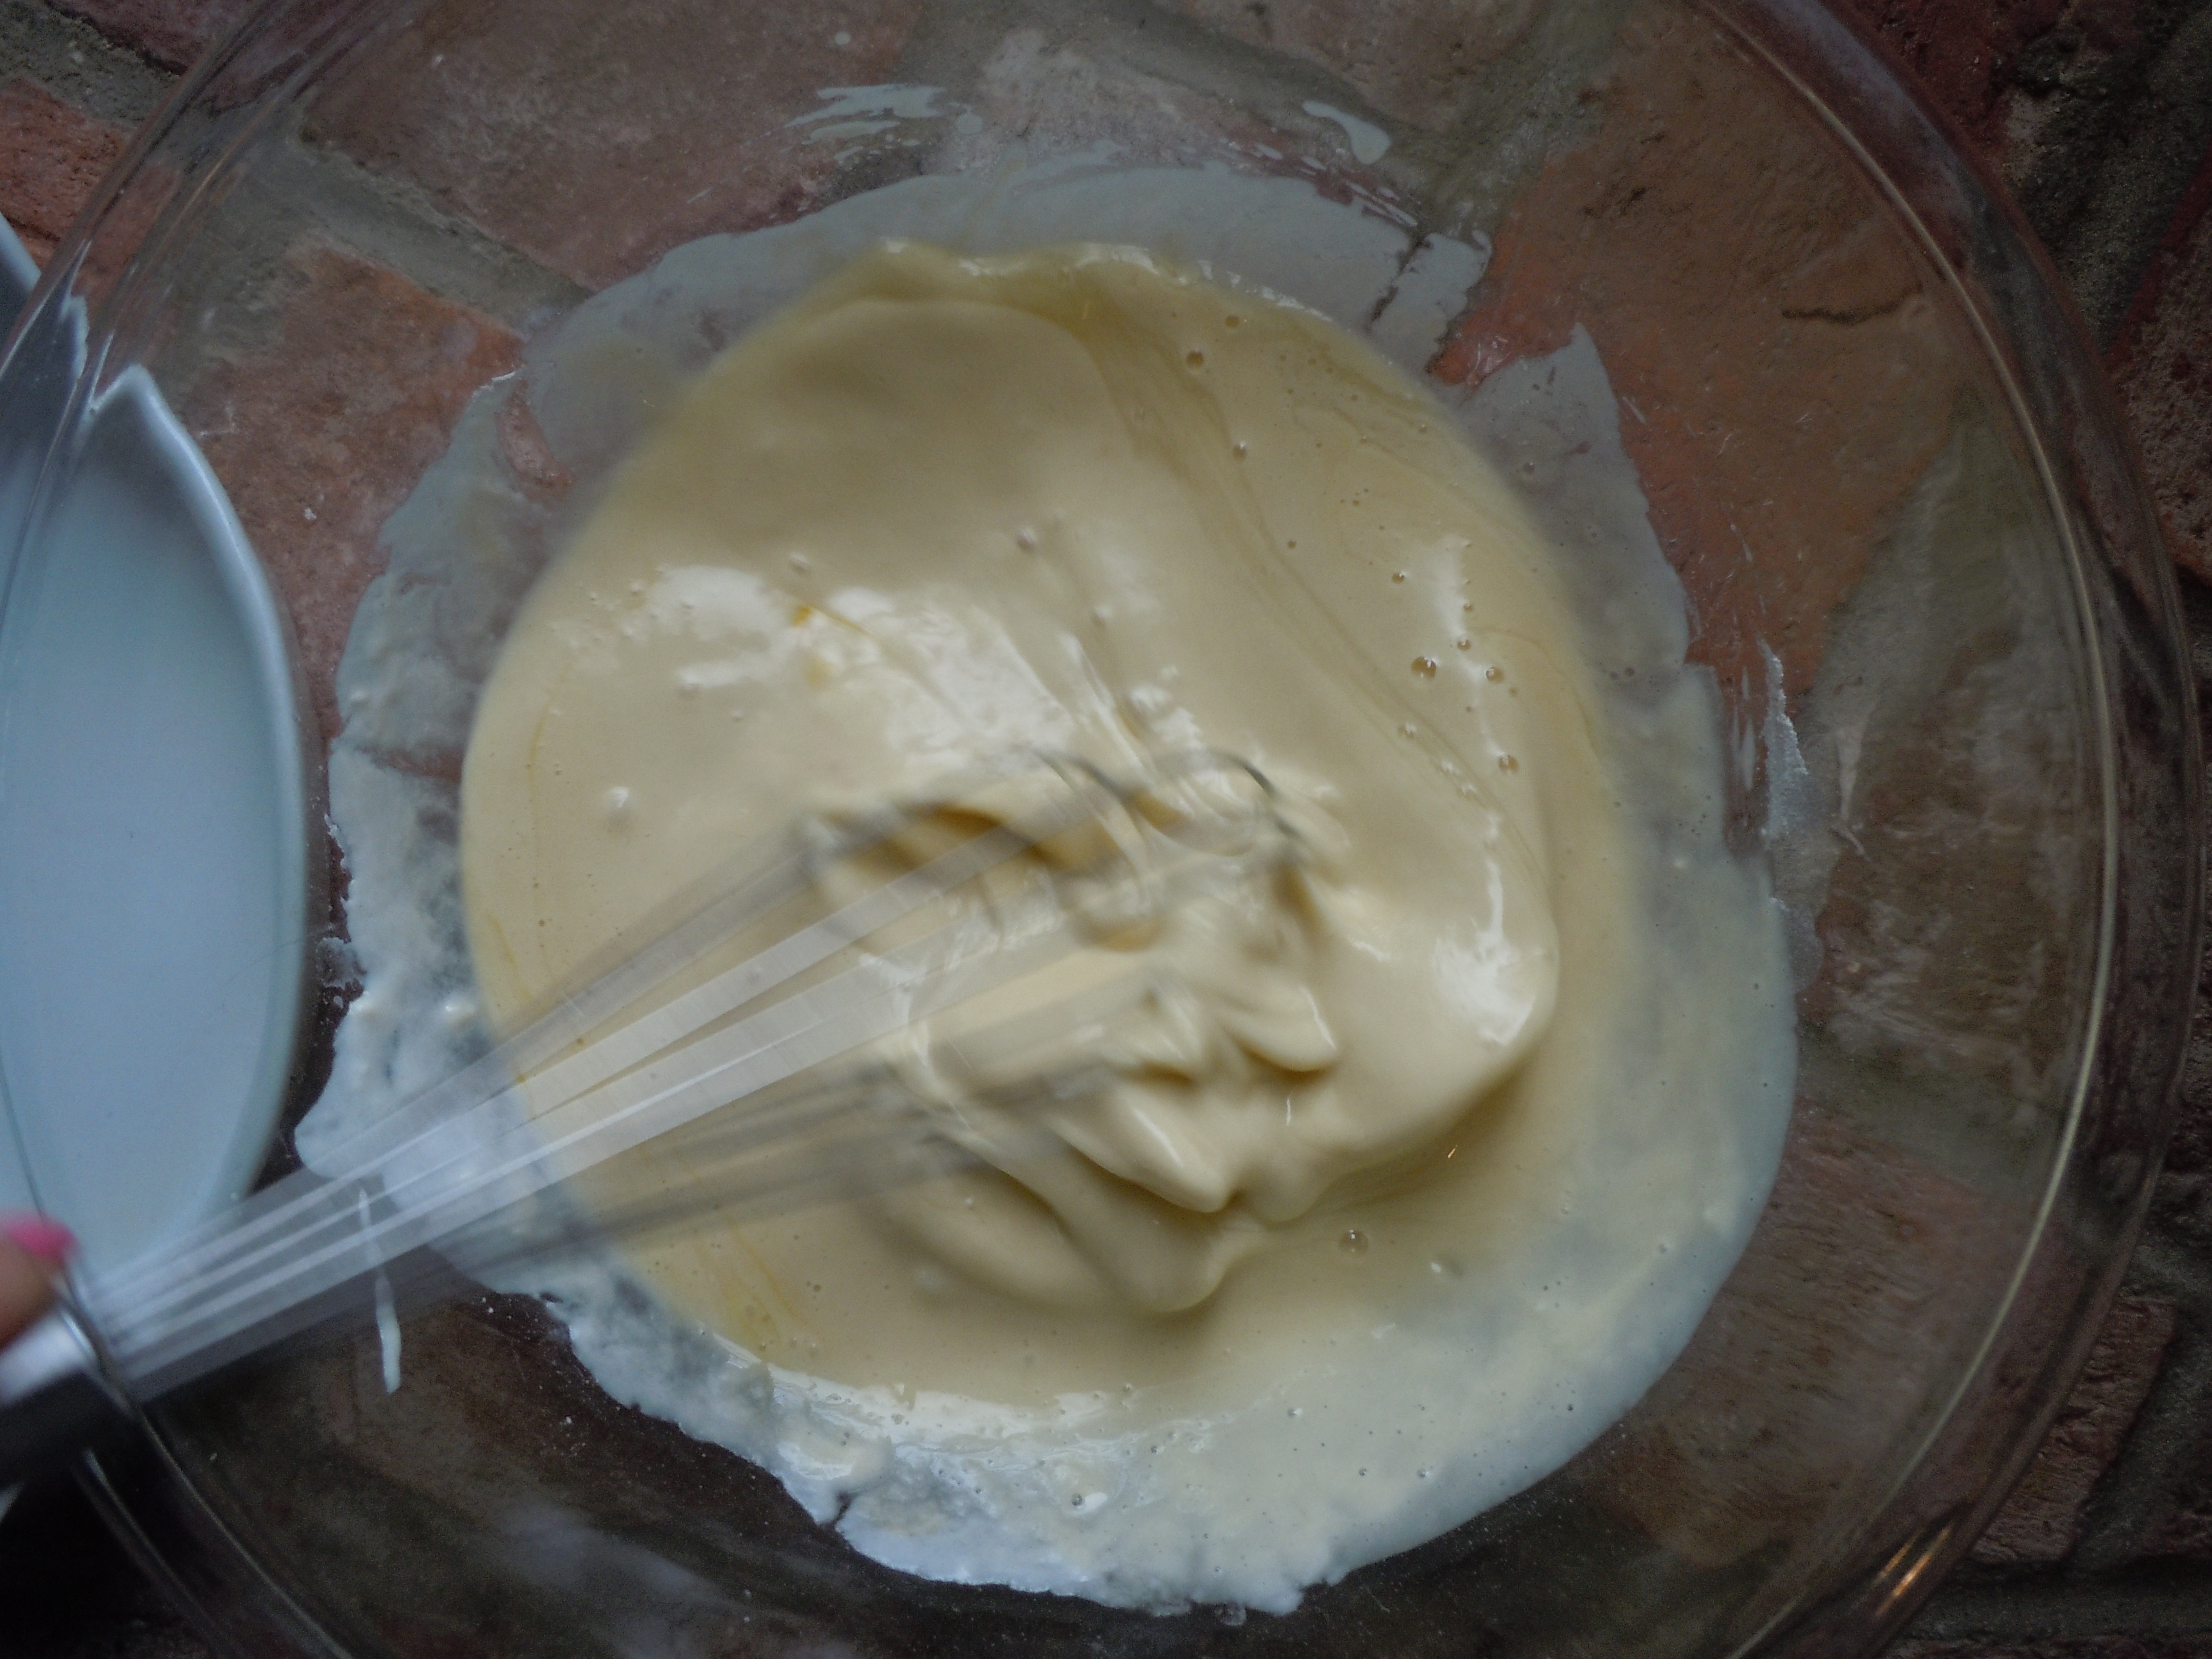
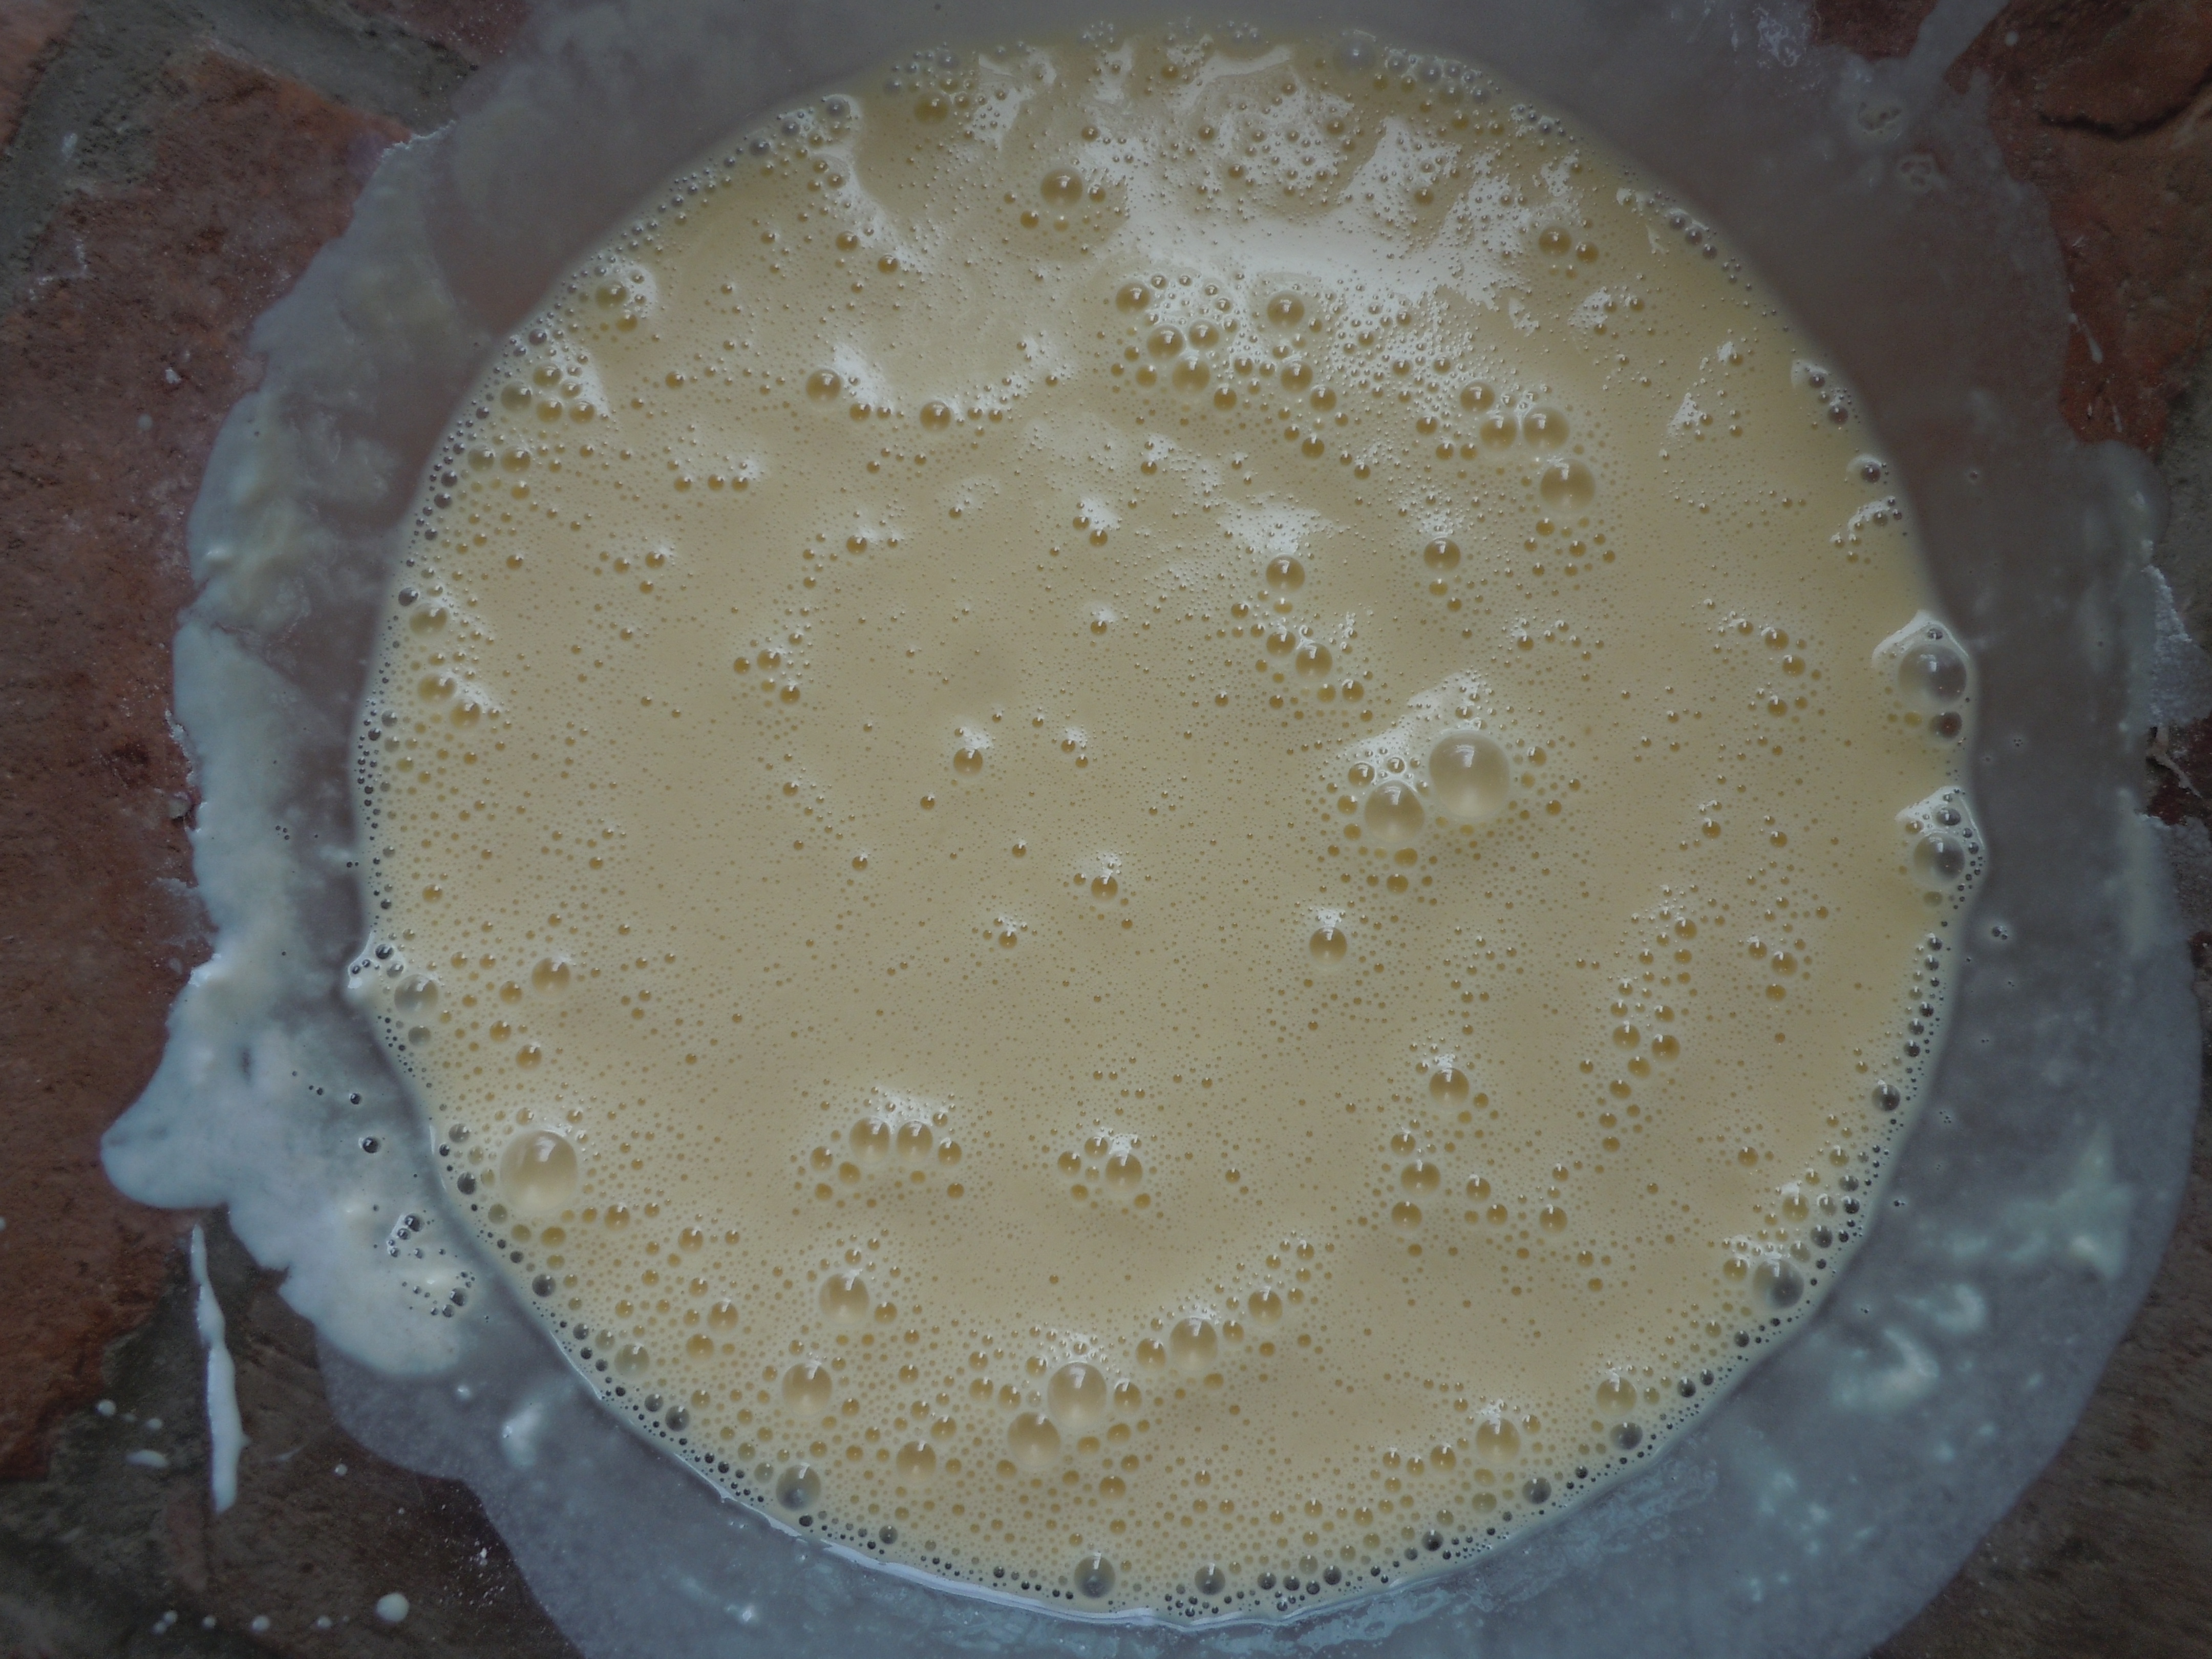
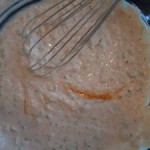
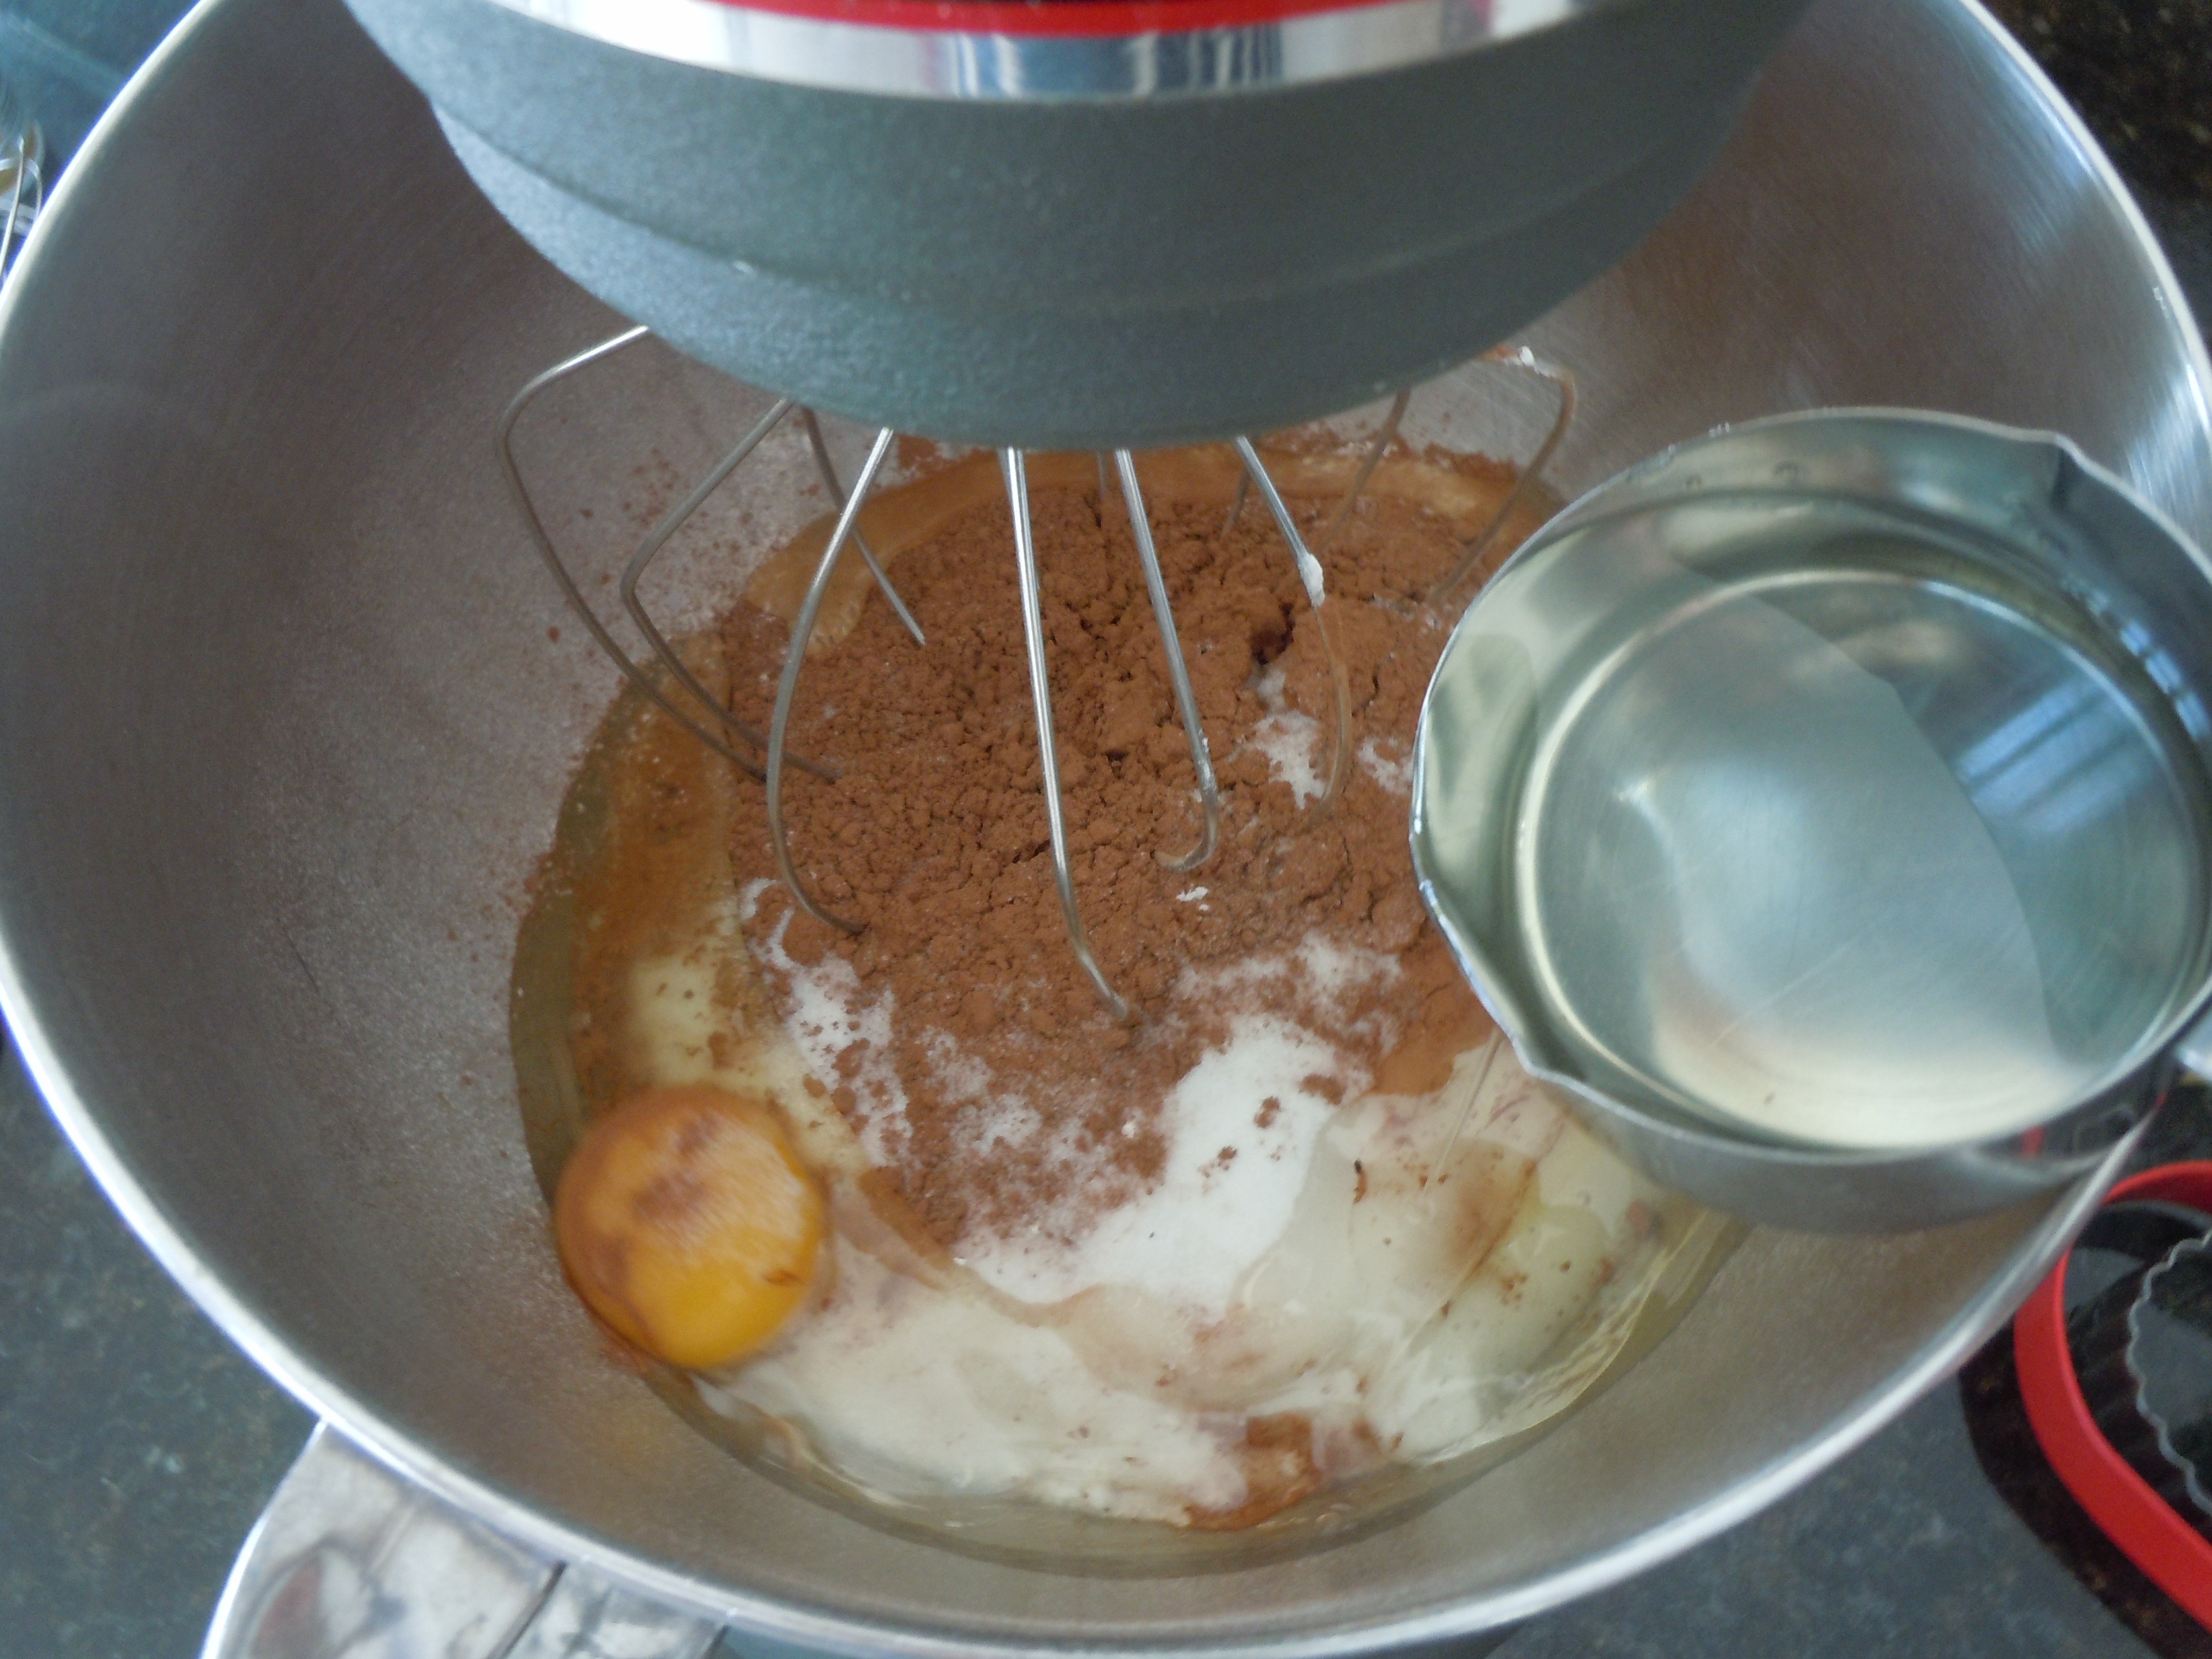
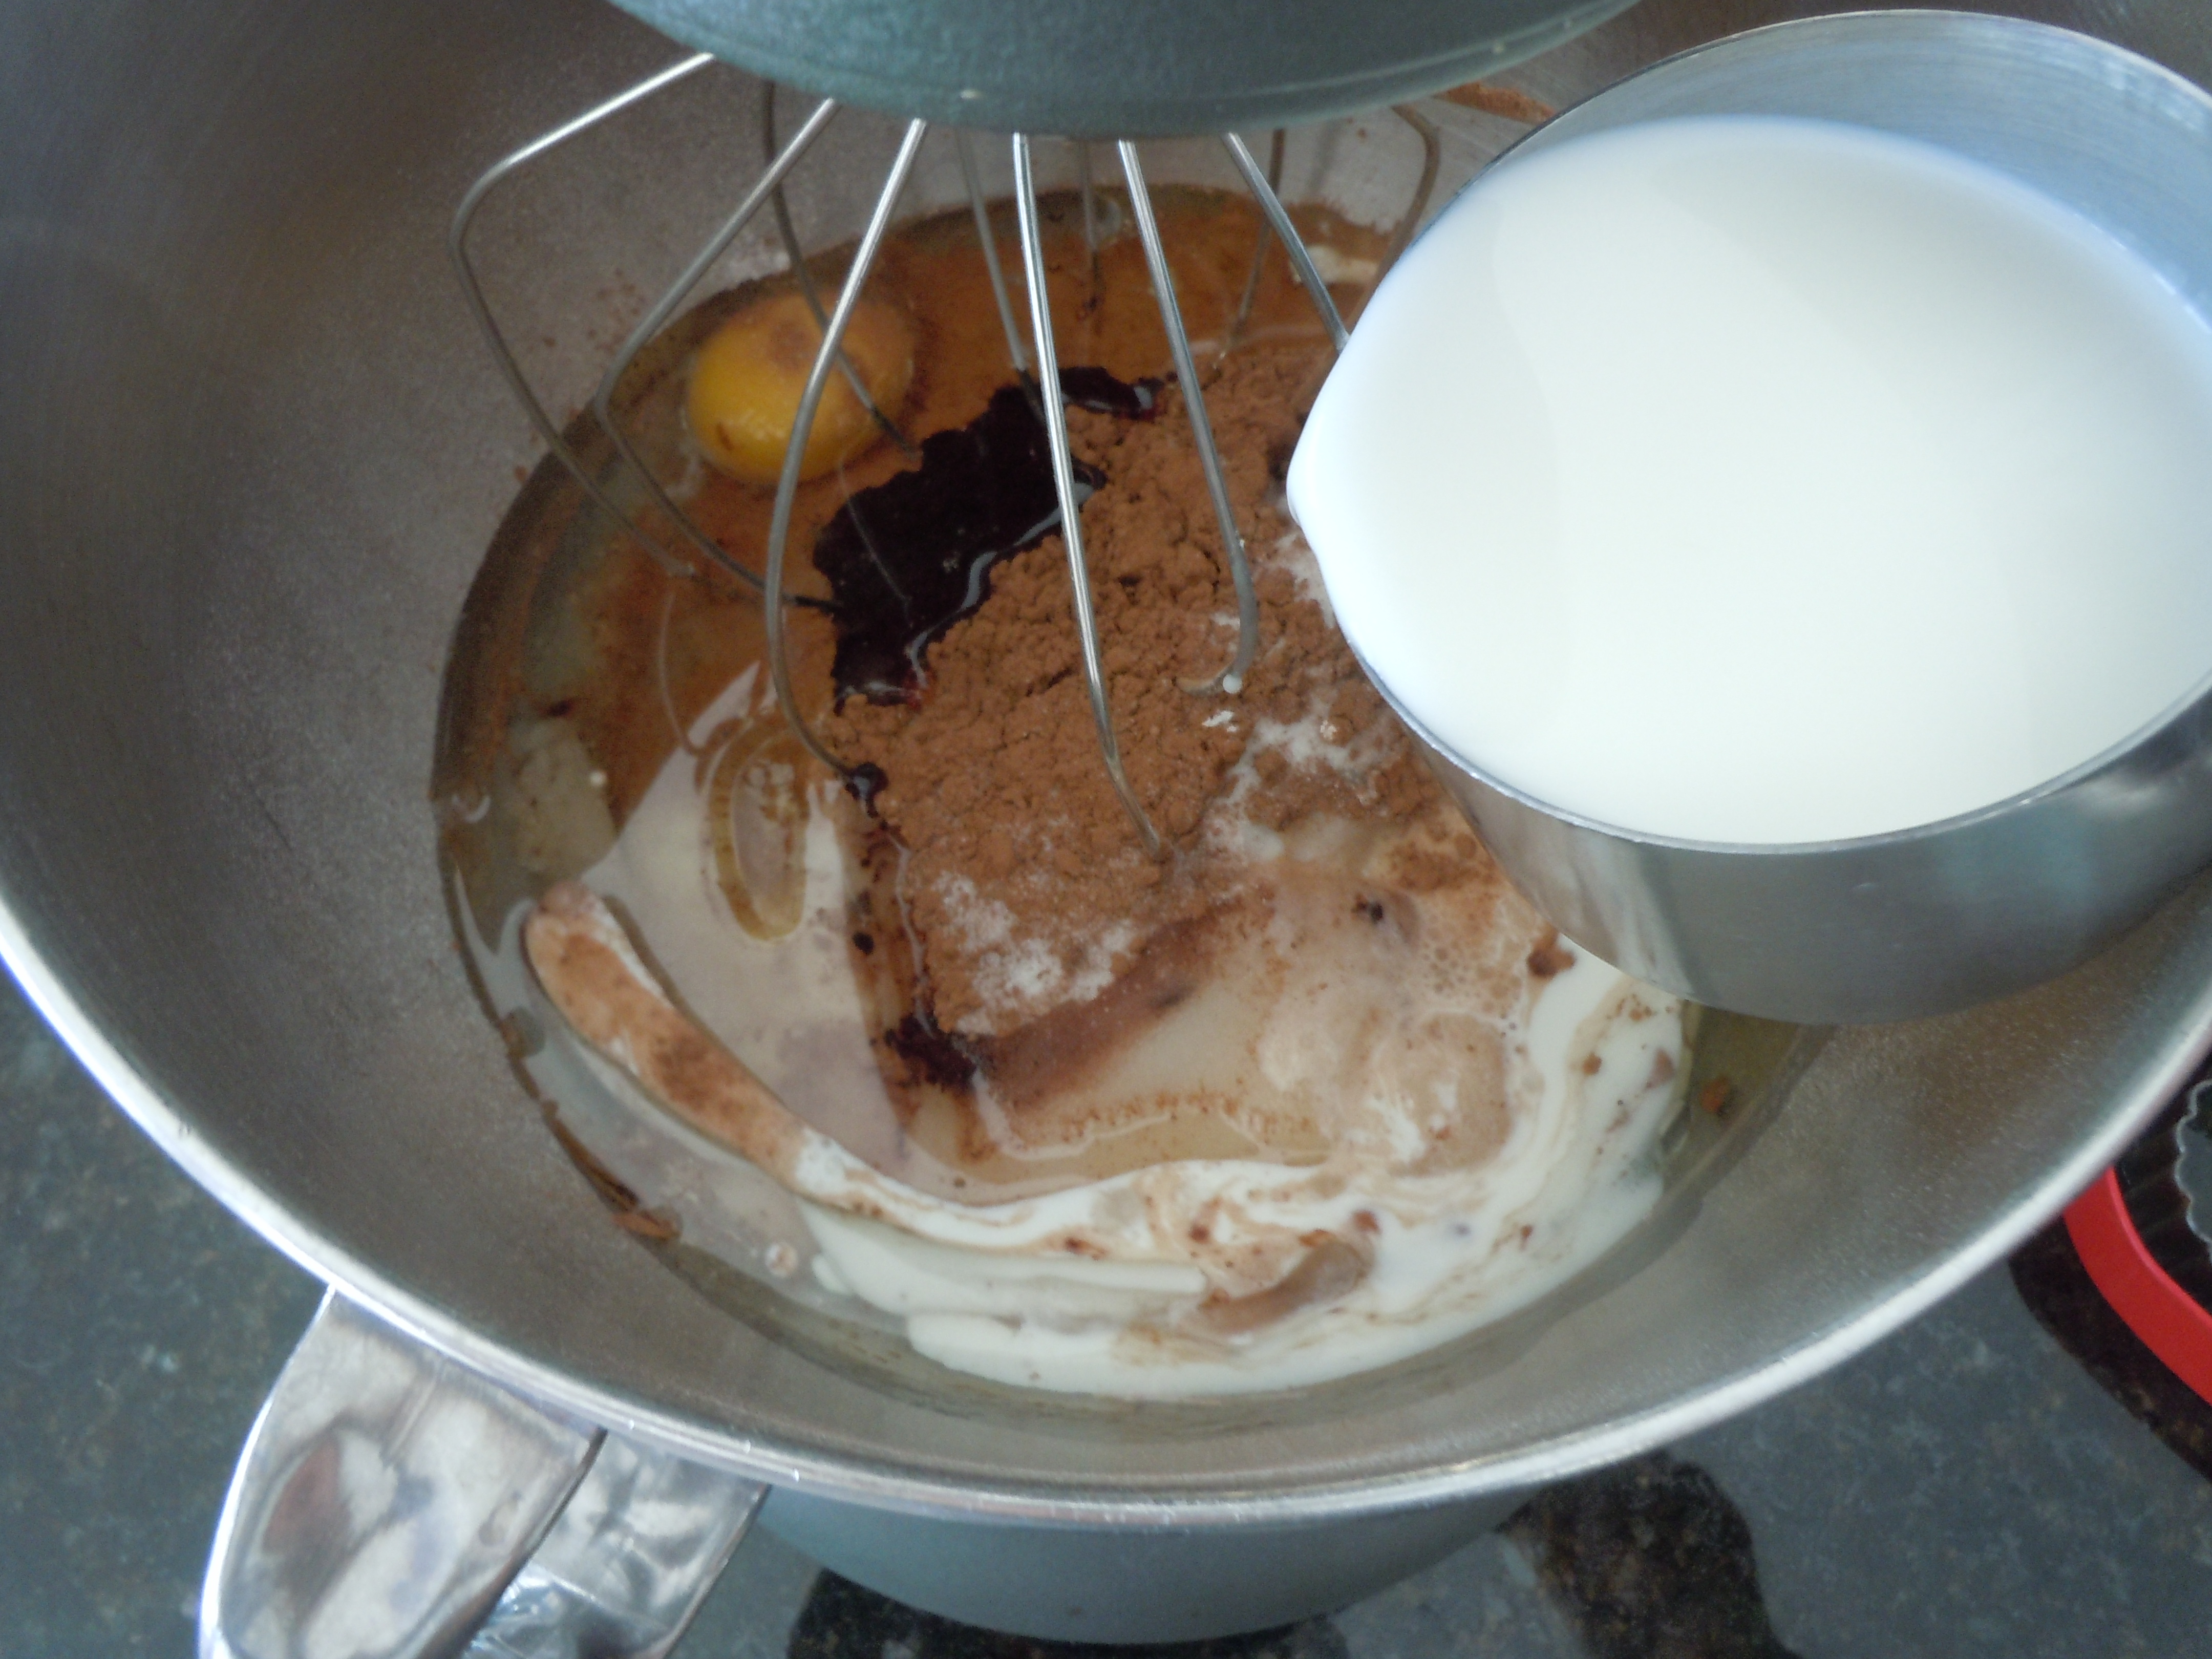
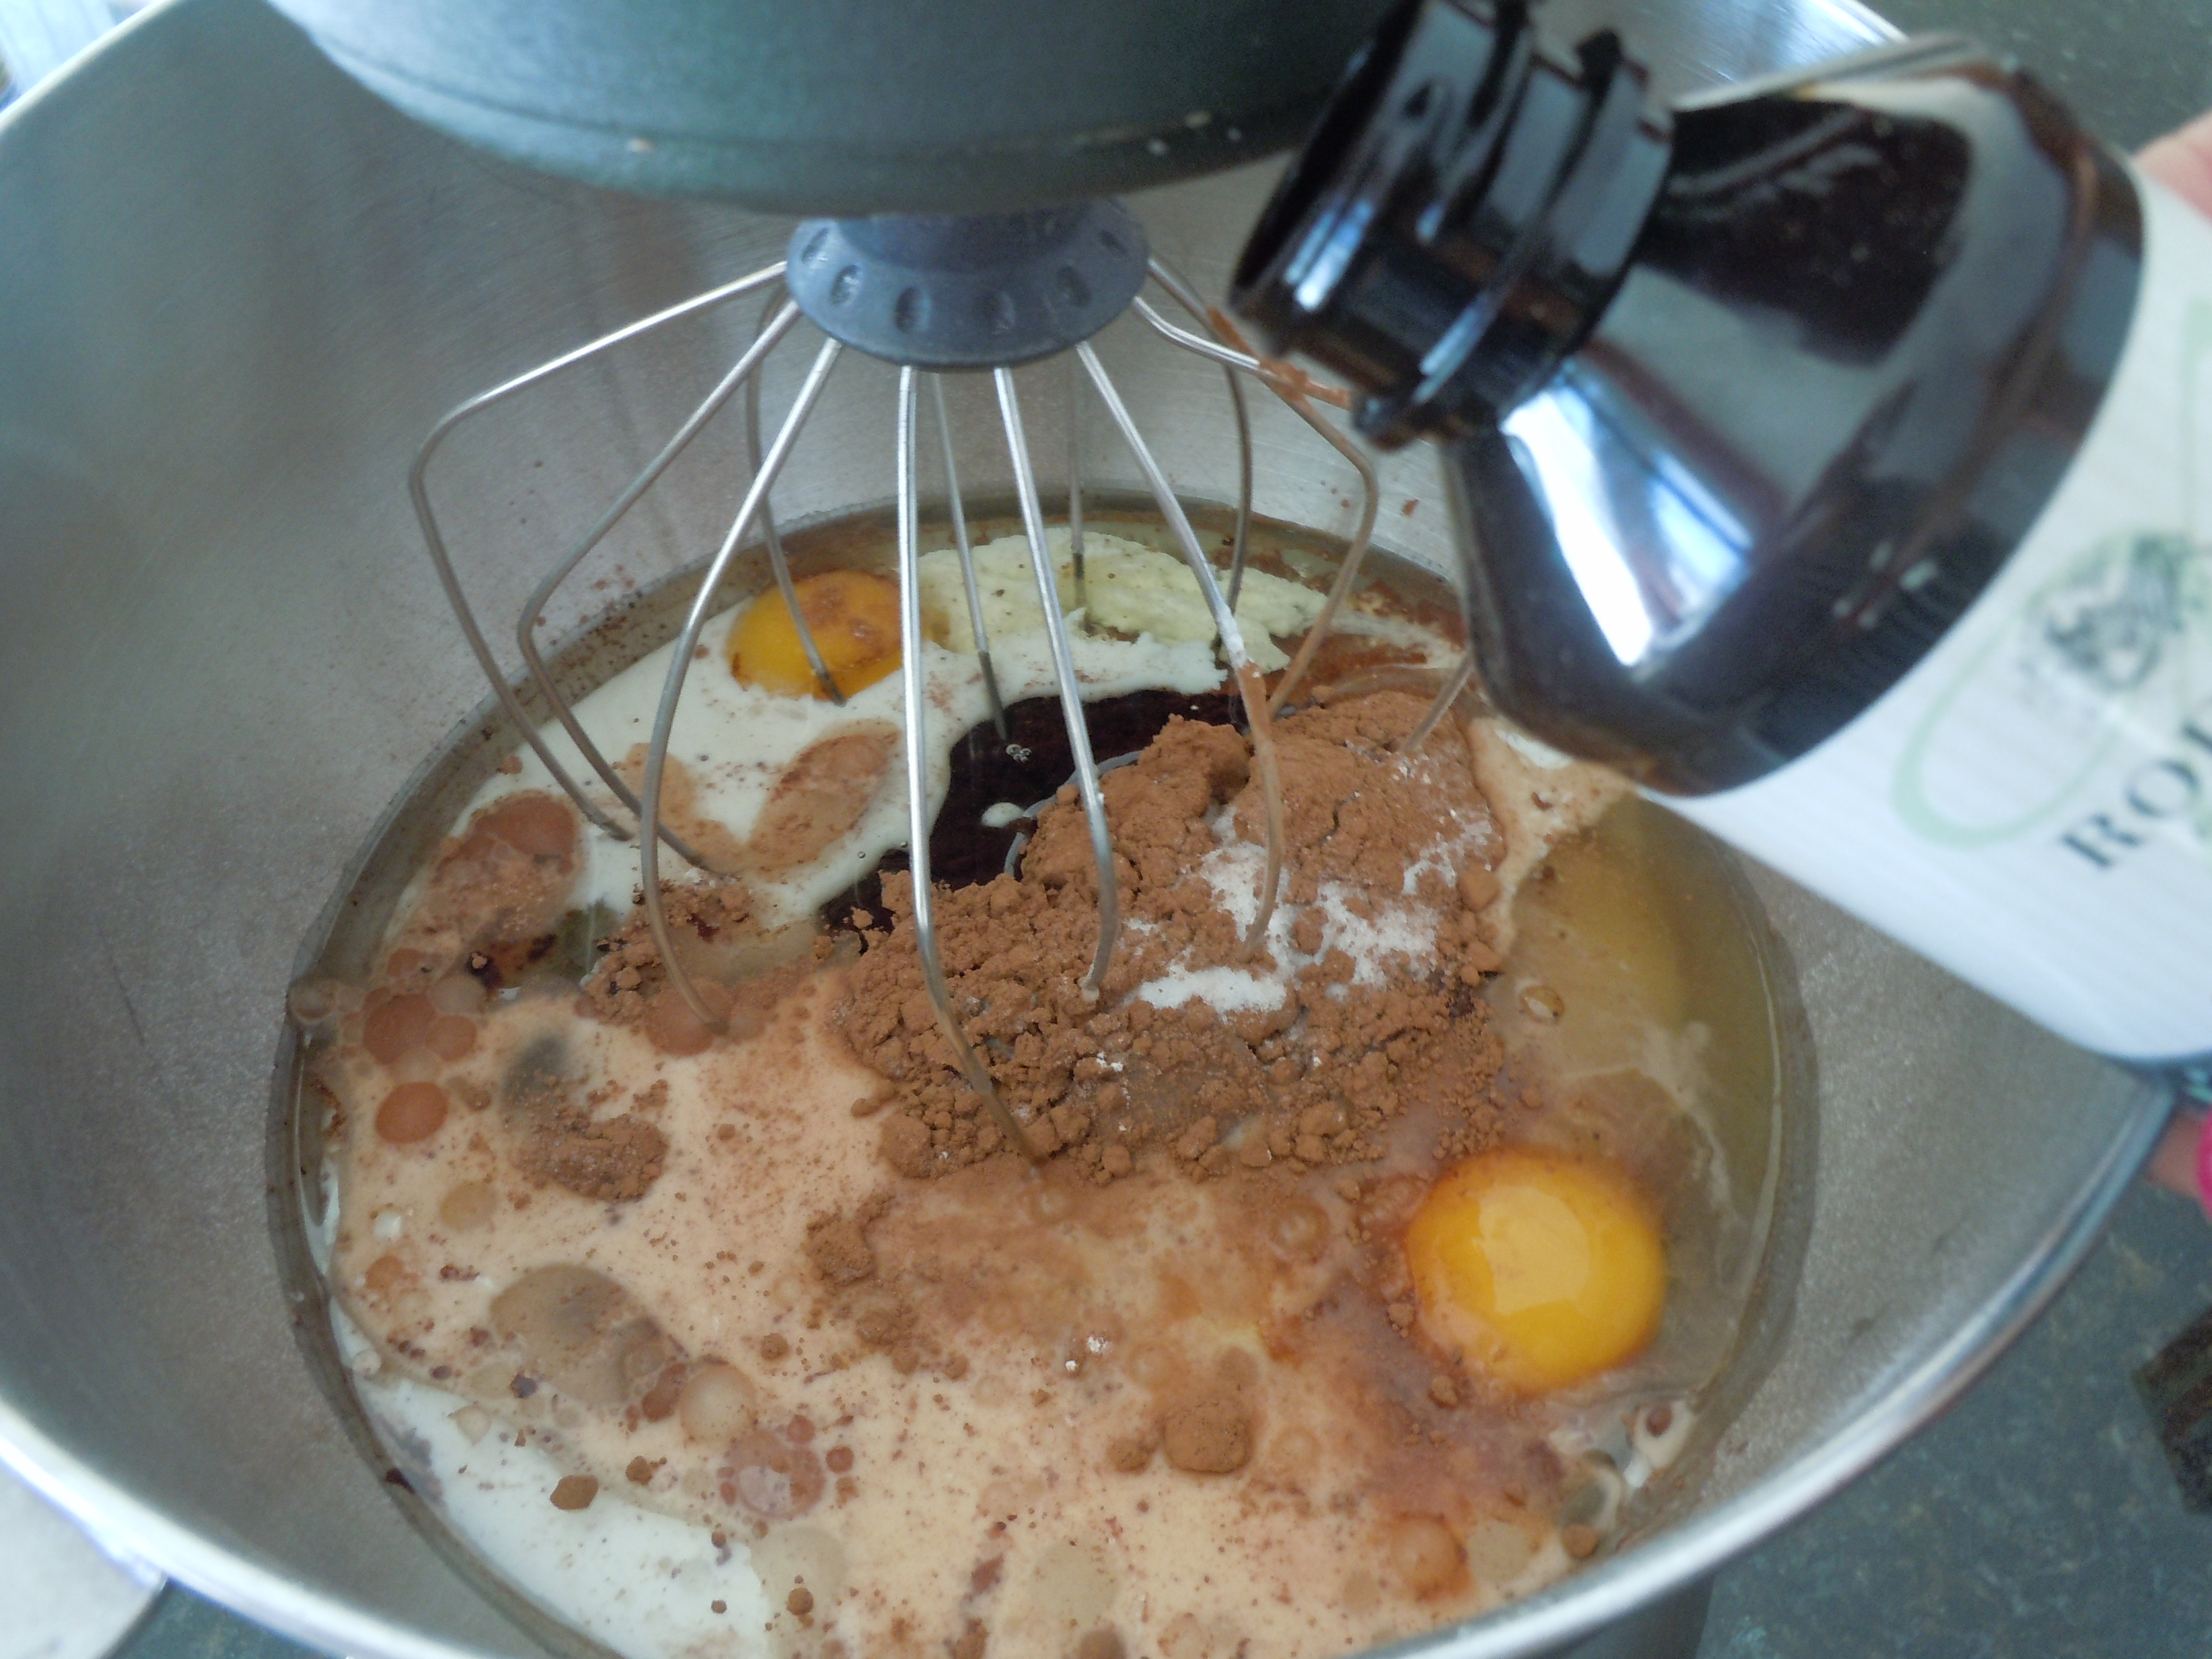
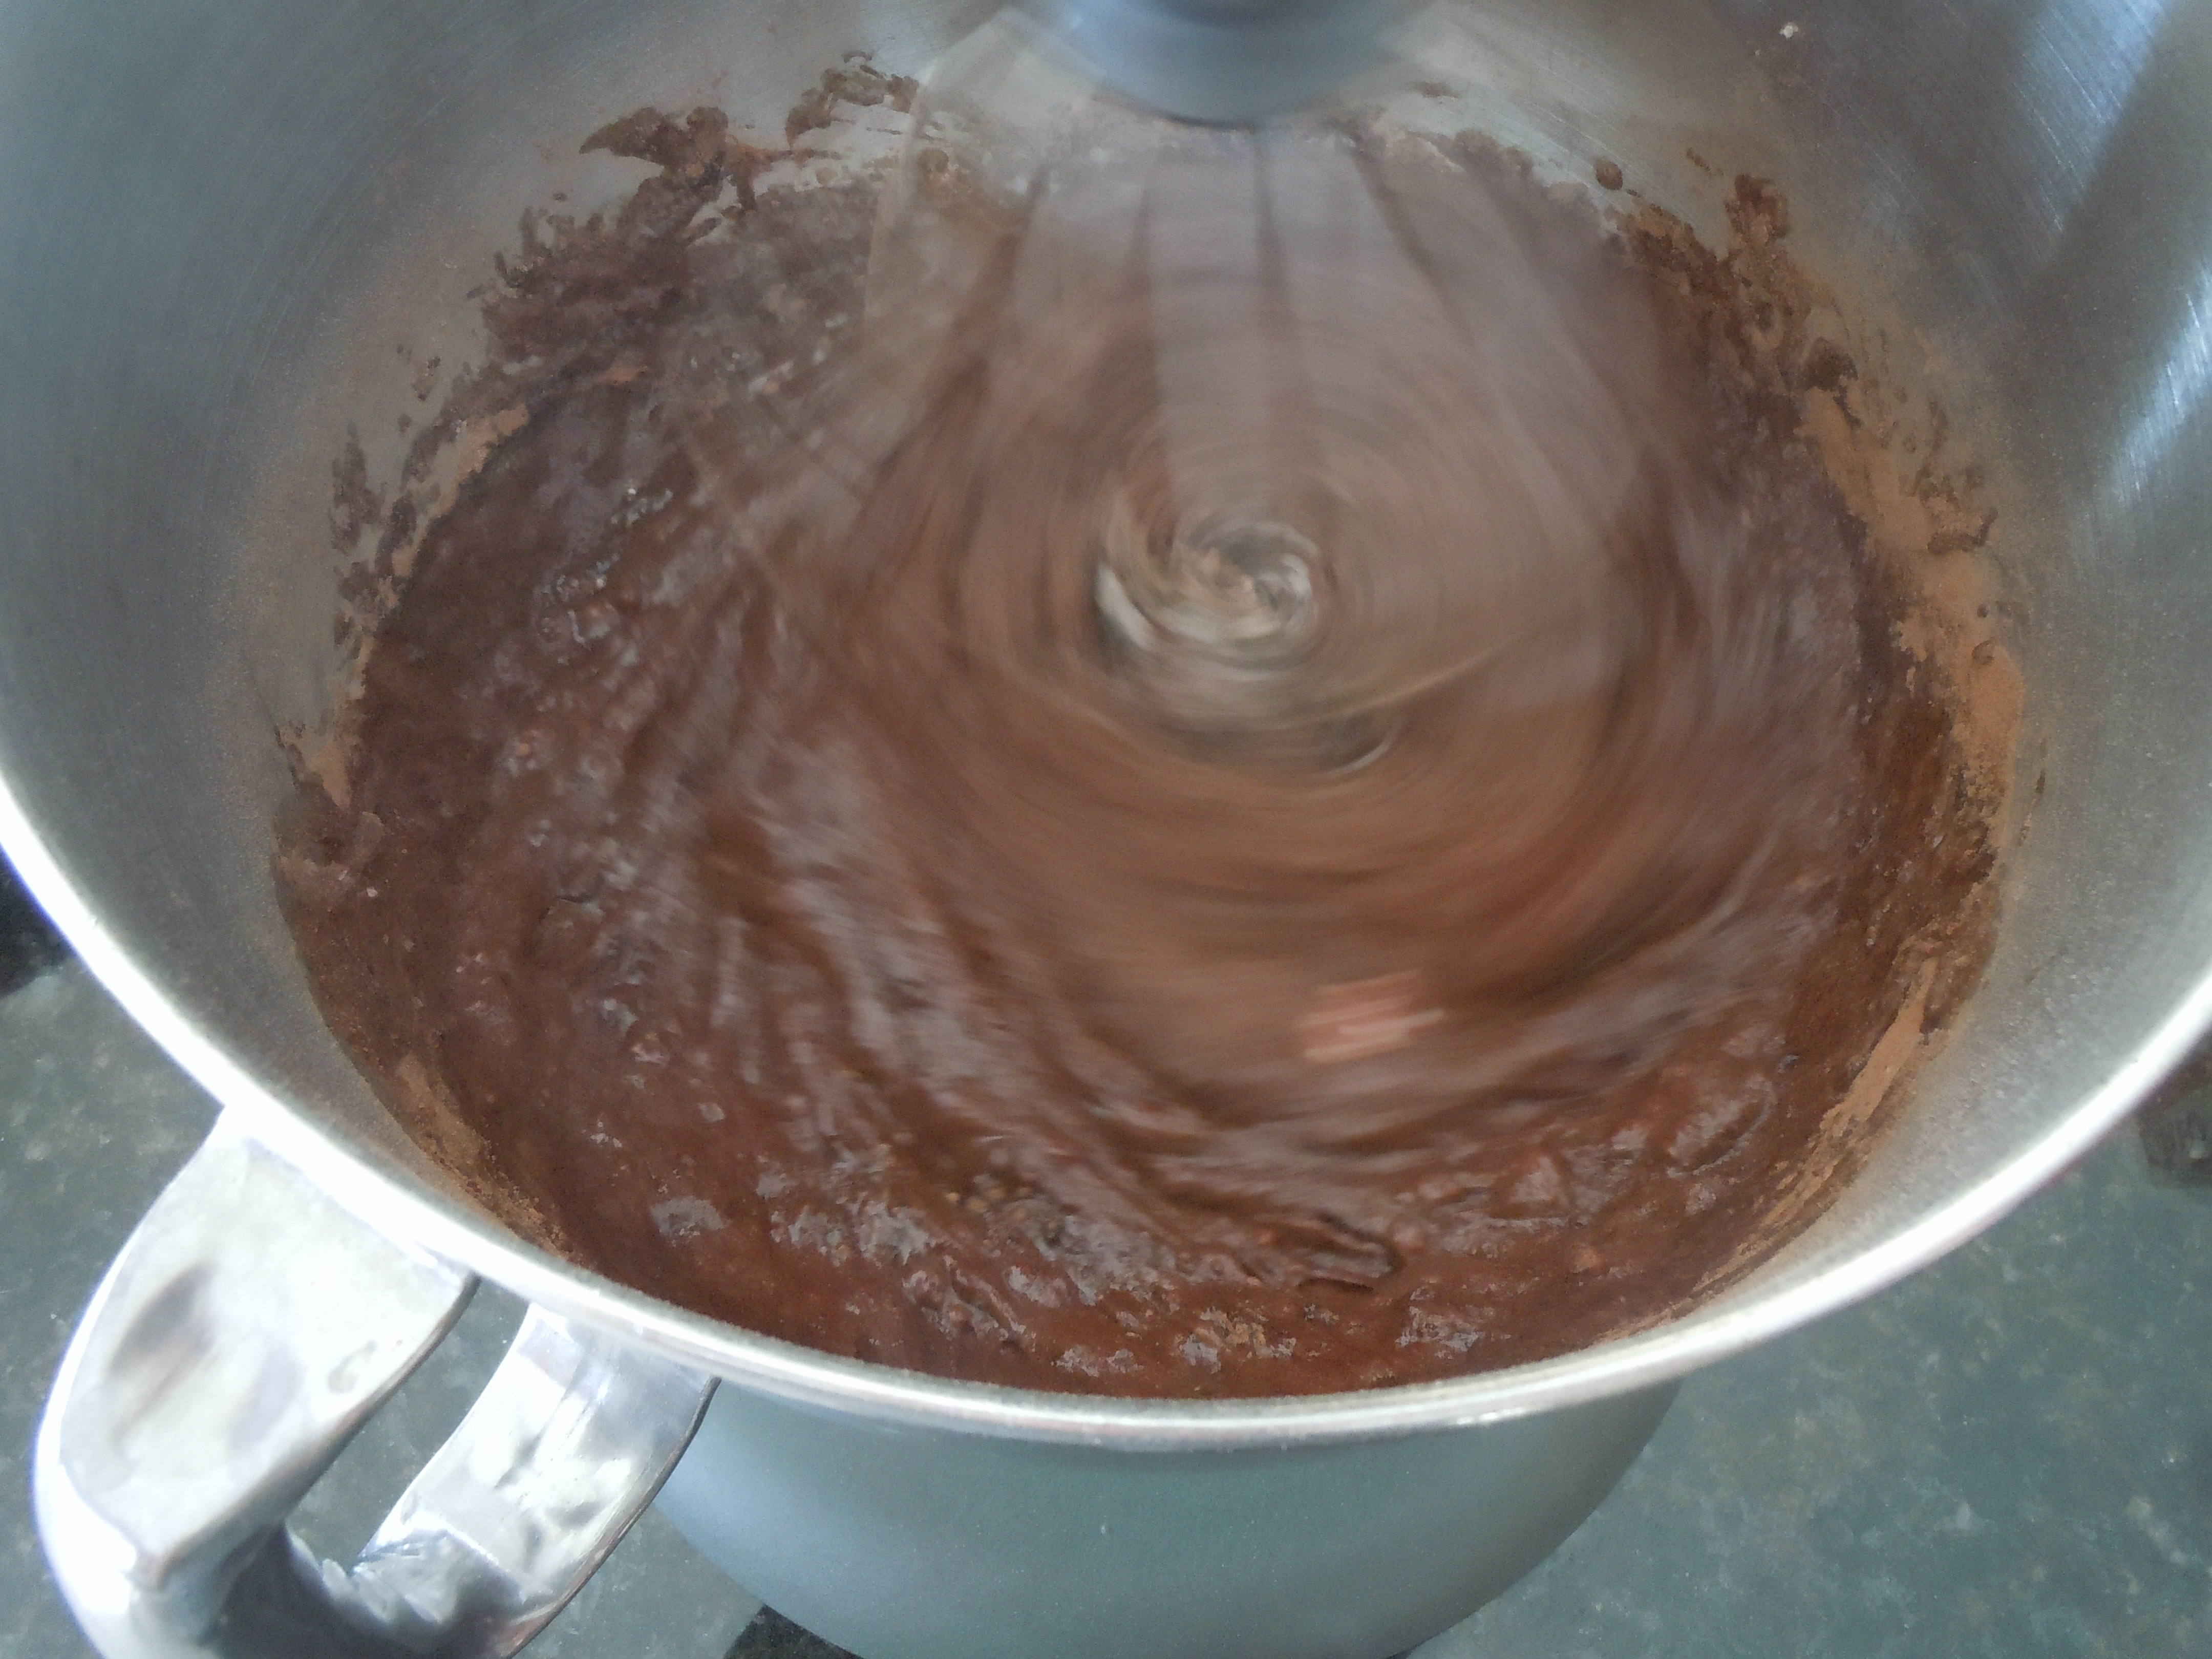
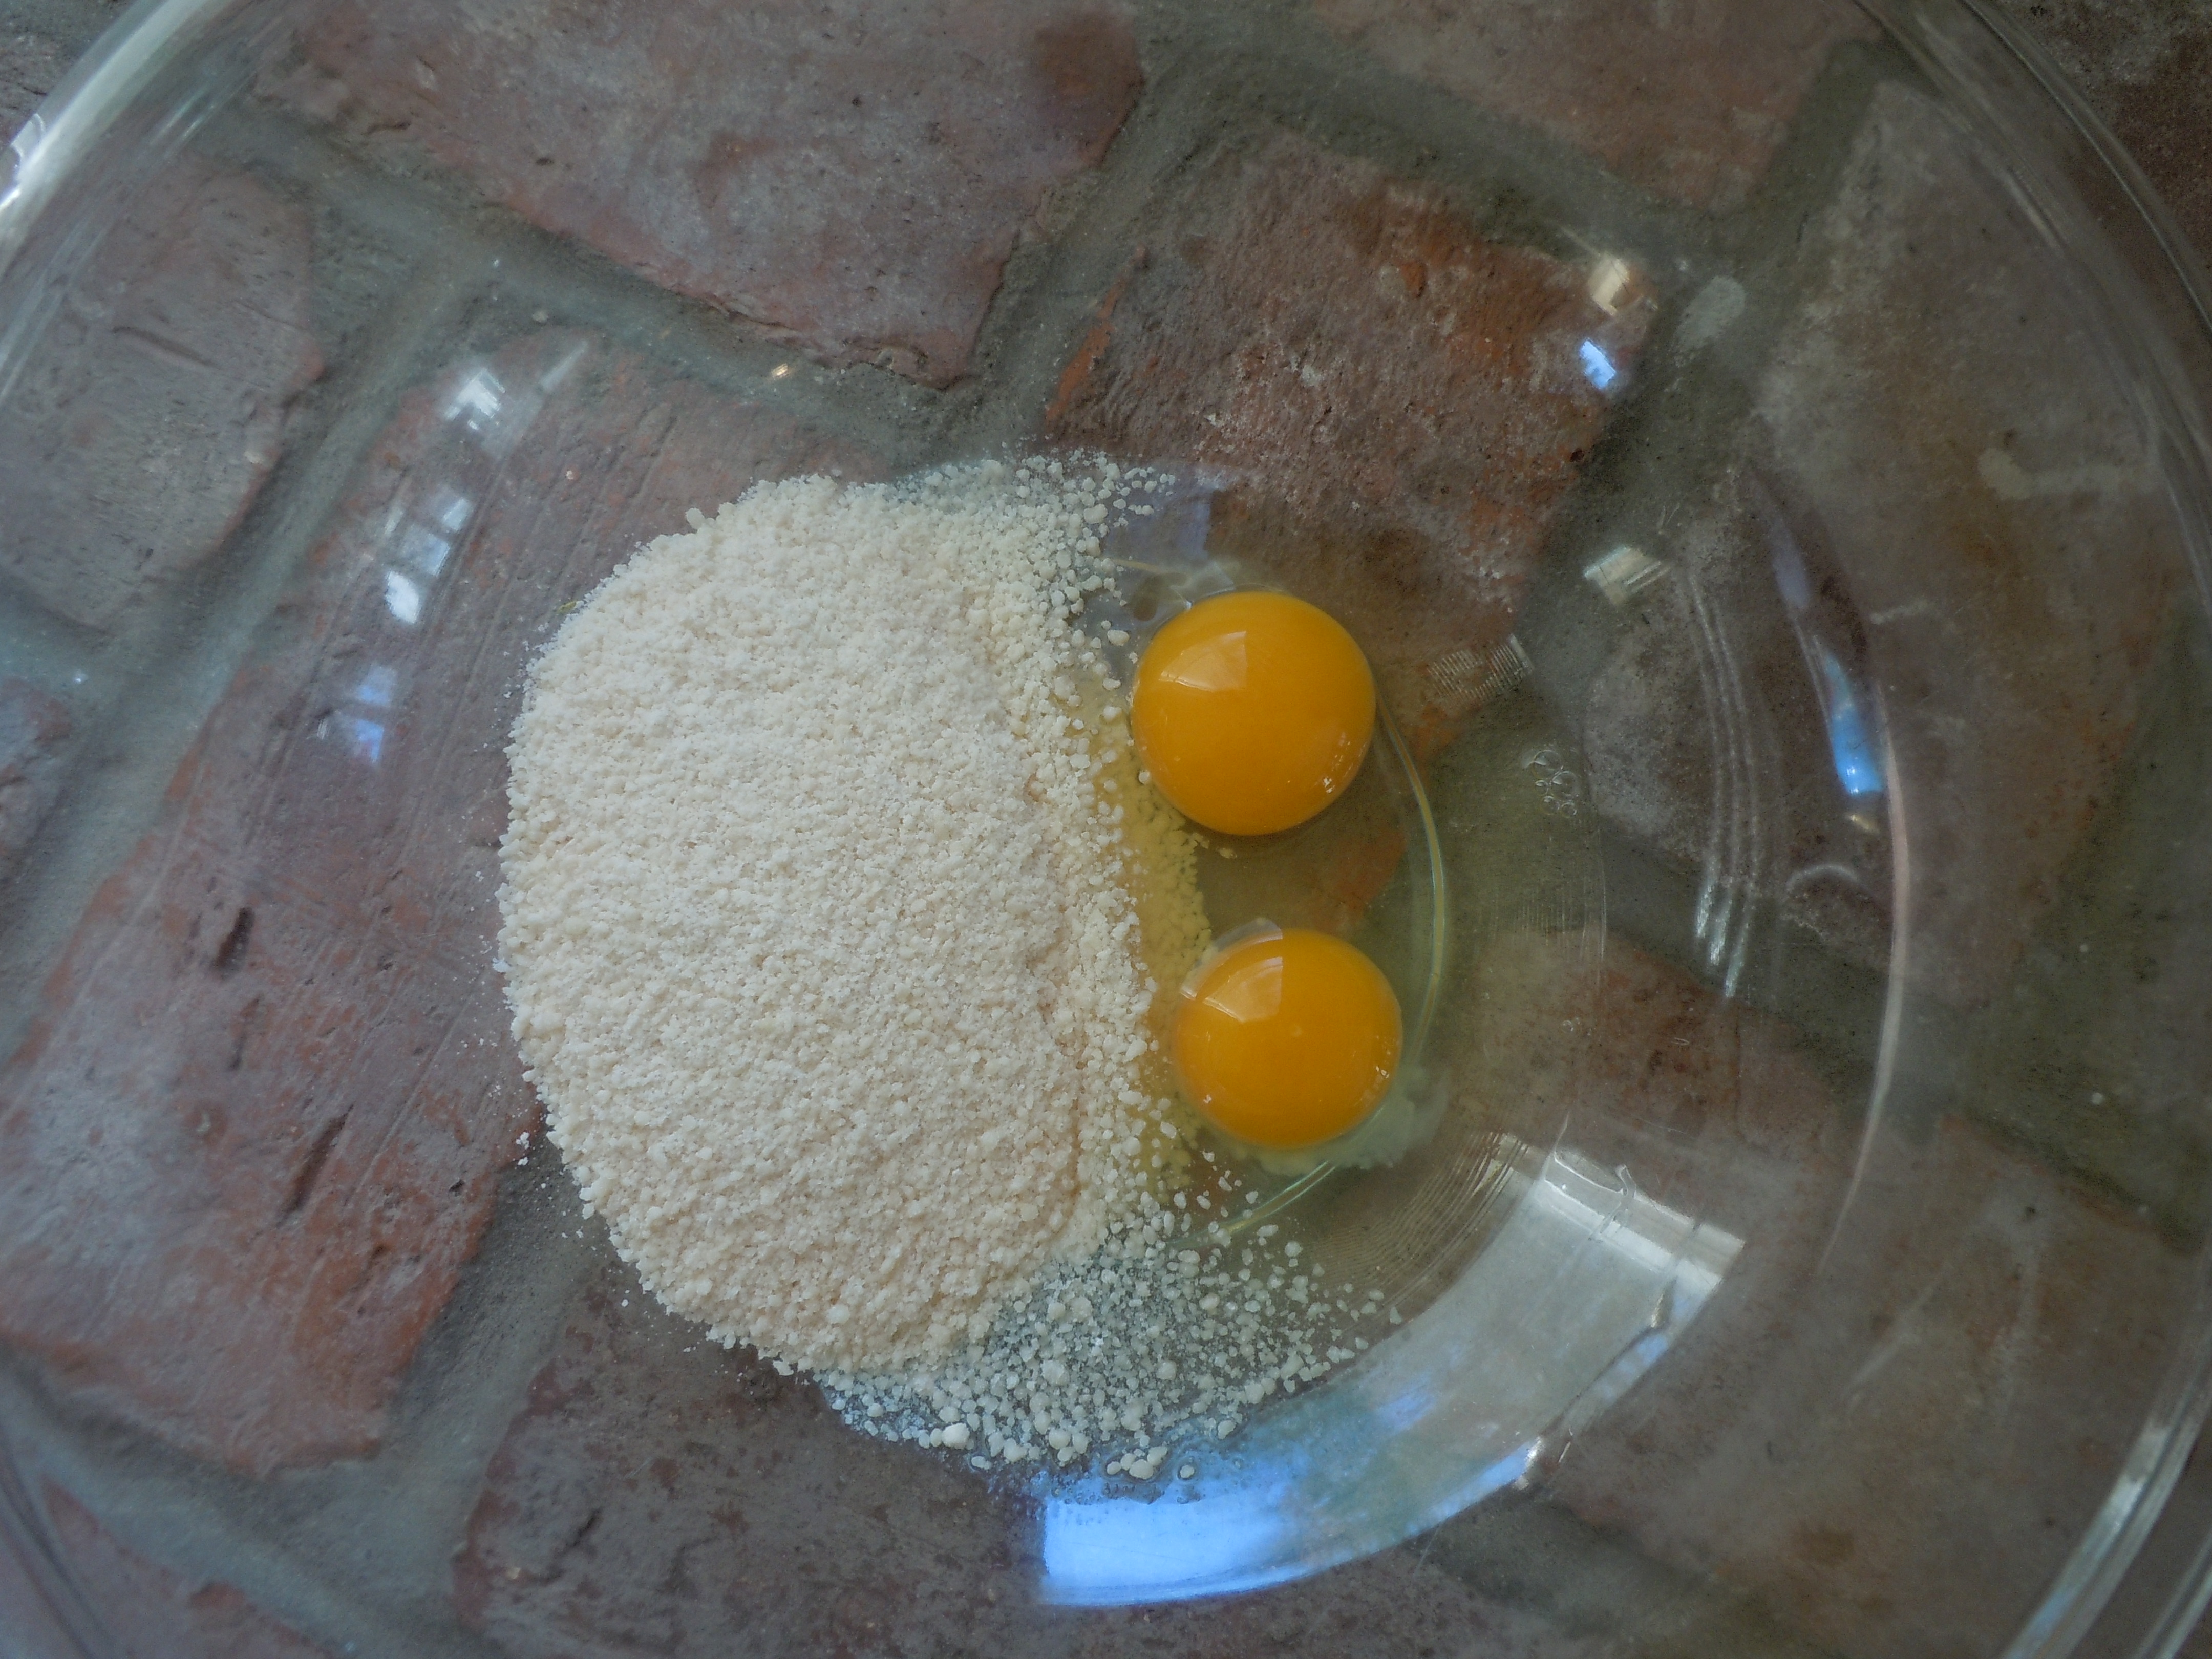
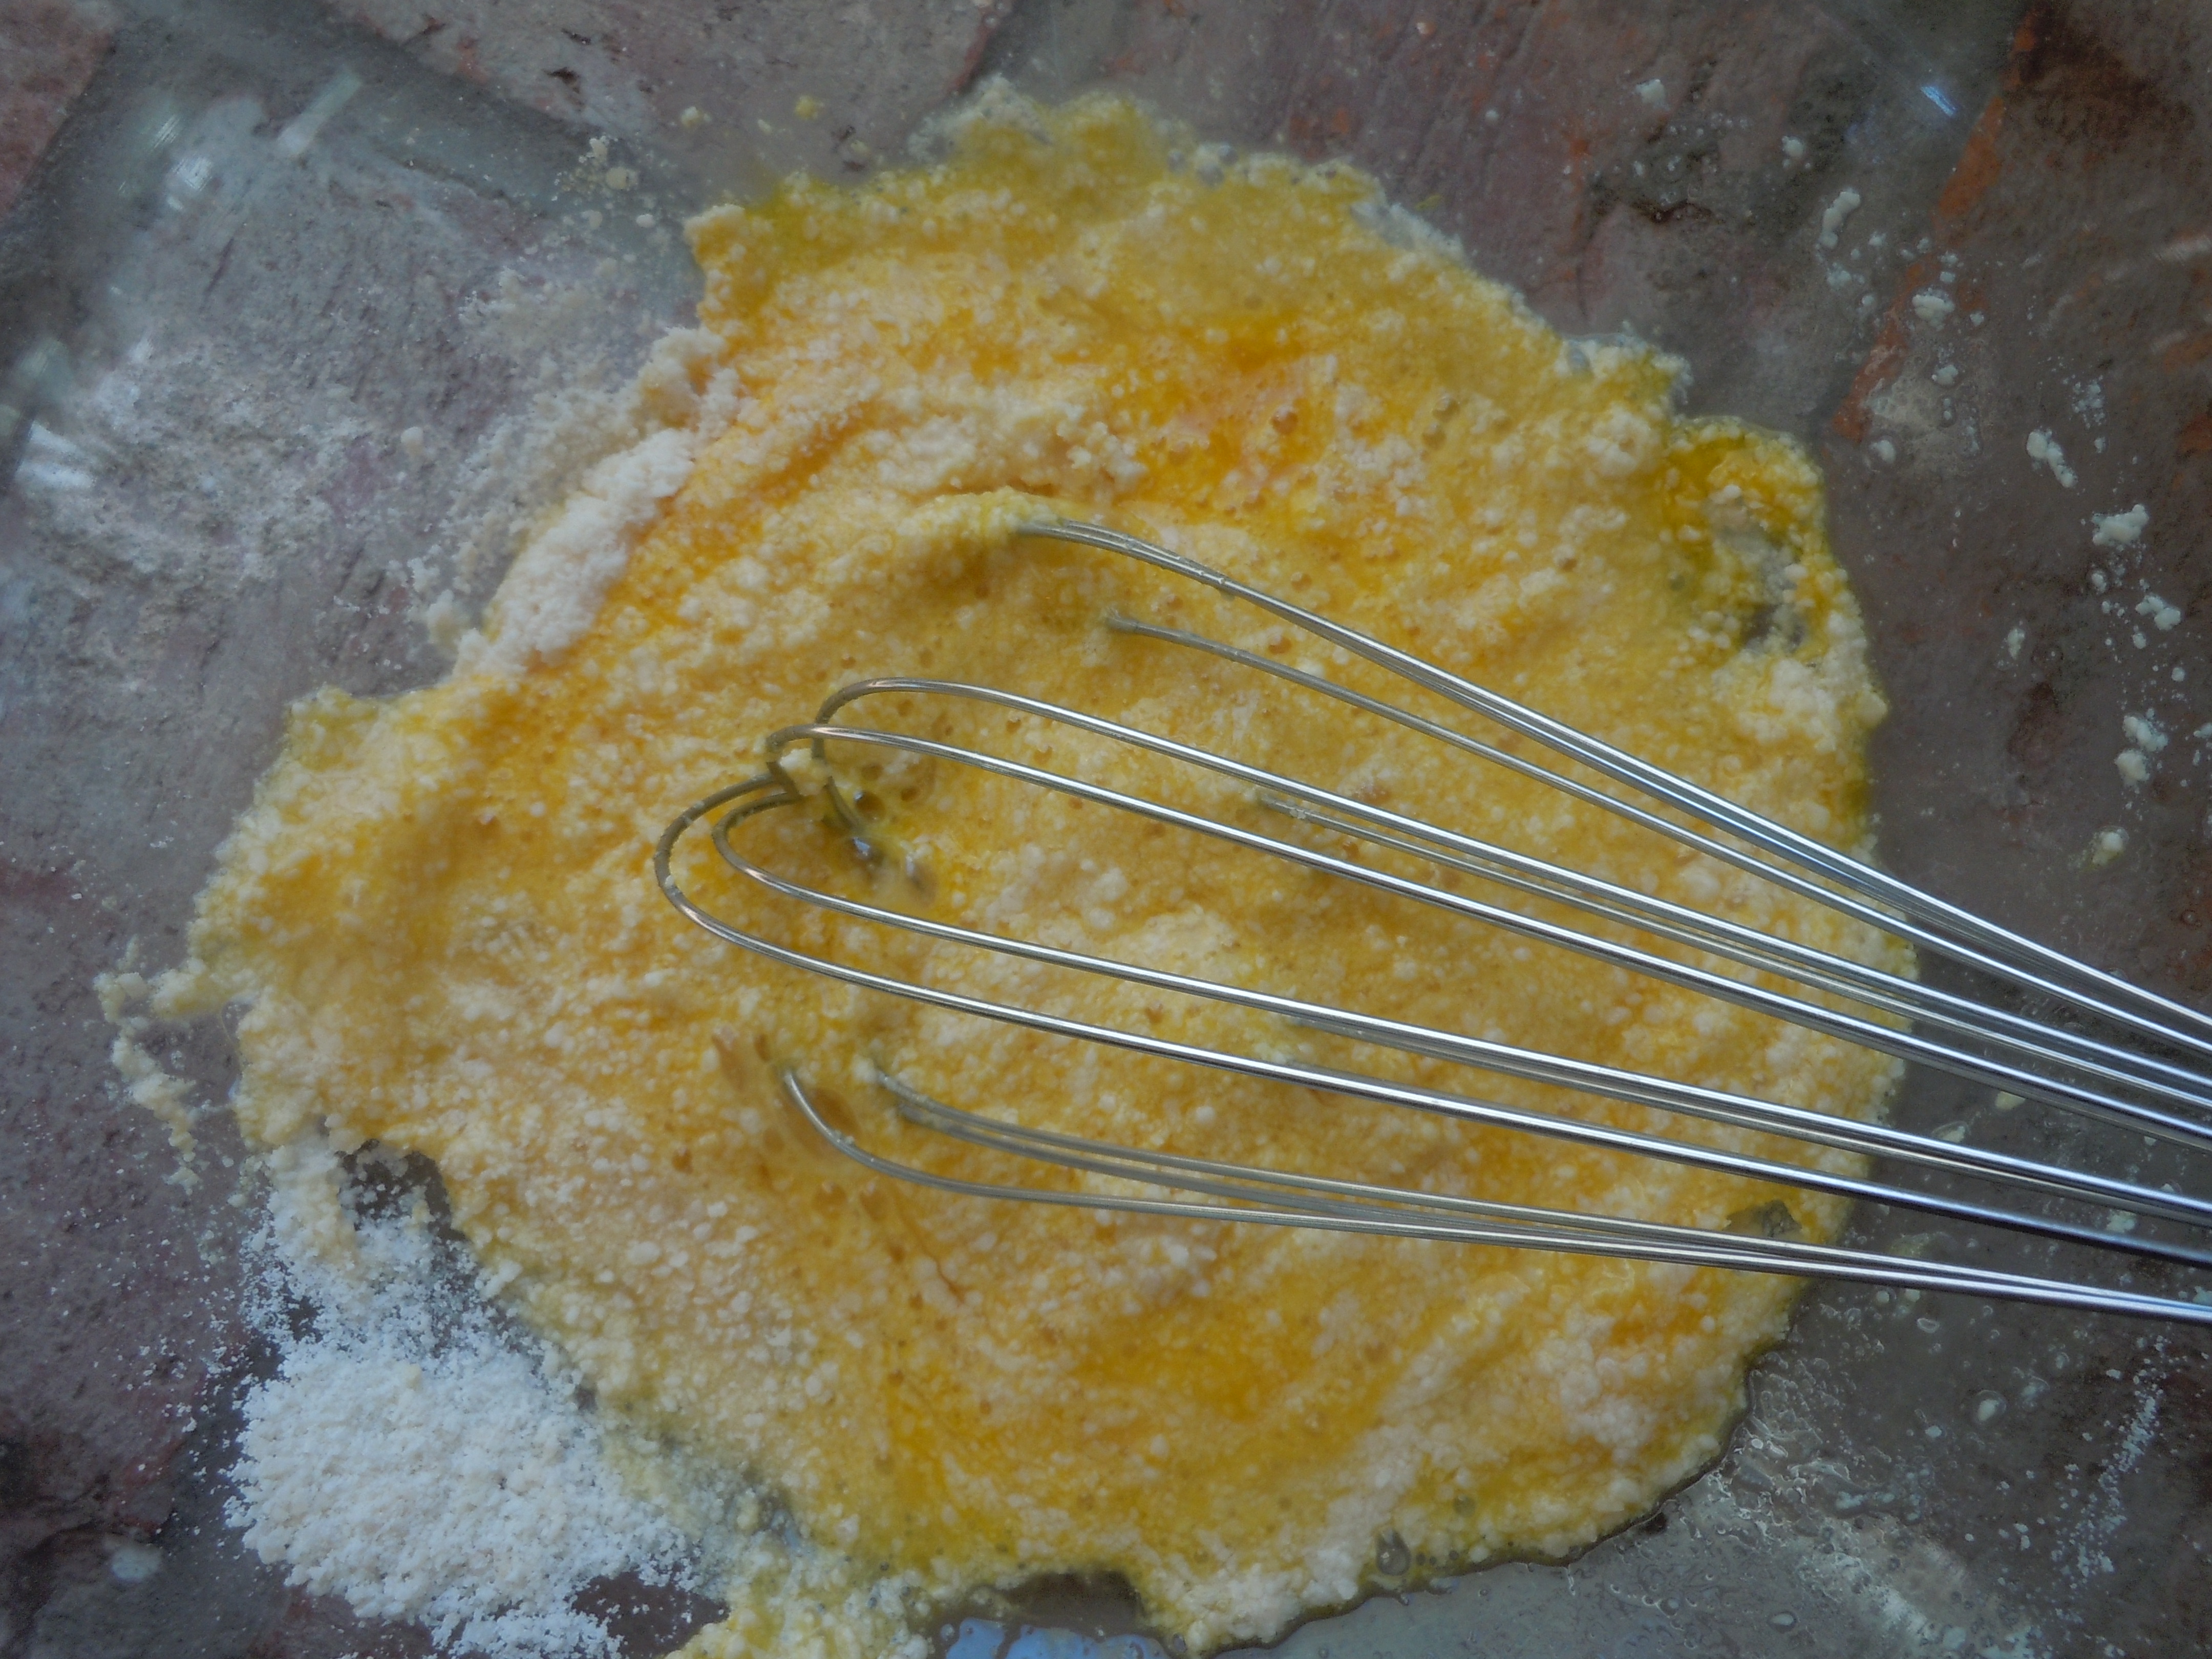
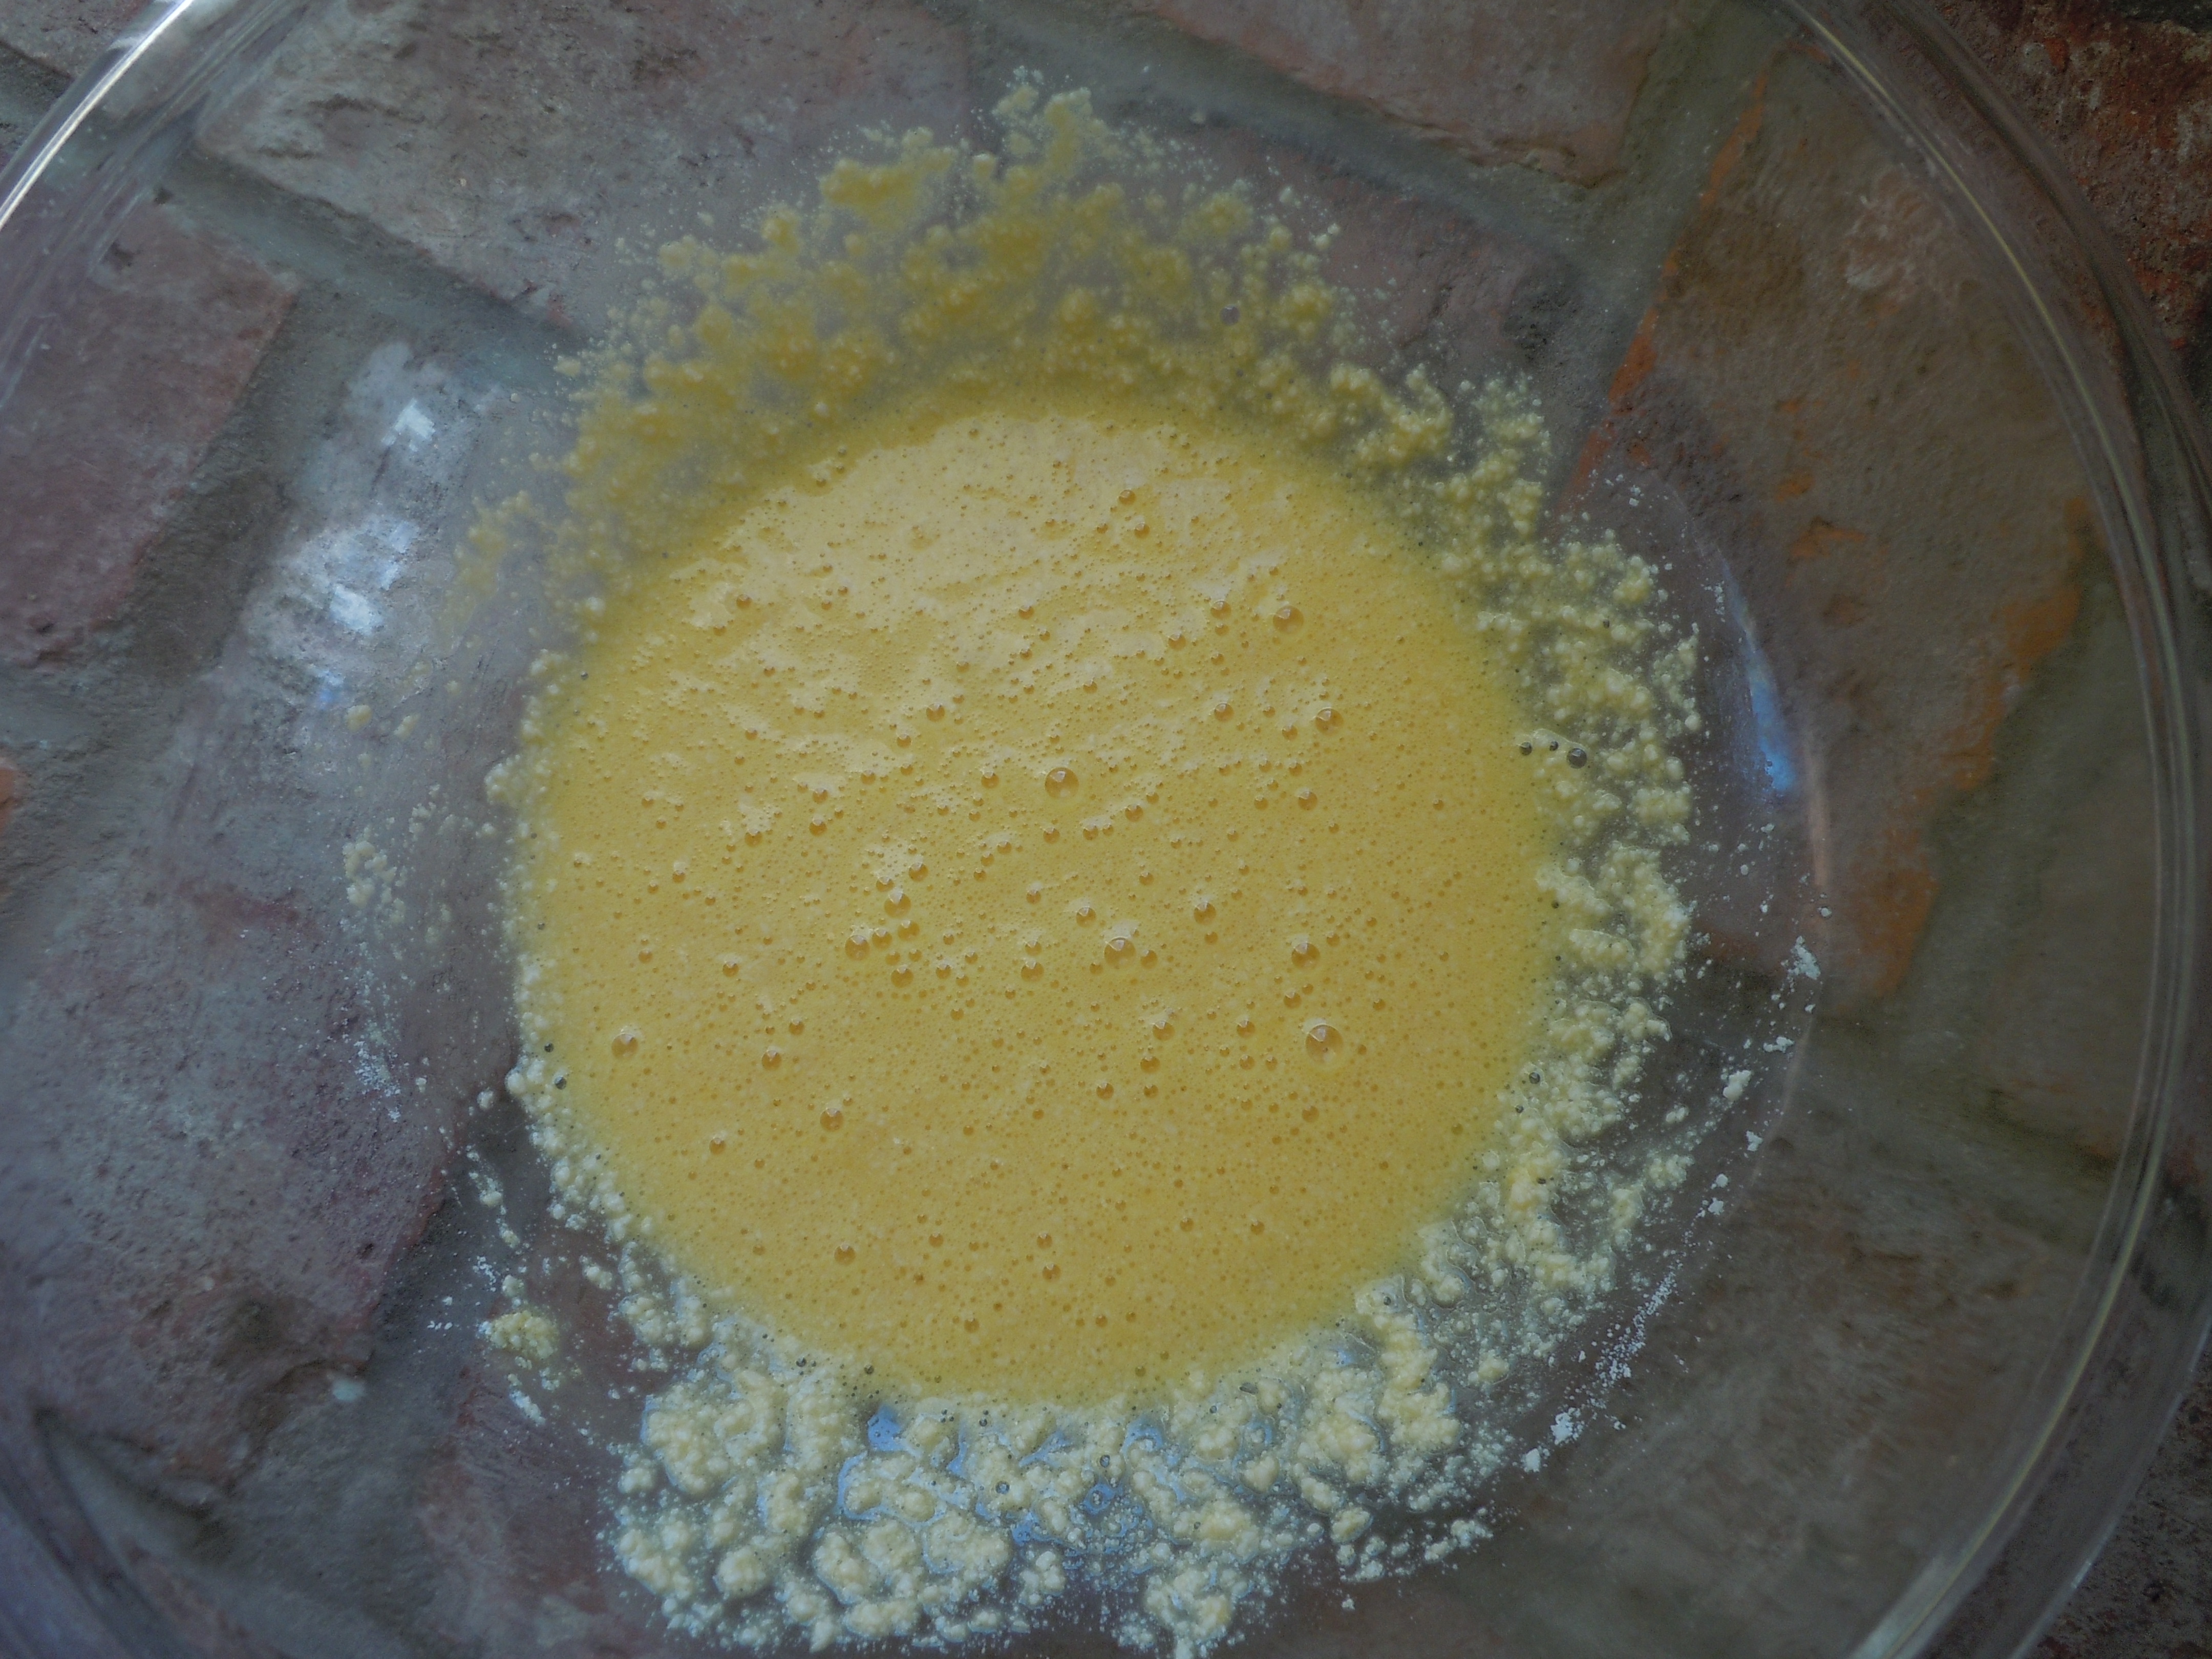
- In a large bowl whisk 1 cup flour, 1/4 Tsp salt with 1 cup water (approx. 20 whisks)
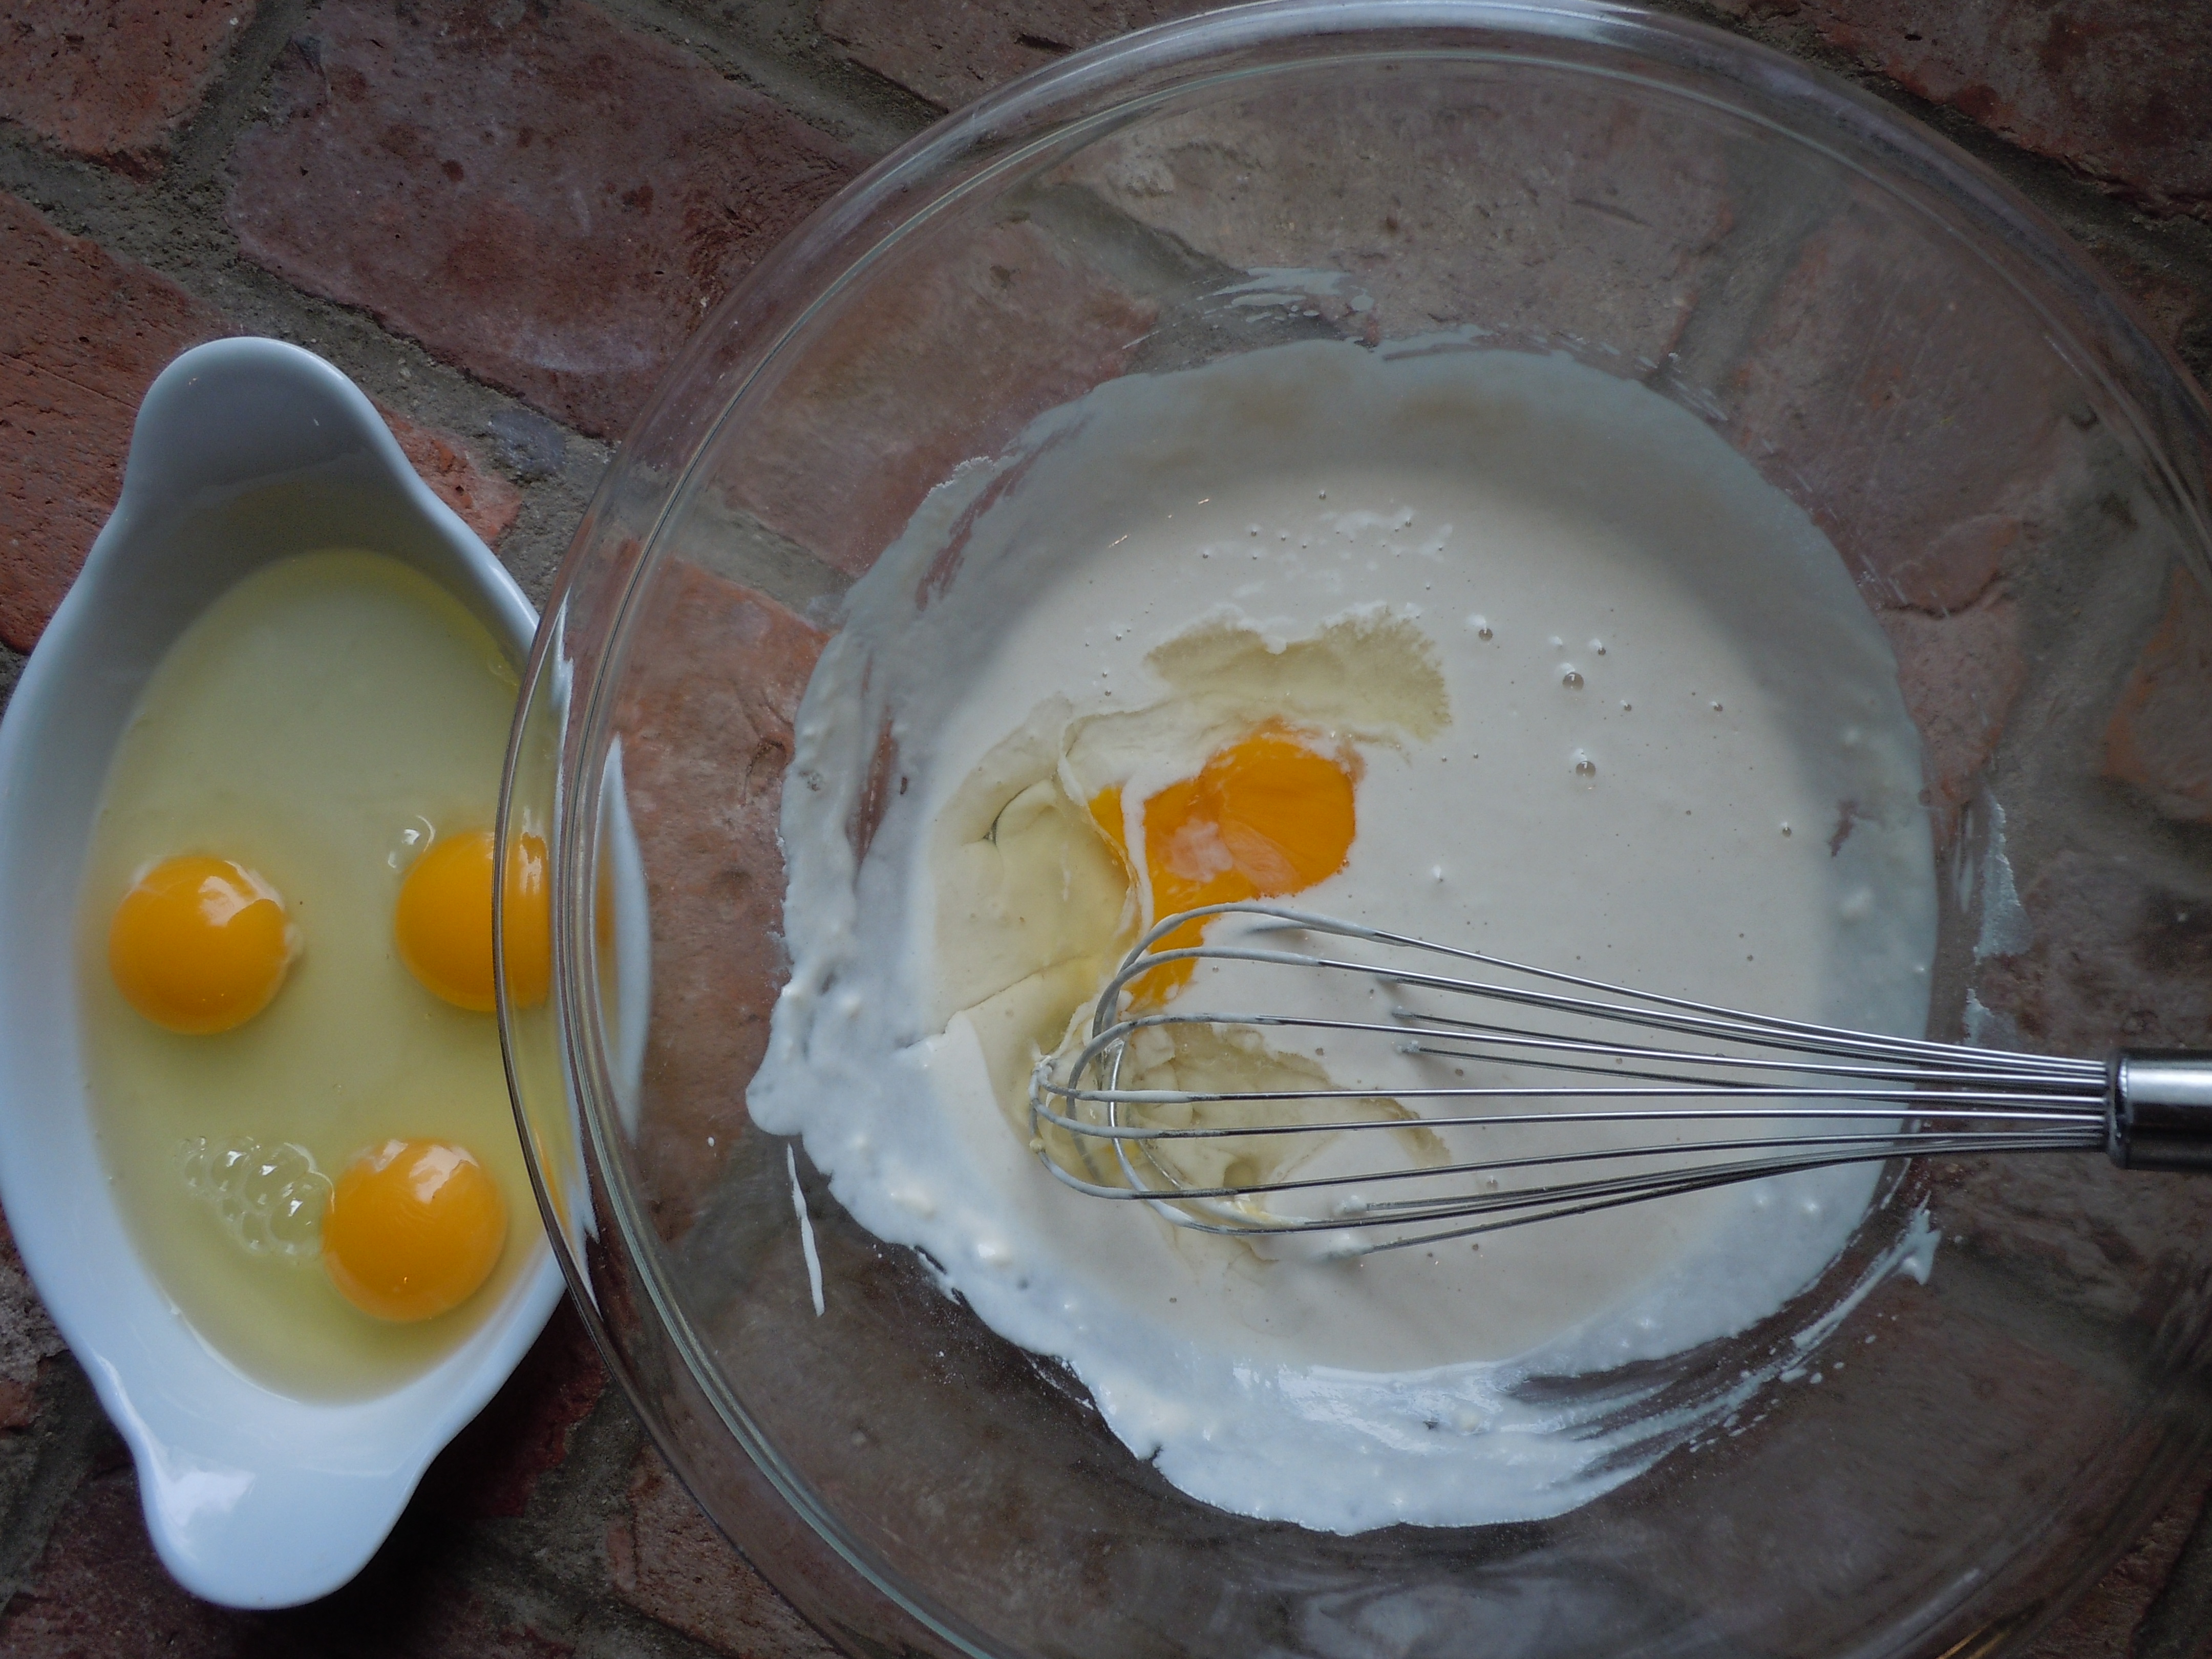
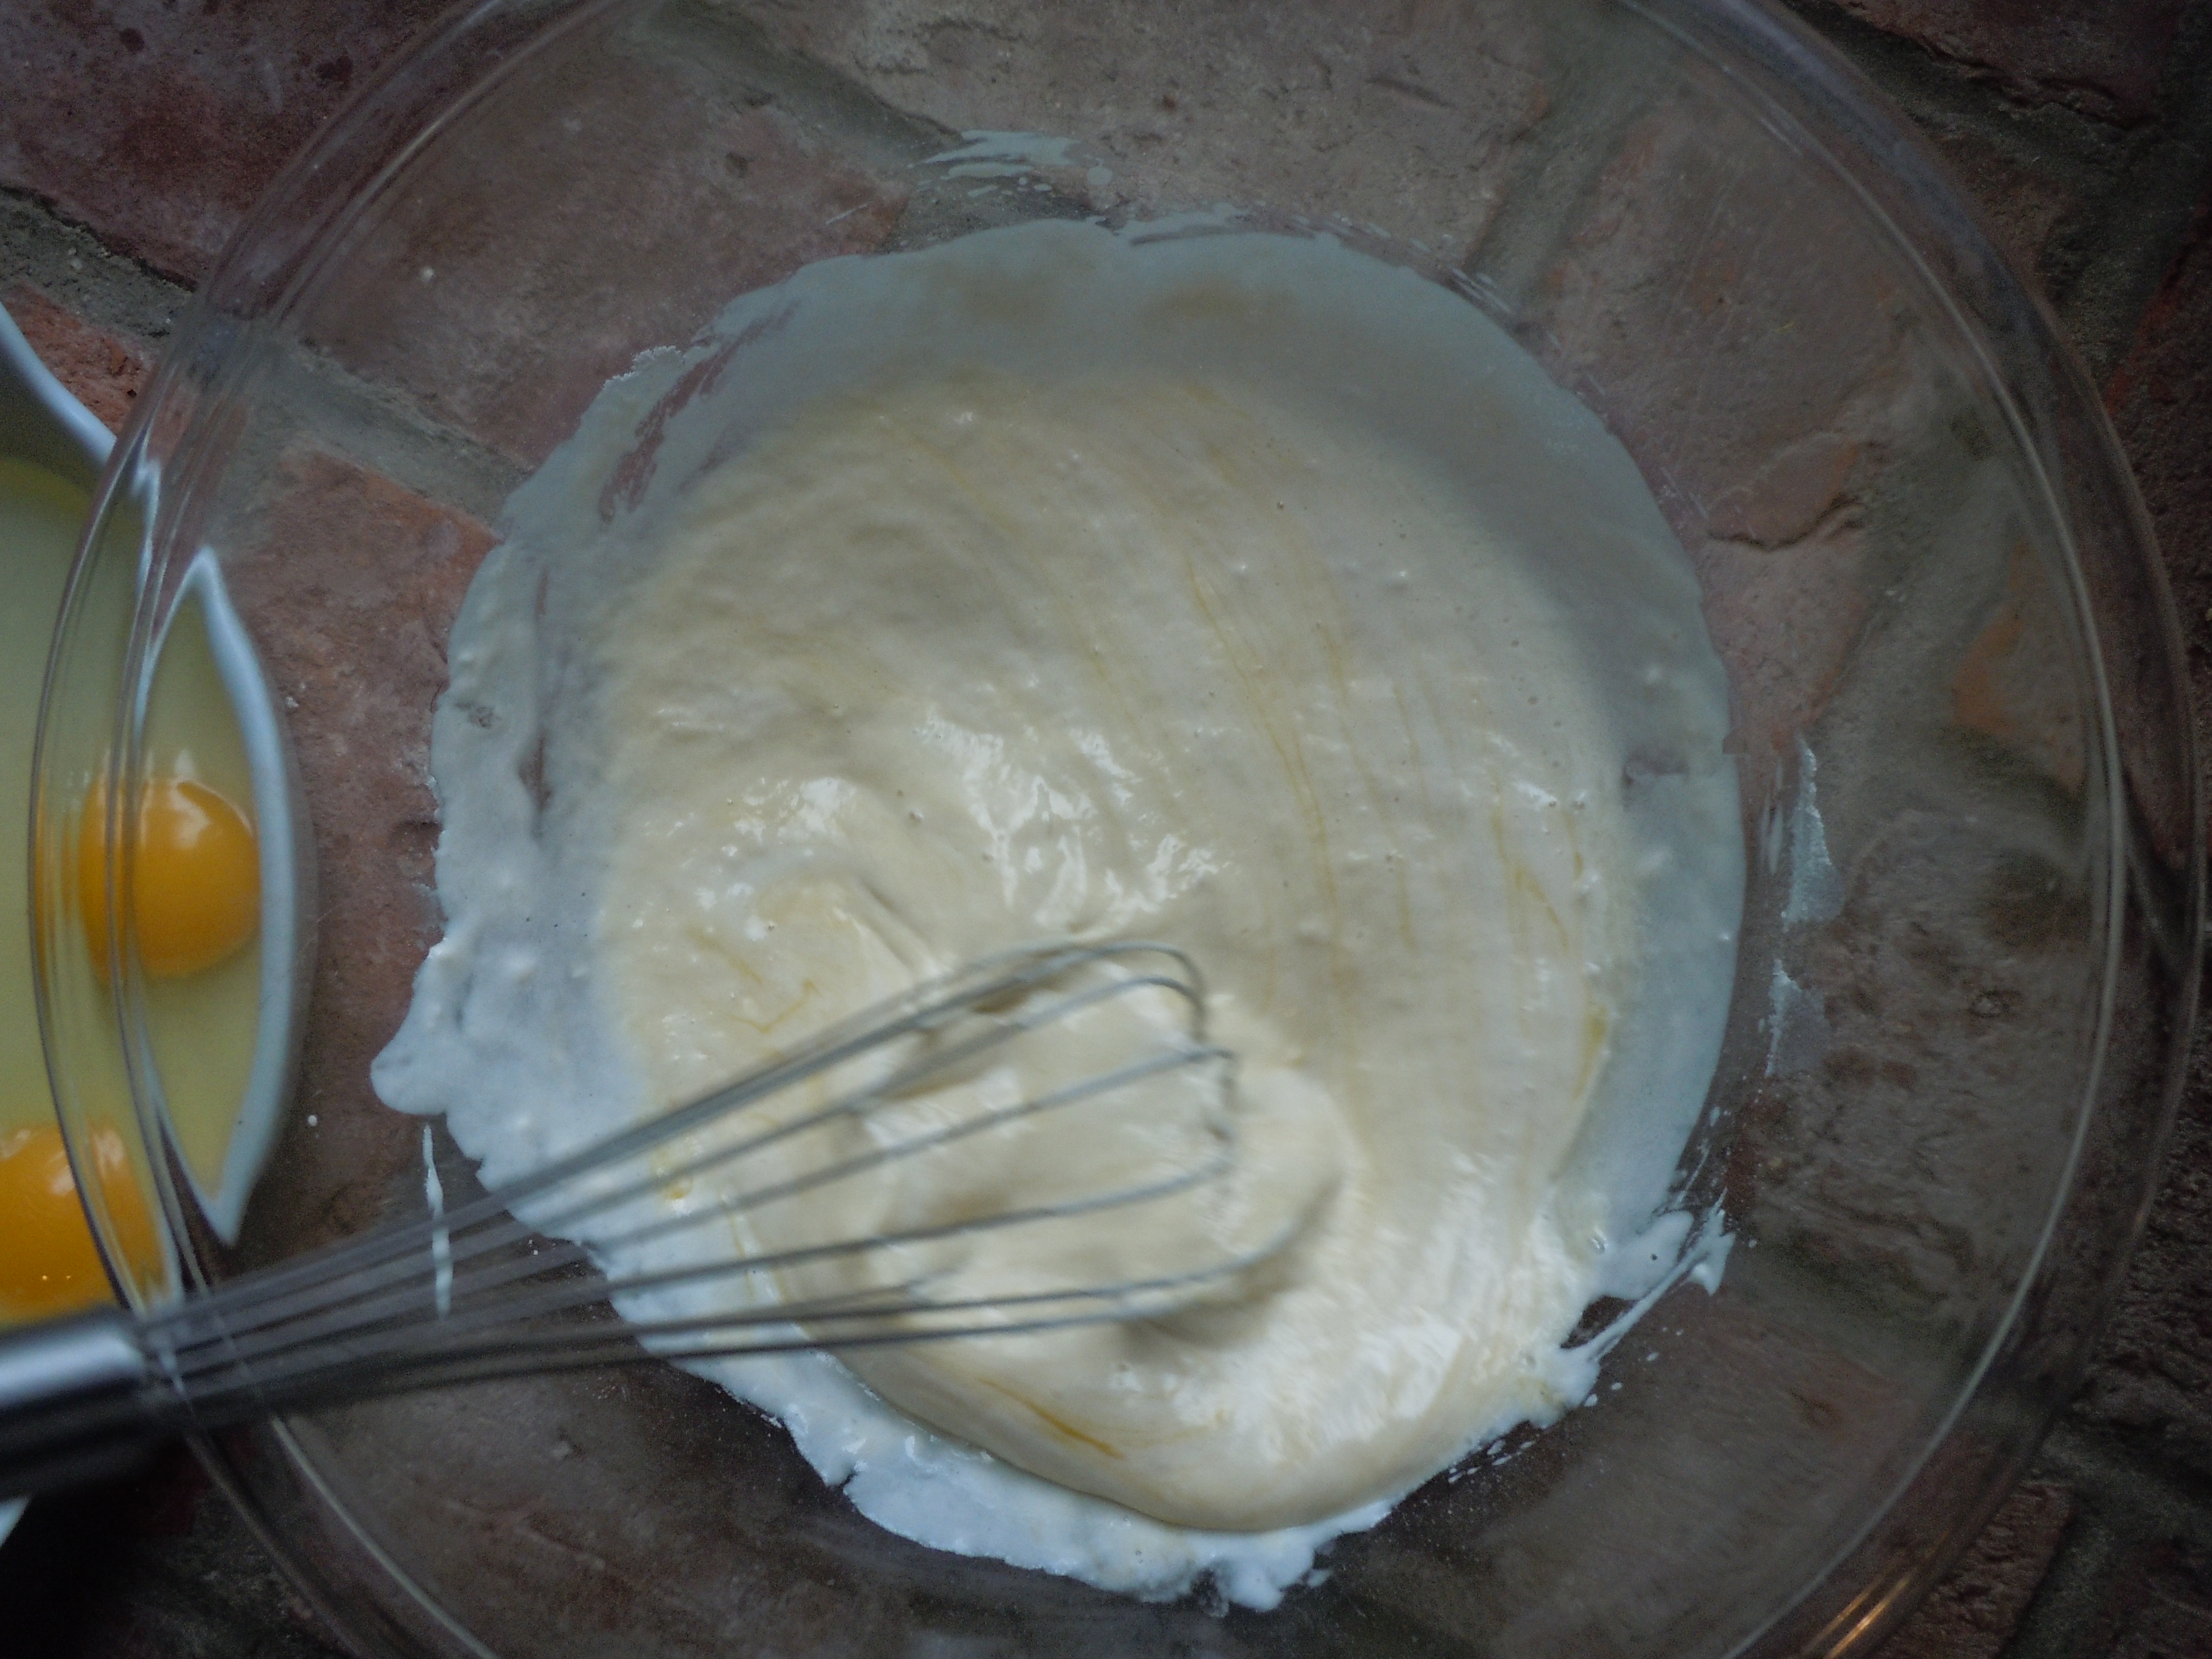
- Add in 1 egg at a time and whisk about 5 whisks per egg
- Put cast iron pan on stove on medium/high heat (a 7 out of an 11)
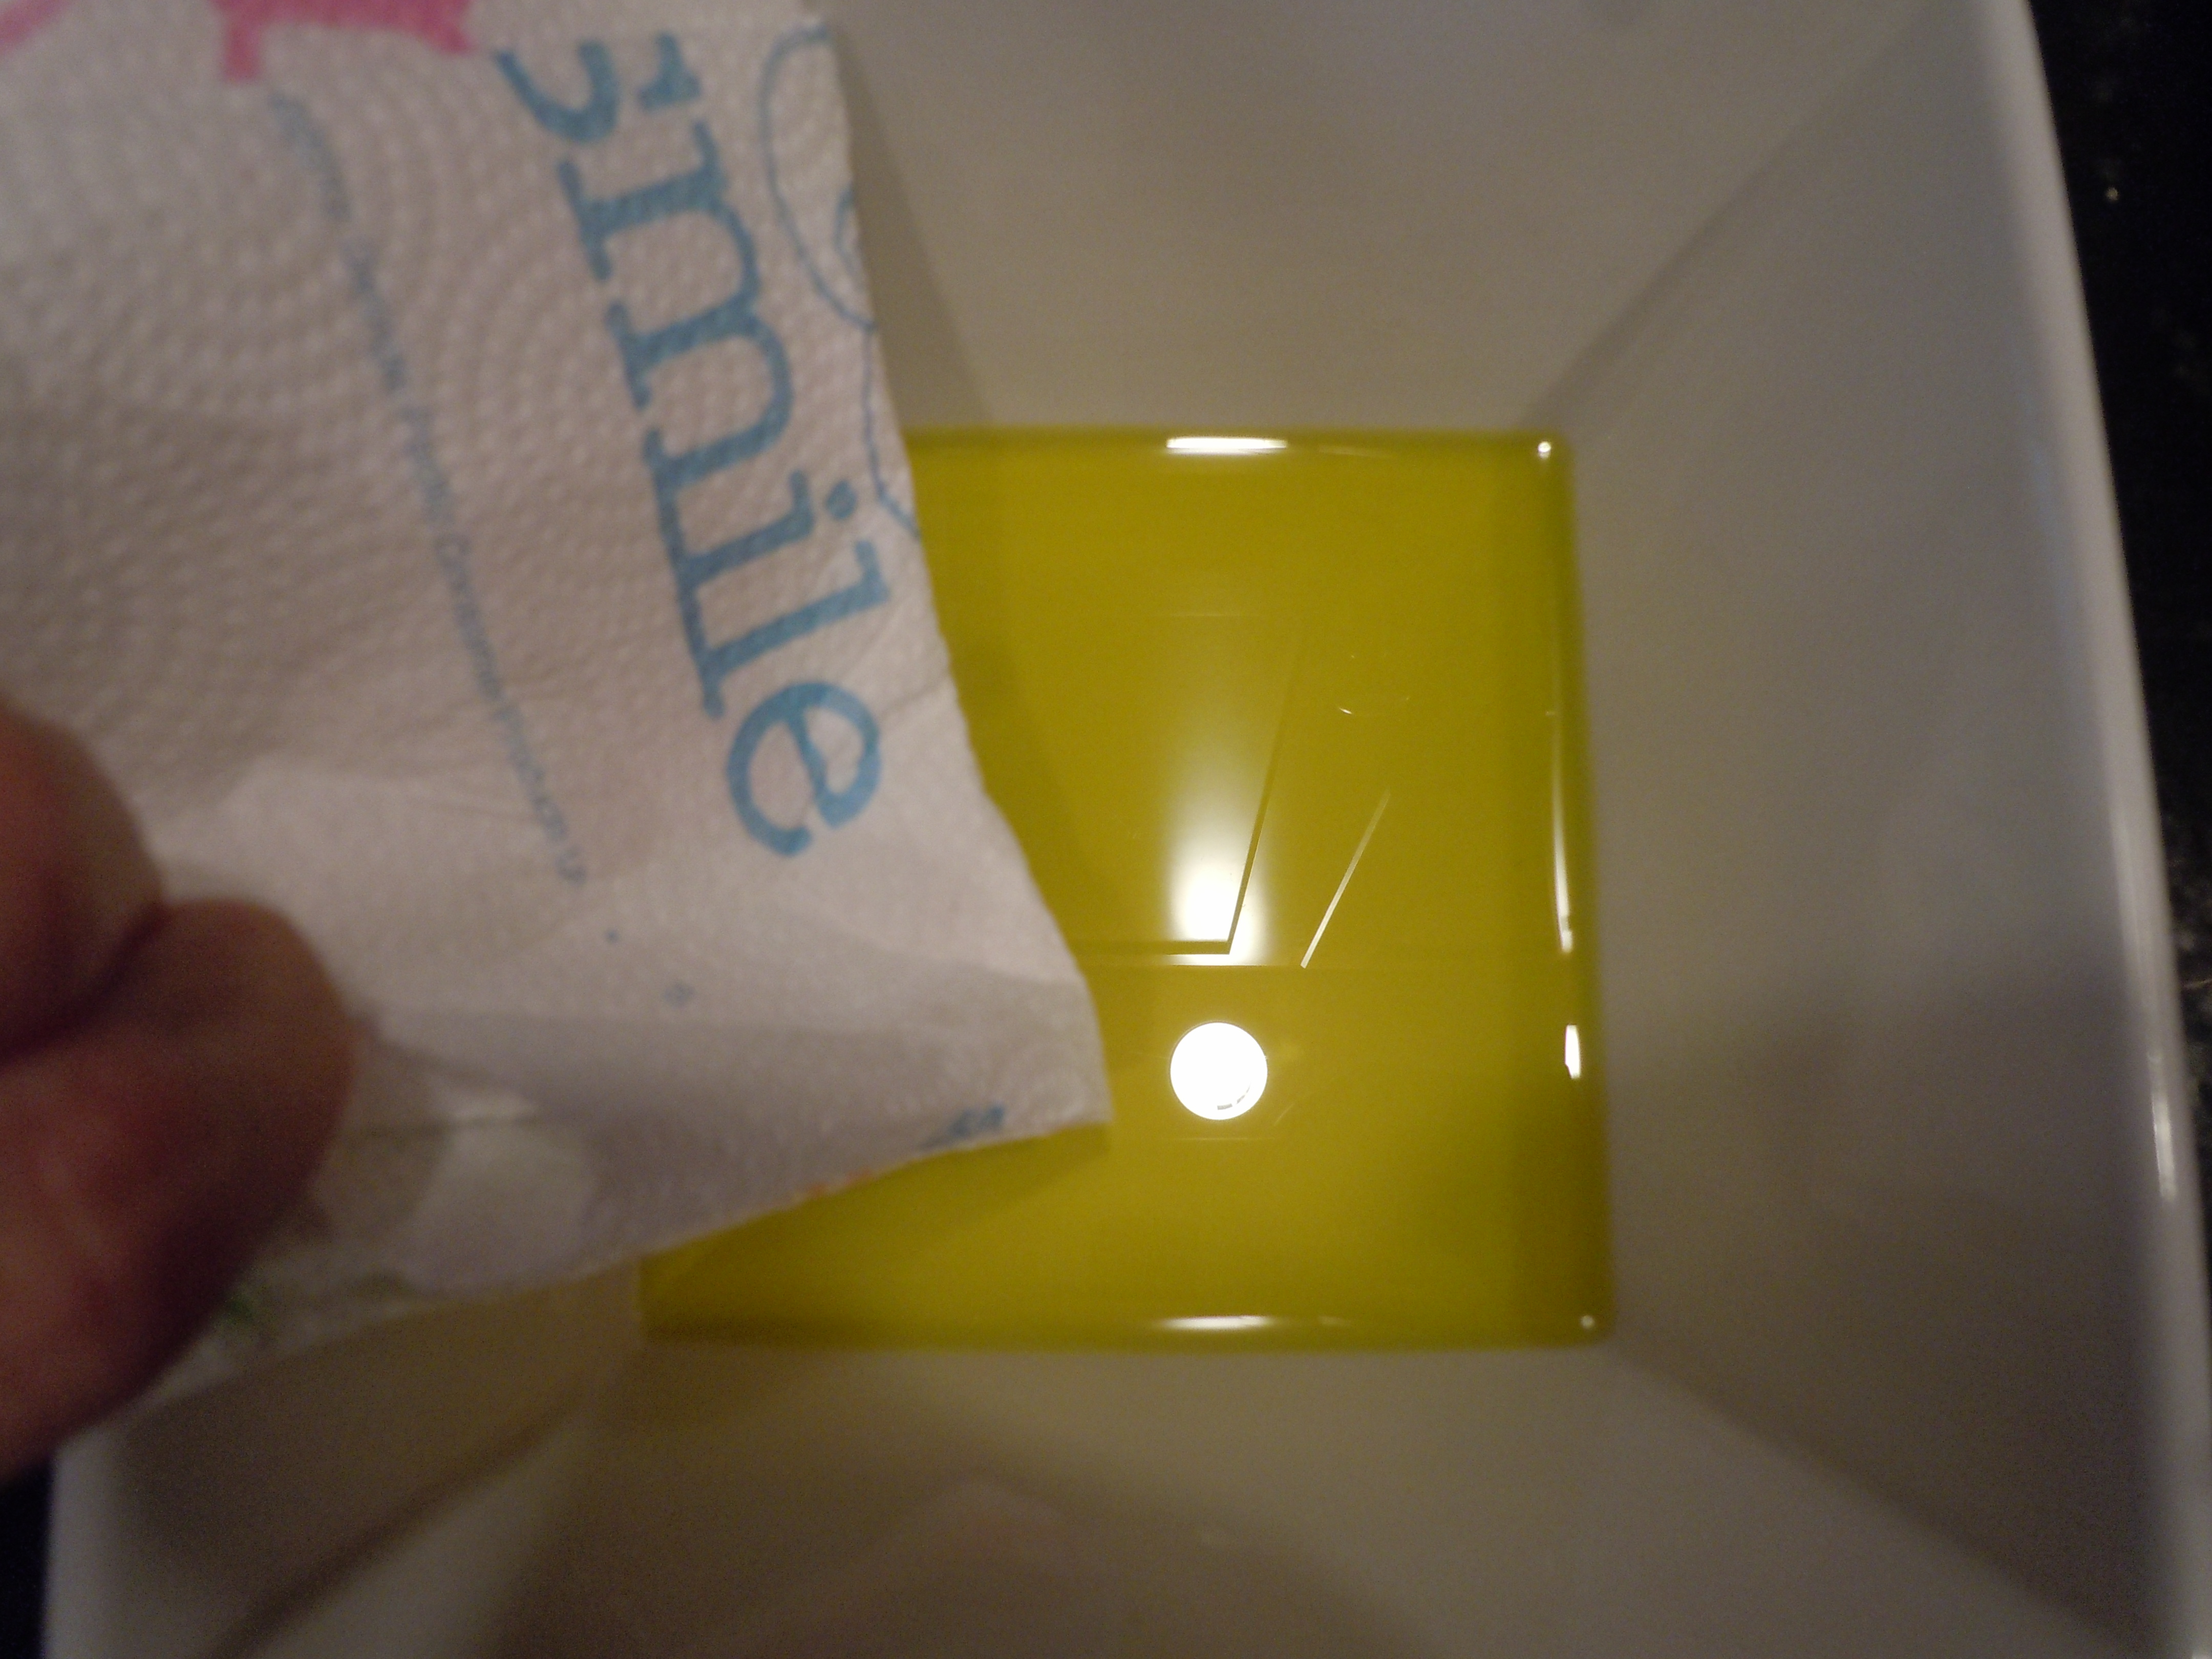
- Put a couple of Tbsp of olive oil in a bowl with a paper towel
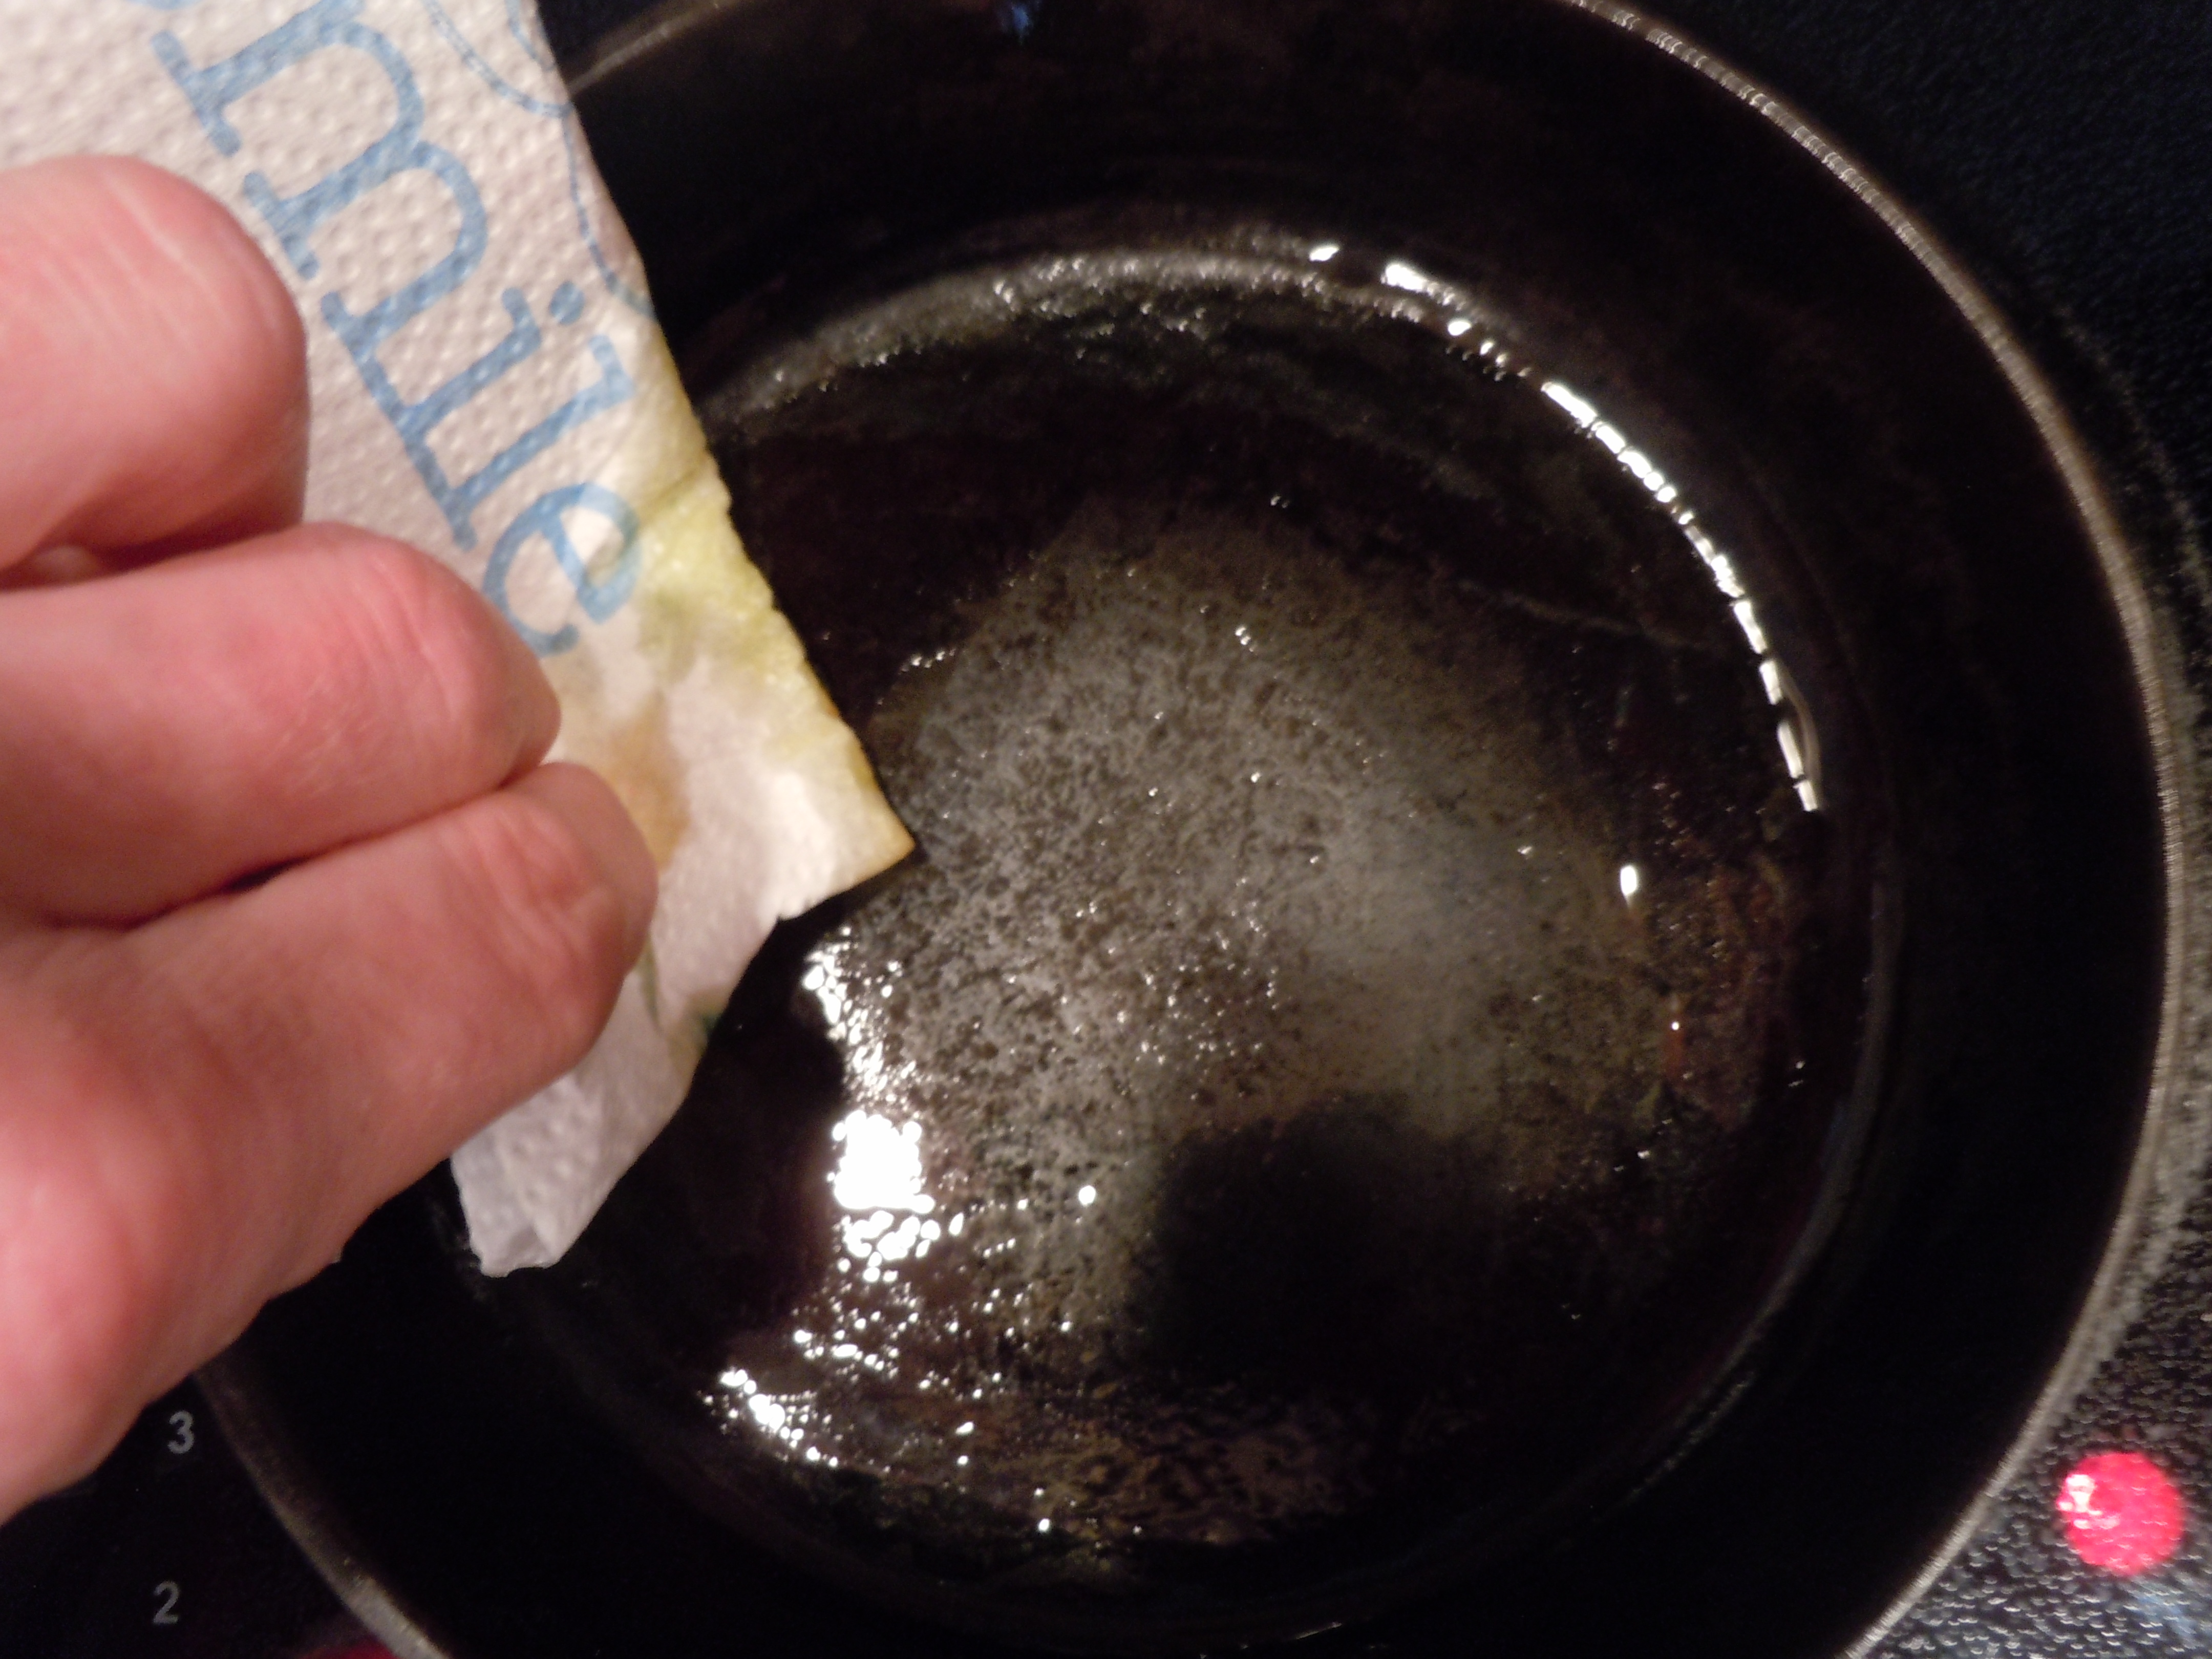
- Rub pan with olive oil-saturated paper towel in between cooking poured pasta batter
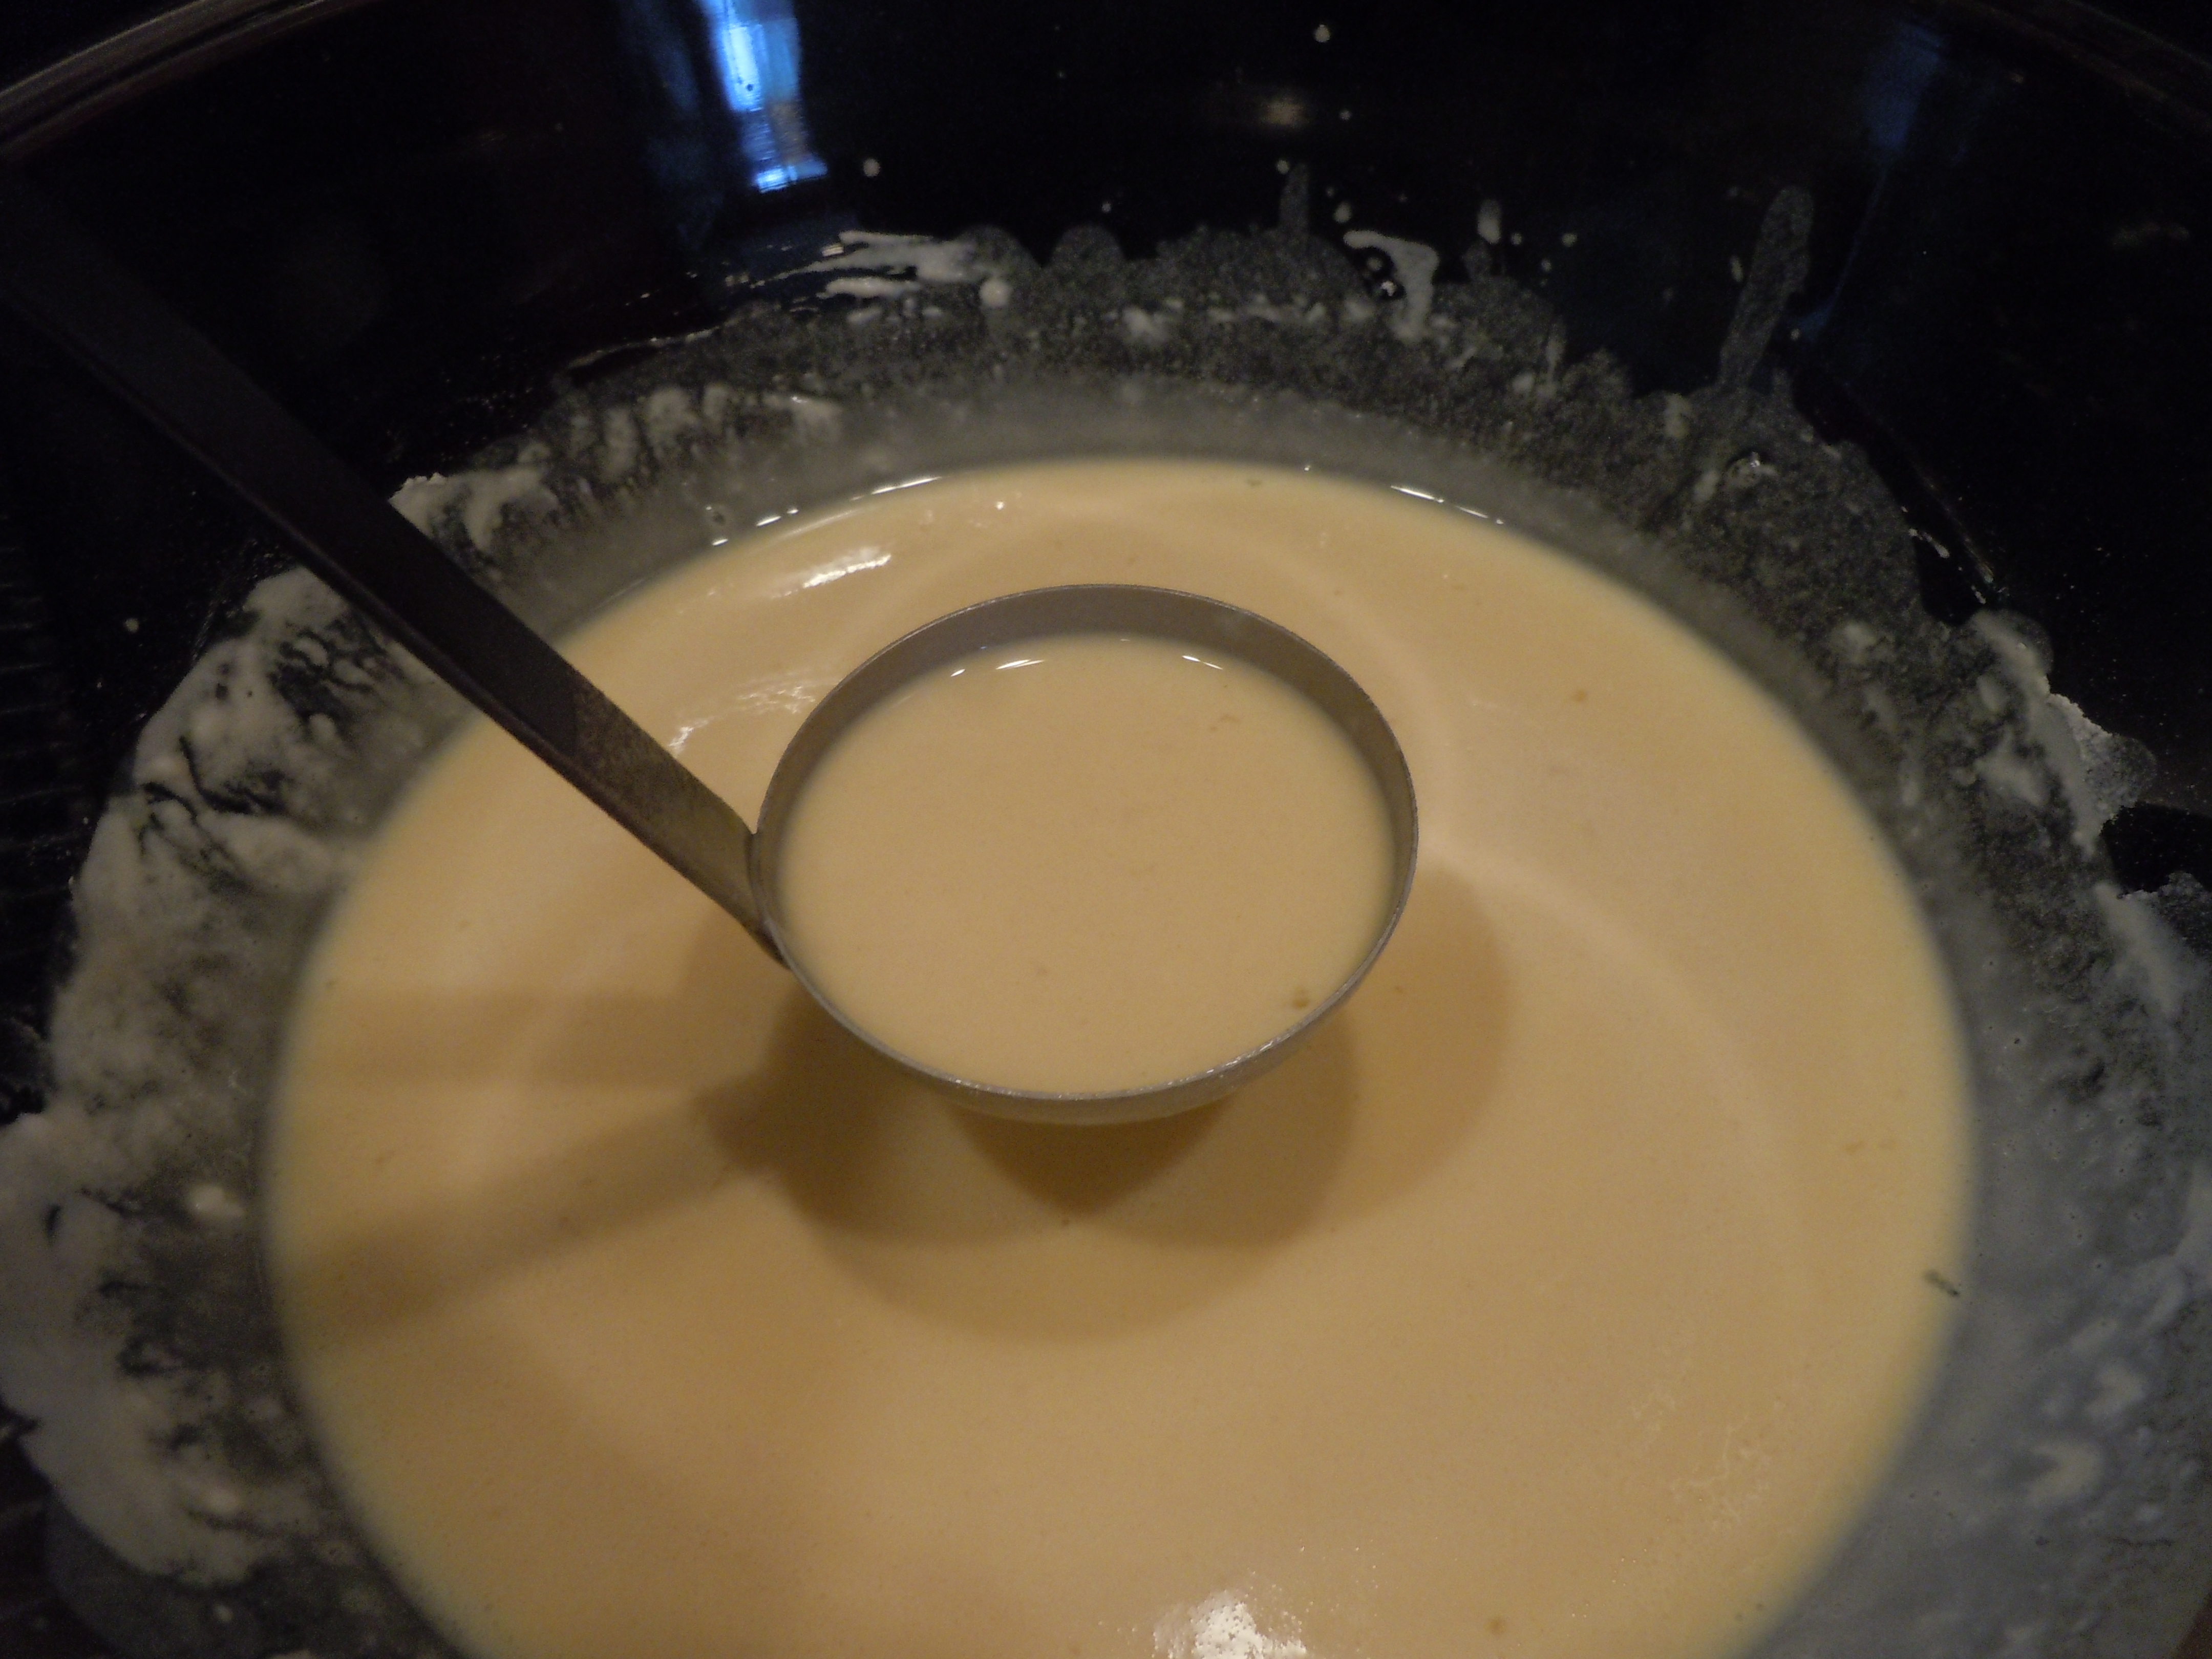
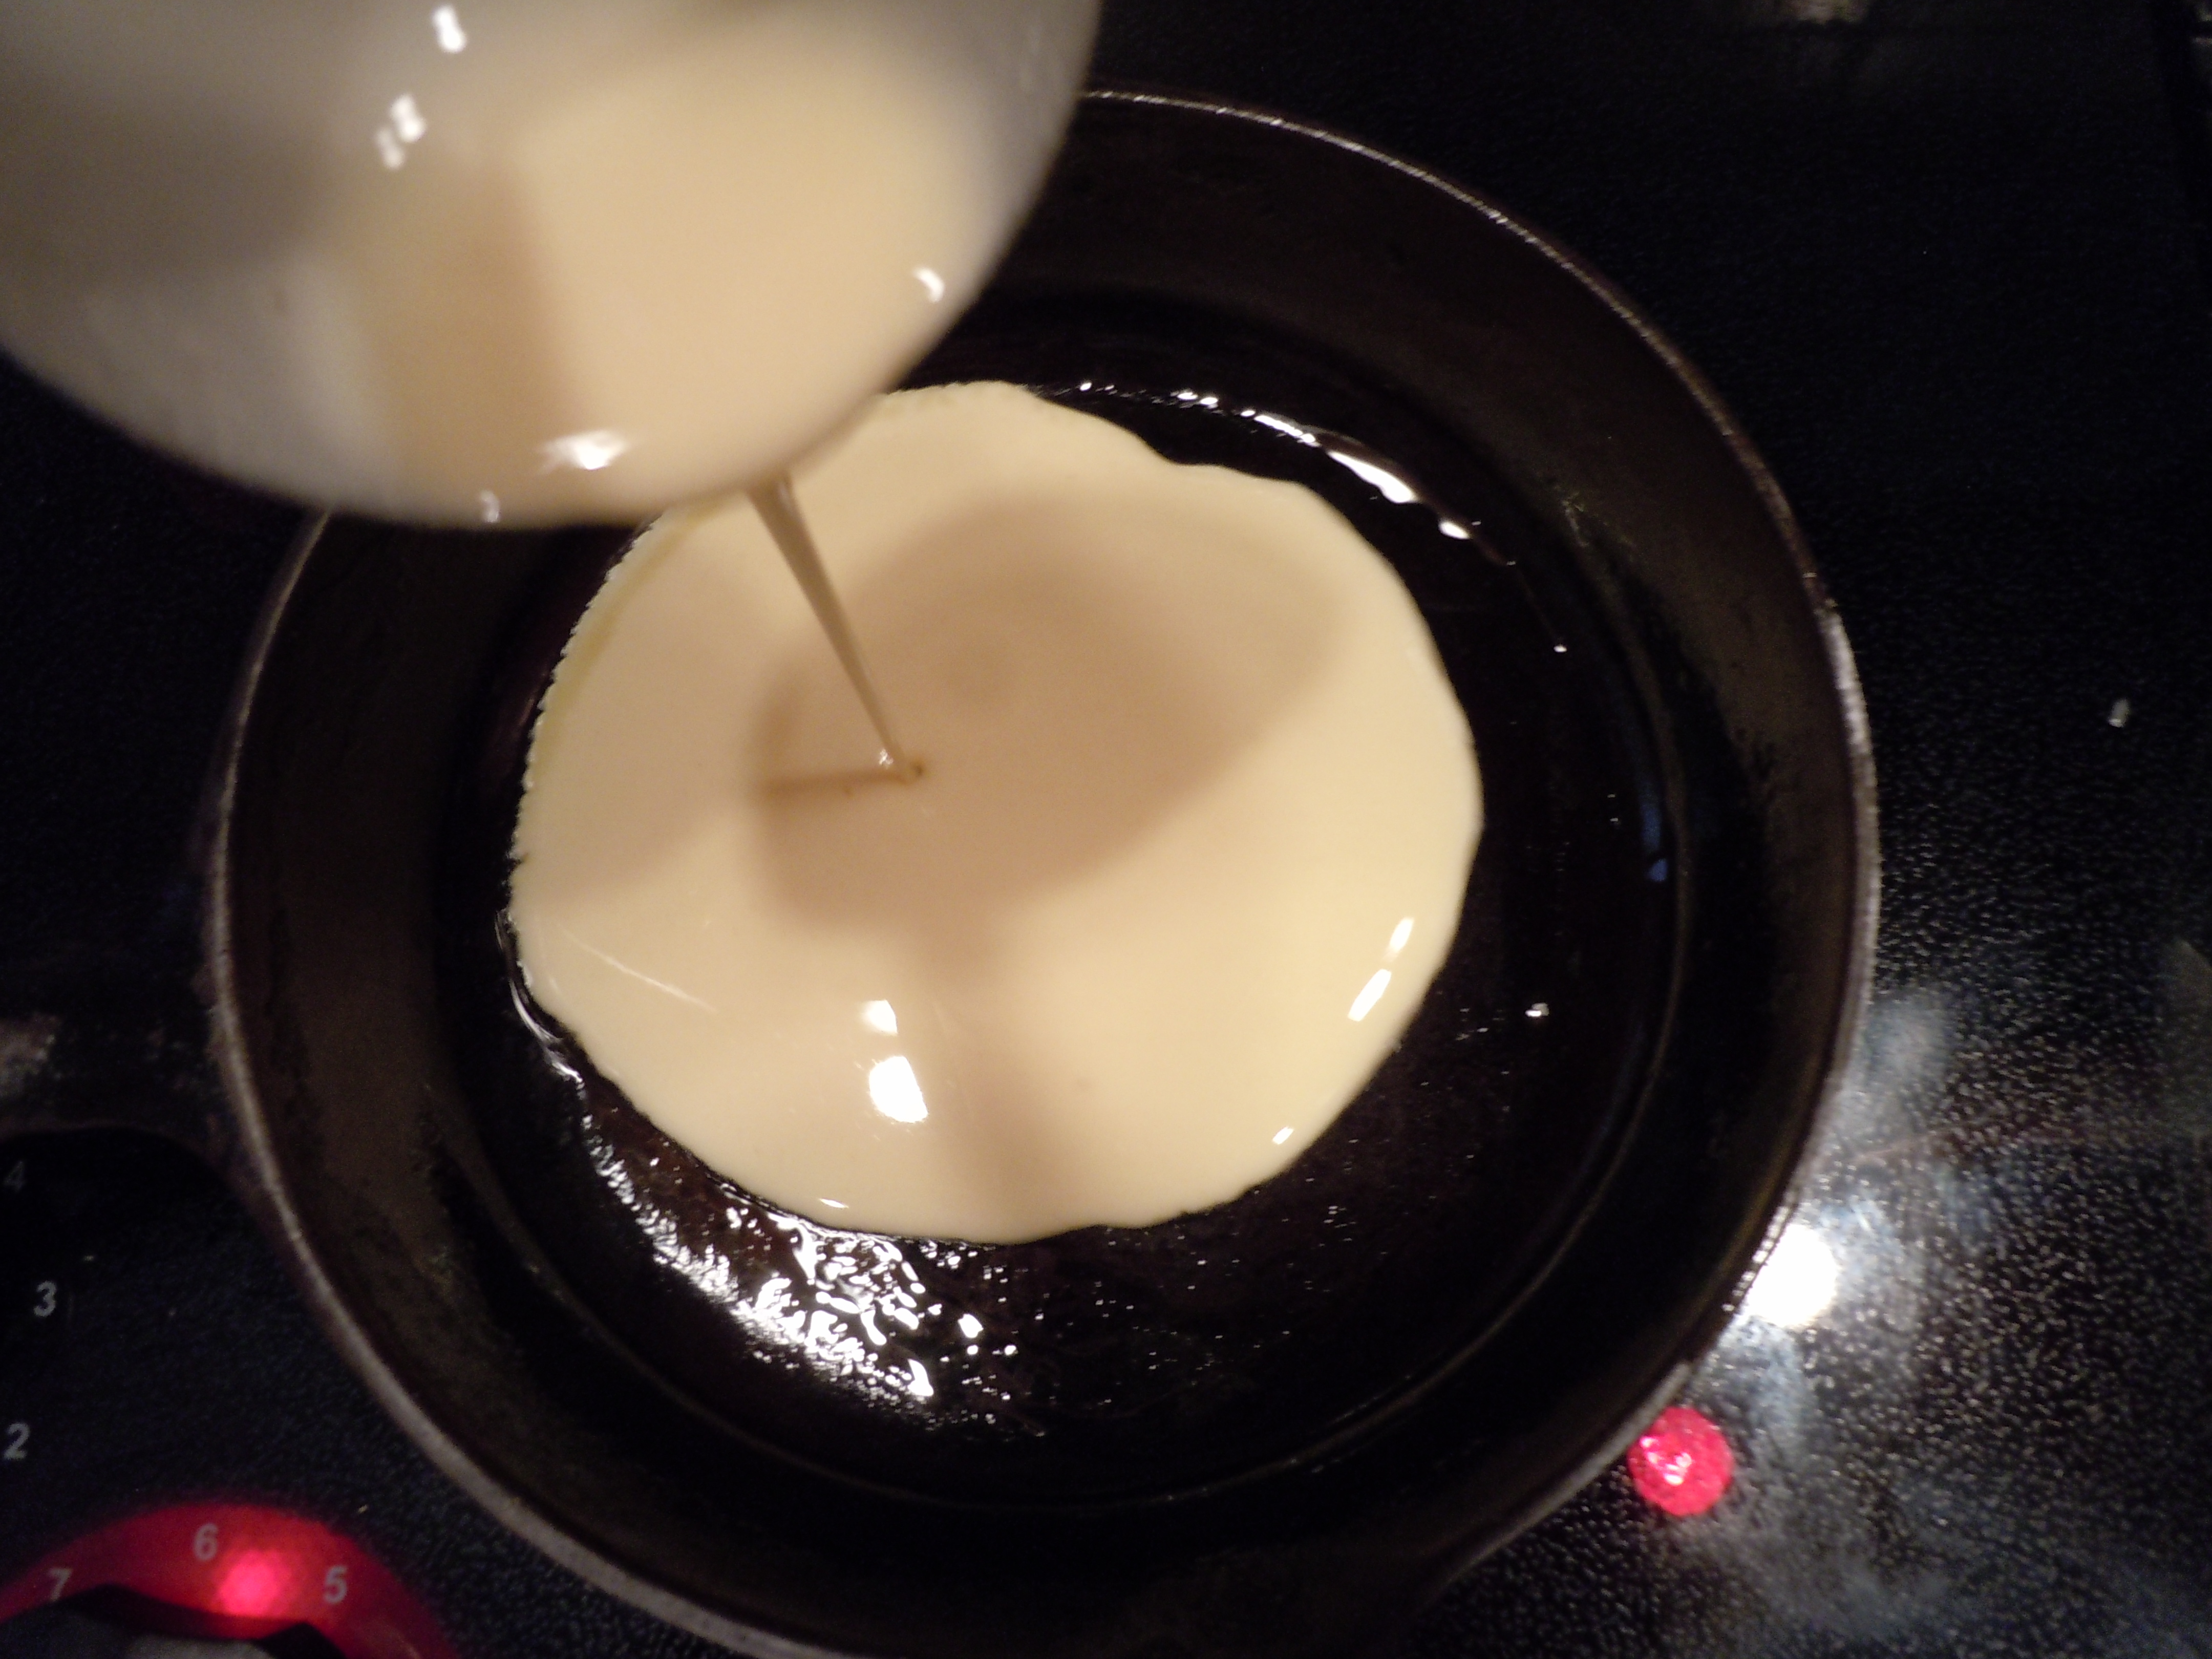
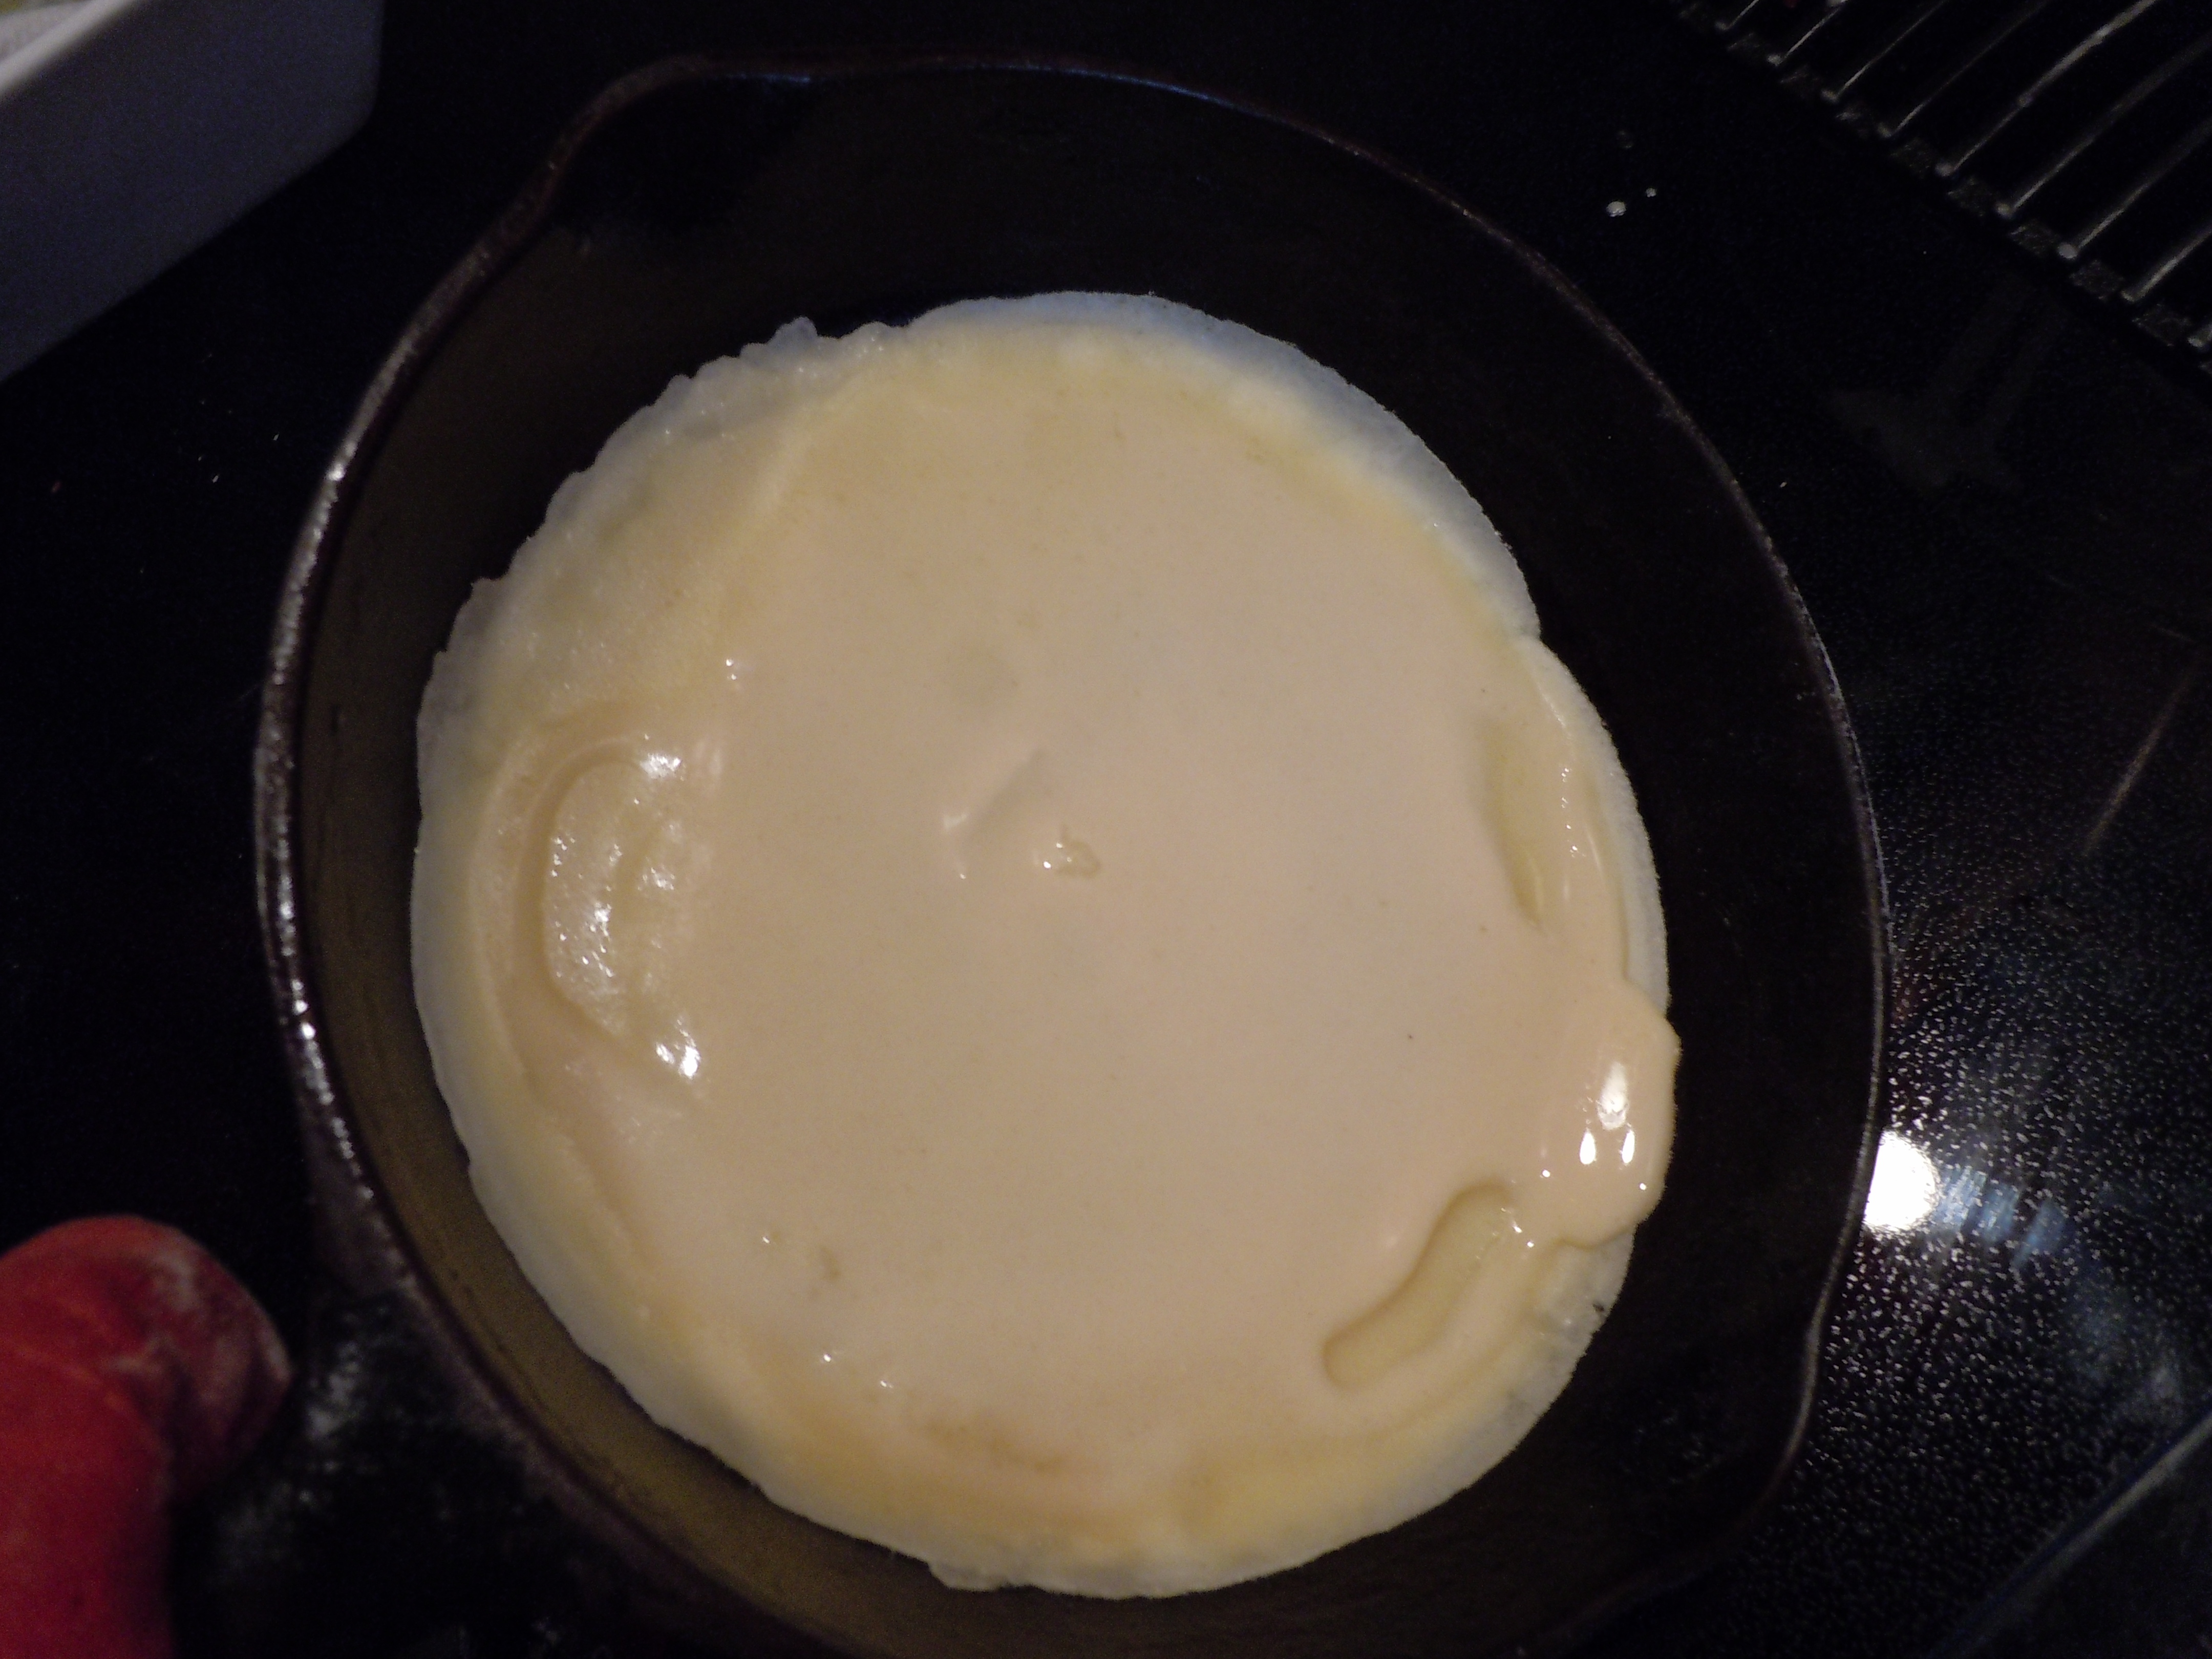
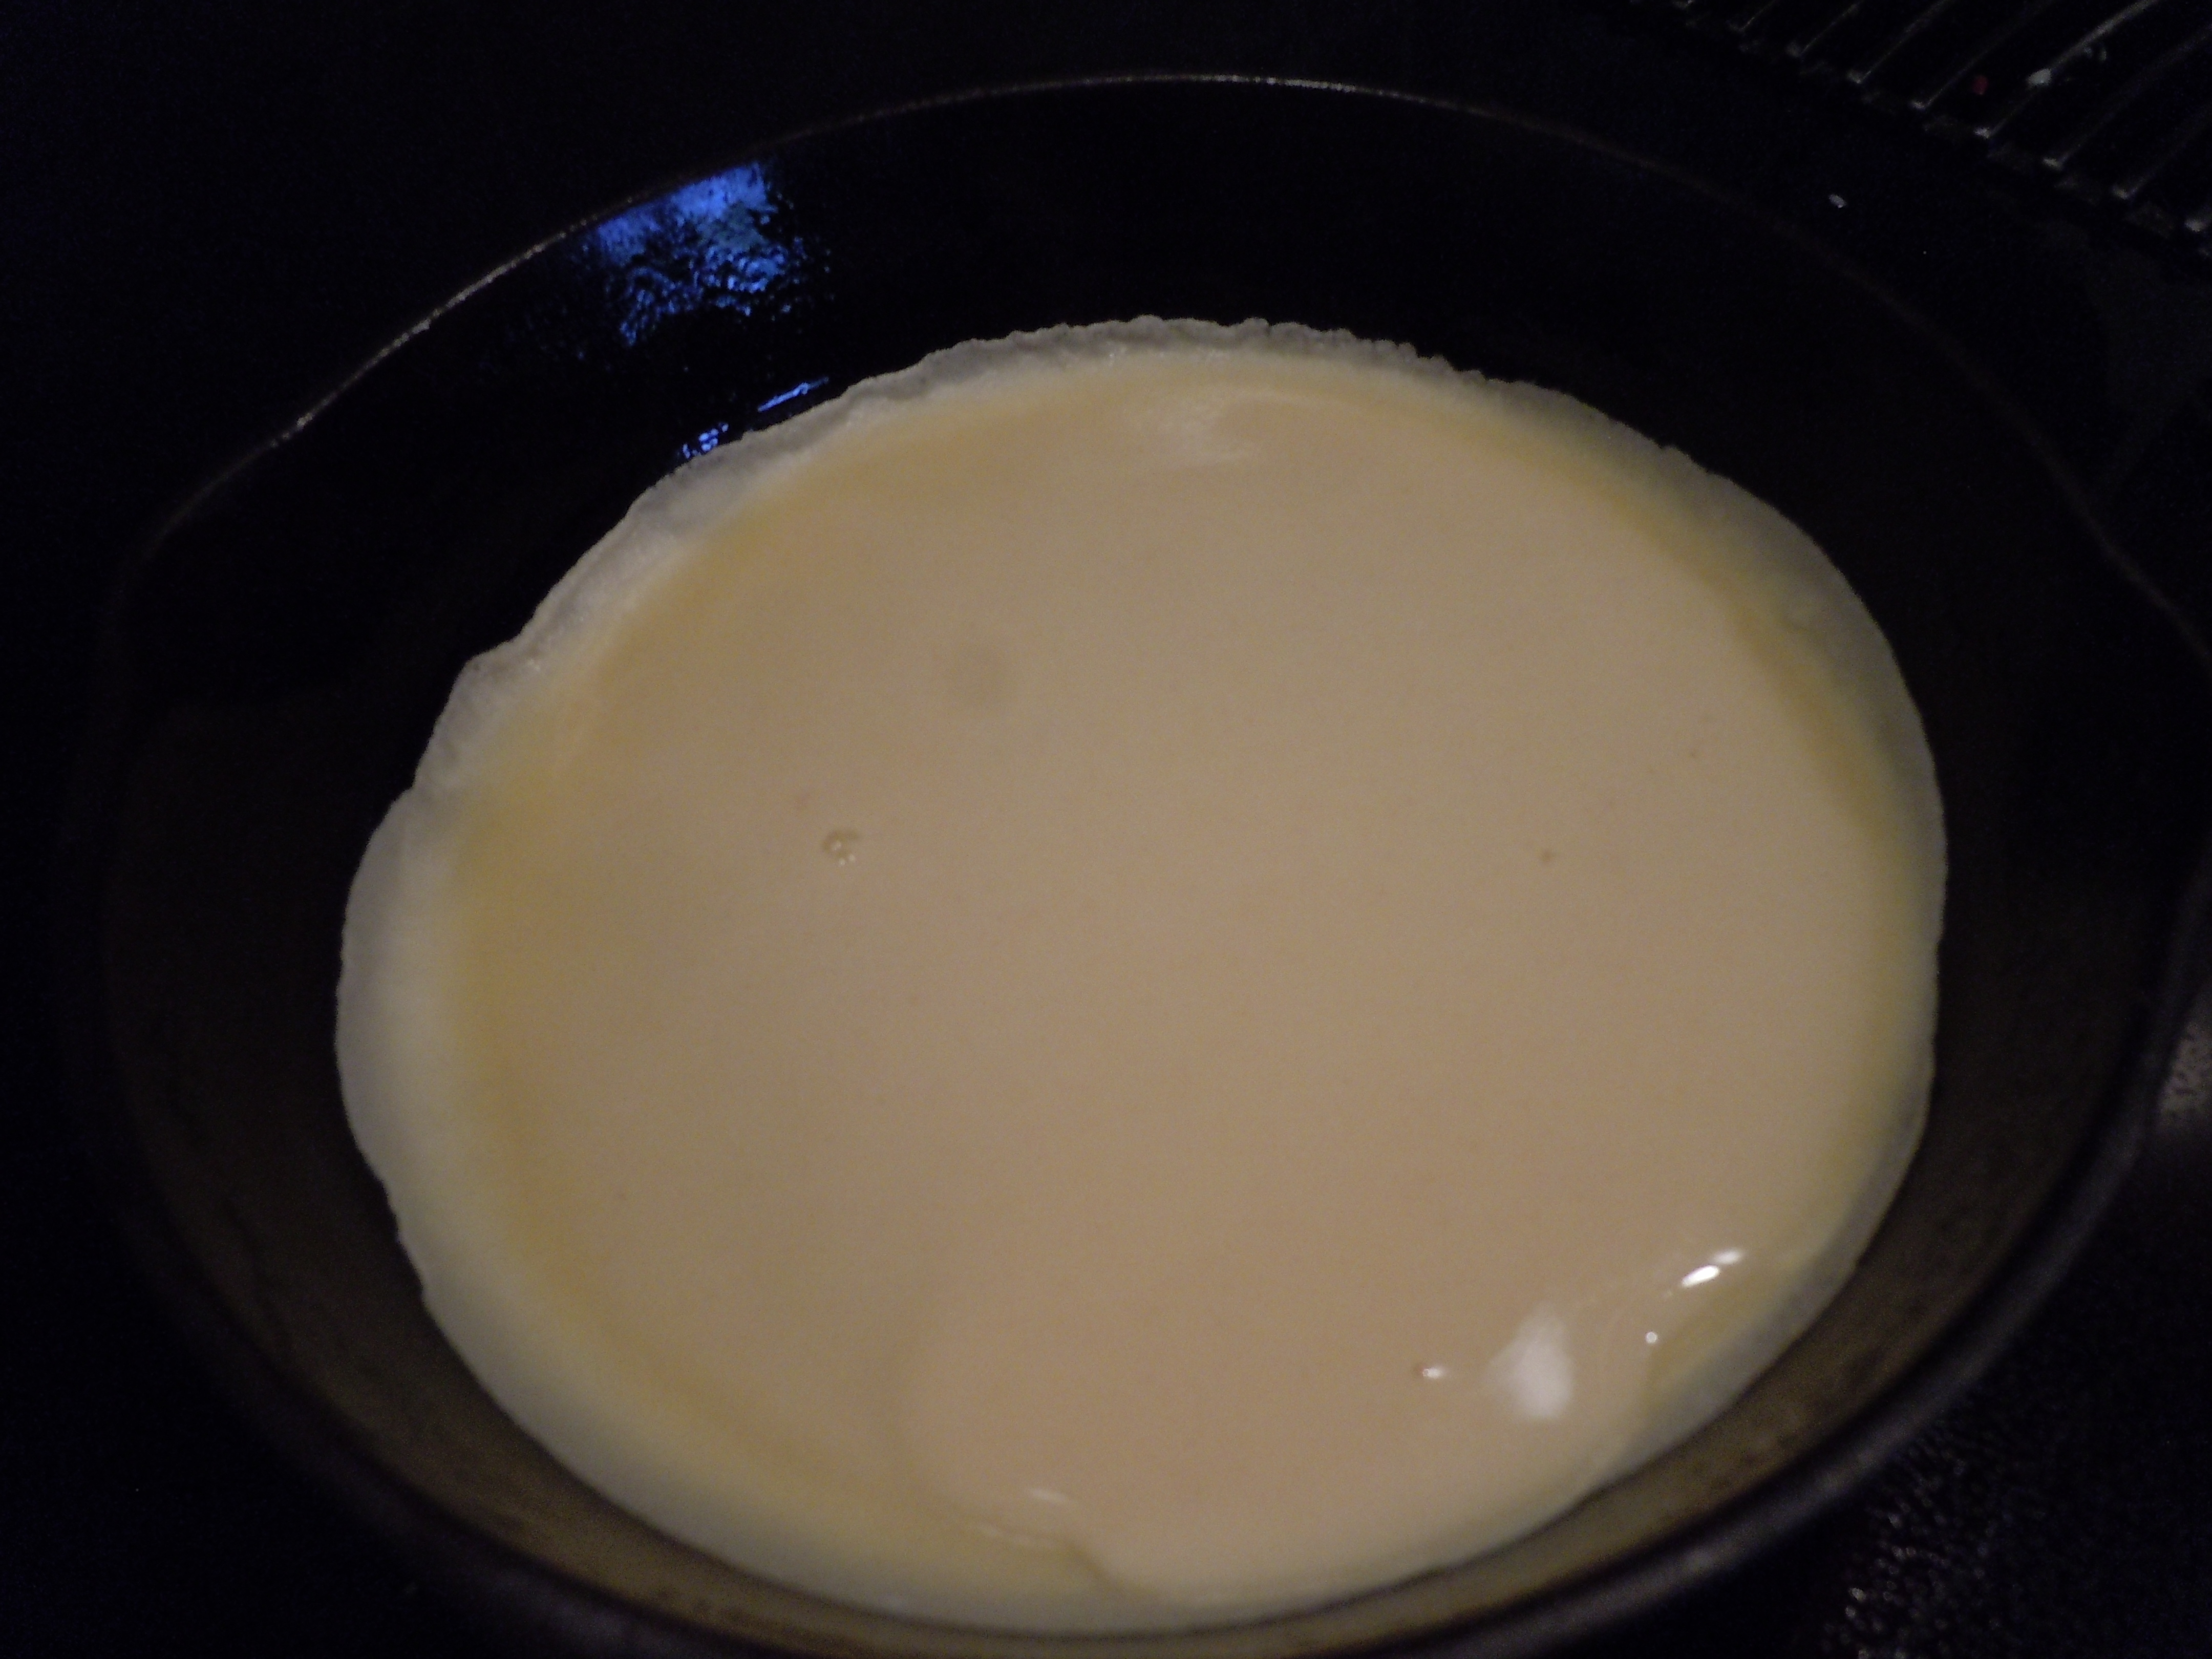
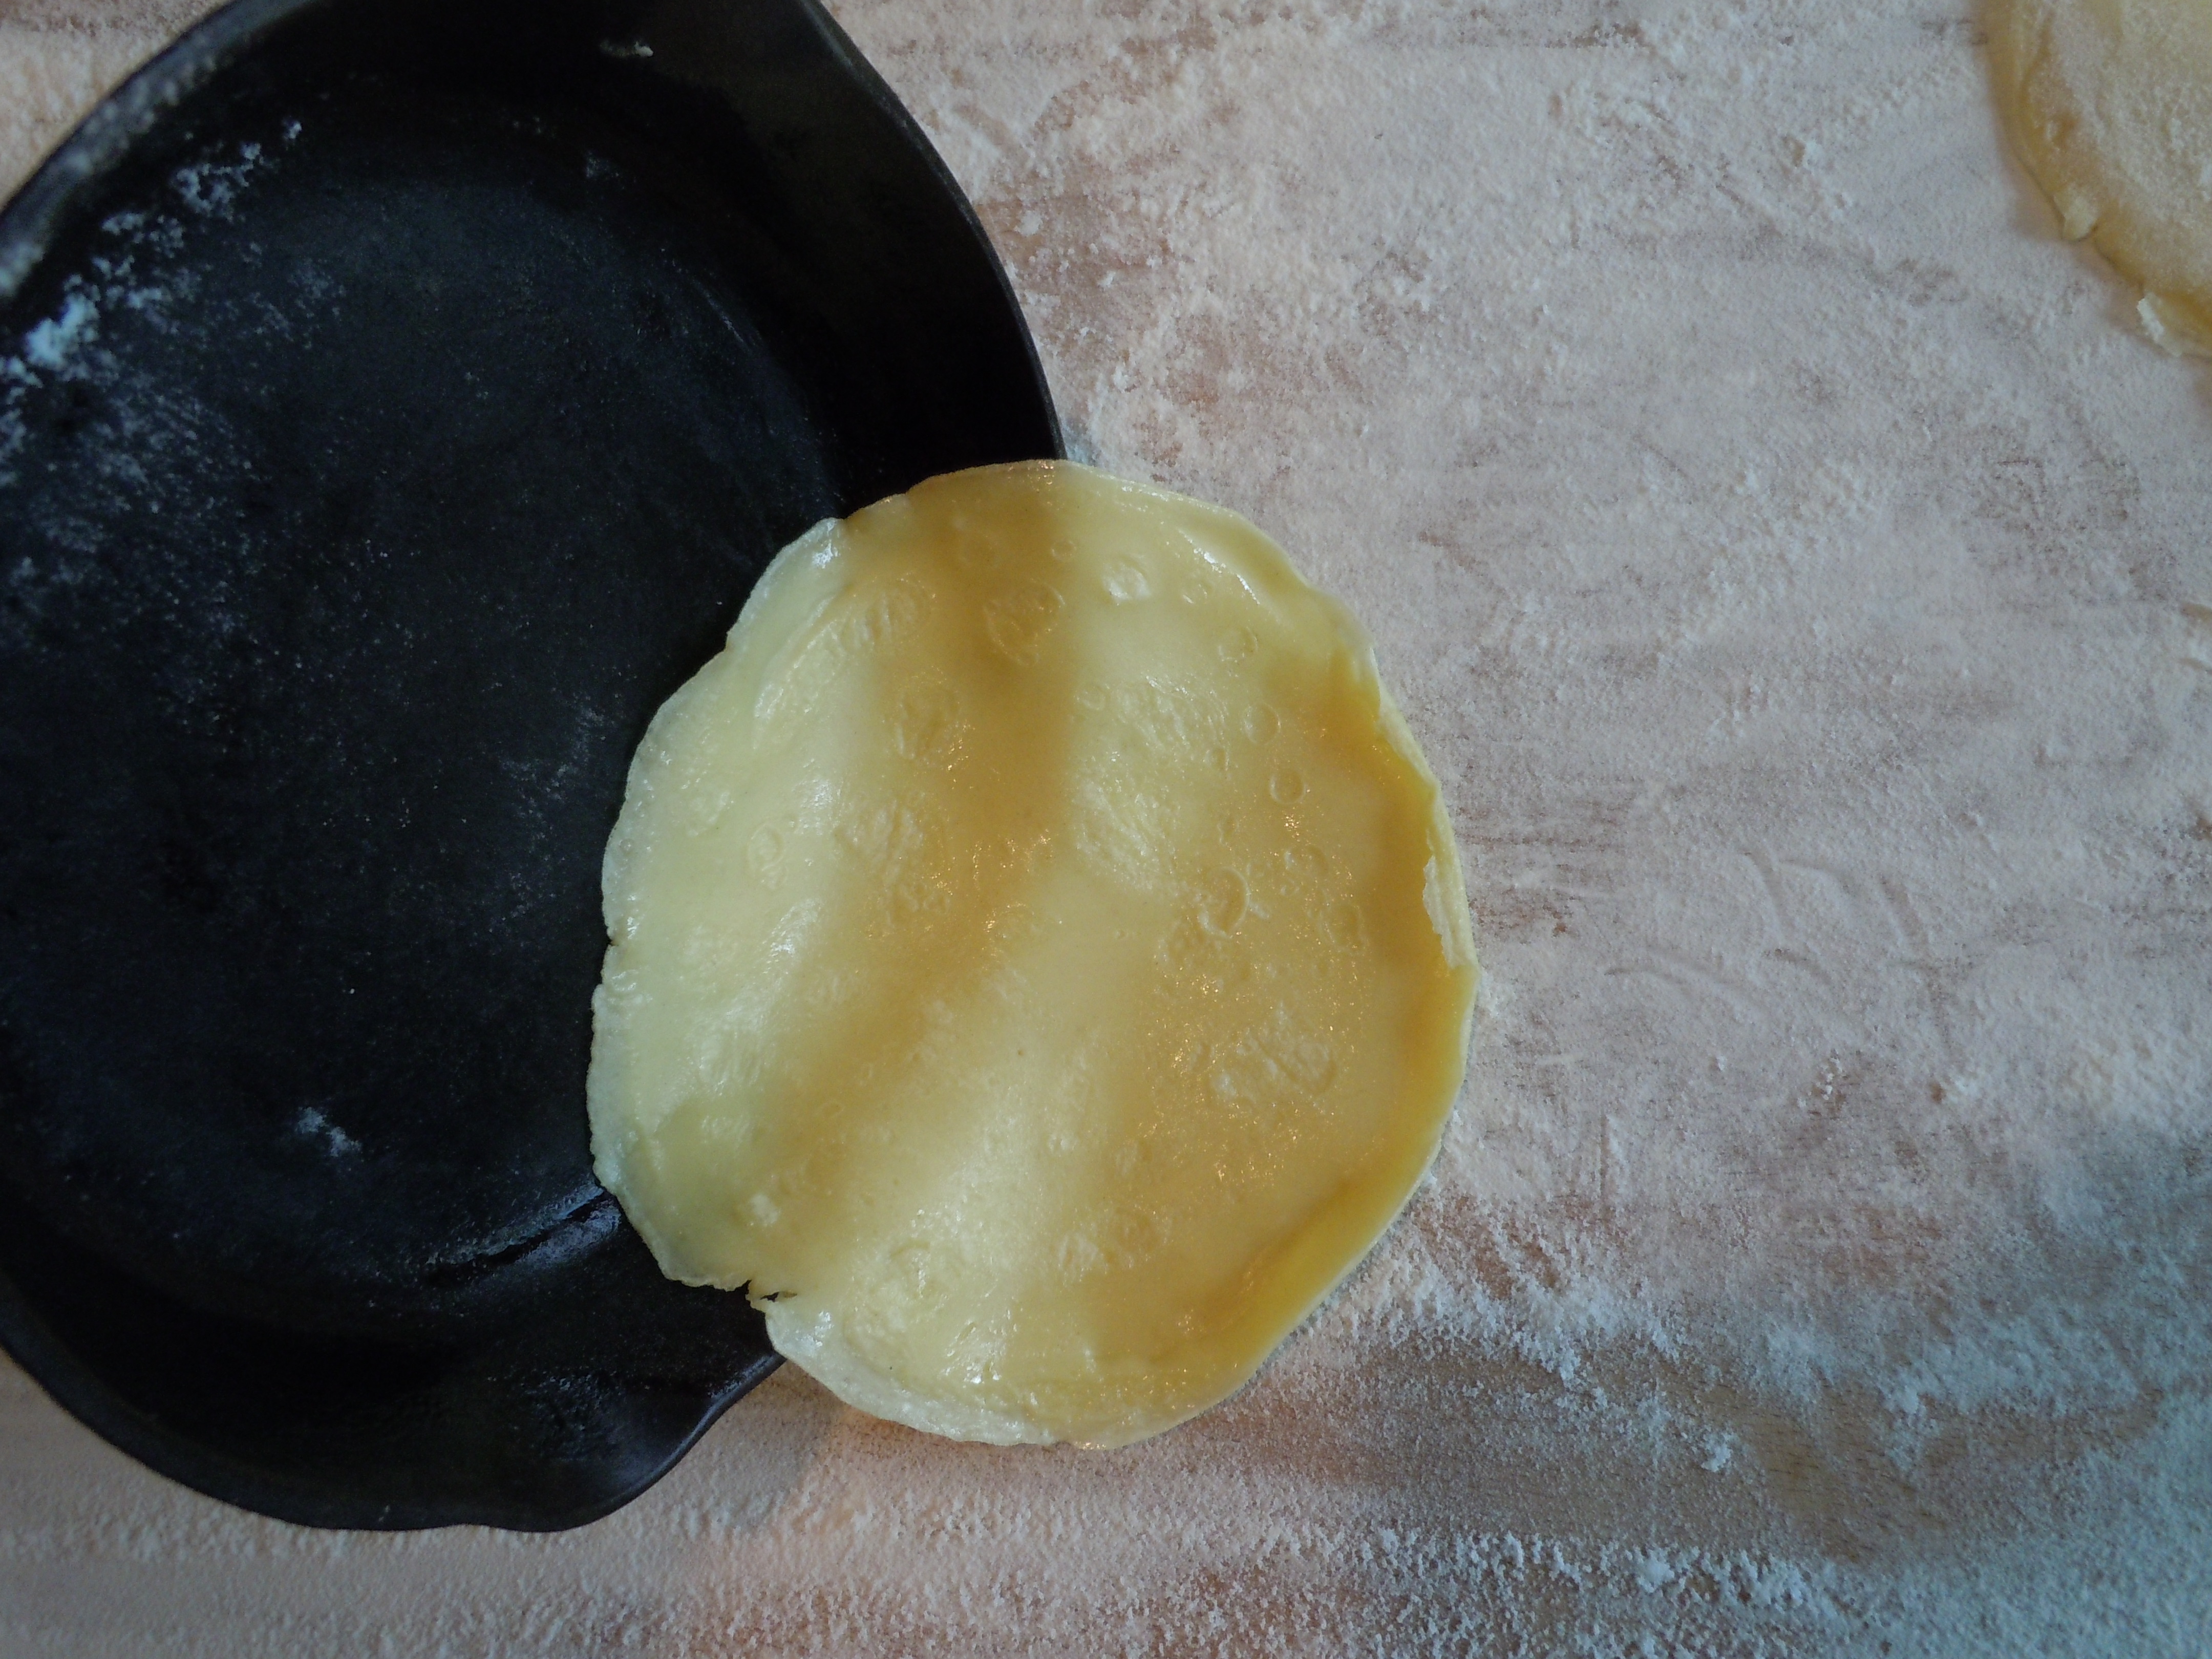
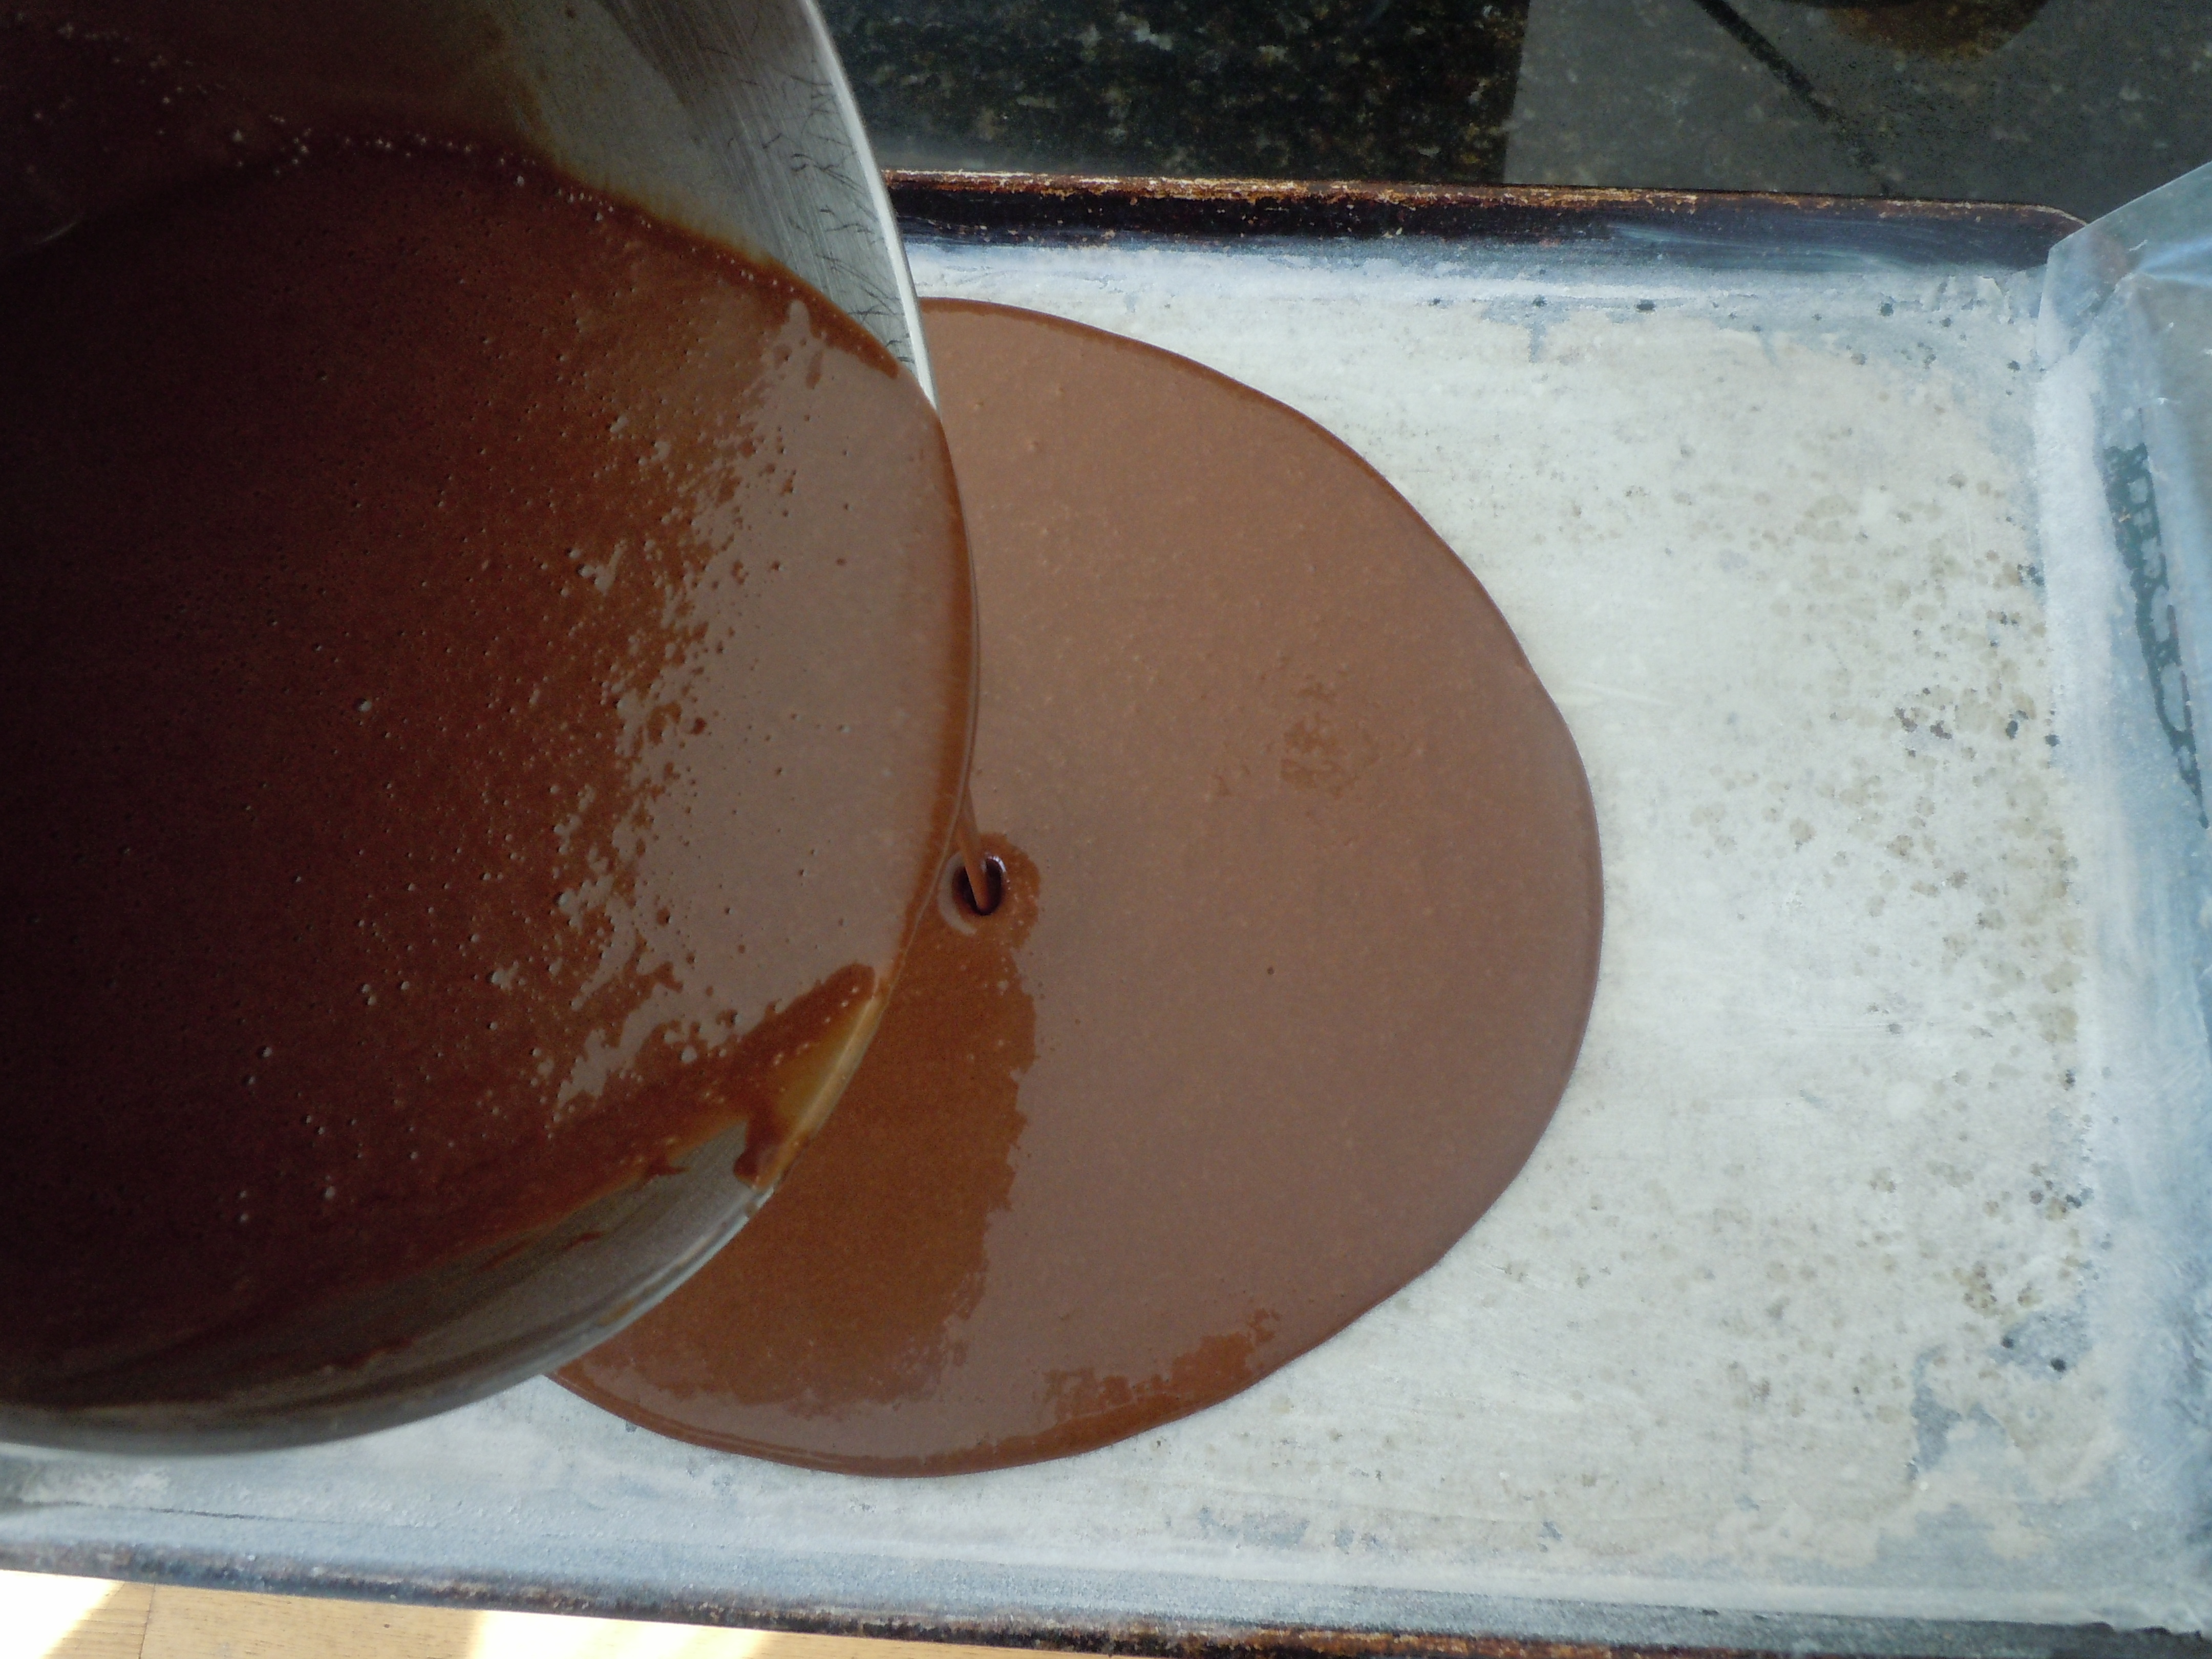
- Pour in a ladle of batter into hot pan, approx. a little less than 1/4 cup laddle
- Pick up pan and swirl around 3 times and place back down onto stove
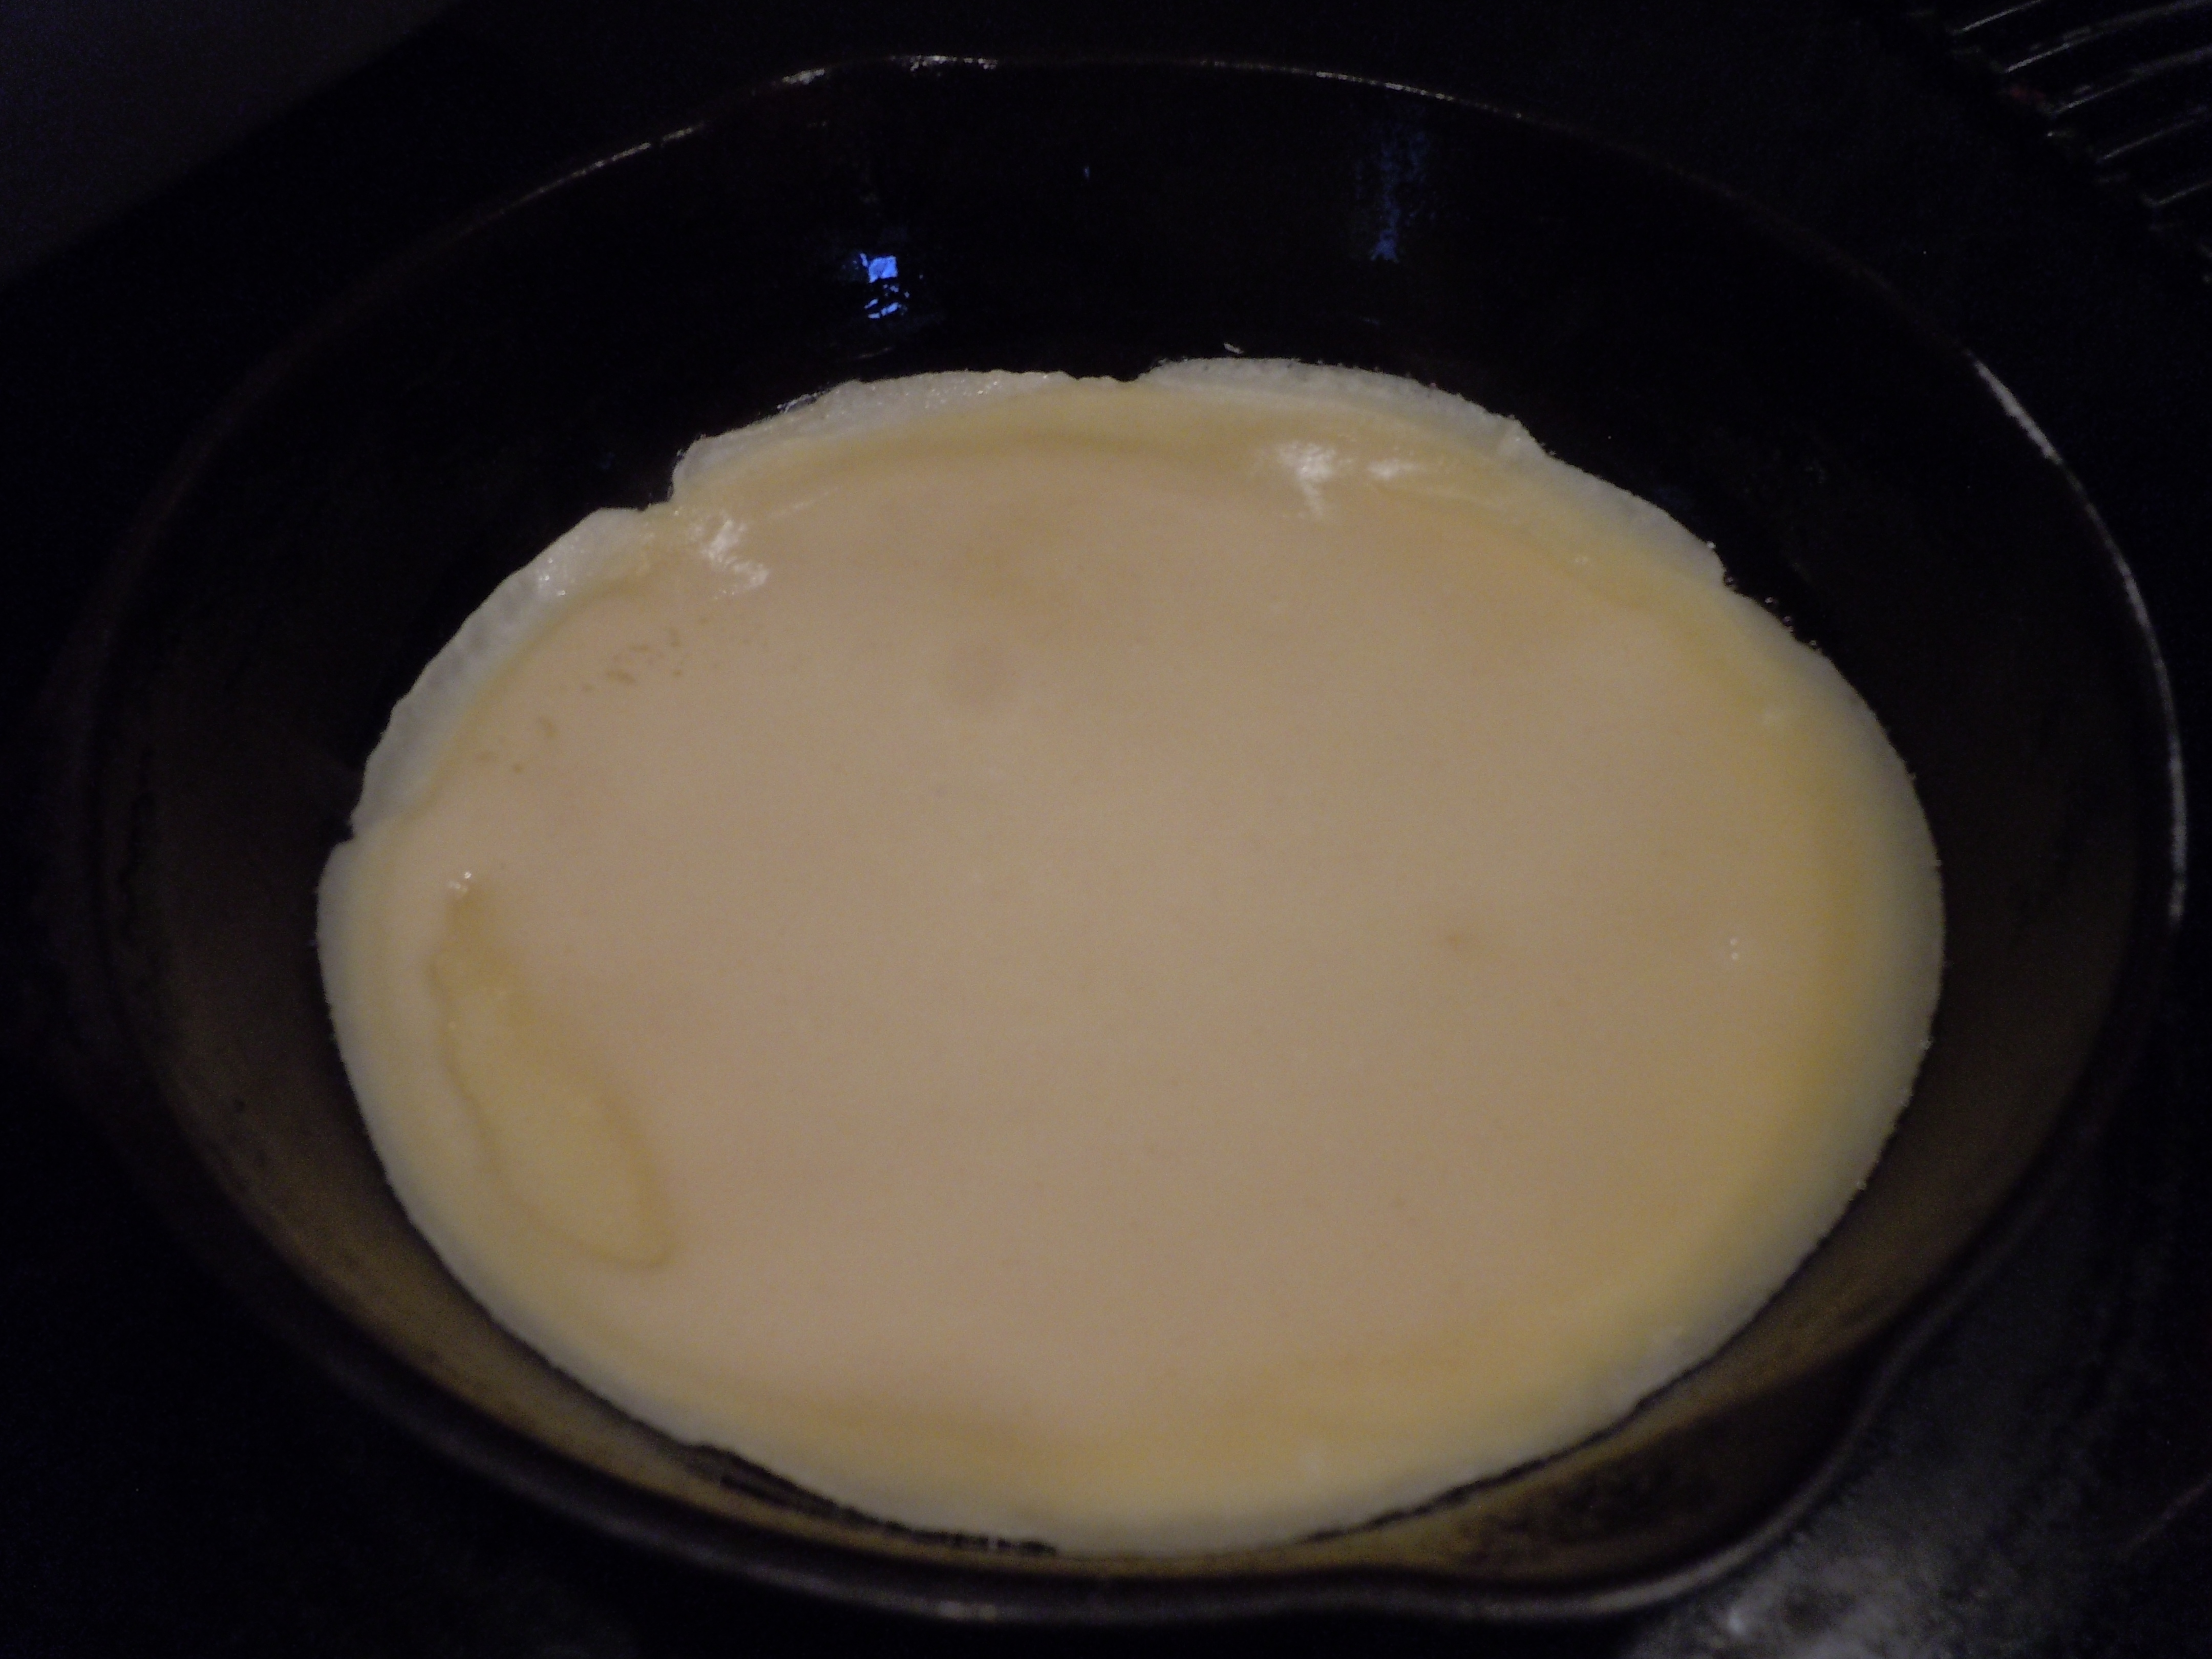
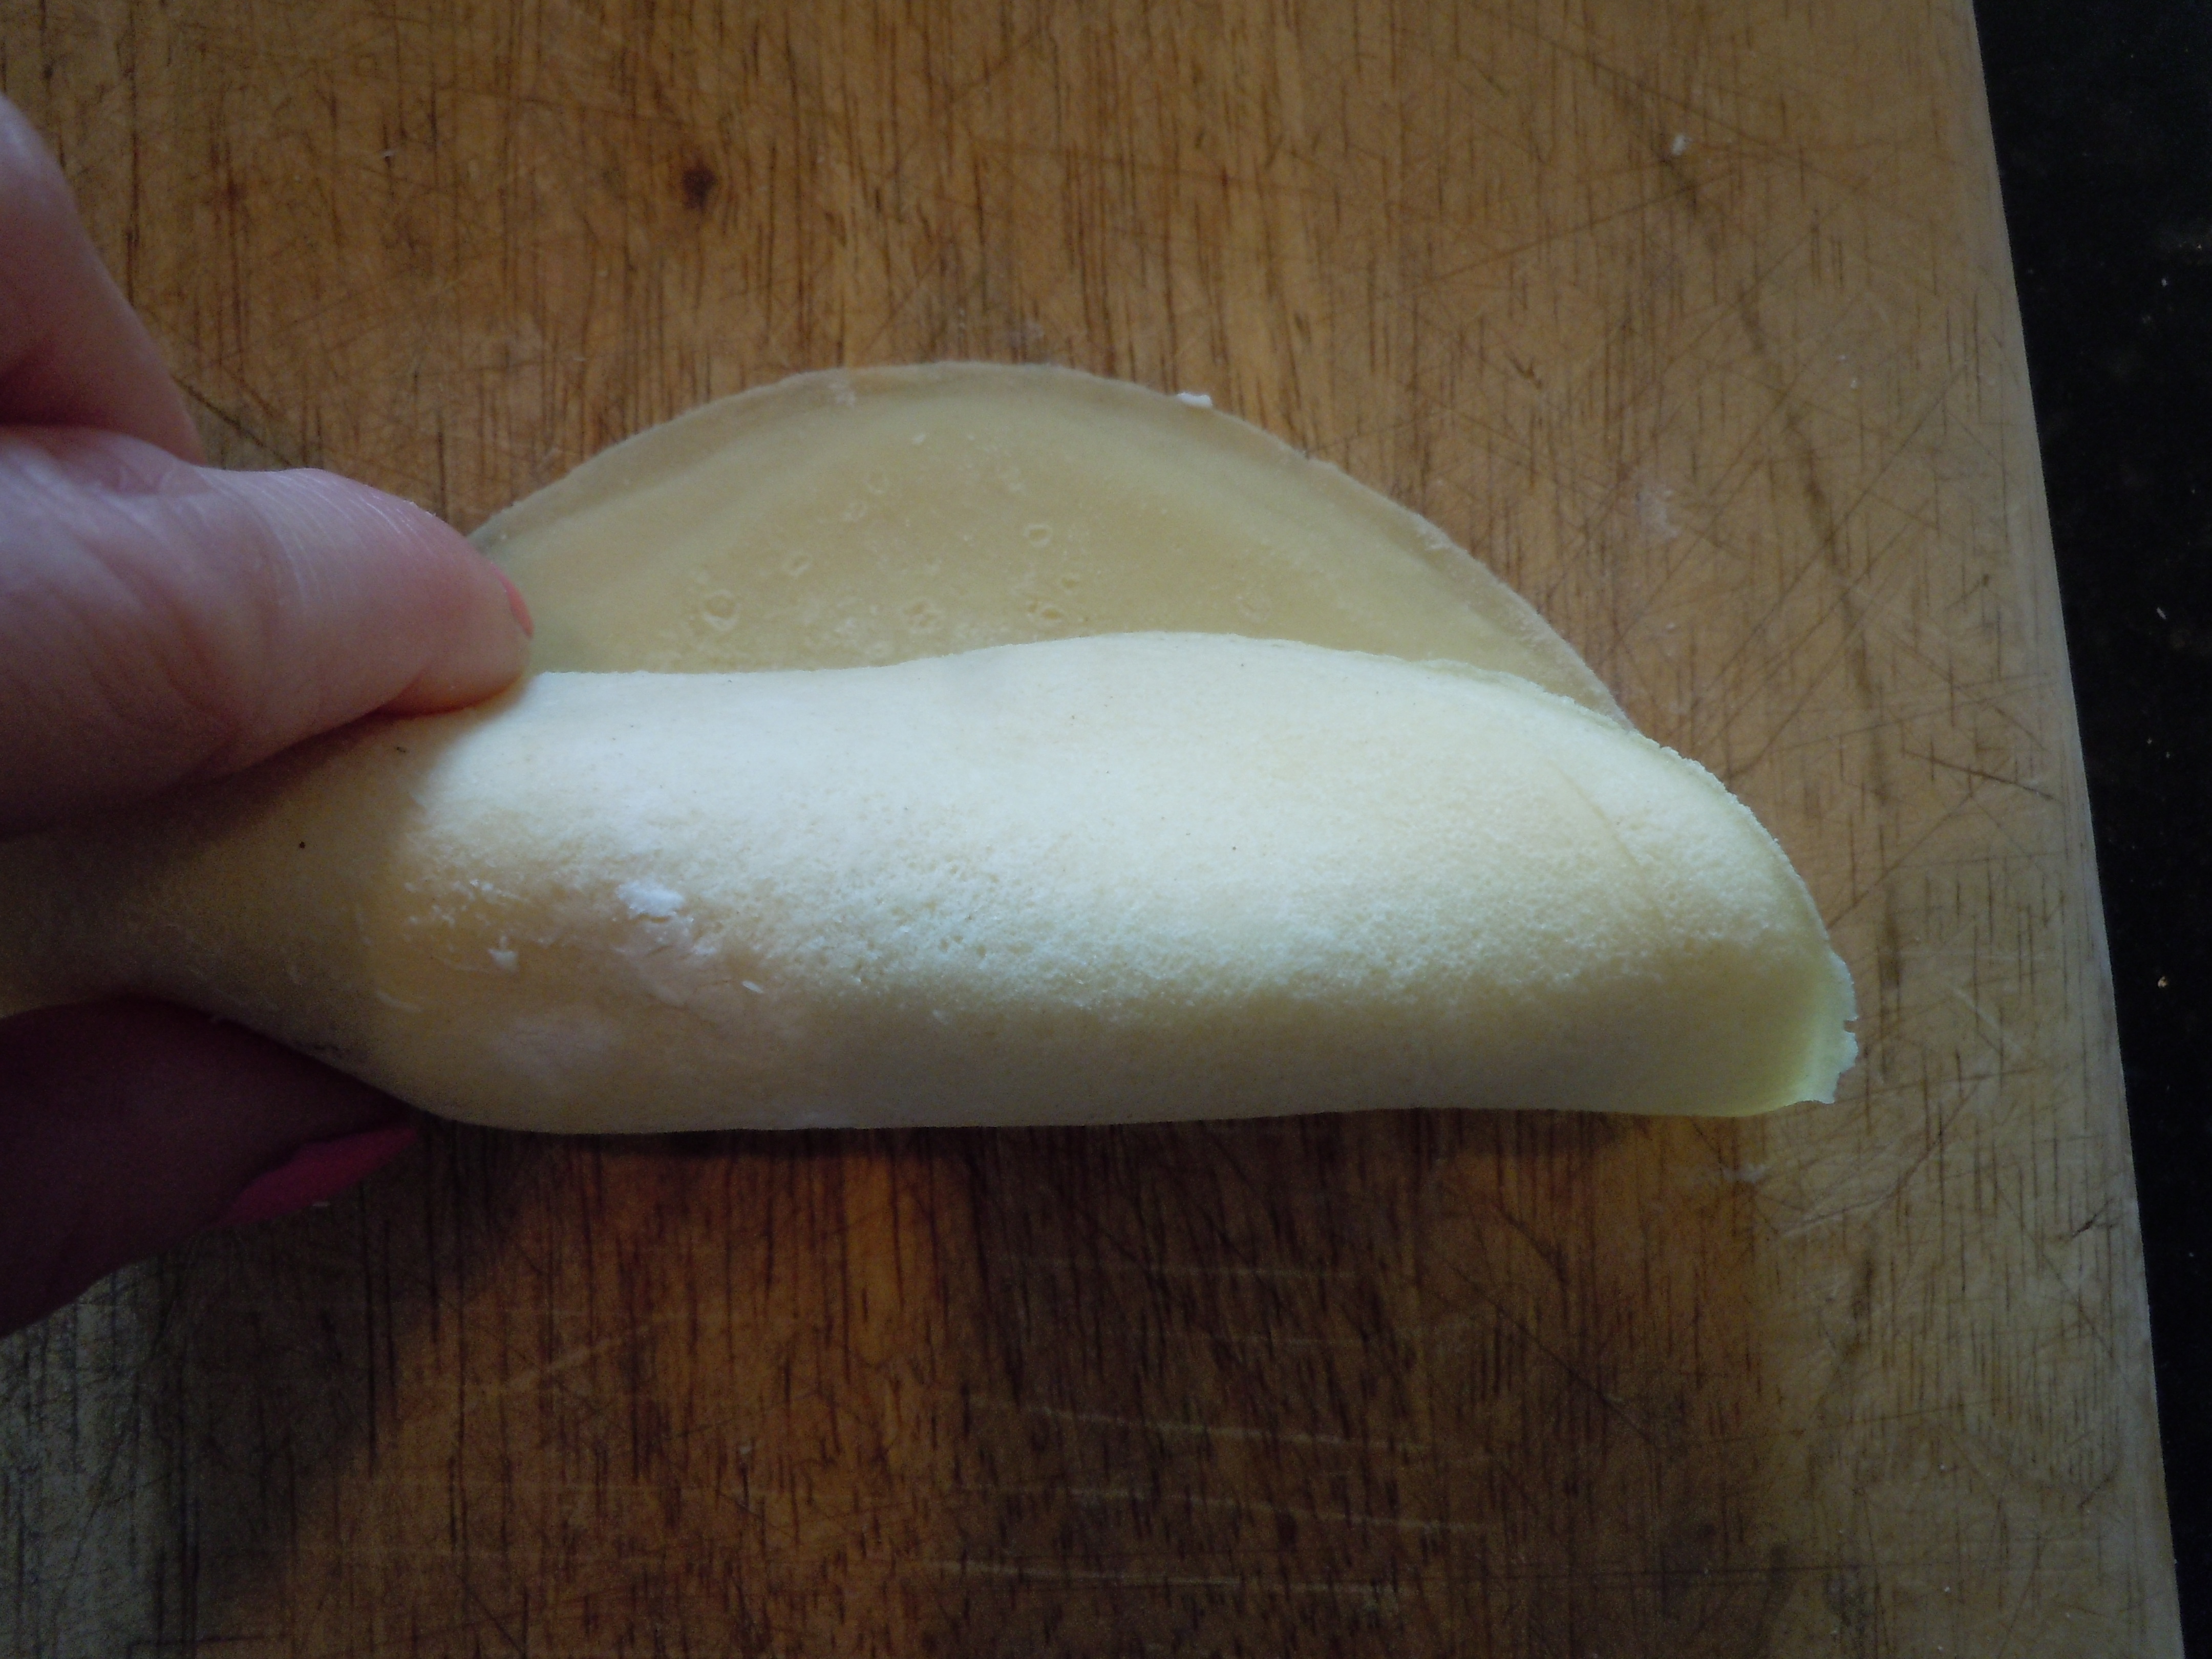
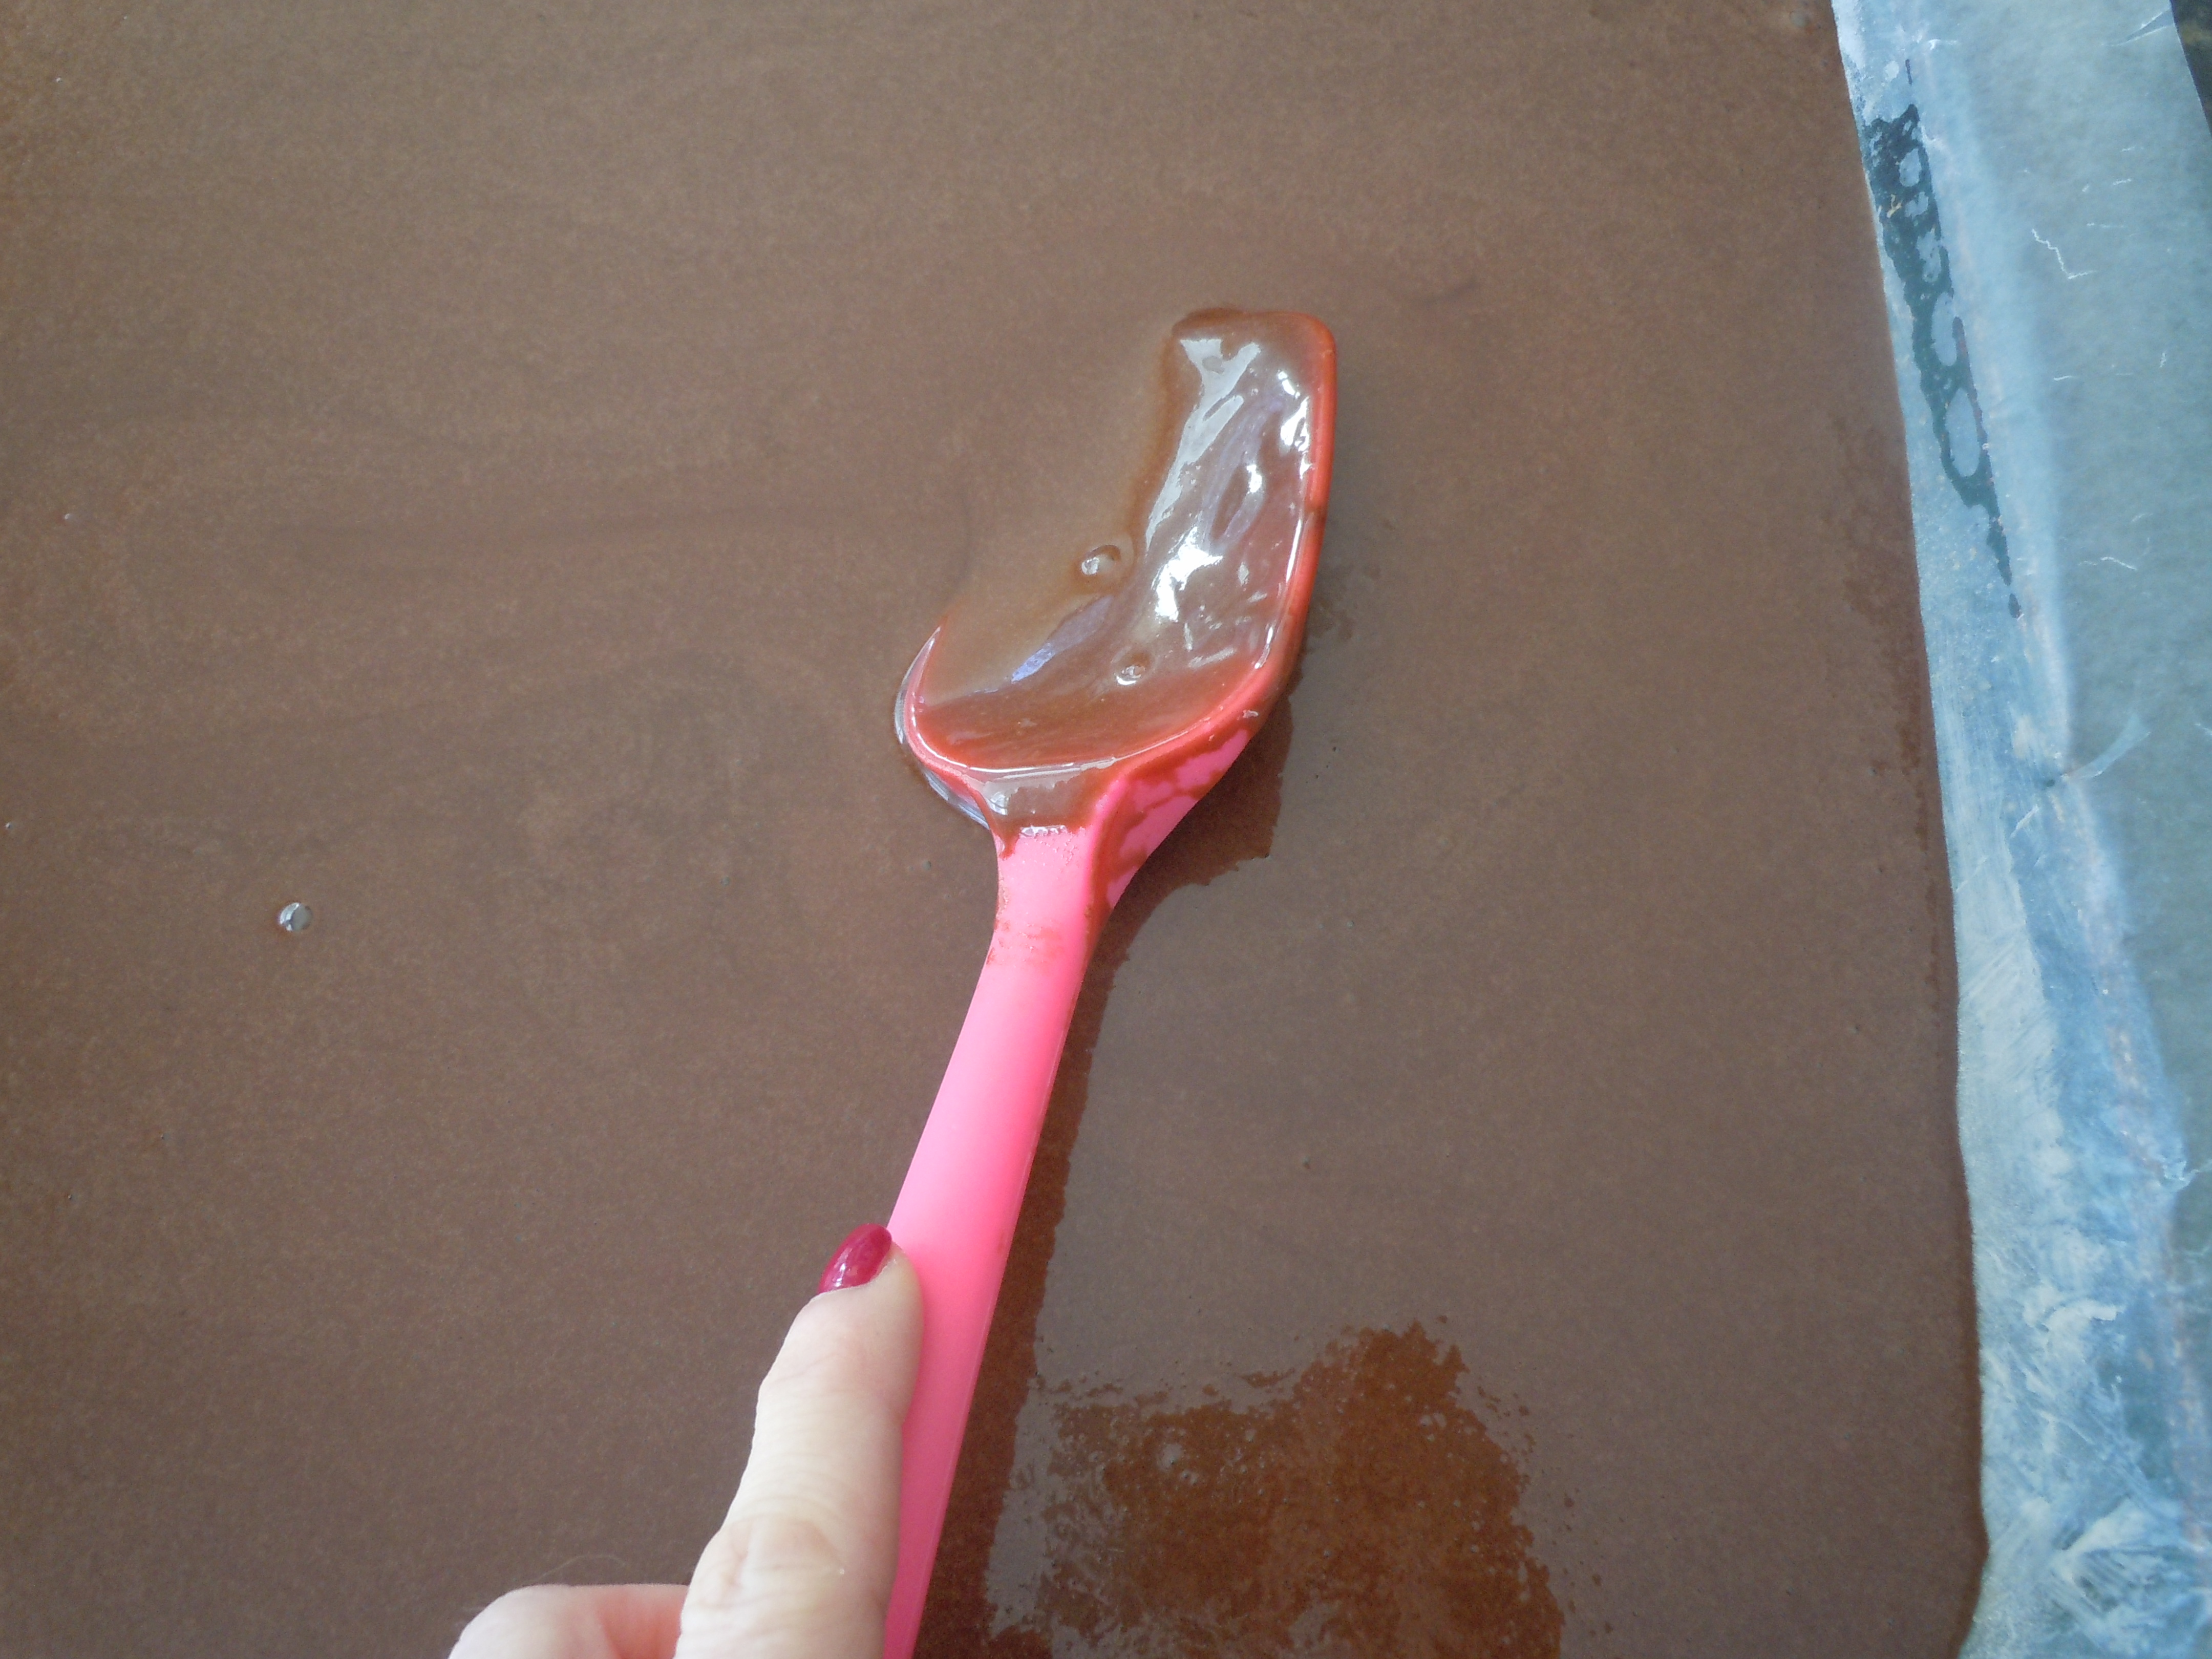
- Wait about 25 seconds and flip pasta crepe over, you can use a flexible pastry knife to help you get under it…it will be easy to flip and will not ever be stuck
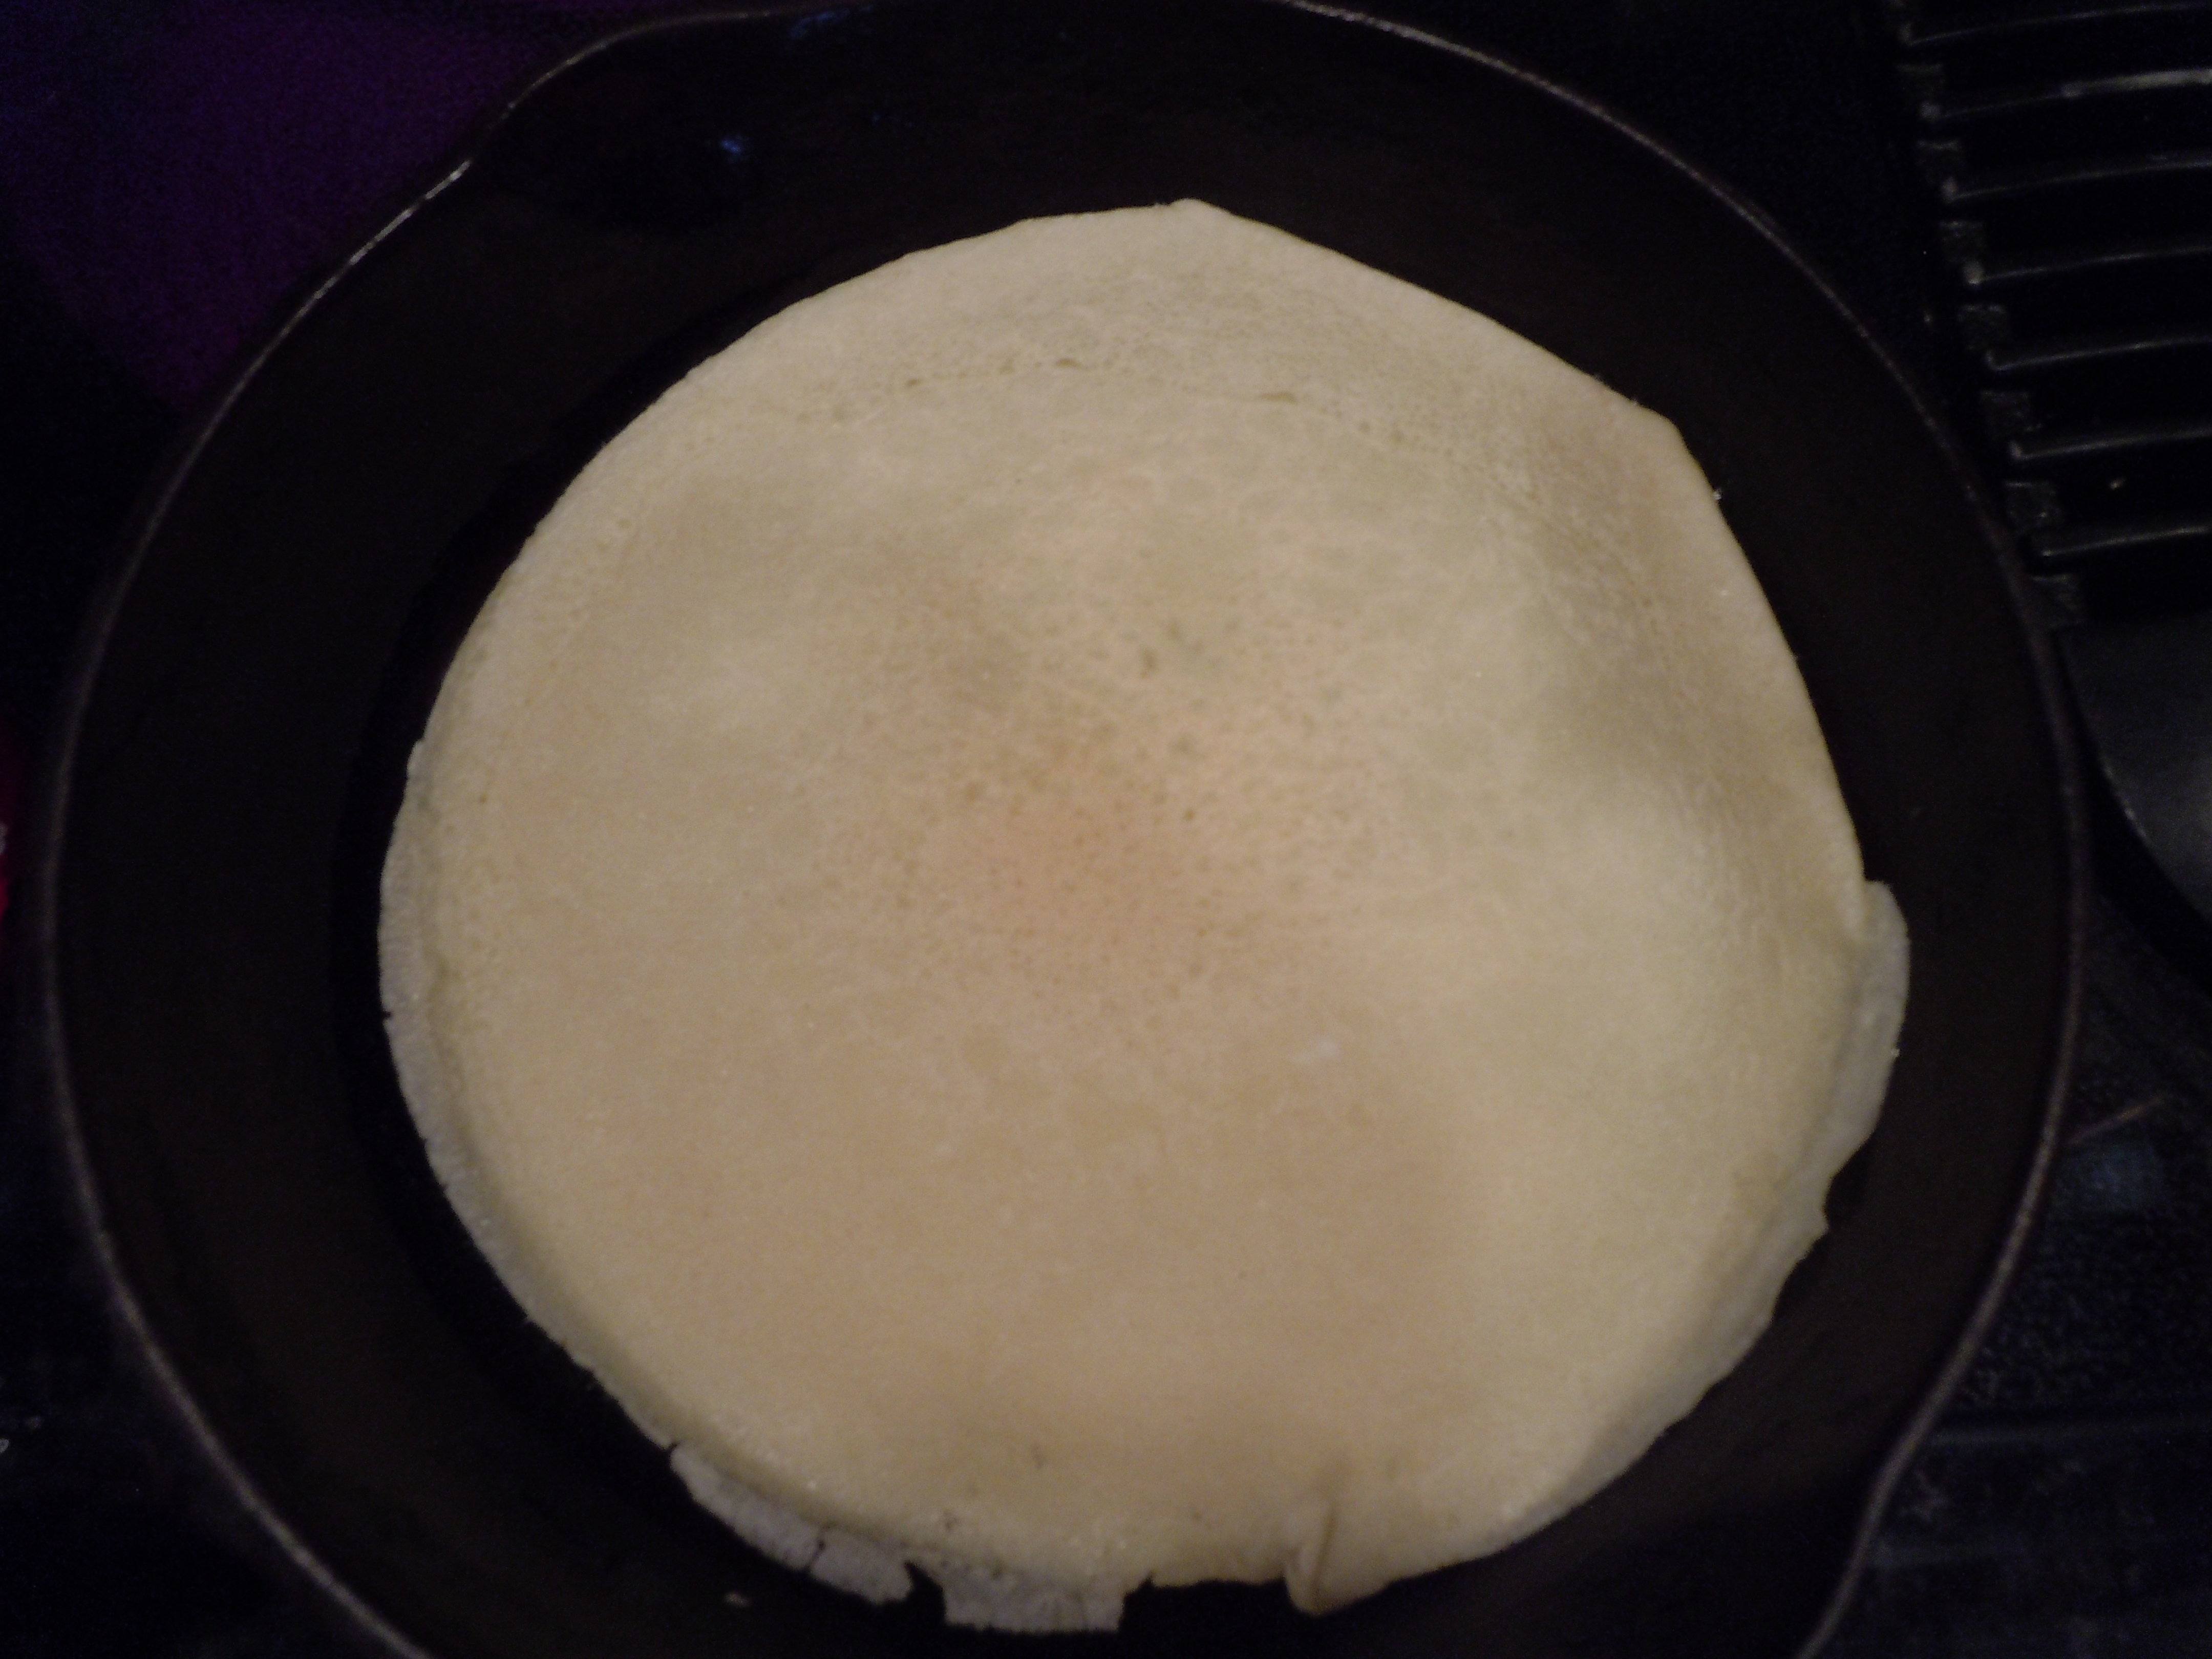
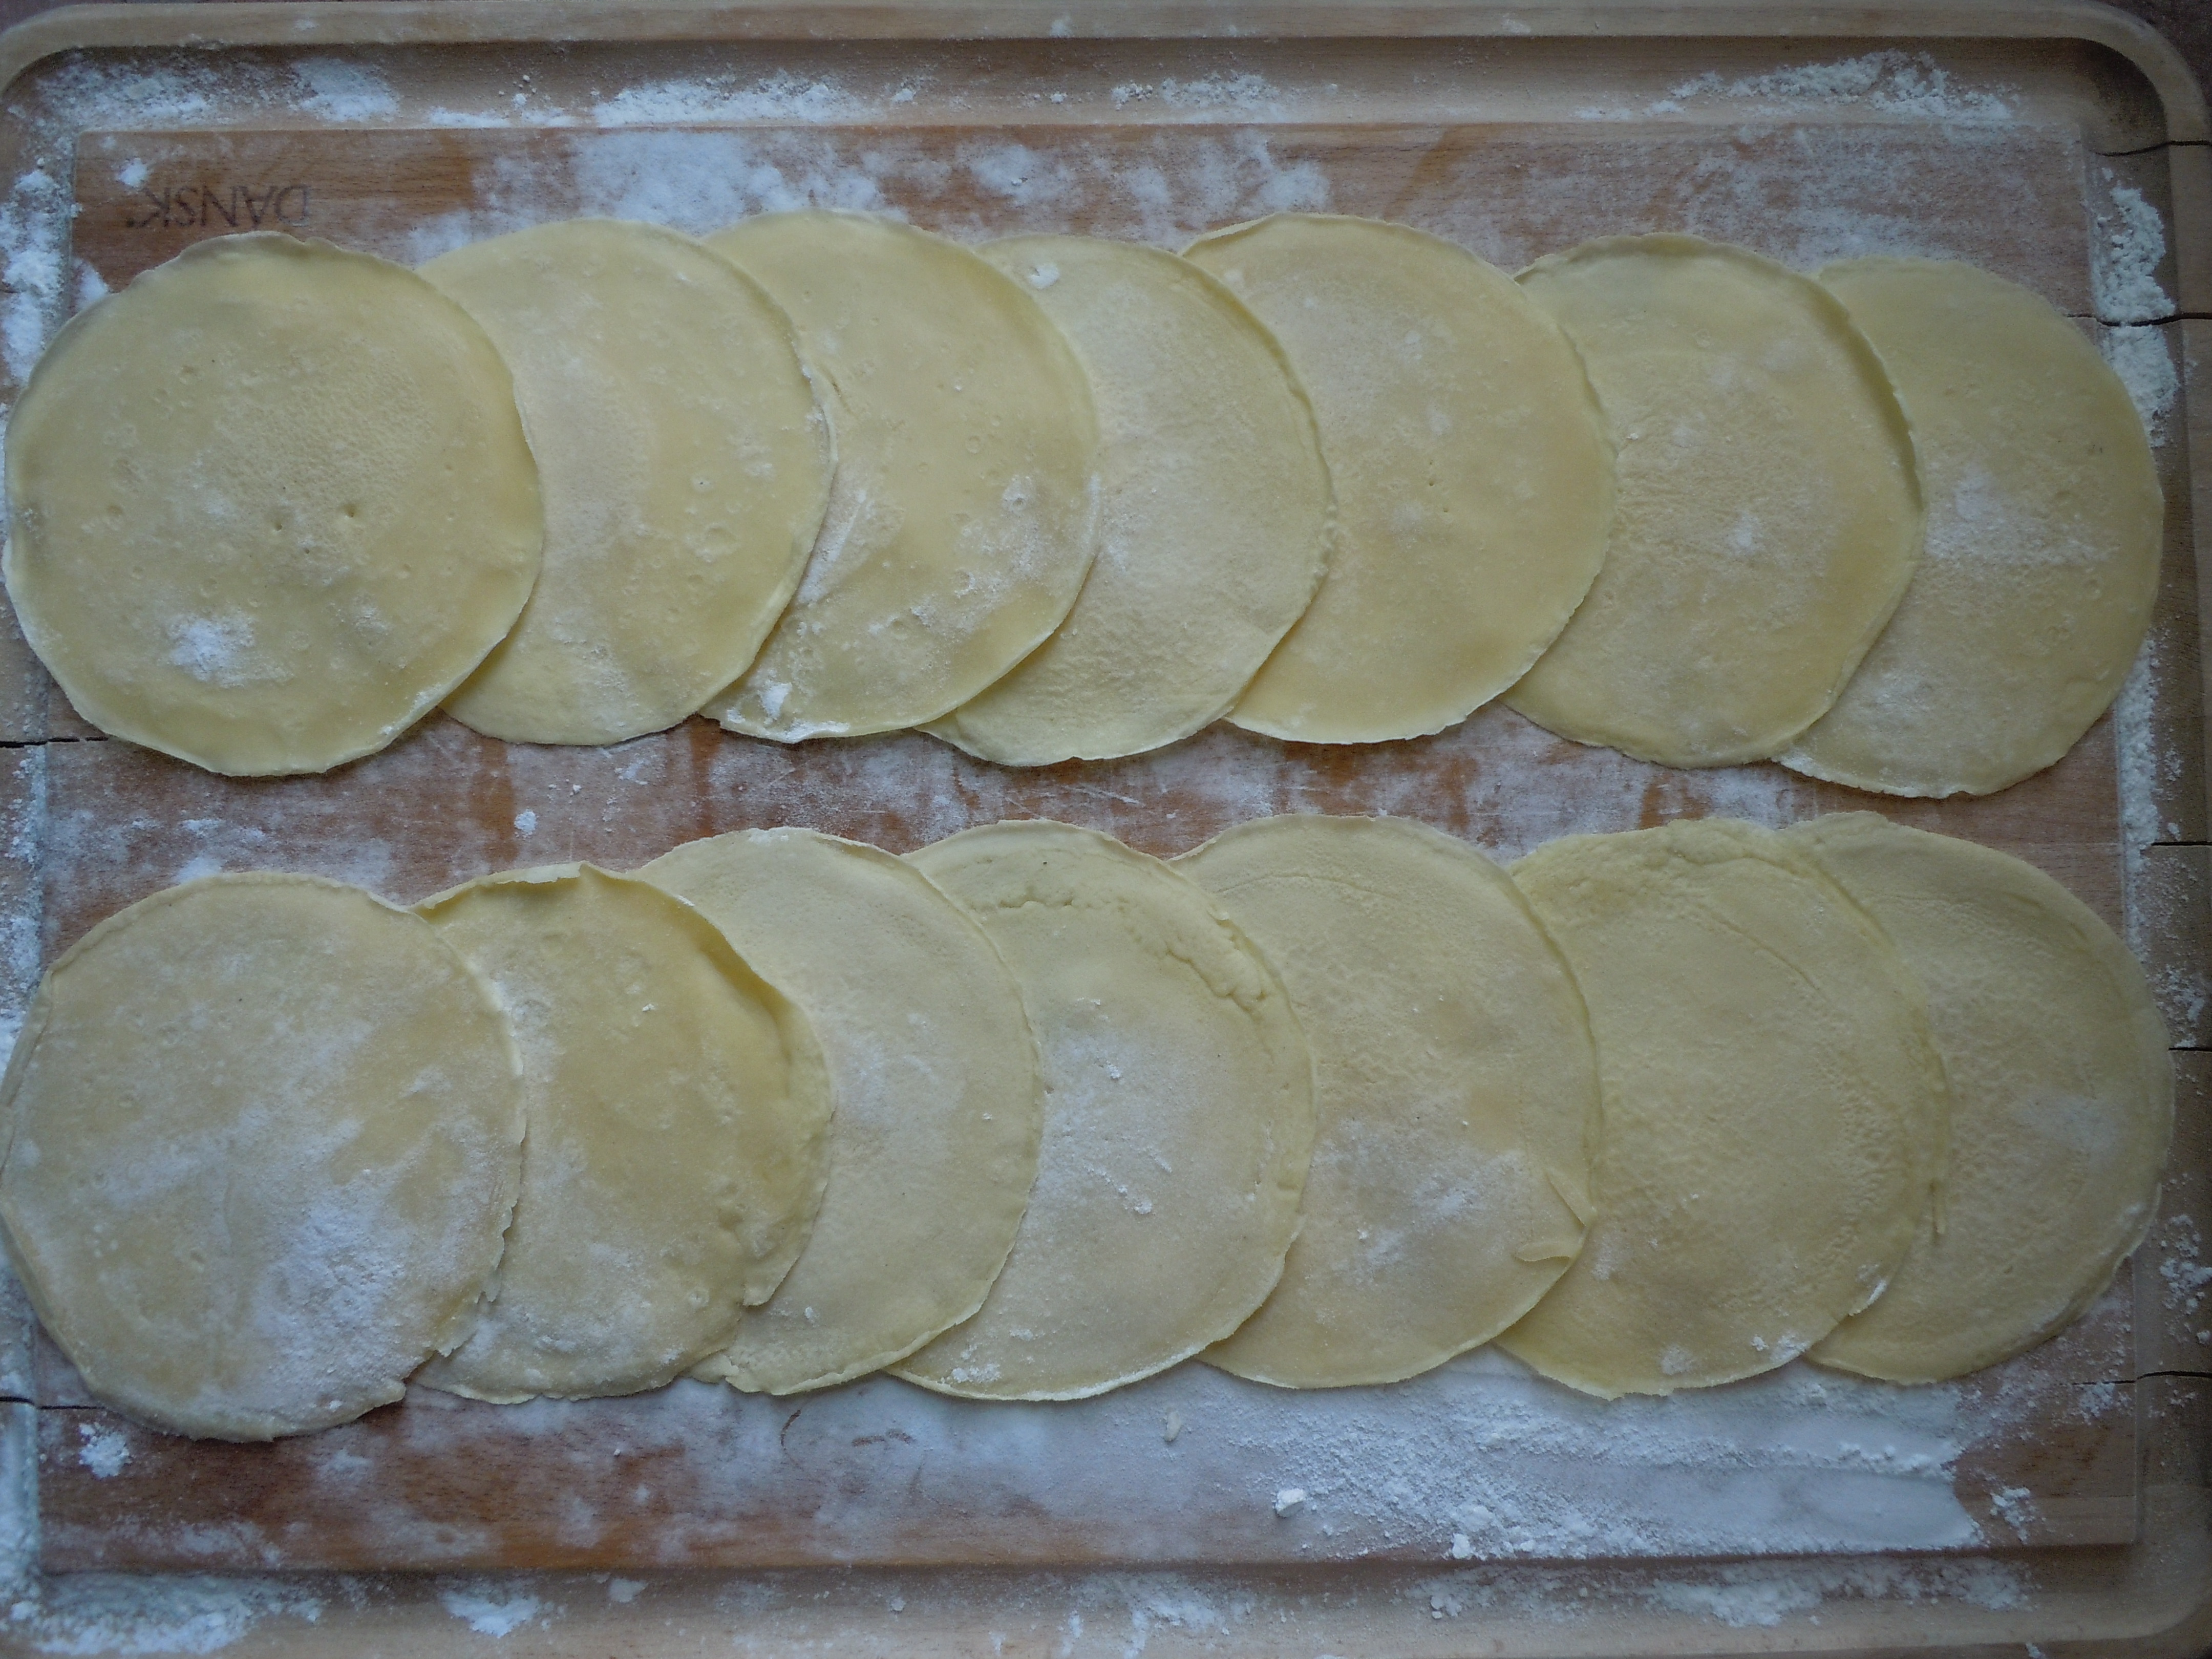
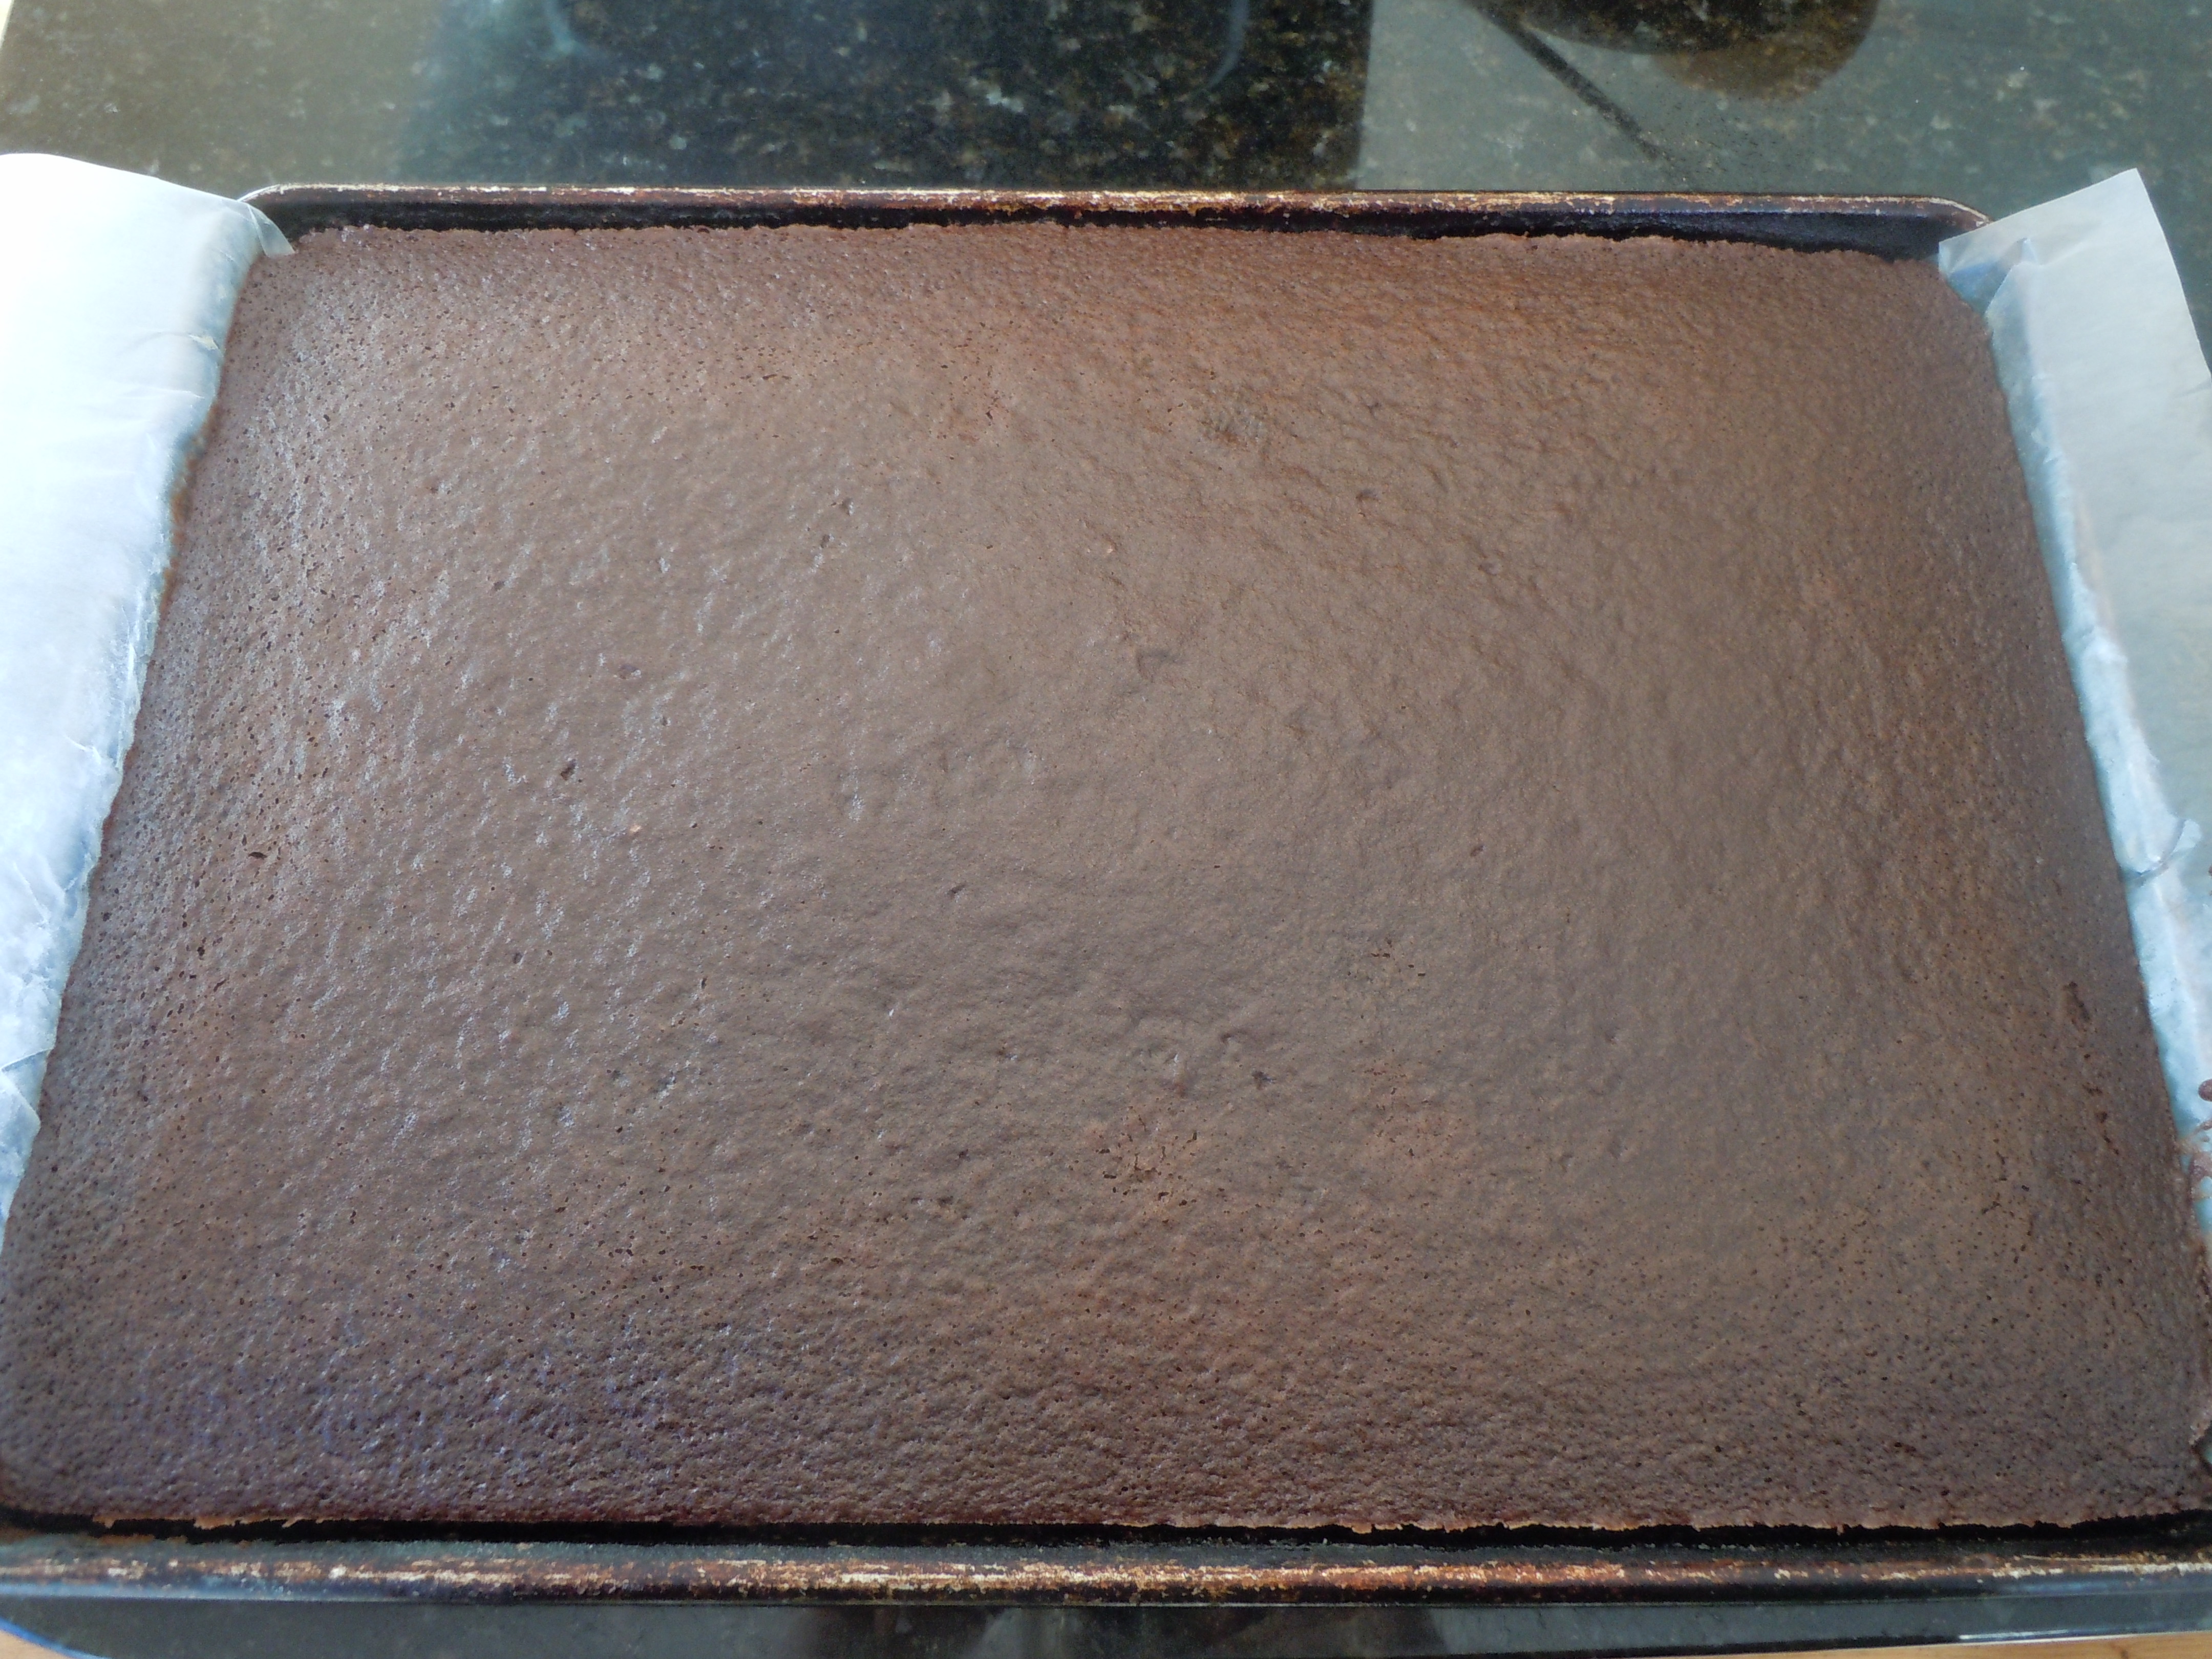
- You never want the pasta crepe to be golden on the edges-that would be over cooking them…they should look like the photo above light in color
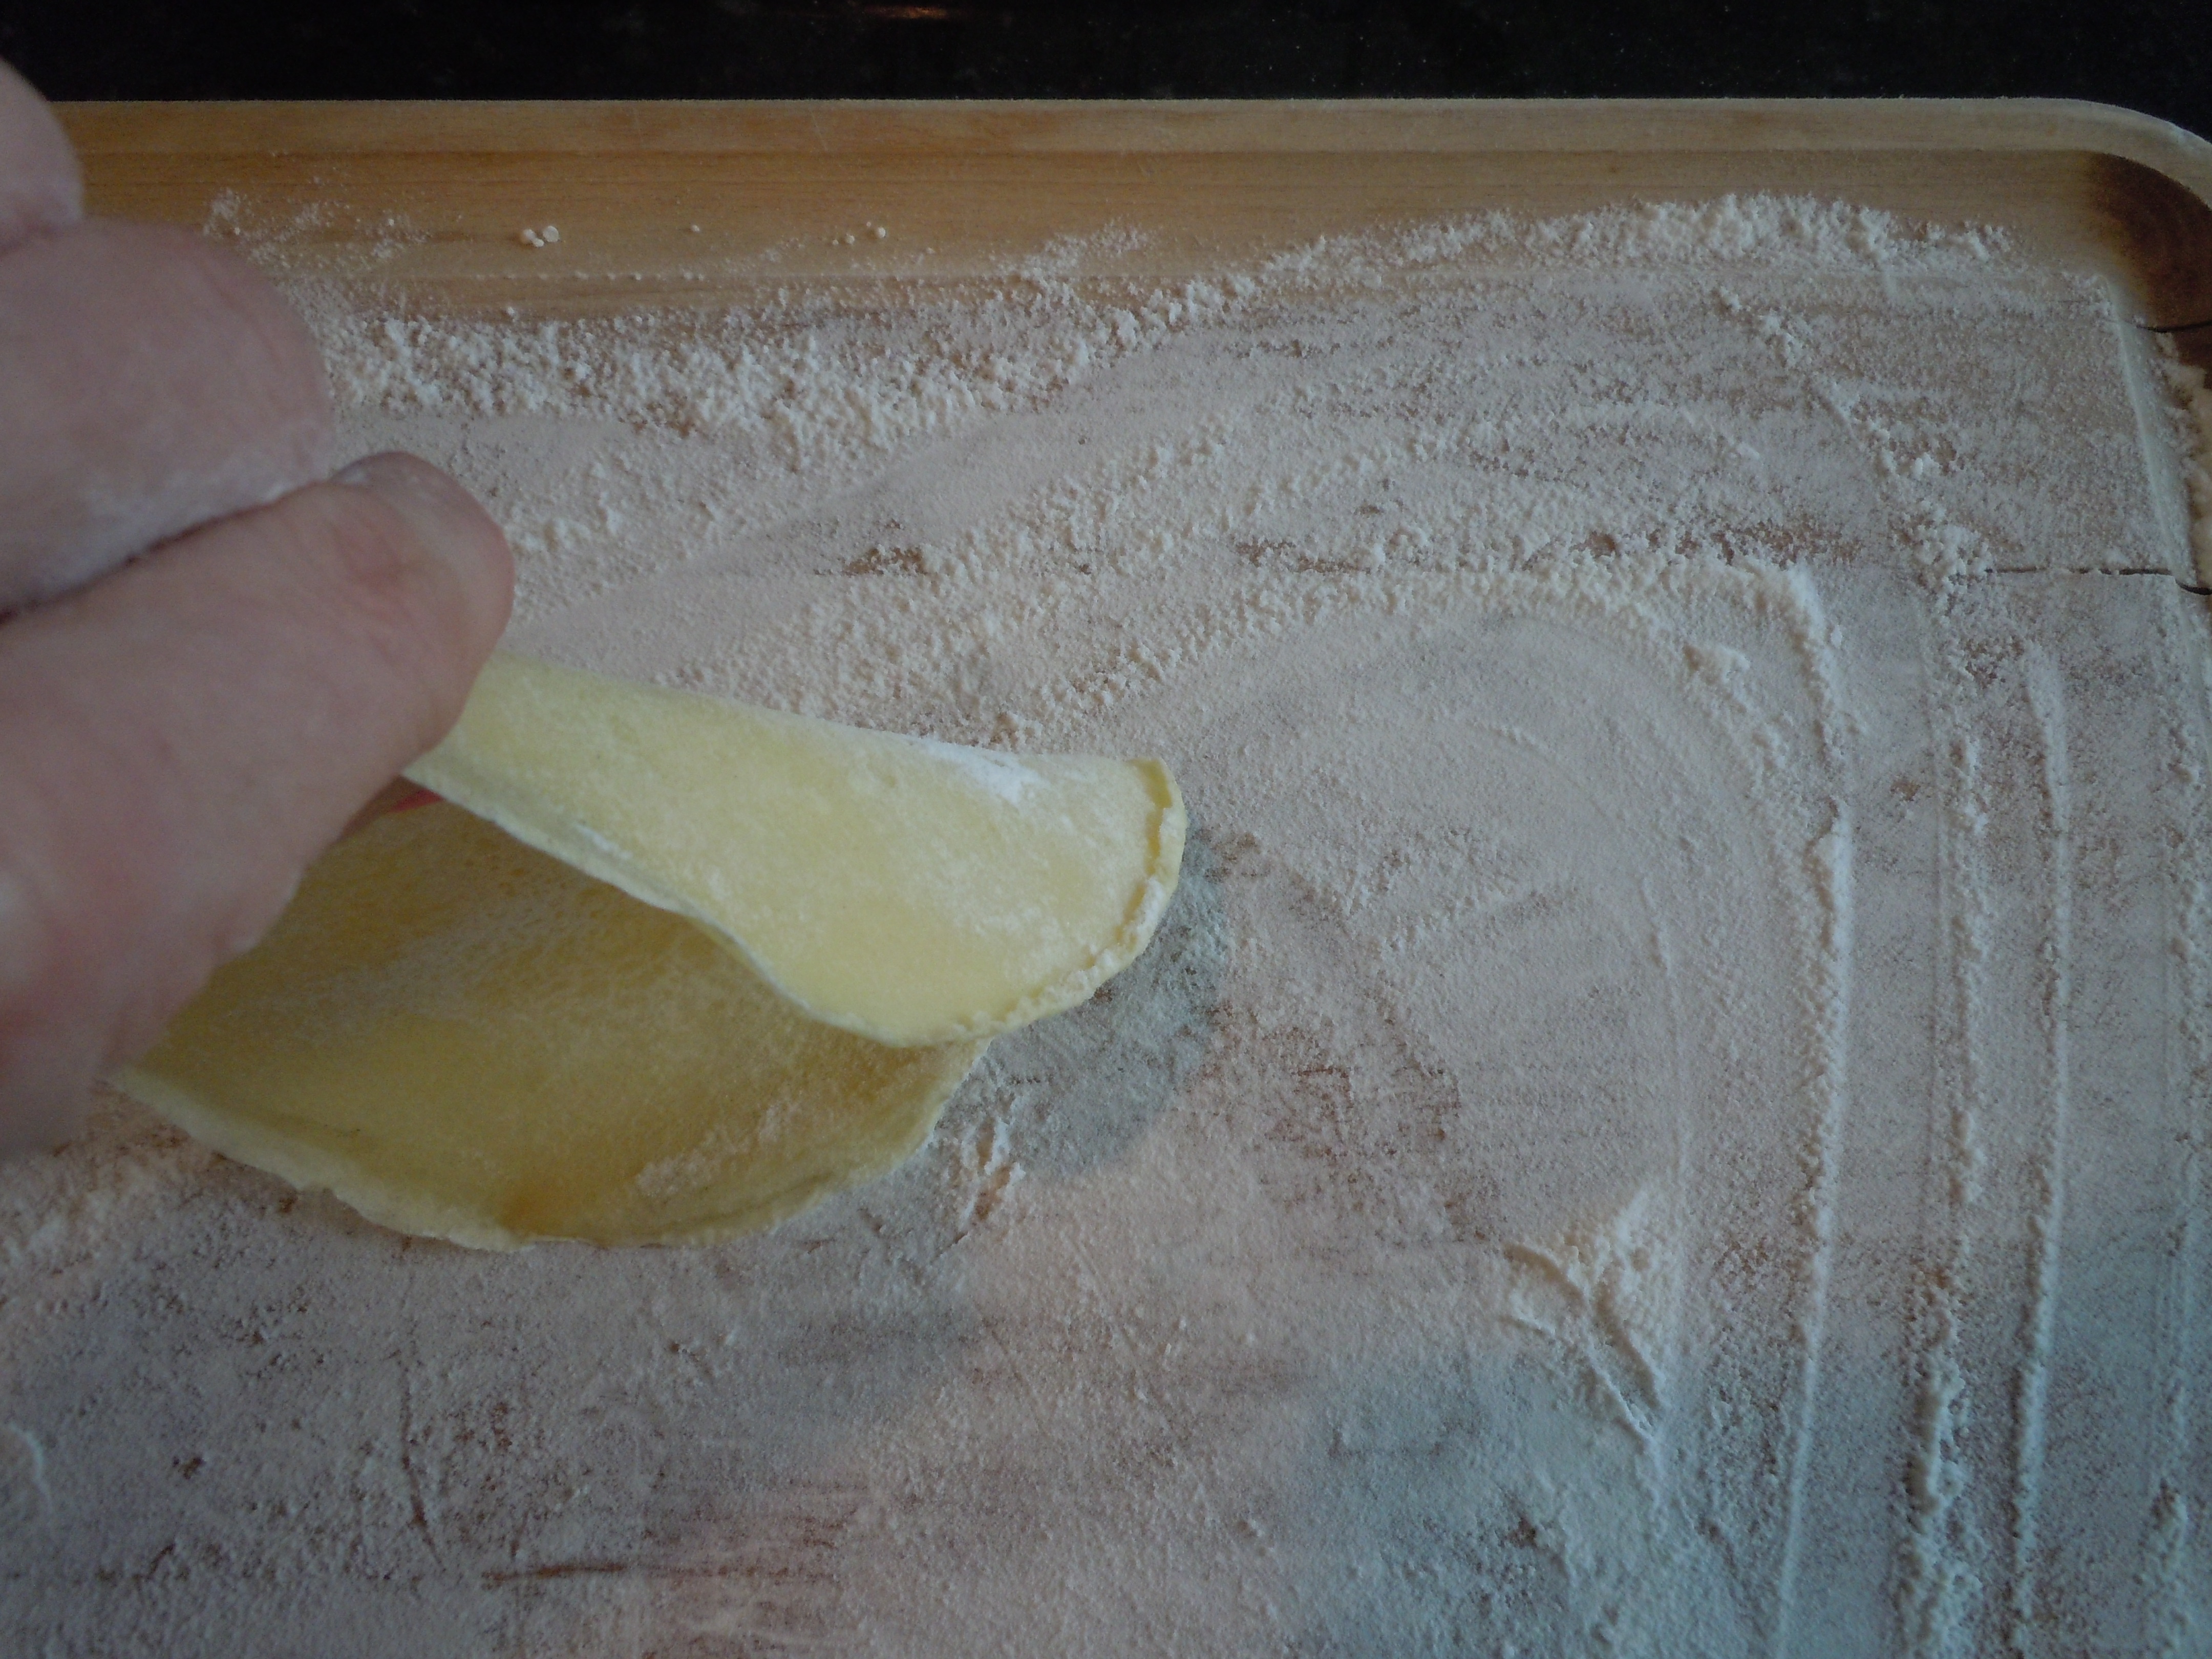
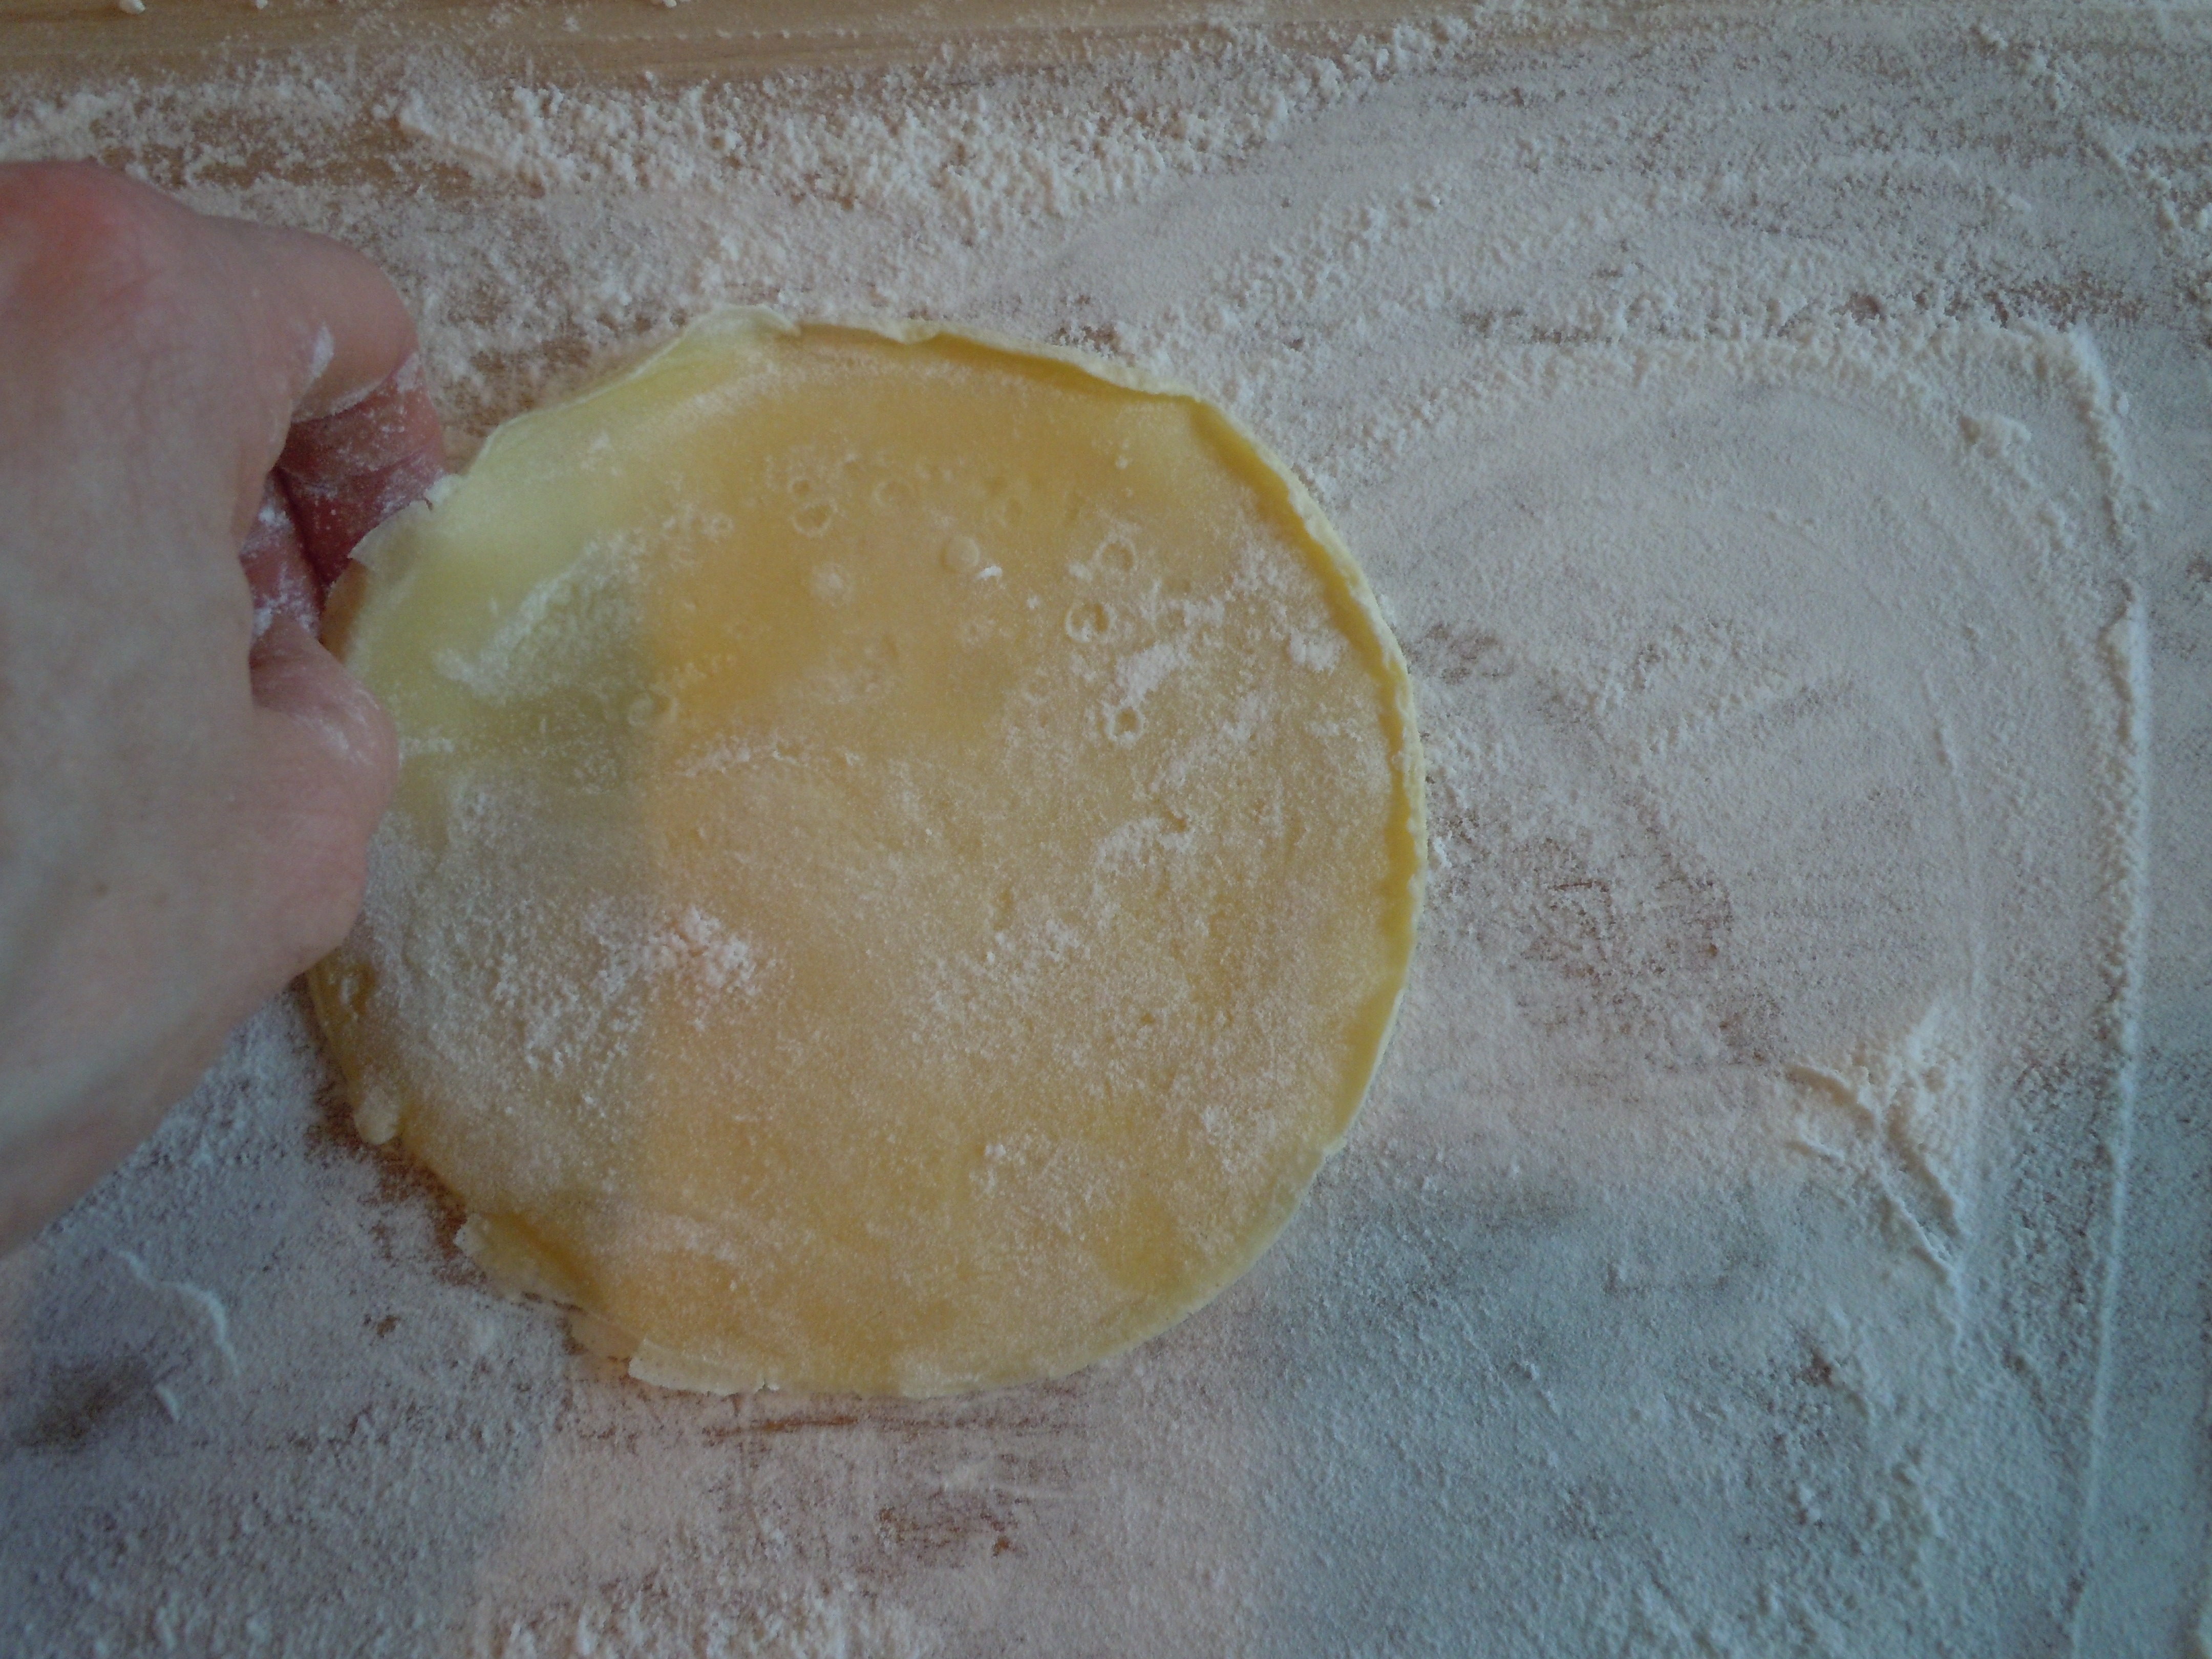
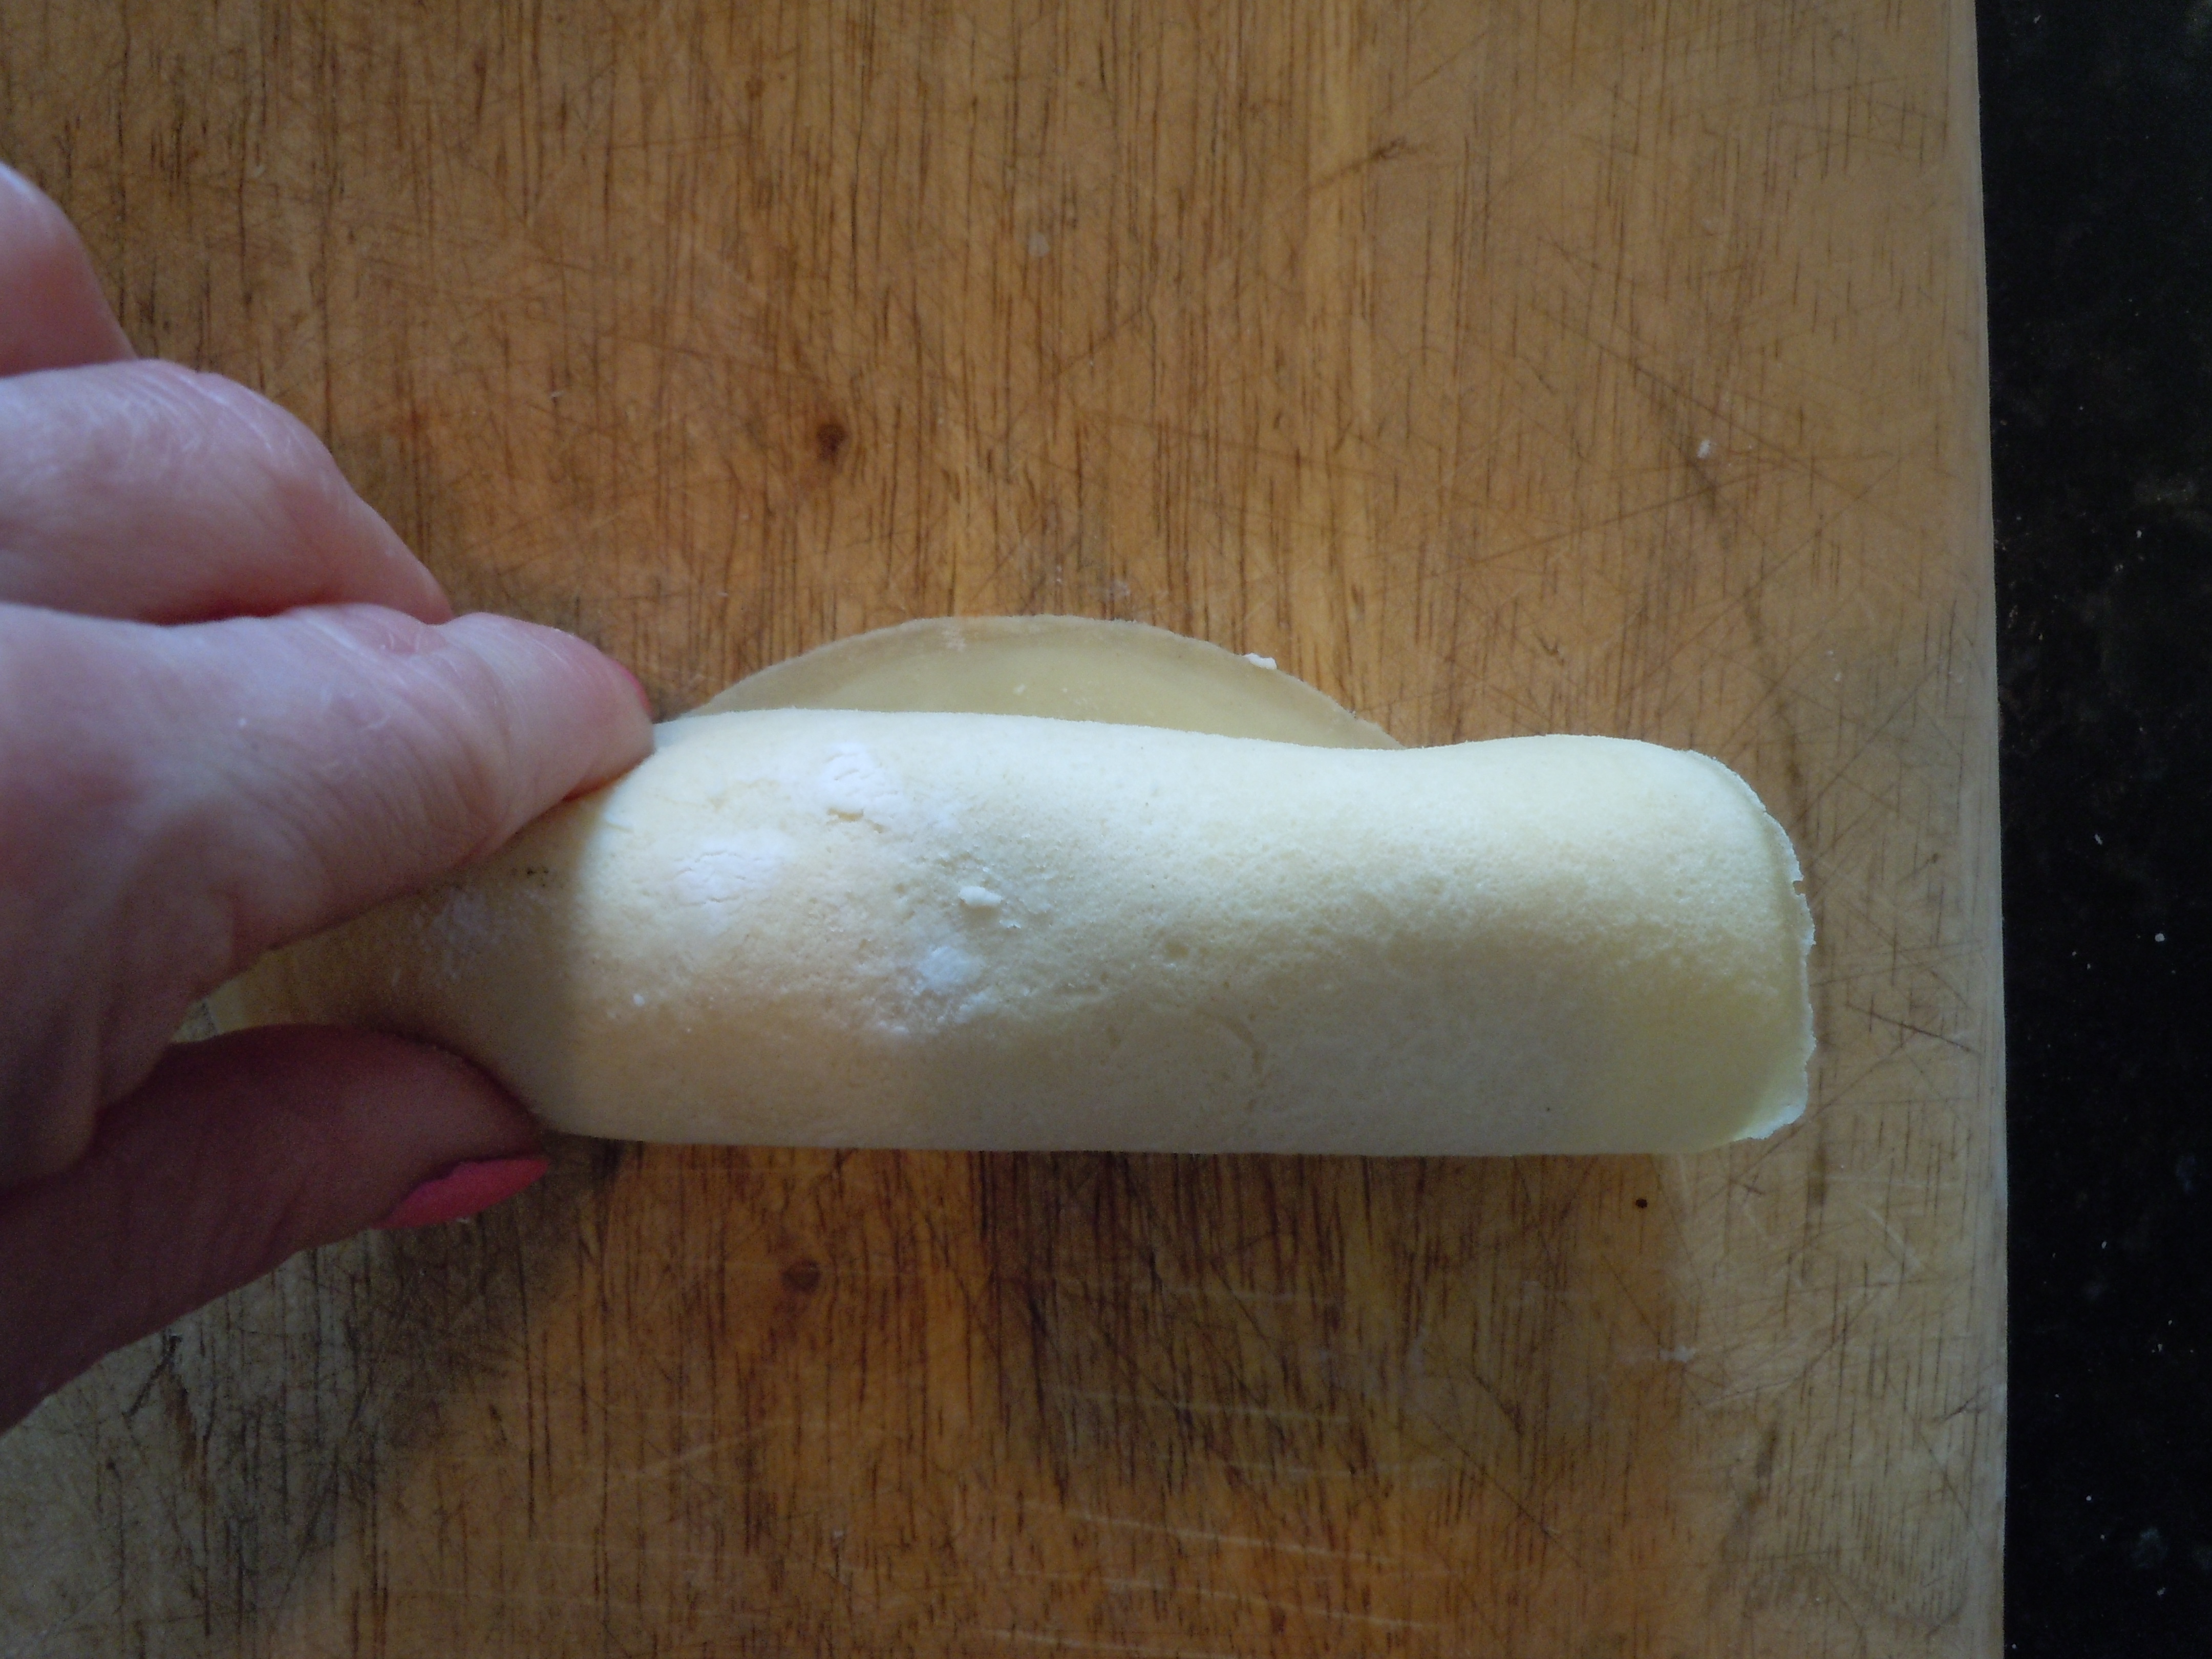
- Immediately flip over onto floured board and flip a couple of times to cool a little
- Repeat dredging saturated paper towel into pan to coat and then pour another 1/4 cup ladle of batter into pan.
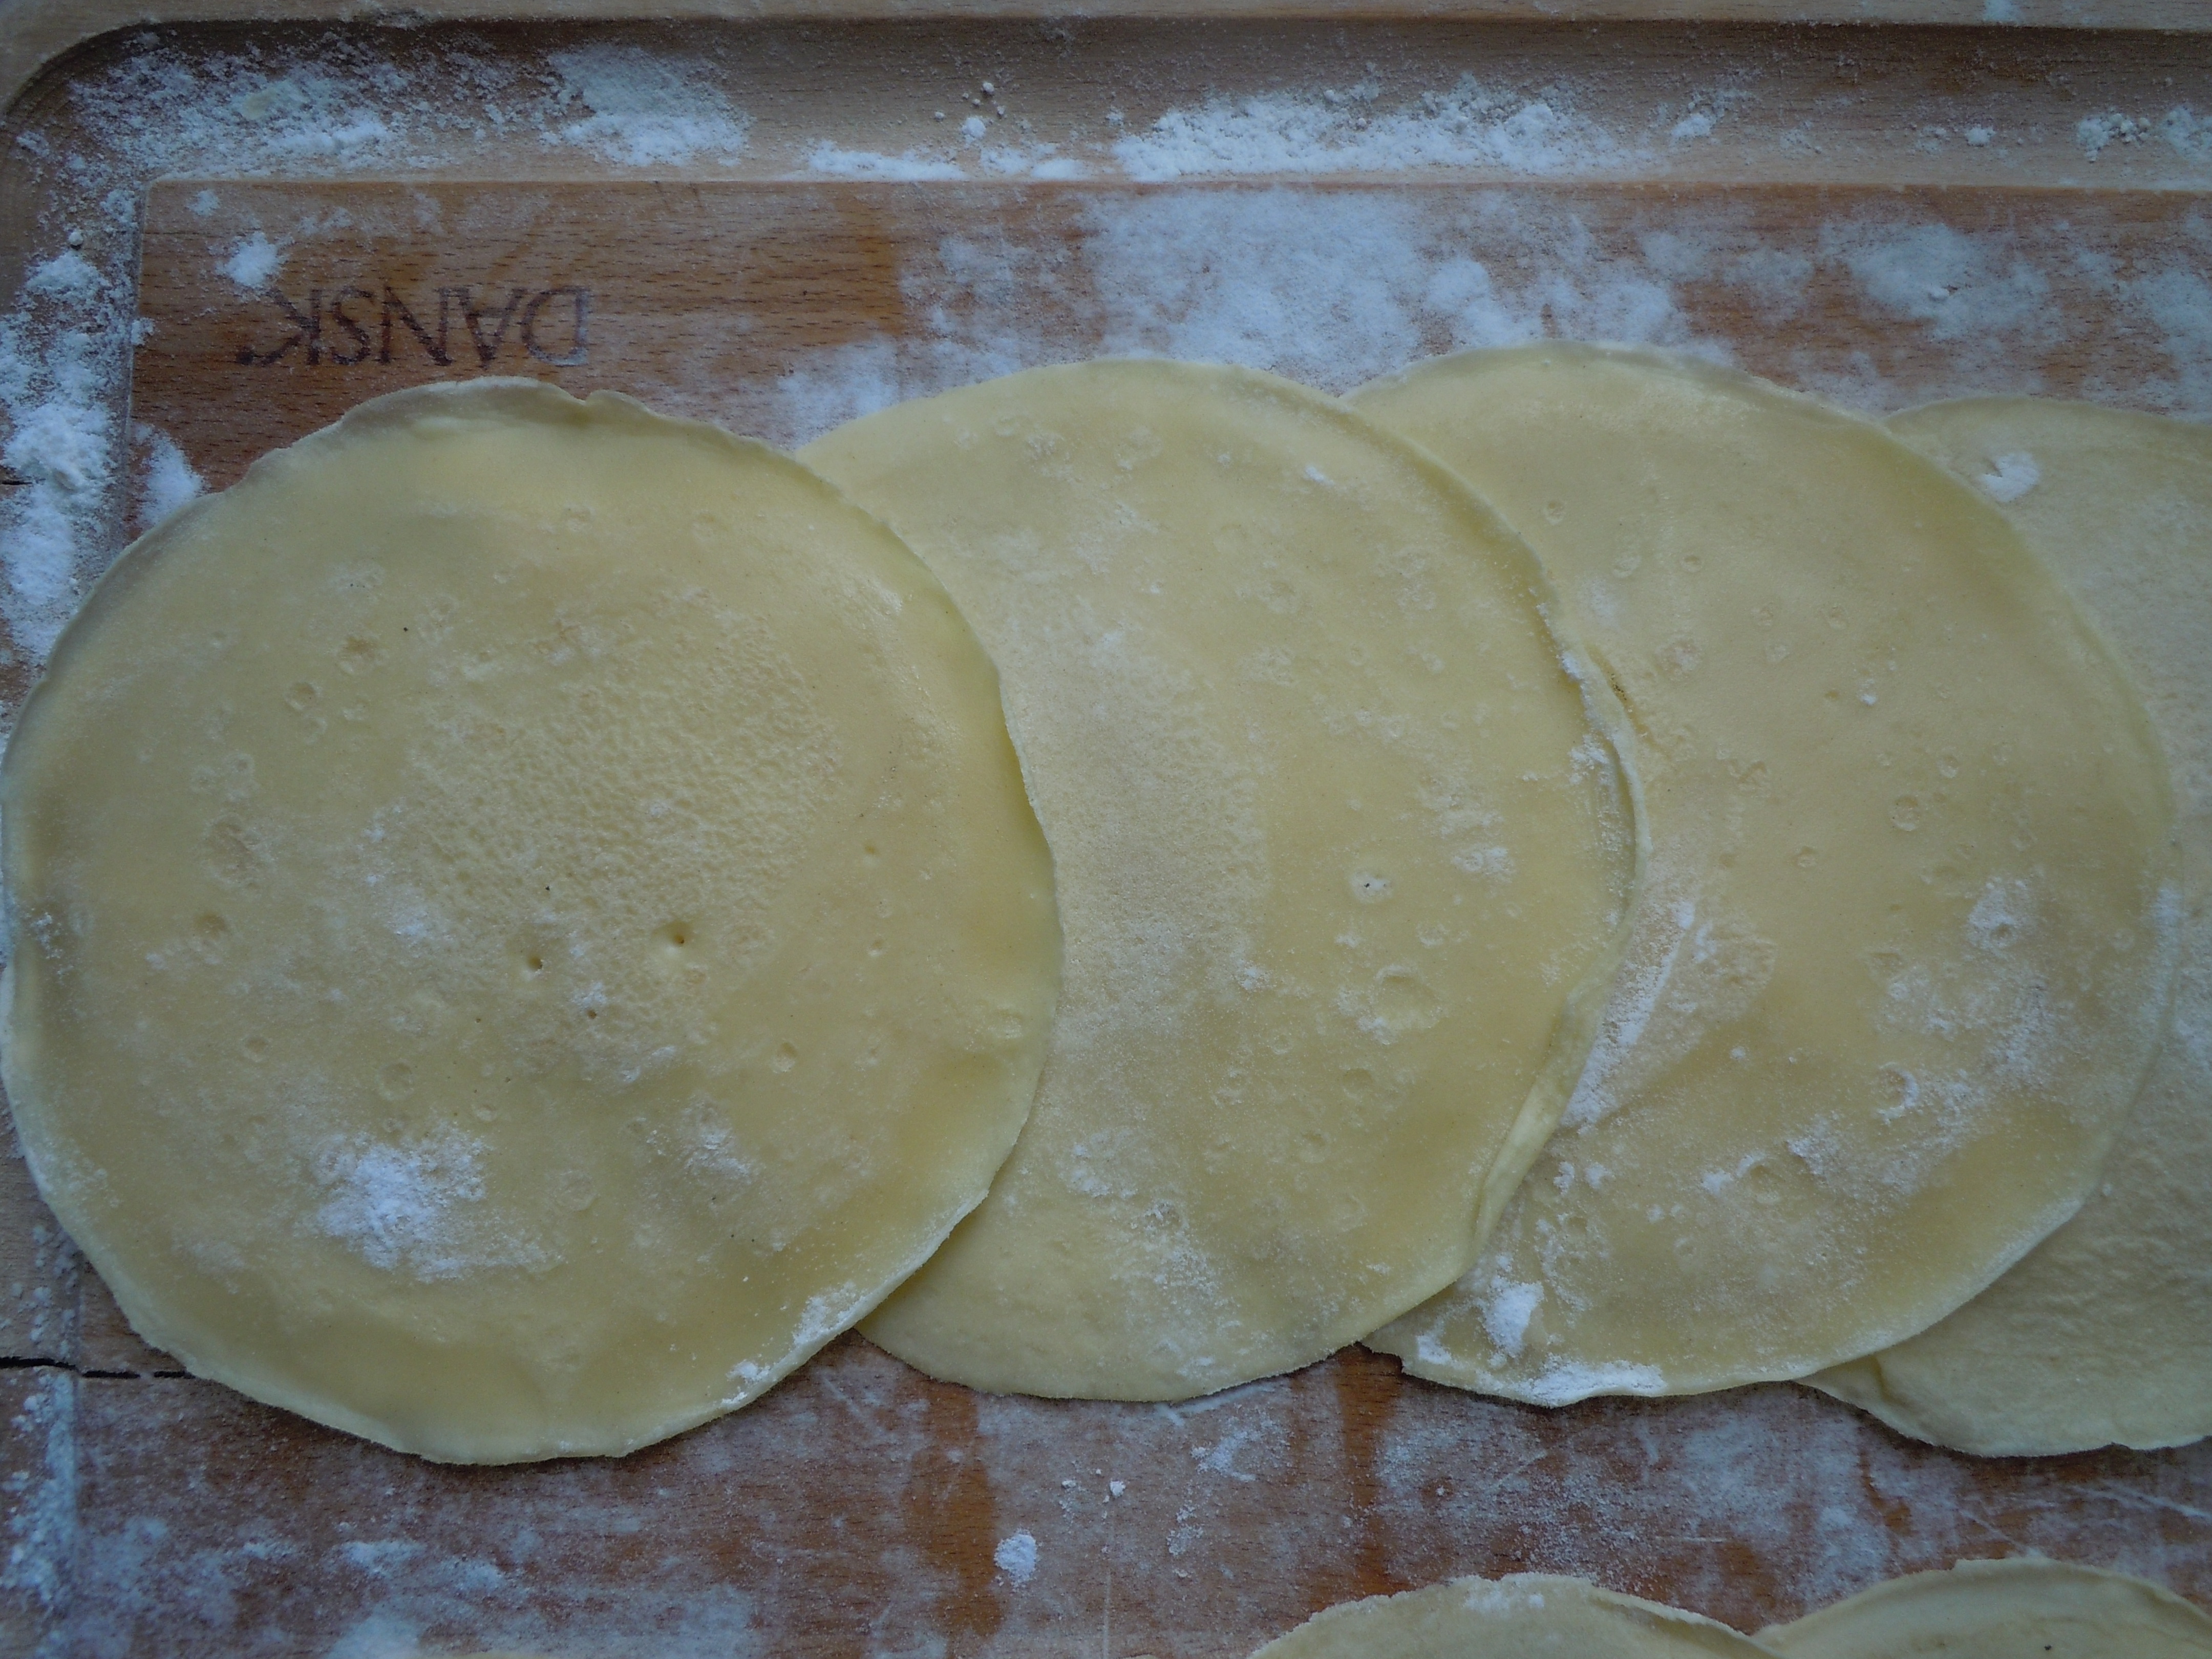
- Repeat this over and over until you run out of batter…this amount will make 16 manicotti
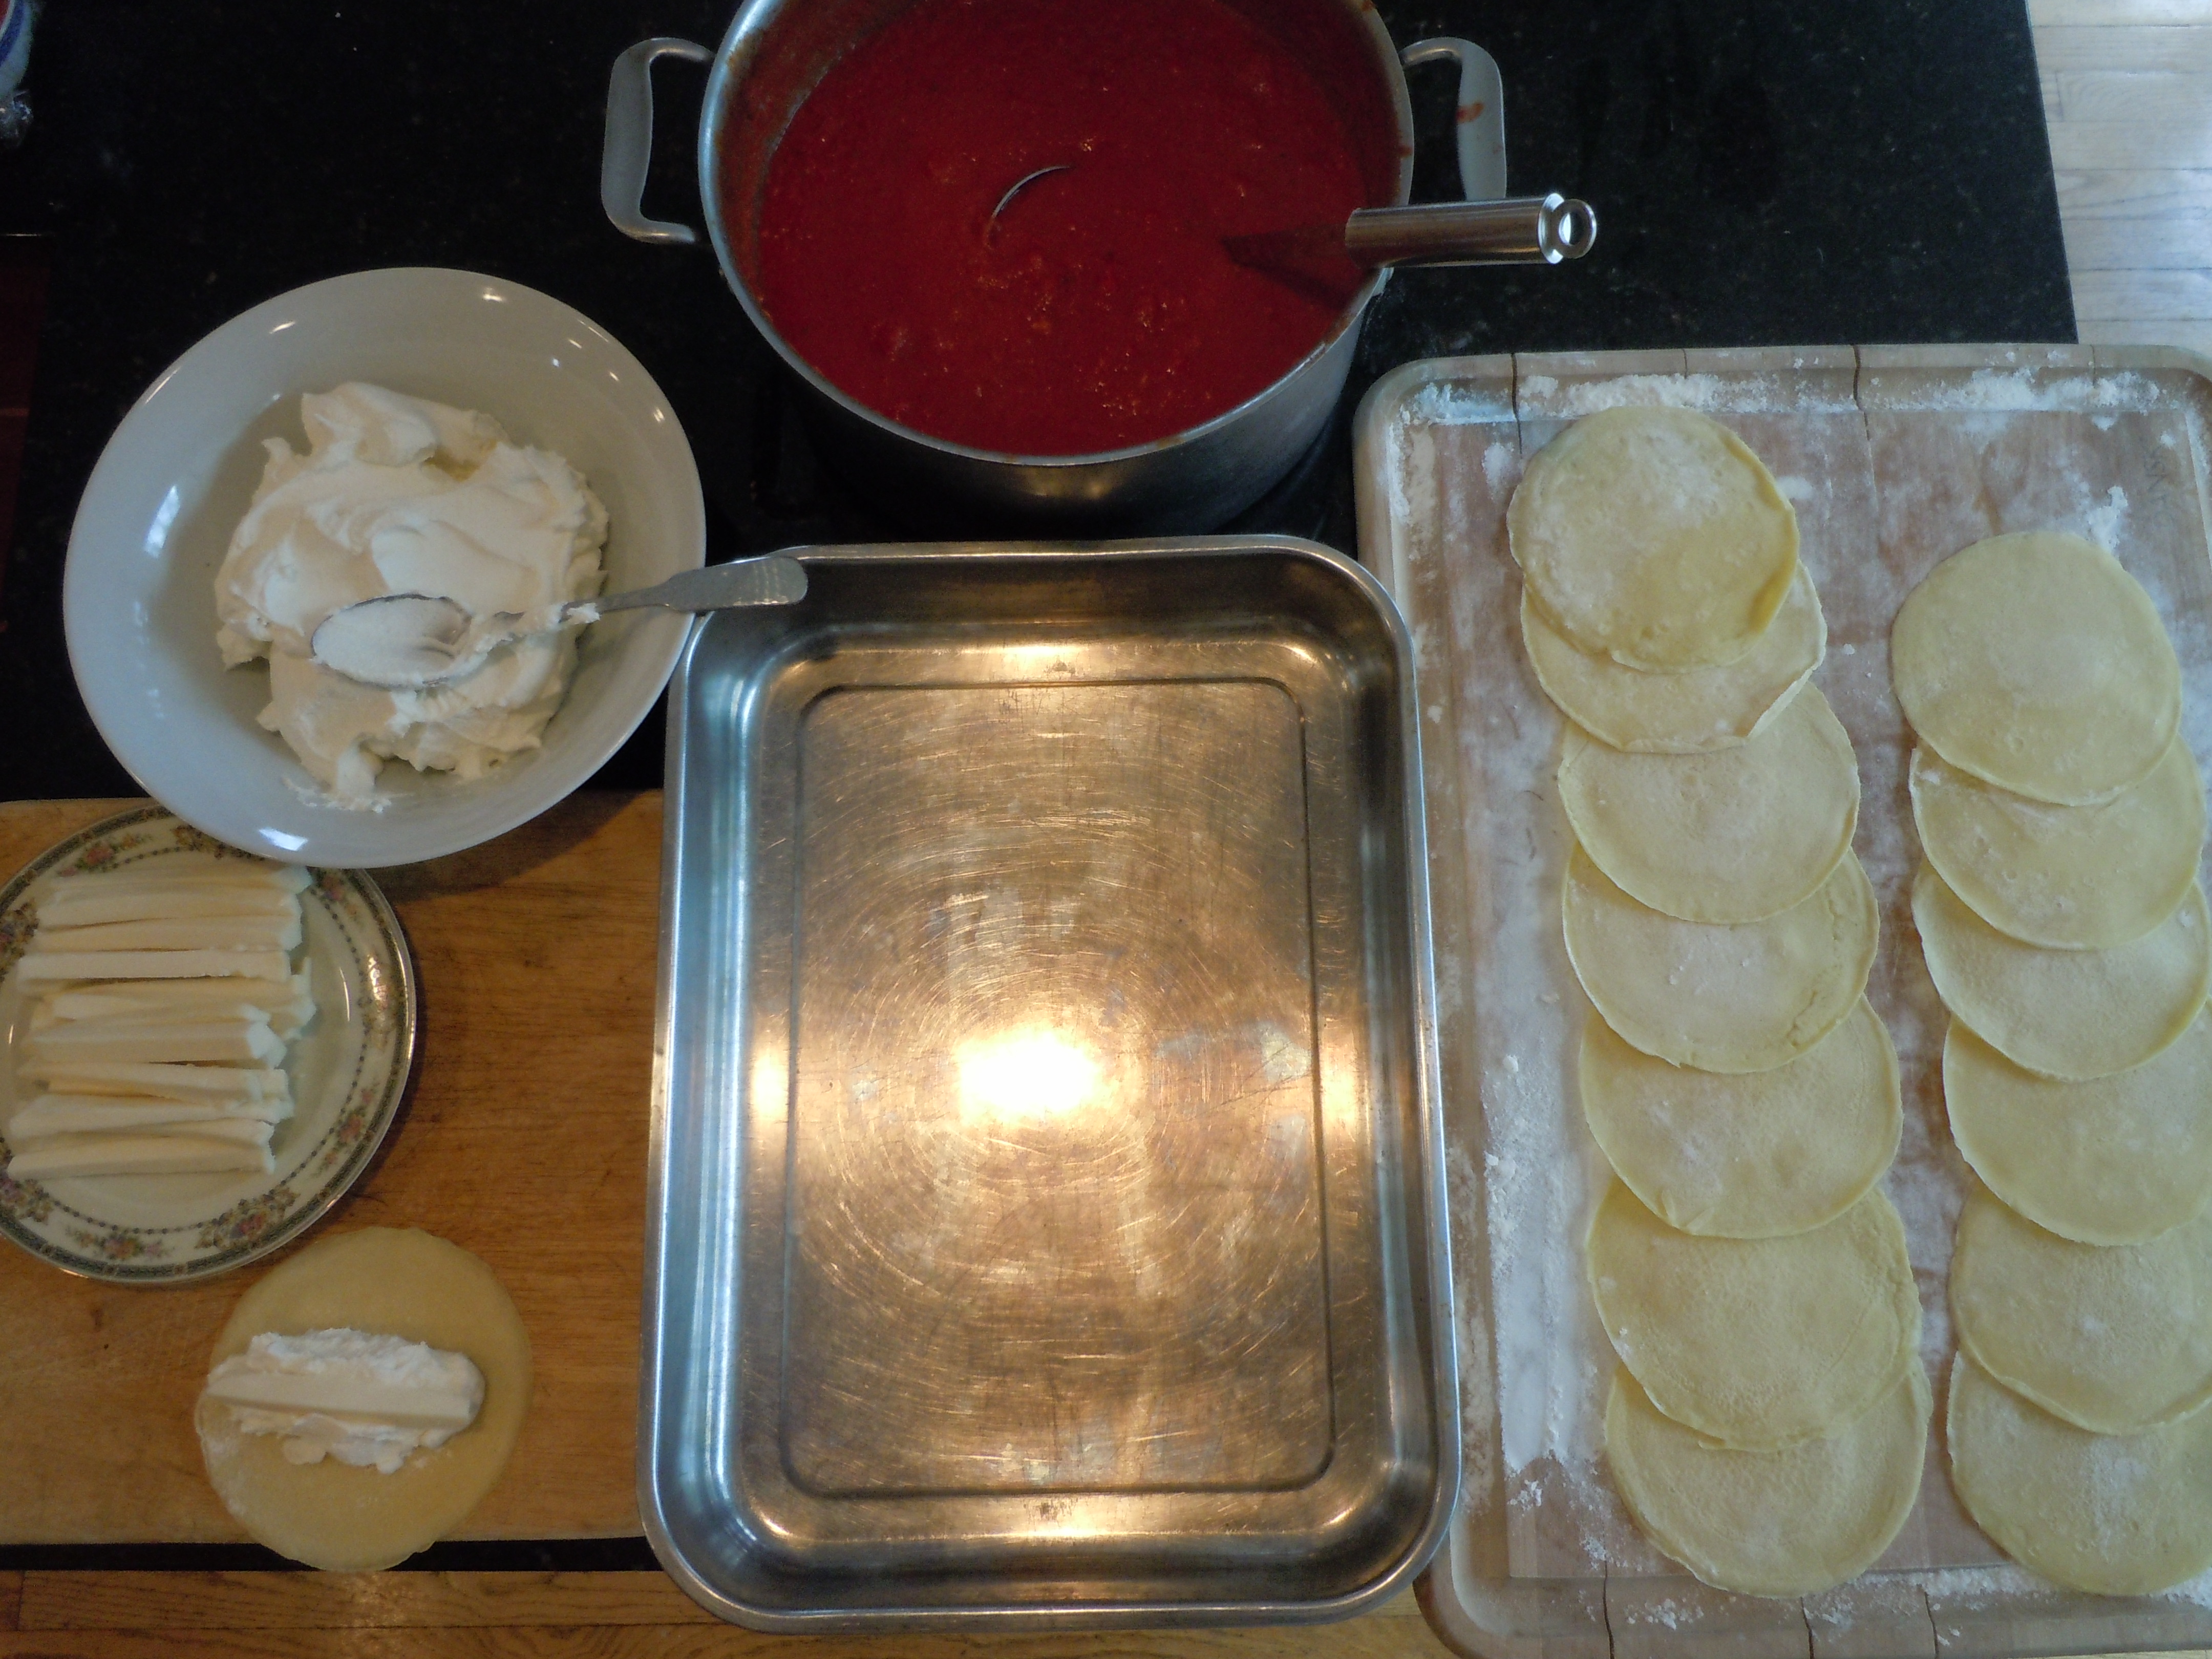
- When you are done lay out a work board to roll manicotti’s on
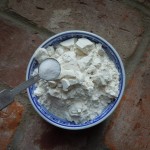
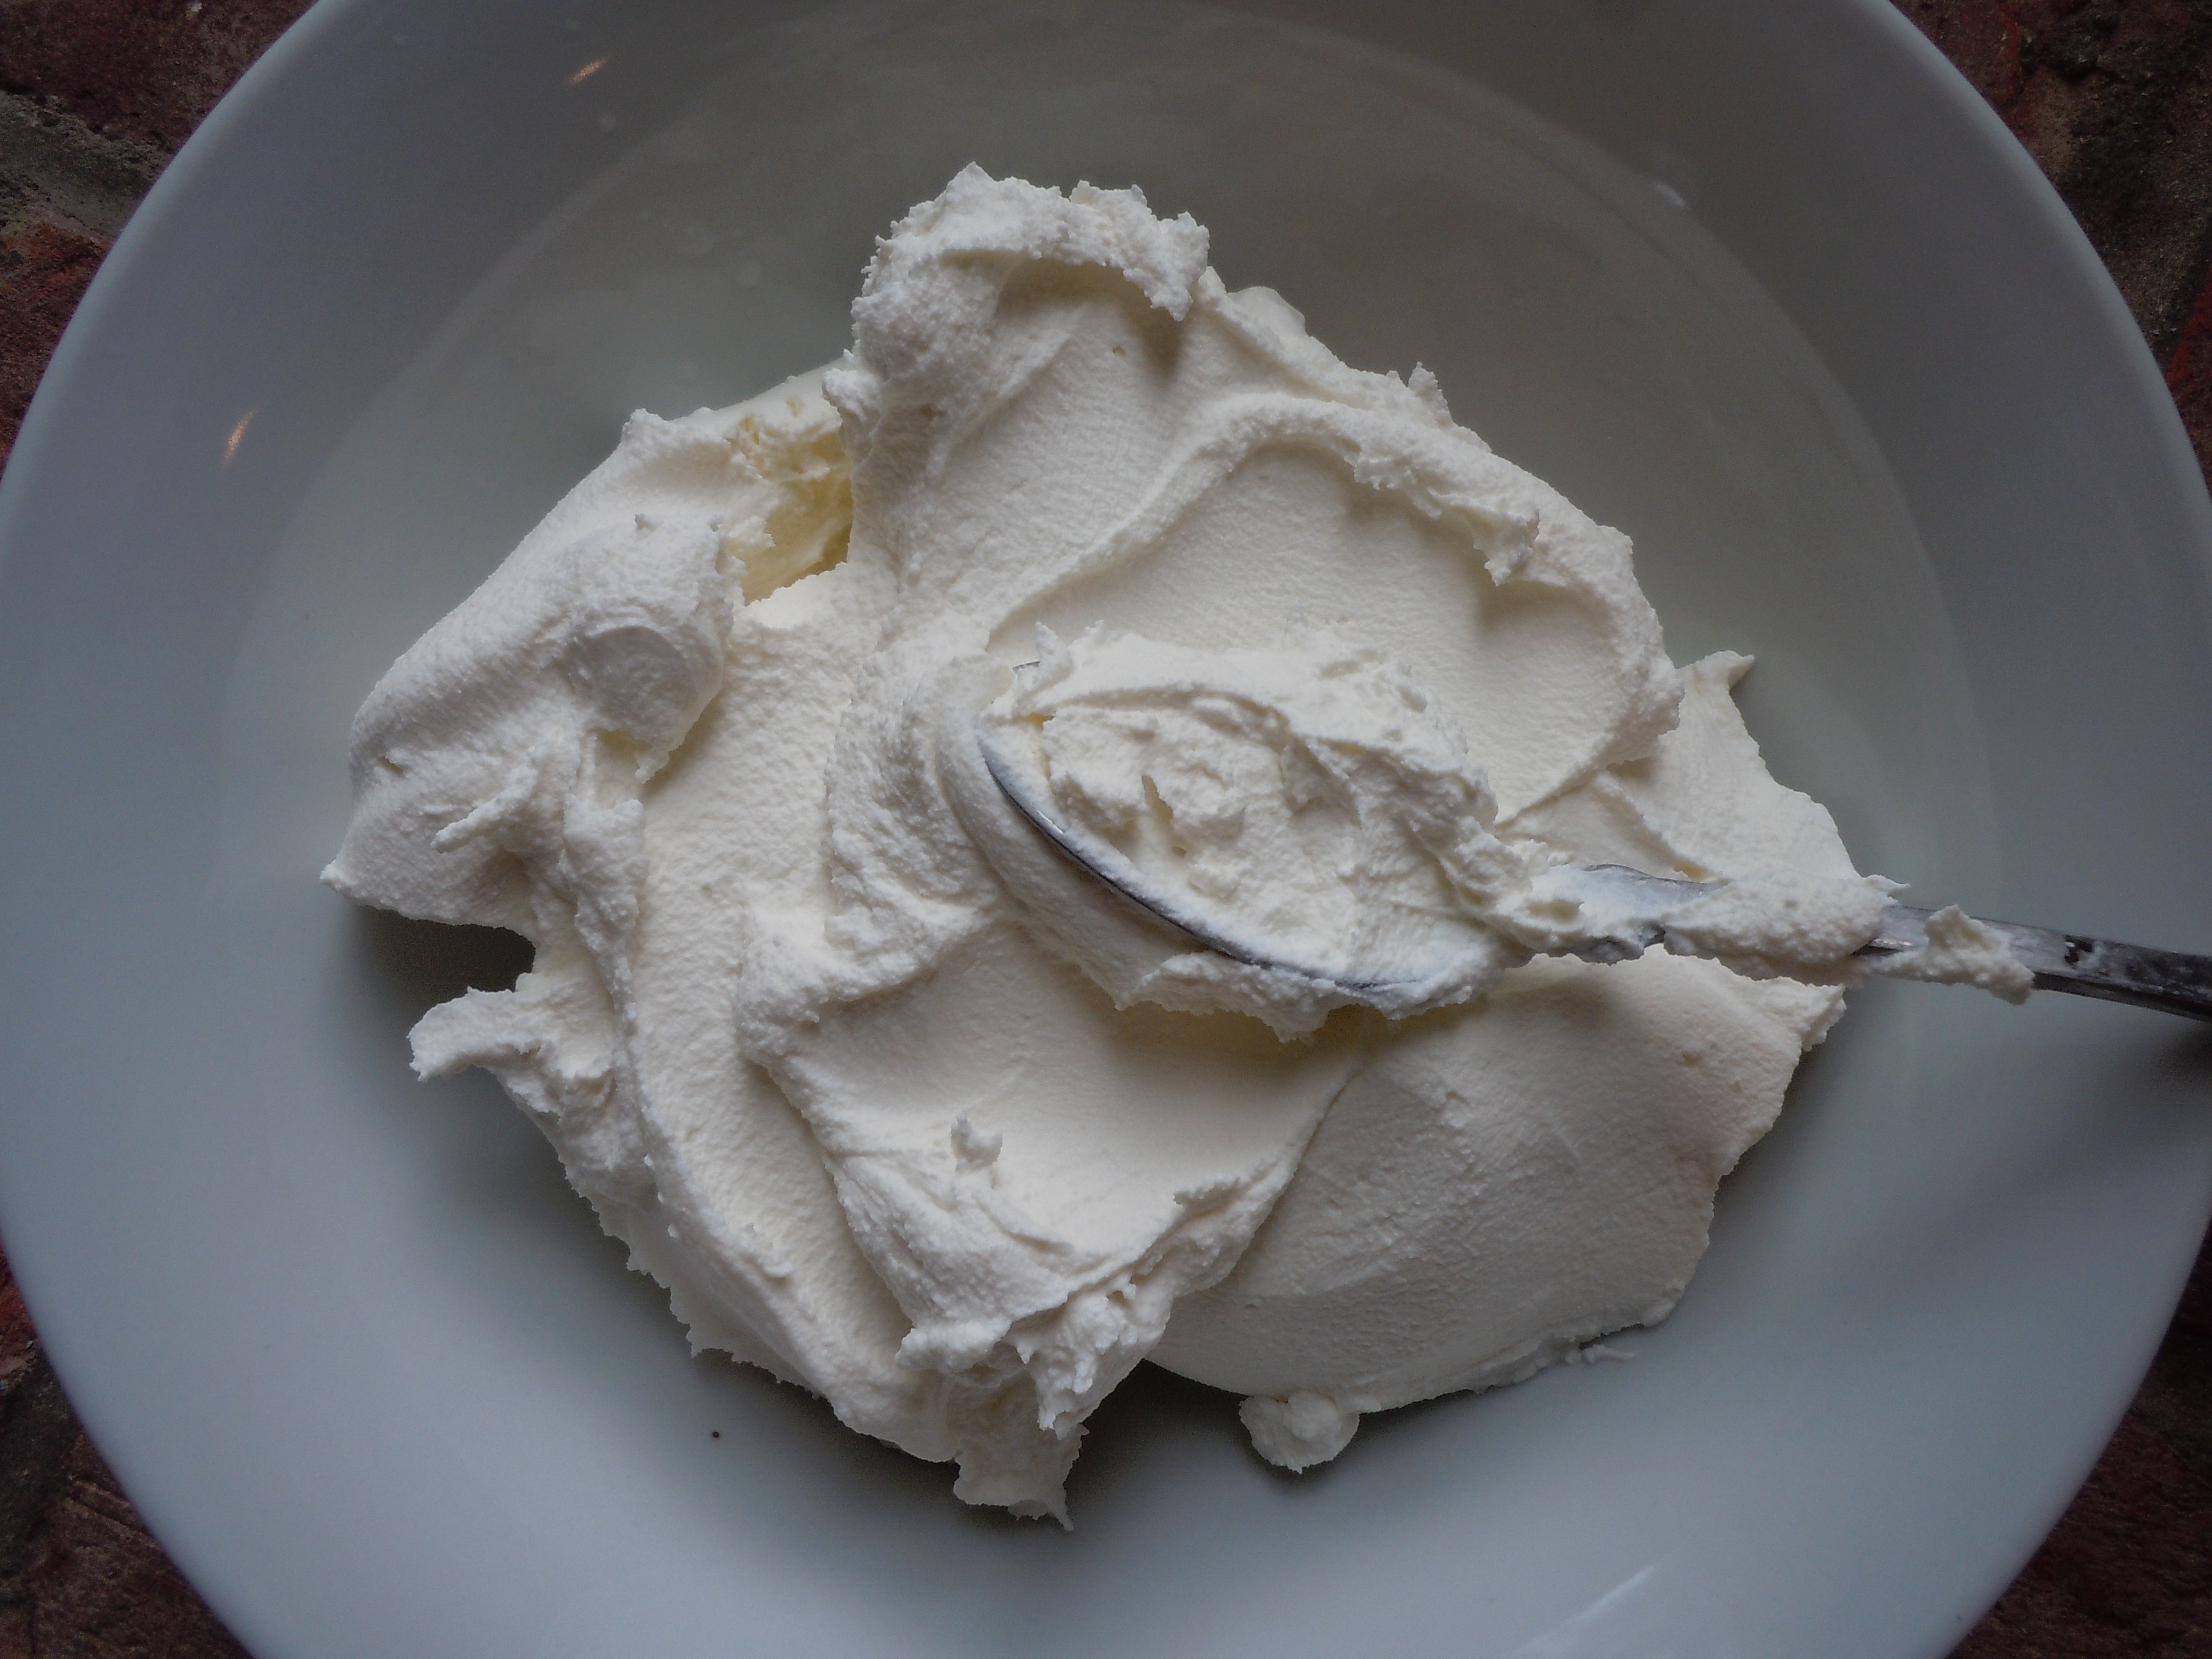
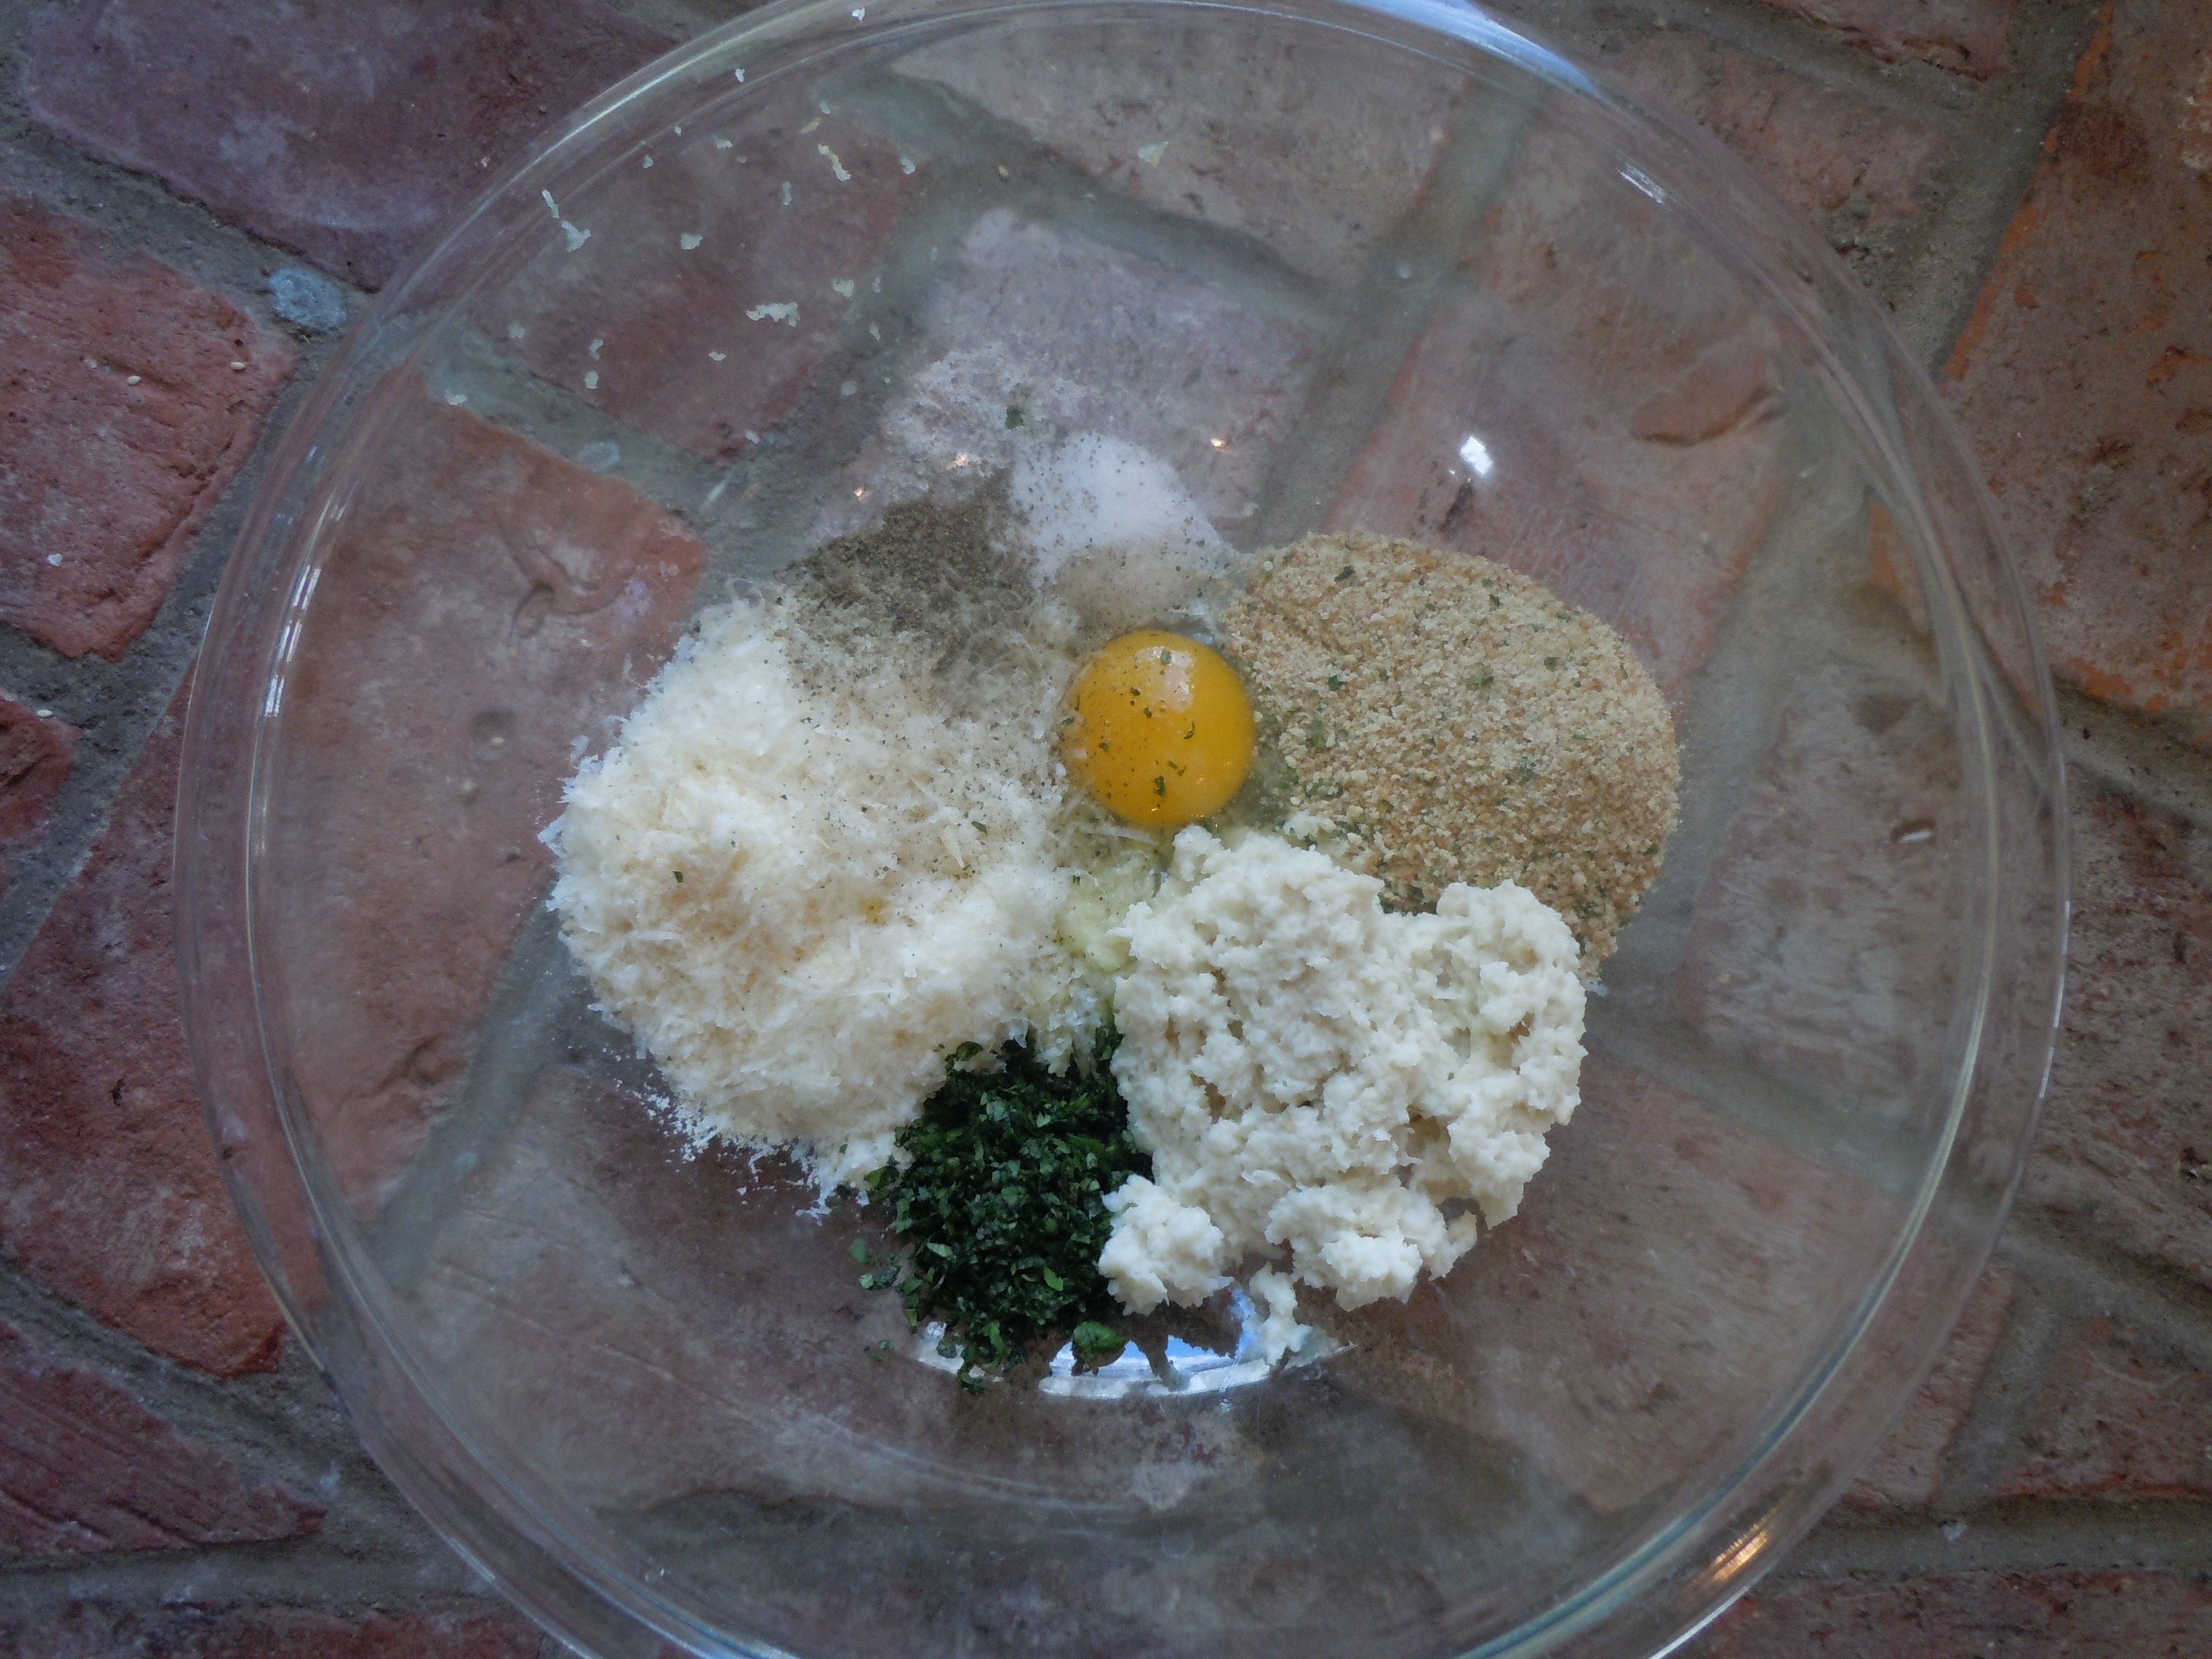
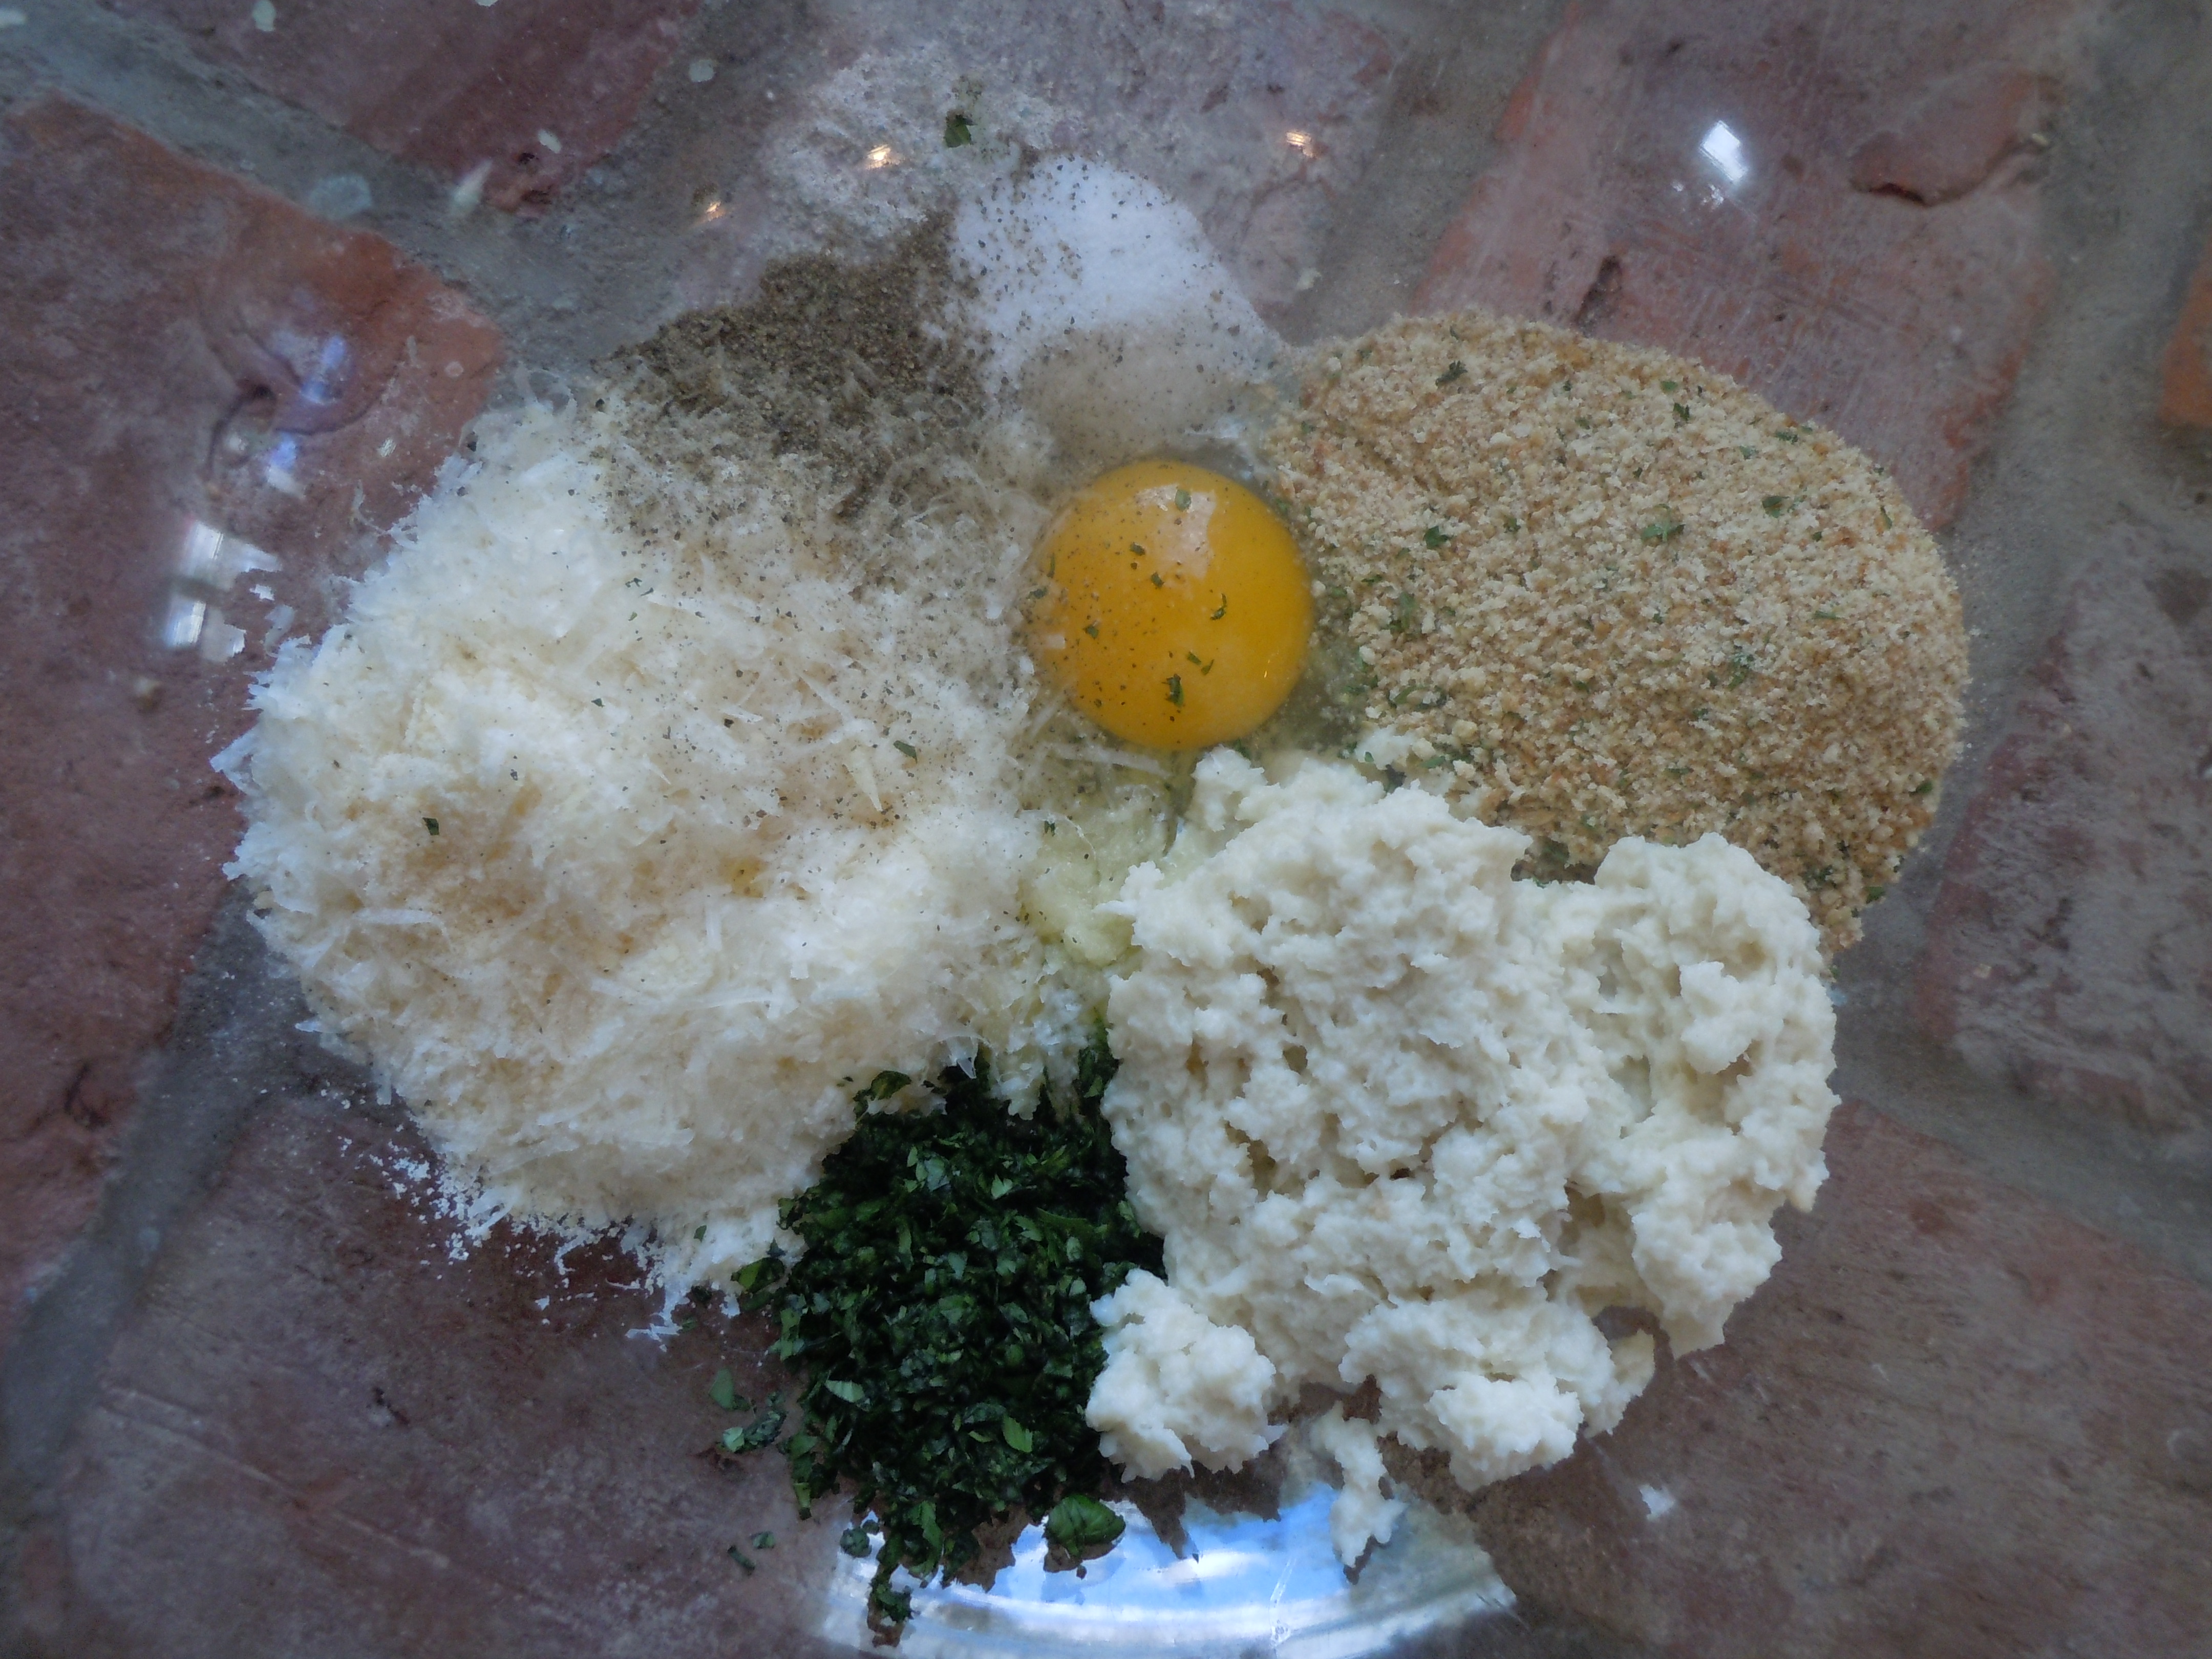
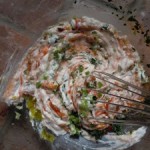
- Put ricotta in a bowl so it’s easy to work with
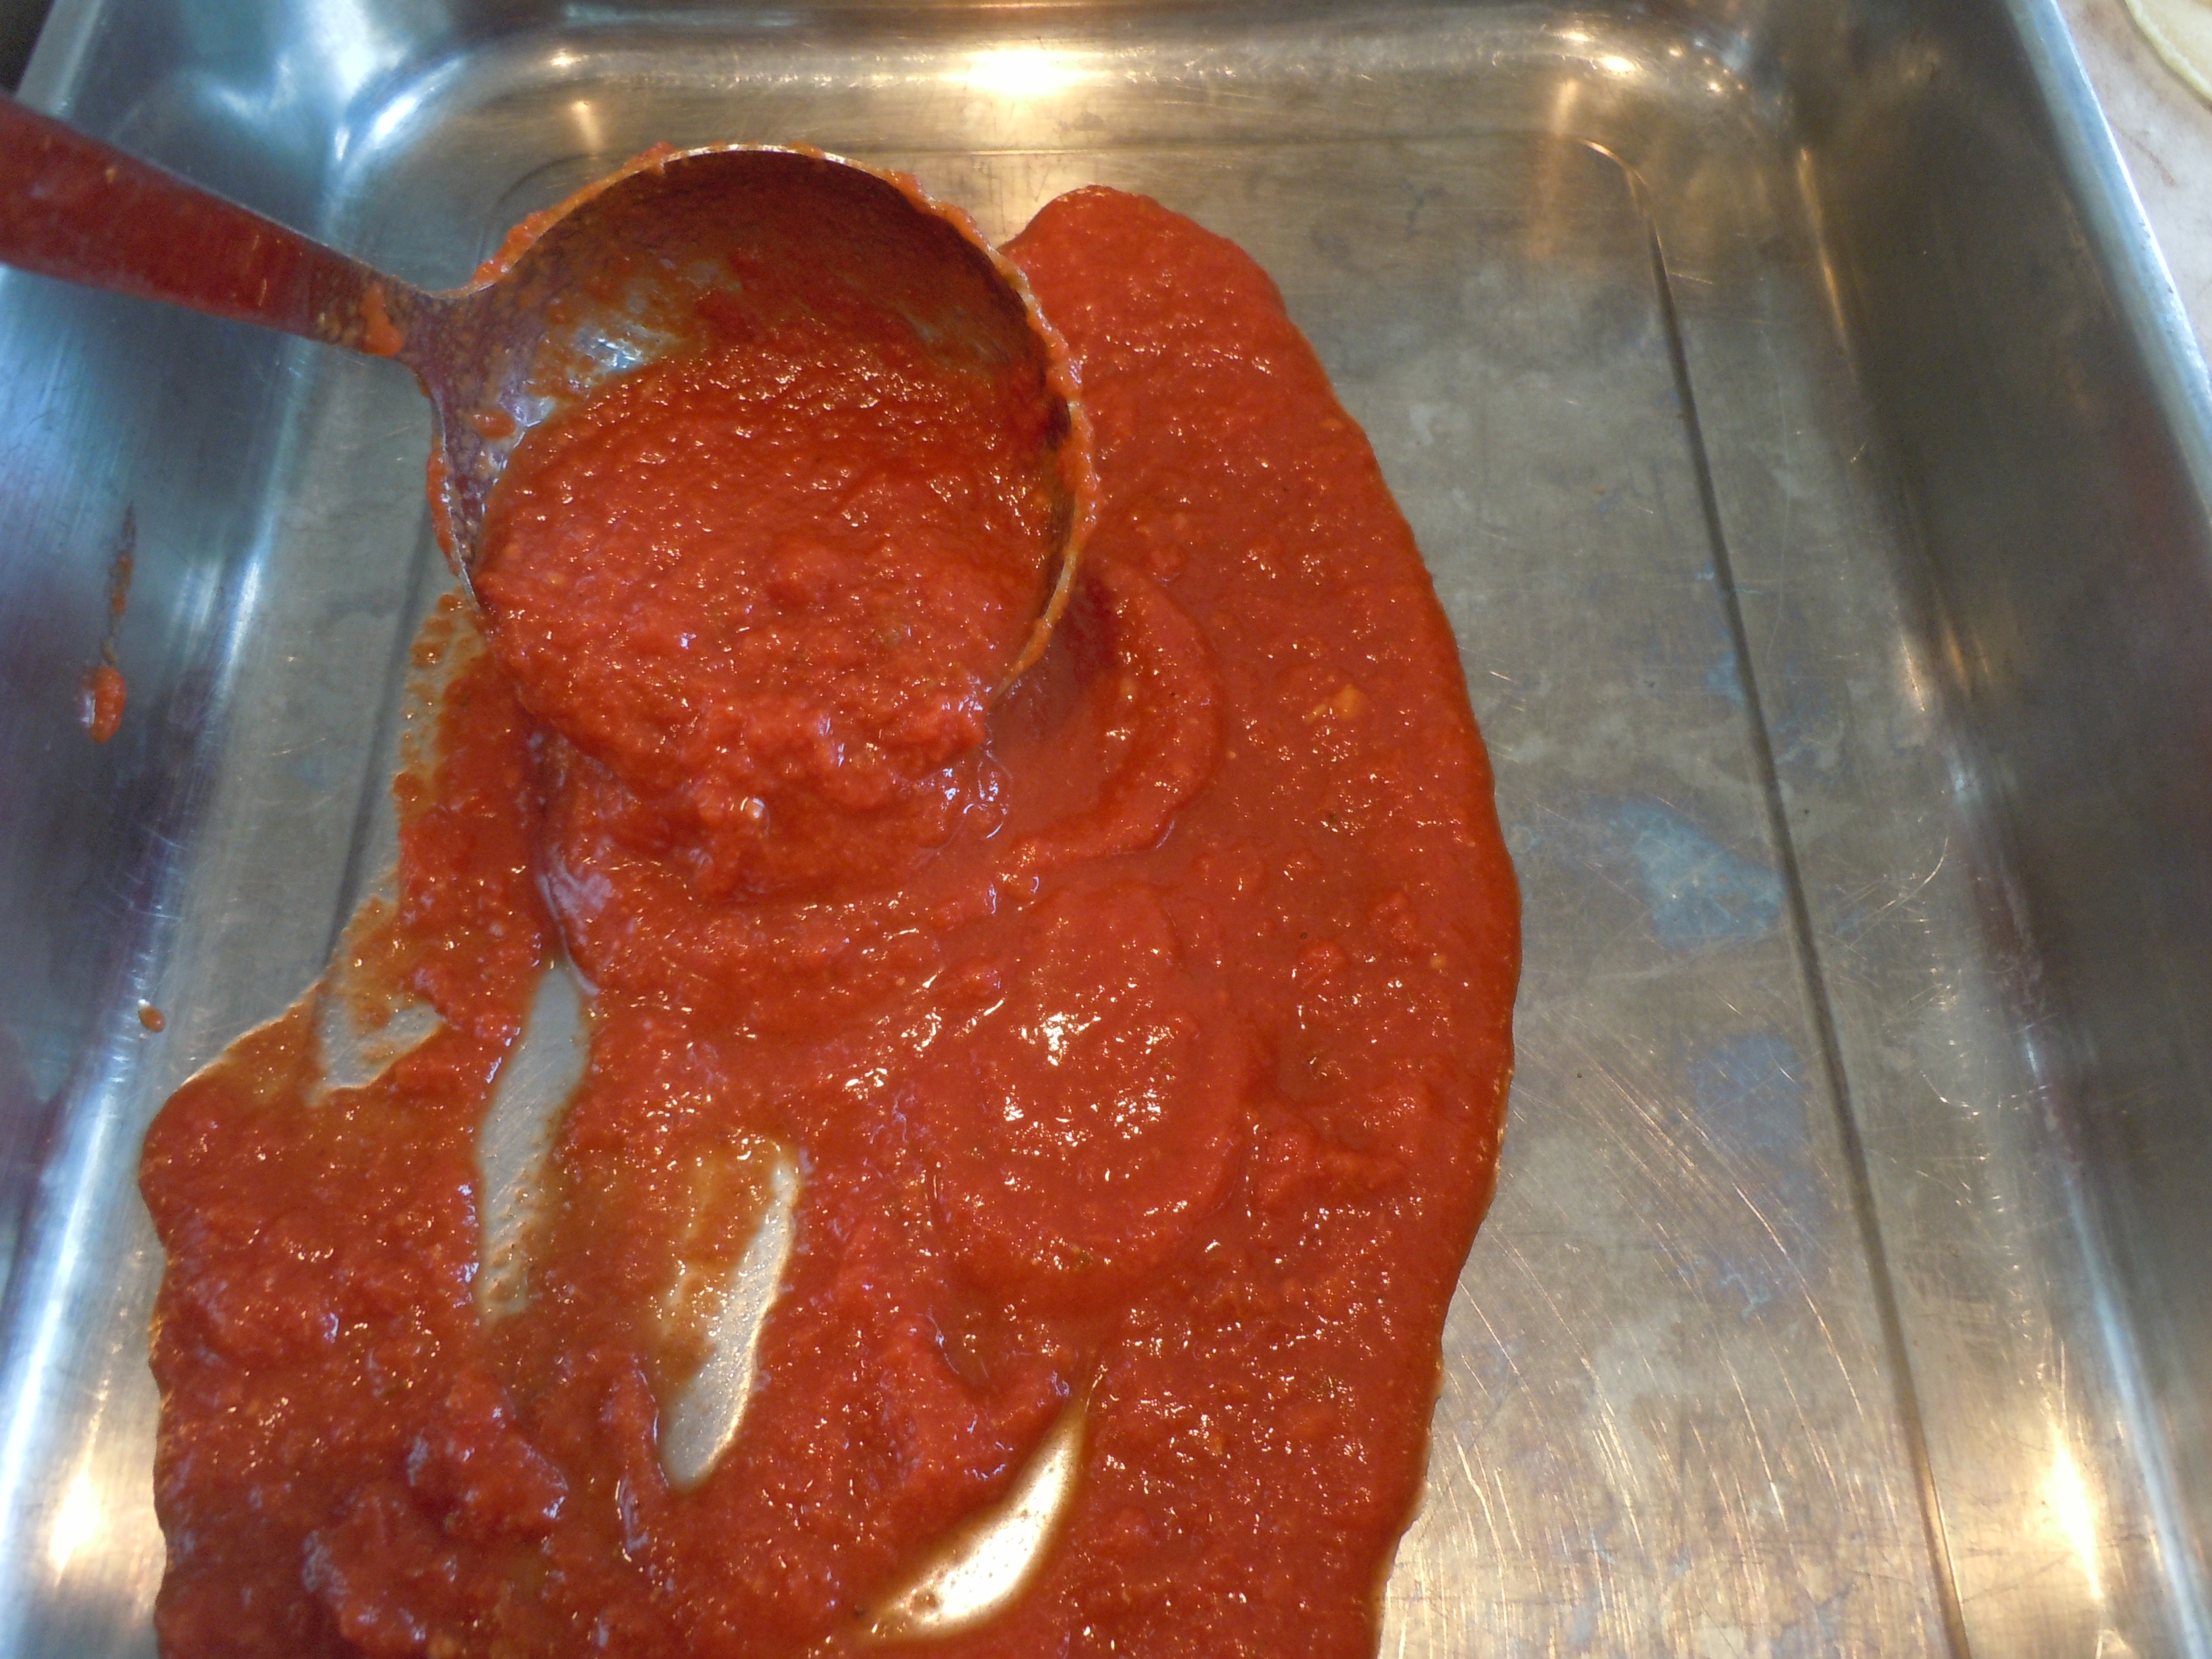
- Pour about 2 cup of tomato sauce into the baking pan
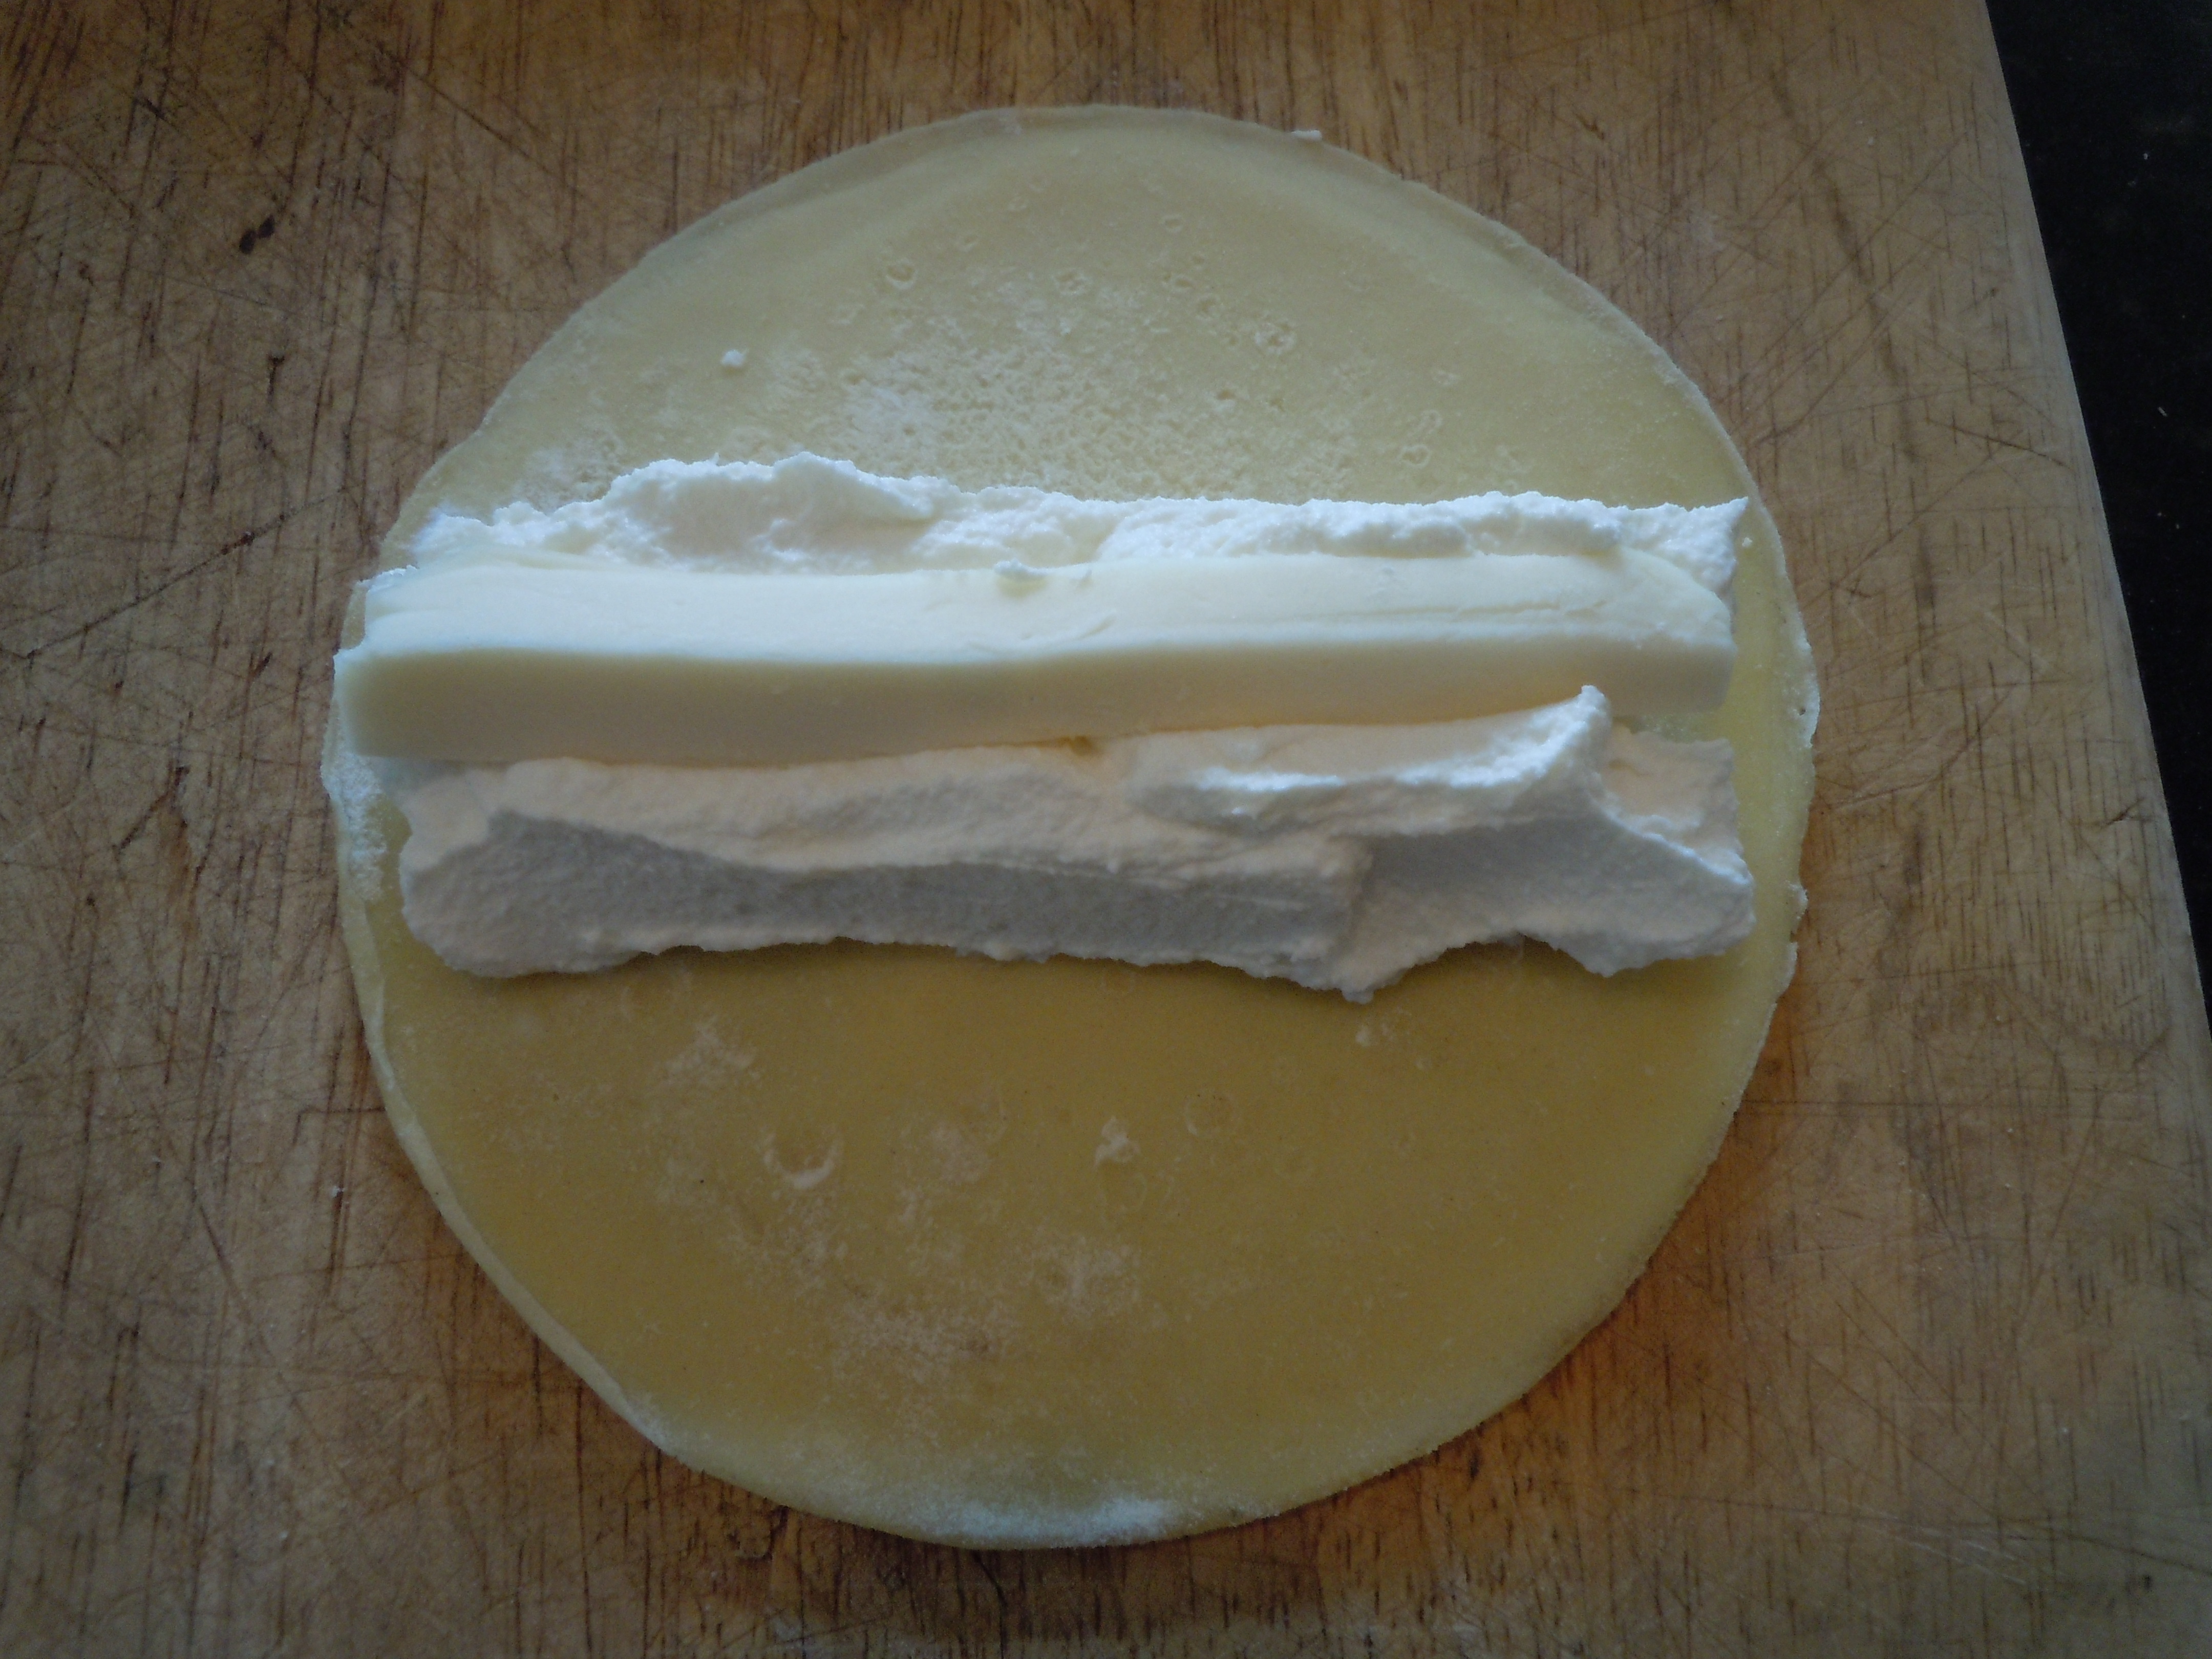
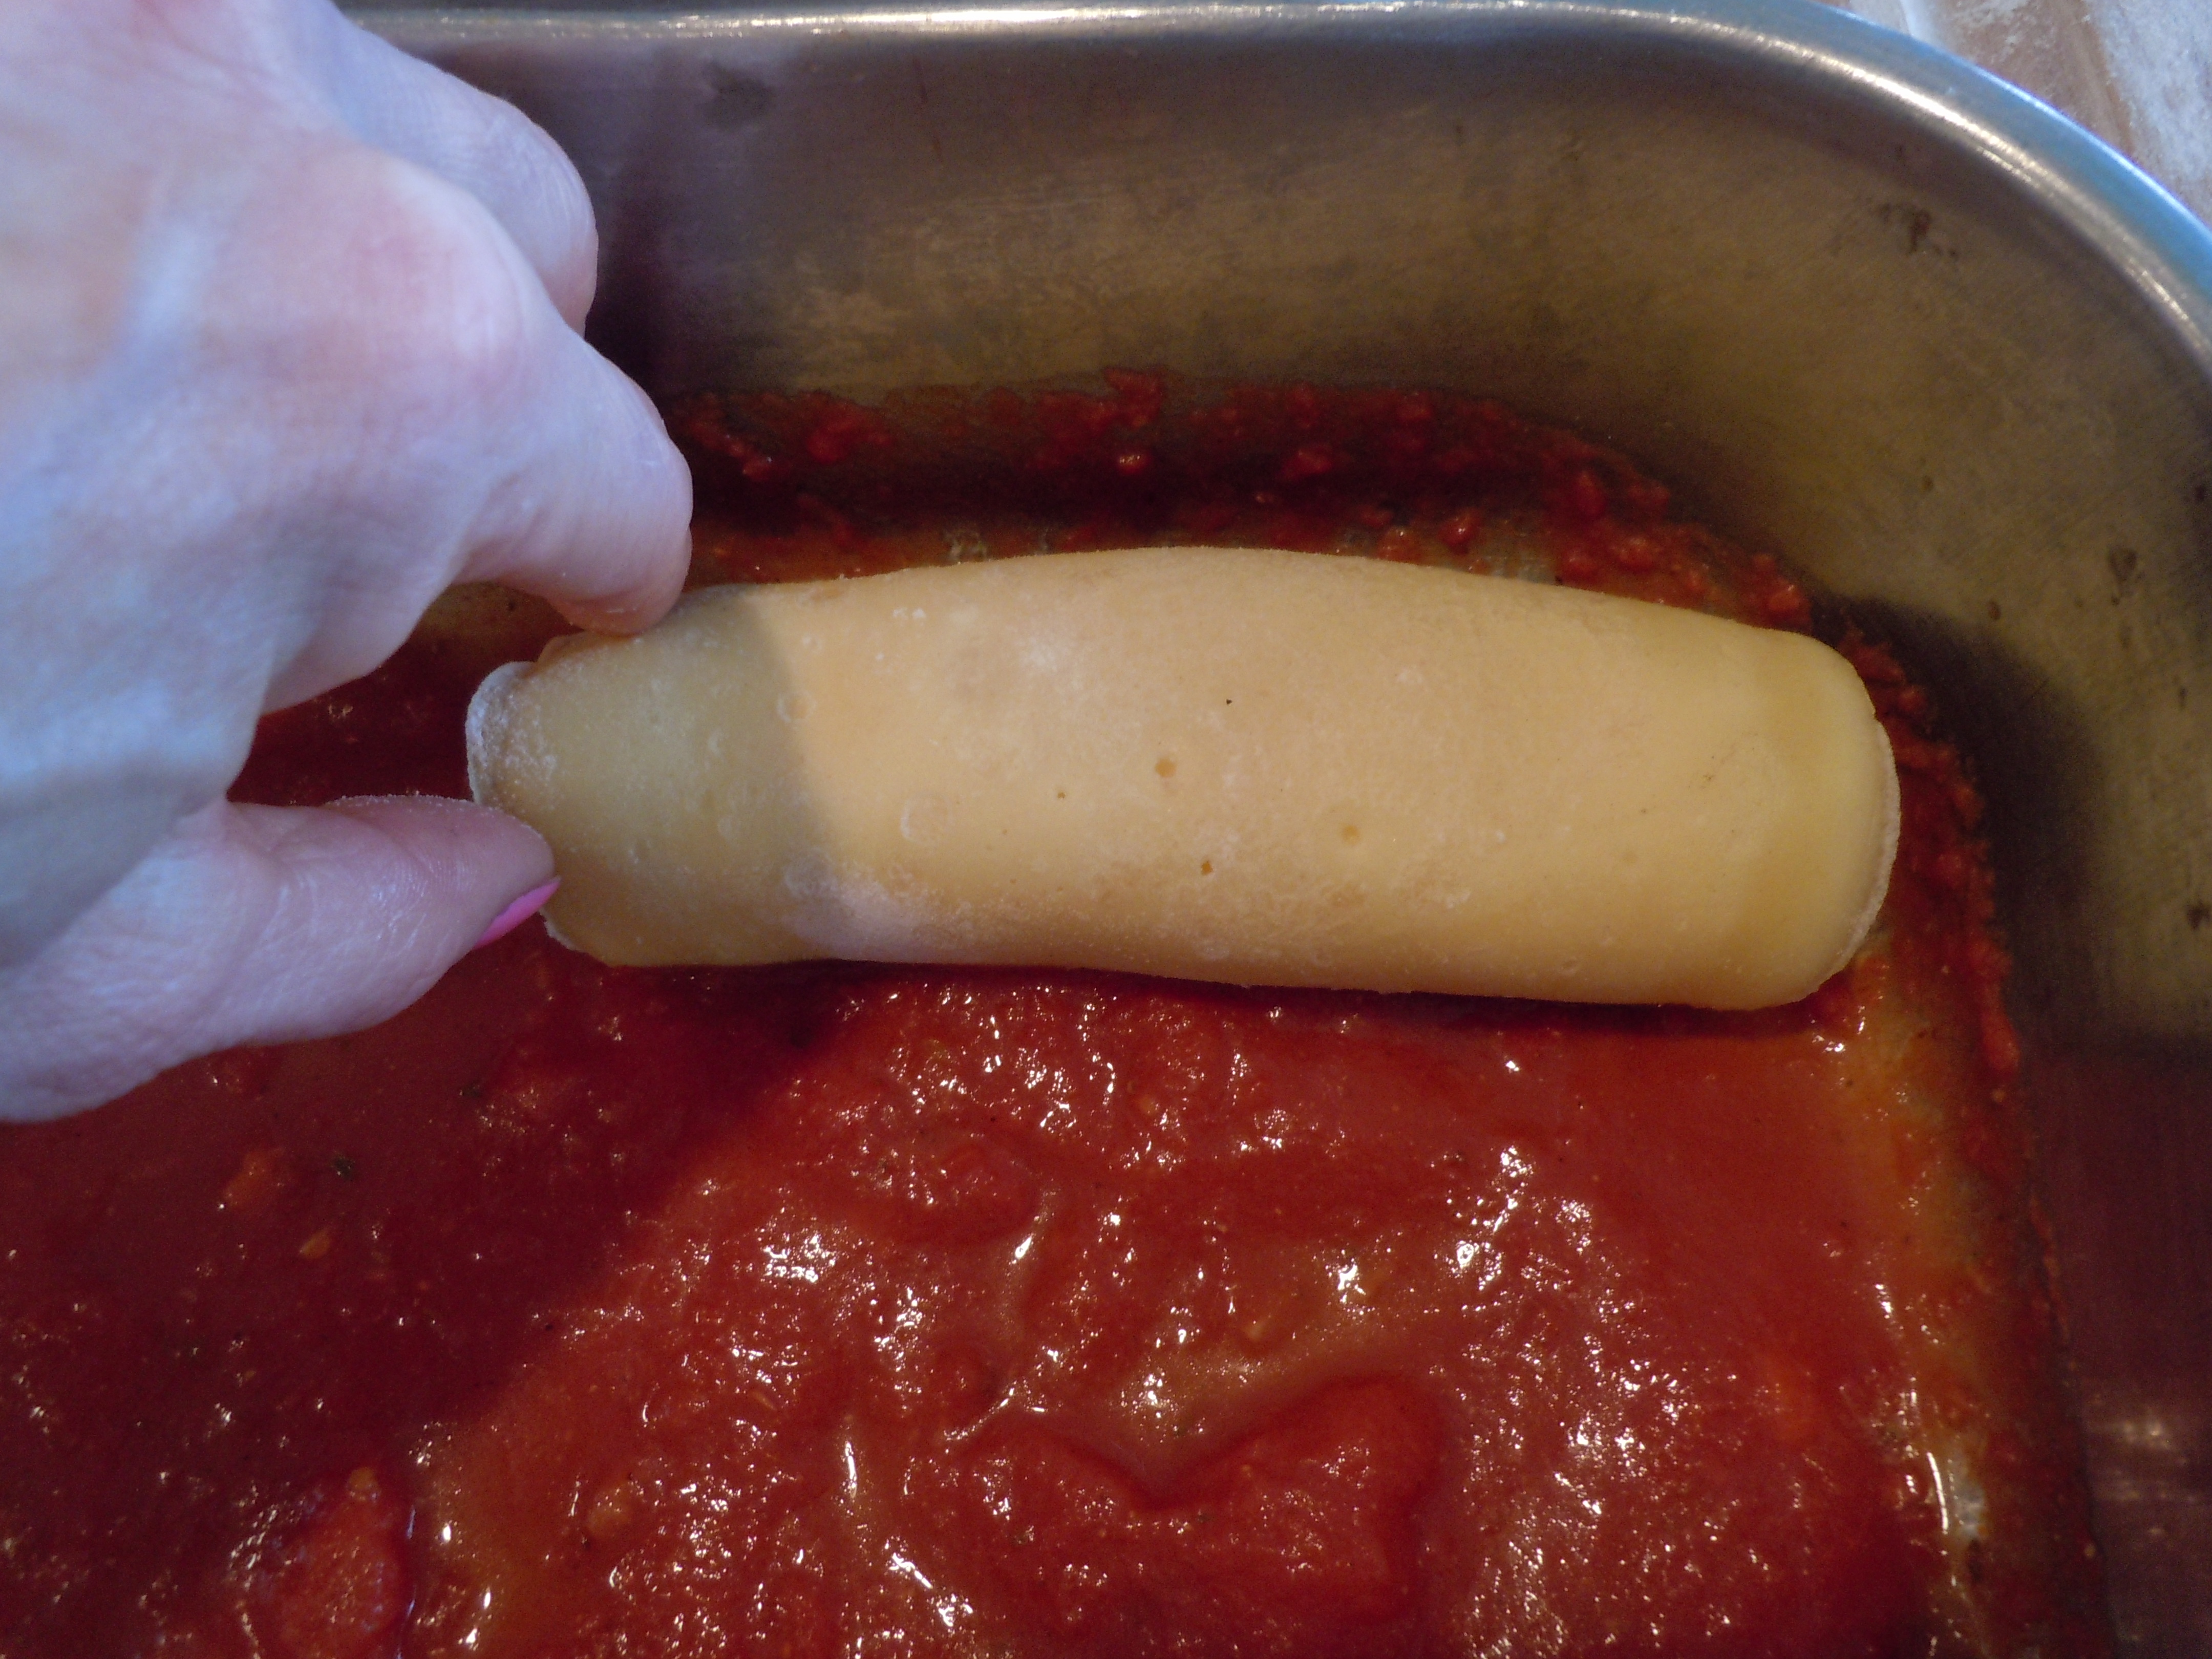
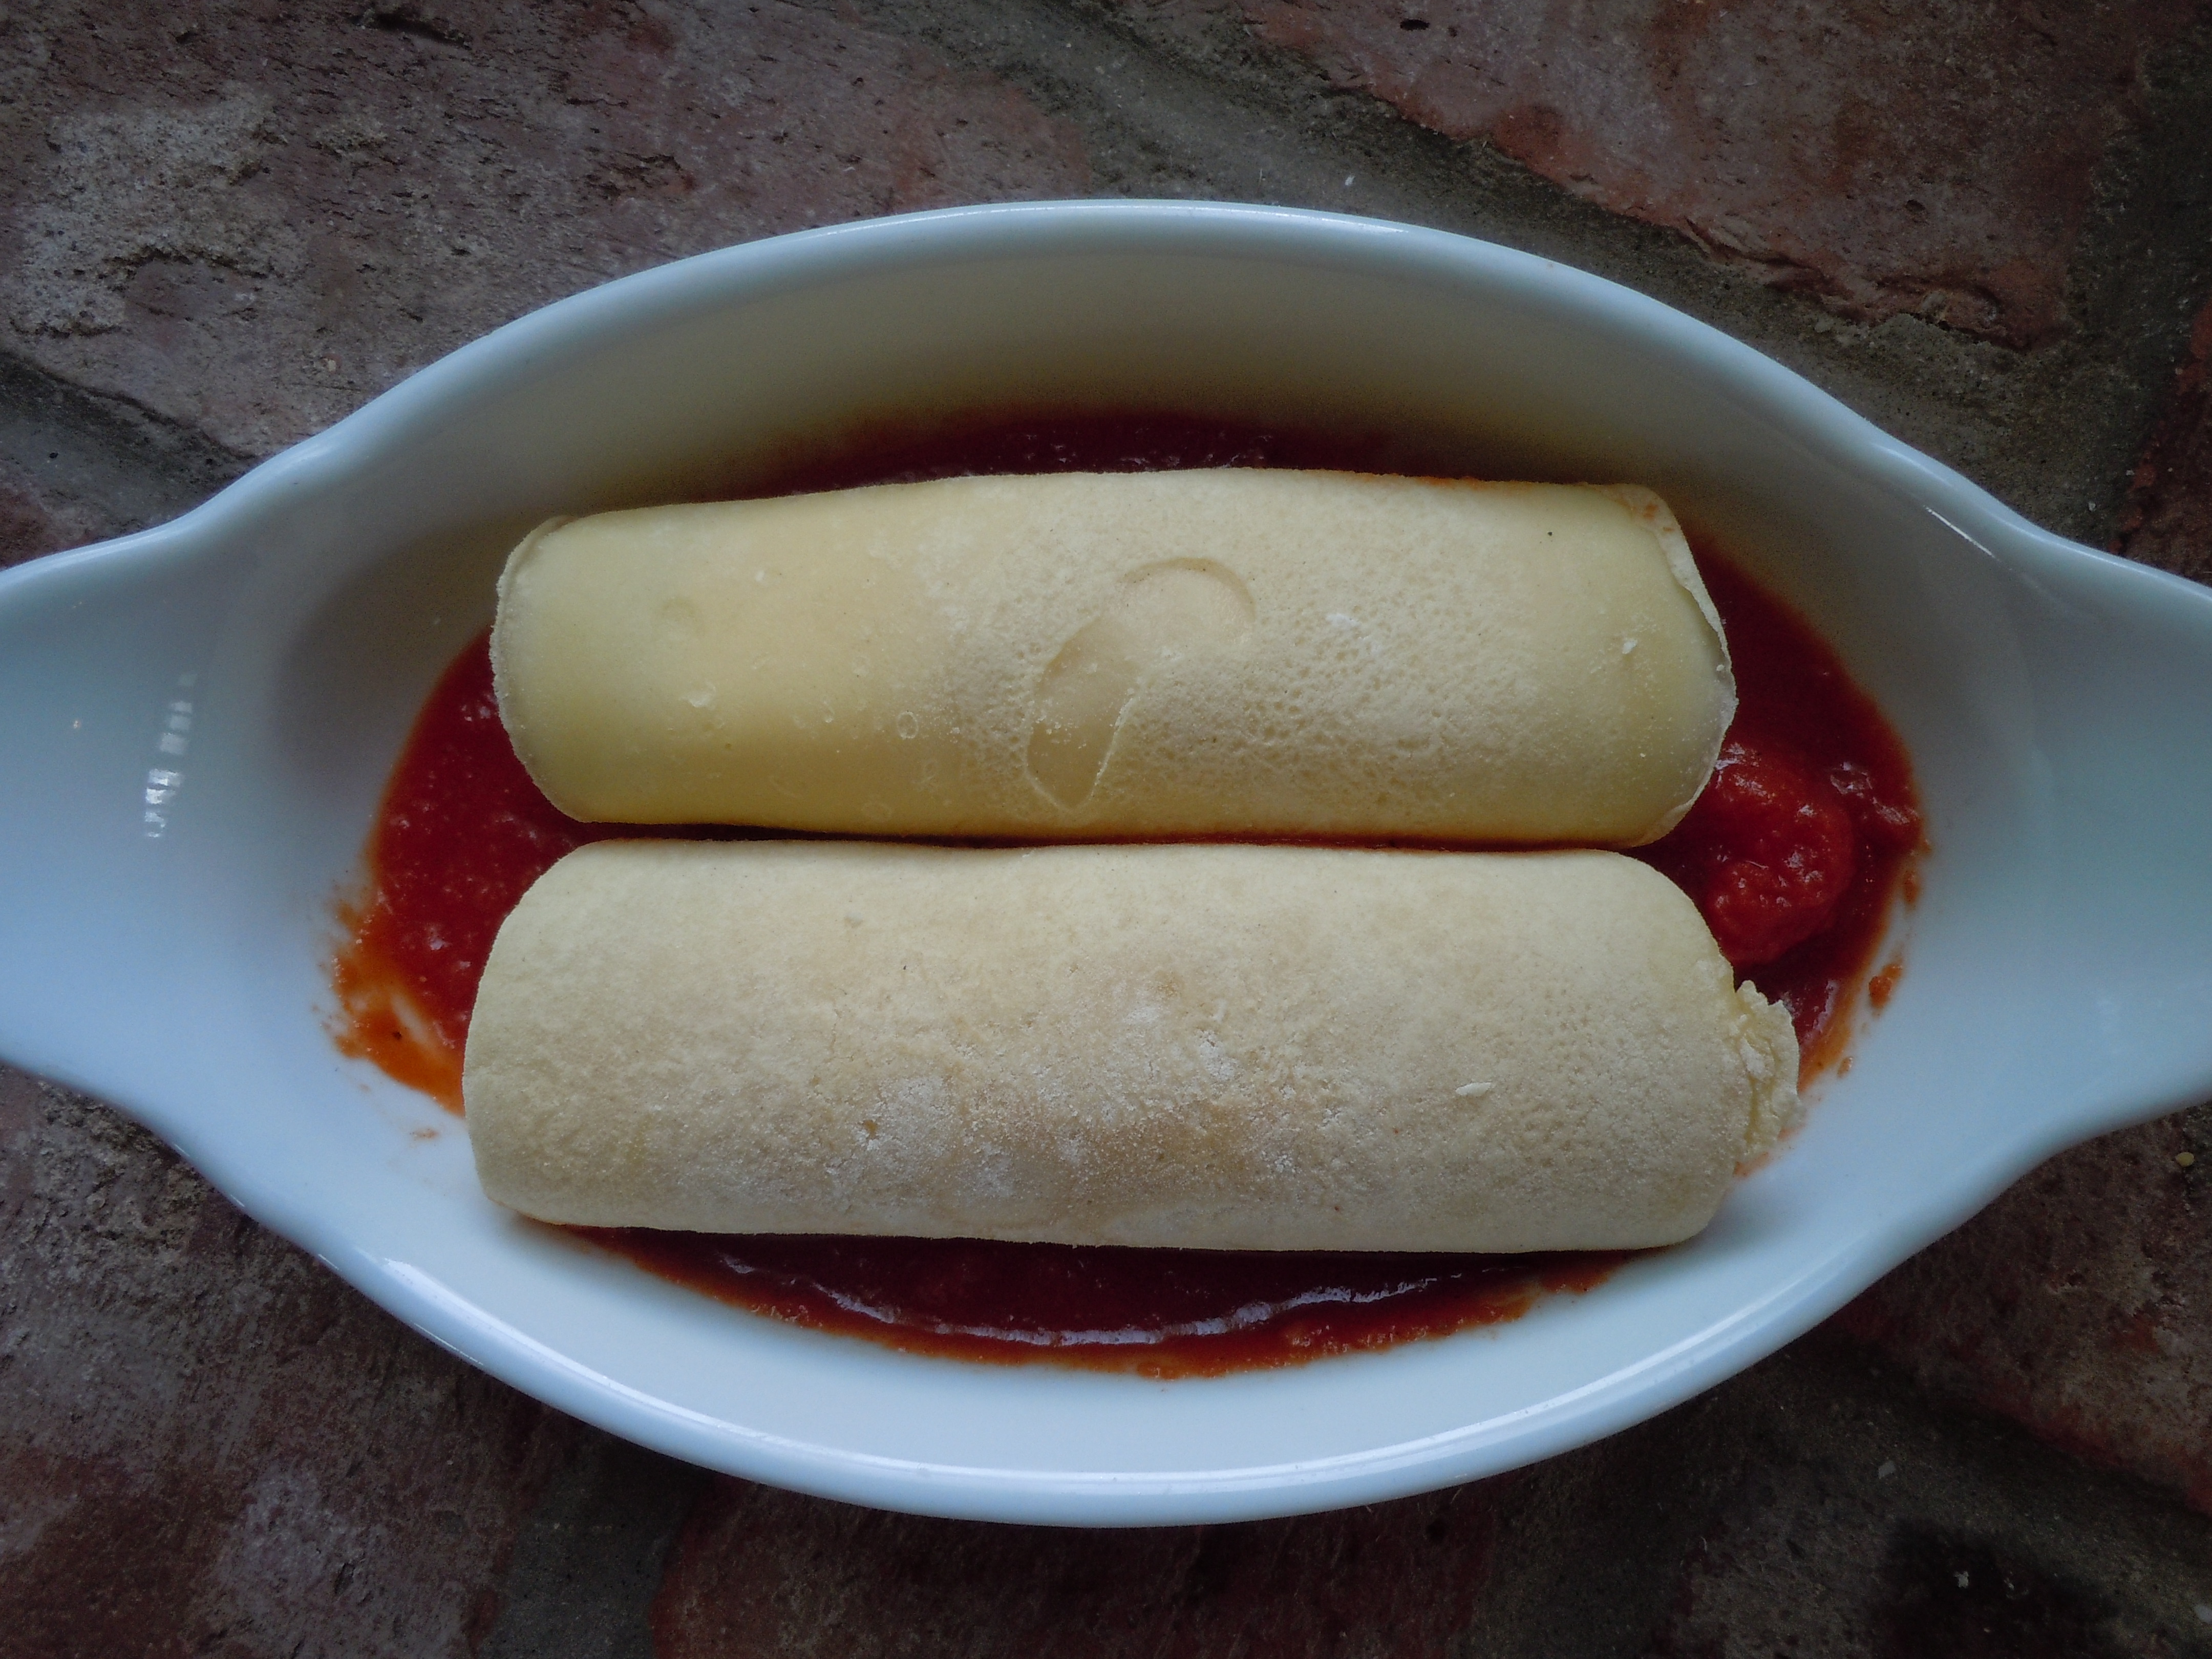
- Lay out manicotti crepe and scoop 1/4 cup ricotta going across the center of the circle as shown in the photo
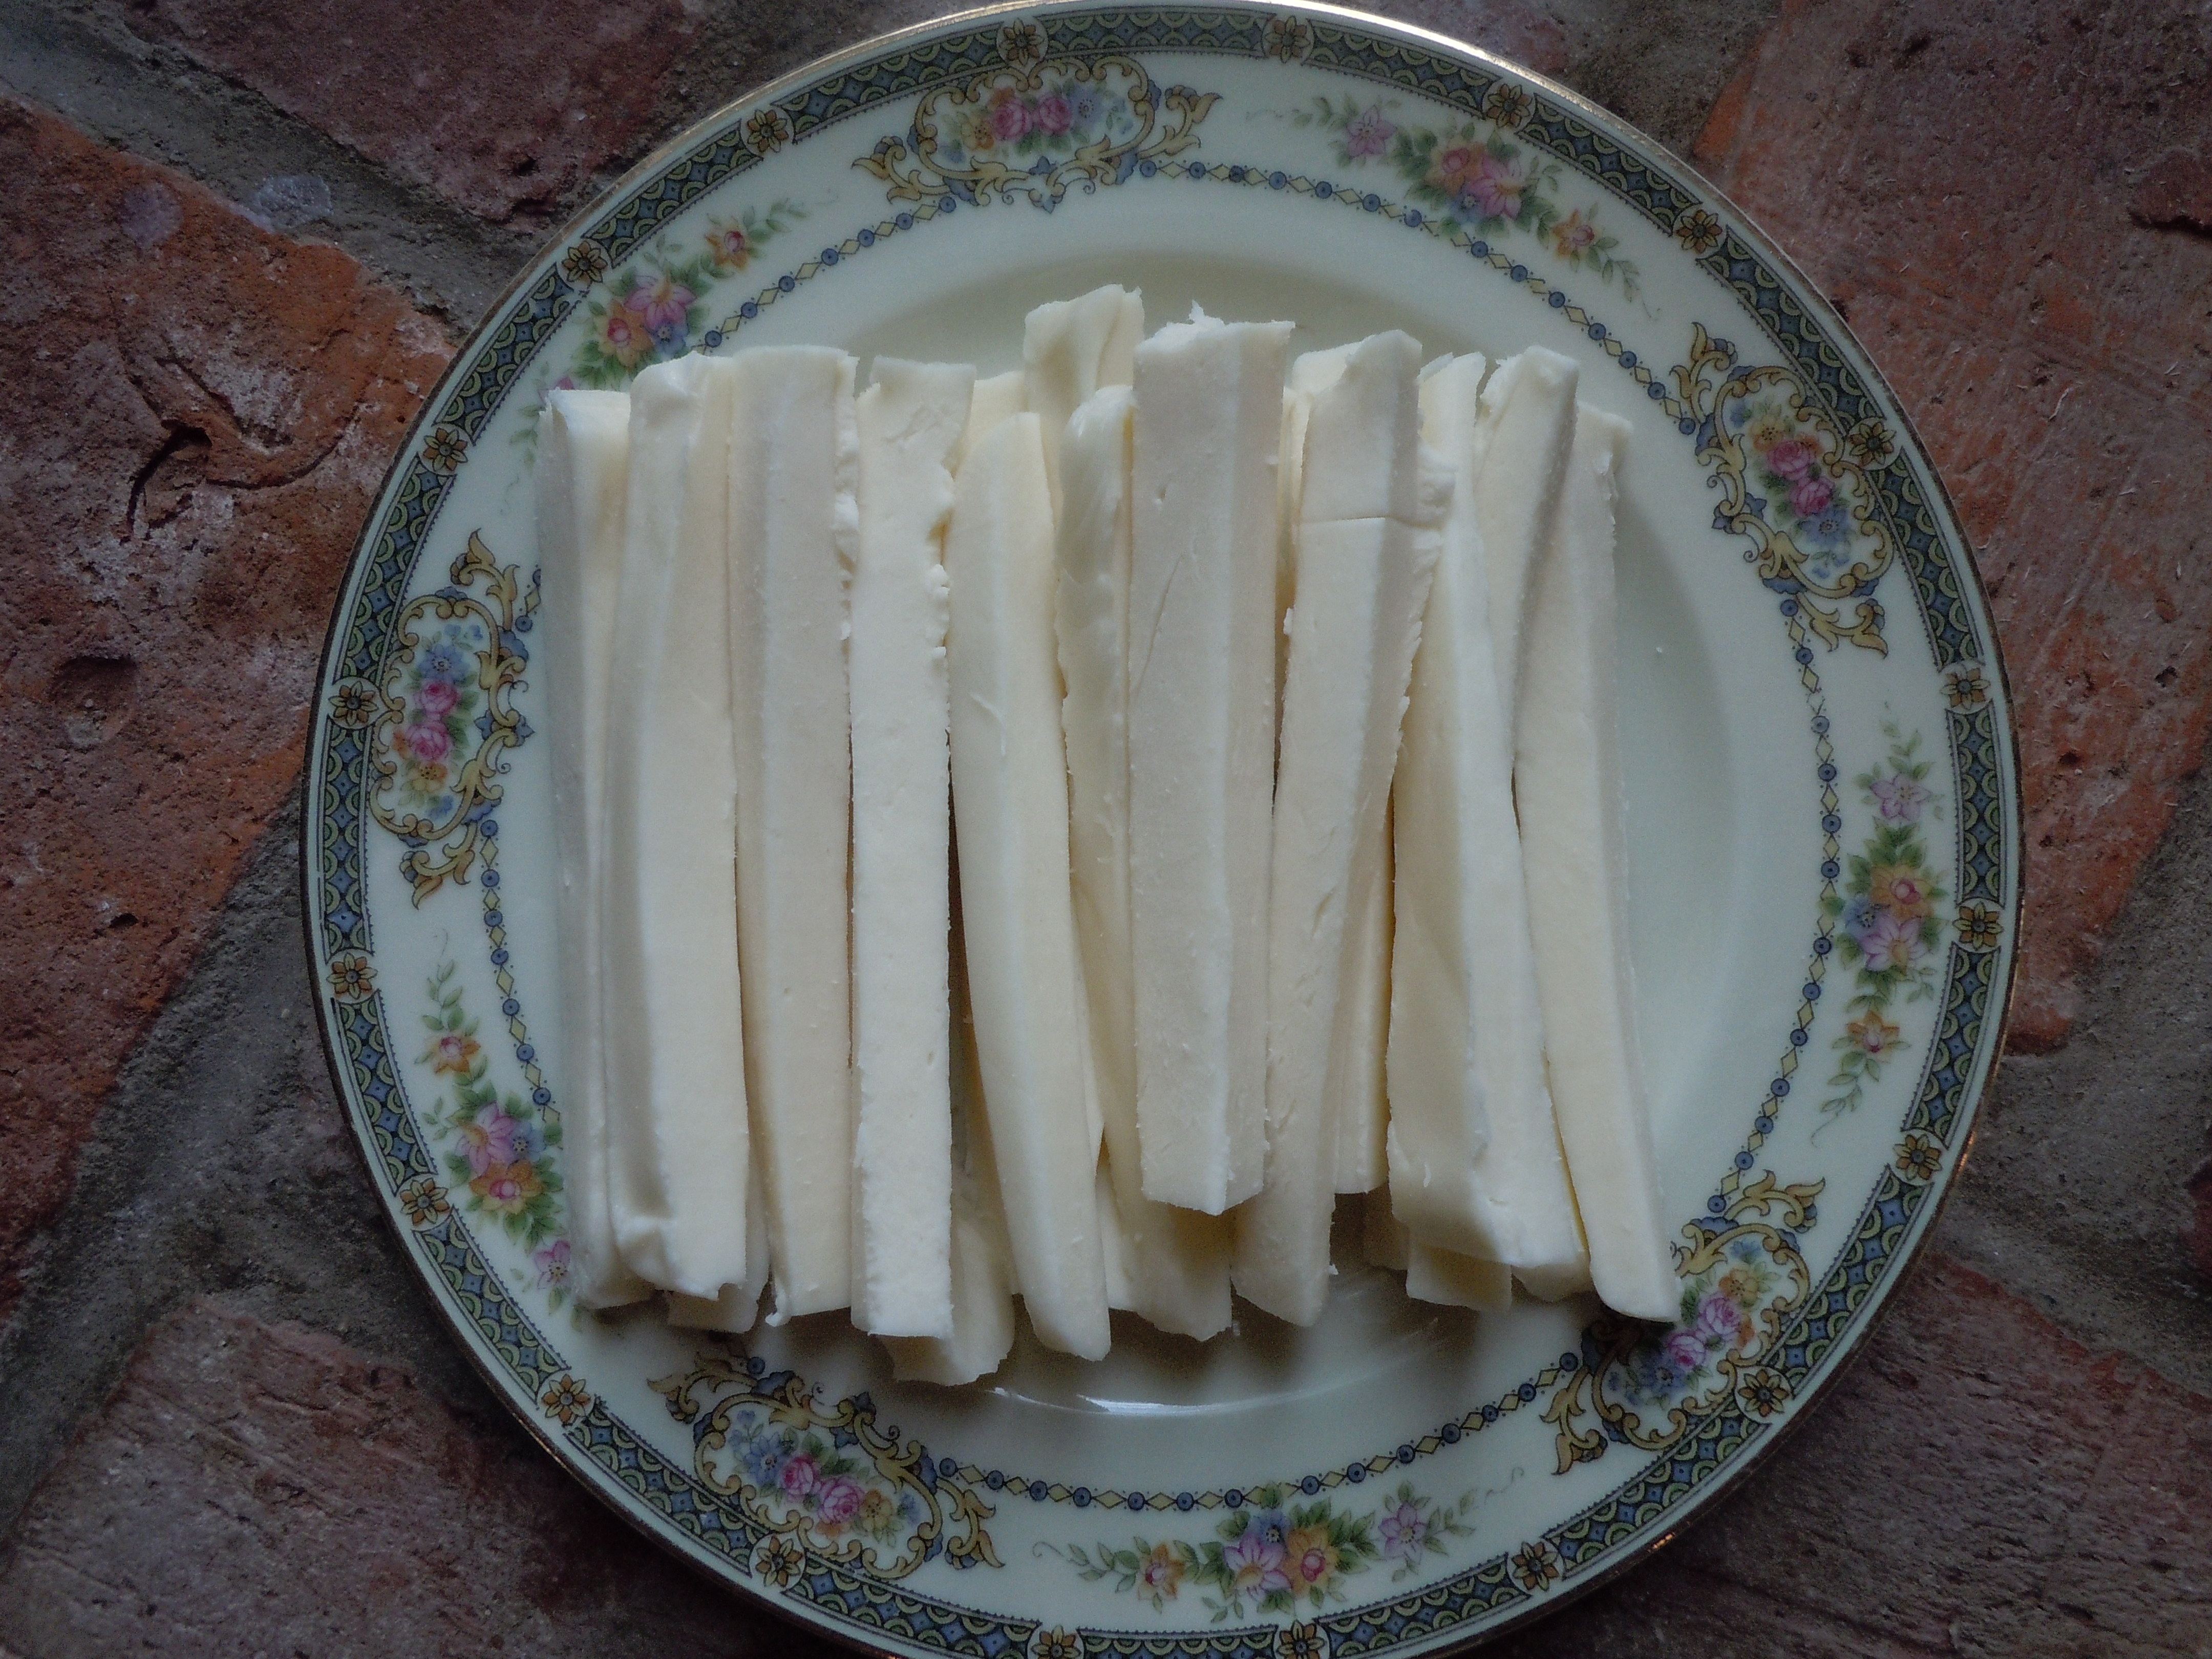
- Lay a piece of mozzarella in the center and roll up manicotti
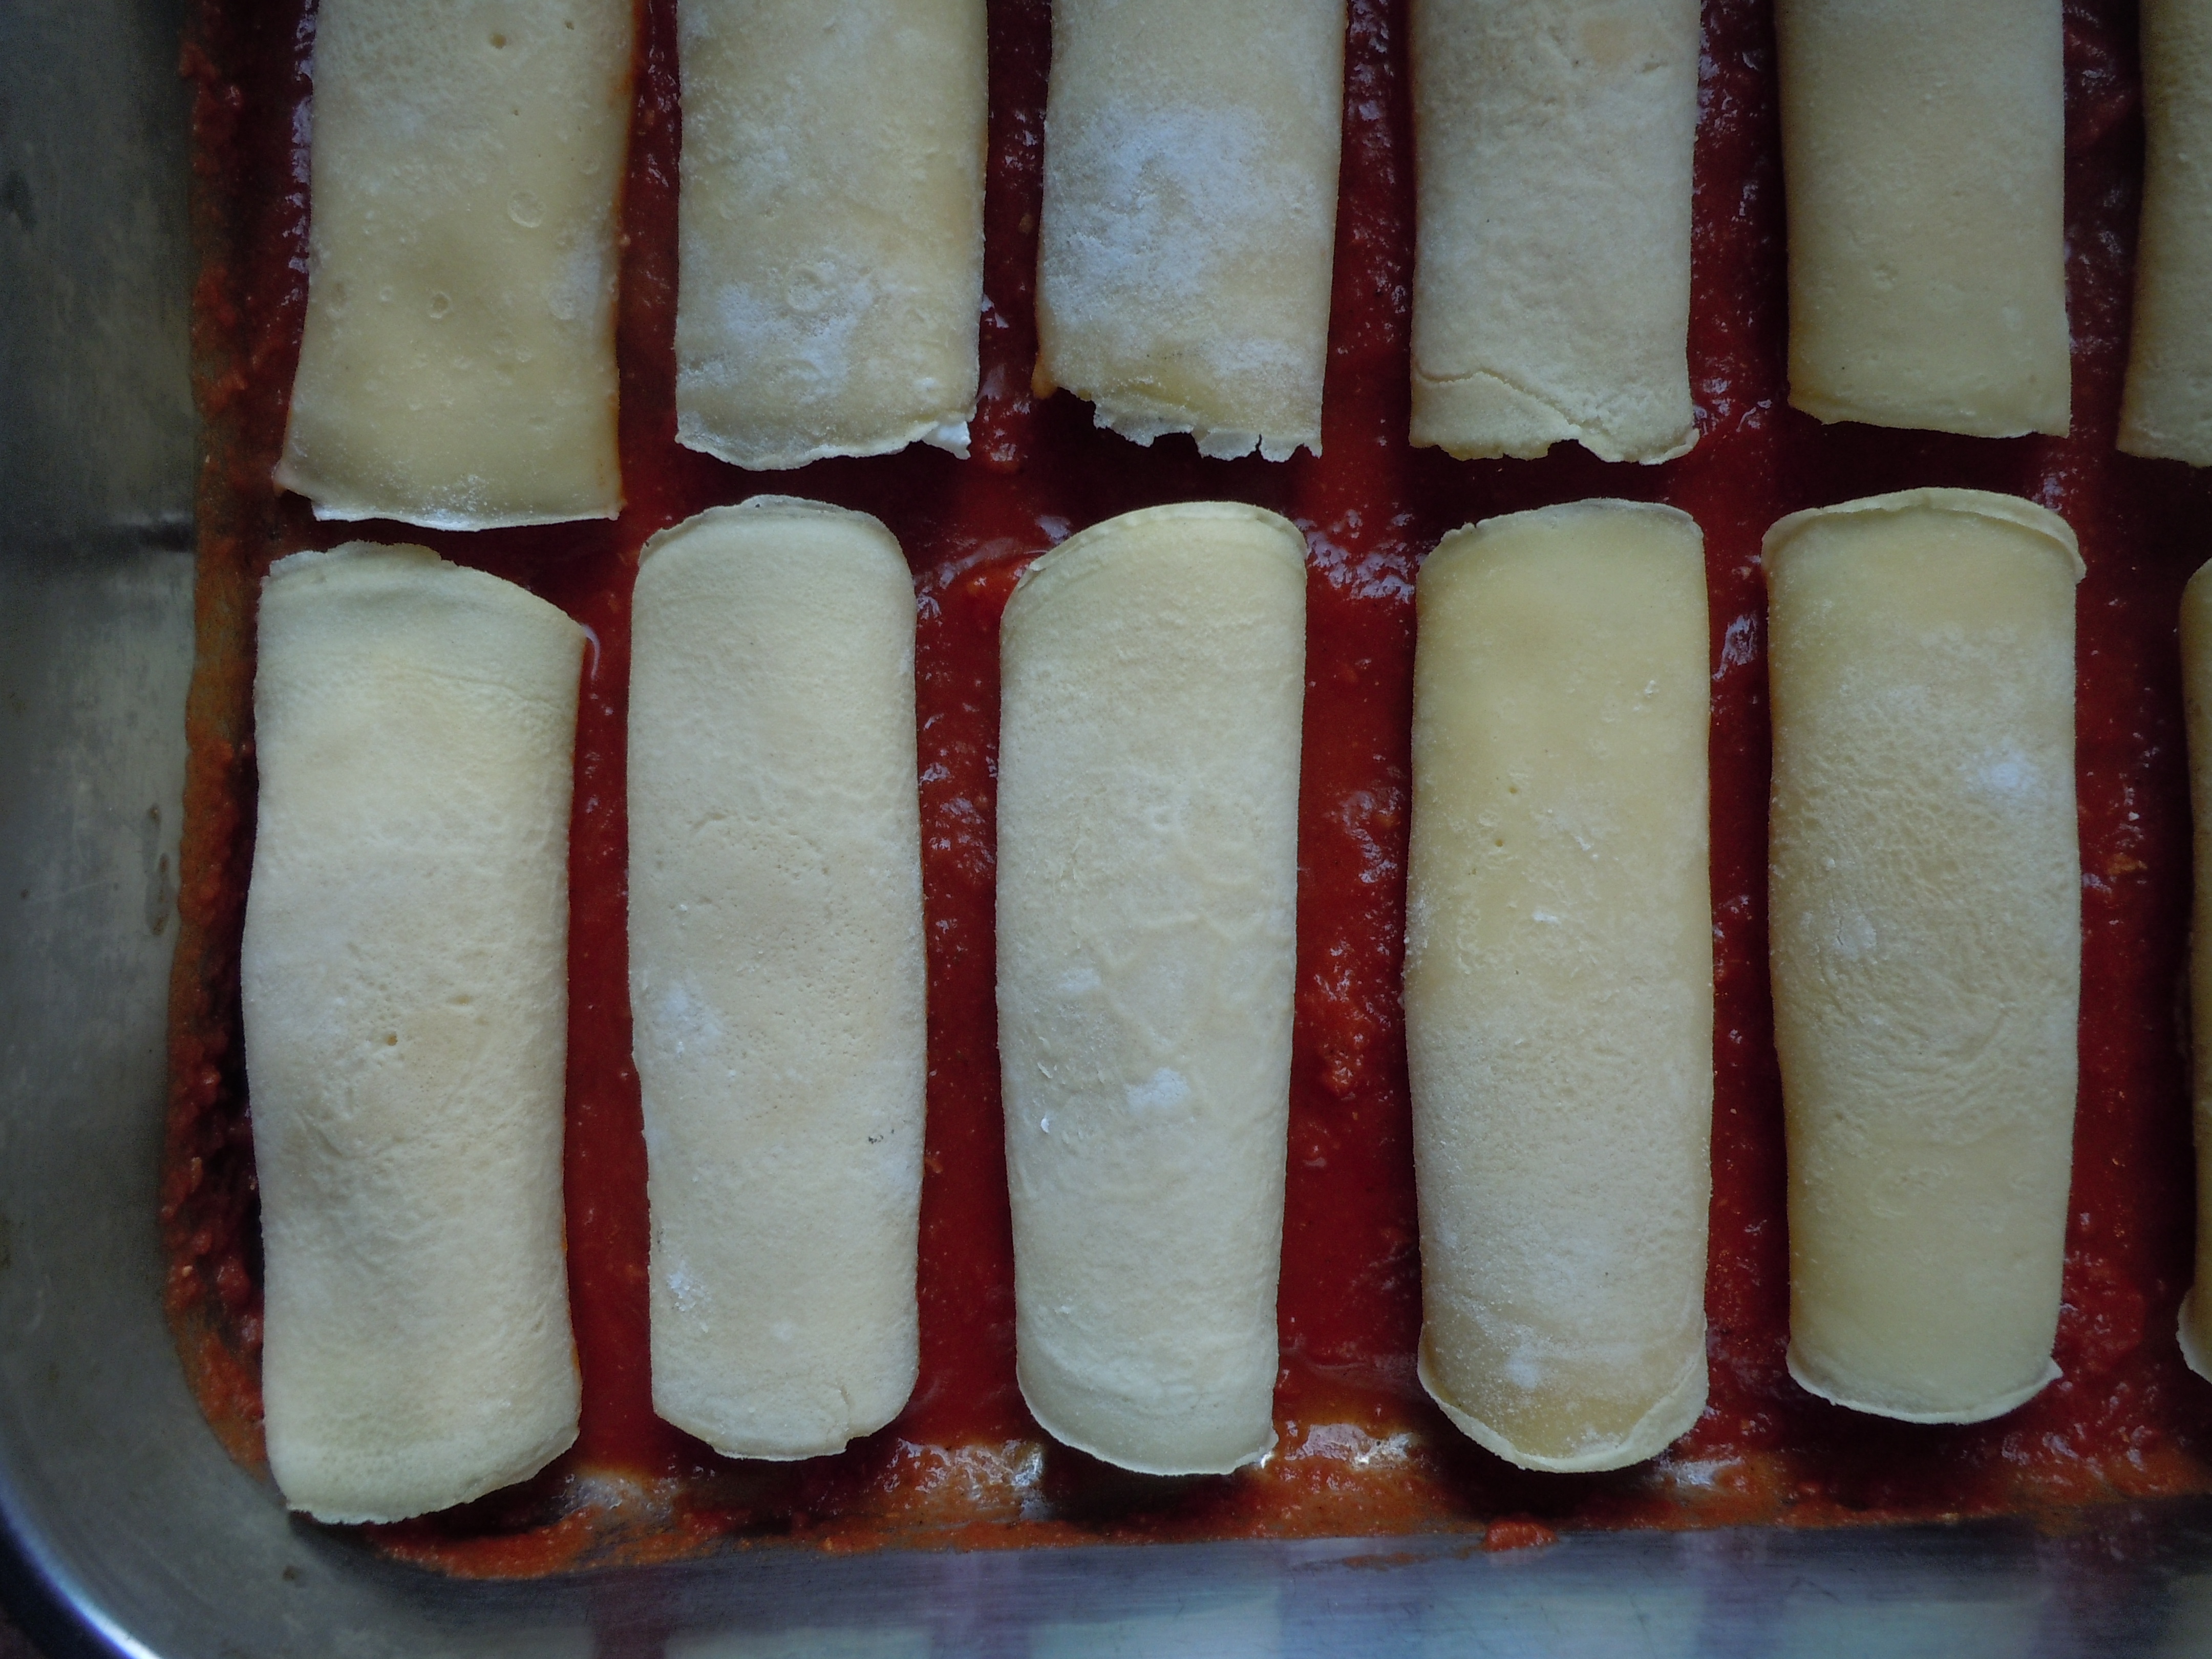
- Place rolled manicotti on top of sauce in pan and continue on until all the pasta crepes are done
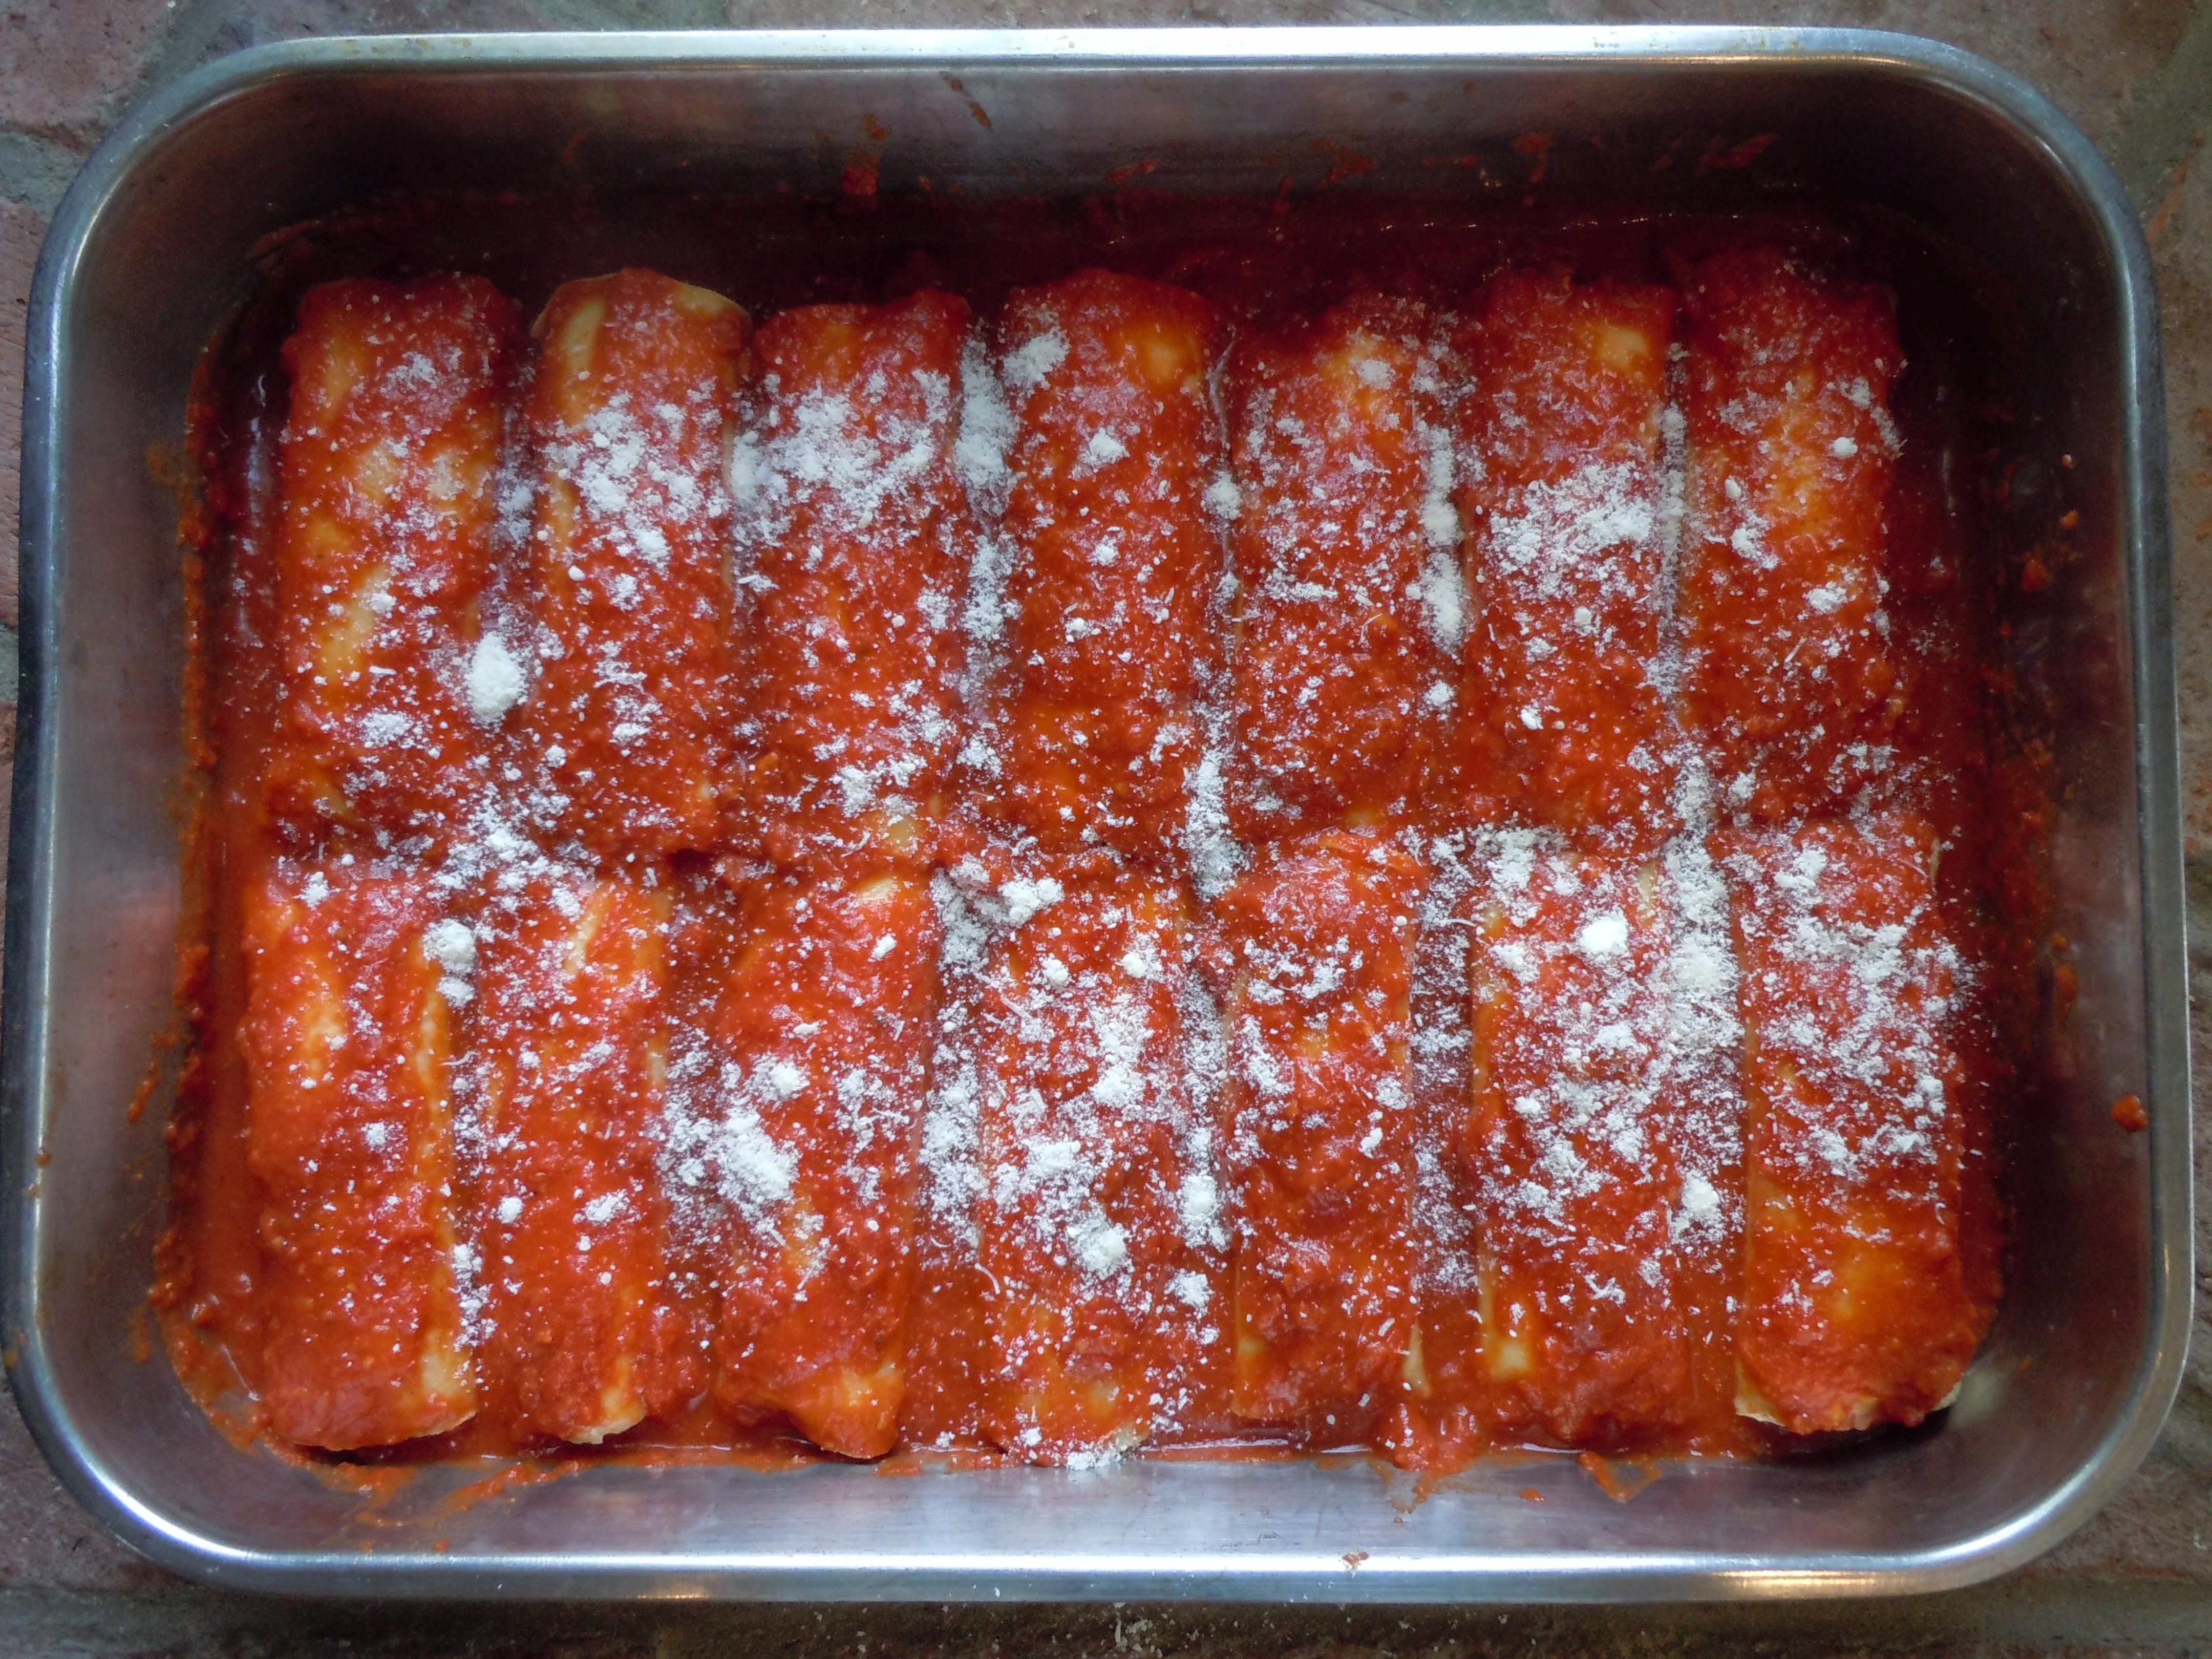
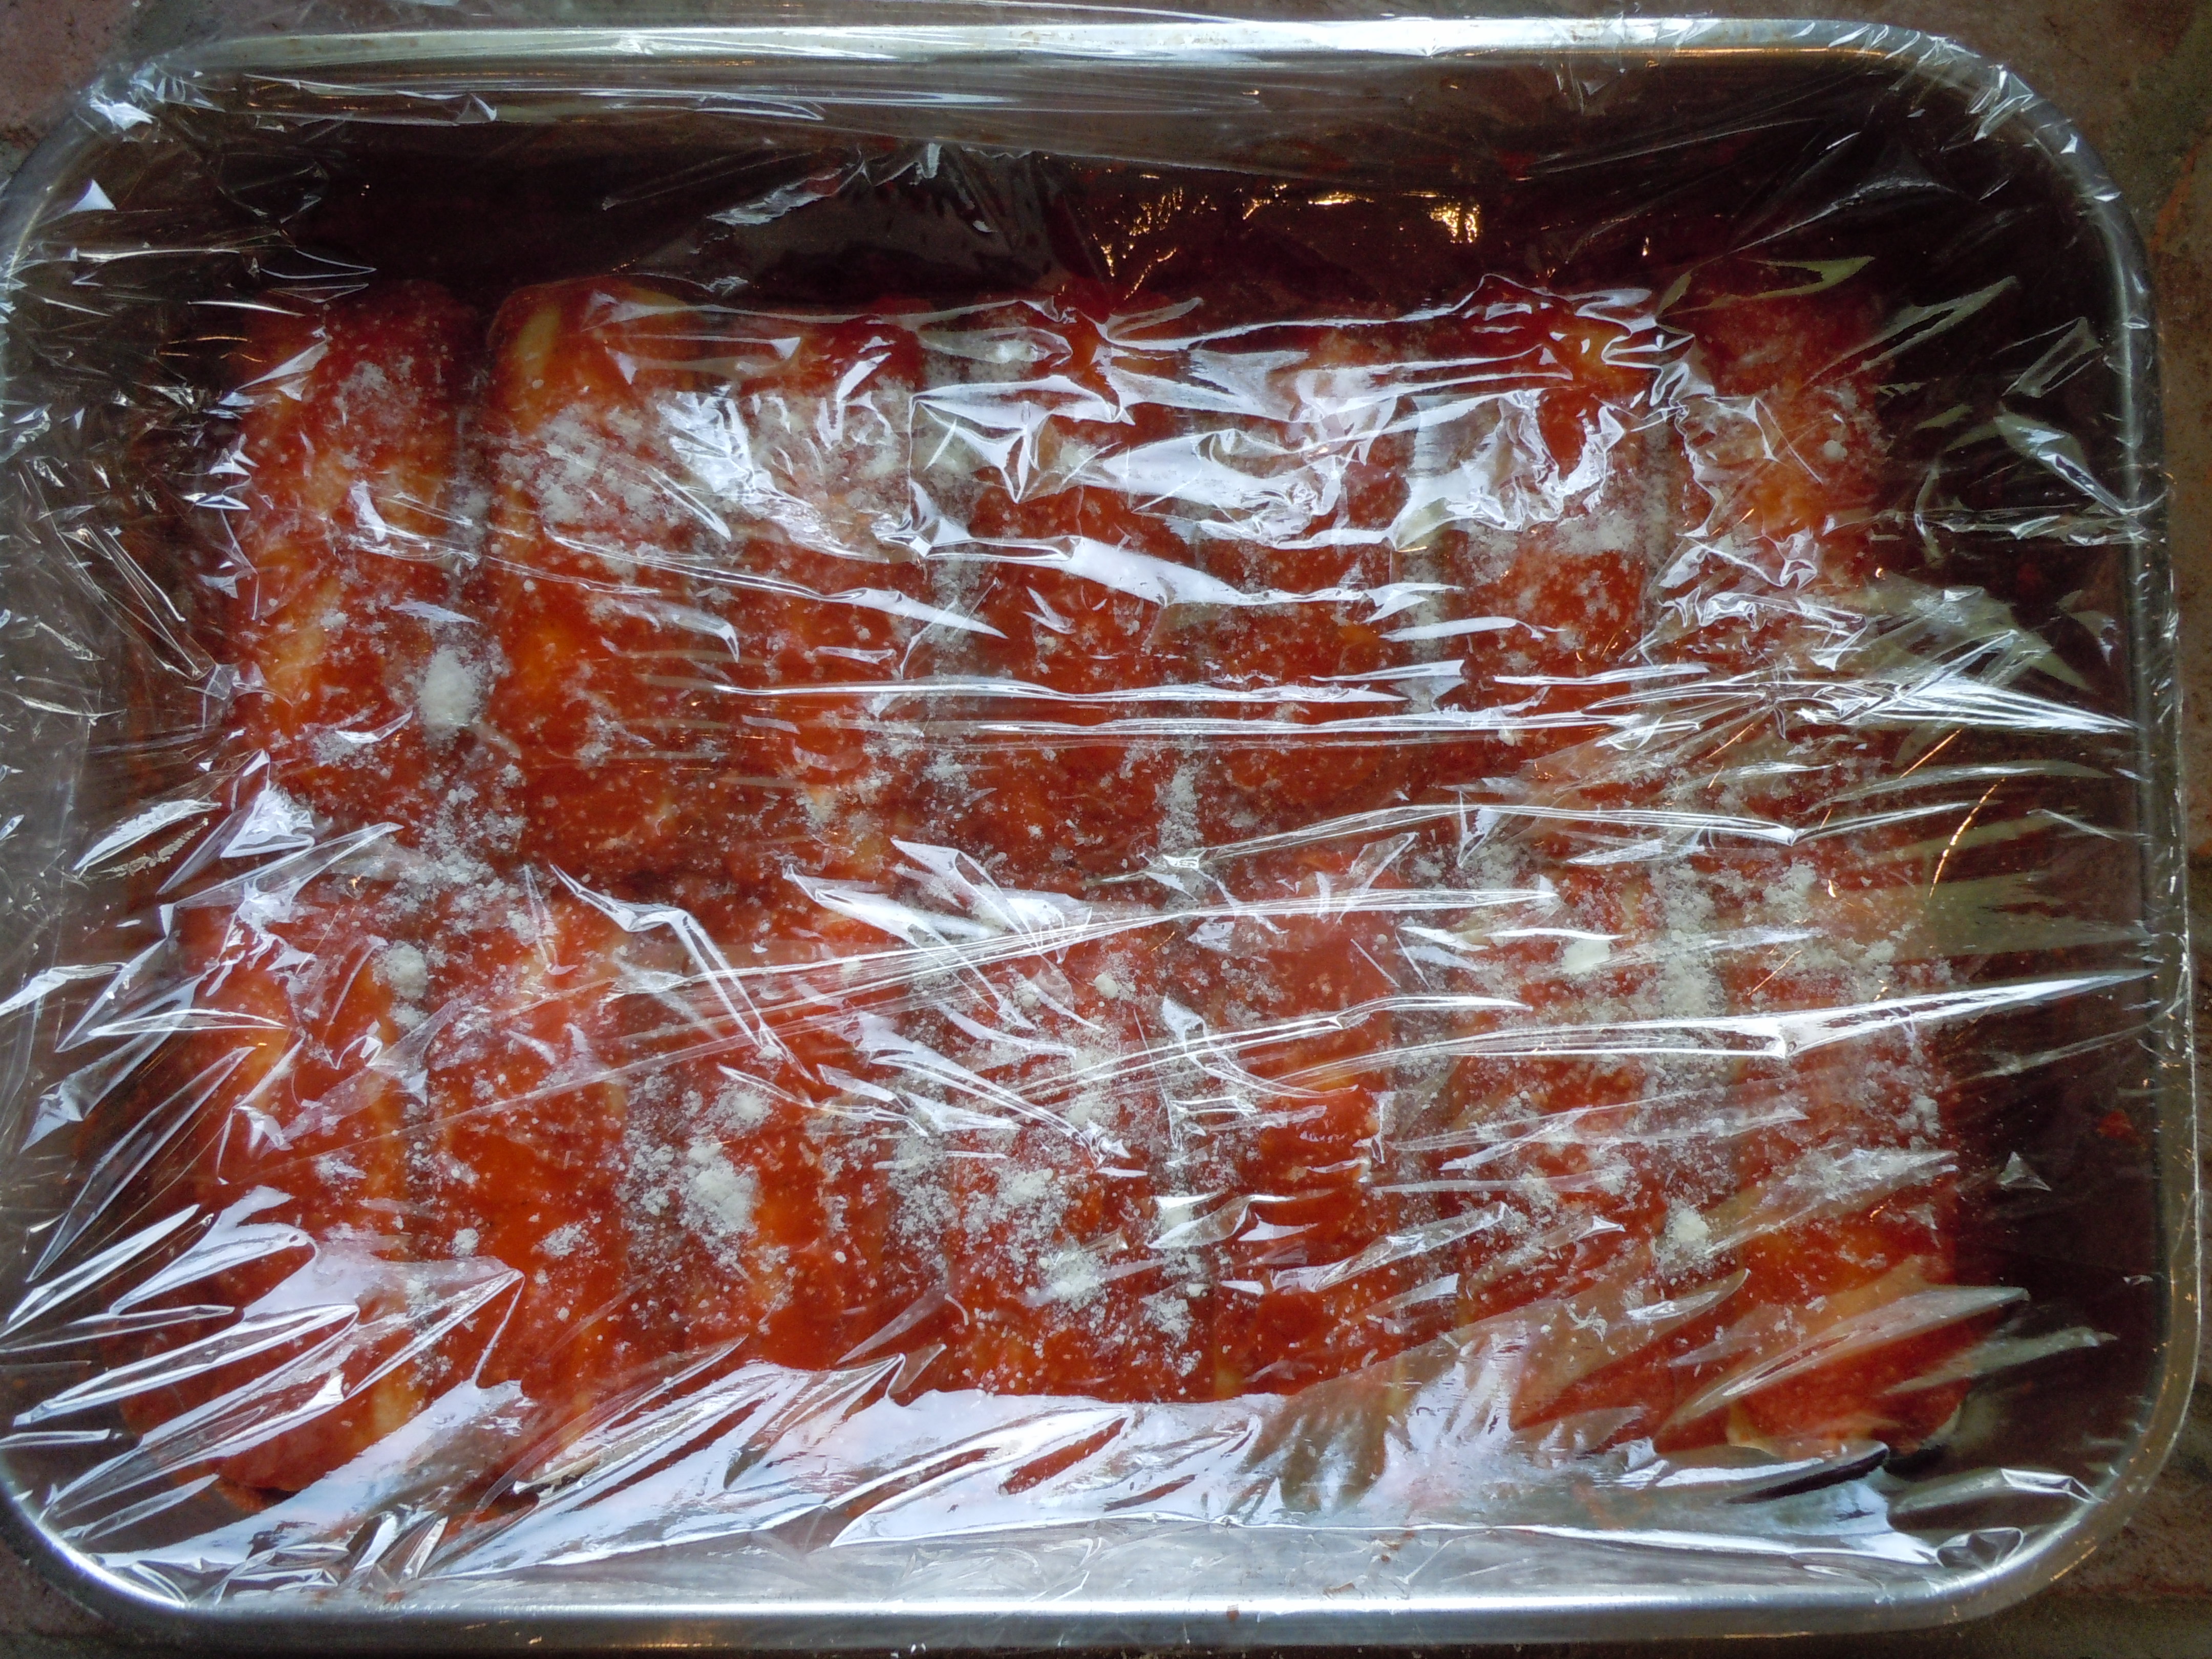
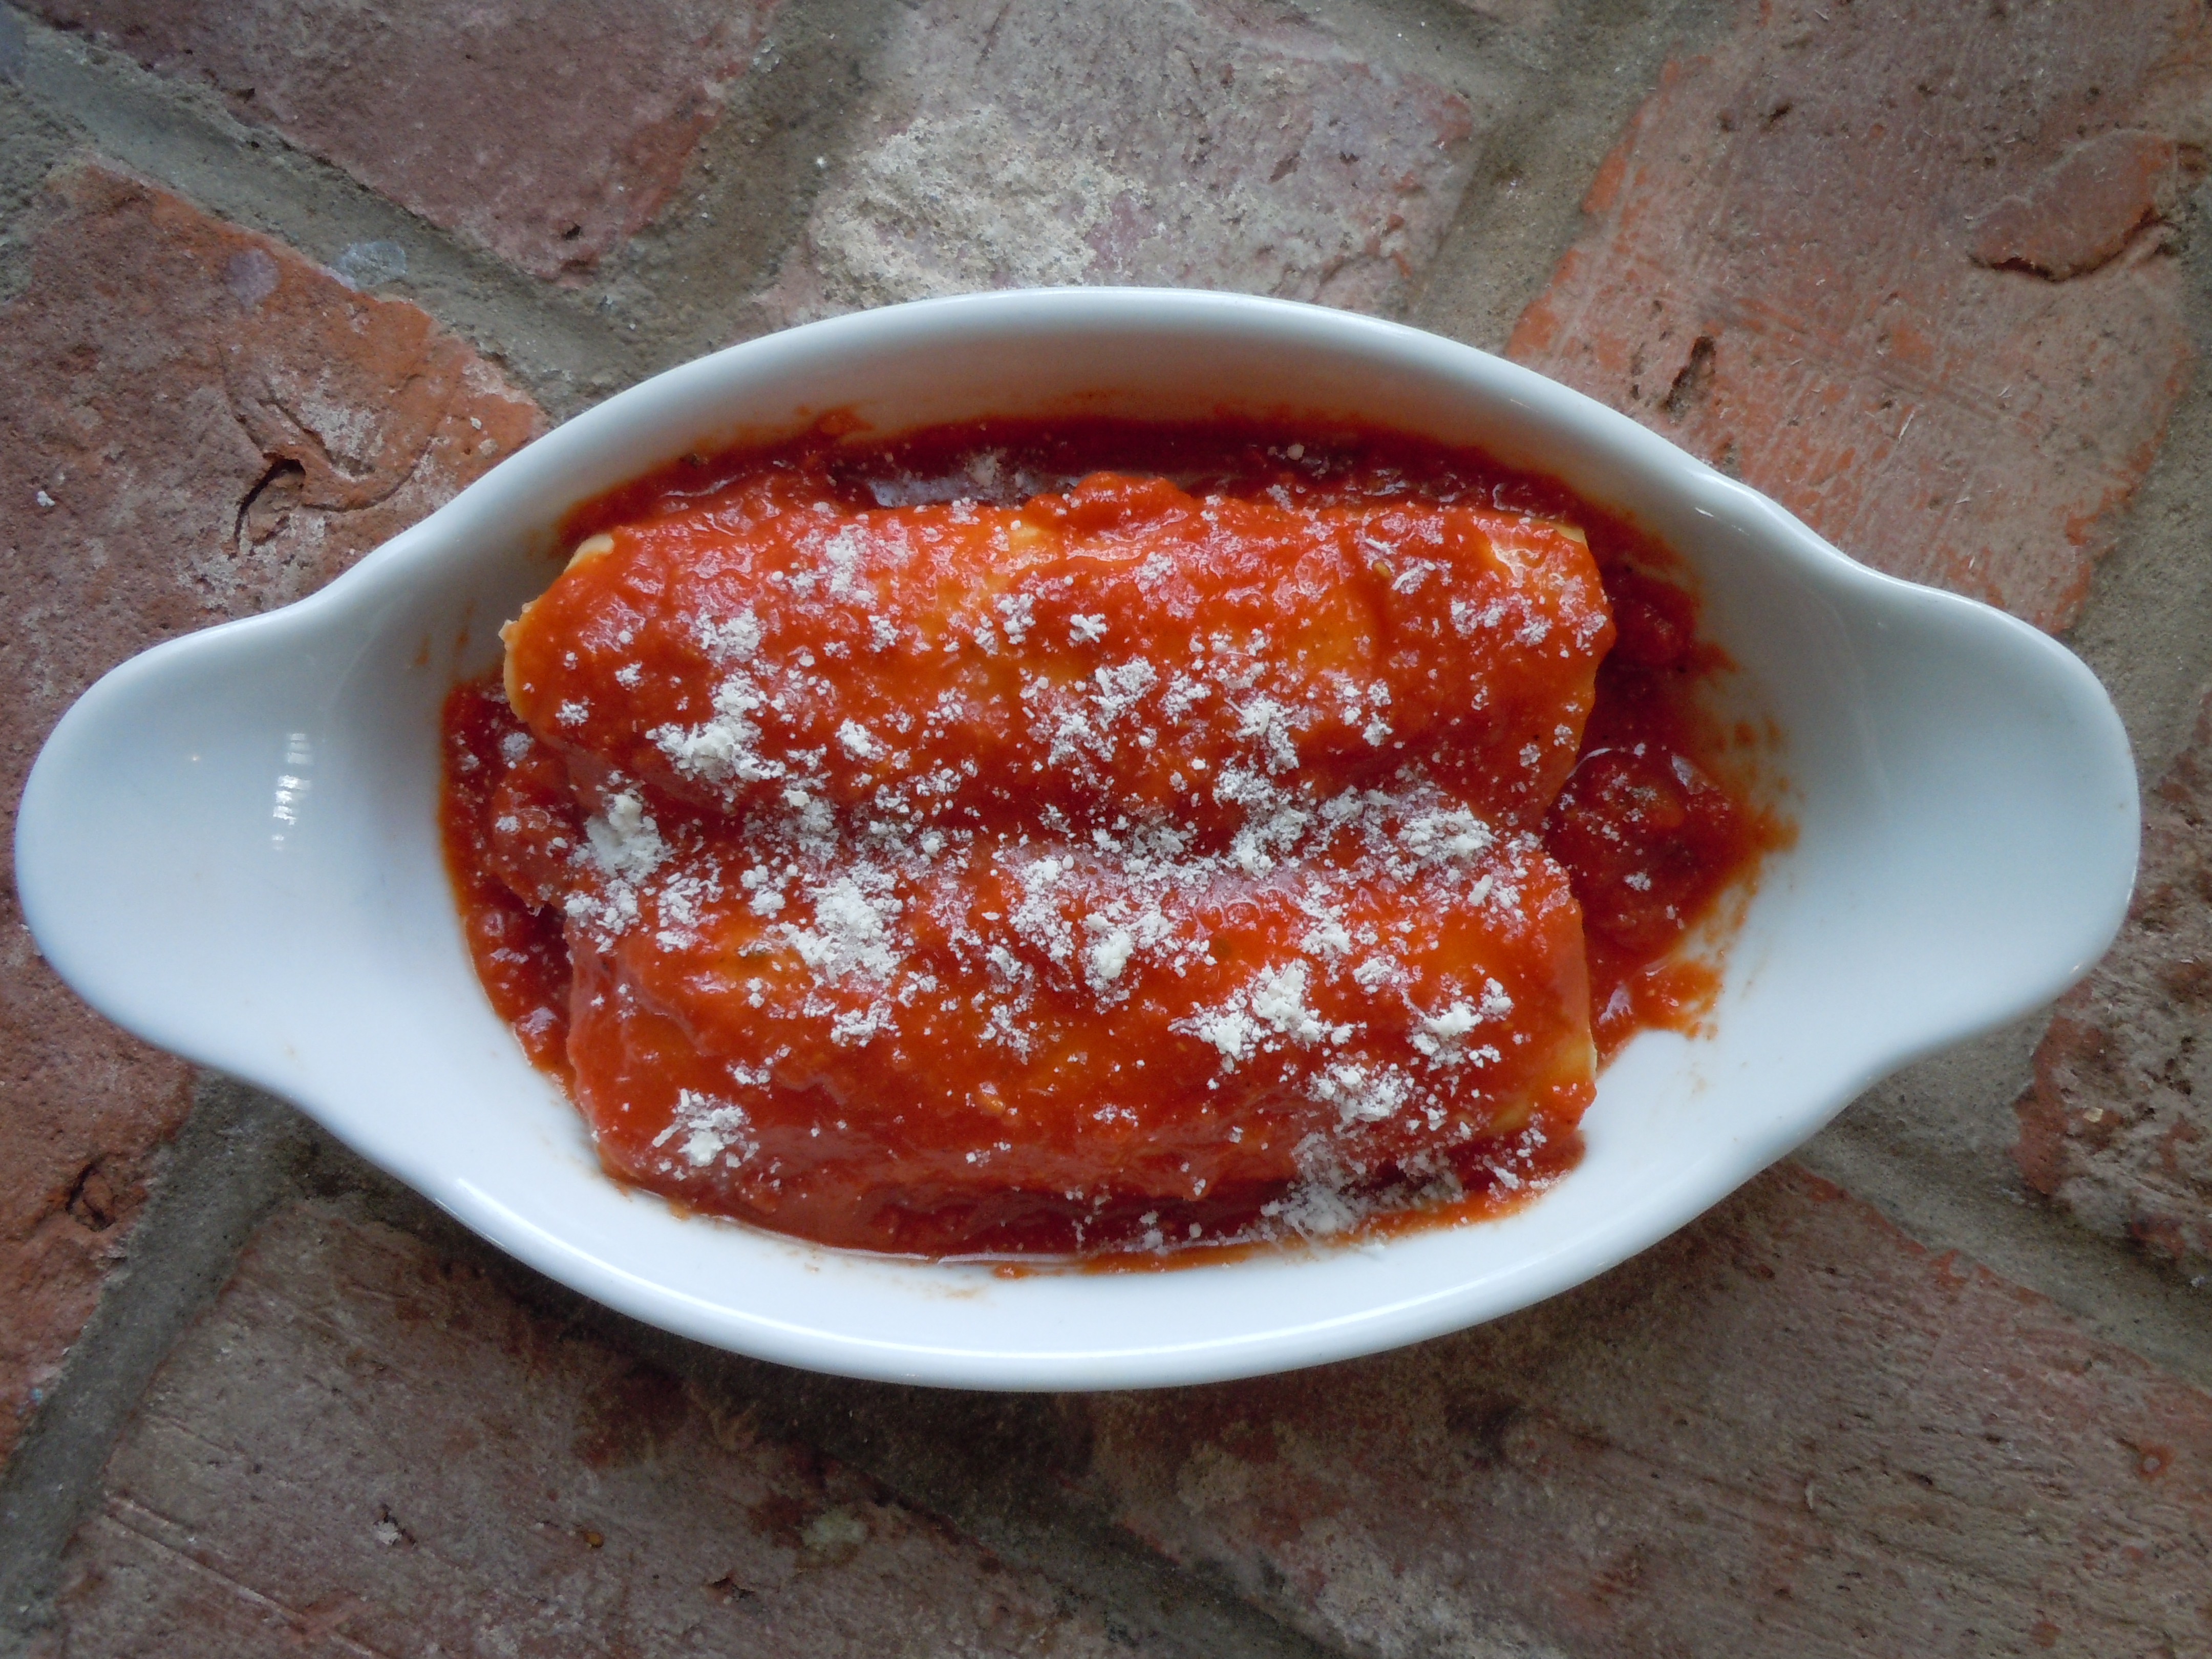
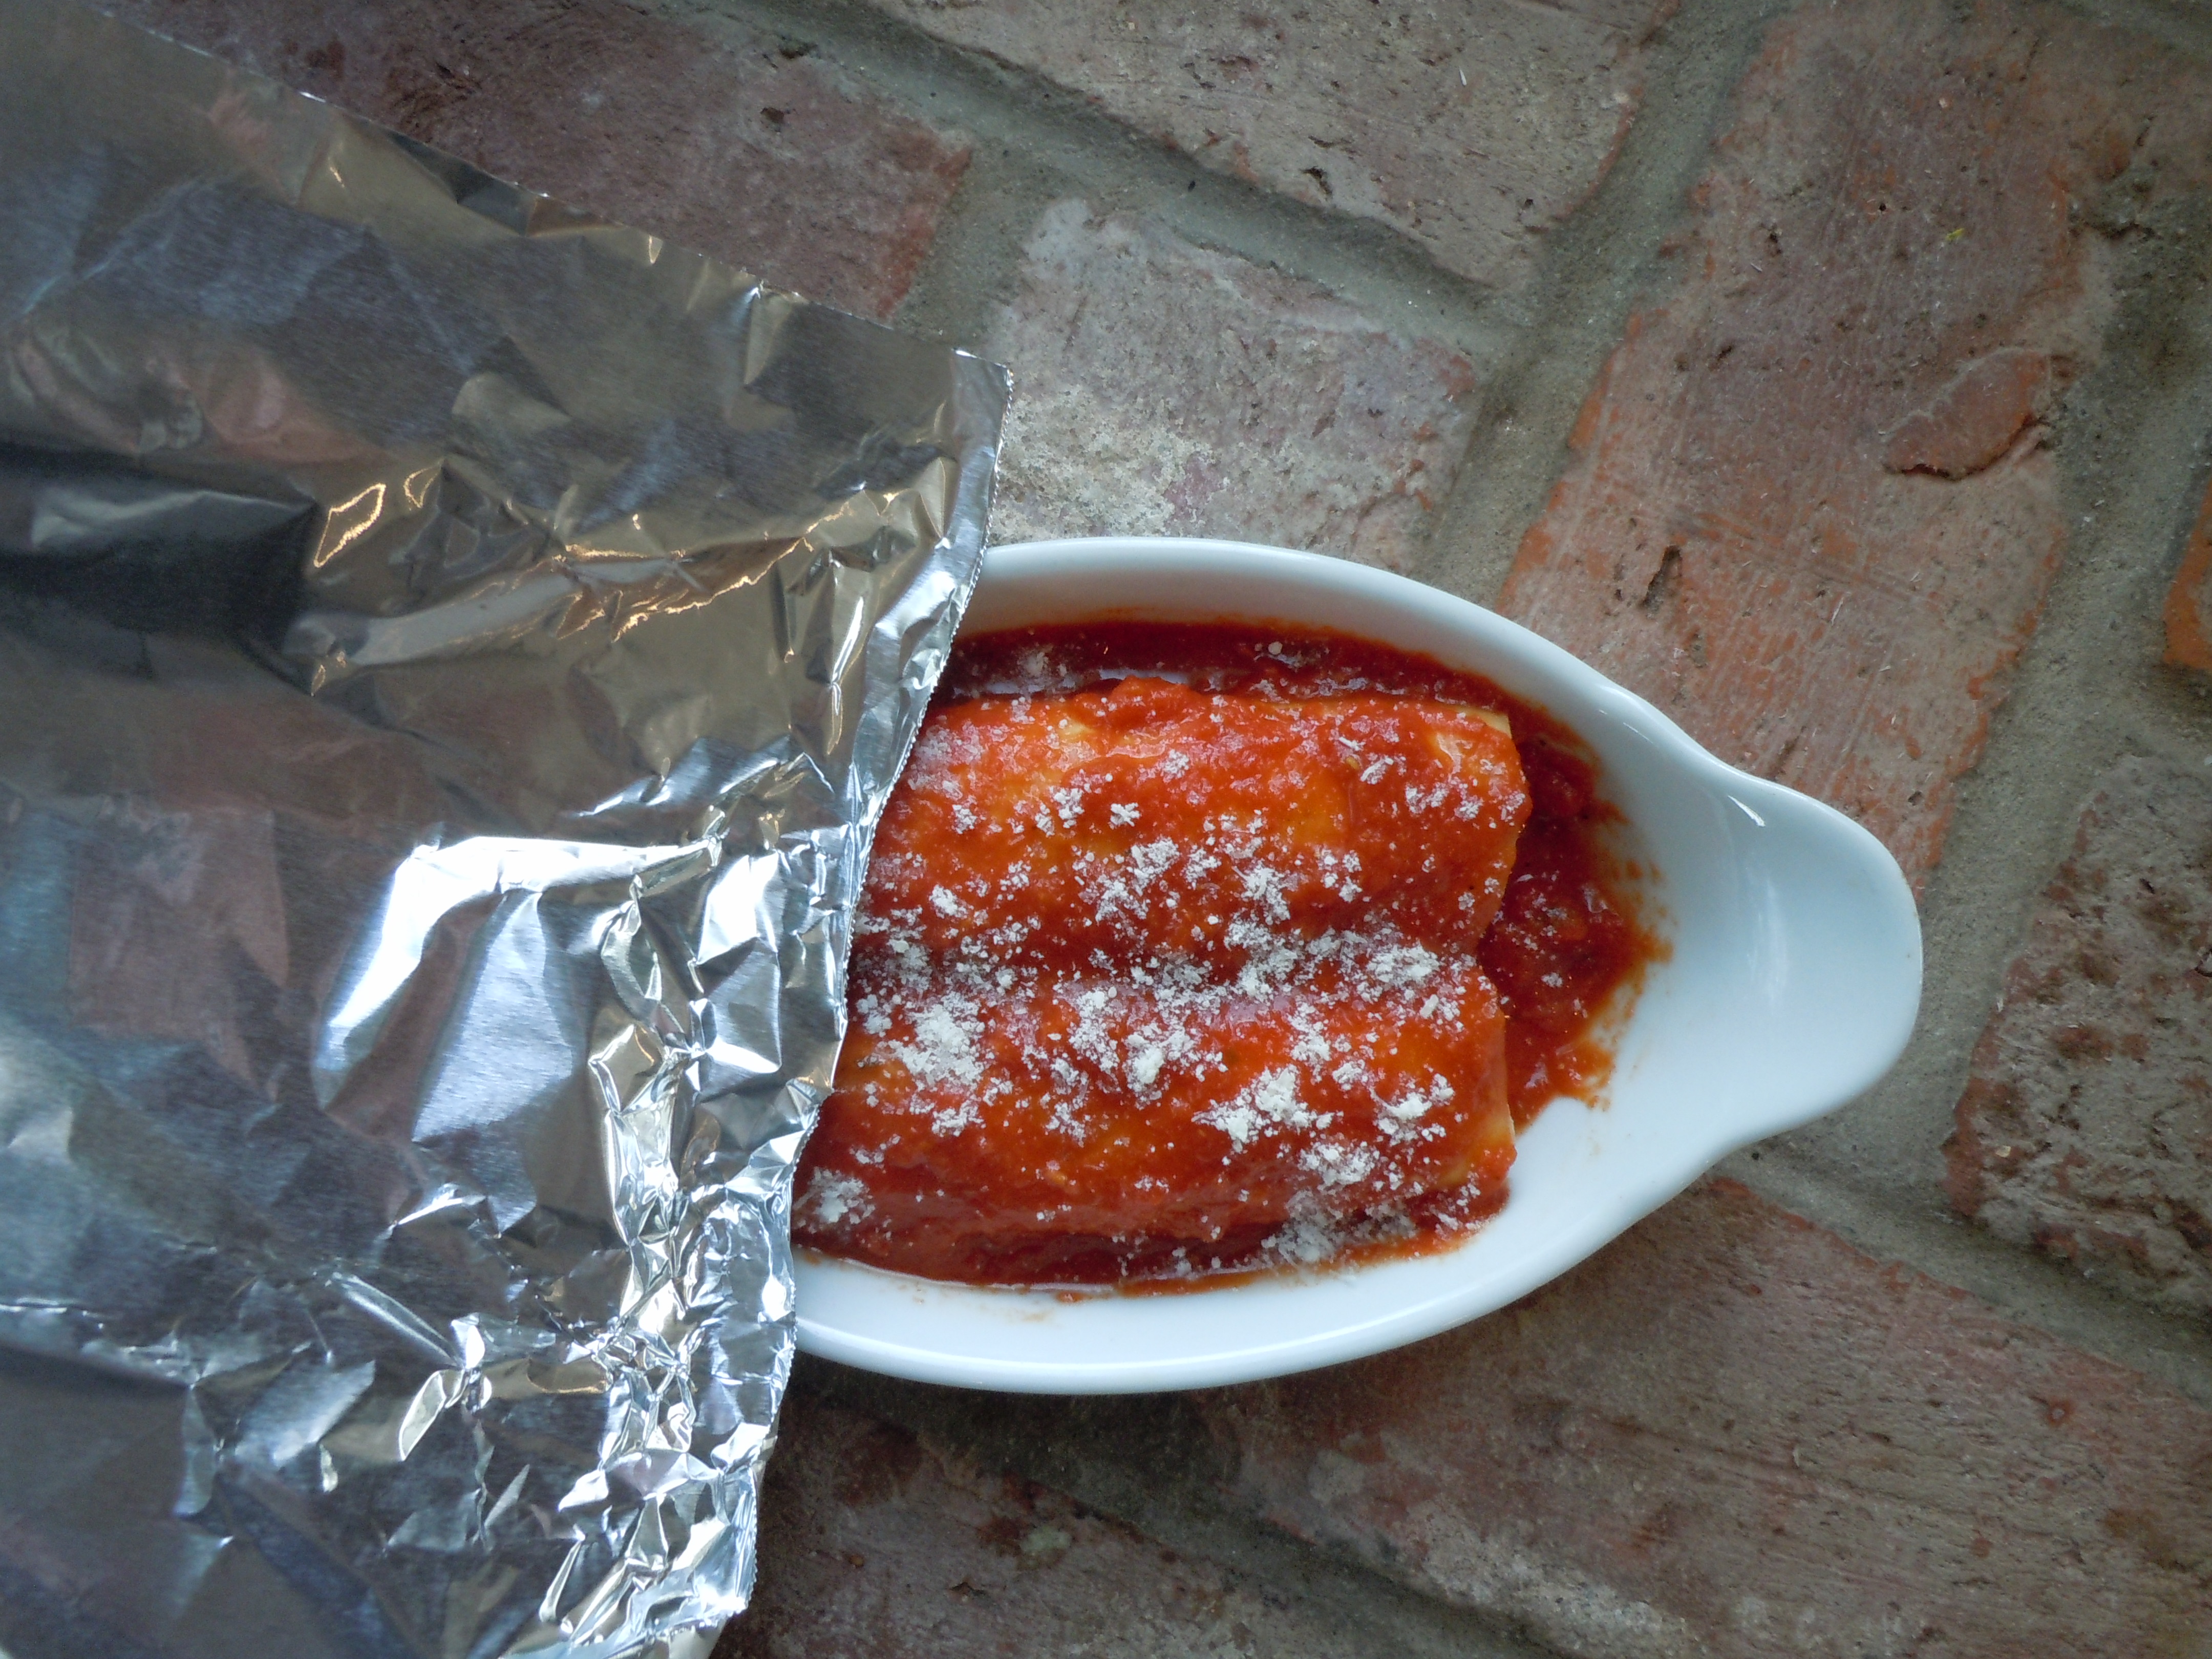
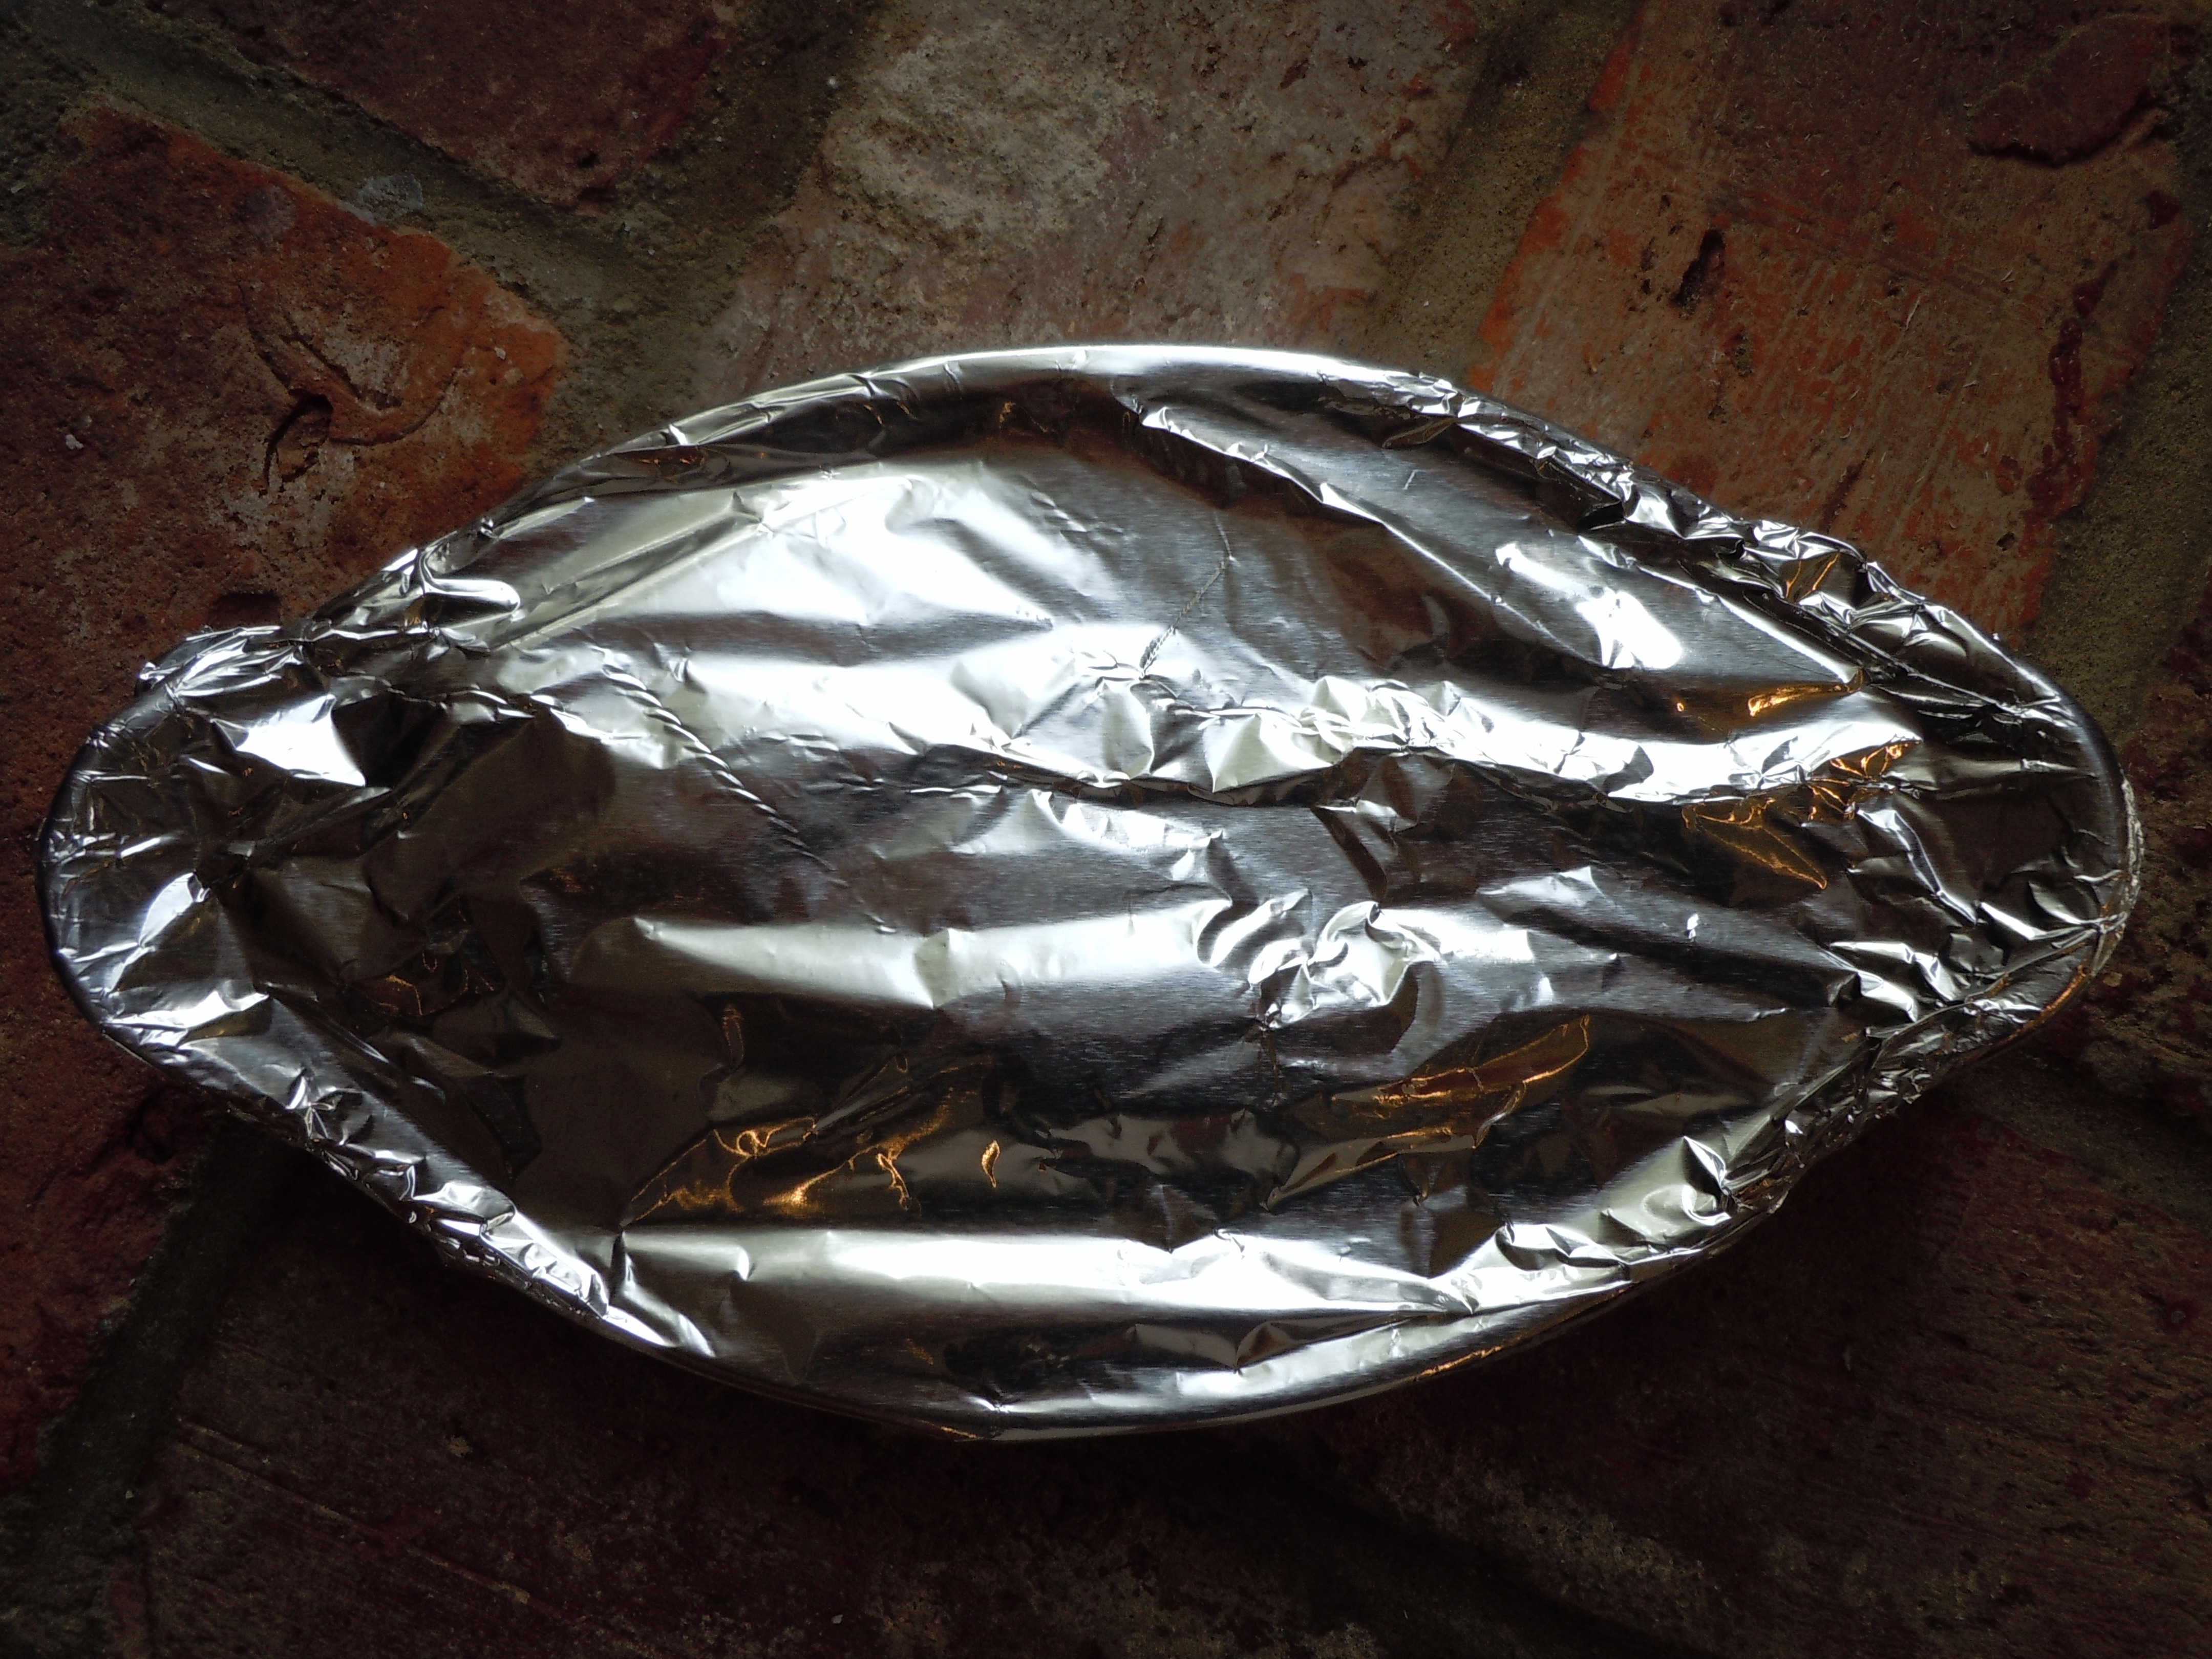
- Pour another 2-2 1/2 cups of sauce on top of roll manicotti’s, sprinkle with parmesan and cover with foil
- Place in frig until you are ready to bake
- Or cover with saran and then foil and put into the freezer until your event is near and then pull out two nights before and put into the frig to thaw
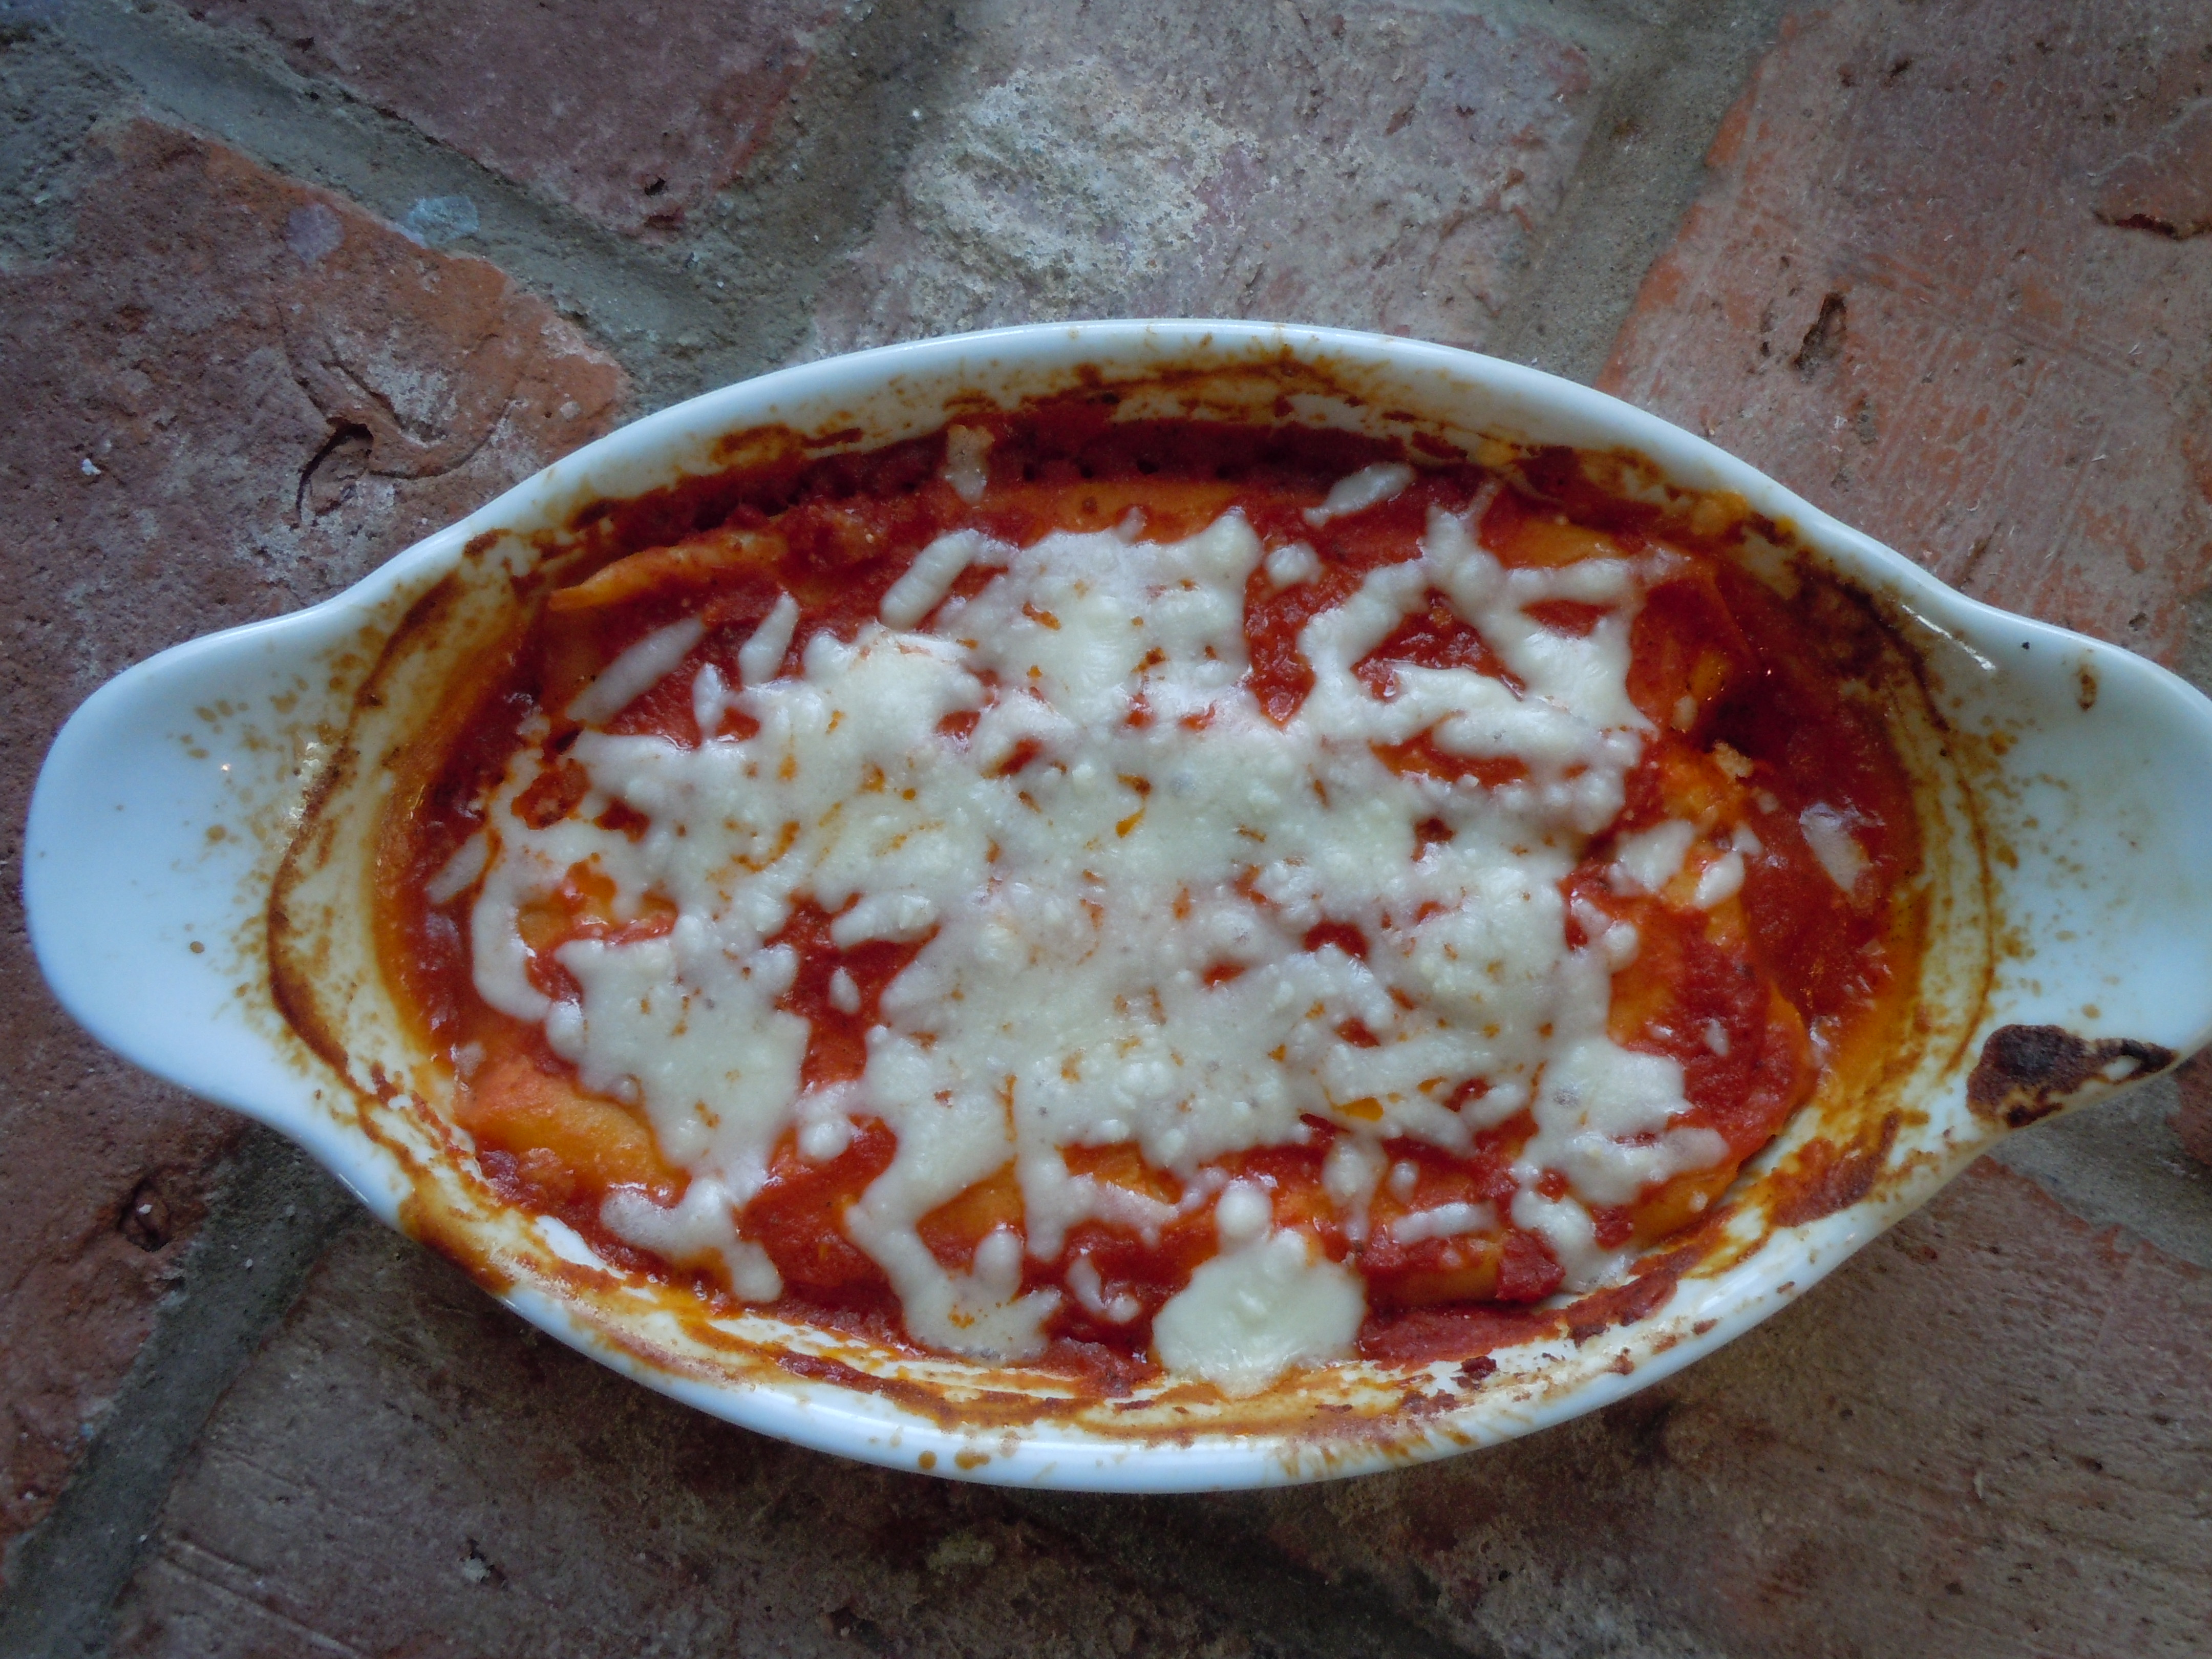
- When you are ready to bake your manicotti put into a 350º oven and bake for 45 minutes
- The manicotti will be bubbly when you take it out of the oven and need to rest for 5 minutes before serving


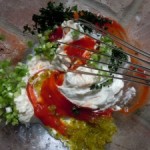

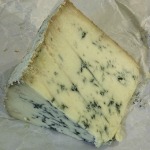
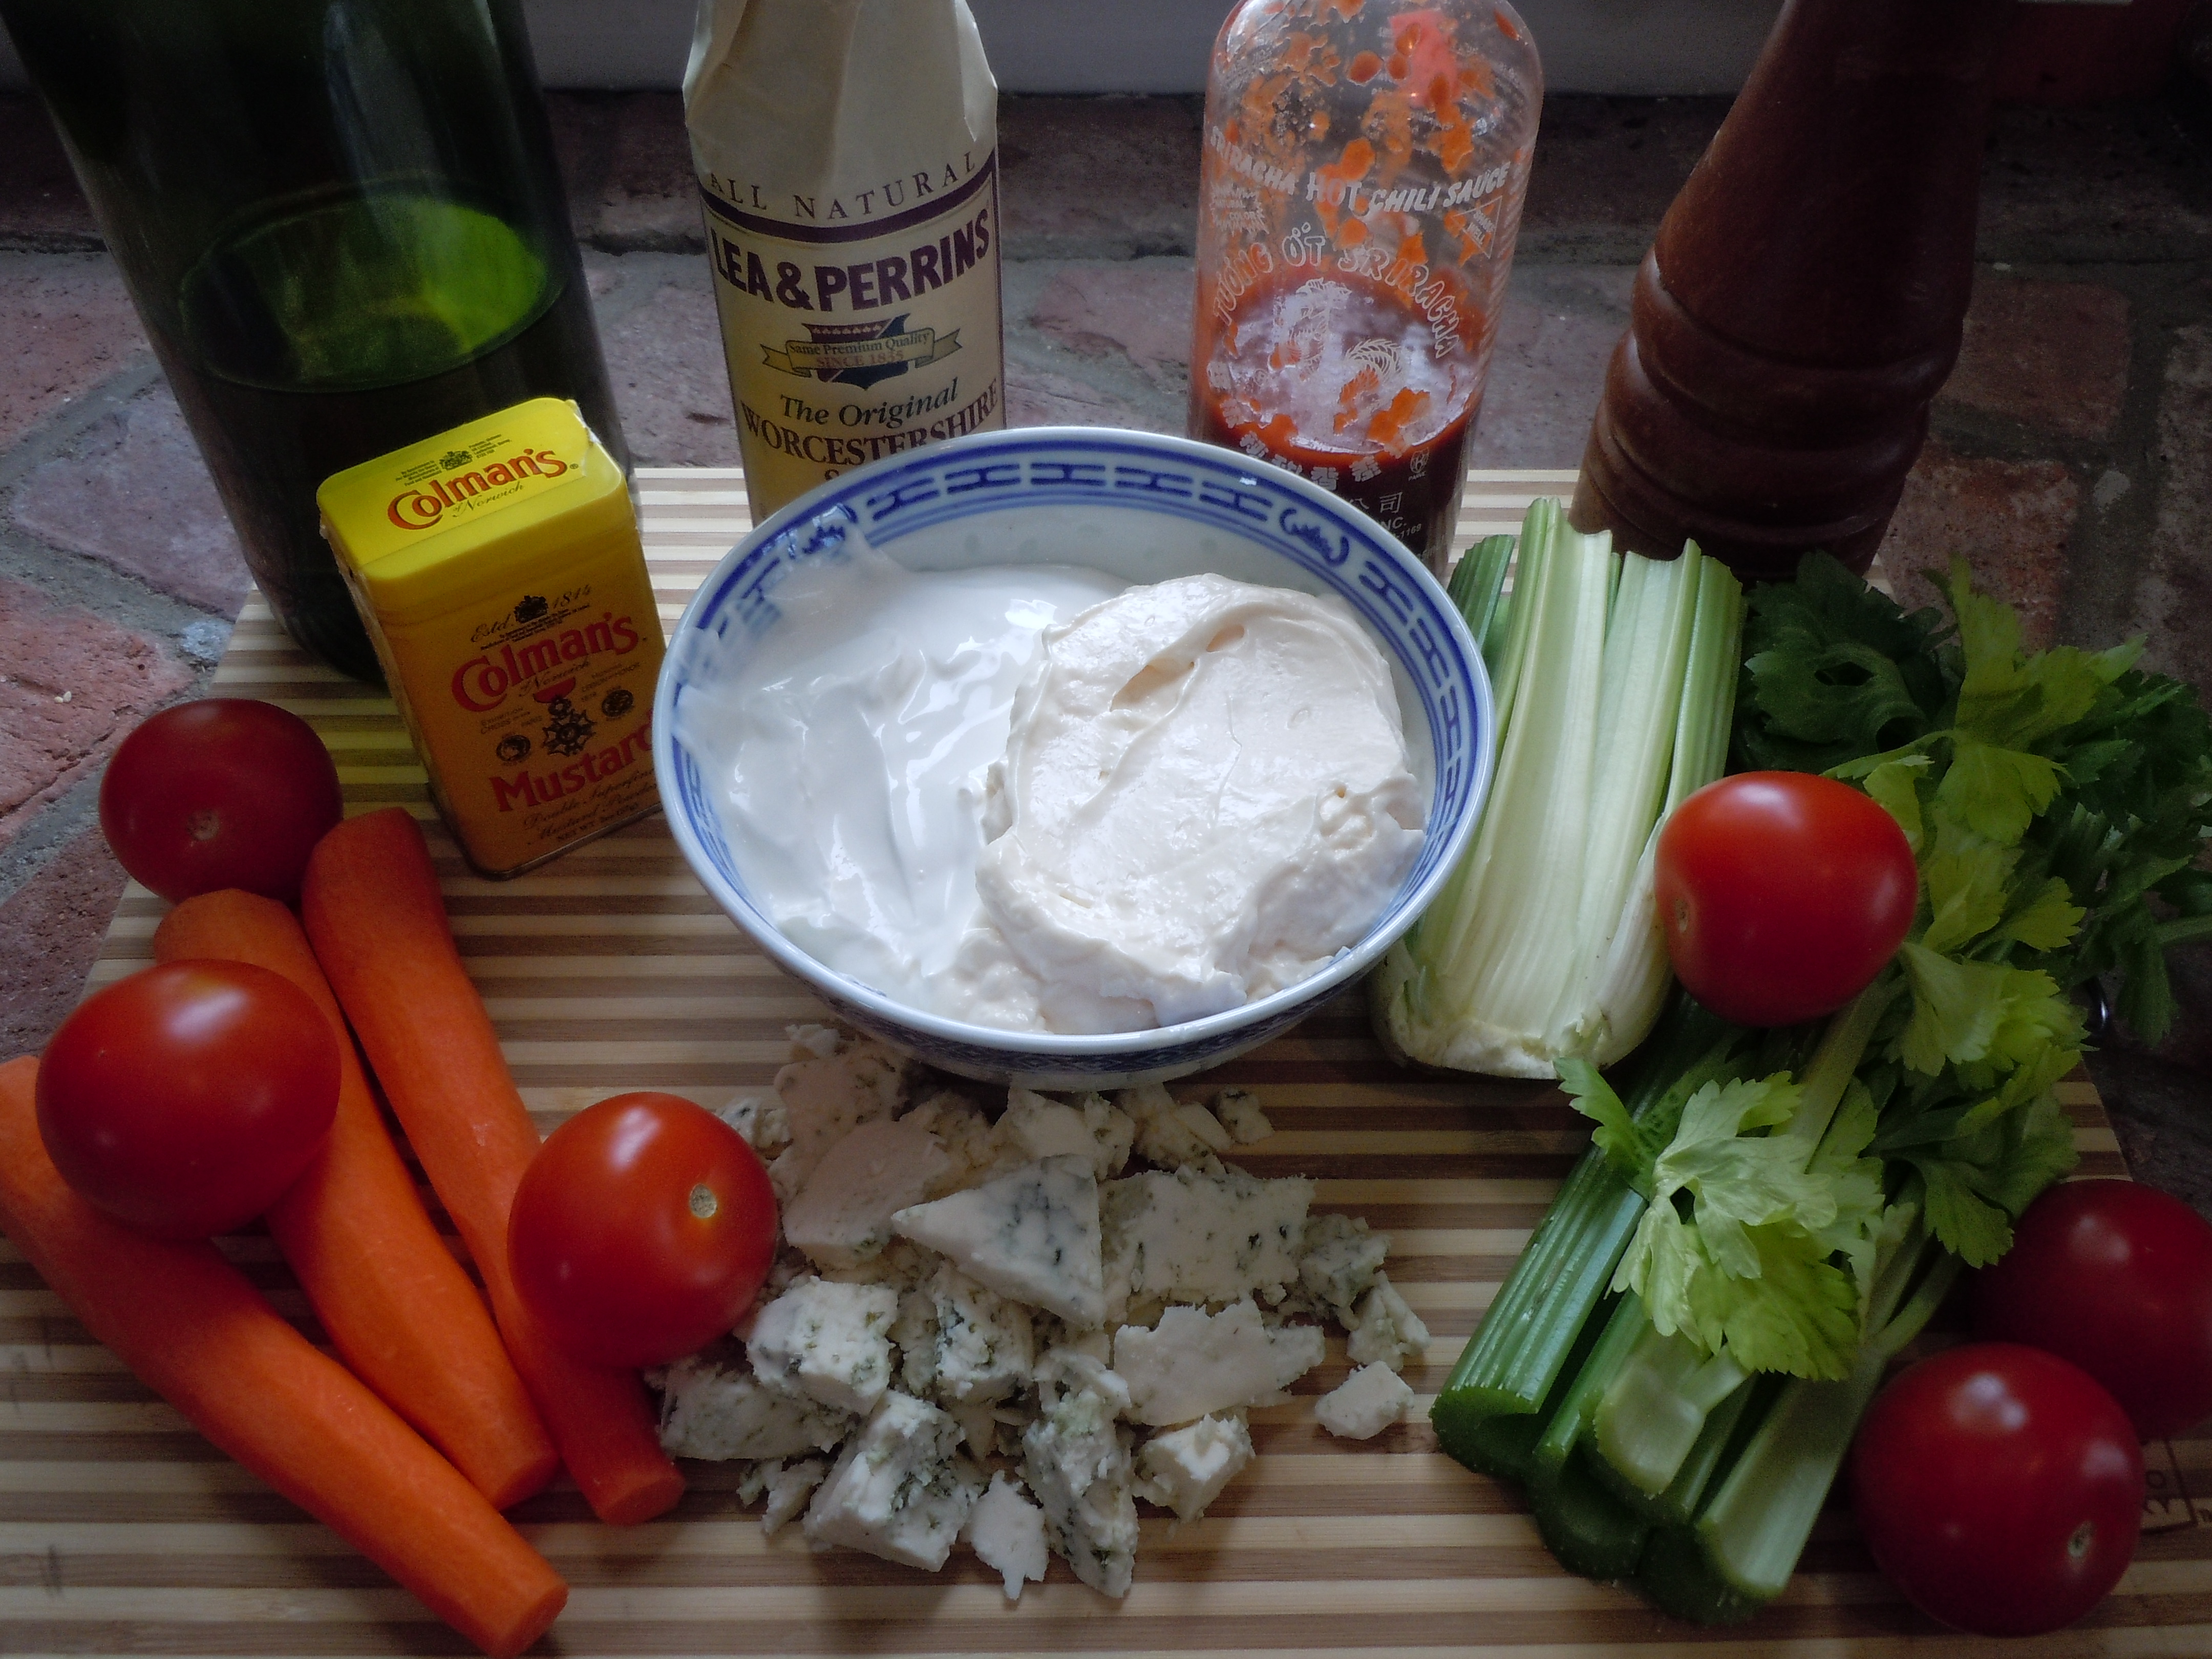
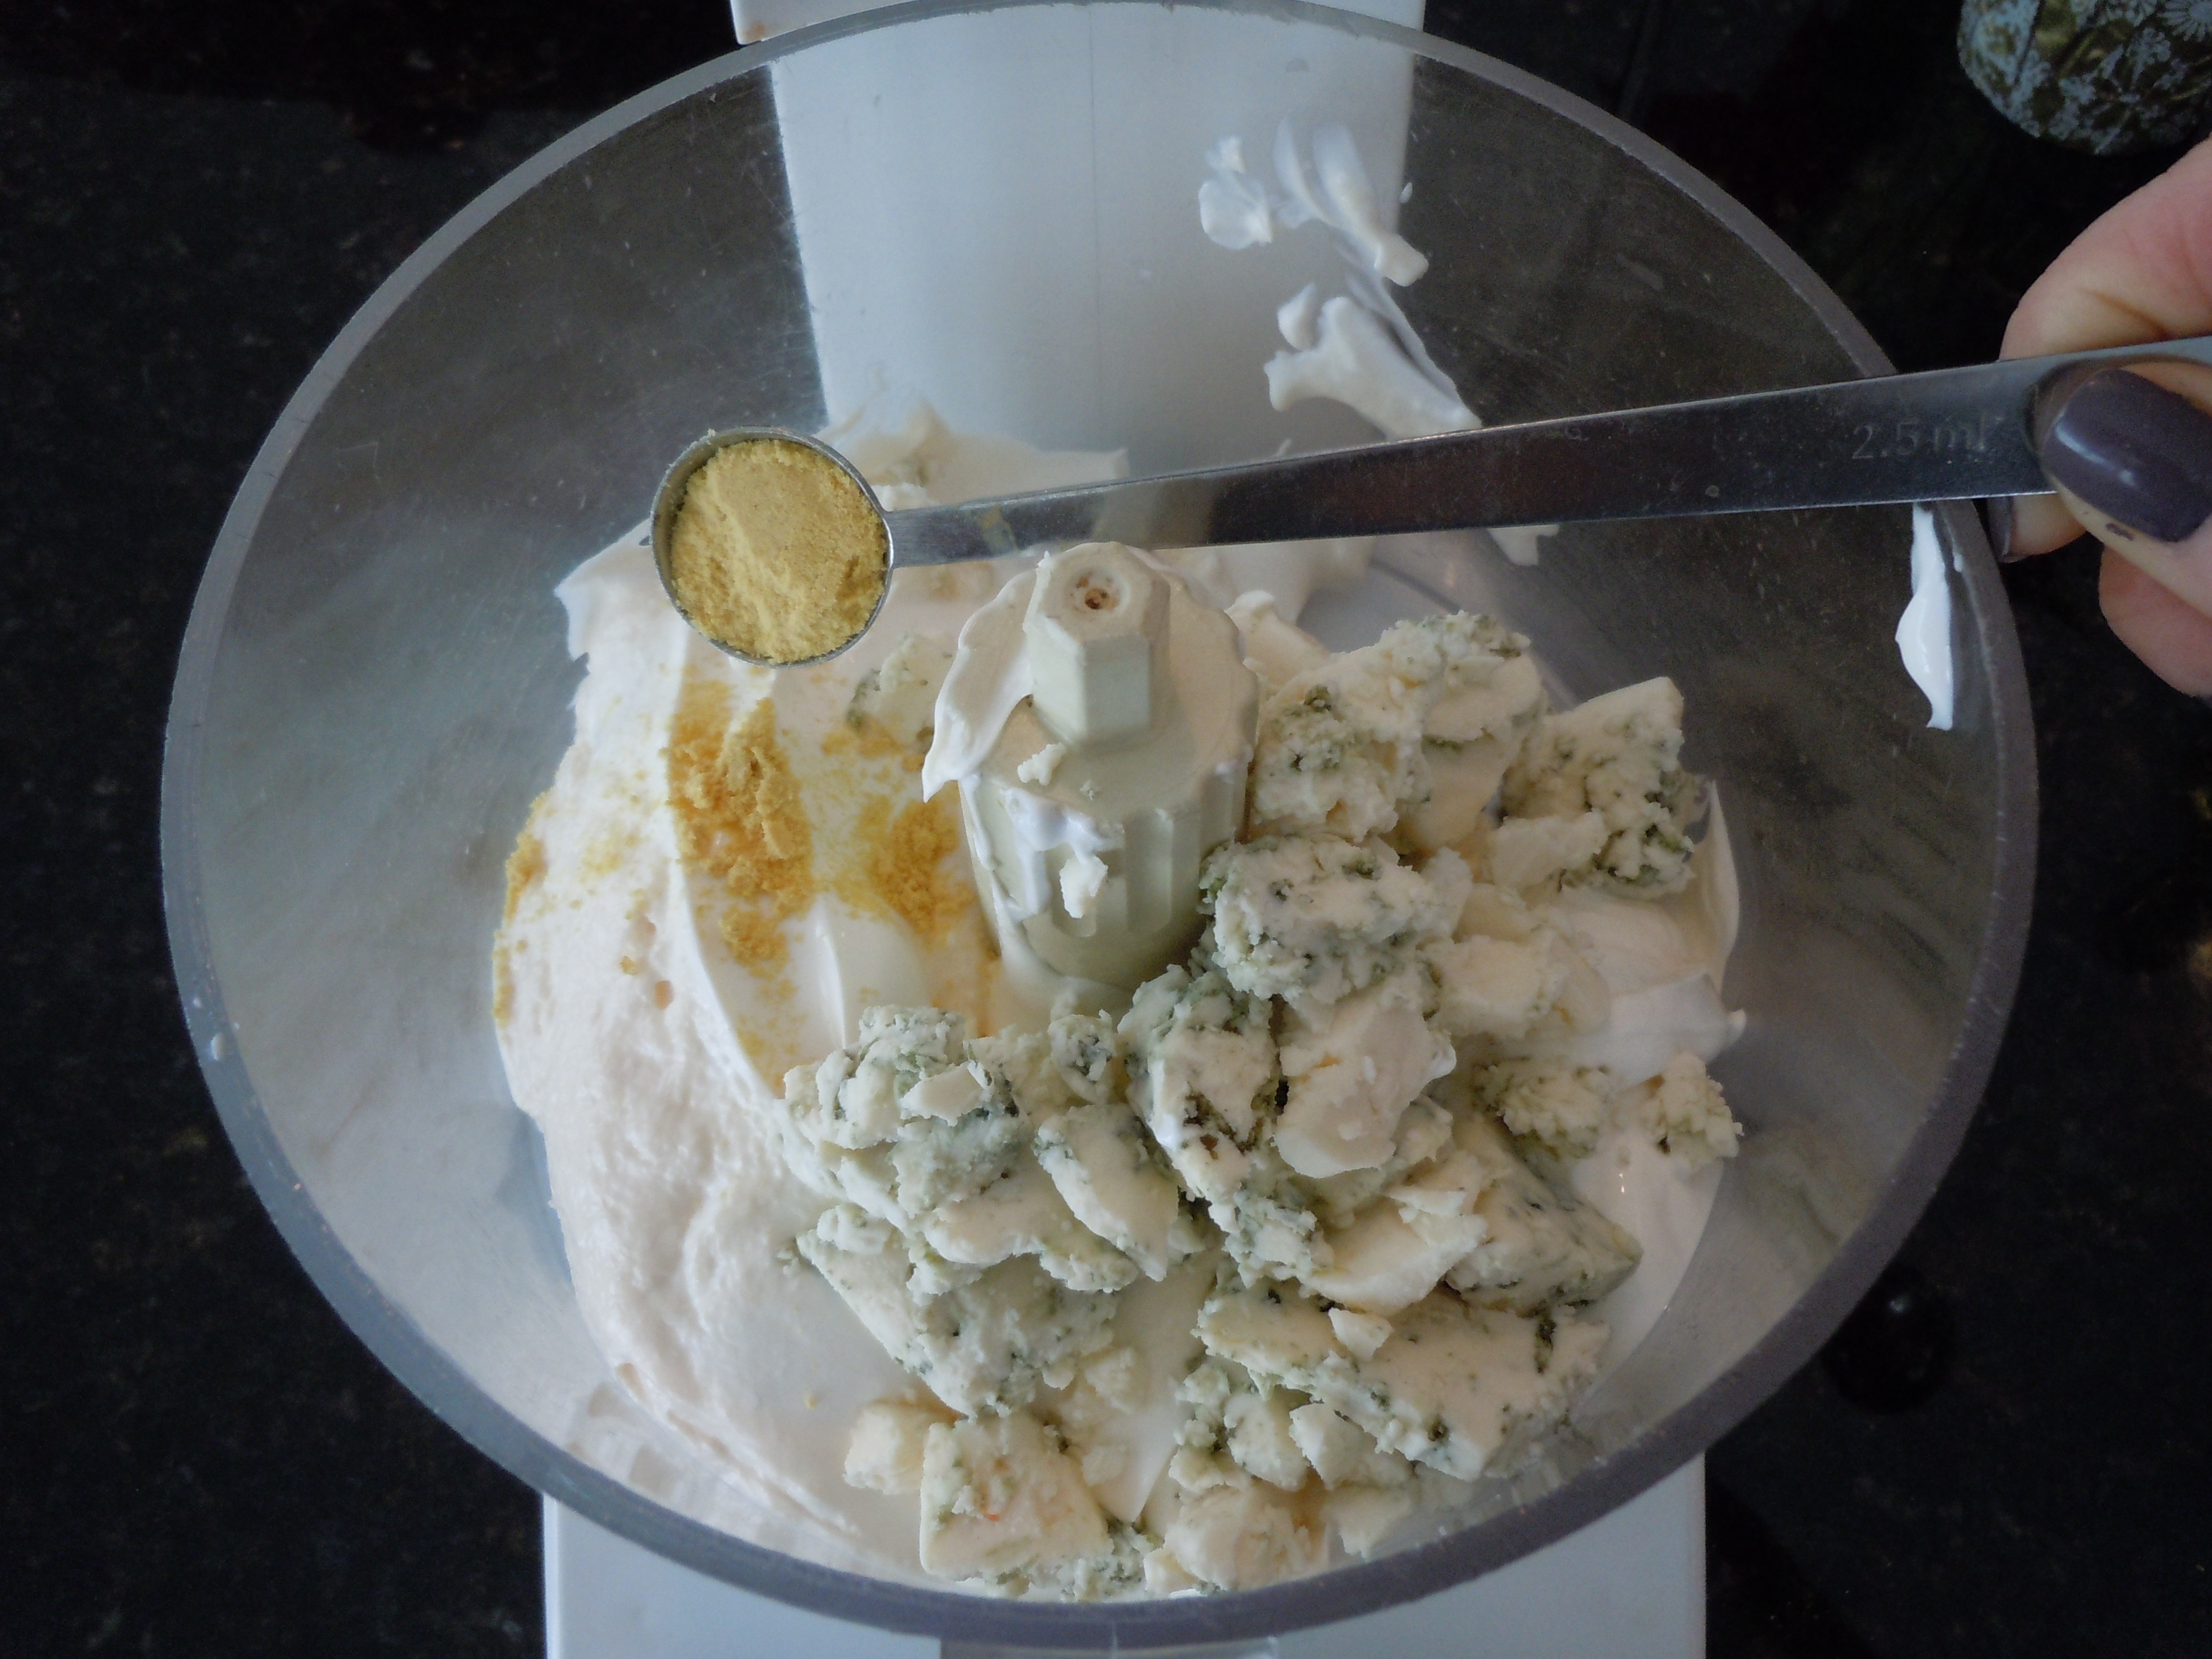
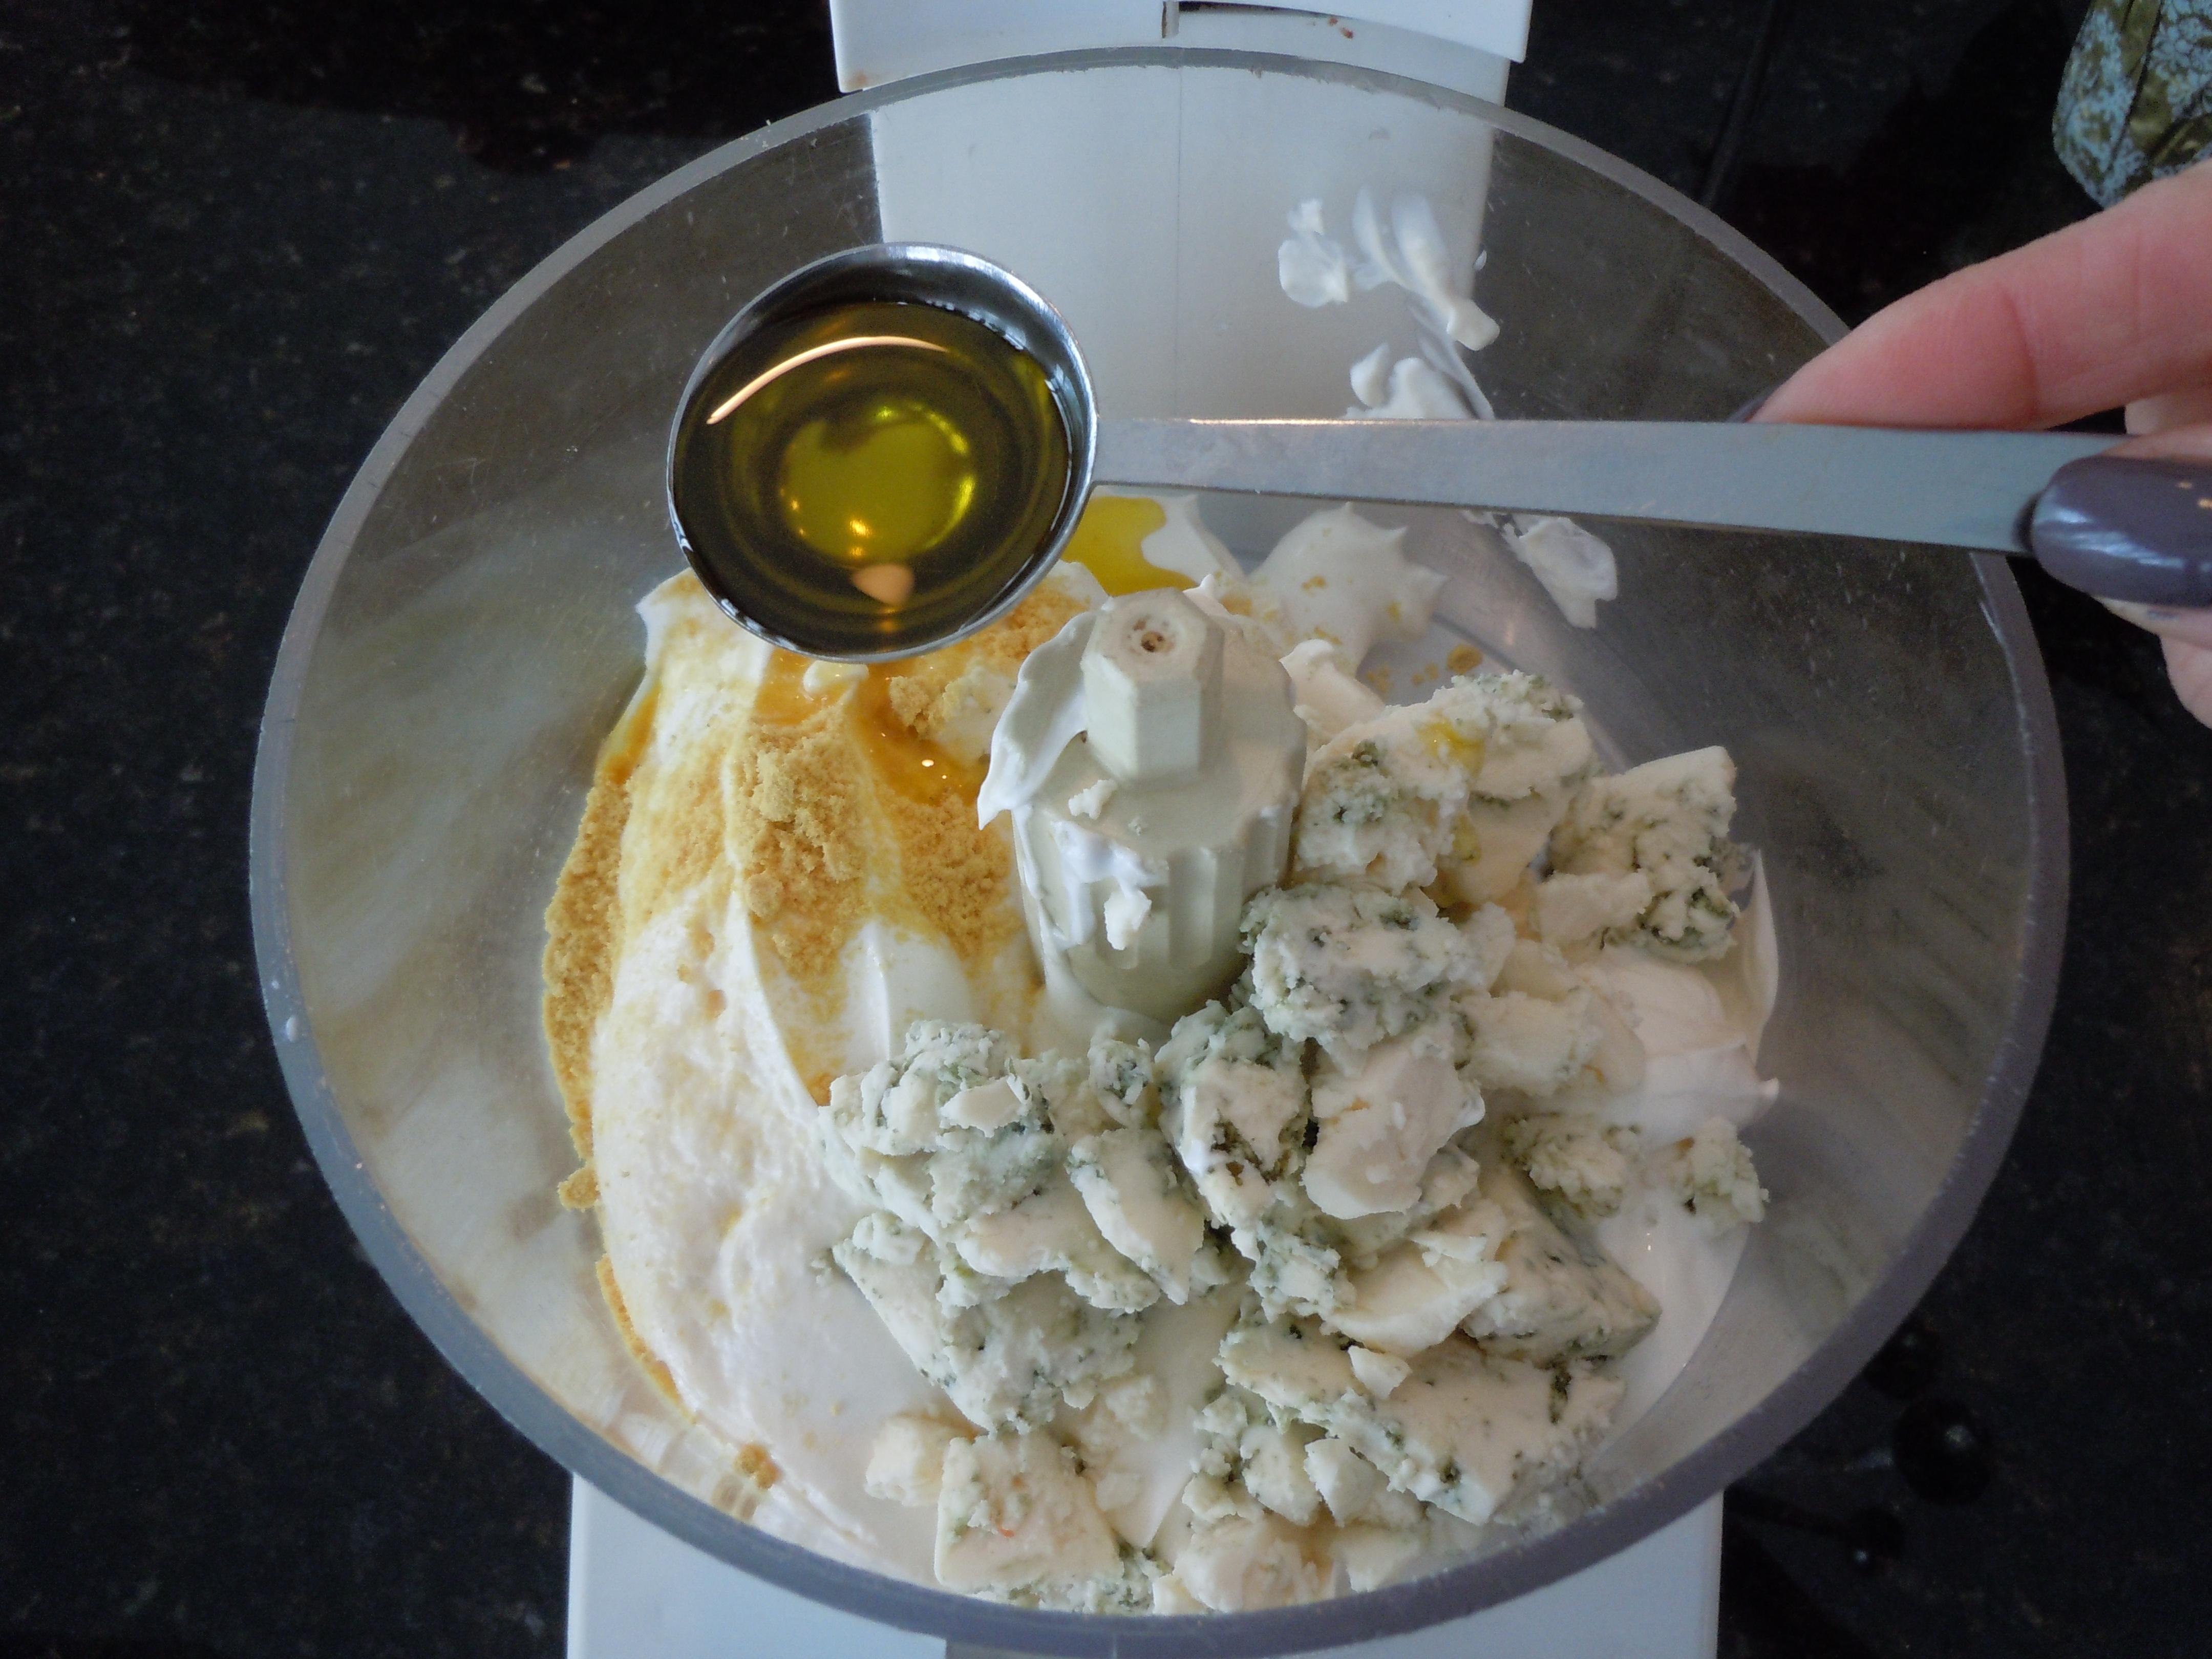
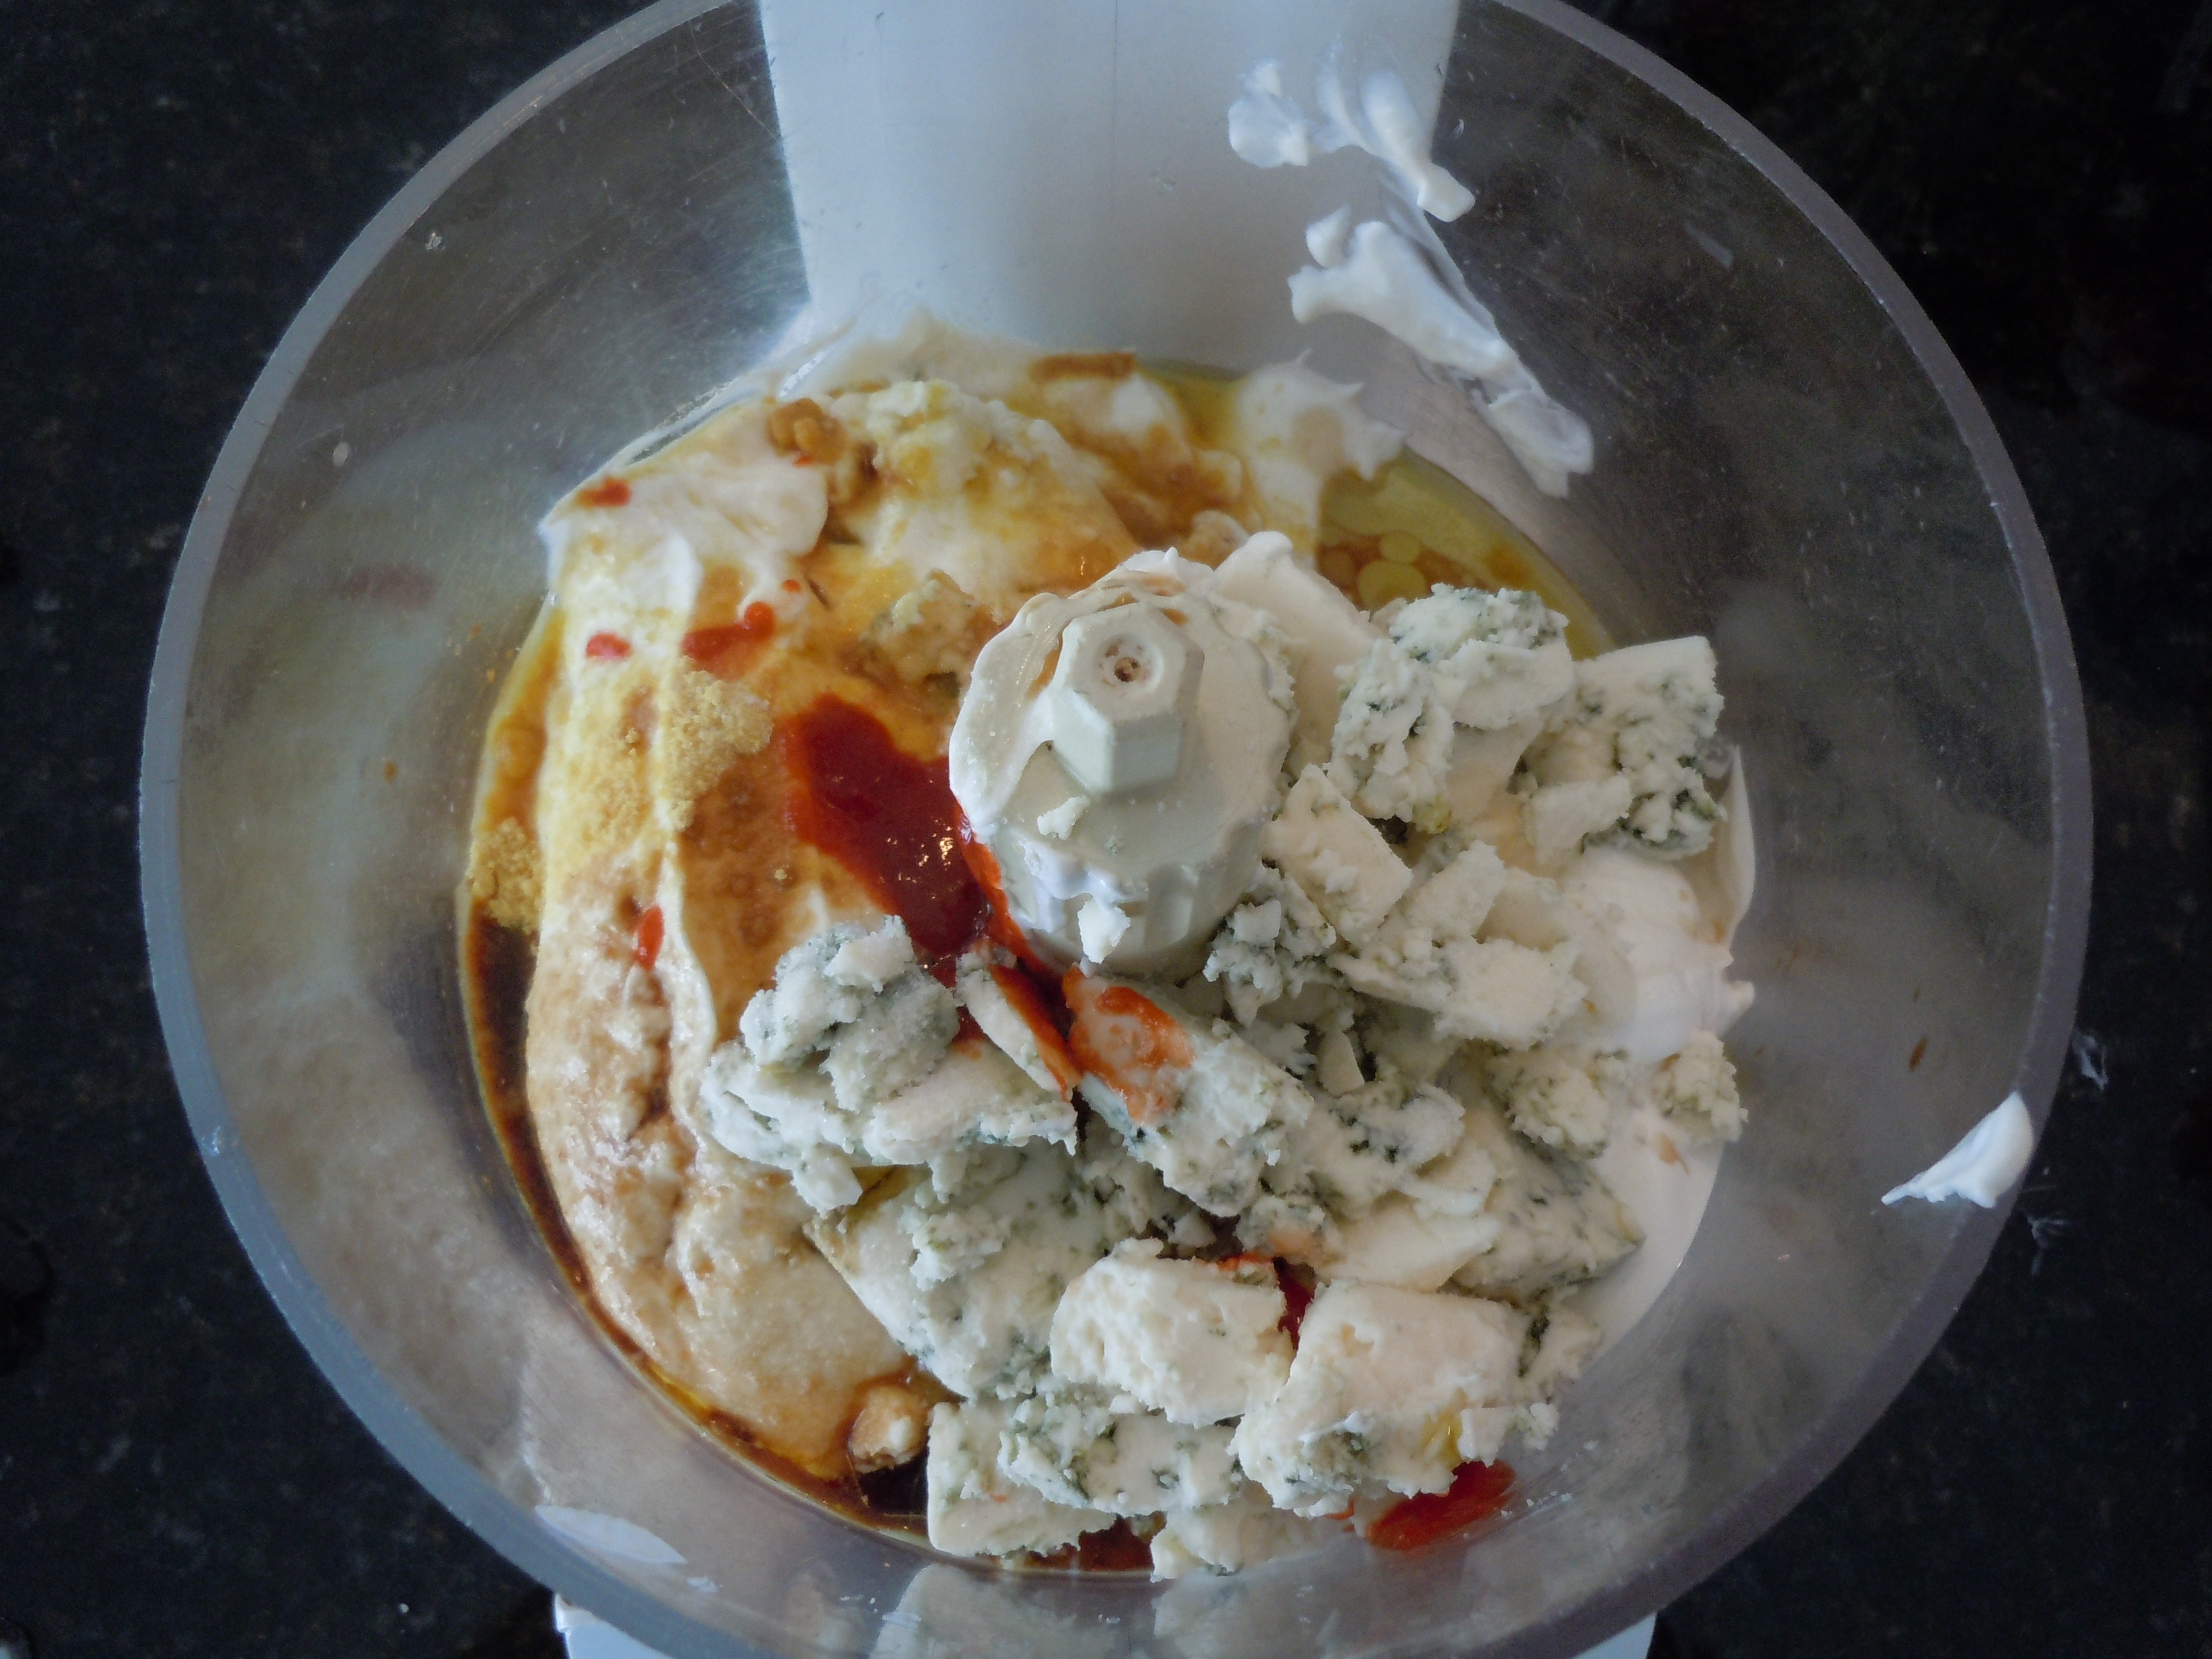
 I always make this dressing when I make my chicken wings or when I buy blue for my
  You may want to add in some other yummy appetizers like


