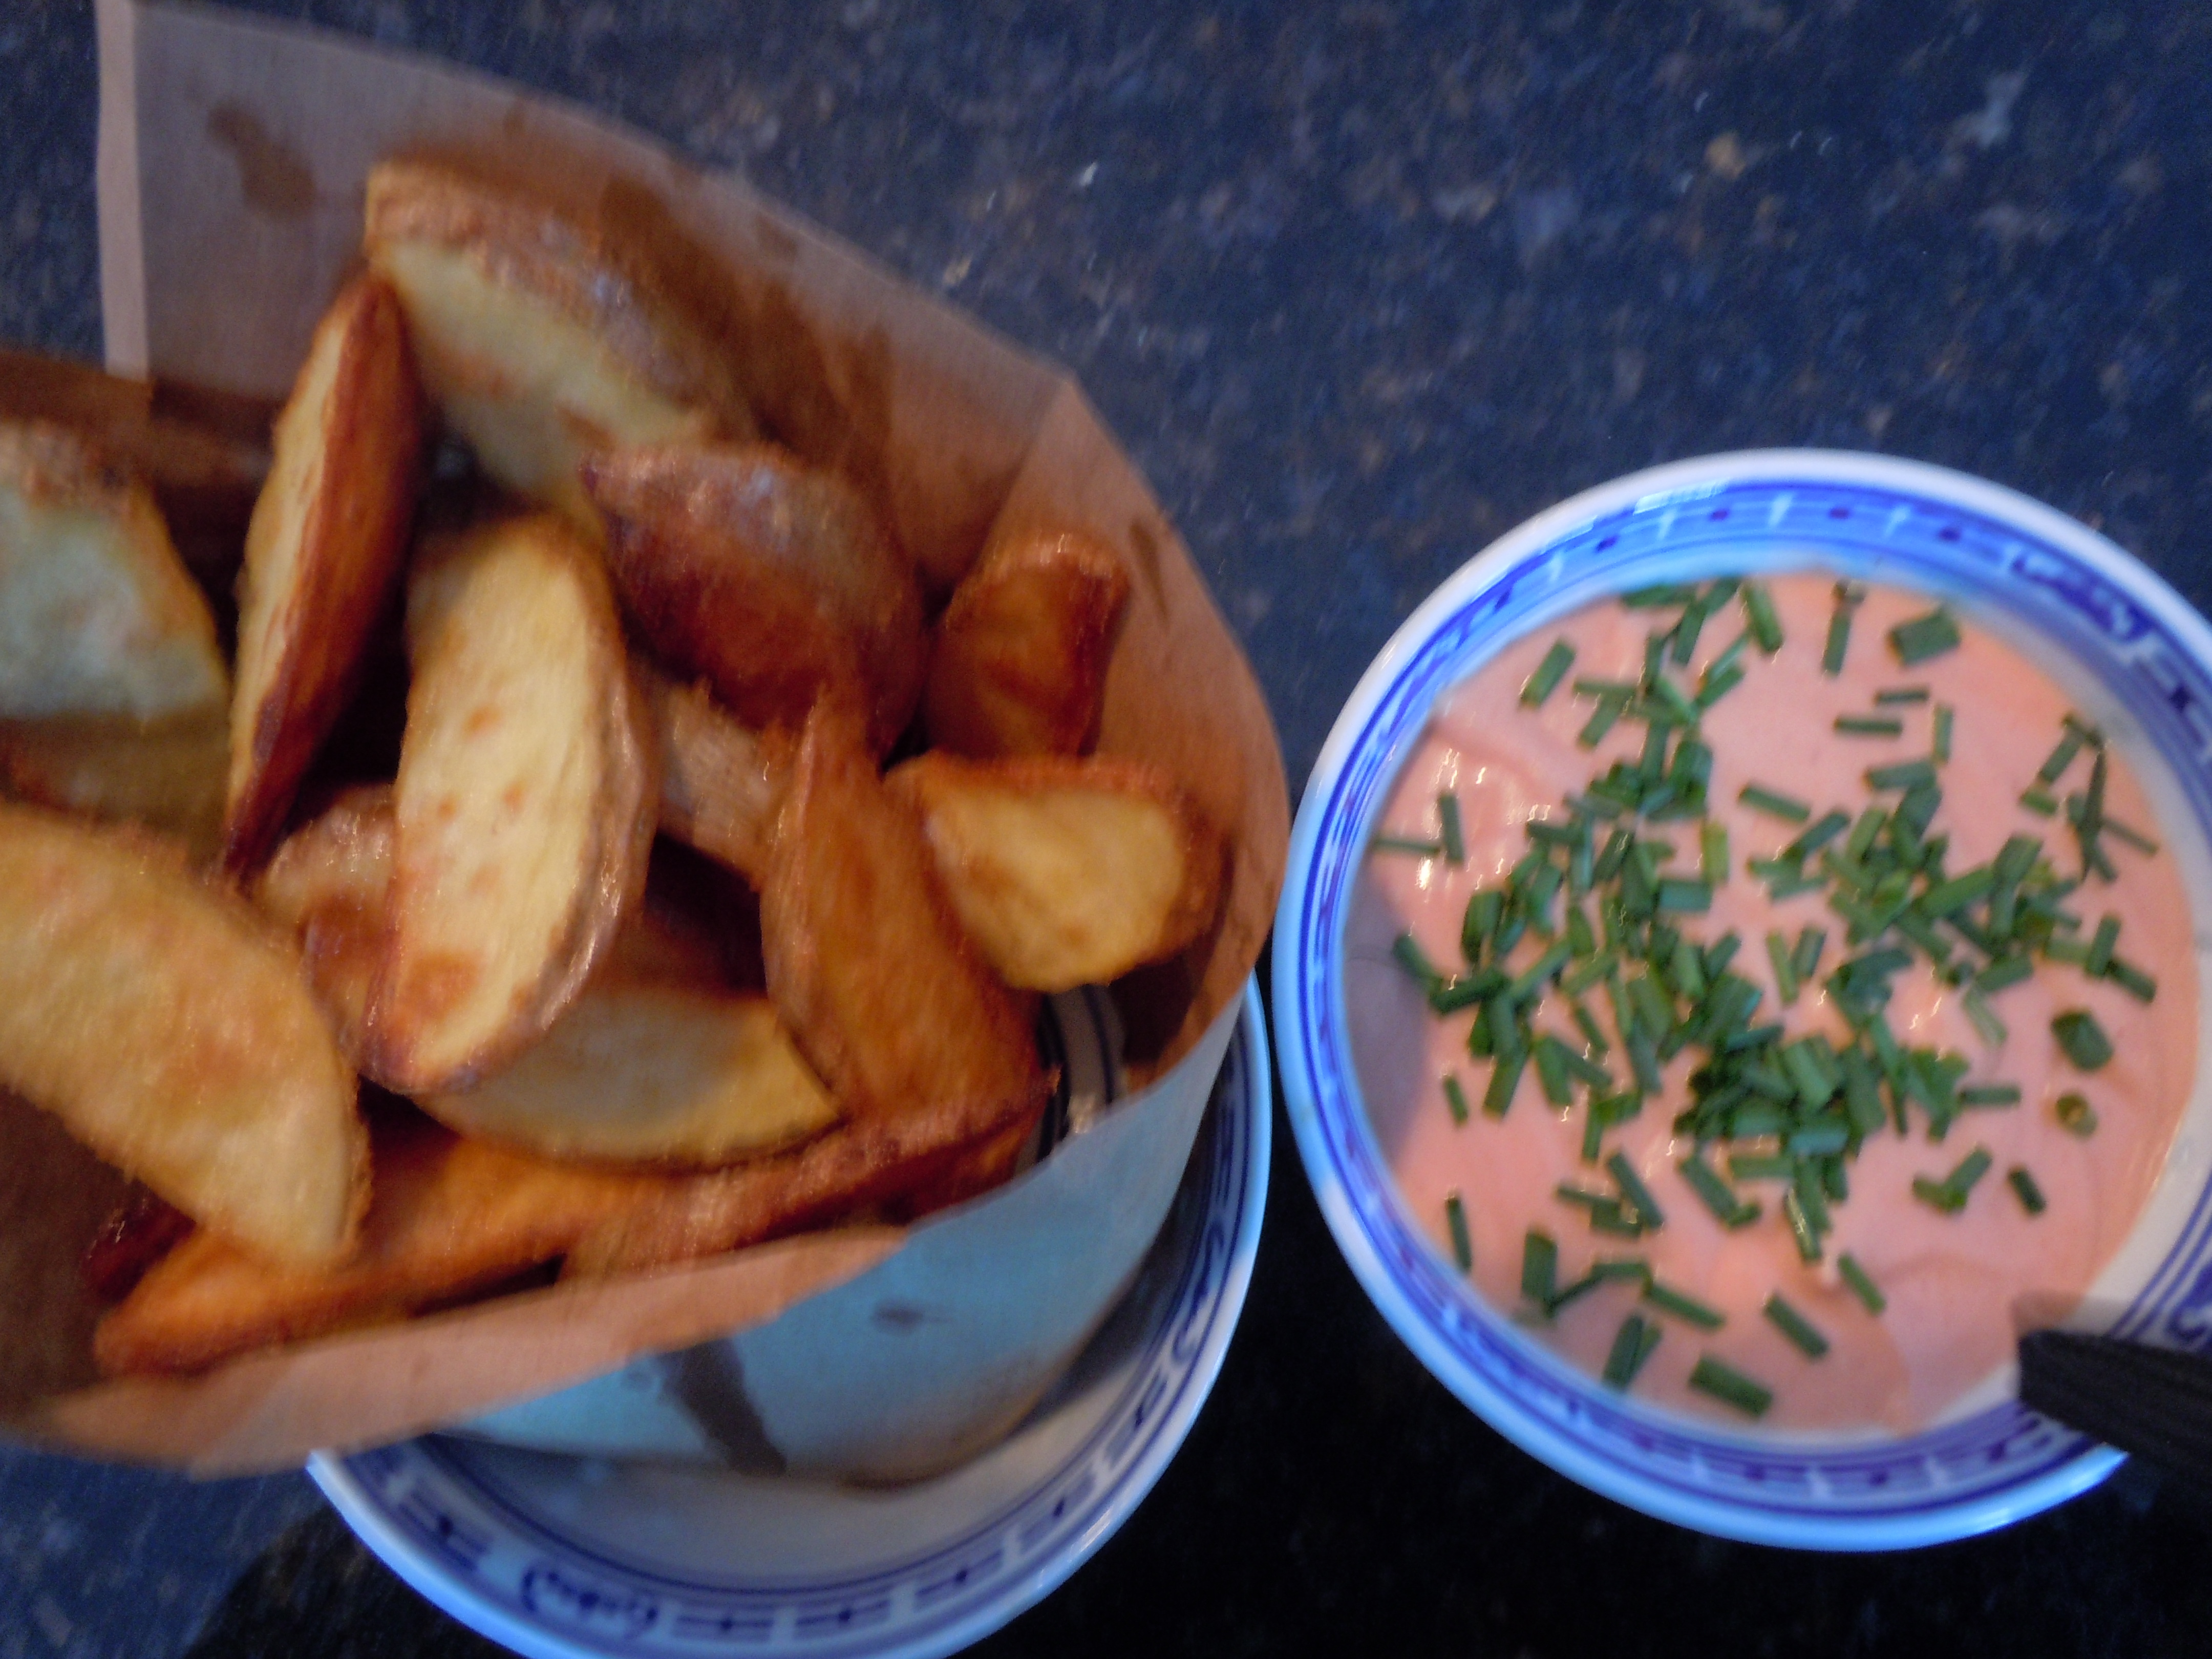
Gourmet Crispy Oven Fries
These gourmet crispy oven fries are super easy and delicious. Now that’s a combination we can all live with. I’m not into fussing around with rinsing, soaking, pre-boiling, semi-nuking, and then baking or doing a double frying. What, we don’t have anything else to do with our time! There aren’t enough hours in a day as it is so why waste our valuable time with unnecessary steps when it can be done so easily.
My gourmet crispy oven fries recipe is so easy you will think you are missing a step! I have been making these oven fries for years and I am still getting wonderful results. Granted, everyone’s oven runs a little differently so that’s why I have you check the fries at the 30 minute mark to make sure they are not getting too dark. Keeping them all the same size is key to having great fries so they all finish browning at the same time. I have also never stopped using olive oil to make these fries. Of course, I have done trial runs testing with other oils like vegetable or canola oil but the fries are always stuck to the cookie sheet in the end and that for me seems to happen because they are a thinner oil. I really like the ease of using olive oil and they get that pretty golden color that I want. You still have to use a spatula to remove the golden fries from the tray but it’s an easy release.
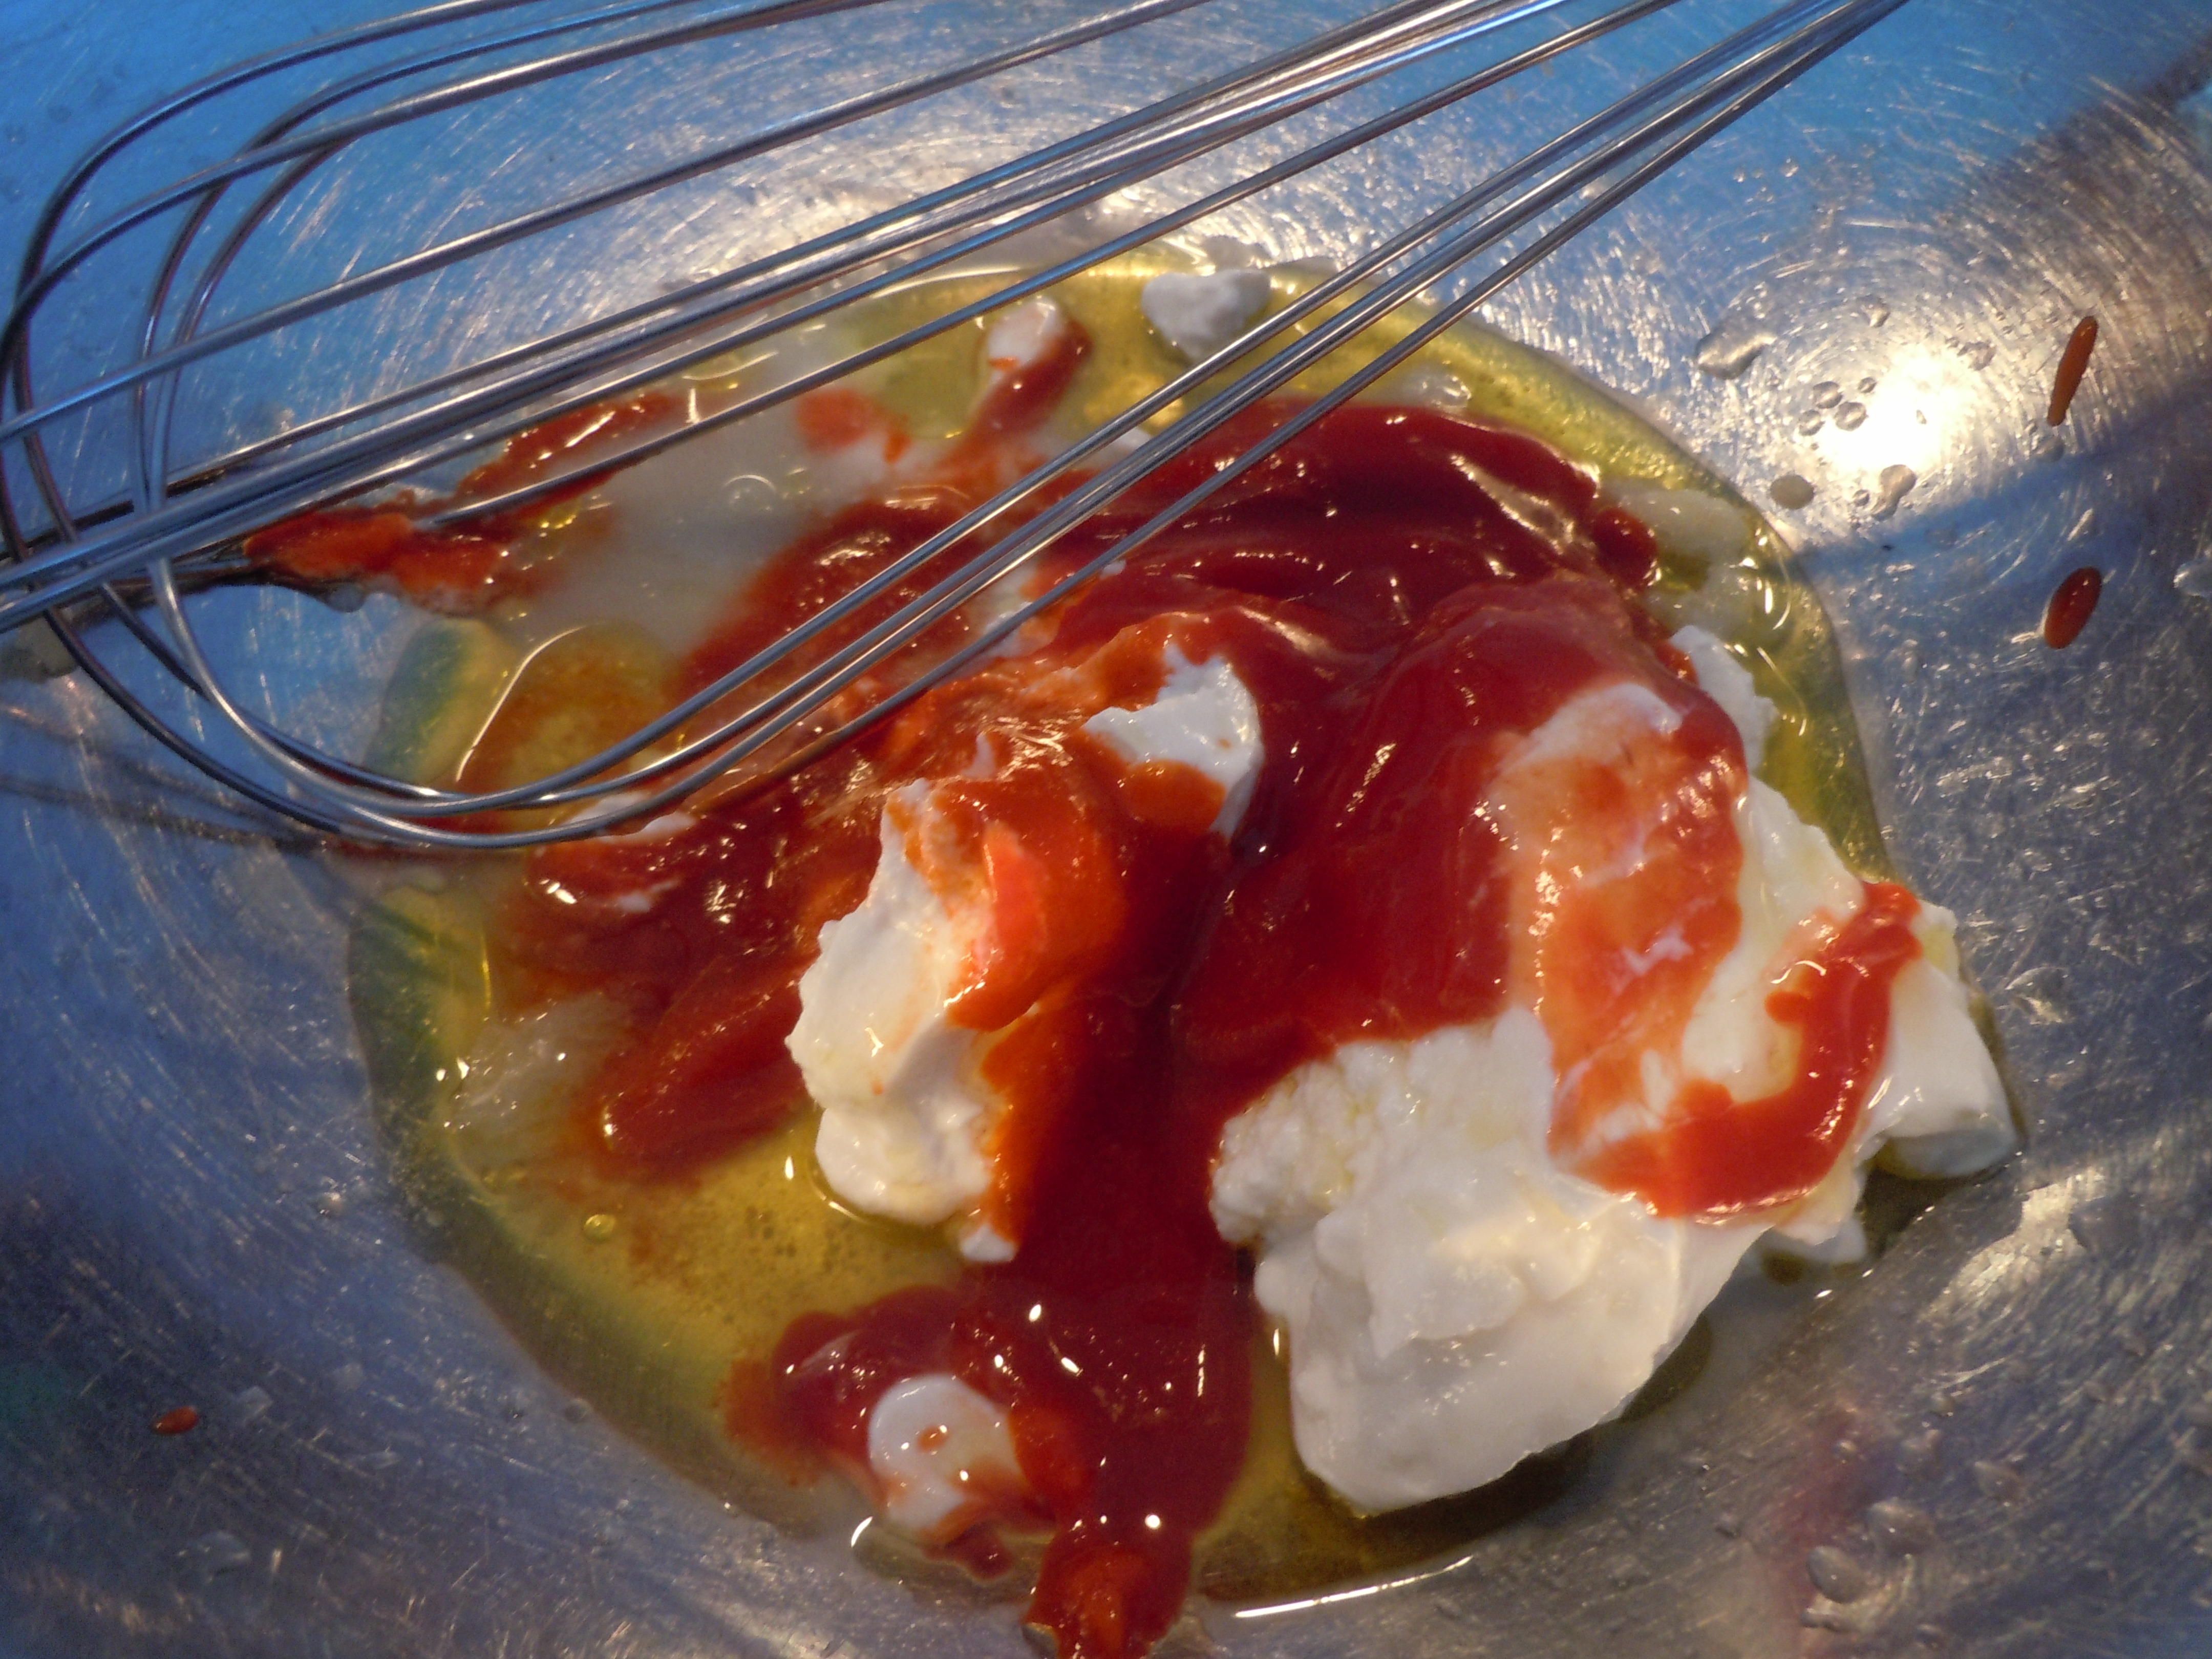
Having a homemade dipping sauce as tasty as my remoulade sauce made with greek yogurt is pretty much a no brainer for me. This sauce has the tang from the yogurt, a little sweet from the ketchup and a nice spice from the fresh garlic and Siracha…..yum. You need to try this sauce with my crab cakes ,bacon wrapped sea scallops or my baked coconut shrimp recipe. It’s such a nice combination and a change up from plain ketchup! This gourmet remoulade sauce is outrageous on sandwiches too especially turkey burgers or even beef for that matter!


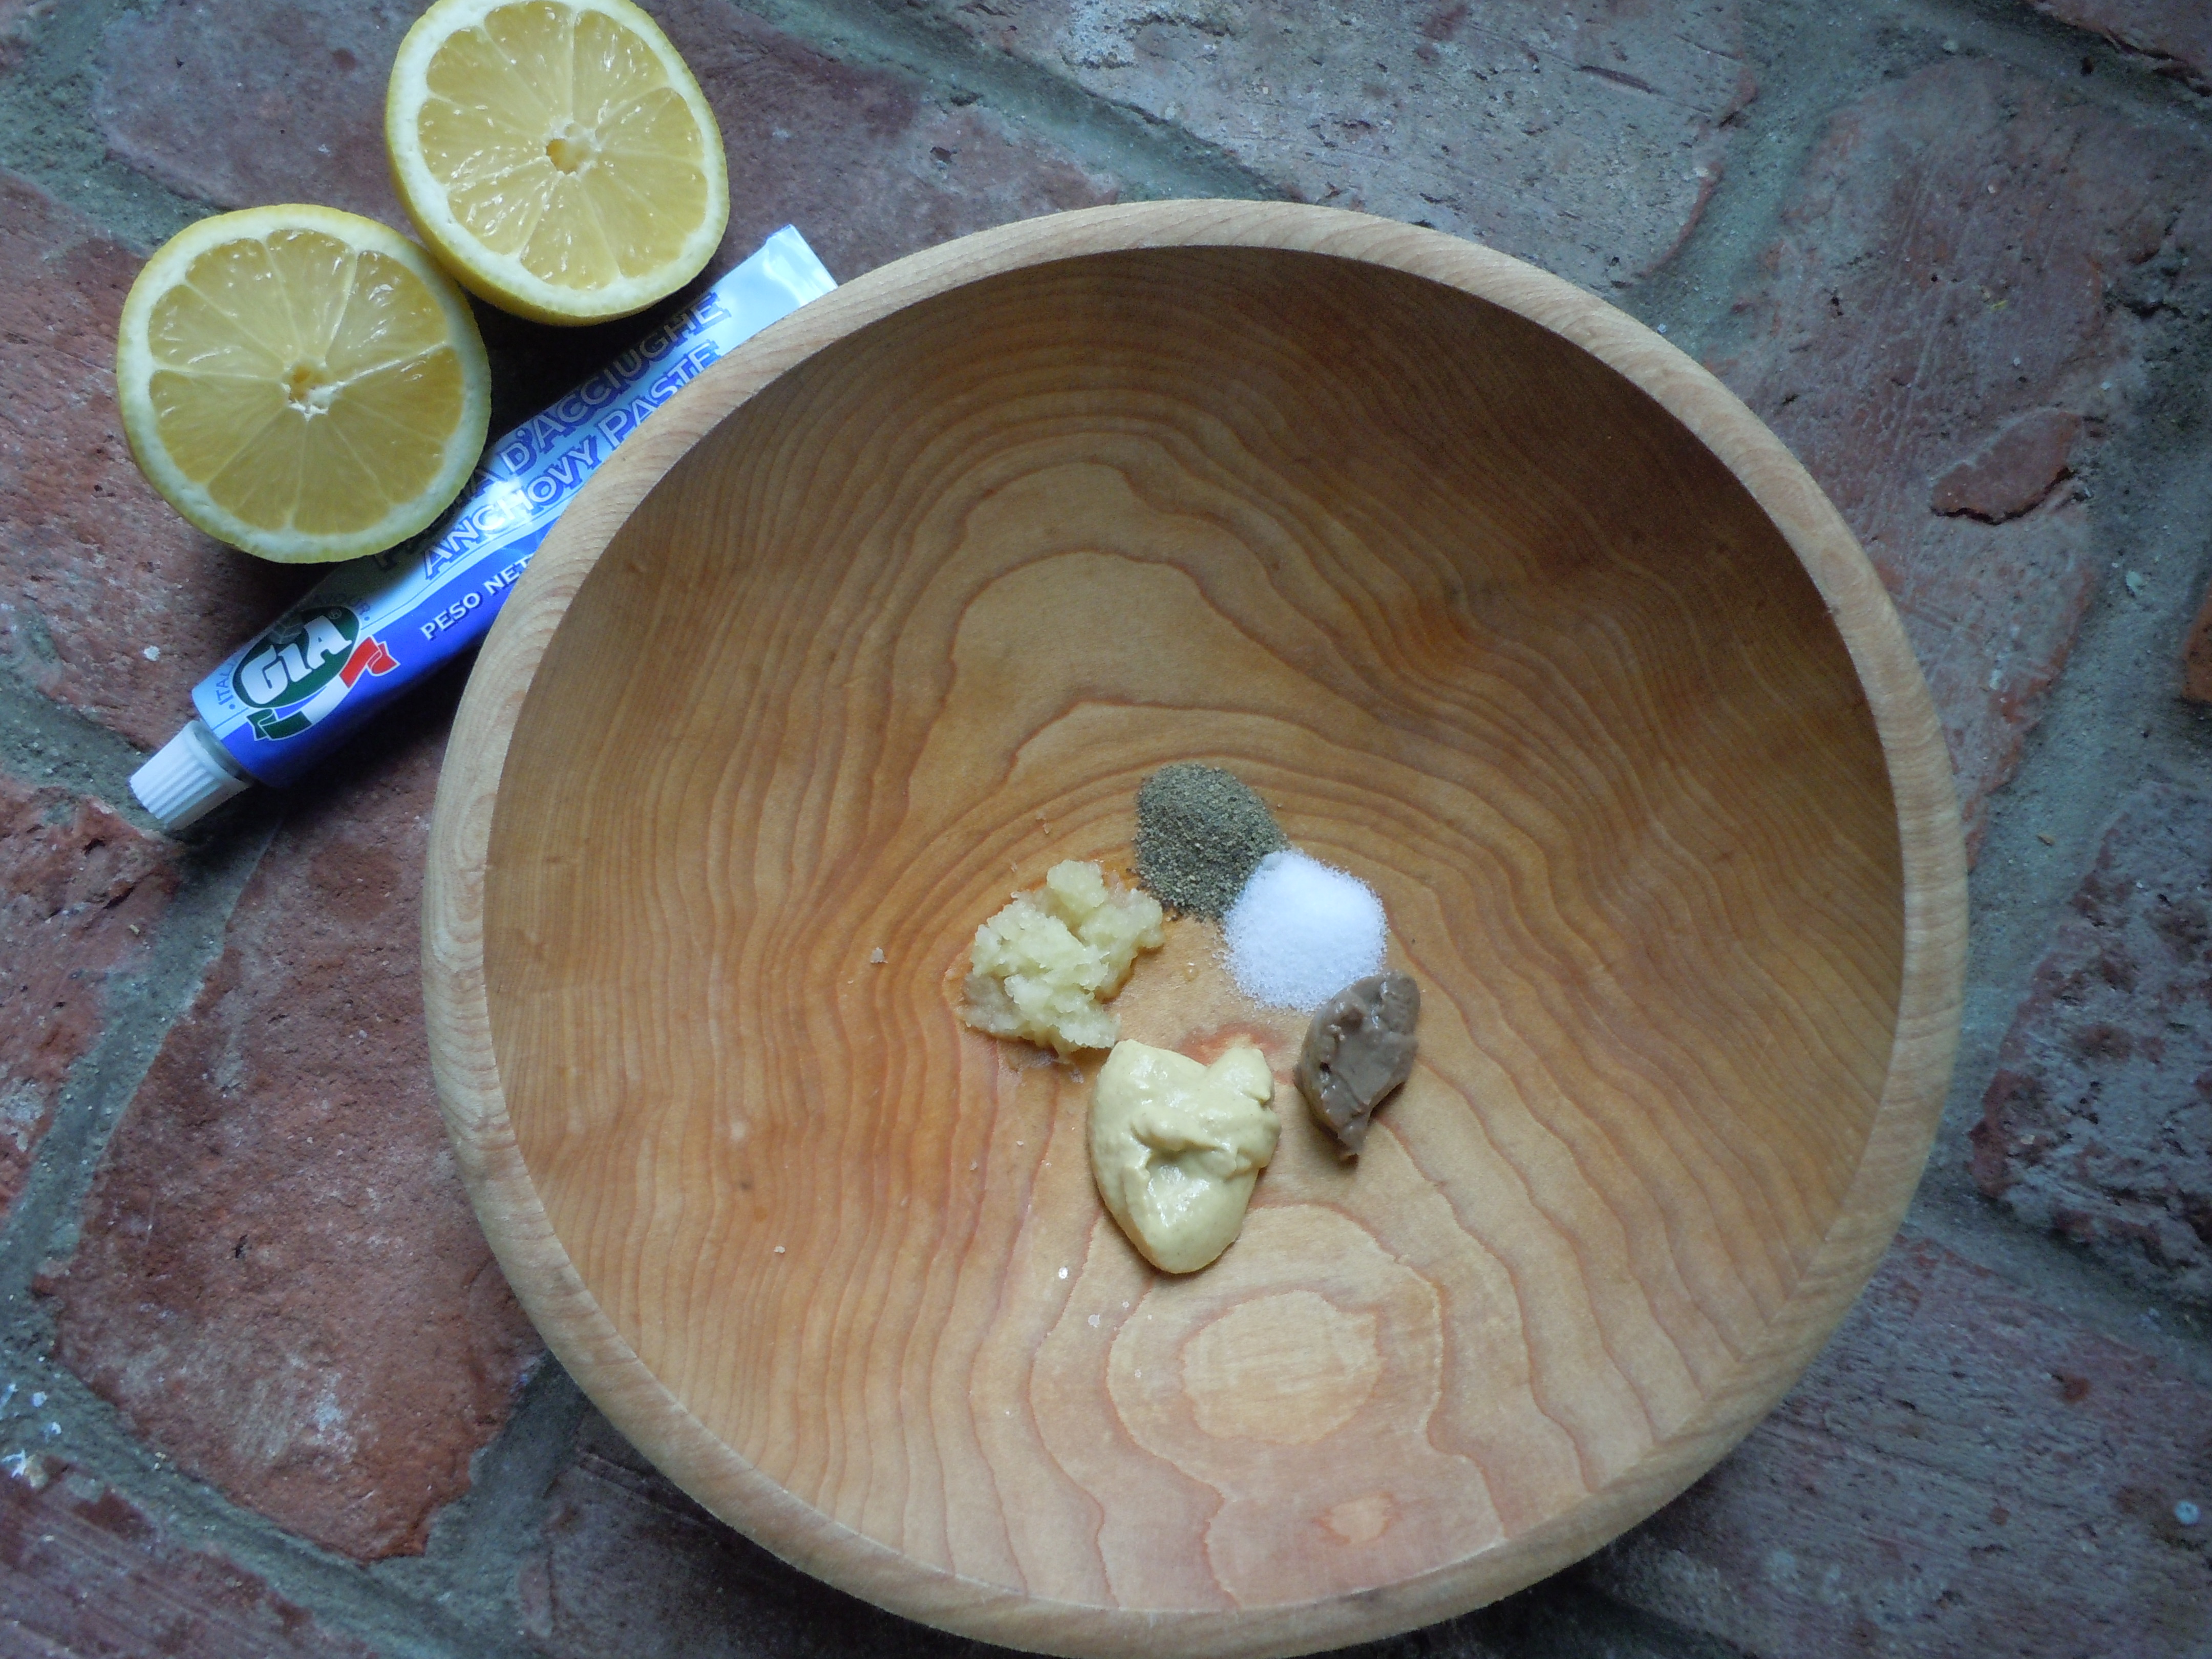
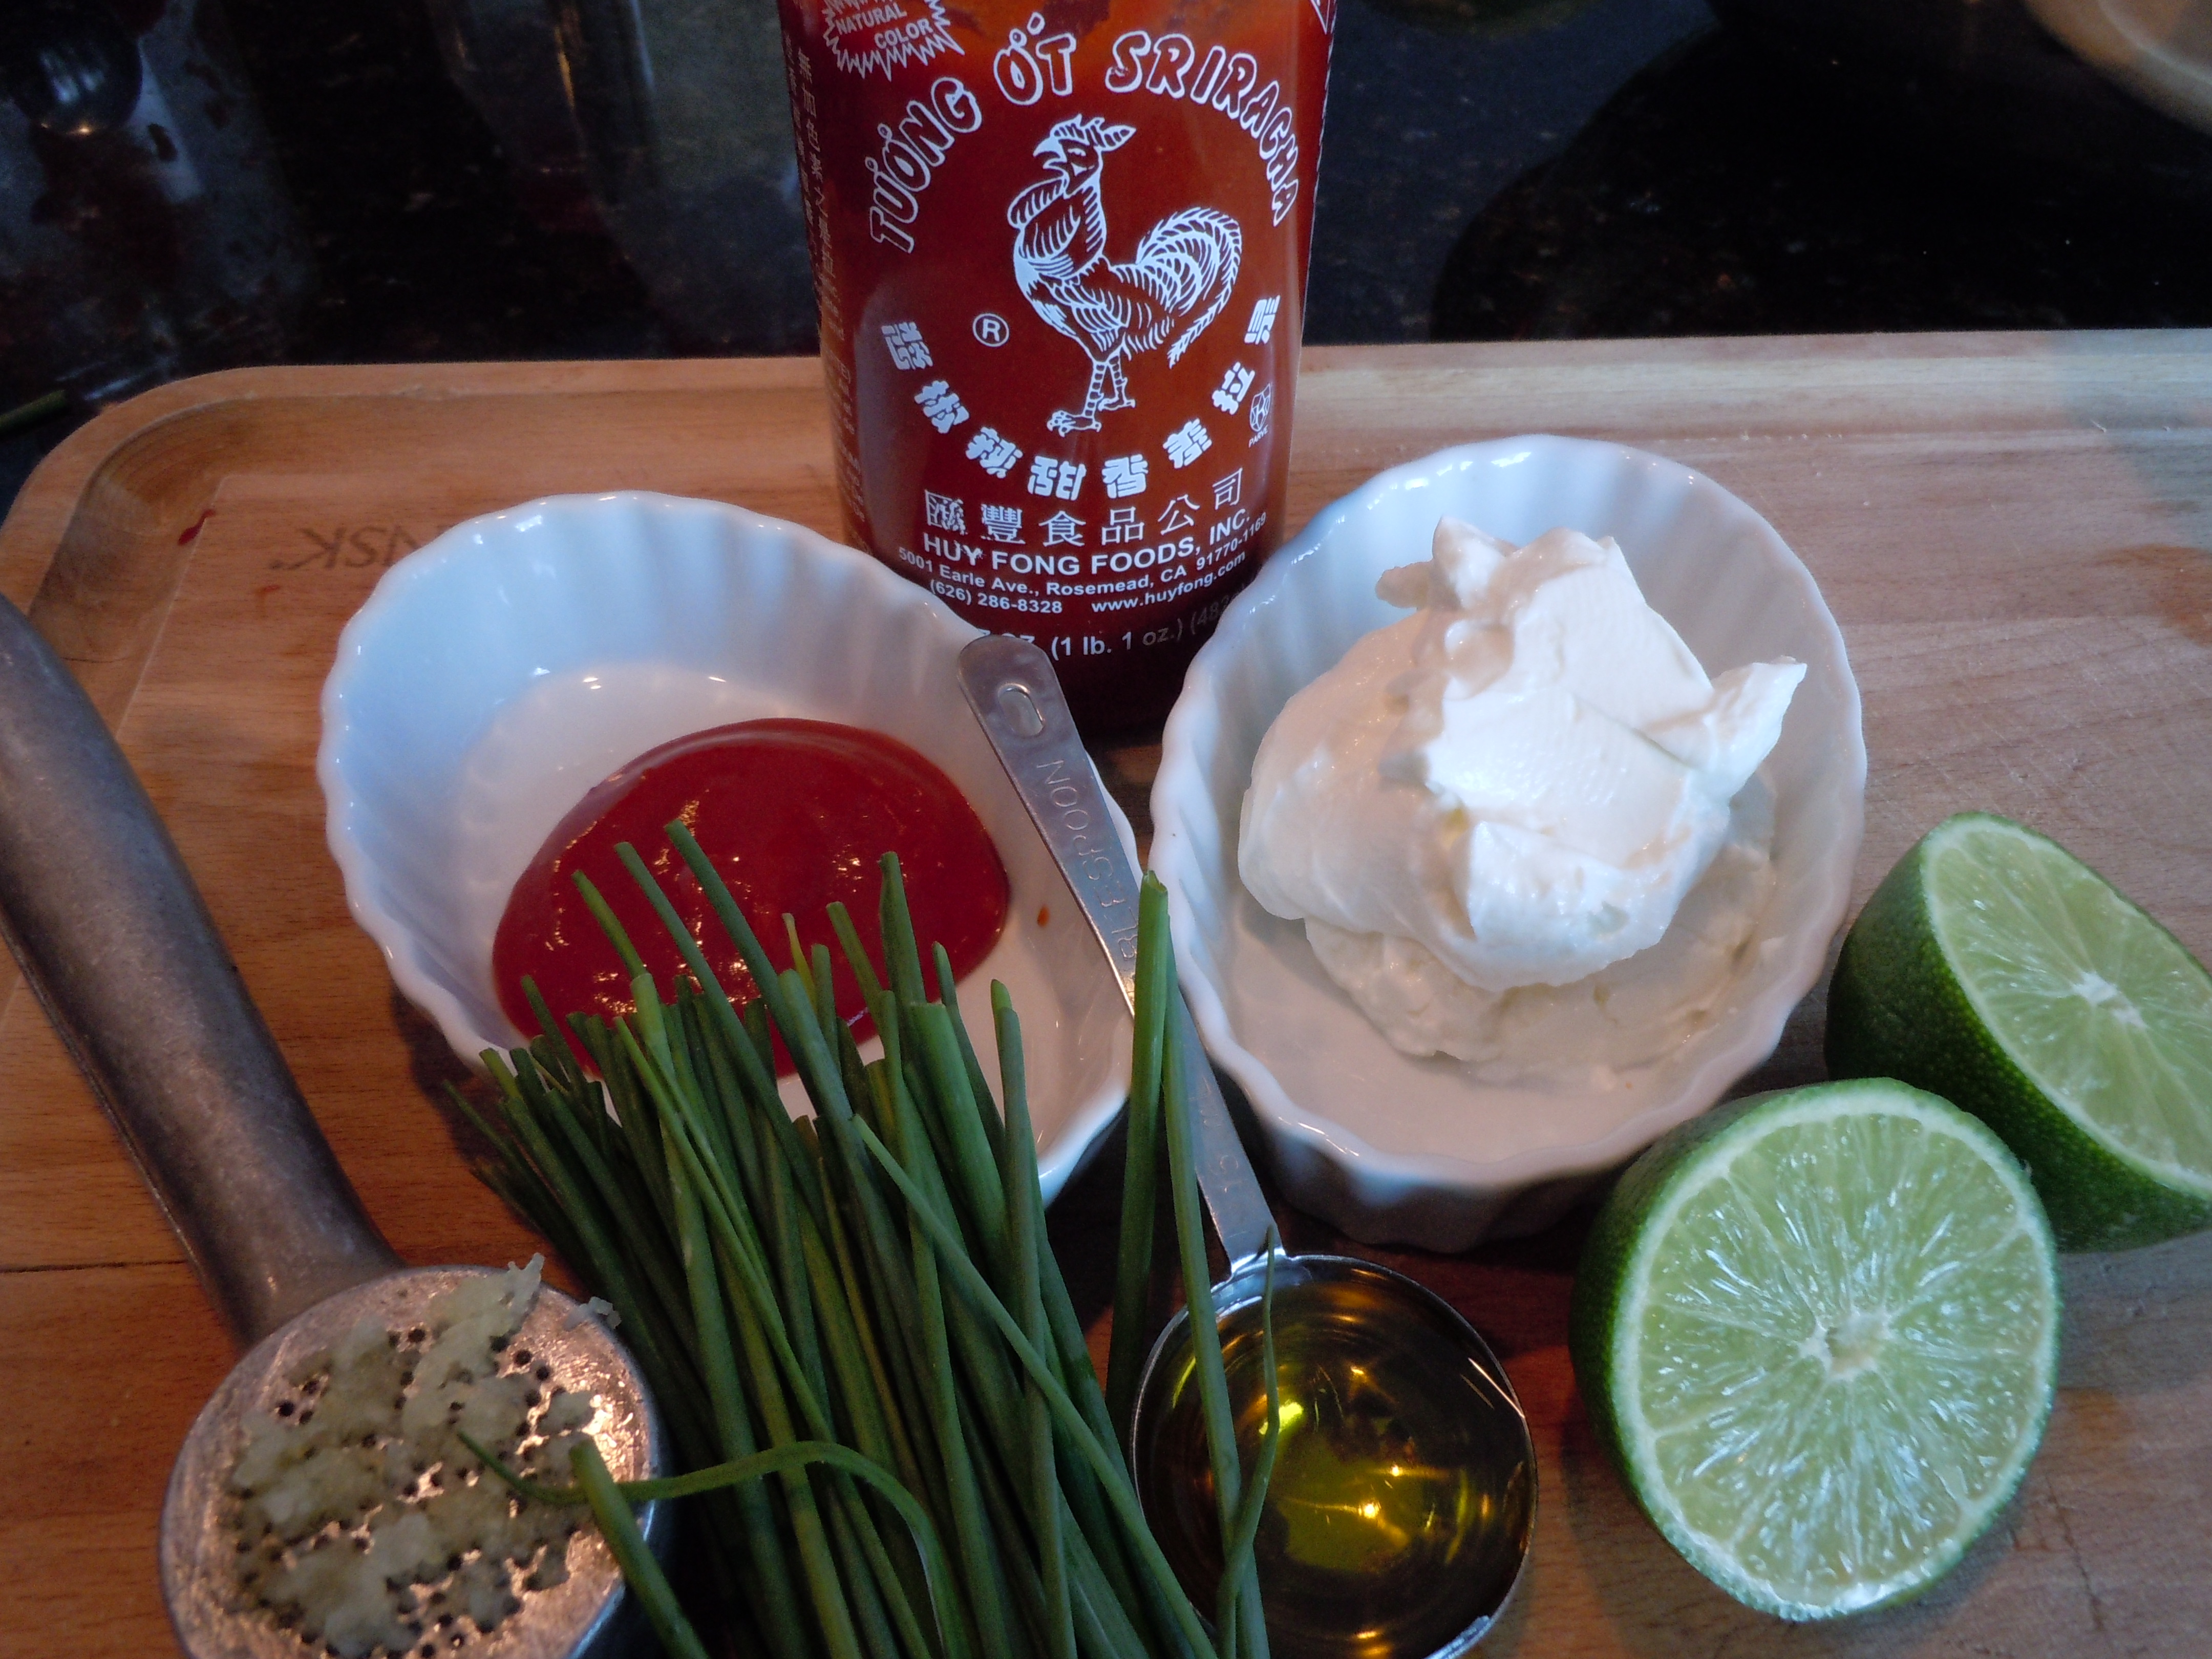
INGREDIENTS FOR GREEK YOGURT REMOULADE SAUCE:
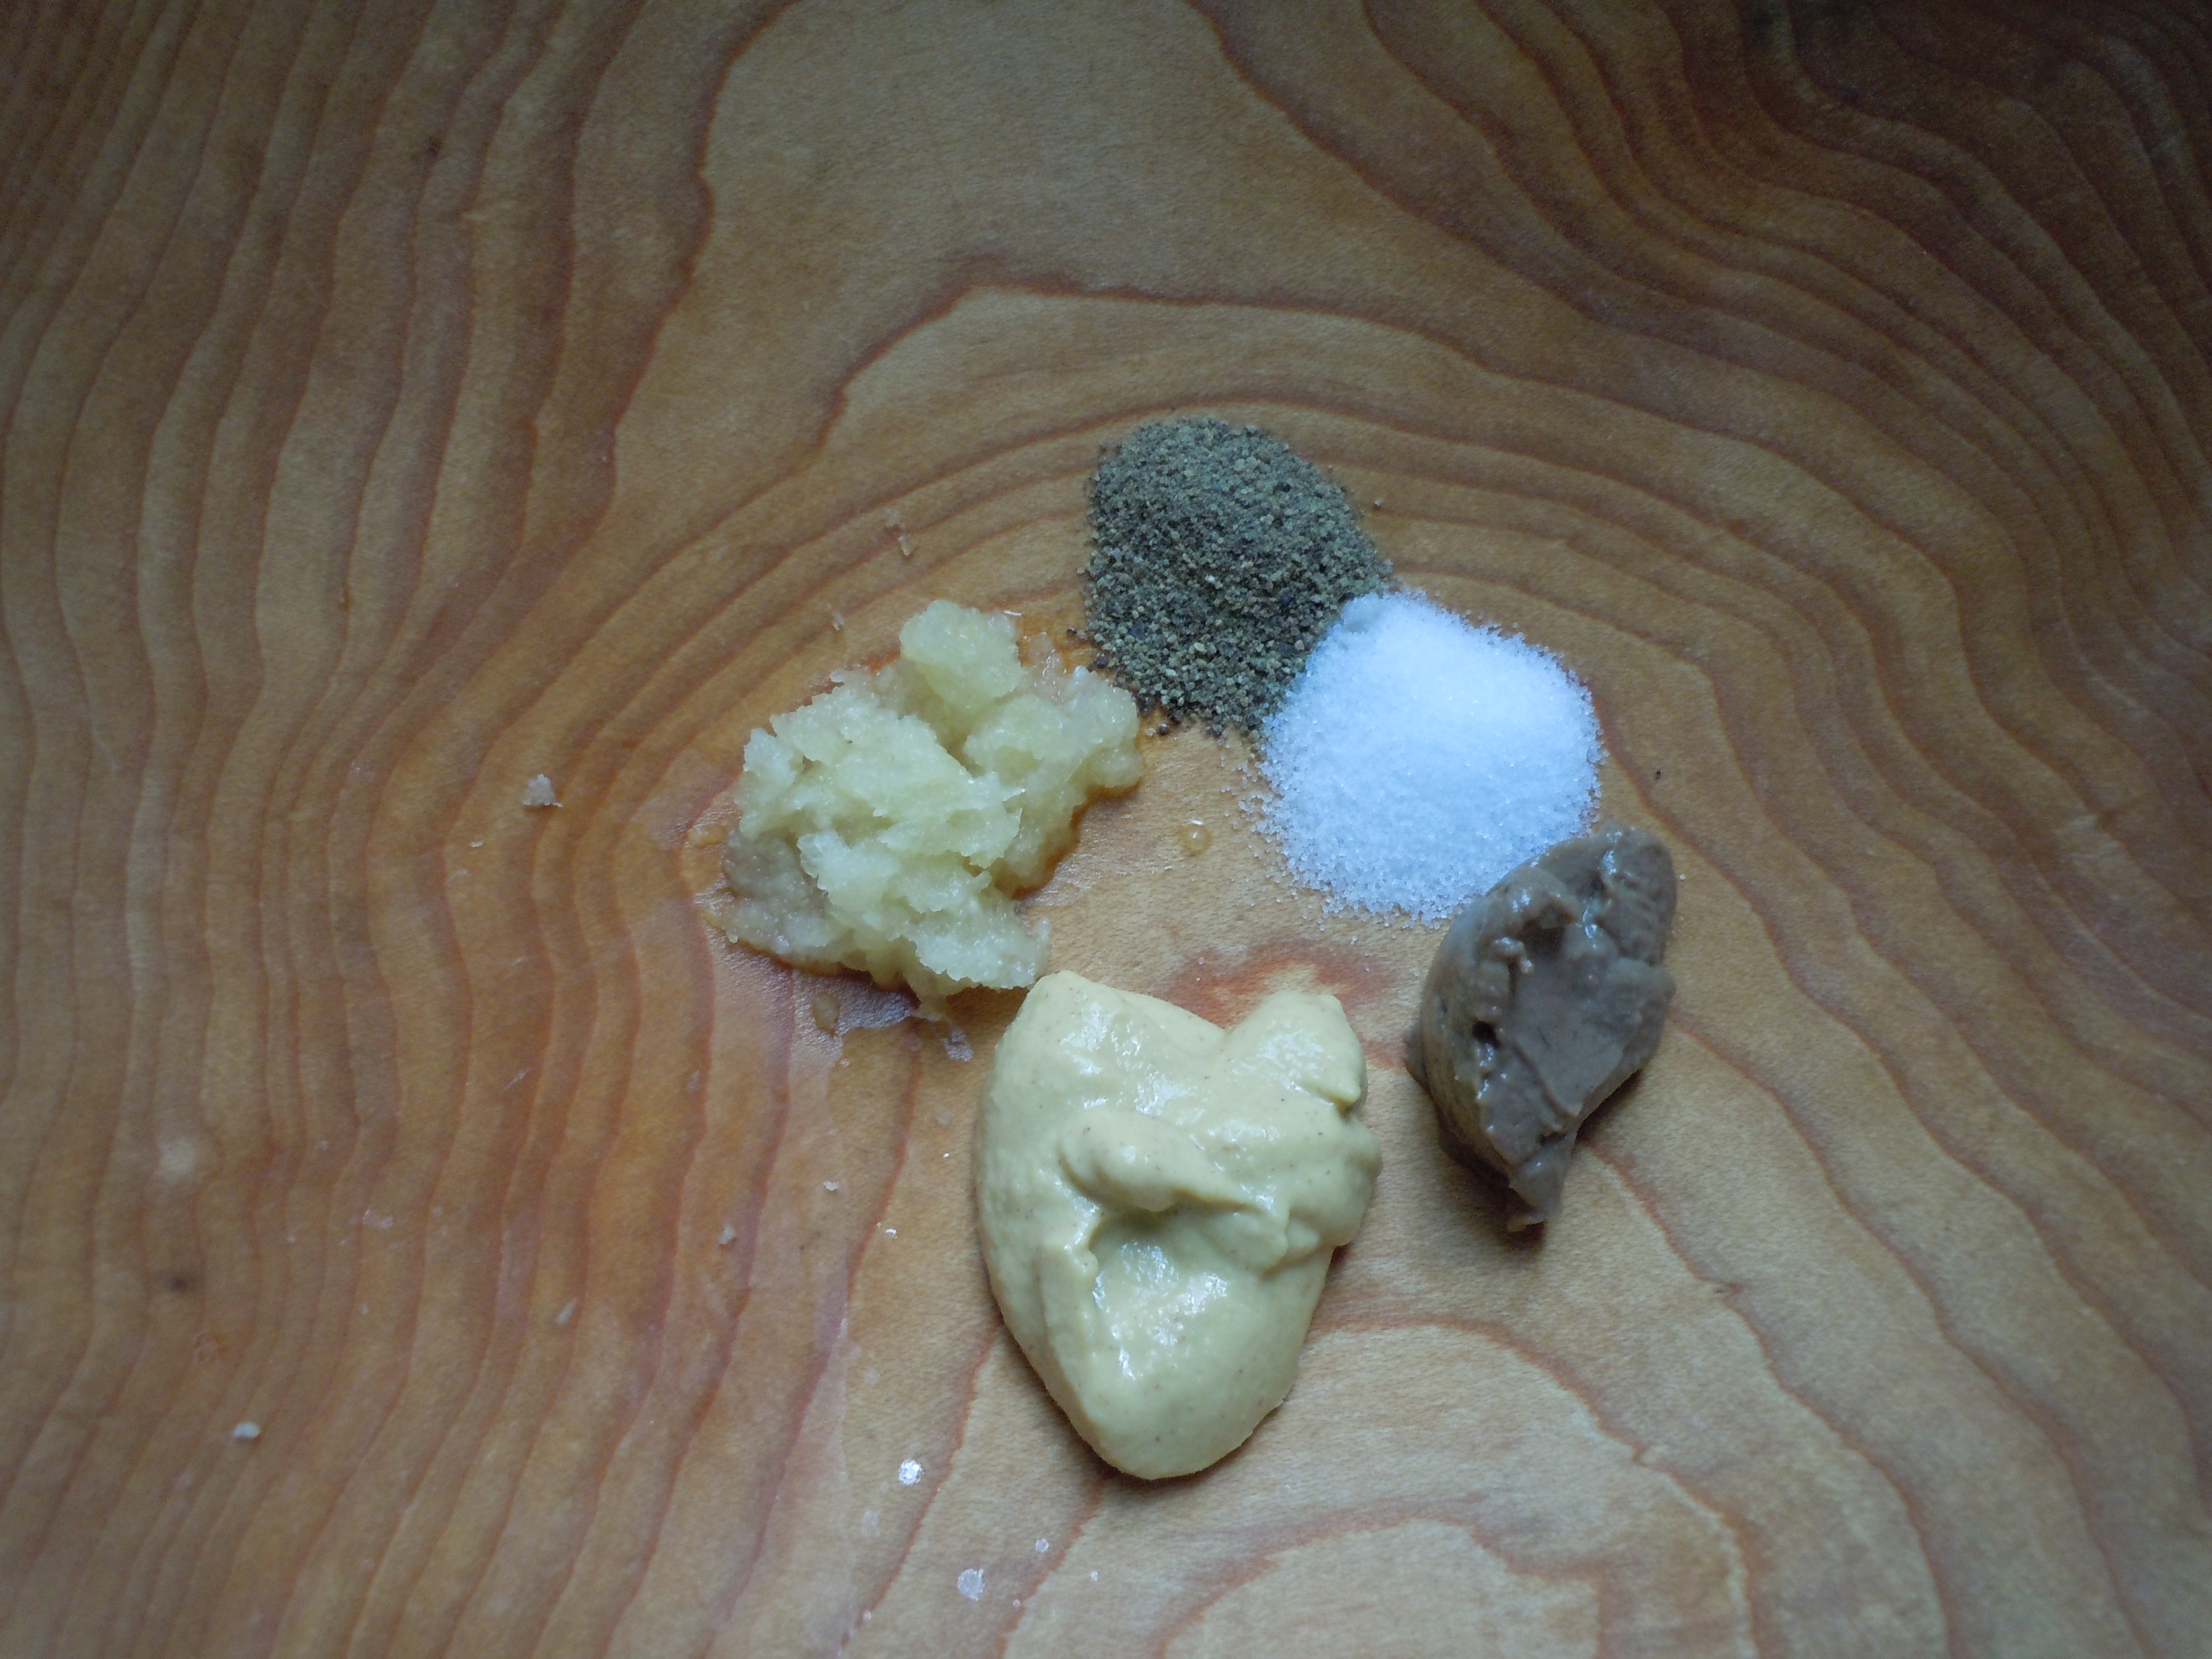
- 3/4 cup plain Greek yogurt
- 1/3 cup Hellman’s mayo
- 3 tbsp. ketchup
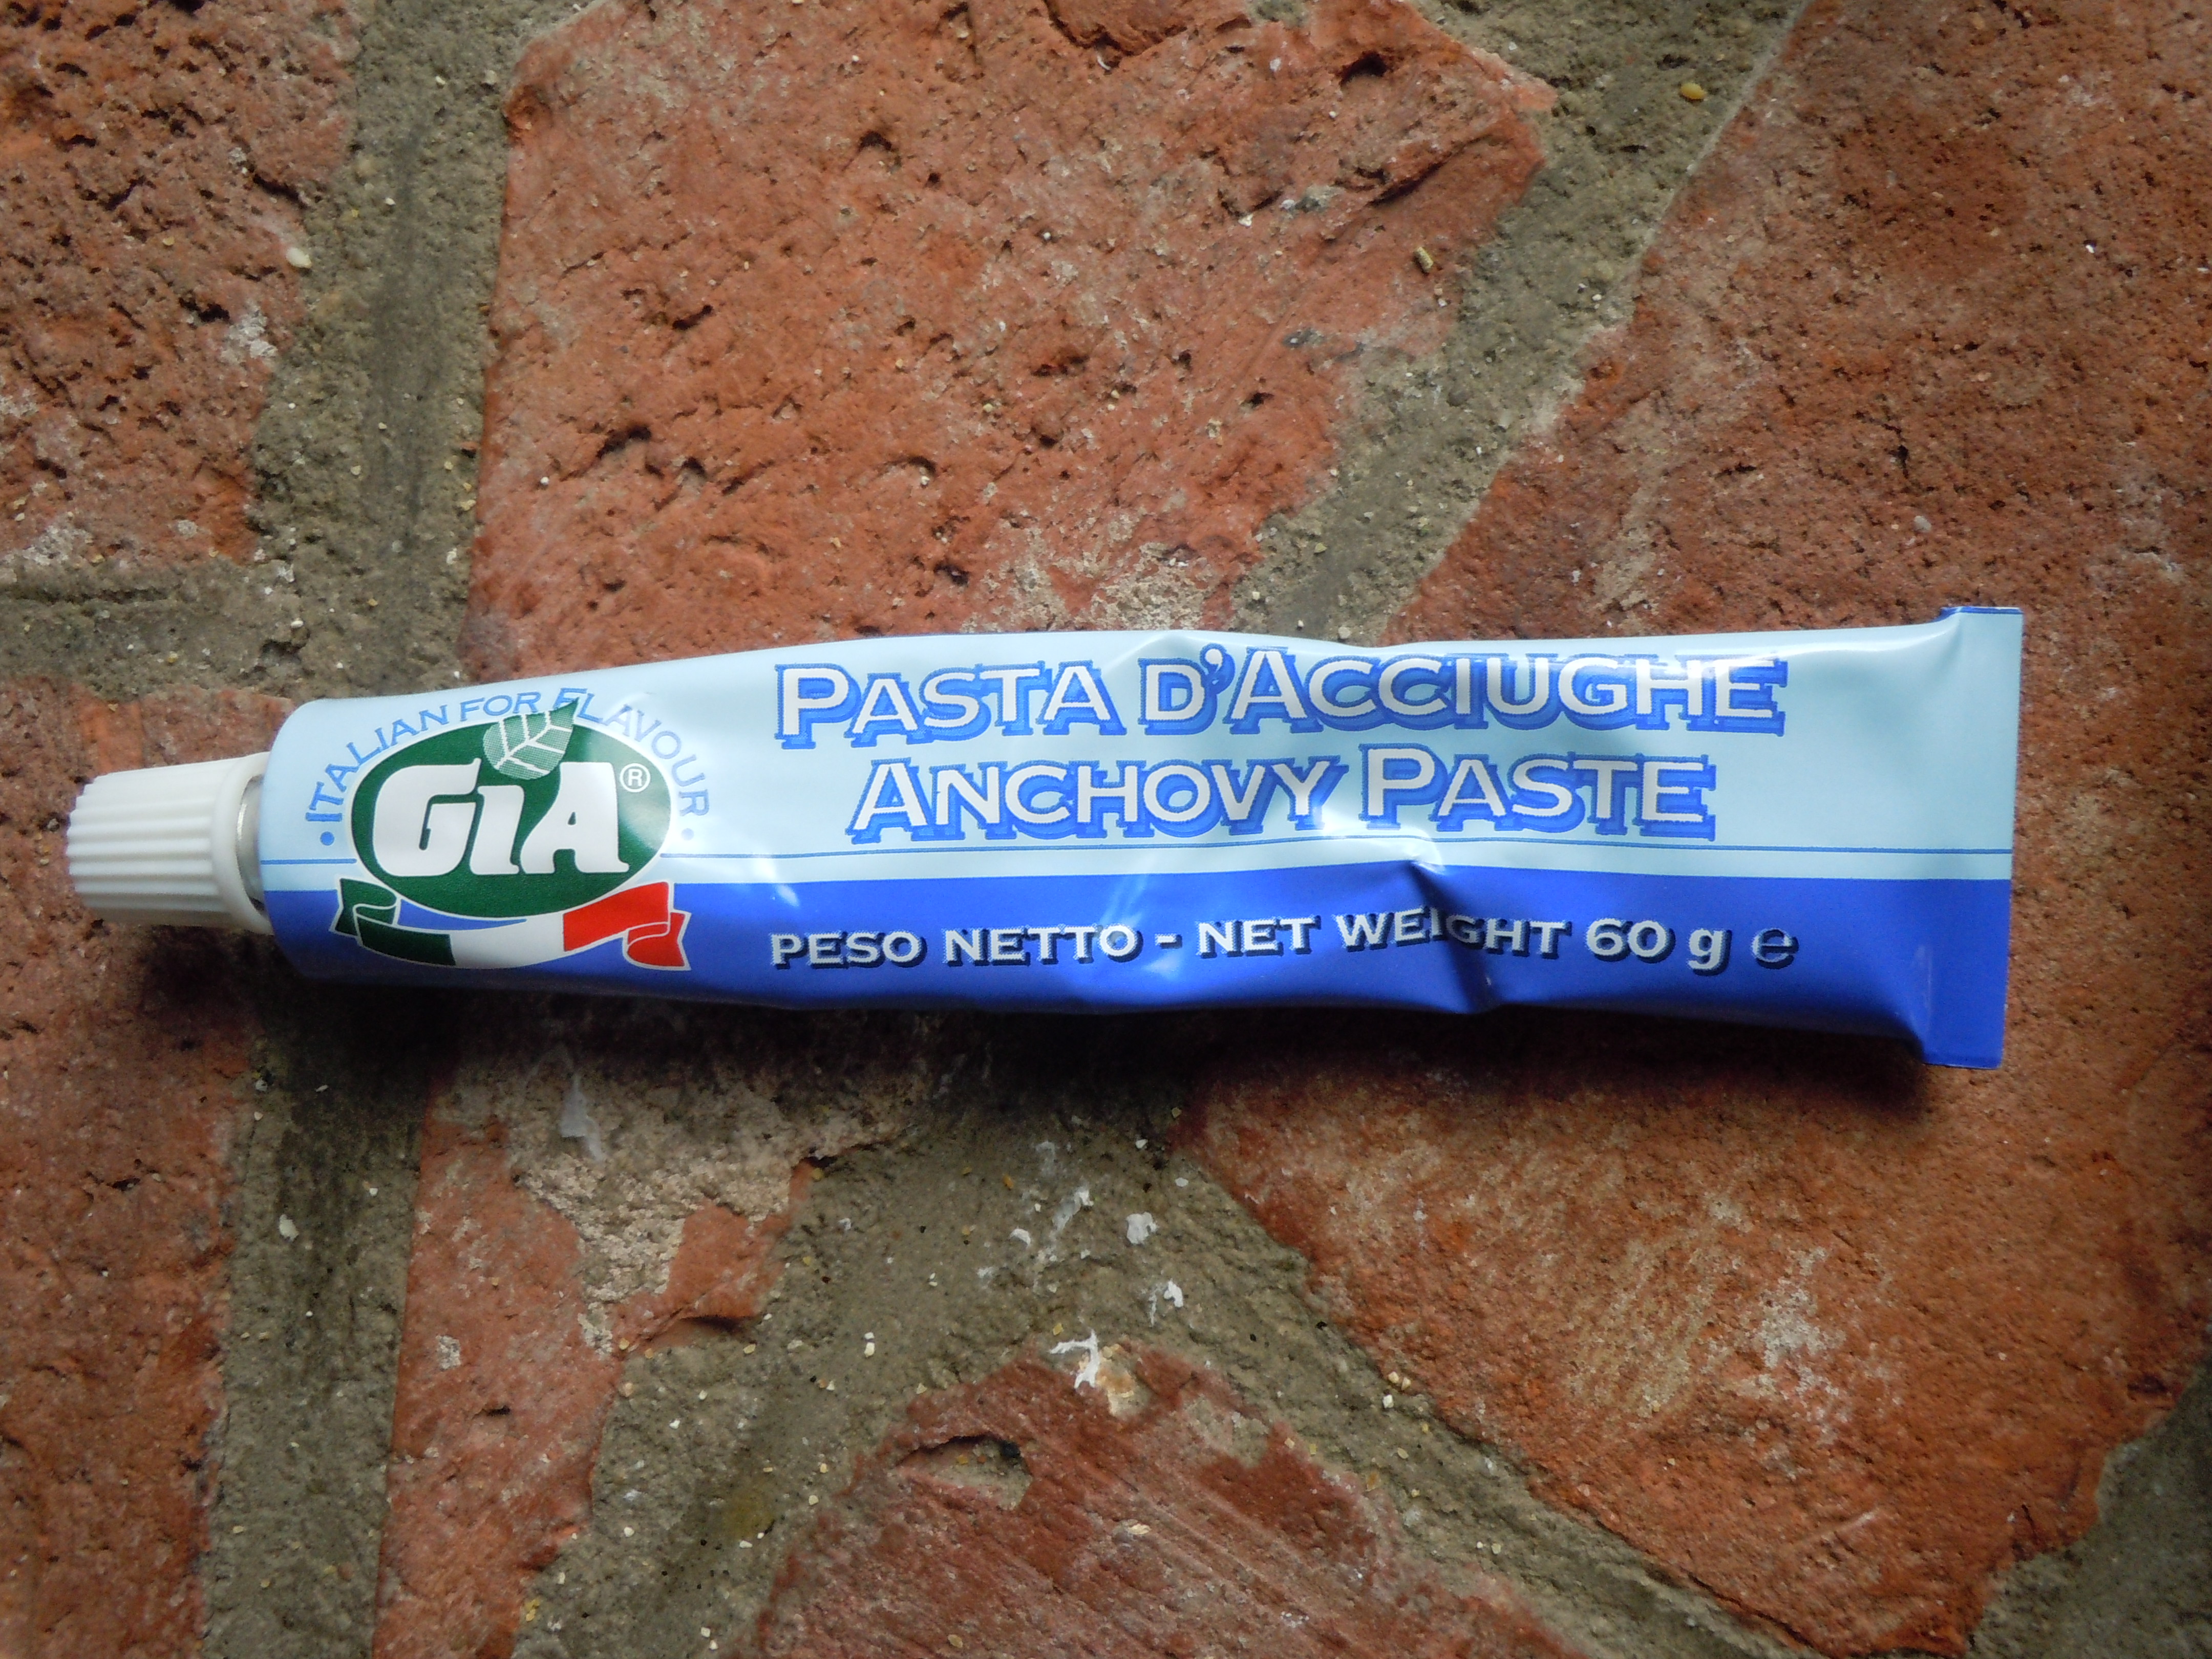
- 1 dash Siracha – OPTIONAL (Siracha is a hot chili sauce sold next to the Tabasco at the store or what ever your favorite hot sauce is!)
- Juice from 1/2 lime
- 1 lg. garlic clove (put thru press )
- 2 tbsp. extra virgin olive oil
- 1 tbsp. rice wine vinegar (I use “seasoned” rice wine vinegar)
- Freshly chopped chives to sprinkle on top of finished remoulade
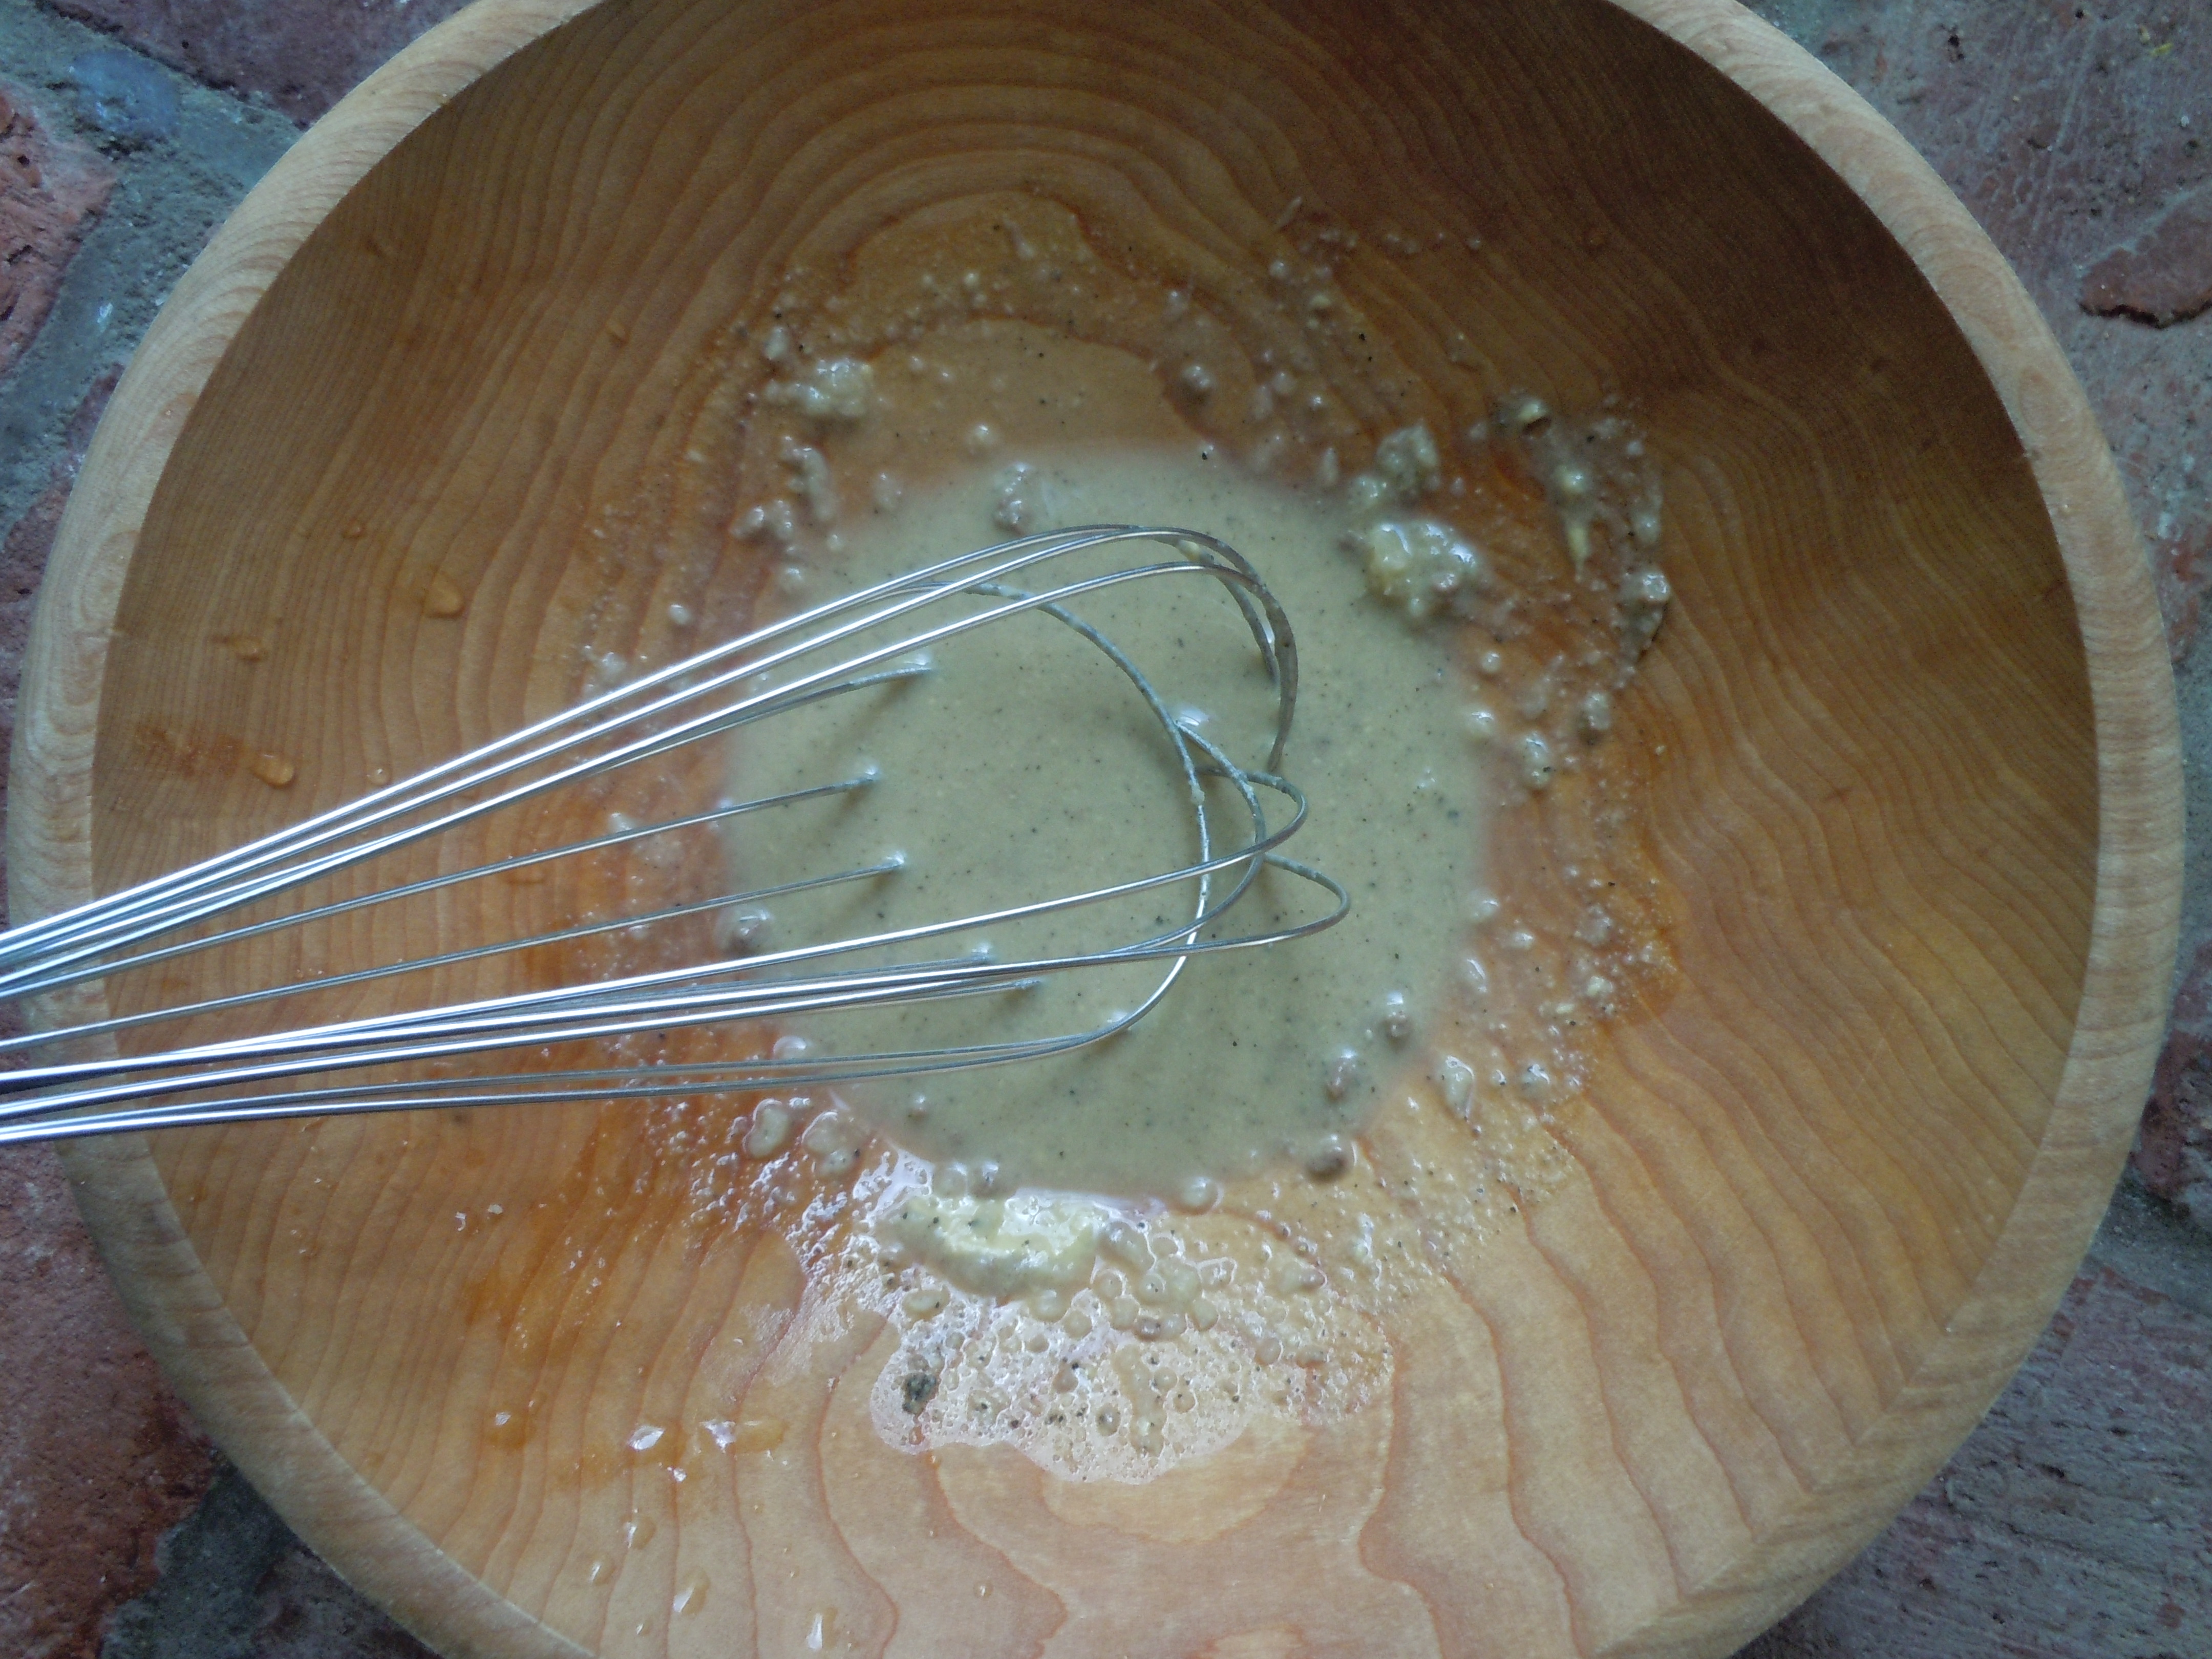
DIRECTIONS FOR REMOULADE:
- Whisk all of the ingredients except the chives in a mixing bowl, then top with chopped chives
Ingredients FOR GOURMET OVEN CRISPY FRIES:
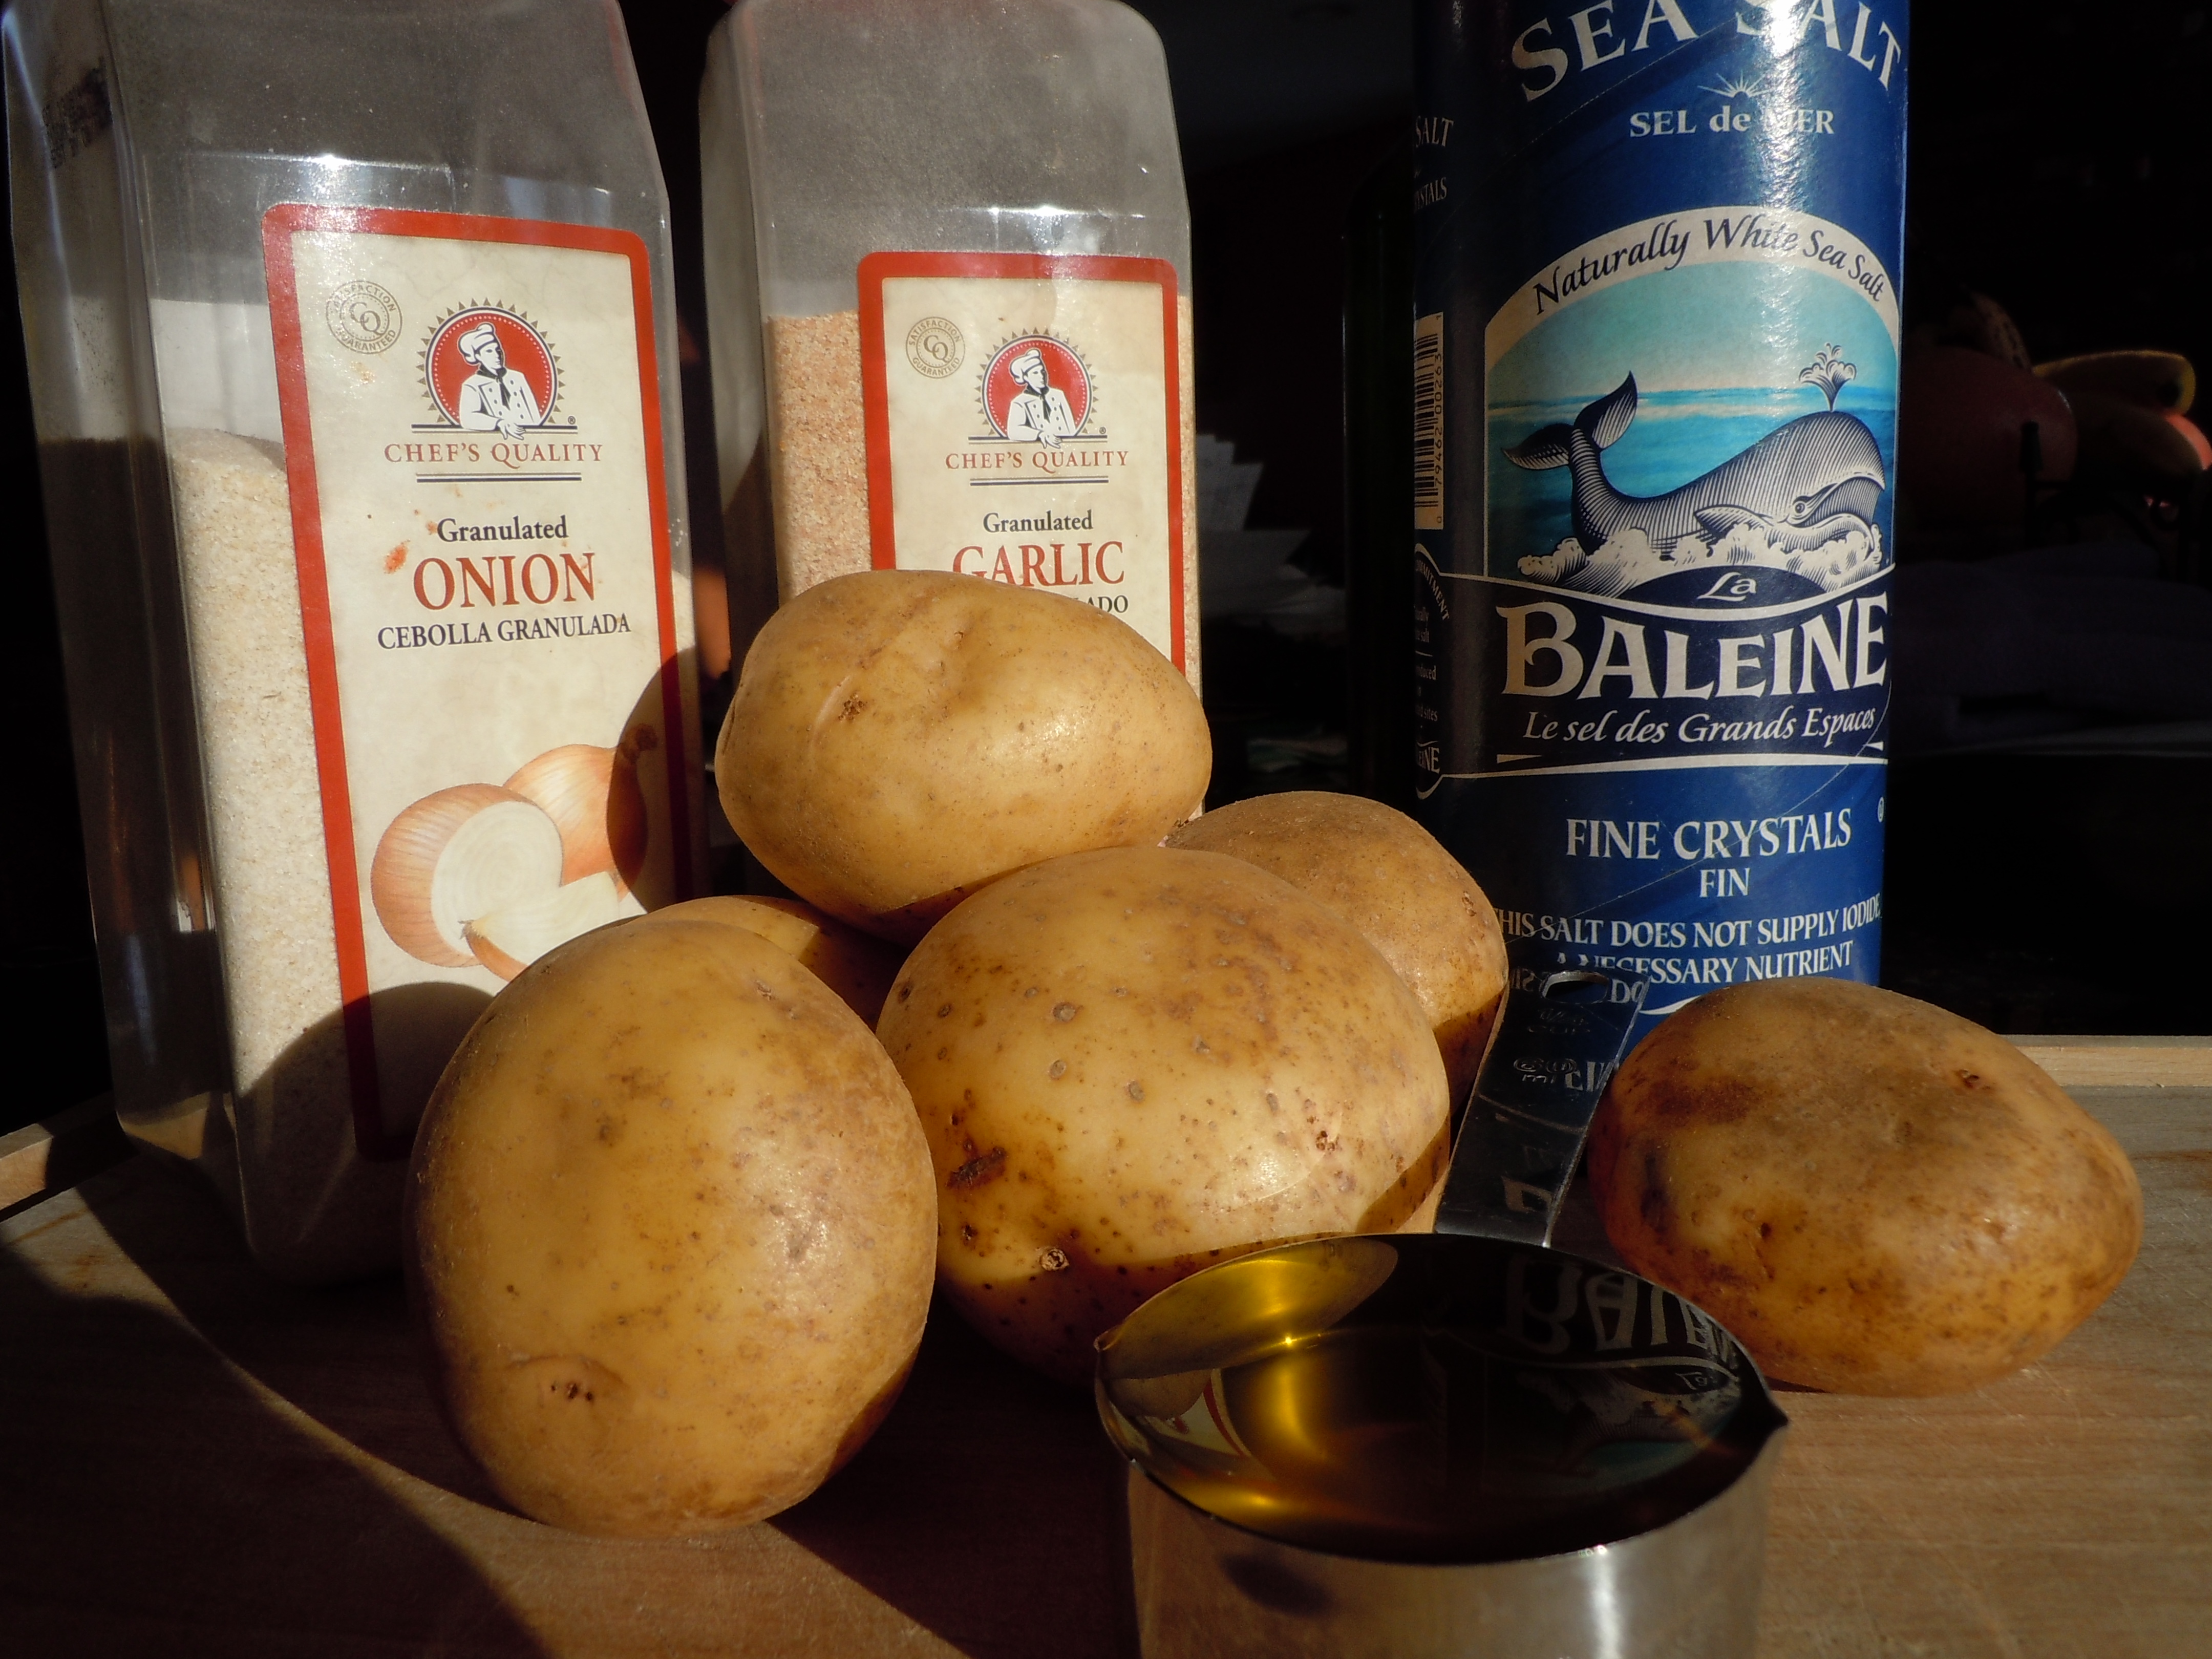
- 4 Med. size Russet potatoes OR Yukon potatoes sliced into sticks and pat dry with paper towels
- 1/4 cup extra virgin olive oil
- 1/2 tsp salt
- 1 tsp garlic granules
- 1 tsp onion granules
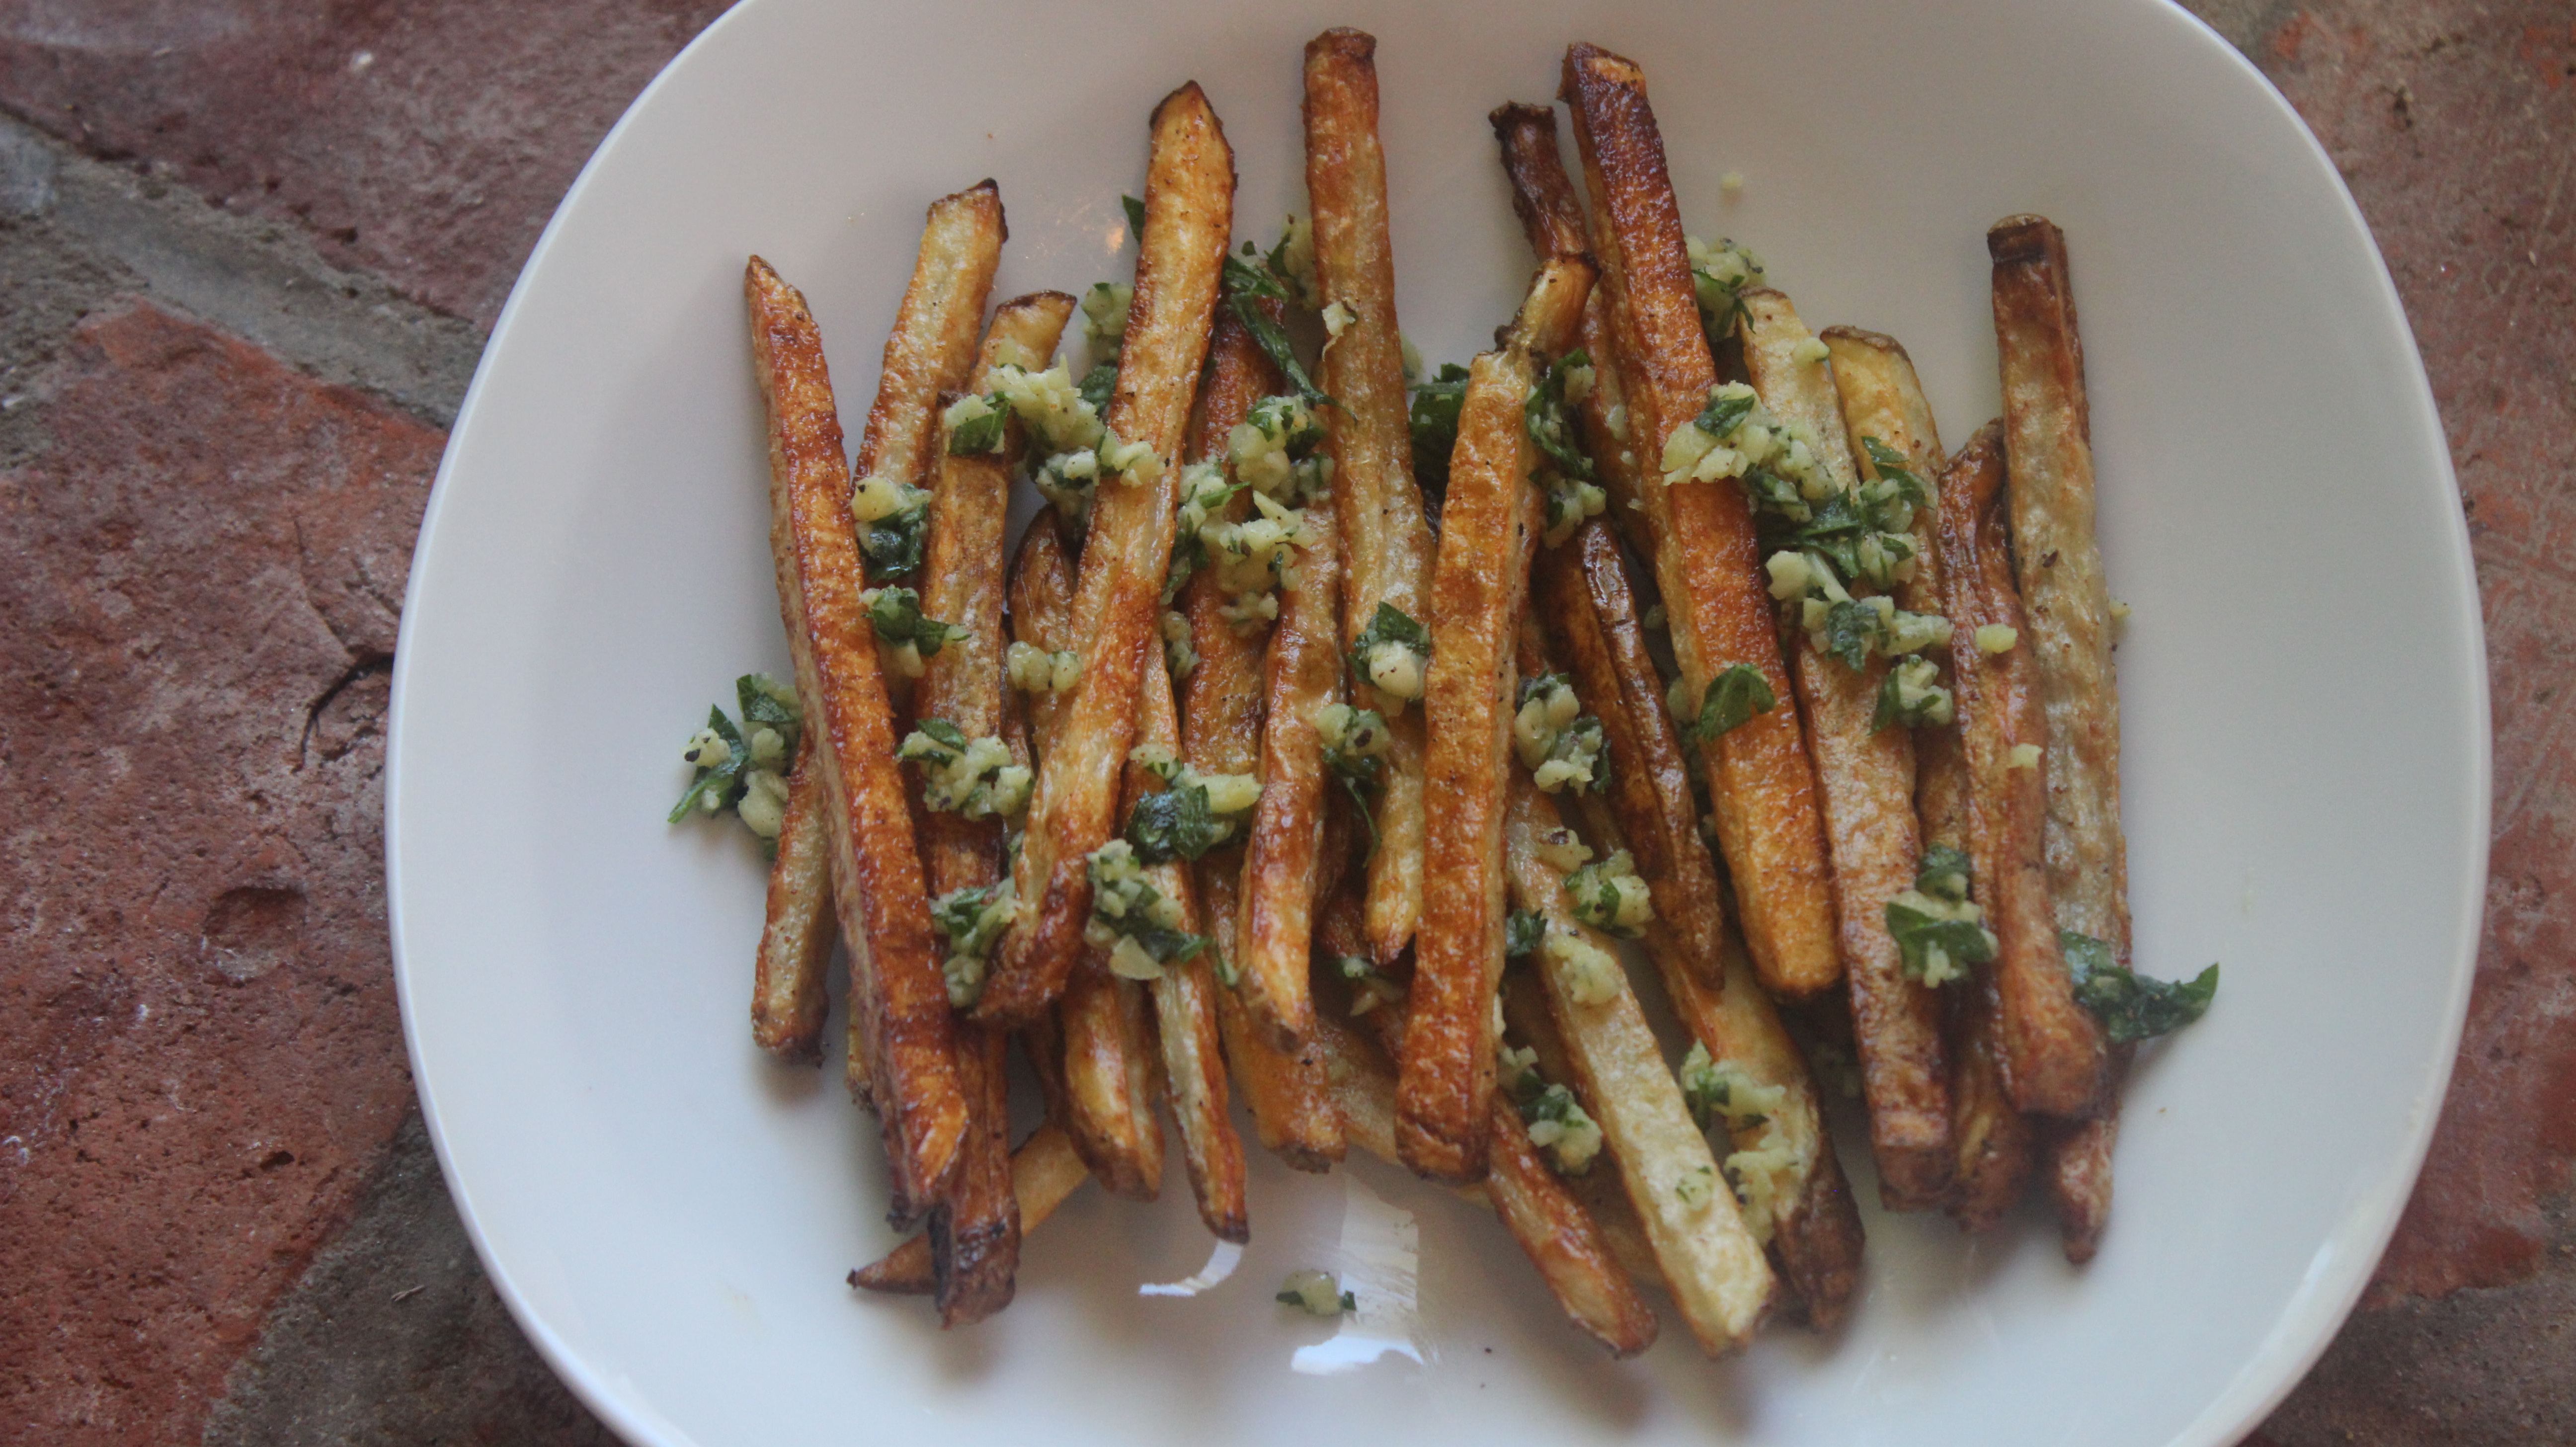
- FOR GARLIC FRIES: 4 cloves fresh chopped garlic and 1/2 cup fresh chopped parsley with 1 tbsp butter heated for 5-8 minutes in oven while it’s pre-heating for fries to take the bite out of the garlic or heat in a small pan on the stove on low for 10 minutes
Directions FOR GOURMET OVEN CRISPY FRIES:
- Pre-heat the oven to 450º.
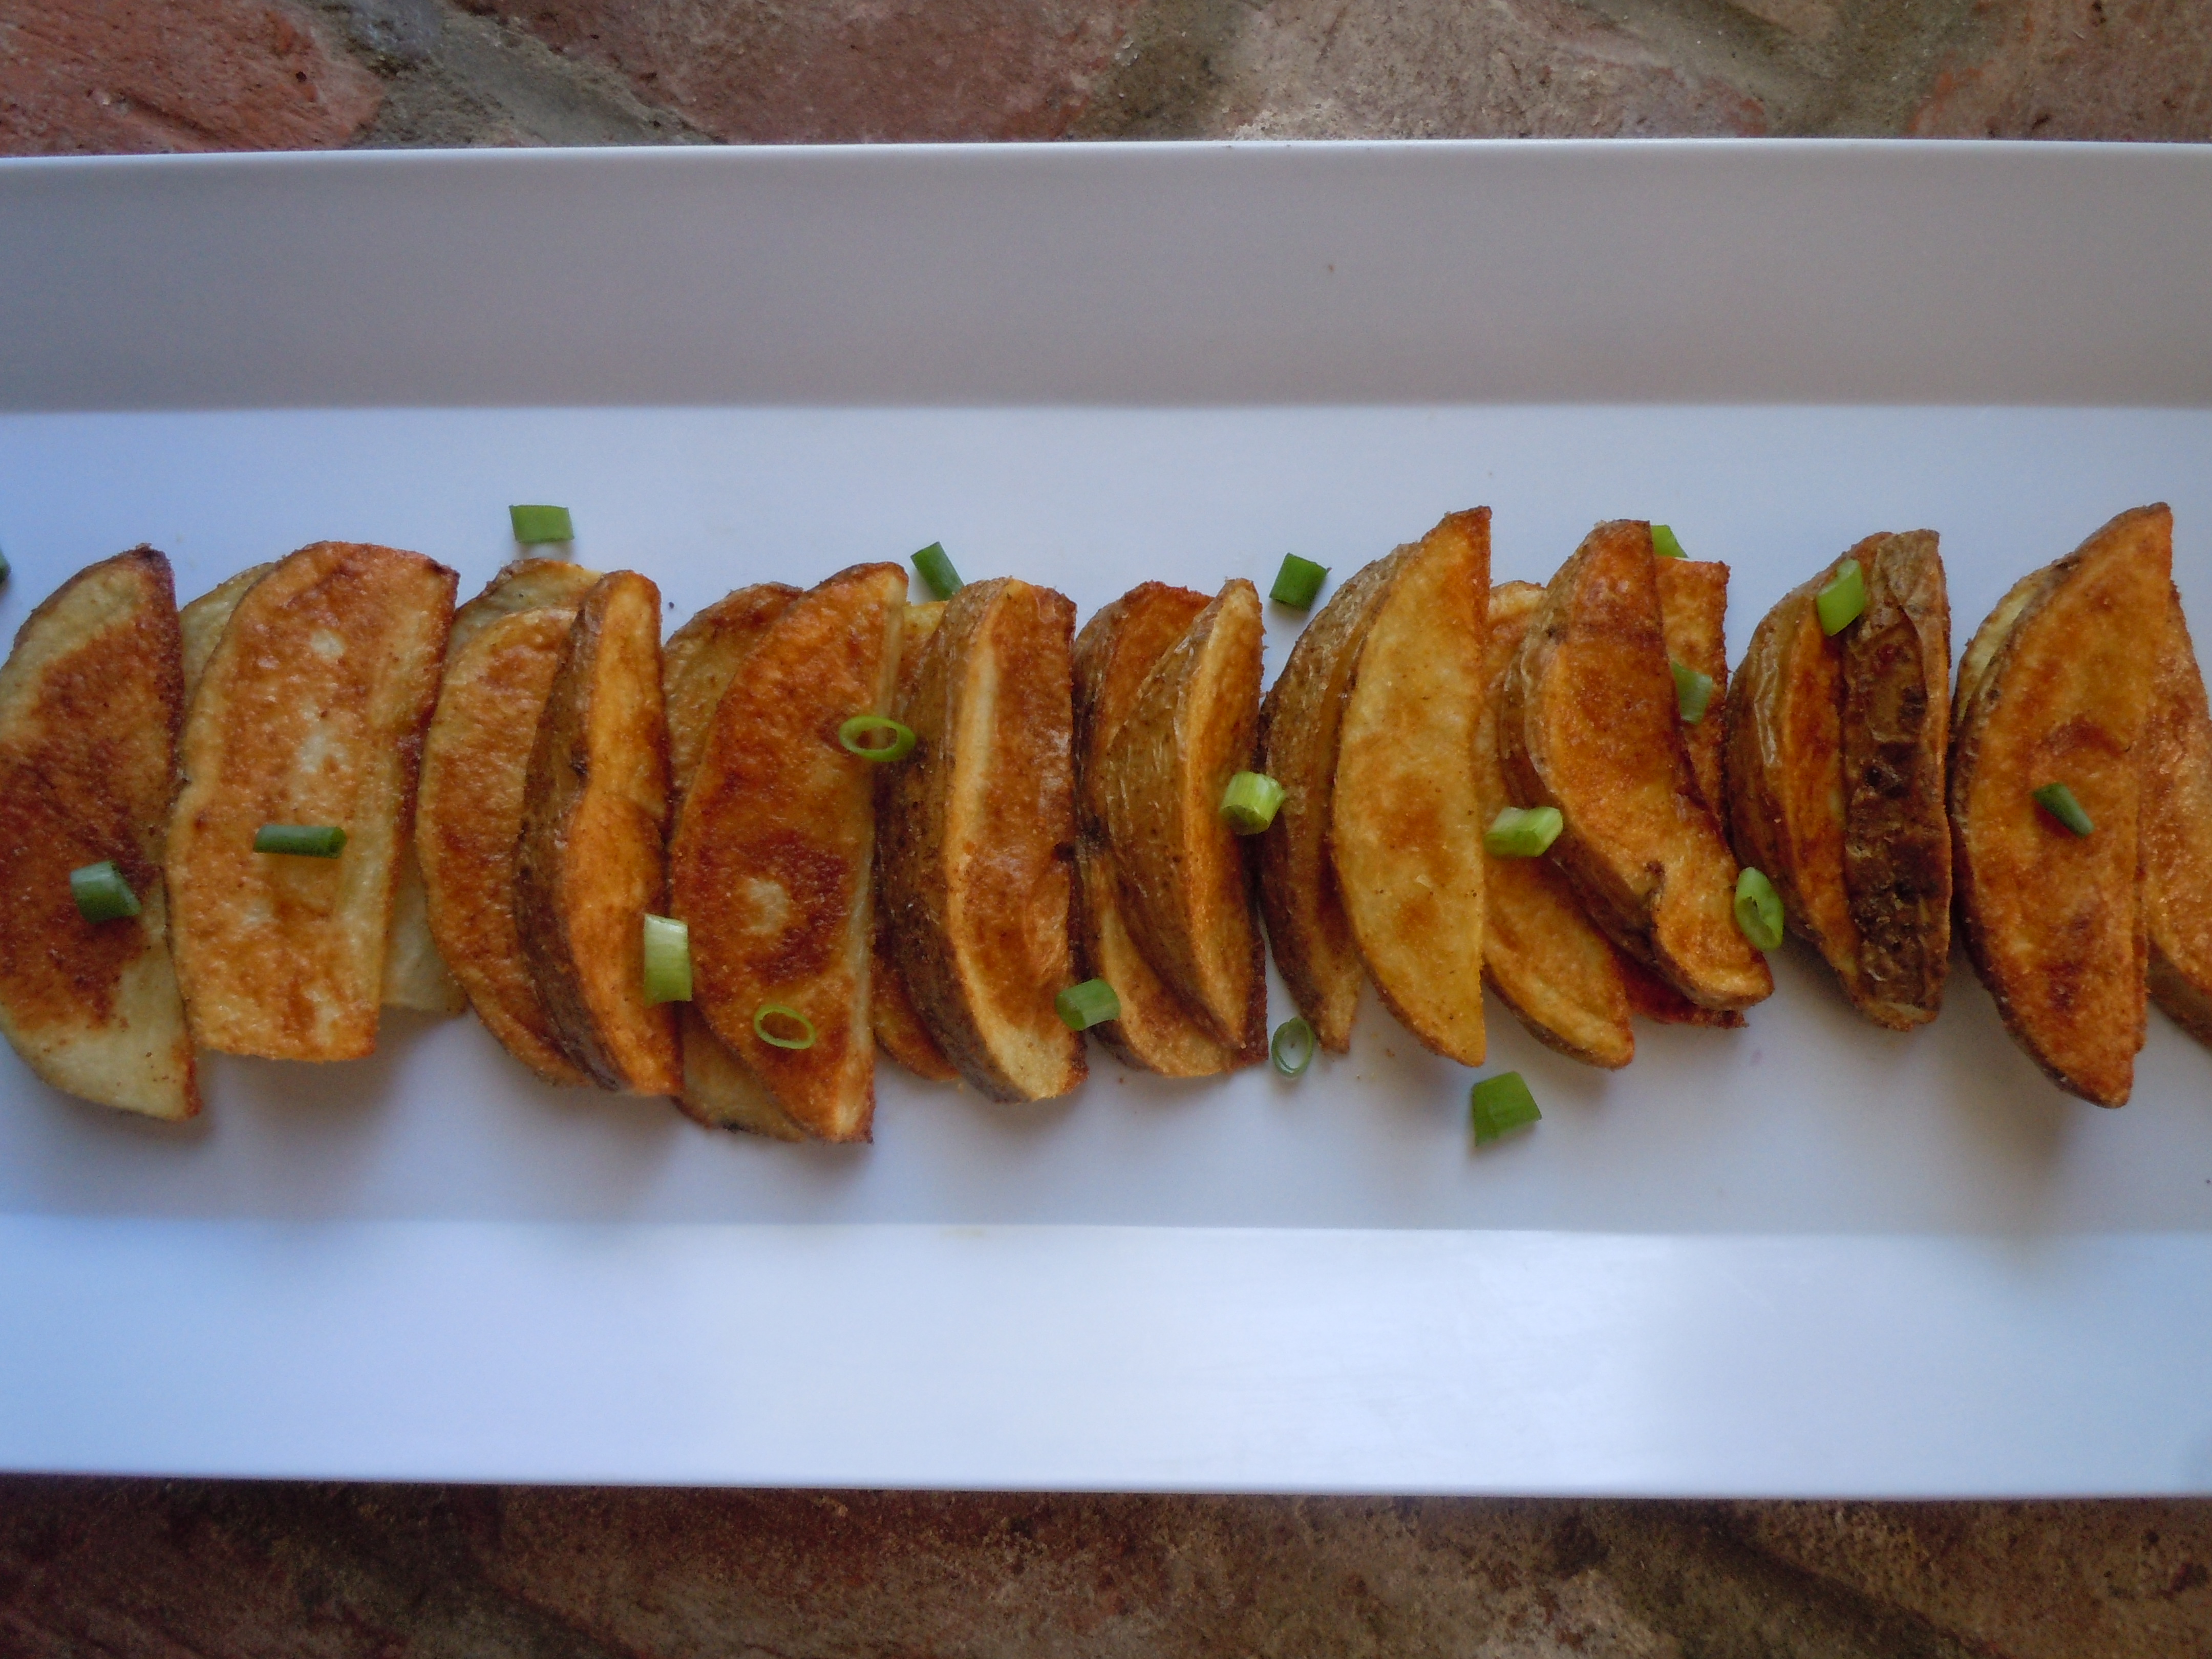
- Slice potatoes in 1/4″ sticks or wedges – NOTE: if you cut into wedges you need to keep an eye on them because the thin pointy edges might burn before they are done
- Dab with paper towels to dry excess potato moisture (starch) IMMEDIATELY or they will turn brown and layer cut up potato fries in between layers of paper towels while you are cutting
- NOTE: if any of the fries do turn brown just quickly rinse and blot dry
- Toss all the cut up fries onto a cookie sheet
- Drizzle with 1/4 cup olive oil and sprinkle with 1/2 tsp garlic, onion and salt
- Mixed with hands and then spread out into even layer on cookie sheet
- Bake for 35 minutes BUT check at 30 minutes…No need to flip because the bottom gets cripsy….just leave them alone til the end