The Traveling Epicurean

Lavender Honey & Fresh Ricotta on Crostinis

Lavender Honey & Fresh Ricotta on Crostinis

This lavender honey and fresh homemade ricotta is a different and really delicious appetizer to make or even bring to a party. If you were to bring this to a friends house you’ll want to keep everything separate and let the guests put the dollop of ricotta onto the crostini and drizzle on the lavender honey because it is to hard to travel with plus it presents well when you have them all separate. There are some lovely flavors going on here between the taste of the sweet lavender flowers in the honey, the creaminess of the ricotta and the crunch of the crostini…what an amazing trio! It’s such an easy appetizer to make your friends will think you slaved over making the ricotta. This dish would be really nice paired with a citrusy or fruity white wine like a Alain Paret 2011 Cotes Du Rhone Blanc at around $15.99 has big ripe peaches on the palate that’s great with apps or poultry.

iphone pictures 2500  iphone pictures 470  iphone pictures 2495

Ingredients:

Directions:

  1. Make the homemade ricotta and the crostinis
  2. Put the ricotta in a bowl and place onto a wood cutting board stacking the crostinis in a pile and serve with a drizzle stick or small spoon in the honey jar

You might also like to serve up some other appetizers like:

Bacon Wrapped Scallops
Sun-dried Tomato Aioli and Asparagus
Roasted Beet Salad
Roasted Beet Salad
Sausage Stuffed Mushrooms


Eggplant Rollatini

Eggplant Rollatini

Eggplant rollatini’s are one of my favorite things to make or should I say any fried eggplant dish is for that matter! I watched my mother fry eggplant when I was little and have been frying up eggplant now for over 30 years…since I was a teenager. Eggplant rollatini is one of those delicious Italian comfort foods and it’s always better the next day when re-heated. It is a little bit of a process but if you just organize yourself like I’ve shown you in the photo’s you’ll get it down to a science.

You should fry up at least 2 large eggplants…I usually try for 3. I like to fry up 3 eggplants because I freeze them when they are completely cooled in between layers of thick durable Bounty paper towels in a freezer Ziploc baggie. This way all your base work is done for you and you are able to pull them out of the freezer and whip up eggplant rollatini, eggplant Parmesan, or even eggplant lasagna. When you take them out of the freezer they pop apart easily too. My mother taught me the old Italian way of removing the bitter purple juice from the eggplants by slicing, salting the layers, placing a weight on top and letting the eggplant sit in the frig for 2 hours up to overnight.

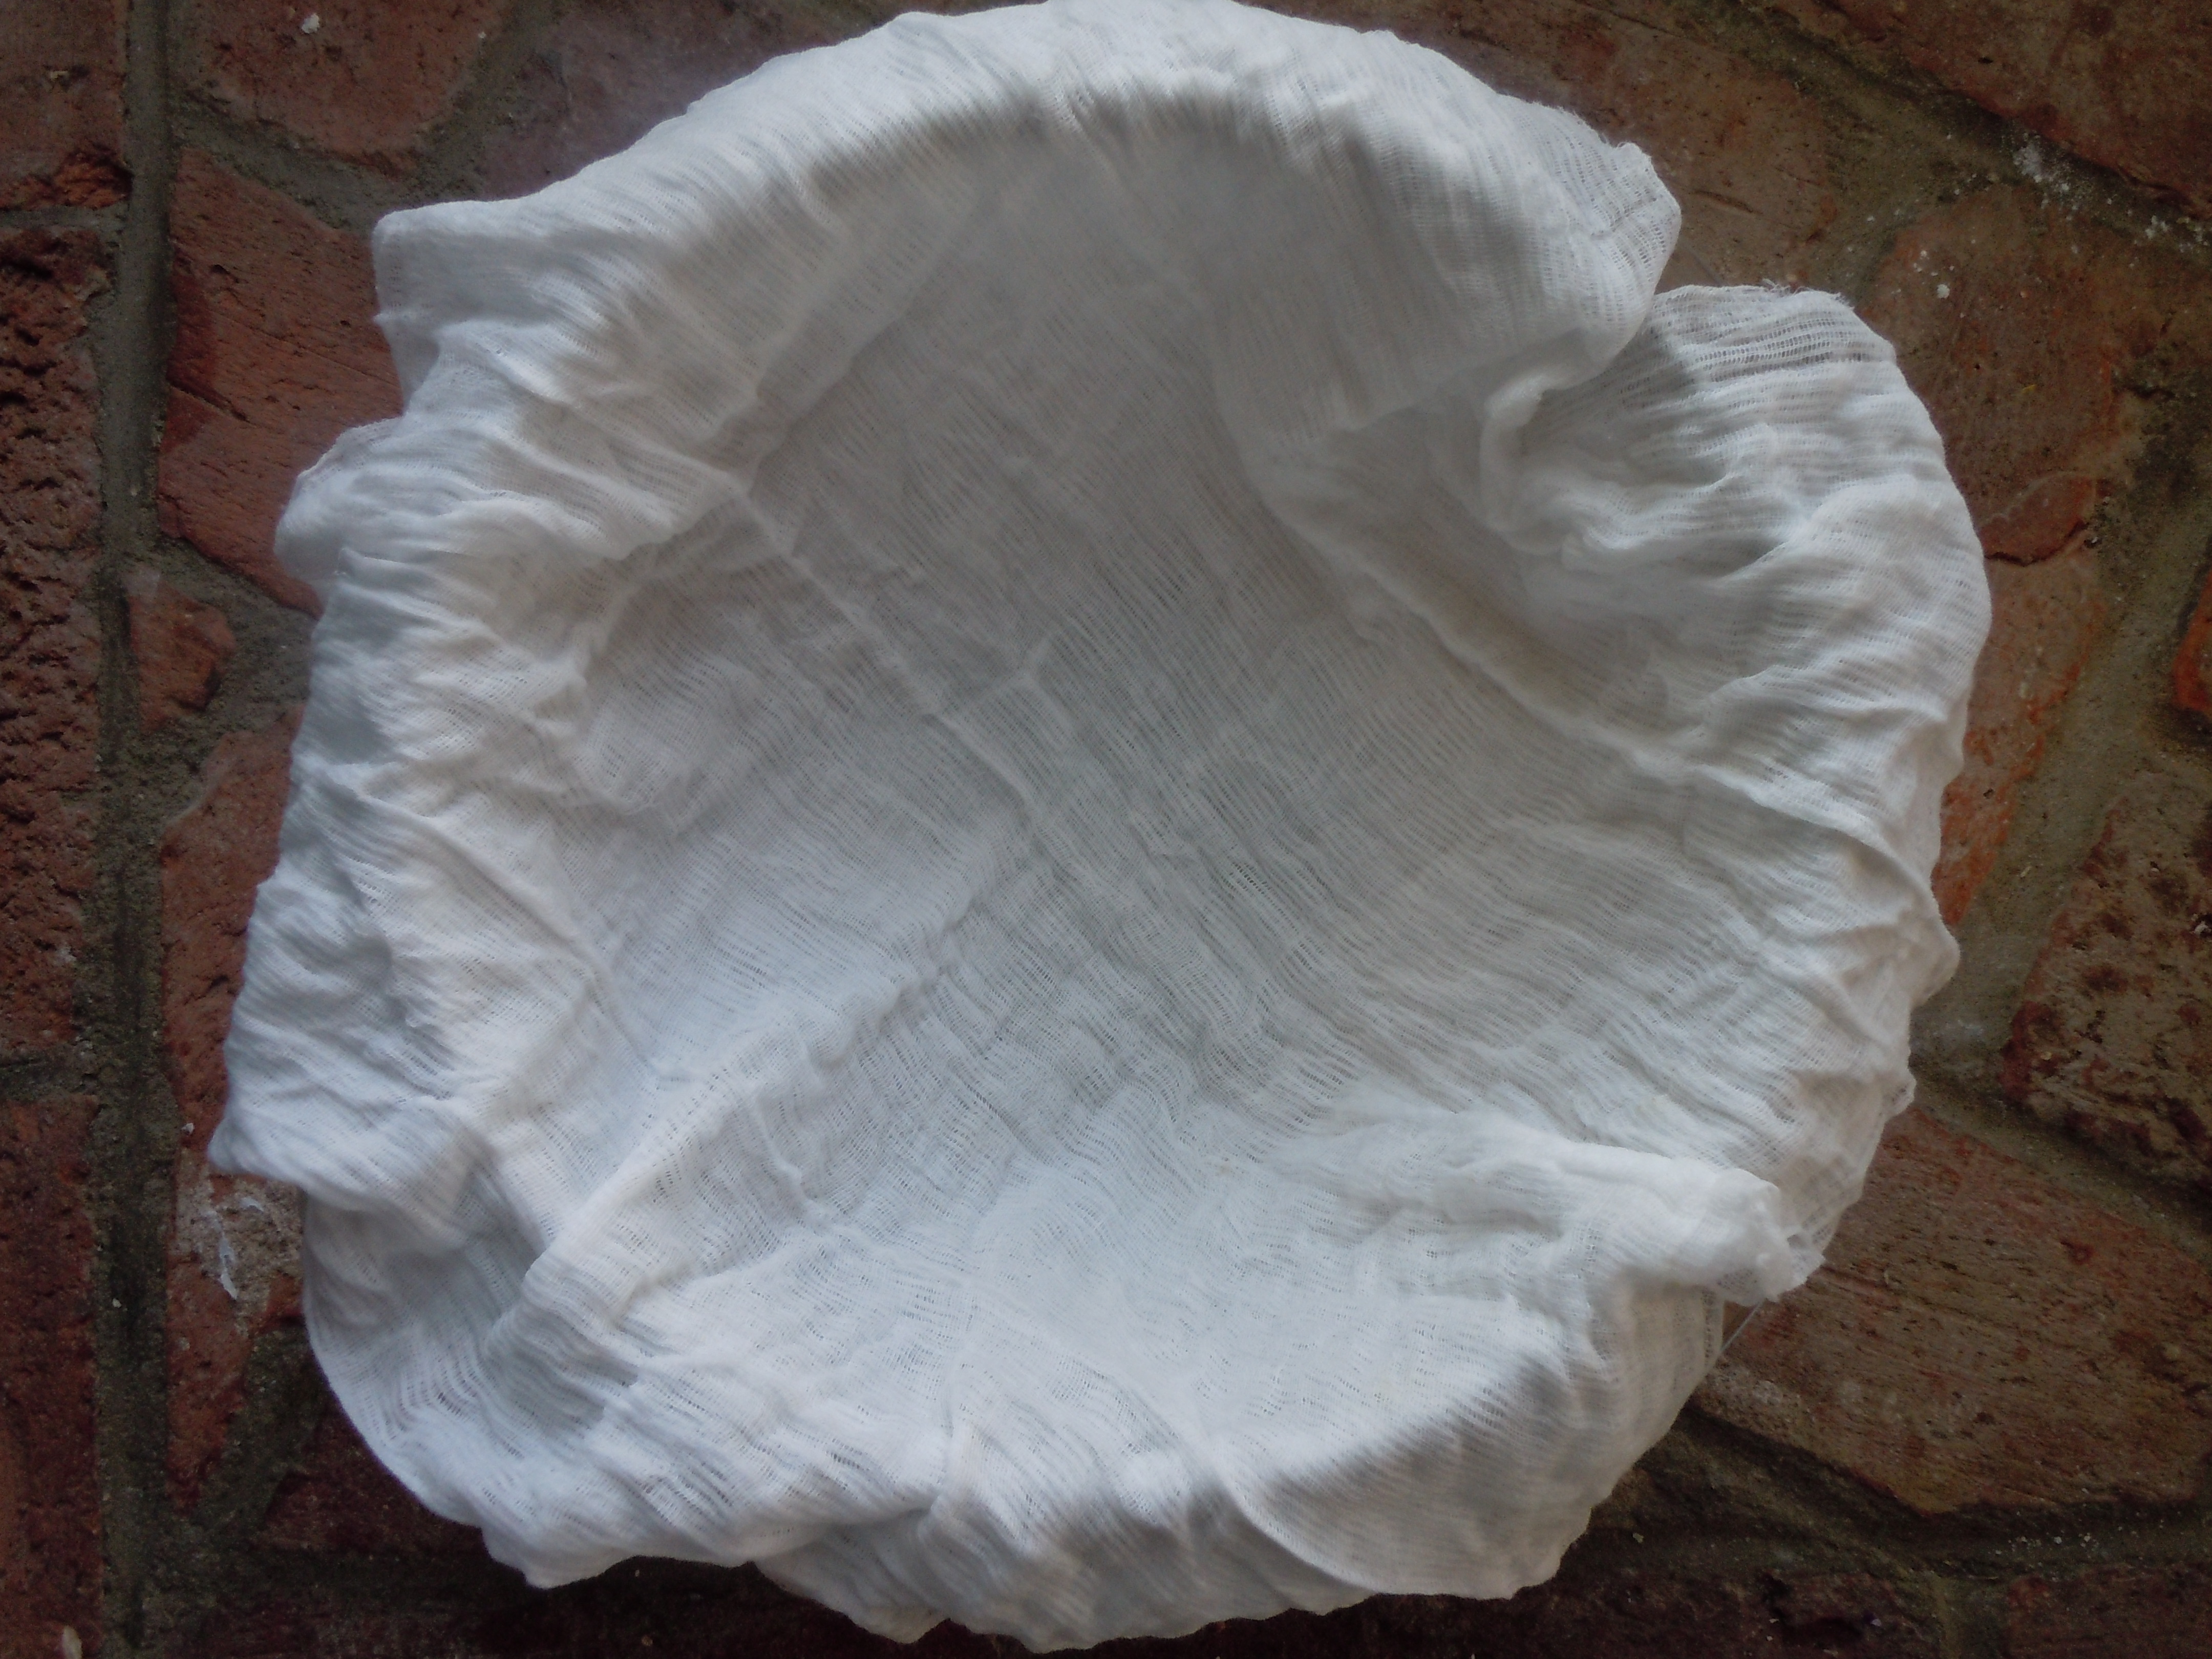
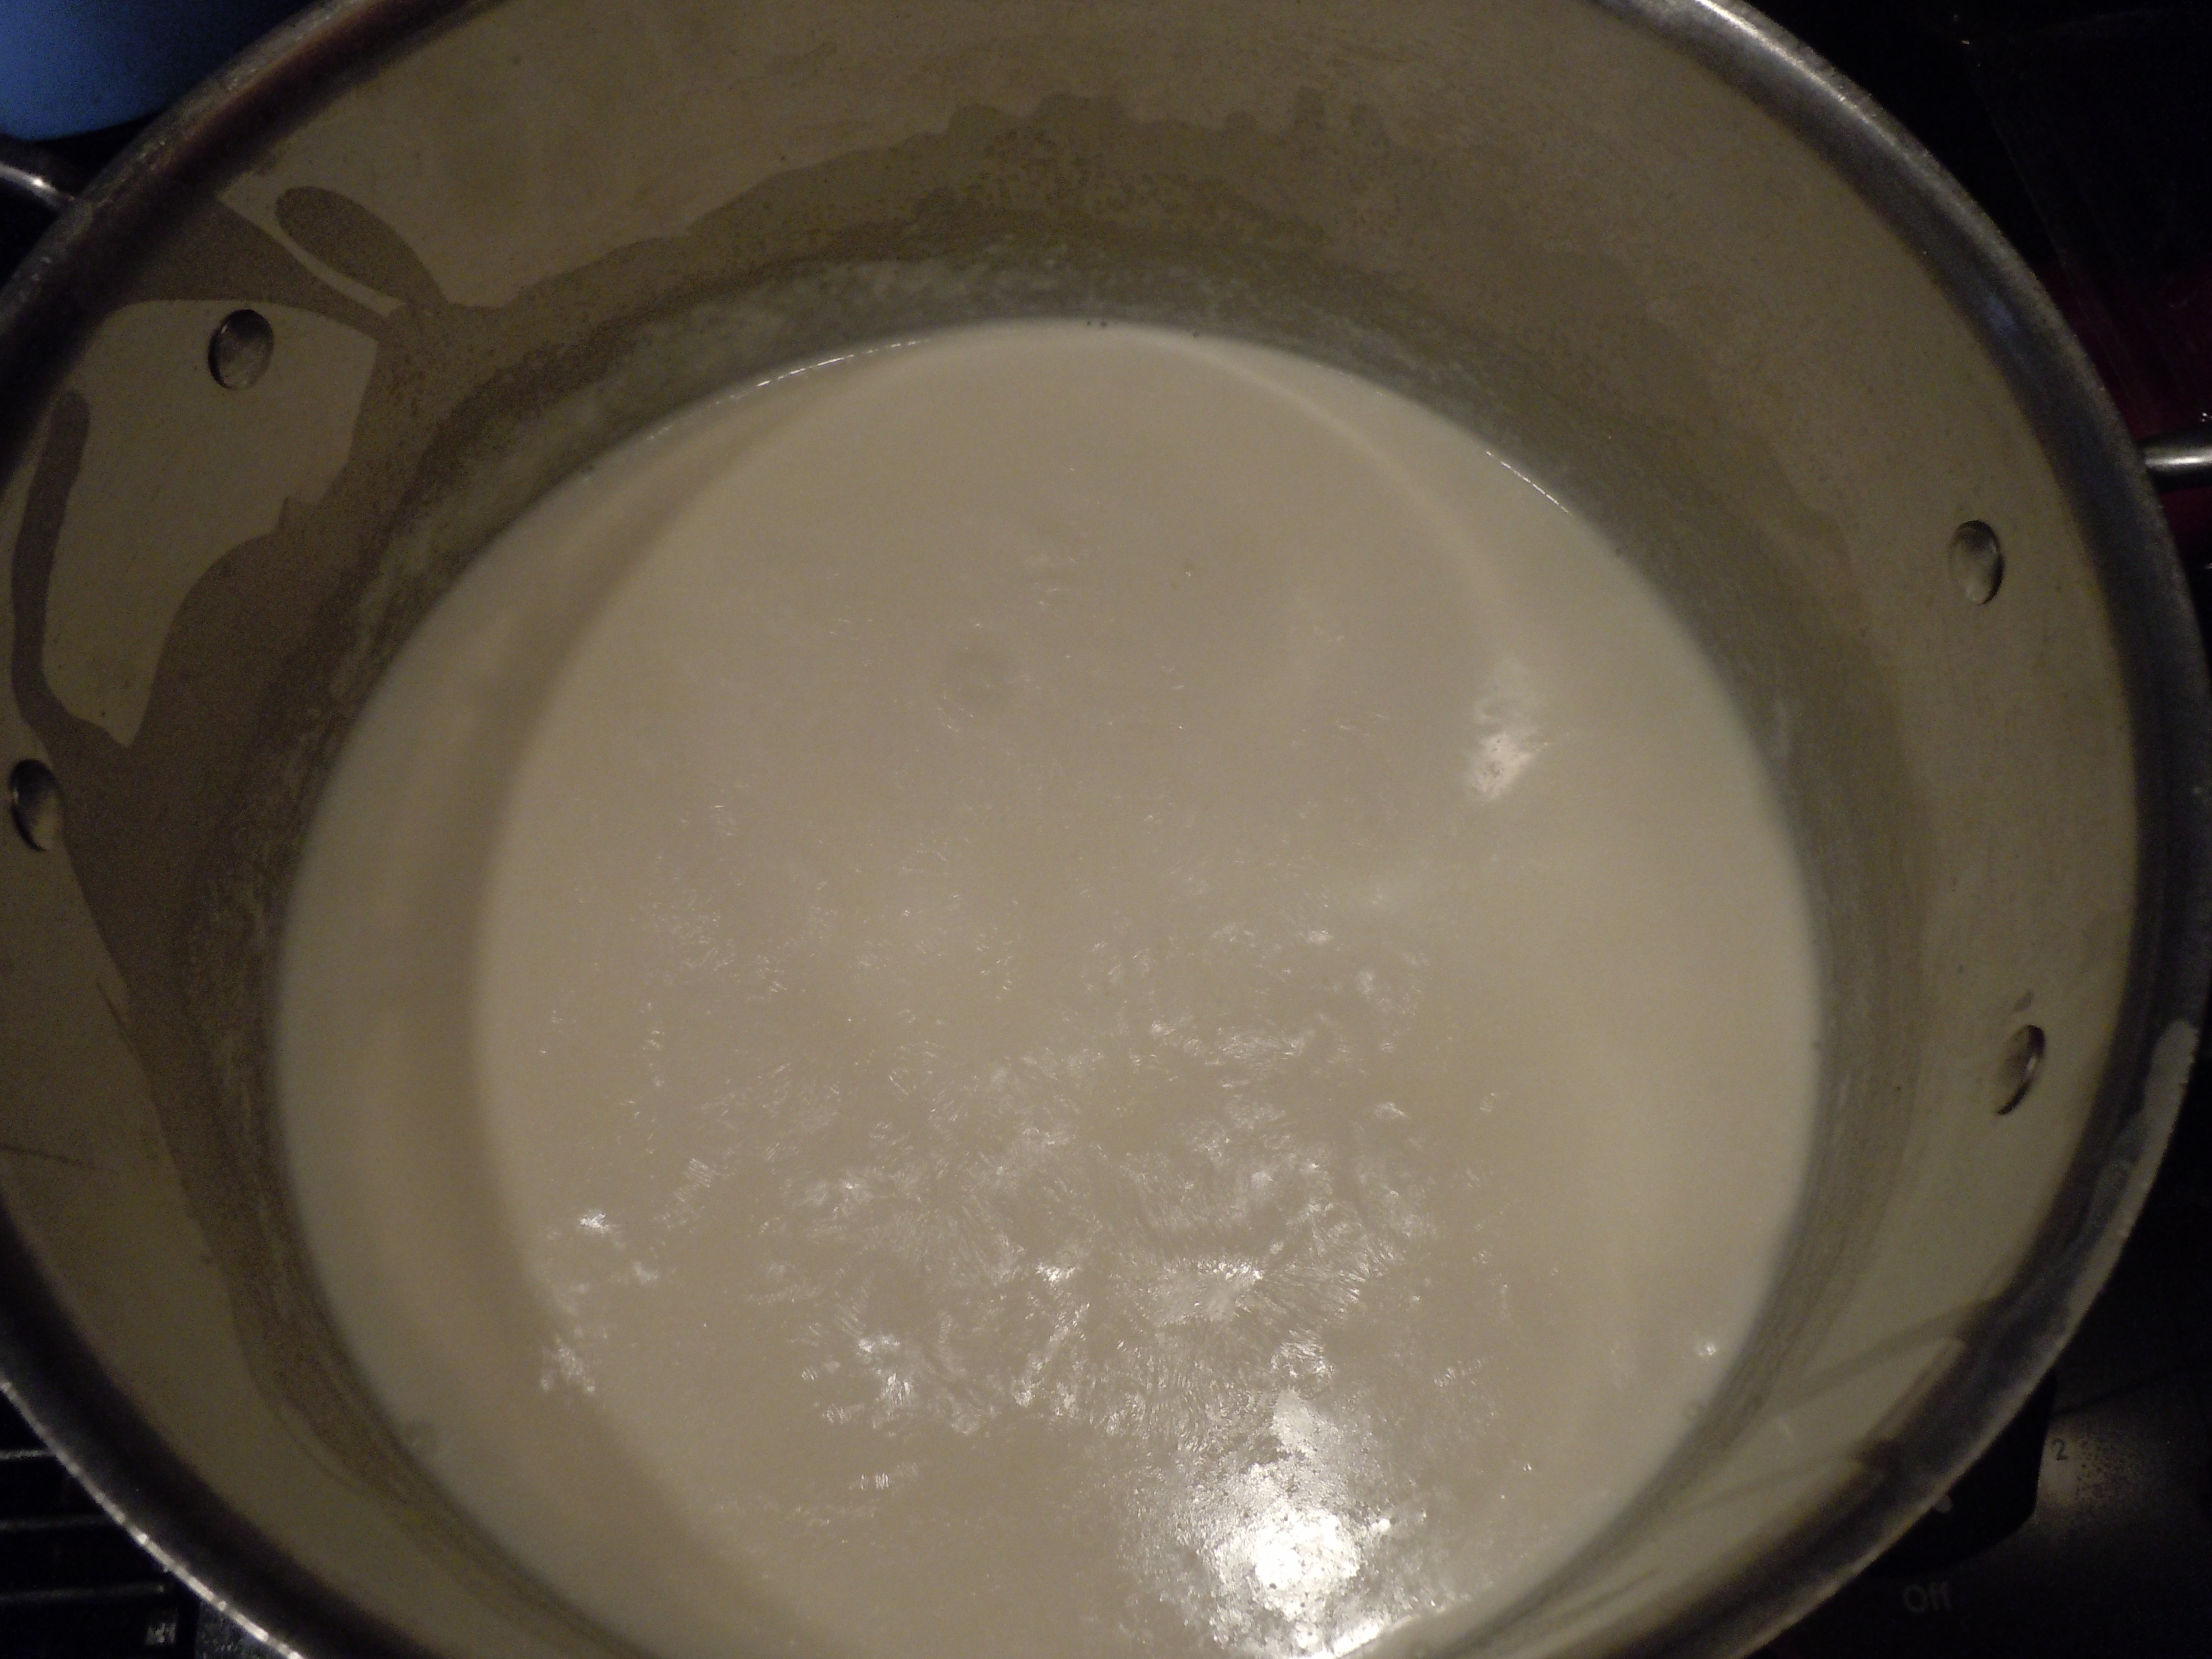
I recommend making my slow cooked pasta sauce to go with the eggplant which can totally be make days, even weeks ahead and put into the freezer and ready to thaw when you need it for a dish like this. The homemade ricotta you can also make the day before or just treat yourself and buy Liuzzi Cheese ricotta or your favorite store brand. Planning, planning, planning is sometimes the name of the game for taking the labor out of scrumptious food like this where if you get it done in steps it make everything go smoothly.

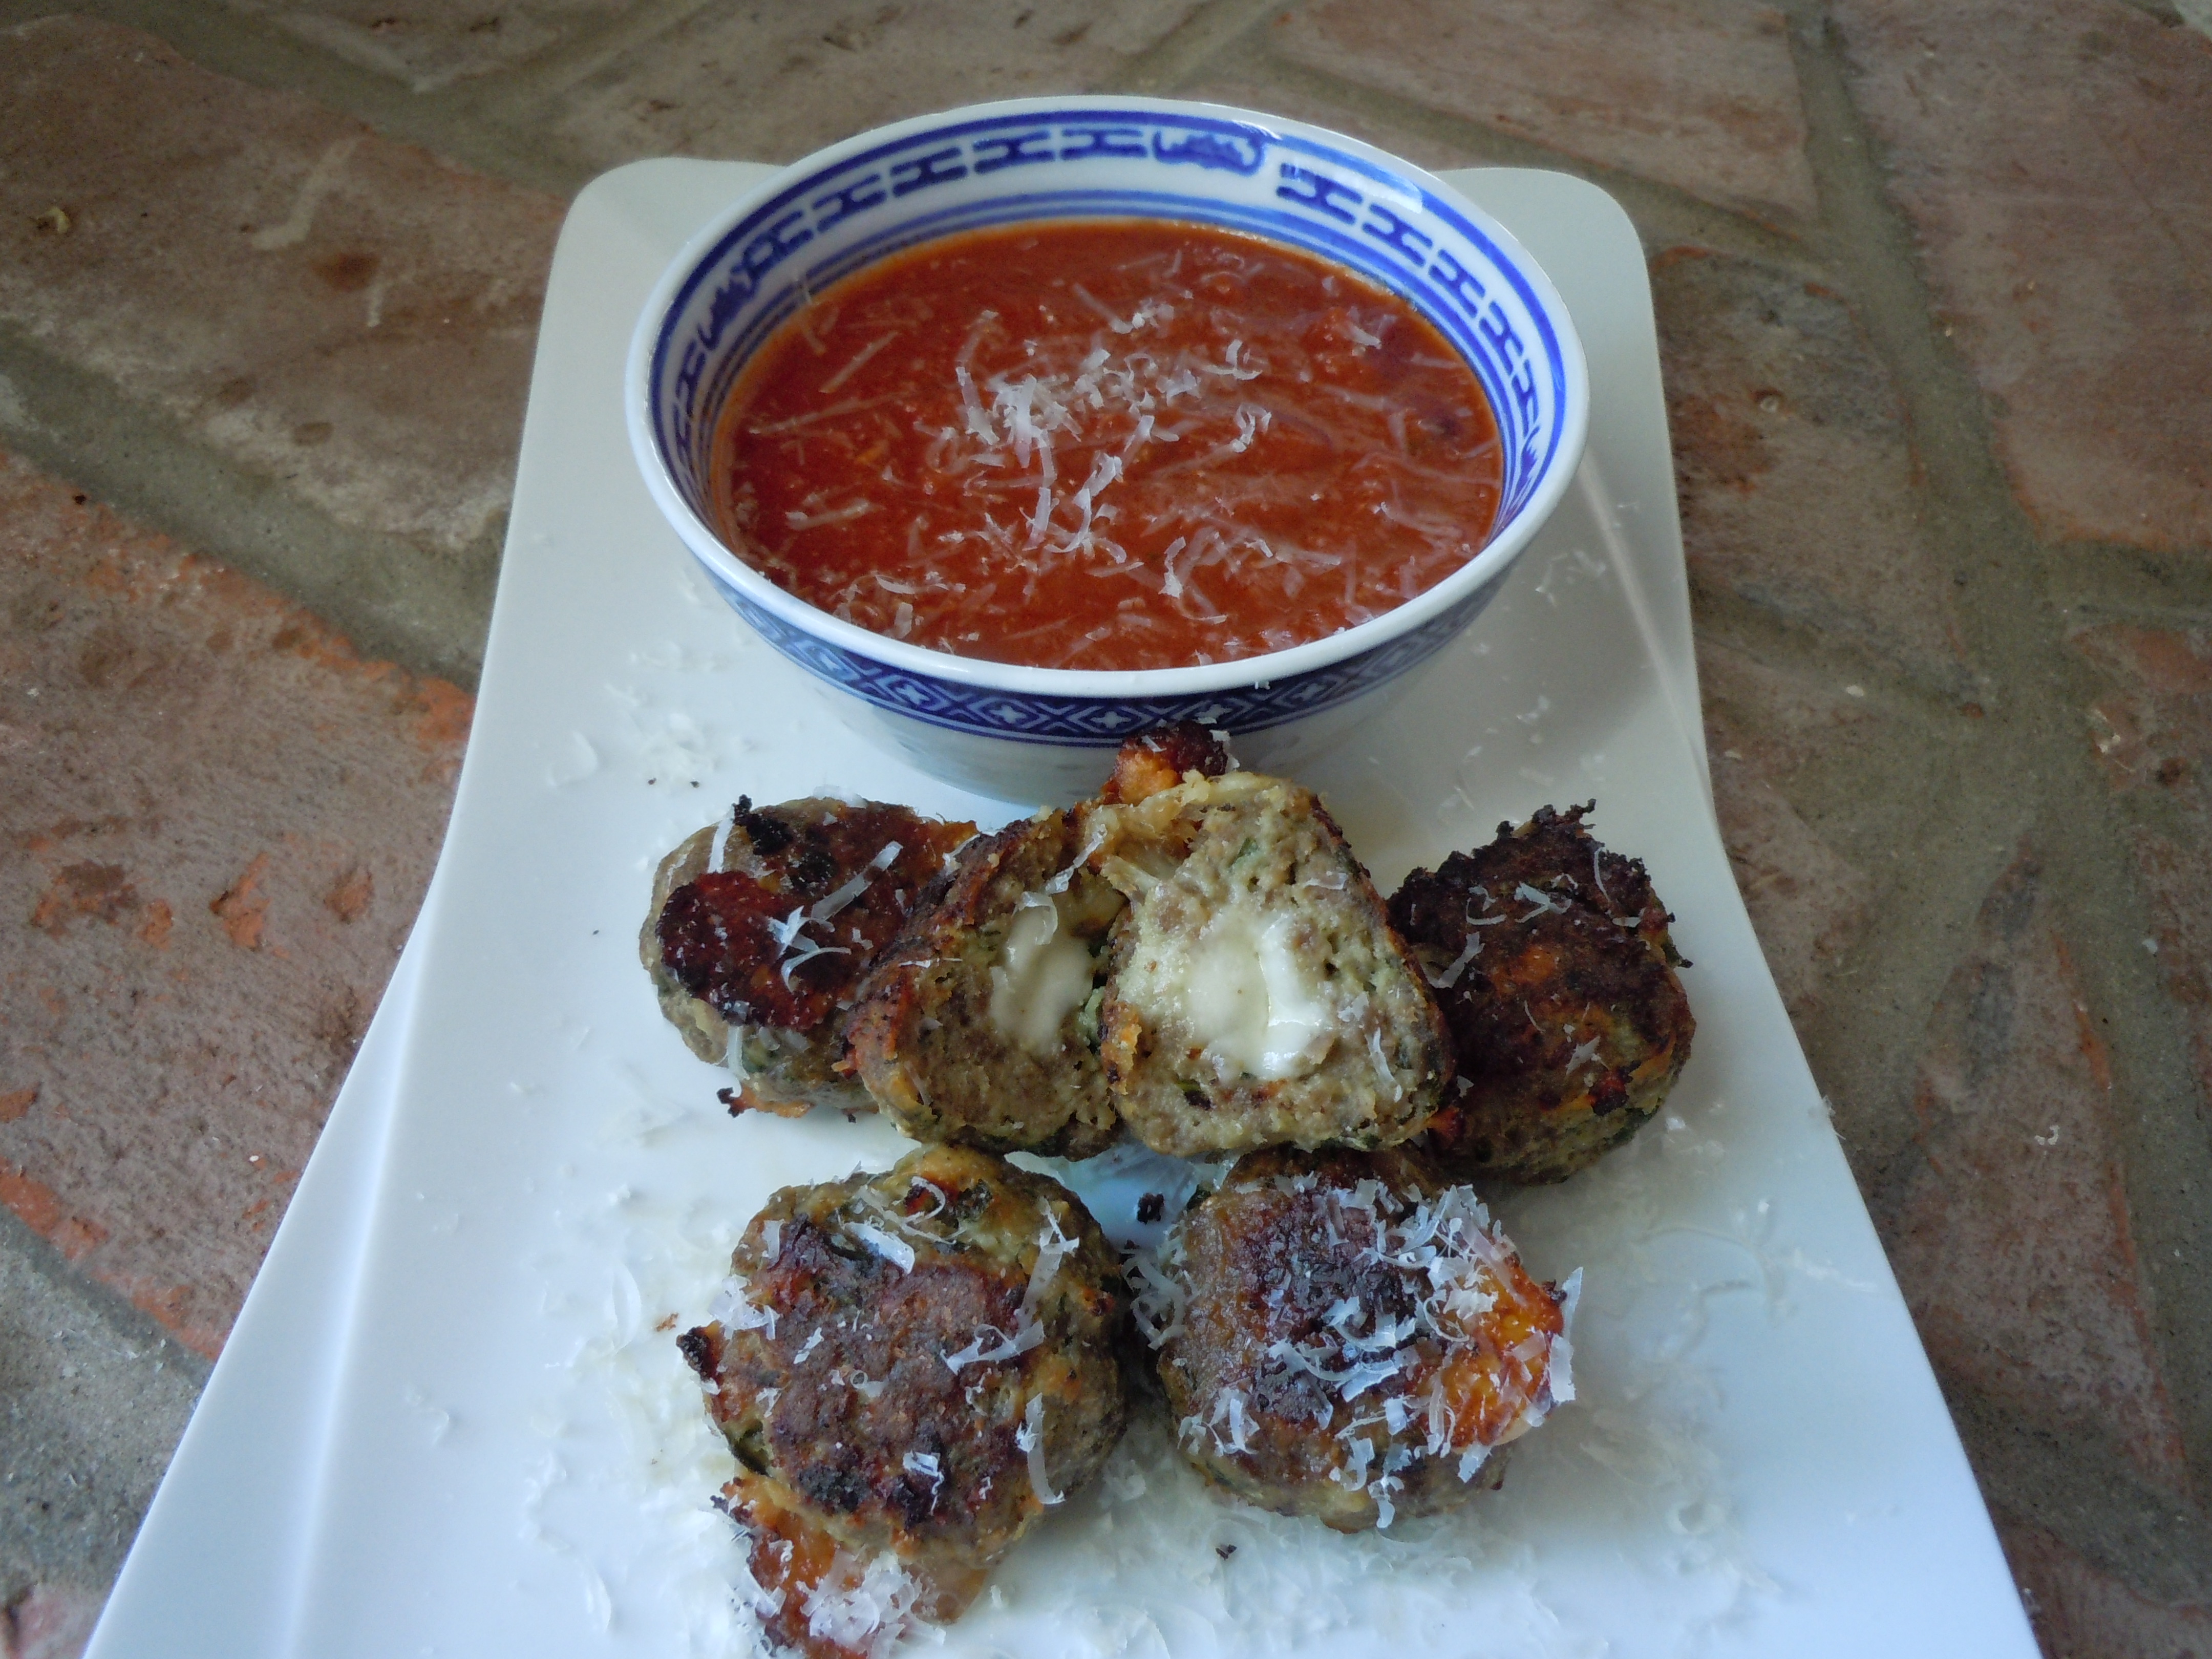
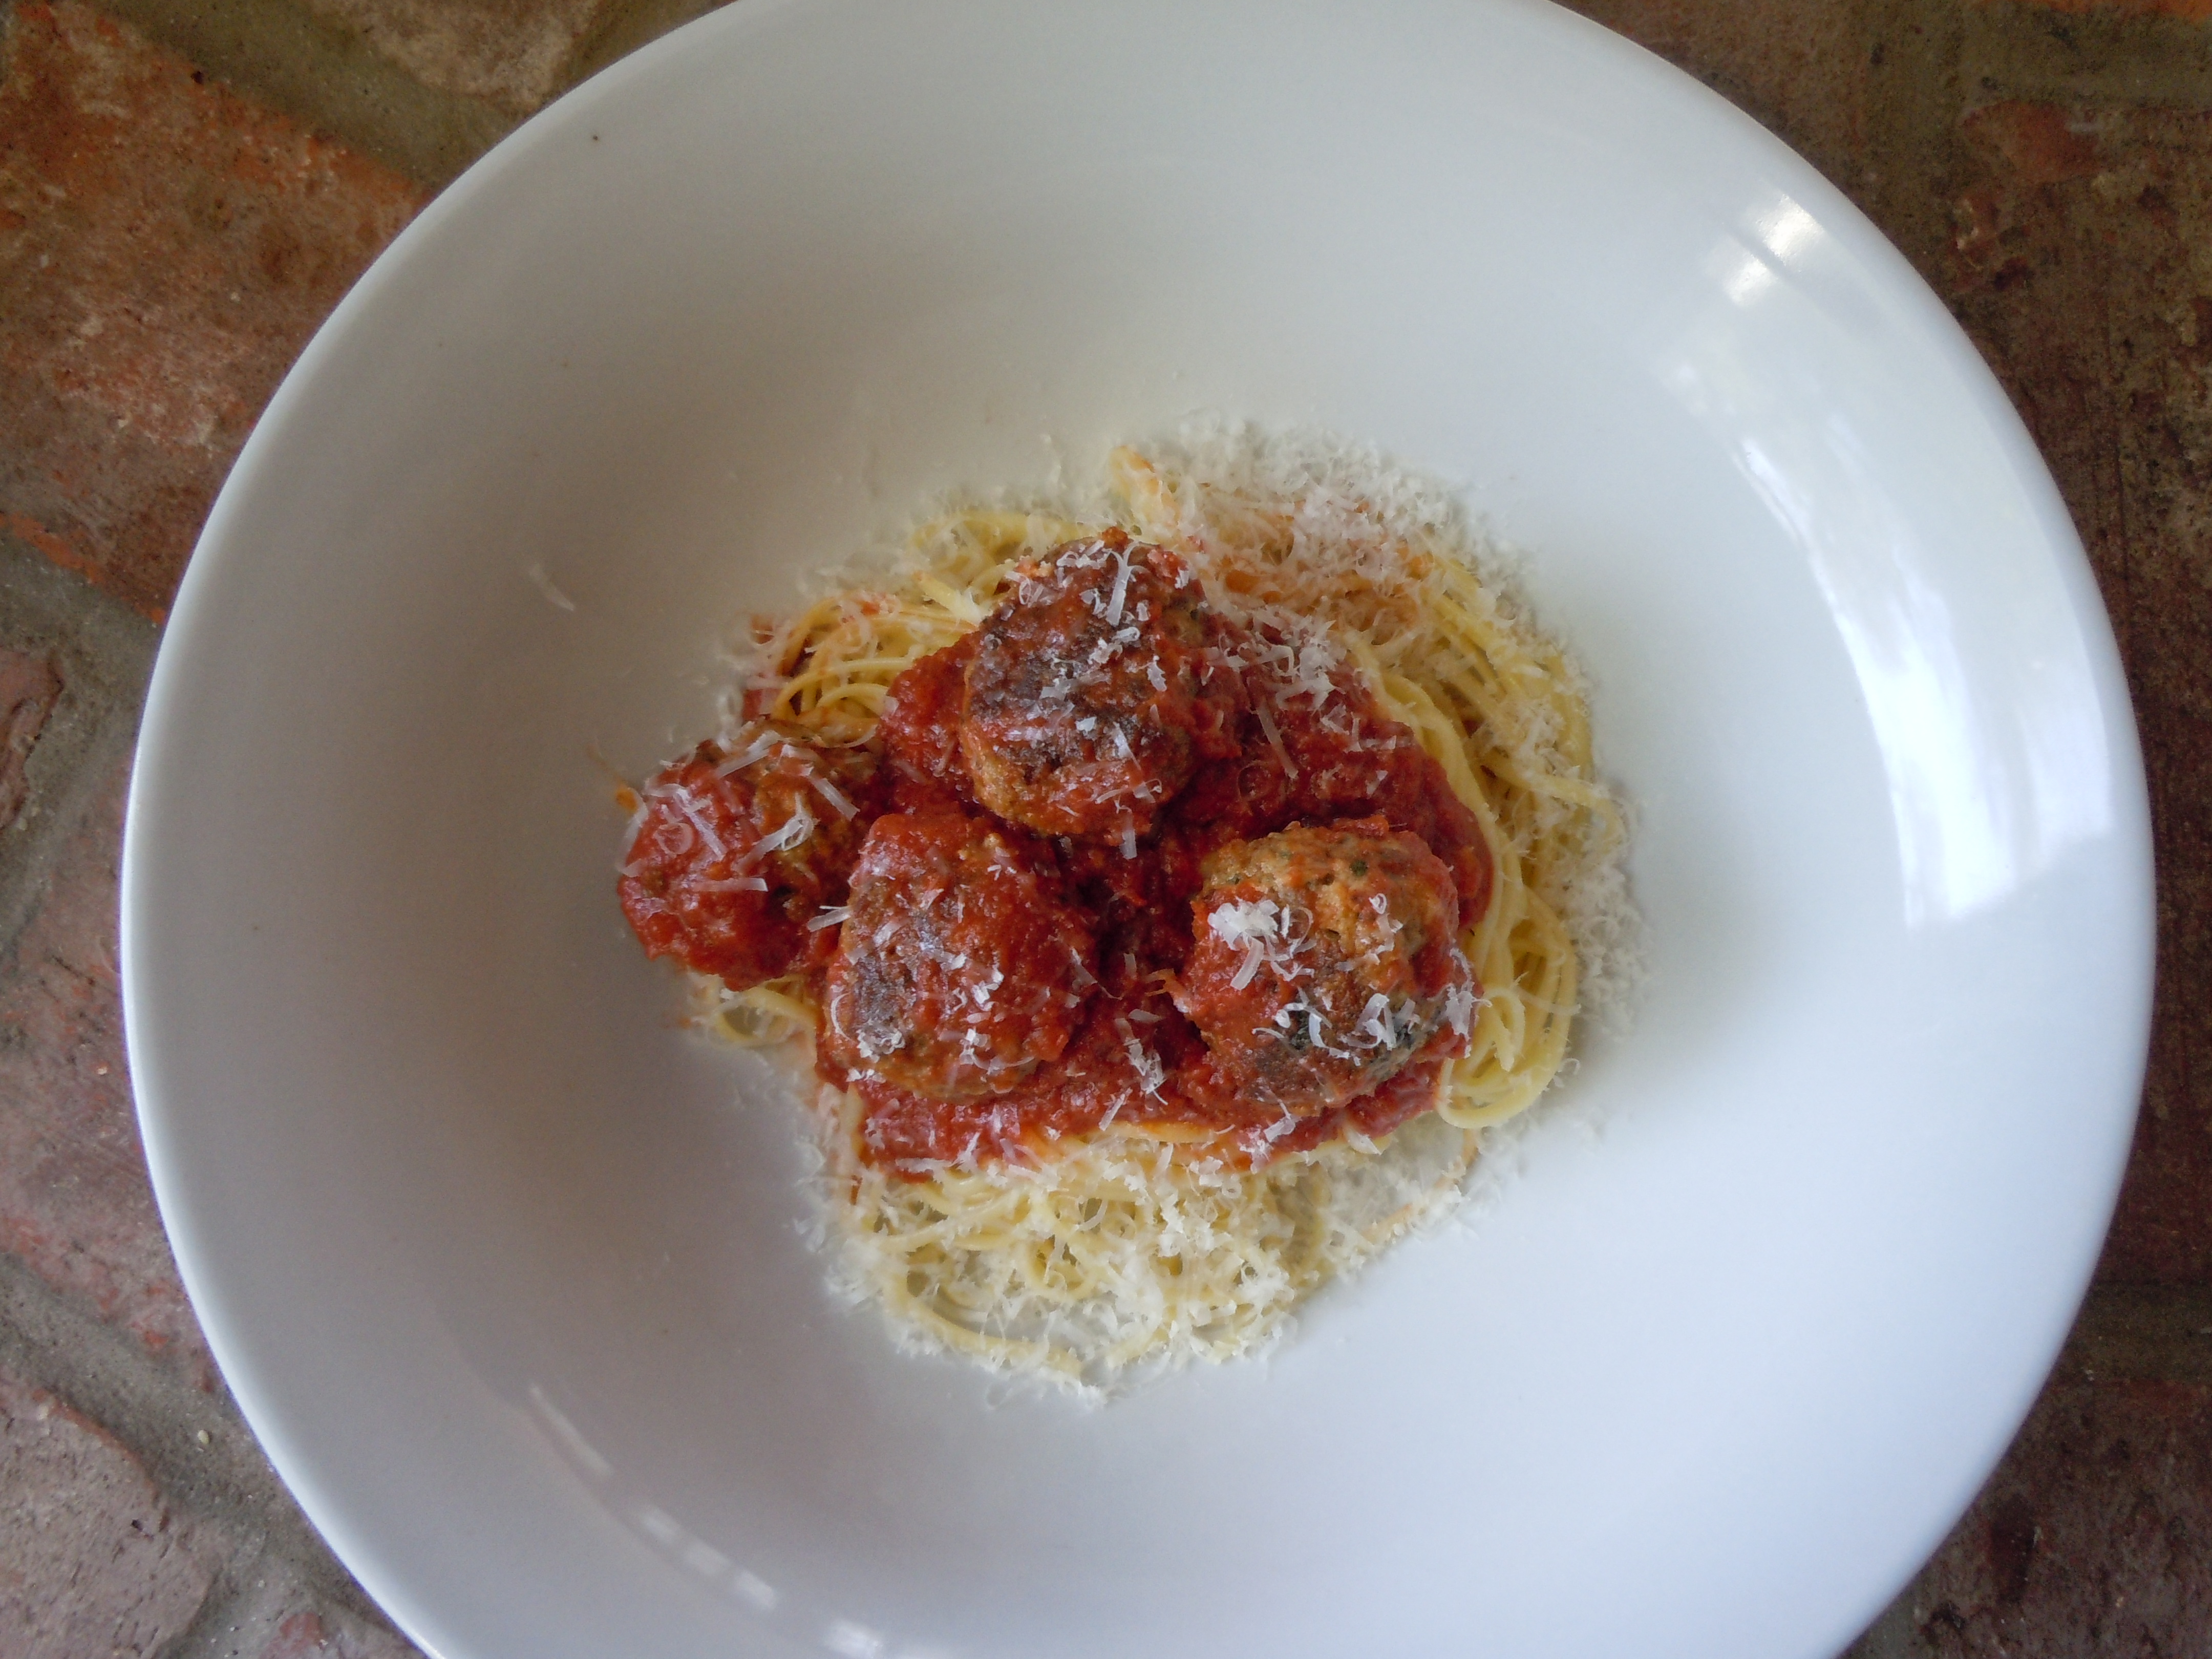
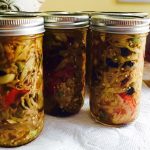
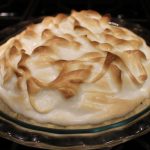
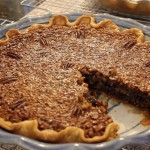
If you love eggplant as much as I do you really need to check out Eggplant Balls, Paleo Eggplant Lasagna, and Pickled Eggplant. Then you might be moving on to your satisfy a sweet tooth with “Death by Chocolate Meringue Pie” and another that should go unnoticed is Chocolate Pecan Pie! Enjoy! 🙂

IMG_8005 paleopan pickperfect IMG_8098 wholepiepecan

DSCN4361[1] DSCN4362[1] DSCN4364[1]

DSCN4365[1] DSCN4367[1] DSCN4369[1]

DSCN4372[1] DSCN4374[1] DSCN4376[1]

DSCN4378[1] DSCN4386[1] DSCN4385[1]

DSCN4391[1] DSCN4393[1] DSCN4395[1]

DSCN4405[1]  DSCN4407[1]  DSCN4409[1]

DSCN4417[1] DSCN4420[1]  DSCN4421[1]

DSCN4429[1] DSCN4444[1] DSCN4441[1]

DSCN4430[1]

Ingredients:

  • Slow cooked pasta 101 recipe
  • Homemade ricotta recipe or store bought ricotta (Liuzzi Cheeses, North Haven,CT if you are in the neighborhood)
  • 2-3 large eggplants
  • 6 extra large eggs whisked
  • 3 cups seasoned Italian bread crumbs
  • salt
  • Mozzarella block cut into 1/4″ slices
  • 3 1/2 cups canola oil for frying
  • Cookie racks
  • 1 whole roll of Bounty Paper Towels (it’s important to get quality paper towel so they will absorb the oil properly and won’t fall apart)

Directions:

  1. Slice the ends off the eggplants
  2. Using a potato peeler peel off all the skin of the eggplants
  3. Slice up eggplants length wise into 1/4″ slices
  4. Layer the eggplant slices in a large glass bowl
  5. In between each layer sprinkle 1/4 Tsp of salt, and keep layering eggplant, salt, eggplant, salt…
  6. Cover with Saran wrap and place a small plate on top and then some heavy fry pans or large tomato can to weight down the eggplant and into the frig for 2 hours up to 1 day
  7. Drain the purple juice from the bowl
  8. Take the eggplant and pat them dry in layers between Bounty paper towels
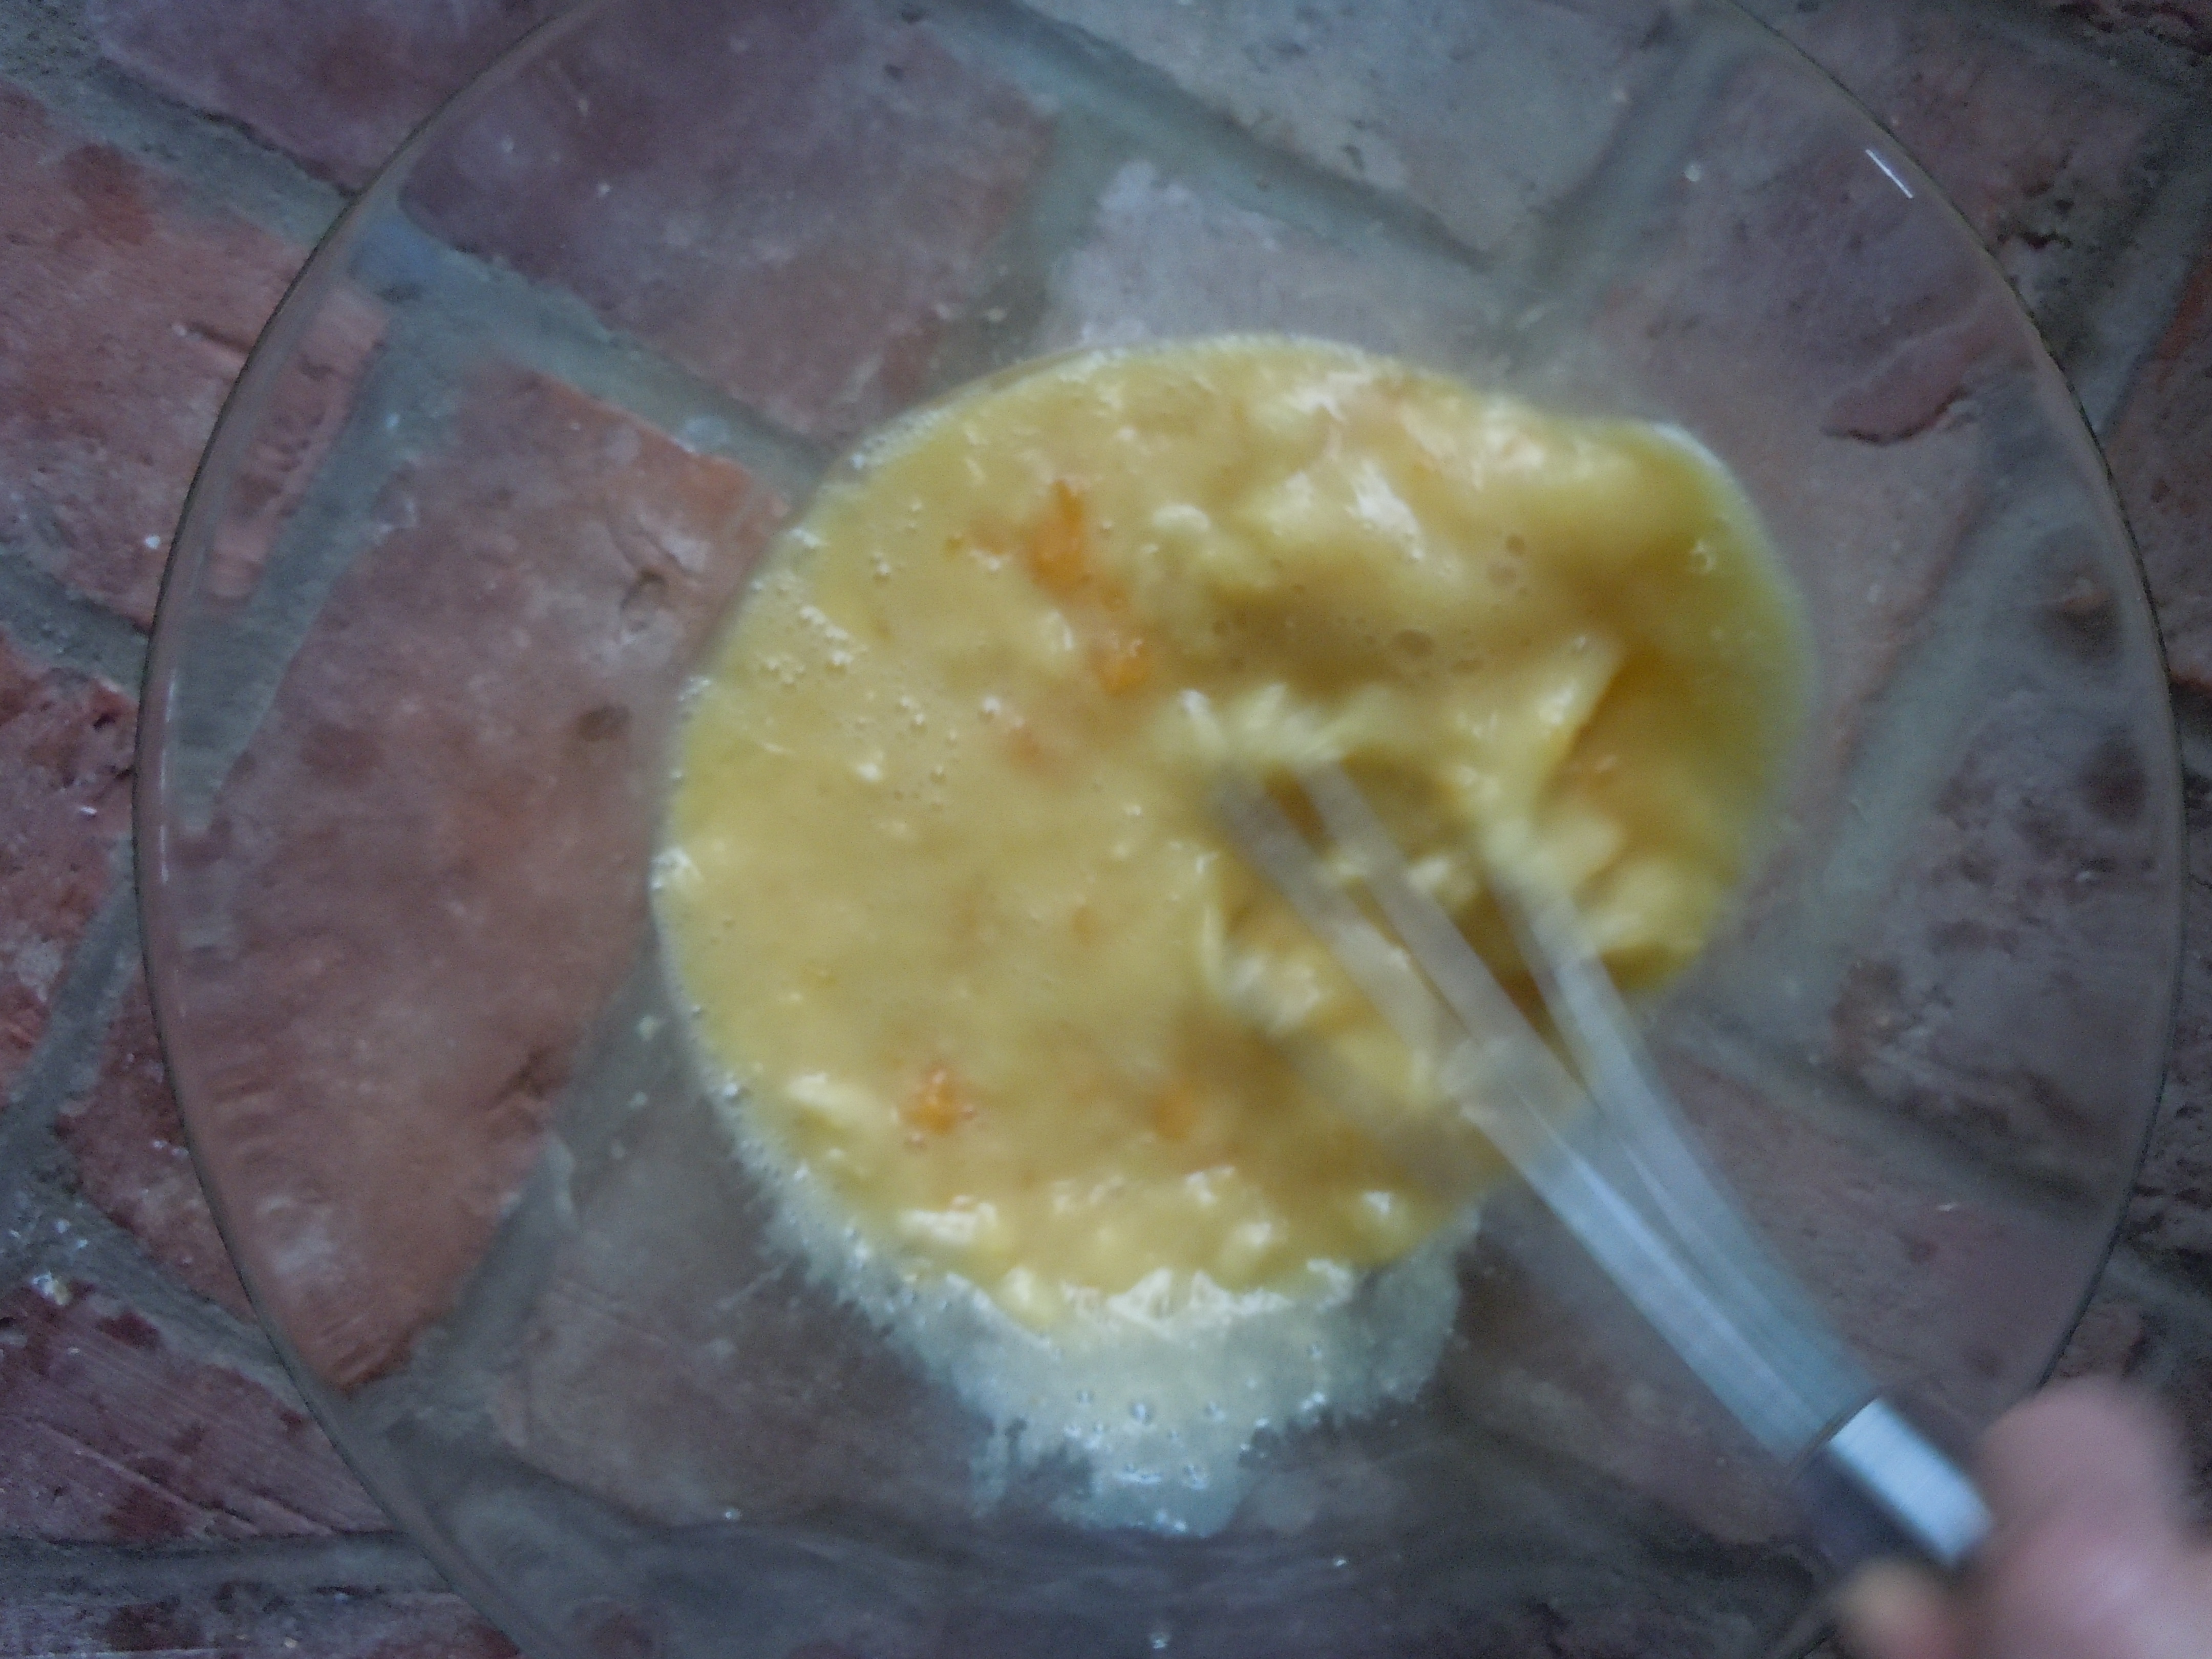
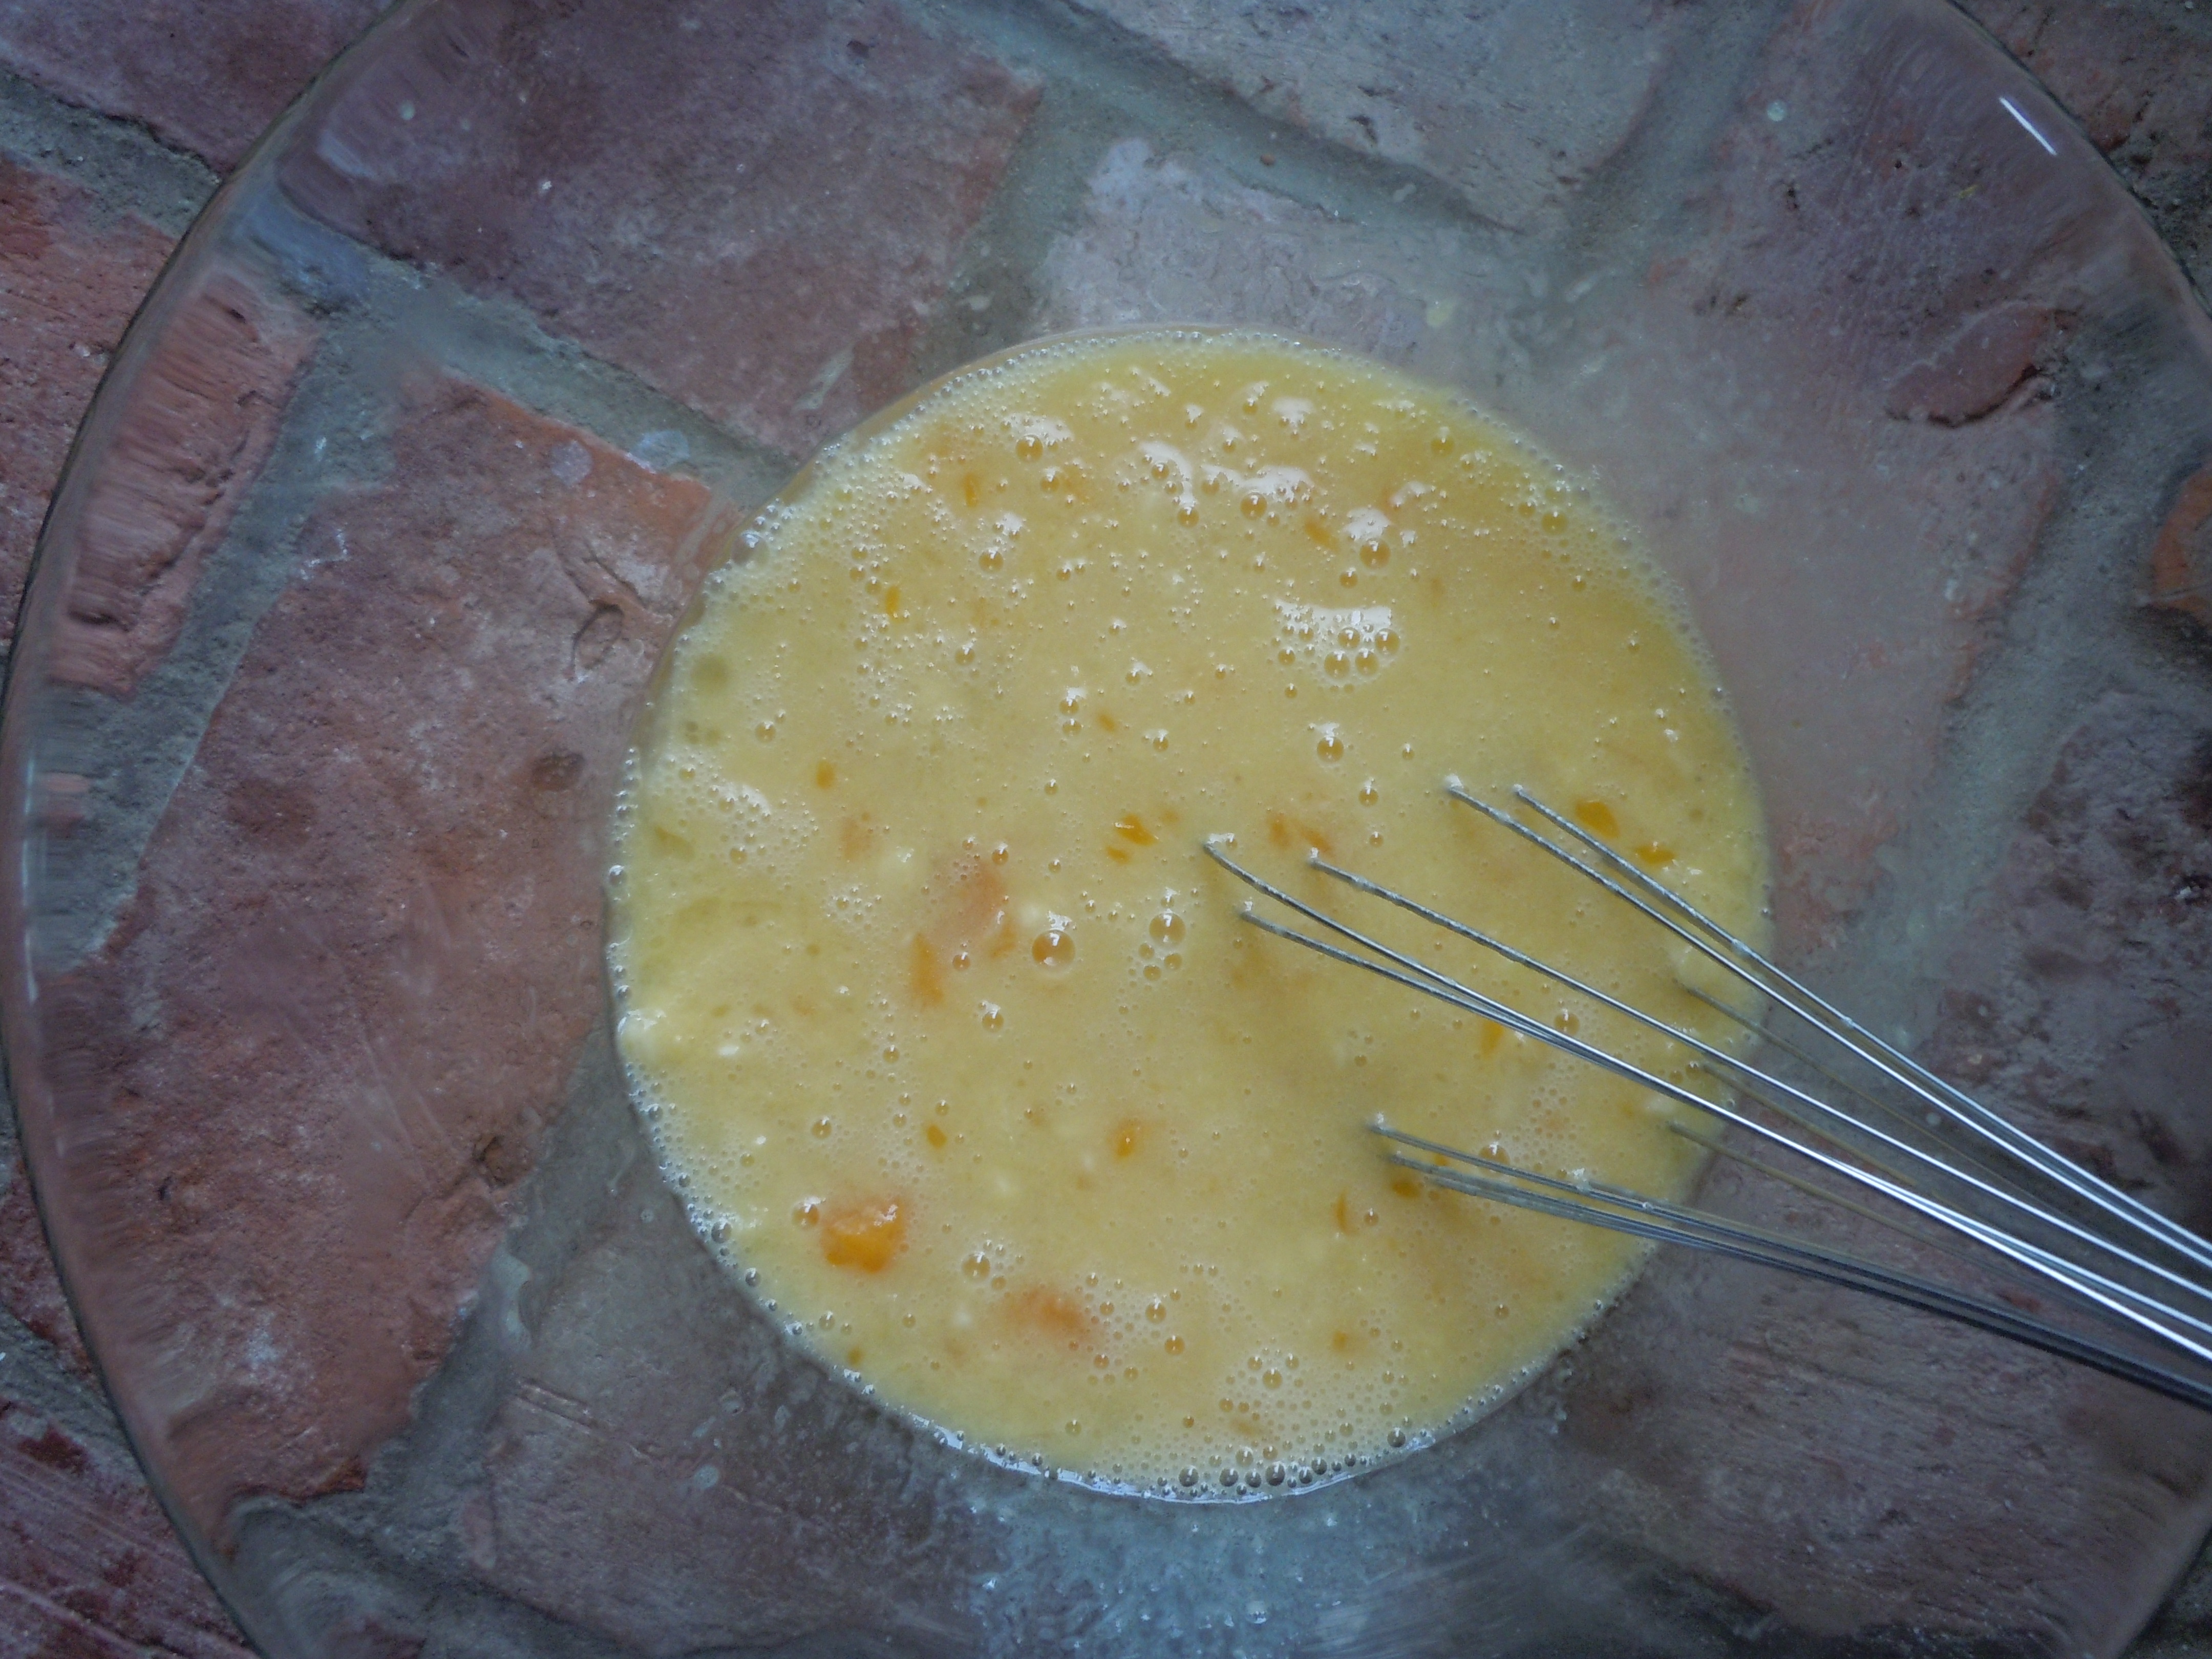
  9. Whisk eggs
  10. Get your line-up of bowls in order: eggplant slices – whisked eggs – bread crumbs
  11. Add 3 1/2 cups canola oil to a large sauce pan and begin to heat up on medium/high heat
  12. The oil needs to get to about 300º -The temperature will go down a little when you start filling the pan with breaded eggplant slices
  13. Lay out 2-3 cookie racks covered with layers of paper towels to absorb oil for frying
  14. Add slices of eggplant to the egg bowl in batches
  15. Then dip into the bread crumbs and into the heated oil
  16. Put 4 slices of breaded eggplant into the oil at a time…
  17. They will fry for about 2-3 minutes per side til golden then flip the slice over
  18. While the 1st batch is frying get the 2nd batch ready to fry dipping into the egg and then into the bread crumbs and let them sit there on the bread crumbs til they are ready to go into the oil
  19. Once the eggplant are golden place onto cookie racks with paper towels and dab them with fresh paper towels, flip and do the same to the other side to remove all excess oil
  20. Throw away oily paper towels and re-place with a new set of paper towels for the next batch and replace with each batch there after
  21. Then place the eggplant onto the wire cookie racks with out paper towels to cool
  22. Finish frying the rest of the eggplant going thru the same procedures
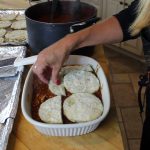
  23. Get out your favorite baking dish and cover the bottom with sauce
  24. Scoop a dollop of fresh ricotta onto the fried eggplant slice as shown above
  25. Place a 1/4″ slice of mozzarella onto ricotta and roll up
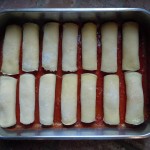
  26. Place the rollatini into baking dish and repeat with the remaining eggplant slices
  27. You should allow for about 3″ room for each rollatini (they expand when they are baked)
  28. When you baking dish is full top with more past sauce, sprinkle with Parmesan cheese and cover with foil
  29. At this point you can either put into the frig until you are ready to bake them or put them into a pre-heated oven at 350º for 55 minutes and then remove foil and 5 minutes more in the oven
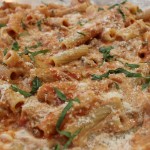
  30. Remove the foil add a sprinkle of grated mozzarella and pop the baking dish back into the oven for an additional 8 minutes
  31. Take out let sit for 5 minutes and serve!

Pickled Raw Beet Salad

Pickled Raw Beet Salad

If you love beets as much as I do then you will want to try this quick and easy pickled raw beet salad. You don’t even boil the brine mixture. You slice the beautiful chioggia beets and red onion on a mandolin so they are very thin, add the liquids and the salad is ready in a matter of hours. The sweet naturally striped beets are called chioggia and they come in an assortment of vibrant colors like pink and golden hues with darker pink or white swirls going around.  The best place to find this kind of assortment is at a Whole Foods Market.

This marinated raw beet salad is a very refreshing dish. The addition of the red onion is amazing…sometimes I think the pickled red onions might be my favorite part. I also add sheep’s milk feta to this dish because that creaminess balances out the crunchiness of the beets and red onion. Now with my quick and easy version of pickling I have found that there isn’t any difference if you marinated them for 3 hours or 24 hours. The only drawback of the 24 hours is that the vibrancy of the stripes get somewhat muted on the beets. The crunchiness and flavor of the beets and red onion is the same so it’s advantageous to only allow the 3 hours so you keep them looking beautiful. You can serve this pickled combo on a bed of arugula with sheep’s milk feta, crumbled garlic croutons and mint leaves and you’ll have yourself a lovely appetizer. Some other appetizers you could serve with this baked coconut shrimp, smoked salmon on crostinis with a cream cheese-caper spread, guacamole, or fresh mozzarella, pesto and roasted tomato on crostinis.

iphone pictures 2530 iphone pictures 2531 iphone pictures 2508

iphone pictures 2509 iphone pictures 2510 iphone pictures 2512

iphone pictures 2513 iphone pictures 2514 iphone pictures 2519

iphone pictures 2526

Ingredients:

  • 3 or 4 chioggia striped beets
  • 1 medium red onion
  • 1/4 cup olive oil
  • 2 Tbsp red wine vinegar
  • 2 Tbsp rice wine vinegar “seasoned” (it comes seasoned or unseasoned)
  • 1/4 Tsp salt
  • 1/2 Tsp coarse Italian seasonings

Directions:

  1. Slice the beets and red onion on a mandolin
  2. Put them into a medium bowl
  3. Add the olive oil, vinegar’s, salt and Italian seasoning to the sliced beets and red onion
  4. Cover with Saran wrap and put into the frig for 3 hours
  5. Serve on a bed of arugula with crumbled sheep milks feta, crumbled garlic croutons and mint leaves

Homemade Ricotta

Homemade Ricotta

What an easy process it is to make homemade ricotta and it’s so worth it..just wait til you taste the fresh creaminess of those warm curds. It’s amazing how effortless this really is. All you do is bring whole milk and heavy cream to a boil, take it off the heat, add white vinegar and salt and watch the curds and whey separate into a luscious homemade ricotta. All the work is in waiting for the curds to form and the whey to completely drain through the cheese cloth. You’re likely to become a ricotta snob and never buy store bought ricotta ever again! Put a dollop of your homemade ricotta in the middle of a bowl of penne dressed with tomato sauce and voilà you are a culinary genius. If you are going to stuff pasta shells with this ricotta you should make my slow cooked pasta sauce 101, authentic Italian meatballs, pasta crepes from Mama Maria’s manicotti or lazy-man’s lasagna! Then you can end with a “BEST” blue berry pie ever recipe 🙂

iphone pictures 1937 018 iphone pictures 2025 IMG_5742 blupie

iphone pictures 2459 iphone pictures 2464 iphone pictures 2466

iphone pictures 2451 iphone pictures 2467 iphone pictures 2469

iphone pictures 2472 iphone pictures 2473 iphone pictures 2476

iphone pictures 2506 iphone pictures 2502 iphone pictures 2498

iphone pictures 2500

Ingredients:

  • 4 cups whole milk
  • 2 cup heavy cream
  • 1/2 Tsp salt
  • 3 Tbsp white vinegar
  • Cheese cloth

Directions:

  1. Wet the cheese cloth and ring it out
  2. Set up a large bowl with a fine mesh strainer inside
  3. Drape the damp cheese cloth over touching the strainer as shown in the photo…making sure all of the ends of the cheese cloth hang over the edge of the strainer
  4. Add the 4 cups of milk and 2 cups of heavy cream to a large heavy bottom stainless steel pot like all-Clad
  5. Bring to a boil on medium/high heat stirring every few minutes
  6. This will take about 20 minutes
  7. As soon as it starts to boil take off the heat and add the vinegar
  8. Stir for 30 seconds
  9. Add the salt
  10. Stir for 30 seconds
  11. Let it sit in pan for 20 minutes
  12. Then pour cheese curds and whey into the cheese cloth and let sit for 1 1/2 hrs
  13. You will need to drain the liquid after the first 10 minutes and then again at the end
  14. Gather the ends of the cheese cloth, twist and squeeze the fresh ricotta gently to get the last of the excess liquid out as shown in the photo
  15. Use right away in pasta shells, lasagna, on toasts or put into a container and into the frig
  16. This will last in the frig for 4 days

Thai Slaw

Thai Slaw

This is definitely not a boring old cole slaw. It has 2 cabbages, sweet and green onion, carrots, crunchy peanut butter, ginger, soy, fresh lime juice, and a few other seasonings. I have used both napa cabbage for this slaw and regular green cabbage and I have to tell you that the green cabbage holds up so much better while the napa gets mushy quickly. This Thai slaw is packed with flavor so you may want to pair this with something on the more simple side of things like grilled salmon, or steak, sautéed chicken or sea bass. Then a chocolate-avocado mousse or pavlova with fresh pineapple & berries could do the trick to end the meal well.

iphone pictures 603 iphone pictures 605 iphone pictures 608

iphone pictures 2463 iphone pictures 2465 iphone pictures 2466

iphone pictures 2467 iphone pictures 2468 iphone pictures 2473

iphone pictures 2479 iphone pictures 2484 iphone pictures 2485

iphone pictures 2490  iphone pictures 2493

Ingredients:

    • 4 cups thinly sliced green cabbage
    • 2 cups thinly sliced red cabbage
    • 1/2 cup thinly sliced Spanish onion or Vidalia onion
    • 1 cup shredded carrot
    • 1/2 cup thinly diced green onions (6 of them)
    • 3 Tbsp fresh zested ginger (on micro planer)
    • 1/2 cup Helman’s mayo
    • 3 Tbsp crunchy peanut butter
    • 1/4 cup sugar
    • 2 tbsp olive oil
    • 2 Tbsp rice wine
    • 2 Tbsp cider vinegar
    • 2 Tbsp reduced sodium Kikoman soy sauce
    • 1 Tbsp sesame oil
    • 3 dashes tabasco
    • juice from 2 limes
    • 1 Tbsp toasted sesame seeds plus 1 Tsp for the garnish

Directions:

  1. Toast sesame seeds on medium heat in a small pan shaking the pan periodically back and forth
  2. This happens quickly once they heat up…it will only take about 3-4 minutes so it’s best not to leave the pan or the stove so they turn golden evenly
  3. Once the sesame seeds are golden remove from the pan, place in a ramekin and set aside
  4. Add sliced green cabbage, red cabbage, Spanish onion, green onions, shredded carrot and zested ginger to a large mixing bowl
  5. Then add in peanut butter, mayo, soy, vinegar’s, oils, fresh lime juice, sugar, Tabasco, sesame seeds and toss together to mix thoroughly
  6. Serve in a large bowl and sprinkle with toasted sesame seeds

Best Brussel Sprouts Ever!

Best Brussel Sprouts Ever!

If you never like brussel sprouts before you really need to give these a try because they will seriously change the way you think of them! These are roasted in the oven for 25-35 minutes with chopped garlic, olive oil and a sprinkle of salt…that’s it. They are so simple to make and the edges of the brussel sprouts get caramelized along with the garlic pieces. These are delicious served with a sprinkle of Parmesan too after they are roasted.

IMG_8098You may want to try some Crab Cakes, Eggplant Balls or Homemade Gnocchi too! Don’t forget to end your meal with something sweet like Death by Chocolate Meringue Pie or even mouth watering Chocolate Eclairs. Enjoy 🙂


DSCN45211-300x225 IMG_7953 IMG_7867 chcomerg

iphone pictures 2447 iphone pictures 2455 iphone pictures 2449

iphone pictures 2451 iphone pictures 2453 iphone pictures 2457

iphone pictures 2456 iphone pictures 2459 iphone pictures 2462

iphone pictures 2412 iphone pictures 2420

Ingredients – serves 6-8 people:

  • 2 lbs. fresh brussel sprouts
  • 4 lg garlic cloves coarsely chopped
  • 1/4 cup olive oil – plus extra drizzle of olive oil OR 1 tbsp butter after they are roasted
  • 1/4 Tsp of salt – – plus extra sprinkle of salt to taste after they are roasted
  • Sprinkle of black pepper
  • 1/4 cup Reggiano Parmesan to serve on the side (optional)

Directions:

  1. Pre-heat oven to 375º
  2. Cut 1/2″ off the ends of the brussel sprouts
  3. Cut the brussel sprouts in half vertically
  4. Add the chopped garlic, and brussel sprout to a cookie tray
  5. Drizzle olive oil over sprouts and garlic and sprinkle with salt
  6. Arrange the brussel sprouts so that the cut halves are all face down on the cookie tray – this inner side will be the caramelized side of the sprout
  7. Put into pre-heated oven for 25 – 35 minutes – no need to turn or toss them while cooking
  8. Put on a serving dish along with grated Reggiano Parmesan cheese on the side


Cake That Won’t Last

Cake That Won’t Last

″Cake that won’t last″ is the perfect name for this dessert and when you make it you will understand why. This recipe came my dear foodie friend Christine. She is a great cook and whips up dishes like me in the “old school” self taught way of culinary cooking by taste and instinct, without recipes! Christine is one of my friends who graciously throws outrageous cooking parties where laughter and smiles are always in abundance.

This “cake that won’t last” is more like a bread pudding that does a great job of holding together in an actual slice. So it is a little messy…it’s not like a perfect slicing cake and when you taste it you be very happy with exactly how it is. You don’t even need a Kitchen Aid Mixer with this cake…it’s all mixed easily by hand. Adding a good vanilla ice cream, one in particular that I really like is Hood “Homemade Vanilla” which goes great with this bread-pudding-cake making it even more indulgent! This is a great dinner party cake and your guests will never know how easy it was.

You may want to start with some appetizers on the lighter side like sea scallop ceviche, bacon wrapped scallops or maybe mussels in a fennel & lemon grass sauce, and for dinner…how about my grilled Asian salmon with cold asparagus salad, sautéed chicken and fresh spinach, chicken roulades with roasted garlic and cannelini bean purée, or sea bass with green goddess sauce.

iphone pictures 2324 iphone pictures 2327 iphone pictures 2328

iphone pictures 2329 iphone pictures 2330 iphone pictures 2331

iphone pictures 2334 iphone pictures 2335 iphone pictures 2337

iphone pictures 2338 iphone pictures 2339 iphone pictures 2344

iphone pictures 2345 iphone pictures 2348 iphone pictures 2350

iphone pictures 2349 iphone pictures 2352 iphone pictures 2353

iphone pictures 2354iphone pictures 2355 iphone pictures 2359

iphone pictures 2365

Ingredients:

  • 3 eggs
  • 1 cup chopped up banana
  • 1 cup canned crushed pineapple with juice
  • 1 cup mandarin oranges with juice (if mandarin pieces are whole cut in 3’s)
  • 1 cup canola oil
  • 3 cups flour
  • 1 1/2 Tsp vanilla extract
  • 3 cup sugar
  • 1 Tsp salt
  • 1 Tsp baking soda
  • 1 Tsp cinnamon

Directions:

  1. Pre-heat the oven to 350º
  2. Butter and flour a bunt cake pan
  3. Put all the dry ingredients into a large mixing, set aside
  4. Put all the wet ingredients in another large bowl and gently whisk just to combine
  5. Add add the wet into the dry and using a spatula begin to stir to combine ingredients
  6. Put bunt cake pan onto a cookie sheet and place into the oven for 1 hour
  7. Place a piece of foil over the top after about 40 minutes so it doesn’t burn
  8. Take out and let cool 10 minutes
  9. Run a bendy pastry knife around the edges of the bunt pan to loosen it up
  10. Lay a large cake dish over the bunt pan and flip the cake over
  11. This cake is very moist and has bread pudding-like consistency so there may be some cake stuck to the bottom of the bunt pan after you flip the cake out…no worries just scrape any crispy or gooey parts off gently and put back onto cake top where it may be missing and you will also be sprinkling confectioners sugar over it
  12. Put confectioner sugar into a sieve or fine mesh strainer and sprinkle onto cake
  13. I like to serve this warm a la mode with Hood “Homemade Vanilla” ice cream


Baked Sweet Potato Haystacks

Baked Sweet Potato Haystacks

These baked sweet potato haystacks are done in 10 minutes!  What an easy way to put some pizazz into your dish in no time at all. I love sweet potatoes anyways but my sweet potato haystacks give a light crispiness to the sweet potatoes and they make for such a wonderful presentation. Keeping it fun without a lot of work is always nice when your cooking that’s why I came up with these baked sweet potato haystacks. It’s a great way to get kids and then again some adults to try something good for you.

Use a lemon zester to make the potato strands and then bake for only 10 minutes and no more or the strands will begin to burn and get a little bitter. Top any grilled steak, sautéed chicken or fish with these hay stacks to change up the dish. You’ll have to give my Chilean sea bass, spinach and green goddess sauce II a try with these sweet potato haystacks. Before serving up the sweet potato haystacks to highlight your entrée you may want to go with a couple of starter dishes like fresh mozzarella, pesto, roasted tomato on crostinis, smoked salmon on crostinis with a cream cheese-caper spread, bacon wrapped scallops or a zucchini torta before making a chocolate-avocado mousse, or pavlova with fresh berries for dessert the night before.

iphone pictures 872 iphone pictures 873 iphone pictures 876

iphone pictures 878 iphone pictures 1177 iphone pictures 879

iphone pictures 881 iphone pictures 883 iphone pictures 1187

iphone pictures 1230 iphone pictures 1085 iphone pictures 1191

Ingredients:

  • 1 large sweet potato
  • 2 Tbsp oilve oil
  • 1 Tsp onion granules (do not use garlic …they make the potato strings bitter)
  • 1/2 Tsp salt

Directions:

  1. Pre-heat oven to 375º
  2. Use a potato peeler to peel the skin off of the sweet potato
  3. Then begin to zest strands from the sweet potato
  4. You will get little mounds of pulp like texture from the potato while you are zesting so just keep putting that aside…you don’t want the pulp in with the haystack strands.
  5. Once one side is hallowed out just flip the potato around and zest the arc of the other side
  6. Take the pile of sweet potato strands, place them on a cookie tray and squeeze them with a paper towel to get some of the moisture out.
  7. Add 2 Tbsp olive oil
  8. Add 1 Tsp onion granules and 1/2 Tsp salt and mix stands with your hands
  9. Using your fingers spread strands in an even layer on the cookie tray as best as possible
  10. Bake for exactly 10 minutes
  11. Take out of the oven and scoop mounds of potatoes onto the beds of spinach to make your sweet potato haystacks
  12. Then place your fish on top of the haystack and drizzle green goddess sauce II around the plate

Pasta Cosi

Pasta Cosi

Pasta Cosi is located right here on our CT shoreline in Branford. They certainly don’t skimp on the quantities they serve and you can definitely count on taking home a goody bag. The bolognese and arrabbiata sauces were both delicious hearty red sauces that they served with their the eggplant lasagna. Their savory bolognese is made with beef, veal and pork and when they say “arrabbiata” there’s no beating around the bush here there’s heat to it…a sauce after my own heart! You will find yourself asking for seconds of the amazing bread that they serve at Pasta Cosi . It’s a moist, crusty, chewy bread that you’ll want to dunk into the tomato sauce which could be a meal all on it’s own.

The Italian red wine we ordered was a 2011 Montepulciano d’Abruzzo, Cantina Zaccagnini Reserva from the Abruzzo region and is one of Italy’s most famous wines. It was on the lighter side yet well-rounded, with soft tannis and notes of plum…I would recommend it in a flash! This wine is a steal if you were to purchase this at a liquor store running at around $15.00. I also love the warm and cozy ambiance here at Pasta Cosi. You can see their full menu at this link here Pasta Cosi. If you like Italian you may want to try my pesto garlic breadbaked asparagus wrapped in Prosciutto, authentic Italian meatballs, family zucchini torta recipe, slow cooked pasta sauce 101, mama Maria’s manicotti from scratch, or fresh mozzarella, pesto and roasted tomatoes on crostinis.

CookiesdishChickensaltimboccapastacosiwine

Homemade Italian Meatballs

Homemade Italian Meatballs

Got to love homemade authentic Italian meatballs! No matter how you look at it spaghetti and homemade meatballs is an all time American favorite. Not that I wouldn’t have eventually gotten to one of my meatball recipes but I am dedicating this recipe today to my good friend Laura who has requested a recipe for homemade meatballs…hope you like these Laura!

I have many different ways to mix up the meat percentages using varying cuts like beef, veal, pork or beef and pork, or just turkey when I am trying to cut back on beef. This recipe is your basic 100 percent beef meatball, inspired by the way my mother use to make them with a 2 day old loaf of good Italian bread instead of using processed bread crumbs.

I used to stand by the stove frying the meatballs in olive oil but these days who really has the time? So I have come to the conclusion that they taste exactly same baked in the oven at a high temperature…saving lots of labor and time. I suggest you try my pasta sauce 101 while making these homemade meatballs because granted the meatballs are wonderful right out of the oven fresh baked without any sauce but it goes to a new level when you simmer them in the sauce for a good hour or 2. And don’t forget to have that crusty loaf of sourdough bread for dunking or my pesto garlic bread, and if you are really serious you might attempt my mothers Maria’s manicotti’s the next day. Some sides or appetizers to go with the spaghetti and meatballs might be a zucchini torta, bacon wrapped scallops, or baked coconut shrimp…enjoy!

iphone pictures 2233 iphone pictures 2236 iphone pictures 2237

iphone pictures 2238 iphone pictures 2239 iphone pictures 2240

iphone pictures 2242 iphone pictures 2243 iphone pictures 2244

iphone pictures 2246 iphone pictures 2247 iphone pictures 2248

iphone pictures 2249 iphone pictures 2250 iphone pictures 2252

iphone pictures 2254 iphone pictures 2257 iphone pictures 2260

iphone pictures 2267 iphone pictures 2269 iphone pictures 2270

iphone pictures 2271 iphone pictures 2276 iphone pictures 2287

Ingredients – Makes 21 Small Meatballs:

  • 1 lb. Angus beef
  • 1 large egg (rule of thumb …1 egg per lb. of meat)
  • 1/2-3/4 cup after soaked in milk – (1/2 loaf of 2 day old Italian bread soaked in 1 cup milk)
  • 1/2 cup grated Reggiano Parmesan cheese
  • 1 lg. garlic clove put thru garlic press
  • 1/4 cup finely chopped fresh parsley
  • 1 Tsp salt
  • 1/4 Tsp ground black pepper
  • 1 cup milk

Directions:

  1. Pre-heat oven to 425º
  2. Break up a 1/2 loaf of 2 day old Italian bread and place into a large bowl as shown in photo
  3. Pour 1 cup milk over bread and let it absorb for 10 minutes
  4. Wash, spin, dry and finely chop parsley, set aside
  5. Discard outer crusts from soaking Italian bread
  6. Begin to break soaking bread pieces apart with your fingers…if you feel any gooey pieces throw those away (if it sat out for a couple of days it won’t get gooey)…the bread should just fall apart easily
  7. Take 1/2-3/4 cup of this soaking bread and add to a large mixing bowl
  8. To this bowl add in Parmesan, chopped parsley, garlic clove thru garlic press, salt and pepper and 1 egg
  9. Whisk til just combined
  10. Add in 1 lb. of Angus beef and begin to mix gently with your hands…DON’T over work the meatballs you don’t want it to look fully combined like a meatloaf
  11. Using a cookie scooper begin to shape and roll mixture with your hands – they will be small about 1 1/2″…have a small bowl of water to the side to keep hands damp not wet (this makes it easier to rolls meatballs)
  12. Spray cookie tray with Pam canola oil
  13. Place 21 shaped meatballs onto the cookie tray and spray the tops of the meatballs
  14. Place them into the oven for 17 minutes…mangia mangia : )