Amazing German Pancake!
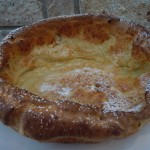
This amazing German pancake is an awesome dish to make for your holiday guests! It’s festive and quite spectacular when your guests see how your pancake has puffed to enormous heights when you take it out of the oven. Not only does it make for a wonderful presentation but it’s made with little effort and can be served for breakfast or as a dessert!
A German pancake is really a giant popover. “Dutch baby” is another name for this pancake and rumor has it that the reason behind this name came about when a chef’s young child couldn’t pronounce the German word for German, “Deutsche”. Supposedly, this mis-pronunciation lead German Pancakes to the alternative name “Dutch Babies”. A couple other names that this German pancake has been called are “Dutch puff” and “Bismark”.
My kids get very excited for that moment when this amazing German pancake comes out of the oven! It has a bit of a custard like texture inside yet very light. We love eating these pancakes and have come to the conclusion that they taste like something in between a pancake, french toast and a crêpe!
My Vermont friends turned me on to this recipe years ago and I have been making them ever since. It’s fun for me to play around with recipes and see what works best so to this recipe I have added another egg, some vanilla and a little cinnamon. You can add grated nutmeg instead if you prefer. Originally, these homemade pancakes were served with lemon and confectioners sugar. I like to served them with confectioners sugar, real maple syrup, fresh blue berries and a dollop of my favorite “Wild Blueberry Preserves” by Bonne Maman, a product of France (sold right in our local market at Stop and Shop). German pancakes are so easy to make, taking on the same amount of time as making ordinary pancakes. The wonderful thing here is you are not glued to the stove pouring batter every few minutes.
Using cast iron is the way to go here because it holds in the heat evenly distributing it throughout the pan but I have made them in other oven proof pans and it comes out great. Some recipes have you pre-heating the pan in the oven, pulling out the rack, pouring in the batter, then pushing the rack back into the oven and in my opinion, this is a disaster waiting to happen since the batter can easily swoosh over the sides causing the oven to smoke ! The easiest way to start these homemade German pancakes is on the stove top and then into the oven for the duration. The finished product will make you will feel like a french pastry chef all day. This could also make for a great dessert to an impressive dinner with entrees like turkey stuffed peppers, pulled beef tacos & mango salsa or yogurt-chicken kabobs & tzatziki. Enjoy!


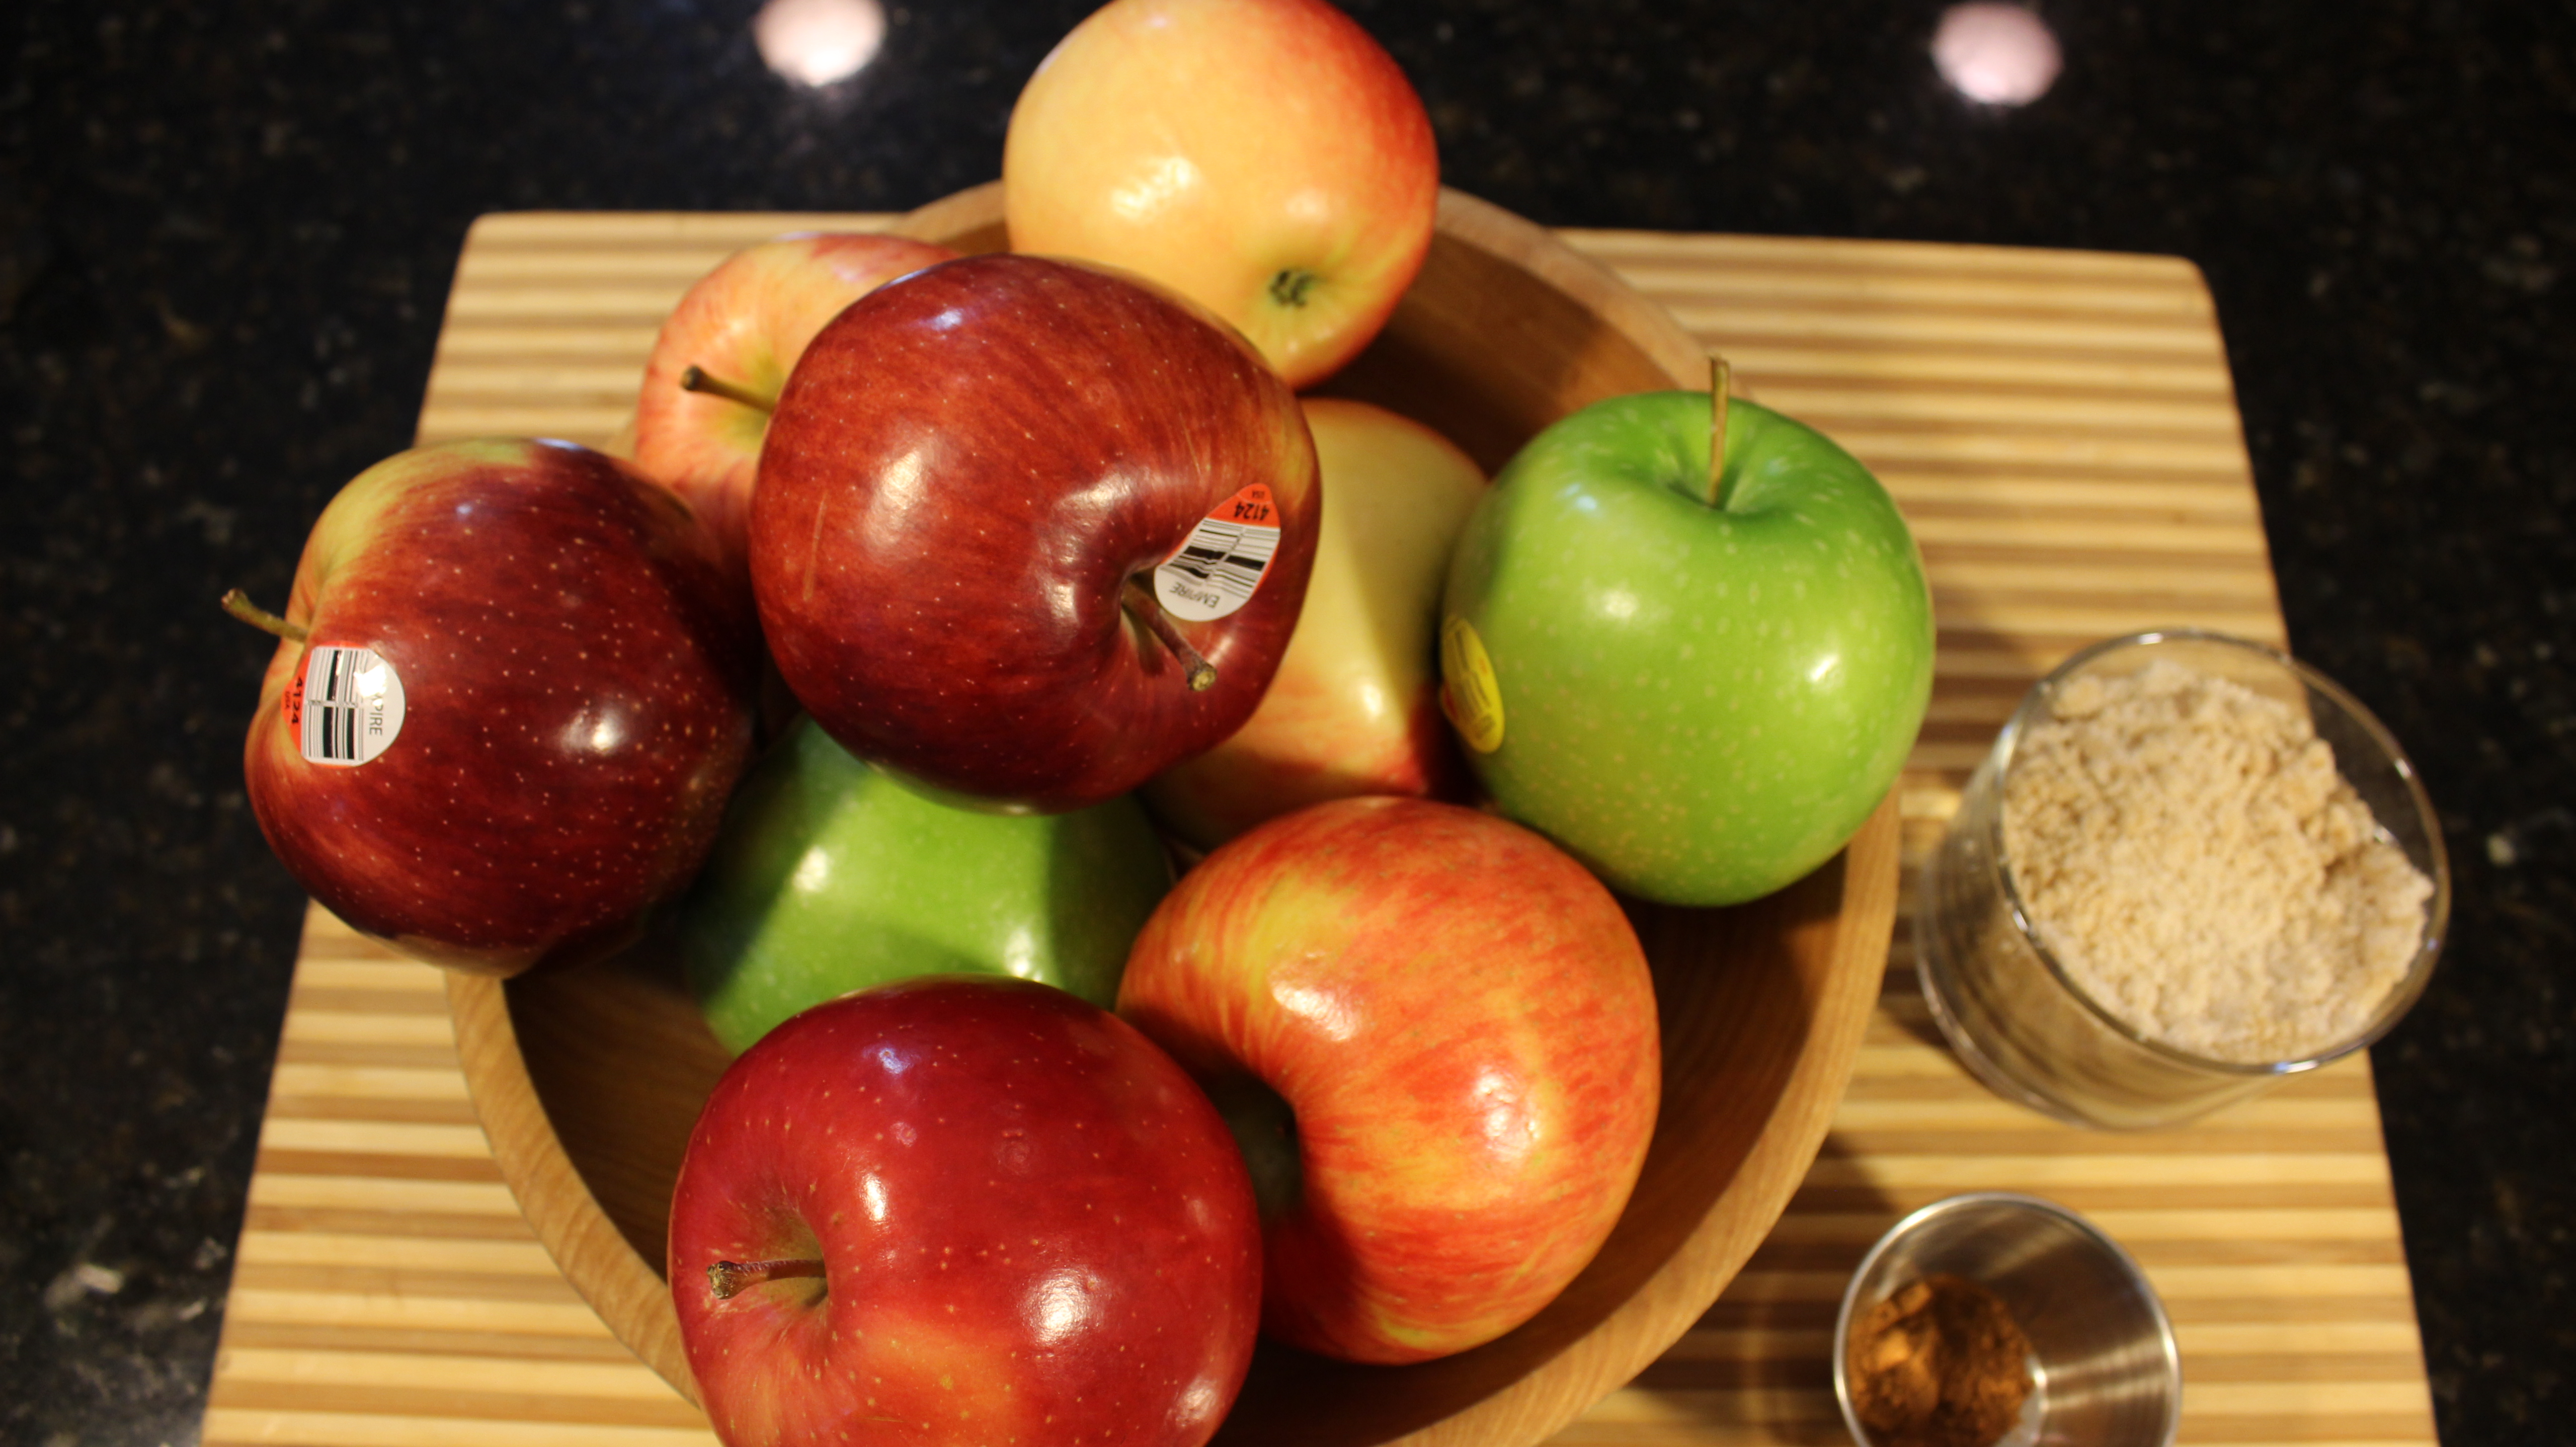
Ingredients for Traditional German Pancake:
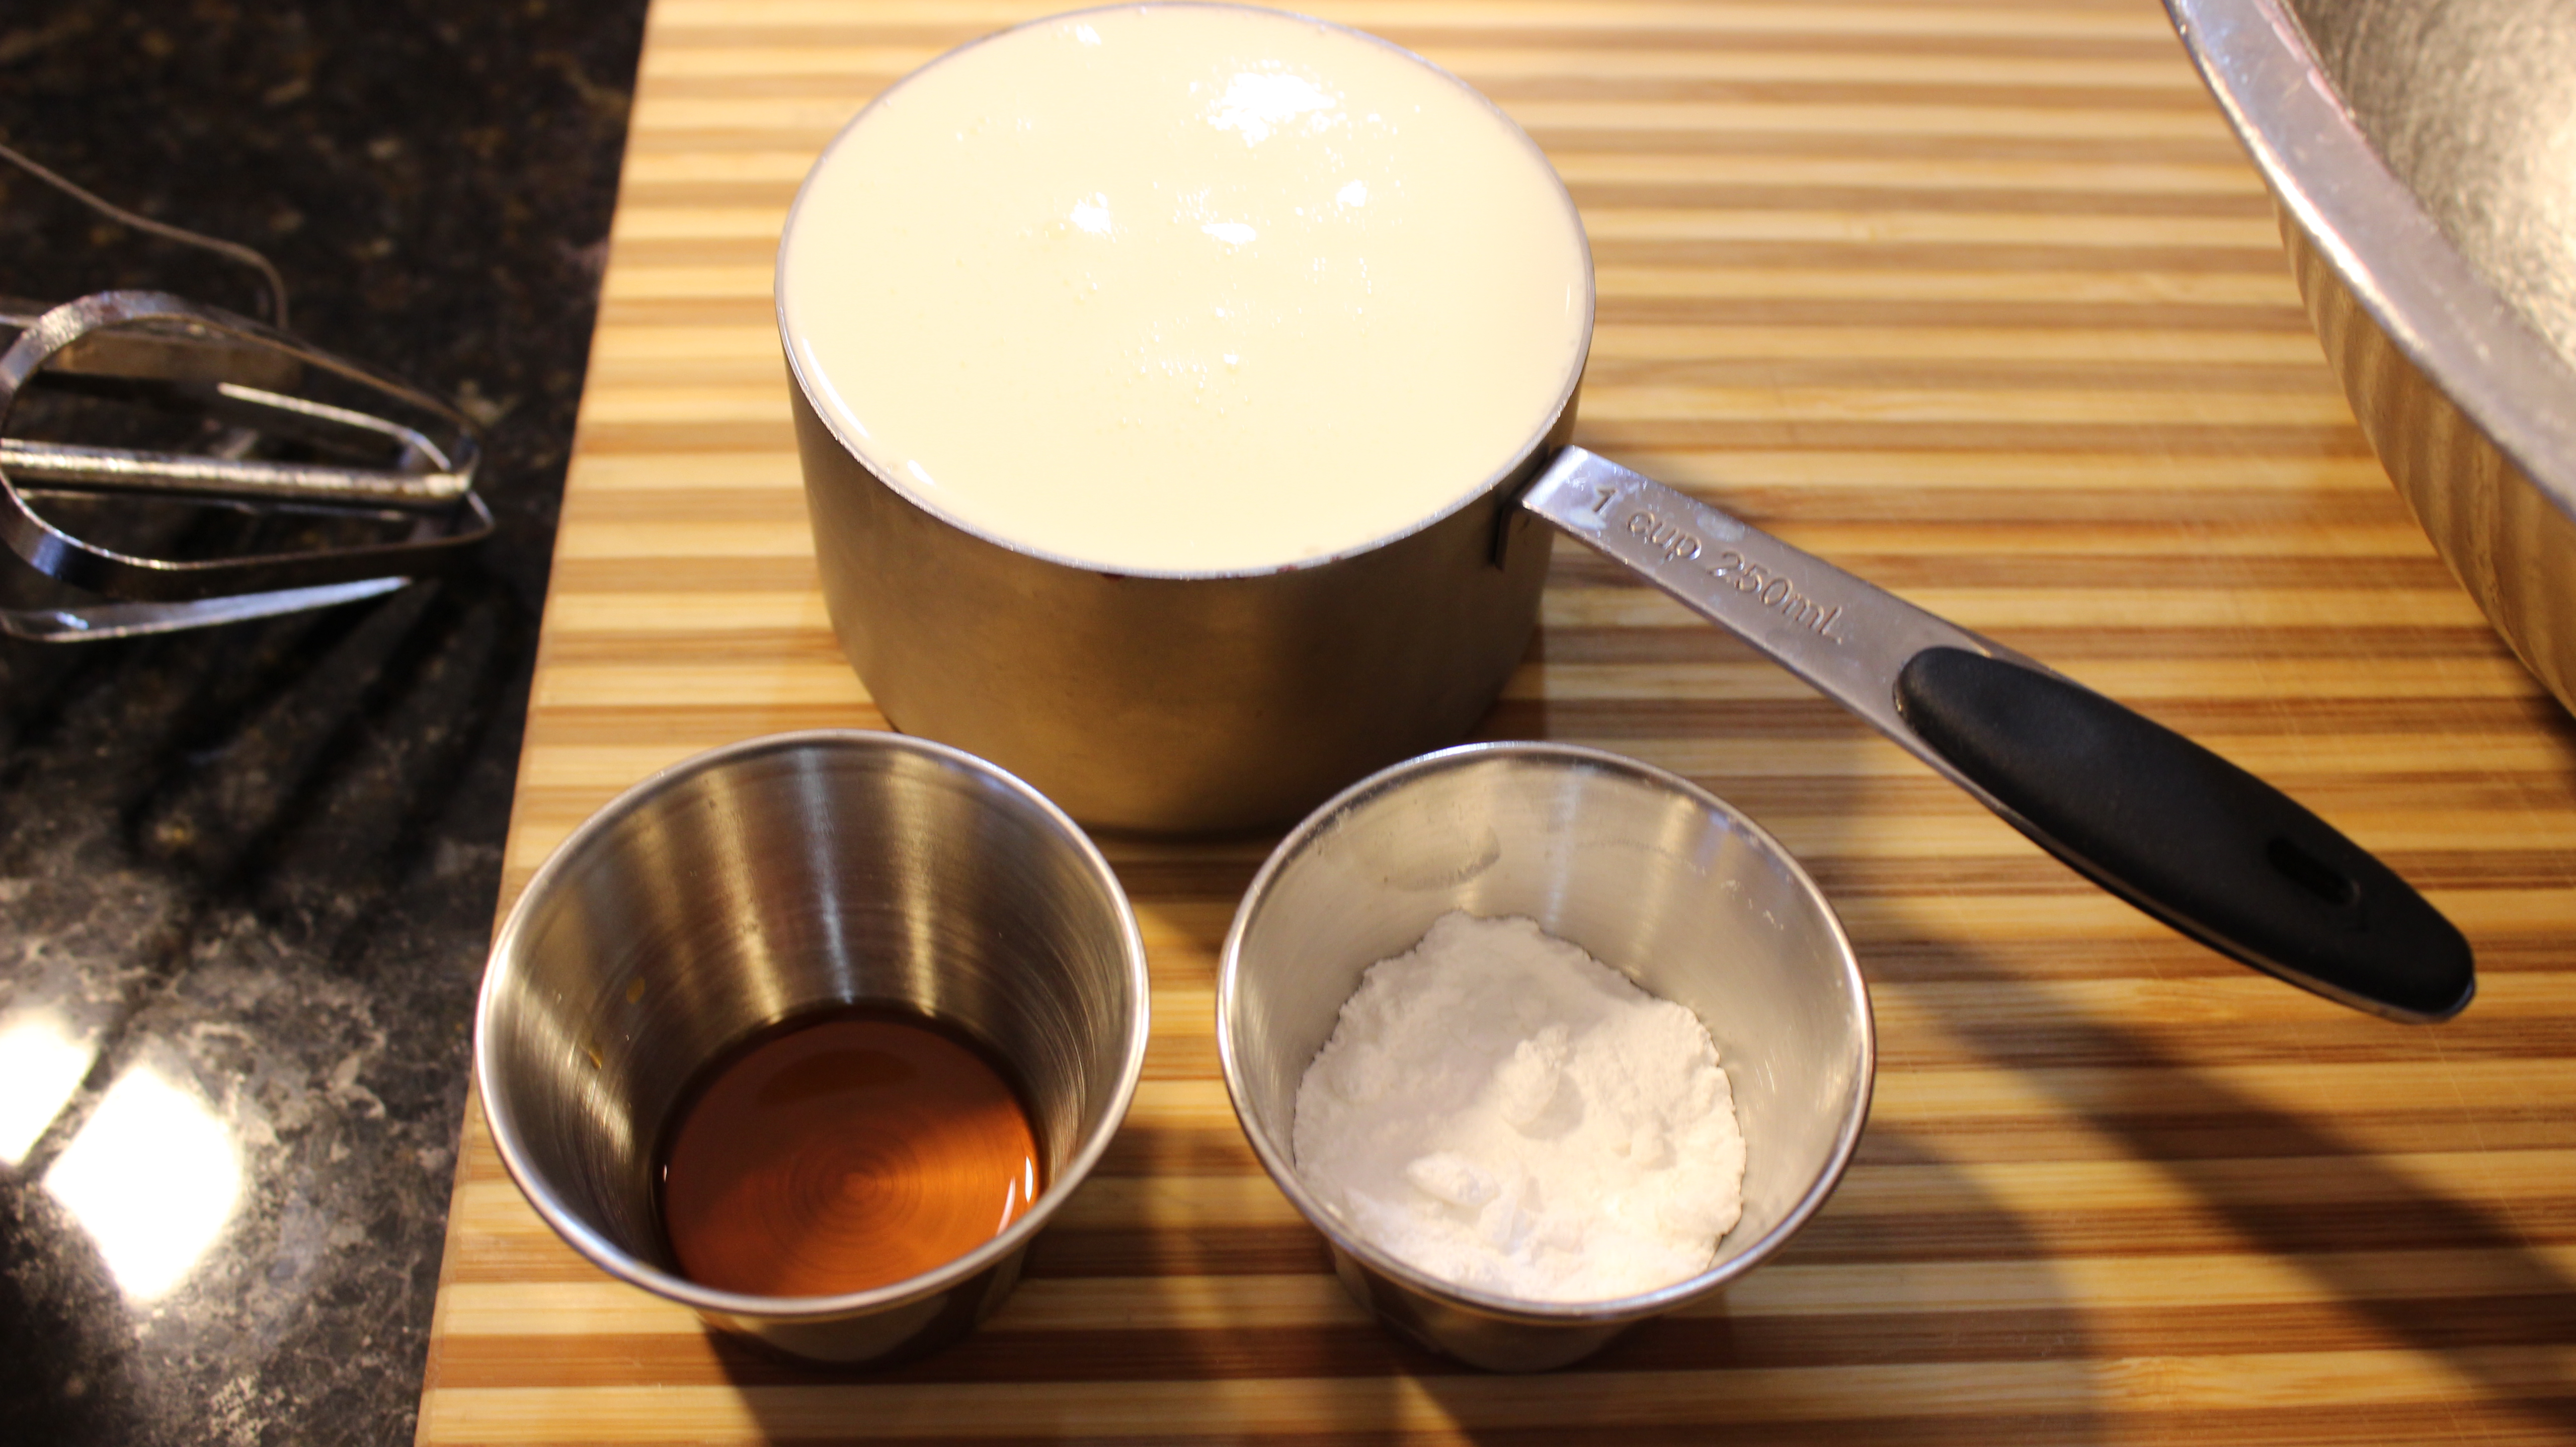
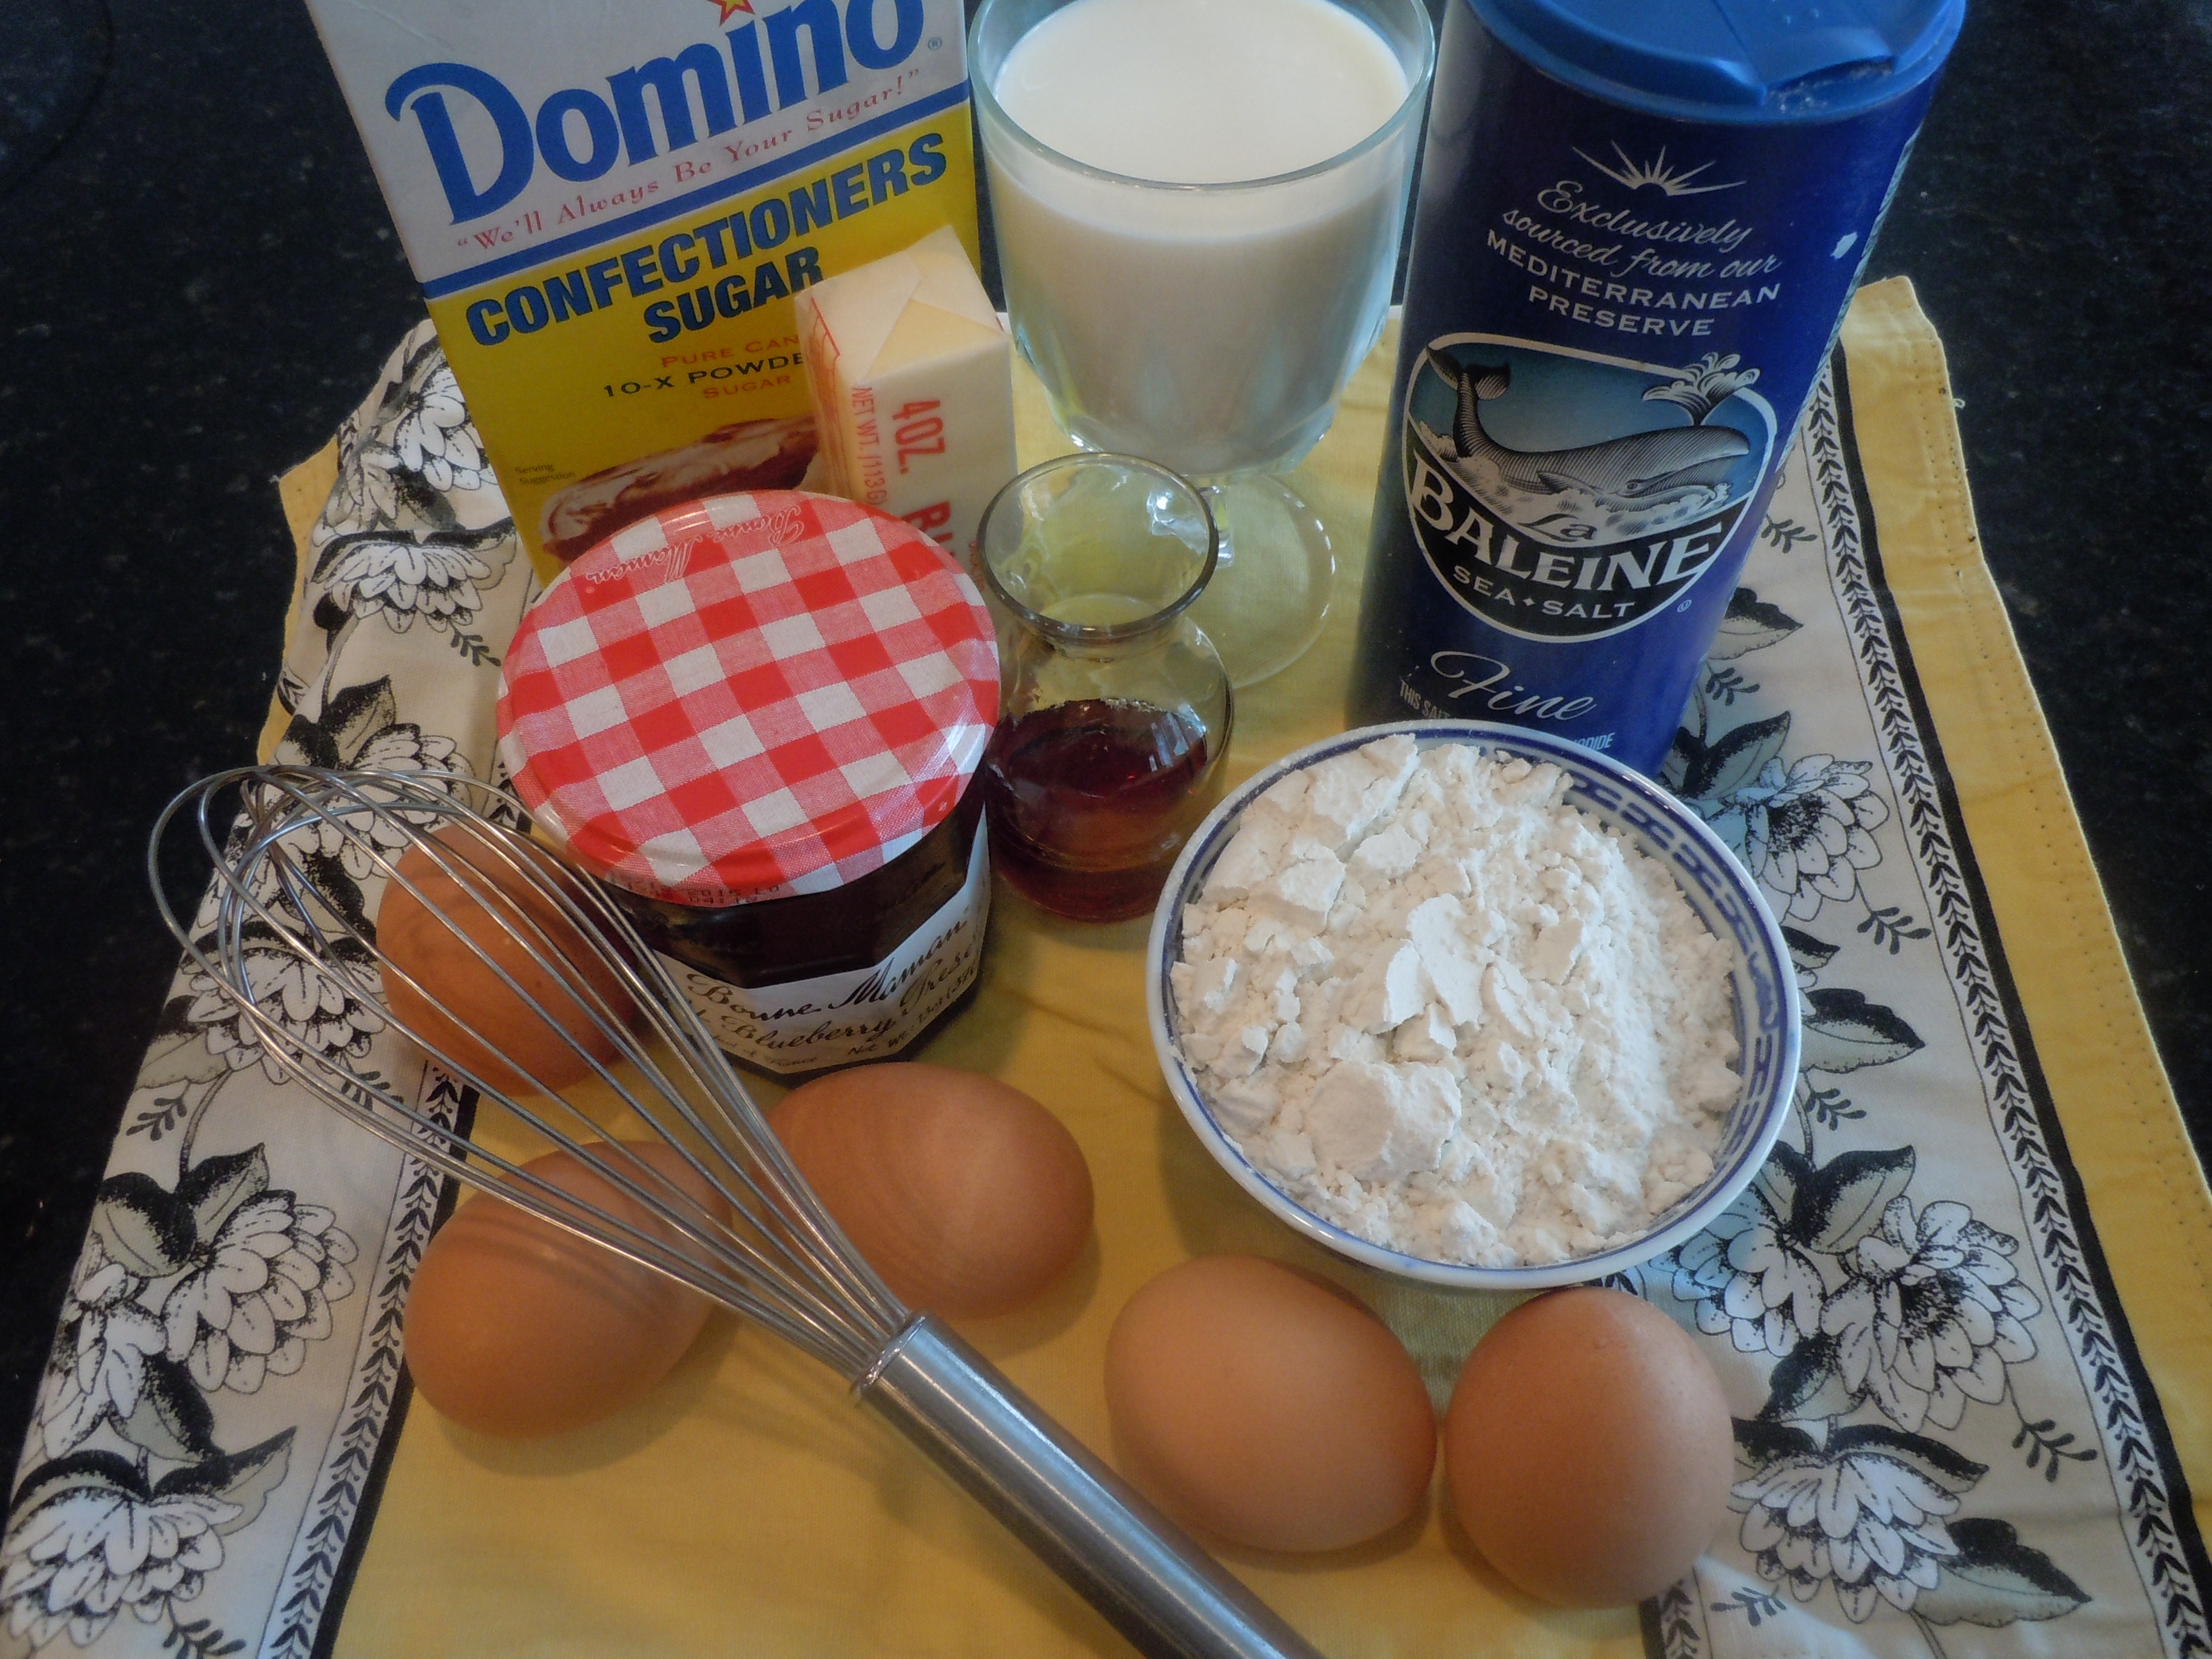
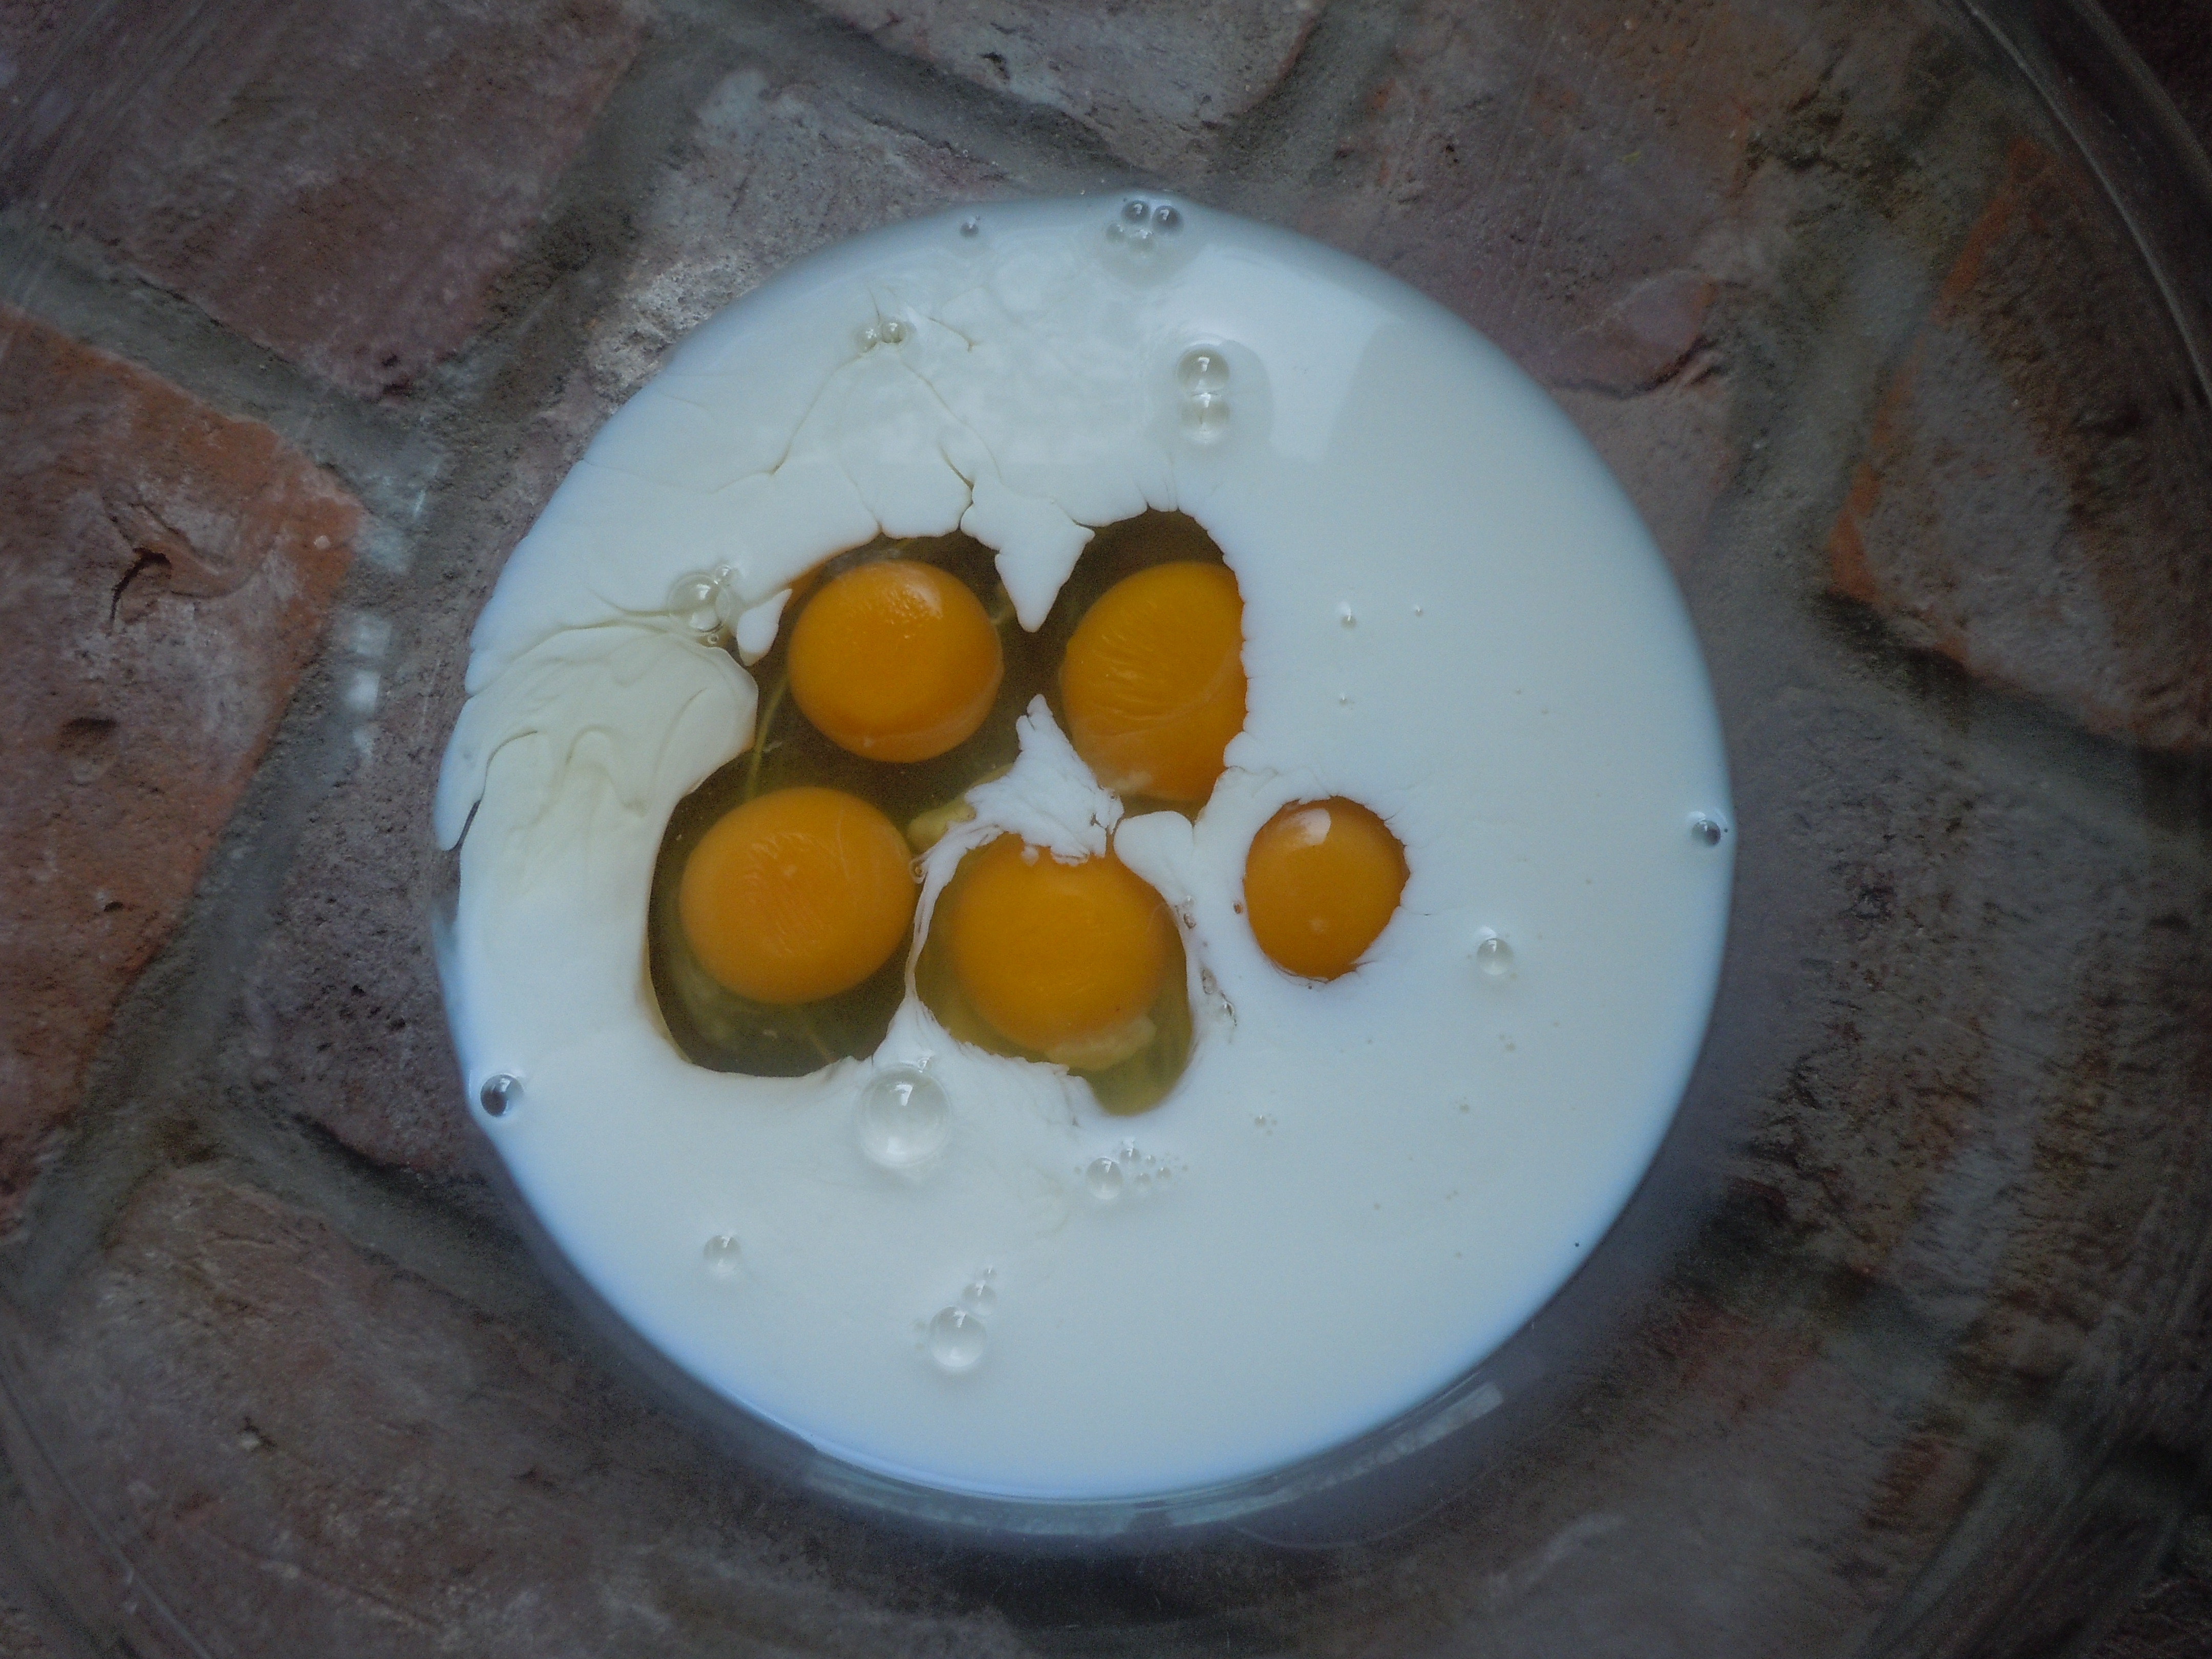
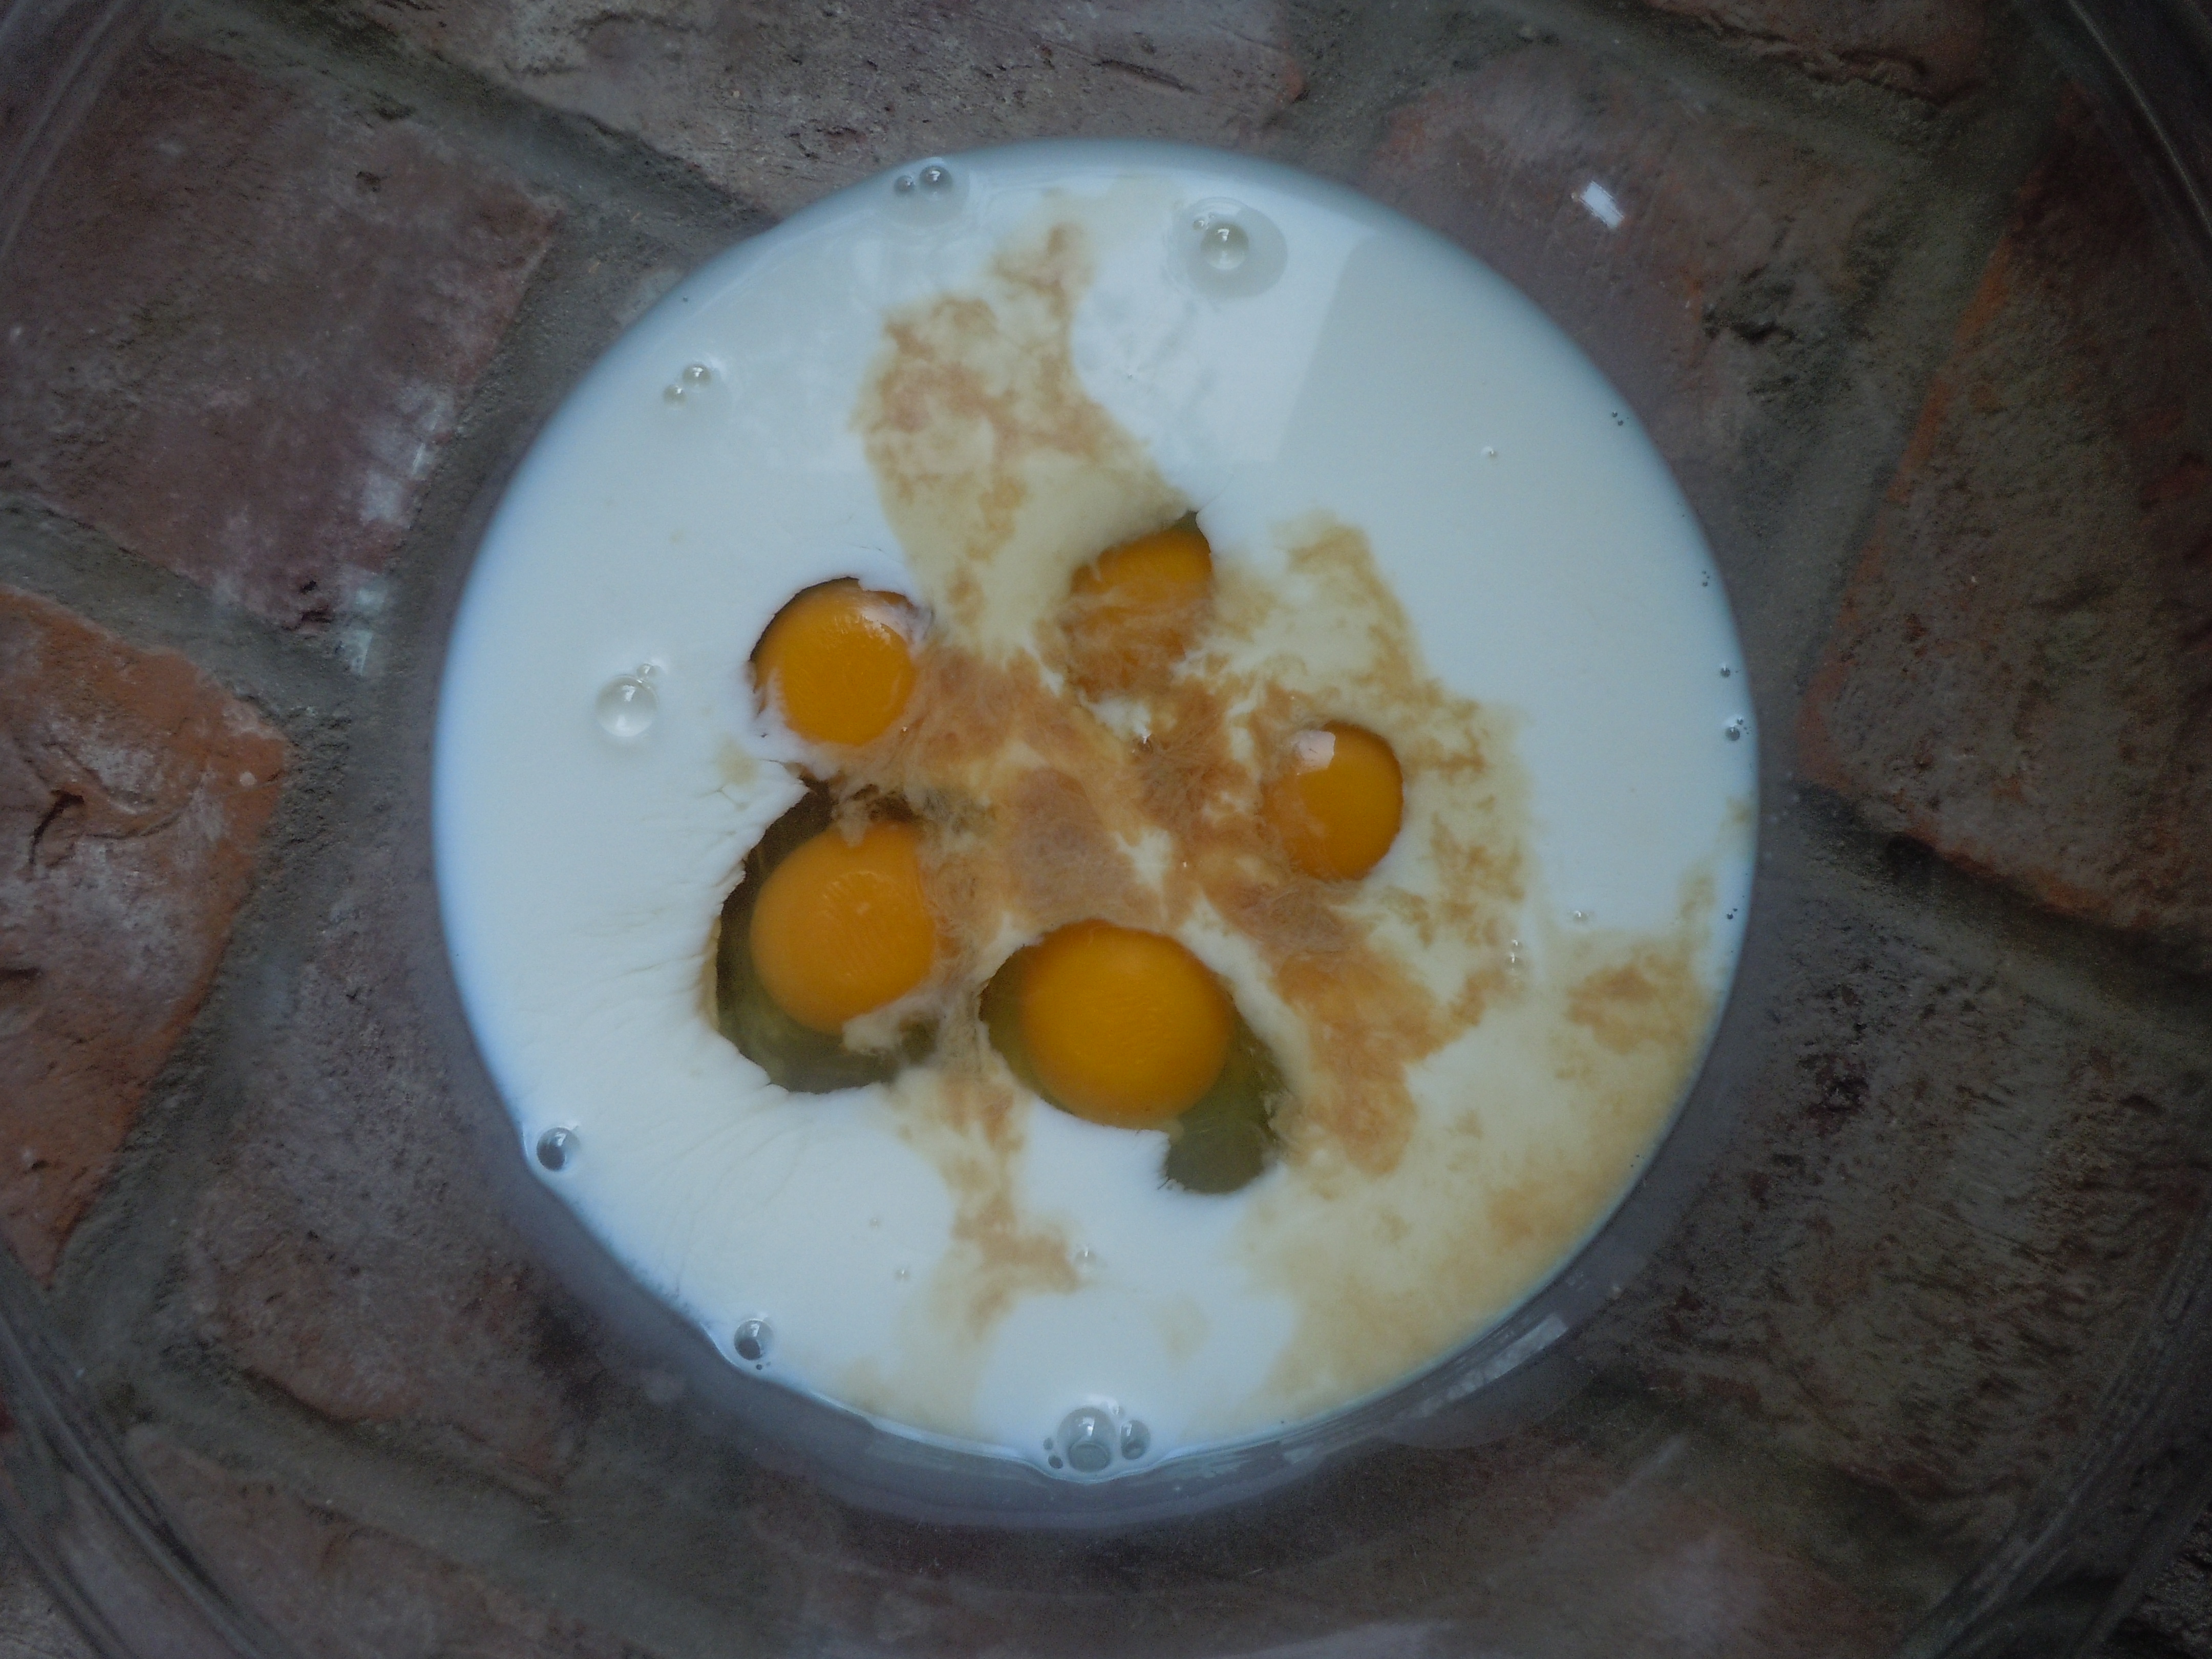
- 5 extra LG eggs (or 6 large)
- 1 cup Milk – cold
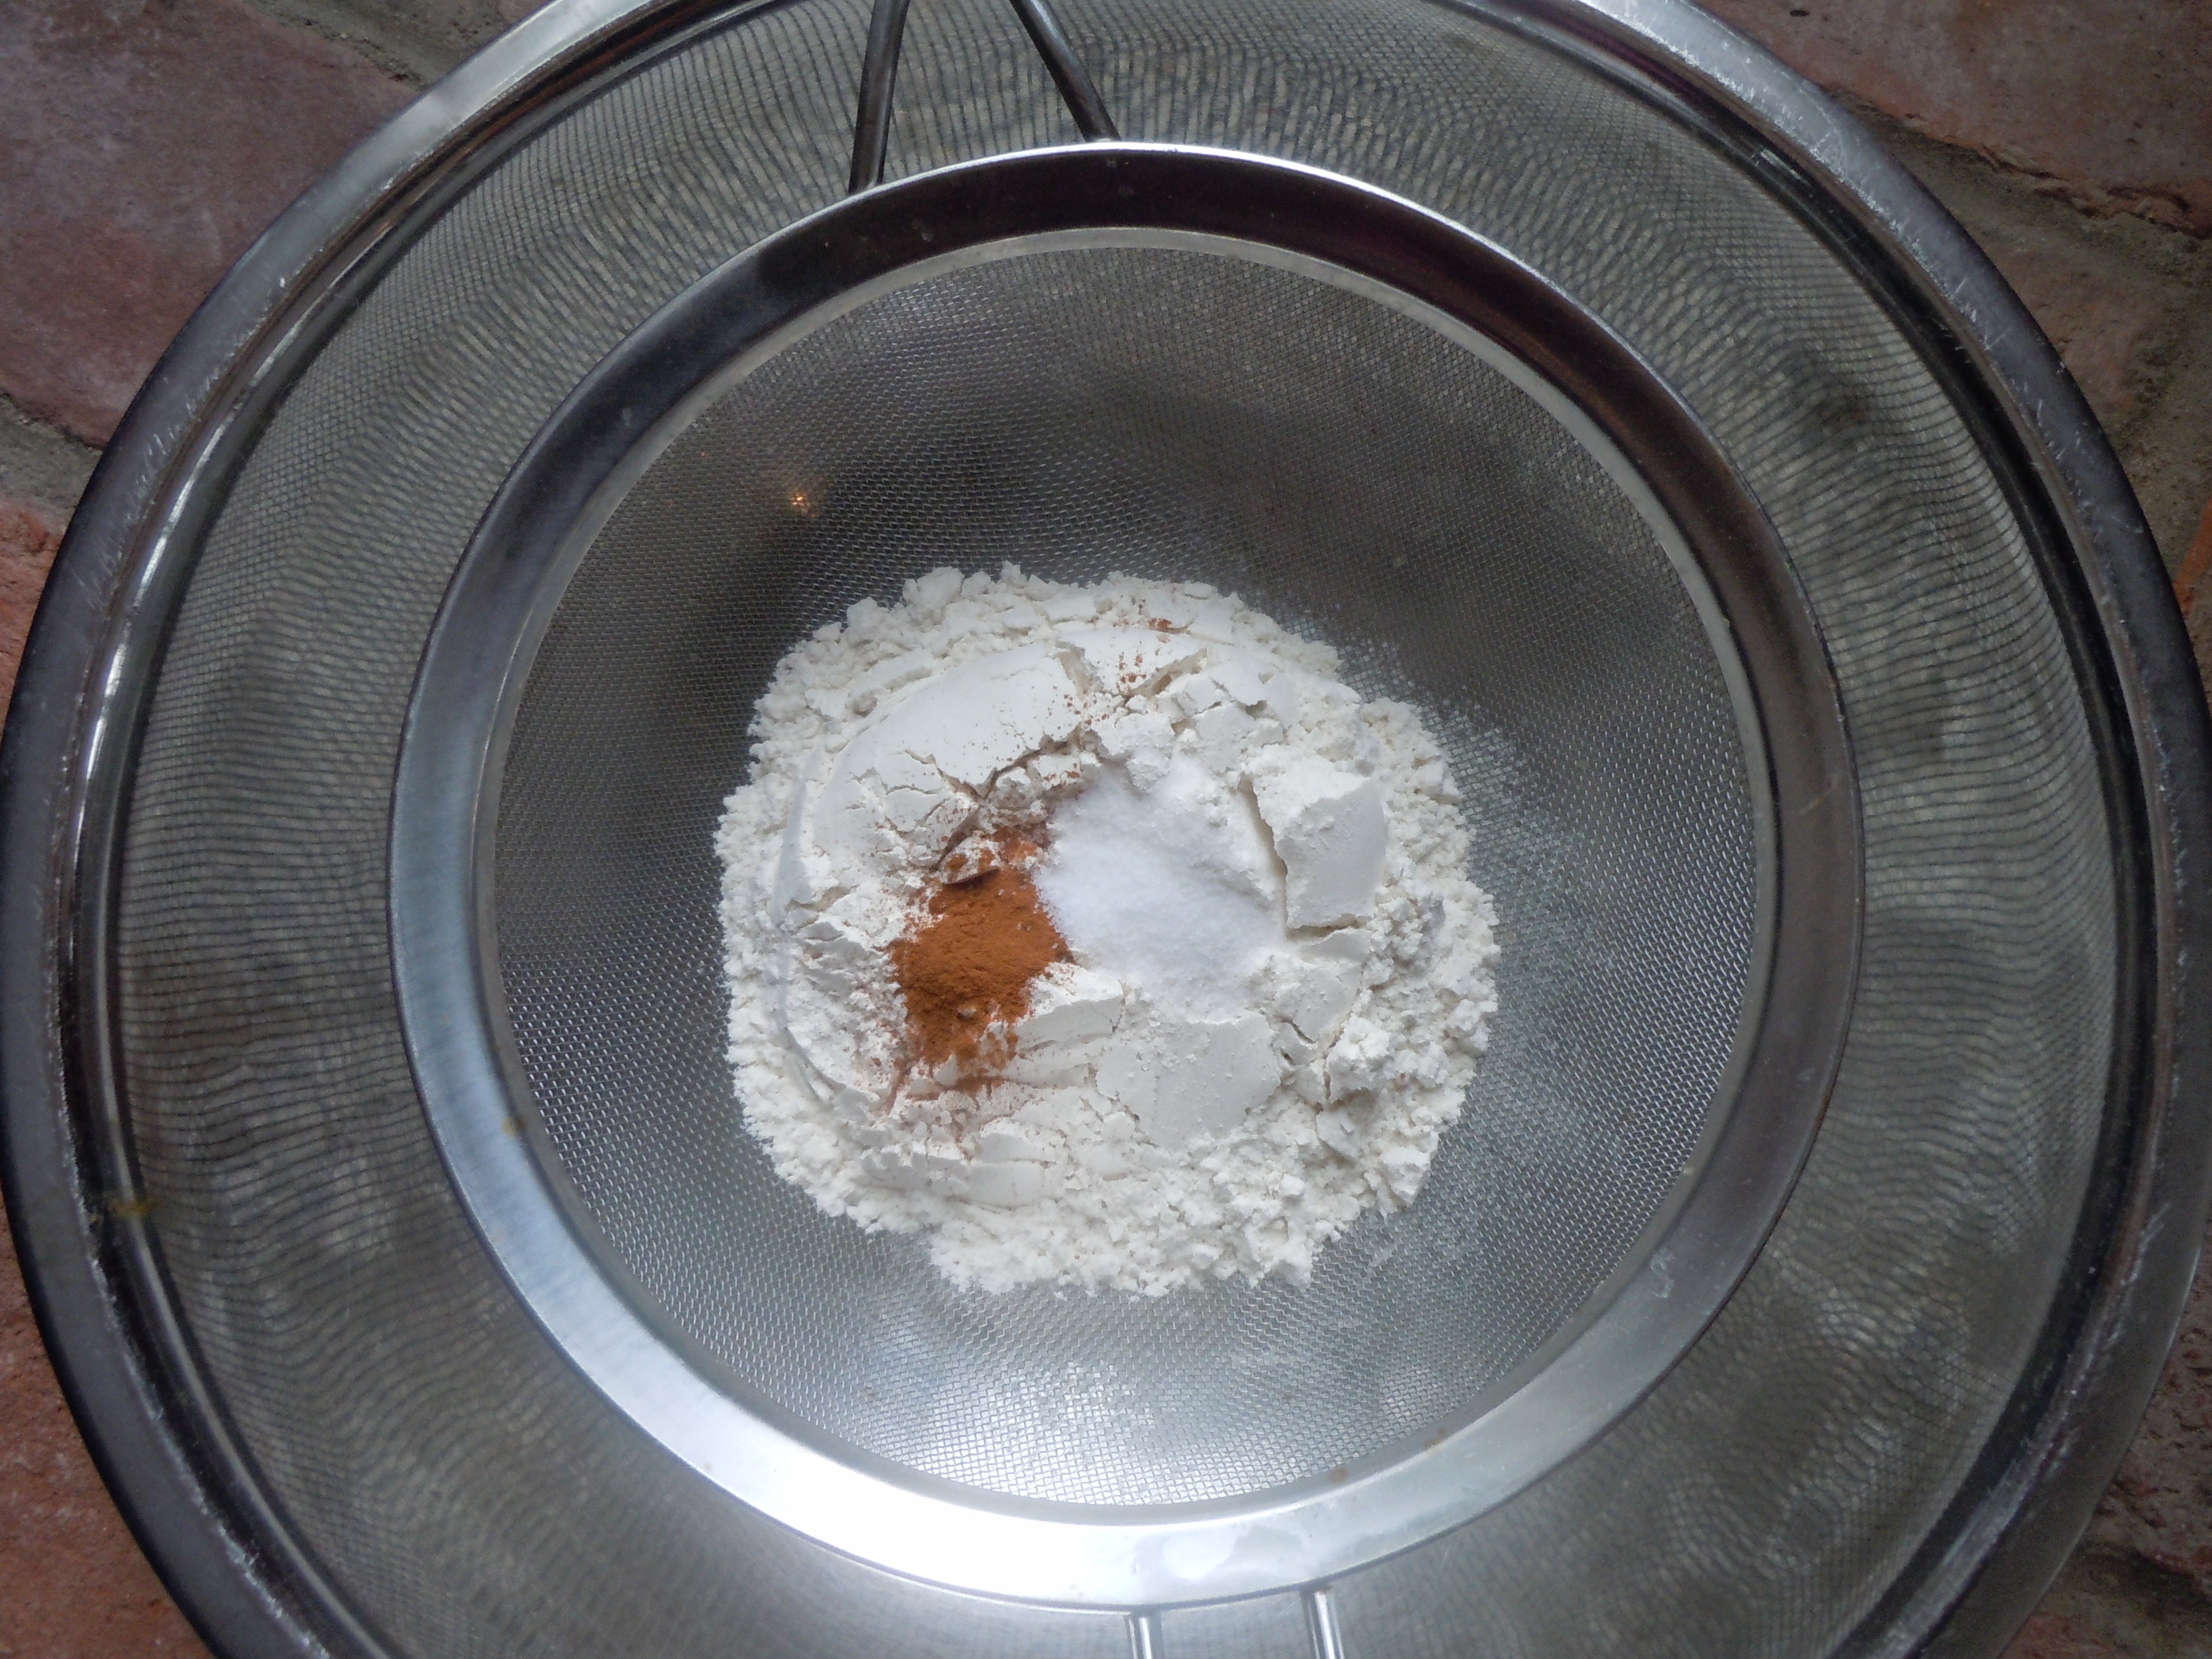
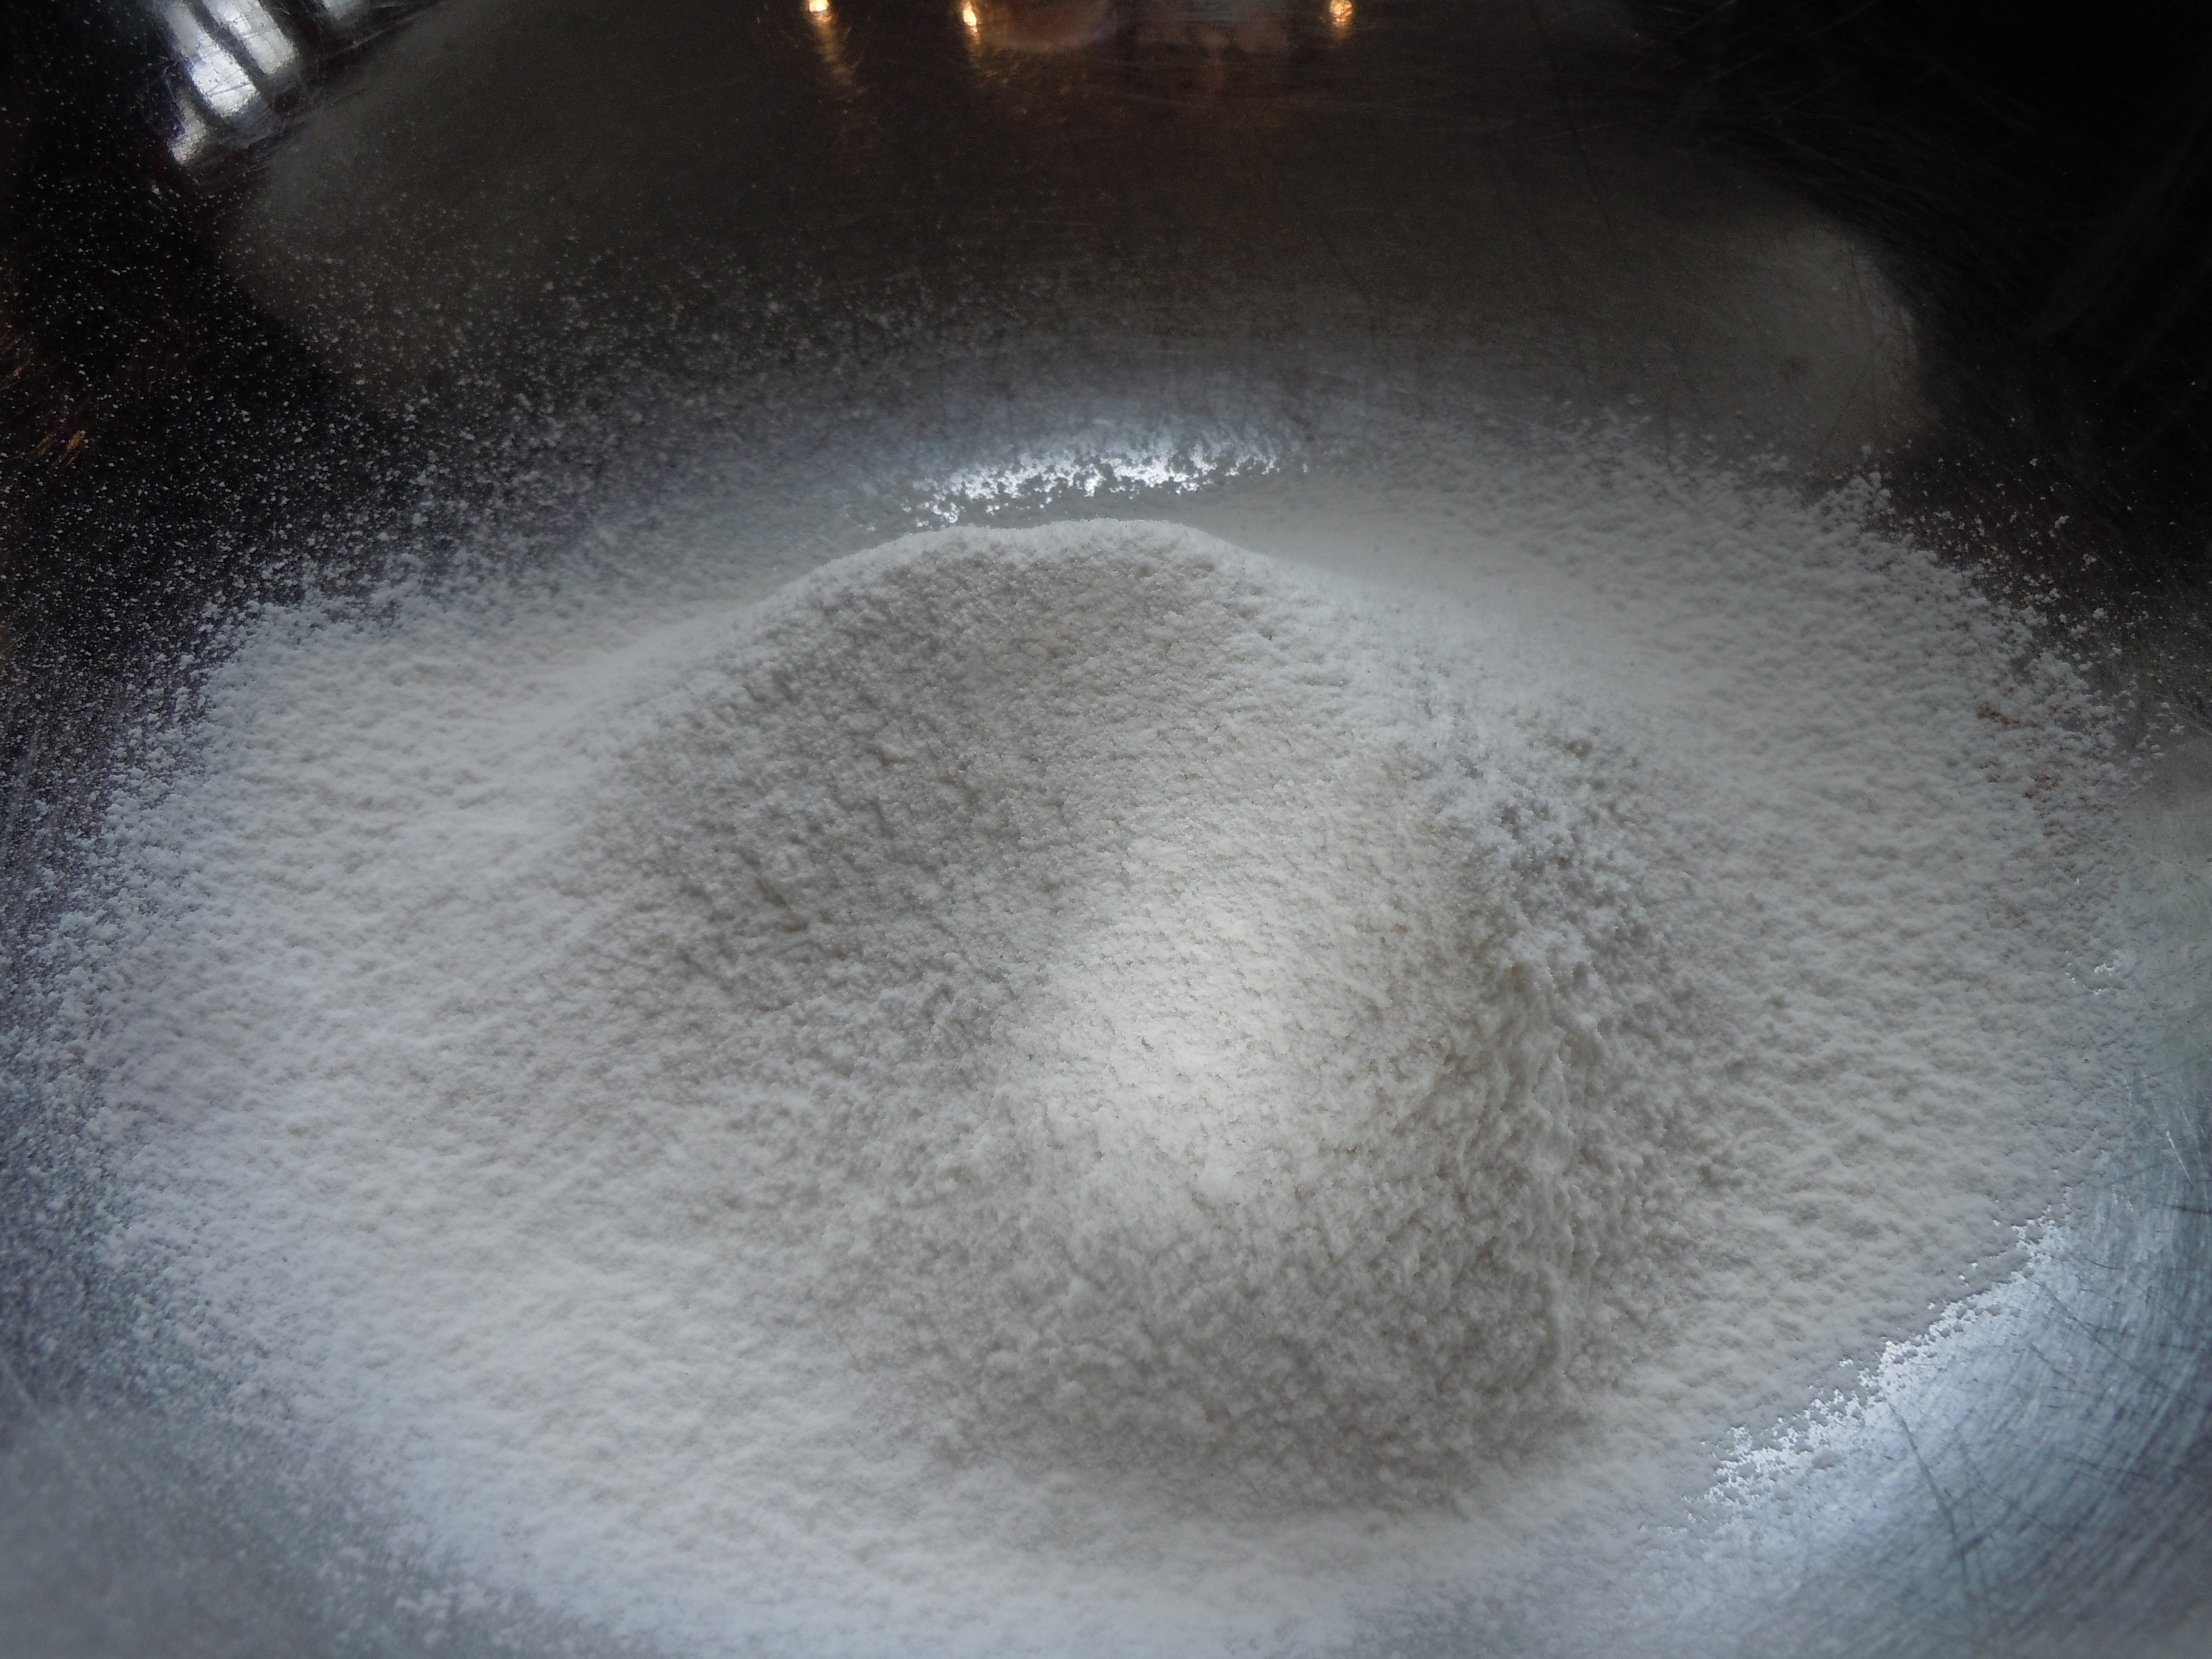
- 1 cup all purpose flour
- 1/2 Tsp. salt
- 1/4 Tsp cinnamon
- 1 Tsp. vanilla
- 4 Tbsp butter -cut up into 4 Tbsp (1/2 stick) COLD
Ingredients for savory German Pancake:
- 5 extra LG eggs (or 6 large)
- 1 cup Milk – cold
- 1 cup all purpose flour
- 1/2 Tsp. salt
- 1/2 cup swiss cheese OR cheddar
- 1/2 cup thin diced ham OR sauteed mushrooms
- 1/3 cup green onion OR sauteed sweet onion
- NOTE: If you are going the cheddar, sauteed mushroom & onion route add 1 cup fresh baby spinach too!
- 4 Tbsp butter -cut up into 4 Tbsp (1/2 stick) COLD
Directions:
- Pre-heat oven to 425º
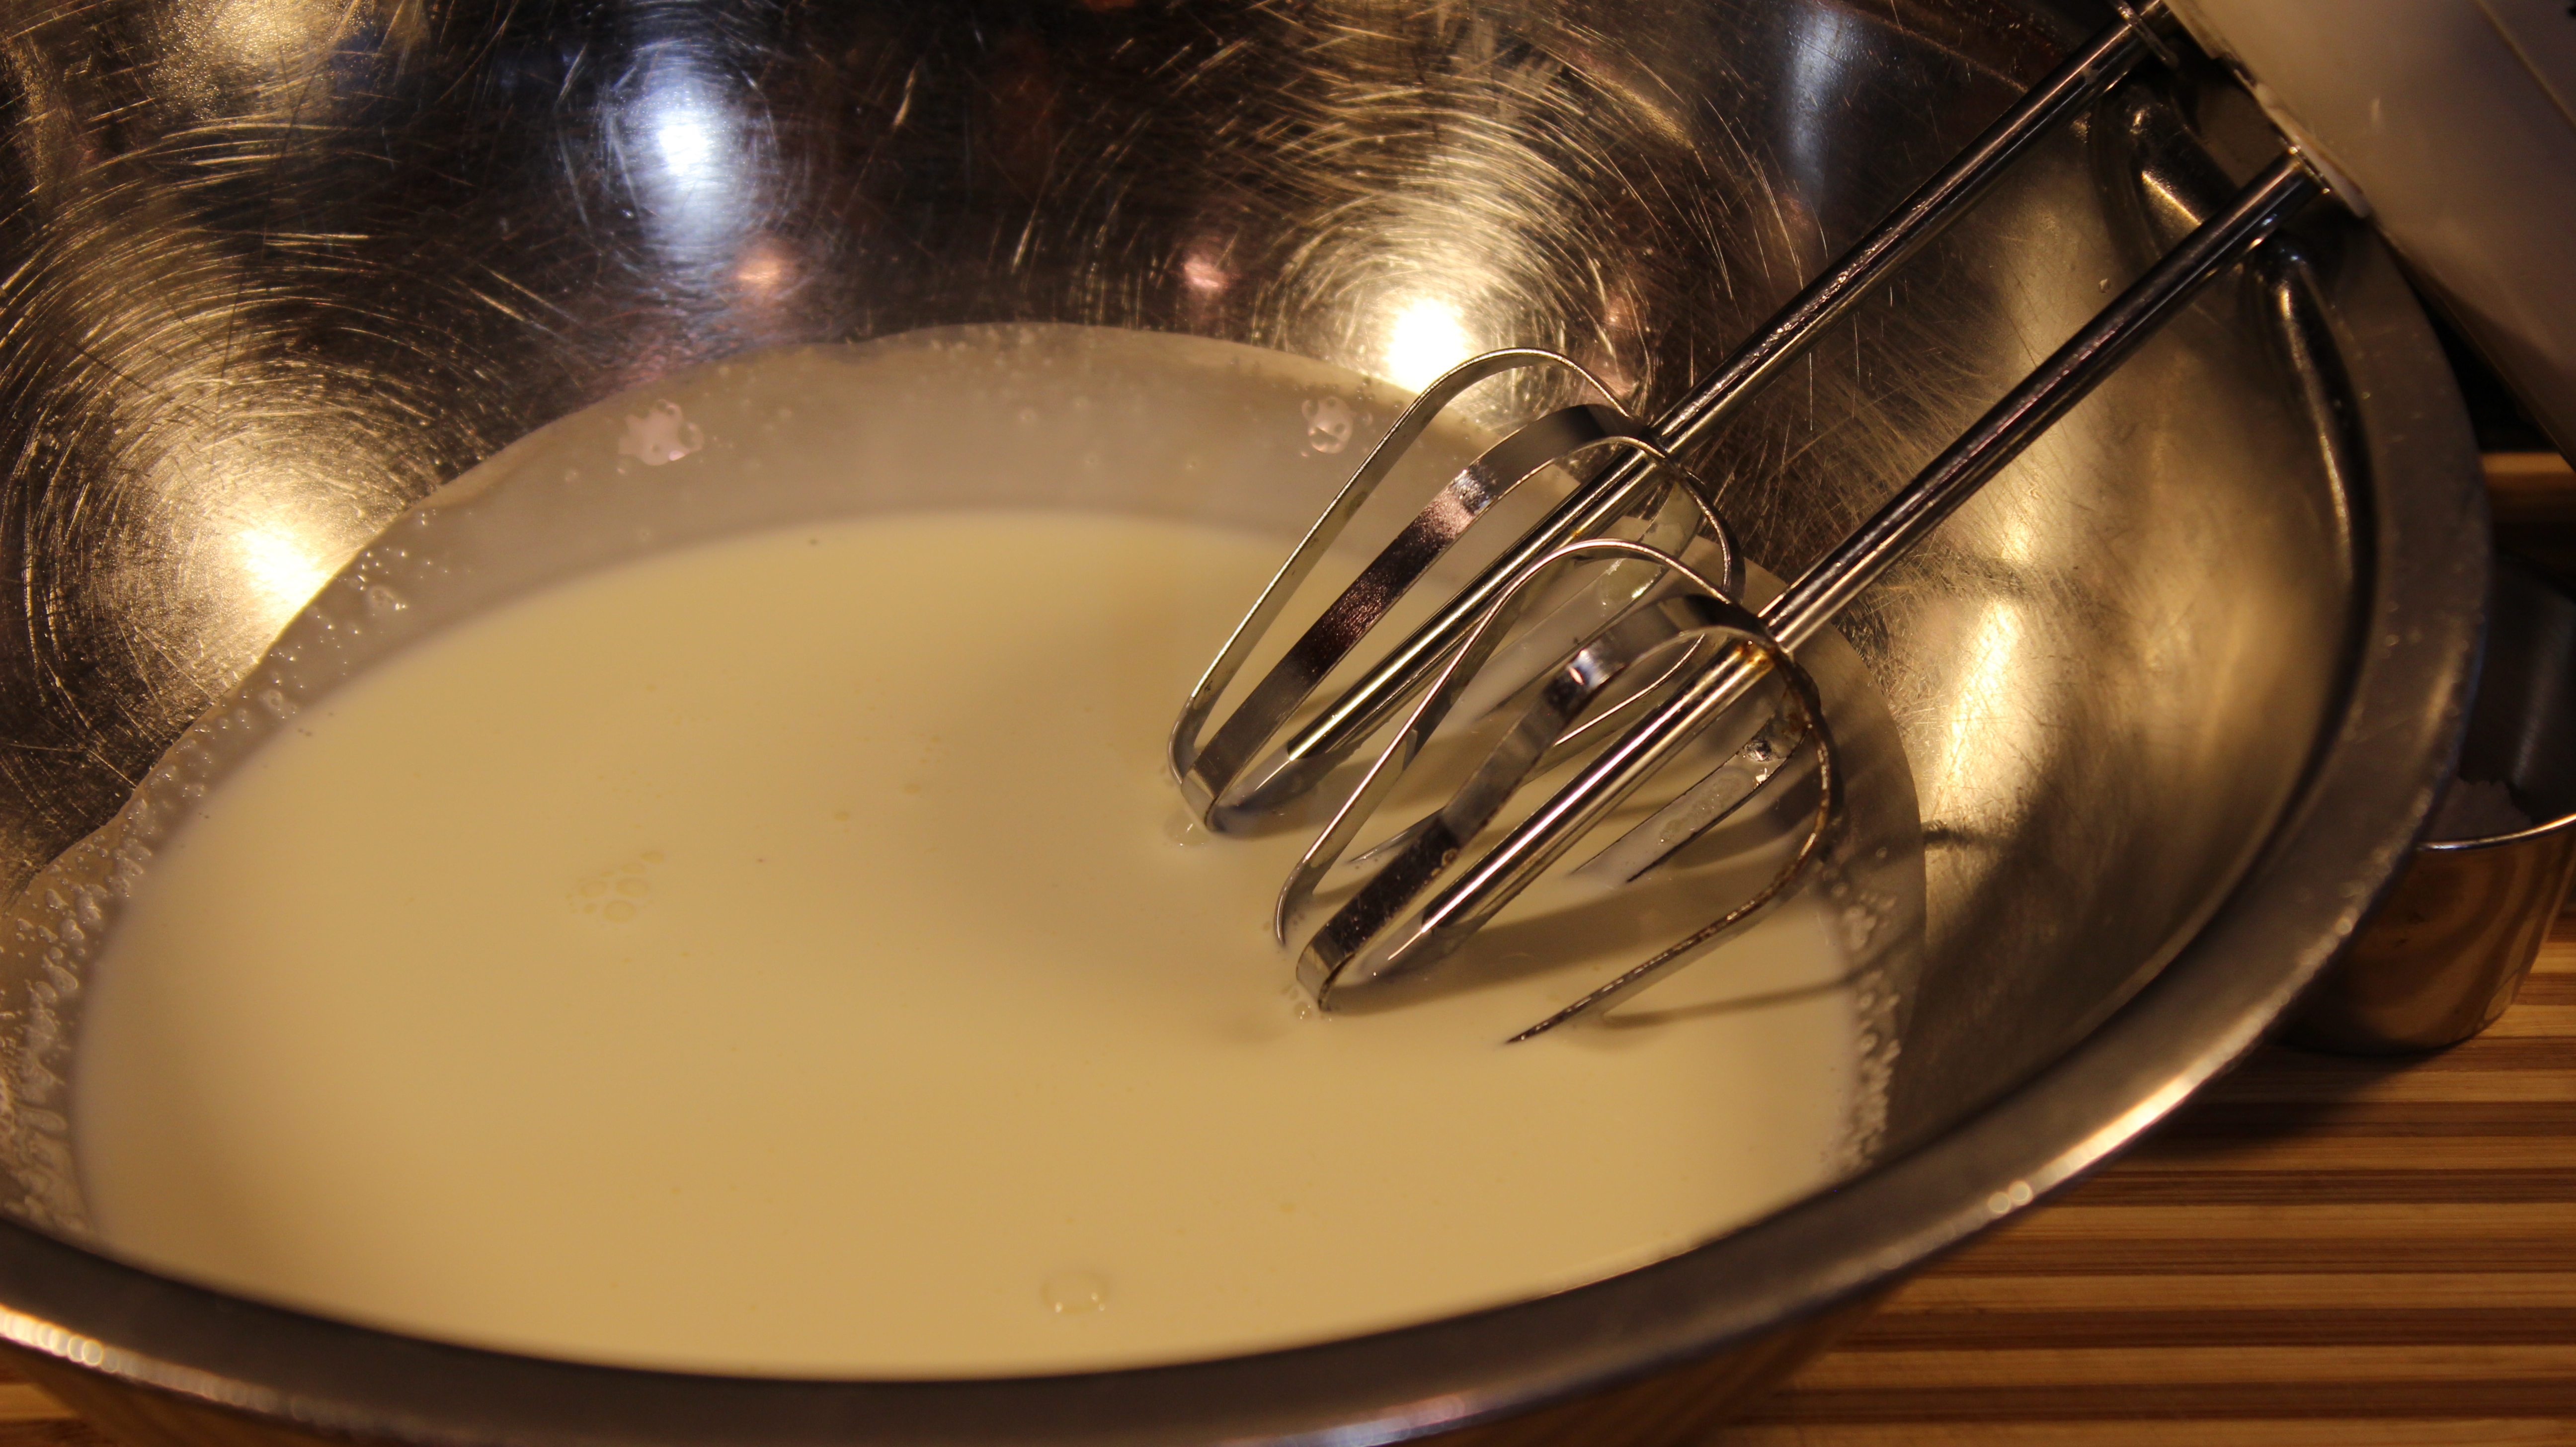
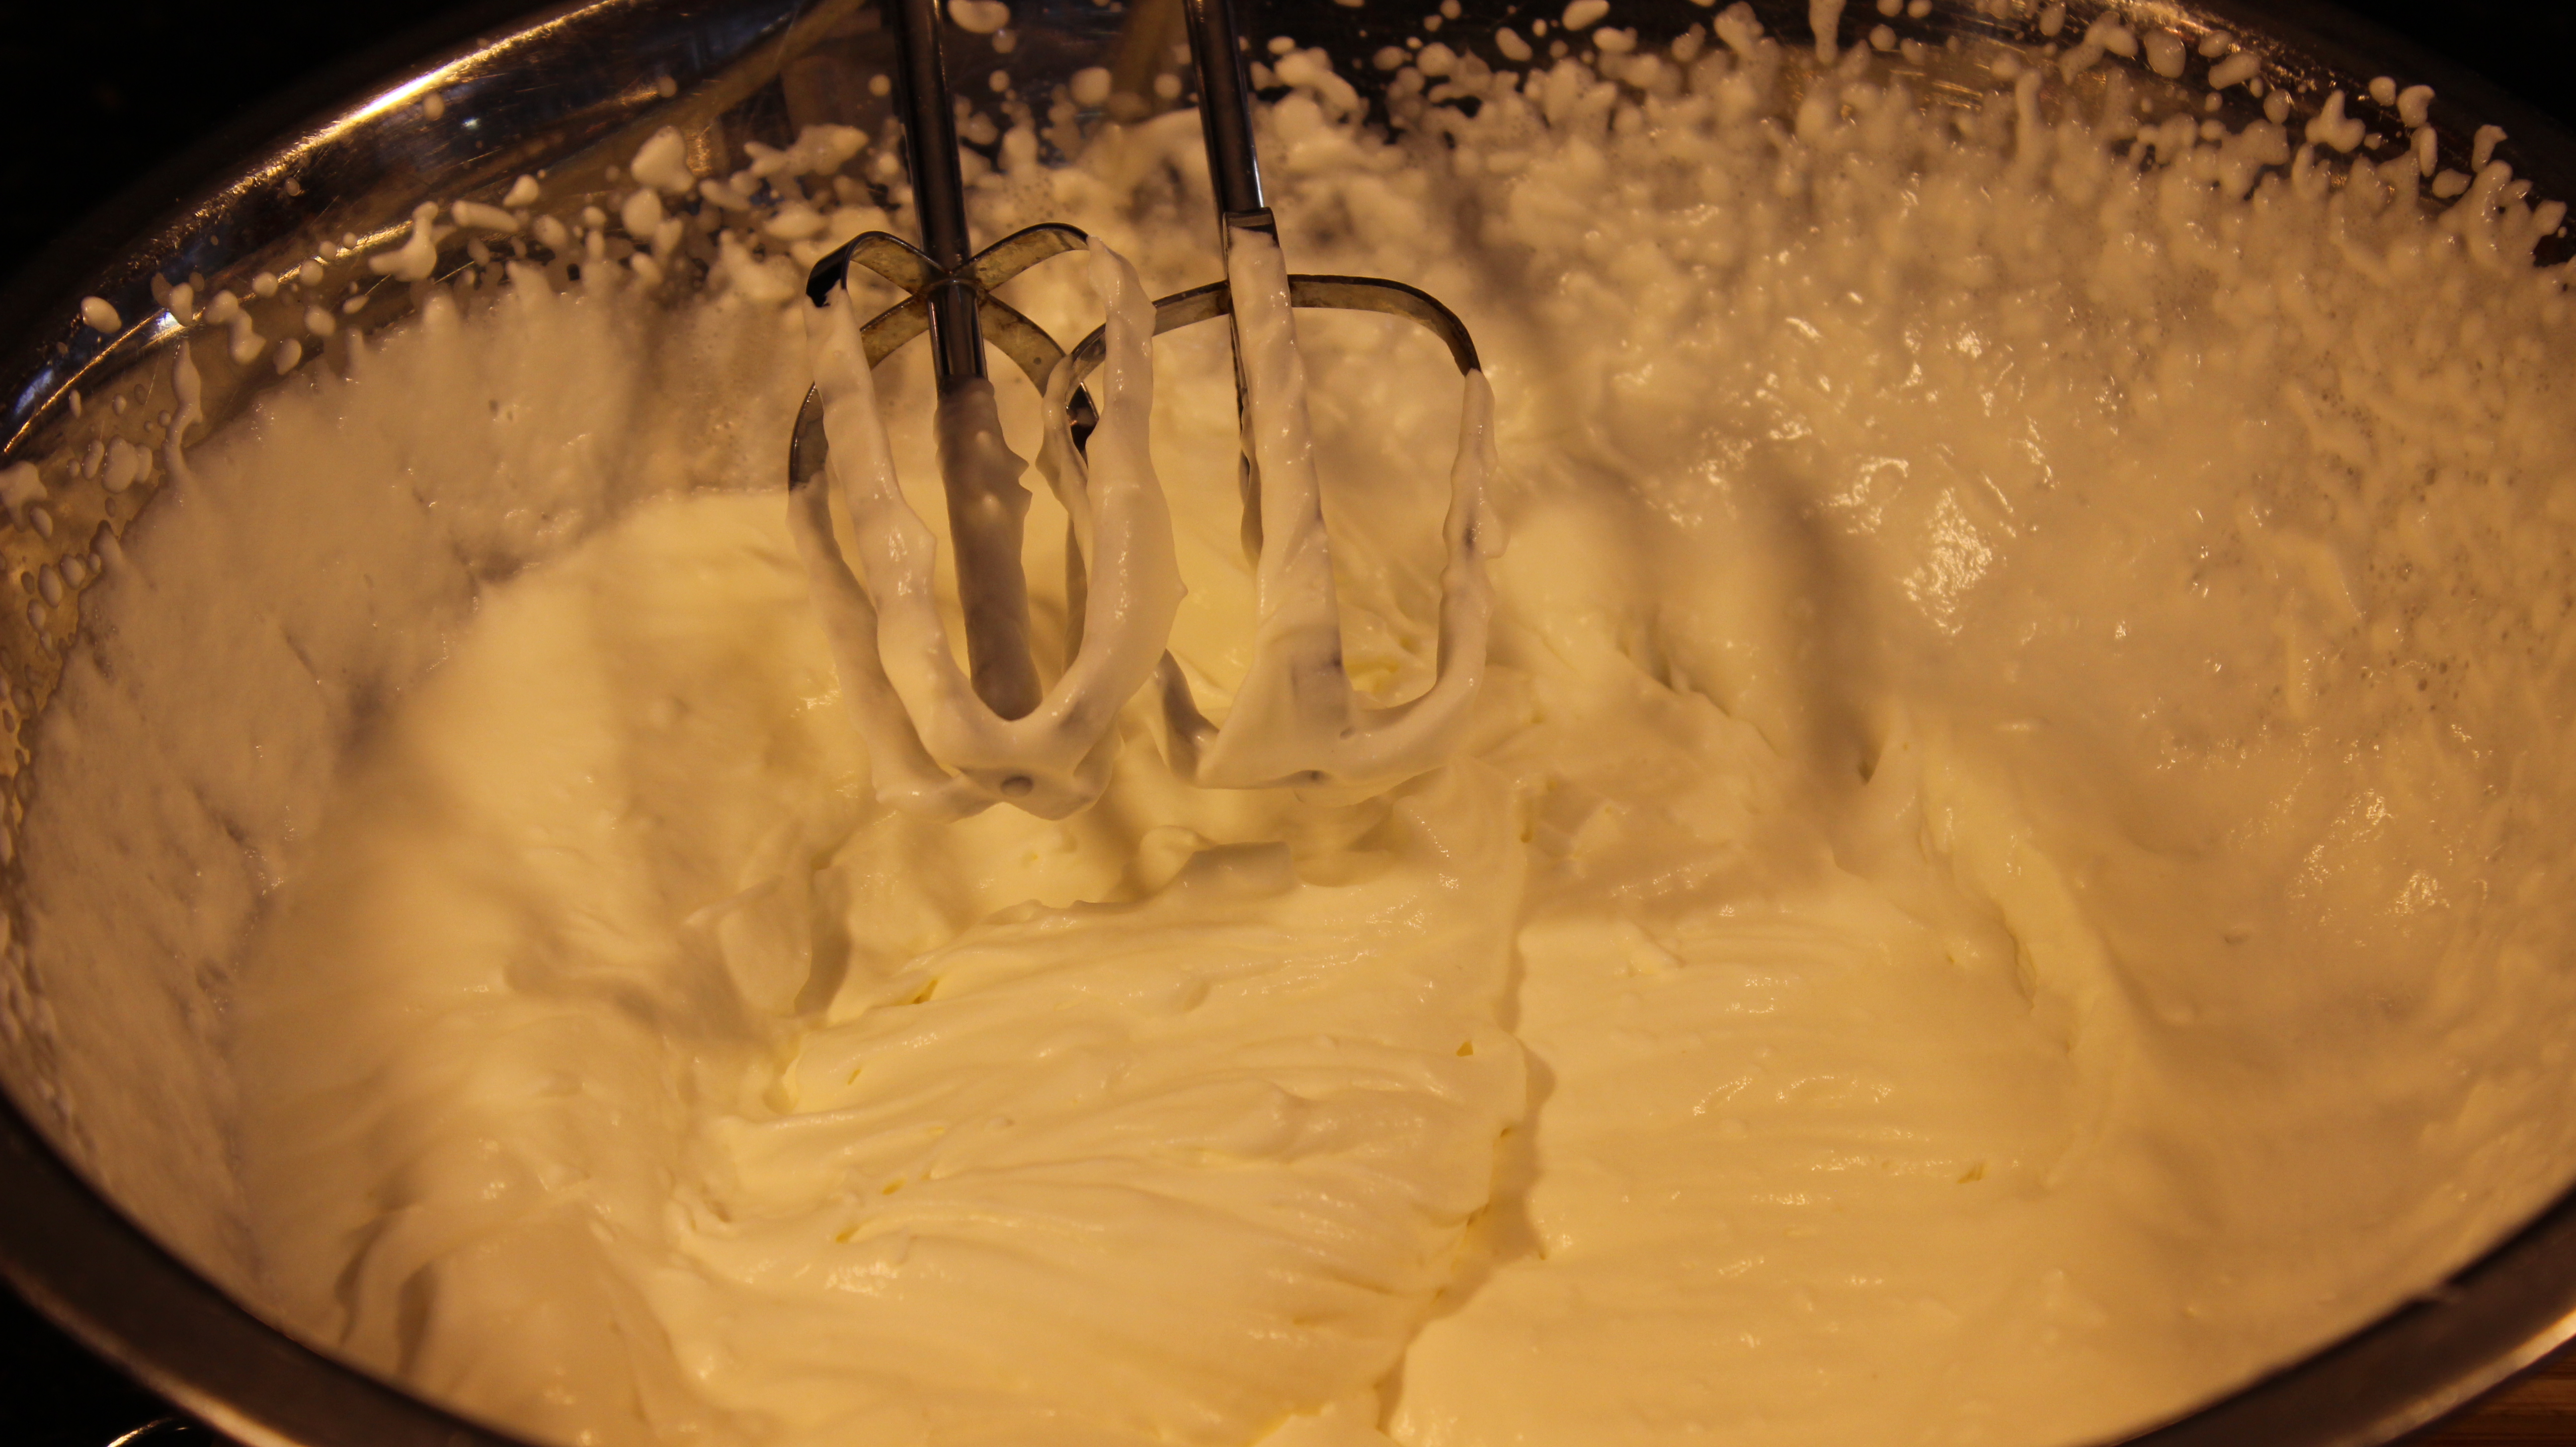
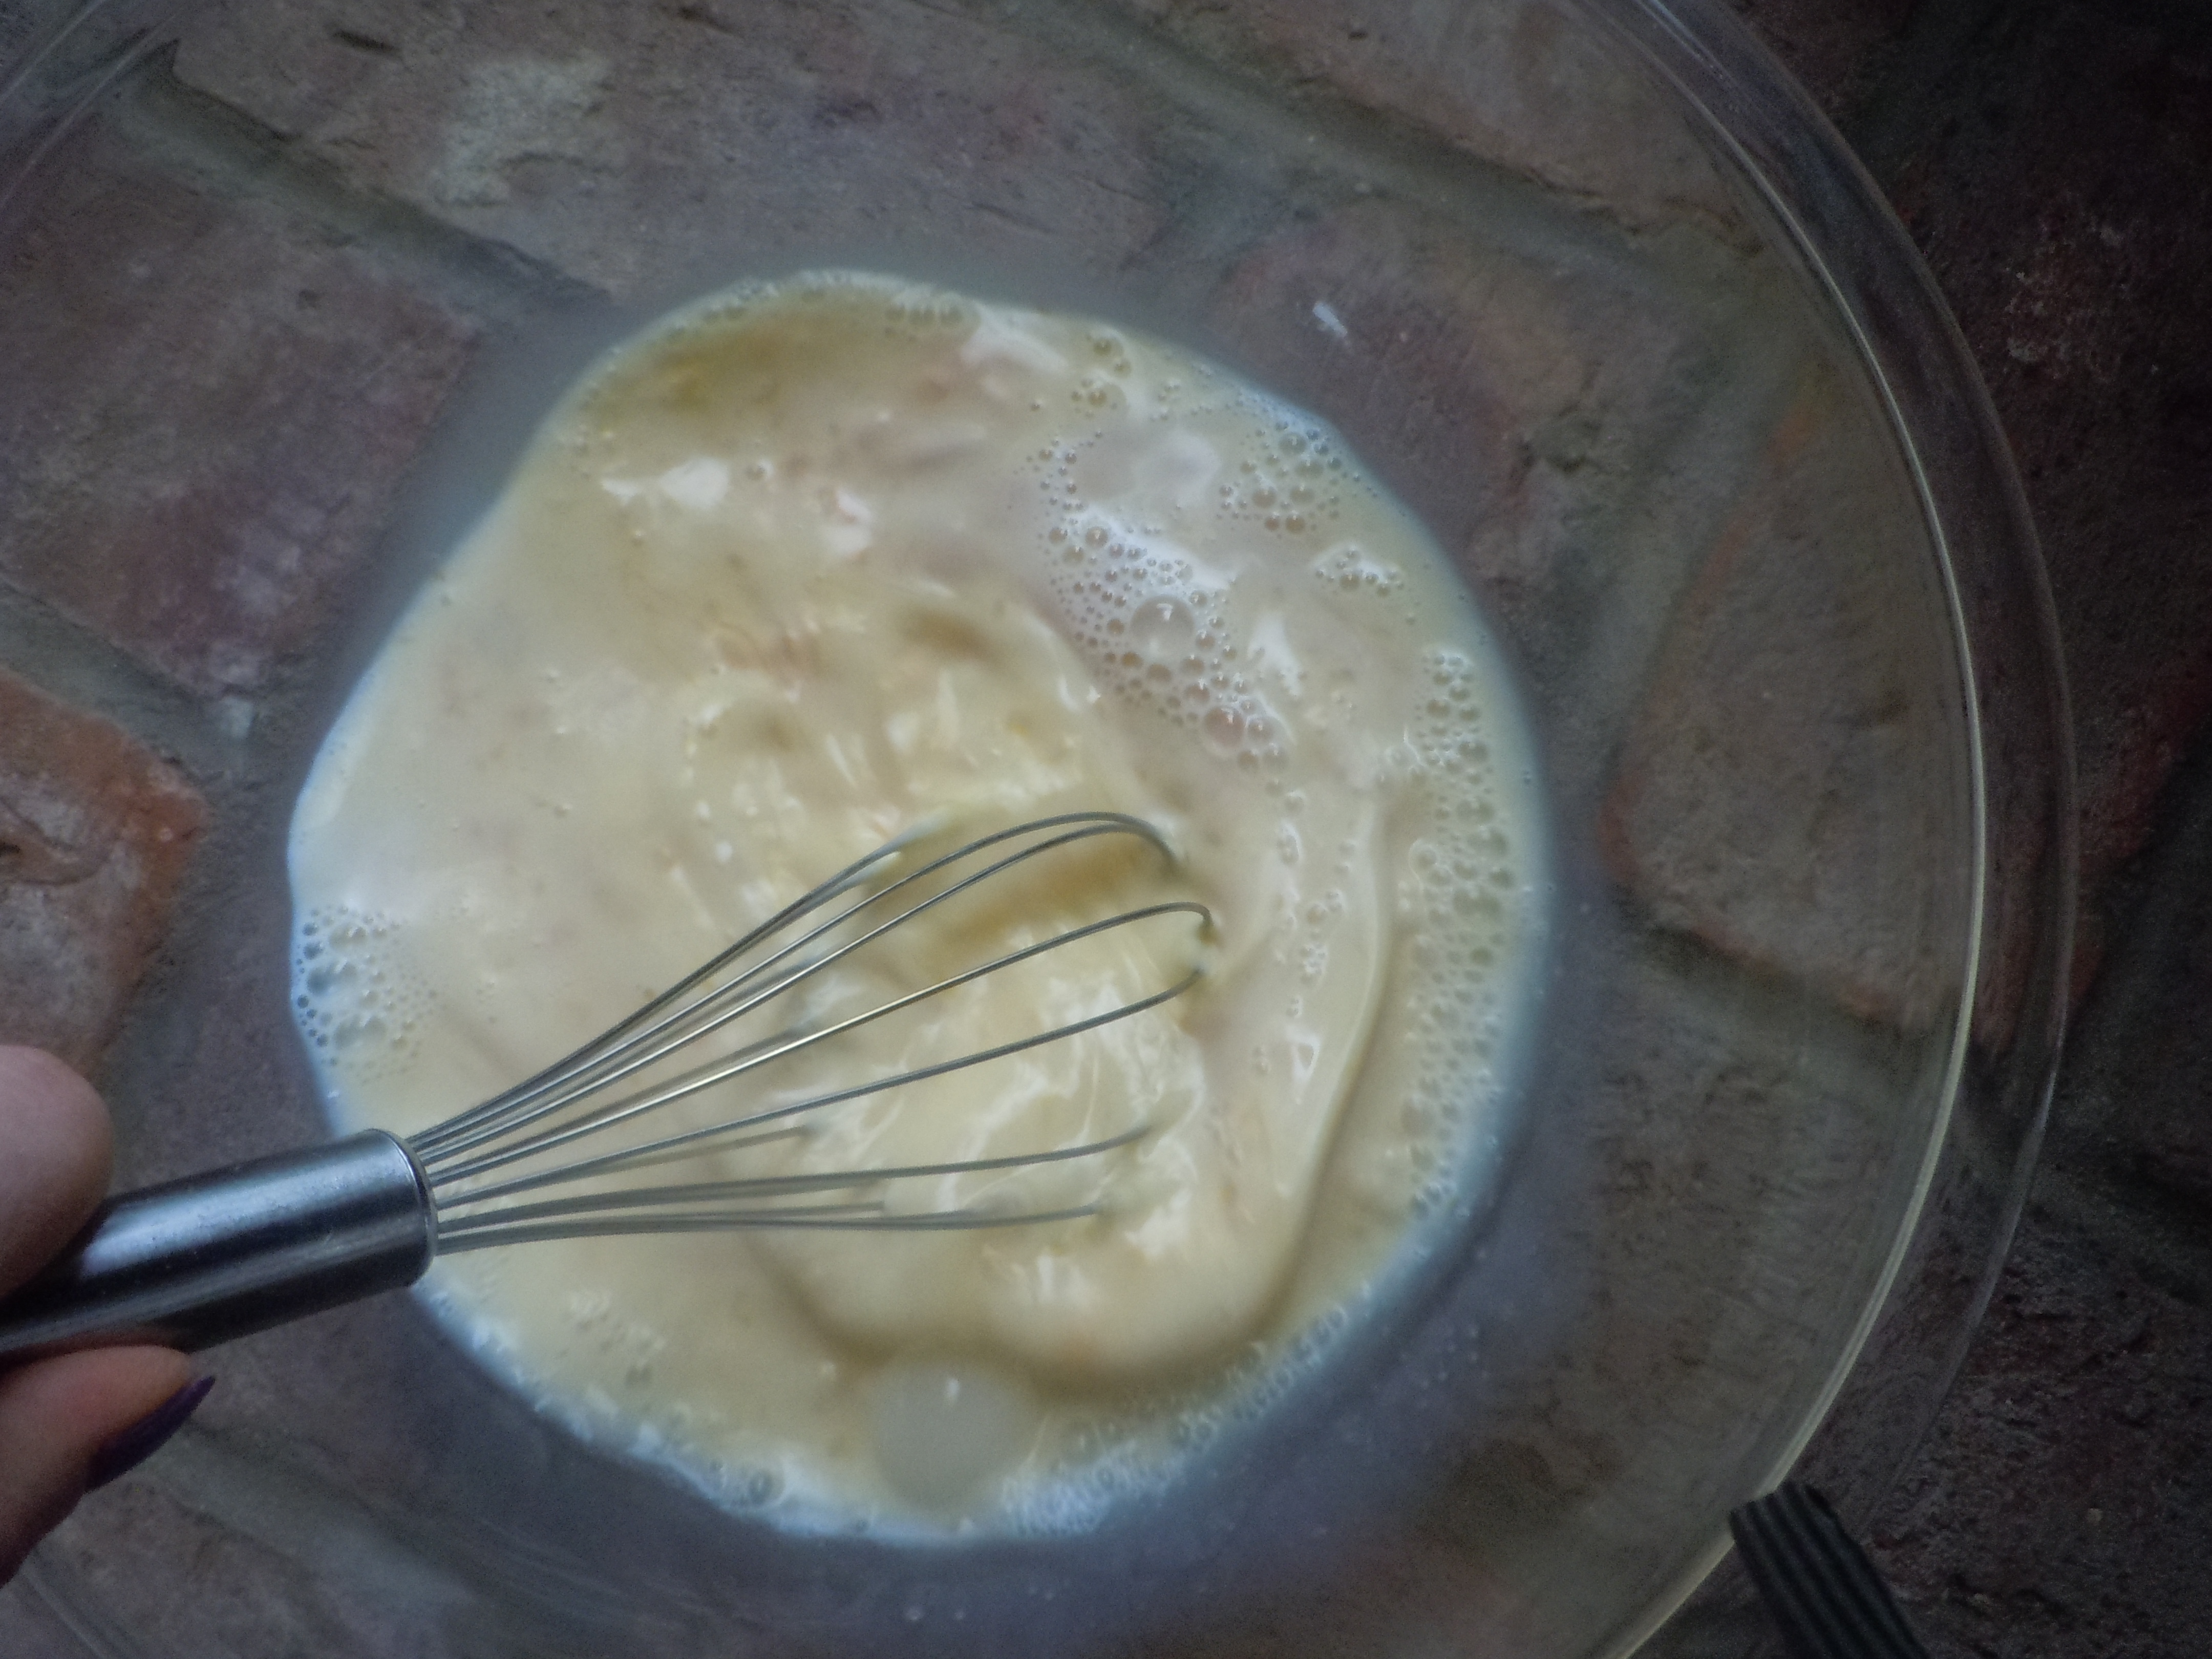
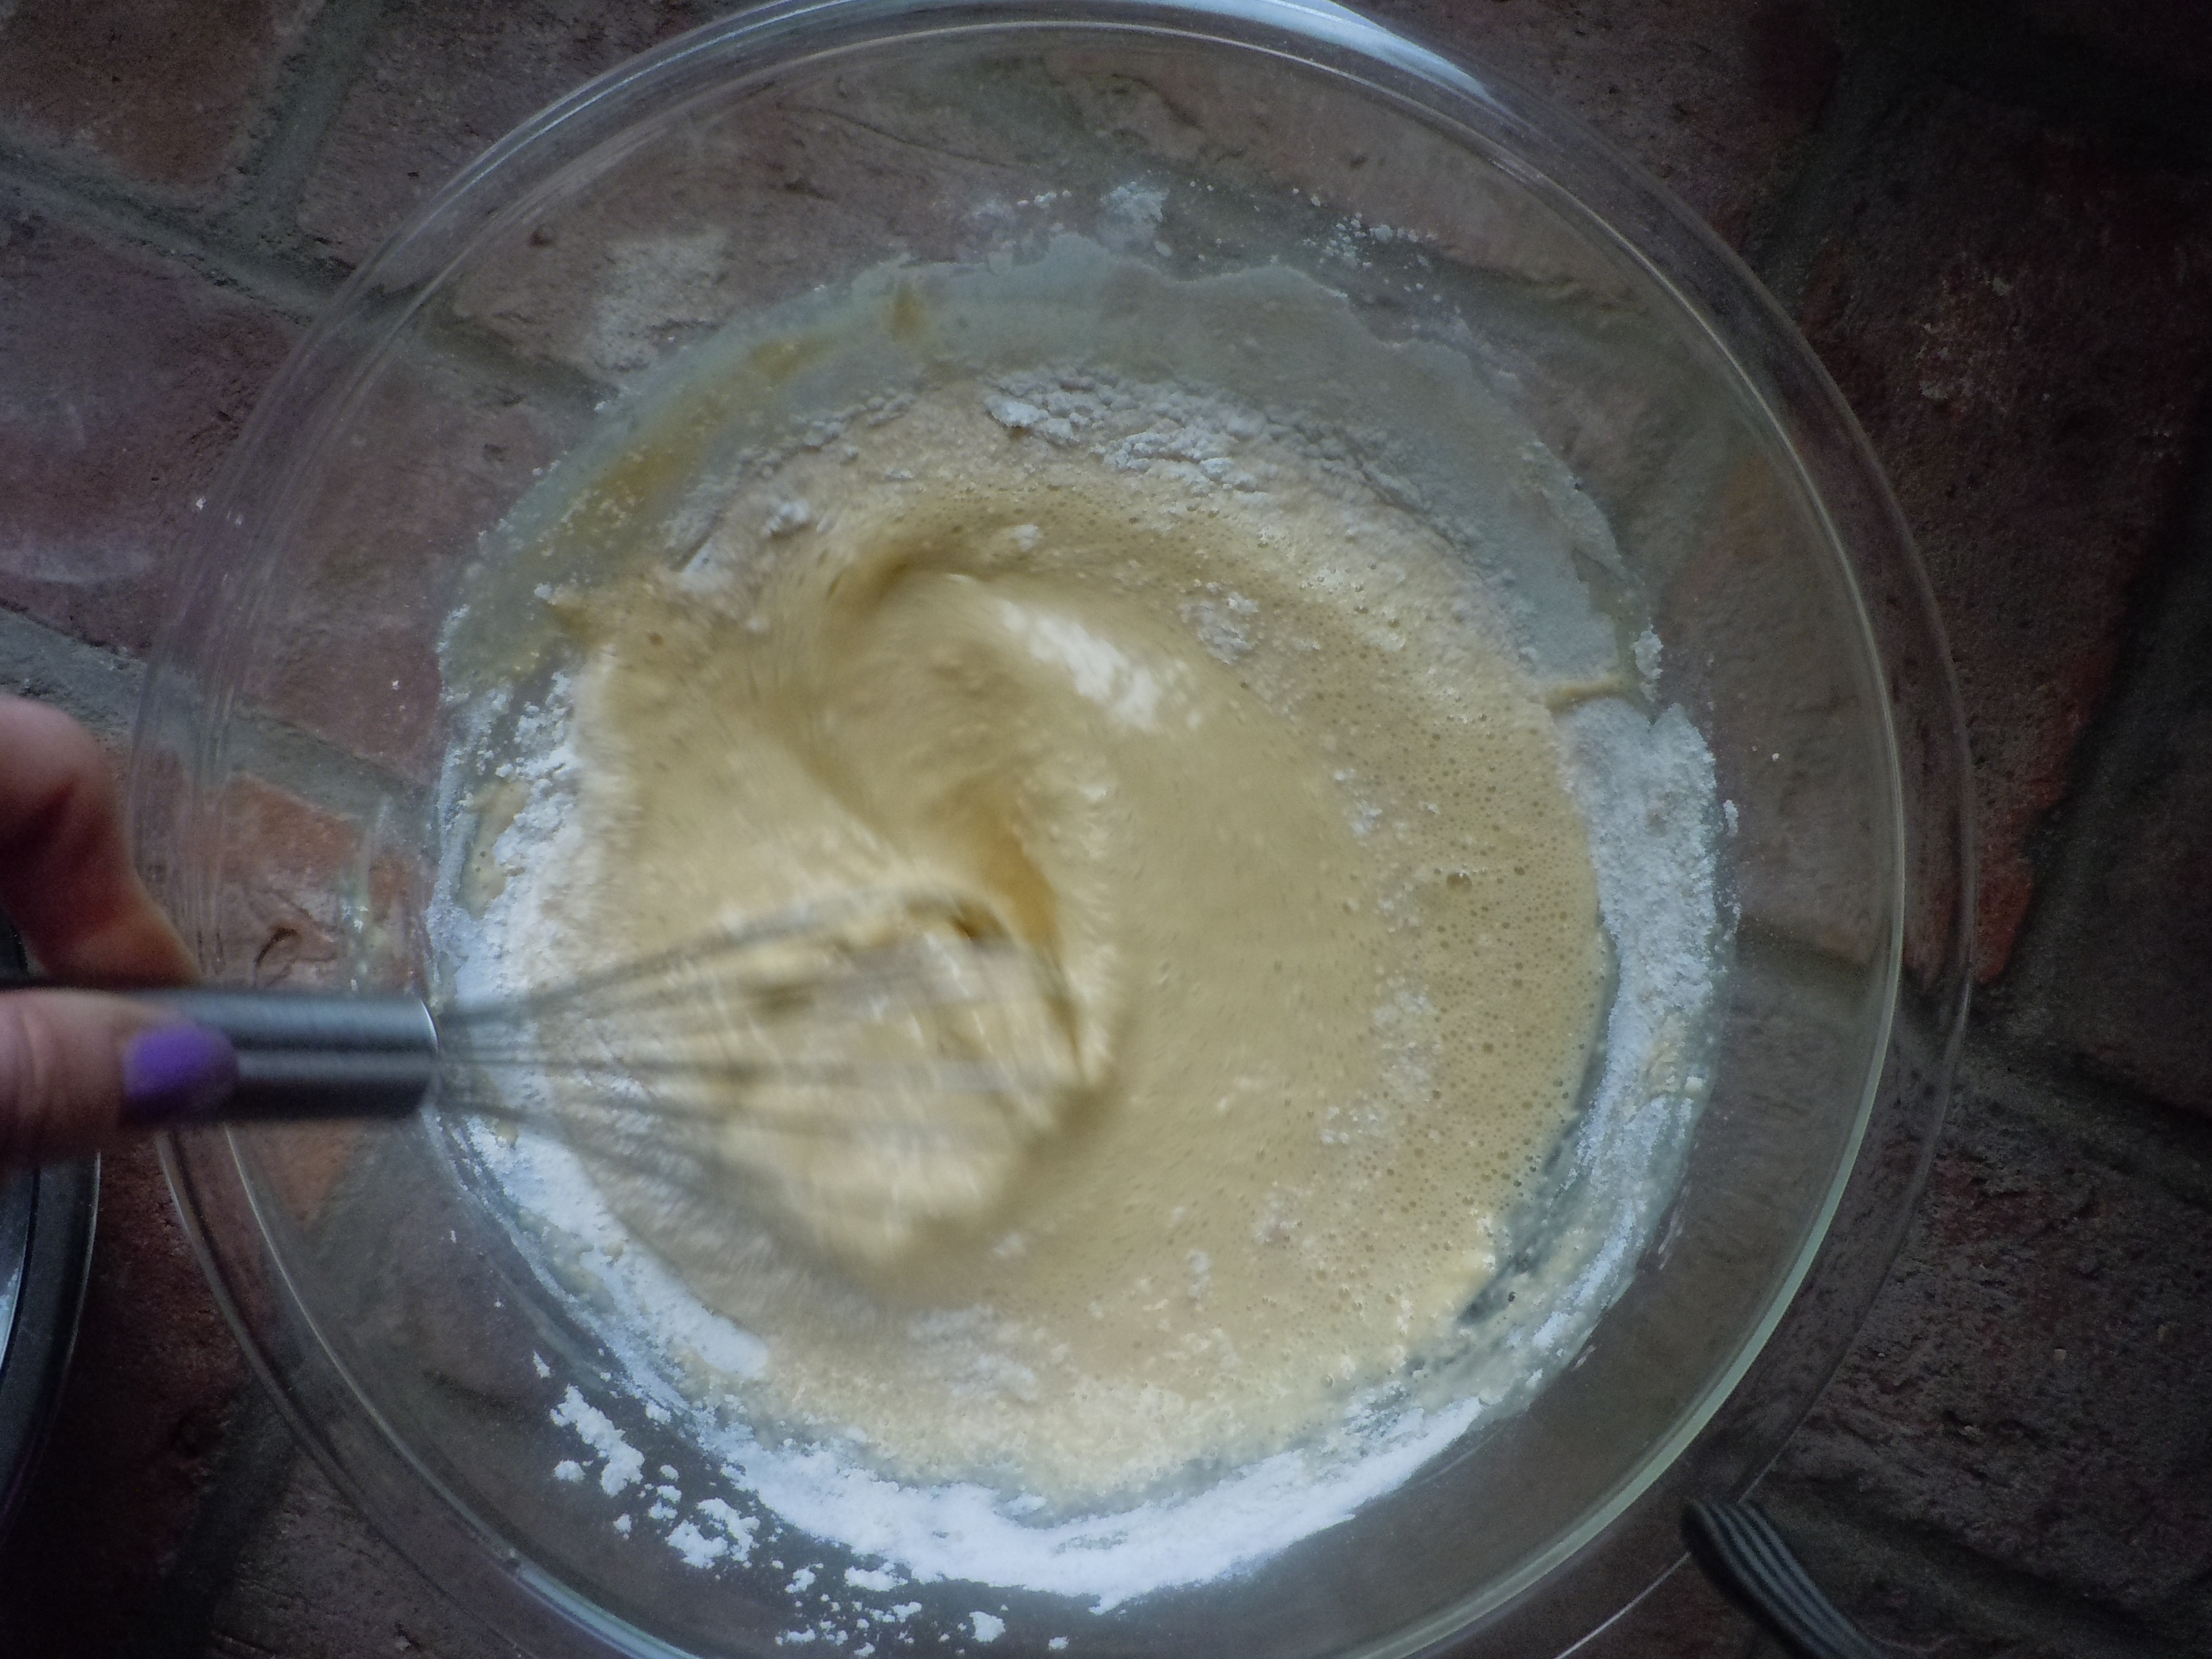
- In a medium bowl whisk dry ingredients together
- Begin to whisk in milk, vanilla and eggs into dry ingredients just until combined …Note : it puffs more if your milk and eggs are cold!
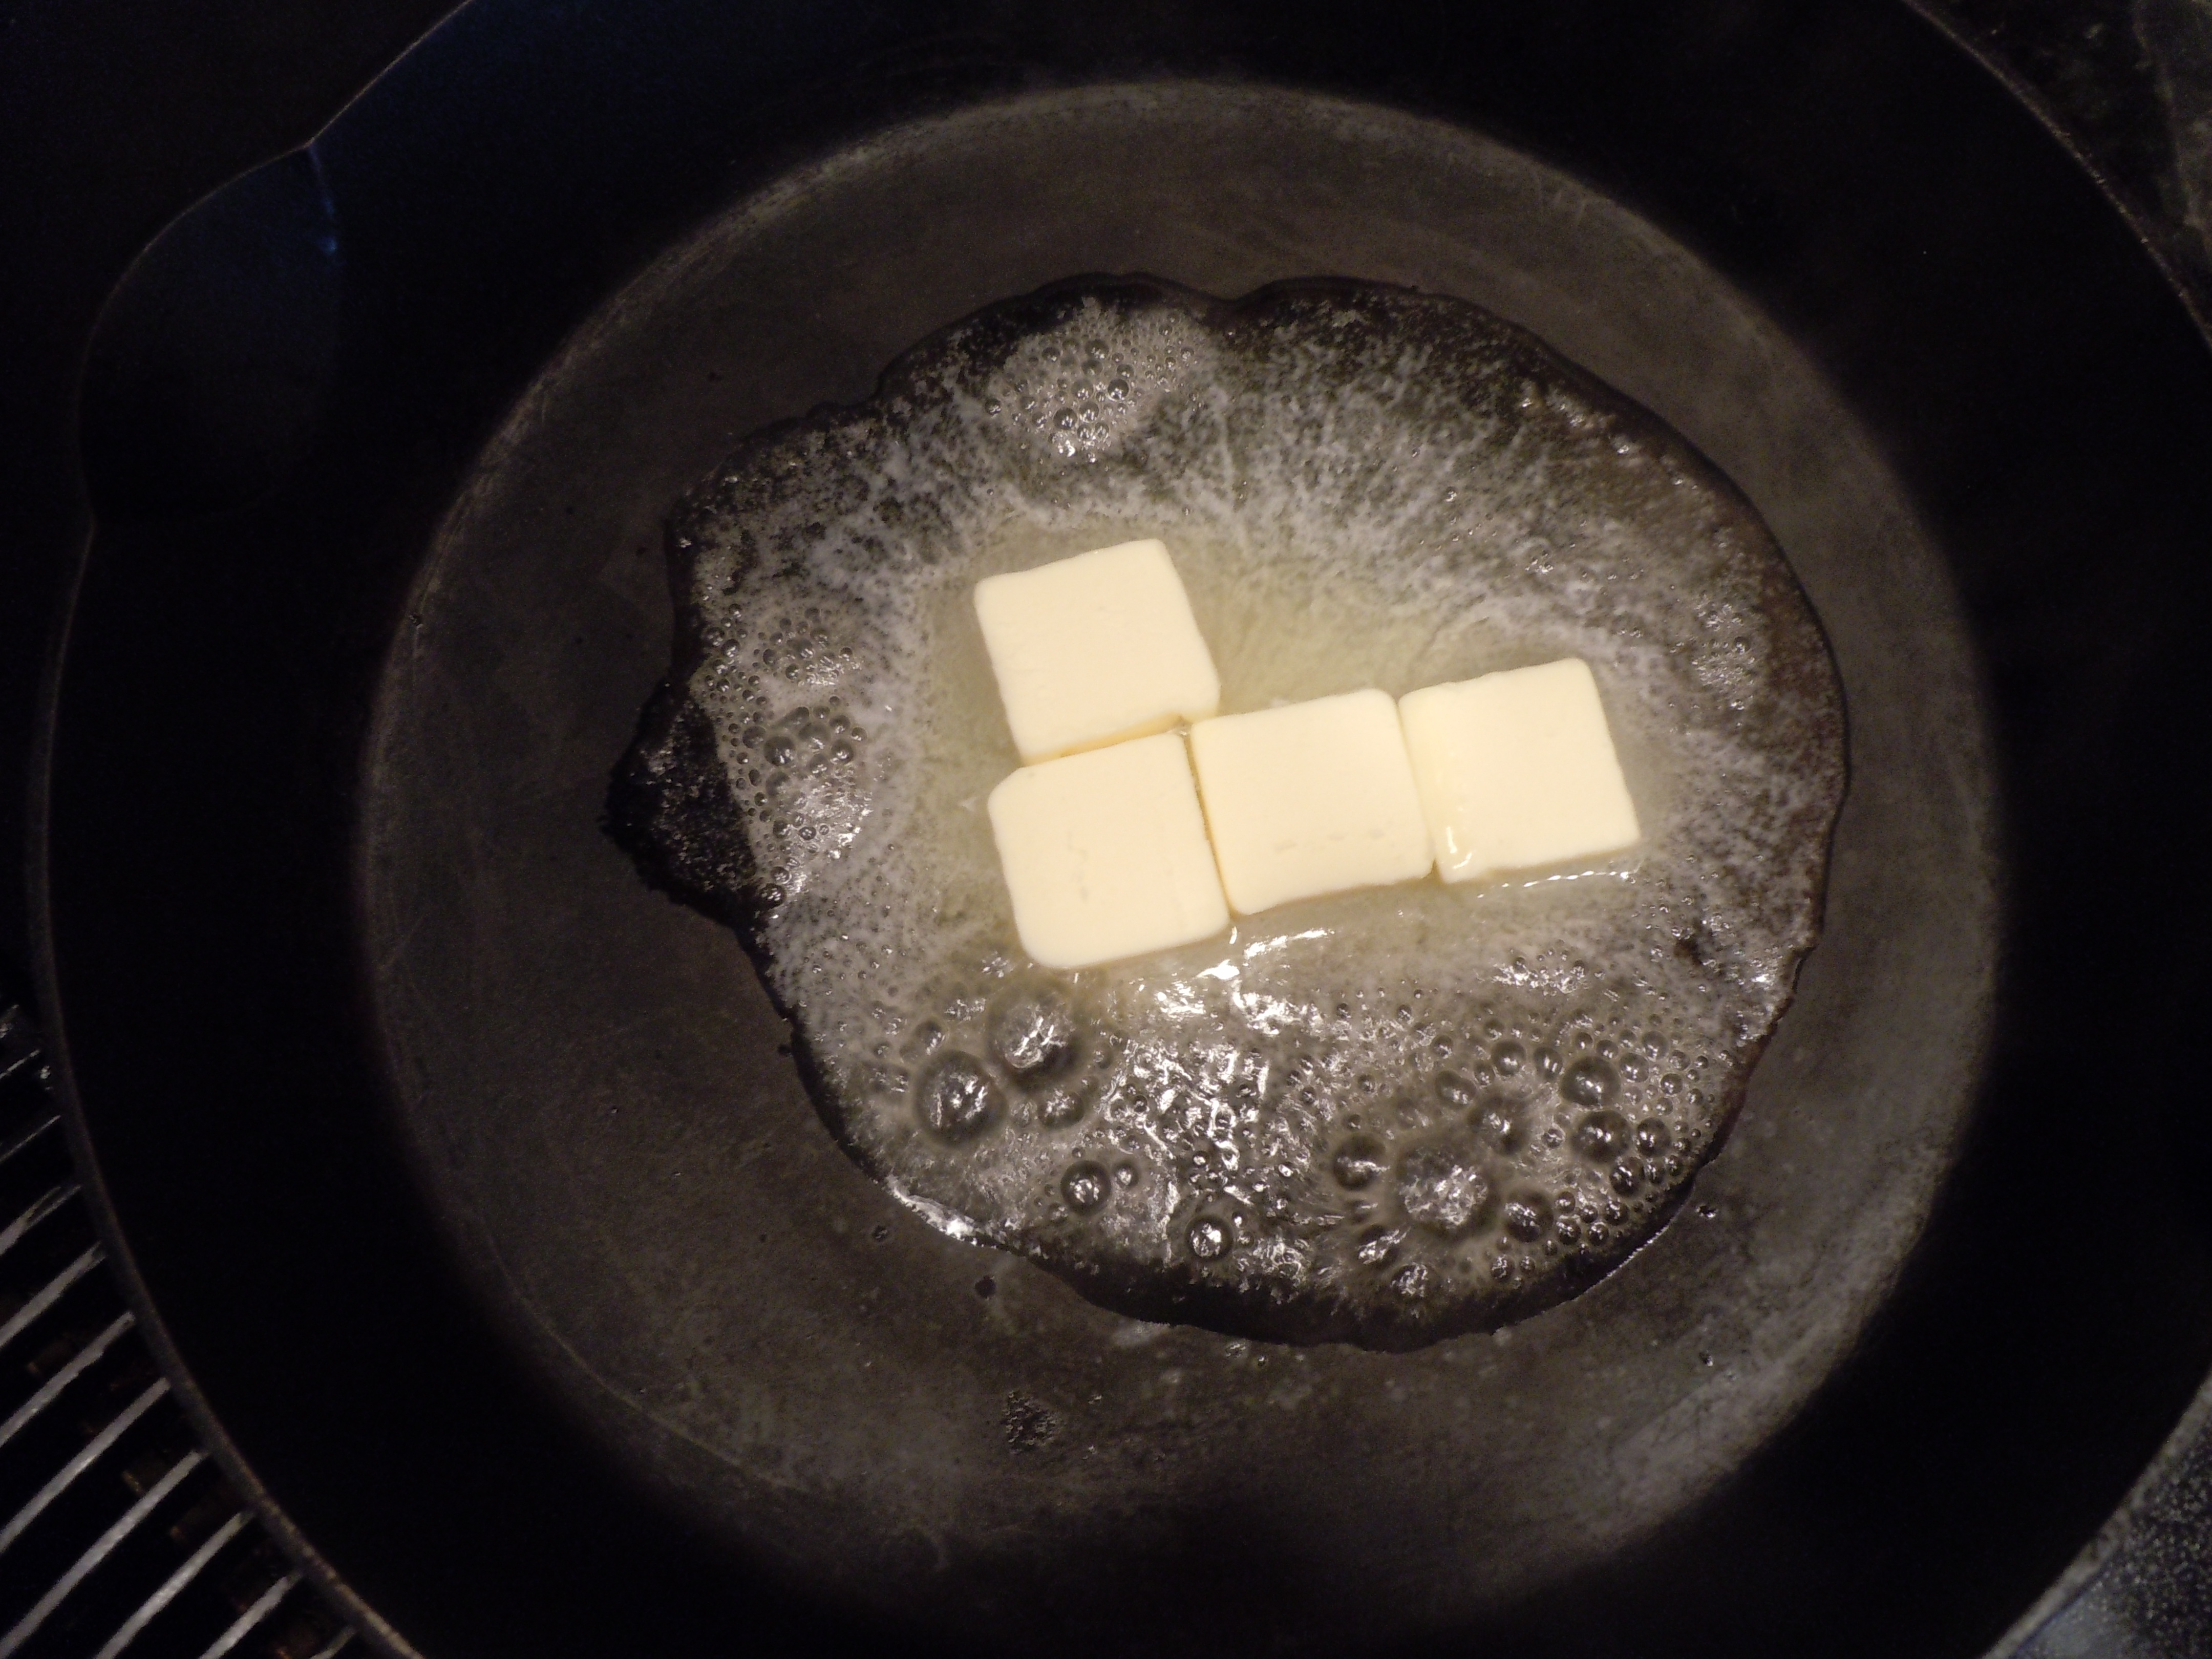
- Put 10″-12″ cast iron pan on stove top on low heat for 1 minute –THIS WILL WORK IN ANY 10″-12″ OVEN PROOF PAN –
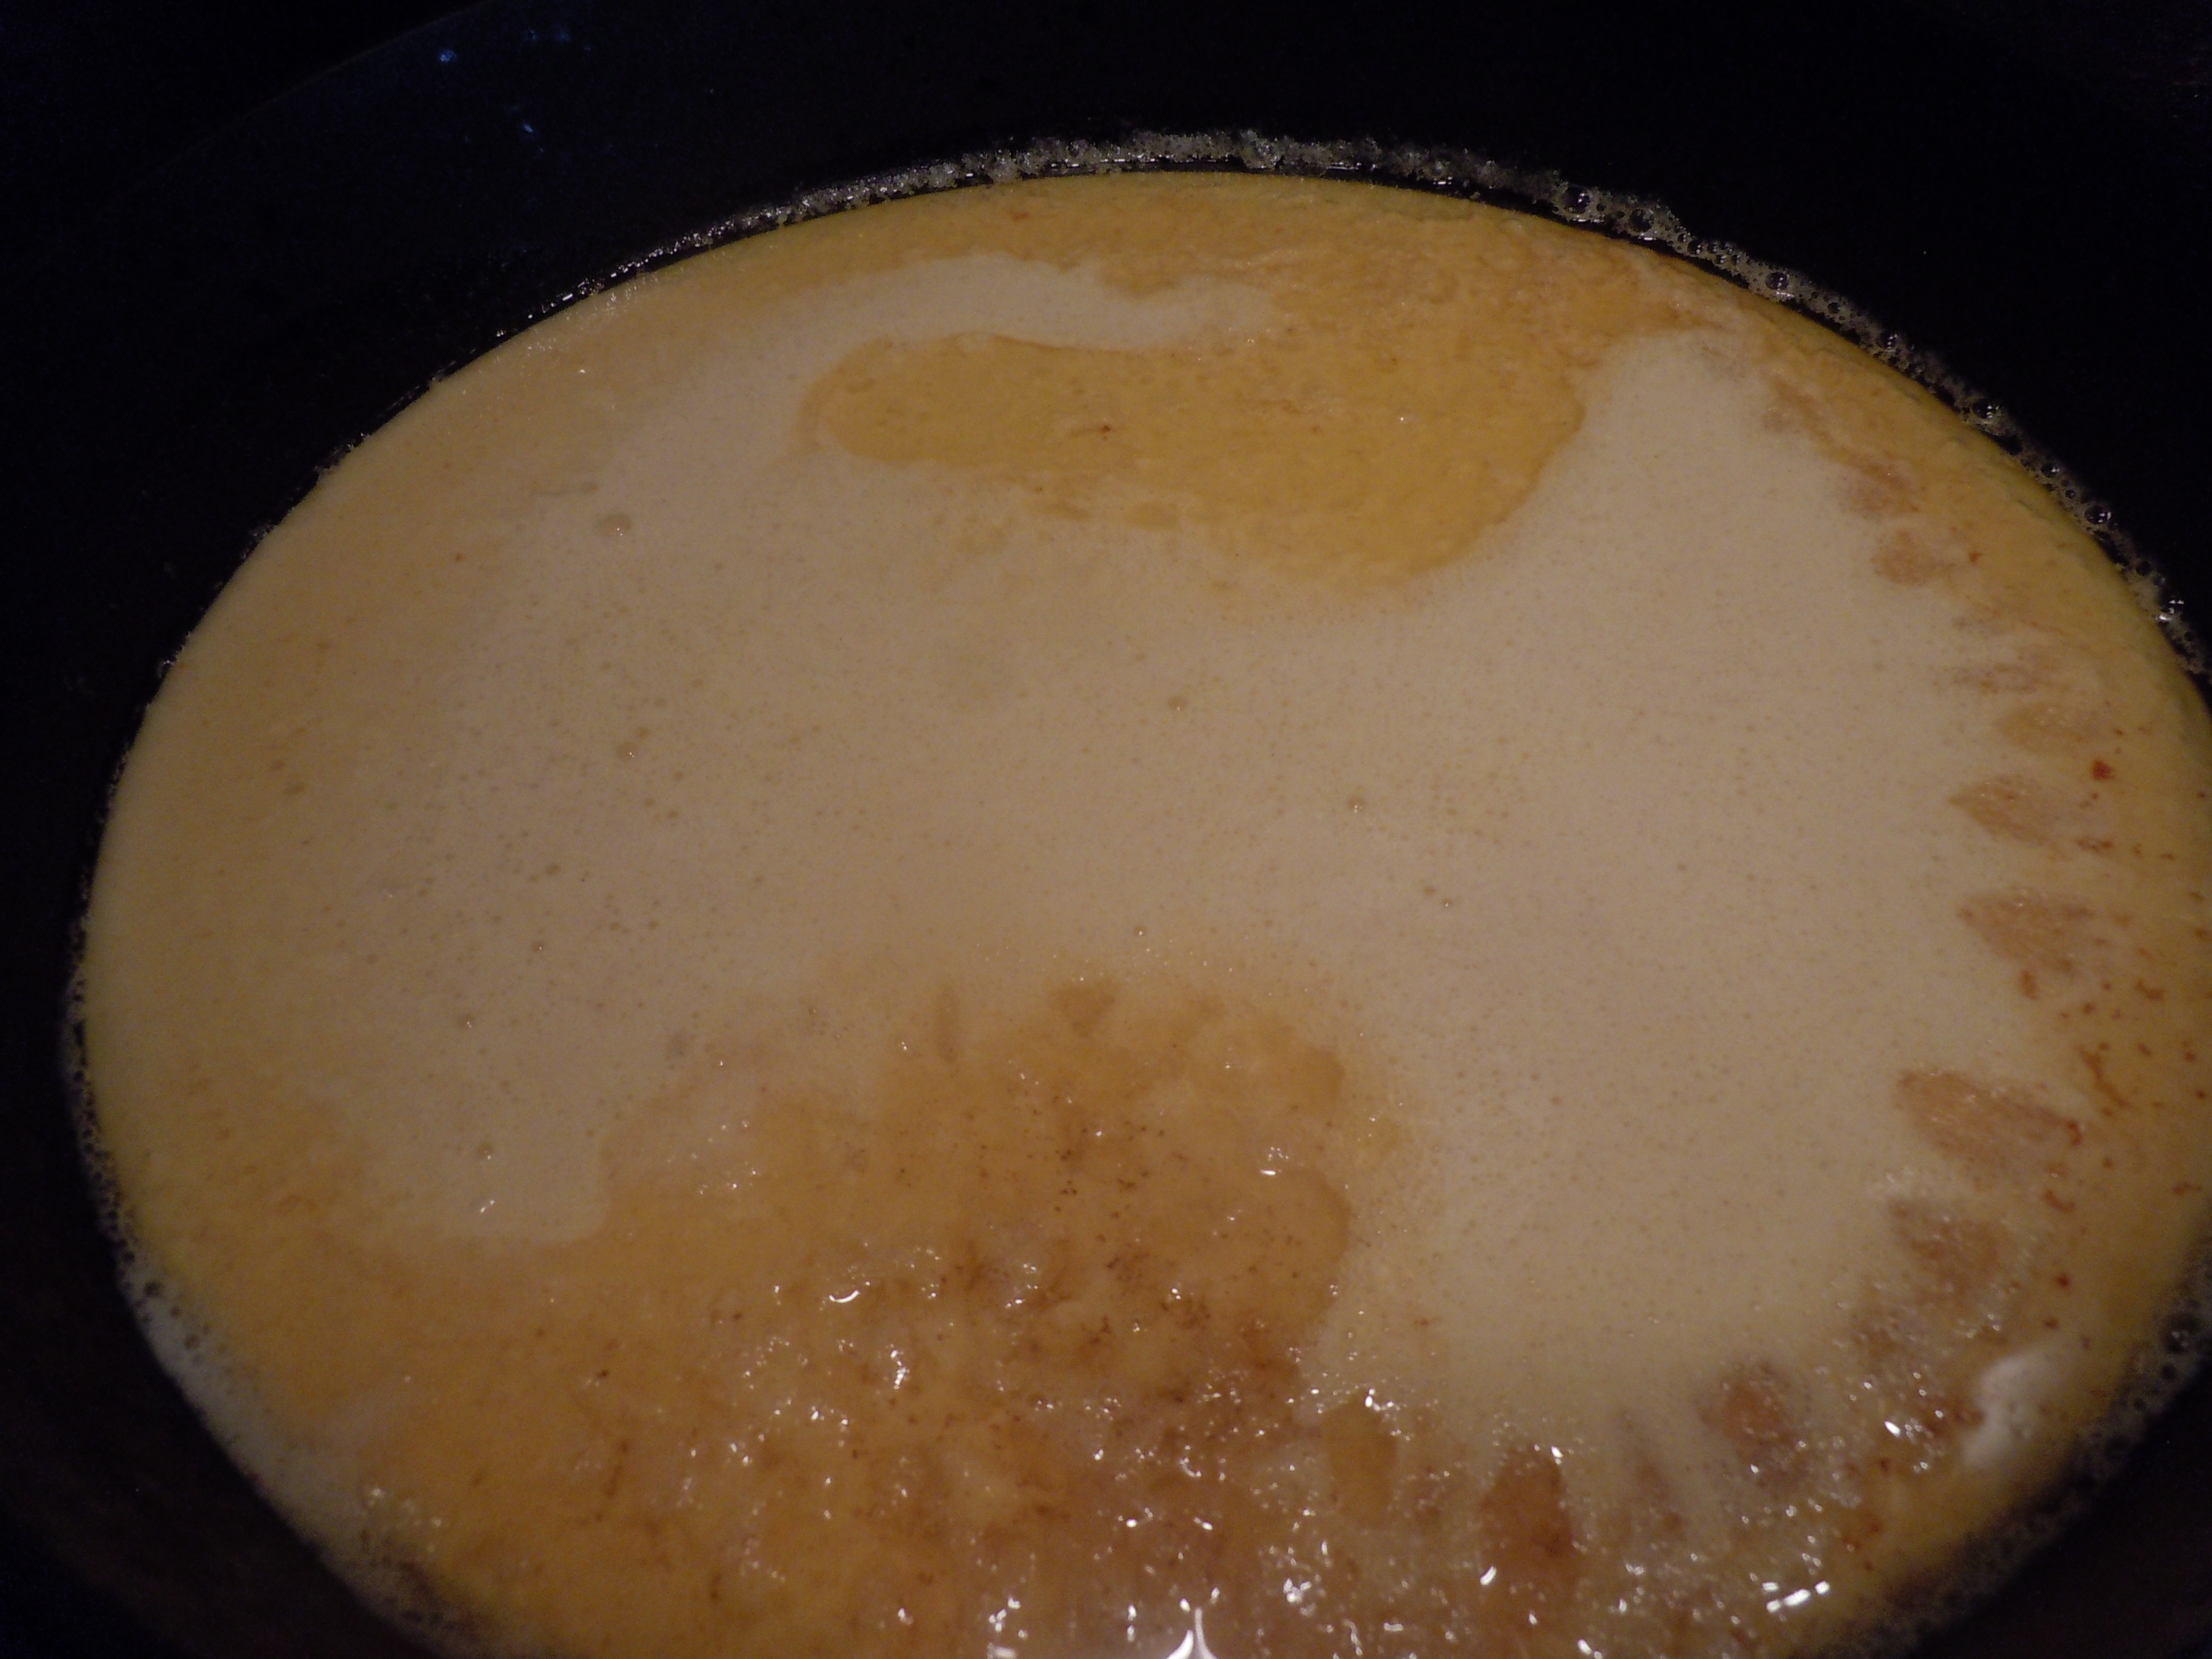
- Turn heat up to high on cast iron pan, wait 1 minute til pan is hot but not smoking, then add 4 Tbsp of cut up cold butter
- When the butter gets frothy add the batter, do not stir
- Immediately take off heat and put into oven for 22 minutes until golden and puffy
- NOTE: if you are doing “SAVORY German Pancake” …after you remove from heat top with your extra ingredients, do not stir, and place into oven for the 22 minutes
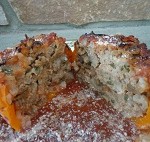
- When you take it out of the oven transfer to a plate with a spatula and sprinkle with confectioners sugar.
- Slice into wedges and serve with maple syrup, warm fresh strawberry jam/sauce (Recipe BELOW) and whipped cream! …mmm!
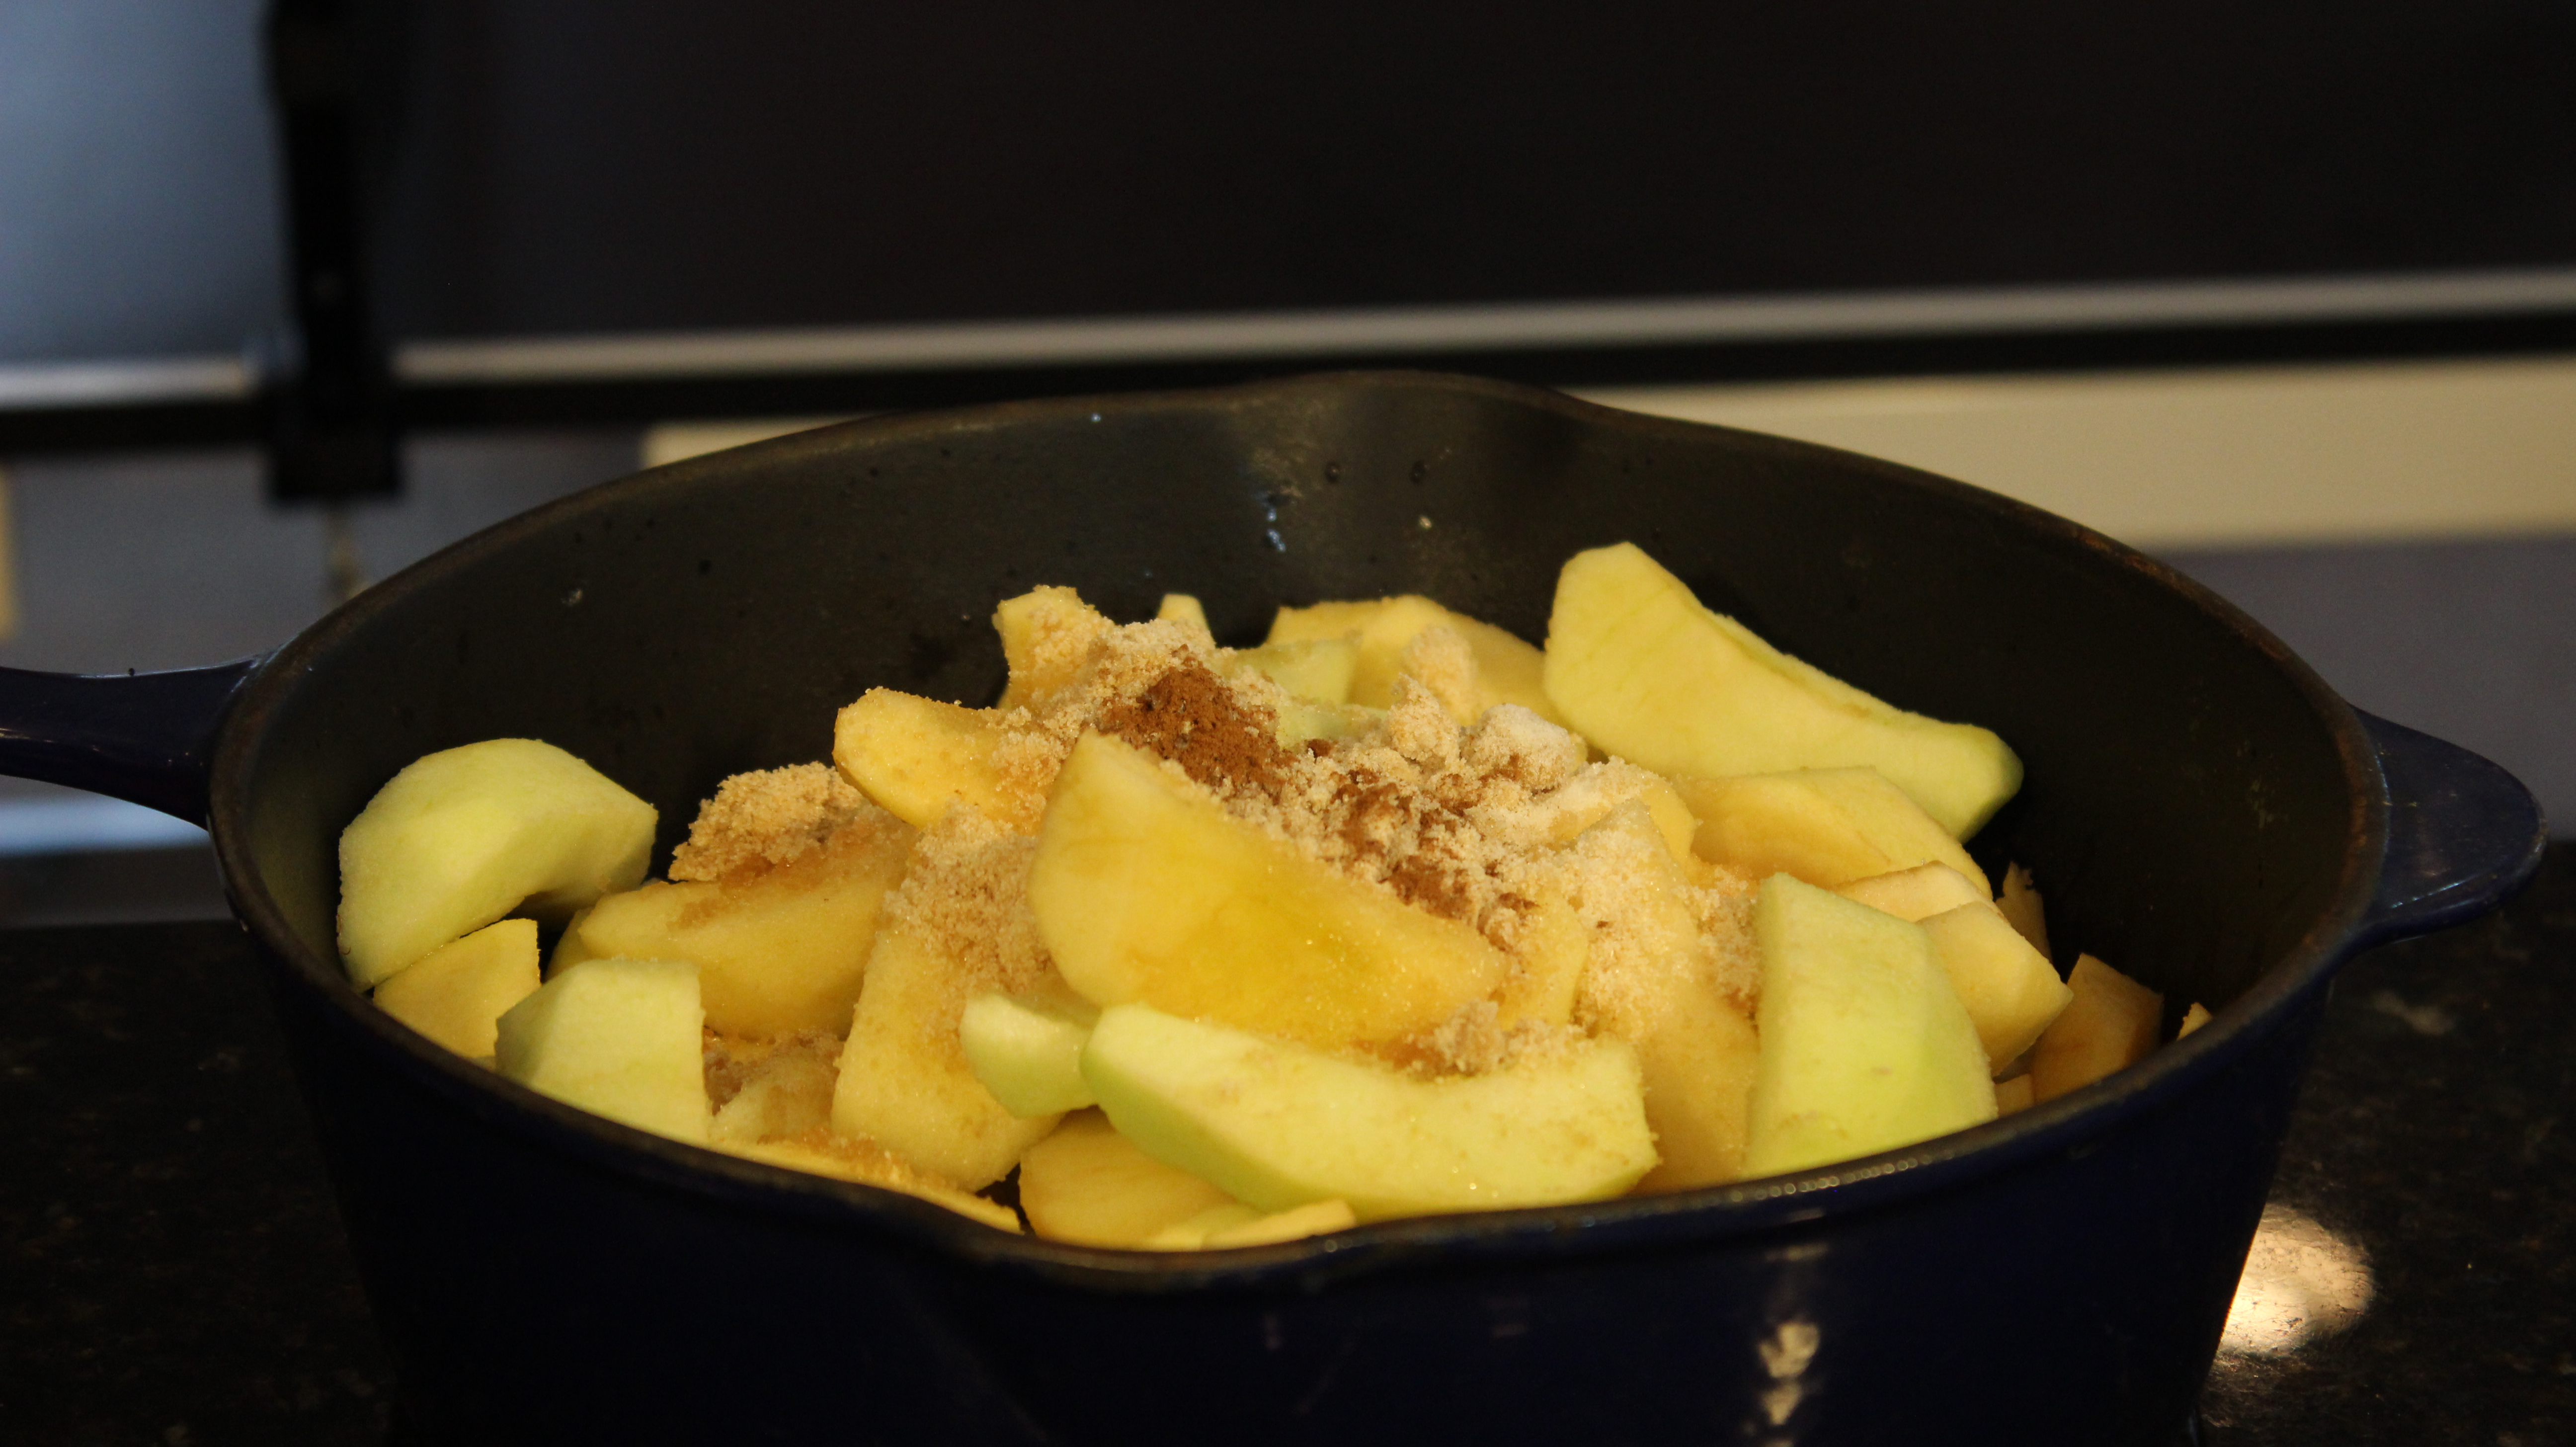
Ingrediesnts and Directions for EASY STRAWBERRY JAM/SAUCE:
- 1 lb. hulled and chopped fresh stawberries
- 1 cup white sugar
- 1/4 cup fresh sqeezed lemon juice
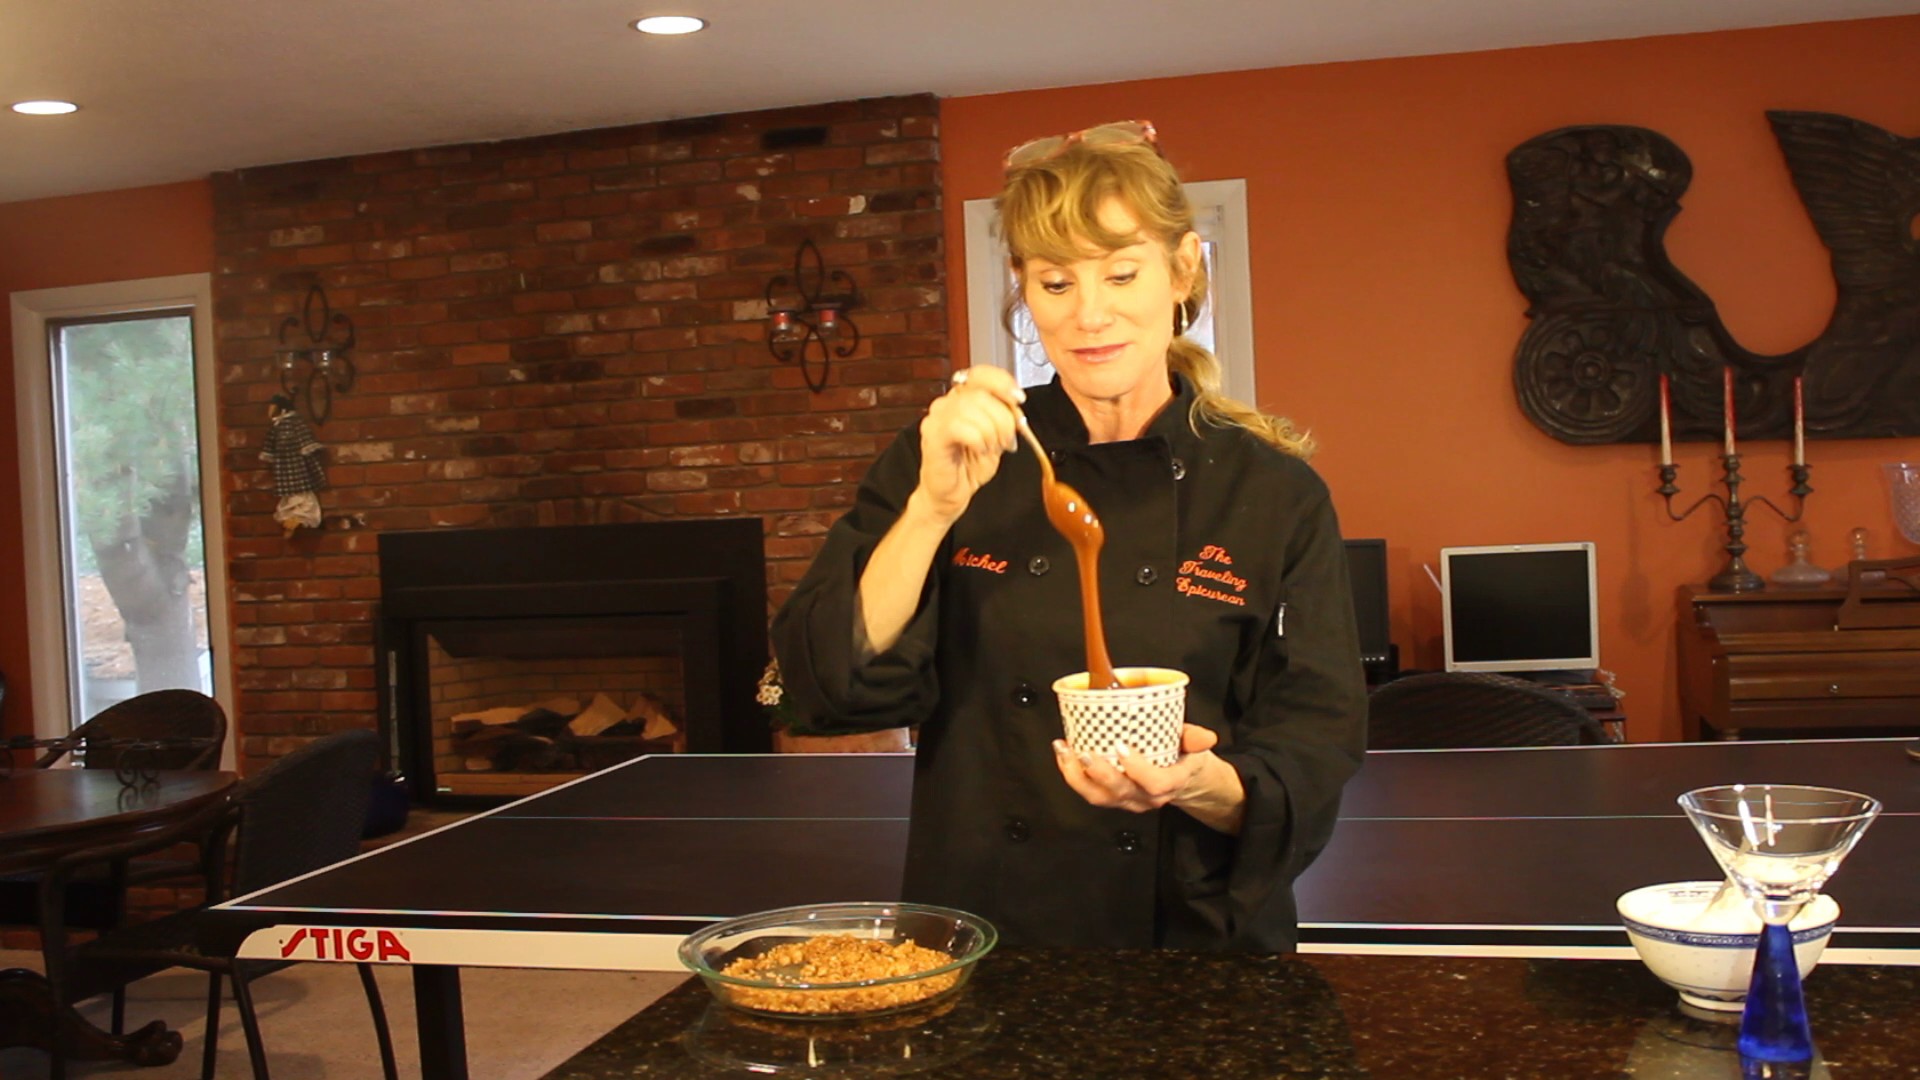
- Finely dice strawberries and add to a wide 8″ sauce pan with 1 cup sugar and lemon juice
- Over med/high heat bring to a rolling simmer
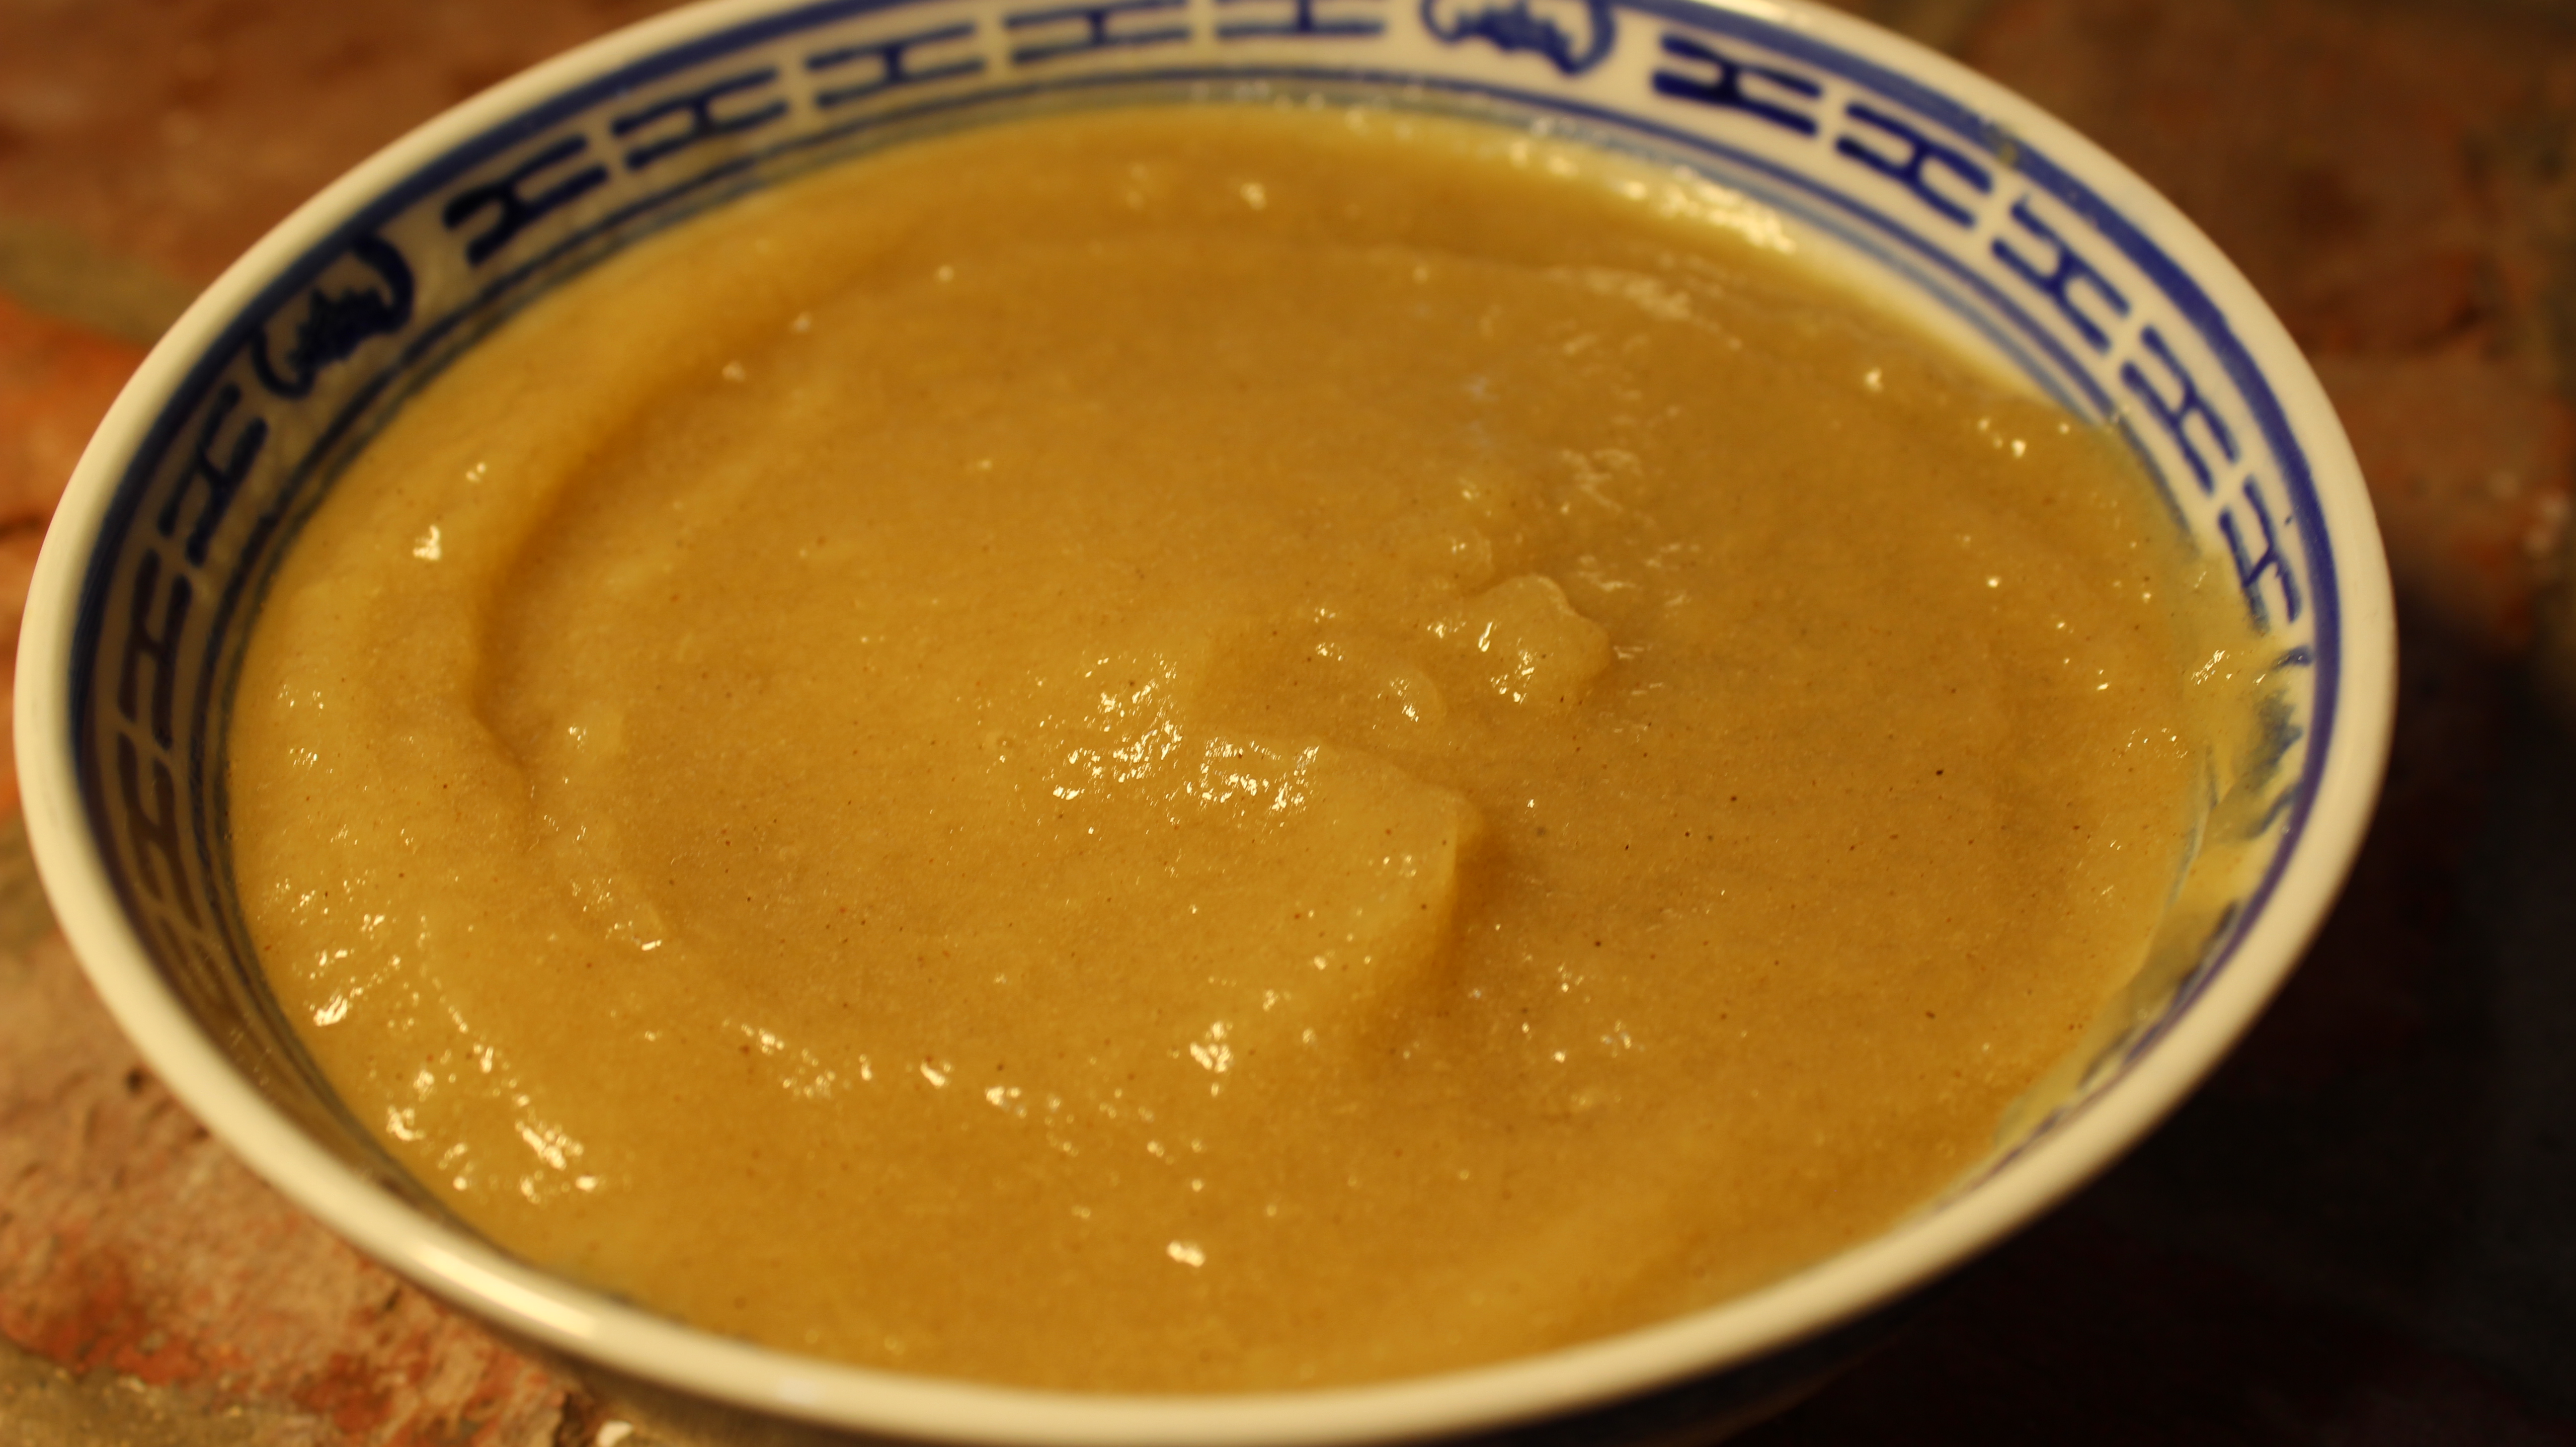
- Keep an eye on the mixture, keep simmering for 15 min. – make sure it doesn’t boil over
- Skim off white foam that accumulates around the edges while simmering as this will make the jam cloudy (its just air bubbles that form in the jamming process)
- Remove from heat and serve warm with German pancake
- Jar the remaining strawberry sauce and refrigerate as it will thicken into a jam as it cools! It will stay good for 2 weeks in the frig.