
Crazy Good Candied Pecans
Crazy Good Candied Pecans
This crazy good candied pecan recipe came from a golfing friend, Denise, who brought them to the annual Christmas party years ago and I have been making them ever since. They make for a wonderful holiday treat and certainly don’t last very long when you put them out. If you want any for yourself you may have to stash some away. The candied pecans are very addictive and everyone will be asking you for the recipe. In fact, I did have some requests so I promised to get the recipe out this week…..enjoy!
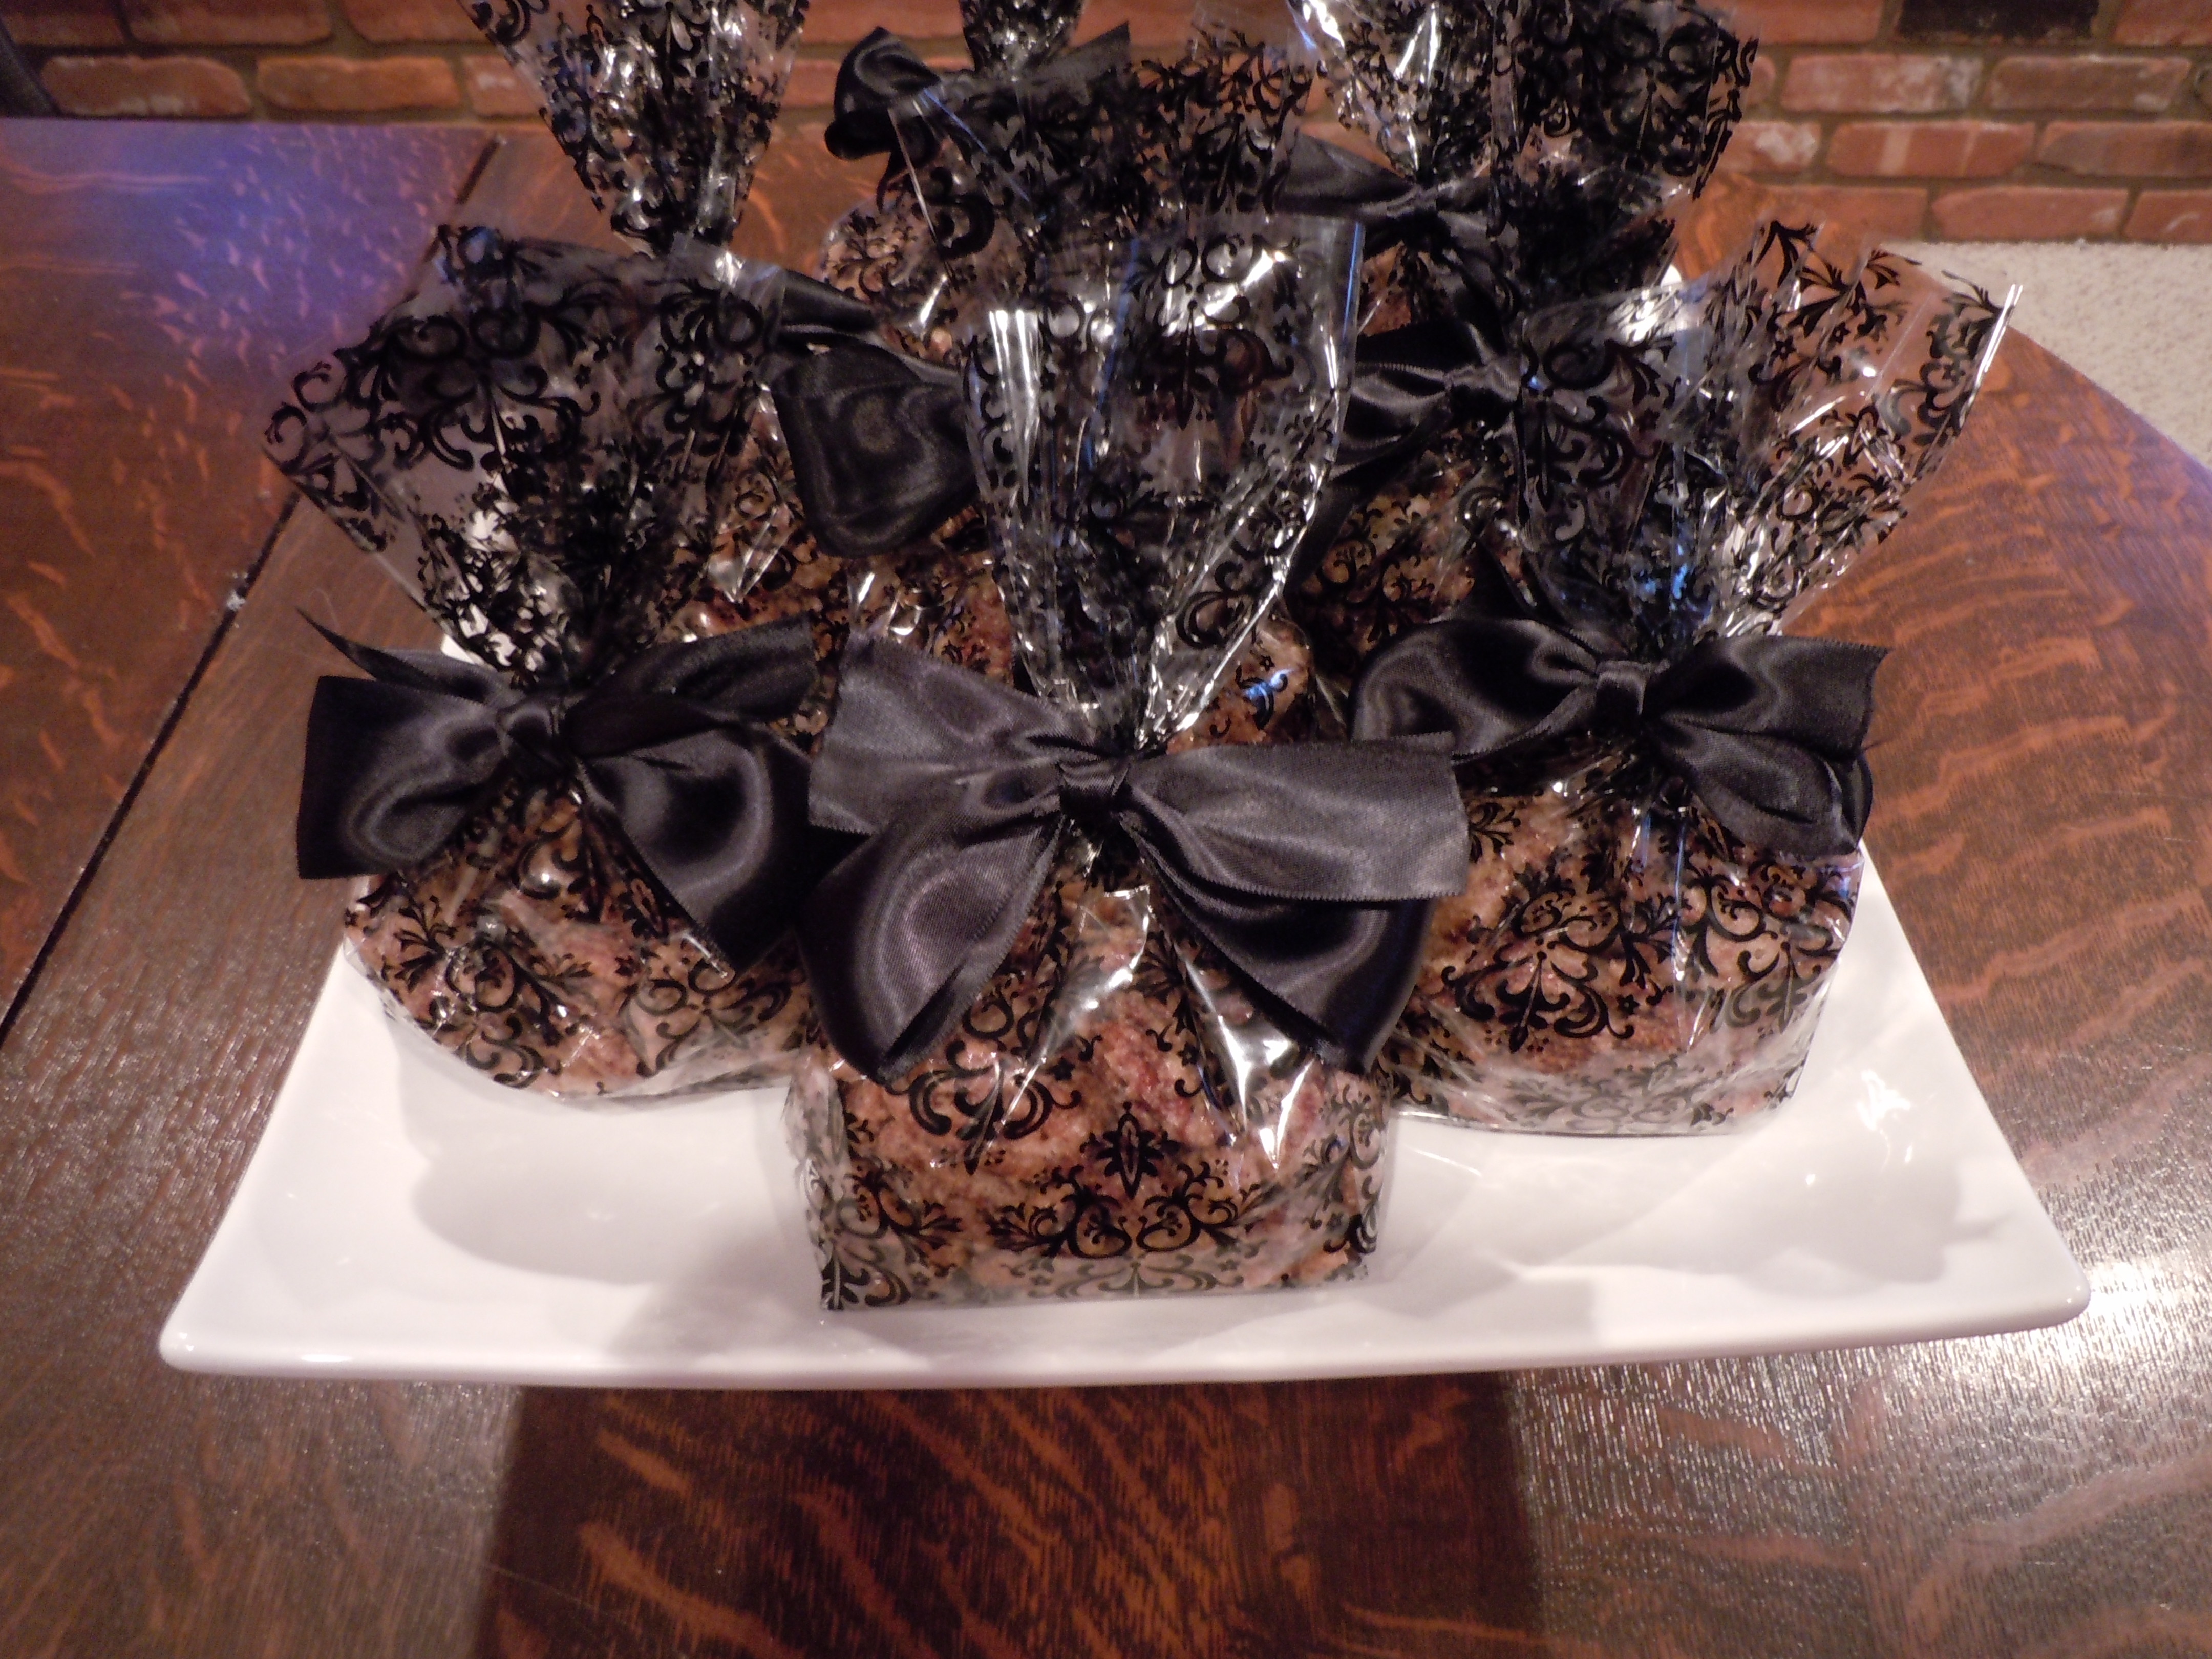
During the holiday season I make several batches of these pecans and give them as party favors and Christmas gifts in decorative bags with pretty ribbon and everyone goes crazy for them. Hence, the name “Crazy Good Candied Pecans”. Don’t miss my YouTube show “Crazy Good Candied Pecans” on how to make these addictive little morsels.
If you want some appetizer’s to have before these treats check out baked asparagus wrapped in Prosciutto, roasted garlic bean dip, buffalo chicken dip, or spanakopita and end with chewy chocolate chip cookies to go with the candied pecans!


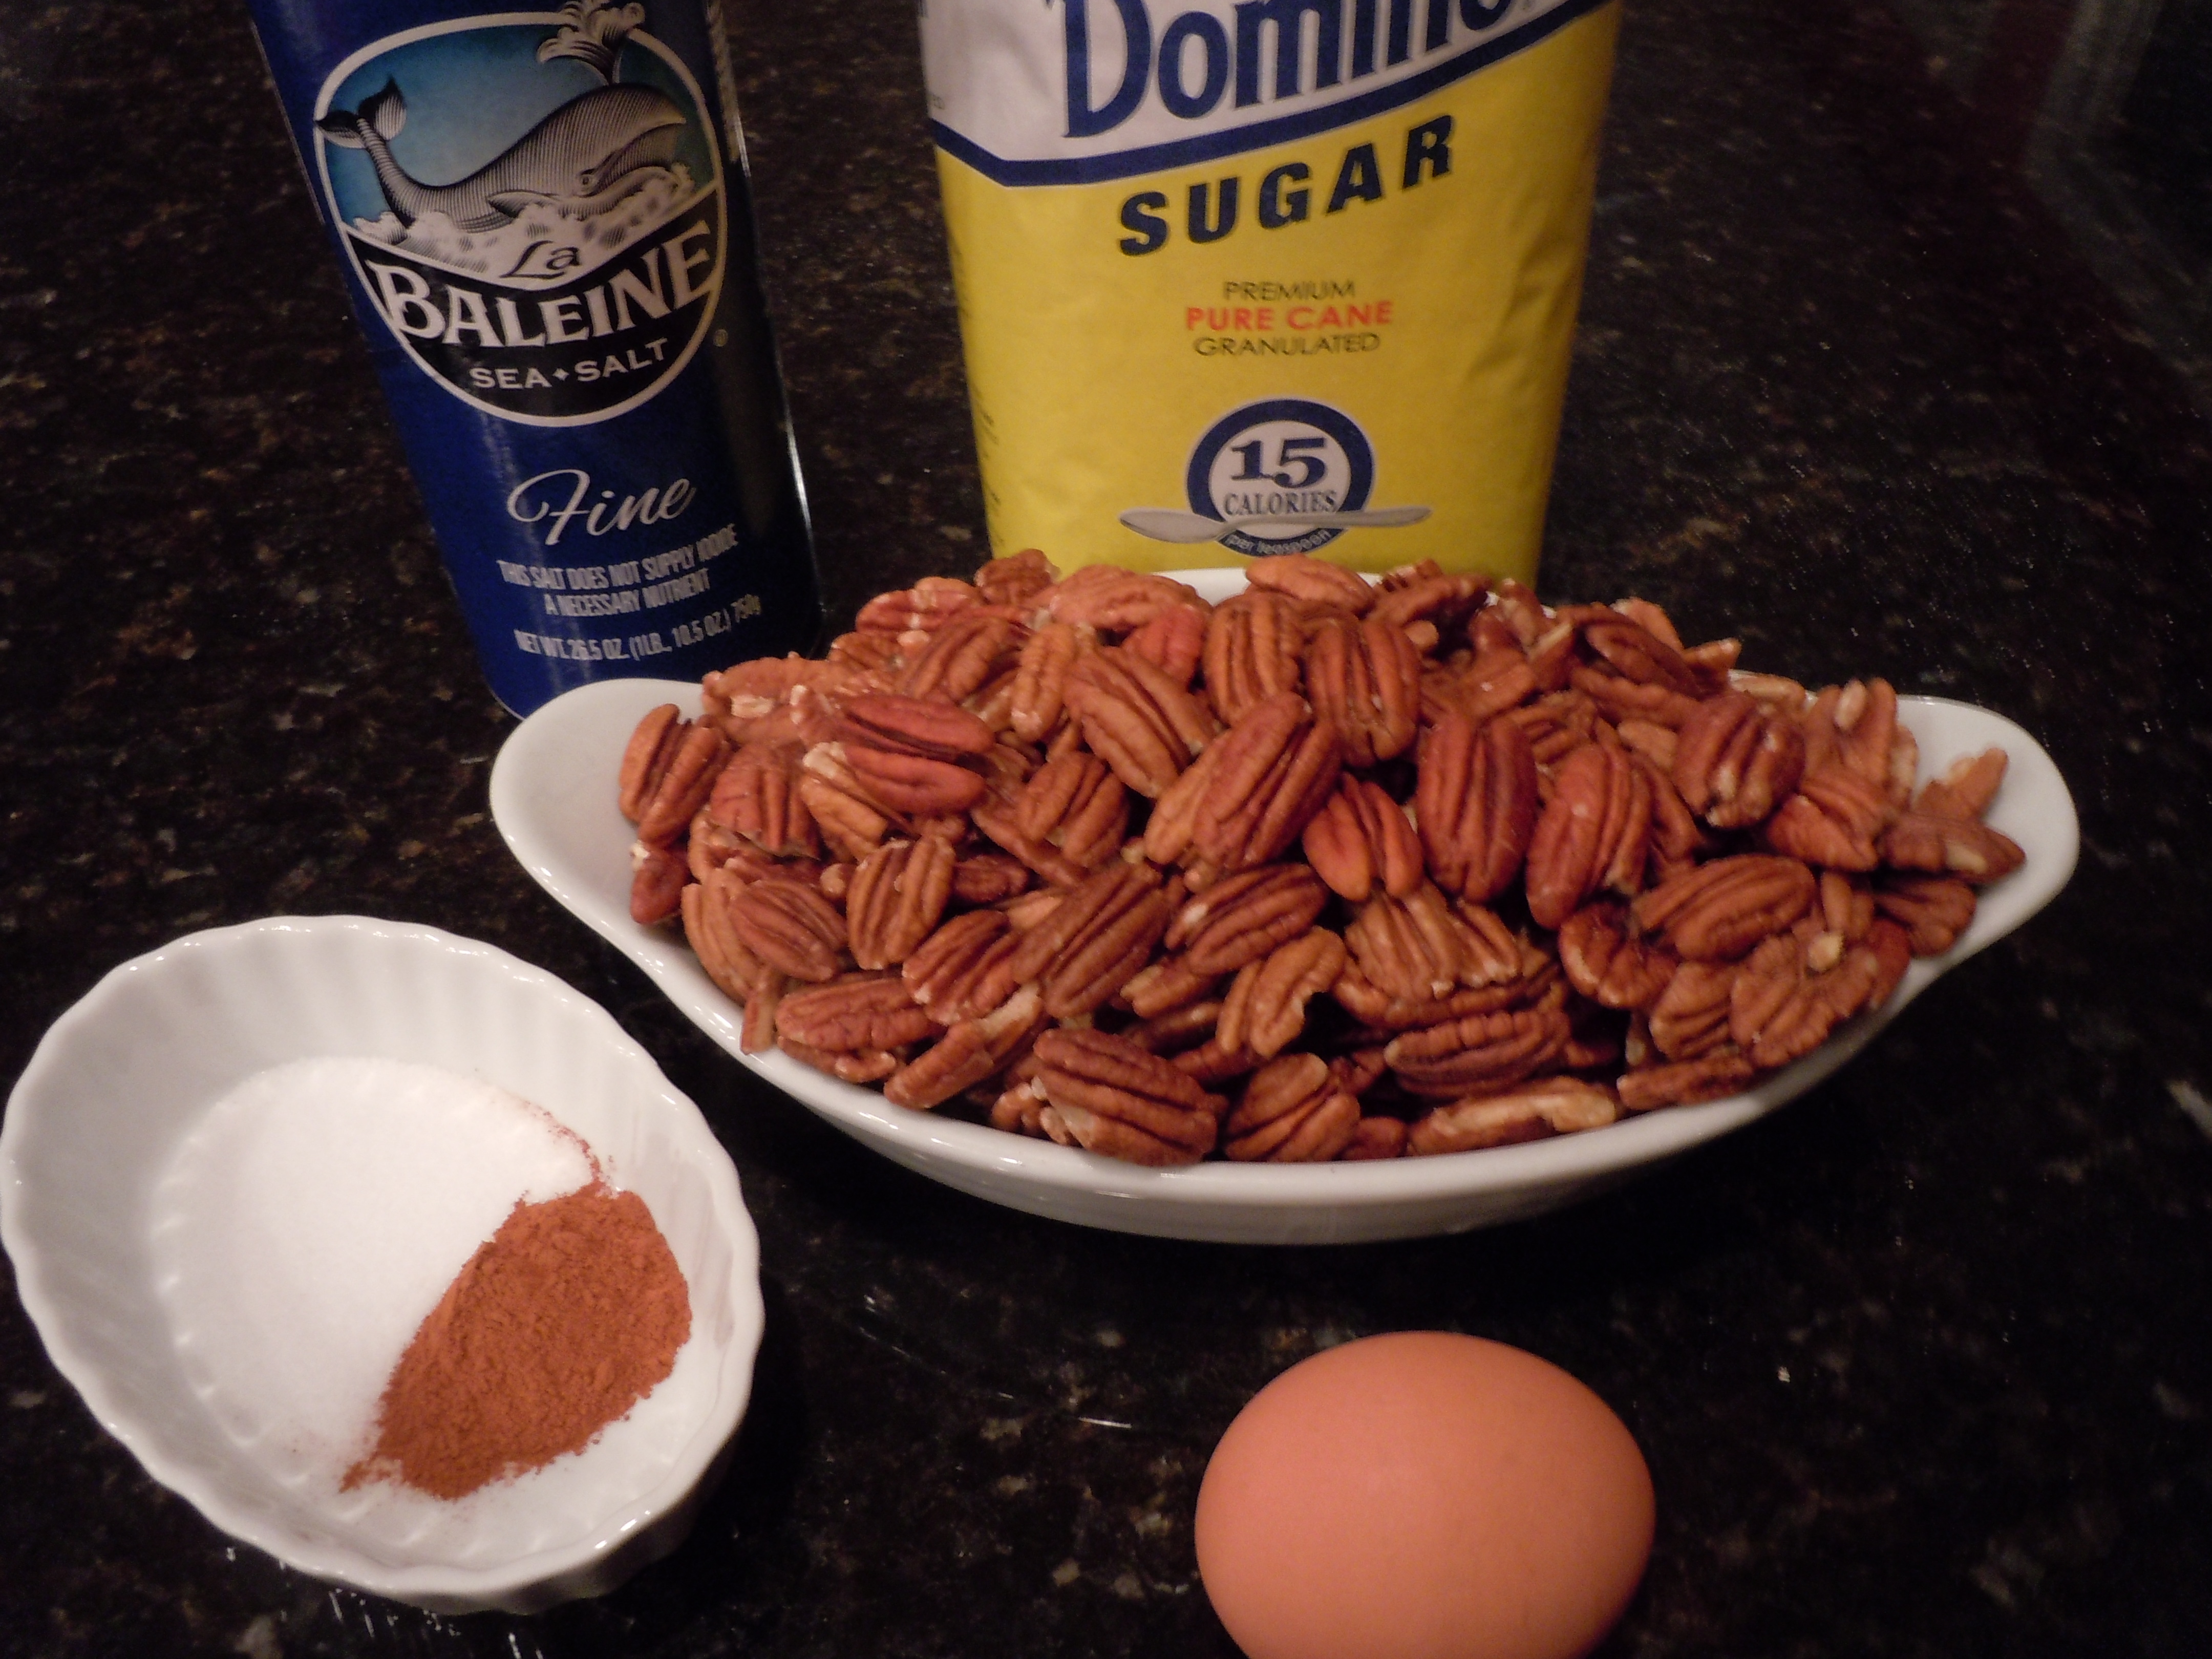

Ingredients:
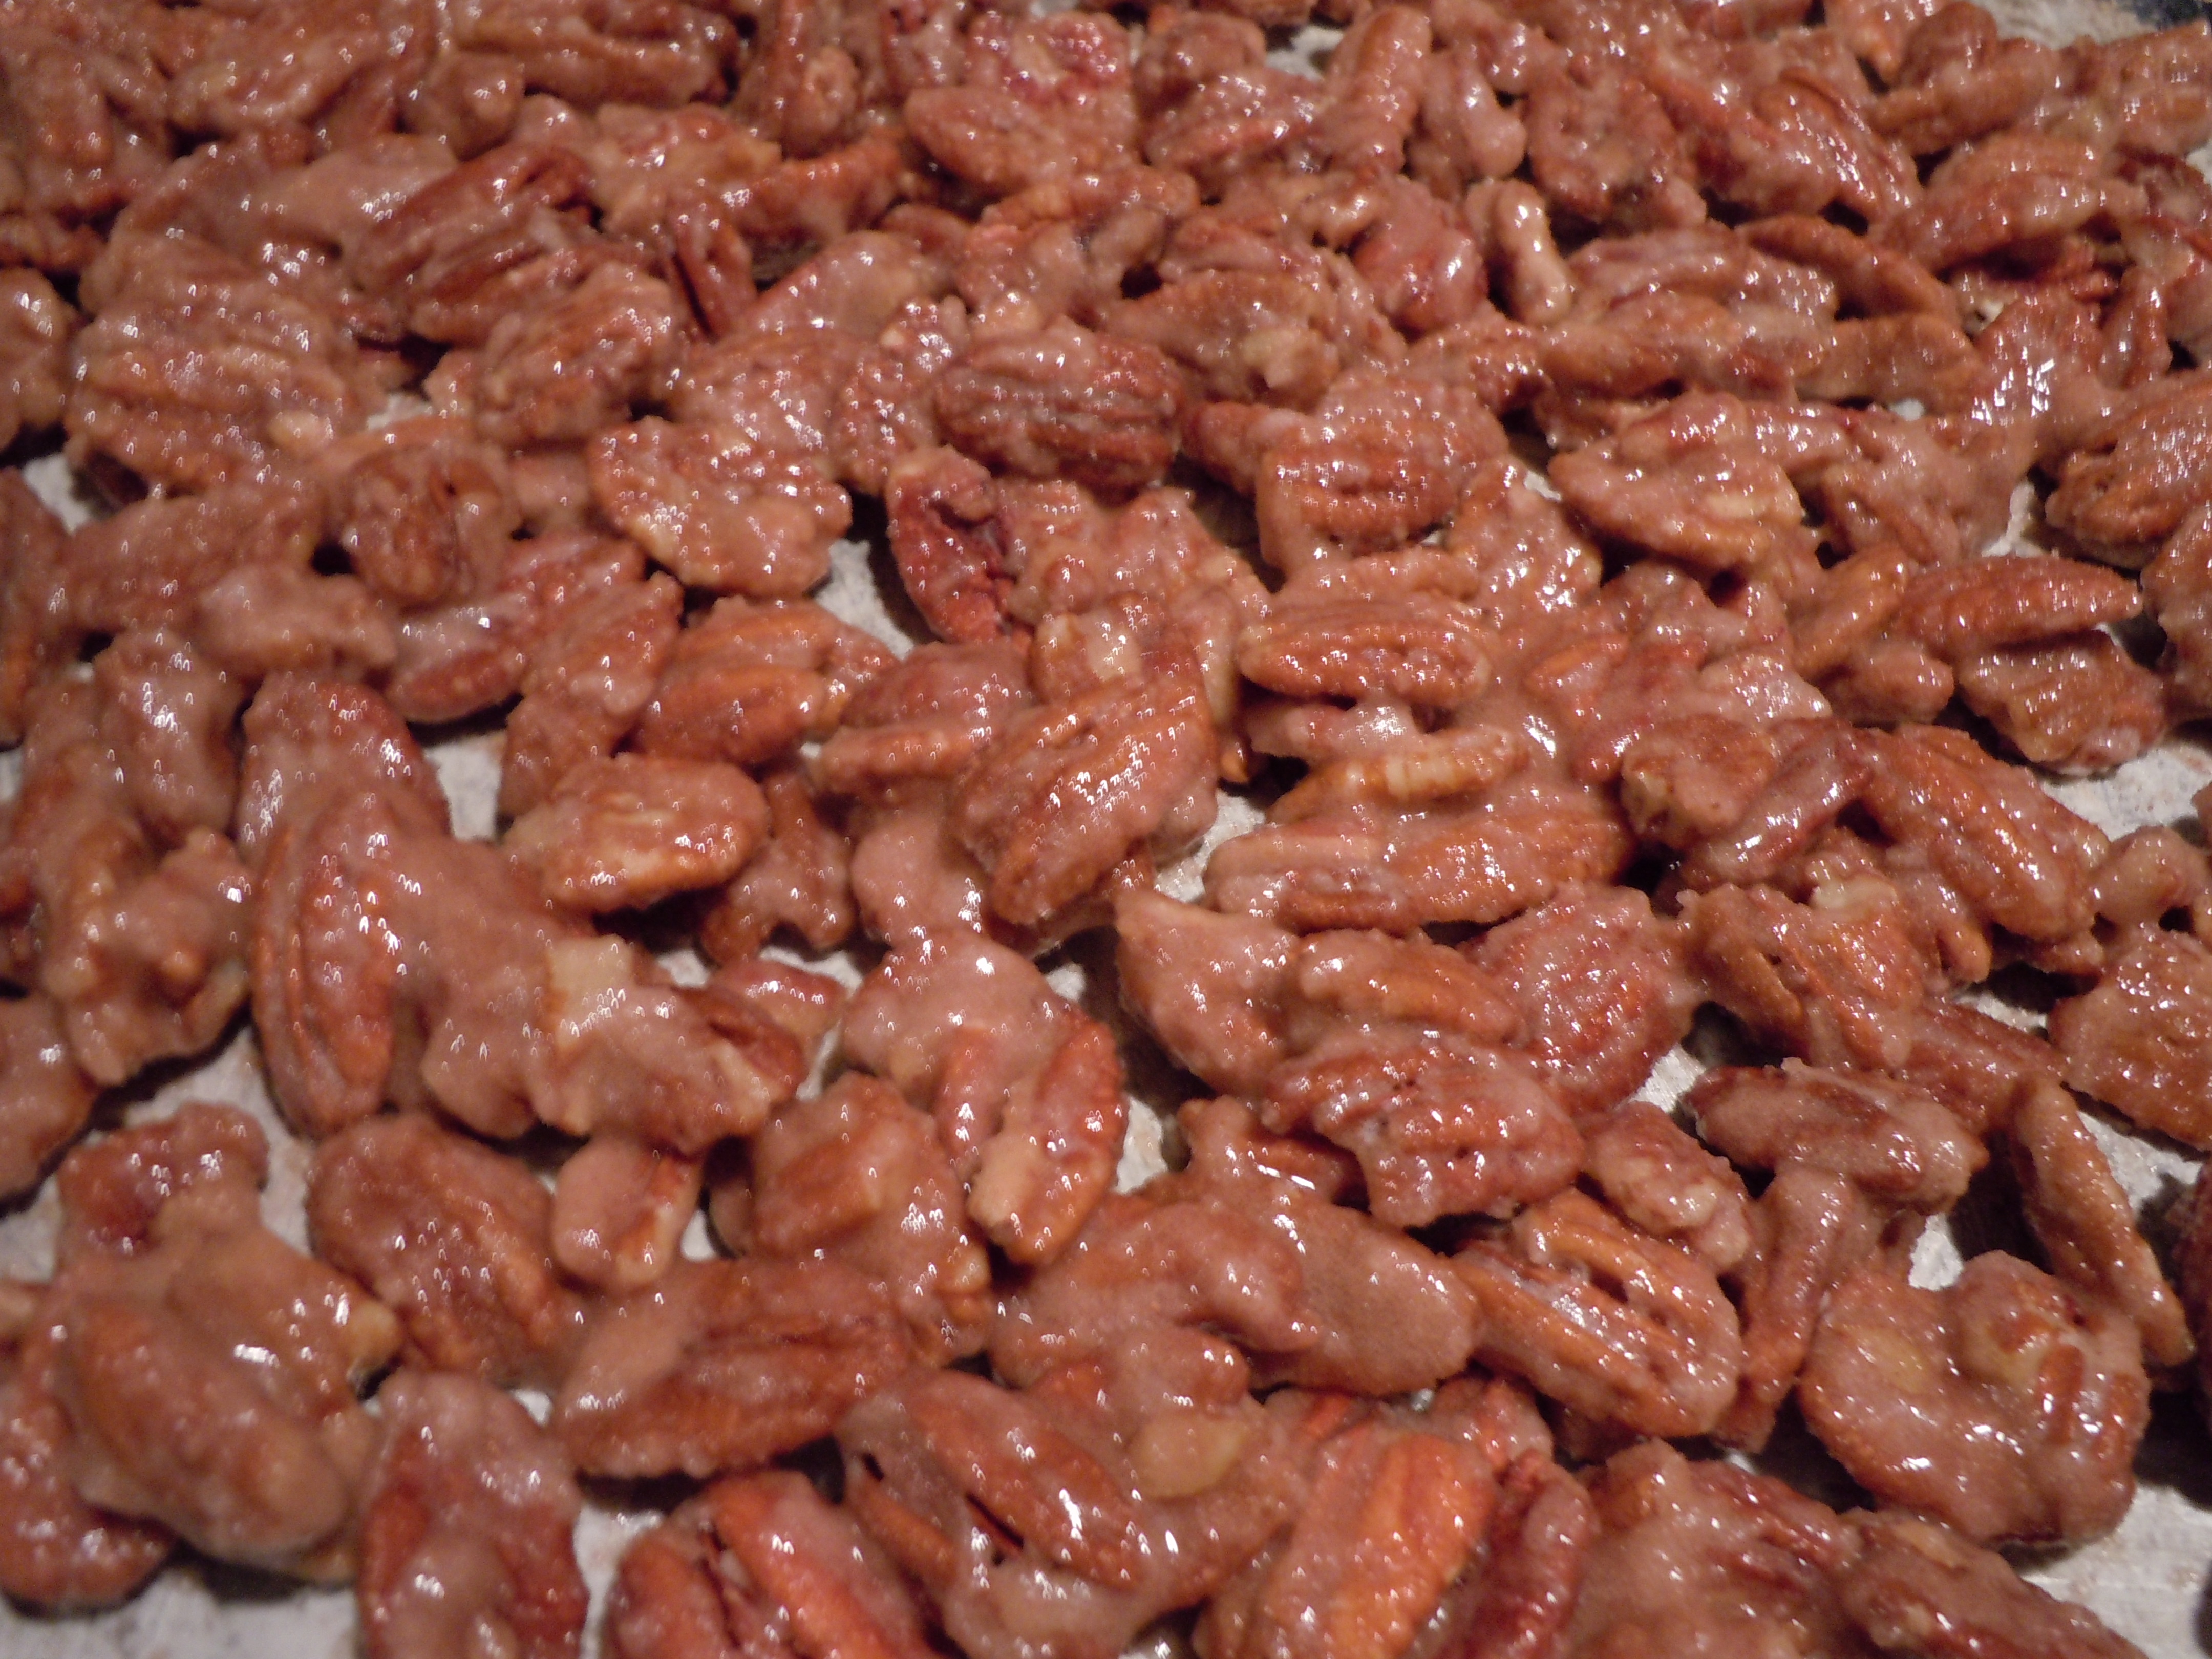
- 4 cups of whole pecans
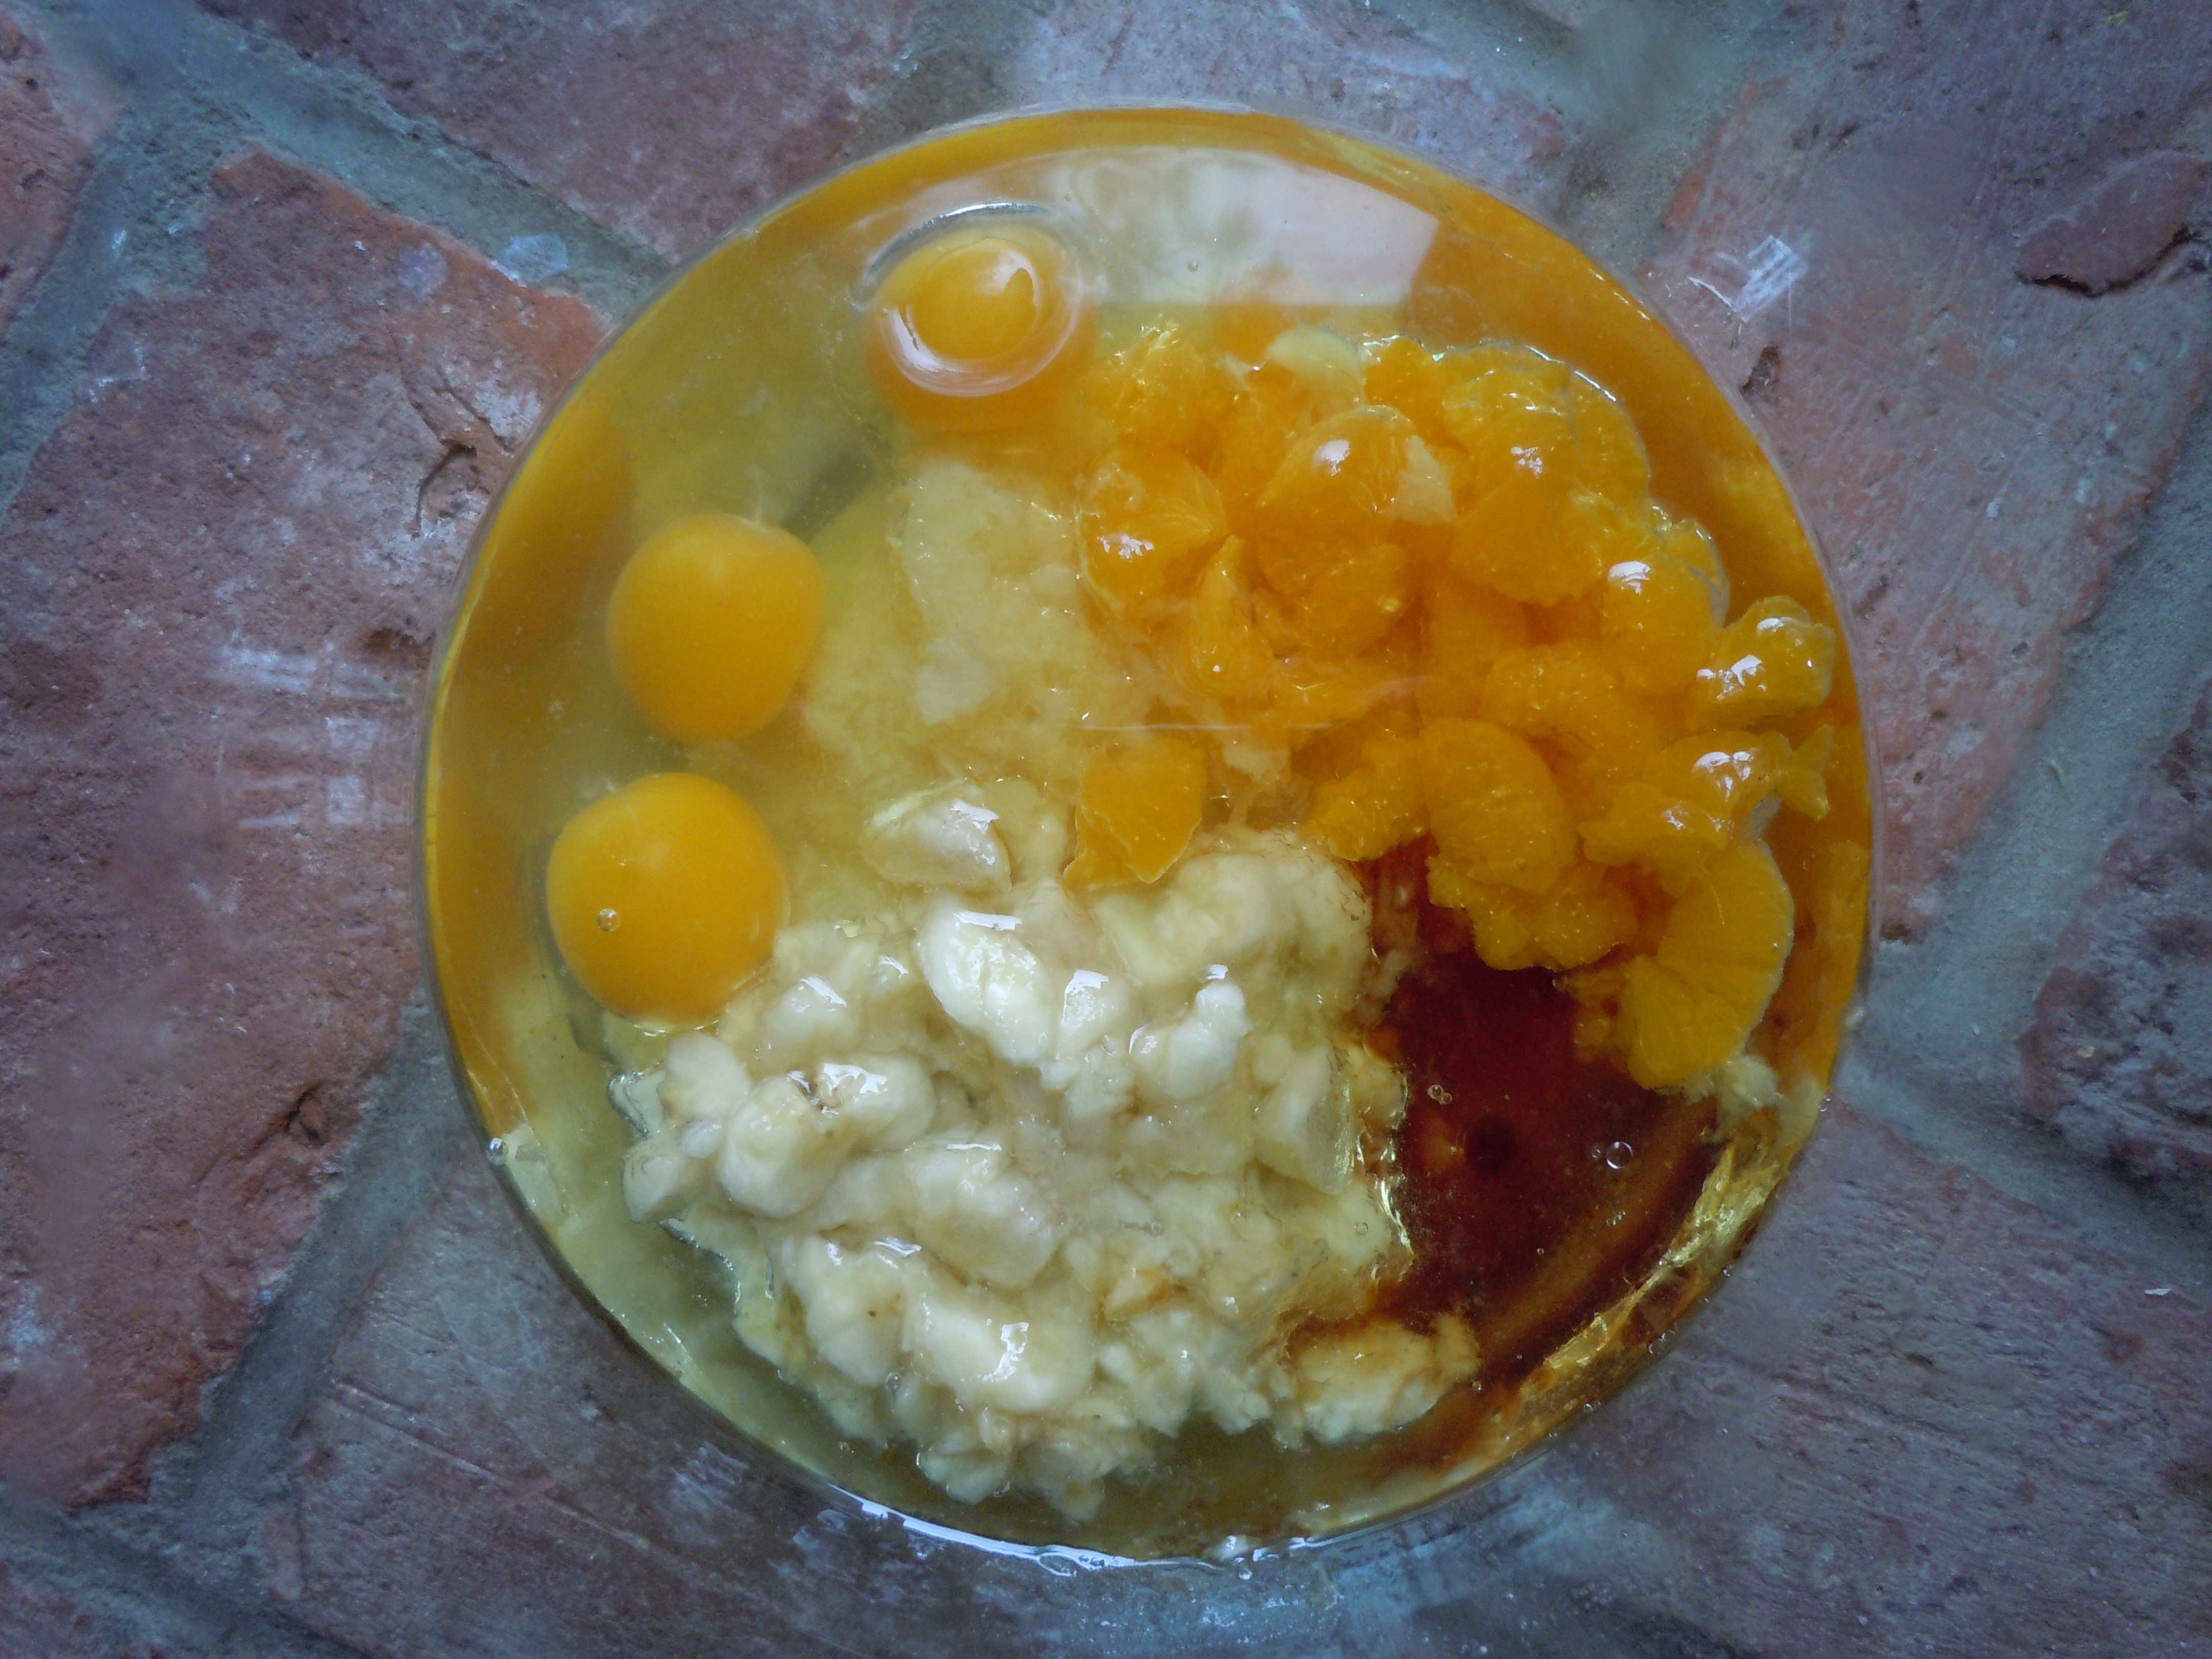
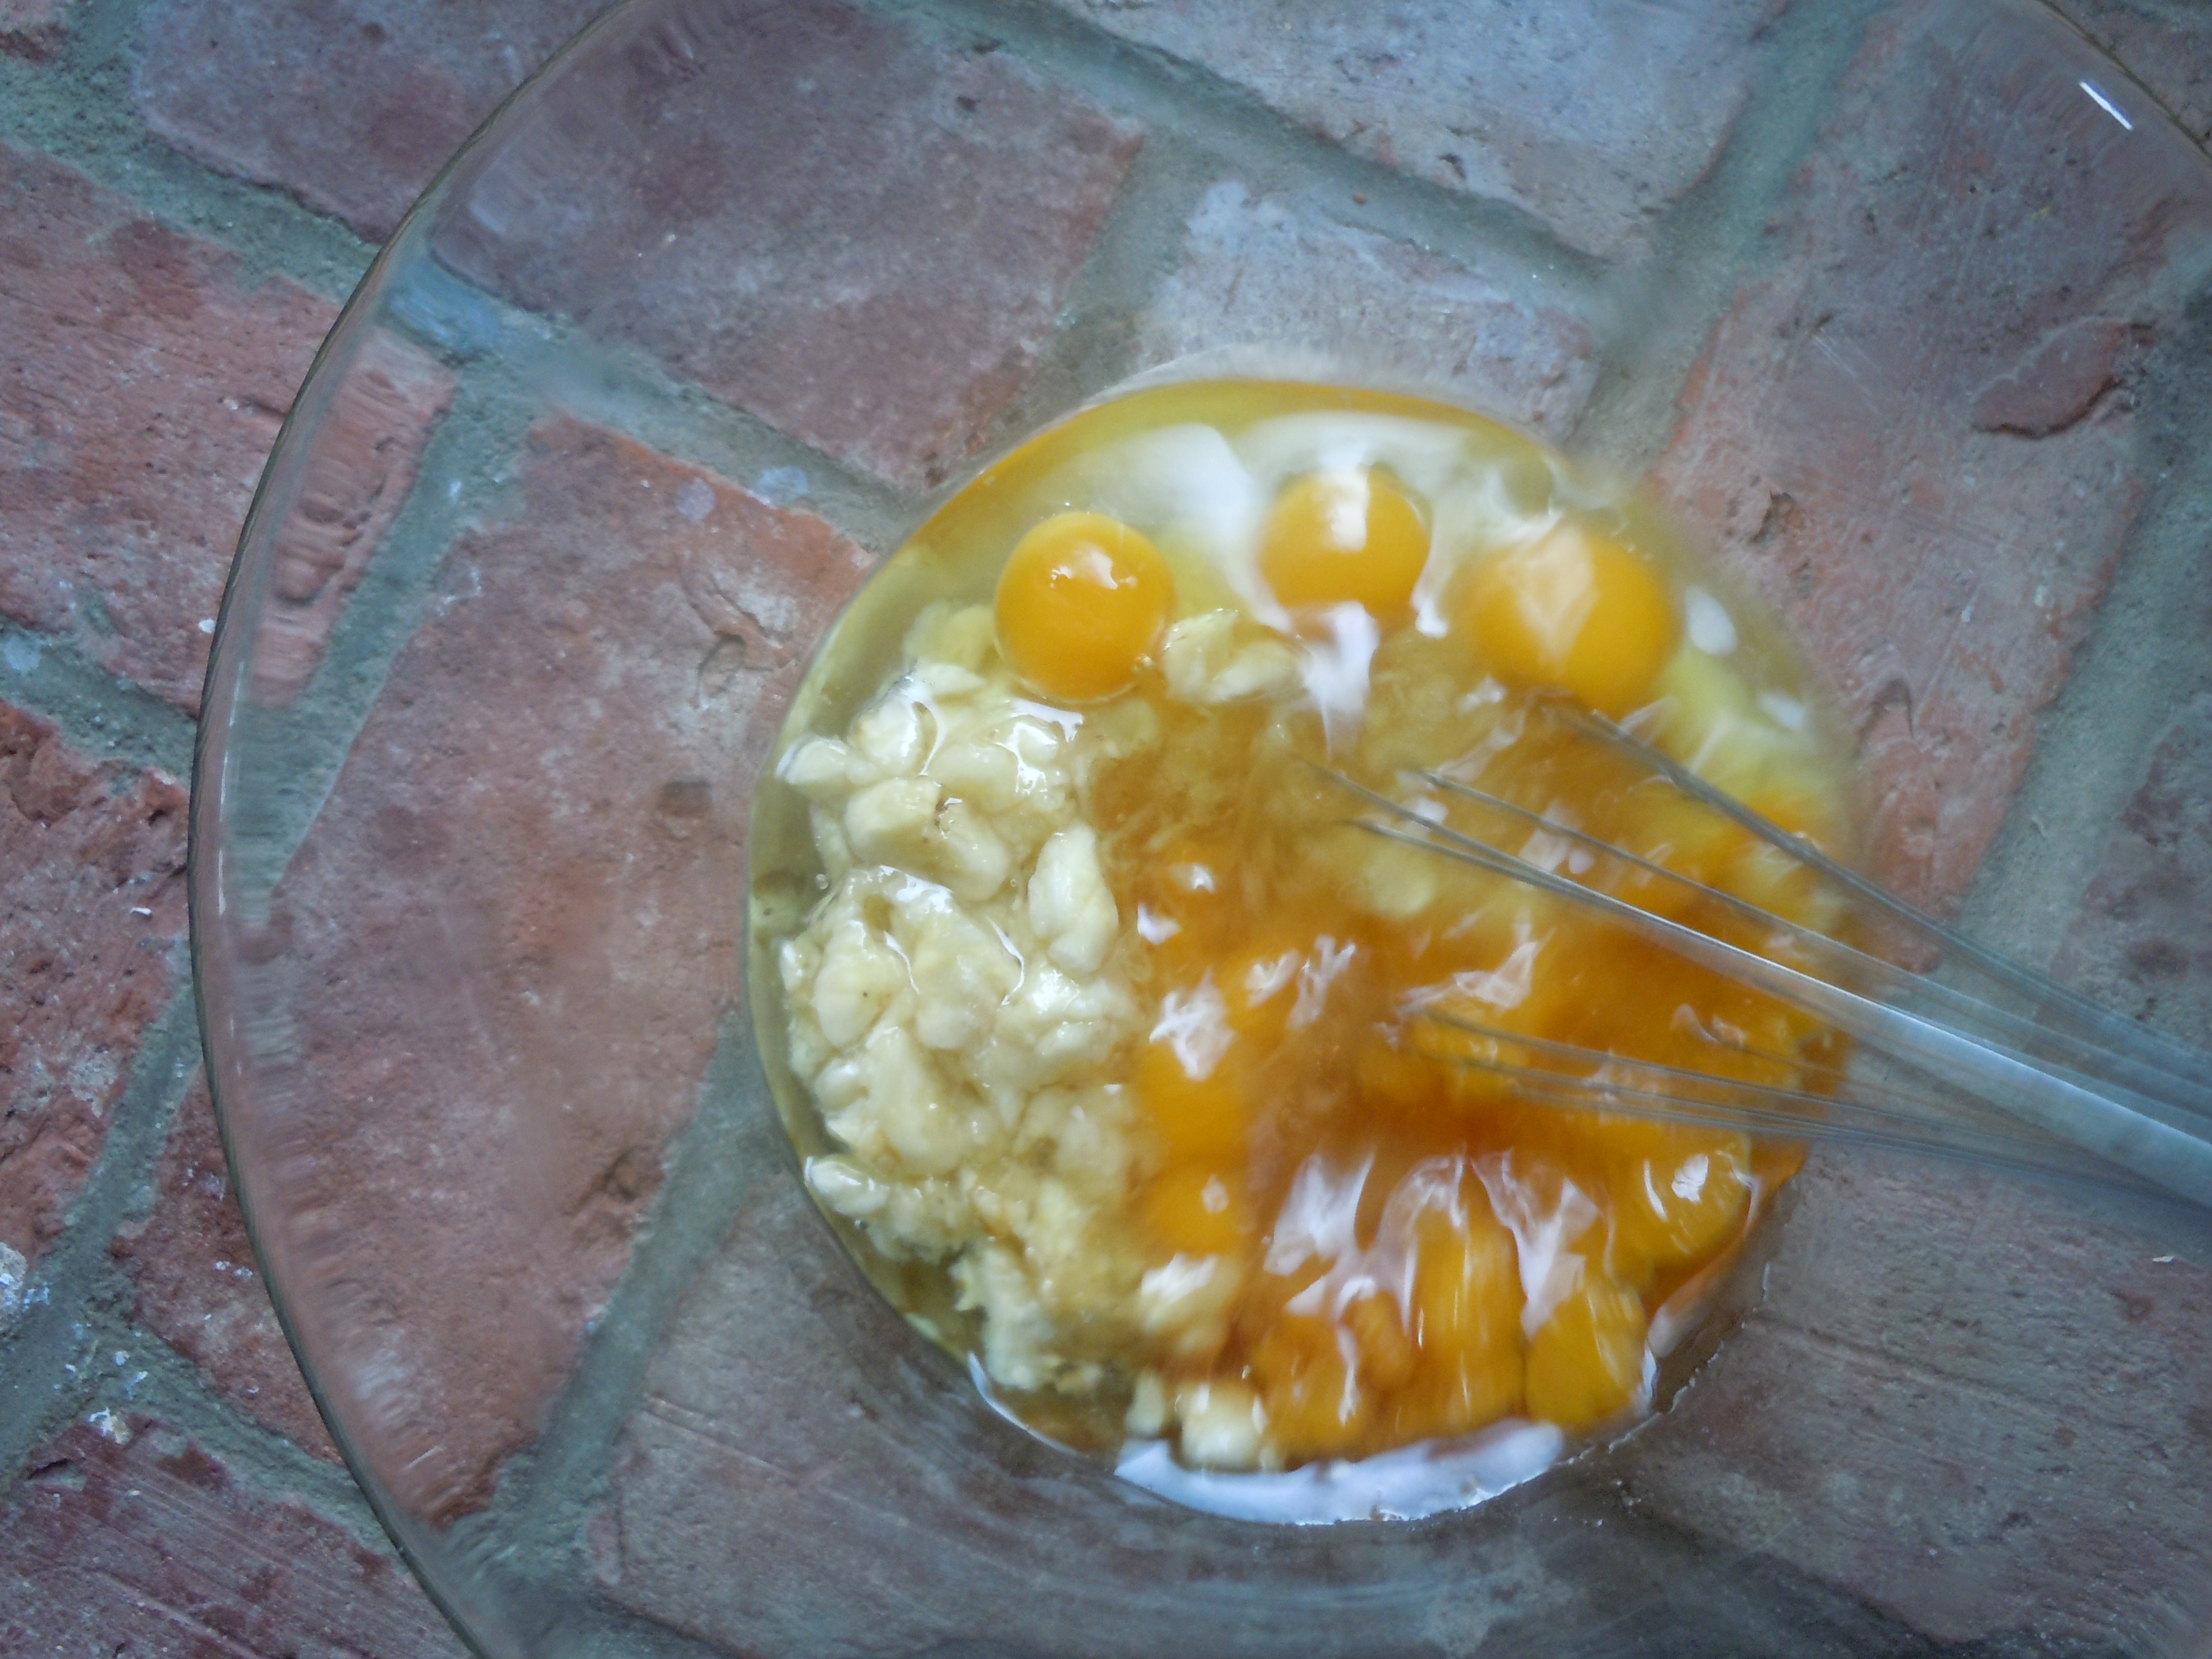
- 1 extra lg egg white
- 1 Tbsp water
- 1/4 Tsp. vanilla
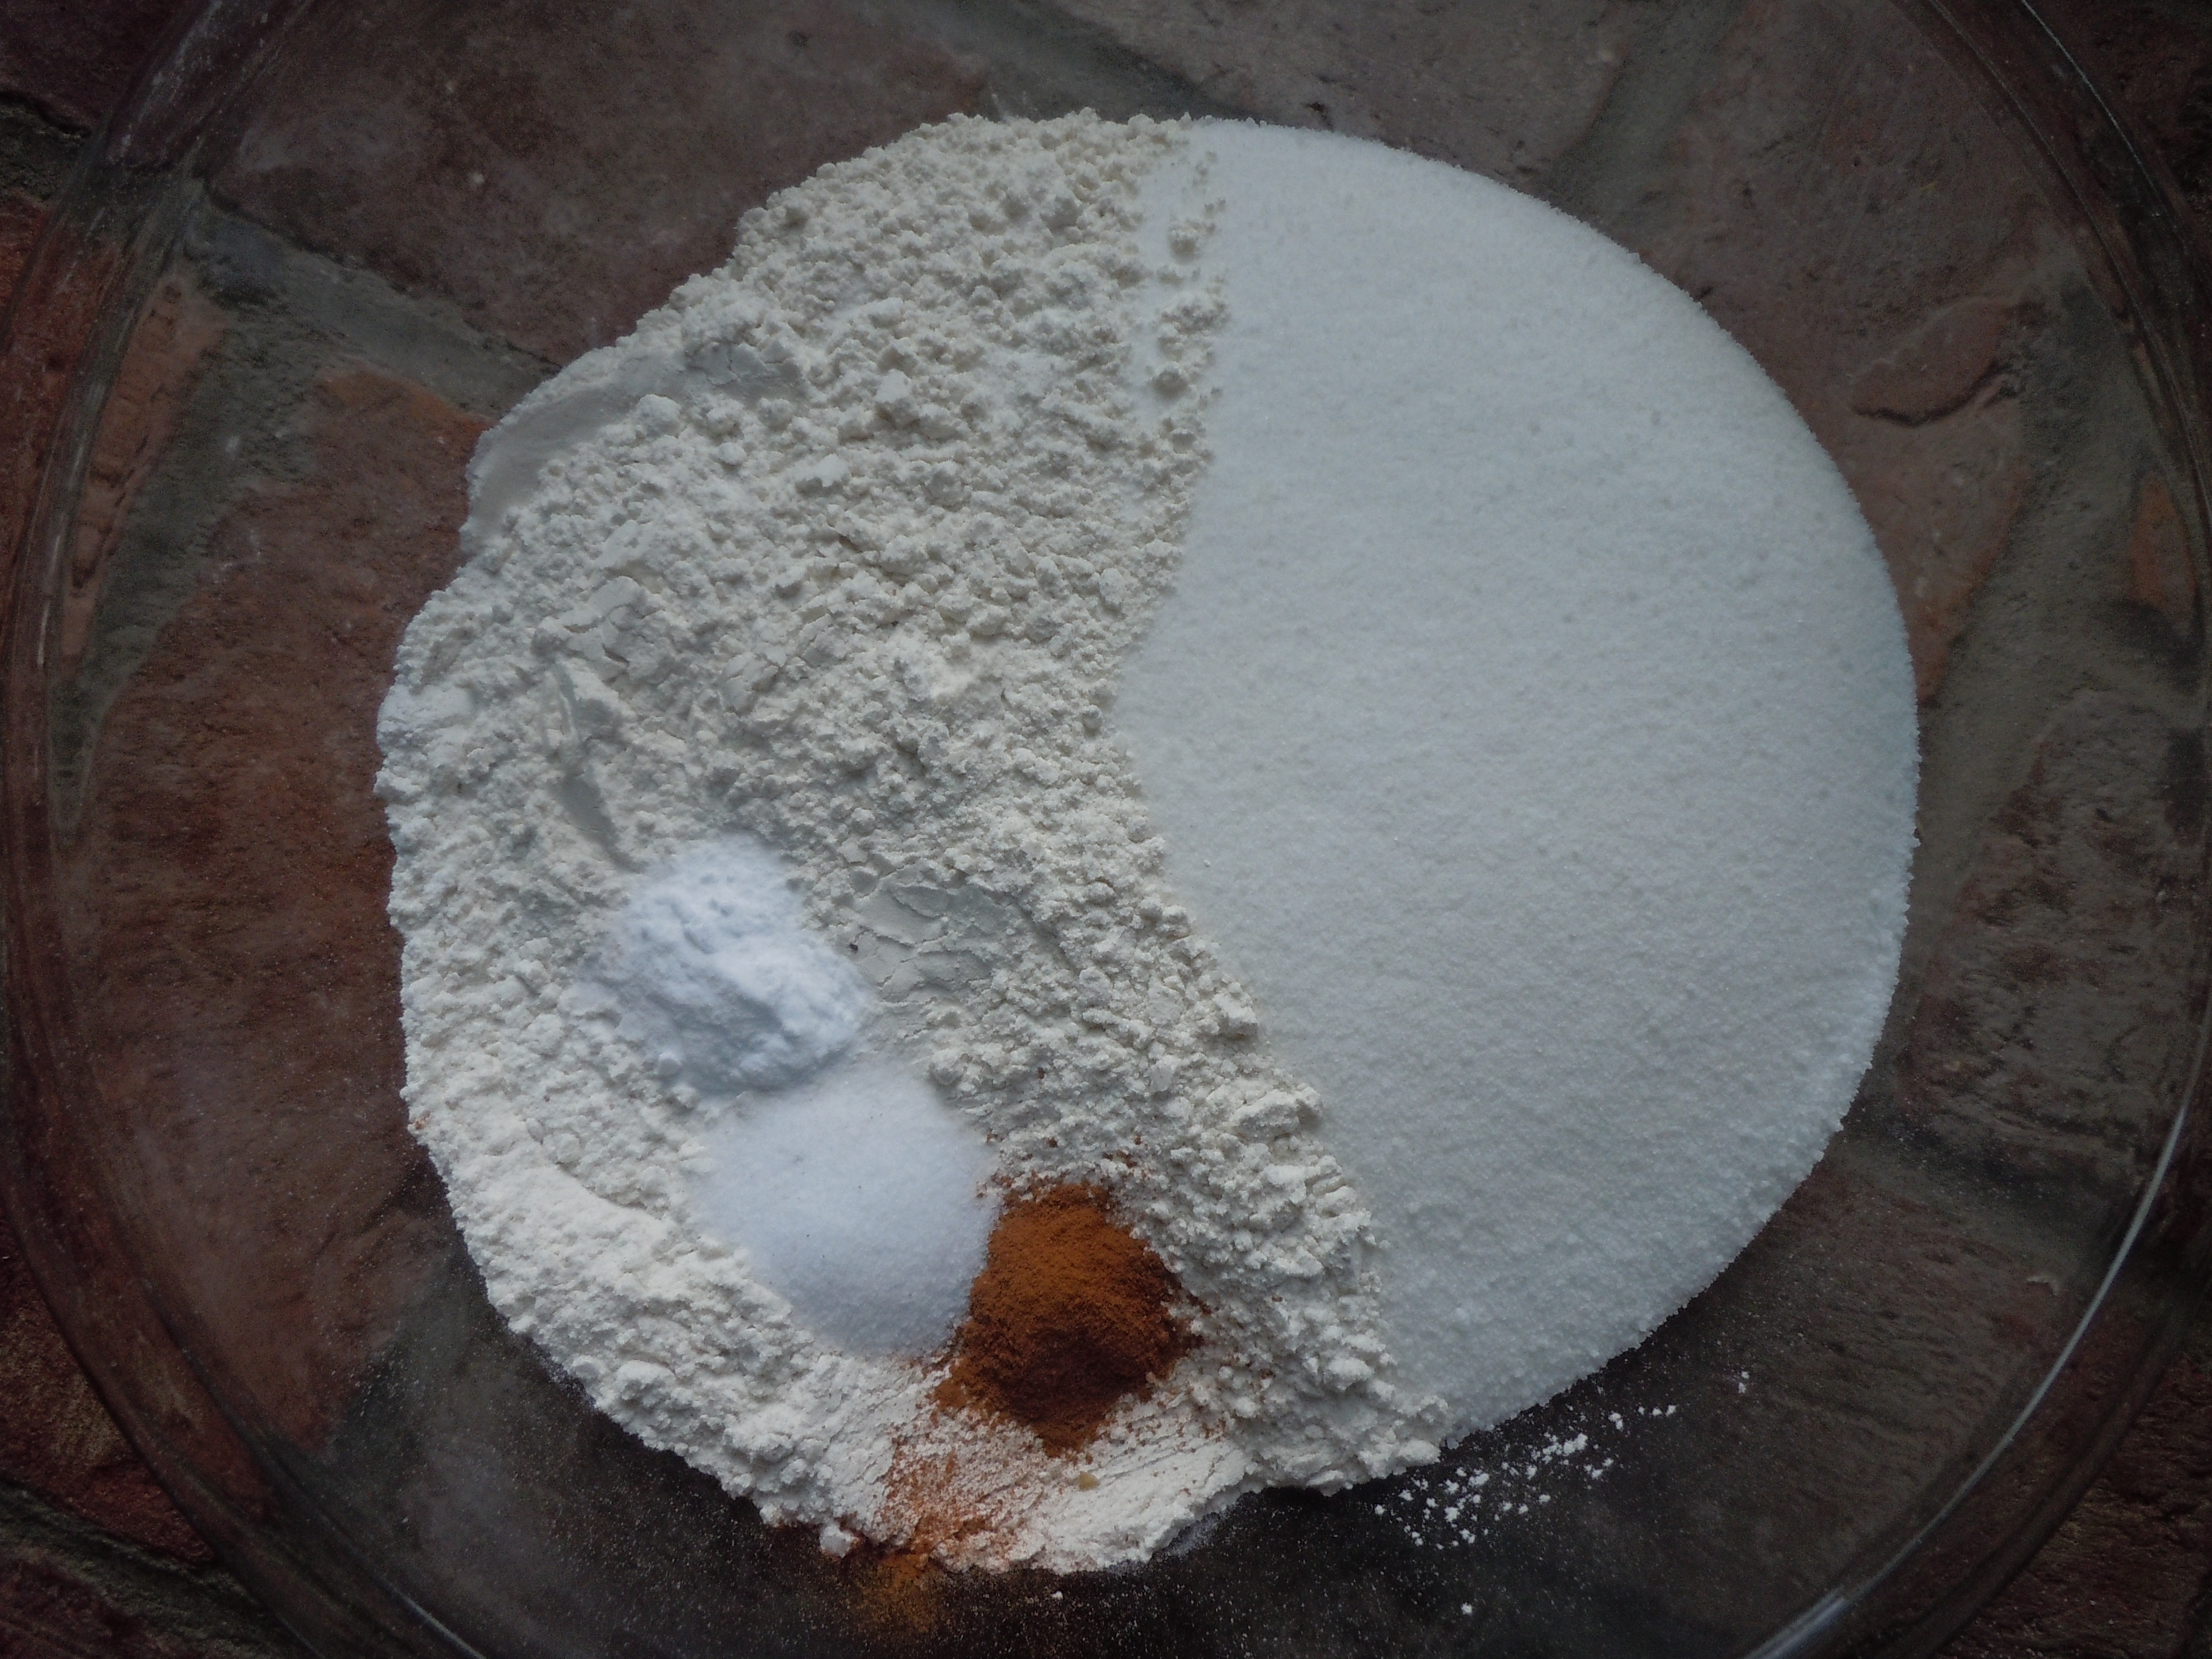
- 1/2 c. white sugar
- 1/2 c. light brown sugar
- 2 Tsp cinnamon
- pinch of nutmeg
- 1 Tsp salt
Directions:
- Pre-heat oven to 275º.
- Cover cookie sheet with parchment paper for easy clean up
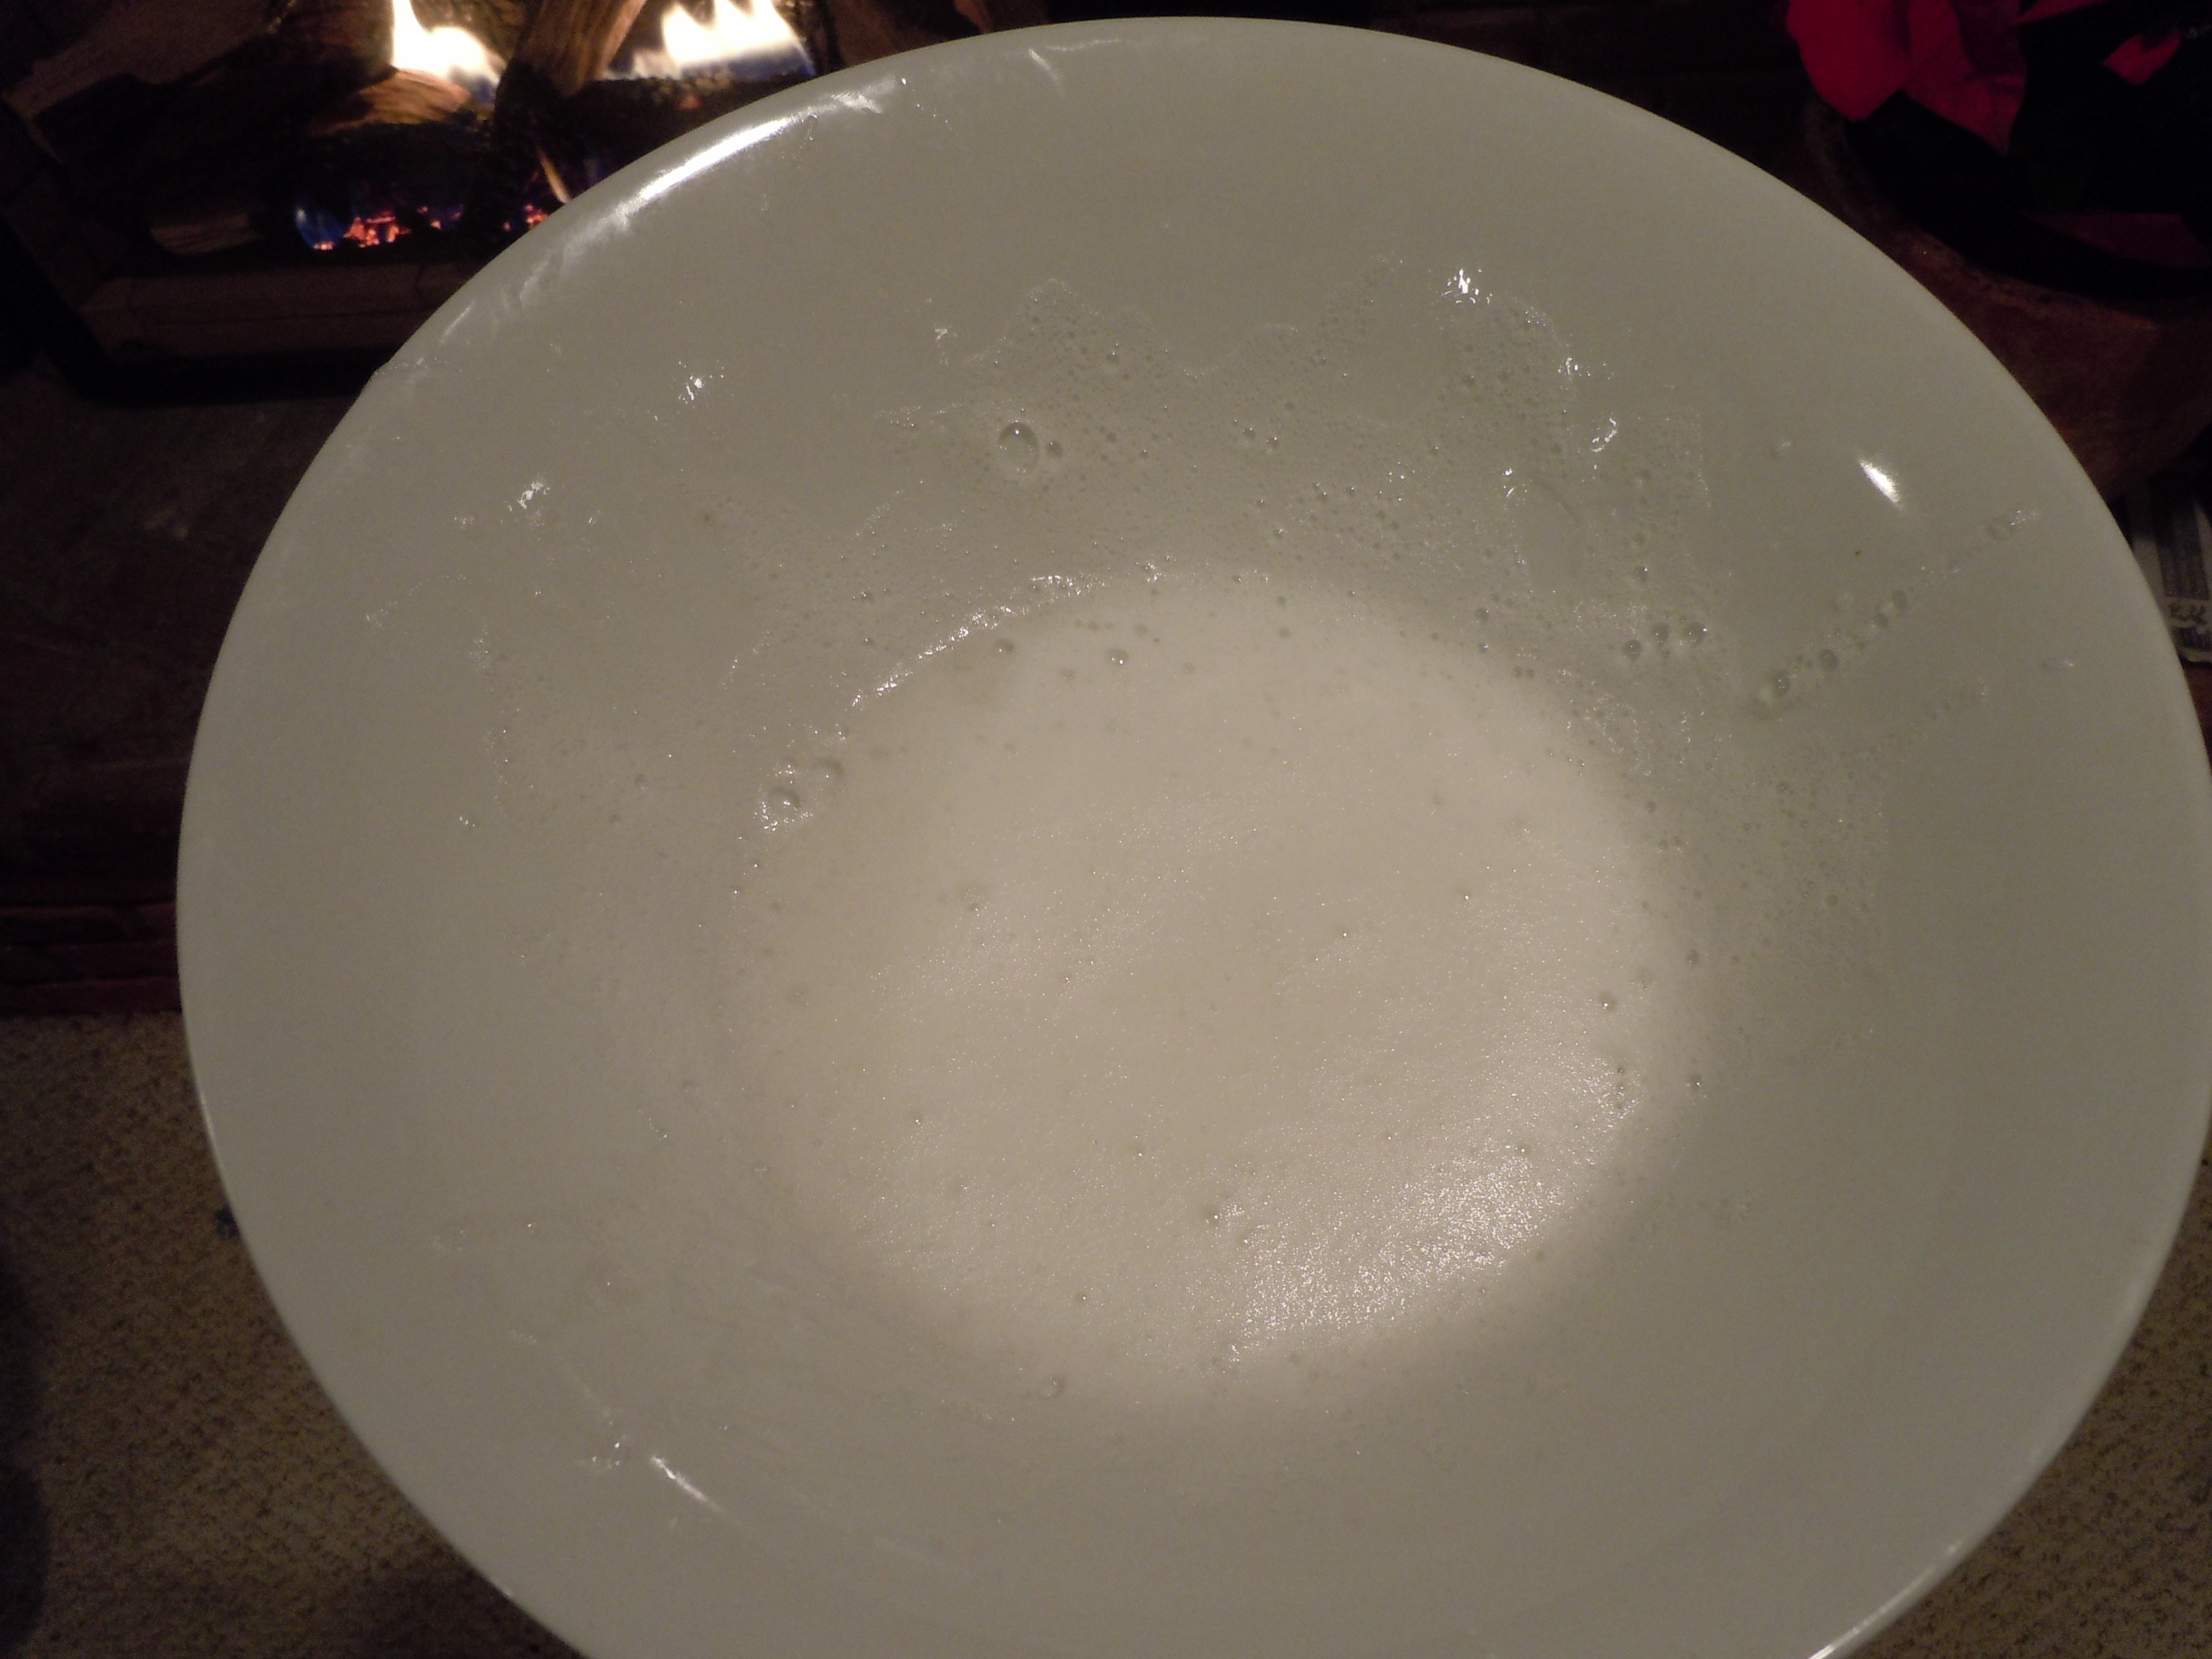
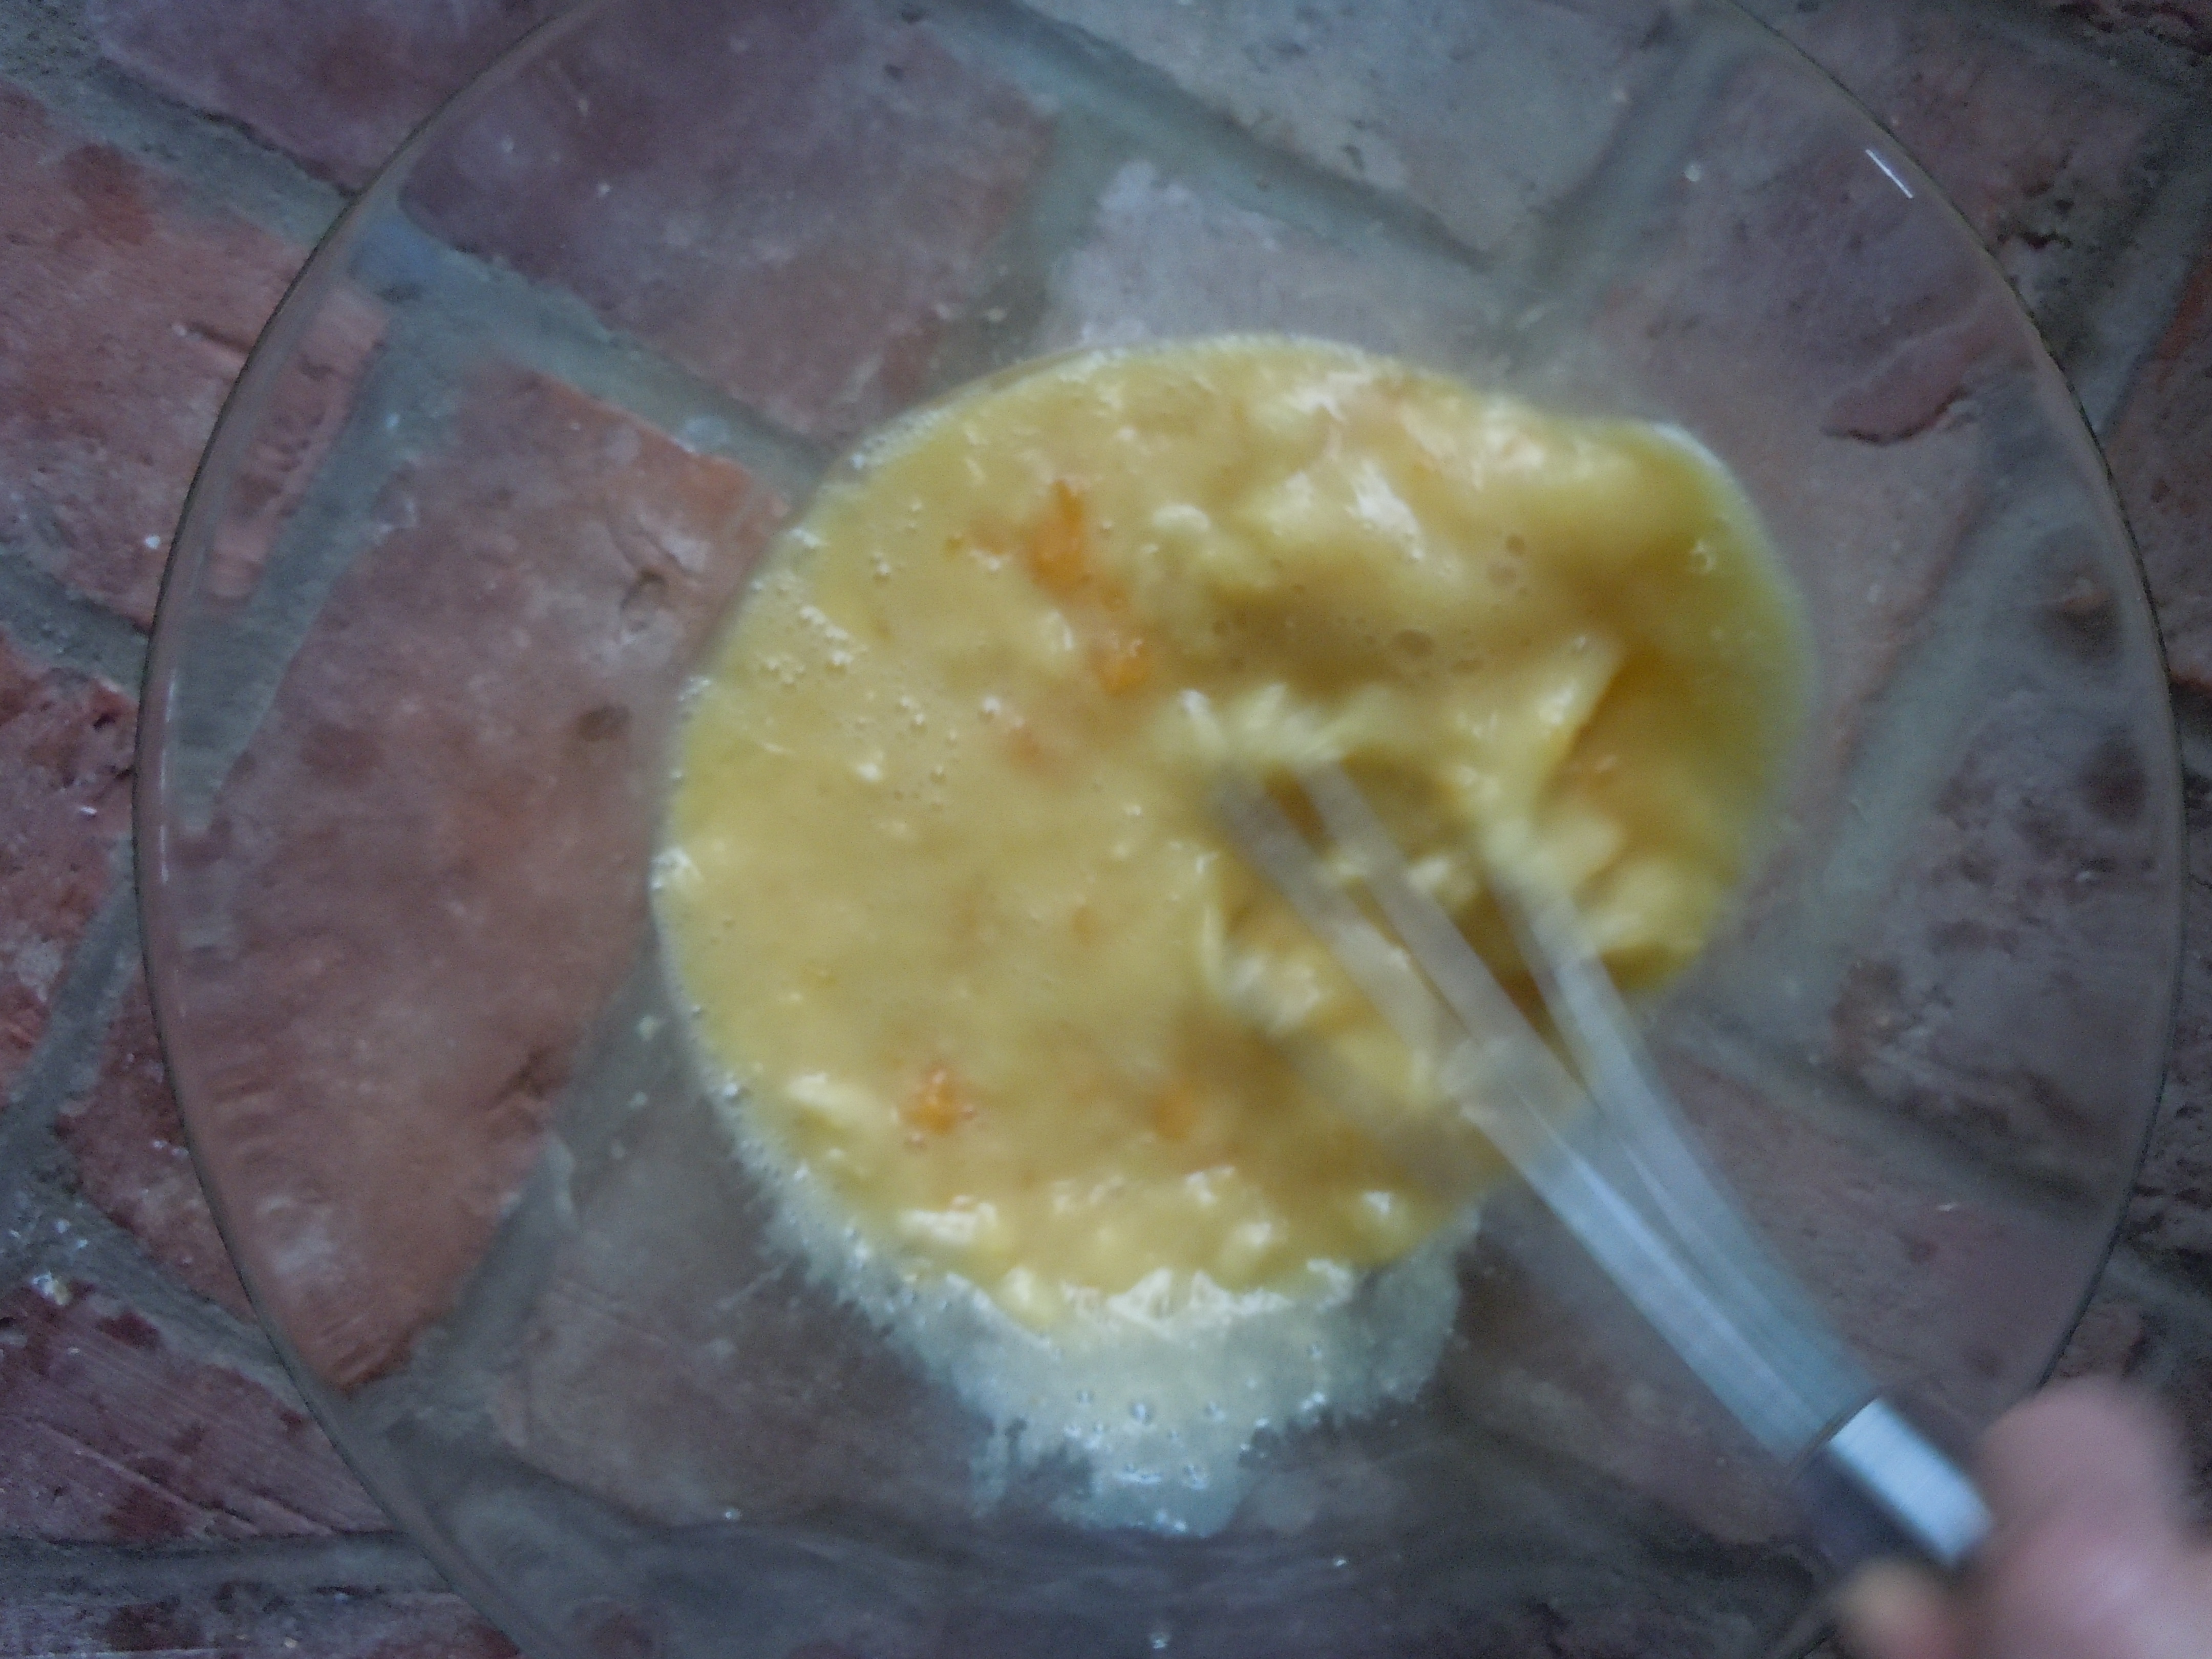
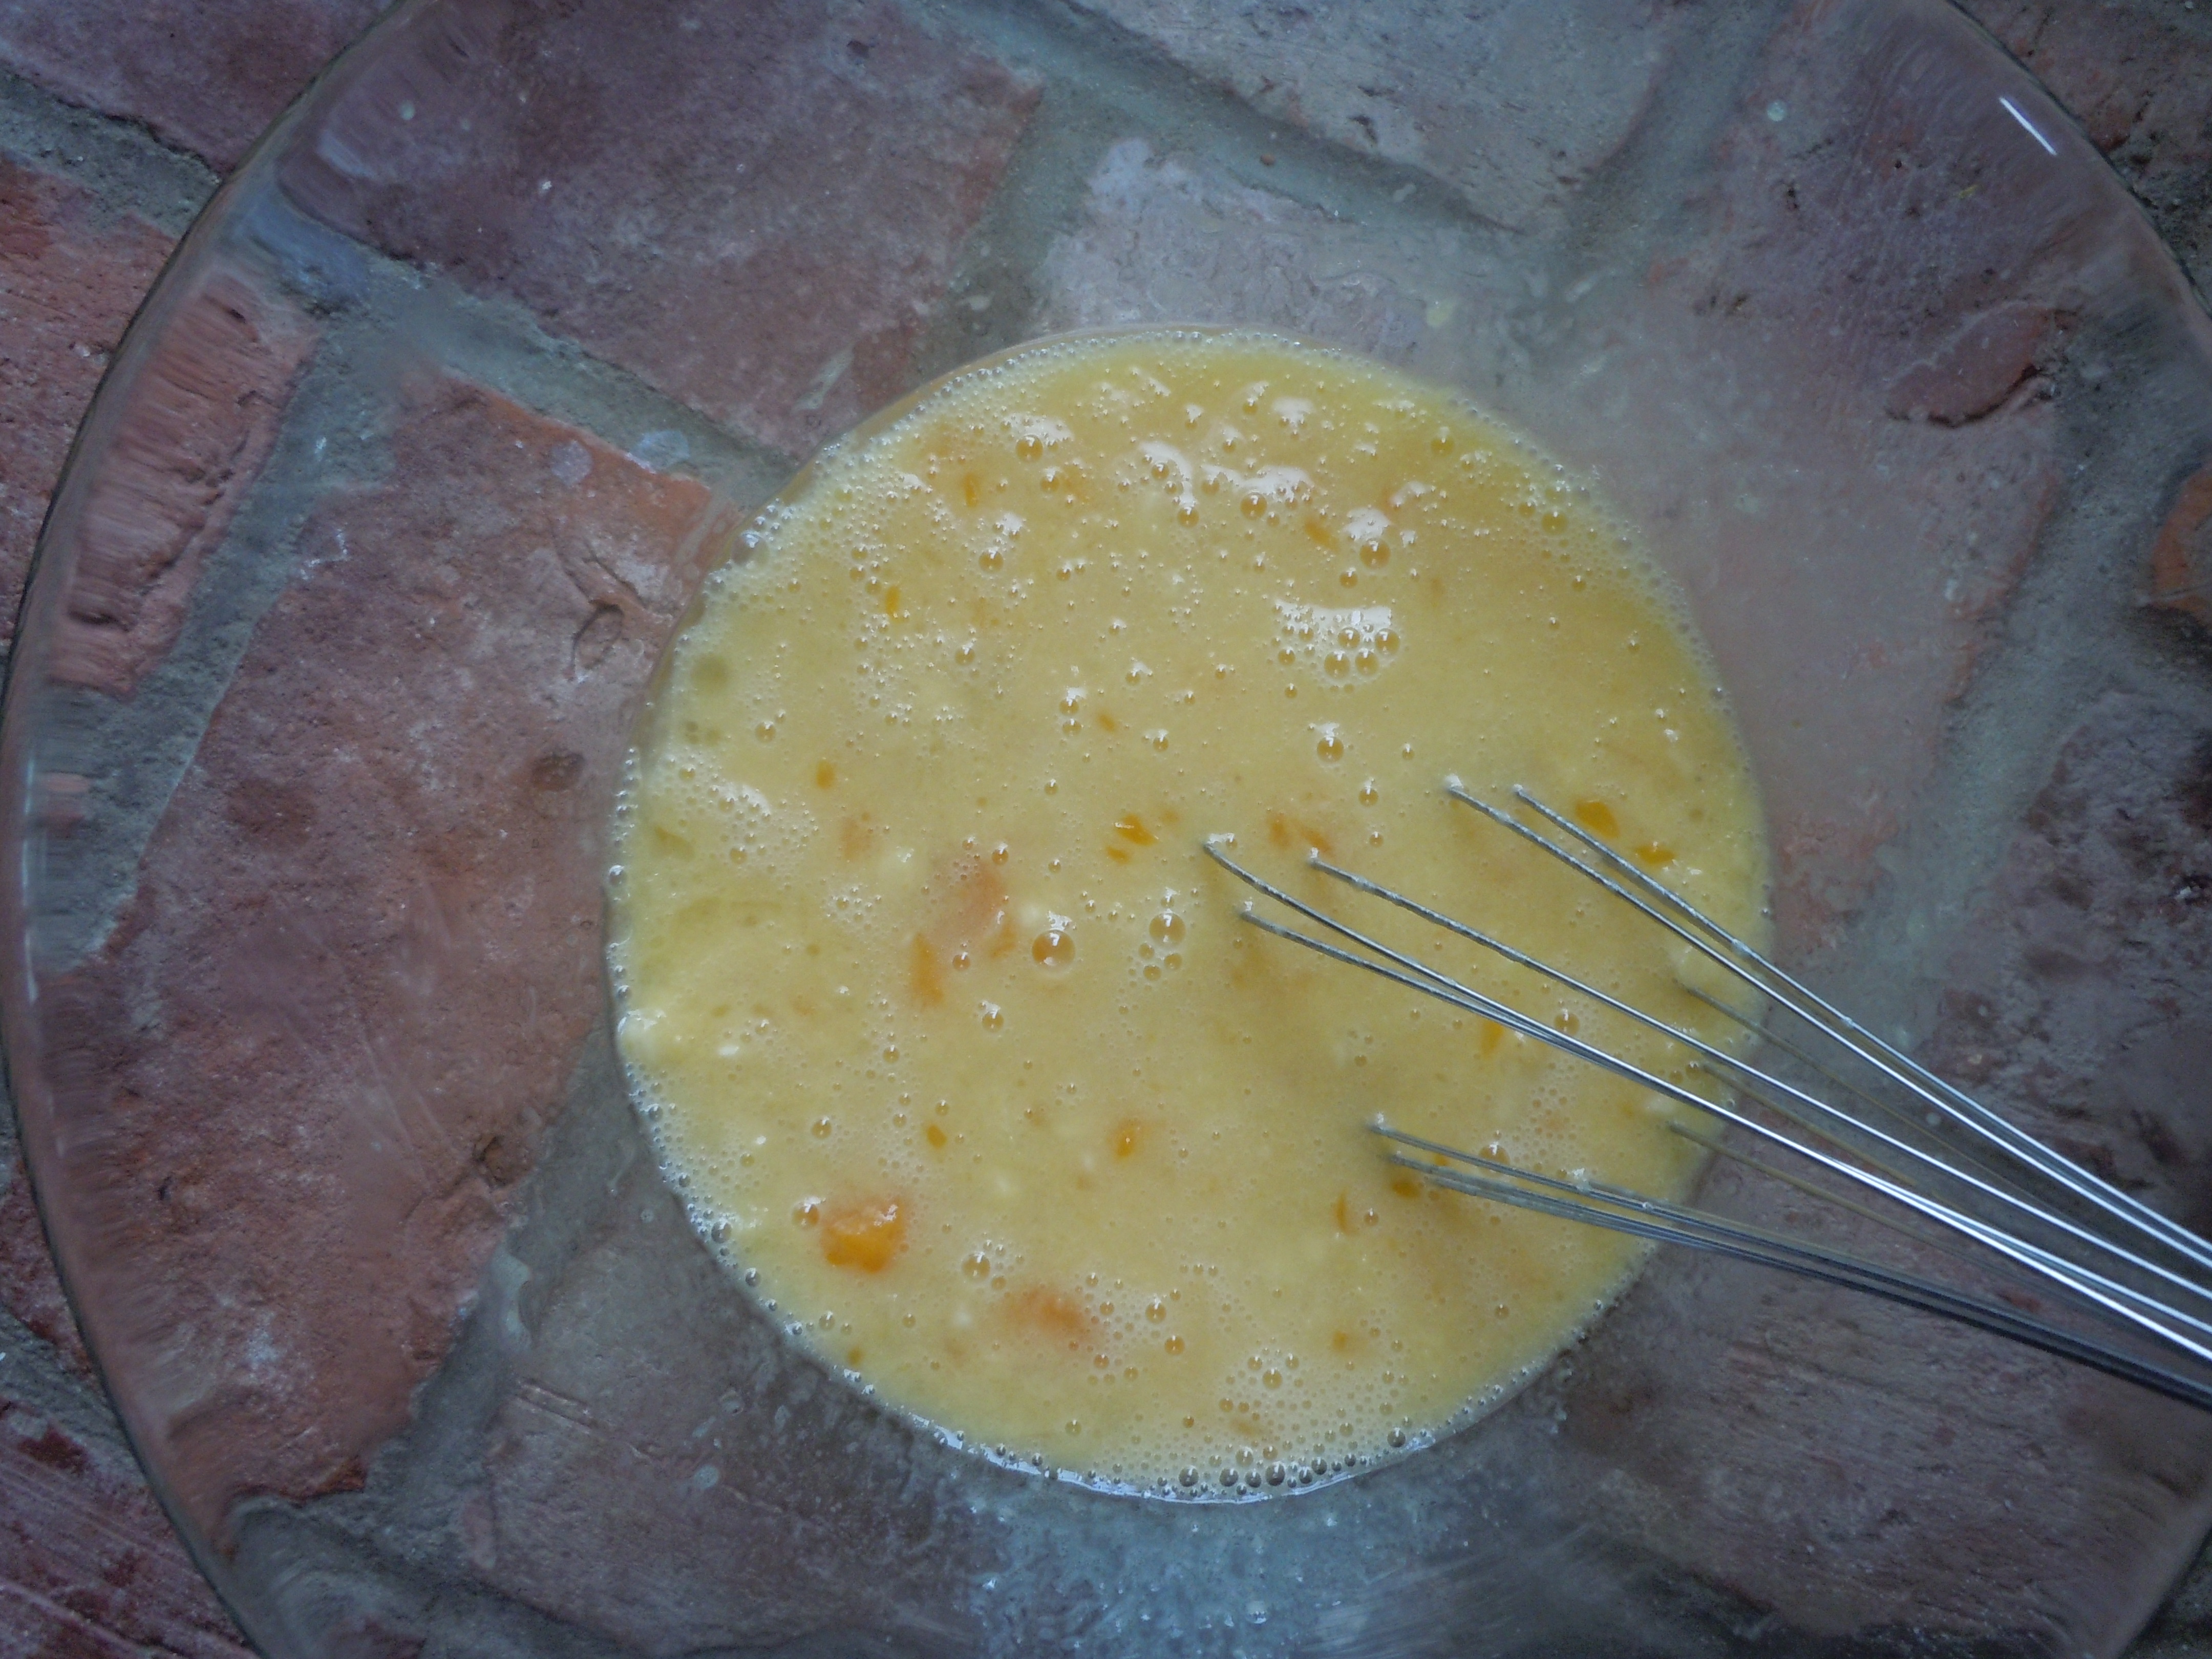
- Beat egg white, water and vanilla in a large bowl until frothy (not stiff) with a fork or whisk
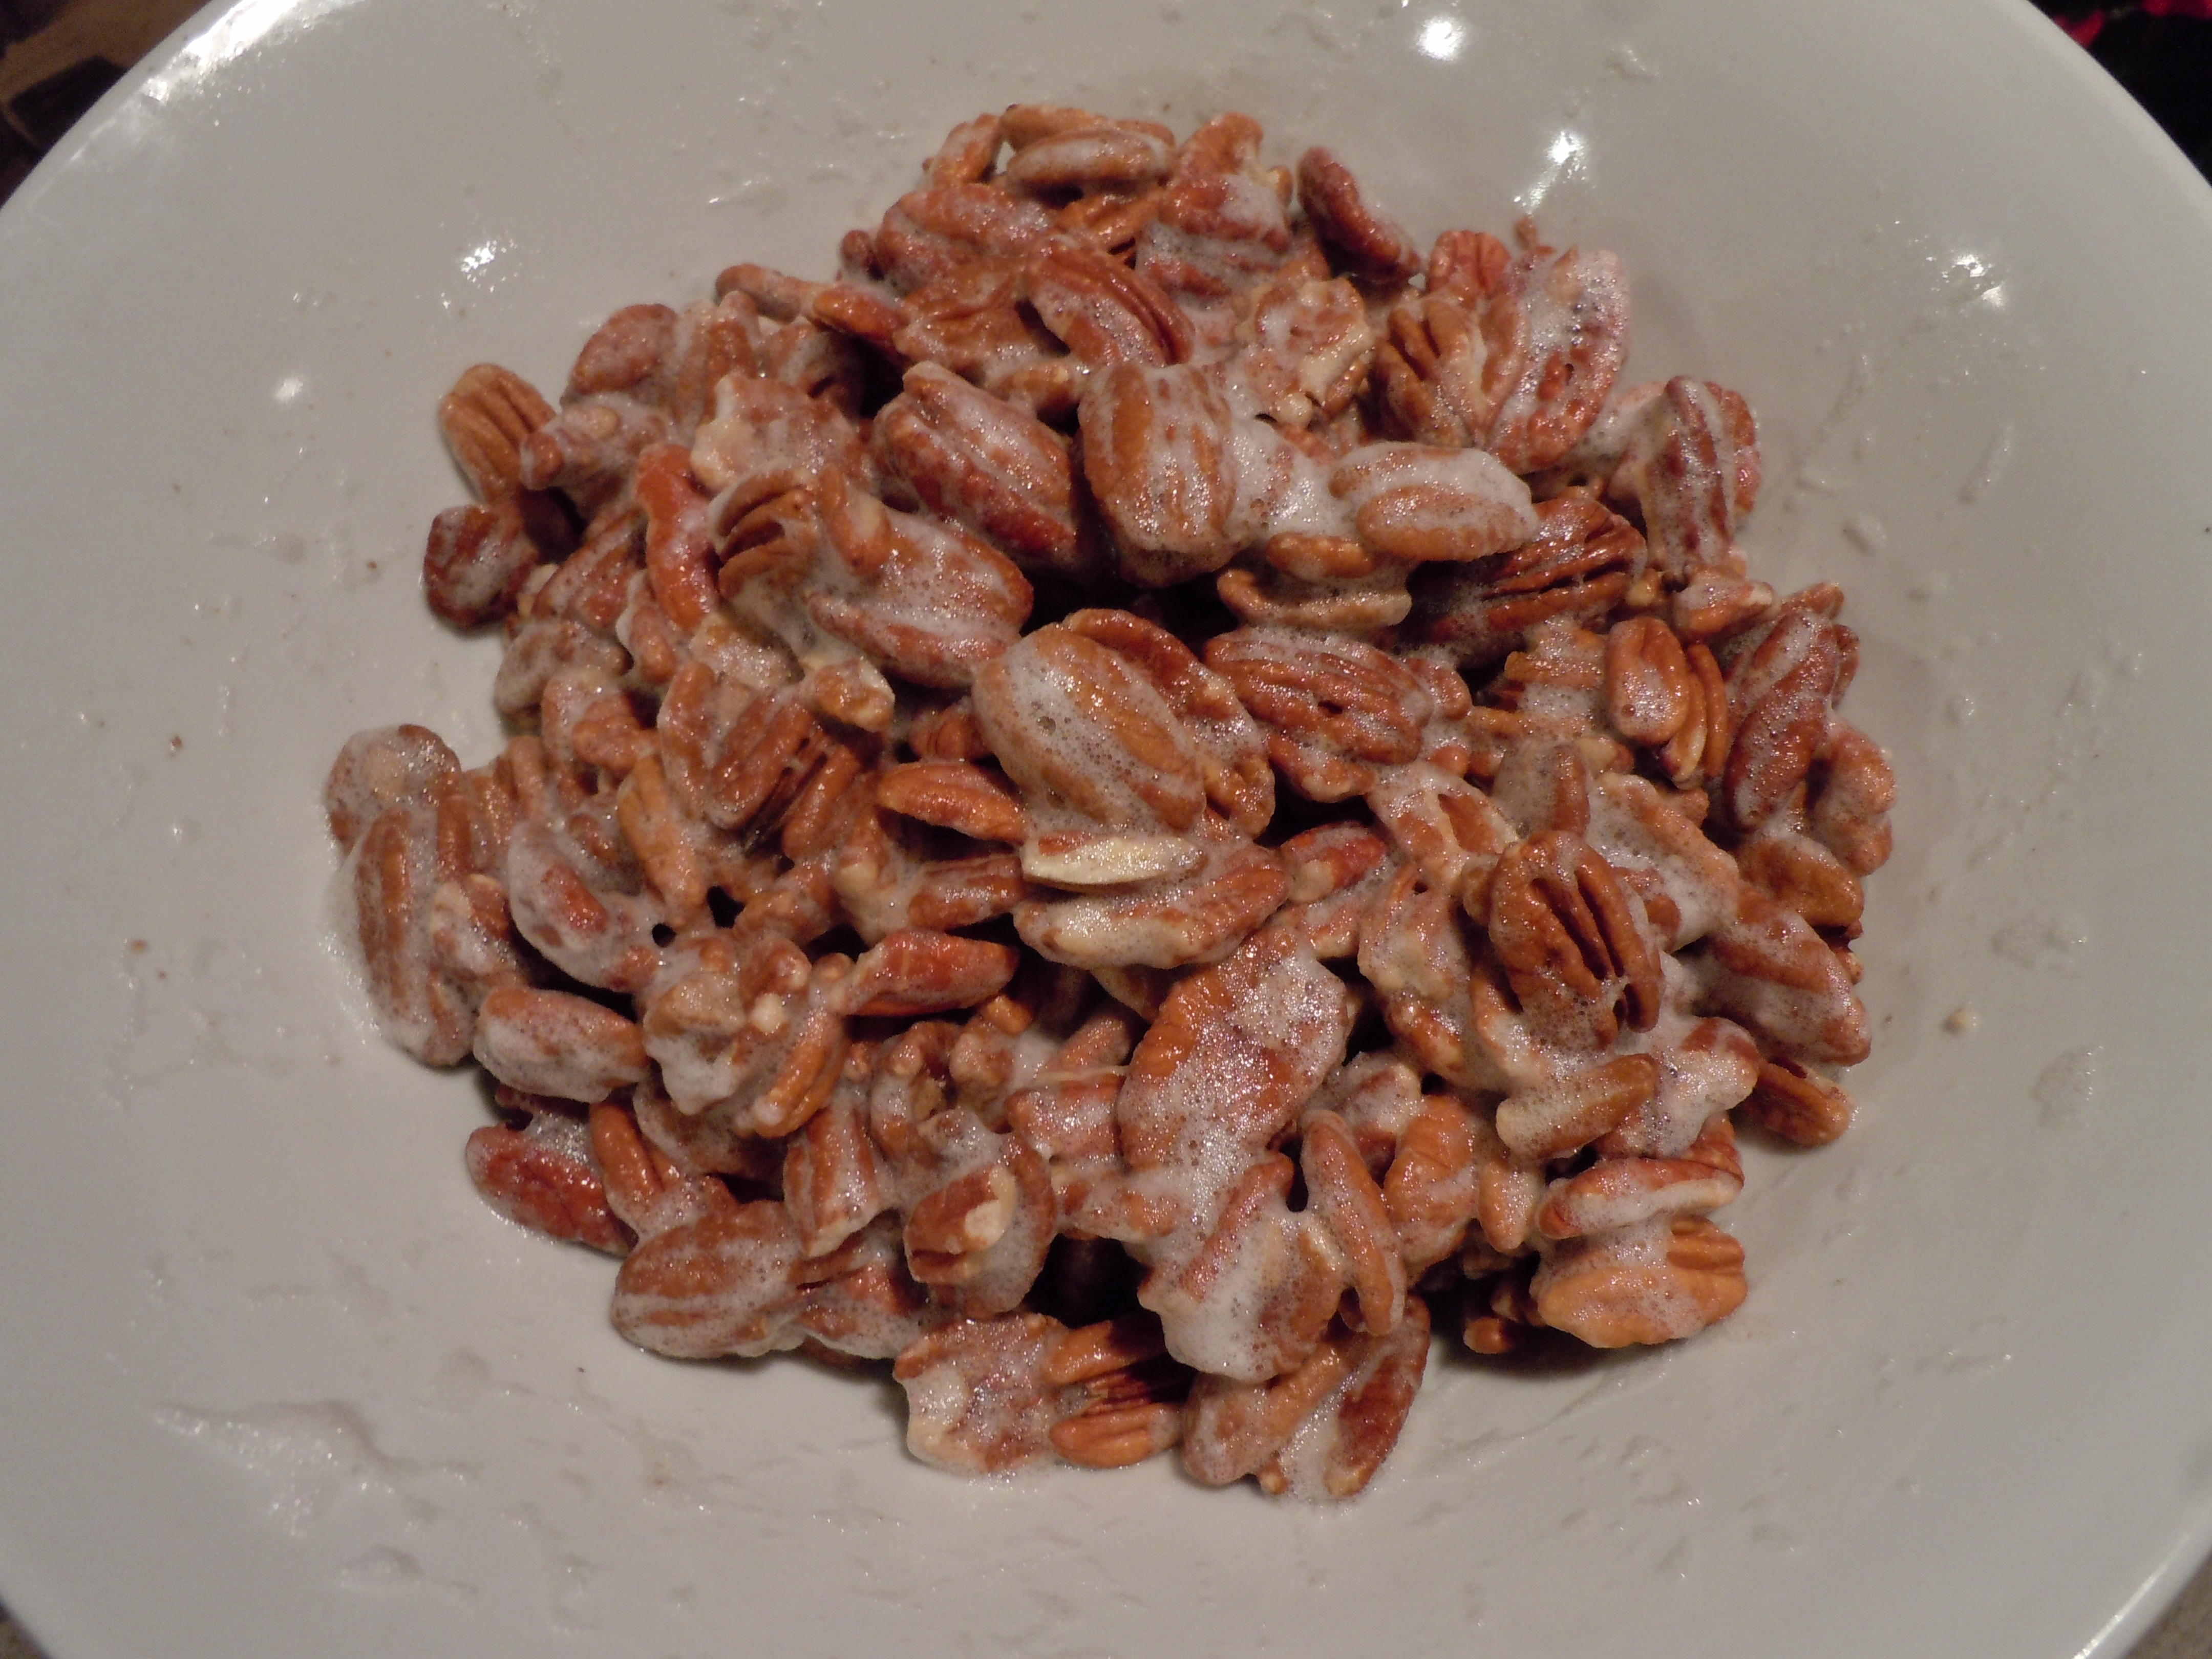
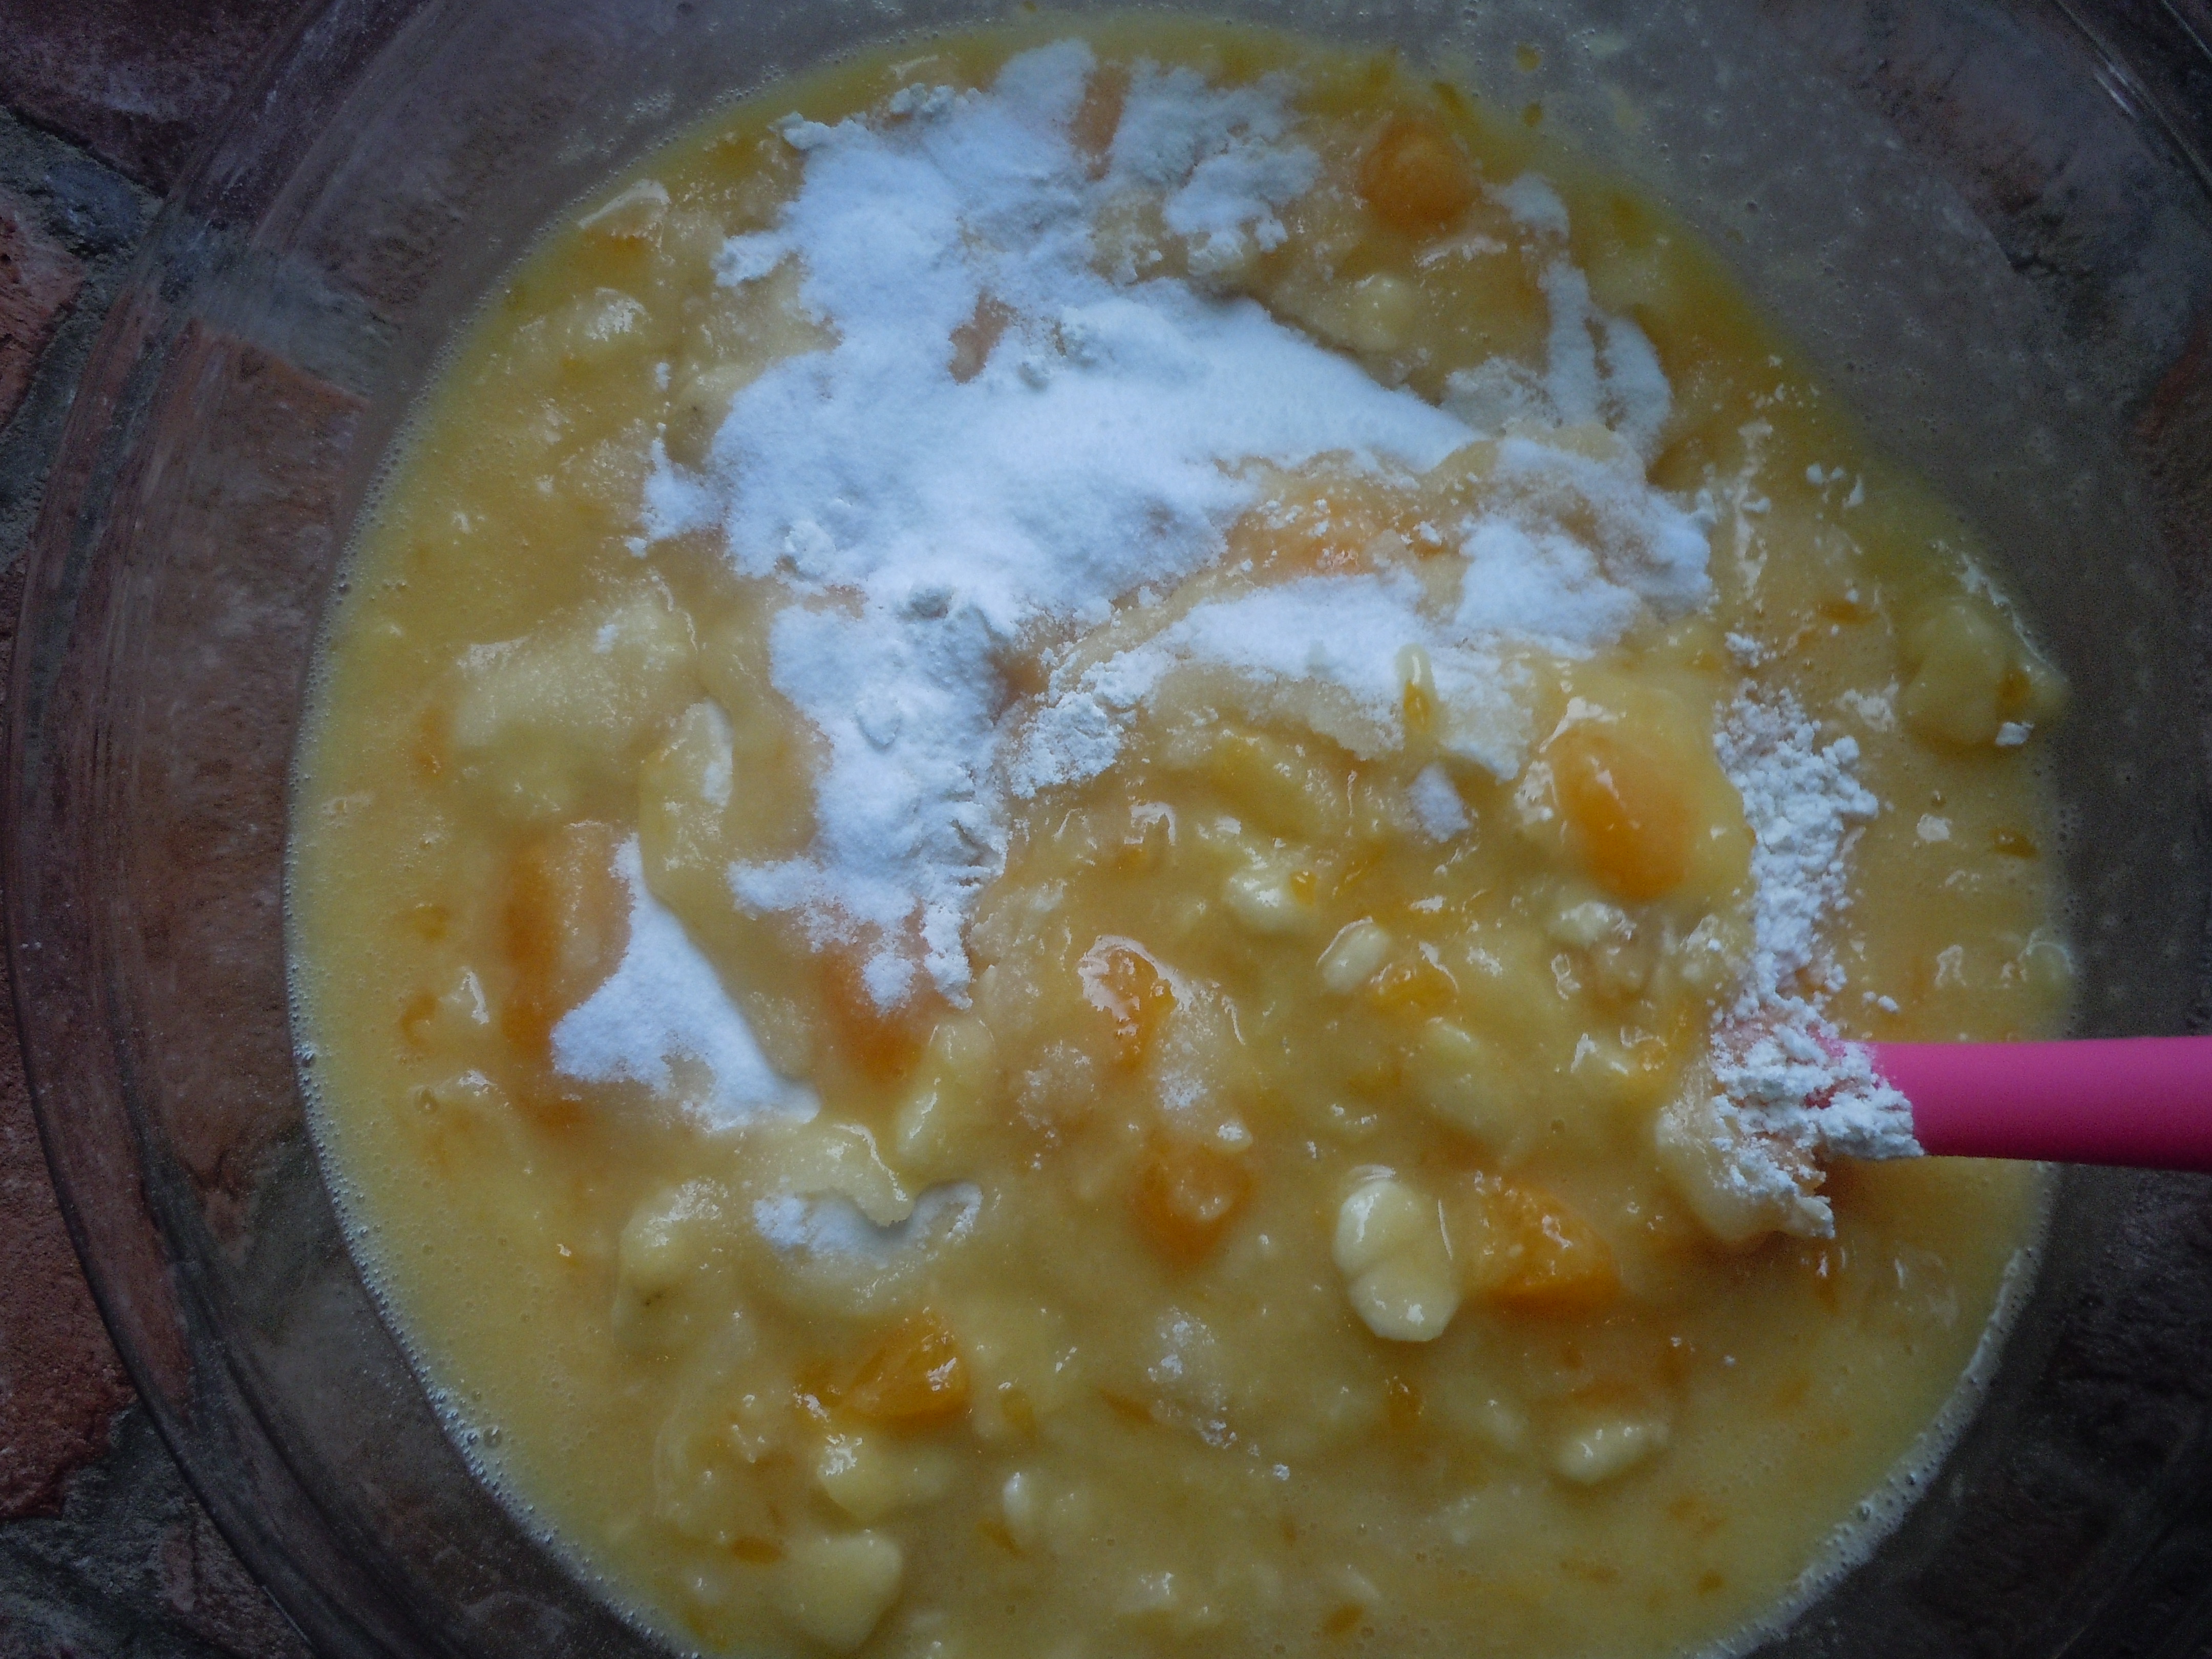
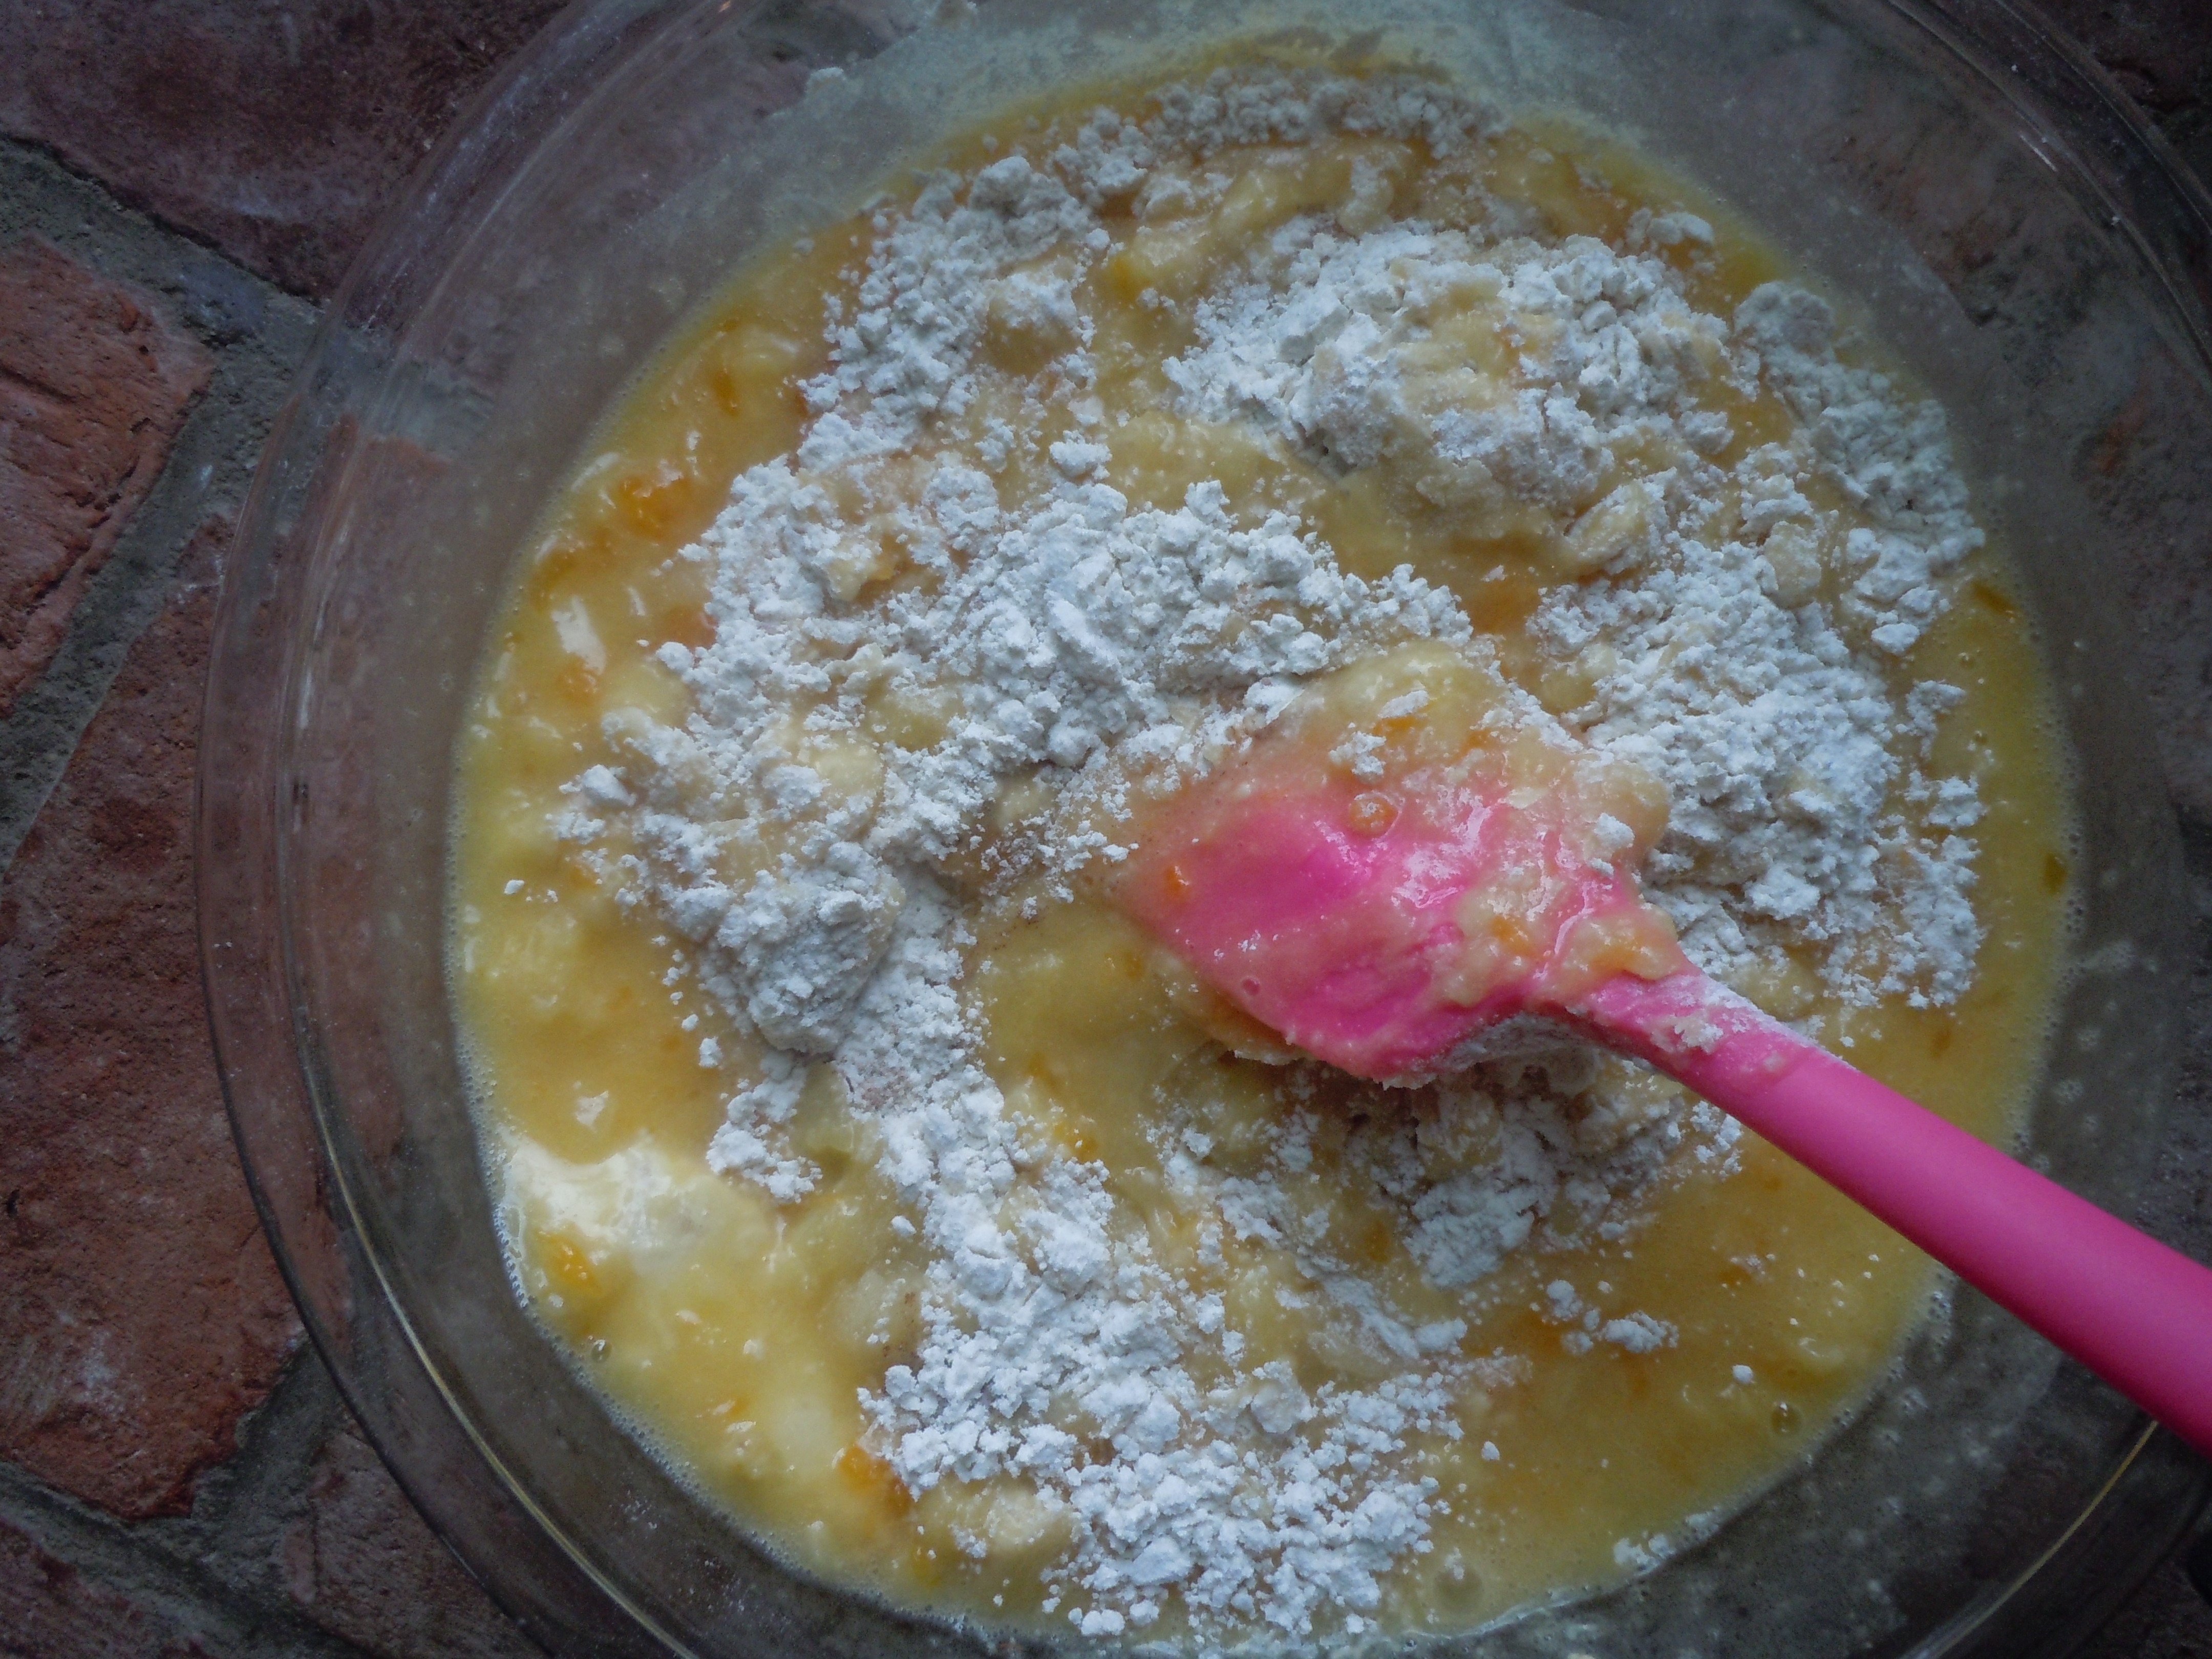
- Add pecans and mix to coat.
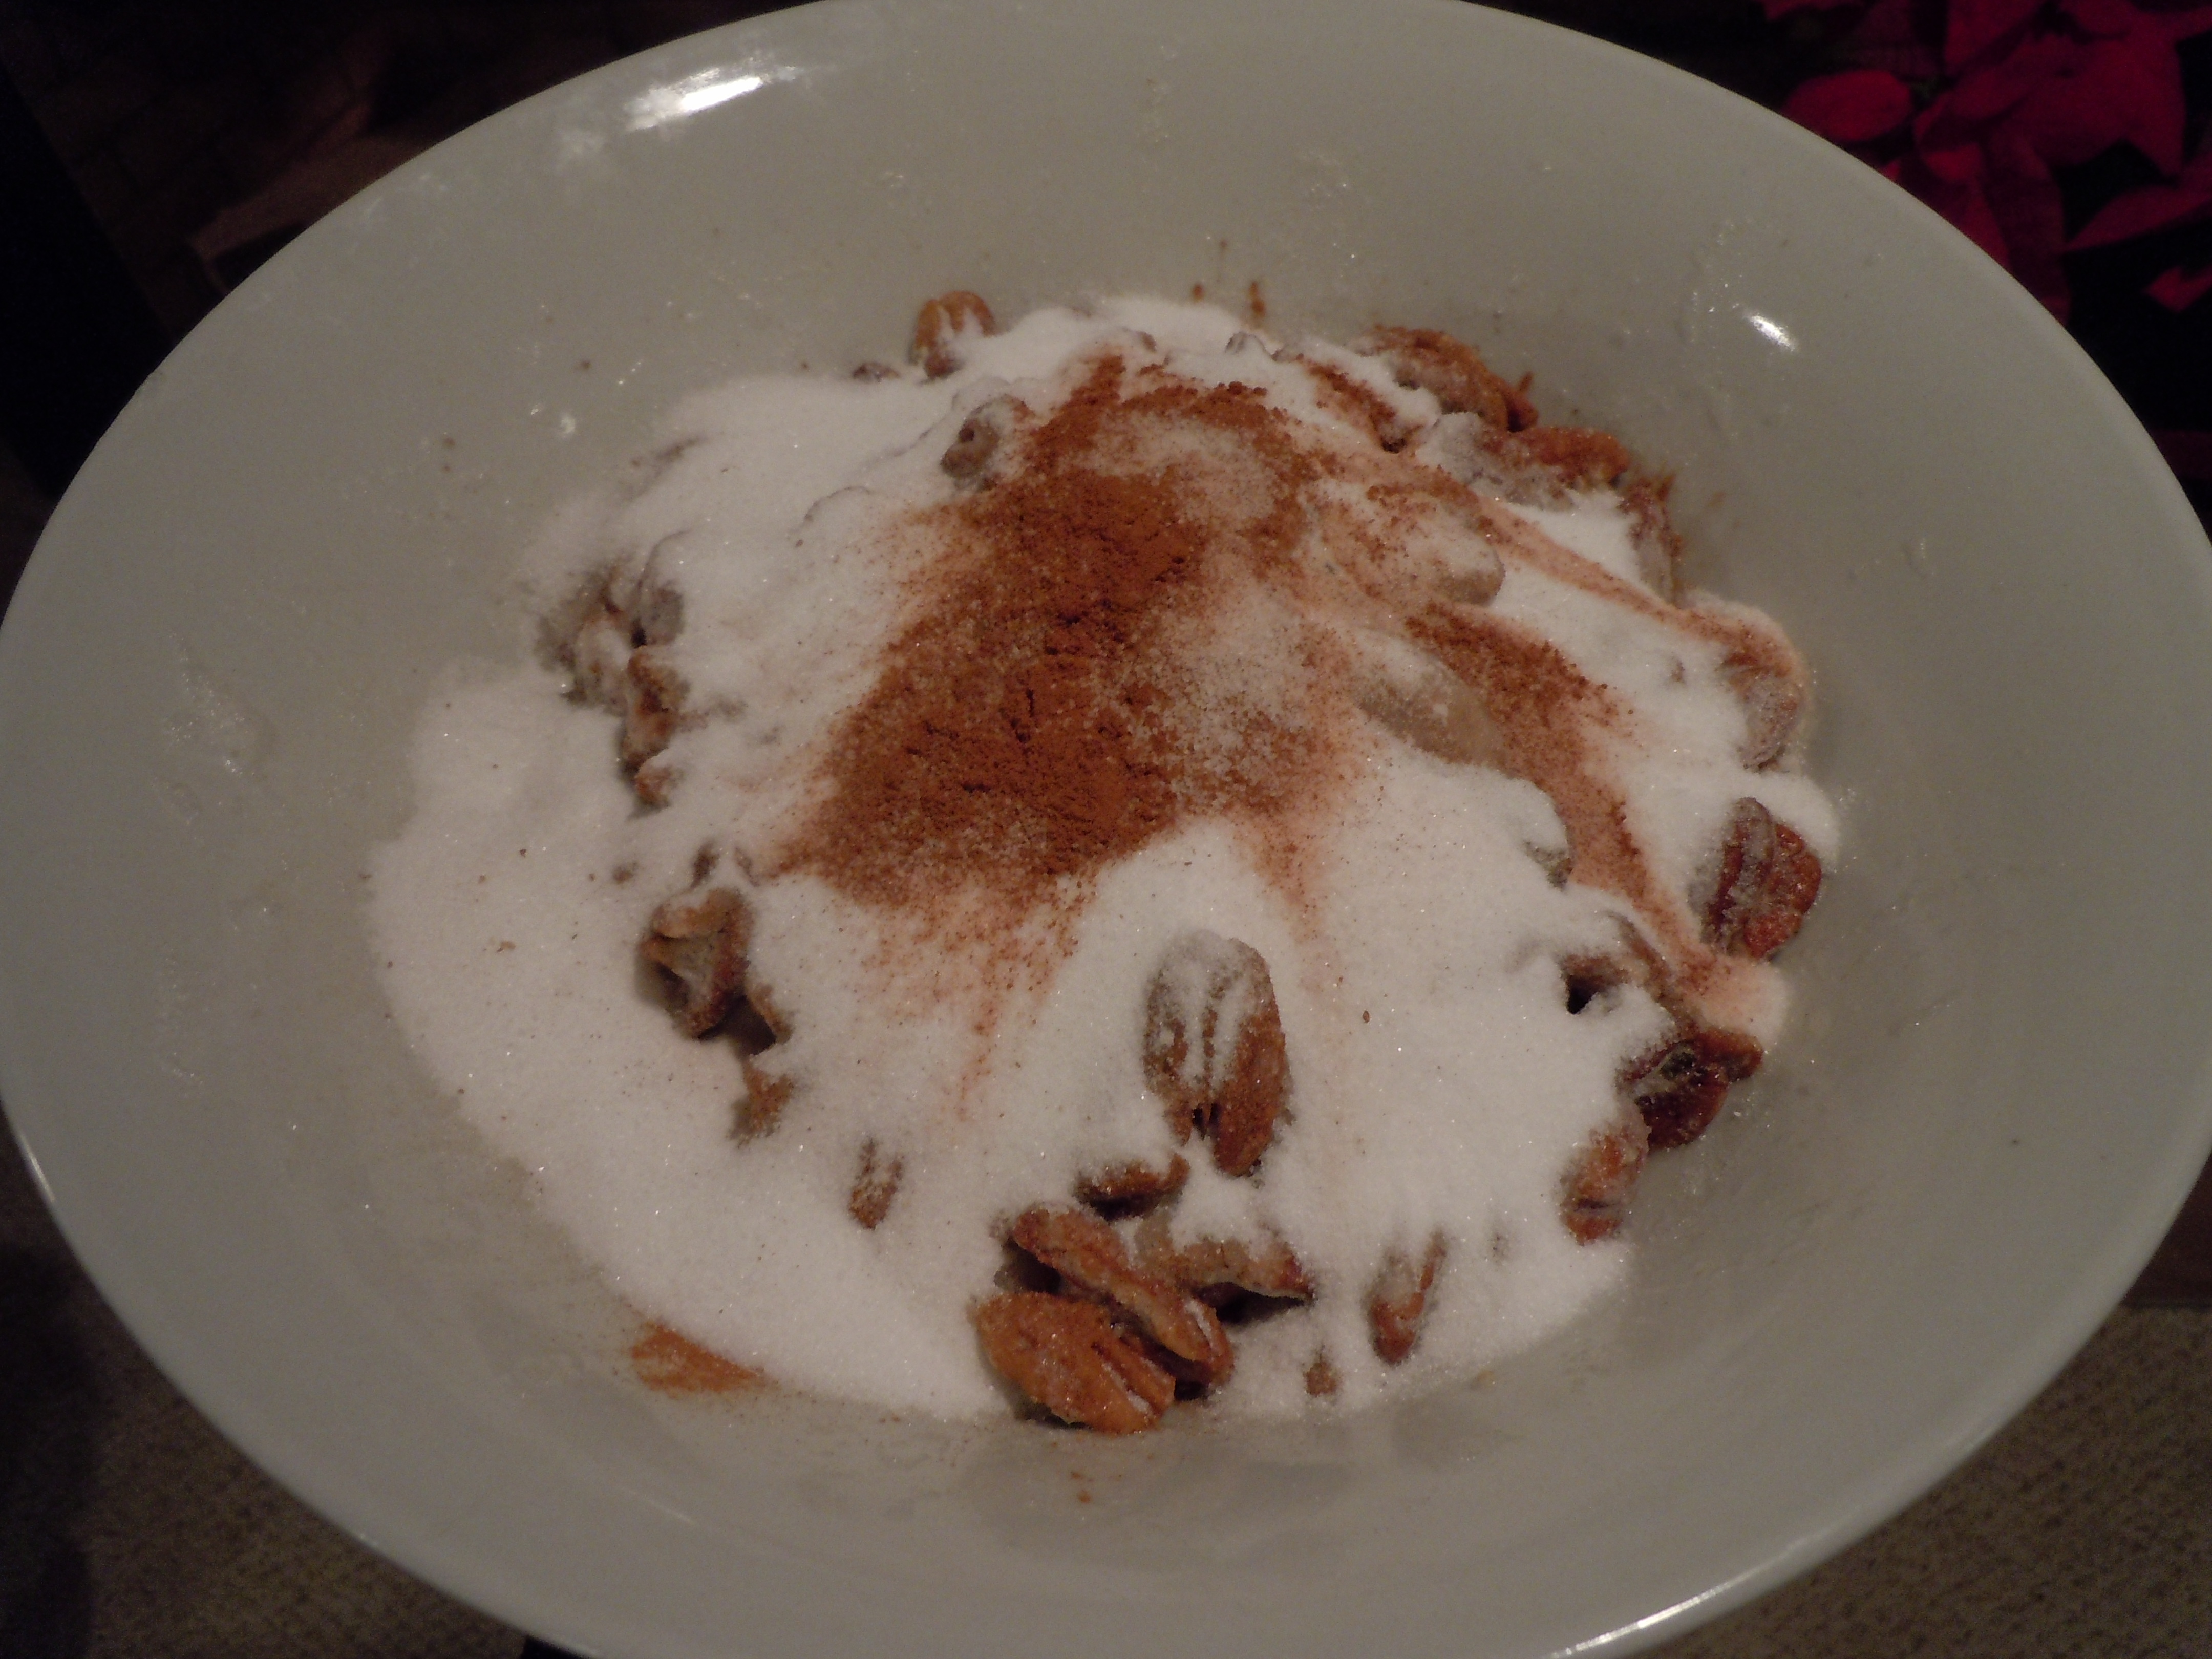
- Whisk all dry ingredients in a separate small bowl to combine
- Then add whisked dry ingredients to wet pecans and stir until coated.
- Coat the parchment with 2 tbsp room temp butter, then spread the pecans onto the coated cookie sheet in an even layer
- Take out to stir pecans around at the 15 minute mark and then gently shake pan to evenly distribute pecans on tray and back into the oven
- Bake for total of 20-22 minutes – til fragrant
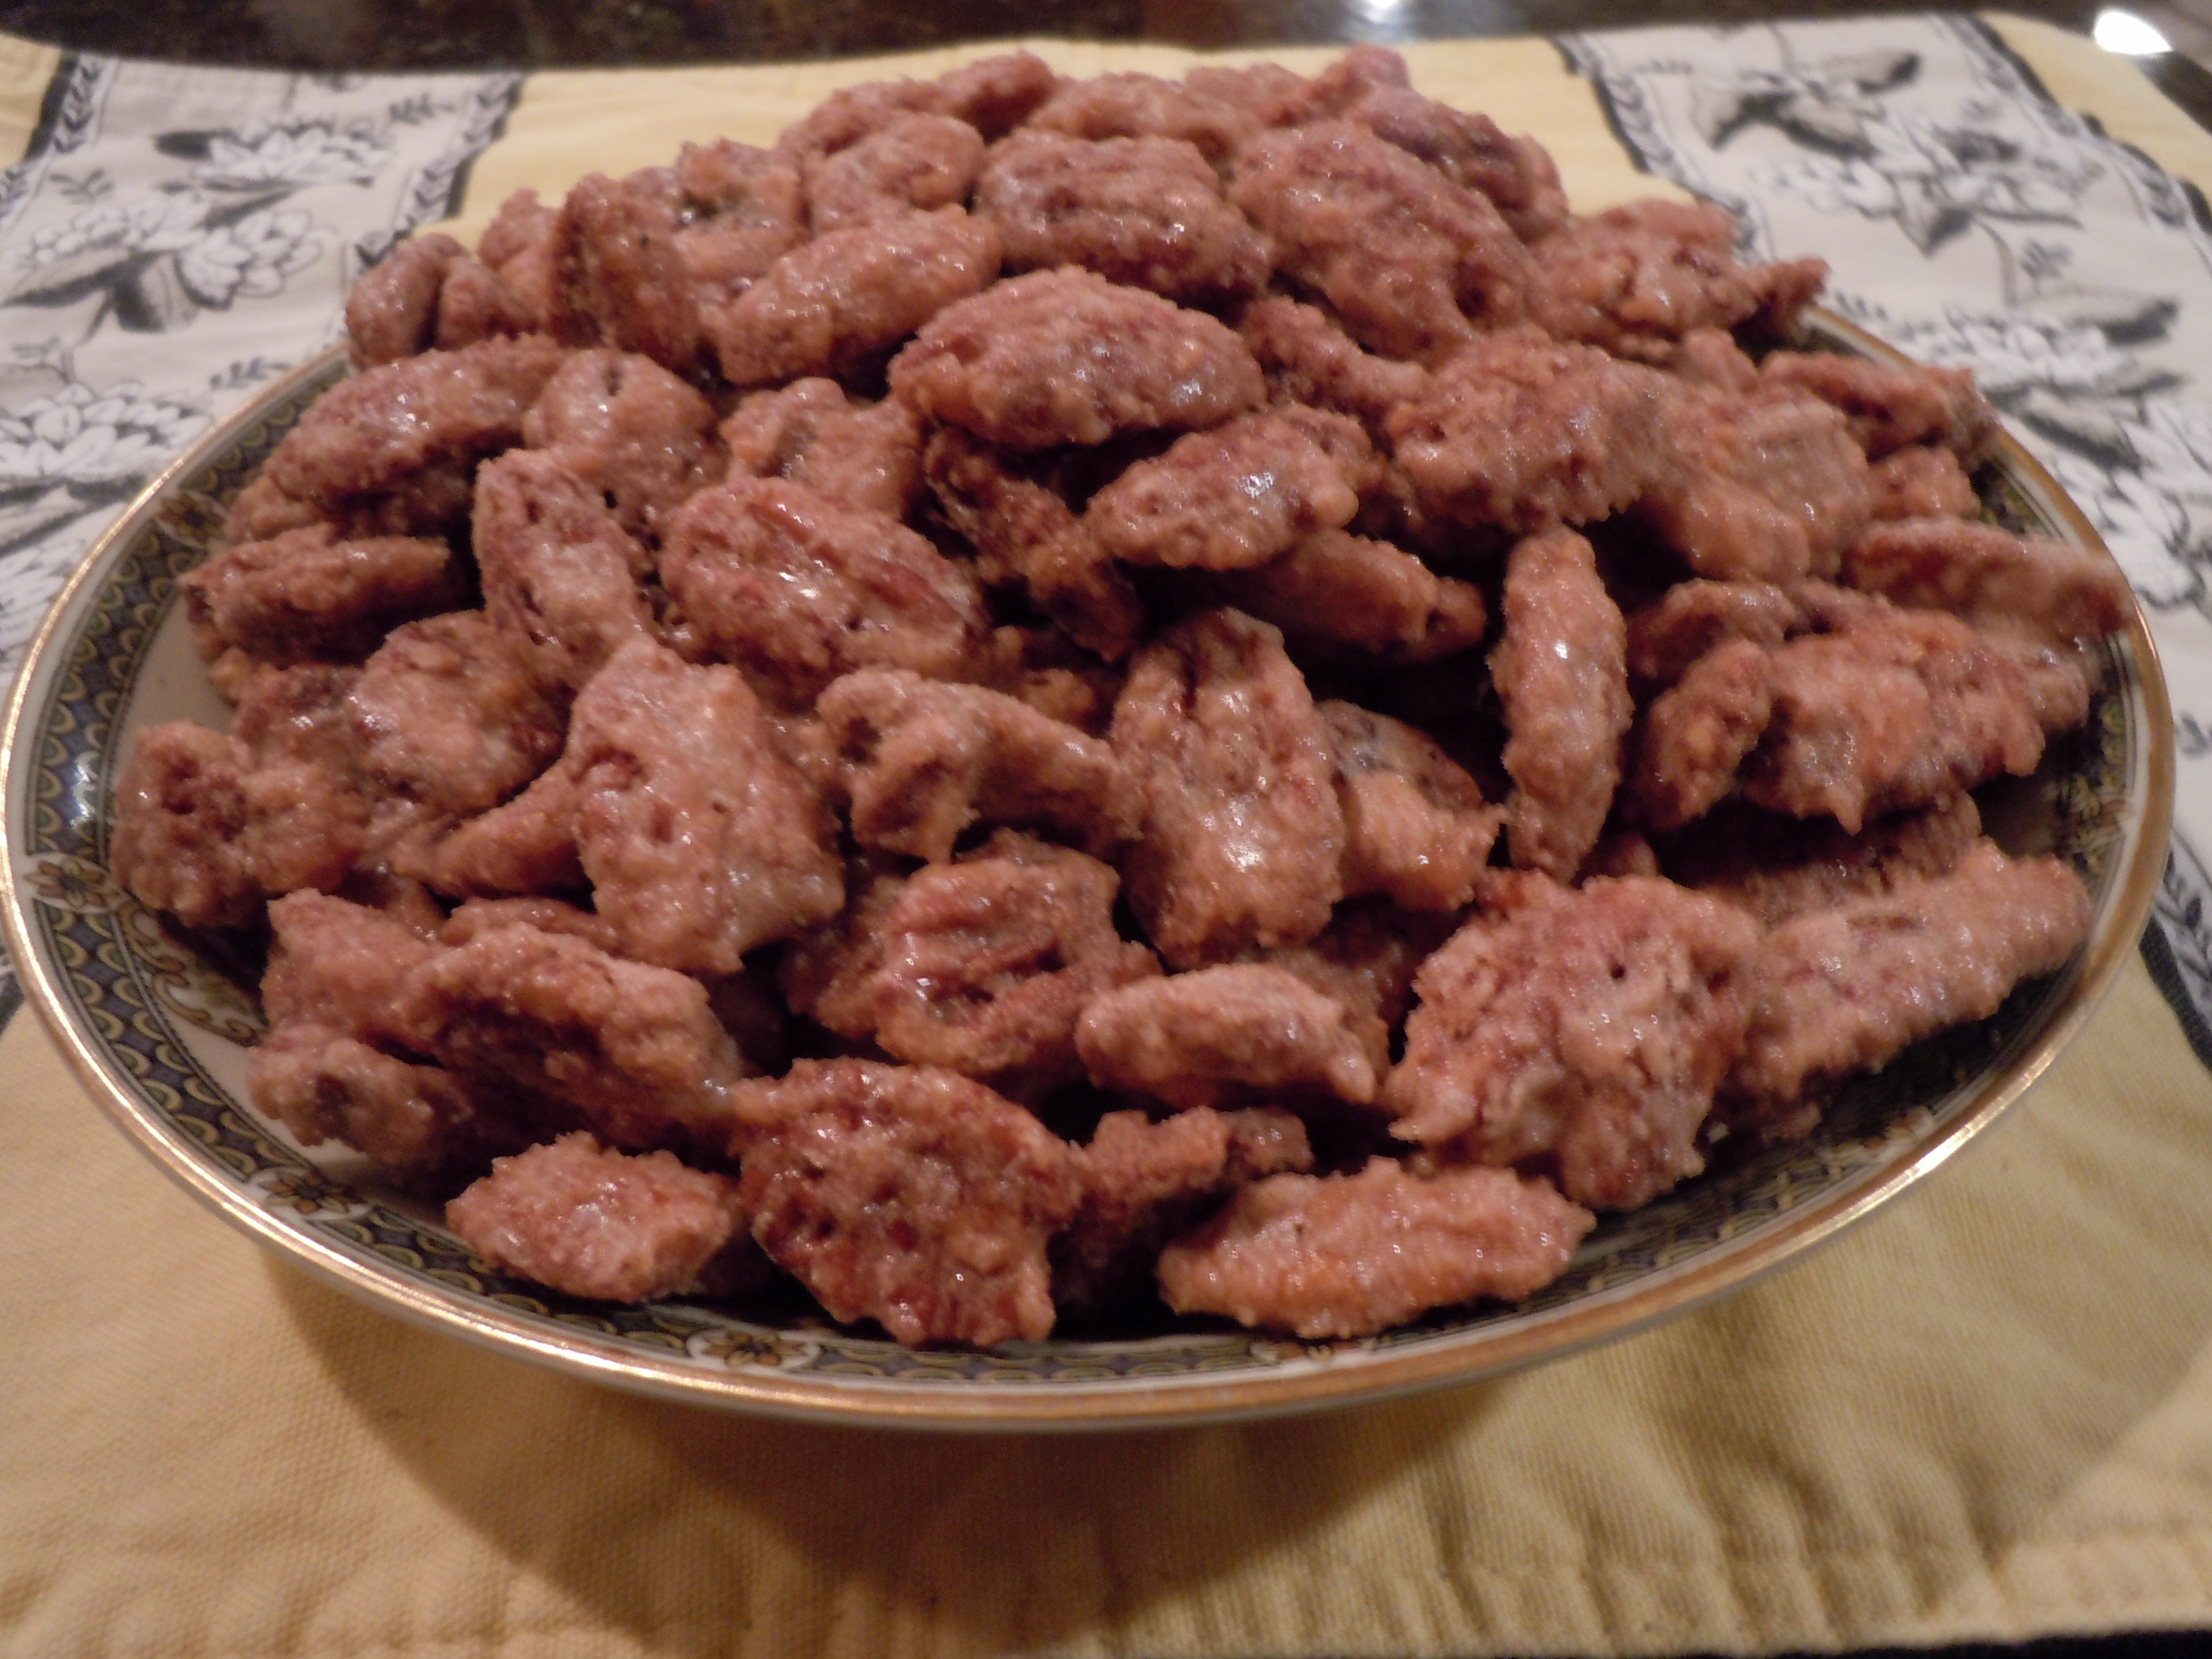
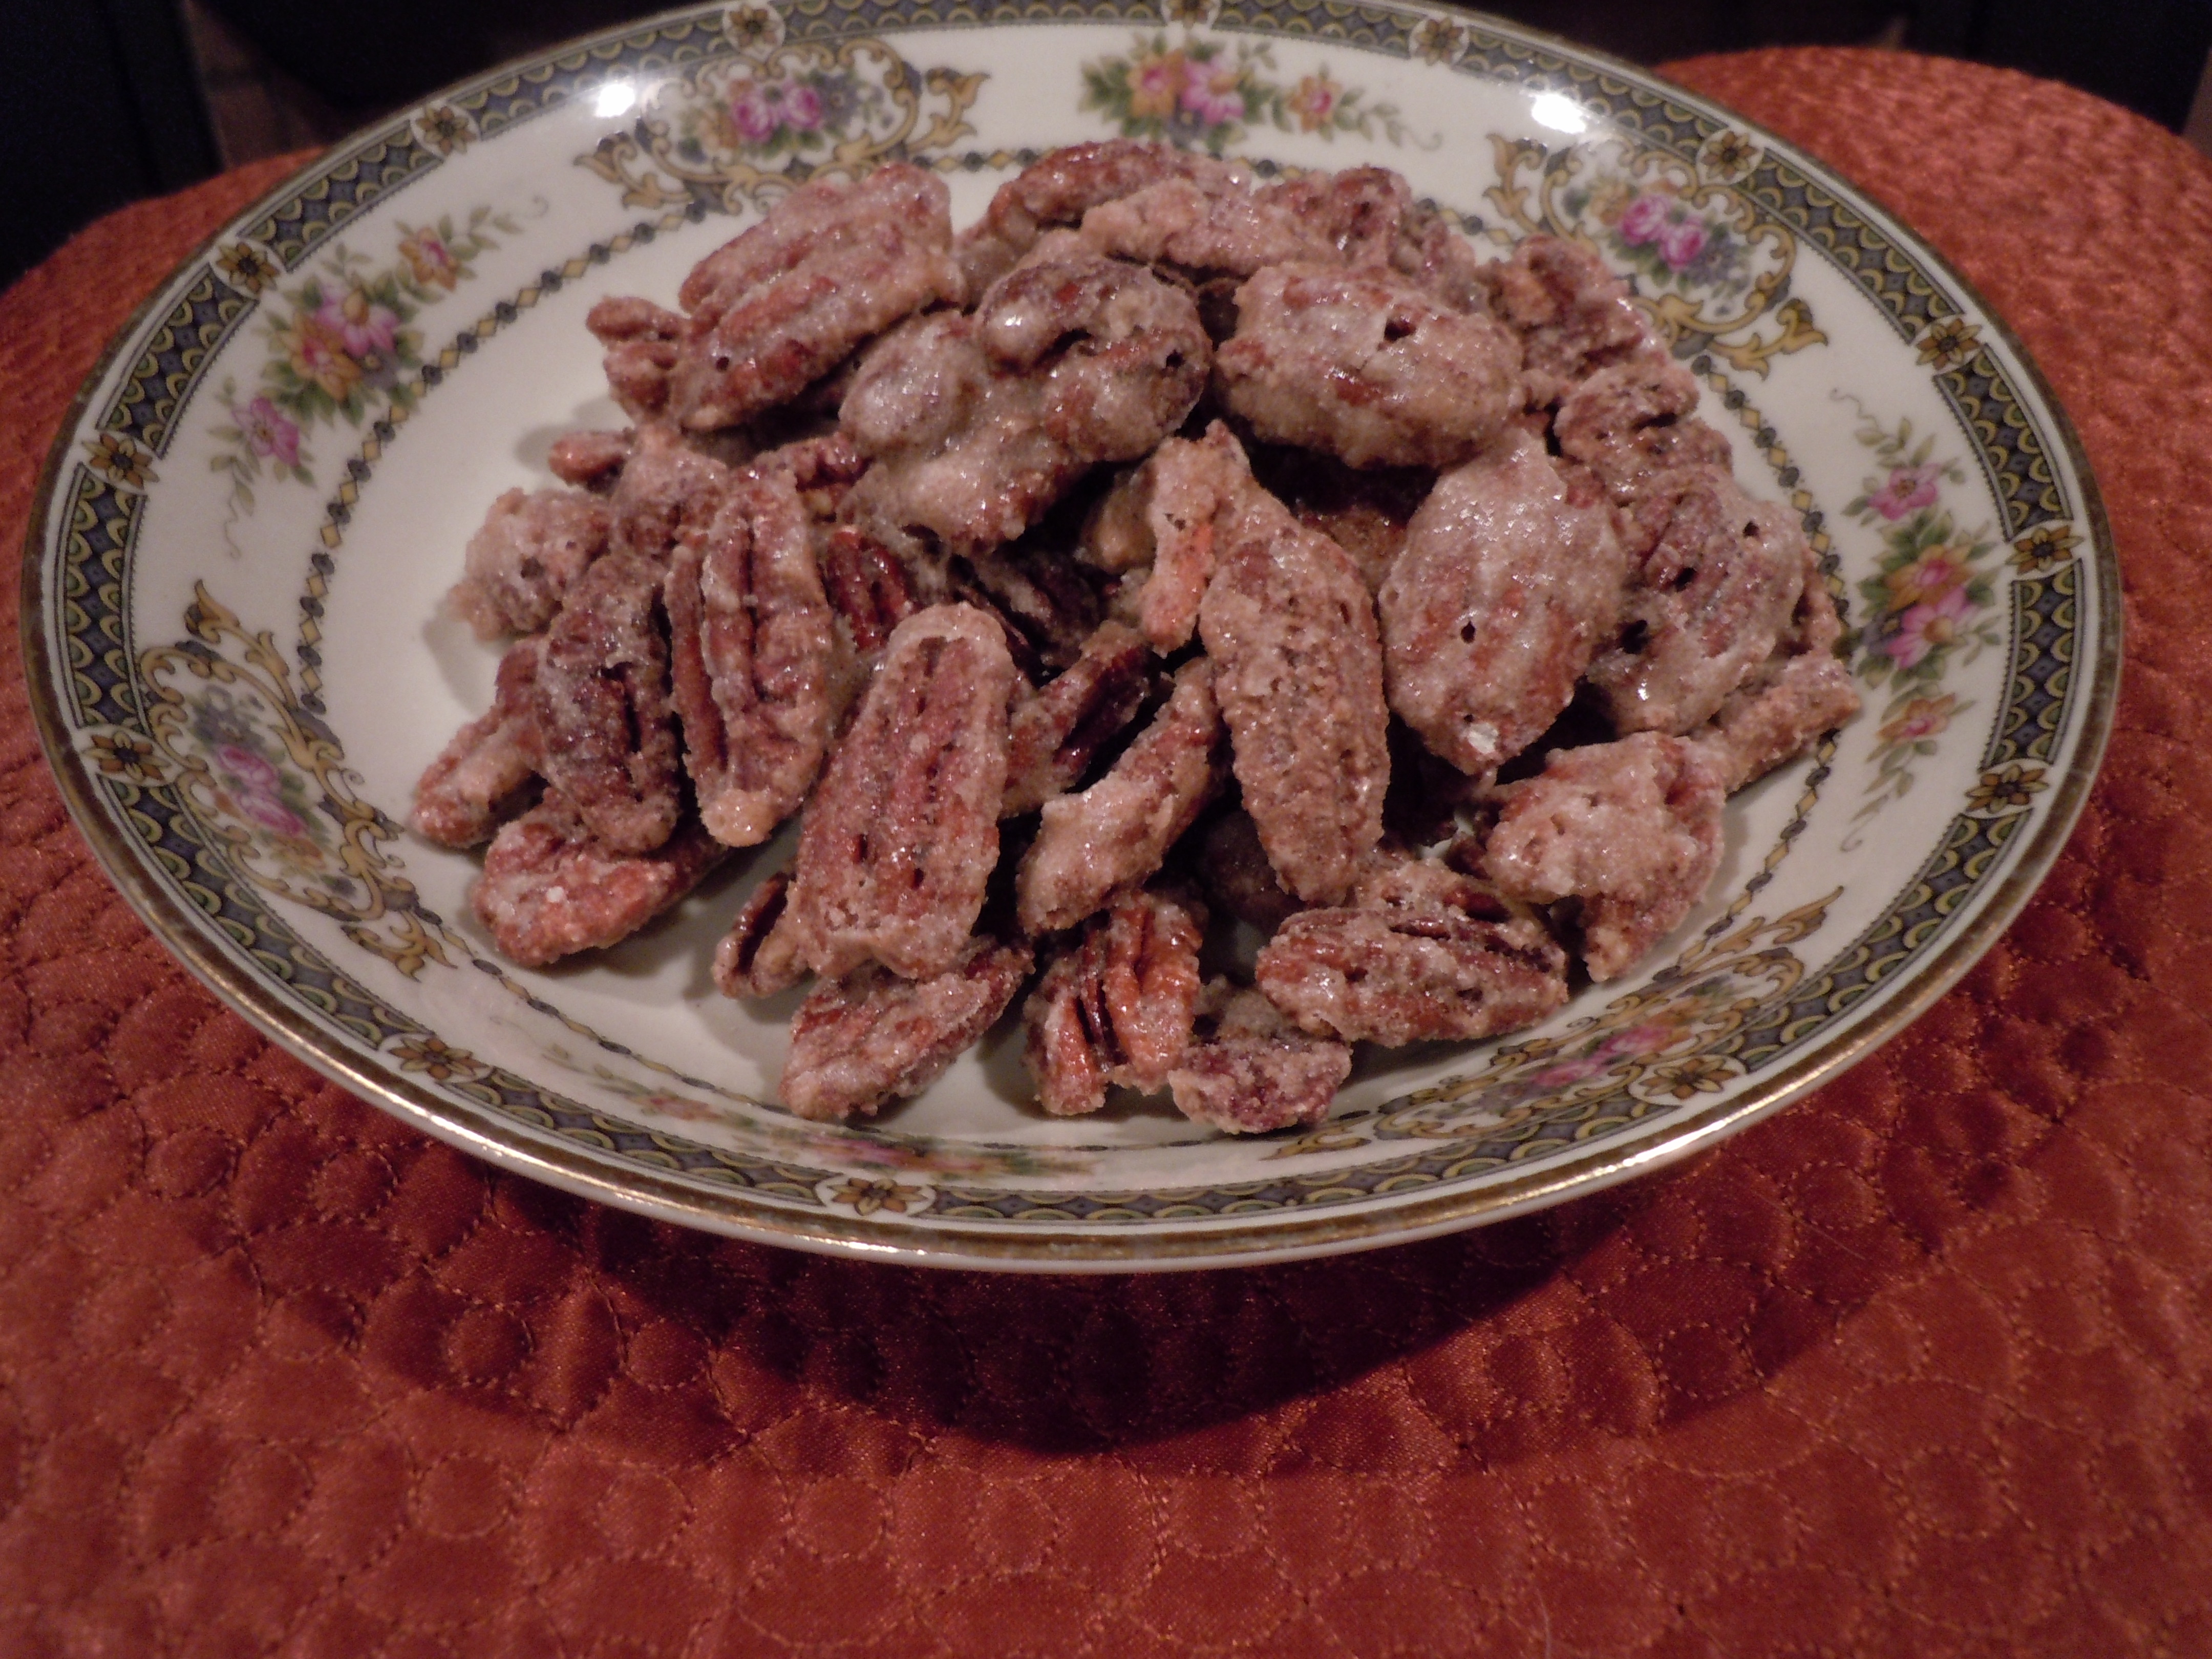
- Take the pecans out of oven and run a spatula under the pecans to loosen them from the tray and then let the pecans cool right on the same baking tray
- When the candied pecans are completely cooled up can package them up…enjoy!


