The Traveling Epicurean

Bloody Mary Shrimp & Mango-Curry Shrimp At Nancy’s

Bloody Mary Shrimp & Mango-Curry Shrimp At Nancy’s

Bloody Mary Shrimp & Mango-Curry Shrimp in Wonton Cups

These two homemade shrimp appetizer’s are fun and delicious! Bloody Mary Shrimp and Mango-Curry Shrimp in wonton cups will soon be on your go to list for summer appetizers! My good friend Nancy passed these wonderful recipes on to me which she found at epicurious.com. They certainly have a an enormous assortment of recipes there to choose from and sometimes it can be overwhelming finding the ones you like so I feel fortunate to have a fellow foodie pass these on.

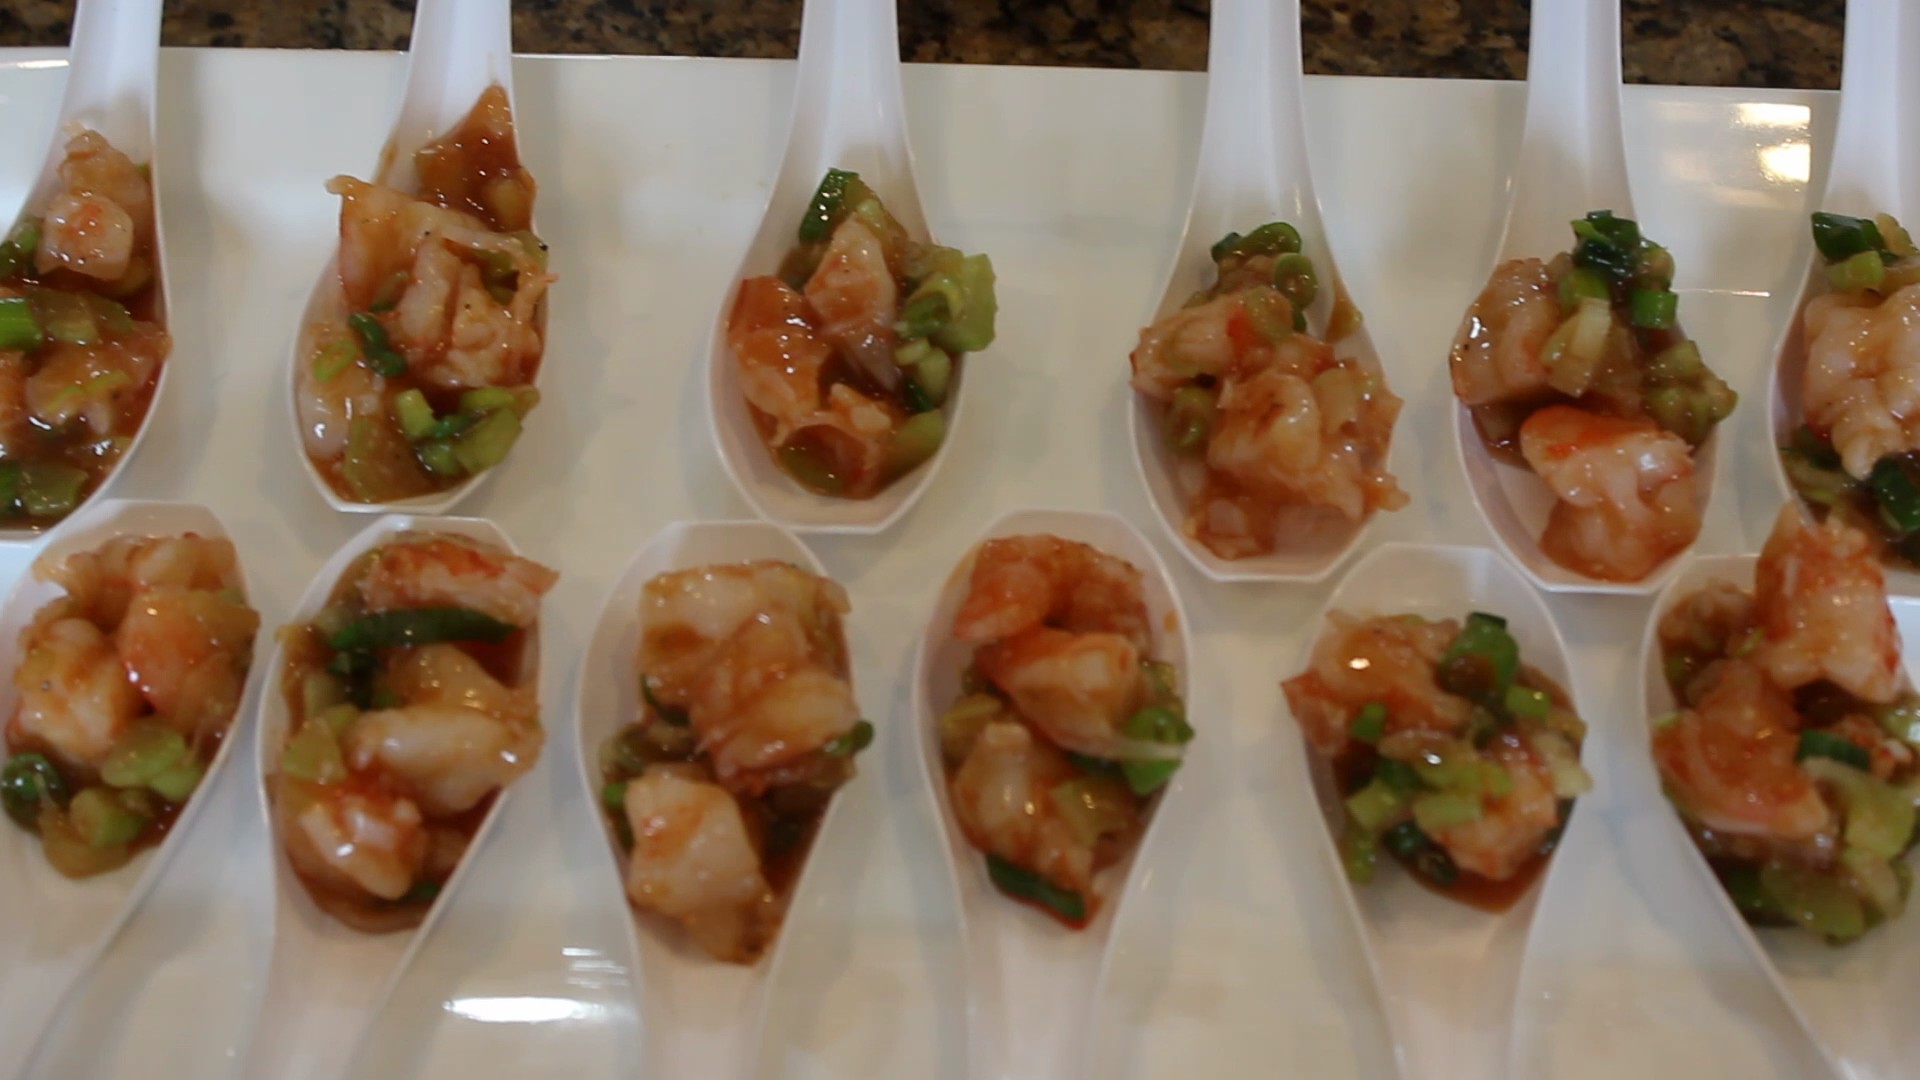
These two shrimp appetizer’s just might be the easiest and most delicious recipes you’ll have this summer. The Bloody Mary shrimp is so flavorful with all the same condiments that make up “the” cocktail including the vodka but in little nibble sizes.  Serving up this appetizer on a spoon makes for a lovely presentation too. You can find these spoons at party stores and sometimes even at Stop & Shop.

The Mango-Curry Shrimp in wonton cups is another winner with a variety of fresh flavors from the green curry sauce to the mango chutney which both come prepared from the specialty section of the grocery store totally saving you time in the prep department …Hallelujah! You know me with the mayo thing … as much as I love my Hellman’s Mayo I do like to cut the mayo with some plain Greek yogurt to give it a little tang and a wonderful fresh texture so I give you that option in the list of ingredients for this appetizer.

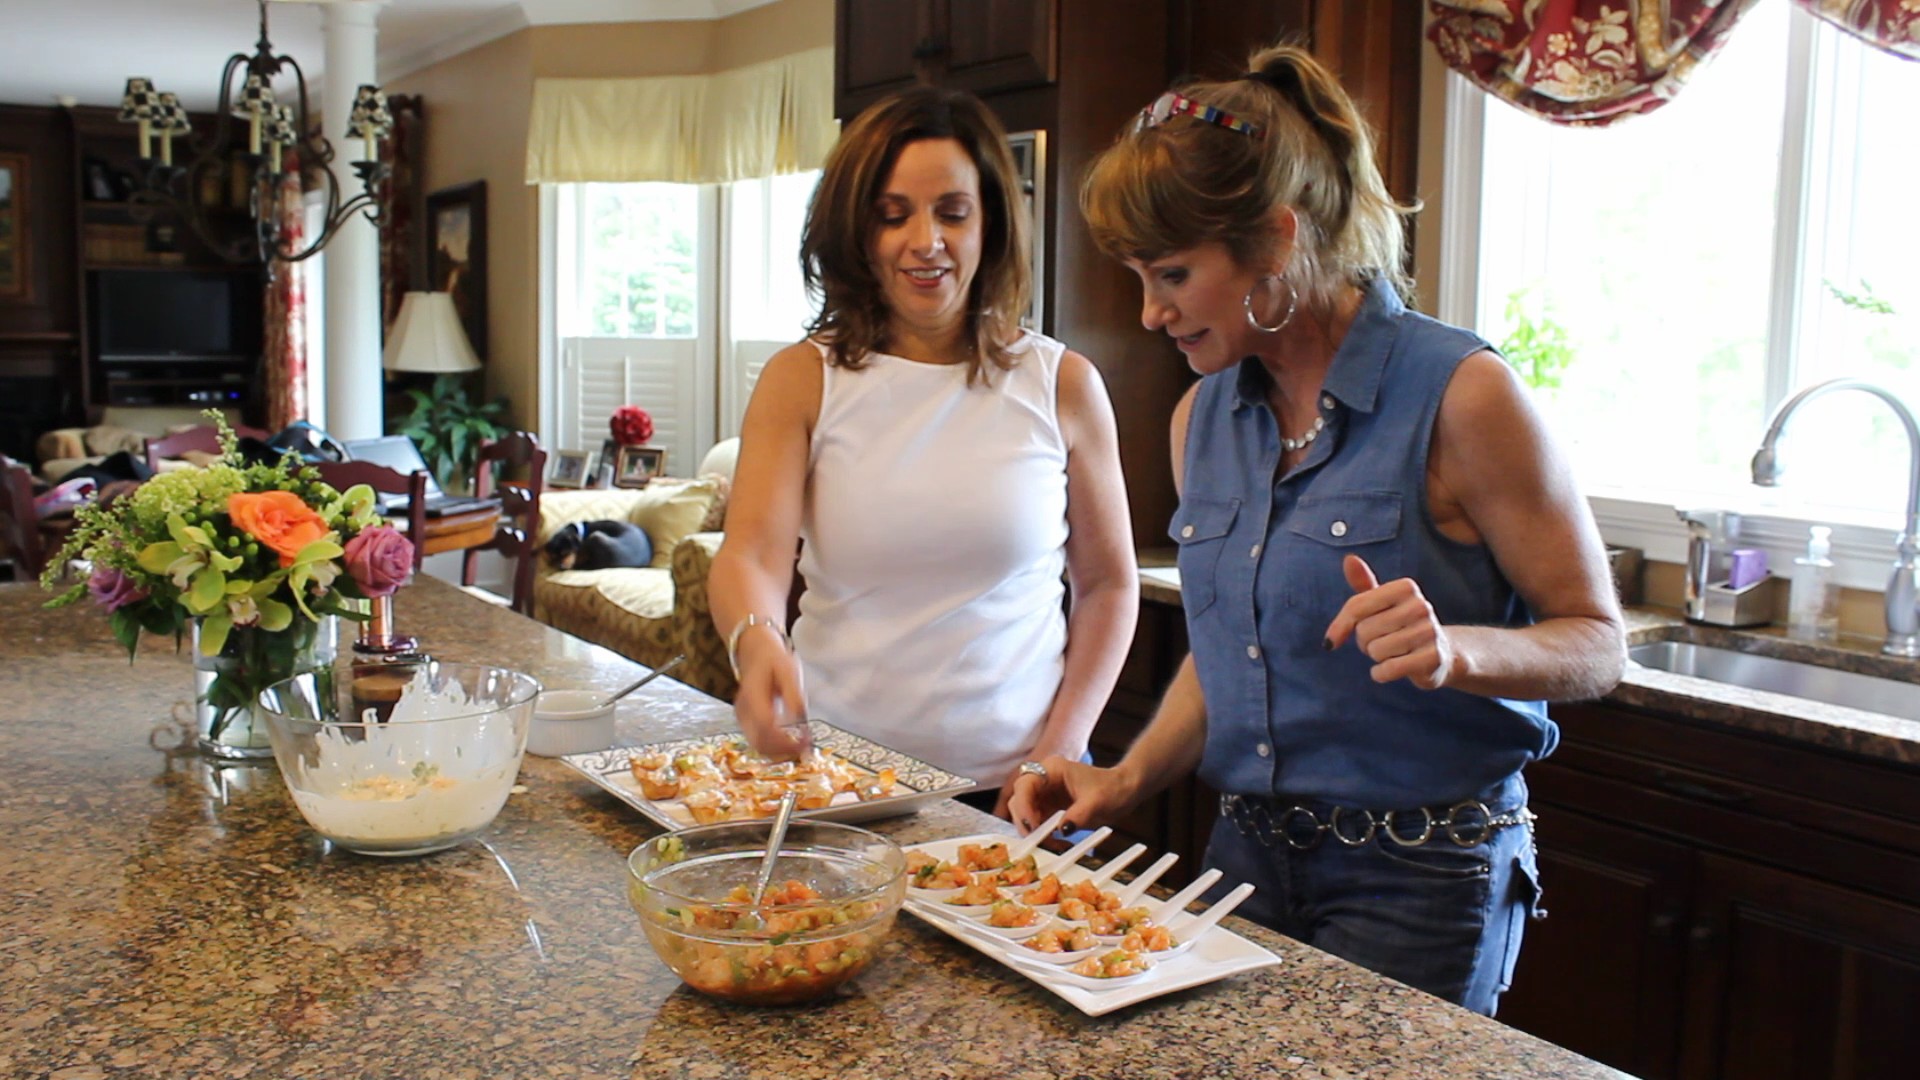
It was an enjoyable day shooting this show and having my good friend Nancy share with us a couple of her favorite appetizer’s that she frequently entertains with. We will definitely be back cooking with Nancy this summer and visiting her garden to pick heirloom tomatoes for that scrumptious homemade Tomato Tartan! Hope you enjoy the show and let me know how you like the Bloody Mary Shrimp & Mango-Curry Shrimp appetizer’s.

IMG_1544  IMG_1543  IMG_1567

IMG_1585  IMG_1595  wonyonshrimp_1606

bloodyshrimp  nancy3

Ingredients For THE BLOODY MARY SHRIMP:

  • 1 pound medium shrimp in shell, peeled and de-veined
  • 1 1/2 cups thinly sliced celery (2 -3 ribs)
  • 1 cup thinly sliced scallions (about 6)

Directions For THE BLOODY MARY SHRIMP:

  1. Bring a large saucepan of salted water (2 tablespoons salt for 2 quarts water) to a boil.
  2. Add shrimp, then remove from heat and let stand in water until cooked through, about 5 minutes.
  3. Drain in a colander and cool to room temperature, about 30 minutes.
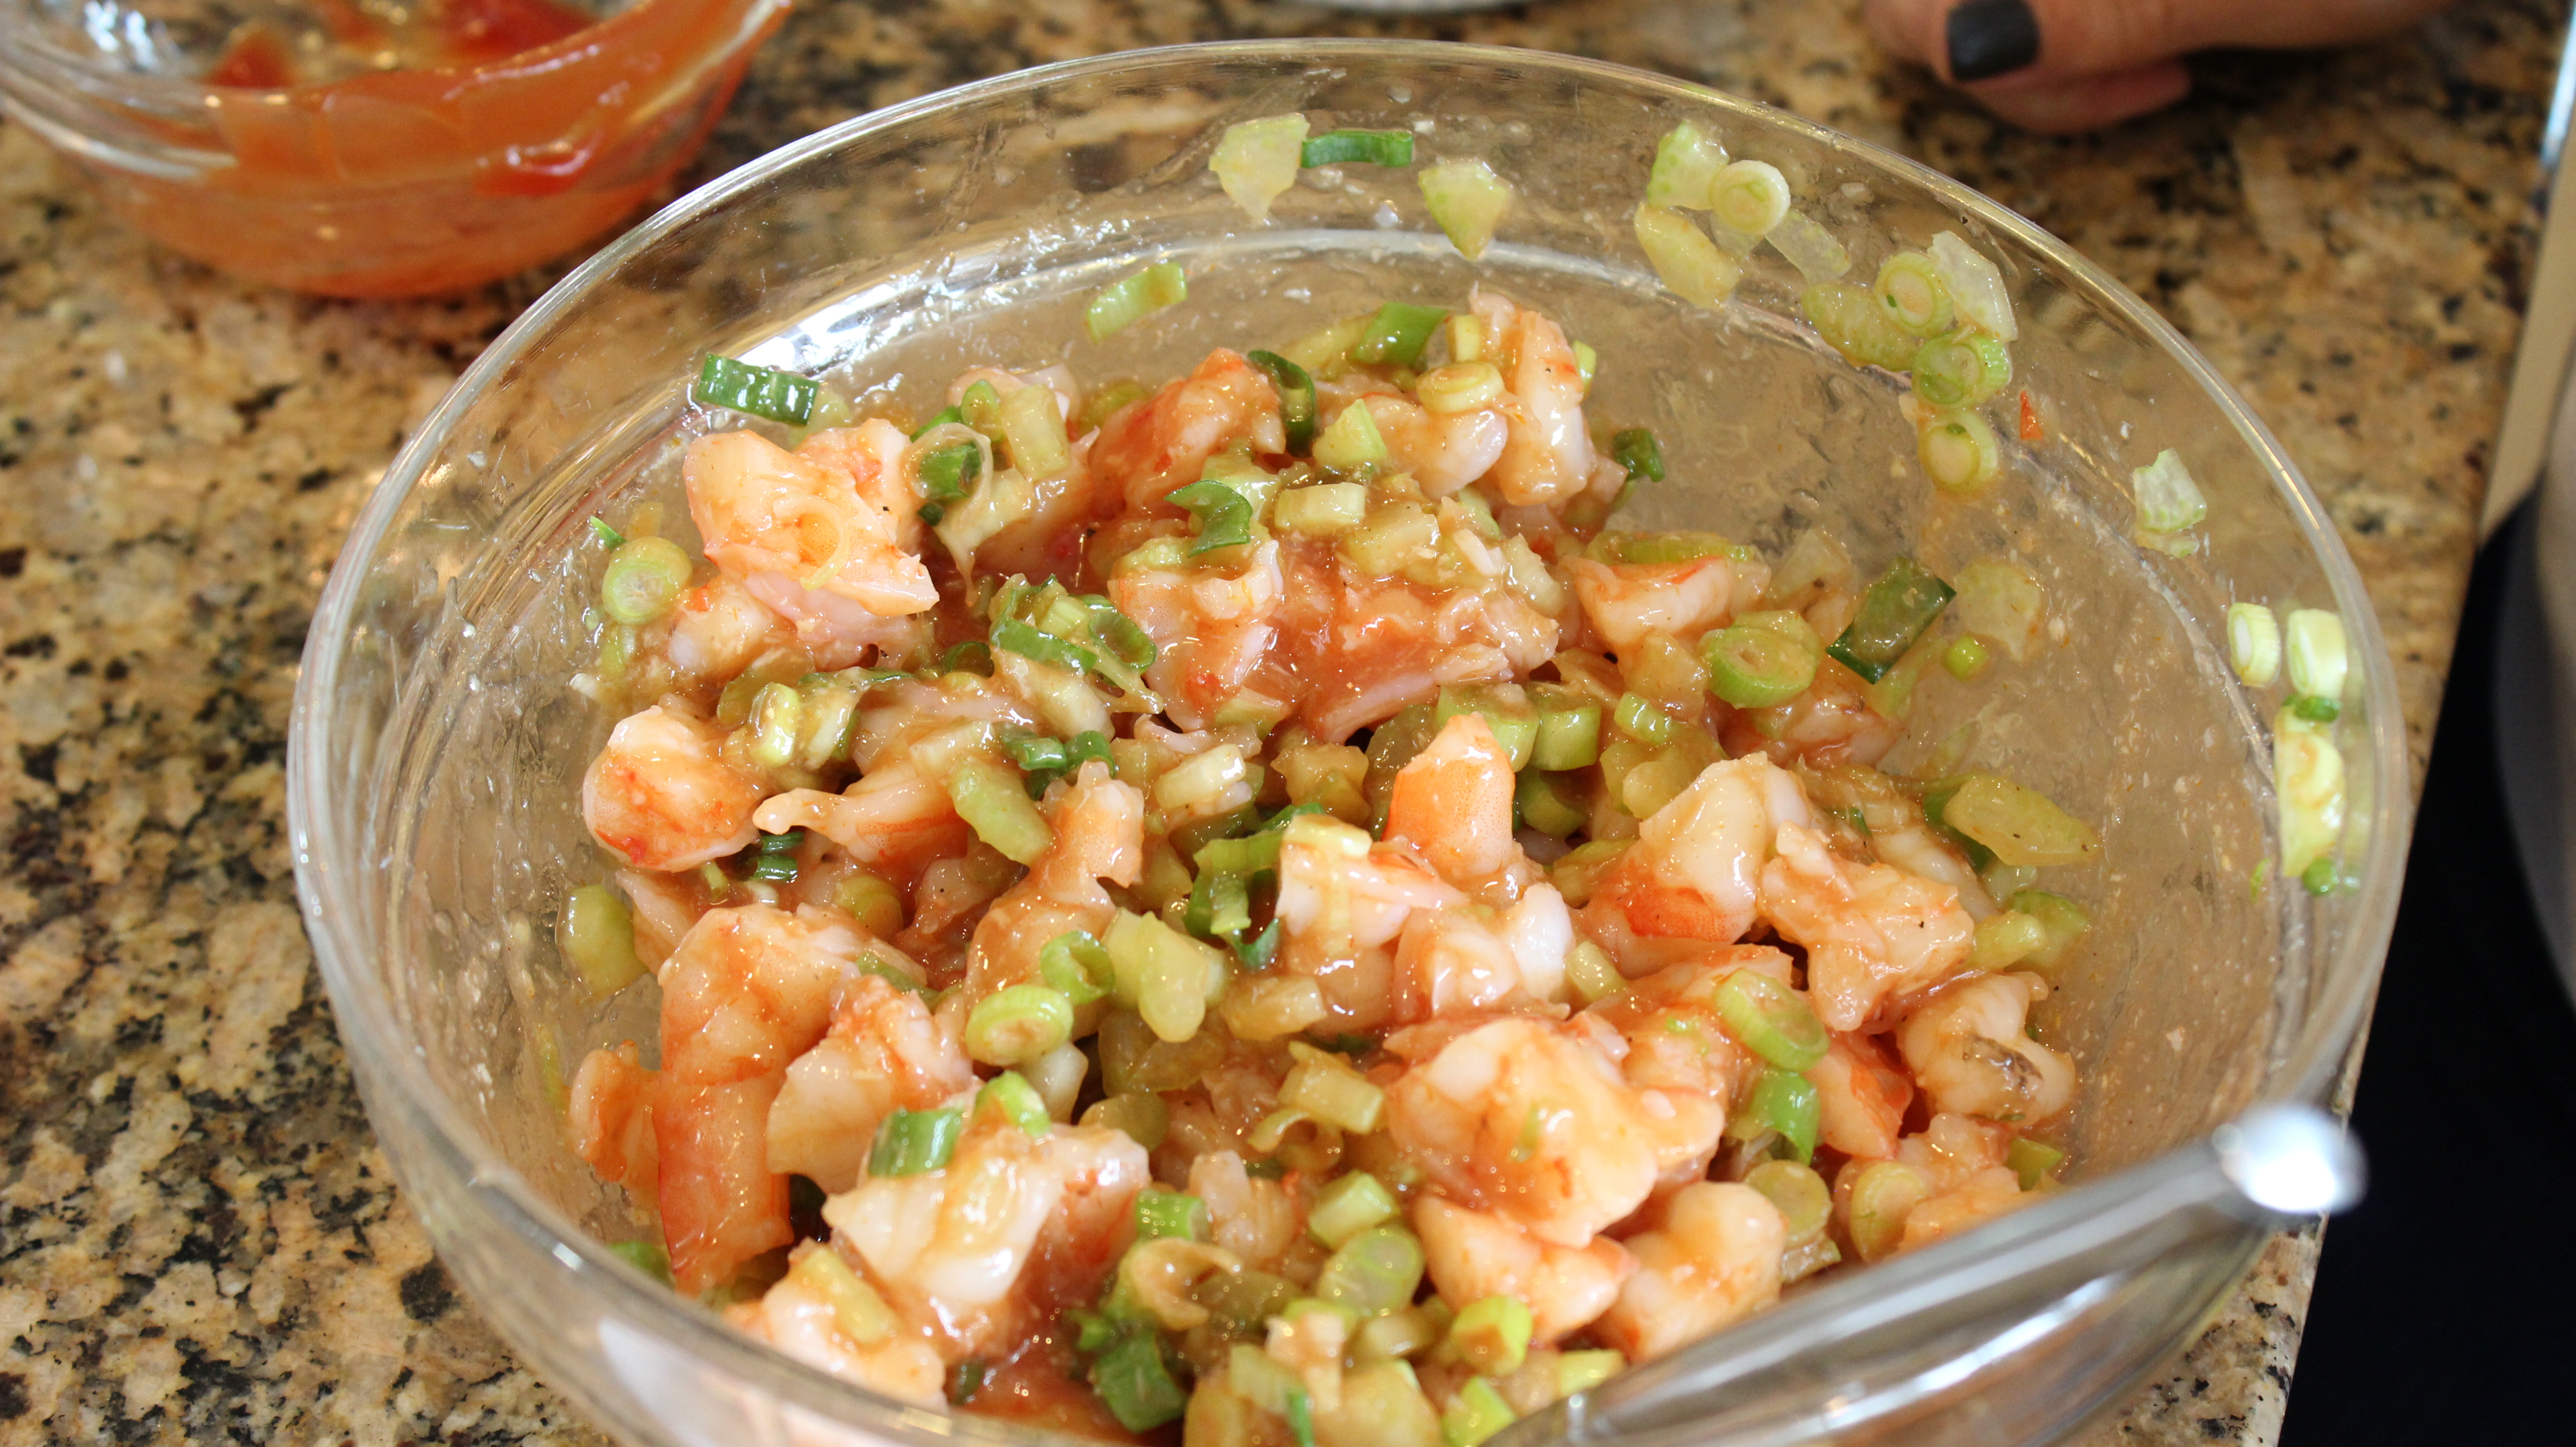
  4. Cut shrimp into thirds and transfer to a large bowl with celery and scallions.

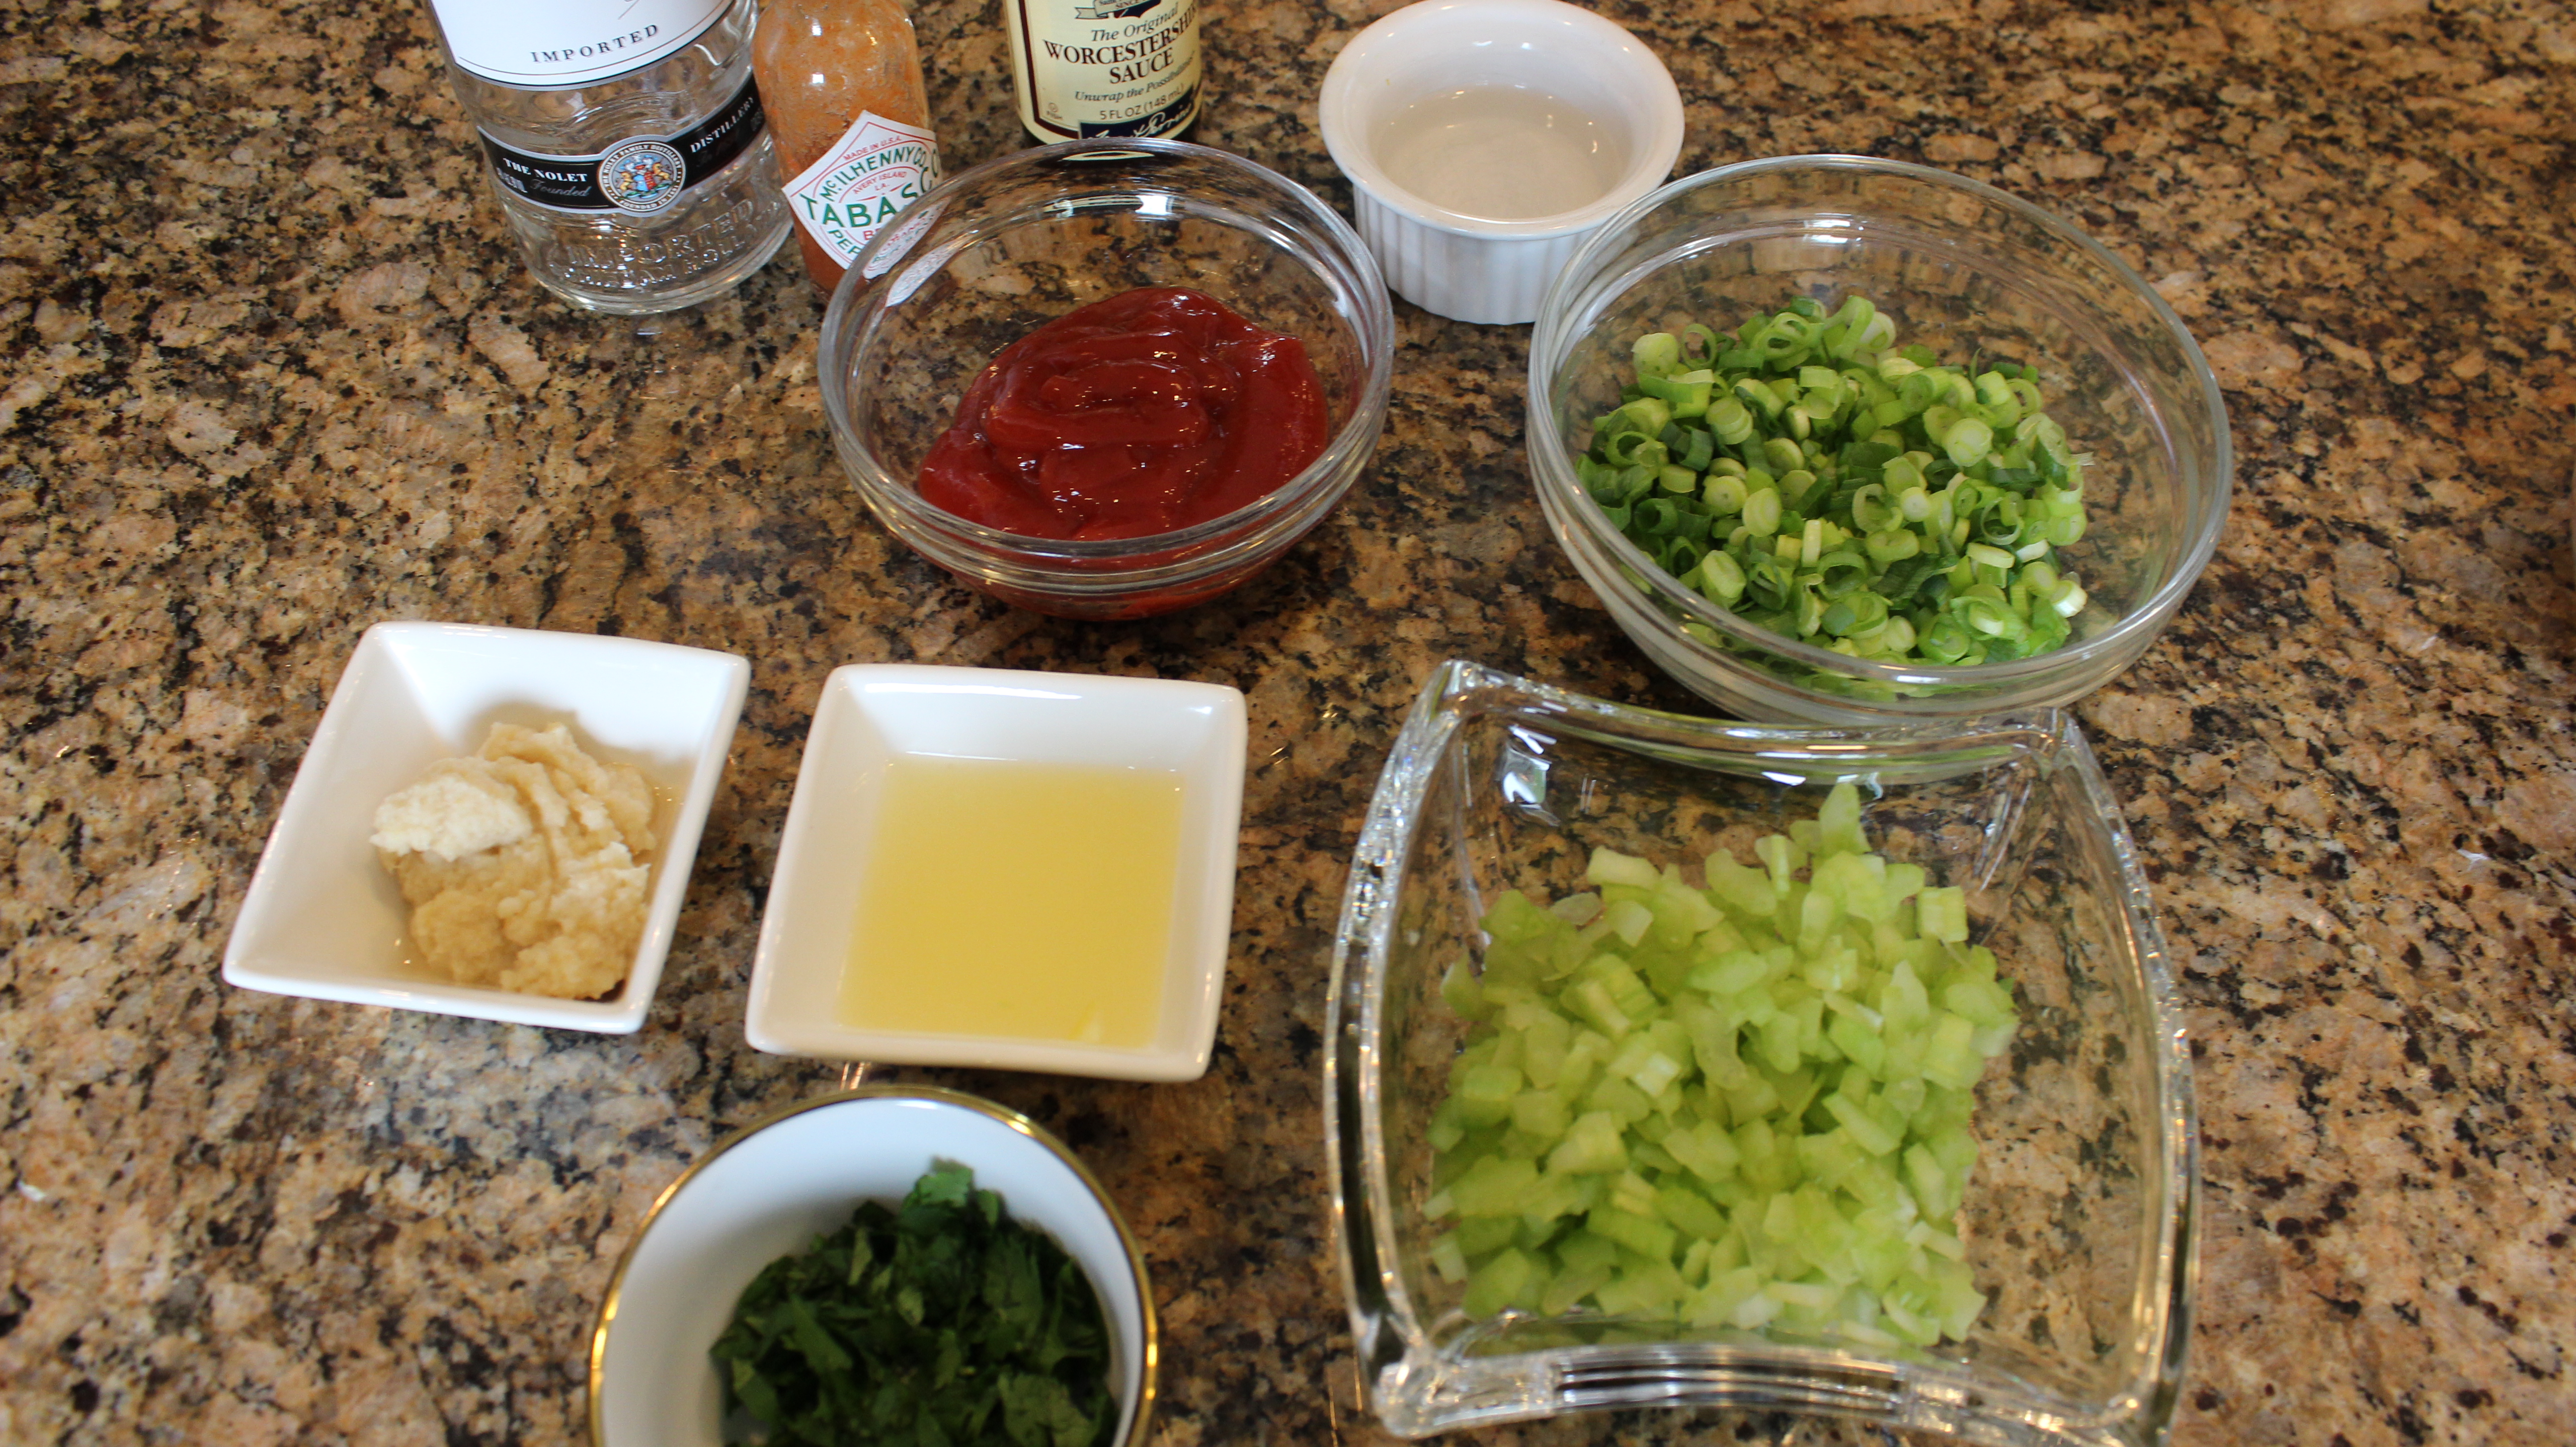
Ingredients For THE SAUCE:

  • 1/2 cup ketchup
  • 1/4 cup vodka (preferably Absolut Peppar)
  • 1/4 cup fresh lemon juice
  • 2 tablespoons bottled horseradish (not drained), or to taste
  • 1 teaspoon Worcestershire sauce
  • 1 teaspoon Tabasco OR Siracha (also found where the tabasco is shelved at the store)
  • S&P to taste

Directions For THE SAUCE:

  1. Whisk together all sauce ingredients
  2. Just before serving, stir sauce into shrimp mixture.
  3. Spoon 2 shrimp pieces with vegetables and sauce into each soup spoon and arrange spoons on a platter.

NOTE: Shrimp can be cooked and tossed with vegetables 4 hours ahead, then chilled in a sealed bag. Sauce can be made 1 day ahead and chilled, covered. Mix the sauce and shrimp right before serving.

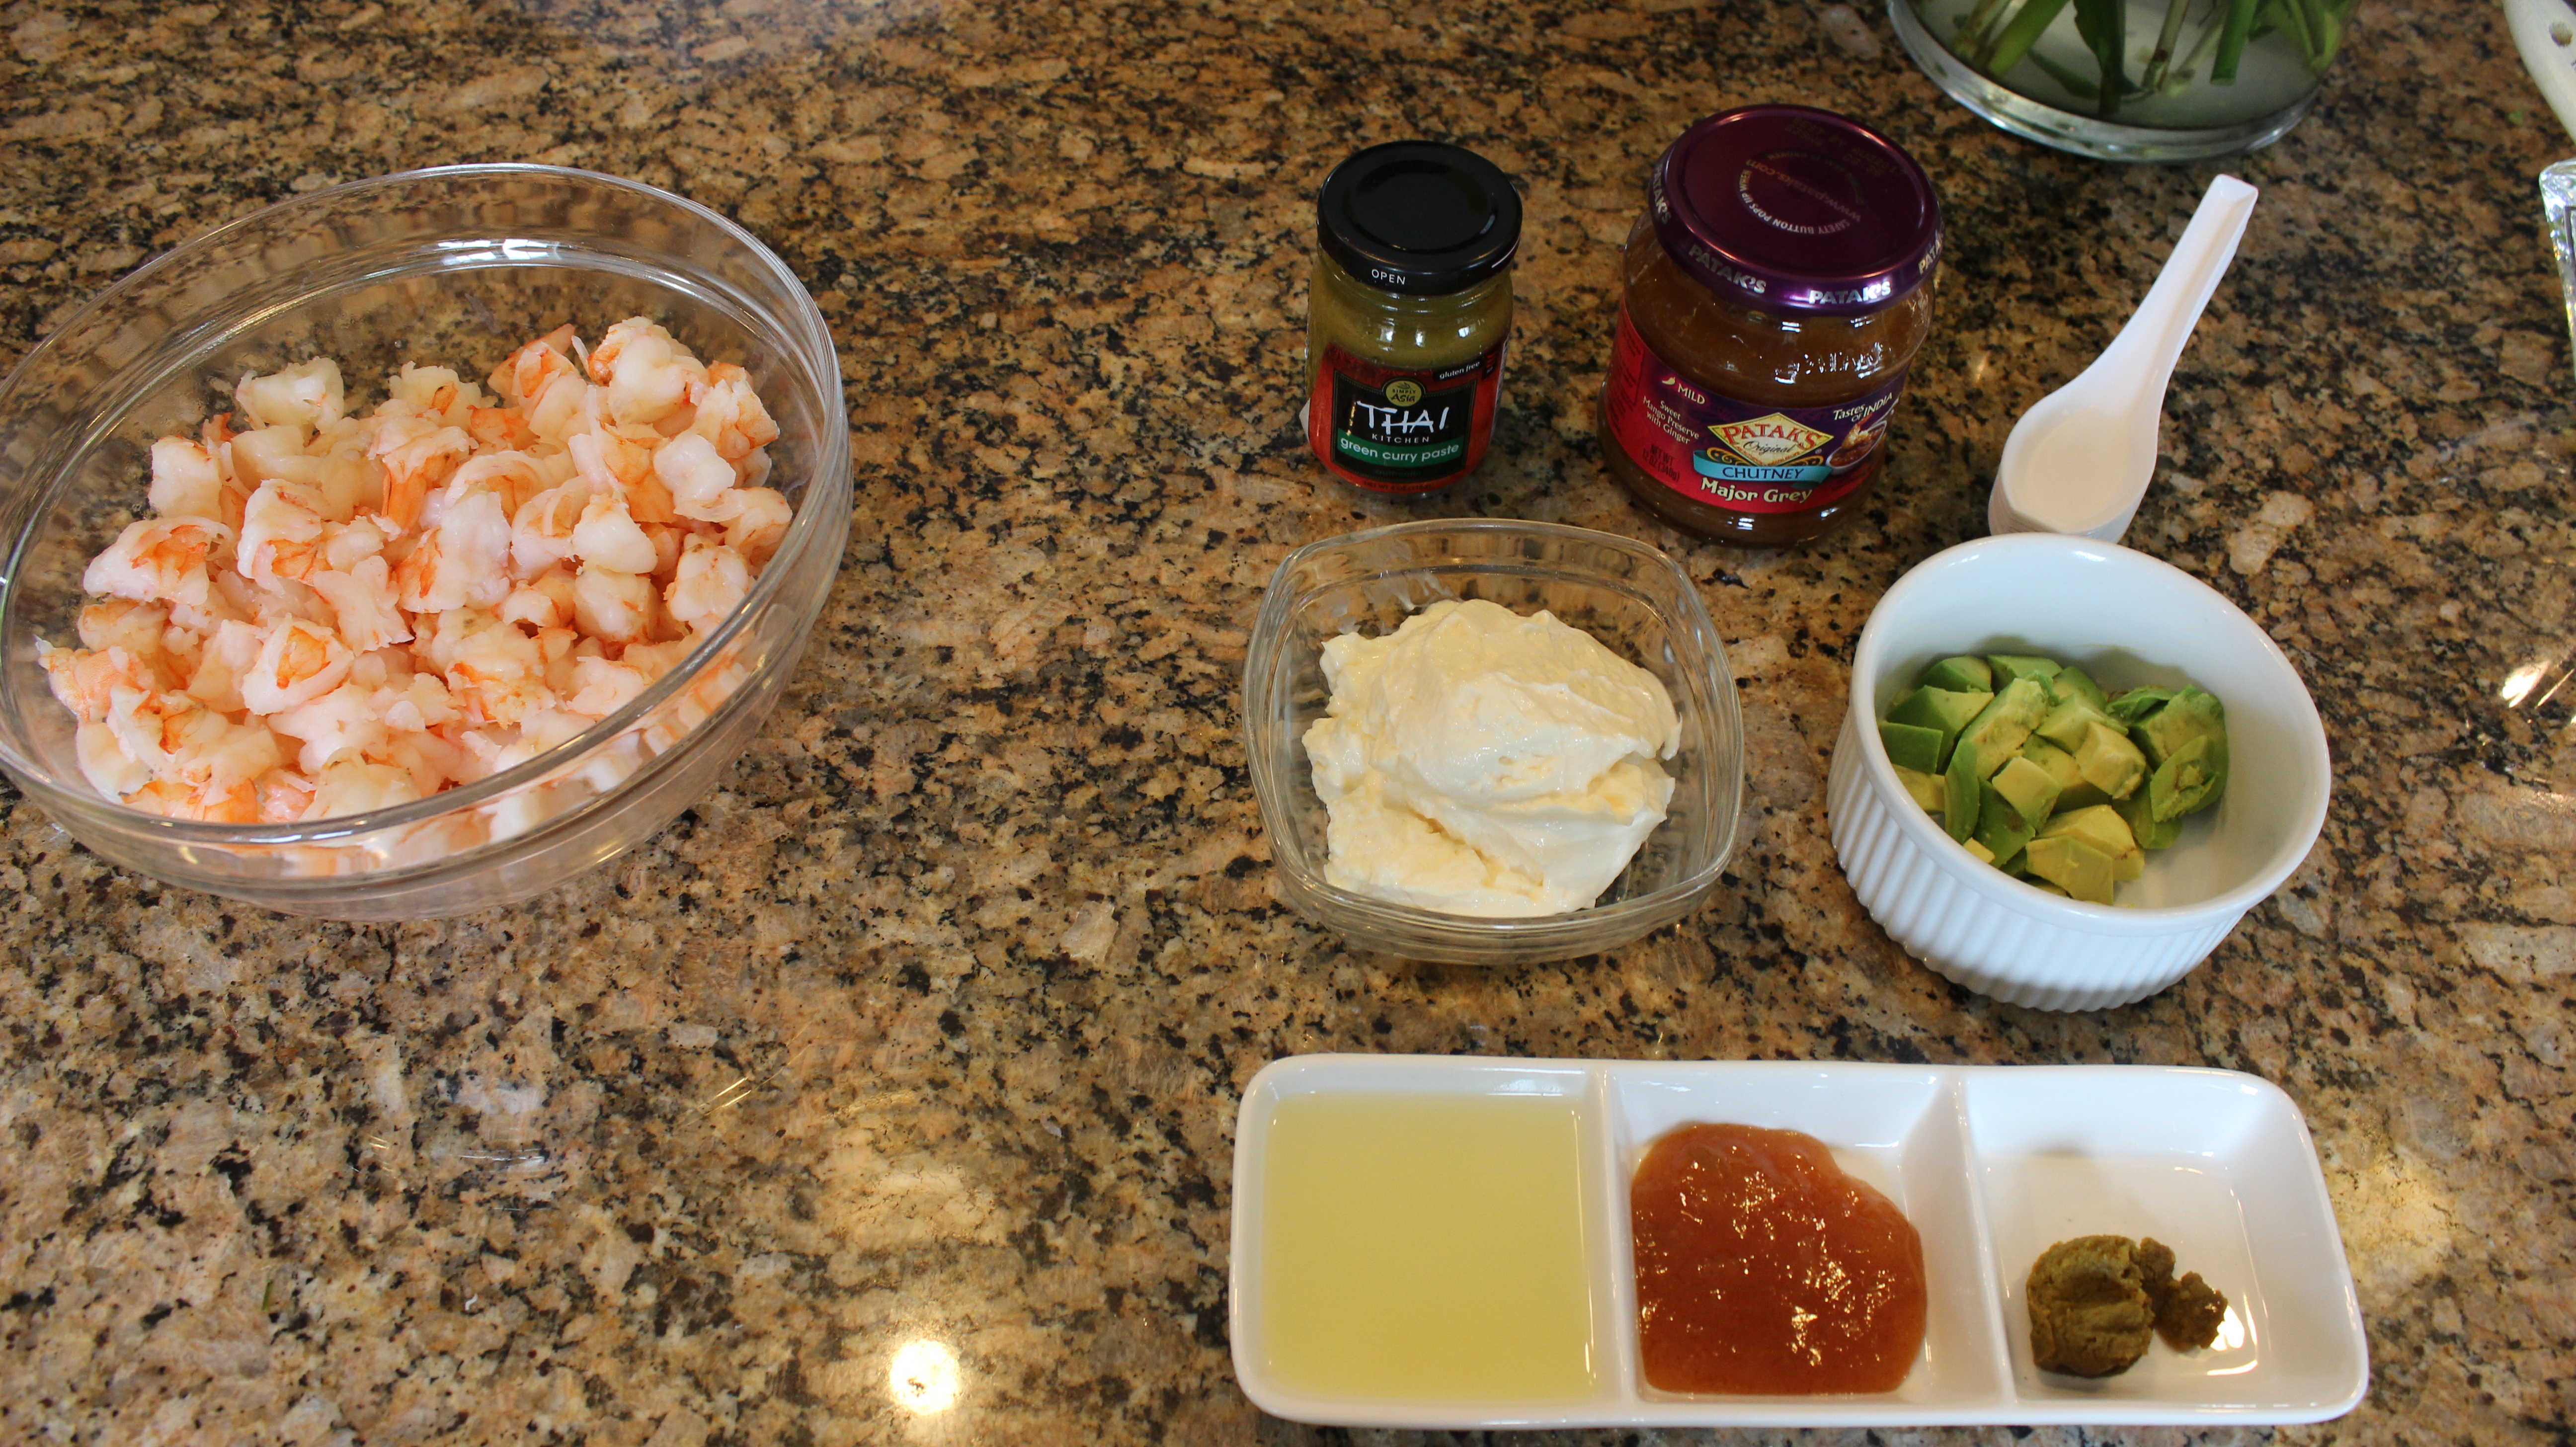
Ingredients For THE MANGO-CURRY SHRIMP:

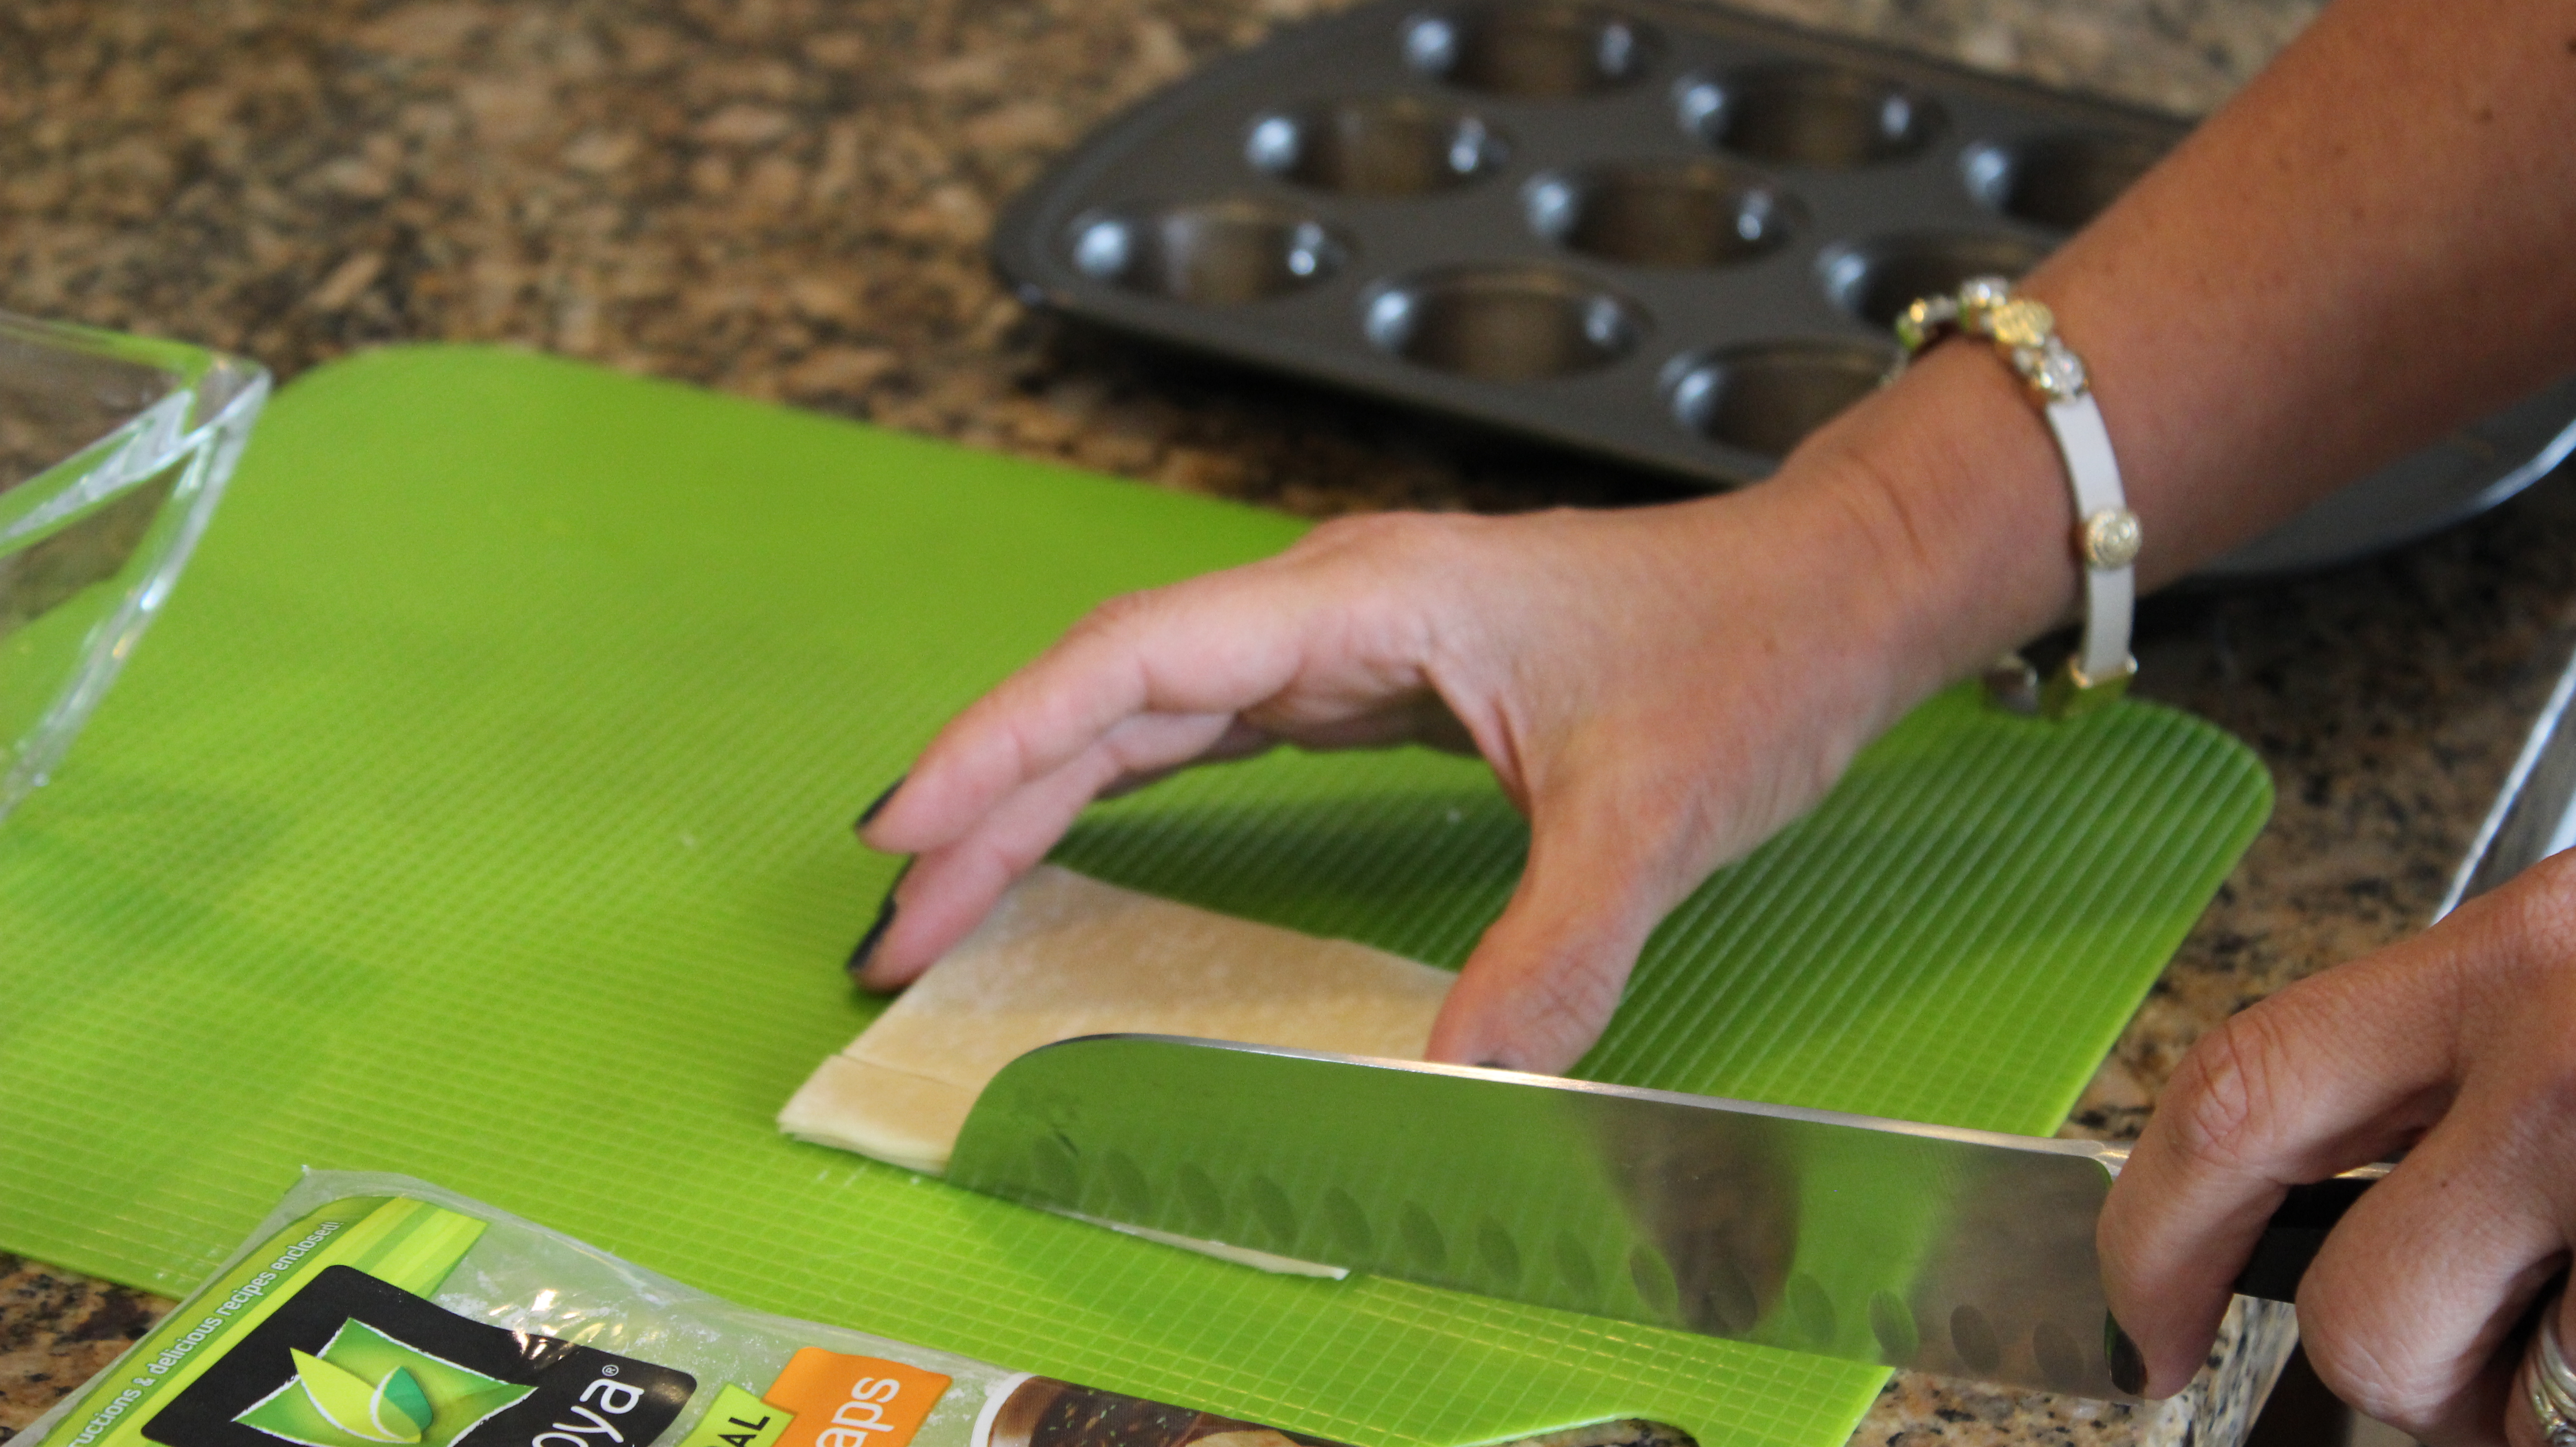
  • 12 wonton wrappers (from one 12-ounce package), each cut into squares
  • Vegetable oil
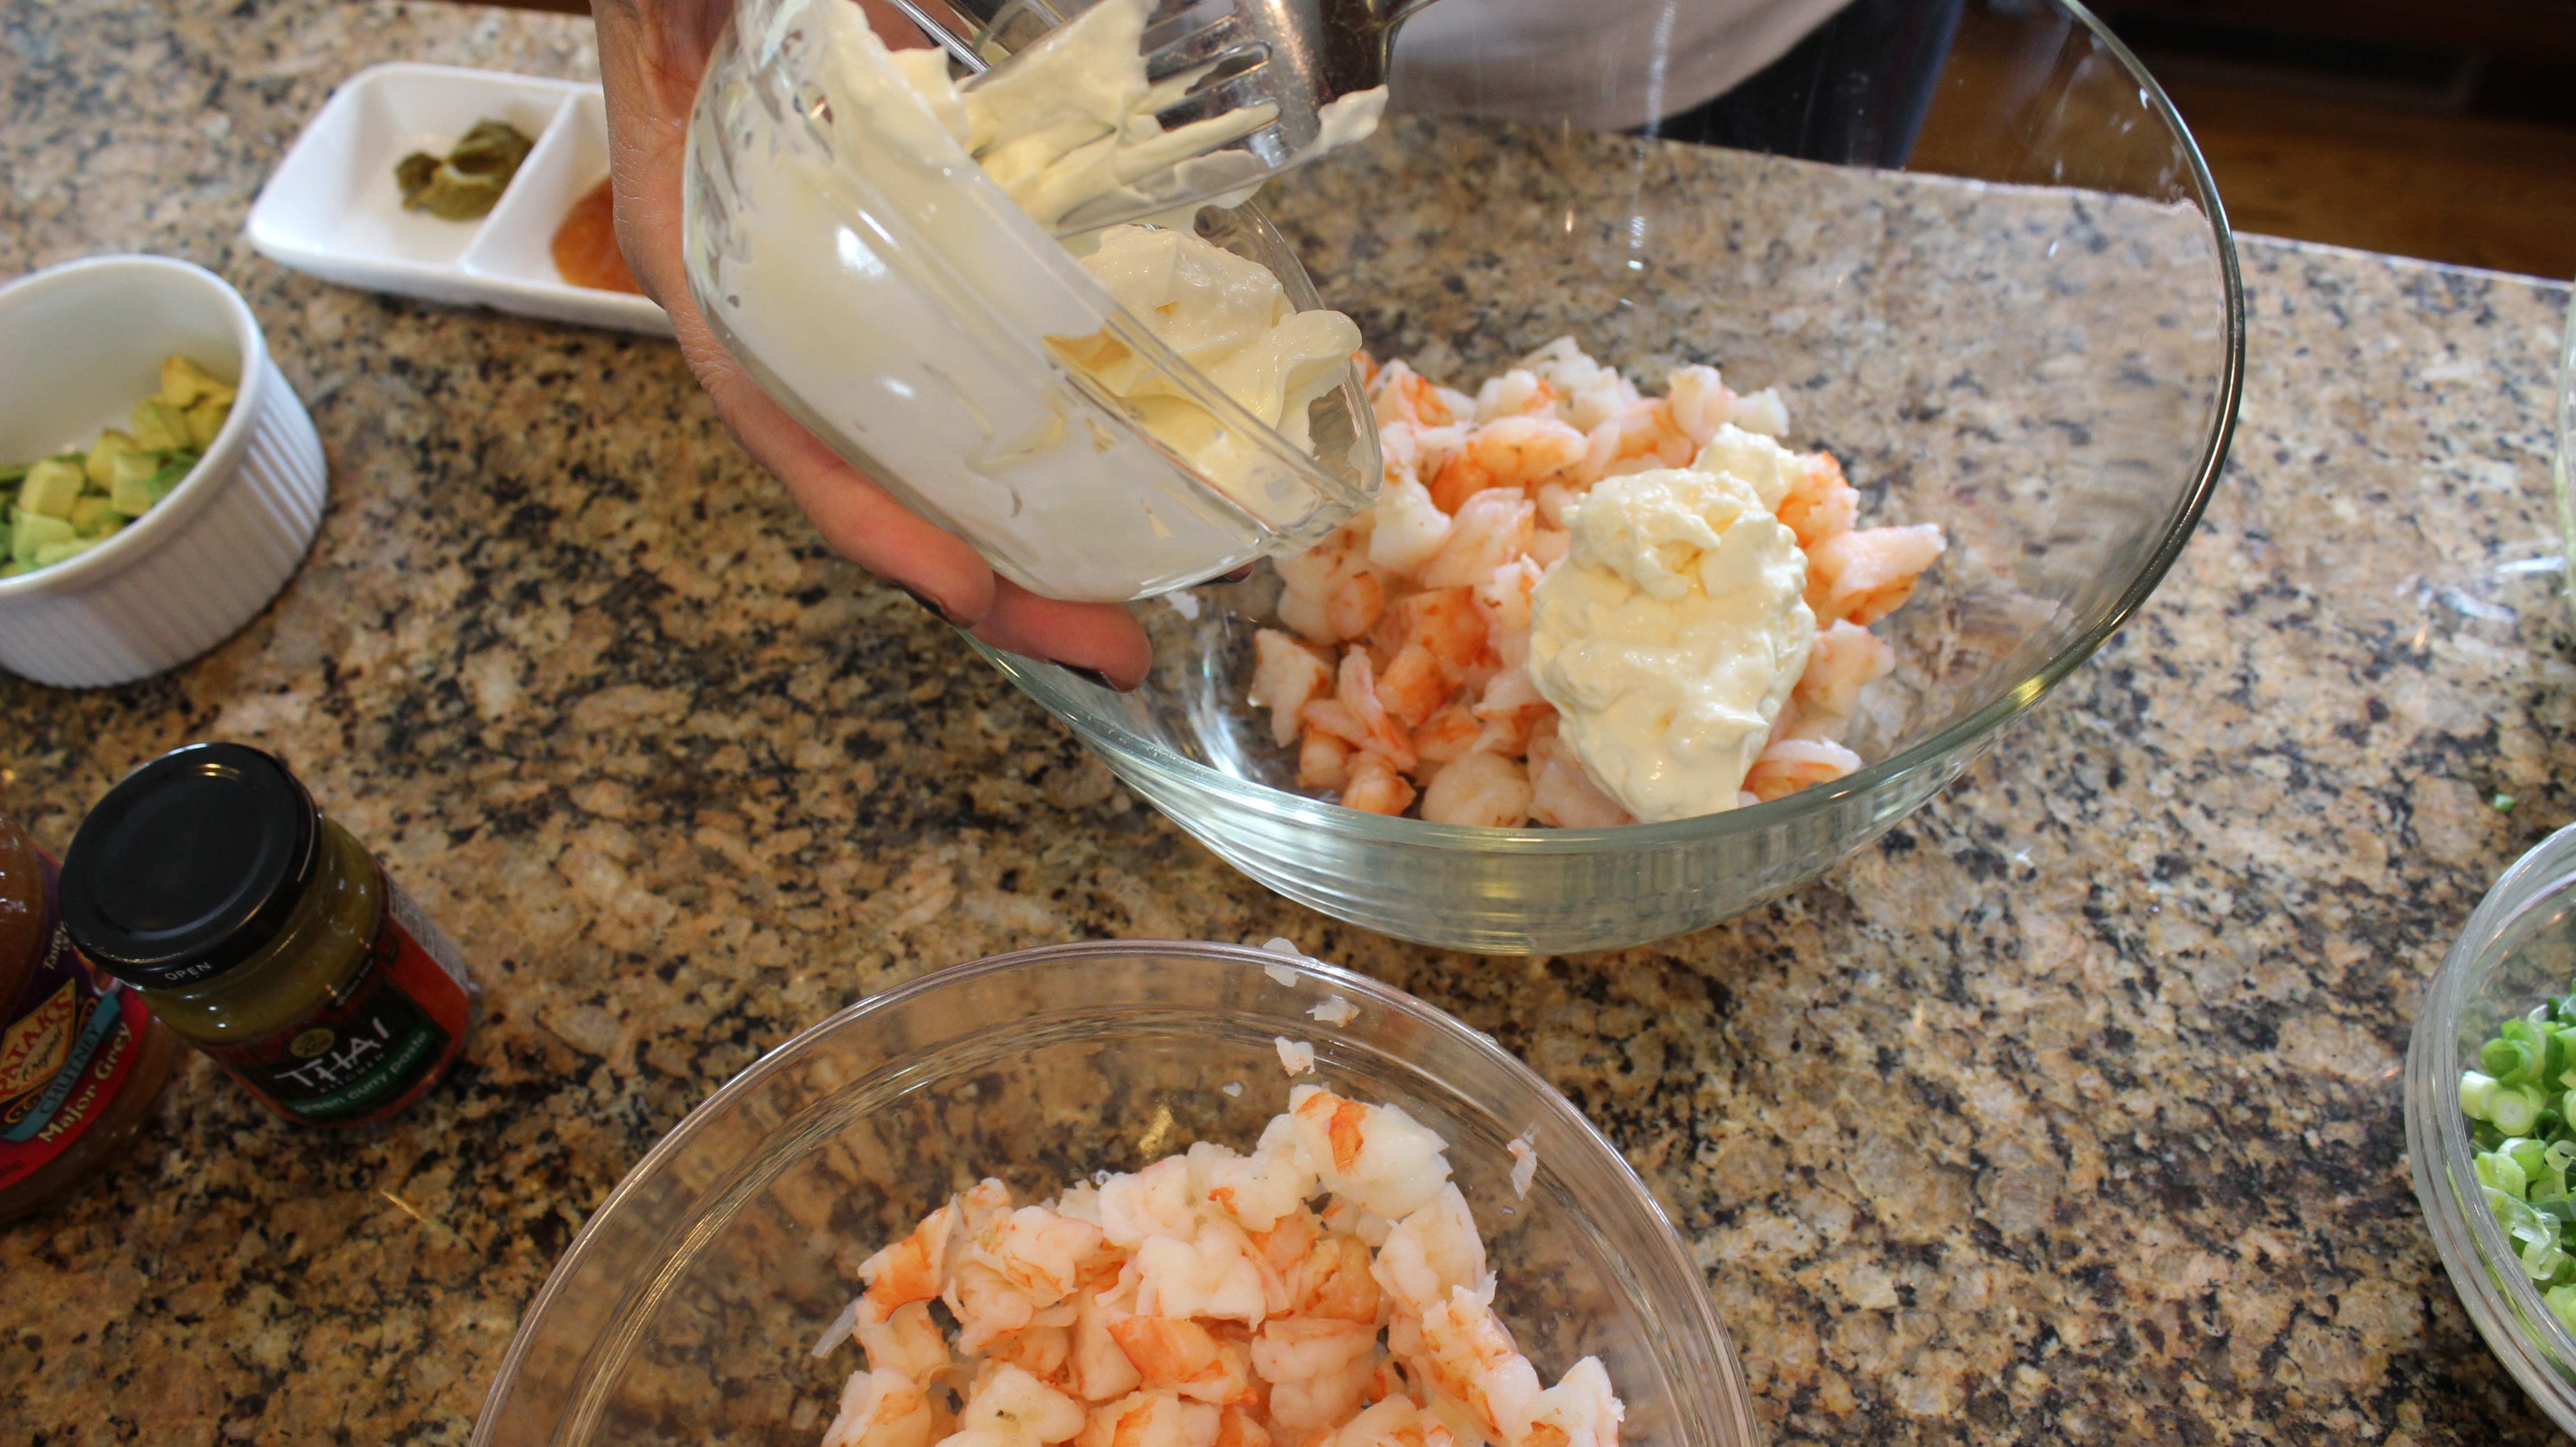
  • 1/3 cup mayonnaise OR split the 1/3 cup mayo in half with Greek yogurt
  • 2 tablespoons chopped fresh cilantro
  • 5 teaspoons fresh lime juice
  • 2 teaspoons mango chutney
  • 1 teaspoon Thai green curry paste (Thai green curry paste is available at Asian markets and in the Asian foods section of some supermarkets)
  • 12 ounces peeled cooked medium shrimp, coarsely chopped
  • 1 cup Fresh cilantro leaves coarsely chopped

Directions For THE MANGO-CURRY SHRIMP IN WONTON CUPS  – Pre-Heat oven to 325º:

  1. Preheat oven to 325°F.
  2. Place wonton squares on work surface and brush lightly with oil
  3. Press each into miniature muffin cup, oiled side down
  4. Bake until wonton cups are golden brown, about 10 minutes
  5. Cool completely in tins -Can be made 3 days ahead
  6. Remove cups from tins and store airtight at room temperature
  7. Whisk mayonnaise, chopped fresh cilantro, lime juice, chutney, and curry paste in medium bowl to blend
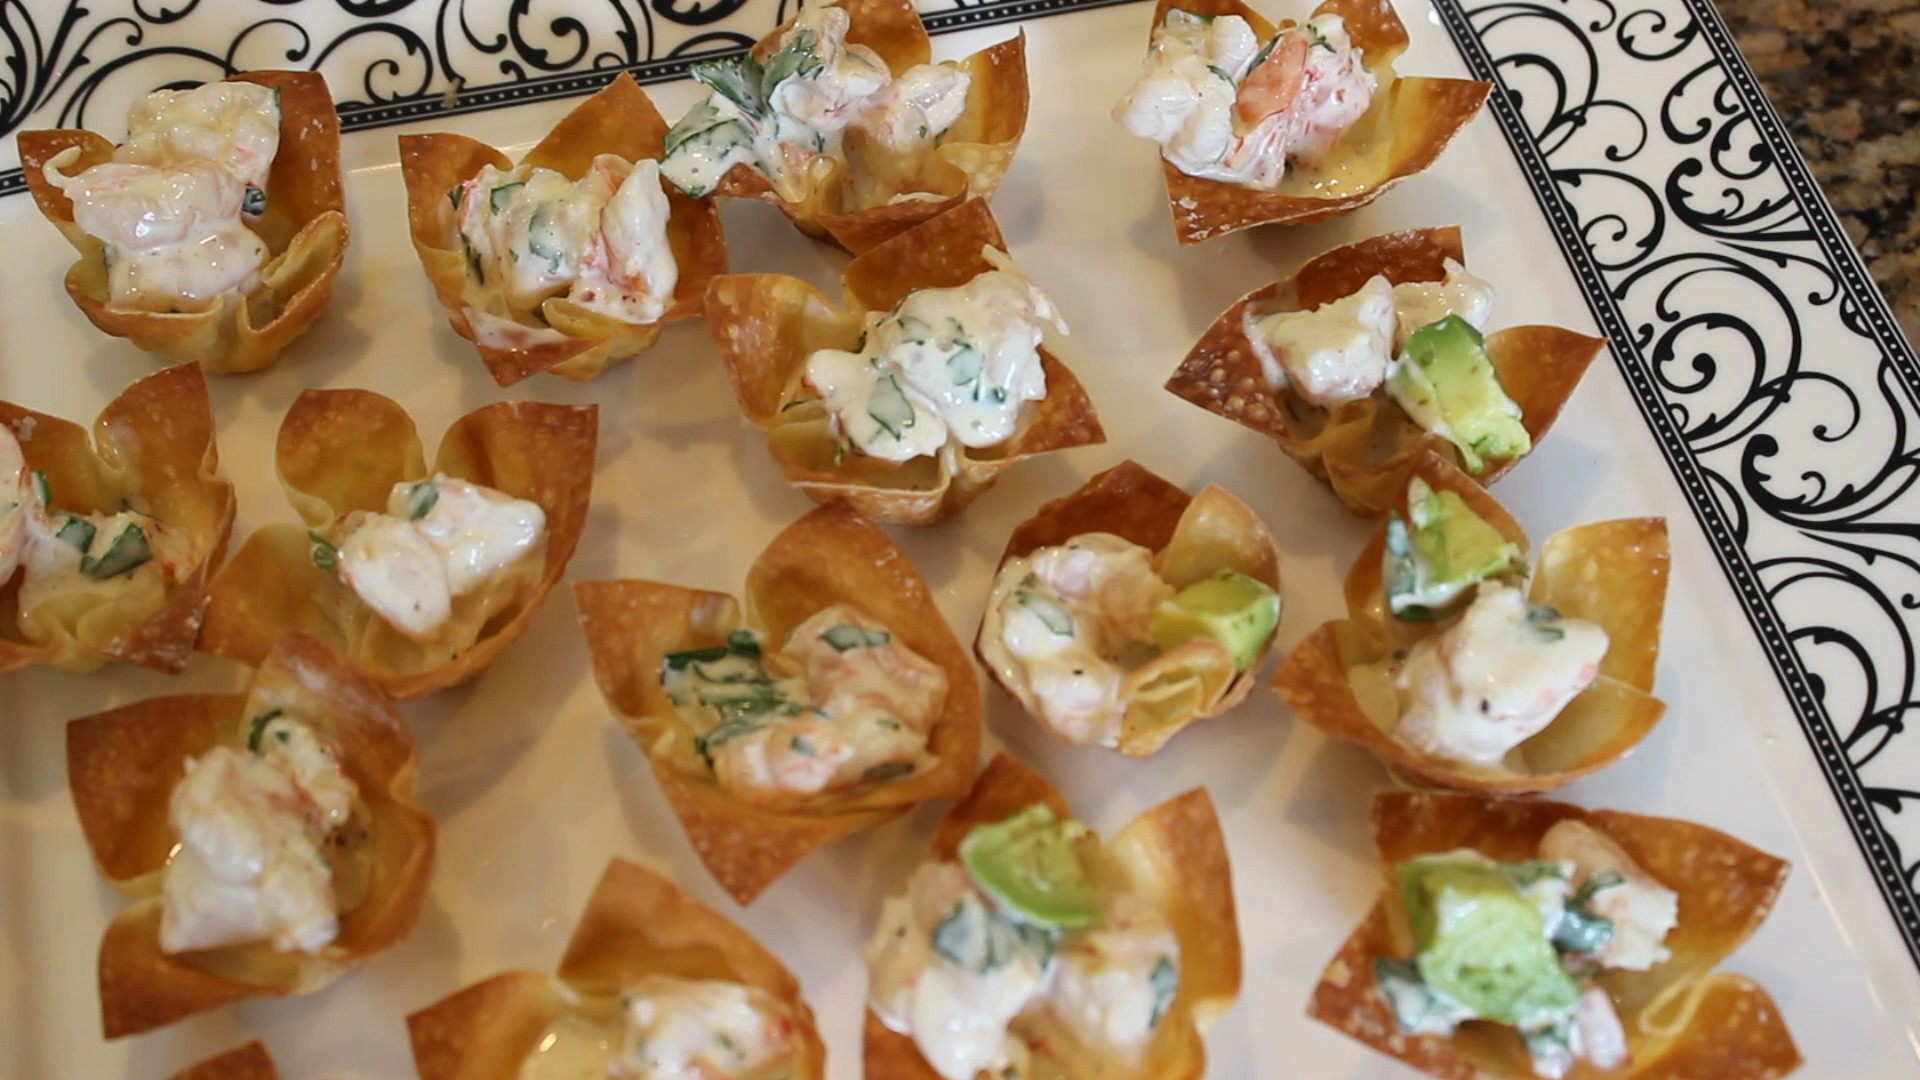
  8. Stir in shrimp. Season salad to taste with salt and pepper. (Salad can be prepared up to 1 day ahead – Cover and refrigerate
  9. Place wonton cups on serving platter
  10. Spoon 1 tbsp shrimp salad into each cup
  11. Garnish with cilantro leaves


Chicken Alfredo & The Madison Cheese Shop

Chicken Alfredo & The Madison Cheese Shop

Talk about a perfect sauce, well this homemade Alfredo sauce is right on the money! Not only can you make this Alfredo sauce in 5 minutes but it’s a delicate sauce, cheesy, but not too heavy, nutty, sweet and tangy all at the same time. Granted this sauce will come out good no matter which reggiano cheese you end up with but we go to The Madison Cheese Shop to get a three year old aged Reggiano Parmigiano which just takes the Alfredo sauce to another level, where it should be.

You can really taste the difference from a generic grocery store cheese to a specialty cheese shop cheese like this incredible Reggiano Parmigiano that I got from Fawn at The Madison Cheese Shop. With knowledgeable people like Fawn and Henry, Fawn’s assistant at Madison cheese, you just can’t go wrong making this one of your routine stops building on your own knowledge of cheeses and inventory!`

You can keep this fettuccine alfredo vegetarian or add in chicken and asparagus as I did in the show. A nice combination for this alfredo sauce is to add in peas and crispy bacon and you have yourself some fettuccine carbonara. Have fun with this one by adding in your favorites or just changing up the pasta shape because you have the perfect Alfredo sauce base already figured out for you!

IMG_1265  IMG_1267  IMG_1277 IMG_1379  alfredo1  IMG_1471  IMG_1433

INGREDIENTS:

  • 3 cups heavy cream (1 1/2 cups heavy cream, 1 1/2 cups half & half)
  • 1/2 cup white wine
  • 1 1/2 cups fresh grated Reggiano Parmigiano
  • 1/2 tsp salt
  • 6 strips of Boars Head smoked bacon, cooked til crispy and then crumbled or sliced into 1/2″ strips (which ever you prefer)
  • 1 bunch fresh asparagus blanched for 4 minutes, then throw on grill for 3 minutes if grilling chicken just for extra flavor, then slice into 1″ pieces putting aside several tips for garnish
  • 1 lb. egg fettuccine pasta OR your favorite pasta
  • 2 grilled chicken breasts or sautéed chicken breasts ( click this link for sautéed chicken recipe)

DIRECTIONS:

  1. Cook up bacon slices, cool and slice or crumble
  2. Grill up or sauté your 2 chicken breasts and dice up into 1″ pieces
  3. Blanch your asparagus and if grilling, throw onto grill just briefly for grill flavor, remove and slice into 1″ pieces
  4. Cook fettuccine according to directions on box
  5. Add heavy cream to a large sauce pan with wine and bring to a simmer for 5 minutes
  6. If chicken has cooled add in diced chicken and asparagus and simmer for 5 minutes
  7. Turn off the heat to sauce pan and whisk in 1 1/2 cup Reggiano cheese
  8. Place cooked pasta into a large serving bowl, pour over the Alfredo sauce and toss
  9. Serve and garnish with bacon and more grated Reggiano

Homemade Salmon Gravlax

Homemade Salmon Gravlax

What a treat it is to have homemade salmon gravlax. It’s an even bigger delight to be able to make it yourself at home and have left overs the next day that are just as incredible as the first day they finished curing. Not to mention the money you will save from the astronomical price tag usually attached to those salmon gravlax or Nova lox if you were to buy them at a specialty shop!

You won’t believe how easy it is until you make these gourmet salmon gravlax for yourself. It is very important that when you do decide to make my homemade salmon gravlax to buy wild salmon and NOT farm raised. The wild salmon is definitely going to be pricier then the farm raised but you will still be saving a ton from having a specialty shop cure and sell them to you.

Now there is a little difference between salmon gravlax and Nova lox. Nova lox come from Nova Scotia and are cold smoked after the curing or brining process using some kind of brandy, gin or lemon vodka. Gravlax is the Scandinavian preparation of lox with just the curing or brining using dill and other spices like juniper berries, pepper corns as well as a liquid like an aquavit or vodka. Gravlax actually originated a lot like how sushi evolved in Asia where they buried the fish in rice to preserve and ferment.  Gravlax was made by fishmen who salted and fermented it by burying it in the sand …hence the Scandinavian word “grava” meaning to dig.

This homemade salmon gravlax recipe of mine came from a good friend, Jim, who is a saucier himself and always has an endless assortment of great recipes up his sleeve. His wife Jen and him are also big foodies and a lot of fun has been had with them in our own “kitchen cook-offs”! Needless to say I have been making these homemade salmon gravlax for over fifteen years and the results are always amazing. They are for sure “easy gourmet”.

With all the graduations and summer parties around the corner I think you better get busy and invest in some Coho wild salmon or do a little fishing yourself. I actually bought my Coho wild salmon that’s in the cooking show at Whole Foods Market. Their Coho wild caught salmon is packaged and flash frozen by the fisherman to a certain degree required by FDA law to kill any parasites and is ready for distribution. You may never buy store bought salmon gravlax or Nova lox at specialty shops again after eating this incredible delicacy! I hope you Enjoy the “Homemade Salmon Gravlax” show!

IMG_0872  IMG_0876  IMG_0947

IMG_0949  IMG_0966  IMG_0964

INGREDIENTS for Salmon GRAVLAX:

  • 1 1/2 -2 lbs. fresh Wild Coho Salmon (flash frozen or right out of the ocean!)
  • 3-4 tbsp sea salt ( USE 2 tbsp PER POUND of salmon)
  • 3-4 tbsp sugar (USE 2 tbsp PER POUND of salmon)
  • 2 tbsp vodka or aquavit
  • 1 lg bunch of fresh dill
  • 2 tbsp pepper corns -OPTIONAL -for a little spice (Use pepper corns not ground pepper)

DIRECTIONS for Salmon GRAVLAX:

  1. Cut 2 lb salmon filet in 1/2 so we can sandwich the halves together with salmon flesh facing the inside
  2. Whisk dry ingredients together salt, sugar and peppercorns
  3. Sprinkle about 1 tsp of vodka on the flesh sides of each of the salmon halves
  4. Rub all of the dry mixture onto the flesh sides and skin sides of the salmon halves…most of the rub should be on the flesh side though
  5. Lay fresh dill bunch onto one the the salmon fillets, on the flesh side
  6. Sandwich the other salmon fillet on top so that the flesh sides are facing each other
  7. Place into a Ziploc baggie and place in a glass baking dish
  8. Top the salmon fillets with cast iron pans and large cans – YOU NEED TO WEIGHT THE SALMON DOWN (tomato or vegetable cans work great)
  9. Place into the frig and cure for 3 days (2-3 days preferably 3)
  10. Flip the curing salmon every 24 hours making sure to out the weights back on
  11. On day 3 remove the salmon from the baggie and pick off all of the toppings (dill, pepper corns) and give a QUICK rinse or rub off toppings with a damp paper towel (you don’t want to run water over your cured salmon … it’s a QIUCK rinse)
  12. Pat completely dry and sliced salmon on a bias as shown in the show
  13. Serve with mustard sauce or cream cheese-caper mixture and bagels or rye bread rounds and a sprig of fresh dill on top
  14. Mangia mangia

INGREDIENTS for CREAM CHEESE SPREAD:

  • 6 oz. Philadelphia cream cheese
  • 2 tbsp finely chopped red onion
  • 2 tbsp small capers
  • 1/2 fresh squeezed lemon
  • 2 tbsp chopped fresh dil

Bring cream cheese to room temperature, add remaining ingredients and mix to combine

INGREDIENTS for MUSTARD SAUCE:

  • 2 tbsp Dijon
  • 1 tbsp sugar
  • 1 tbsp finely chopped red onion
  • 2 tbsp finely chopped dill
  • 3 tbsp “seasoned” rice wine vinegar
  • 3 tbsp good olive oil

Put first 4 ingredients in a medium size bowl, add in vinegar and begin to whisk in olive oil


Turkey Stuffed Peppers & Nick Fradiani Day Recipe/VIDEO

Turkey Stuffed Peppers & Nick Fradiani Day Recipe/VIDEO

Homemade turkey stuffed peppers and a peek at Nick Fradiani’s home town concert celebration made for quite an exciting time for my kids, Reilly and Bella. Probably more so with Nick’s concert than the peppers with them lol. I have to say though that these turkey stuffed peppers are one of my favorites!

Originally, my intentions with this post were to emphasis how important it is to support your local butcher and to introduce you to one of my favorites. With all this in mind, it also happened to be Nick Fradiani Day here in Guildford, CT when I shot my visit at their Food Center. So you now get to see how a small New England town supports their own Nick Fradiani, one of the American Idol finalists!

I used to make these stuffed peppers with beef but a good friend has turned me on to turkey and I am really loving it. After making these homemade gourmet stuffed peppers with the ground turkey I have no desire to go back to beef. The turkey based stuffing really hold its own!  These peppers are juicy, tender and sweet made with ground turkey, sautéed mushrooms and onions, fresh chopped parsley, rice, grated Reggiano Parmesan, pinot noir or cabernet (your favorite red) and baked in a porcini red wine sauce.

My porcini sauce gives this recipe a really nice flavor but if you don’t have time for it you shouldn’t let that stop you from making these savory stuffed peppers.  You can buy a favorite store sauce for convenience or use one of your own.  I have you slice the mushrooms paper thin here and then cut those in 1/2 and that keeps the flavor delicate and the mushrooms very tender not chewy …. they almost melt into the stuffing when baking. The onions are finely chopped so I love to use my vegetable hand chopper because it saves a ton of time when you are doing all this prep work unless you have a sous chef that is.

Now you of course can use any color pepper you like. I like using the green ones because I like the strong flavor they render.  Peppers are milder in flavor and sweeter with the reds, oranges, and yellows.  I don’t believe in using “instant rice” ever because it doesn’t have a great texture. Making rice is a simple process …see “TIP” below.  These stuffed peppers are a few step process so it’s a good idea to get some of the work done the day before like making the porcini red sauce and the rice.  This dish  is so worth the effort …. It just may become your go to Sunday dinner and you can even end this delicious dinner with a bang making a quick and easy German pancake recipe or chocolate-avocado mousse!

iphone pictures 924 iphone pictures 910 iphone pictures 912

iphone pictures 928 iphone pictures 914 iphone pictures 916

iphone pictures 967

Ingredients: For Porcini Red Sauce:

  • 1 large can whole peeled tomatoes (I use Sclafani)
  • 4 large garlic cloves
  • 1/4 -1/3 cup dried broken up porcini mushrooms
  • 1/4 cup warm water for the porcini mushrooms
  • 1/4 cup pinot noir wine
  • 1 Tbsp olive oil
  • 1 Tsp salt
  • 1 Tsp pepper
  • 1 Tbsp sugar

Directions: 

  1. Put the dried porcini mushrooms in 1/4 cup water and let sit for 1/2 hour.
  2. Sauté 4 large garlic cloves in 1 tbsp olive oil in a medium sauce pan until golden.
  3. Add whole tomatoes and golden garlic cloves to food processor and purée for 1 minute.
  4. Add this back to the pan.
  5. Take the soaked, softened porcini’s out of the water and coarsely chop.
  6. Add the porcini’s and their juice to the sauce pan along with 1/4 cup pinot, salt, pepper and sugar.
  7. Bring to a simmer, lower heat and keep simmering for 20-30 minutes.
  8. Remove from the stove and cool.

iphone pictures 929 iphone pictures 950 iphone pictures 961

iphone pictures 963 iphone pictures 964iphone pictures 965

iphone pictures 940  iphone pictures 941  iphone pictures 942

iphone pictures 945  iphone pictures 947  iphone pictures 972

iphone pictures 975  iphone pictures 976  iphone pictures 990

Ingredients – For Stuffed Peppers – Serves 6-8 people:

  • 1 lb. ground turkey
  • 6 -8 large bell peppers, 2 red, 2 orange, 2 yellow, 2 green (USE 6-8 peppers)
  • 2 1/4 cups porcini red sauce (1 c. in the stuffing, 2 1/4 c. in the bottom of baking dish)
  • 1 1/2 cup cooked Basmati or Jasmine long grain rice
  • 1 cup grated Reggiano Parmesano
  • 1/3 cup coarsely chopped flat leaf parsley
  • 8oz. pkg of baby bella brown mushrooms (finely sliced) and then a little chop
  • 1 large spanish onion FINELY chopped about 2 1/2 -3 cups
  • 1 cup pinot noir or cabernet (1/4 c. for mushroom/onion mixture, 3/4 c. for baking dish)
  • 1/2 cup boiling water
  • 2 1/4 Tsp salt (2 tsp in bowl with stuffing ingredients and 1/4 when sauteing the mushrooms and onions)
  • 1/4 Tsp pepper
  • 2 Tbsp live oil (for sautéing)

Directions: 

  1. Pre-heat oven to 350º.
  2. Cut 1″ off of the top of the peppers, pull out the centers with your hands and clean out the inside white part of the pepper.
  3. Place into baking dish.
  4. Clean your mushrooms with either a damp paper towel or a mushroom brush … you should NEVER wash your mushrooms or submerse them in water because mushrooms are porous.
  5. Pop out the mushroom stem and finely slice them and then slice that pile in 1/2…don’t need to be neat about it.
  6. Finely chop a large spanish onion…I’m all for using one of those choppers for this!
  7. Add onion and mushrooms and 1/4 tsp salt to 2 Tbsp olive oil and sauté on medium/high heat for 10 minutes til soft and then on medium heat to caramelize for anther 10 minutes
  8. De-glaze with 1/4 cup pinot let evaporate about another 5 min.
  9. Remove from the stove and let cool.
  10. Add Turkey, grated cheese, 1 cup cooled sauce, 1/3 cup parsley, 2 tsp salt, 1/4 tsp pepper and all of cooled mushroom/onion mixture to a large bowl and gently mix.
  11. Fill the peppers gently with the stuffing, don’t pack it down.
  12. Add the rest of the porcini sauce (approx. 2  cups), 3/4 cup pinot, and 1/2 cup boiling water to the bottom of the baking dish.
  13. NOTE:  If the porcini sauce was refrigerated you should warm it a little to room temperature so it doesn’t prolong the cooking process of the stuffed peppers.
  14. Sprinkle with a little Parmesan, cover with foil and bake at 350º for 1 hr.
  15. Remove the foil after 1 hour
  16. Then up the heat to 400º for another 30 minutes uncovered
  17. Keep an eye on it at this point so the tops don’t blacken too much (everyone’s oven is a little different)
  18. Total cooking time approx. 1 hour 30 minutes
  19. Take the peppers out of the oven, cover back up with foil and let them sit for 5 minutes.
  20. Sprinkle with more parmesan and serve with porcini sauce from bottom of bake dish

TIP:  RICE- To make Basmati or Jasmine rice measure 1 cup rice and put into medium pan. Run cold water over rice and drain using your hand to hold back the rice.  Then add 1 1/2 cups water (water level is 1 knuckle over rice), cover and bring to a boil, turn down heat IMMEDIATELY to low and simmer for 20 minutes.  Remove from the heat and keep covered letting it sit for another 10 minutes and voilà.  Fluff with a fork

Asian Shrimp & Noodle Salad Recipe/VIDEO

Asian Shrimp & Noodle Salad Recipe/VIDEO

This Asian Shrimp & Noodle Salad is best when you make it the night before so all these wonderful herbs and oils can marinate the rice noodles and shrimp. Granted, sometimes it just can’t be helped because the flavors are so bright and delicious no one can wait for the next day. This recipe originated from my good friend Karen who is a true foodie! I of course have tweaked the ingredients as I do with most recipes. I used rice noodles making it gluten friendly instead of pasta which you can use as well…I love it with pasta also but I feel that using the rice noodles makes this a lighter dish. I have also added in carrots using a lemon zester which makes spaghetti like strands and I love what the color does for the dish not to mention orange is my favorite color…can you tell? When you buy the carrots be sure to buy the loose carrots with the greens still intact because they are so much sweeter then the packaged ones especially for something like this where they play one of the main characters to the story.

You can pretty much buy rice noodles anywhere but I have to tell you one of my favorite Asian markets is Hong Kong Grocery at 71 Whitney Ave., New Haven, CT. It’s on the corner of Trumble St. & Whitney Ave. and they have a Dim Sum Restaurant next door. You can get all your rice noodles, rice paper, rice wine vinegar, soy’s, a good size bag of sesame seeds and much more at the street level. Down stairs you will find the freshest, juiciest ginger you will ever have and the same for their daikon radish and garlic bulbs. I also buy some very durable and adorable Asian bowls there. It’s a great find and you should really try to stop in when you get the chance. This Asian shrimp and noodle salad would go great with some chocolate-avocado mousse, or Pavlova with fresh pineapple & berries for dessert!

iphone pictures 1385  iphone pictures 1386  iphone pictures 1391

iphone pictures 603  iphone pictures 605  iphone pictures 608

iphone pictures 1388  iphone pictures 1416  iphone pictures 1393

iphone pictures 1394  iphone pictures 1399  iphone pictures 1398

iphone pictures 1402  iphone pictures 1417  iphone pictures 1414

Ingredients – Serves 6-8 lunch or dinners:

  • 1 lb. rice noodles (linguine fini or fettuccine…I used a fettuccine size width in the pictures)
  • 1 1/2 lb. medium size peeled and deveined shrimp or cooked shrimp
  • 3/4 cup reduced sodium soy sauce
  • 1/4 cup toasted sesame oil
  • 1/4 cup “seasoned” rice wine vinegar
  • 1/4 cup oilve oil
  • juice from 1/2 lime
  • 2 Tbsp fresh grated ginger
  • 1 bunch sliced scallions (save 1/4 cup for garnish)
  • 5 medium-small size loose carrots (don’t use the packaged ones)
  • 1 cup cilantro (2/3 for dressing, 1/3 for garnish)
  • 2 Tbsp sugar
  • 1/4 Tsp pepper
  • 3 Tbsp toasted sesame seeds
  • 1/2 Tsp Tabacsco or Siracha (a hot chili sauce sold right next to the Tabasco at the store) this of course if optional

Directions:

  1. If you have uncooked shrimp bring small pot of water to a boil, then add uncooked shrimp, turn down heat and simmer for 1 minute
  2. Drain the shrimp and run cold water over them or put into an ice bath, dry with paper towels and set aside
  3. Toast sesame seeds on medium heat in a small pan shaking the pan periodically back and forth
  4. This happens quickly once they heat up…it will only take about 3-4 minutes so it’s best not to leave the pan or the stove
  5. Once the sesame seeds are golden remove from the pan, place in a ramekin and set aside
  6. Peel and grate the carrots with a lemon zester and set aside
  7. Follow package directions to cook rice noodles (or Pasta)
  8. Rinse Rice noodles with cold water til cooled so they don’t stick together, set aside
  9. In a large bowl add soy, toasted sesame oil, rice wine vinegar, lime juice, olive oil, ginger, scallions, cilantro, salt & pepper, Tabasco, 2 Tbsp toasted sesame seeds, shrimp, rice noodles and carrots and toss…so basically add everything together and toss till blended
  10. Put into the frig for at least 2 hours, preferably over night
  11. Serve in bowls and top with cilantro, scallion slices and a sprinkle of sesame seeds..YUM!
  12. NOTE: You can CHANGE this up using grilled shrimp, steak or scallops!