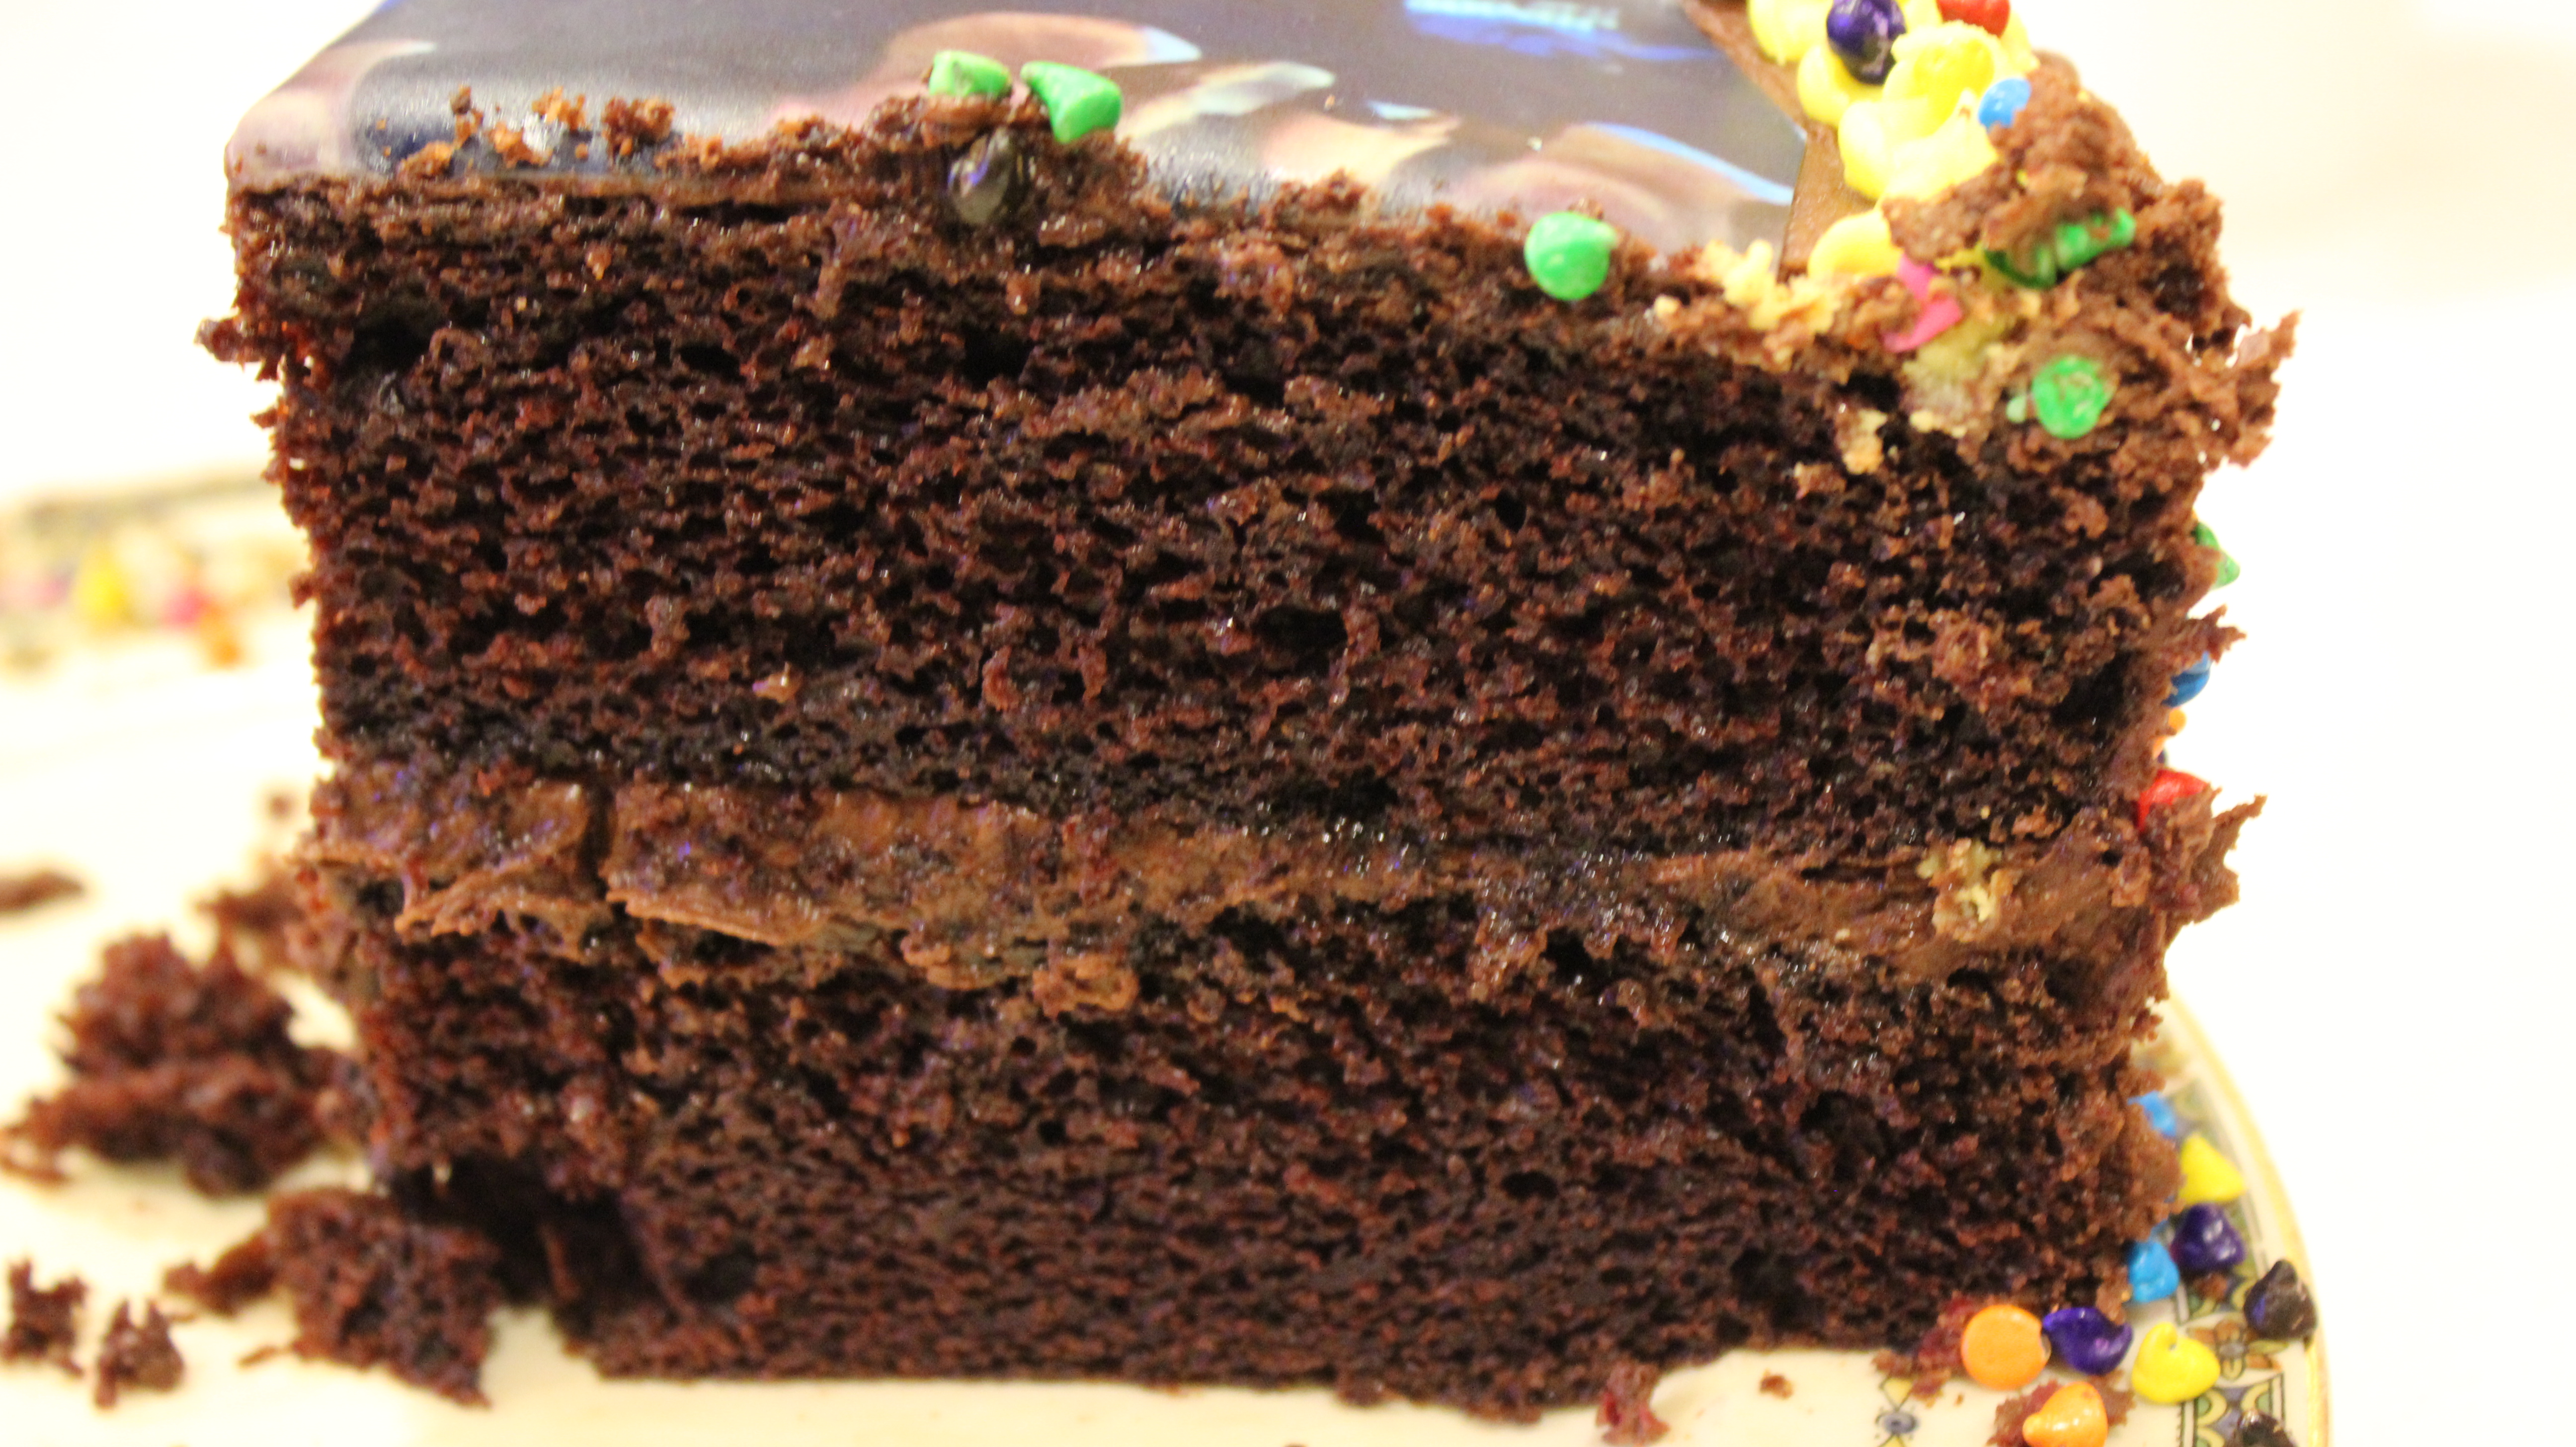
“Perfectly Chocolate Chocolate Cake”
 The name “perfectly chocolate chocolate cake” pretty much sums it up right there although you won’t know how easy it is to make this homemade gourmet chocolaty cake until you give it a go! This incredible cake and frosting made from Hershey’s Cocoa Powder I have been making for almost 20 years now! Once you see how easy it is to make these moist and chocolaty homemade cakes you’ll never go back to the box again! Besides on my blog you can find these recipe’s right on the back of the Hershey’s Cocoa canister.
I was first turned on to the recipe by a mother-daughter baking team that I met about 20 years ago. They were professional baking contestants from the Midwest who had won numerous times. My quest at the time was to find the “perfect” chocolate cake and their answer was the Hershey’s Cocoa recipe. Not that the name itself on the back of the Hershey canister for this chocolate cake recipe wasn’t “perfect” enough I just couldn’t take the irony of it all so off I was trying out the recipe and baking this cake! It had such a lovely texture without being too dense or heavy. It was oh so chocolaty and moist to top it off. The amount of steps and effort put in to making this cake is pretty much equal to that of making a box cake so why would you ever resort back to making box ever again. You know me, I test other recipes to make sure I have the best and I always go back to the Hershey Cocoa recipe!
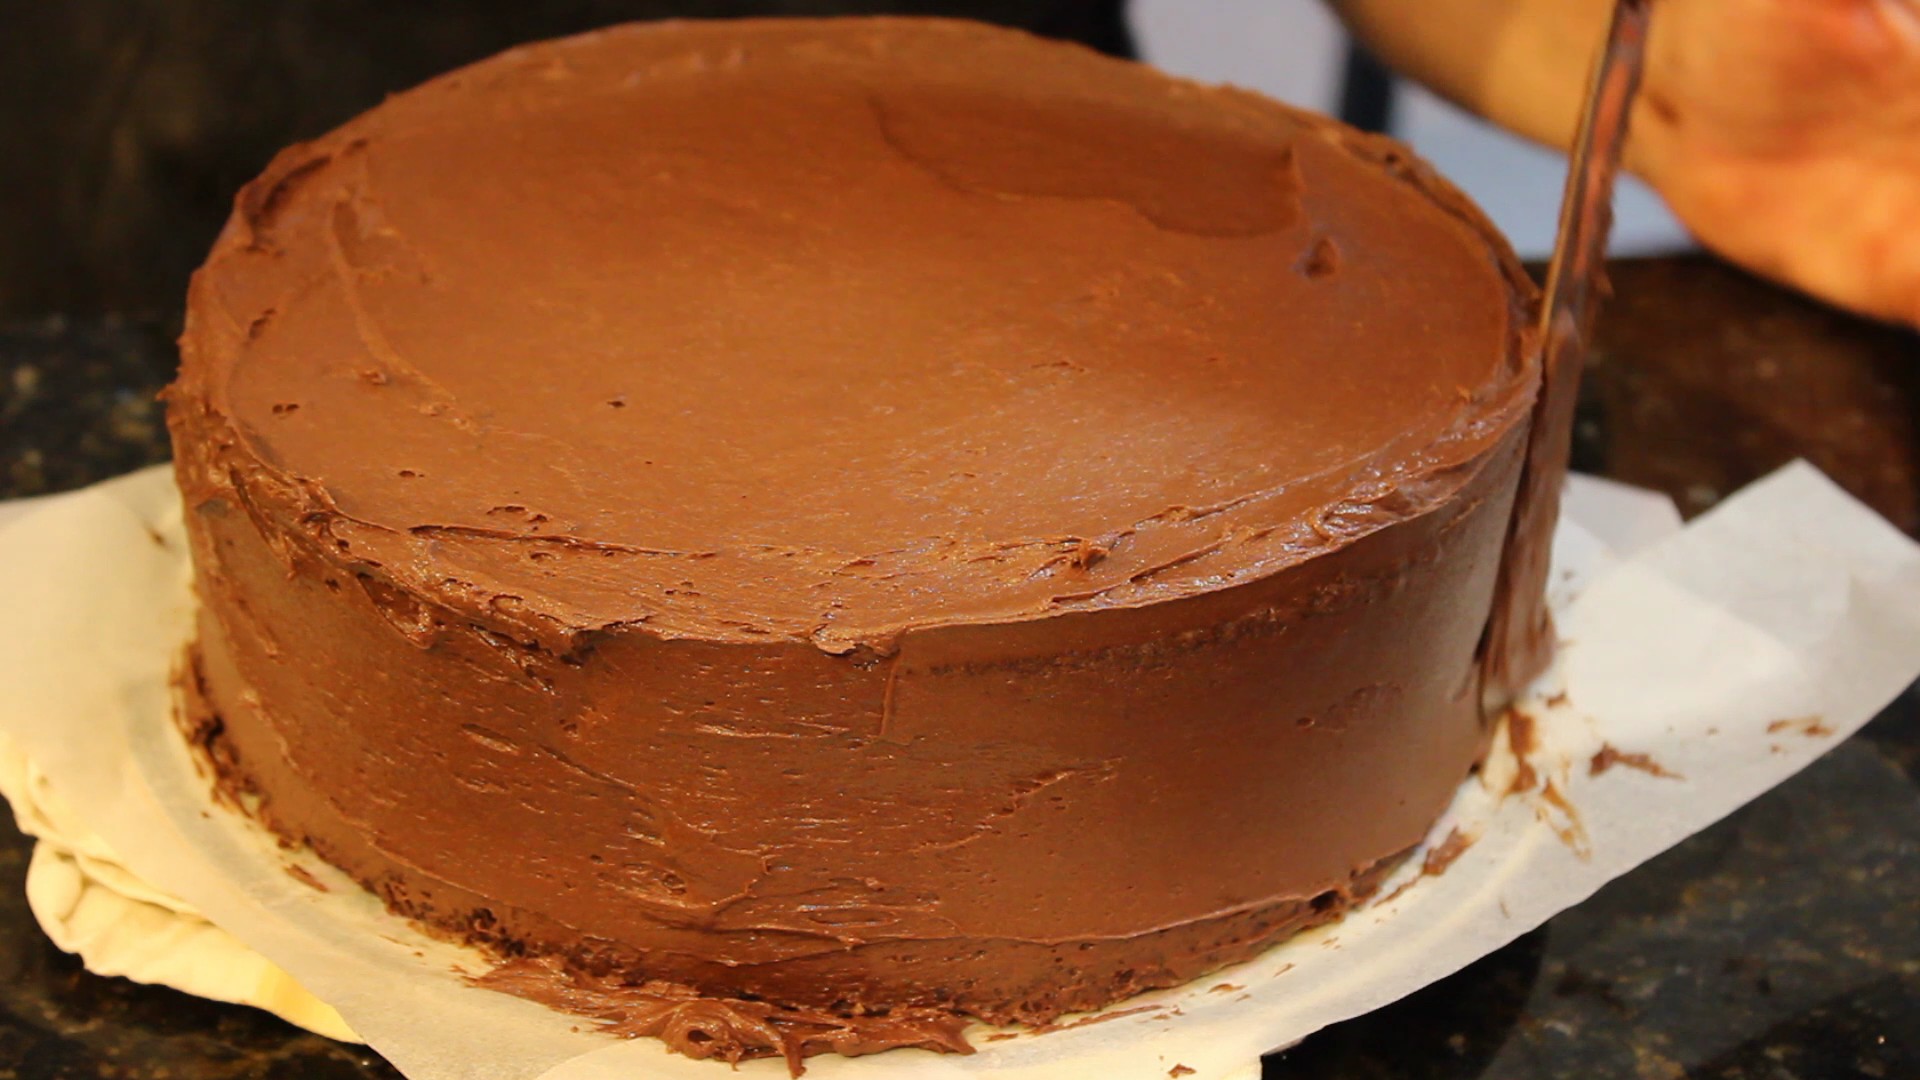
The Hershey’s “perfectly chocolate chocolate frosting” is one that should not be over looked either. The frosting is amazing and one of my favorite go to recipes totally blowing away that “canned” stuff with the plastic lid. I am really excited for these recipe’s to become a couple of your favorites too. You may find your friends and family requesting “your” perfectly chocolate cake for their next visit! I hope you enjoy the show!
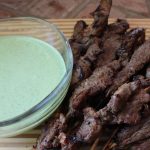
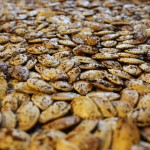
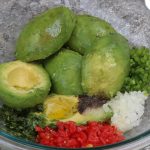
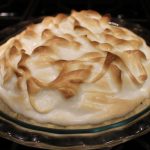
You should check out my Green Goddess Dip & Sweet Potato Fries for an appetizer! what ever you do DON’T FORGET TO ROAST your PUMKIN SEEDS! And how about some green ghoul Best Guacamole Guacmole Ever! Or be creative with another dessert placing eatable eyballs on top a homemade Chocolate Meringue Pie!

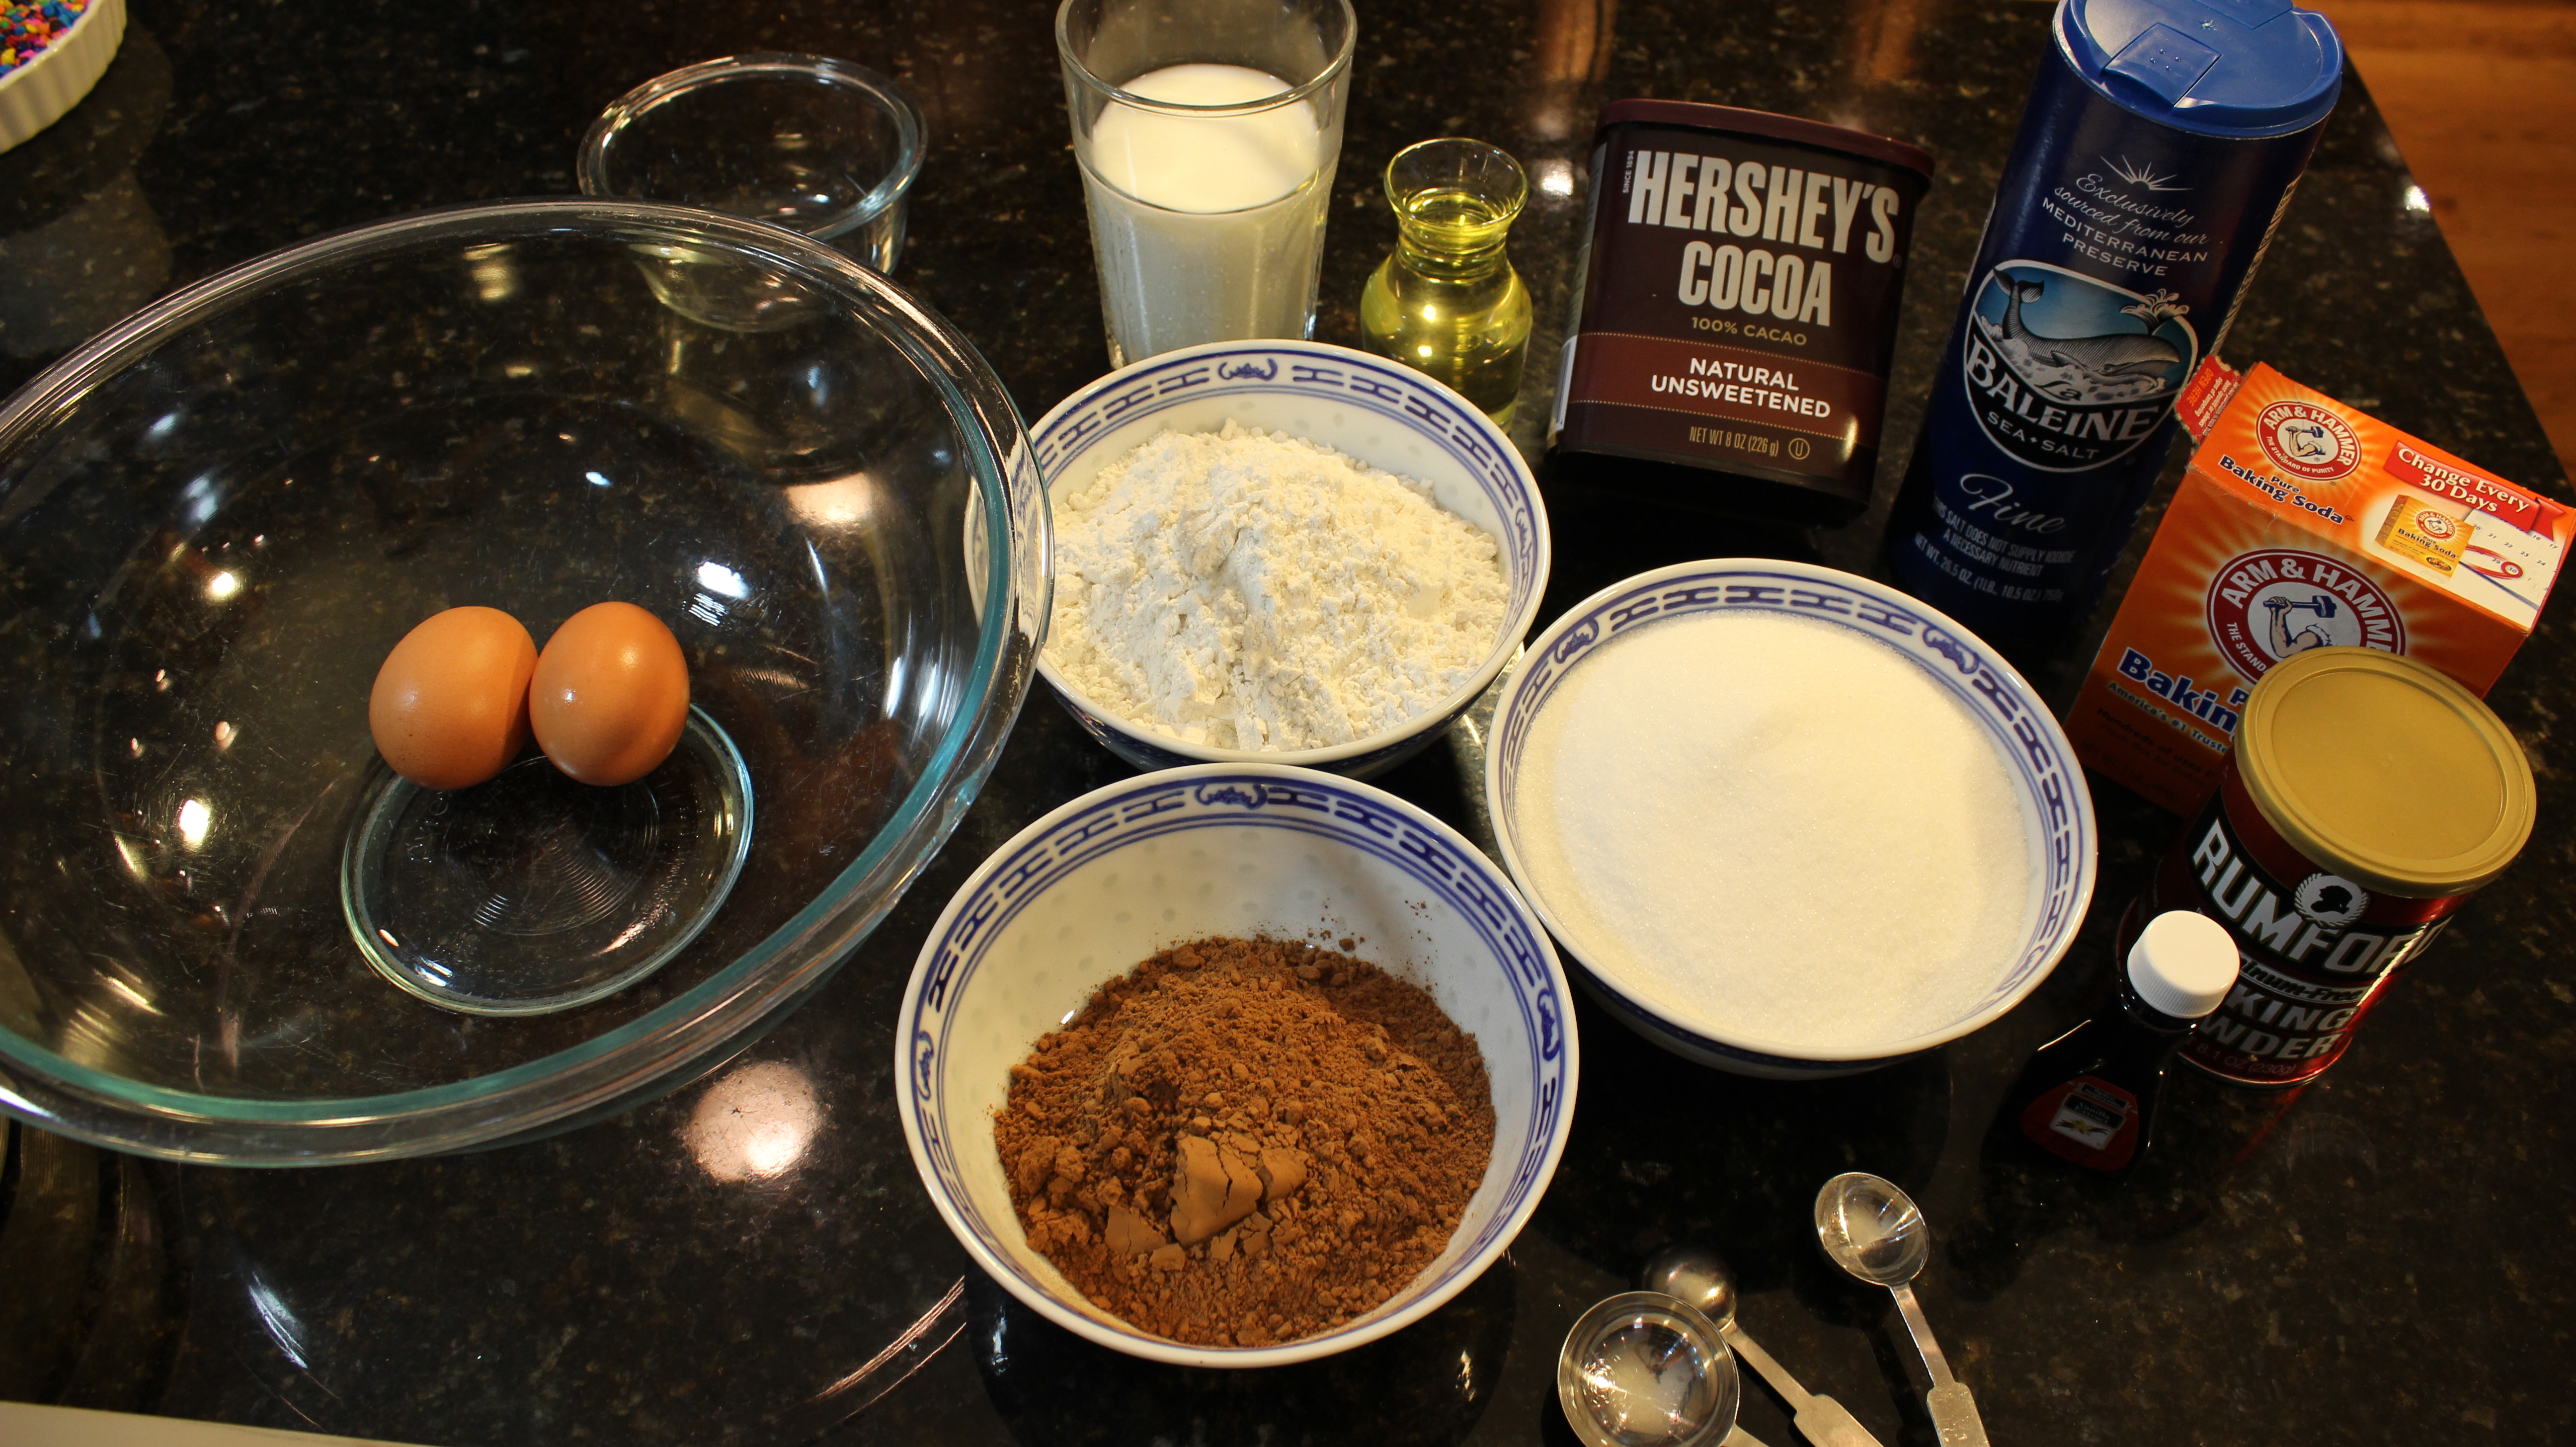


Ingredients for Cake:
- 1 3/4 cups white sugar -(Hershey recipe calls for 2 cups white sugar)
- 1/4 cup light brown sugar
- 1 3/4 cup all purpose flour
- 3/4 cup Hershey Cocoa
- 1 1/4 tsp baking powder -(Hershey recipe calls for 1 1/2 tsp)
- 1 1/4 tsp baking soda -(Hershey recipe calls for 1 1/2 tsp)
- NOTE: I like to use 1 1/4 tsp baking powder & 1 1/4 tsp baking soda instead of the “Hershey” recipe that calls for 1 1/2 tsp for both because this produces a cake that is a little more moist because it doesn’t rise fully, and sometimes I even use 1/2 tsp baking powder & 1/2 tsp baking soda for a cake that has more of a pudding texture (not too dense or heavy either …just pudding like) Have fun!
- 1 tsp salt
- 2 lg. eggs
- 1 cup whole milk
- 1/2 cup vegetable oil
- 2 tsp pure vanilla extract
- 1 cup boiling water
TO MAKE GHOST CAKE THIS IS WHAT YOU’LL NEED:
Find at “Michaels Stores” No. 1-3 Find at “Fresh Market” No. 4
- Ghost peeps
- Eatable eyballs
- Cookie Icing to write on small Hershey chocolate bars for tomb stone’s “RIP”
- Spider web stretchy candy (stretchy cotton candy-like) – stretch all around base & in between chocolate bar tomb stone’s
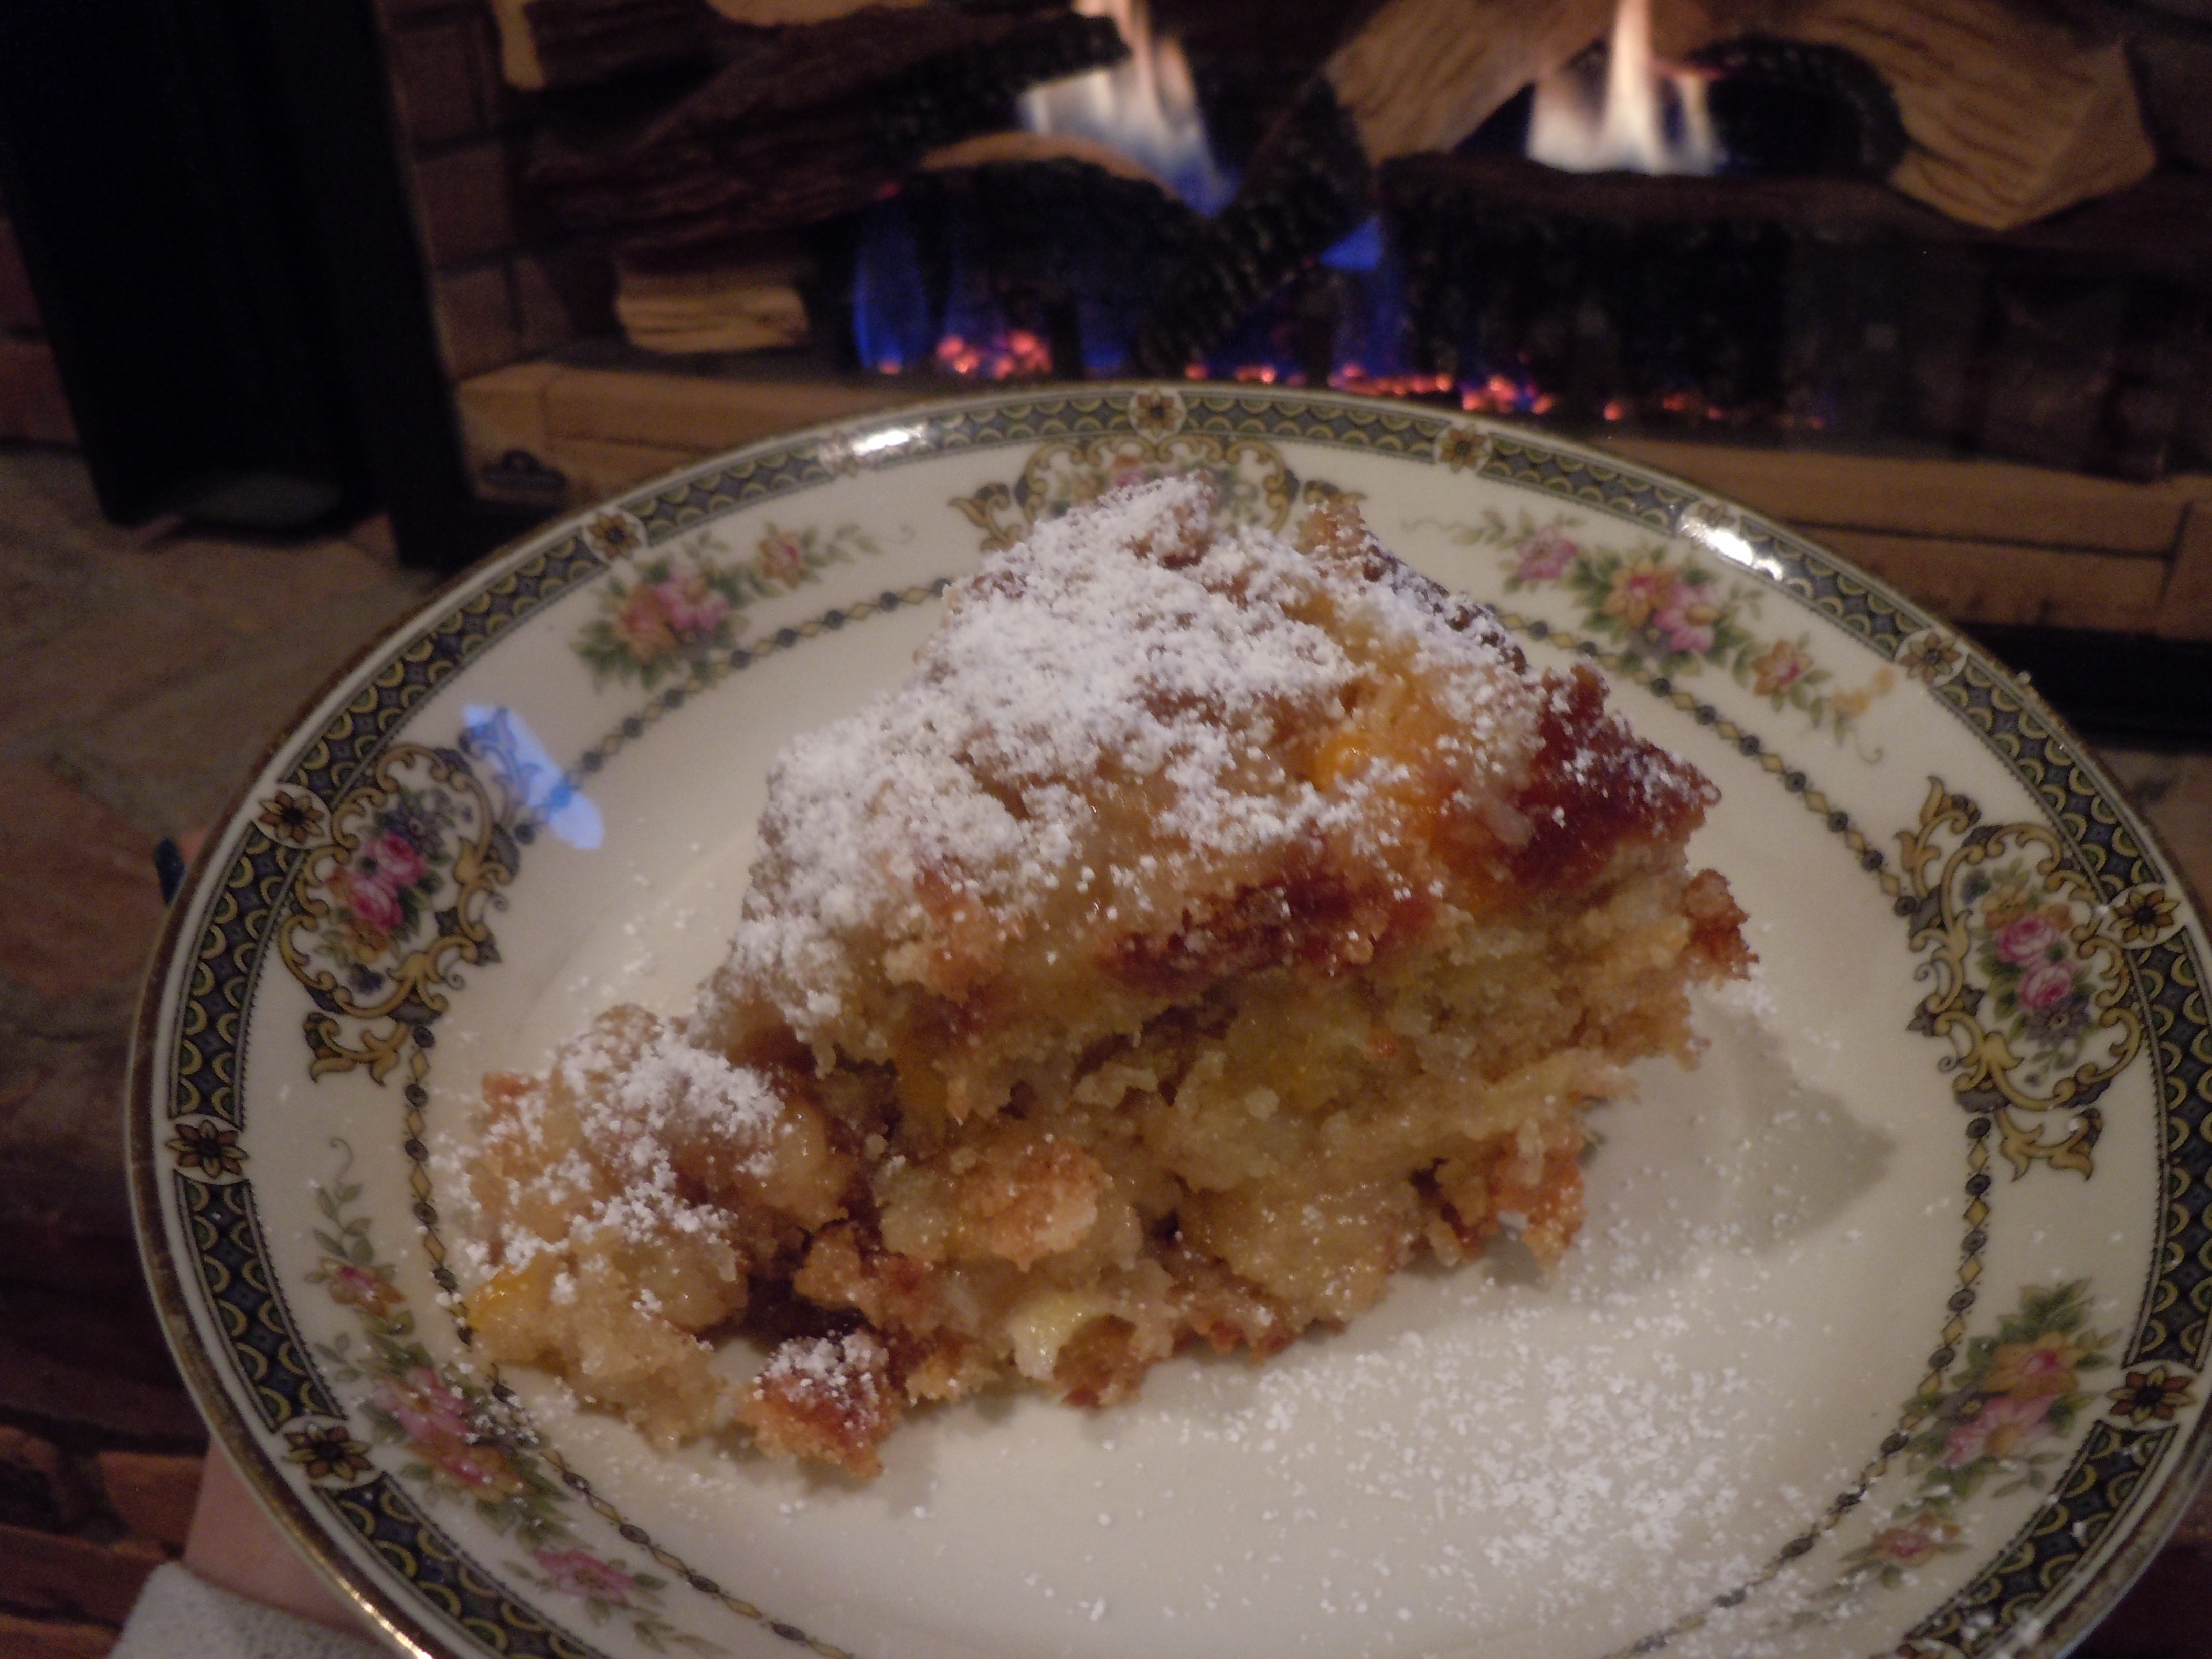
- Confectioner’s sugar sprinkled on top to look like a dusting of snow!
- Hershey chocolate bars-small ones-write on back “RIP” with Icing in bottle SHOWN ABOVE
- Glue candy eye’s and anchor tomb stone’s to cake with the cookie icing
Directions for Cake…NOTE- I Bake My Cake On Convection:
- Pre-heat oven to 350º
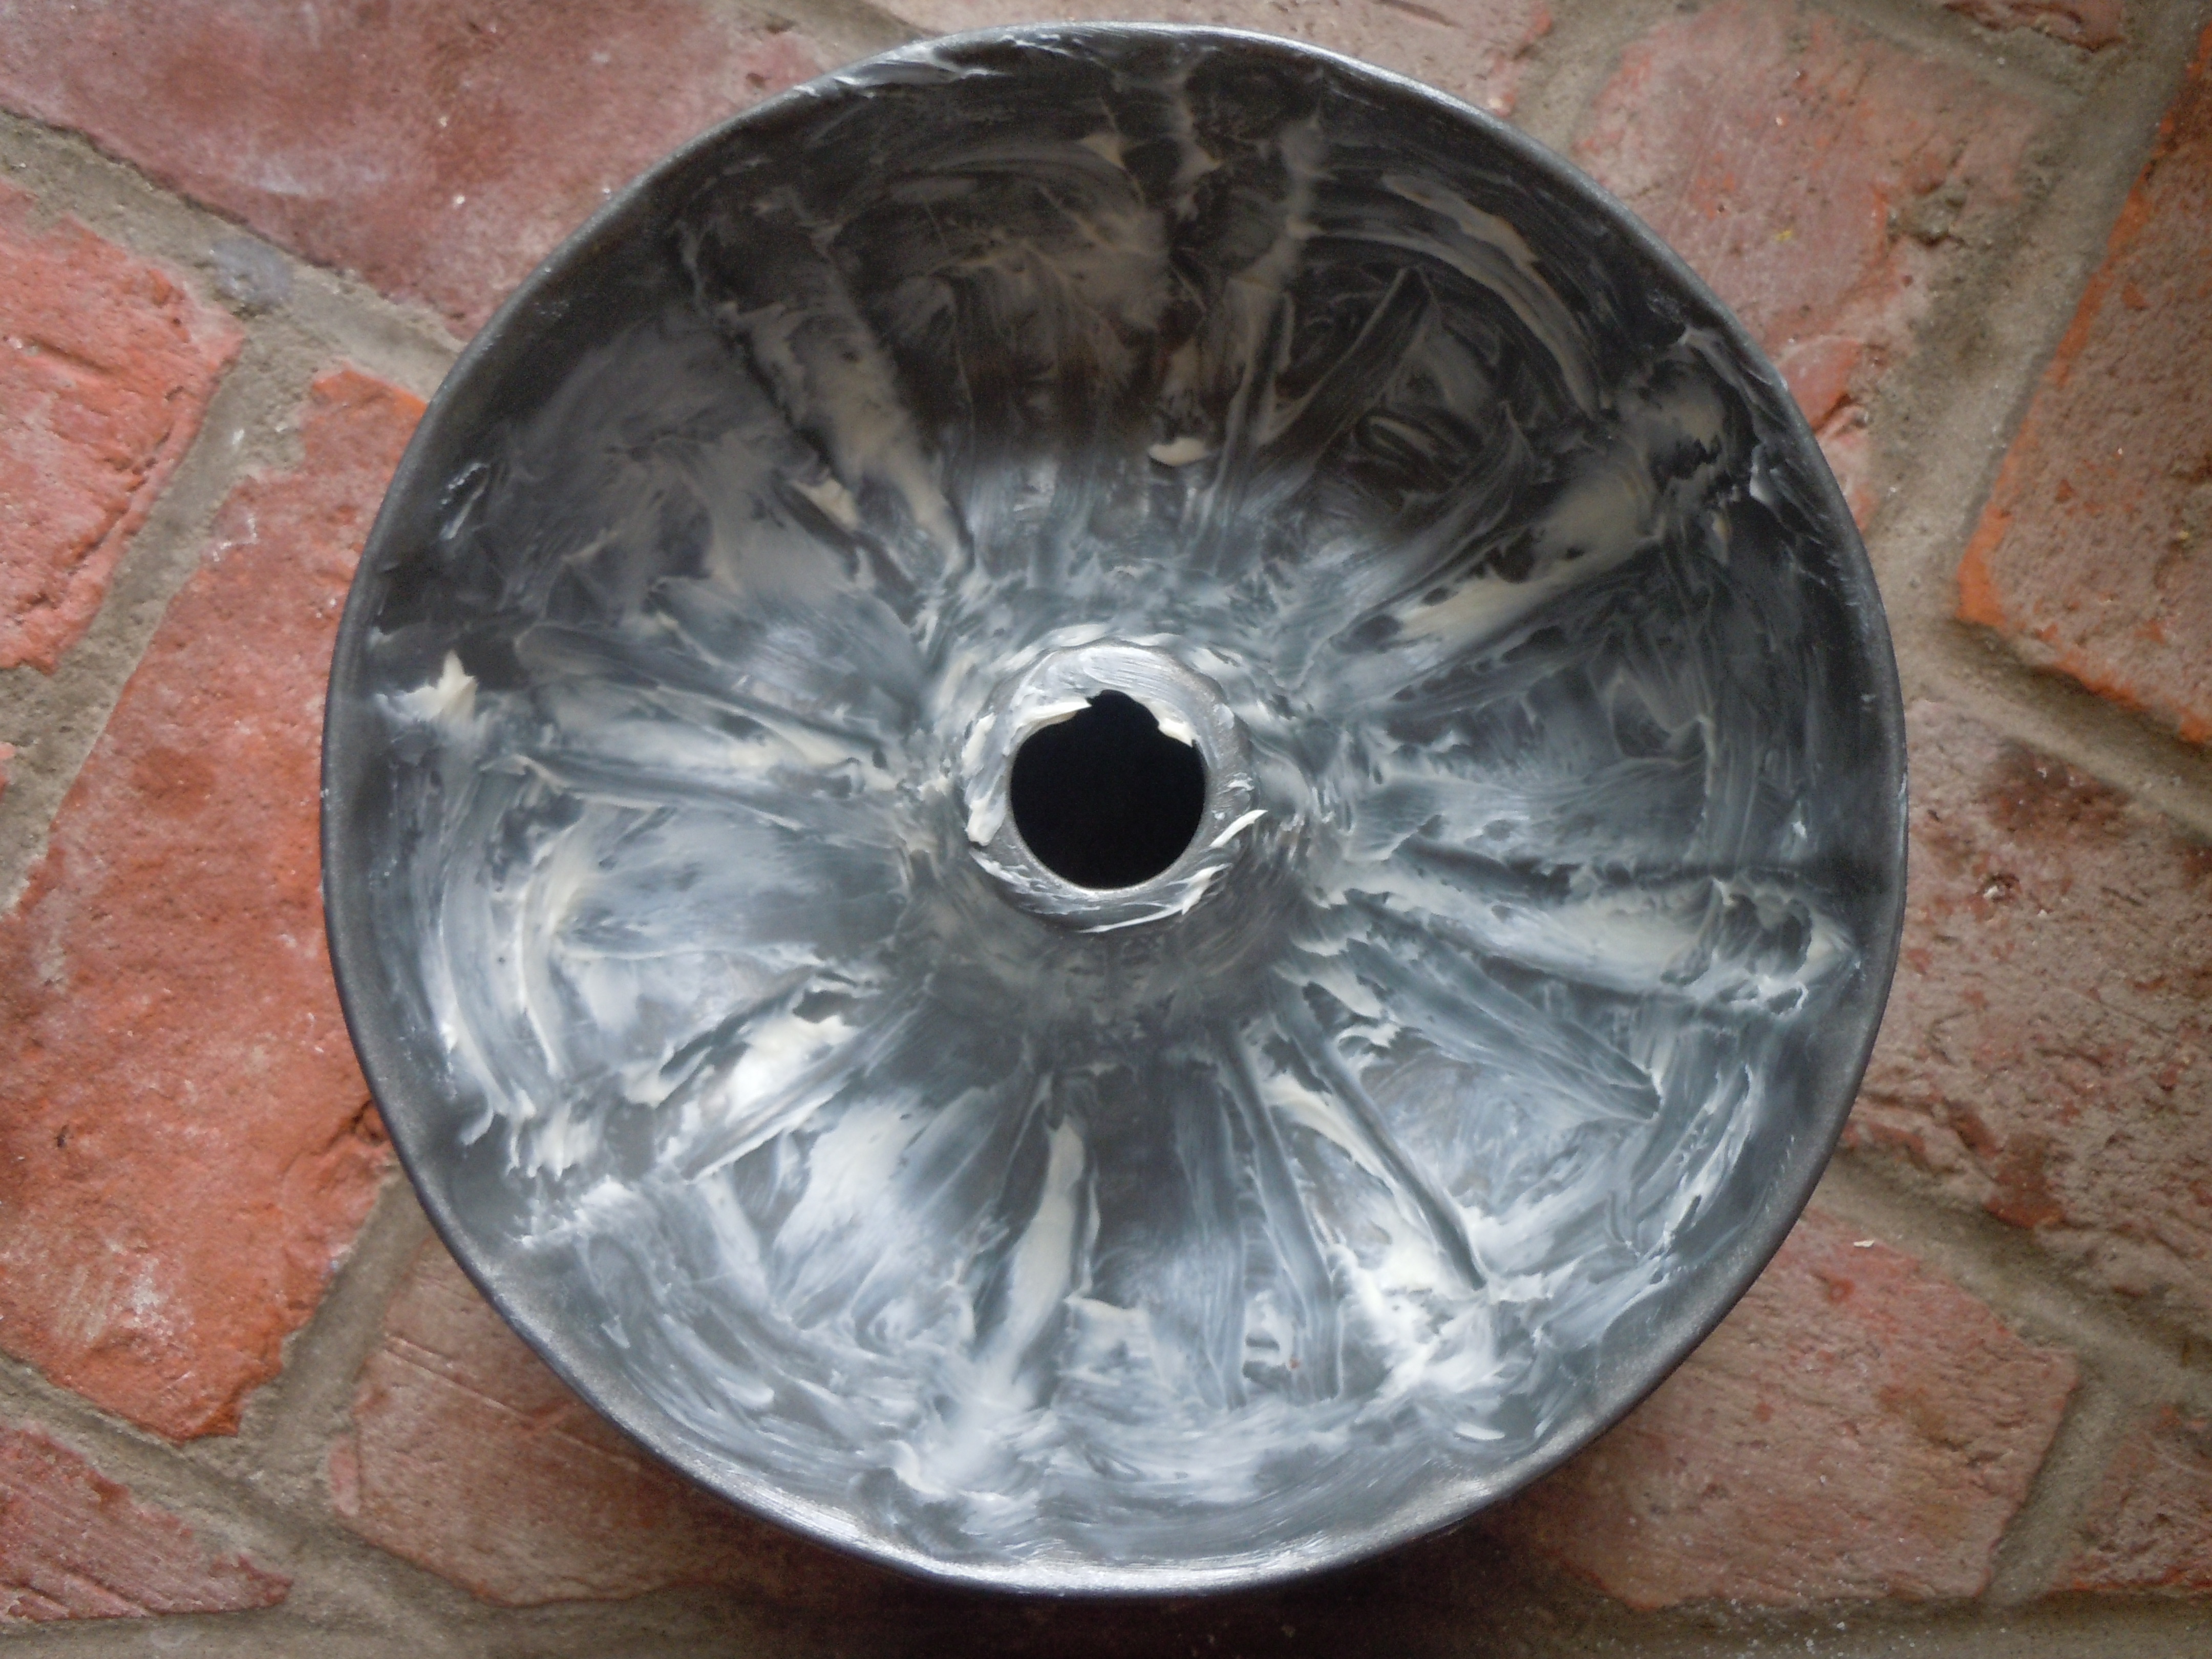
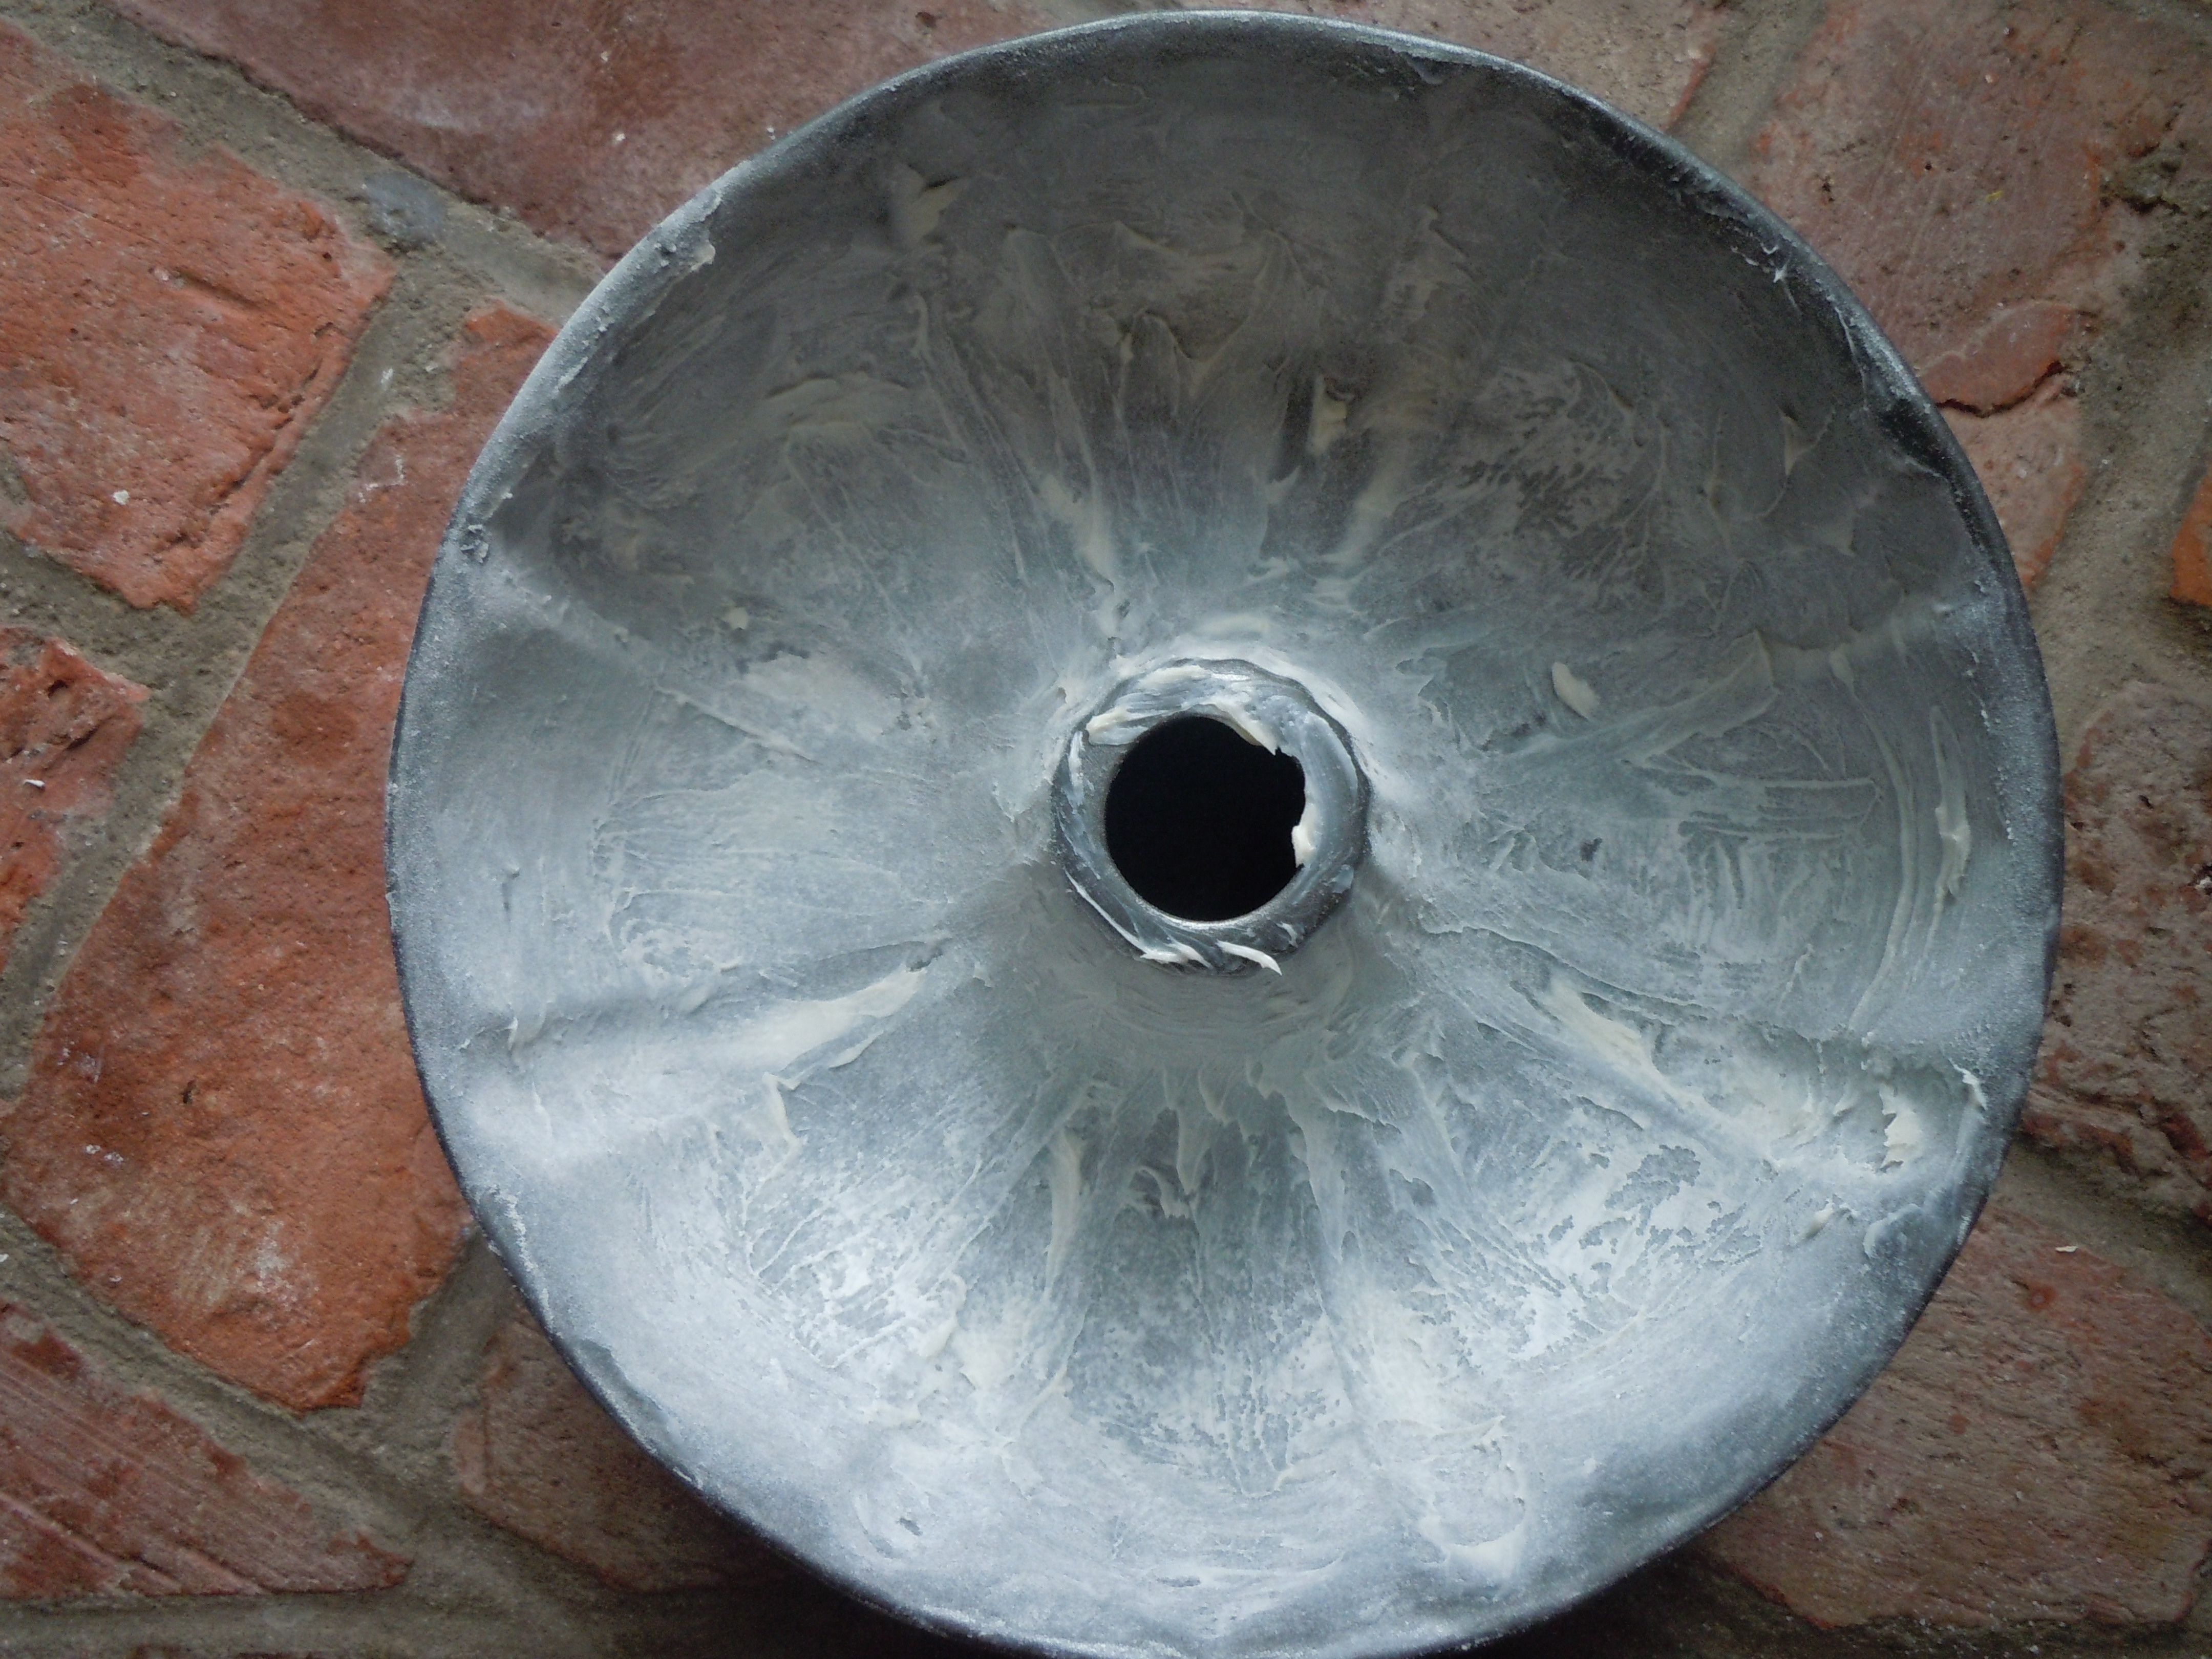
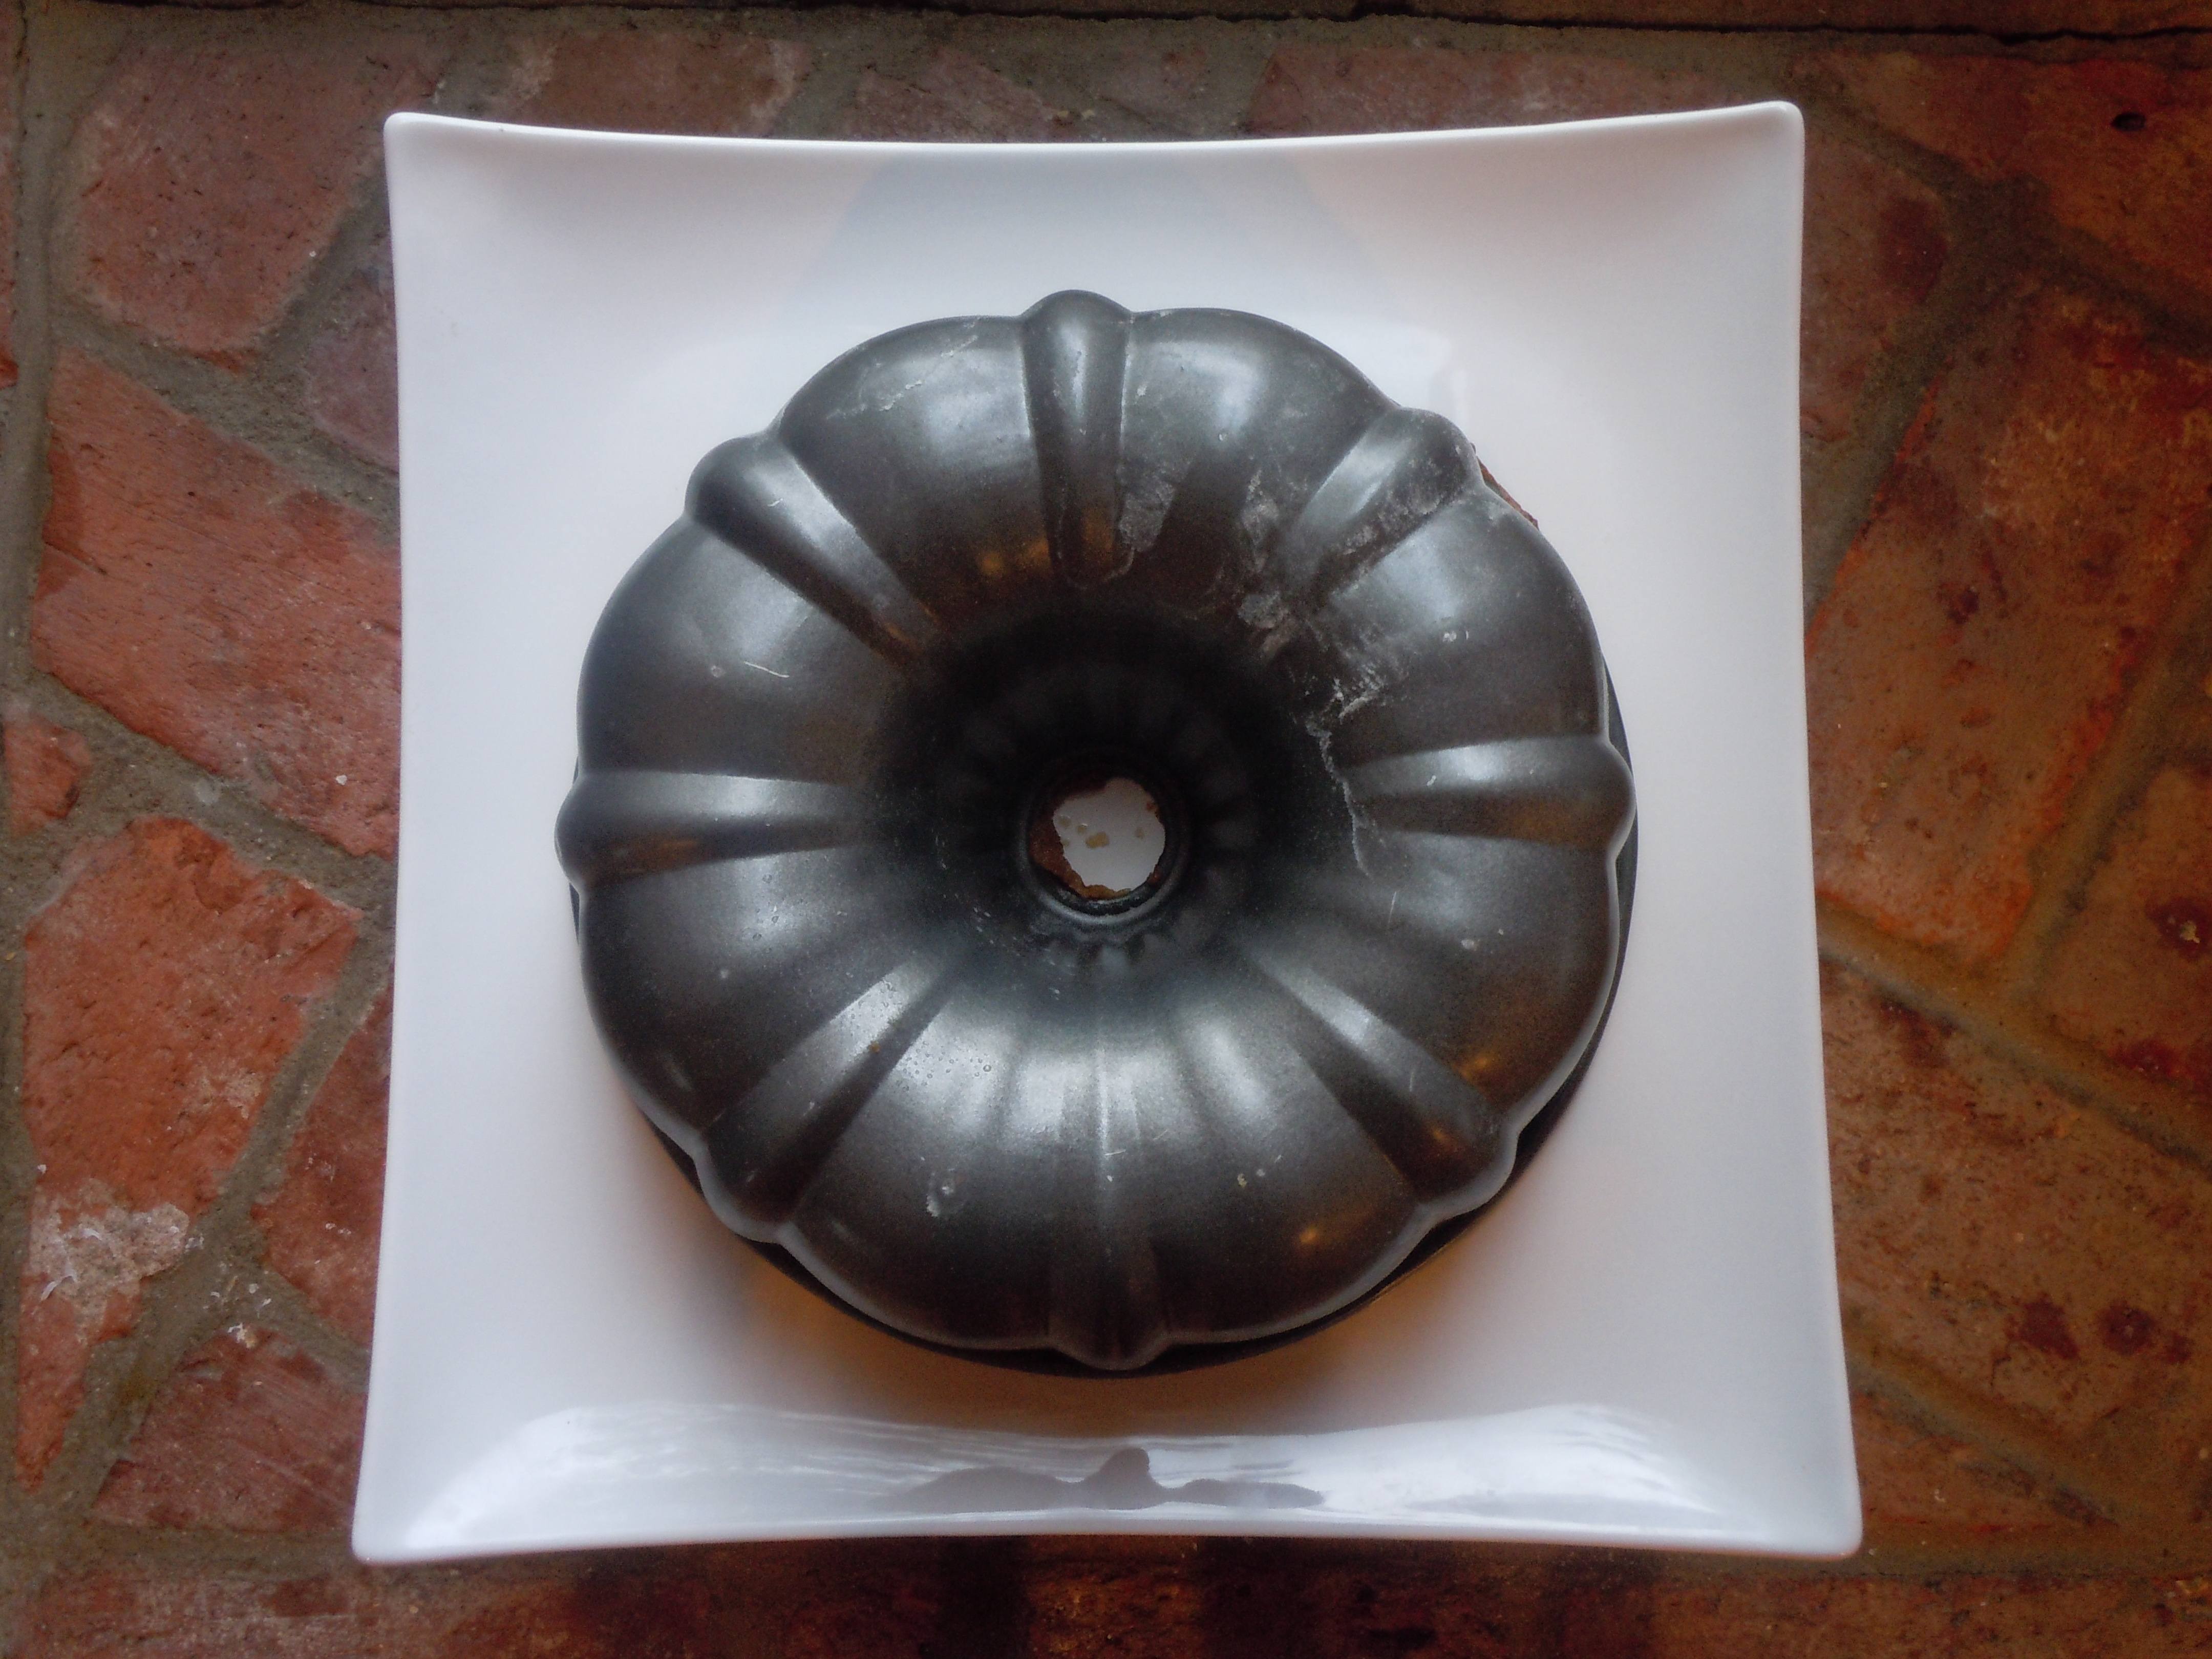
- Grease and flour 2 – 9″ round baking pans
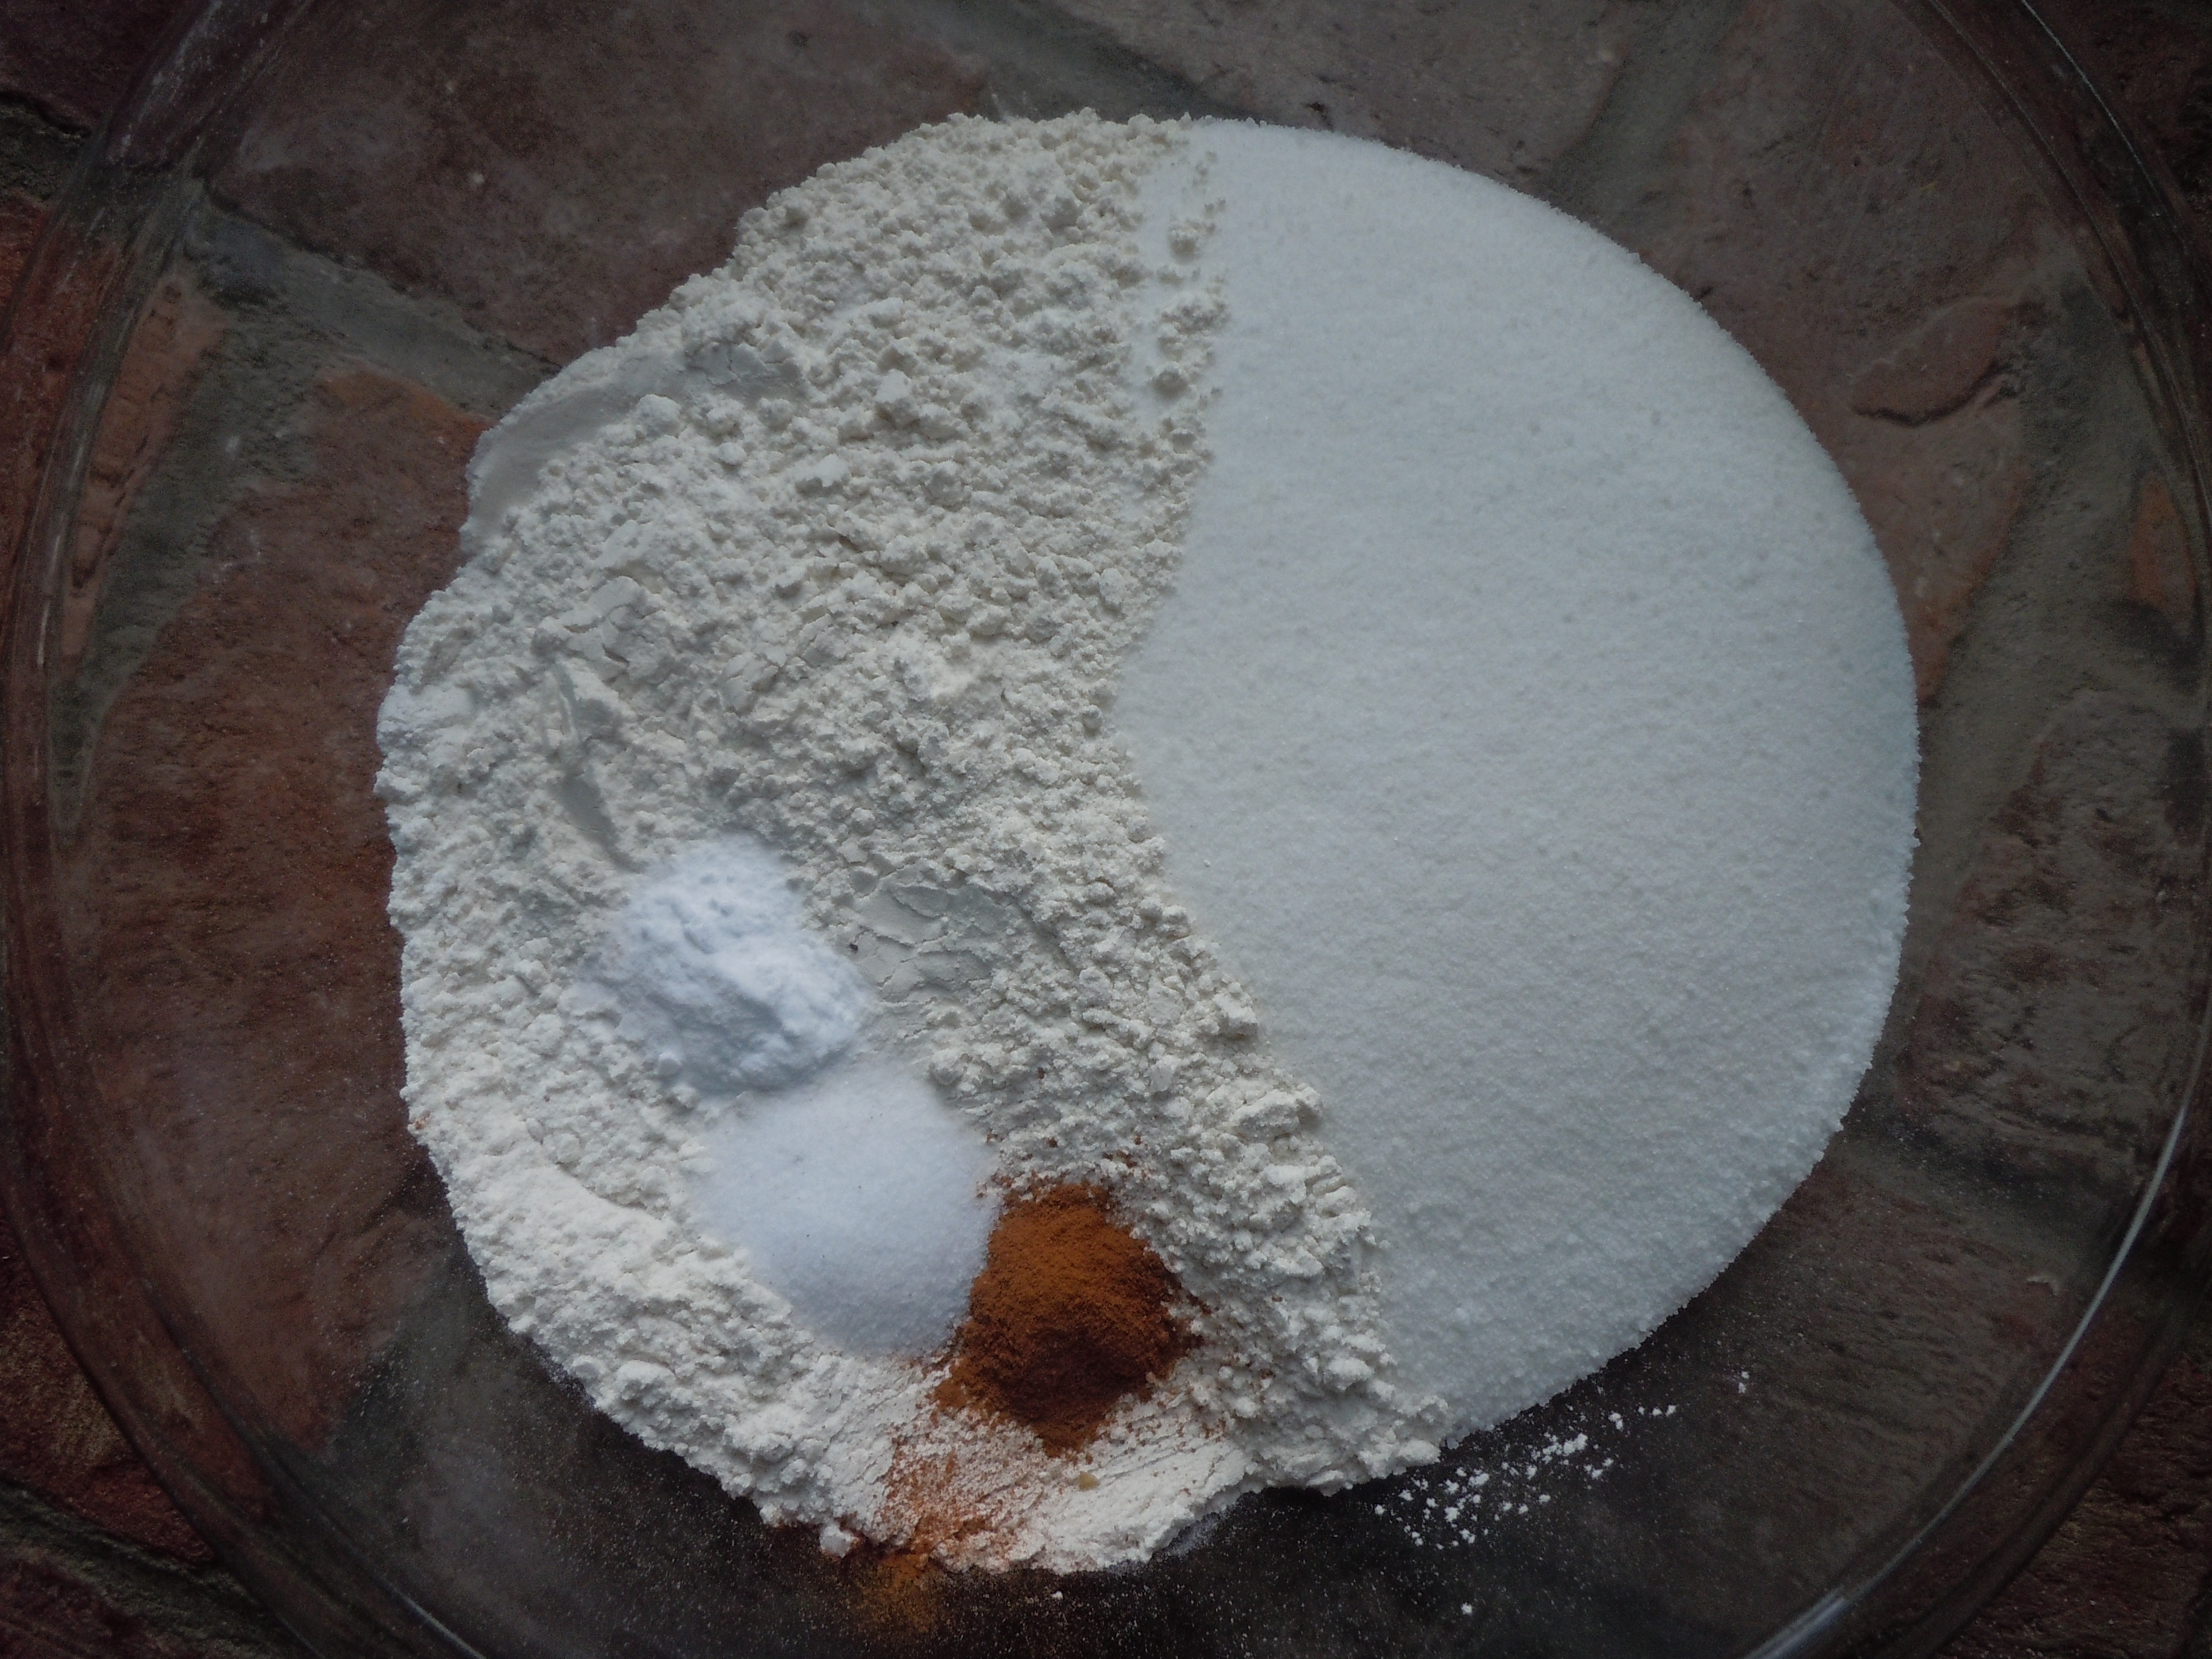
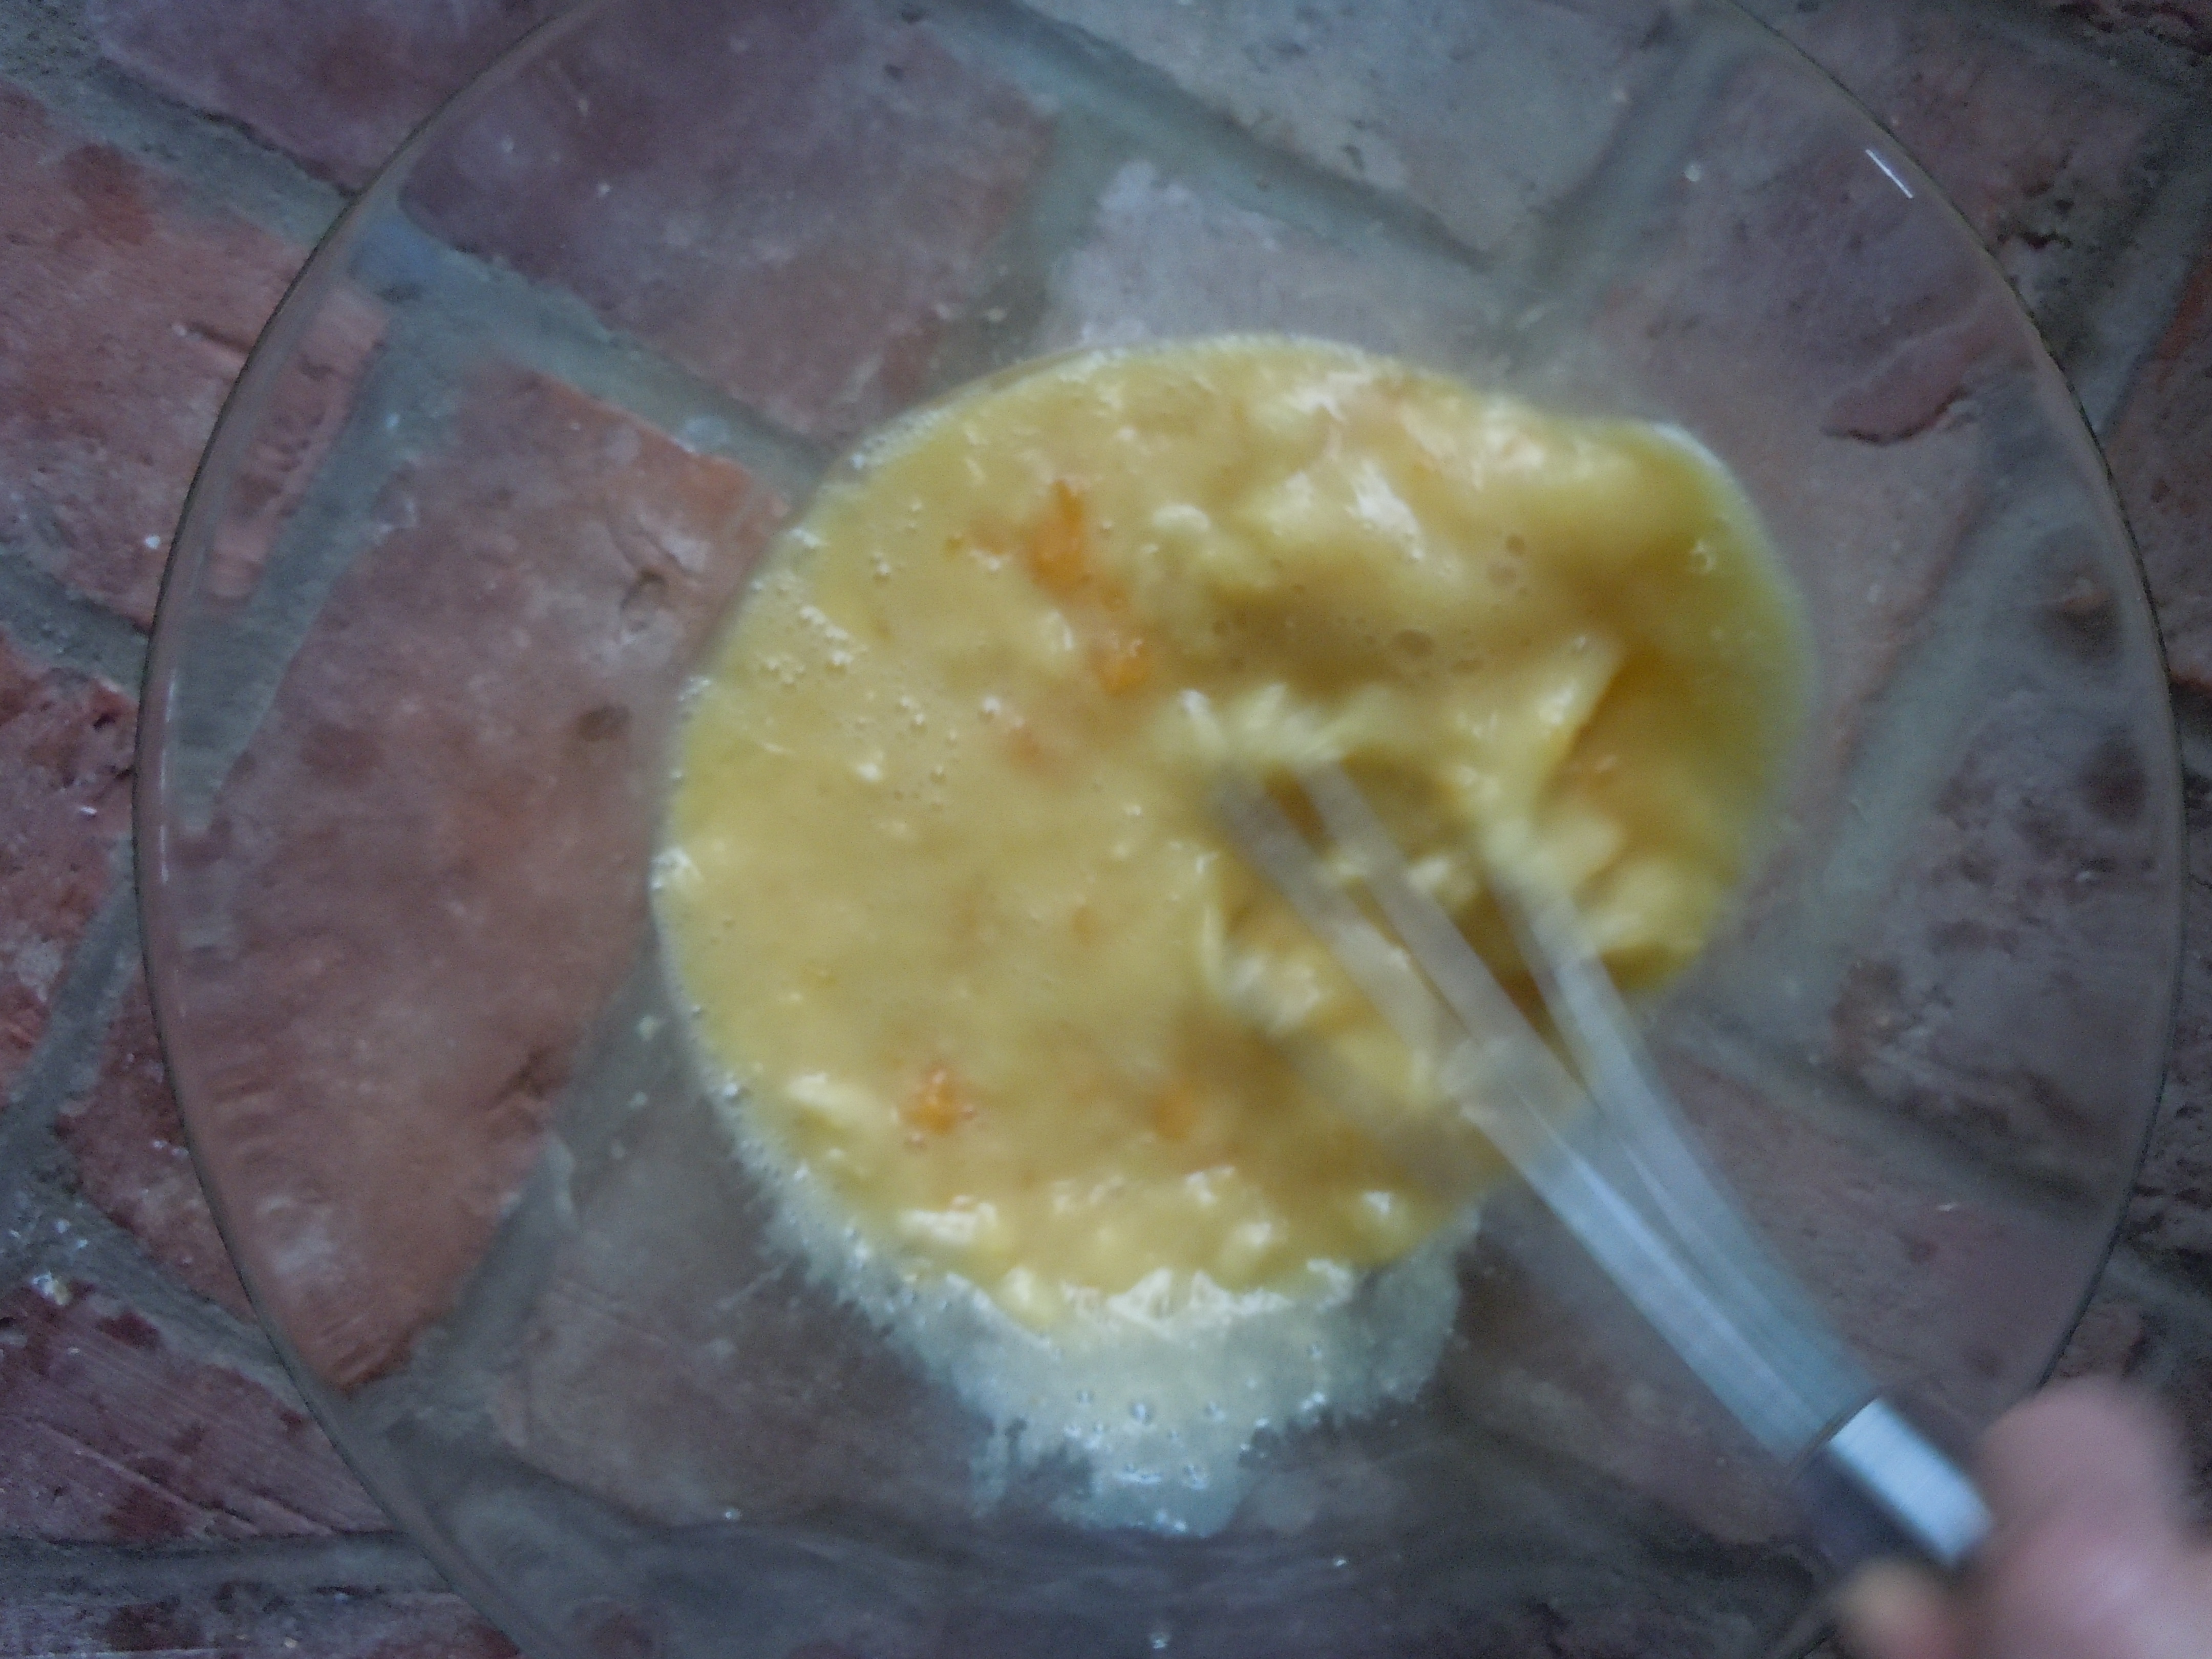
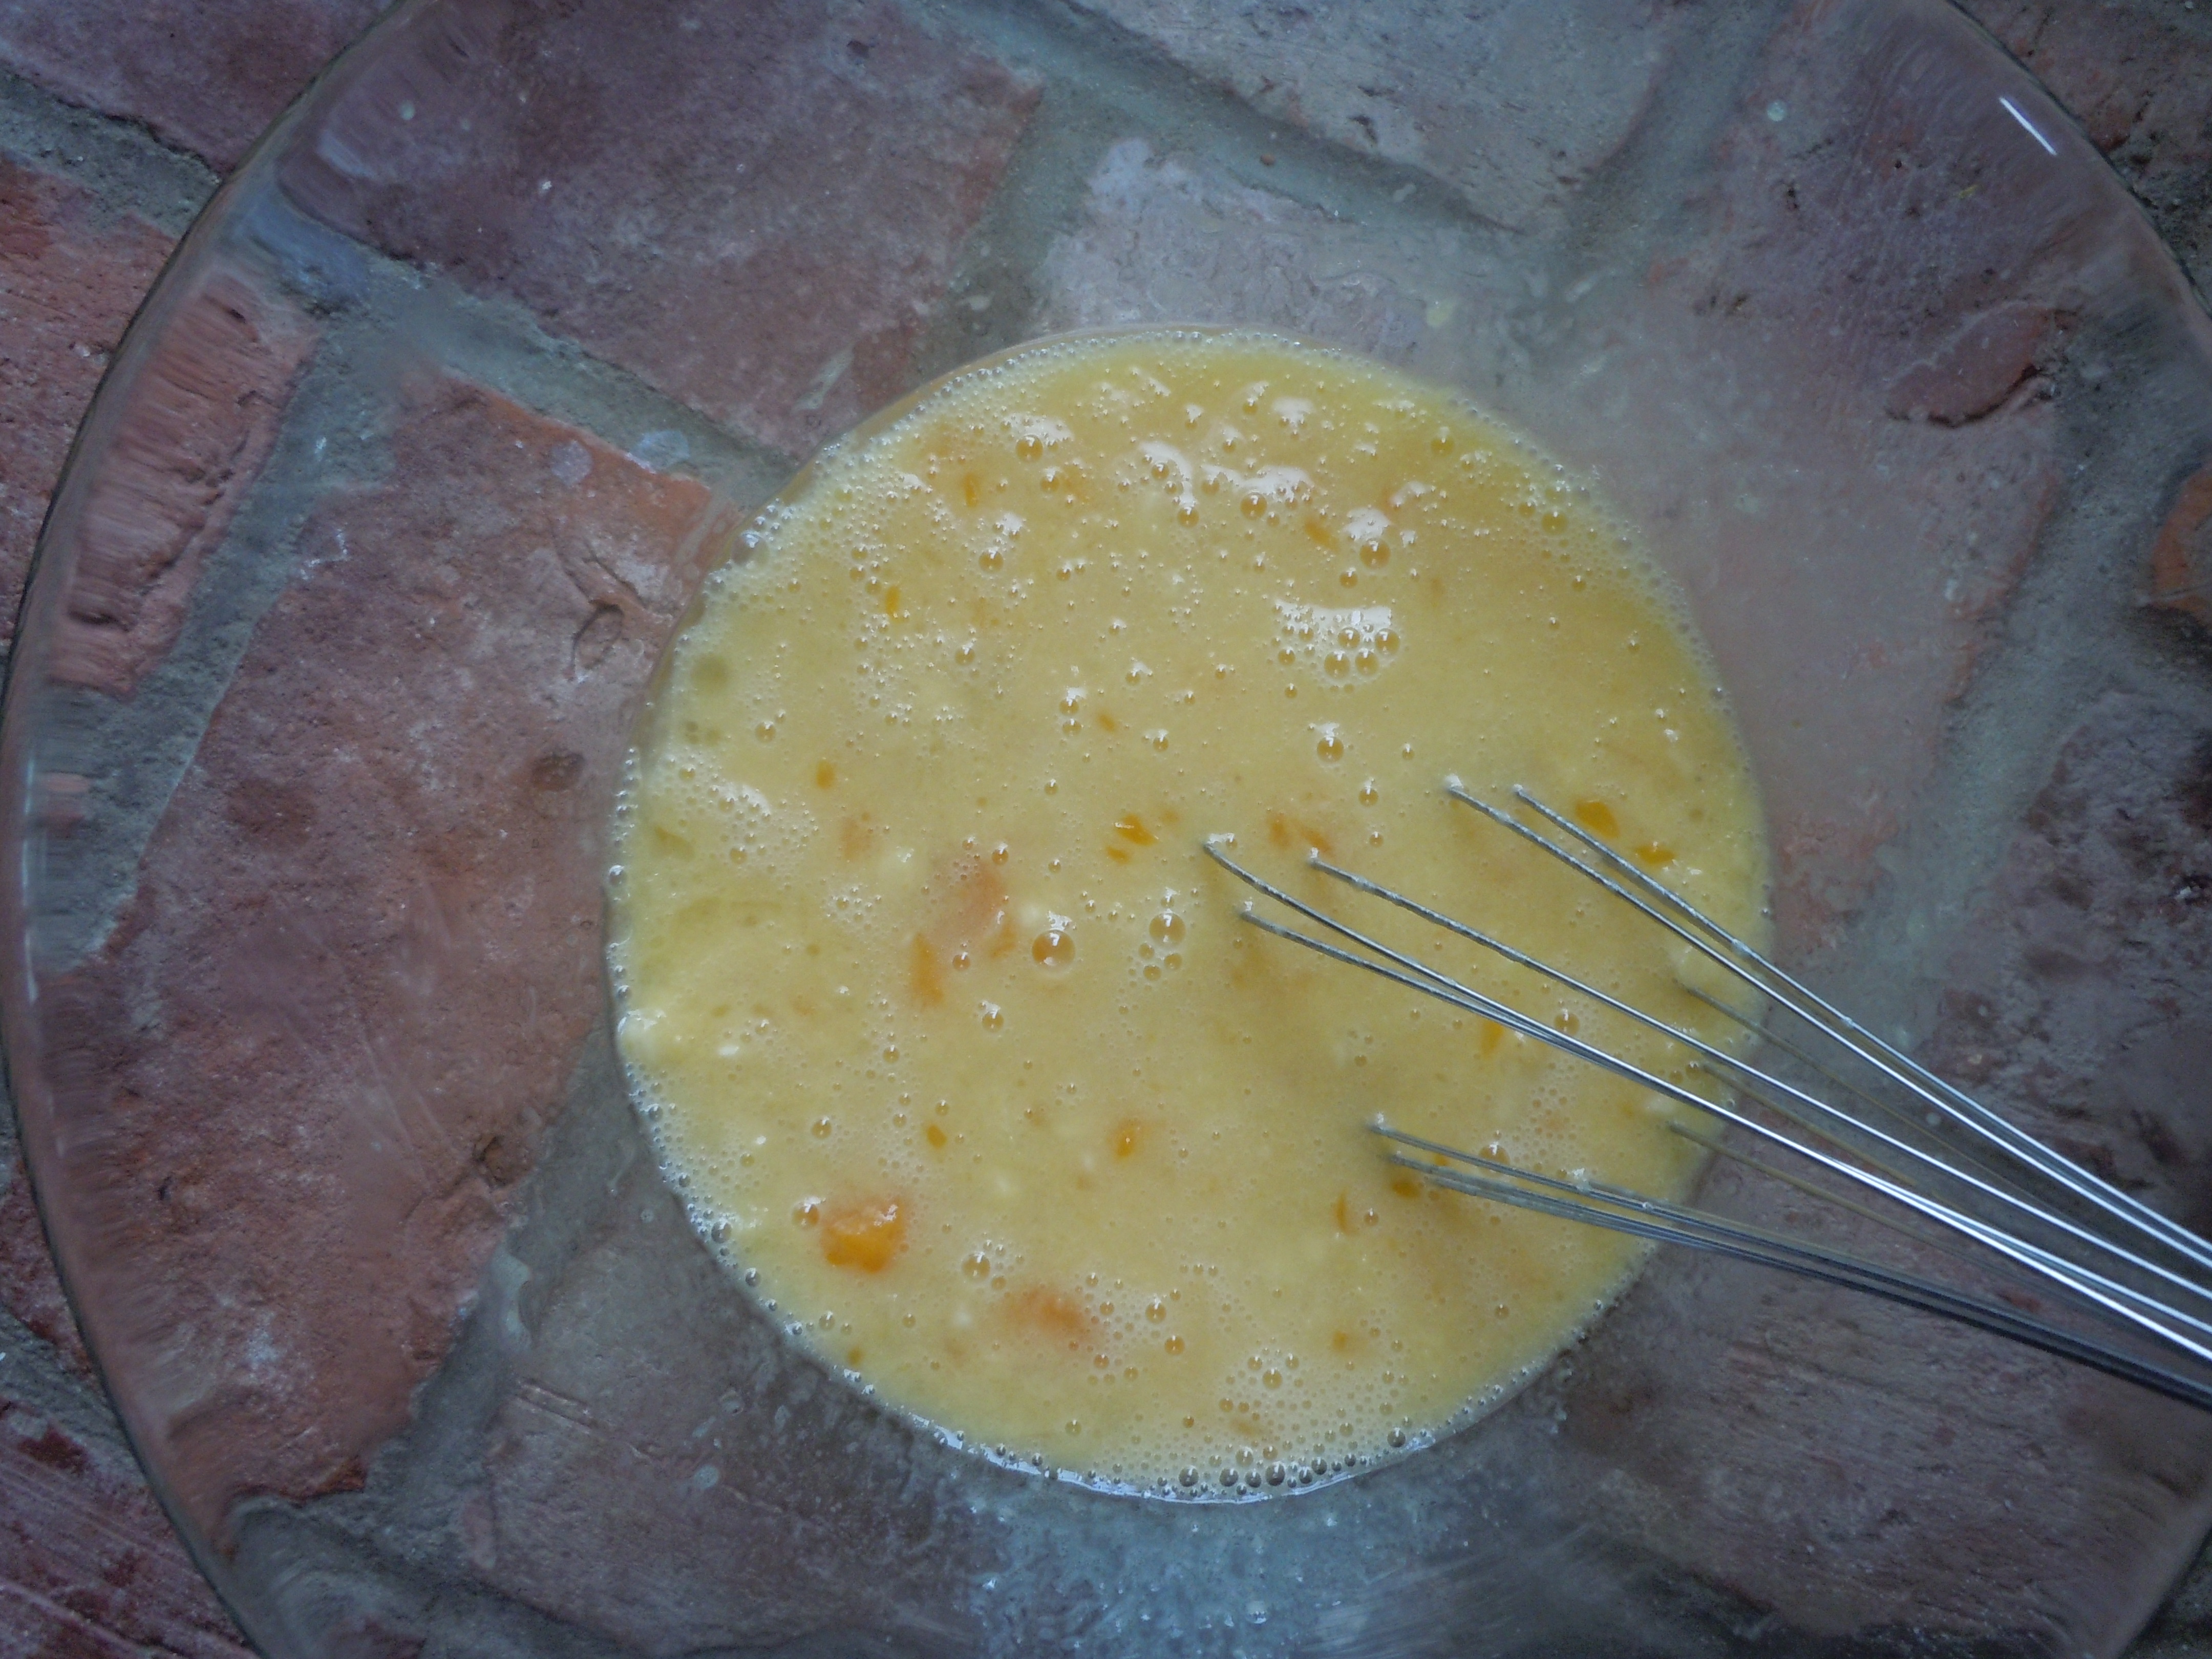
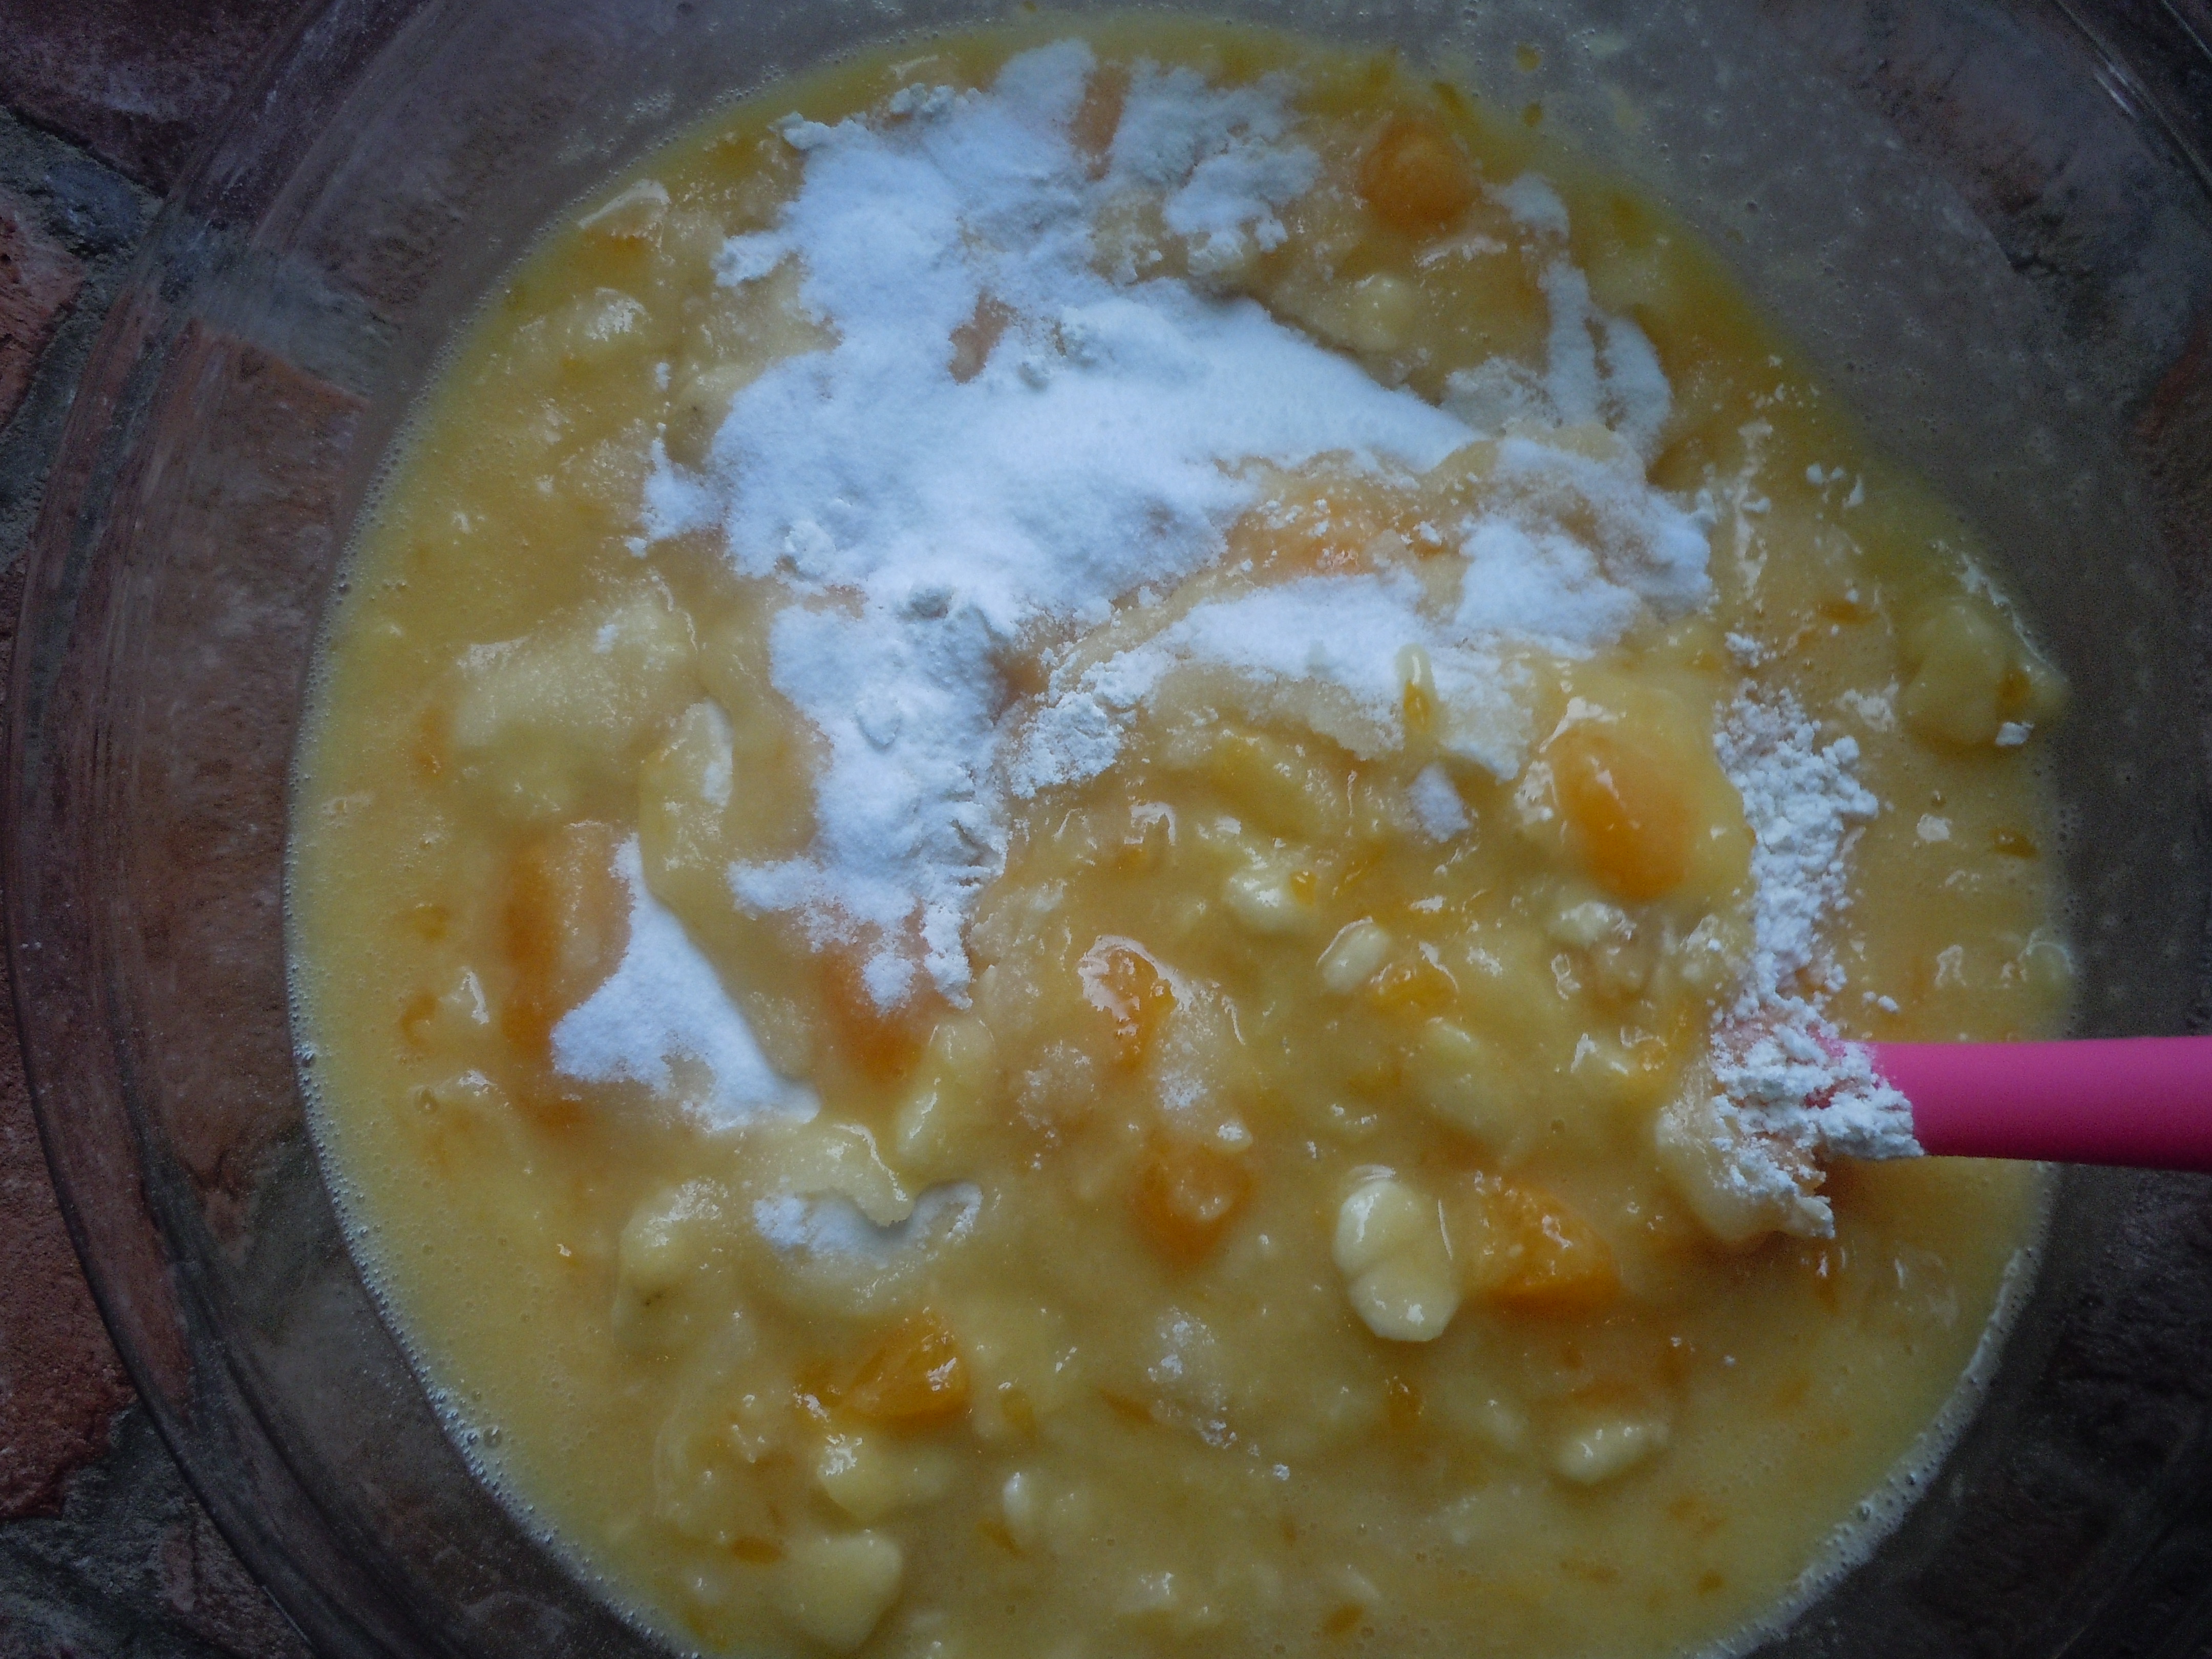
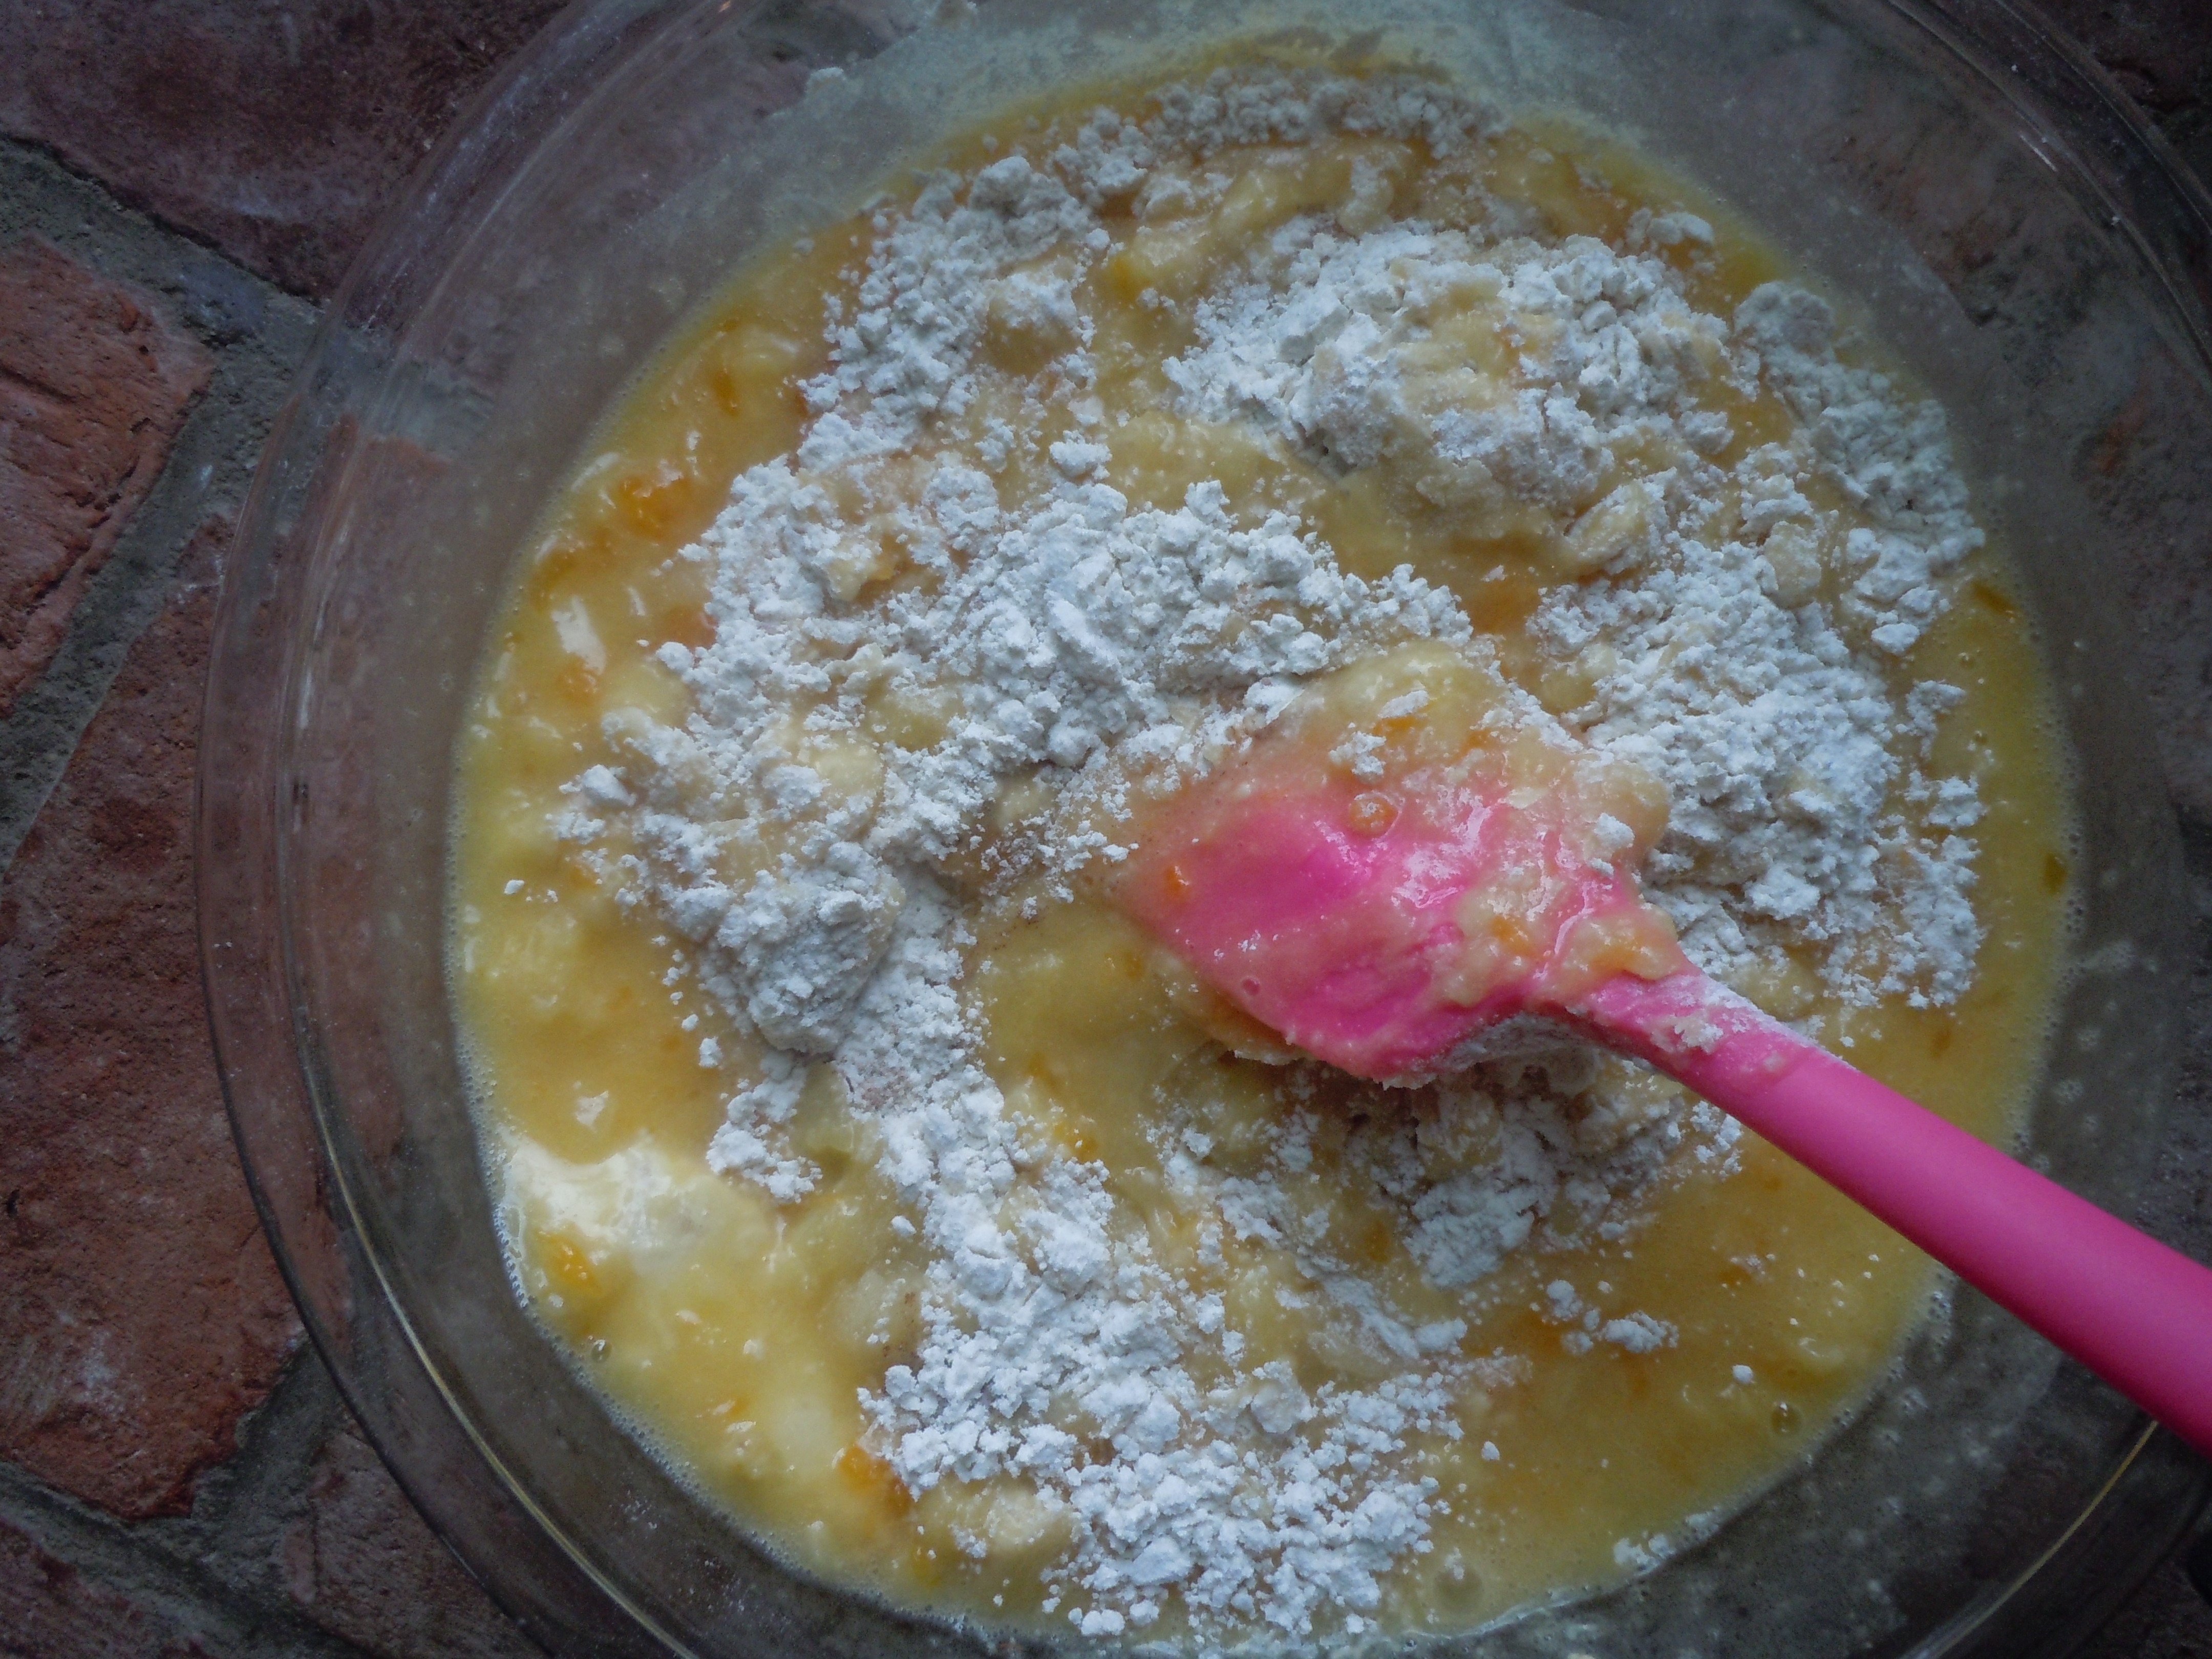
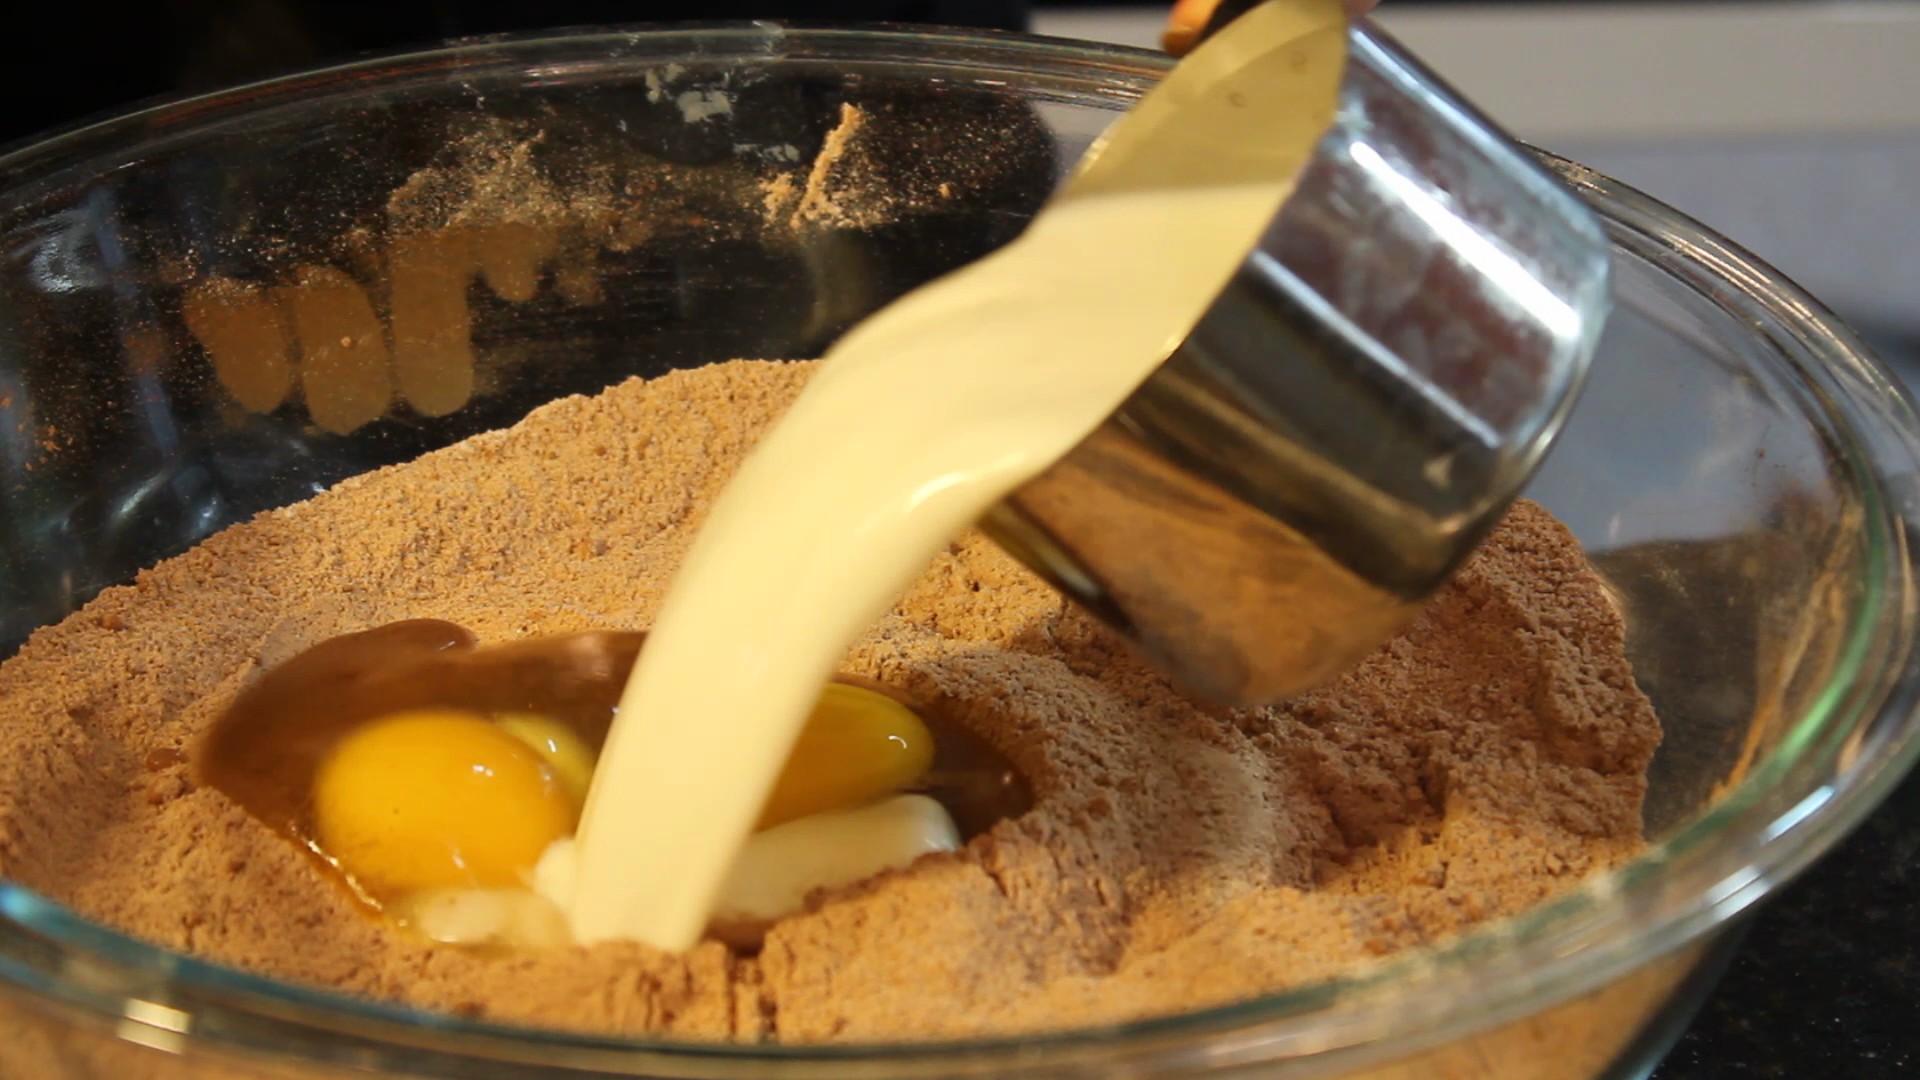
- Add all dry ingredients to a large mixing bowl and whisk to combine
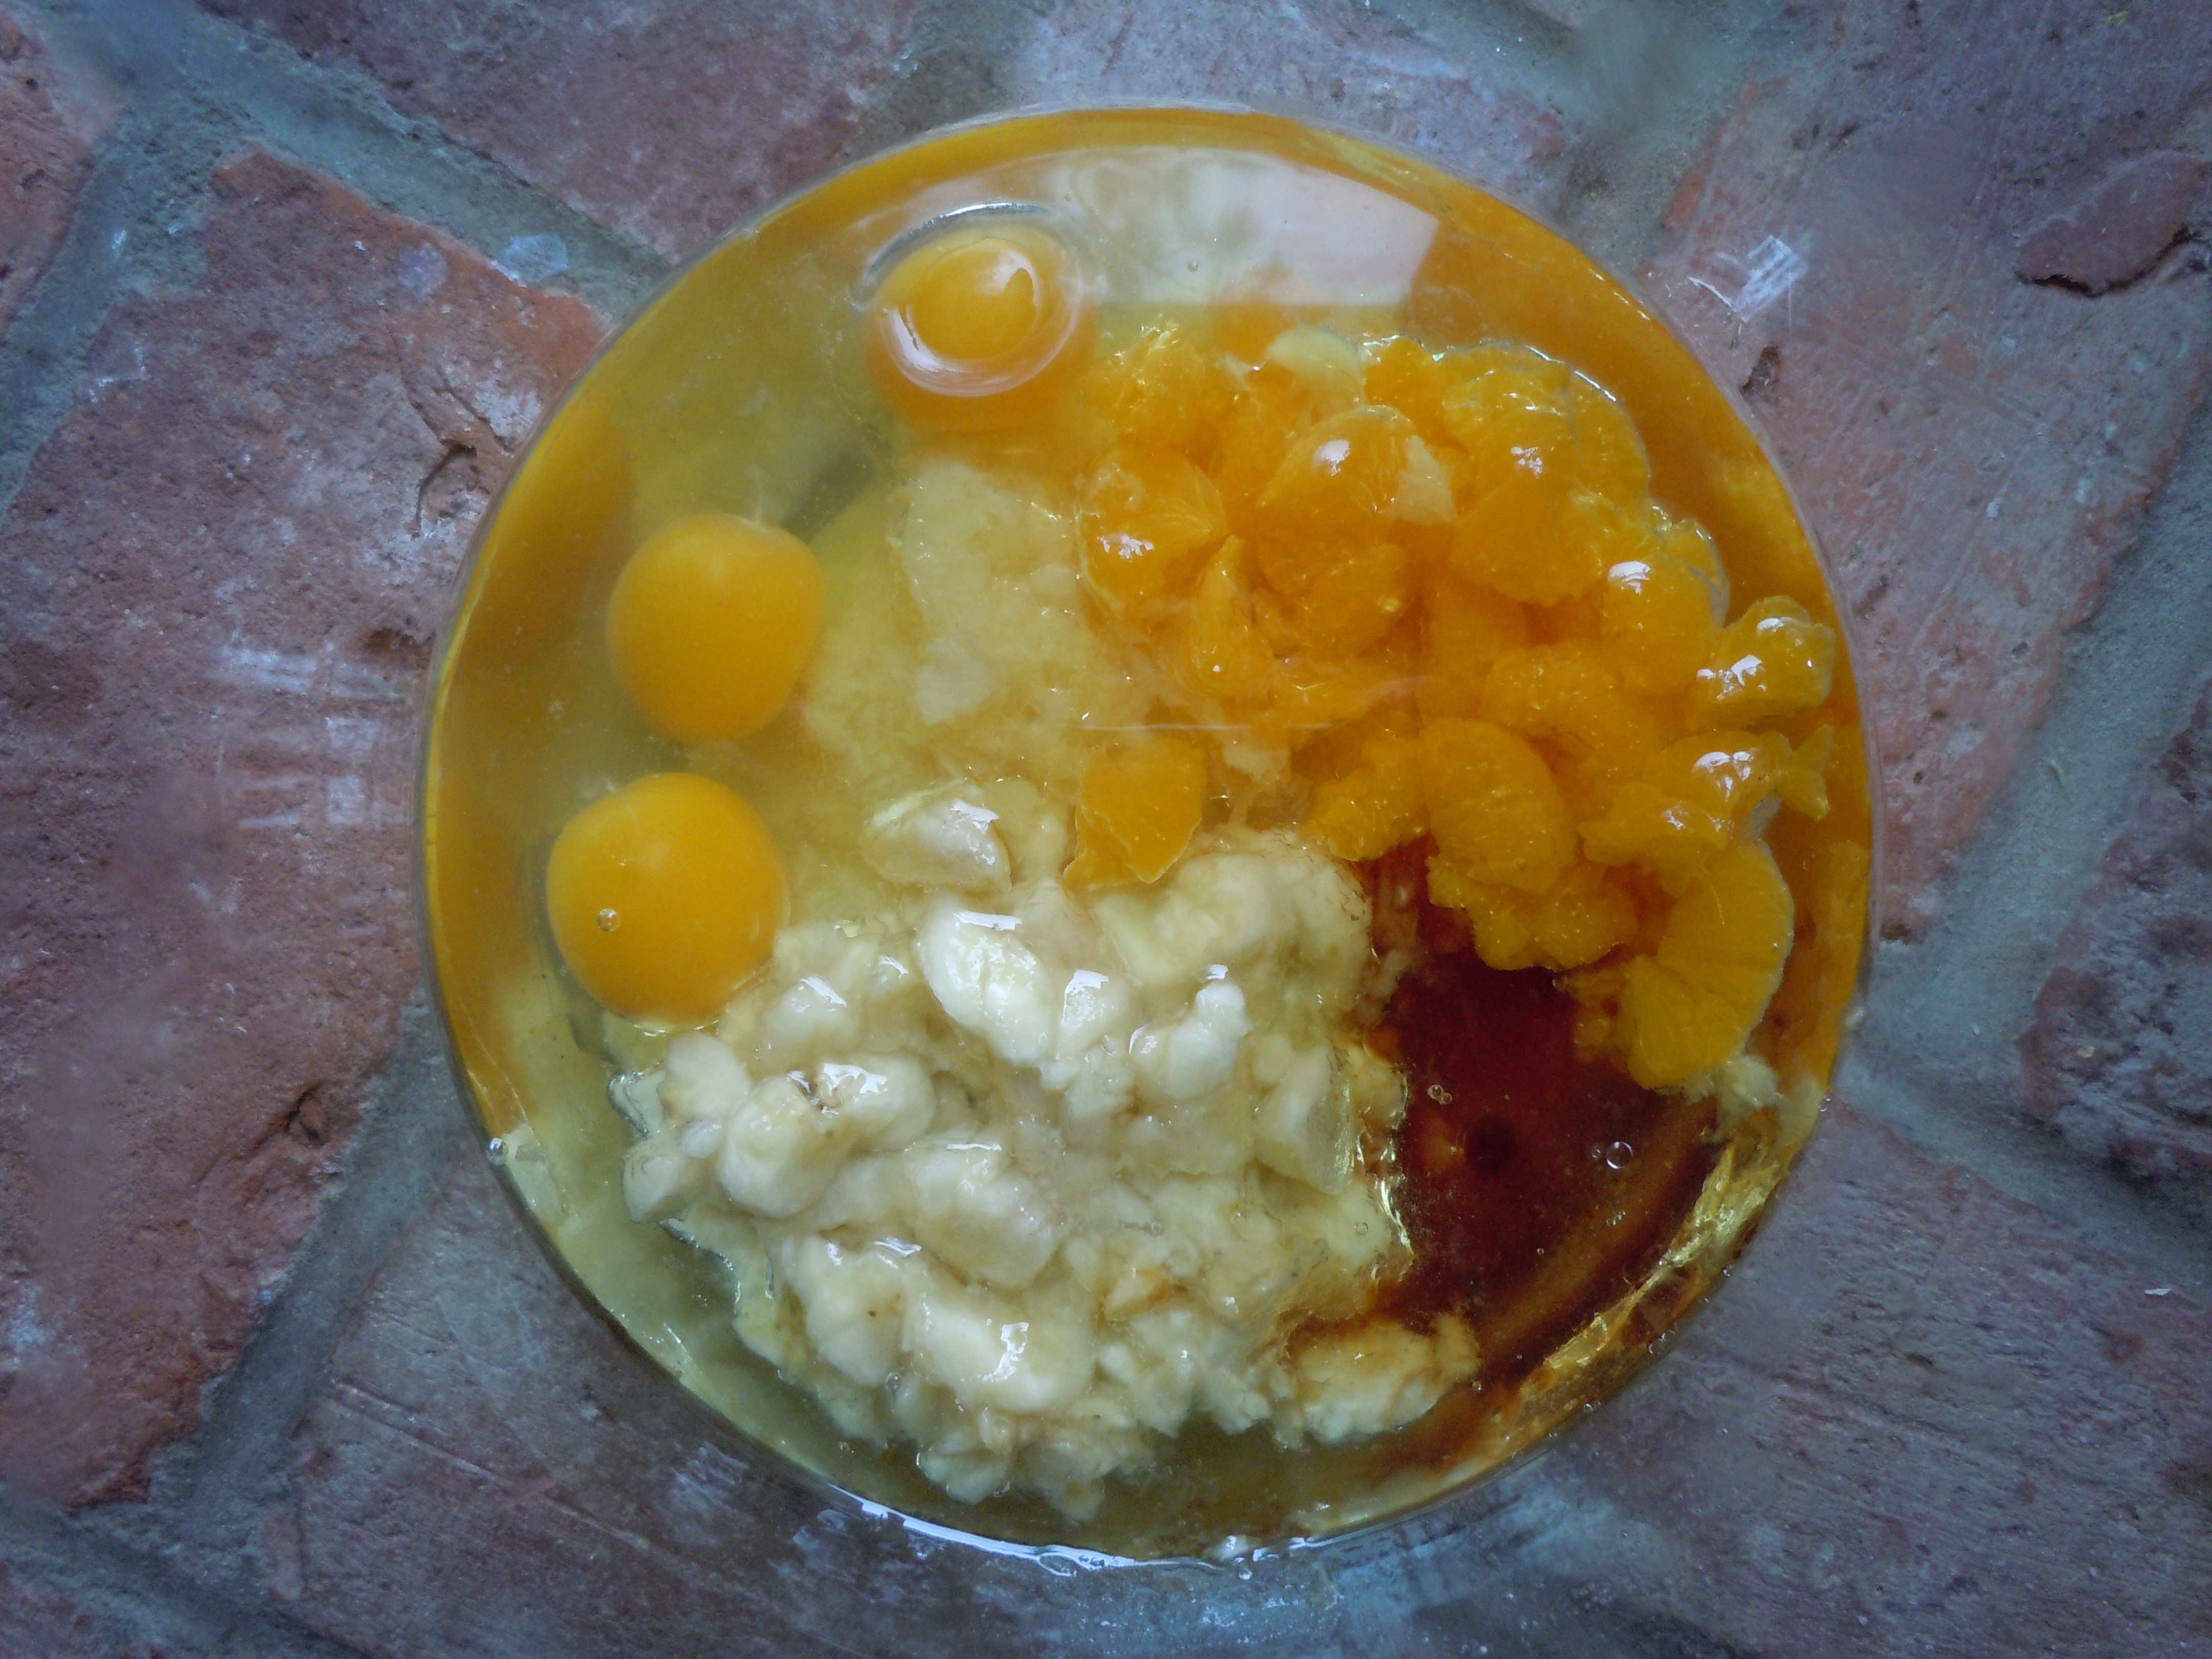
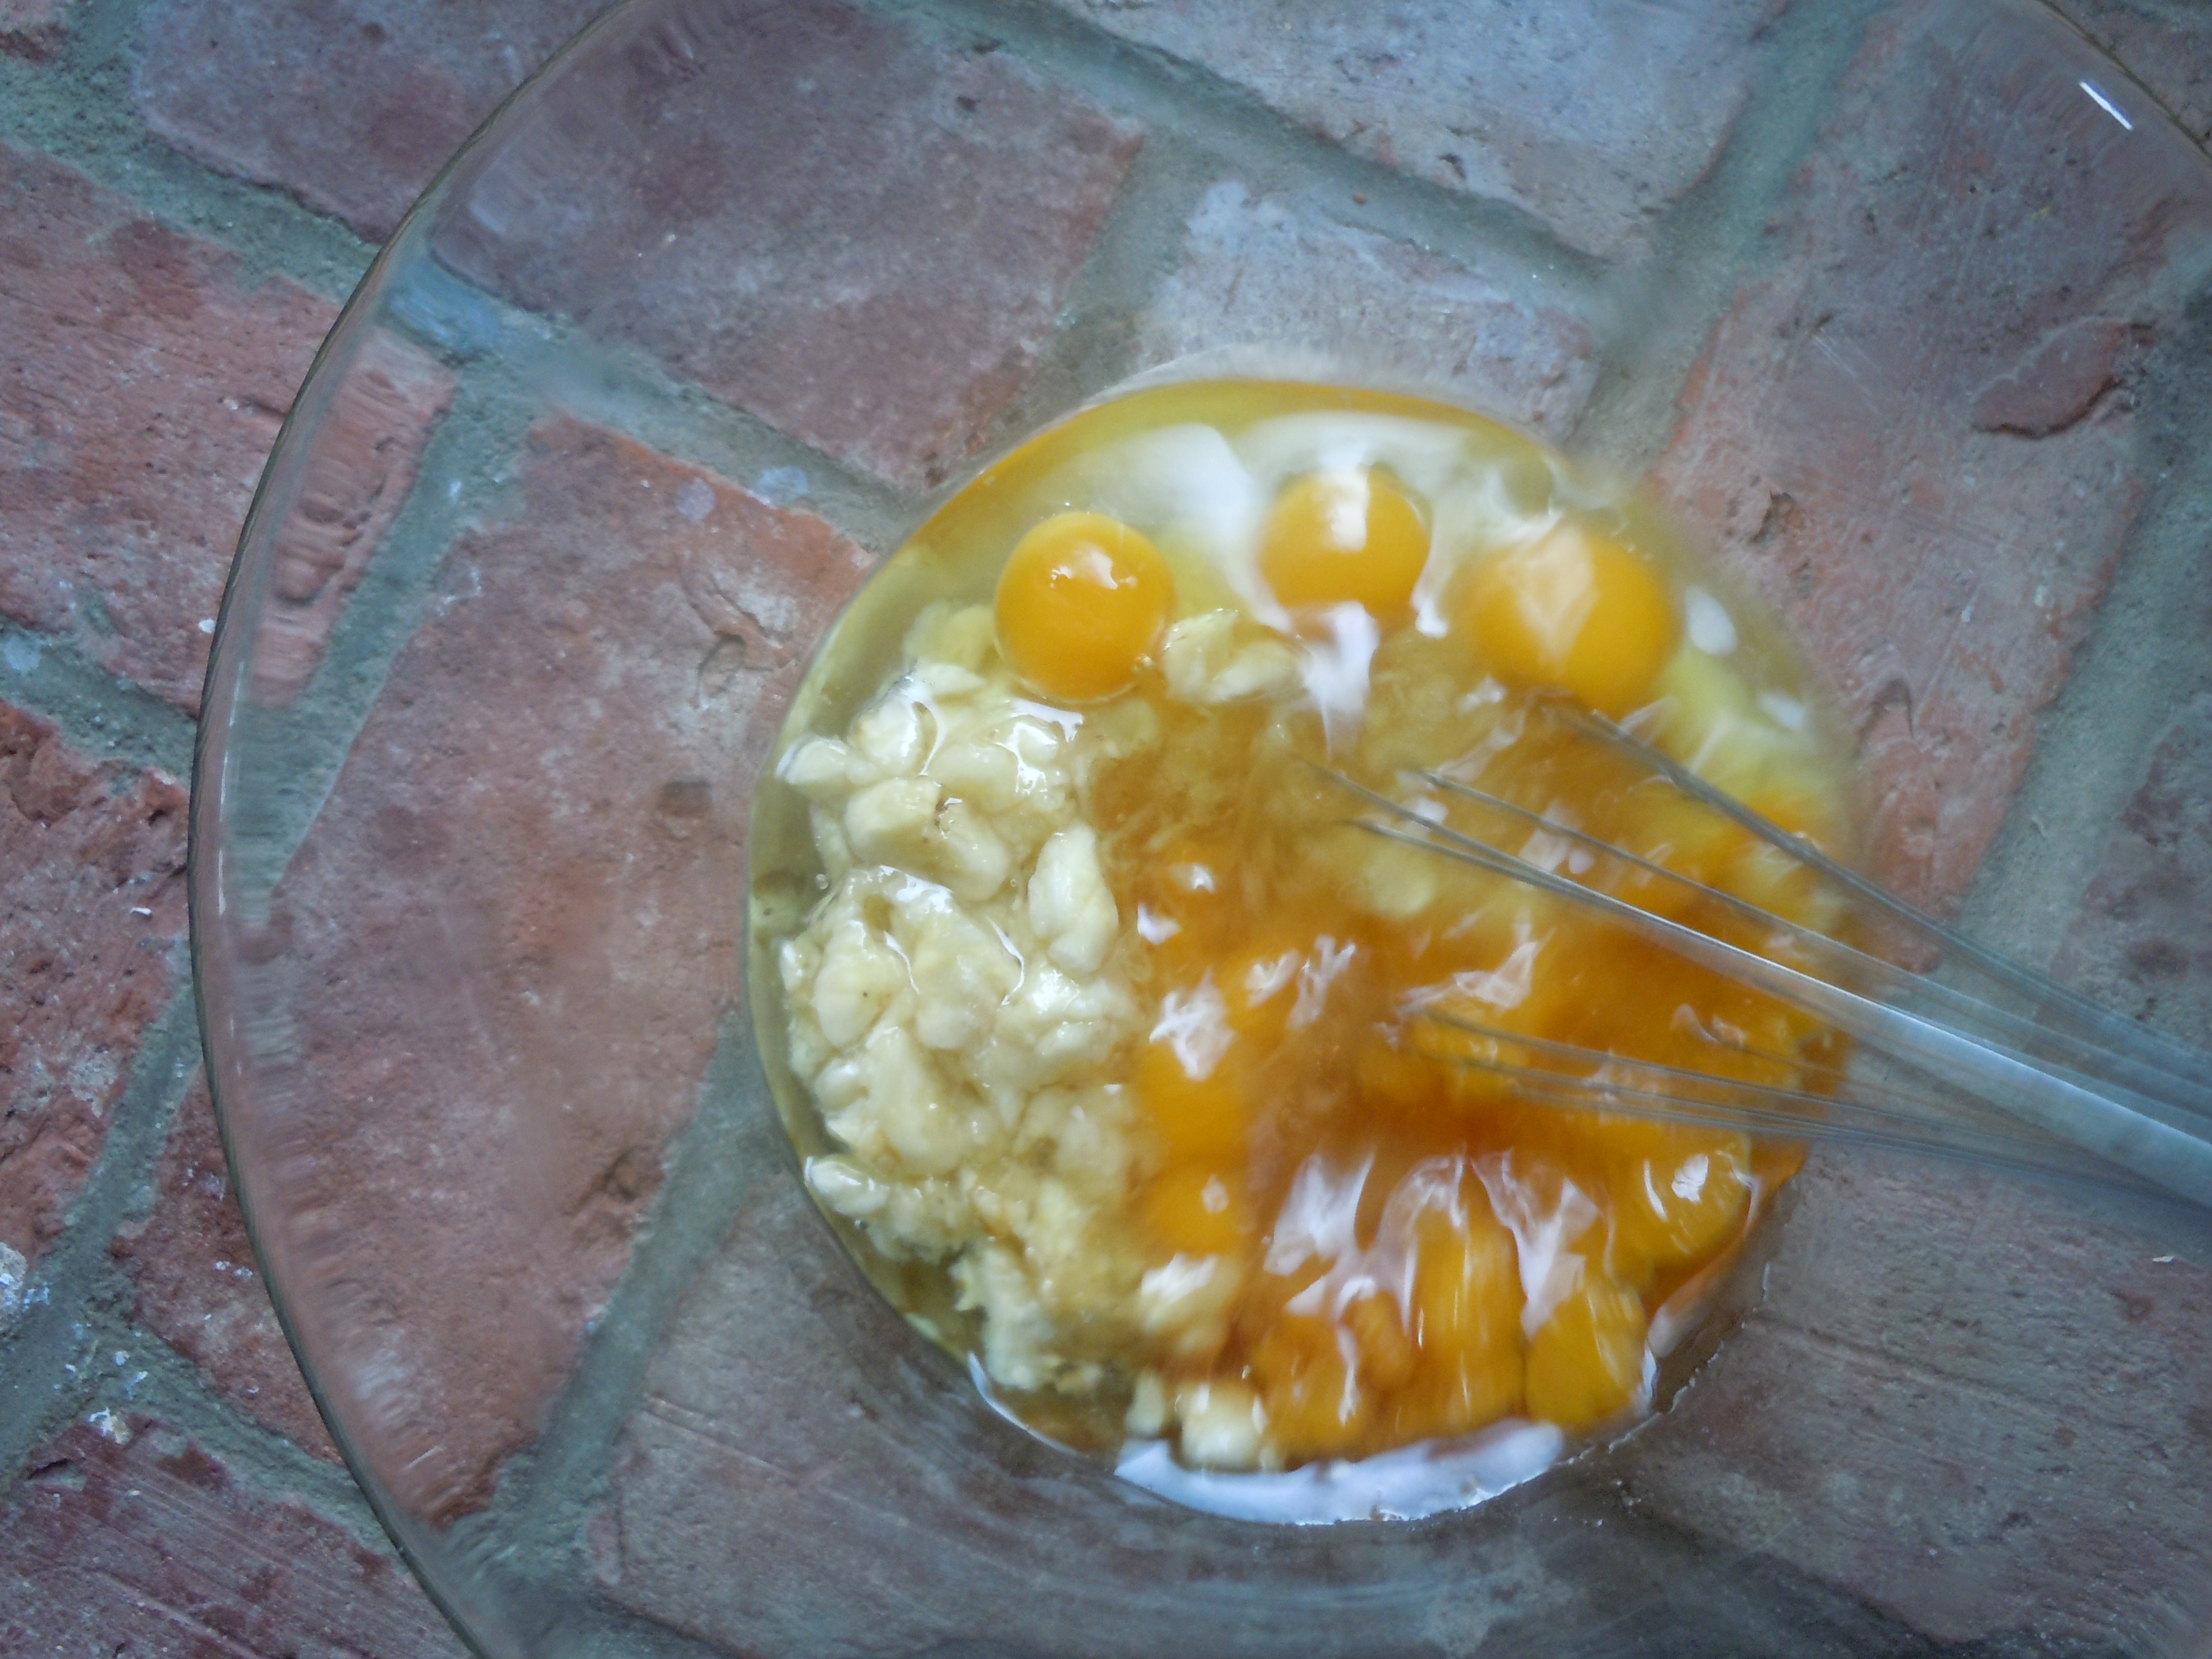
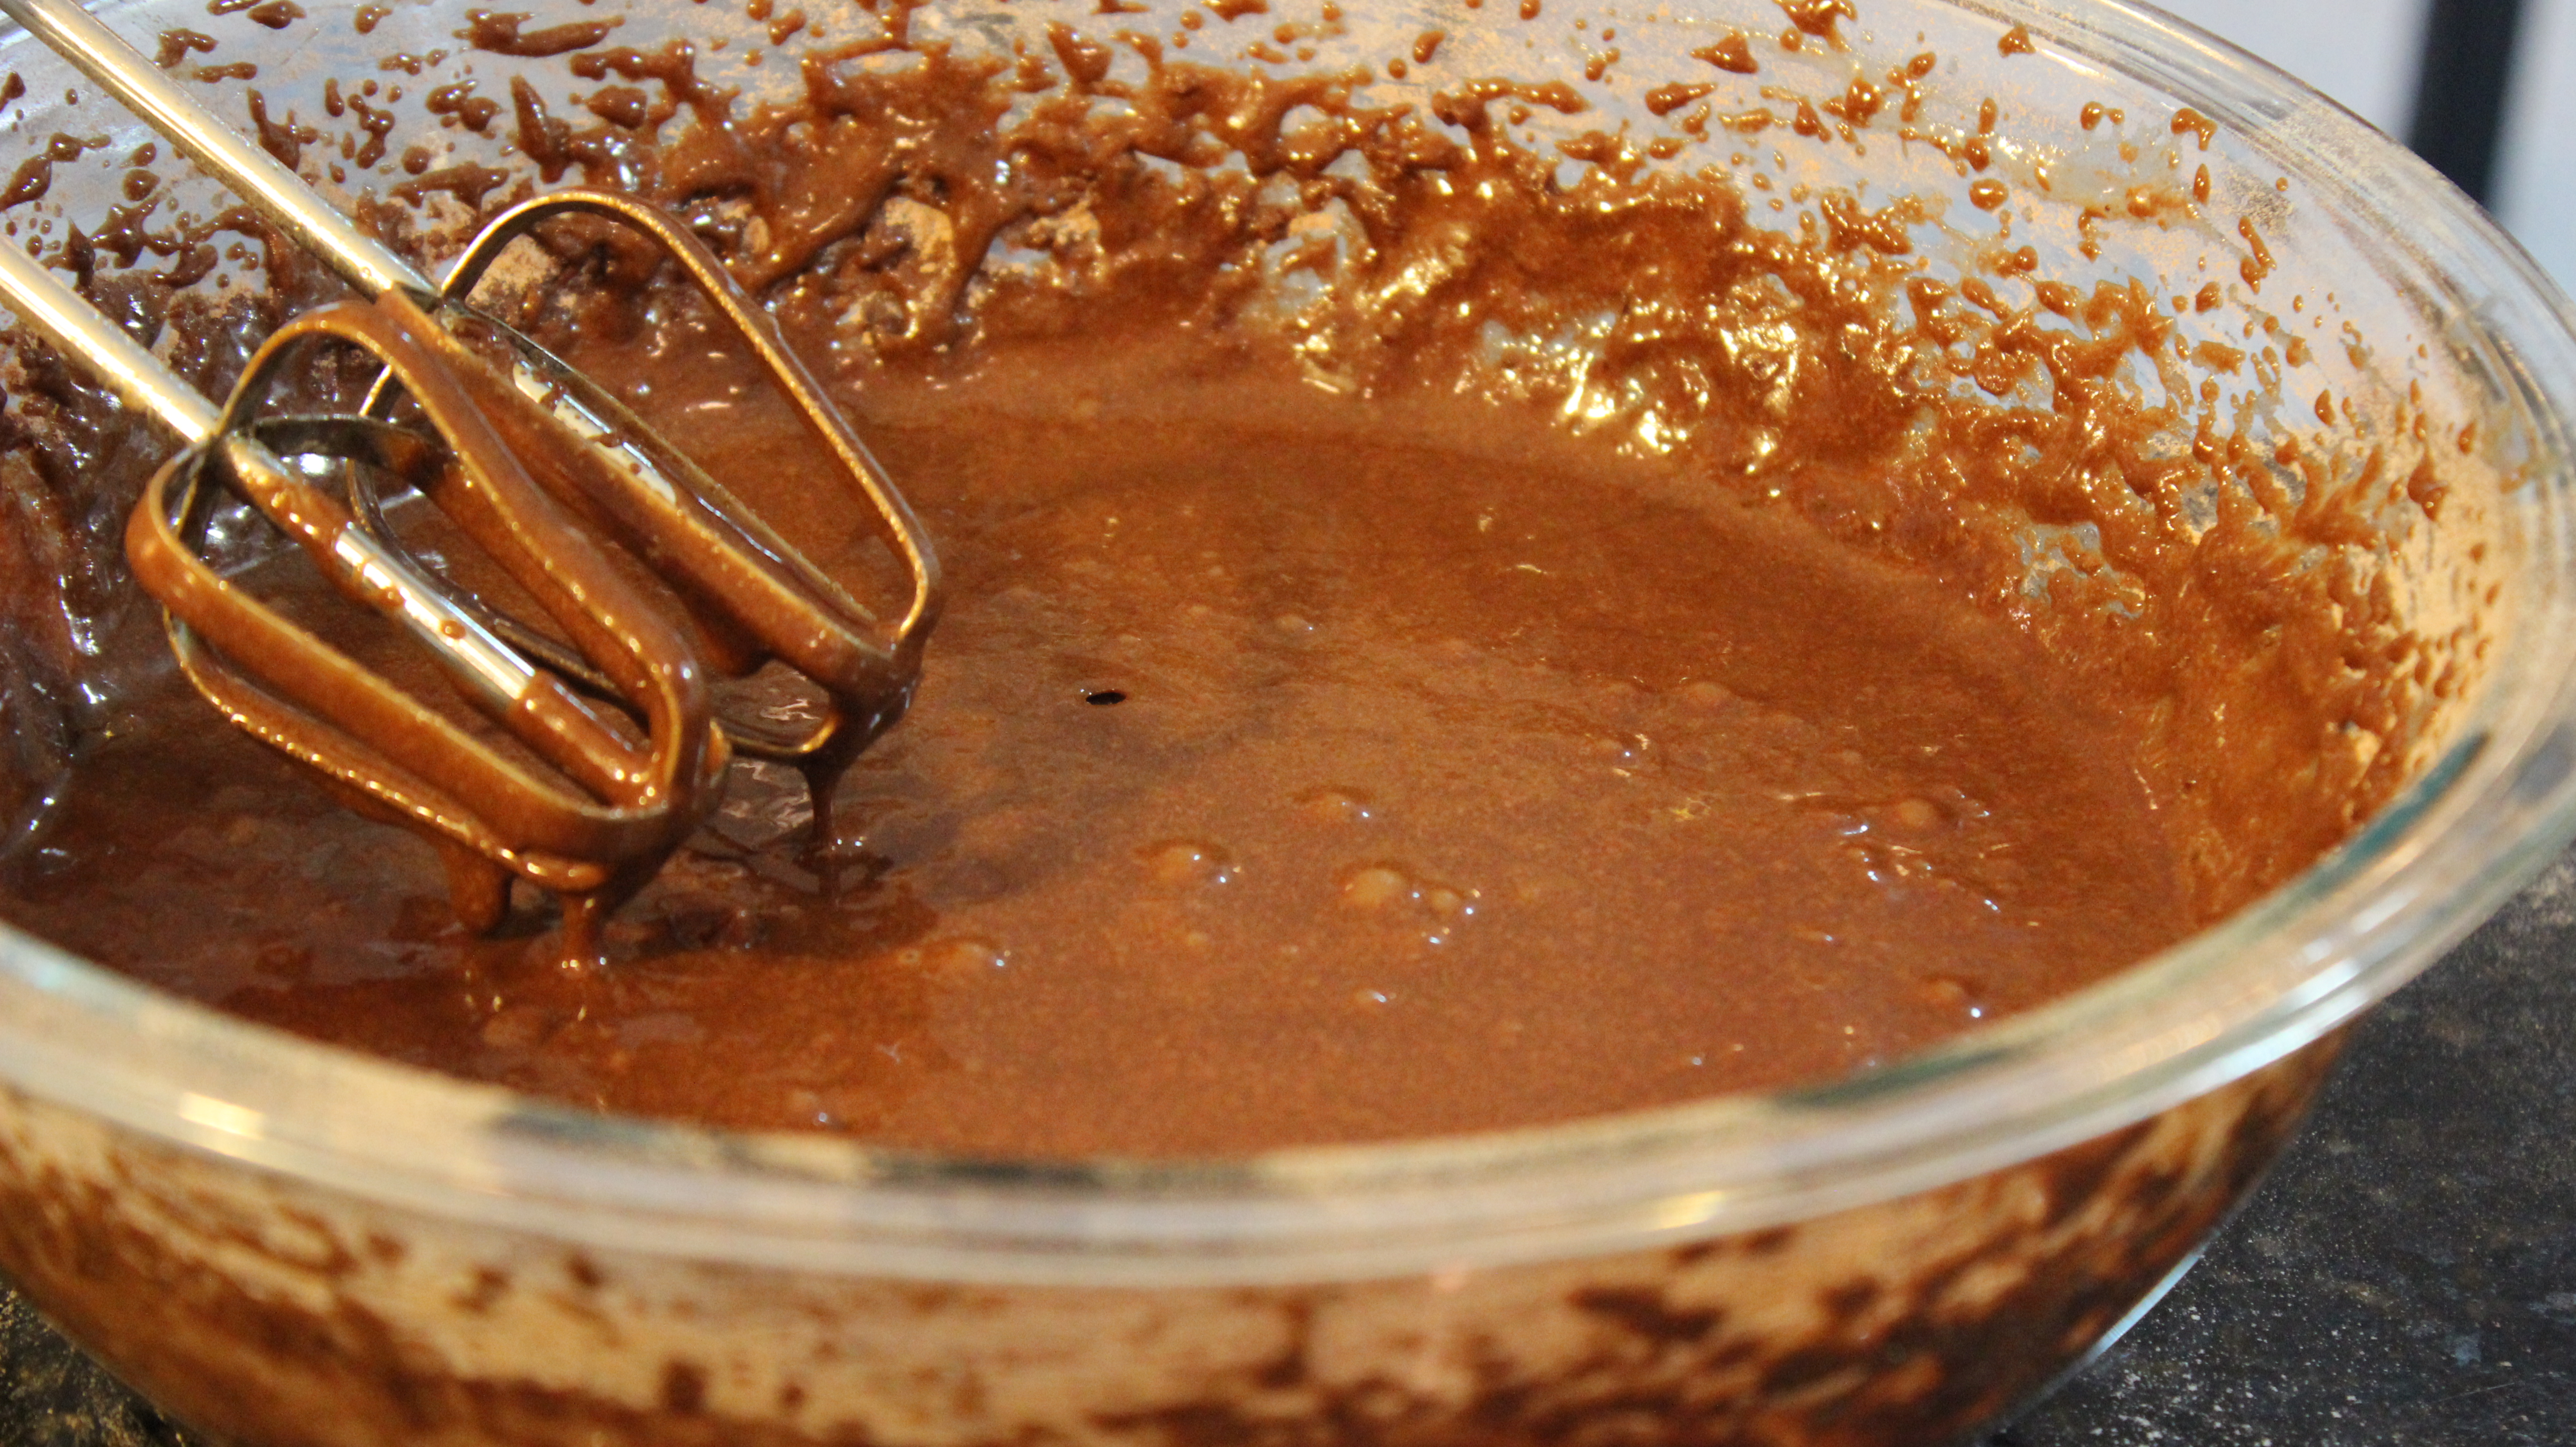
- Add in eggs, milk vanilla and oil and beat on medium speed for 2 minutes
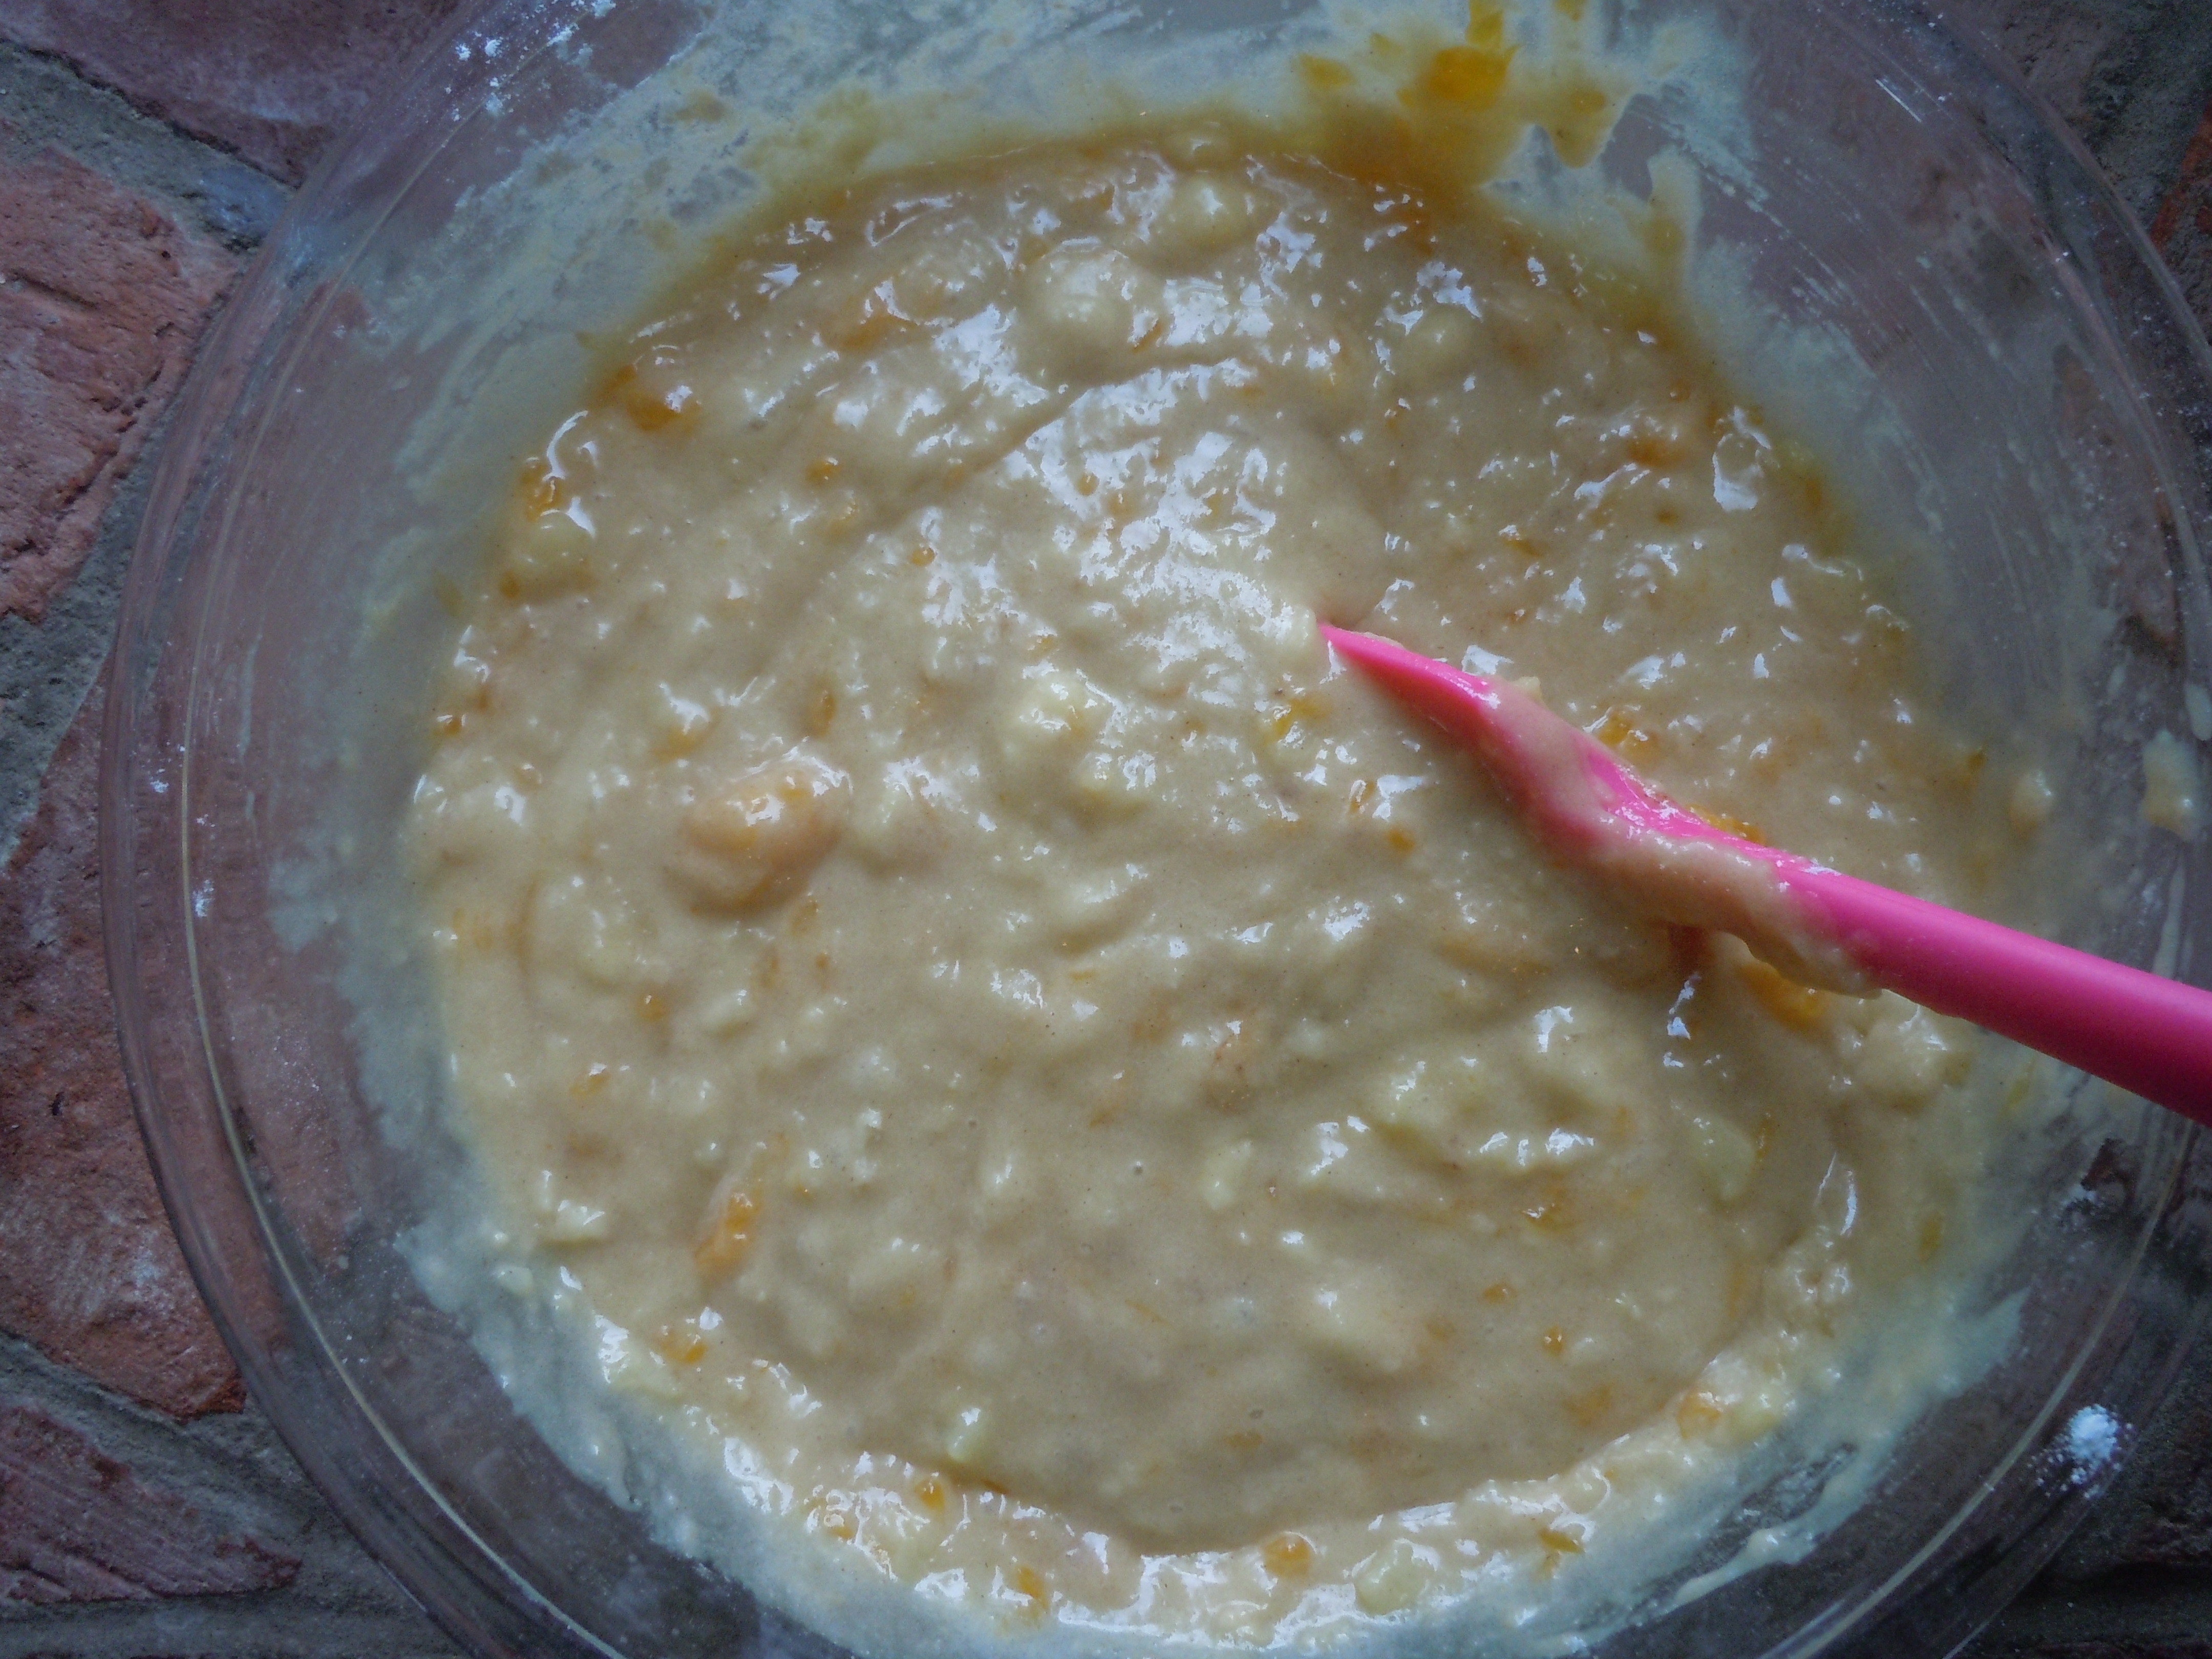
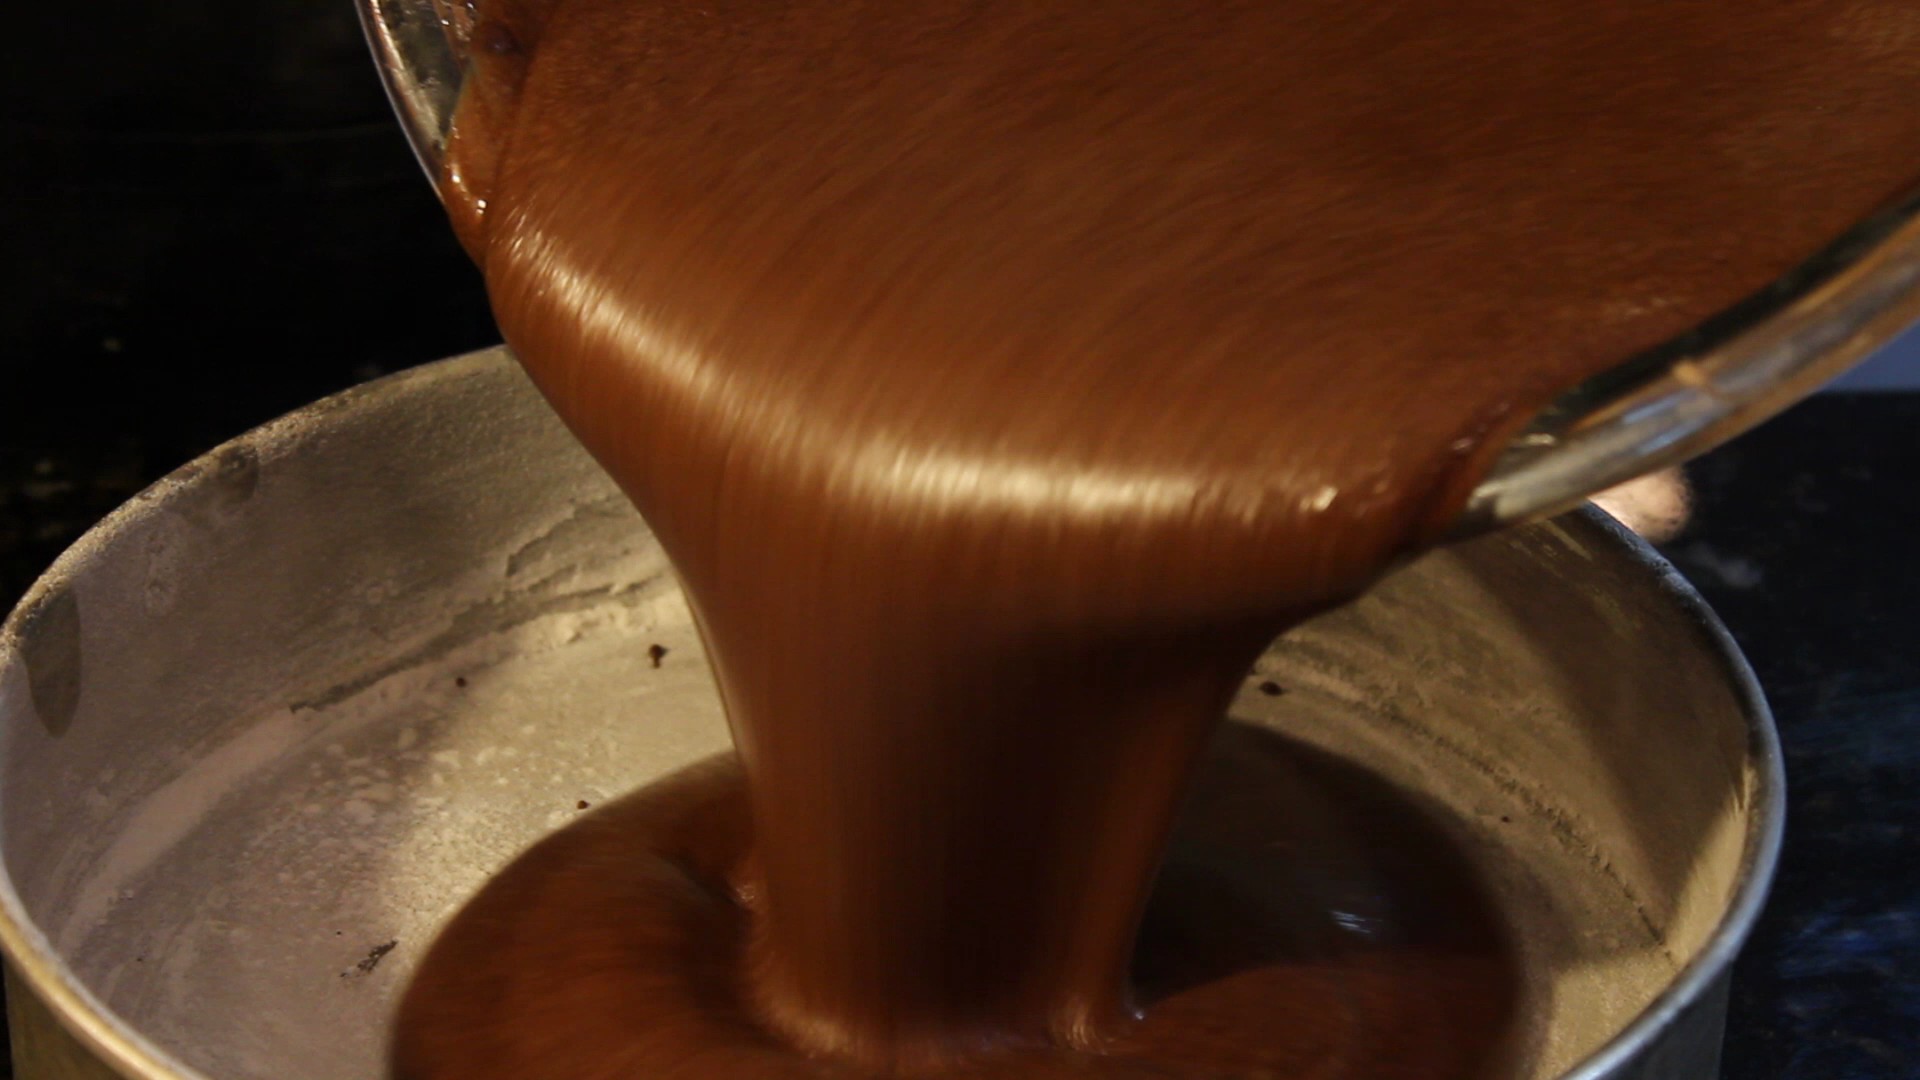
- Stir in 1 cup boiling water til combined (batter will be thin)
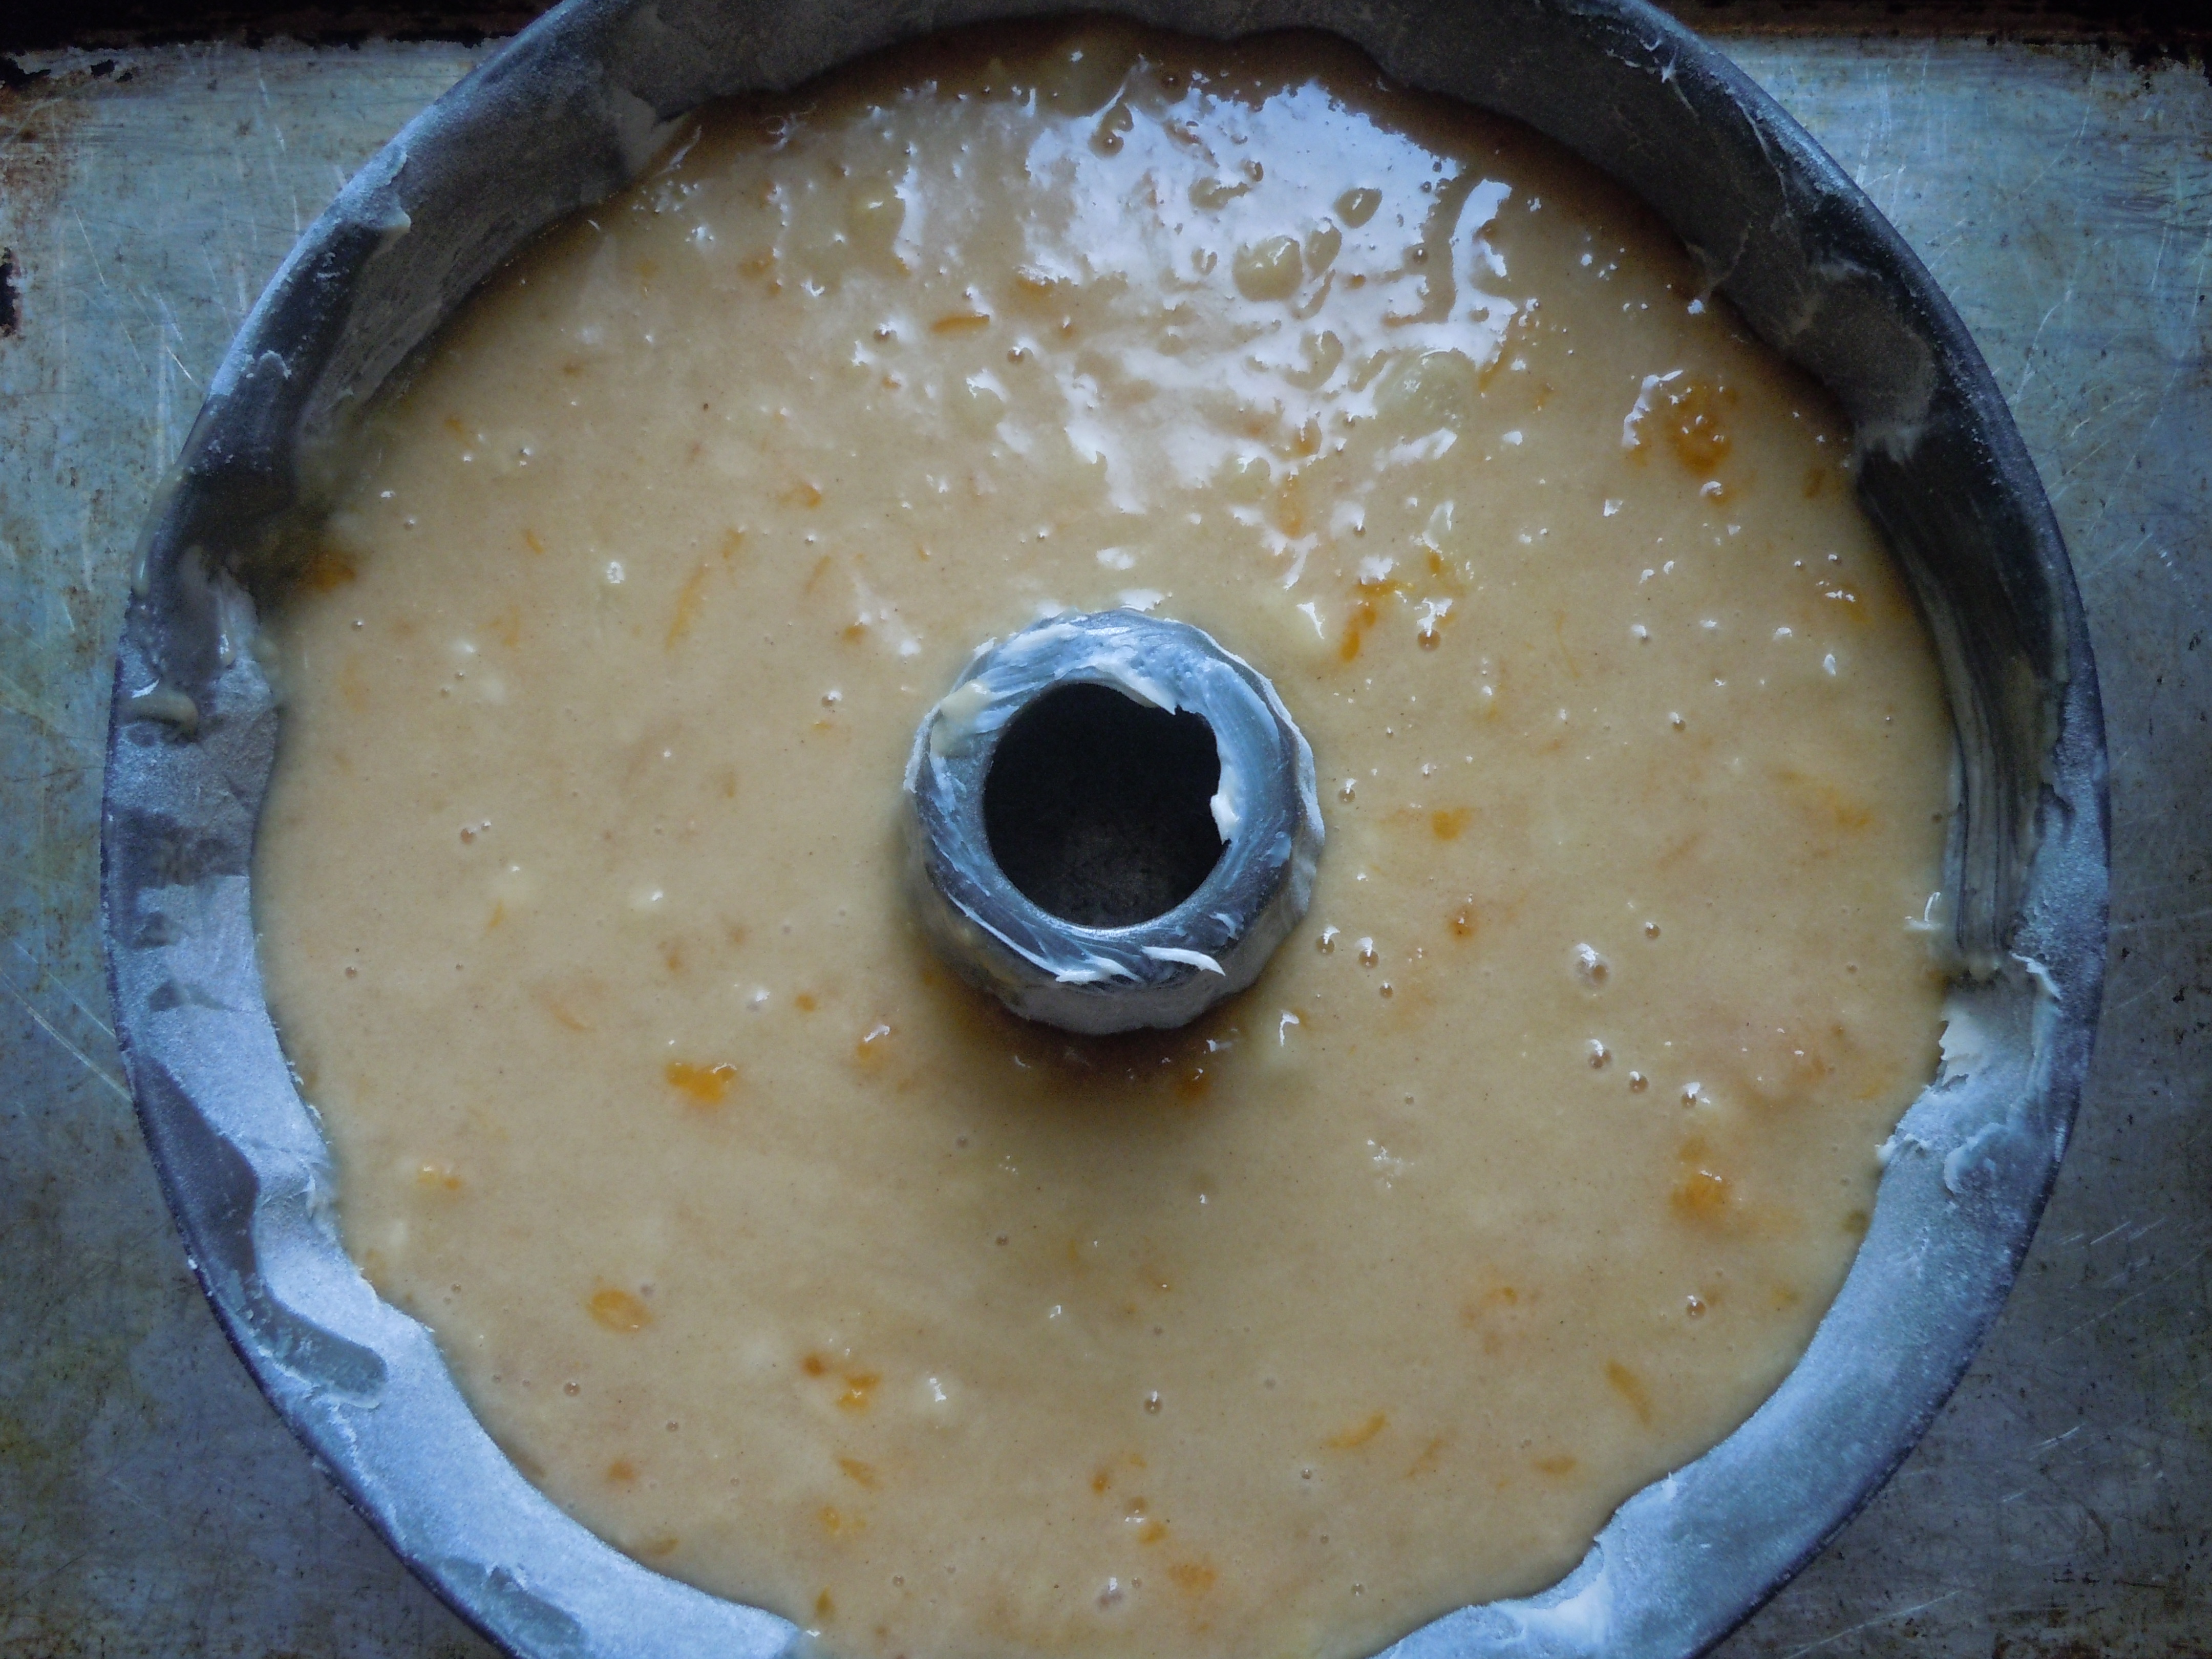
- Pour evenly into cake pans
- Bake for 30-35 minutes –NOTE: I ALWAYS take the cake out at 30 minutes!
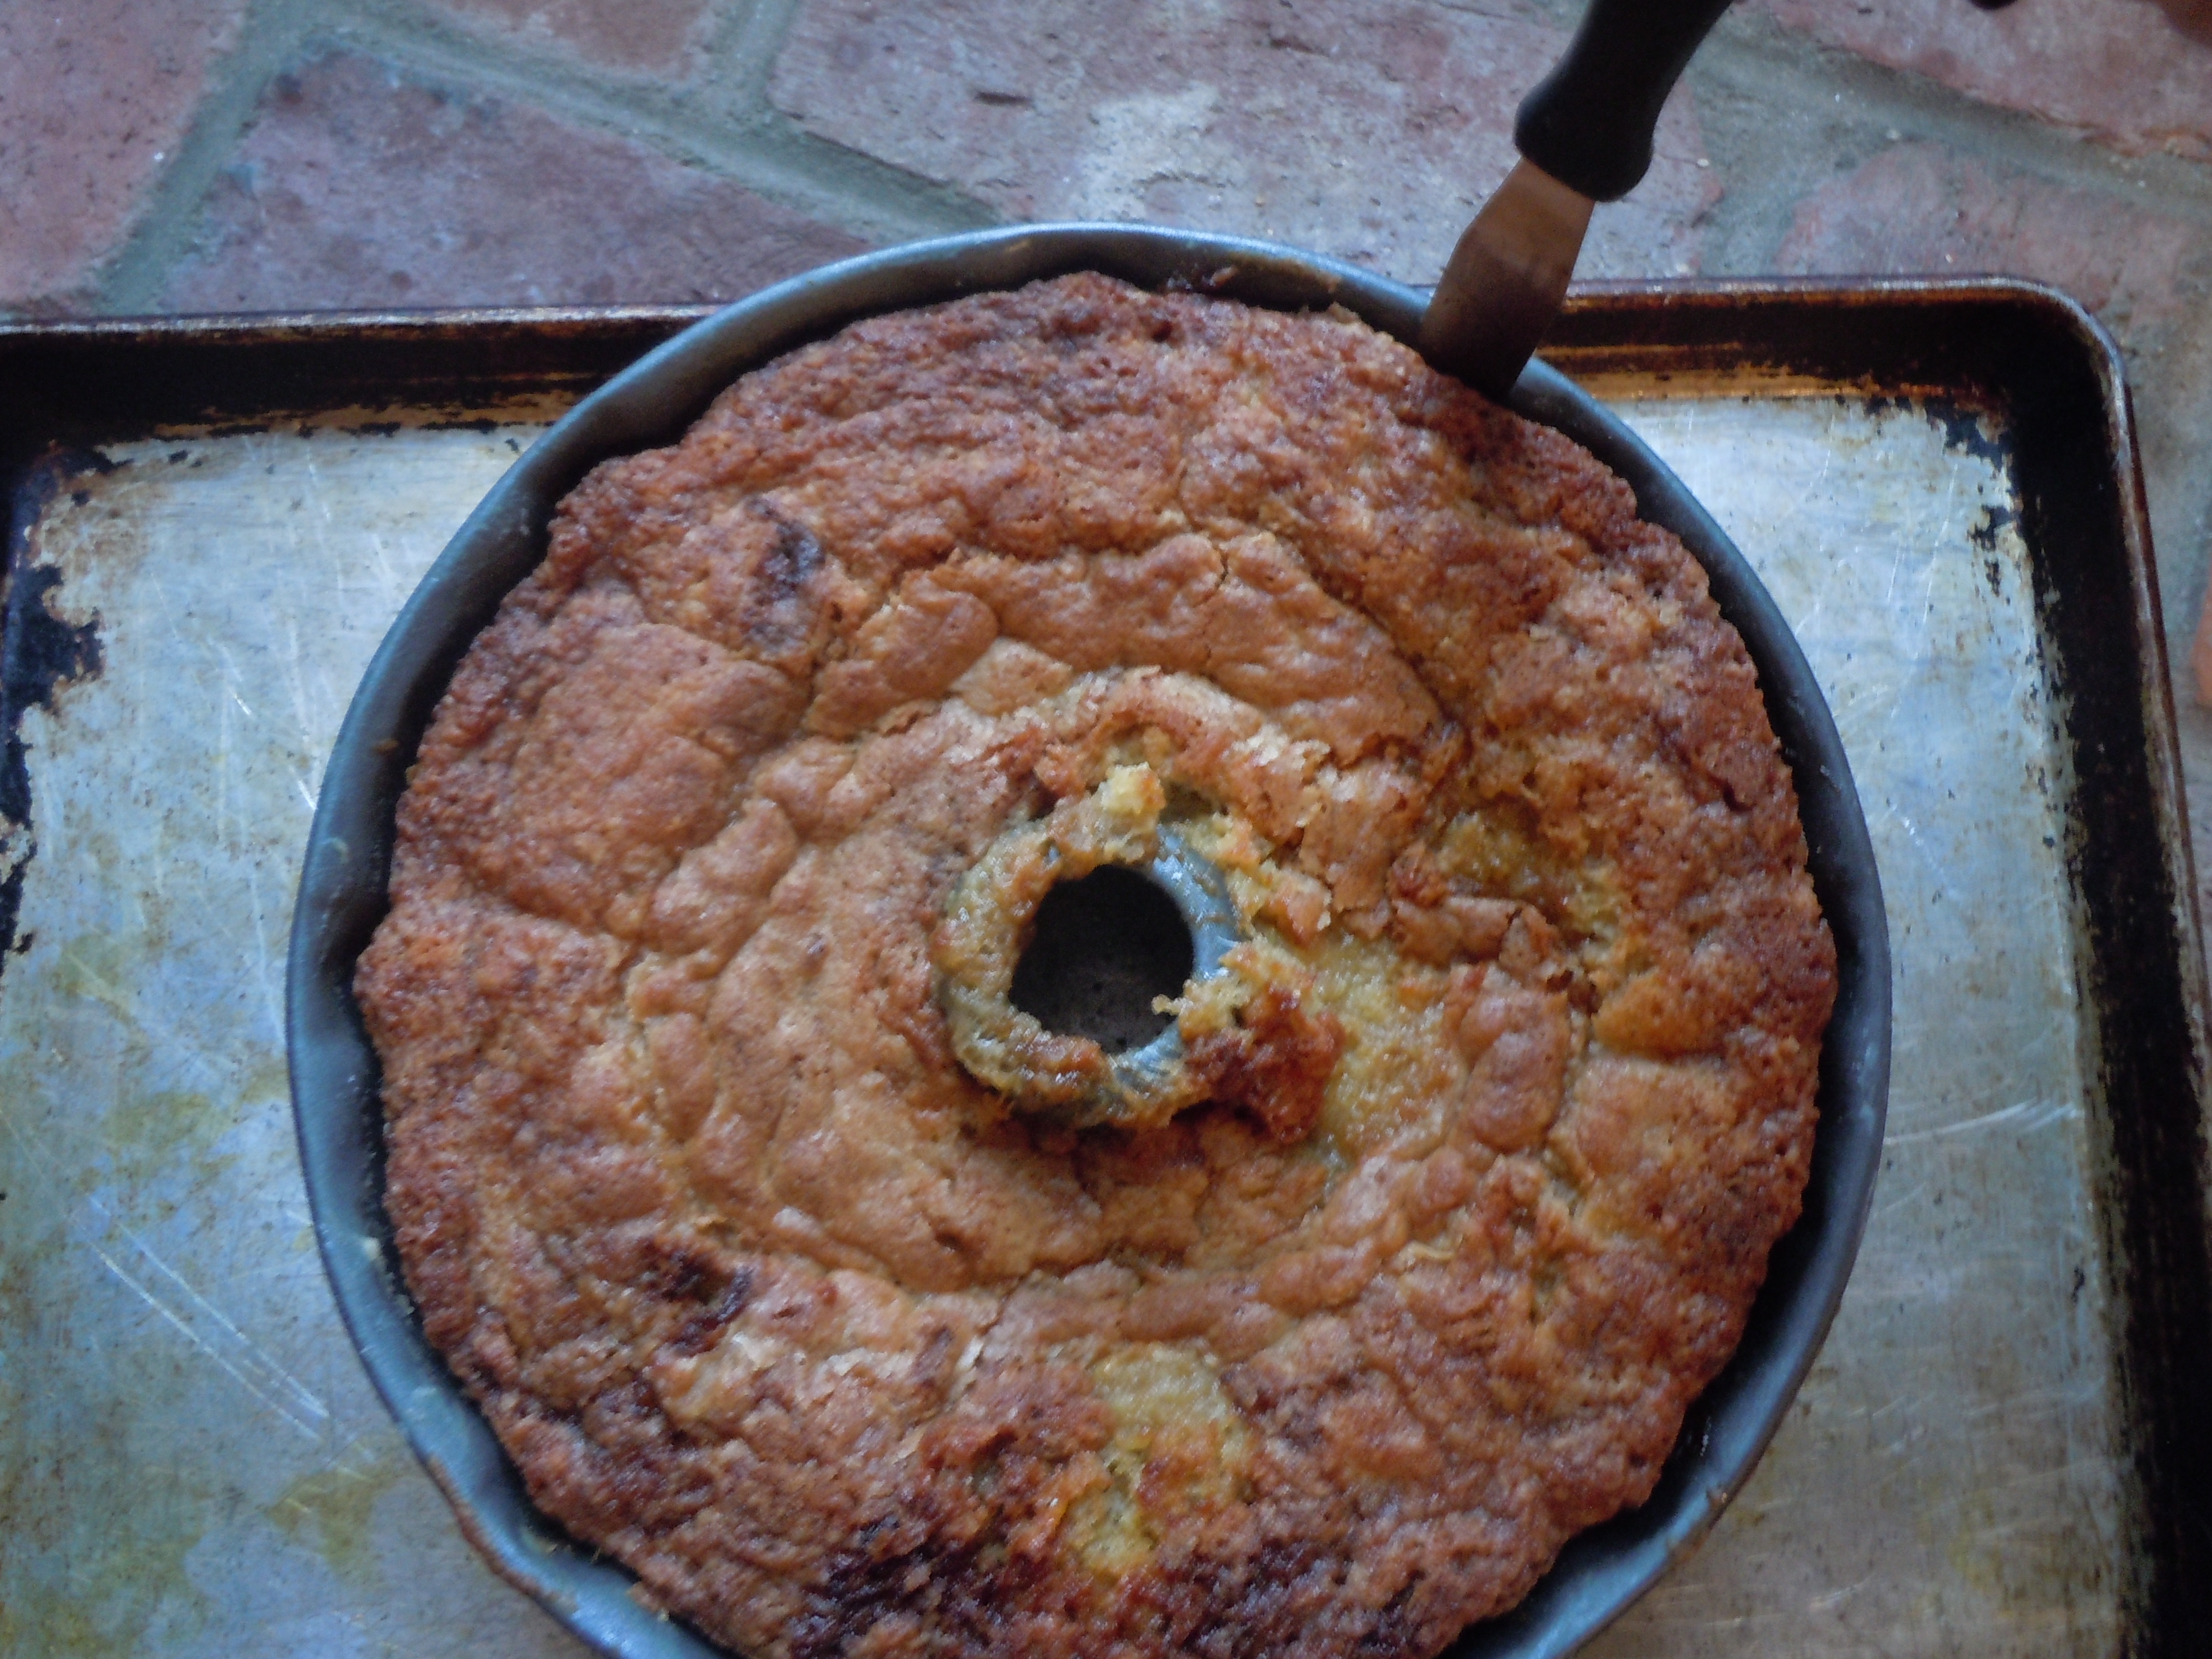
- Remove from oven and cool 10 minutes
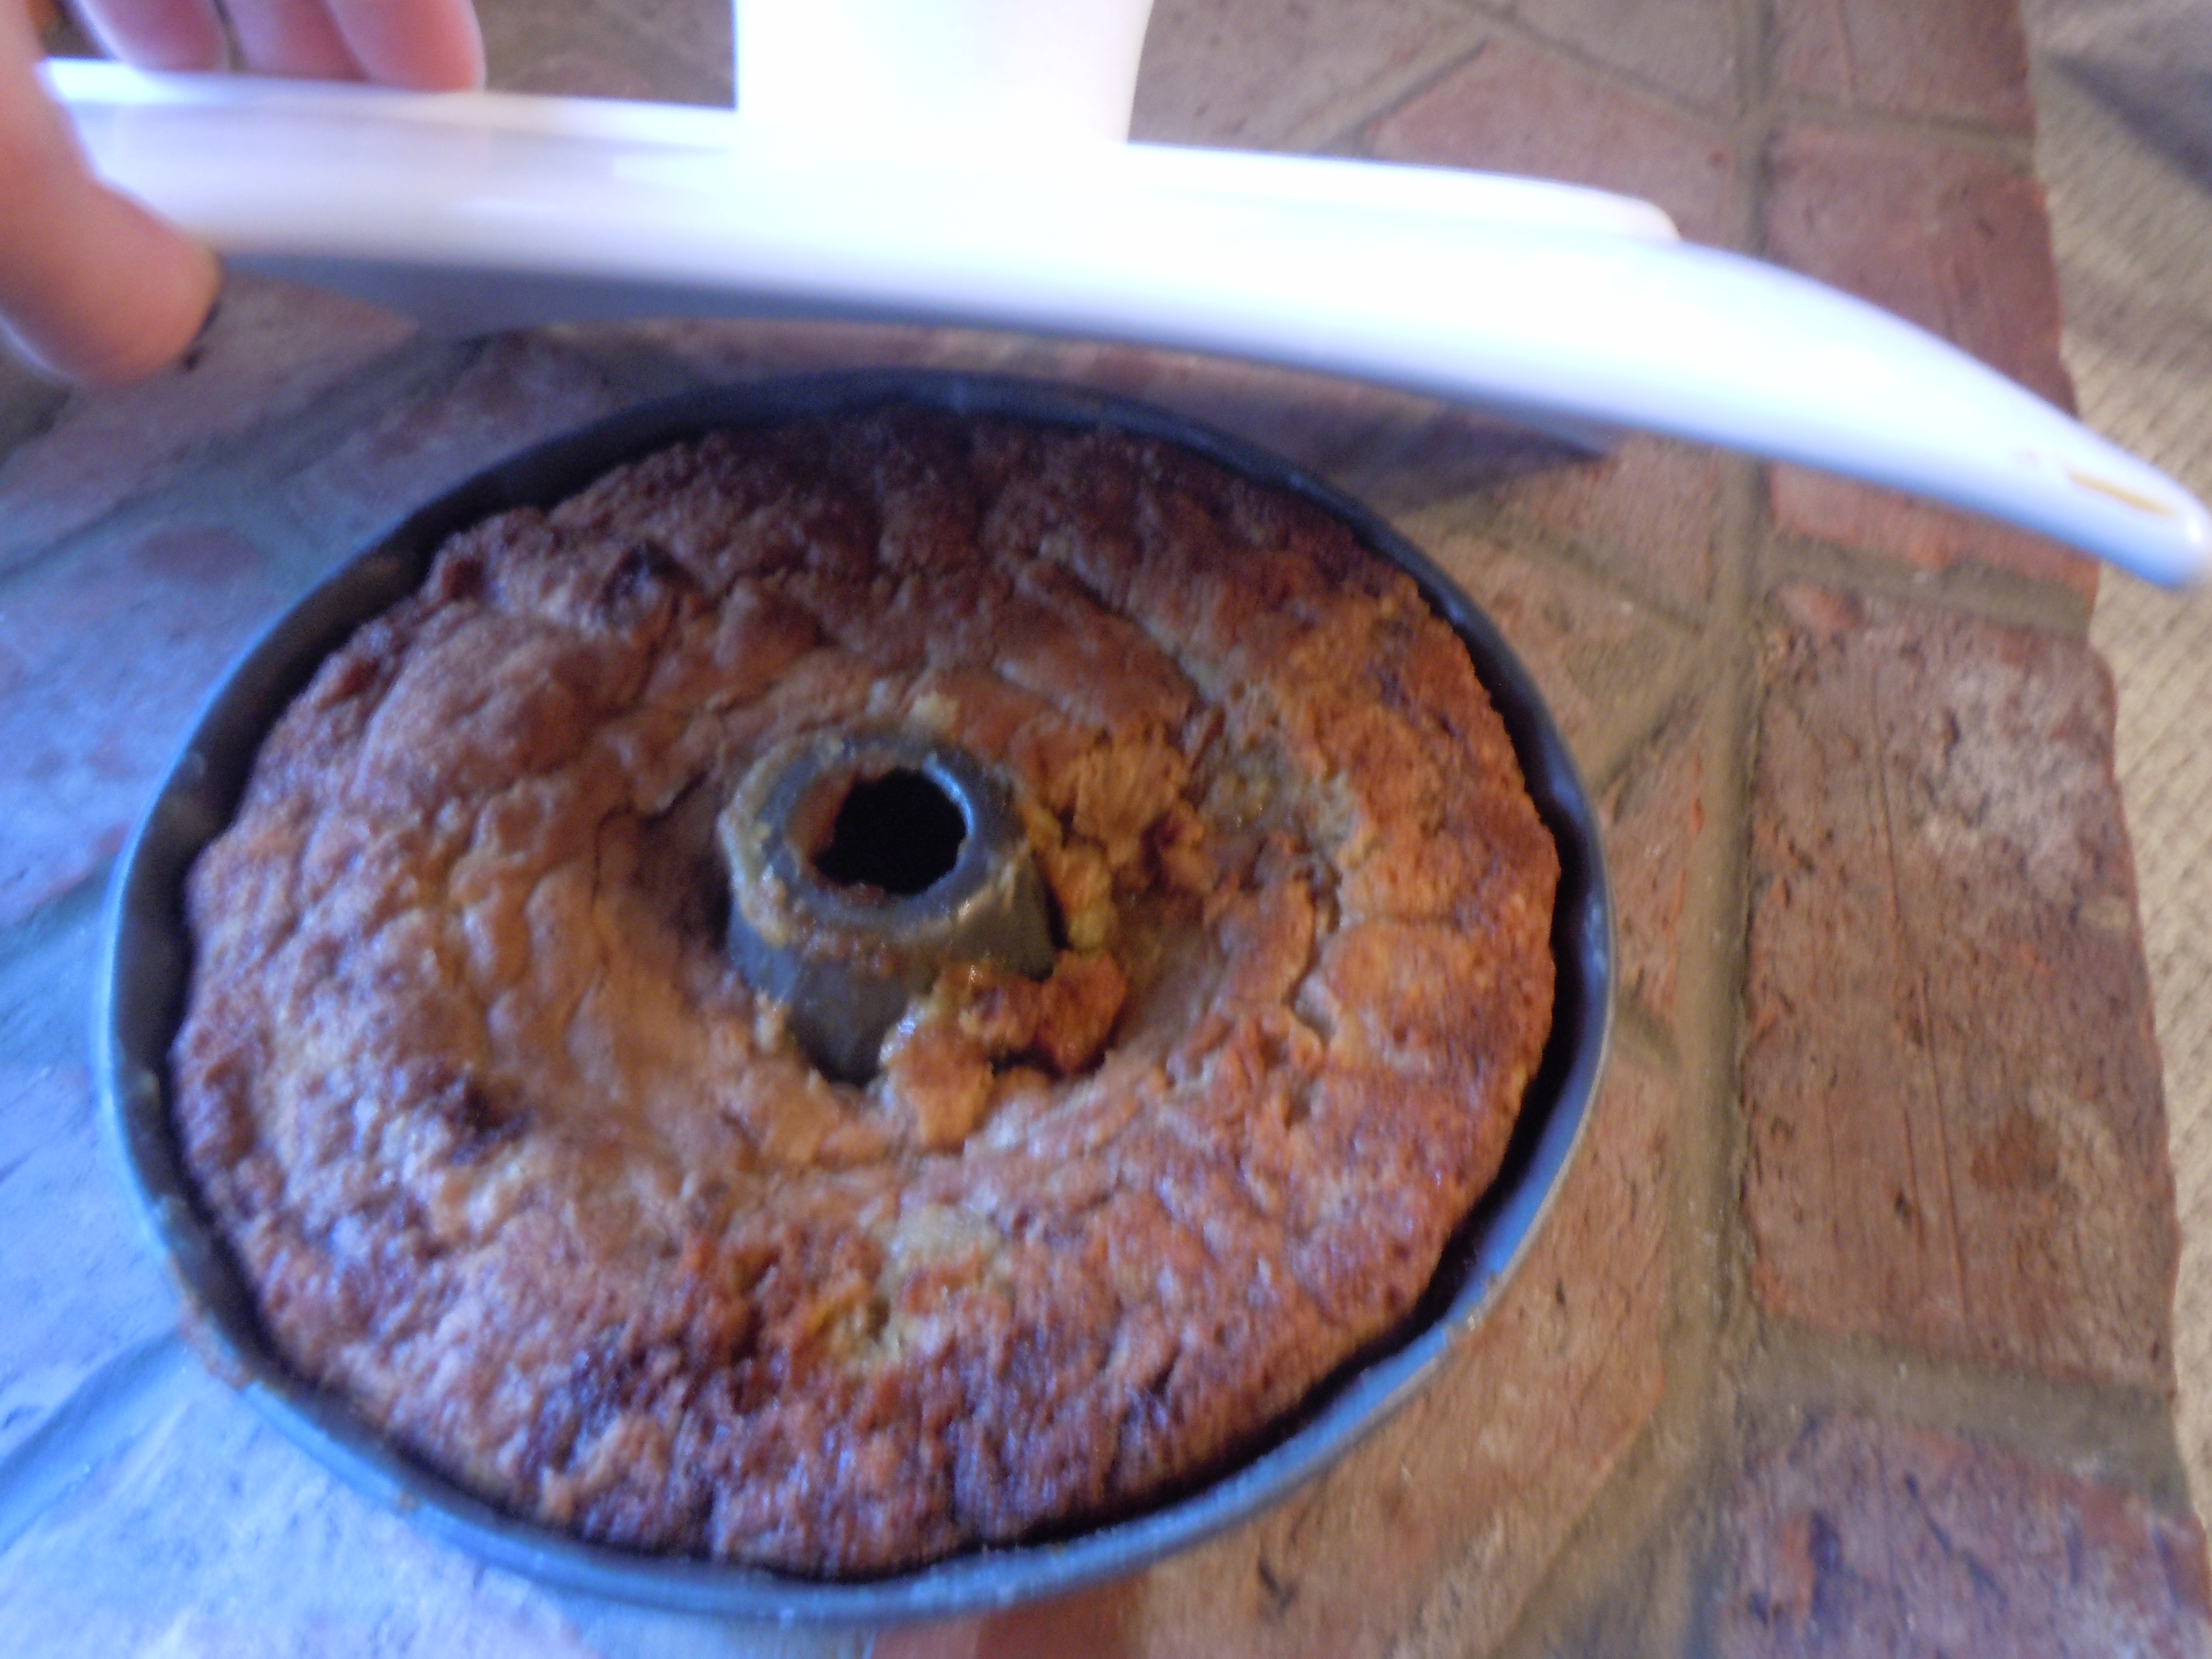
- Remove cakes from pans, place on cookie racks to cool completely before frosting
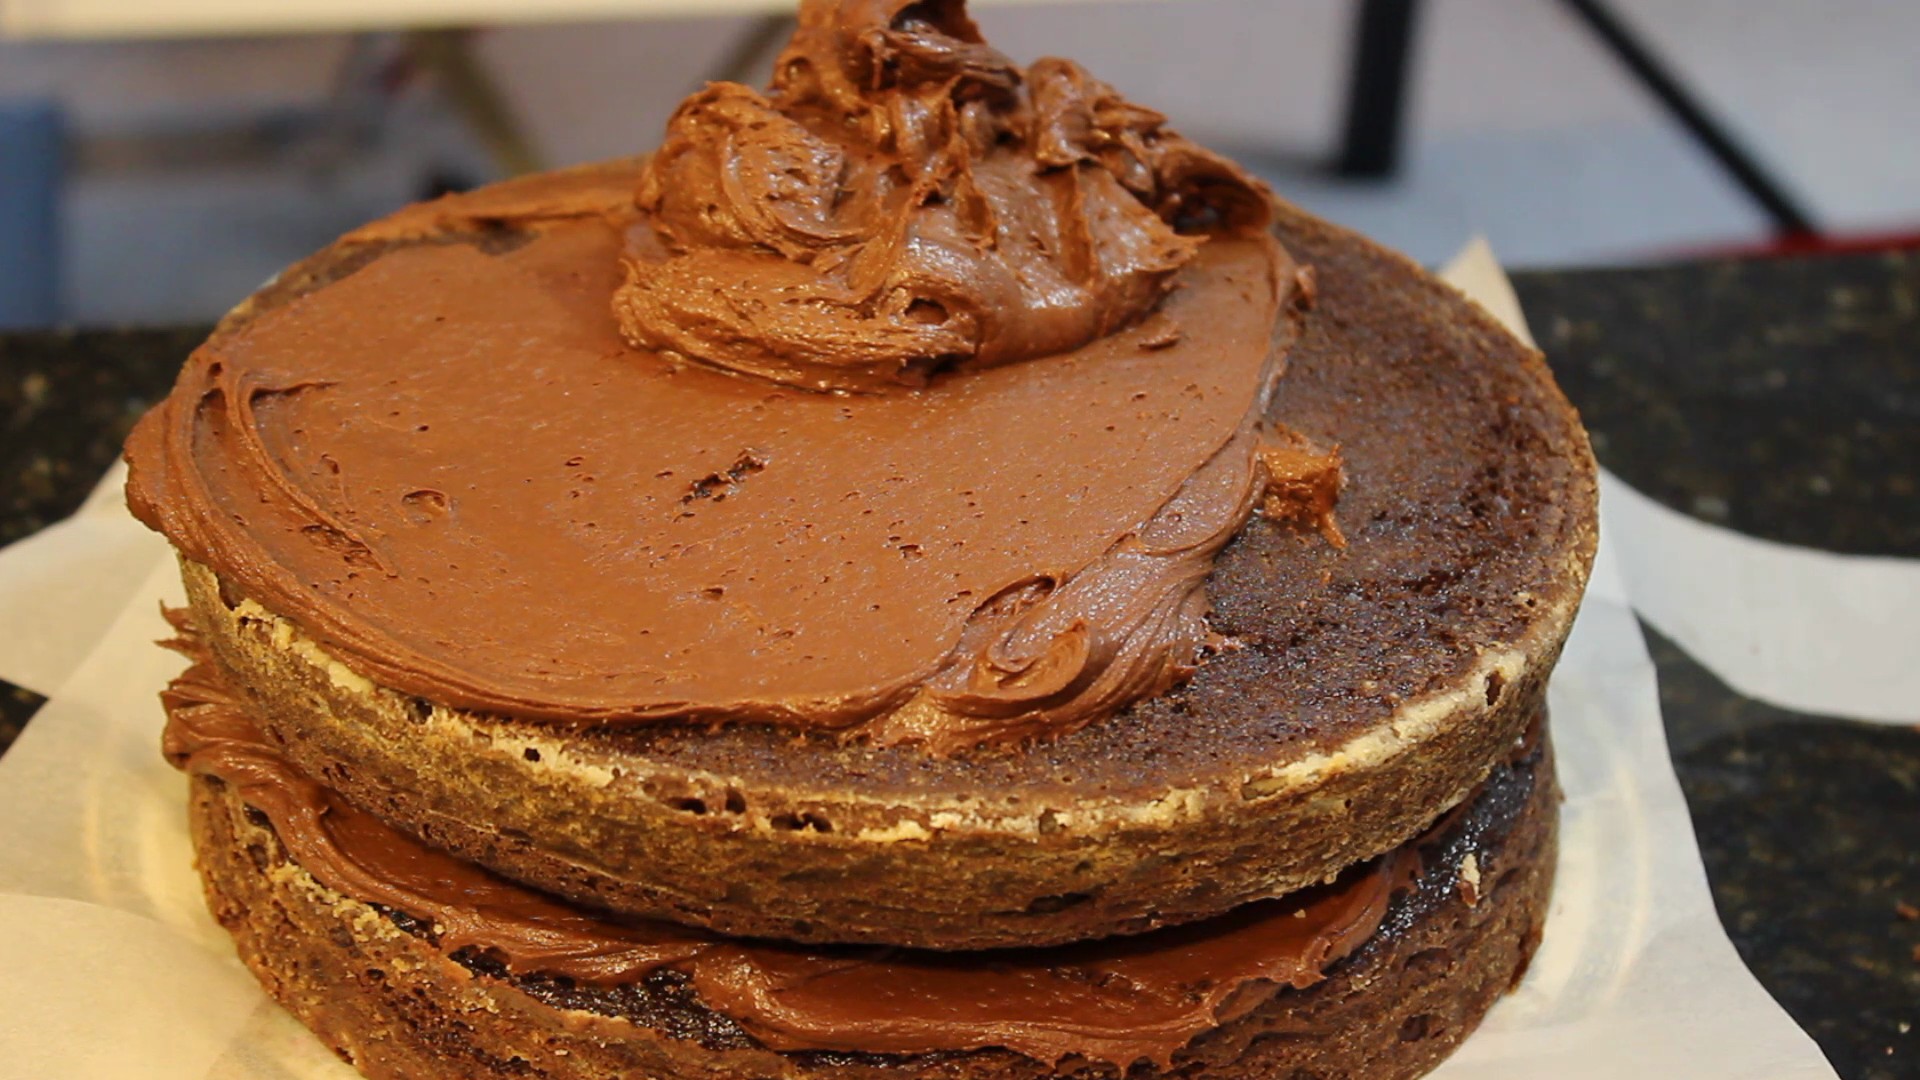
- I cool for 1 hour then immediately frost the cake
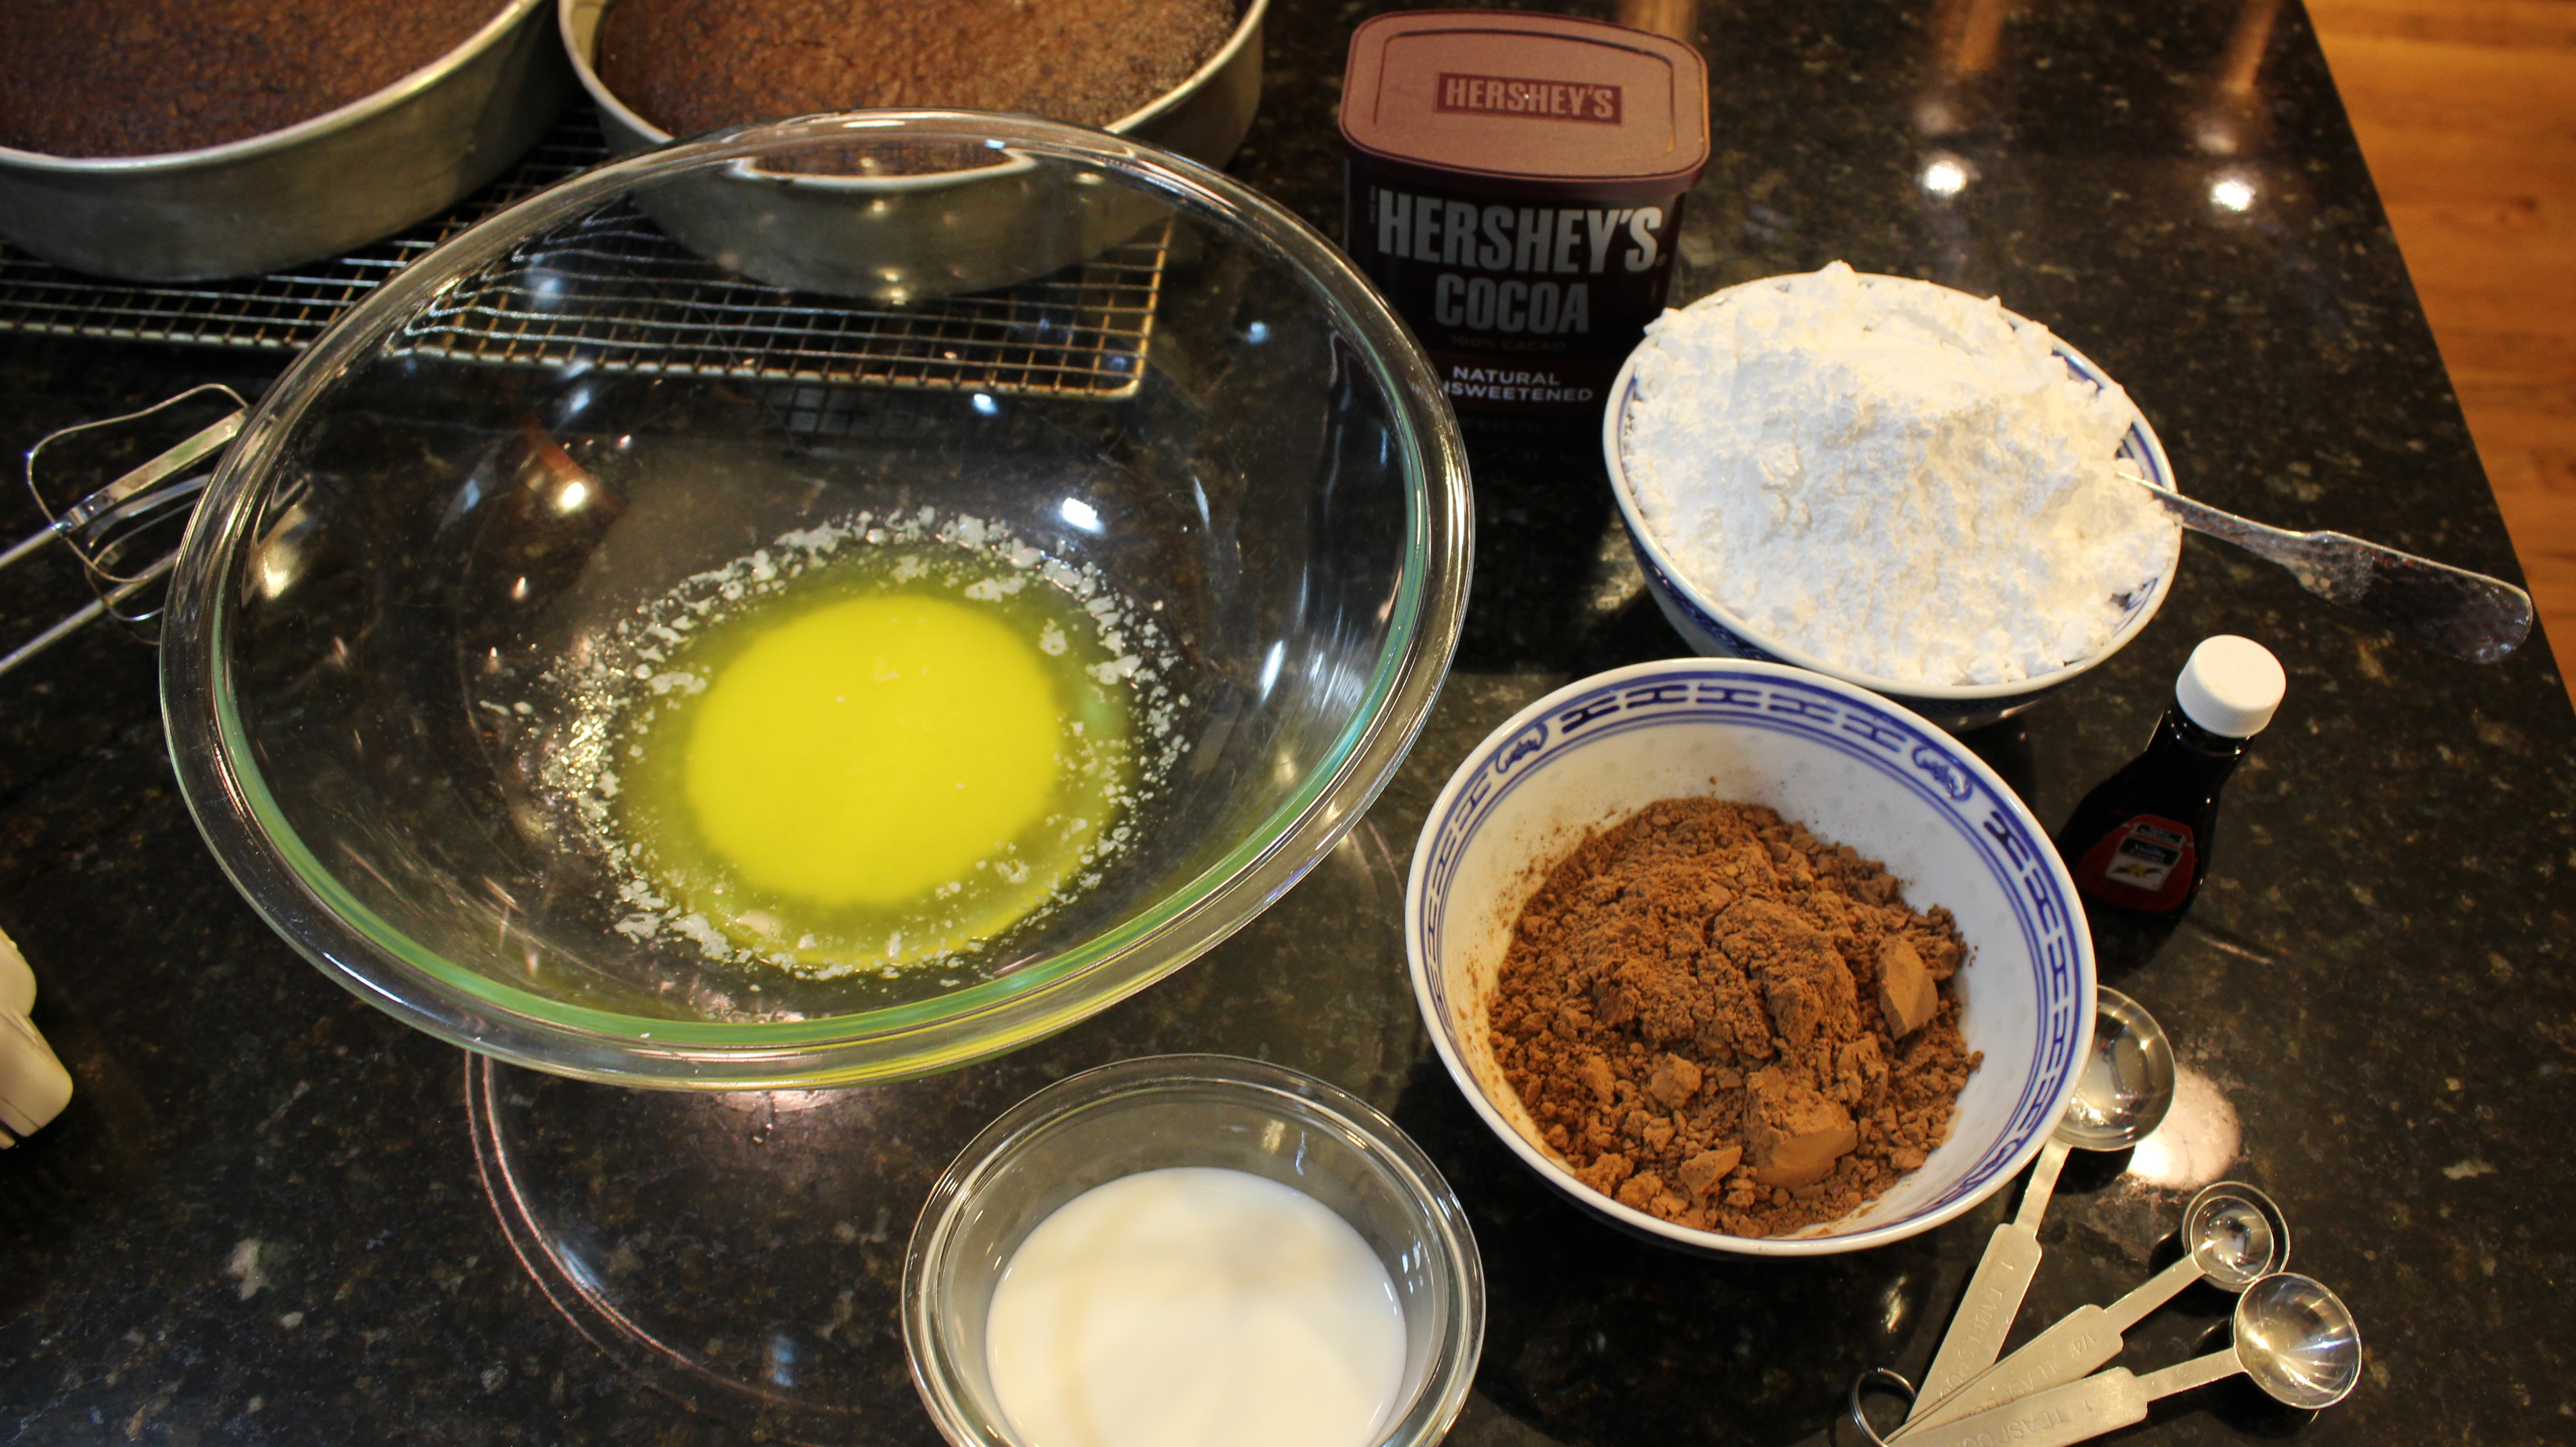
Ingredients for Frosting:
- 1 stick of butter melted
- 2/3 cup Hershey Cocoa
- 3 1/2 cups confectioners sugar (powdered sugar)
- 1/3 cup plus 1-2 tbsp milk
- 1 tsp pure vanilla extract
Directions for Frosting:
- Melt butter and add to lg bowl
- Add in Hershey Cocoa and vanilla and whisk til smooth
- Alternate adding in a tbsp of milk and 1/4 powdered sugar while beating on medium speed til smooth
- When texture is smooth add in more milk and powdered sugar until all is gone and it’s the thick creamy consistency you want