The Traveling Epicurean

Homemade Pasta at Vin’s

Homemade Pasta at Vin’s

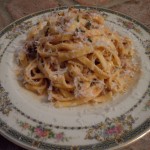
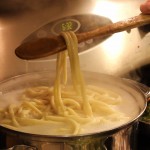
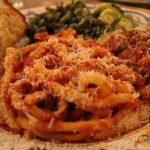
Homemade pasta is something you have to try at least once in your life! You’ll see how satisfying it is when you taste the tender, slightly chewy texture of the fresh pasta. Making pasta has been a part of my life ever since I was young making homemade manicotti with my mother for the holidays. At my Aunt Pasqualina’s, the counters were always covered with fresh pasta drying out on dish towels.

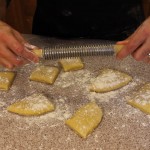
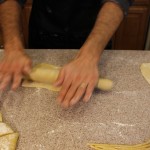
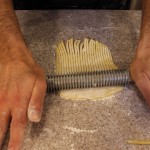
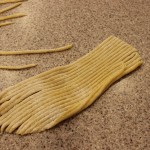
This past weekend, my friends Lisa and Vin, graciously agreed to share their grandfather’s secret family pasta recipe with me. I had the opportunity to try out, first hand, a pasta tool that belonged to Vin’s grandfather which he called the “trucal iron”. It’s a special pasta cutting tool, a roller, made years ago from medal and wood that was eventually passed on down to Vin. The center spiral part of this “trucal Iron”, made of medal, does the cutting as you roll out the pasta. It has Wooden handles which he said his grandfather glued back on a couple of times. Vin also has a newer version of this “trucal iron”, one made of all wood but the wood spirals have begun to chip away from wear and tear. They don’t make some things like they used to. Vinnie also shared some precious memories of his grandfather and father making this homemade pasta for Sunday dinners growing up where his grandfather would creatively hang the pasta noodles from atop the kitchen cabinet doors to dry out.

There’s nothing like an evening with special friends making homemade pasta! This night of homemade pasta making at Lisa and Vin’s reminded me of how much I really love to do this. Everyone has their own way of making pasta and that’s part of what makes this experience so fun. Now as for this “trucal iron”, there are other pasta tools out there that mimic what Vin’s special pasta tool does like the ones below from Amazon. I have to say, I haven’t used any of those tools from Amazon because I use my KitchenAid pasta attachment which is another great option for cutting the kneaded pasta dough. You could even cut your thinly rolled out pasta into strips by hand with a sharp knife to get the stands of fettuccine, spaghetti, or what ever thickness you might like.

iphone pictures 448 iphone pictures 572 DSCN4572 025  ita

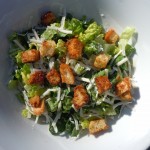
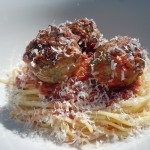
Appetizers like baked coconut shrimp, baked asparagus wrapped in prosciutto, and, or a nice homemade Caesar Salad might be just what you are looking for to go with this homemade pasta of Vin’s! If you are looking for a meat sauce to go on this homemade pasta you should try my bolognese sauceOf course, there are other options like my Italian beef meatballsor Italian turkey meatballs. Hope you enjoy the show 😉

IMG_4244 eggpasta dough

pastdough kneadpasta trucalpasta

IMG_4283 ppasta IMG_4287

cookpastajpg IMG_4327

INGREDIENTS:

  • 2 1/2 cups all purpose flour
  • 1/4 cup olive oil
  • 4 1/2  – 5 lg eggs
  • 1/4 tsp salt

DIRECTIONS:

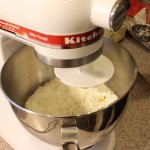
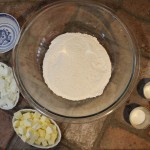
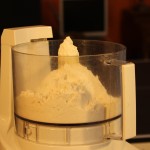
  1. Put the kneading attachment on your food processor and add the flour
  2. Add the salt and olive oil
  3. Turn on the food processor to slow
  4. Add in 1 tbsp of water
  5. Begin adding in 1 egg at a time with the processor still on slow
  6. Add in the rest of the eggs
  7. Keep the food processor going on medium speed to begin kneading the dough
  8. Let knead for about 8 minutes until the texture turns into a smooth consistency
  9. Remove the pasta dough and place onto the counter
  10. Knead briefly with your hands and let sit for 1/2 hr.
  11. NOTE: Vin does not cover his pasta dough while it sits for the 1/2 so it can begin to dry out  a little bit
  12. Sprinkle some flour onto the counter or work surface and cut pasta dough into 8 pieces
  13. Begin to roll out each piece of dough to your desired thickness
  14. Sprinkle more flour on top of each thinly rolled out pasta piece and use the roll cutter below or a sharp knife or a KitchenAid Pasta attachment to get desired pasta strips
  15. Bring large pan of salted water to a boil and add fresh pasta
  16. Depending on the thickness, cook pasta for 4-8 minutes, test pieces of pasta for proper doneness
  17. Serve with sauce and mangia, mangia!


Perfect Pie Crust in 5 Minutes!

Perfect Pie Crust in 5 Minutes!

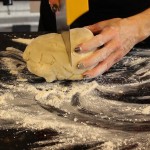
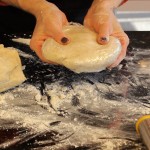
IMG_4416Who would ever think you could make this buttery, flaky, homemade pie crust in 5 minutes? After eating many of my Grandma Reilly’s pies when I was little I was inspired to come up with a recipe that tasted just like hers. Unfortunately, I never got her recipe but have been making pie crust’s for over twenty years and I’m happy to say I came up with a pie crust recipe that is spot on to what my Grandma used to make . Granted, there are some pretty decent pie crusts available at the market and if you are making many pies it totally makes sense to go that route. If you are only making a couple of pies you really need to get busy and make this homemade pie crust!

Homemade pie crust in 5 minutes is just that but there two tricks to this amazing pie crust. First, all the ingredients must be very cold. Refrigerated butter cubes are already firm enough but to firm up the soft Crisco pieces it’s wise to put that into the freezer before adding it to the food processor. Second, you MUST NOT OVER WORK the dough! Over working the dough will build gluten’s like you are make a bread dough and we don’t want that for making this perfect pie crust in 5 minutes. We want our pie crust to be flaky in texture not tough and hard.

In my opinion, a couple of the best bakers in the world are the French and the Southerner’s. One loves butter and the other loves Crisco. So why not take the best of both worlds using both butter and Crisco to achieve these wonderful results. Not to mention, as I always do, I have tested many pie crusts recipes to come to this theory.

You need to try out this perfect pie crust in 5 minutes recipe just once to be convinced to start making your own. In fact, you will wonder why you haven’t been making your own homemade pie crust your whole life when it’s that easy to make and tastes like this! Enjoy the show and don’t forget to make this ahead of time popping it into your freezer until you are ready to roll it out for a pie or a quiche. I would transfer the dough from your freezer to your refrigerator couple of days before you are ready to use it in order for the dough to come to the proper workable temperature. Once you make your dough you really ought to try making an amazing Chocolate Pecan Pie  or Death by Chocolate Meringue Pie for your holiday. Don’t forget to watch Thanksgiving week when we roll out this dough and bake a pie together! For the Best Blueberry Pie ever recipe this is one that shouldn’t be missed. Enjoy 🙂

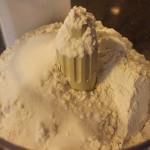
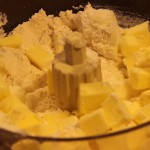
IMG_4190  IMG_4156  IMG_4219

pie  IMG_4221  piedough

cutdough  wrapdough

Ingredients:

  • 10 tbsp cold butter cut up each tablespoon into 4 pieces and into fridge until you are ready to add to flour
  • 1/2 cup cold Crisco cut into small pieces OR 1/2 cup REAL LARD from FIREFLY Farms OR 1/4 cup Crisco & 1/4 cup lard
  • 1/2 cup,  plus 2 tbsp cold water,  (keep in fridge until you are ready to add to flour)
  • 3 cup all-purpose flour
  • 1 tbsp sugar
  • 1 tsp sea salt
  • NOTE: I even keep food processor container with medal blade in it in the fridge until you are ready to pulse ingredients
  • Chocolate Pecan Pie Recipe OR Best Blueberry Pie Recipe OR Death by Chocolate Meringue Pie Recipe

Directions:

  1. Be sure all items above are completely chilled
  2. It’s easiest to freeze first, especially for crisco or real lard, then take out of freezer and cut up or grate before adding to processor
  3. Add dry ingredients to the food processor and pulse twice to combine
  4. Drop the freezer cold, firm Crisco or lard pieces onto the flour
  5. Then add the butter pieces helping the pieces to separate with a butter knife as you drop them onto the flour
  6. Pulse 5-7 time until the Crisco and butter are pea size
  7. Now turn processor to “on” and slowly add water through opening – Note: this will take about 12-15 seconds for the dough to come together
  8. The moment you see the dough begin to come together, STOP, and PULSE 2-3 times to finish into a ball
  9. Take dough out onto floured counter surface – you will see little specs of butter and Crisco in the dough which will make for a buttery, flaky crust!
  10. Cut dough into two pieces, cover with Saran Wrap and into fridge for at least 30 minutes or freezer until you are ready ( If you freeze it allow 2 days back in fridge to come to proper workable temperature)

Rib Eye Kabobs

Rib Eye Kabobs

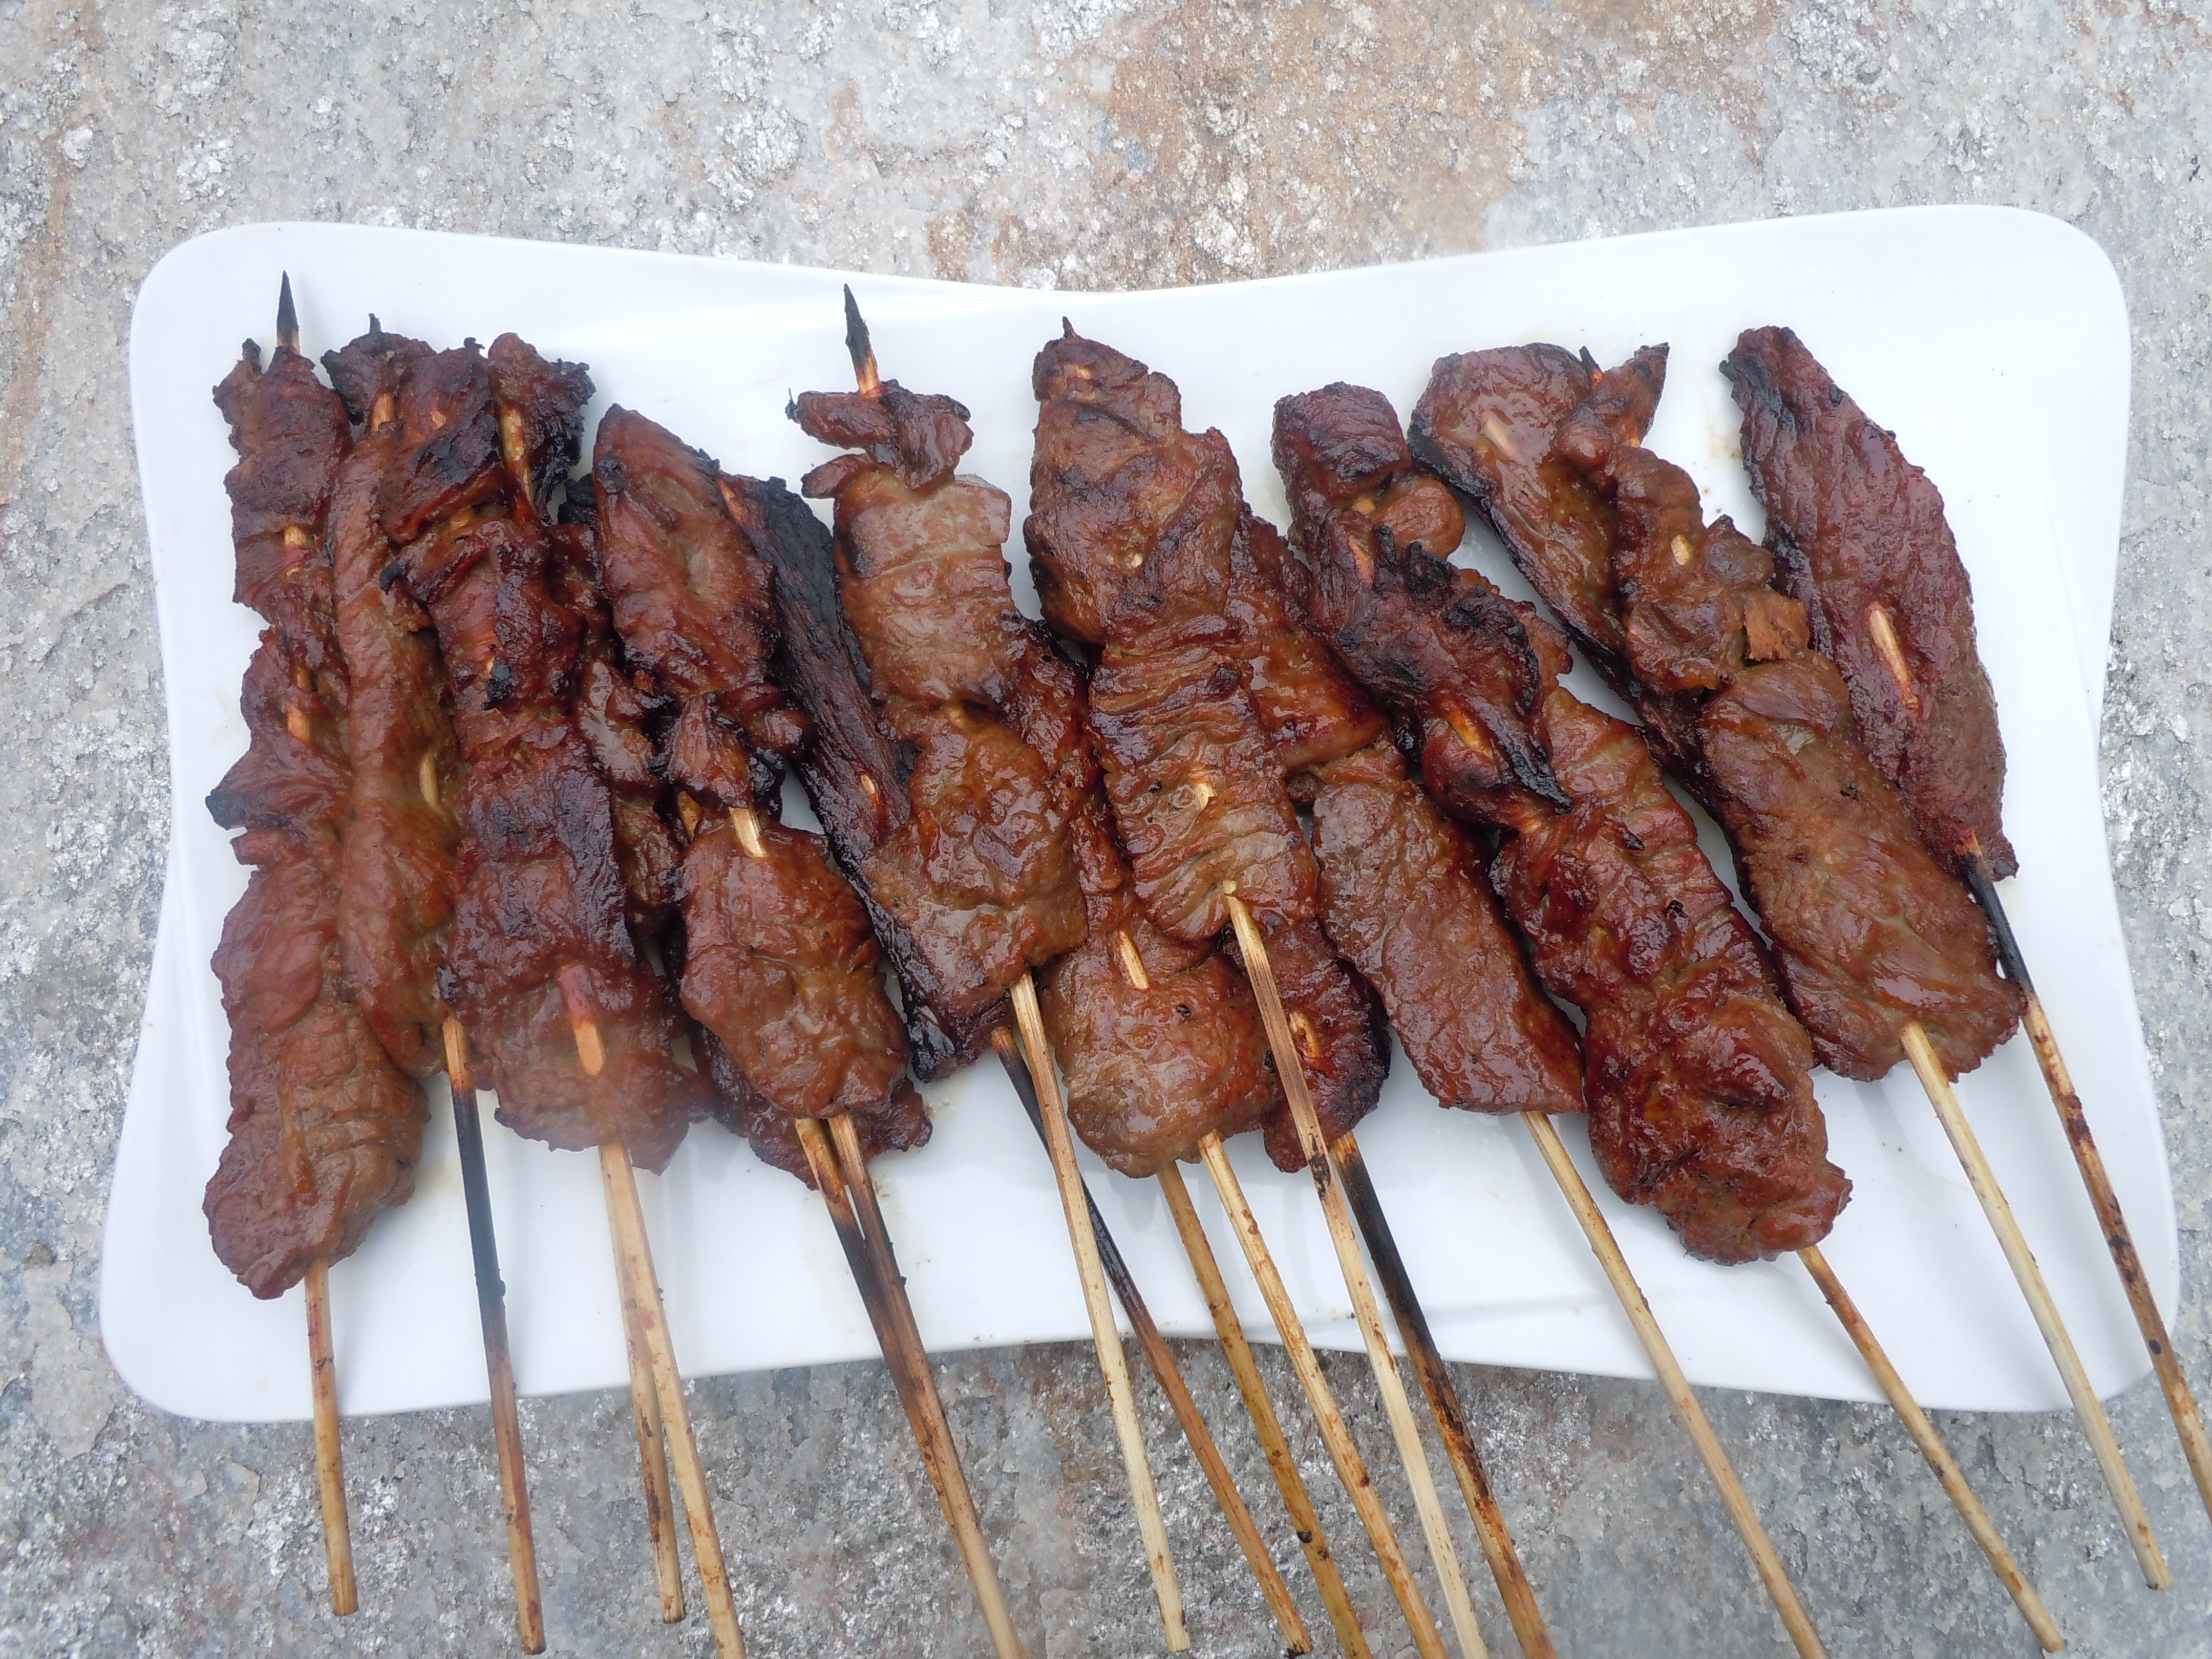
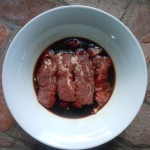
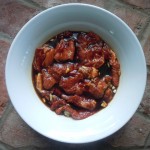
These grilled marinated rib eyes kabobs are bursting with flavor. You can marinate them for 15 minutes and still get an amazing taste or all day for a deeper, richer taste. These little “steaks on a stick”…what my kids call them, get caramelized on the edges from the brown sugar addition in the marinade. They happen to be one of my kids favorite things to have for dinner!

I was first inspired by a similar recipe done by Paula Deen and Bobby Flay. This is actually a very popular recipe. I added scallions and a bit more brown sugar and garlic to the recipe as always I need to tweak it to my own perfection. This recipe is unbelievably easy and so delicious once you try it you will have it as a go to marinade especially now that summer BBQ’s are here! You won’t even want to dip with these rib eye kabobs into a sauce of sorts because you’ll love them just as they are.

DSCN4626  DSCN4628  DSCN4630

DSCN4631  DSCN4633  DSCN4634

DSCN4637 DSCN4644 DSCN4640

DSCN4643 DSCN4648 DSCN4652

DSCN4654 DSCN4656 DSCN4658

DSCN4660 DSCN4663

Ingredients:

  • 1 1/2 lbs. rib eye streak or sirloin tips
  • 1/4 cup Tamari Sauce (it’s a darker, slightly more concentrated and thicker then soy) OR 1/2 cup of Kikkoman reduced sodium soy sauce
  • 1/2 cup water
  • 1/4 cup brown sugar
  • 2 crushed garlic cloves
  • 2 green onion scallions – 1/4″ slices
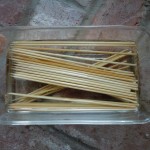
  • pkg of wooden skewers
  • 1/2 tsp salt
  • 1 Tbsn olive oil
  • OPTIONAL: 1 recipe Green goddess sauce 

Directions:

  1. Put wooden skewers in a dish of water to soak (so they are less likely to burn on the grill)
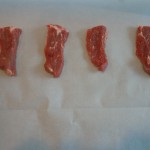
  2. Slice Sirloin tips or ribeye into strips length wise so they are about 1 1/2″ wide, 1/4-1/2 thick and 3.0″ long pieces
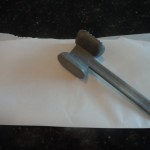
  3. Cut a 15″ x 16″ piece of parchment OR you can use a large Ziploc baggie
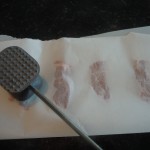
  4. Place 4 steak strips in between the layers at a time
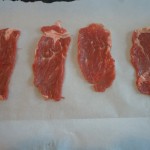
  5. Pound out steak strips to 1/8″ thickness…they will almost dbl in size to .125″(1/8″) x 2.25″ x 5.0″
  6. In a medium/large bowl add tamari sauce, brown sugar, water, garlic, and scallions and steak strips
  7. Cover and marinate from 15 minutes to all day
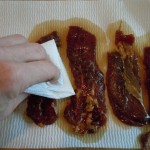
  8. Take the marinated steak pieces out and dry them off on Bounty paper towels (you don’t want t paper towels to fall about and stick to the steak strips…so use Bounty)
  9. Take the skewers and pat those dry
  10. Begin to thread each piece of meat with the skewer right down the middle
  11. You will get about 20 skewered steak strips
  12. Sprinkle 1/4 tsp salt on each side
  13. Add 1 Tbsp olive oil to lightly coat
  14. Add the skewered steak to a hot grill lining up the skewers so that the wooden ends overlap over another piece of meat…see photo above for line up
  15. Sear for 3 minutes on each side til caramelized on the edges
  16. Mangia!
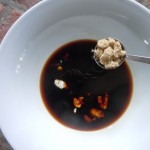
You can add some yummy veggies to this meal like:

Roasted Brussels Sprouts
Cold Asparagus Salad
Perfectly Mashed Potatoes and Red Onion