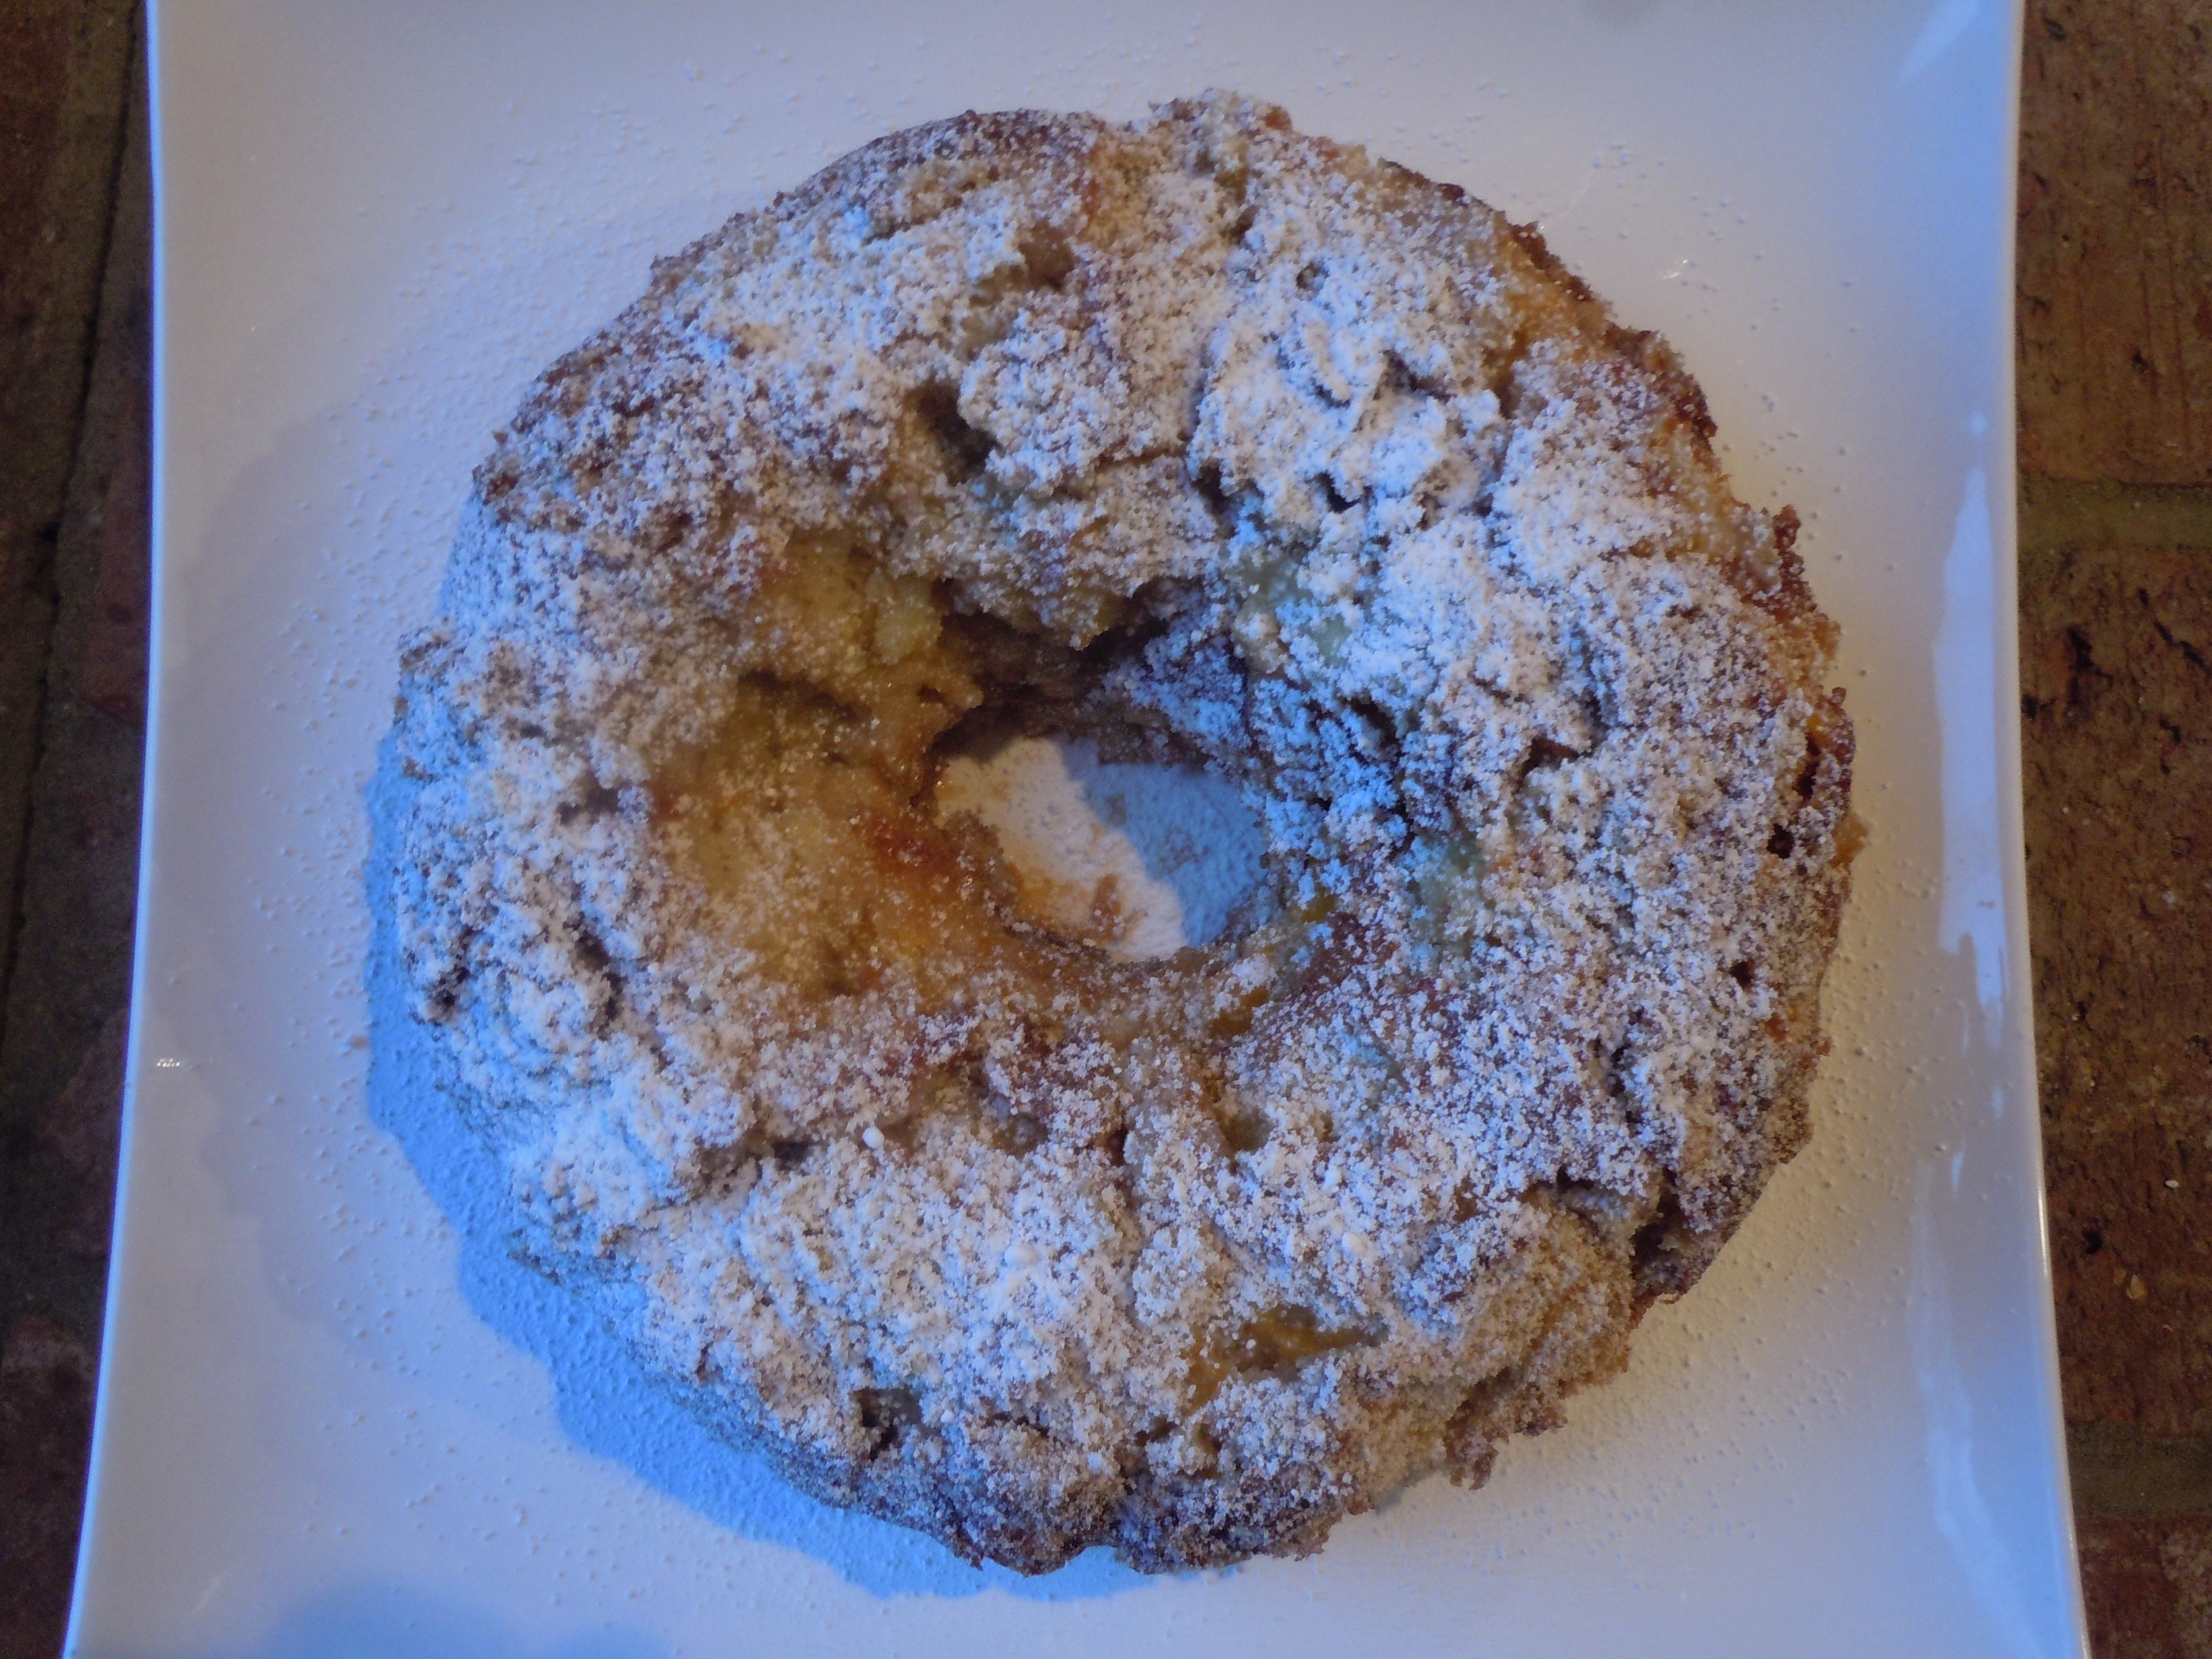
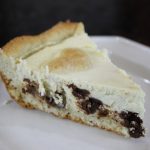
Girl Scouts Thin Mint Chocolate Mousse Pie
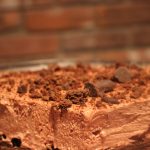
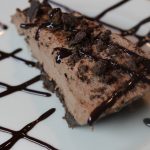
This Girl Scouts thin mint chocolate mousse pie is absolutely delicious! The oh so chocolaty mousse is light and lucious and melts in your mouth. The texture’s of the pie are undenialbly one of my favorite aspects of the pie. It goes from the cool, silky mousse to the crunchy cookie crumble in the crust with subtle hints of mint.
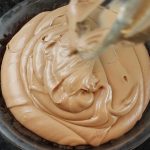
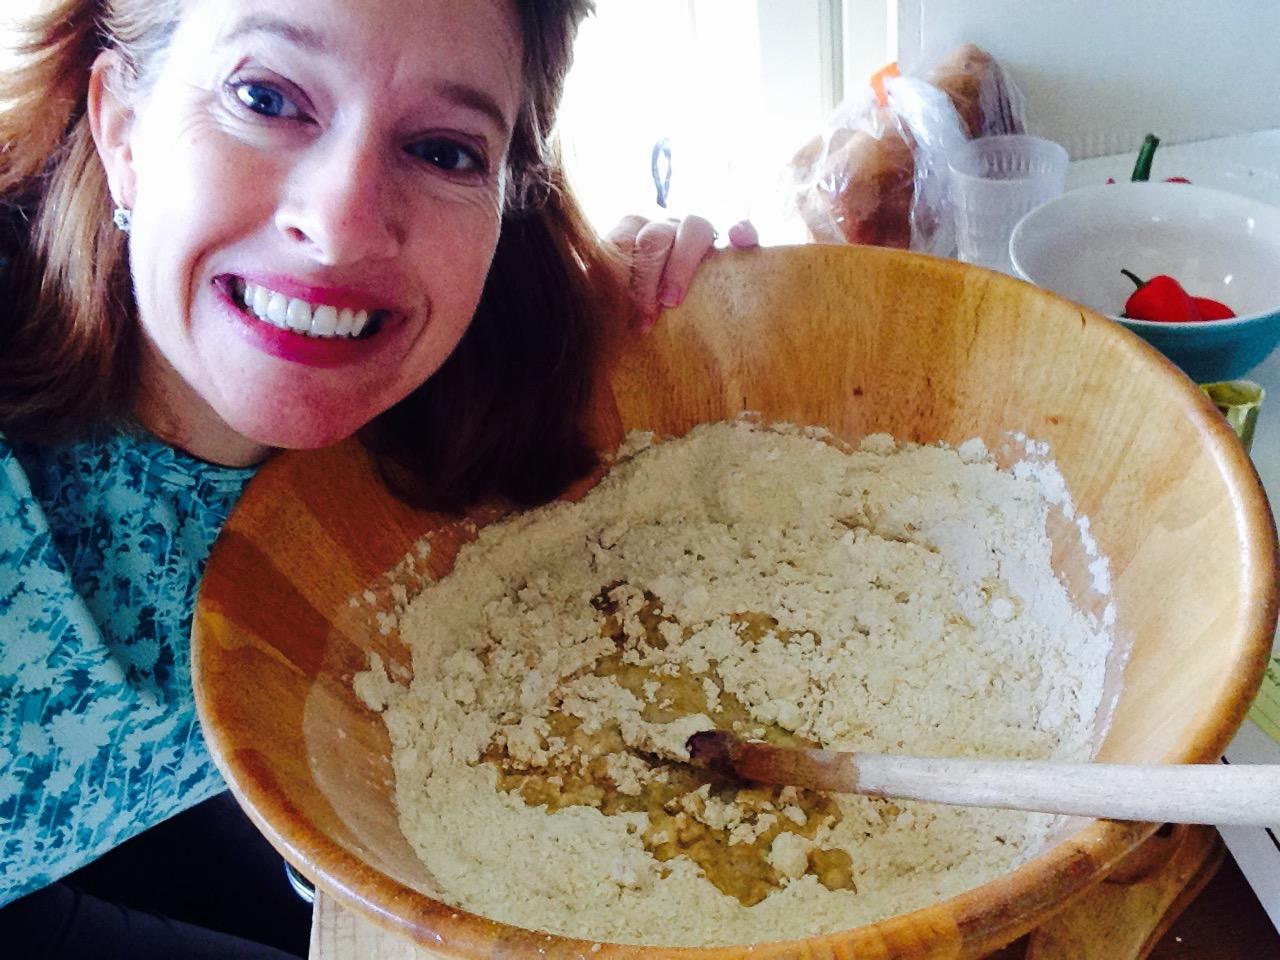
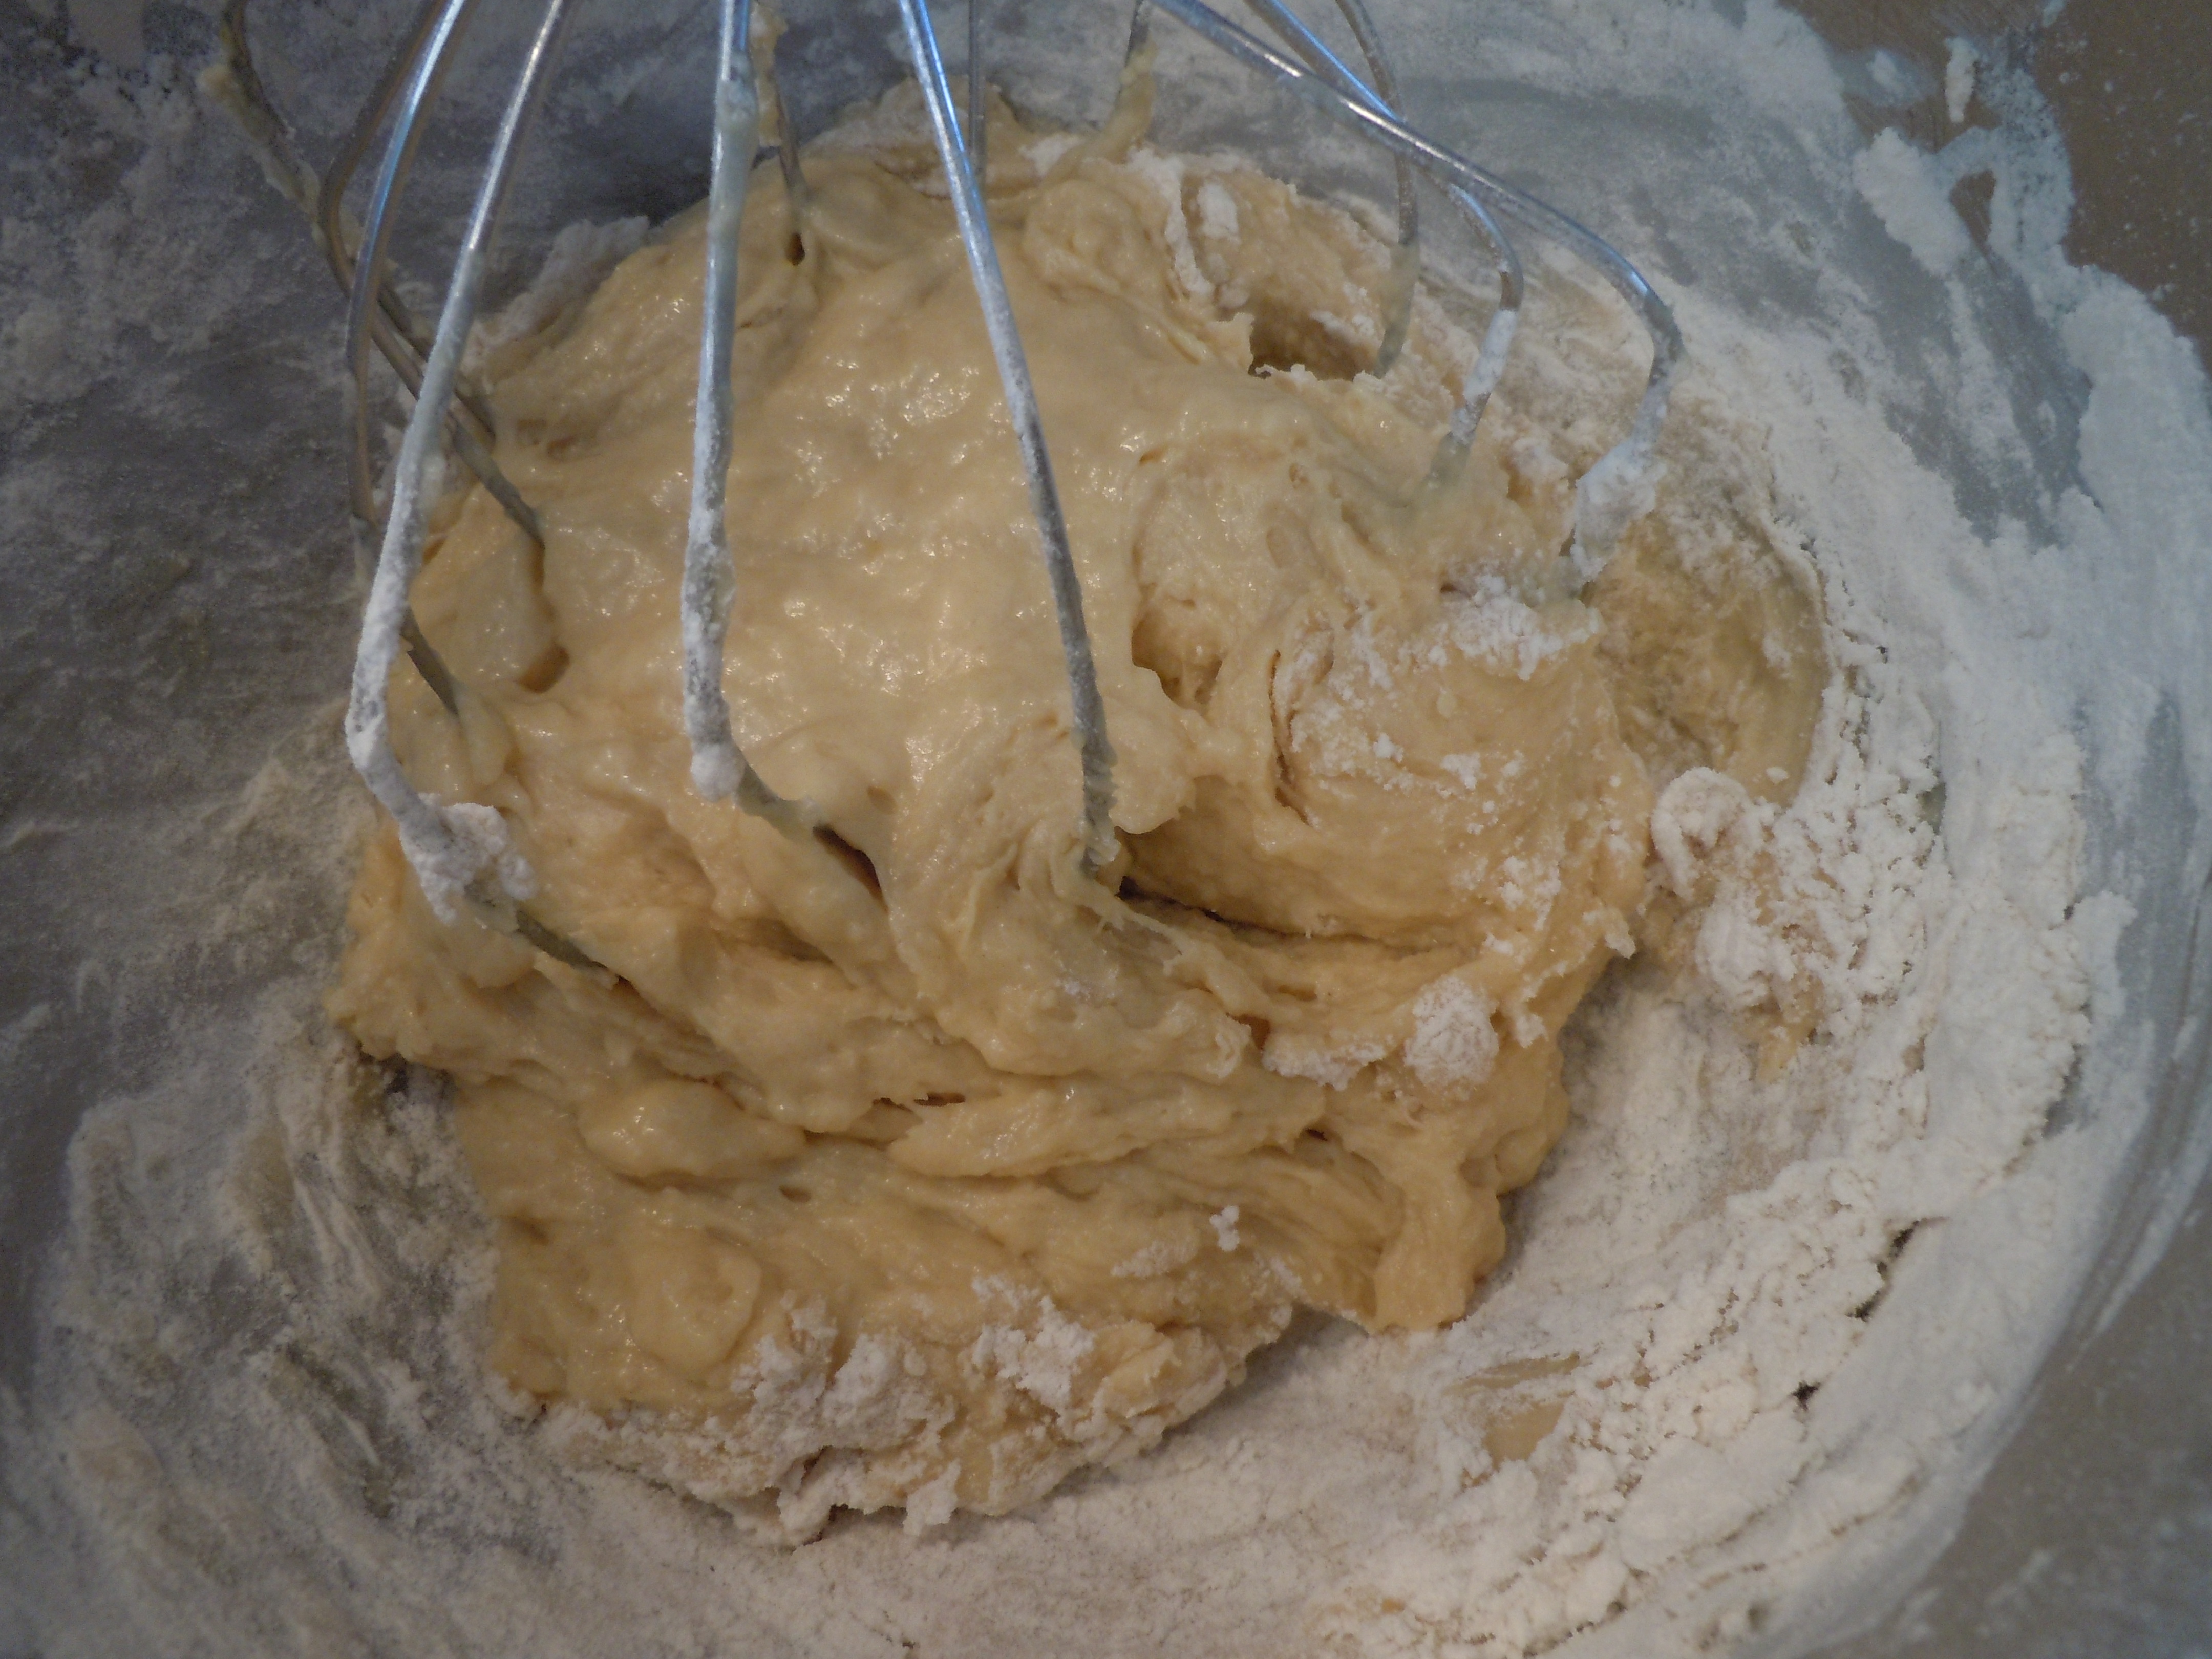
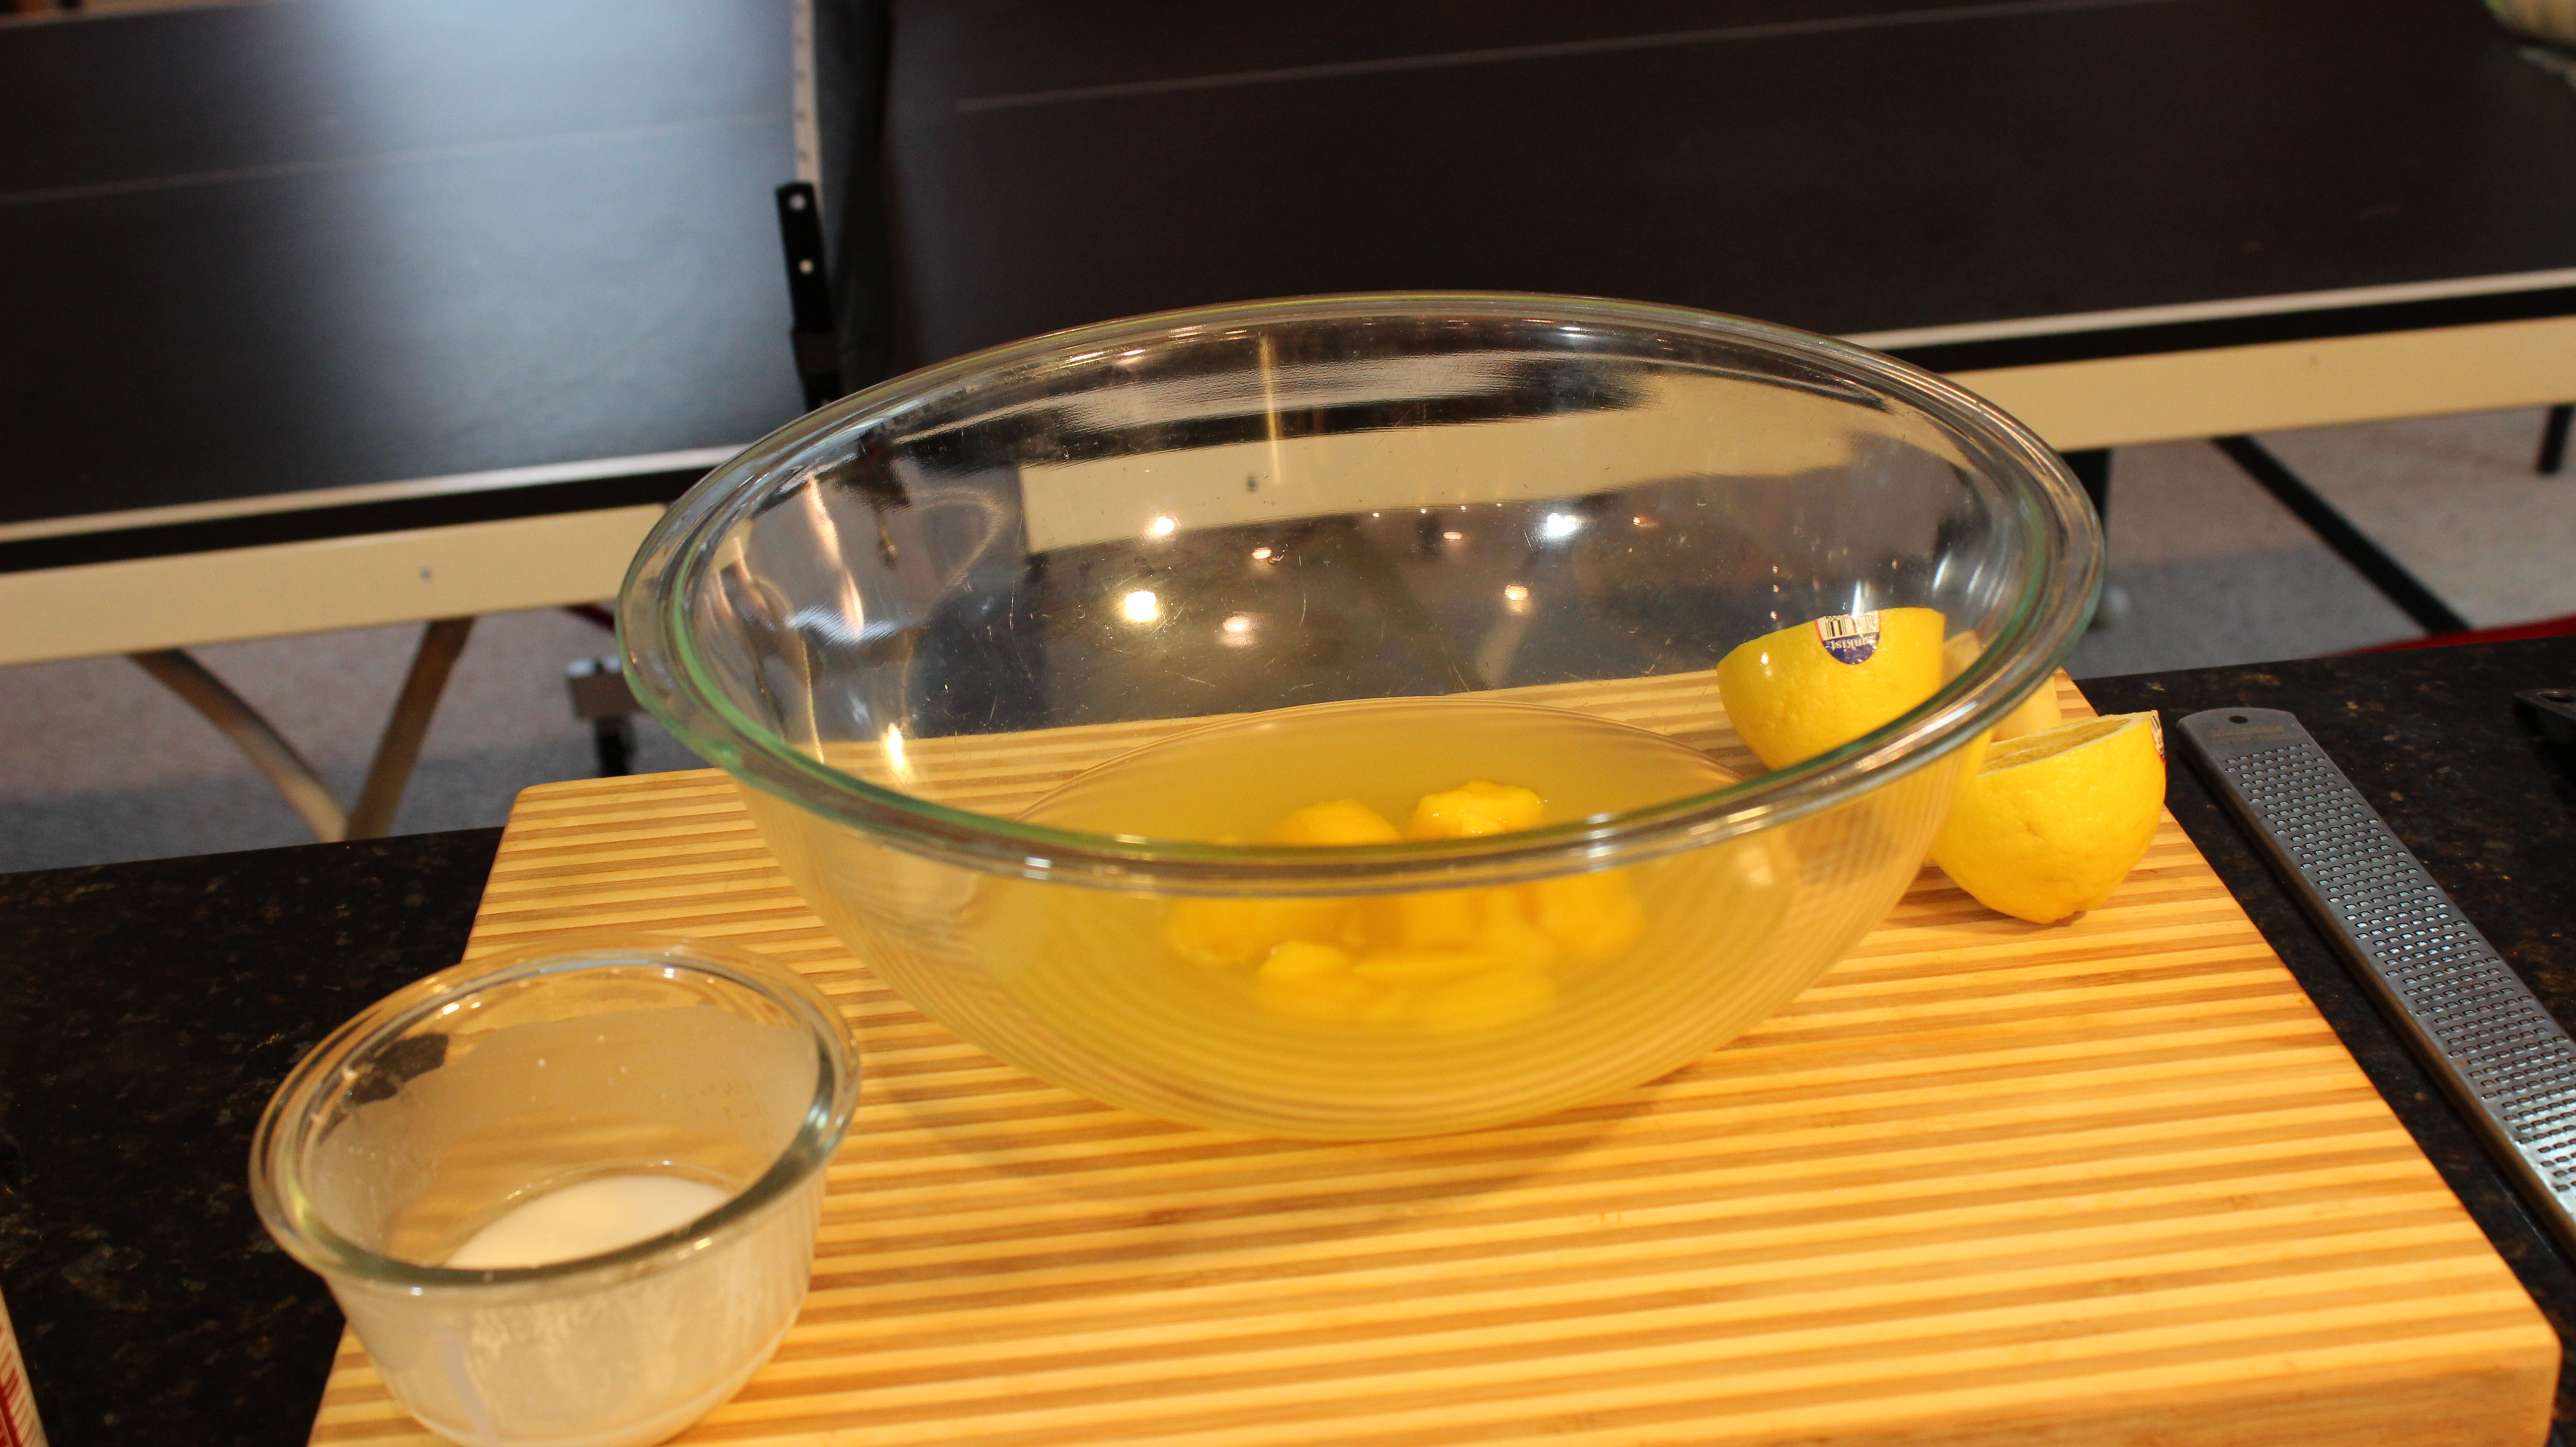
Although you do bake the thin mint crust for a mere 8 minutes, this is a no-bake, no fuss, chocolate mousse filling. The crunchie crust is made with puréed Girl Scout Cookies, butter and sugar. In the same food processor that the thin mint cookies were just puréed, the chocolate mousse starts off with mini semi-sweet chocolate chips, vanilla, and a pinch of salt. Then boiling heavy cream is streamed into the opening at the top to melt the chips as they spin into a smooth and creamy chocolate delight. This chocolate is cooled to room temperature and folded into whipped heavy cream for the finale. It’s one of those special dessert’s that’s so uncomplicated you’ll find yourself making it more than just once.
Having my daughter’s Girl Scout troop in my kitchen making this thin mint chocolate mousse pie was so much fun! We are very fortunate for our wonderful leader, Jen Swenson, who is generous with her efforts and time with the troop. It’s one of those precious things in life that the girls will treasure always.
Those of you who love the good ole mint-chocolate flavors will go crazy for this dessert. Those of you who aren’t partial to that flavor combo might be surprised how suble and sweet the thin mint crust is …tamed by the butter maybe! And like I told Maisy in the show, you can always just eat the chocolate mousse middle!
If you are looking for some appetizer’s to start off this Girl Scouts Thin Mint Chocolate Mousse Pie extravaganza you should try my Salsa 101 or Best Guacamole Ever! Maybe you are more in the mood for Zucchini Torta or a main dish like one of my all time favorite’s Stuffed Peppers or Chicken Piccata…both dishes you’ll add to your week day meals once you have your first bite! Enjoy! 🙂


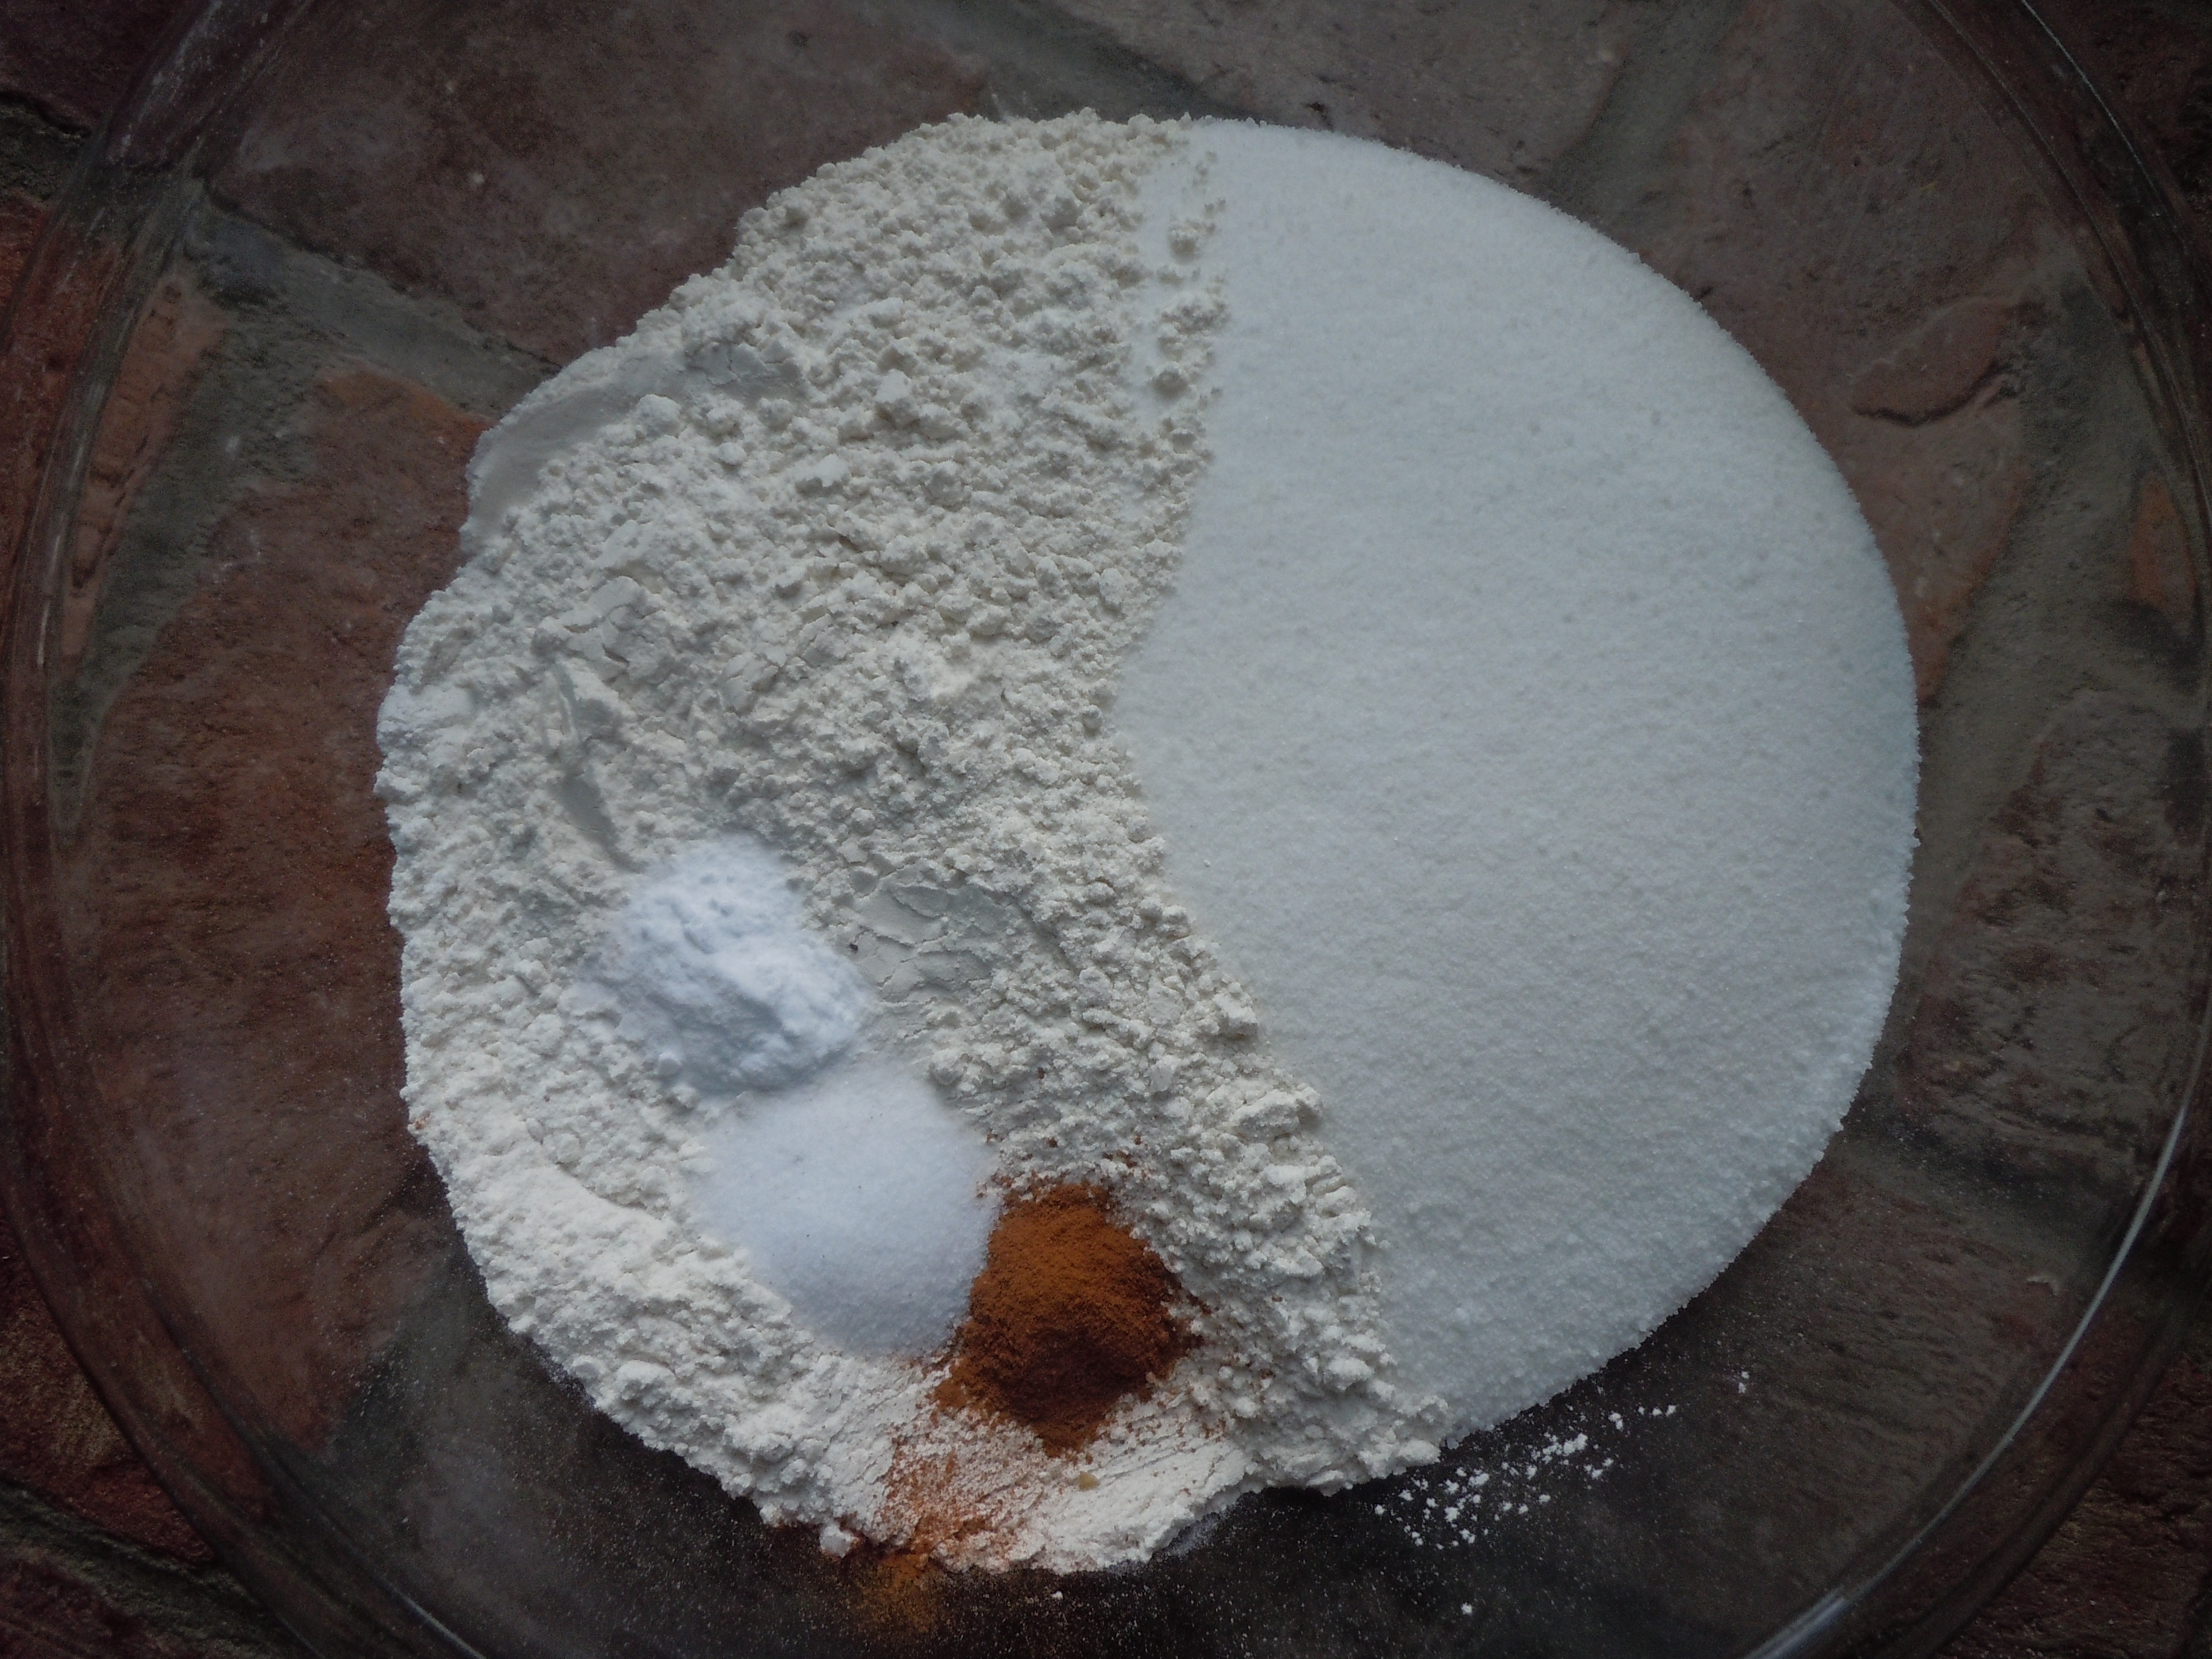
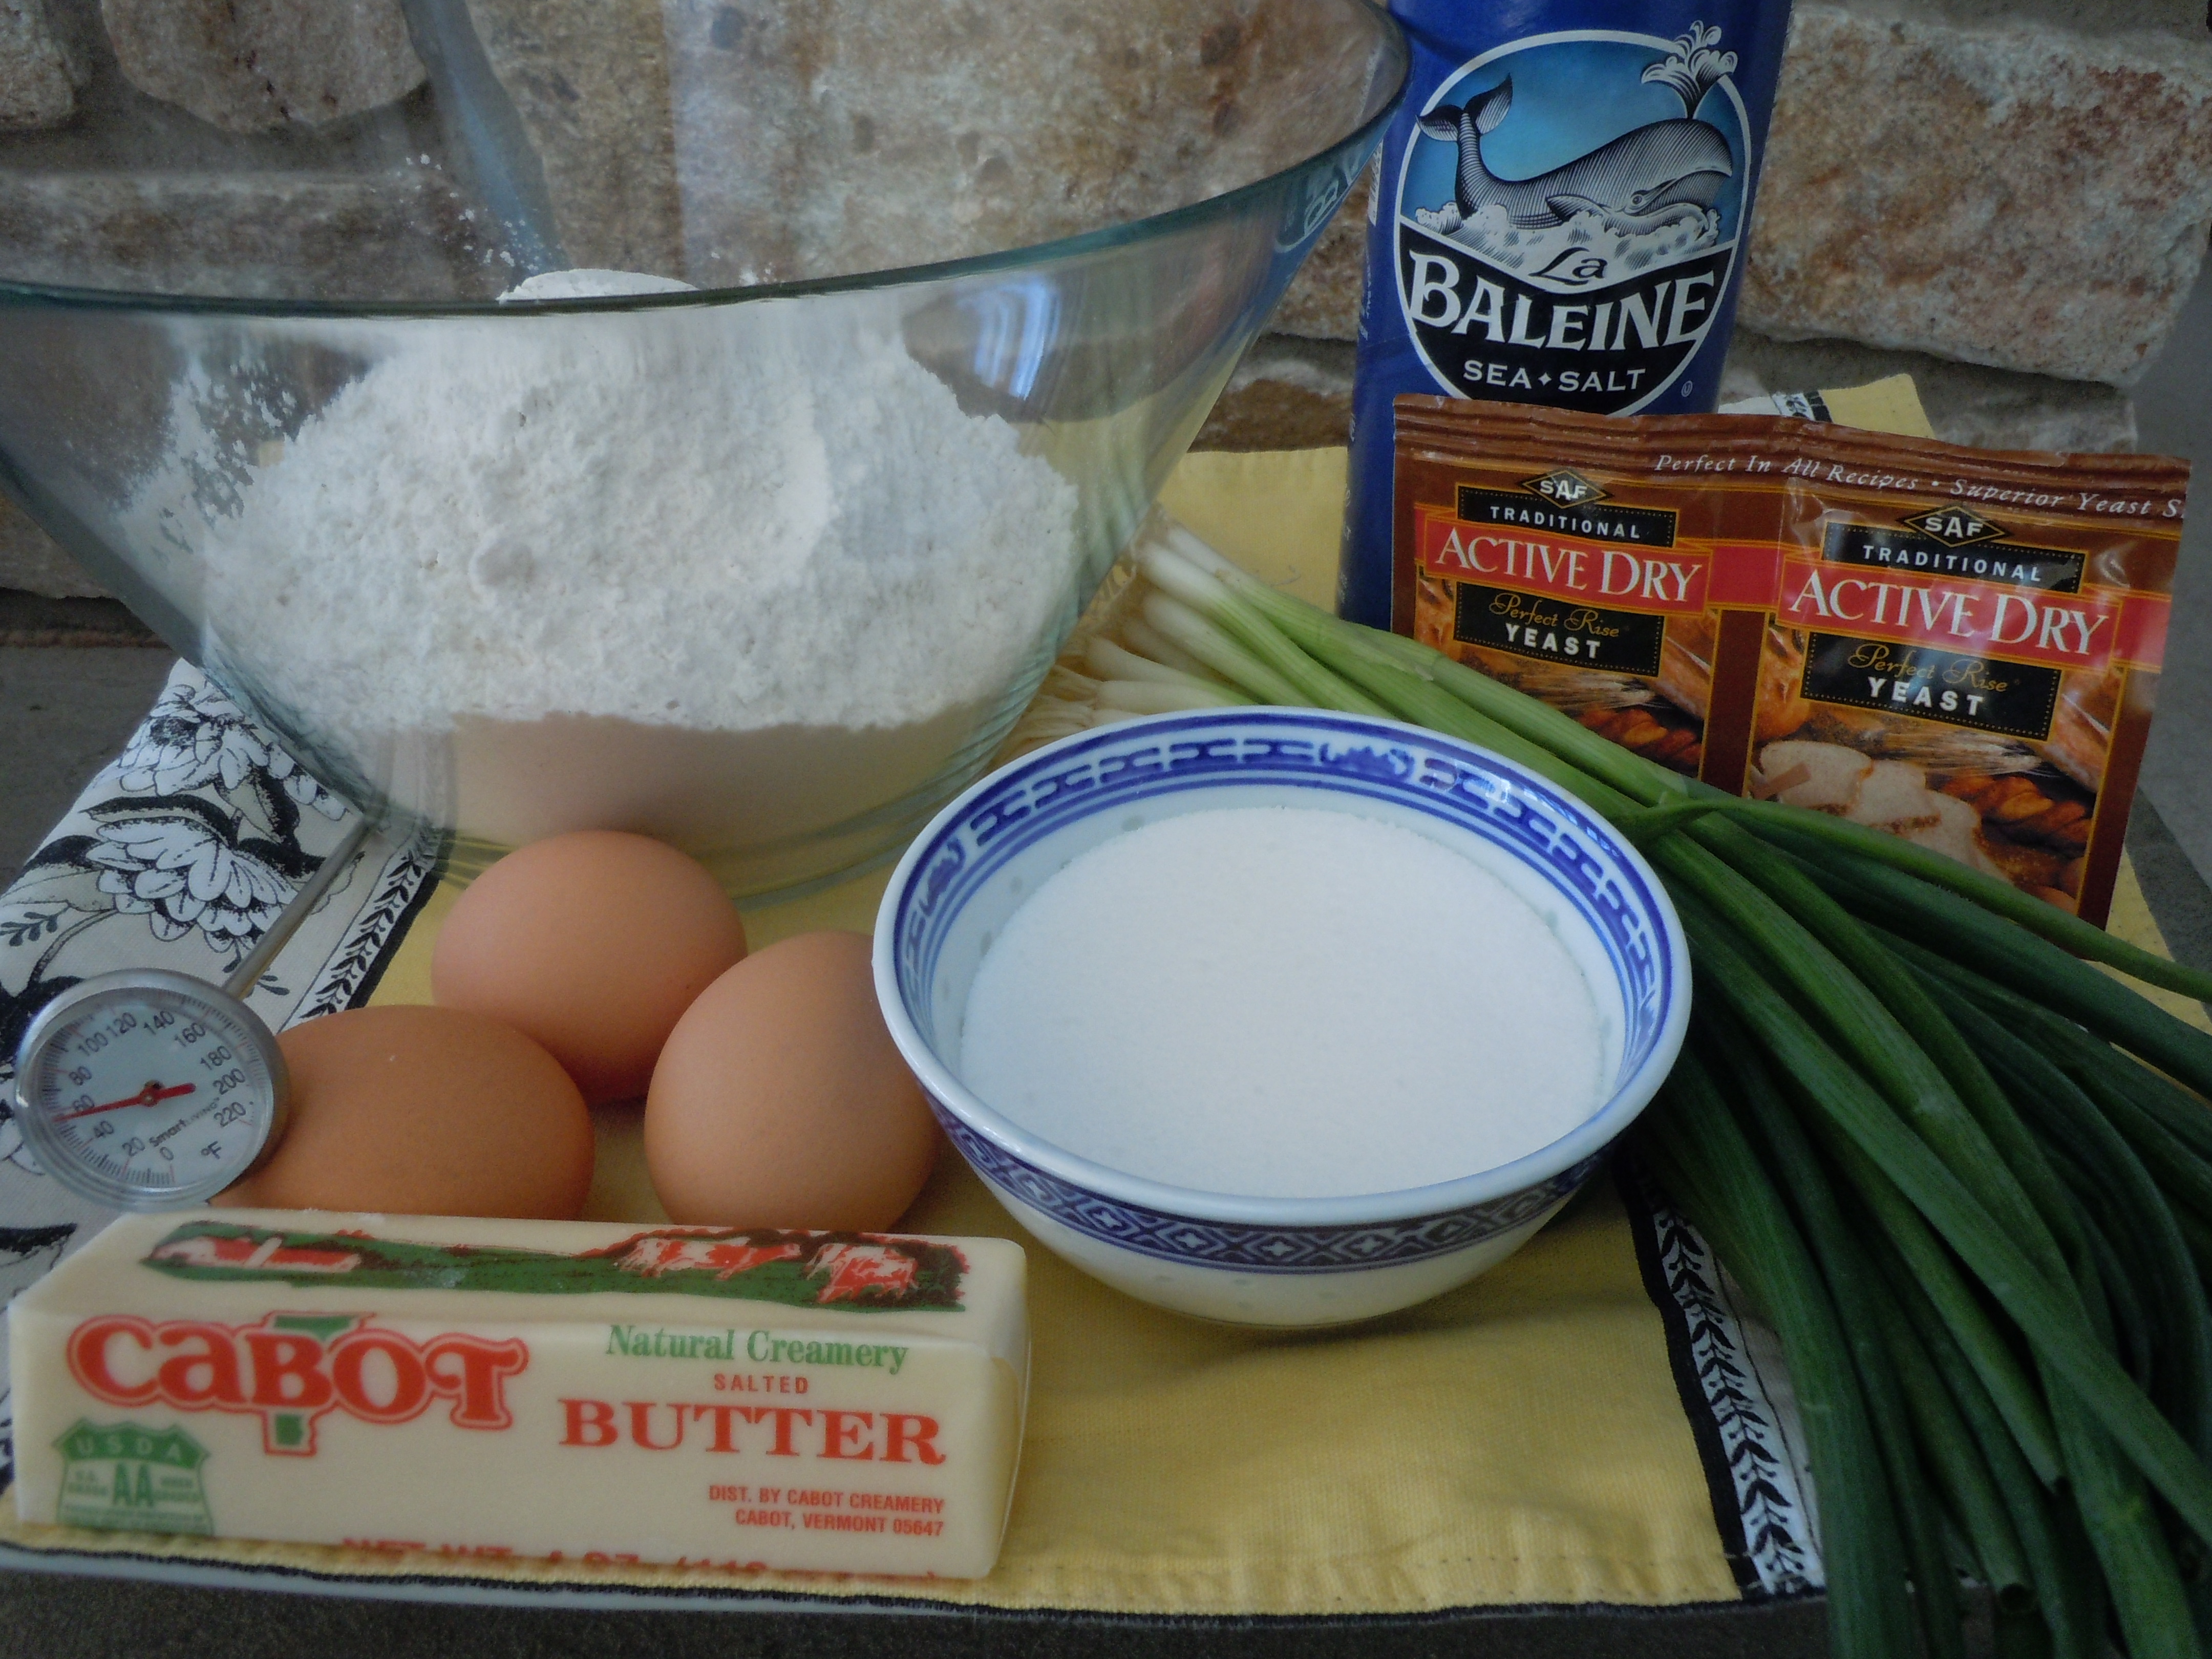
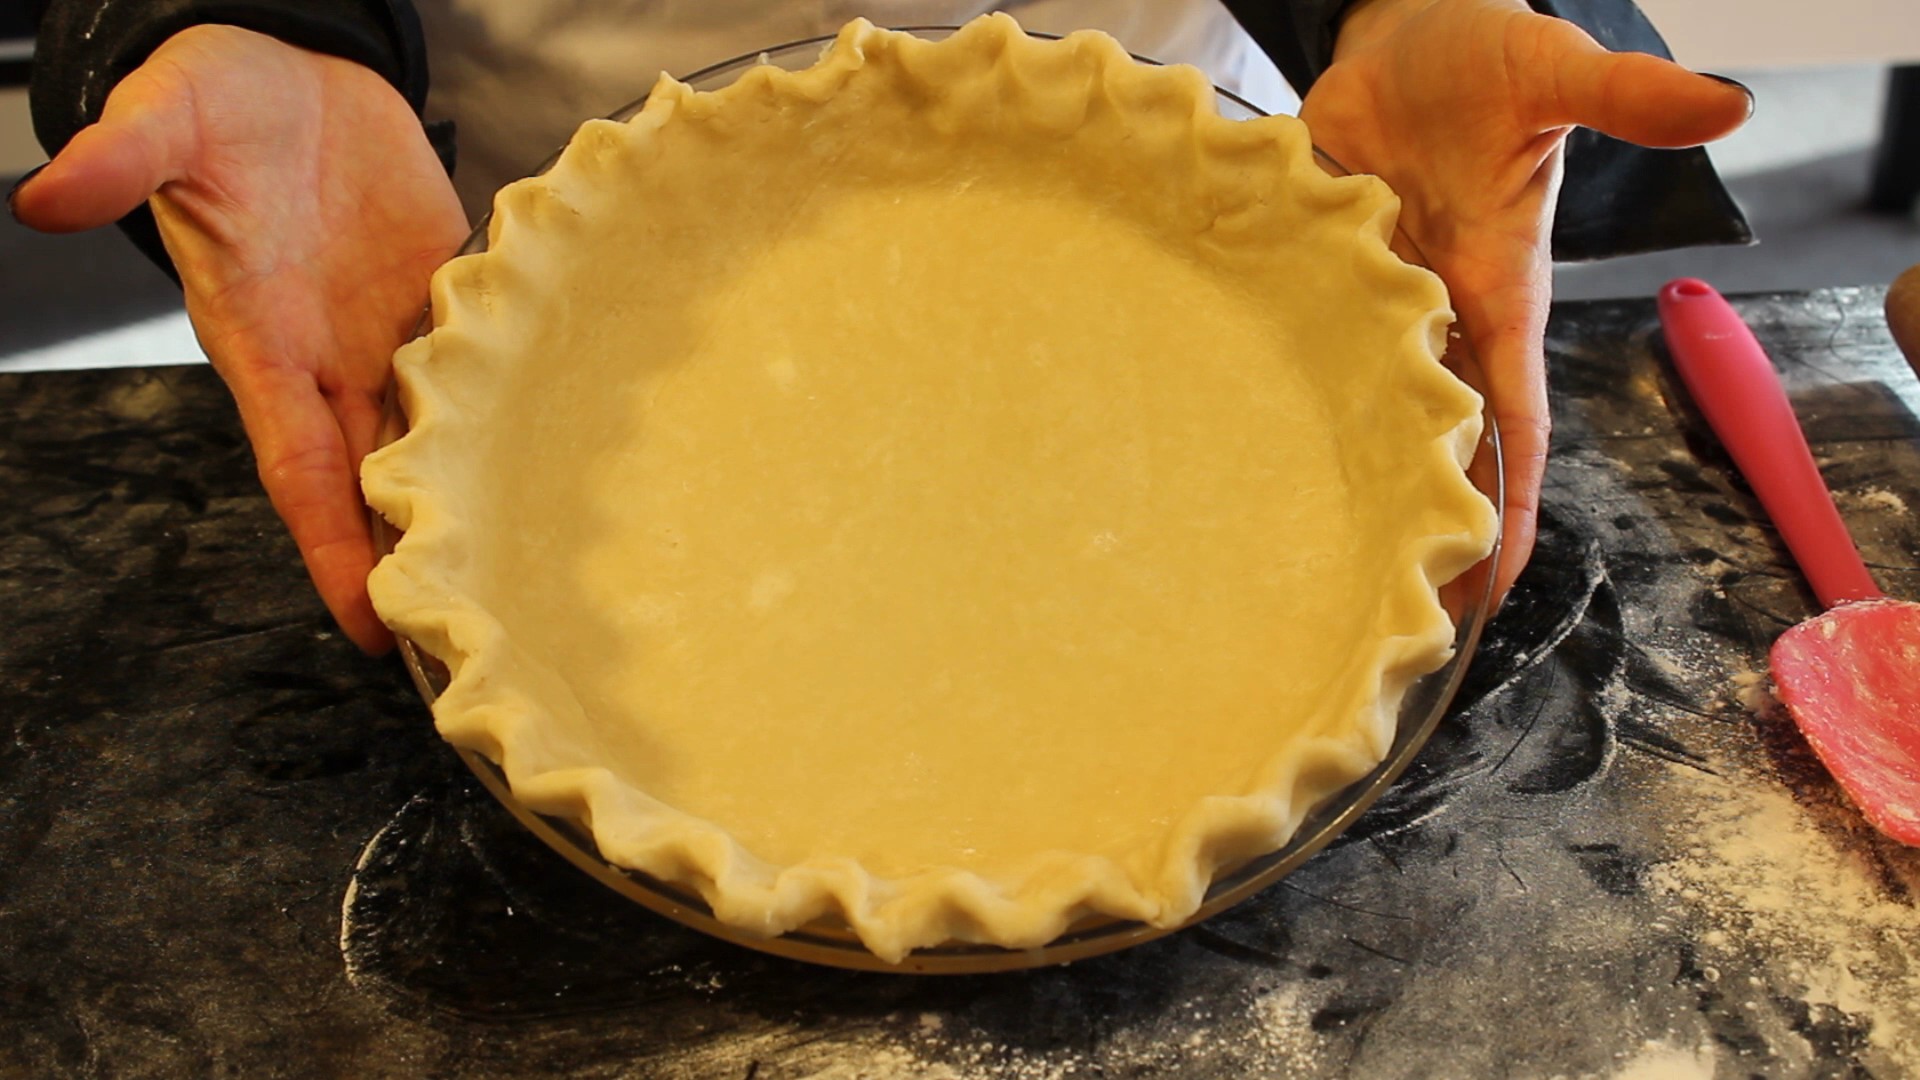
Ingredients for Girl Scouts Thin Mint Crust Pre-Heat oven to 350º :
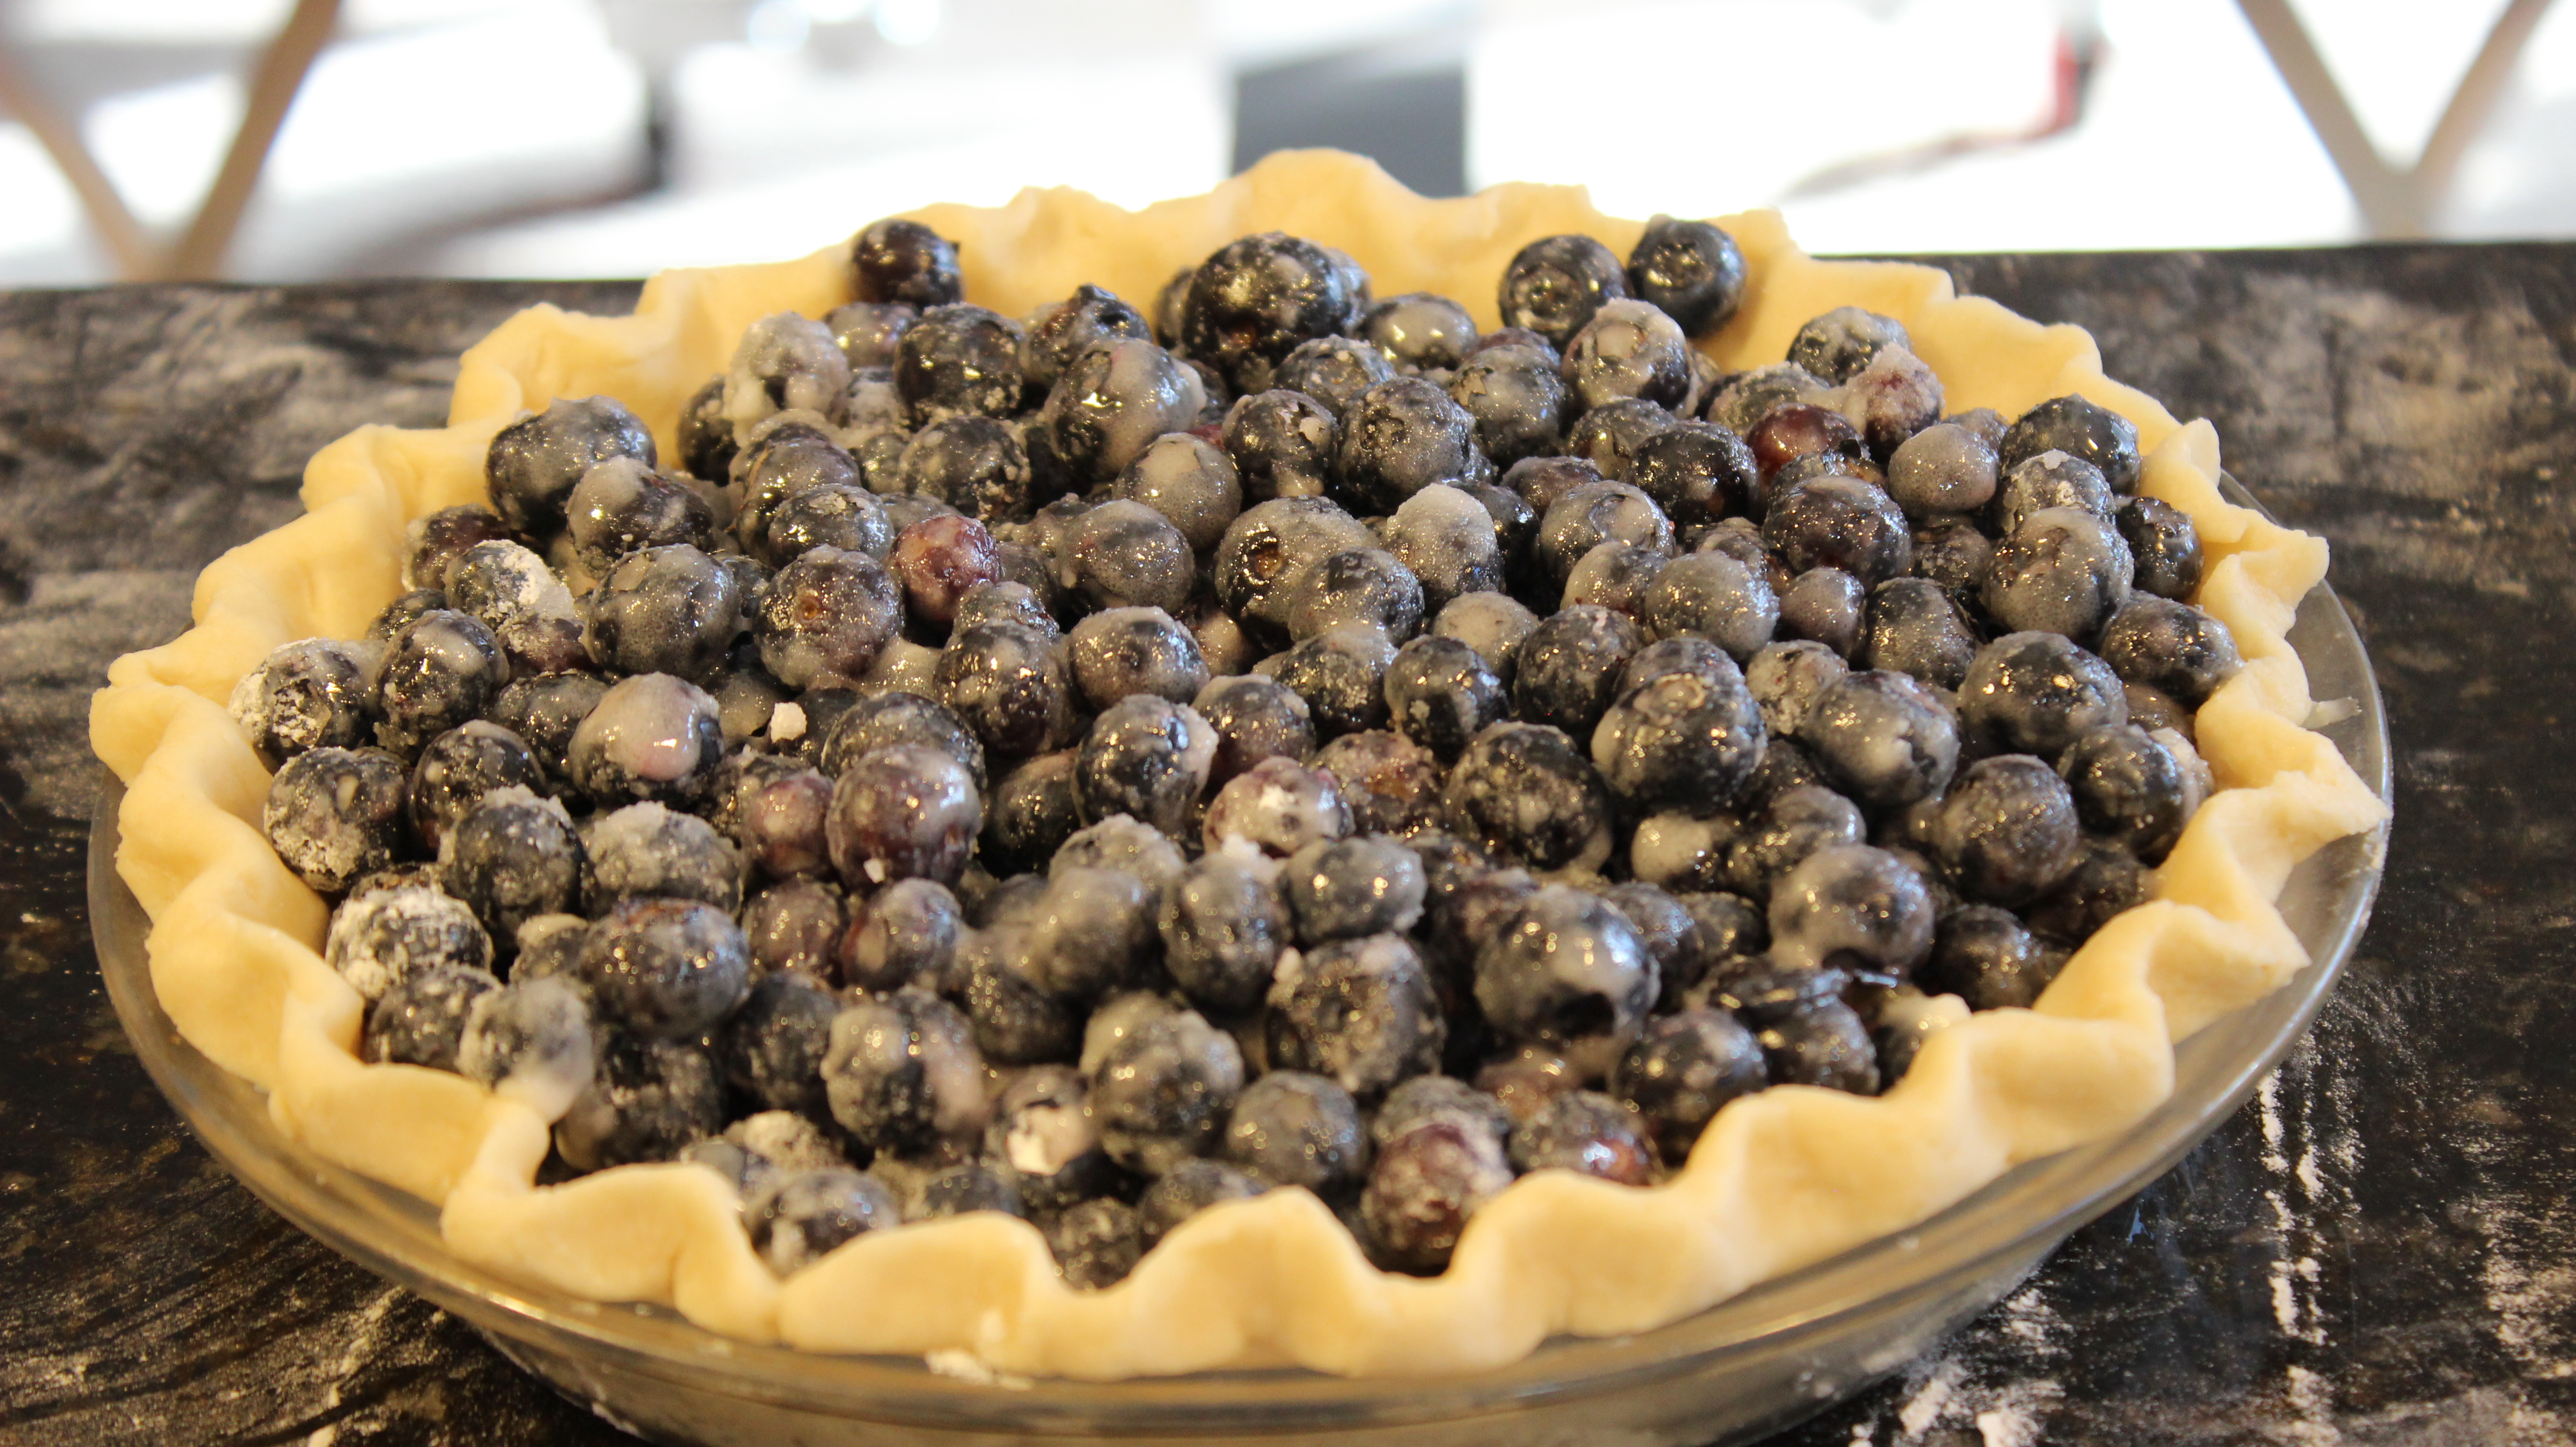
- 28 Thin Mint Girl Scout cookies – 1 3/4 sleeve …(a few left over for nibbling on)
- 5 tbsp butter
- 2 tbsp sugar
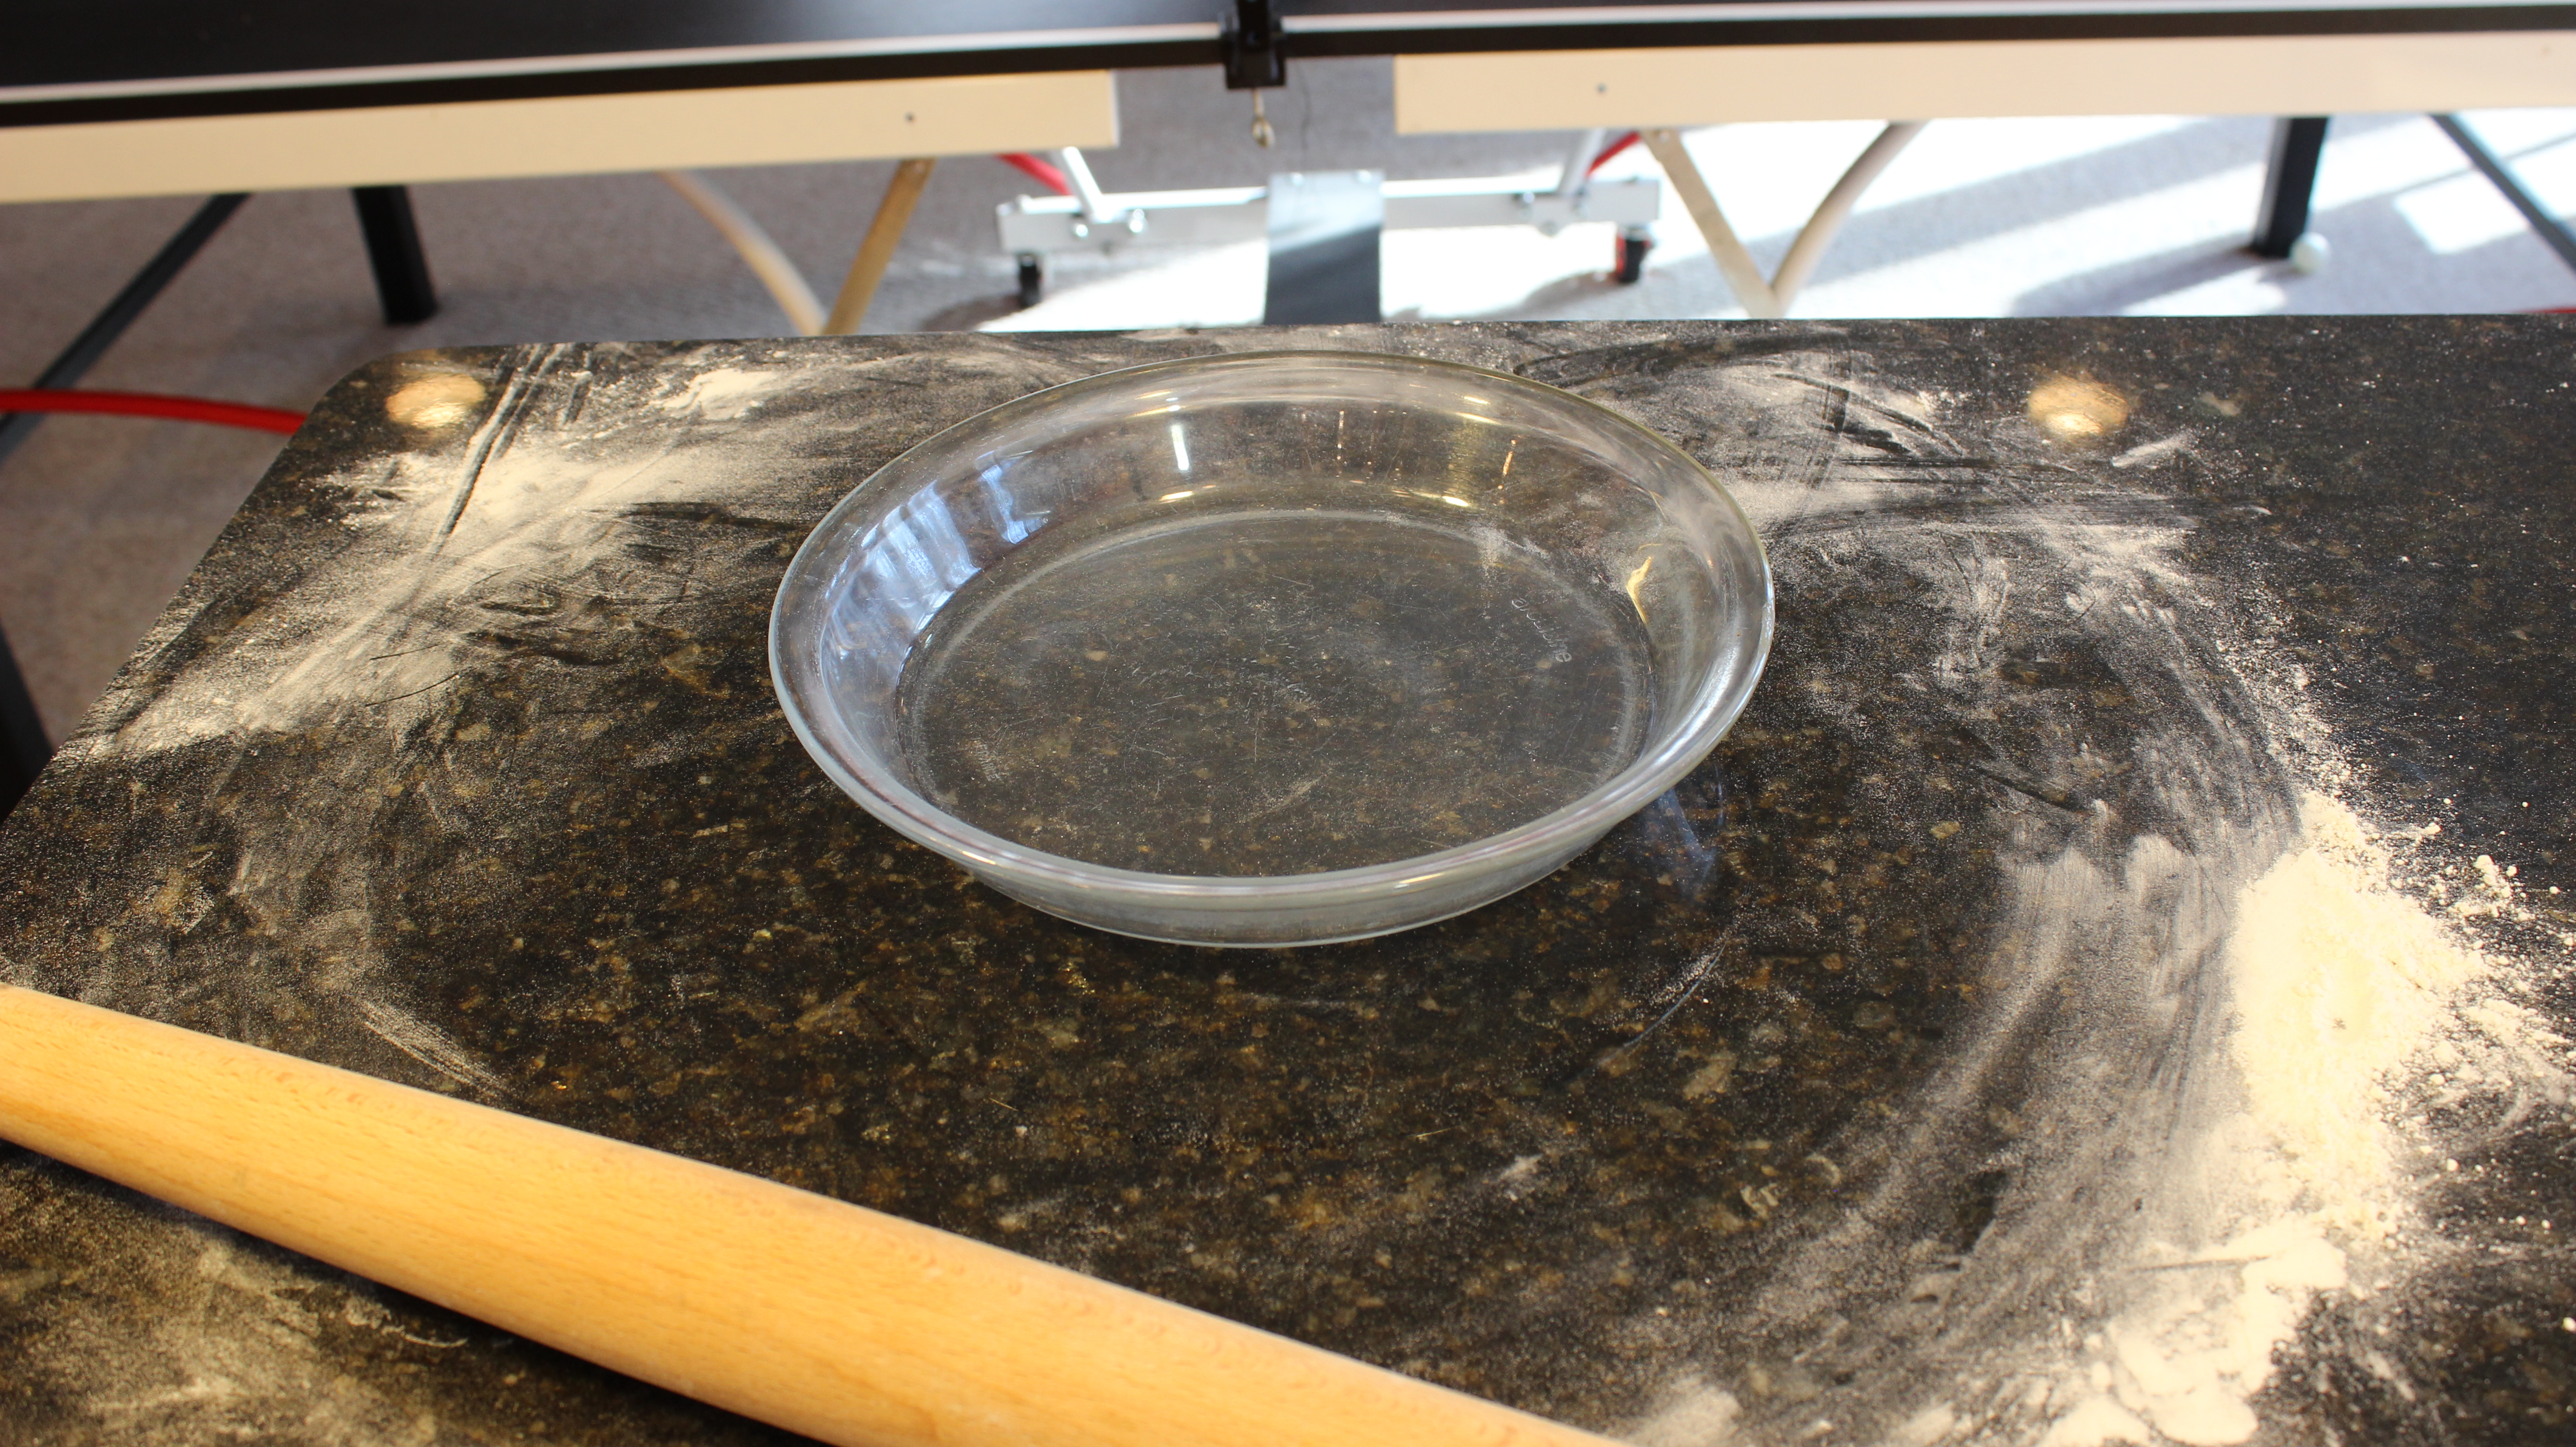
- 10″ pie plate, or 9″ spring form pan, OR 9″ pie plate & cups for the extra chocolate mousse you will have
Directions for the Girl Scouts Thin Mint Crust:
- Melt 5 tbsp butter, set aside
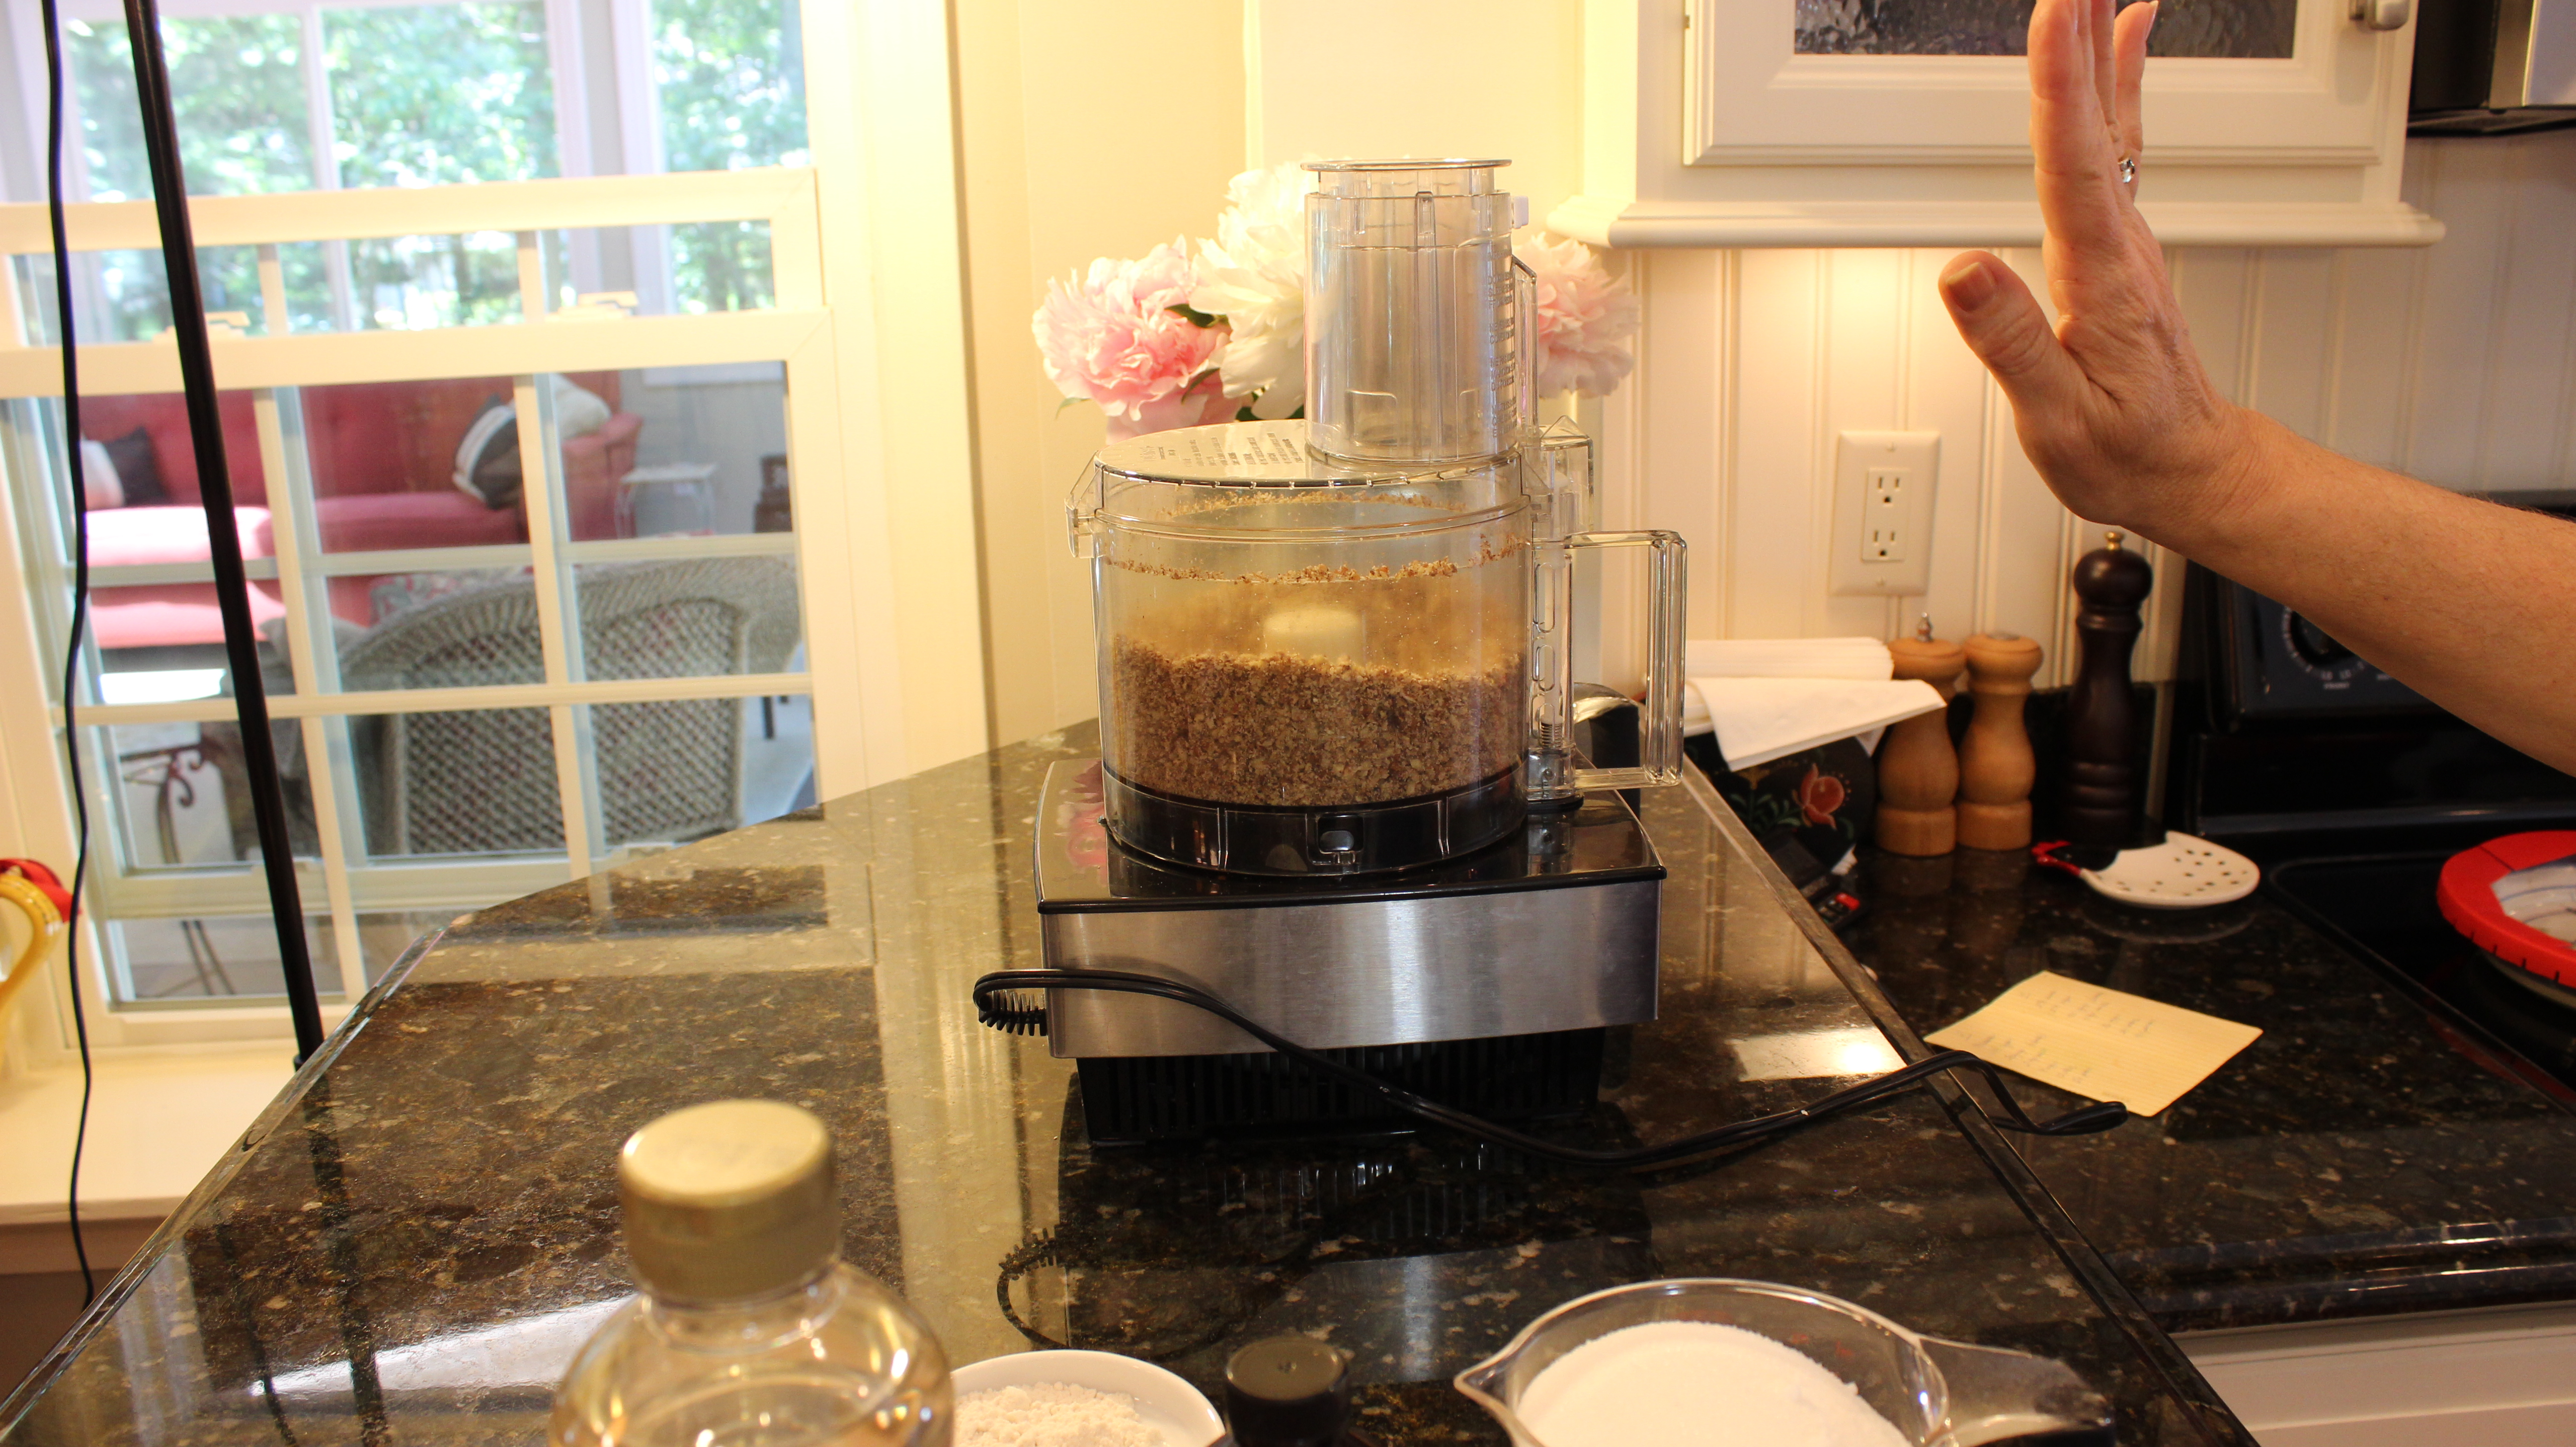
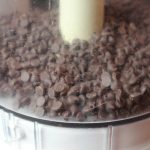
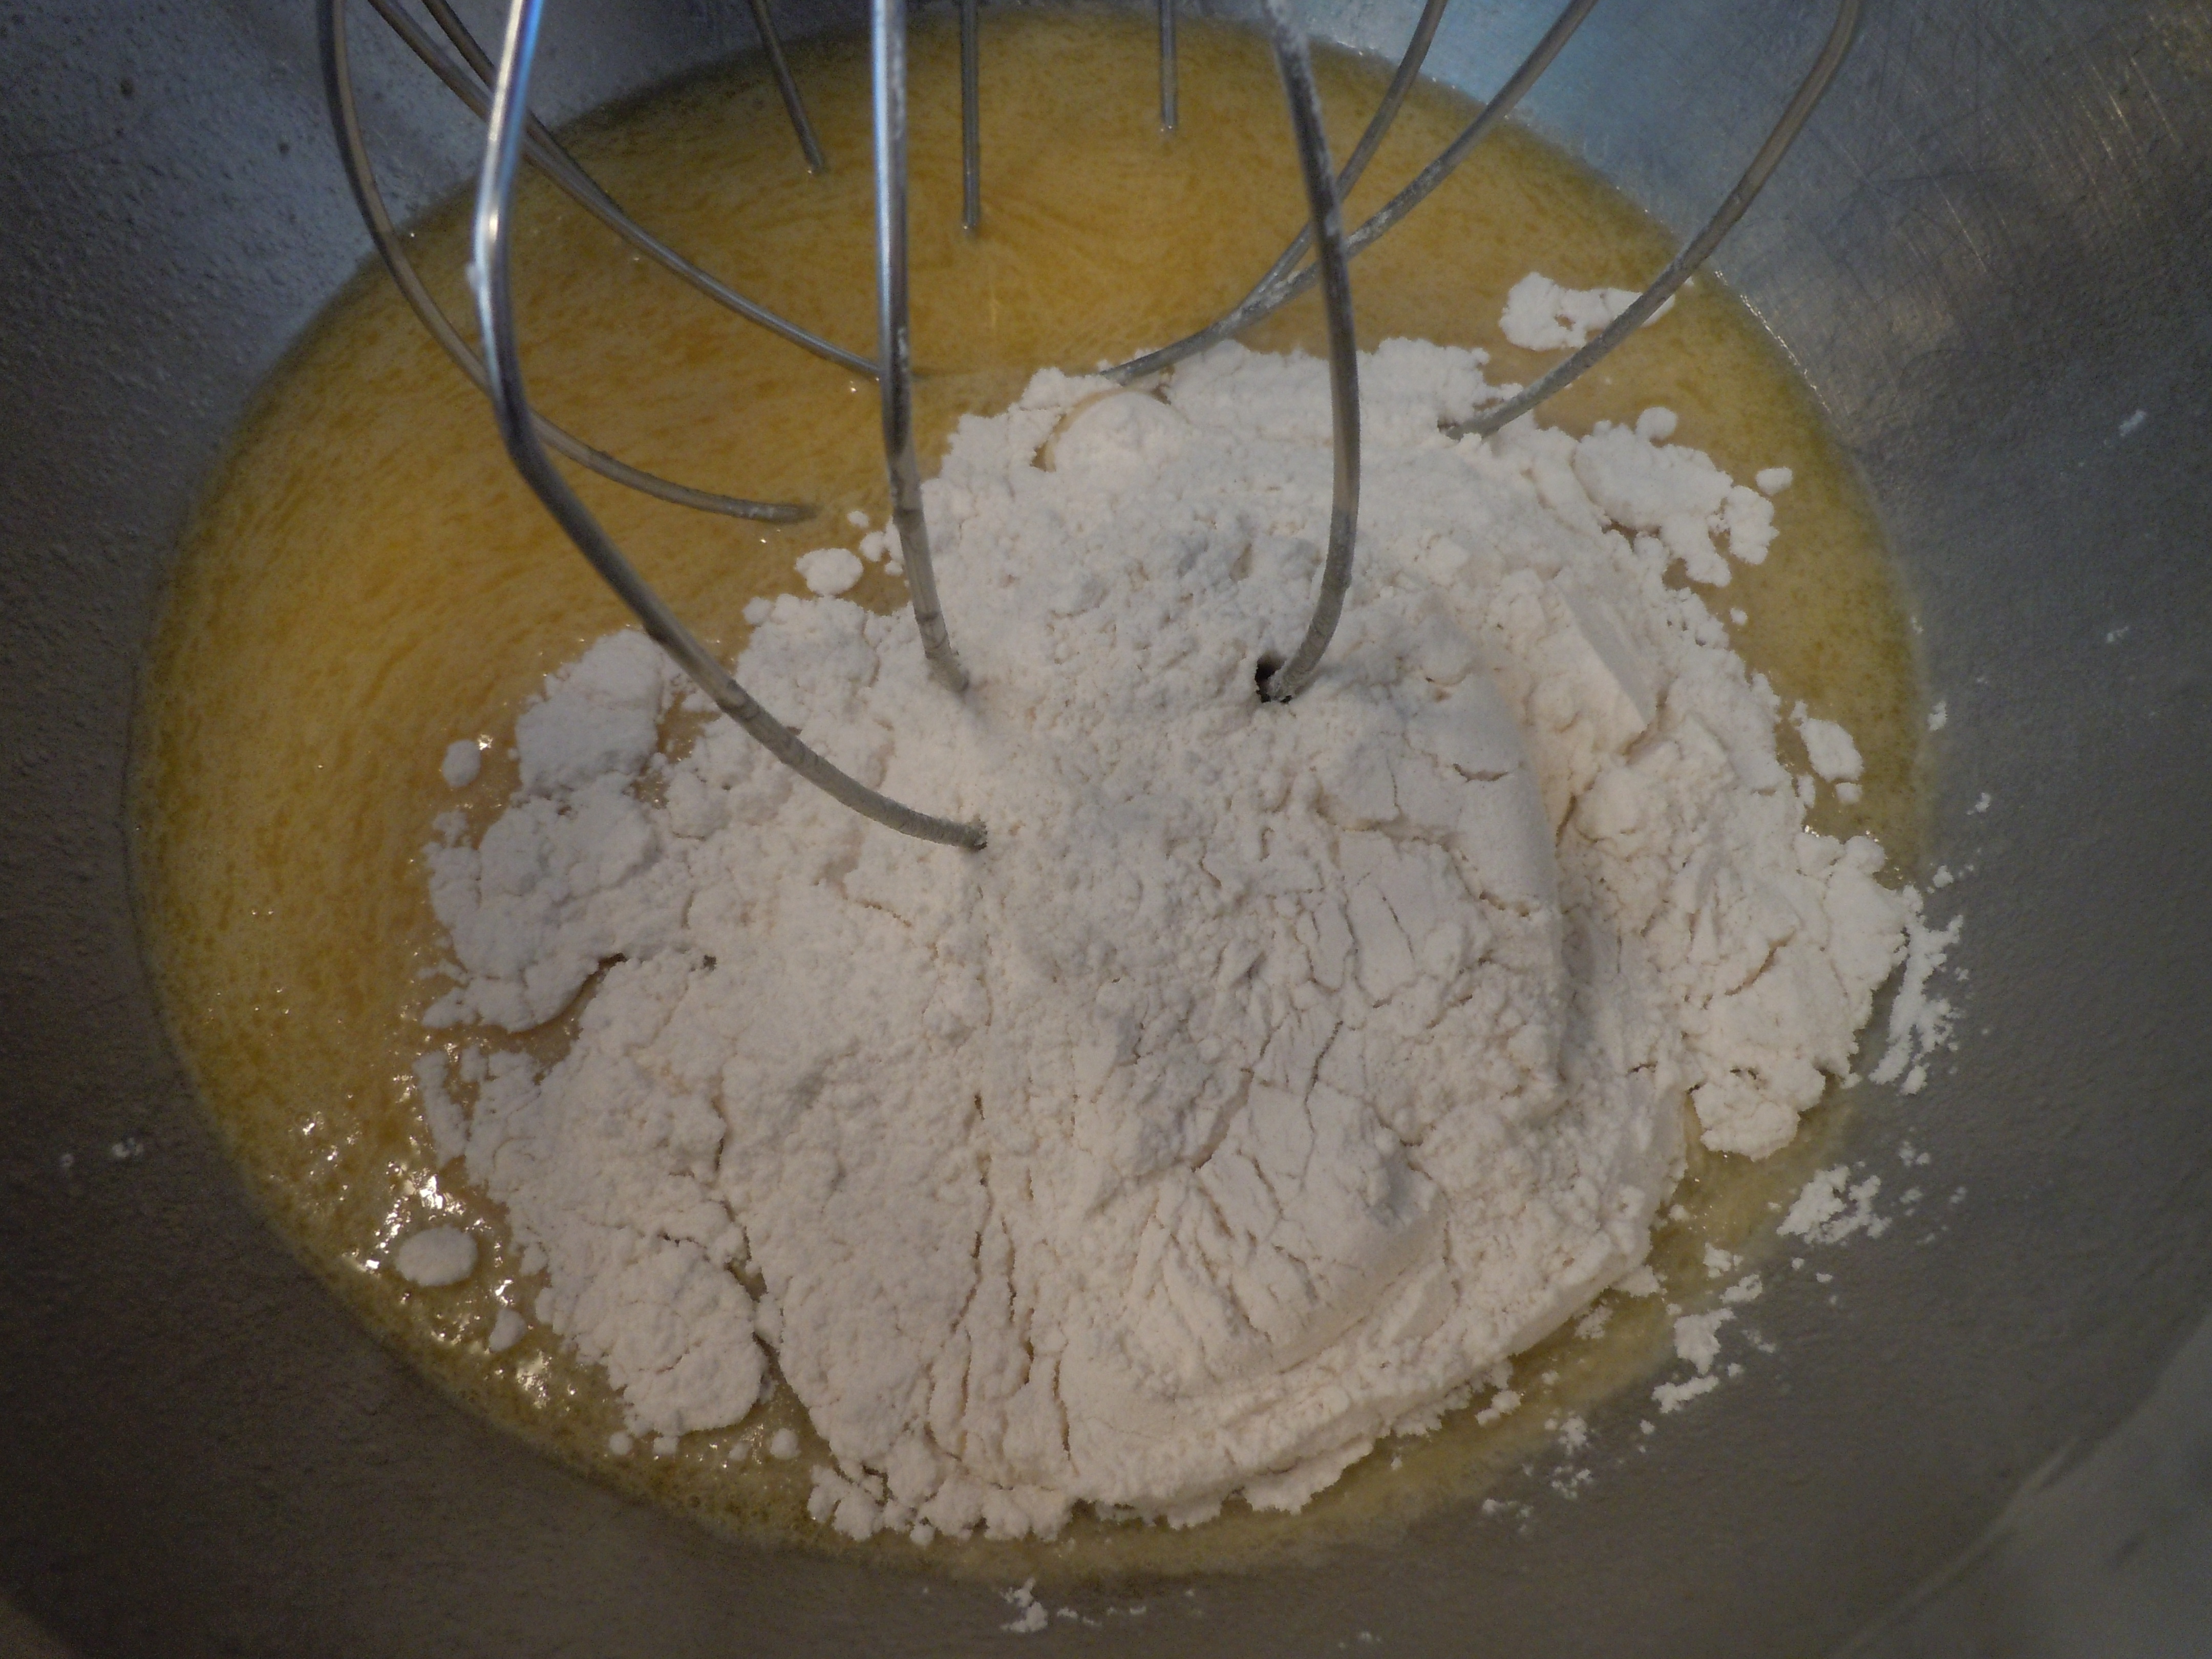
- Add 28 cookies to the food processor and pulse 3-4 times until they are a fine crumb
- Pour in melted butter and 2 tbsp sugar and pulse 10 seconds to combine
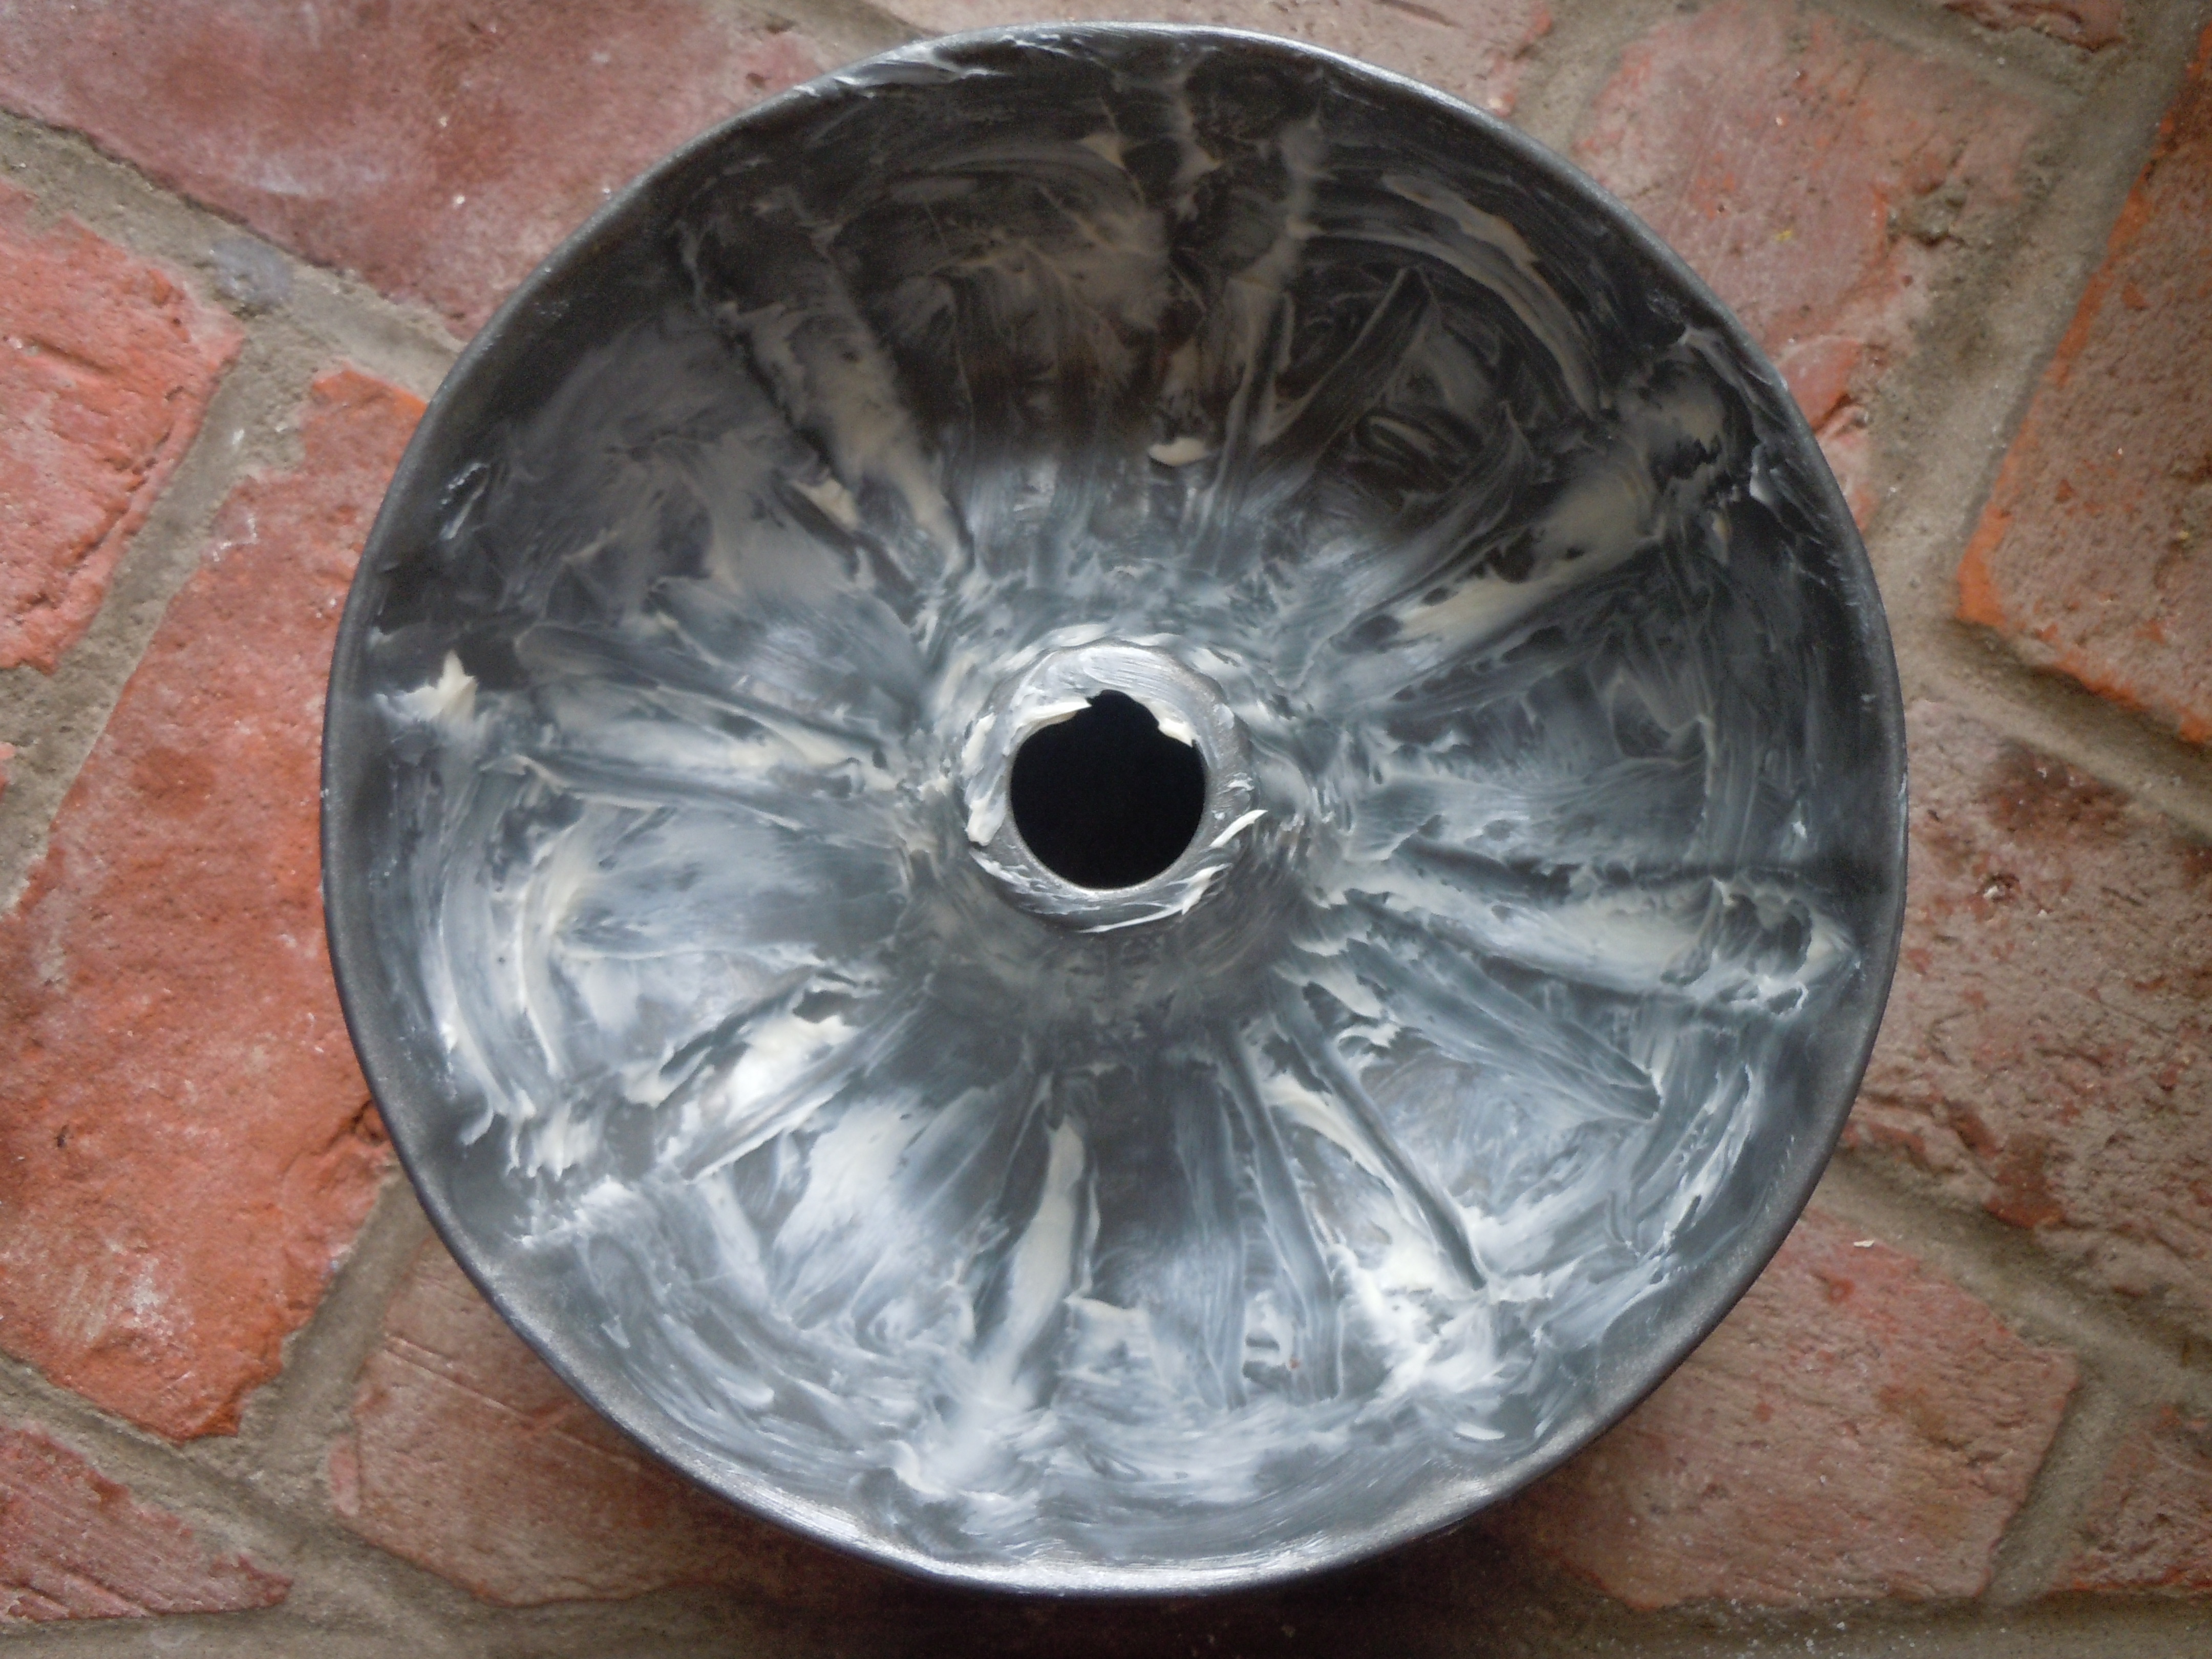
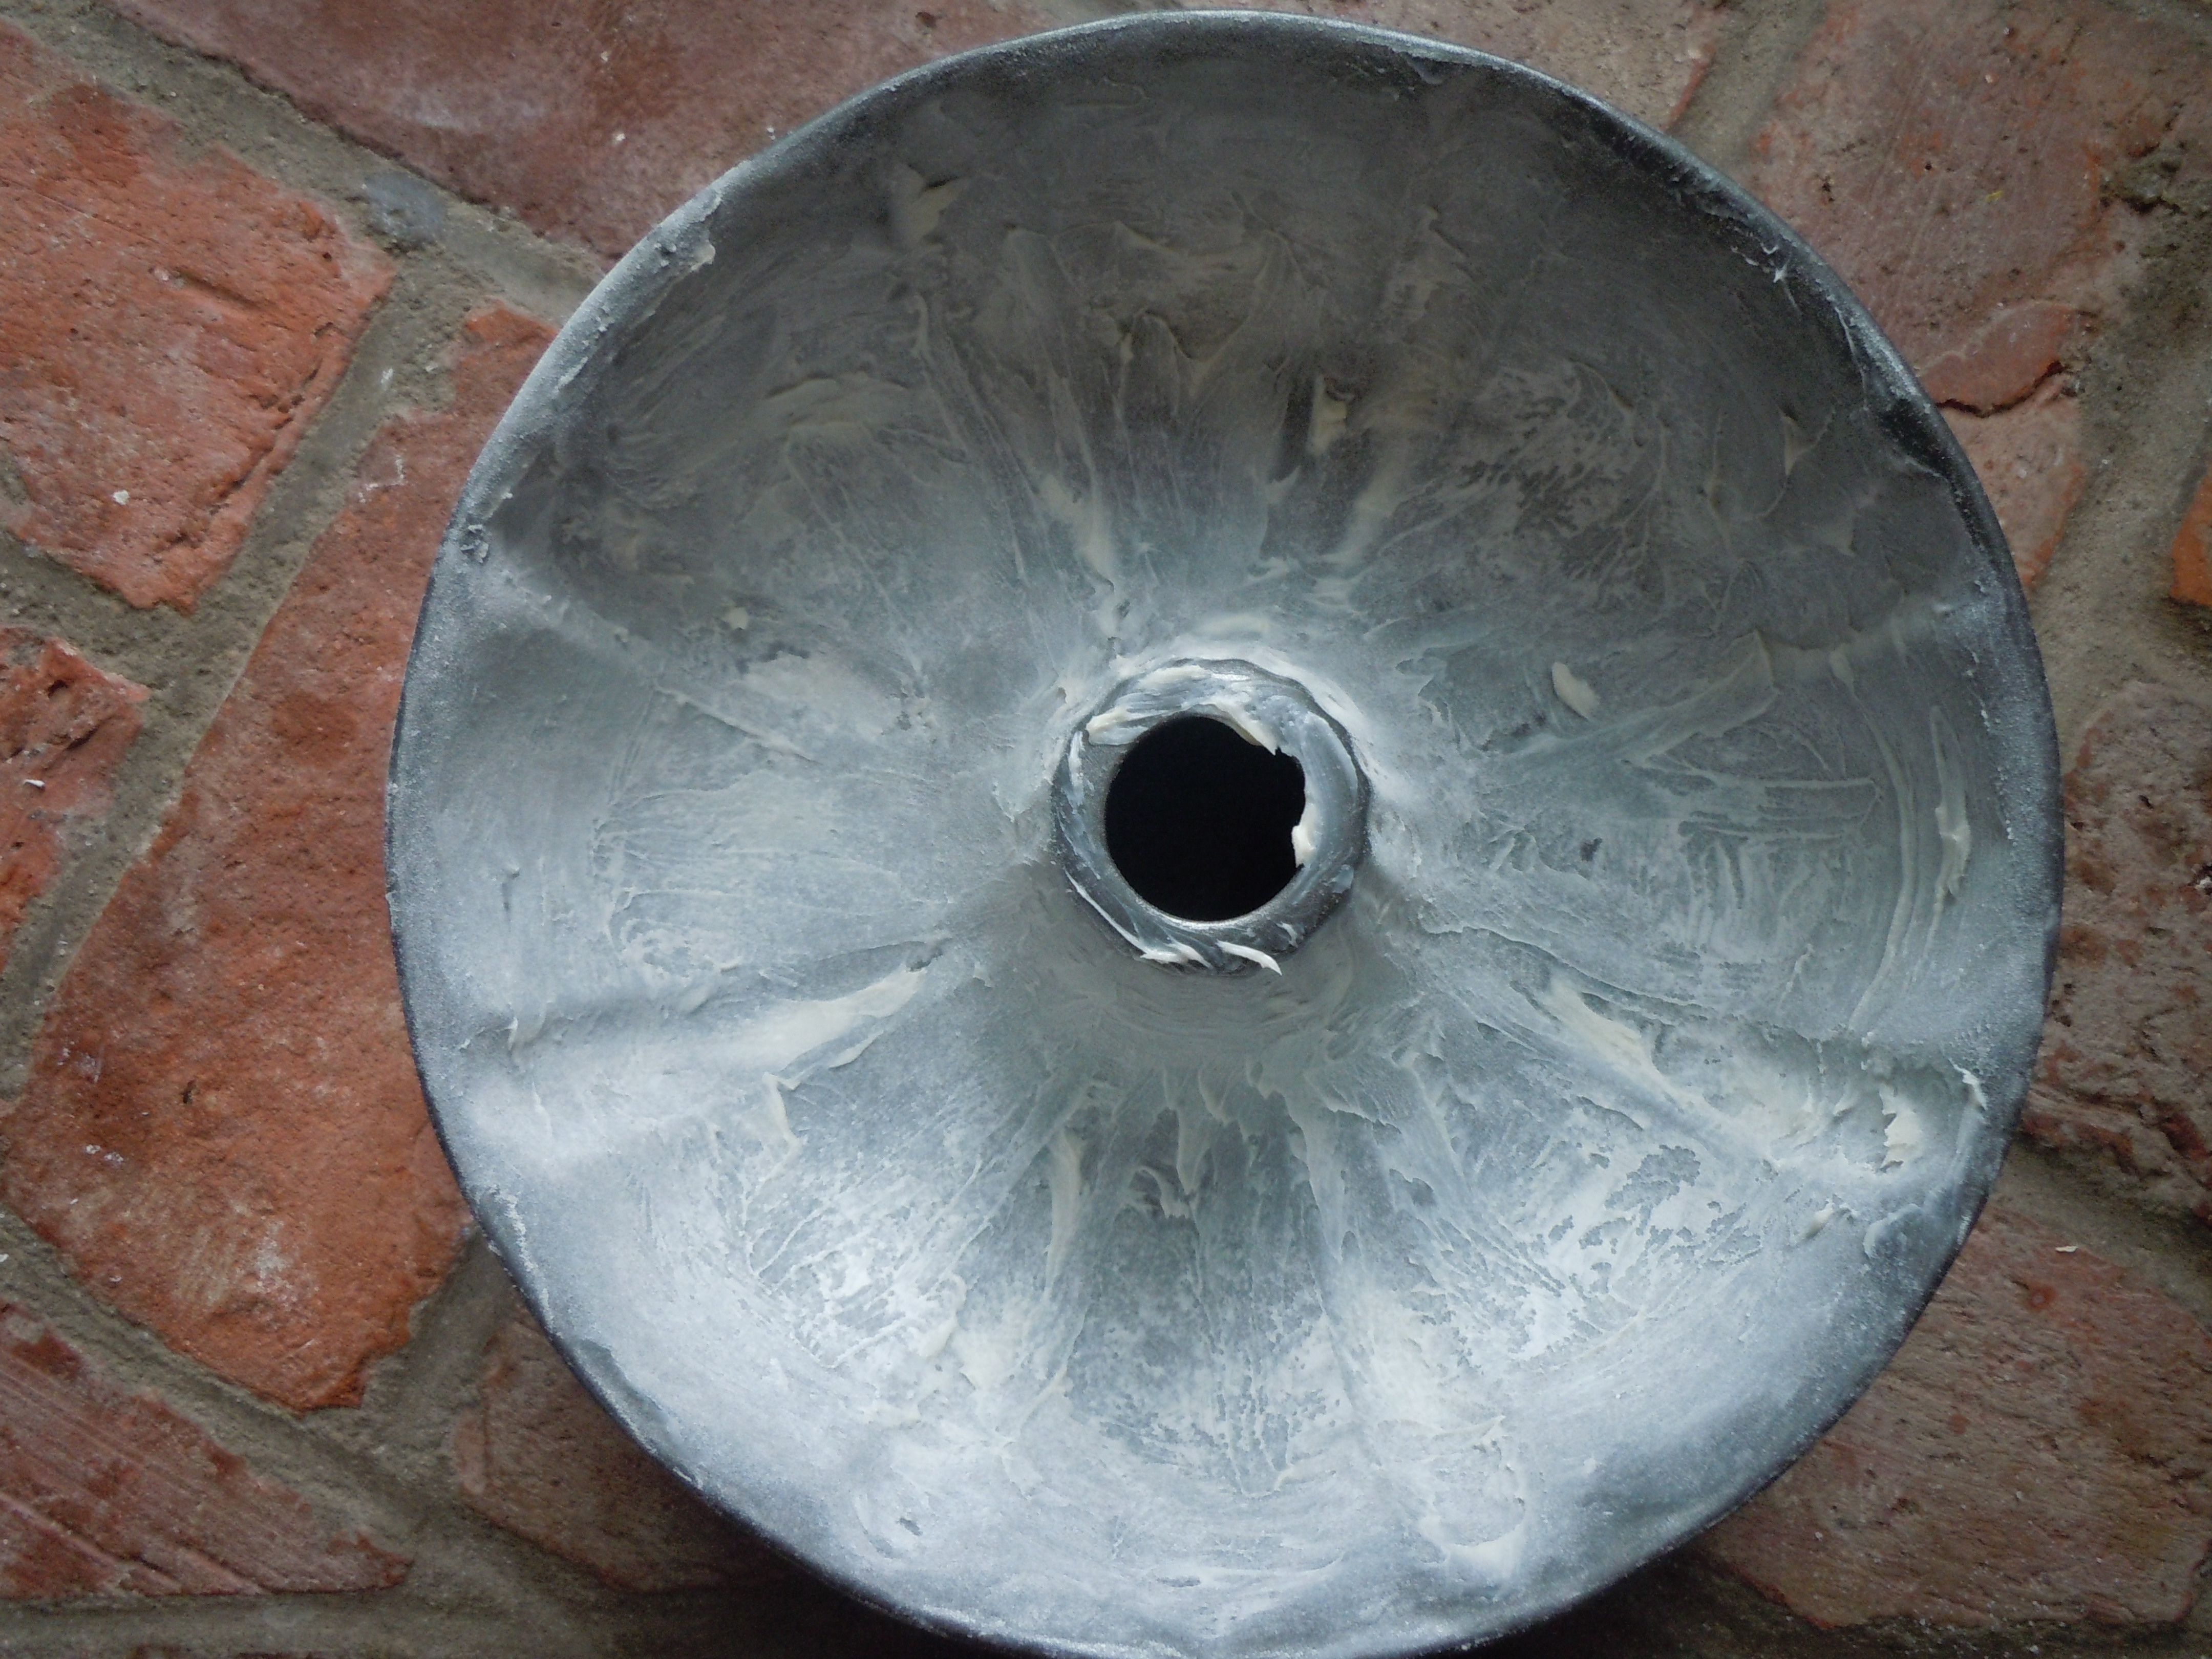
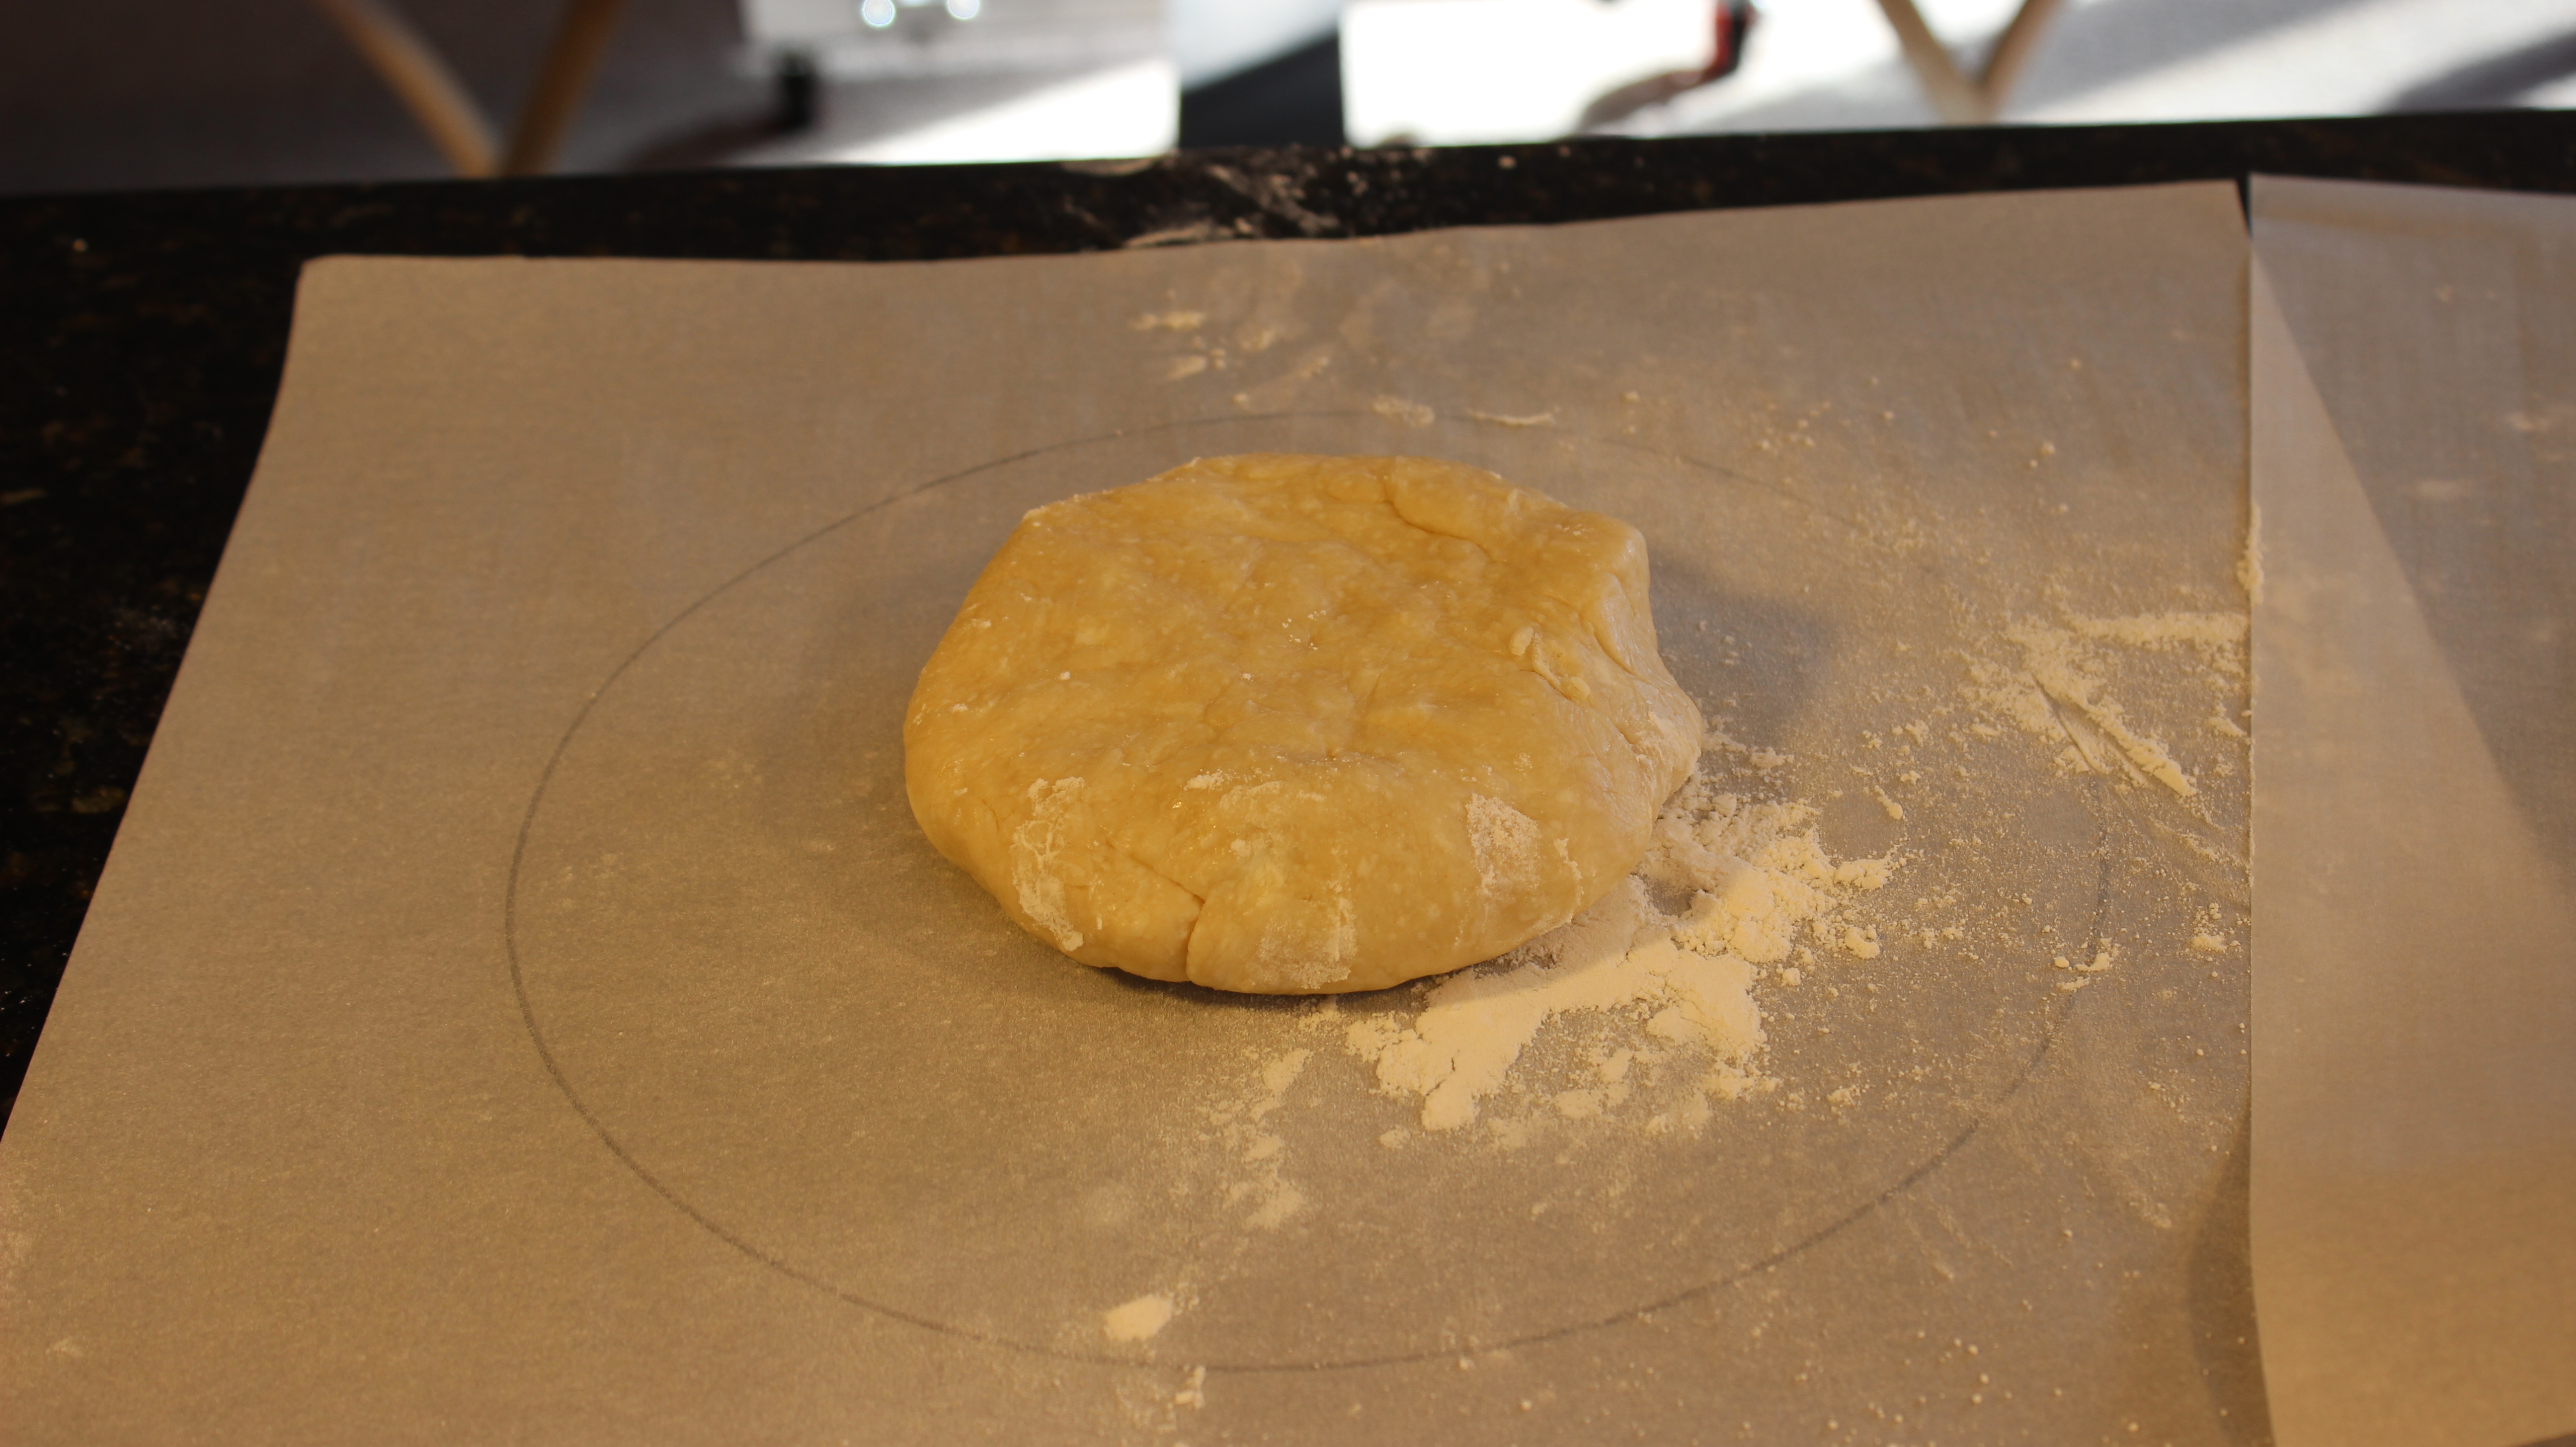
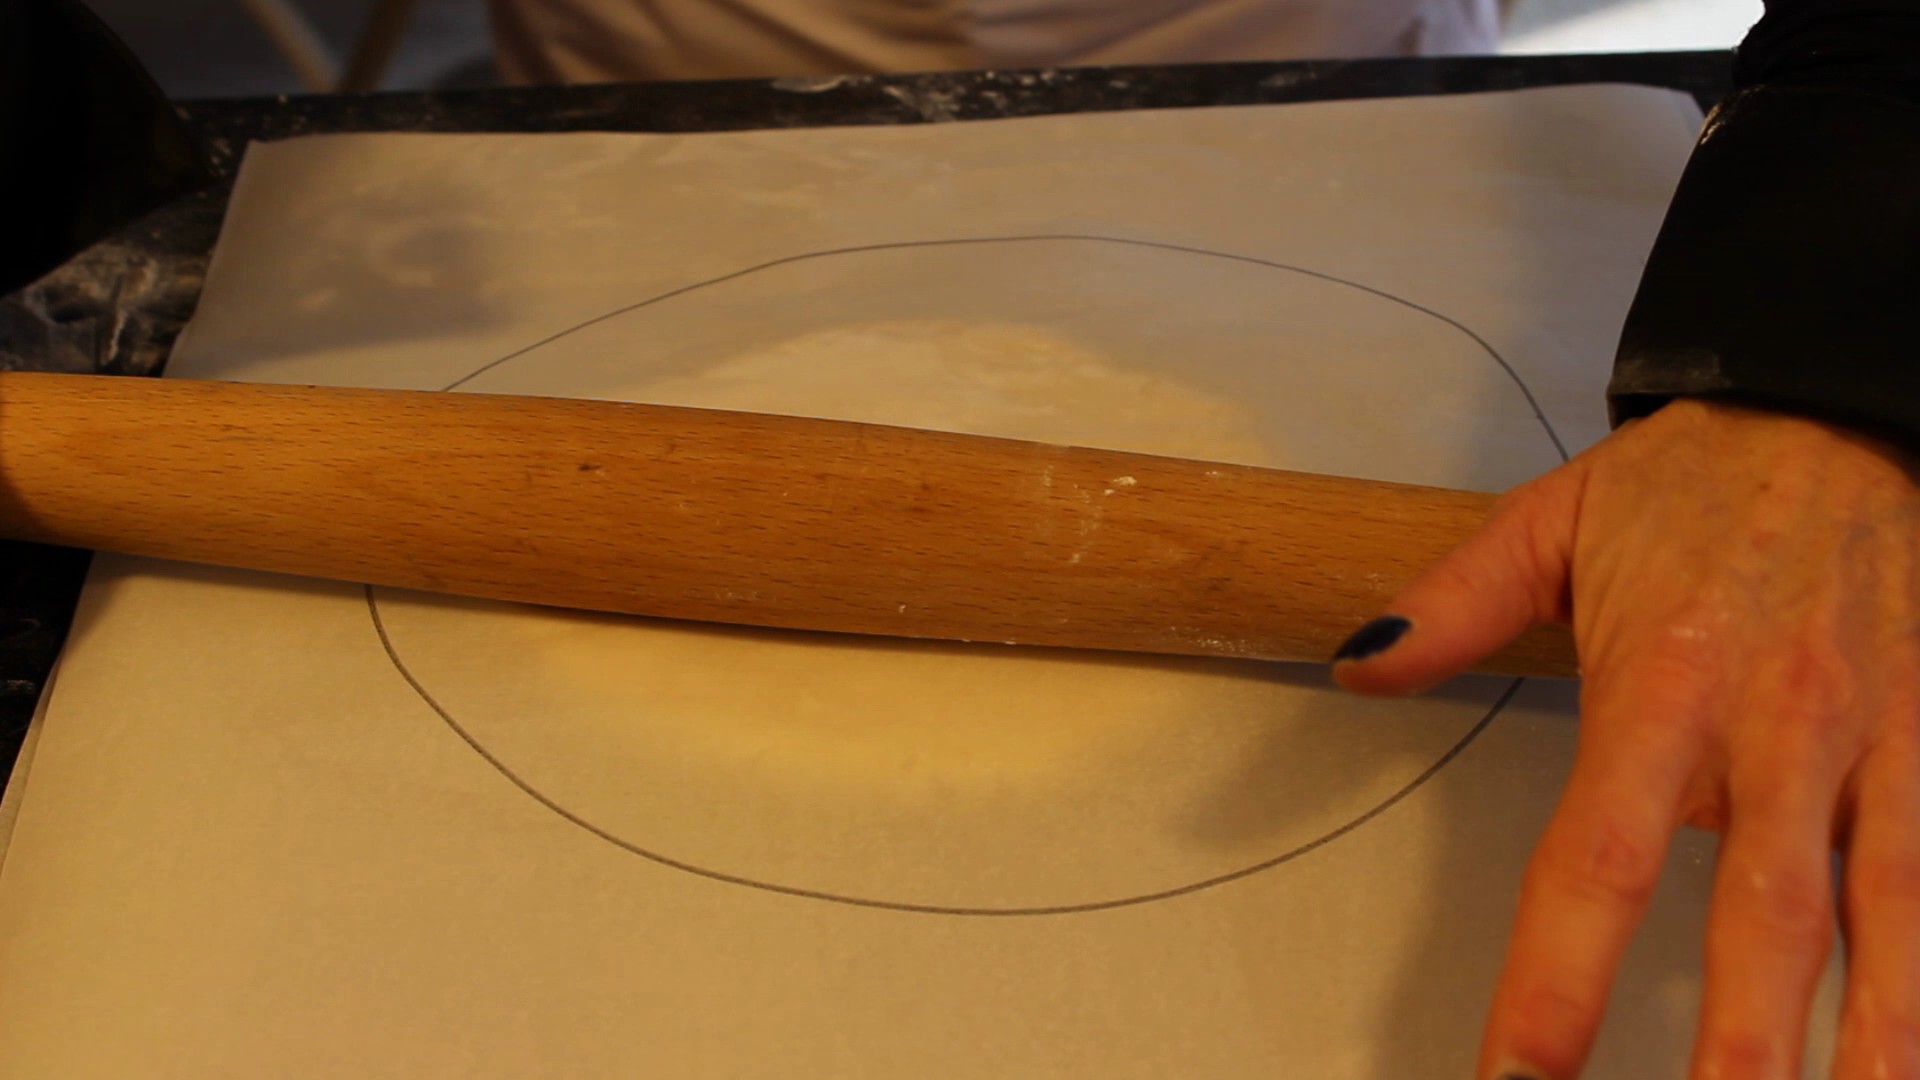
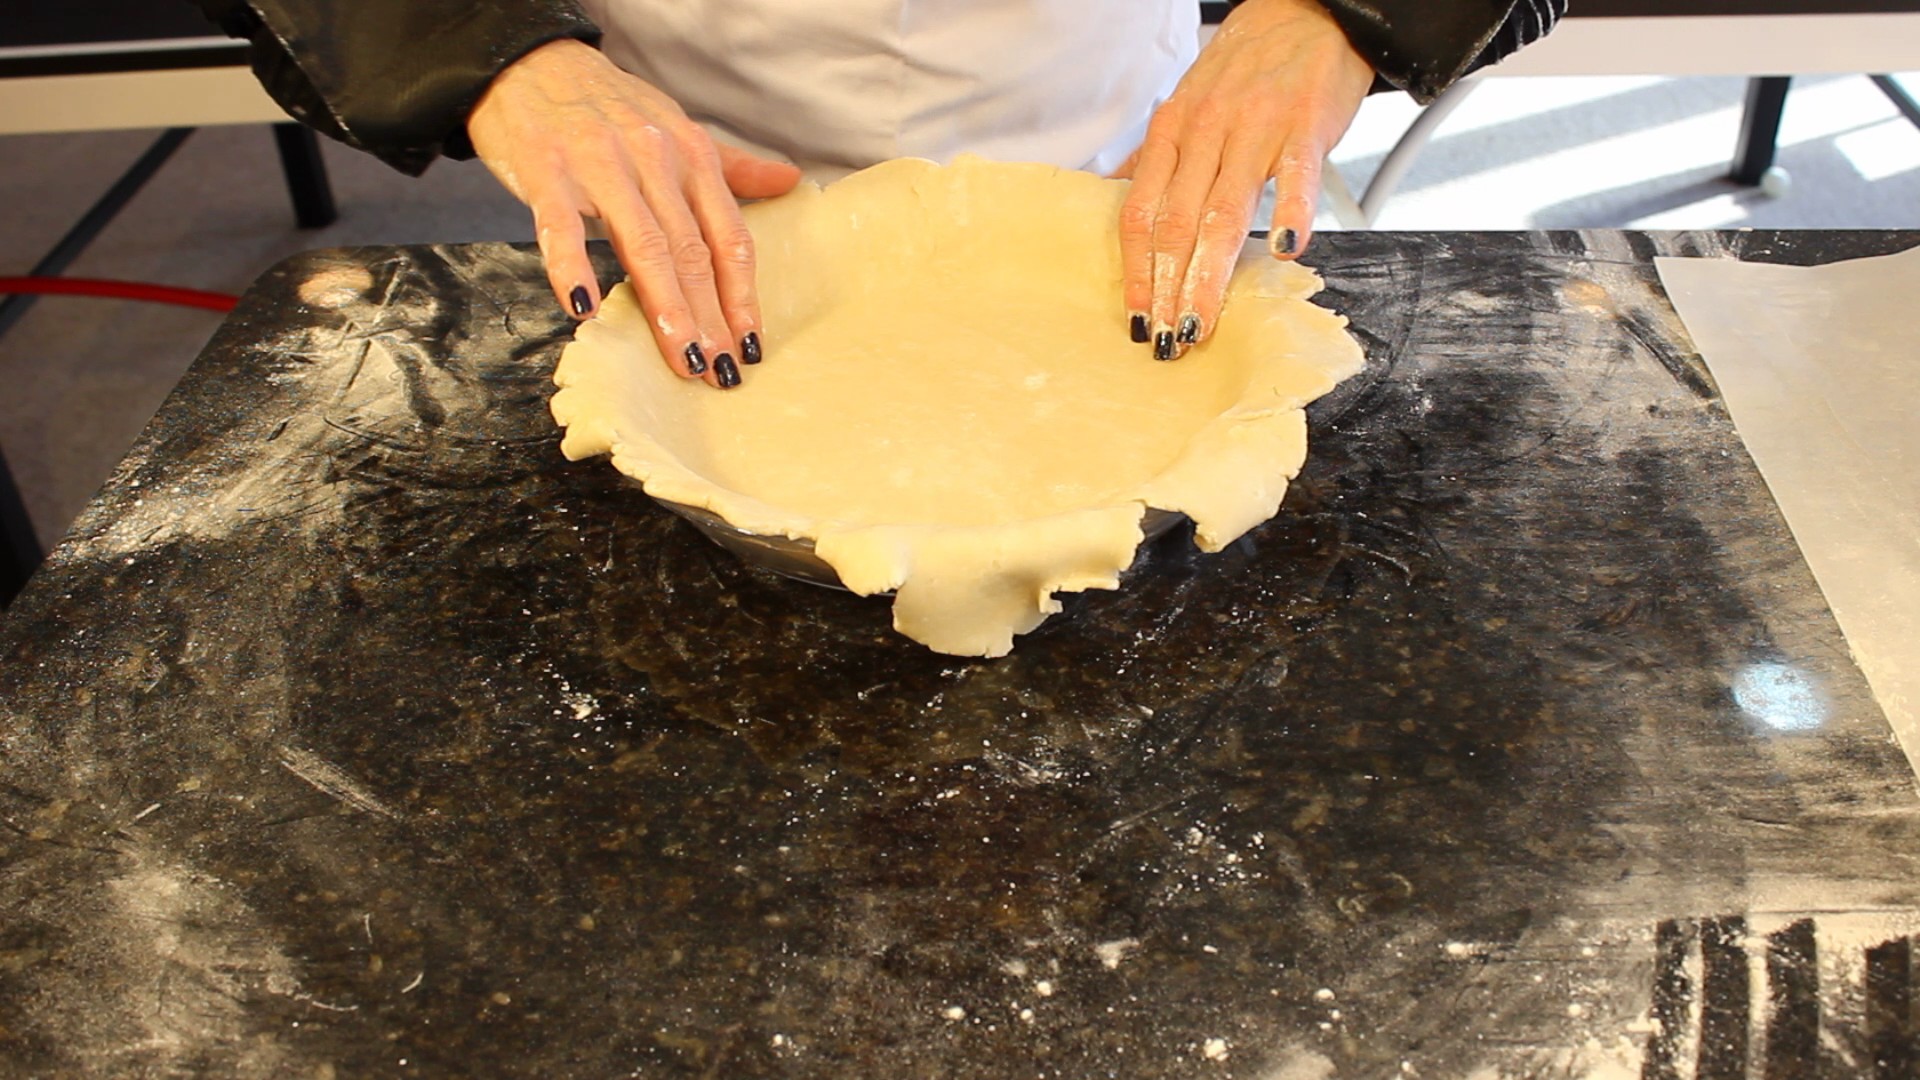
- Turn out crumb mixture into a 10″ pie plate, or 9″ spring form pan
- NOTE: If you only have a 9″ pie plate NO WORRIES just add the excess chocolate mousse to cups or glasses, topping with cookies crumble and set the same in the frig for 4-6 hours or even freeze for a later date!
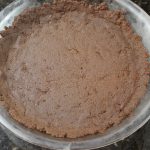
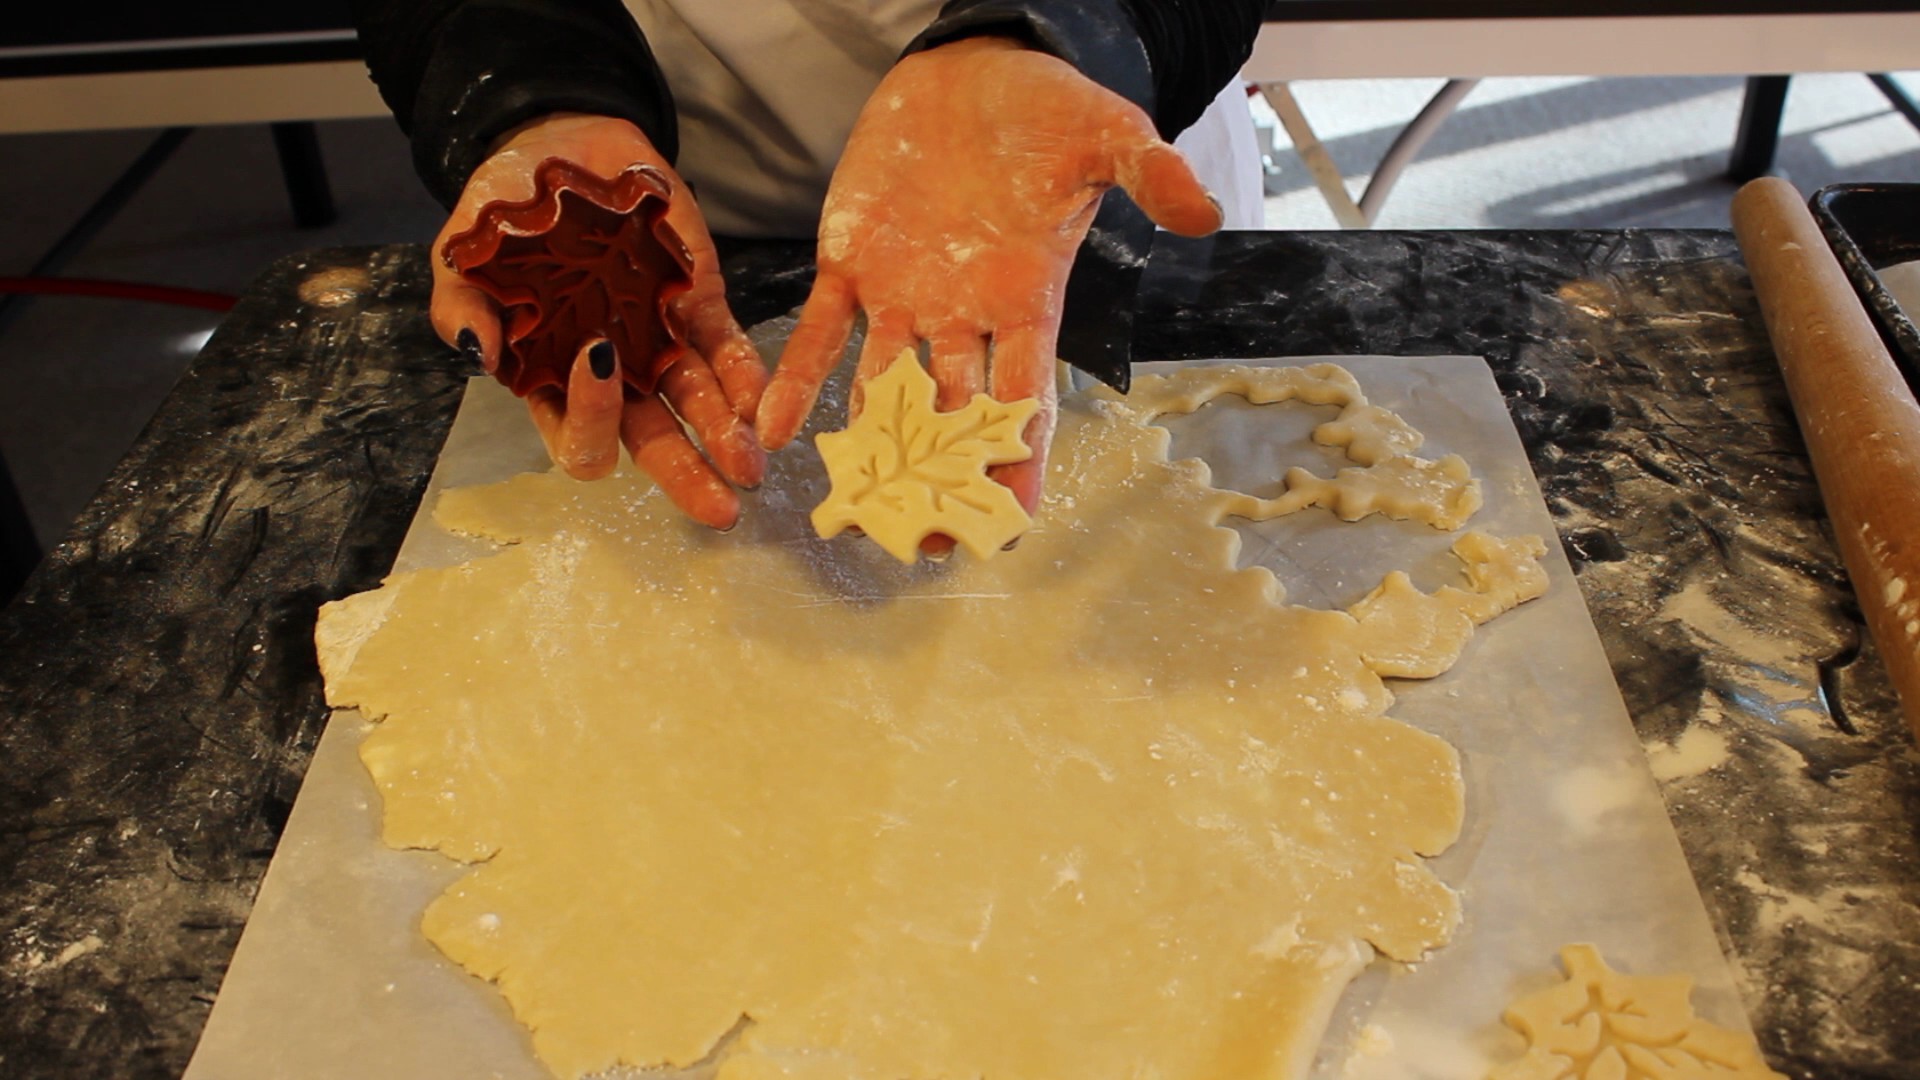
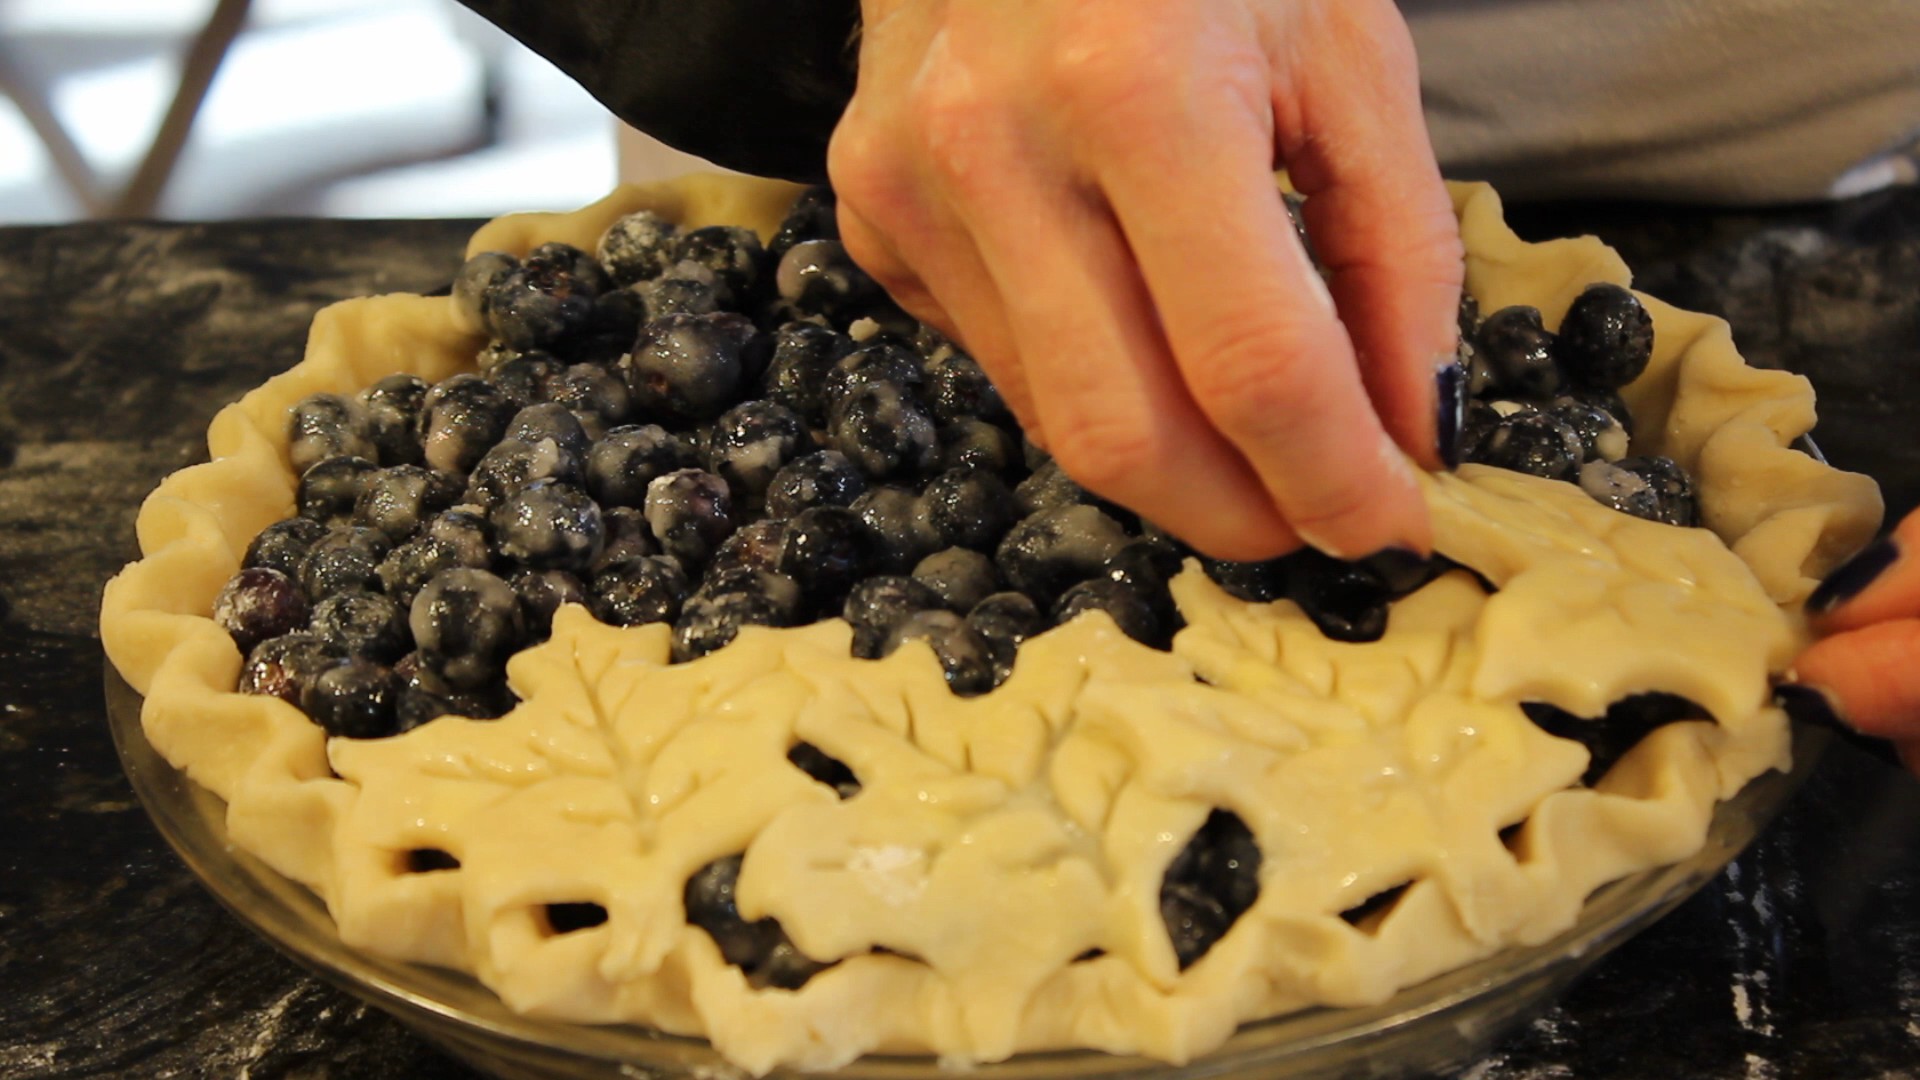
- Press cookie crumb mixture all along the bottom and up the edges of the pie dish forming the crust
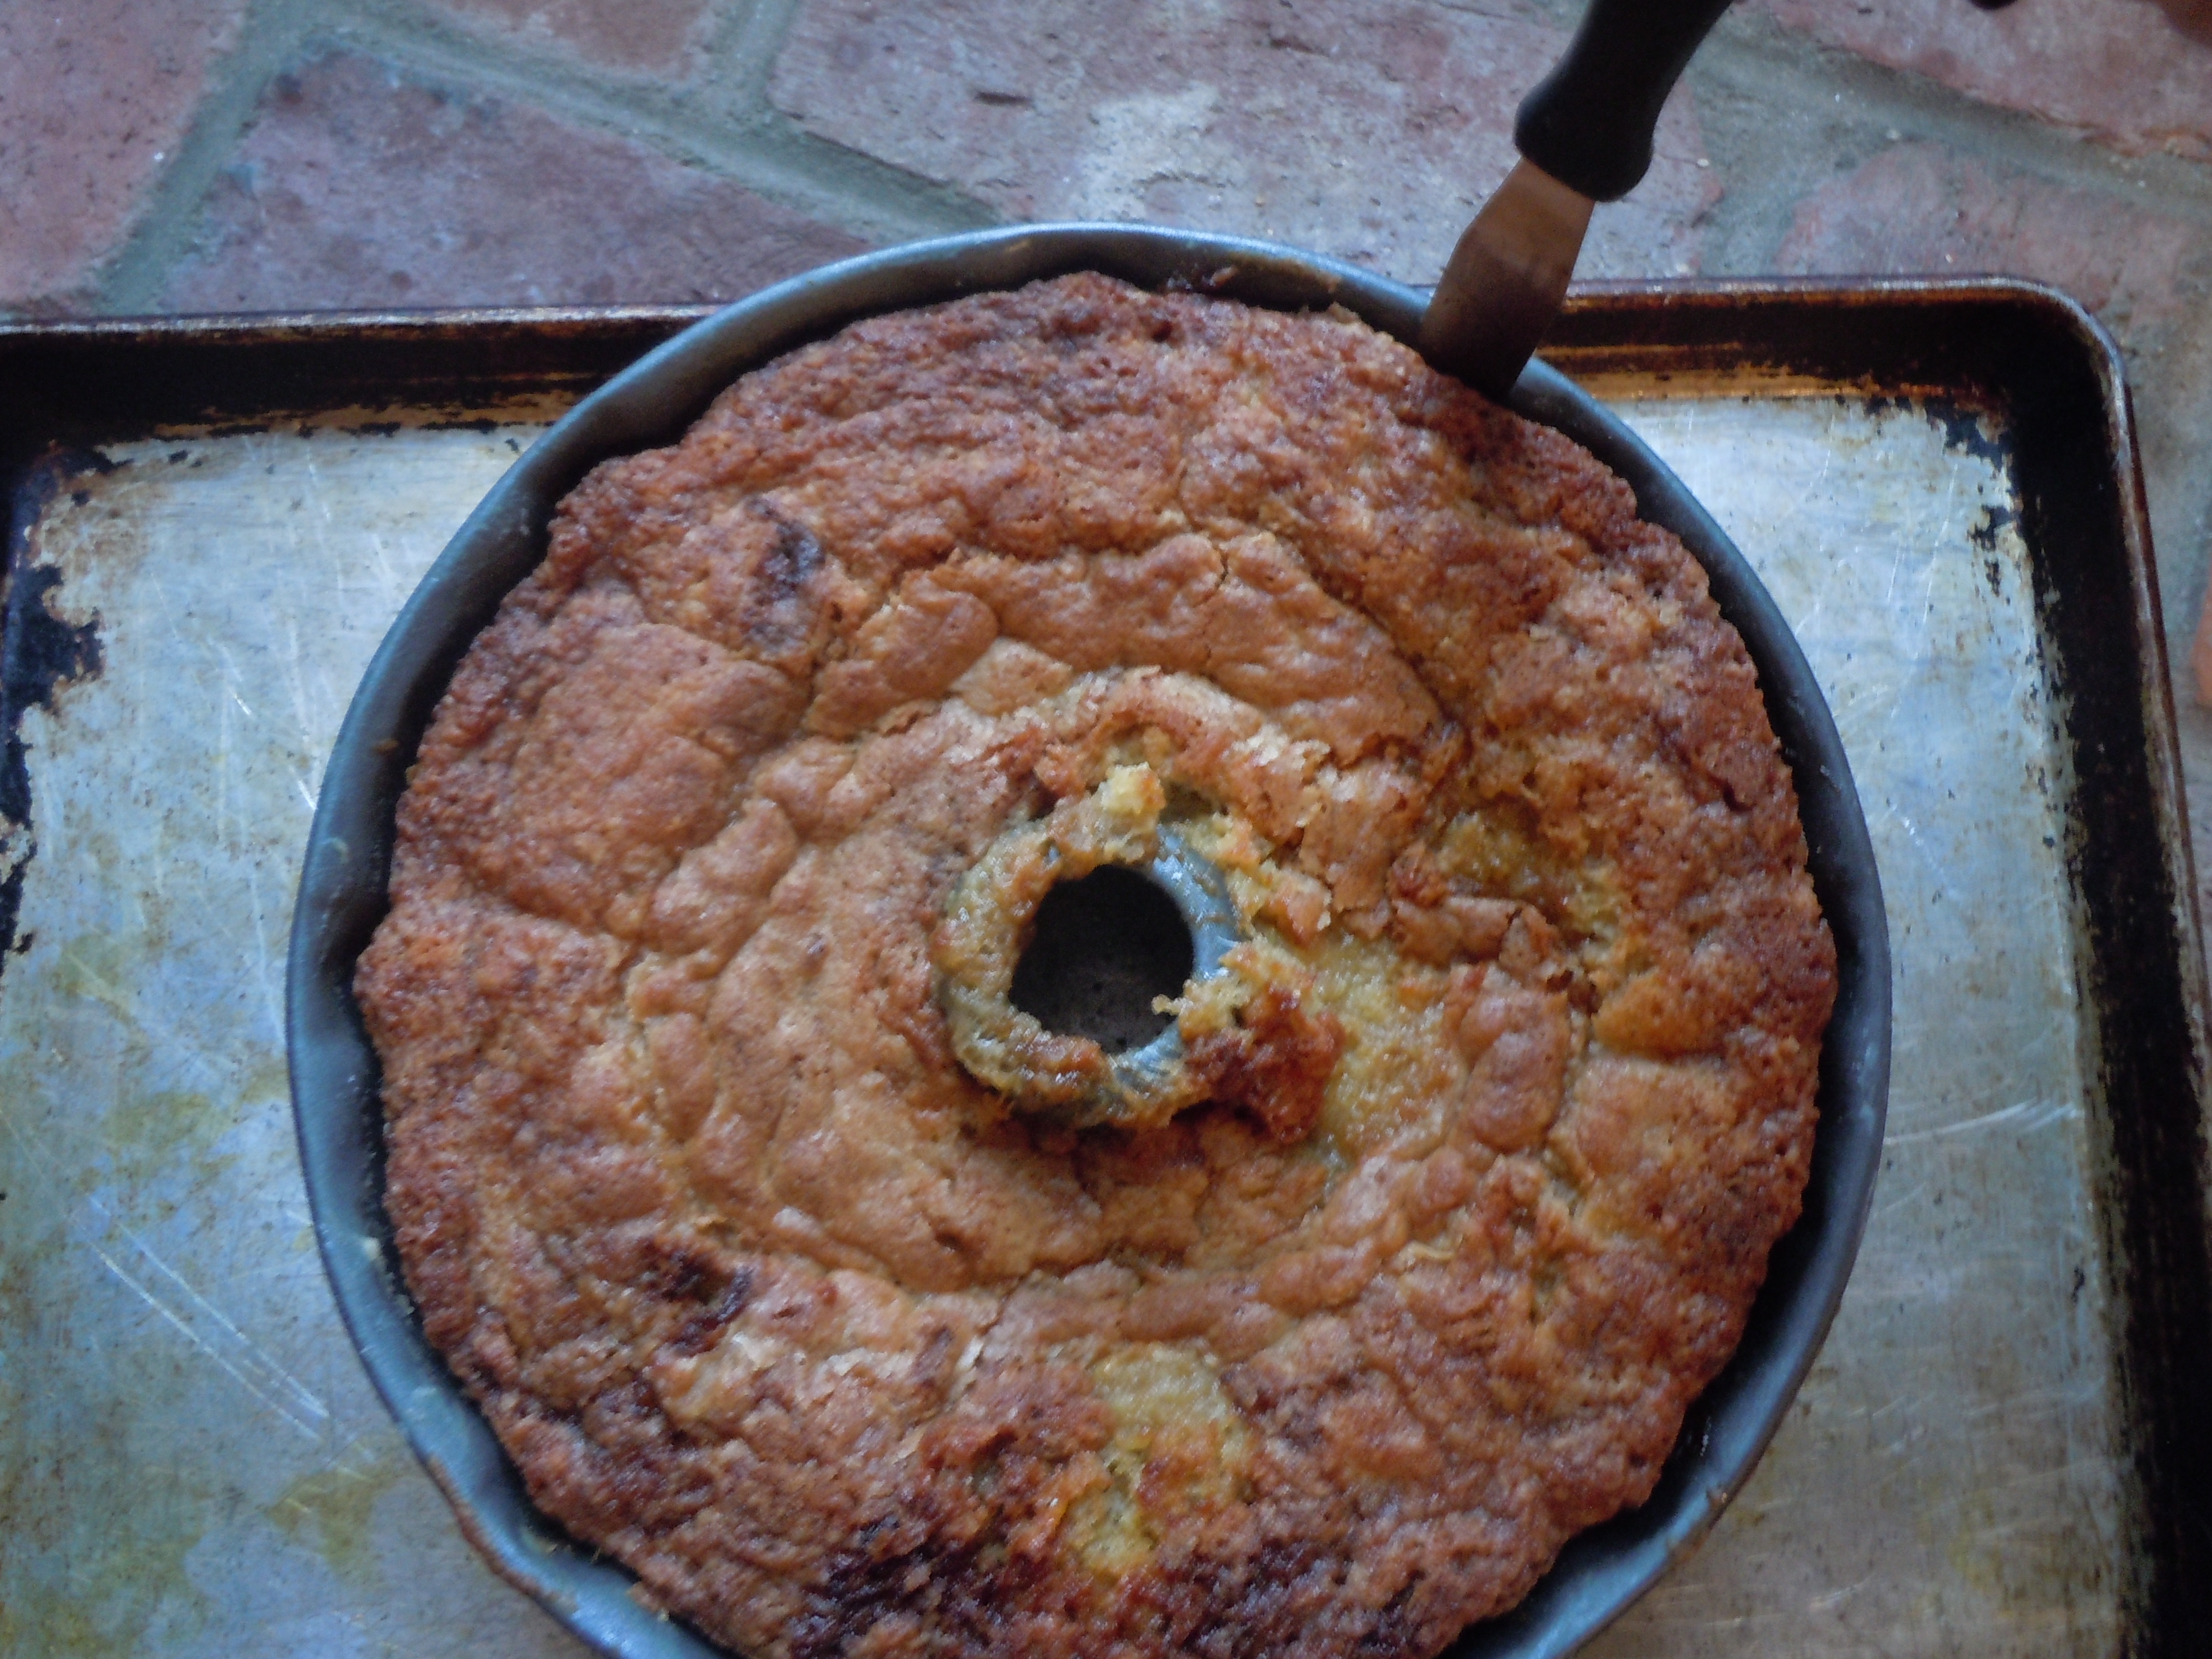
- Put the pie crust into a 350º oven for 8 minutes
- Take out and completely cool
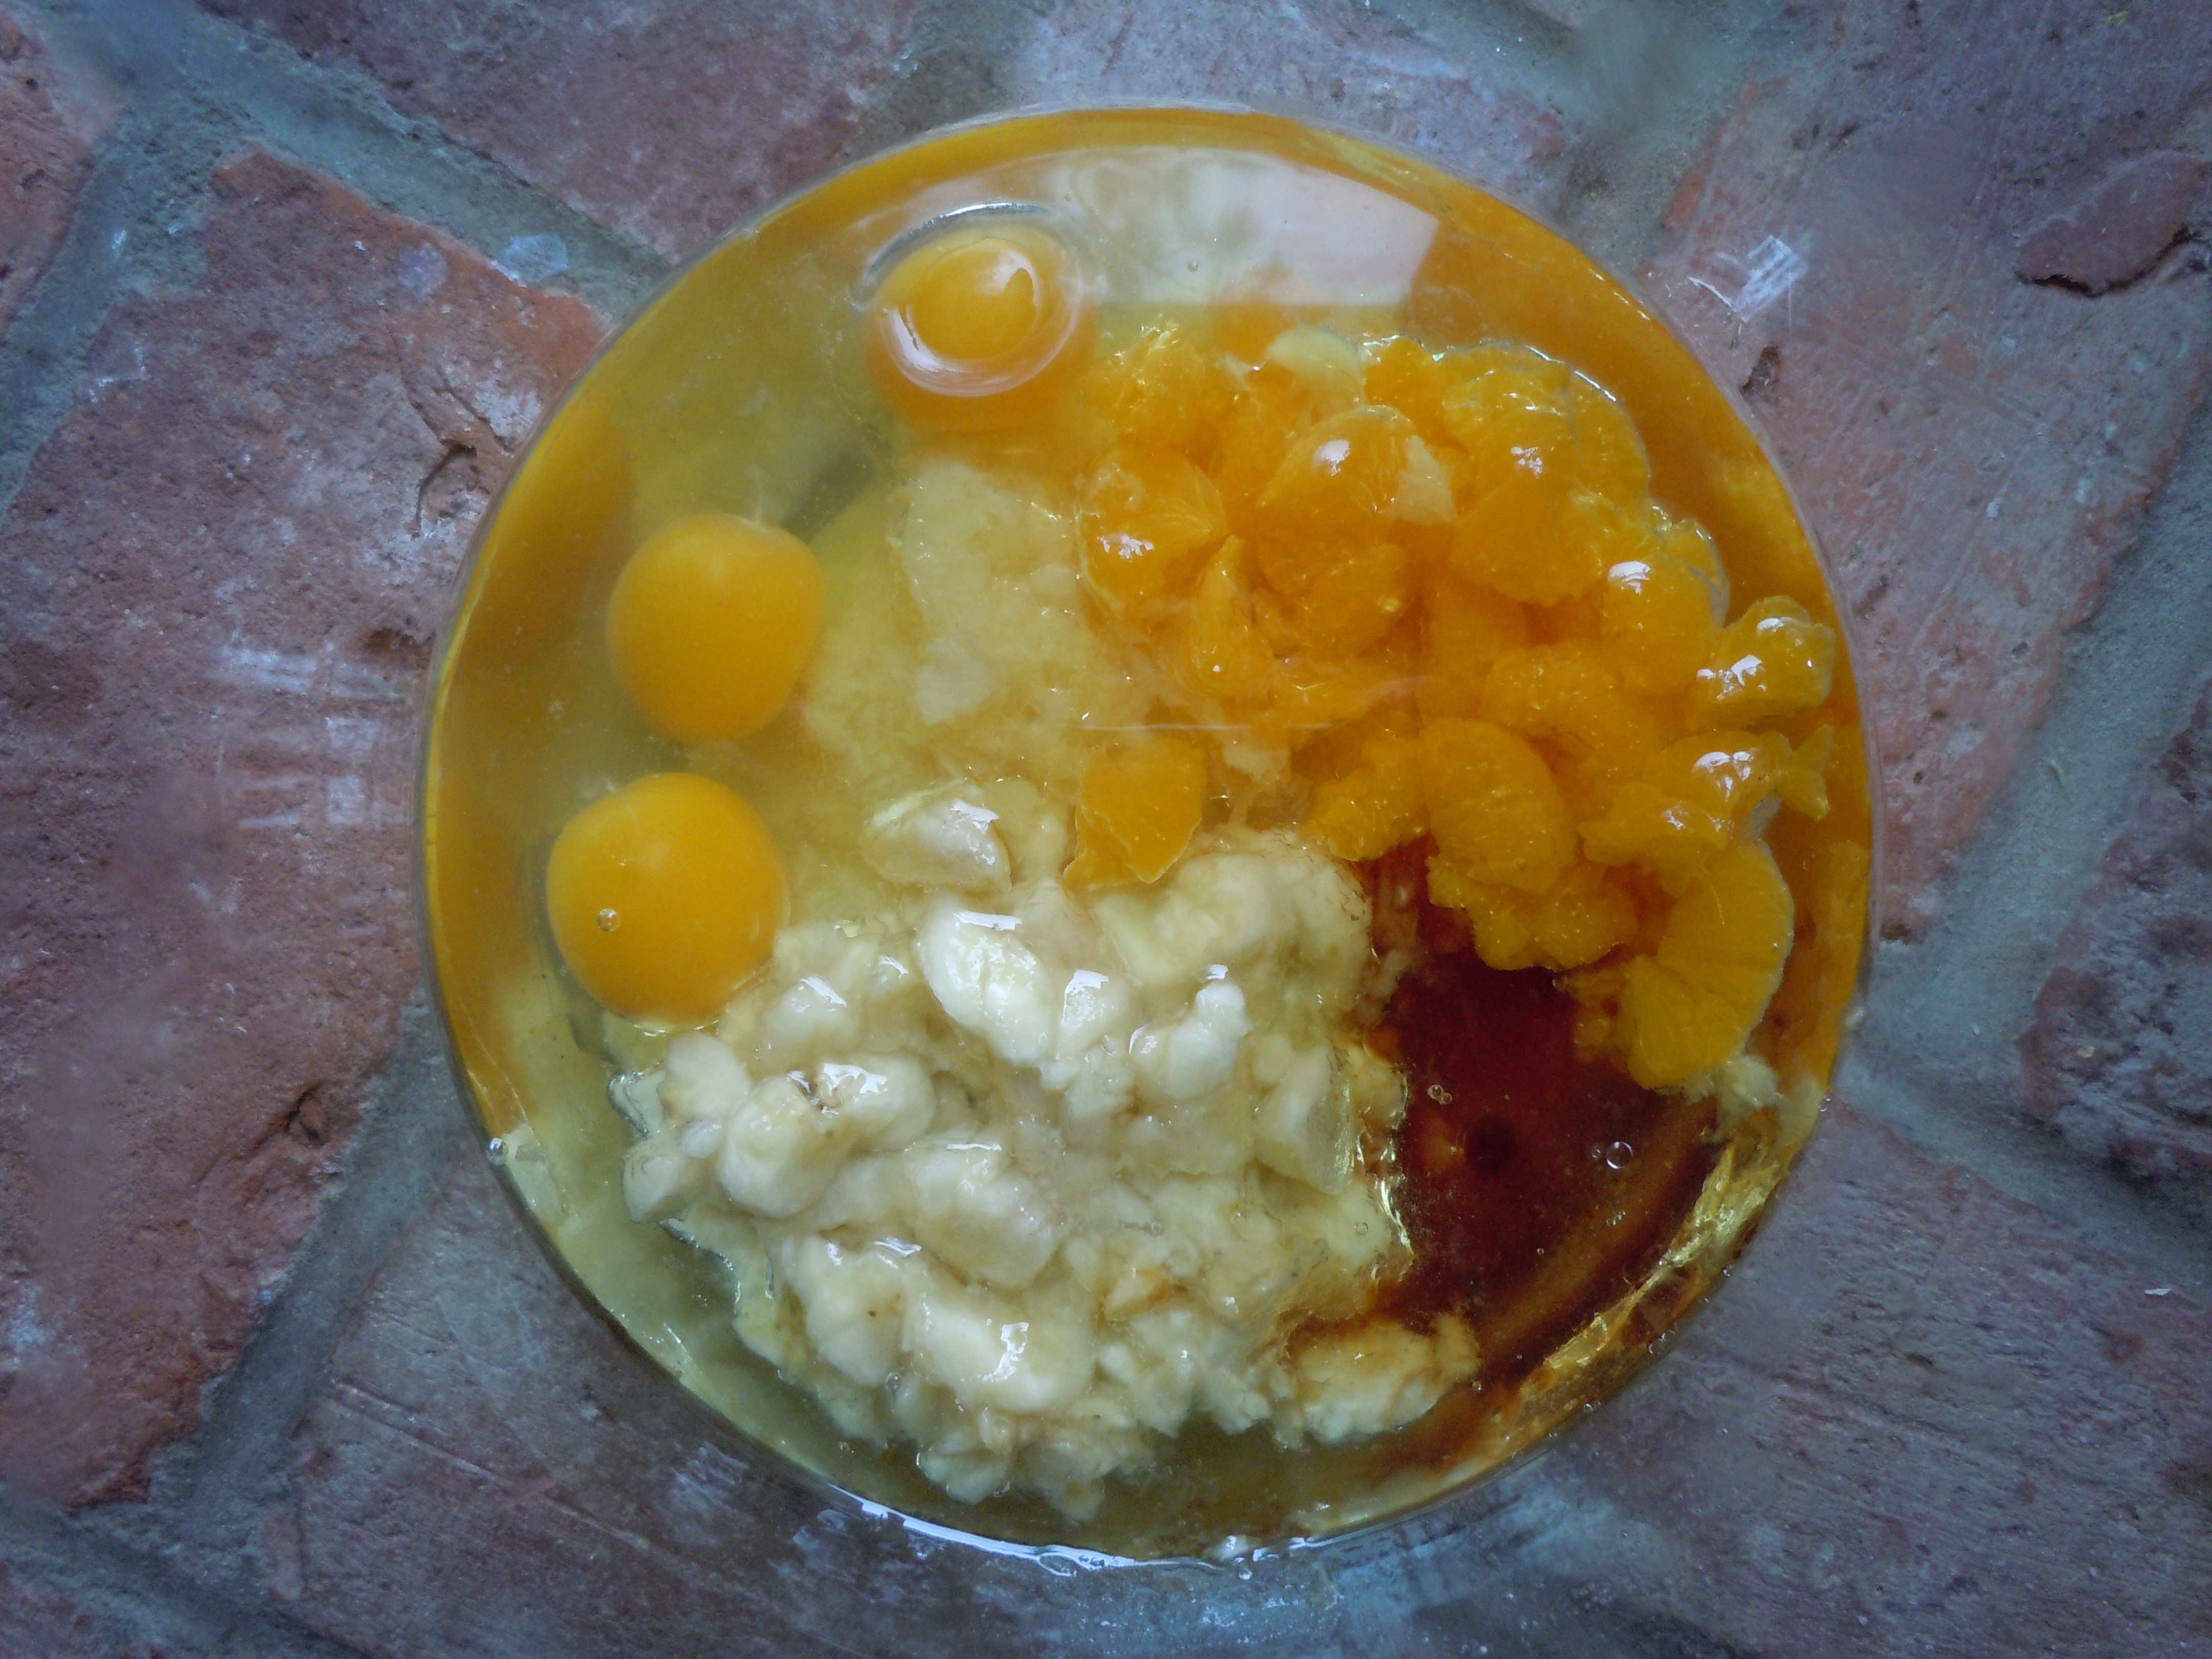
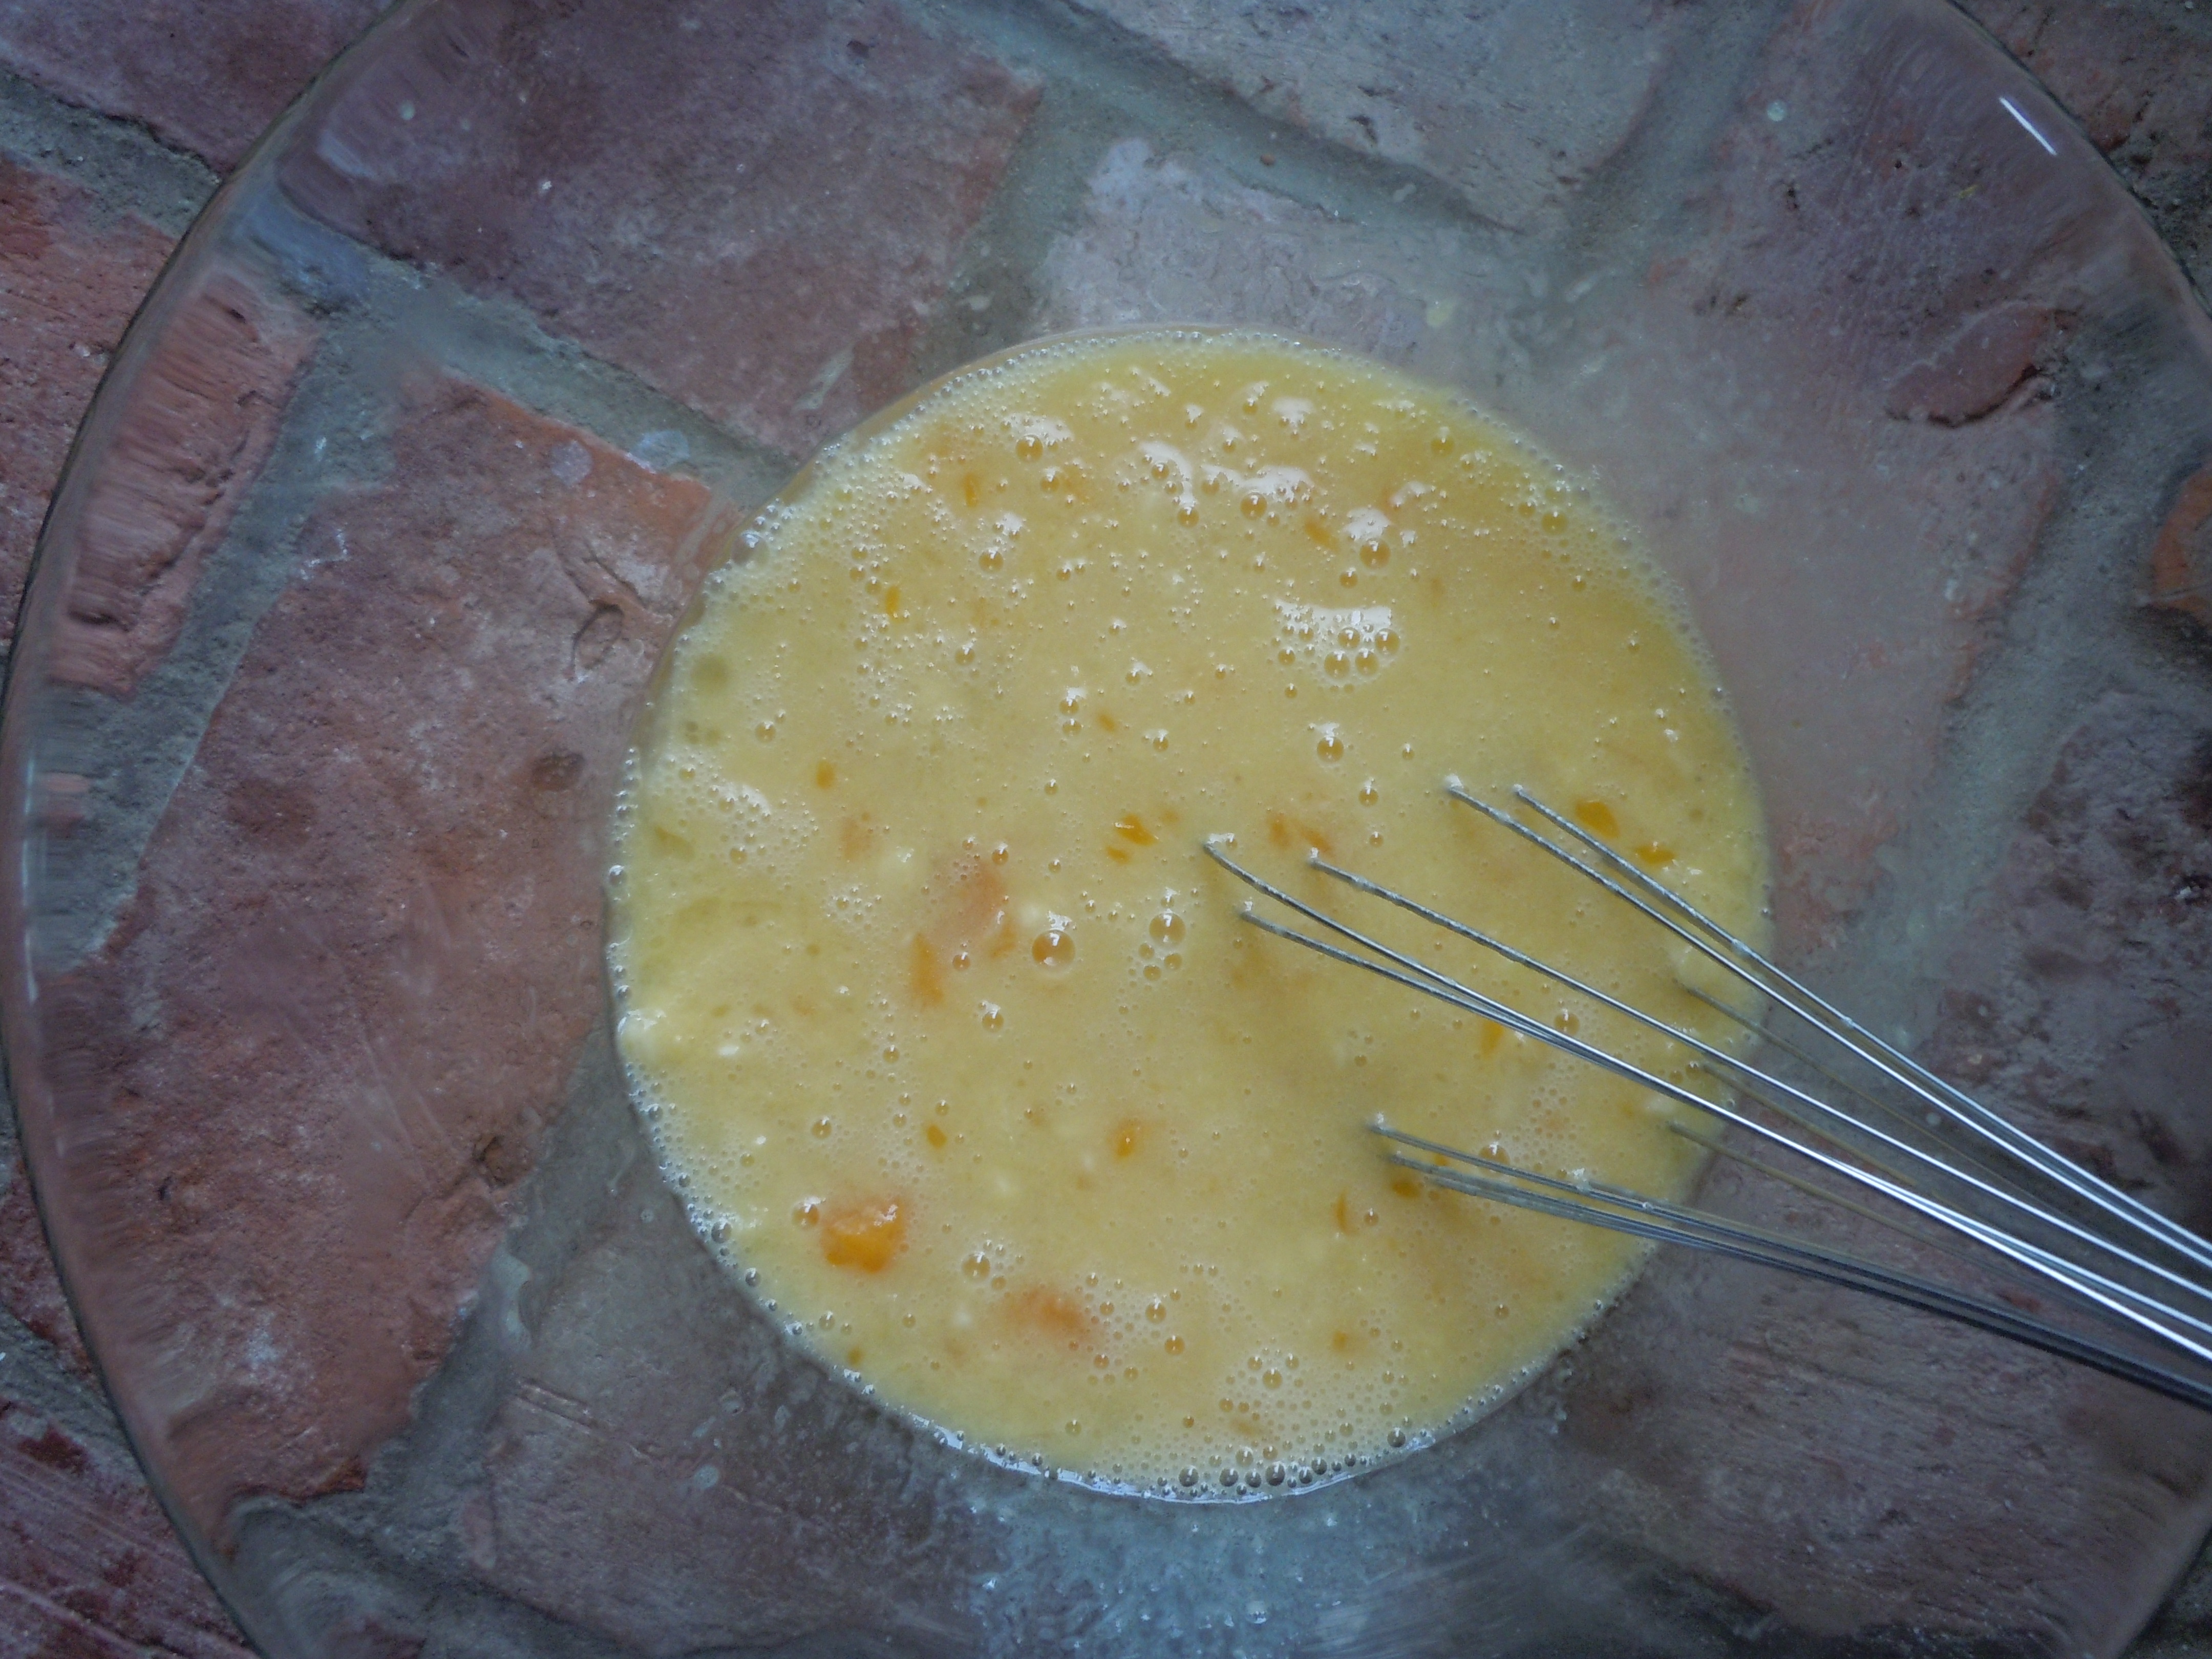
Ingredients for Chocolate Mousse:
- 3 cups heavy cream – 2 cups for whipping the heavy cream/ 1 cup for melting the chocolate chips in the food processor
- 1 tbsp vanilla
- pinch of sea salt
- 1 bag mini semi-sweet chocolate chips
Directions for the Chocolate Mousse:
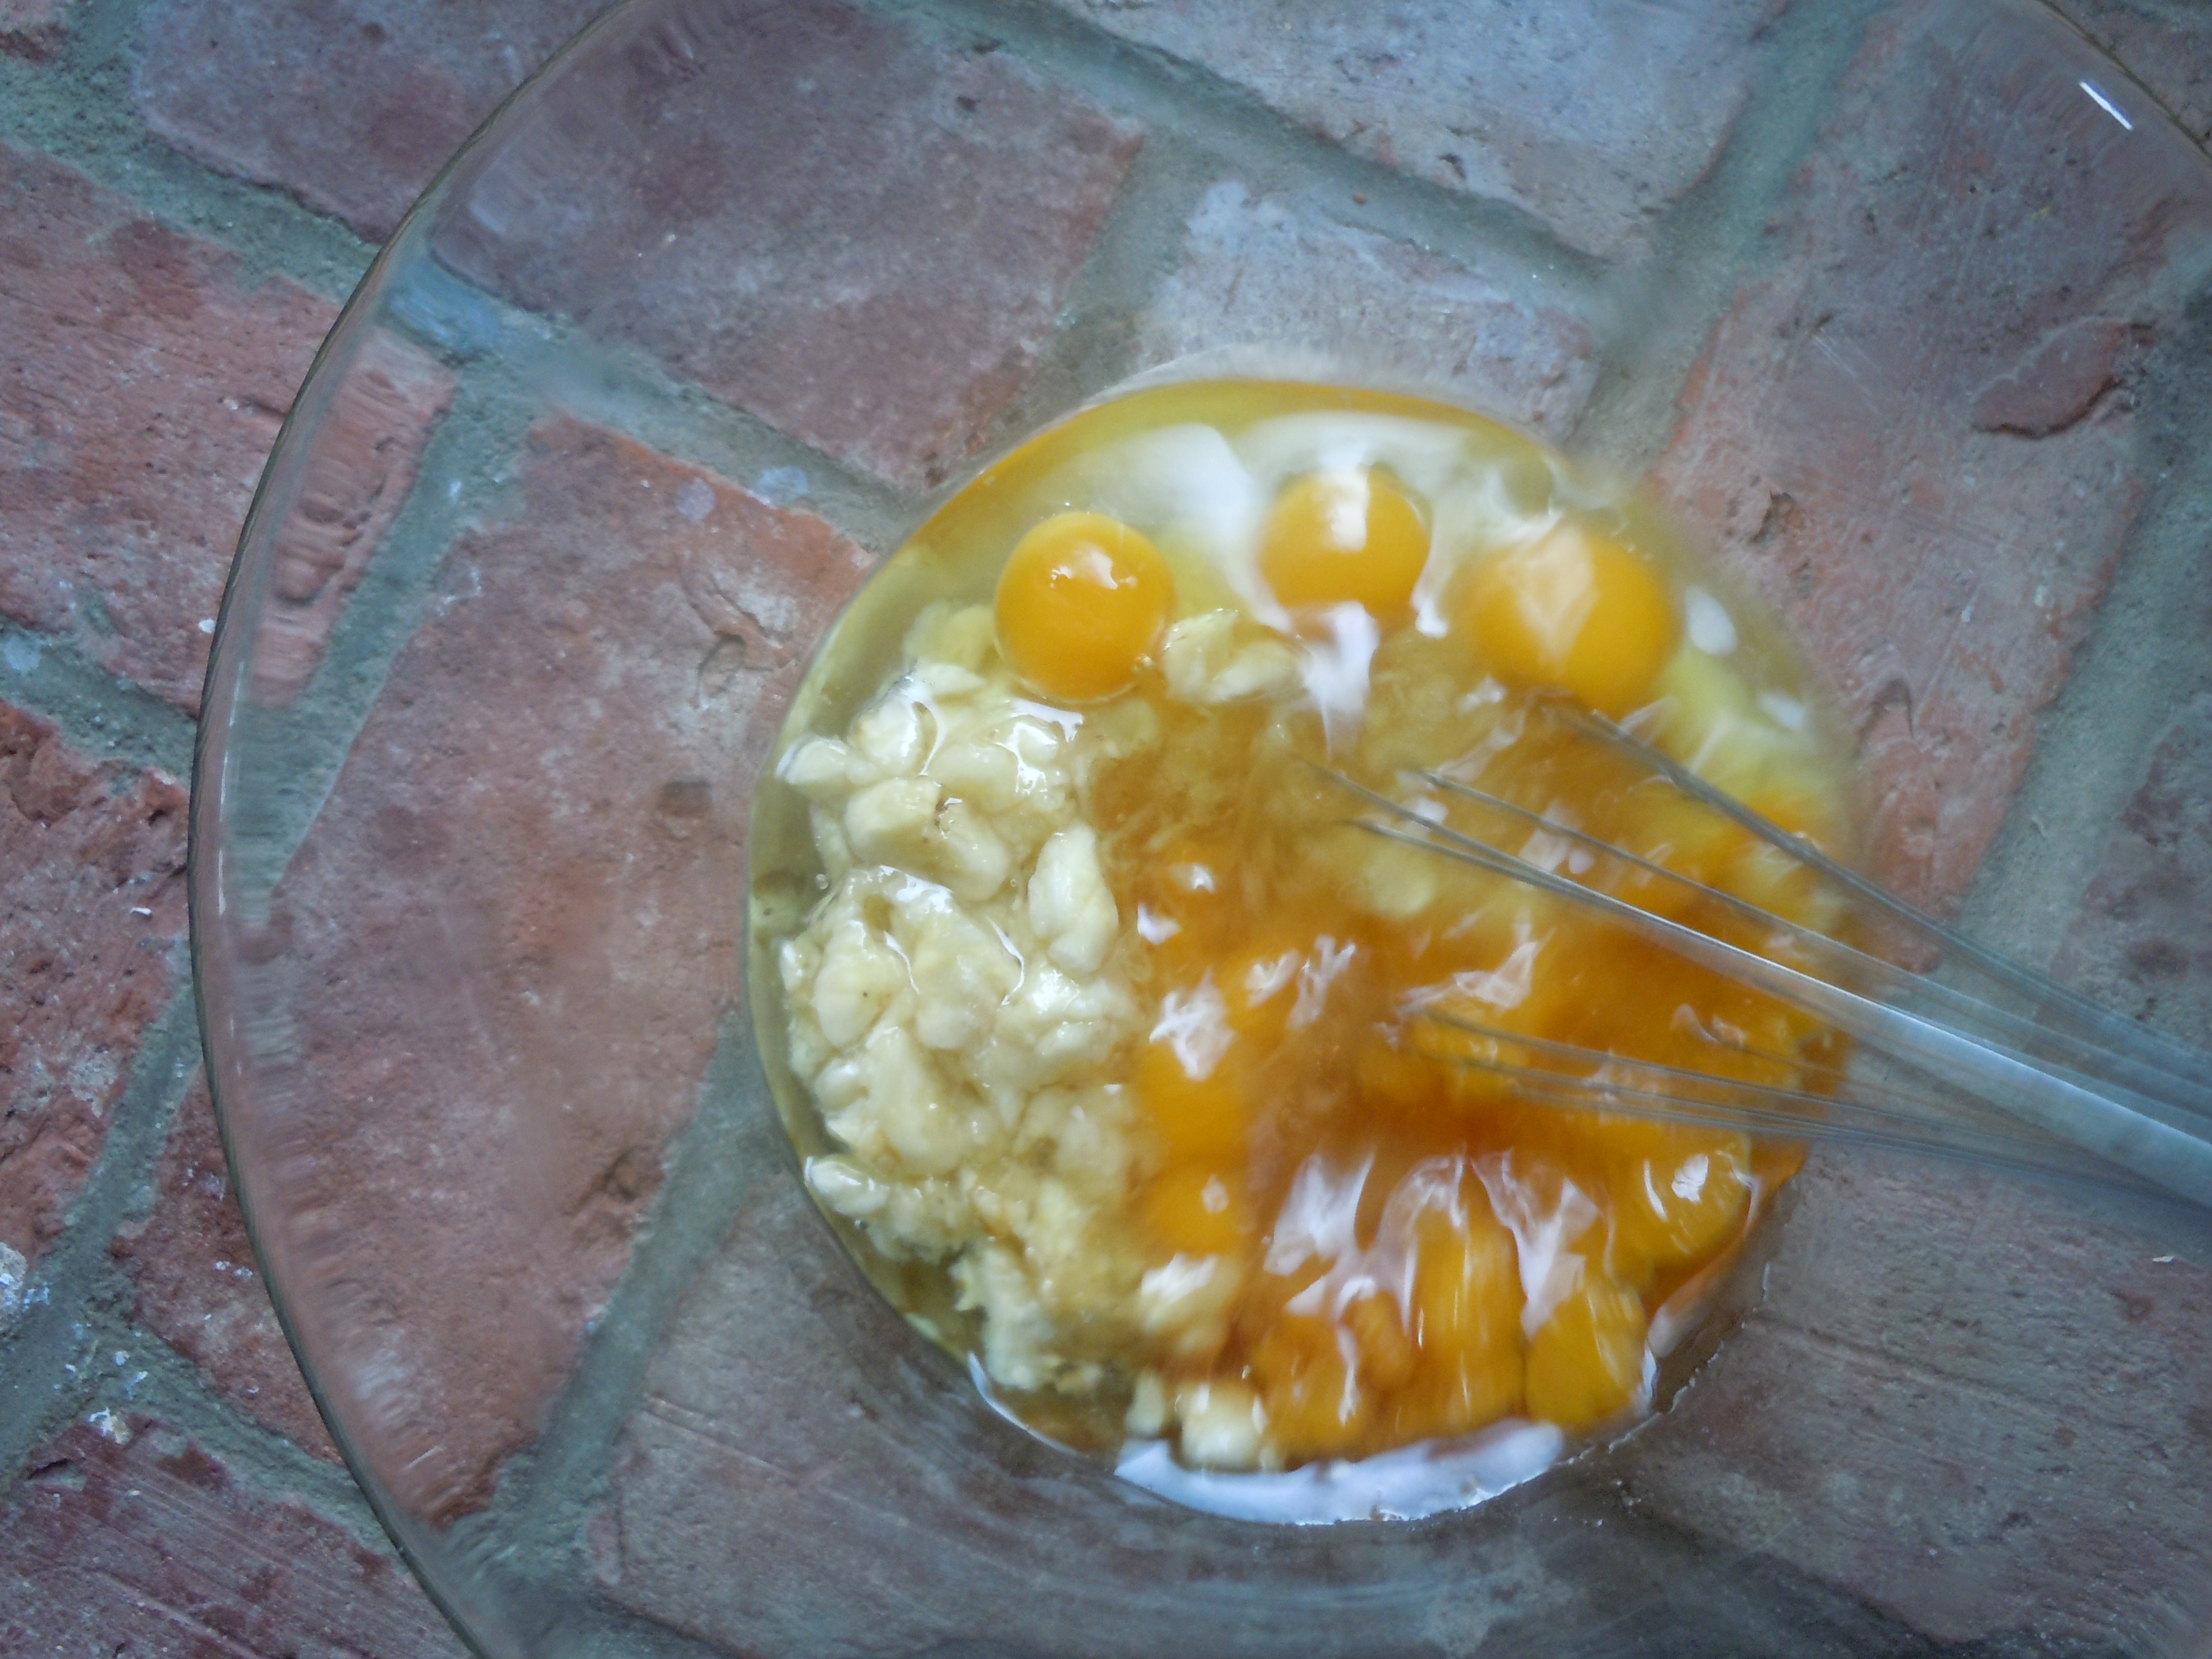
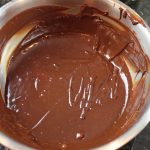
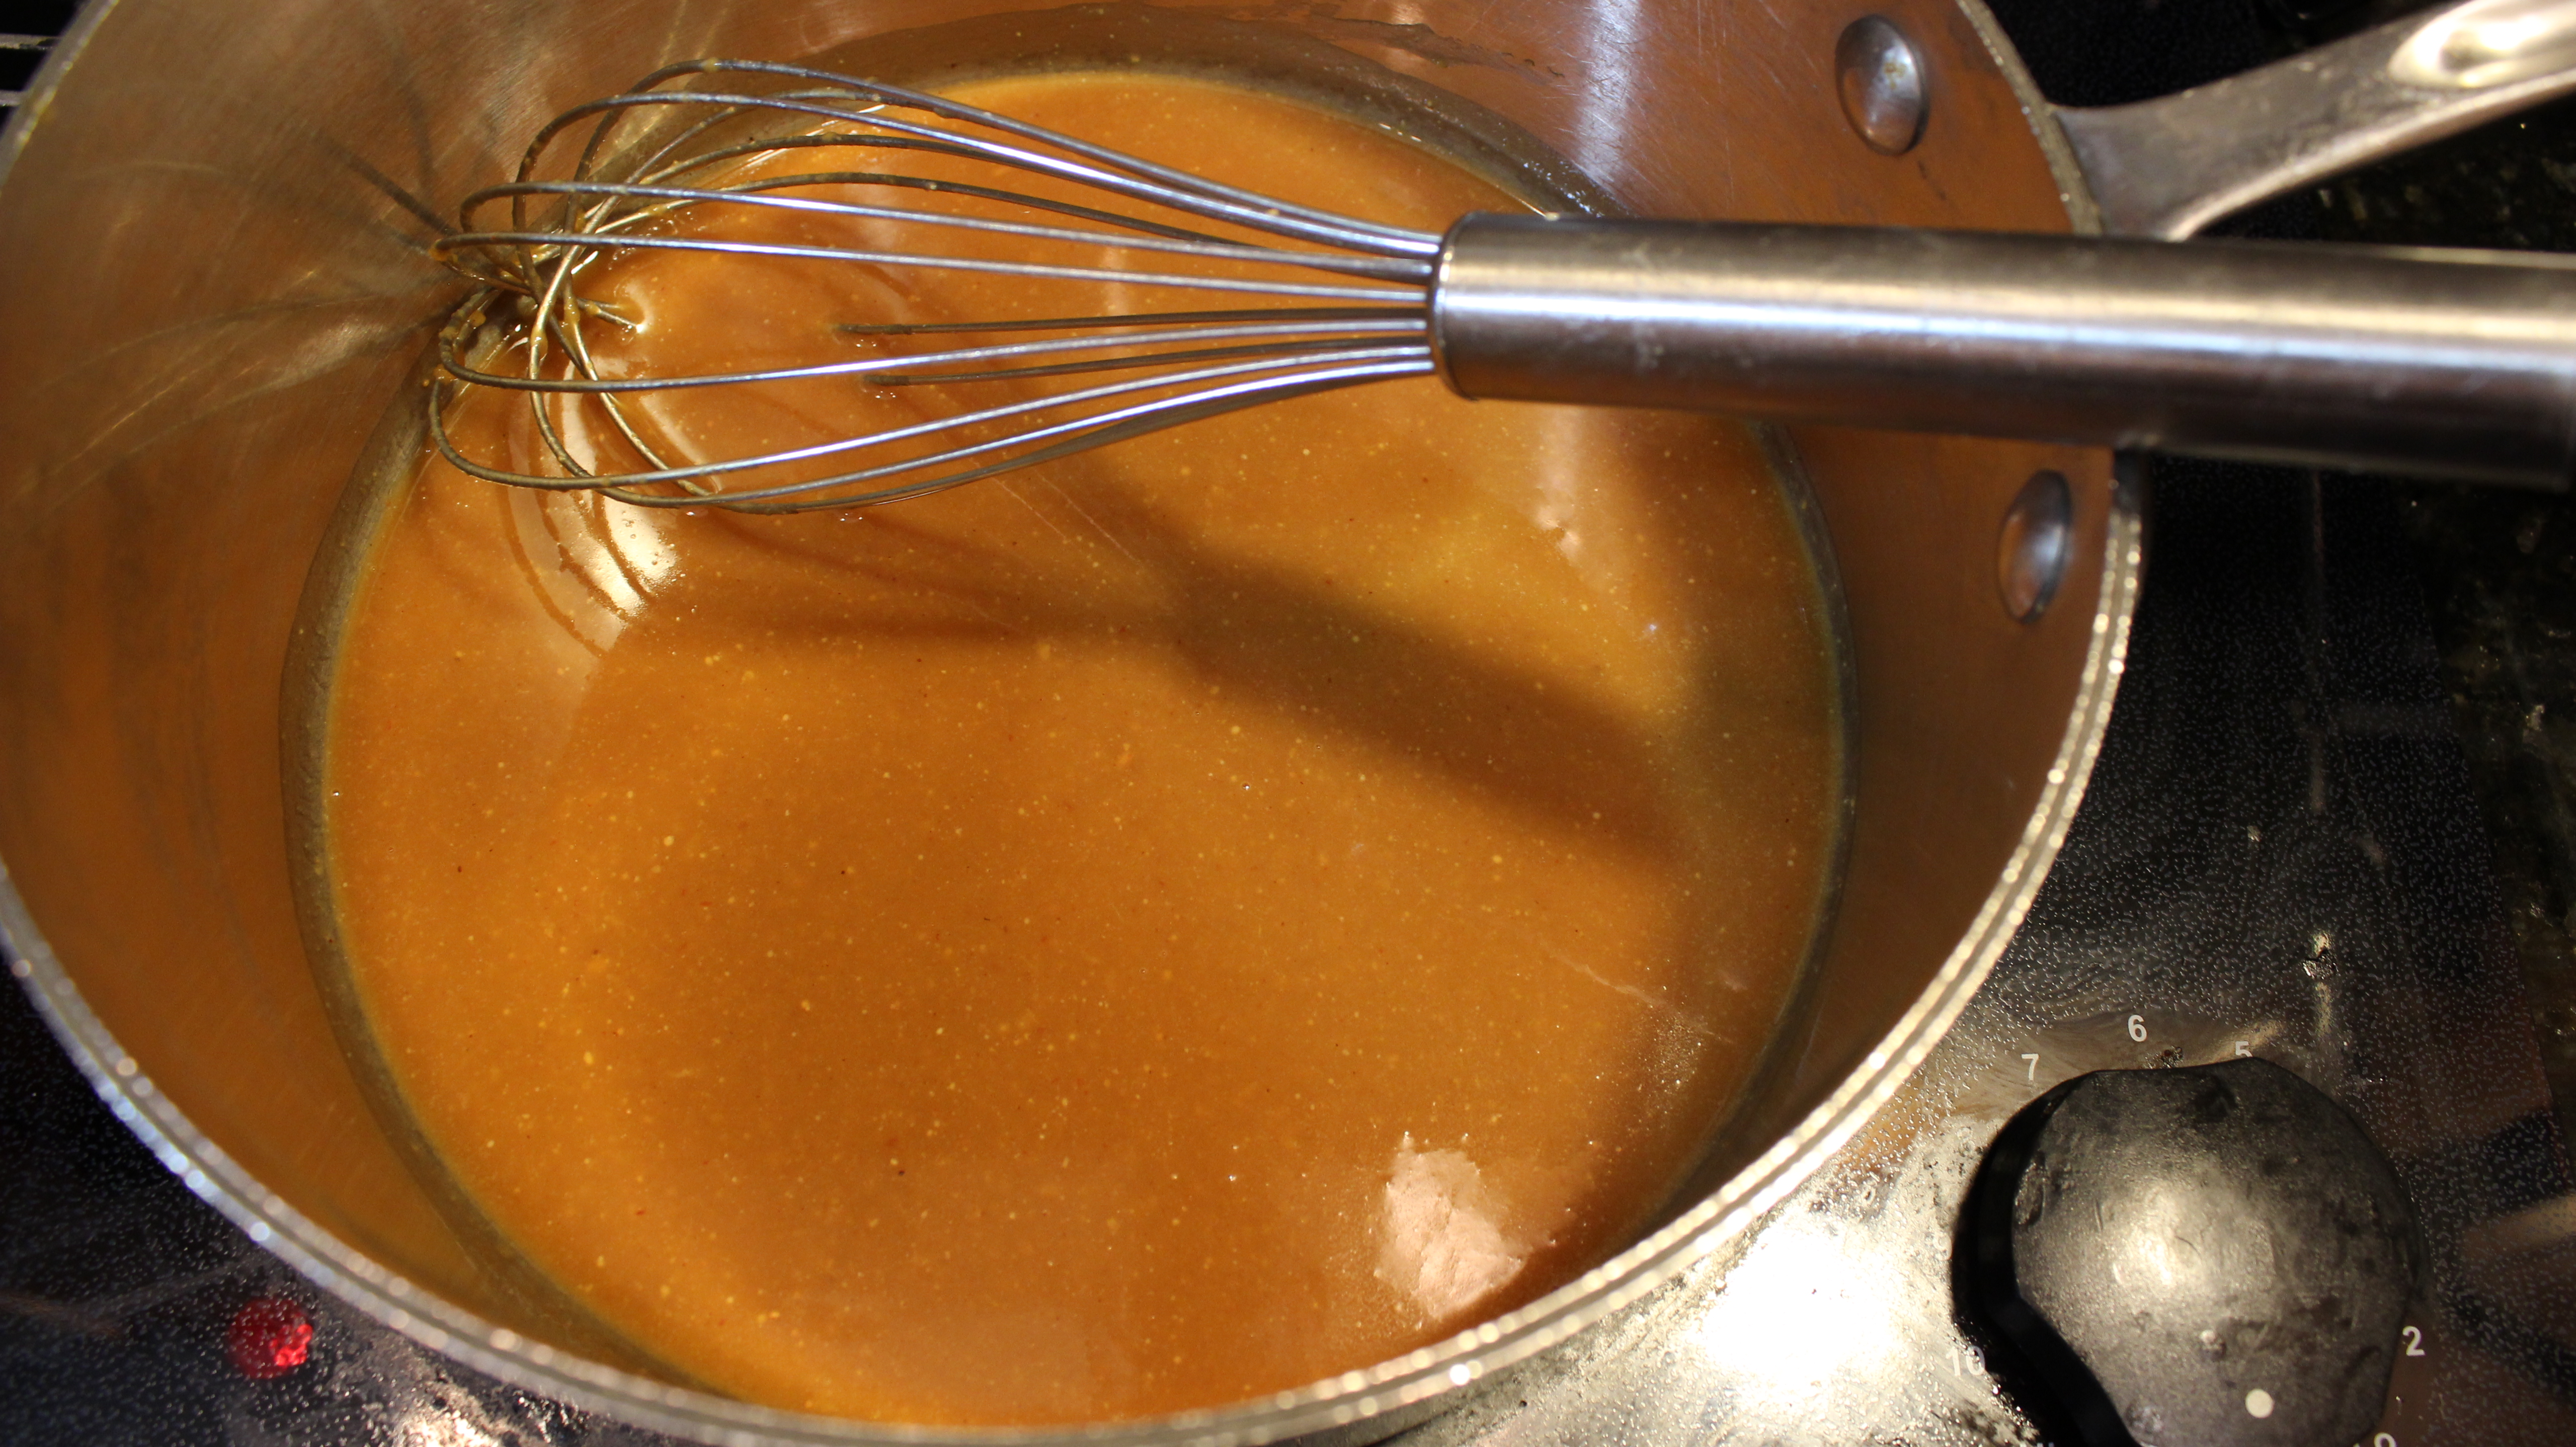
- Wipe thin mint cookie crumbs out of food processor and add mini chocolate chips
- Add vanilla and pinch of salt
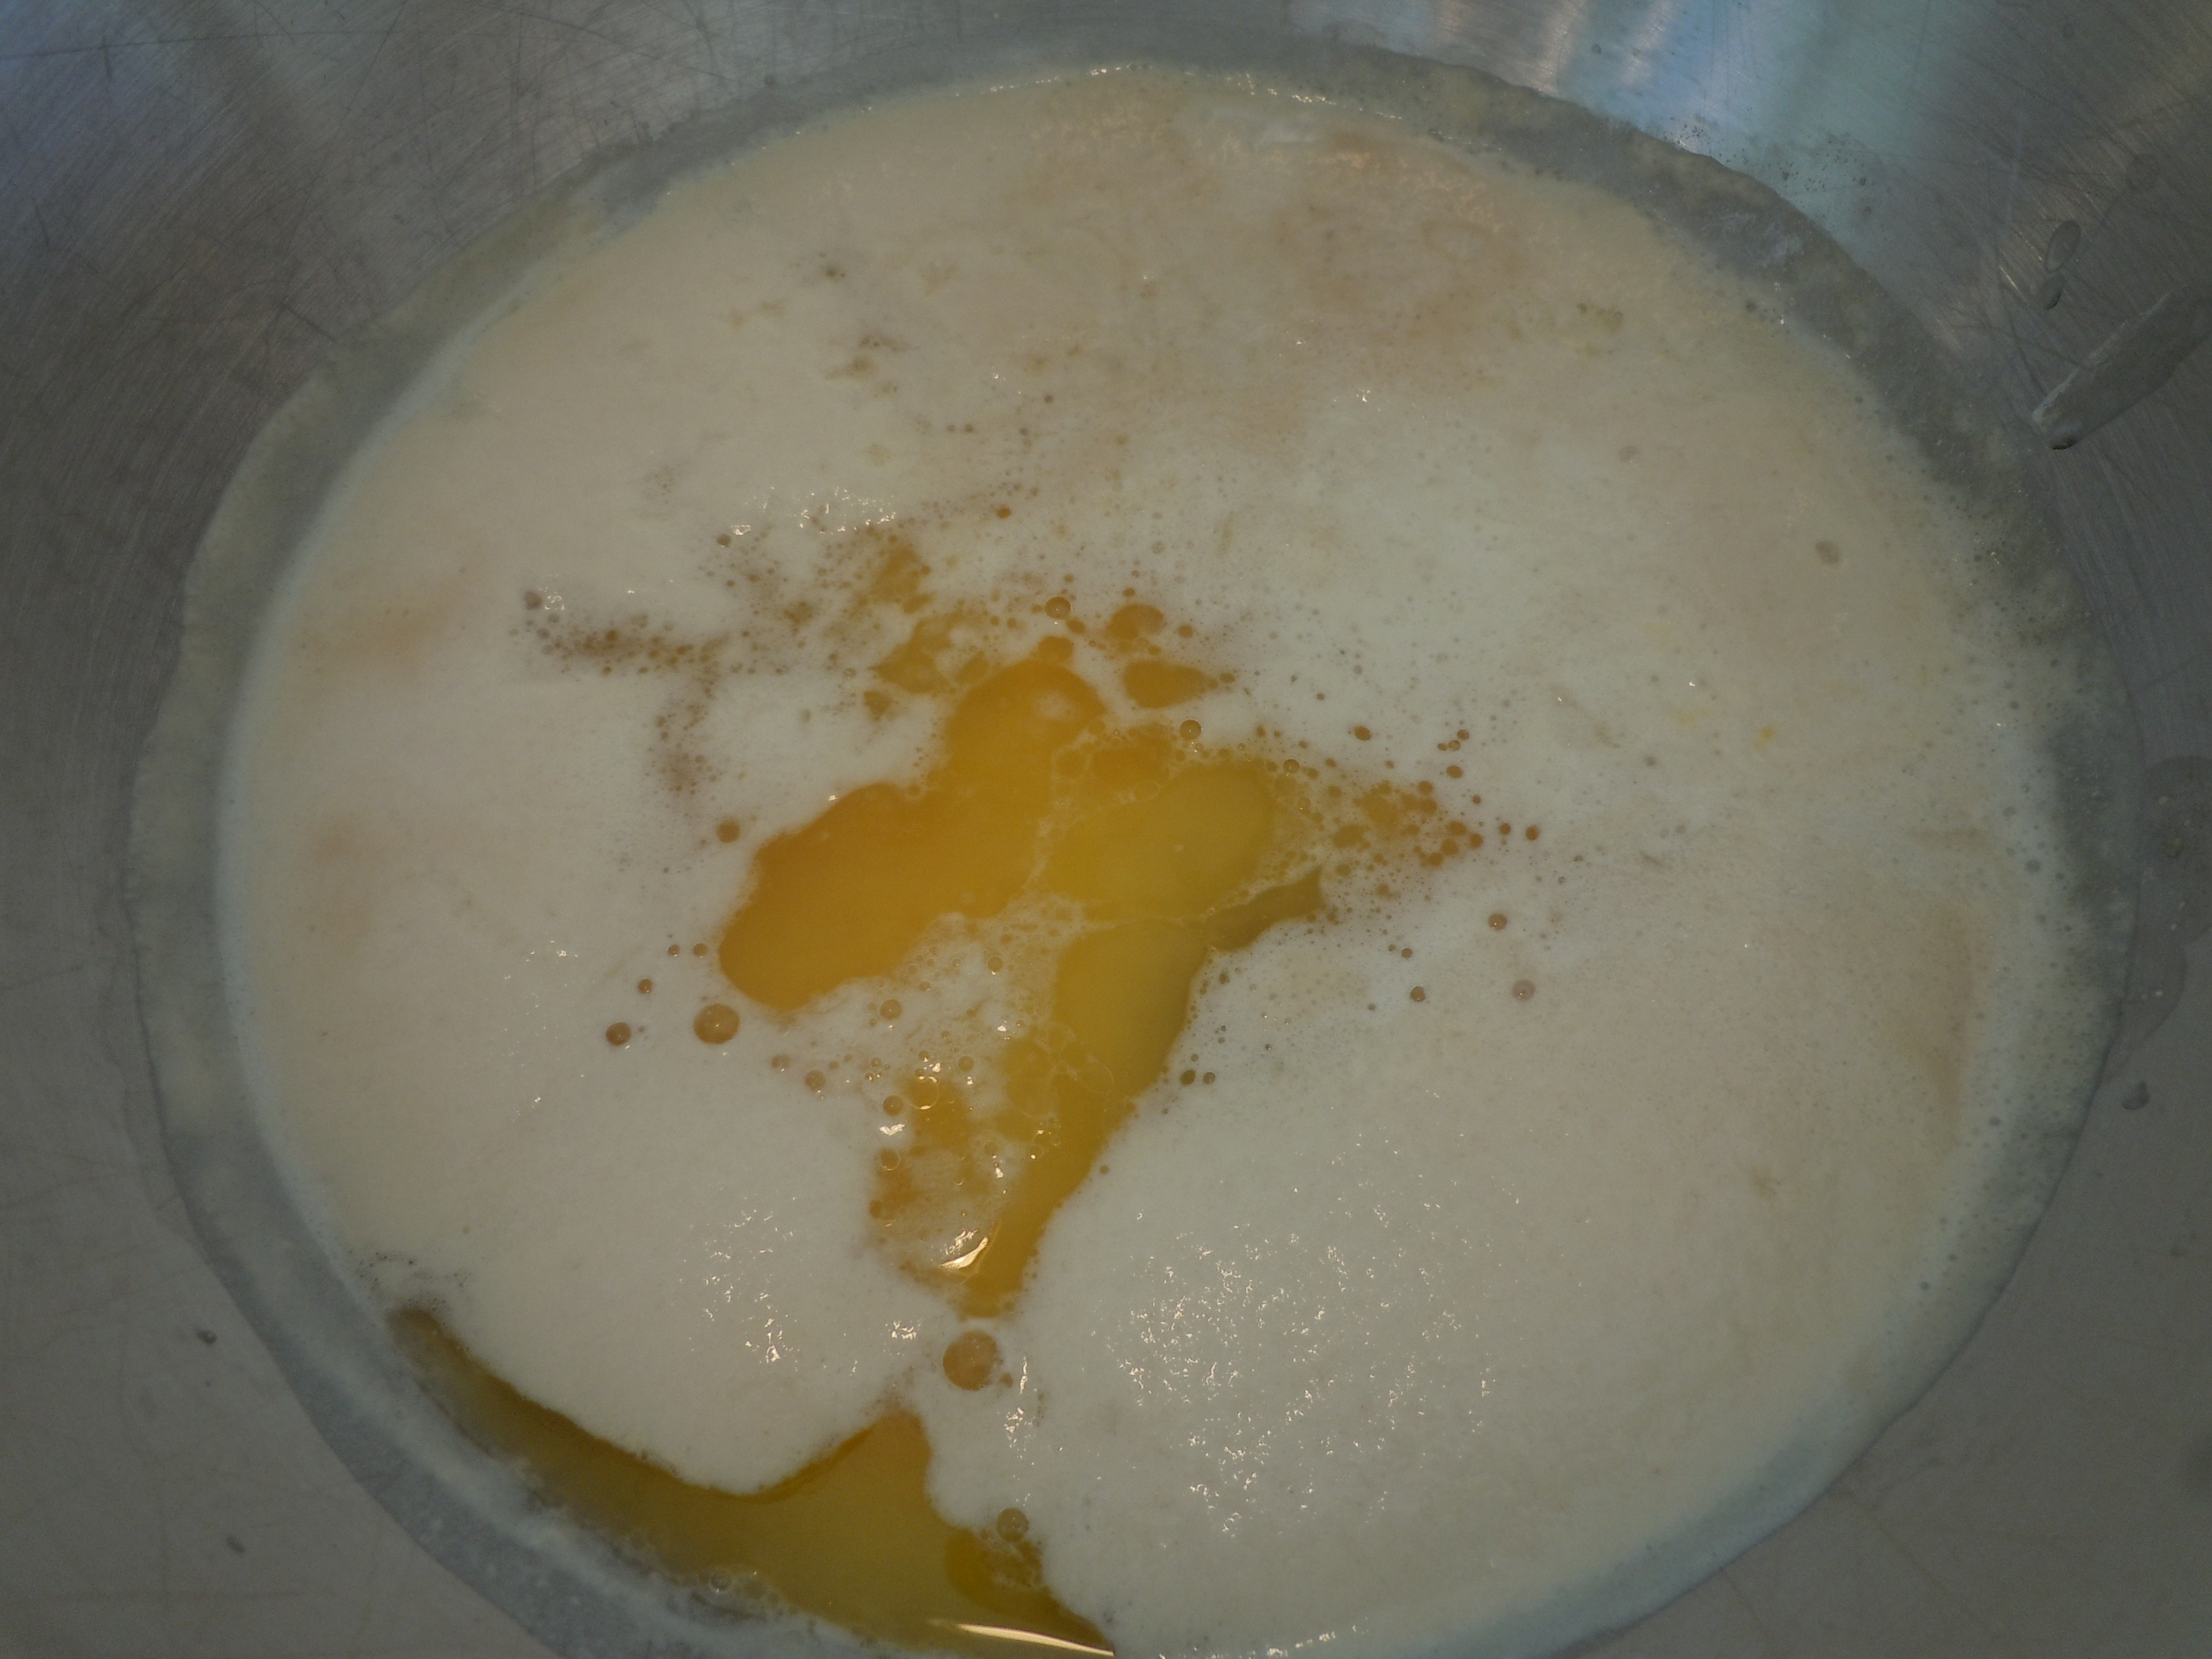
- Add 1 cup heavy cream to small sauce pan and bring to a boil
- Place cover on food processor, turn on and slowly add hot cream thru opening at top
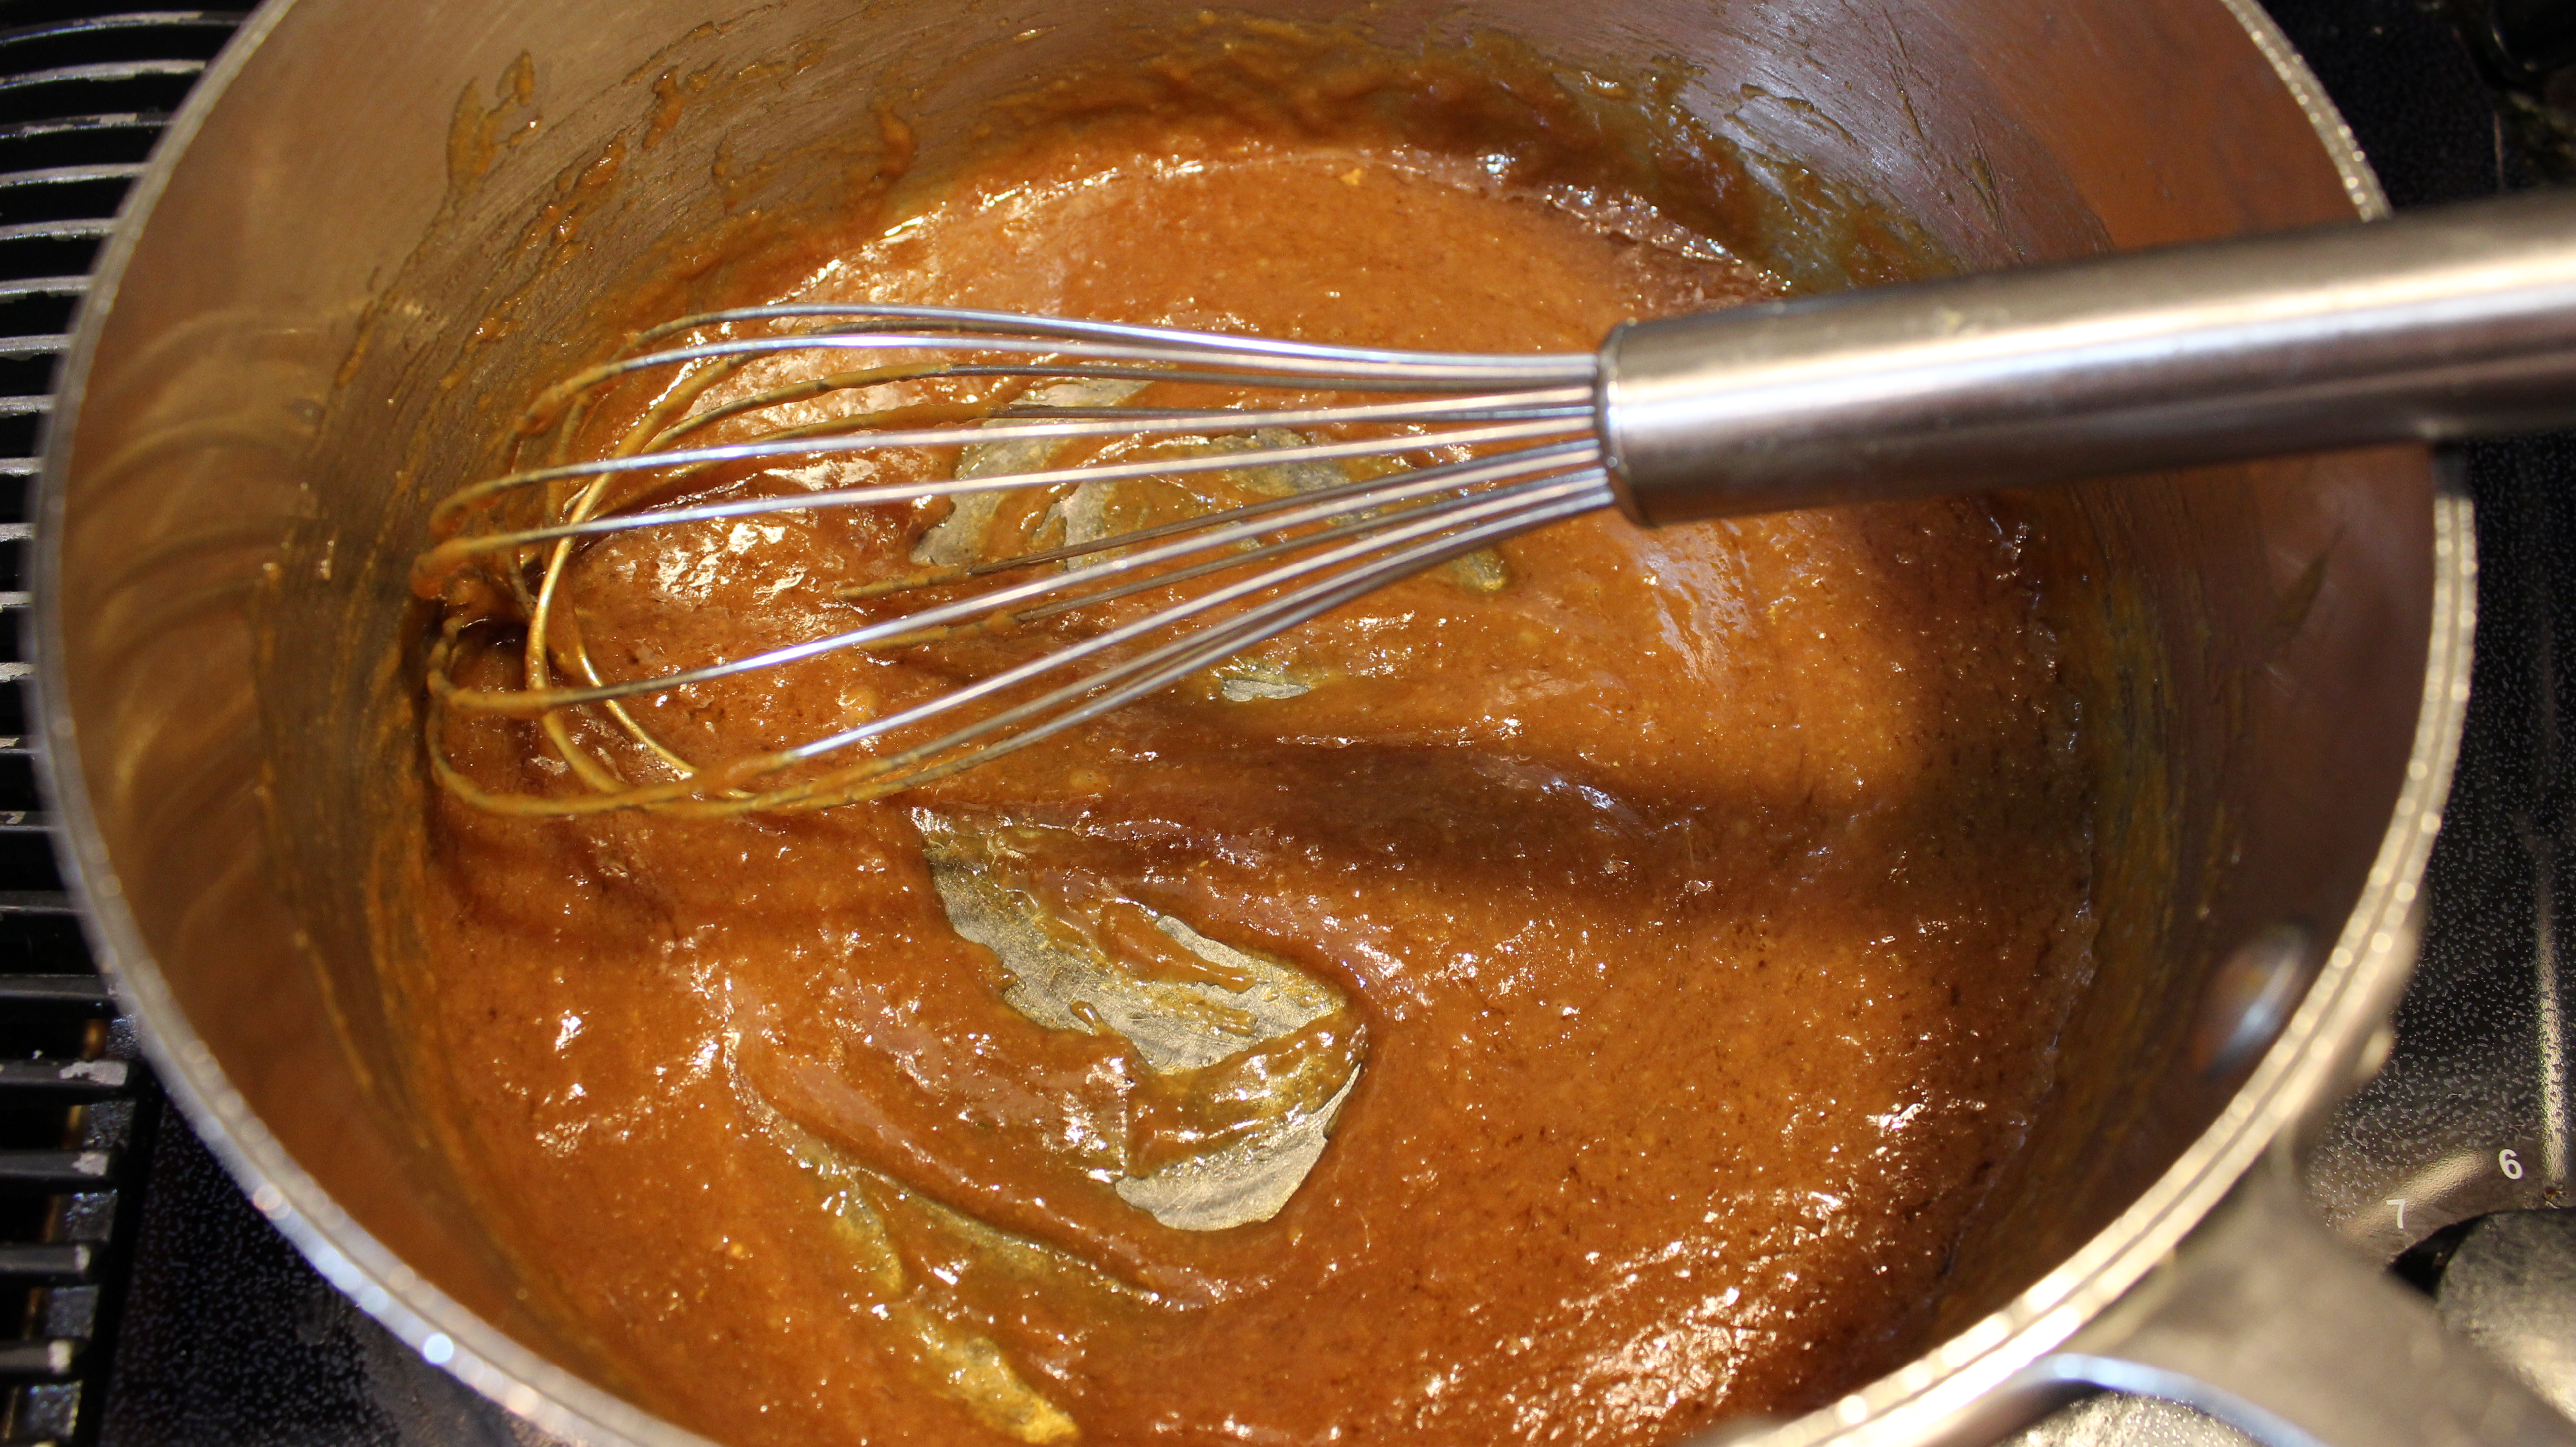
- Keep it running for about 20-30 seconds until chips are melted and creamy
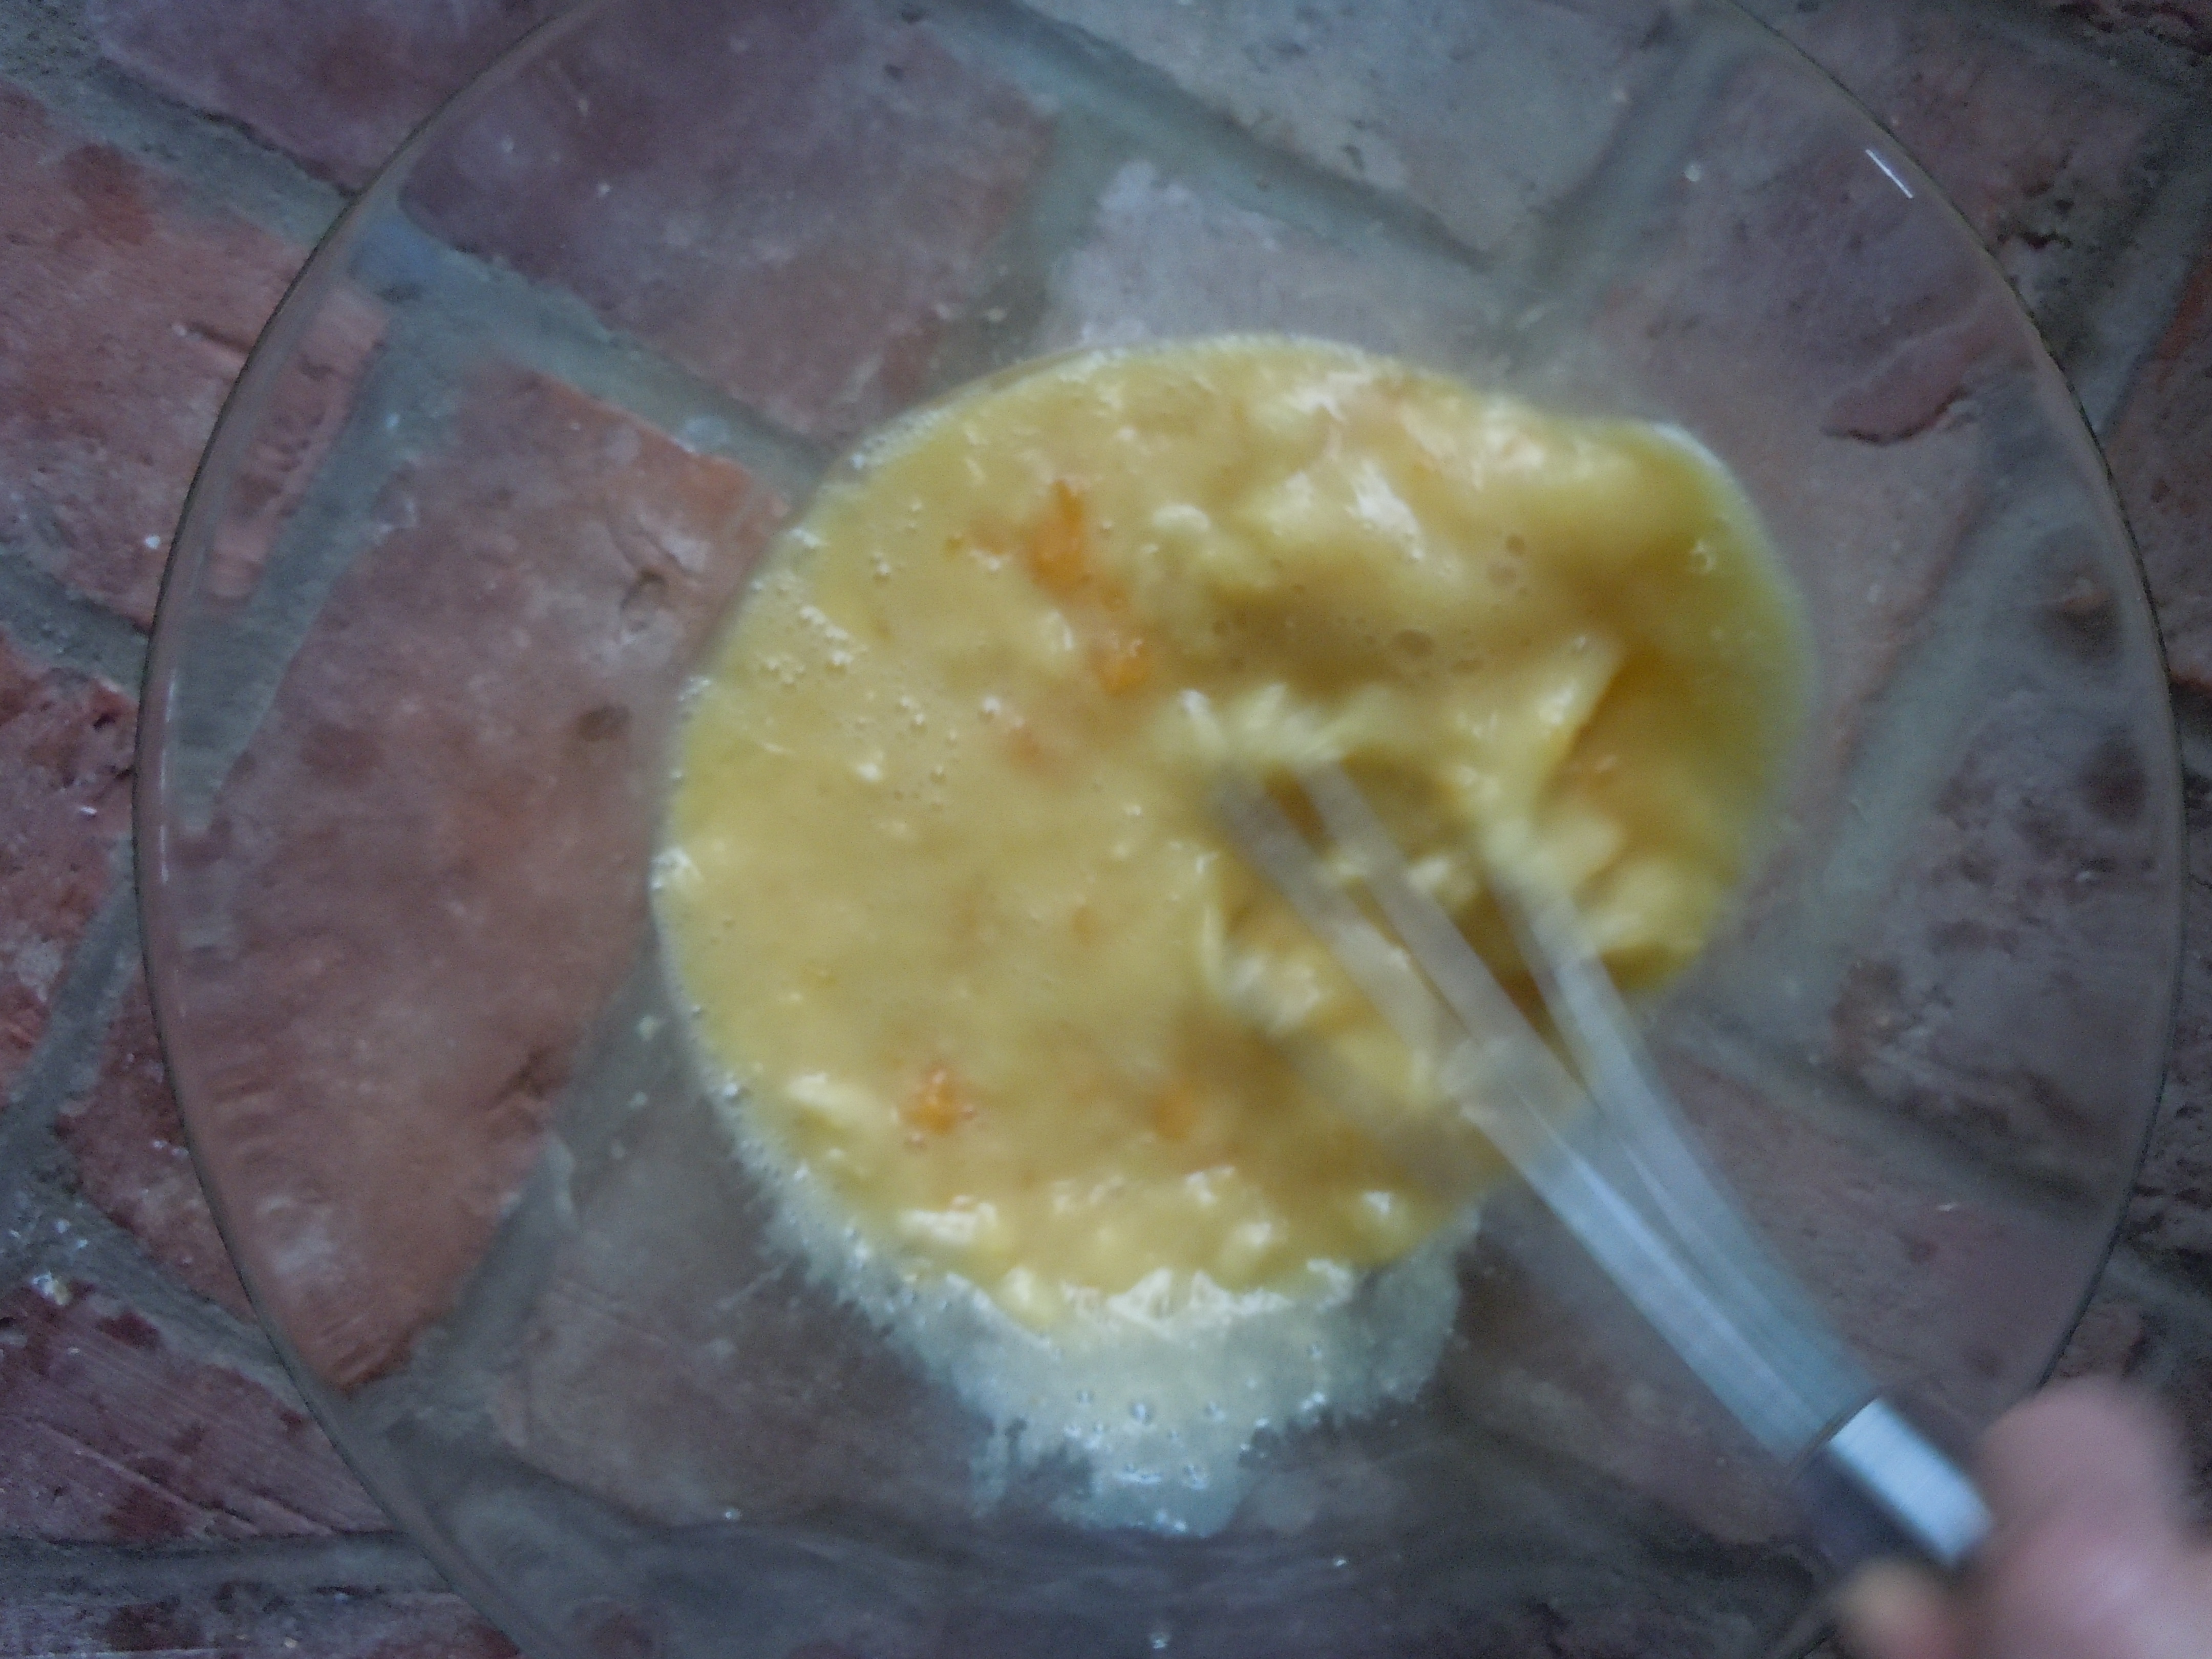
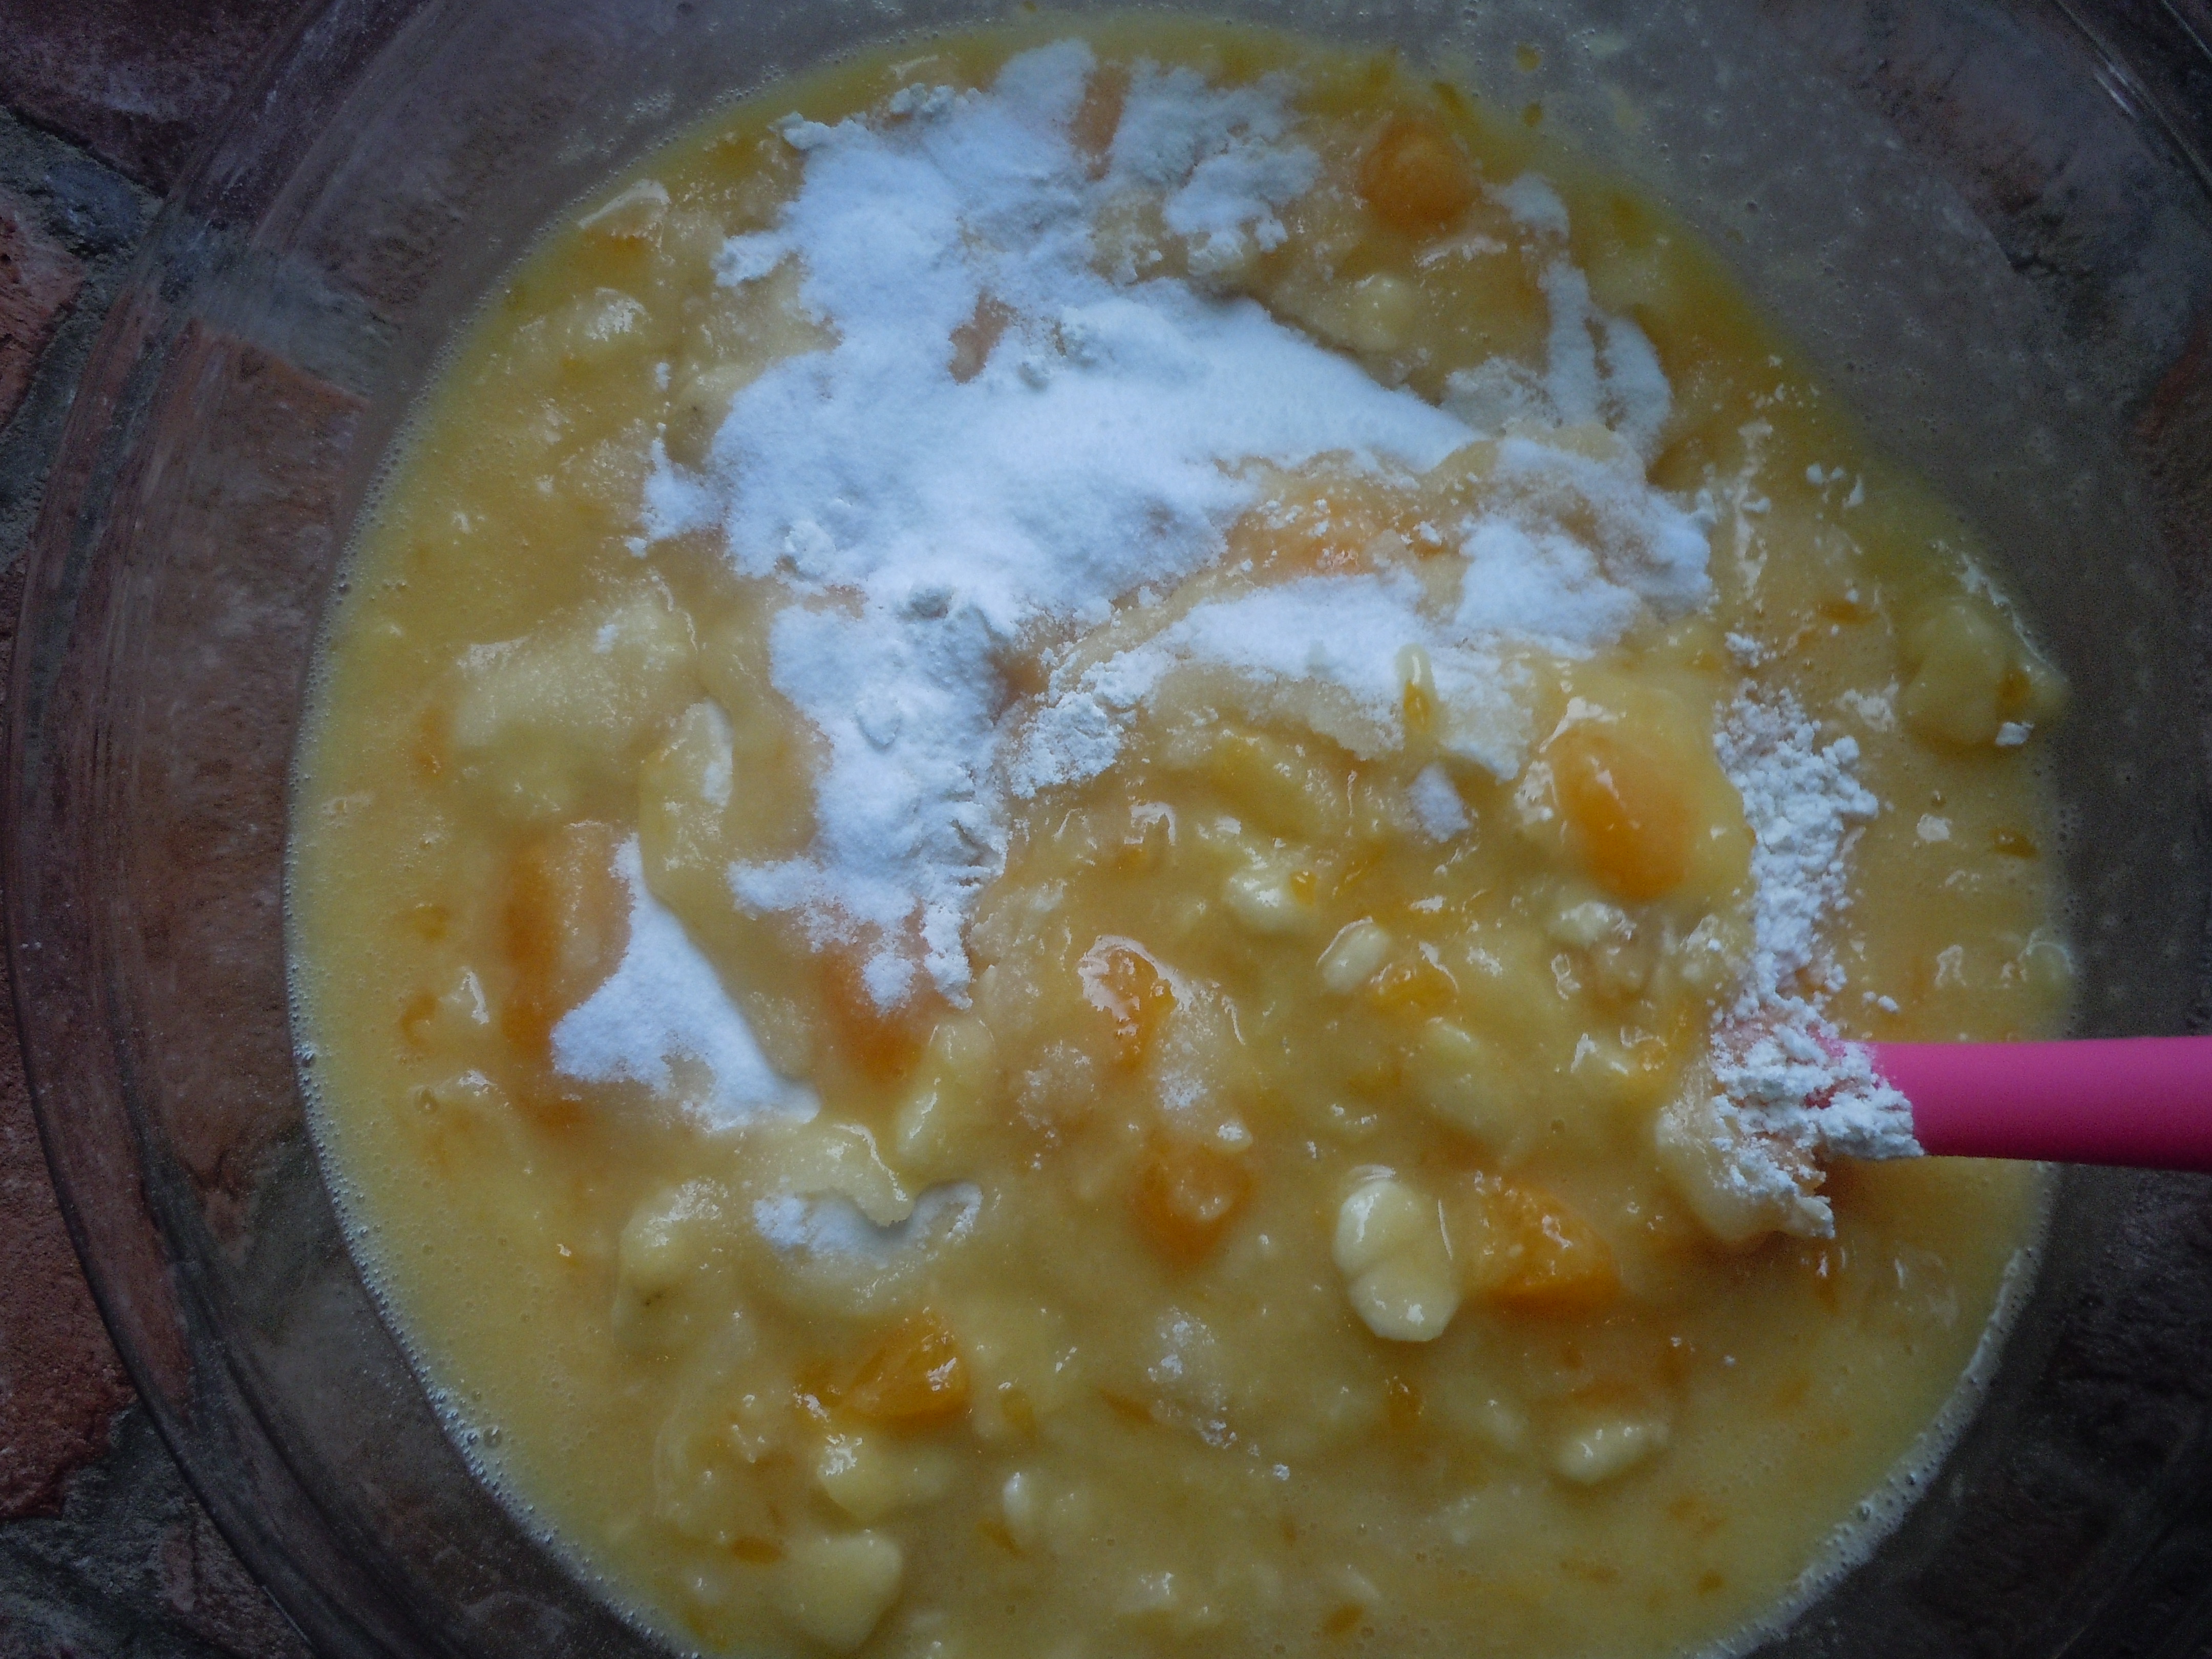
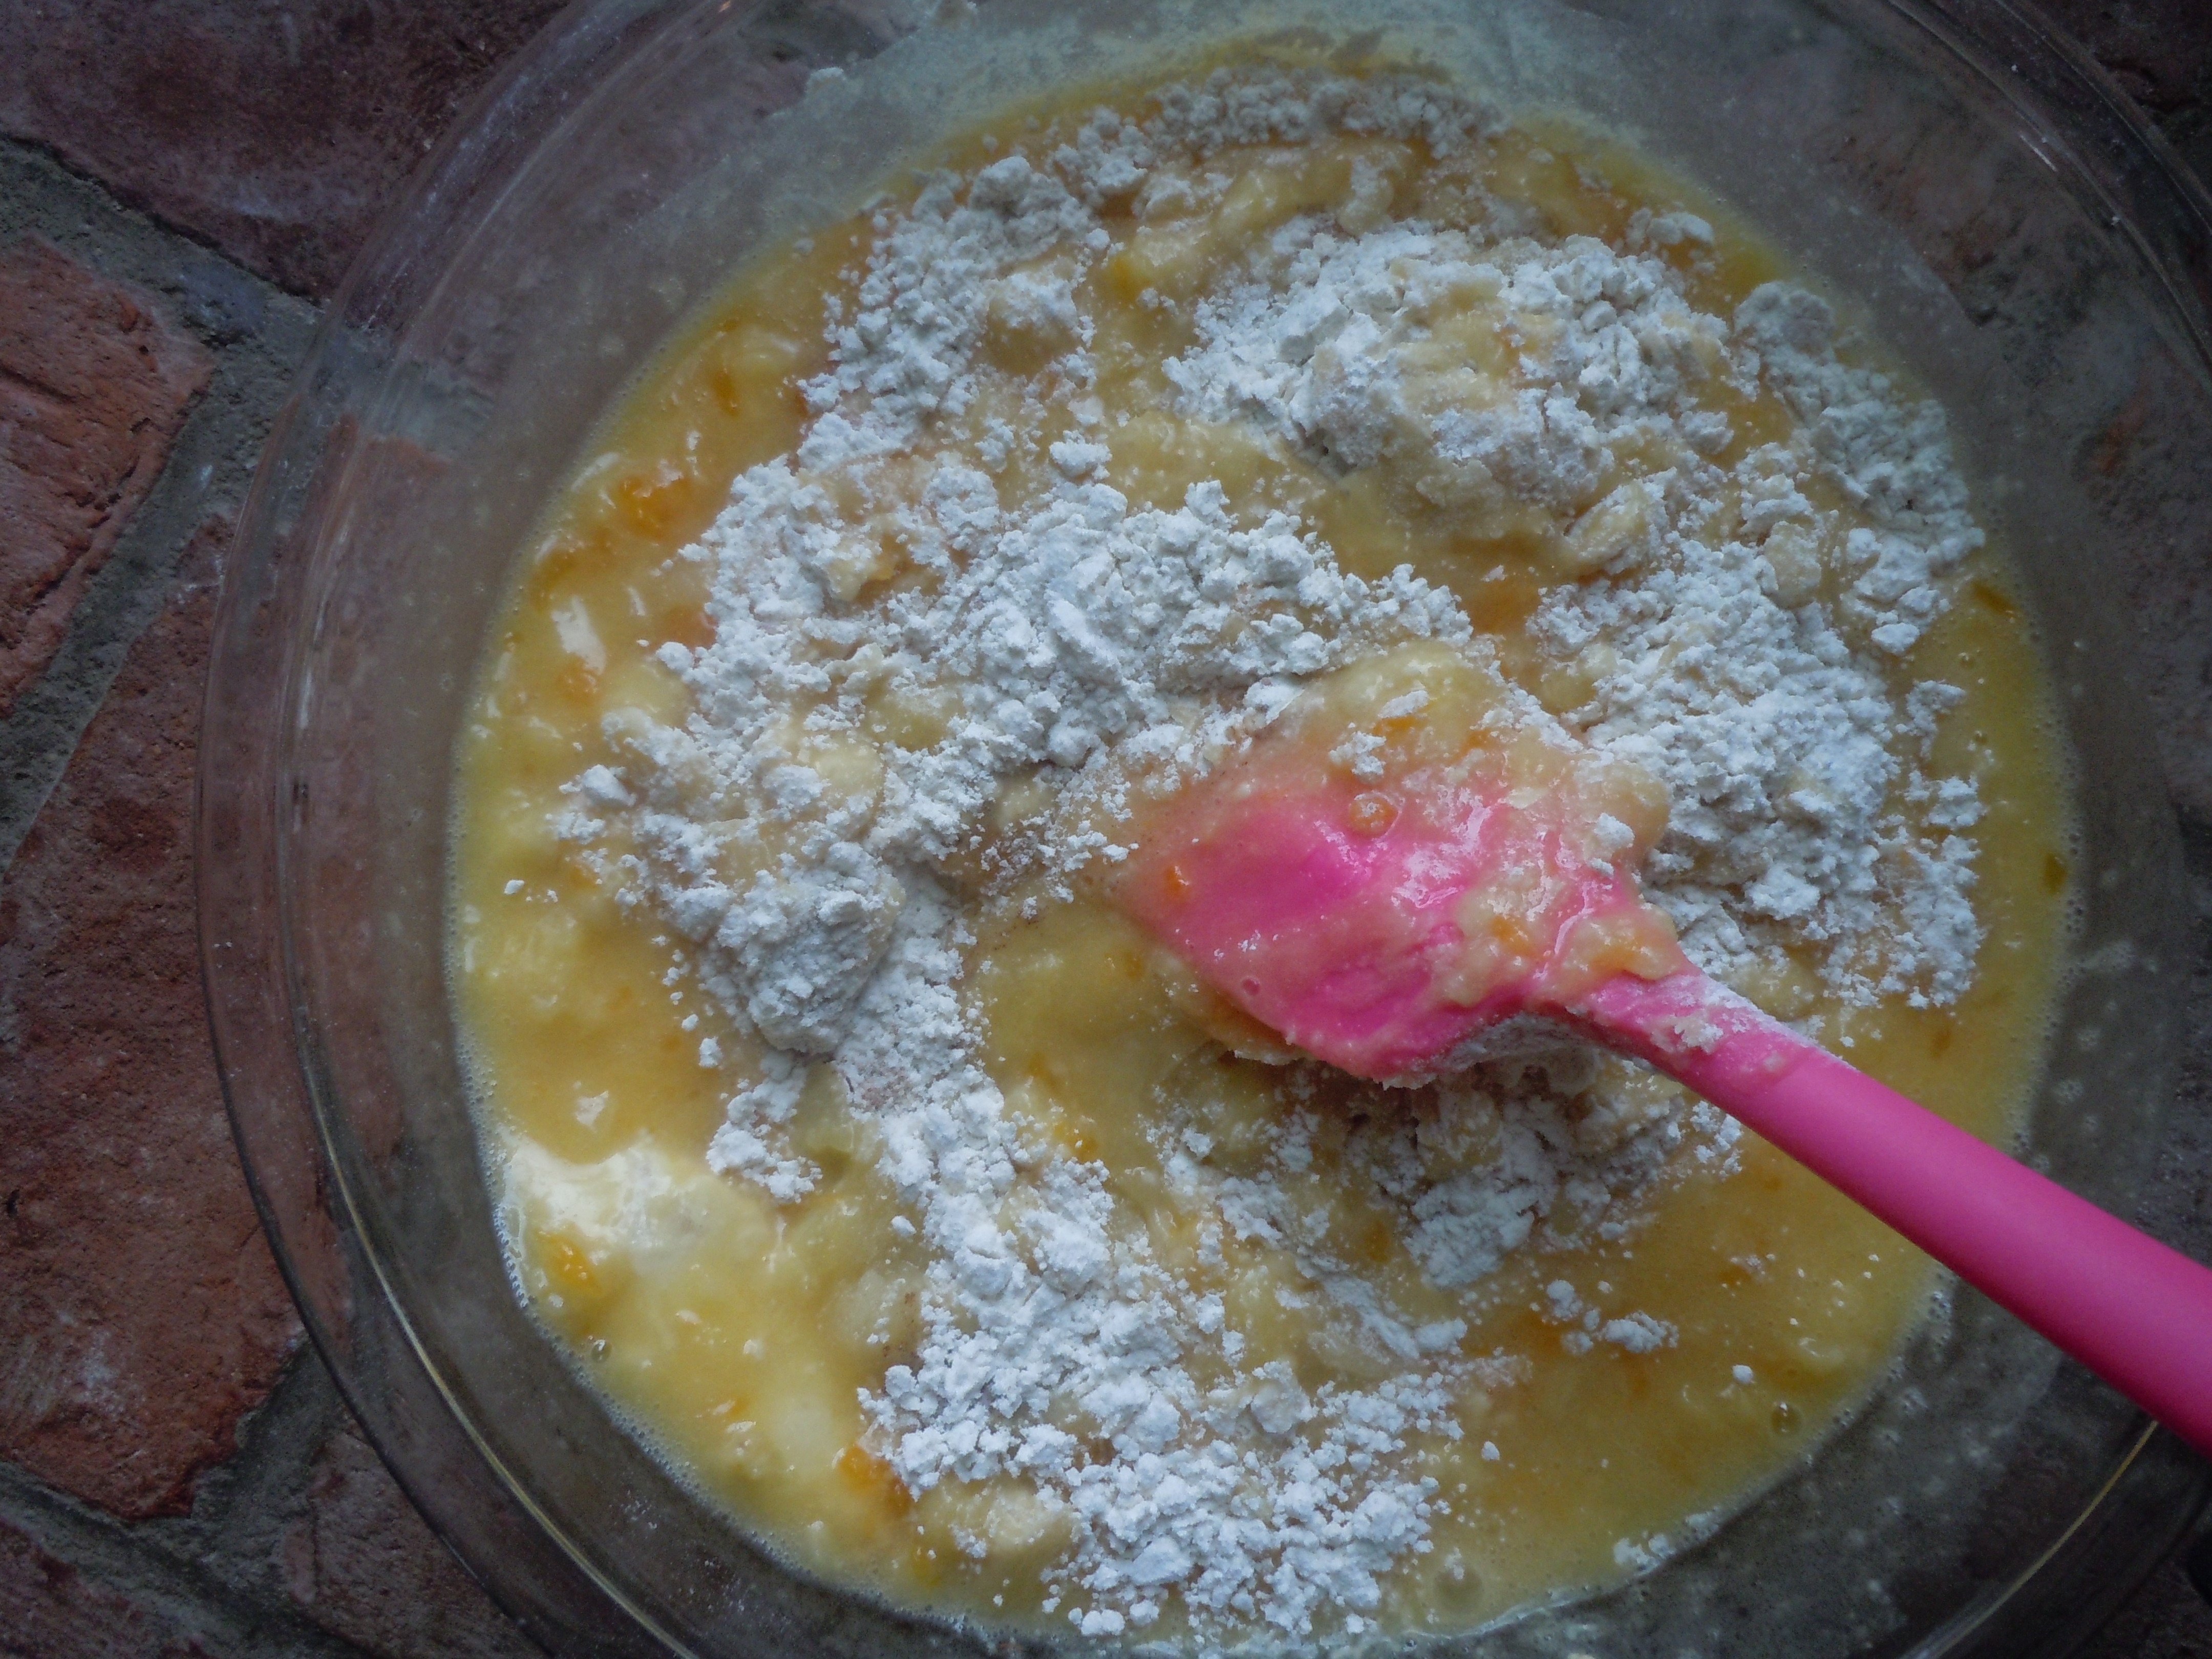
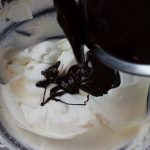
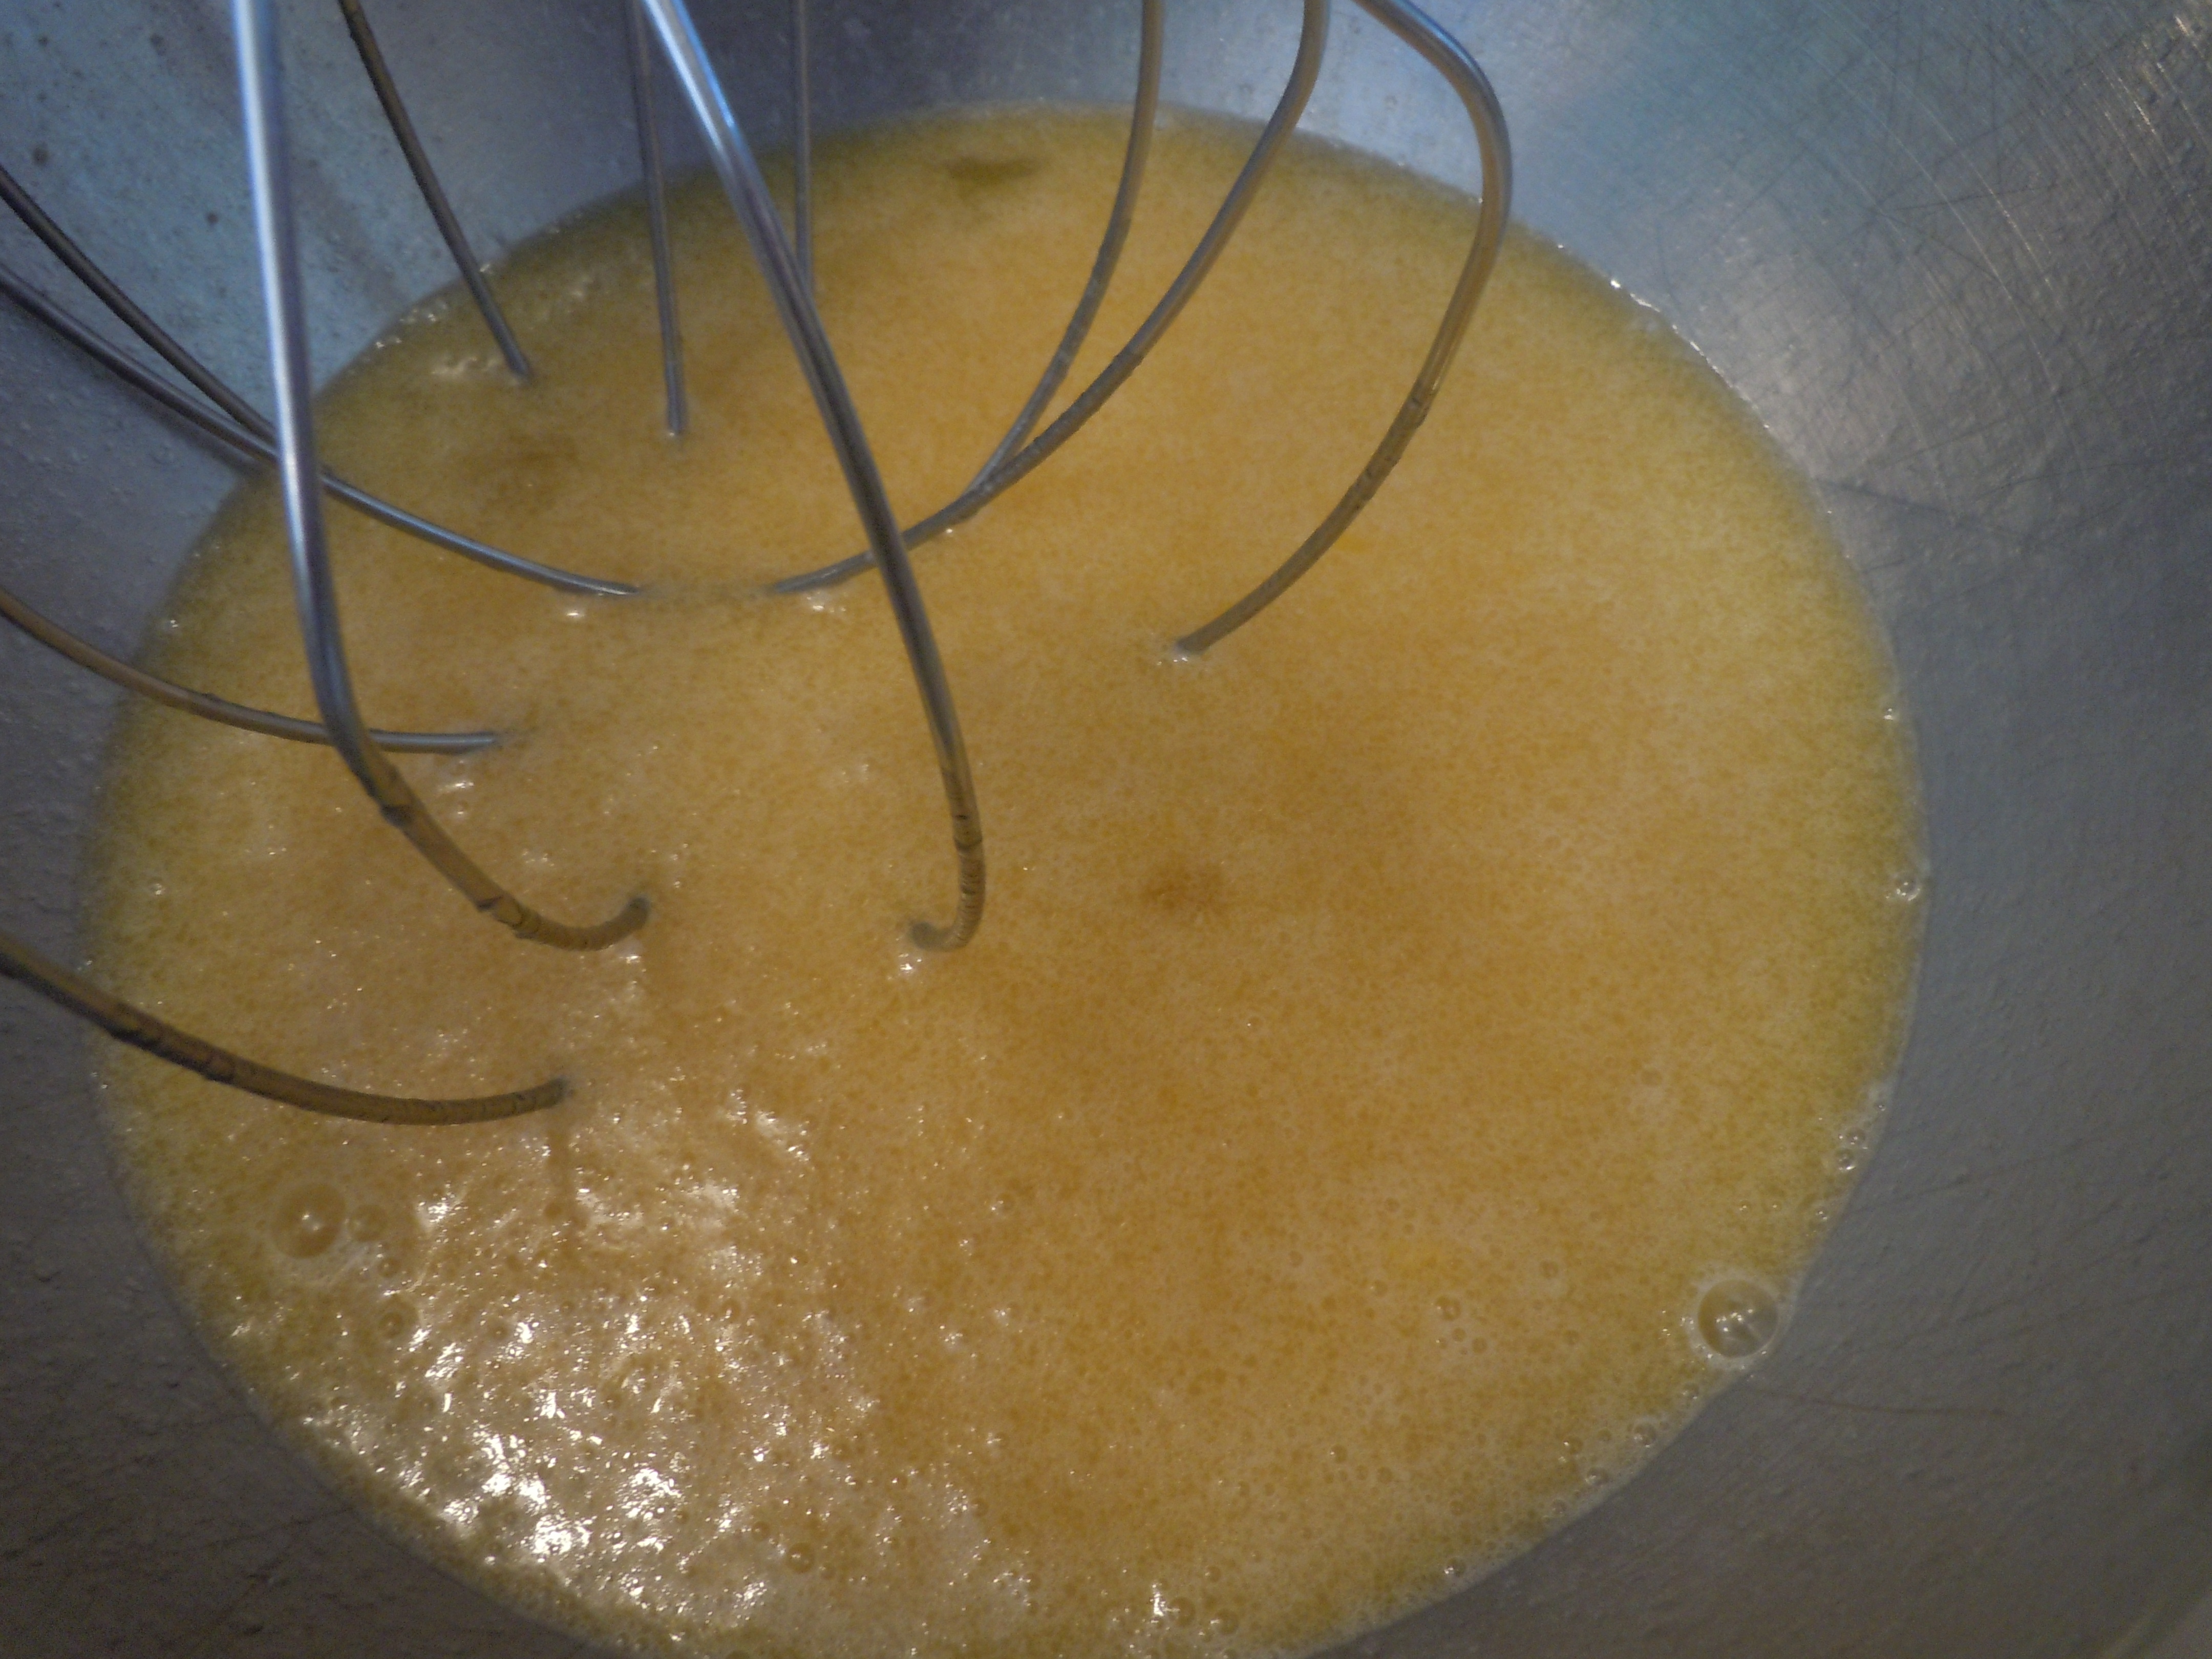
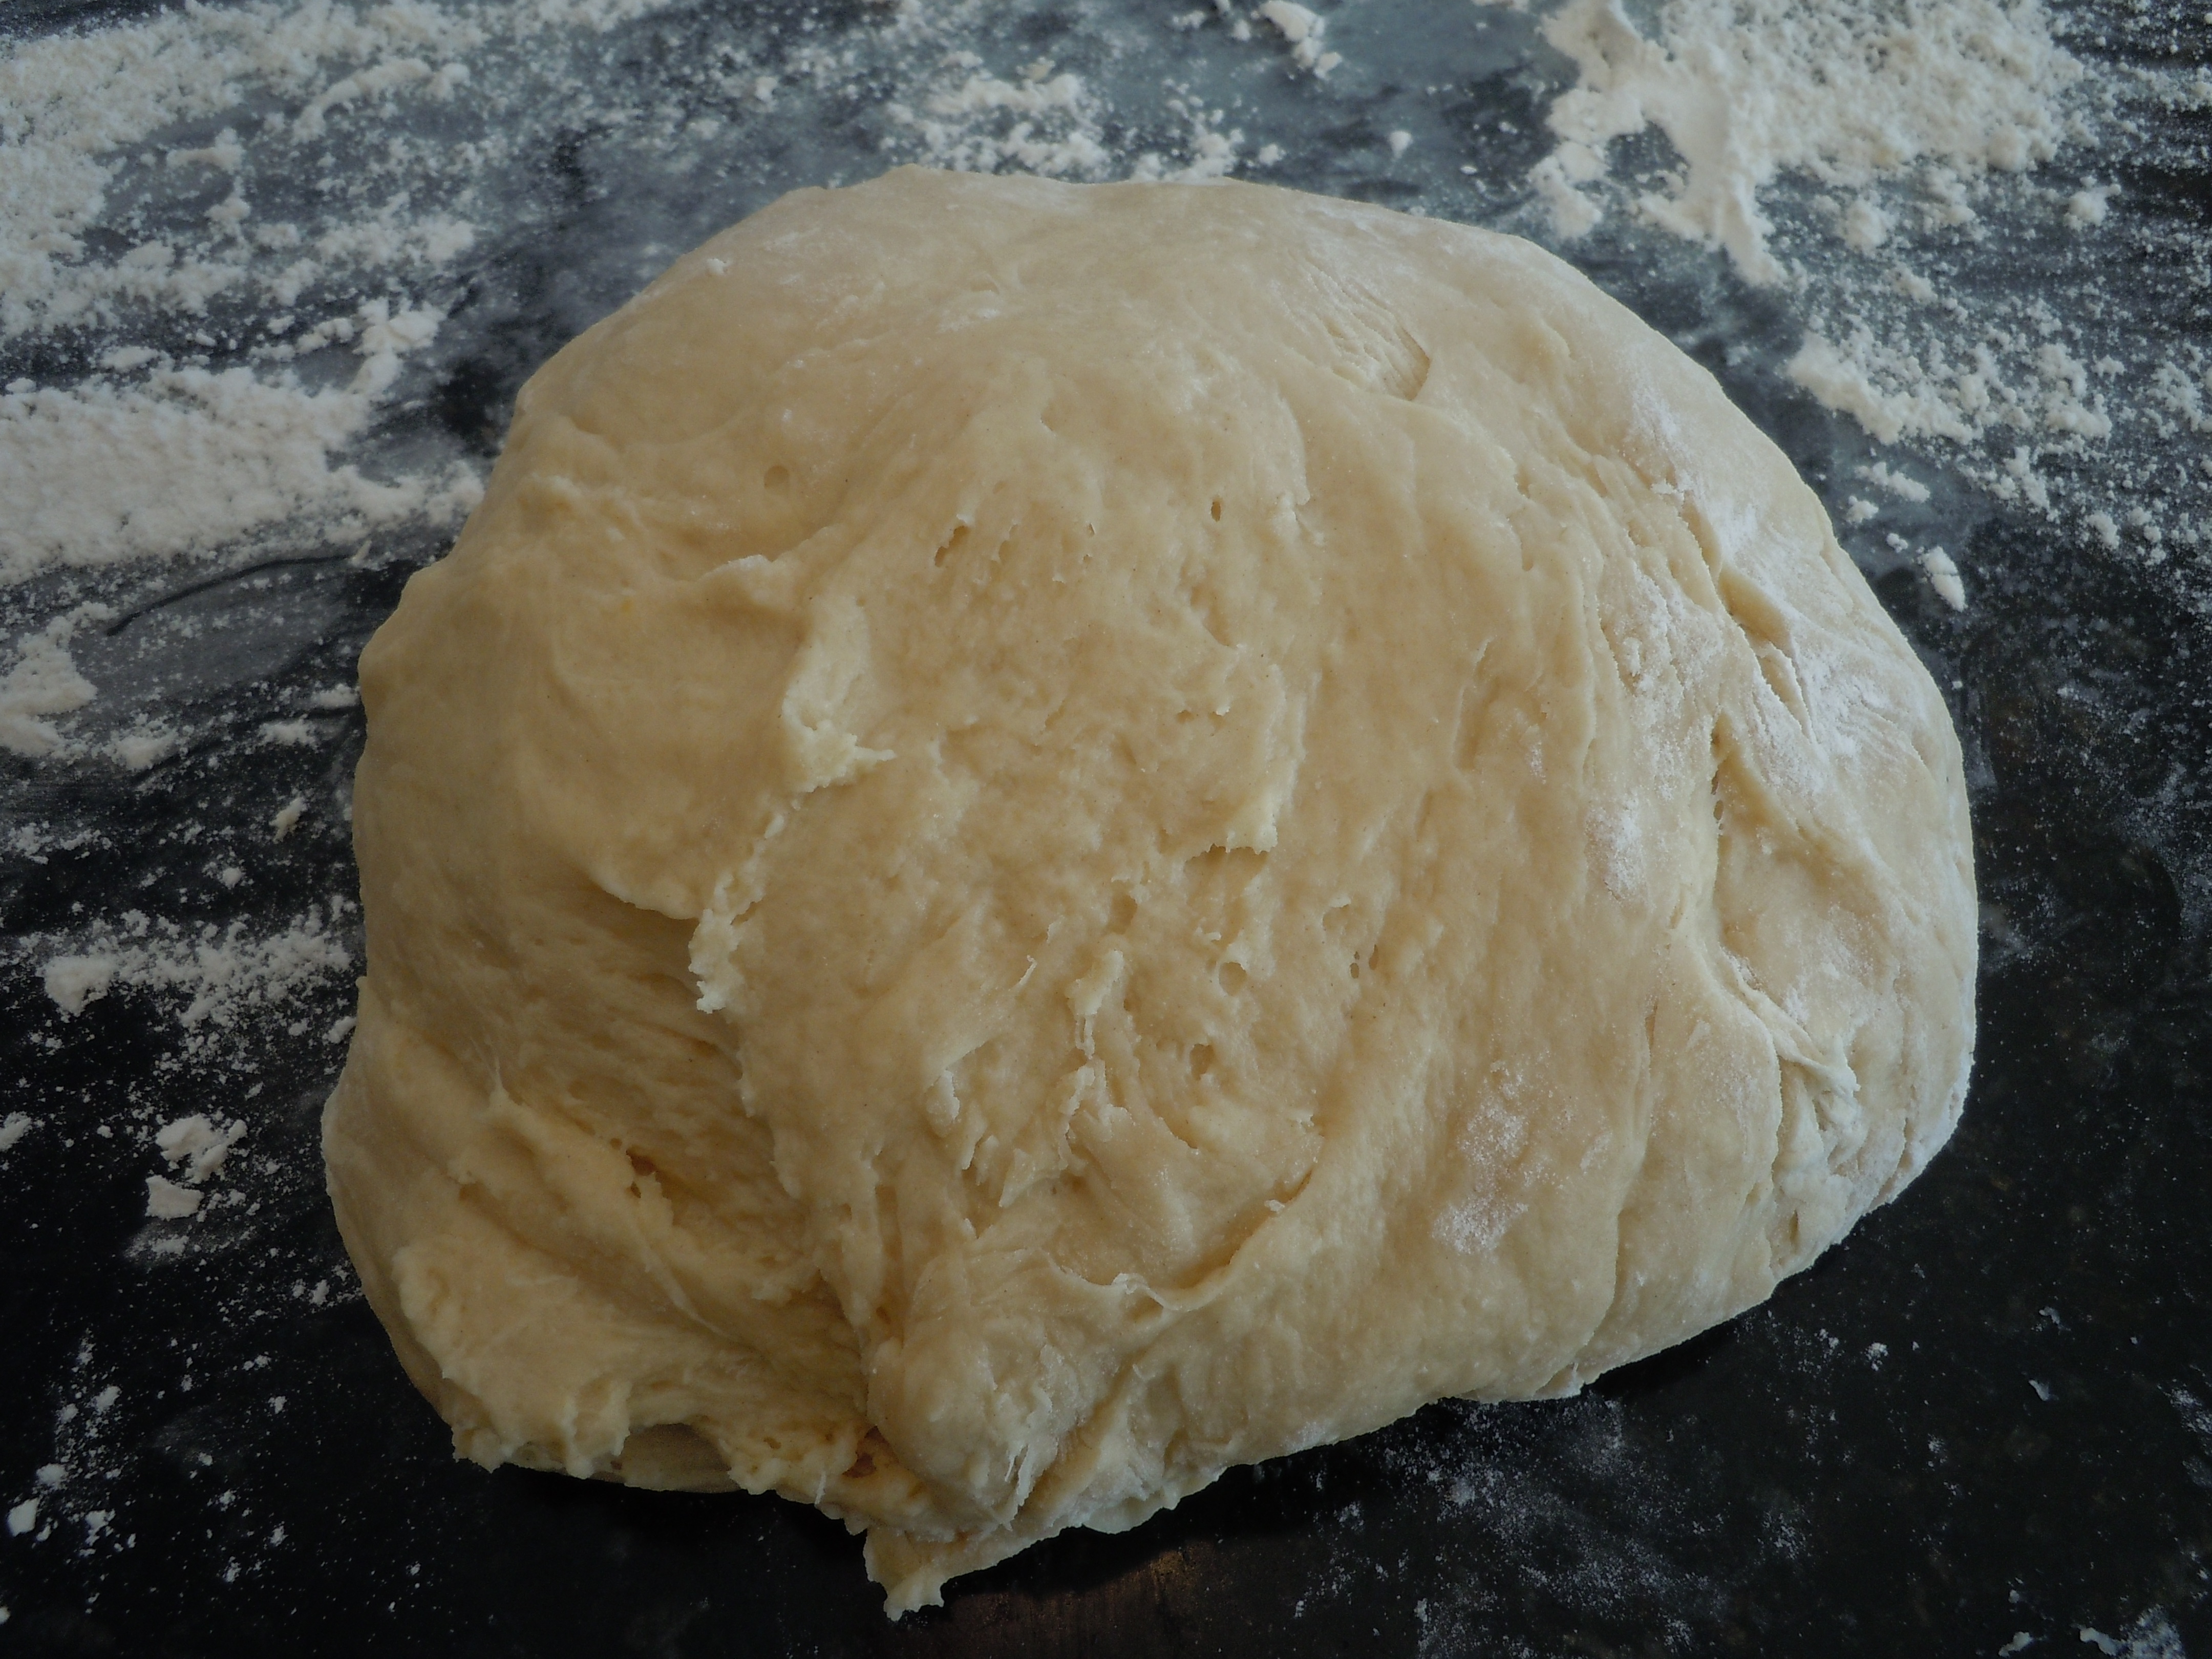
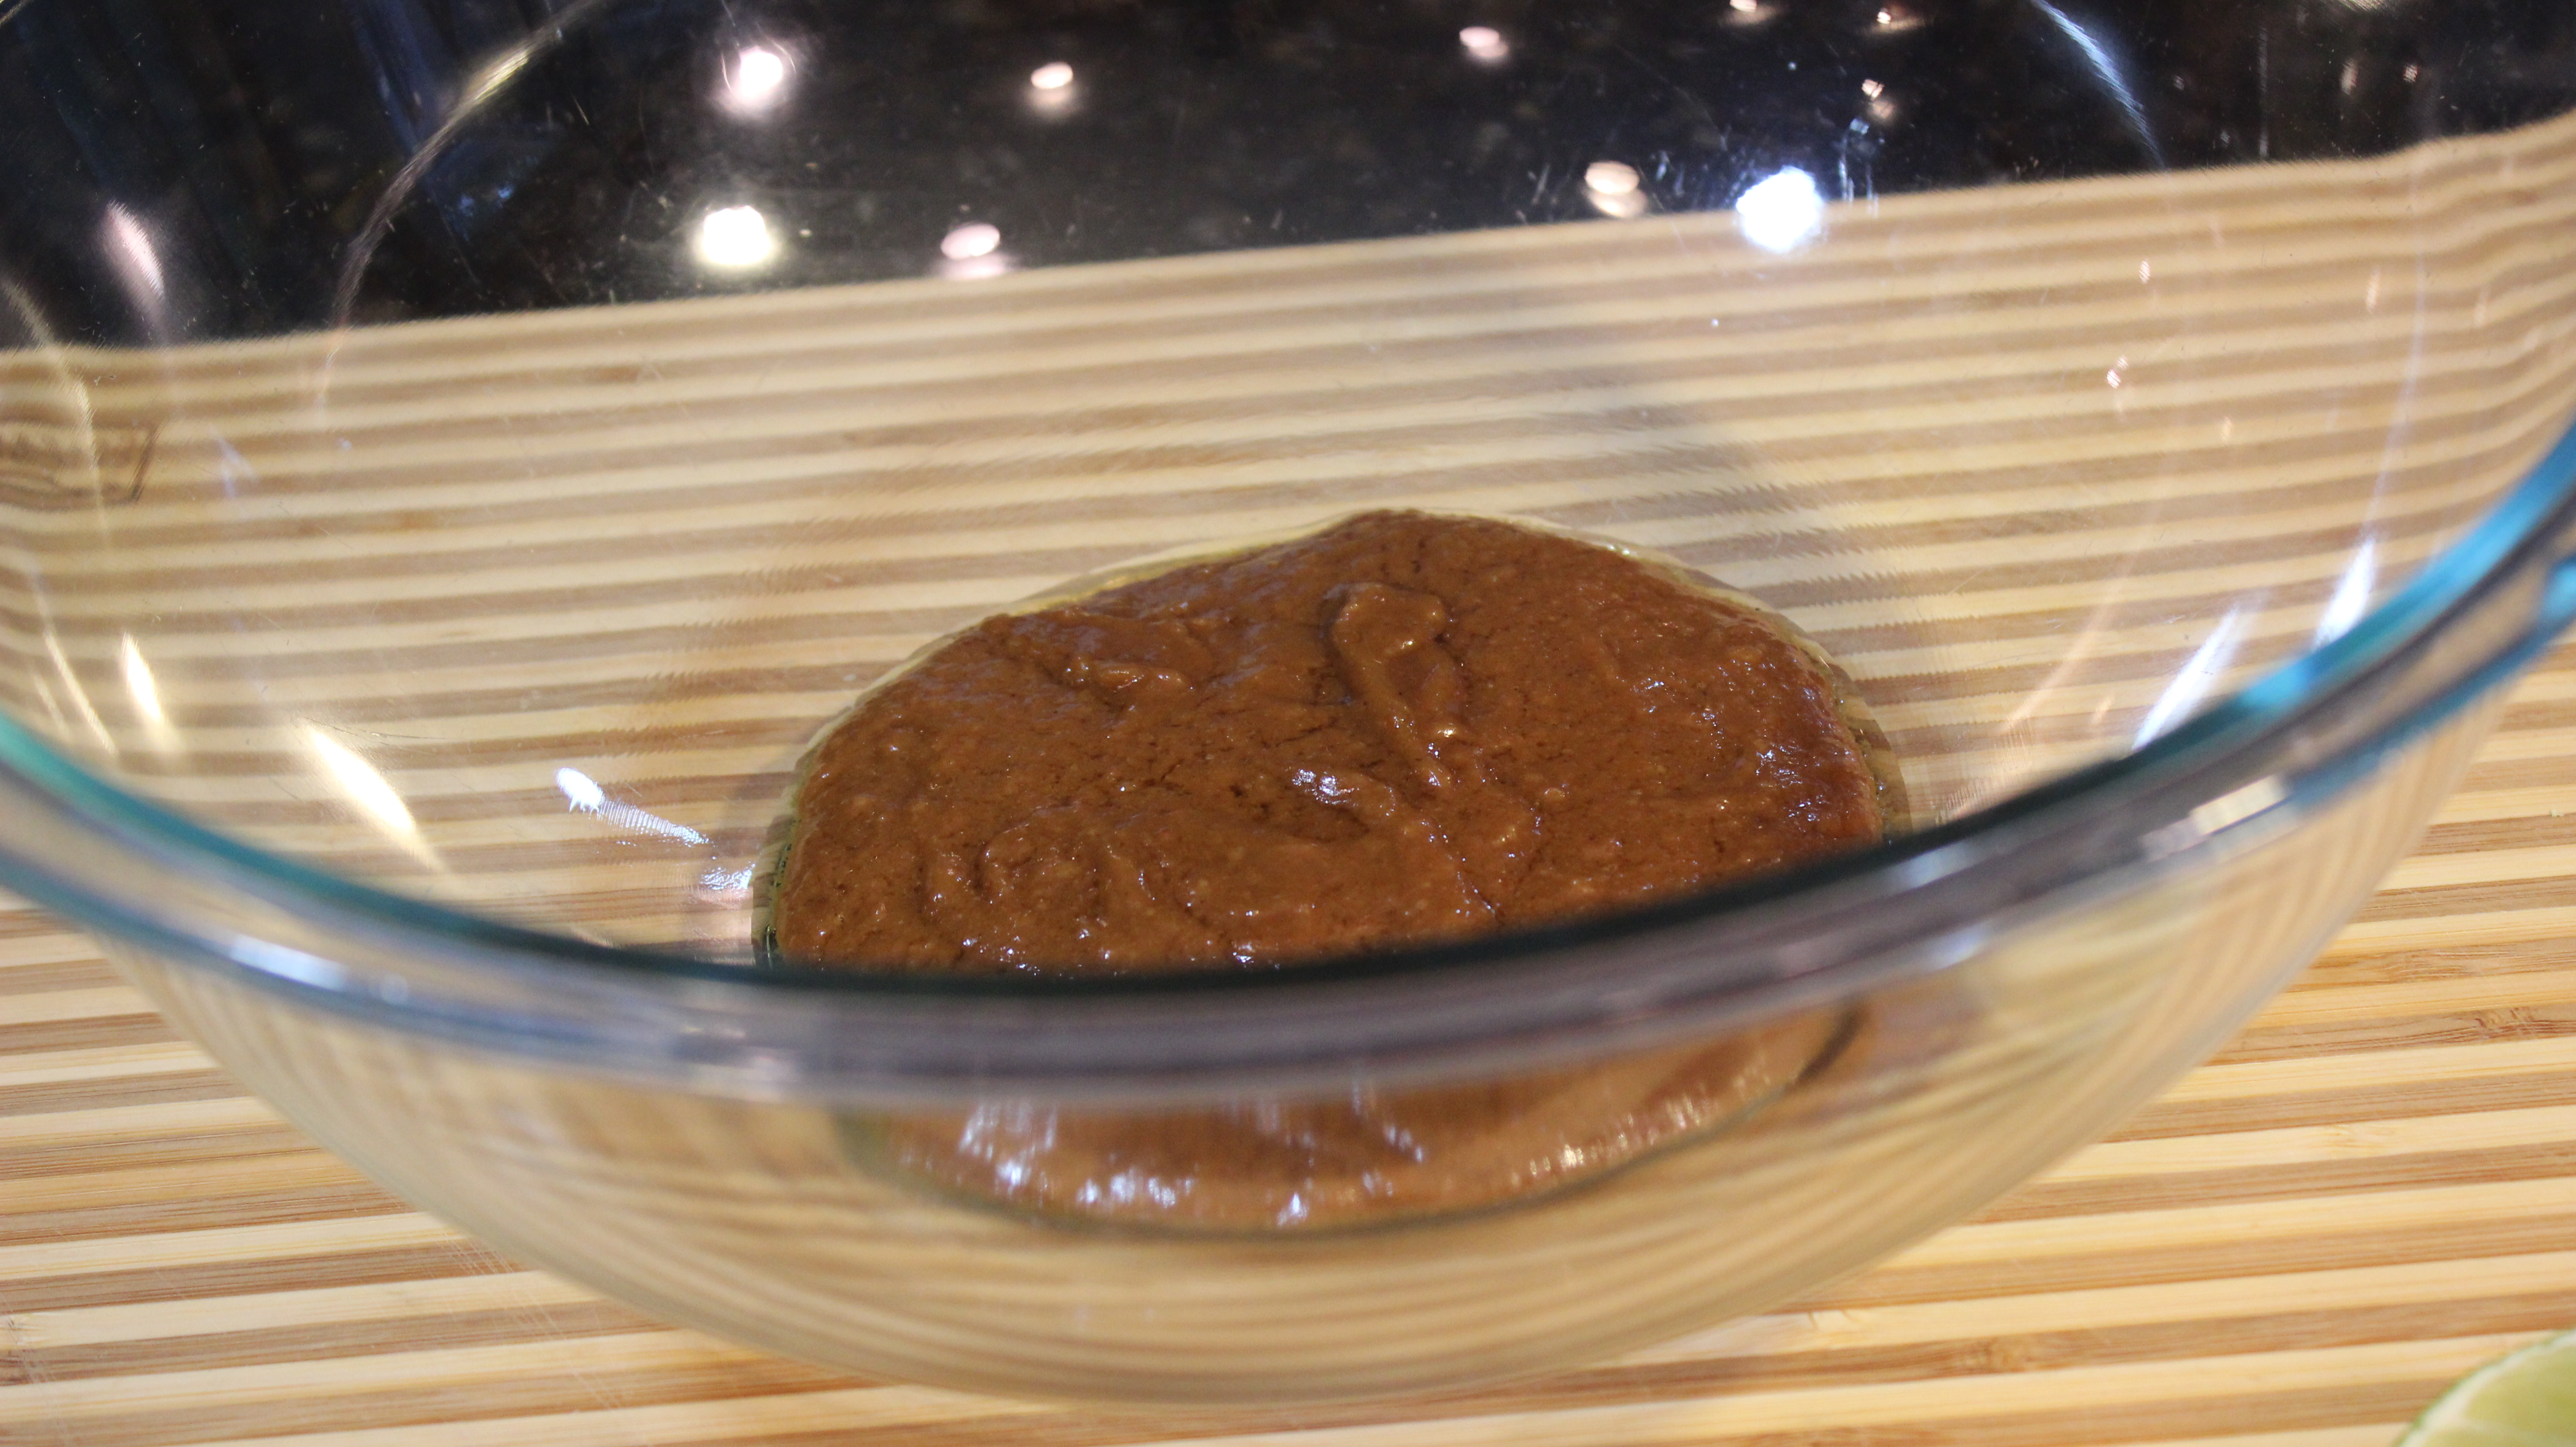
- Empty out into a bowl to cool, only cool to room temperature NOT COLD because the chocolate will solidify and it will be difficult to fold into the whipped cream
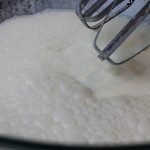
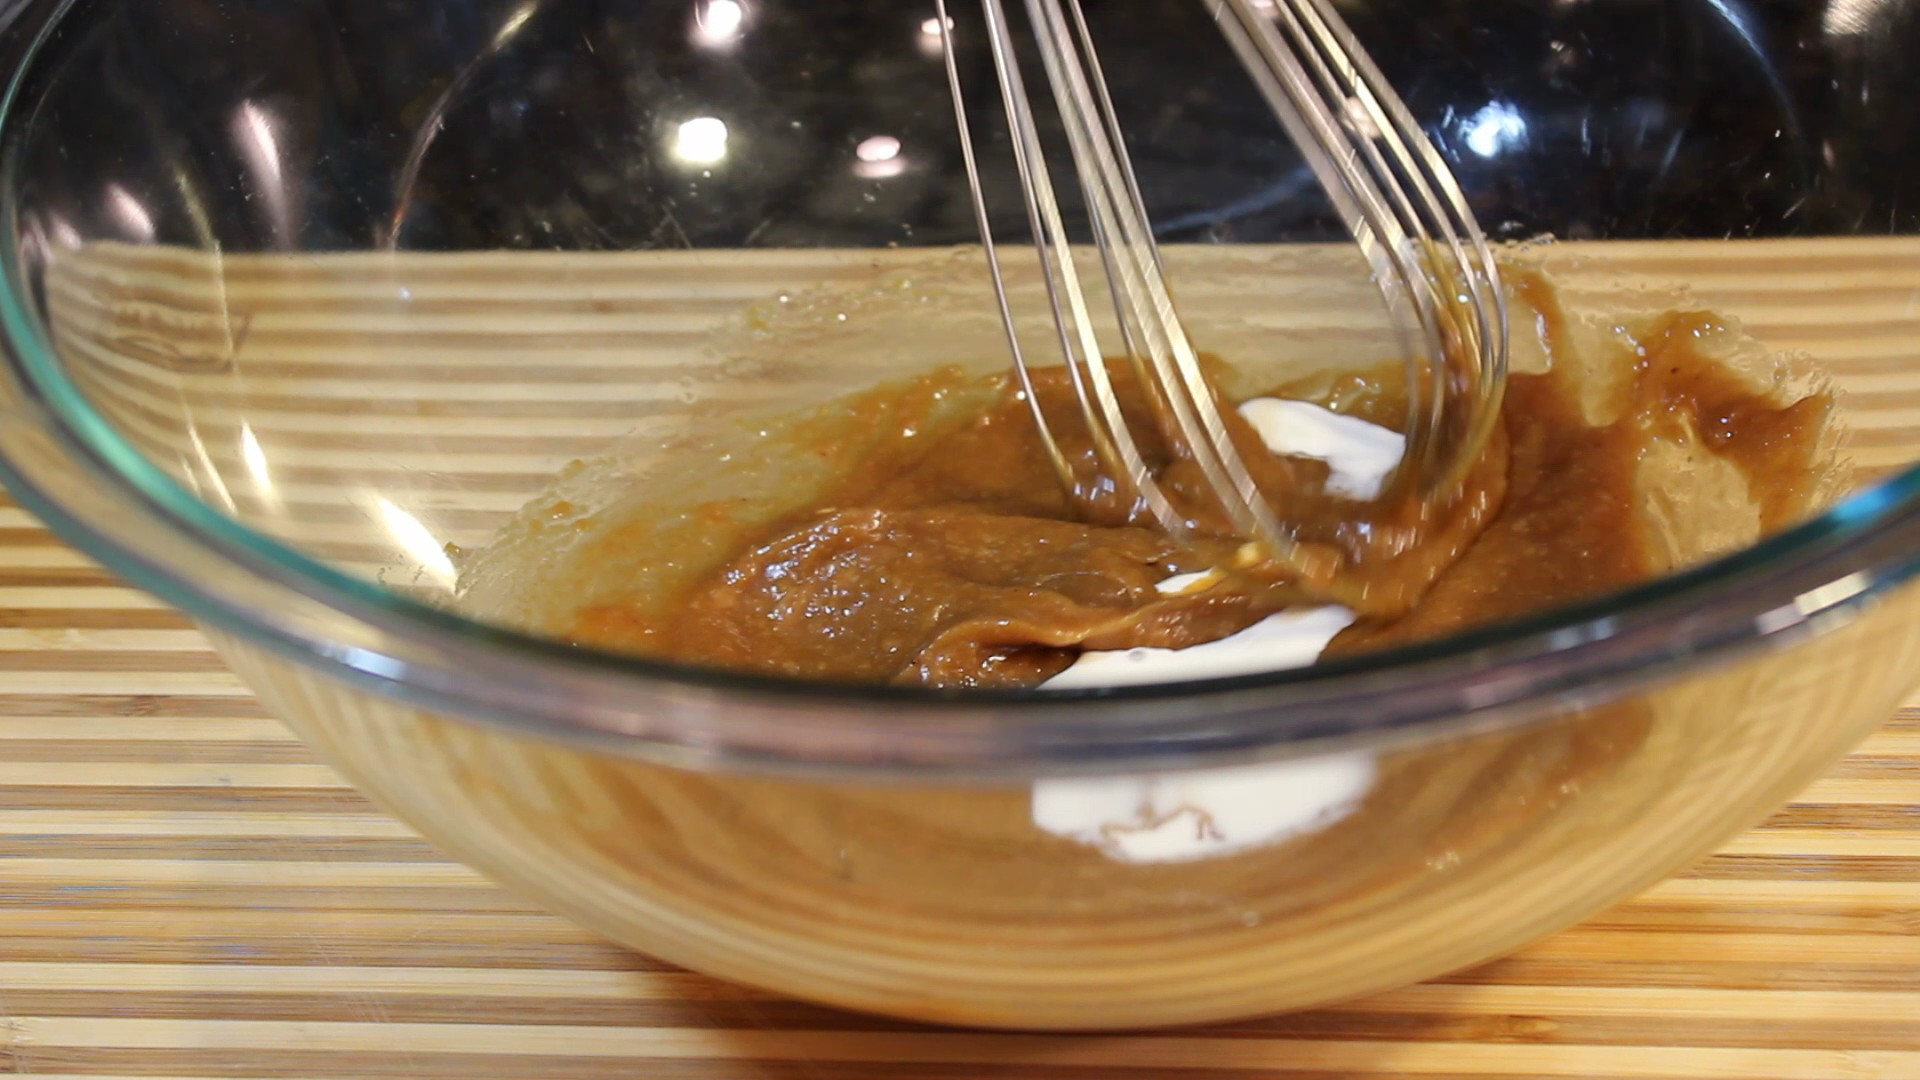
- When chocolate is close to room temp add 2 cups heavy cream to a large glass bowl with 1/4 cup sugar and begin to whisk with electric beater
- Whisk the cream until stiff peaks, 3-5 minutes
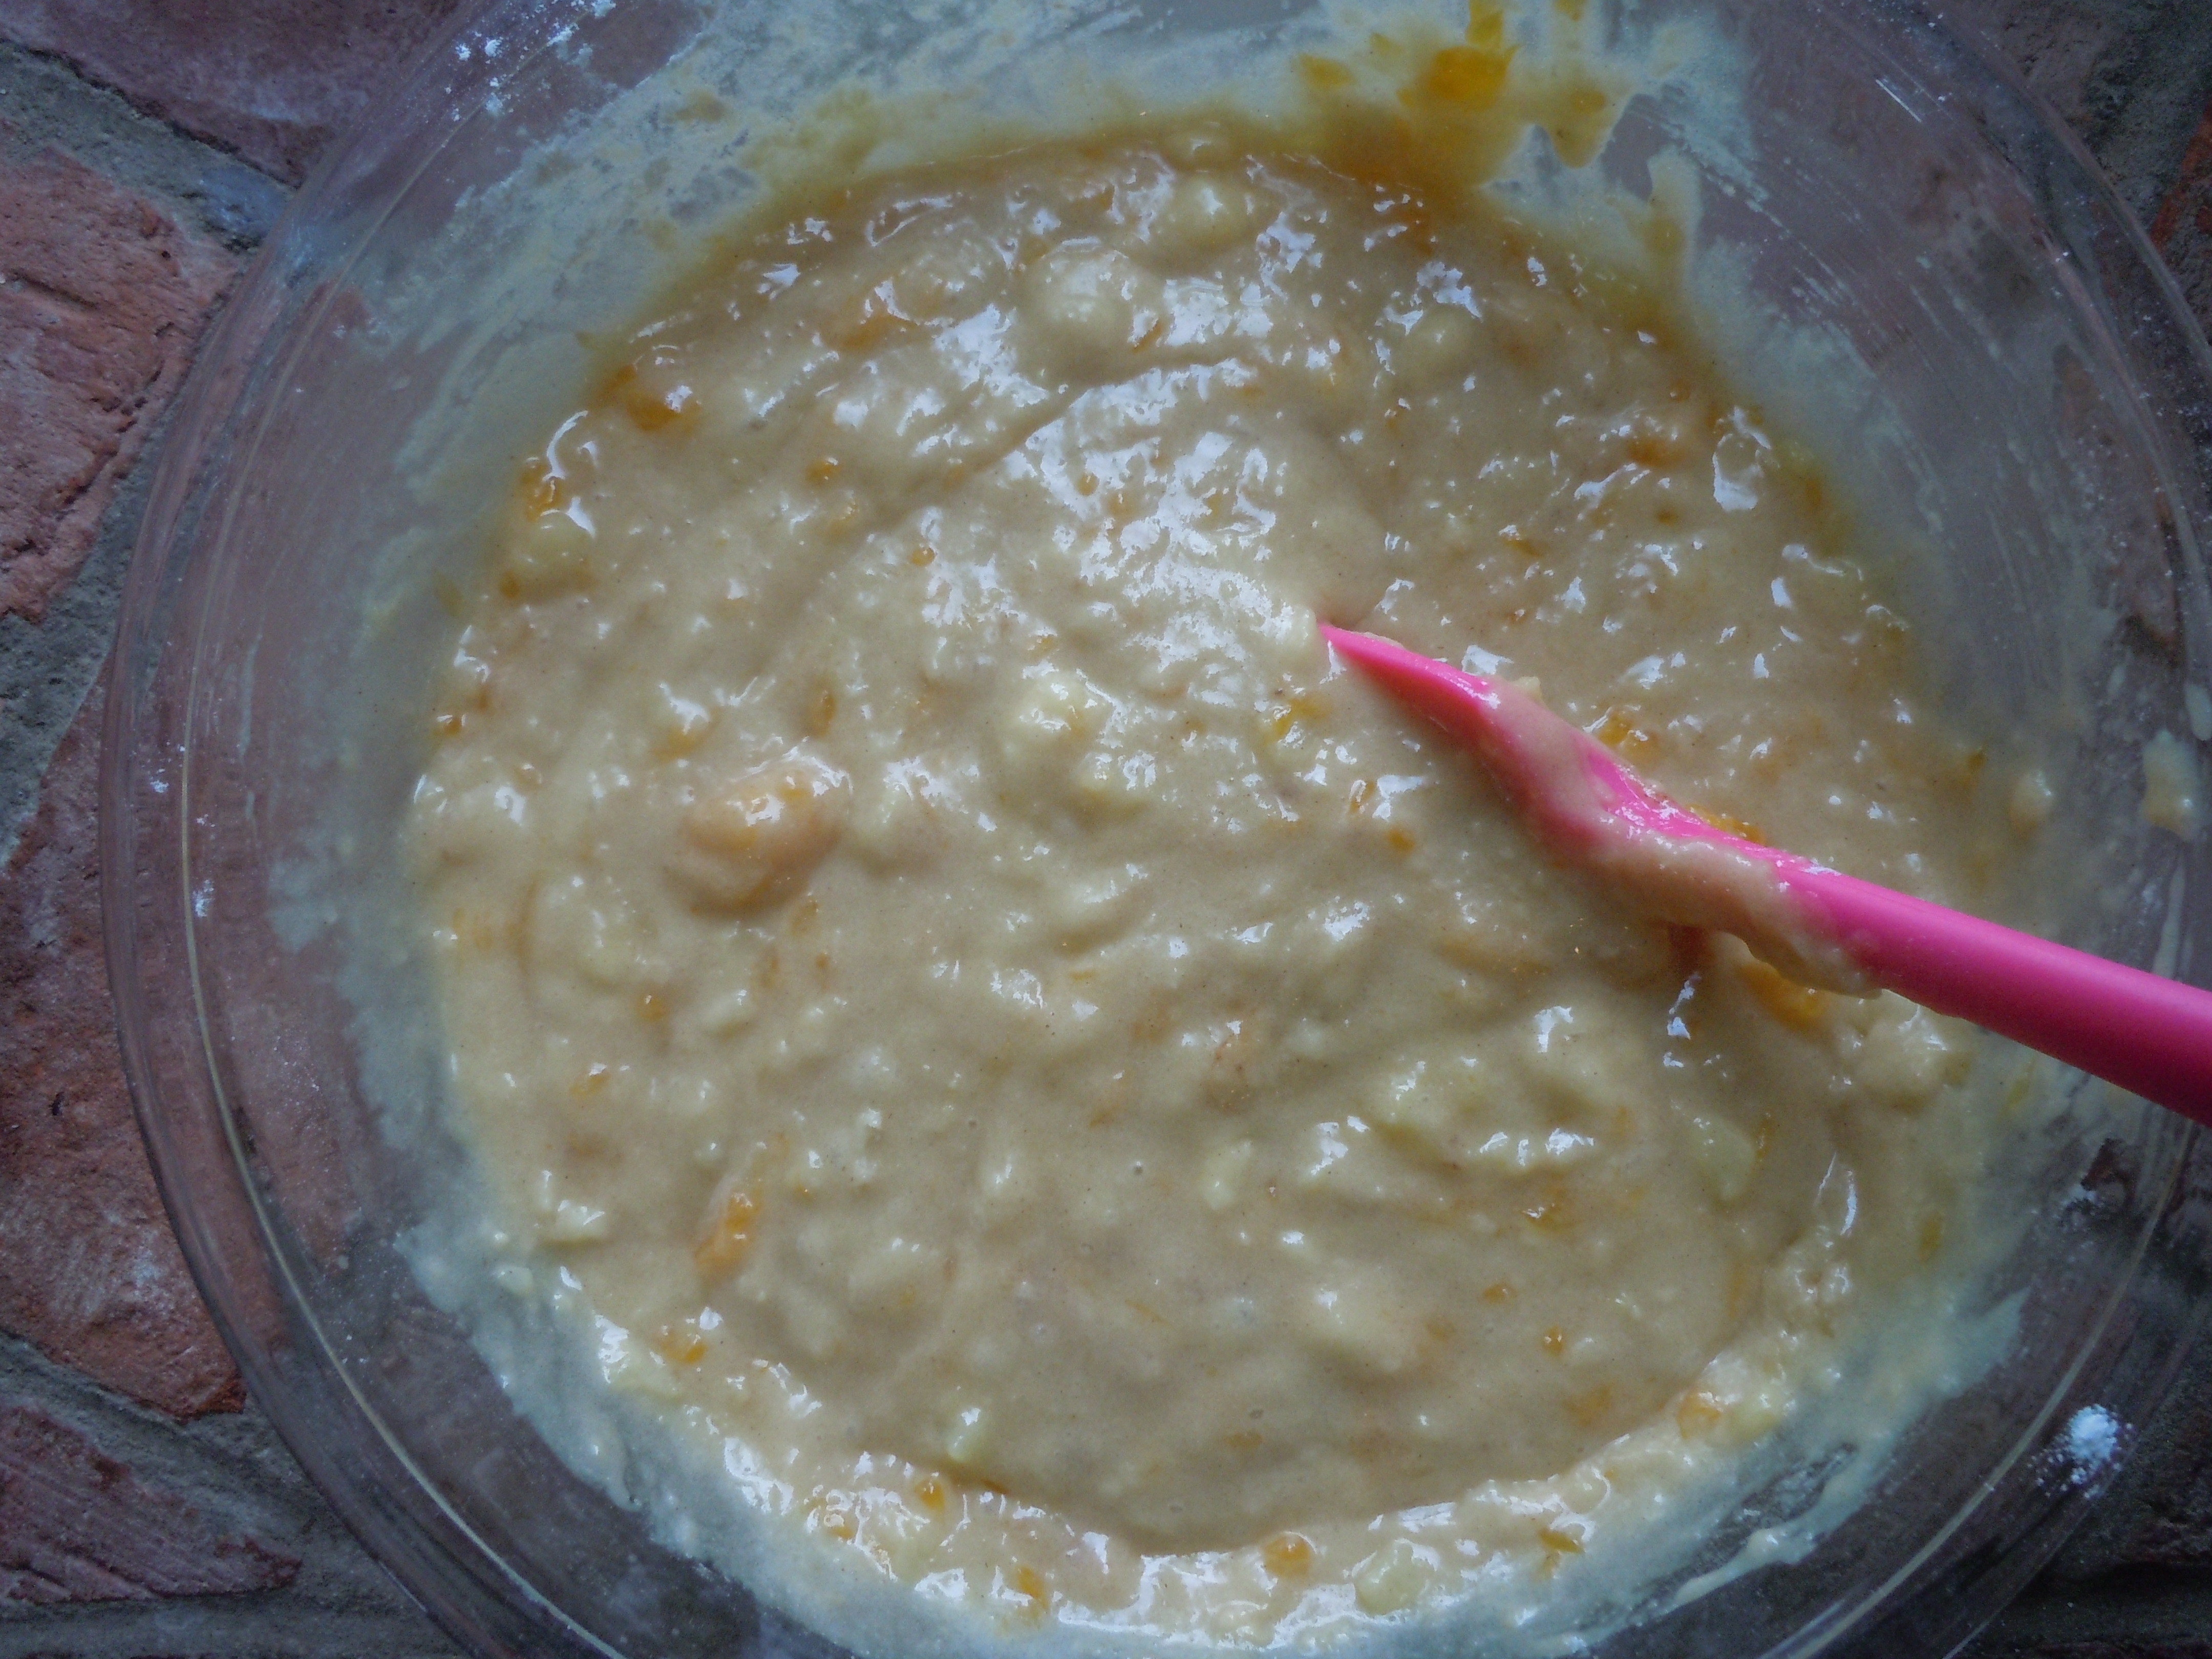
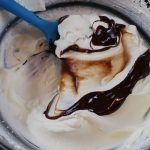
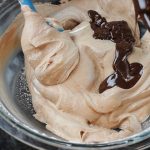
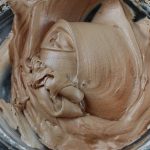
- Fold 1/2 cup at a time of the room temp chocolate into the whipped cream until there’s none left
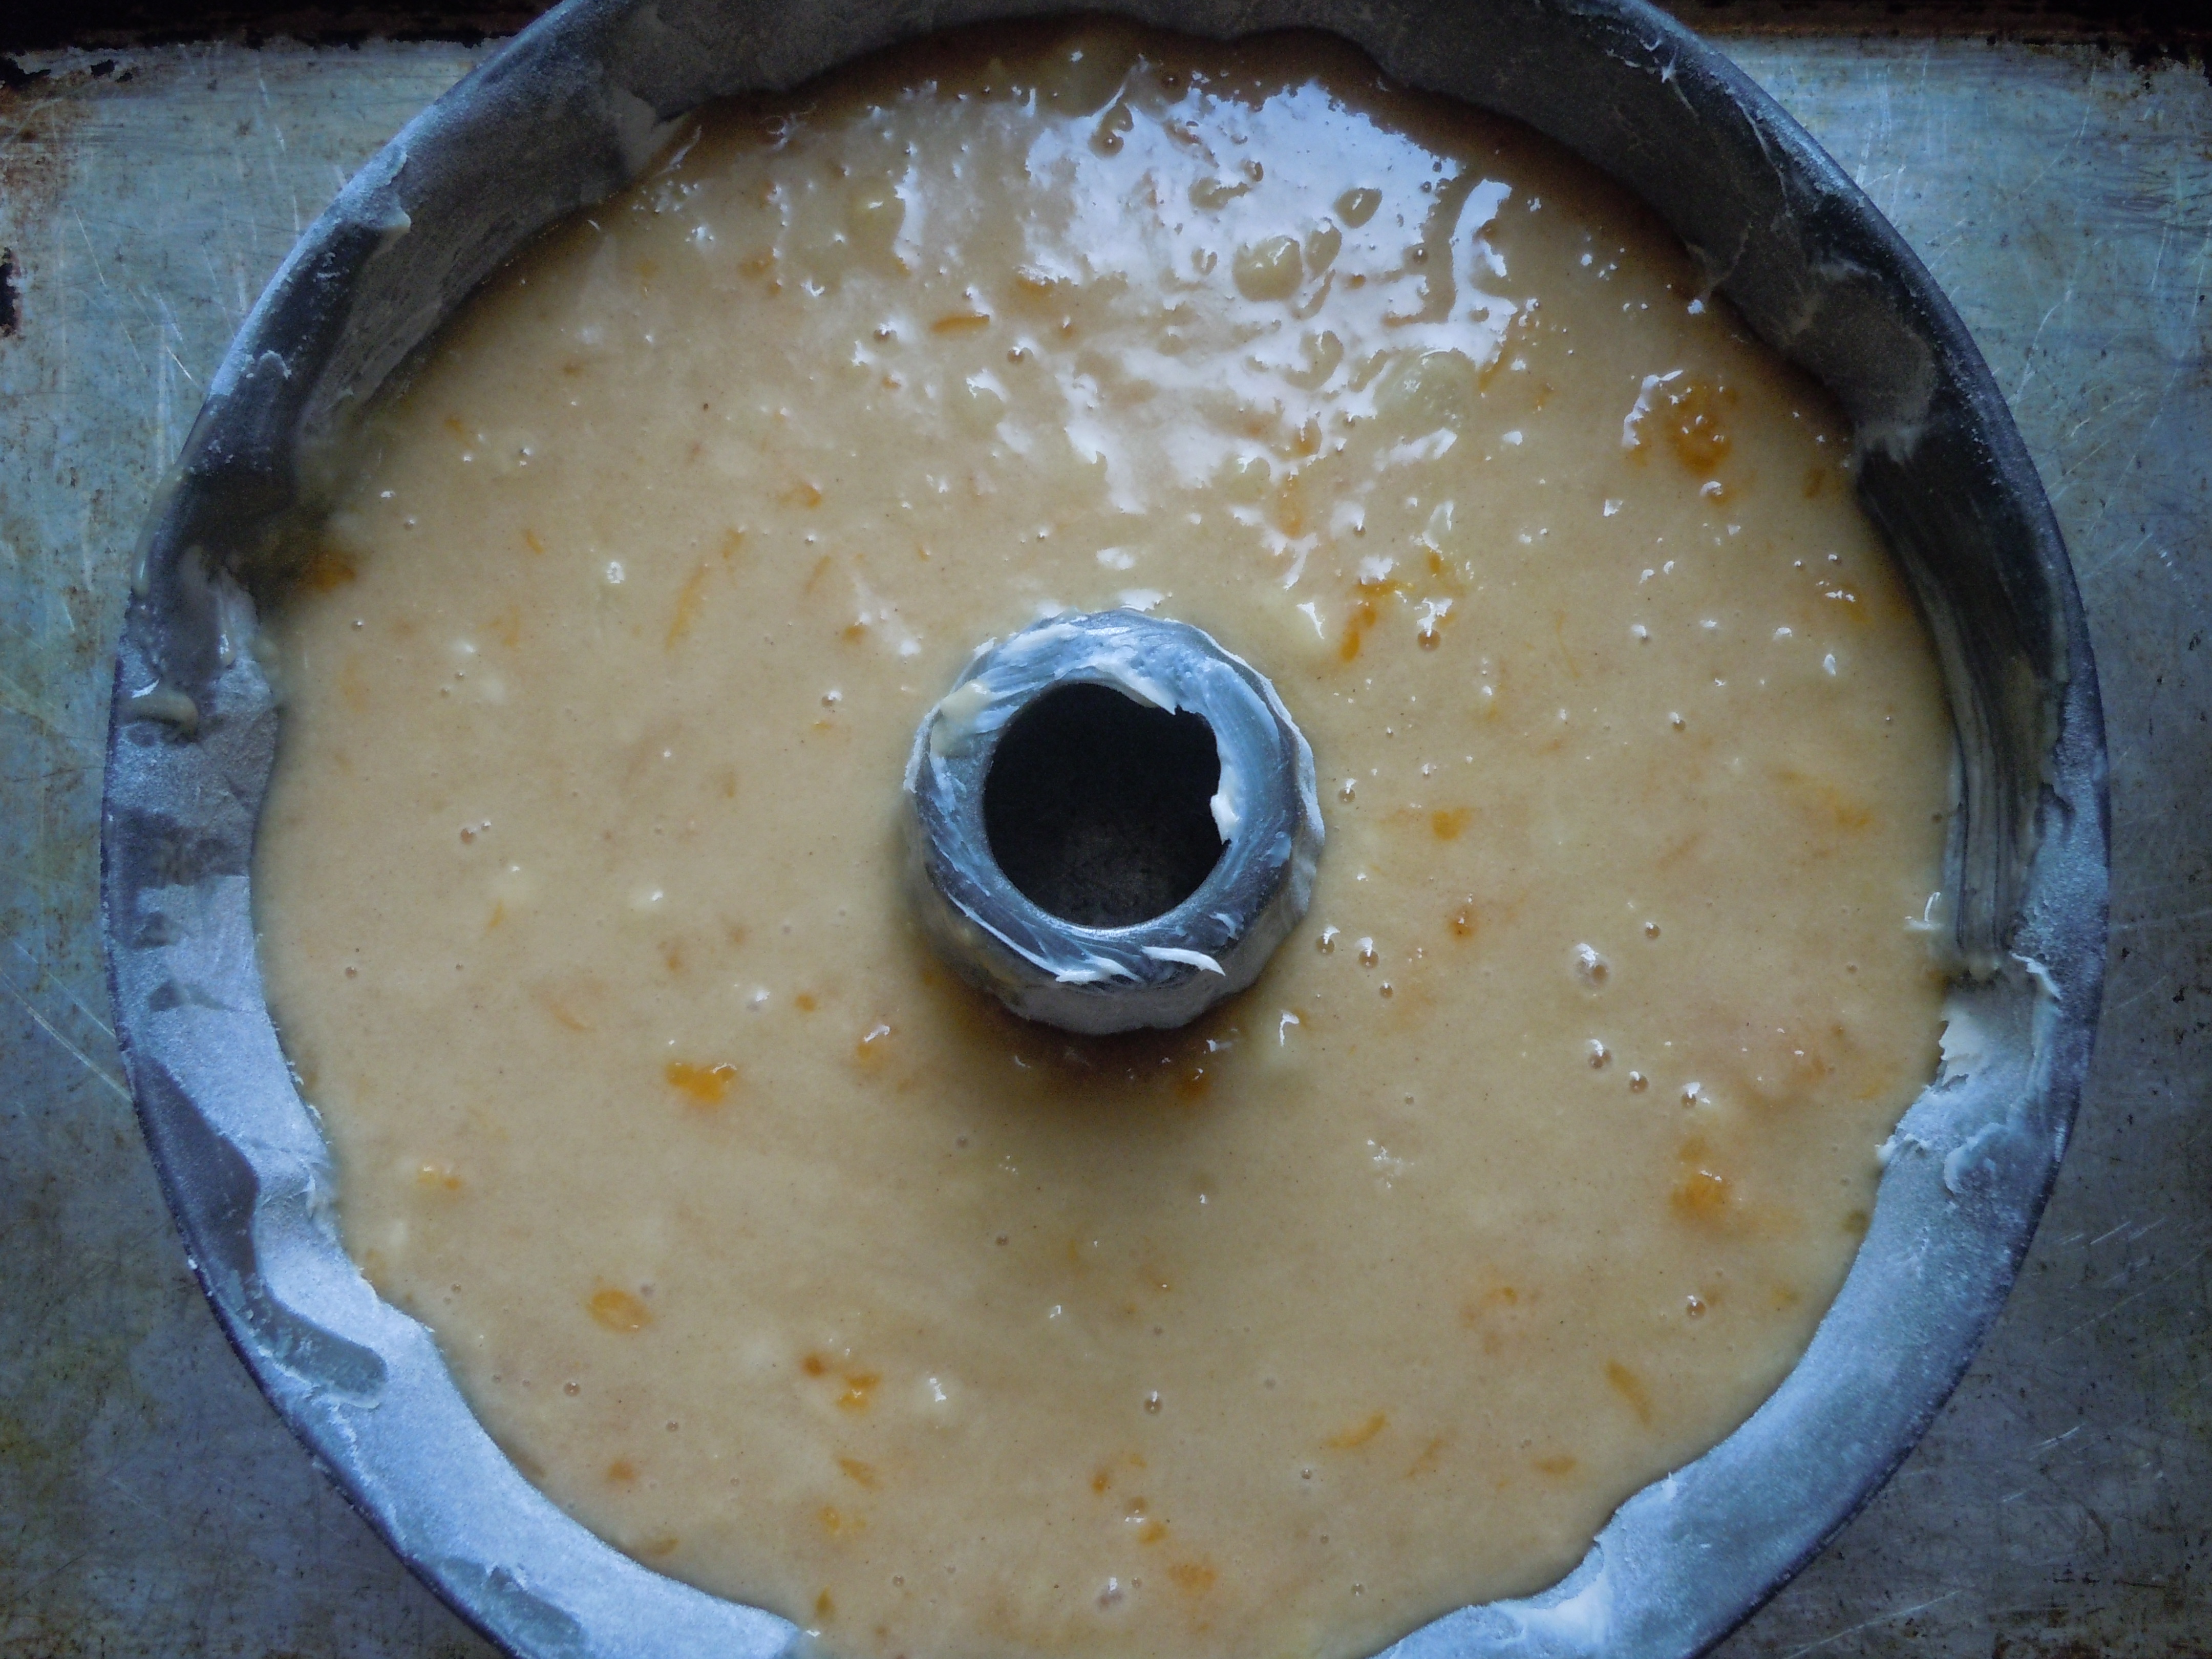
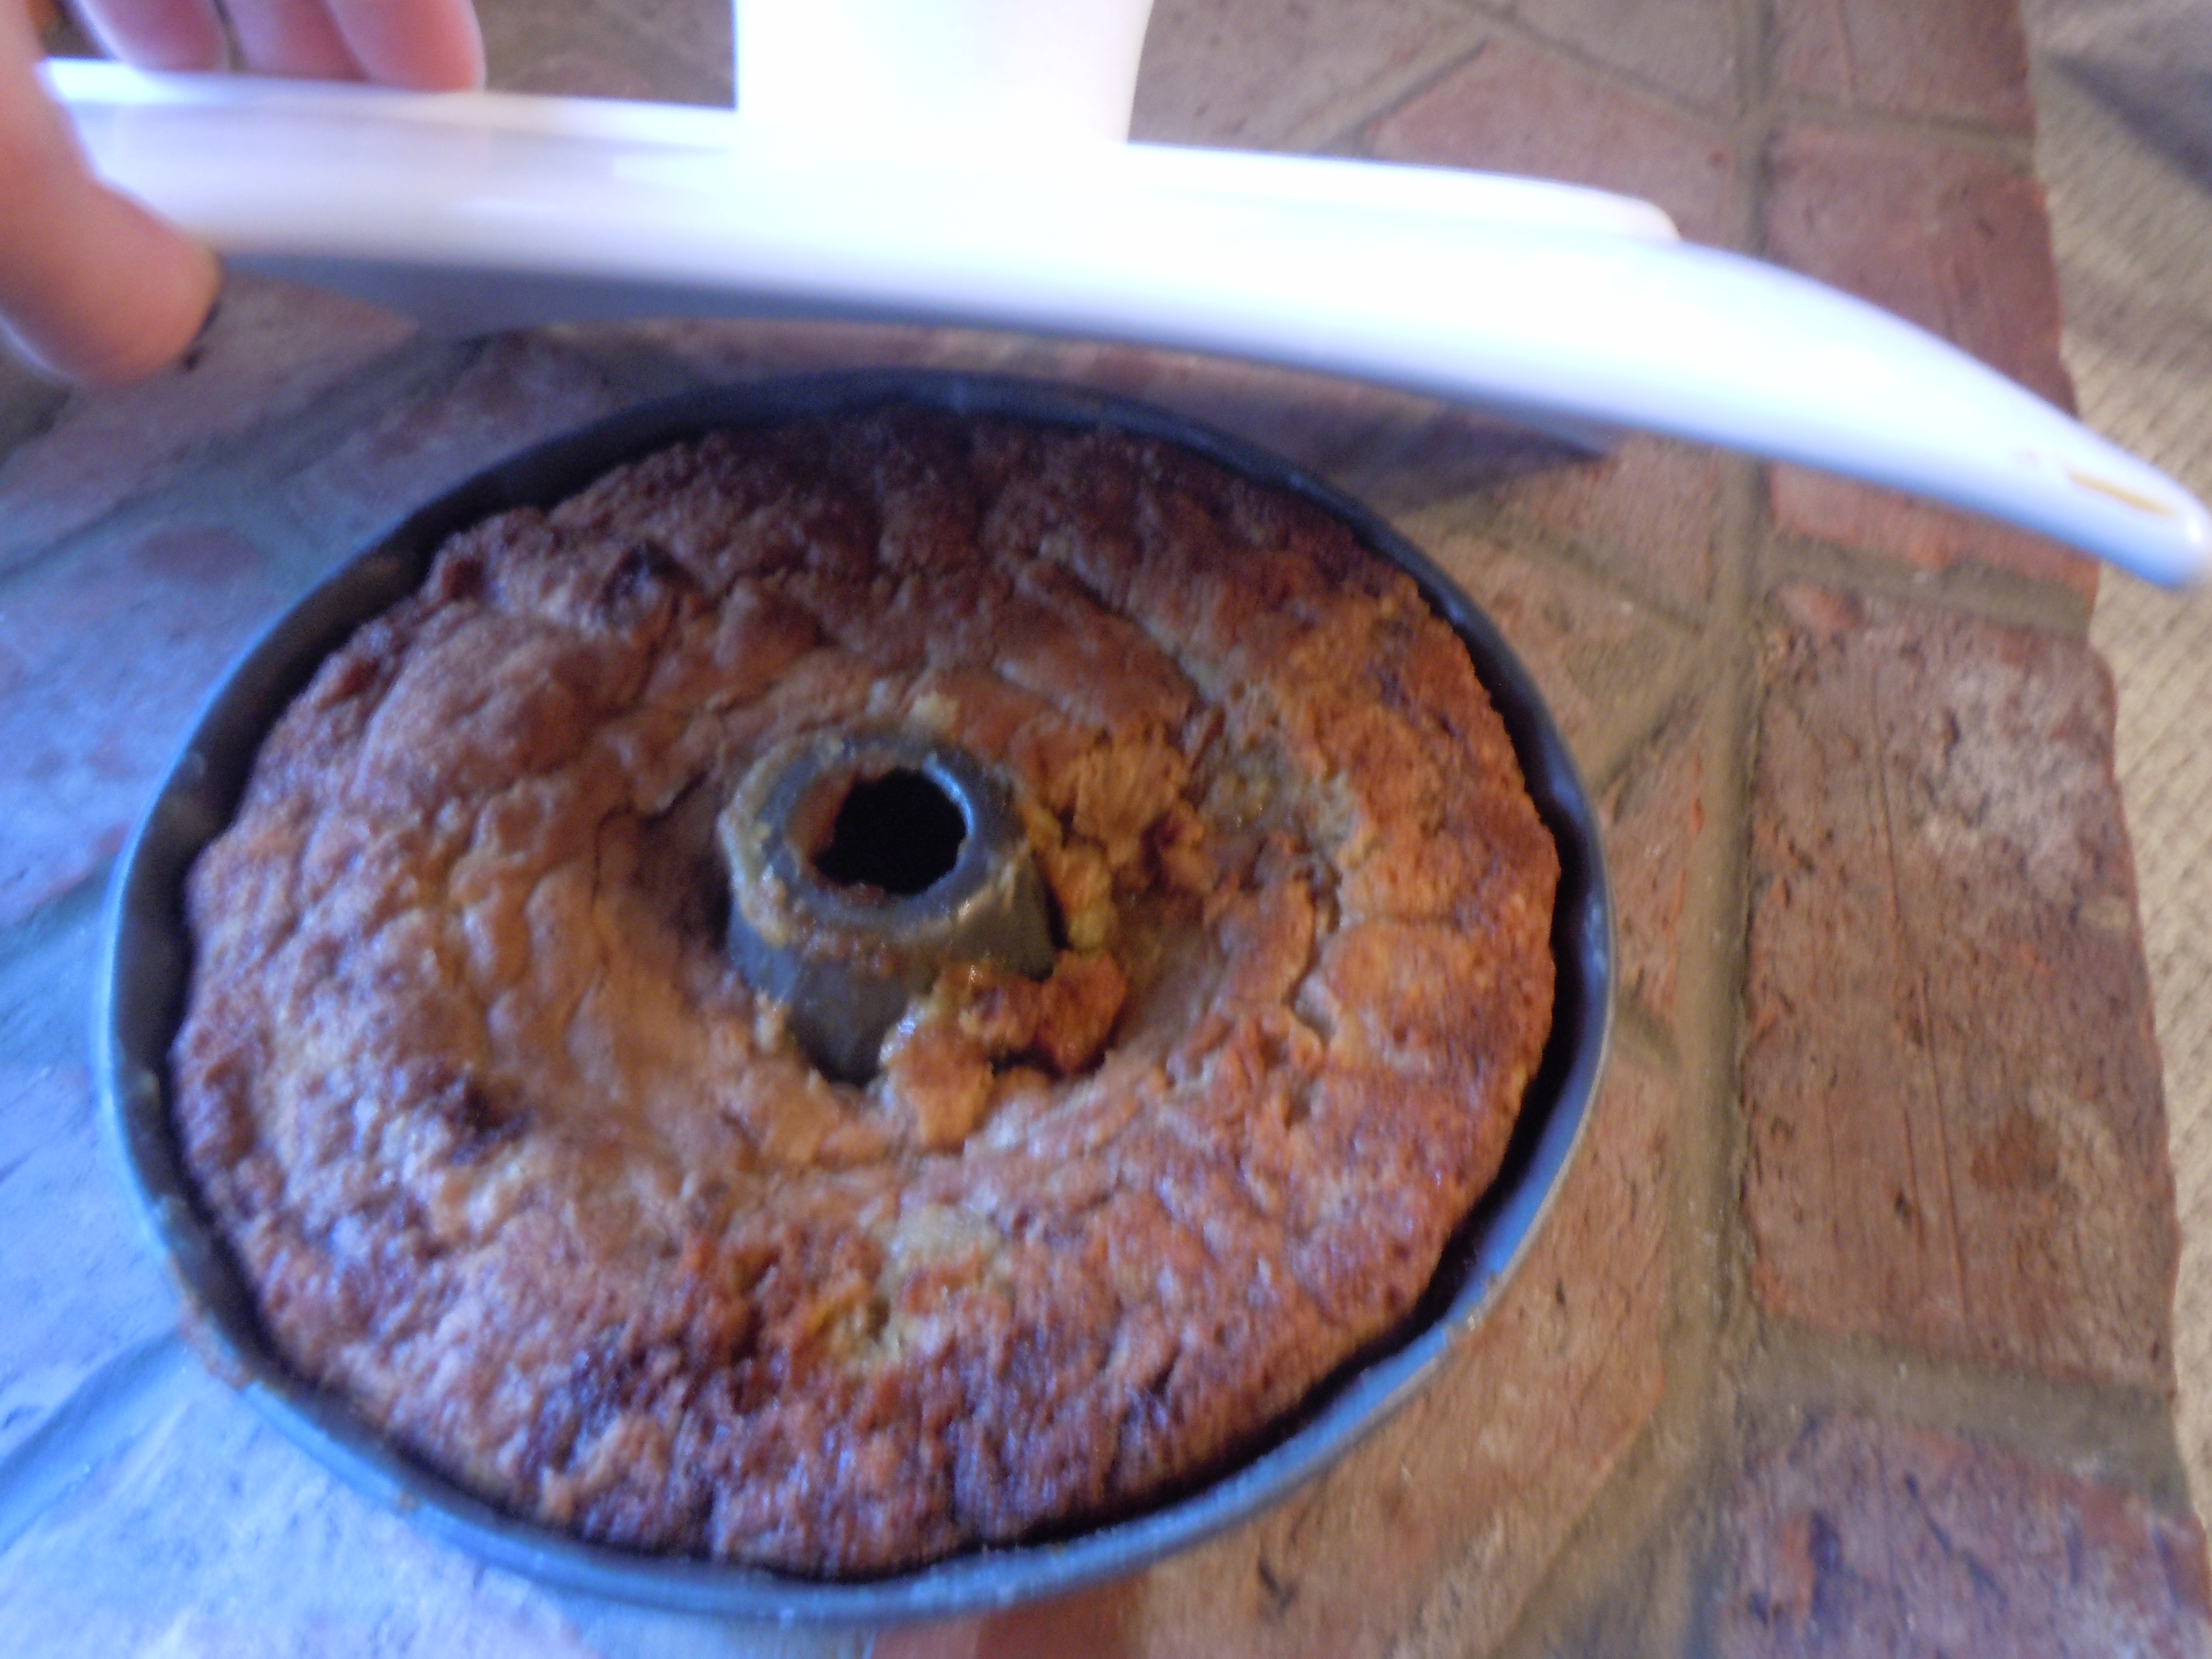
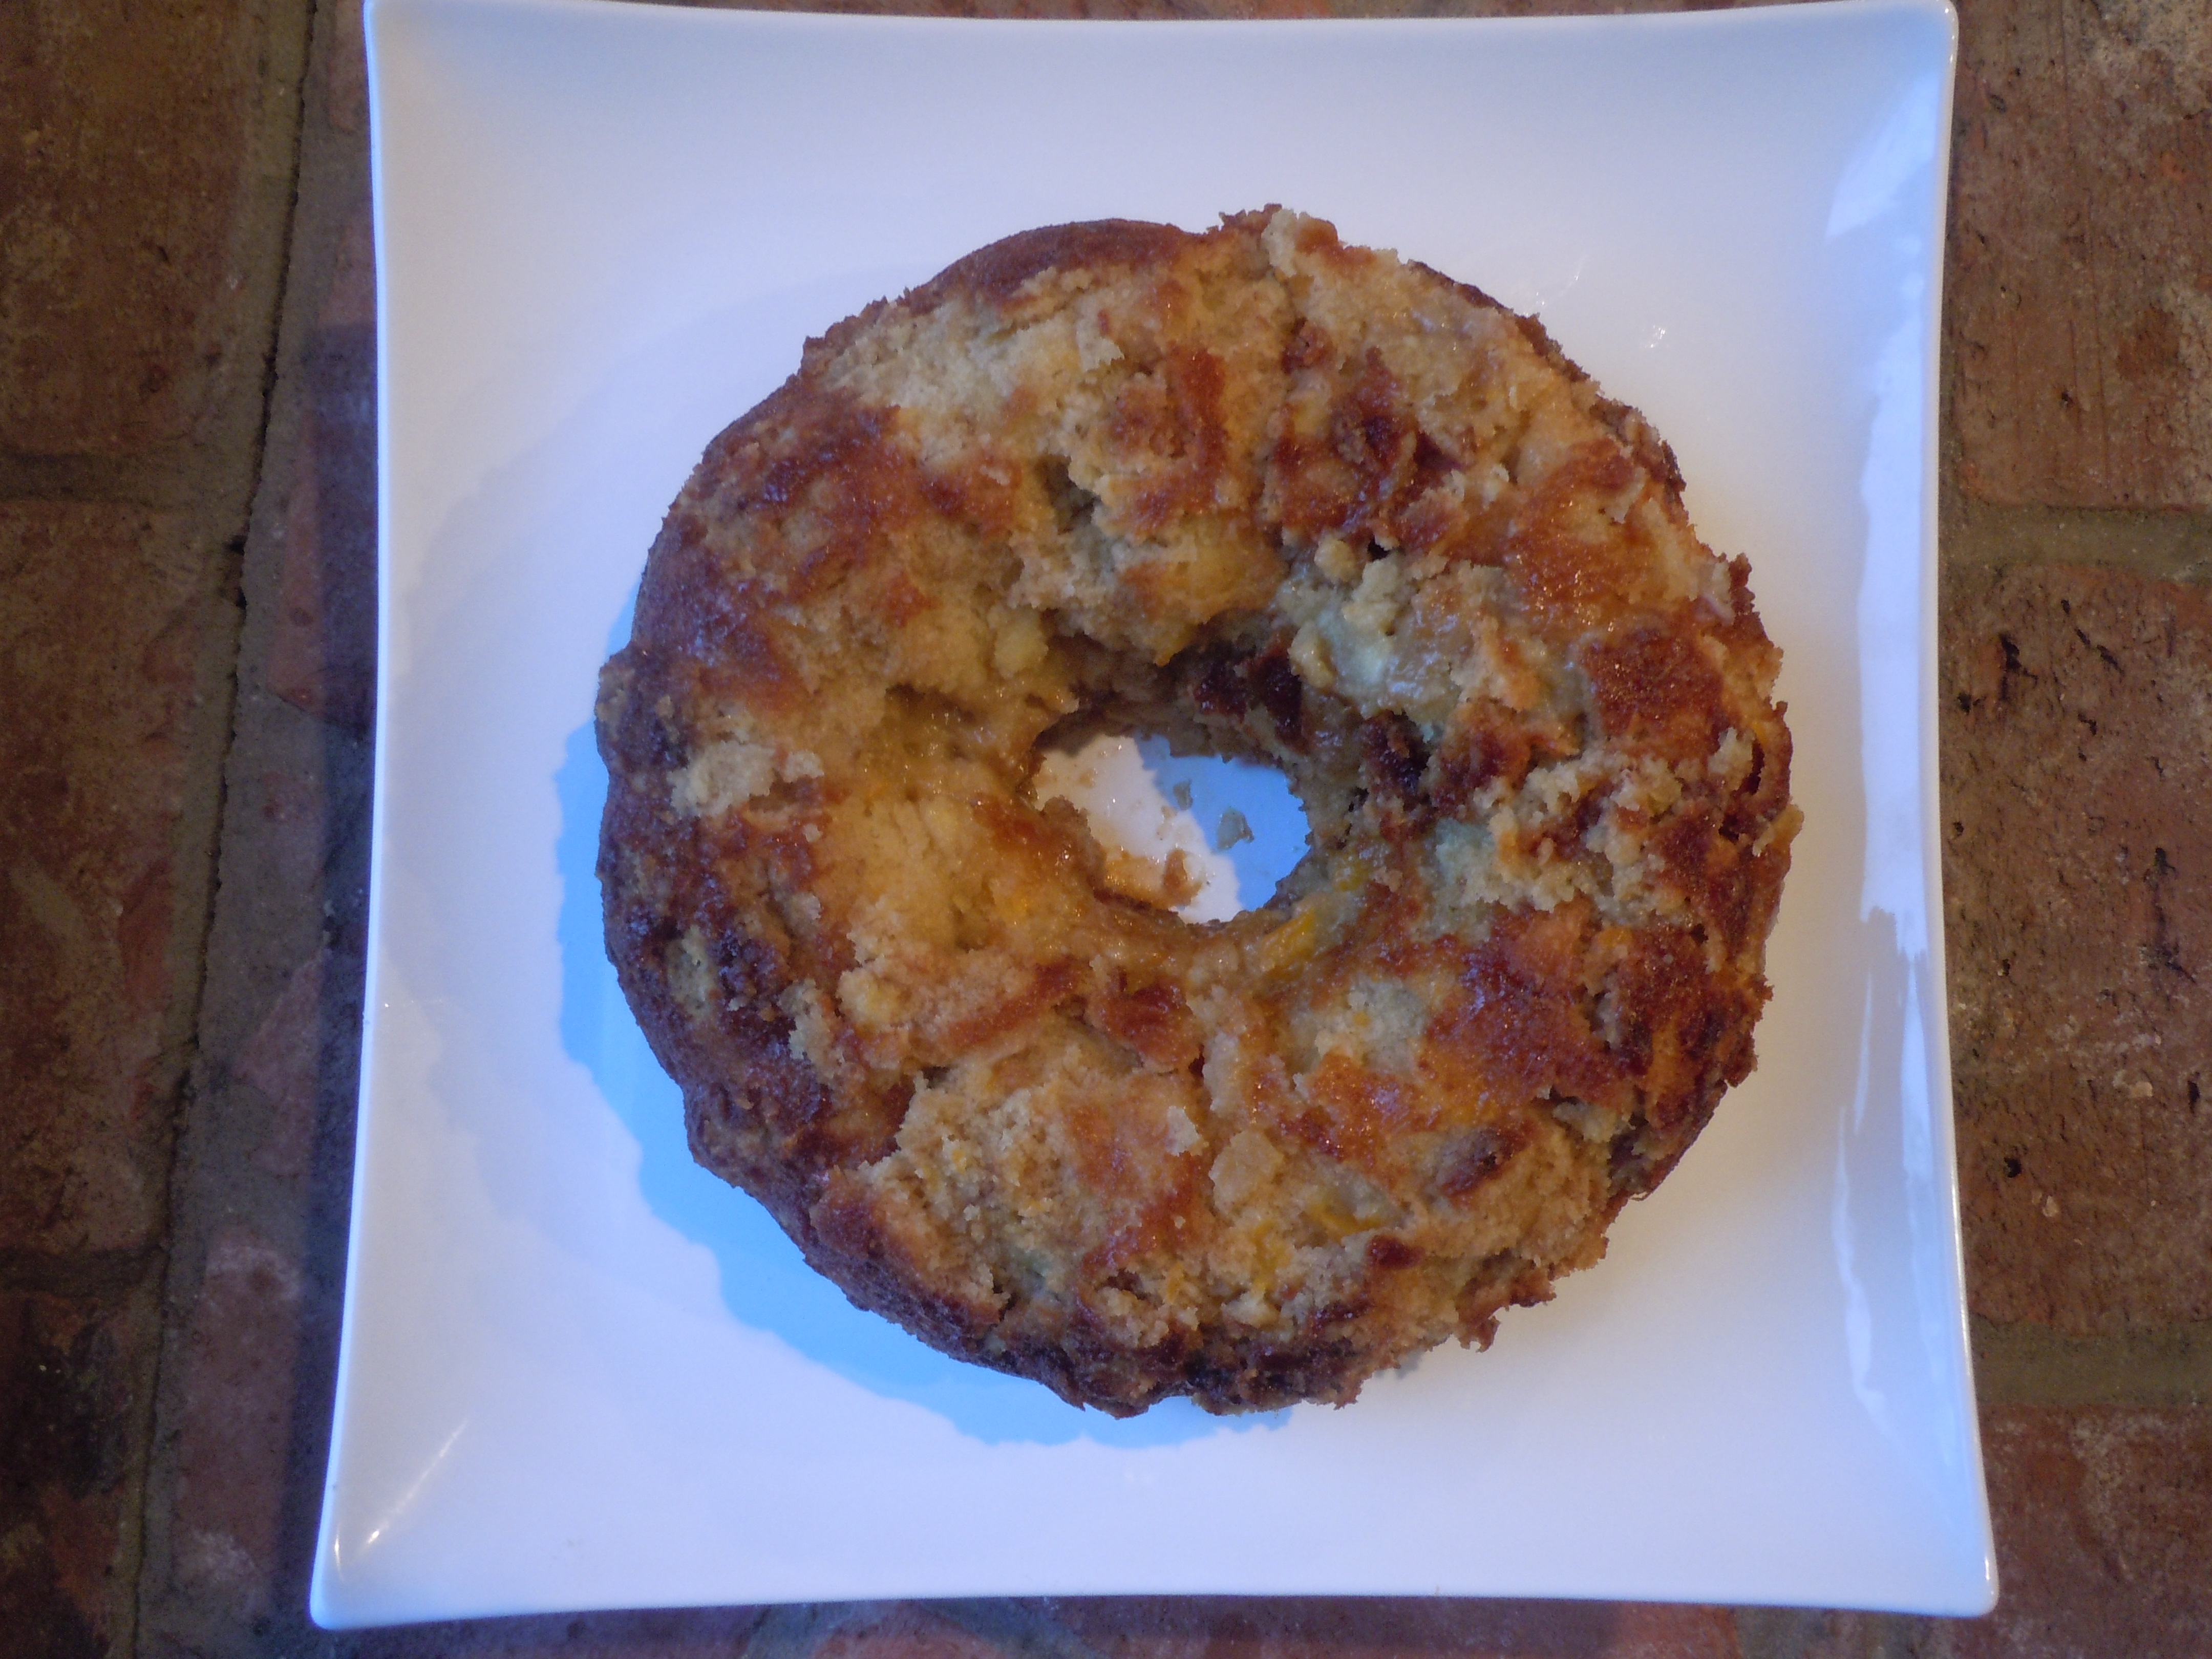
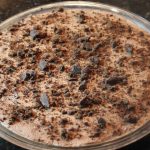
- Pour out chocolate mousse into the COMPLETELY cooled baked pie crust and smooth out top with a offset spatula
- Sprinkle thin mint cookie crumble over the top and place into the frig for 4-6 hours
- Slice and serve with whipped cream…yum!


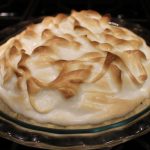


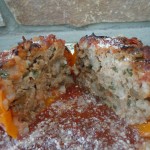


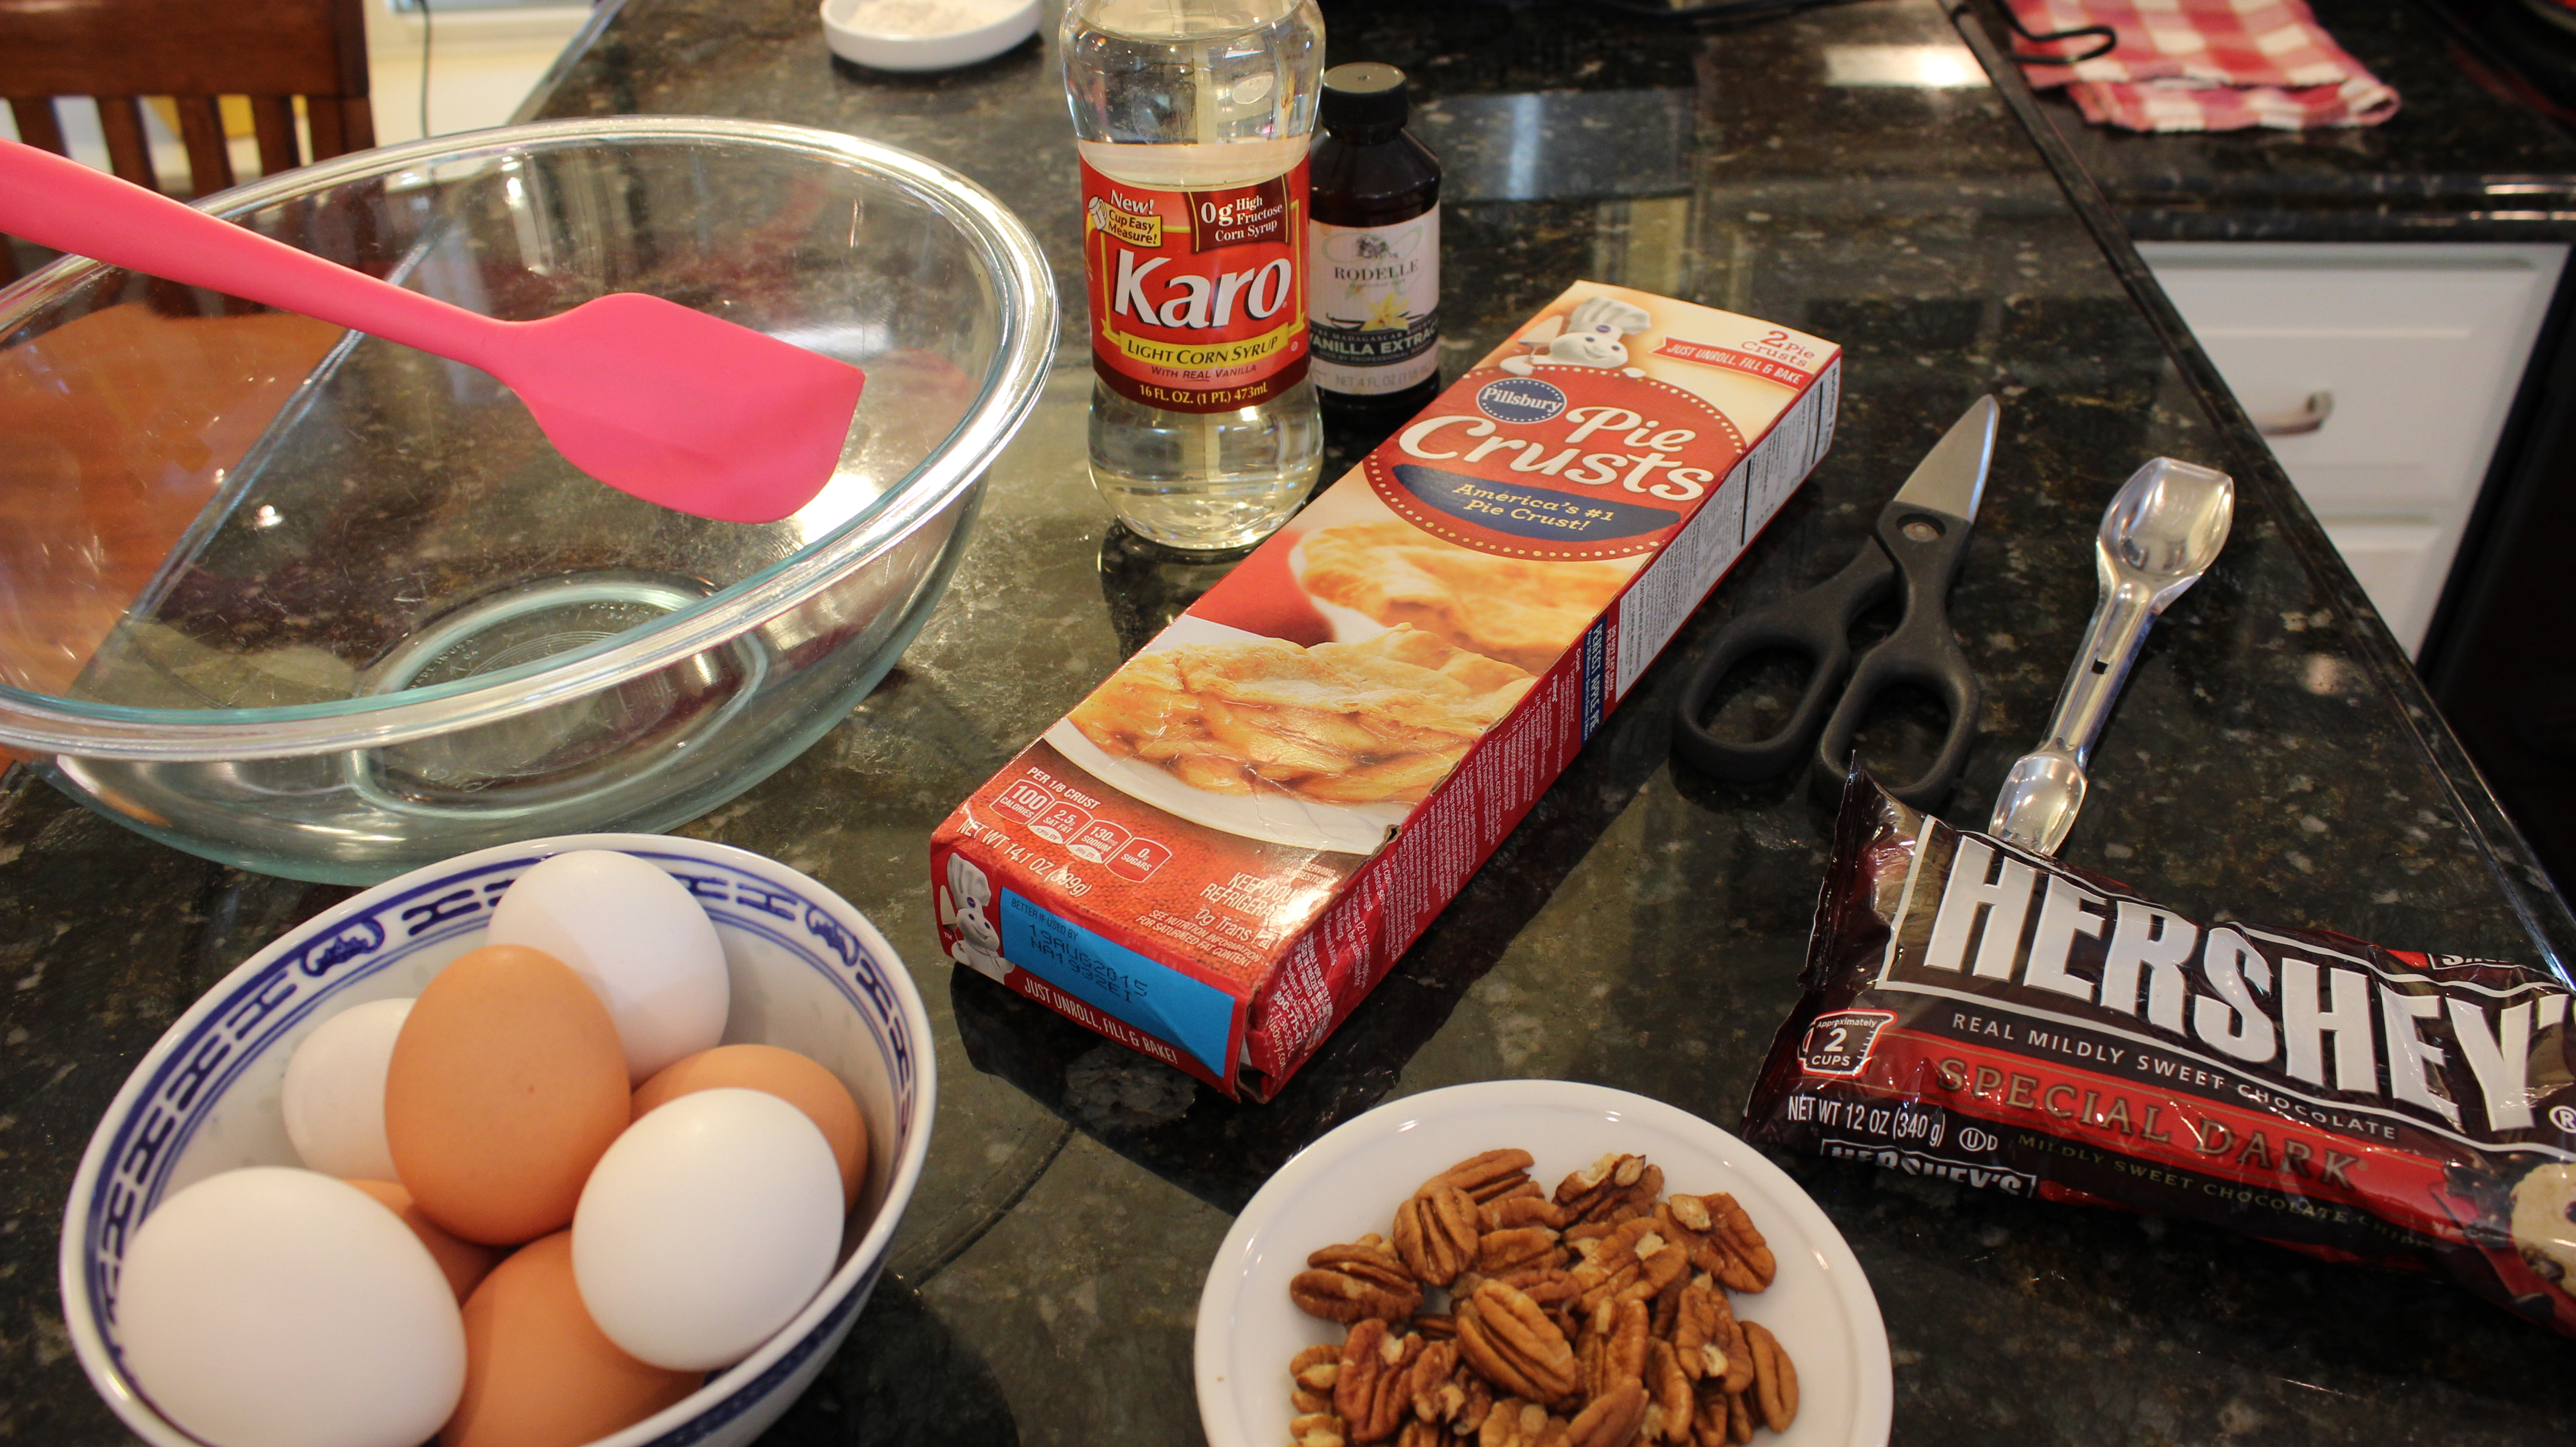
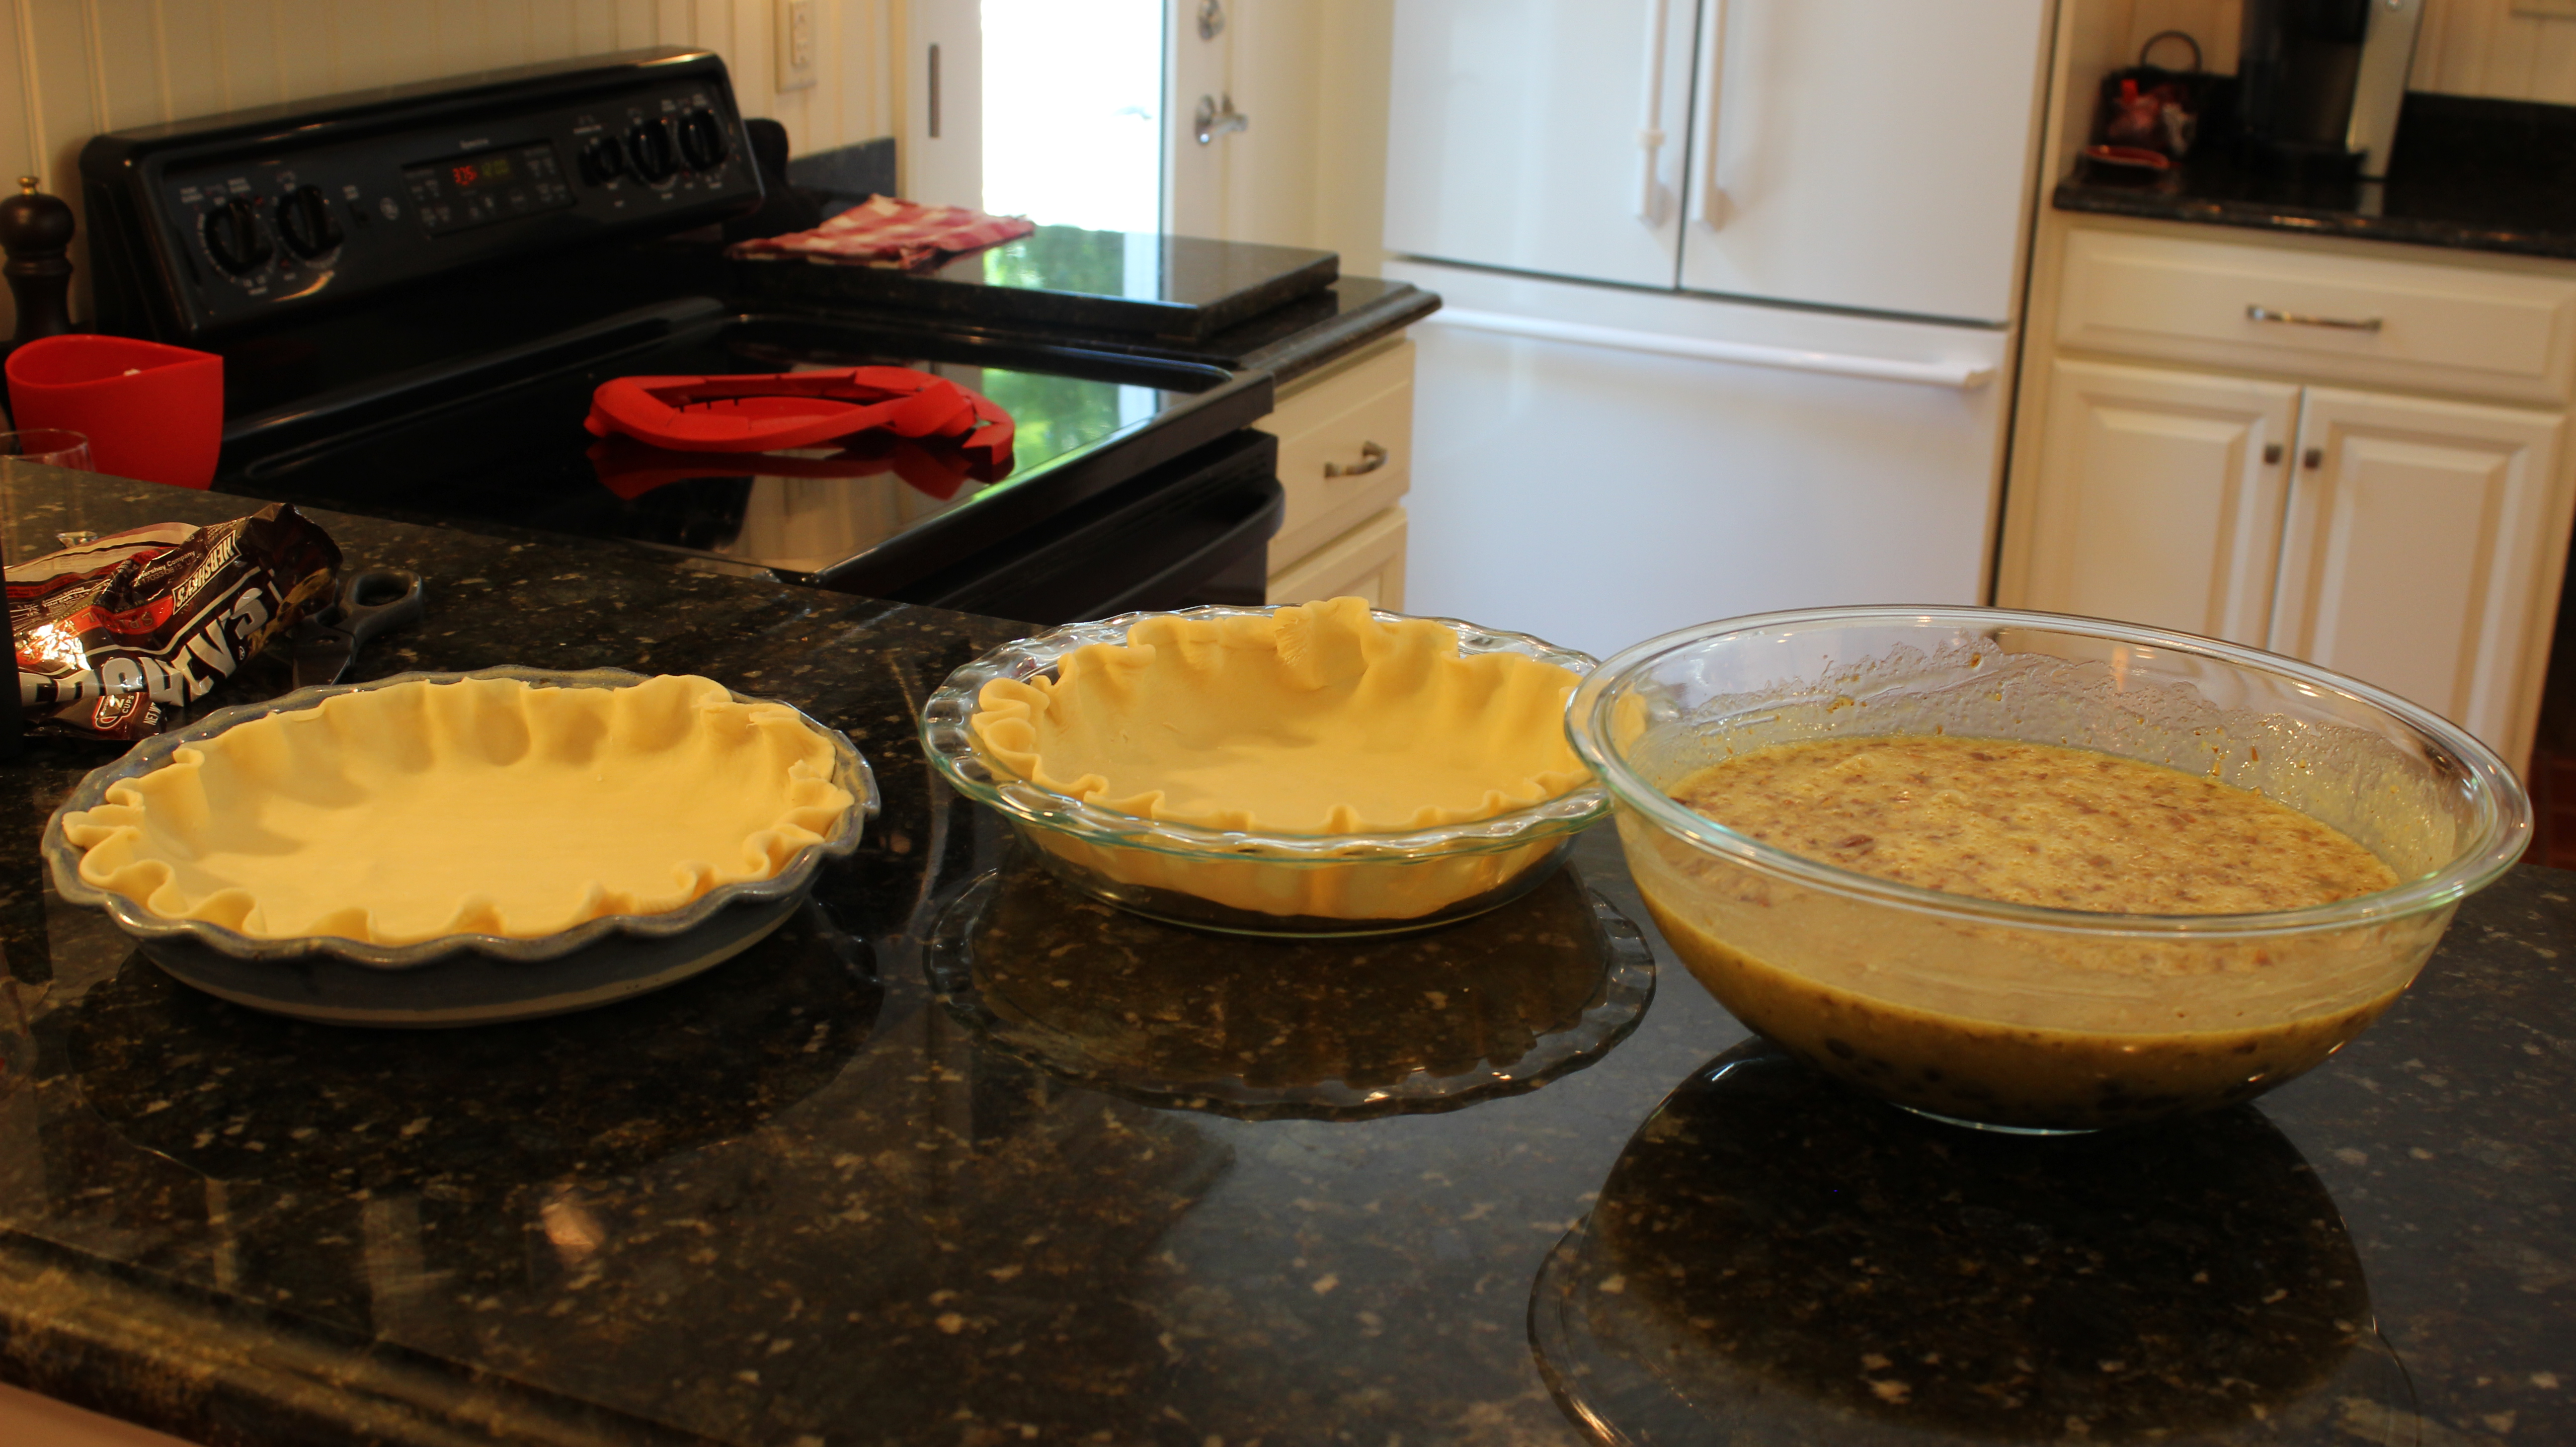
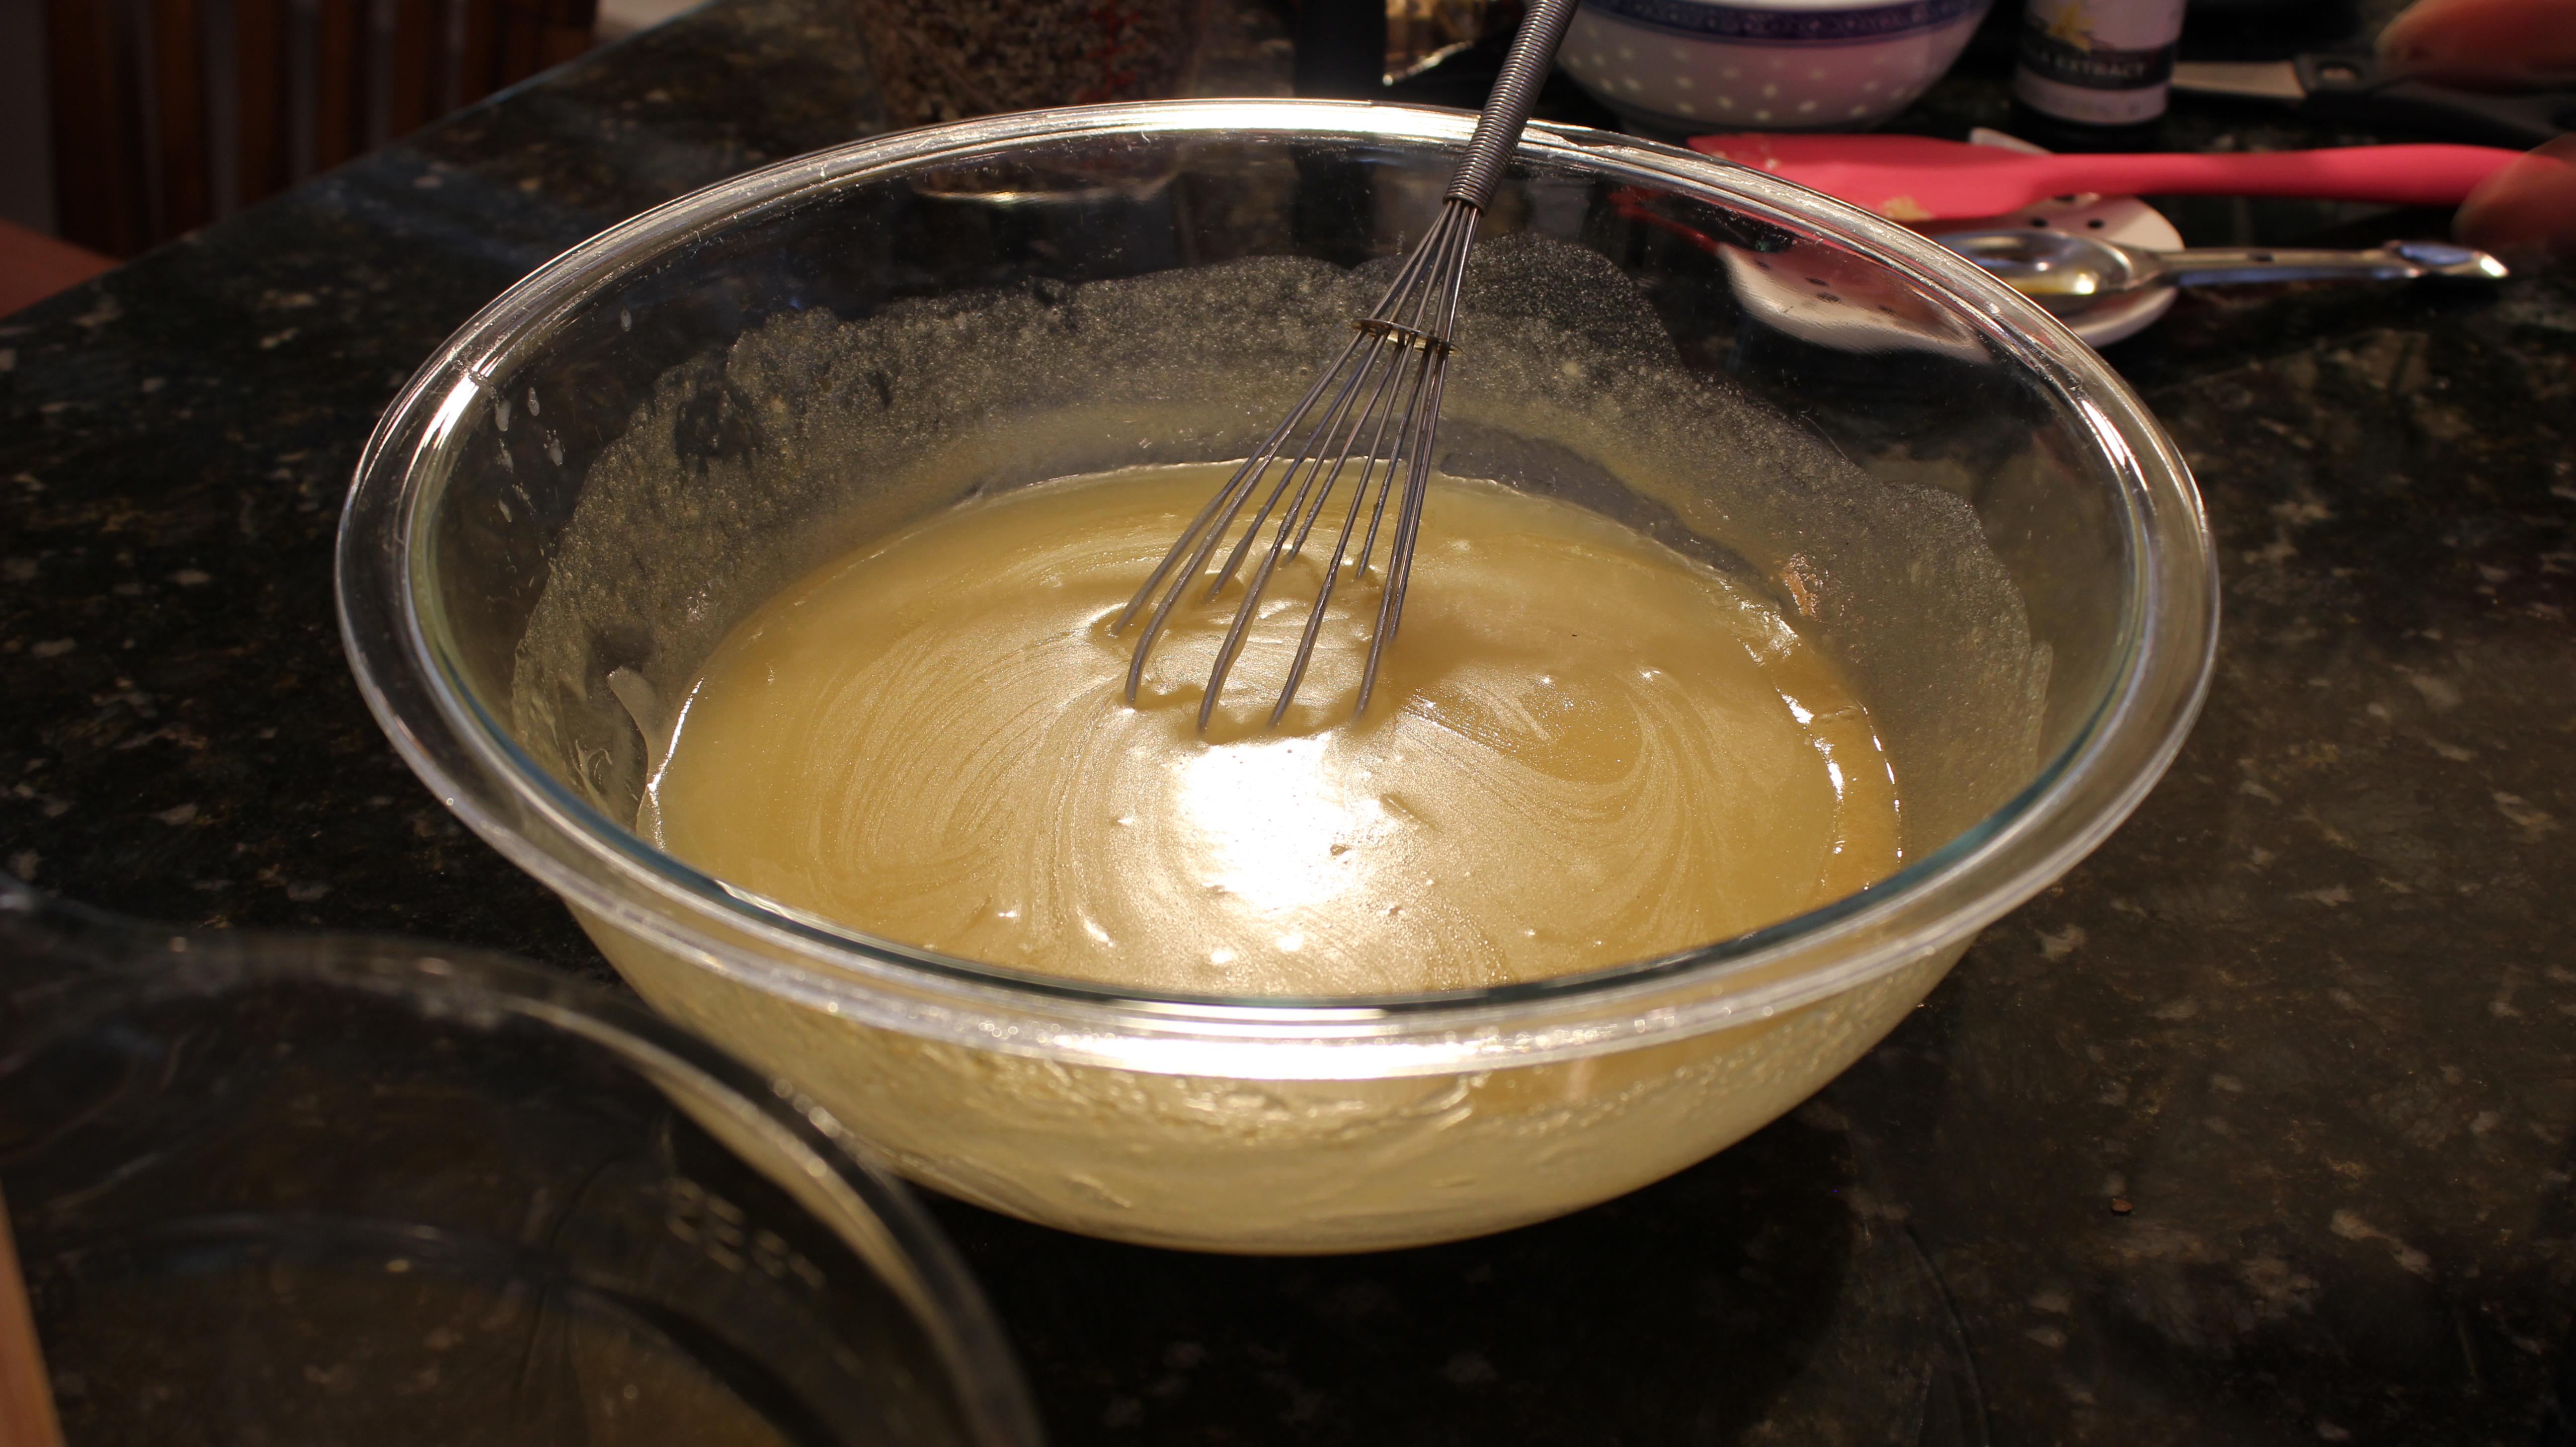
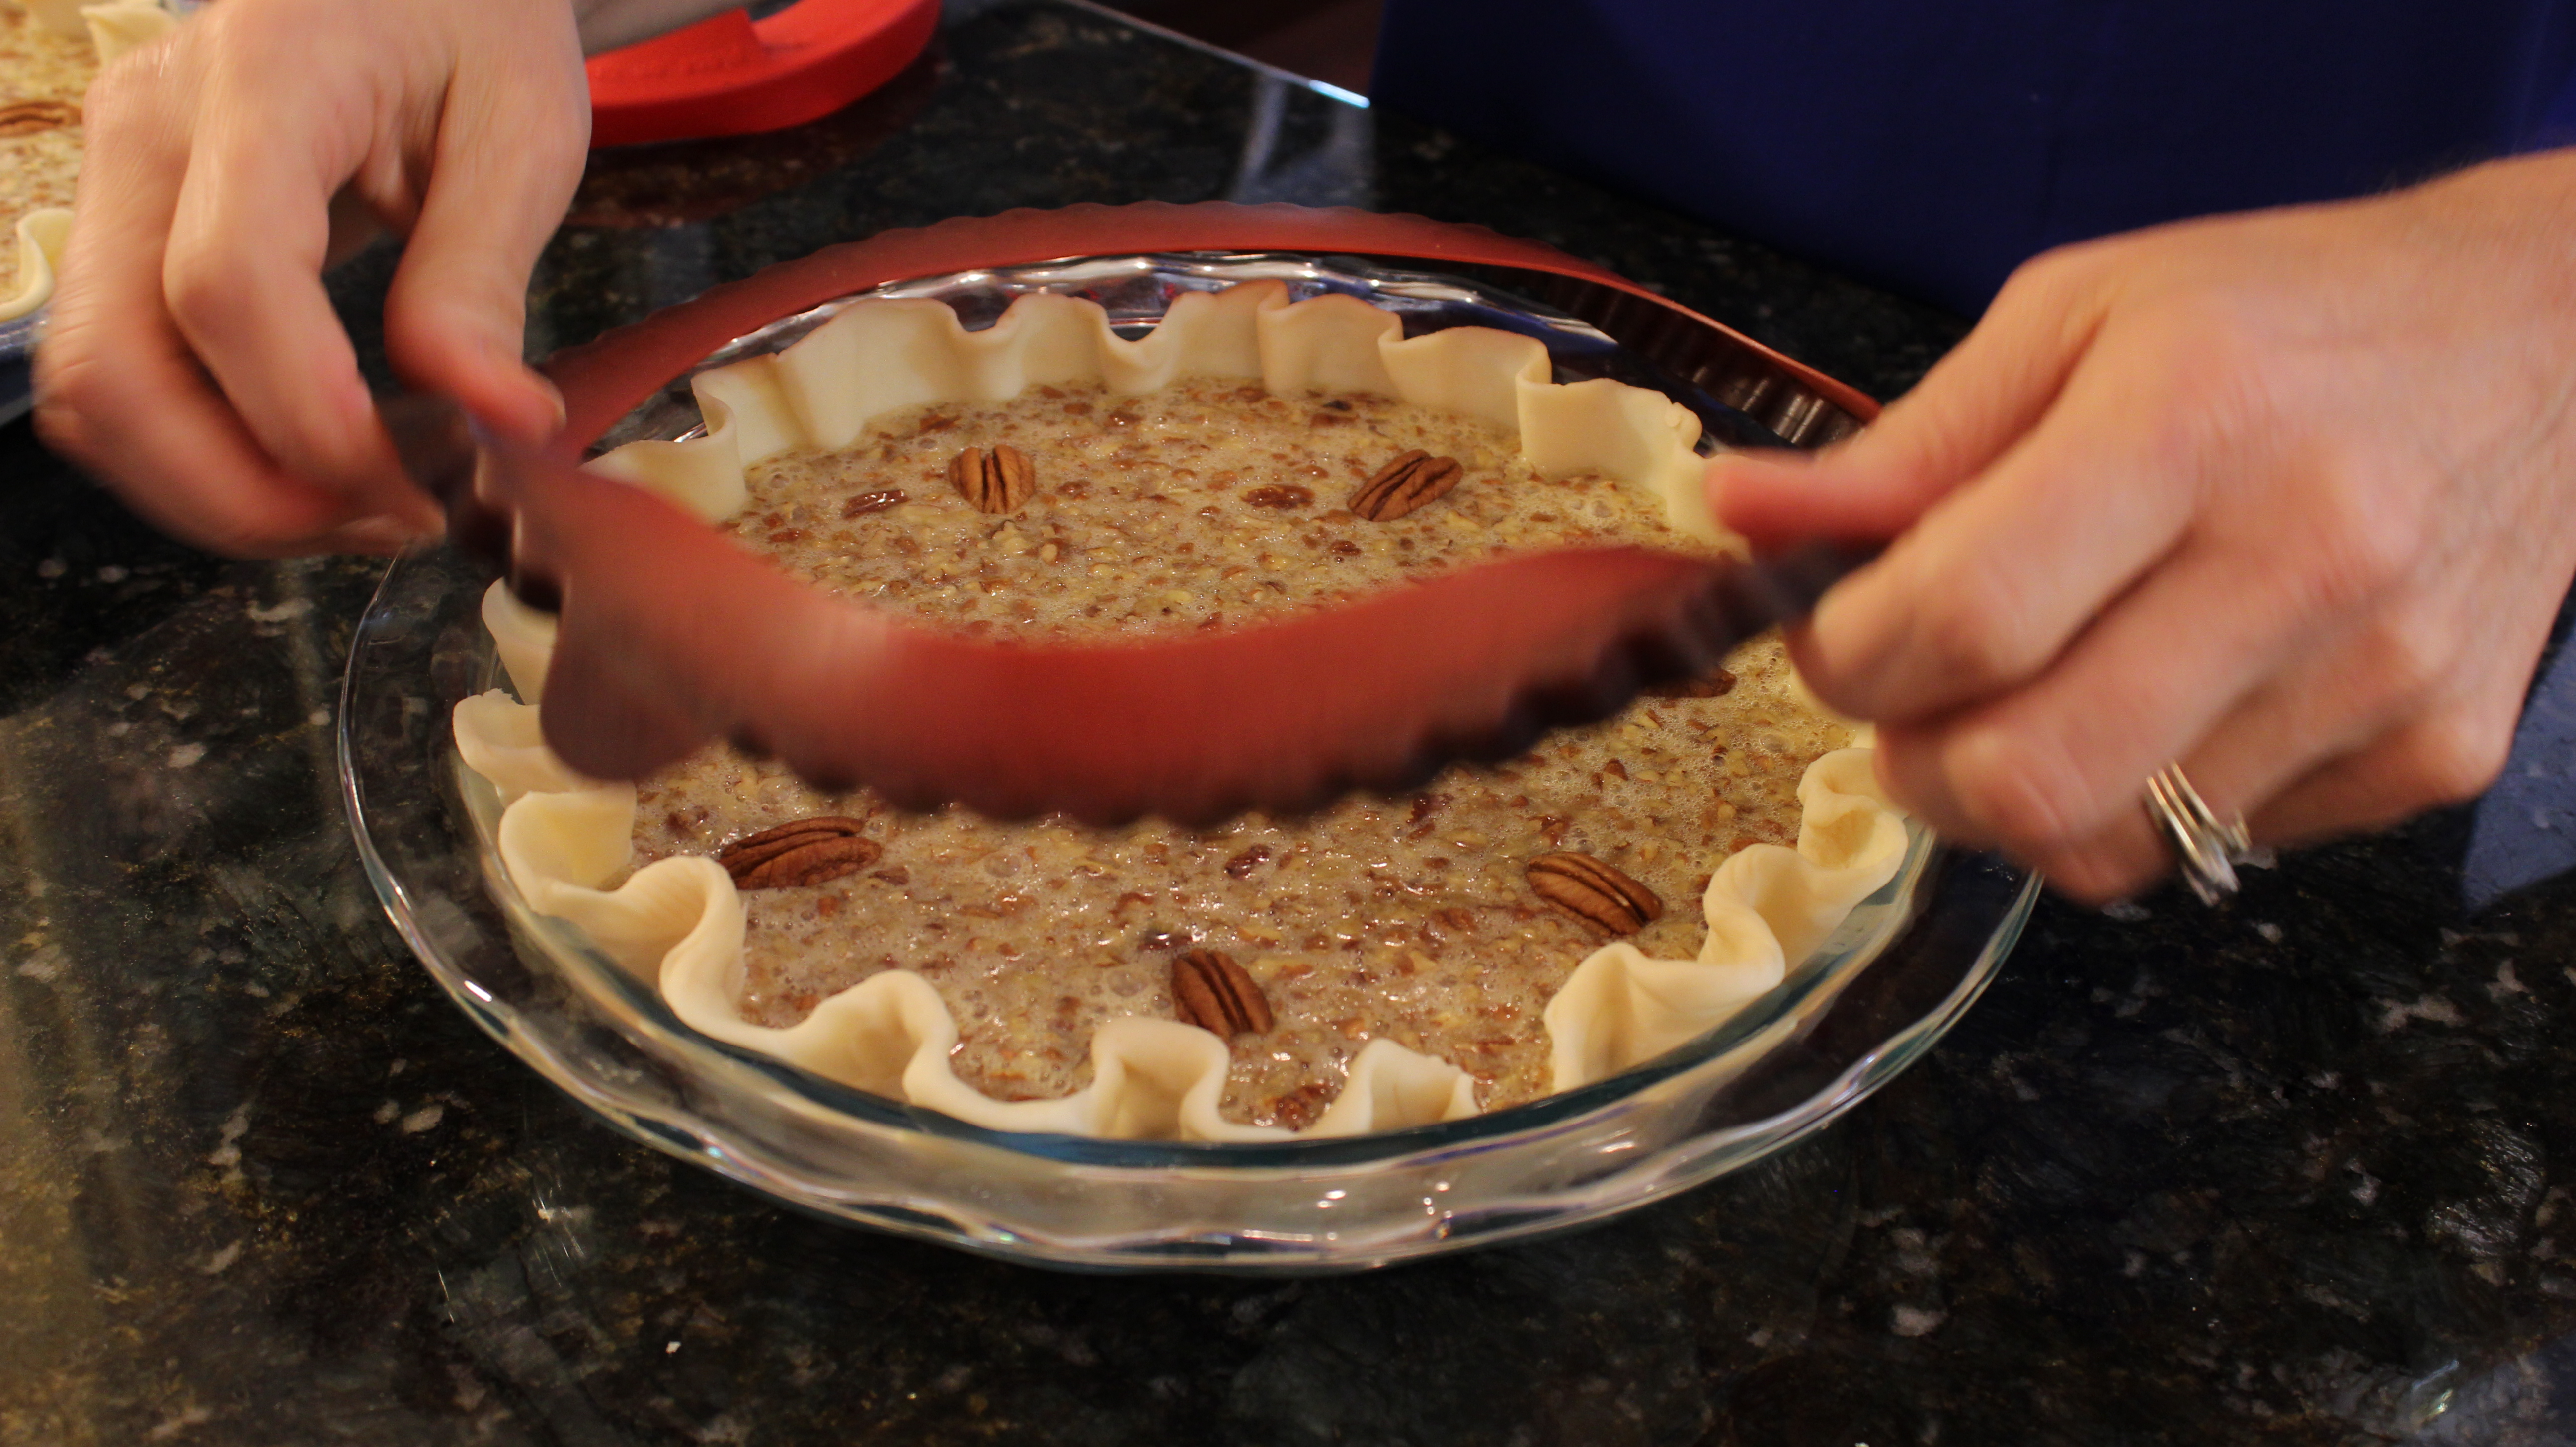
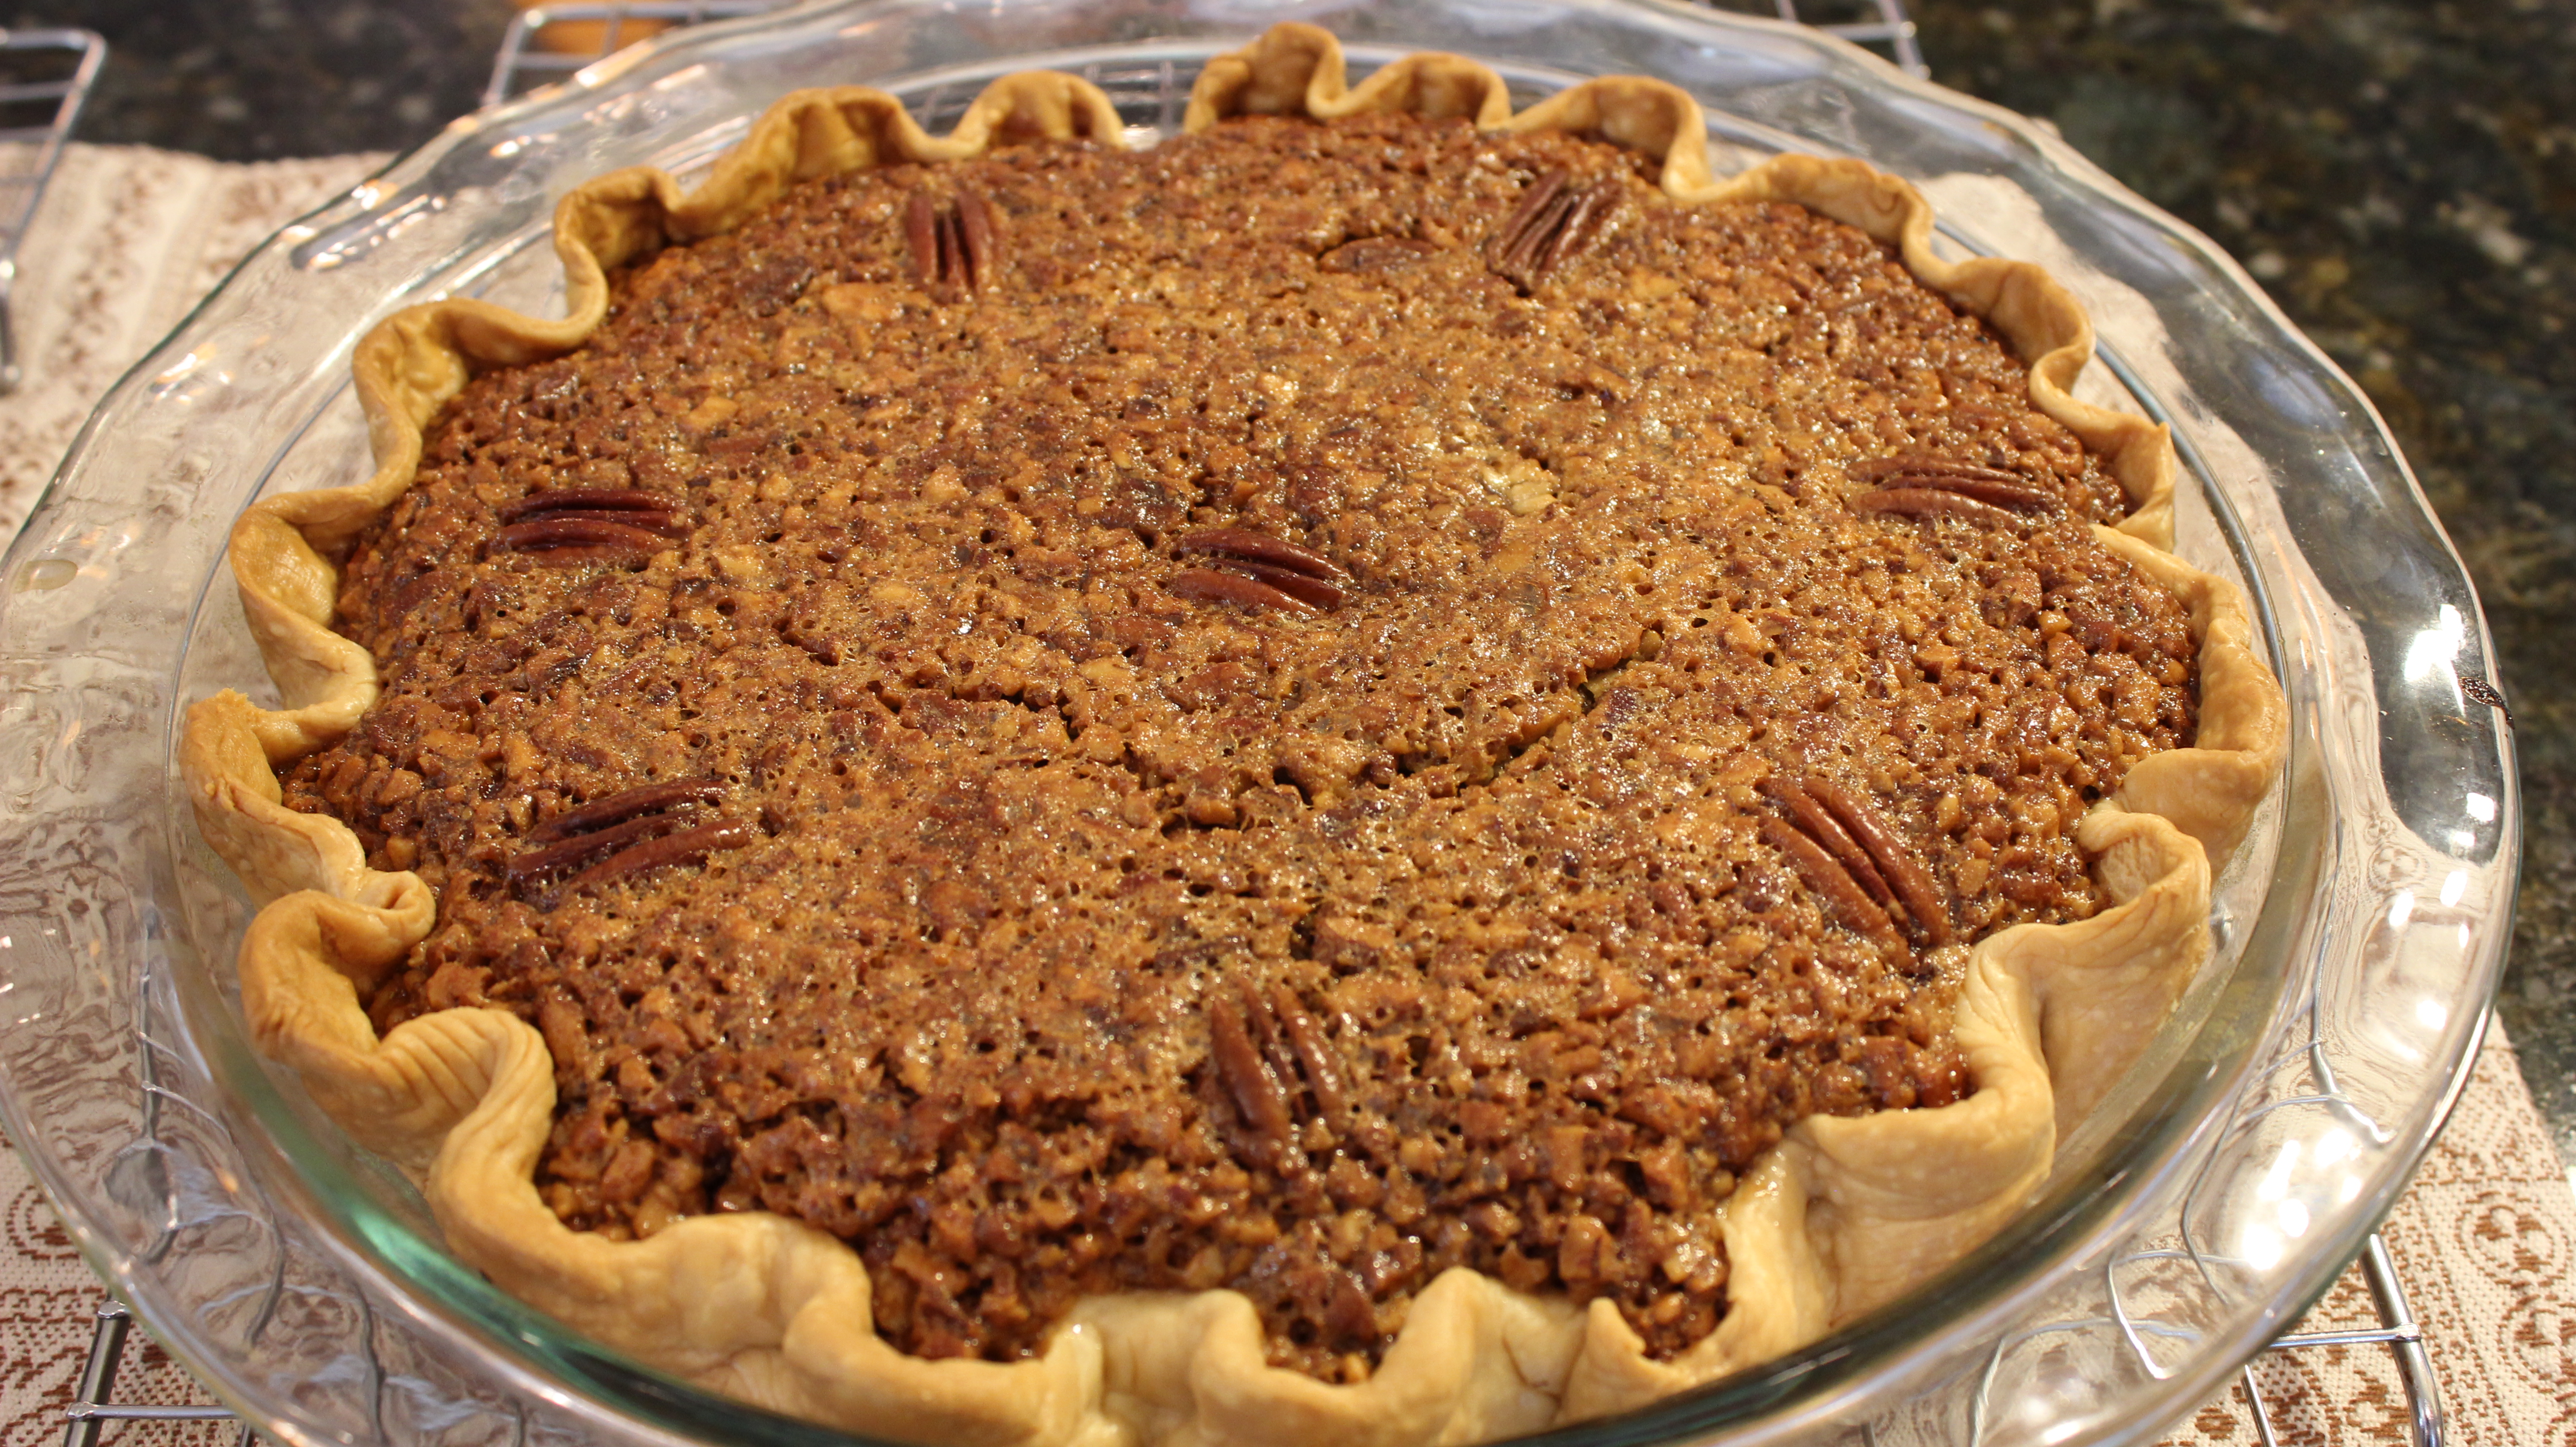
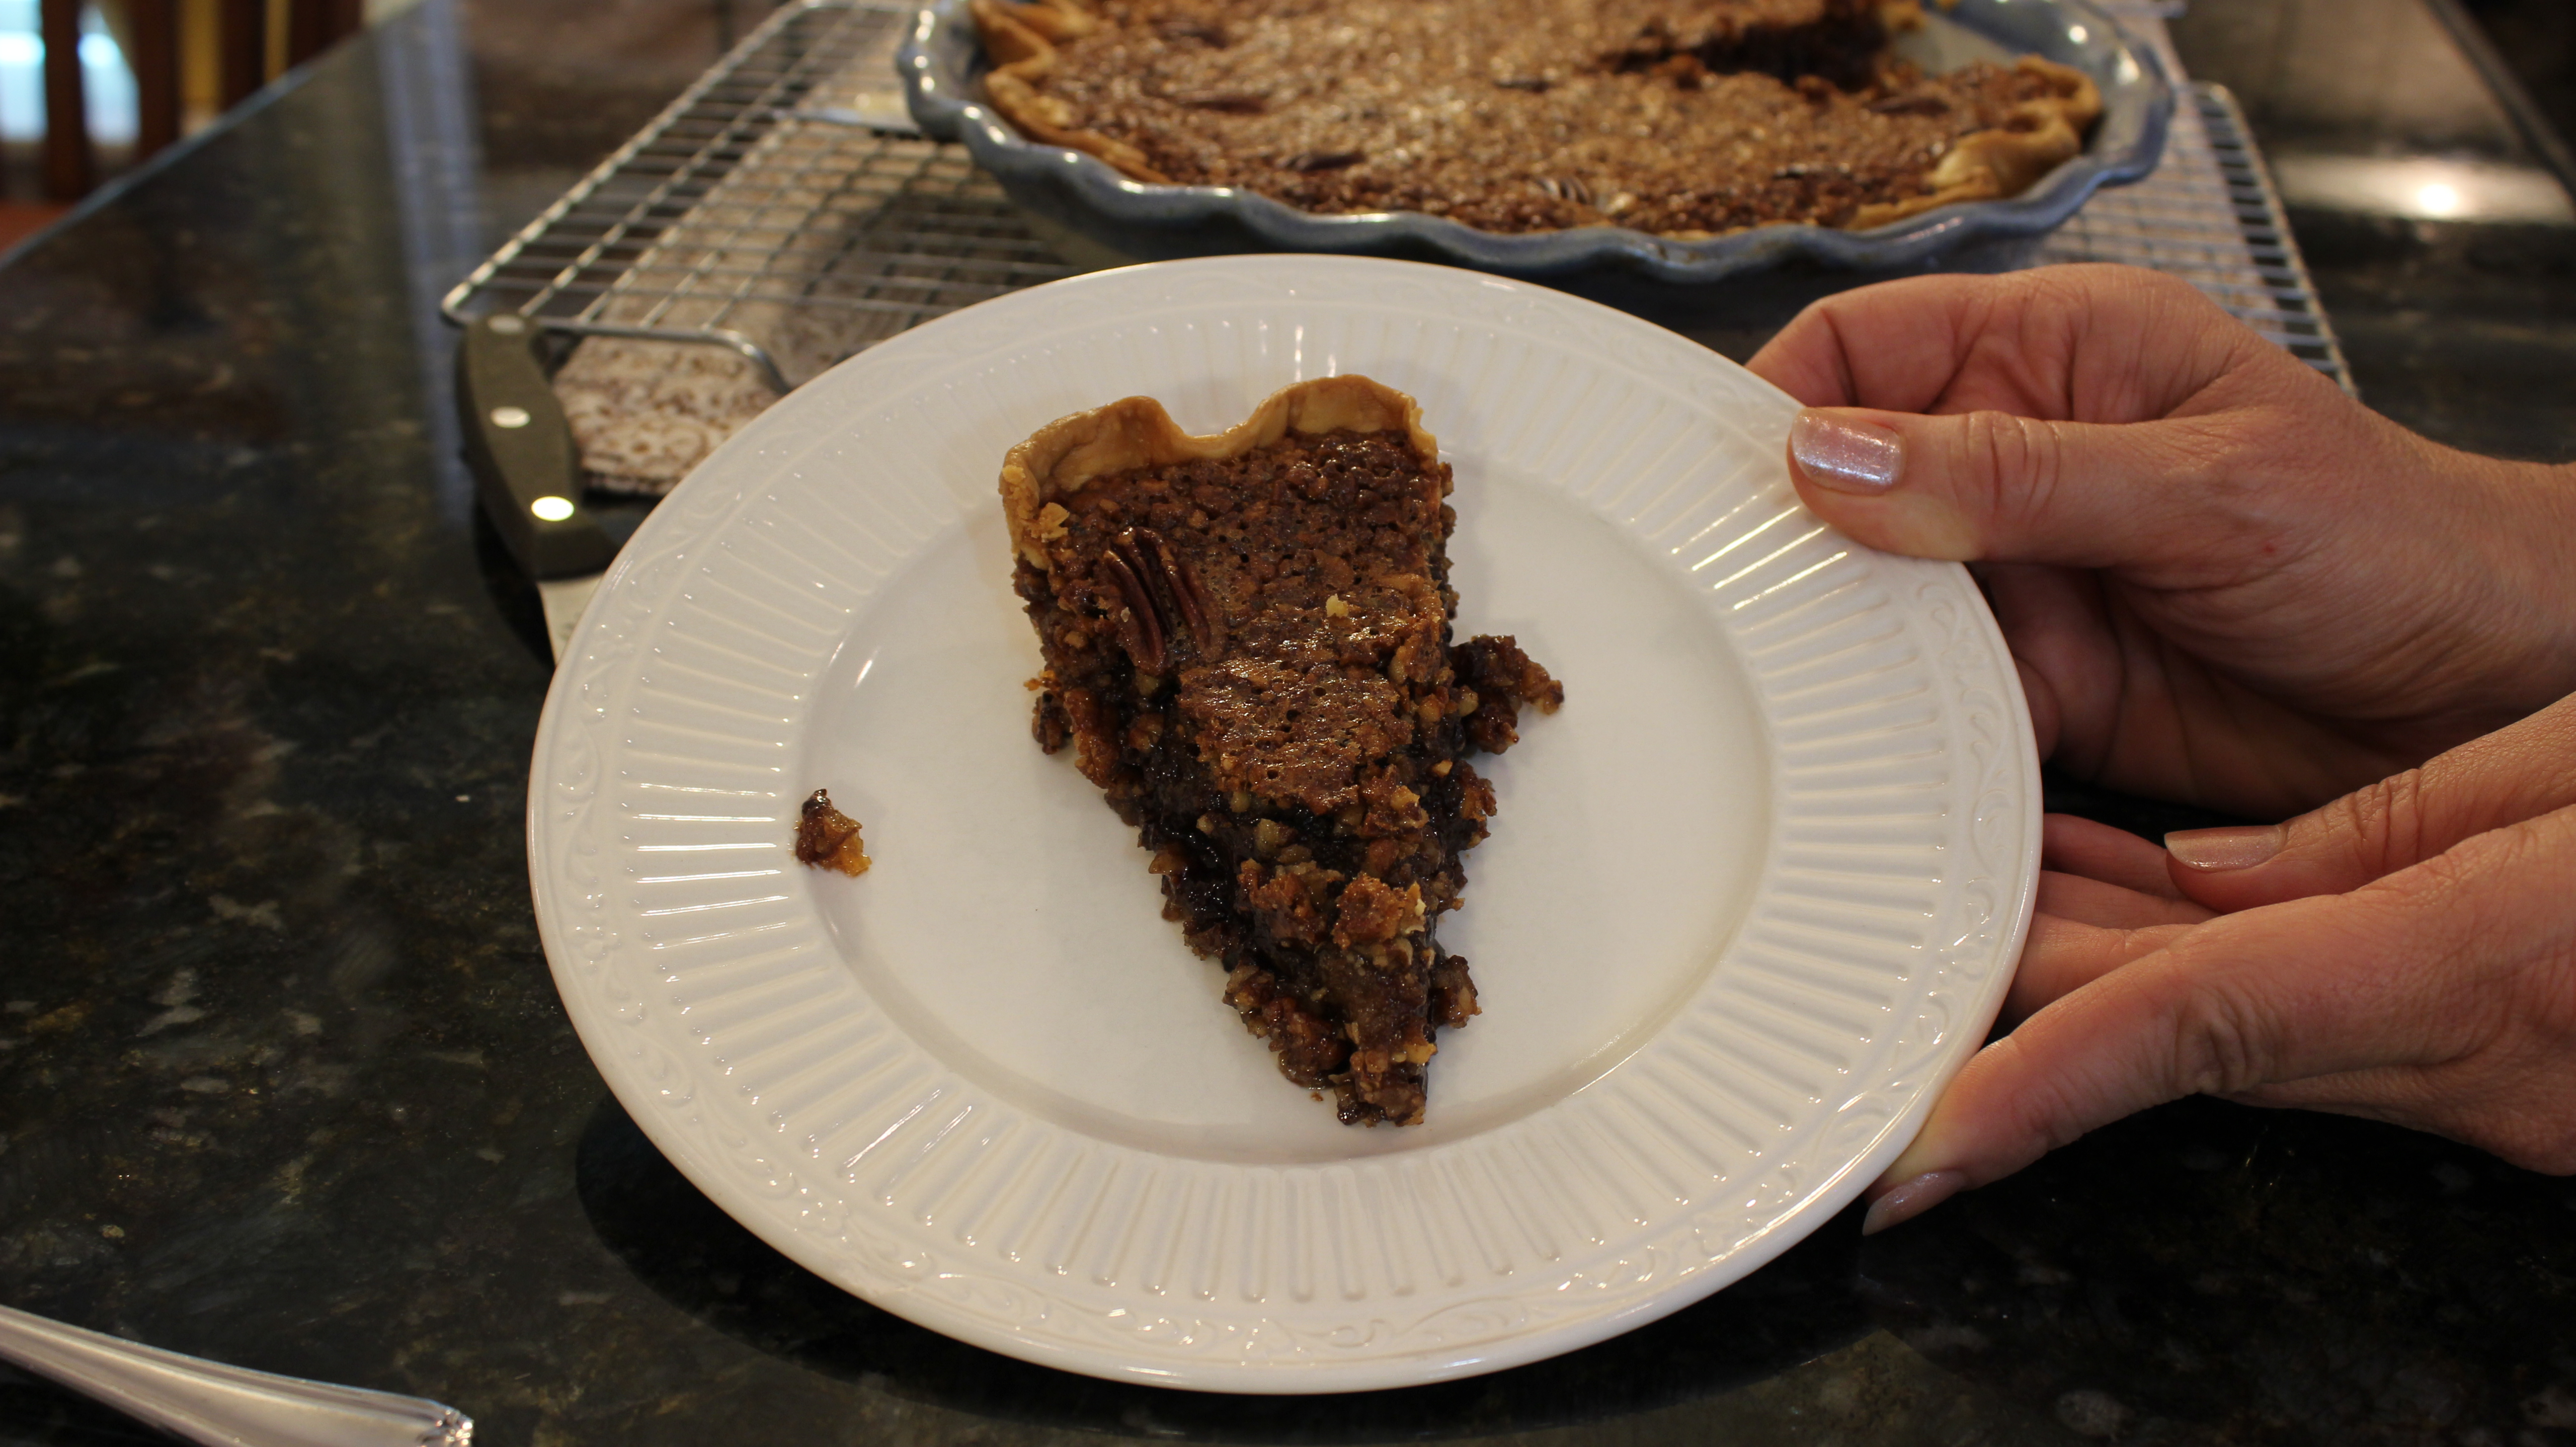
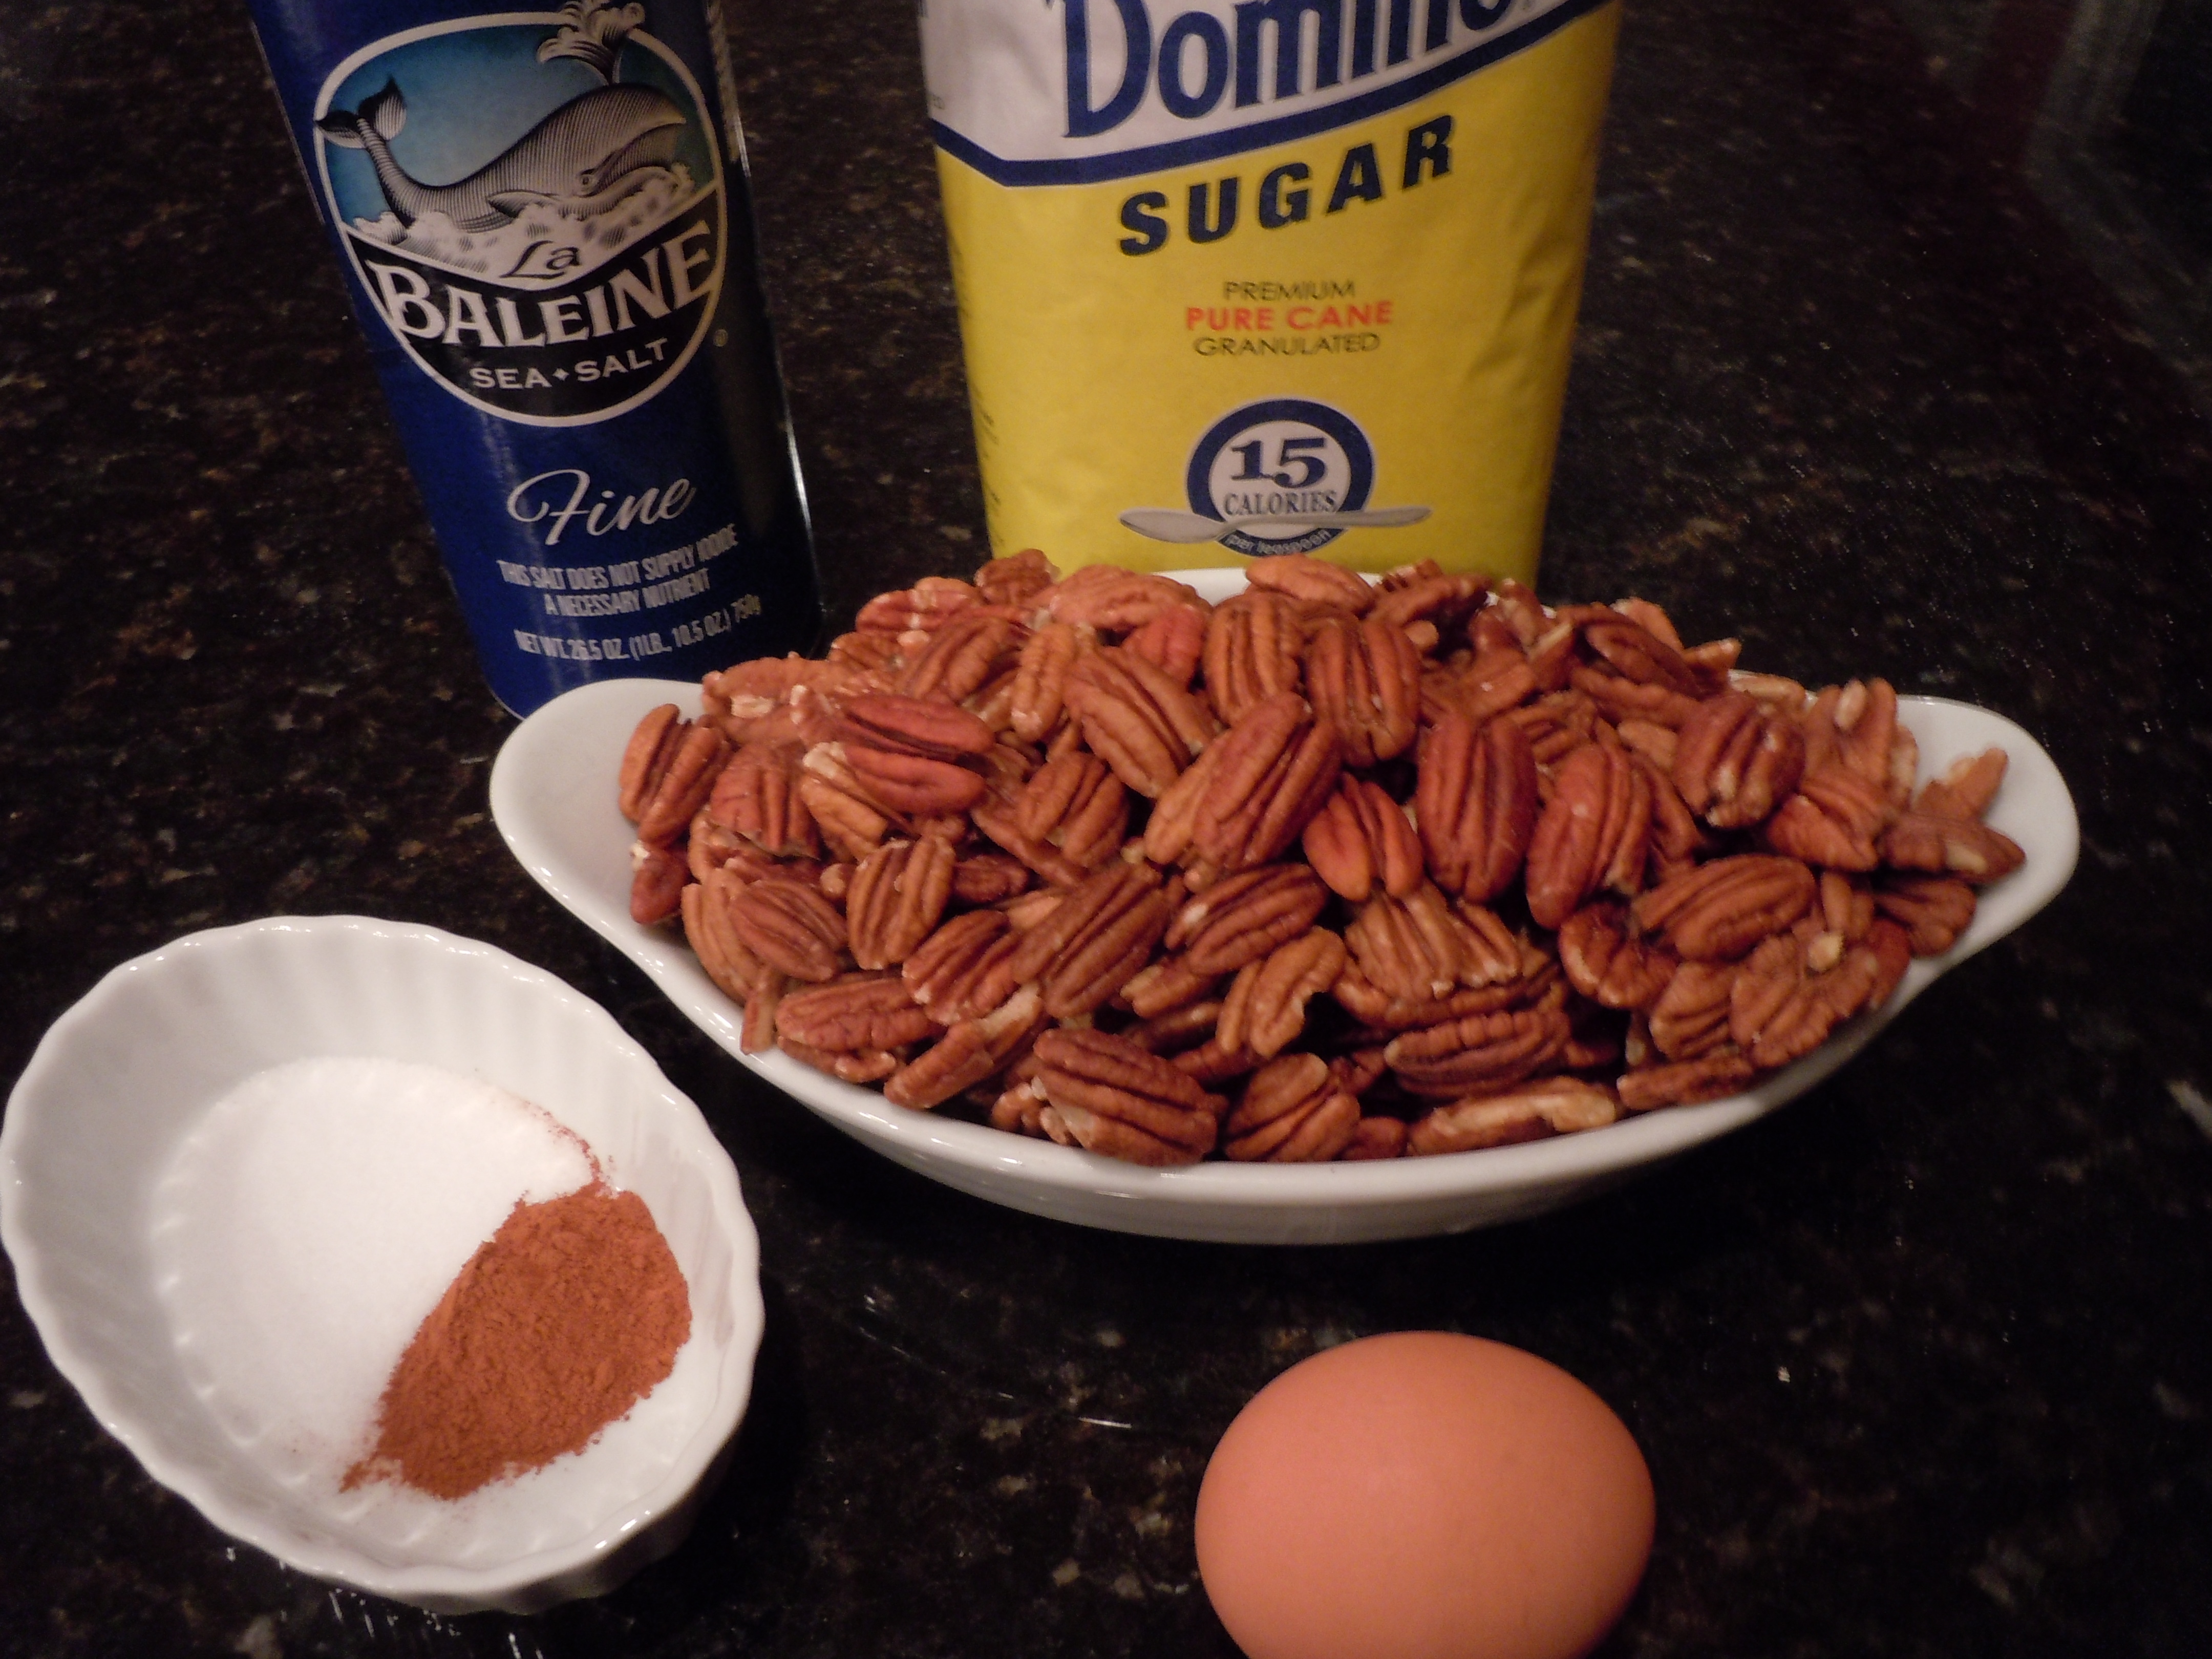
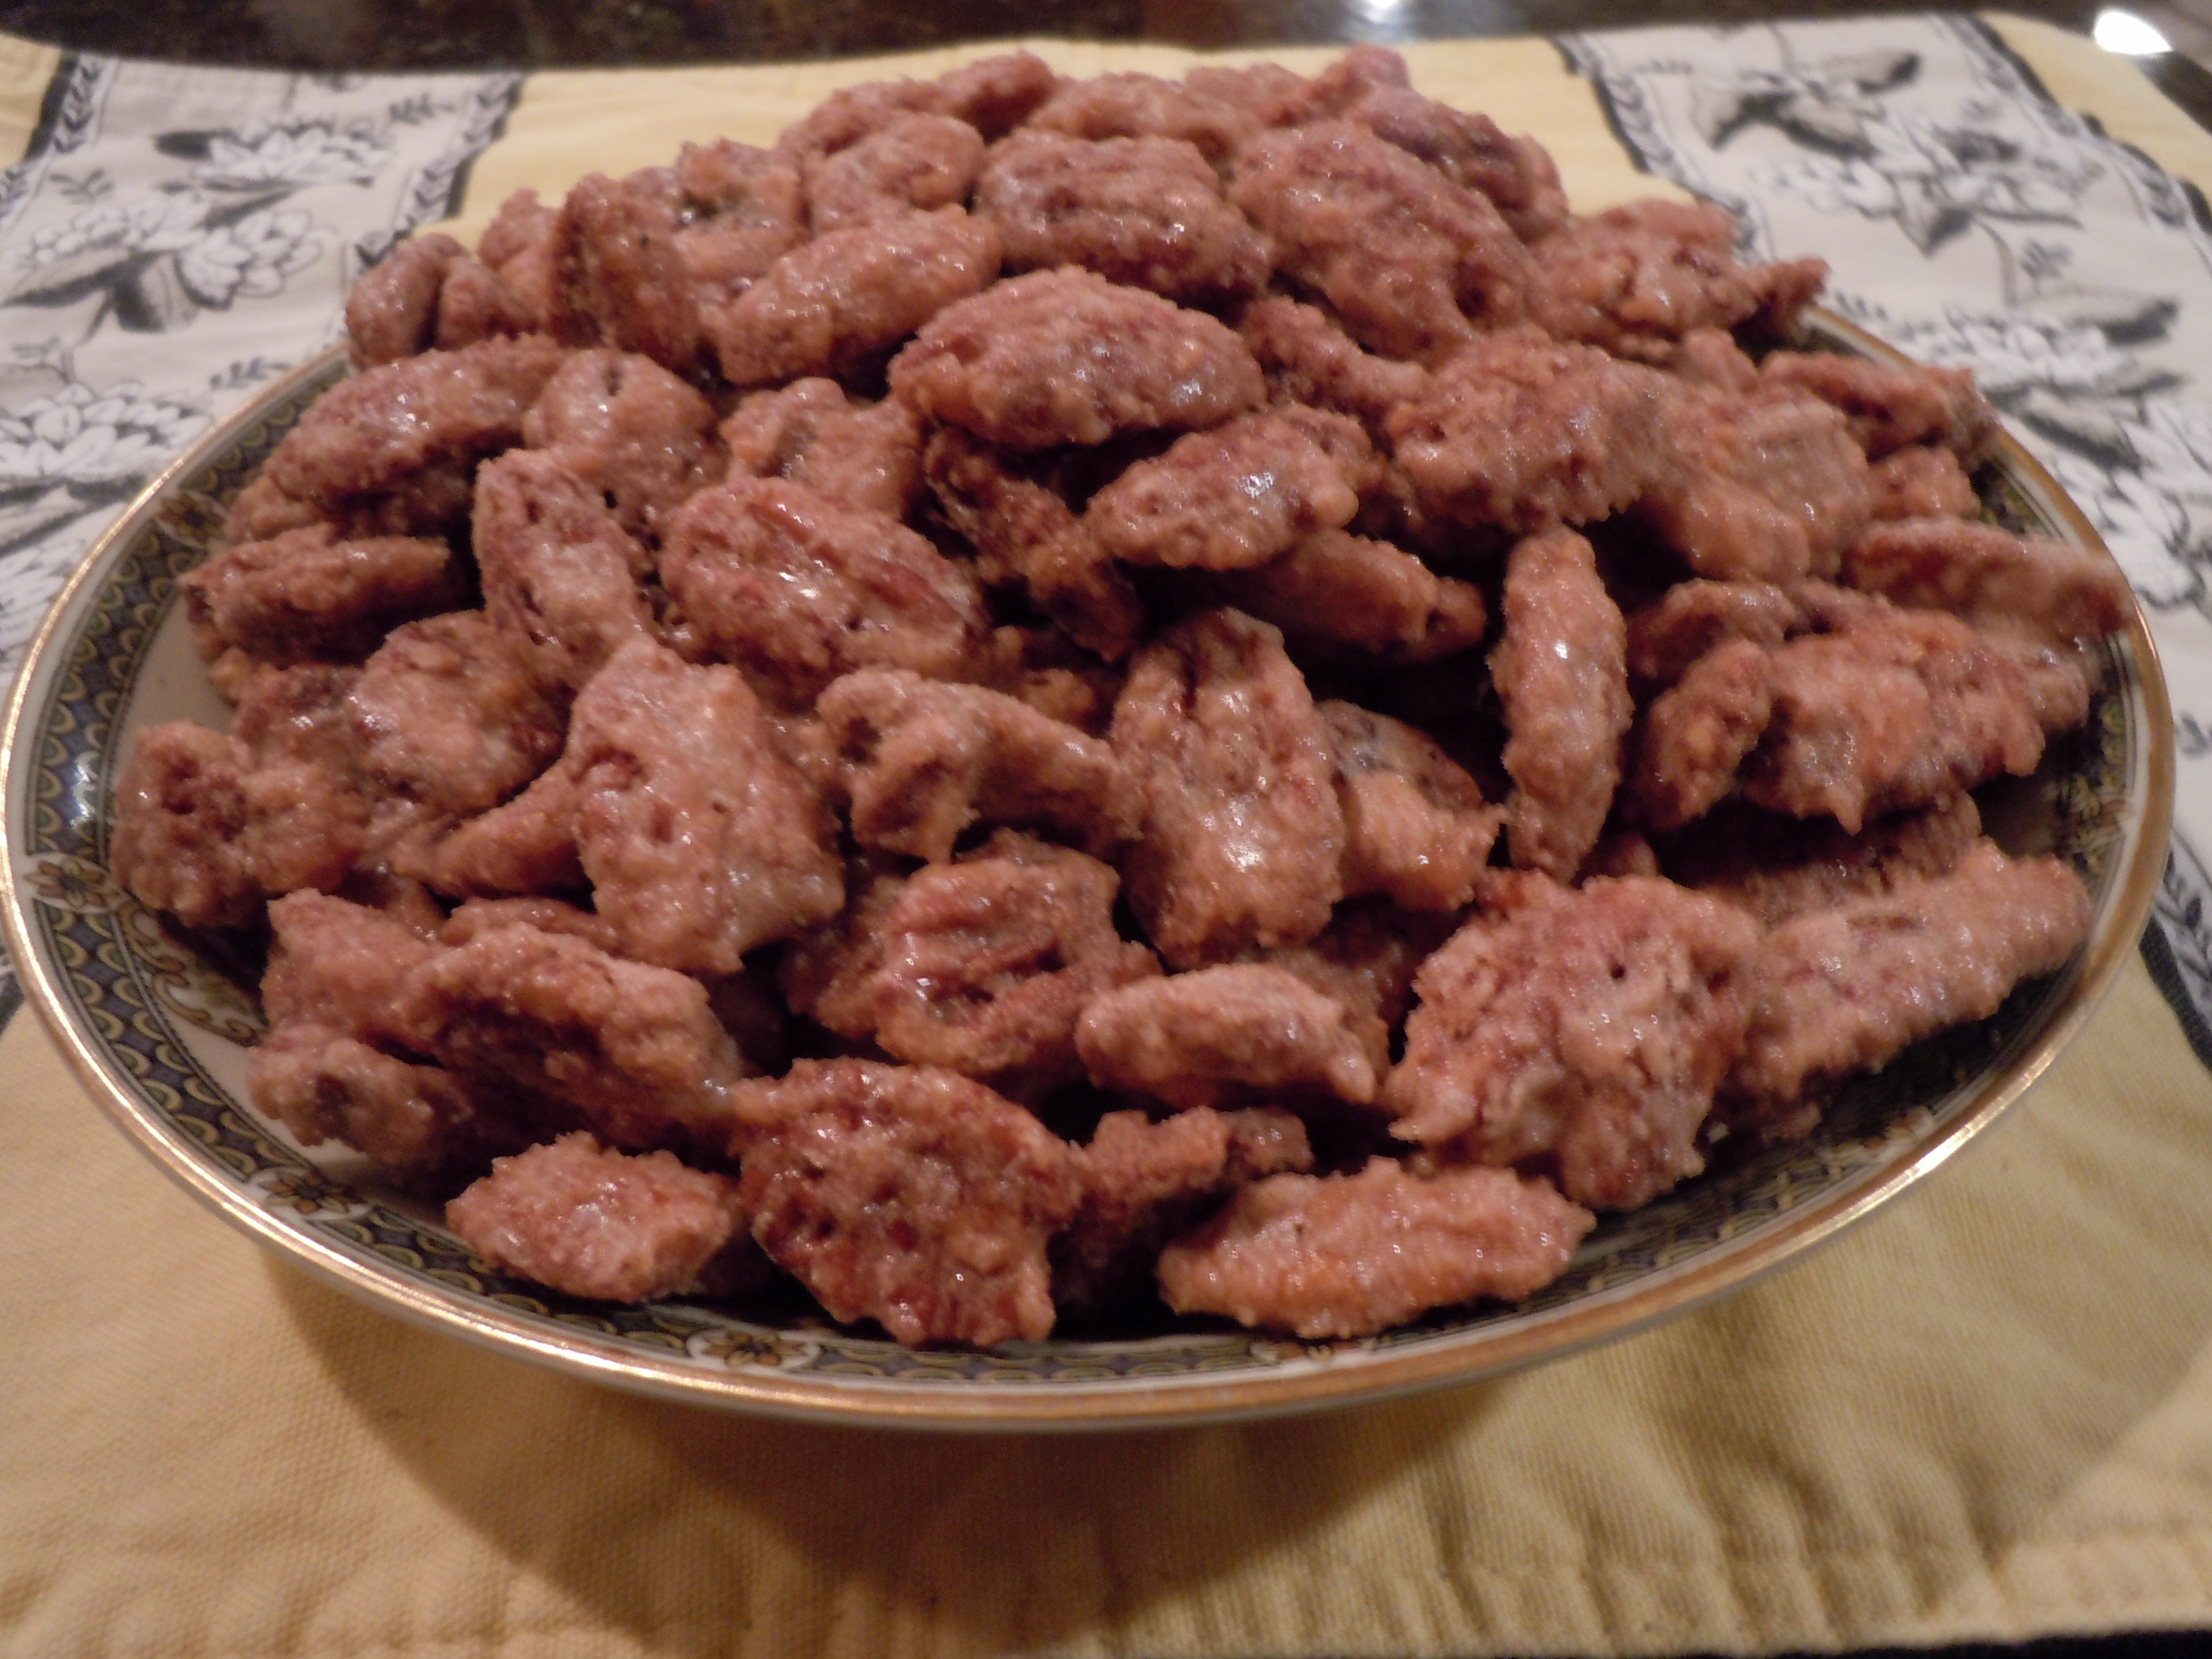
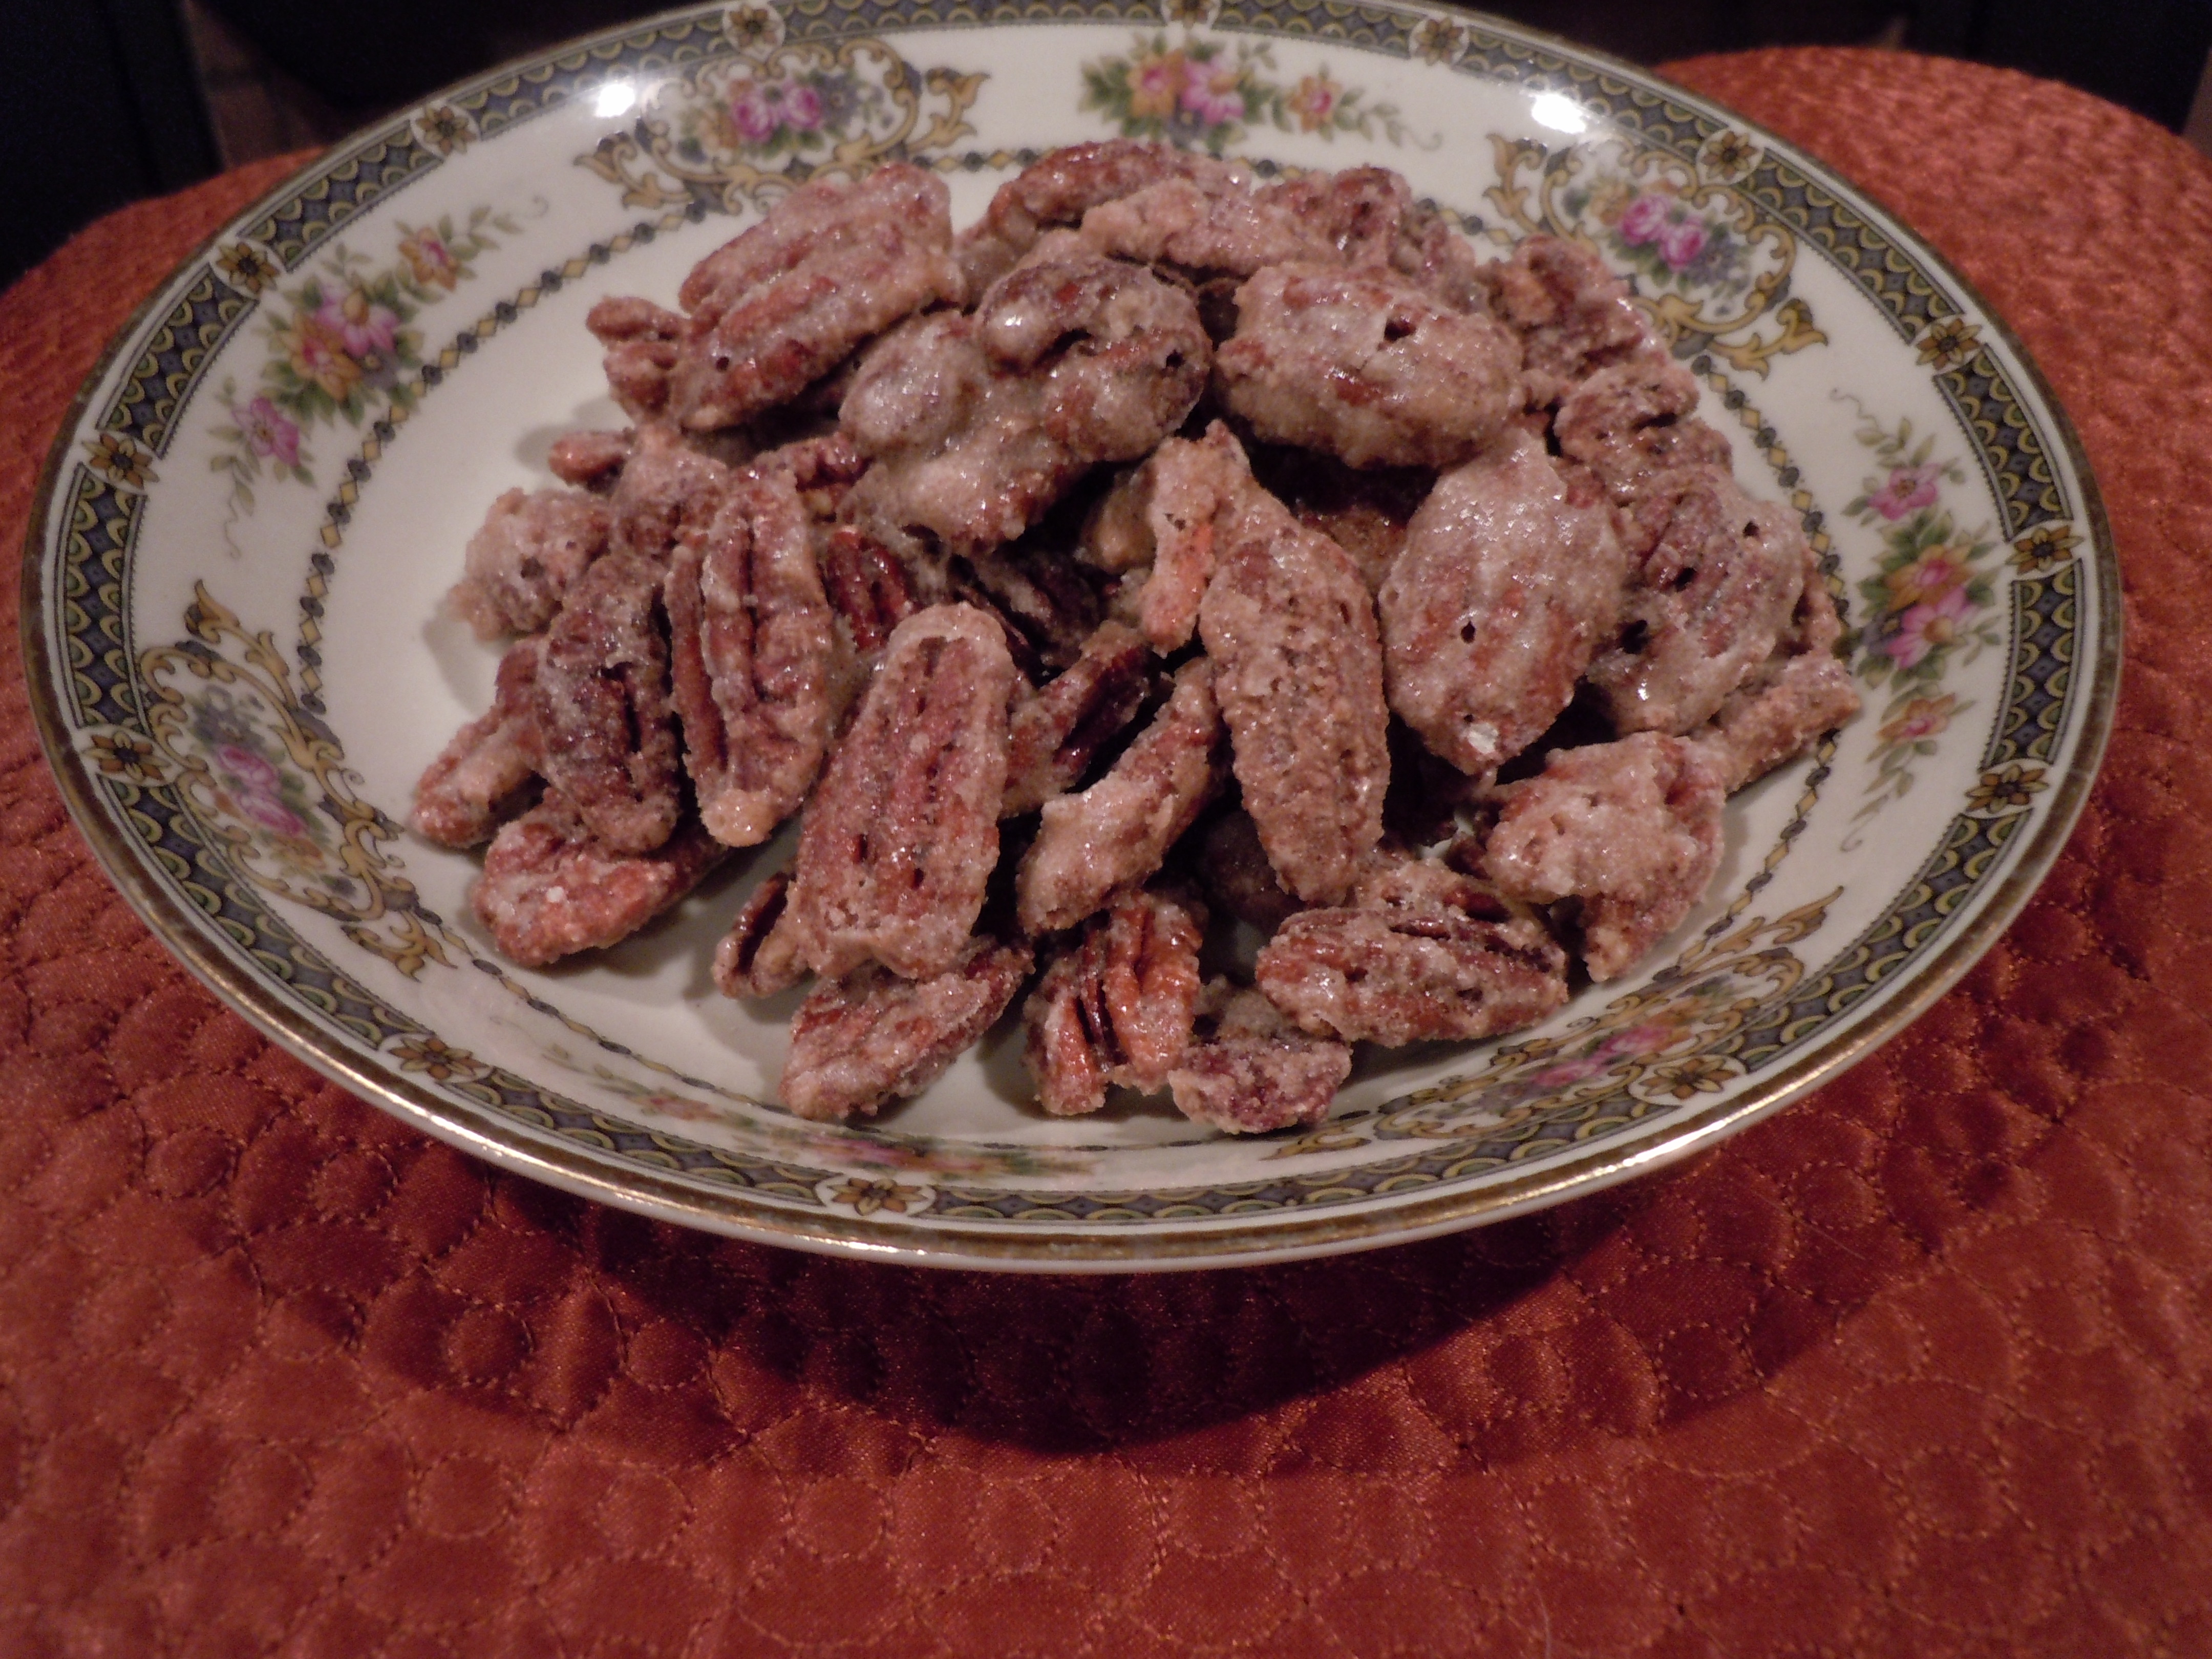
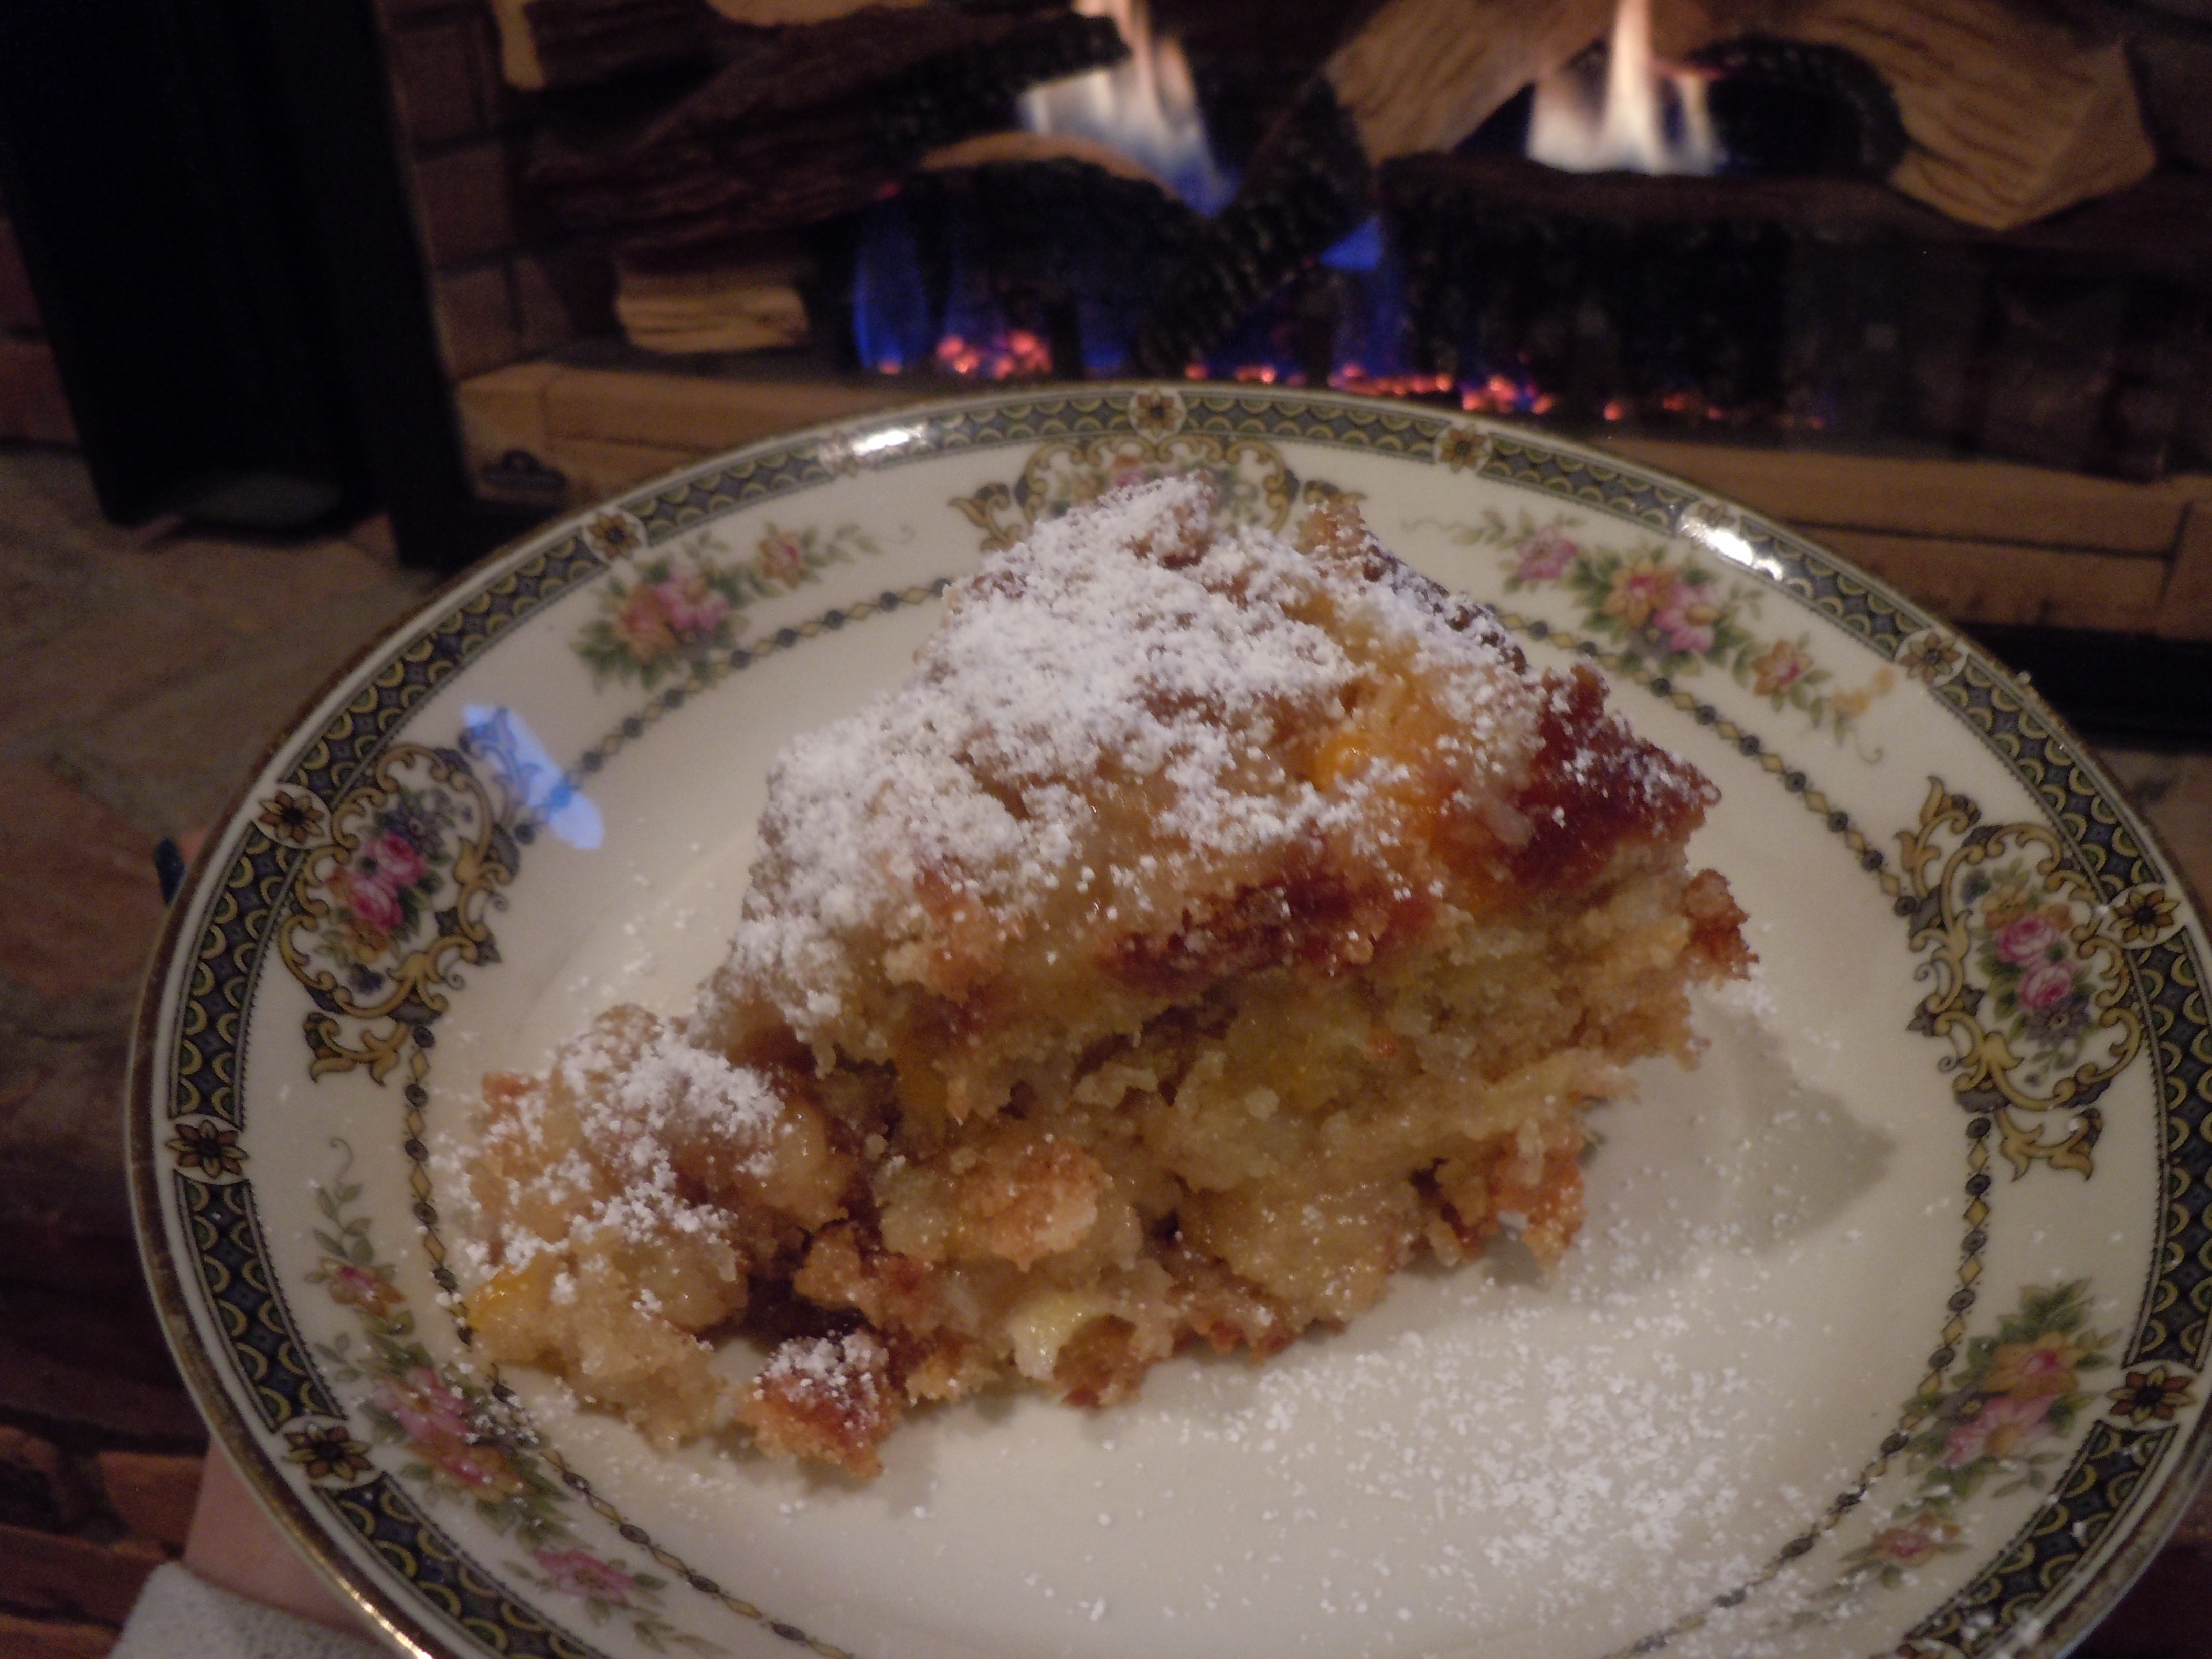
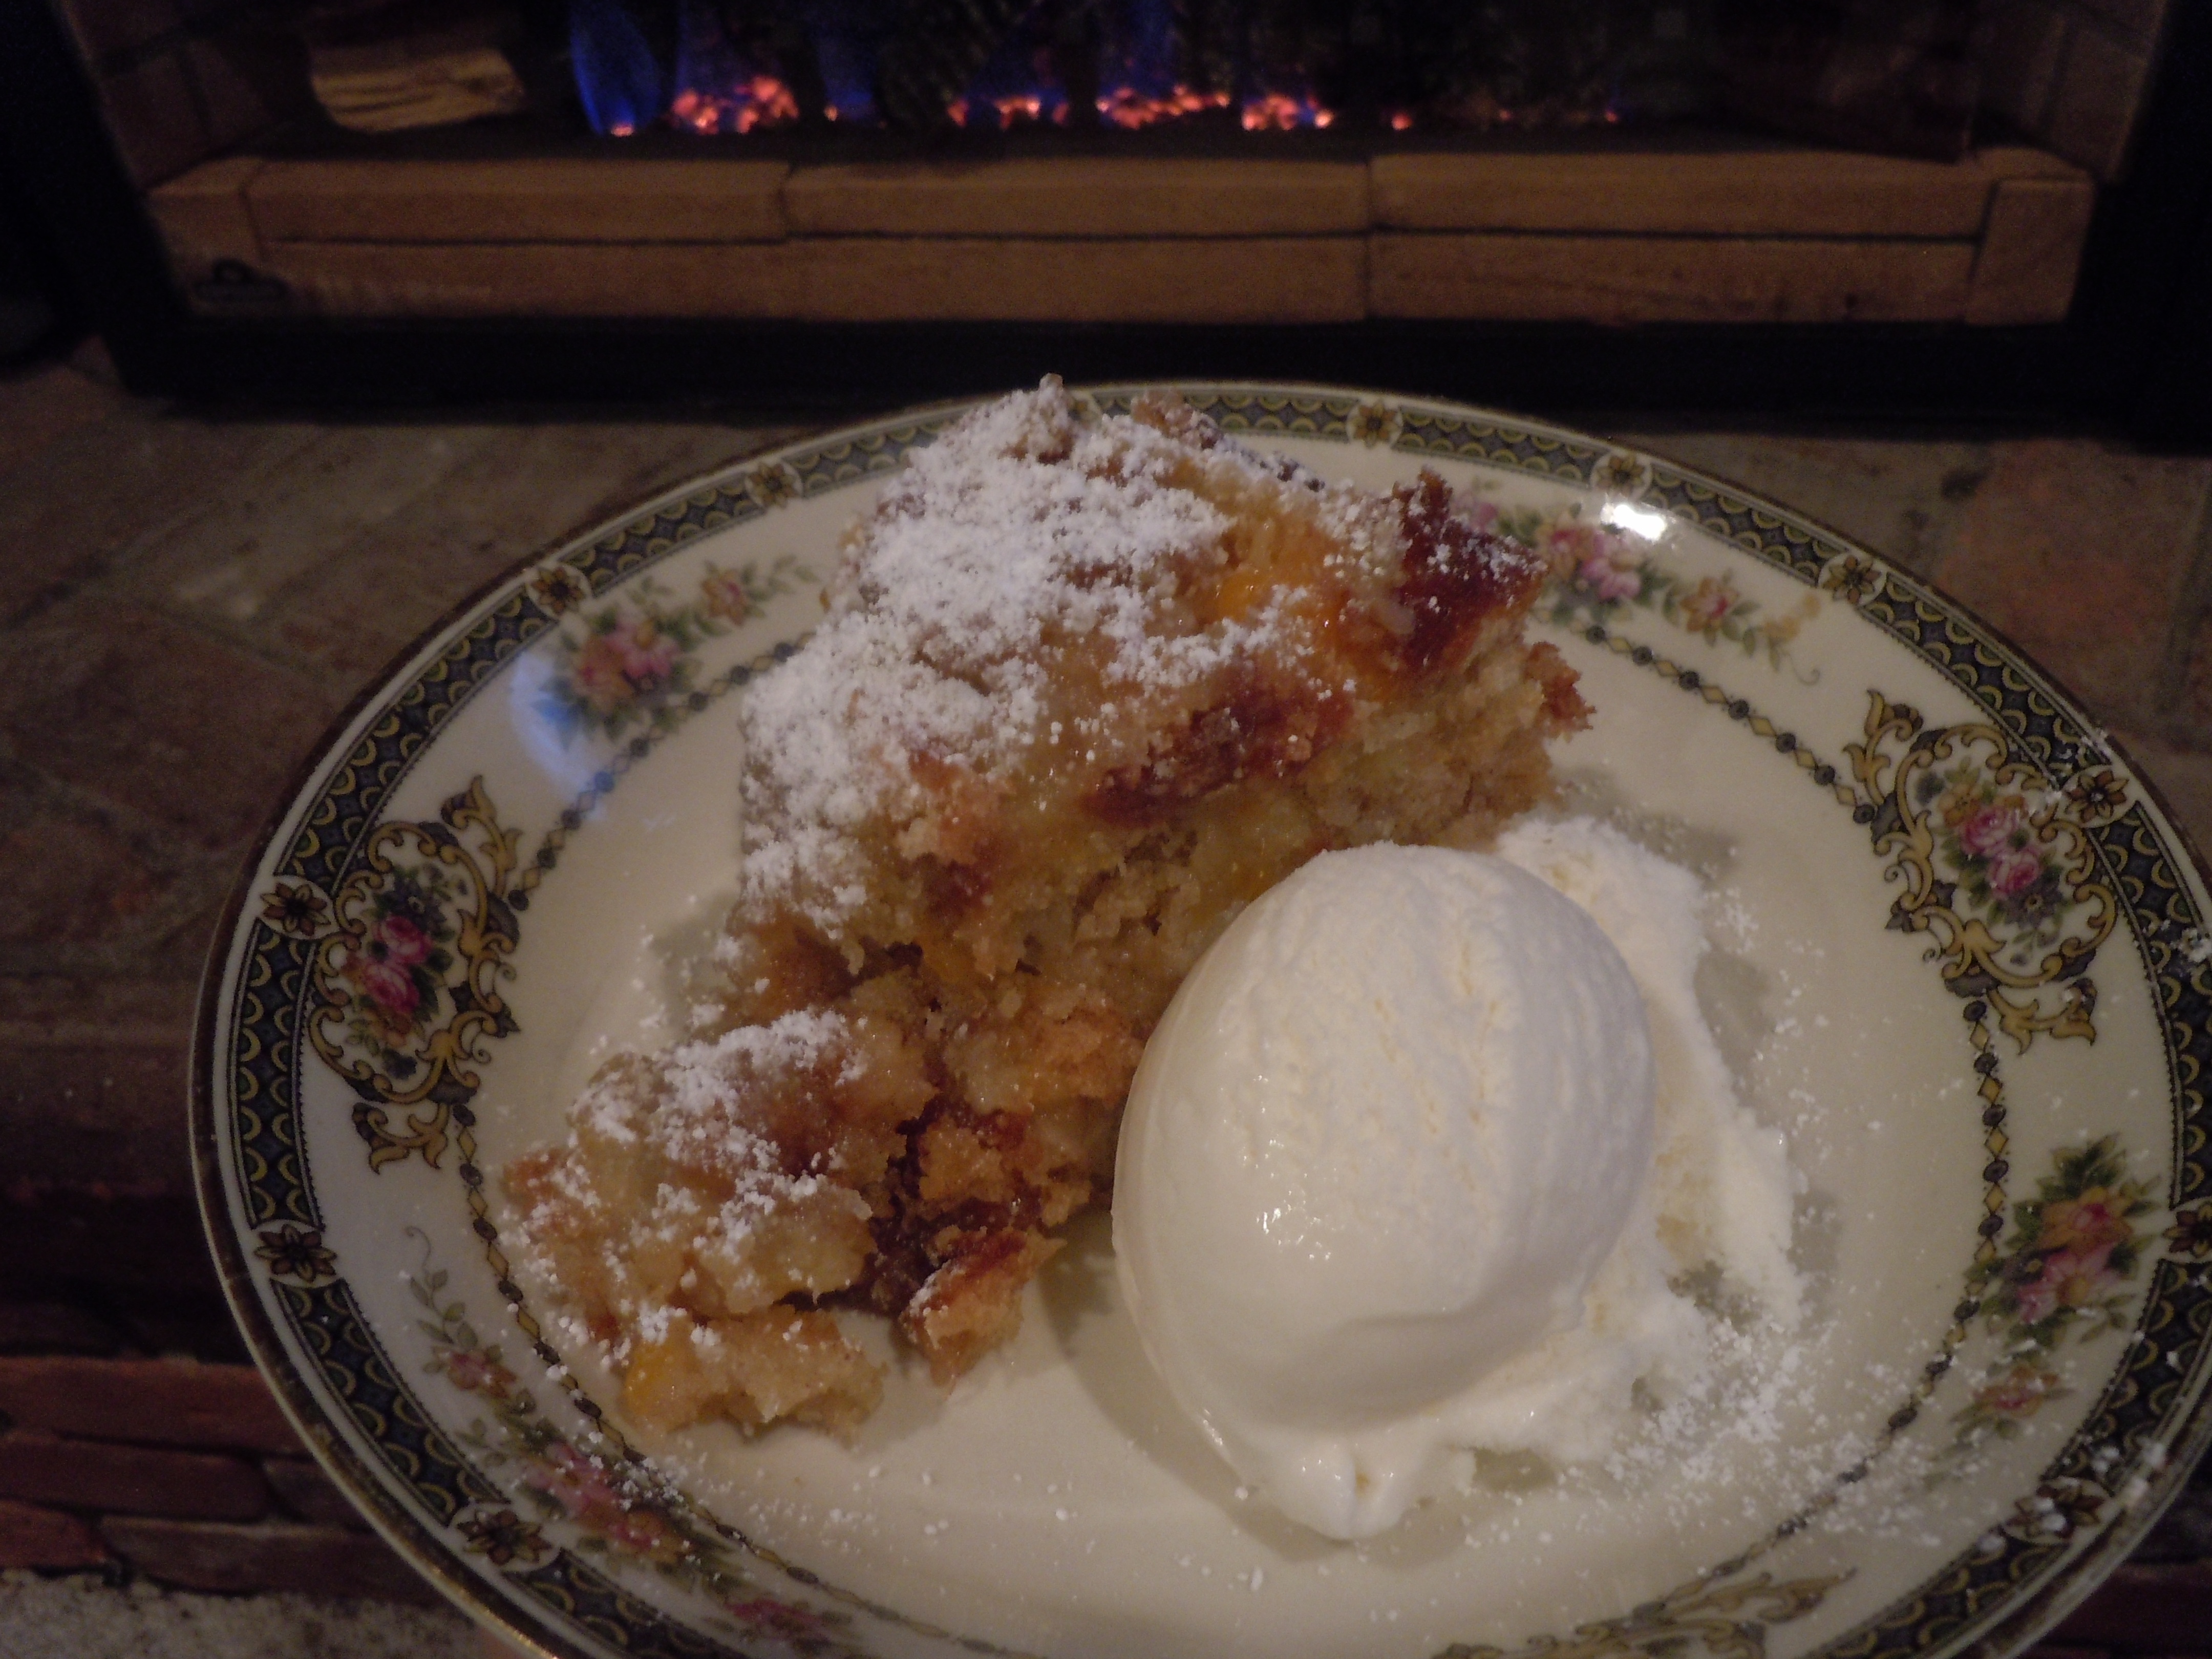
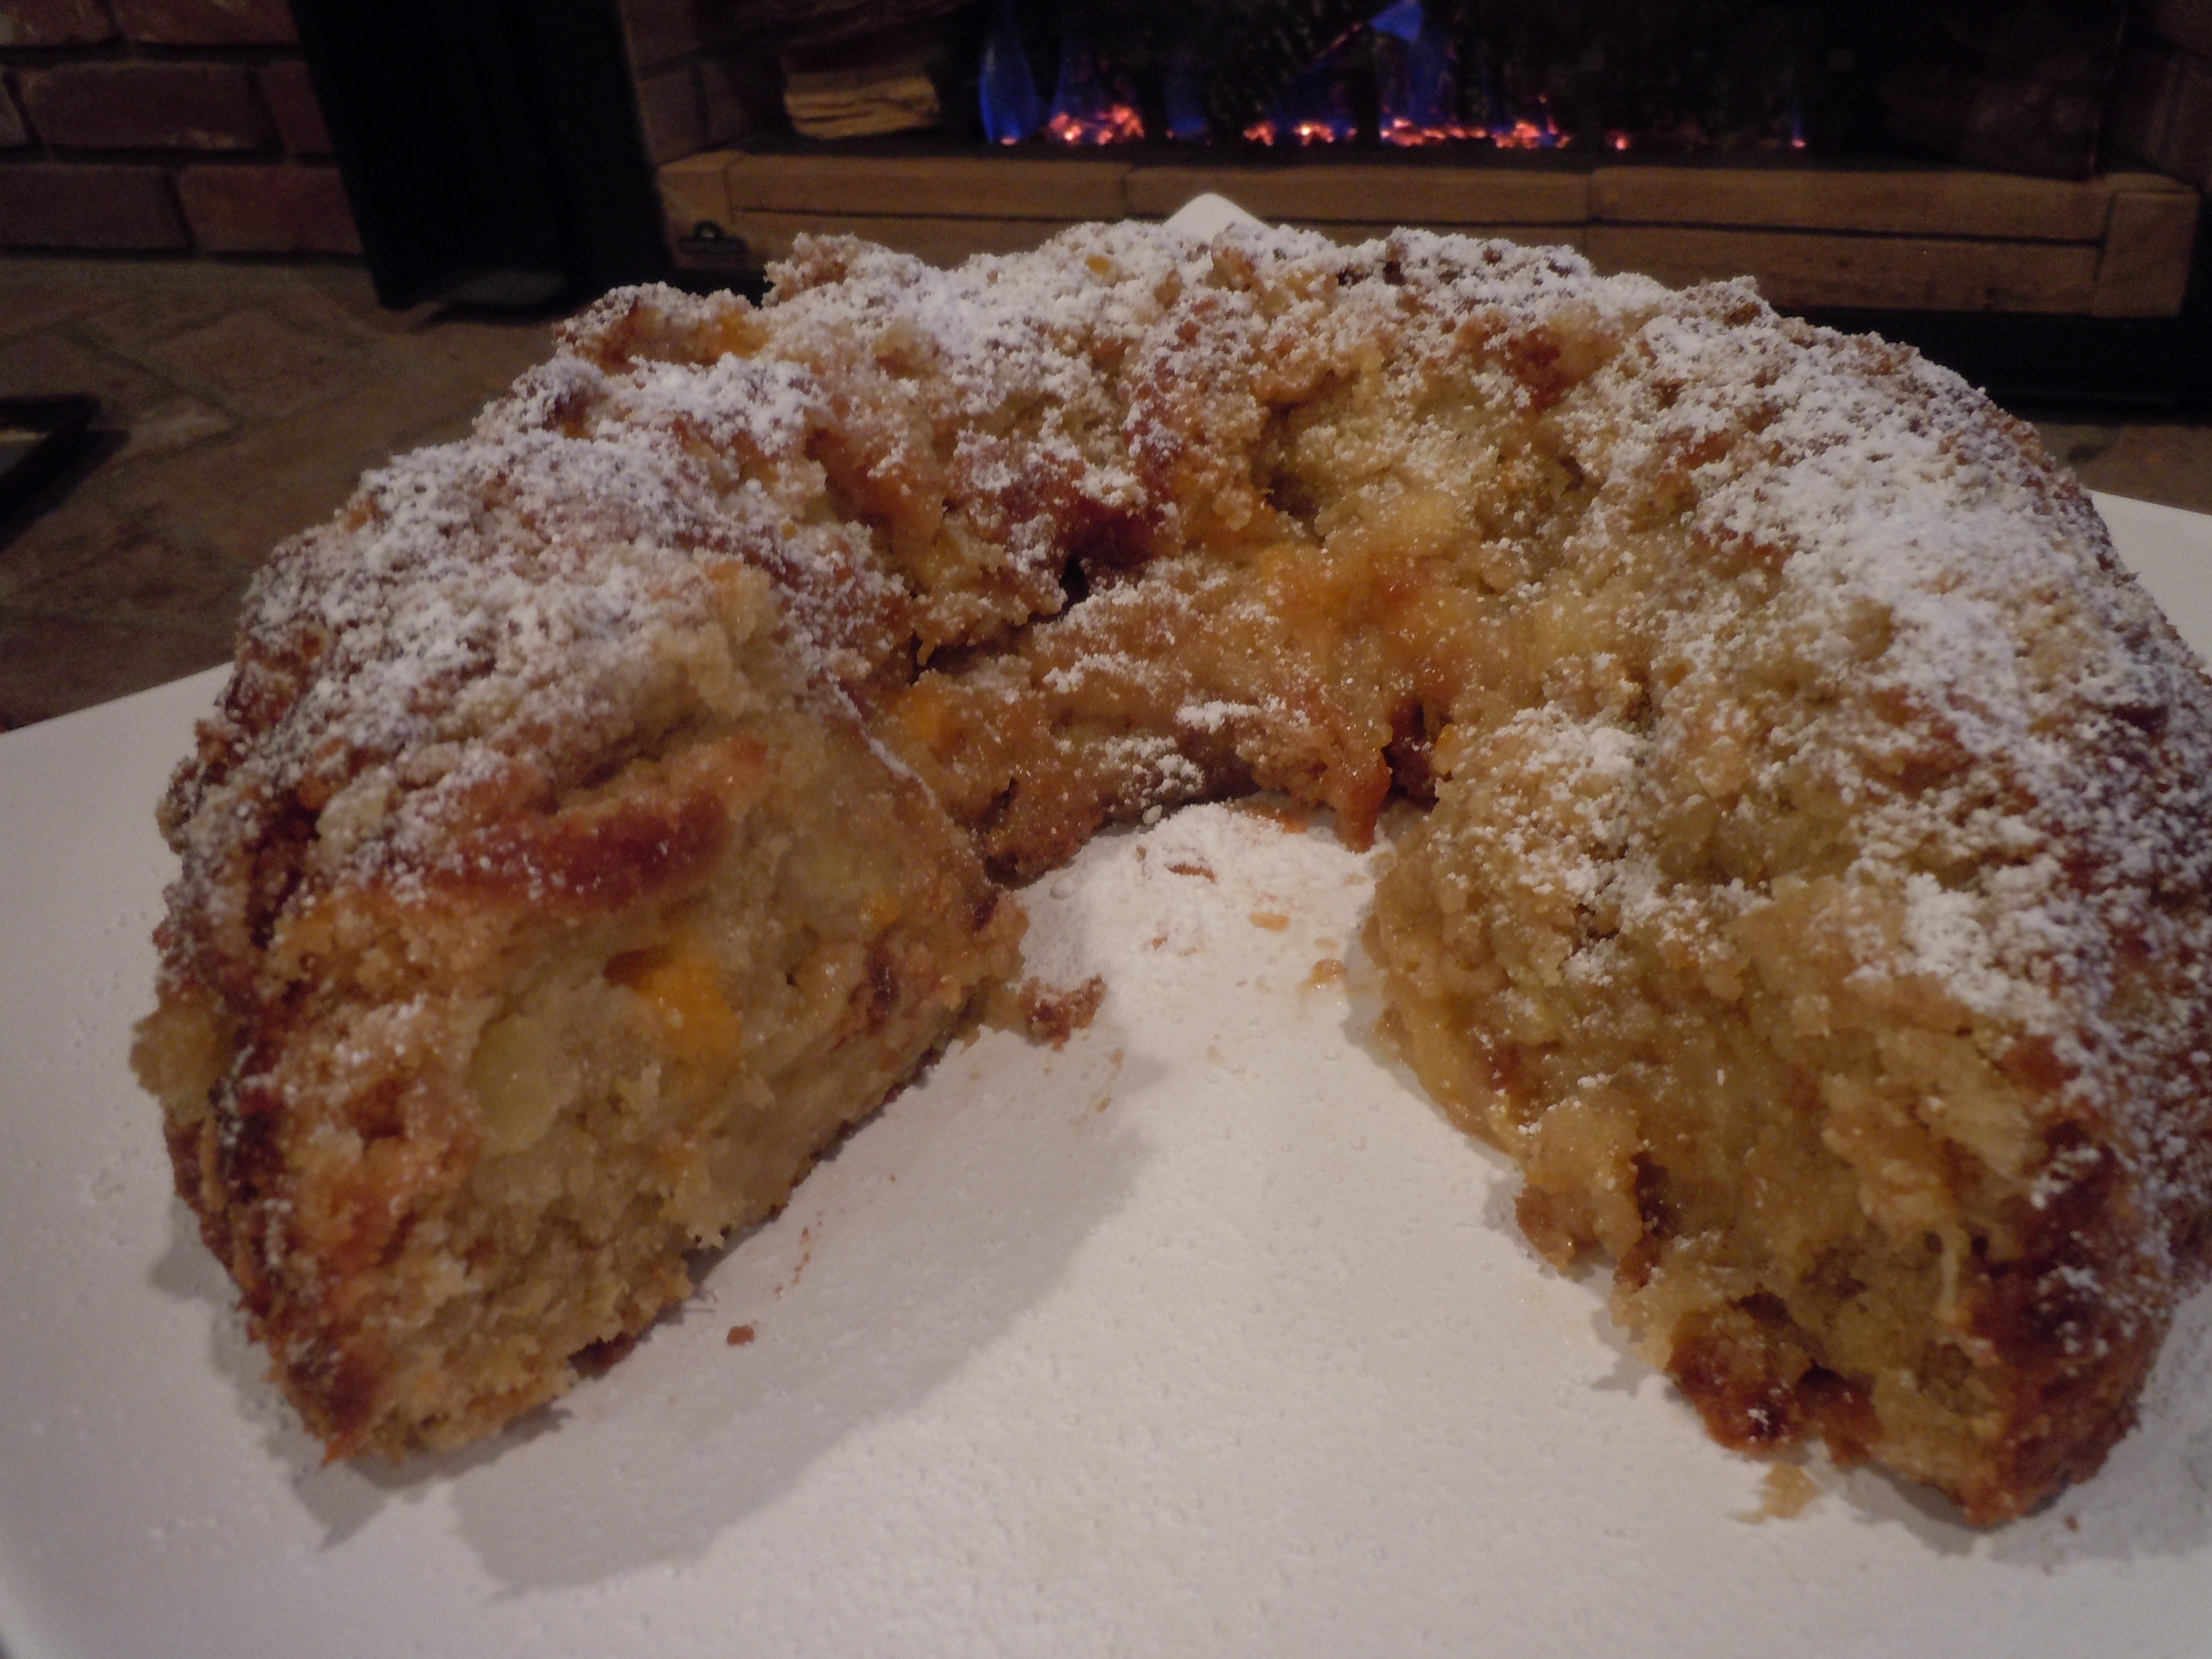
 Barbara’s homemade chocolate pecan pie is like nothing you’ve had before. Not only do you get that gooey texture with a hint of nutty caramel because it’s a pecan pie but a chocolaty finish slides right on in and makes you say wow! Gooey, nutty, caramel, chocolate …need I say MORE? In fact, it is plenty chocolaty so if you wanted to nibble on those “special dark” Hershey’s chocolate chips while you are making the pie feel free it wouldn’t make the pie any less delicious.
 This truly is a labor of love for Barbara and I’m very grateful to have become a part of this amazing tradition and see first hand how inspirational she is. You can see for yourself and hear some of the extremely funny stories that go along with Barbara’s pie making in my “Homemade Chocolate Pecan Pie Show” above. I hope you enjoy the show and now you too can make this
 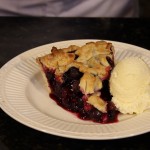 homemade chocolate pecan pie part of your family tradition. If you have the time and are only making a pie or two you can check out my