The Traveling Epicurean

Tortellini at The Gulla’s

Tortellini at The Gulla’s

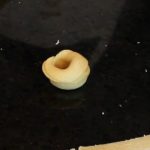
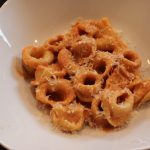
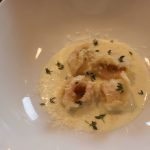
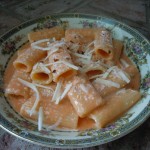
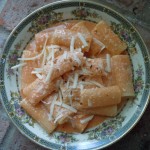
You know this labor of love is so worth the effort when you taste how tender and flavorful these homemade tortellini are! The delicate, circular shaped pasta are stuffed with a purée of sundried tomato, mozzarella, and Reggiano Parmesan and served in one of my all time favorites, a tomato-cream sauce.  I introduced Steve to another easy and scrumptious sauce, Gorganzola Dolce-Cream Sauce that’s garnished with fresh thyme and a drizzle of truffle oil! 

This past weekend I was at The Gulla’s house with Steve and his son Maximo making their homemade tortellini. Steve dedicates a few hours every Christmas Eve making these little gourmet bites for his family’s Christmas dinner. Making these tortellini is definitely a labor of love because you are creating each little amazing folded bundle of pasta by hand.

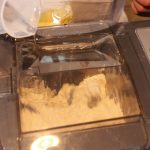
Having a Smart pasta machine like Steve’s really cuts down on the labor of making tortellini as the pasta comes out of the machine in long ready-made sheets in mere minutes. It’s a very cool process putting out smooth sheets of pasta in 3 minutes flat but you can also learn to make Steve’s tortellini using homemade pasta too if you don’t own an Smart pasta machine. I have a homemade pasta recipe below for all of us without a pasta machine who don’t want to miss out on learning how to make these incredible tortellini.

As Italian legend goes on how the shape of the tortellini came about dates back to the days when Venus, the Goddess of Love, was traveling to a small town in Italy between Modena and Bologna. She was staying at a tavern where the Innkeeper was so taken by her beauty he peeked thru the key to her room one night and got a glimse of her navel. He rushed to the kitchen and created a pasta in the likeness of her belly button. And that’s how the shape of the tortellini came about, the belly button pasta! Who Knew?

While you are working hard forming these wonderful tortellini you may need a little sip of something to get you through like a Metaxa Mojito! And for easy nibbles you can pick on some Mango Salsa, Sweet Potato Fries and Green Goddess Dip II,  Best Guacamole Ever or some delicious Mediterranean Layered Dip!
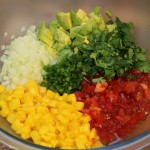
INGRDIENTS for making PASTA in The Smart Pasta Machine:

  • 3 parts flour
  • 1 part semolina
  • 180 ml OR 3/4 cup of water for 2 lbs flour in pasta machine
  • 1 egg and 1 tsp water whisked in a small bowl – set aside until ready to form tortellini

INGREDIENTS for Sun-dried Tomato FILLING:                                                                                         NOTE: THIS FILLING IS UNBELIEVEABLY DELICIOUS!…try it on crostini OR on crusty bread!

  • 1/2 cup sun dried tomatoes
  • 1/2 cup mozzarella – whole milk or part skim
  • 1/4 cup grated Reggiano Parmesan
  • 2-3 tbsp olive oil

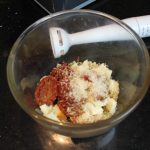
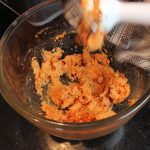
Purée these ingredients with an immersion blender or add to food processor and pulse. Start with 2 tbsp of olive oil and add a little extra if needed to purée til smooth texture

DIRECTIONS FOR FORMING THE TORTELLINI WITH SHEETS OF PASTA MADE FROM THE PASTA MACHINE:

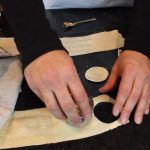
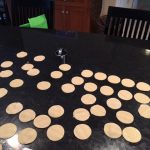
  1. Begin to cut 2″ circles with your cookie cutter out of the machine made sheets of pasta
  2. Brush top 1/2 of the circle edge with a whisked egg
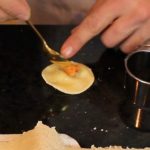
  3. Place 1/4 tsp of sun dried tomato filling in the middle of the circle pasta
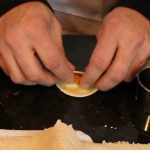
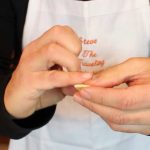
  4. Fold the circle in 1/2
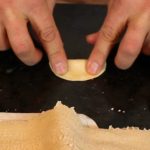
  5. Press to SEAL the 1/2 circle of pasta…VERY IMPORTANT to SEAL this edge!
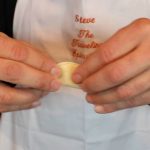
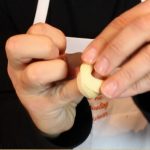
  6. Take 1/2 circle and wrap around your pinky having each end meet
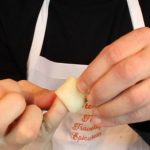
  7. Press these two ends together to seal and form one continous circular shape
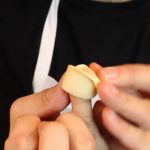
  8. Fold down top of circular pasta to form tortellini
  9. Place in a bowl as you finish each one until you gone thru all the pasta sheets
  10. Bring large pan of salted water to a boil and add fresh pasta
  11. Cook pasta for 8 minutes, test pieces of pasta for proper doneness
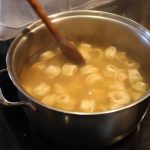
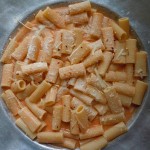
  12. Serve with tomato-cream sauce or Gorganzola Dolce-cream sauce, garnish with thyme and truffle oil … mmm!

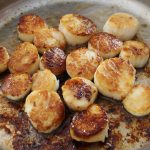
INGREDIENTS FOR TOMATO-CREAM SAUCE:

  • 2 cloves finely chopped garlic
  • 1/2 tsp salt
  • 1/4 tsp dried oregano
  • 3 1/4 cup POMI “strained tomaotes” – 1 med box – 26 oz.
  • 2 cups heavy cream
  • 2 tbsp olive oil

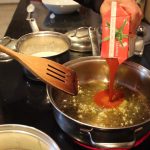
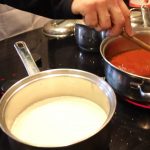
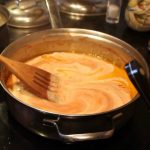
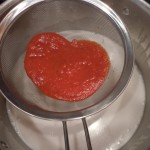
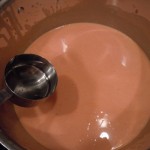
Sauté finely chopped garlic in 2 tbsp olive oil for 3 minutes, add in POMI strained tomatoes, salt & oregano and simmer for 15 minutes. Add in 2 cups of heavy cream to tomato sauce. Bring to a simmer for 15 miutes more. Serve with cooked tortellini, garnish with fresh thyme (and truffle oil.

INGREDIENTS FOR GORGANZOLA DOLCE-CREAM SAUCE:

  • 2 cups heavy cream
  • 1/4 cup Gorganzola Dolce cheese
  • 1/4 cup dry vermouth
  • fresh thyme leaves
  • truffle oil

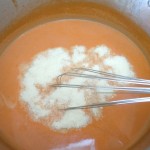
Add heavy cream, Gorganzola, and vermouth to a small sauce pan and bring to a simmer. When it comes to a simmer whisk the melted cheese into the cream and simmer 10 minutes. Serve with tortellini, garnish with a sprinkle of fresh thyme leaves and a drizzle of truffle oil.

INGREDIENTS for Easy Homemade-Handmade Pasta- (Recipe from “Pasta at Vin’s“)

  • 2 1/2 cups all purpose flour
  • 1/4 cup olive oil
  • 4 1/2  – 5 lg eggs
  • 1/4 tsp salt

DIRECTIONS:

  1. Put the kneading attachment on your food processor and add the flour
  2. Add the salt and olive oil
  3. Turn on the food processor to slow
  4. Add in 1 tbsp of water
  5. Begin adding in 1 egg at a time with the processor still on slow
  6. Add in the rest of the eggs
  7. Keep the food processor going on medium speed to begin kneading the dough
  8. Let knead for about 8 minutes until the texture turns into a smooth consistency
  9. Remove the pasta dough and place onto the counter
  10. Knead briefly with your hands and let sit for 1/2 hr.
  11. NOTE: Vin does not cover his pasta dough while it sits for the 1/2 so it can begin to dry out  a little bit
  12. Sprinkle some flour onto the counter or work surface and cut pasta dough into 8 pieces
  13. Begin to roll out each piece of dough to your desired thickness, into long lasagna-like sheets
  14. Sprinkle more flour on top of each thinly rolled out pasta piece and begin to cut out 2″ circles with your cookie cutter
  15. Brush top 1/2 of the circle edge with a whisked egg
  16. Place 1/4 tsp of sun dried tomato filling in the middle of the circle pasta
  17. Fold the circle in 1/2
  18. Press to SEAL the 1/2 circle of pasta…VERY IMPORTANT to SEAL this edge!
  19. Take 1/2 circle and wrap around your pinky having each end meet
  20. Press these two ends together to seal and form one continous circular shape
  21. Fold down top of circular pasta to form tortellini
  22. Place in a bowl as you finish each one until you gone thru all the pasta sheets
  23. Bring large pan of salted water to a boil and add fresh pasta
  24. Cook pasta for 8 minutes, test pieces of pasta for proper doneness
  25. Serve with tomato-cream sauce or Gorganzola Dolce-cream sauce, garnish with thyme and truffle oil … mmm!
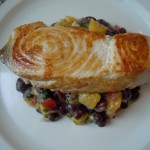


Feta-Basil Pesto

Feta-Basil Pesto

No doubt about it once you try this feta-basil pesto you will be hook! The creamy, French sheep’s milk feta pushes this pesto into a whole new arena! Combined with the fresh, floral basil leaves, Italian Reggiano Parmeggiano, extra-virgin olive oil and garlic are a creation that’s just born to go together! Done in mere minutes in a food processor there’s no excuse not to make this delectable sauce bursting with flavor every chance you get!

Making fresh feta-basil pesto can’t be any easier then the convenience of your food processor! There’s no need whatsoever lugging out the ole mortar and pestle making a huge project out of something that literally take’s 2 minutes to make. No cooking, no baking, no washing, NO FUSS, just load up the food processor and pulse. Voilà, you have a gourmet sauce that turns around any dish you add it to into gourmet.

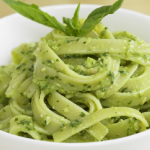
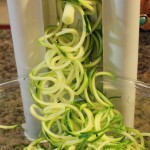
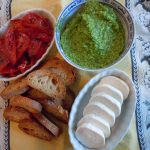
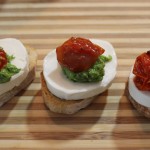
One of the appetizer’s I like to make with feta-basil pesto are Crostini with Fresh Mozzarella and Roasted tomatoes. Let’s not forget to try the feta-basil pesto on seared Scallops, Swordfish or even Sweet Potato Fries! And then there’s the obvious, top EASY PEASY pasta or Zucchini spaghetti with the feta-basil pesto and you feel like a king. Any way you look at it this feta-basil pesto is a no brainer, a win-win situation! So get on it! lol … xoxo

IMG_7288 027 IMG_0668 fetapesto IMG_2418

img_8522 fetagar fetapulsejpg

fetareggiano fetafeta fetapulsejpg

fetahot img_8558 img_8565

pestcrostini IMG_2026 IMG_6818

Ingredients:

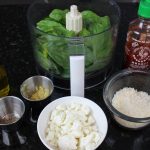
  • 1/2 sheep’s milk feta cheese – from local cheese shop if you can! It’s the star of the show!
  • 2 packed cups – fresh basil leaves
  • 1/4 packed Reggiano Parmasan – freshly grated if you can
  • 1 extra lg OR 2 medium garlic cloves put thru garlic press
  • 1/4 cup PLUS 1 tbsp extra-virgin olive oil
  • salt and pepper to taste
  • a few dashes of your fav hot sauce

Directions:

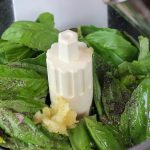
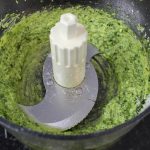
  1. Place 2 packed cups of basil, 2 tbsp of olive oil, garlic thru garlic press, a sprinkle of s & p in food processor and pulse 6x
  2. Scrape down sides and add in Reggiano Parmesan and sheep’s milk feta and pulse 4x more
  3. Scrape down sides and add in a few dashes of hot sauce
  4. Drizzle in thru top opening of food processor 3 more tbsp of extra-virgin olive oil and pulse 3x more …voila you have feta-basil pesto! It’s as easy as that! 🙂
  5. Add this feta-basil to Crostini with Fresh Mozzarella & Roasted Tomatoes for an appetizer that’s sure to turn heads!
  6. OR EASY PEASY …Add the feta-basil pesto to some sautéed shrimp and pasta! YUM!

Easy Gourmet Eggplant Parmesan

Easy Gourmet Eggplant Parmesan

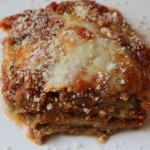
My easy gourmet eggplant Parmesan is sweet, saucy and oozing with mozzarella getting even better the next day when it’s re-heated if that’s even possible! Eggplant Parmesan one of my very favorite things to make. I used to watch my mother fry eggplant when I was young and I have been making this homemade eggplant Parmesan for 30 years now. Eggplant Parmesan is one of those delicious Italian comfort foods that can be a little bit of work to prepare so I show you how to keep the process simple by spreading out the steps.

The secret to sweet eggplant Parmesan is slicing , lightly salting and weighting down the eggplant letting it sit in the refrigerator for 2 hrs to overnight preferably to remove the bitter purple juice making my homemade baked eggplant Parmesan as sweet as ever. This is a simple but ingenious way that’s been in my family for generations.

It will be much easier to try and fry up only one eggplant if it’s your first time just to get the hang of it. If you have gone through the frying process before I would suggest cooking up two or three large eggplants. I like to fry up 3 eggplants because I freeze the slices I don’t use right away when they are completely cooled in between layers of thick durable Bounty paper towels in freezer Ziploc baggies. This way all your base work is done for you and you are able to pull them out of the freezer and whip up an eggplant rollatini, eggplant Parmesan, or even eggplant lasagna. When you take them out of the freezer they pop apart easily thawing in minutes too ready for what ever dish you may have in mind.

I recommend making my quick and easy tomato-basil pasta sauce  or even my slow cooked pasta sauce to baked this easy gourmet eggplant Parmesan dish. I love the fact that it can totally be made days ahead, even weeks ahead and put into the freezer ready to thaw when you need it.

If you’re feeling ambitious you may want to venture off and try my homemade eggplant rollatini with vodka sauce and, or my homemade ricotta which you can also make the day before or just treat yourself and buy Liuzzi Cheese ricotta or your favorite store brand for the rollatini. Planning is sometimes the name of the game for taking the labor out of scrumptious food like this where if you get it done in steps it makes everything go so smoothly.

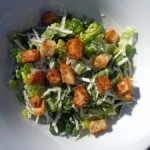
You may want to accompany this amazing Italian dish with some apps like crab cakes, a homemade Caesar saladMediterranean layered dip, or asparagus wrapped in Prosciutto and you could end it with the best chocolate cake you ever had that’s a snap to make! ENJOY! 🙂

DSCN45211-300x225 DSCN4572-300x225 IMG_5437 iphone-pictures-572-300x225 IMG_2793

DSCN4361[1]  DSCN4362[1]  DSCN4364[1]

DSCN4367[1]  DSCN4369[1]  DSCN4372[1]

DSCN4374[1]  DSCN4376[1]  DSCN4378[1]

DSCN4382[1]  DSCN4385[1]  DSCN4386[1]

DSCN4391[1]  DSCN4393[1]  DSCN4395[1]

DSCN4399[1]  DSCN4405[1]  sauce

sauceeggplant  eggplsnt  eggwithplant

IMG_3349

Ingredients:

  • Tomato-Basil Pasta Sauce or Slow cooked pasta 101 recipe
  • 2-3 large eggplants
  • 6-9 extra large eggs whisked (approx. 3 eggs per 1 extra-large eggplant)
  • 3 cups seasoned Italian bread crumbs – (use “seasoned breadcrumbs” then you don’t have to add that in)
  • salt
  • 1 16 oz. block of part-skim or whole milk mozzarella shredded or sliced thinly
  • 3 1/2-4 cups canola oil for frying
  • fresh basil leaves
  • grated Parmesan for garnish
  • Cookie racks
  • 1 whole roll of Bounty Paper Towels (it’s important to get quality paper towel so they will absorb the oil properly and won’t fall apart)
  • Candy thermometer to keep oil at 300º

Directions – Pre-heat oven to 350º:

  1. Slice the ends off the eggplants
  2. Using a potato peeler peel off all the skin of the eggplants
  3. Slice up eggplants on a slight bias (on a little bit of an angle) into 1/4″ slices (1/4″ for rolling up for eggplant rollatini BUT you can cut them a little thicker 3/8″ for eggplant parm!
  4. NOTE: If i plan on freezing the left over fried eggplant slice’s for future dinners (eggplant rollatini) I cut them length wise so as to have enough length to roll up with ricotta in the middle BUT if I’m just making enough for parm I cut the eggplant on a slight bias because I don’t need the length…I try to cut them all the same so cooking time is constant.
  5. Layer the eggplant slices in a large glass bowl
  6. In between each layer sprinkle 1/4 Tsp of salt, and keep layering eggplant, salt, eggplant, salt…
  7. Cover with Saran wrap and place a small plate on top and then some heavy fry pans or large tomato can to weight down the eggplant and into the frig for 1-2 hours up to 1 day
  8. Drain the purple juice from the bowl
  9. Take the eggplant and pat them dry in layers between Bounty paper towels
  10. Whisk eggs
  11. Get your line-up of bowls in order: eggplant slices – whisked eggs – bread crumbs
  12. Add 3 1/2 – 4 cups canola oil to a large sauce pan and begin to heat up on medium/high heat
  13. The oil needs to get to about 300º …The temperature will go down a little when you start filling the pan with breaded eggplant slices so start with the heat on med/high then after you start to fry you will have to turn it up a little to maintain the 300º
  14. Lay out 2-3 cookie racks covered with layers of paper towels to absorb oil for frying
  15. Add slices of eggplant to the egg bowl in batches – only add in the 4 or 5 slices that are going next into the oil and ready to go into the bread crumbs
  16. Then dip into the bread crumbs and into the heated oil
  17. Put 4 or 5 slices of breaded eggplant into the oil at a time…
  18. They will fry for about 2-3 minutes per side til golden then flip the slice over
  19. While the 1st batch is frying get the 2nd batch ready to fry dipping into the egg and then into the bread crumbs and let them sit there on the bread crumbs til they are ready to go into the oil
  20. Once the eggplant are golden place onto cookie racks with paper towels and dab them with fresh paper towels, flip and do the same to the other side to remove all excess oil
  21. Throw away oily paper towels and re-place with a new set of paper towels for the next and replace with each batch there after
  22. Then place the eggplant onto the wire cookie racks with out paper towels to cool
  23. Finish frying the rest of the eggplant going thru the same procedures
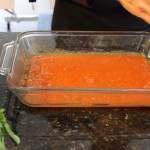
  24. Get out your favorite baking dish and cover the bottom with sauce
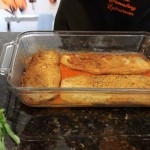
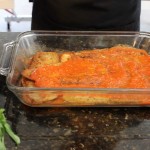
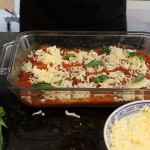
  25. Begin to layer sauce, eggplant, mozzarella and some fresh basil leaves til you are 1″ from the top
  26. Cover with foil and bake for 50-55 minutes appox. with foil til sides are bubbling and bake another 5-10 with out foil so mozzarella can get bubbly

FREEZING TIPS: I love, love, love to freeze my fried eggplant slices because all the work is done for you the next time you want to make parm or rollatini. BEST way to freeze your eggplant slices:  let all the fried slices COMPLETELY cool on a cookie rack, then layer as many slices in between BOUNTY (need a durable paper towel)  paper towels. Layer enough slices to fit a SINGLE layer in between each sheet of Bounty in a FREEZER ZIP-LOC baggie.  Begin with a sheet of Bounty in the Zip-Loc, then slices of eggplant-single layer, then another sheet of Bounty, then another layer of eggplant slices and so on until you can barely close baggie. Lay flat in you freezer and Voilà! Freezes great 4-5 months!

Gourmet Sausage Stuffed Mushrooms

Gourmet Sausage Stuffed Mushrooms

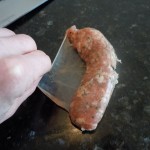
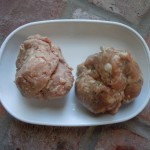
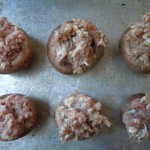
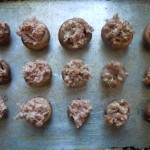
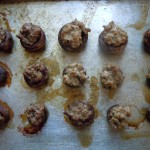
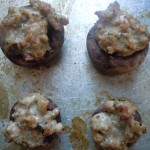
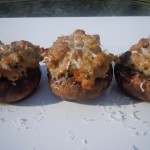
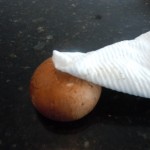
These gourmet sausage stuffed mushrooms are literally the easiest appetizer ever. Wipe the mushrooms off with a damp paper towel or mushroom brush, add your favorite sausage and bake for 15-20 minutes! There is no need for chopping or sauteing. You remove the sausage meat out of the casing it comes in, fill the mushroom caps and viola! In this recipe I used two pork sausages Italian garlic herb, and a chorizo sausage made with spices like chili and paprika. I also used two chicken sausages one made with jalapeño, fennel and cilantro and the other with feta and spinach that I bought at Whole Foods Markets.

There are so many specialty sausages to choose from out there that you can’t go wrong stuffing these baby bells! All the work is done for you so take advantage of these gourmet sausage products and stuff these mushrooms for an incredibly scrumptious appetizer that will continue to get raves from your guests.

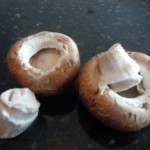
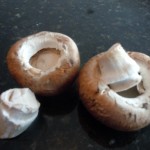
Mushrooms are probably one of my favorite vegetables to eat. Give me Chanterelle mushrooms in a brandy cream sauce and I am in complete heaven. But here all you need is a simple button shaped mushroom with some room under the cap for filling.You can use a white button mushroom for these gourmet sausage stuffed mushrooms but what I prefer are Baby Bells because they are packed with flavor.

Another great specialty meat product called D’Artagnan offers many different sausages. One in particular is a mix of pork, duck, duck liver and egg white and is out of this world! This type of sausage is called Boudin and is very popular in New Orleans. It has distinct flavors that you might just start to crave after you have tried it. I really like D’Artagnan and I have found that Bishops Orchards Market in Guilford, CT carries a wide variety of their products. This brand offers a lot of duck products which Bishops also carries. Anything with duck or goose whether it be breast or liver is a no brainer in my book…YUM!

You can have these stuffed mushrooms for hors’ d oeurves before serving stuffed roulades of chicken on a garlic-bean puréeAsian shrimp & rice noodle saladturkey stuffed peppers or Chilean sea bass with green goddess sauce II for dinner.

iphone pictures 1418  iphone pictures 940  iphone pictures 941

iphone pictures 1420  iphone pictures 1421  iphone pictures 1422

iphone pictures 1423  iphone pictures 1419  iphone pictures 1424

iphone pictures 1427  iphone pictures 1426  iphone pictures 1425

iphone pictures 1428  iphone pictures 1430  iphone pictures 1441

Ingredients – Makes 20-24 Stuffed Mushrooms:

  • 2 pkgs of baby bella mushrooms (2- 8 oz. pkgs. will get you 20 and 2-10 oz. will get you 24)
  • 1 lb. – a variety of your favorite flavored sausages
  • Sprinkle of salt and pepper- (for after the mushrooms come out of the oven)
  • Fresh shaved Reggiano Parmesano
  • Fresh chopped chives for garnish

Directions:

  1. Pre-heat oven to 400º
  2. Clean your baby Bella mushrooms off with either a damp paper towel or a mushroom brush … you should NEVER wash your mushrooms or submerse them in water because mushrooms are porous.
  3. Pop out the mushroom stems
  4. Drizzle 2-3 Tbsp olive oil across a cookie sheet and rub it with your hands or use a brush to smear all of the olive oil across the baking sheet
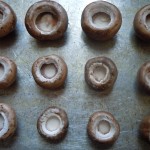
  5. Place all of the baby bella mushroom caps on the olive oil and roll them around lightly coating mushrooms then make sure they are all open side up on cookie tray
  6. Slice open the sausage casings to get the sausage meat out and place on a small dish
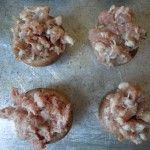
  7. Begin to gently fill mushroom caps with approximately 1 1/2 Tbsp of sausage per mushroom (some may be smaller and only need 1 Tbsp)
  8. Do not pack in sausage just lightly stuff mushroom caps
  9. Bake for 15-20 minutes til slightly crispy on the edges
  10. DO NOT SALT the mushrooms before you bake them because all the water will release from the mushrooms and they will steam instead of baking
  11. When you take the mushrooms out of the oven THEN you can sprinkle a little salt
  12. The mushrooms will be juicy when you take them out of the oven so before you place them on a serving dish tilt them a little over the cookie tray that way some of the juice can drain out onto the tray and not on the serving platter
  13. Shave a little Parmesan and chives on the mushrooms and serve

Vodka Sauce with Coconut Cream

Vodka Sauce with Coconut Cream

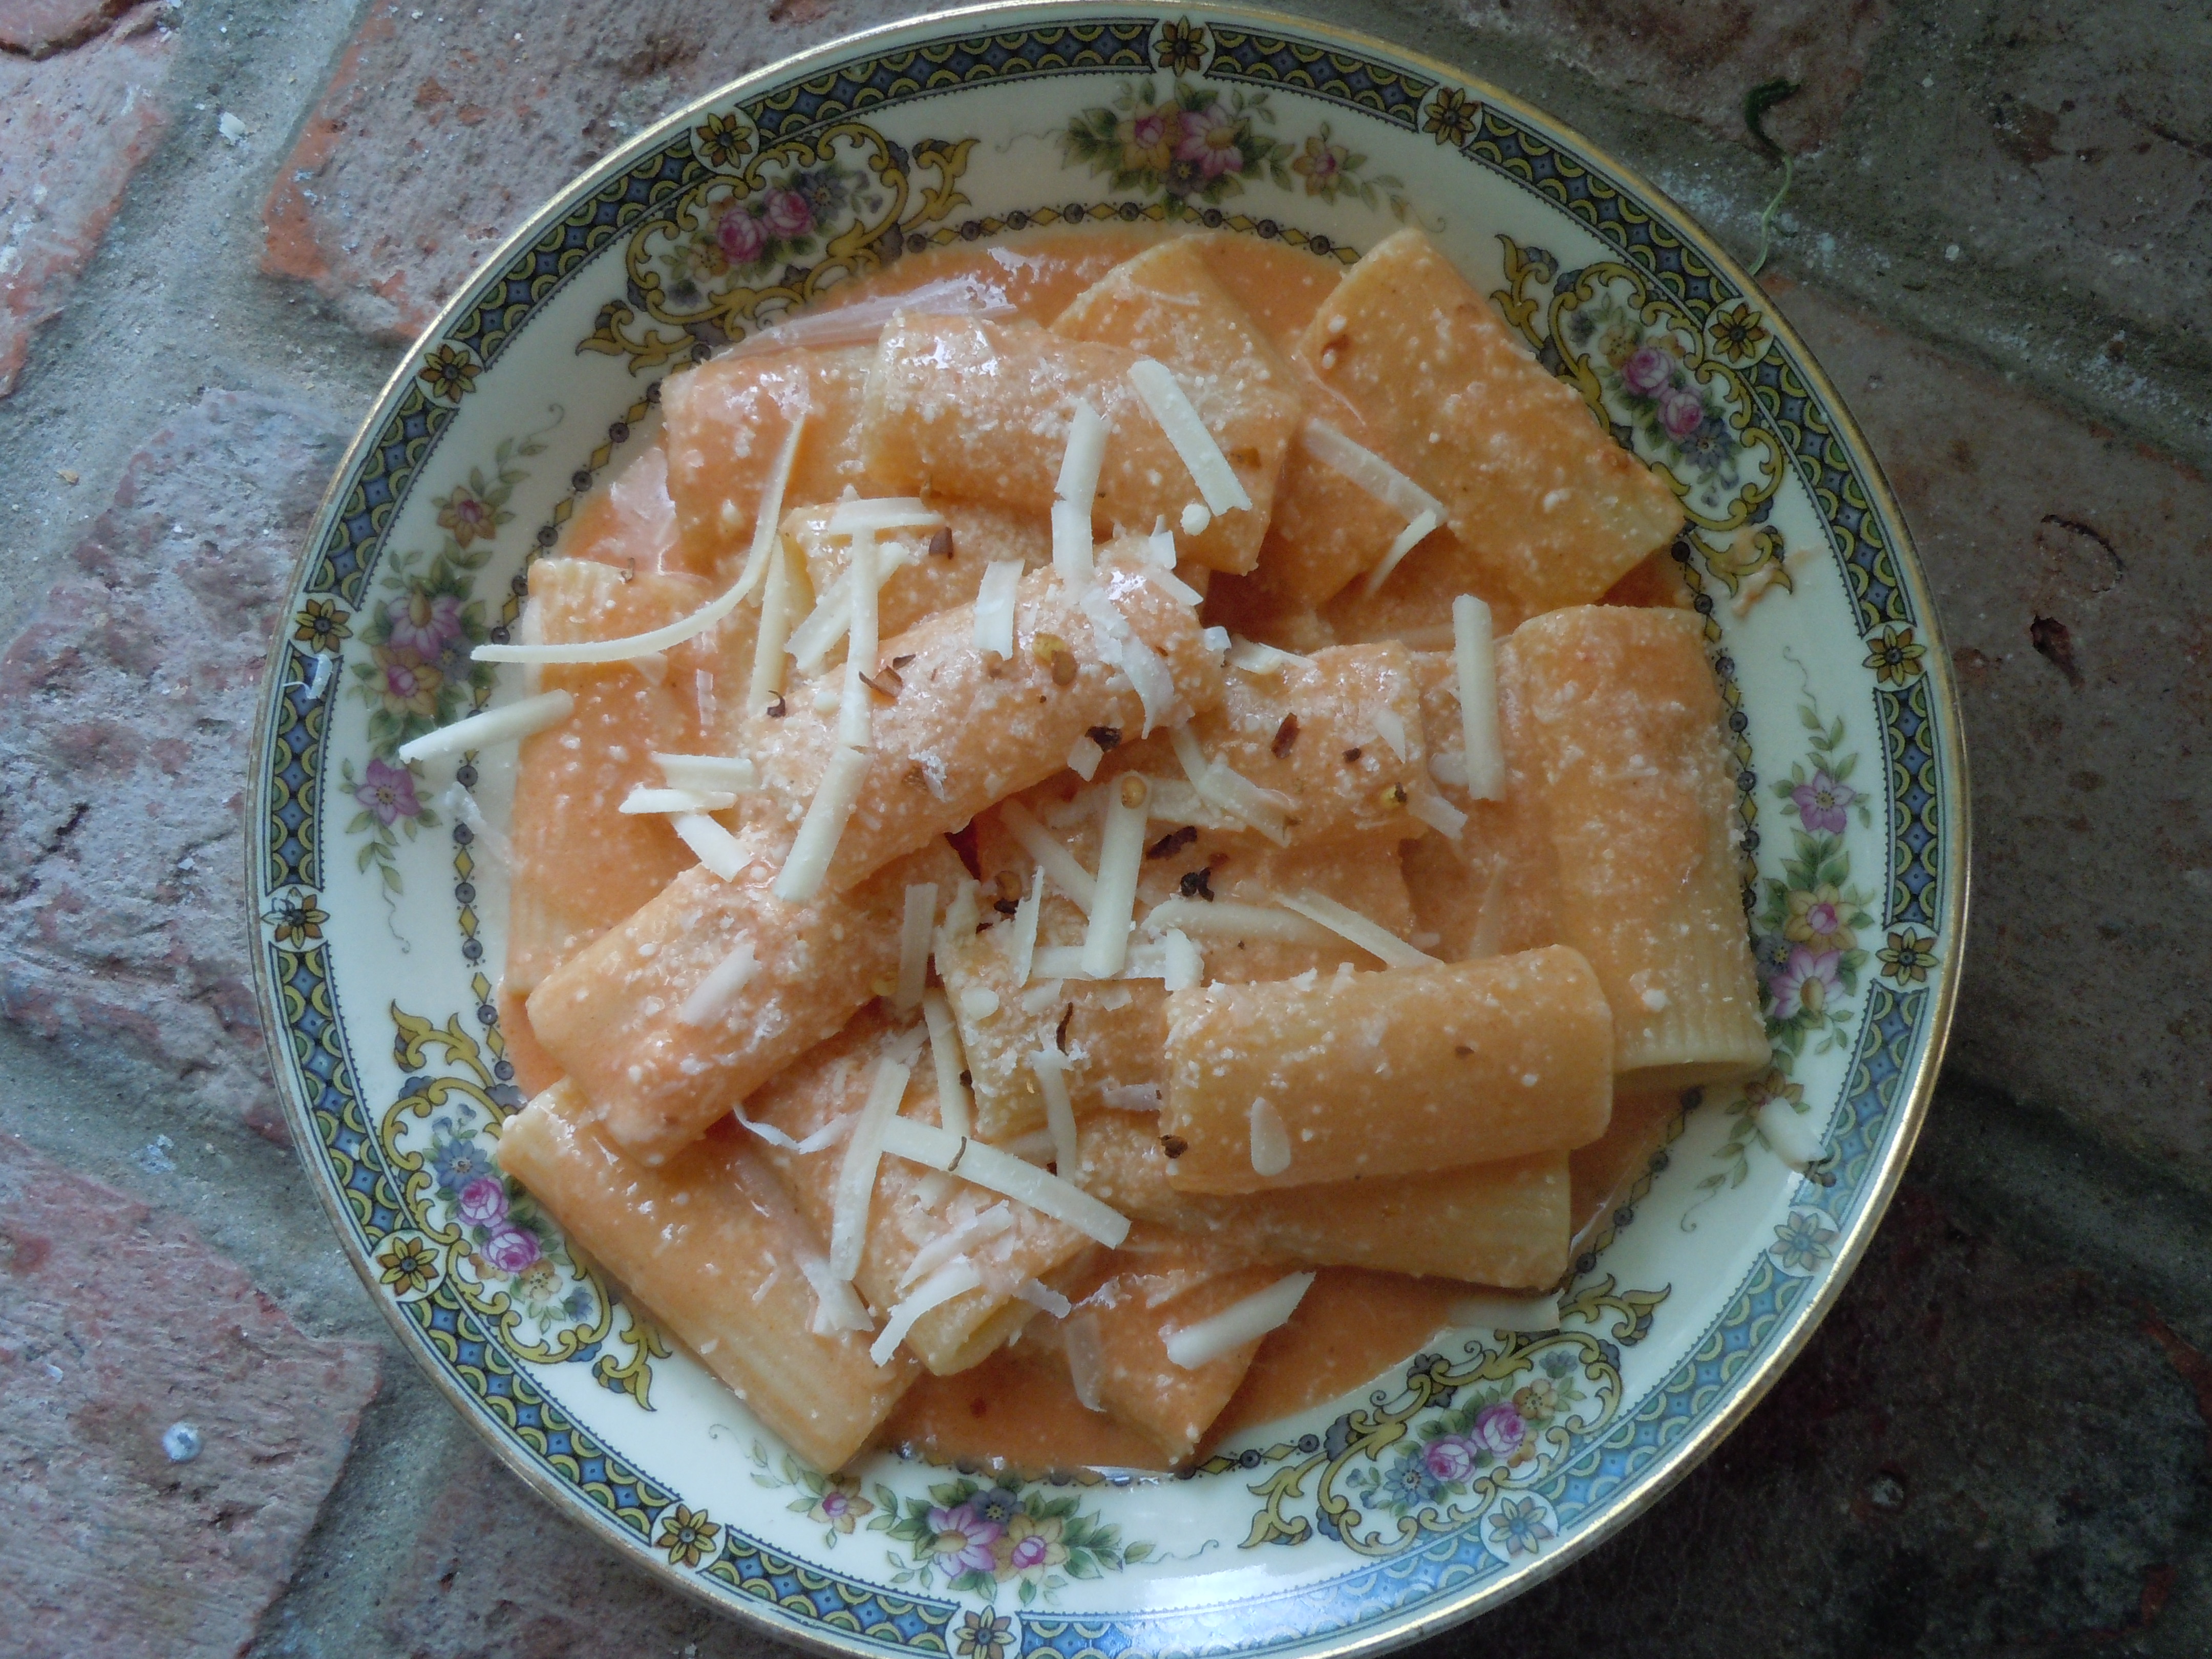
Who said homemade vodka sauce couldn’t be gluten free…well here it is and it tastes amazing! I came up with this recipe when I was catering. A few clients here and there want a penne alla vodka sauce dish that’s gluten free. So I make this vodka sauce exactly like the regular vodka sauce except I substitute the wheat penne pasta with rice penne pasta. And if they are lactose sensitive I switched out the heavy cream with coconut cream and coconut milk.

When making my vodka sauce I use my homemade gourmet tomato basil pasta sauce  which I usually make the day before. If you like a thicker, chunkier texture to the sauce you would puree the first can with the sauteed vegetables and then other can you would pulse only a couple of times.

When you add in the vodka, the extra dry vermouth and the grated Reggiano Parmesan at the end it takes the Asian flair off it and transforms it into the Italian arena. I promise you will love this sauce and not think for a moment that it is even gluten free.

You can also watch my How To Make Vodka Sauce VIDEO by clicking here. This video adds shrimp at the end which you can omit or decide to add if you feel so inclined…it’s delicious!

DSCN4580 DSCN4581  DSCN4582

DSCN4585 DSCN4593DSCN4599

 DSCN4610 DSCN4611

INGREDIENTS:

  • 1 can coconut cream OR 1 c. heavy cream
  • 8 cups pasta sauce
  • (1 lb. raw, peel and de-veined extra large shrimp- if making with the shrimp)
  • 1/2 cup vodka
  • 1/4 cup extra dry vermouth or white wine
  • 5 dashes or so of Siracha or your favorite hot sauce (optional)
  • 1/2 tsp salt
  • 1/2 -3/4 cup of Reggiano Parmesan
  • Truffle oil (optional) (Star Fish Market has the best called La Truffiere Tartufo Bianco – a white truffle oil that’s amazing)
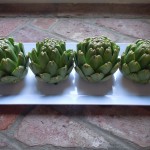
  • Red pepper flakes for garnish if you want more heat
  • 1 lb. gluten free penne or rigatoni pasta

Directions:

  1. Make 1 lb. of penne pasta or gnocchi
  2. Pour the coconut cream into a sauce pan and turn on to medium heat whisking slightly to help loosen up coconut cream
  3. Add tomato pasta sauce into the cream
  4. Add S & P to taste (1/2 tsp salt)
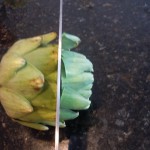
  5. Add 1/4 of the vodka and 1/4 cup vermouth or white wine
  6. Simmer for about 10 minutes on low to let alcohol burn off
  7. If having with shrimp add now…
  8. Add the raw shrimp and bring to a simmer for 3 minutes more
  9. You can add in a several dashes of Siracha or your favorite hot sauce here …it’s OPTIONAL
  10. When reduced slightly take off the heat
  11. Whisk in 1/2 -3/4 cup of Reggiano Parmesano
  12. Pour pasta into a large serving bowl pour all but 1 CUP of sauce over pasta
  13. Sprinkle with Parmesan and red pepper flakes
  14. Put the extra sauce in a canning jar and into frig for reheating the next day if you have any pasta left over which most likely won’t be the case
  15. Or you can just pop it into the freezer for a nice little dish at a later date …enjoy!

You may want to make one of these to go with your pasta:

Caesar Salad
Caesar Salad
Bacon Wrapped Scallops
Asian Grilled Salmon
Cold Asparagus Salad


Seafood Stuffed Artichokes

Seafood Stuffed Artichokes

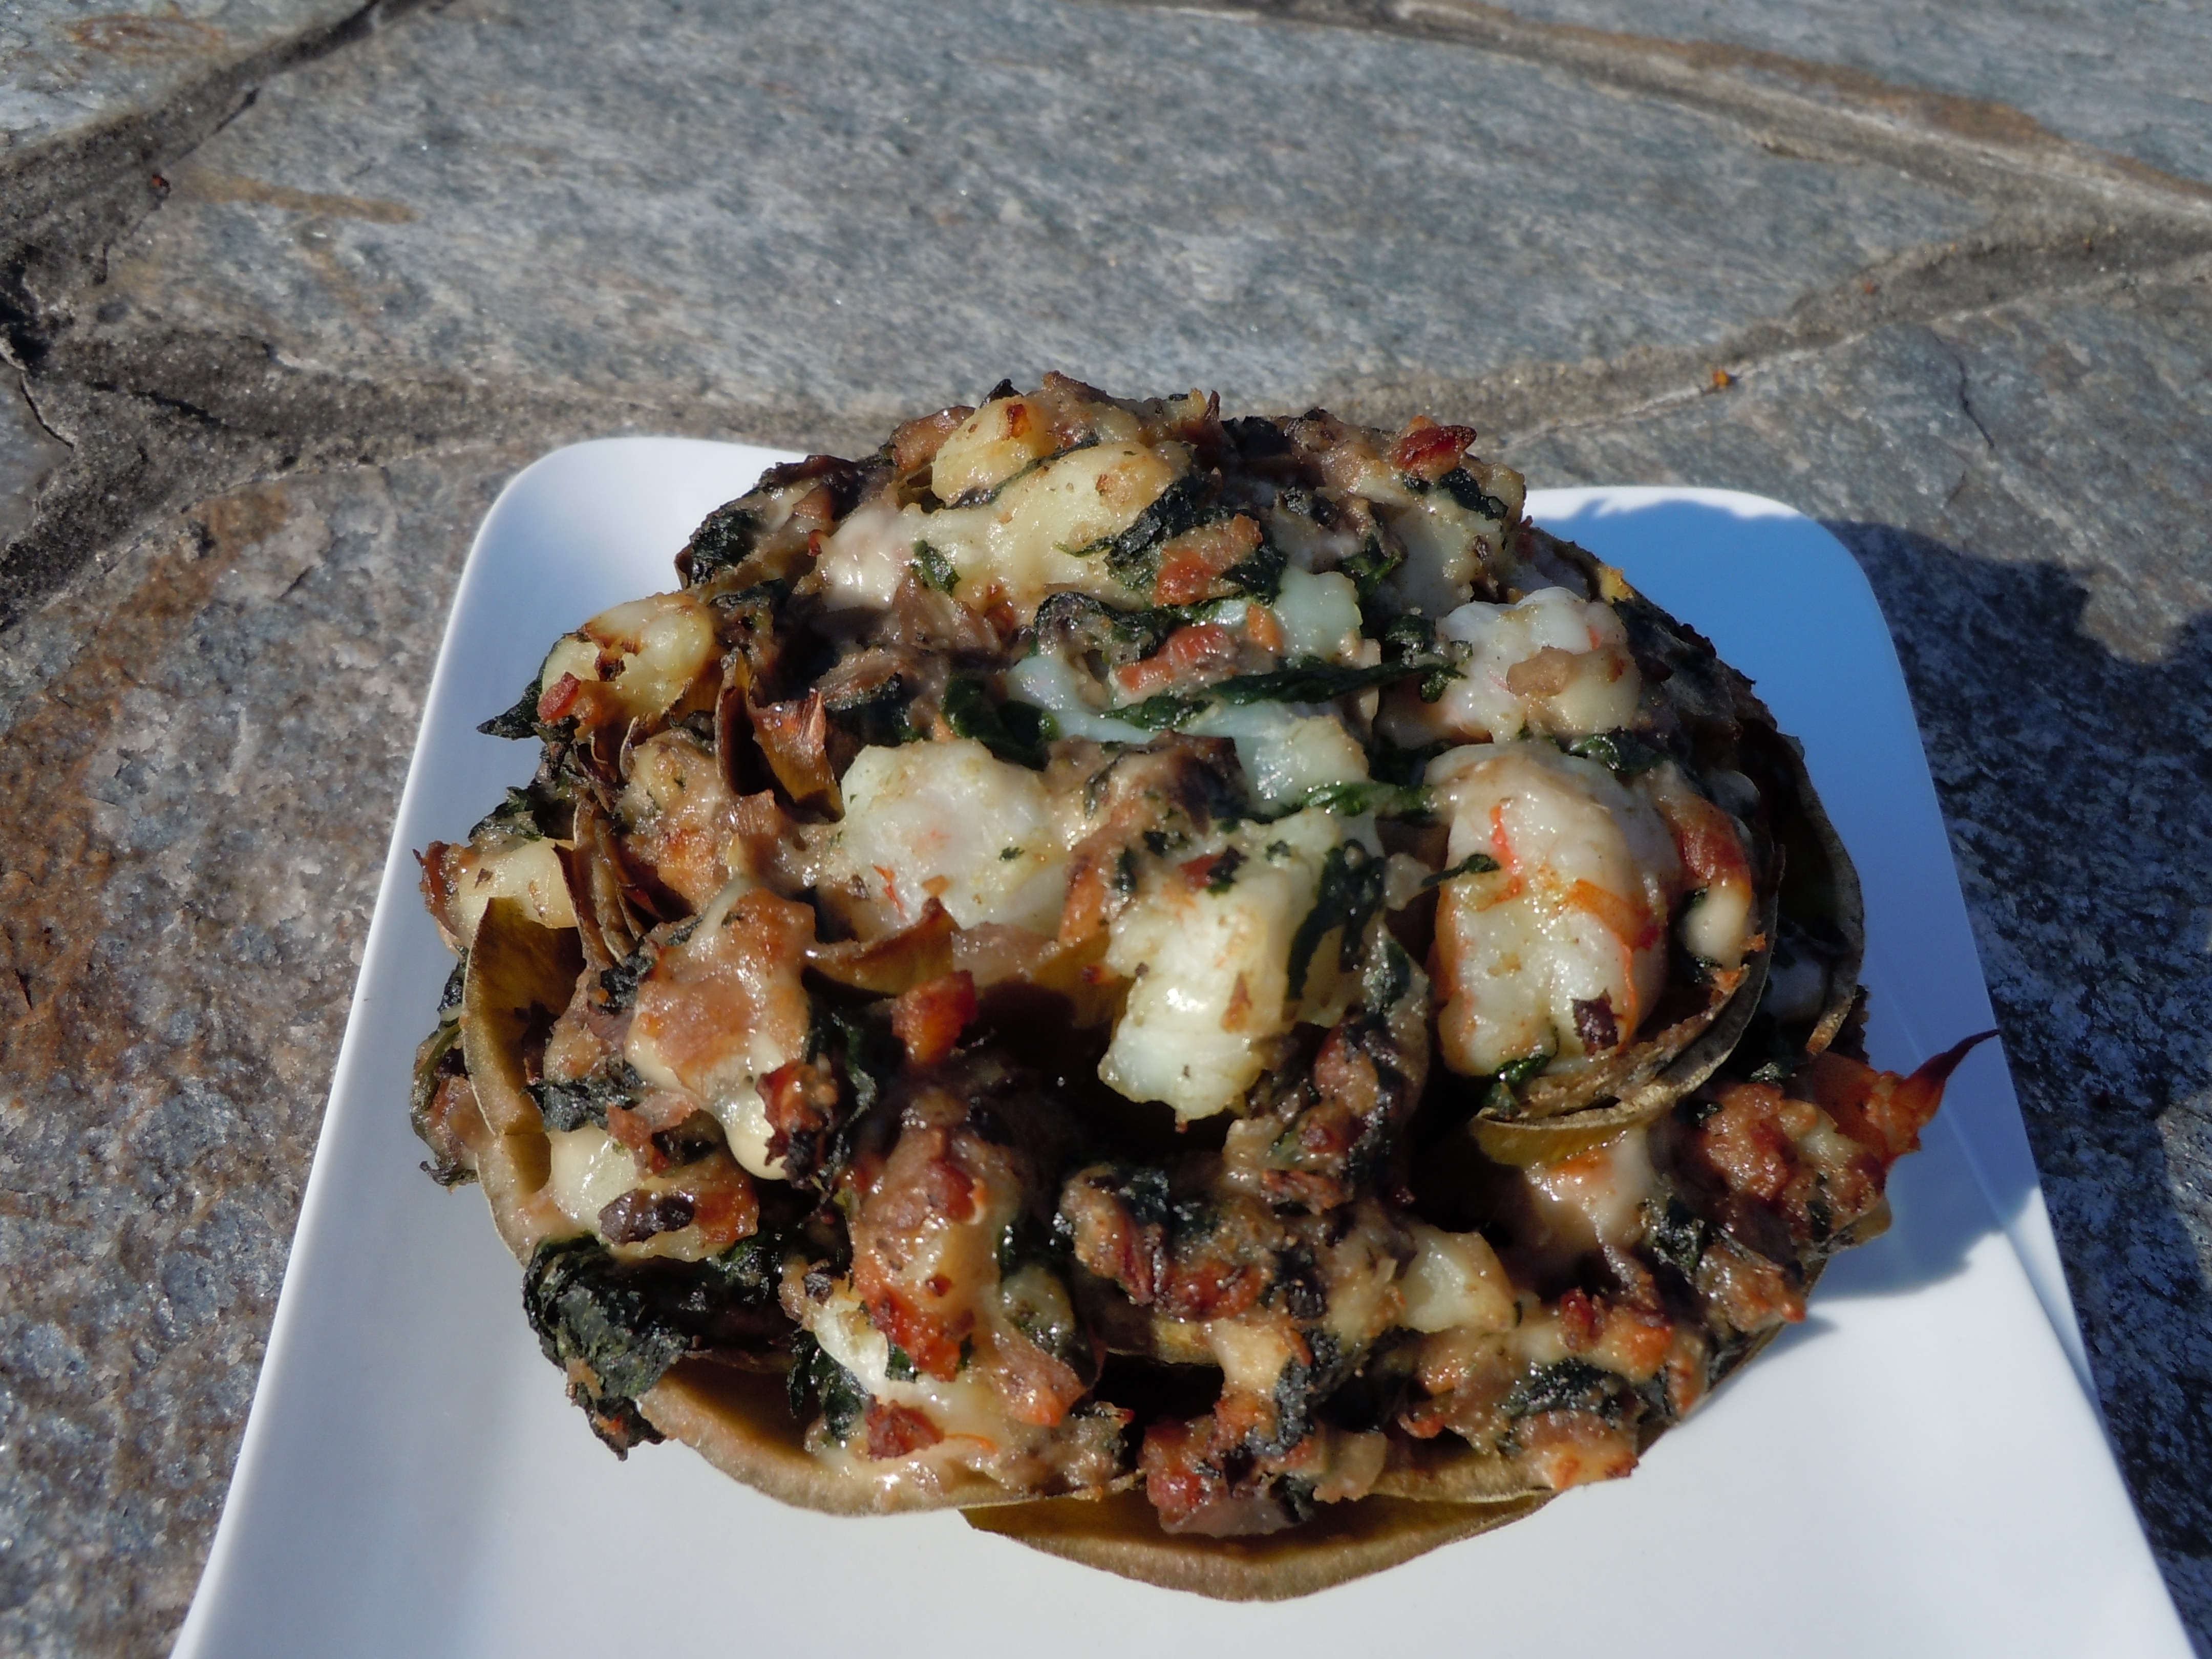
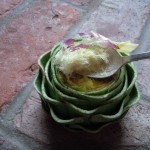
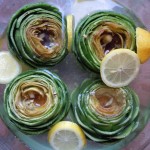
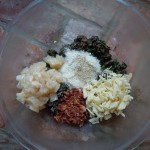
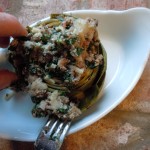
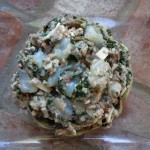
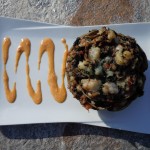
Artichokes, any way you cook them are simply a treat because they are a seasonal veggie here on the east coast. 100 percent of all artichokes that are commercially grown in the U.S. come from California where you can pretty much buy them year round. My artichoke recipe is a tasty concoction of shrimp, sea scallops, fresh spinach, mushrooms, onion, garlic, Reggiano Parmesan, bread crumbs, red wine, extra dry vermouth and chicken broth. They are a lot of work granted but it’s not like you make these all the time and once you taste them you’ll want to set aside time in the future to plan for these babies!

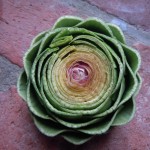
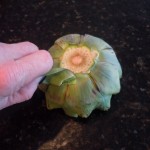
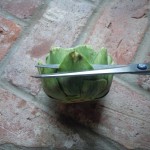
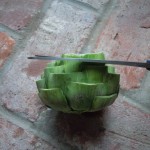
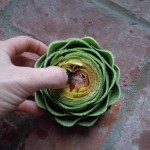
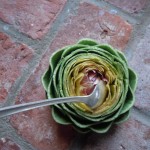
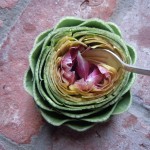
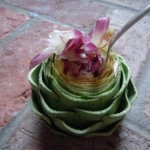
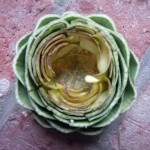
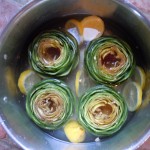
The Artichoke is actually a relative of the thistle so if you ever see one fully mature they open into this incredibly gorgeous giant purple flower. That’s where the choke comes in because it’s a cluster of immature florets at the center of the artichoke which is not edible. This hairy-like choke in the center MUST be removed when you stuff them. I show you how to prep the artichokes and scrape out that choke in the photos below. This seafood stuffed artichoke recipe is delicious with my sun-dried tomato aioli sauce for dunking the leaf ends and heart and you can make this aioli dip a couple of days ahead. After these stuffed artichokes you may need a sweets recipe that you can make the day before like pavlova with fresh pineapple and berries, or chocolate-avocado mousse.

iphone pictures 2163 iphone pictures 2164 iphone pictures 2165

iphone pictures 2166 iphone pictures 2167 iphone pictures 2171

iphone pictures 2168 iphone pictures 2169 iphone pictures 2170

iphone pictures 2173 iphone pictures 2174 iphone pictures 2175

iphone pictures 2176 iphone pictures 2178 iphone pictures 2179

iphone pictures 2180 iphone pictures 2185 iphone pictures 2187

iphone pictures 2195 iphone pictures 2150 iphone pictures 2186

iphone pictures 2189 iphone pictures 2191 iphone pictures 2193

iphone pictures 1709 iphone pictures 1714 iphone pictures 1715

iphone pictures 2200 iphone pictures 2214 iphone pictures 2216

iphone pictures 2225

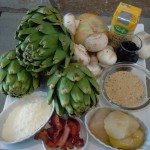
Ingredients – Serves 4 People at 1 Stuffed Artichoke Each:

  • 1 recipe of sun-dried tomato aioli sauce
  • 4 large artichokes
  • 3 large sea scallops cut into 1/2″ pieces
  • 10 lg shrimp cut into 1/2″ pieces (about 1/2 lb)
  • 3 strips of Boars Head Bacon
  • 6 button mushroom caps sliced thinly and then chopped
  • 6 oz. fresh spinach leaves coarsely chopped (a handful less than a bag)
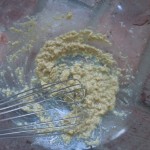
  • 1/2 large spanish onion or Vidalia onion finely chopped
  • 3 garlic cloves put thru the garlic press
  • 2 Tbsp olive oil
  • 3/4 cup Italian seasoned bread crumbs
  • 3/4 cup grated Reggiano Parmesan
  • 1/2 cup shredded Gruyere cheese
  • 2 Tbsp olive oil
  • 1 Tbsp butter
  • 1/2 cup plus 2 Tbsp red wine (1/4 cup to deglaze onion/mushroom mixture and 2 Tbsp in the stuffing and 1/4 in baking dish with vermouth and chicken broth)
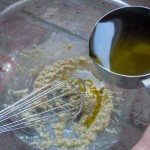
  • 3/4 cup dry vermouth
  • 1/2 cup chicken broth
  • 2 Tsp salt (1 Tsp for boiling the artichokes)
  • 1/4 tsp pepper

Directions:

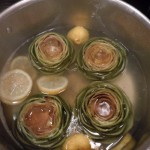
  1. Fill a large bowl with cold water and sliced up lemon
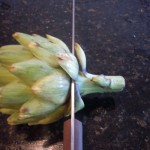
  2. Cut the ends off of the artichokes
  3. Cut 1  1/2 ” off the top
  4. Using your thumbs in the center of the artichoke pull apart as much as you can to loosen the inner layers a little
  5. Insert pointy spoon and begin to dig in to the center removing the purple pointy leaves and keep digging til you reach the hairy choke and then remove all of that too
  6. Rinse the center holes of the artichokes to fully remove any left over choke
  7. Always keep the all the artichokes in the lemon water bowl while working on them (it helps them from not turning too brown)
  8. Pour the whole bowl of lemon water and artichokes into a large pan and add 1 tsp salt
  9. Bring to a boil ( this will take about 15 minutes) and then simmer for 30 minutes
  10. Drain Artichokes and turn them upside down in a baking dish to further drain
  11. Cook up 3 pieces of Boars Head Bacon til crispy, chop and set aside
  12. Sauté the chopped onion, mushrooms caps and garlic cloves put thru press in 2 Tbsp of olive oil, 1 Tbsp butter, and 1/2 Tsp salt til golden about 12-15 minutes
  13. Add in 1/4 cup red wine to de-glaze pan, let reduce for 1 minute
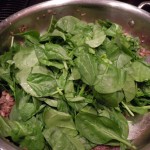
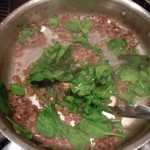
  14. Add in fresh chopped spinach and cover for 2 minutes
  15. Mix spinach with tongs and take sauteed onion/mushroom/spinach mixture off of the stove  and put into a fresh bowl to let cool
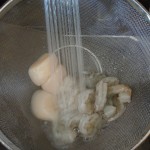
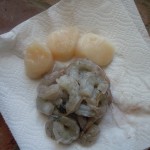
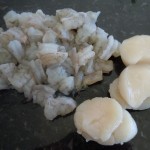
  16. Wash, dry and chop sea scallops and shrimp to 1/2″ pieces
  17. When onion/mushroom mixture is cooled add in scallops, shrimp, Gruyere, Parmesan, chopped bacon, 1/2 tsp salt, pepper and 2 Tbsp red wine
  18. Mix items gently together
  19. Turn artichoke over in baking dish, drain any water left over at the bottom
  20. Stuff the artichokes with the seafood stuffing making sure to add in to all the layers of leaves going around the artichoke as shown in the photo
  21. When the artichoke is stuffed add in 3/4 cup extra-dry vermouth, 1/2 cup chicken broth and 1/4 cup red wine to the bottom of the baking dish
  22. Cover the Artichokes with foil and bake for 35 minutes
  23. Take Foil off and bake 5 minutes more
  24. Serve with sun-dried aioli sauce on the side for dipping the leaves and dunking the heart …mangia!

Pesto Butter Log

Pesto Butter Log

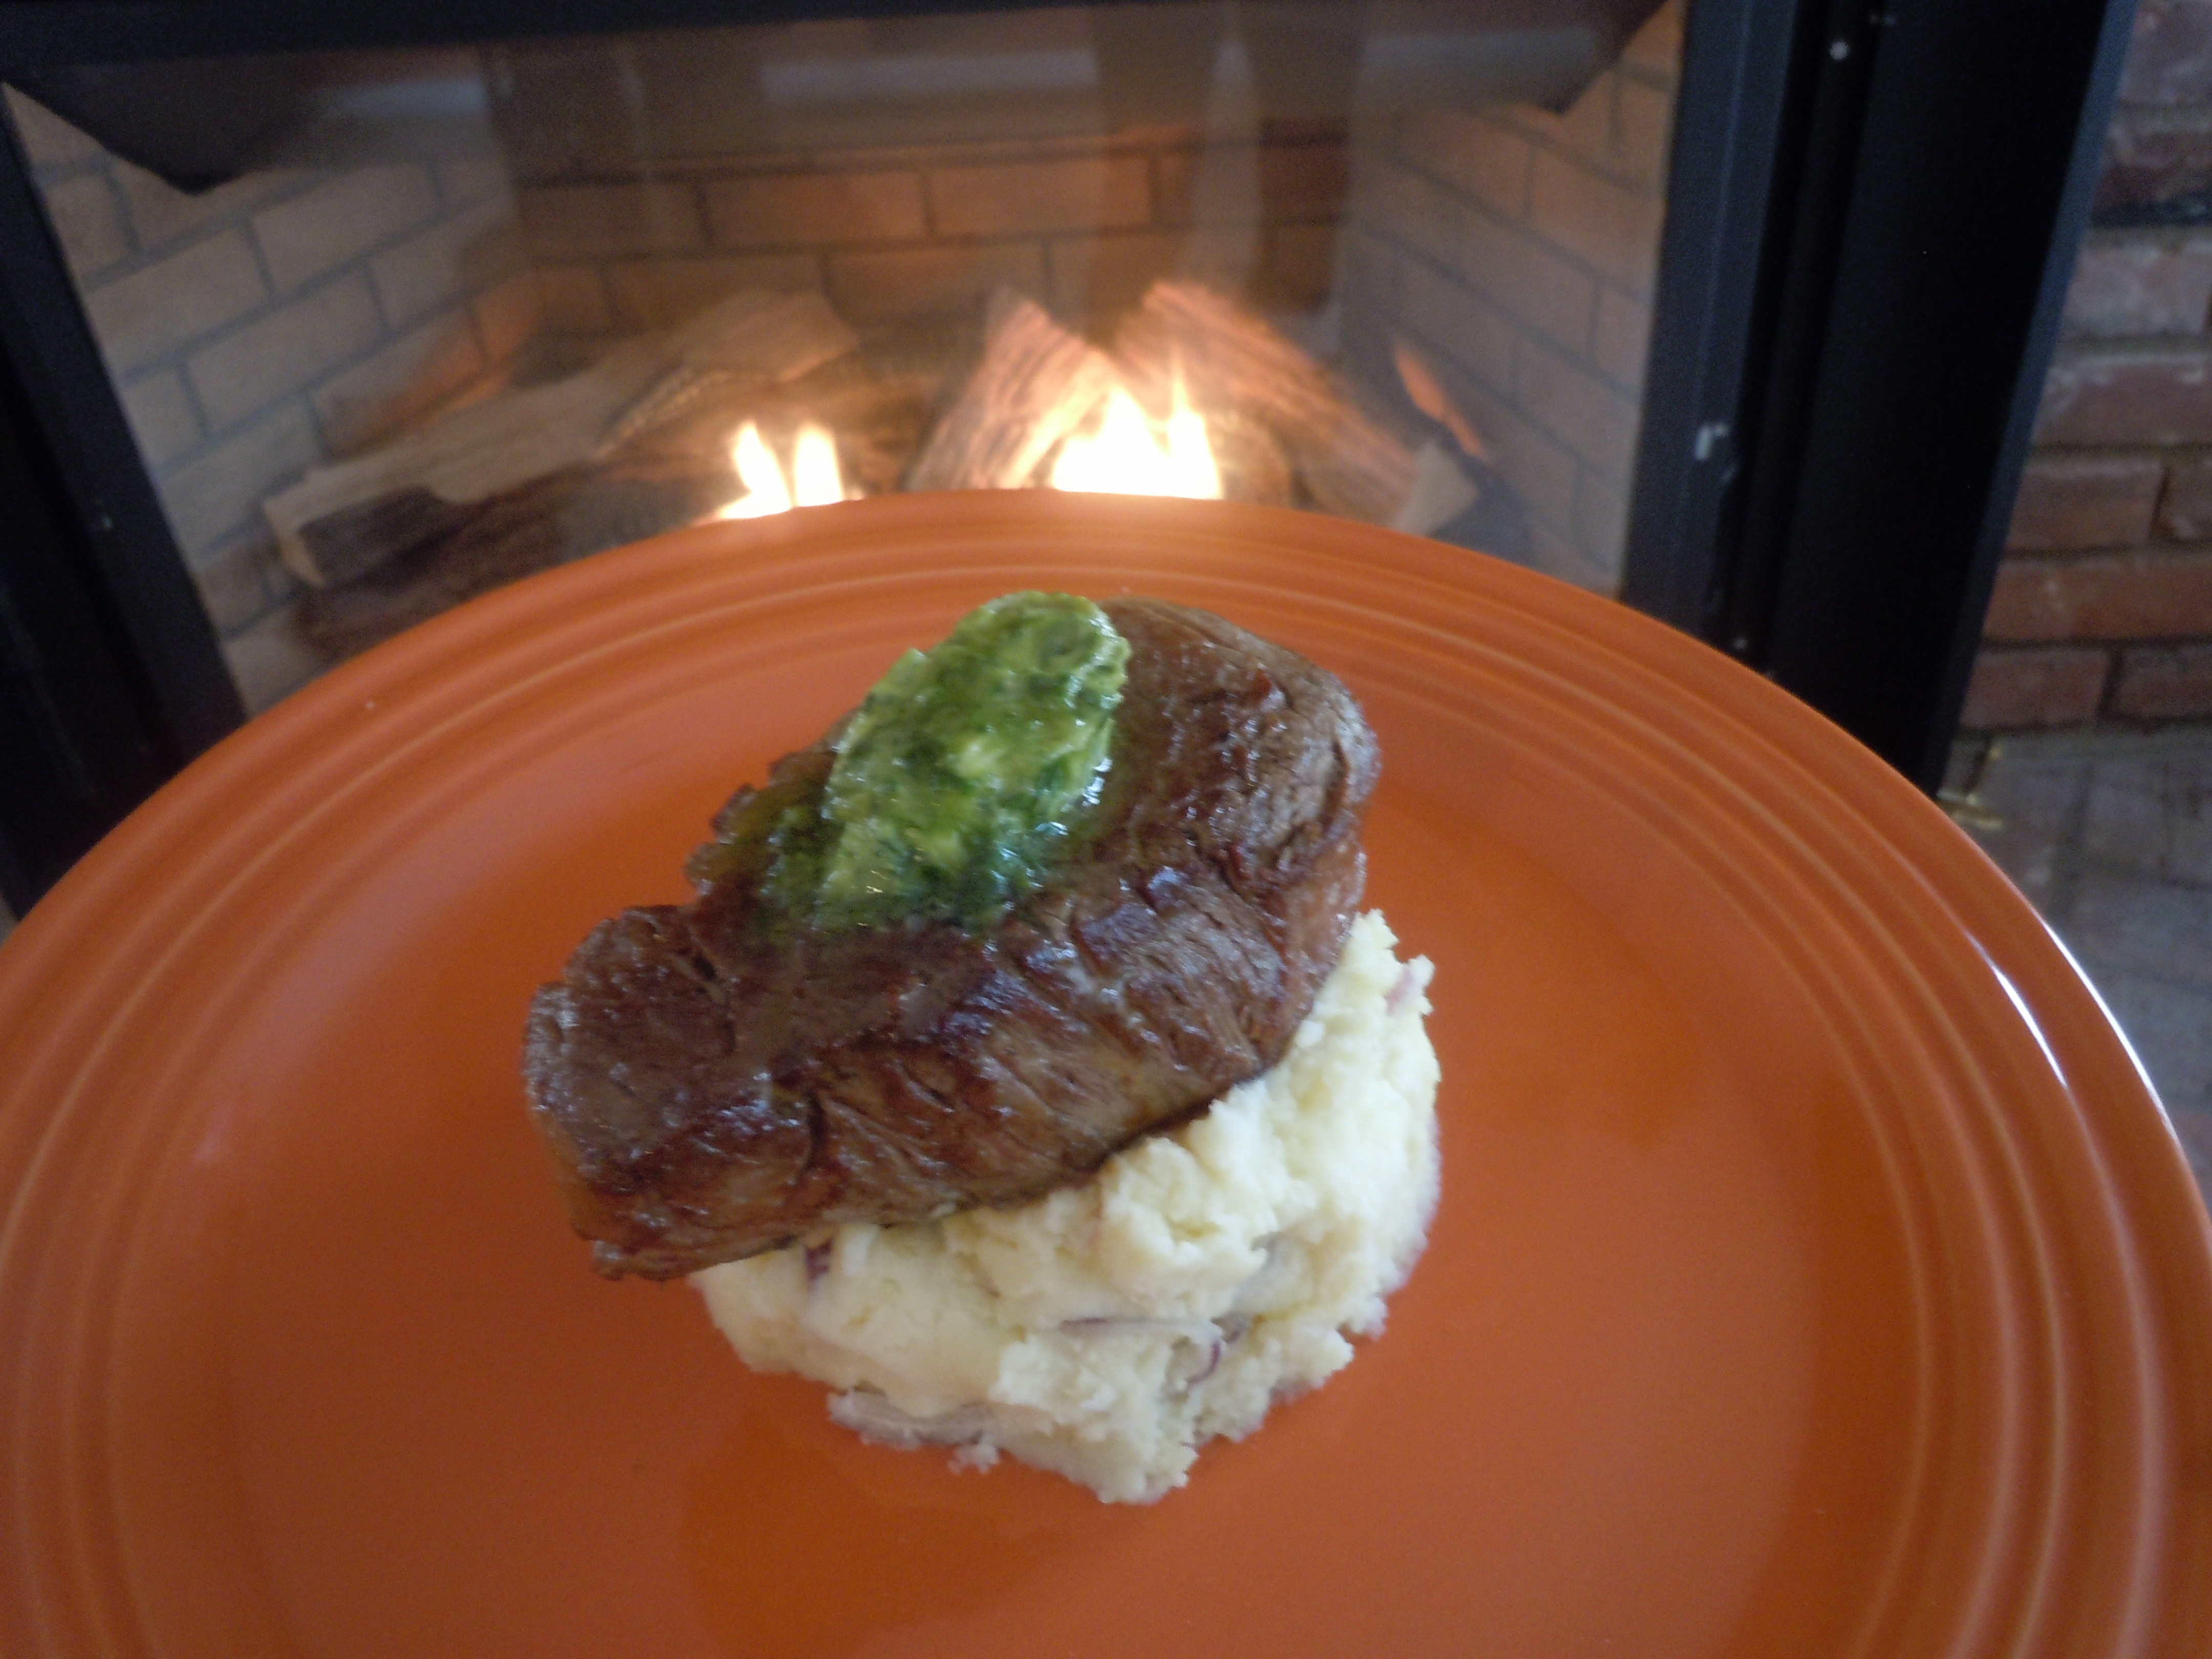
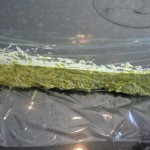
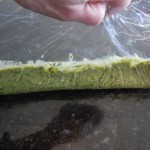
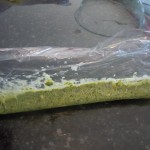
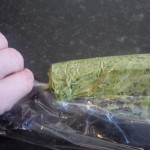
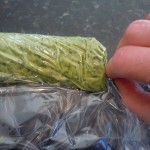
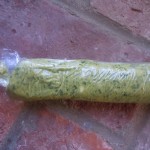
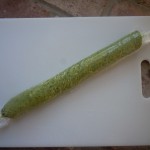
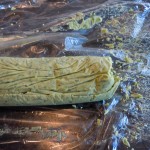
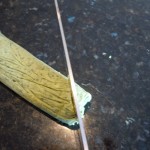
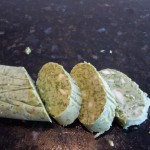
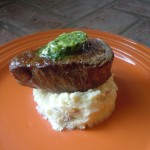
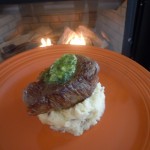
Even though they have been far and few in between having those few warm days has inspired me to bring out one of my spring recipes for fresh basil pesto butter logs which I love because it’s so versatile. Really simple to do and when you combine the pesto and butter to form the log you keep it in the freezer like the Challah bread croutons taking the pesto butter log out to slice off what you need and then back into the freezer. How easy is that? Try a slice of pesto butter on grilled filet mignon served on a bed of perfectly mashed potatoes and red onion, sautéed chicken breast and spinach, on a piece of Sea bass  or put a slice of pesto butter inside a turkey or beef burger when you are forming the patty. Cook it on the grill or stove top and when you bite into it lovely garlicky pesto oozes out! Another creative thing to do when you are cooking pasta sauce and you want to add in some basil flavor just throw in a slice from your pesto butter log!

iphone pictures 1721 iphone pictures 1722 iphone pictures 1724

iphone pictures 1730 iphone pictures 1736 iphone pictures 1737

iphone pictures 1734 iphone pictures 1735 iphone pictures 1745

iphone pictures 1743 iphone pictures 1741 iphone pictures 1742

iphone pictures 1765 iphone pictures 1766 iphone pictures 1767

iphone pictures 1837 iphone pictures 1839

Ingredients:

  • 1 1/2 sticks of a quality butter – room temperature
  • 1 recipe of pesto

Directions:

  1. Make a fresh batch of pesto and combine it with room temperature butter using a spatula
  2. Tear off a large piece of saran wrap and place down going horizontally on a cutting board that will fit in the freezer
  3. Scoop out the combined pesto-butter mixture and place in a 2″ wide line going down the center of the saran wrap… it should be about 12″ long log
  4. Pull up both sides of the saran wrap and this will help round the mound
  5. Fold over the 2 pieces of saran going in the same direction so there isn’t any air in it and begin to roll the pesto log
  6. Pinch the ends, twist and roll again to get a good roll log shape …still holding on to the pinched ends
  7.  Place the newly formed log on the cutting board and pop it into the freezer til frozen about 1 1/2 hrs – 2 hrs.
  8. Once the log is frozen you can remove the cutting board and place the log into a Ziploc baggy and back into the freezer
  9. Slice off 1/4″ slices when ever you need and pop the log back into the freezer to keep


Asparagus Salad with Yummy Dijon-Garlic Dressing

Aspagus Salad with Yummy Dijon-Garlic Dressing

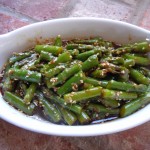
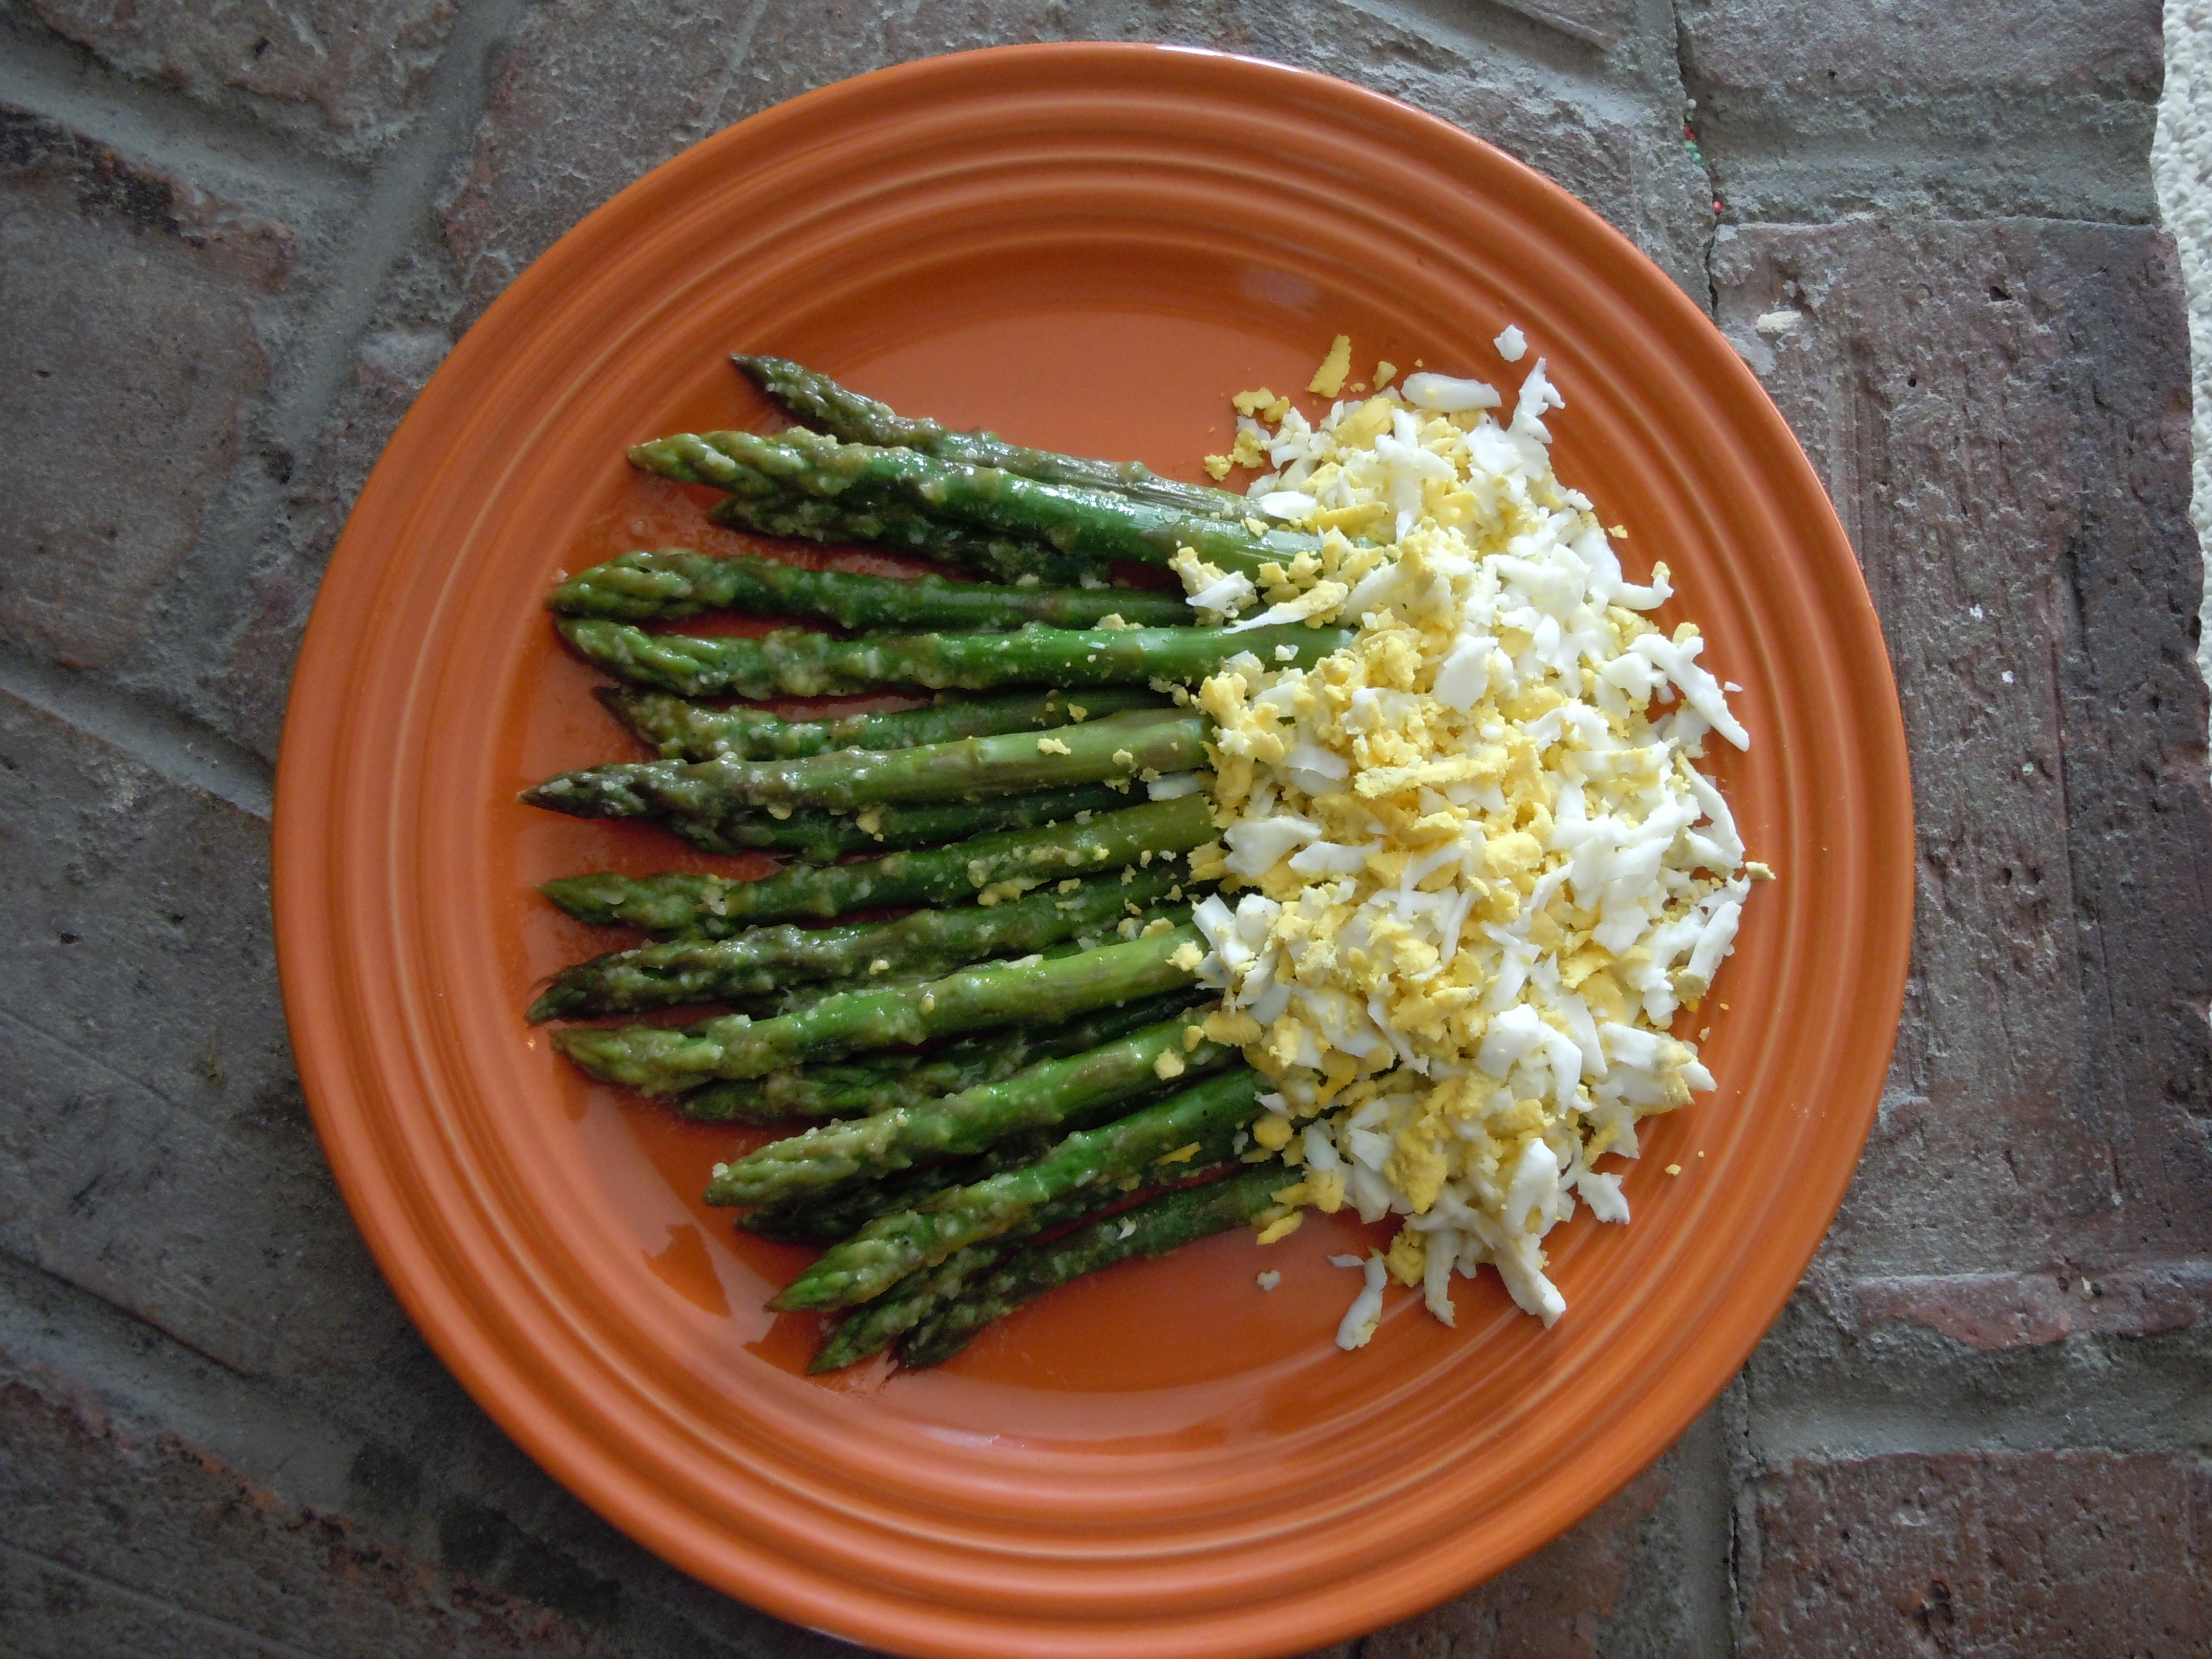
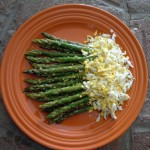
OK, you may be saying “why is she using the word yummy in the title”? Well, you may just find yourself wanting to lick the bowl after the asparagus (or salad) is gone with this dressing! Yes, this is my go to dressing because it’s done in a matter of minutes…no fuss and very delicious.  I love both big name Dijon’s out there but if I were to have a favorite I would choose Maile because of it’s very delicate flavor.  Both Grey Poupon and Maile have a full time residence in my frig.  This dressing creation is mine but the inspiration and idea behind grating the egg comes from our good friend Jim who was a saucier chef. You will see too how grating an egg just brings it all together giving this dish a little extra creaminess along with the flavor of the earthy asparagus. It all works so well together! This could be a side dish or you could serve this with hors d’ oeuvres like baked coconut shrimp, zucchini torta, crostinis with fresh mozzarella, pesto and roasted tomato and roasted chick peas.

iphone pictures 601 iphone pictures 530 iphone pictures 532 iphone pictures 534

iphone pictures 540 iphone pictures 544 iphone pictures 546 iphone pictures 1345

iphone pictures 1347 iphone pictures 1338 iphone pictures 1339 iphone pictures 1340

iphone pictures 1341 iphone pictures 1342 iphone pictures 1343 iphone pictures 1344

iphone pictures 1383 iphone pictures 1381

Ingredients:

  • 1 1/2lb. of asparagus
  • 1 hard boiled egg
  • 1 1/2 Tbsp Dijon mustard (Grey Poupon or Maile)
  • 1 garlic clove thru garlic press
  • 2 Tbsp rice wine vinegar – “seasoned” (rice wine vinegar come in both plain and seasoned…I always use seasoned)
  • 1/3 cup grated Reggiano Parmesan
  • 1/2 cup extra virgin olive oil
  • 1/4 Tsp salt
  • 1/4 Tsp pepper
  • dash of Tabasco if you want to spice it up

Directions:

  1. Place an egg in a small pan with salted cold and slowly bring to a boil (adding salt helps the eggs to peel easier)
  2. When it starts to boil remove from the heat and cover
  3. Let the egg sit covered for 12 minutes
  4. Run cool water over the egg, peel and set aside
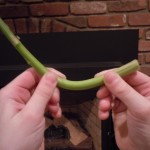
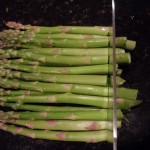
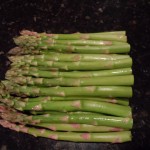
  5. Bend asparagus to find the proper “break” point then cut the ends off to even them up
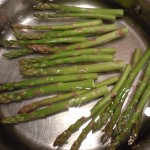
  6. Put asparagus in cold salted water and bring to a simmer
  7. Cook til tender but NOT mushy
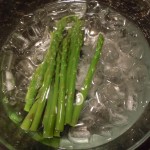
  8. Drain and give them ice bath to shock …don’t need to make them cold just want to shock to retain vibrant color
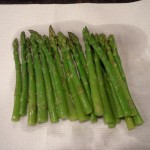
  9. Dry off asparagus on a paper towel and place on a serving platter
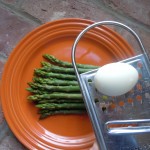
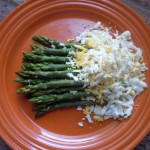
  10. Grate the hard boiled egg onto the ends of the asparagus
  11. In a medium stainless steel or glass bowl add in Dijon, garlic thru garlic press, rice wine vinegar and Parmesan and whisk til combined
  12. Slowly stream in the olive oil constantly whisking
  13. Drizzle the Dijon-garlic dressing on the front 2/3 of the asparagus and mangia!


Turkey Stuffed Peppers

Turkey Stuffed Peppers

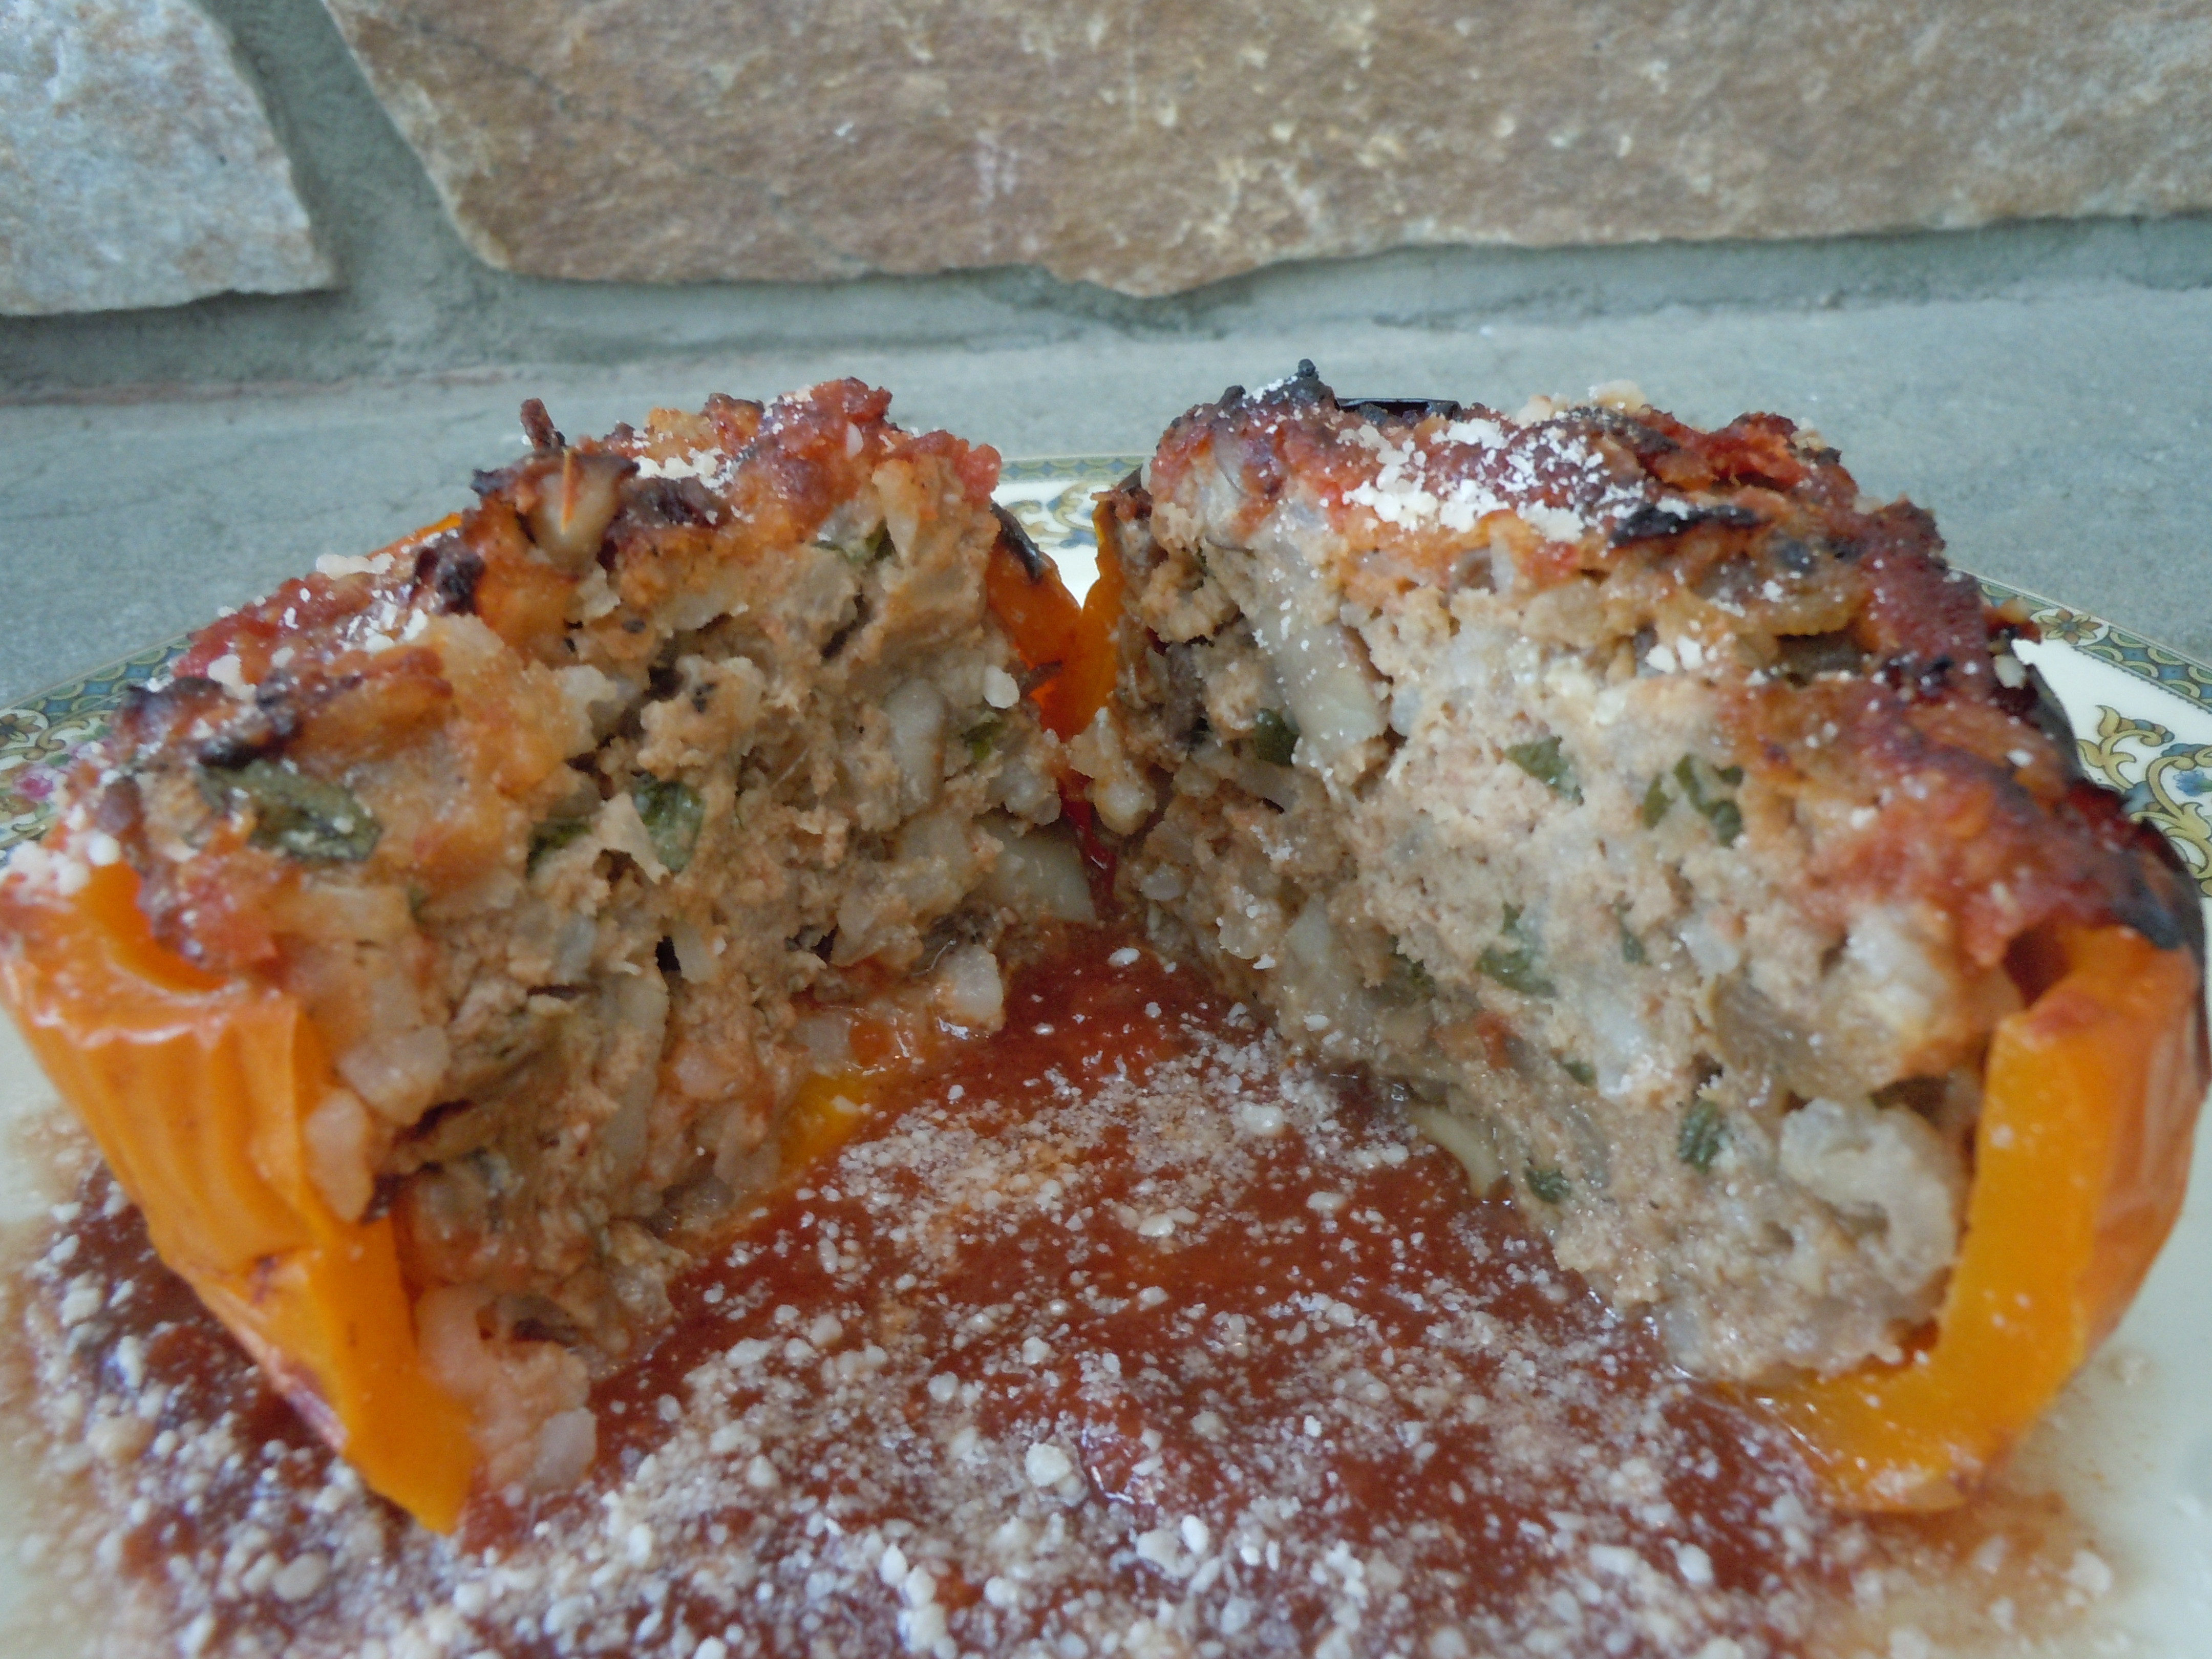
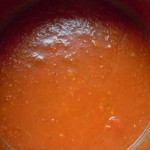
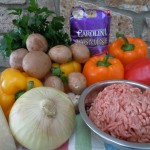
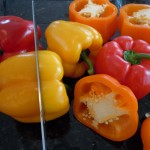
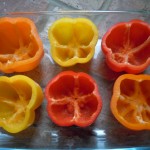
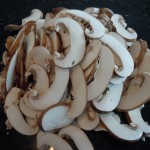
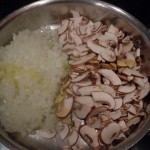
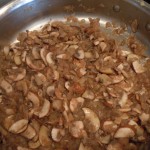
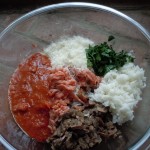
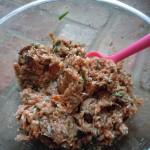
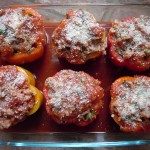
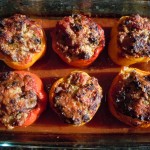
Usually I make these stuffed peppers with beef but a good friend has me converting to turkey and I am really loving it. I don’t even wish for the flavor of beef in the stuffing because the turkey hold its own!  These peppers are juicy, tender and sweet made with sautéed mushrooms, onions, fresh chopped parsley, rice, grated Reggiano Parmesan, pinot noir and a porcini red sauce.  My porcini sauce gives this recipe a really nice flavor but if you don’t have time for it you shouldn’t let that stop you from making these savory stuffed peppers.  You can buy a favorite store sauce for convenience or use one of your own.  I have you slice the mushrooms paper thin here and then cut those in 1/2 and that keeps the flavor delicate and the mushrooms very tender not chewy …. they almost melt into the stuffing when baking. The onions are finely chopped so I love to use my vegetablehand chopper because it saves a ton of time when you are doing all this prep work unless you have a sous chef that is. Now you of course can use any color pepper you like. I like using the green ones because I like the strong flavor they render, but here I went with the pretty colors and the peppers are a little sweeter when you go to the reds, oranges, and yellows.  I don’t believe in using “instant rice” ever because it doesn’t have a great texture. Making rice is a simple process …see “TIP” below.    These stuffed peppers are a few step process so it’s a good idea to get some of the work done the day before like making the porcini red sauce and the rice.  This dish  is so worth the effort …. It just may become your go to Sunday dinner and you can even end this delicious dinner with a bang making a quick and easy German pancake recipe or chocolate-avocado mousse!

iphone pictures 924iphone pictures 910iphone pictures 912


iphone pictures 928

iphone pictures 914

iphone pictures 916


iphone pictures 967


Ingredients: For Porcini Red Sauce:

  • 1 large can whole peeled tomatoes (I use Sclafani)
  • 4 large garlic cloves
  • 1/4 cup dried porcini mushrooms
  • 1/4 cup water for the porcini mushrooms
  • 1/3 cup pinot noir wine
  • 1 Tbsp olive oil
  • 1 Tsp salt
  • 1 Tsp pepper
  • 1 Tbsp sugar

Directions: 

  1. Put the dried porcini mushrooms in 1/4 cup water and let sit for 1/2 hour.
  2. Sauté 4 large garlic cloves in 1 tbsp olive oil in a medium sauce pan until golden.
  3. Add whole tomatoes and golden garlic cloves to food processor and purée for 1 minute.
  4. Add this back to the pan.
  5. Take the soaked, softened porcini’s out of the water and coarsely chop.
  6. Add the porcini’s and their juice to the sauce pan along with 1/4 cup pinot, salt, pepper and sugar.
  7. Bring to a simmer, lower heat and keep simmering for 1/2 hour.
  8. Remove from the stove and cool.

iphone pictures 929

iphone pictures 950

iphone pictures 961


iphone pictures 963

iphone pictures 964

iphone pictures 965


iphone pictures 940

iphone pictures 941

iphone pictures 942


iphone pictures 945

iphone pictures 947

iphone pictures 972


iphone pictures 975

iphone pictures 976

iphone pictures 990


Ingredients – For Stuffed Peppers – Serves 6 people:

  • 1 lb. ground turkey
  • 6 large bell peppers, 2 red, 2 orange, 2 yellow
  • 2 1/4 cups porcini red sauce (1 c. in the stuffing, 2 1/4 c. in the bottom of baking dish)
  • 1 cup cooked Basmati or Jasmine long grain rice
  • 1 cup grated Reggiano Parmesan
  • 1/3 cup coarsely chopped flat leaf parsley
  • 8oz. pkg of baby bella brown mushrooms (finely sliced)
  • 1 large spanish onion FINELY chopped
  • 1 1/4 cup pinot noir (1/4 c. for mushroom/onion mixture, 1 c. for baking dish)
  • 1/2 cup boiling water
  • 1/4 Tsp salt
  • 1/4 Tsp pepper
  • 2 Tbsp live oil (for sautéing)

Directions: 

  1. Pre-heat oven to 350º.
  2. Cut 1″ off of the top of the peppers, pull out the centers with your hands and clean out the inside white part of the pepper.
  3. Place into baking dish.
  4. Clean your mushrooms with either a damp paper towel or a mushroom brush … you should NEVER wash your mushrooms or submerse them in water because mushrooms are porous.
  5. Pop out the mushroom stem and finely slice them and then slice that pile in 1/2…don’t need to be neat about it.
  6. Finely chop a large spanish onion…I’m all for using one of those choppers for this!
  7. Add onion and mushrooms to 2 Tbsp olive oil and sauté on medium heat for 10 minutes…add 1/4 cup pinot, let evaporate.
  8. Remove from the stove and let cool.
  9. Add Turkey, grated cheese, 1 cup cooled sauce, 1/3 cup pasley, and all of cooled mushroom/onion mixture to a large bowl and gently mix.
  10. Fill the peppers gently with the stuffing, don’t pack it down.
  11. Add the rest of the porcini sauce (approx. 2 1/4 cups), 1 cup pinot, and 1/2 cup boiling water to the bottom of the baking dish.
  12. NOTE:  If the porcini sauce was refrigerated you should warm it a little to room temperature so it doesn’t prolong the cooking process of the stuffed peppers.
  13. Sprinkle with a little Parmesan, cover with foil and bake at 350º for 1 hr.
  14. Remove the foil after 1 hour and continue for another 15 minutes at 350º (check the tenderness of the pepper… You don’t want them mushy just tender).
  15. Then up the heat to 400º for another 20 minutes uncovered
  16. Keep an eye on it at this point so the tops don’t blacken too much (everyone’s oven is a little different)
  17. Total cooking time approx. 1 hour/ 35 minutes
  18. Take the peppers out of the oven, cover back up with foil and let them sit for 10 minutes.

TIP:  RICE- To make Basmati or Jasmine rice measure 1 cup rice and put into medium pan. Run cold water over rice and drain using your hand to hold back the rice.  Then add 2 cups water (1:2 ratio or water level is 1 knuckle over rice), cover and bring to a boil, turn down heat IMMEDIATELY to low and simmer for 20 minutes.  Remove from the heat and keep covered letting it sit for another 10 minutes and voilà.  Fluff with a fork


Pesto

Pesto

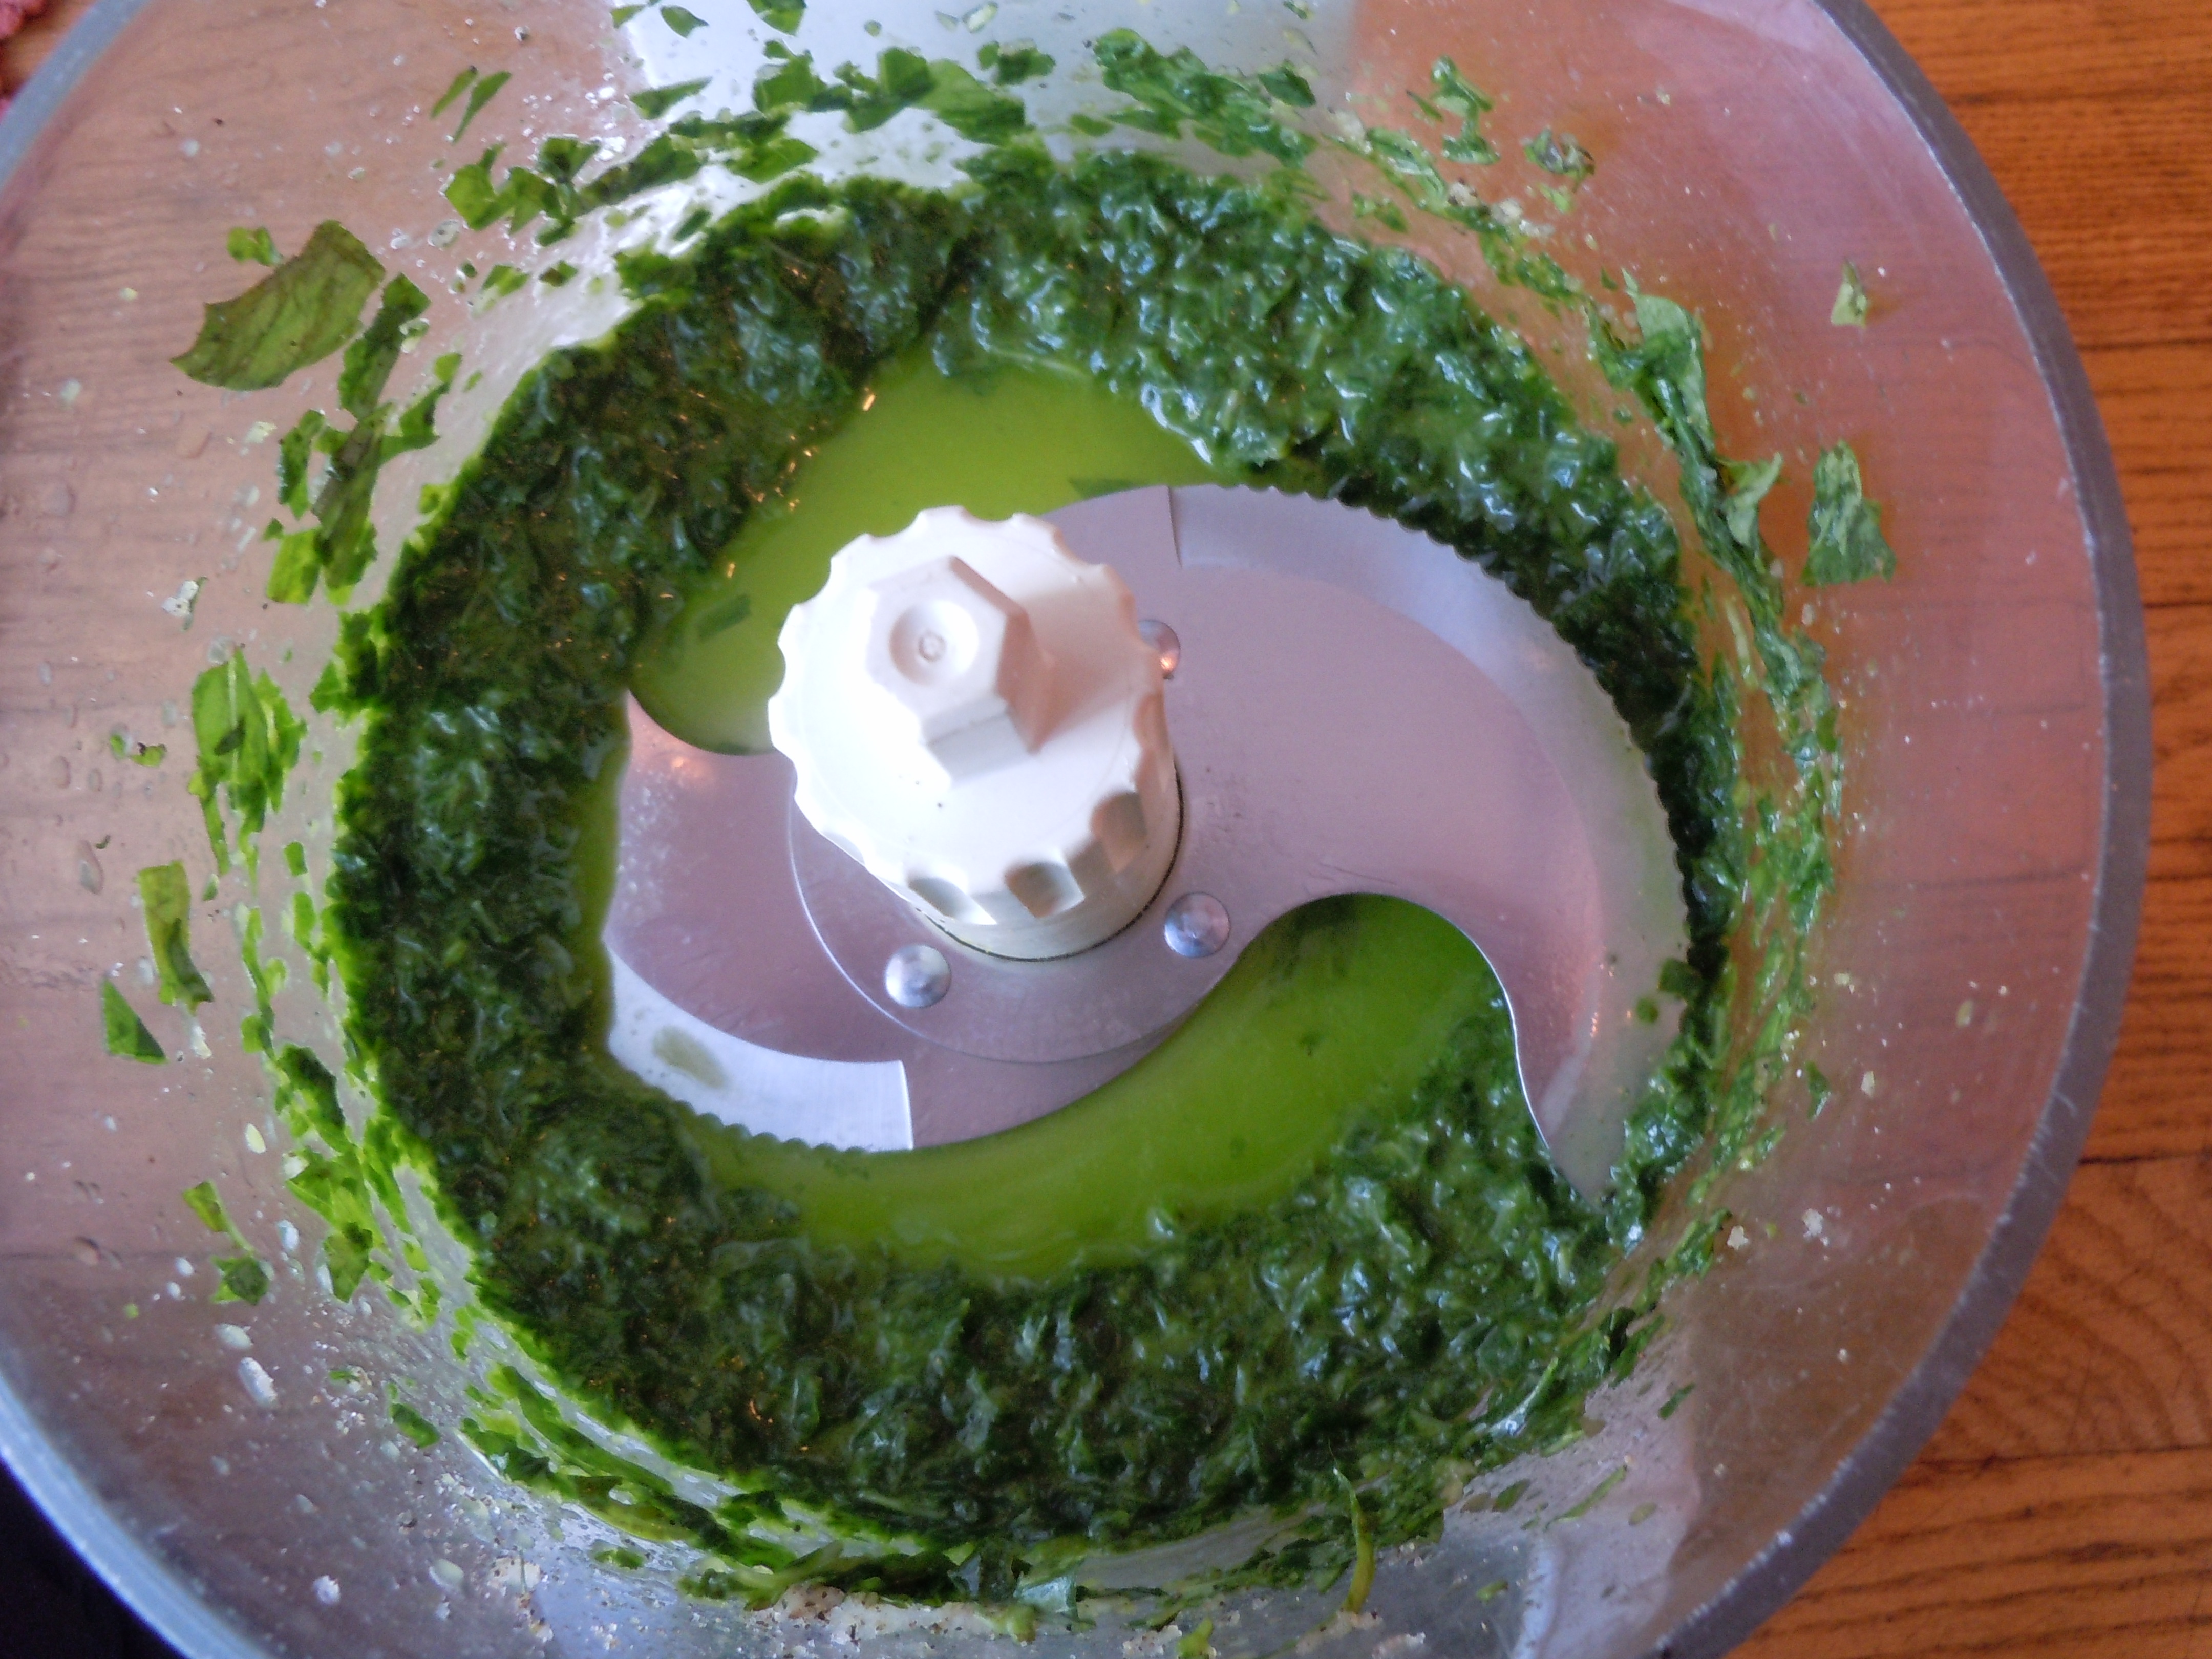
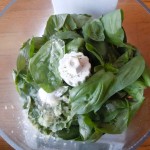
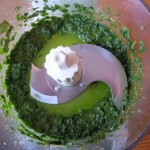
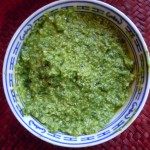
Now there’s making pesto by means of mortar and pestle…..I admit I have spent many a day making it this way, but there’s another way which I will show you here that saves you time and energy which we all seem to run low on by the end of the day.  If it’s the weekend and you have some time on your hands then be my guest and knock yourself out with the mortar and pestle.  It is truly is a lovely way to make this paste, and useful in so many other ways like grinding spices for instance not to mention being therapeutic.  Back to reality, being able to use my food processor to make pesto really is a wonderful thing!  The pesto tastes the same and you still put all the love into it using good ingredients.  You can play with this recipe also when it comes to amounts like adding a little more Parmesan if it’s too thin or drizzling in a tad more olive oil if it’s too thick.  Making pesto is a very forgiving process…. just trust yourself and be sure to taste as you go along to see if you need to add a sprinkle more of salt and or pepper.

iphone pictures 472iphone pictures 473


iphone pictures 477

iphone pictures 479


Ingredients:

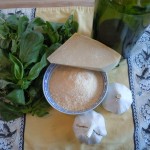
  • 1 pkg. 3.0-3.5 ounces of fresh basil leaves
  • 1/2-3/4 cup grated Reggiano Parmesan
  • 1 lg. garlic clove put thru garlic press
  • 1/4 cup extra virgin olive oil
  • salt & pepper
  • dash of Tabasco

Directions: 

  1. Remove basil leaves from stems and place them into the food processor with the grated garlic, s & p
  2. Begin to pulse while drizzling in all of the olive oil thru the top opening of the food processor
  3. Once you finish adding the oil you may need to stop and scrape the sides with a spatula
  4. Add in the parmesan and pulse once more (this is where you can add a little siracha)
  5. The pesto is ready to use
  6. If you want to save the pesto put it into a plastic container, drizzle about 1 tbsp. of olive oil right on top. Then lay a piece of Saran wrap right on top of the new layer of olive oil so there isn’t any air touching (This will keep the basil from oxidizing and turning brown)
  7. At this point you can either keep in the refrigerator for up to 2 days or put it into the freezer
  8. When you are ready to use the frozen pesto take it out the night before and let it thaw in the refrigerator
  9. Now that you have this delicous pesto you can easily make the Crostinis with Fresh Mozzarella, Pesto and Roasted Tomato appetizer.

iphone pictures 484iphone pictures 492