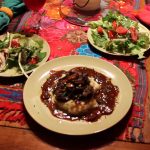
Stout Braised Beef Short Ribs
The magic of braising, turning a tough cut of meat into fork tender, is a no brainer for me. Braising these beef short ribs in a combination of stout beer, red wine, beef stock, soy sauce, whole peeled tomatoes, a mirepoix, and creative assortment of spices make for a luscious dish. Then piling the stout braised beef short ribs on top of yukon mashes potatoes made with half & half, heavy cream, butter, paper thin red onions and a healthy drizzle of truffle oil puts it right over the top!
These stout braised beef short ribs came from Firefly Farms in North Stonington, CT. Firefly is one of two farm’s in Connecticut Certified Humane! When you are buying from a farm like Firefly, who’s practices are above and beyond, you know you are getting a product of a different caliber. The beef I used in this stout braised short ribs recipe was moist, tender, and packed full of flavorful.
We all have some idea of the instense amount of work that goes into farming but their practices at Firefly Farm take it way beyond that. Analyzing agricultural charts dating back to World War II to understand and perfect feeds for each of their endandered breeds they raise on their farm is a grand example of that. Getting the animals diets just right to yeild a most natural and high quality product.
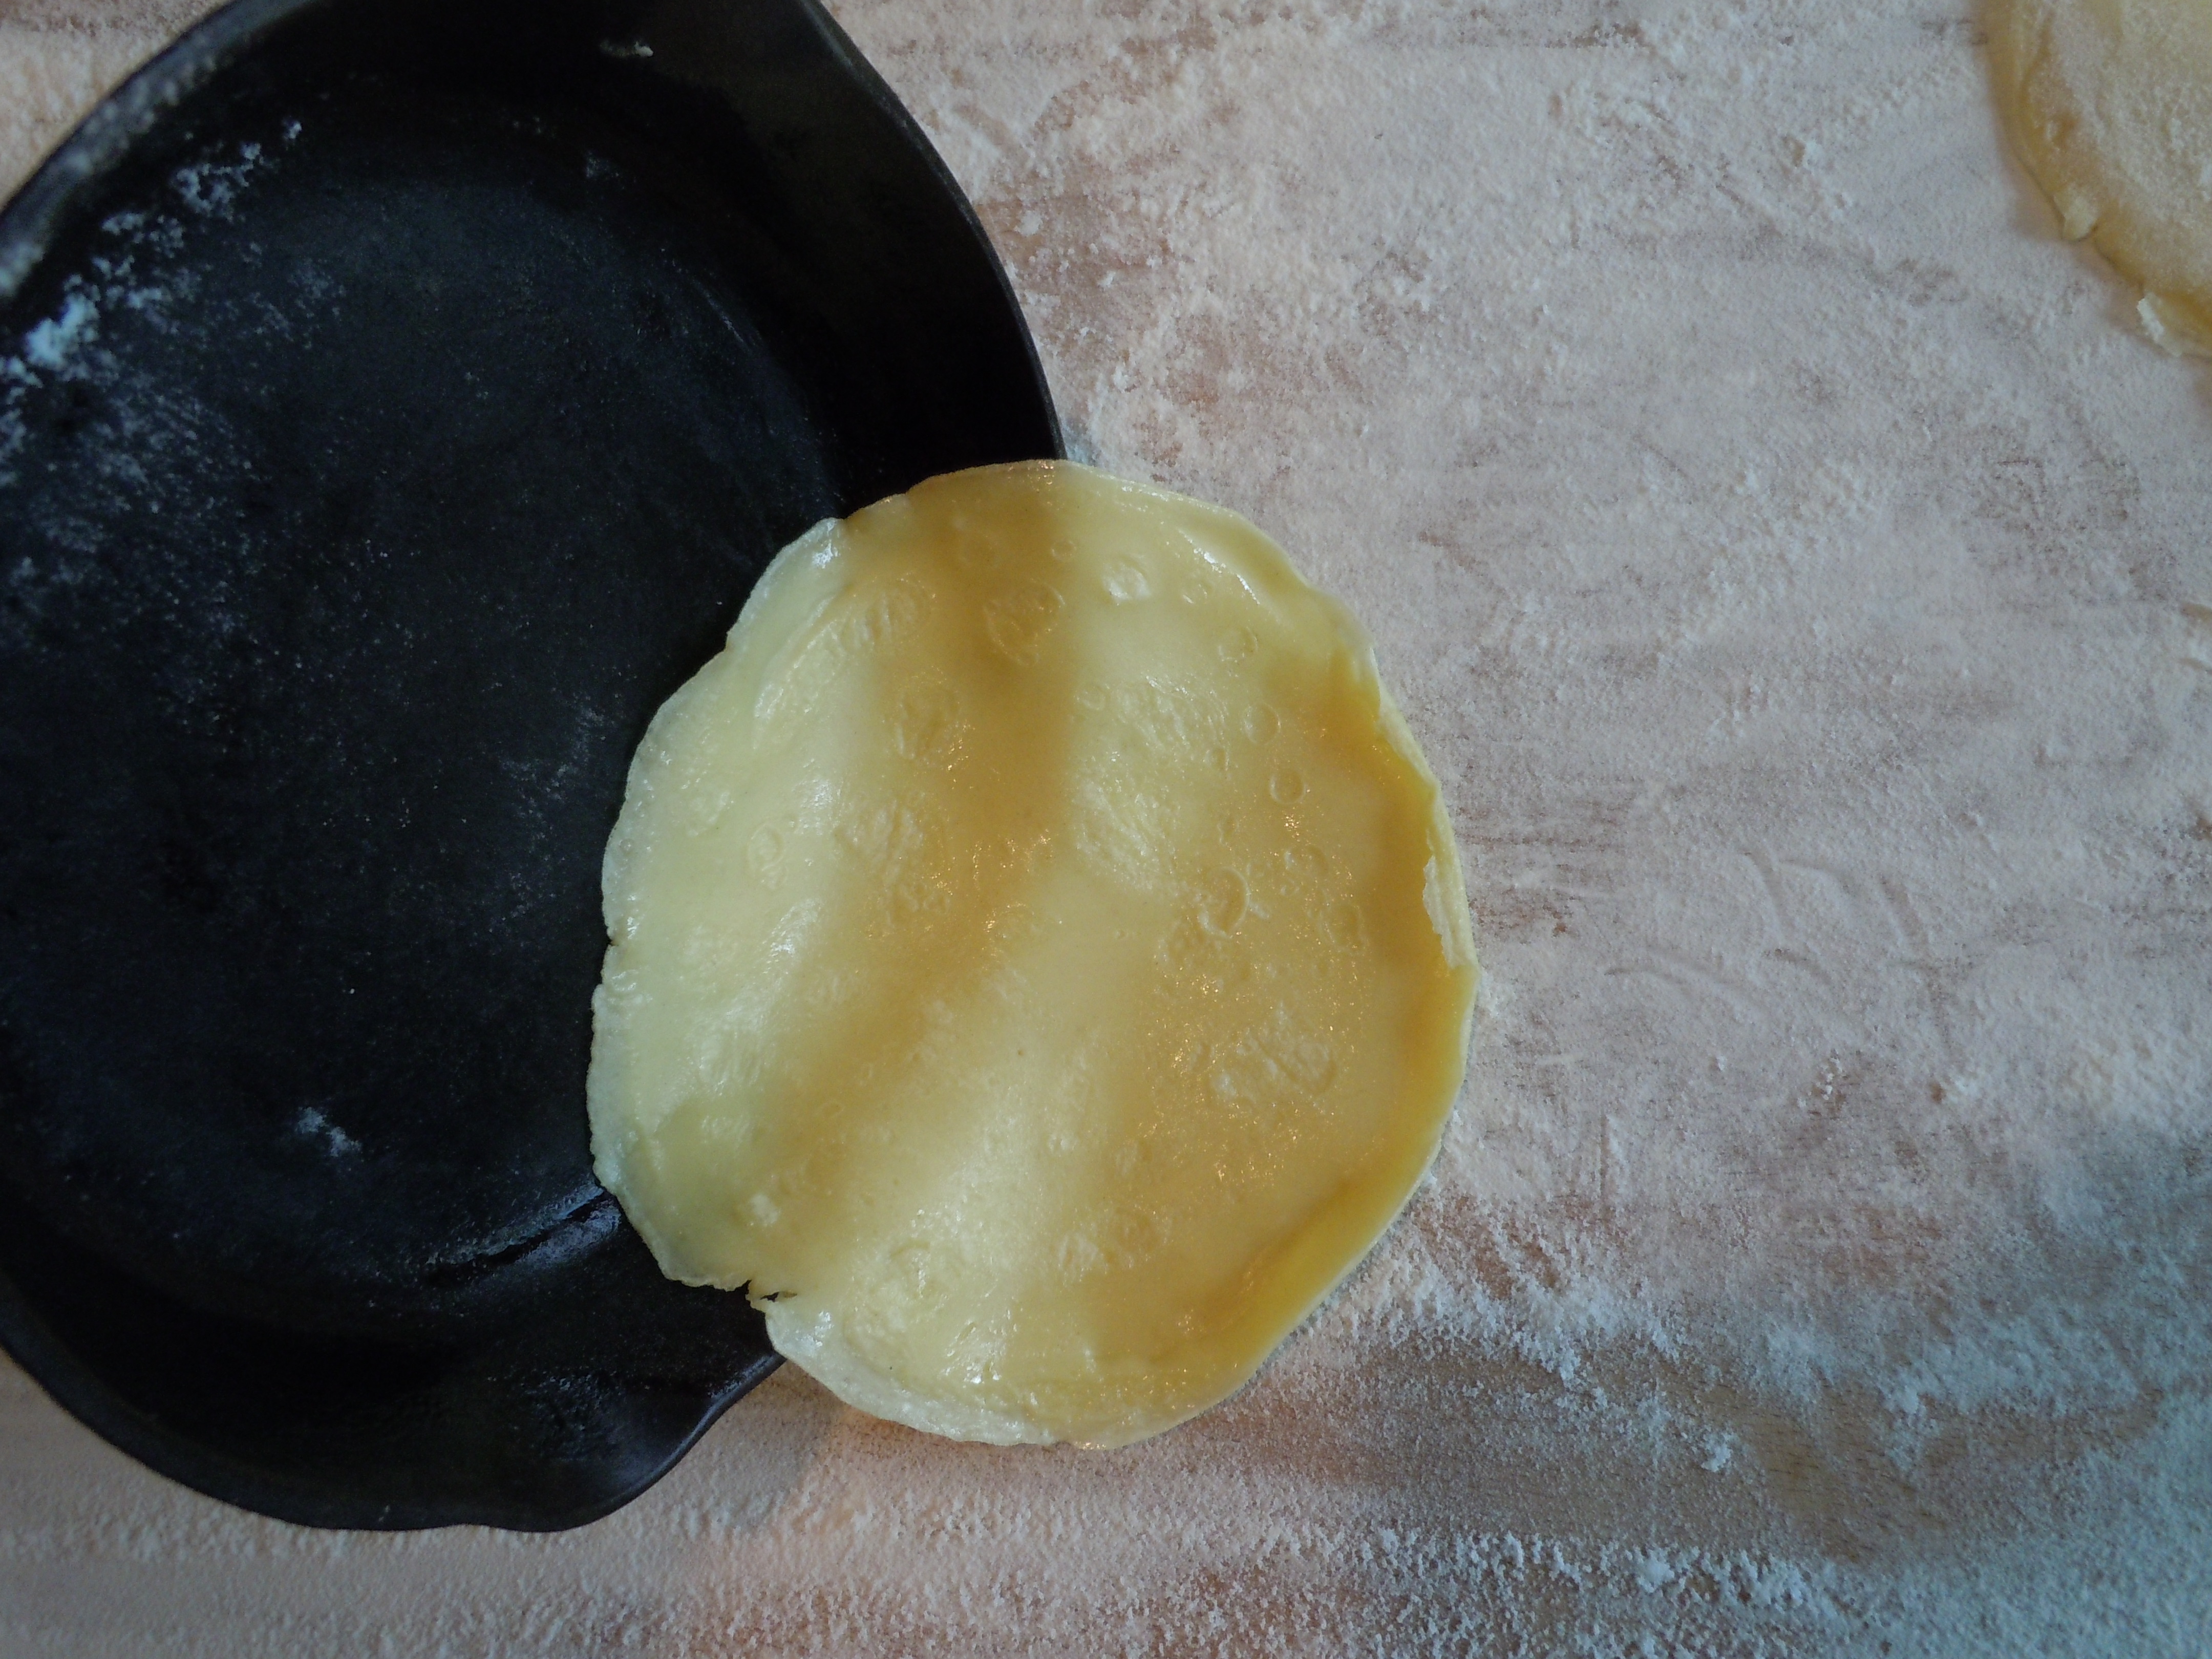
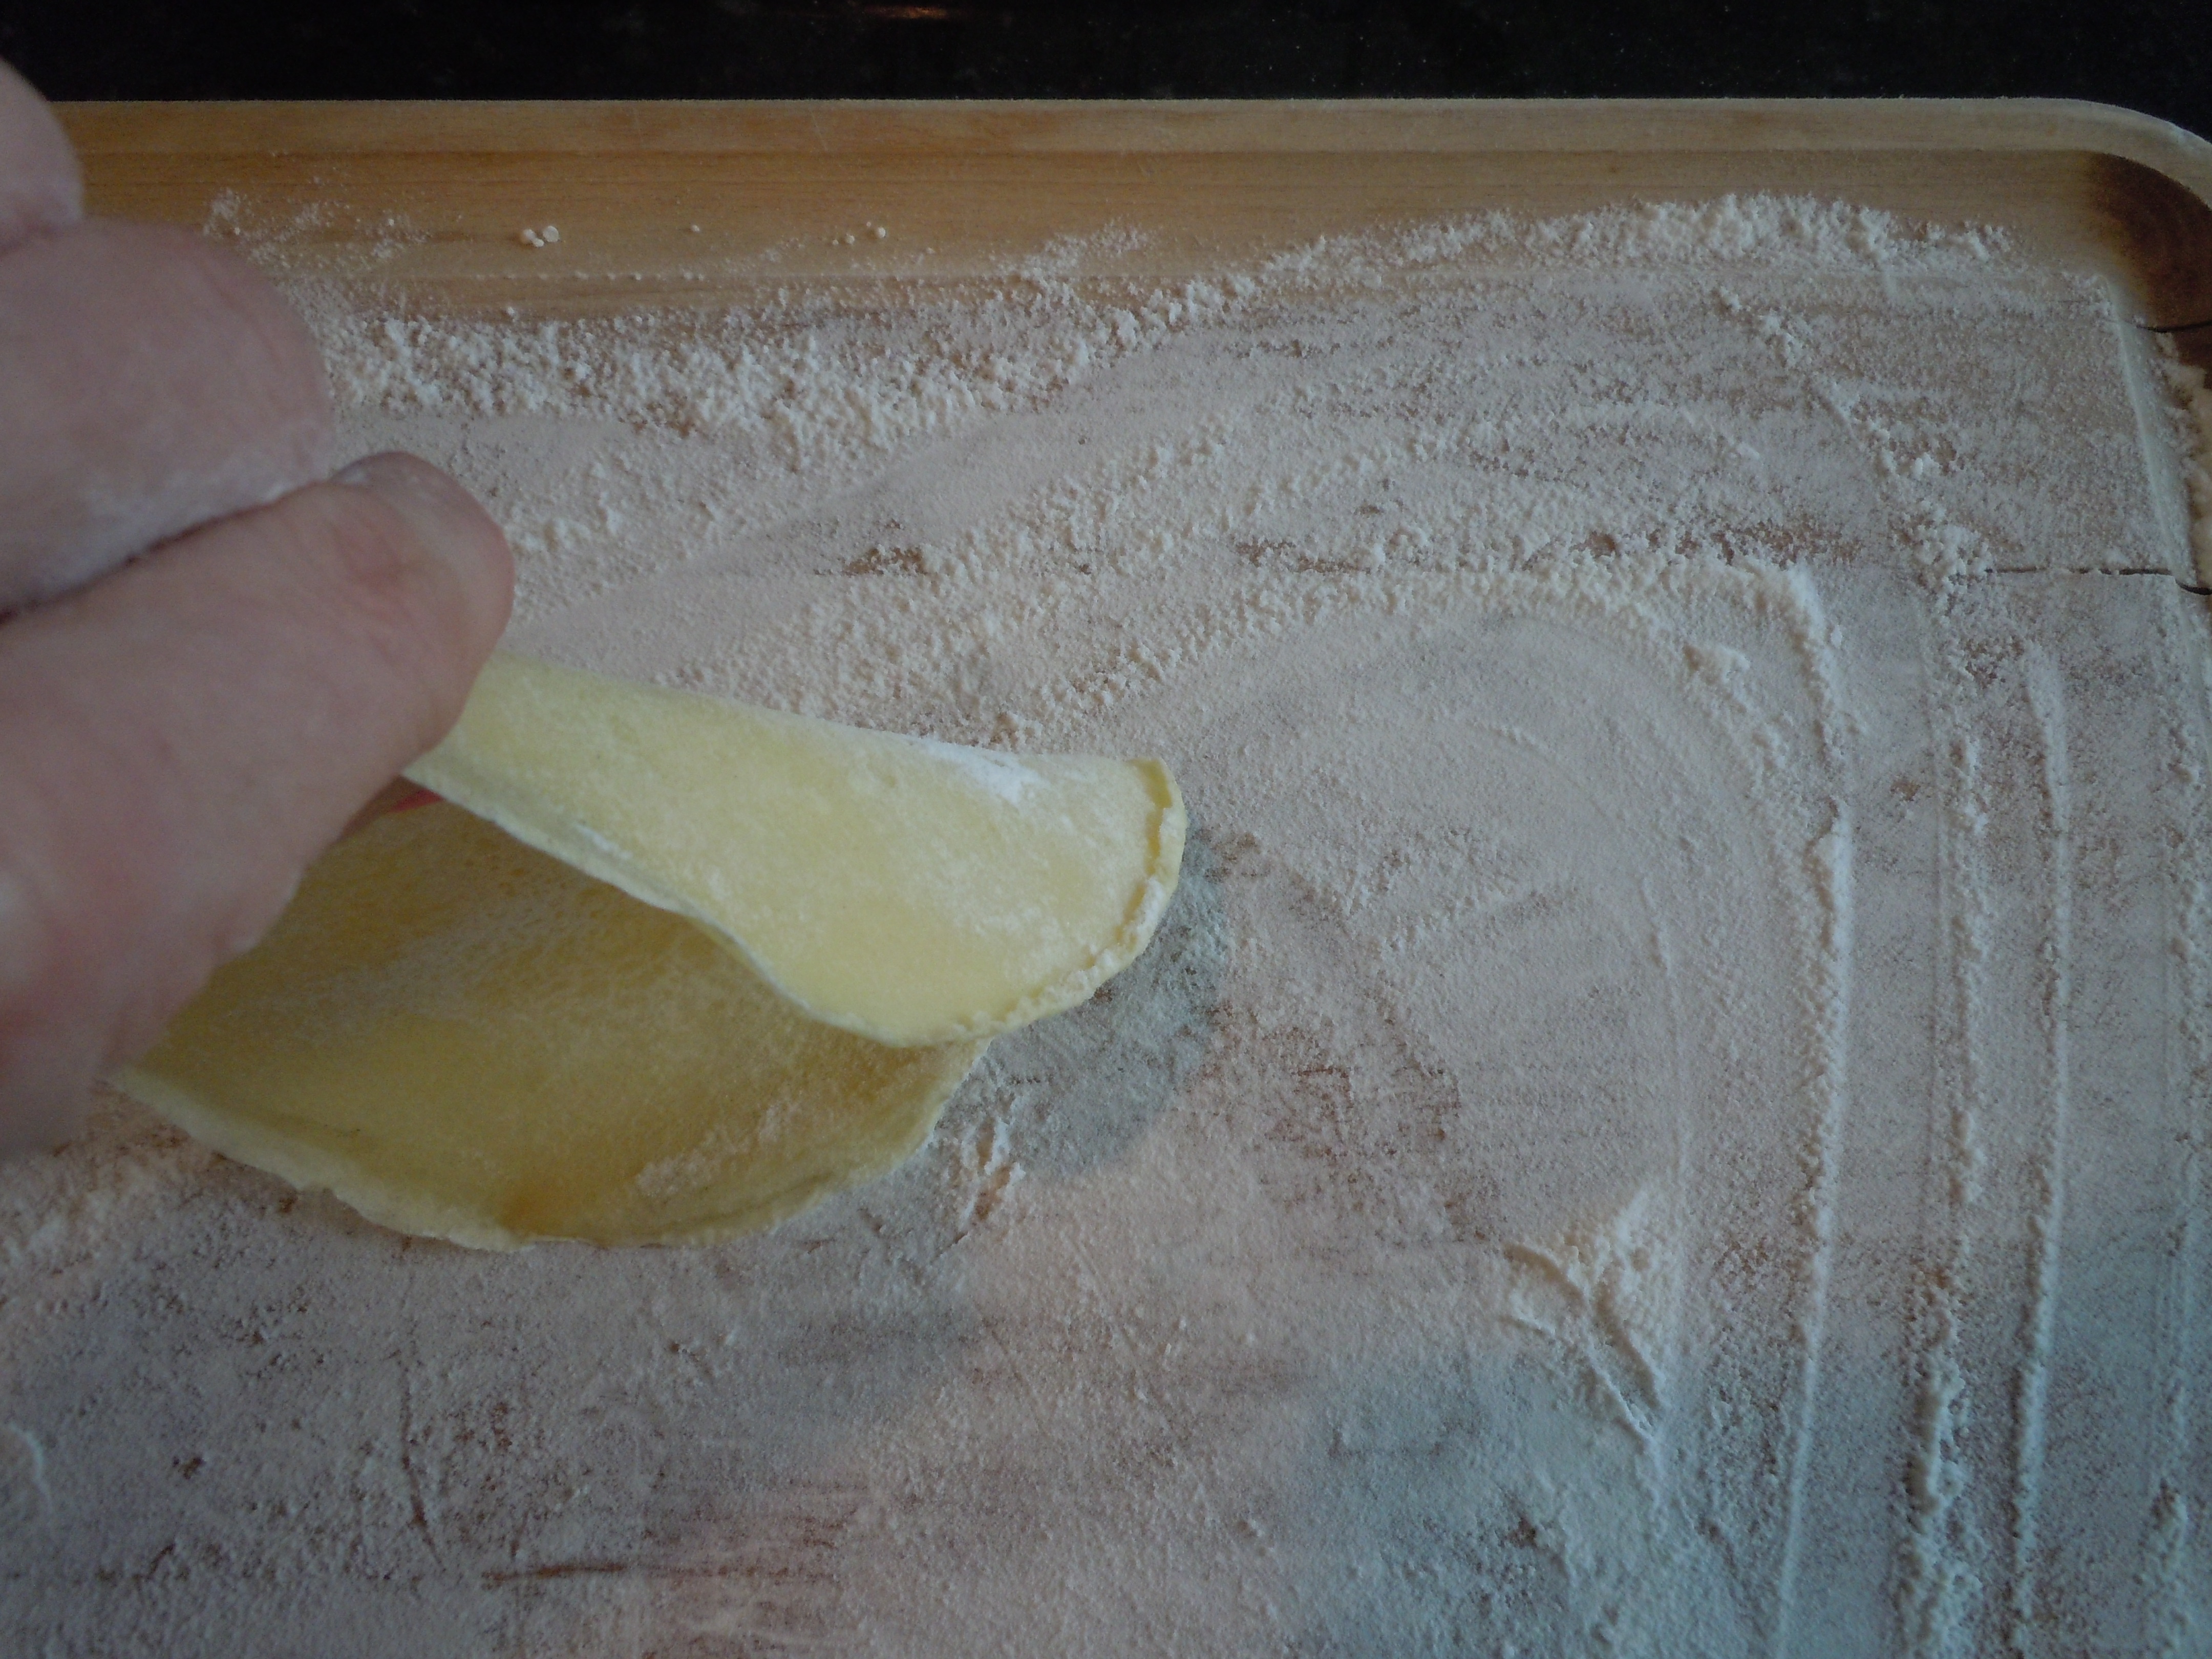
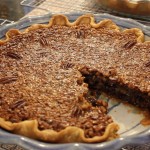
The lard that Firefly offers makes the perfect pie crust, as shown in “Death by Chocolate Meringue Pie”. It is unsaturated because of the attention to detail of the mulefoot hogs diet, one without corn or soy. And oh boy, you should try their bacon!
The special stout I got to braise the beef short ribs was creamy and smooth bringing deep luscious flavors to the dish. The stout came from some friends who have made home craft brewing a hobby, and they call themselves The Bilco Boys Brewery. It’s like night and day to taste a fresh homemade-crafted brew. I find the beer much smoother and the flavors really fresh from citrus to notes of chocolate with a creamy mouth finish. Make sure to keep an eye out for another up and coming craft brewing show next week with The Bilco Boys!
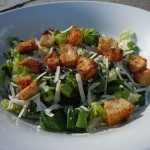
I know you will enjoy the ease of these stout braised beef short ribs whether Flanken or English cut. The end product is the easy sell here. You should try my Homemade Caesar Salad to go along with the ribs, or how about Spanakopita for an appetizer. If you have a little time on your hands one weekend definitely try this amazing Pickled Eggplant recipe, perfect for holiday gifts! You will need dessert too so be sure to take a look at the beautiful and delicious Pavlova or my special Homemade Chocolate Chip Cookies!


Ingredients for Beef Short Ribs:
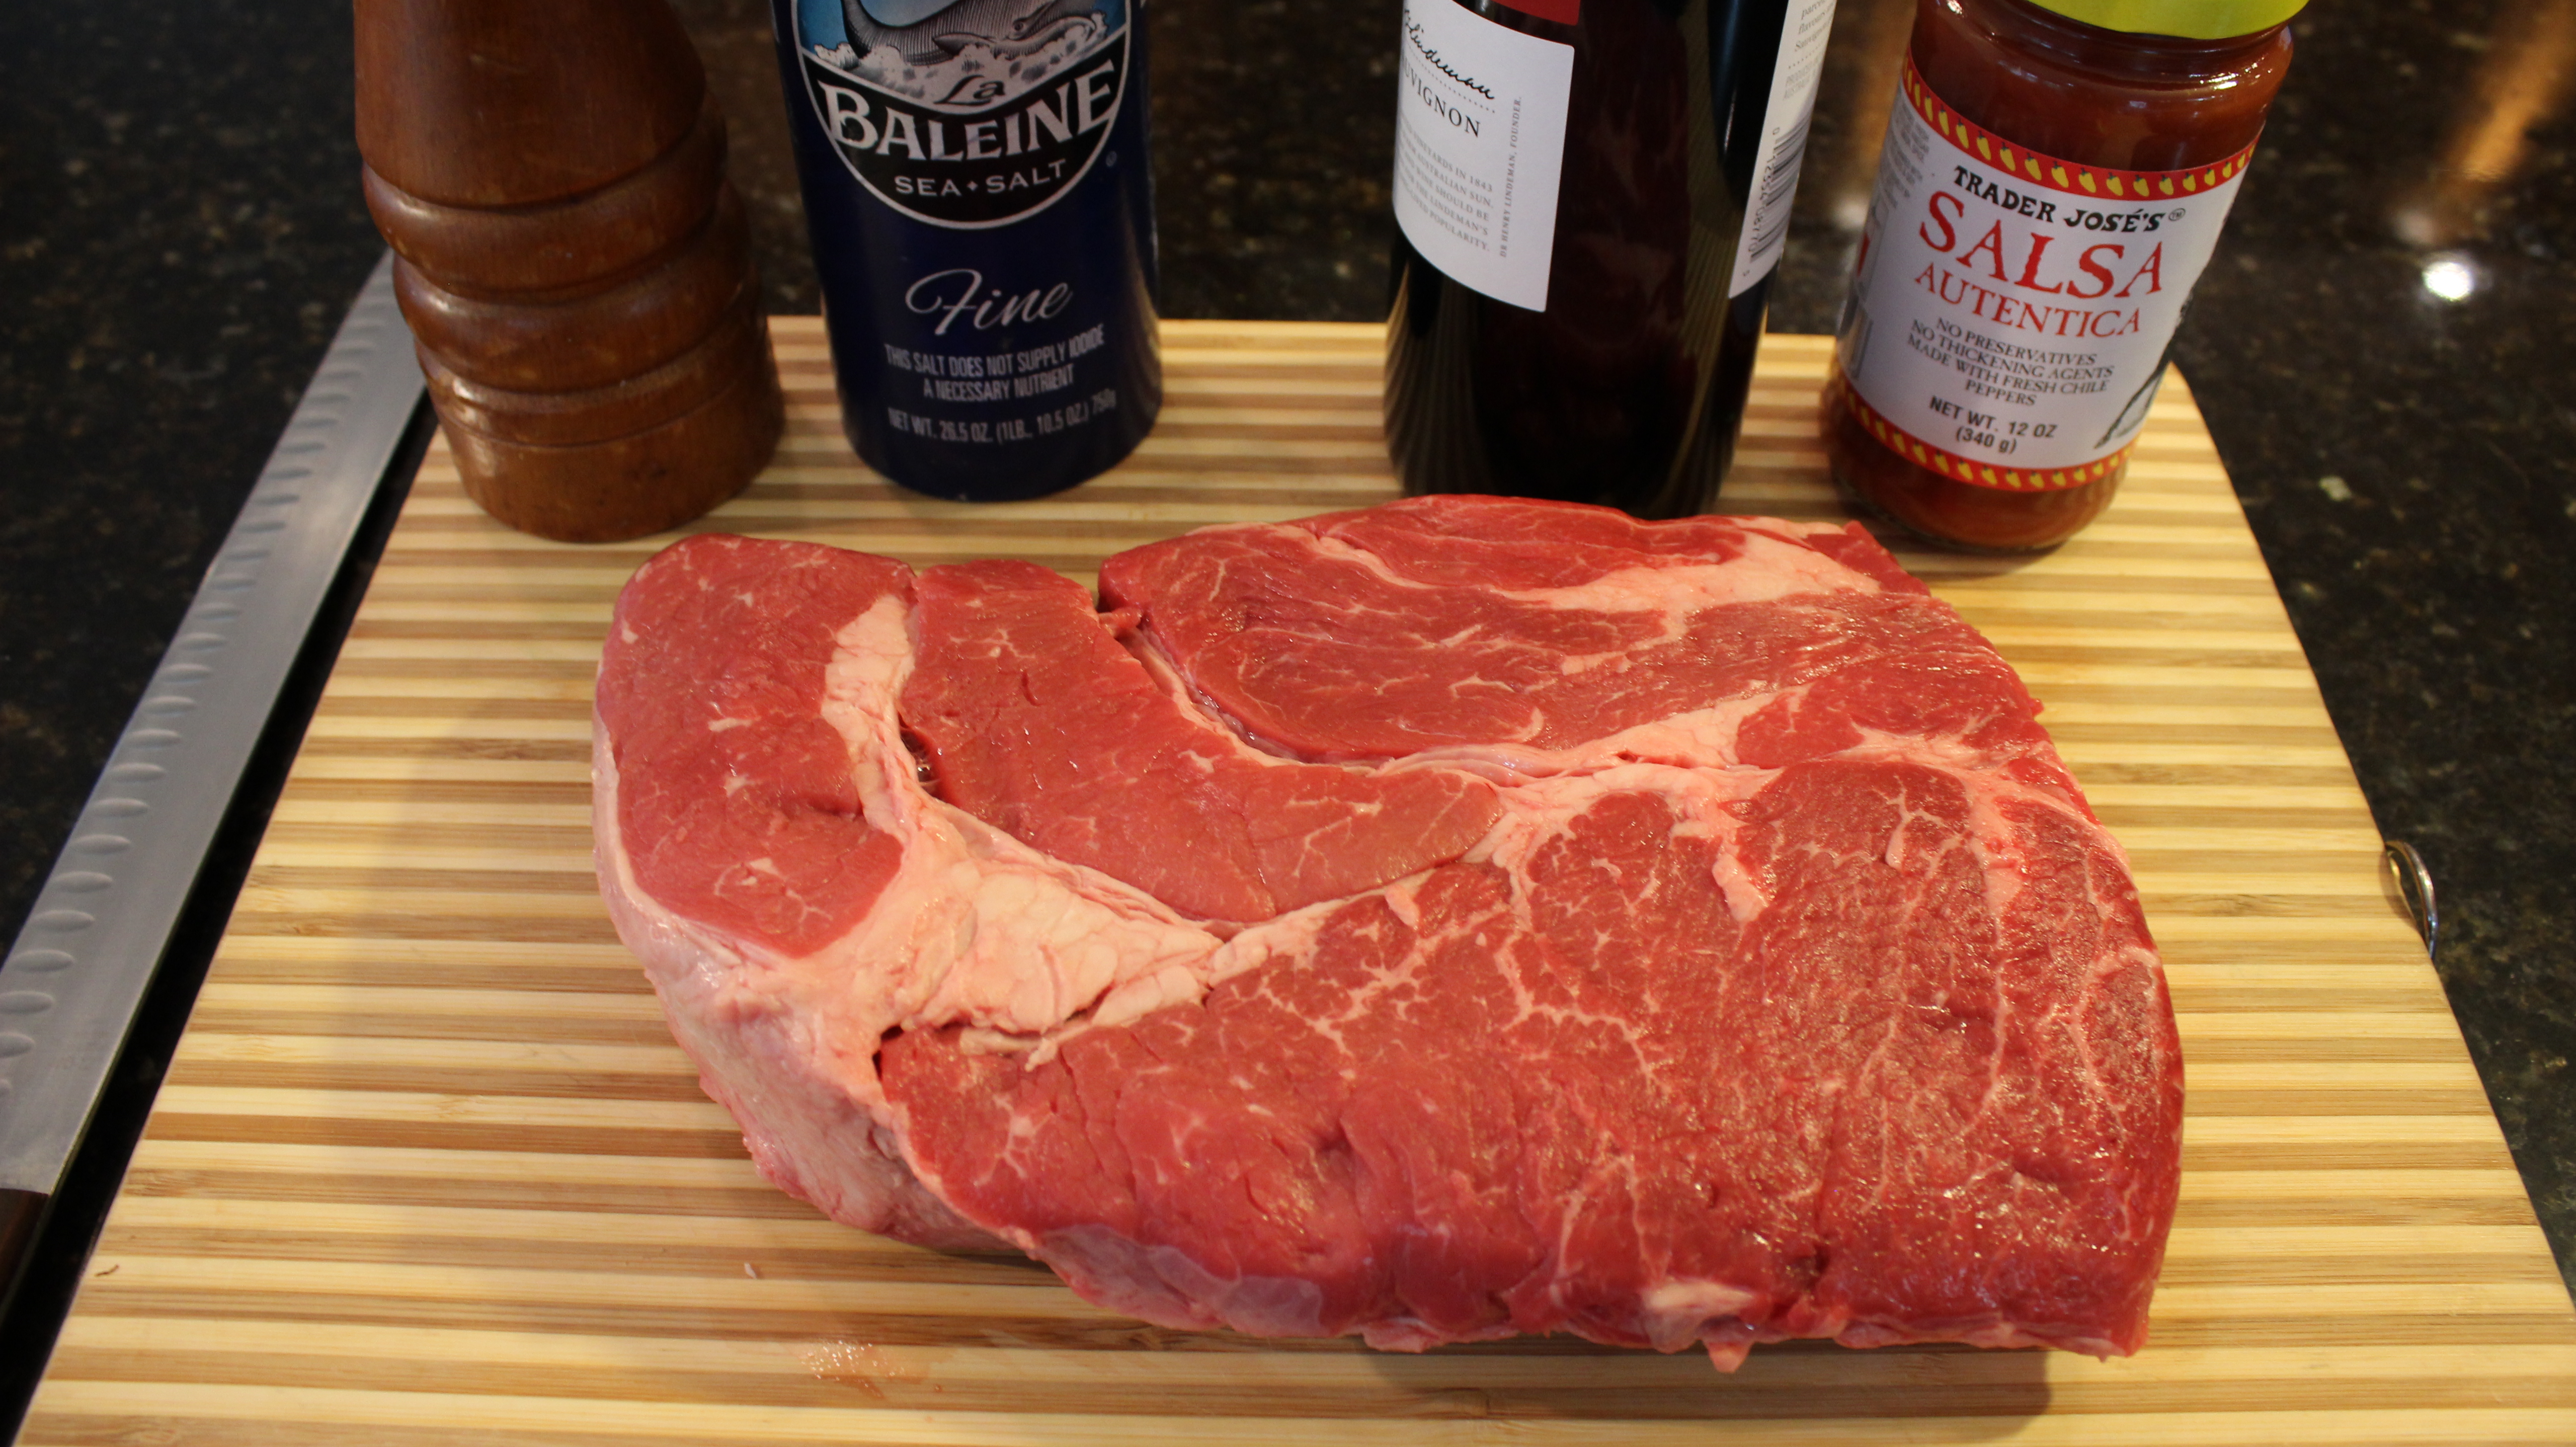
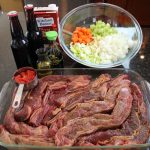
- 5-6 lbs Beef short ribs (Firefly Farms if possible) Flanken Cut if you want to remove the meat as I did in show OR English Cut – 1″ X 3″ pieces
- 2 bottles STOUT
- 1 cup red wine, cabernet
- 2 cup beef stock
- 2 tbsp soy sauce
- 1/2 cup whole peeled tomatoes
- 1 lg onion coarsely chopped
- 2 celery stalks coarsely chopped
- 1 lg carrot coarsely chopped
- 4 lg garlic cloves coarsely chopped
- 1 leek coarsely chopped
- 2 tbsp fresh ginger, peeled and chopped
- 1/2 tsp sea salt
- 1/4 tsp pepper
- 1-2 bay leaves
- 1 tsp Wondra flour (quick dissolve flour)
- 1 RECIPE Yukon Mashed Potatoes
- OPTIONAL: Truffle oil – finishing oil to drizzle over stout braised short ribs, yukon mashed potatoes and gravy
Directions for Beef Short Ribs:
- Pre-heat oven to 350º
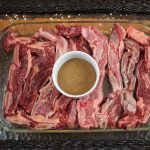
- Rub spice mixture all over ribs anf marinate for 4-12 hours or over night
- Pat dry ribs without removing all the spices
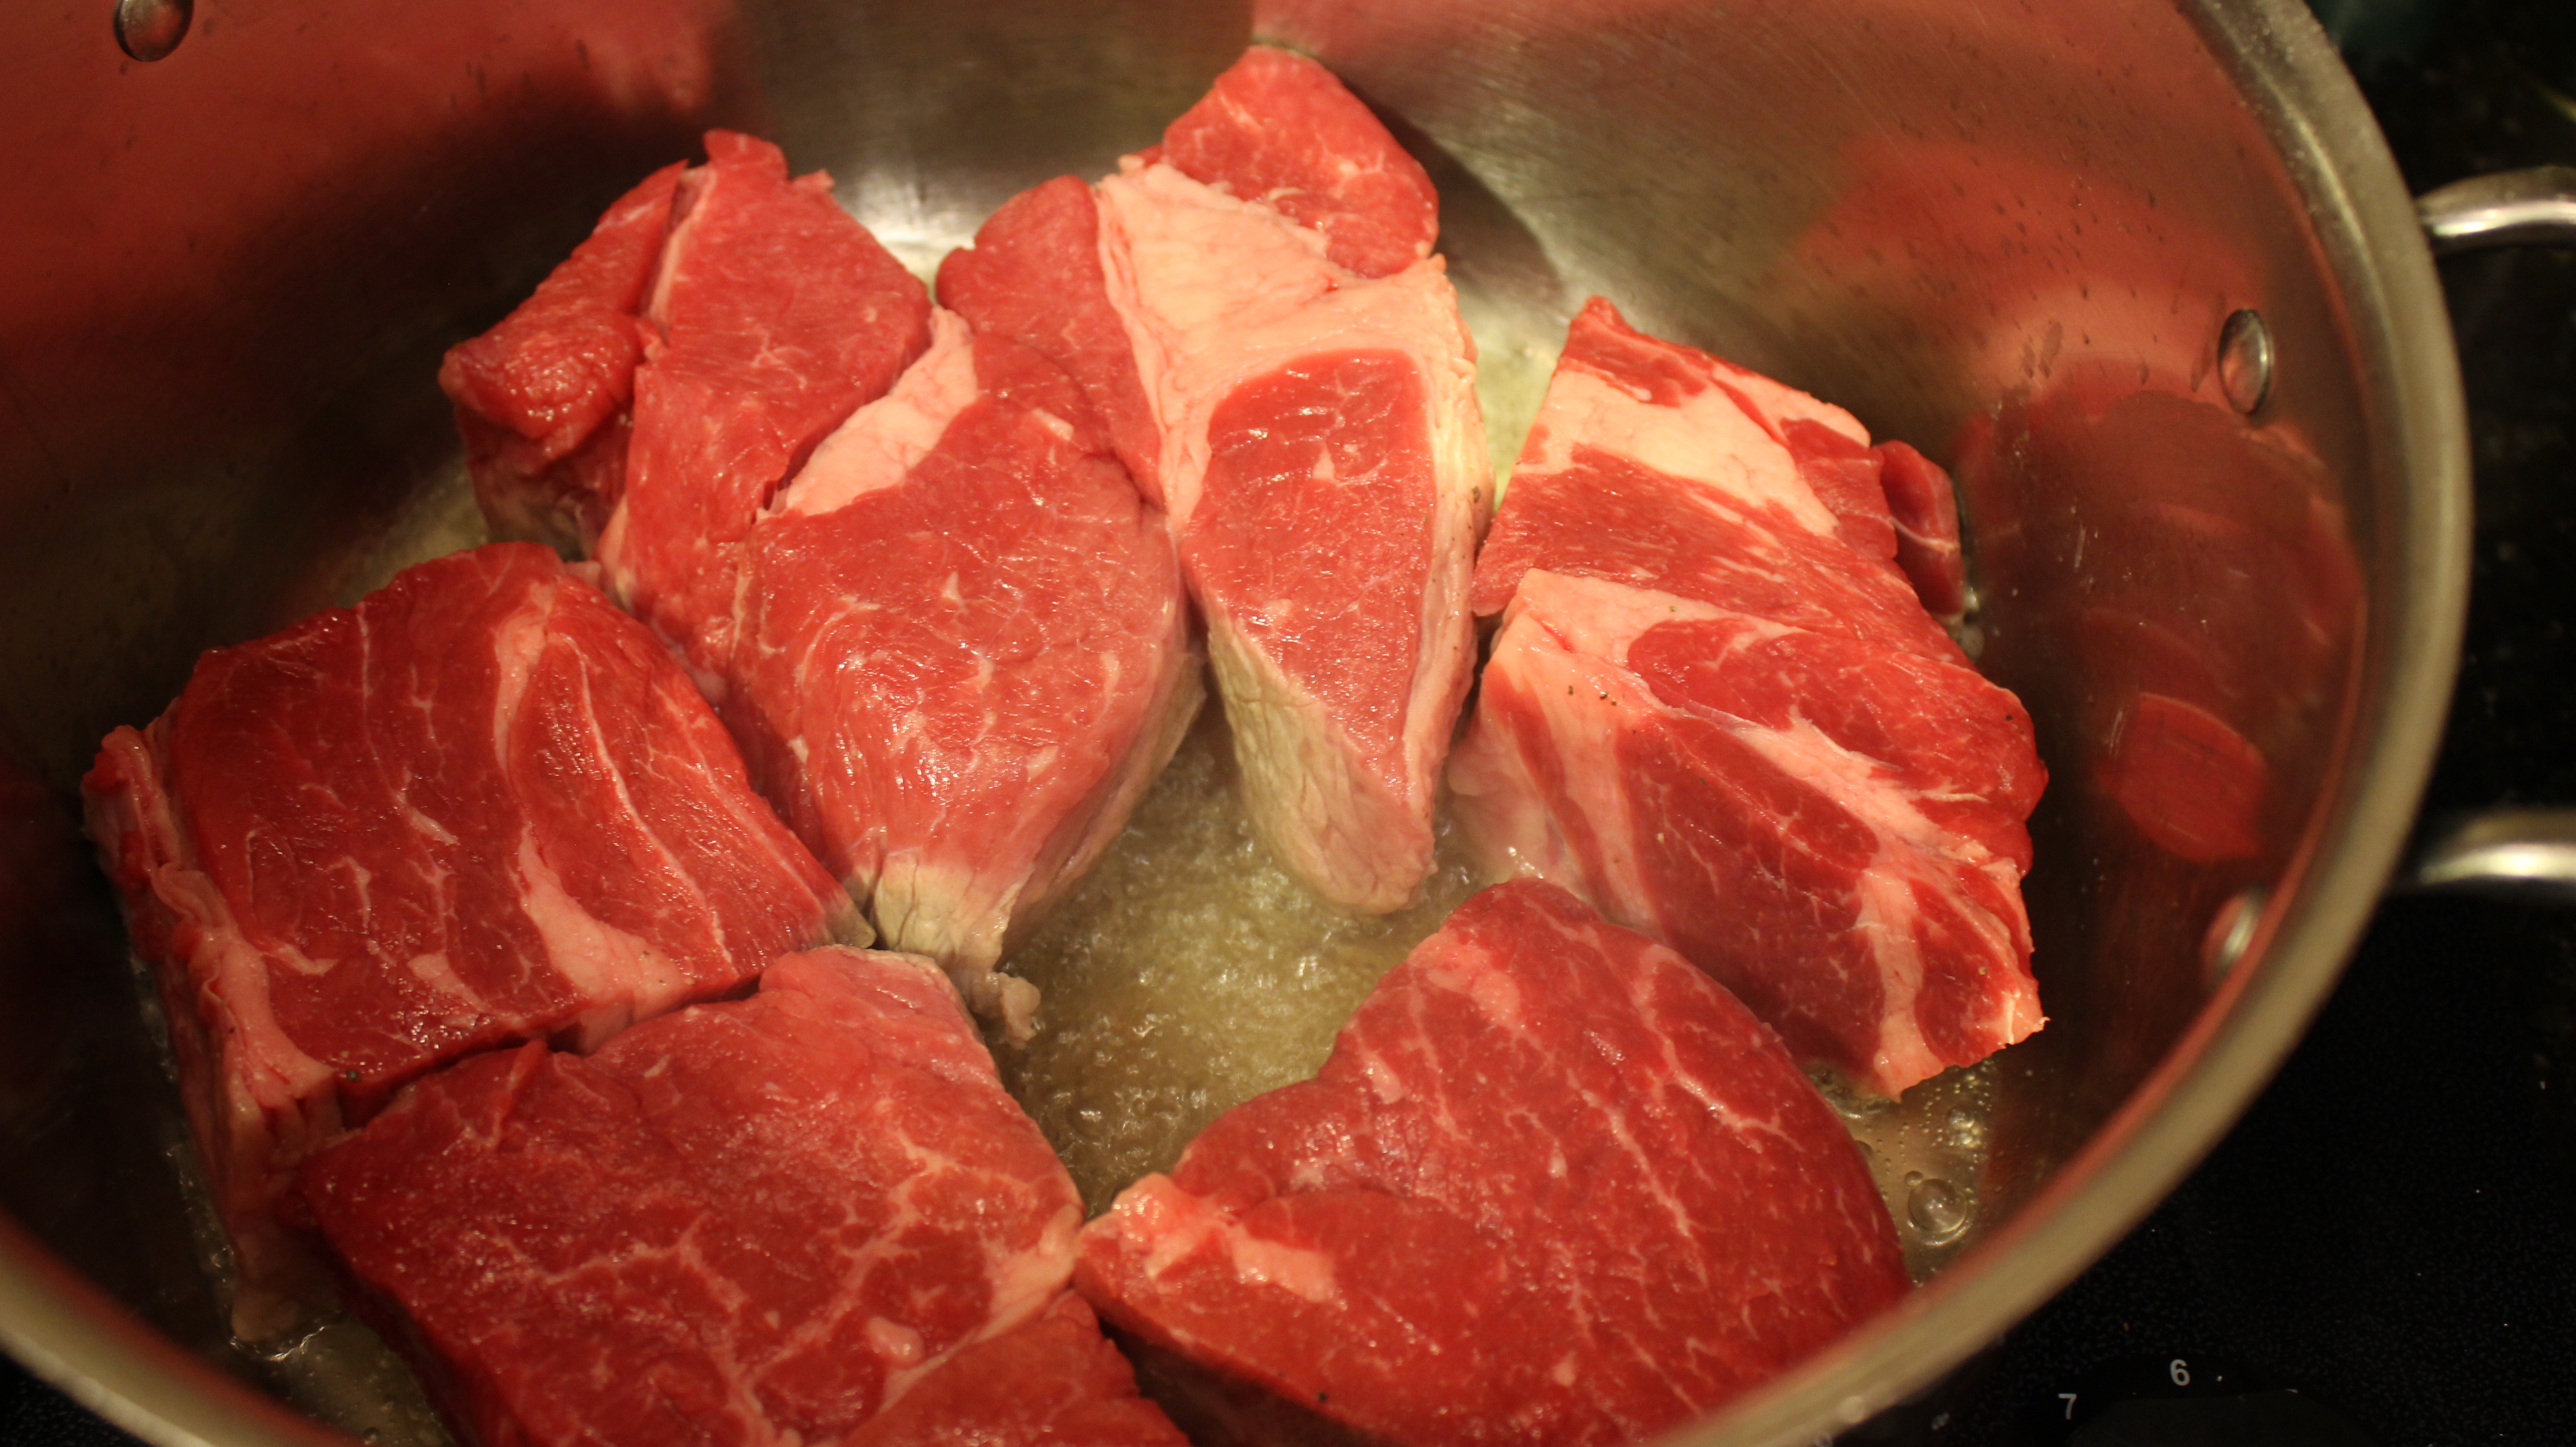
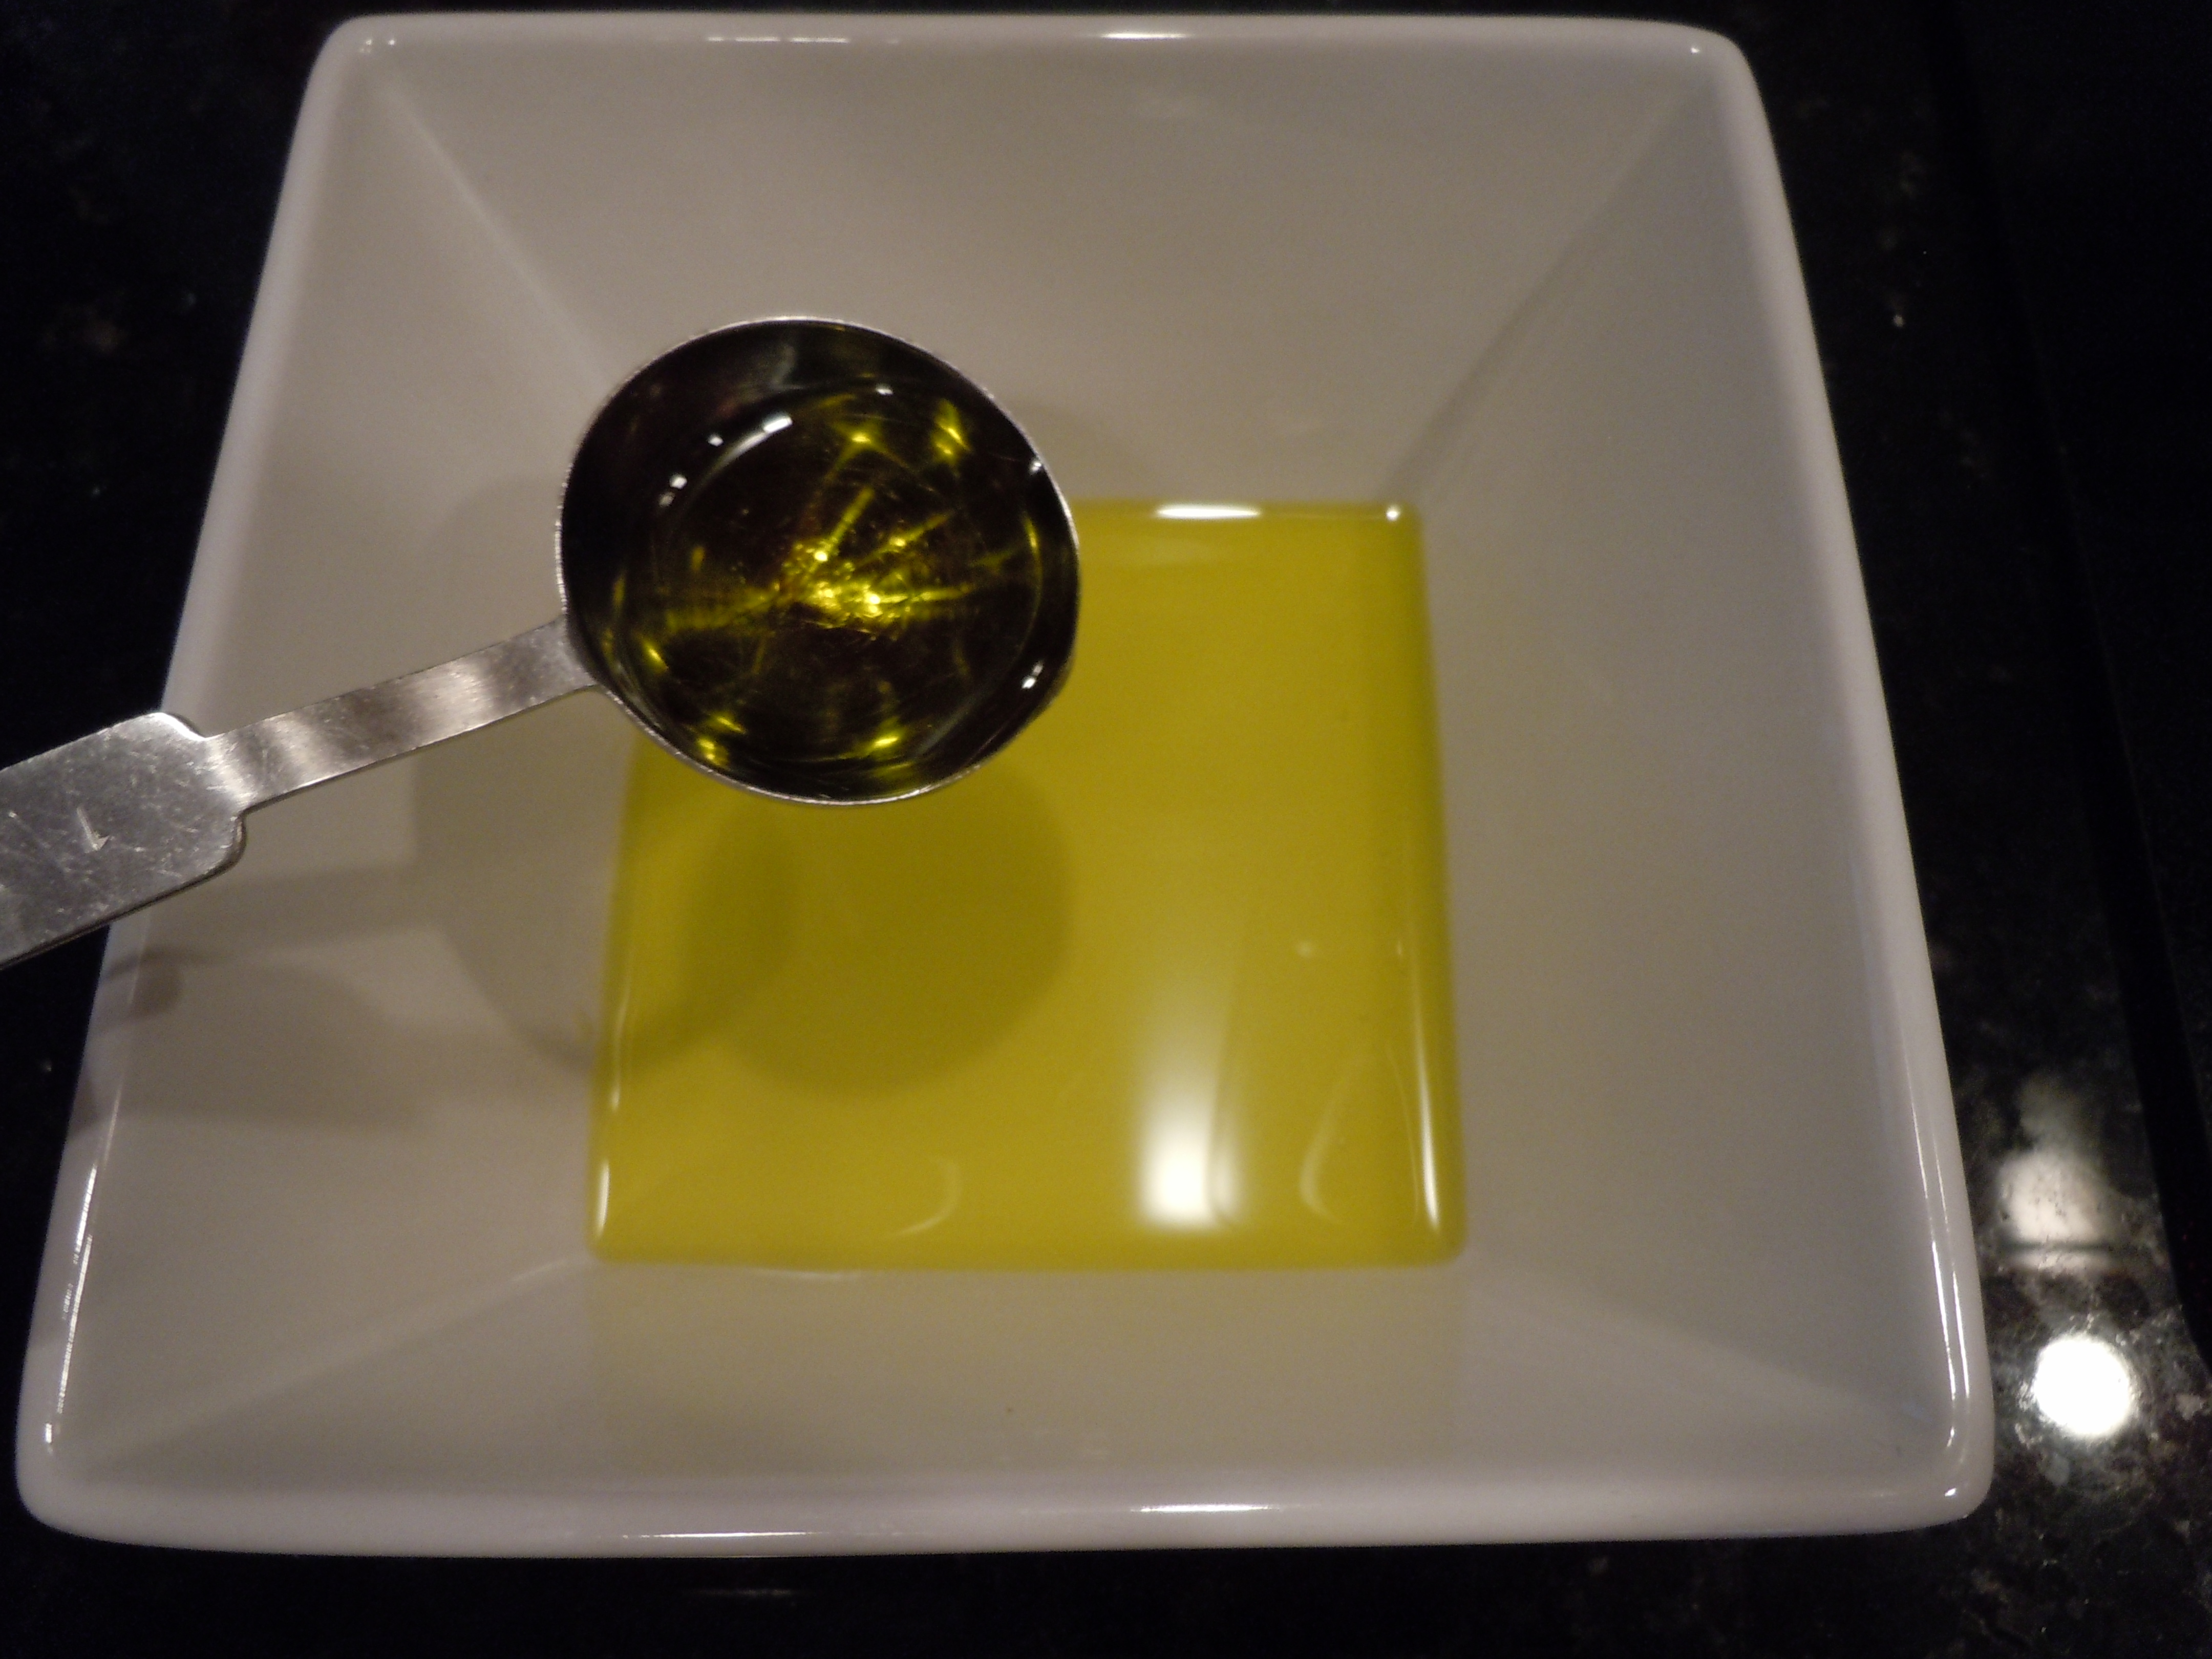
- Heat 2 tbsp olive oil in a large dutch oven or pan
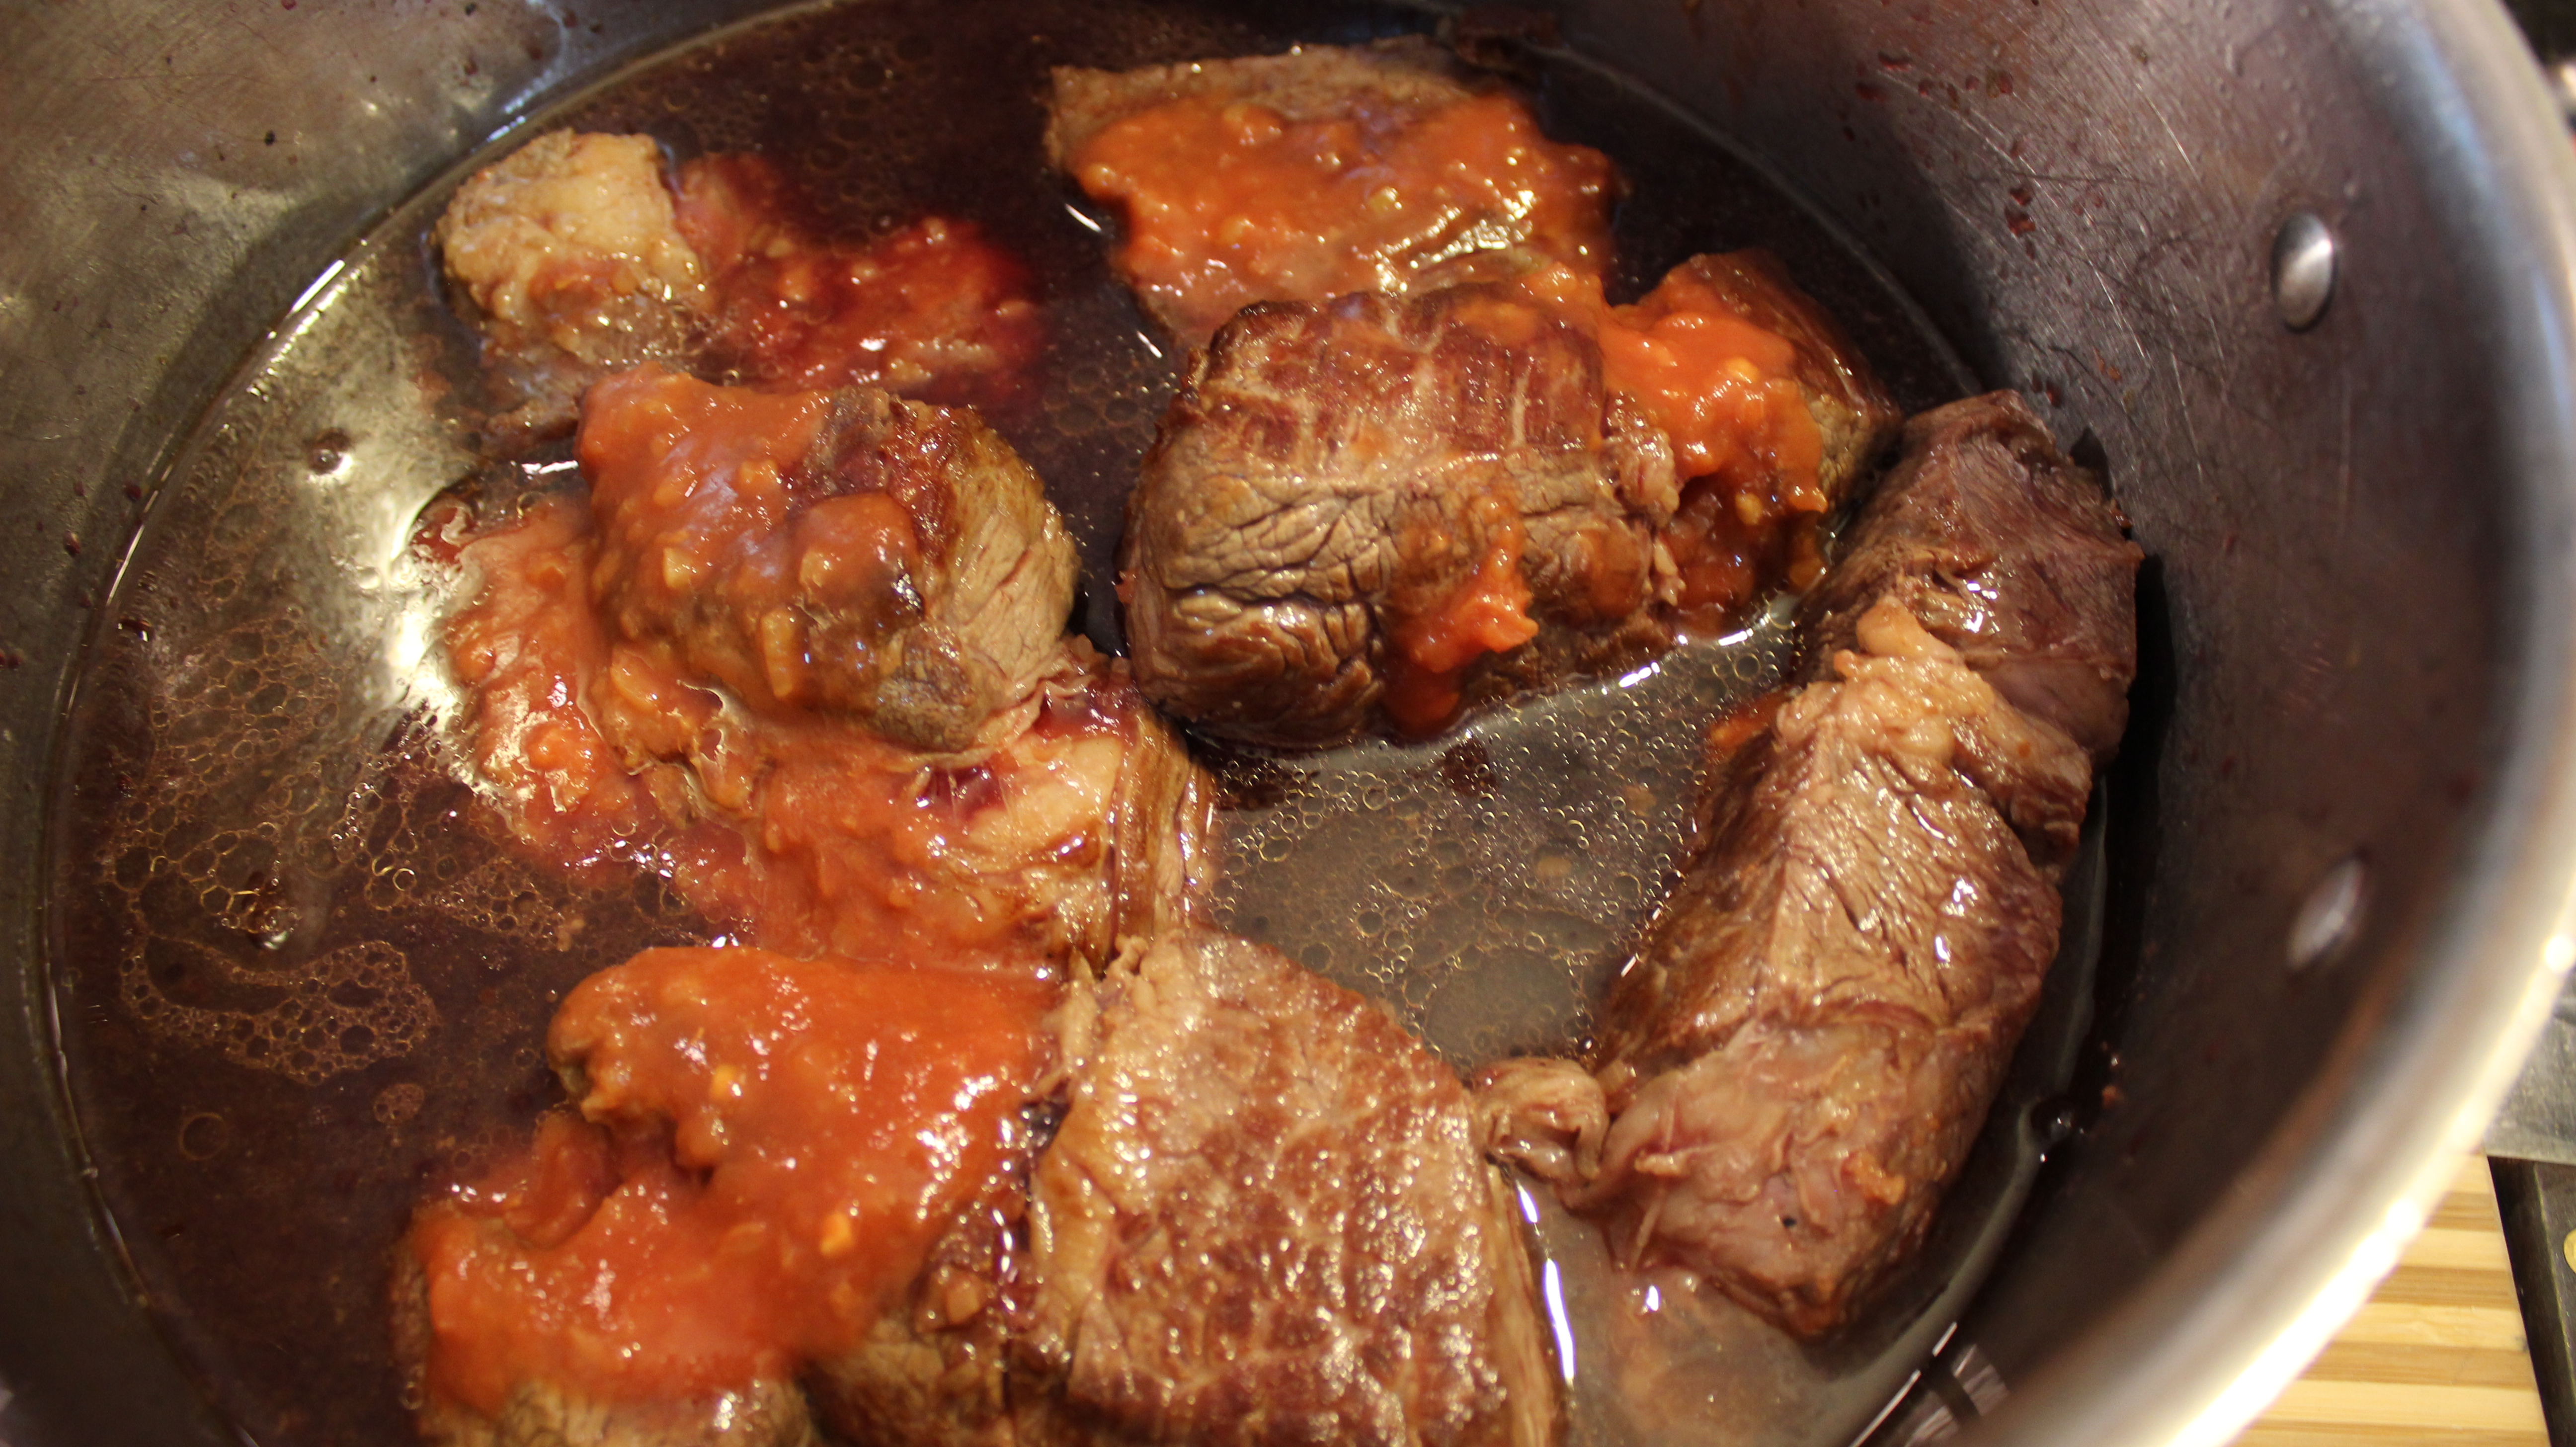
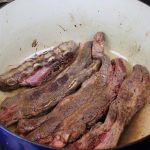
- Begin to sear beef short ribs in pan with olive oil, you will have to probably do this in two batches so you don’t crowd the pan
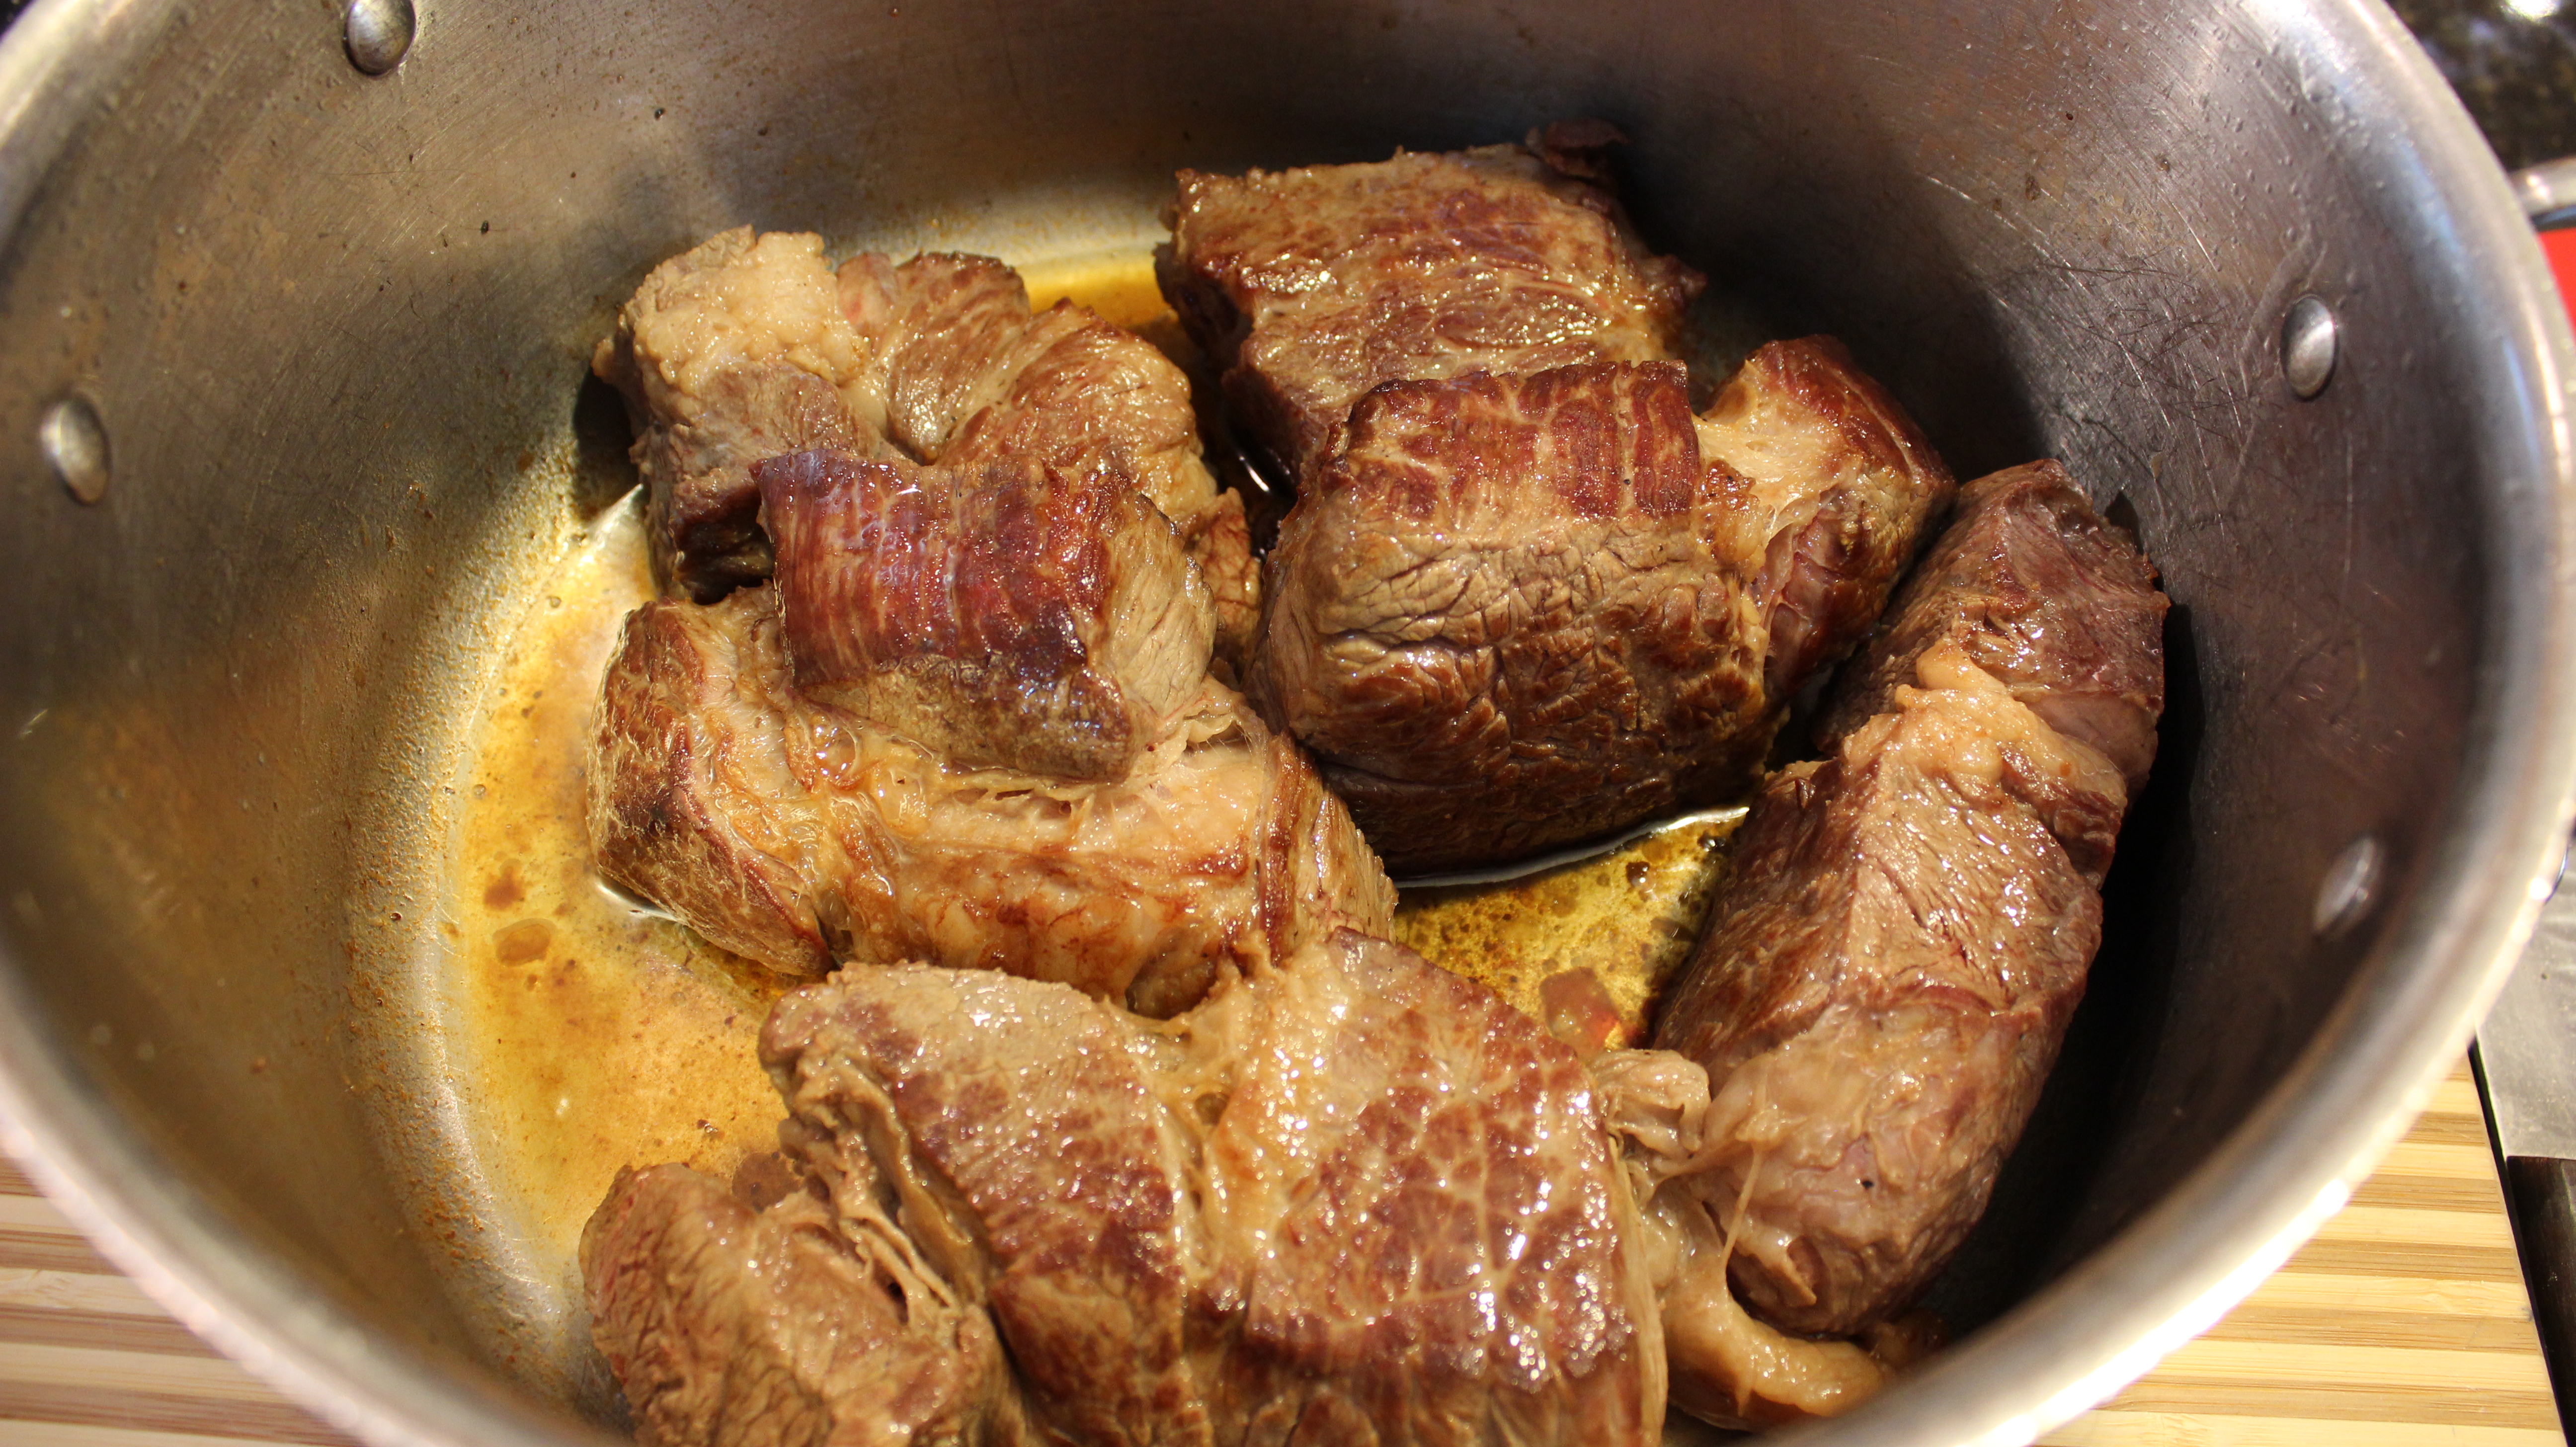
- Sear the ribs 3-4 minutes on each side until browned
- Remove 1st batch of ribs, set aside in a lg bowl and brown 2nd batch of beef short ribs
- Remove 2nd batch of ribs to bowl
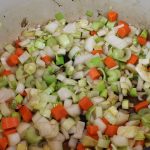
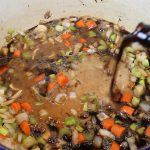
- Then add in mirepoix with 1/2 tsp salt and 1/4 tsp pepper to dutch oven
- Sauté for 5-8 minutes until softened
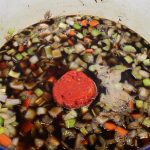
- Add in 2 bottles stout, 1 cup cabernet, 2 cups beef stock, 2 tbsp soy sauce, 1/2 cup whole peeled tomatoes and 1 bay leaf to dutch oven
- Add all of the beef short ribs back into the dutch oven making sure the liquid is 3/4 up the side of the meat
- Bring to a simmer on the stove for 15 minutes
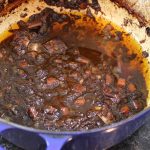
- Cover Dutch oven and place into a pre-heated 350º oven for 3 hours
- Every 50-60 minutes check on the ribs to fiip over and make sure you don’t need to add more liquid – it shouldn’t be dry (if it is you can add a splash of water, red wine, or more beef broth…all will work great)
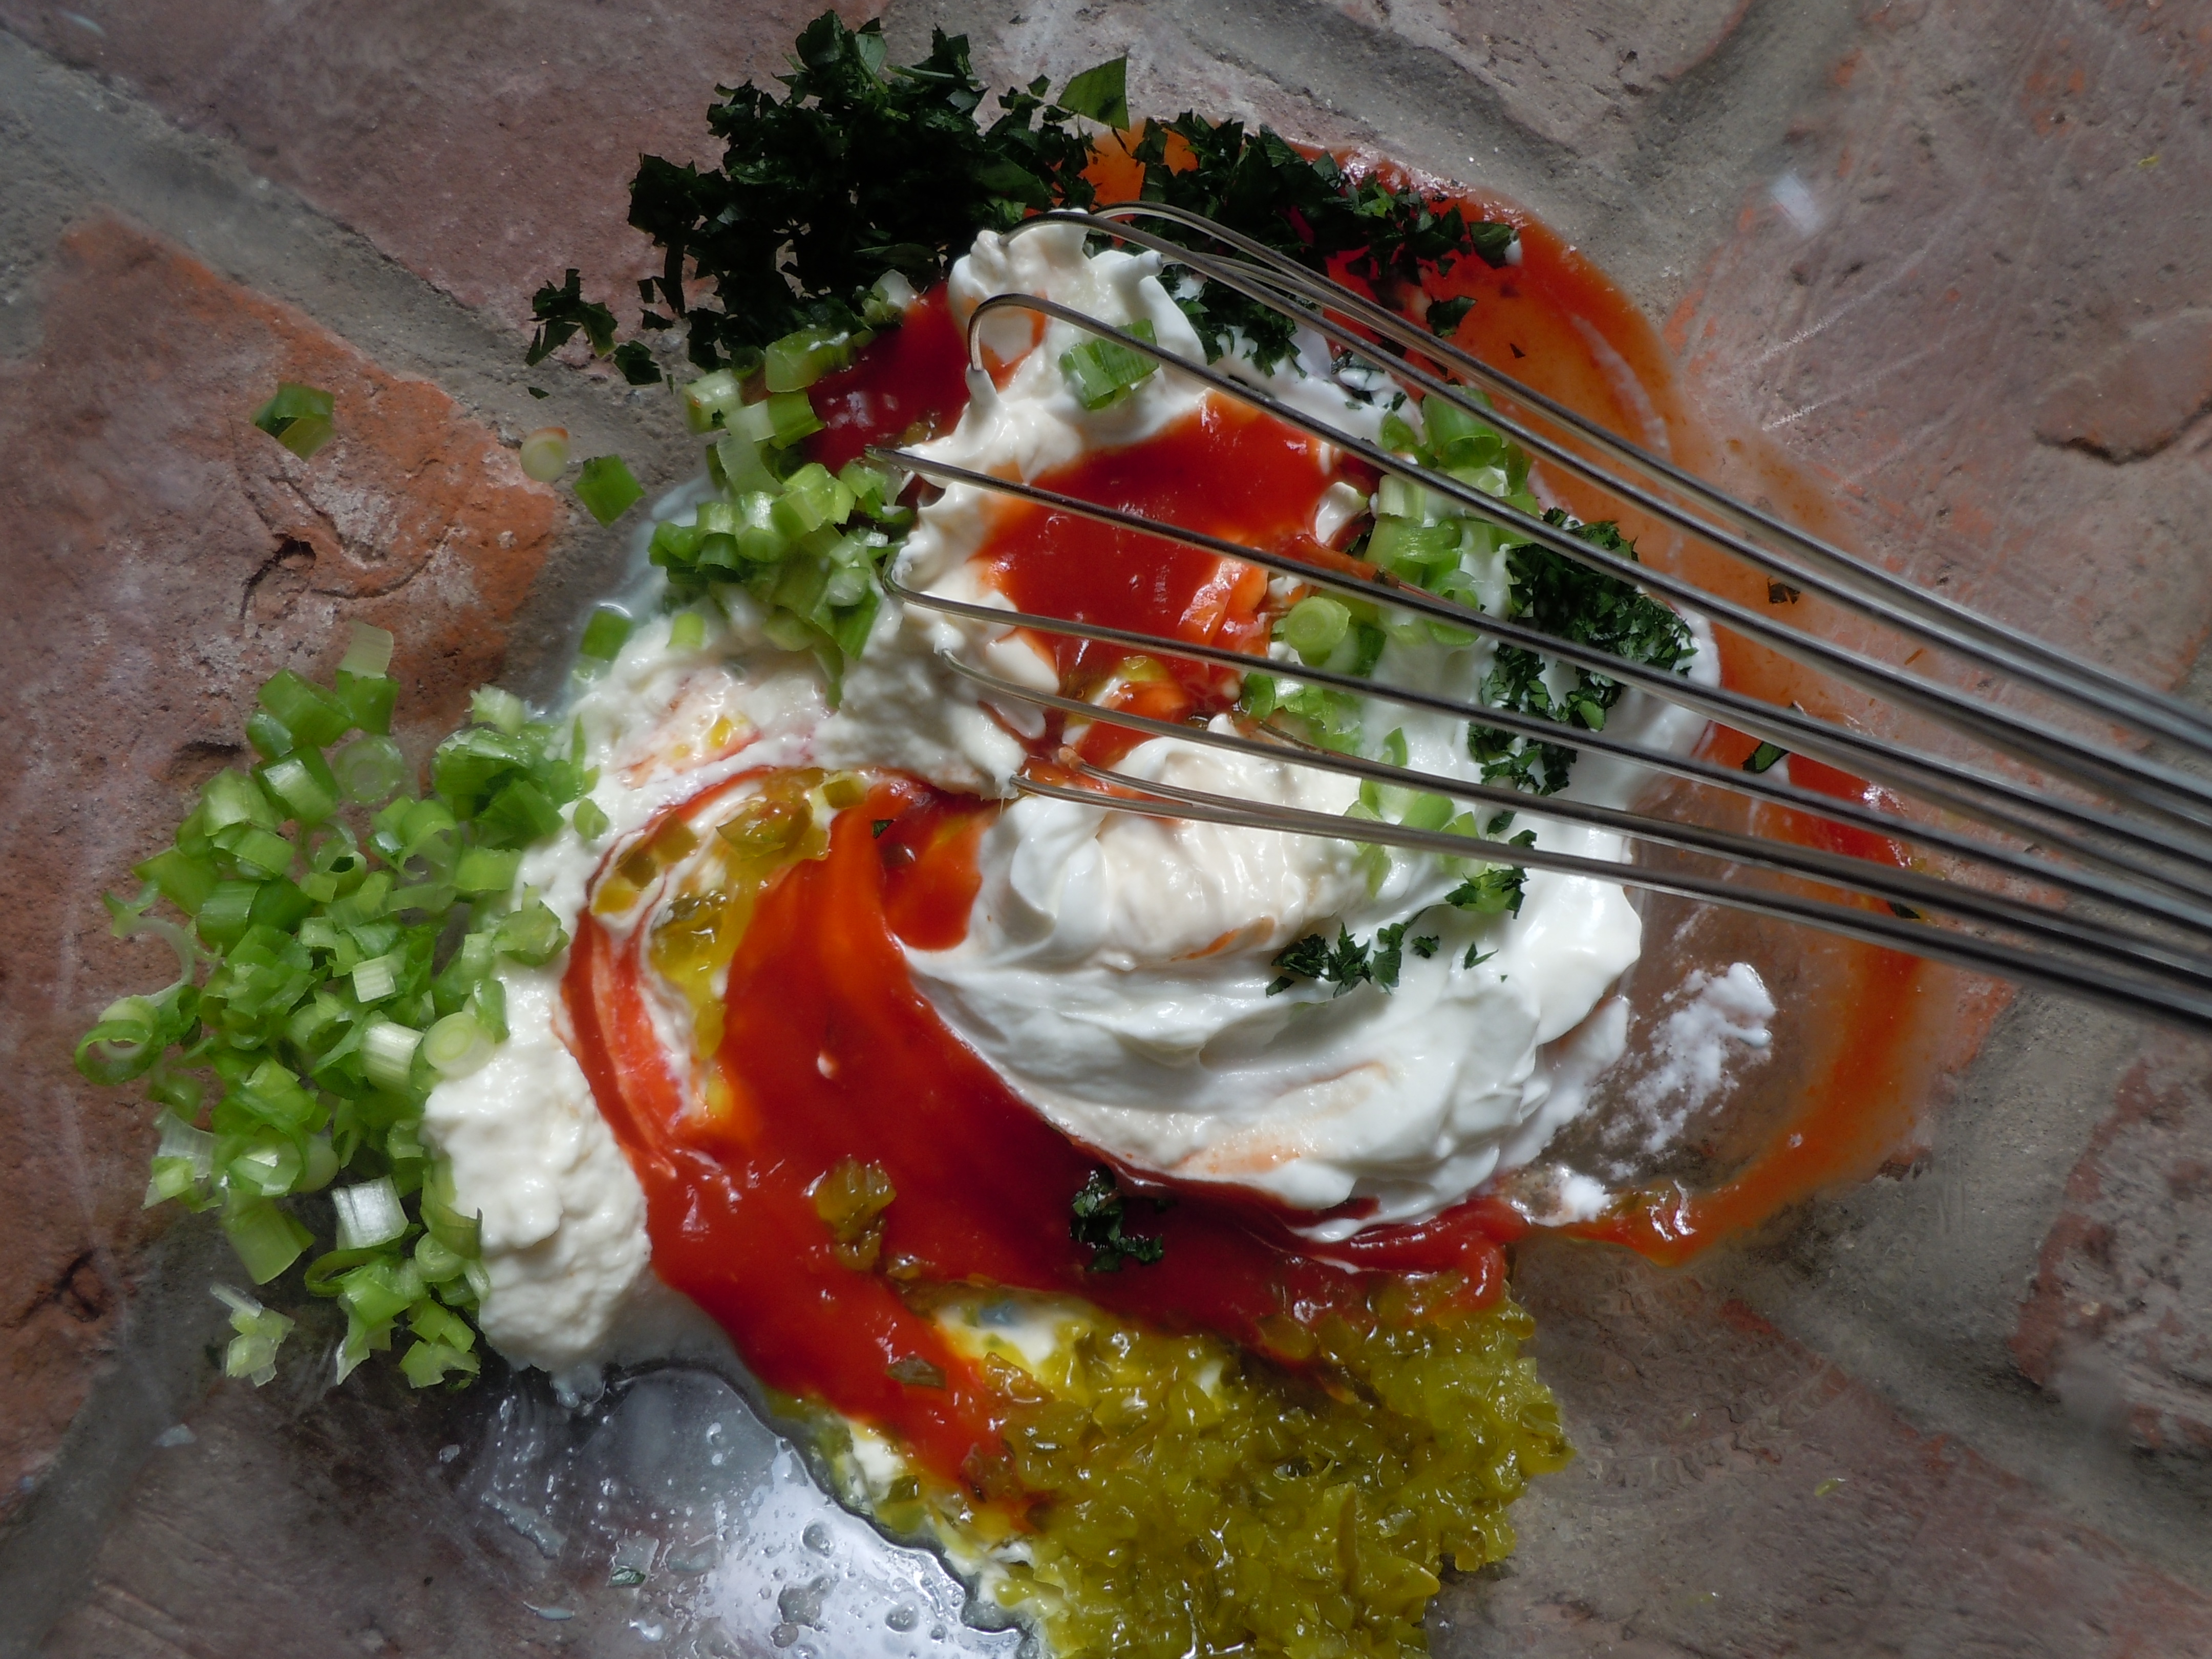
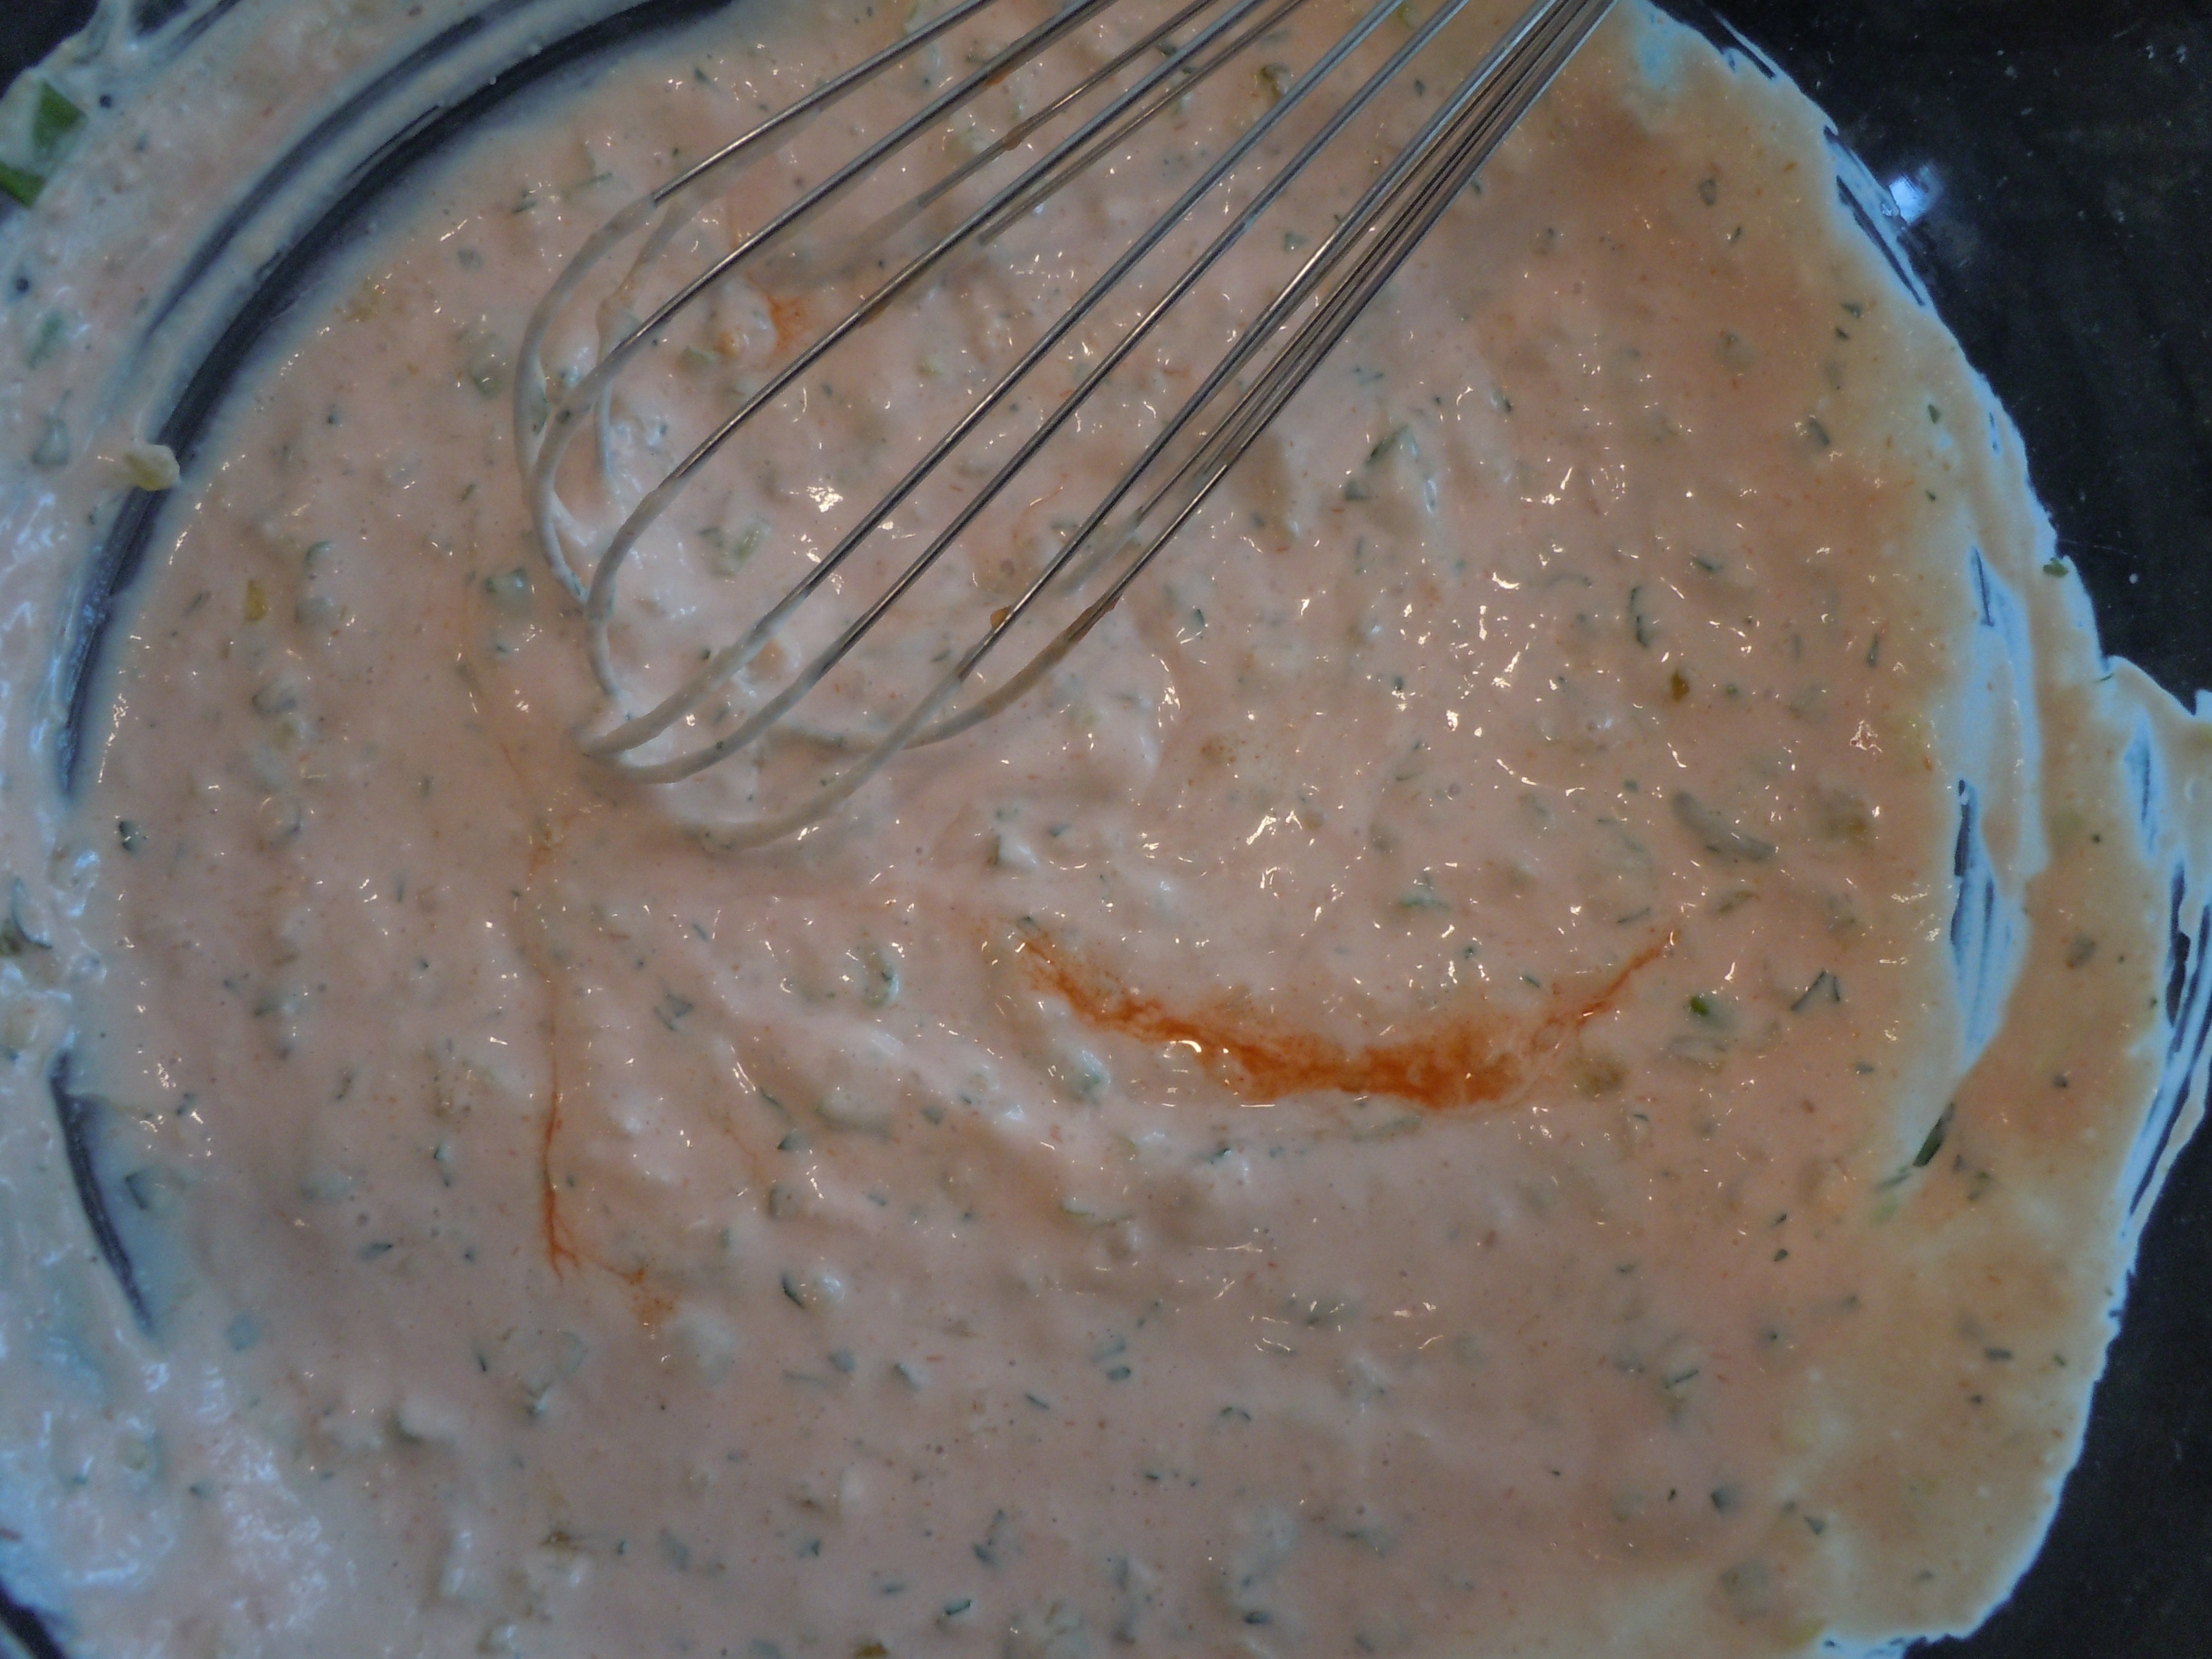
- While the beef short ribs are braising in the oven whisk together the glaze
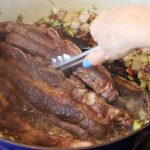
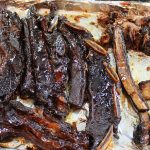
- At the 3 hour mark remove beef and place the ribs onto a cookie tray
- Put the oven on Broil
- Brush a coat of glaze on one side of the ribs and place under the broiler of 2 minutes (only 1 side)
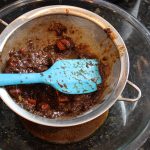
- Tilt Dutch oven pan to the side to skim oil off the top of braised veggies
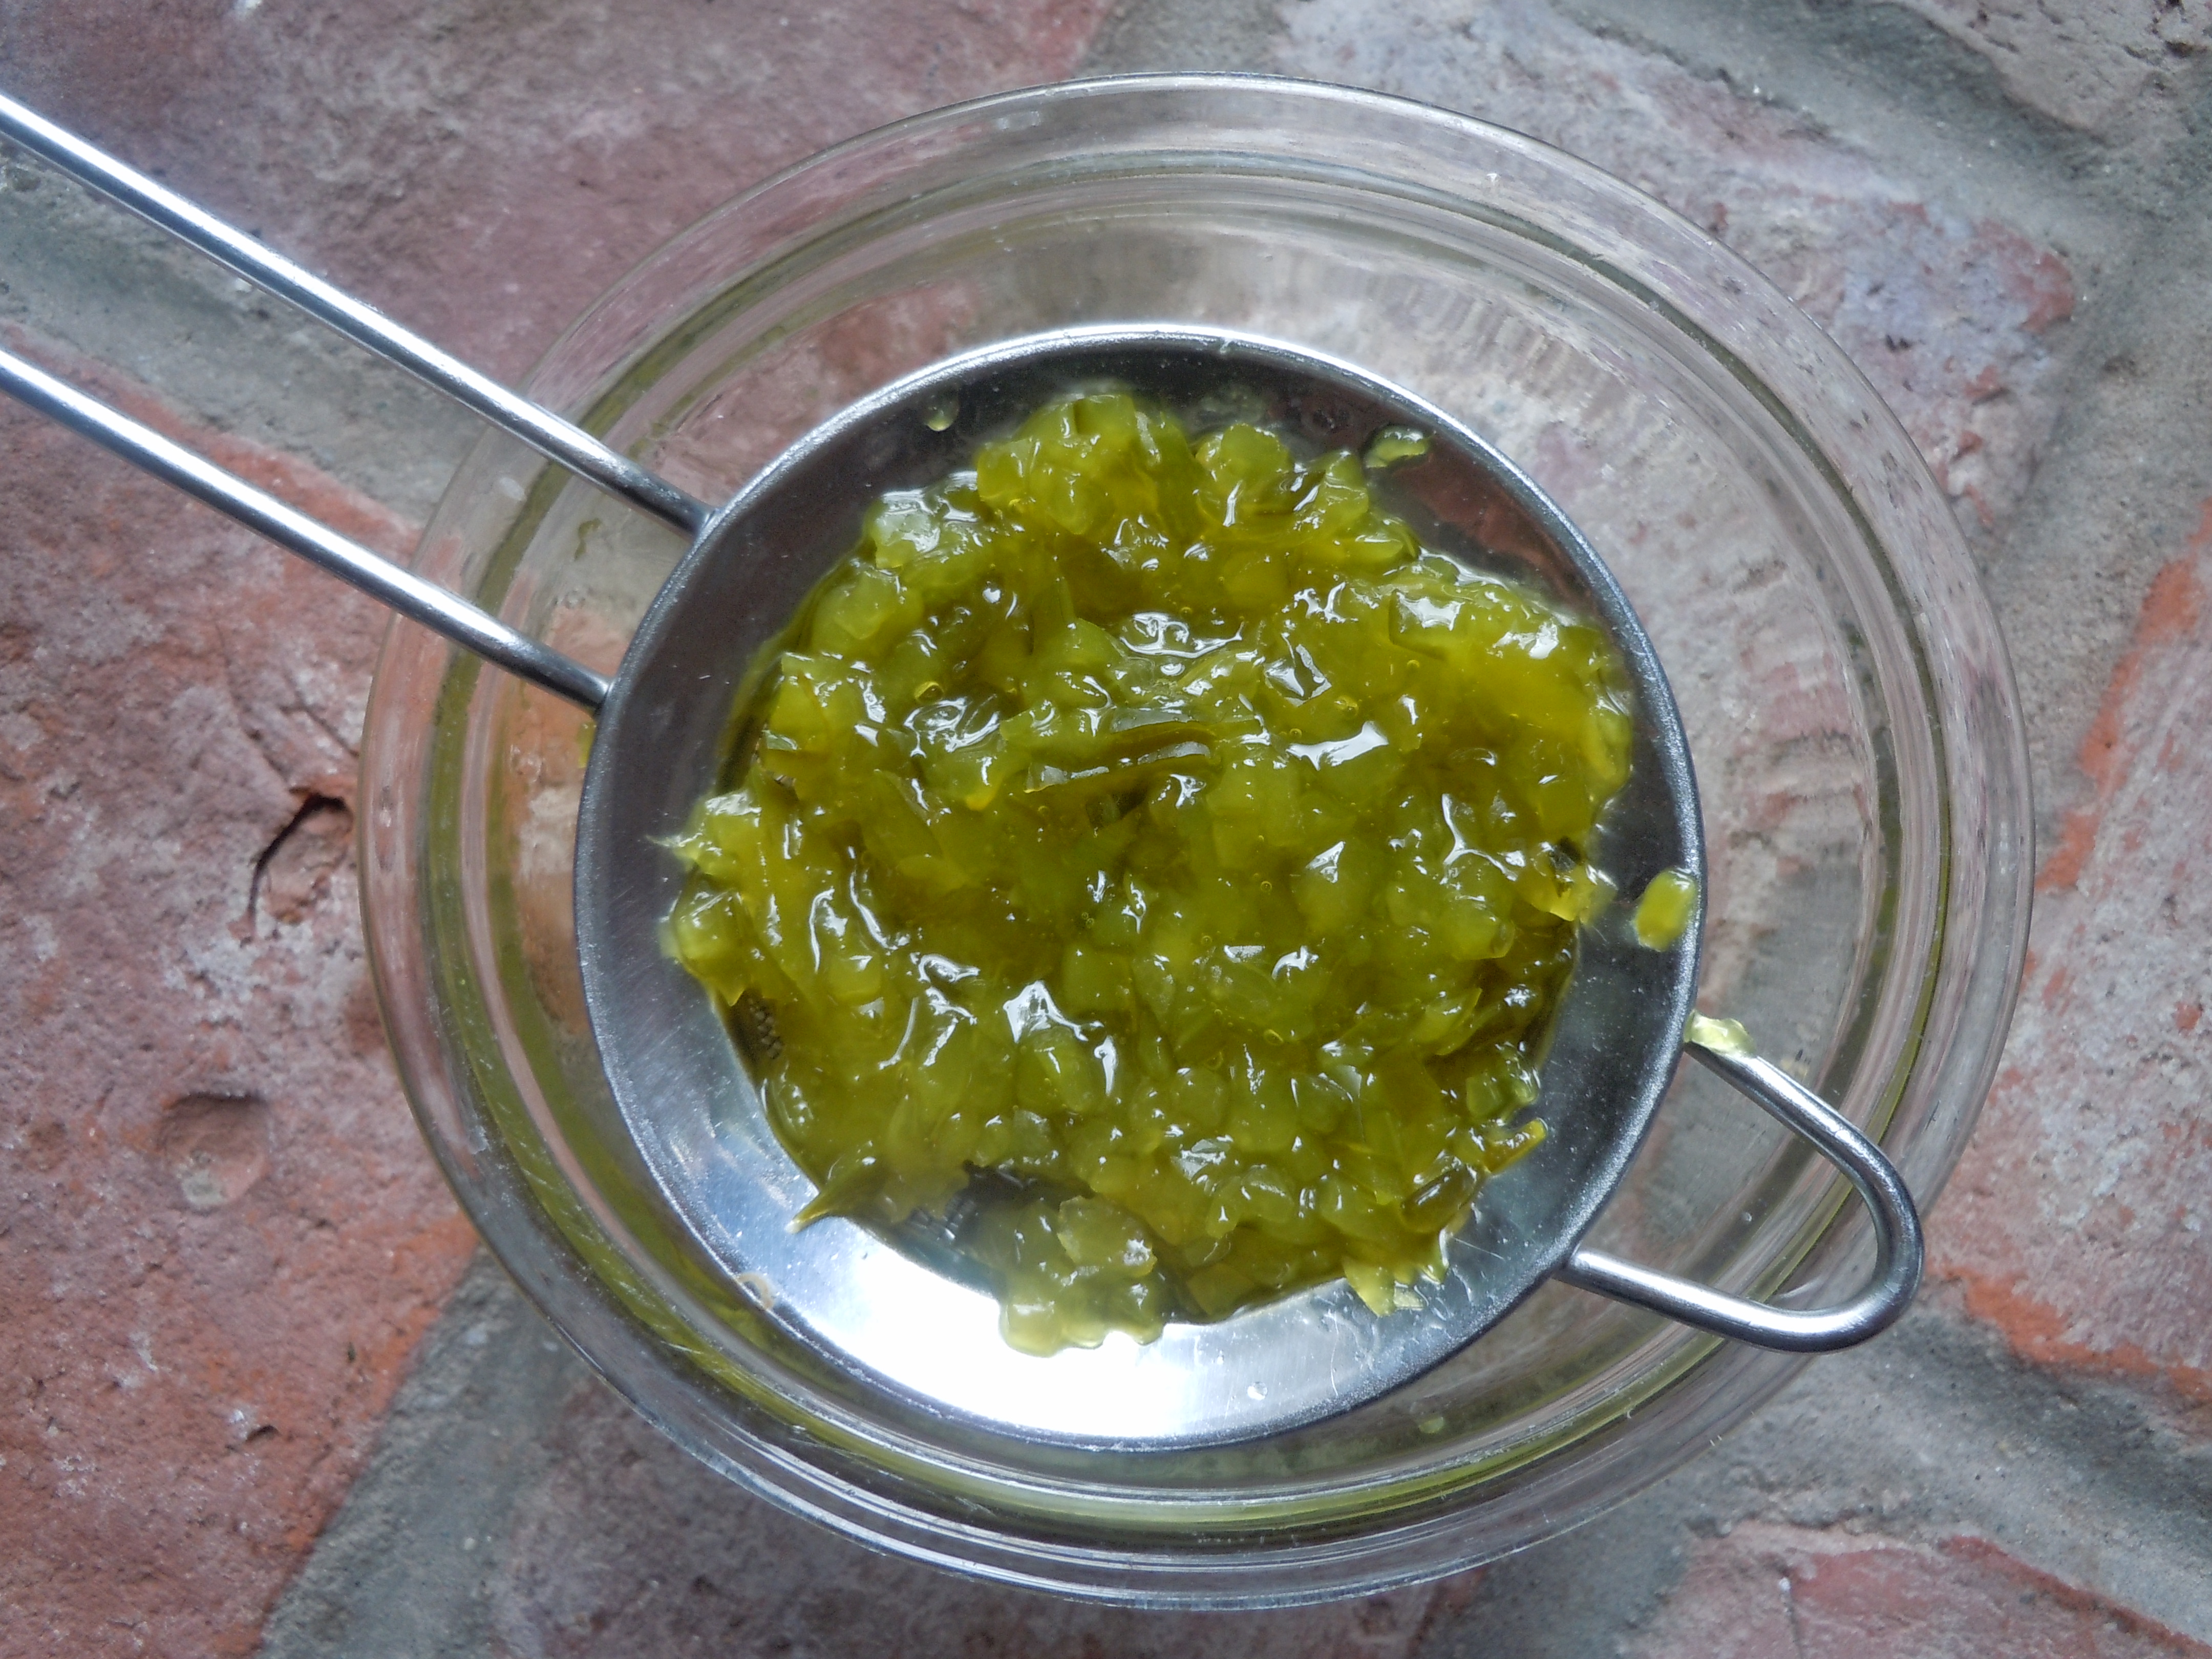
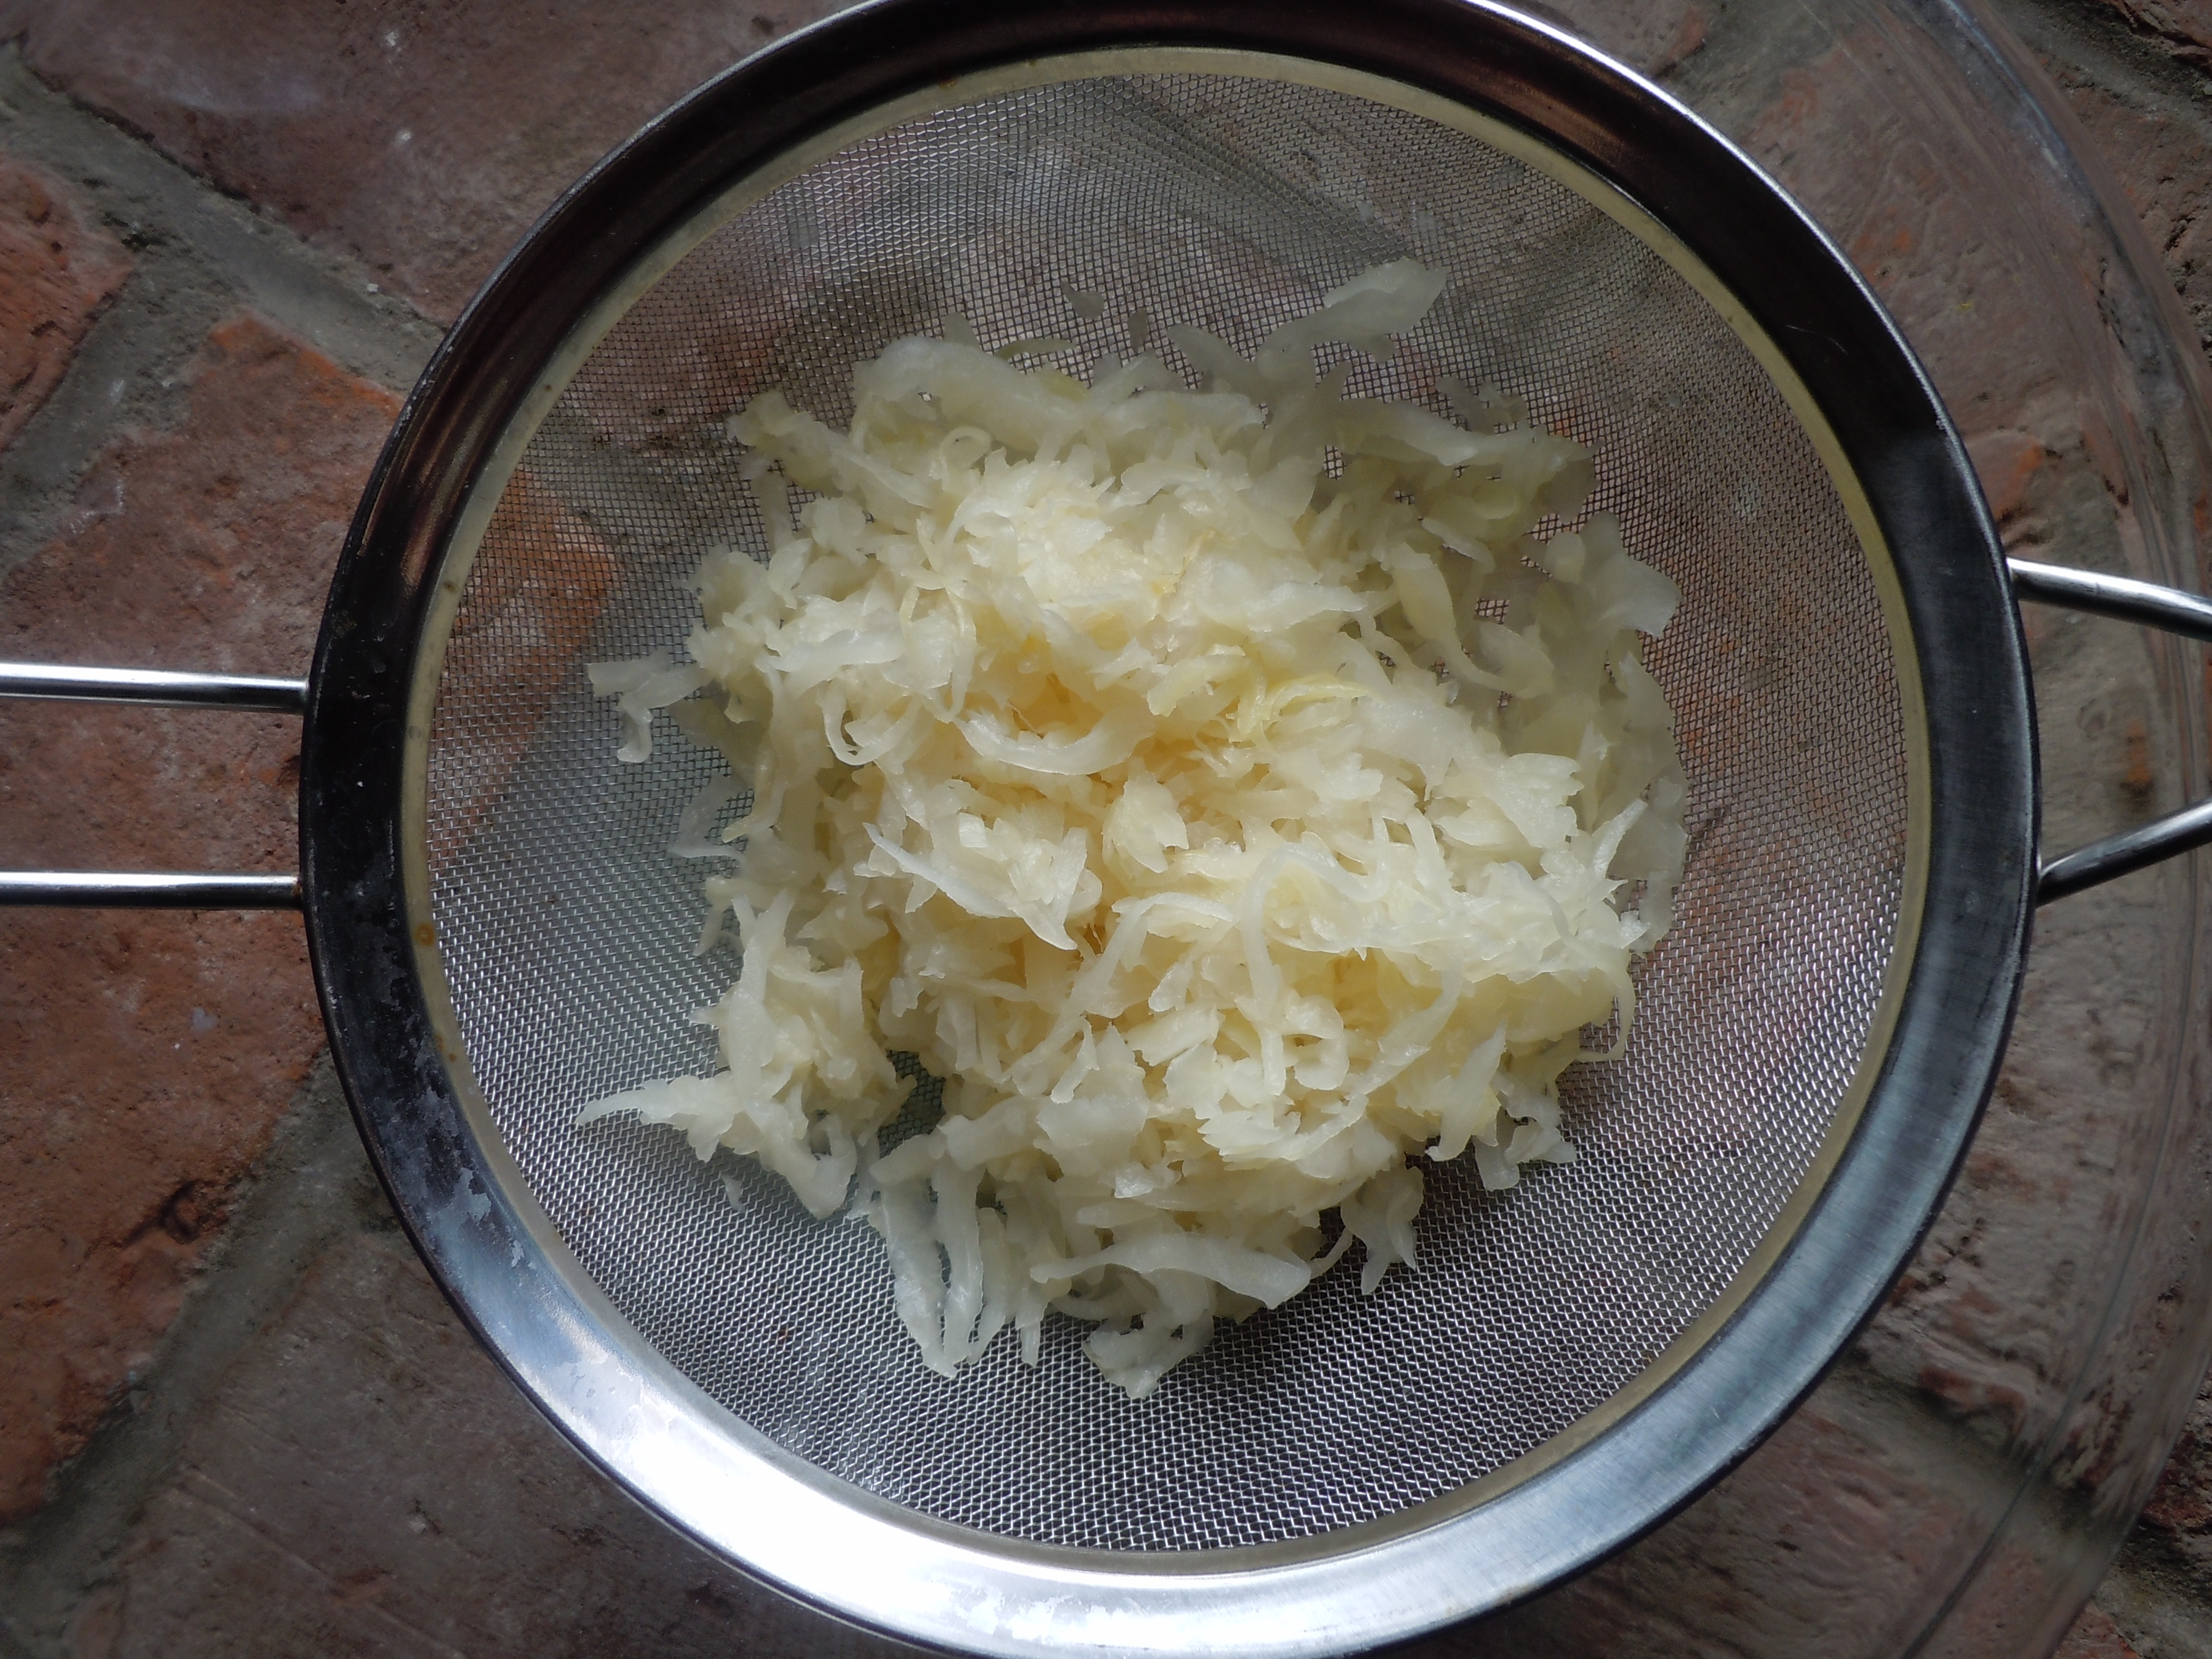
- Push all the braised veggies thru a strainer set over a bowl to catch all the juices
- Make sure to scrape juices on bottom of the strainer into the bowl too
- Add the strained gravy juices to a sauce pan and bring to a simmer on low
- Whisk in 1 tsp of Wondra flour into the gravy and simmer for 15 minutes to thicken slightly (if it gets too thick you can add in a splash of red wine or beef broth)
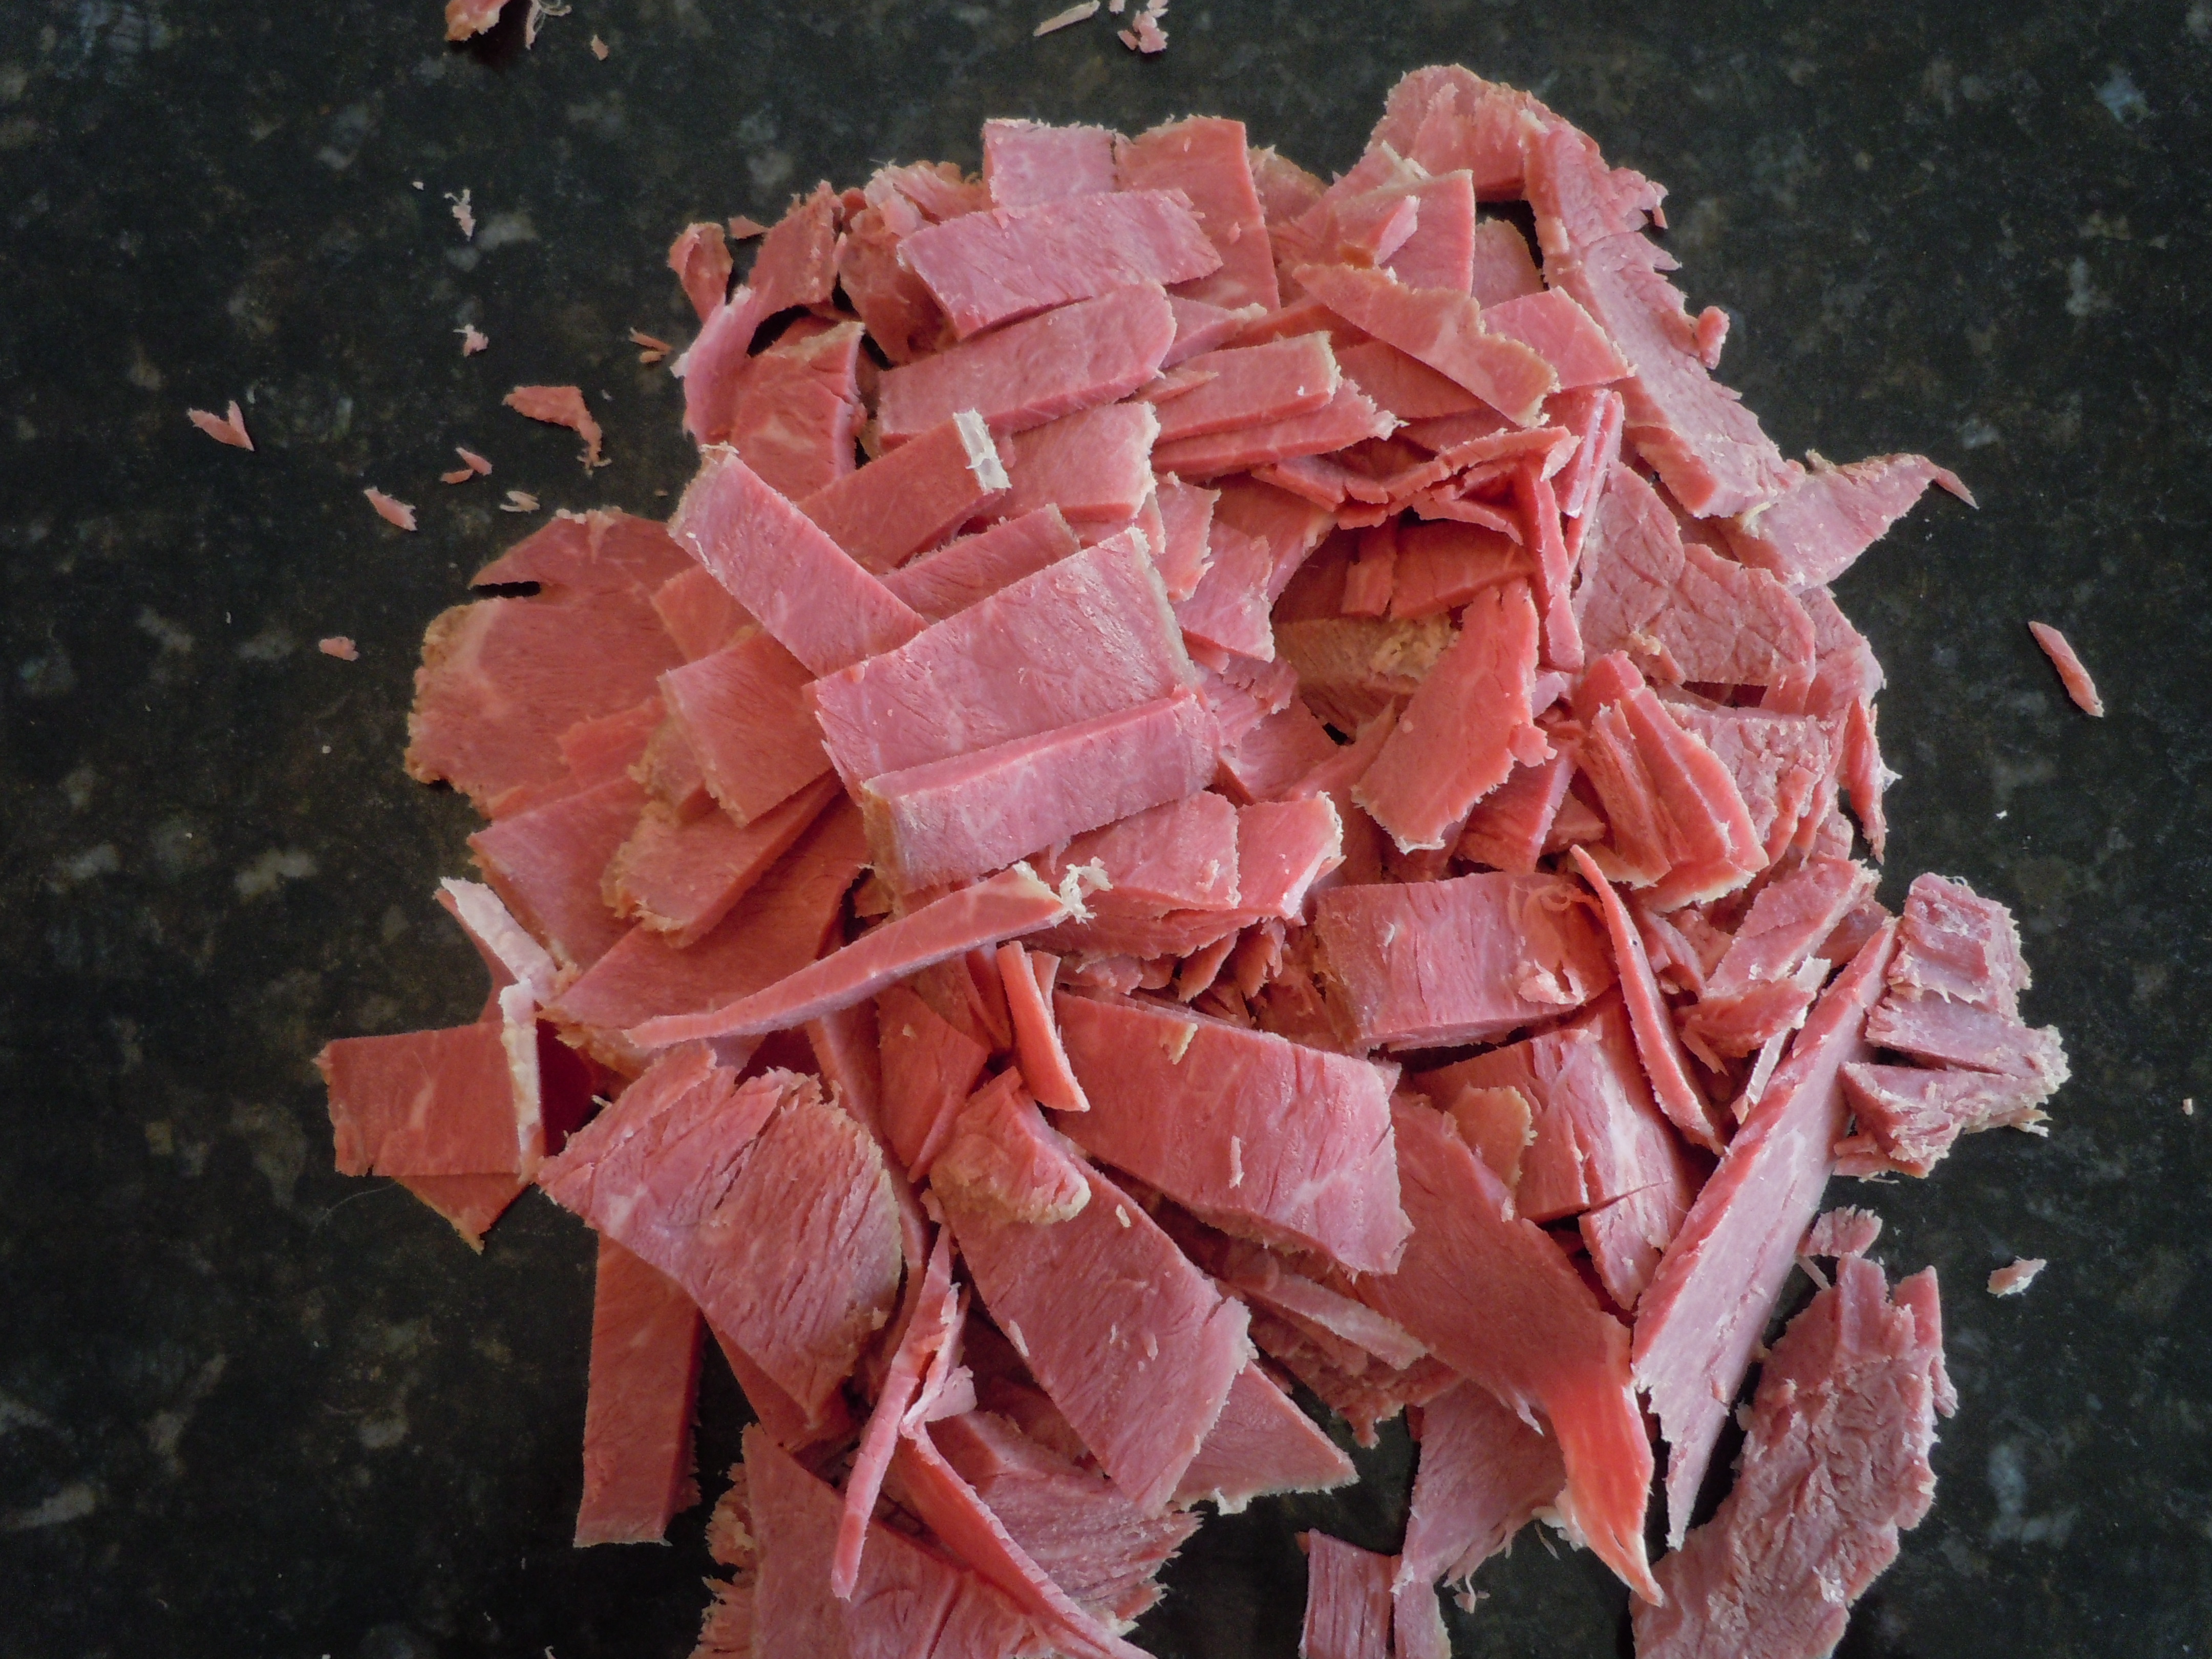
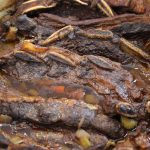
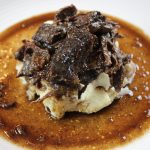
- If you have Flanken Cut Short ribs remove meat for bones and place in heat proof pan until you are ready to place on top of pile of mashed potatoes with a drizzle of gravy and truffle oil, and a sprinkle of chives
- If you have English Cut short ribs place 2 ribs per person onto a pile of Yukon Mashed Potatoes with a drizzle of thickened gravy, truffle oil and a sprinkle of chopped chives, then serve… mangia, mangia!
- NOTE: For a finishing oil drizzle Truffle oil all over dish for an extra wow!
- NOTE: If you are not eating ribs right away, and want to re-heat add to a heat proof dish, add 1/4-1/2 cup of red wine and beef stock and re-heat on a 350º oven for 30-40 minutes
Spice Rub Ingredients:
- 2 tbsp light brown sugar
- 1 tsp garlic granuales
- 1 tsp onion granuales
- 1/2 tsp cumin
- 1/4 tsp five spice
- 2 tsp sea salt
- 1/2 tsp blk pepper
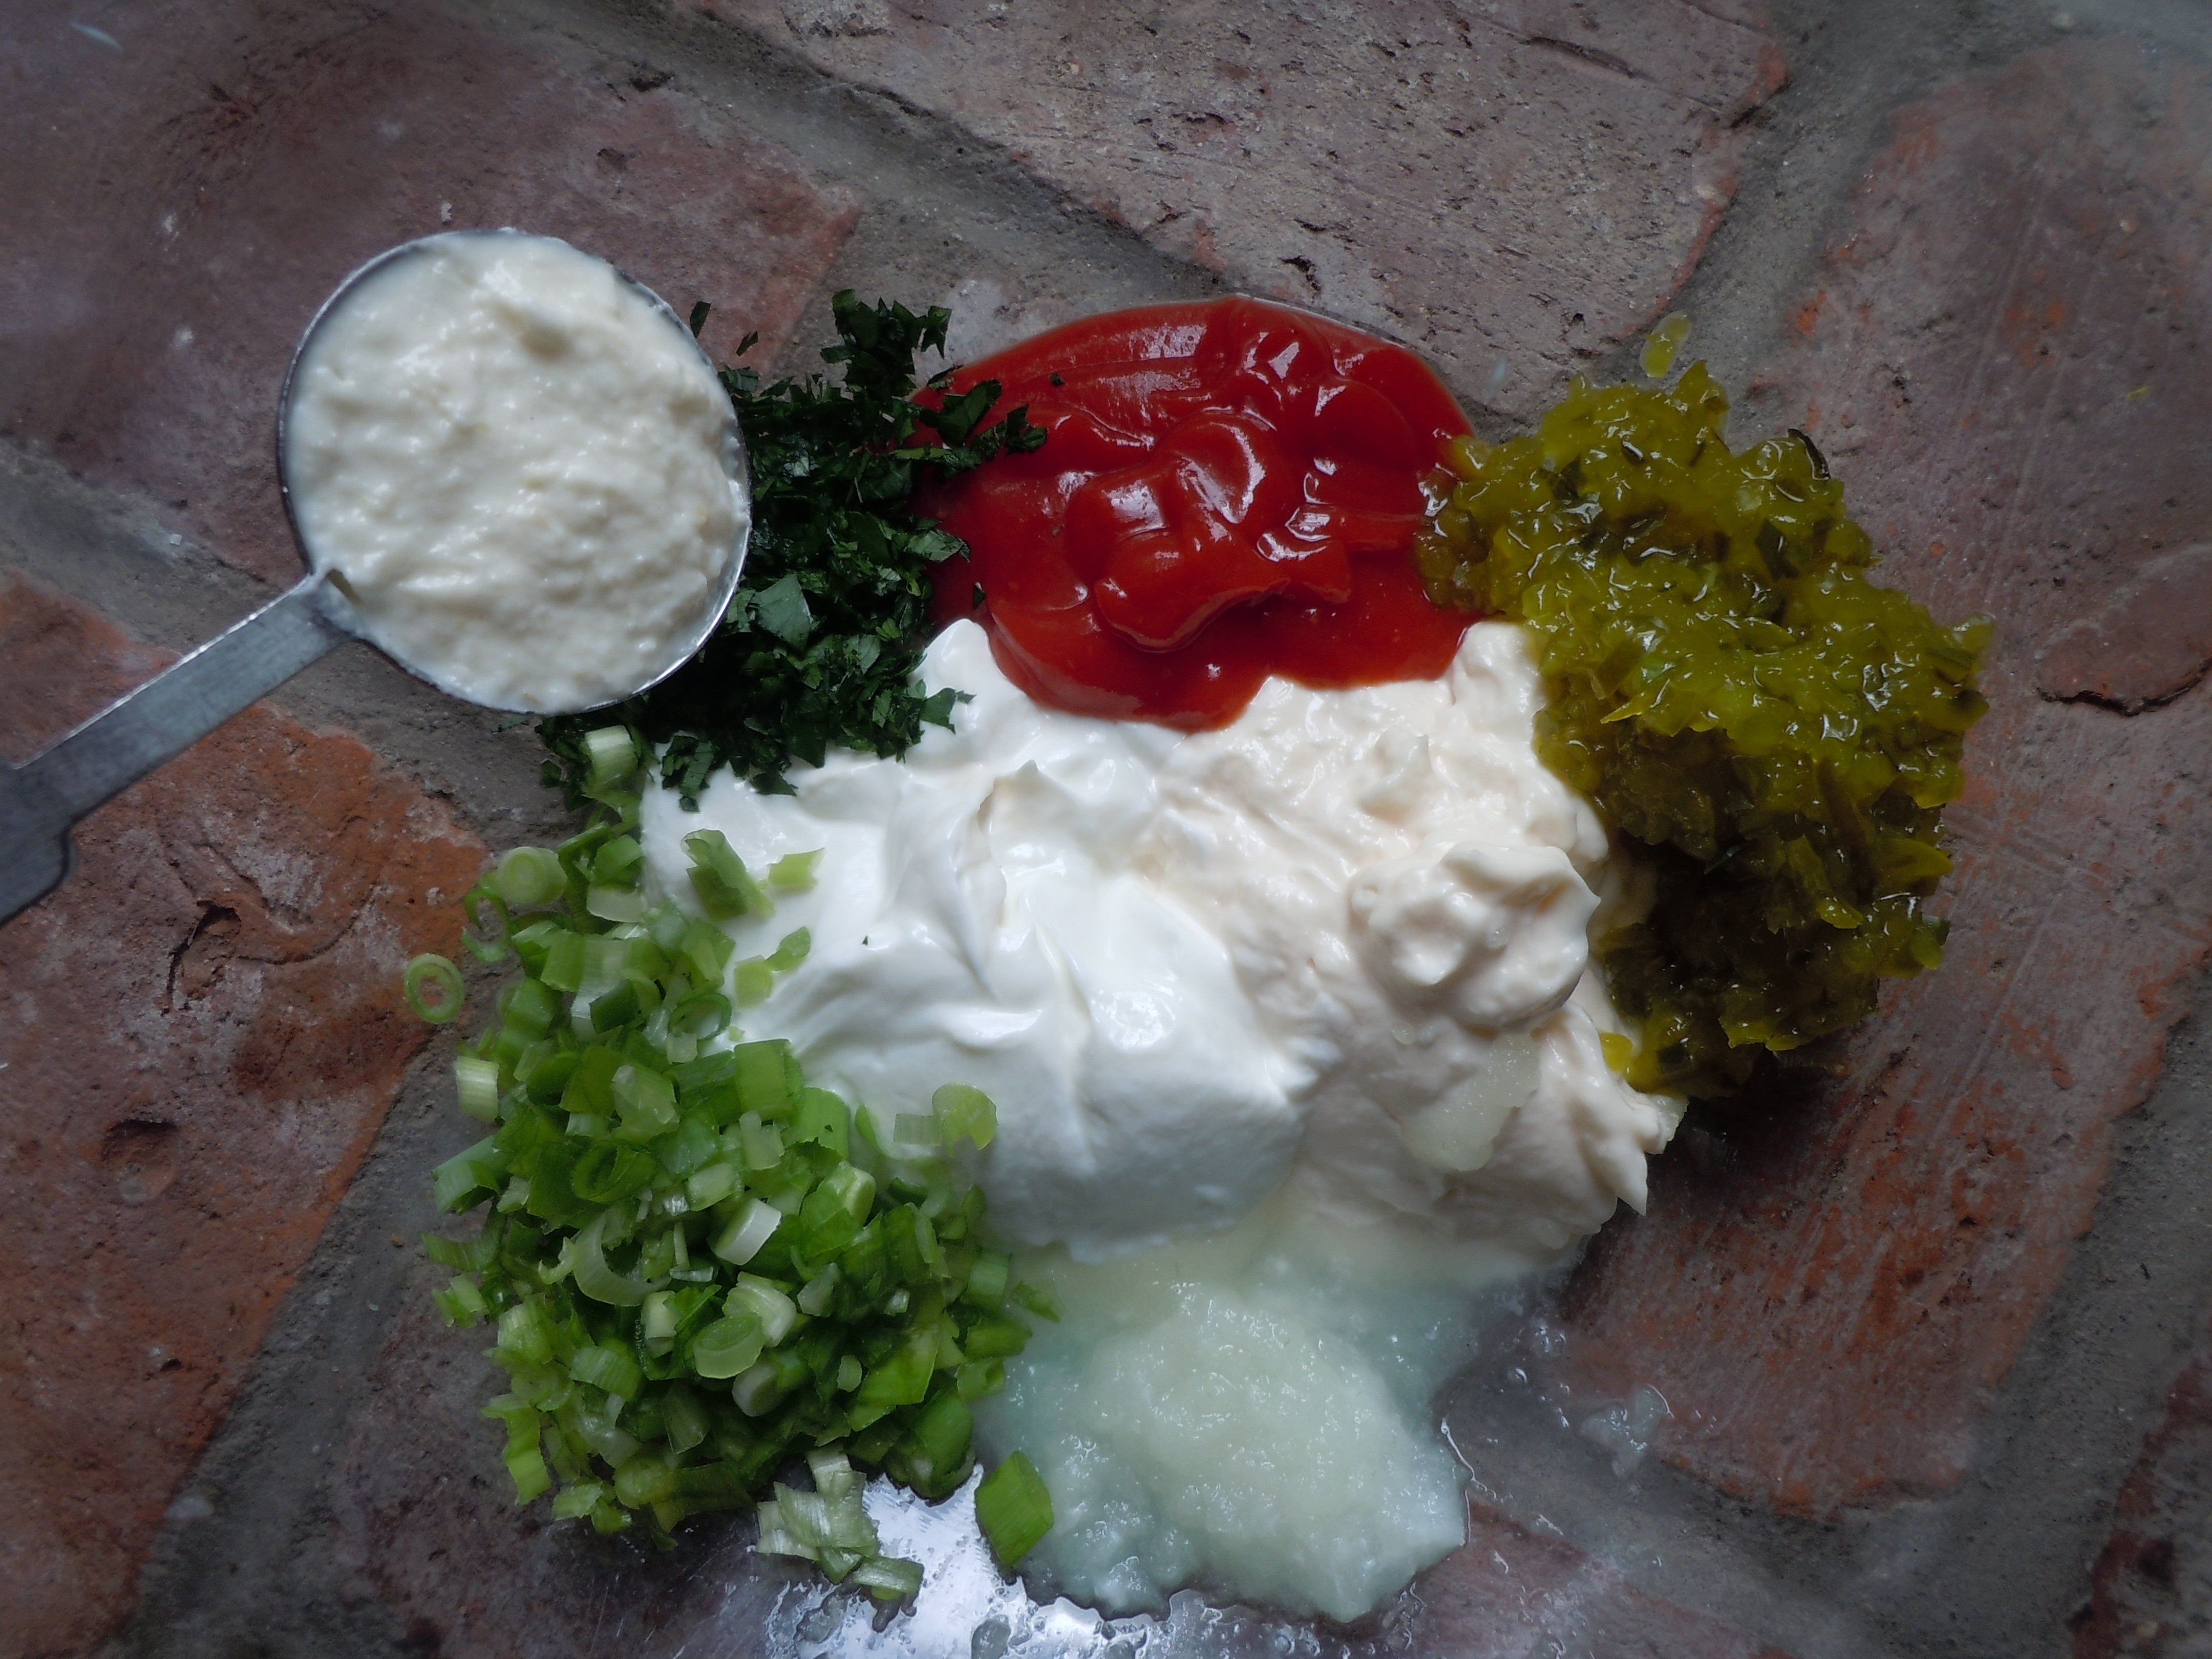
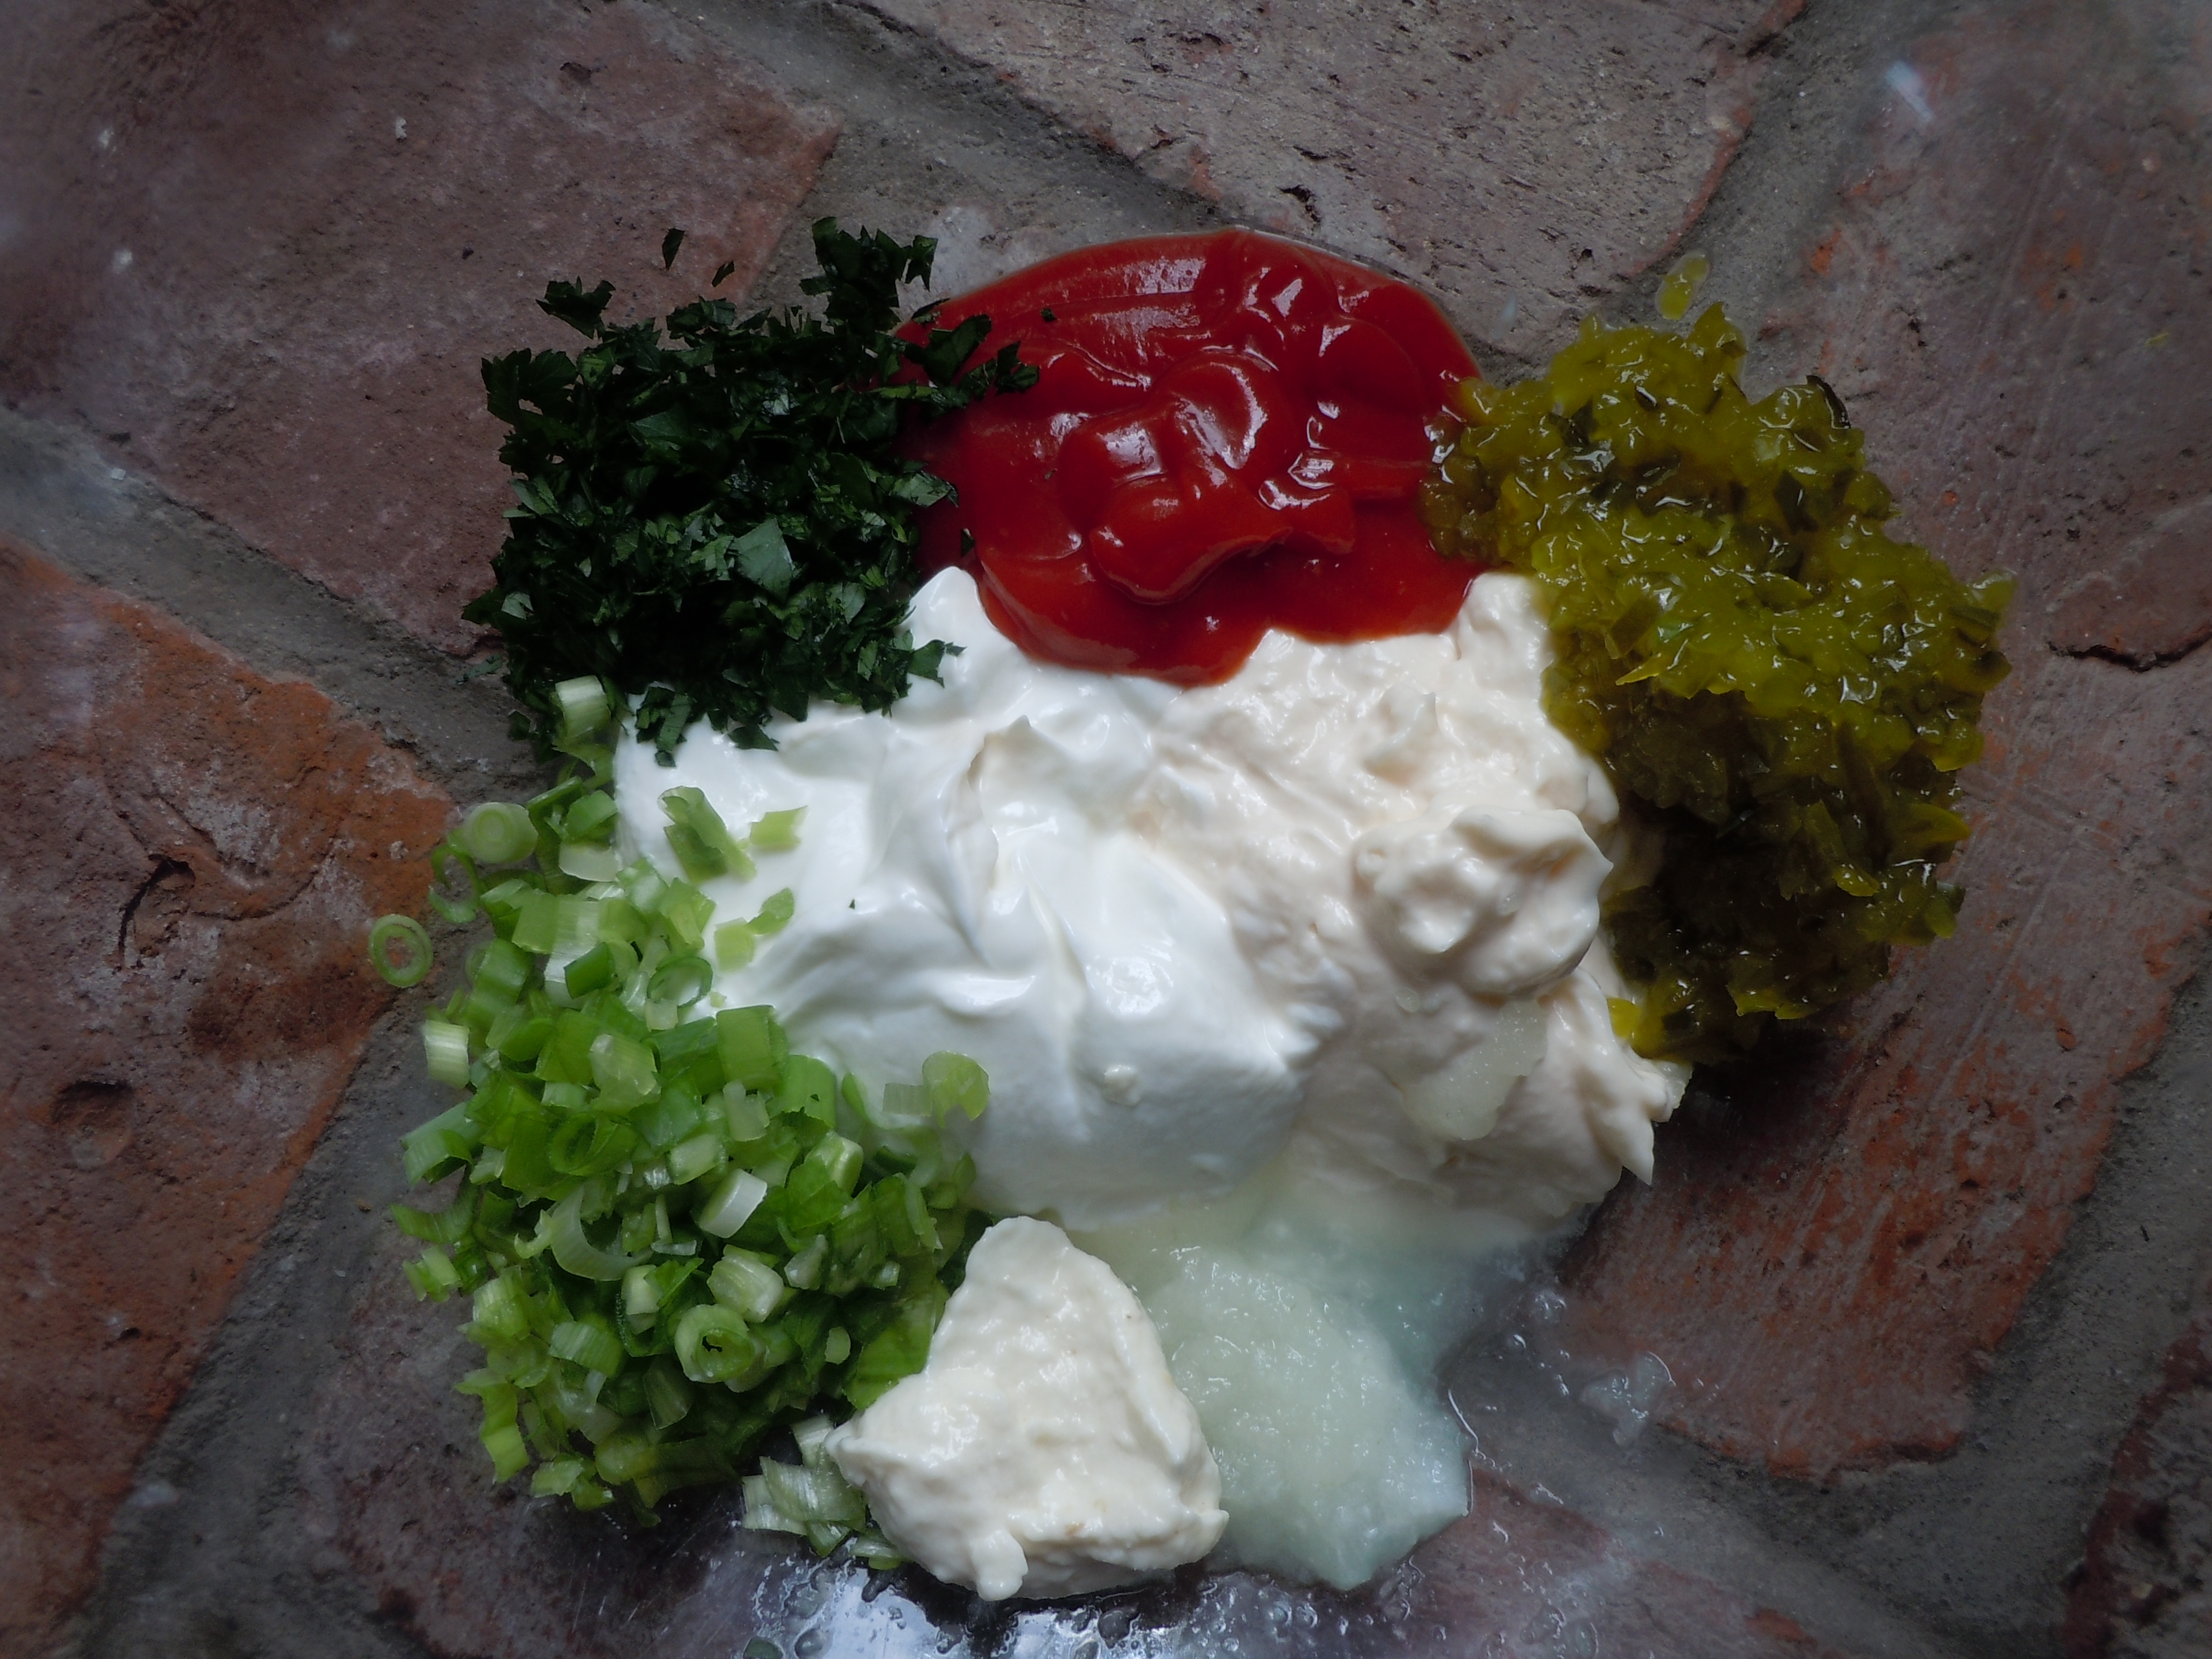
Glaze:
- 1/4 cup honey
- 2 tbsp kethcup
- 1 tbsp soy
- 1 tsp “seasoned” rice wine vinegar
- a few dashes of favorite hot sauce (Siracha)
Whisk in a medium bowl until combined and brush on ribs


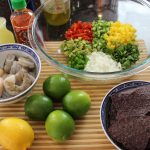
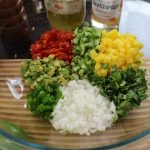
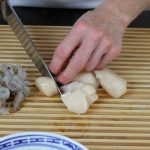
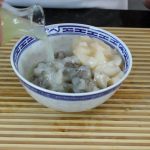
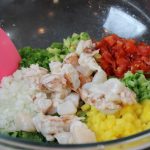
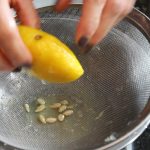
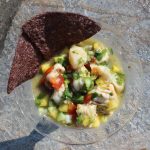
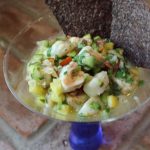
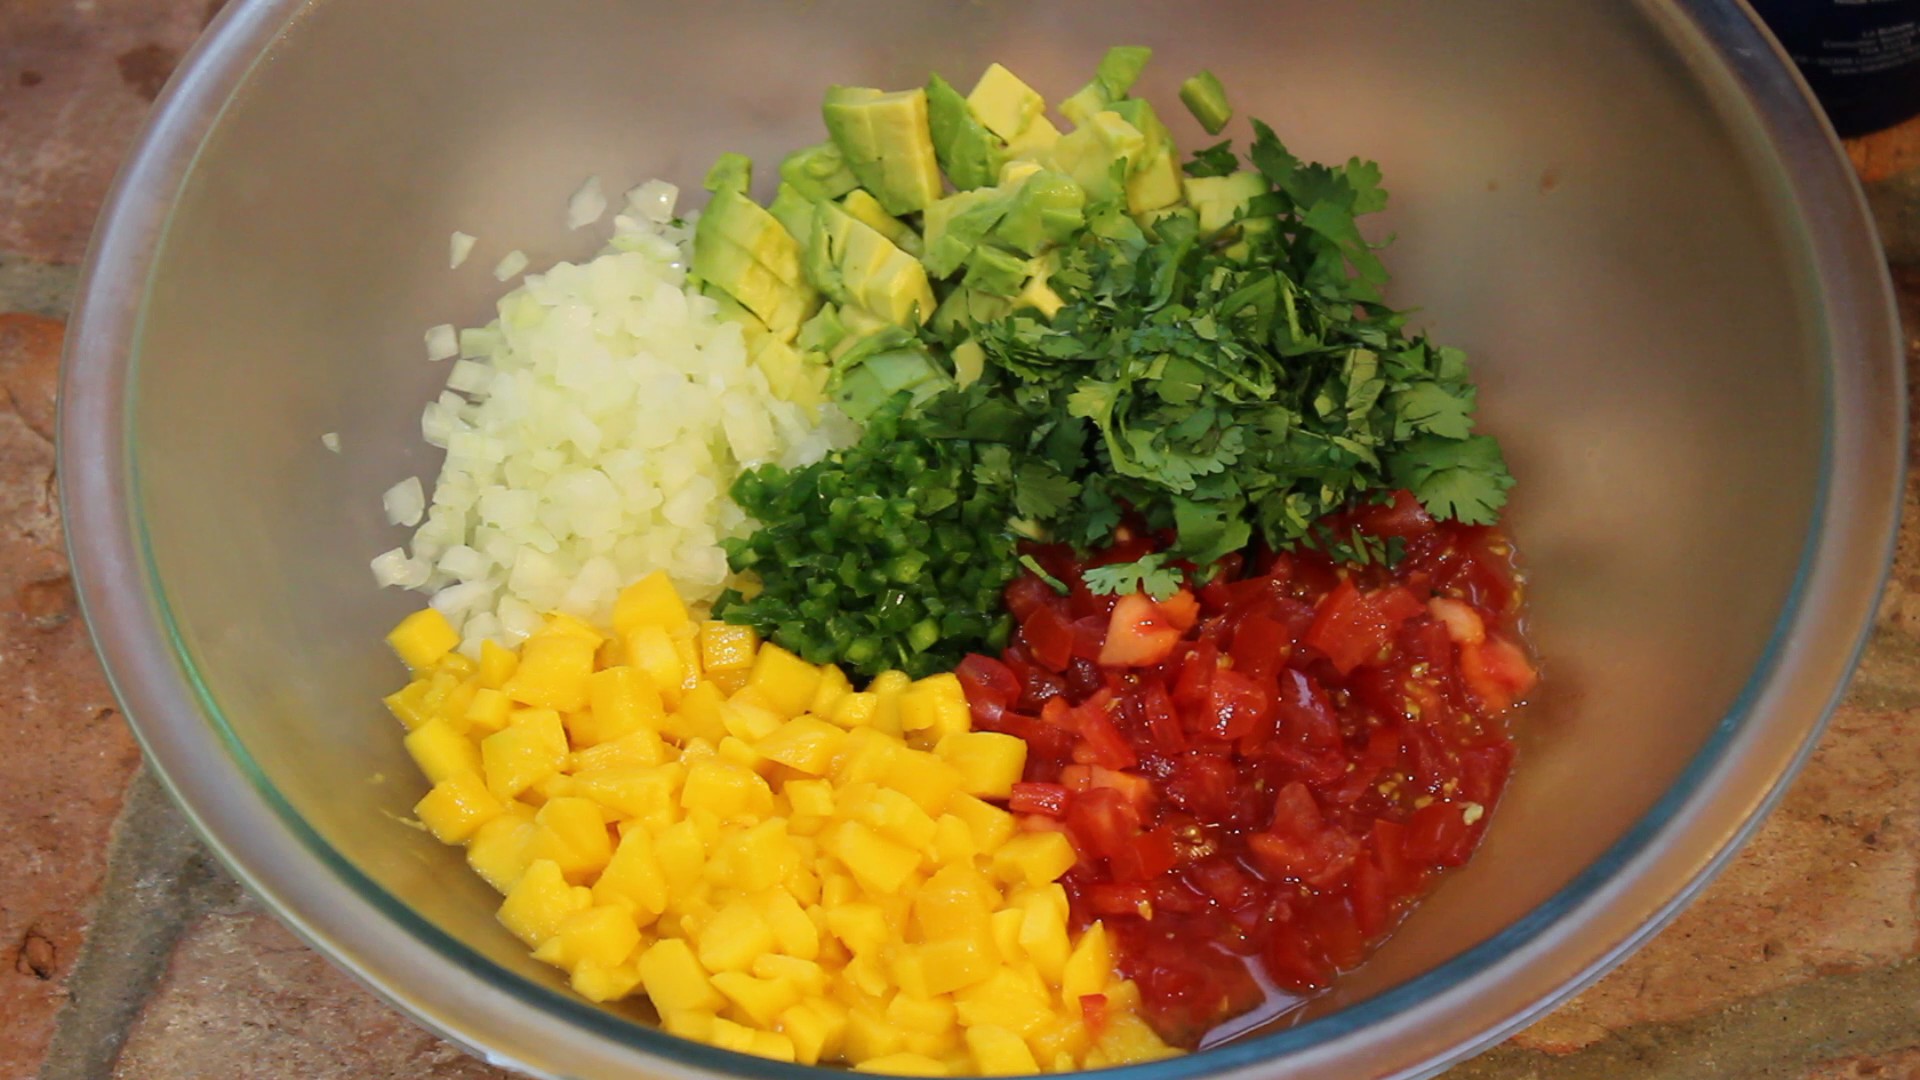
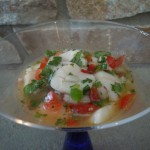
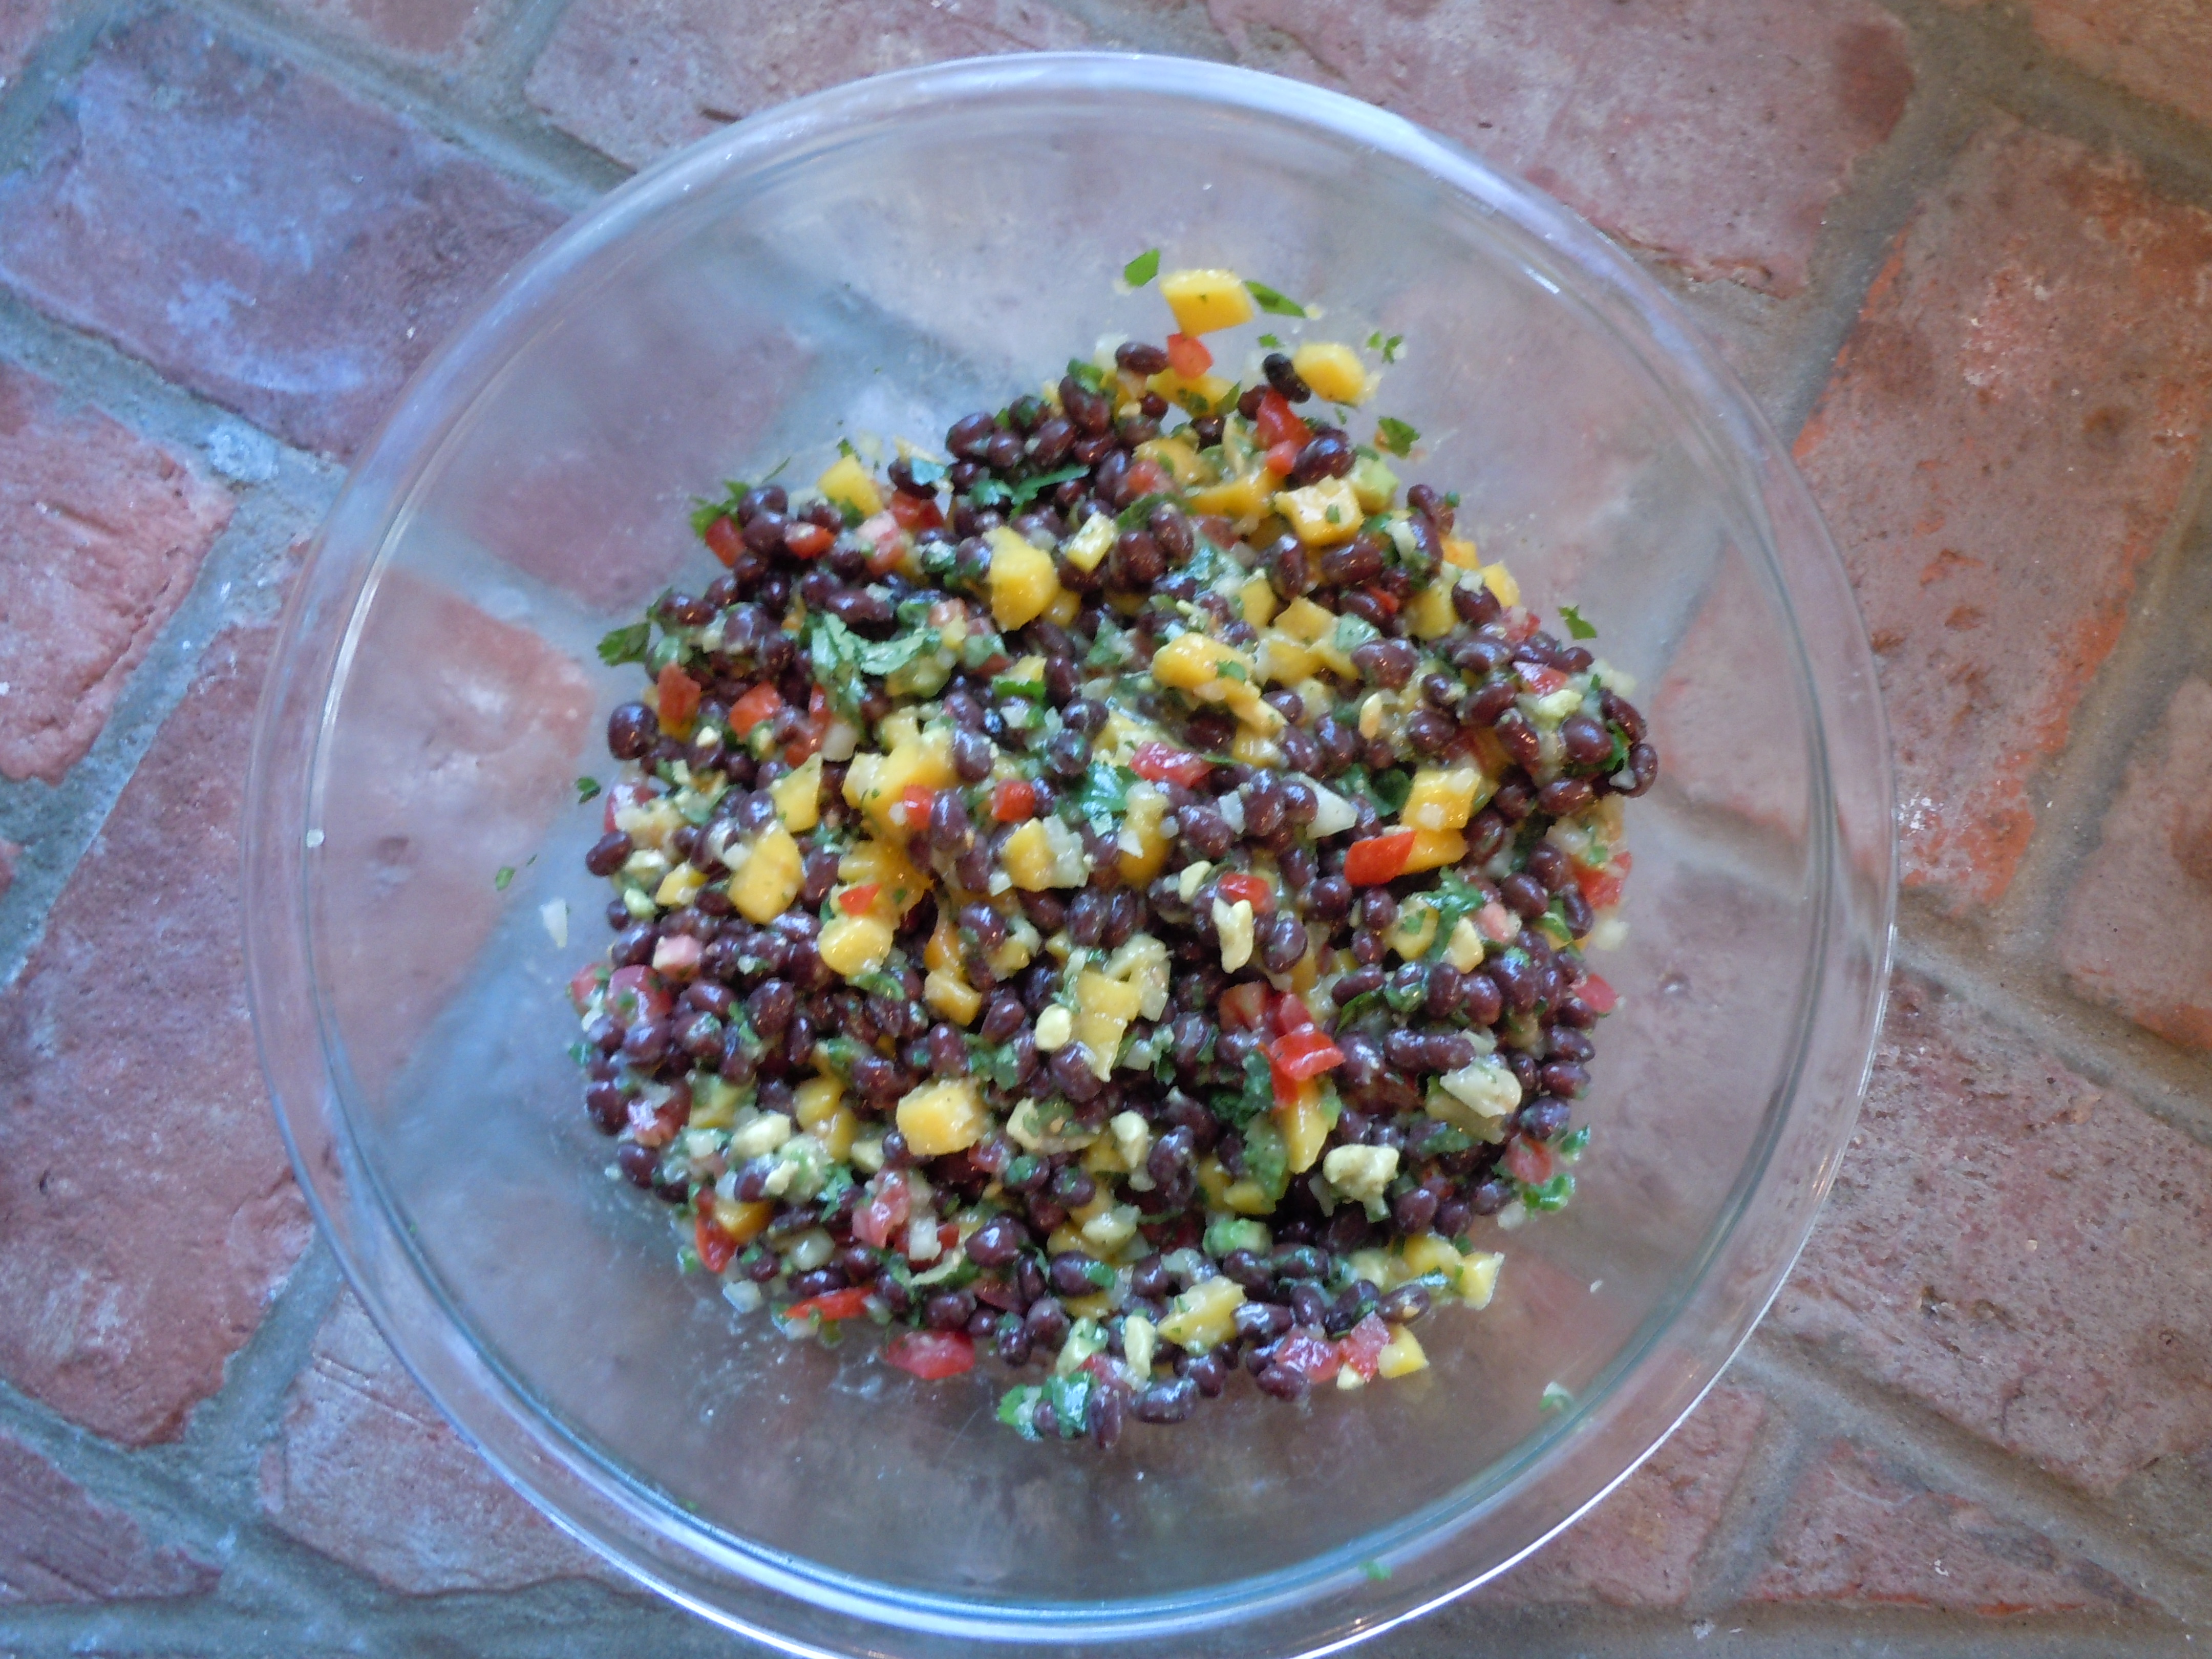
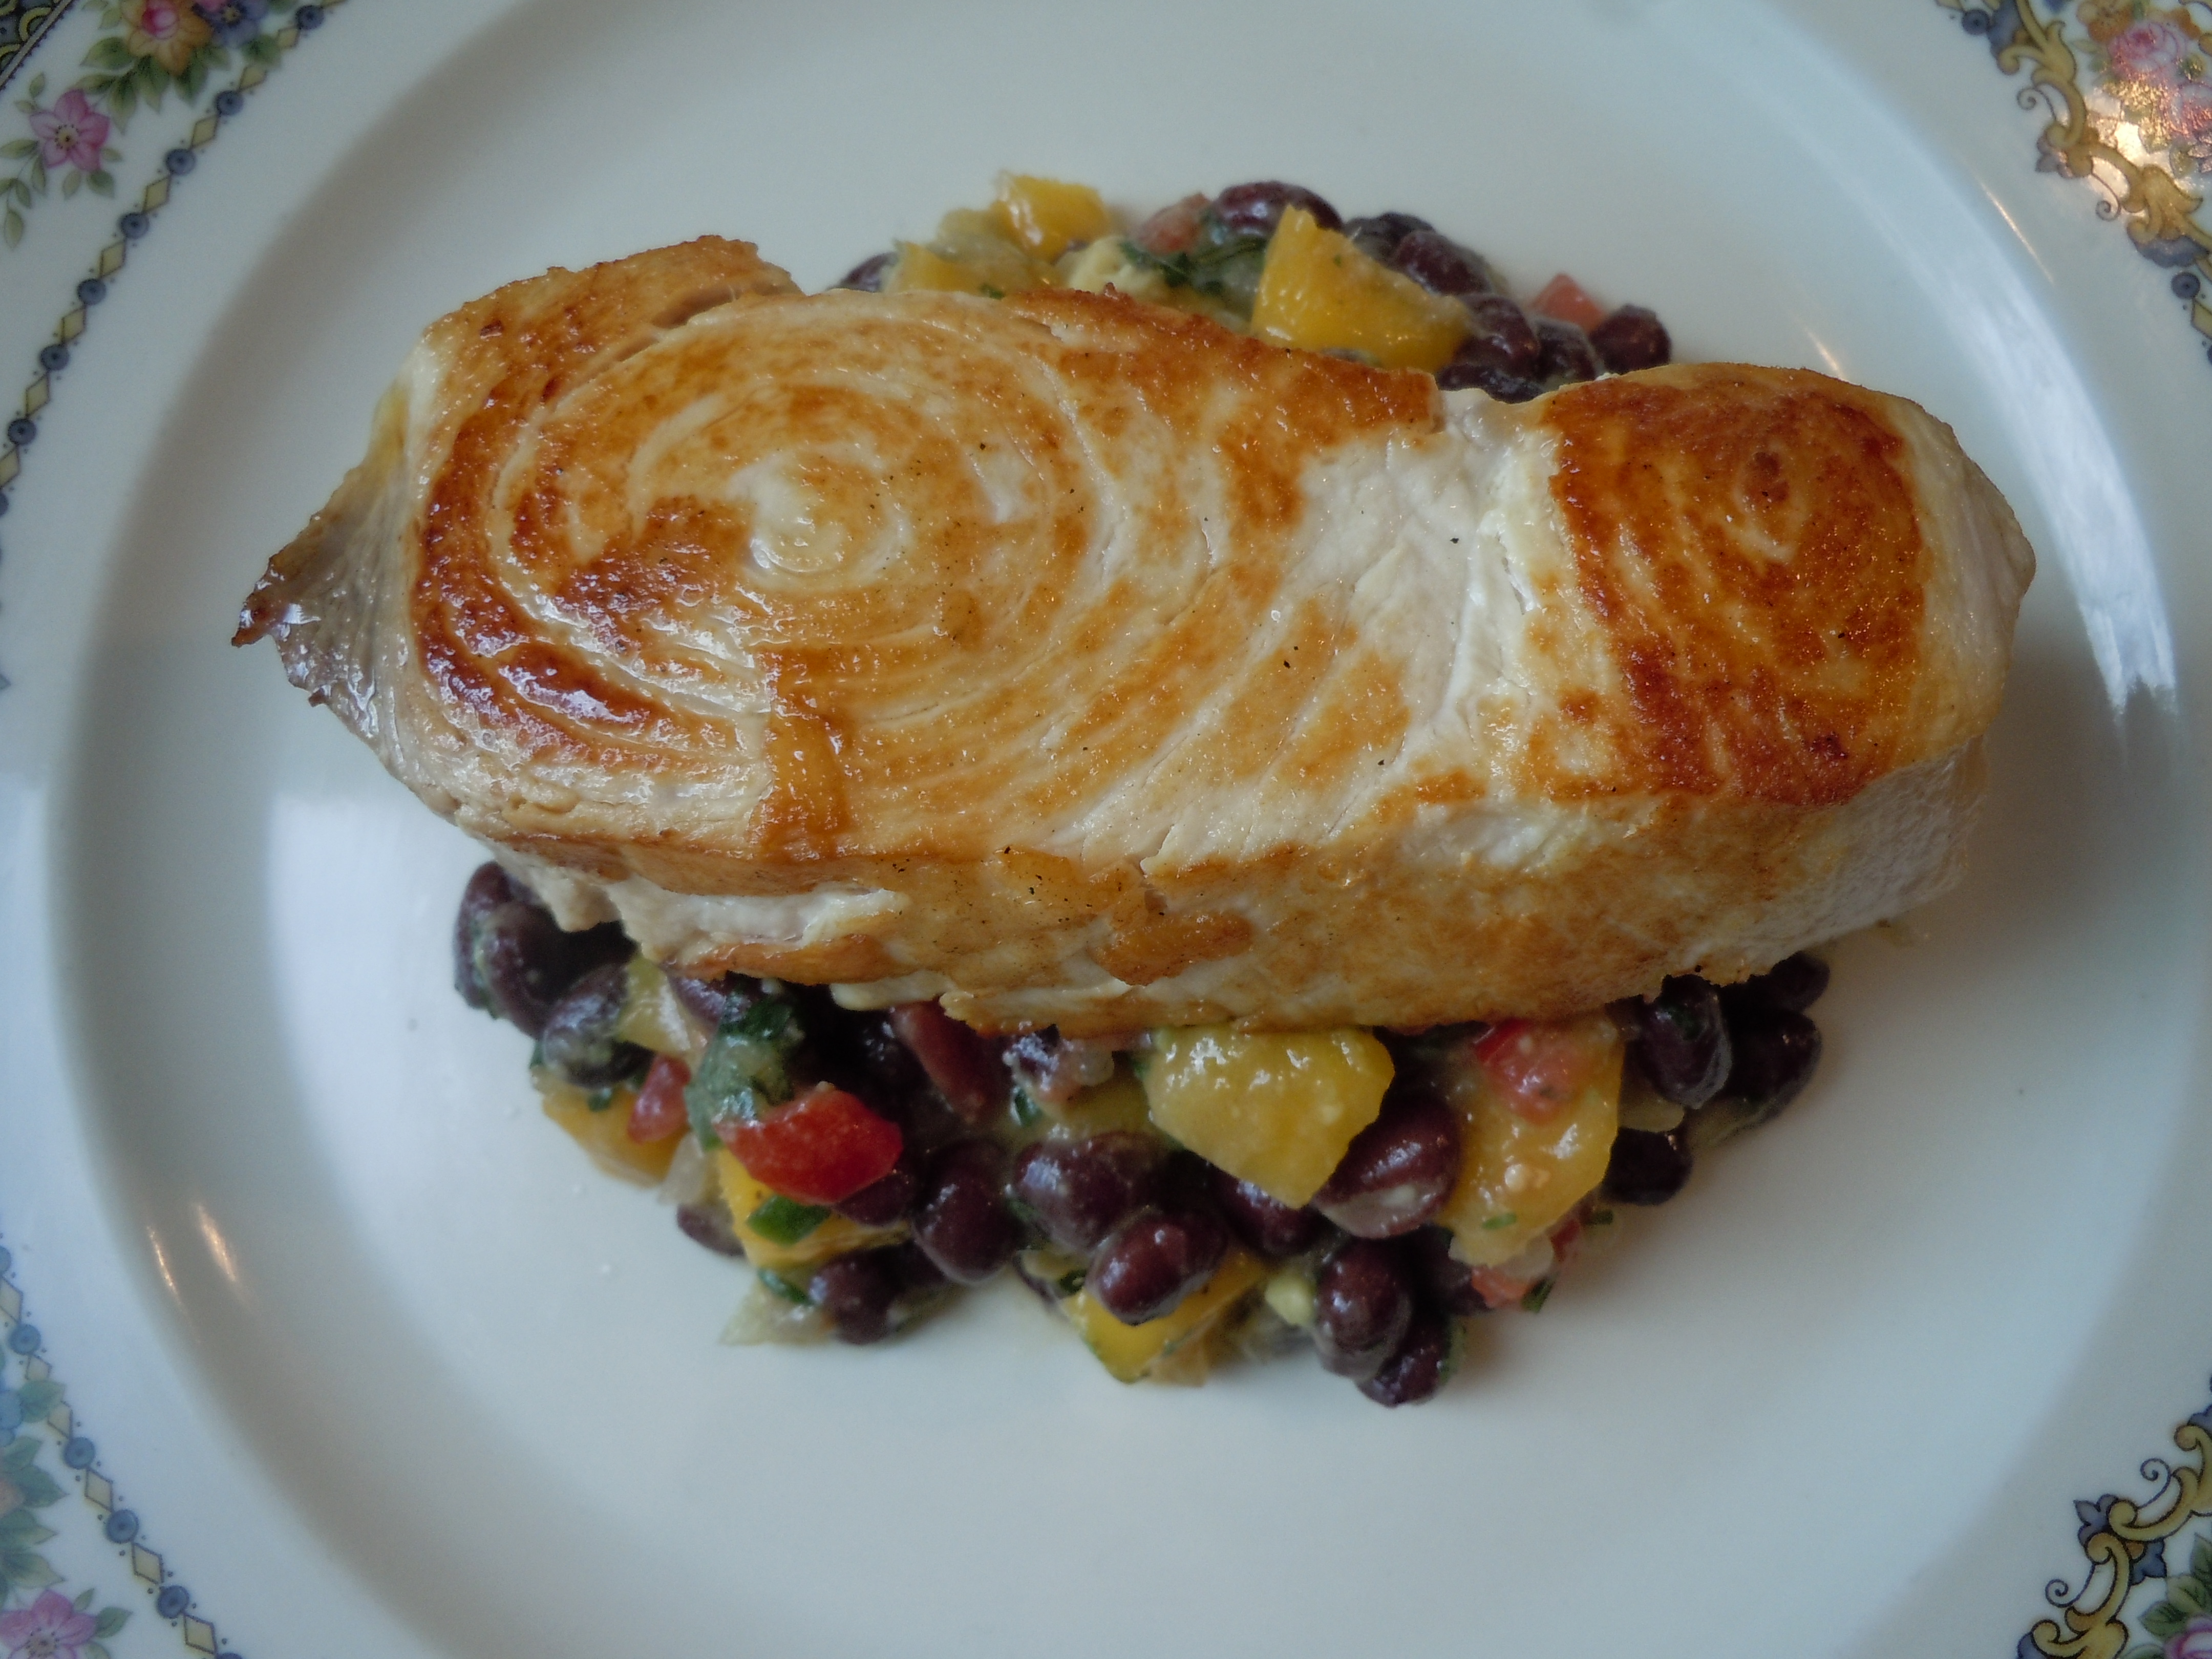
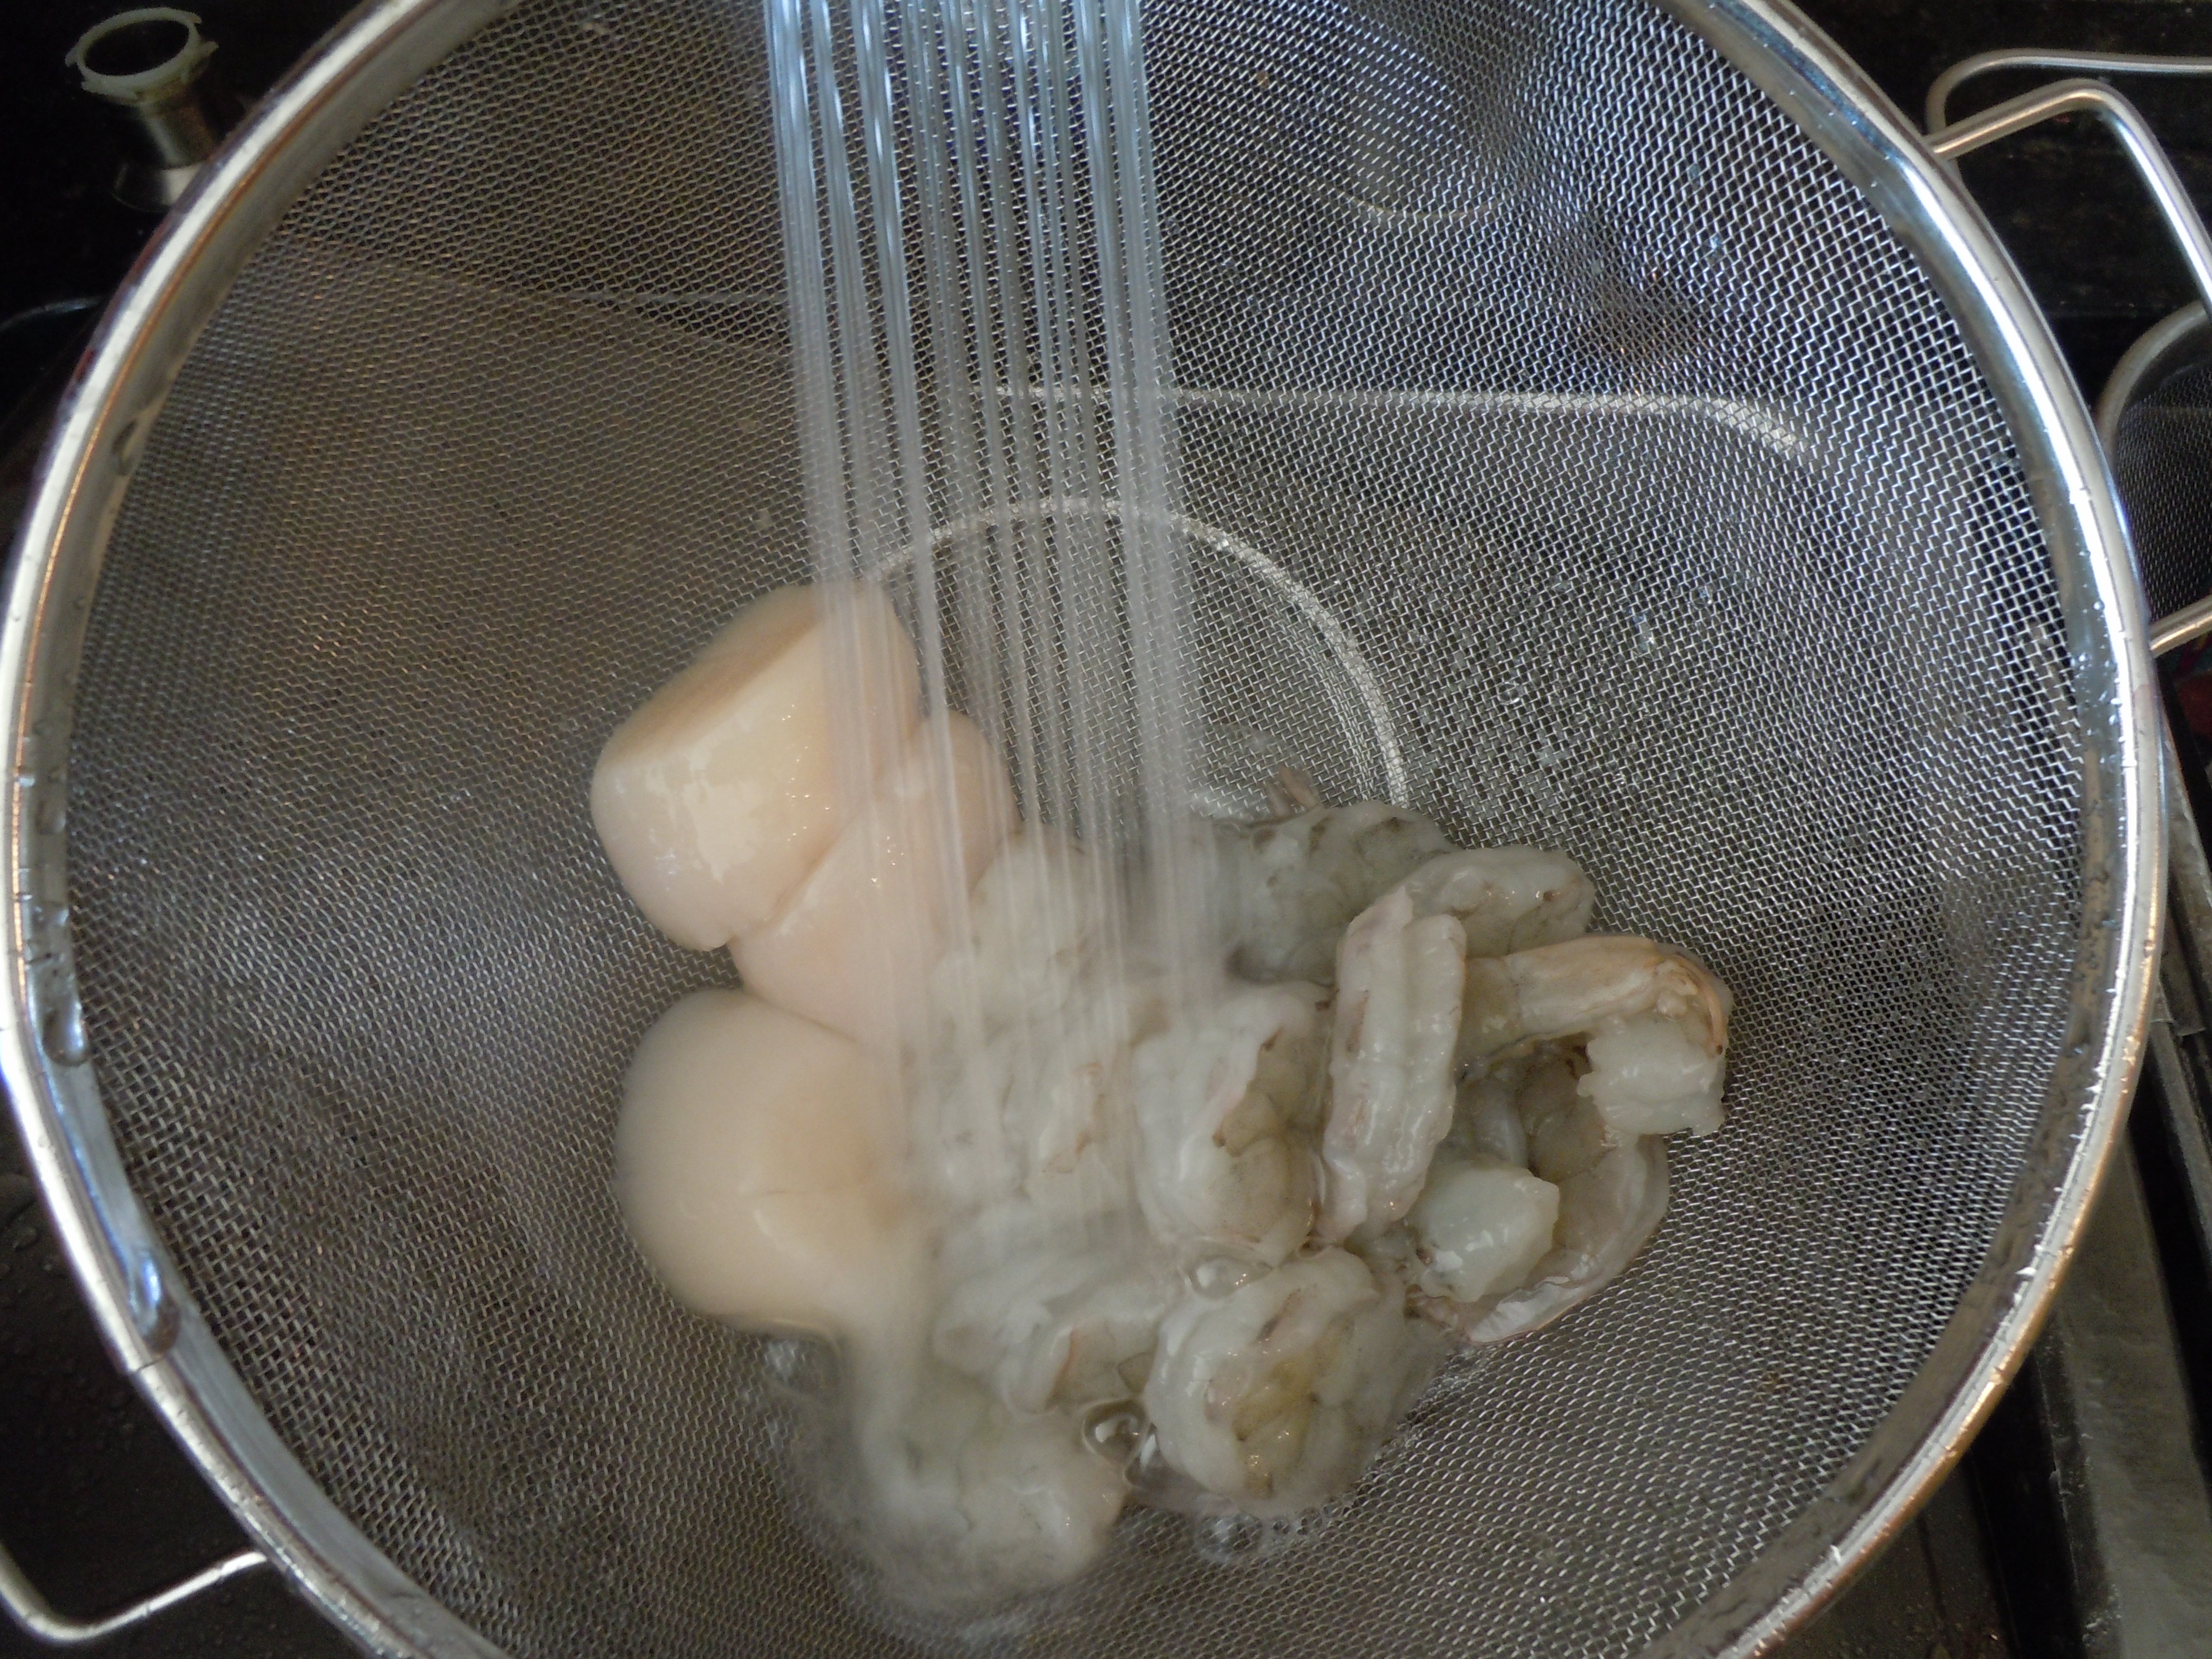
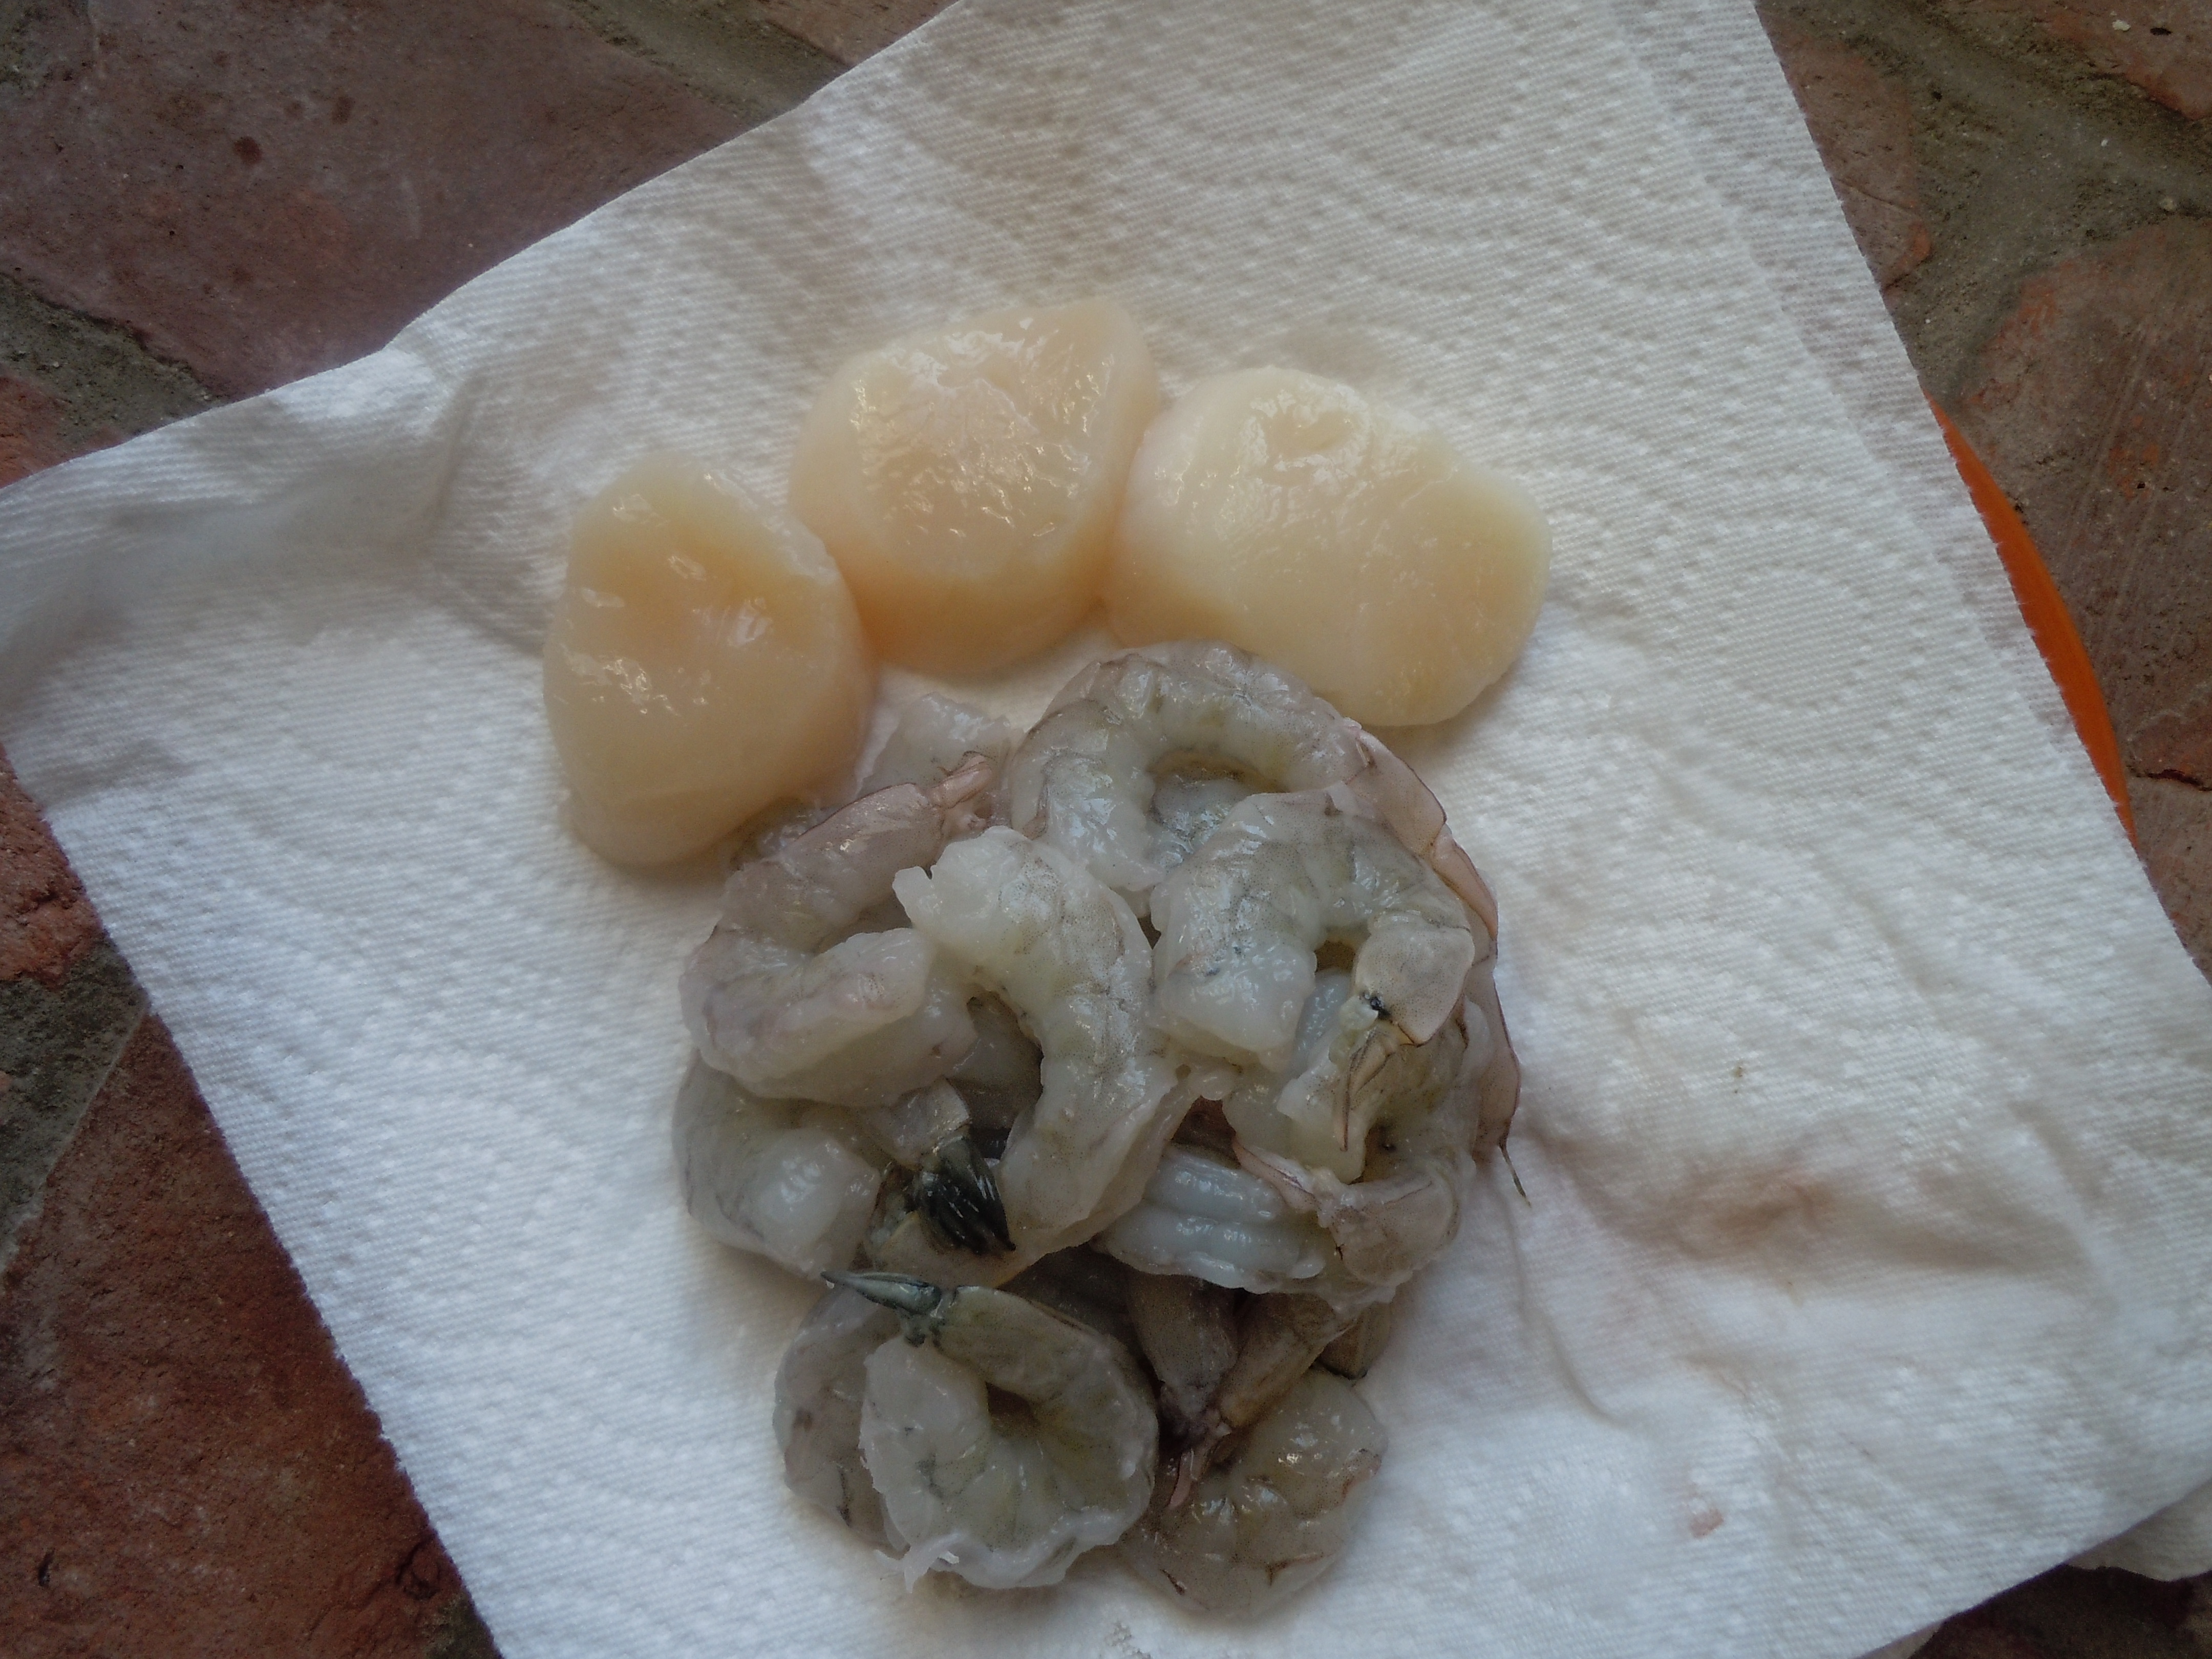
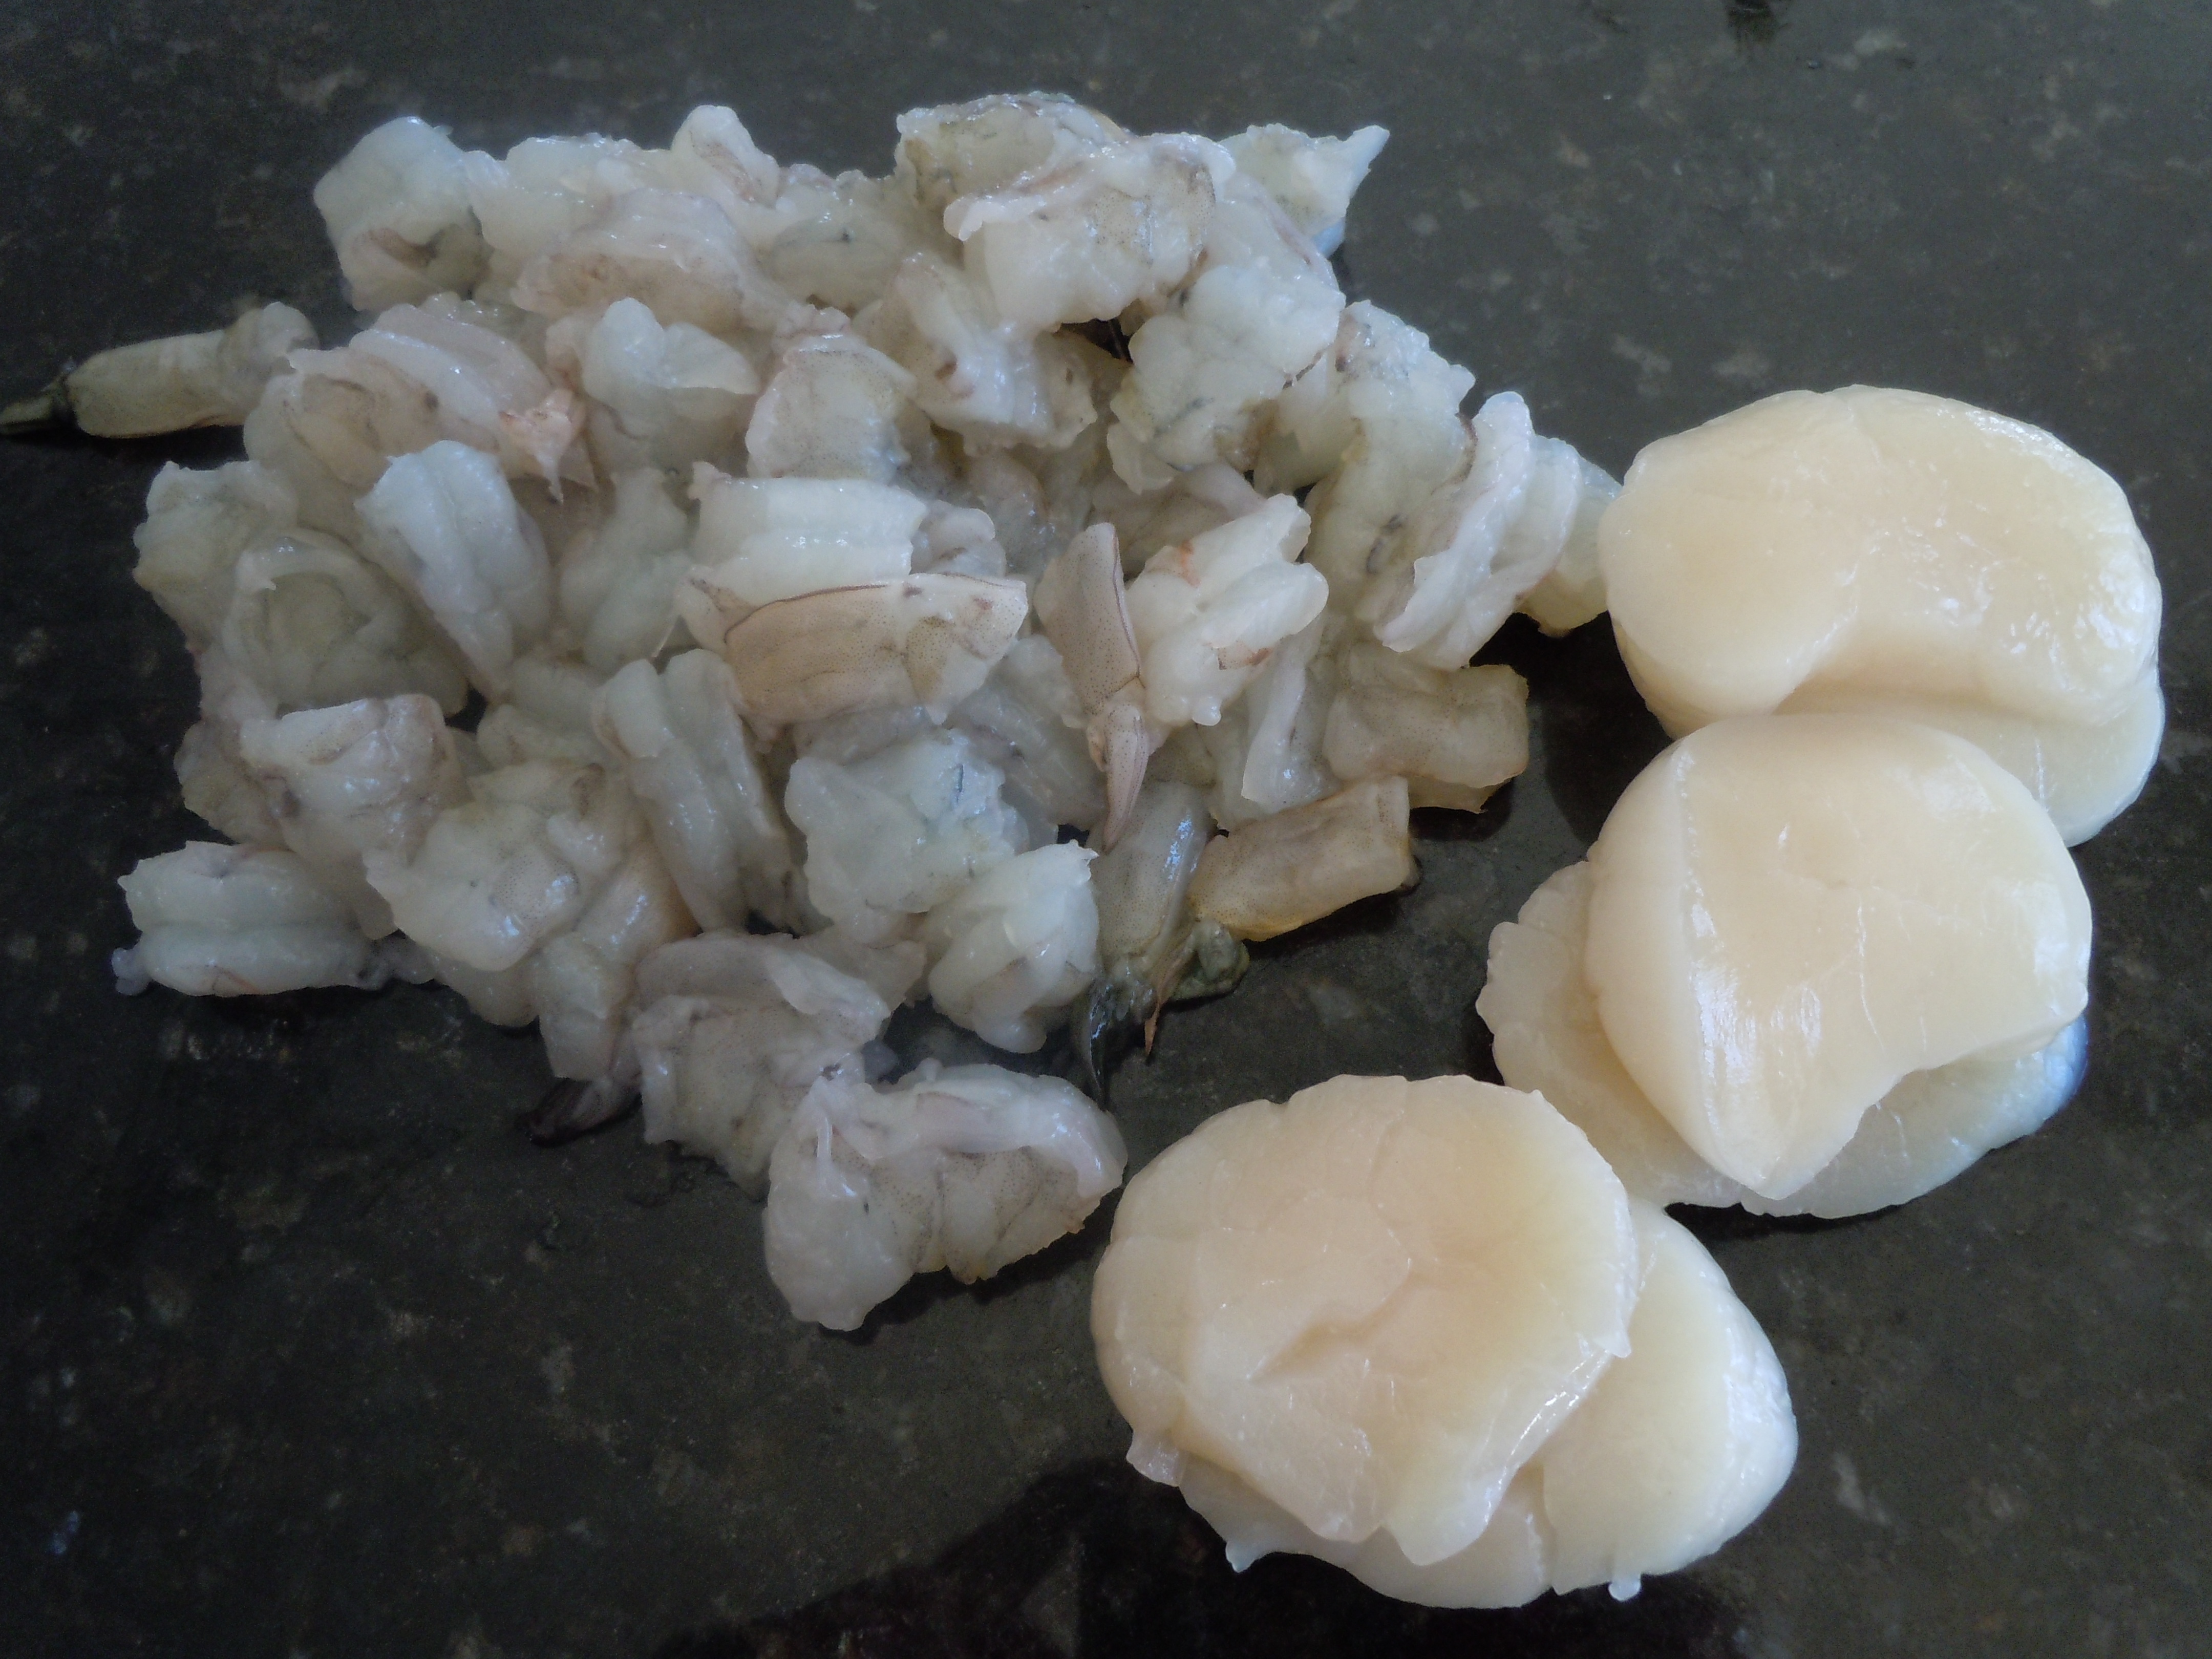
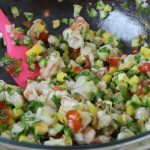 Making shrimp & scallop ceviche really can’t get an easier then this! Ceviche is a South American dish that’s usually served as an appetizer. The fish cures/cooks in citrus juice for an hour or two while you get all your salsa ingredients in order. The citrus curing juices are drained from the fish, leaving a tender shrimp & scallops to be tossed with salsa and voilà. The base of the shrimp and scallop ceviche here is my