
Easy Icebox Dinner Rolls
There’s nothing better than the aromas of homemade fresh baked bread, sweet onion and rosemary to wet the appetite! I was thrilled to find this icebox dinner roll recipe about fifteen years ago and have been making them ever since. The recipe card was from “easytobake” and I have tried to access their website but it doesn’t exist anymore. I have made many different bread dough’s in my life, kneading by hand, proofing, kneading again and it can all be exhausting. The whole idea behind icebox dough is that kneading is not necessary. The flavor and soft, tender texture develops as it proofs right in the refrigerator. Once you see how easy it is to make these melt in your mouth icebox dinner rolls you may never pick up store bought rolls again.

I have added lots of chopped green onion and fresh rosemary in my rolls but they are just as delicious plain too! It takes all of fifteen minutes to make this dough and can be made up to 4 days ahead. The dough stays in the refrigerator, hence the name “icebox” rolls. You take the dough out of the frig the morning of your dinner party. It get’s formed into dough balls mixing in chopped green onion and fresh rosemary. Then the rolls get lined up on a buttery baking tray and back into the frig. Two hours before you want to serve the homemade icebox dinner rolls you take them out of the frig and let them rise for an hour and a half to two hours. When they have doubled in size, give them an egg wash for a little shine, then bake.
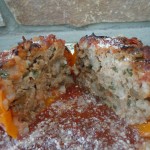


Hope you enjoy these scrumptious “easy icebox dinner rolls” as much as our family and friends do. They will be asking you for the recipe for sure! These homemade dinner rolls aren’t just for holidays they are great for any day. Try them with my turkey stuffed peppers where you can dunk them in the sauce and pepper juices, the Au Jus in my Boeuf Bourguignon, or Bolognese Sauce. After all this savoriness you may need a chocolate fix with my perfectly chocolate chocolate cake or for a light and refreshing sweet try this amazing Pavlova!
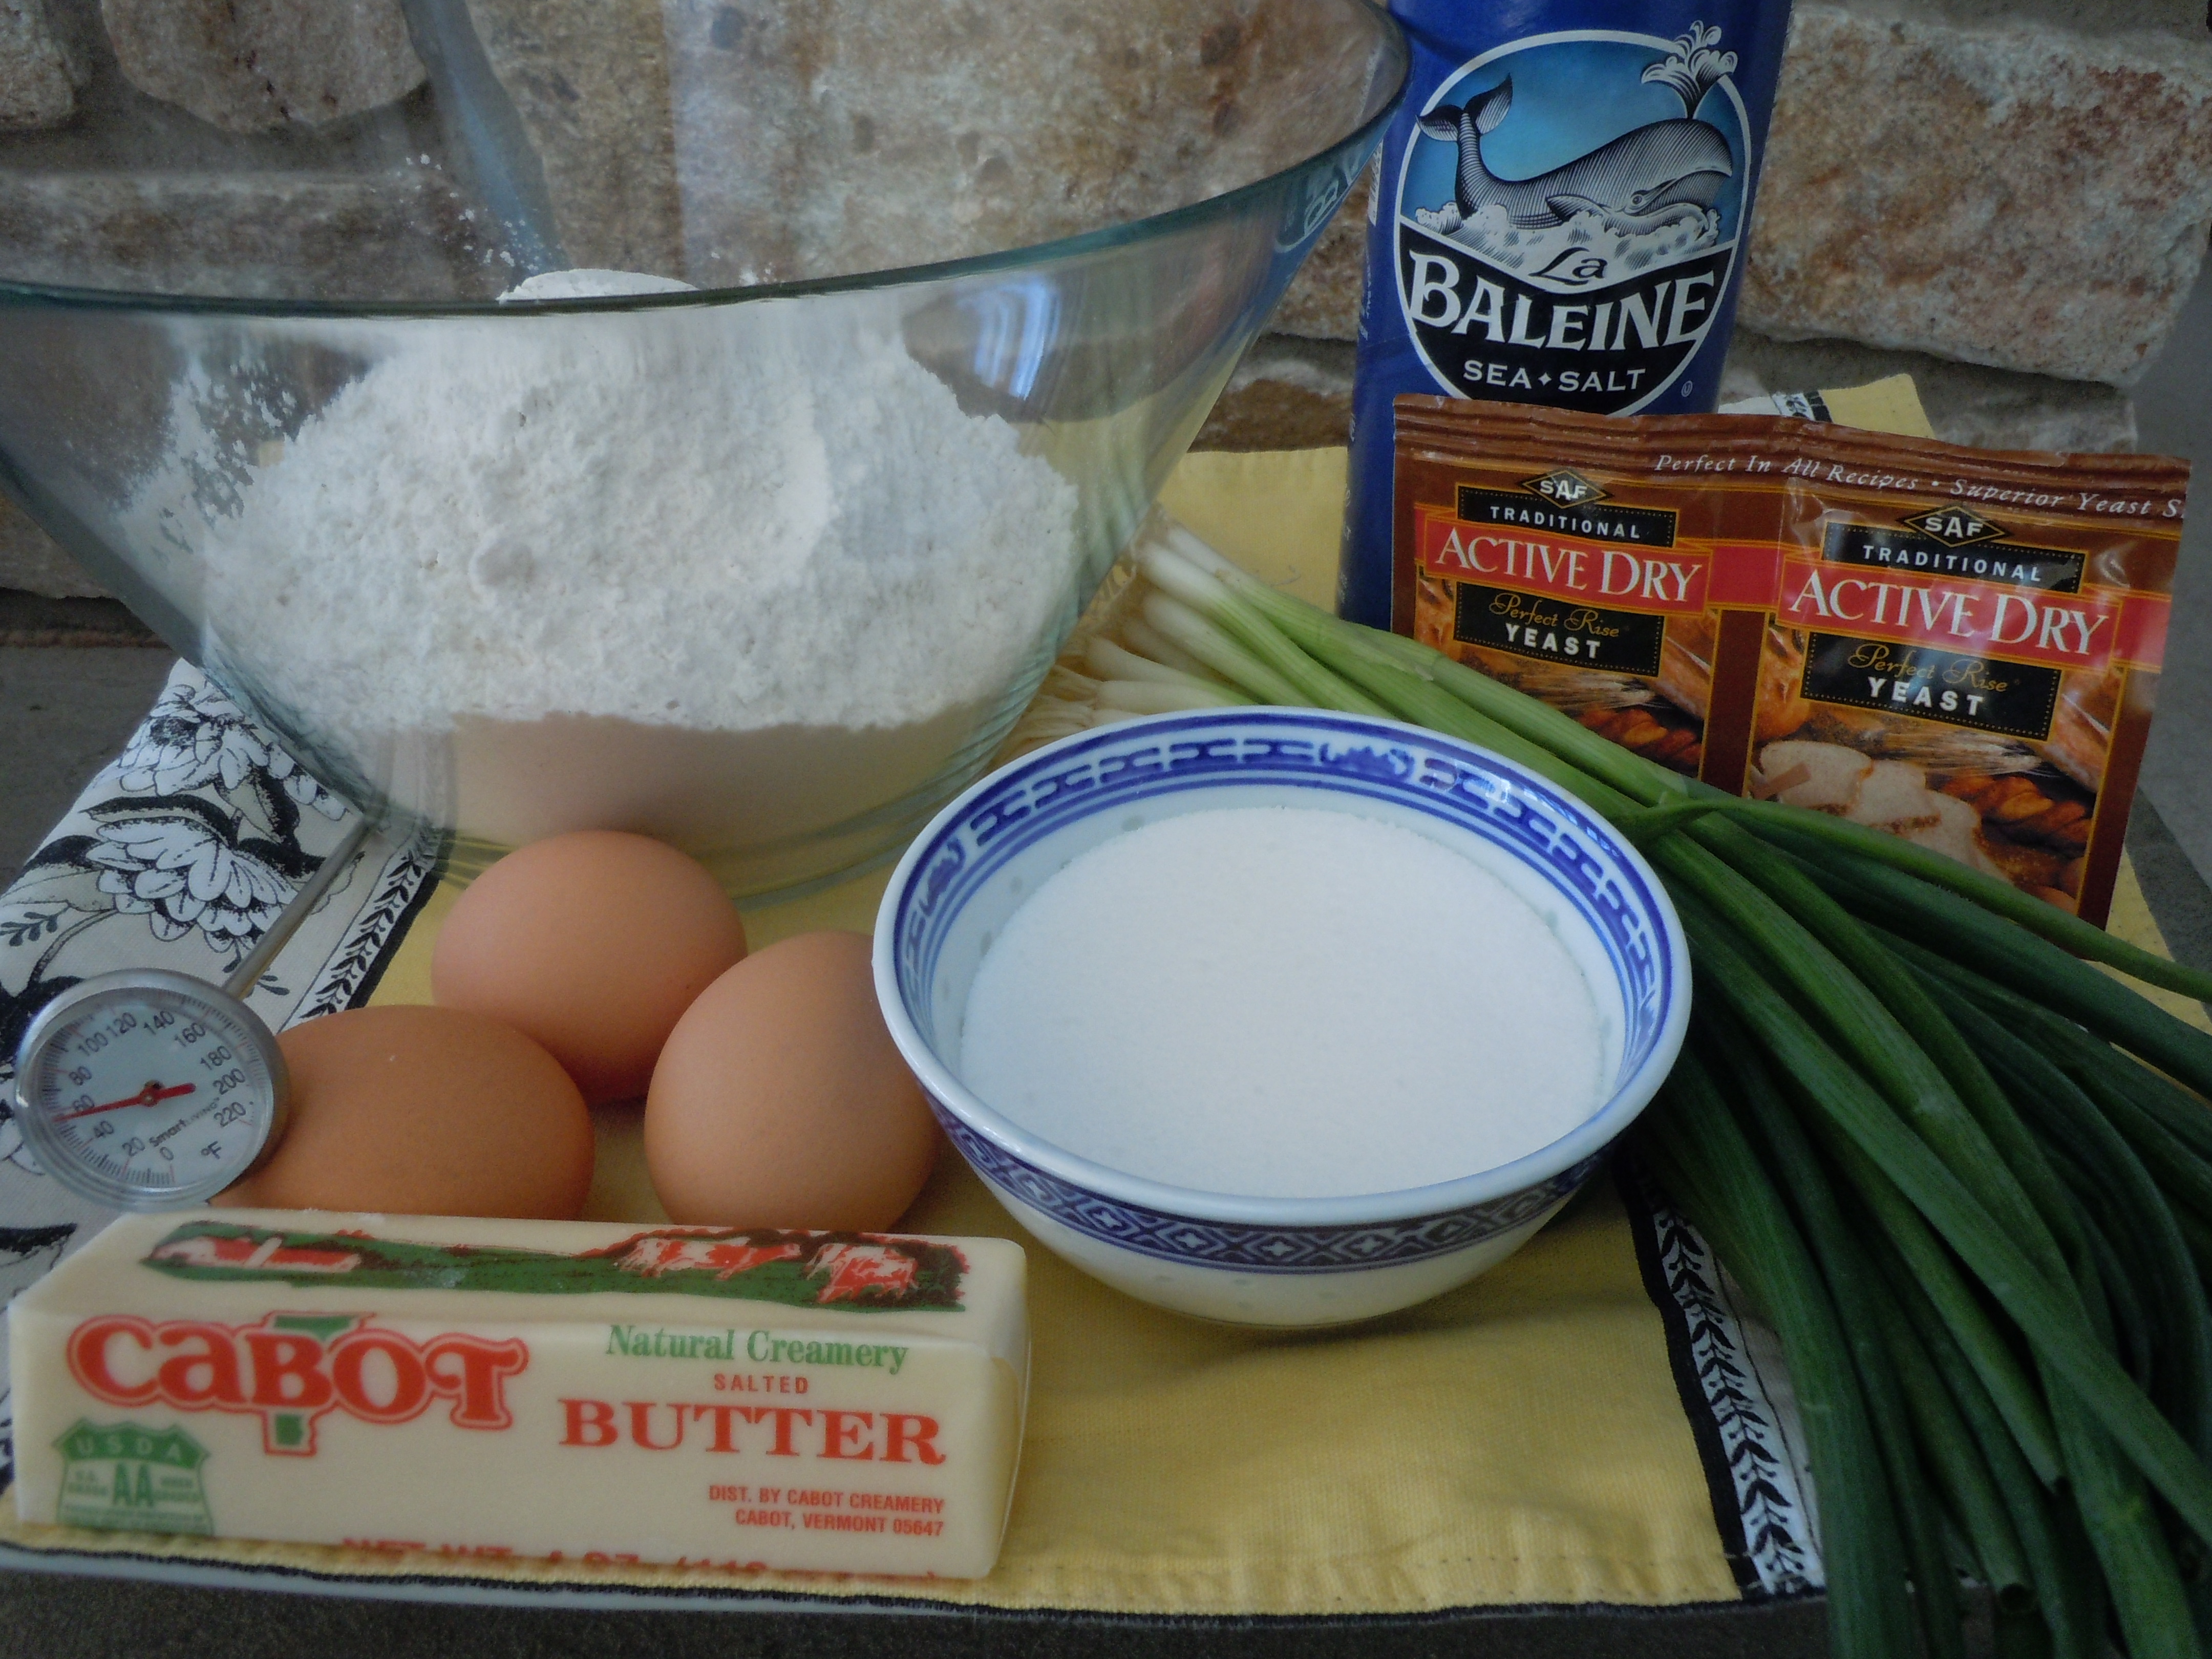

Ingredients: Makes 24 Dinner Rolls
- 4 1/2 cups all purpose flour
- 2 packets active dry yeast (NOT rapid rise)
- 1 cup warm water (105 -115 degrees)
- 3 lg eggs (if you use extra large eggs you will need to add a little more flour to compensate)
- 1/2 cup melted butter
- 1/2 cup sugar
- 1 Tsp salt
- 2 bunches of green onions chopped to 1/8″ pieces -(from white/greenish part to ends)
- 1/2 cup fresh chopped rosemary
- 1/3 stick room temp butter to coat the cookie tray or inside of the 10″x 15″ baking dish
Directions:
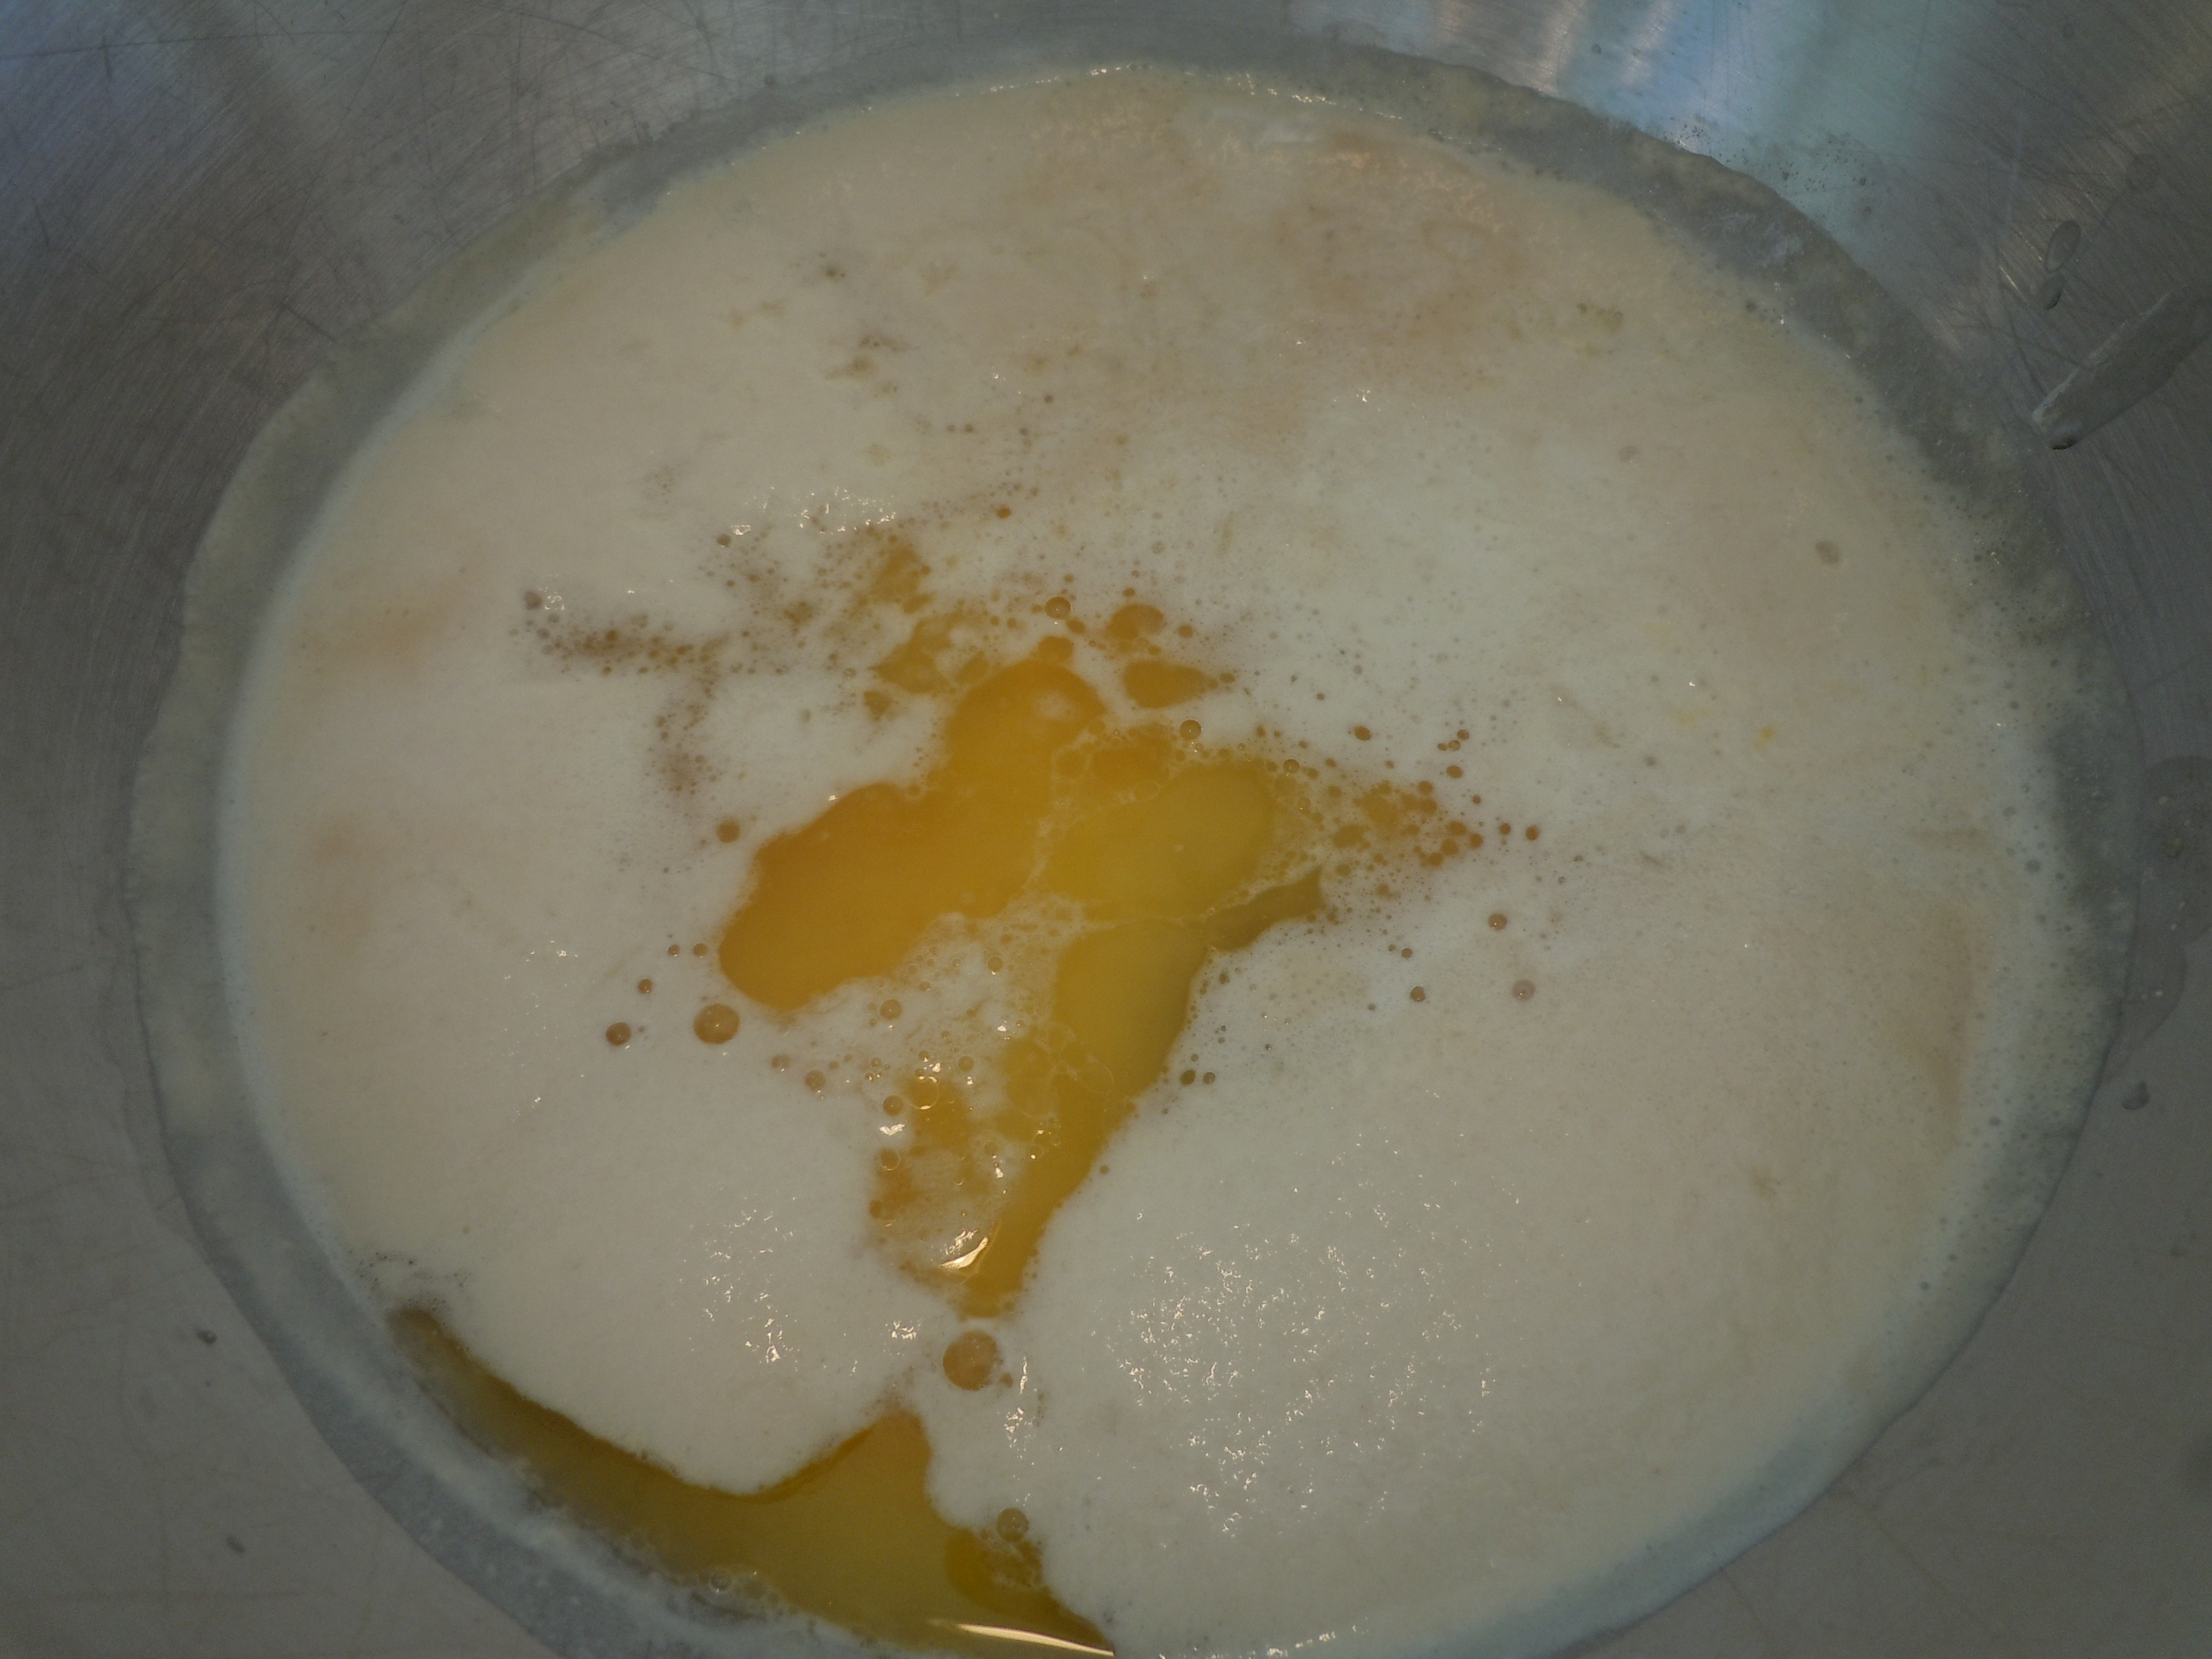
- Using a KitchenAid mixer OR lg mixing bowl pour in the 2 packets of yeast then add in 1 cup of 105º – 110 º water.
- Then add 1 Tbsp of sugar (from the 1/2 of cup of sugar that you add later) now because it feeds the yeast and really gets it activated.
- Let this sit for about 5 minutes and you will see it get foamy.
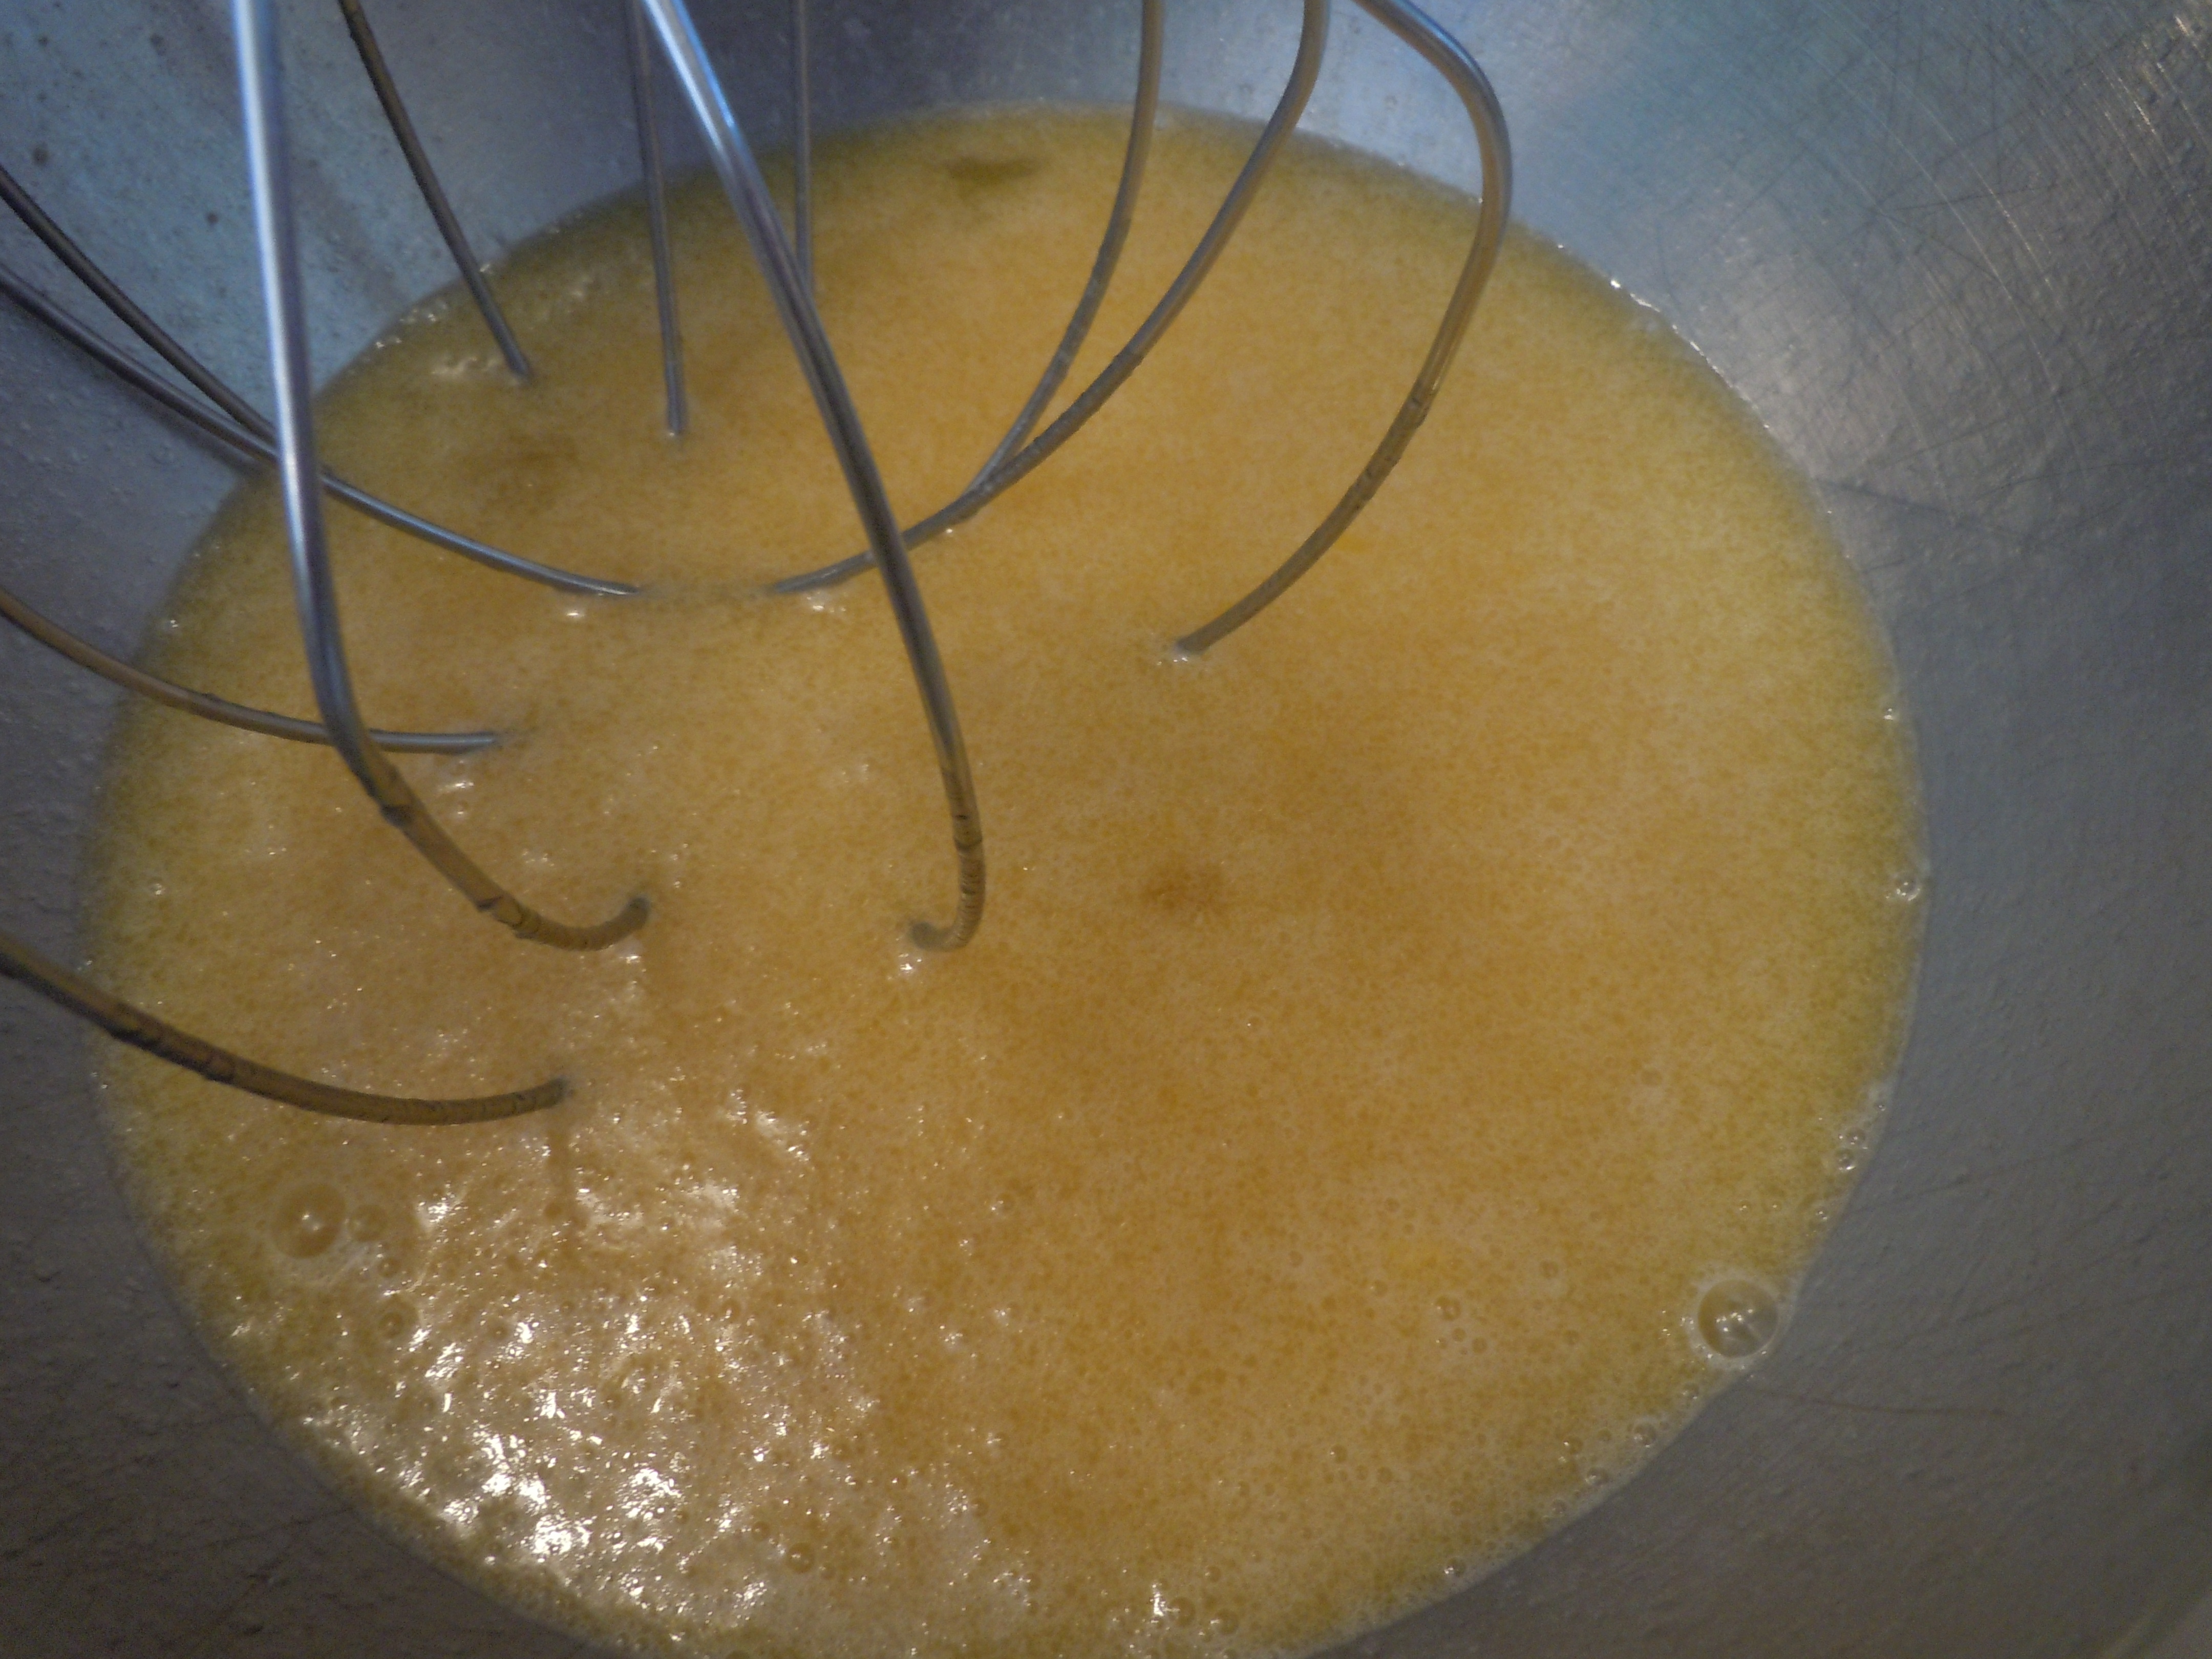
- Add in the eggs, melted butter, sugar, and salt and whisk- make sure the butter is not hot because it can kill the yeast if too hot
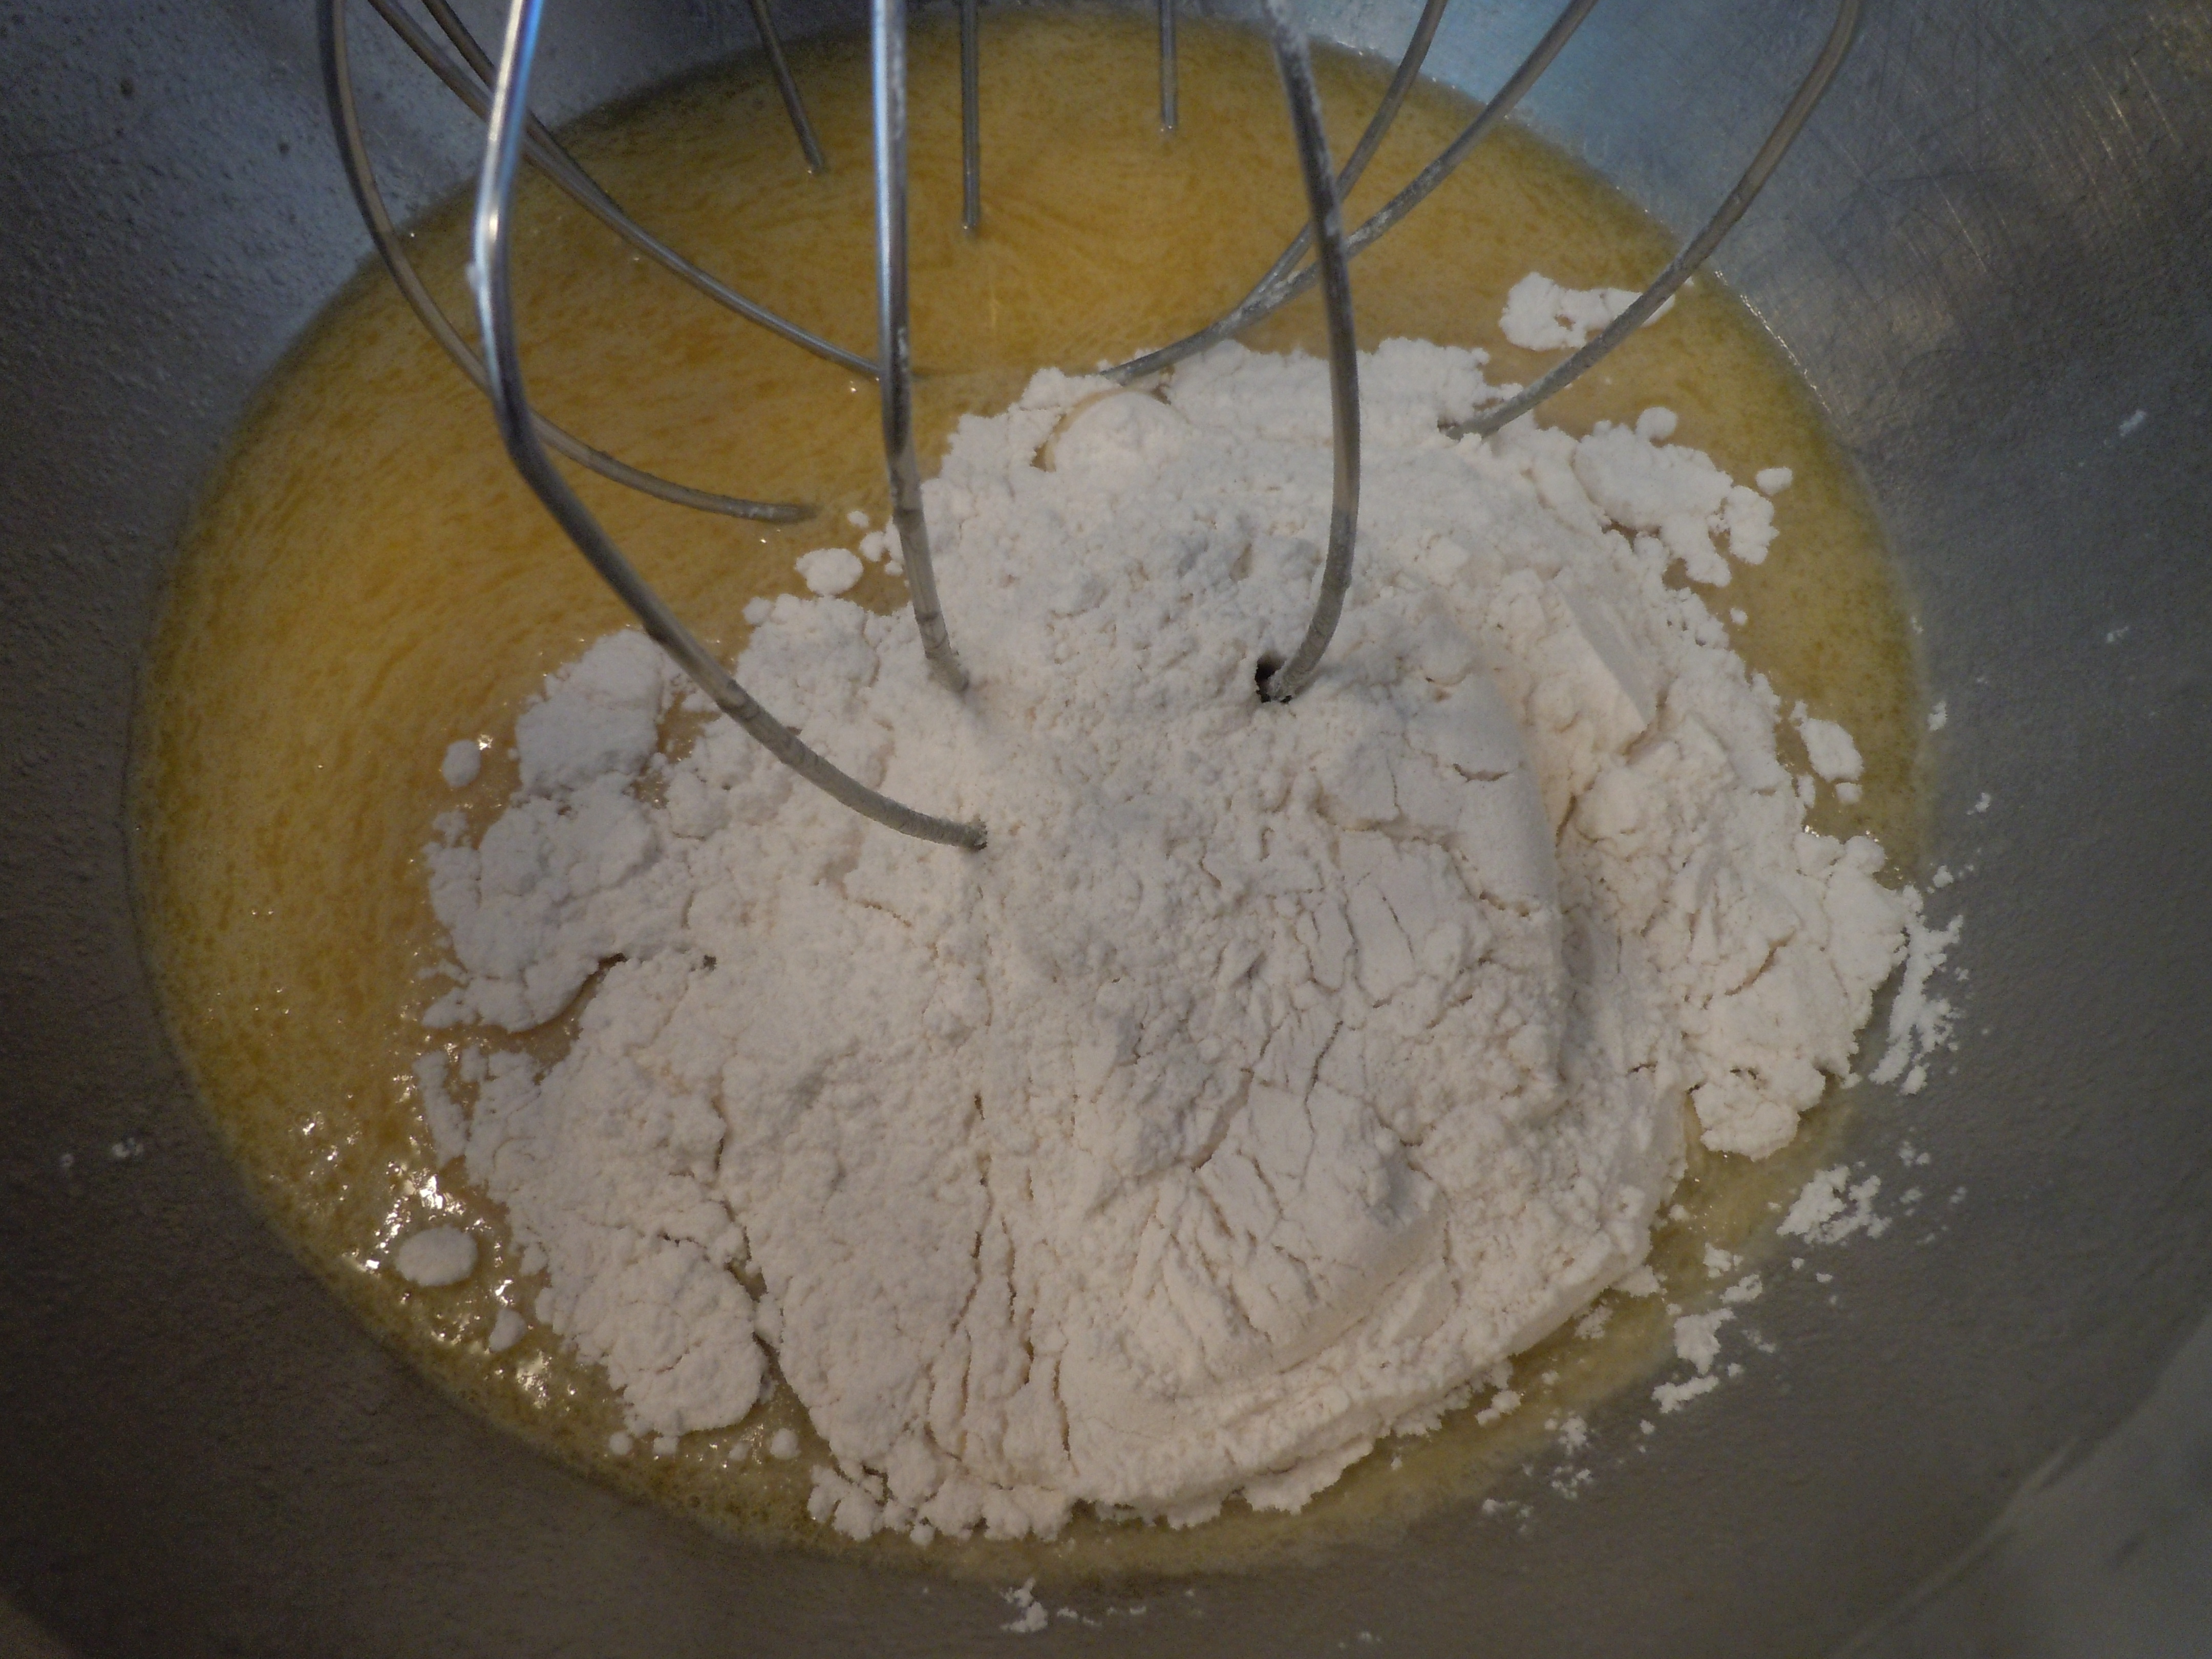
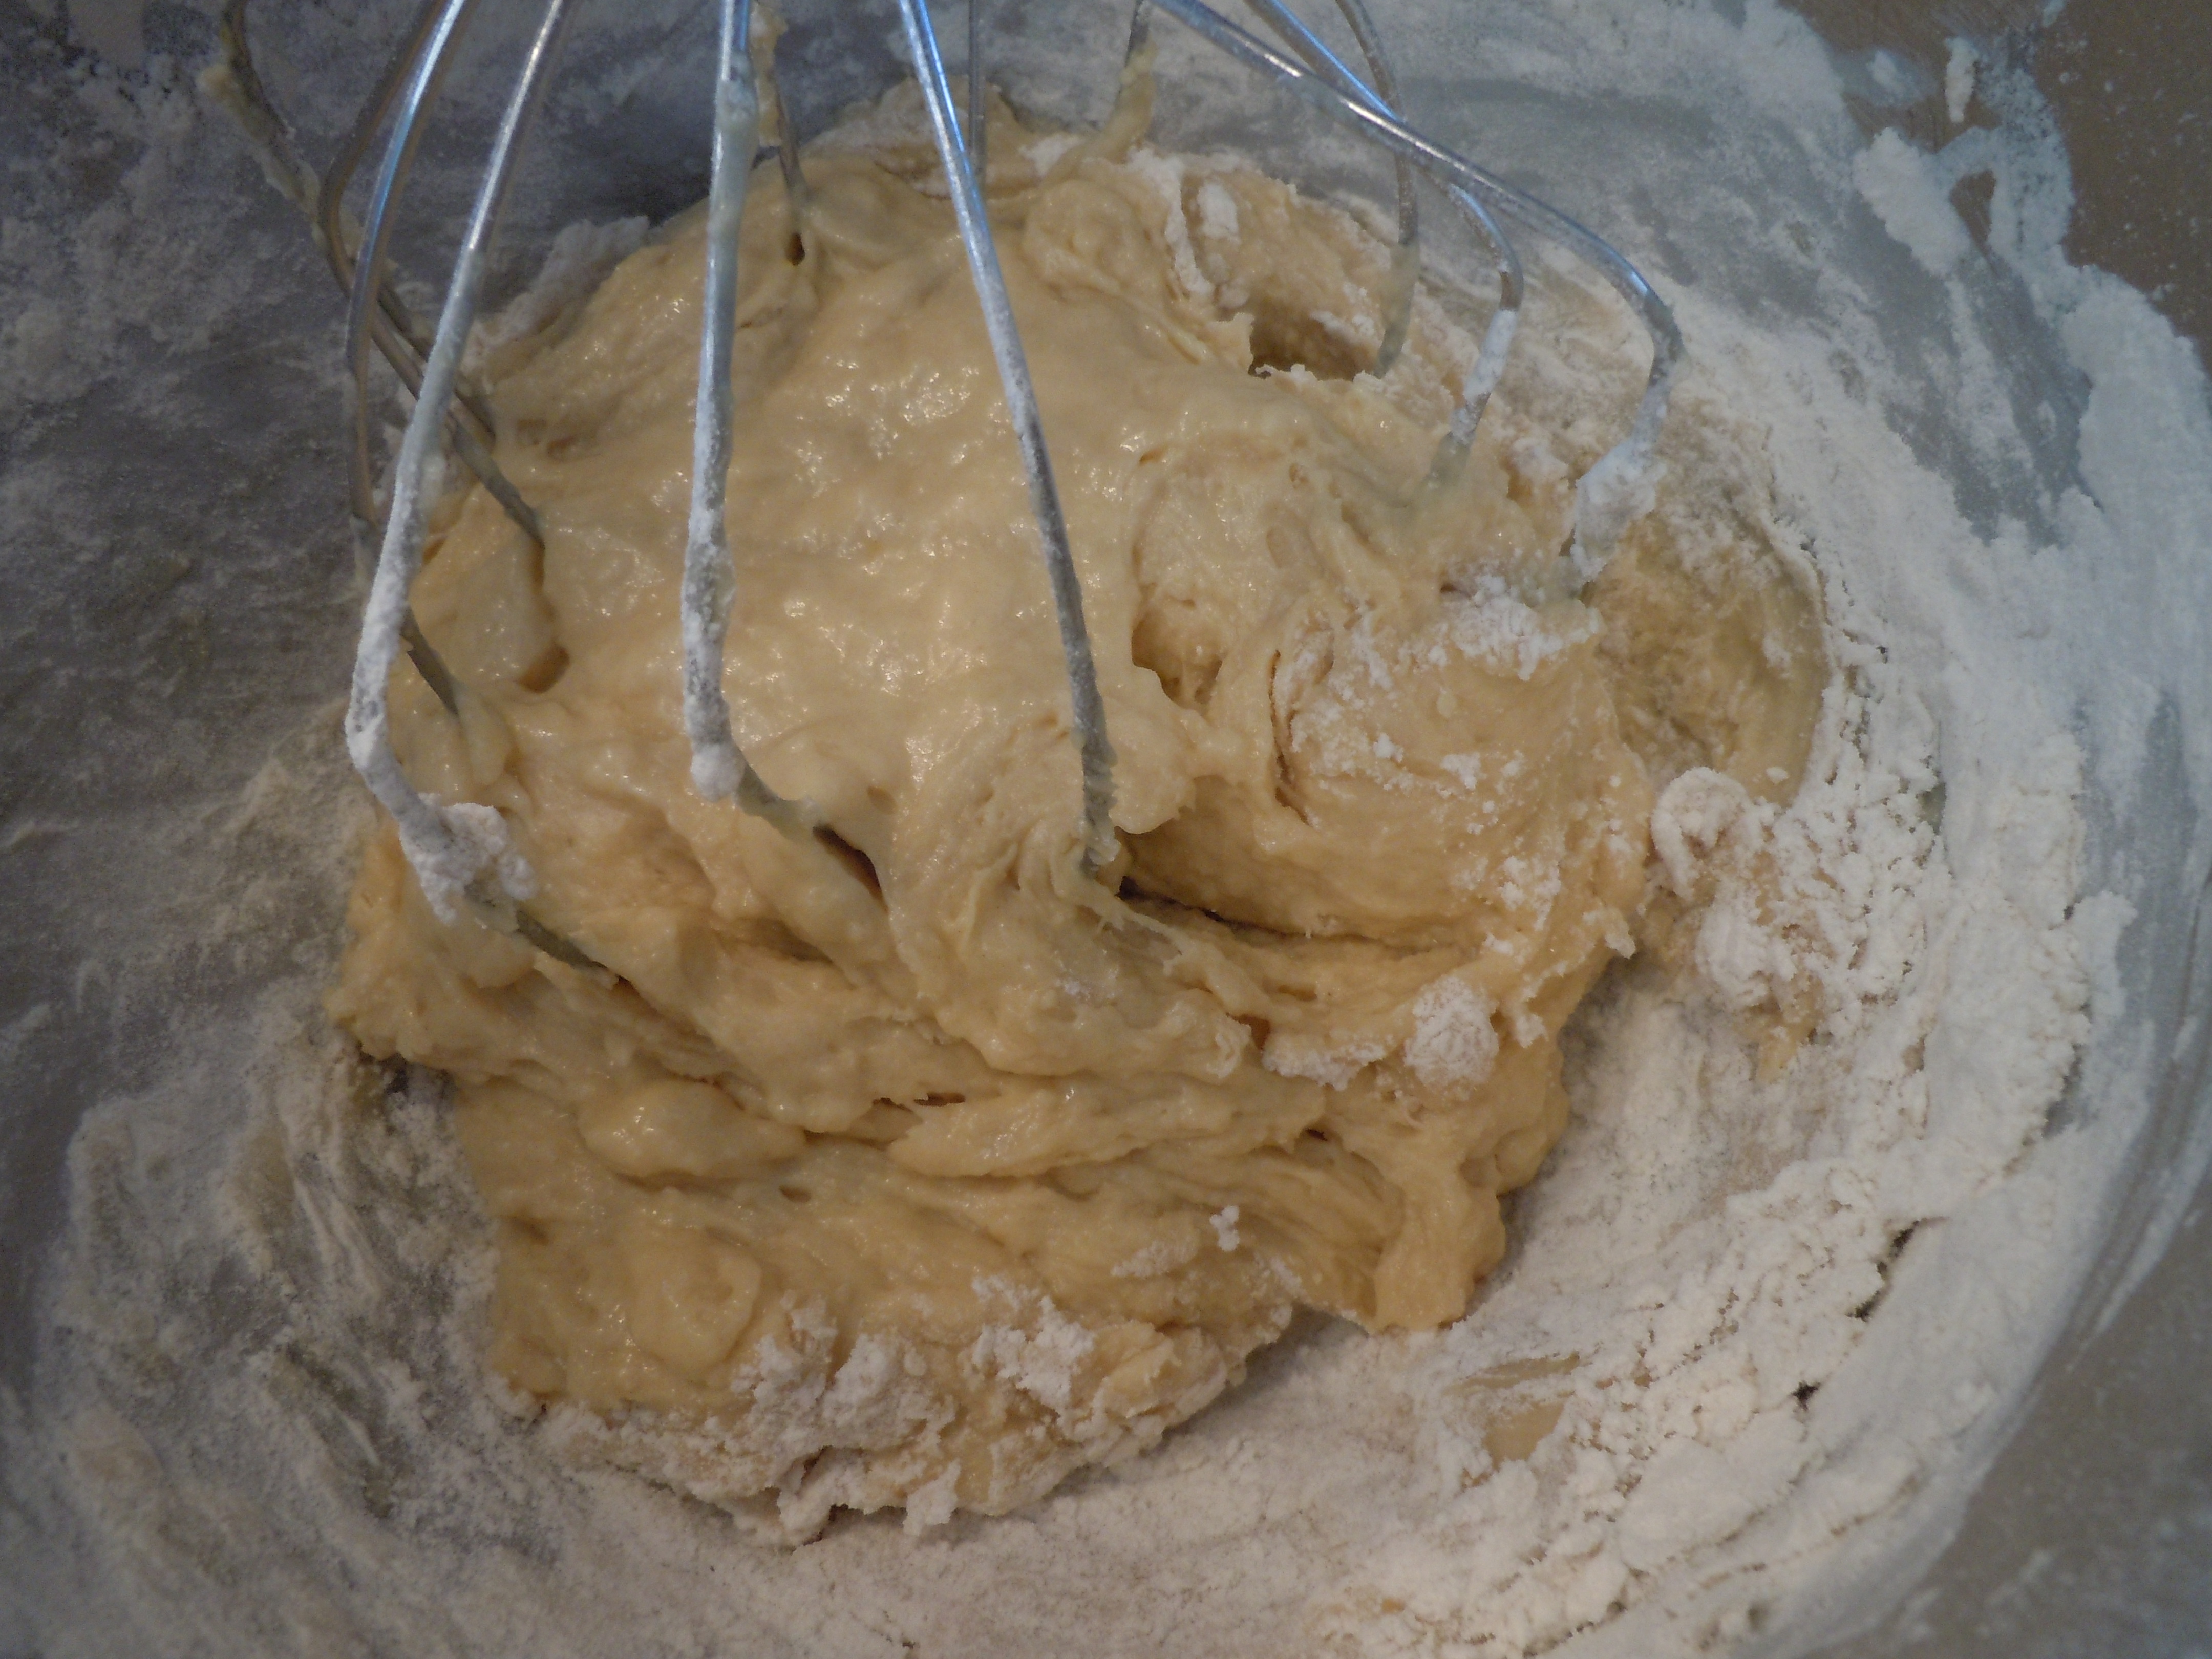
- Begin to beat in a 1/2 cup of flour at a time using the whisk the whole time until the dough gets too stiff to mix.
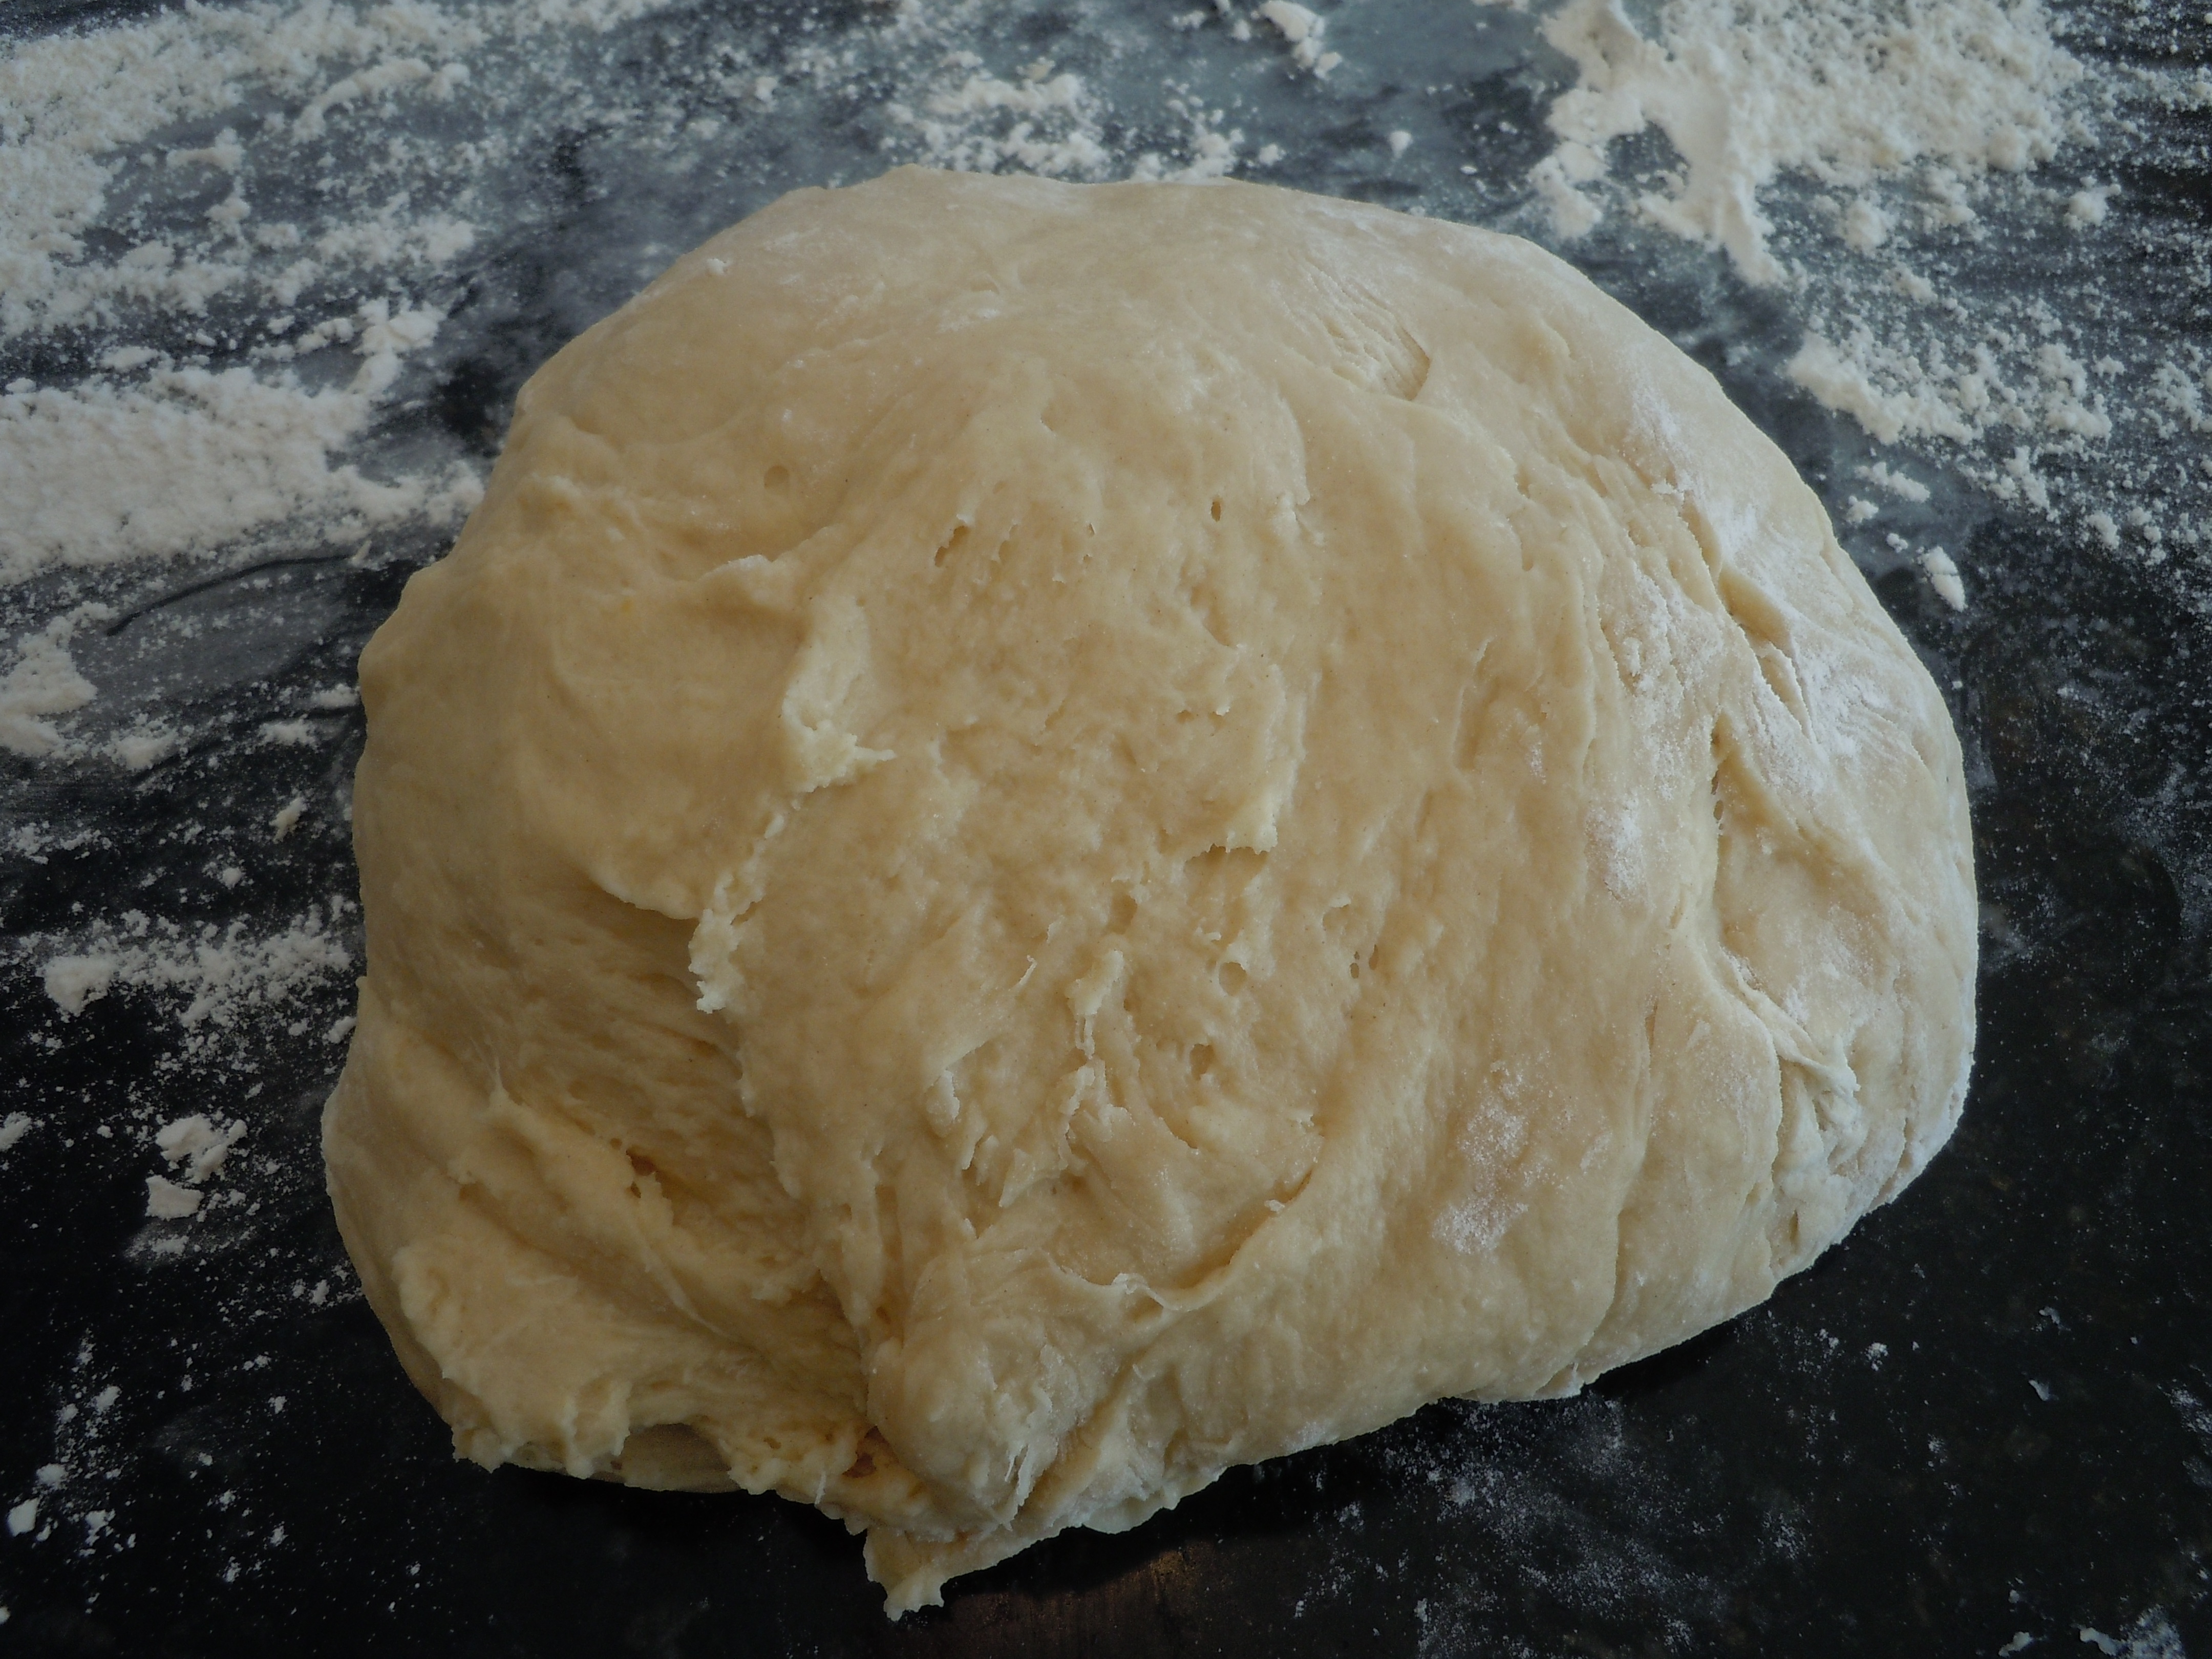
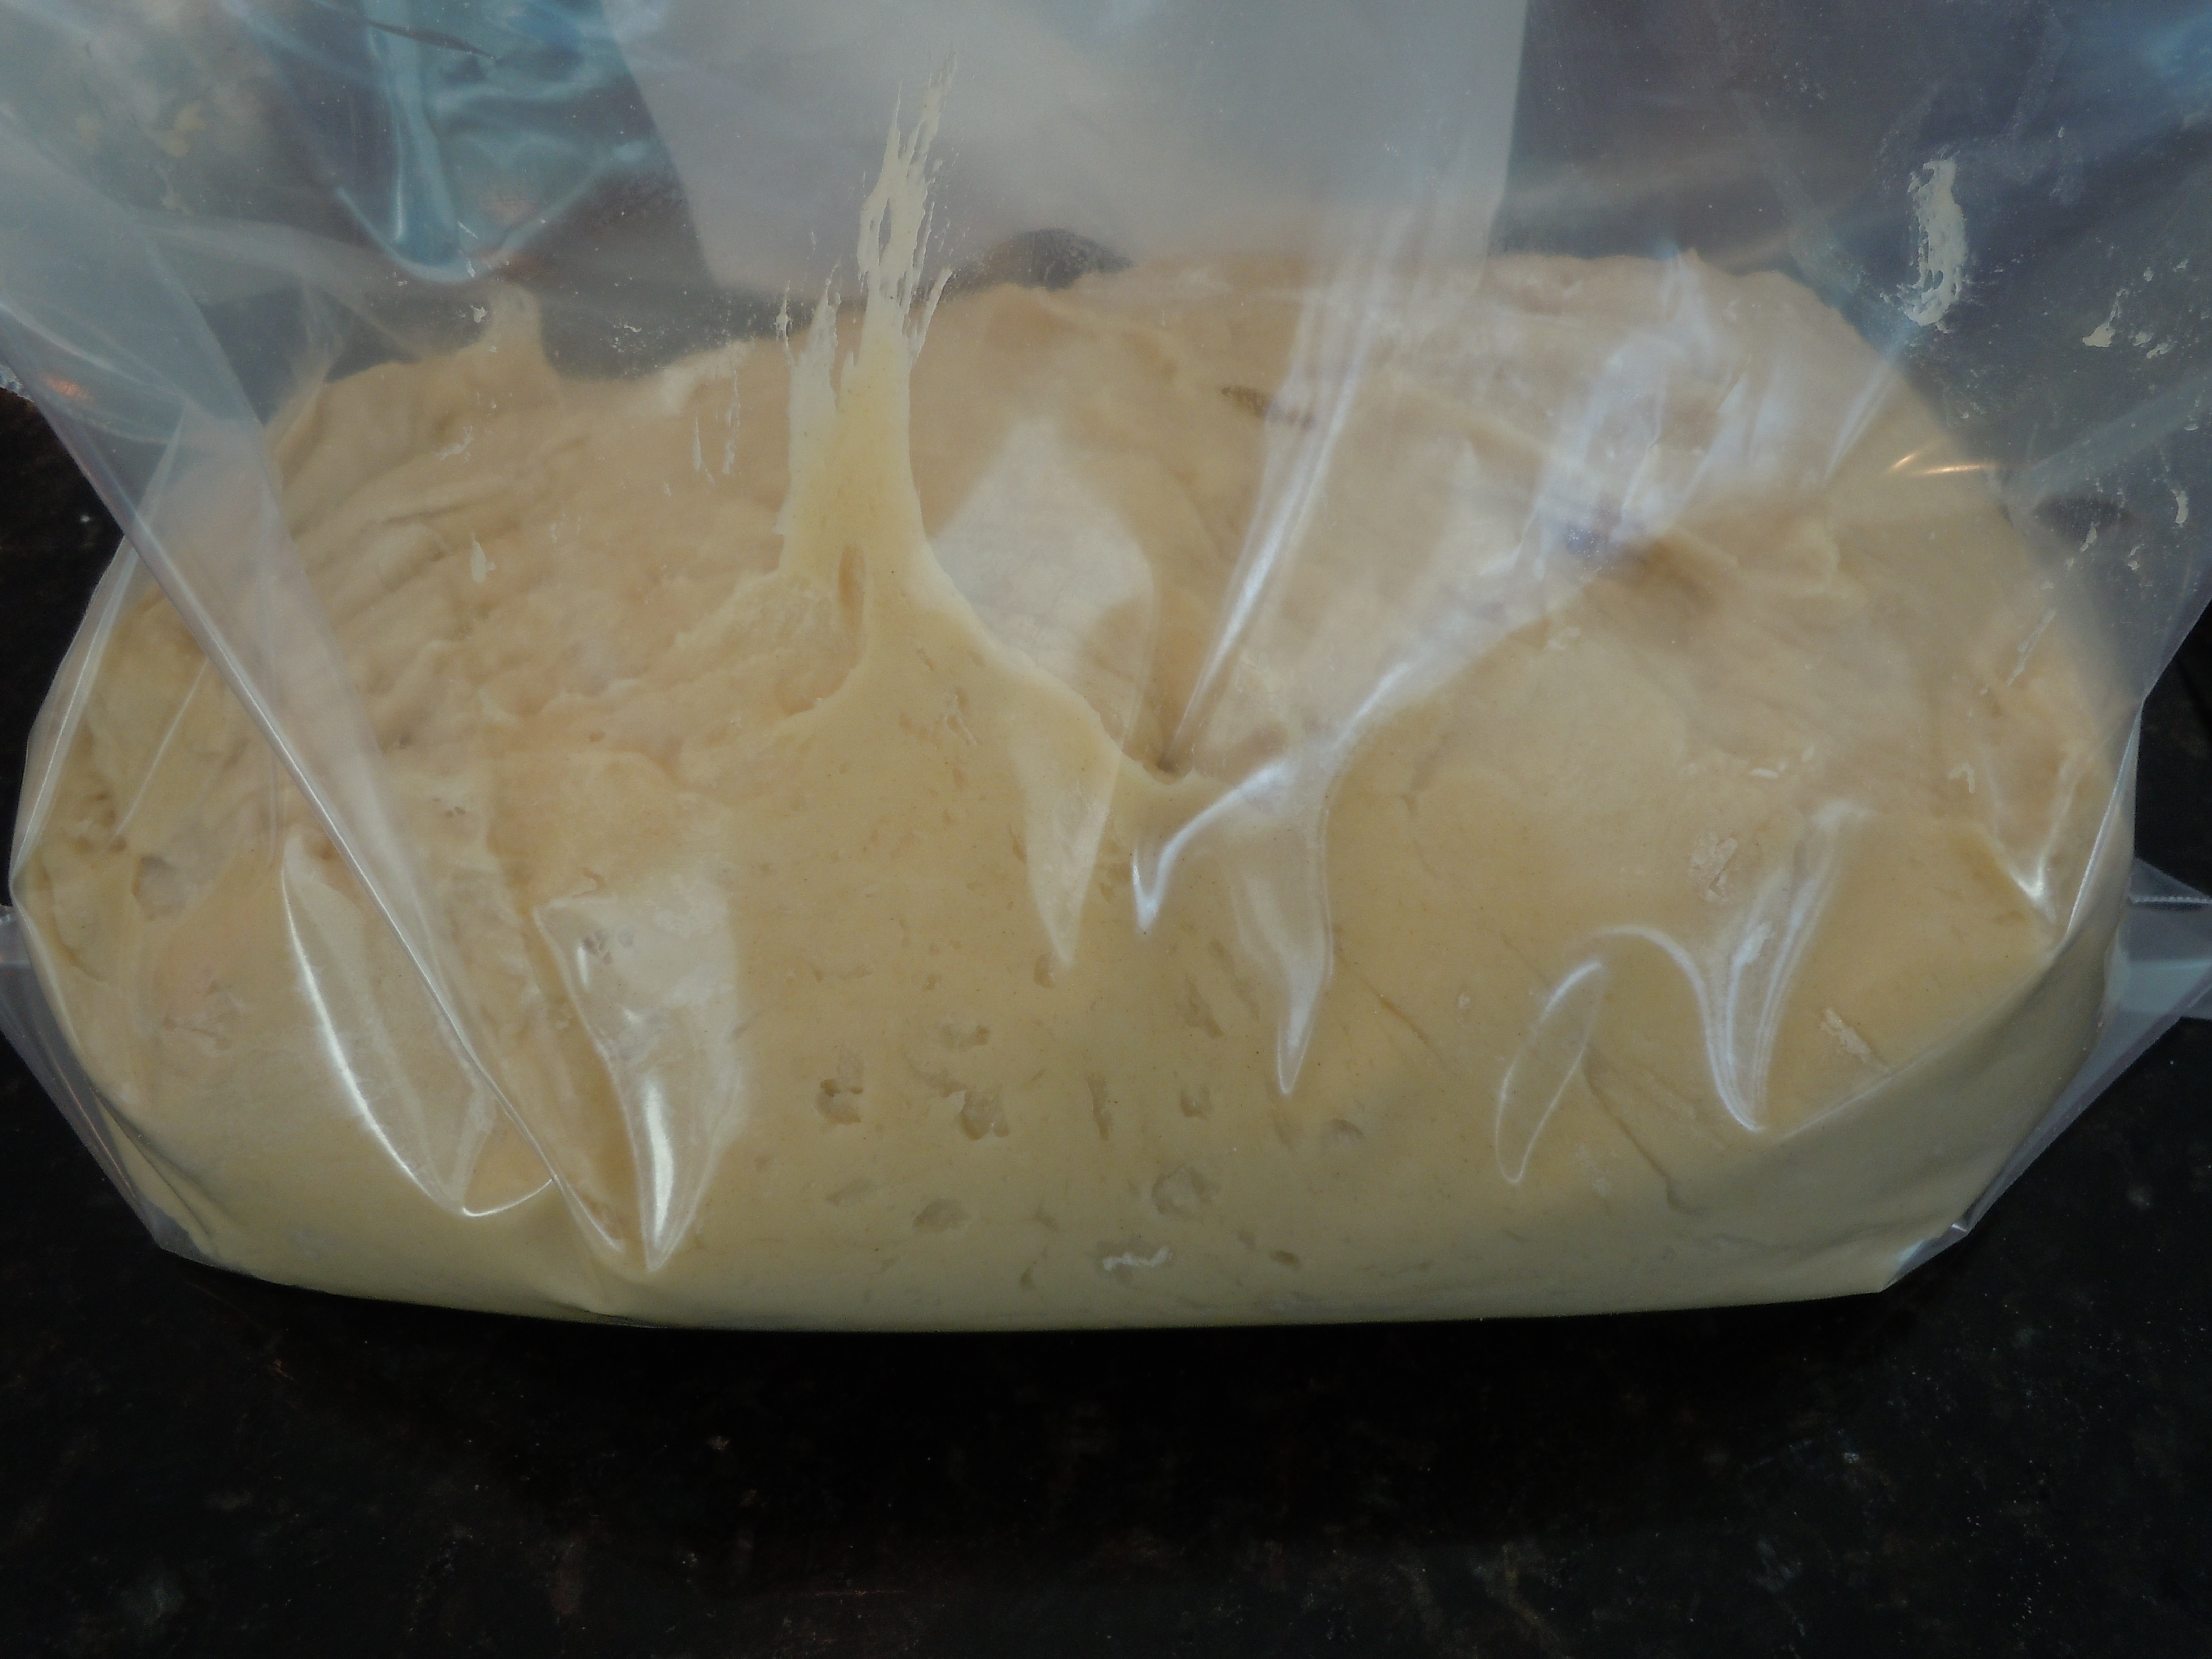
- Turn the dough out onto a lightly floured surface, place the big ball of dough into a large Ziploc baggy and put it into the refrigerator for 2 hours…. up to 4 days.
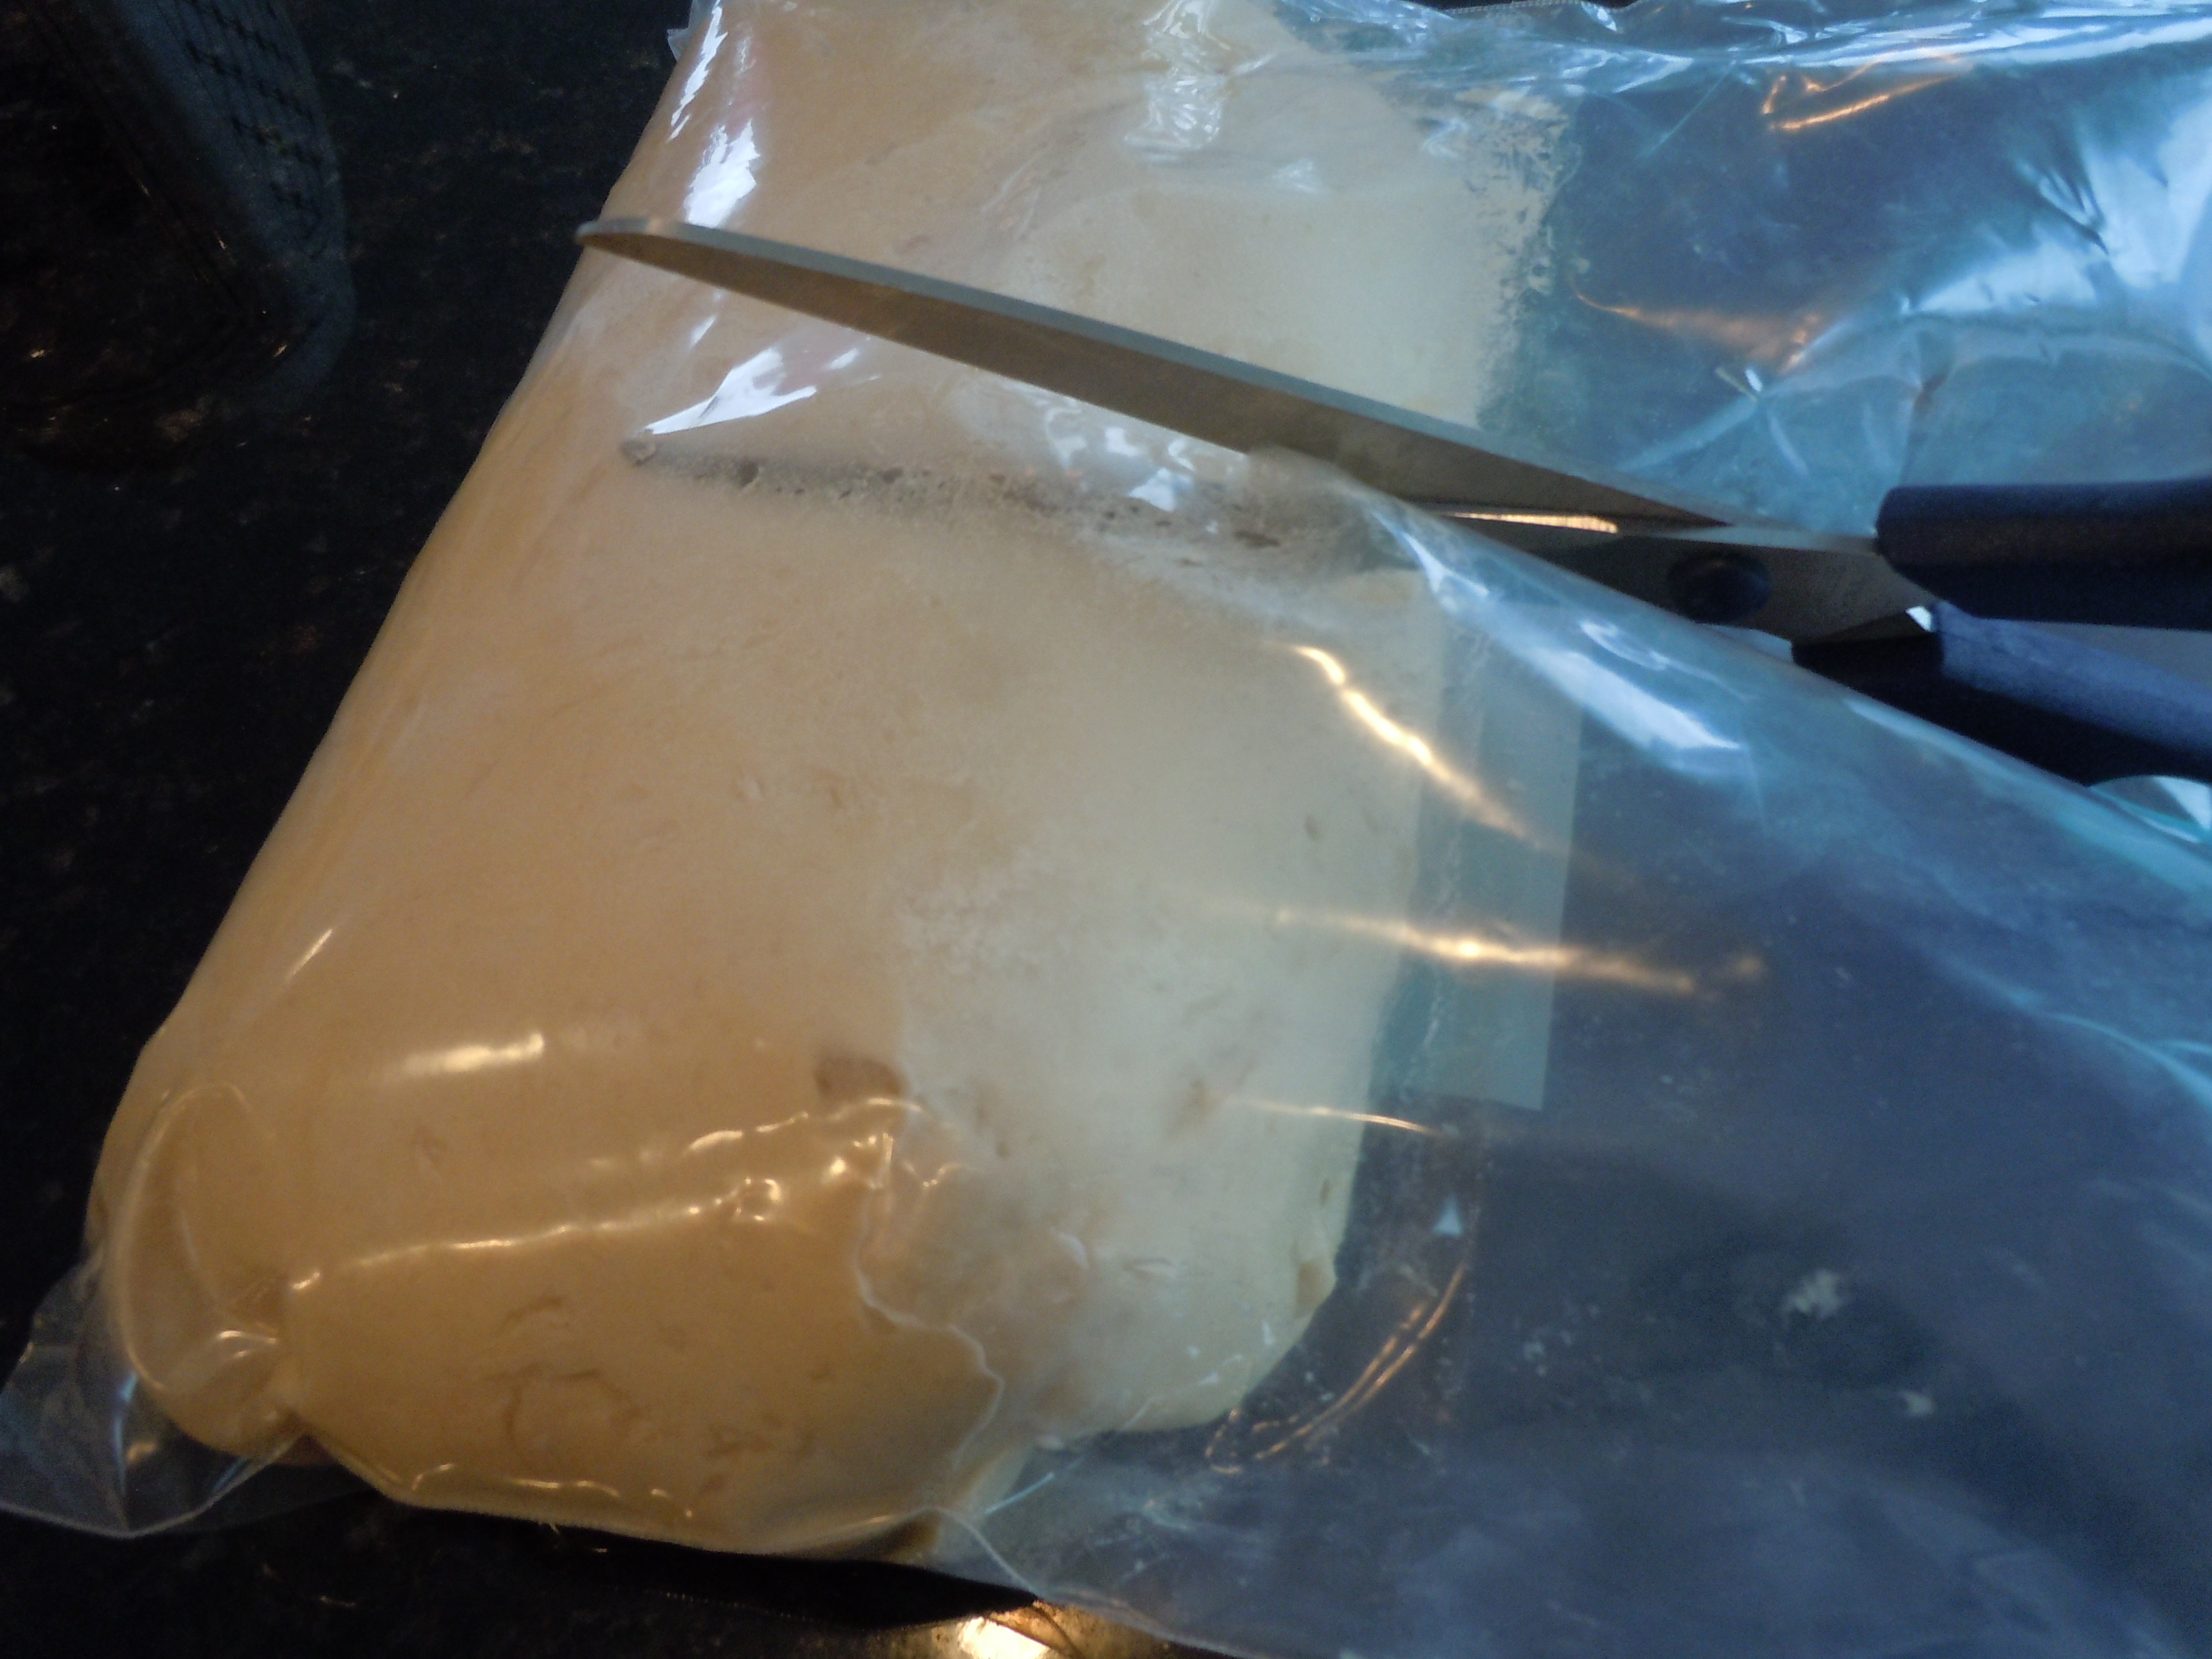
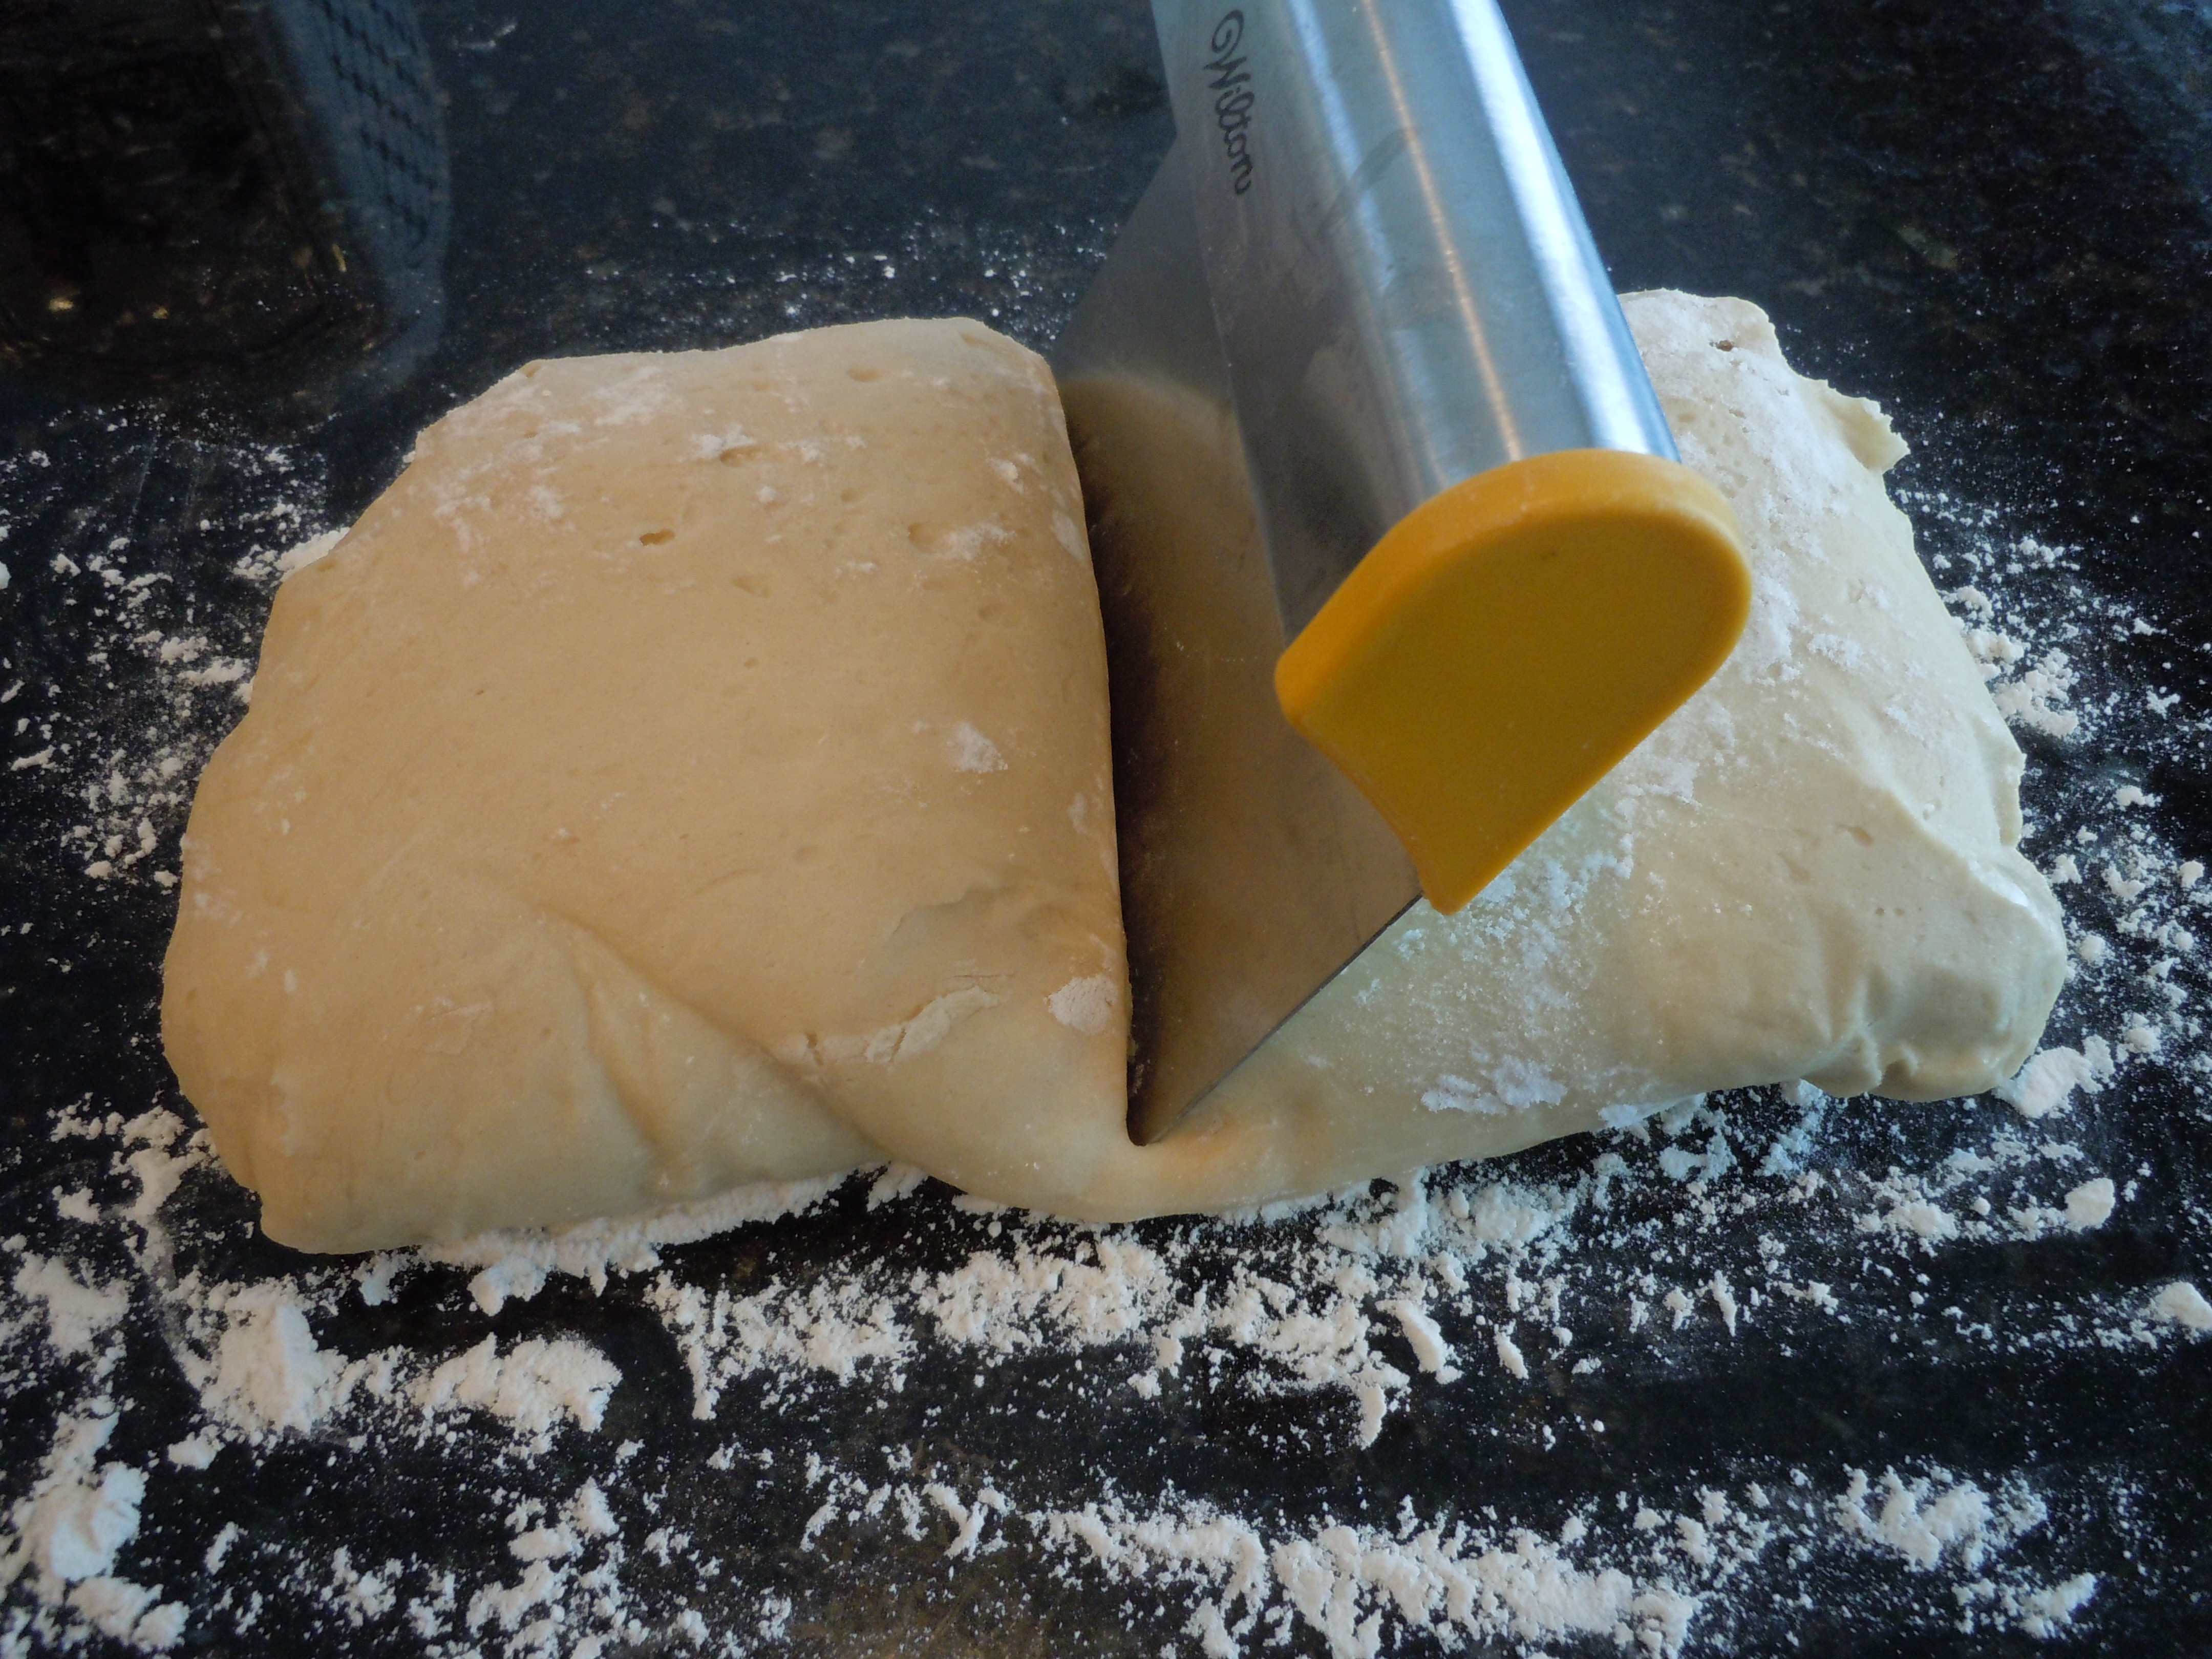
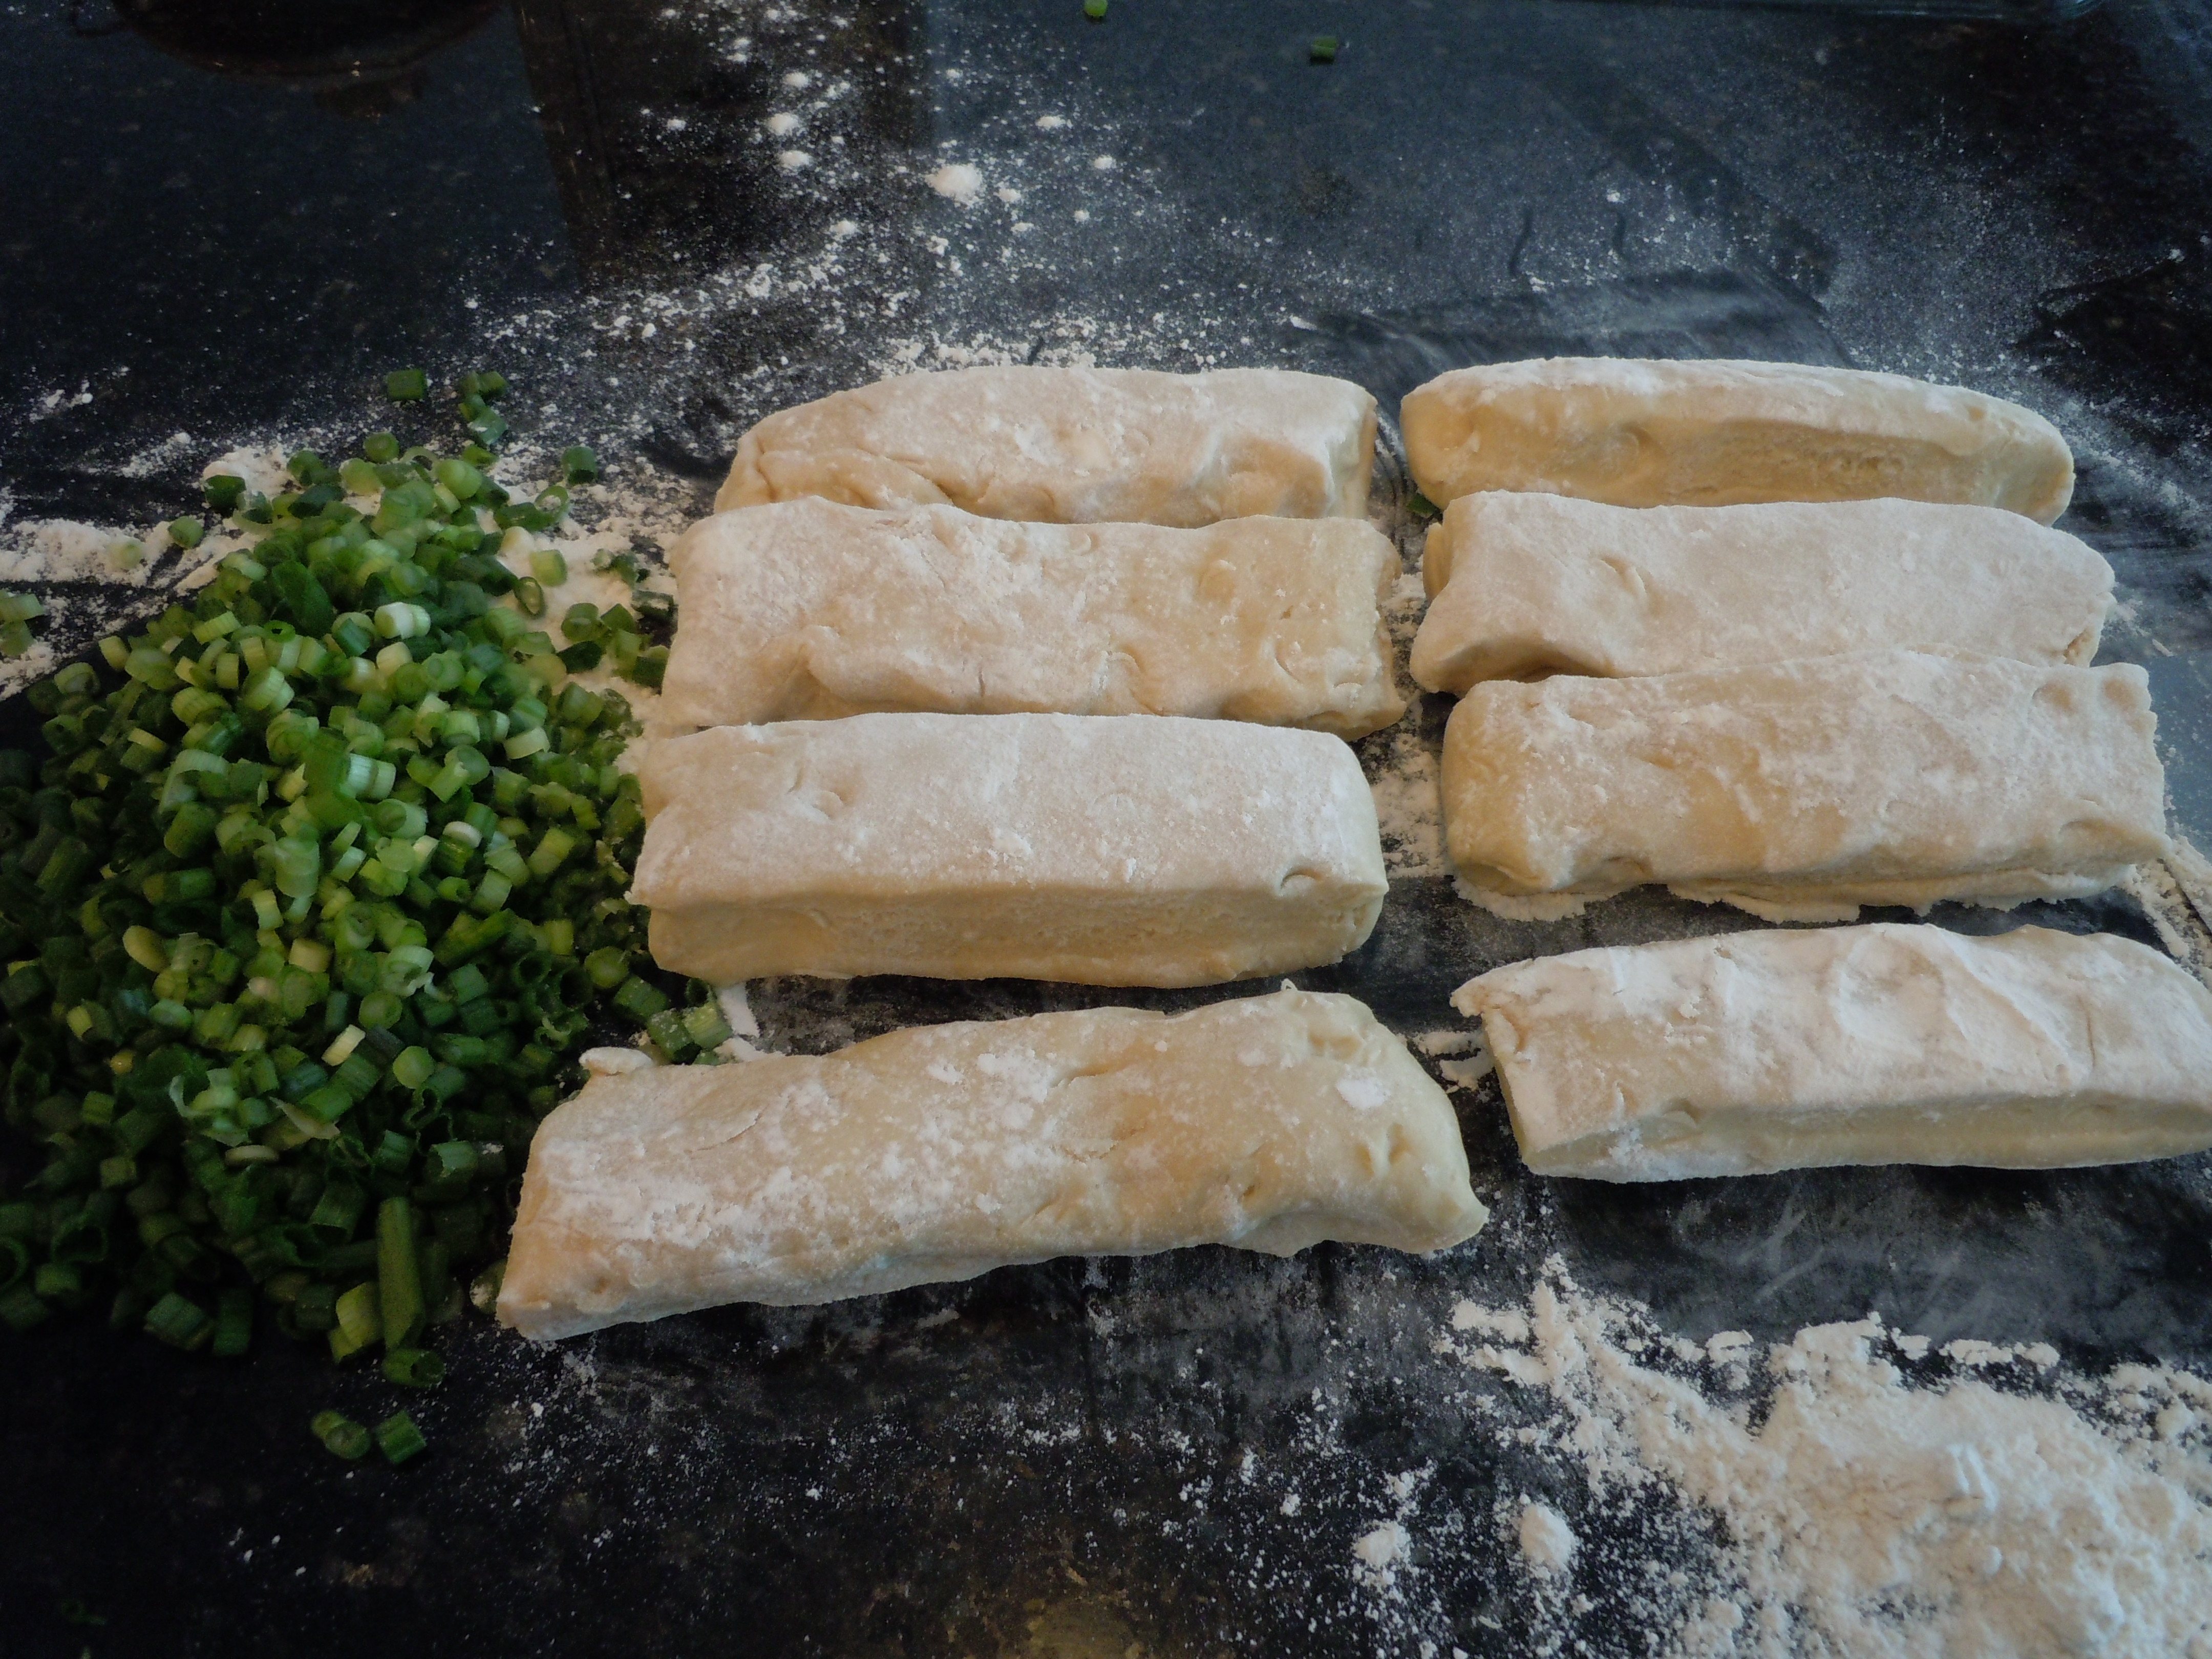
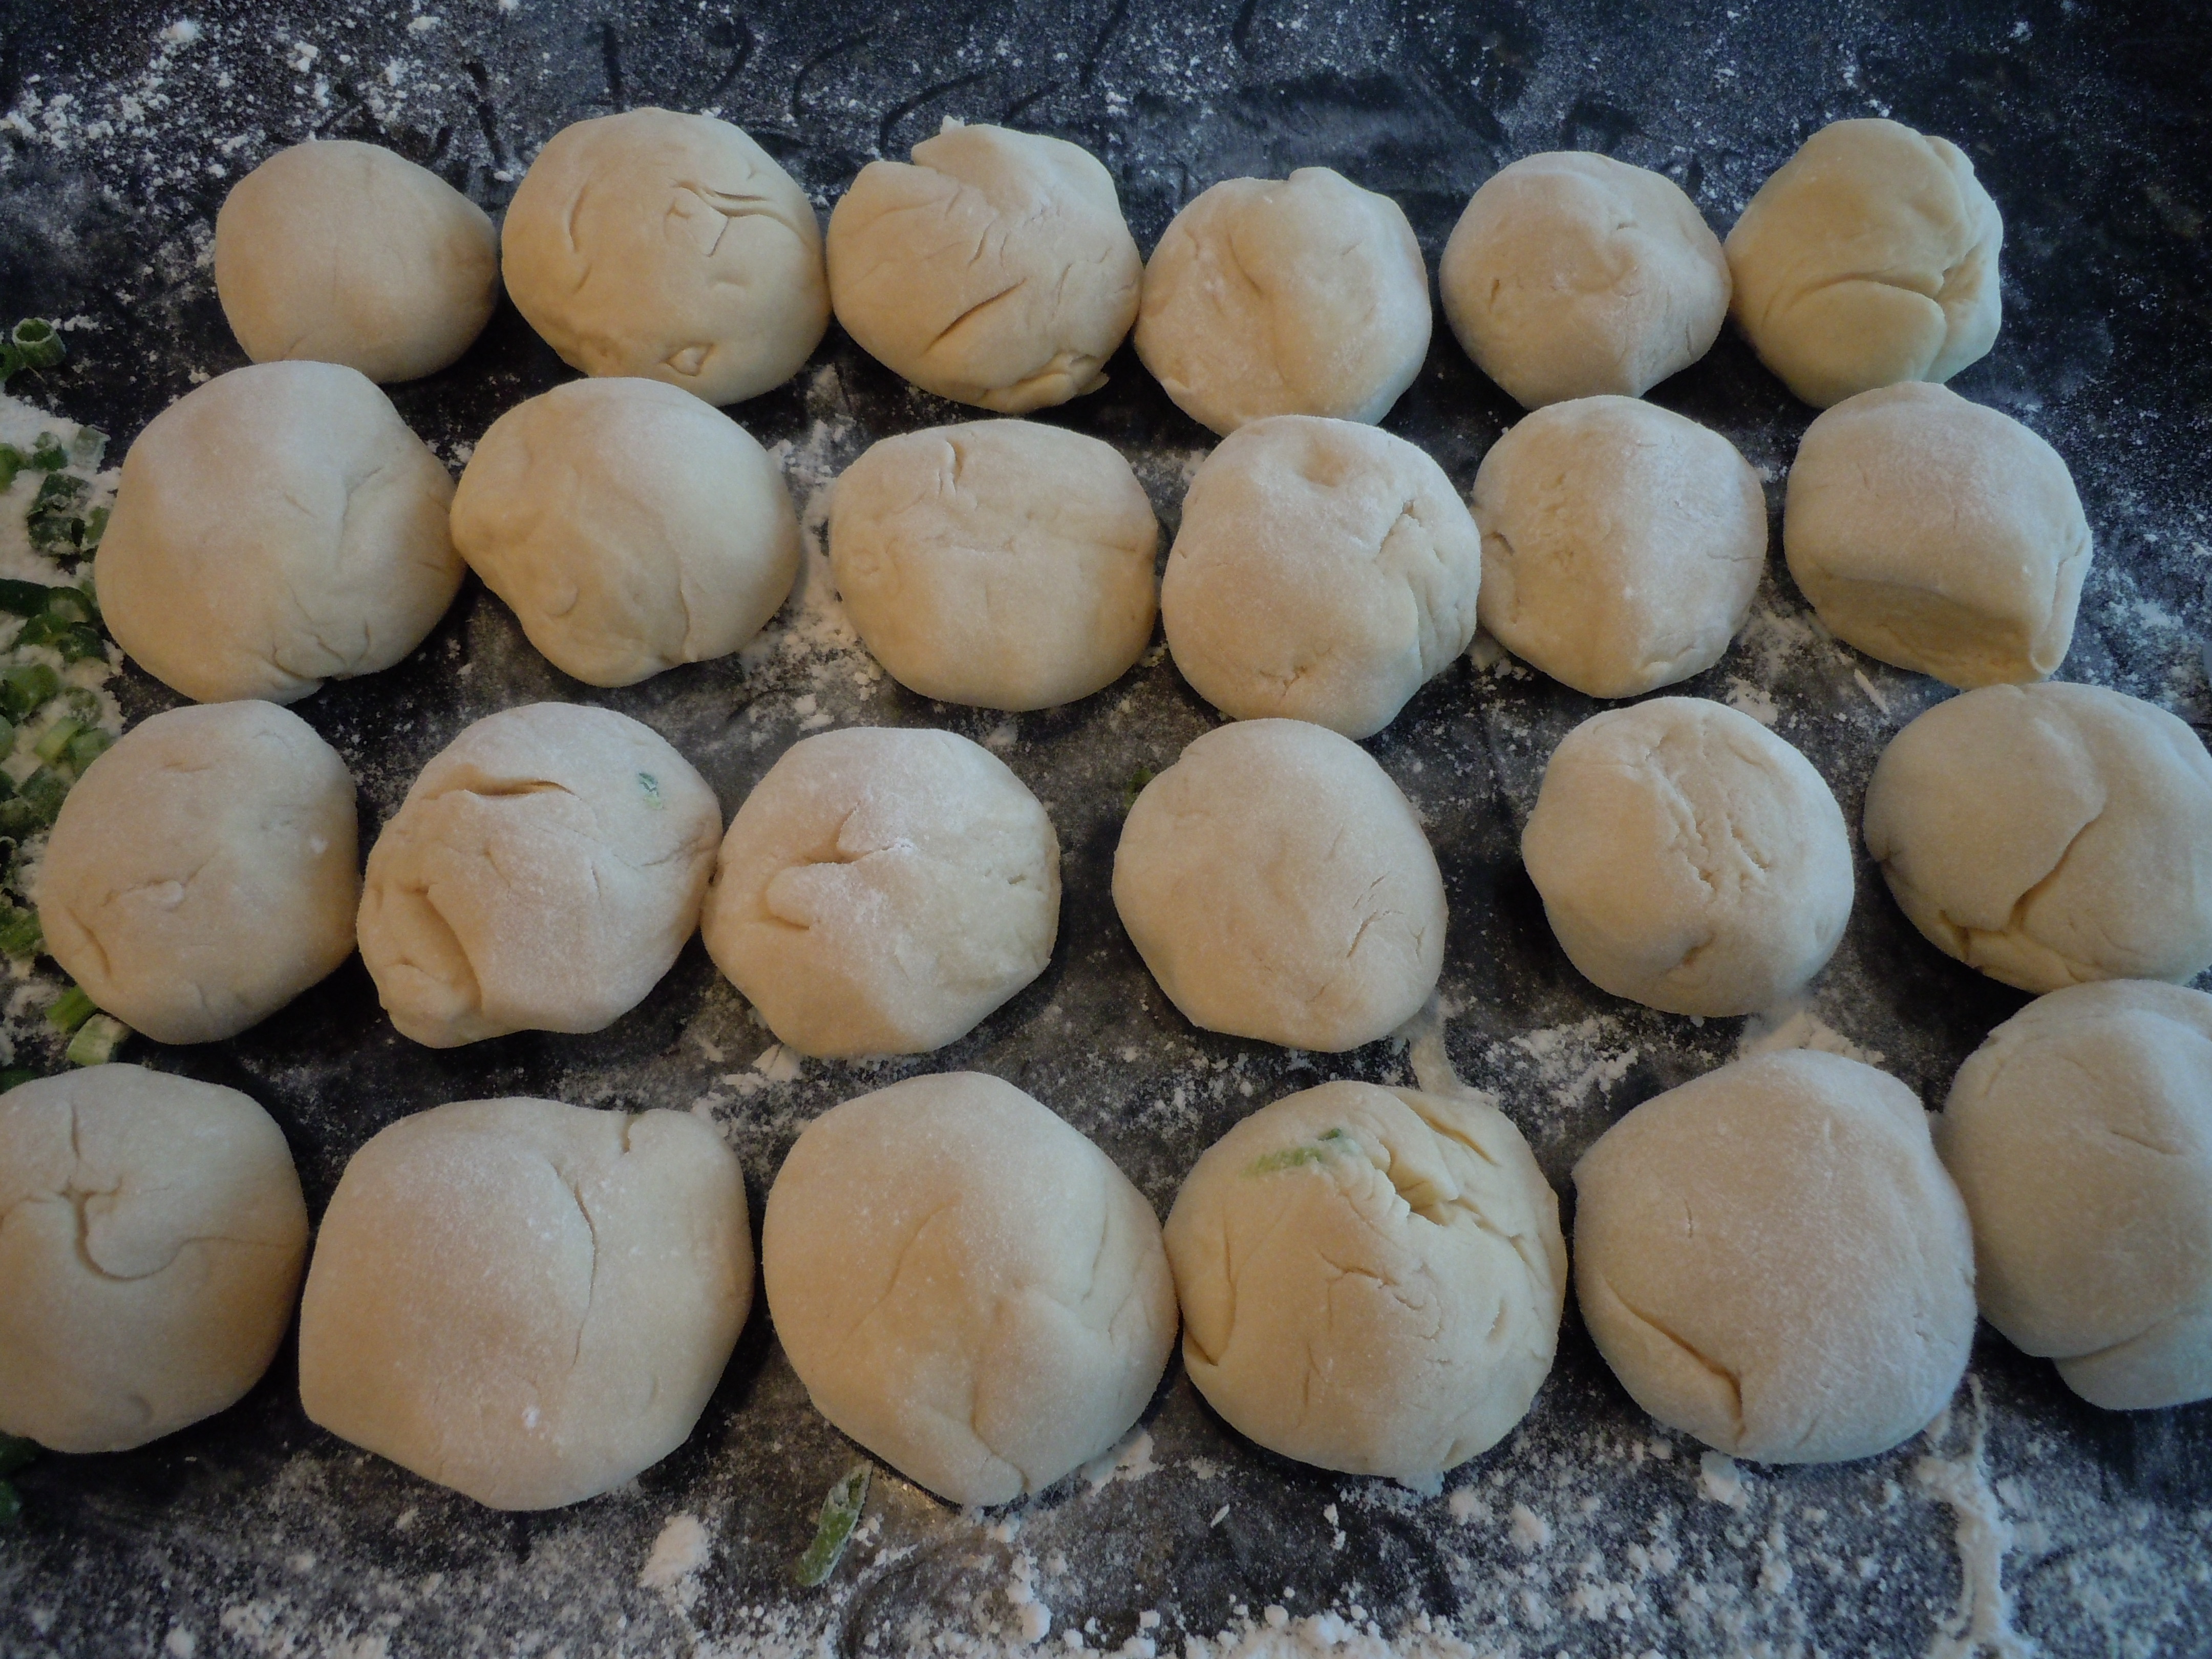
- When you are ready to make the rolls just cut the dough right out of the zip lock with scissors nice and easy…..then turn out the chilled dough onto a floured work surface and divide equally into 24 pieces with a pastry scraper
- Roll each piece into a ball then firmly push into the pile of chopped green onion and freshly chopped rosemary and re-roll into a ball again. You can keep some of the rolls plain.
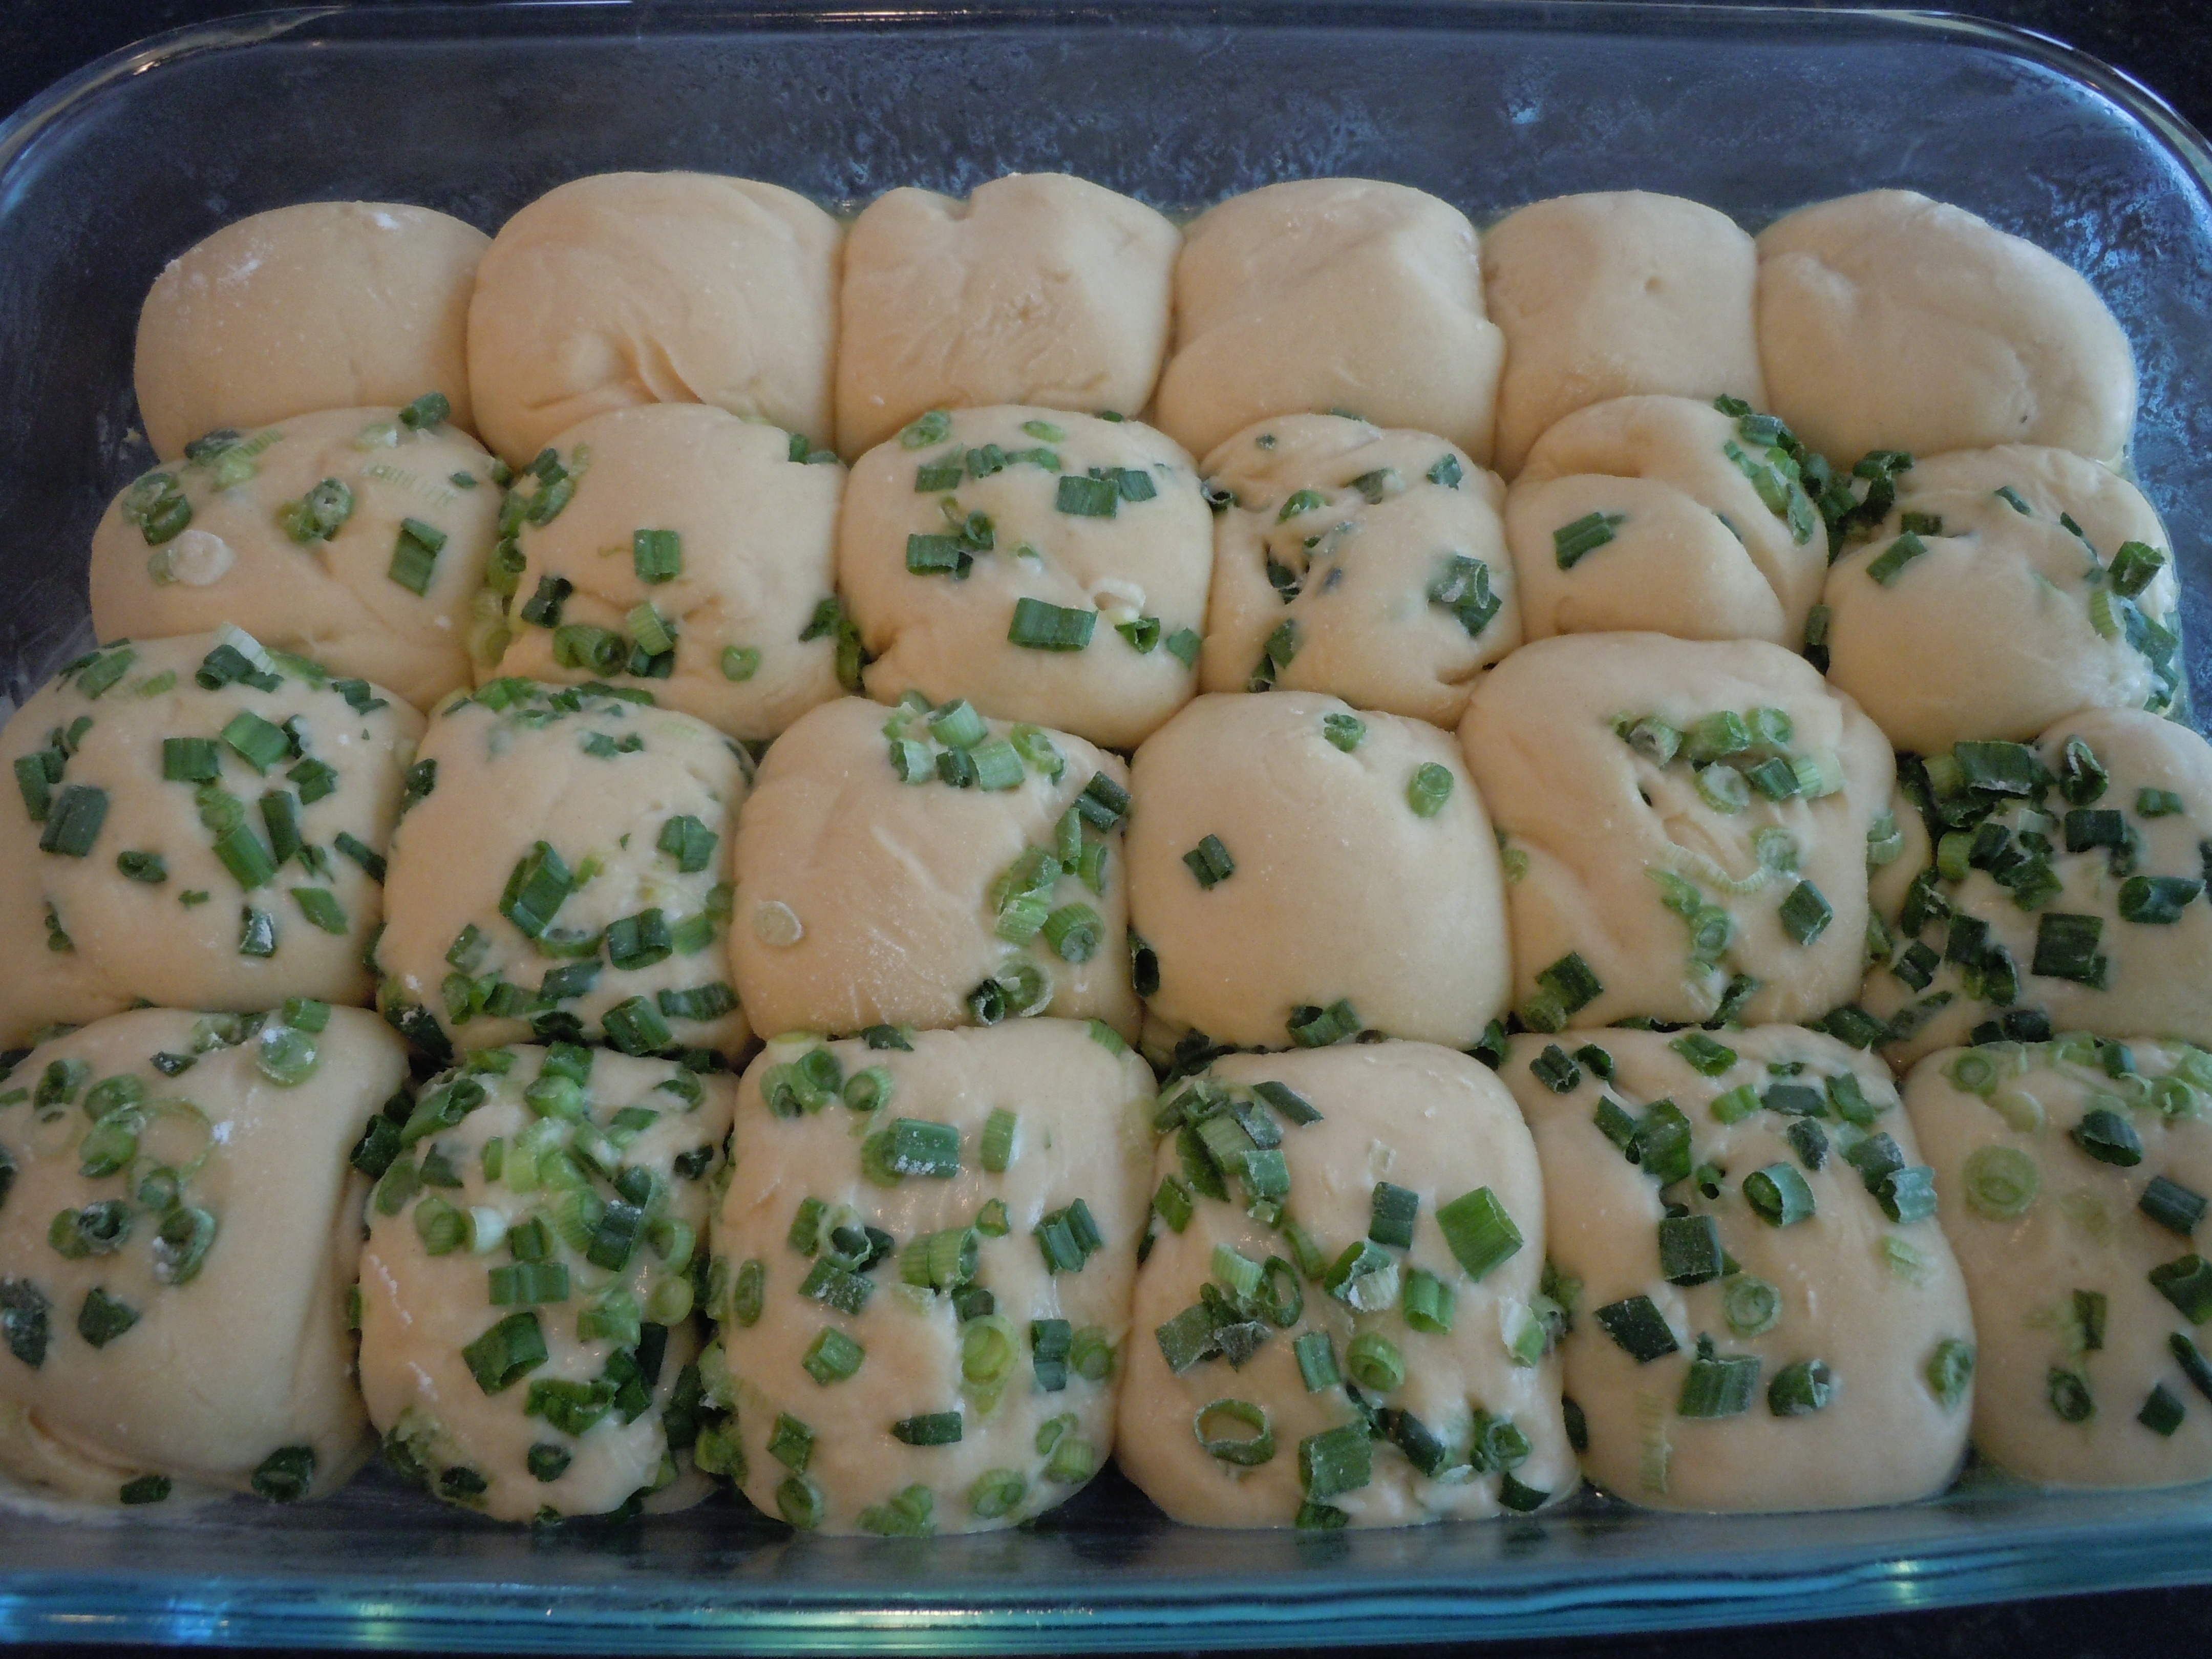
- Coat 4 Tbsp of softened butter all over a cookie tray with 1/2″ sides or a 10″ x 15″ baking dish for taller rolls
- Place the dough balls into the buttered baking tray, cover with Saran wrap and let them rise for 1-2 hours depending how warm your kitchen is (they need to dbl in size) OR you can put them back into the frig until 1 1/2 hours before you need them then take them rolls back out of the frig and let them begin to rise and double in size
- Pre-Heat the oven to 375º
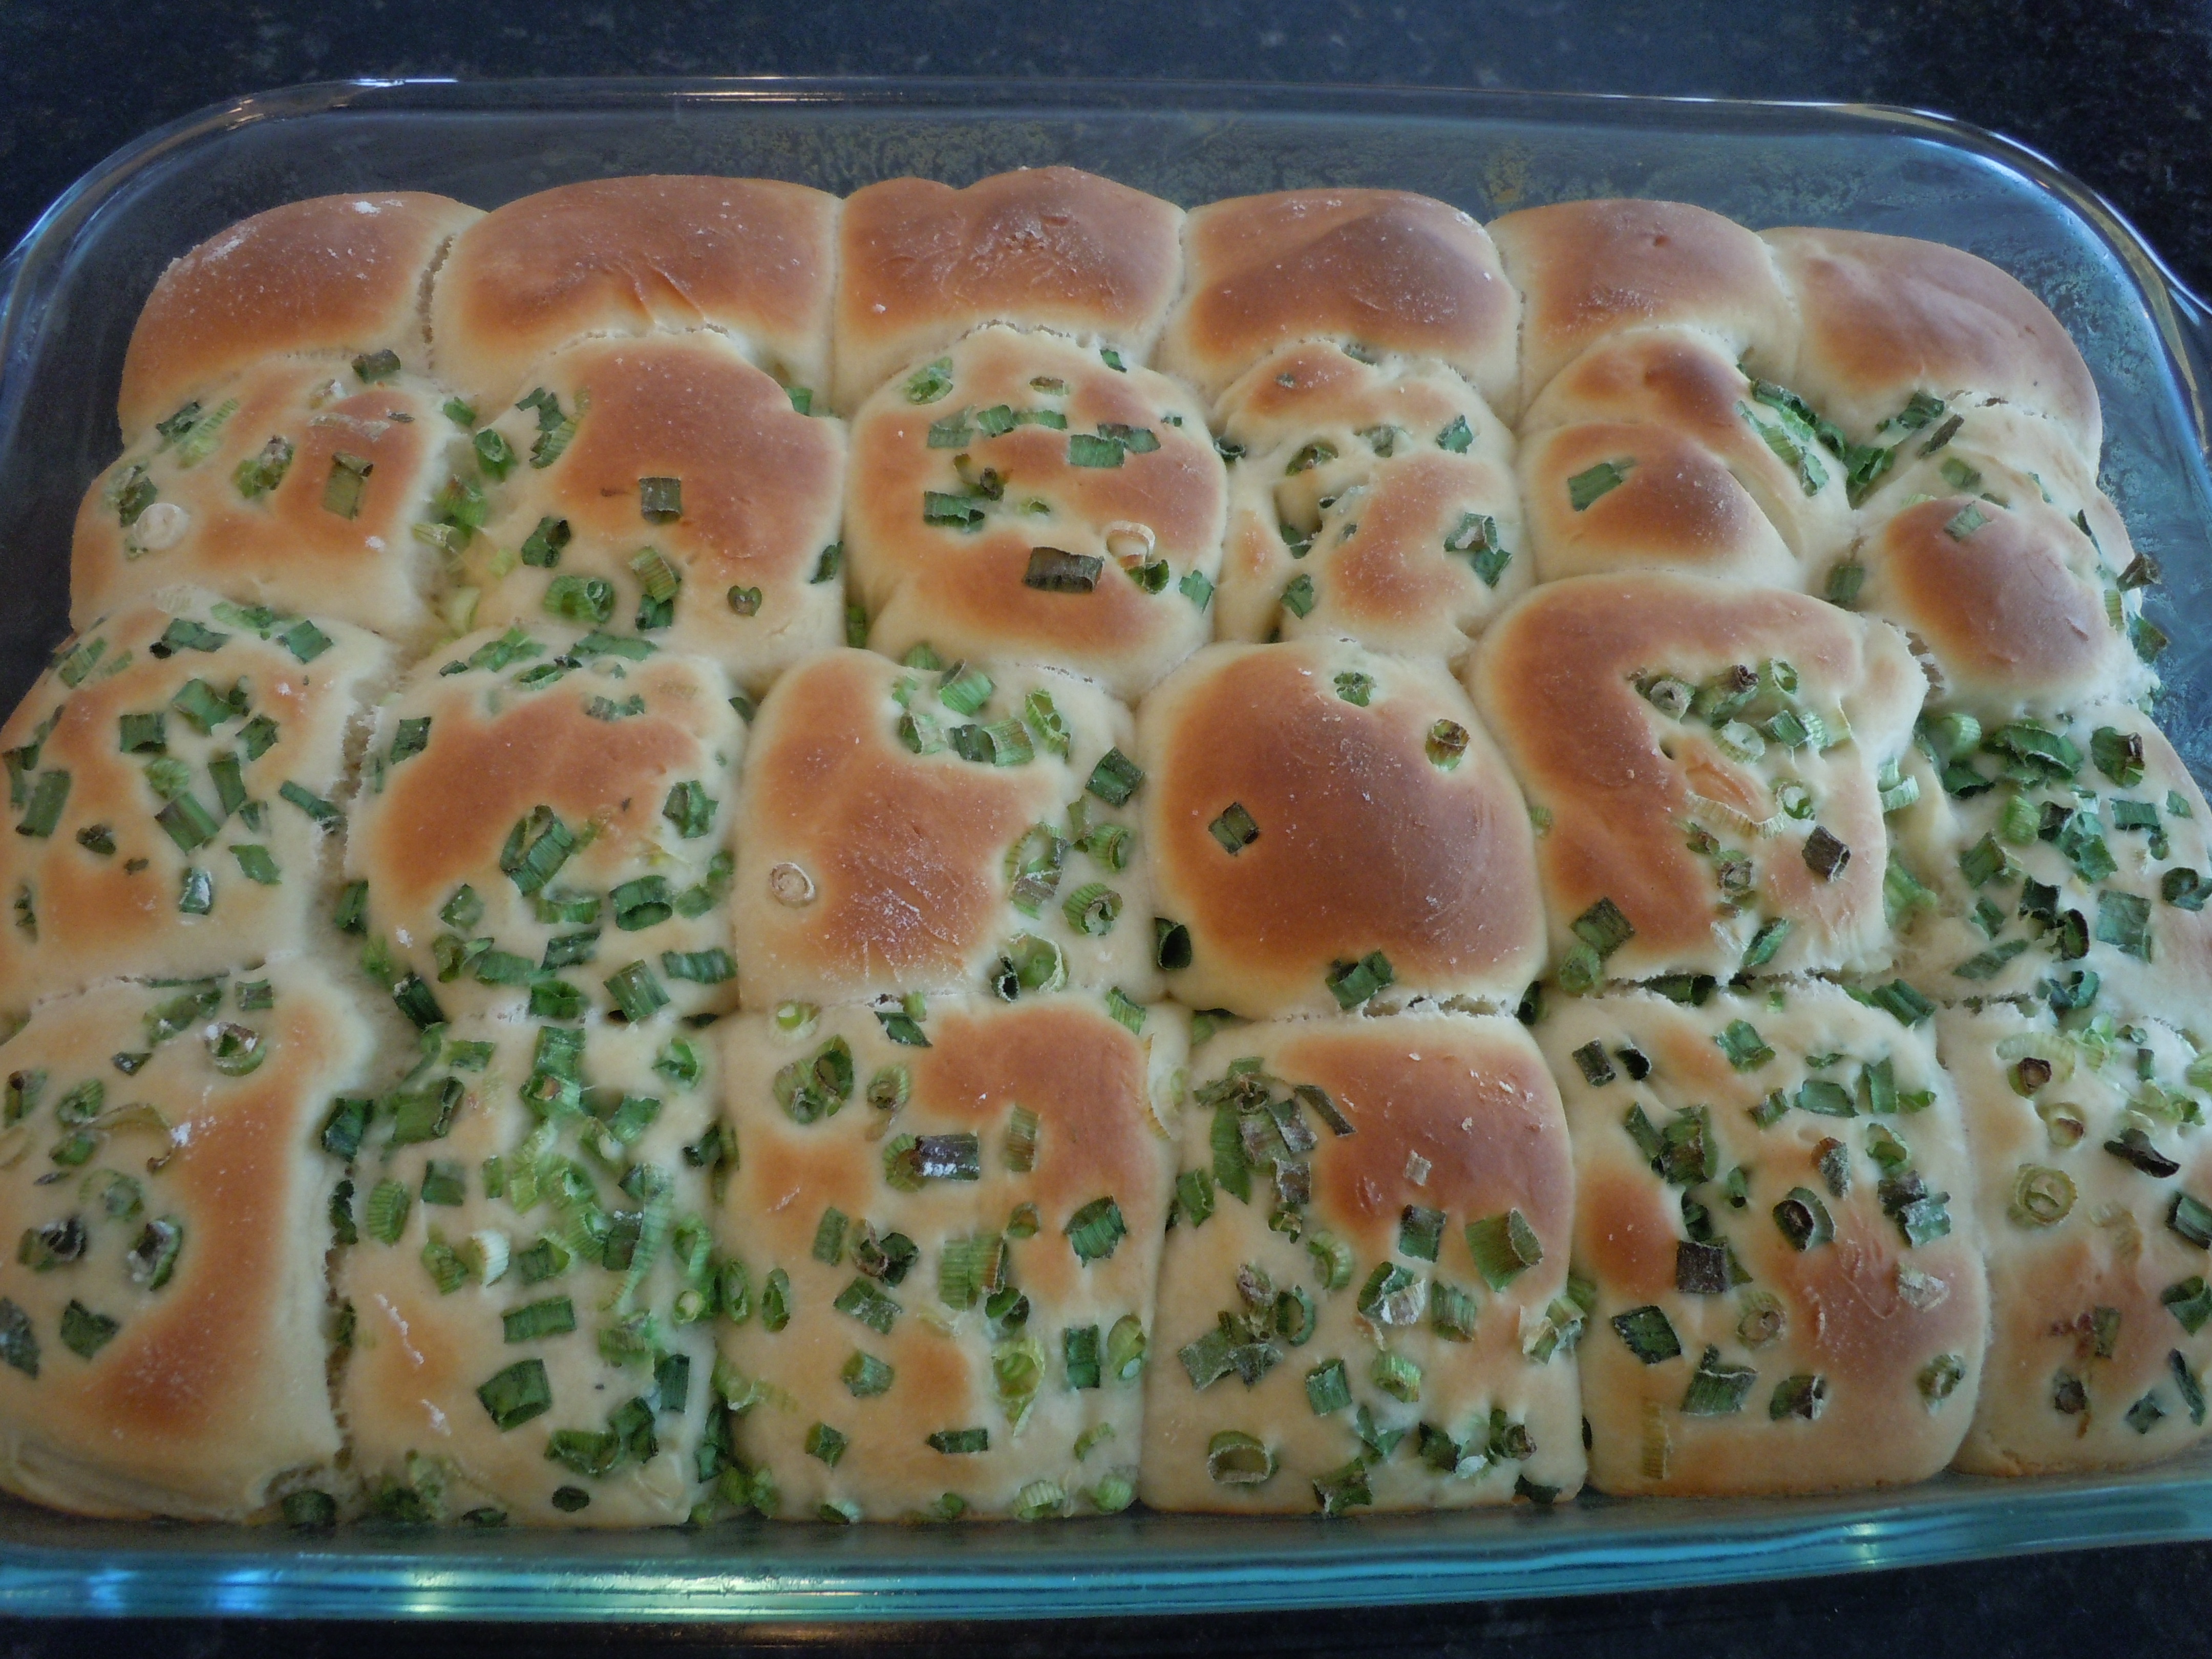
- Whisk 1 whole egg with 1 tbsp water and brush a good coating onto the rolls after they rise and before putting them into the oven
- Bake for 13-18 minutes until a dark golden color…it depends how warm the rolls got while rising so you’ll need to peak at them to see if they’re golden yet.
TIP: It’s a good idea to warm the stainless steel mixing bowl by running hot water into it before you begin so the cold bowl doesn’t take the necessary temperature of the water down.