Best Blueberry Pie!
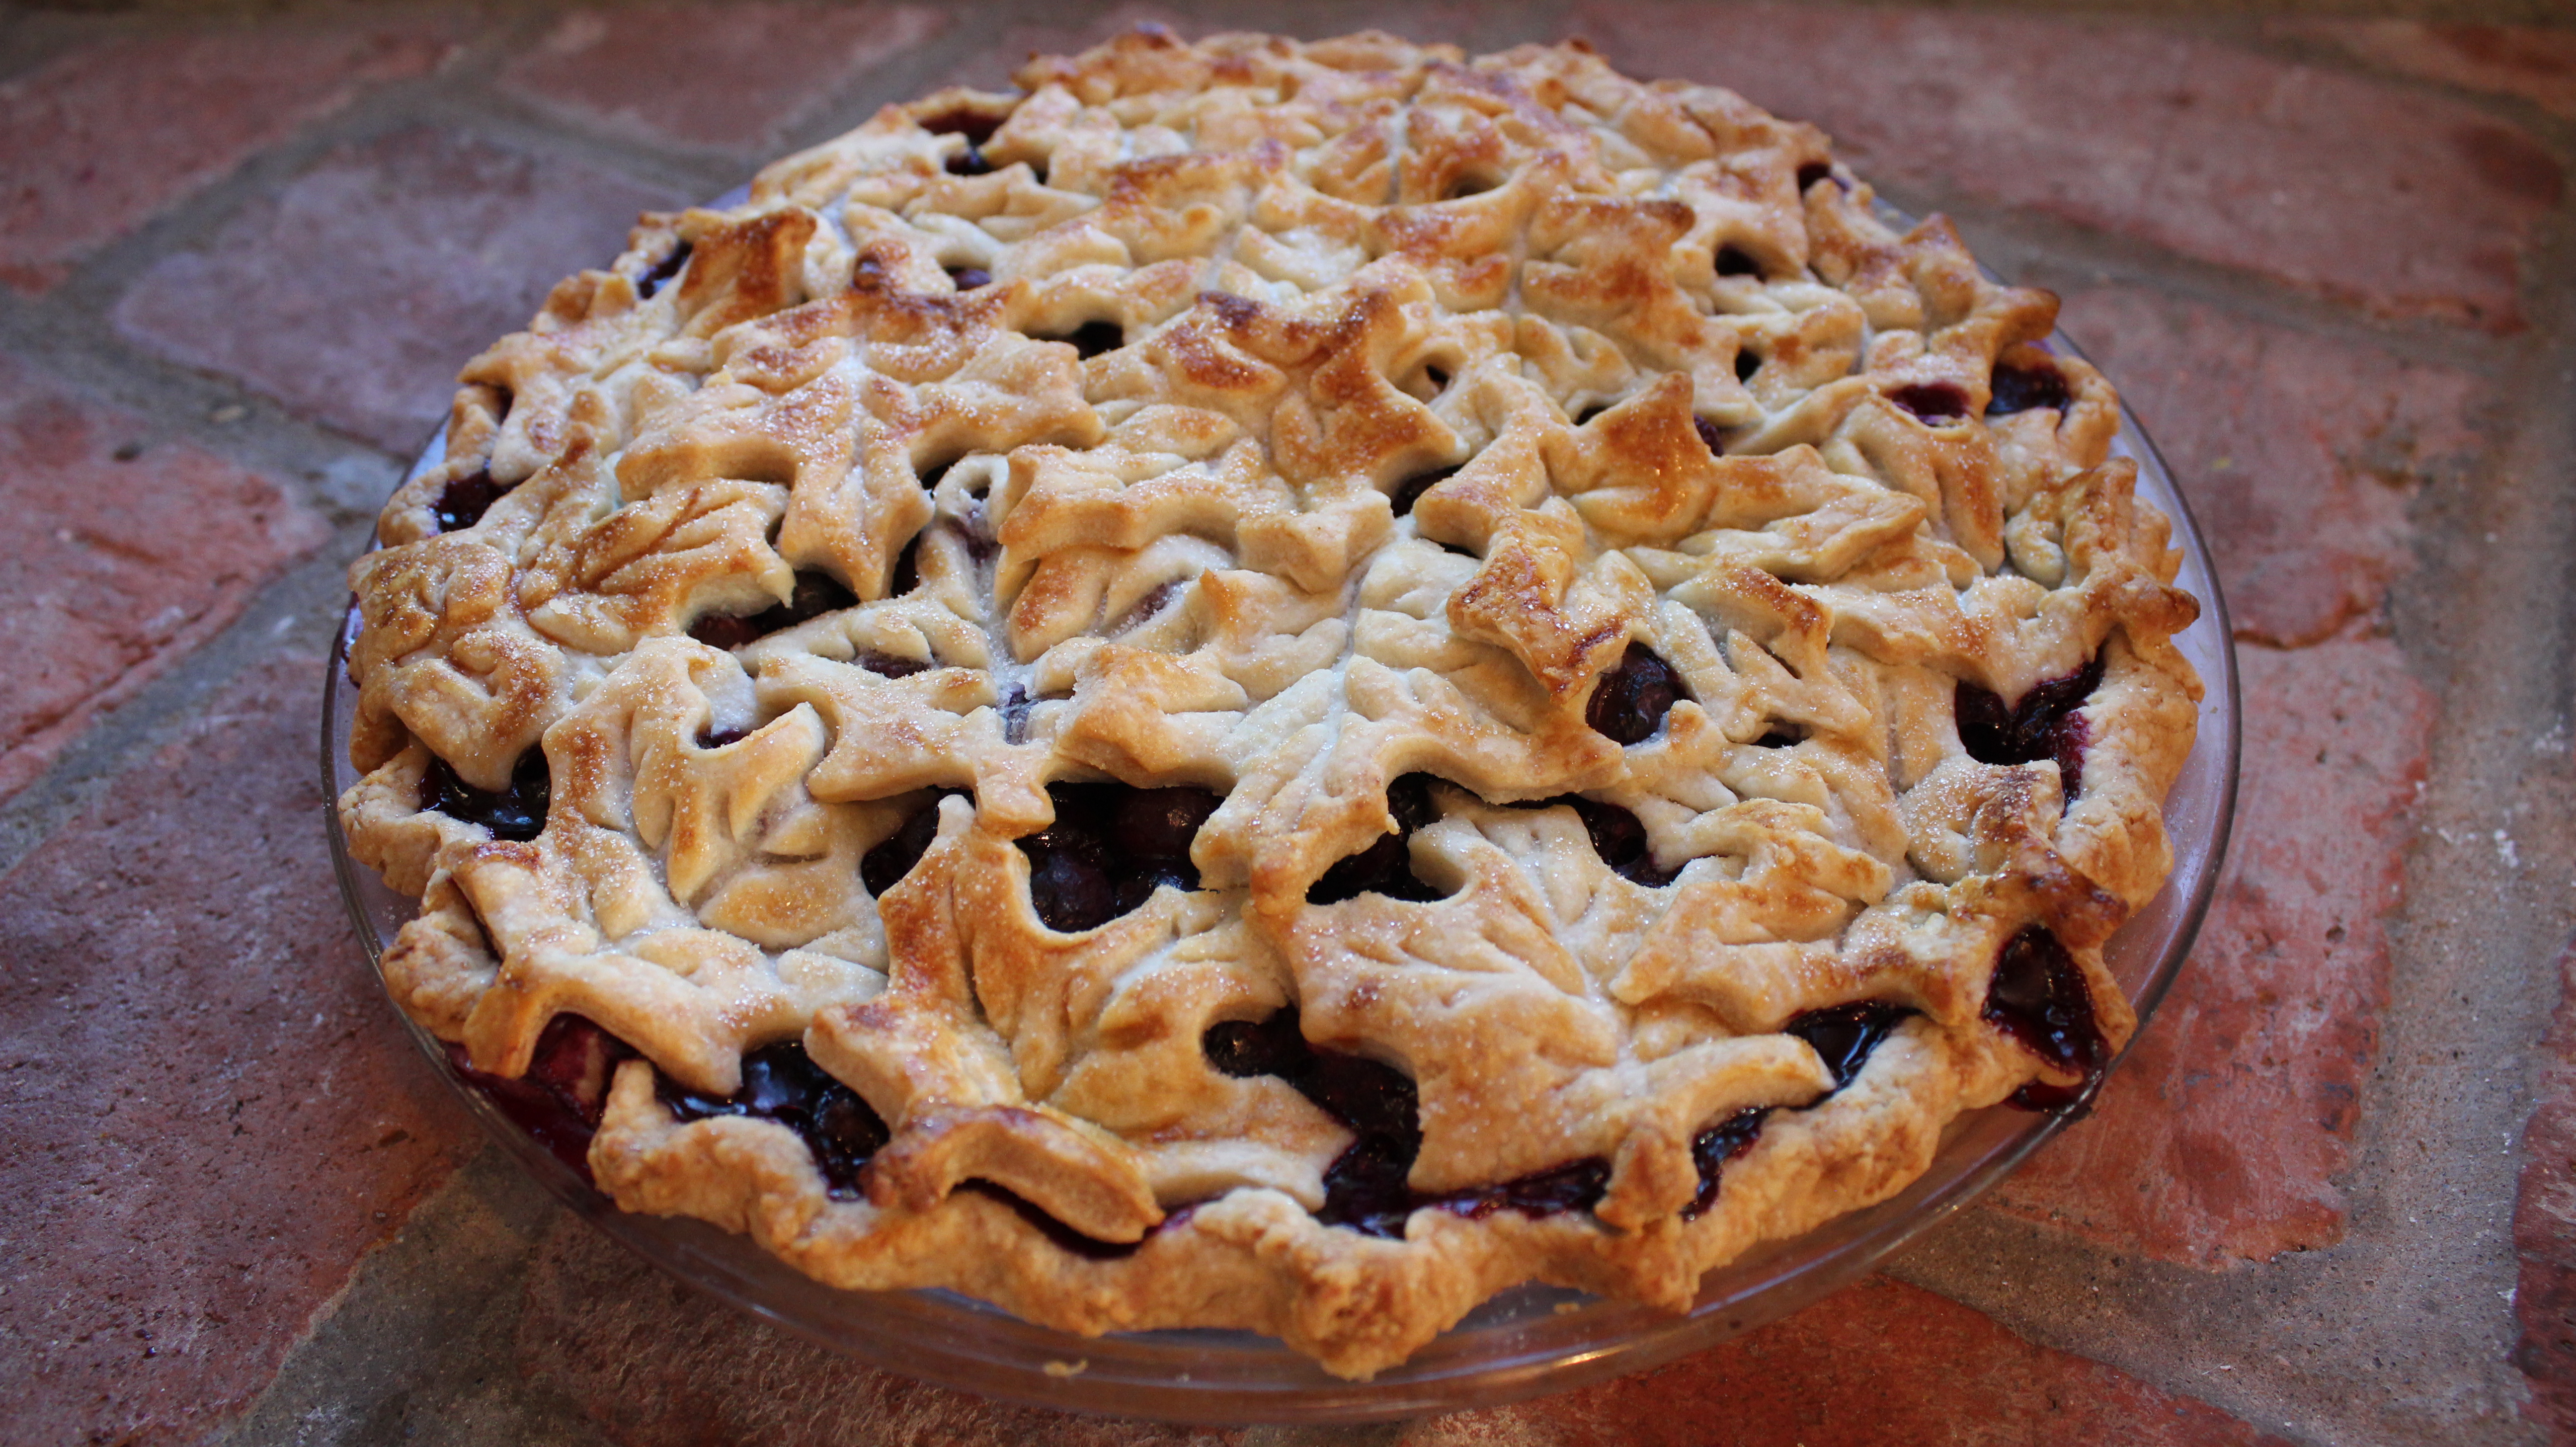
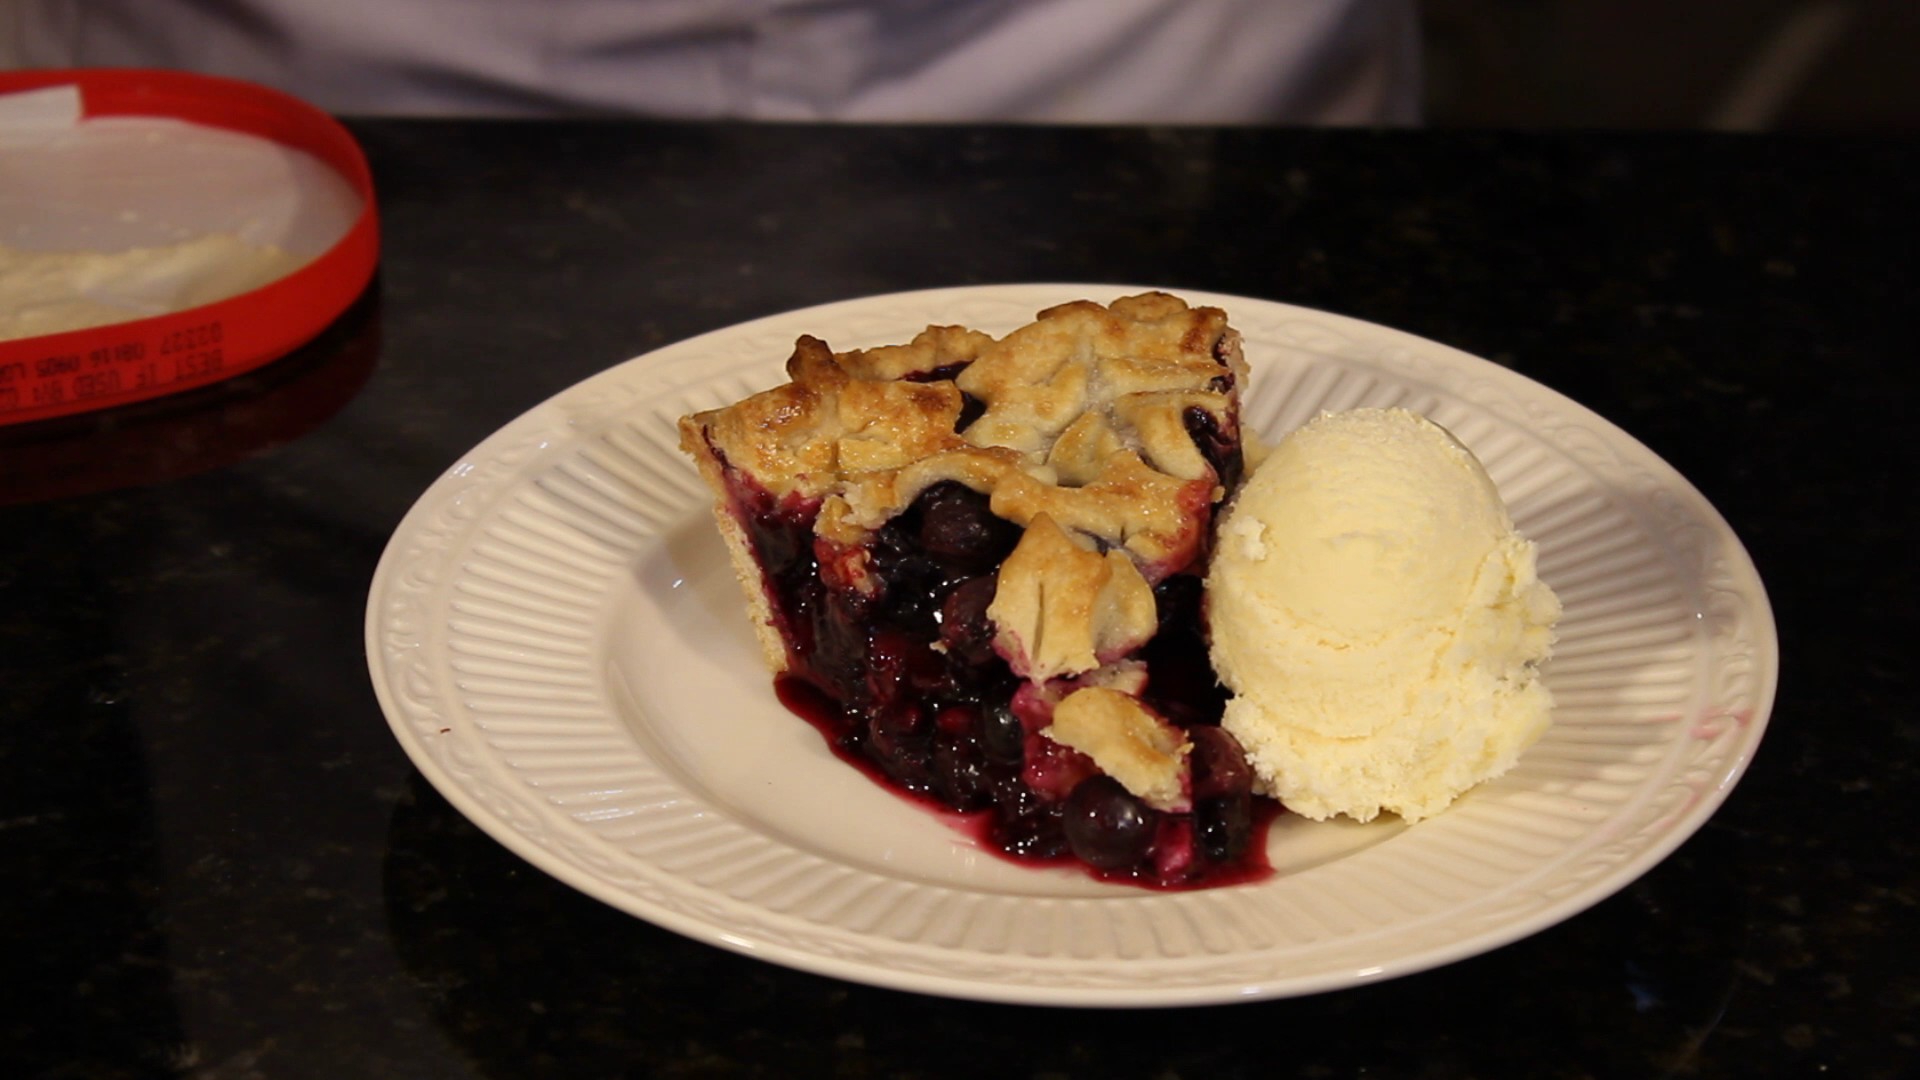
There’s nothing like fresh blueberries simmering in a buttery, flaky pie crust with aromatic fruit juices getting bubbly and syrupy. It’s tough to let this mouth watering concoction cool for three hours when all you really want to do is scoop some vanilla ice cream over a slice letting the cream melt onto the crispy crust and gooey berries submerging oneself into pie heaven! This might just be the perfect dessert bite!
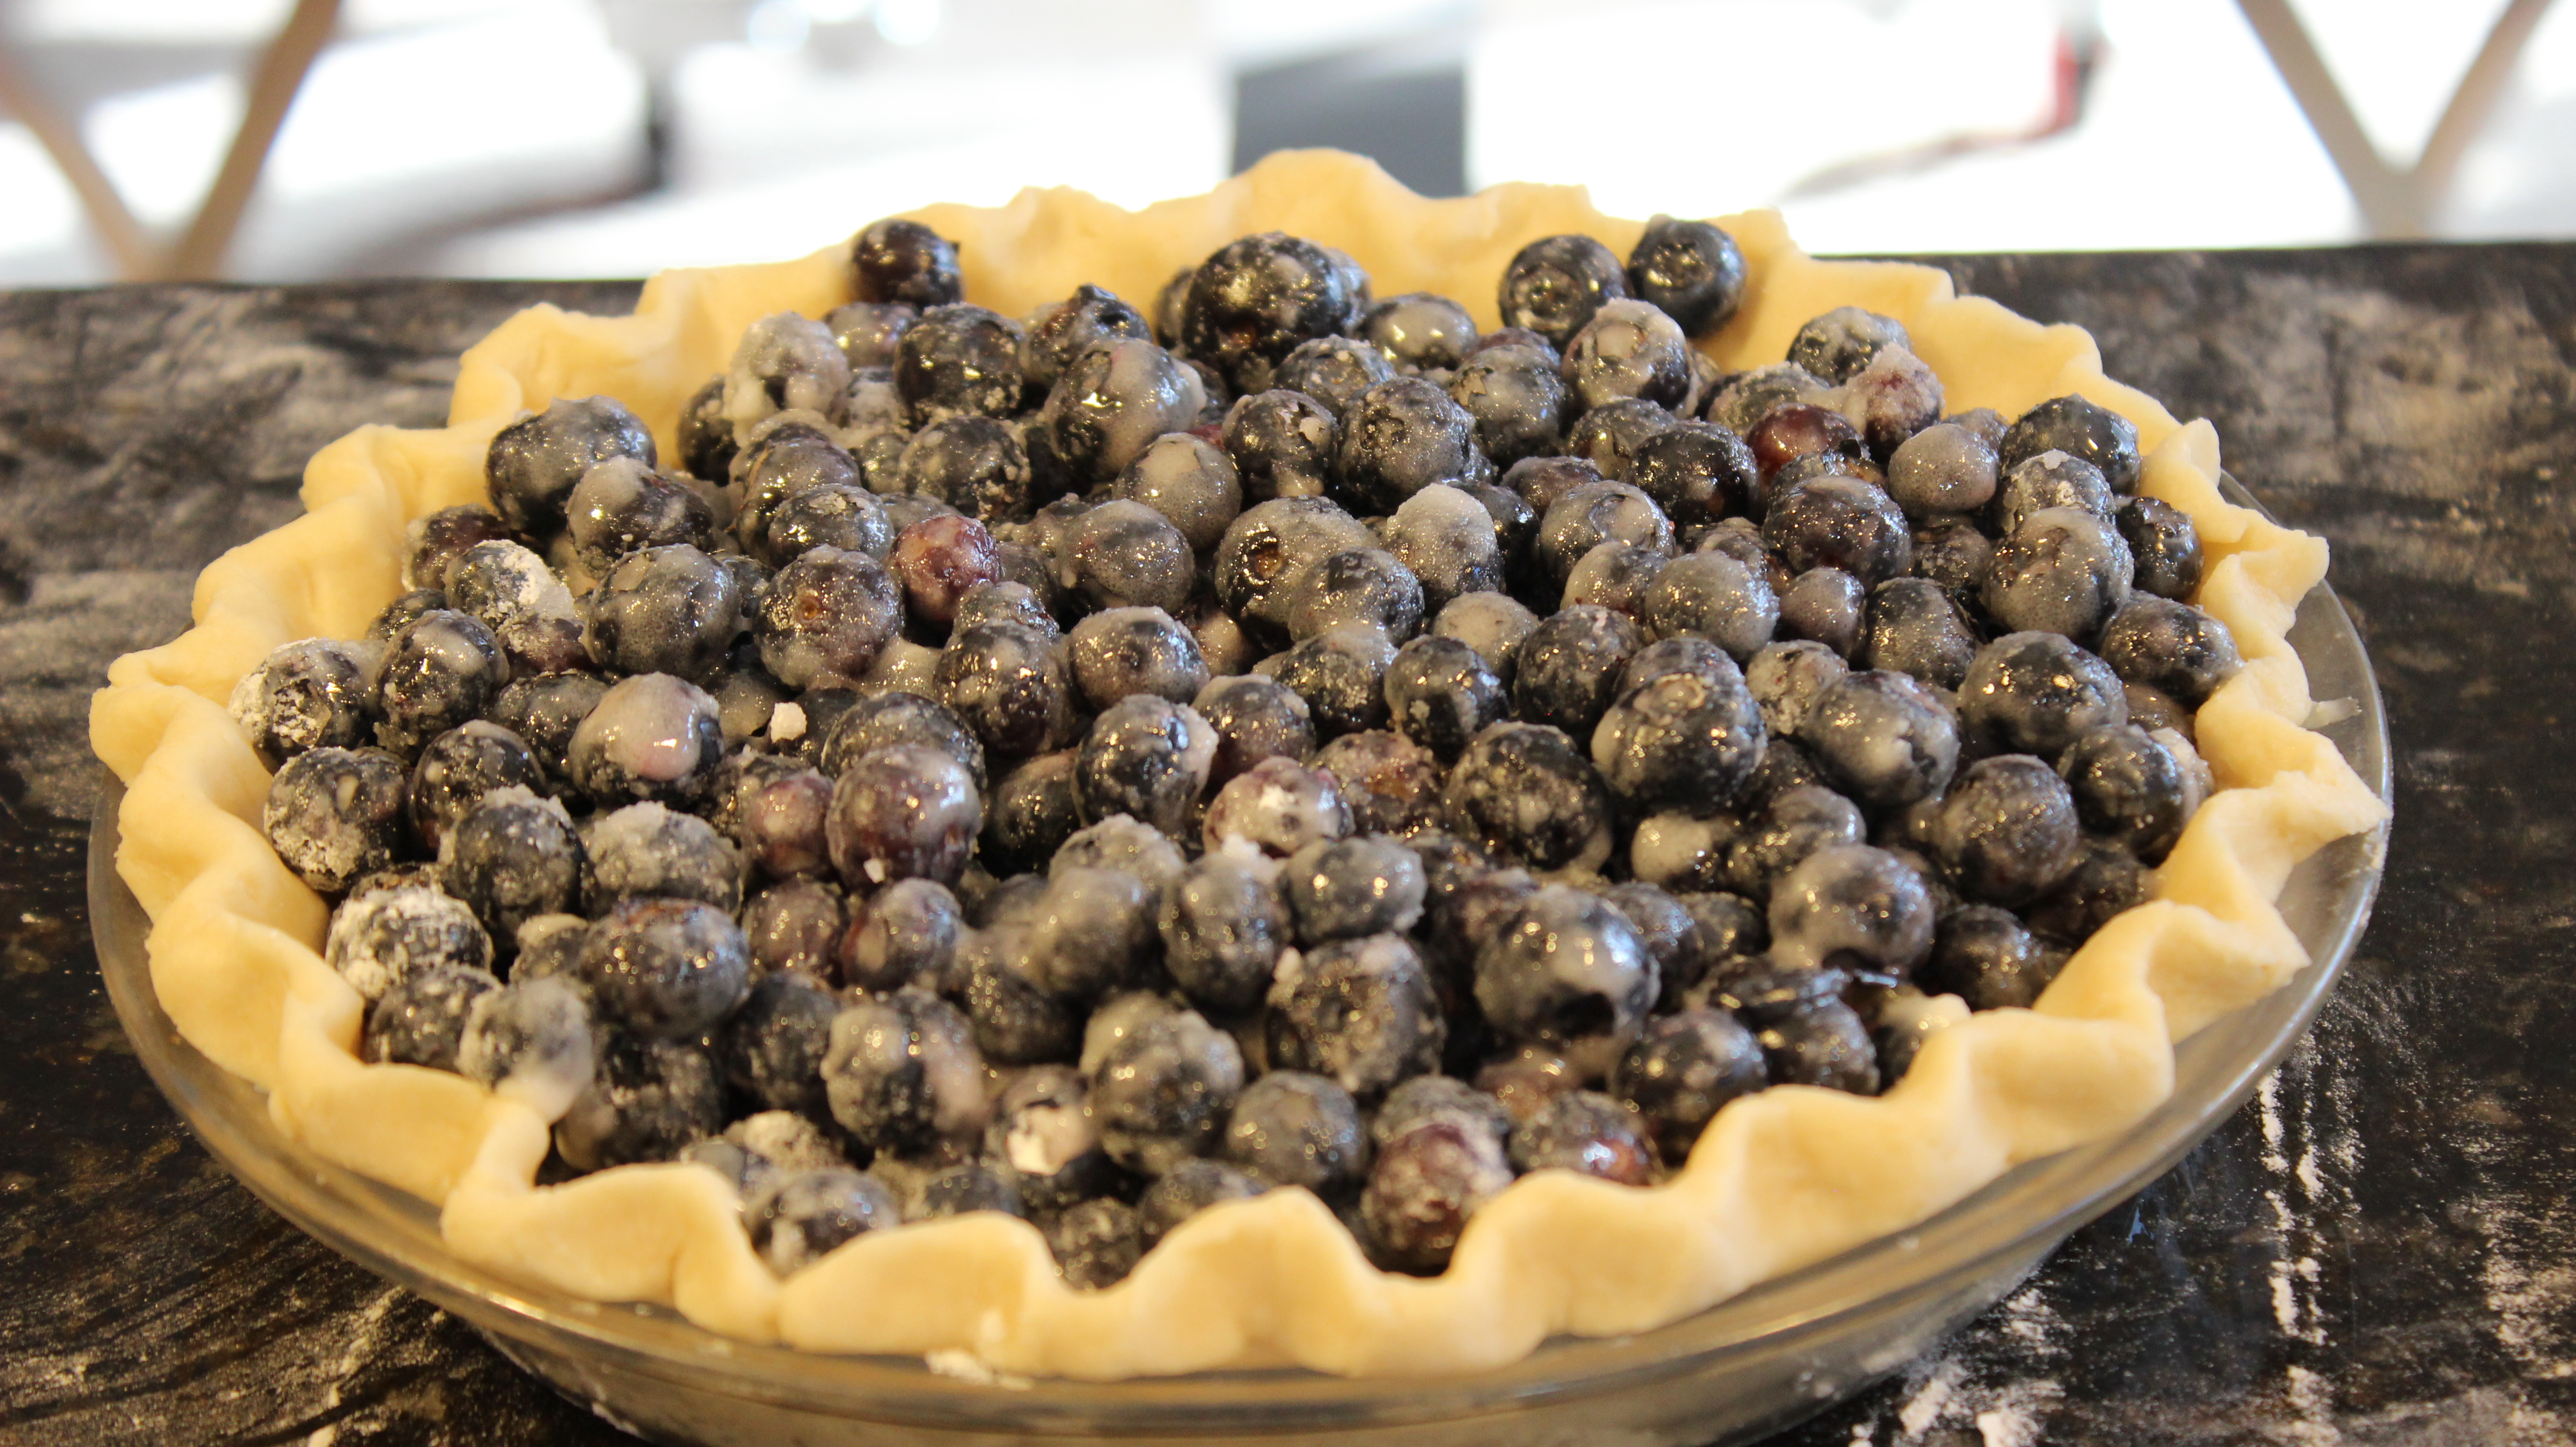
There are recipes out there that have you use flour as a thickener in some fruit pies but with this best blueberry pie recipe I think it’s important to use cornstarch. Blueberries release so much juice the best one for the job is cornstarch. You can add orange zest or lemon zest to brighten up the flavors and then there’s always cinnamon or nutmeg. Blueberries happen to be one of my favorite fruits and I feel that they are already flavorful enough so I only add one tablespoon of fresh lemon juice to balance everything out. Blueberries are also considered to be one of the healthiest fruits out there offering up one of the highest levels of antioxidants of all fruits and vegetables so I think it’s a win-win here!
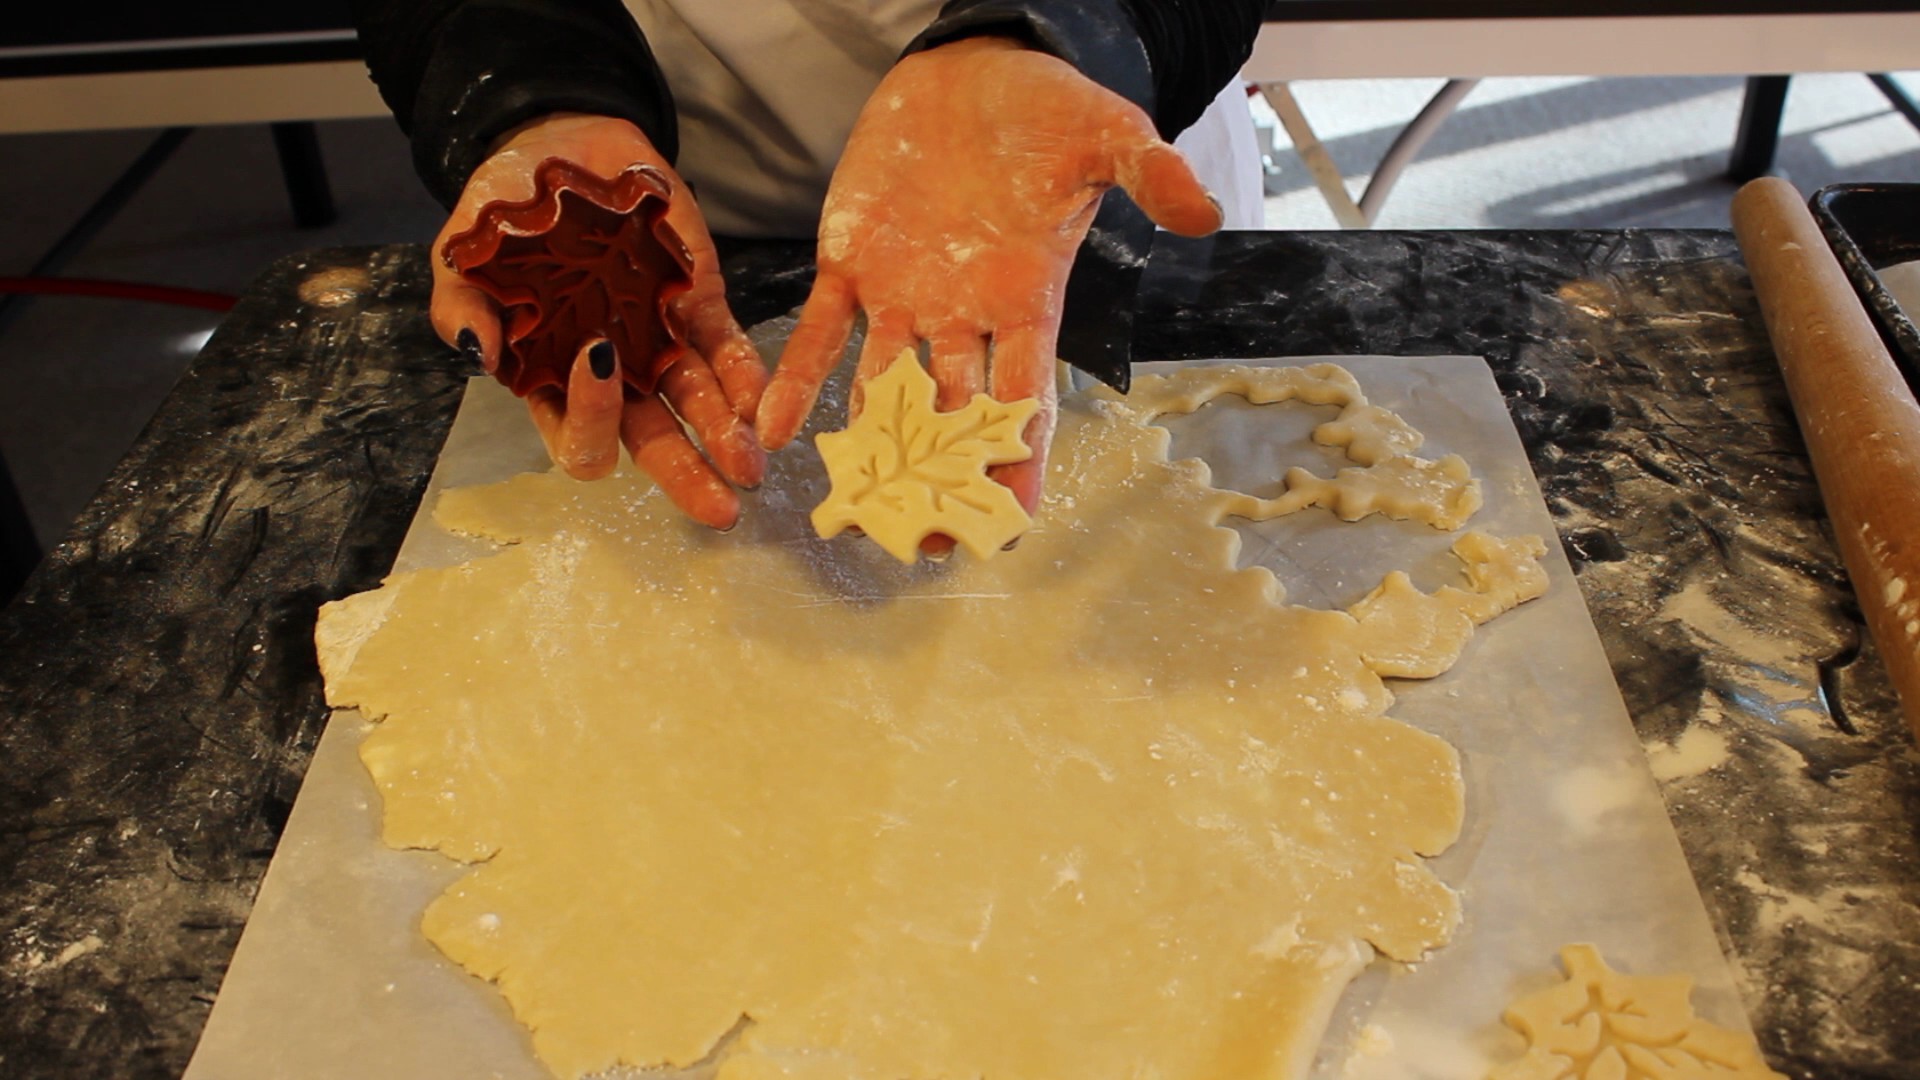
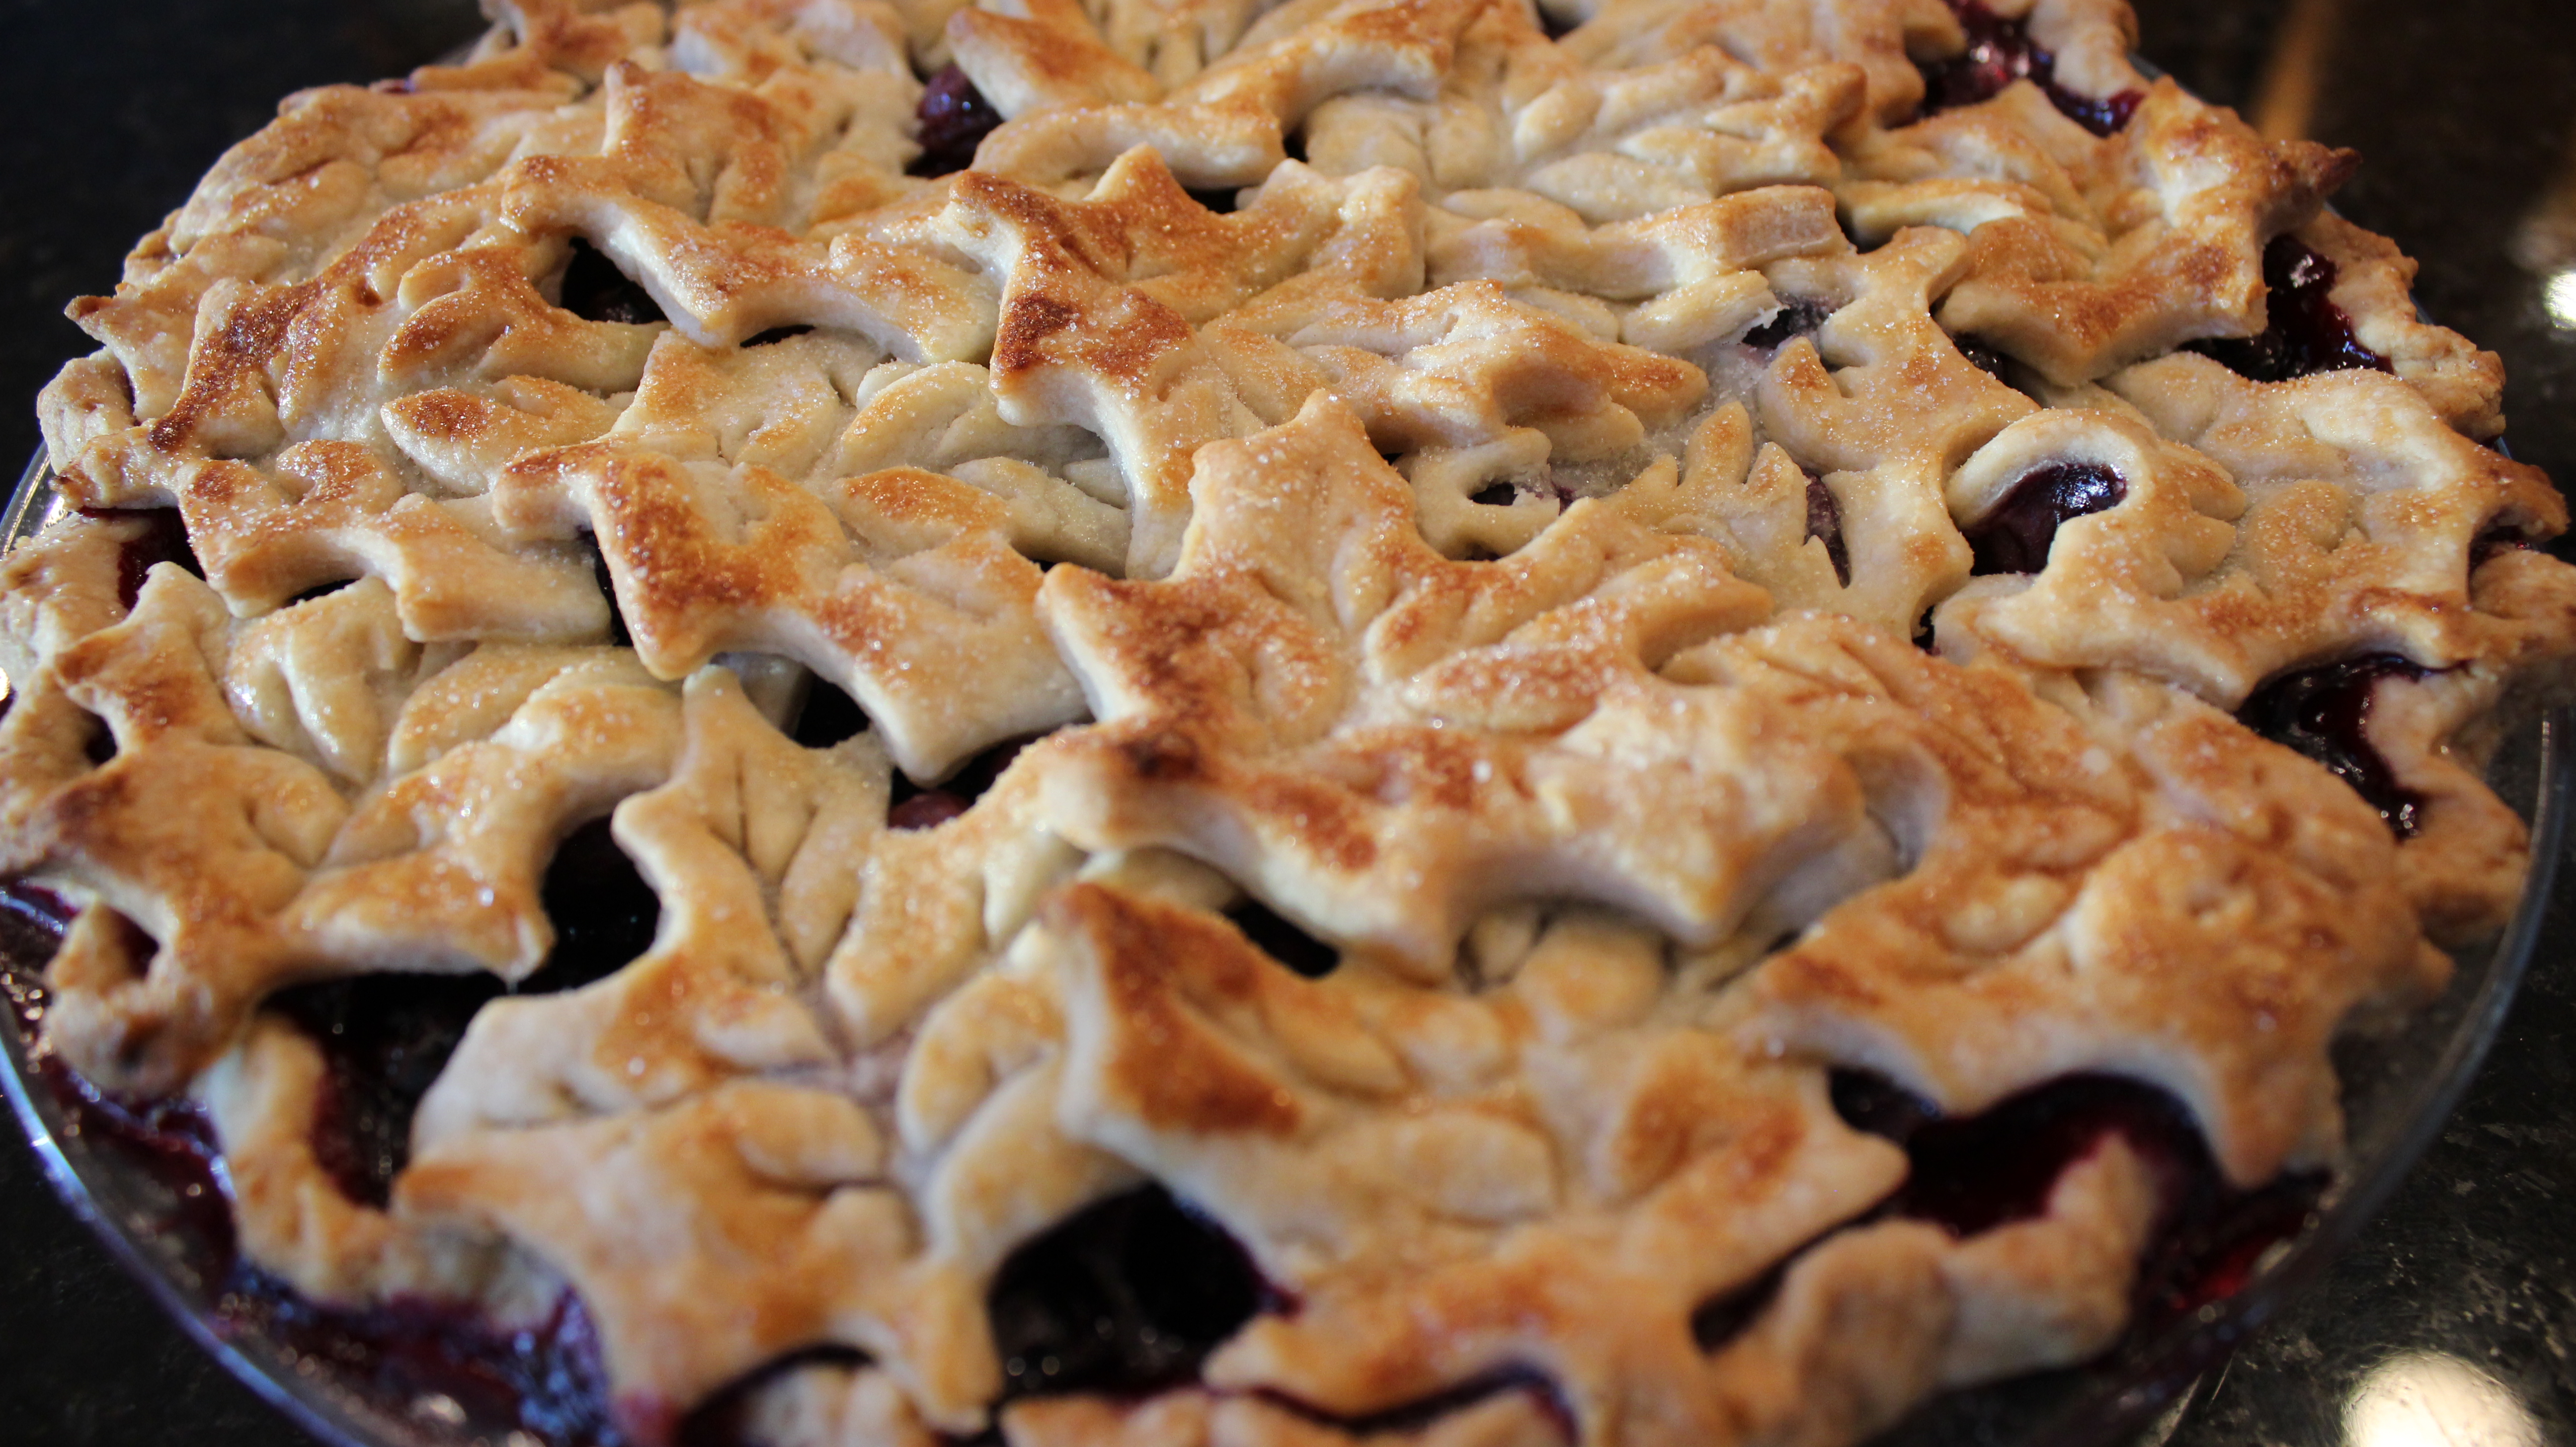
Cutting out decorative leaf shapes (or what ever shape you like) from the top sheet of pie crust is a no brainer for me because it’s so gosh darn easy to do, it looks like you spent all day on it and it’s very forgiving. When it bakes in the oven getting golden, crispy and slightly shiny from brushing on the egg wash it’s going to look and taste amazing no matter what!
This best blueberry pie recipe might just become your decadent dessert ritual for your holiday dinners! Making the “perfect pie crust in 5 minutes” a week or two ahead of time and popping it into the freezer until you need it is a great way to cut down on some of the work that’s involved in throwing a Thanksgiving dinner or any holiday feast for that matter. If you get ambitious you 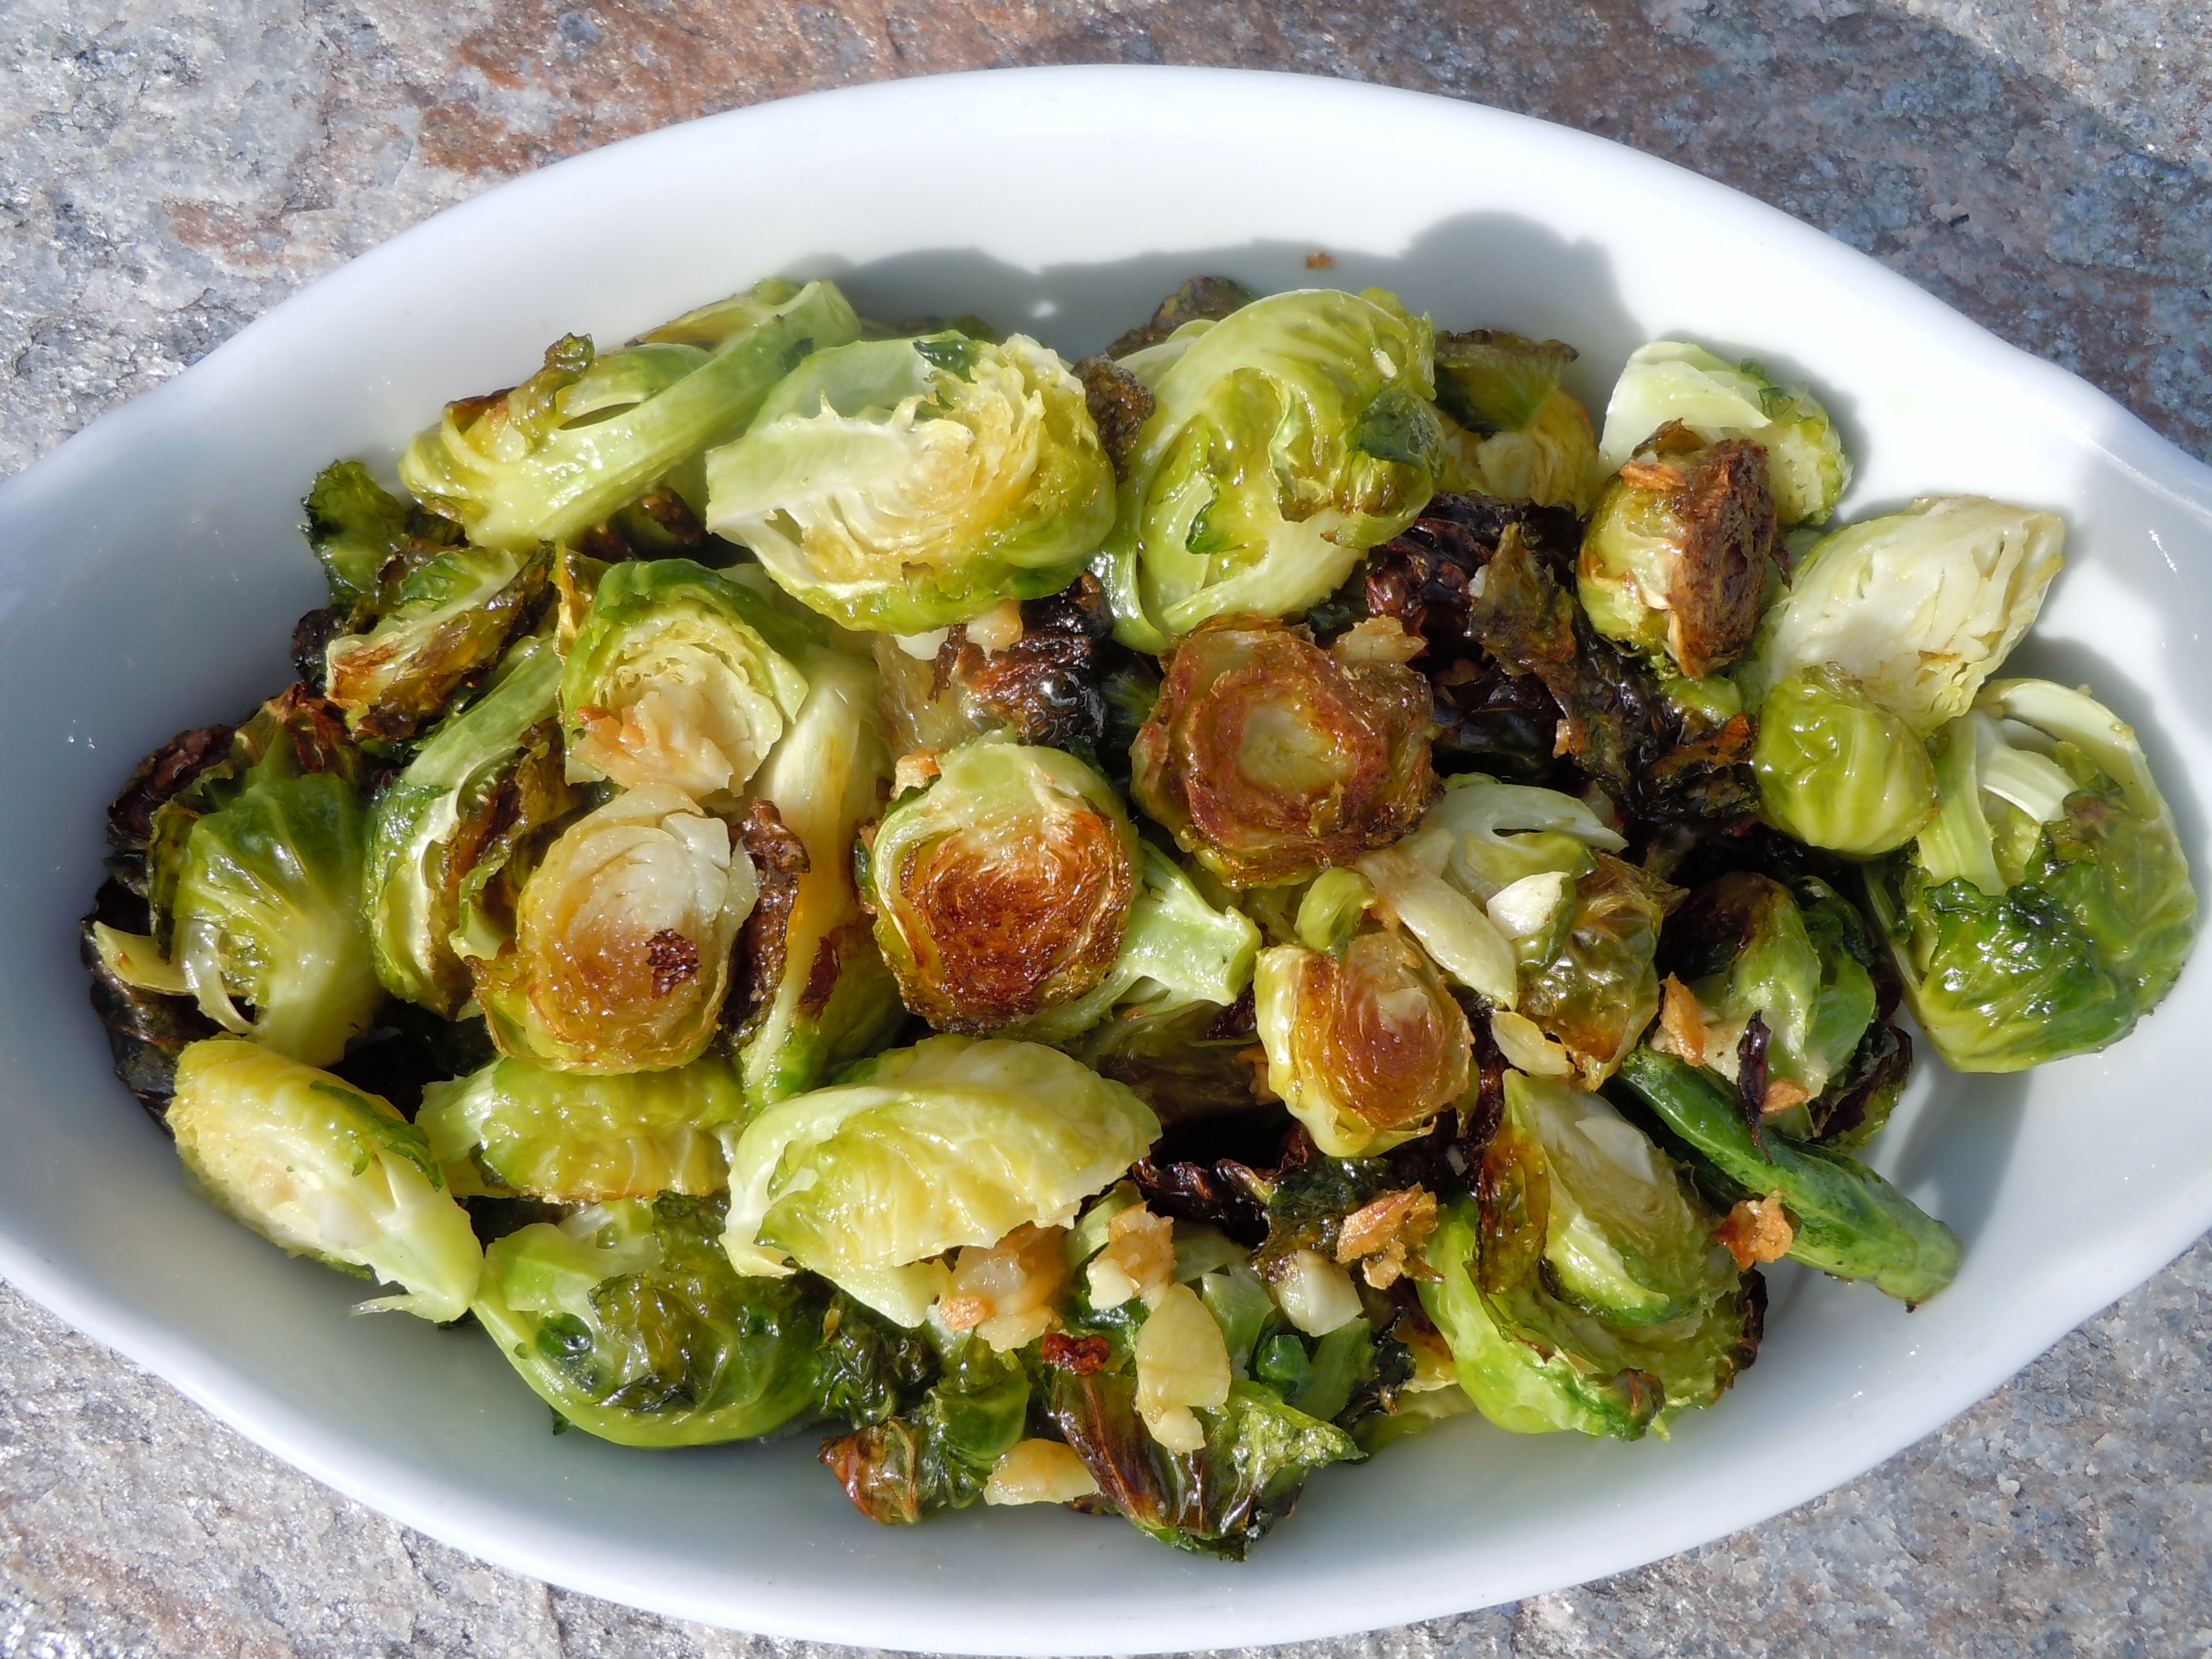 can always add a chocolate pecan pie into the mix. To help save some time with the side dishes you might try these roasted brussel spouts. They are so delicious roasted like this you’ll never eat them any other way. Have fun and enjoy 🙂


INGREDIENTS:
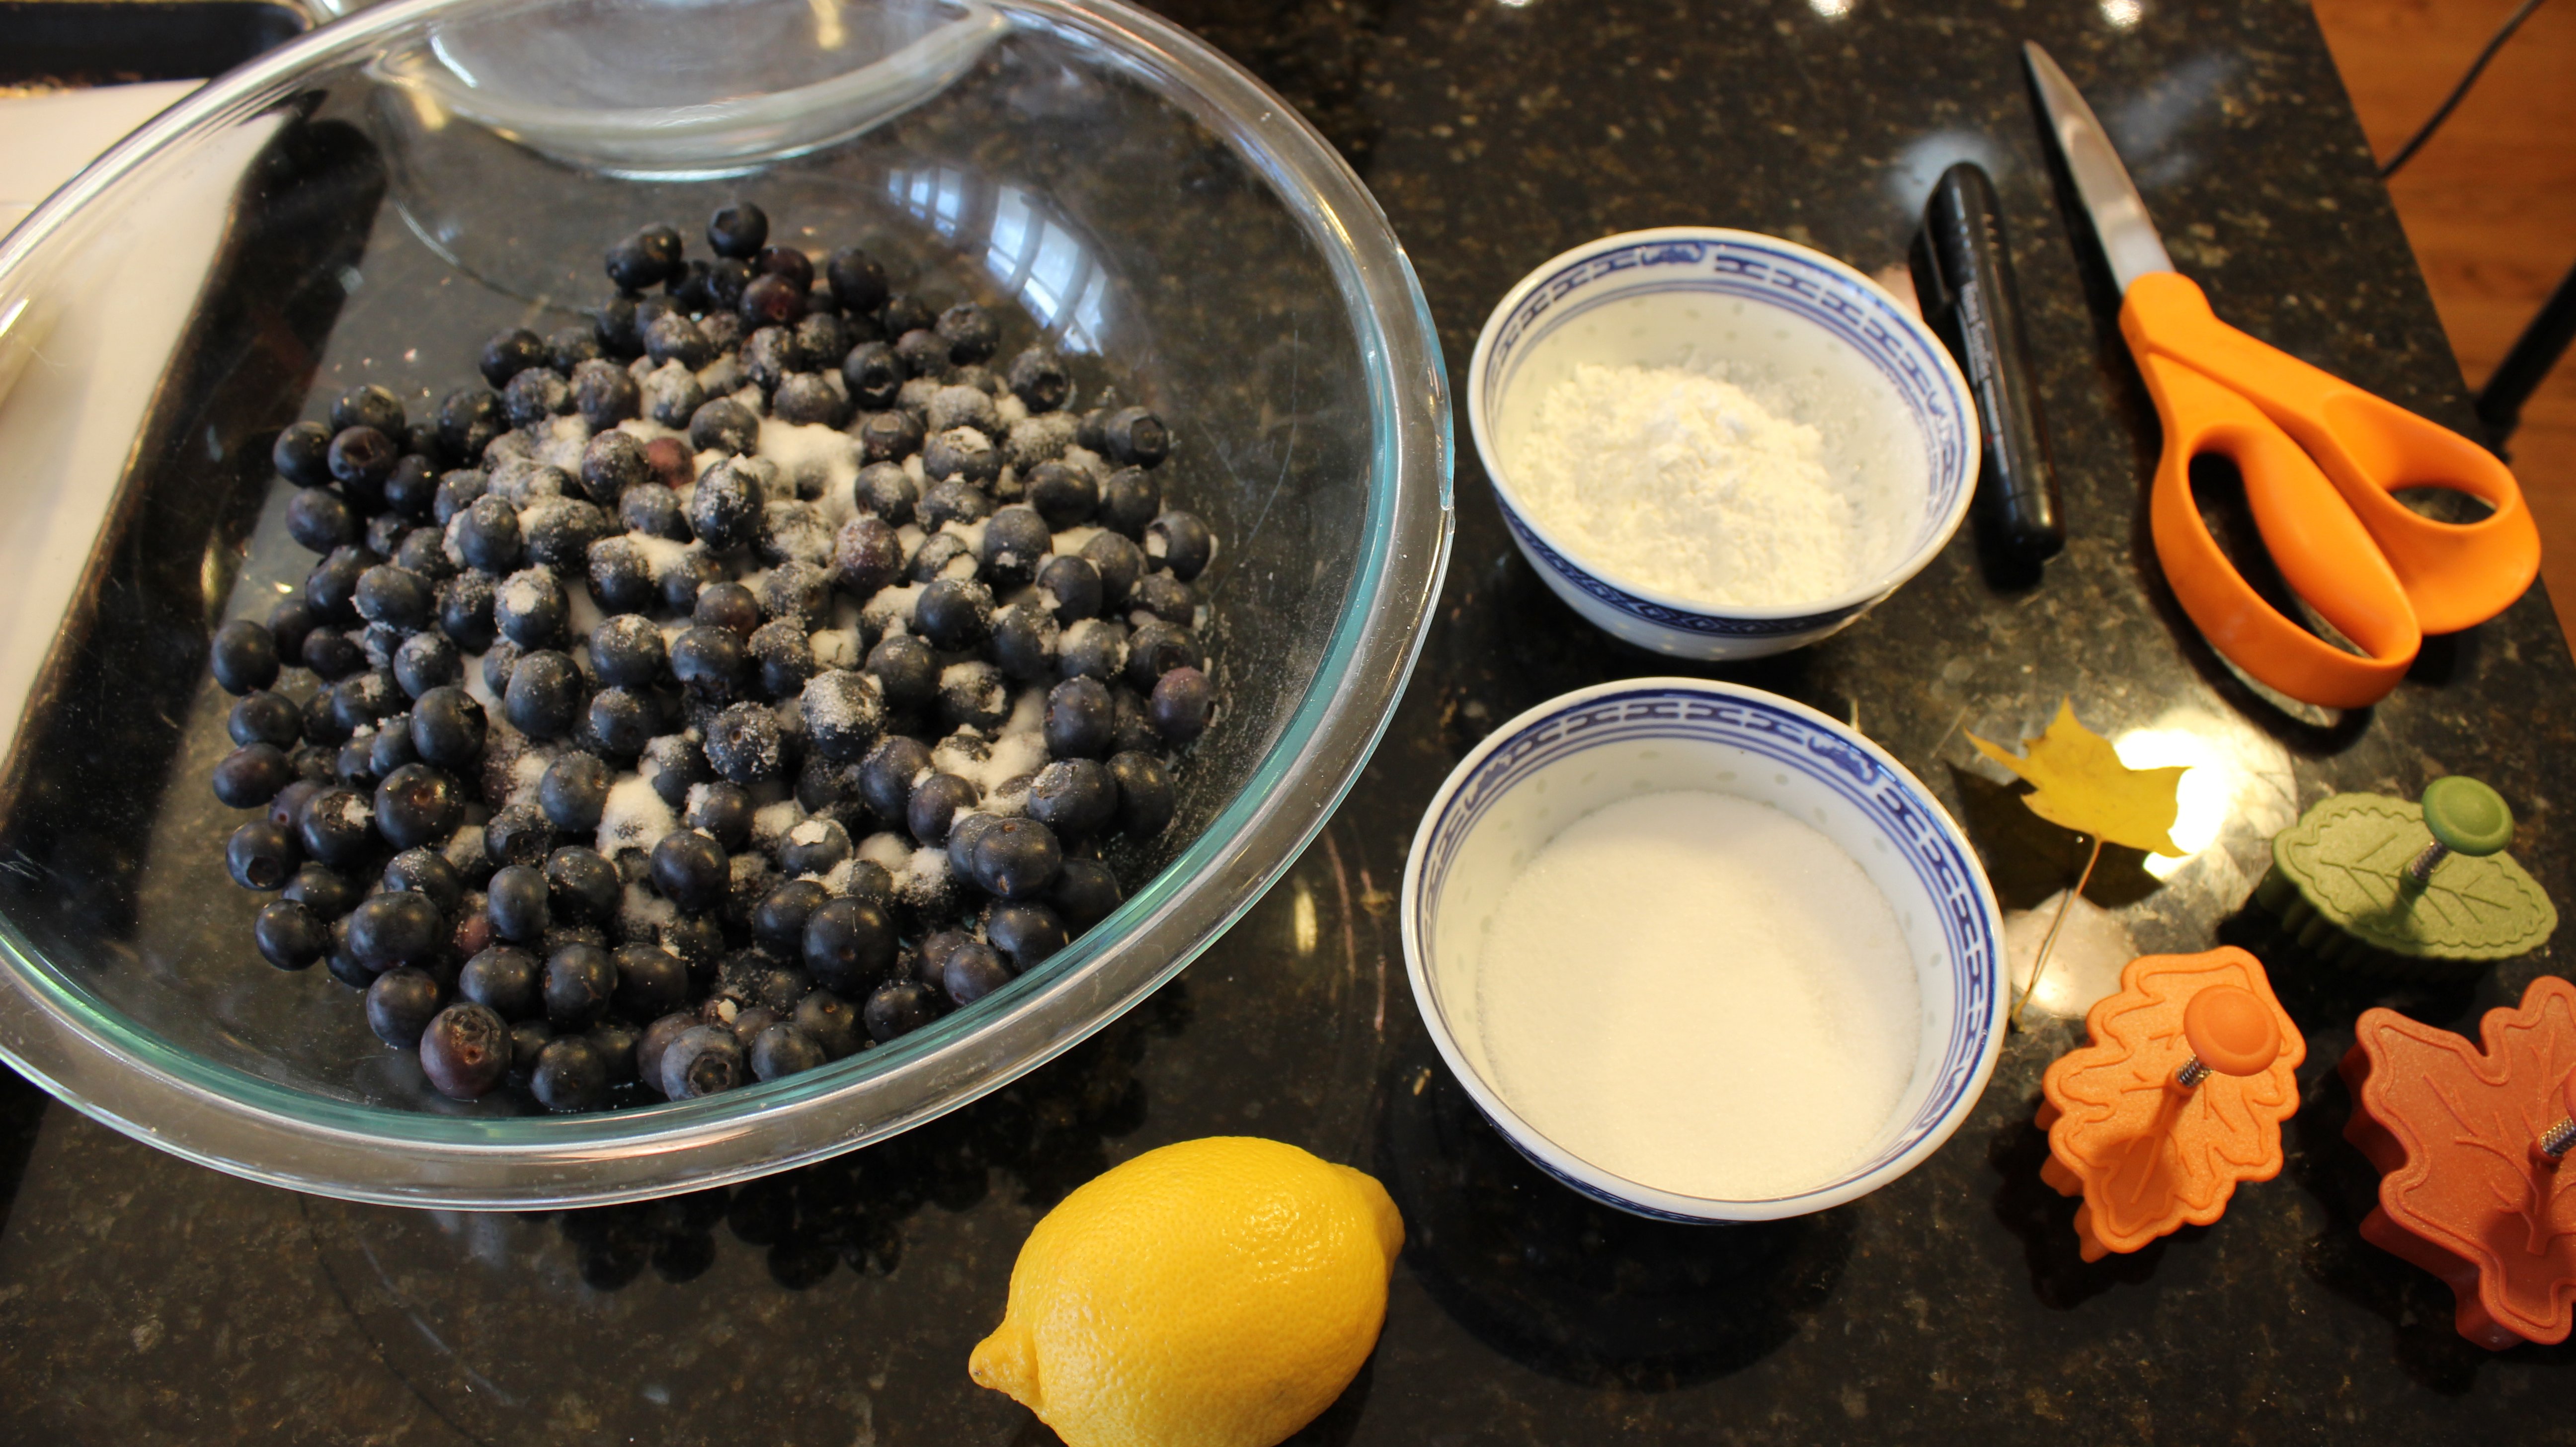
- 4 1/2 cups blueberries (that’s after you have sorted thru bad berries…start with 5 cups to have enough)
- 1/2 cup sugar
- 1/4 corn starch
- 1/8 tsp salt
- Juice from 1/2 lemon
- 1 1/2 tbsp cut up cold butter
- 1 egg
- 1 tbsp heavy cream
- 1 “Perfect Pie Crust in 5 Minutes!” recipe
- Parchment paper for rolling out pie dough
- 1 1/2 ” – 2″ pie leaf cut outs or what ever shape cookie cutter you want to dress the top of the pie with instead of using a whole sheet of pie crust dough
DIRECTIONS:
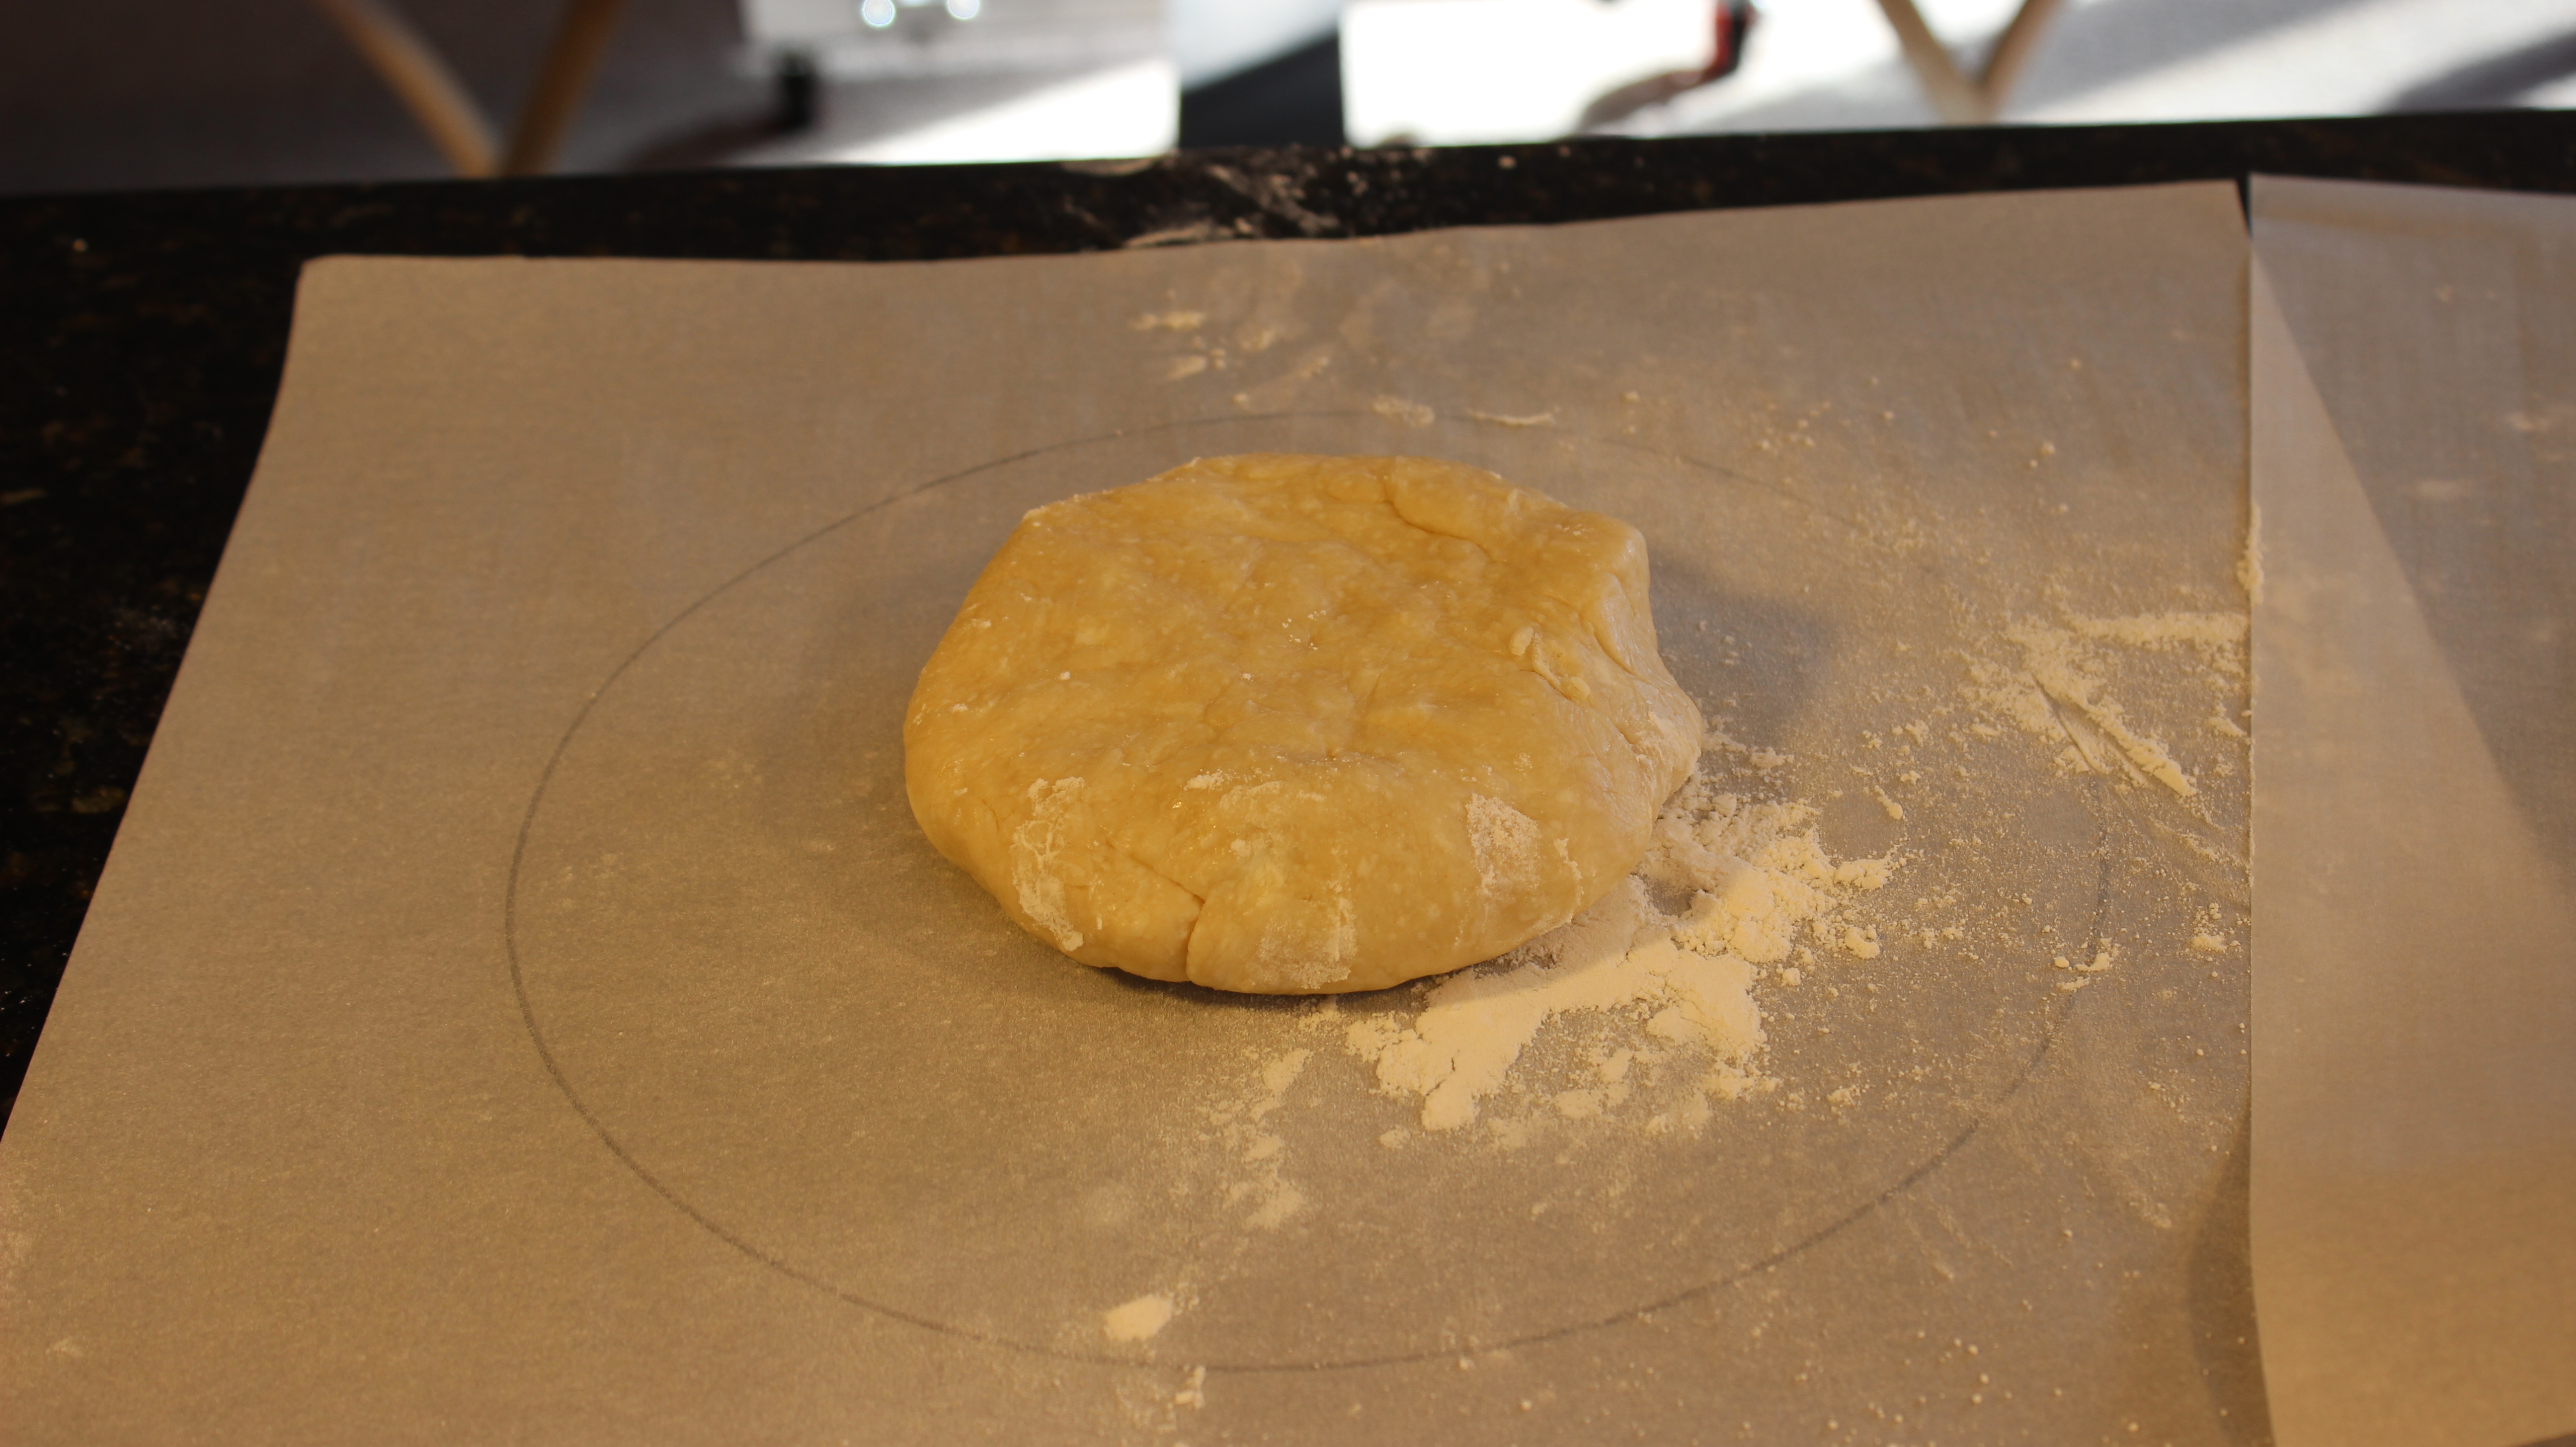
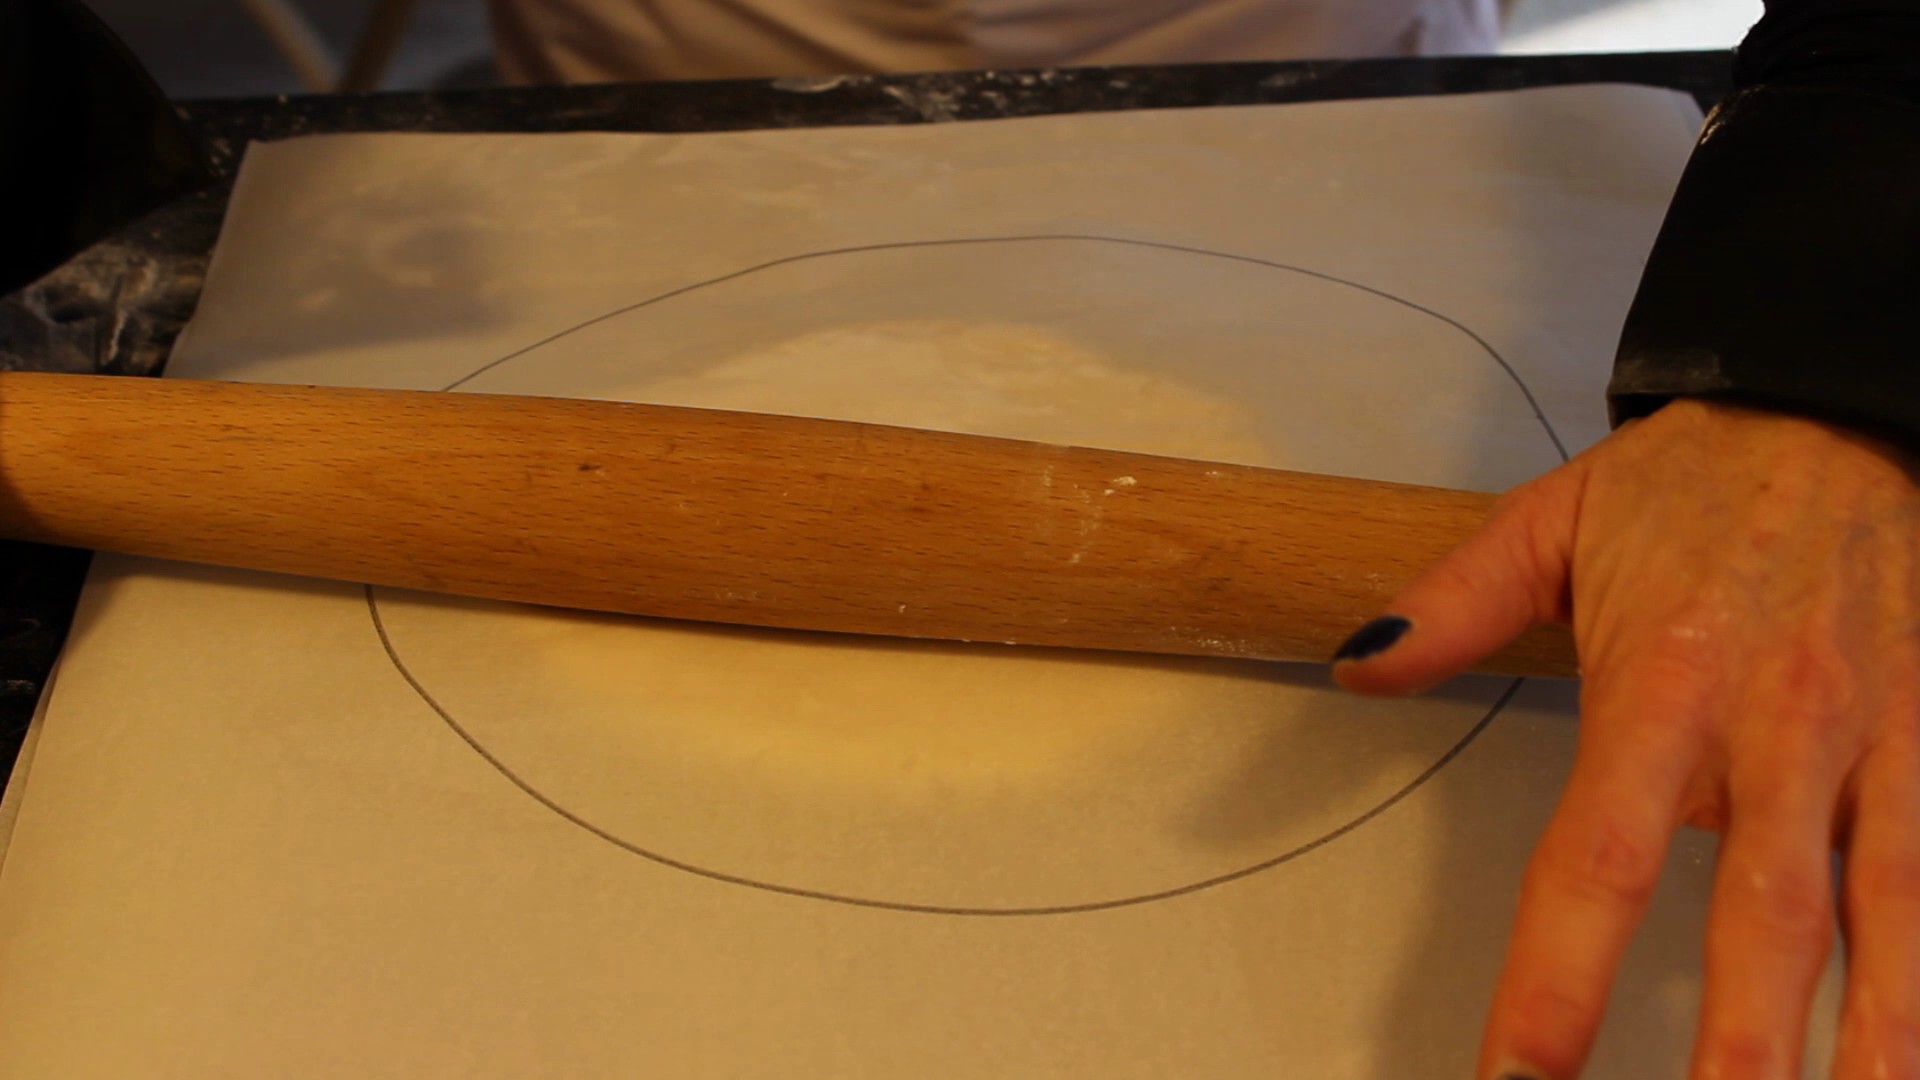
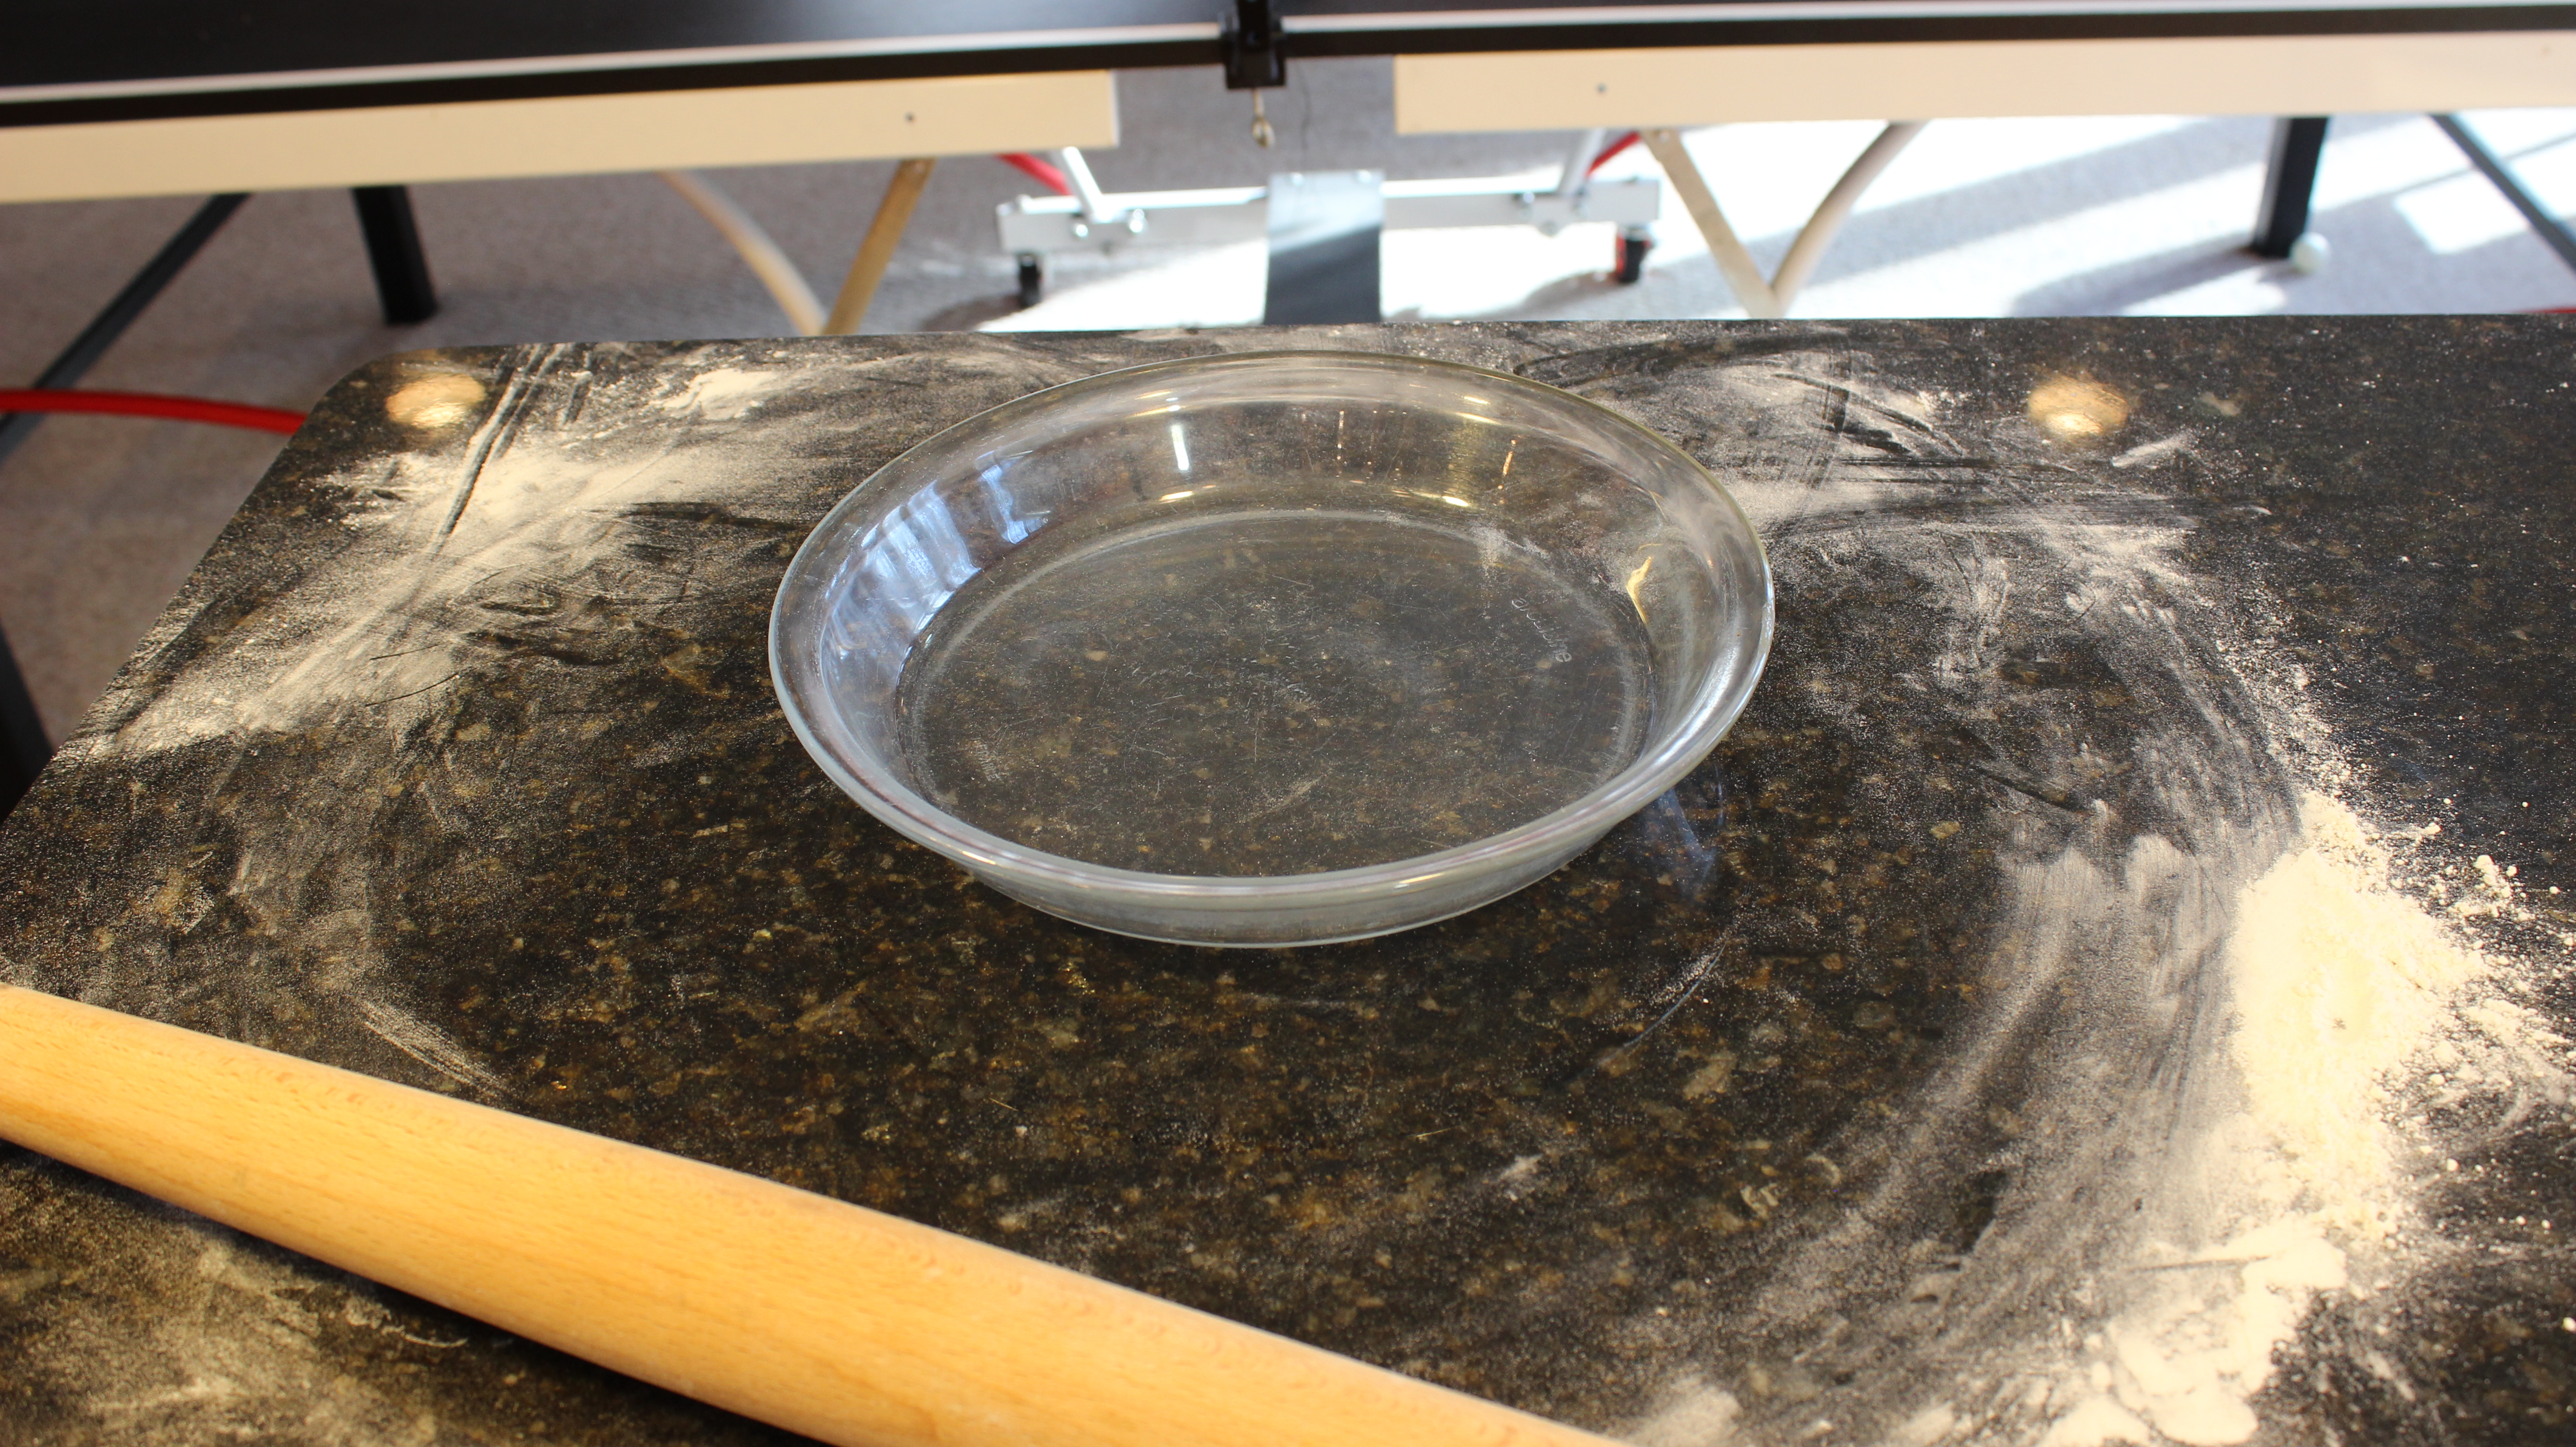
- Trace the edge of the pie plate onto both pieces of parchment paper
- Roll out 1/2 of the pie crust at a time in between two pieces of parchment with circle drawing on the outside
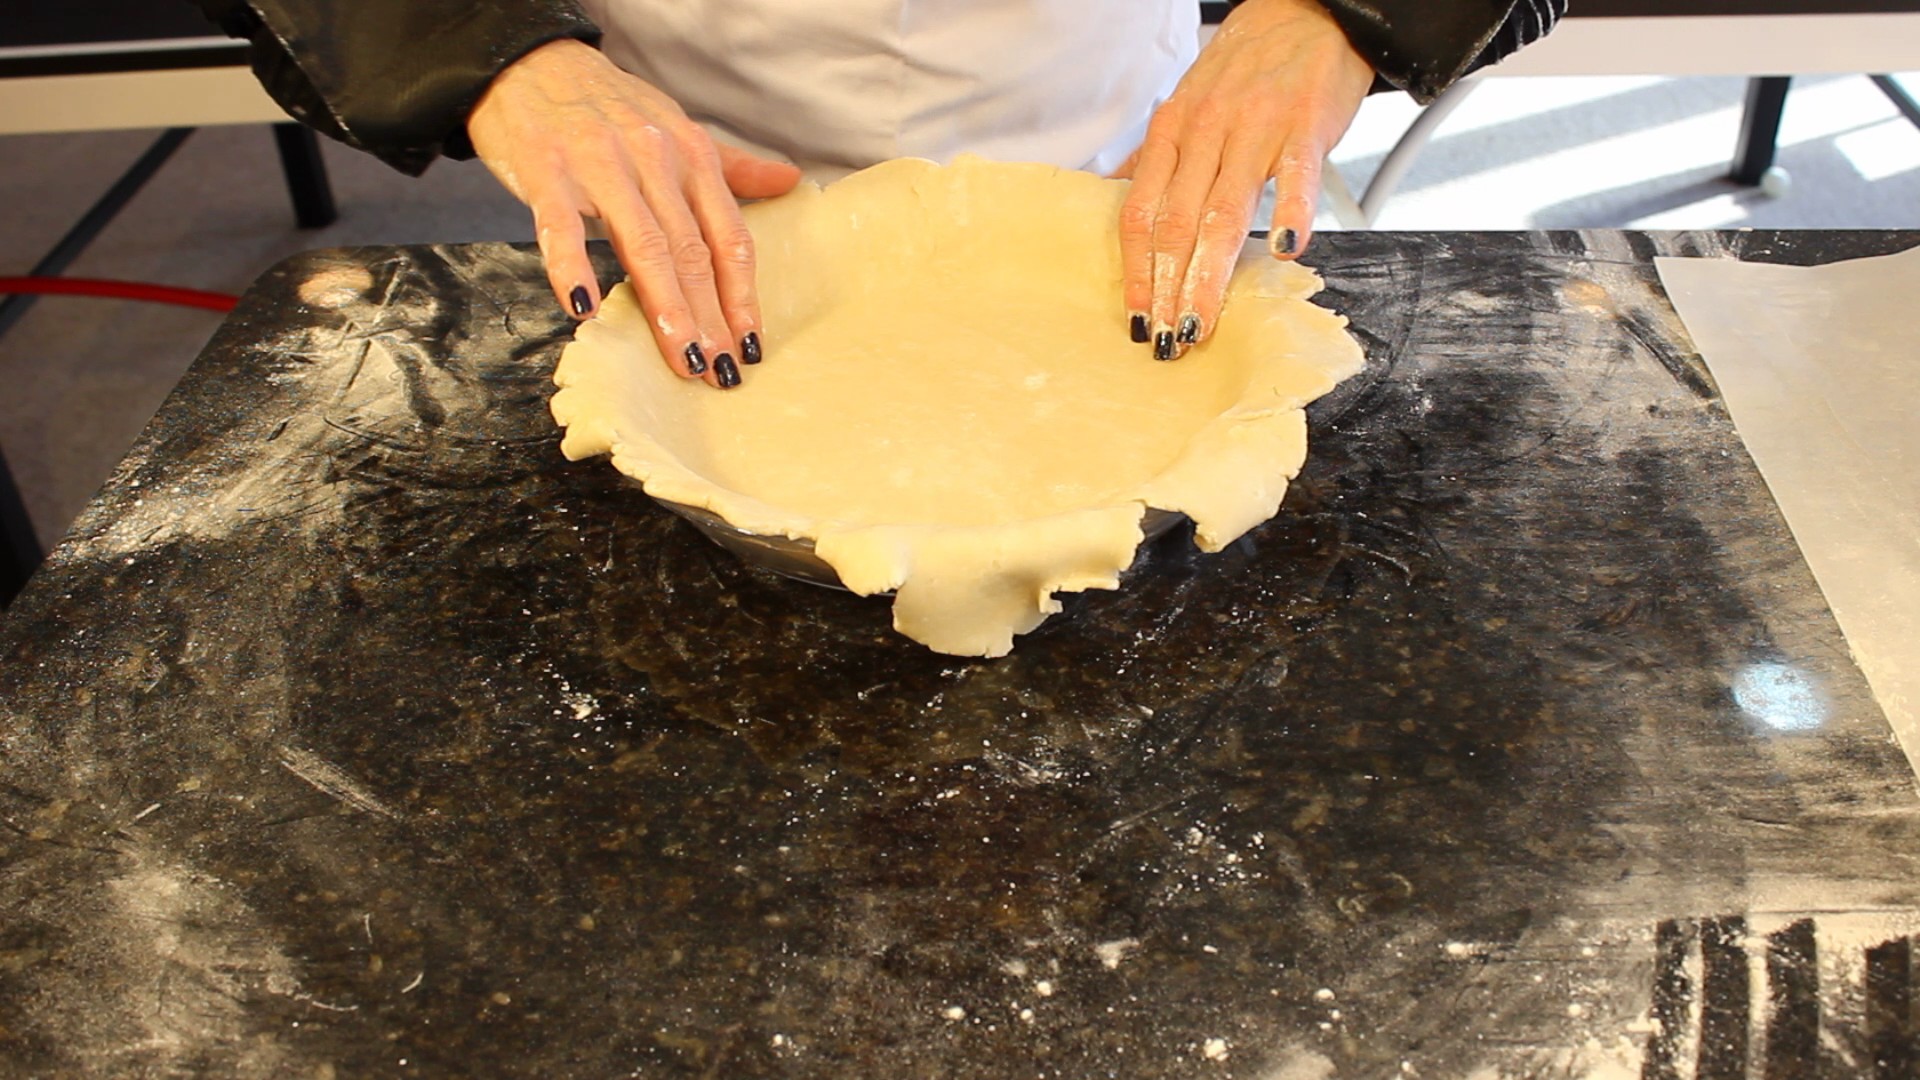
- When the dough is rolled out to approx 1/8″ thick and the proper circle size flip pie dough over with parchment paper into pie plate
- Gently fit pie dough into dish without pushing down hard and place into the fridge
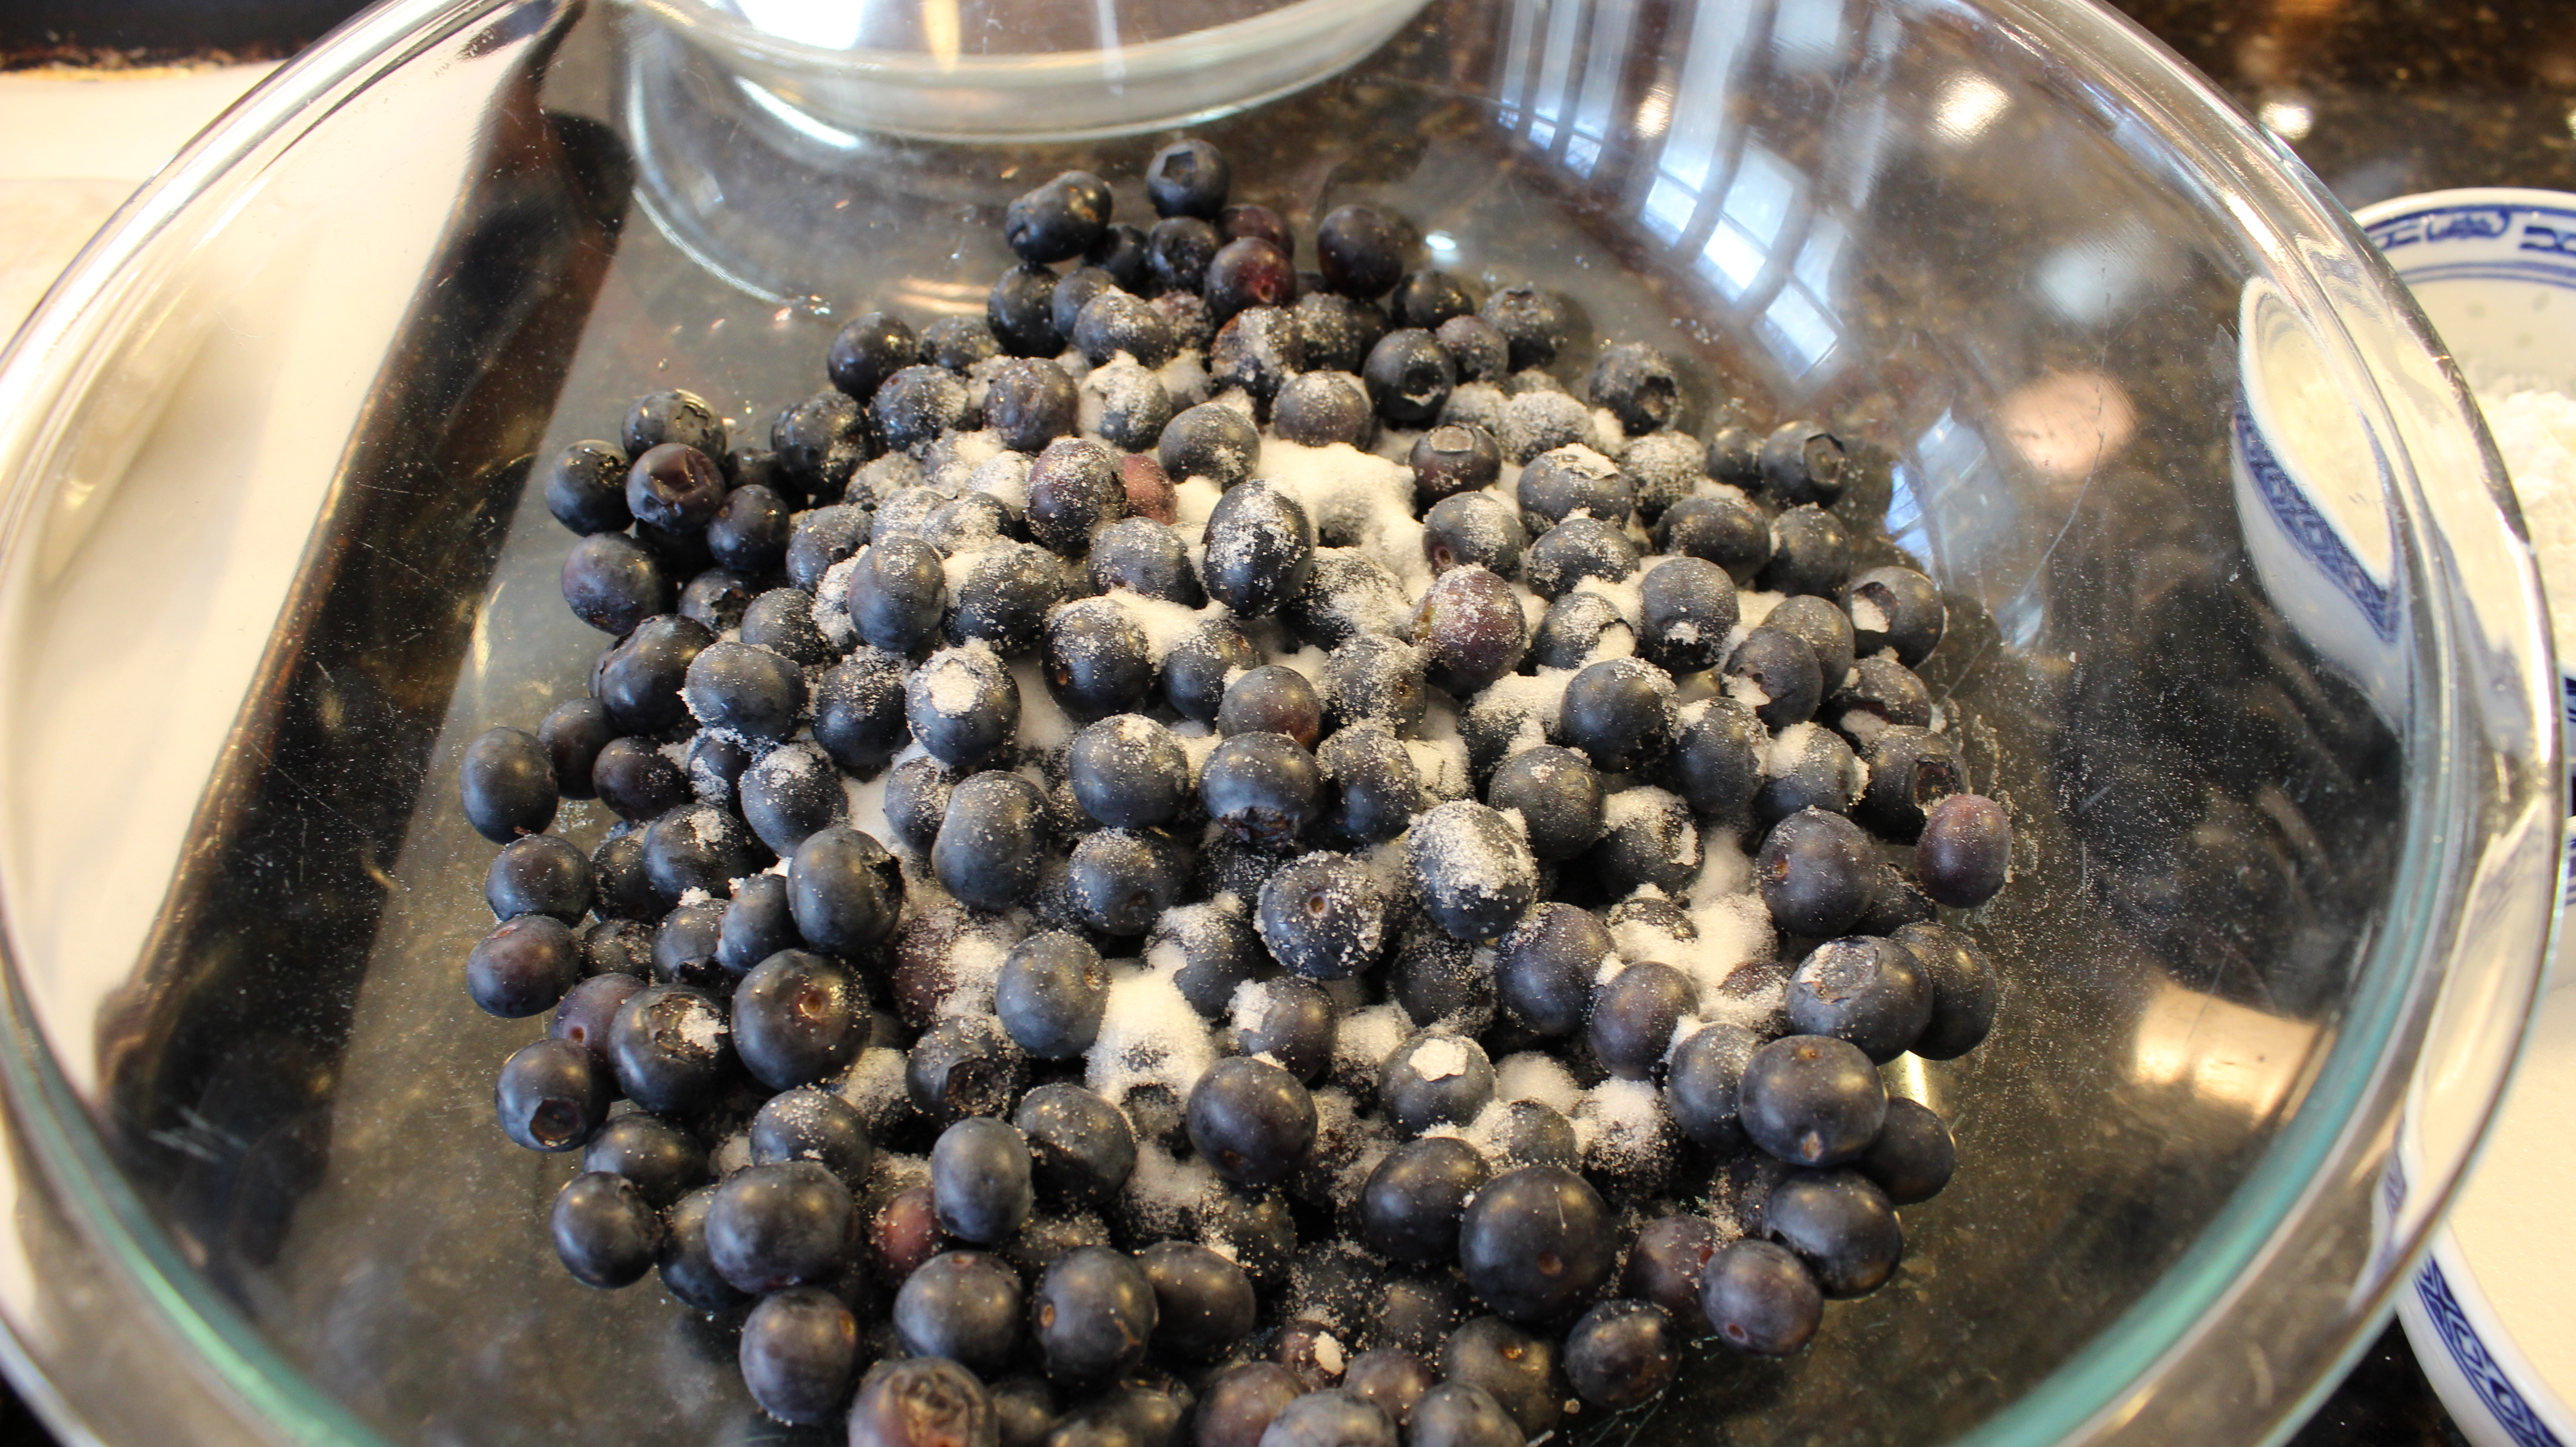
- Wash and dry blueberries, picking through them to remove any under and over ripe berries and stems
- Place berries in a large bowl and add 1/4 cup corn starch, 1/2 cup sugar, 1/8 tsp salt and juice from 1/2 lemon and toss until coated
- Put the bowl of blueberries into the fridge
- Roll out the other pie dough disc and cut out leaf shapes or what ever shape you want to be the top layer of the pie
- Lay down a piece of parchment on a cookie sheet with a sprinkle of flour and place leaf cut outs onto the cookie sheet
- Put leaf cut outs into the fridge
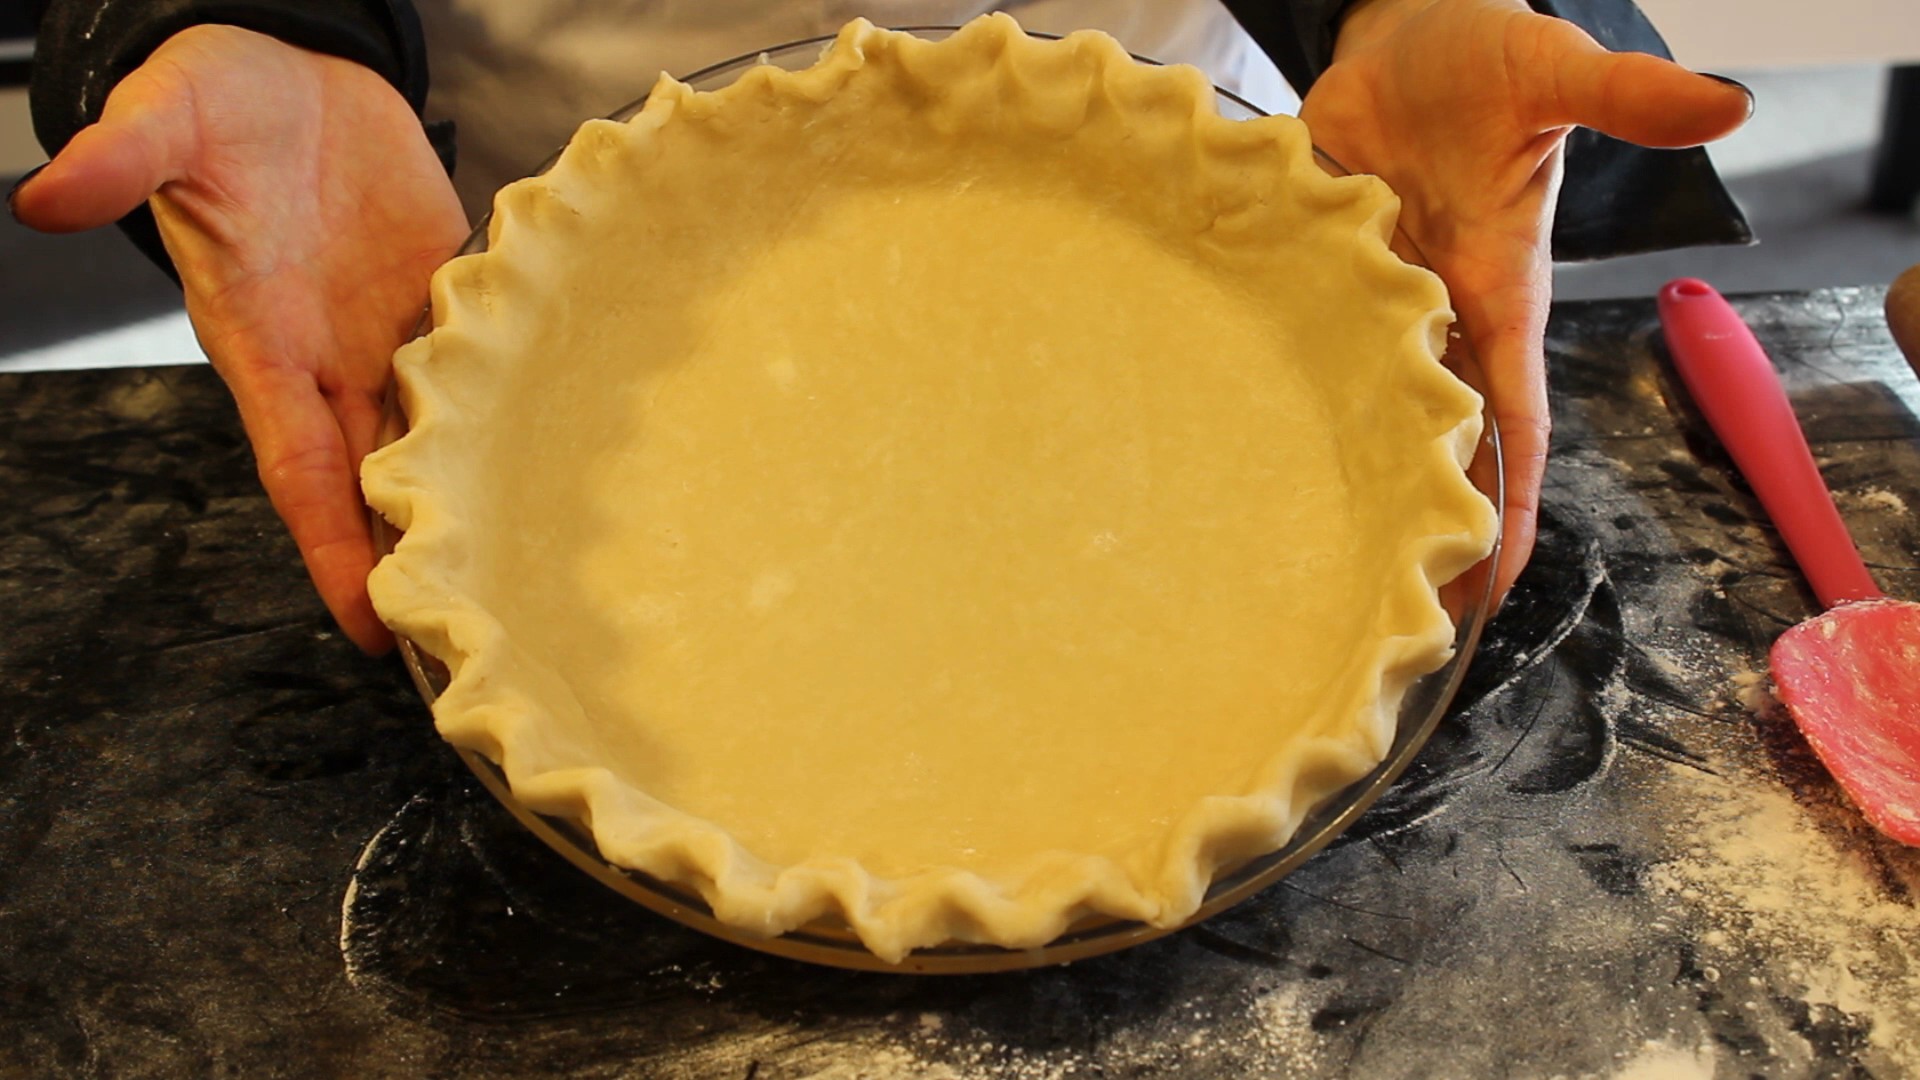
- Take out pie dish with pie dough from fridge and crimp edges
- Pour the blueberries into the pie dish and back into the fridge
- Whisk 1 egg with 1 tbsp of heavy cream
- Take the leaf cut-outs on the cookie sheet from the fridge and brush with the egg wash
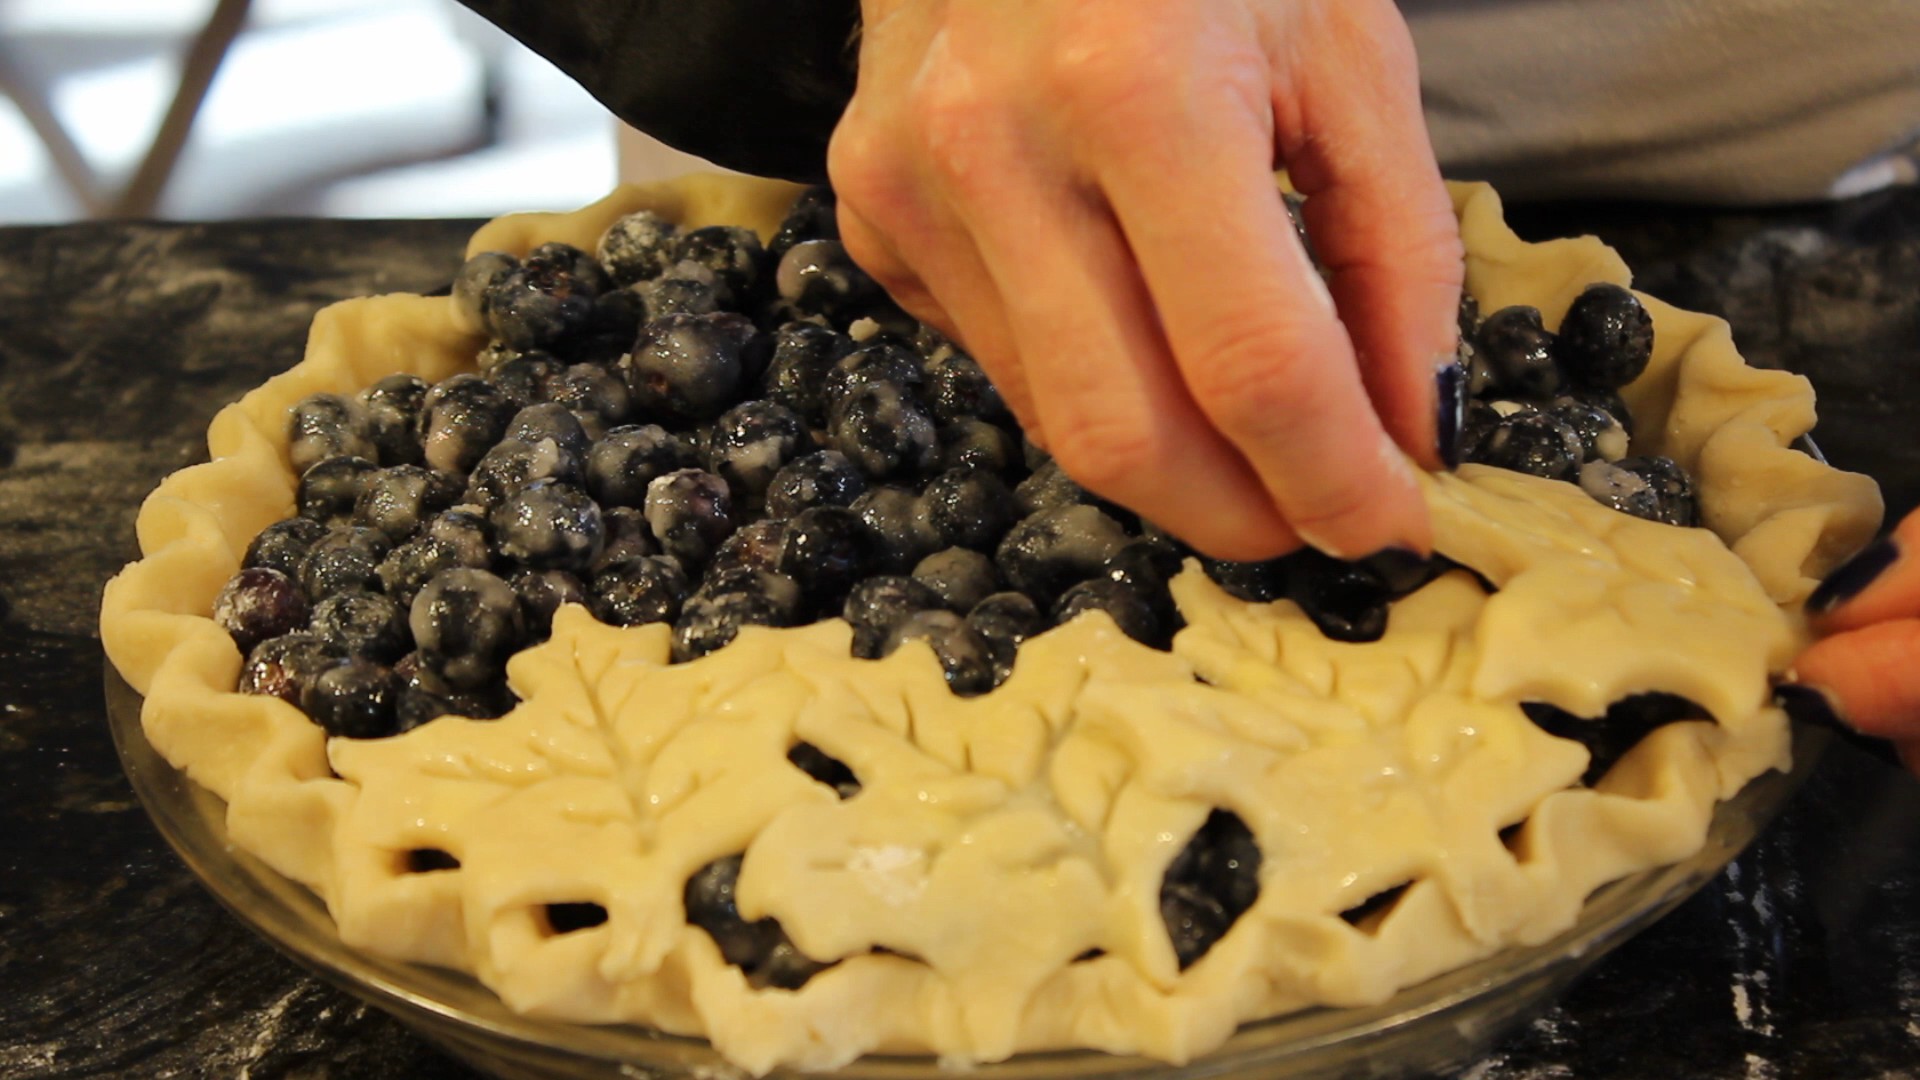
- Take the blueberries in the pie dish out of the fridge and dot the pie with 1 1/2 tbsp of cut up cold butter
- Begin to place leaf cut-outs on top of the blueberries. Go along the edge of pie all around and then work your way in (you only need to gently push a couple of the edges of the leaf to crimped edges of the pie and to each leaf
- Put the pie back into the fridge for 15 minutes while you pre-heat oven to 400º
- Place blueberry pie on the cookie sheet that has a piece of parchment covering the bottom in case of spillage and pop into the oven for 30 minutes
- Turn the oven down to 350º and bake for another 40 minutes until a golden crust and juices are bubbly
- You must let cool 3 hours so the blueberry juicy can thicken properly
- Serve with your best vanilla ice cream and you will be one happy camper! 🙂
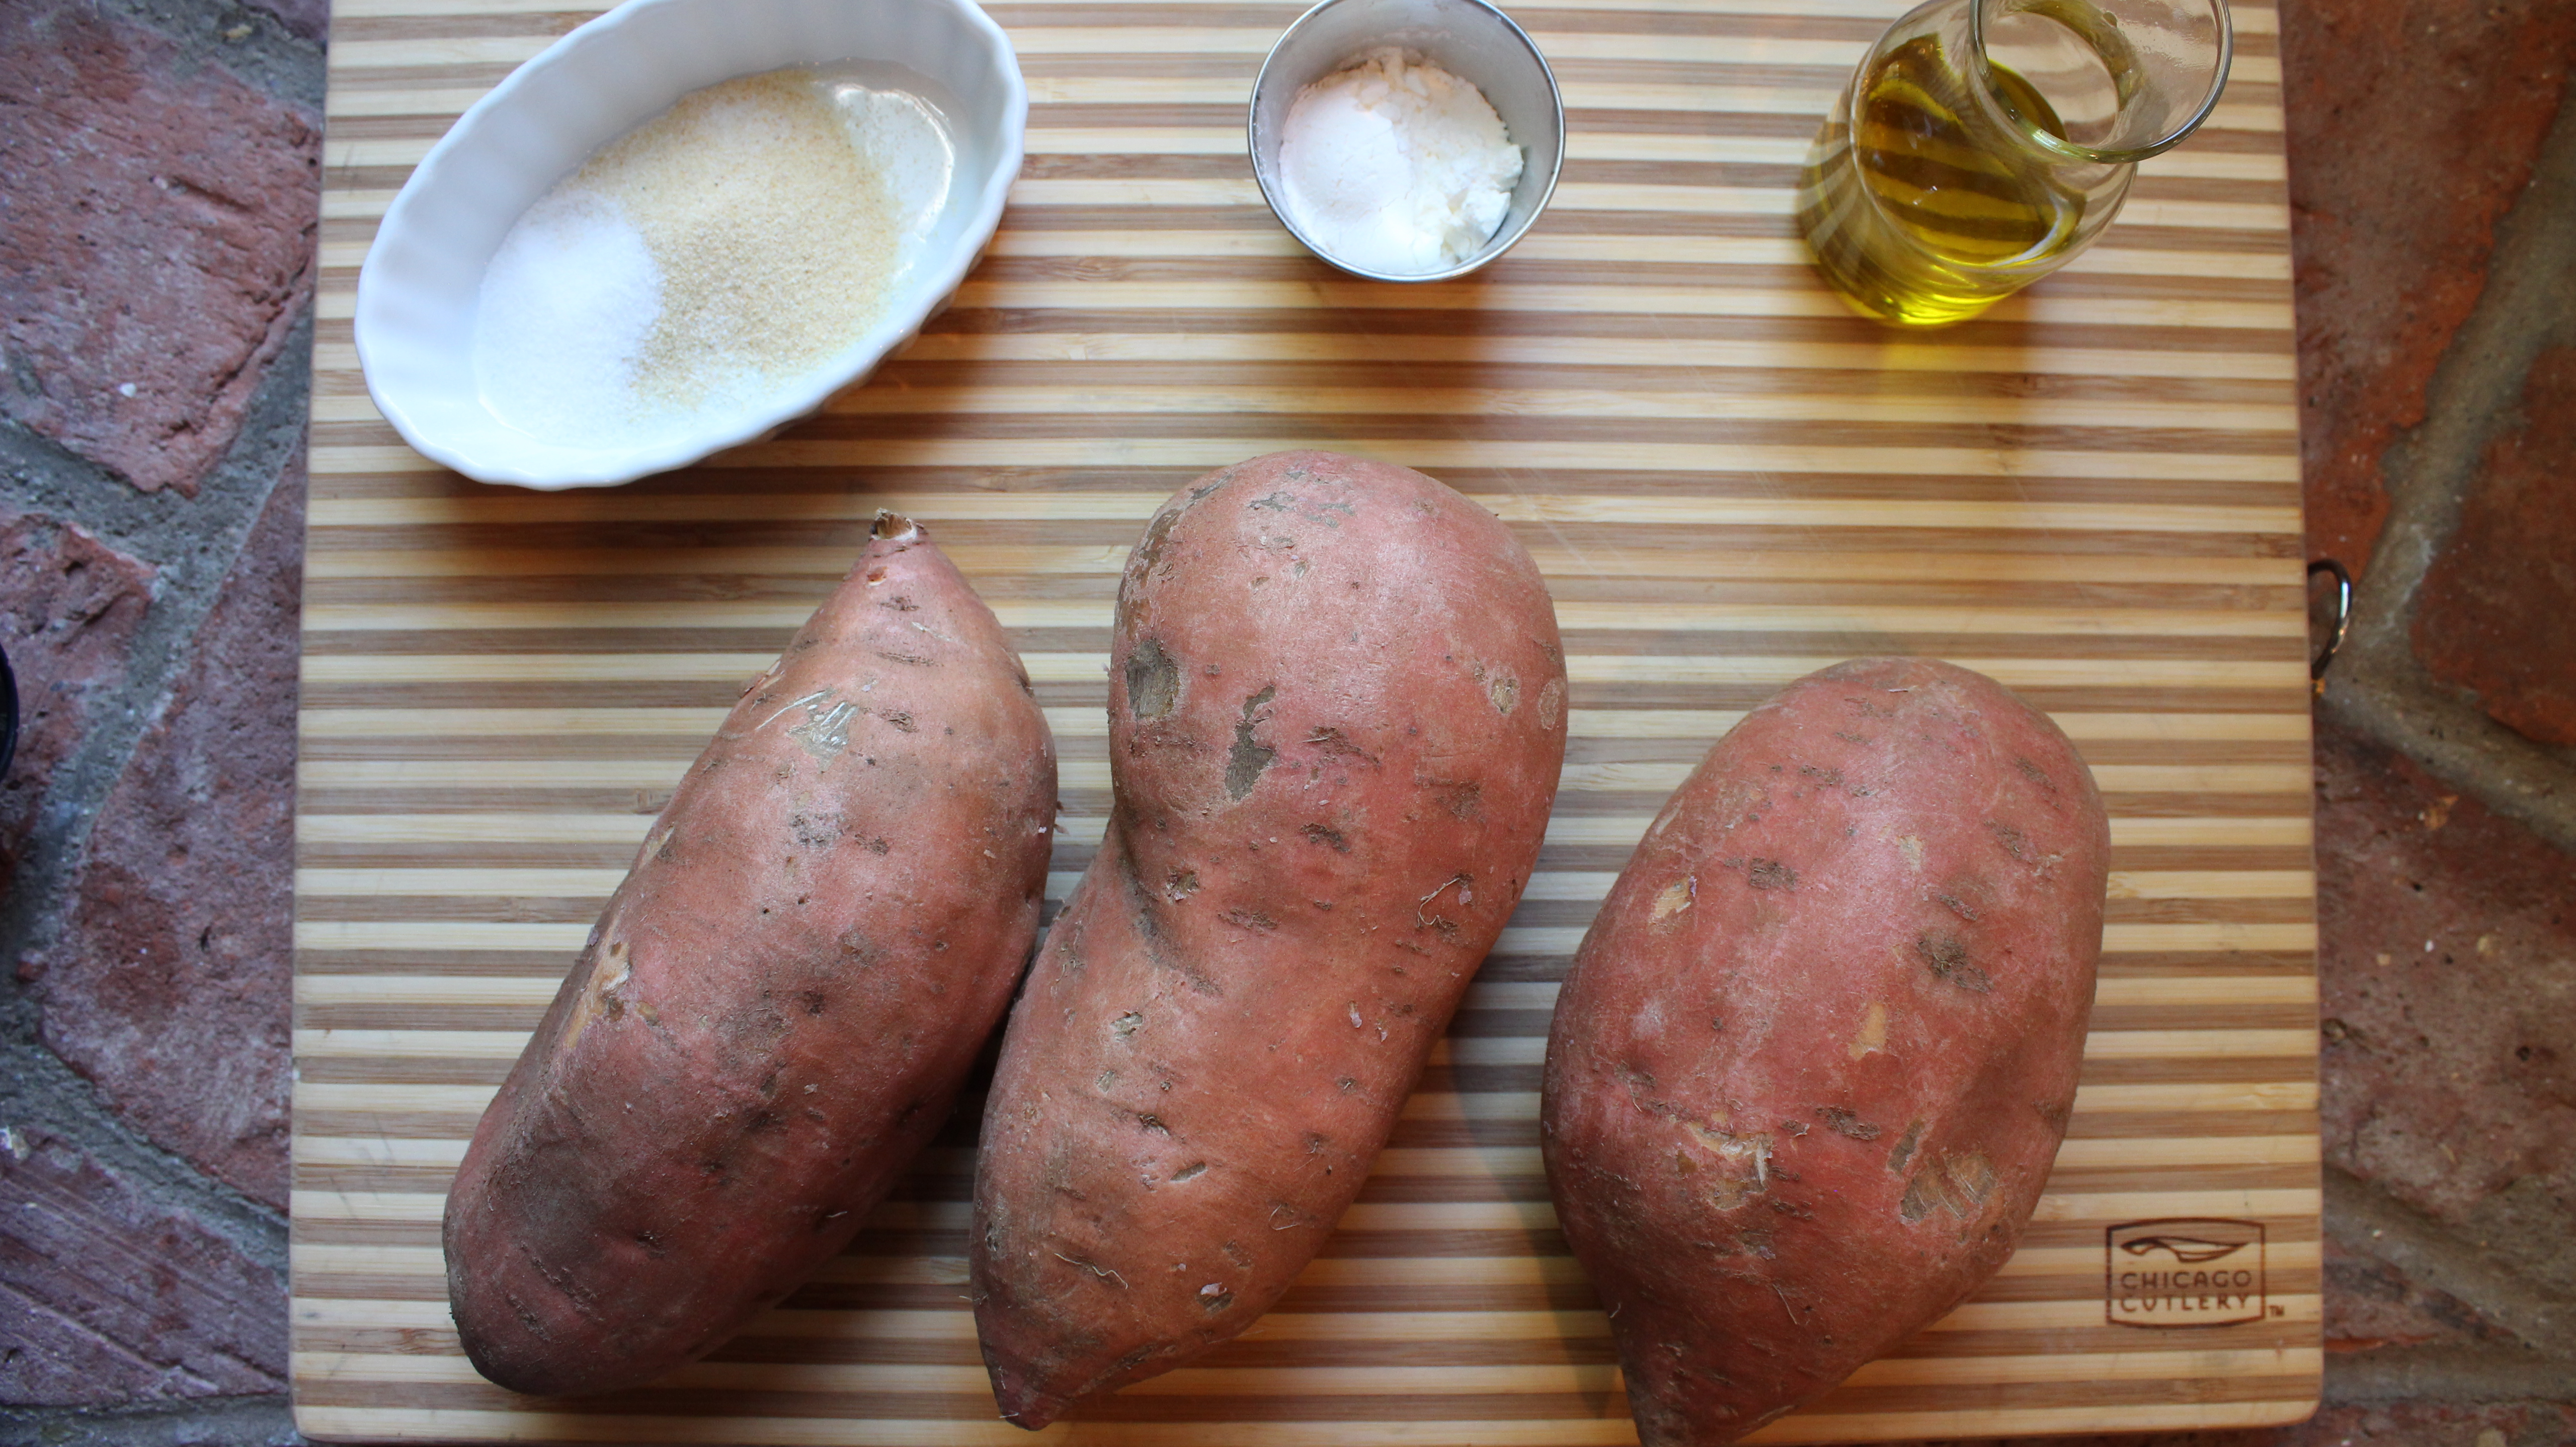
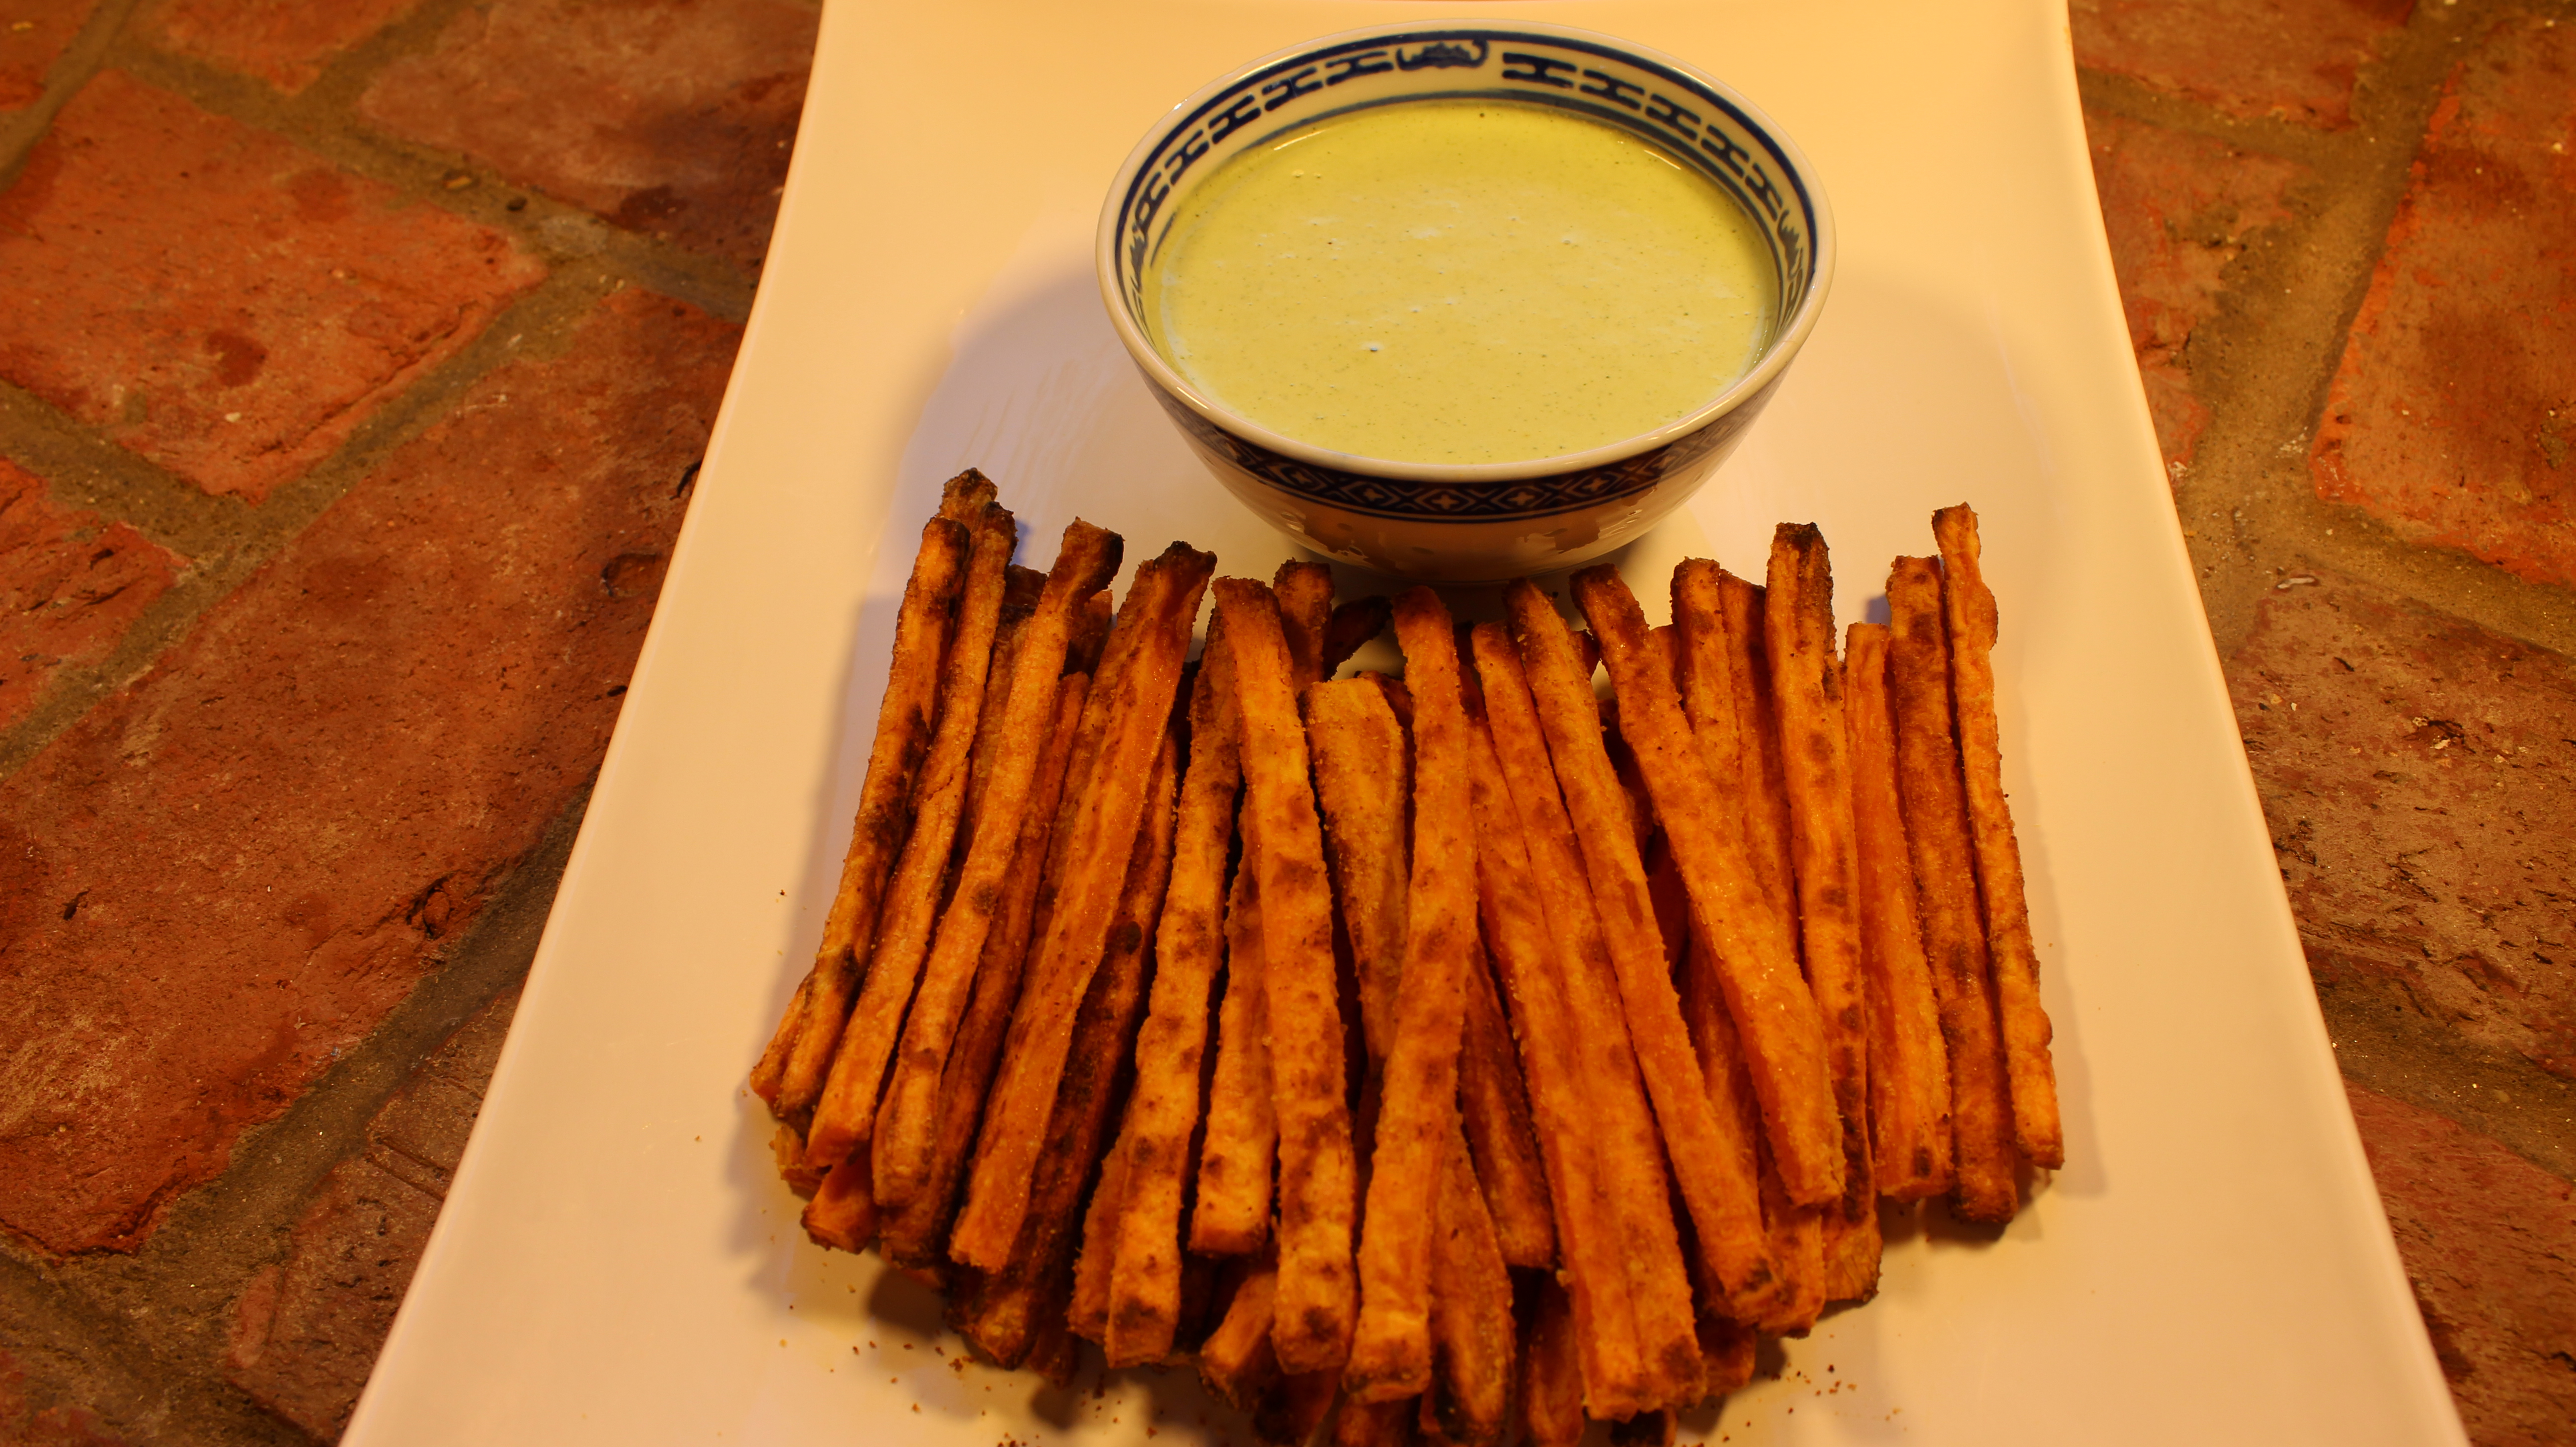
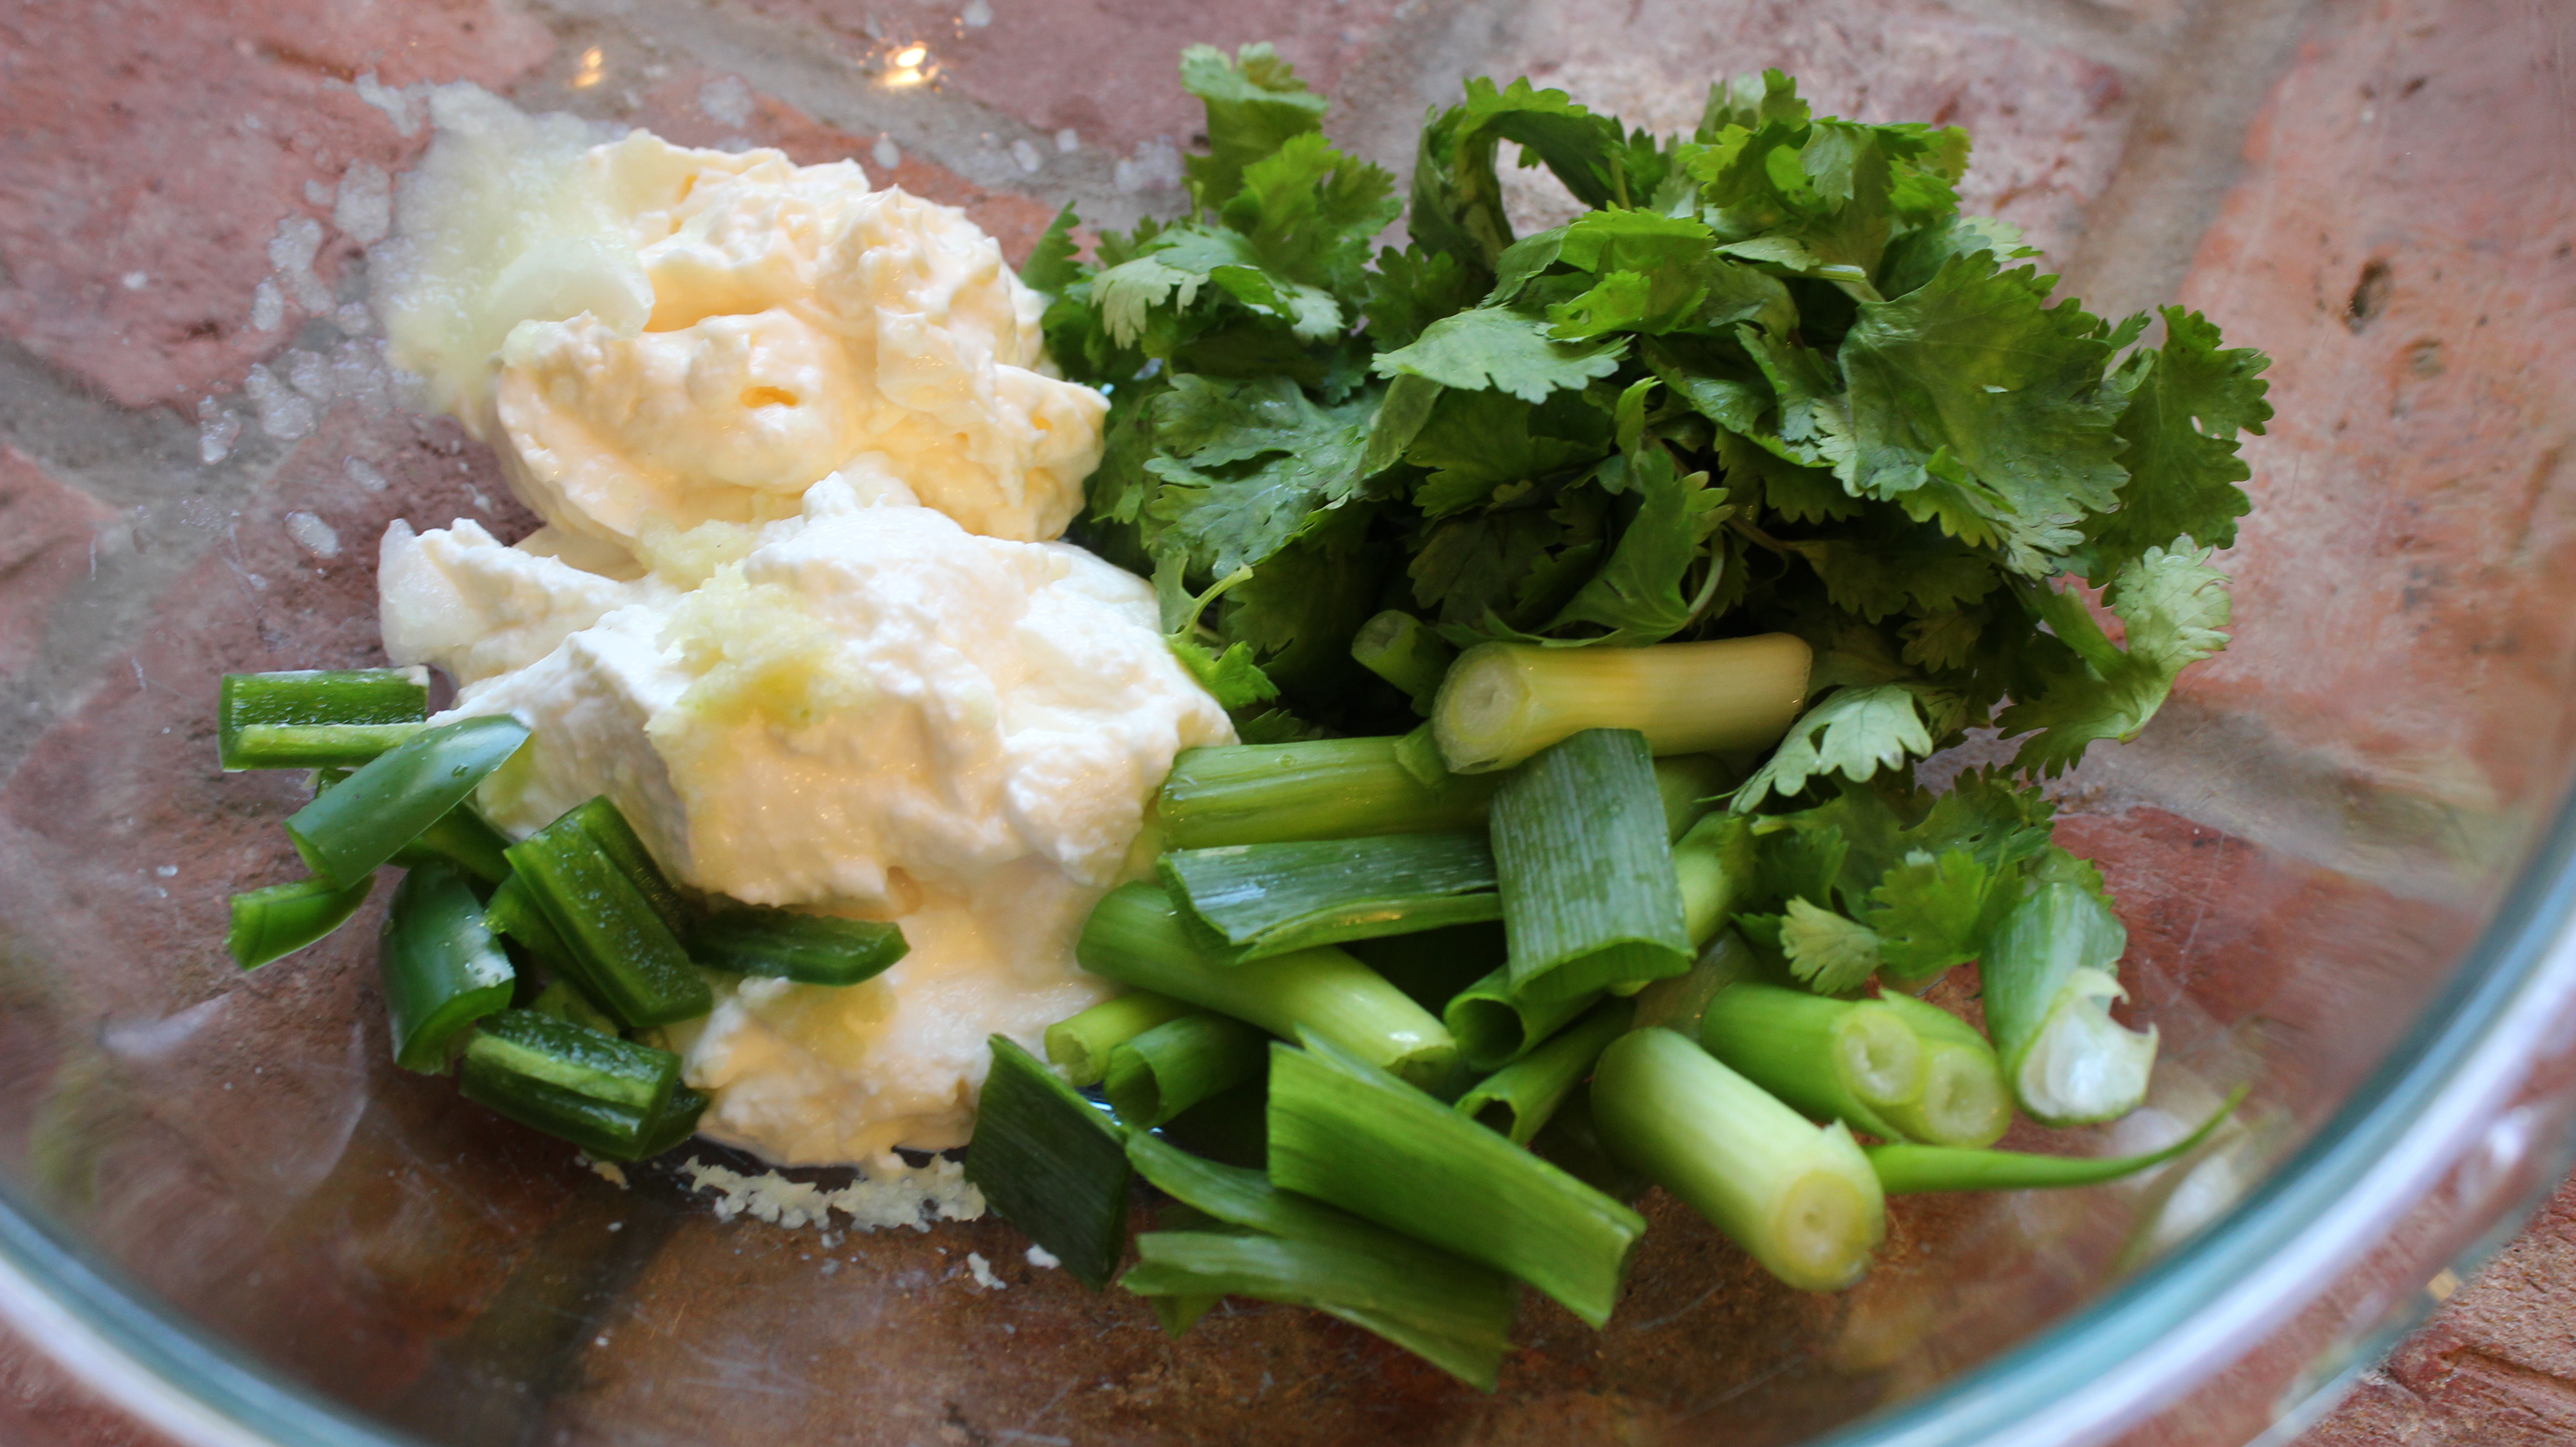
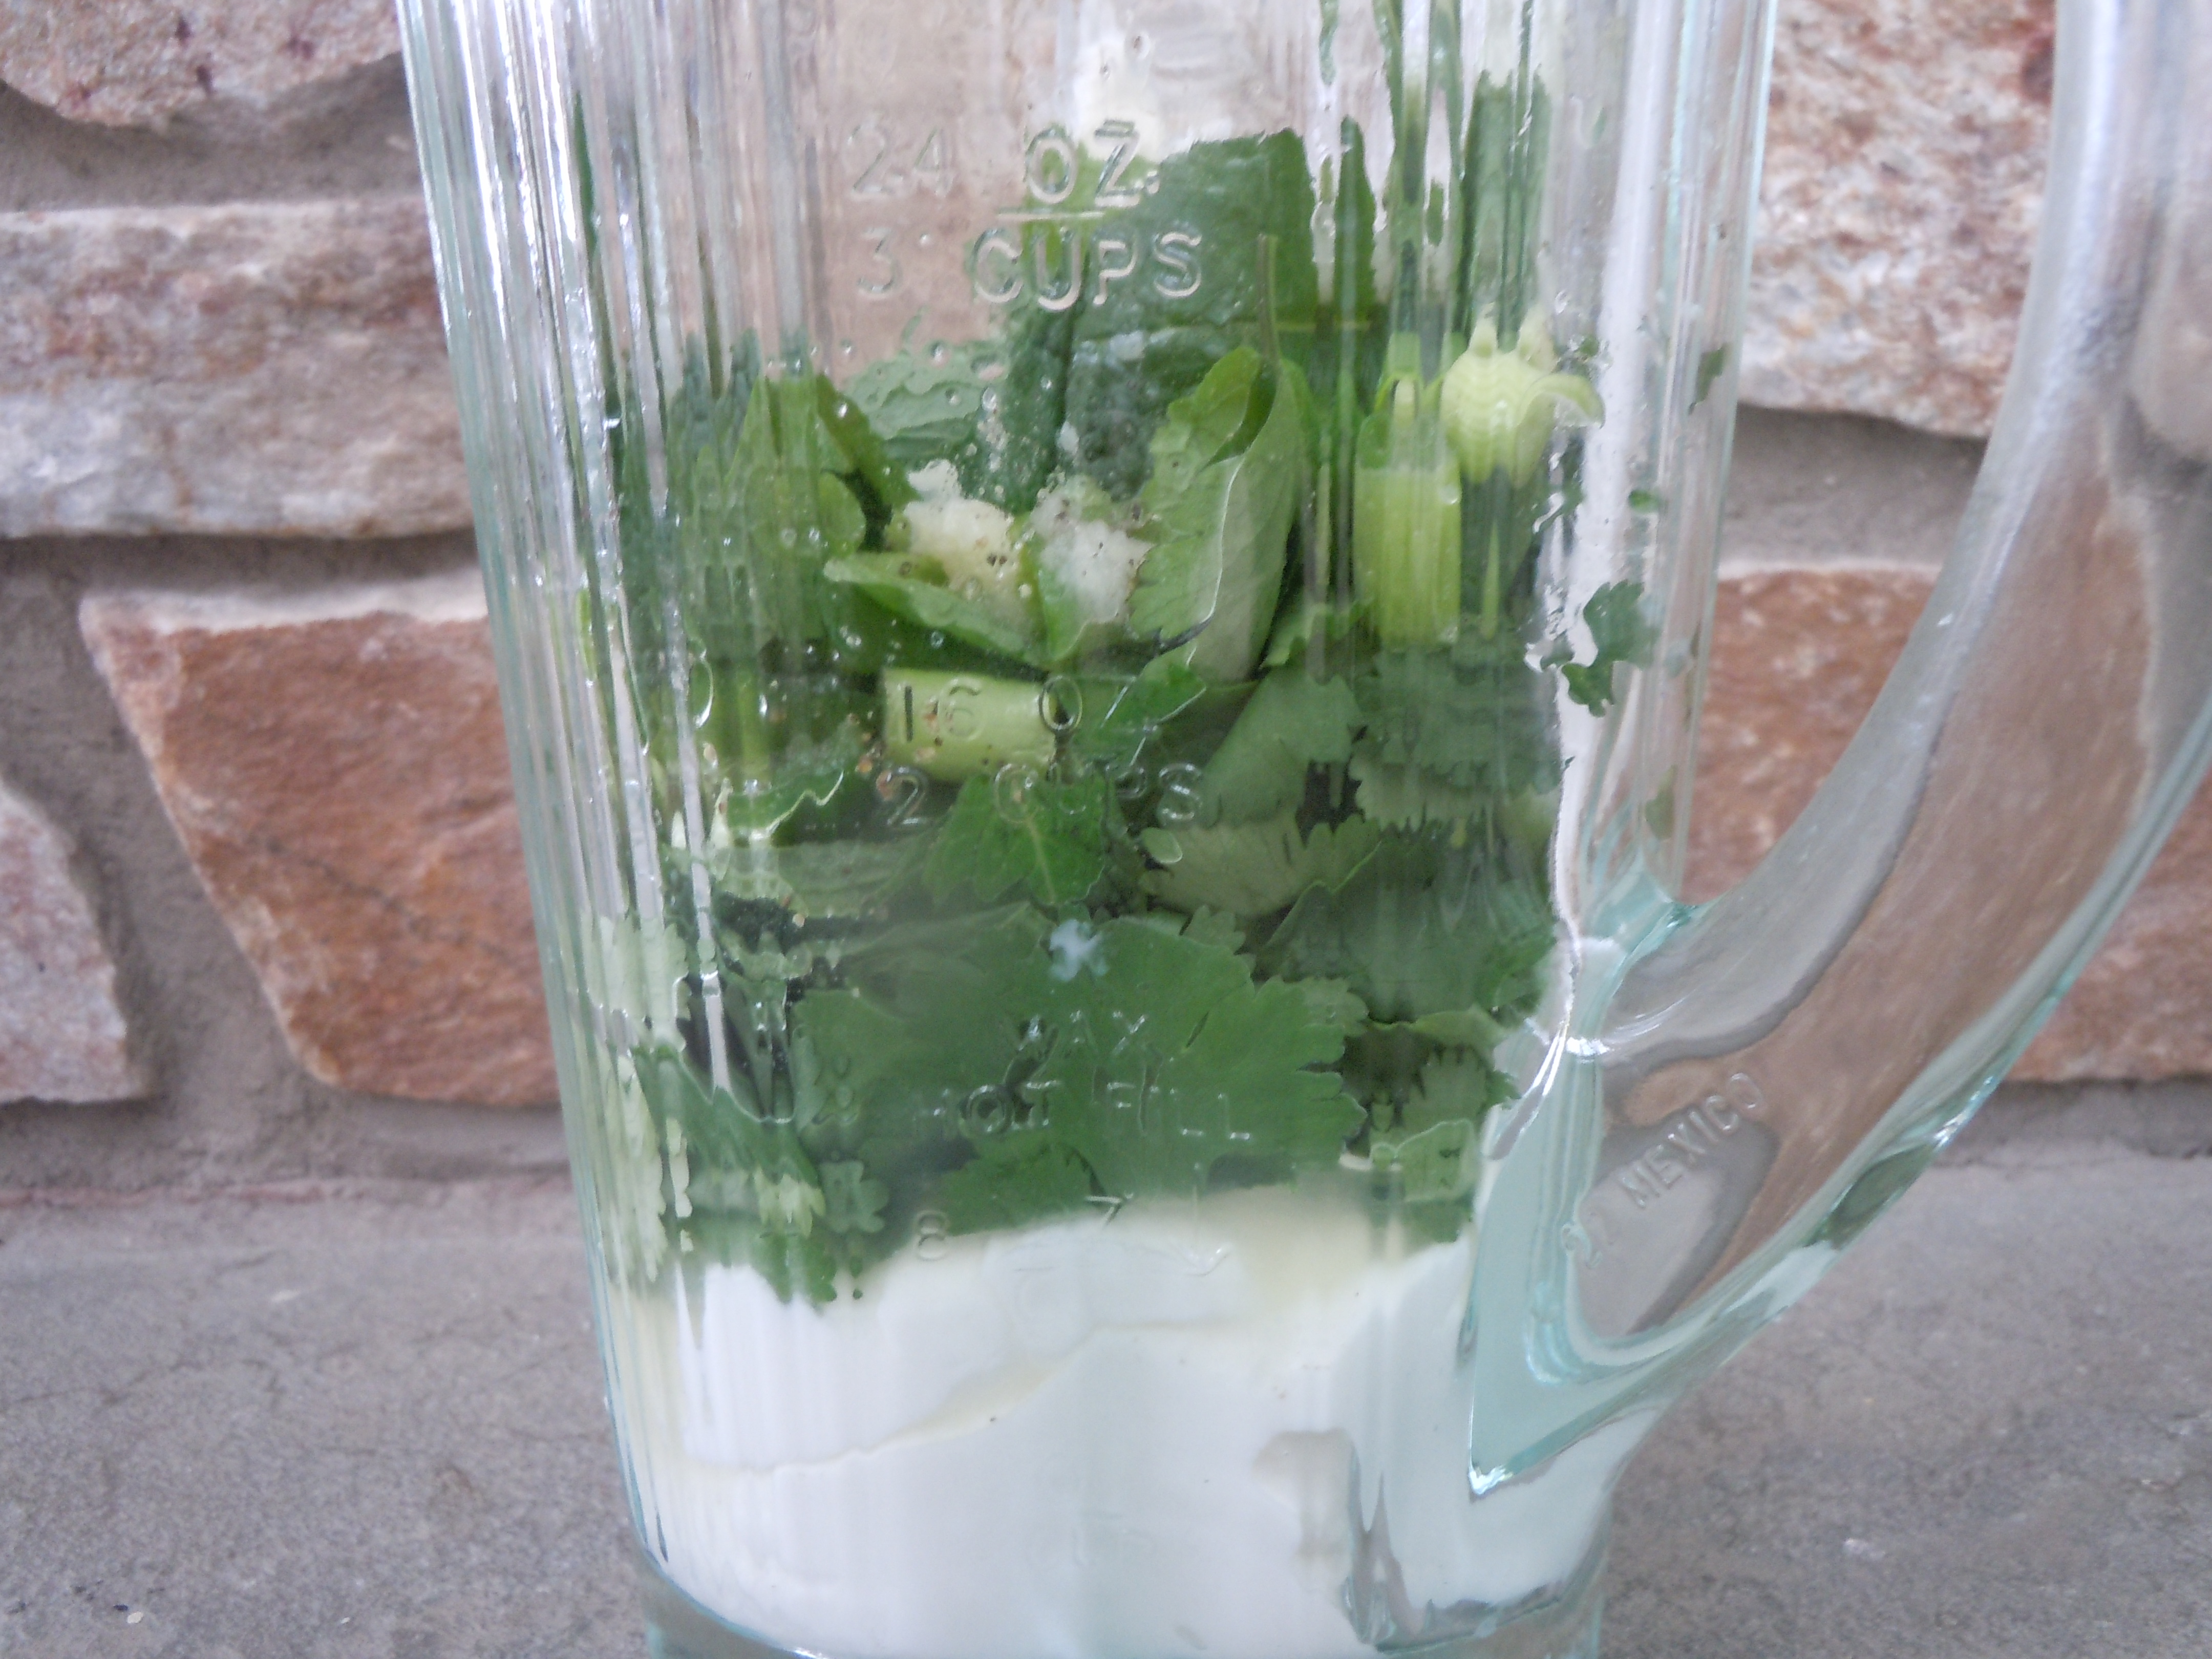
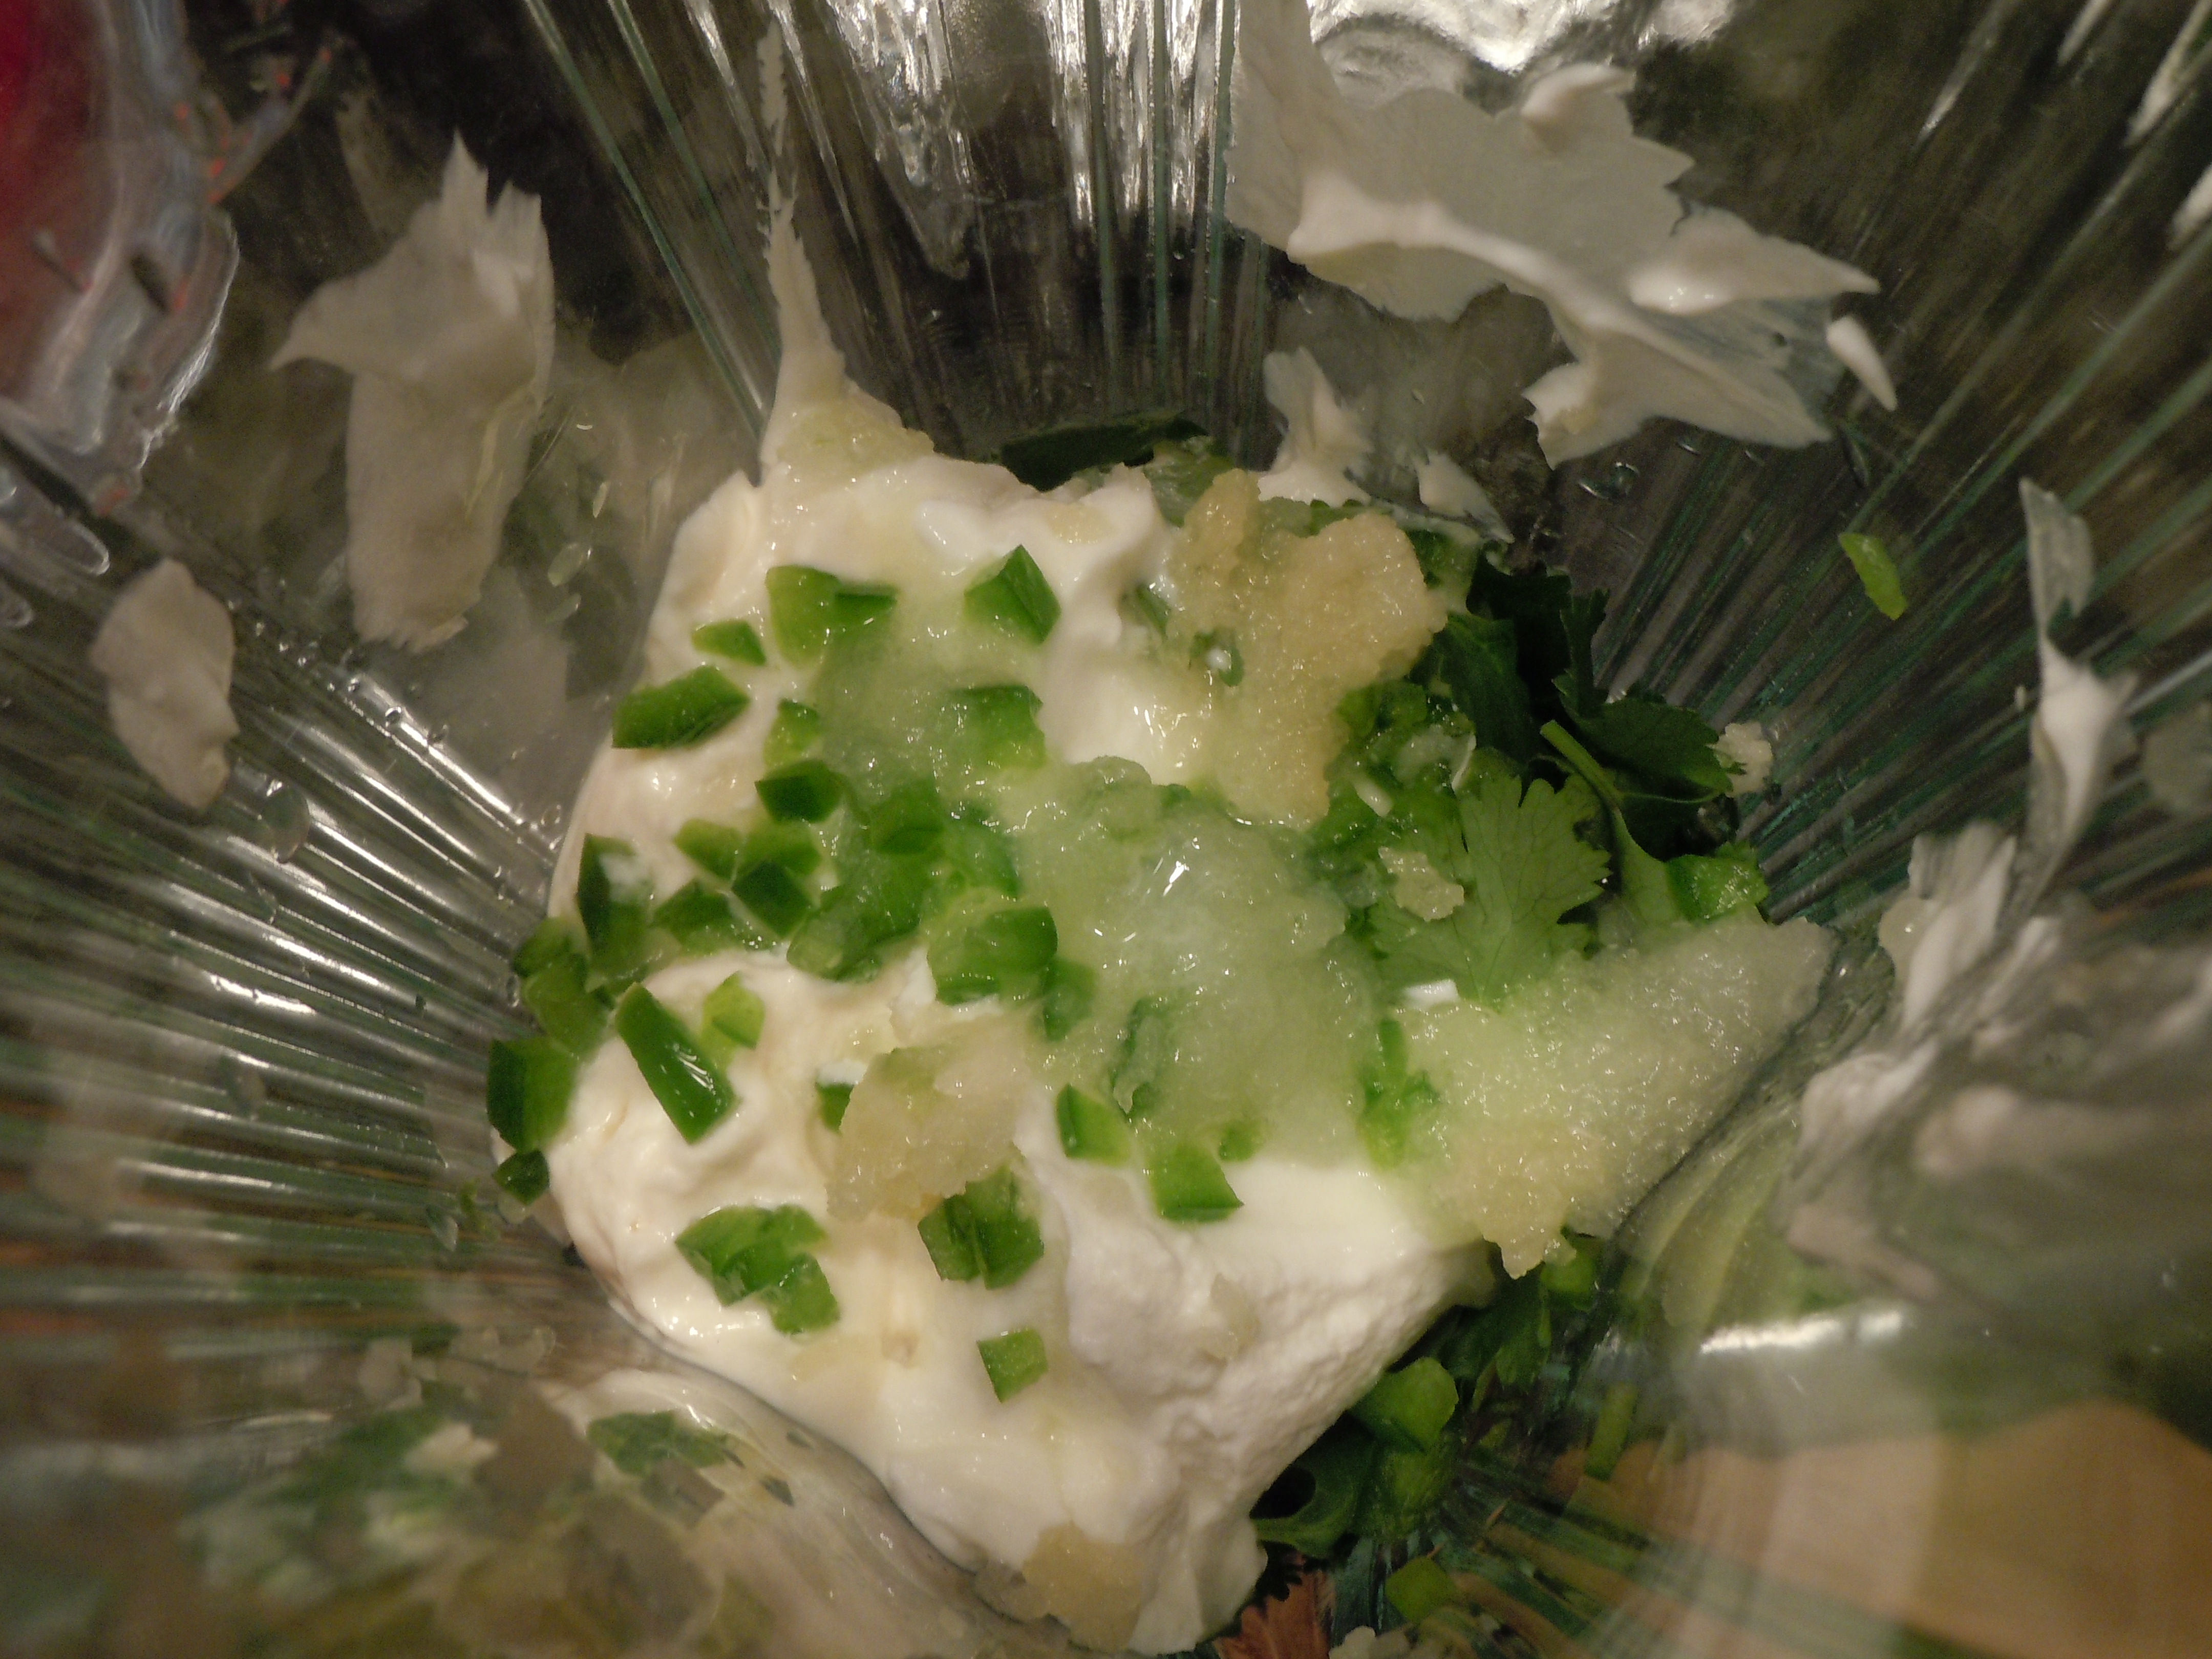
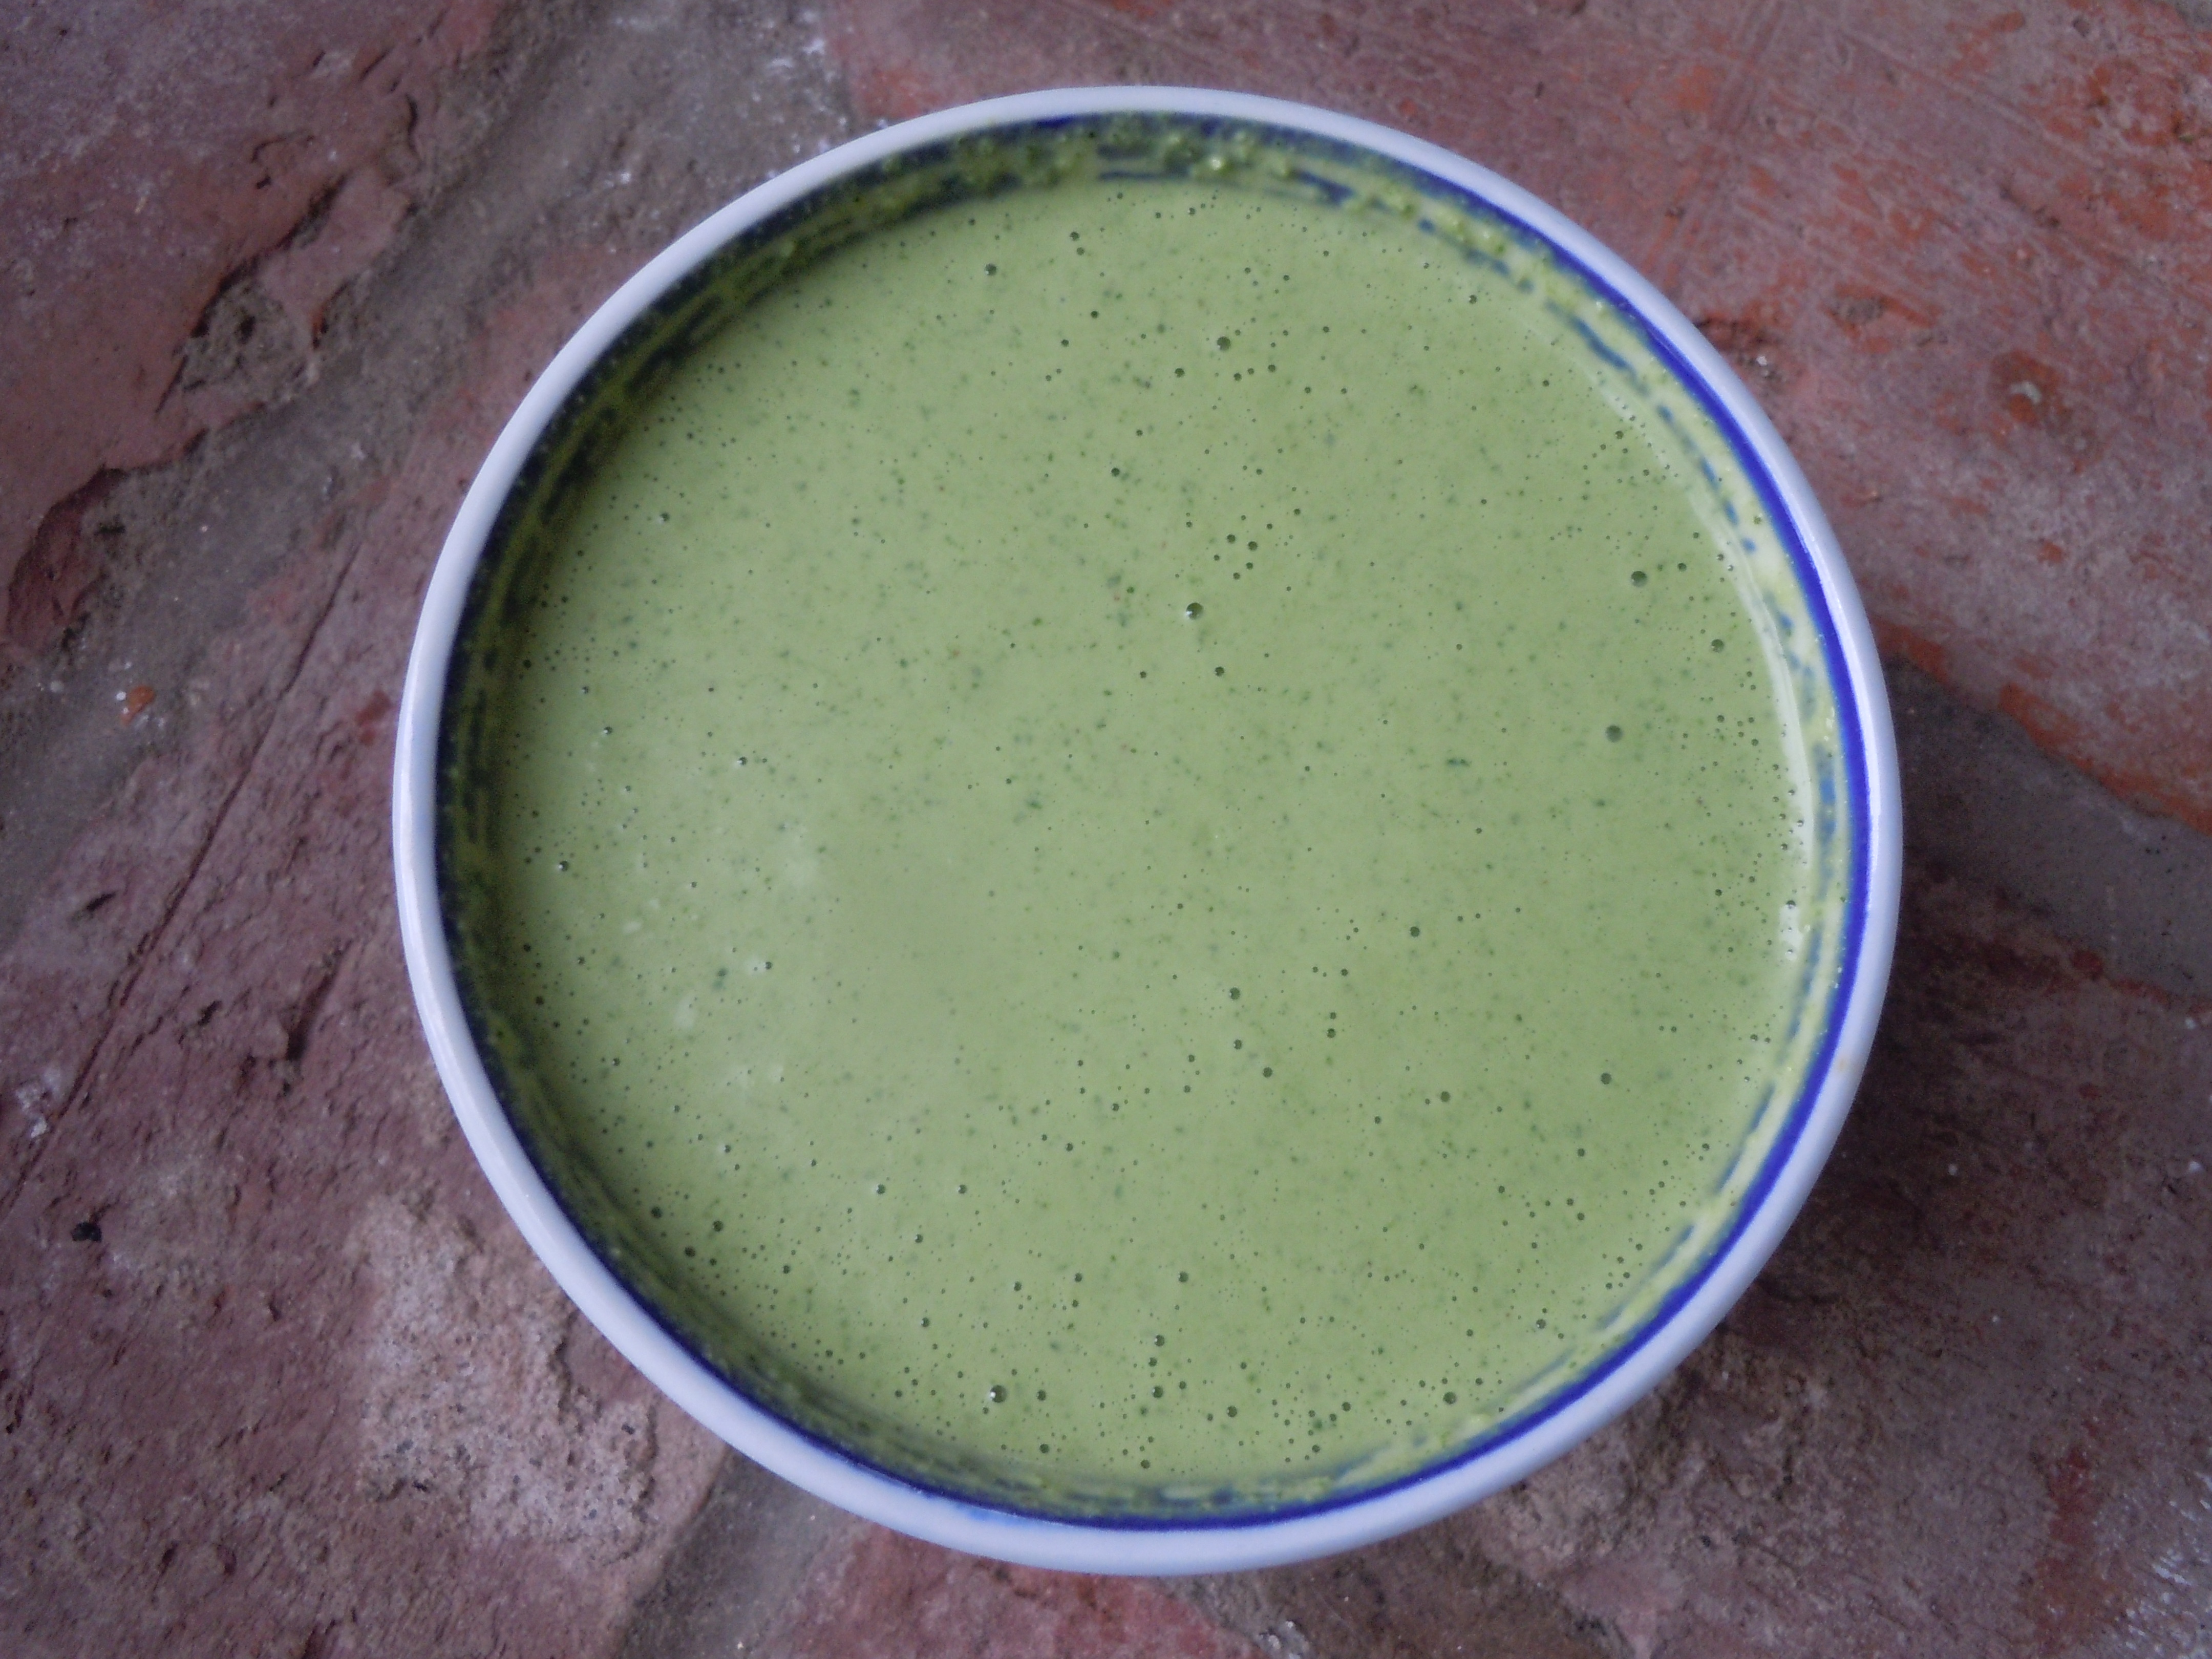
 The colors orange and green were stuck in my head for this Halloween episode and that’s why I decided to share my sweet potato fries & green goddess dip recipes with you! These baked sweet potato fries are so delicious all on their own but wait until you dip them into the green goddess sauce you’ll want to put green goddess dip on EVERYTHING! I make this dipping sauce when I cook up swordfish, shrimp, tuna, chicken and steaks also. Being able to make a homemade gourmet sauce like this in 5 minutes, in a blender is basically a no-brainer for me. I can’t wait until you taste this sauce. And here I go again, making my dipping sauce with Greek yogurt to balance out the mayo giving it yet another layer of flavor and tangy richness. I do this also with my