CT Style Making Asian Shrimp & Rice Noodle Salad with Ryan & Teresa!
Back on CT Style this week with Ryan Kristafer and Teresa Dufour making the perfect summer picnic dish, Asian Shrimp & Rice Noodle Salad, never gets dull with those two! I thoroughly enjoy every second on the WTNH set at Channel 8. There were several groups going on camera this week making it even more exciting then usual, if that’s at all possible.
Not only do I try to offer appropriate seasonal recipes but its important for me to find out what recipes my followers and friends want to see so please feel free to make suggestions always. That’s how I came up with this Asian Shrimp & Noodle Salad… it was the #1 request, a picnic-beach salad that won’t spoil.
You can find the wriiten recipe for this Asian Shrimp & Rice Noodle Salad and how I originally got it from my big foodie friends Karen and Ken from Andover, MA by clicking on the hyper-link.
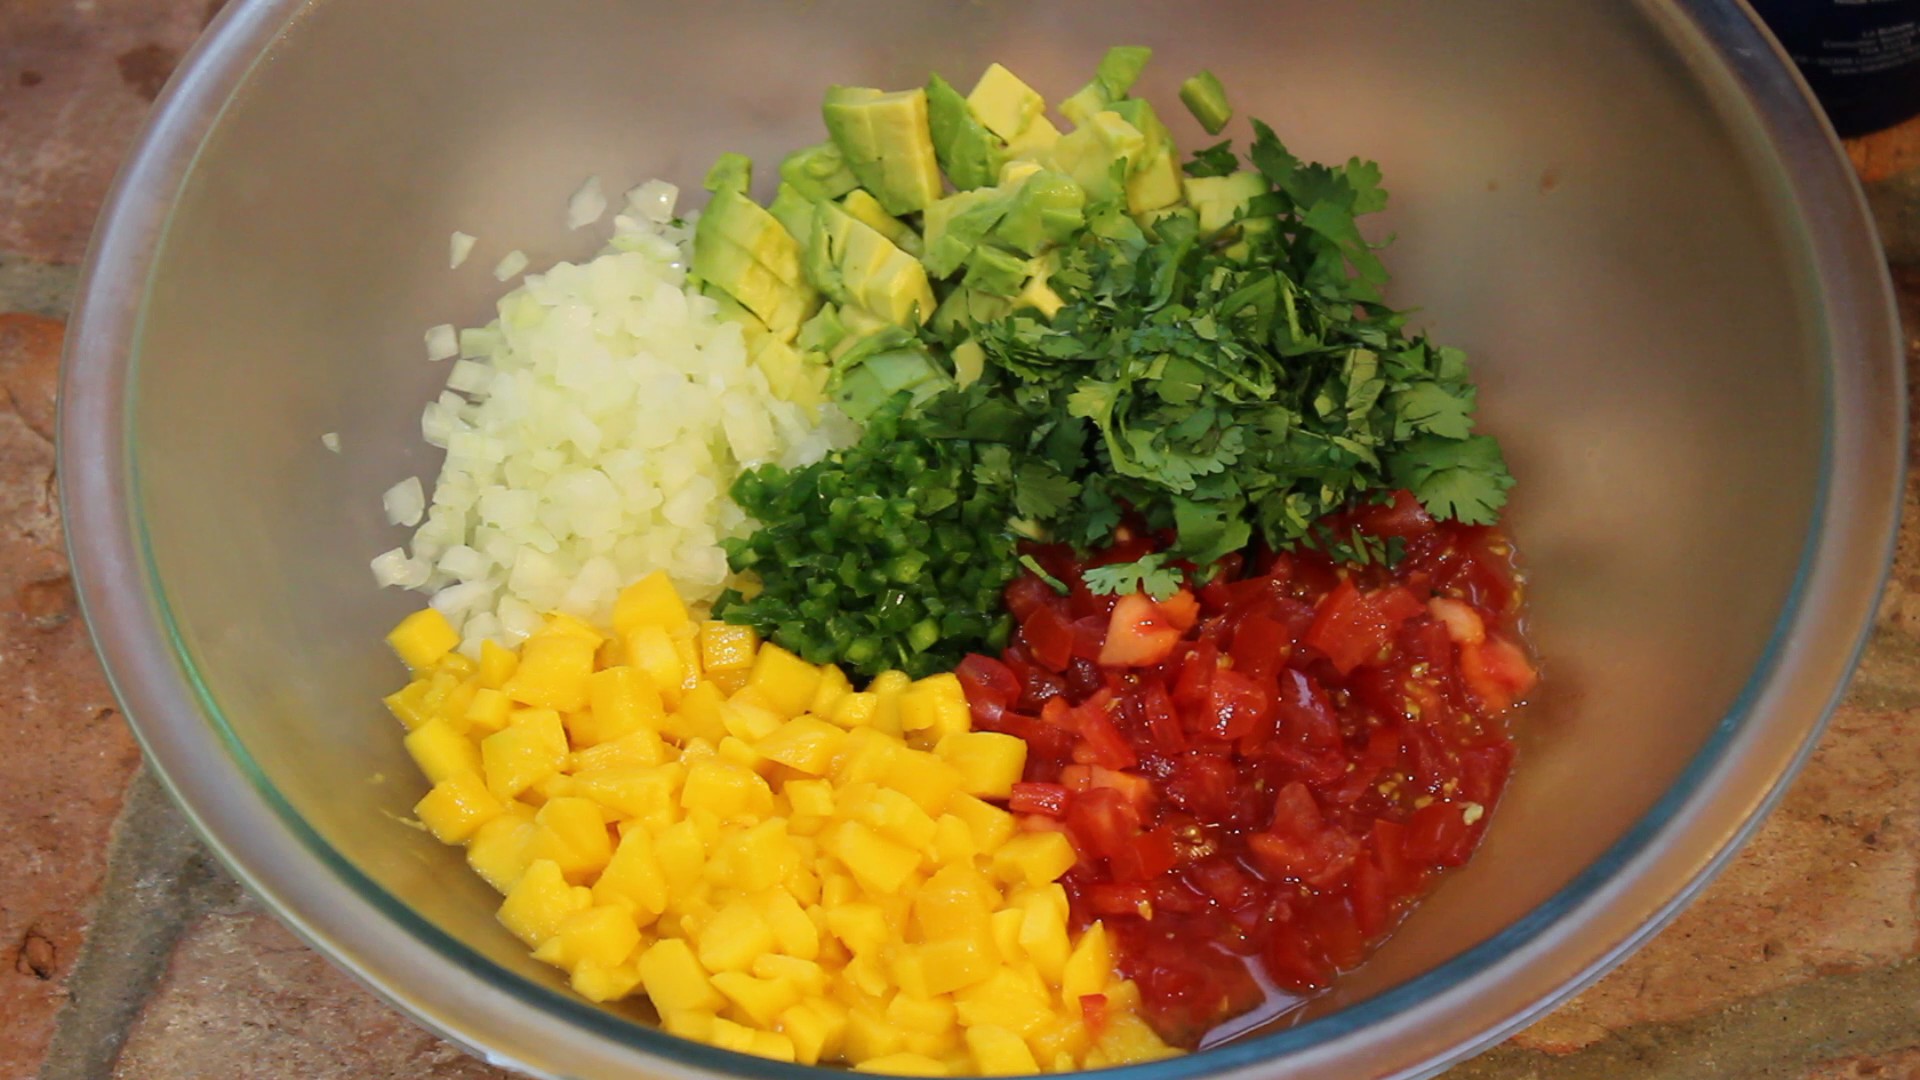
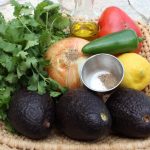
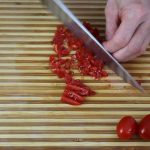
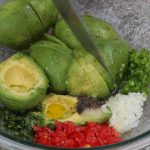
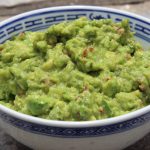
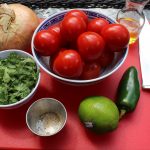
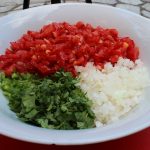
This best guacamole ever recipe will definitely change the way you look at that mixture they call guacamole at the market. I find most of the brands out there both watery and mysterious. Why chance quality. The simple fact is, when my best guacamole recipe is so simple to make why settle for second rate! Even the amounts of finely chopped sweet onion, tomato, jalapeño and cilantro in this recipe are minimal so there’s not a whole lot of prep going on either. These amounts are just enough to add hints of lovely flavors and not take away from the sweet creamy California avocado’s.
Avocado’s are on sale just about every other week at the market so take advantage of this and load up. You can never buy too many and they don’t all have to be perfectly ripened right at that moment. They will ripen on your counter in a matter of days.
If I am not serving this best guacamole ever right away I put one of the avocado pits back into the middle of the guacamole, cover it with saran wrap and put it into the refrigerator until I’m ready. The saran wrap should go directly onto the surface of the guacamole so as not to let the dip oxidize and turn brown. If part of it does oxidize just skim that part off with a spoon and there will be a fresh green surface underneath. And, when making guacamole it’s best when it’s eaten the same day, or definitely by the next.
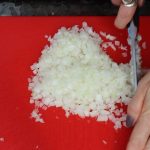
1/4 cup finely chopped Sweet or Vidalia onion (Georgia onion)
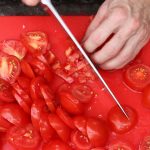
1/4 finely chopped sweet tomatoes any color (cherry tomatoes, heirloom tomatoes…your fav)
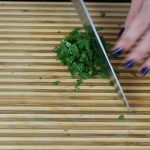
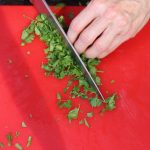
1/4 cup chopped cilantro (fill 1/4 cup first with whole leaves then chop that)
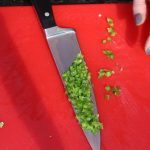
1/2 of a lg jalapeno, finely chopped with seeds removed, approx. 2 tbsp
2 tbsp extra-virgin olive oil
1 tbsp rice wine vinegar “seasoned” – (rice wine vinegar and olive oil are my secret ingredients that give the guac that little someting extra!)
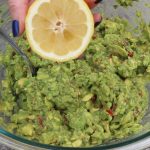
1 tsp fresh squeezed lemon juice
1/4 Tsp salt
1/4 Tsp Pepper
2 dashes of your favorite hot sauce …I use Siracha (which is sold right next to the Tabasco)
Directions:
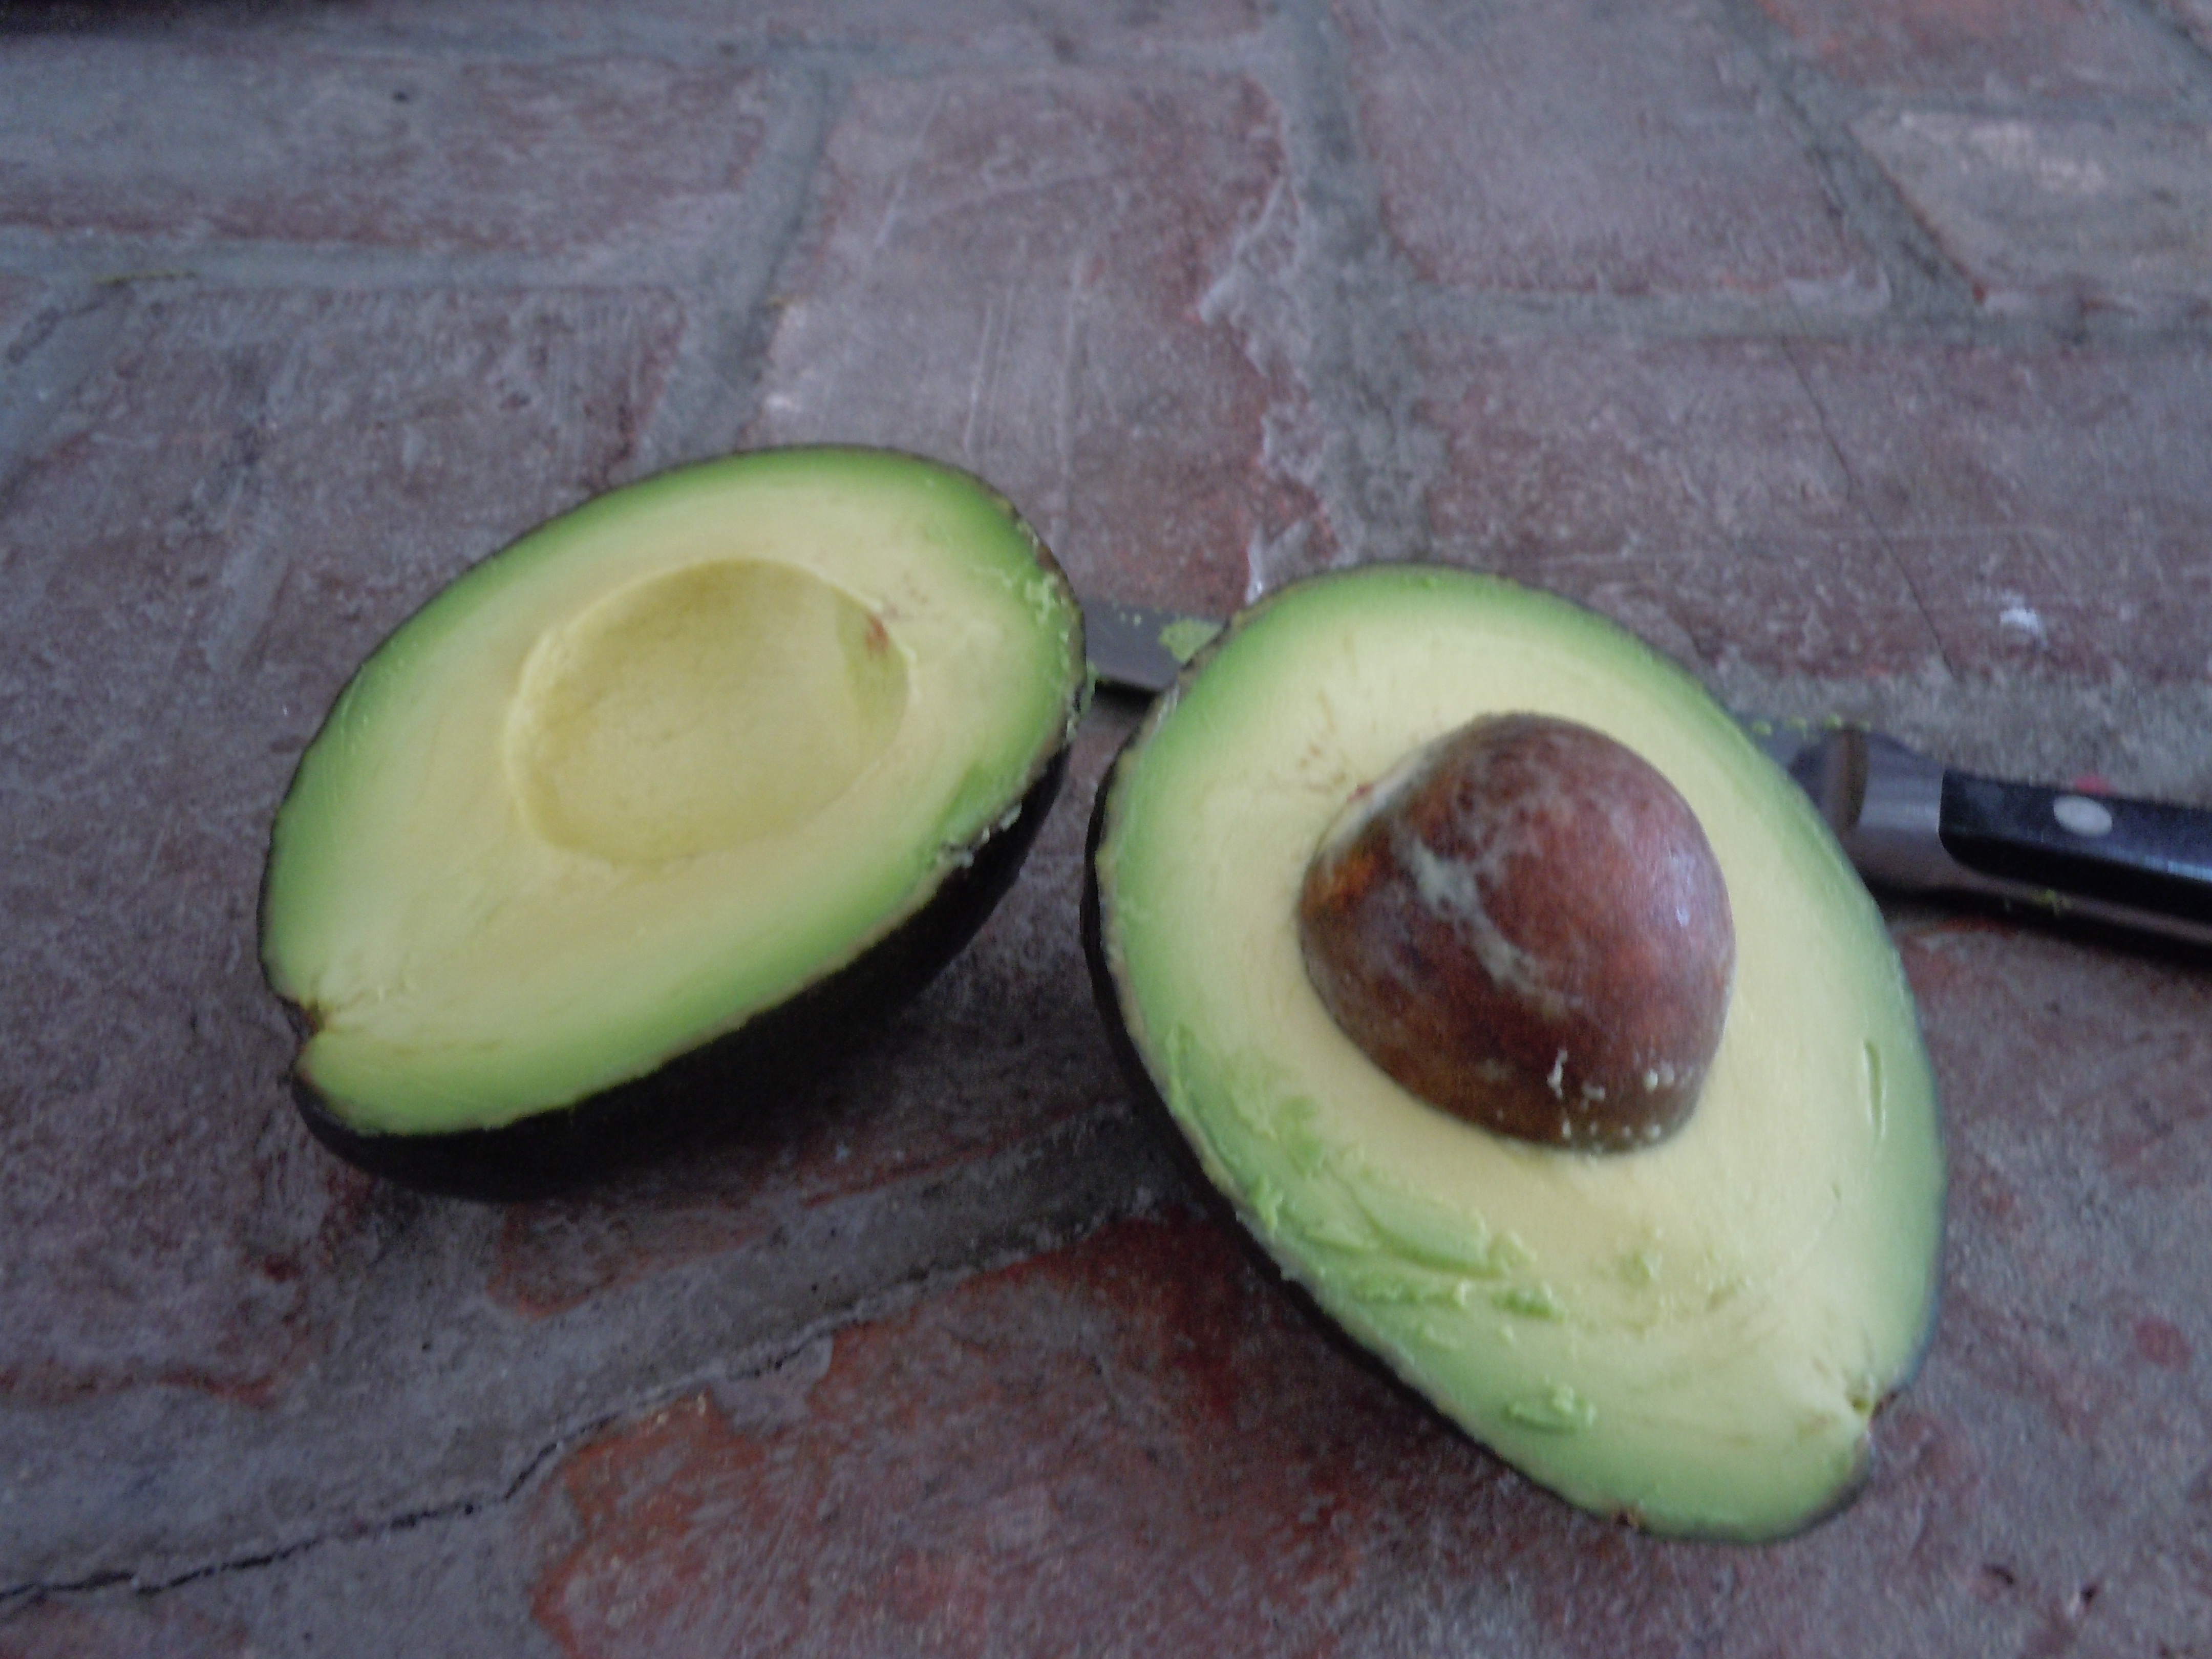
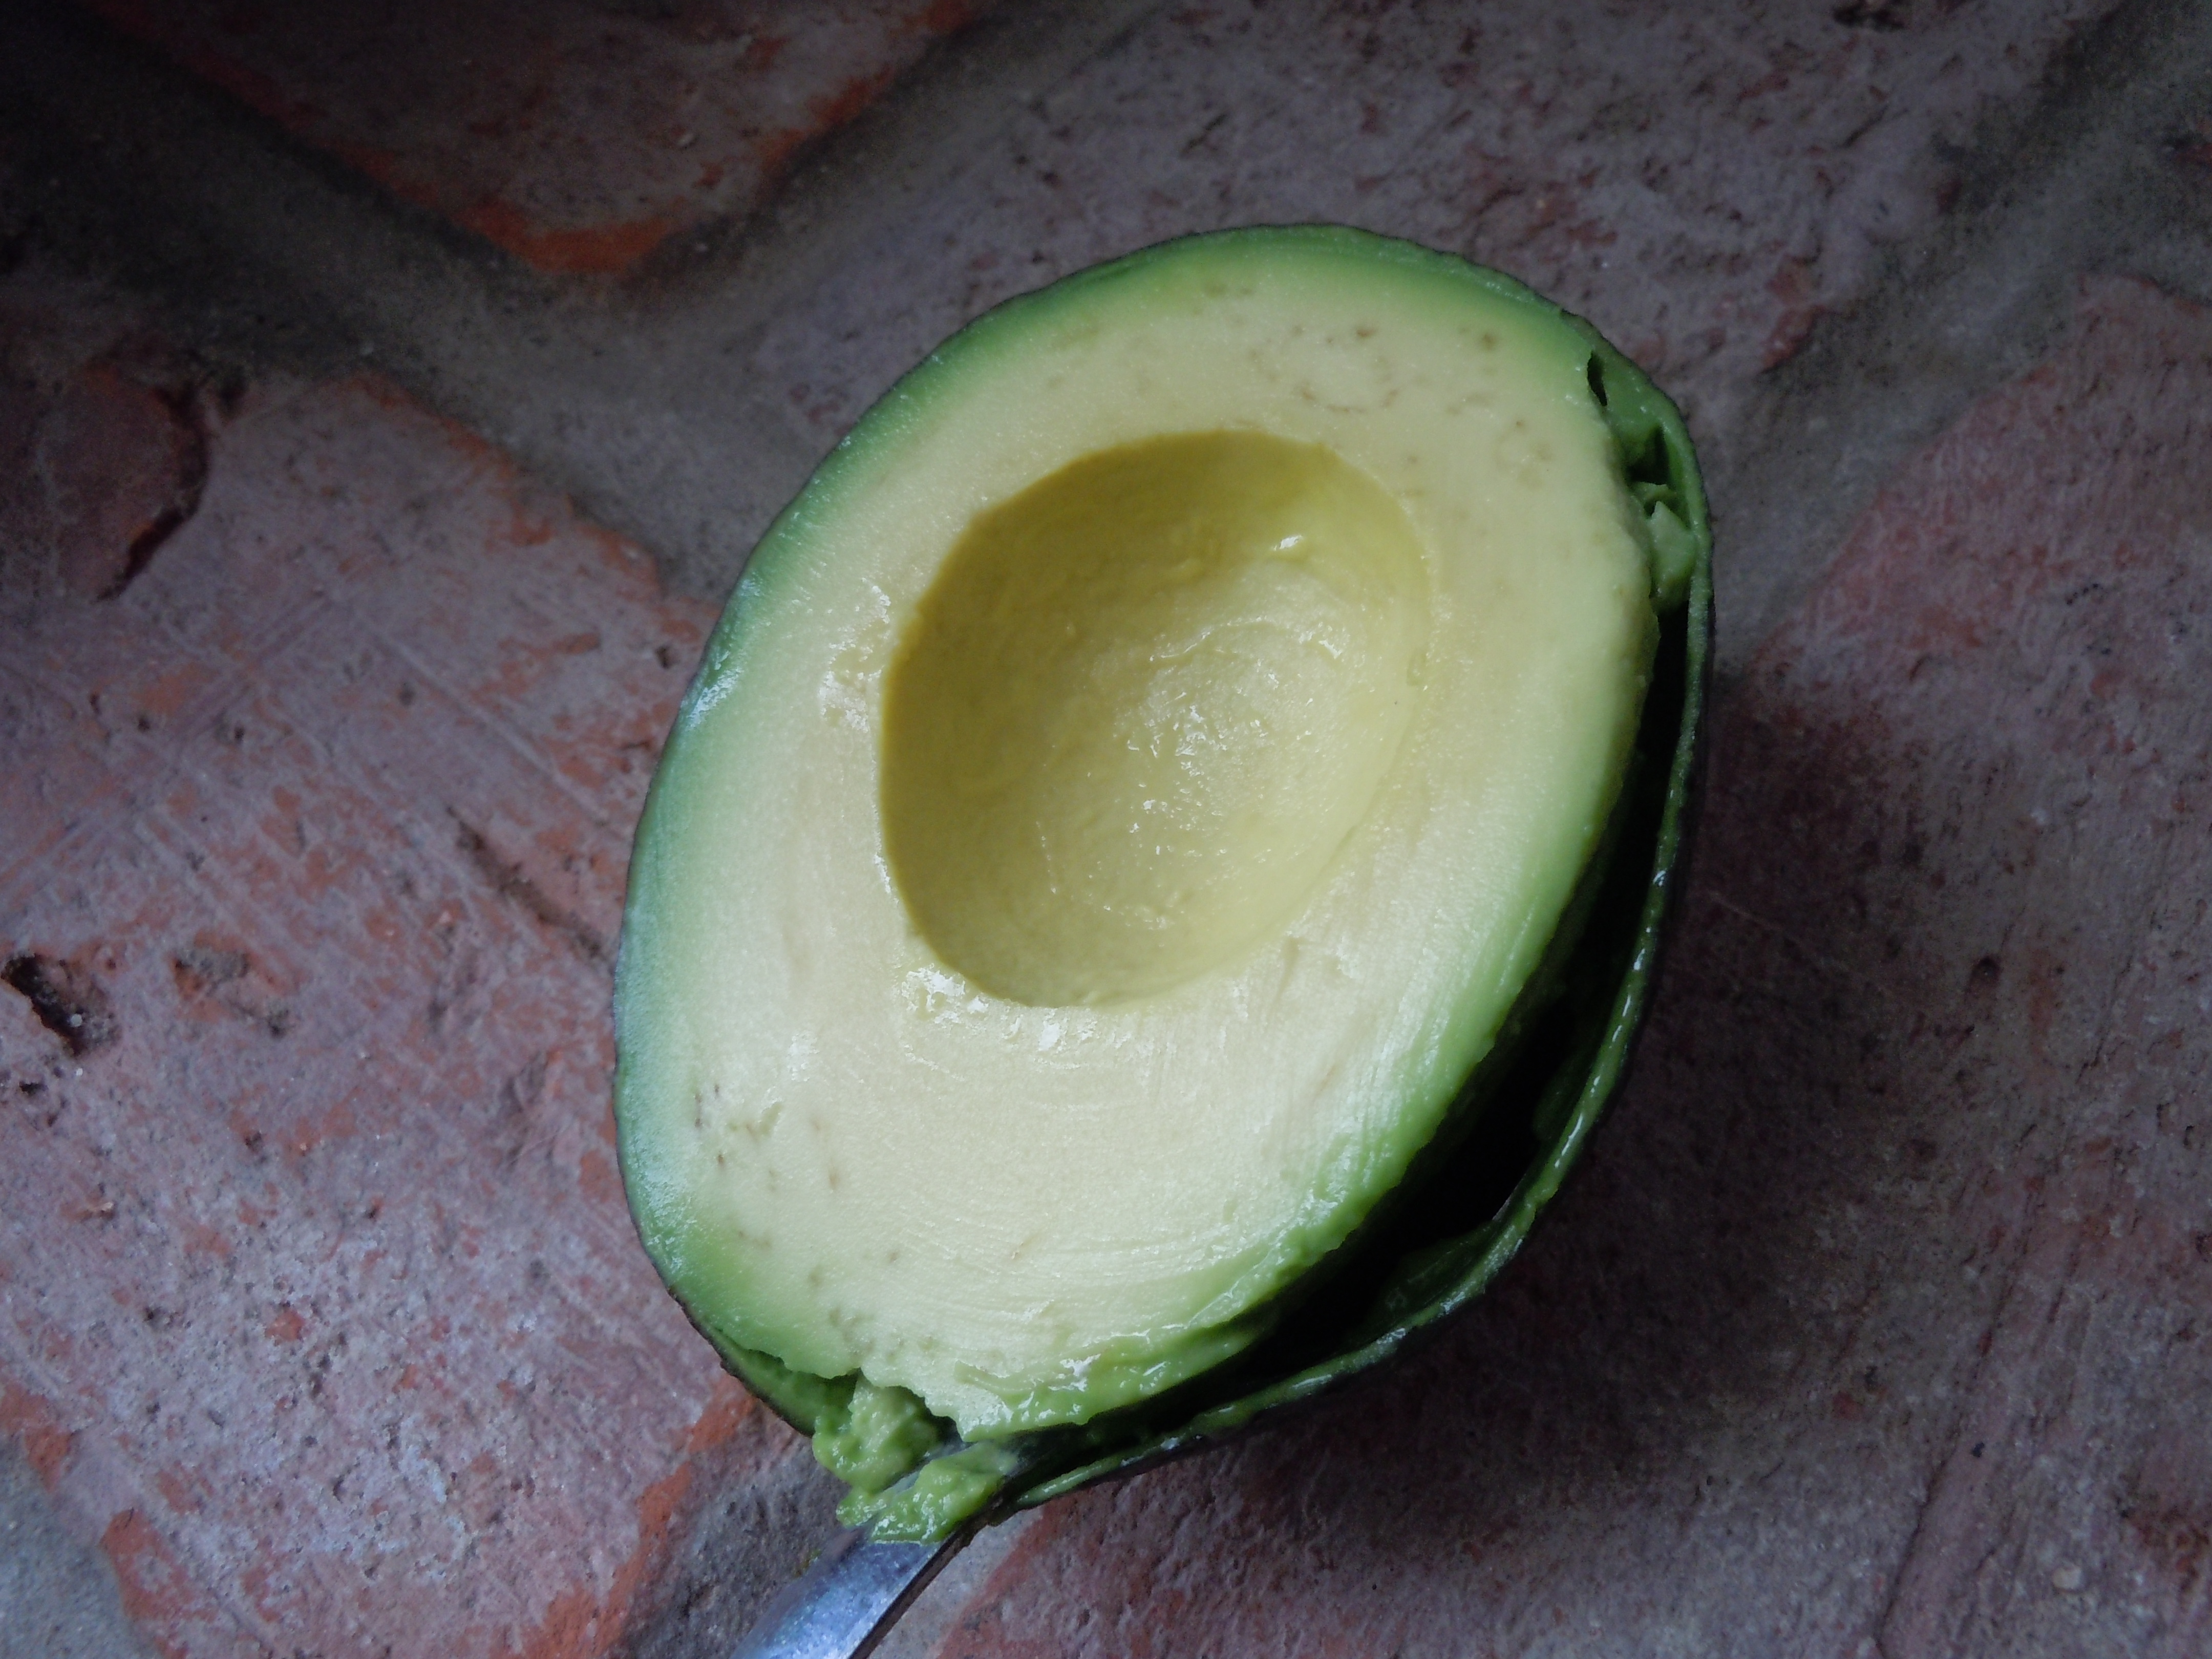
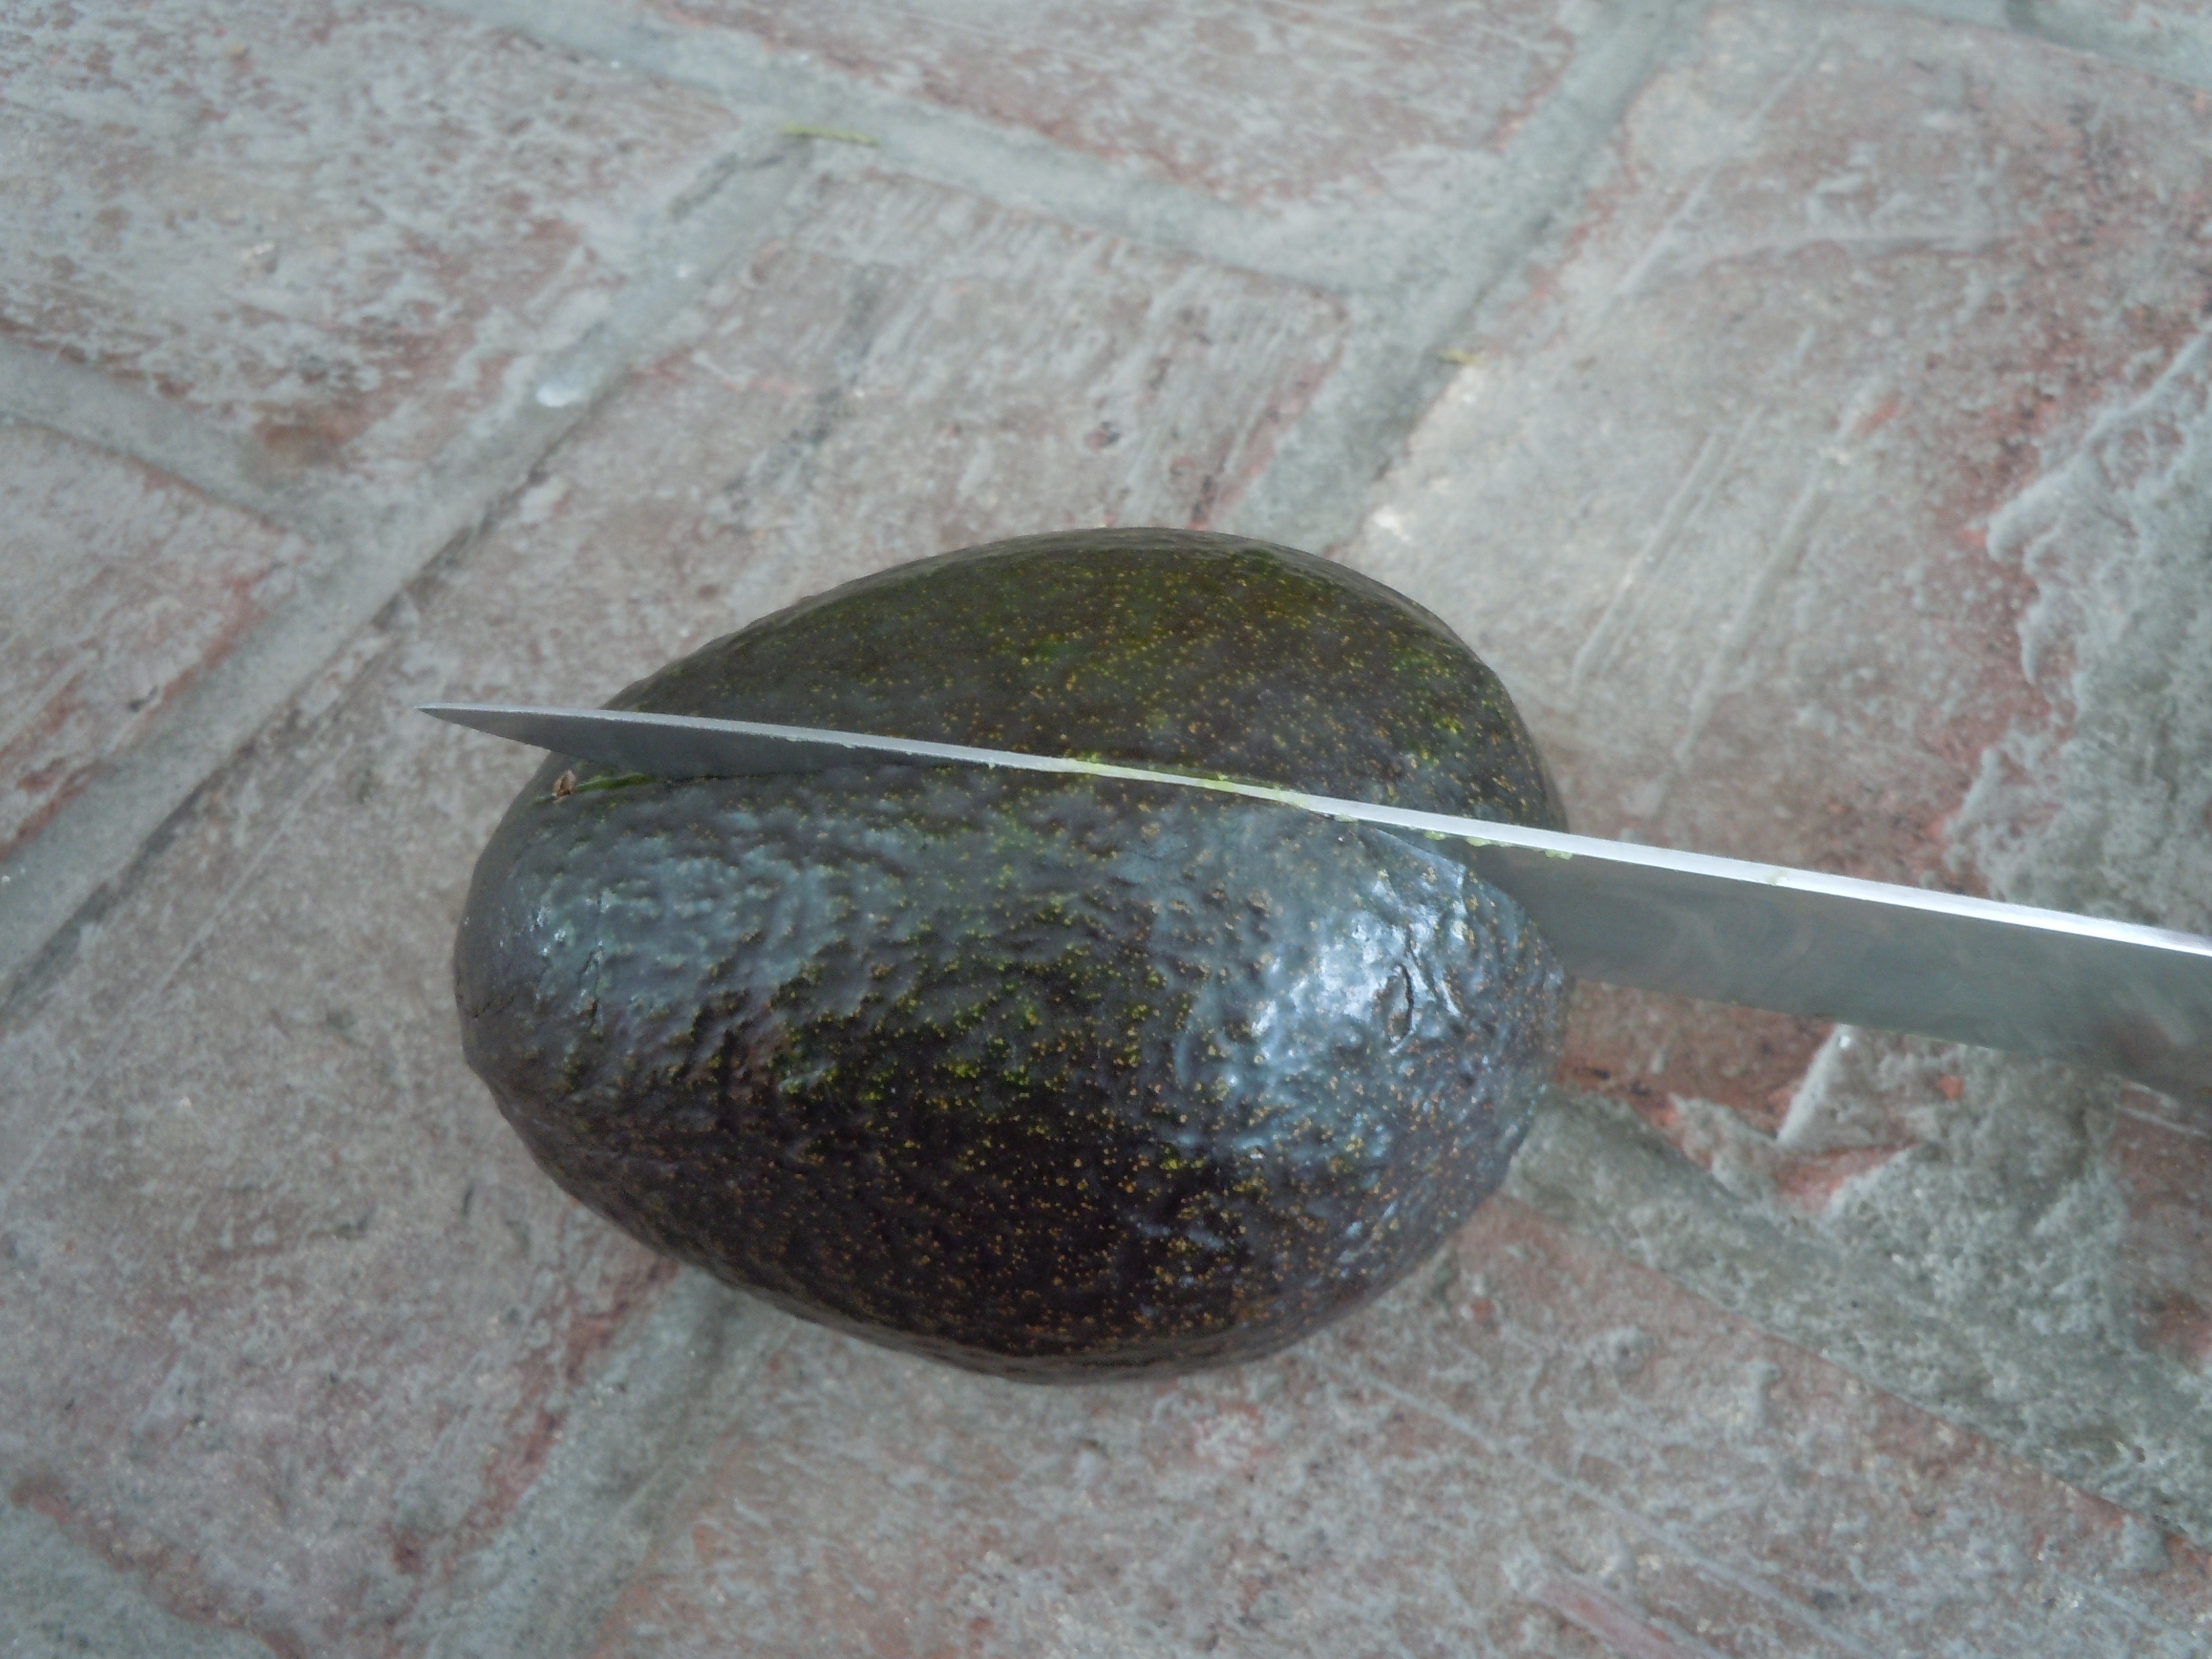
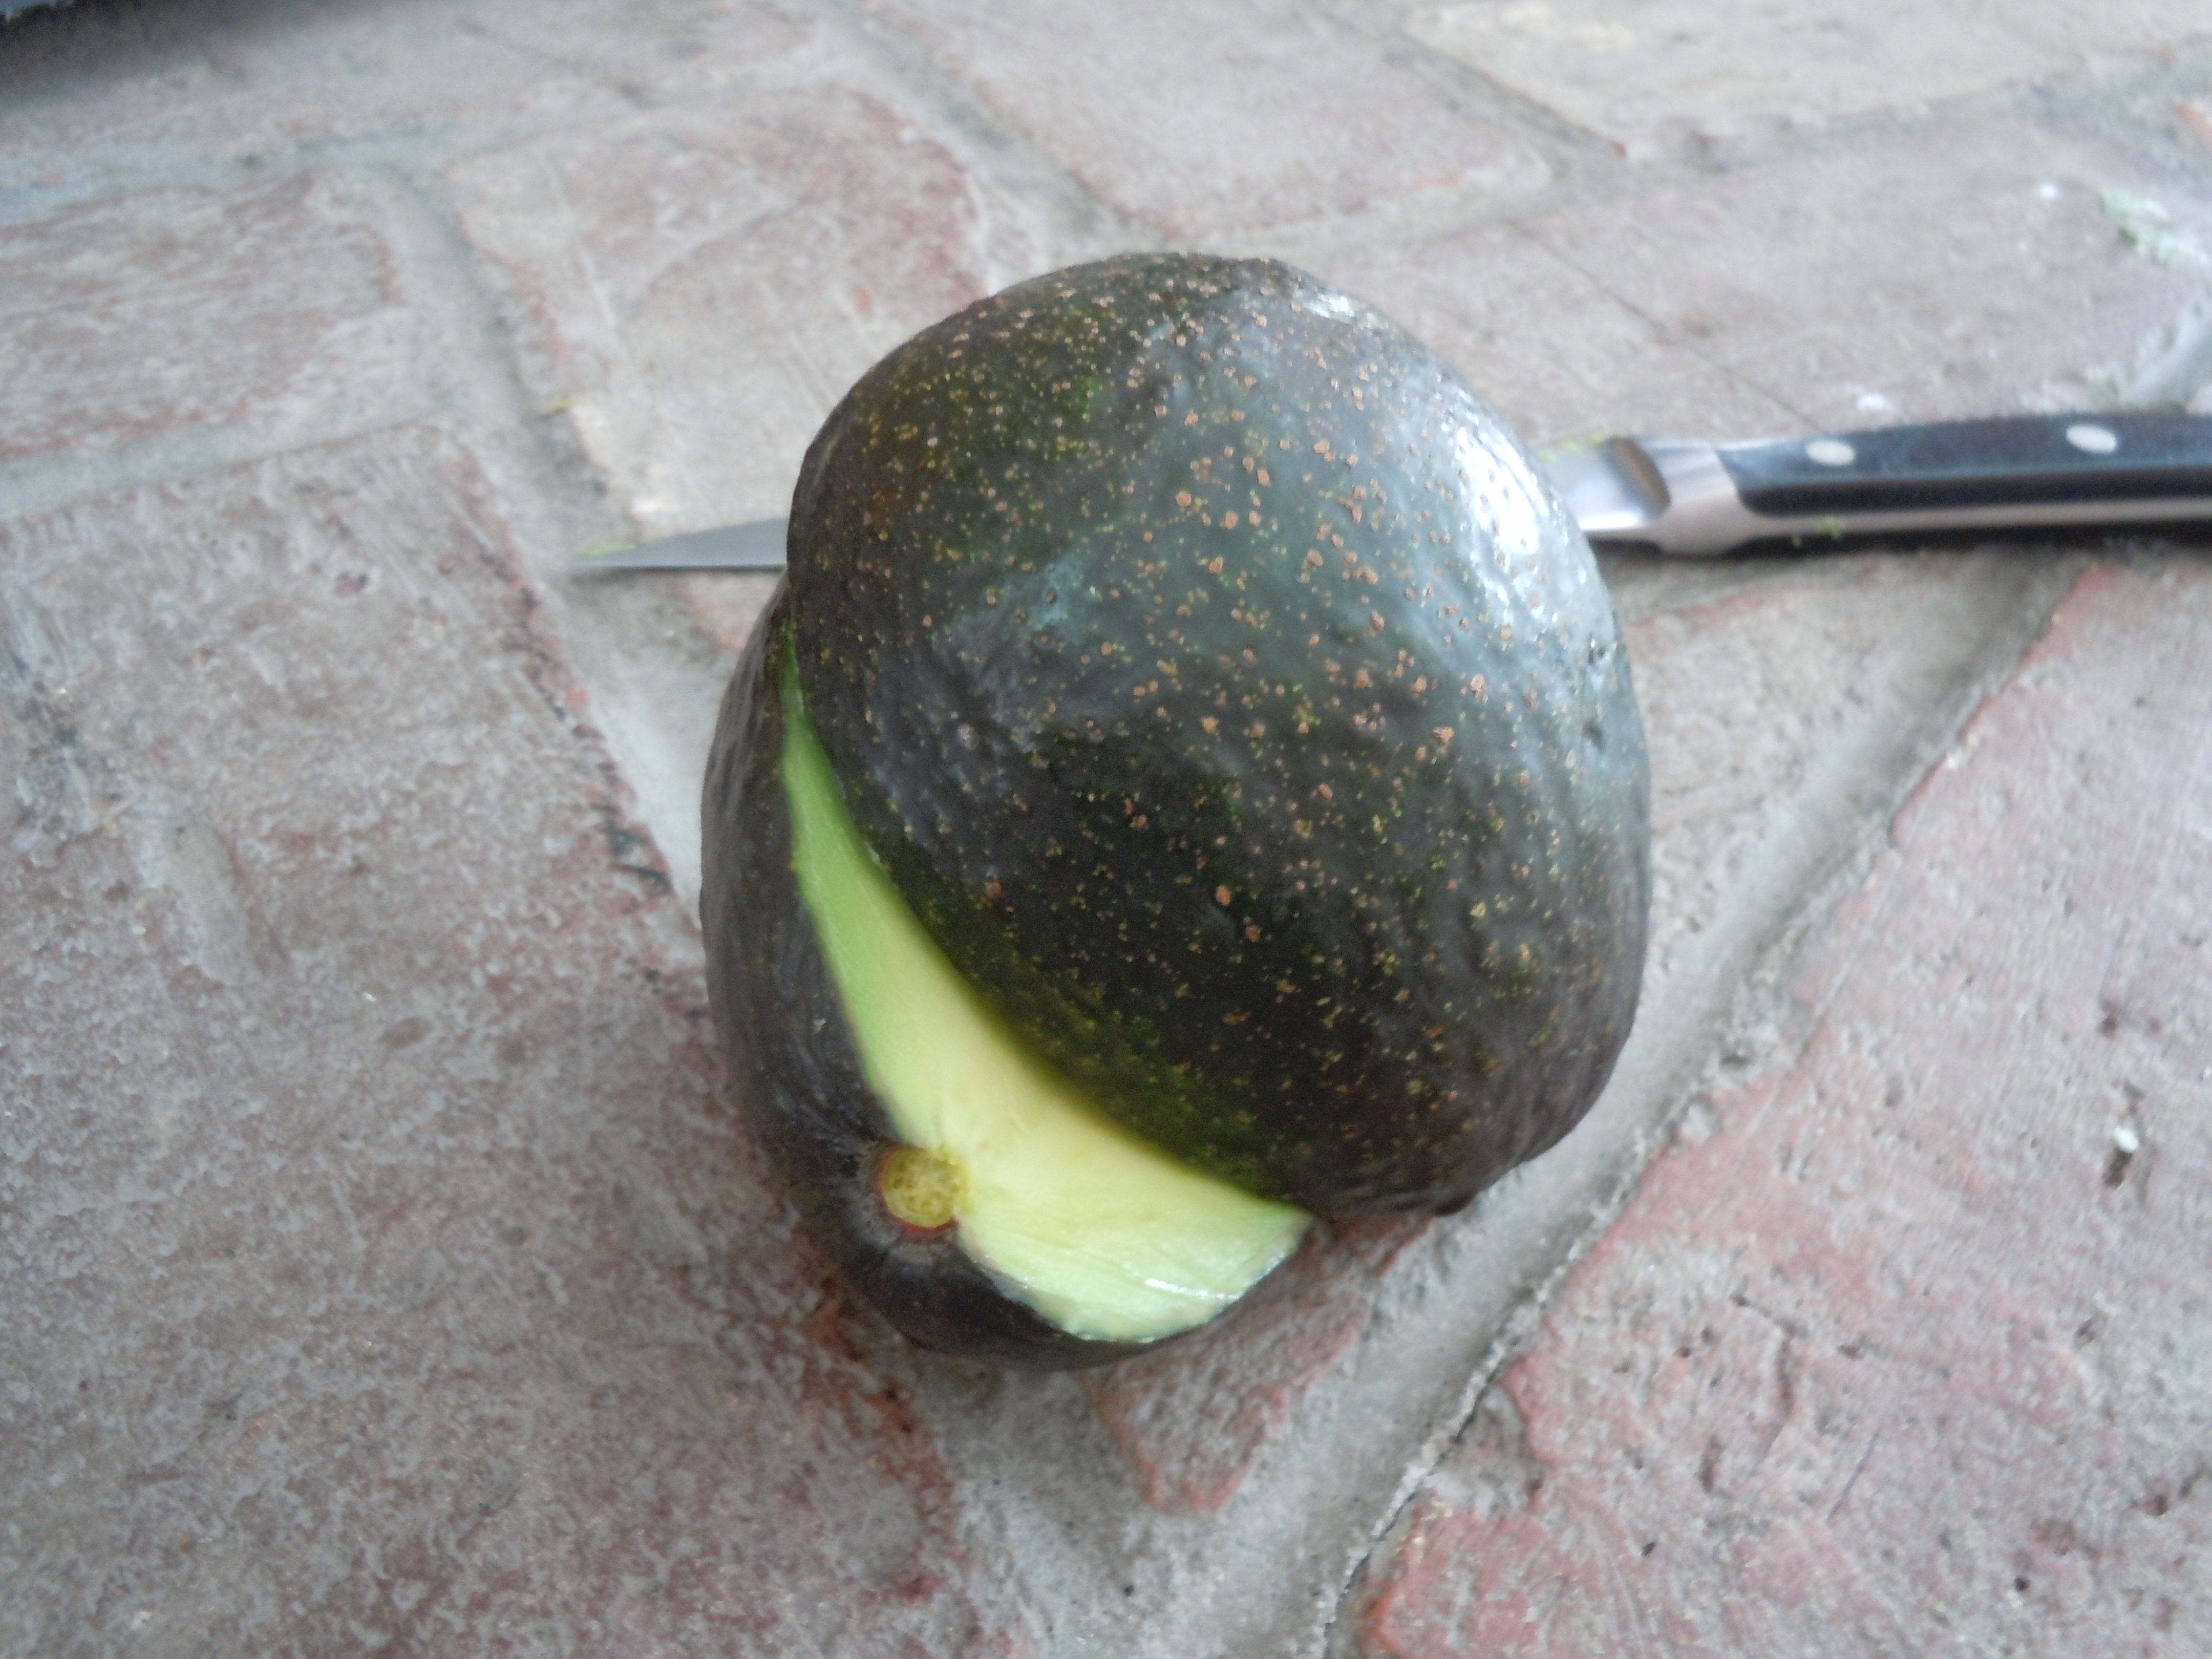
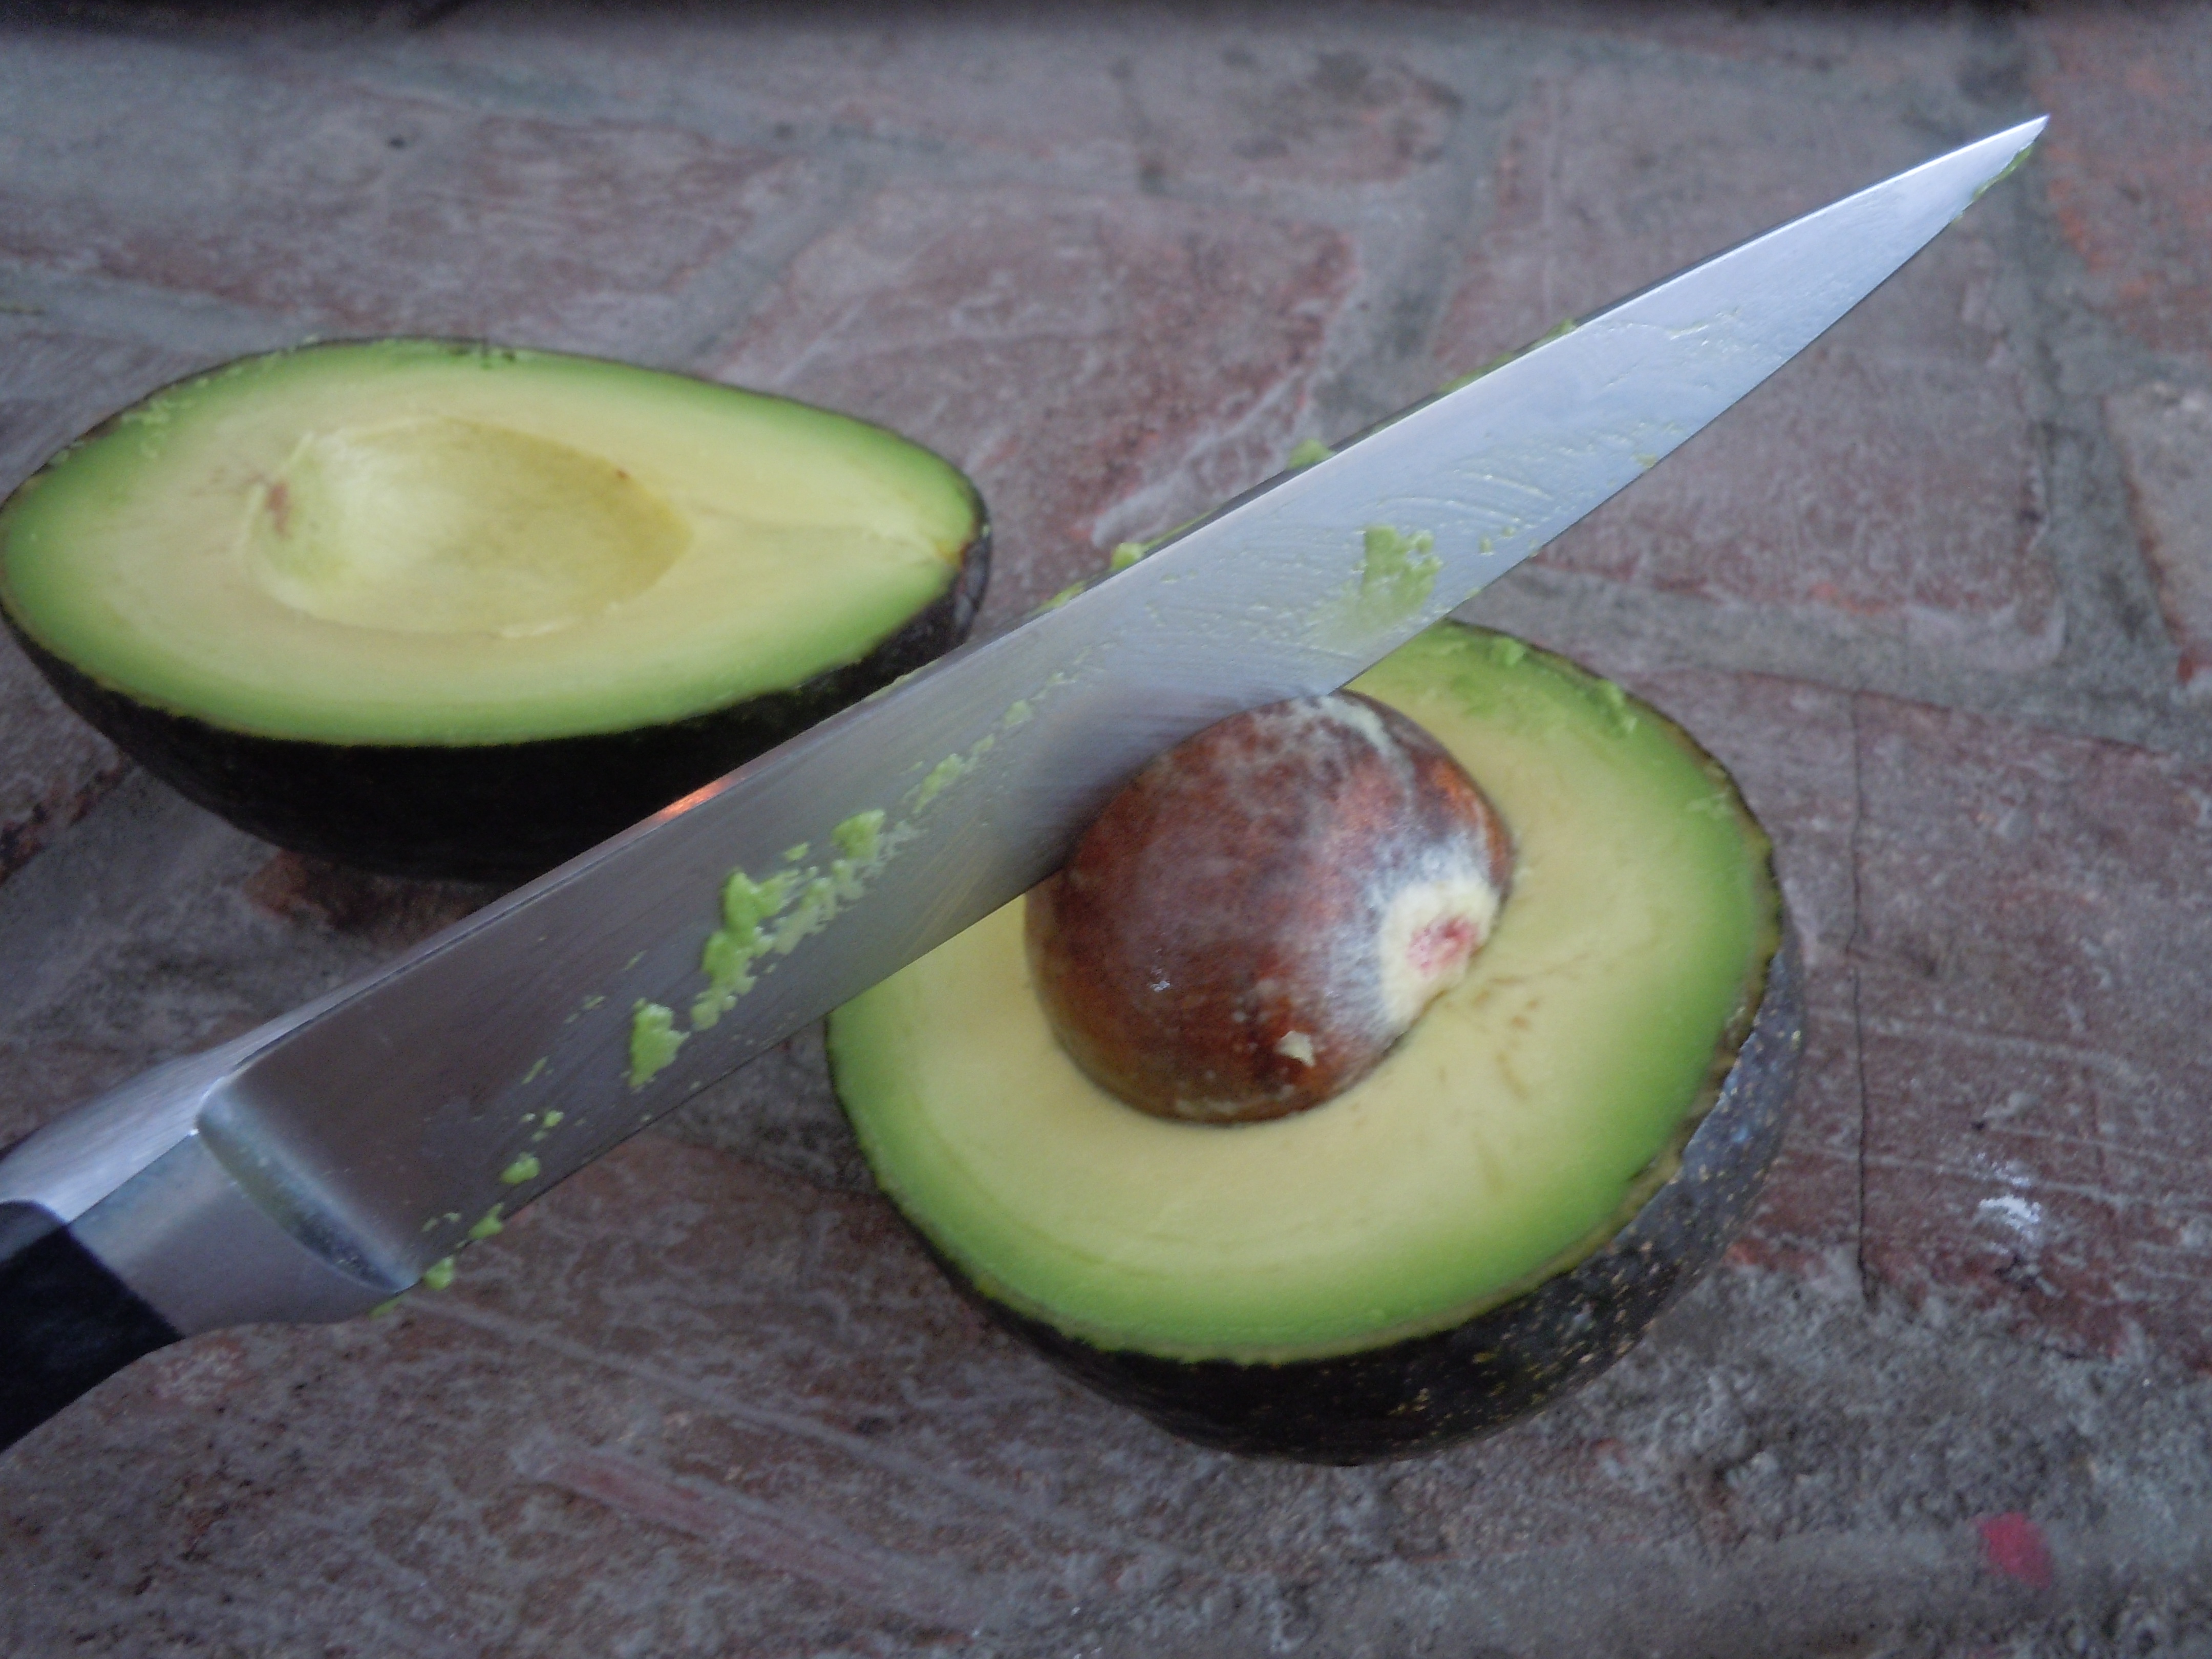
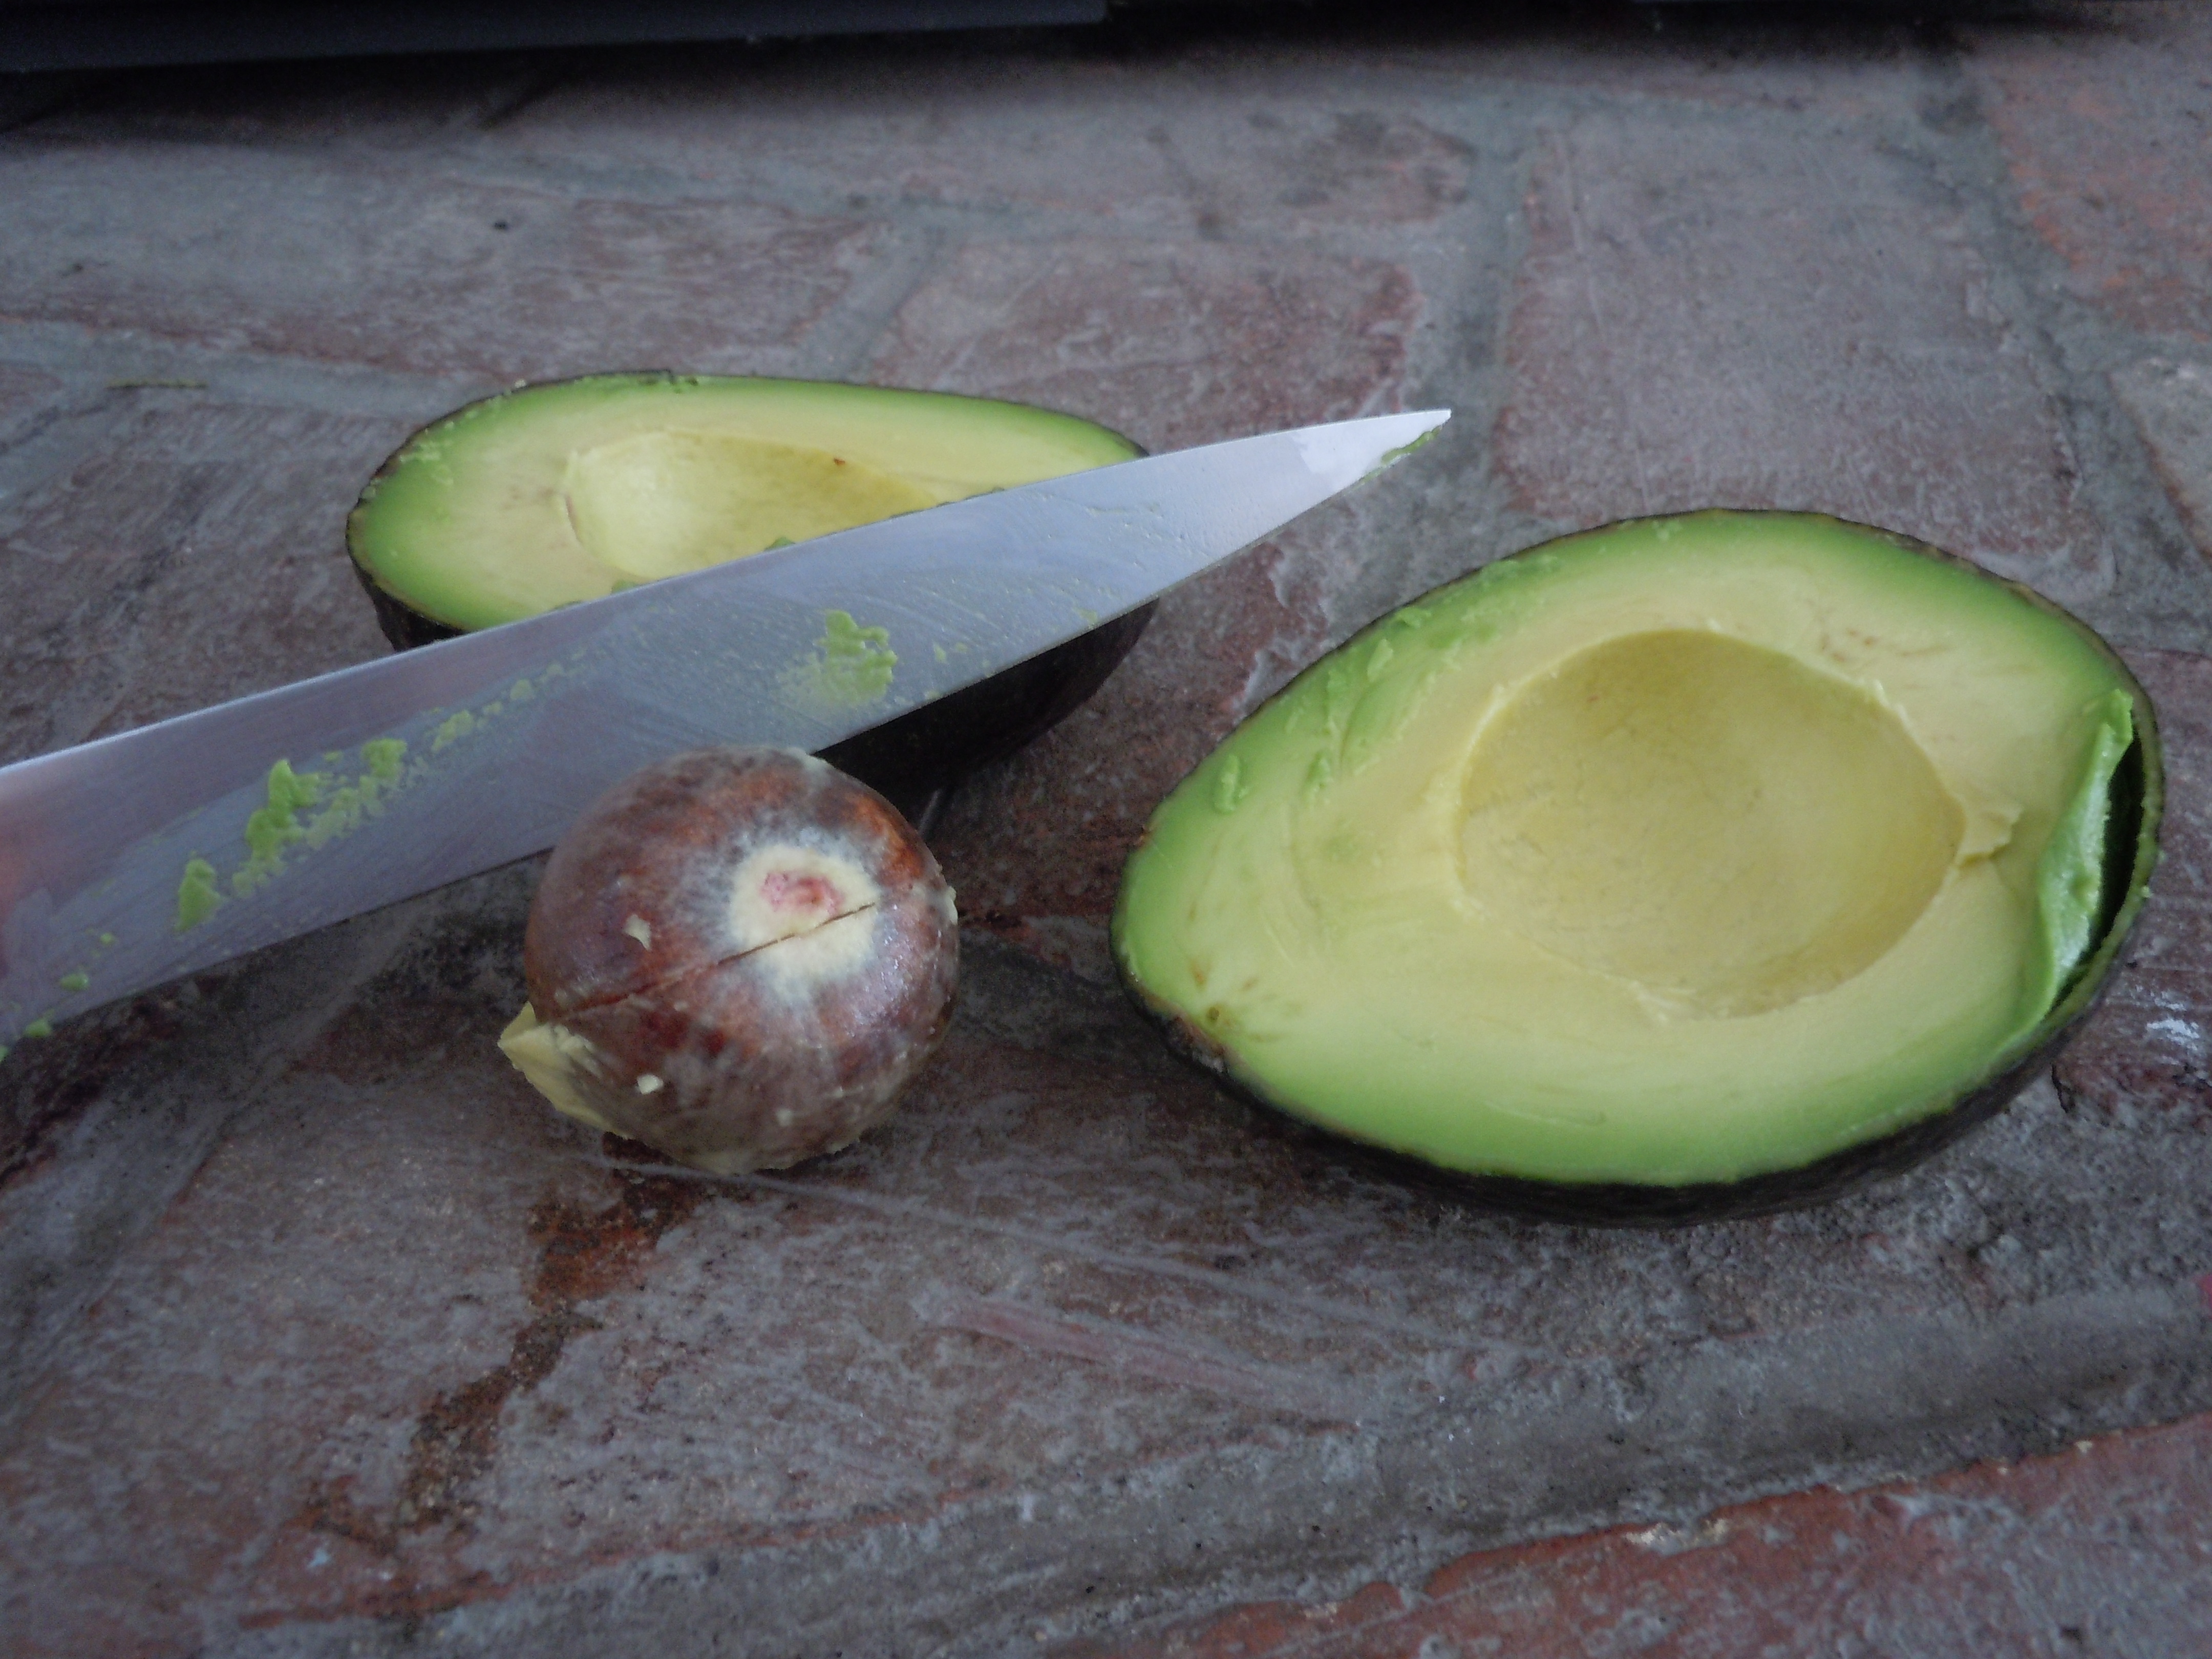
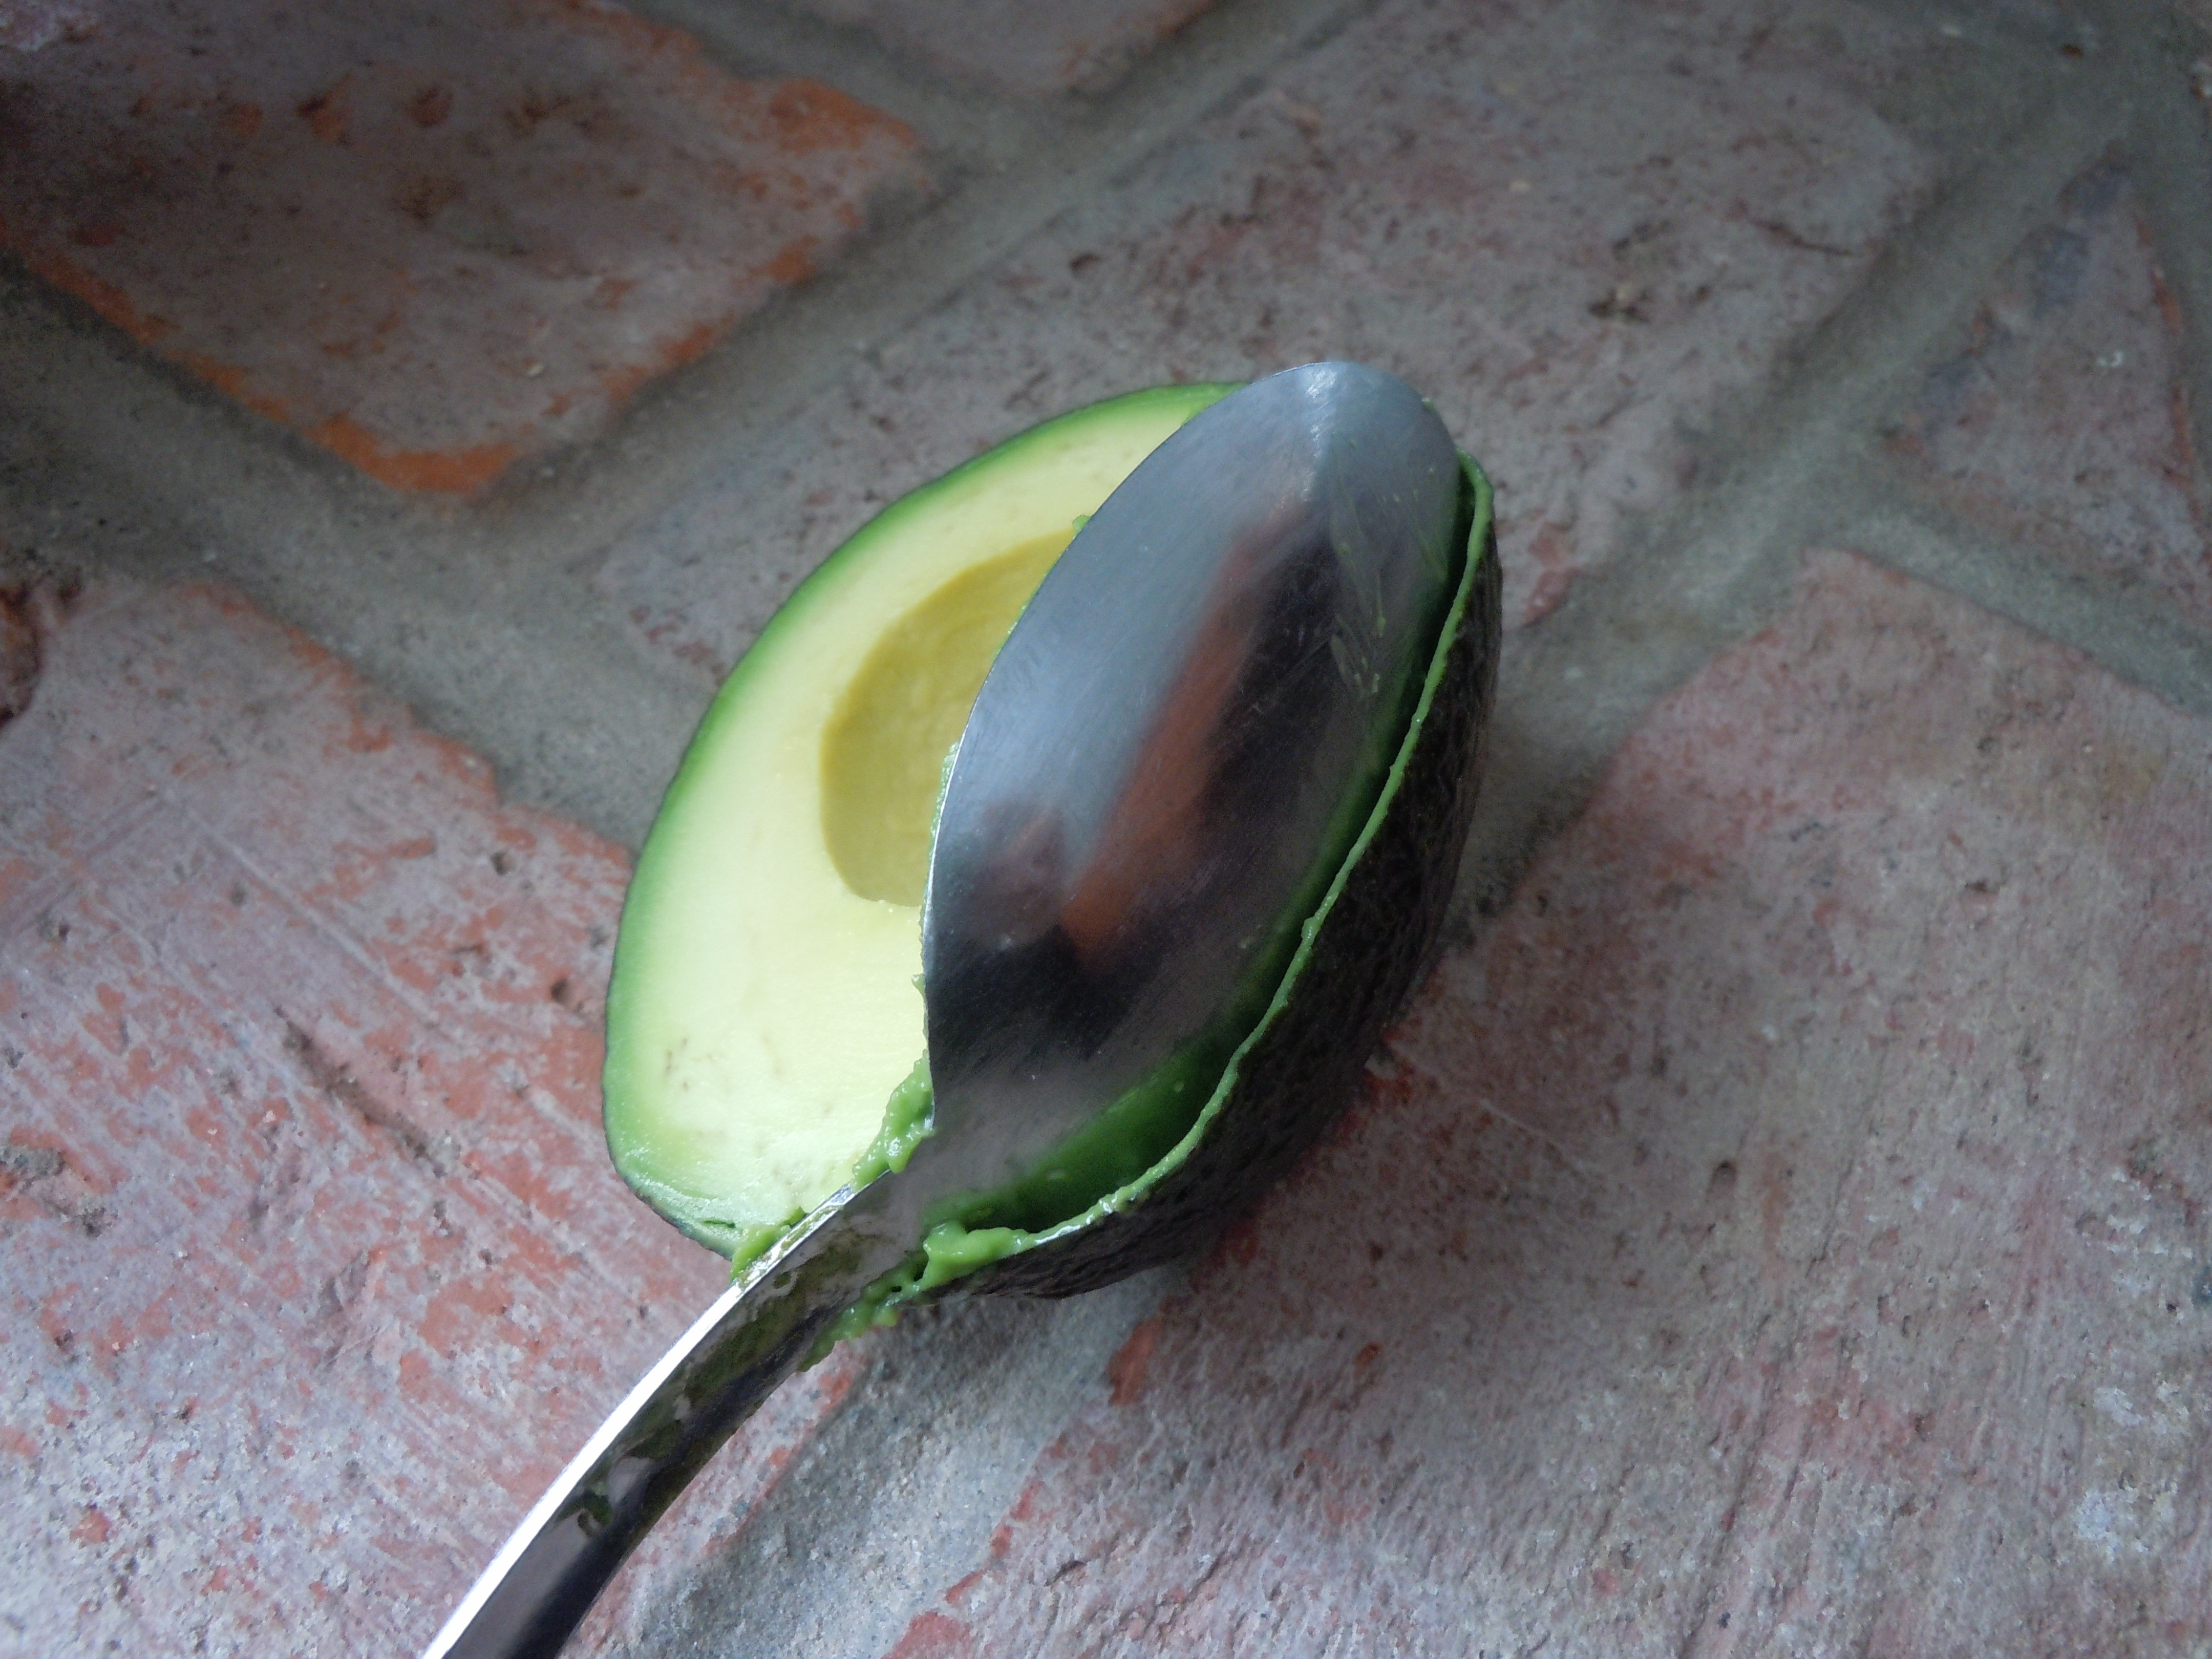
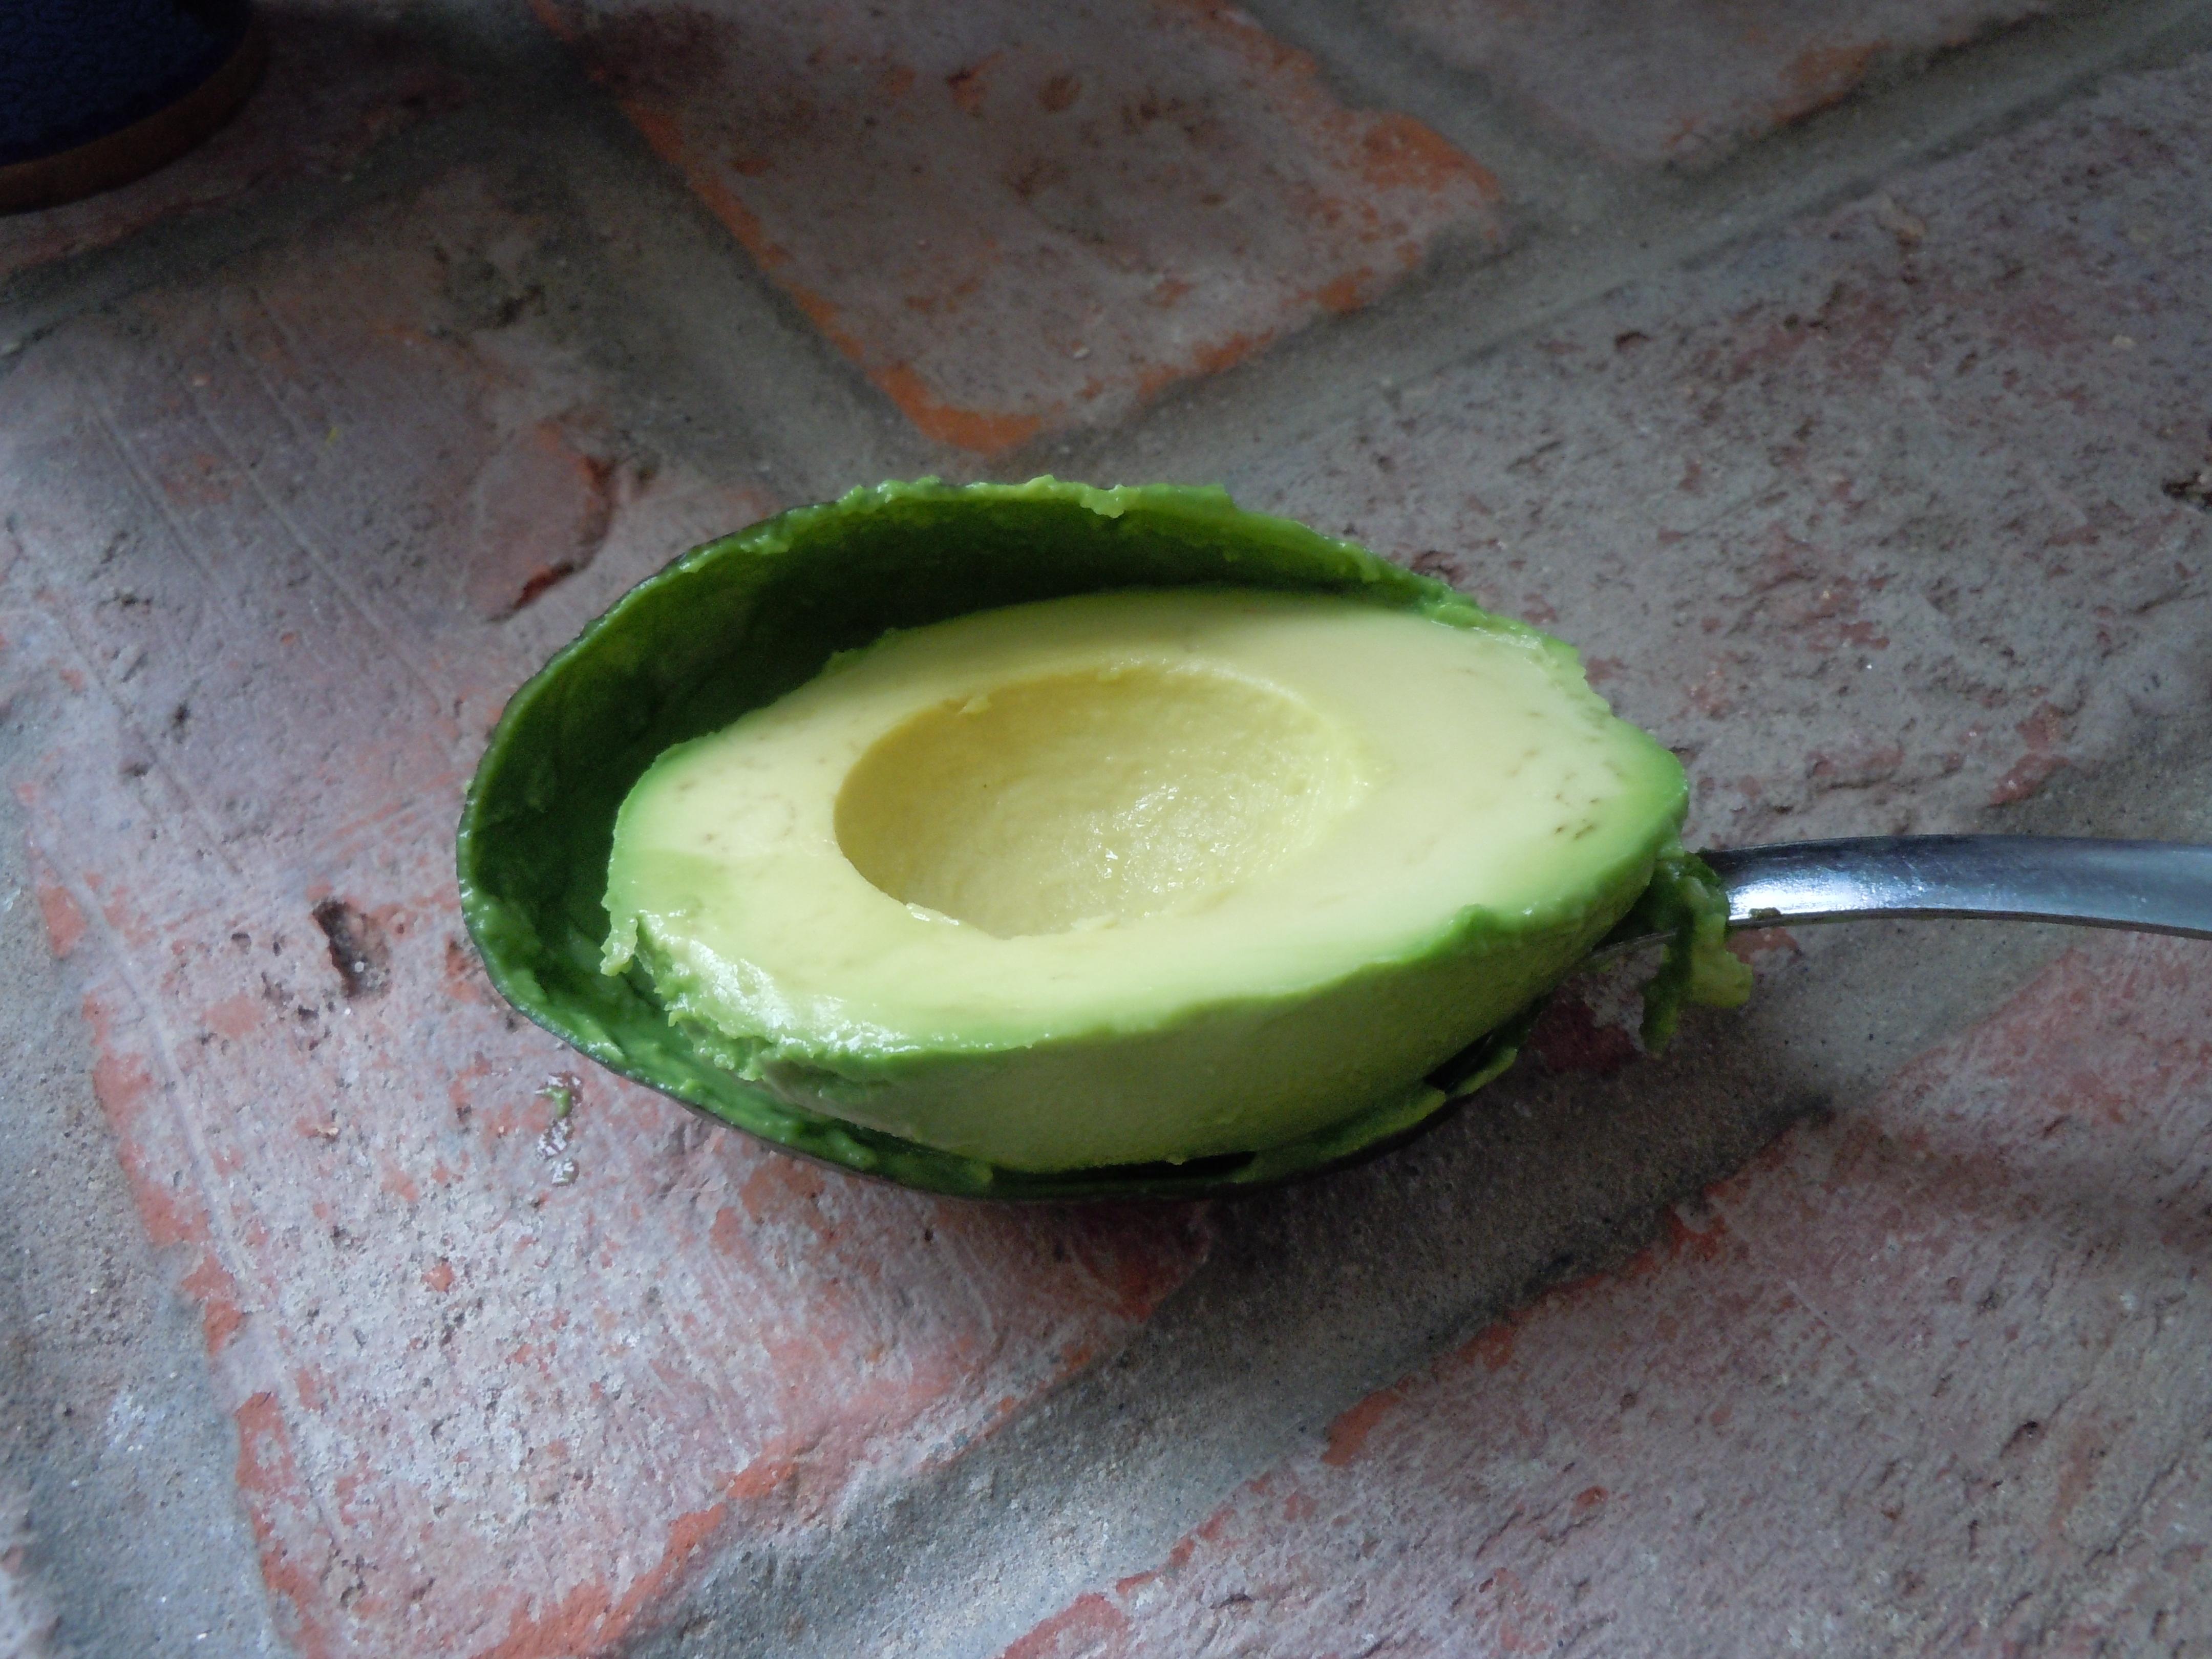
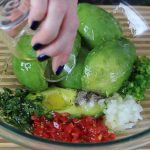
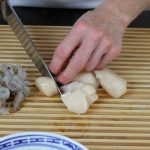
Slice and remove avocado flesh from the skins as shown in the photo above and place in a large bowl, save one of the avocado pits to add to dip at the end
Slice off any black or dark spots on the avocado’s and discard
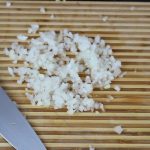
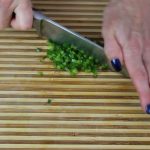
Finely chop sweet onion, tomatoes, jalapeno and cilantro and add to bowl with avacado’s
Add in s&p and olive oil and rice wine vinegar
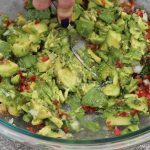
Begin to slice halved avocado’s with a knife to help break them up
Then begin to mash with a fork and stir around all of the ingredients
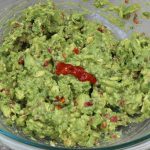
Lastly add Siracha (hot sauce) and 1 tsp of lemon juice
Mix gently to combine and add pit to the middle of the guacamole
The pit helps to preserve guacamole until it get’s all eaten up 🙂
Serve with chips, turkey or beef burgers, salsa …be creative!
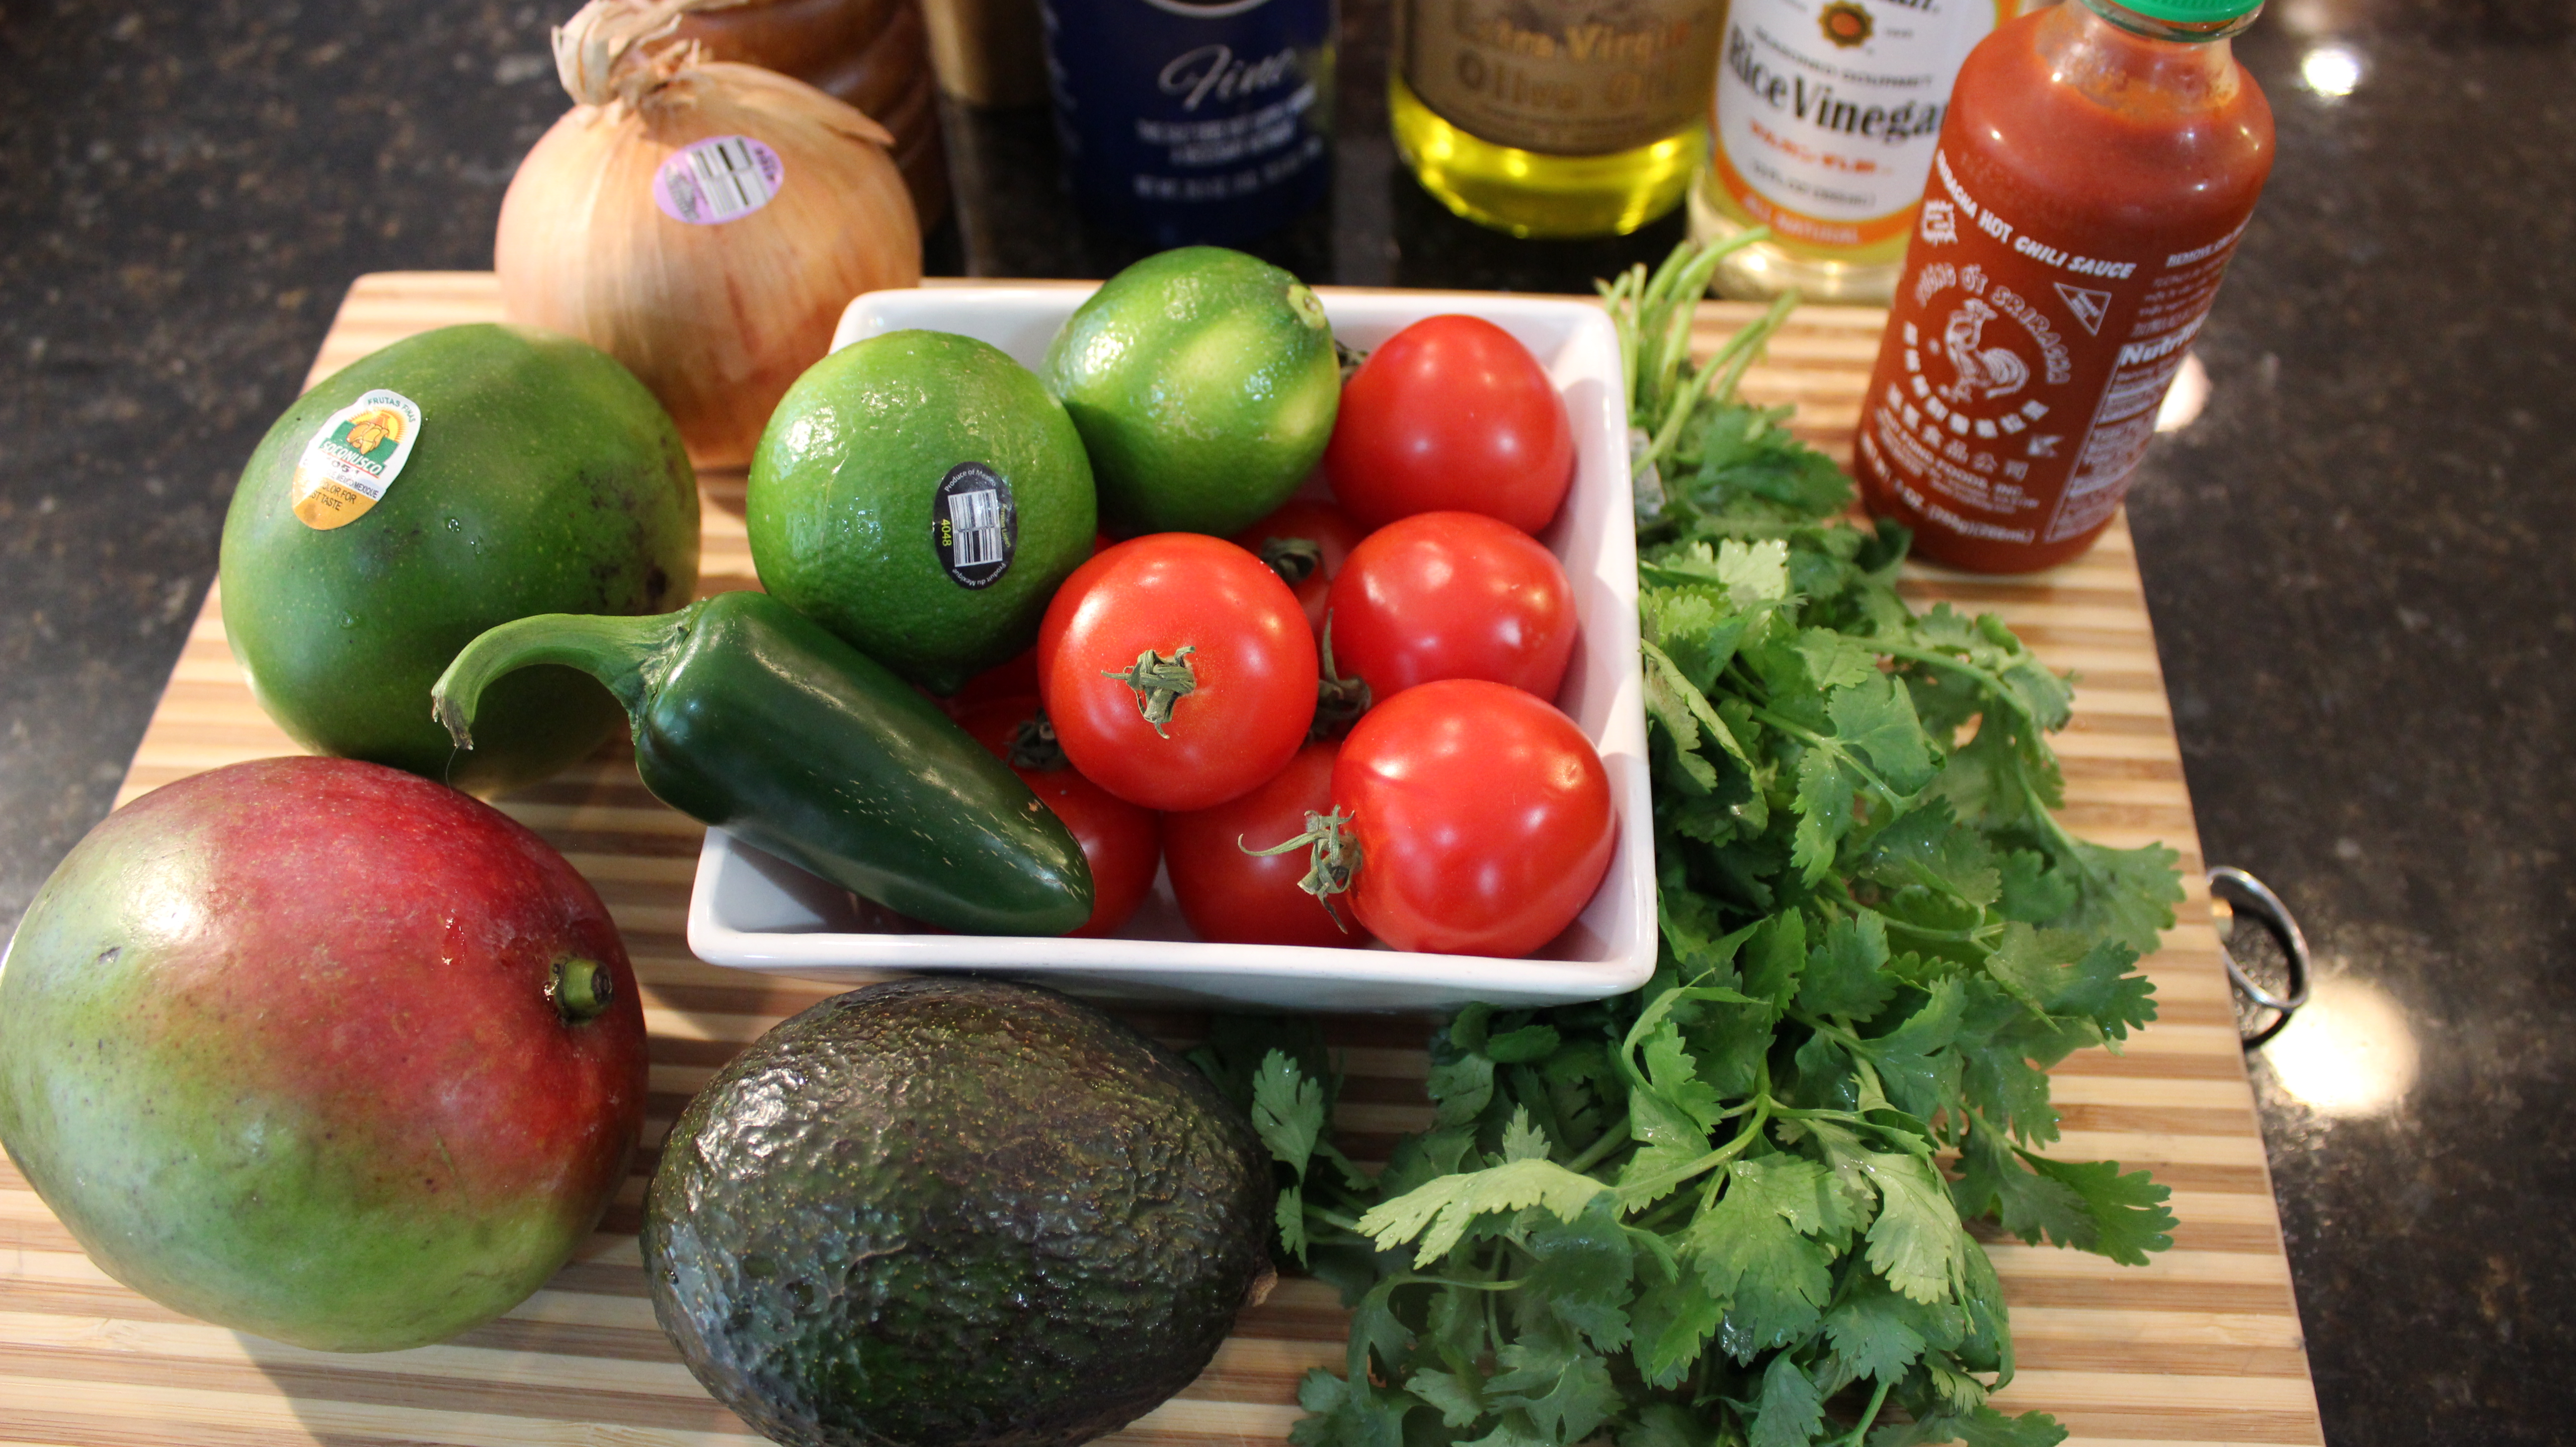
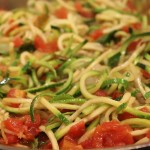
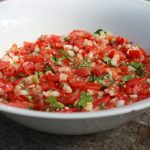
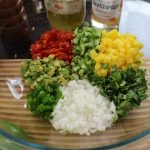
When you learn to make my basic salsa 101 there will be no stopping you! It’s packed with flavor from the juicy summer tomatoes, sweet Georgia Vidalia onions, add in some fresh squeezed limes, chopped cilantro and jalapeño and you have yourself a fiesta!
When you know how to make a basic salsa the world your oyster! No food pun intended here, but seriously! From this salsa 101 recipe you can totally make it yours by adding in 1/2 cup of avocado, mango, pineapple or even cucumbers. Don’t be afraid to try adding your favorite’s to the basic recipe because that is how you learn to create, to taste different flavors. You can even try adding 1 cup of black beans to the salsa! YUM! Have fun and enjoy:)
Adding in the extra virgin olive oil and “seasoned” rice wine vinegar with the fresh squeezed limes keeps my salsa delicately balanced where one flavor isn’t over powering another. I love using the Georgia Vidalia onions because they are so sweet! If you are not a big onion fan these will surprise you for sure. You could also cut back on the amount of chopped onions even though I believe it’s a perfect amount in my salsa 101 when “finely” chopped. The beautiful thing about the salsa 101 recipe is you can use what ever tomatoes you want from heirlooms, to grape, to cherry, tiger tomatoes …what ever your little heart fancies!
2 heaping cups – (12 Compari tomatoes-these are a med/small size, can use Heirloom tomatoes, cherry, grape …your favorite tomato! finely chopped
1 packed cup – 1/2 of extra large Vidalia onion finely chopped
2 tbsp – 1/2 lg jalapeño extra finely chopped
1 cup cilantro coarsely chopped
2 tbsp extra virgin olive oil
1 tbsp “seasoned” rice wine vinegar
2 tbsp fresh squeezed lime juice – 1 lime
1/2 tsp sea salt
1/4 tsp pepper
OPTIONAL: dash of Siracha Hot Sauce or Franks or Tabasco
Directions:
Finely chop tomatoes, Vidalia onion, jalapeño and cilantro
Add to a large bowl
Roll lime to get the juices flowing and squeeze over chopped veggie’s
Add s & p, olive oil and seasoned rice wine vinegar
Toss and serve with chips, chicken, fish, beef or pork!
NOTE: Now that you have an incredible tasting basic salsa be creative and add 1/2 cup of chopped avocado, mango, pineapple, black beans, or cucumbers…Mangia Mangia!
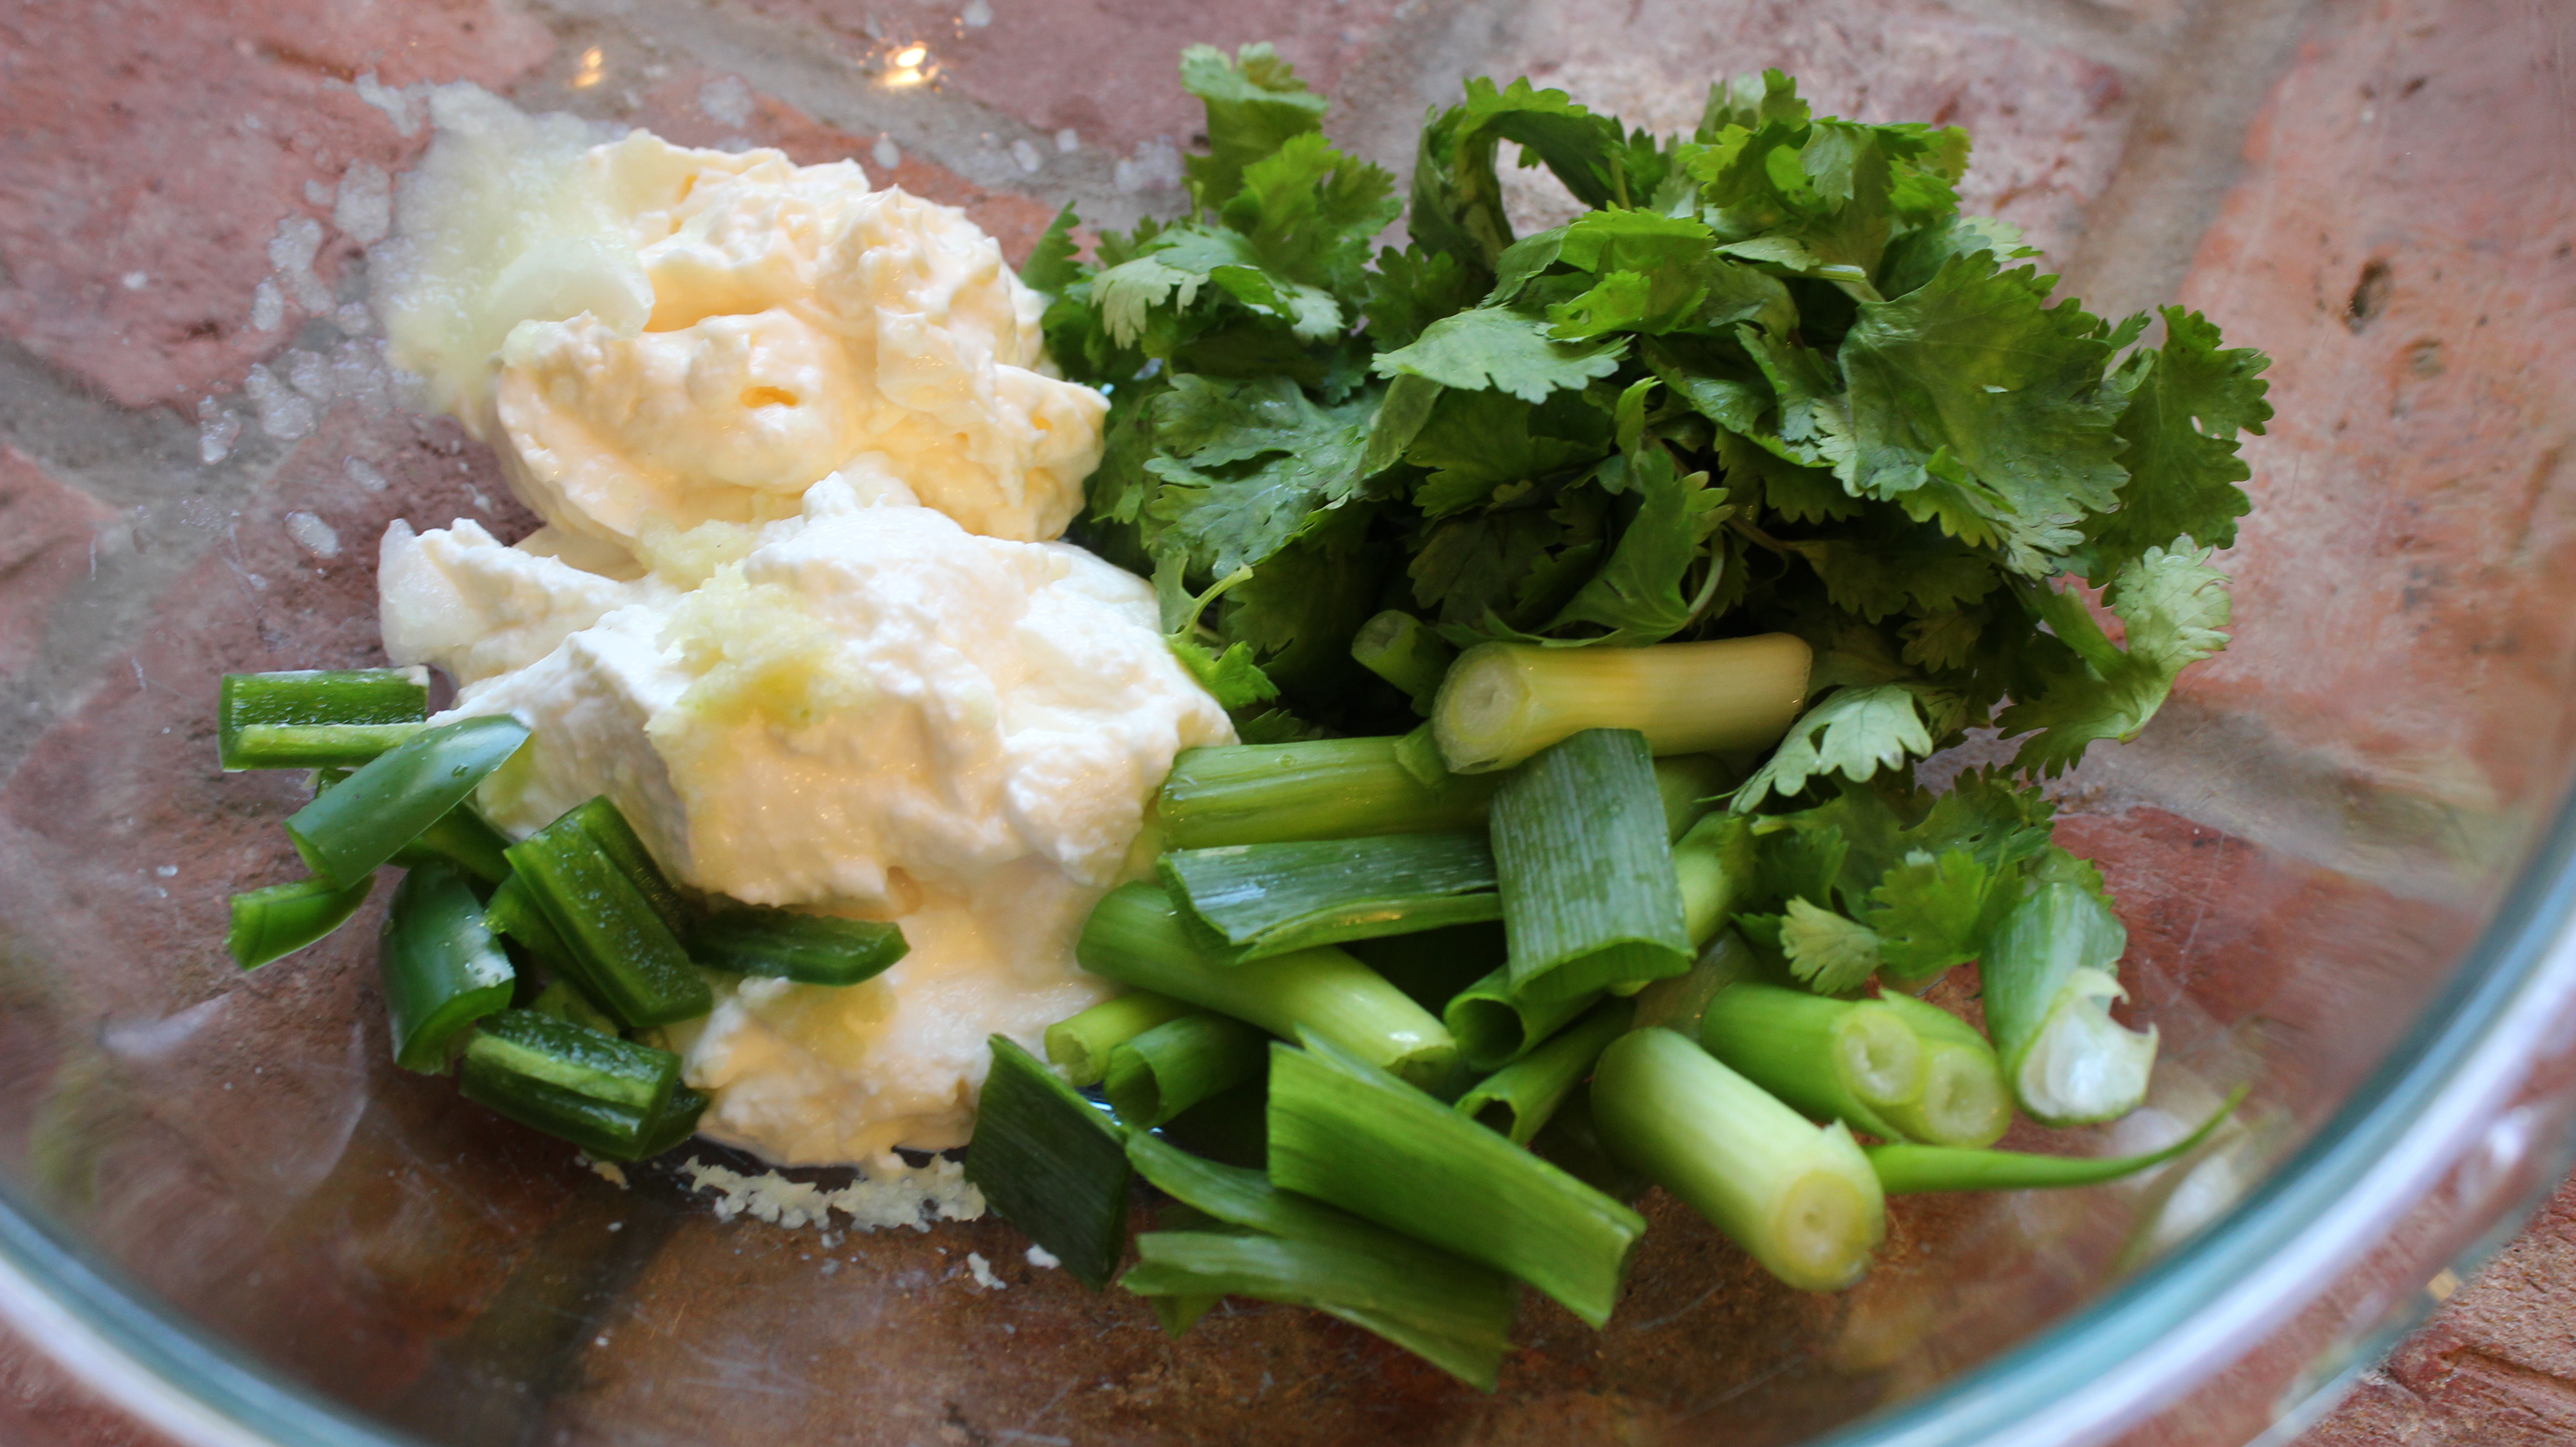
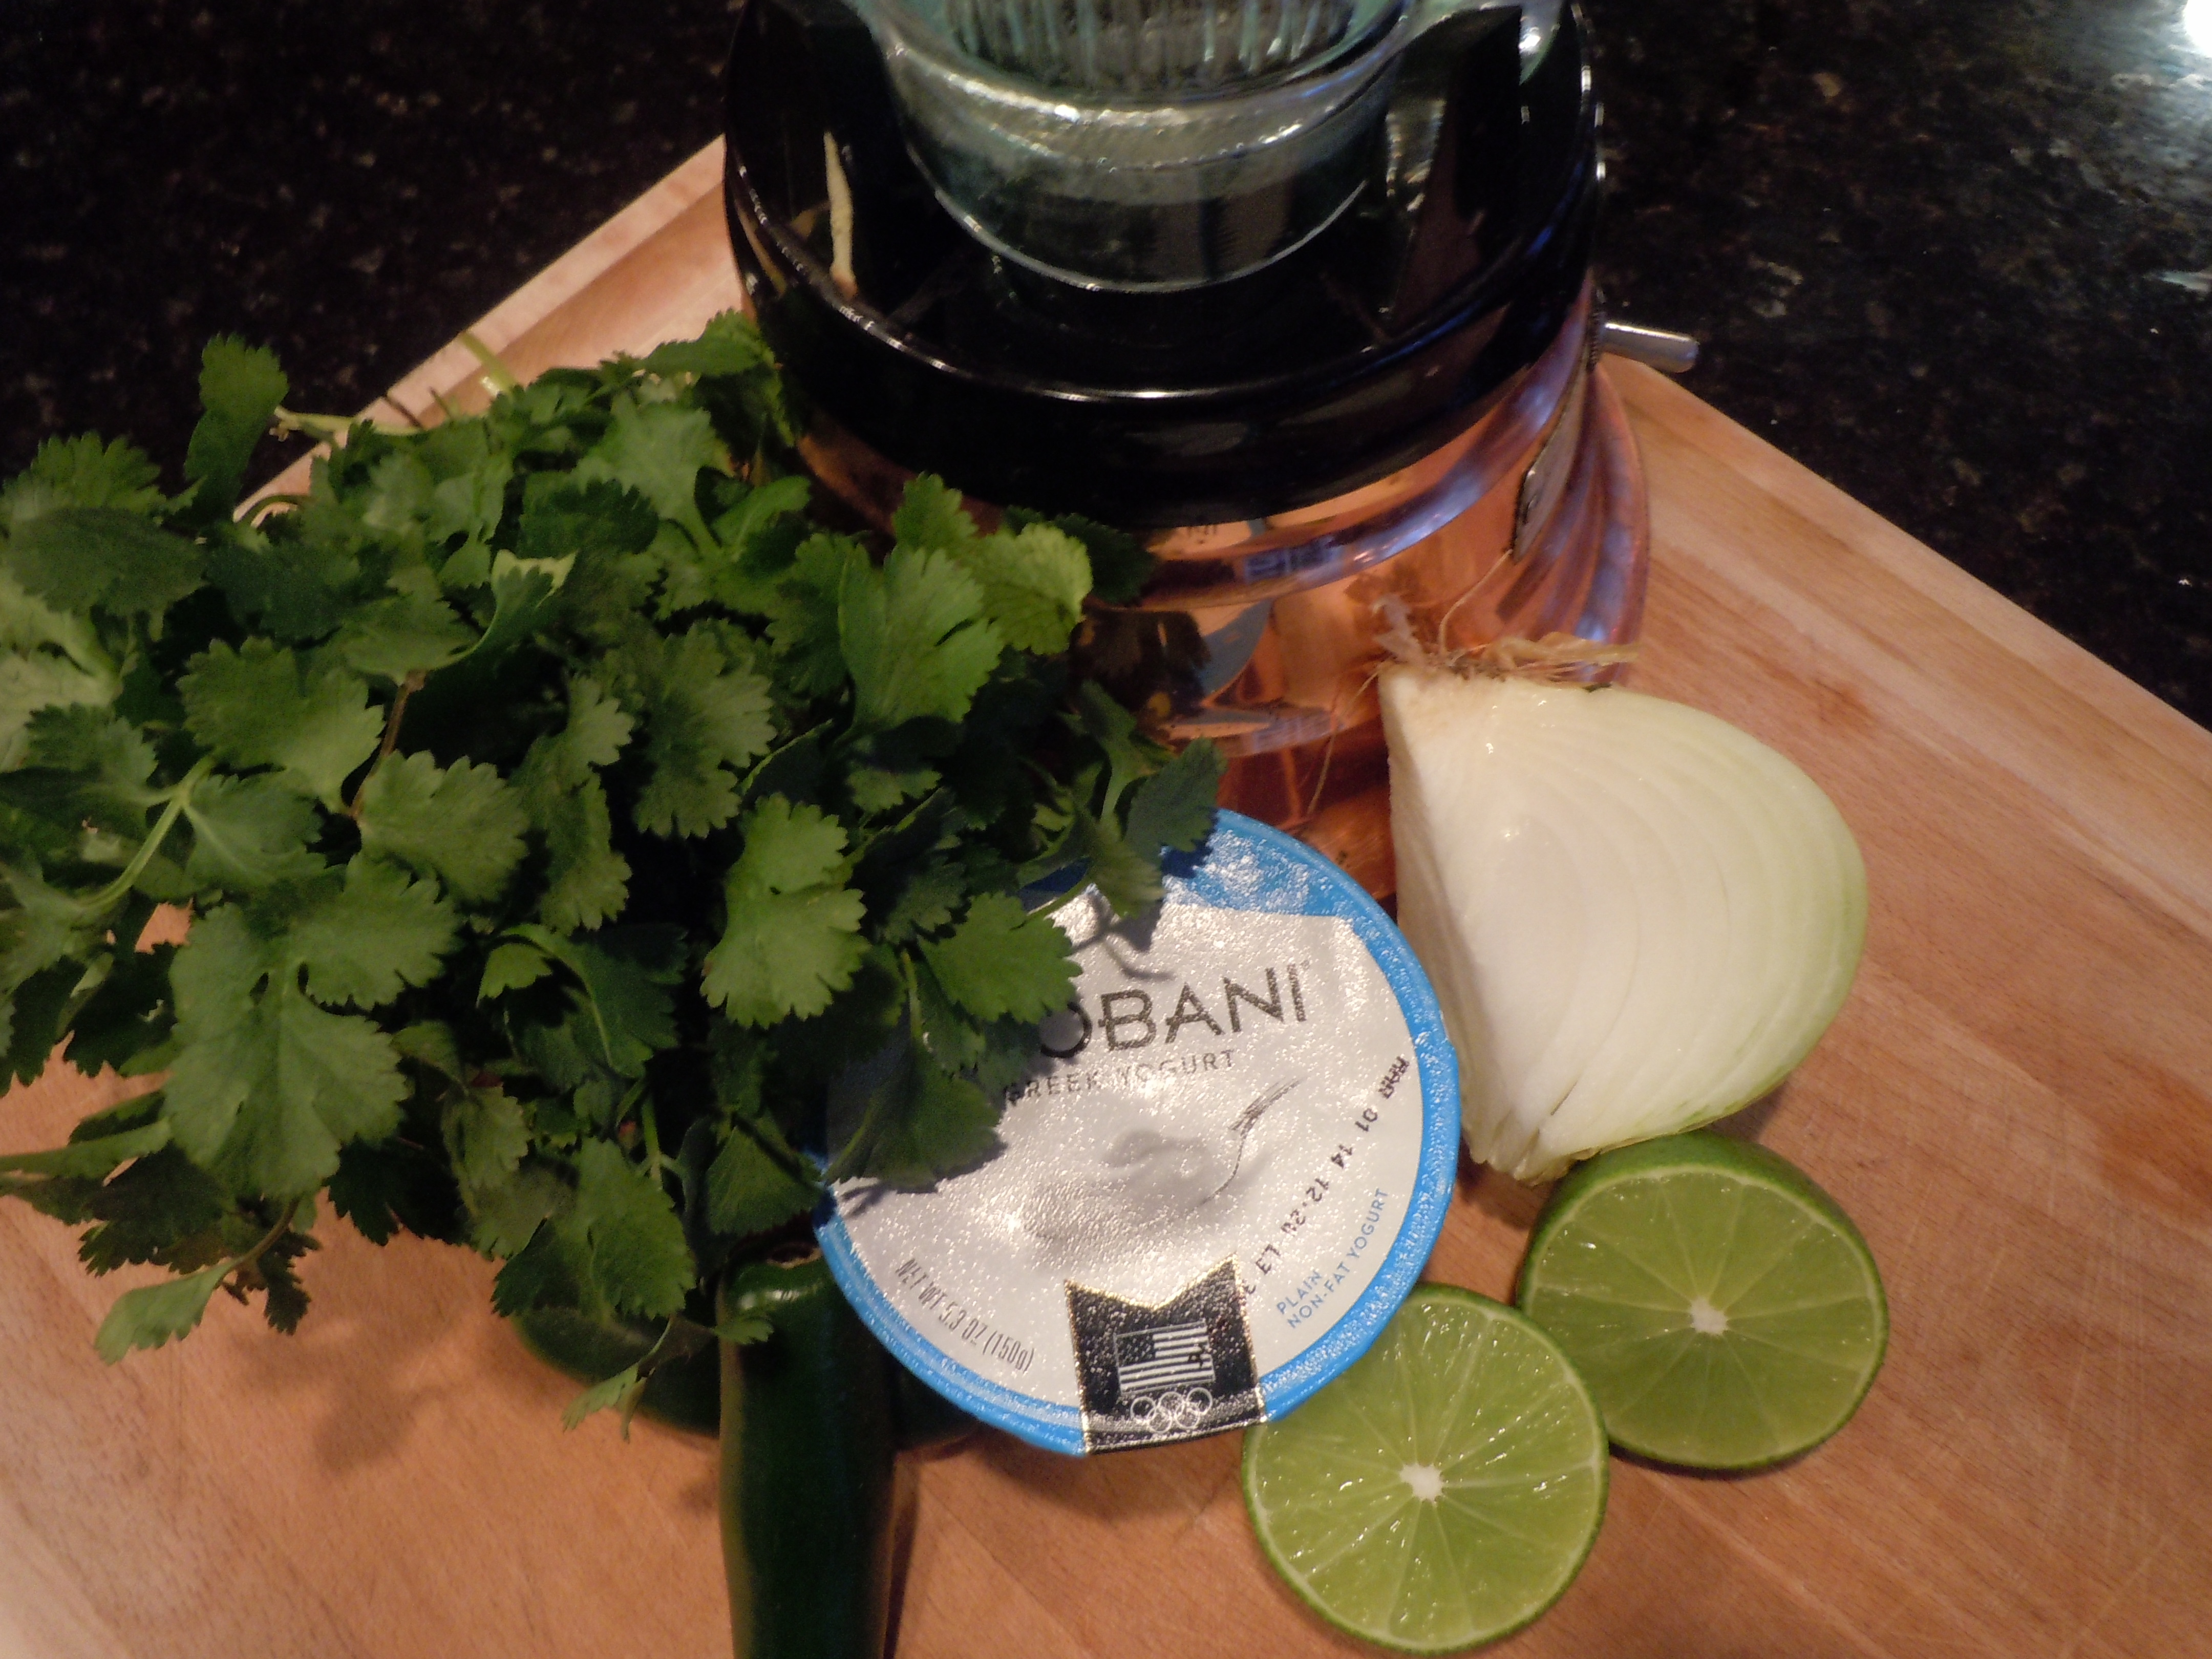
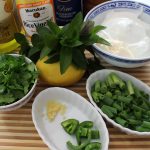
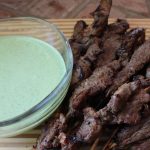
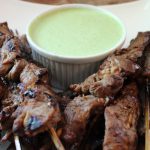
Having my green goddess sauce ll at your next party will be sure to turn heads. It’s kind of like wearing a new party dress! This green goddess sauce is made in mere minutes in a blender. It’s a blend of Greek yogurt, mayo, fresh mint leaves and cilantro, garlic, green onion, lemon juice, olive oil and rice wine vinegar. You don’t even have to waste time chopping finely because it all get puréed anyways!
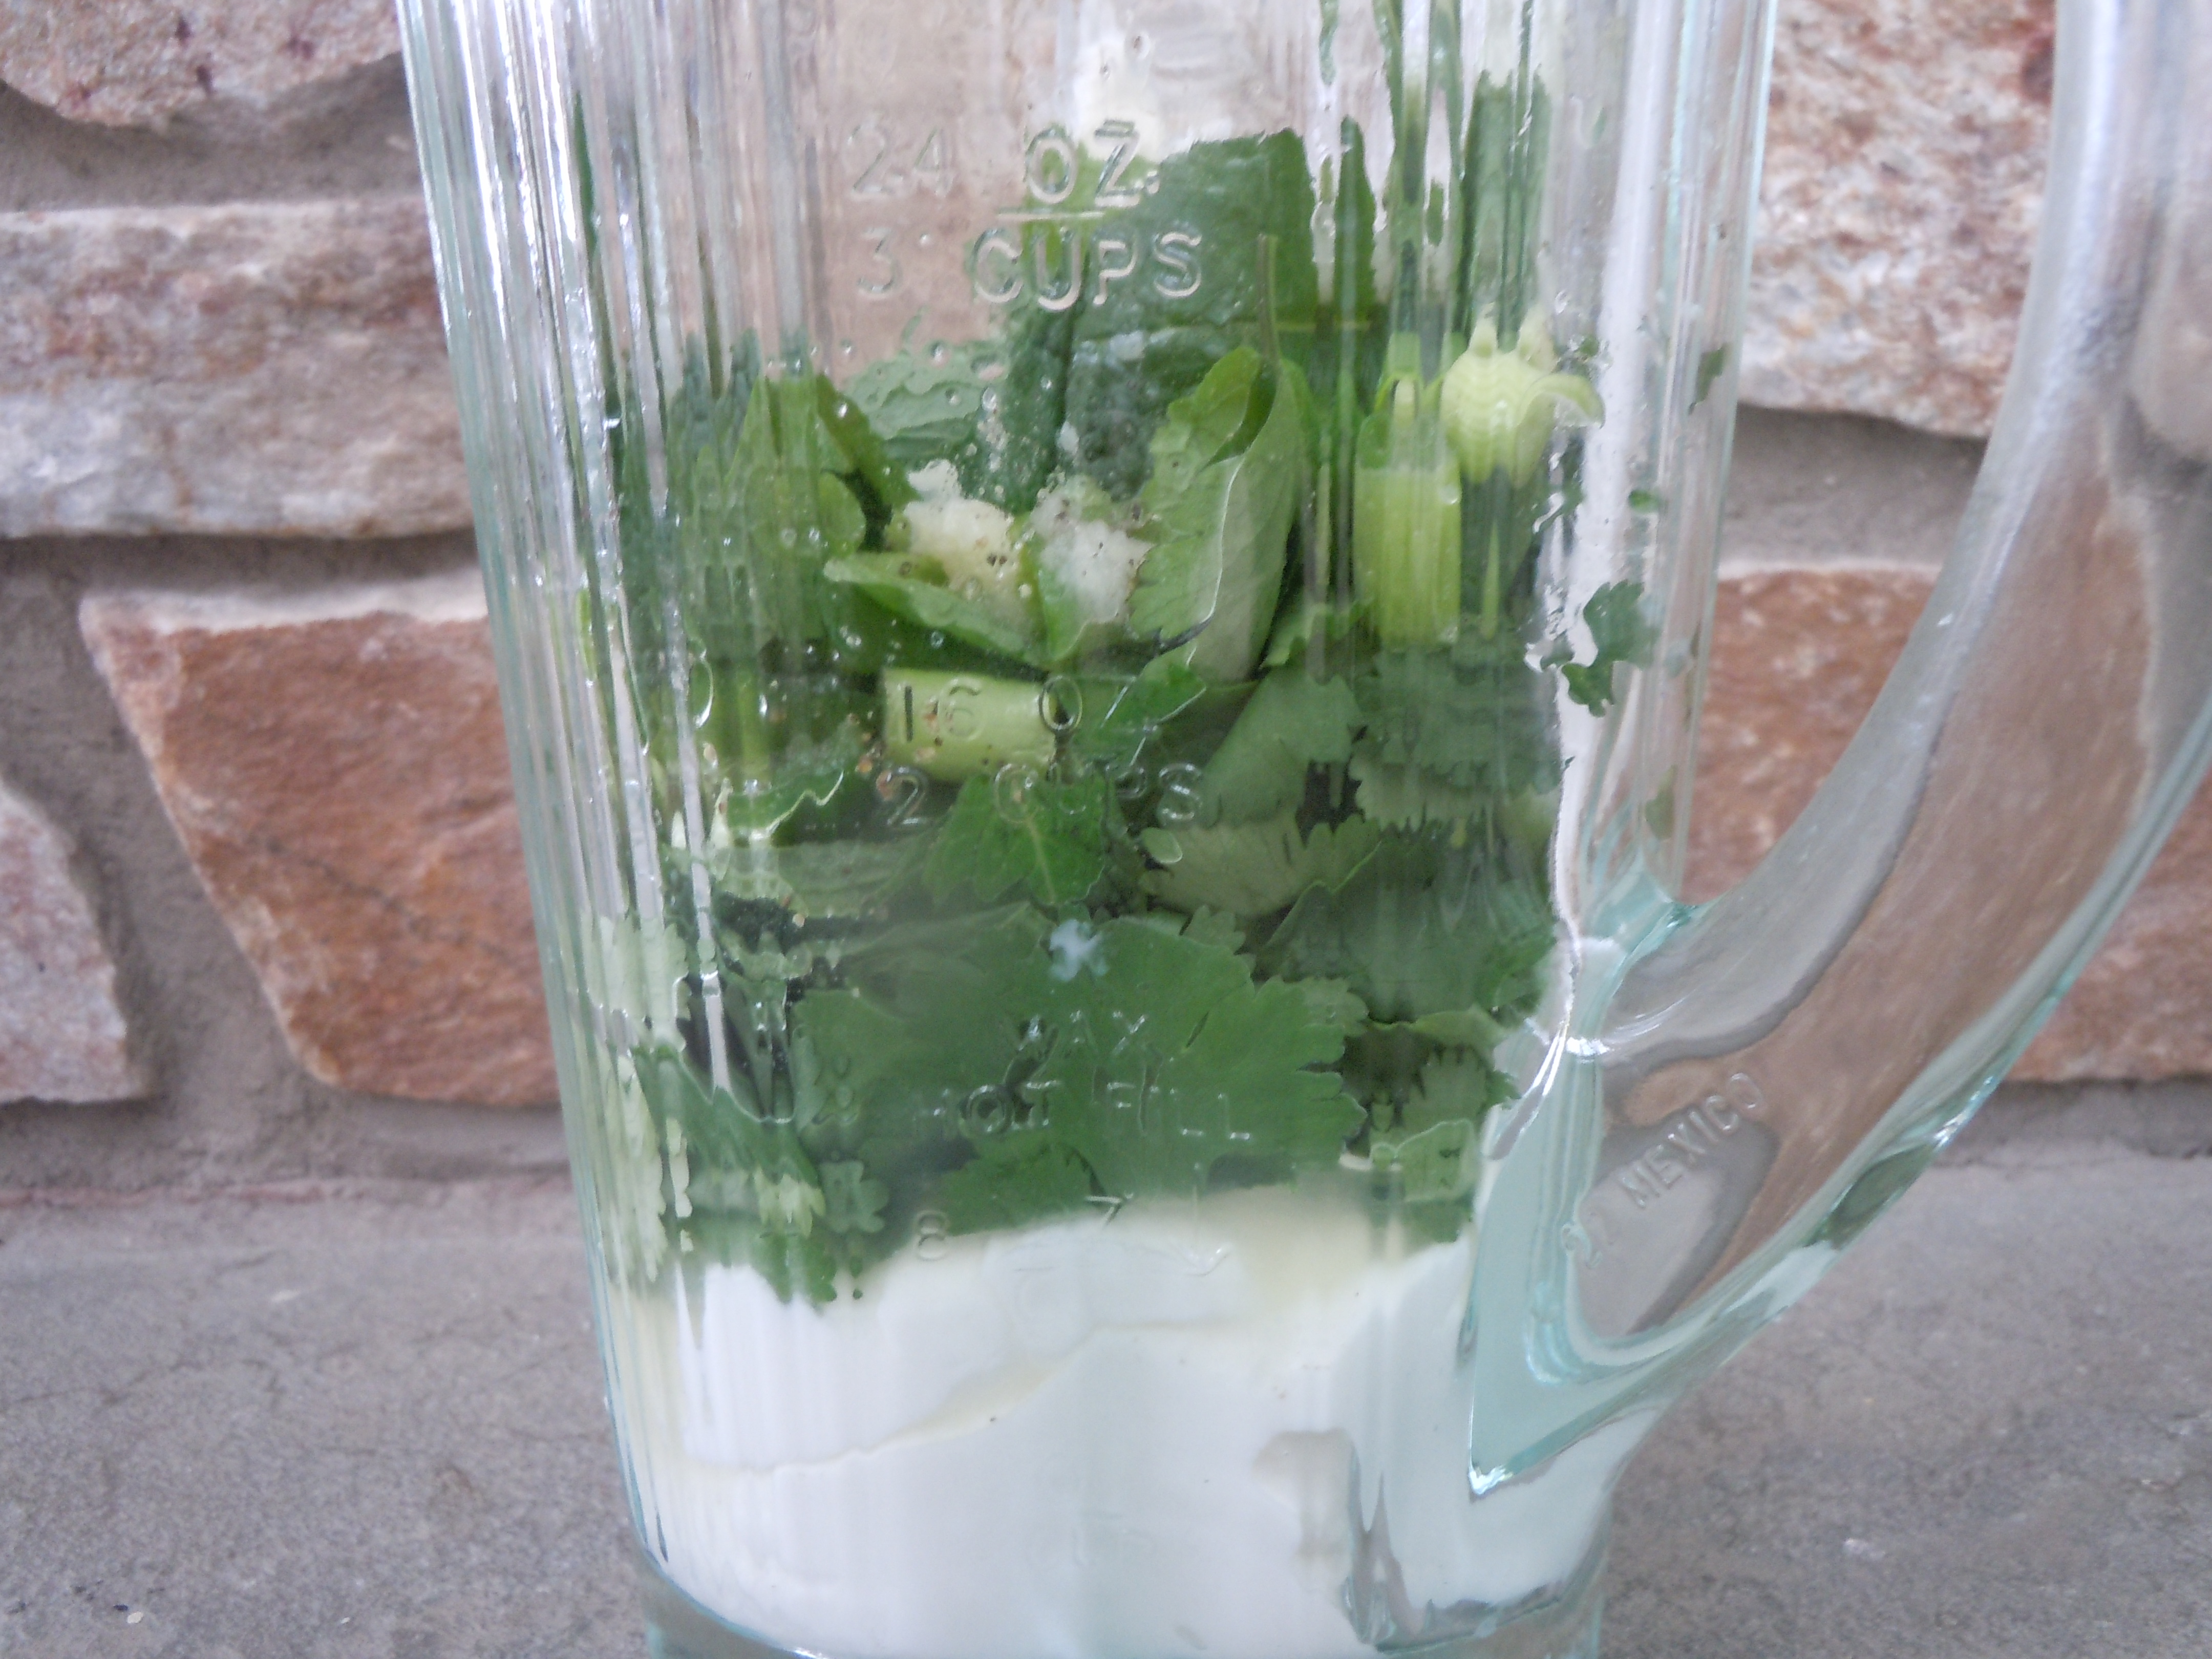
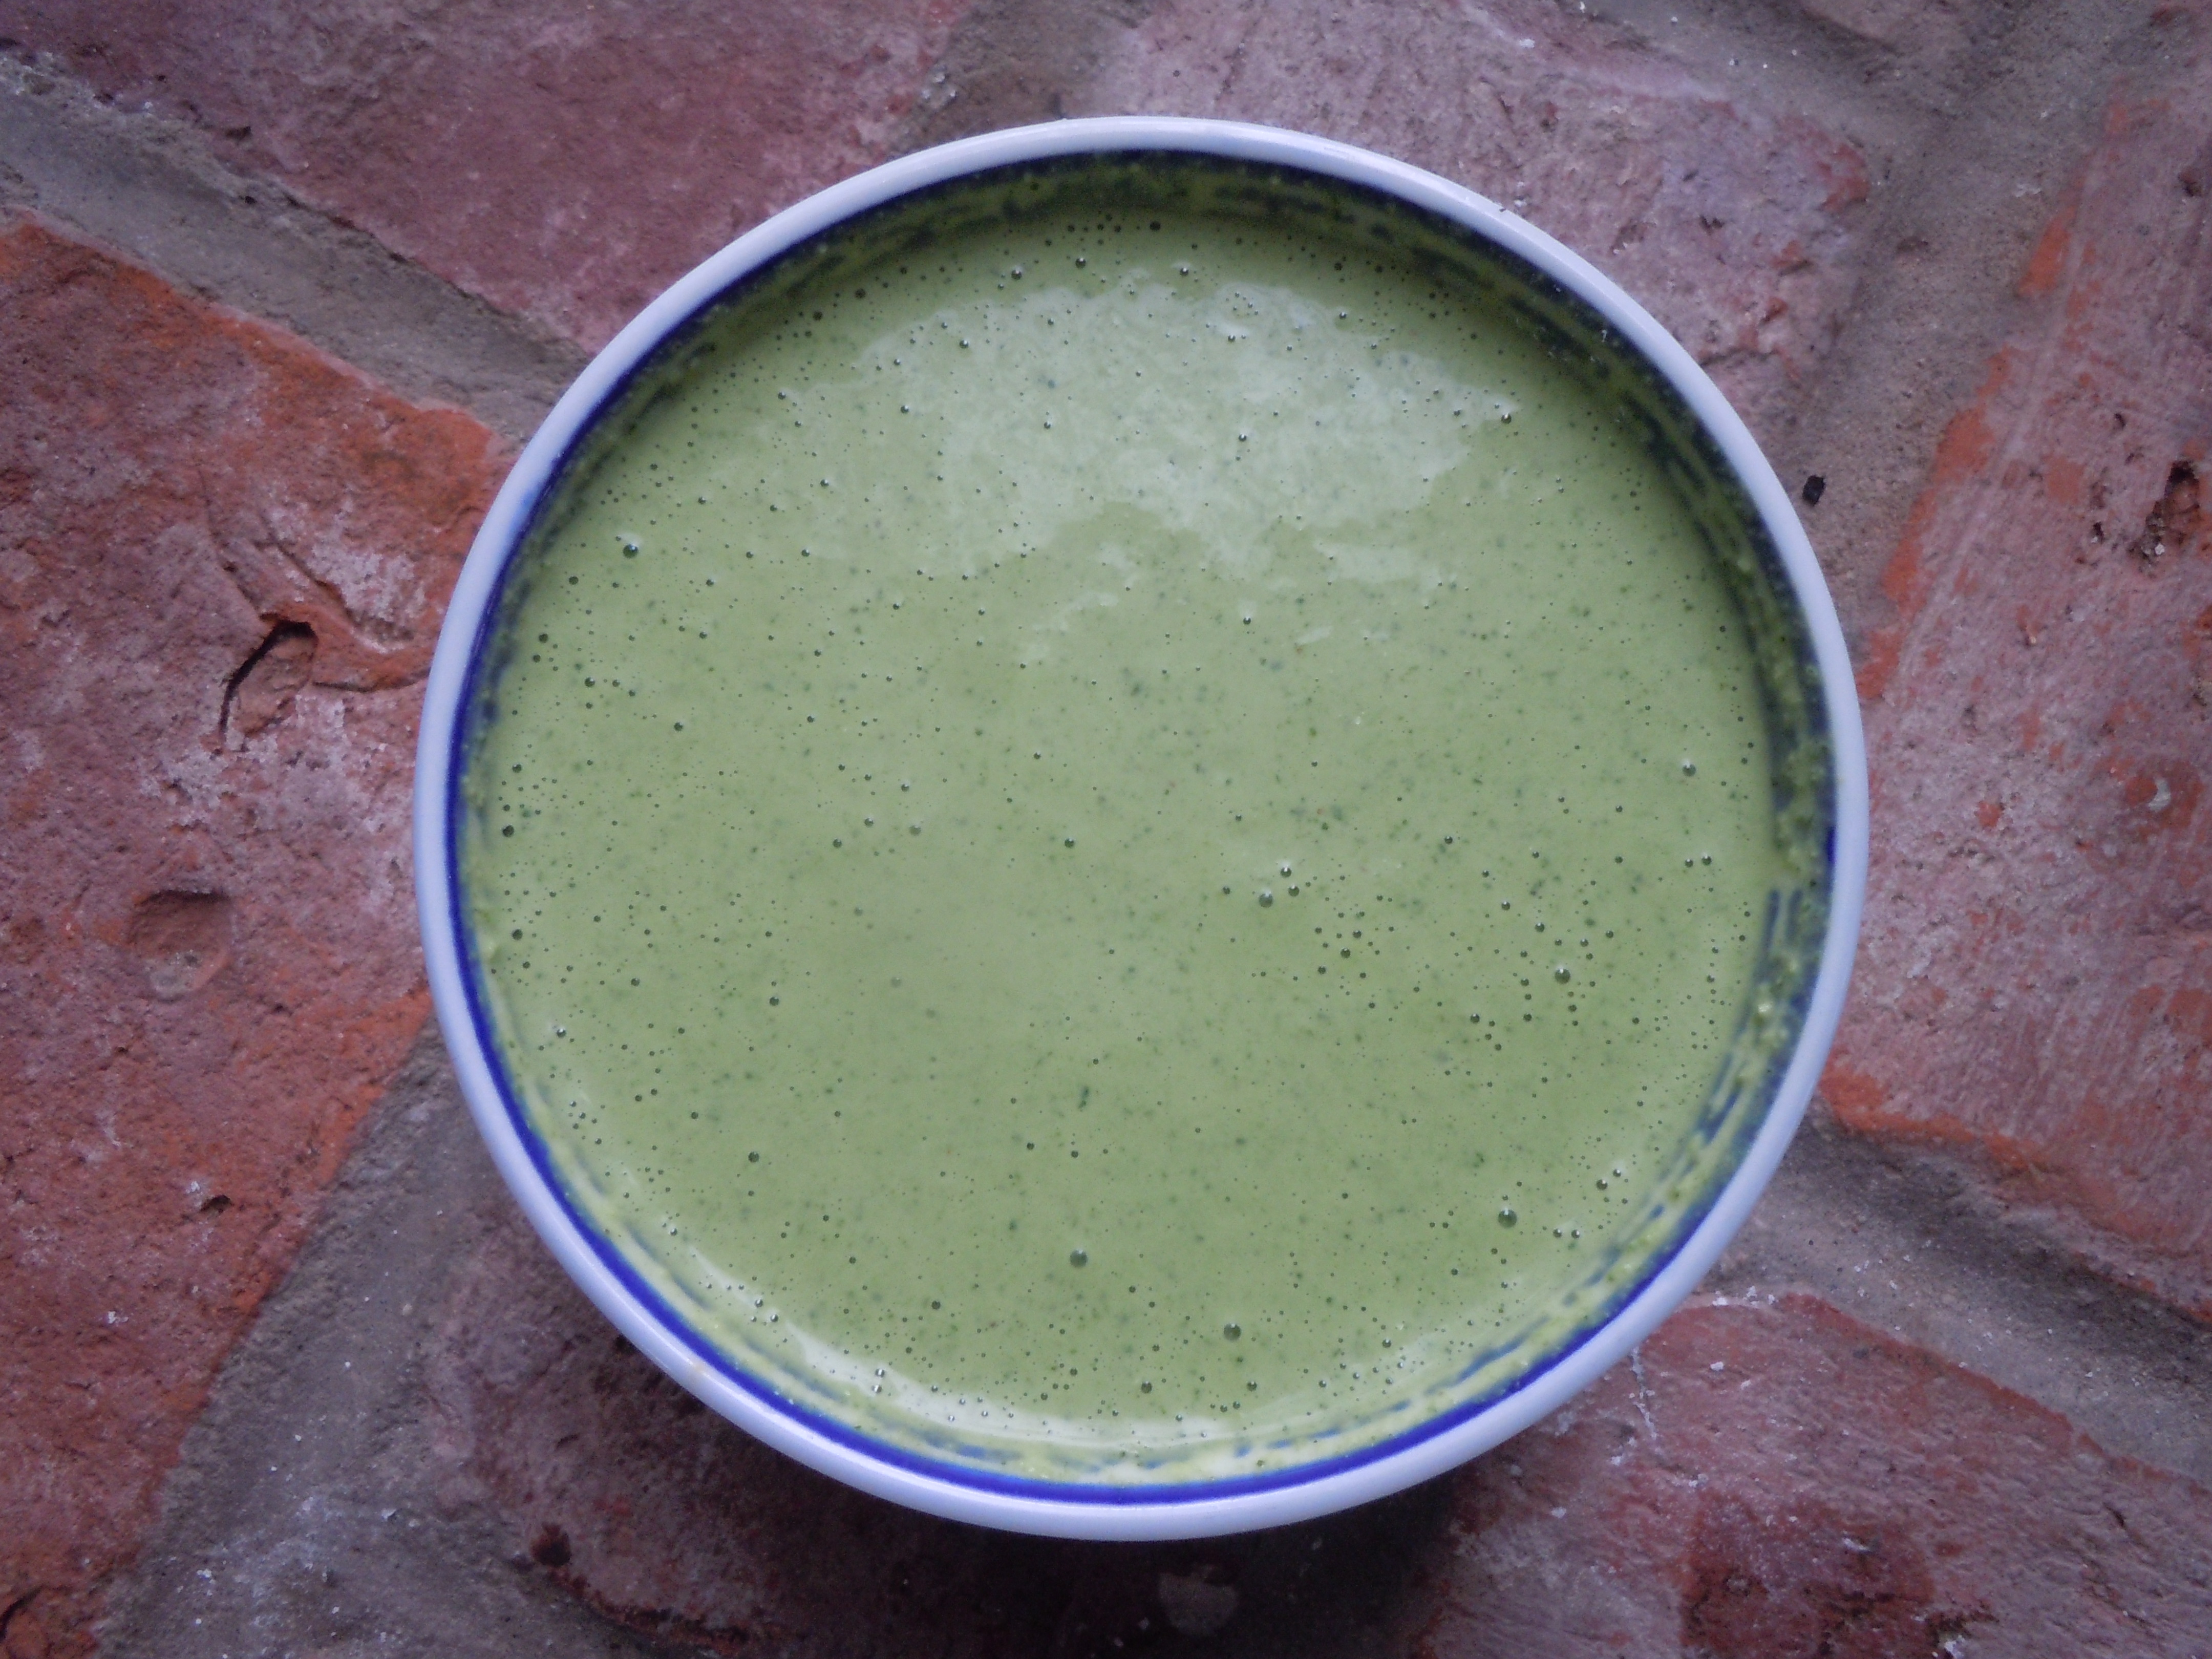
Decorating your party plates with my green goddess sauce will make for a lovely presentation, a more formal one, but having a bowl or pouring cup of the sauce on the table will do the trick quite nicely! In fact, the latter might be better since there’s a good possibility your guest’s will be going back for seconds.
4 lg stalks, 6 small of green onion chopped coarsely
1 tbsp fresh lemon juice
1 tbsp extra virgin olive oil
1 Tbsp “seasoned” rice wine vinegar
1 tsp sugar – (NOTE: I forgot to add this in the show, but it really needs this for balance 🙂
s & p
If it’s not hot enough with the jalapeno add a dash of Siracha
Directions:
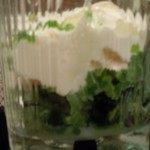
Place all of the ingredients into a blender an purée for 10 seconds…be patient – you may need to stop and stir everything to get it going but do NOT add any more liquid
Stop blender and scrap down sides to get the larger leaf pieces and blend for 5 more seconds and violà!
Taste here and add salt and pepper
Add a dash of Siracha – you need to taste the sauce first, sometimes a jalapeño can be super hot and other times it can be a mellow hot
This sauce gets even better if you can pop it into the fridge for an hour and let the flavors mingle, the sauce will thicken up a little too!
Make this ahead of time and keep sauce in a plastic container and refrigerate. It stays nicely for days in frig.
This green sauce is absolutely delicious on so many things…be creative.
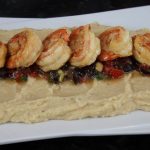
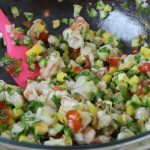
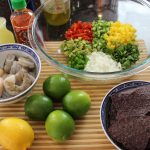
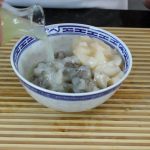
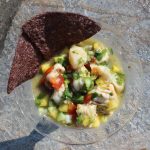
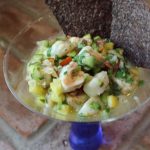
Making shrimp & scallop ceviche really can’t get an easier then this! Ceviche is a South American dish that’s usually served as an appetizer. The fish cures/cooks in citrus juice for an hour or two while you get all your salsa ingredients in order. The citrus curing juices are drained from the fish, leaving a tender shrimp & scallops to be tossed with salsa and voilà. The base of the shrimp and scallop ceviche here is my mango salsa recipe.
When I thought of making ceviche this week, sombrero popped into my head! I went to several store’s, costume store’s included which don’t exist anymore, and was out of luck. I then called my dear friend Maria who to my surprise had an authentic sombrero for me to borrow that her parents had picked up on a cruise to Cozumel, Mexico. I have to say it is a very cool hat, not to mention really beautiful. Although it has some weight to it so your neck gets a bit of a work out and you have to be careful not to knock into the walls because depth perception can be deceiving.
When I make this shrimp & scallop ceviche. or any ceviche for that matter, I like to cure my fish in lime juice and then drain that juice before adding the fish to my salsa ingredients. In my opinion, the flavors stay fresher that way. By draining the fish juice that’s released from the shrimp and scallops in the curing process it keep’s a better balance between fish and salsa. There are some recipe’s that have you toss everything into one bowl but I feel it taste’s better when you drain the curing fish juices prior to adding the fish into the salsa.
Since the texture’s of shrimp & scallops are a little different I have you cut the shrimp in 1/2 horizontally, and then dice, so the needed curing/cooking time between the two is closer. You could always change up the fish in this recipe to and go with all scallops or another favorite flaky fish. It’s all about being creative and using what’s freshest at the market!
1/2 lb. lg shrimp, peeled and deveined, 1/3″ diced
1/4 lb of sea scallops, 1/3″ diced
1/2 cup diced sweet mango
1/2 cup sweet onion – Vidalia onion -finely chopped
1/2 cup mini cucumber diced 1/3 cup cherry tomatoes finely chopped
1/2 cup cilantro chopped (1/2 cup after it’s chopped)
1/3 cup finely diced cherry tomato
1/3 cup finely diced avocado
1 jalapeno finely chopped without the seeds
juice from 1 lime – for the final ceviche
1 tbsp fresh lemon juice – for the final ceviche
2 tbsp extra virgin olive oil
2 tbsp rice wine vinegar – (“seasoned”)
juice from 4 limes for the shrimp/scallop for the curing marinade
salt and pepper to taste
dash of Tabasco
Bag of blue corn chips (optional)
Directions:
Wash and devein the shrimp
Wash the sea scallops and remove little fibrous side muscle that’s attached to the scallop
Pat the shrimp and scallops dry on paper towels
Cut up the shrimp in 1/2 horizontally and then into 1/4″ pieces
Slice up the scallops in 1/2 horzintally and then into 1/2″ pieces
Put them into the same bowl… a non-reactive bowl like a glass bowl
Roll the limes to soften them up
Squeeze the lime juice over the shrimp and scallops
Make sure there is enough juice so all the shrimp and scallop pieces are submersed in the lime juice and place into the frig until they are opaque…and place into the frig for 1- 2 hours
NOTE: you should check the fish at 30 minutes intervals to see how it’s curing/cooking …depending on the coldness of the fish, kind and size it wil be ready at different time’s but it’s EASY – if it’s opaque then it’s done!
Finely chop the tomatoes, jalapeno, sweet onion, cucumbers, mango and cilantro and set aside in a large bowl
Drain all the liquid out from the shrimp and scallops and discard
Add the shrimp and scallops to the large bowl with the salsa, add in juice of 1 tbsp lemon juice, juice from 1 lime, 2 Tbsp olive oil, 2 Tbsp rice wine vinegar, dash of Siracha, salt and pepper to taste
Put back into the fridge for 15 minutes for flavors to marry
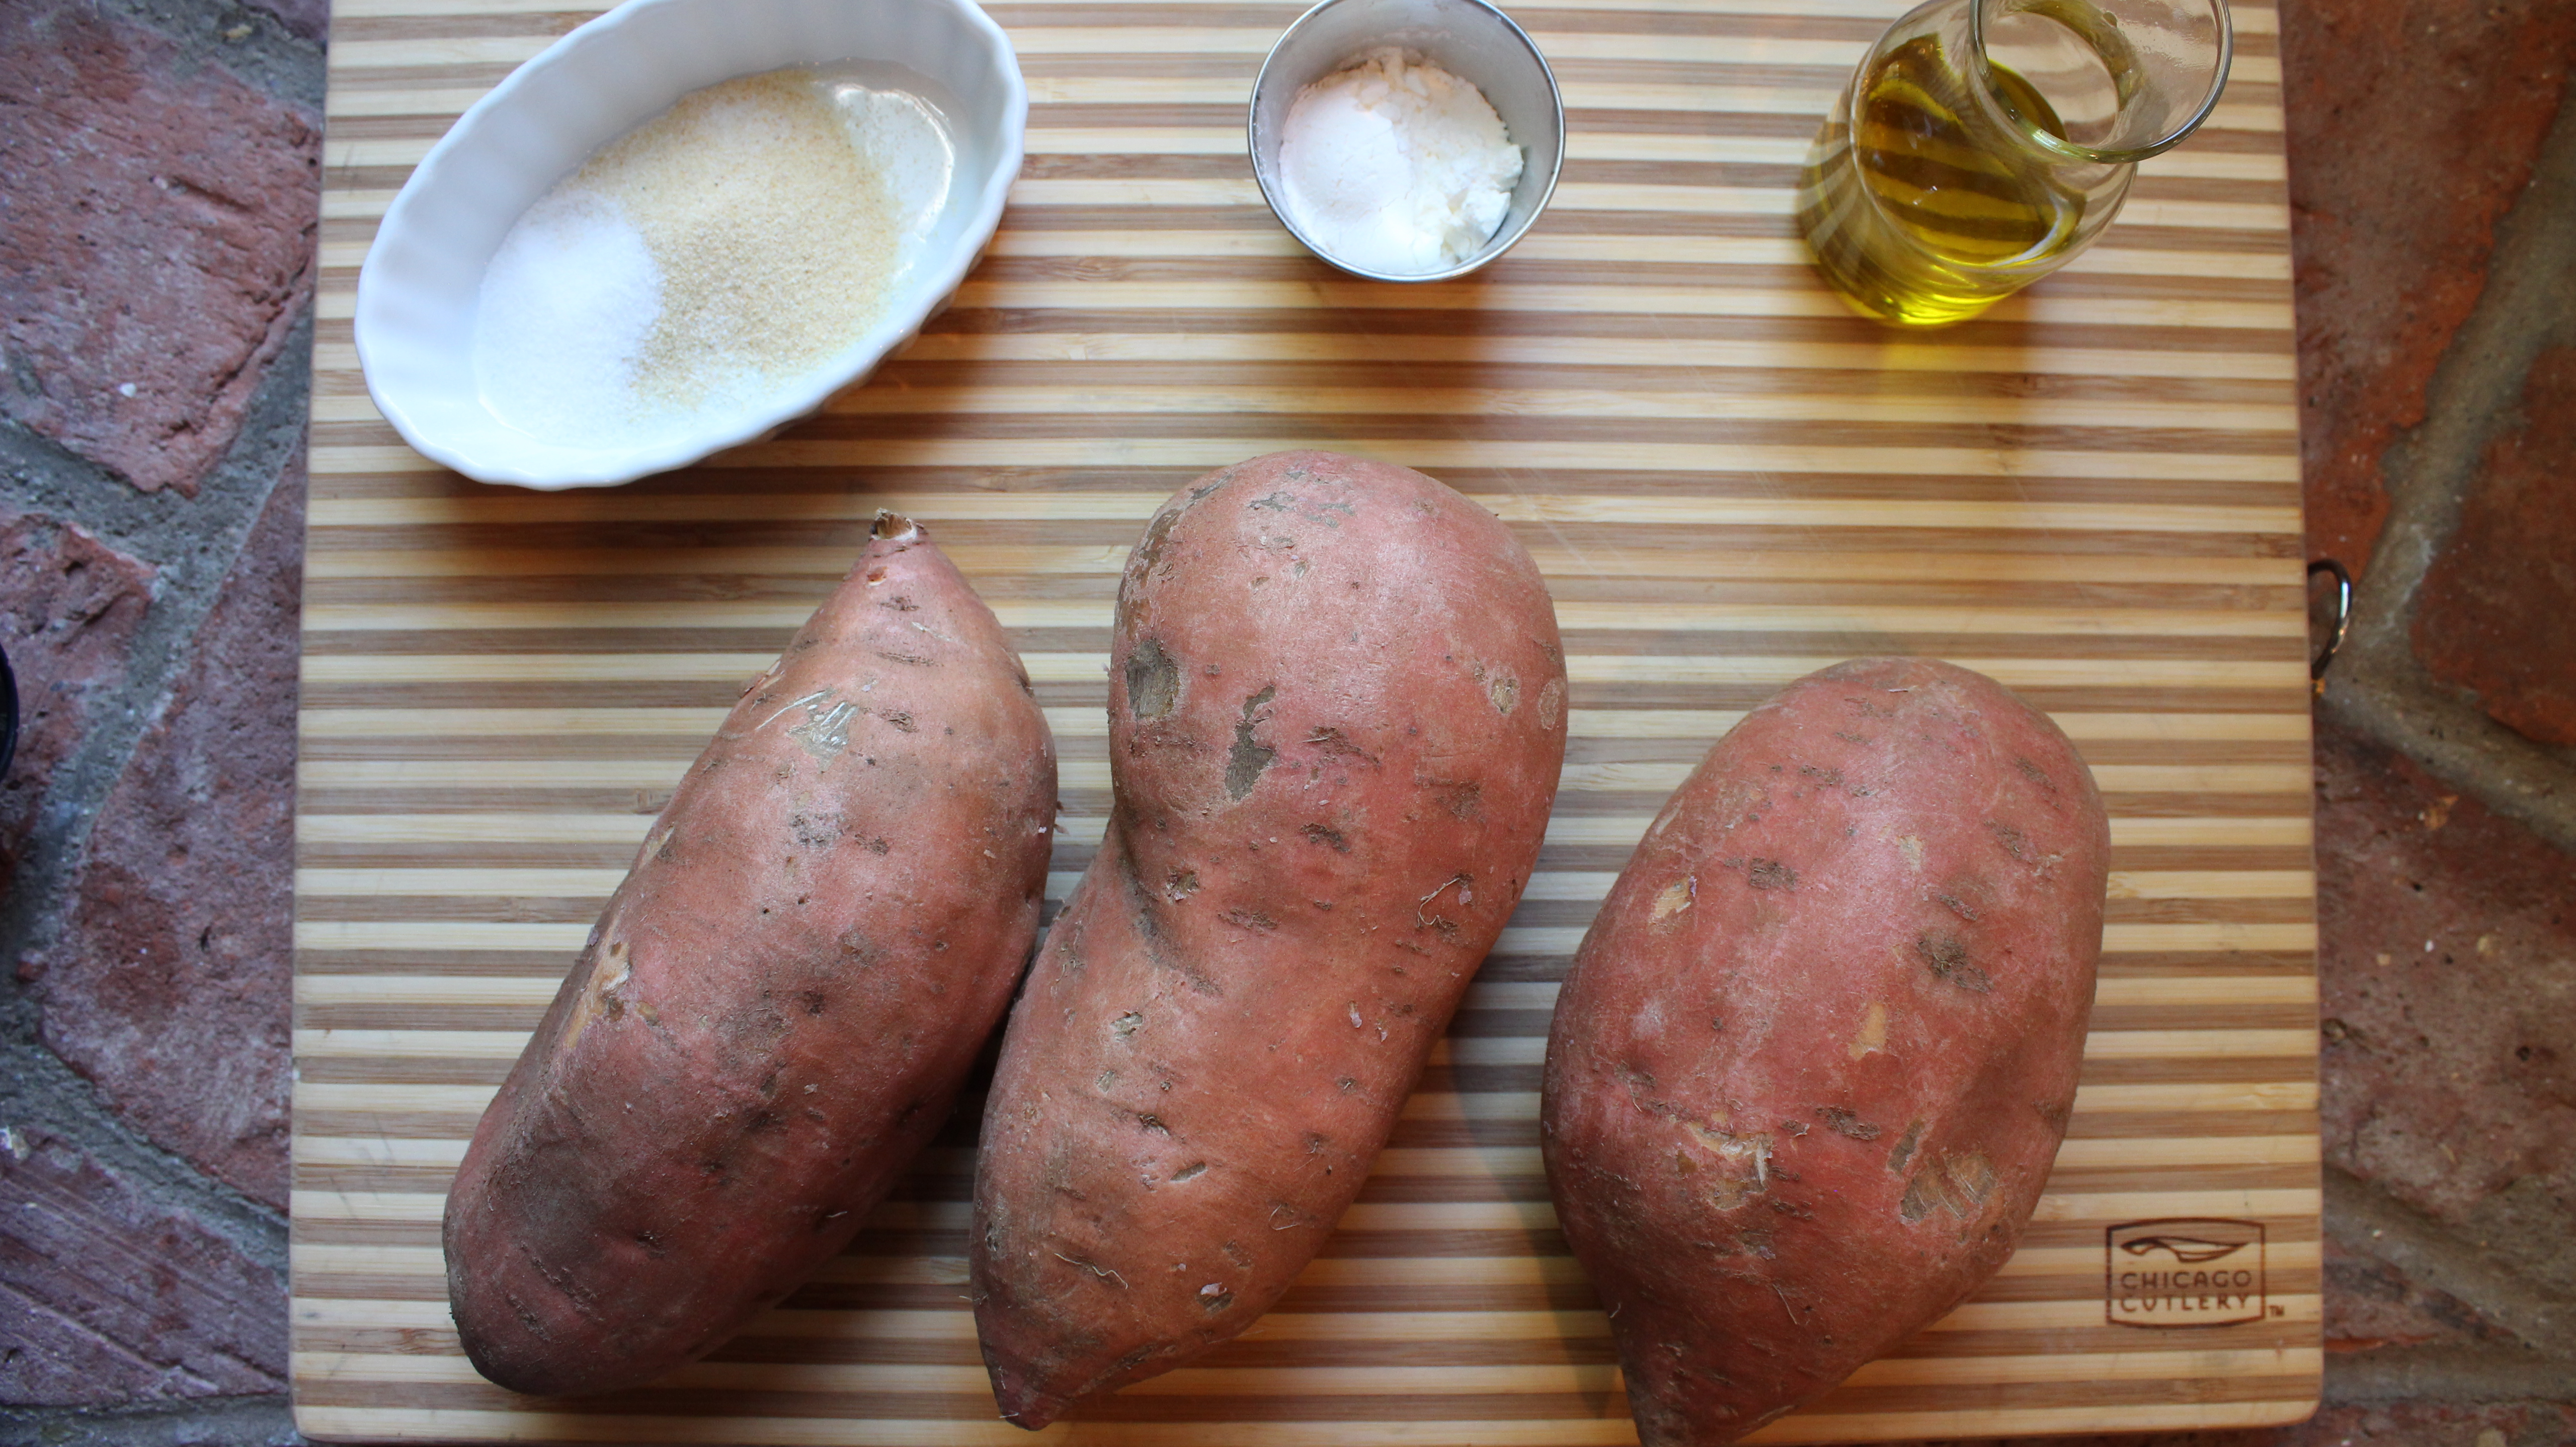
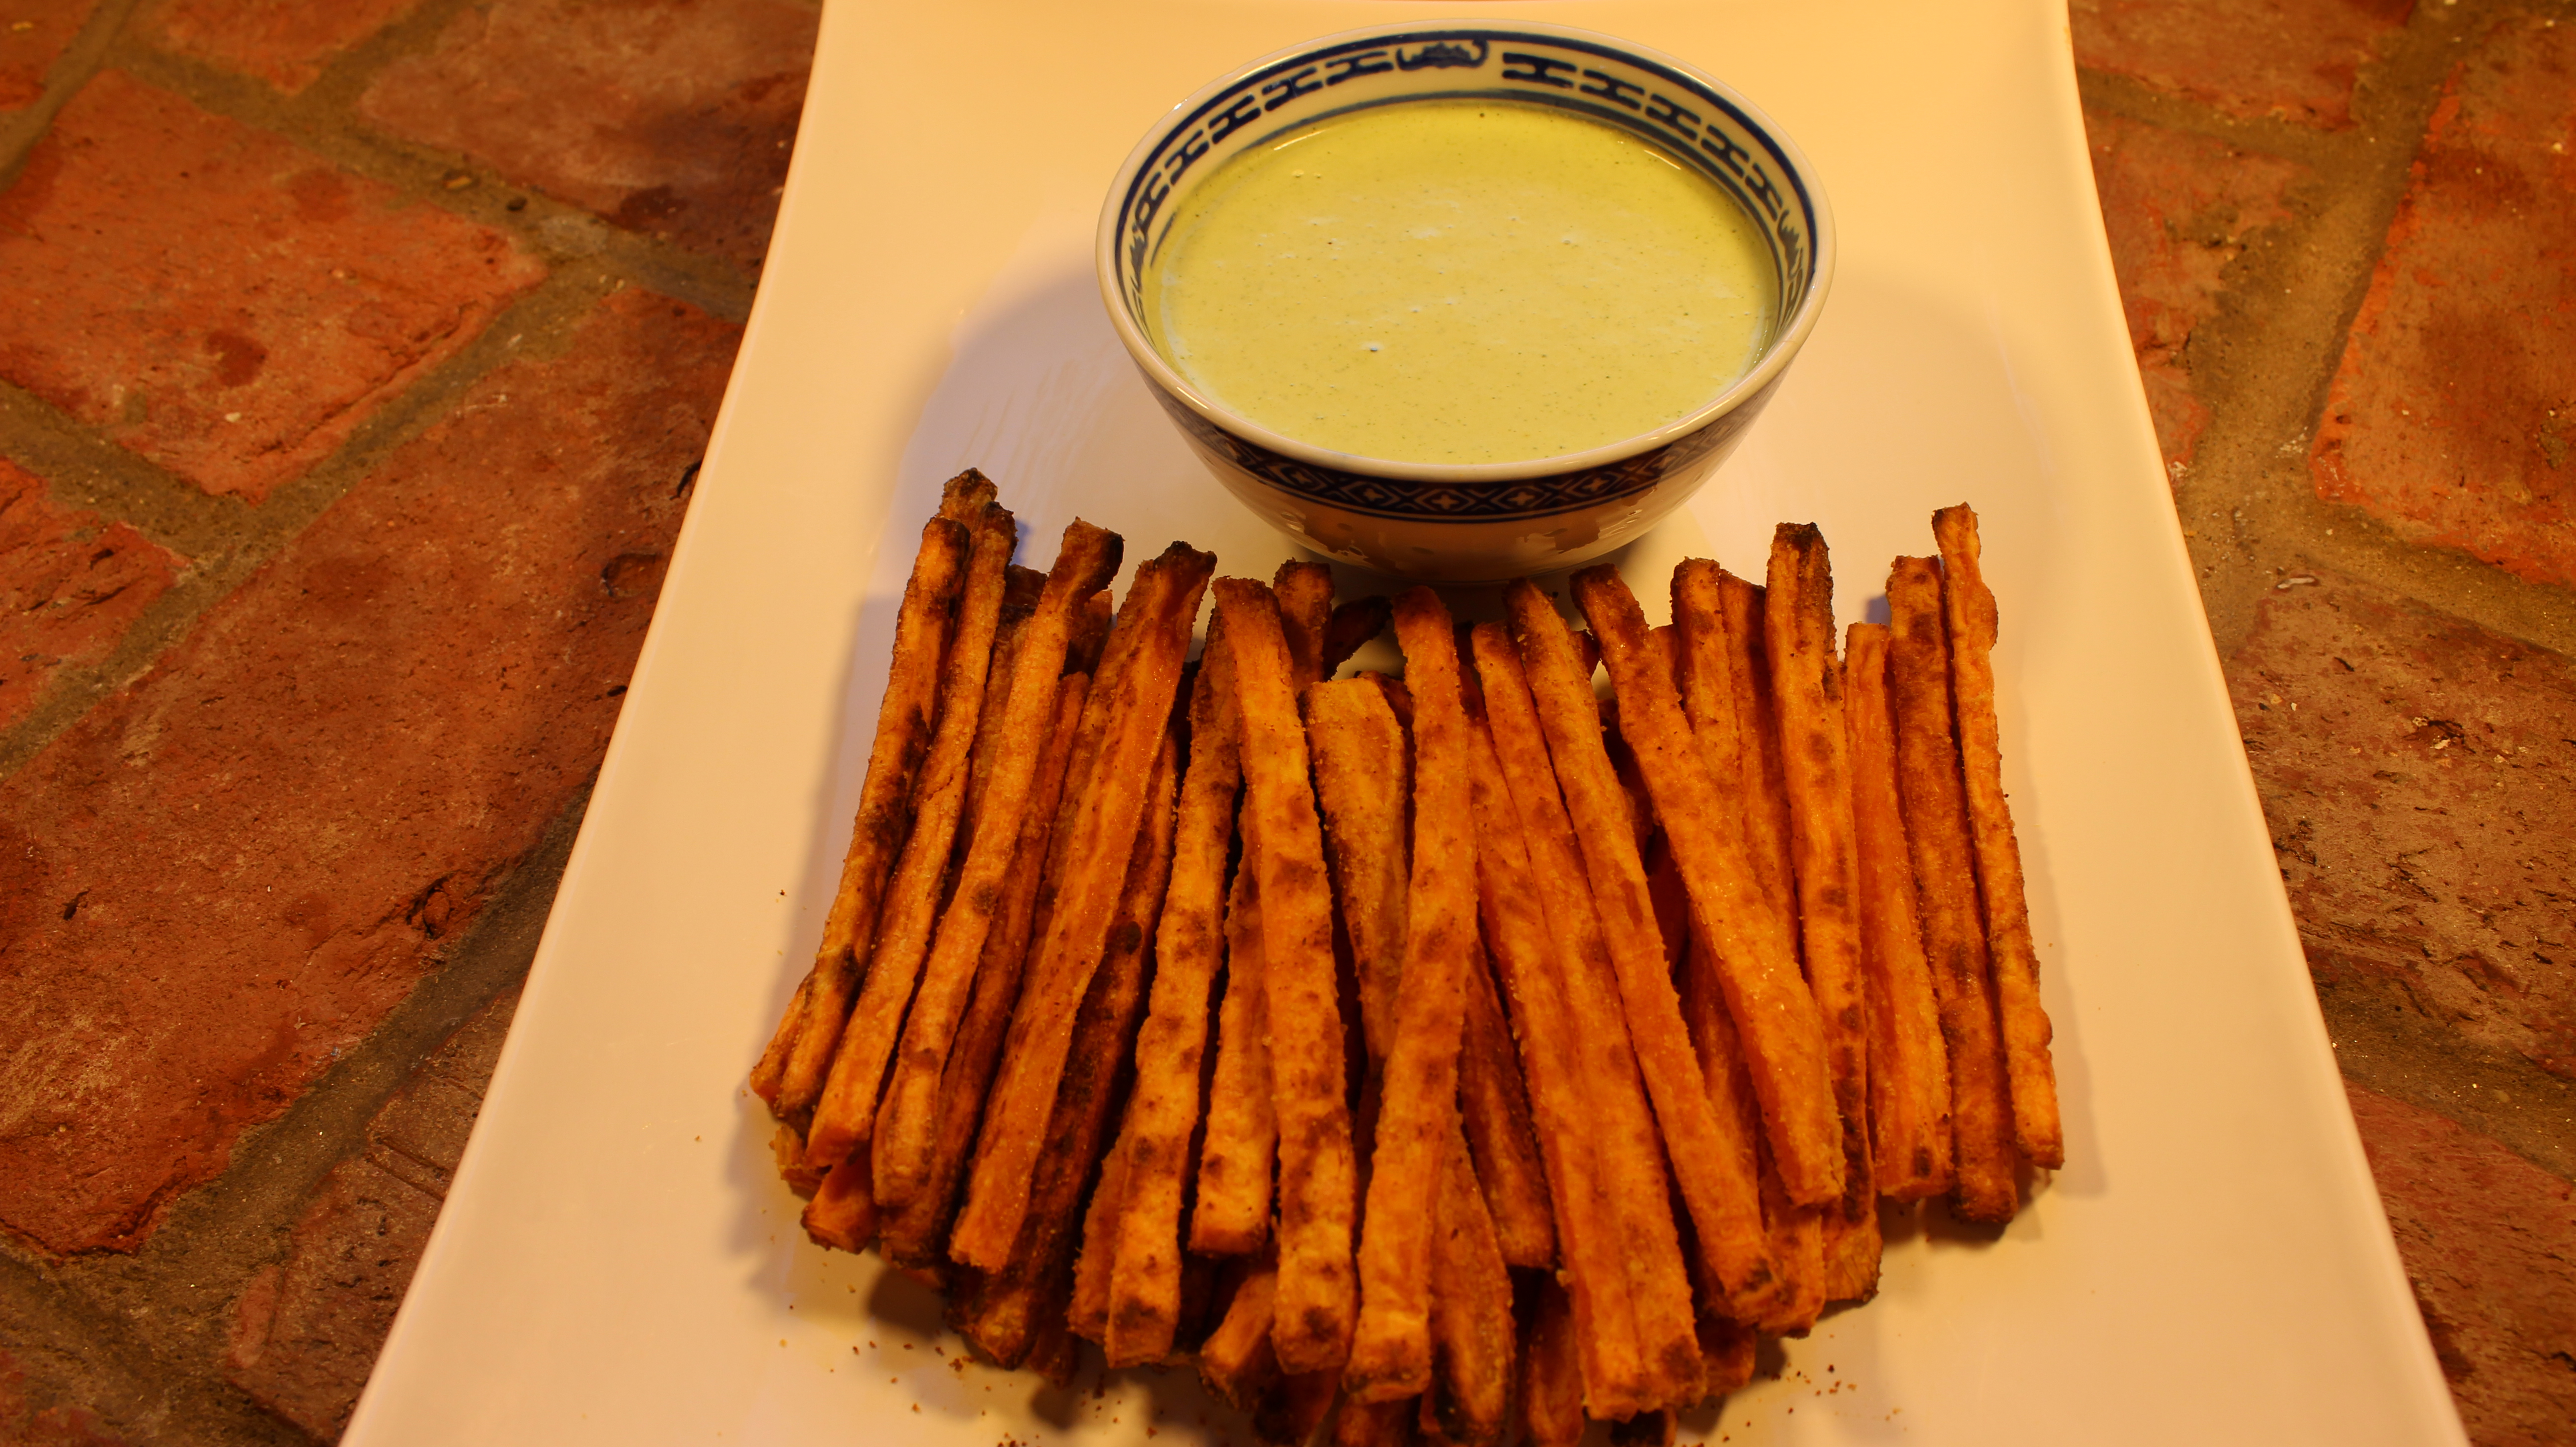
The colors orange and green were stuck in my head for this Halloween episode and that’s why I decided to share my sweet potato fries & green goddess dip recipes with you! These baked sweet potato fries are so delicious all on their own but wait until you dip them into the green goddess sauce you’ll want to put green goddess dip on EVERYTHING! I make this dipping sauce when I cook up swordfish, shrimp, tuna, chicken and steaks also. Being able to make a homemade gourmet sauce like this in 5 minutes, in a blender is basically a no-brainer for me. I can’t wait until you taste this sauce. And here I go again, making my dipping sauce with Greek yogurt to balance out the mayo giving it yet another layer of flavor and tangy richness. I do this also with my pink remoulade sauce too.
Baking the sweet potato fries is definitely healthier then frying and a lot less work! Now if you don’t have cornstarch in the cabinets don’t let it keep you from making these fries because they will still be delicious. Dusting the raw sweet potatoes fries with a couple of tablespoons of cornstarch helps with the moisture content and gives them a little extra crunch.
Ingredients and Directions for Sweet Potato Fries:
3 extra lg sweet potatoes ONLY need 2 but I like to have an extra just in case
1/4 cup extra virgin olive oil
1/2 tsp salt
2 tbsp corn starch
1 tsp garlic granules
1 tsp onion granules
Pre-heat the oven to 425º.
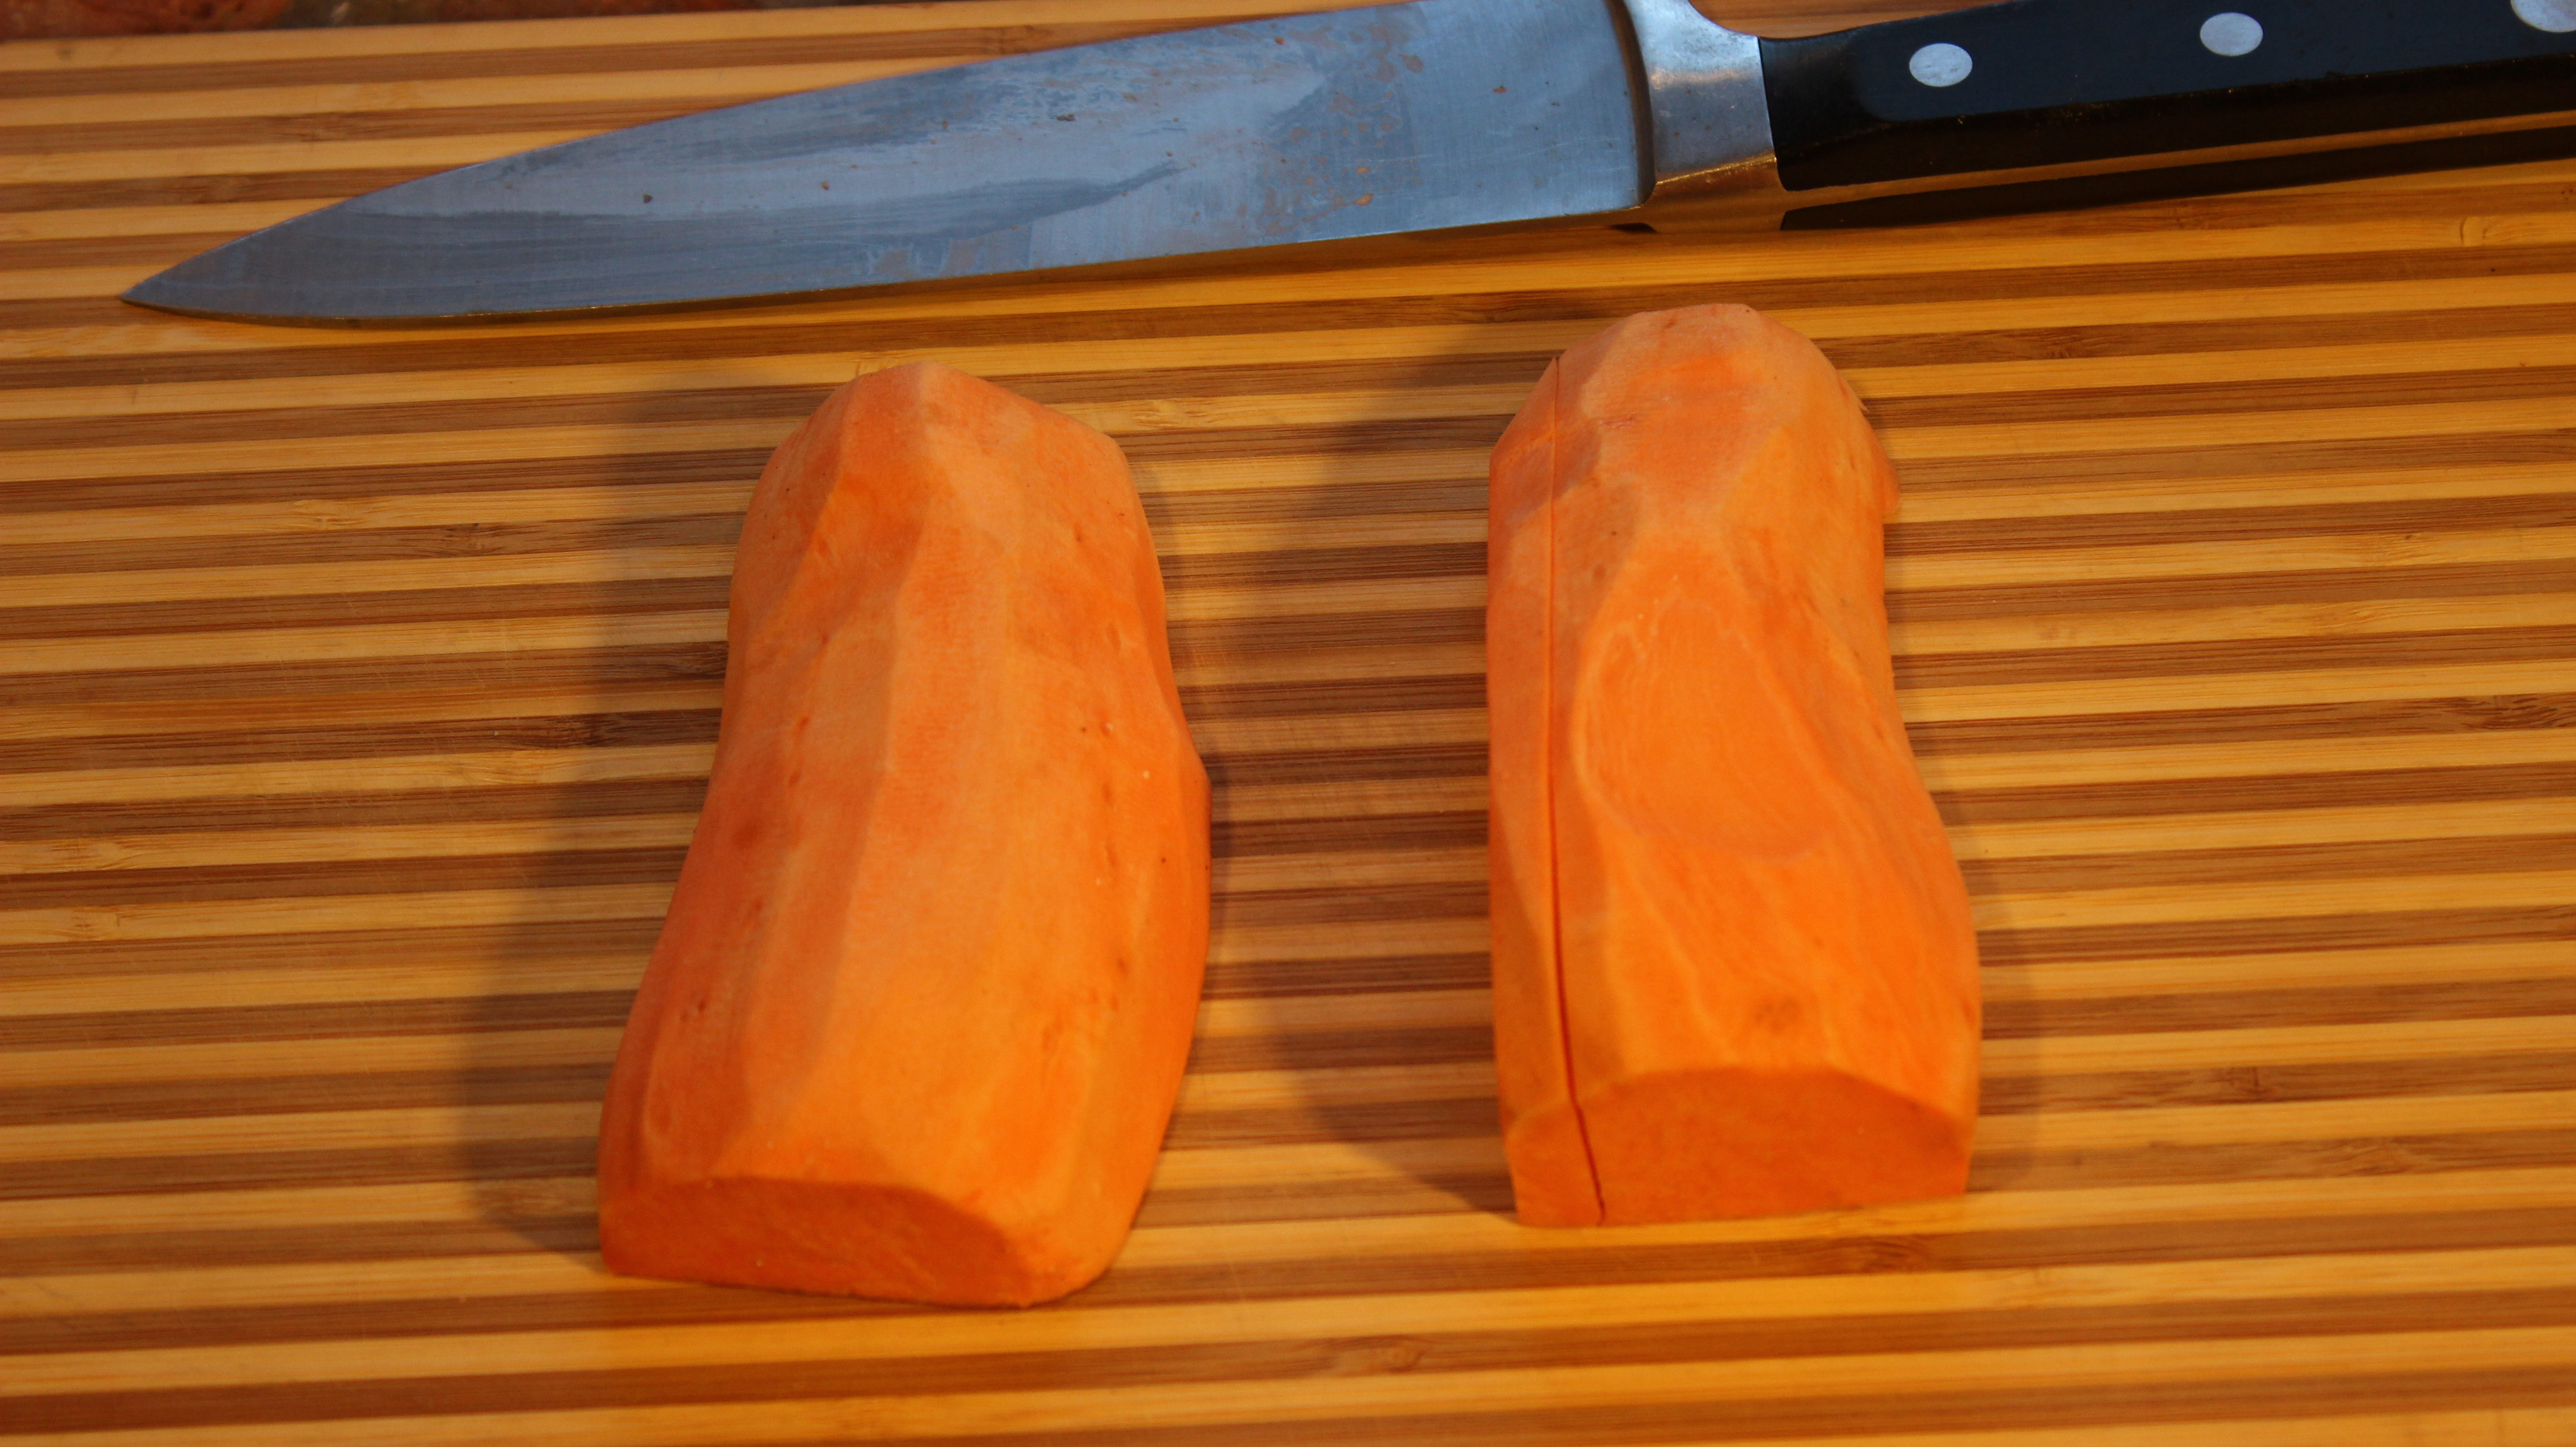
Peel and Slice sweet potatoes in 1/4″ sticks -CUT ENDS FLAT so they don’t burn
Dab with paper towels to dry excess sweet potato moisture
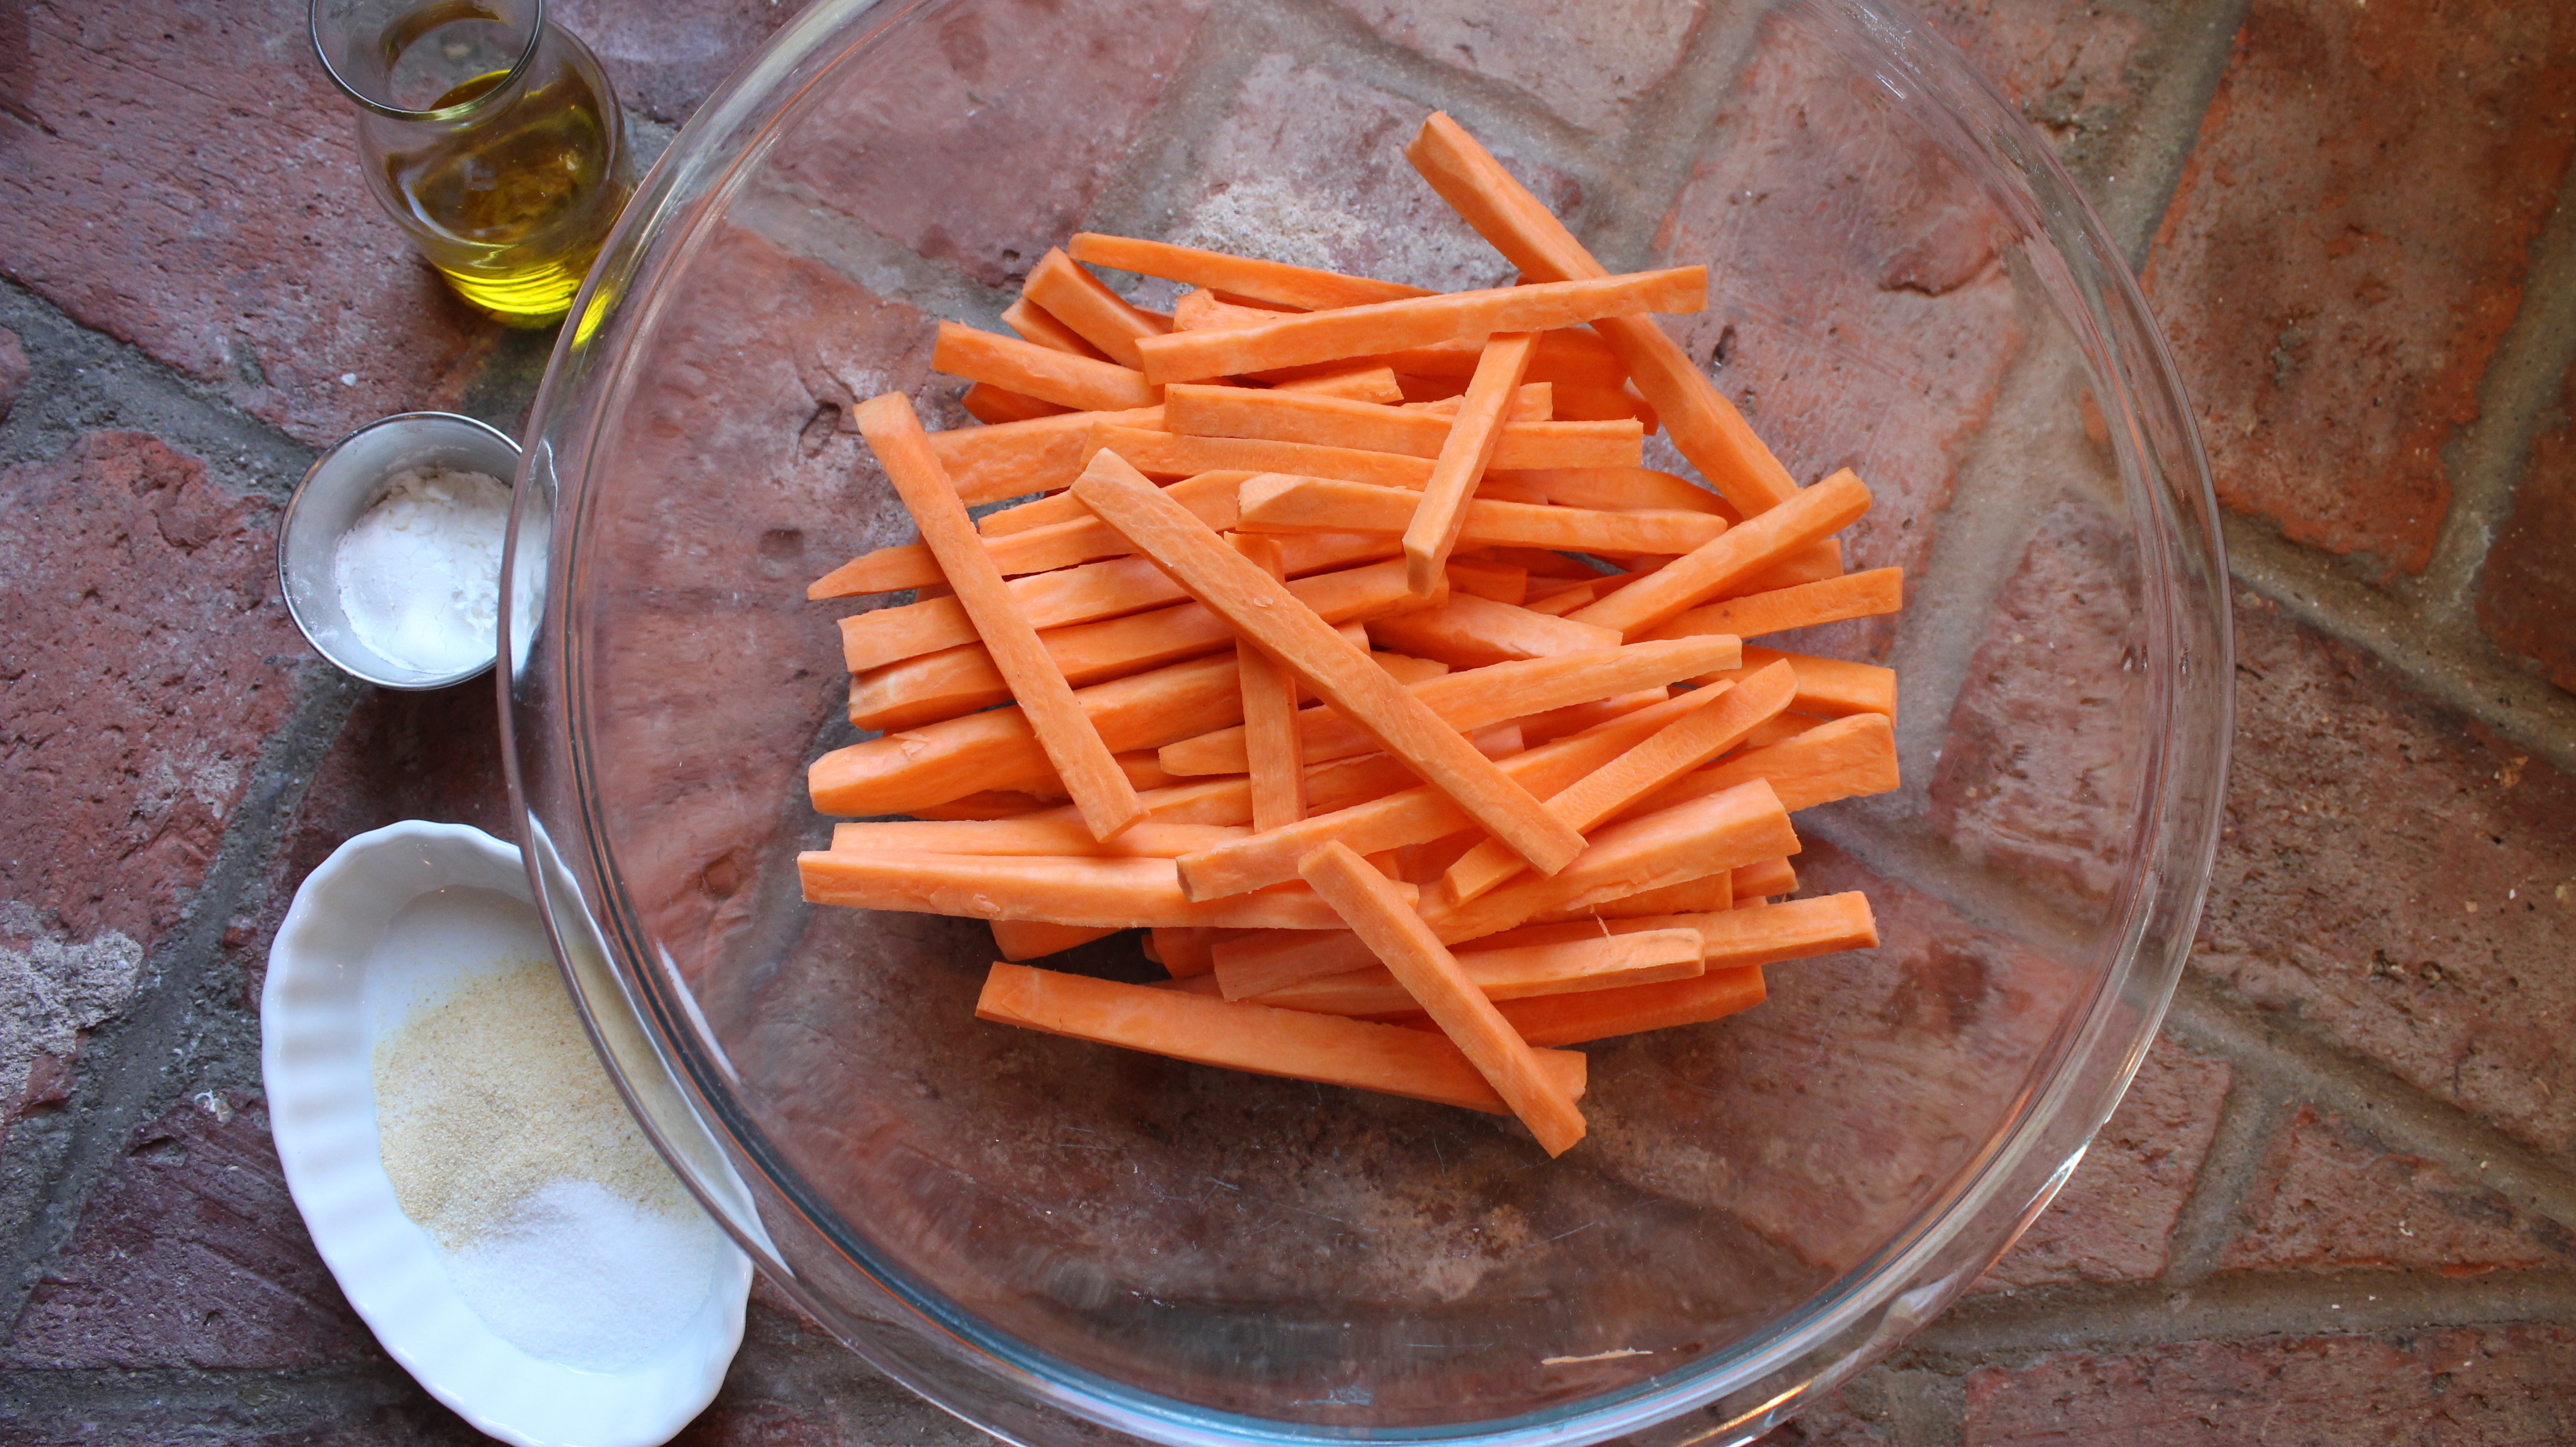
Drizzle with 1/4 cup olive oil and sprinkle with 1 tsp garlic granules, 1 tsp onion granules and 1/2 tsp salt
Mixed with hands and then spread out into even layer on cookie sheet
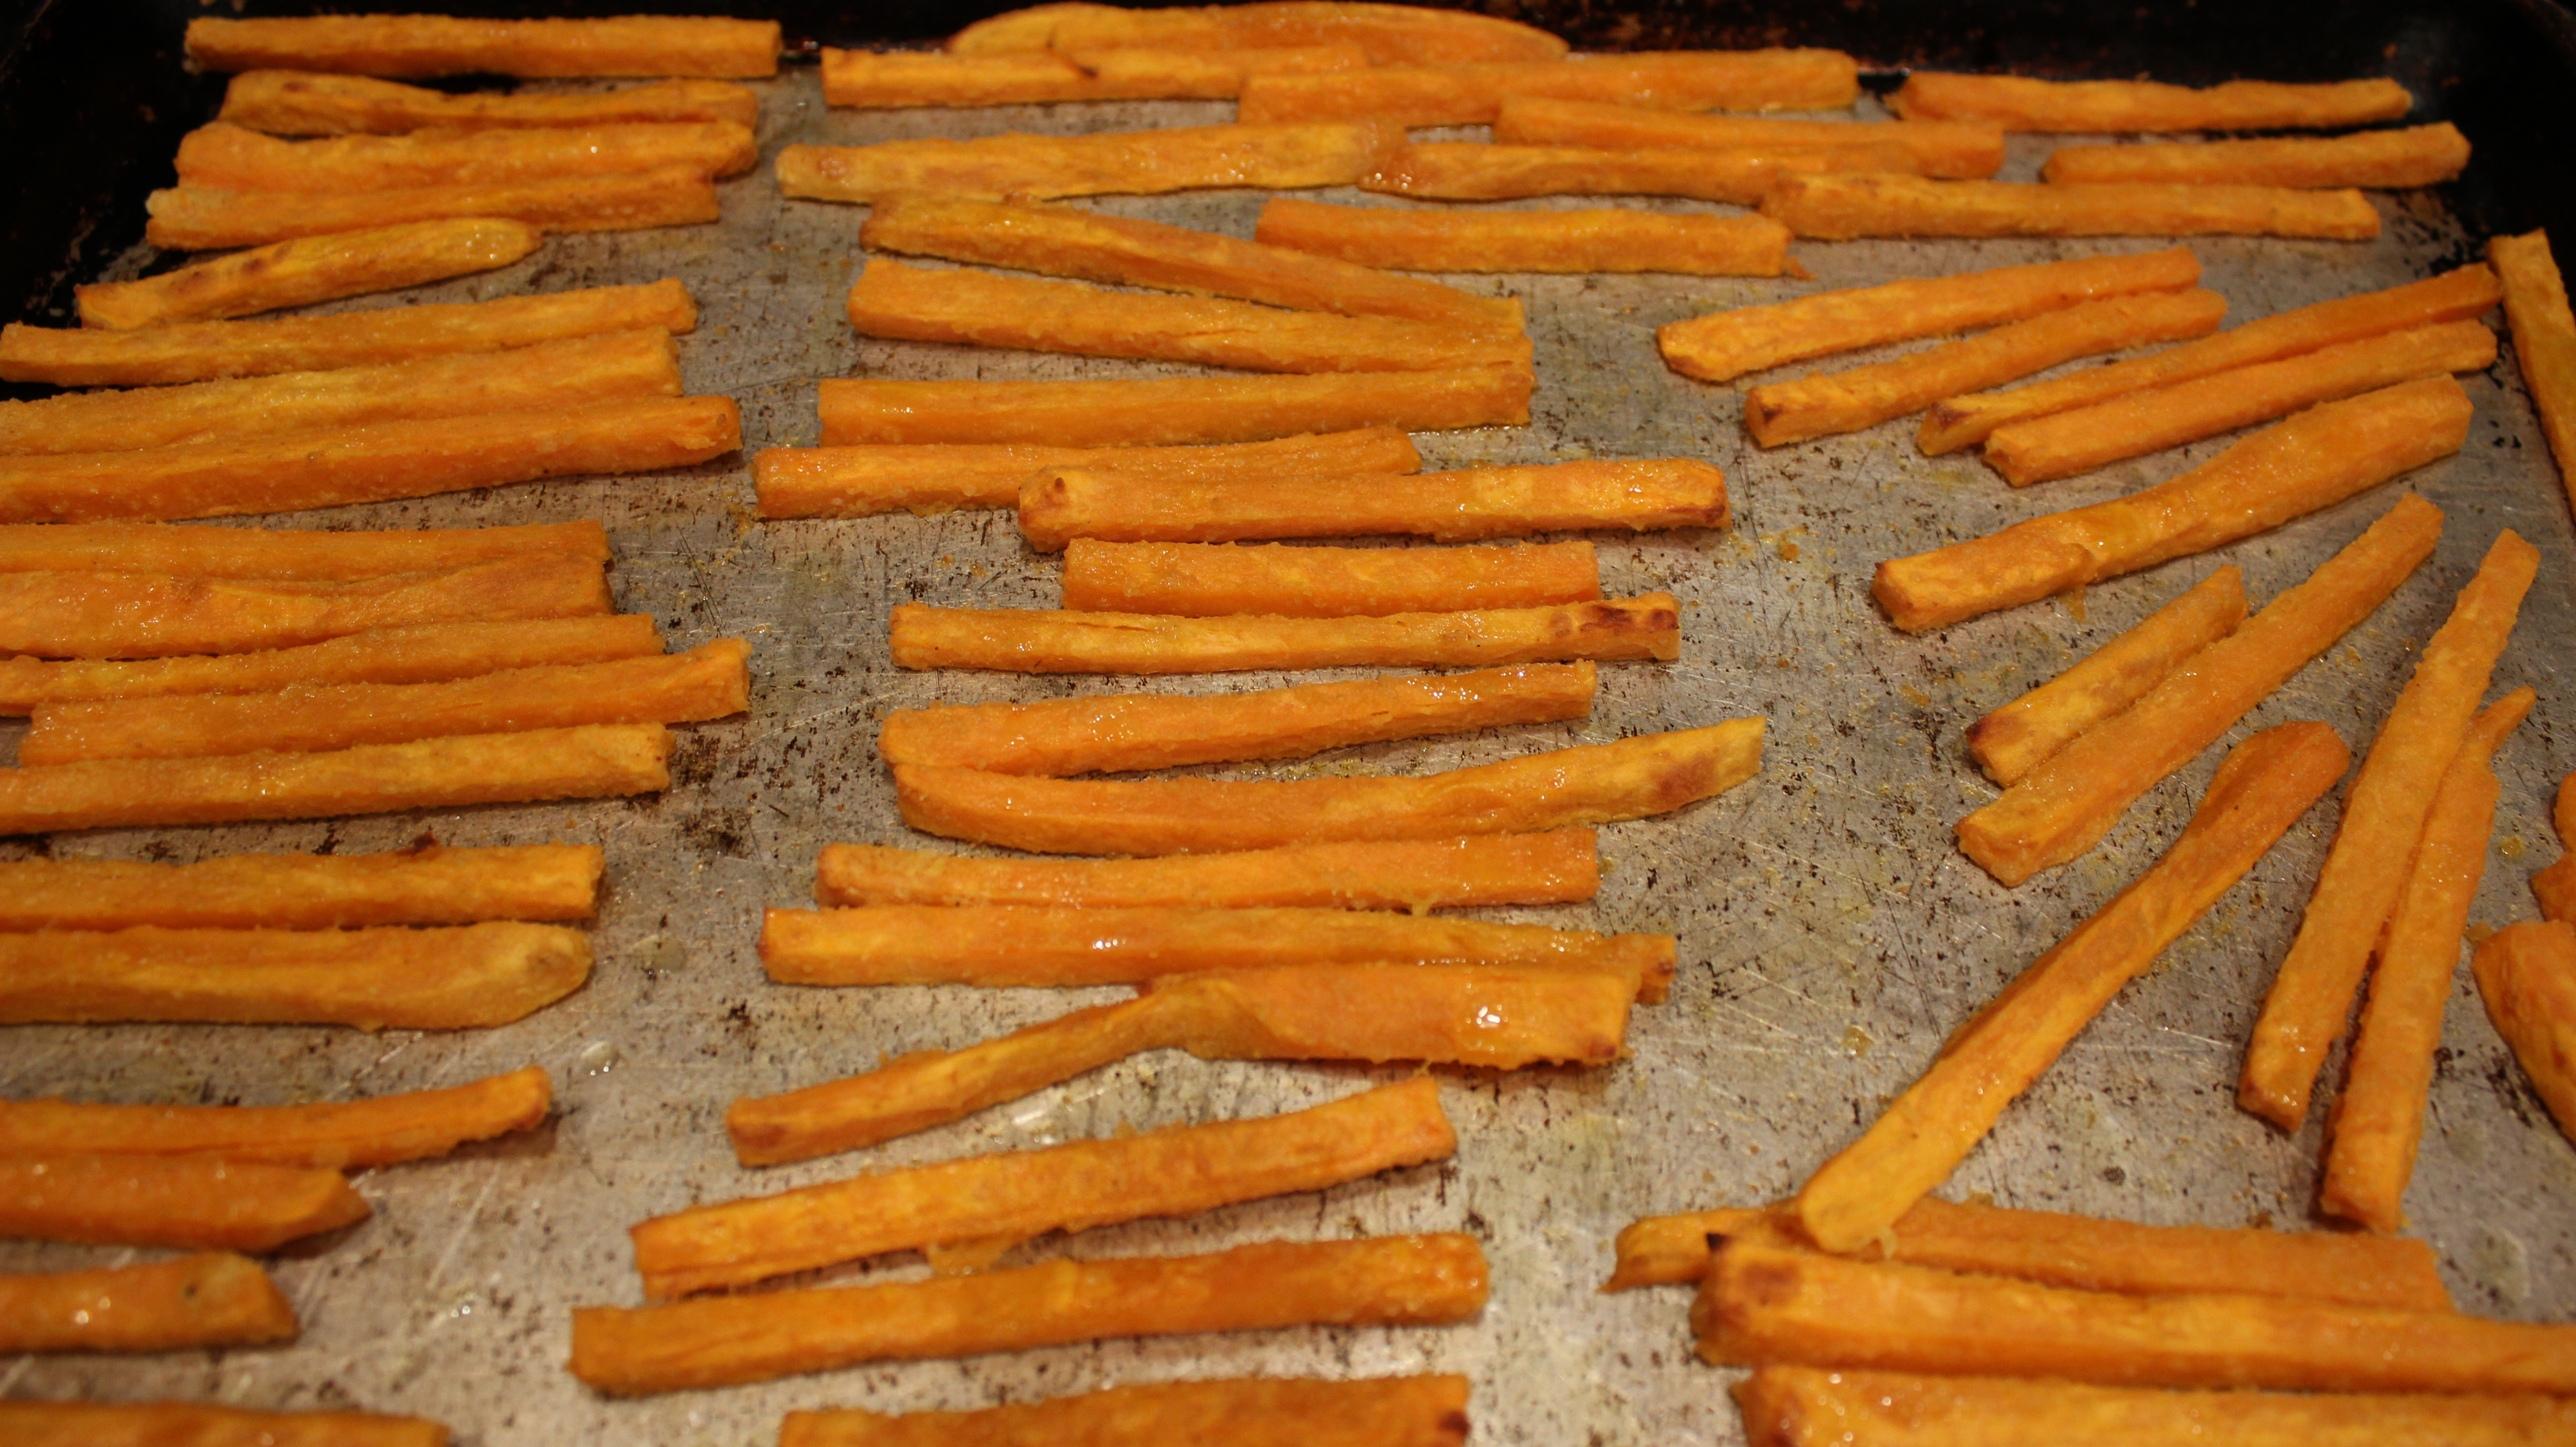
Bake for 15 minutes then flip and back into the oven for 8-10 more minutes
BE SURE TO keep an eye on them at this point so they don’t BURN 🙂
Ingredients and Directions for Green Goddess Dip lll:
3/4 cup Greek yogurt
1/3 cup mayo (I use Hellmans)
1 cup fresh cilantro
1 garlic clove put thru press
1/2 jalapeño diced
4 green onion stalks
1 tsp. grated vadalia onion ( or yellow onion)
1 tbsp ( 1/2) fresh lime juice
1 tbsp “seasoned” rice wine vinegar ( “oops” – I accidentally said red wine vinegar in the show but it’s rice wine vinegar)
s & p
Optional: dash of Siracha (Siracha is a hot chili sauce sold next to Tabasco at the store)
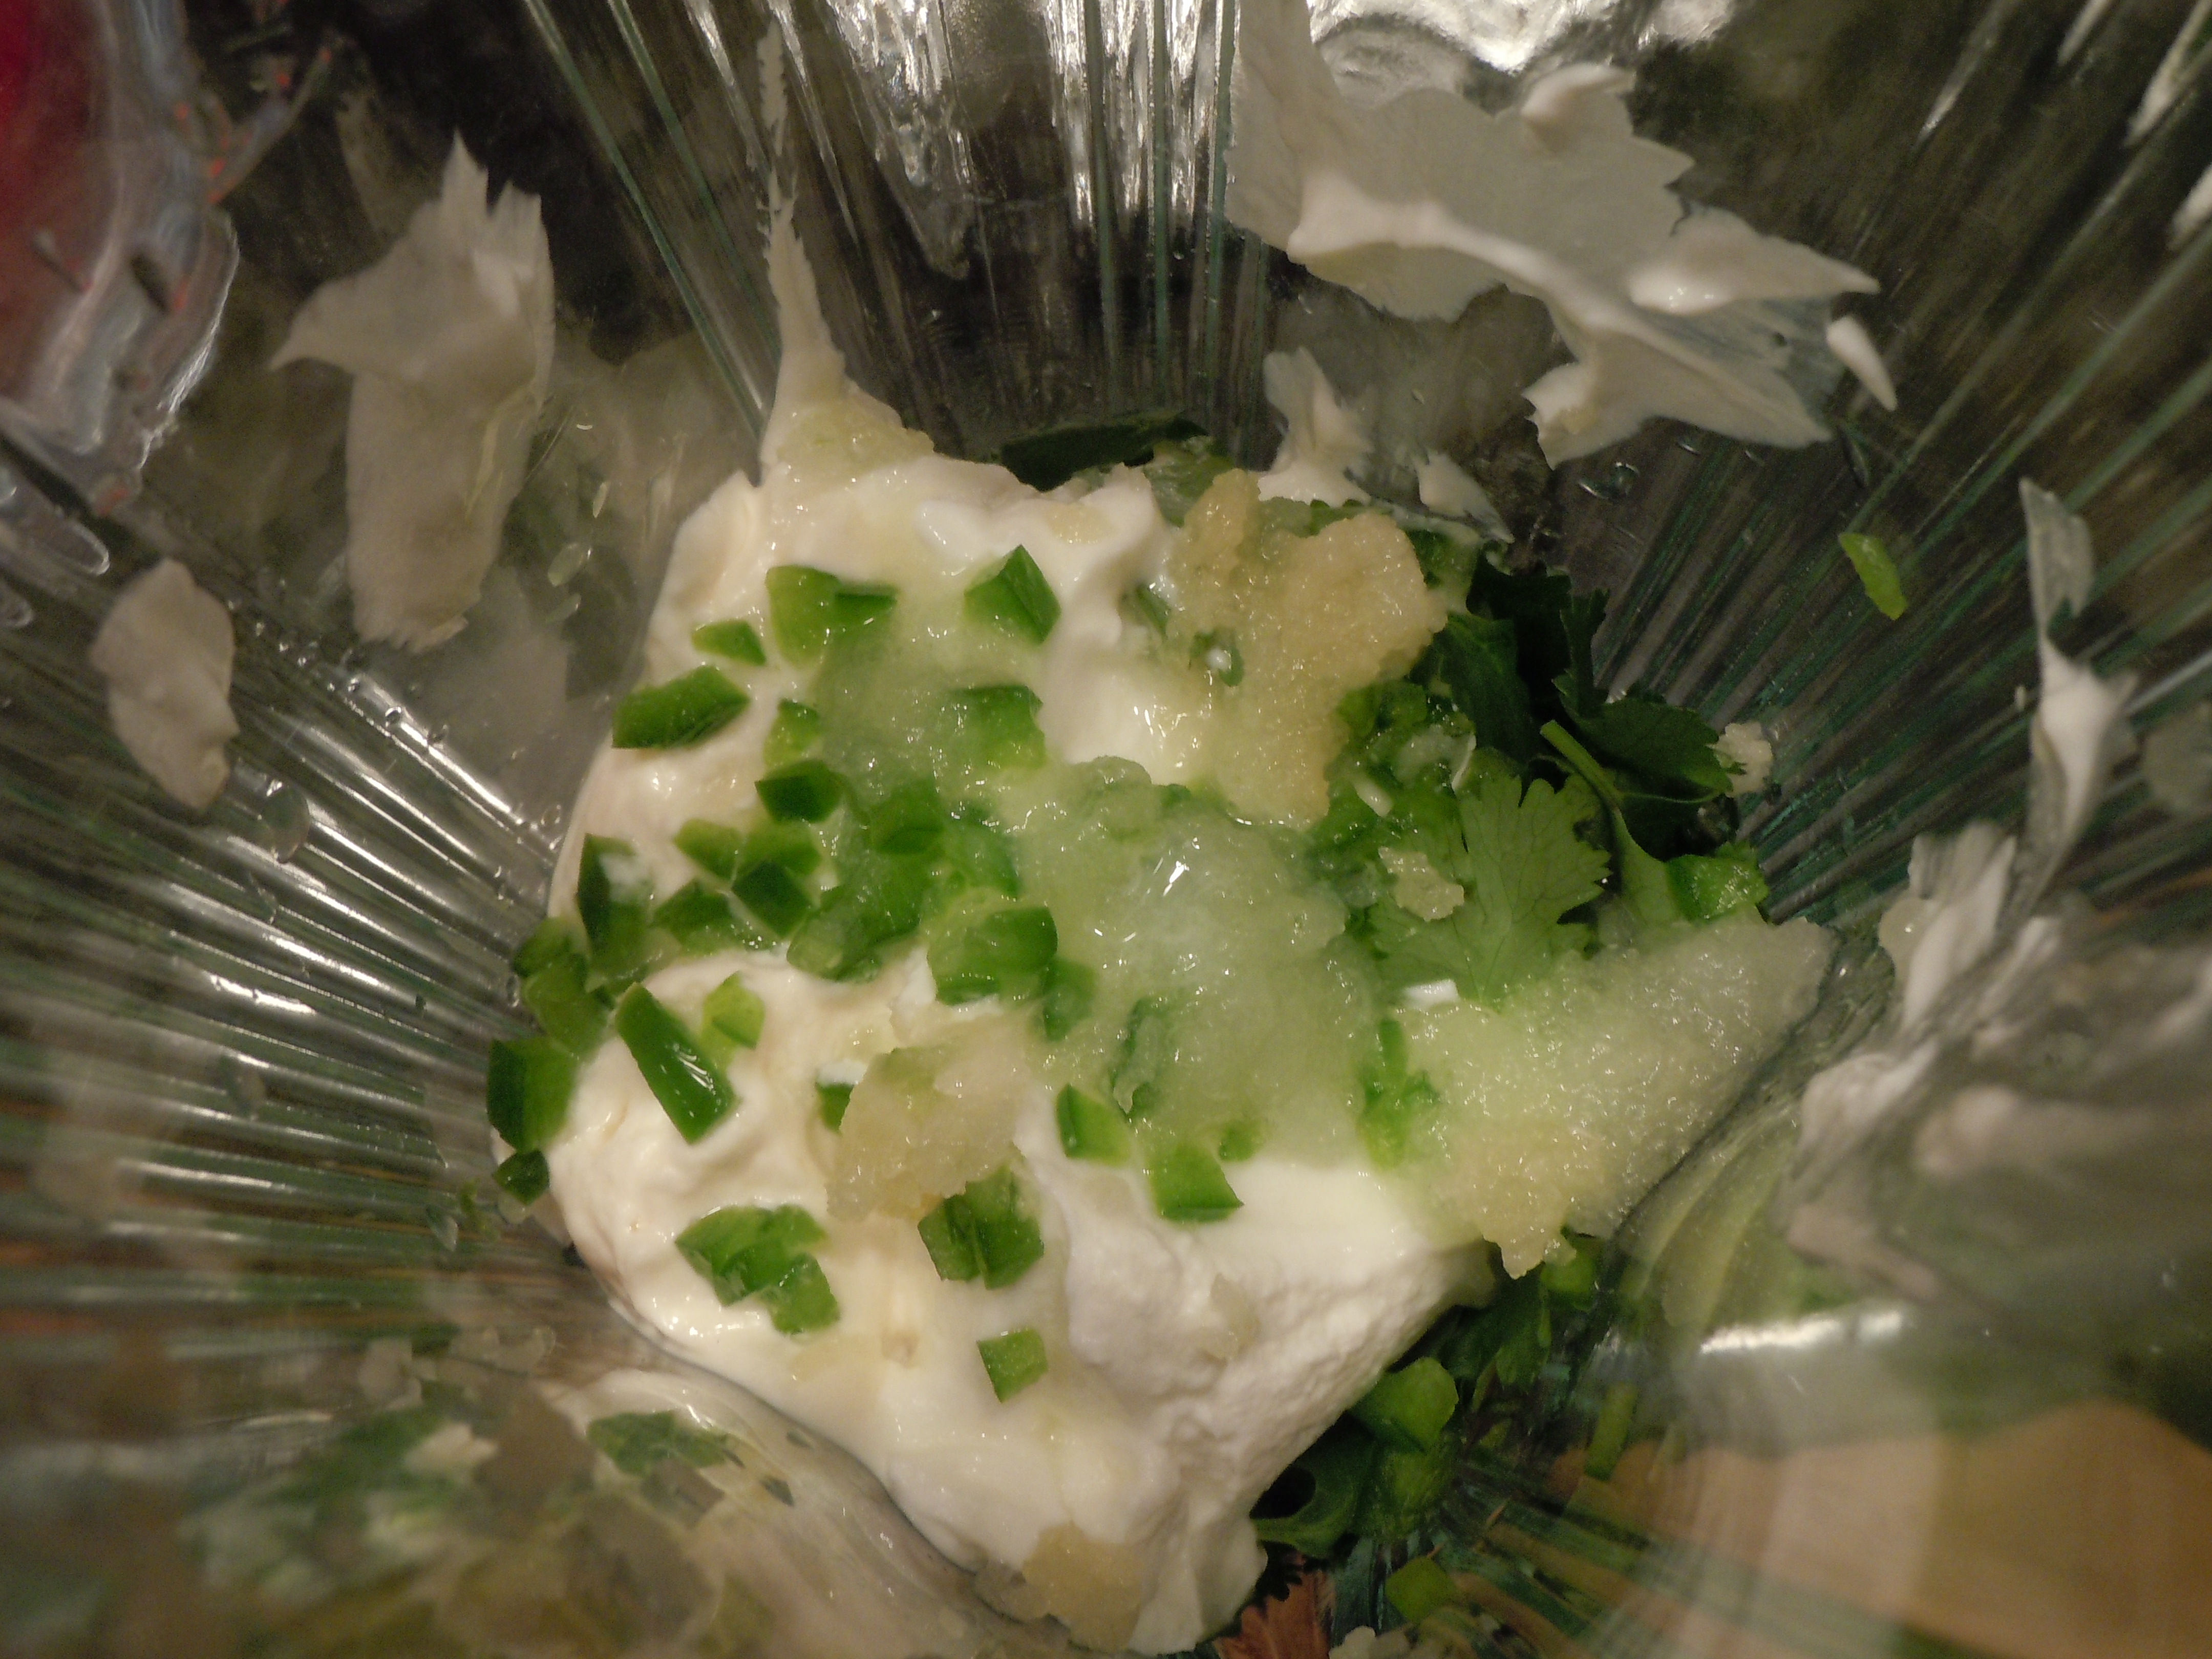
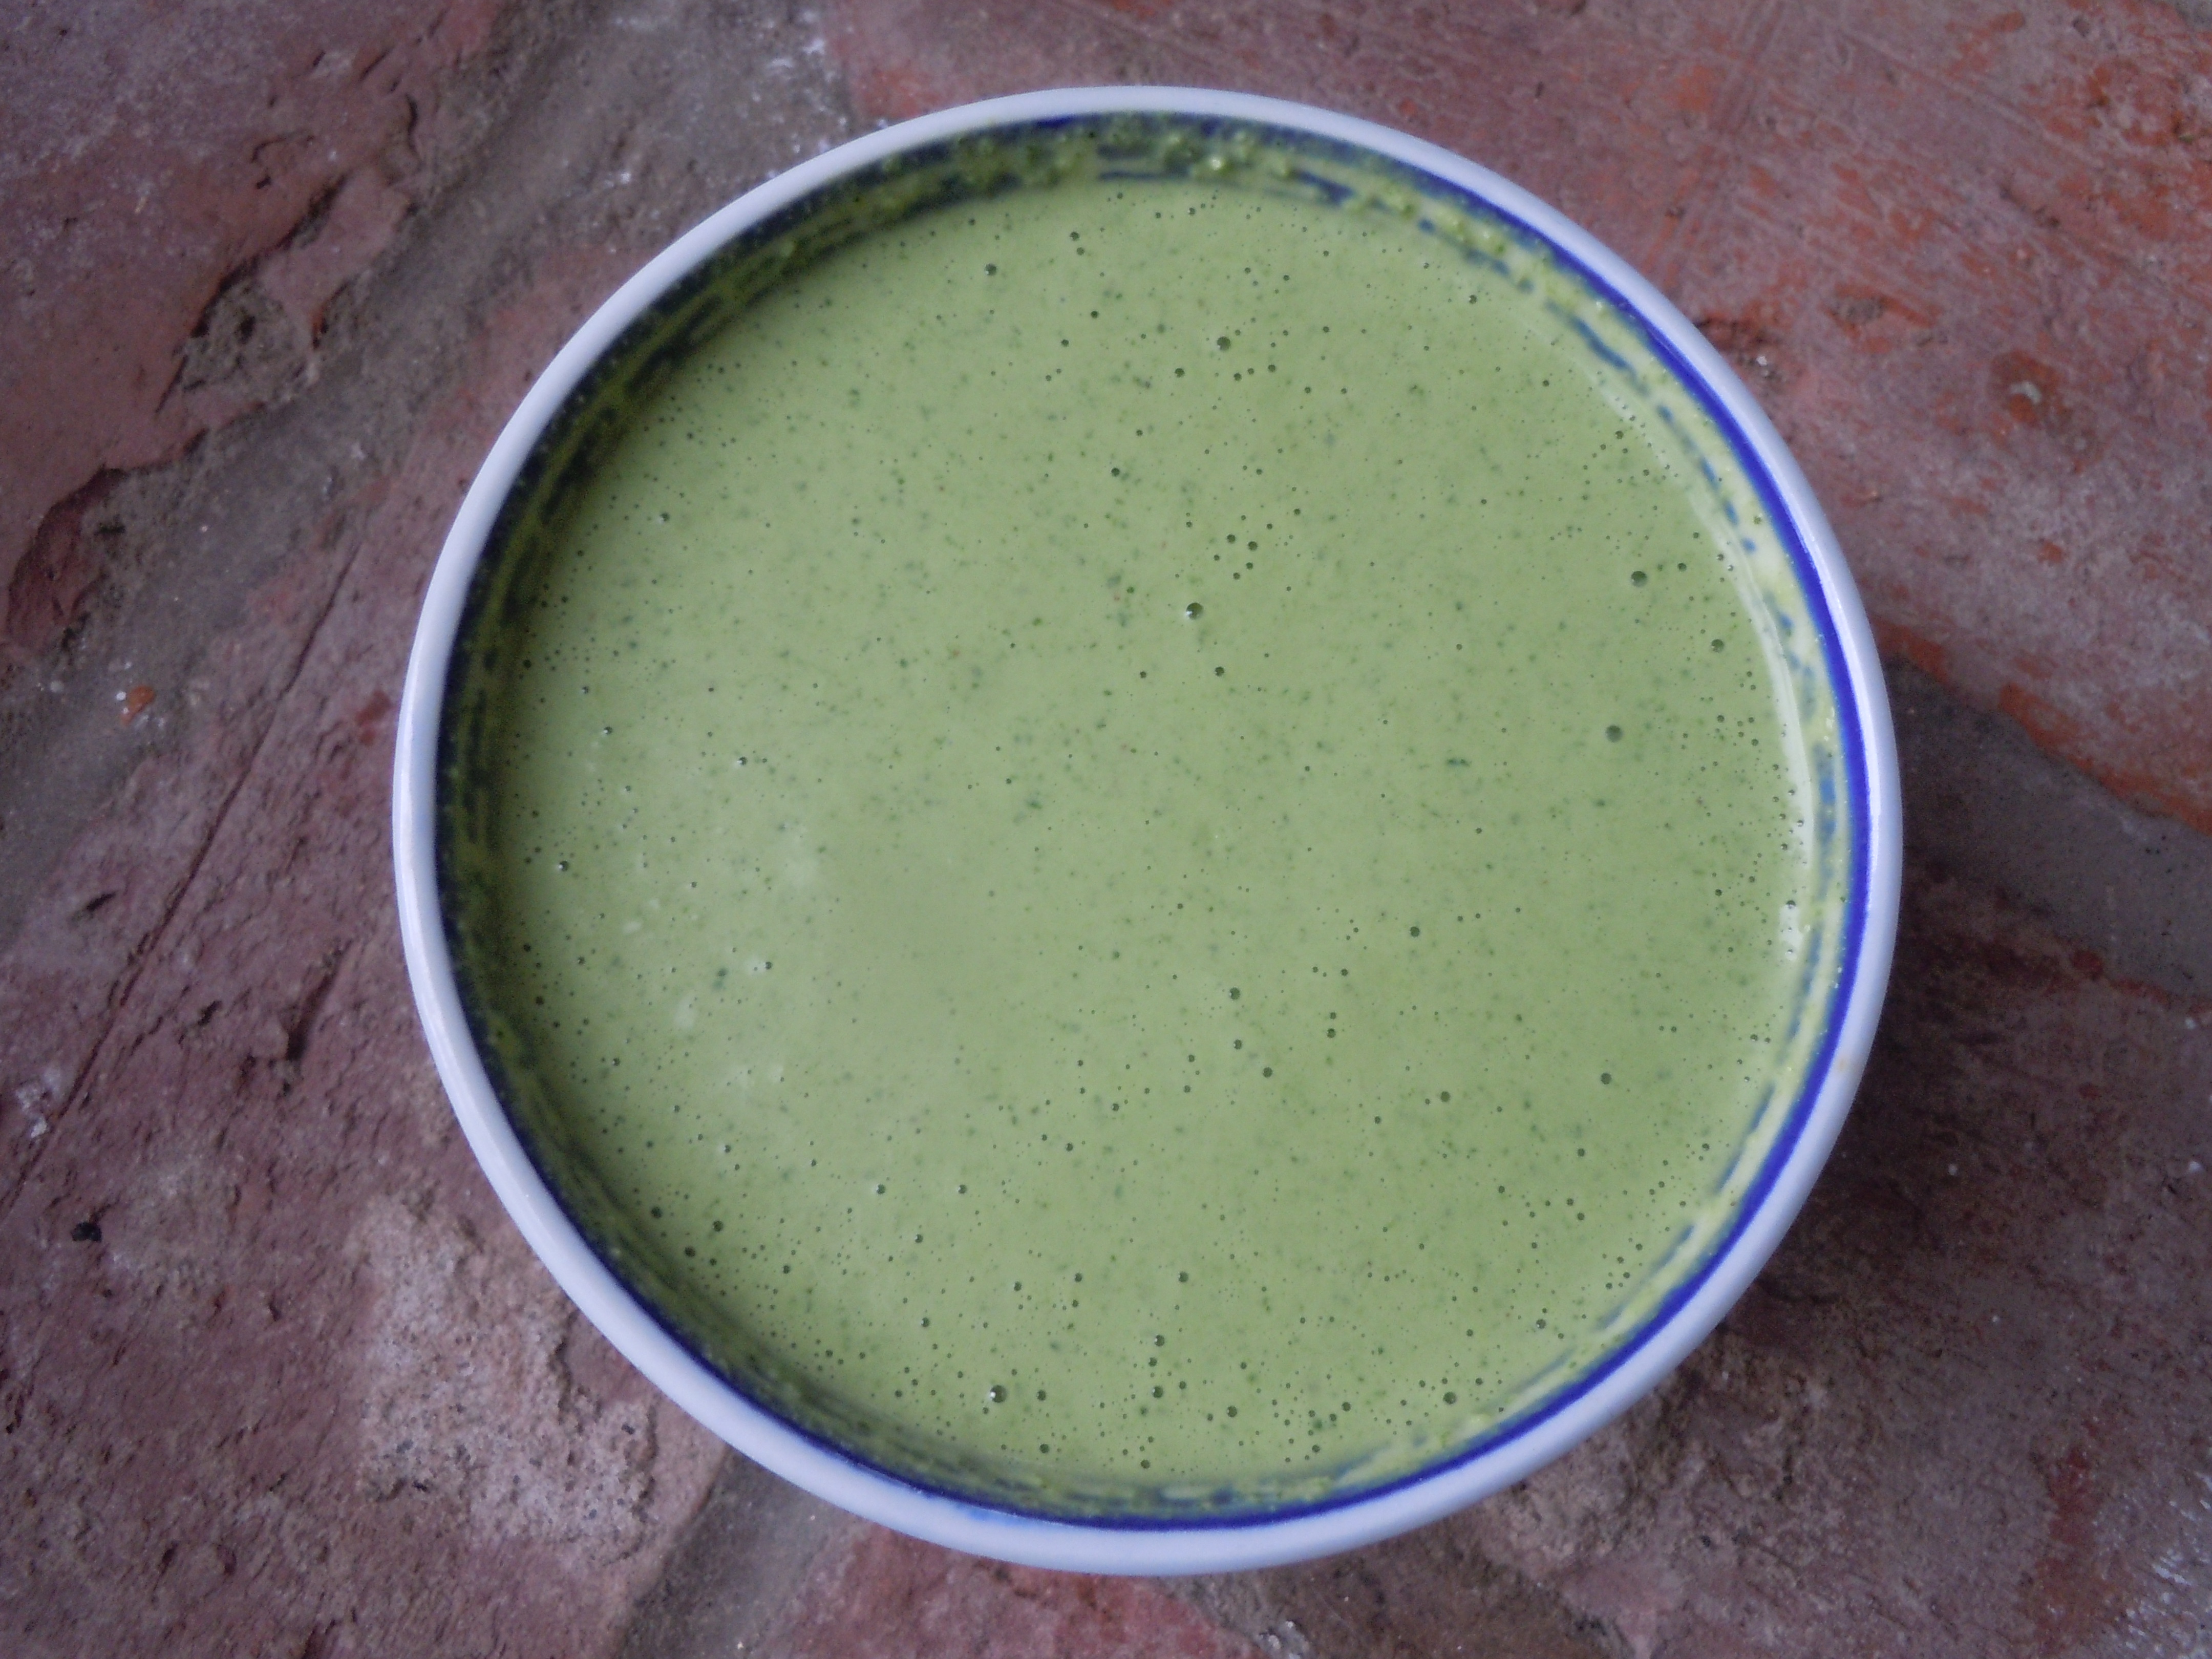
Place all of the ingredients into a blender an purée and you will probably need to stop and stir everything a couple of times to get it going but do not add any more liquid (you will see that once it gets going it will be just right).
You can make this ahead of time and keep sauce in a plastic container and refrigerate. It gets thicker as it sits in the fridge chilling and stays nice for a few days… Yum!
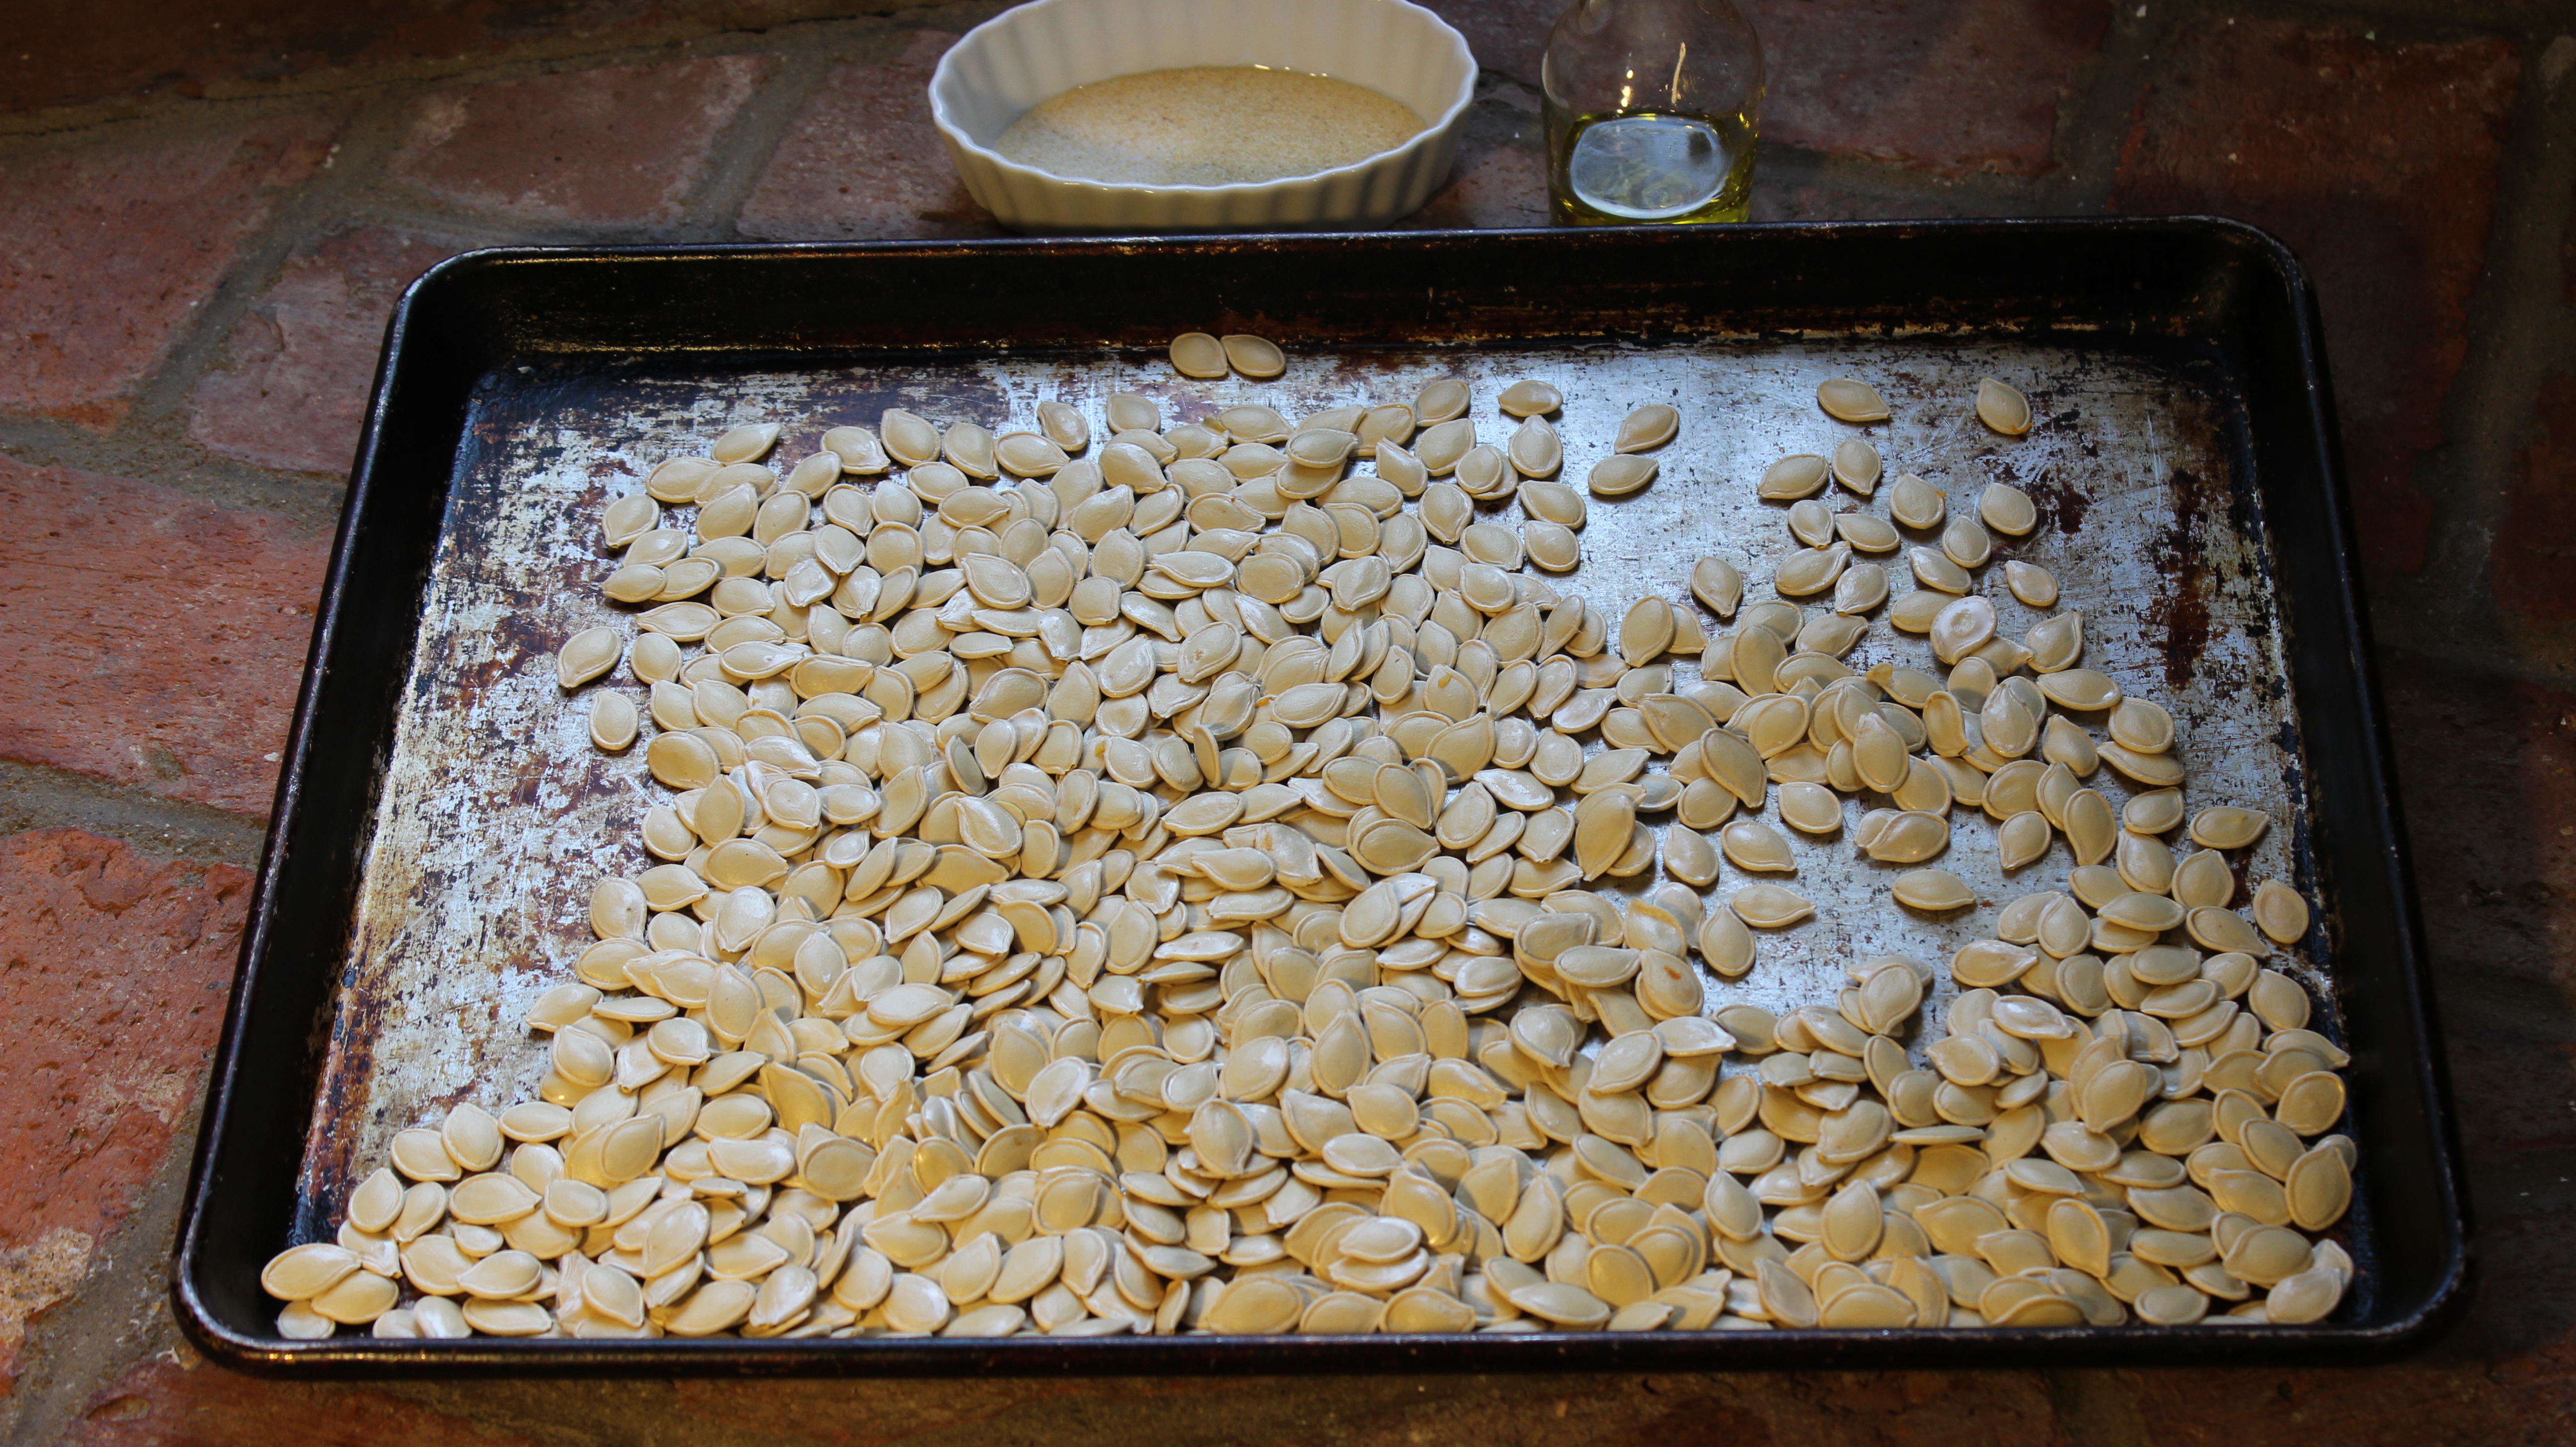
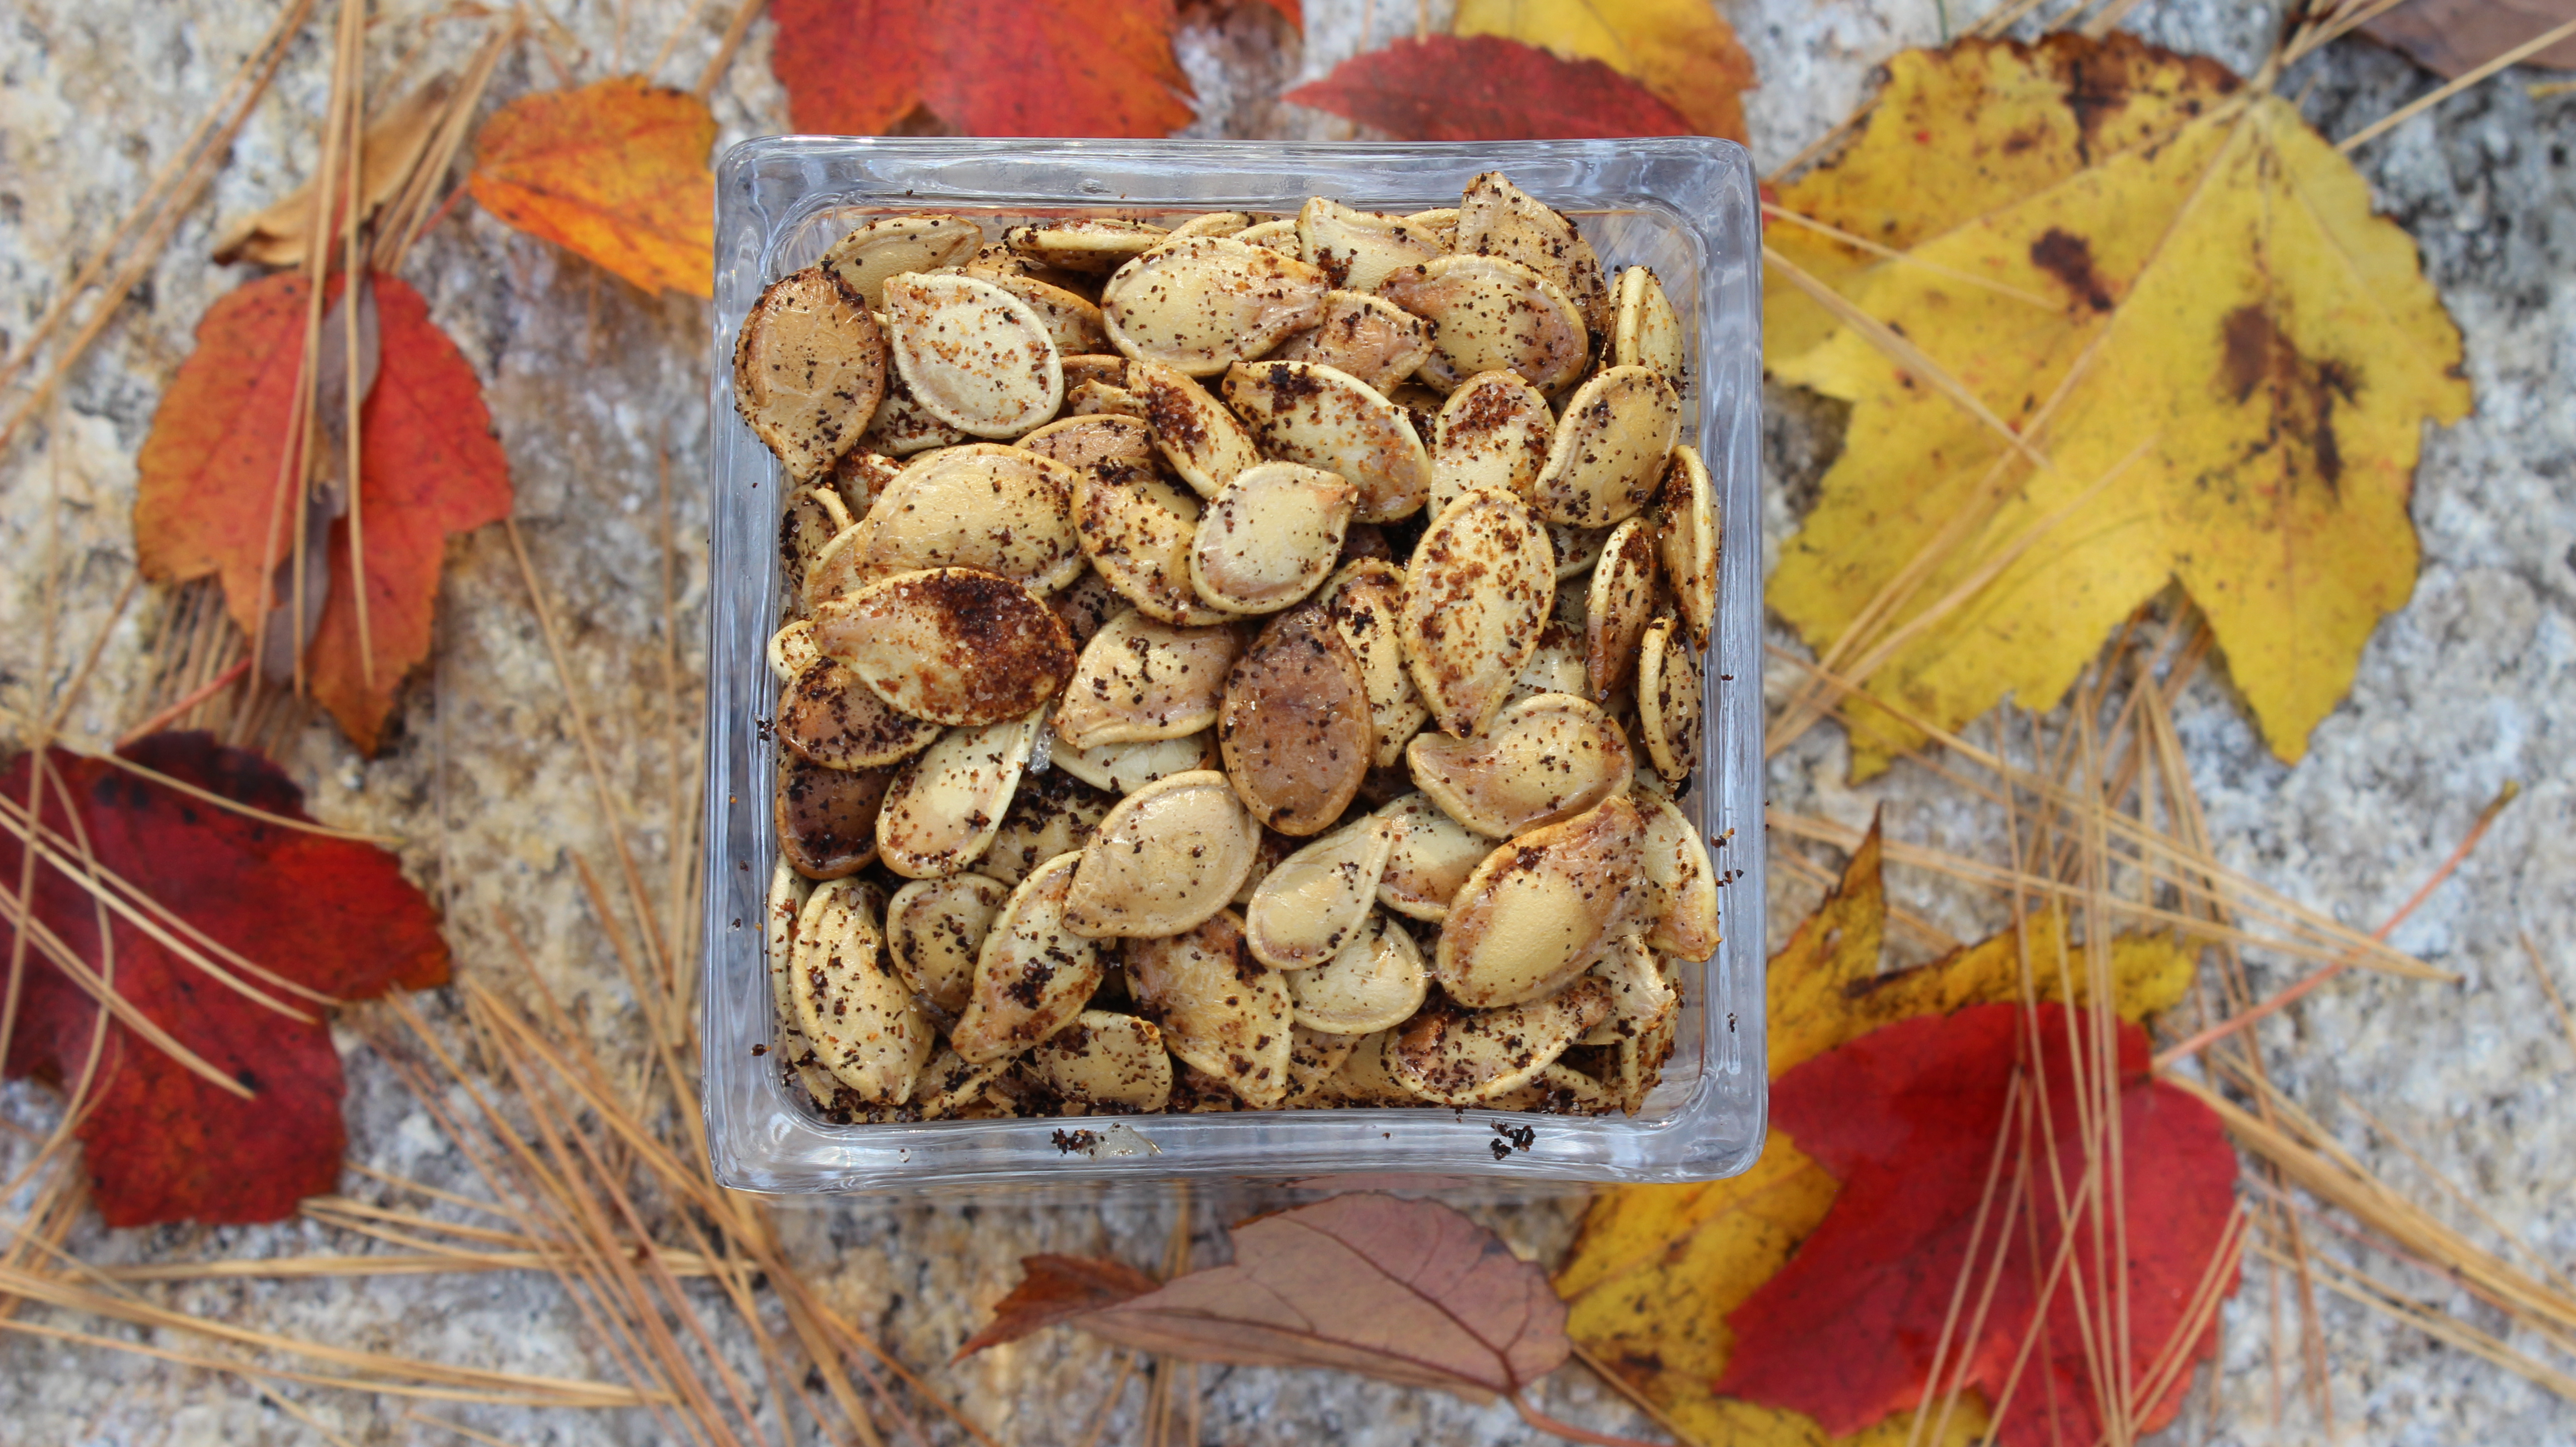
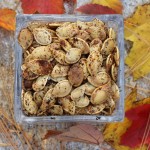
Ingredients and Directions for Roasted Pumpkin Seeds:
Pumpkin Seeds for 2 pumkins
1 tsp garlic granules
1 tsp onion granules
1/2 sea salt (plus a sprinkle at the end for a pinch more seasoning)
2 tbsp olive oil
Pre-heat oven at 425º.
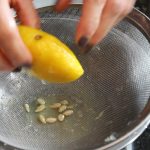
Wash pumpkins seeds to remove pulp.
Dry between paper towels and leave on cookie tray to dry further over night (can roast right away if you don’t have time – just by sure to completely dry seeds)
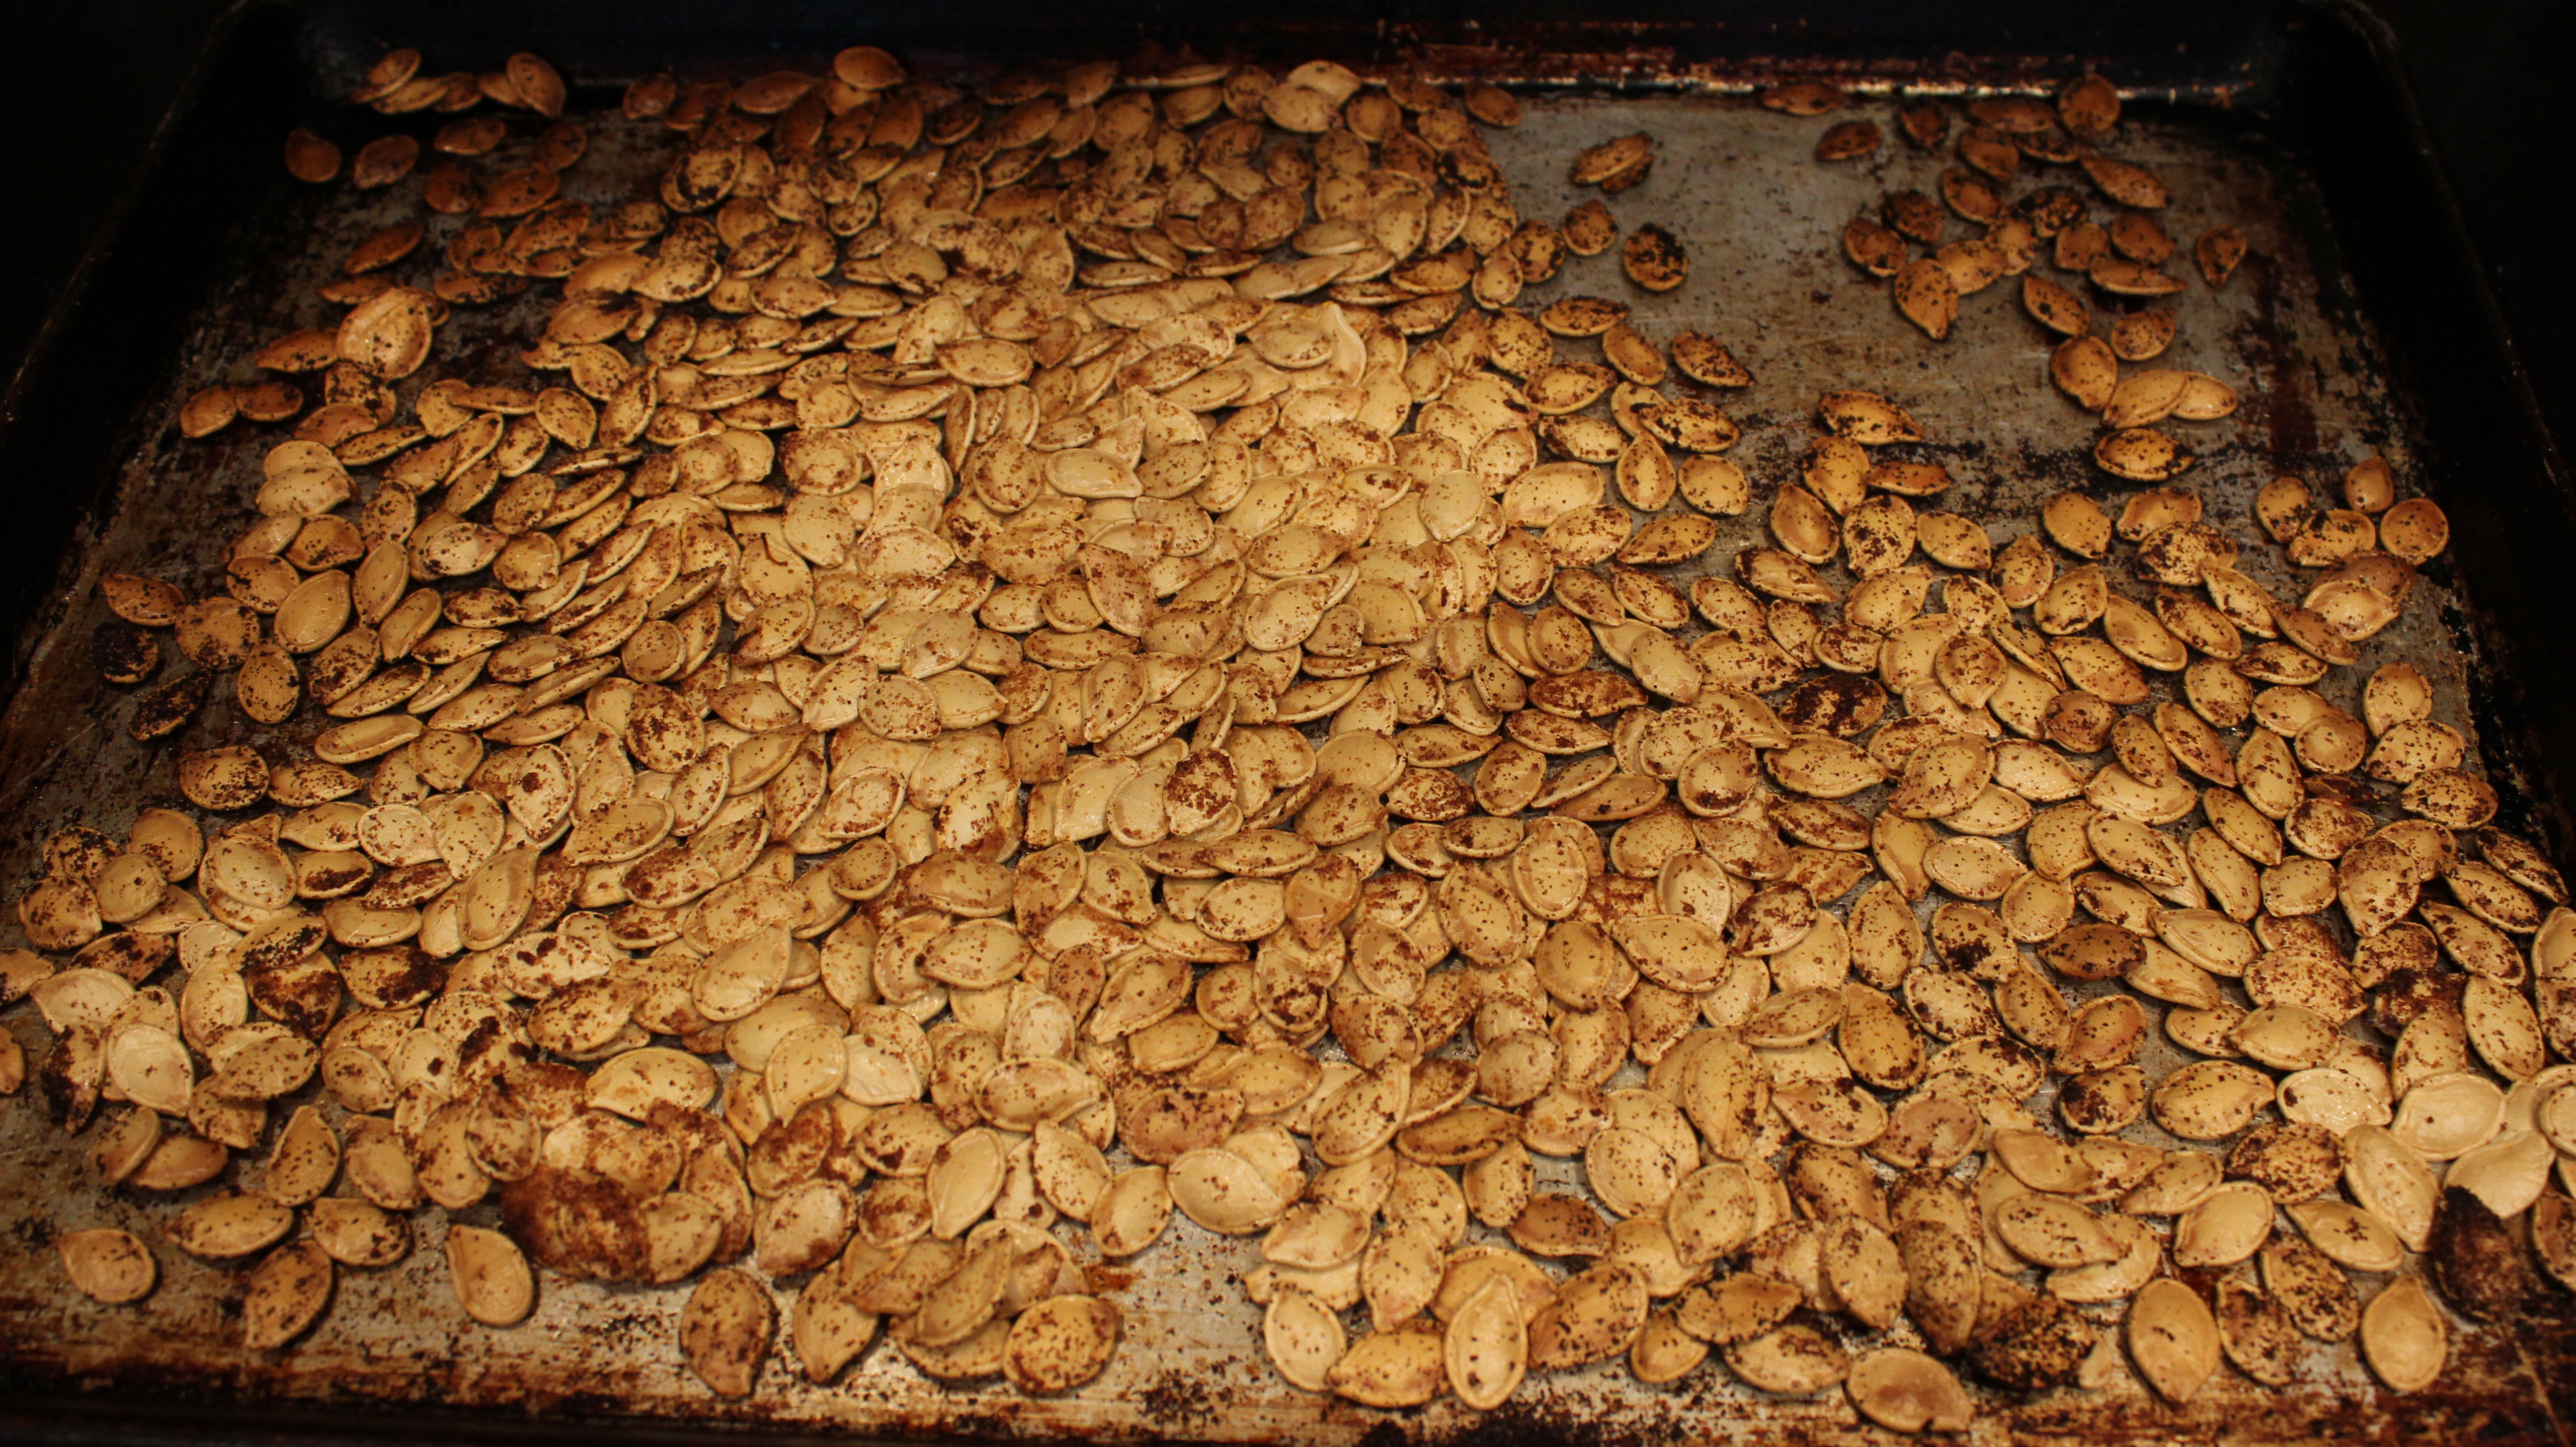
Drizzle olive oil over seeds and sprinkle all of seasonings and toss to evenly mix
NOTE: you can add in cumin, cayenne, chili powder … add your favorite seasonings
Roast for 10 minutes, take out and stir seeds, put back in oven for approx. 4 more minutes – Keep an eye on them at this point so they don’t burn
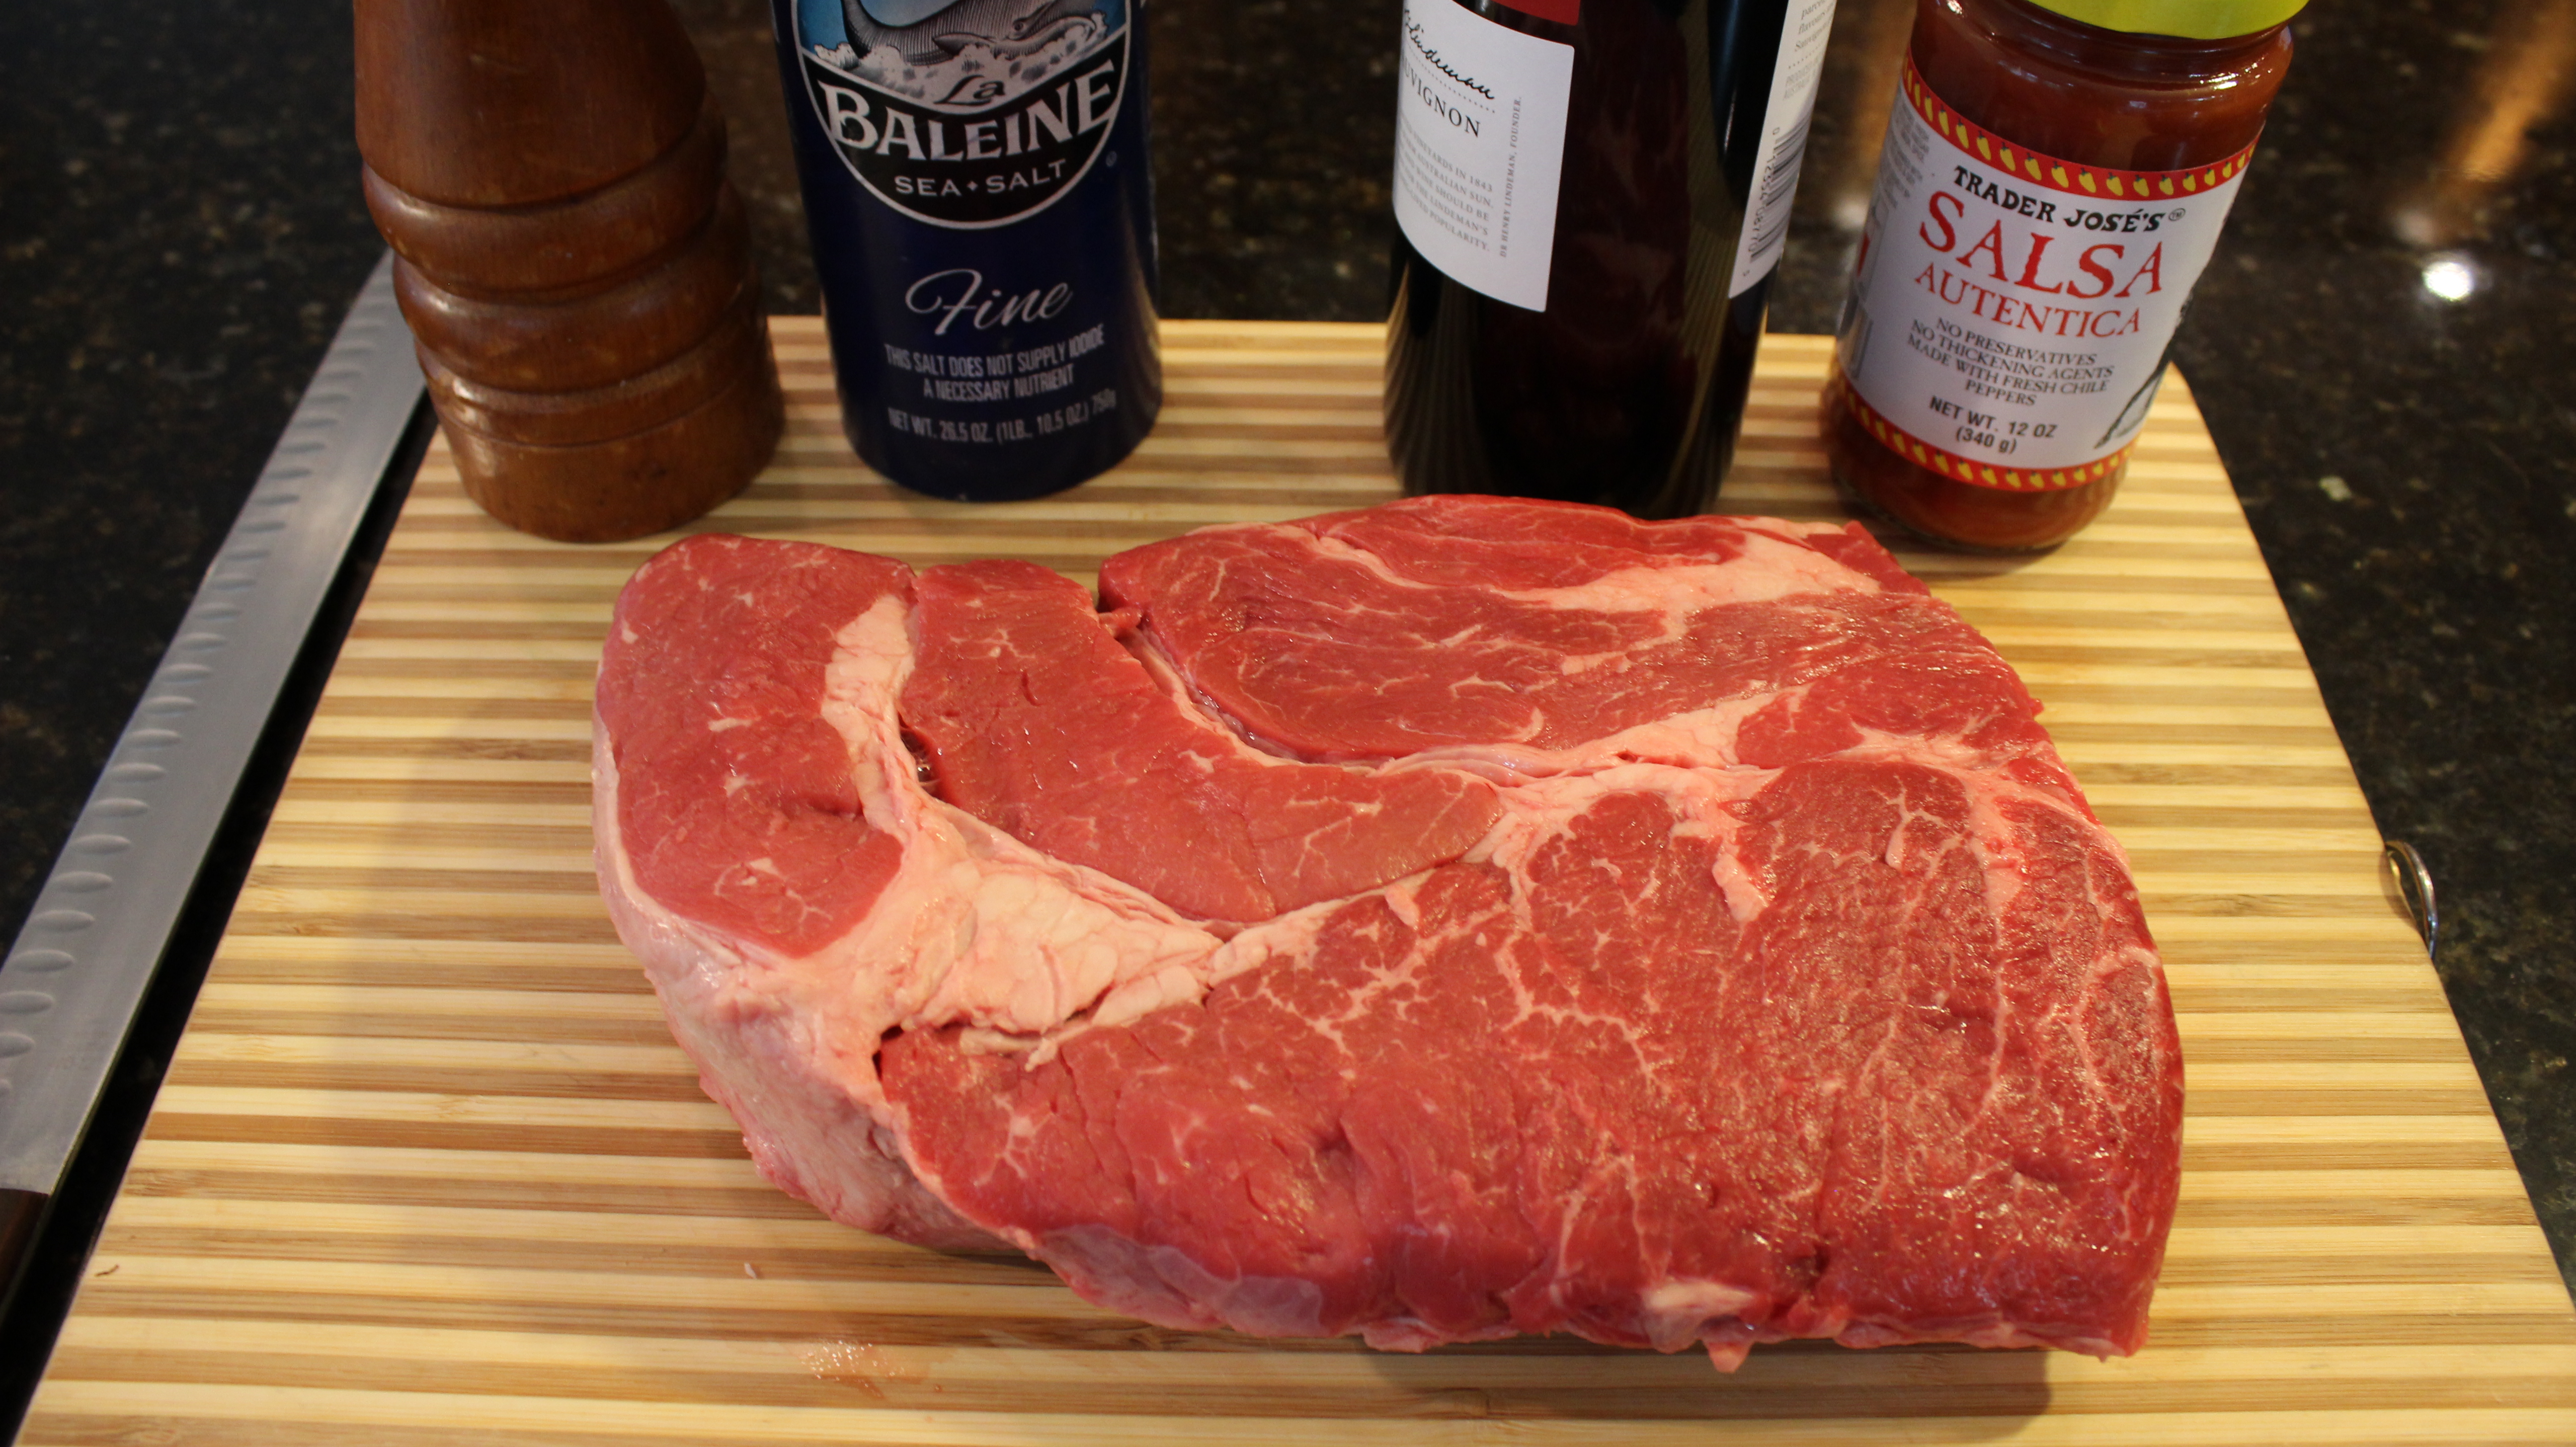
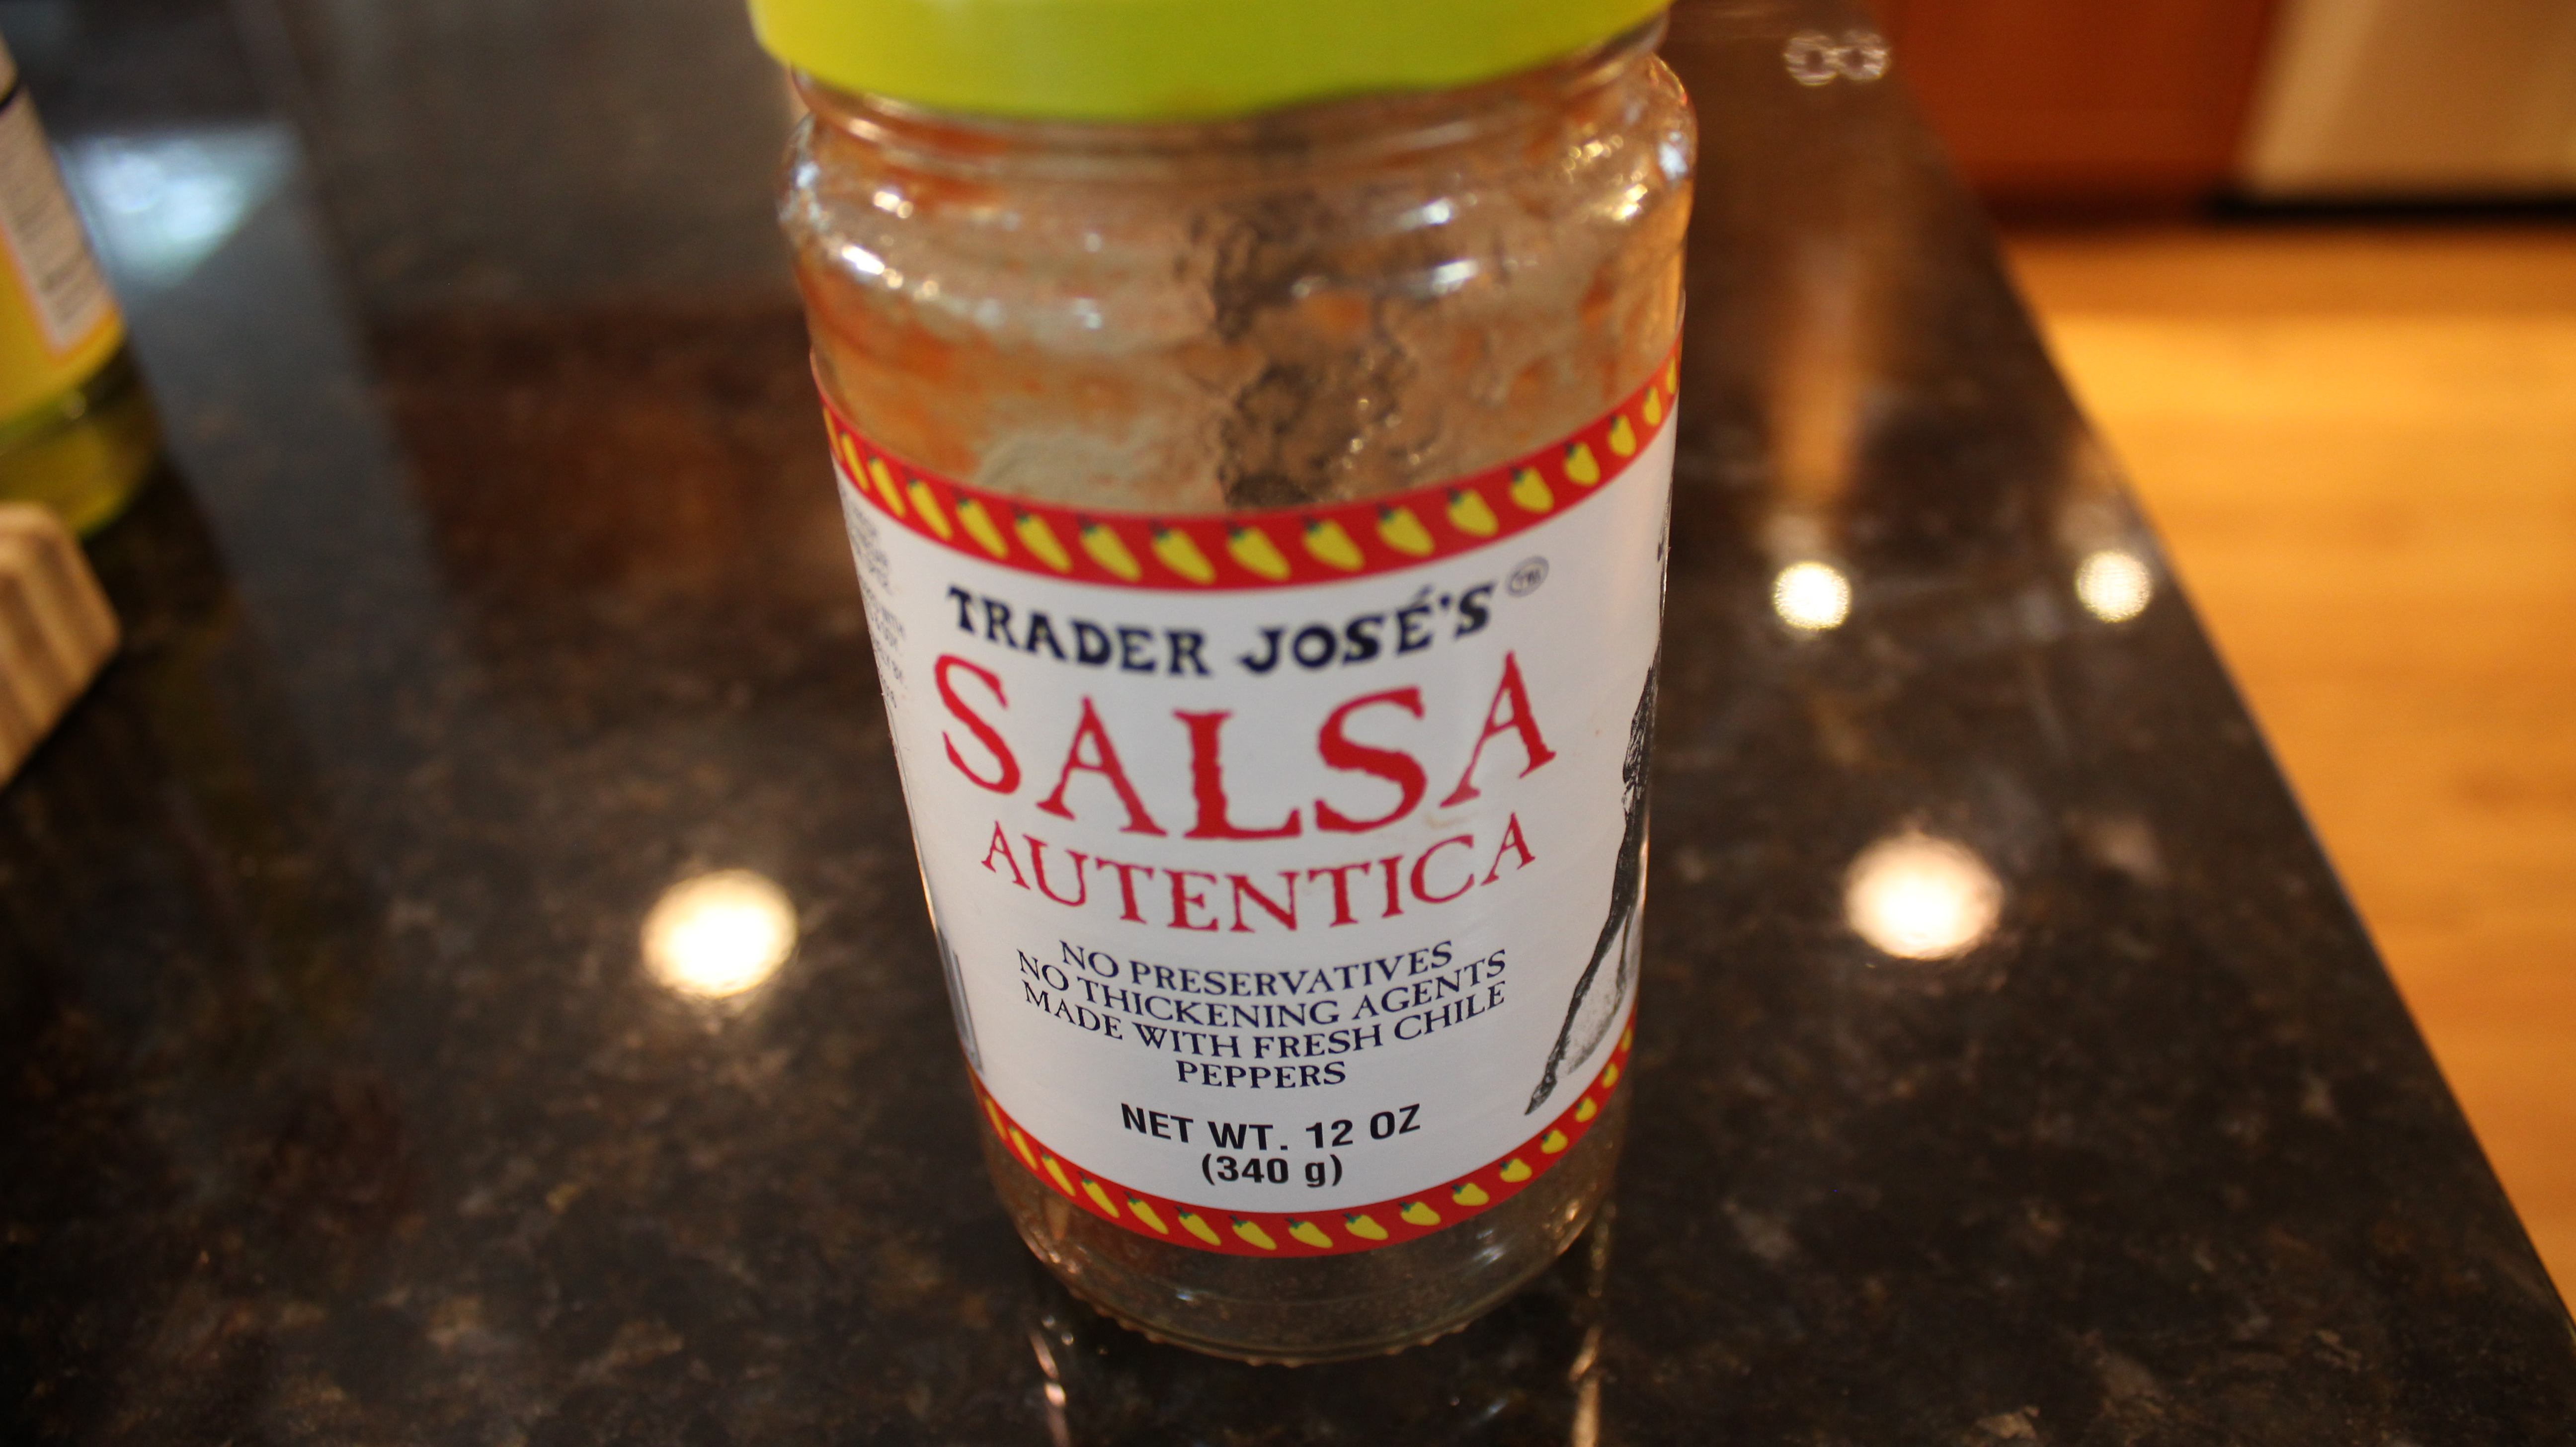
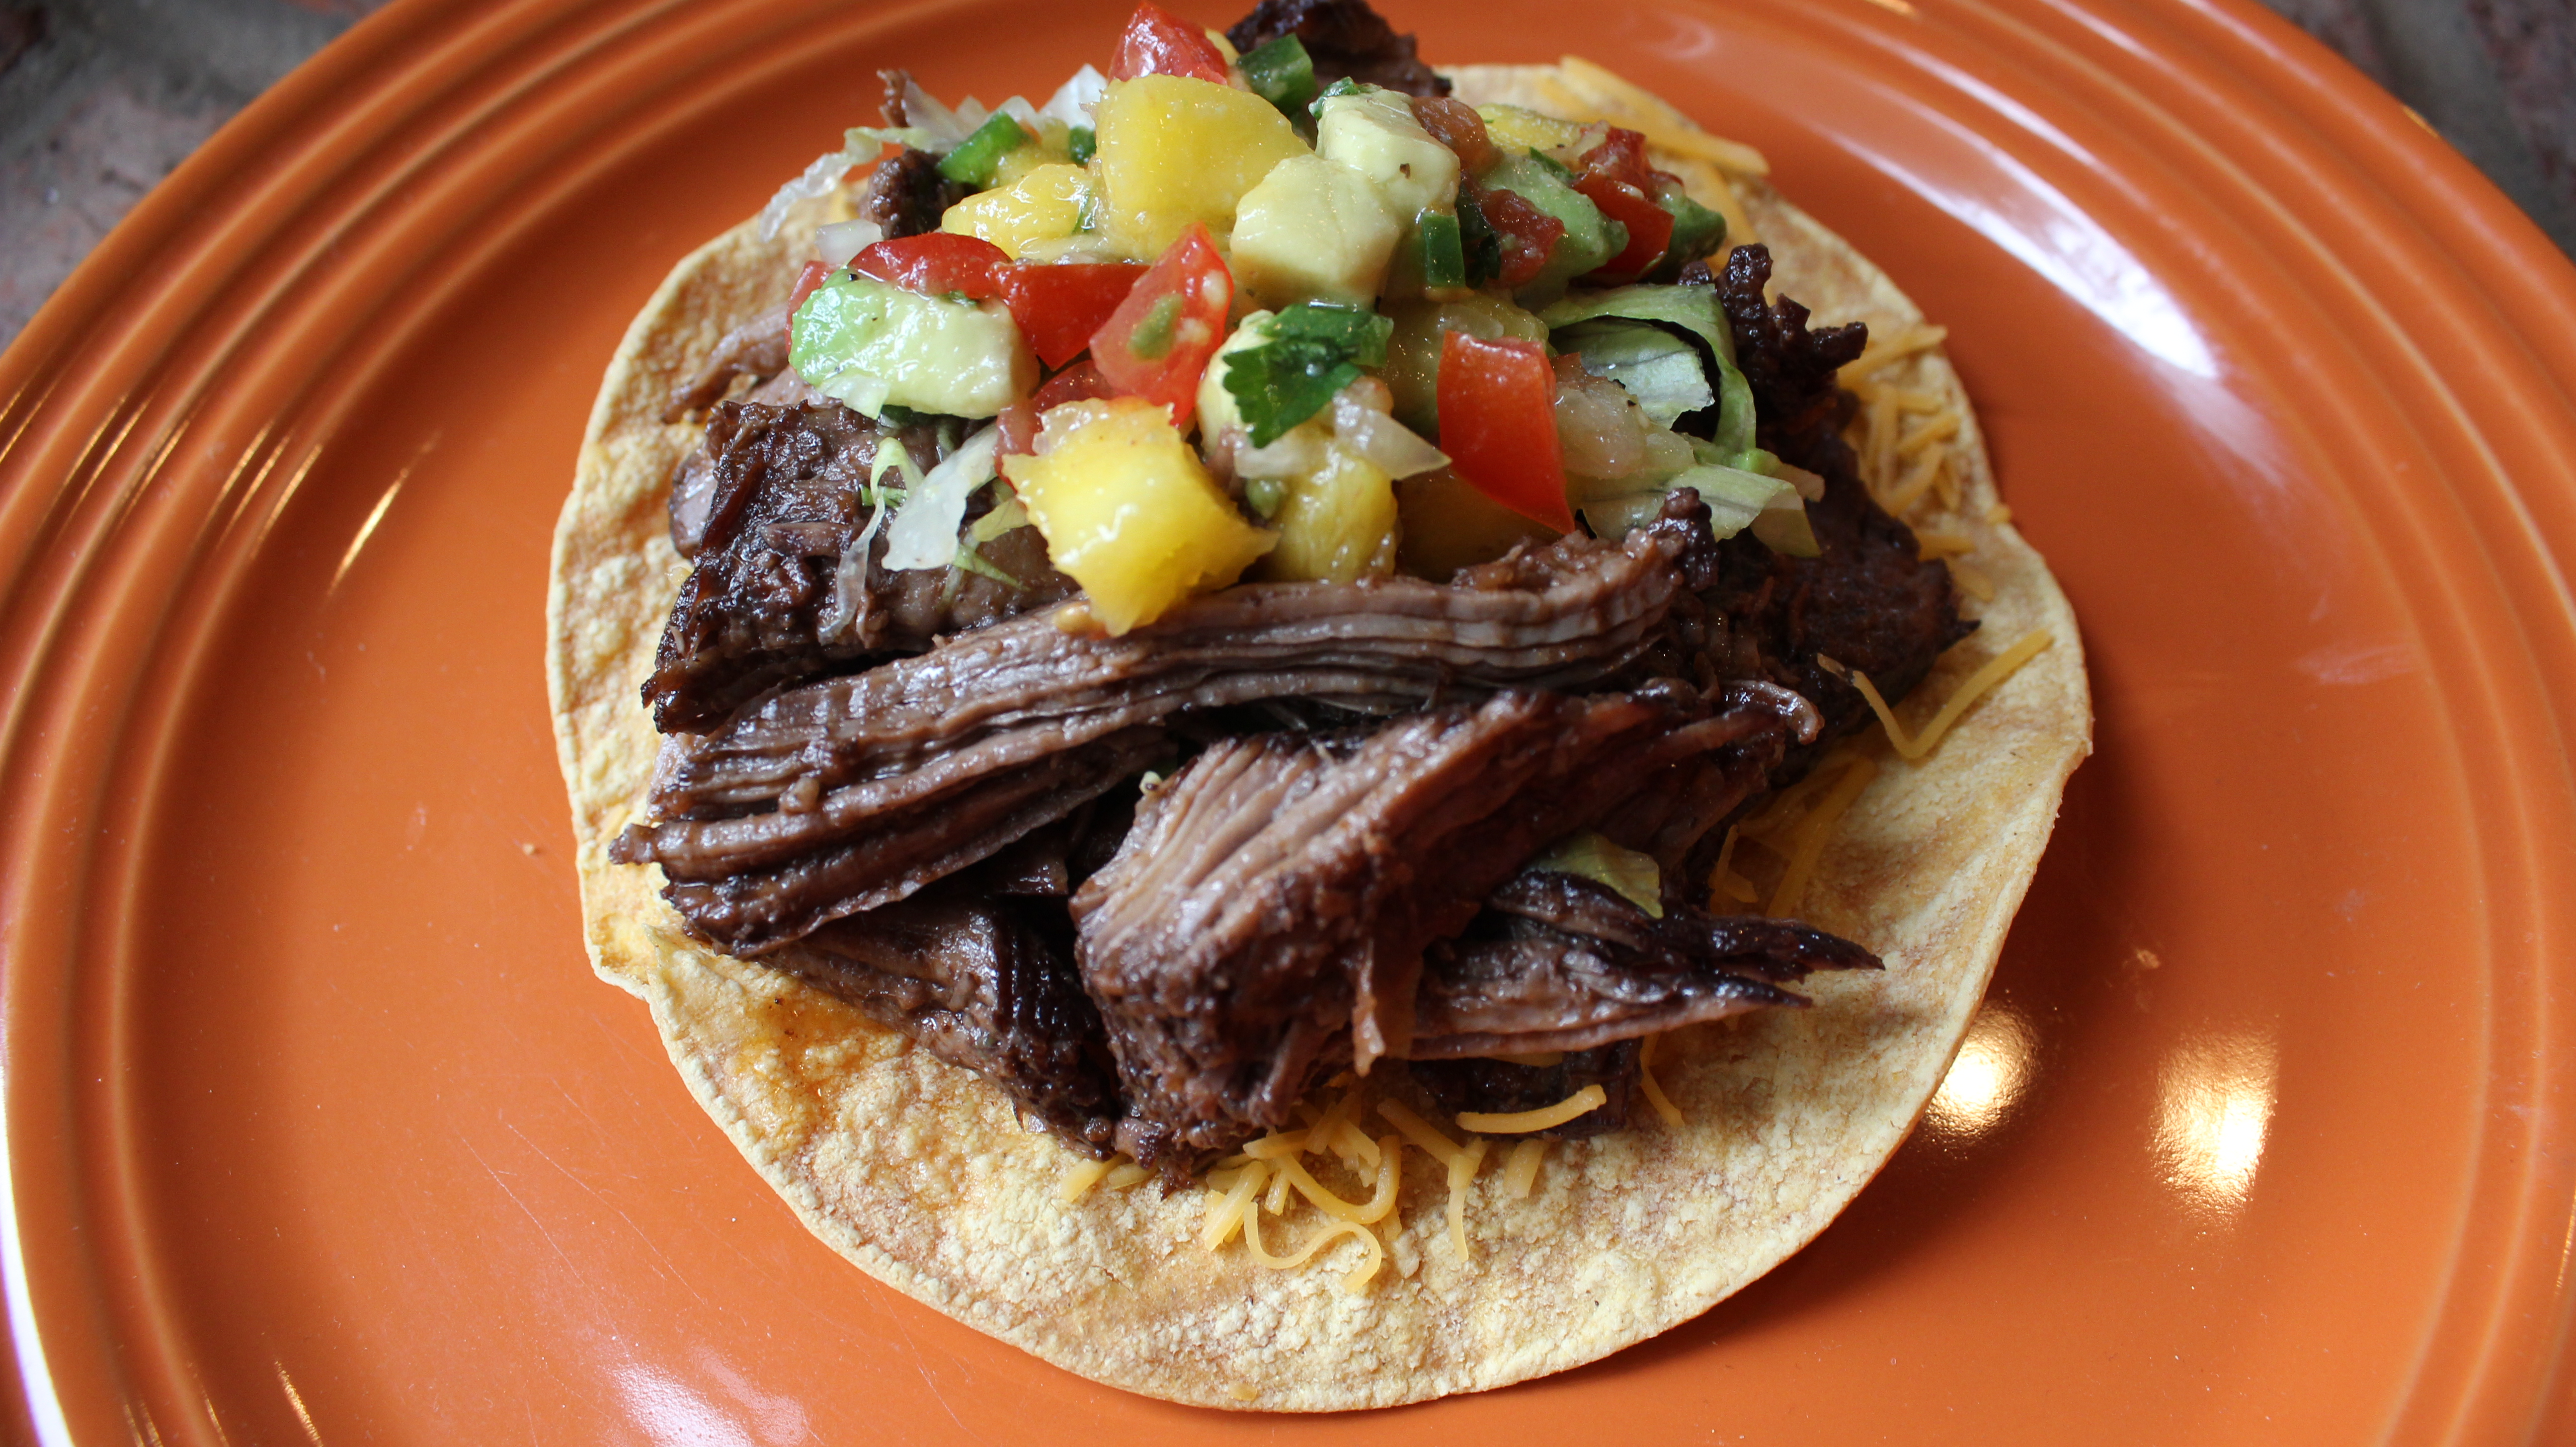
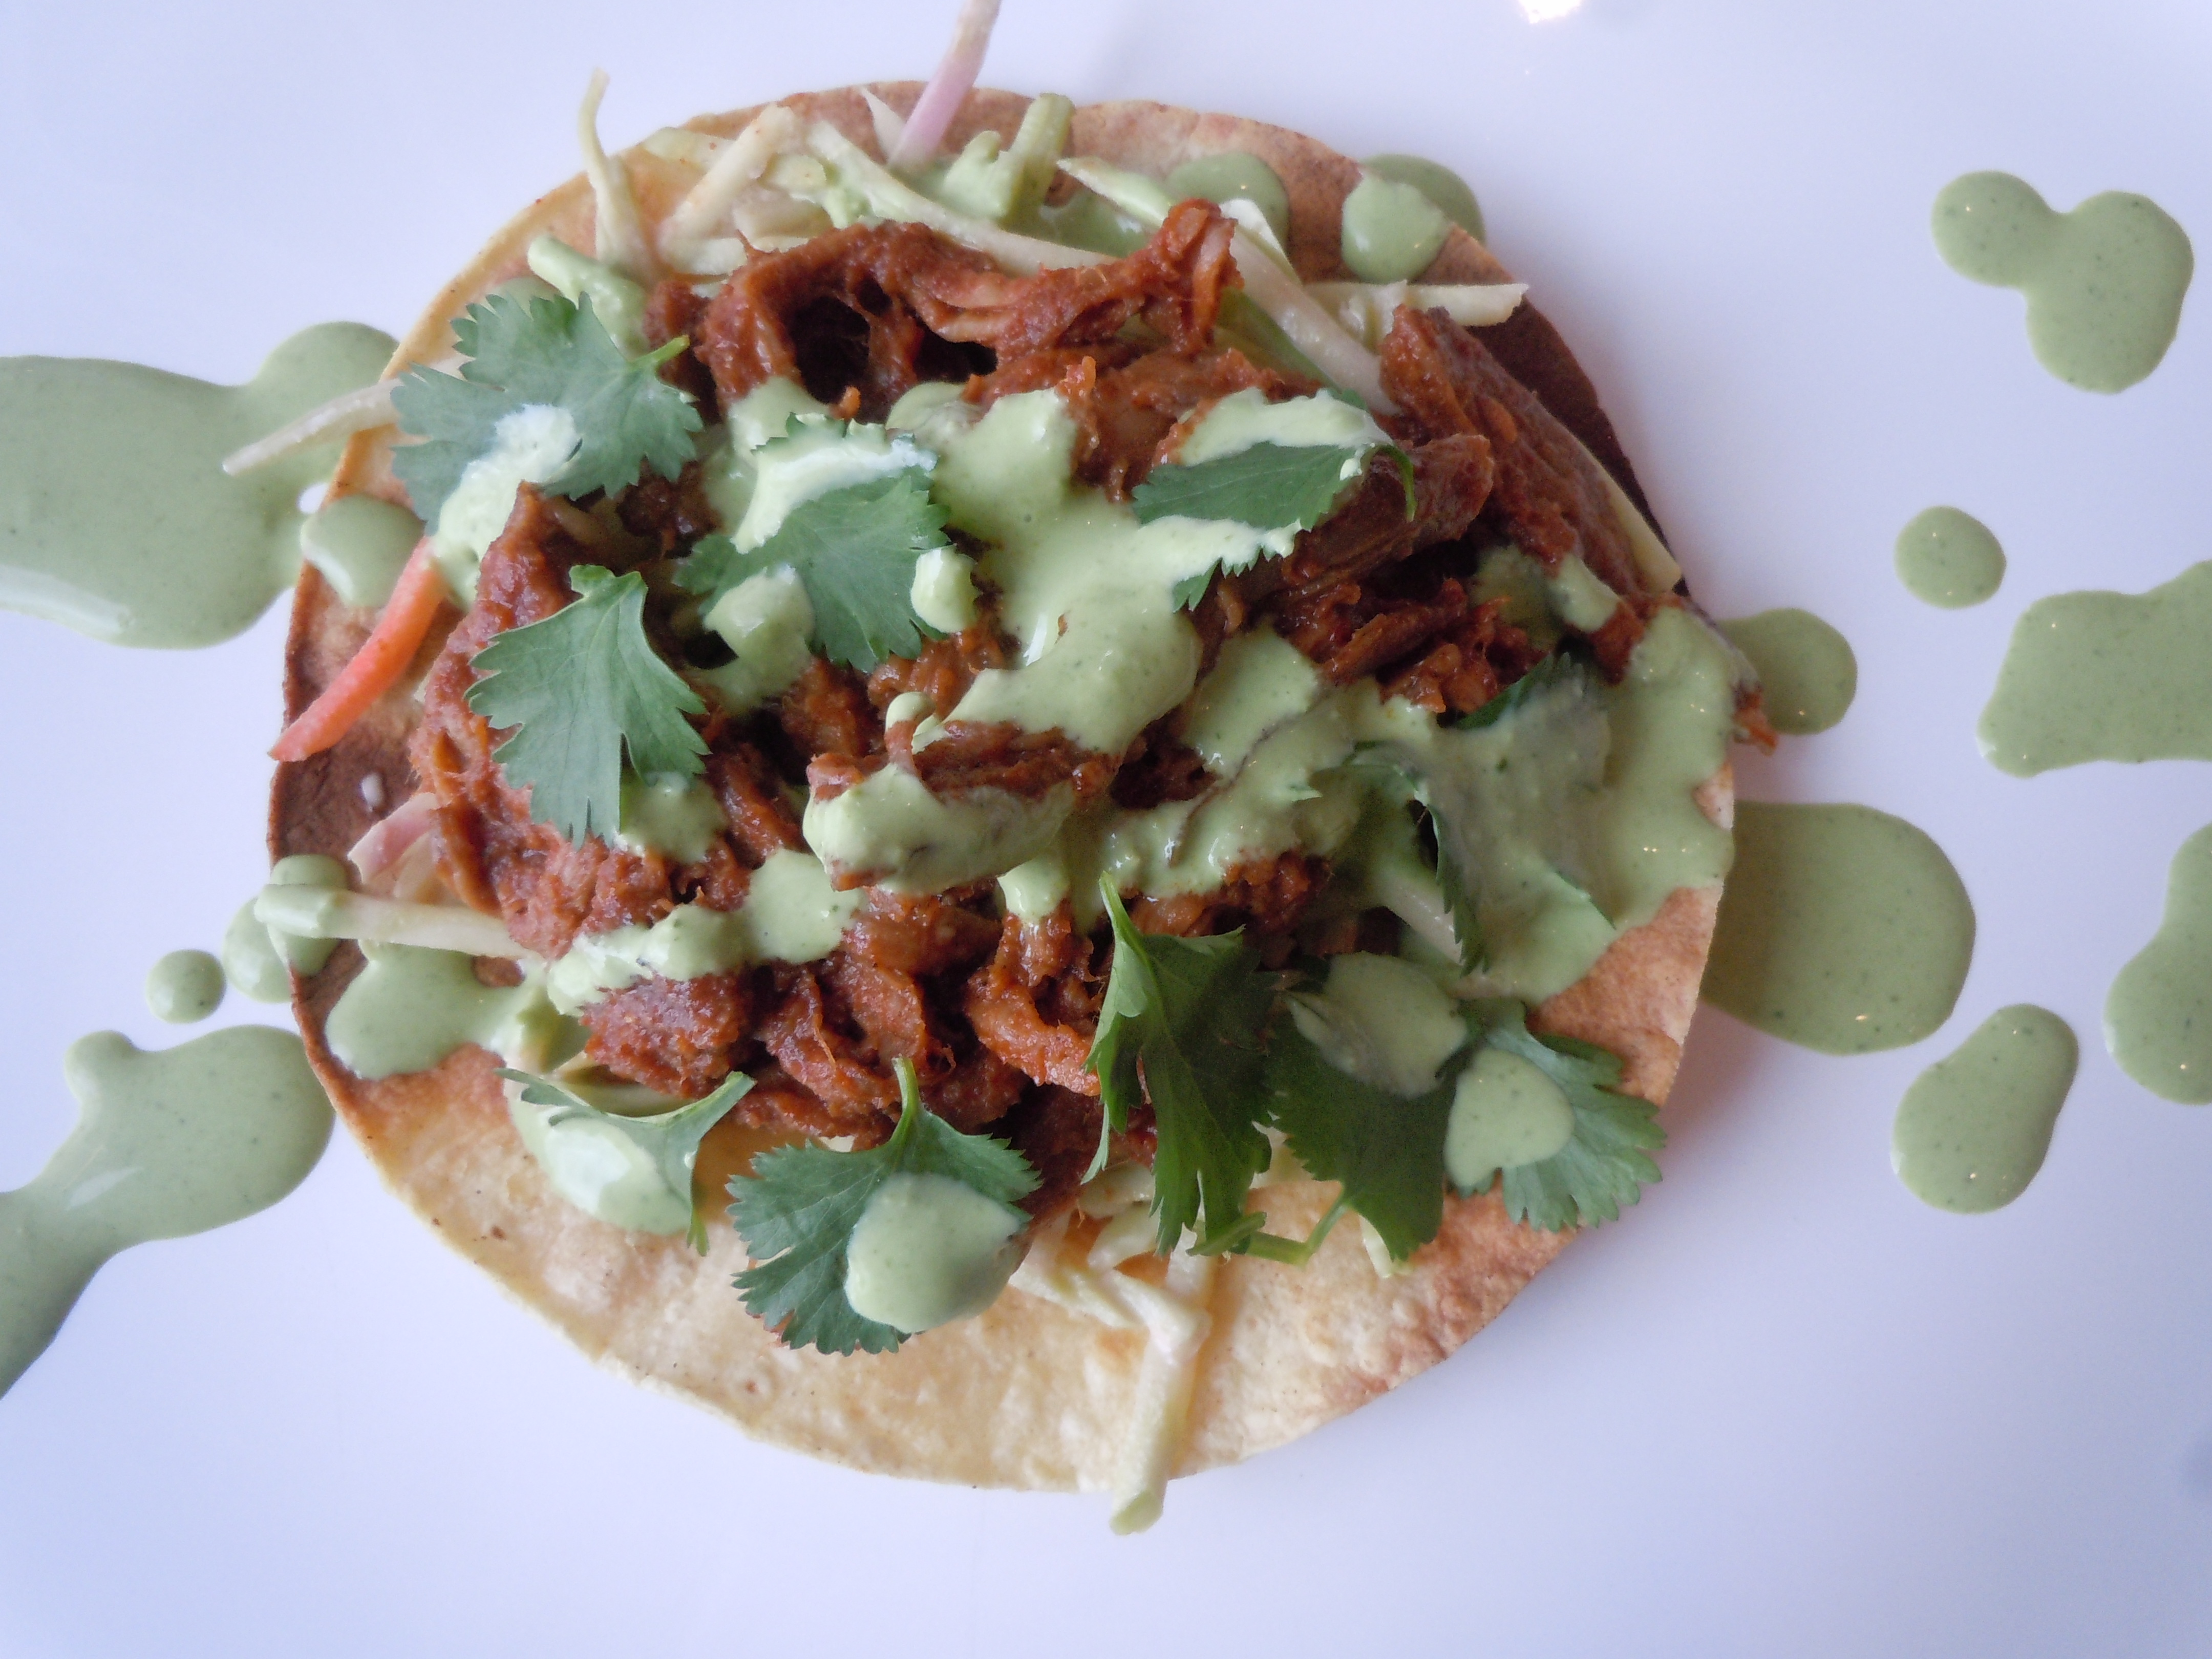
Just wait until you taste the flavors in this pulled beef taco dish that ONLY uses three ingredients! Yes, that’s right we only use three ingredients… red wine, Trader Joe’s Autentica Salsa and a chuck roast that braises in the oven for two and a half hours with the cover off. I almost feel like we are cheating here by only using these three items because it seems as though something this amazing in taste, similar to Boeuf Bourguignon, should involve way more effort and ingredients. I think it’s important here to use the oven instead of a crock pot because the dry heat helps to caramelize the beef really building on all those layers of flavors.
This is the perfect dish for having groups of friends over because it’s a total make ahead dish. You can even make my mango salsa the day before. If you are really in a pinch for time you could always buy fresh made salsa at the store. I personally like to make this homemade pulled beef the morning of the party so that the house fills with all the aromas of the braising chuck roast, red wine and tomatoes. Really gets the juices flowing!
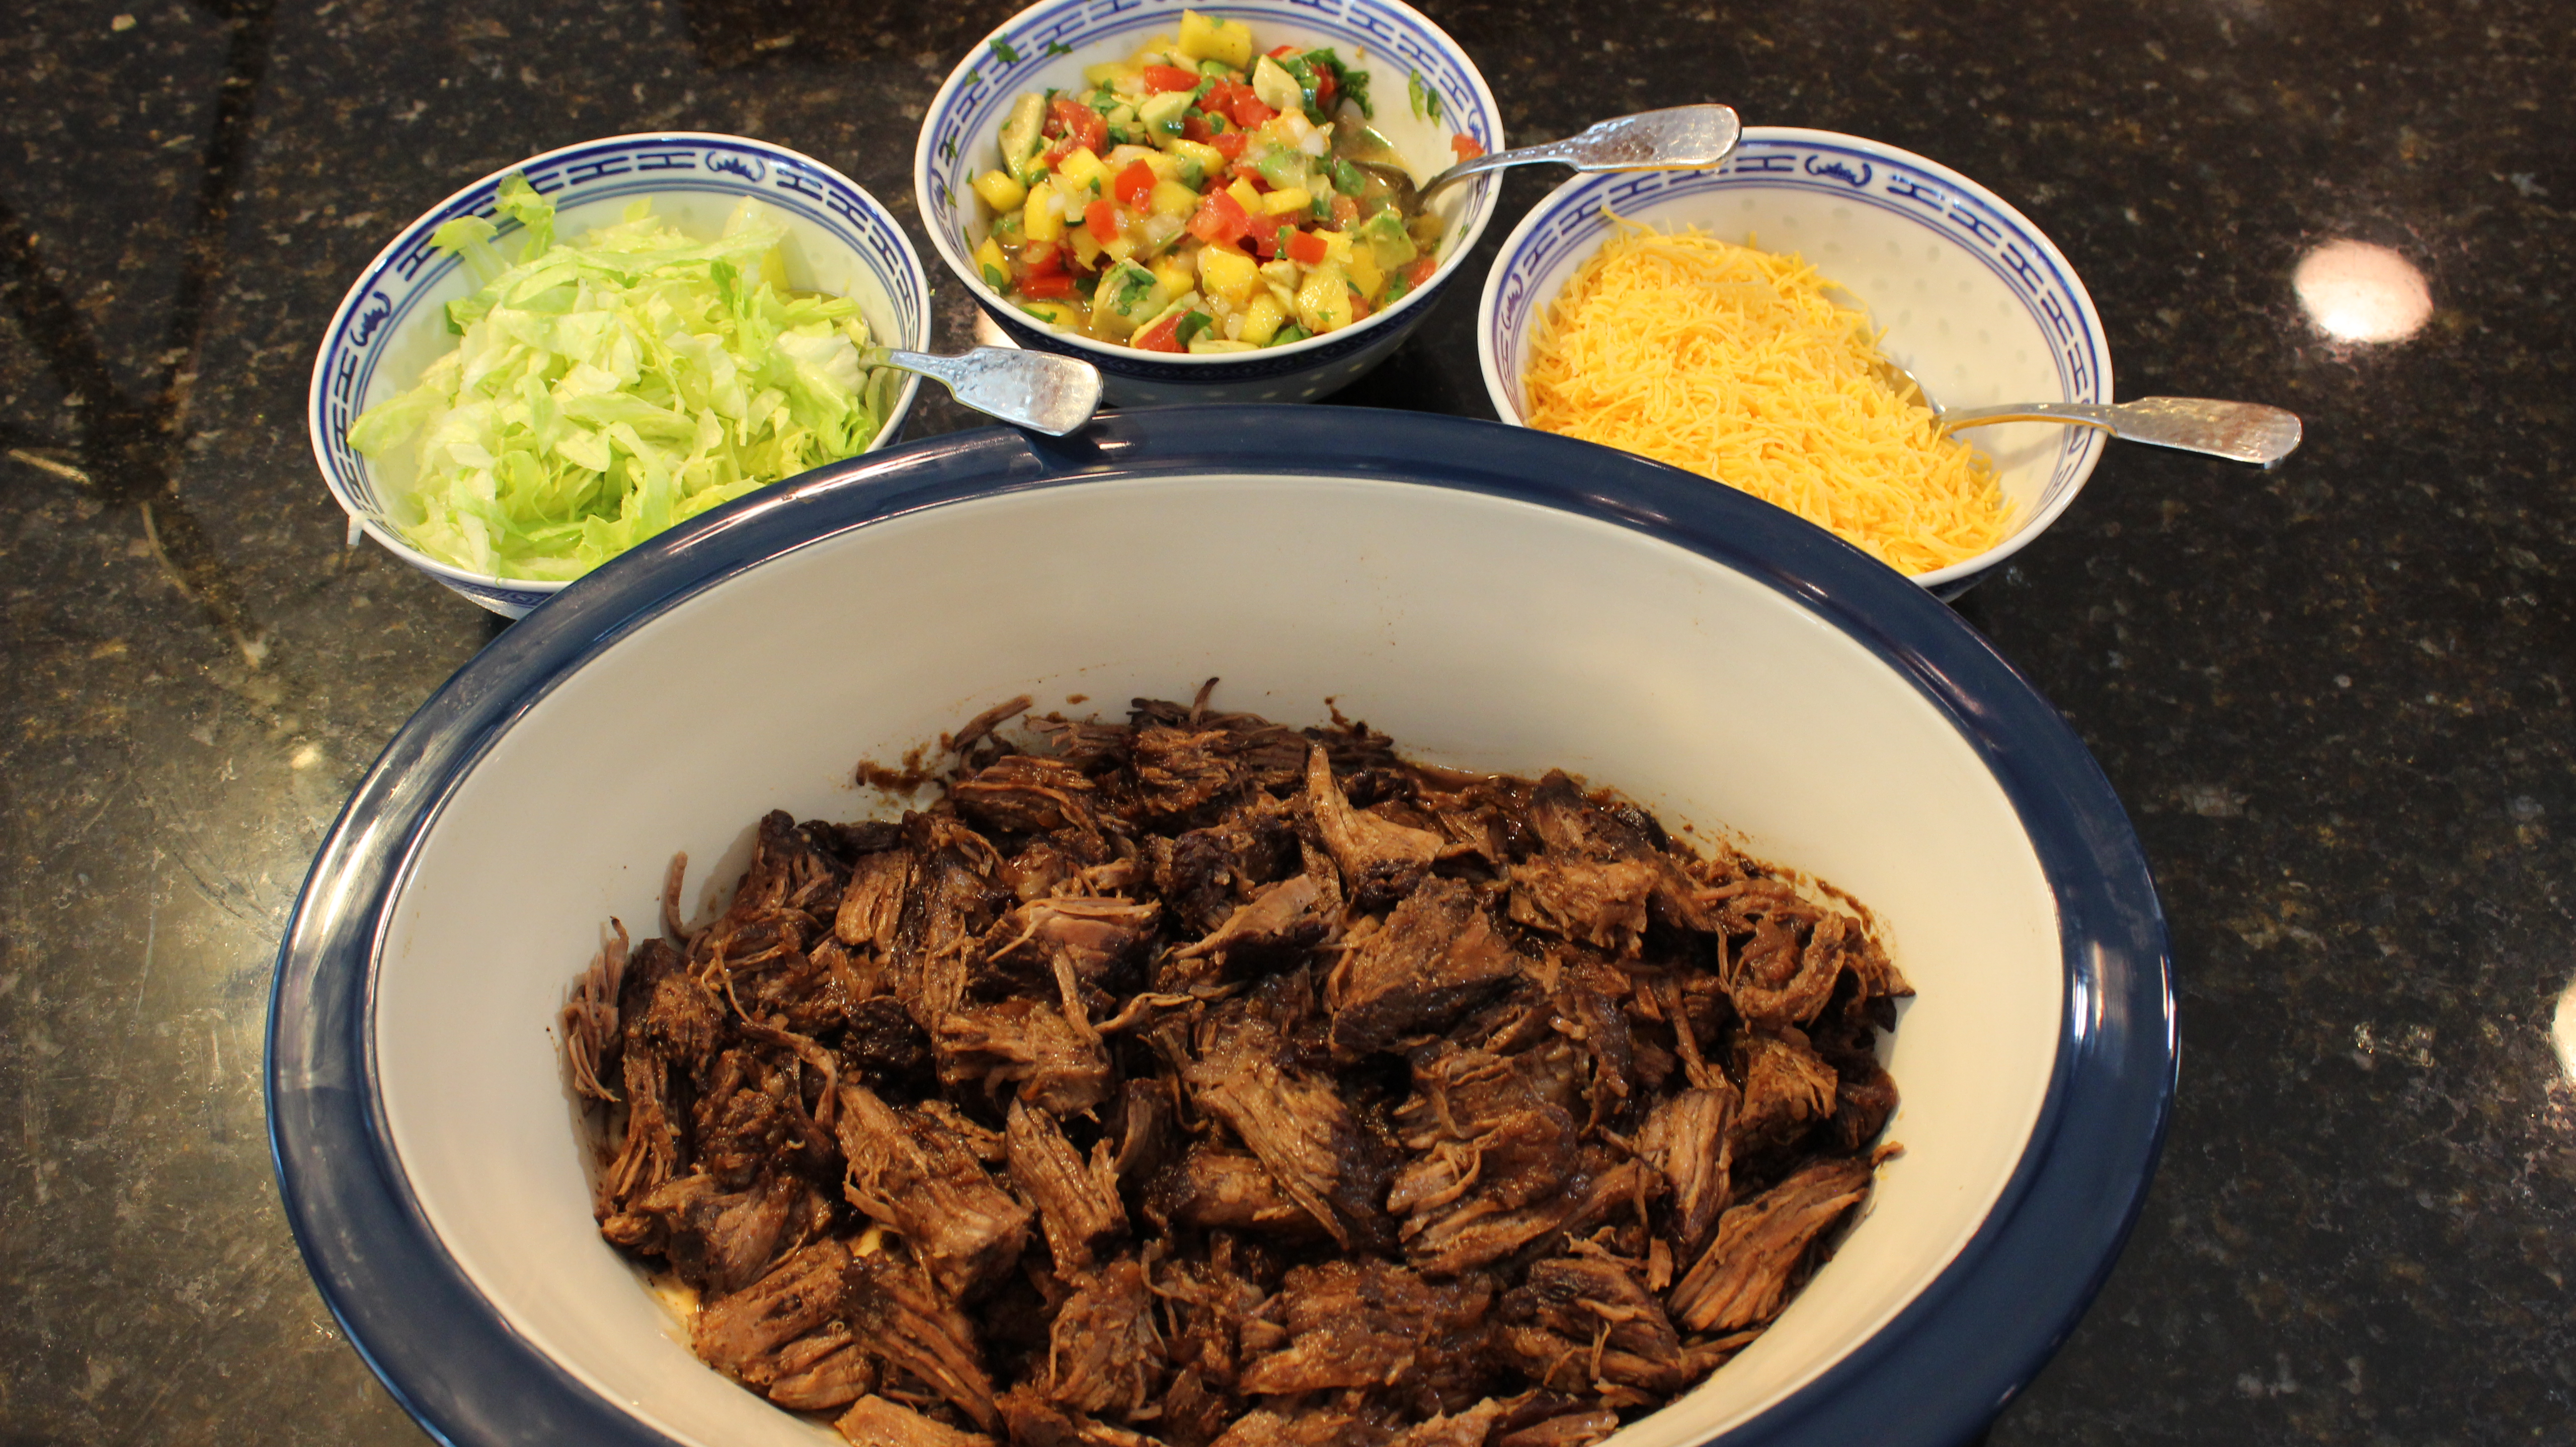
You can use your favorite hard taco shells to serve up the homemade pulled beef, corn and flour tortilla’s or even serve it on a bed of lettuce with shredded cheddar cheese and my mango salsa! I would also offer sour cream and Siracha in the side fixin’s and just let people go to town making their own creations. How fun is that?
You may just want to make my decadent Hershey’s Perfectly Chocolate Chocolate Cake for dessert! You won’t believe how EASY it is to make! You could also try my Chocolate Crackle Cookies that melt in your mouth. Then there always Fresh Berry Granita or Berries in a Dreamy Cream for dessert too. You’ll be able to actually relax and have lots of fun with your family and friends.
Ingredients for the Pulled Beef Taco’s:
3 1/2 lb. beef chuck roast (look for some good marbling)
1 bottle of red wine – Cabernet Sauvignon
1 bottle Trader Joe’s Salsa – Autentica
3 tbsn olive oil
Directions:
Pre-heat the oven to 350º
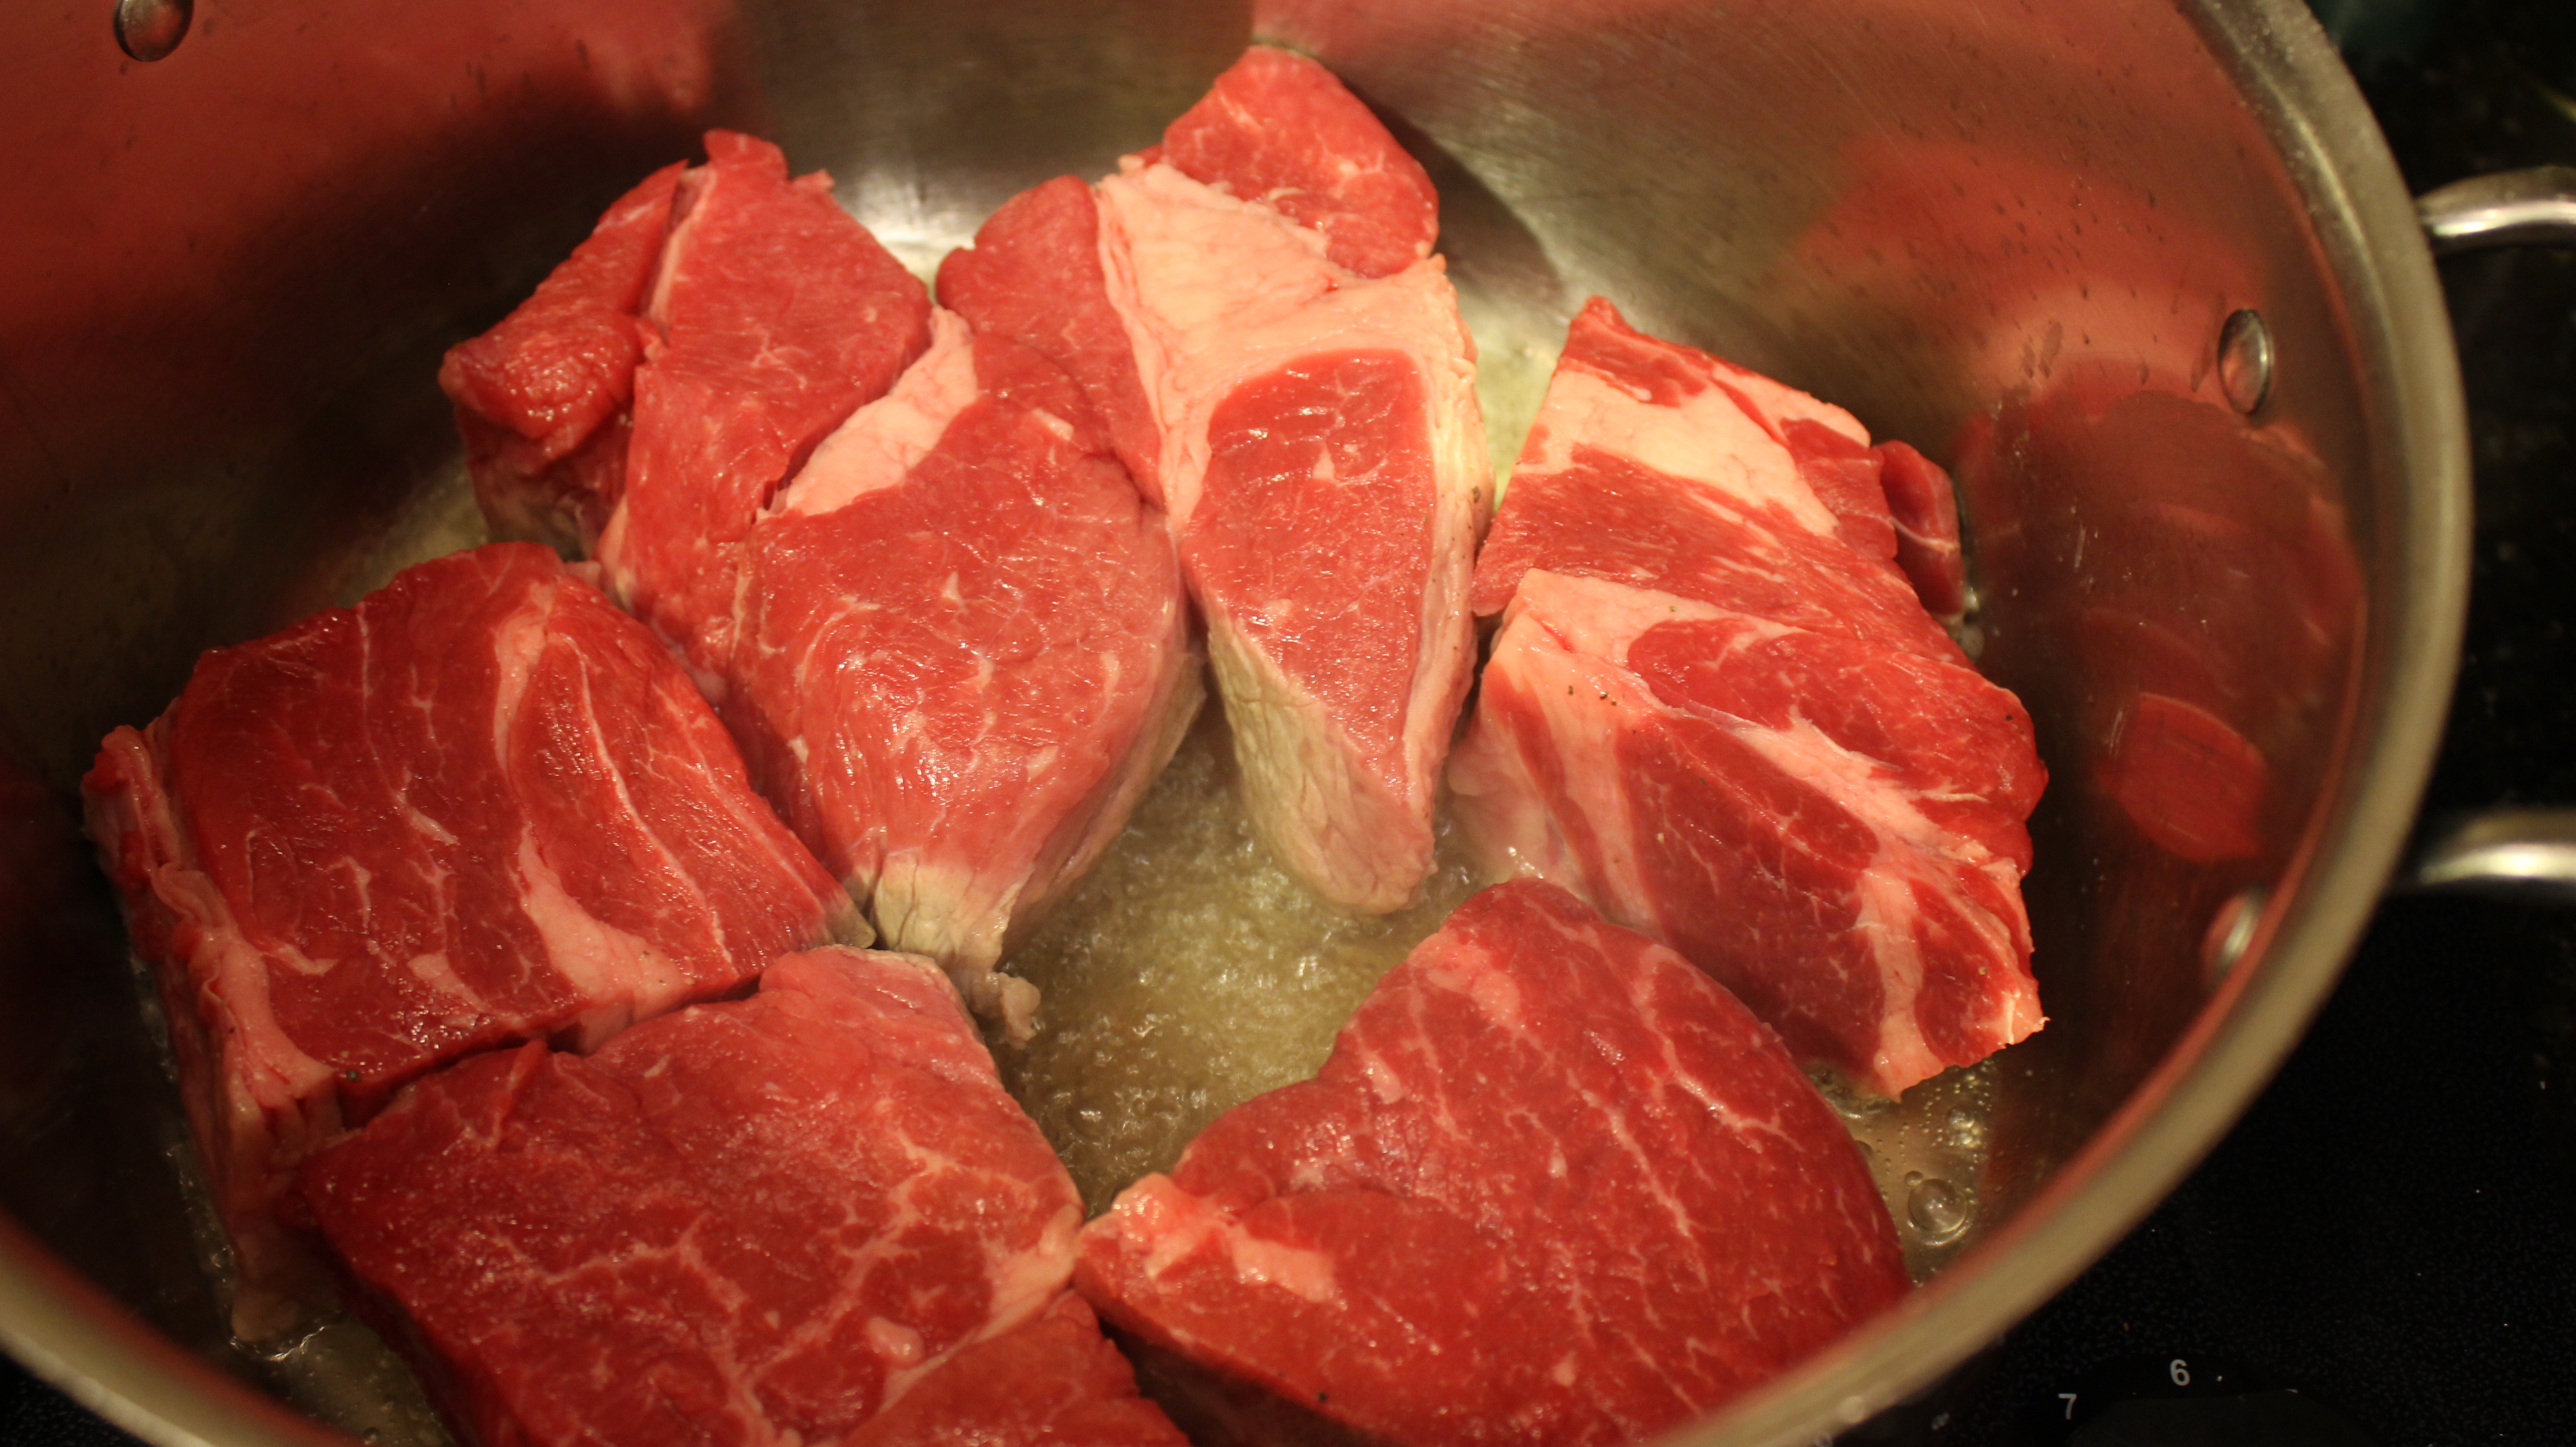
Slice the chuck roast into 6 pieces
Salt and pepper the pieces
Add 3 tbsn of olive oil to a large pan on med/high heat and begin to add the beef pieces
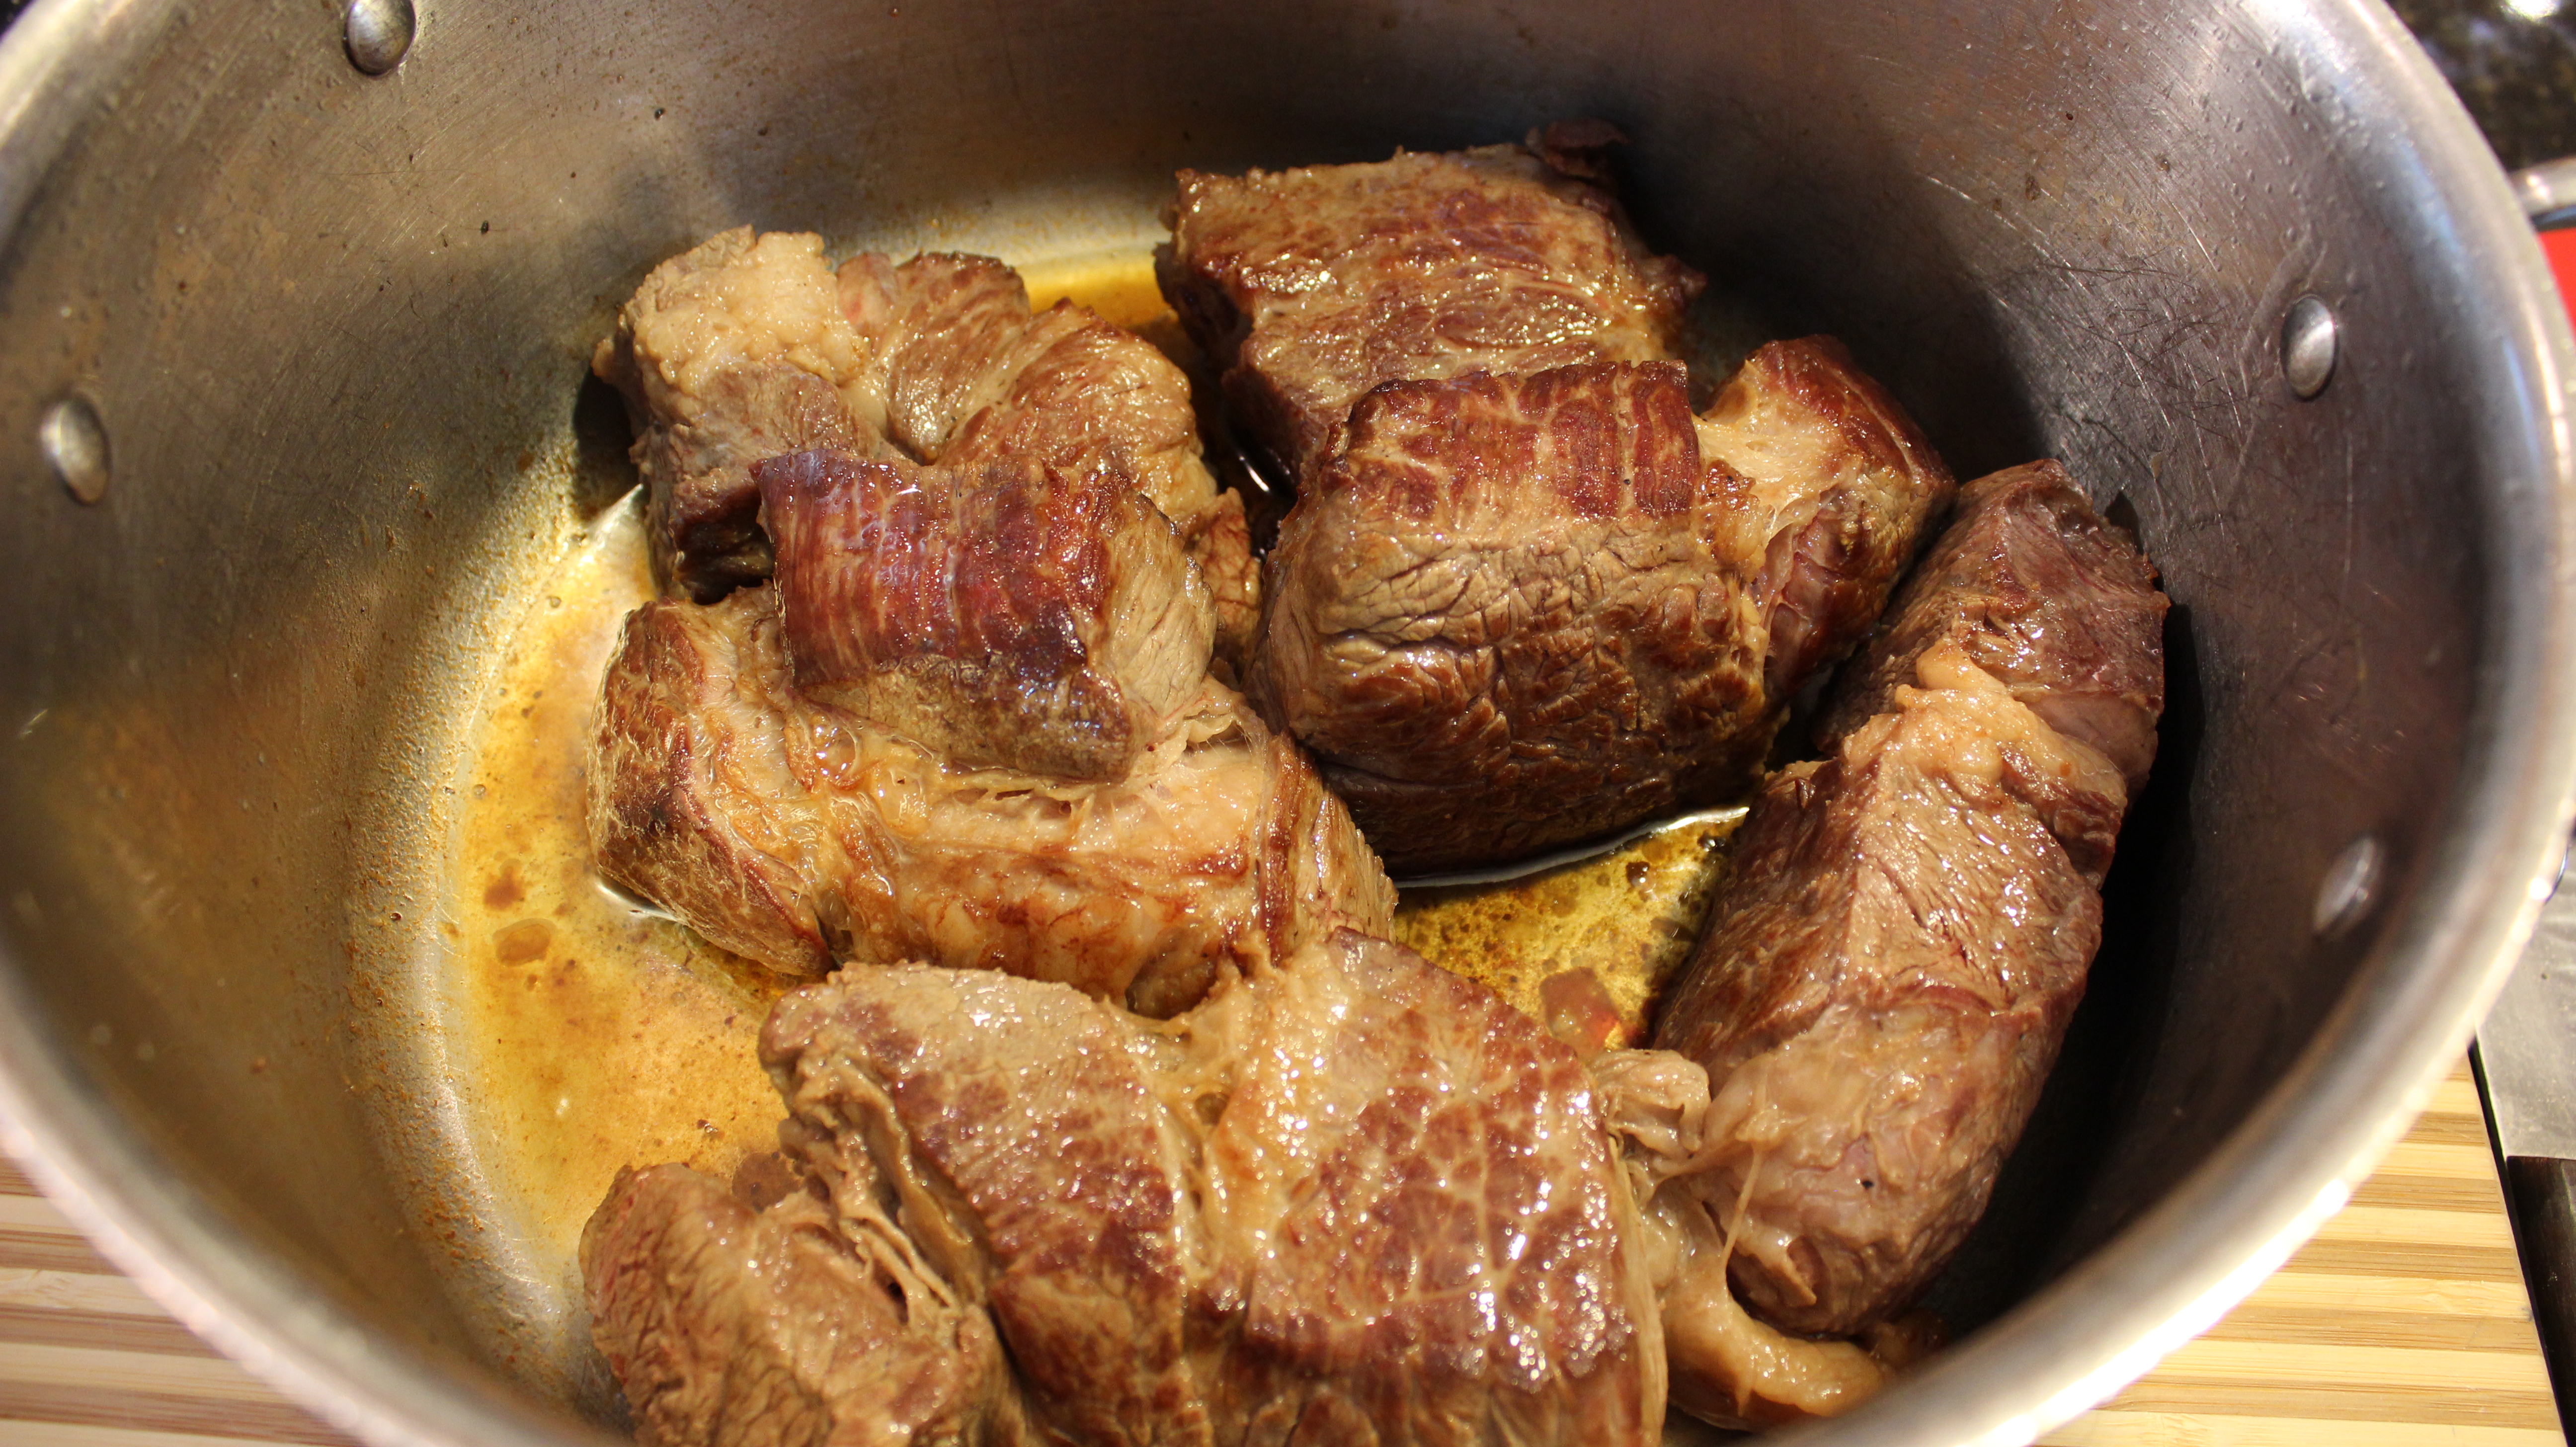
Turn up the heat to high and quickly sear all sides til browned – this takes 10 minutes
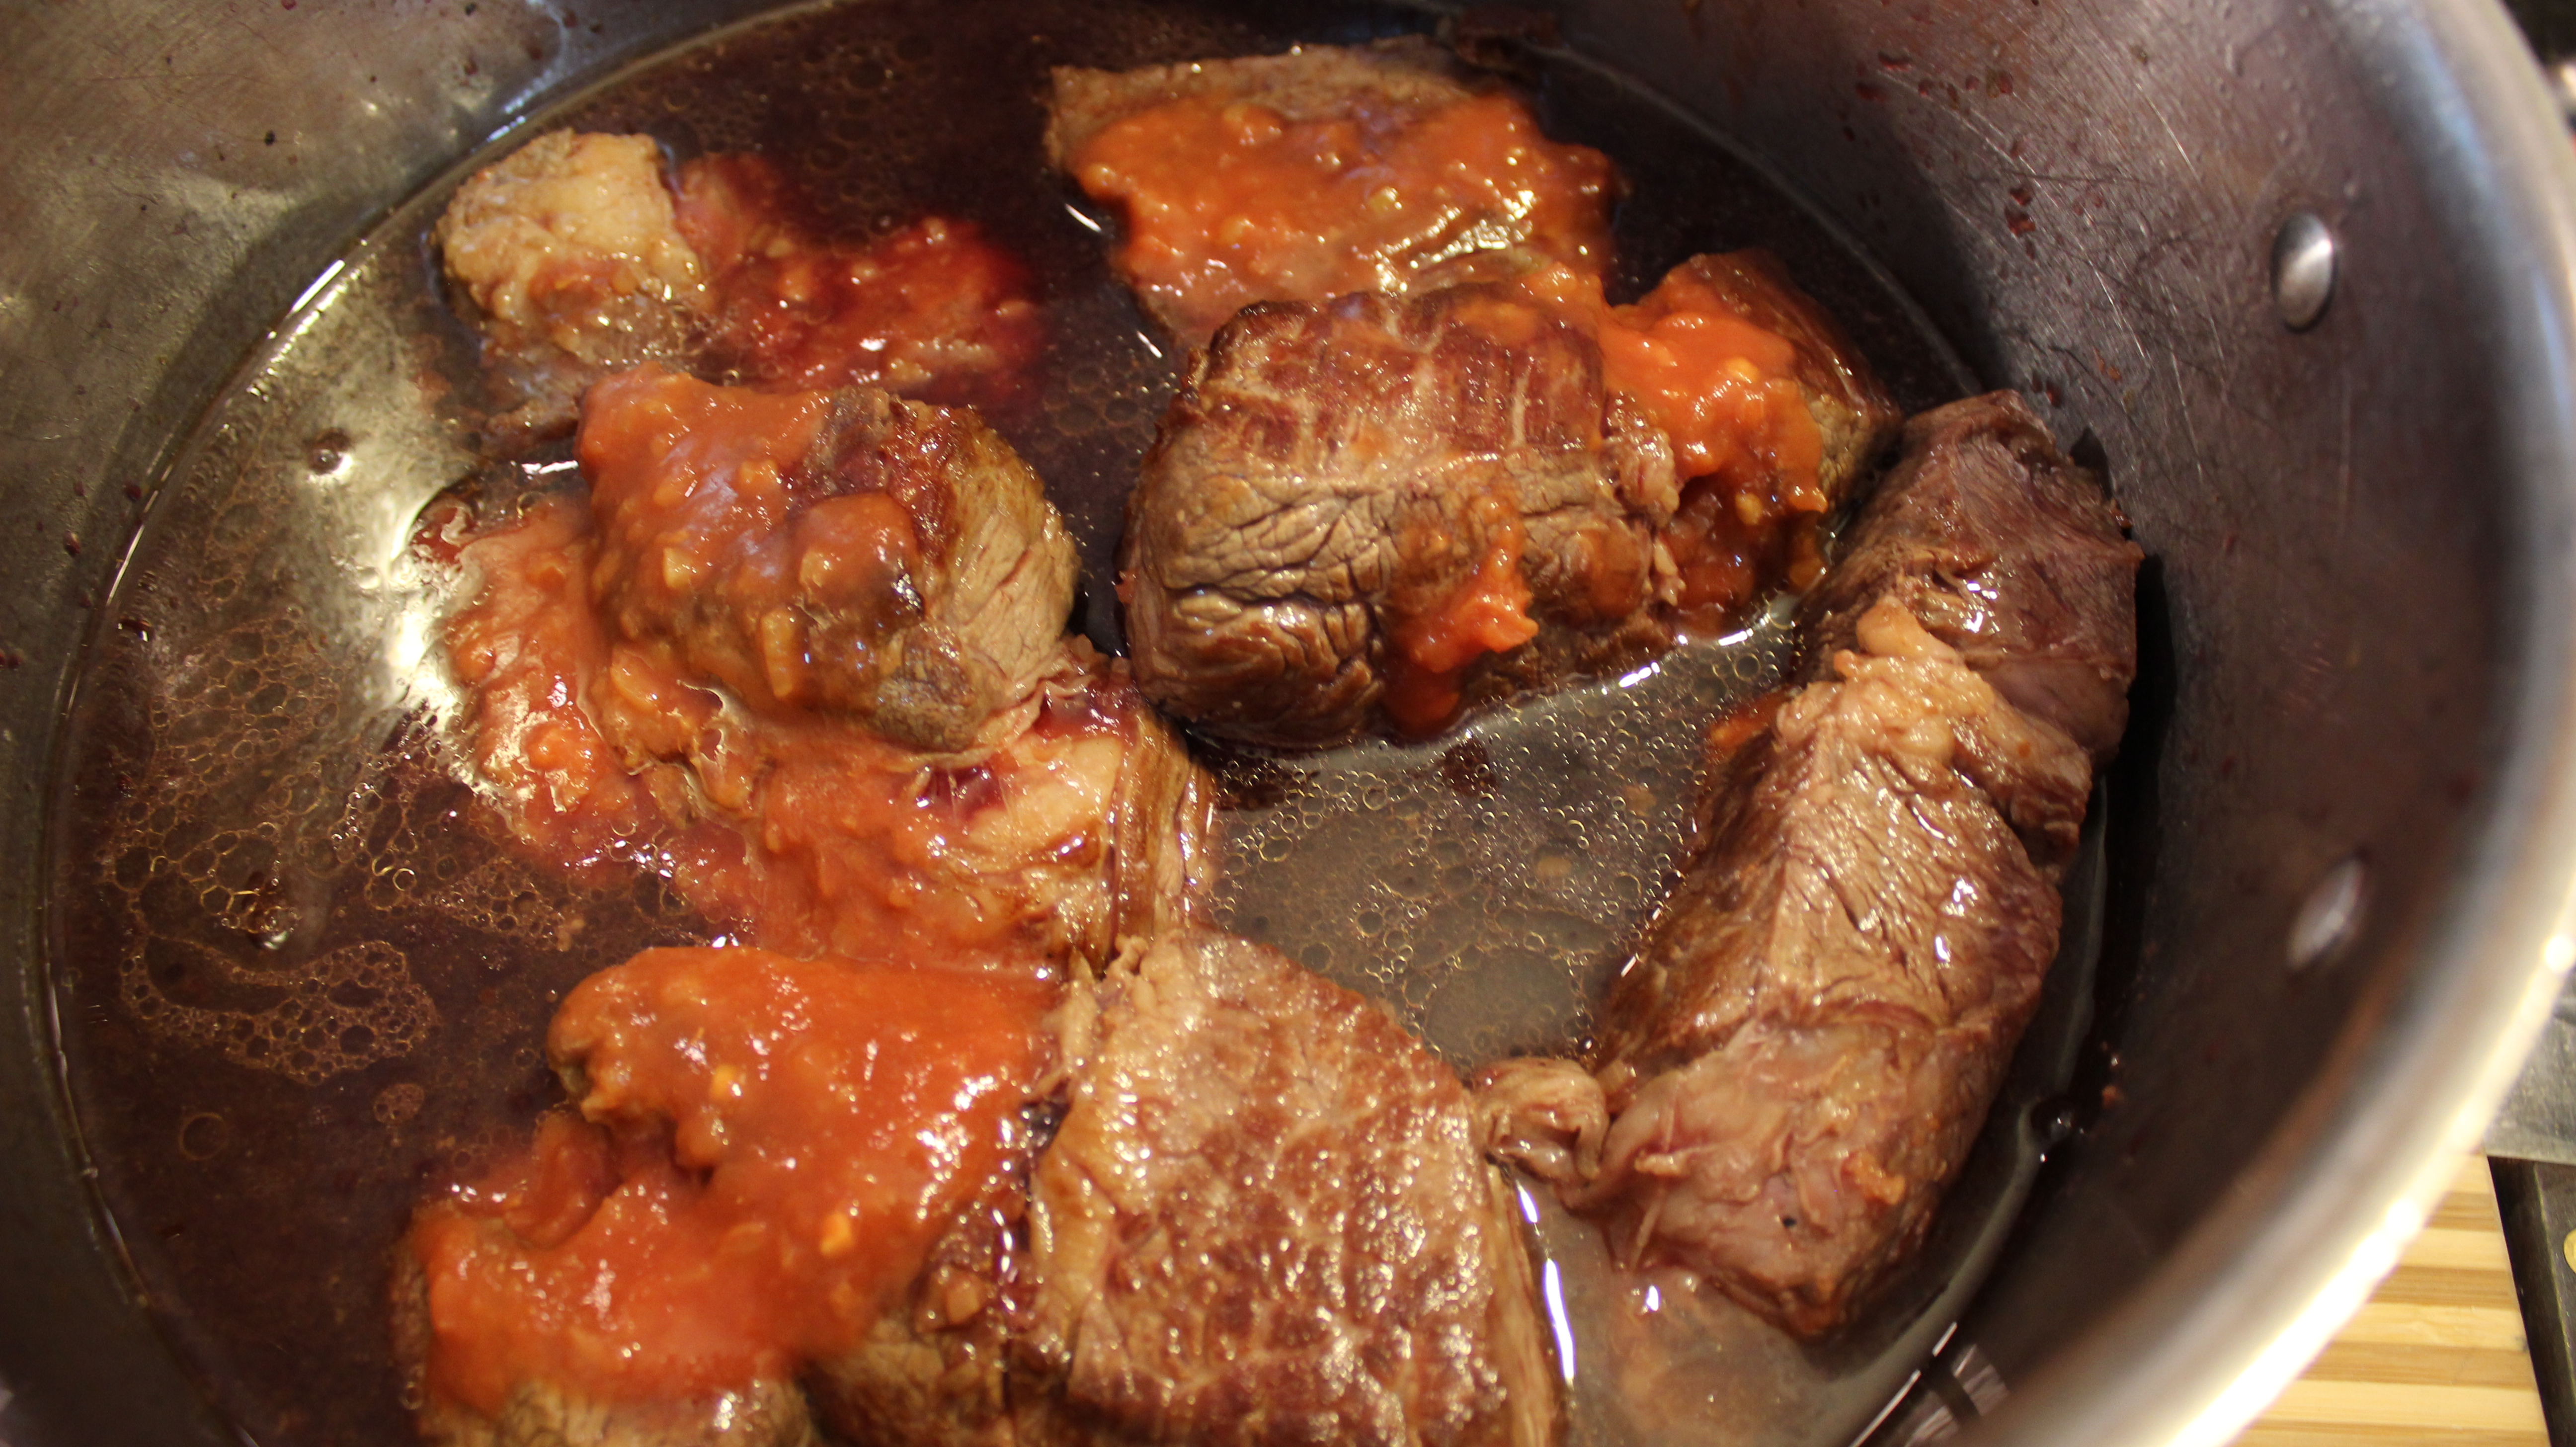
Add in 3/4 of the bottle of red wine (be careful of steam here) and the whole jar of salsa
Bring to a simmer and pop into the oven for 2 1/2 hrs.
Every hour turn the beef pieces over so the other sides can caramelize
At 2 1/2 hours take the braising meat out of the oven and begin to remove the beef to a dish wear you can start to pull apart the beef pieces
Tilt the braising pan to the side so that you can skim off the fat that rendered out of the meat
Pour the left over juice onto the pulled beef and serve with taco shells and my mango salsa…enjoy!
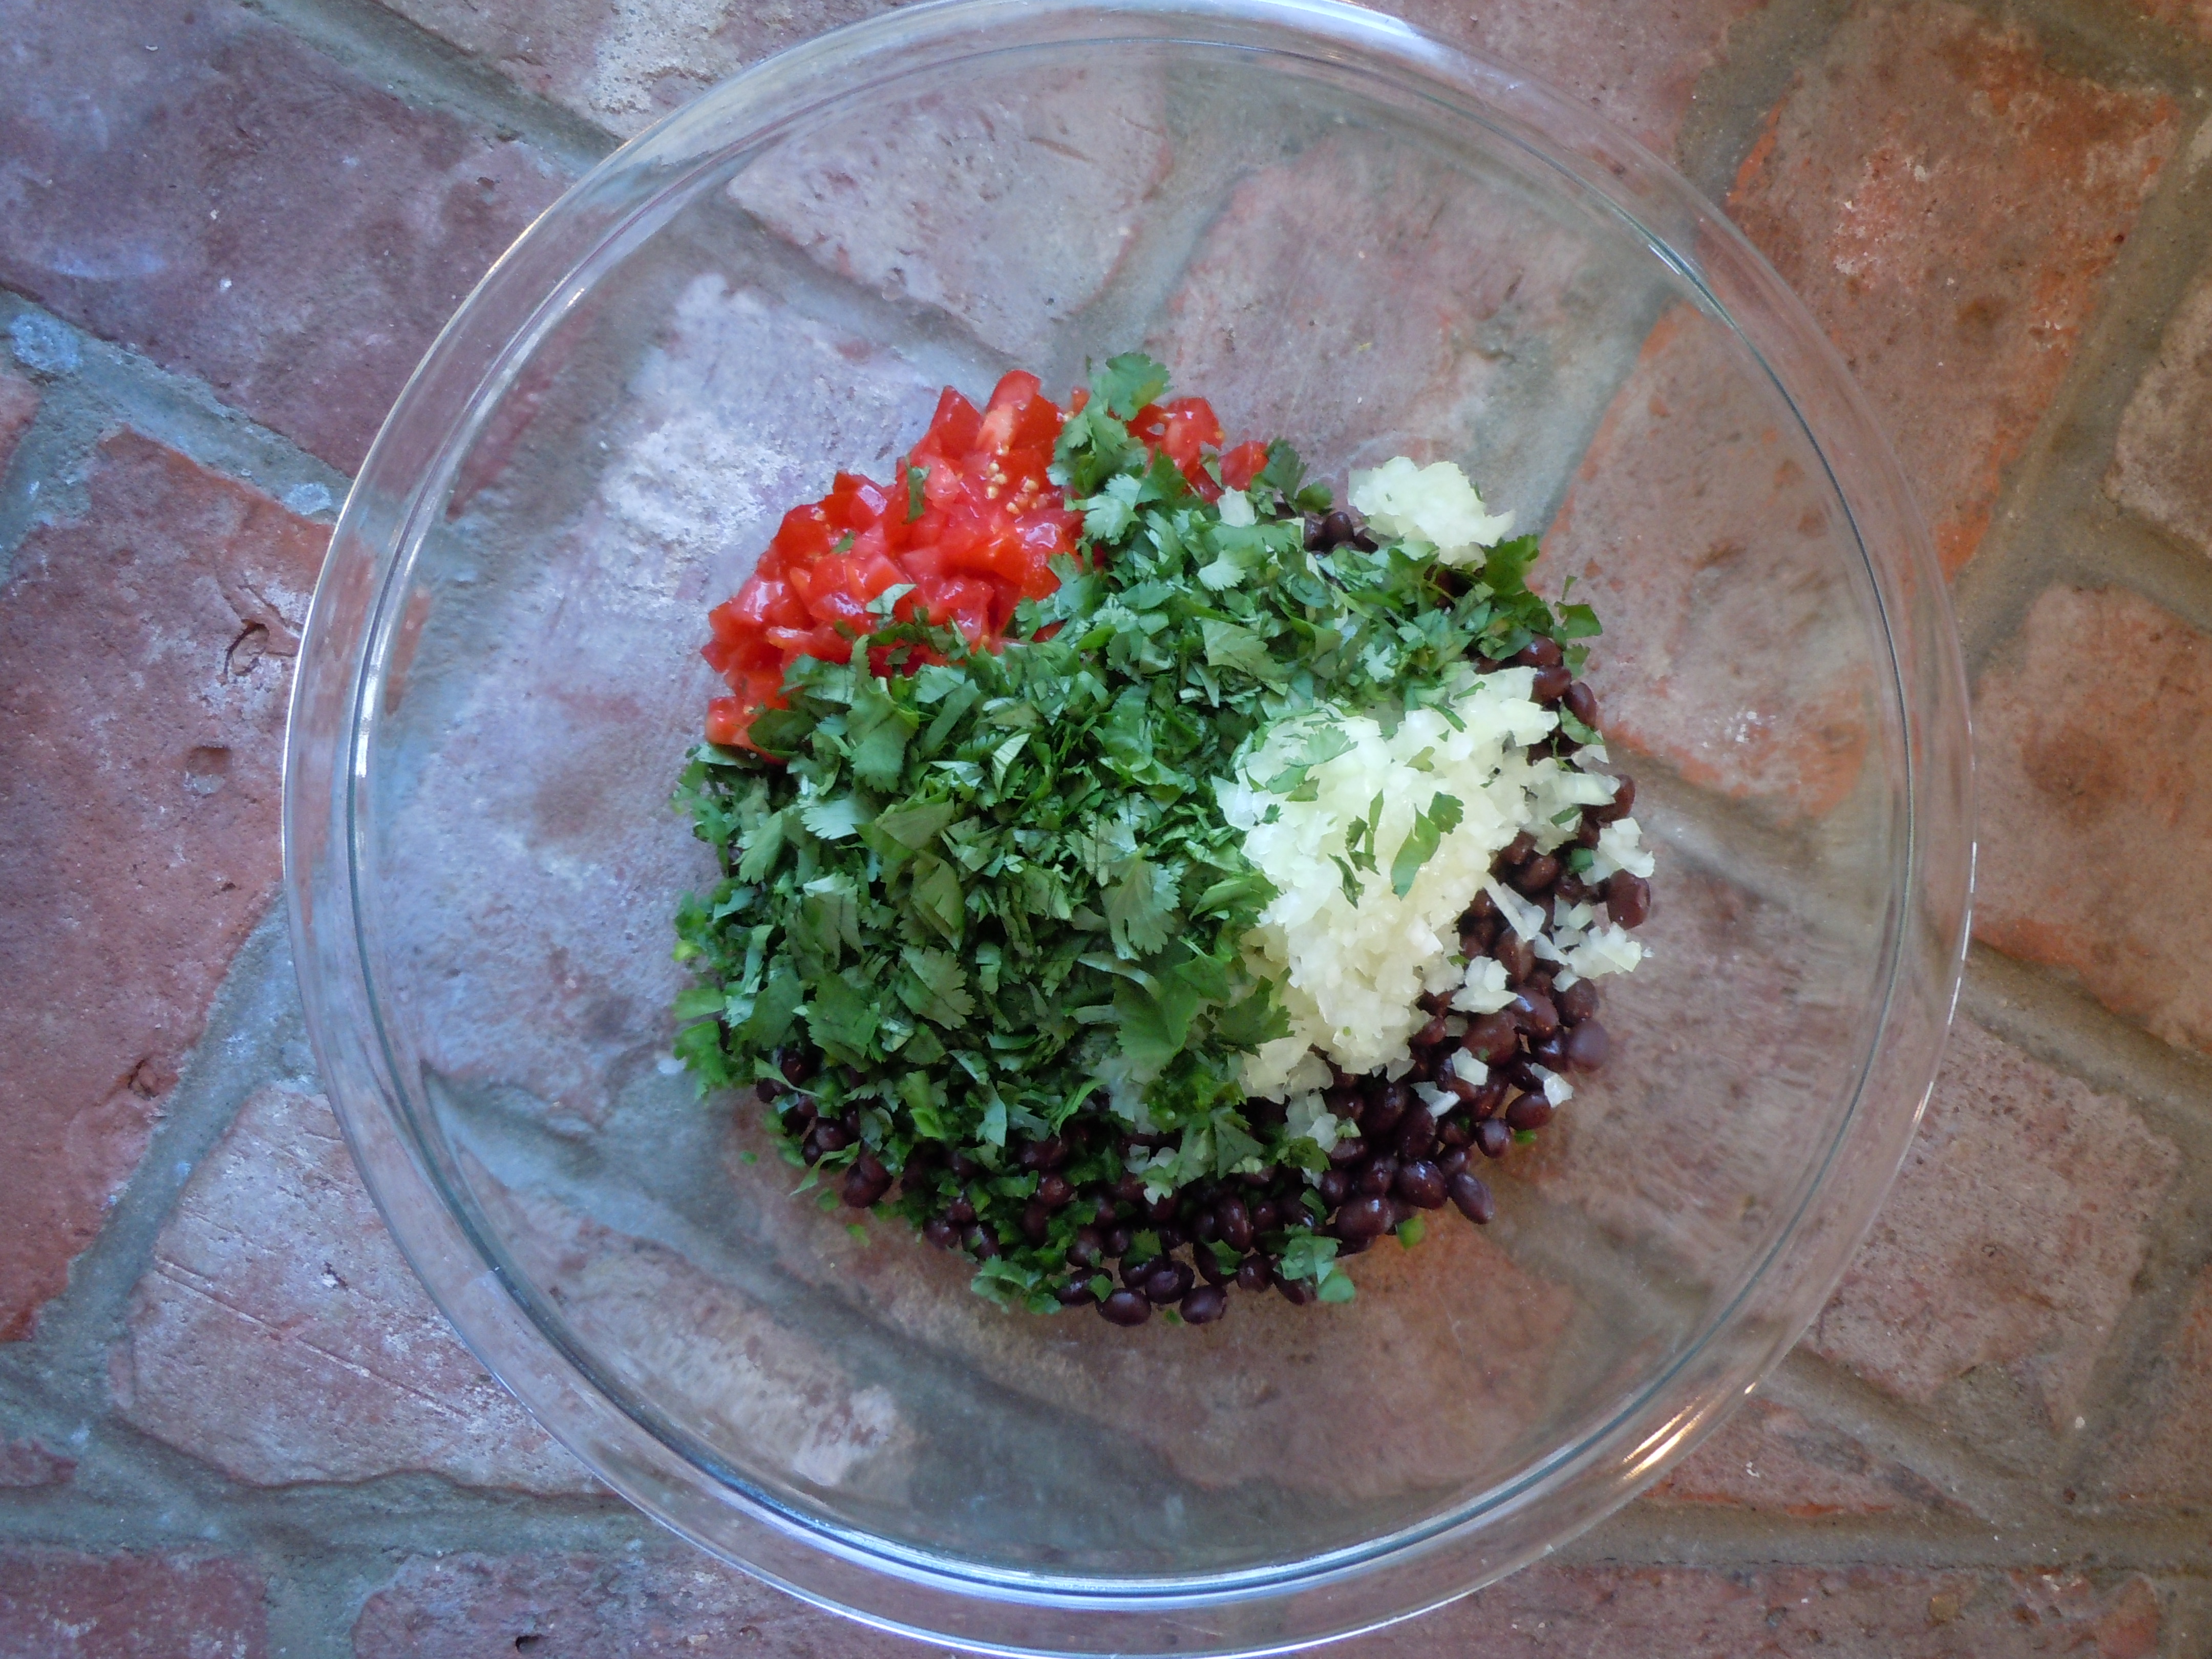
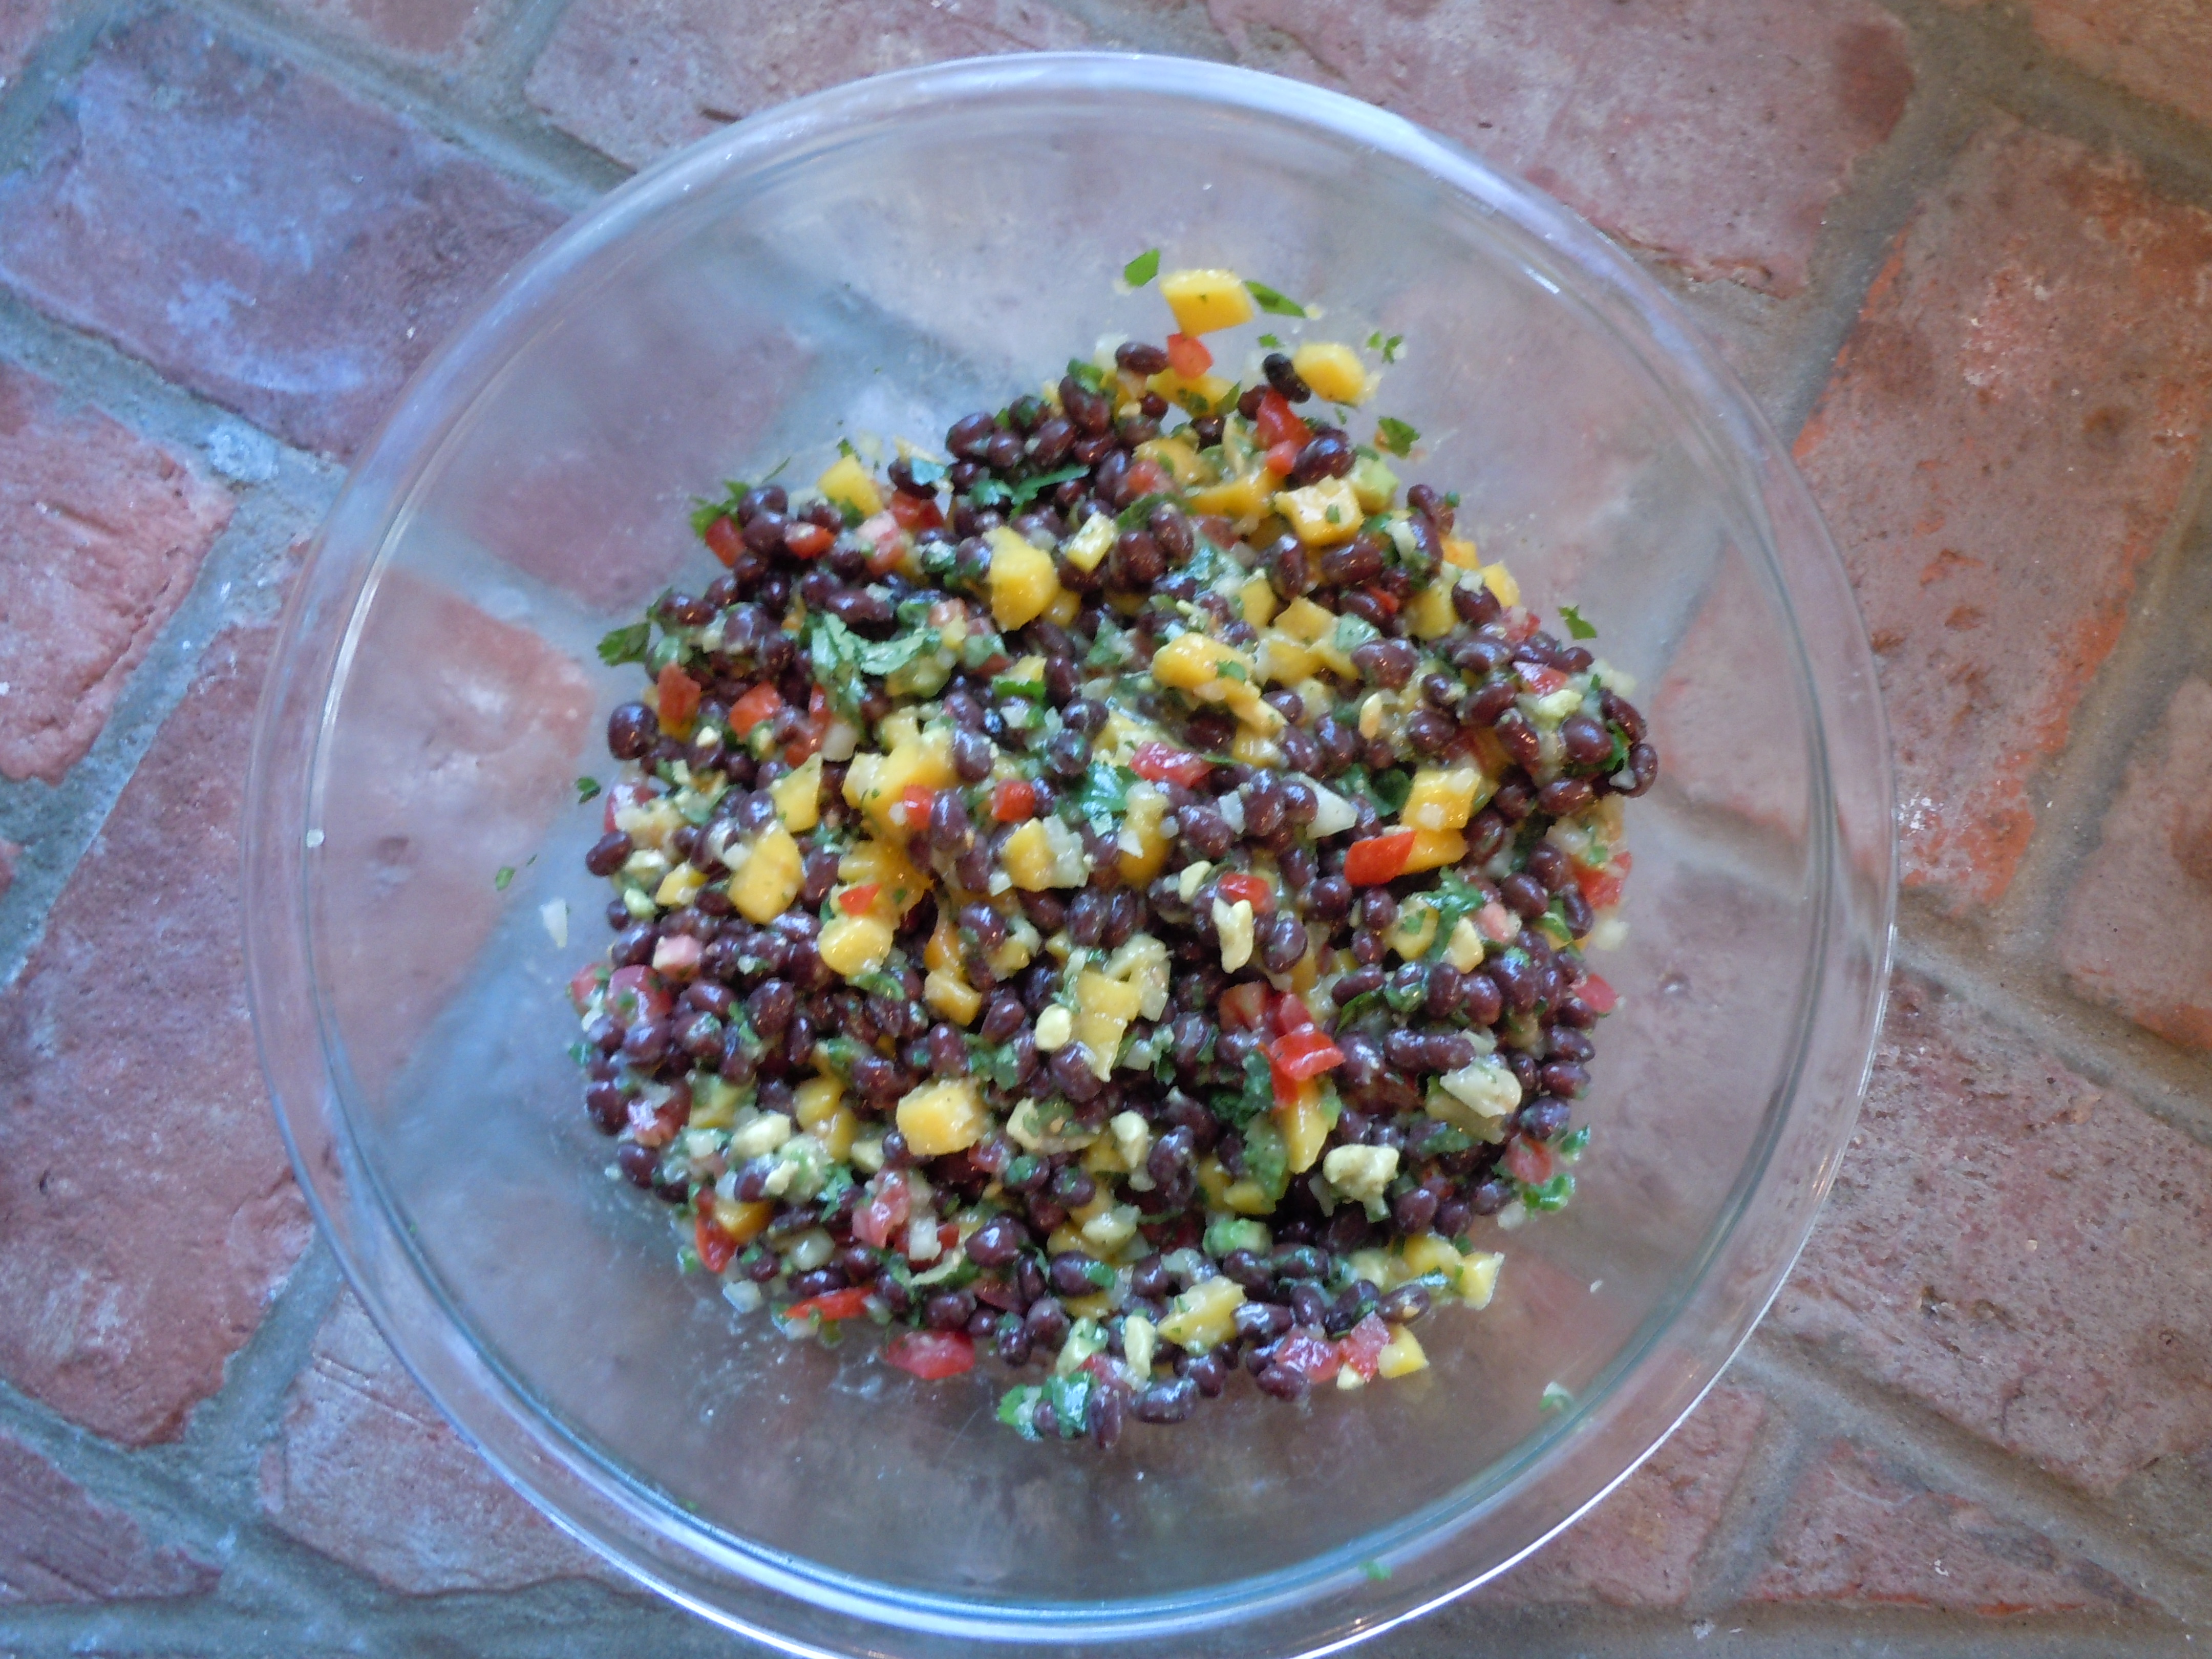
Add all of the ingredients to a large bowl and mix thoroughly.
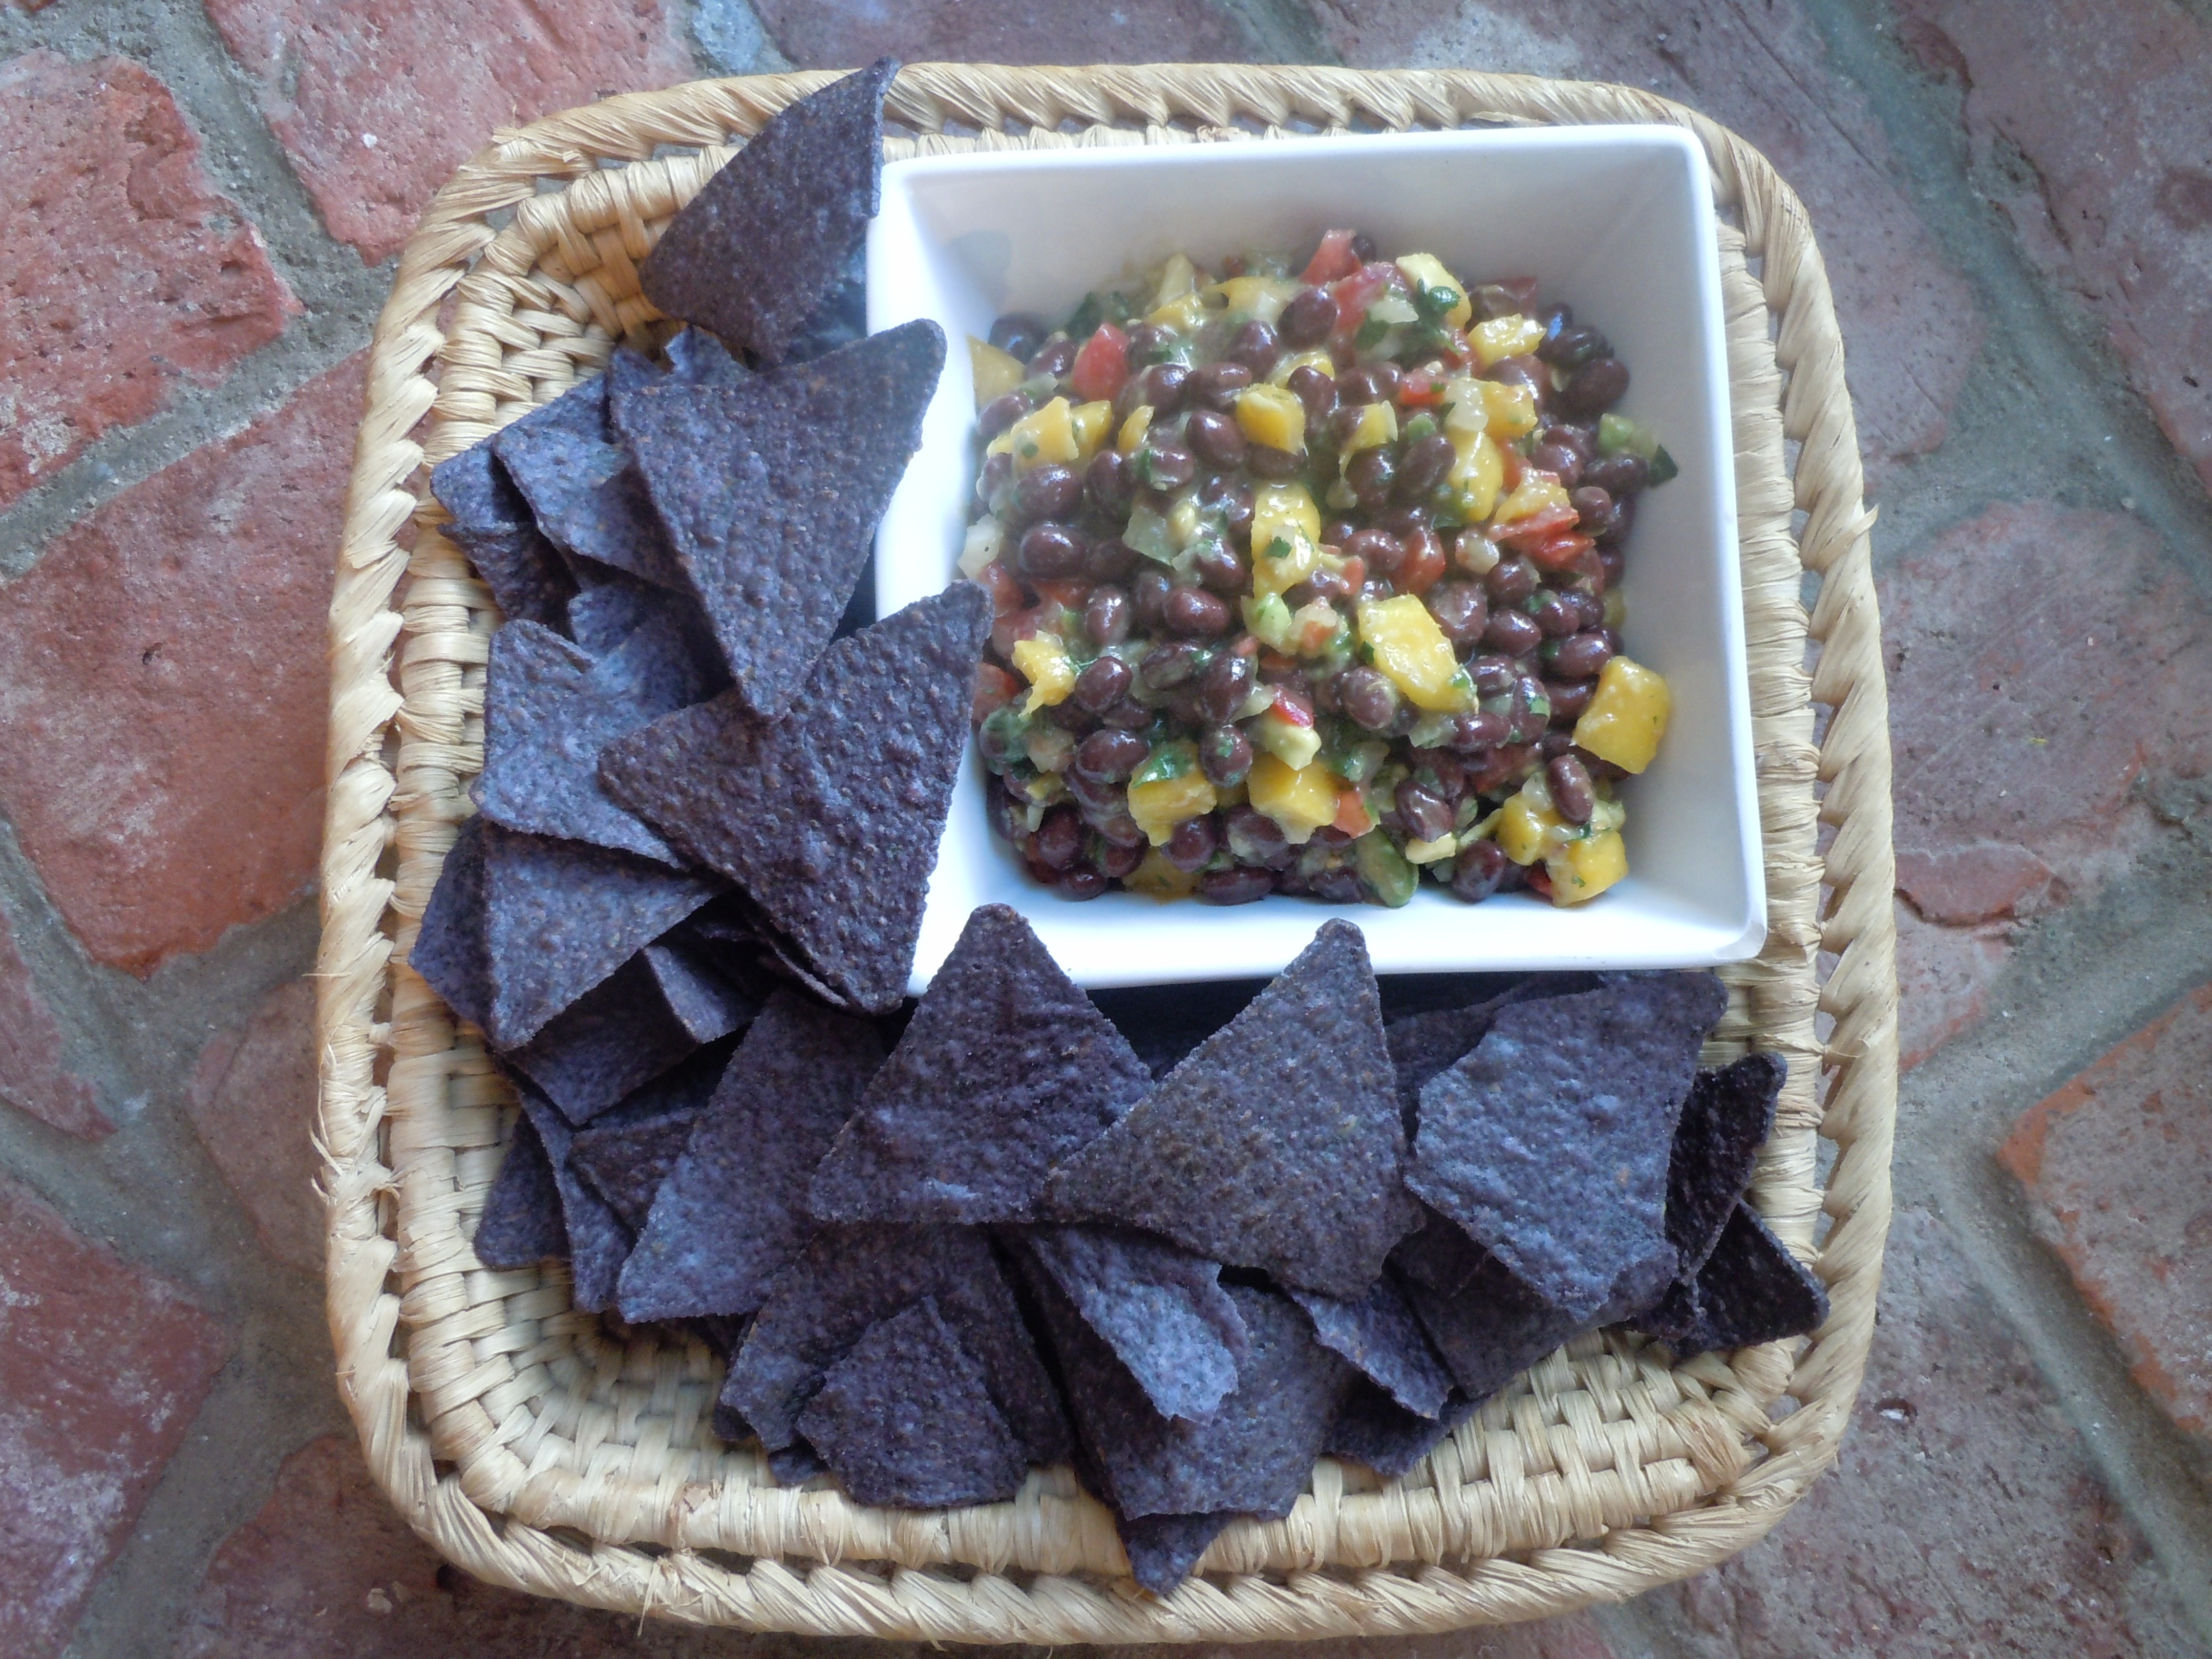
We really love to eats this salsa with blue chips too
I have also served this salsa up on the tips of endive leaves, and or with a cooked shrimp on top of that ….yum!
I must warn you this salsa is highly addictive……consume at your own risk! LOL
TIP: There is an easy way to get the pit out of a avocado which I have displayed in the pictures above. After running the knife around the flesh of the avocado against the edges of the inside pit… put the knife down and twist the avocado halves and pull apart. Then stick the knife into the pit and do the same thing holding on to the knife with one hand and carefully twist the avocado pit and it will pop right out. Then knock the pit off onto the board away from your hands. This can be a little tricky the first time so I would advise that this would be for an adult to try. Finally, Insert a large spoon and scoop the avocado along the edge of the avocado skin to remove avocado flesh.
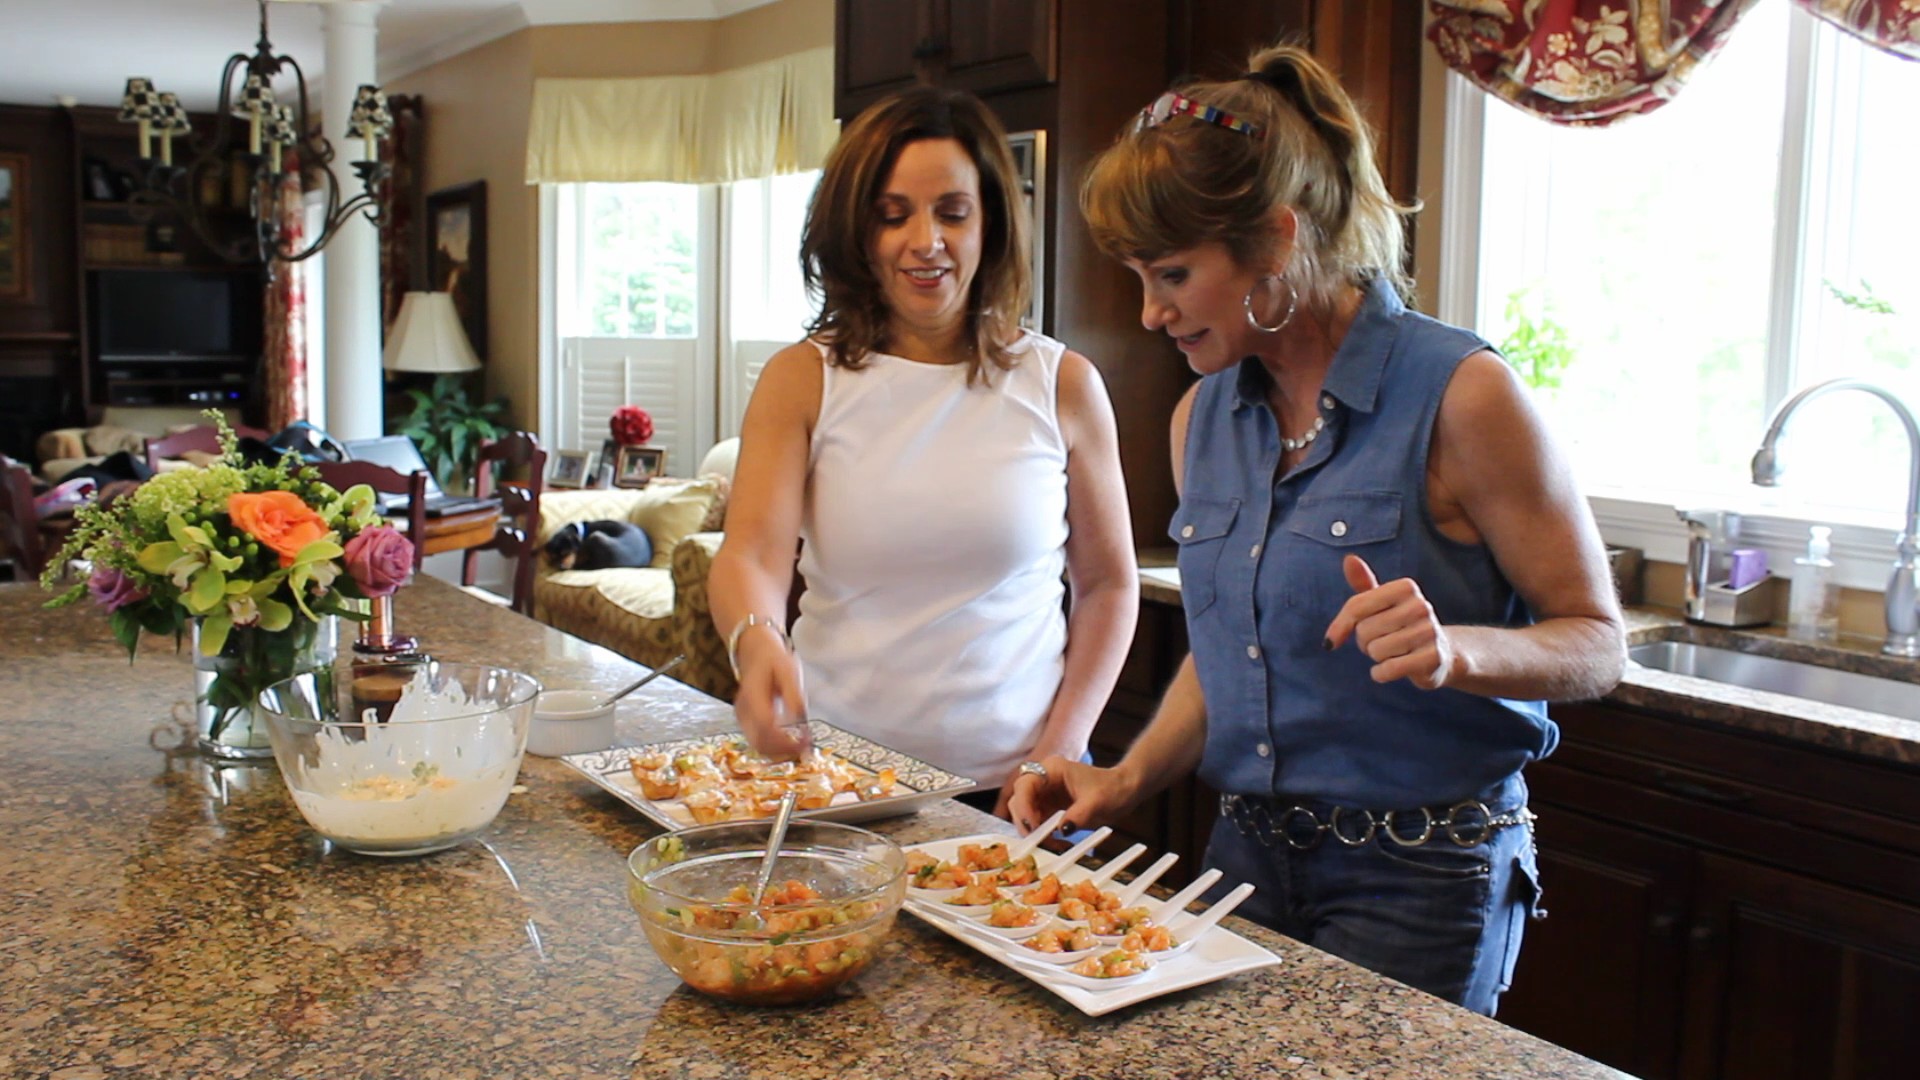
Bloody Mary Shrimp & Mango-Curry Shrimp At Nancy’s
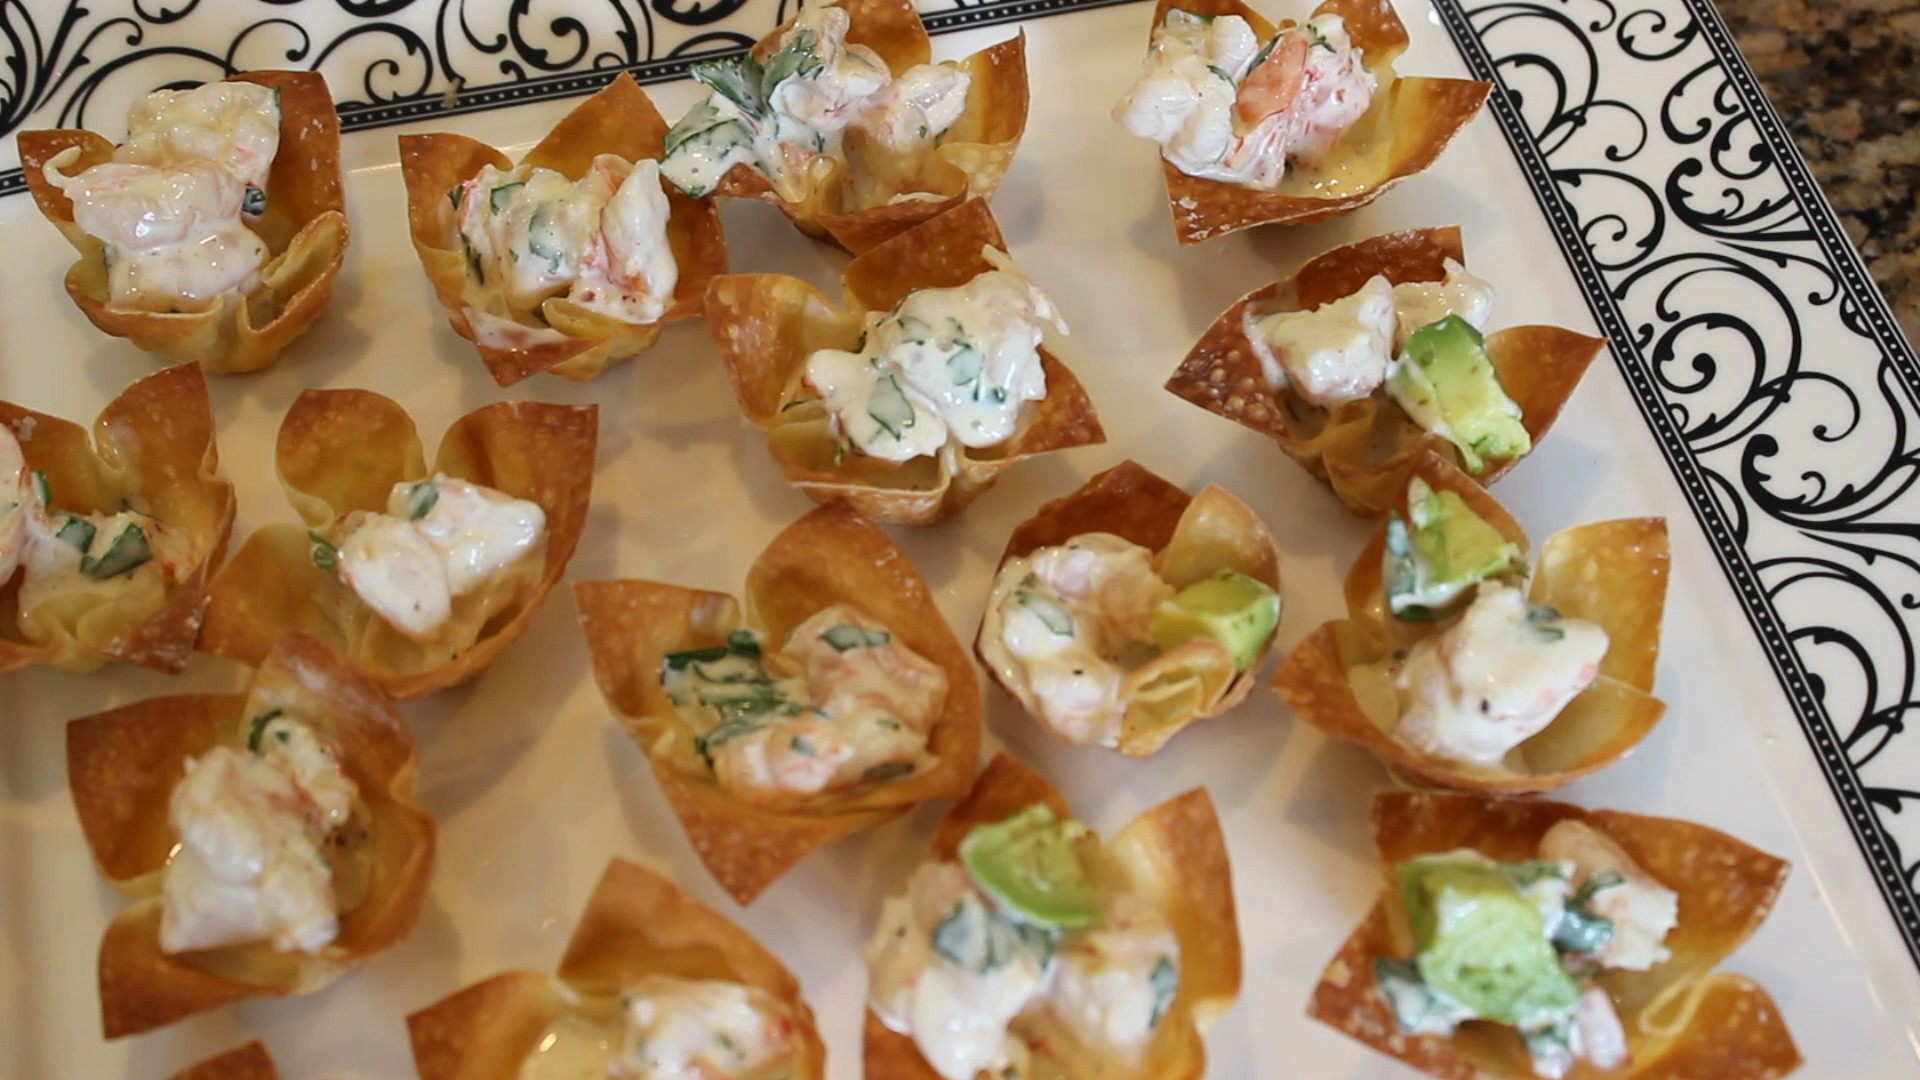
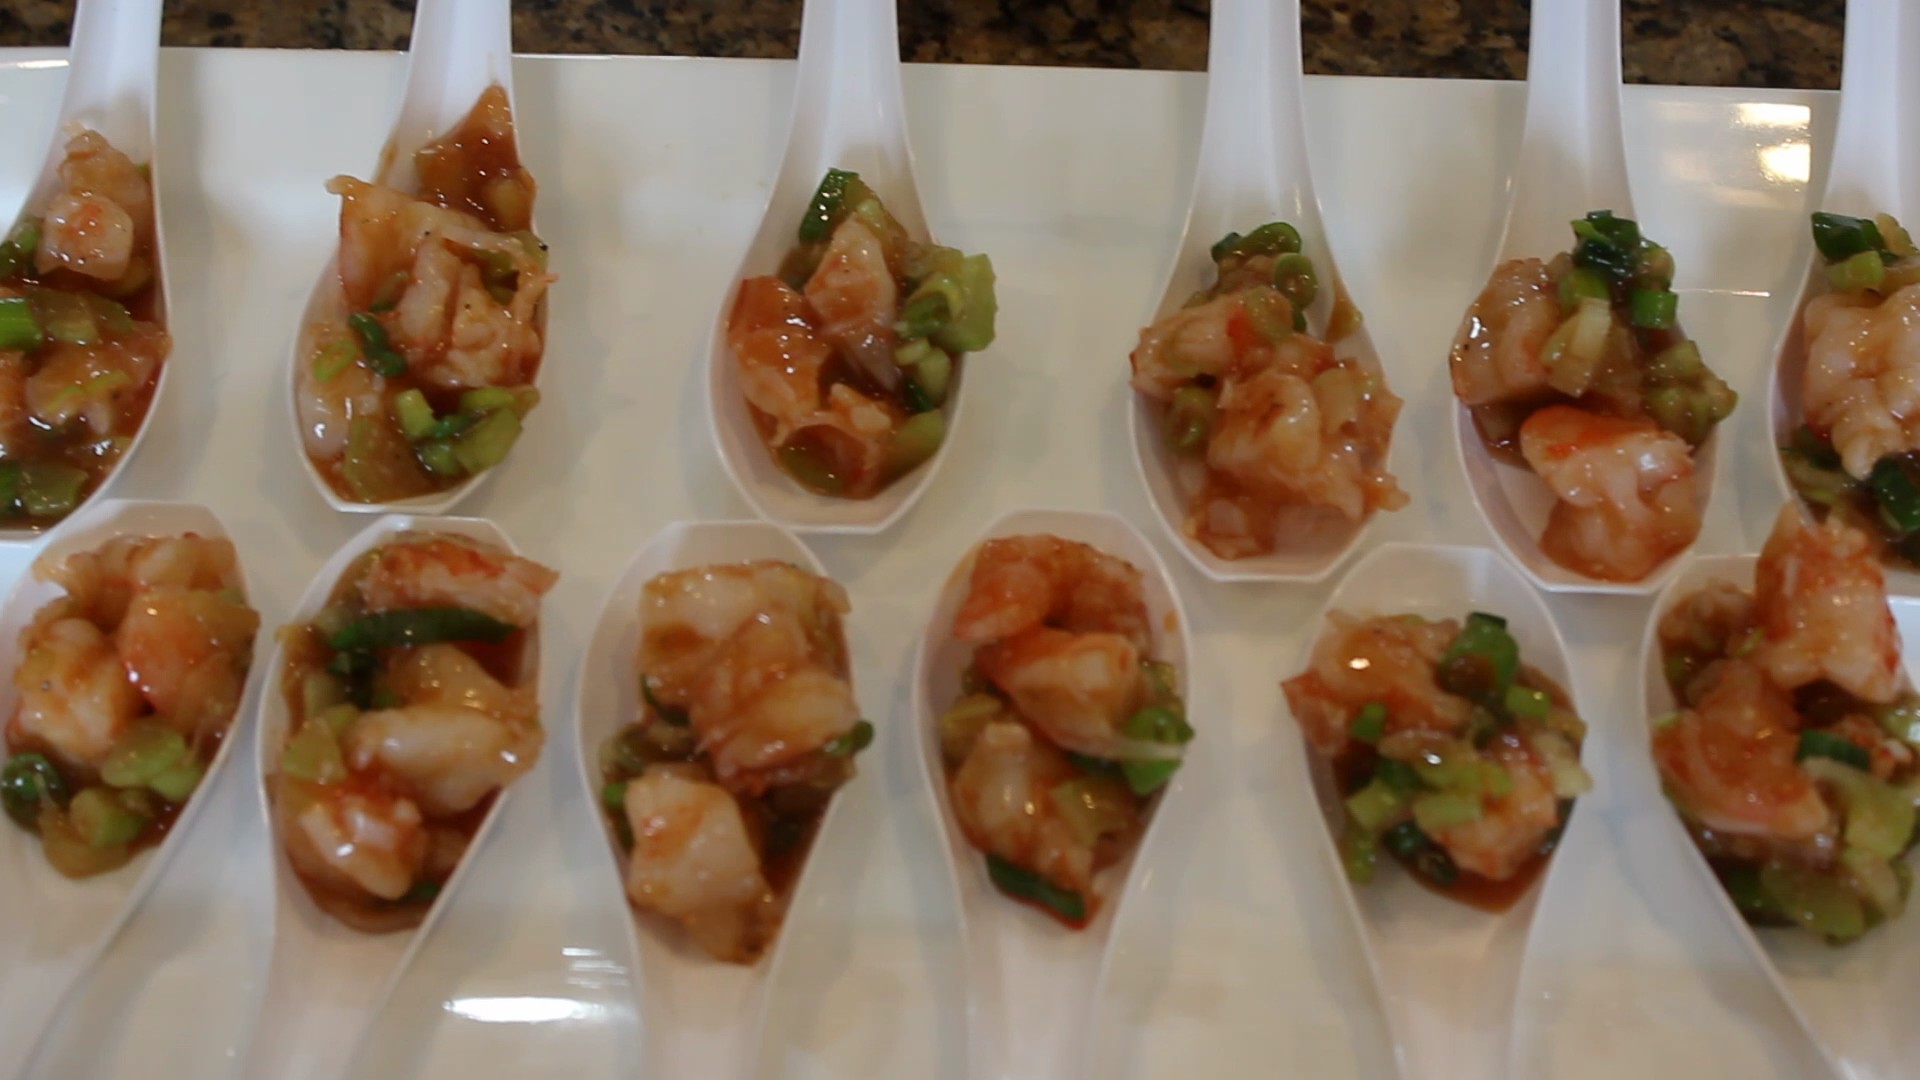
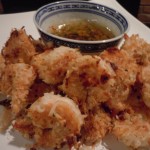
Bloody Mary Shrimp & Mango-Curry Shrimp in Wonton Cups
These two homemade shrimp appetizer’s are fun and delicious! Bloody Mary Shrimp and Mango-Curry Shrimp in wonton cups will soon be on your go to list for summer appetizers! My good friend Nancy passed these wonderful recipes on to me which she found at epicurious.com. They certainly have a an enormous assortment of recipes there to choose from and sometimes it can be overwhelming finding the ones you like so I feel fortunate to have a fellow foodie pass these on.
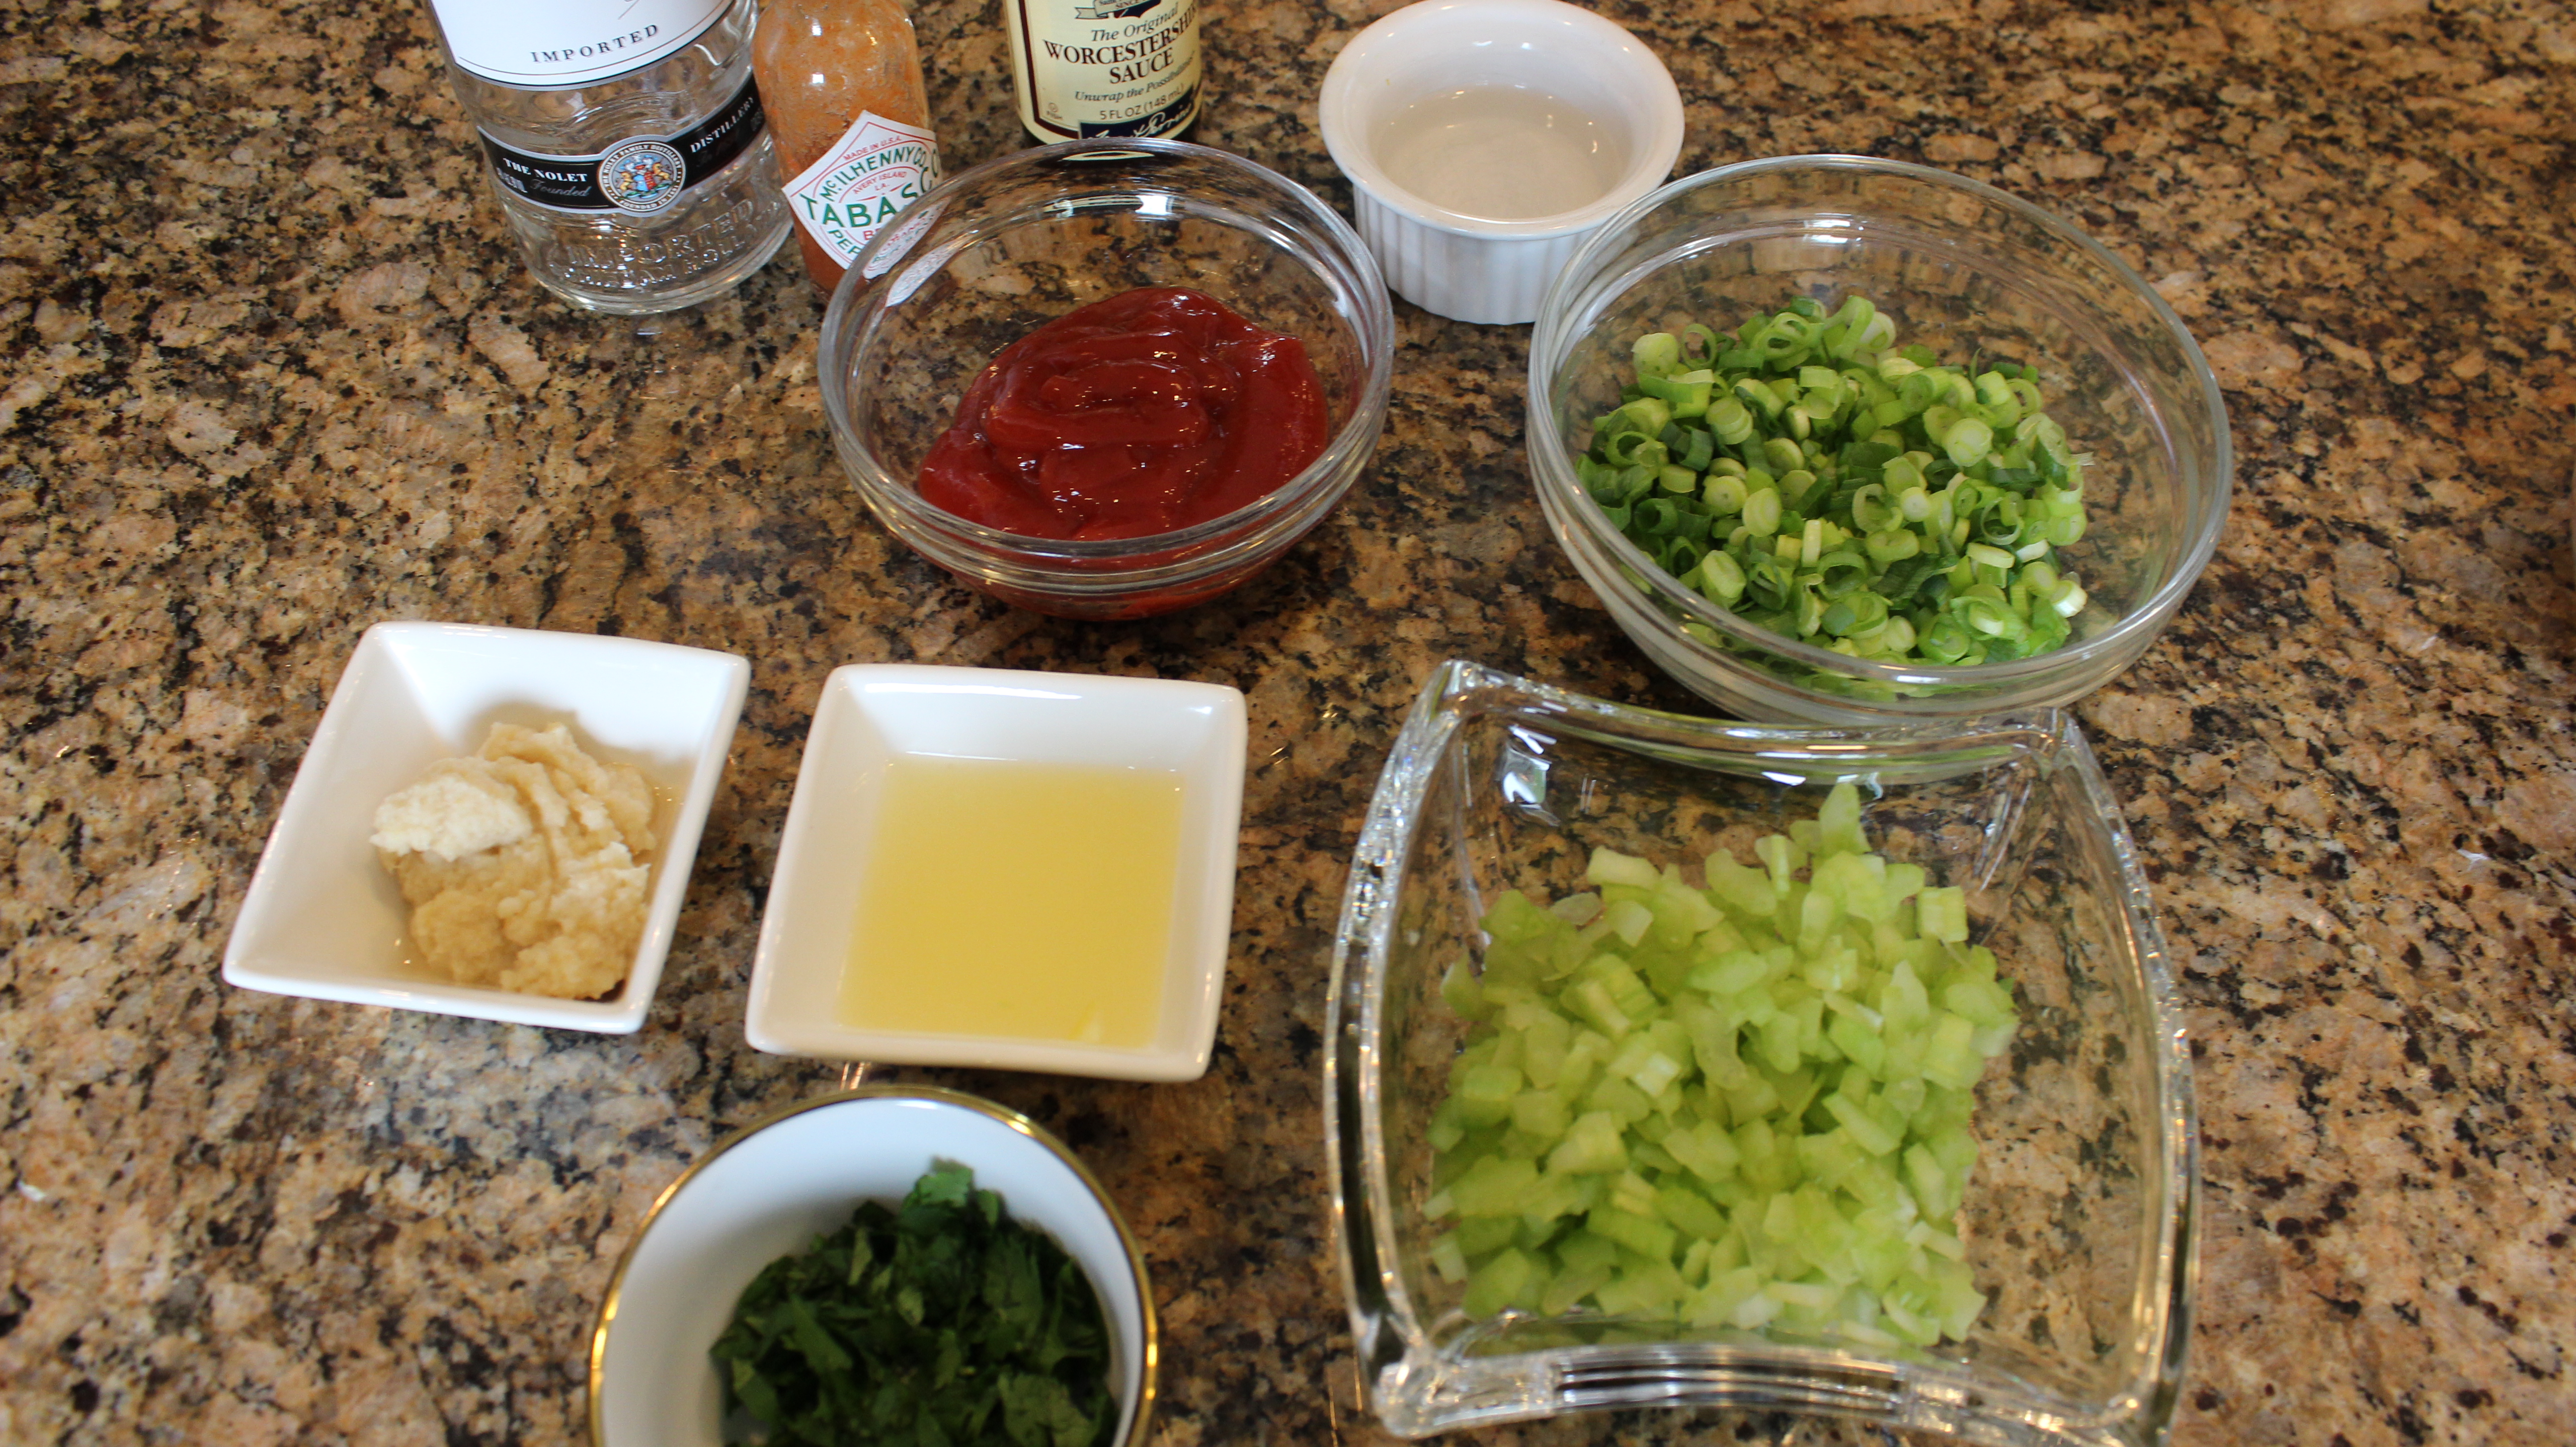
These two shrimp appetizer’s just might be the easiest and most delicious recipes you’ll have this summer. The Bloody Mary shrimp is so flavorful with all the same condiments that make up “the” cocktail including the vodka but in little nibble sizes. Serving up this appetizer on a spoon makes for a lovely presentation too. You can find these spoons at party stores and sometimes even at Stop & Shop.
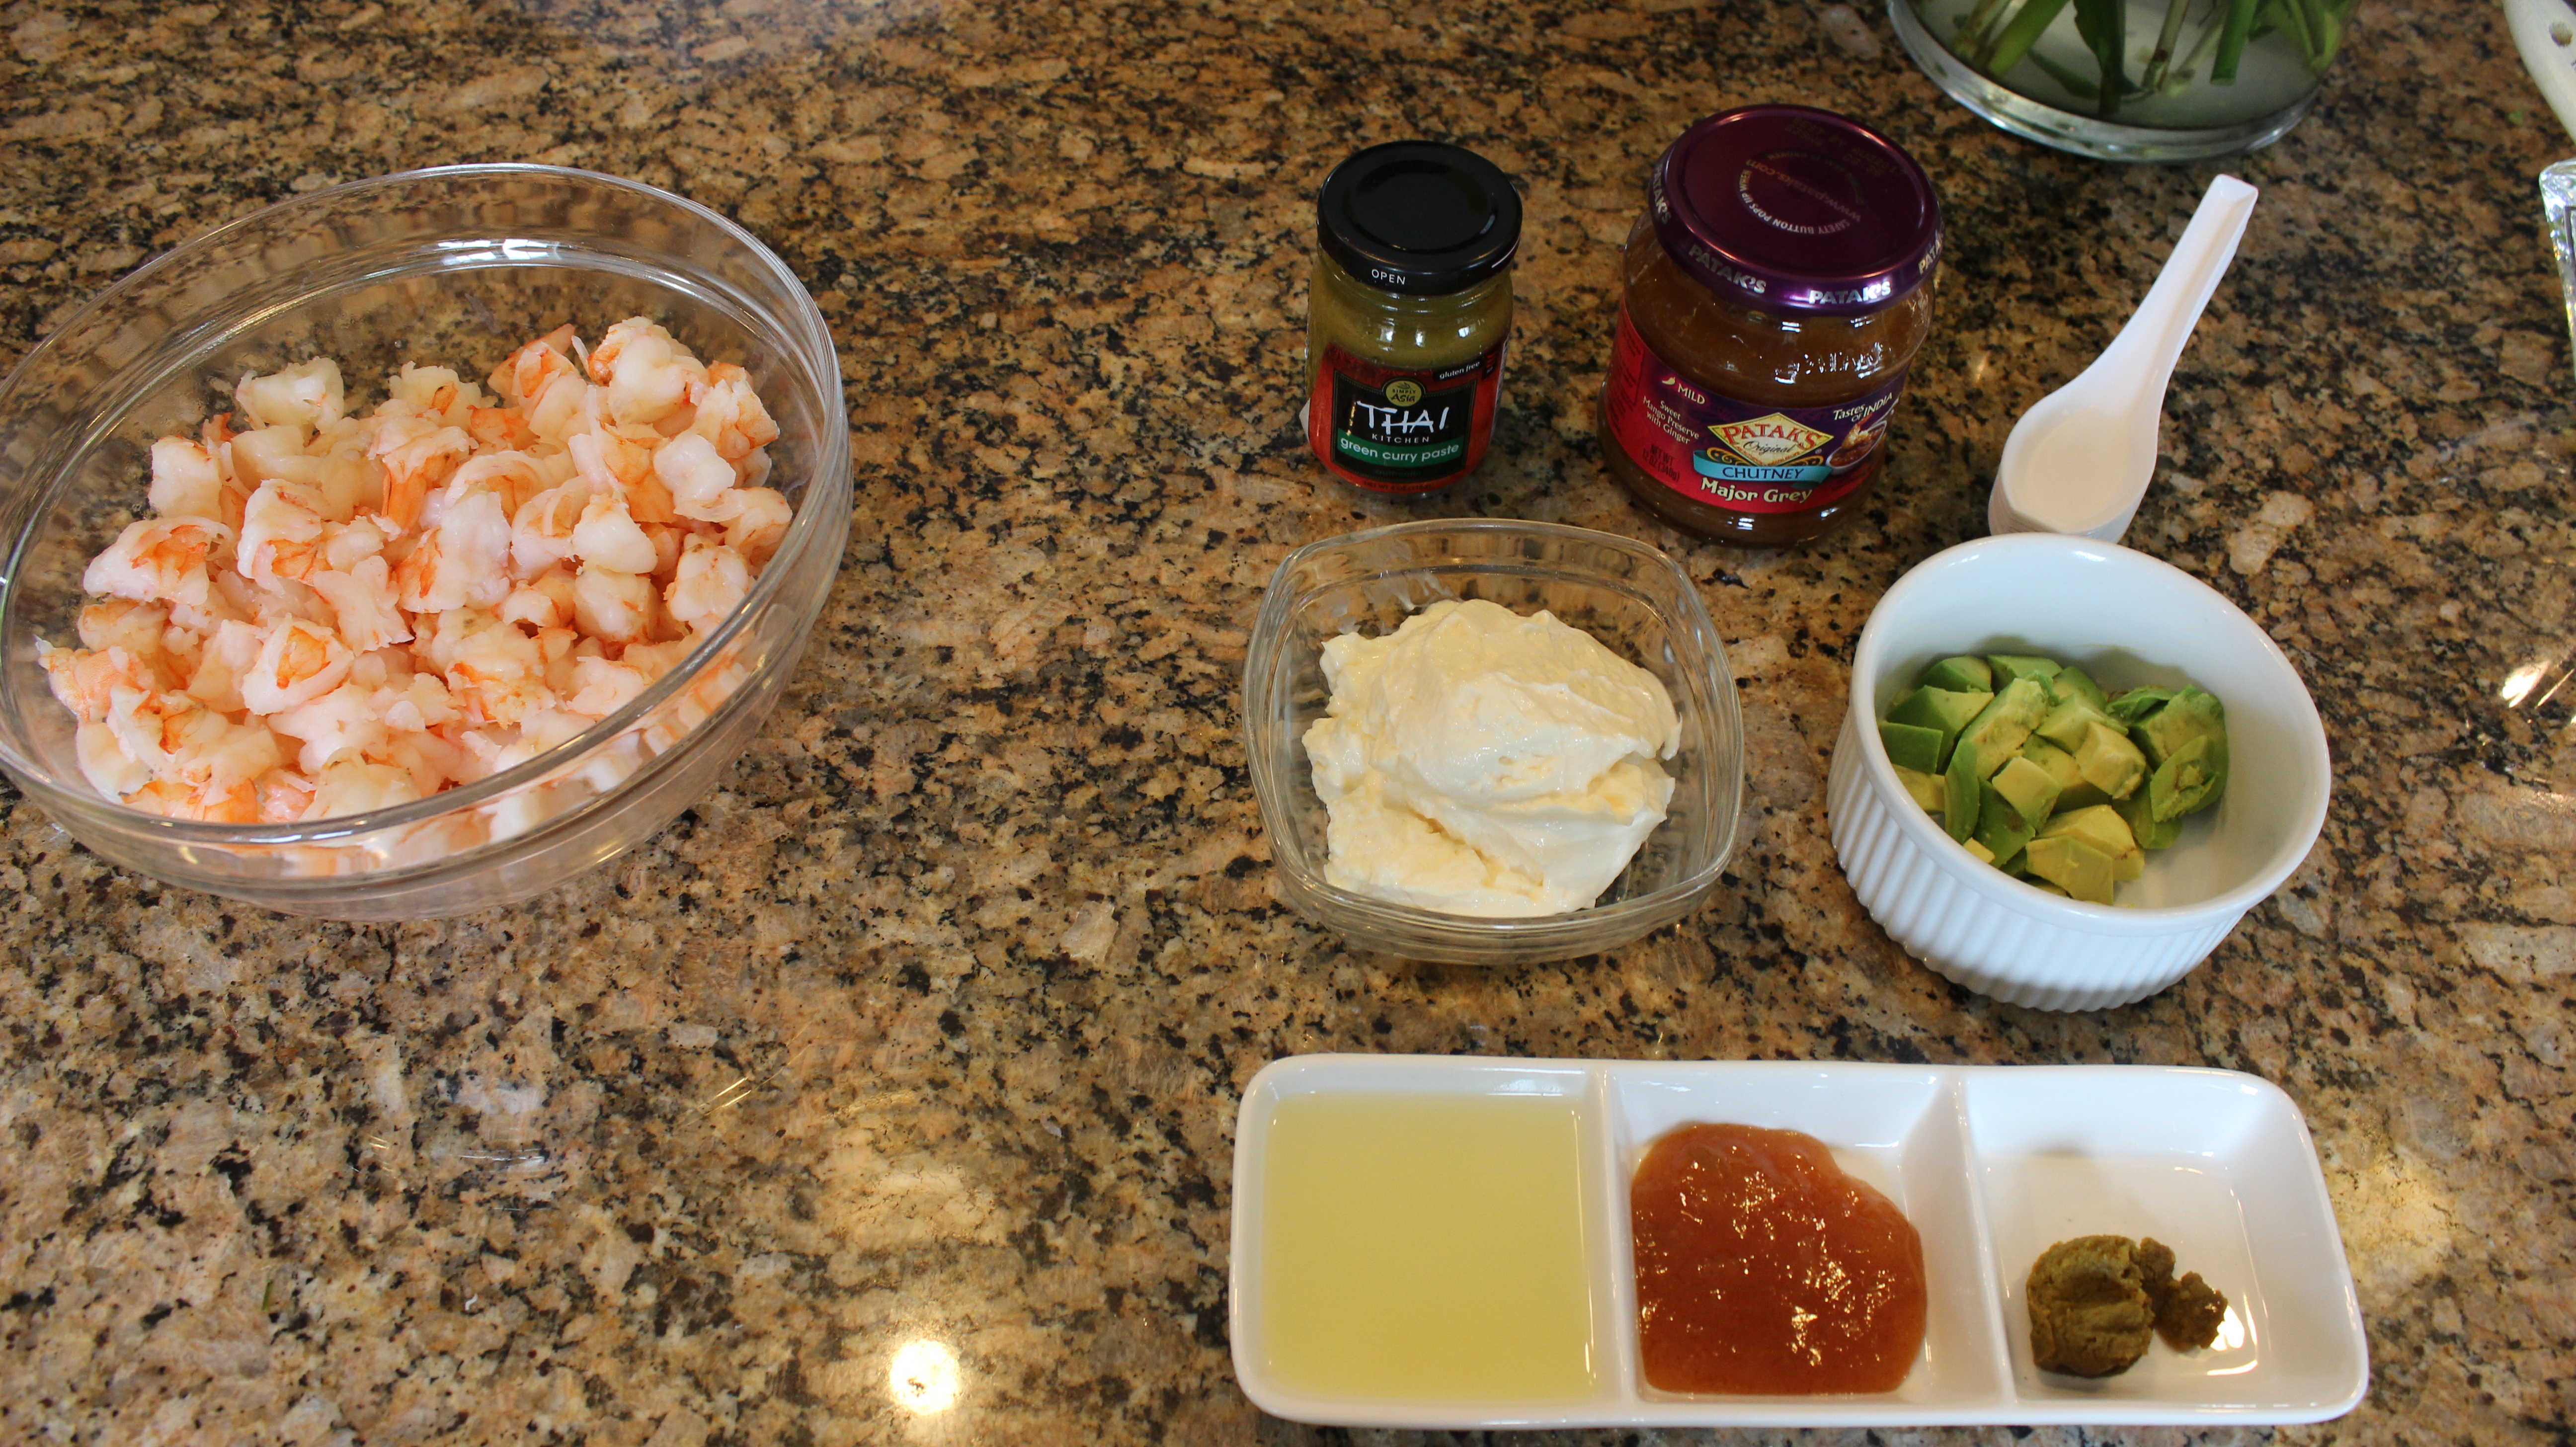
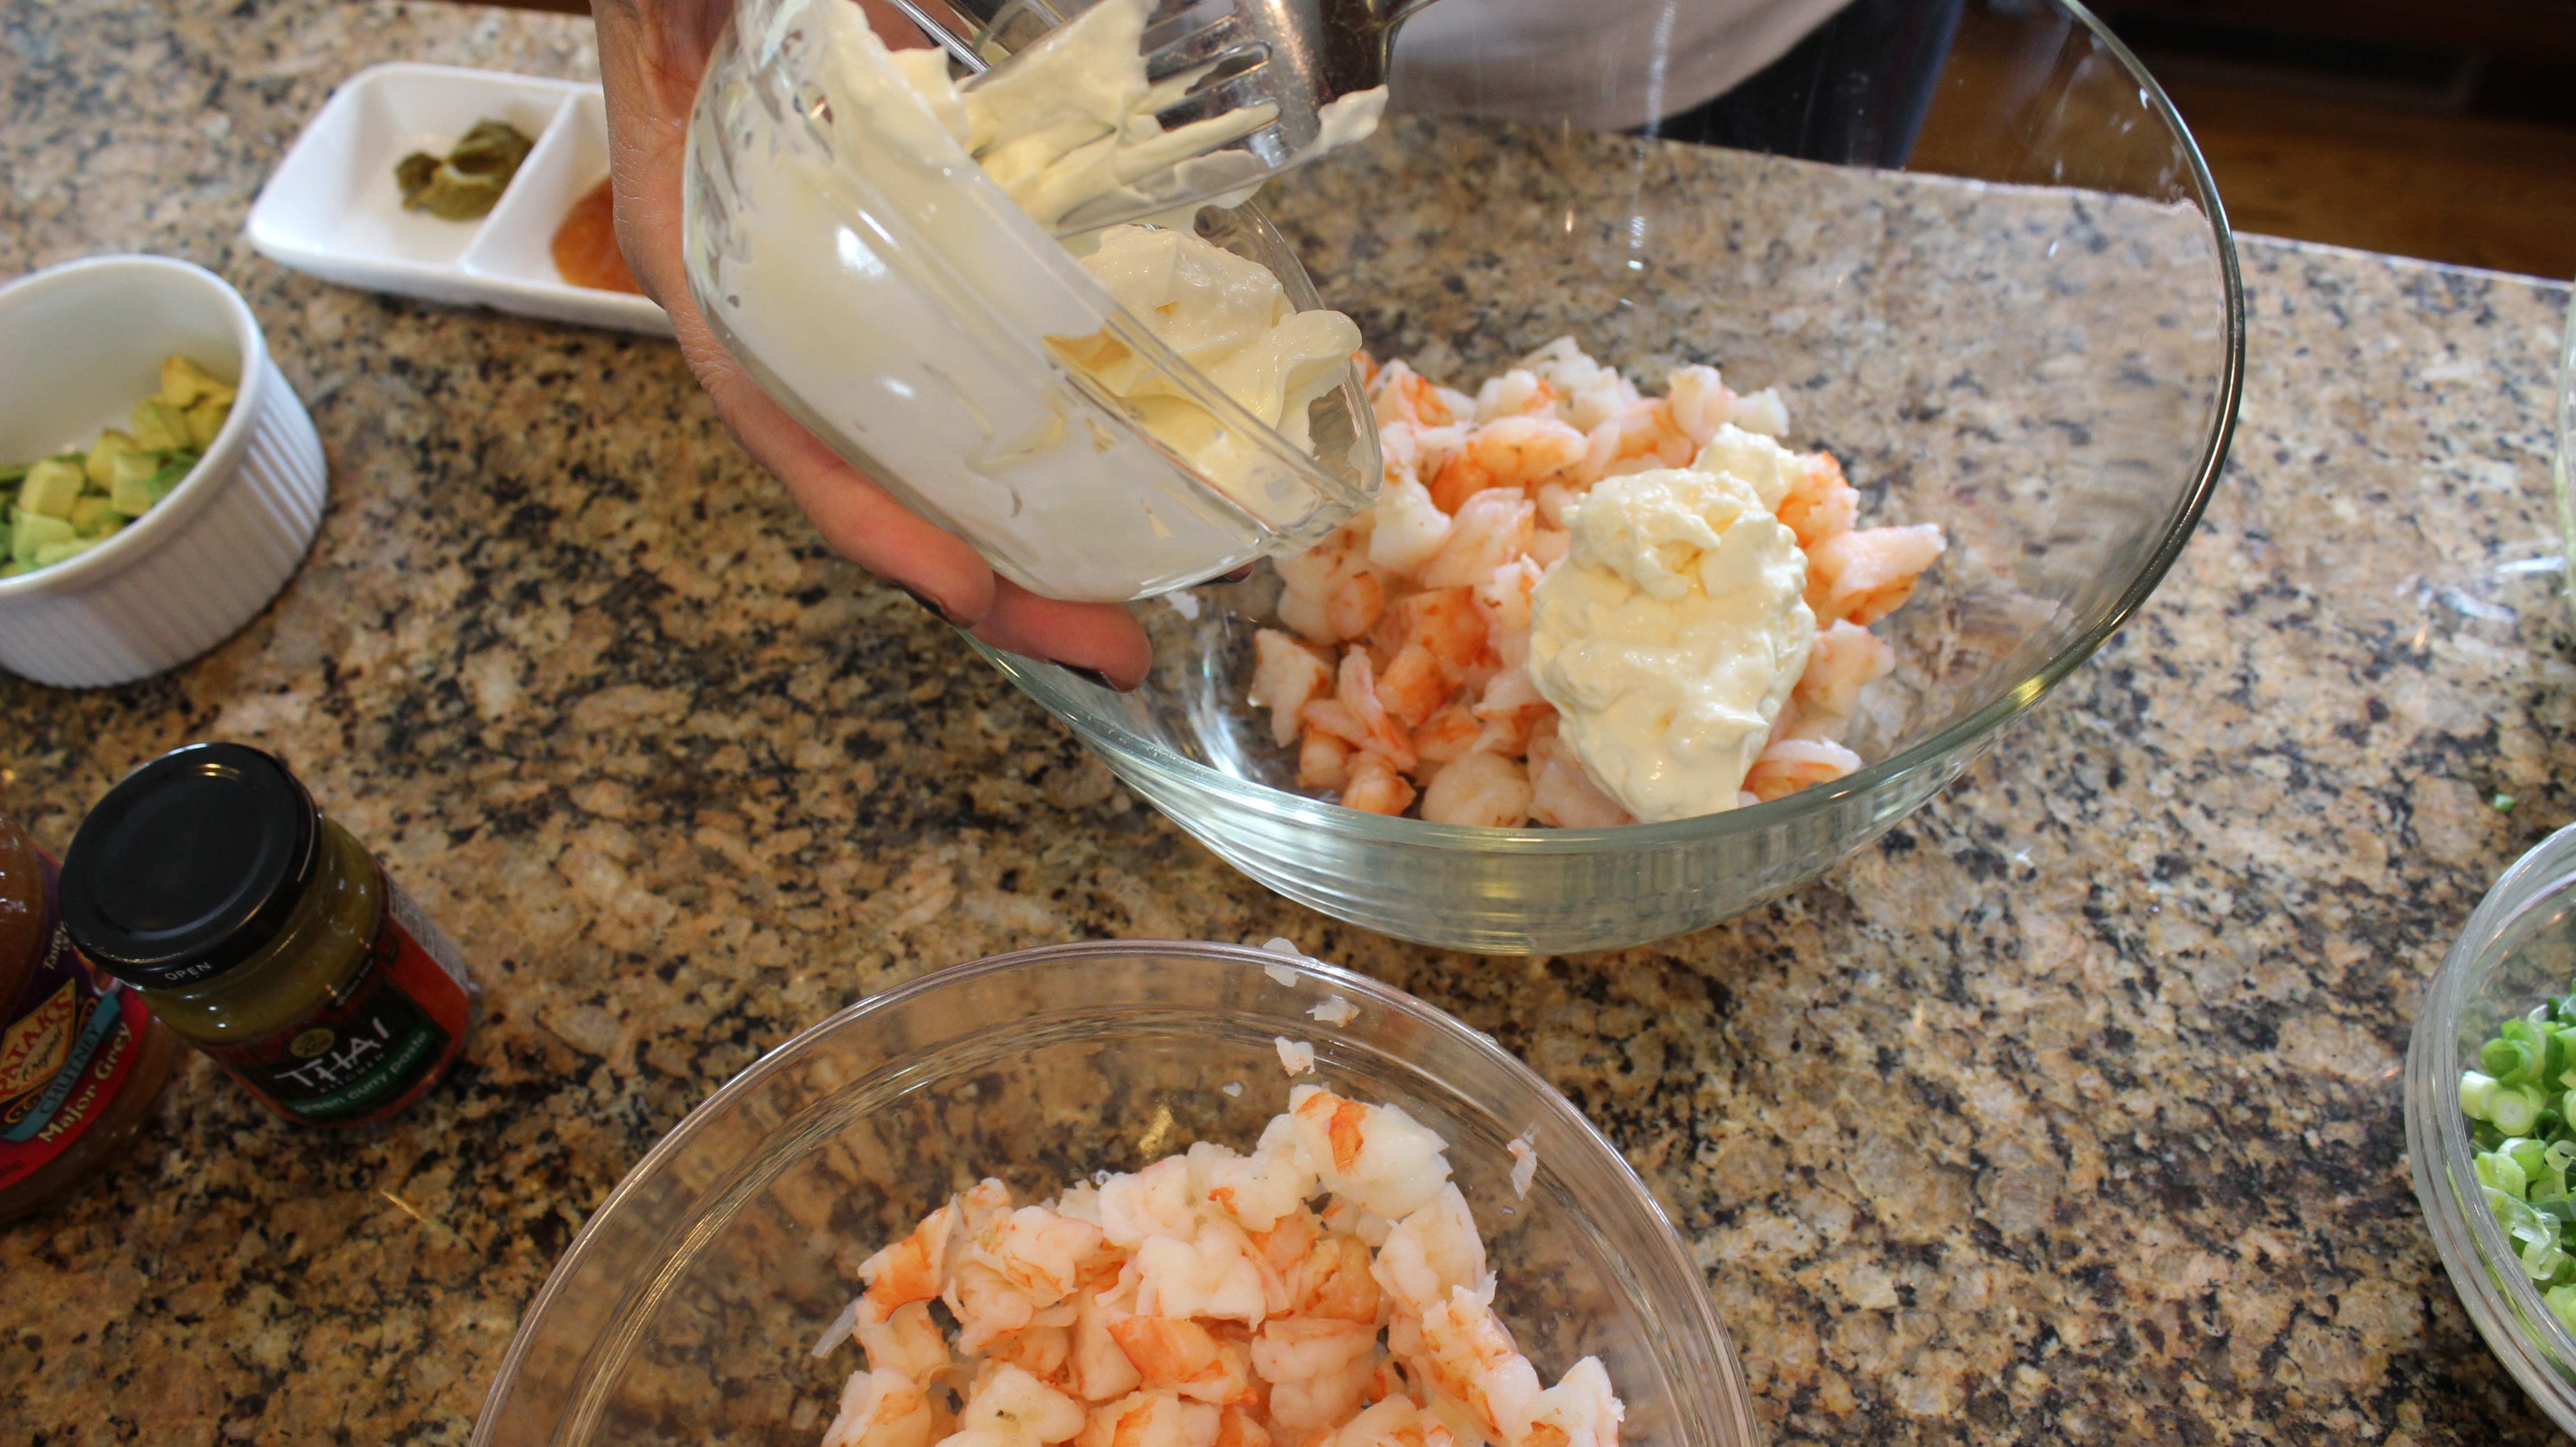
The Mango-Curry Shrimp in wonton cups is another winner with a variety of fresh flavors from the green curry sauce to the mango chutney which both come prepared from the specialty section of the grocery store totally saving you time in the prep department …Hallelujah! You know me with the mayo thing … as much as I love my Hellman’s Mayo I do like to cut the mayo with some plain Greek yogurt to give it a little tang and a wonderful fresh texture so I give you that option in the list of ingredients for this appetizer.
It was an enjoyable day shooting this show and having my good friend Nancy share with us a couple of her favorite appetizer’s that she frequently entertains with. We will definitely be back cooking with Nancy this summer and visiting her garden to pick heirloom tomatoes for that scrumptious homemade Tomato Tartan! Hope you enjoy the show and let me know how you like the Bloody Mary Shrimp & Mango-Curry Shrimp appetizer’s.
Ingredients For THE BLOODY MARY SHRIMP:
1 pound medium shrimp in shell, peeled and de-veined
1 1/2 cups thinly sliced celery (2 -3 ribs)
1 cup thinly sliced scallions (about 6)
Directions For THE BLOODY MARY SHRIMP:
Bring a large saucepan of salted water (2 tablespoons salt for 2 quarts water) to a boil.
Add shrimp, then remove from heat and let stand in water until cooked through, about 5 minutes.
Drain in a colander and cool to room temperature, about 30 minutes.
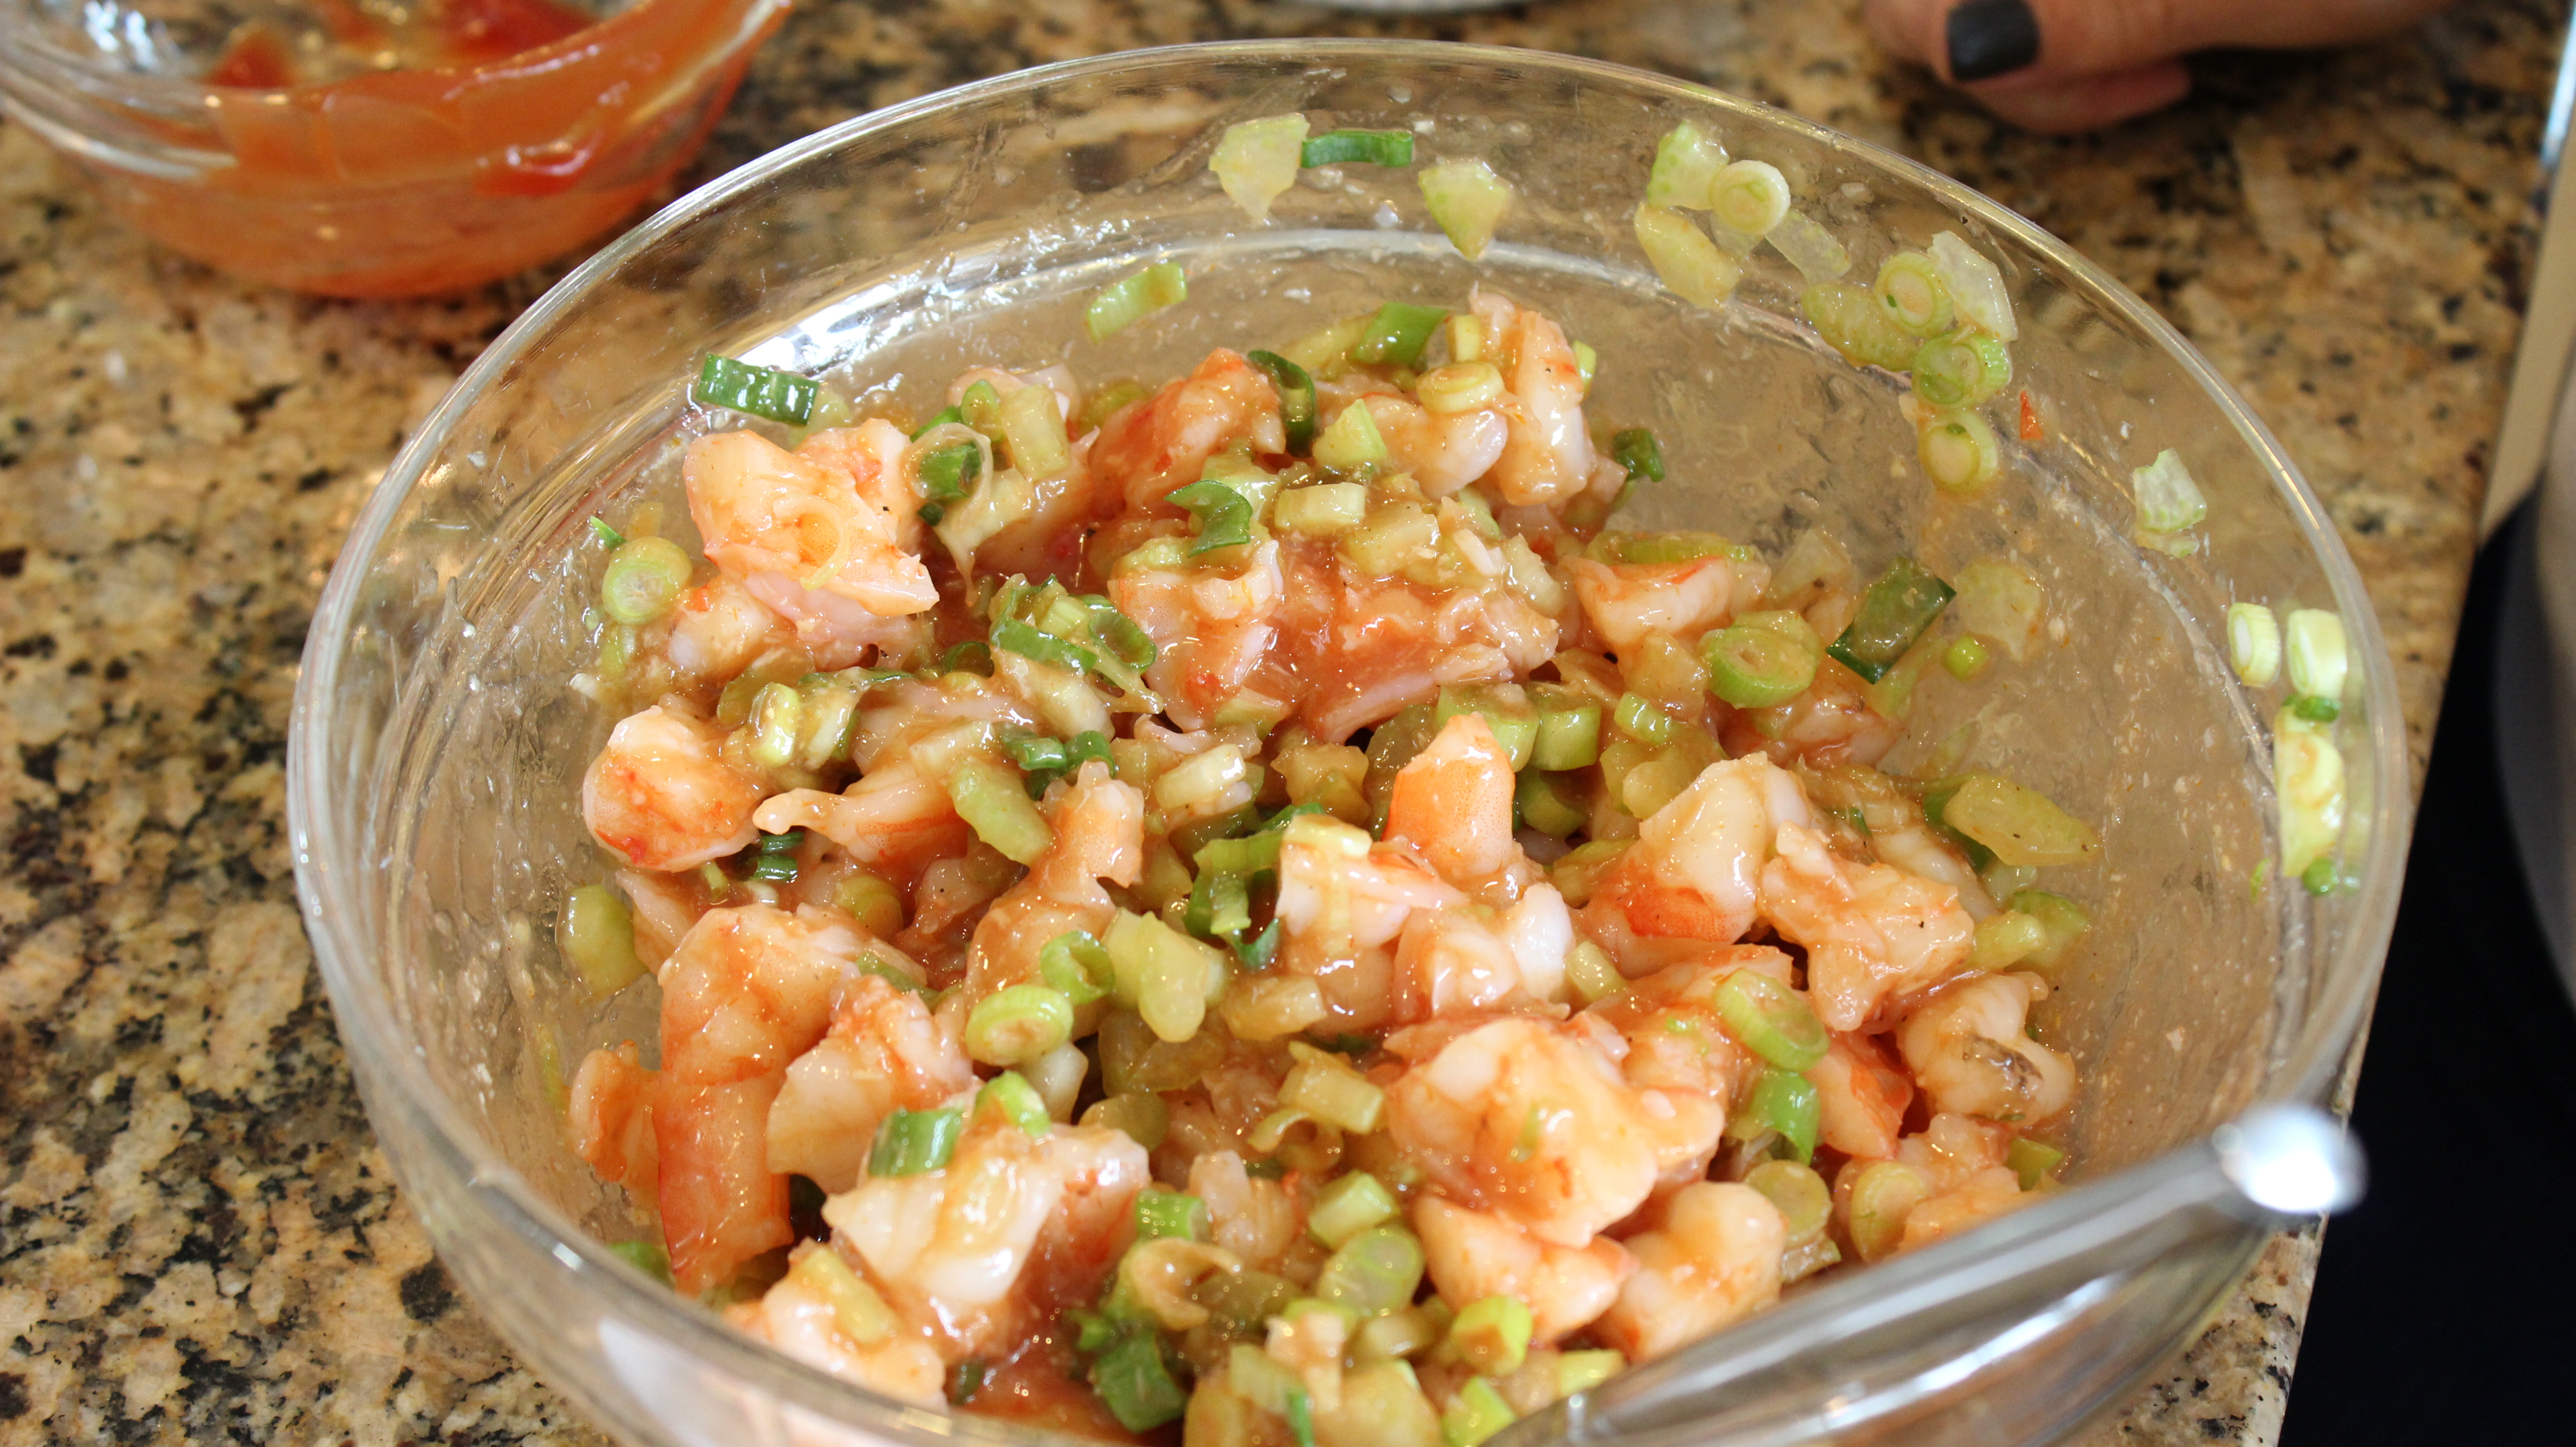
Cut shrimp into thirds and transfer to a large bowl with celery and scallions.
Ingredients For THE SAUCE:
1/2 cup ketchup
1/4 cup vodka (preferably Absolut Peppar)
1/4 cup fresh lemon juice
2 tablespoons bottled horseradish (not drained), or to taste
1 teaspoon Worcestershire sauce
1 teaspoon Tabasco OR Siracha (also found where the tabasco is shelved at the store)
S&P to taste
Directions For THE SAUCE:
Whisk together all sauce ingredients
Just before serving, stir sauce into shrimp mixture.
Spoon 2 shrimp pieces with vegetables and sauce into each soup spoon and arrange spoons on a platter.
NOTE: Shrimp can be cooked and tossed with vegetables 4 hours ahead, then chilled in a sealed bag. Sauce can be made 1 day ahead and chilled, covered. Mix the sauce and shrimp right before serving.
Ingredients For THE MANGO-CURRY SHRIMP:
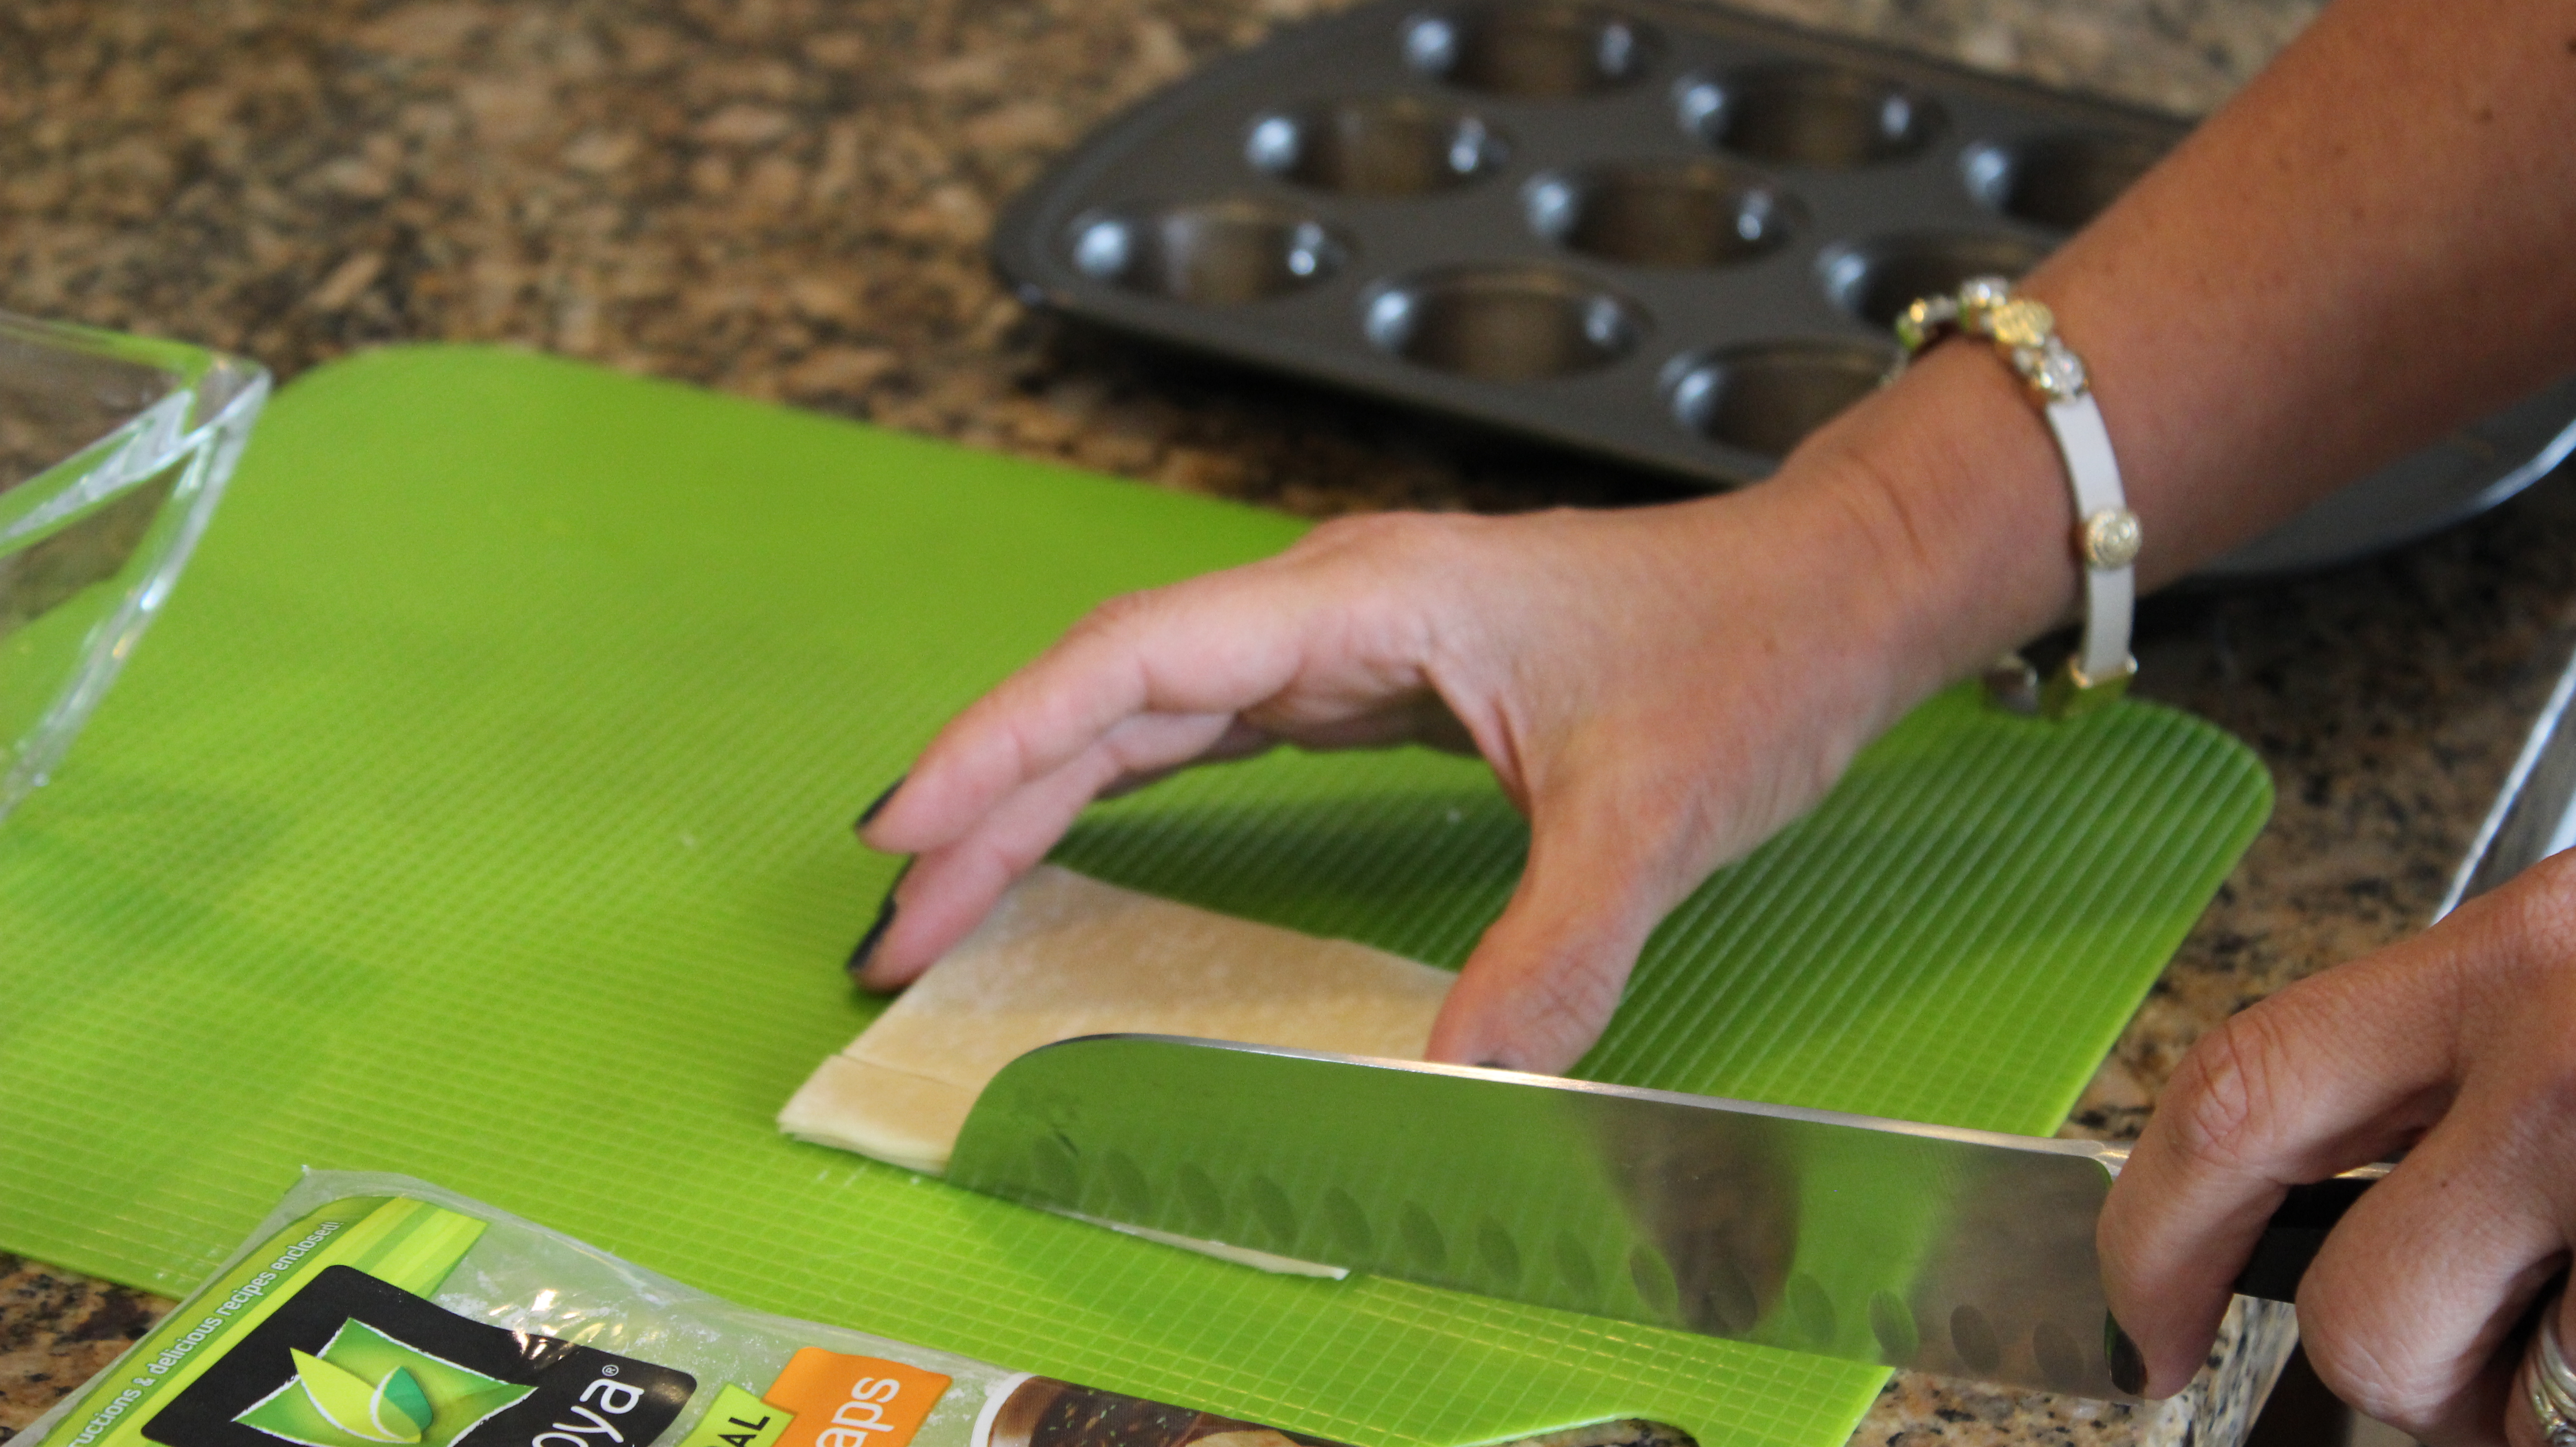
12 wonton wrappers (from one 12-ounce package), each cut into squares
Vegetable oil
1/3 cup mayonnaise OR split the 1/3 cup mayo in half with Greek yogurt
2 tablespoons chopped fresh cilantro
5 teaspoons fresh lime juice
2 teaspoons mango chutney
1 teaspoon Thai green curry paste (Thai green curry paste is available at Asian markets and in the Asian foods section of some supermarkets)
12 ounces peeled cooked medium shrimp, coarsely chopped
1 cup Fresh cilantro leaves coarsely chopped
Directions For THE MANGO-CURRY SHRIMP IN WONTON CUPS – Pre-Heat oven to 325º:
Preheat oven to 325°F.
Place wonton squares on work surface and brush lightly with oil
Press each into miniature muffin cup, oiled side down
Bake until wonton cups are golden brown, about 10 minutes
Cool completely in tins -Can be made 3 days ahead
Remove cups from tins and store airtight at room temperature
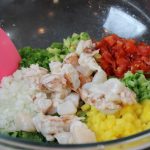
Whisk mayonnaise, chopped fresh cilantro, lime juice, chutney, and curry paste in medium bowl to blend
Stir in shrimp. Season salad to taste with salt and pepper. (Salad can be prepared up to 1 day ahead – Cover and refrigerate
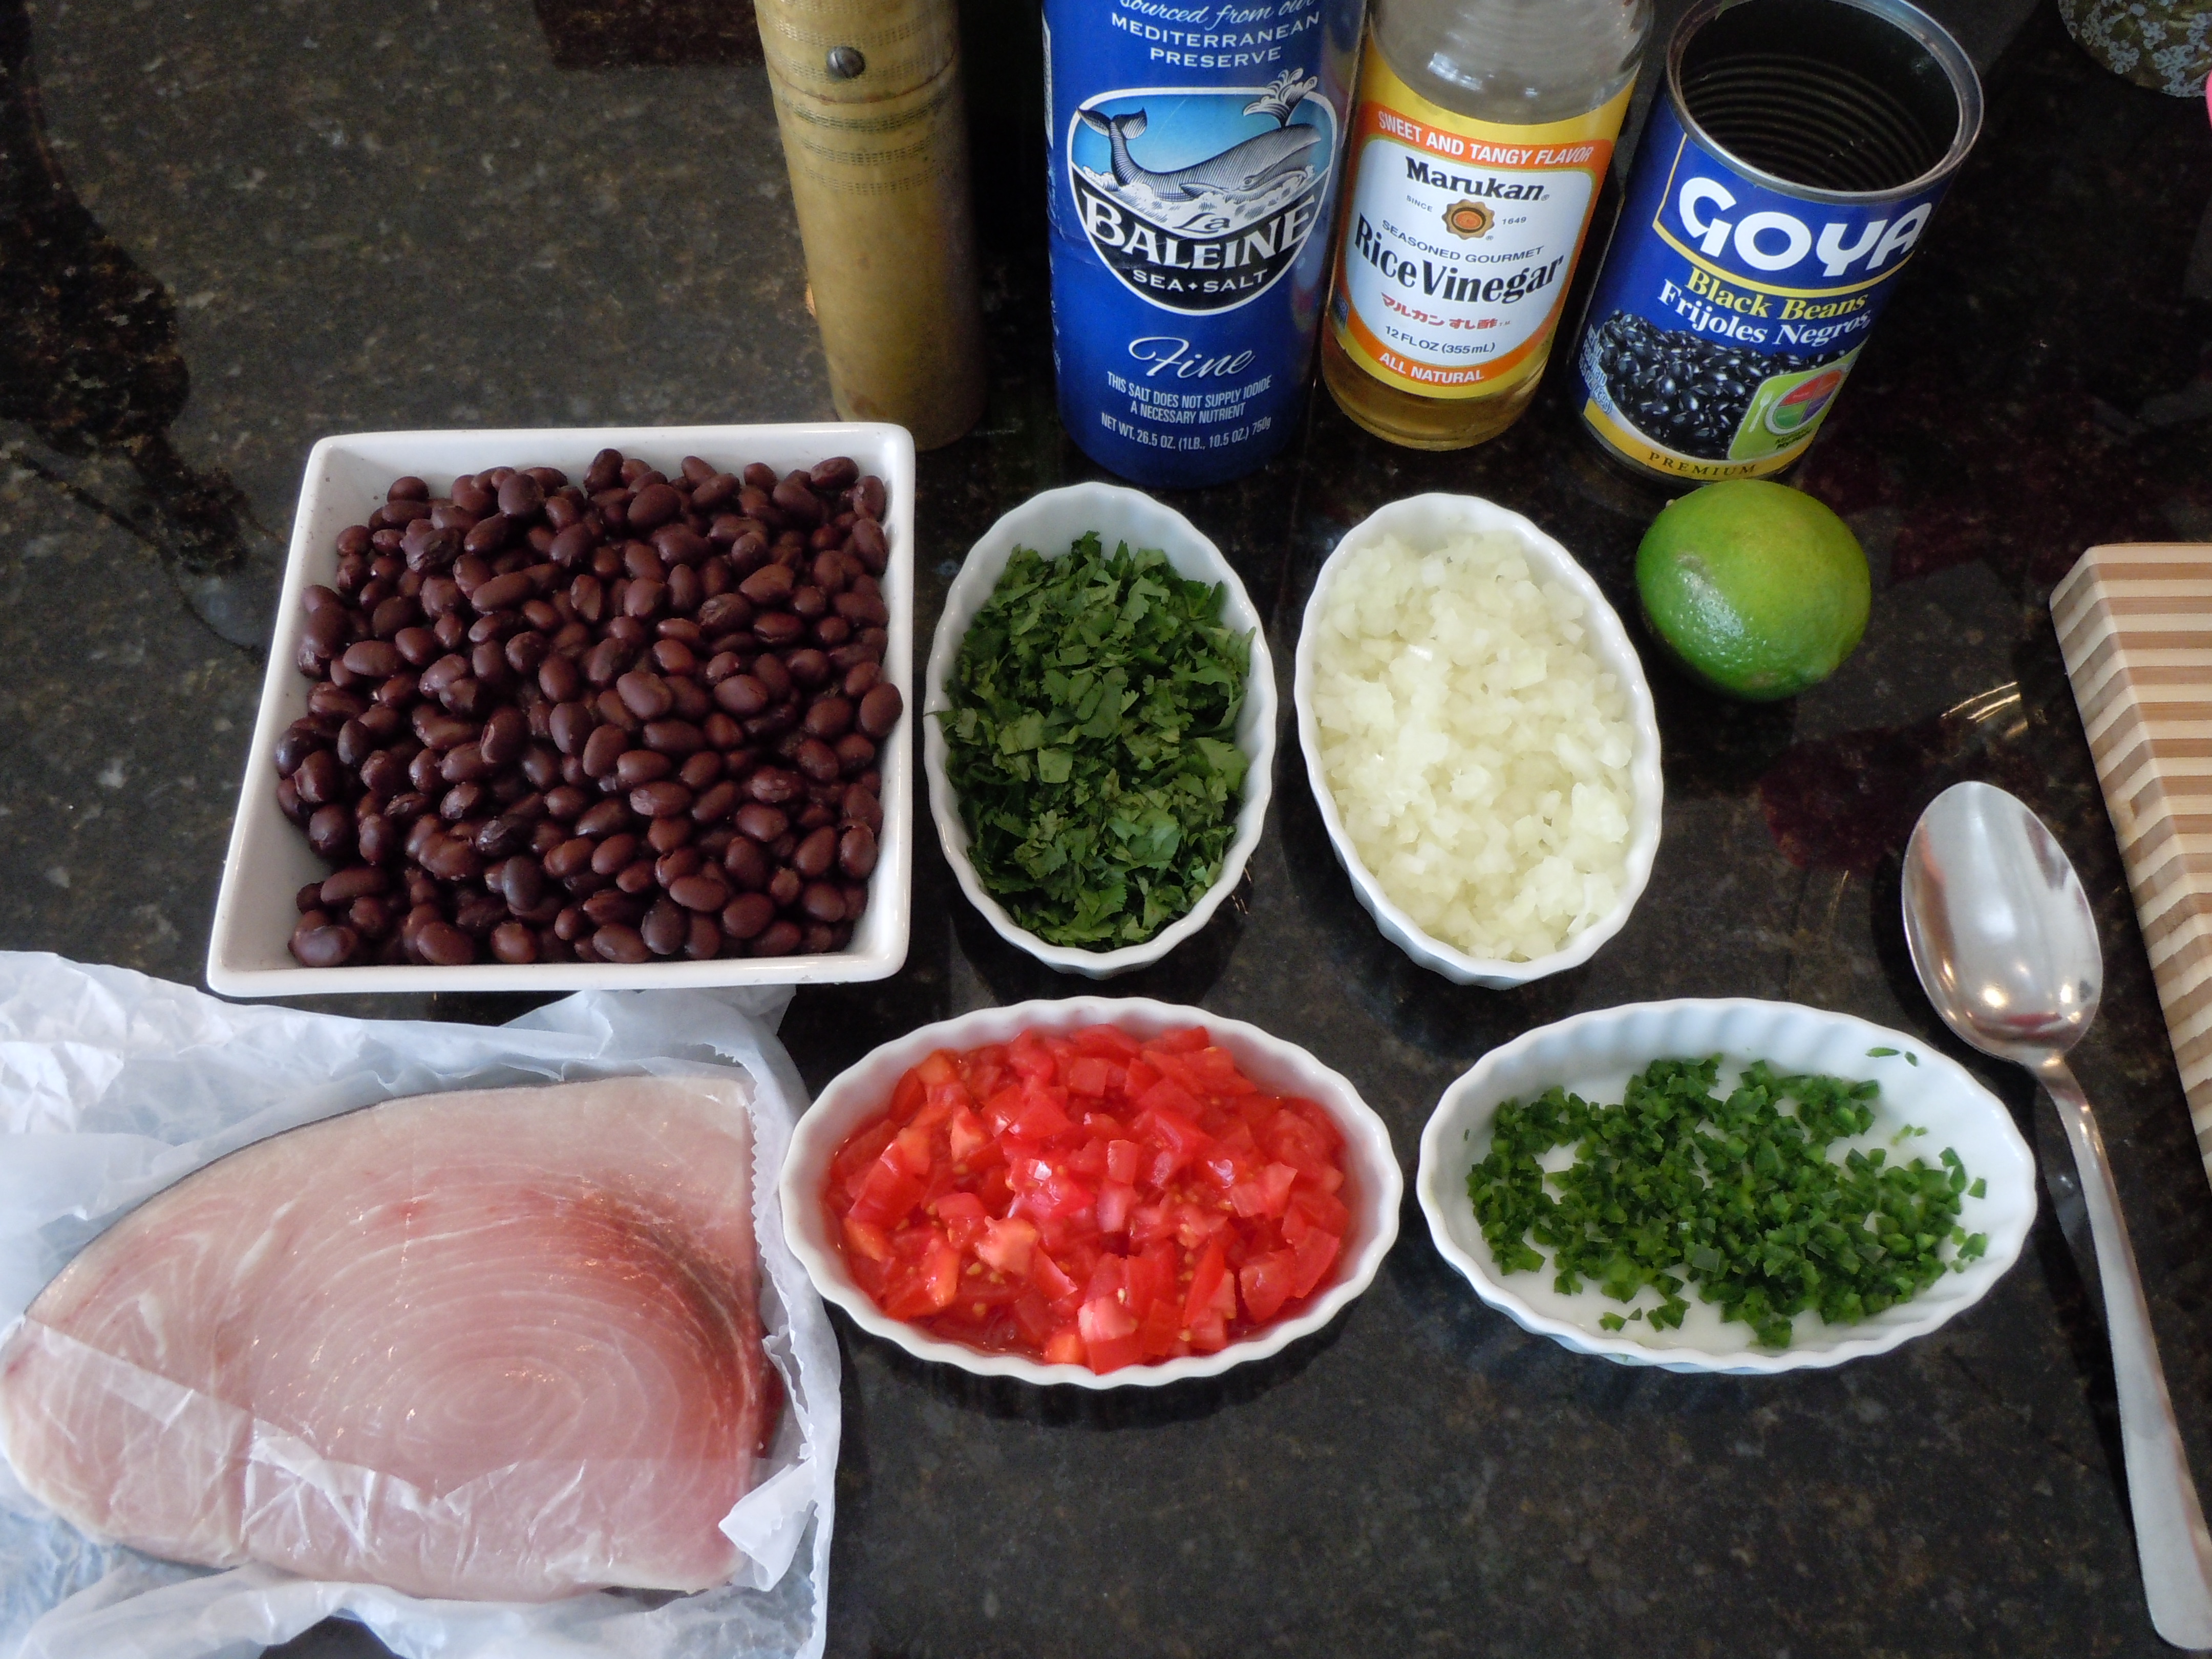
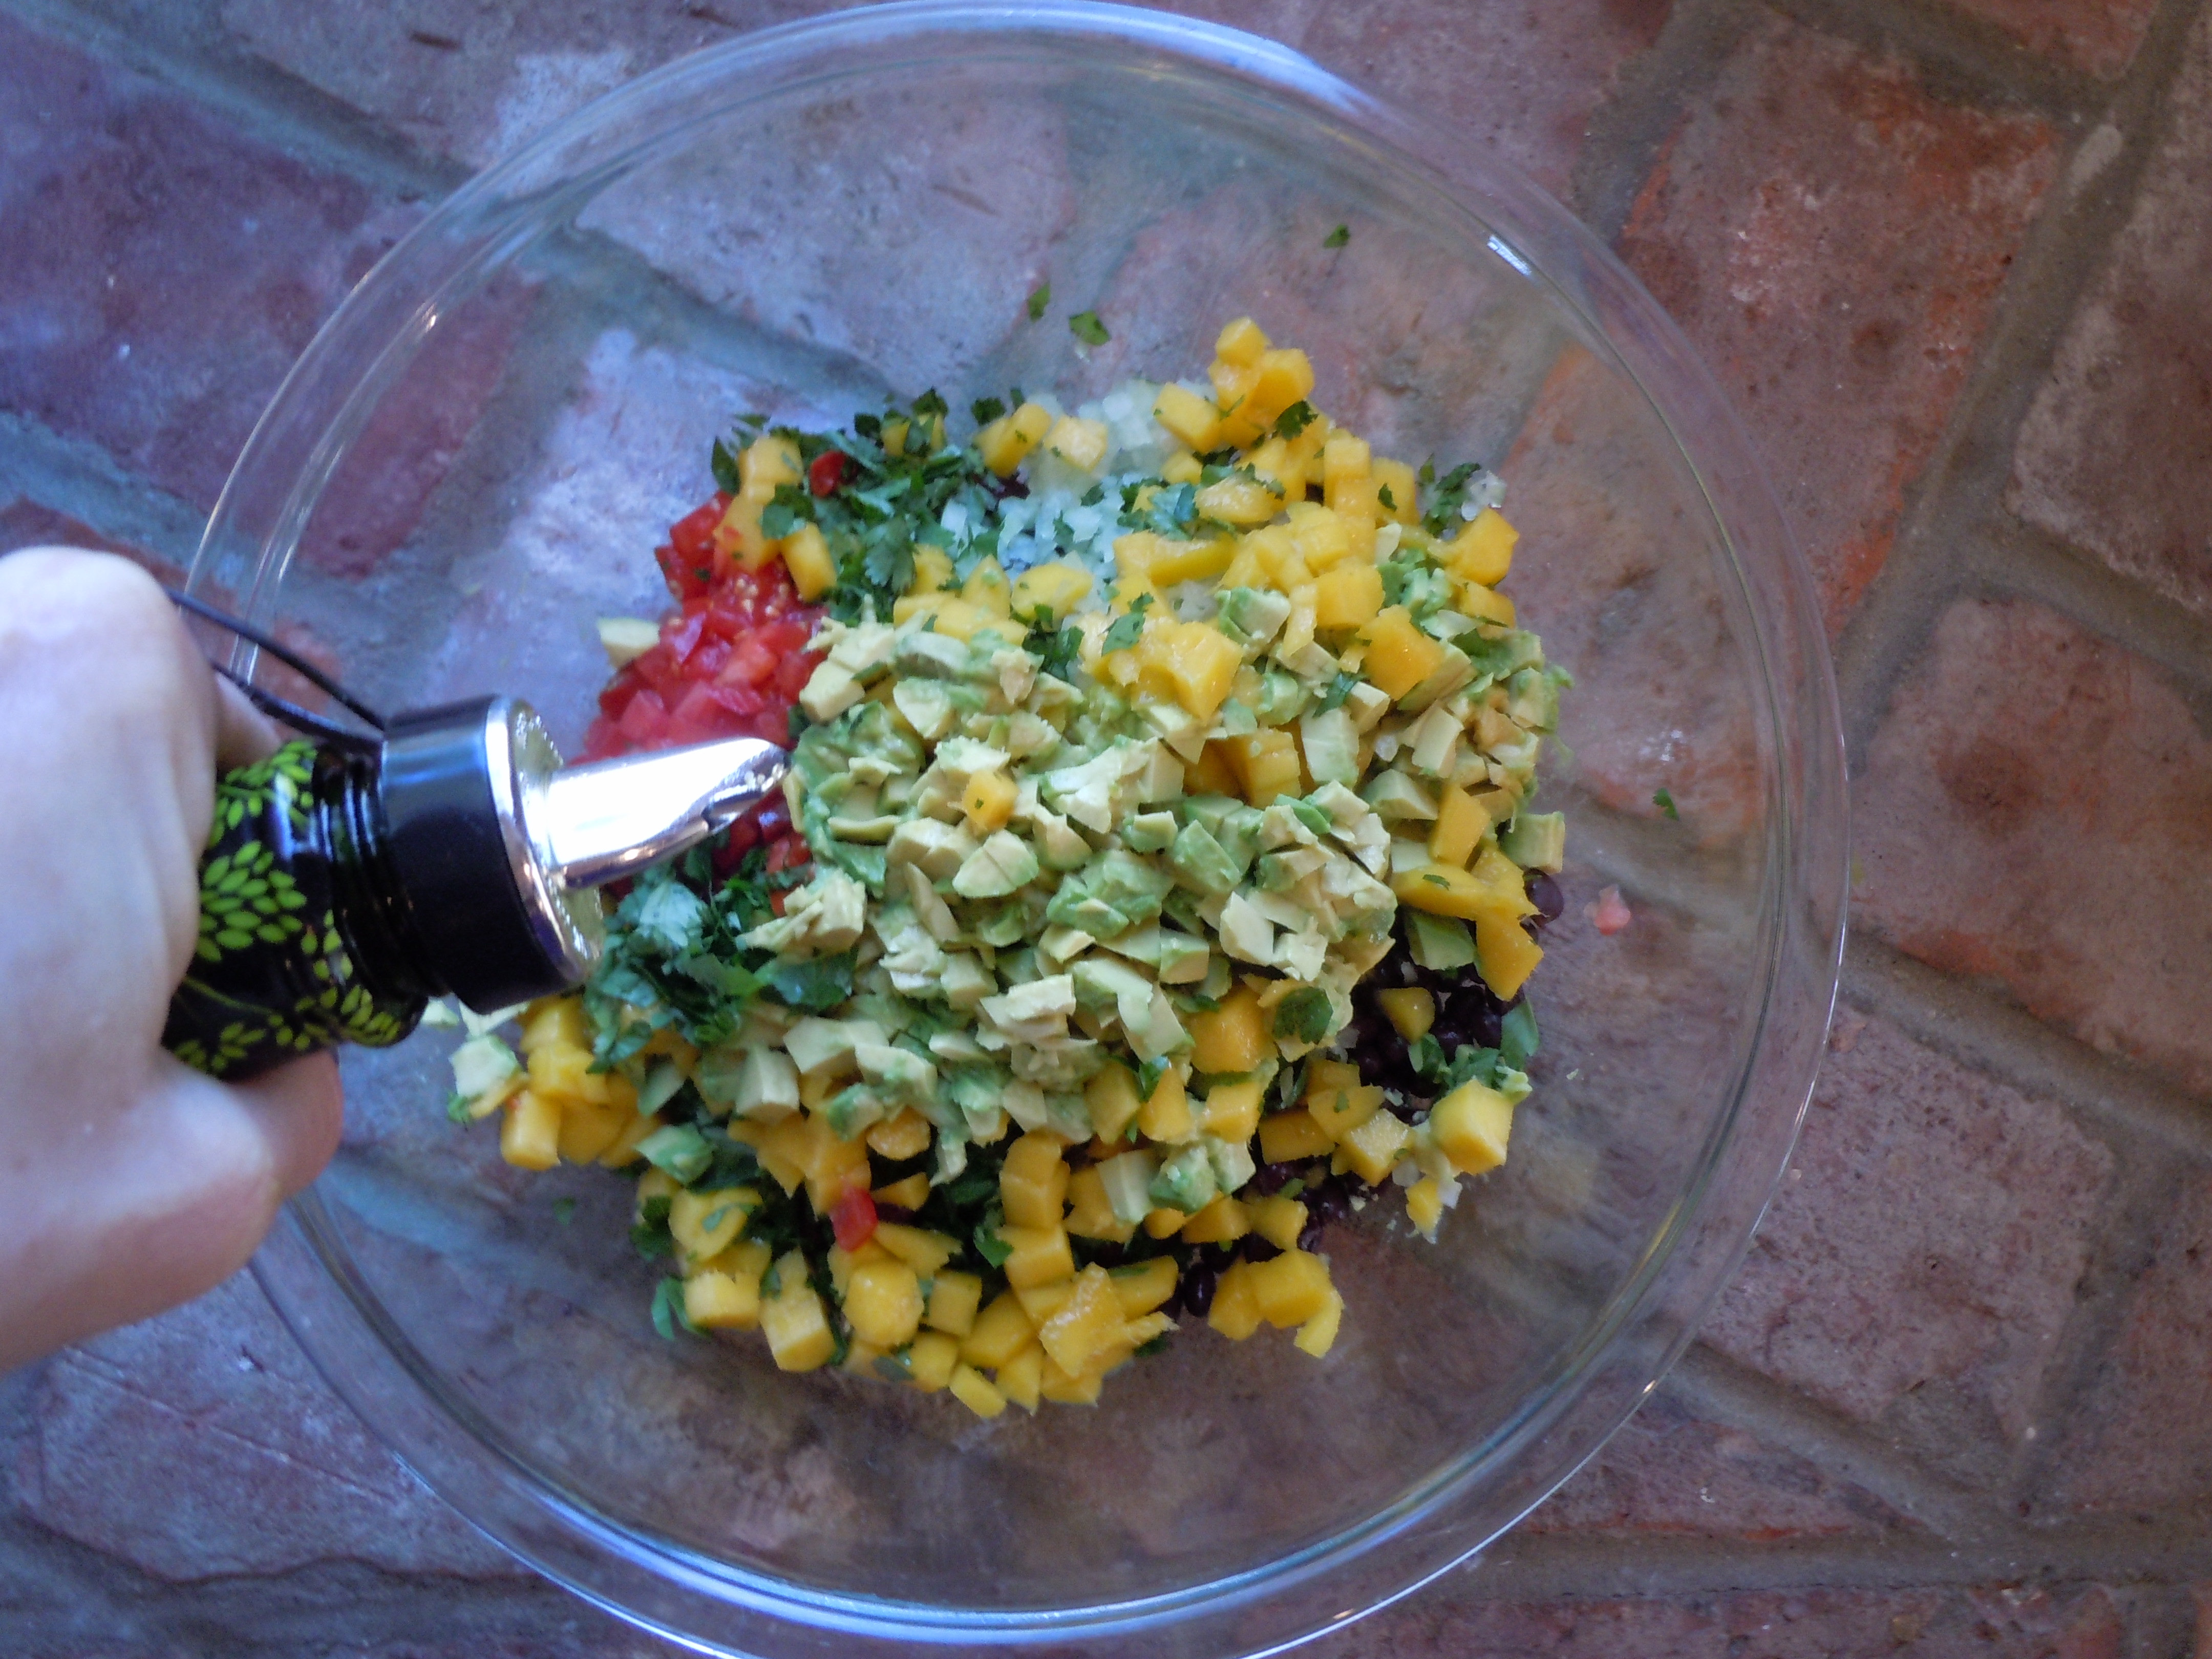
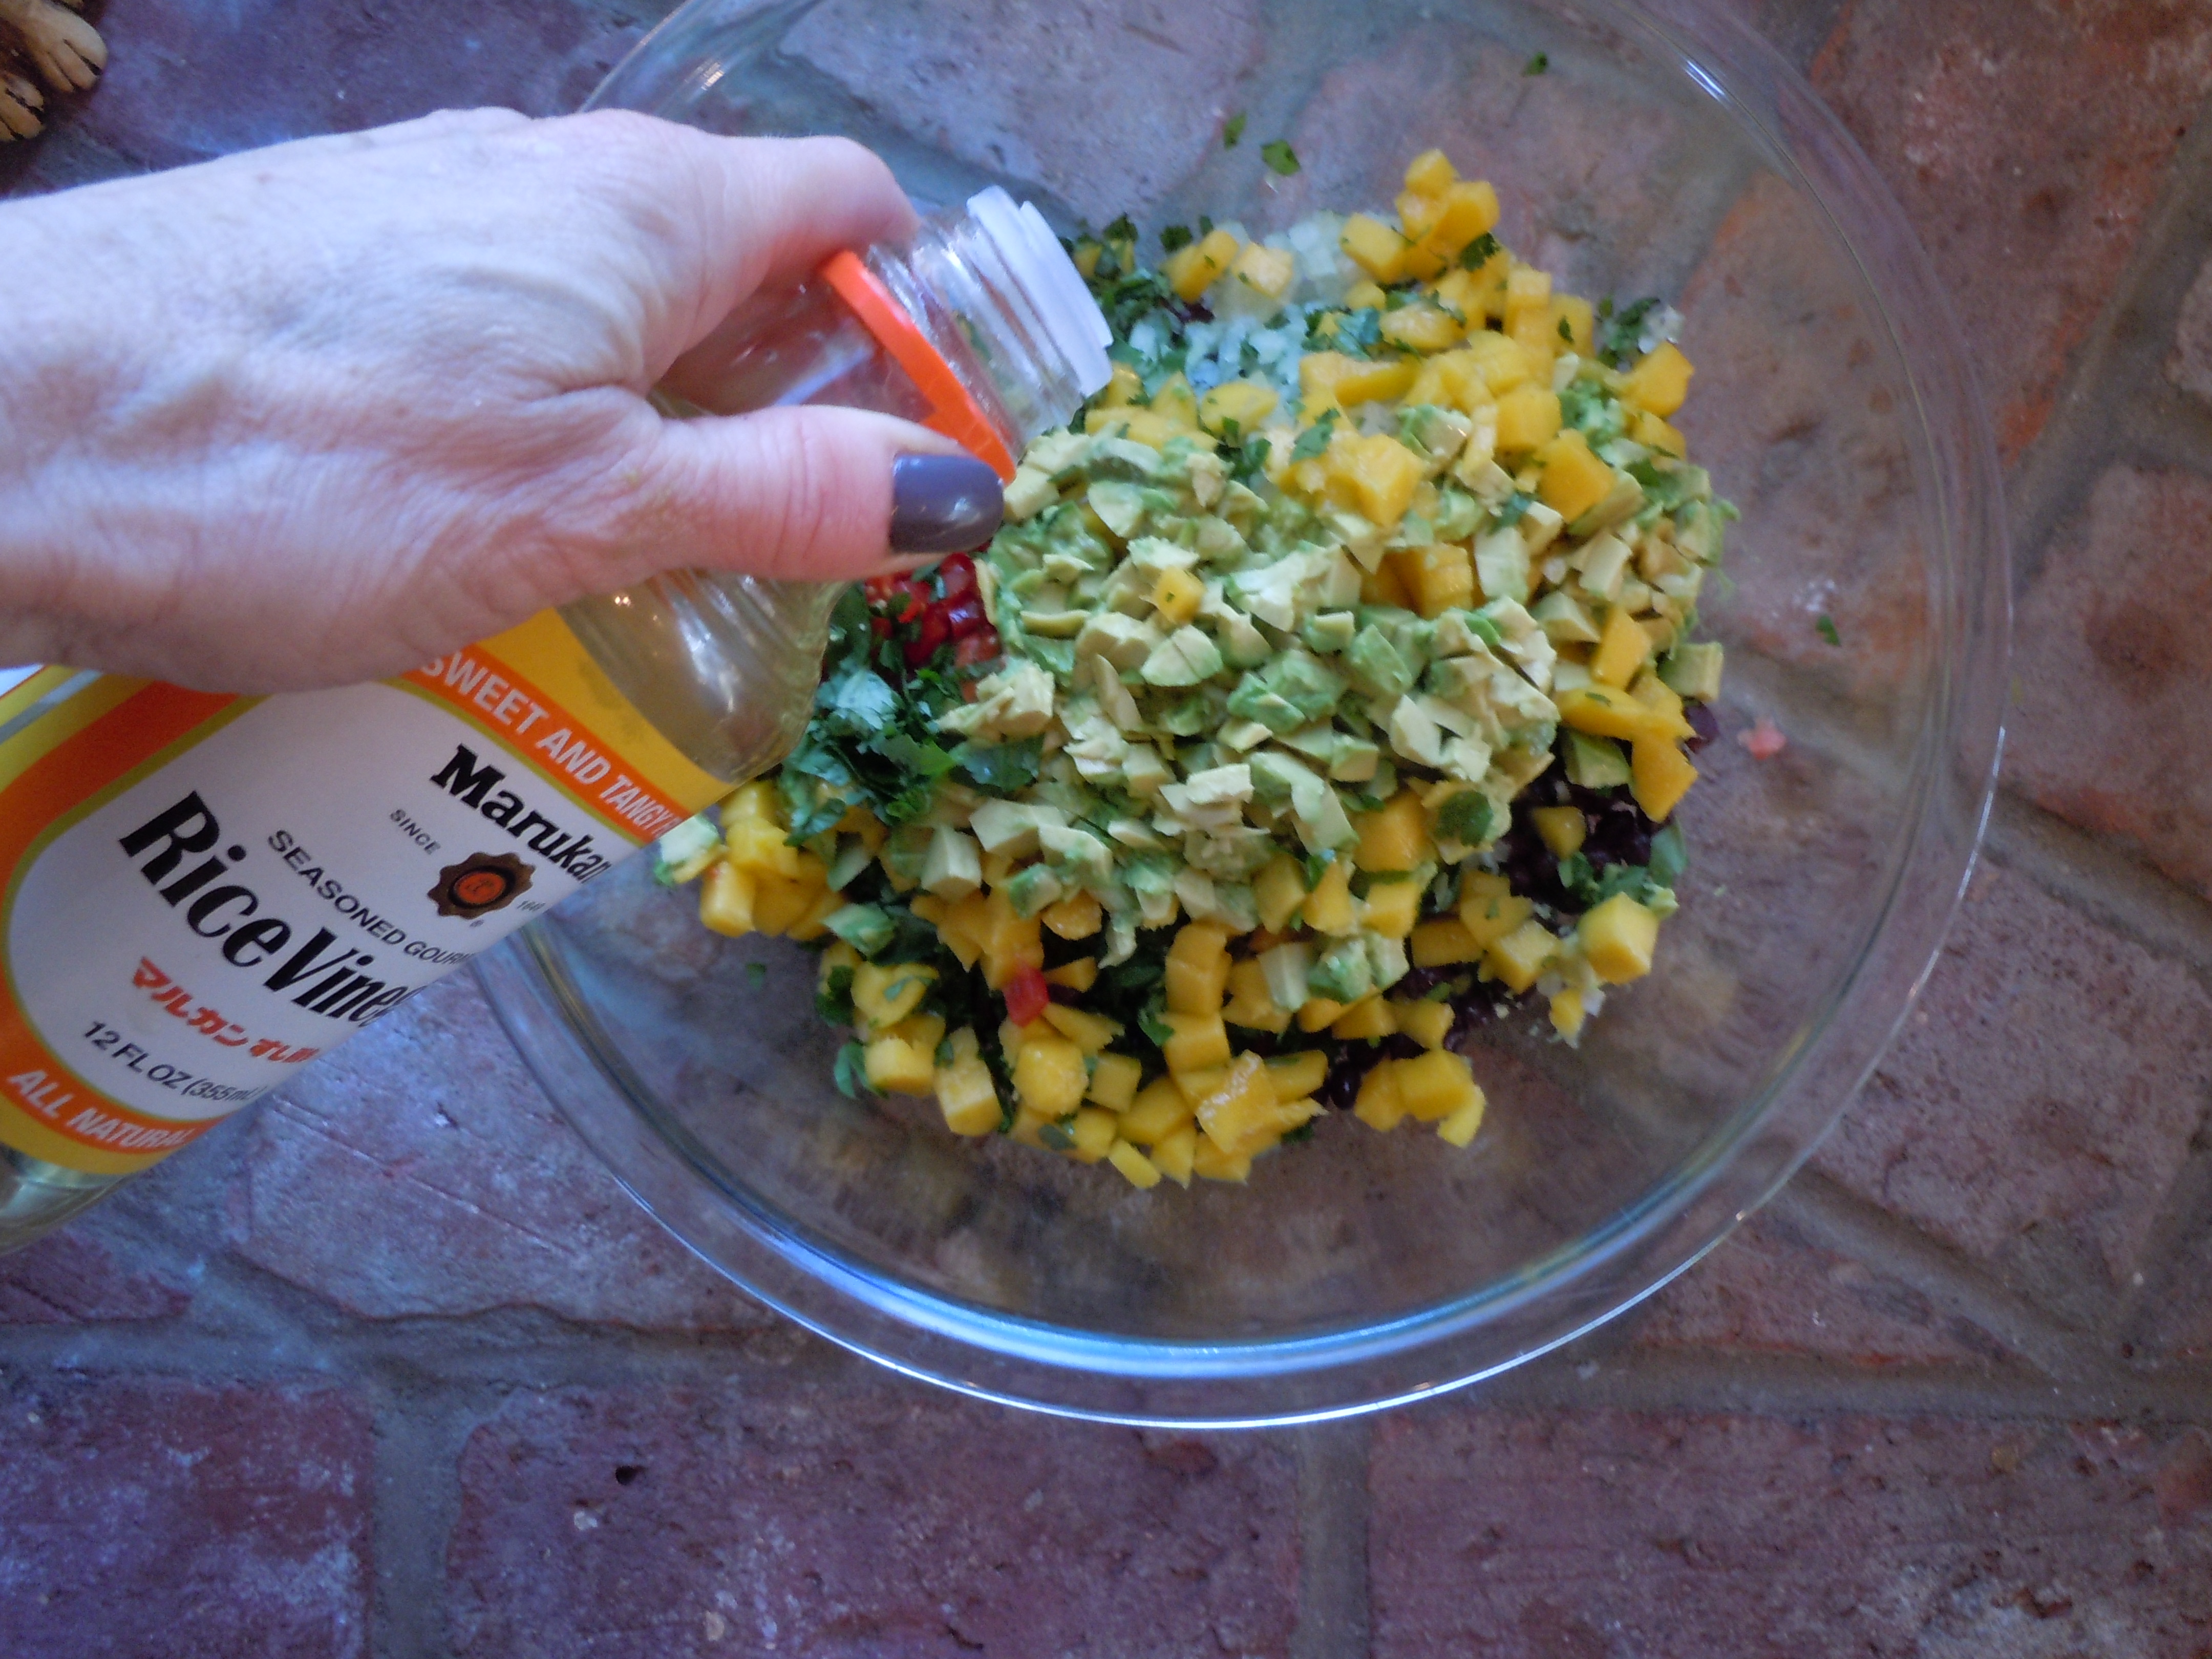
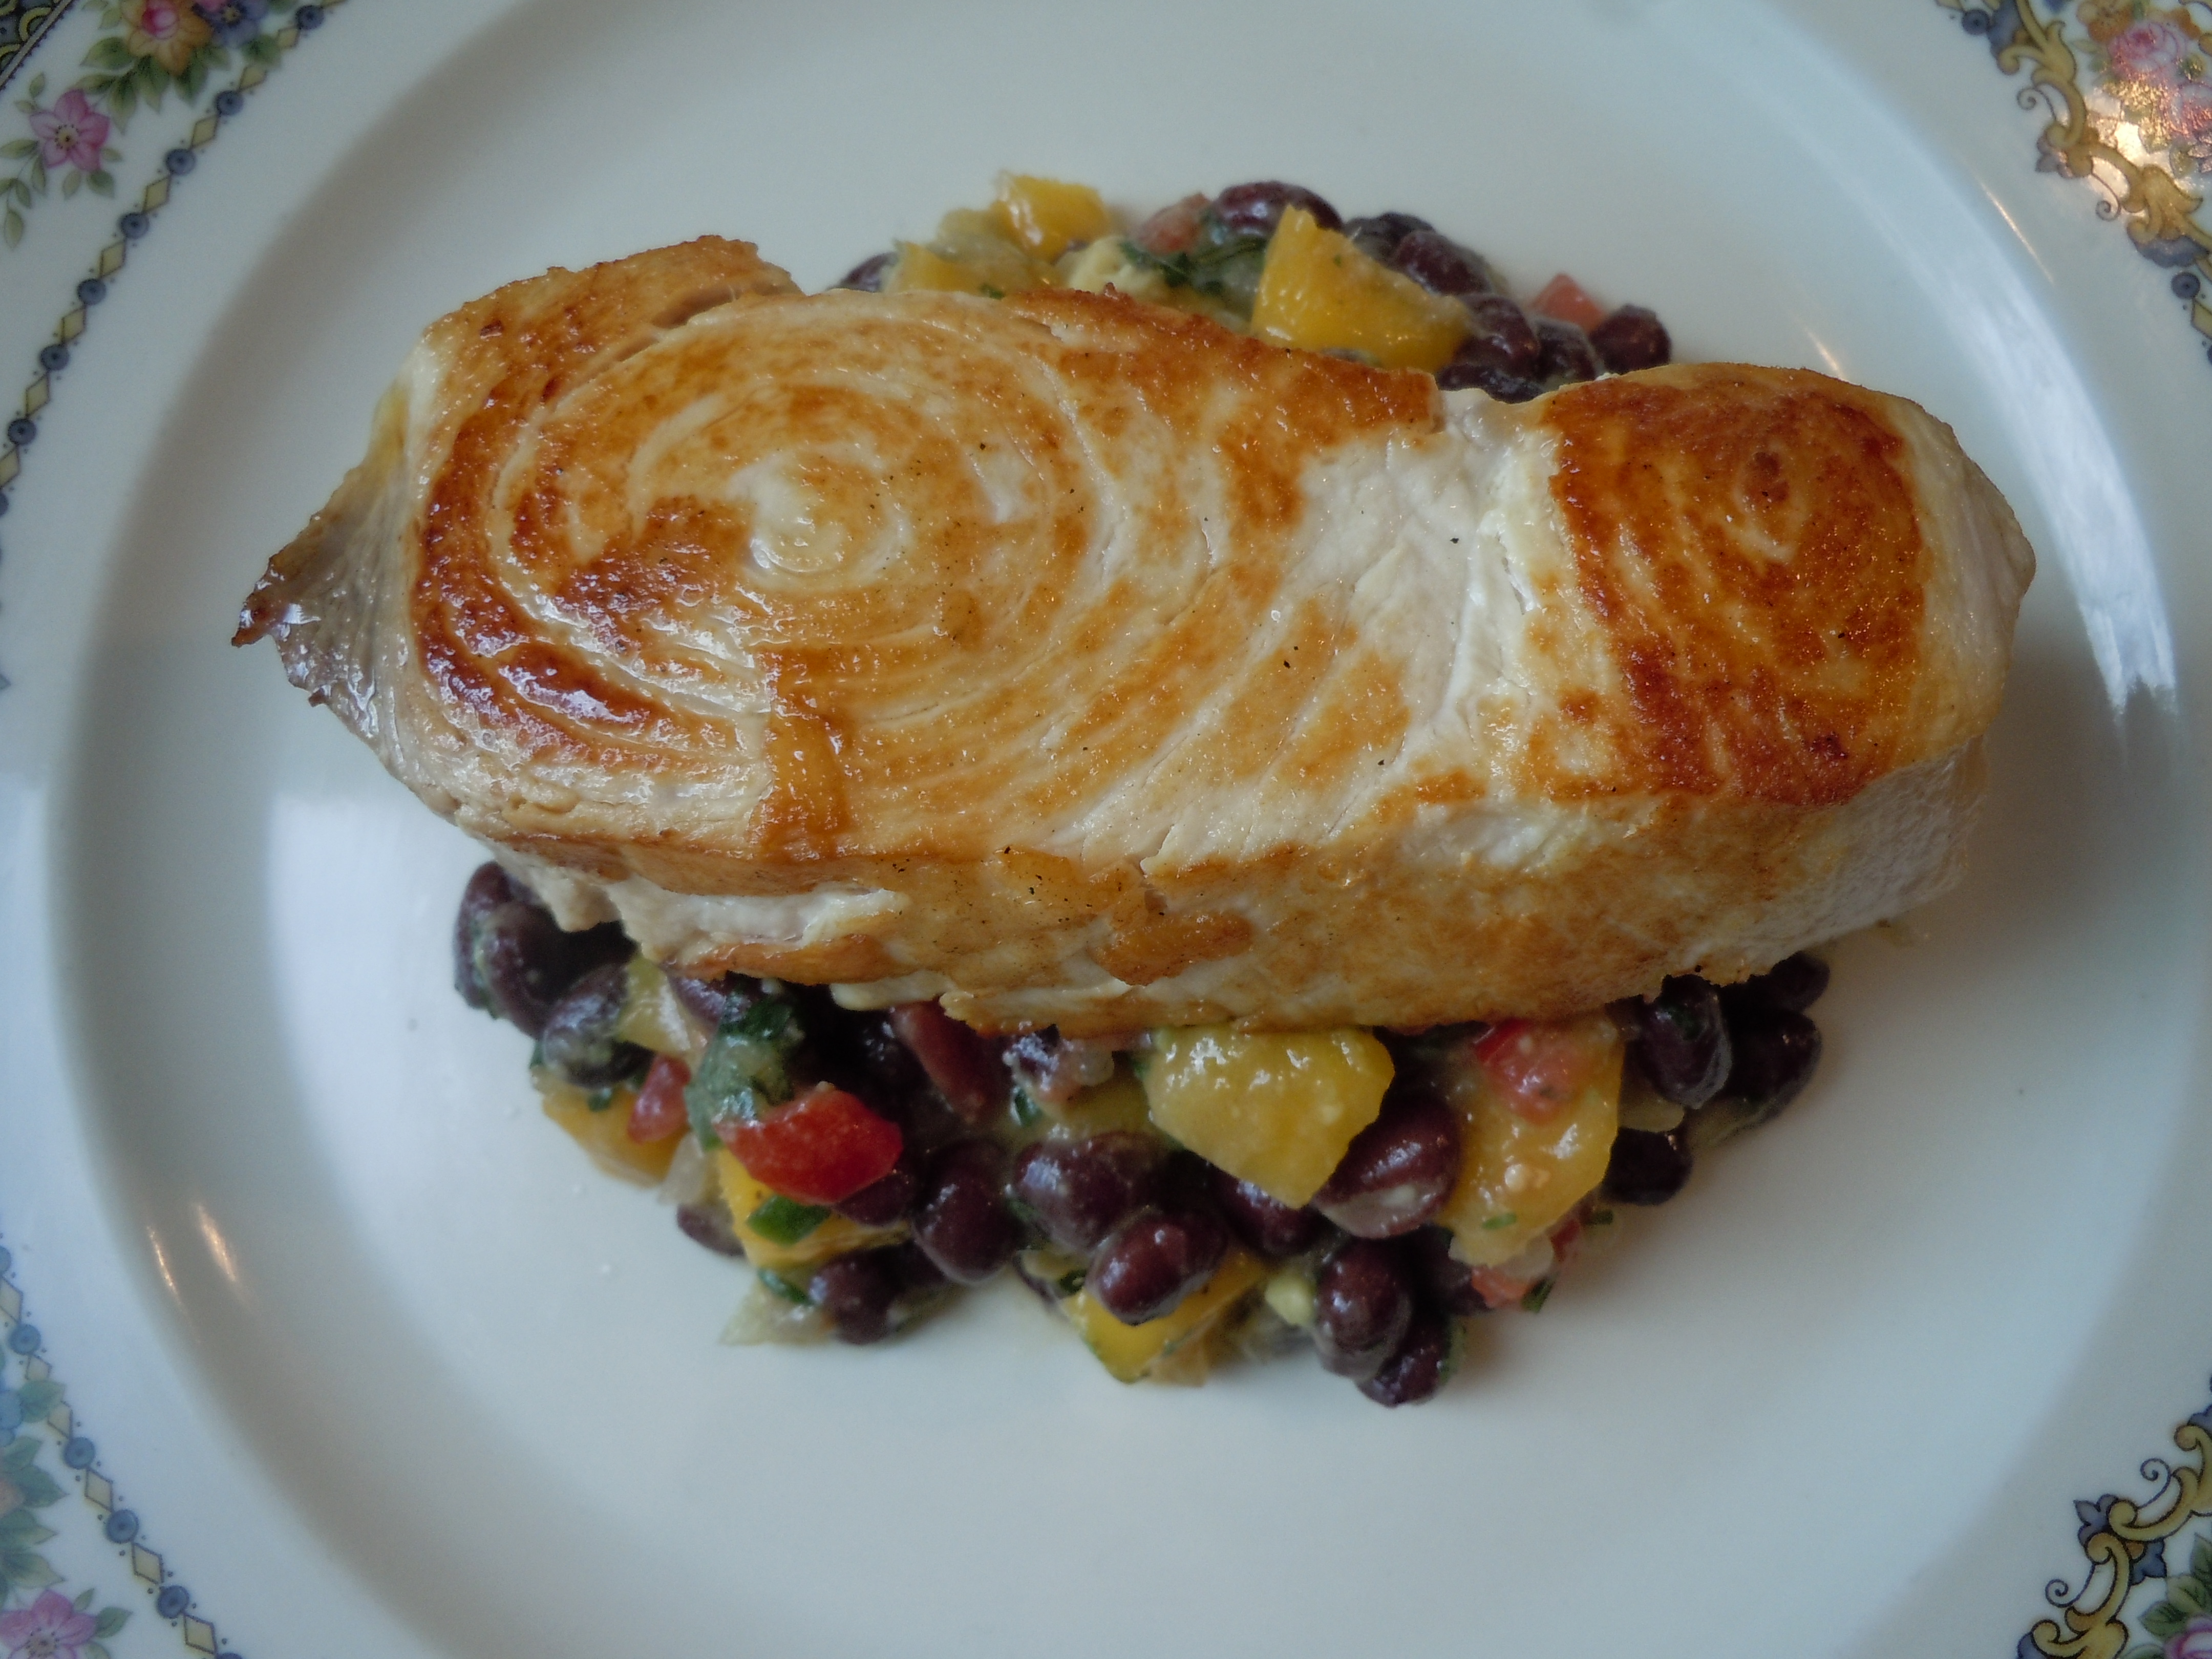
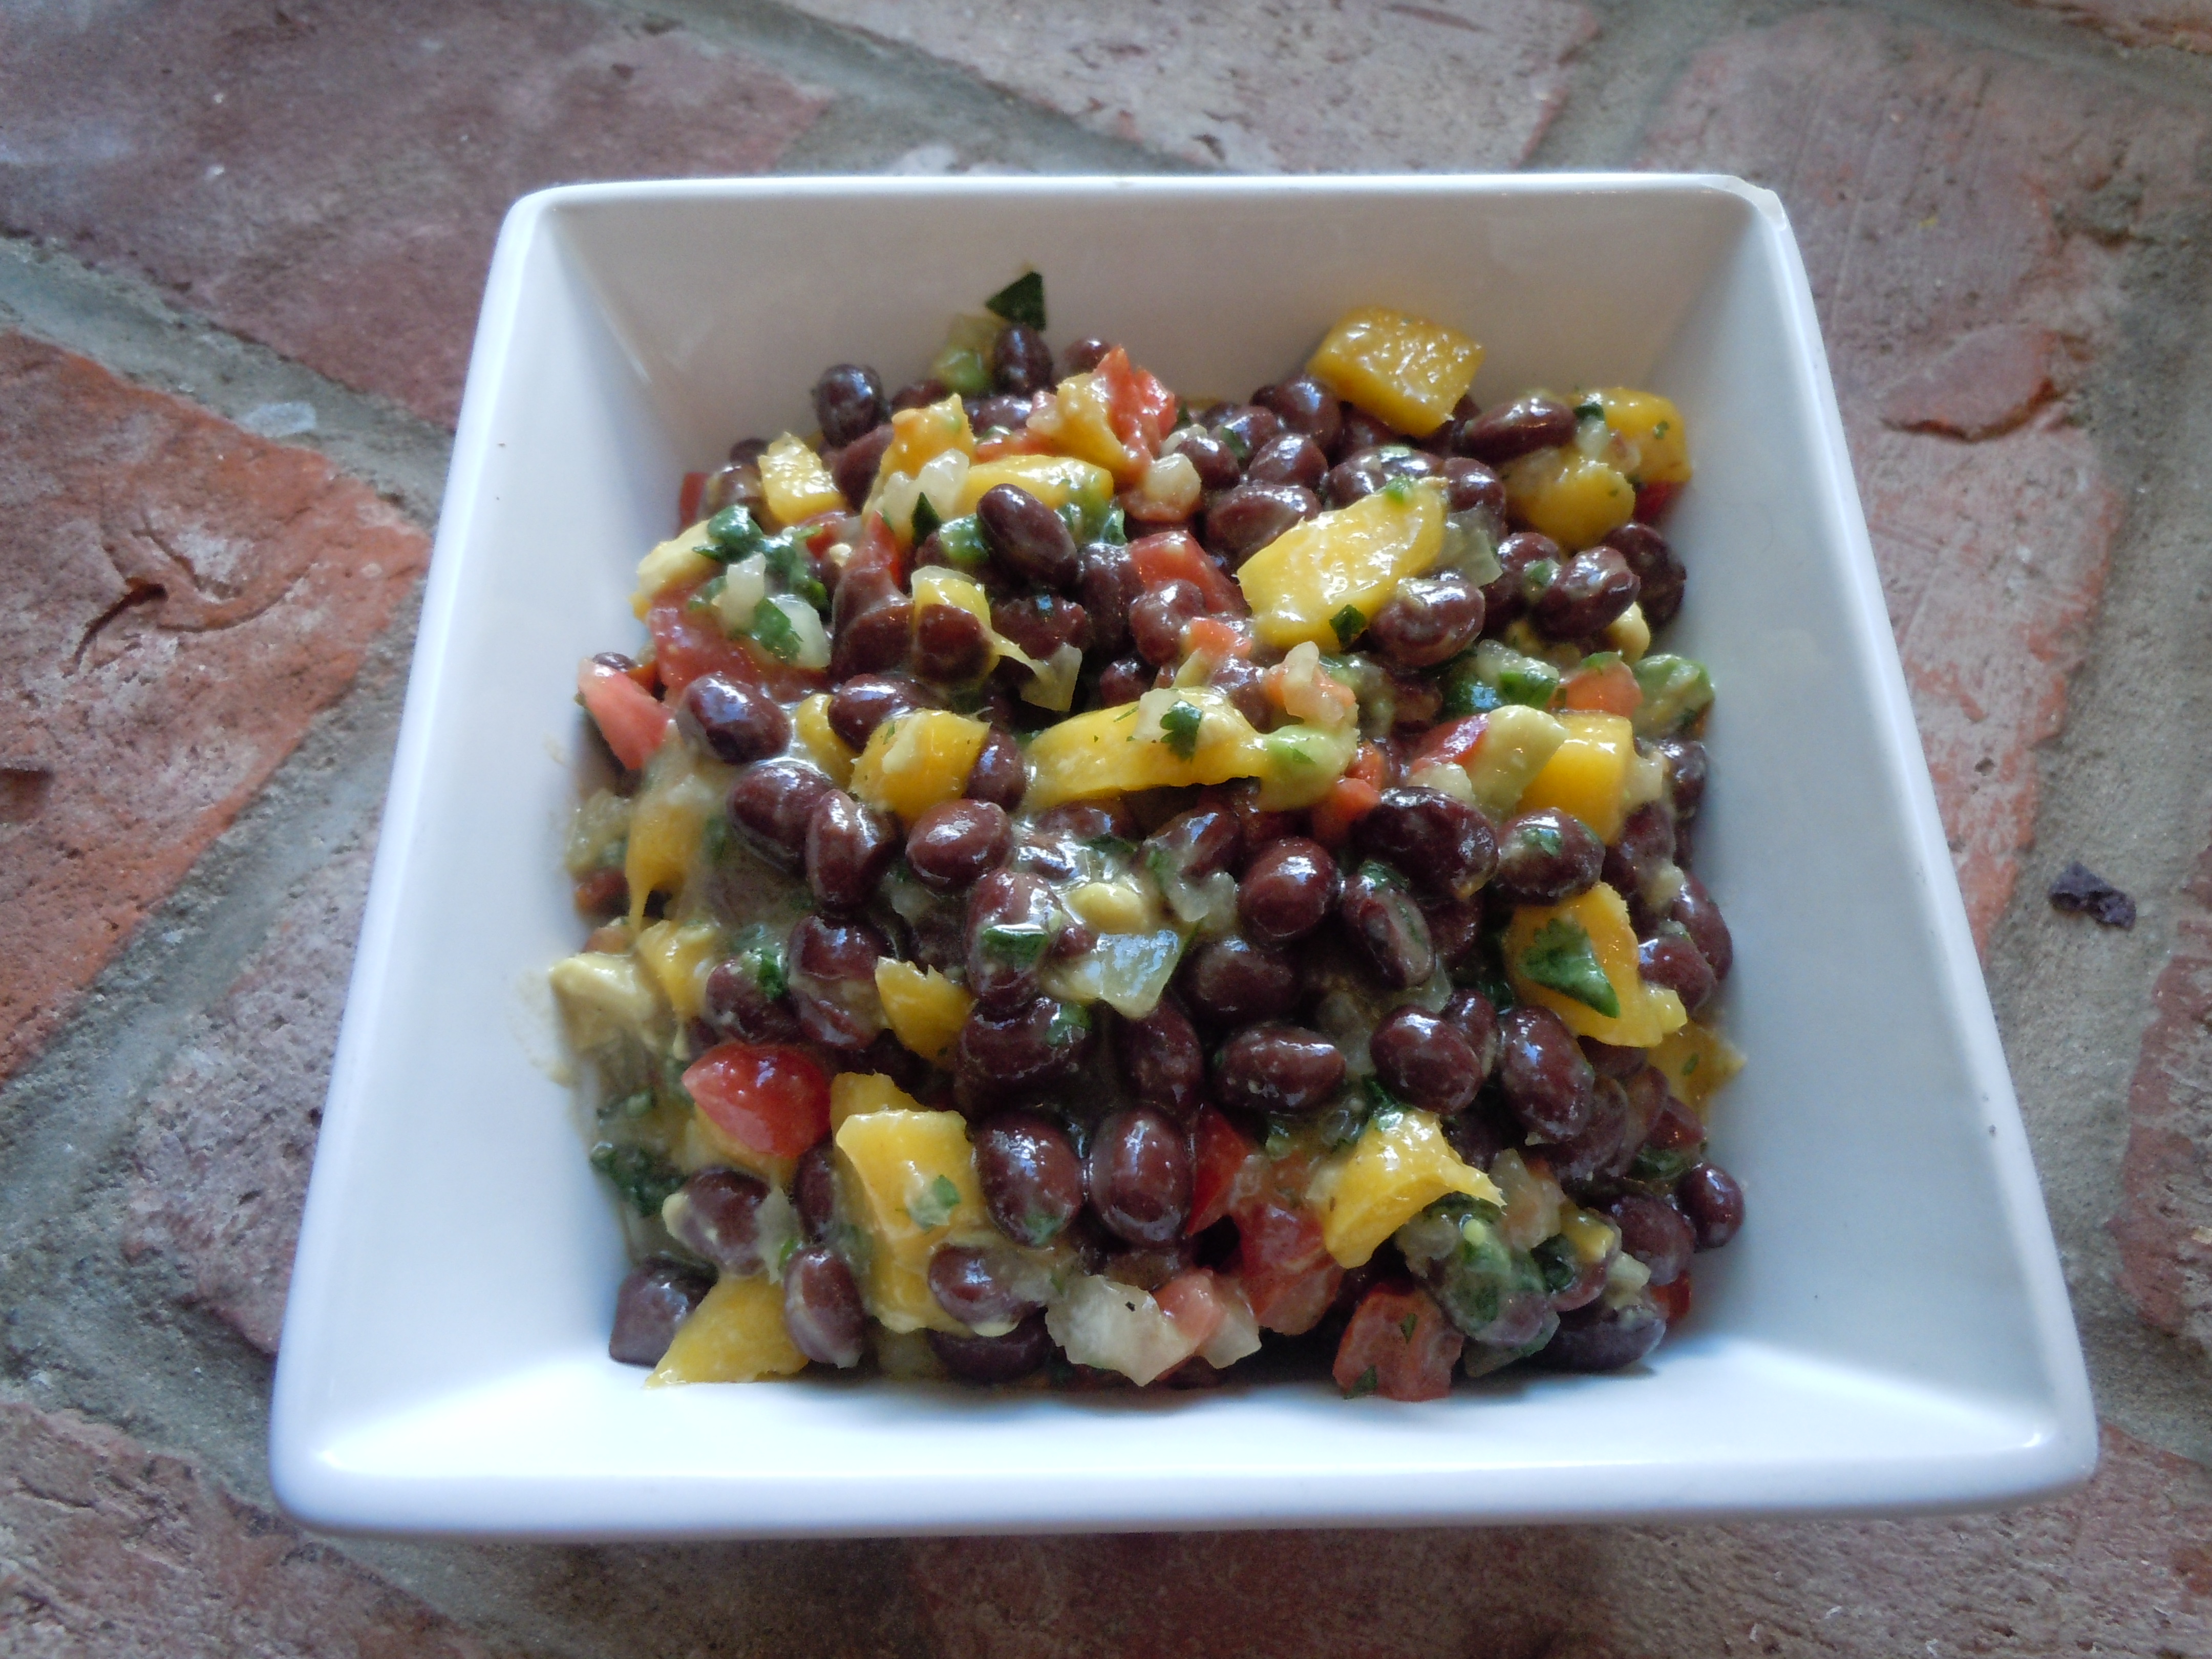
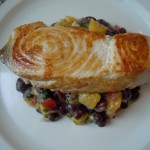
2015 is here so let’s not procrastinated and get right down to business with some refreshing and heathy dinners. You can’t beat this black bean salsa & swordfish with its nutritional values and taste to boot! It’s so nice to brighten up our menu after the starchy celebratory holiday meals. With this black bean salsa you still get that “comfort food” feeling because the black beans are so creamy and filling. Black beans are considered to be the best “meat-free” sources of protein serving up 15 grams each of protein and fiber per 1 cup…not to mention black beans have the highest antioxidant level of all beans!
I first learned how to make salsa almost 20 years ago from a Chef in San Franciso name Barclay. He was a chef at one of my favorite restaurants in San Francisco called Bix (on Gold St.) Bix had foie gras that was to die for and the most outrageous bar burgers that had to be made from filet mignon because they melted in your mouth like butter! Needless to say Barclay made a killer salsa and I’m thankful to him for starting me out on the right path when it came to making salsa.
This black bean salsa is almost identical to my “best mango-avocado salsa ever” on my website except I minus one mango and add 2 cans of Goya black beans. This is a such a quick and easy recipe and if you don’t have time for the chopping you’ve got to check out the produce department at your local store because most of them do offer a section of pre-chopped vegetables or you could pre-chop everything yourself the night before you put this dinner together.
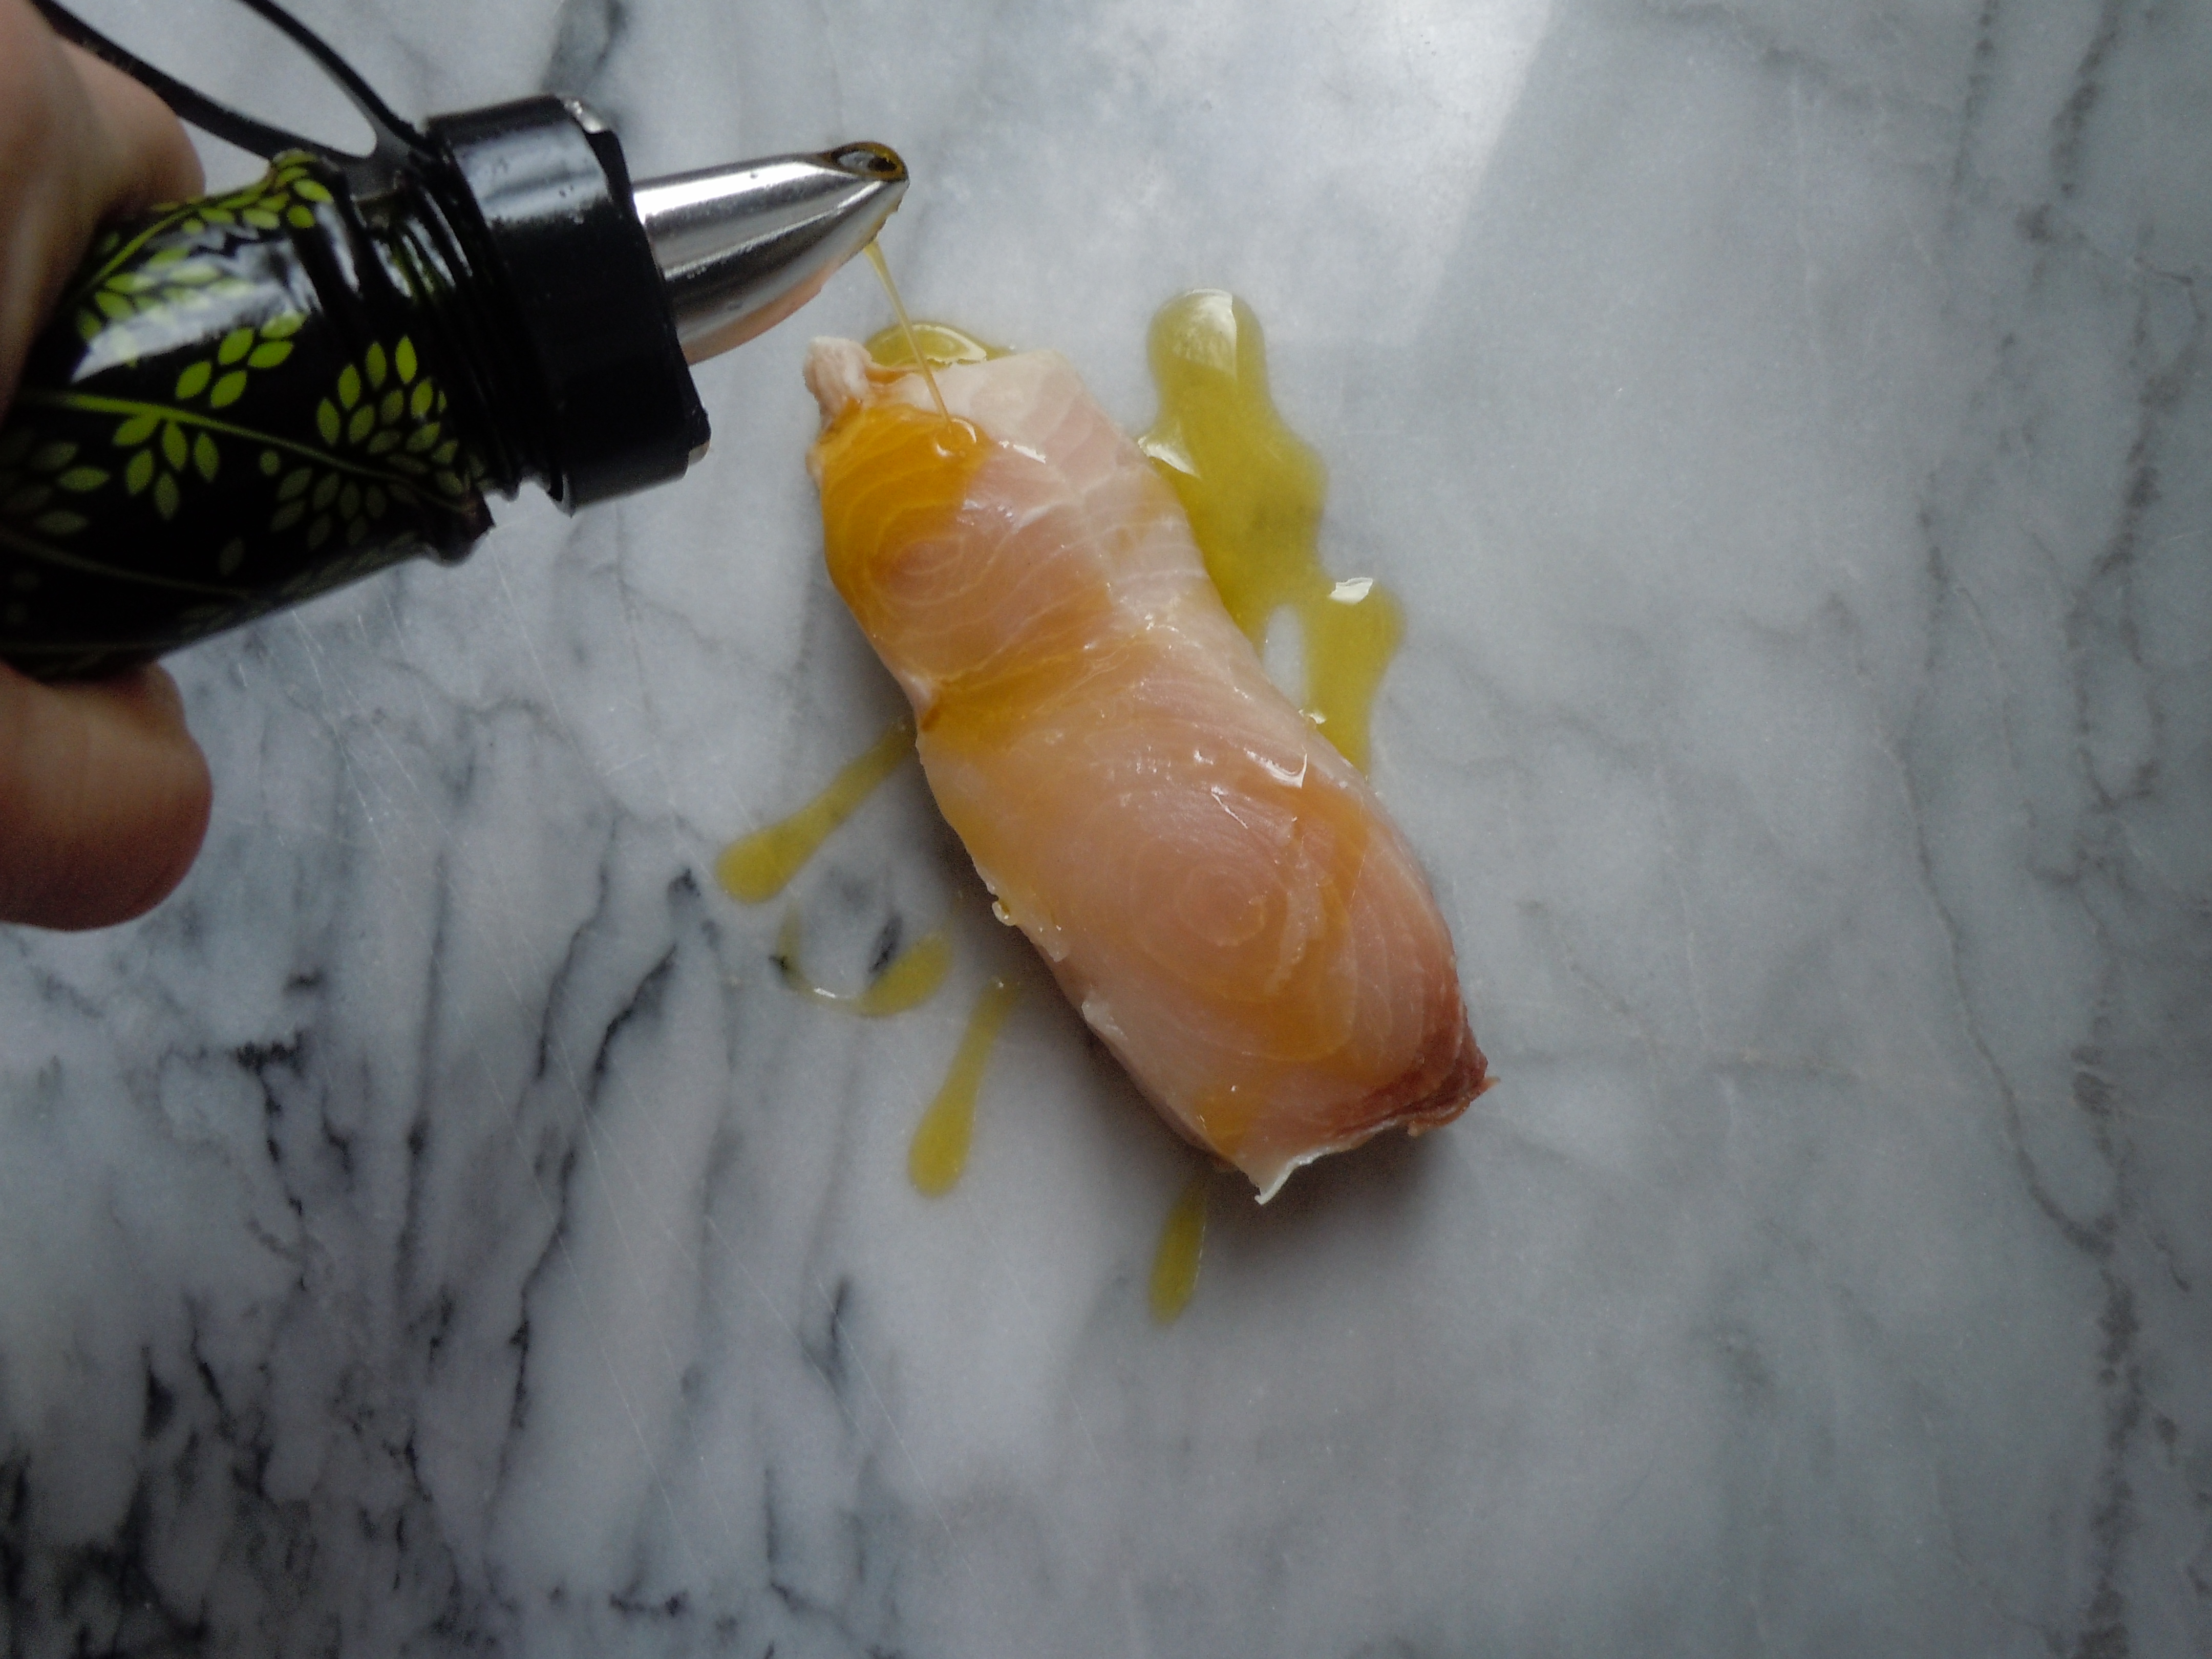
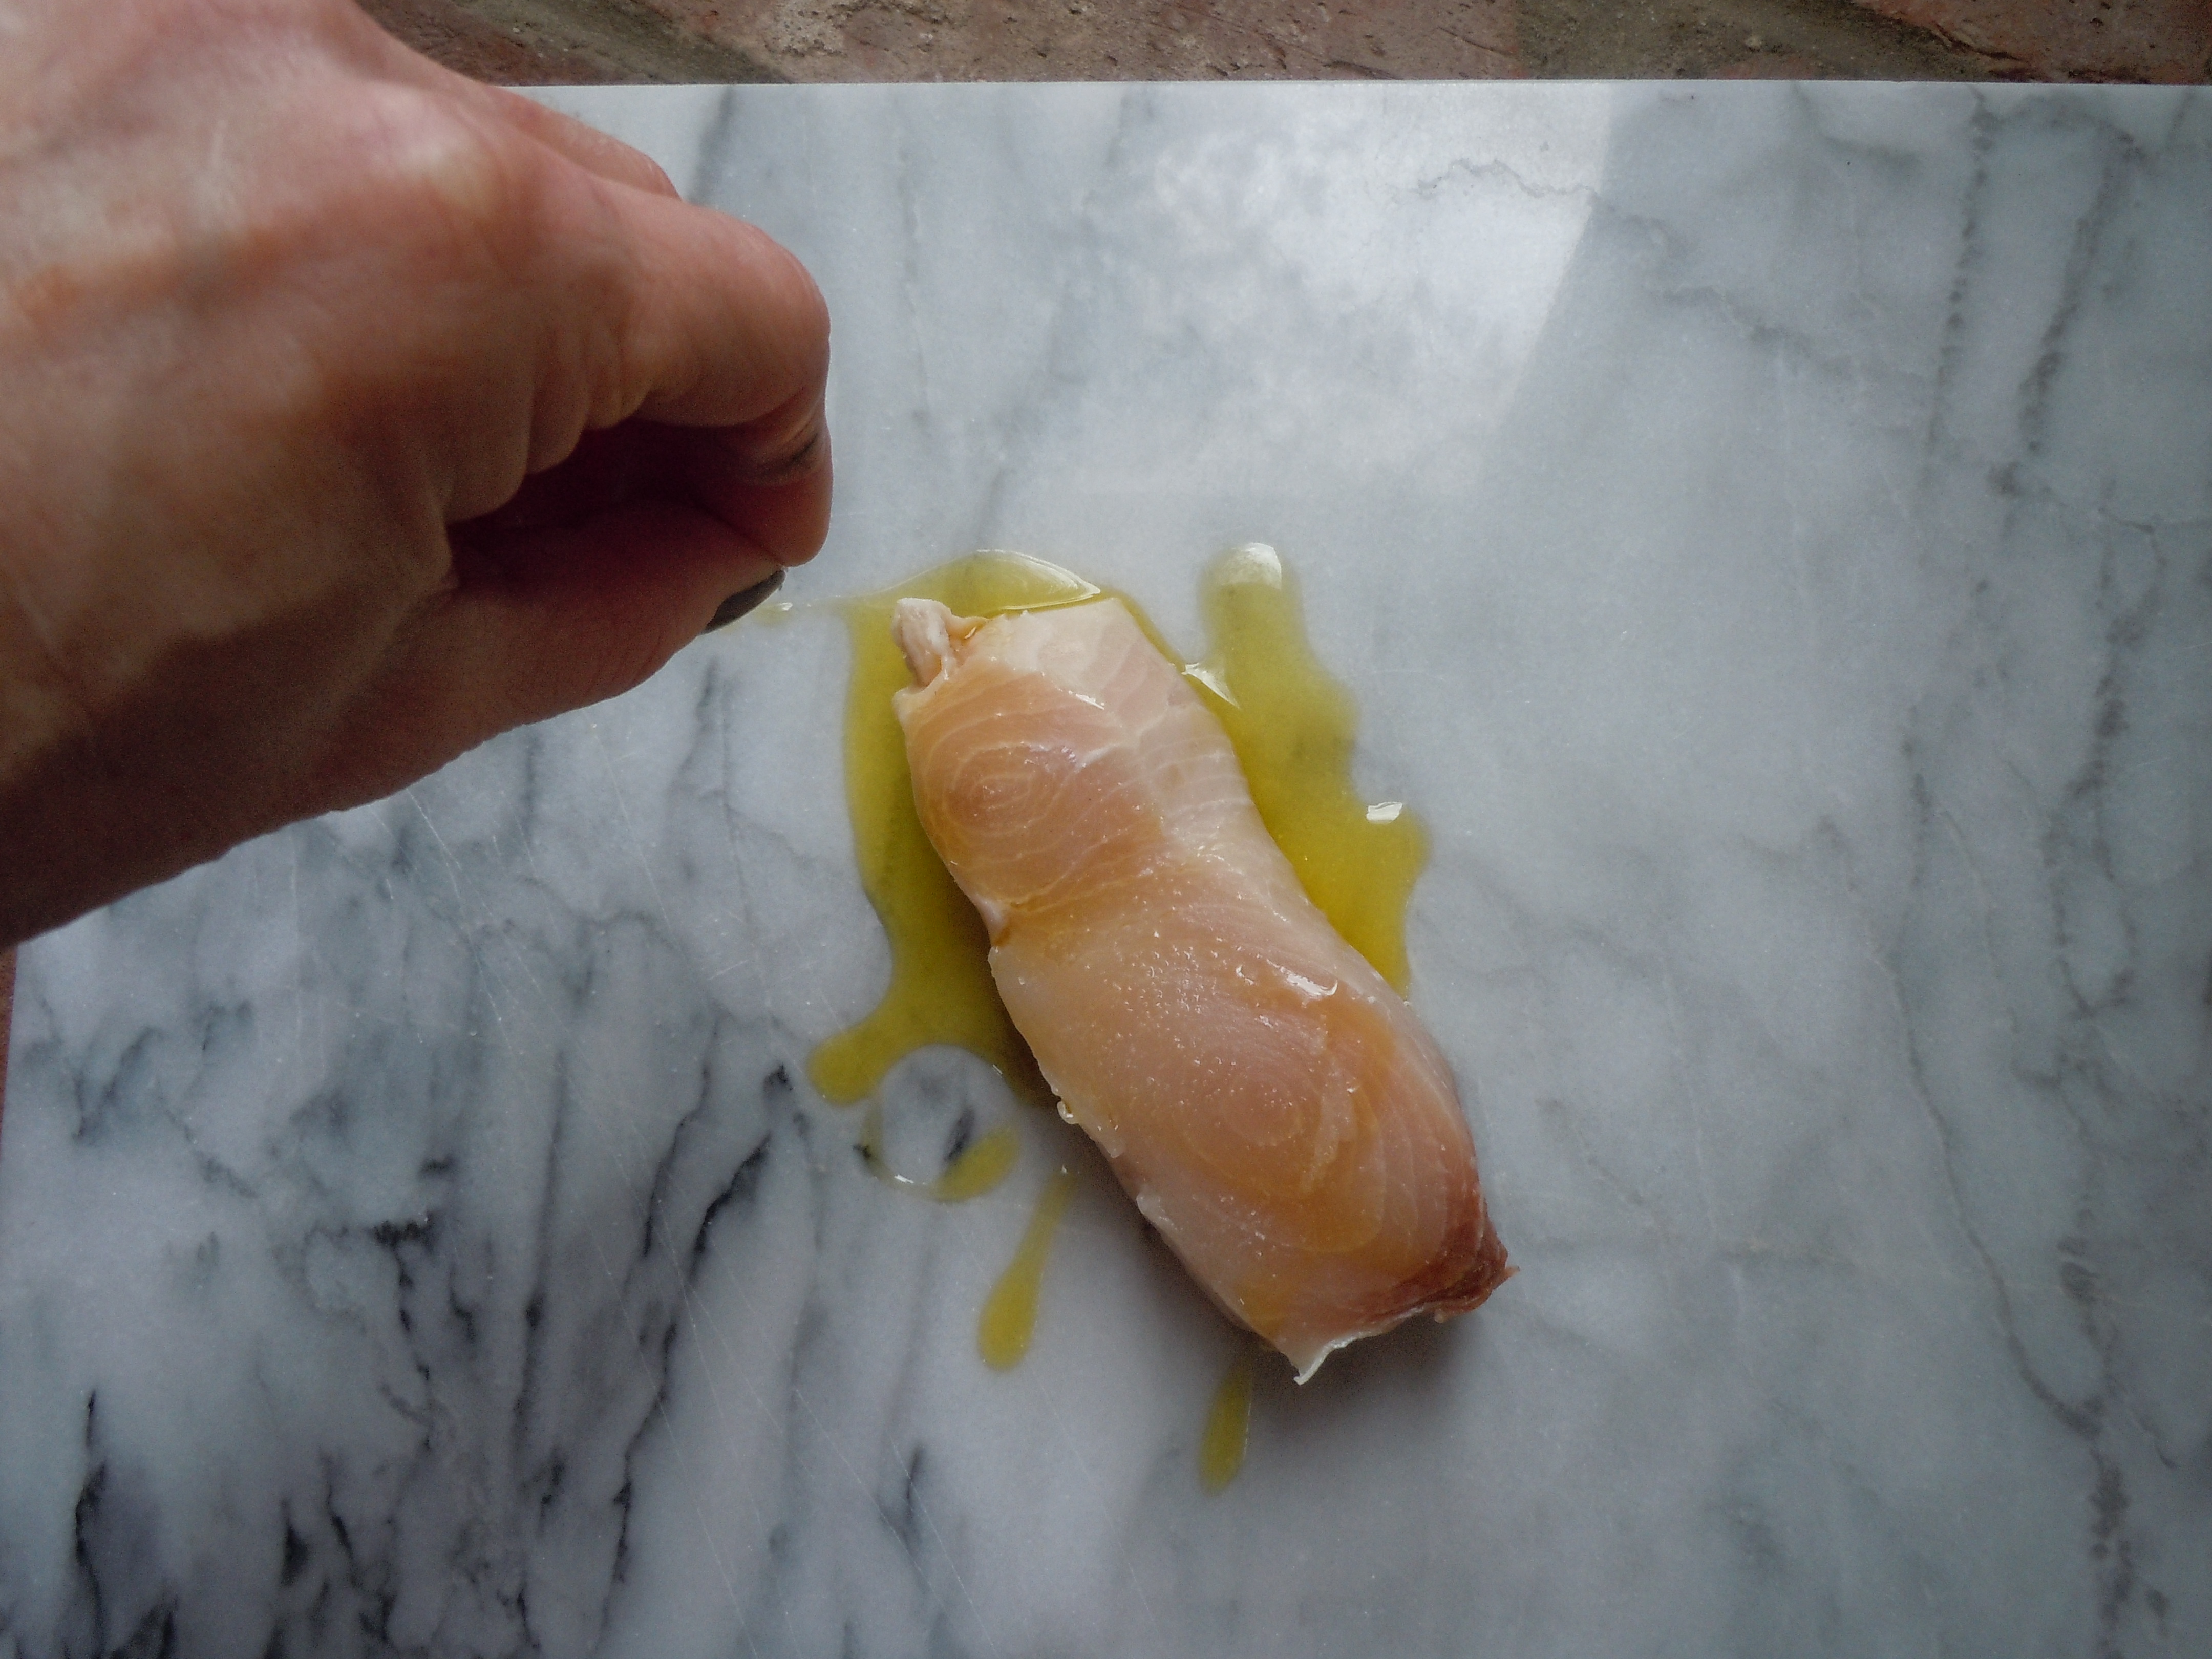
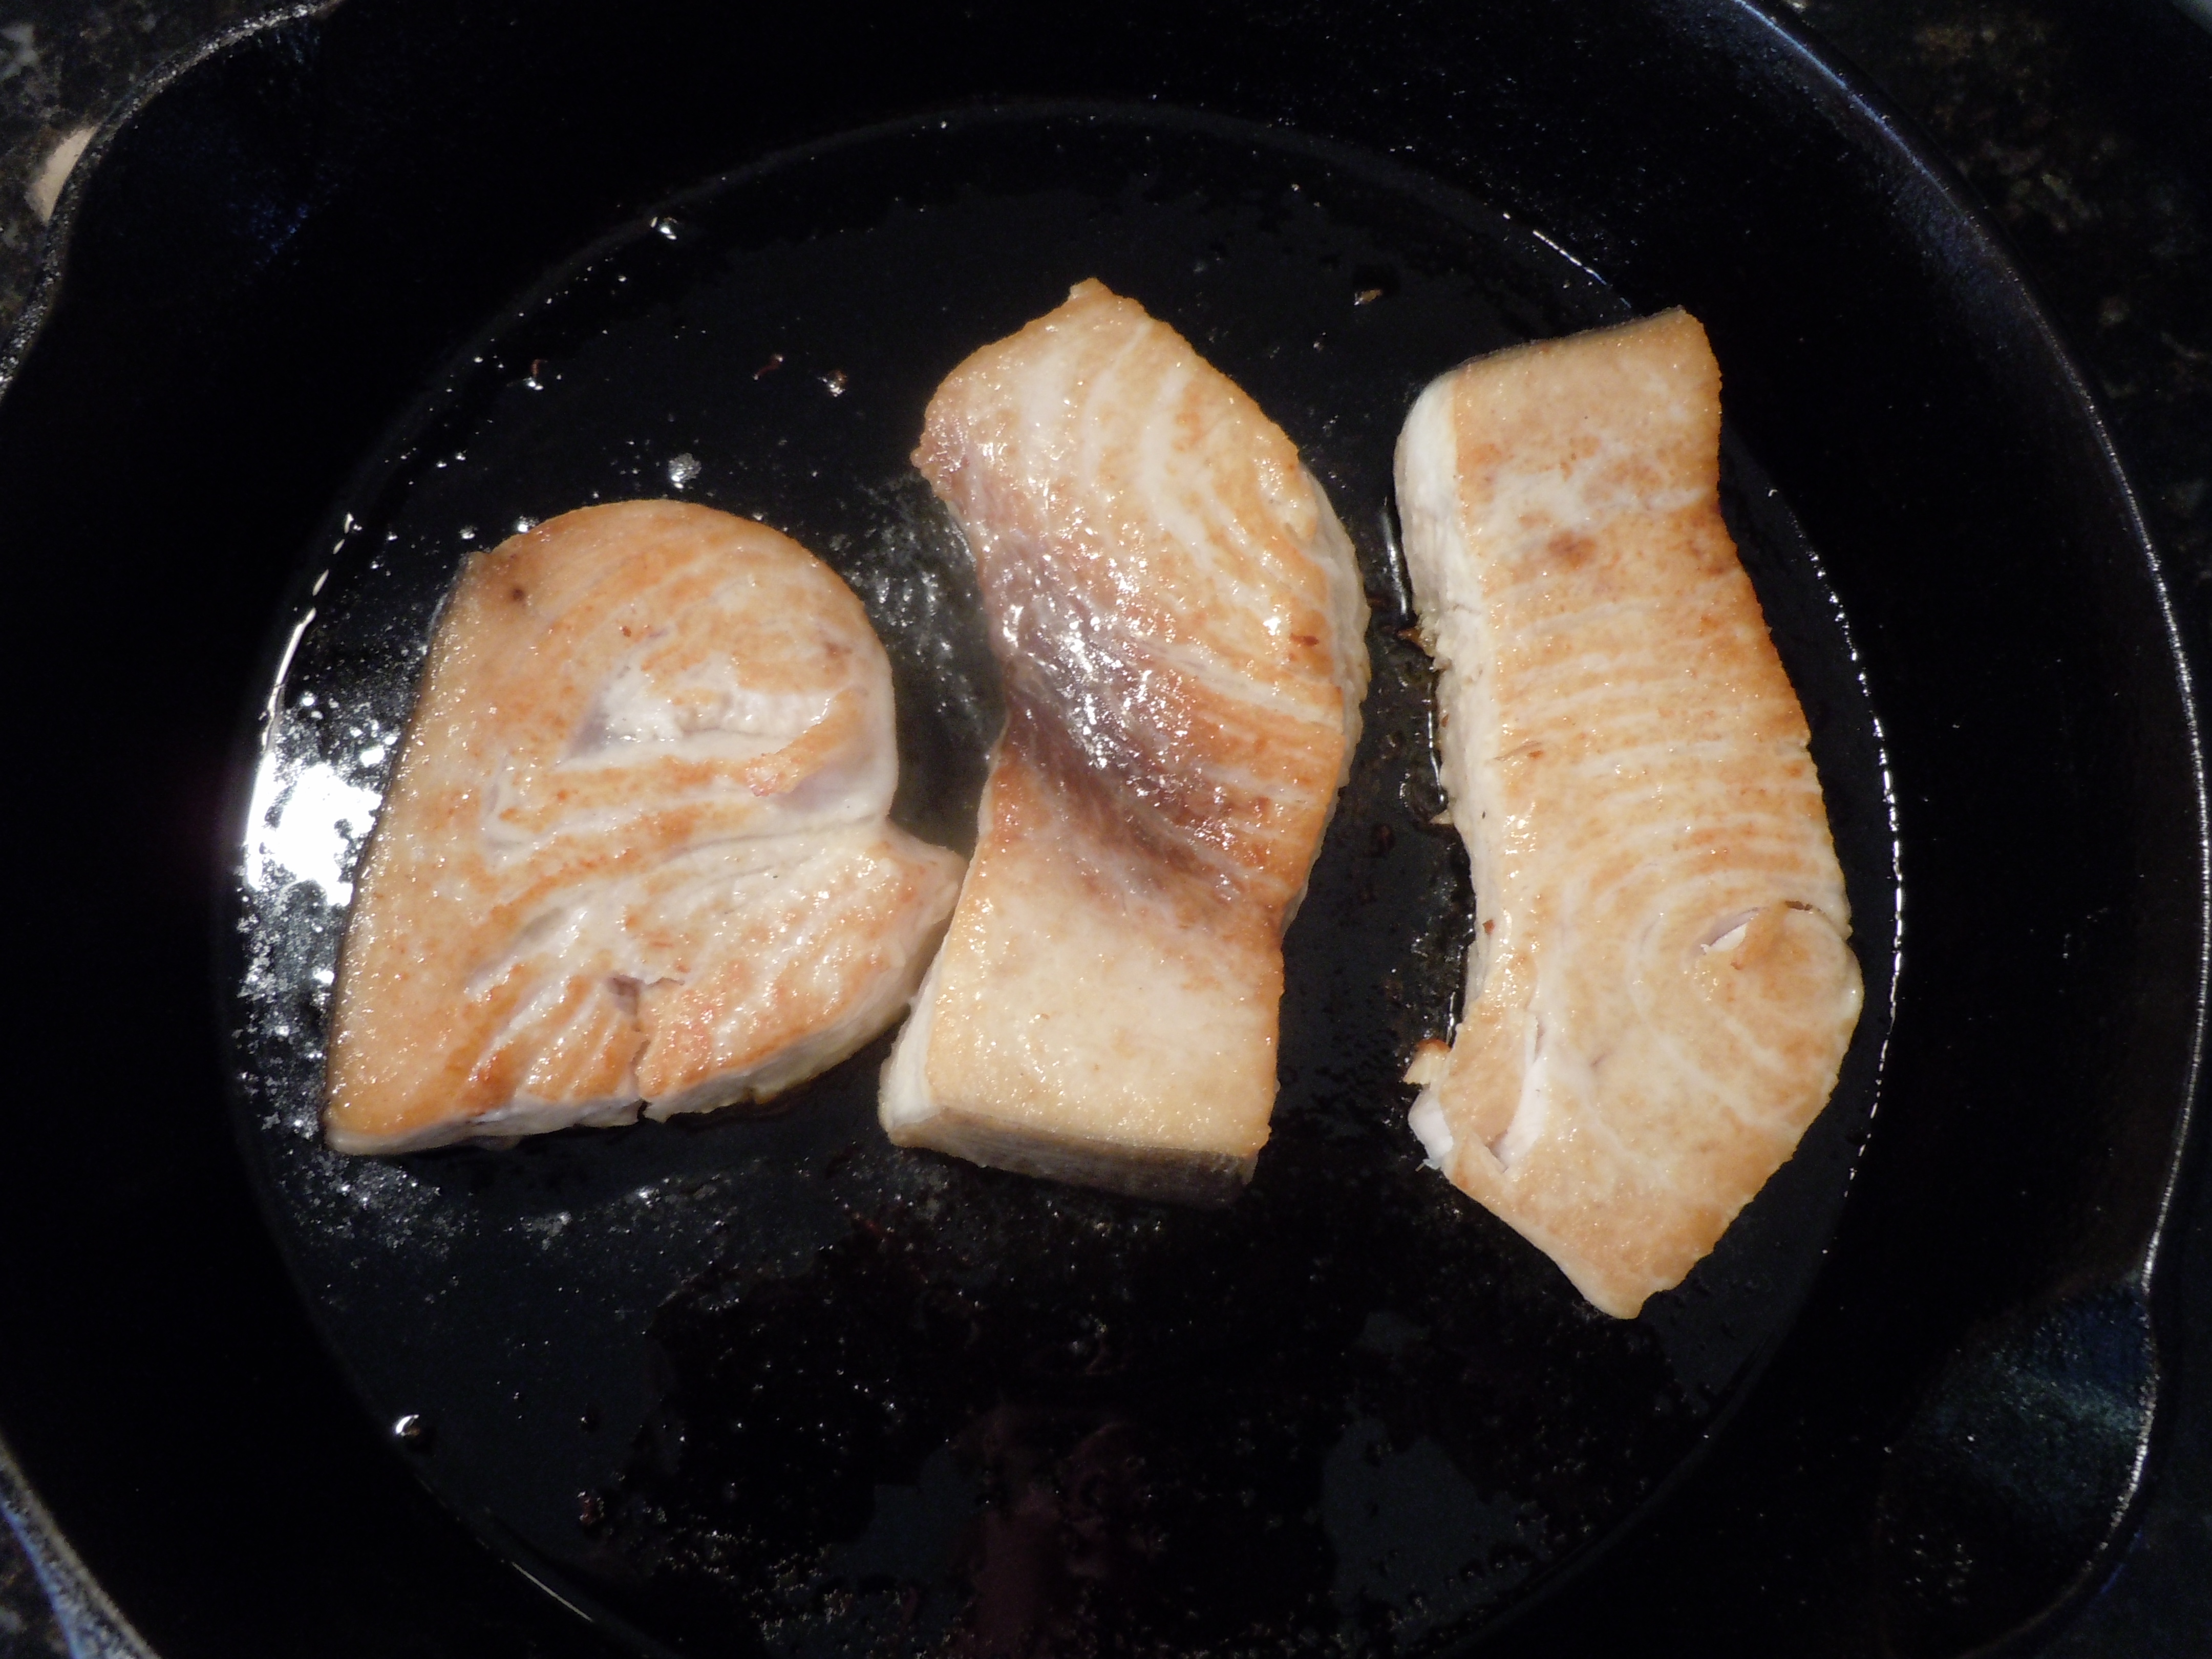
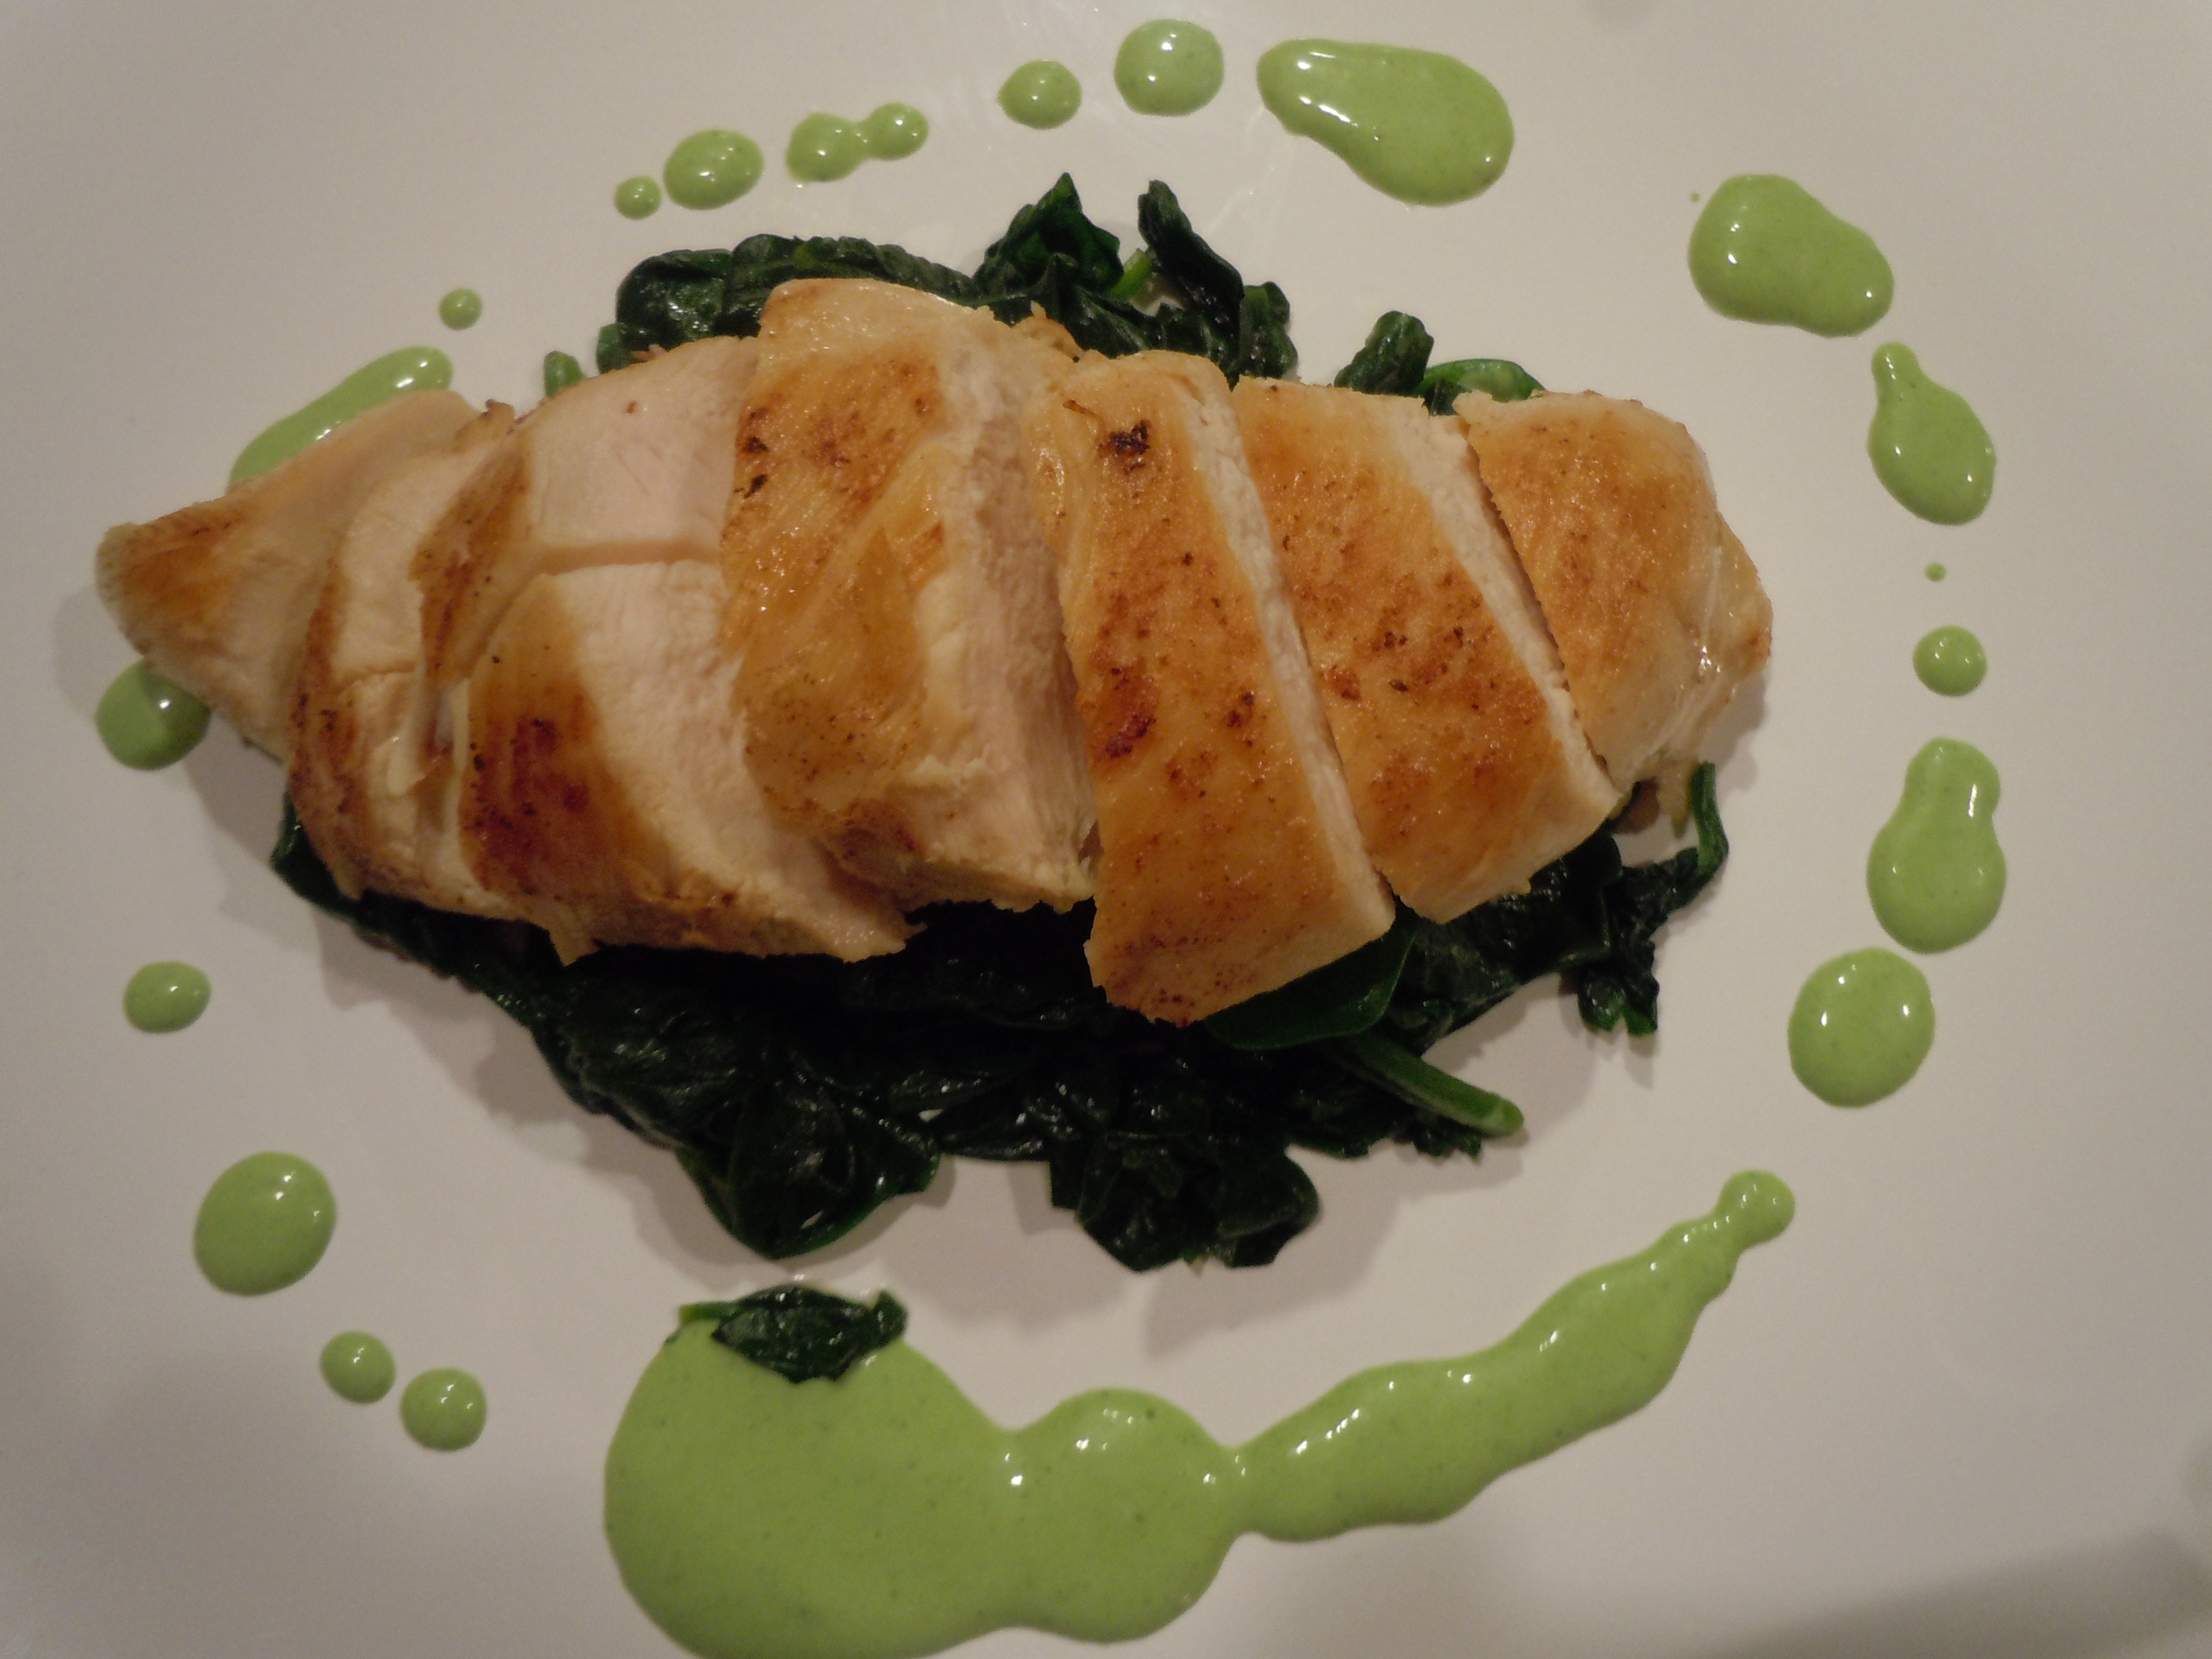
Fresh swordfish is now being caught off the Carolina’s so it’s an ideal fish to buy. Swordfish is a hardy kind of fish and eats like a steak so it is very filling. The oils in the swordfish are also as nutritious for you, if not more, as eating that black bean salsa. So what a team this black bean salsa & pan seared swordfish makes…you just can’t beat it! The best thing is it doesn’t have to be summer to whip this meal up either…enjoy. Make sure to watchmy YouTube cooking showthat goes with this recipe and don’t forget to subscribe on my YouTube channel so that you can receive my latest cooking show releases!
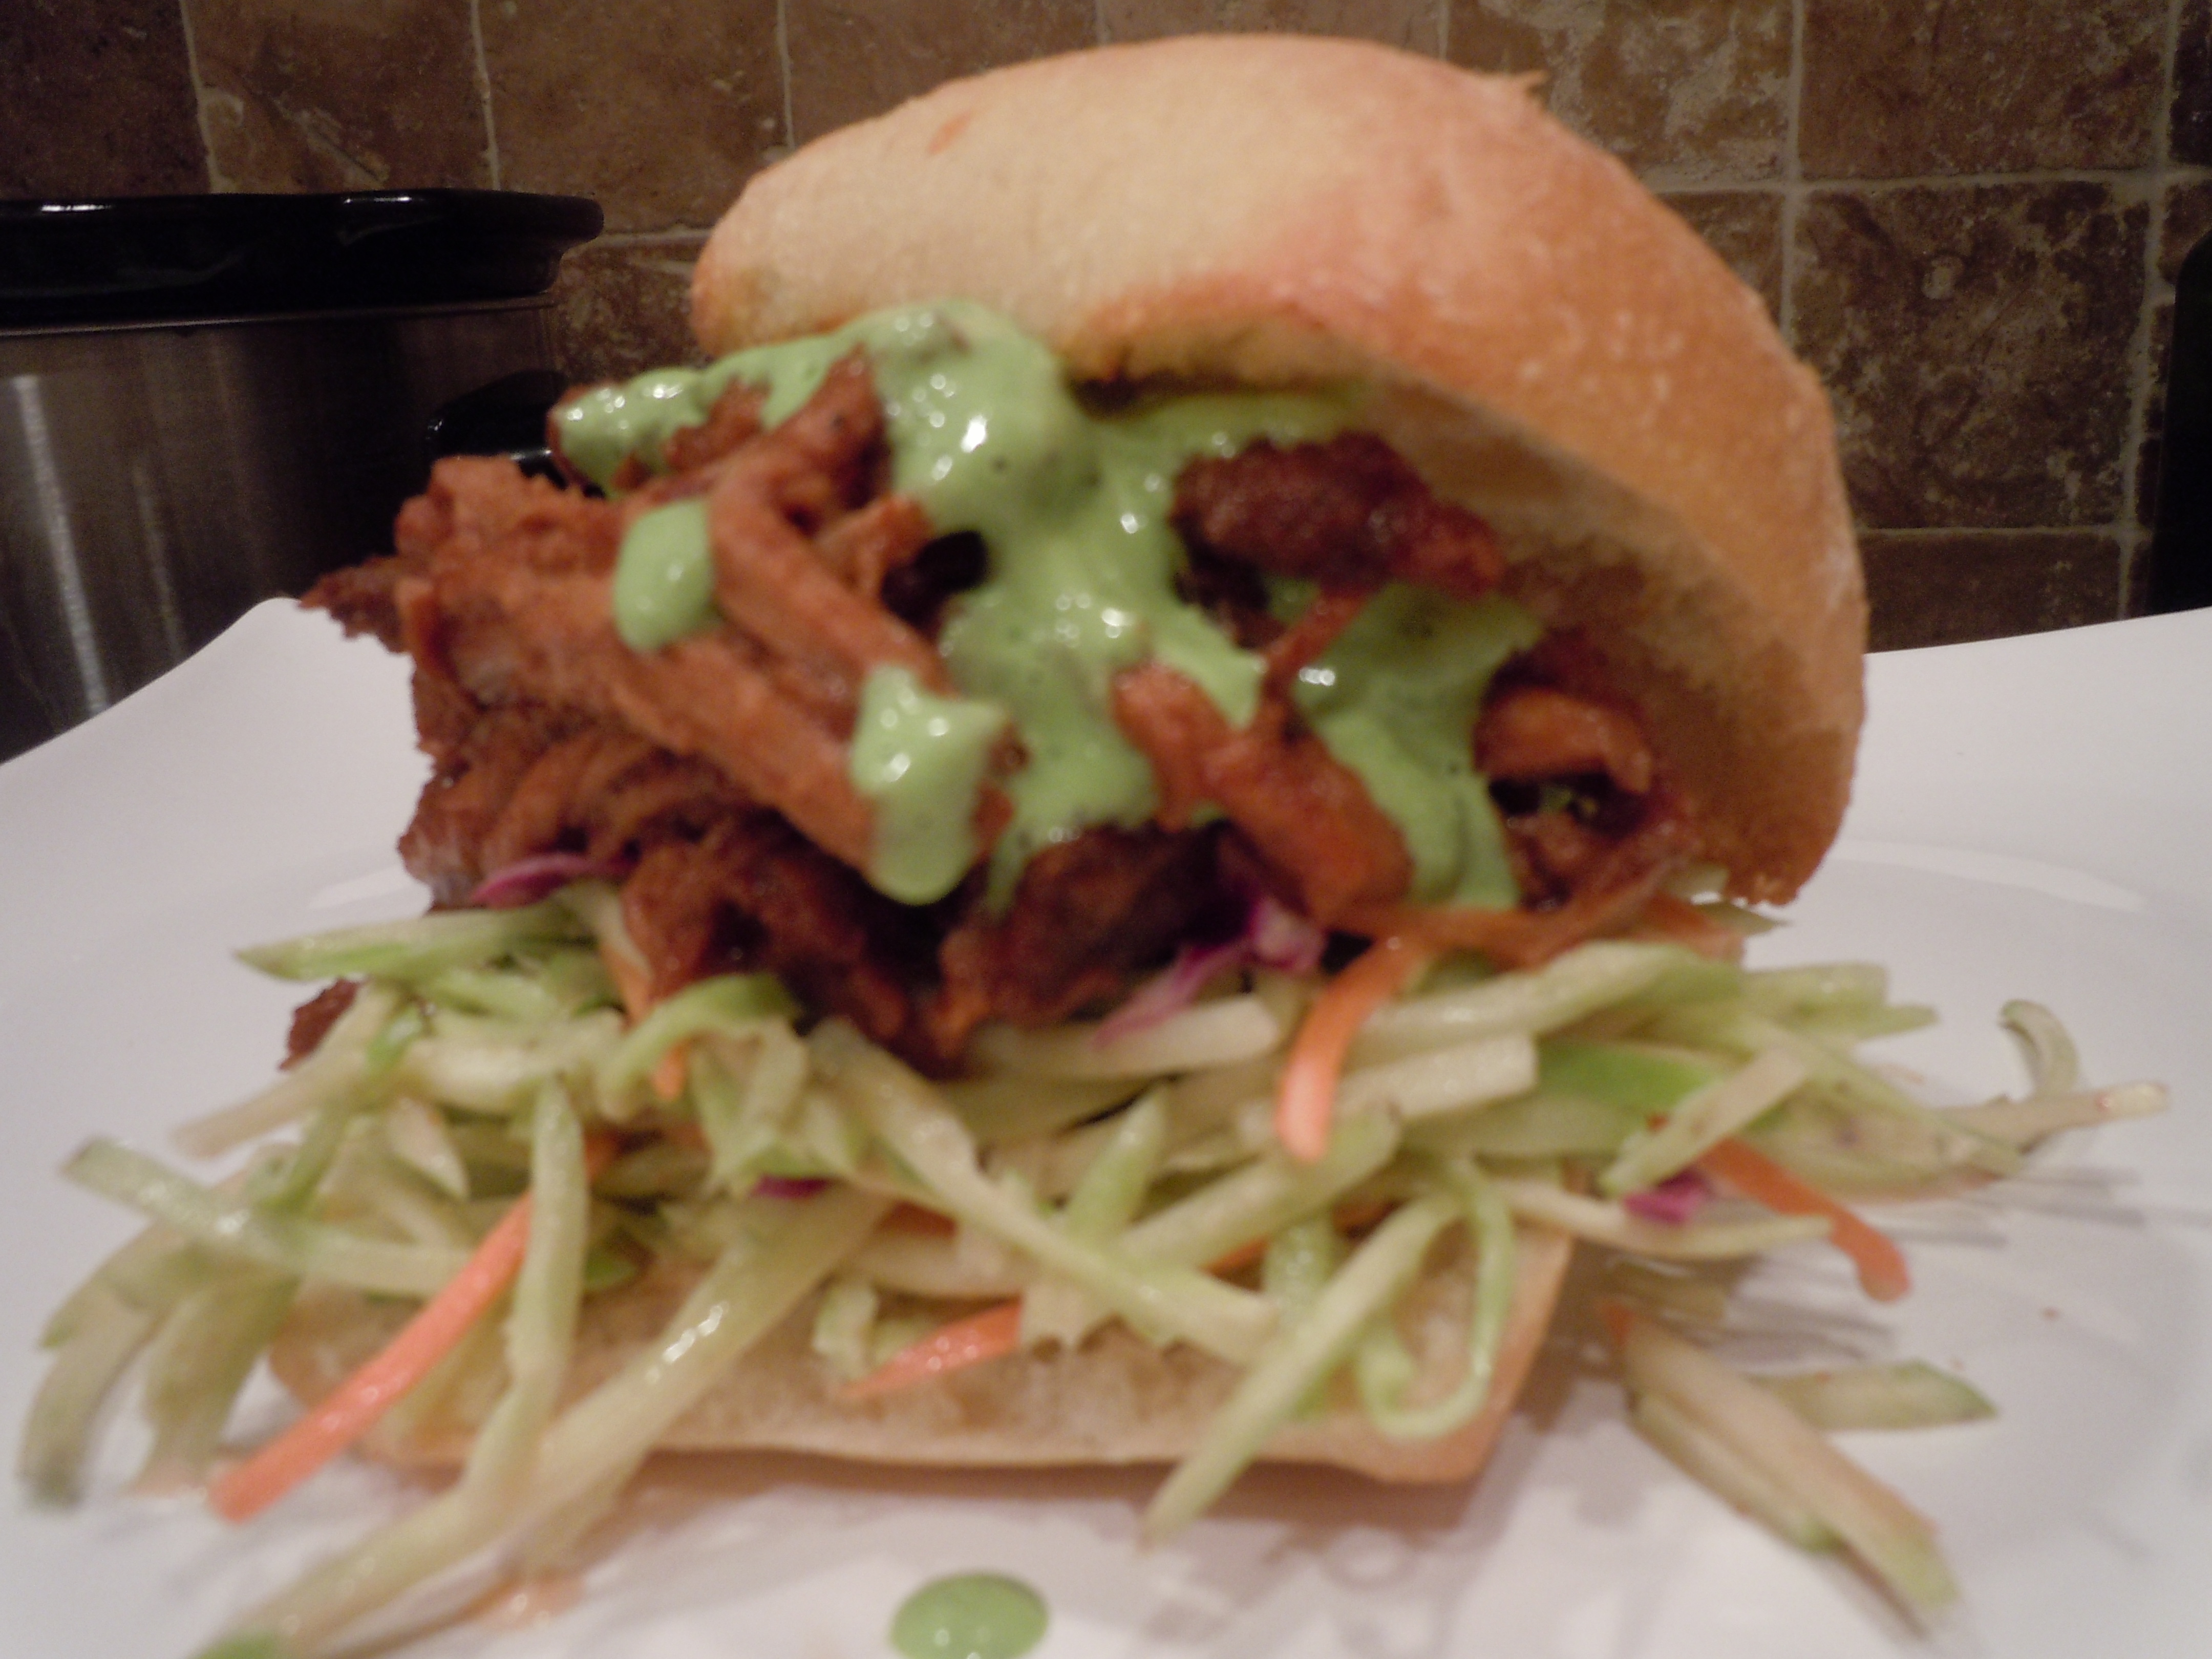
I love to make sauces especially this green goddess sauce. Sauces are one of my favorite avenues of cooking and I’m always mixing things up to find the perfect one. The inspiration for this sauce came from a food truck episode on Diners, Drive-Ins & Dives a couple of years ago. I have tried since then to find the recipe but cannot so this is one of my versions of a green goddess sauce. I remember her sauce having a mayo base and maybe other herbs. I really like the tang you get from using Greek yogurt in this one. You can use this sauce with so many dishes….fish, chicken, beef, lamb, pork, re-fried beans and the list goes on!
dash of Siracha or Tabasco (Siracha is a hot chili sauce sold next to Tabasco at the store)
Directions:
Place all of the ingredients into a blender an purée and you will probably need to stop and stir everything a couple of times to get it going but do not add any more liquid (you will see that once it gets going it will be just right).
When you begin to purée start to drizzle in 2-3 tbsp of olive oil, it will help the sauce to emulsify and become fluffy and smooth
You can make this ahead of time and keep sauce in a plastic container and refrigerate. It stays nicely for days in frig. Yum!
This green sauce is absolutely delicious on so many things …… be creative.

 Back on CT Style this week with Ryan Kristafer and Teresa Dufour making the perfect summer picnic dish, Asian Shrimp & Rice Noodle Salad, never gets dull with those two! I thoroughly enjoy every second on the WTNH set at Channel 8. There were several groups going on camera this week making it even more exciting then usual, if that’s at all possible.
 important for me to find out what recipes my followers and friends want to see so please feel free to make suggestions always. That’s how I came up with this Asian Shrimp & Noodle Salad… it was the #1 request, a picnic-beach salad that won’t spoil.
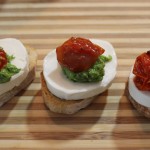
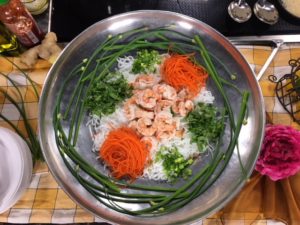 Here are some other summer dishes you may enjoy like my 2 minute Homemade PESTO on crostini with roasted cherry tomatoes and mozzarella, EGGPLANT BALLS, ZUCCHINI TORTA, Mediterranean Chicken Kabobs, or Dreamy Cream & Fresh Berries.
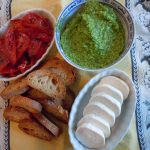


 Making shrimp & scallop ceviche really can’t get an easier then this! Ceviche is a South American dish that’s usually served as an appetizer. The fish cures/cooks in citrus juice for an hour or two while you get all your salsa ingredients in order. The citrus curing juices are drained from the fish, leaving a tender shrimp & scallops to be tossed with salsa and voilà. The base of the shrimp and scallop ceviche here is my


 The colors orange and green were stuck in my head for this Halloween episode and that’s why I decided to share my sweet potato fries & green goddess dip recipes with you! These baked sweet potato fries are so delicious all on their own but wait until you dip them into the green goddess sauce you’ll want to put green goddess dip on EVERYTHING! I make this dipping sauce when I cook up swordfish, shrimp, tuna, chicken and steaks also. Being able to make a homemade gourmet sauce like this in 5 minutes, in a blender is basically a no-brainer for me. I can’t wait until you taste this sauce. And here I go again, making my dipping sauce with Greek yogurt to balance out the mayo giving it yet another layer of flavor and tangy richness. I do this also with my