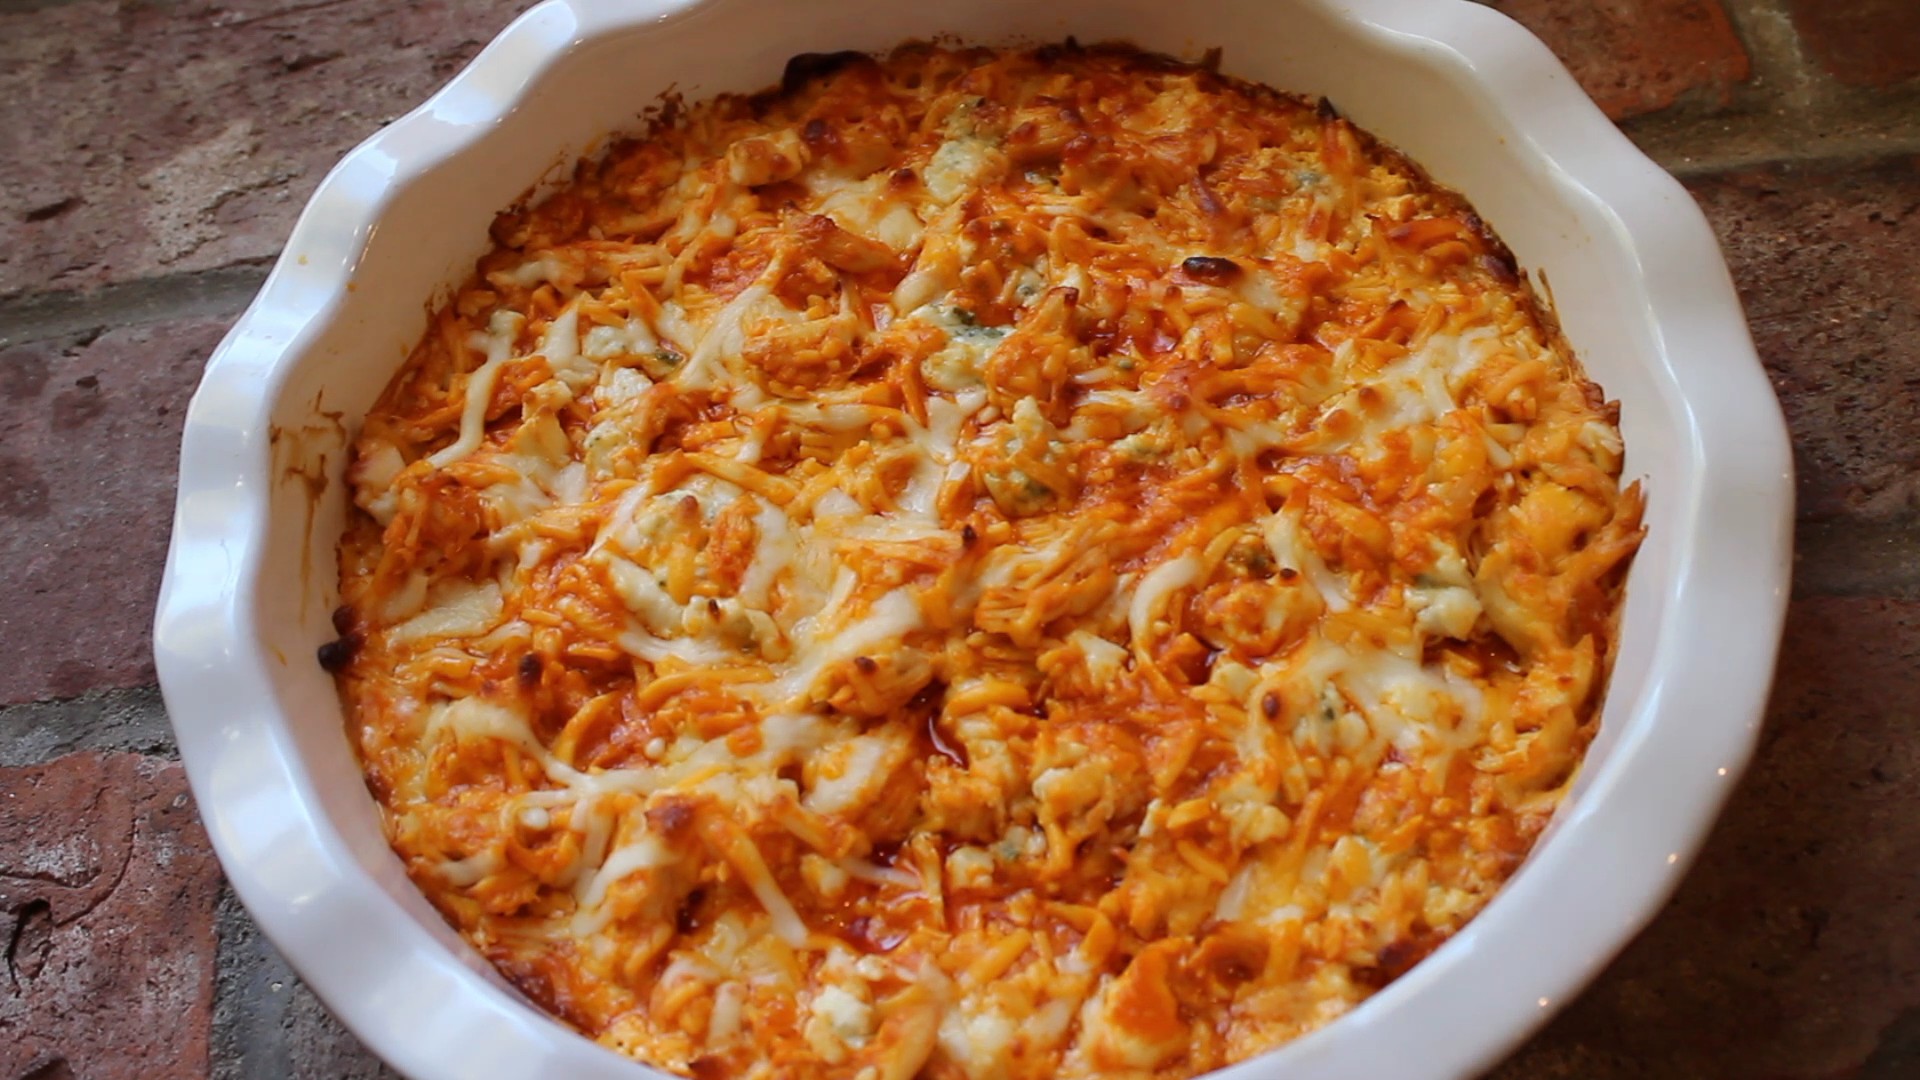
Best Buffalo Chicken Dip Ever!
This delicious buffalo chicken dip is my top viewed recipe on my YouTube Channel at 160,704 views and climbing! It takes center stage every time! You may find yourself not straying too far in fear that it will be devoured. The layers start with room temperature cream cheese, chicken tenderloins sautéed in Franks Hot Sauce, a drizzling of homemade buffalo sauce, and finally a sprinkle of crumbled blue cheese, sharp cheddar and mozzarella. It bake’s in the oven until bubbly and served with tortilla chips. I also like to serve this appetizer with carrots, celery and cucumber slices on the side.
I have a secret for you! I’ve been using rotisserie chicken instead! It comes out just as good as sautéing the tenderloin and it saves time! Just toss the rotisserie chicken pieces with some of the butter whisked with the Frank’s Red sauce, and begin to layer. You can also bake chicken wings at 400° for 40 minutes and then toss with this butter-Frank’s Red Hot sauce and you’ll have amazing Buffalo wings!
The Buffalo chicken dip gives all the amazing flavors of that typical “buffalo wings and blue cheese” with out all the work! I am very particular about my blue cheese dressing so I highly recommend my easy homemade blue cheese dressing recipe!
This buffalo chicken dip recipe came from my friend Lisa who just recently made it for a party we were at and it didn’t last very long! I make this dish all year round not to mention how totally awesome it is for football season.
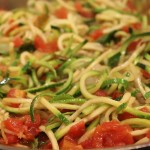
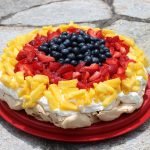 I think this buffalo chicken layered dip is a win win for you and your party. Everyone will be asking you for the recipe. I hope you enjoy this “BEST Buffalo Chicken Dip” recipe and the show too! Don’t miss the “Behind the scenes bloopers” included at the end of the show. And if you want to make an amazing desert that will get you lots of oohs and ahhs try the Pavlova or the “Death by Chocolate Meringue Pie”! Don’t forget a Homemade Caesar Salad and an entré of Lobster Mac n’ Cheese or Eggplant Balls with pasta or Zucchini Spaghetti!


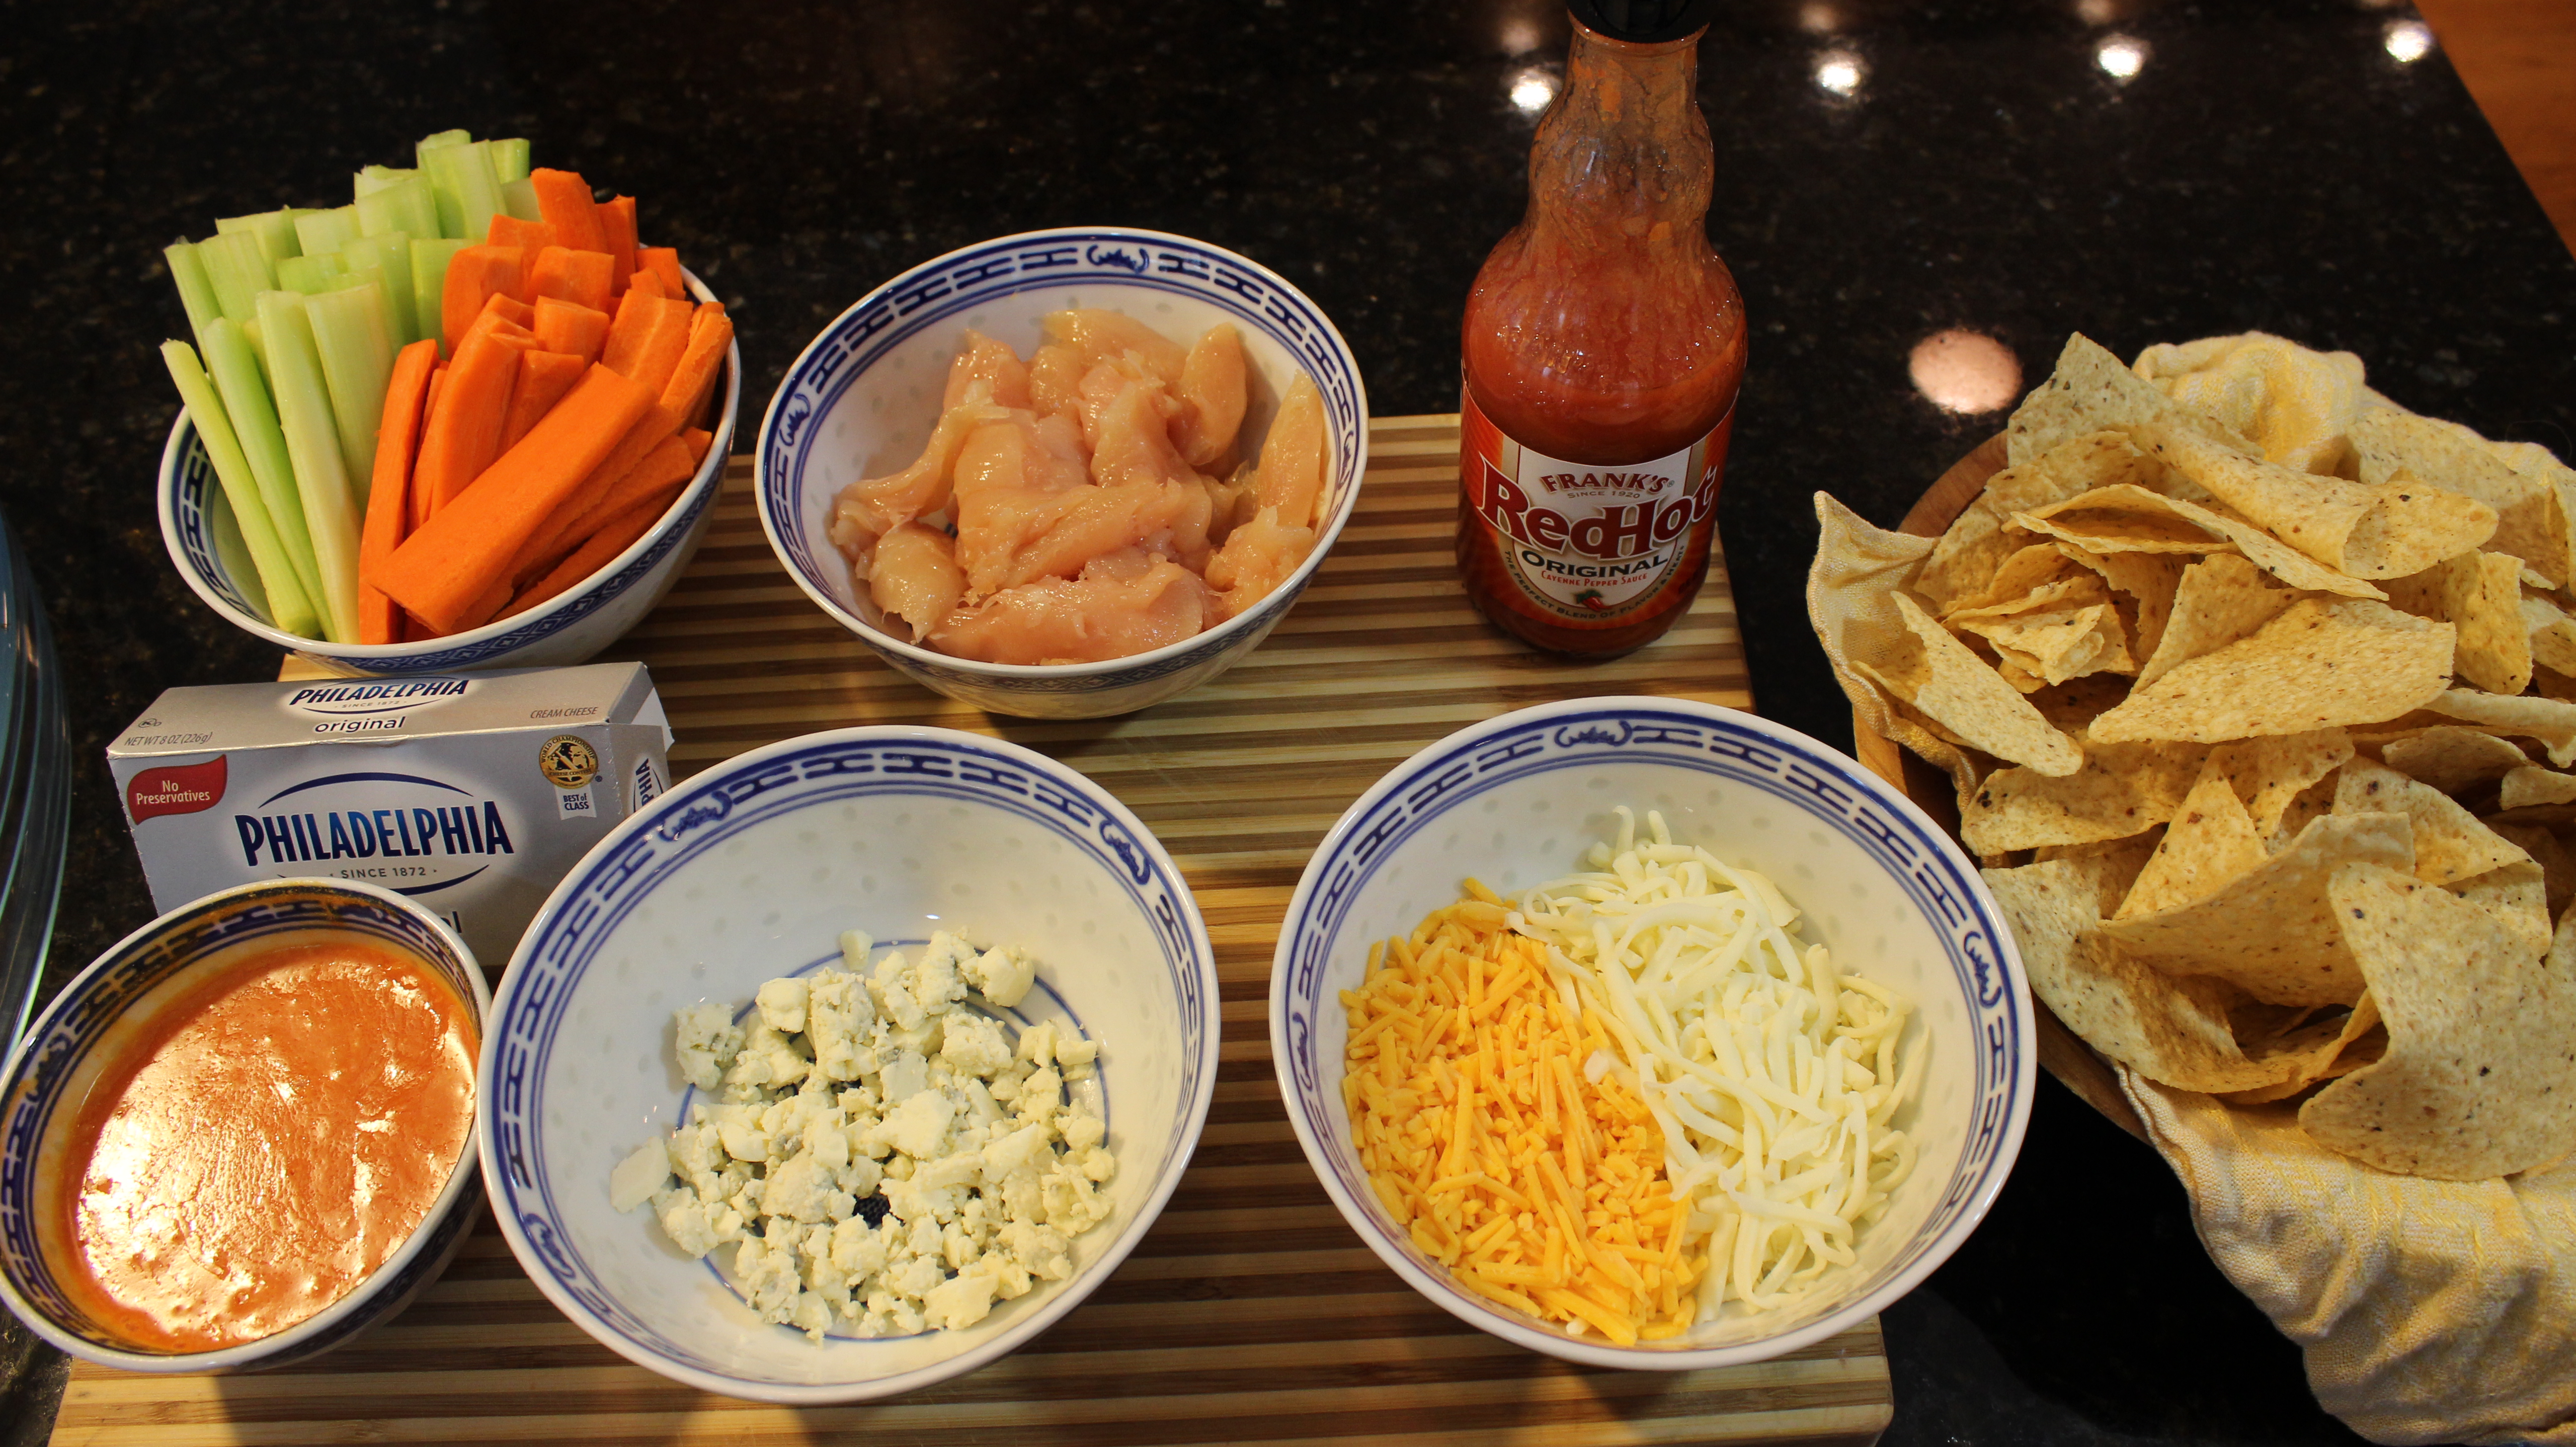
Ingredients: NOTE: You can use ROTISSERIE Chicken!
- 3/4 lb chicken tenderloins raw OR 1/2 of a ROTISSERIE Chicken
- 1 tbsp olive oil (NOTE: this is only if sautéing up the tenderloins)
- Sprinkle of salt (only if sautéing up the tenderloins)
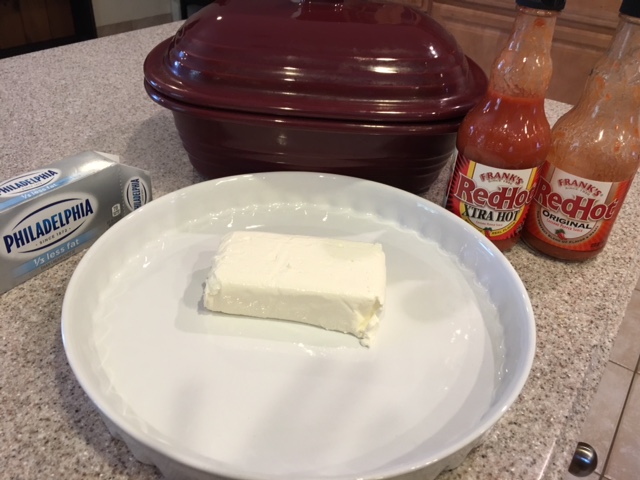
- 1 -8 oz pkg Philadelphia Cream Cheese
- Frank’s Hot Sauce
- Buffalo sauce: 1/4 cup (1/2 stick) butter (Kerrygold or favorite) & 1/3 cup Franks Hot Sauce
- 1/4 cup Blue cheese crumbles
- 1/4 cup sharp cheddar cheese
- 1/4 cup mozzarella
- (1) 9″ Deep-dish baking pie plate
Directions:
- Pre-heat oven to 375º
- Melt 1/2 stick of butter in microwave, then add 1/3 cup of Frank’s Red Hot Sauce, whisk until combined – this is the “homemade buffalo sauce” – set aside
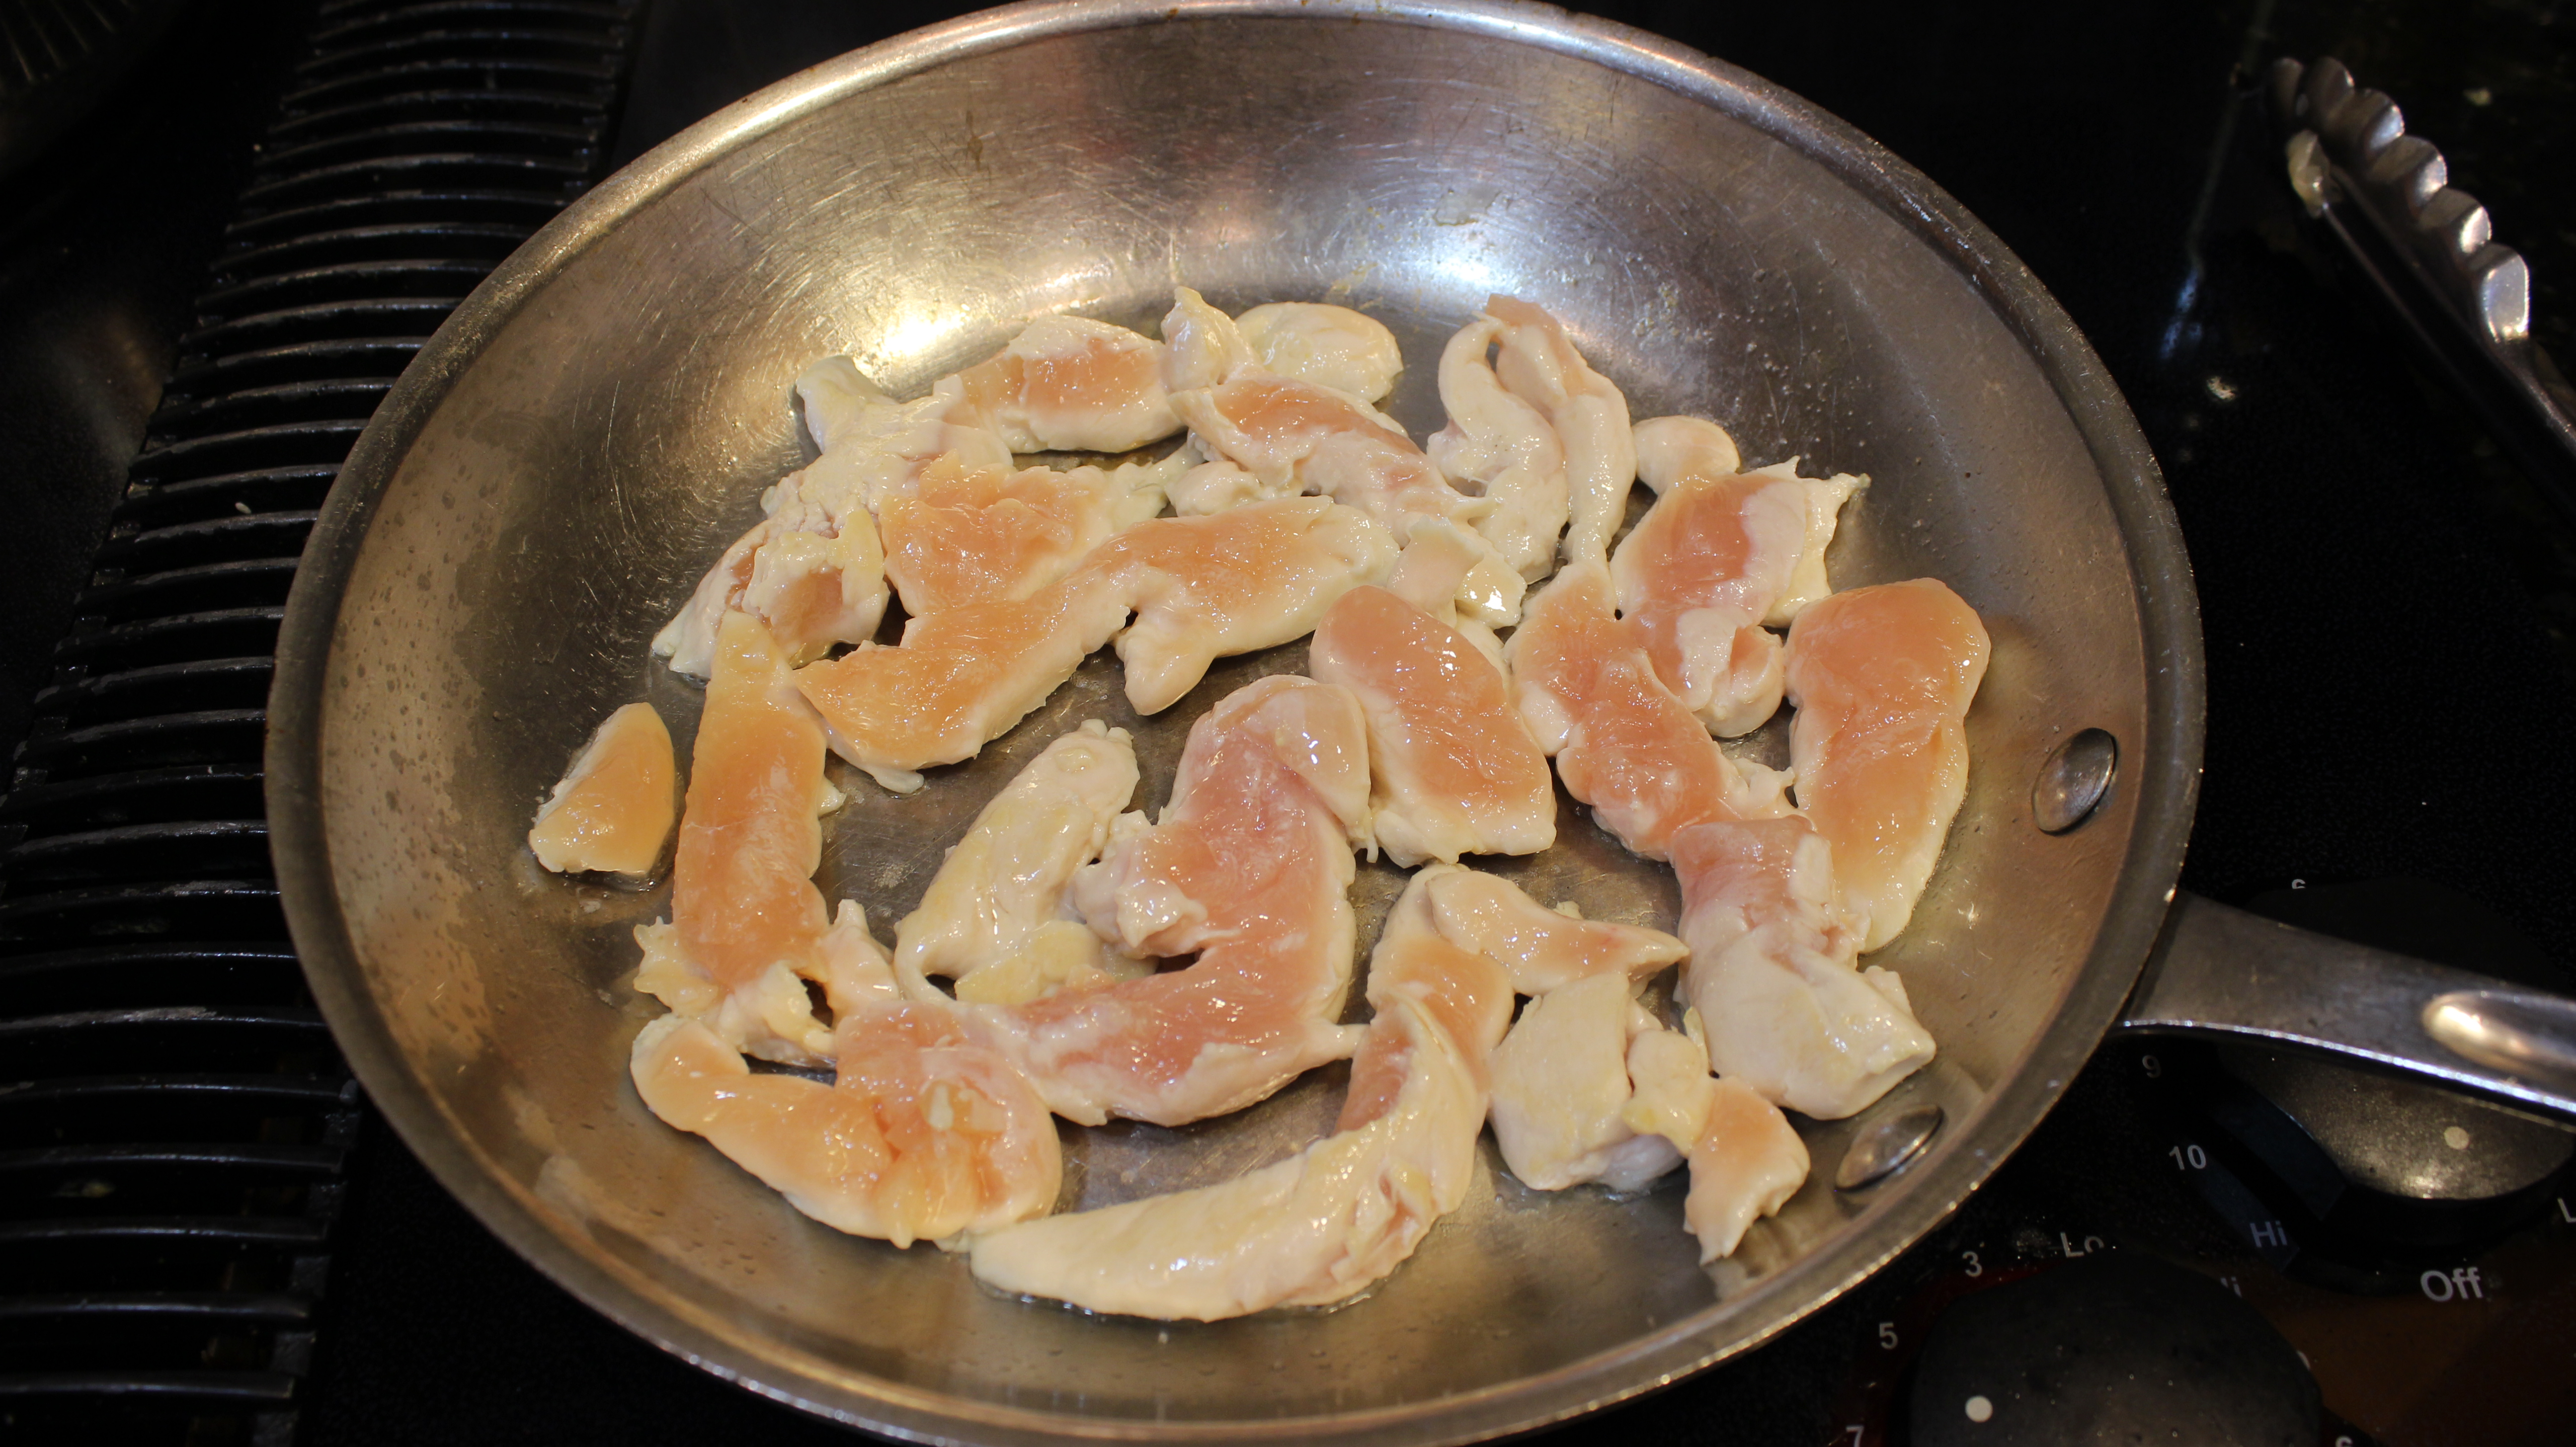
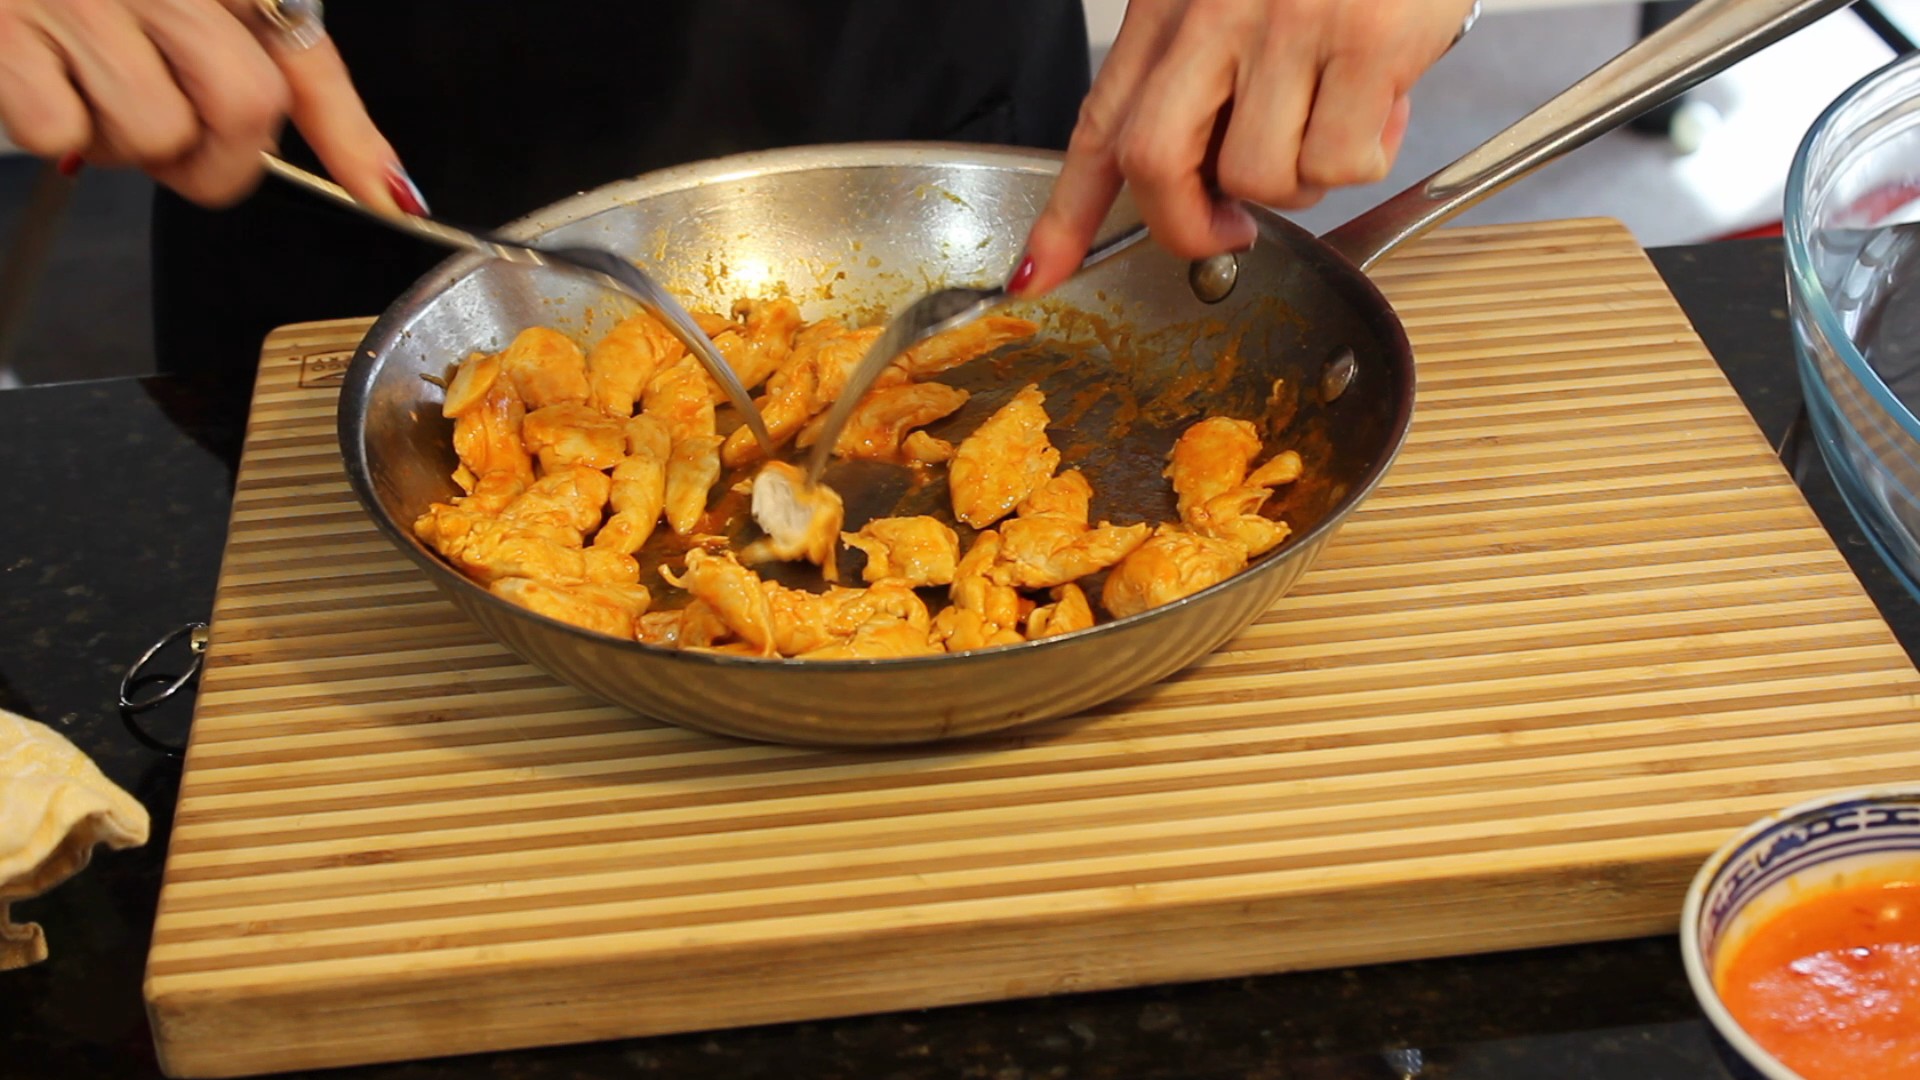
- Add 1 tbsp. olive oil on medium heat
- Add in the chicken tenderloin pieces to a pan on med. high heat, sprinkle with a pinch of salt begin to sauté for 3 minutes
- Flip chicken pieces over and sauté another 3 minutes
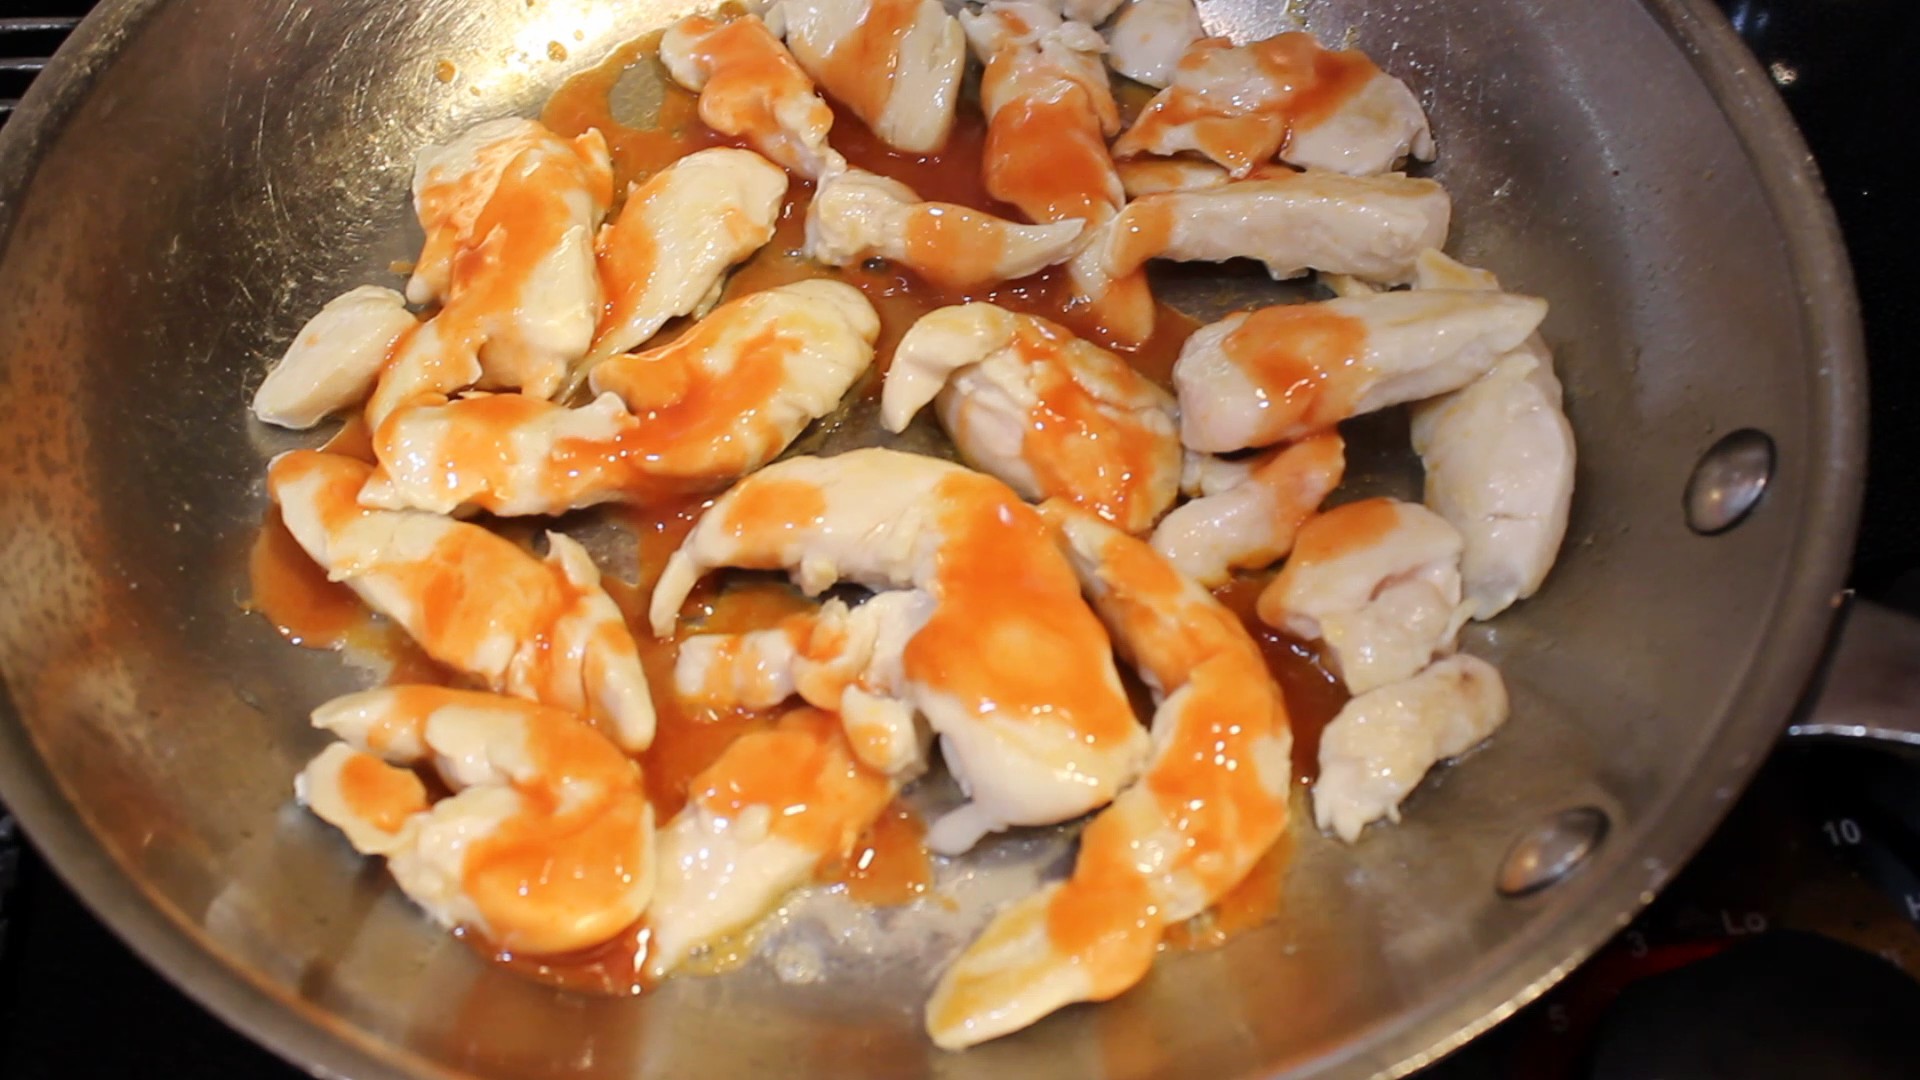
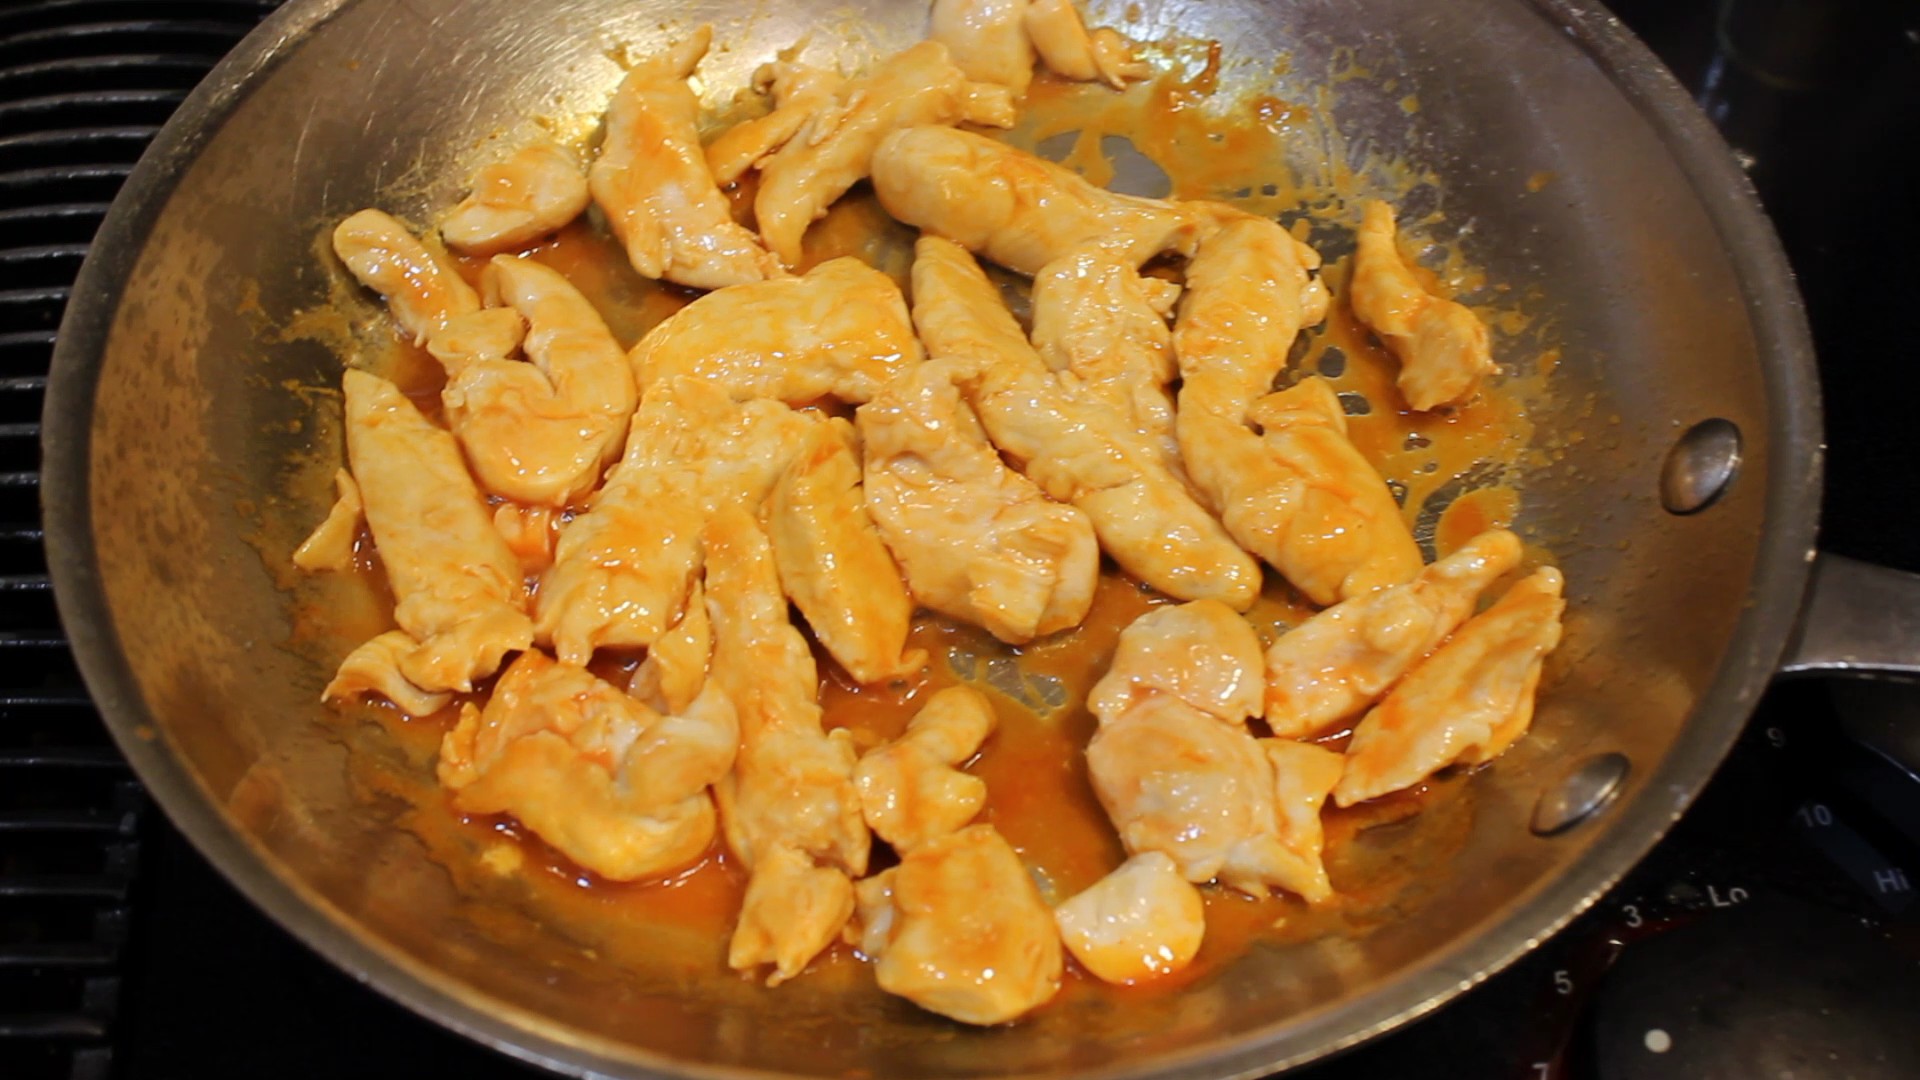
- Once they start to golden slightly add 2 tbsp. Franks hot sauce and let reduce on low 1-2 minutes
- Remove from heat and shred or cut up
- OR toss ROTISSERIE CHICKEN meat from 1/2 of a chicken, cut up or pulled apart to bite-size pieces with enough Frank’s Red Hot/butter sauce mixture to coat
- Begin the layering on top of the cream cheese
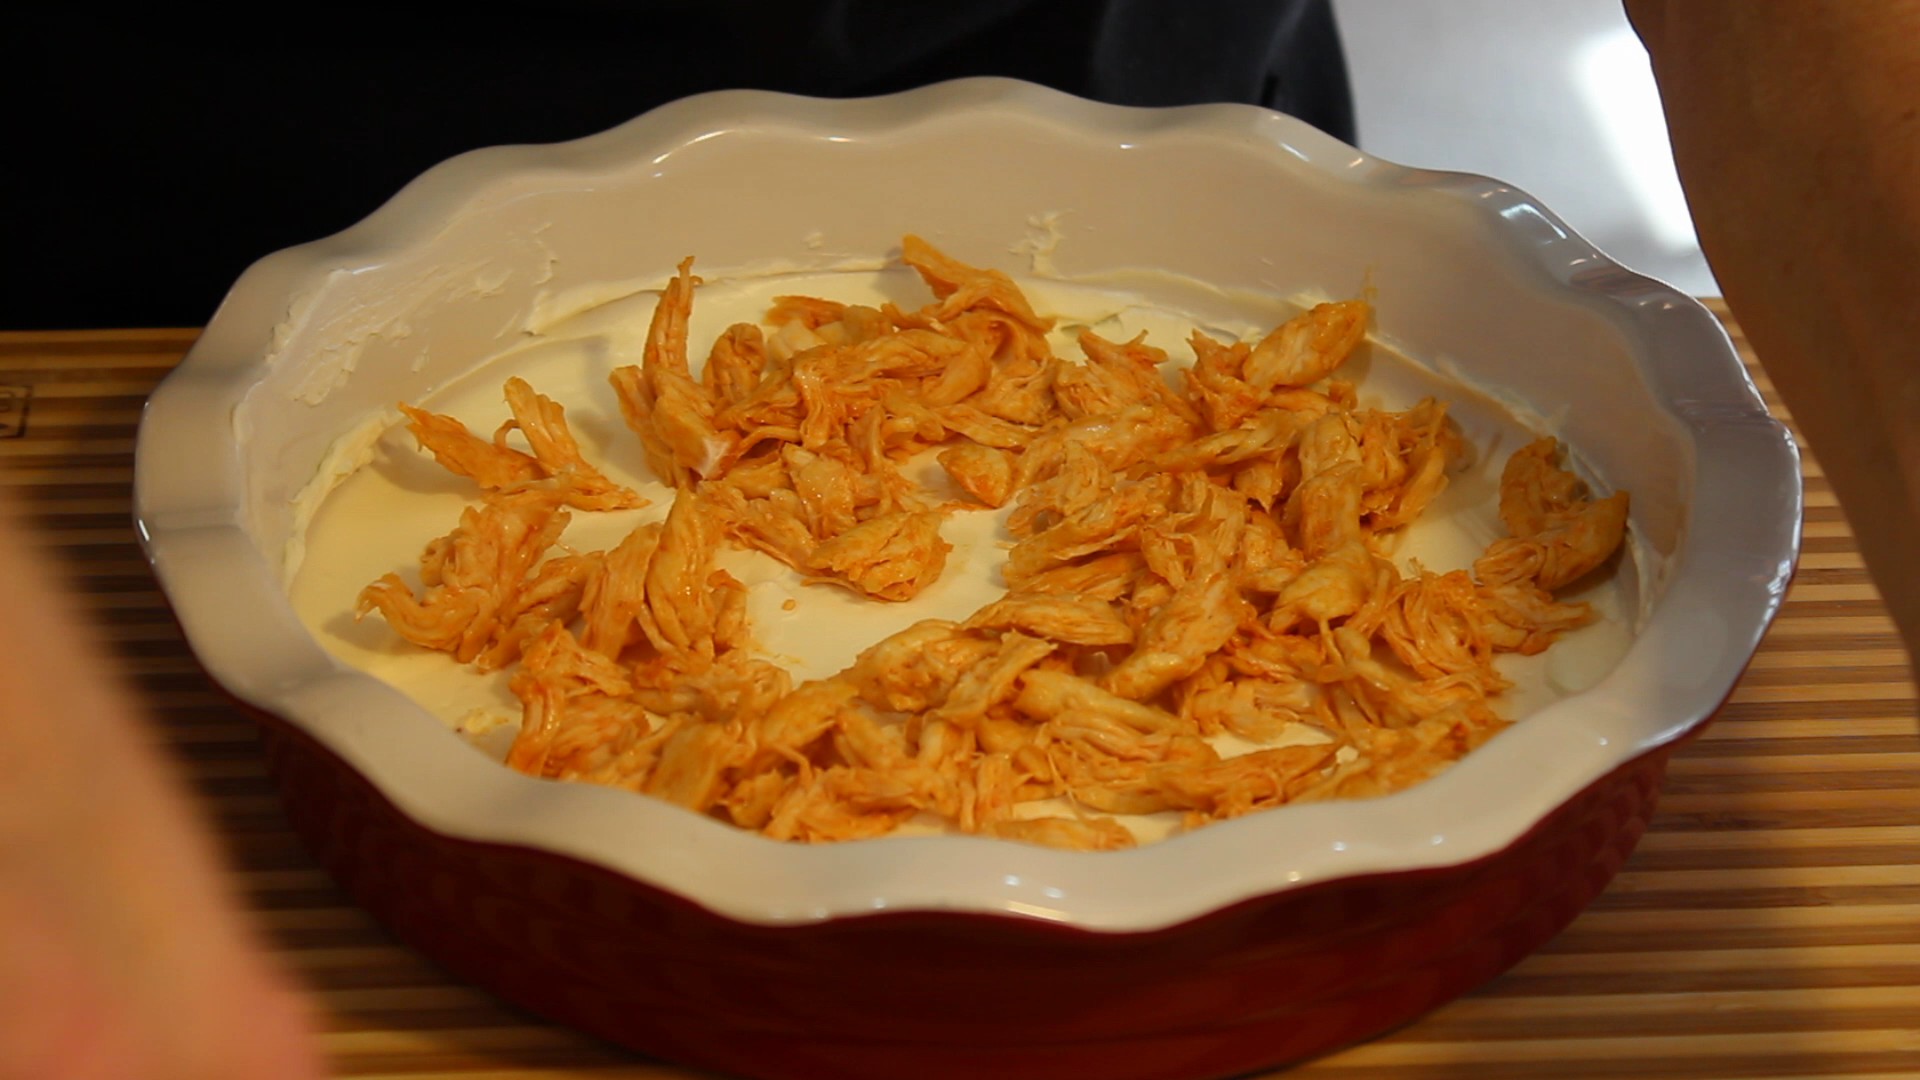
- Smear 8 oz. of room temperature cream cheese in bottom of your bake dish
- Then add the shredded chicken for the layer next
- Drizzle homemade buffalo sauce over the chicken (save some to drizzle after the layer of cheeses)
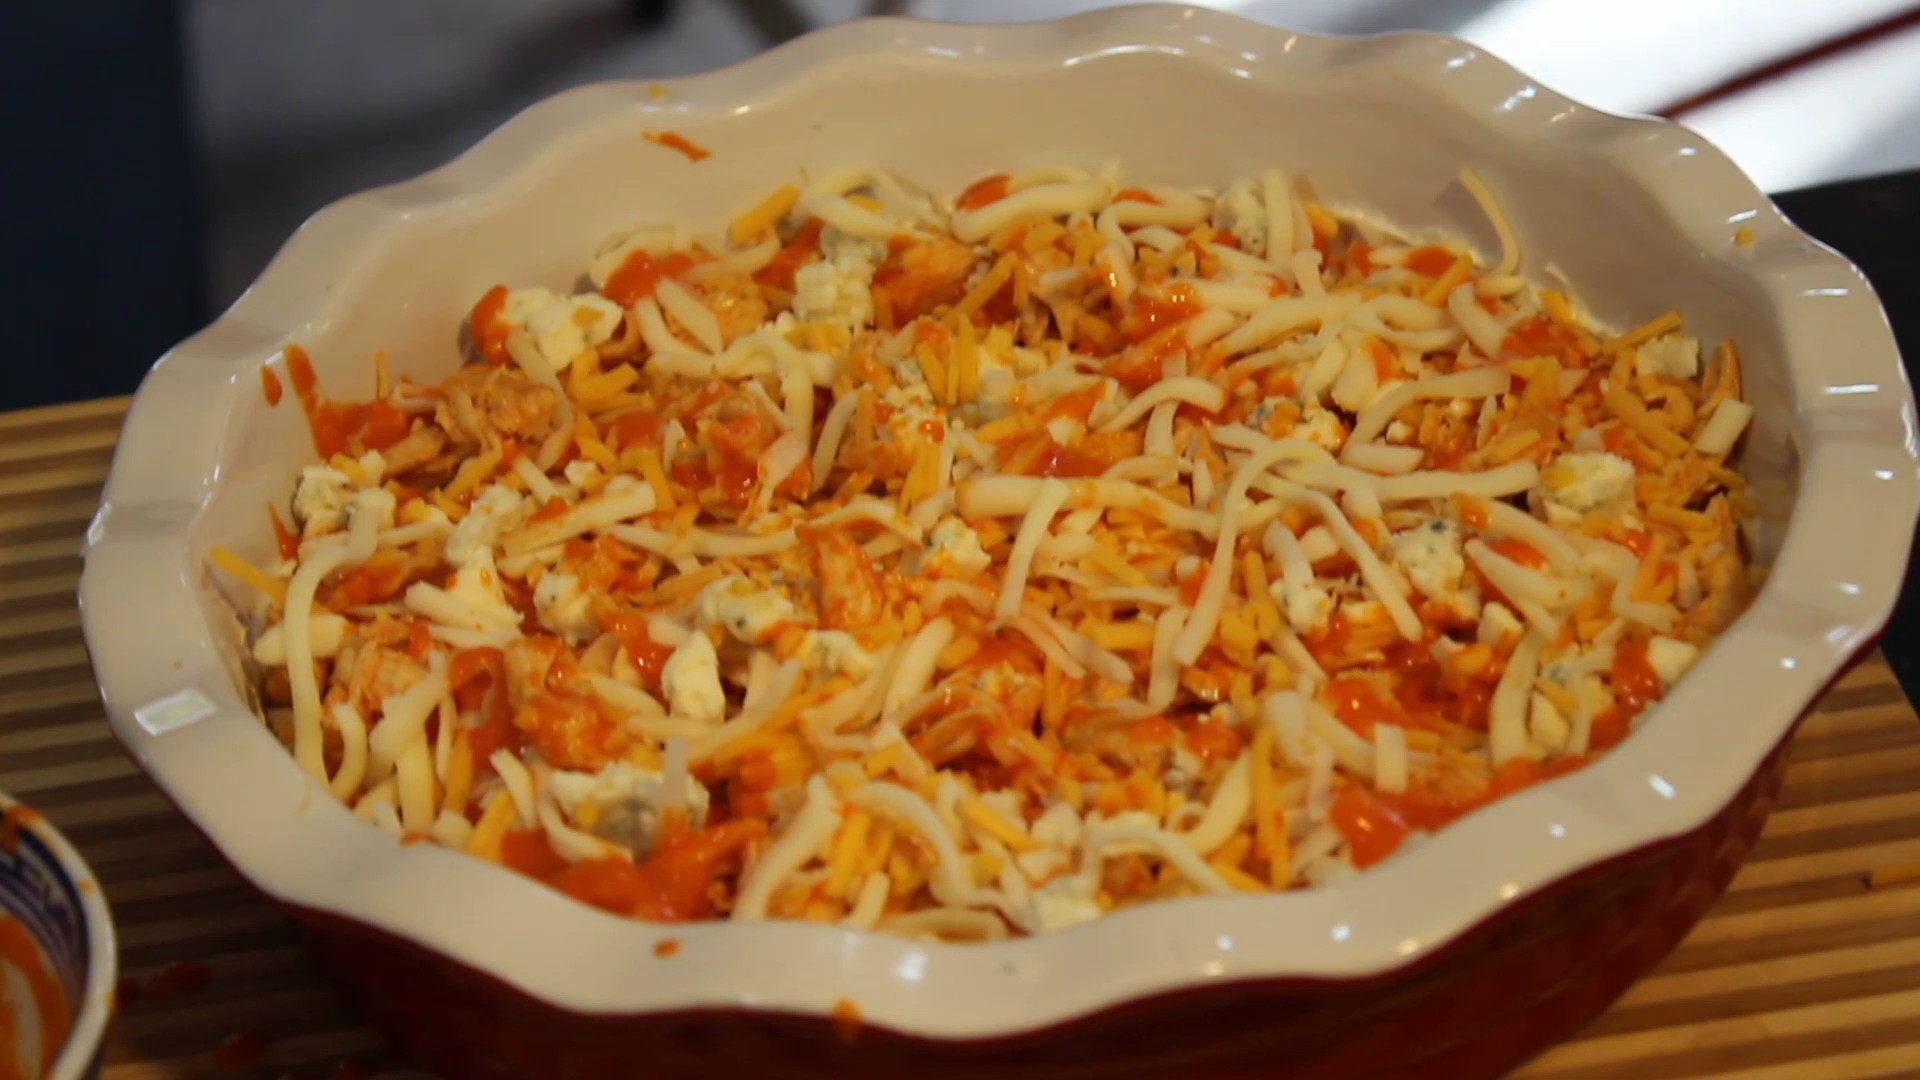
- Sprinkle 1/4 cup crumbled blue cheese
- Then Sprinkle 1/4-1/3 cup cheddar and mozzarella each – if using 9″ baking dish go with 1/4 cup, if using 12″ baking dish you could use 1/3 cup if you want a little extra
- OPTIONAL – Drizzle more buffalo sauce over the cheeses
- Bake for 20 minutes until bubbly and serve with tortilla ships, carrots and celery
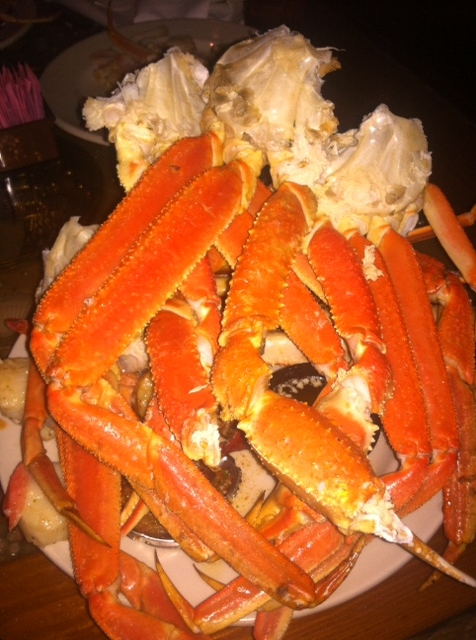
 They certainly know how to do king crab in South Carolina!